





















Tears of the Kingdom 100% Completion Walkthrough43 chapters
Great Sky Island
- Great Sky Island4 shrines, 4 caves and Bubbul Gems, 17 Korok seeds
Hyrule Field and Hyrule Castle
- Lookout LandingParaglider, Crisis at Hyrule Castle, Jiosin and Kyononis shrines, 2 caves, 3 wells
- Hyrule FieldSusuyai and Ishodag shrines, the Hyrule Field Chasm, 2 caves, 13 Koroks
- Hyrule Castle Town RuinsSepapa, Yamiyo and Tukarok shrines, 2 caves, 4 wells, Koroks, chests and Battle Taluses in route order
- Central Hyrule Depthslight all 7 Lightroots, loot Daphnes and Gustaf Canyon Mines, find the Miner's Top
- Rest of Hyrule CastleRoyal Hidden Passage loot, 8 castle chests, Phantom Ganon, Energy Wells
- South Hyrule FieldShrines, Koroks & the Great Plateau
- South Hyrule Field DepthsGreat Abandoned Central Mine, Master Kohga, Autobuild, Majora's Mask
Tabantha and Hyrule Ridge
- Tabantha FrontierNew Serenne Stable, Hestu, Courage Island and the Glide Shirt, 3 shrines, 2 Korok seeds, Lindor's Brow Cave
- Forgotten TempleImpa and the Geoglyphs, Dragon's Tears, Kiuyoyou and Mayausiy shrines, Yiga Maritta Branch, 9 Koroks
- Tanagar Canyon & Hyrule RidgeRunakit and Iun-orok shrines, 2 caves, 12 Koroks, 20 chests, 8 minibosses and Dragon's Tear 6
- Thundra Plateau & Tabantha Bridgesolve the noon shadow puzzle, Tabantha Bridge Stable, Makurukis Shrine, 19 Korok seeds, 9 chests, 3 minibosses
- Lindor's Brow DepthsLightroots; Two Yiga camps (Bomb Bouquet, Flamethrower Balloon)
- Hyrule Ridge and Tabantha FrontierIkatak, Oromuwak, Ganos and Ga-ahisas shrines, 4 caves, a well, 26 Koroks and 3 minibosses
Hebra
- Rito VillageGatakis and Ijo-o shrines, Sikatag Lightroot, 9 Korok seeds, 14 chests
- Hebra MountainsShrines, Wind Temple & Koroks; Raspro Pass, Biron Snowshelf & Royal Hidden Passage
- Corvash Canyon MineTrousers of the Hero, Floodlights schematic, Sea-Breeze Boomerang, four Lightroots, Colgera
- Raspro Pass DepthsNupisoyuat and Sasag Lightroots, Colgera, Cap of Time, Tunic of the Wind, two Yiga camps and 13 minibosses
- Tabantha TundraTaninoud, Orochium, Oshozan-u, Mayaotaki, Nouda and Tenbez shrines, three Lightroots, caves and Bubbul Gems
- Pikida Stonegrove DepthsEvil Spirit Greaves, Ikatoayam, Muihcoro and Sikatag Lightroots, 3 Yiga schematics, Frox fights
Great Hyrule Forest
- Great Hyrule Forest7 shrines, 8 Lightroots, 2 caves, 2 wells, Korok Mask, Glide Tights
Eldin
- EldinEldin Canyon, Shrines, Caves & Goron City
- Eldin Canyon Depths10 Lightroots, Zant's Helmet, Trousers of the Wild, Biggoron's Sword, 3 Yiga schematics and Eldin's sky chests
Faron
- FaronHighland Stable, Lake Hylia & Popla Foothills
Necluda
- Kakariko VillageMakasura Shrine, Kakariko Village Well, 2 caves, Ring Ruins chests, 10 Korok seeds and village quests
- West Necluda and Lanayru WetlandsShrines, Koroks & Caves; Jonsau, Kurakat
- Hateno VillageZanmik and Mayahisik shrines, Shield of the Mind's Eye and Phrenic Bow wells, 7 Koroks
- East NecludaRabella Wetlands, Sifumim Shrine, Lurelin Village, 21 Korok seeds
- East Necluda DepthsKumamayn Shrine, 4 Lightroots, Midna's Helmet, Cap of the Hero, Trousers of the Wind and 18 Depths chests
Lanayru
- Lanayru Great SpringShrines, Koroks & Caves; Ralis Channel, 3 shrines, 8 caves
- Zora's DomainMogawak and Ihen-a shrines, Ploymus cave, Pristine Sanctum, Zora Armor, Sidon of the Zora and Clues to the Sky
- Wellspring IslandAncient Zora Waterworks chests, Igoshon Shrine, 2 Korok seeds, Water Temple's four wheels and Mucktorok
- Mount LanayruShrines, Koroks & Light Rings; Jikais and Anedamimik shrines
Gerudo
- Gerudo DesertShrines, Caves & Koroks; West and South Sands
- Gerudo TownGerudo Shelter shops and quests, Valley of Silent Statues, Lightning Temple and Queen Gibdo, Chichim Shrine
- Gerudo Desert DepthsGranajh and Daval mines, three Master Kohga fights, Queen Gibdo, Mucktorok, Sheik's Mask and 37 chests
- Gerudo HighlandsSkyview Tower, Rotsumamu and Suariwak shrines, Mayasiar Shrine, Yiga hideout
Akkala
- AkkalaTarrey Town quests, 4 shrines, Hinox, Battle Talus
- Akkala Sky Islands and DepthsGikaku and Natak shrines, Old Maps, Lomei Depths Labyrinth, Mucktorok, 5 Lightroots and 19 chests
Finale and completion
- Ancient Tablets, Gleeoks and Armor Upgradesall 13 stone tablets with coordinates, Frost and King Gleeok, Obsidian Frox, Cotera upgrades and farming
- Hyrule CastleRoyal gear chests, Korok seeds, Serutabomac Shrine
- Thunderhead IslesCharged armor, Joku-usin and Joku-u Shrines, Dragonhead Island's relic
- 100% Completion: Armor Upgrades & Korok BonusHestu's Gift, Ancient Hero's Aspect, Great Fairy Cotera upgrade costs and materials, then Destroy Ganondorf
| Region | The skies over Hyrule (twelve tablet islands), the Depths below Drenan Highlands Chasm, Biron Snowshelf, the Necluda Sky arena, Kakariko Village and Cotera’s Great Fairy Fountain |
|---|---|
| Side adventure | Messages from an Ancient Era (giver: Wortsworth, Lookout Landing; hand-in at Kakariko Village) |
| Tablets | 12 stone tablets to photograph on sky islands (the 13th, Wortsworth’s own, fell at Lookout Landing); one of the 12 breaks loose and drops into the Depths |
| Requirements | Camera on your Purah Pad (from Camera Work in the Depths) and at least one Temple finished so that Wortsworth appears at Lookout Landing; some guides say two Temples |
| Minibosses | Frost Gleeok (Biron Snowshelf), Obsidian Frox (Scourge of the Depths), King Gleeok (Scourge of Necluda Sky) |
| Rewards | 100 rupees (a Silver Rupee) from Wortsworth for each of the 12 tablets, 1,200 rupees in all, Zonai Survey Team Fabric (paraglider fabric), Obsidian Frox Fang, Large Crystallized Charge, three rounds of armor upgrades at Great Fairy Cotera |
| Main story | Return to Purah in Lookout Landing (Regional Phenomena complete), then Crisis at Hyrule Castle begins |
| Previous / next | Gerudo Highlands, part 2 / Hyrule Castle |
This stretch finishes the side adventure Messages from an Ancient Era: photograph the 12 tablets scattered over the sky, show the photos to Wortsworth in Kakariko Village and collect the Zonai Survey Team Fabric. Three minibosses sit on the route, and the rest of the time goes on farming monster parts for Great Fairy Cotera’s armor upgrades before you return to Purah at Lookout Landing. Coordinates are map units (X, Y, height); larger Y is further north.
Quick route
Place a stamp on every tablet first, then fly them in a loop: the Necluda and Hyrule Field islands, the Gerudo islands in the south-west and west, the Hebra and north-central islands, the north-central tablet that drops into the Depths, and finally the eastern chain from Akkala Highlands Sky down to the Necluda Sky.
Hand the photos to Wortsworth in Kakariko Village, take the Gleeok and Frox fights when you pass them, then bring the materials listed below to Cotera’s Great Fairy Fountain and finish by reporting to Purah.
Messages from an Ancient Era: find all 12 tablets
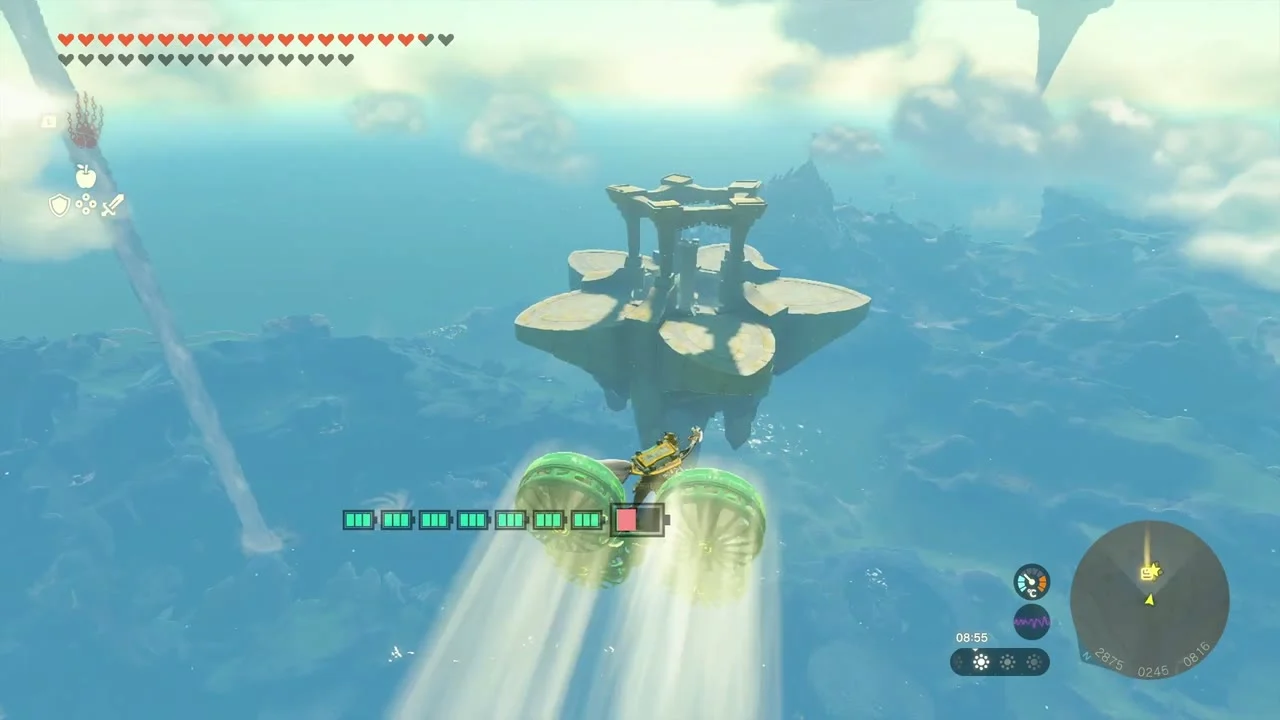
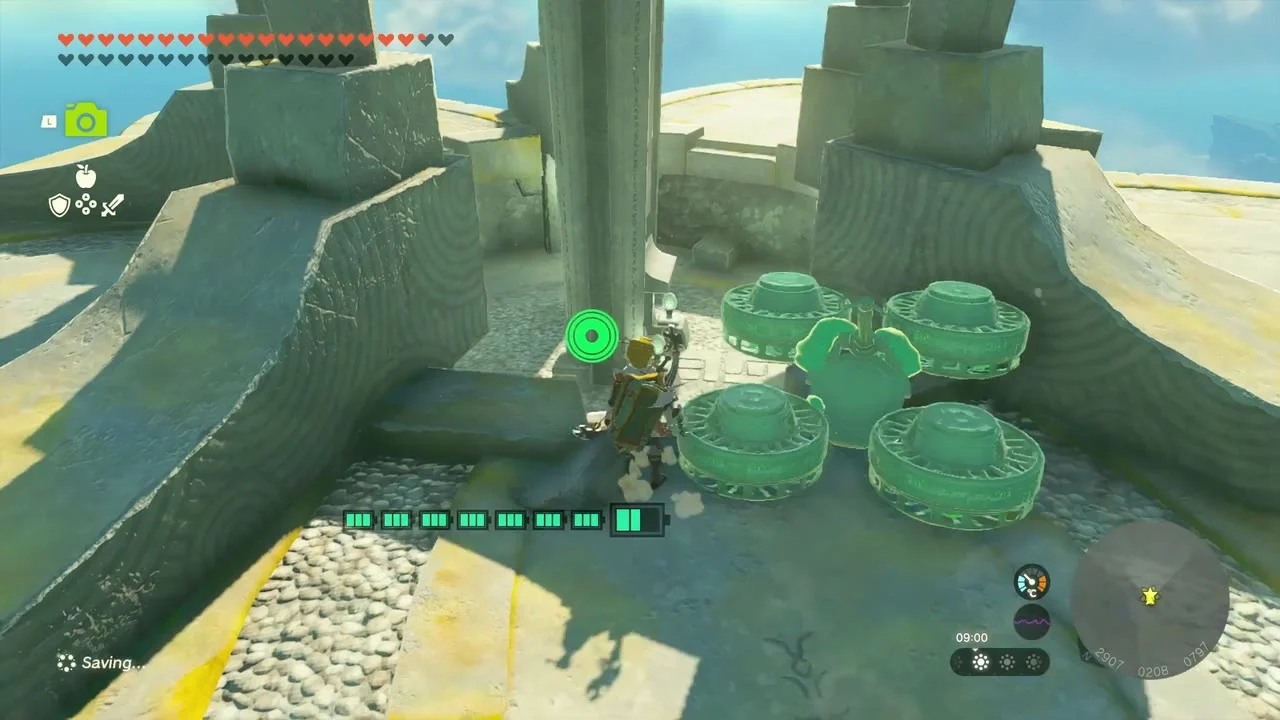
The quest begins at Lookout Landing, where a stone tablet crashes down after you finish a Temple. Wortsworth, the scholar studying it, heads to the Zonai Survey Team base in Kakariko Village and asks you to photograph the other tablets so he can translate them. He pays 100 rupees for every picture, 1,200 rupees for all twelve, and gives you the Zonai Survey Team Fabric at the end. Every tablet sits on a small flower-shaped sky island between two glowing lamps. Several of them fall away when you step on the island, so take the photo as soon as you land; if a tablet drops, follow it down and photograph it where it lands. Guides disagree on exactly how many fall, so treat every island as a falling one. Bring stamina food and spare Zonai Charges, because several of the glides are long.
Mark every tablet on the map
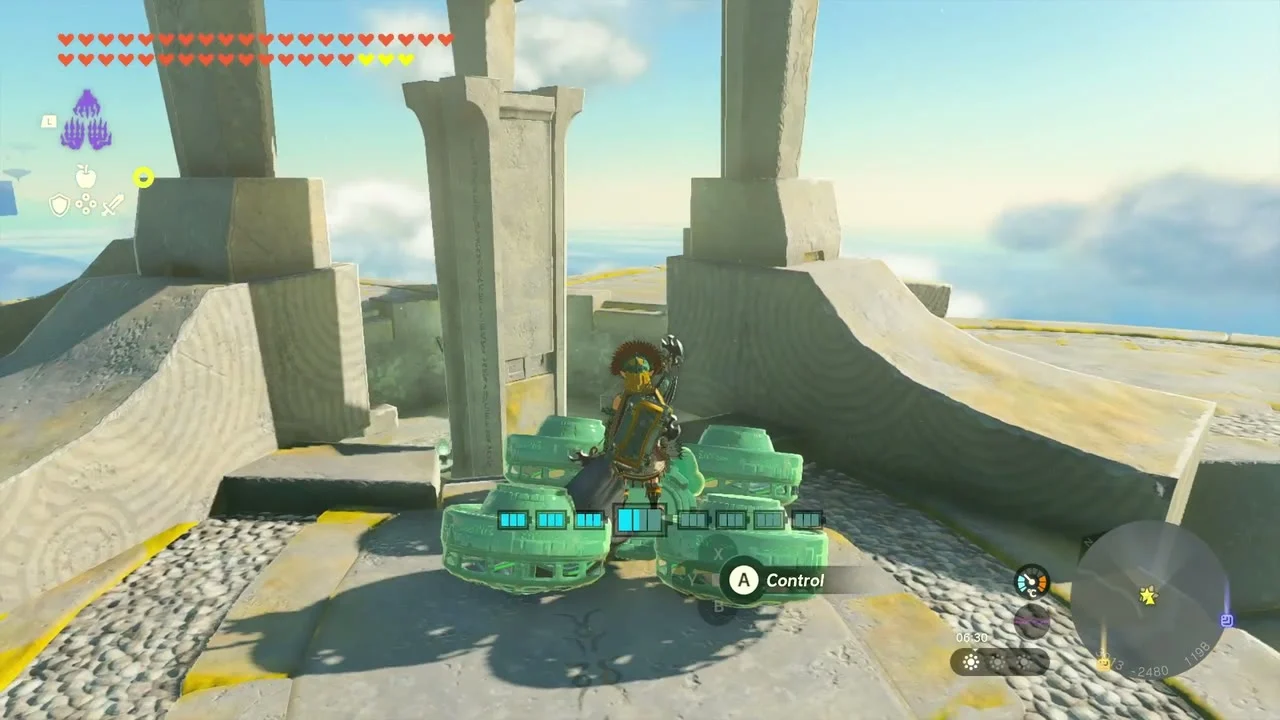
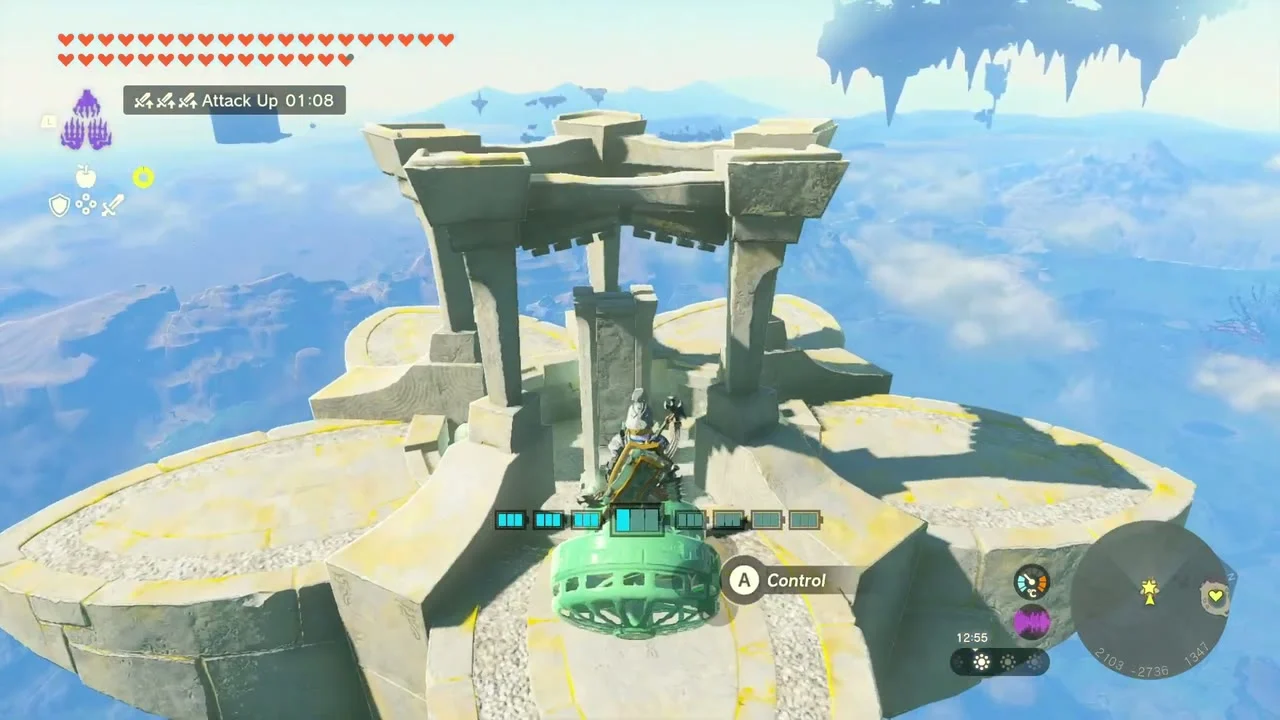
Open the map and drop a stamp on each tablet before you leave, because the sky islands are easy to lose among the clouds. The twelve tablets sit on sky islands at the coordinates below, and one of them lands in the Depths when its island breaks away. Each tablet is a stone slab flanked by two glowing egg-shaped lamps, set inside a ruined pillar frame on a floating island. Stand in front of it, choose the Camera from the quick-select wheel and aim at the slab until the Sheikah eye fills in and the photo is registered. A Zonai flying machine with a steering stick, fans and a few batteries is the easiest way to cross the gaps.

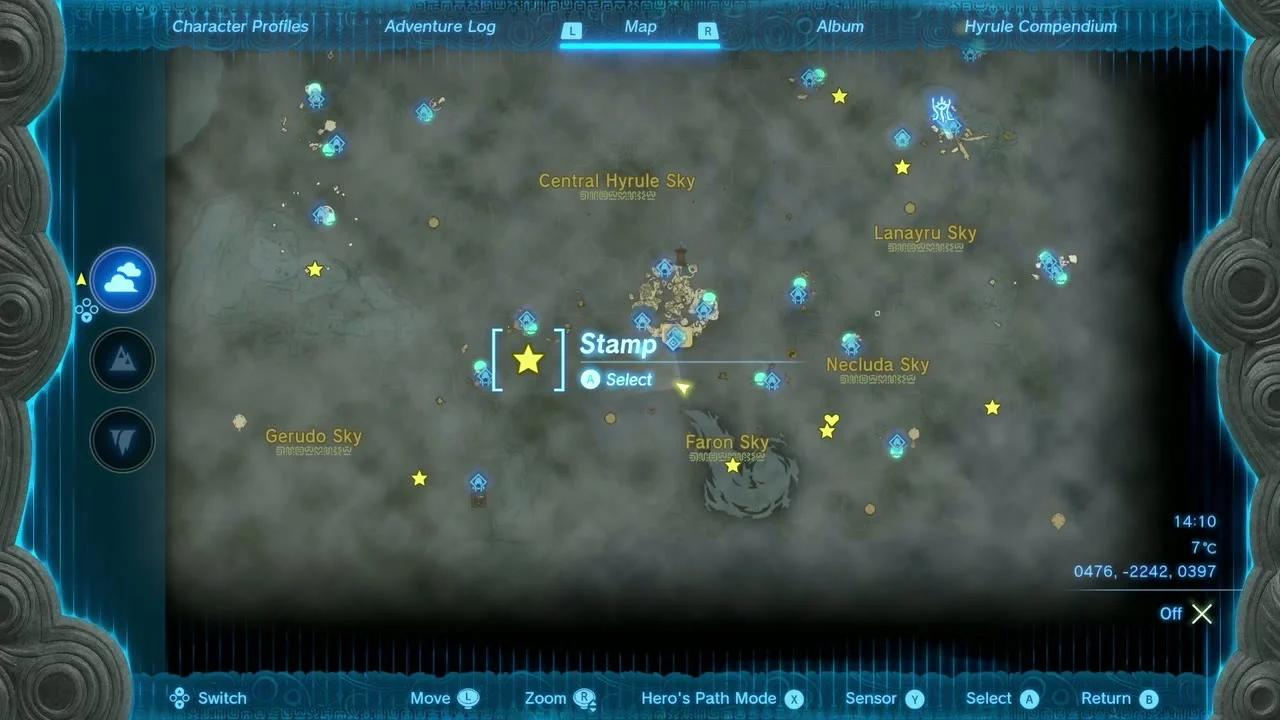
Tablet 1: south of Hyrule Castle (481, -2249, 401)
The lowest tablet in the sky is at (481, -2249, 401), above West Necluda and about 240 units from Susub Shrine. Land on the petal-shaped island and photograph the slab between the lamps.


Tablet 2: above Hyrule Field (-1239, -1937, 986)
Fly north-west to (-1239, -1937, 986), over Hyrule Field near Tadarok Shrine. Set down on the island’s rim and take the photo from the front of the slab.


Tablet 3: over the Gerudo Desert (-2447, -3257, 1003)
The third island is far to the south-west at (-2447, -3257, 1003), directly above Siwakama Shrine in the Gerudo Desert. The ruin sits in the middle of a flat platform; walk up to the slab and raise the Camera.
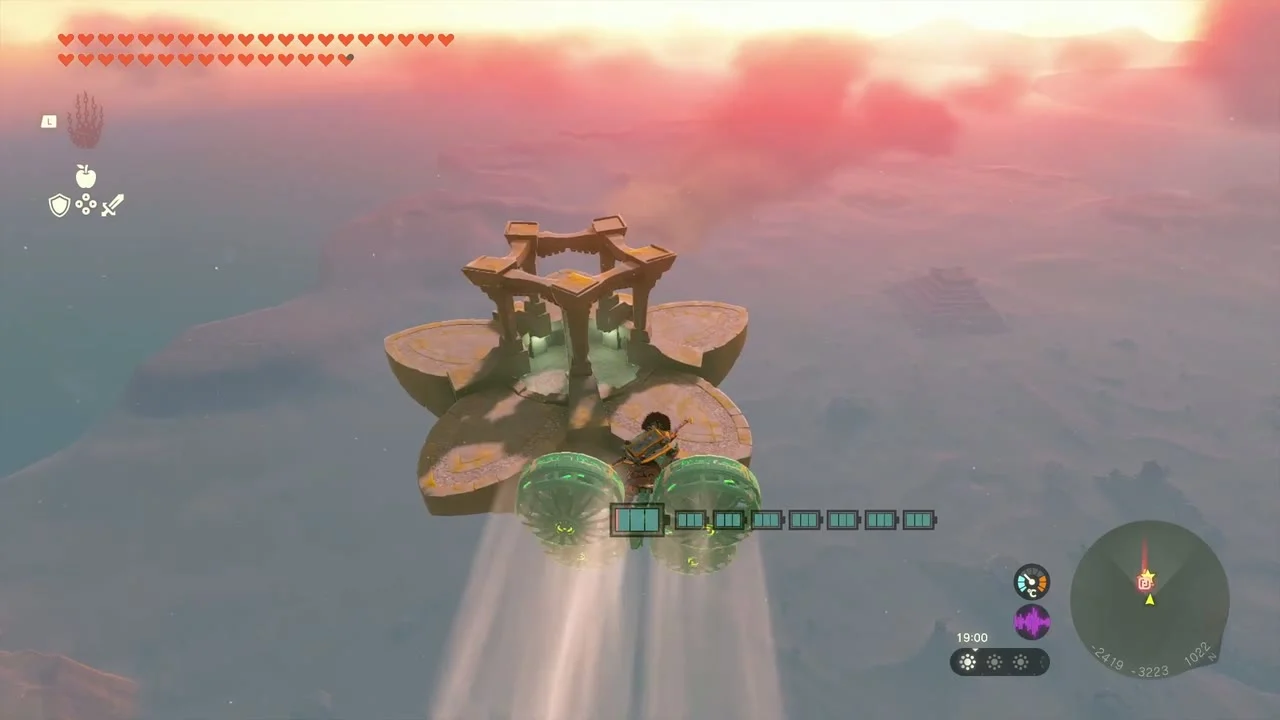

Tablet 4: over the Gerudo Highlands (-3605, -935, 1596)
Head north-west to (-3605, -935, 1596), the highest of the twelve, above the Gerudo Highlands and north of Rotsumamu Shrine. Keep spare batteries on the vehicle for the long climb.
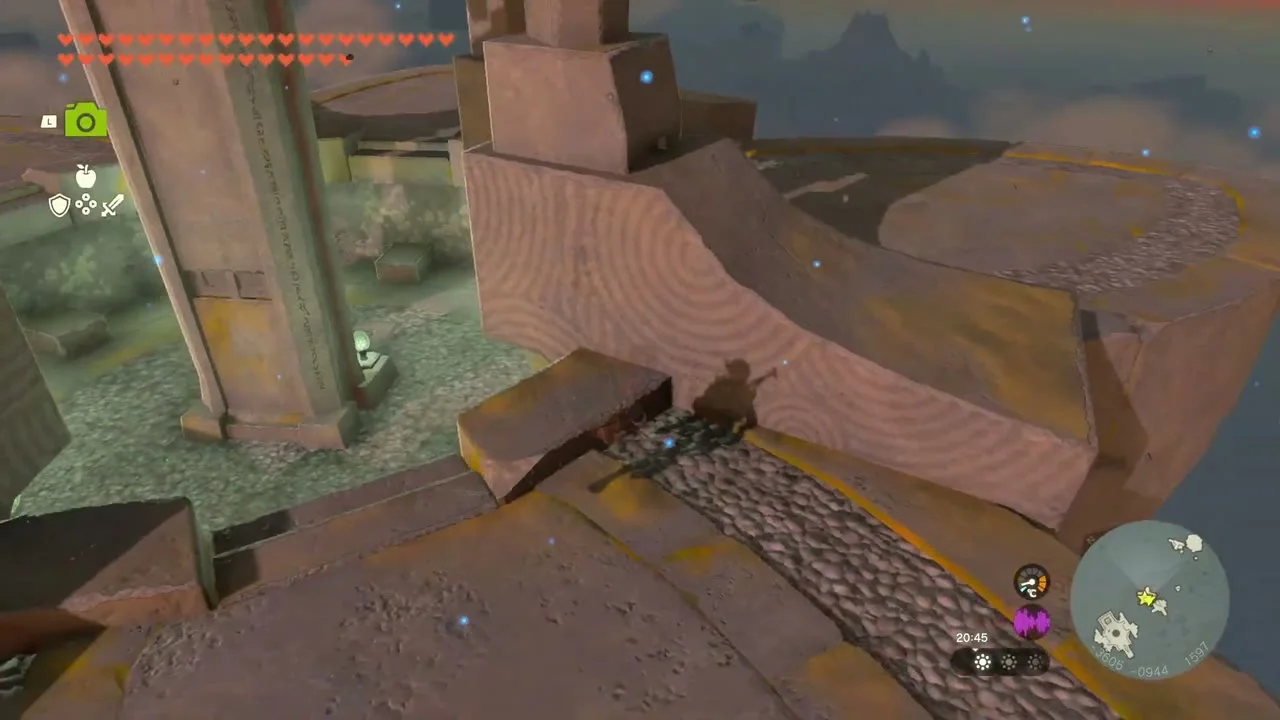

Tablet 5: Hebra Mountains (-4042, 3204, 453)
Cross the western edge of the map to (-4042, 3204, 453), a low island over the Hebra Mountains. The Ijo-o Shrine sky shrine is the nearest landmark. The Frost Gleeok fight below begins within a minute of this island.
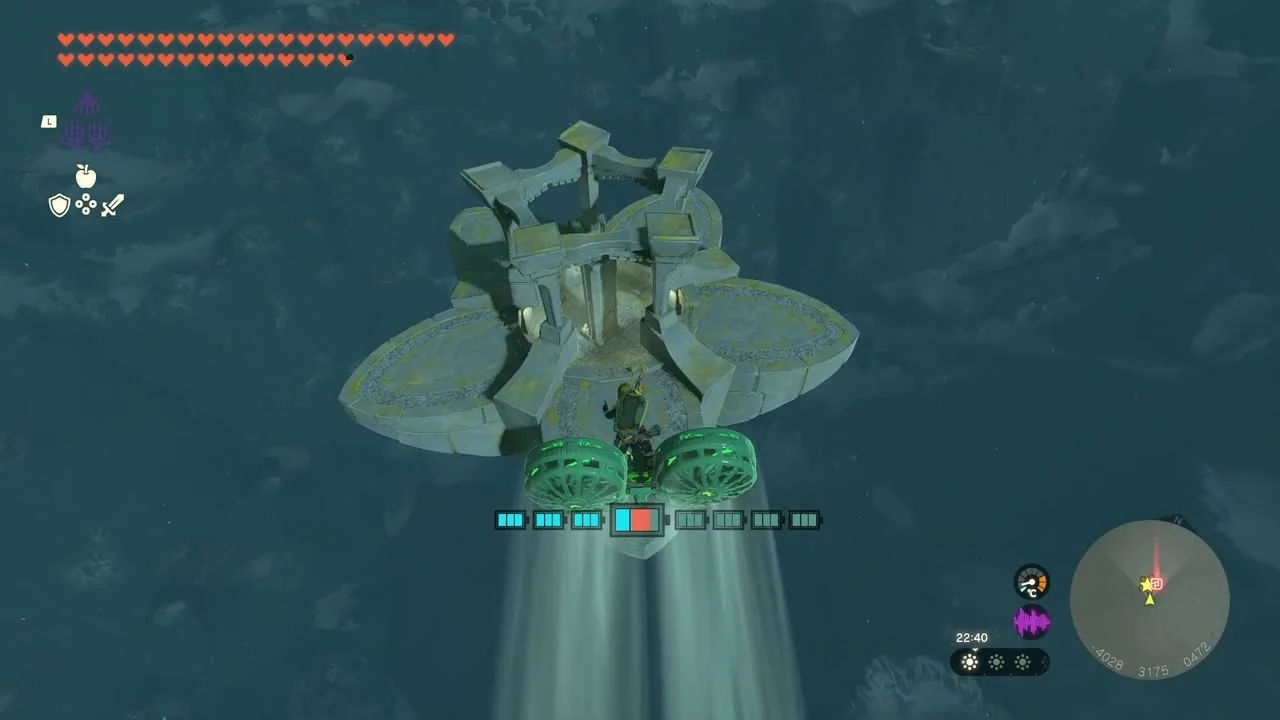
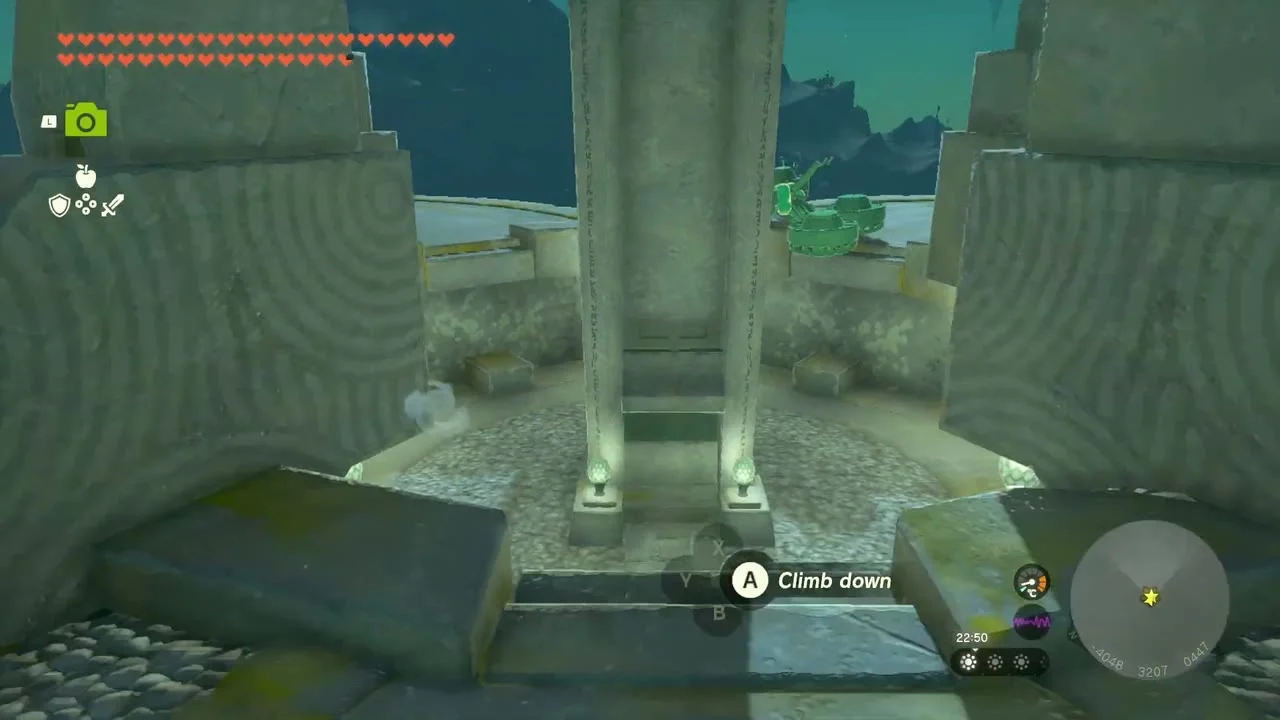
Tablet 6: above Oshozan-u Shrine (-1366, 3575, 912)
The next island at (-1366, 3575, 912) is almost directly above Oshozan-u Shrine. Land beside the pillars and photograph the slab.
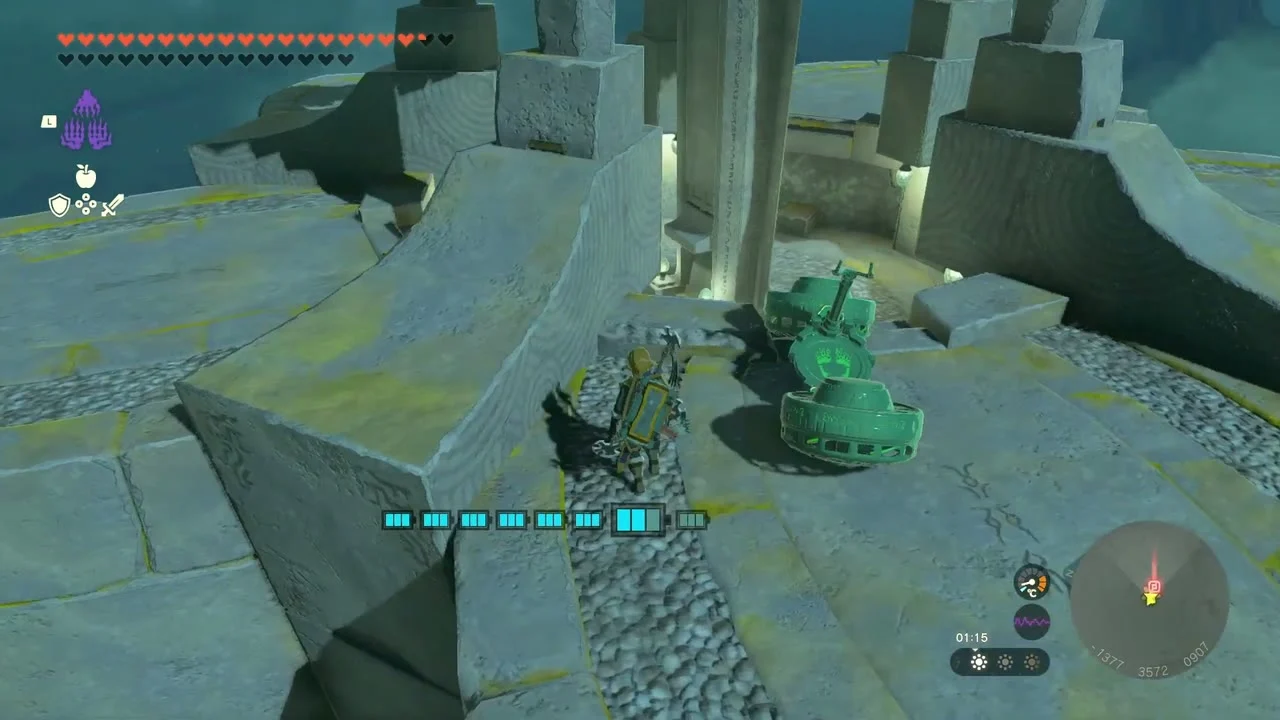
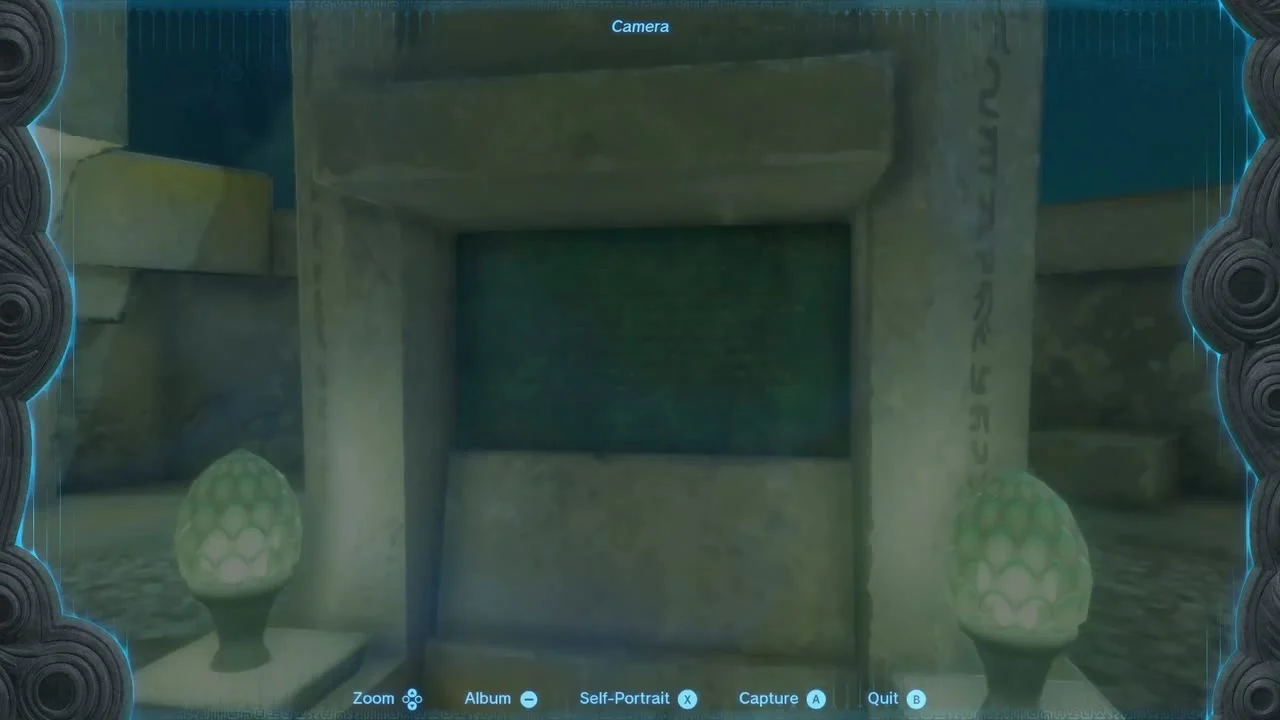
Tablet 7: near Mayam Shrine (-45, 2992, 1502)
Continue east to (-45, 2992, 1502), roughly 400 units from Mayam Shrine in the Great Hyrule Forest sky; several guides route you here by gliding west from Mayam Shrine or from the Thyphlo Ruins Skyview Tower. This is the tablet that falls: when you walk onto the island its centre breaks away and drops toward Drenan Highlands Chasm. Photograph the slab at once, and if you miss the shot, follow it down.


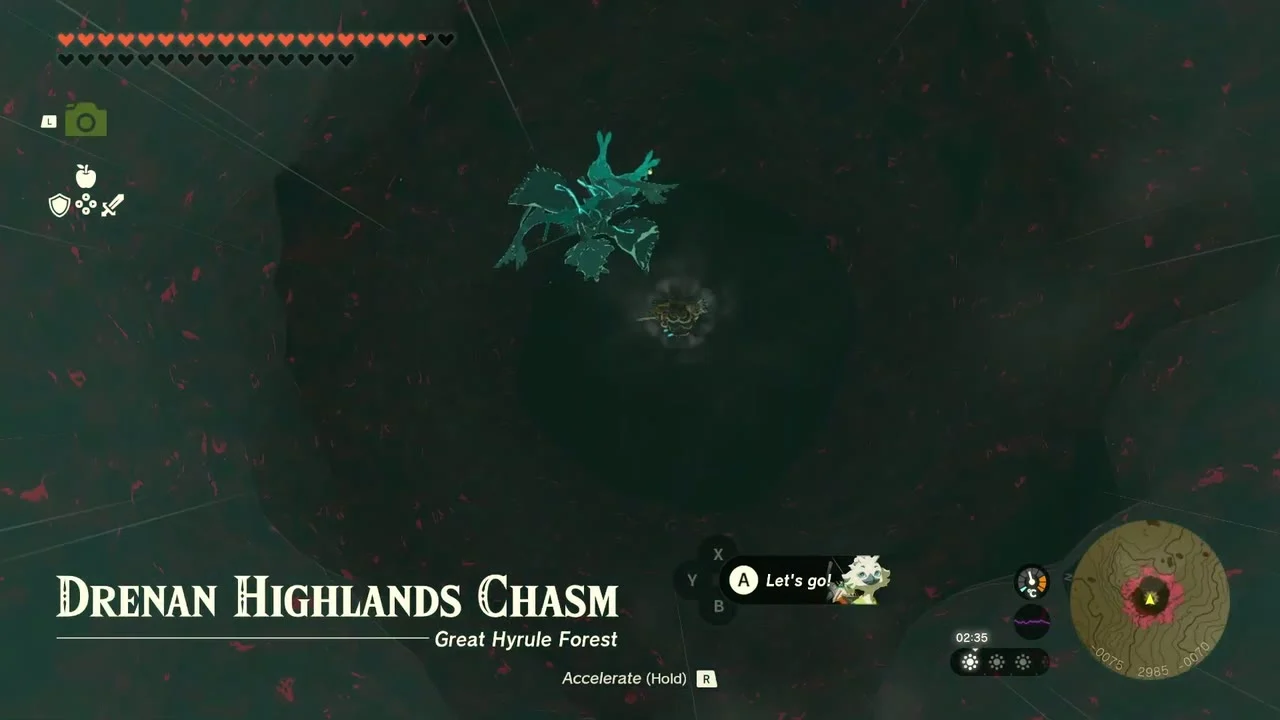
Tablet 8: Drenan Highlands Chasm (Depths)
This is the same tablet as Tablet 7 after its island has fallen: it lands in the Depths beneath Great Hyrule Forest, near the bottom of Drenan Highlands Chasm. If you did not get the photo up top, glide into the chasm and drop into the Depths, find the slab by its two glowing lamps and photograph it there; light the area with a Brightbloom Seed if it is too dark for the Camera to register. Photograph it before you deal with the Obsidian Frox that lives nearby.
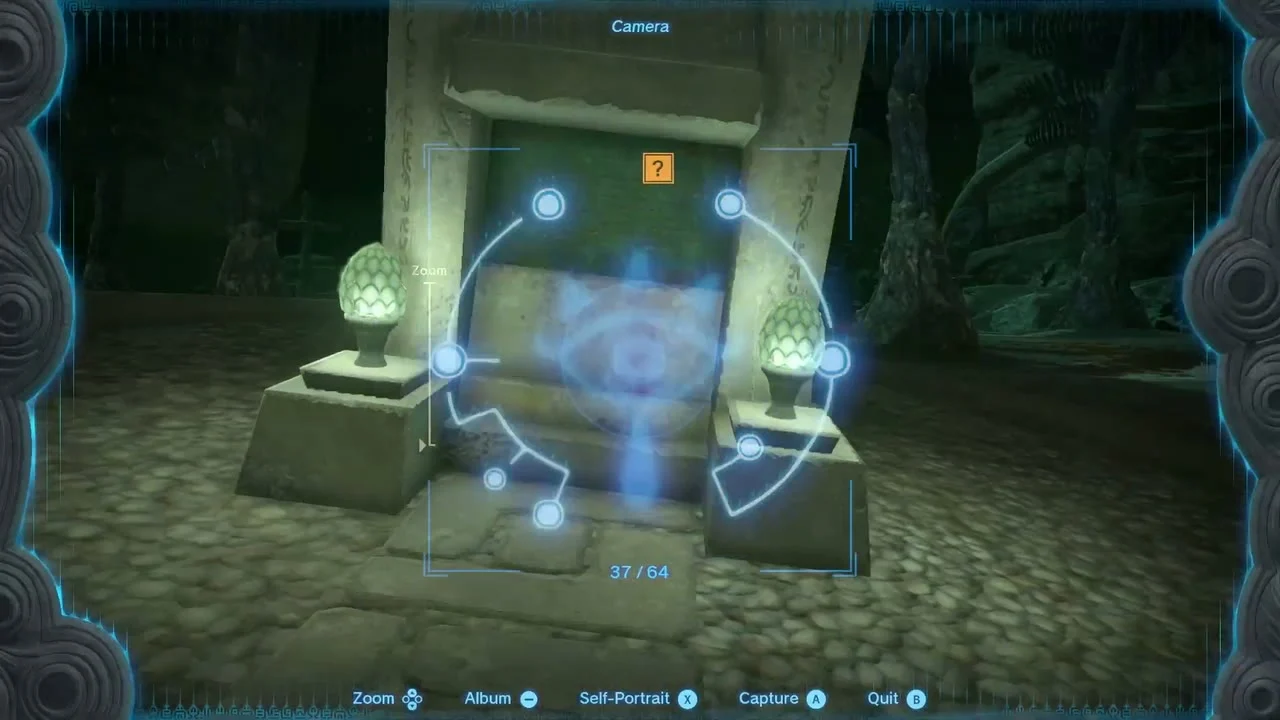
Tablet 9: Akkala Highlands Sky (3580, 1750, 1362)
Back in the sky, fly to (3580, 1750, 1362), about 280 units from Natak Shrine. The island hangs under an overhanging rock; land on the flat top and photograph the slab at the centre of the ruin.
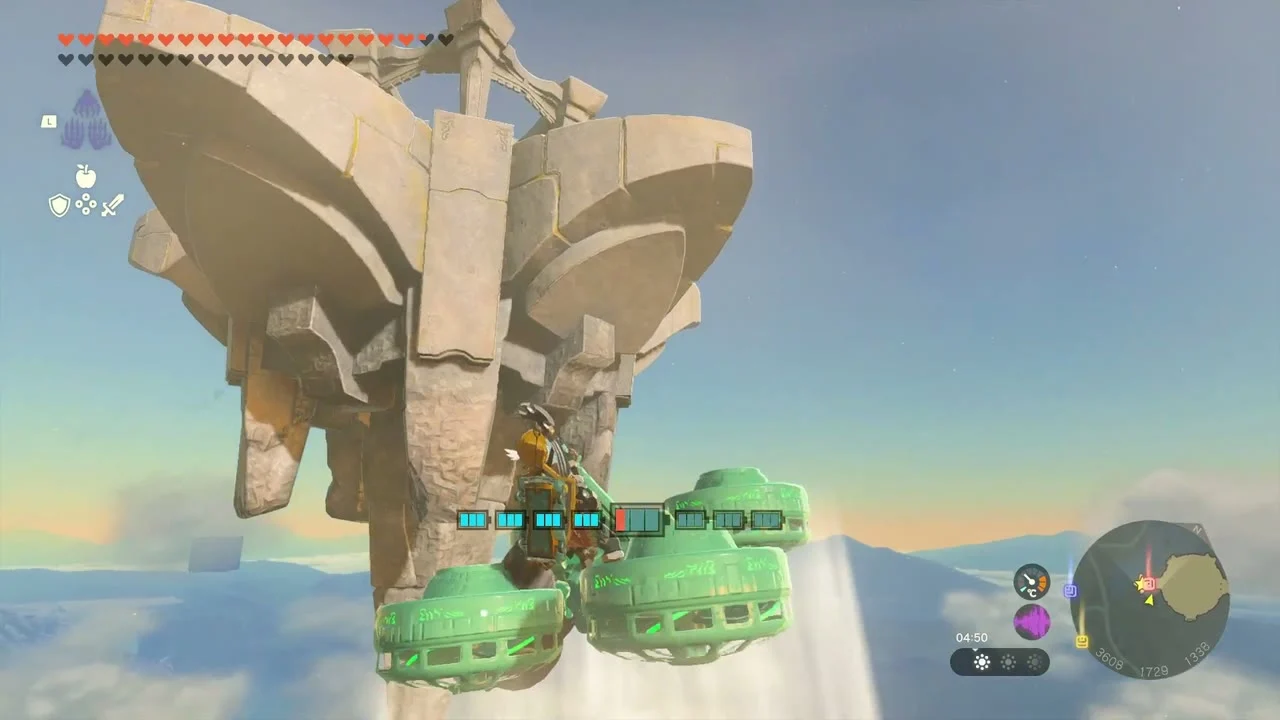

Tablet 10: over Eldin Canyon (2217, 989, 1150)
Follow the chain south-west to (2217, 989, 1150), about 400 units from Kadaunar Shrine. Walk to the slab at the back of the ruin and photograph it.
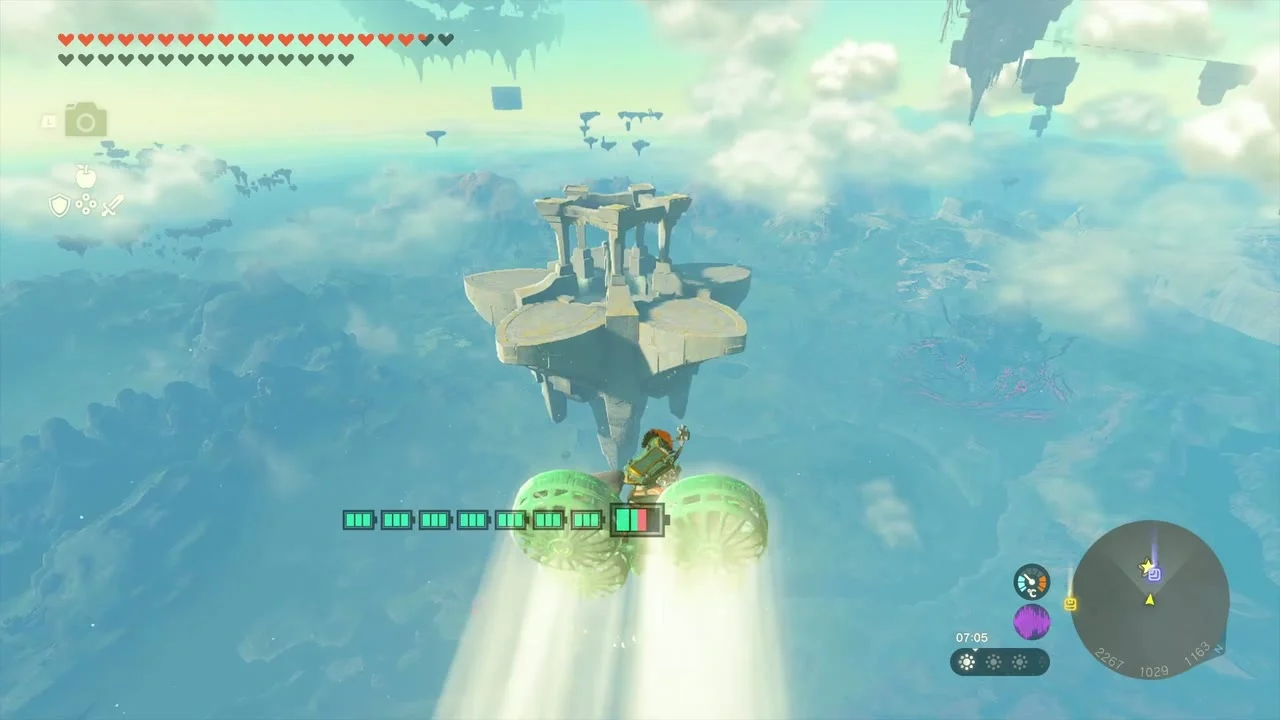
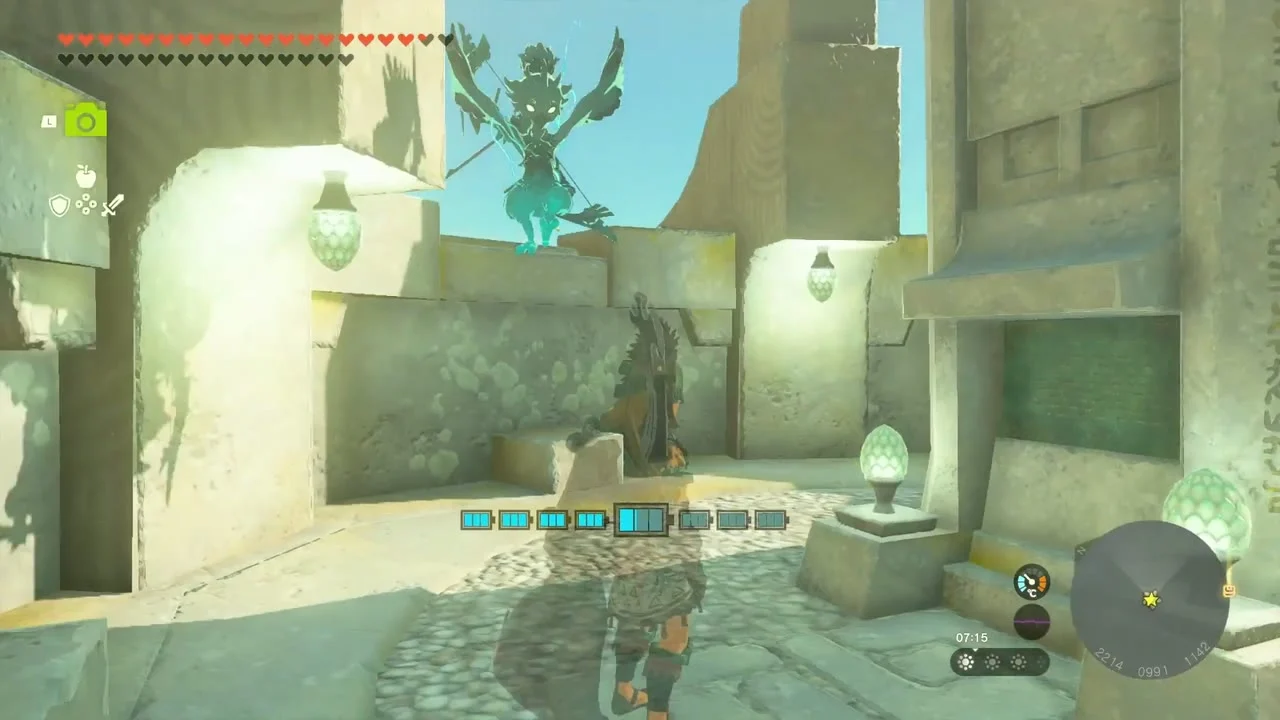
Tablet 11: Lanayru Great Spring Sky (2915, 203, 802)
The Lanayru island at (2915, 203, 802) is about 300 units from Joniu Shrine. It is the lowest of the eastern group, so you can glide down to it from Tablet 10 if your vehicle is out of batteries.
Tablet 12: East Necluda Sky (3919, -2471, 1202)
Fly south-east to (3919, -2471, 1202), above East Necluda and a little under 450 units from Anedamimik Shrine. Photograph the slab from the side of the ruin that faces the open sky.

Tablet 13: West Necluda Sky (2083, -2731, 1343)
The last sky tablet is at (2083, -2731, 1343), above West Necluda and about 420 units from Tokiy Shrine. Guides reach it from the Rabella Wetlands Skyview Tower by gliding west toward a waterfall (Zora armor helps you swim up it), then building a hot-air balloon or fan craft to climb to the island. Photographing it completes the first task, and the quest log now sends you to Wortsworth.

Show Wortsworth the photos in Kakariko Village
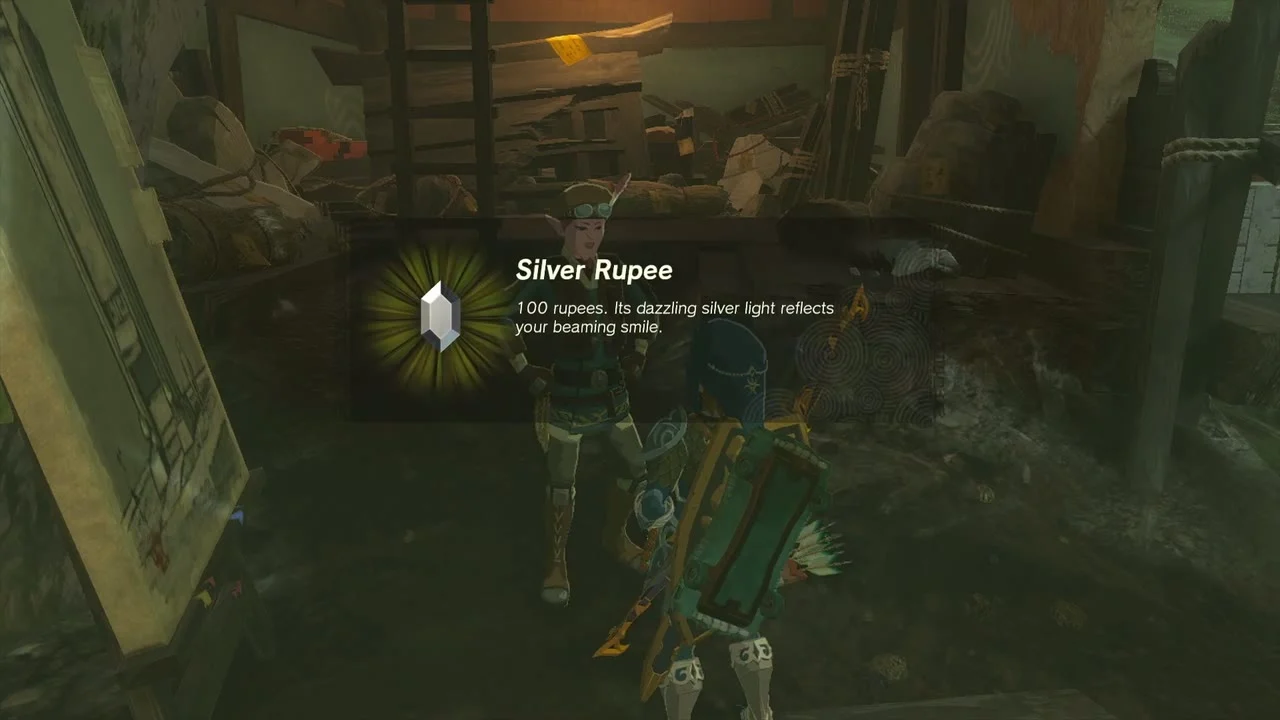
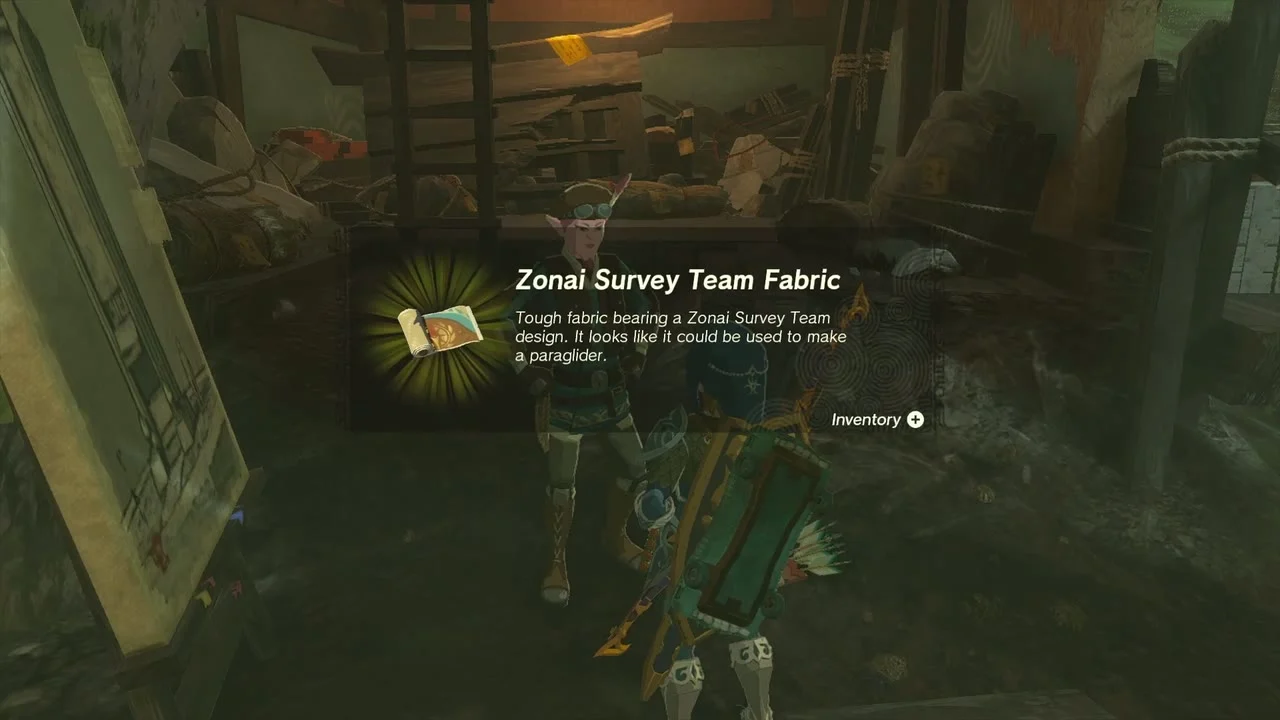
Take the photos to Wortsworth at the Zonai Survey Team’s research lab in Kakariko Village (the survey team base at (1829, -956, 117)). He reads each tablet in turn and pays out a Silver Rupee (100 rupees) for each of the twelve, 1,200 rupees in total, and when the last record is translated he gives you the Zonai Survey Team Fabric, a paraglider fabric. He then posts everything on the research-lab wall.
Bosses along the way
Defeat Frost Gleeok at Biron Snowshelf
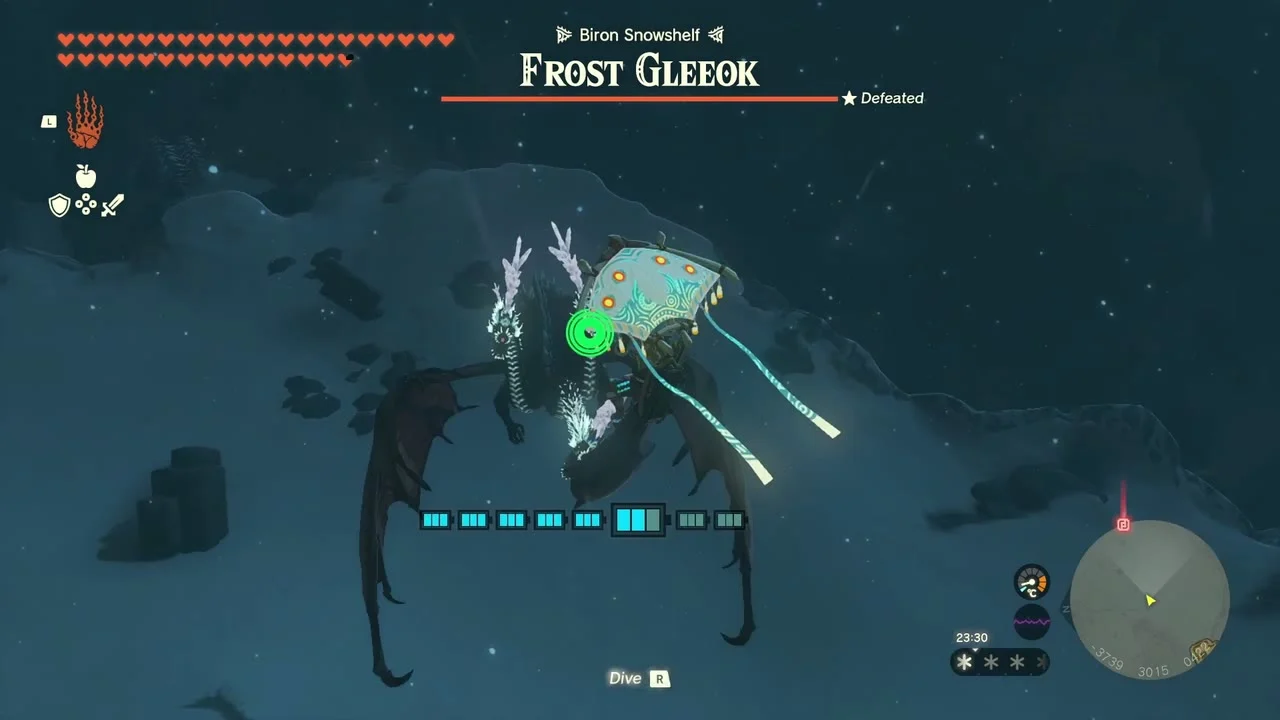
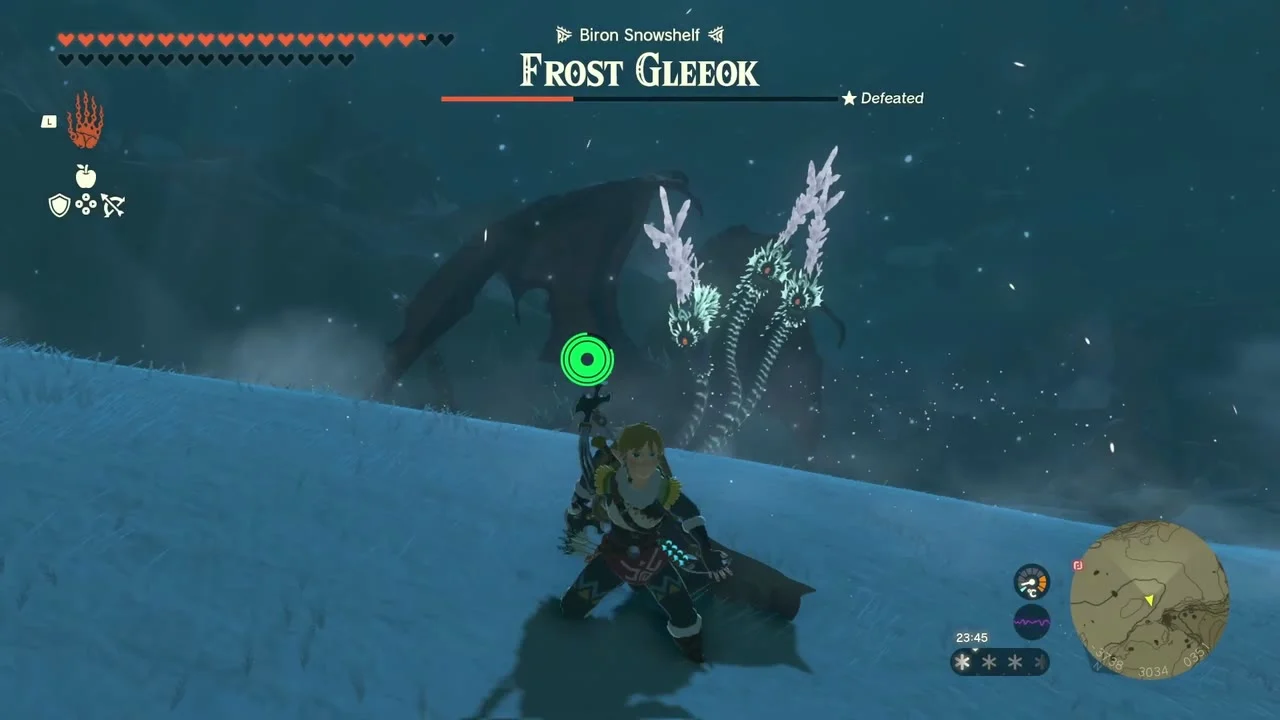
The Frost Gleeok circles Biron Snowshelf, at (-3719, 2982), a short flight from Tablet 5. The quickest approach is to launch from Rospo Pass Skyview Tower and glide north. It has 8,000 HP and breathes frost, so wear cold-resistant clothes, attach Fire Fruit to your arrows and keep shooting its three heads as it swings past; lightning also hurts it badly. When it is low it climbs and throws stalactites: climb one and use Recall or a launch to get above it, then shoot the heads again. When it drops, close in with a strong weapon and finish it before it takes off again. Drops are Gleeok Frost Horn, Gleeok Wing and Gleeok Guts.

Beat the Obsidian Frox in the Depths
The Obsidian Frox lives in the Depths southwest of Drenan Highlands Chasm, near the Nikakik Lightroot and a few hundred units from where the fallen tablet lands. It has 1,350 HP: keep moving, dodge its charge and its jump, and shoot the single eye (or throw a bomb) to stun it. Then climb onto its back and strike the glowing ore with a strong weapon; the ore breaks off as Zonaite. It drops an Obsidian Frox Fang and a Large Crystallized Charge, along with Frox Fingernail, Frox Guts, Zonaite and sometimes Large Zonaite.
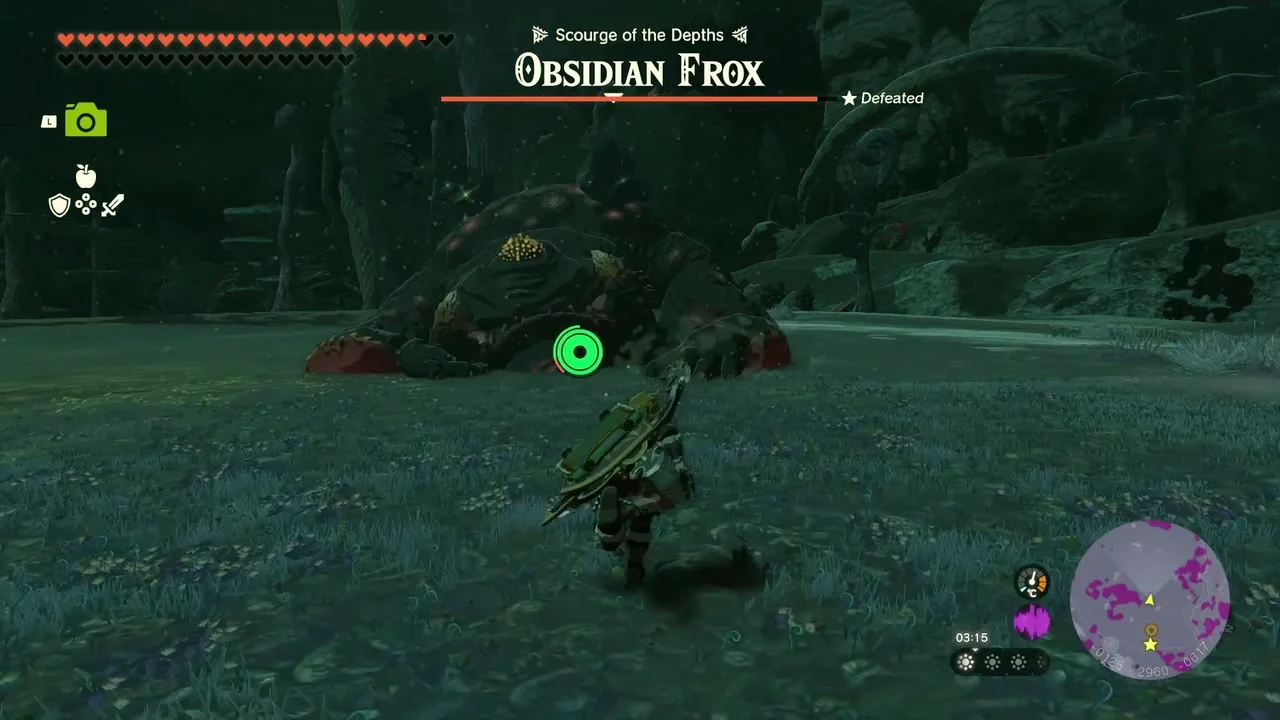

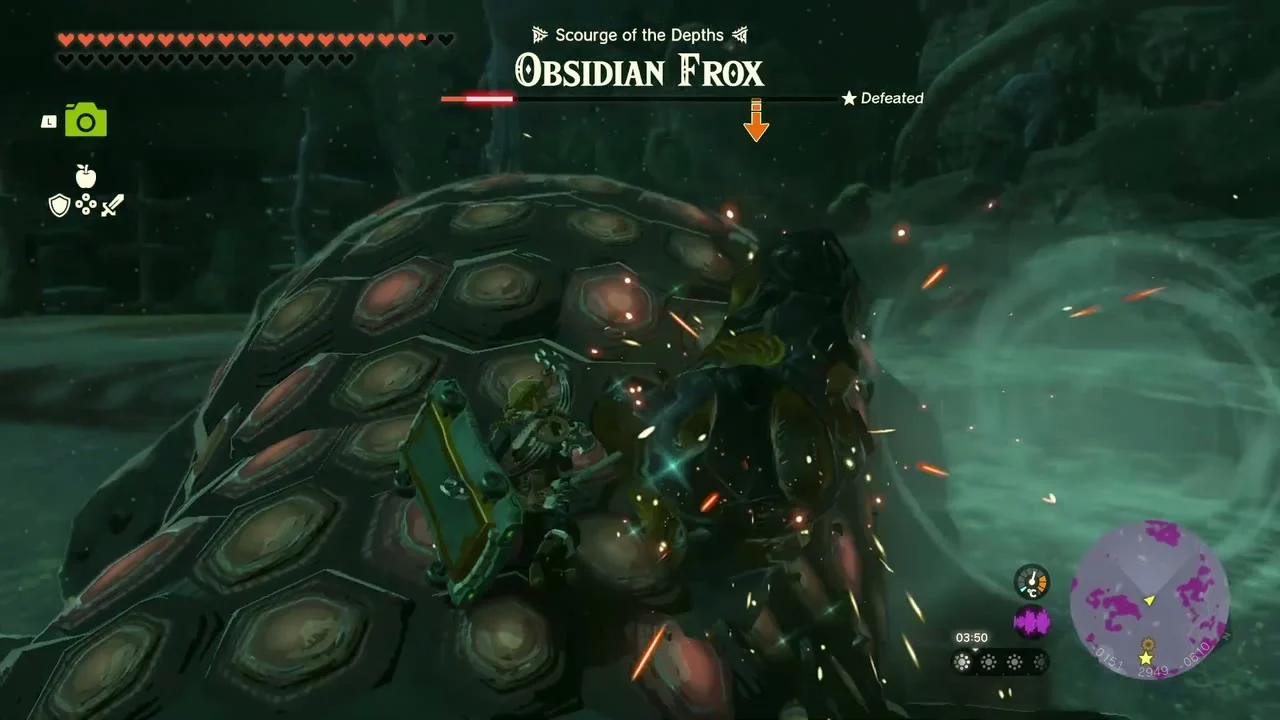
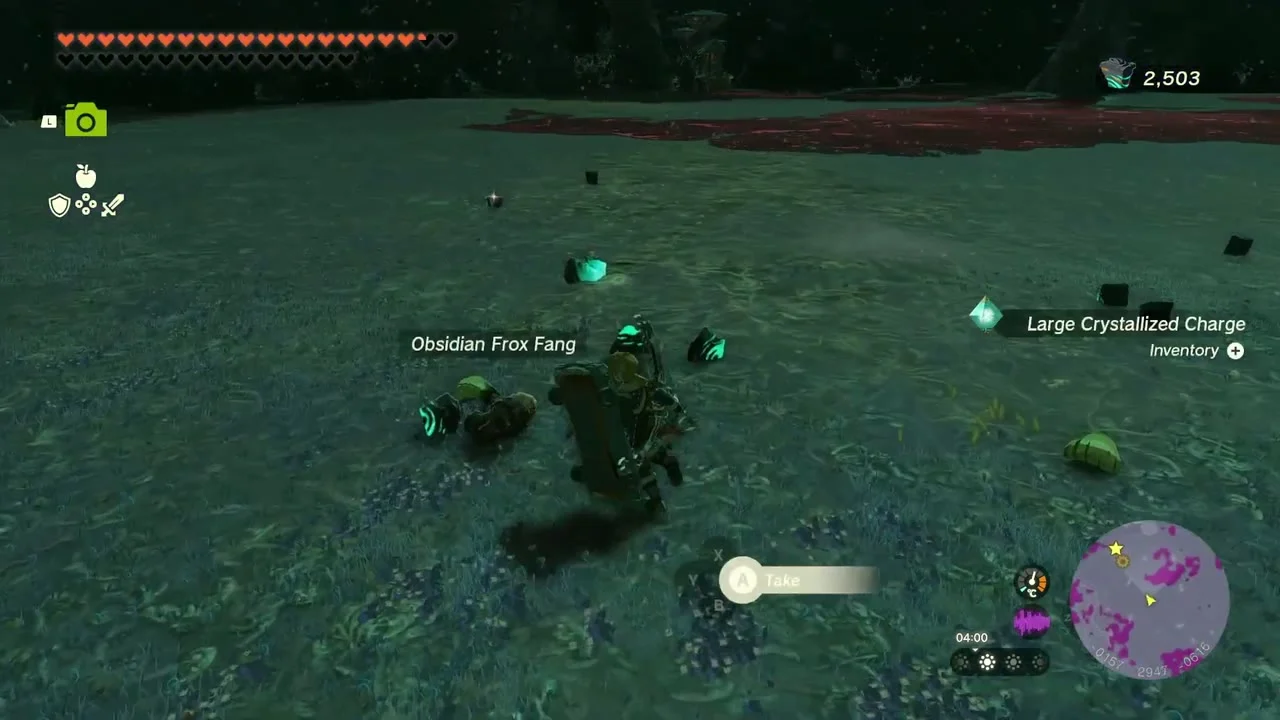
Defeat King Gleeok in the Necluda Sky arena
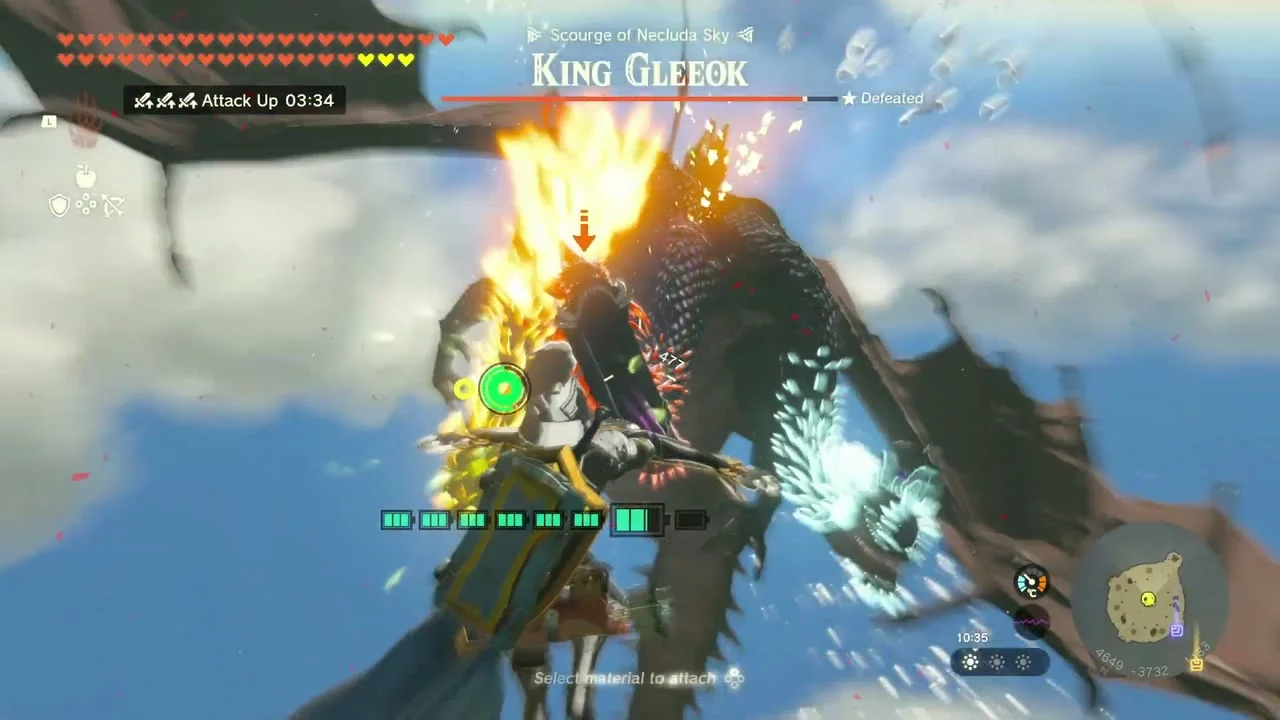
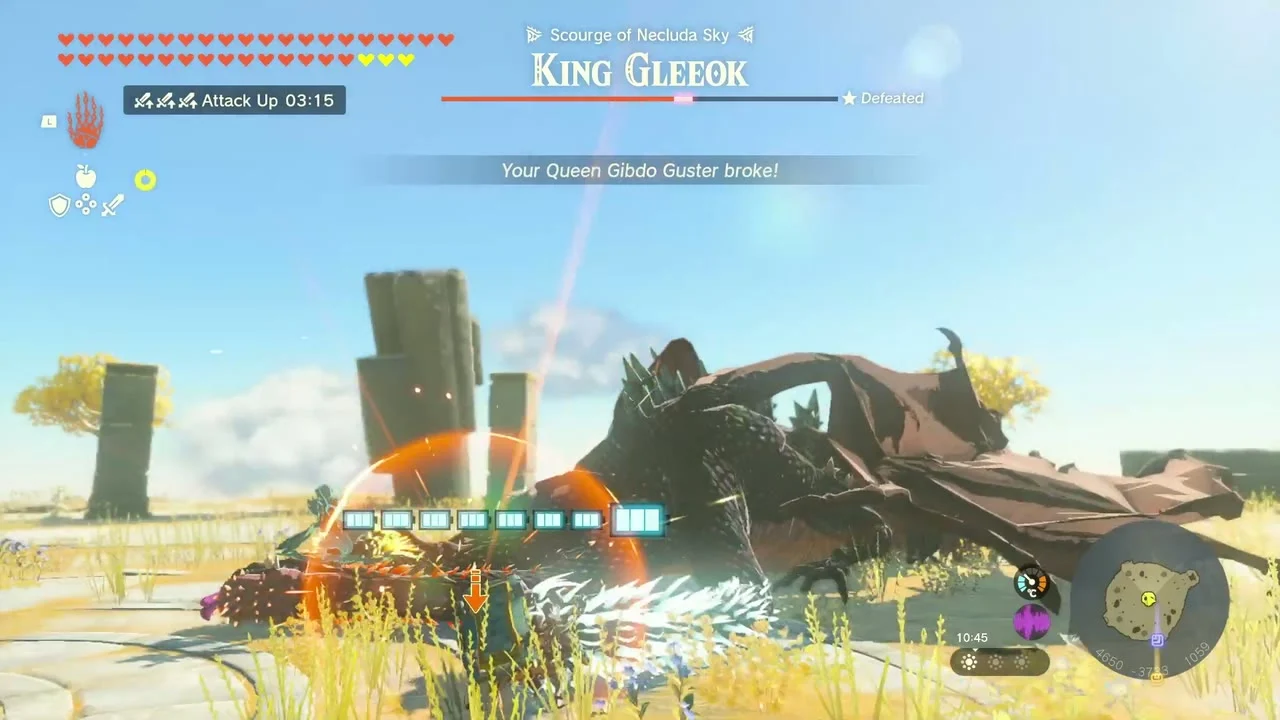
King Gleeok, the ‘Scourge of Necluda Sky’, fights on a circular stone island above Eventide Island in the Necluda Sea Sky (about 3052, -2874, 1204). It has 12,000 HP and fire, ice and lightning heads, each with its own health bar, so shoot each head while it winds up and use a Rocket Shield, Ascend or a Zonai device to stay above its reach. When it falls, hit it with heavy weapons; a chest on the south side of the arena opens after the fight. Its drops are Gleeok Guts, Gleeok Wing and one each of the Gleeok Flame Horn, Gleeok Frost Horn and Gleeok Thunder Horn; the Wing and Flame Horn are what Cotera asks for below.

Armor upgrades at Great Fairy Cotera
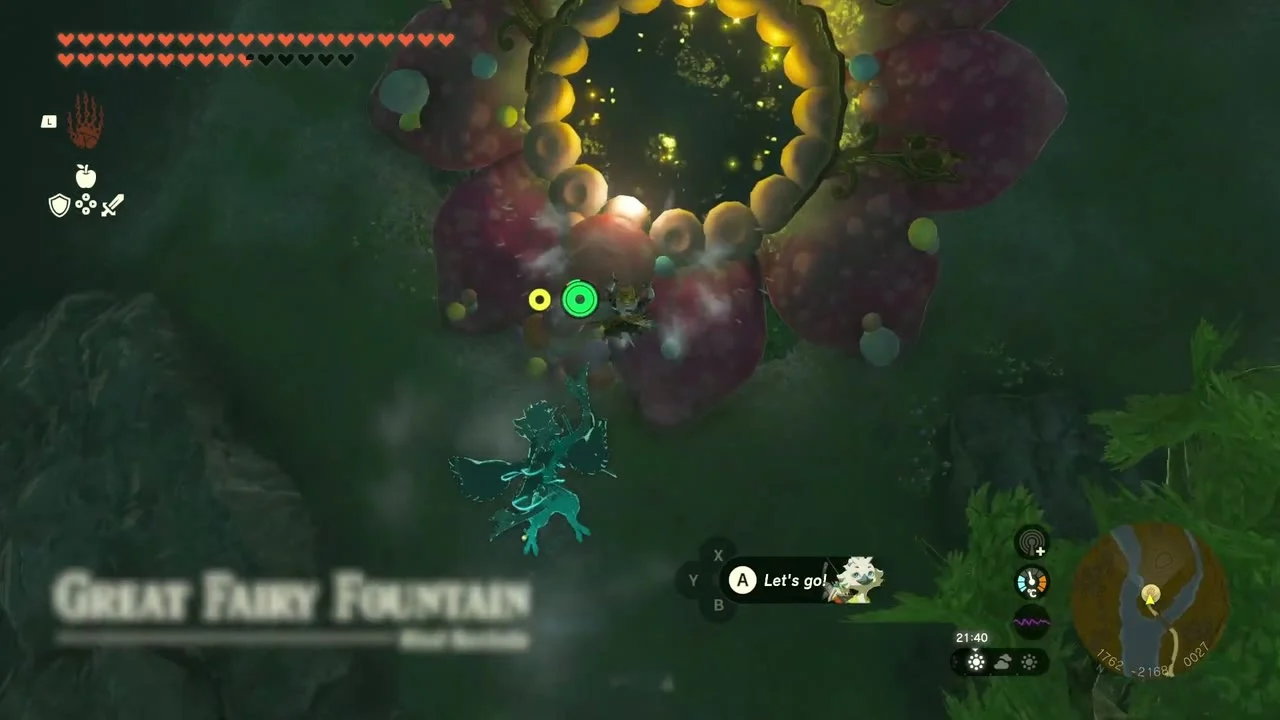
Cotera’s Great Fairy Fountain is at (1768, -2180), just south of Dueling Peaks Stable. She becomes available after you finish Serenade to Cotera, which needs the Honey, Bee Mine side adventure first and, before that, Serenade to a Great Fairy. Talk to her, pick a piece of clothing and she upgrades it for materials and a fee of 10, 50, 200 or 500 rupees for the first to fourth level. Where a piece shows two numbers, the first is the defense before and the second after that upgrade; the sentences below cover the upgrades done in this stretch, and the table after them lists every level.
First round: Stealth Mask, Rubber Tights, Glide Tights, Ember Shirt
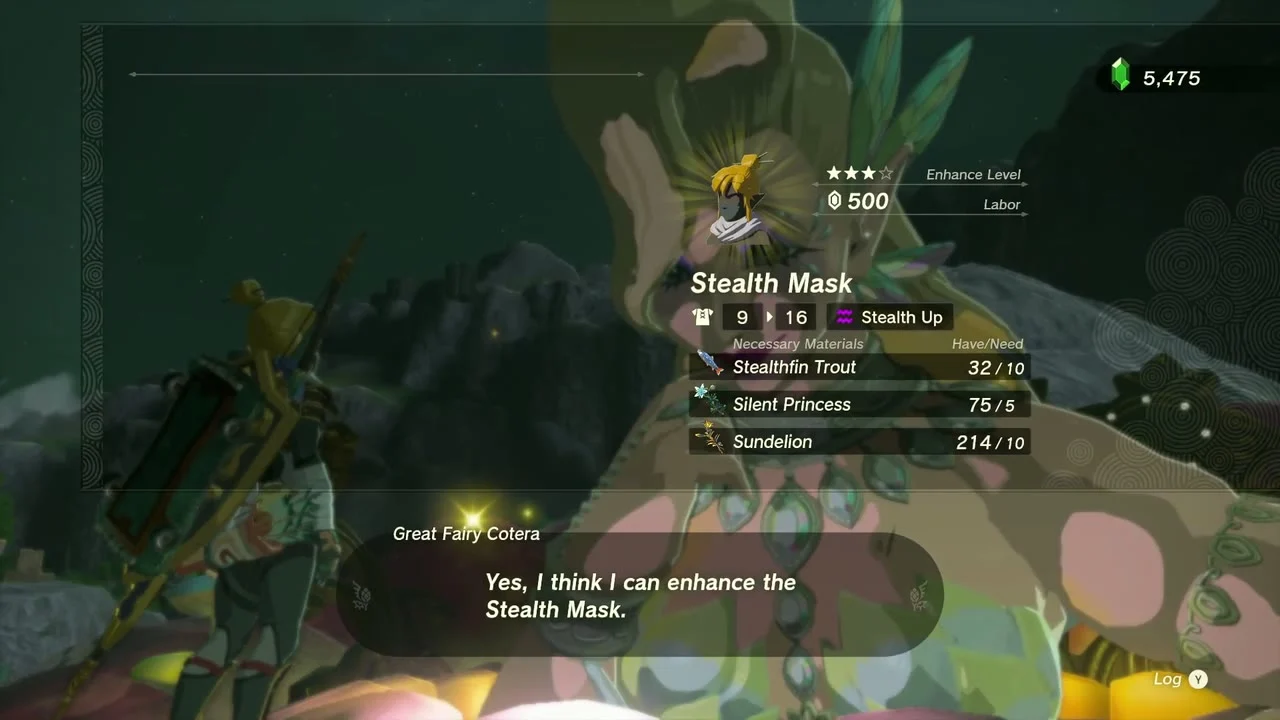
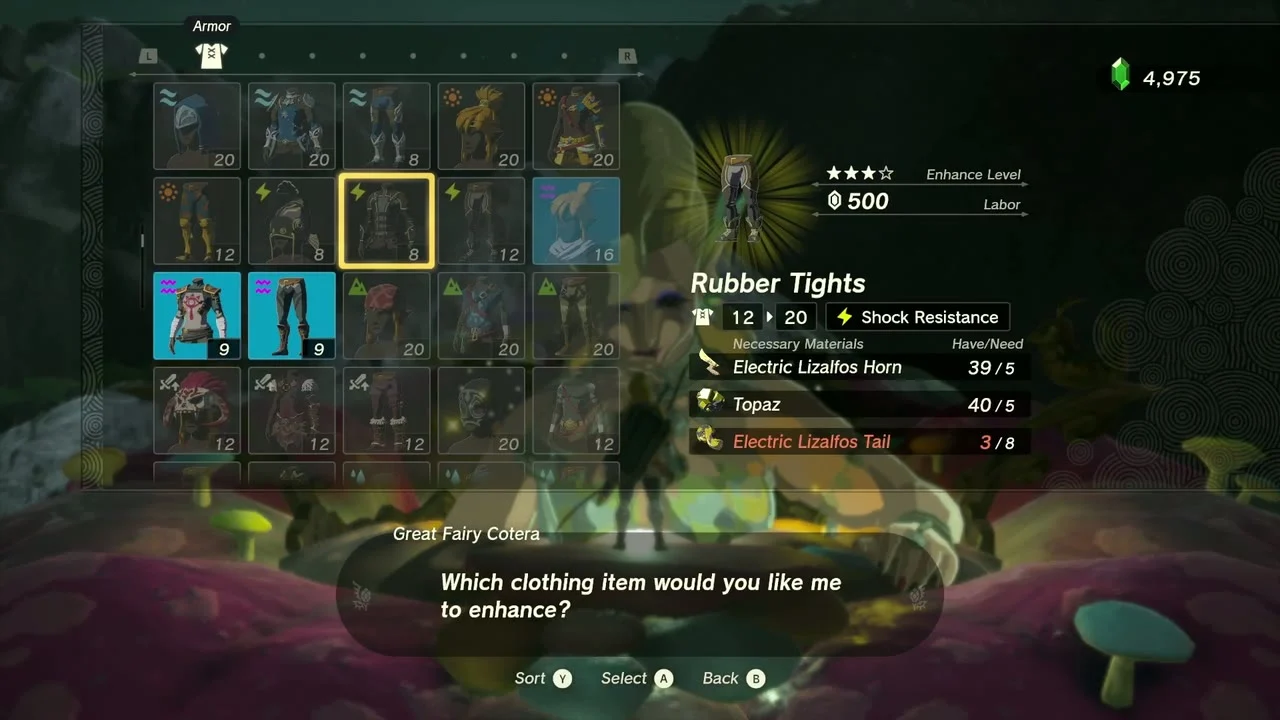
The Stealth Mask (9 to 16) needs ten Stealthfin Trout, five Silent Princess and ten Sundelion. The Rubber Tights (12 to 20) need five Electric Lizalfos Horn, five Topaz and eight Electric Lizalfos Tail. Glide Tights (9 to 16) need twelve Gleeok Wing, ten Aerocuda Wing and eight Gibdo Wing, and the Ember Shirt (9 to 16) needs five Gleeok Flame Horn, ten Sizzlefin Trout and ten Large Zonai Charge.
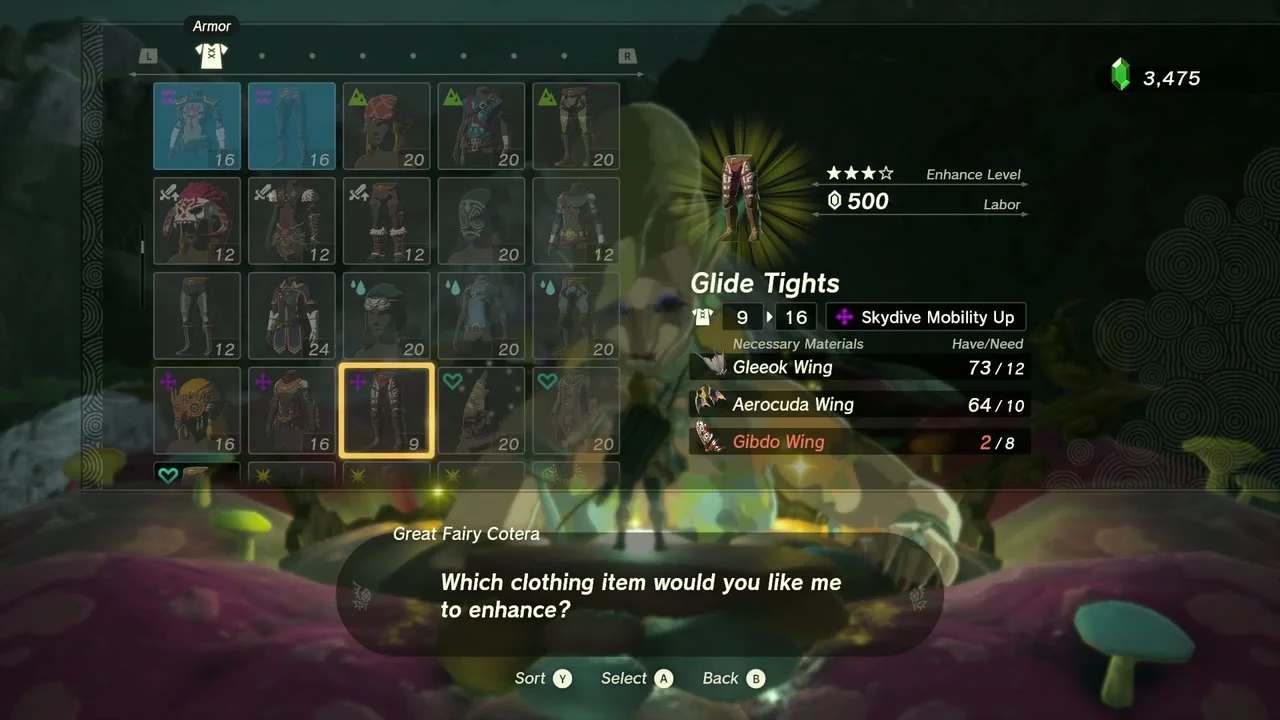
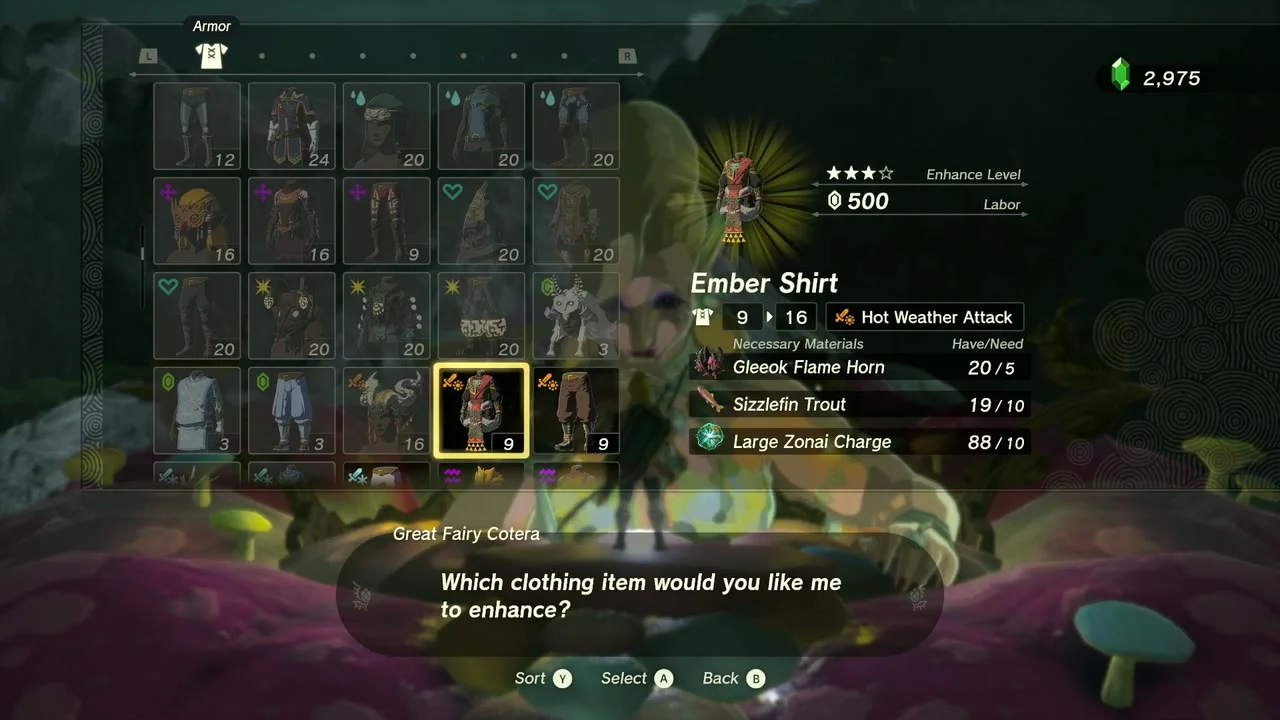
Second round: Soldier’s Greaves, Desert Voe Trousers, Rubber Armor, Tunic of Time
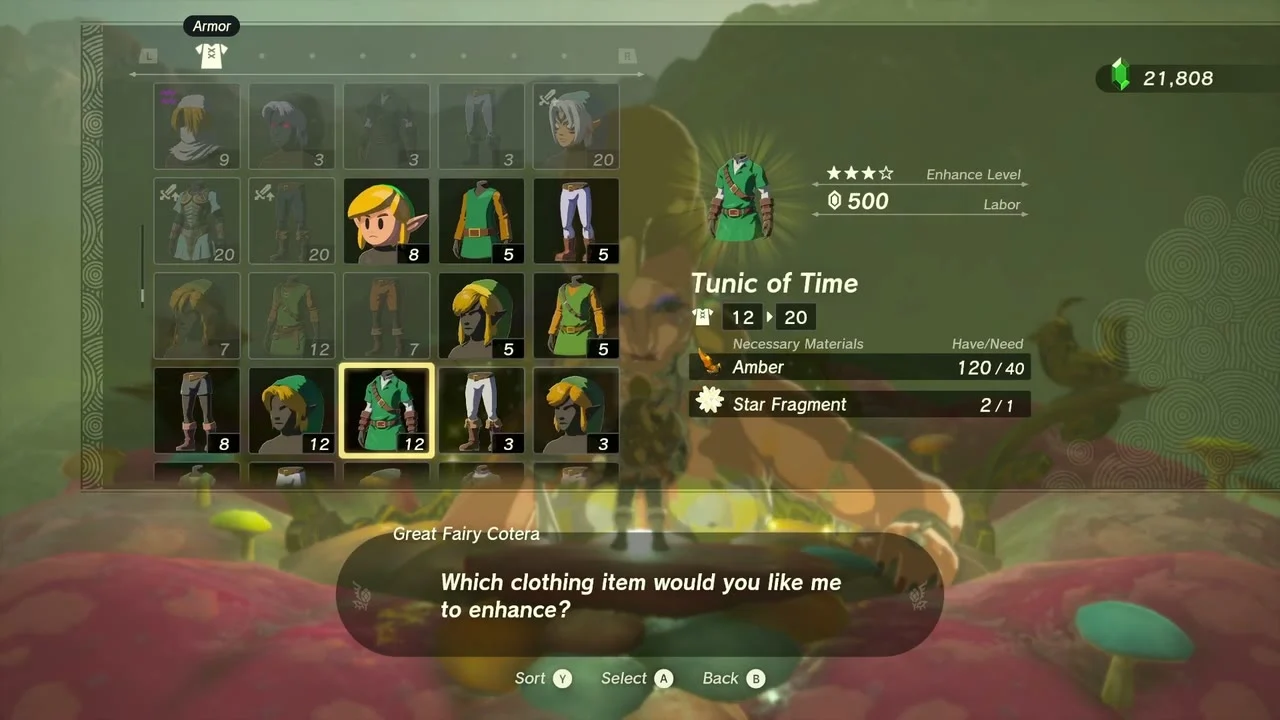
The Soldier’s Greaves (18 to 28) need five Lynel Hoof, five Lynel Guts and thirty Amber. The Desert Voe Trousers (12 to 20) take five Ice-Breath Lizalfos Horn, ten Ice-Breath Lizalfos Tail and five Sapphire, and the Rubber Armor (8 to 12) takes five Zapshroom, five Electric Lizalfos Tail and eight Electric Safflina. The Tunic of Time (12 to 20) needs forty Amber and one Star Fragment.

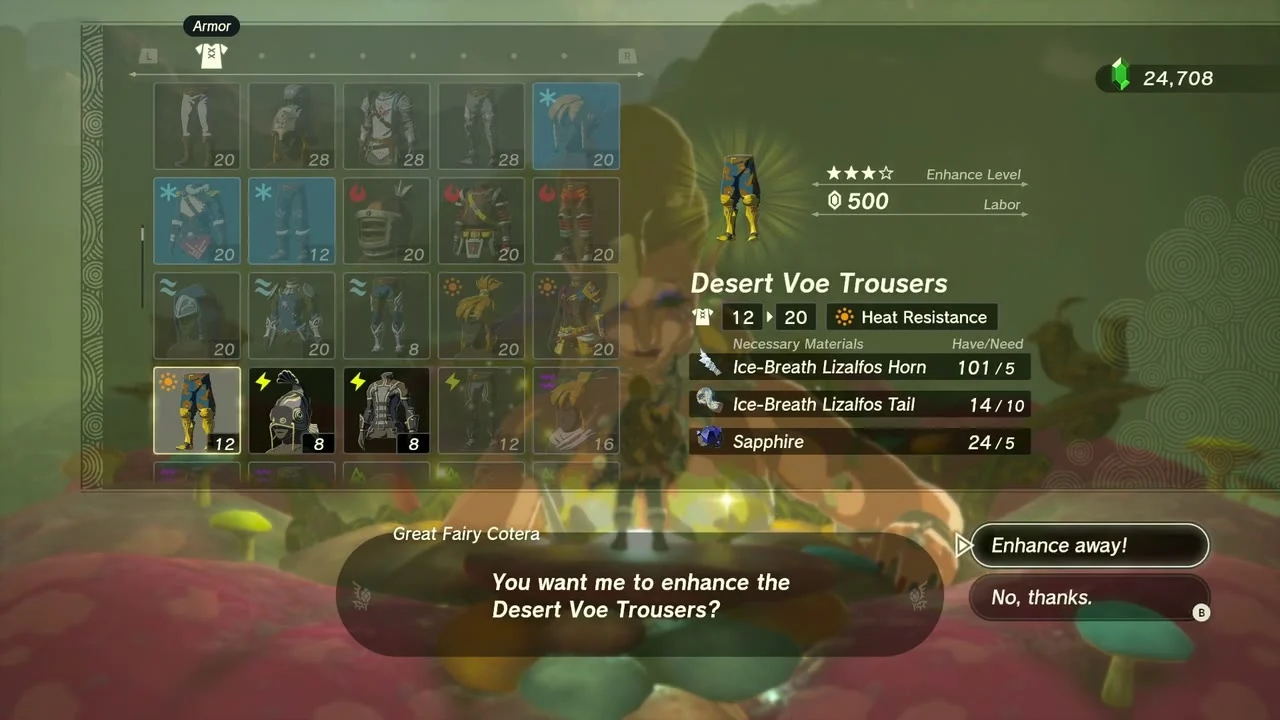
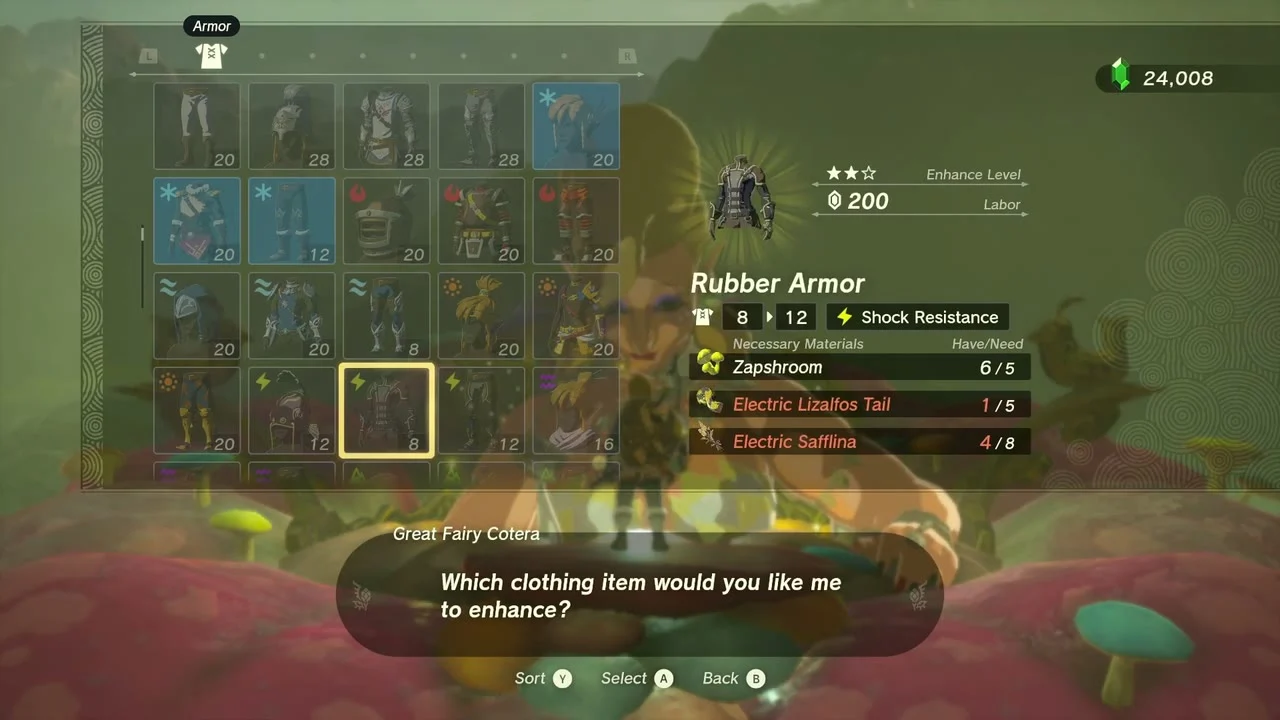
Third round: Rubber Tights, Yiga Armor, Sheik’s Mask, Cap of the Wind
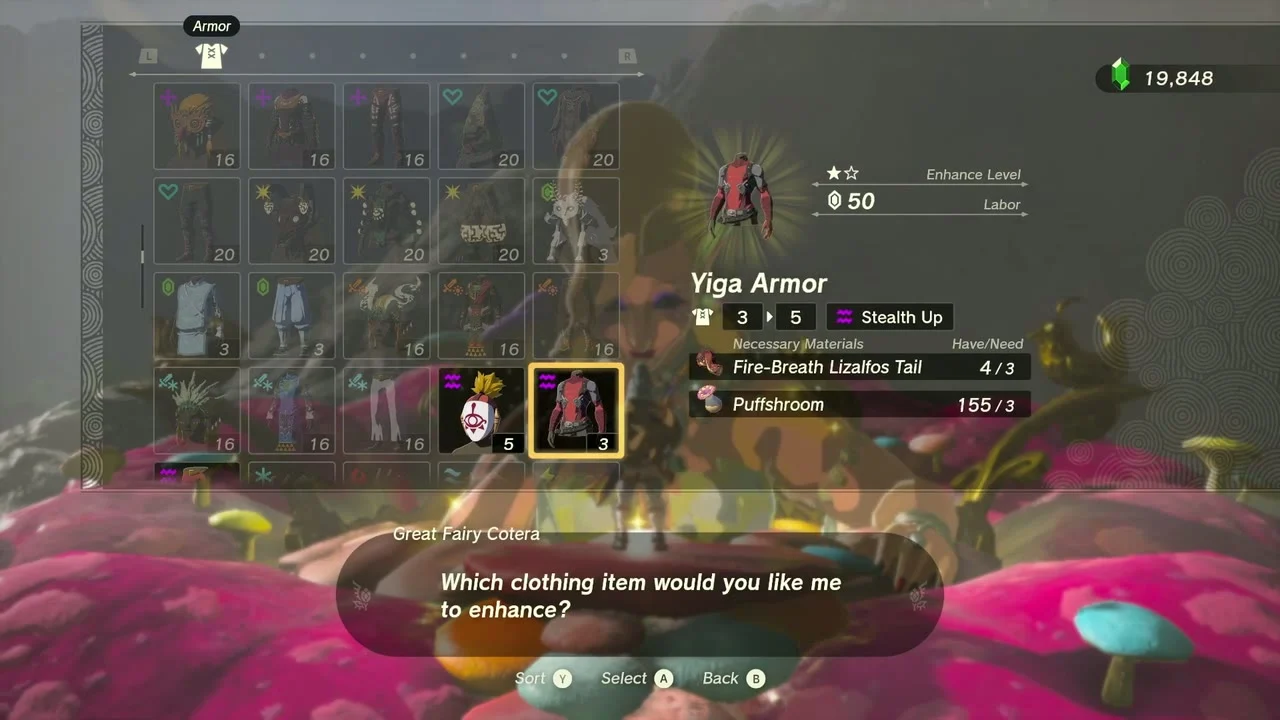
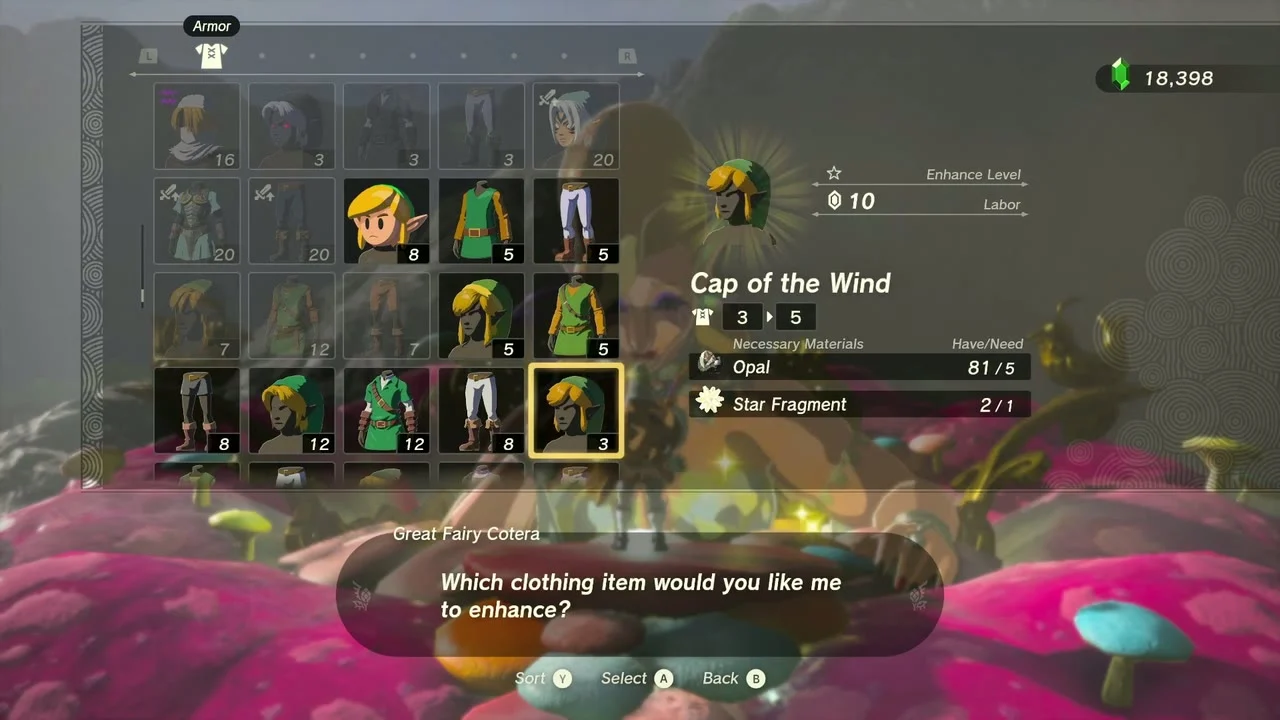
After the last farming session the Yiga Armor (3 to 5) takes three Fire-Breath Lizalfos Tail and three Puffshroom, the Sheik’s Mask (9 to 16) takes eight Silent Princess and four Star Fragments, and the Cap of the Wind (3 to 5) takes five Opal and one Star Fragment. The Rubber Tights still need eight Electric Lizalfos Tail at this point, and the Radiant Tights (12 to 20) need thirty Luminous Stone, three Lynel Guts and three Molduga Jaw.


Every upgrade level for the pieces in this chapter
Each cell lists the materials for that level, with the defense before and after in brackets.
| Piece | Level 1 | Level 2 | Level 3 | Level 4 |
|---|---|---|---|---|
| Stealth Mask | Blue Nightshade x3 (2 to 4) | Blue Nightshade x5, Sunset Firefly x5 (4 to 6) | Silent Shroom x8, Sneaky River Snail x5, Sticky Frog x5 (6 to 9) | Stealthfin Trout x10, Silent Princess x5, Sundelion x10 (9 to 16) |
| Rubber Tights | Electric Lizalfos Horn x1, Yellow Chuchu Jelly x3 (3 to 5) | Yellow Chuchu Jelly x8, Voltfruit x5 (5 to 8) | Zapshroom x5, Electric Lizalfos Tail x5, Electric Safflina x8 (8 to 12) | Electric Lizalfos Horn x5, Topaz x5, Electric Lizalfos Tail x8 (12 to 20) |
| Rubber Armor | Electric Lizalfos Horn x1, Yellow Chuchu Jelly x3 (3 to 5) | Yellow Chuchu Jelly x8, Voltfruit x5 (5 to 8) | Zapshroom x5, Electric Lizalfos Tail x5, Electric Safflina x8 (8 to 12) | Electric Lizalfos Horn x5, Topaz x5, Electric Lizalfos Tail x8 (12 to 20) |
| Glide Tights | Keese Wing x3 (2 to 4) | Aerocuda Eyeball x6, Keese Wing x5 (4 to 6) | Aerocuda Wing x6, Aerocuda Eyeball x8 (6 to 9) | Gleeok Wing x12, Aerocuda Wing x10, Gibdo Wing x8 (9 to 16) |
| Ember Shirt | Fire Fruit x3 (2 to 4) | Fire-Breath Lizalfos Horn x5, Summerwing Butterfly x5 (4 to 6) | Fire Like Stone x5, Warm Darner x5, Large Zonai Charge x5 (6 to 9) | Gleeok Flame Horn x5, Sizzlefin Trout x10, Large Zonai Charge x10 (9 to 16) |
| Soldier’s Greaves | Chuchu Jelly x5, Bokoblin Guts x3 (4 to 7) | Keese Eyeball x5, Moblin Guts x3 (7 to 12) | Lizalfos Tail x3, Hinox Guts x3, Flint x30 (12 to 18) | Lynel Hoof x5, Lynel Guts x5, Amber x30 (18 to 28) |
| Desert Voe Trousers | White Chuchu Jelly x3 (3 to 5) | White Chuchu Jelly x5, Cool Safflina x3 (5 to 8) | Ice Keese Wing x5, Ice-Breath Lizalfos Tail x3, Chillshroom x5 (8 to 12) | Ice-Breath Lizalfos Horn x5, Ice-Breath Lizalfos Tail x10, Sapphire x5 (12 to 20) |
| Tunic of Time | Amber x10, Star Fragment x1 (3 to 5) | Amber x20, Star Fragment x1 (5 to 8) | Amber x30, Star Fragment x1 (8 to 12) | Amber x40, Star Fragment x1 (12 to 20) |
| Yiga Armor | Octorok Eyeball x2 (1 to 3) | Fire-Breath Lizalfos Tail x3, Puffshroom x3 (3 to 5) | Ice-Breath Lizalfos Tail x5, Keese Eyeball x5 (5 to 7) | Electric Lizalfos Tail x5, Black Hinox Horn x3, Mighty Bananas x10 (7 to 12) |
| Yiga Mask | Octorok Eyeball x2 (1 to 3) | Fire-Breath Lizalfos Tail x3, Puffshroom x3 (3 to 5) | Ice-Breath Lizalfos Tail x5, Keese Eyeball x5 (5 to 7) | Electric Lizalfos Tail x5, Black Hinox Horn x3, Mighty Bananas x10 (7 to 12) |
| Sheik’s Mask | Silent Princess x1, Star Fragment x1 (2 to 4) | Silent Princess x2, Star Fragment x2 (4 to 6) | Silent Princess x4, Star Fragment x3 (6 to 9) | Silent Princess x8, Star Fragment x4 (9 to 16) |
| Cap of the Wind | Opal x5, Star Fragment x1 (3 to 5) | Opal x10, Star Fragment x1 (5 to 8) | Opal x15, Star Fragment x1 (8 to 12) | Opal x25, Star Fragment x1 (12 to 20) |
| Radiant Tights | Luminous Stone x10, Bokoblin Guts x1 (3 to 5) | Luminous Stone x15, Moblin Guts x2 (5 to 8) | Luminous Stone x20, Horriblin Guts x3, Gibdo Bone x10 (8 to 12) | Luminous Stone x30, Lynel Guts x3, Molduga Jaw x3 (12 to 20) |
| Snowquill Tunic | Red Chuchu Jelly x3 (3 to 5) | Red Chuchu Jelly x5, Warm Safflina x3 (5 to 8) | Fire Keese Wing x5, Fire-Breath Lizalfos Tail x3, Sunshroom x5 (8 to 12) | Fire-Breath Lizalfos Horn x5, Fire-Breath Lizalfos Tail x10, Ruby x5 (12 to 20) |
| Zonaite Waistguard | Soldier Construct Horn x5 (4 to 7) | Soldier Construct II Horn x5, Captain Construct I Horn x5, Zonaite x5 (7 to 12) | Soldier Construct III Horn x5, Captain Construct II Horn x5, Large Zonaite x5 (12 to 18) | Soldier Construct IV Horn x5, Captain Construct III Horn x5, Large Zonaite x10 (18 to 28) |
| Snow Boots | Hightail Lizard x3 (3 to 5) | Octorok Tentacle x5, Swift Carrot x5 (5 to 8) | Octo Balloon x5, Rushroom x20 (8 to 12) | Naydra’s Scale x2, Swift Violet x20 (12 to 20) |
| Fierce Deity Armor | Hinox Toenail x5, Naydra’s Scale x1 (3 to 5) | Hinox Tooth x5, Naydra’s Claw x1 (5 to 8) | Hinox Guts x2, Shard of Naydra’s Fang x1 (8 to 12) | Lynel Guts x2, Naydra’s Horn x1 (12 to 20) |
| Fierce Deity Boots | Hinox Toenail x5, Farosh’s Scale x1 (3 to 5) | Hinox Tooth x5, Farosh’s Claw x1 (5 to 8) | Hinox Guts x2, Shard of Farosh’s Fang x1 (8 to 12) | Lynel Guts x2, Farosh’s Horn x1 (12 to 20) |
| Trousers of the Wild | Acorn x10, Dinraal’s Scale x2 (4 to 7) | Courser Bee Honey x5, Dinraal’s Claw x2 (7 to 12) | Energetic Rhino Beetle x3, Shard of Dinraal’s Fang x2, Shard of Dinraal’s Spike x5 (12 to 18) | Star Fragment x3, Dinraal’s Horn x2, Shard of Dinraal’s Spike x10 (18 to 28) |
| Tunic of the Wild | Acorn x10, Naydra’s Scale x2 (4 to 7) | Courser Bee Honey x5, Naydra’s Claw x2 (7 to 12) | Energetic Rhino Beetle x3, Shard of Naydra’s Fang x2, Shard of Naydra’s Spike x5 (12 to 18) | Star Fragment x3, Naydra’s Horn x2, Shard of Naydra’s Spike x10 (18 to 28) |
| Barbarian Leg Wraps | Mighty Thistle x3 (3 to 5) | Lynel Saber Horn x2, Lynel Mace Horn x2, Razorshroom x5 (5 to 8) | Blue-Maned Lynel Saber Horn x3, Blue-Maned Lynel Mace Horn x3, Razorclaw Crab x3 (8 to 12) | White-Maned Lynel Saber Horn x3, White-Maned Lynel Mace Horn x3, Bladed Rhino Beetle x3 (12 to 20) |
| Zora Greaves | Lizalfos Horn x3 (3 to 5) | Lizalfos Talon x5, Hyrule Bass x5 (5 to 8) | Blue Lizalfos Horn x5, Lizalfos Tail x3, Hearty Bass x3 (8 to 12) | Black Lizalfos Horn x5, Blue Lizalfos Tail x5, Opal x20 (12 to 20) |
| Radiant Mask | Luminous Stone x10, Bokoblin Guts x1 (3 to 5) | Luminous Stone x15, Moblin Guts x2 (5 to 8) | Luminous Stone x20, Horriblin Guts x3, Gibdo Bone x10 (8 to 12) | Luminous Stone x30, Lynel Guts x3, Molduga Jaw x3 (12 to 20) |
| Frostbite Shirt | Ice Fruit x3 (2 to 4) | Ice-Breath Lizalfos Horn x5, Winterwing Butterfly x5 (4 to 6) | Ice Like Stone x5, Cold Darner x5, Large Zonai Charge x5 (6 to 9) | Gleeok Frost Horn x5, Chillfin Trout x10, Large Zonai Charge x10 (9 to 16) |
| Froggy Hood | Sticky Lizard x3 (3 to 5) | Horriblin Horn x5, Sticky Lizard x5 (5 to 8) | Blue Horriblin Horn x5, Sticky Frog x5 (8 to 12) | Black Horriblin Horn x5, Horriblin Guts x10, Opal x10 (12 to 20) |
| Flamebreaker Helm | Moblin Horn x3 (3 to 5) | Moblin Fang x5, Fireproof Lizard x5 (5 to 8) | Blue Moblin Horn x5, Smotherwing Butterfly x3, Flint x15 (8 to 12) | Black Moblin Horn x5, Smotherwing Butterfly x5, Flint x30 (12 to 20) |
| Snowquill Headdress | Red Chuchu Jelly x3 (3 to 5) | Red Chuchu Jelly x5, Warm Safflina x3 (5 to 8) | Fire Keese Wing x5, Fire-Breath Lizalfos Tail x3, Sunshroom x5 (8 to 12) | Fire-Breath Lizalfos Horn x5, Fire-Breath Lizalfos Tail x10, Ruby x5 (12 to 20) |
| Desert Voe Spaulder | White Chuchu Jelly x3 (3 to 5) | White Chuchu Jelly x5, Cool Safflina x3 (5 to 8) | Ice Keese Wing x5, Ice-Breath Lizalfos Tail x3, Chillshroom x5 (8 to 12) | Ice-Breath Lizalfos Horn x5, Ice-Breath Lizalfos Tail x10, Sapphire x5 (12 to 20) |
| Fierce Deity Mask | Hinox Toenail x5, Dinraal’s Scale x1 (3 to 5) | Hinox Tooth x5, Dinraal’s Claw x1 (5 to 8) | Hinox Guts x2, Shard of Dinraal’s Fang x1 (8 to 12) | Lynel Guts x2, Dinraal’s Horn x1 (12 to 20) |
Farming the materials
Almost every material Cotera asks for is a monster drop, so the quickest way to finish the upgrades is to farm each source once. The Electric Lizalfos Tail is the bottleneck, because several upgrades need five to eight of them.
Take dragon parts and Star Fragments
Dinraal’s Claw for the Trousers of the Wild comes from the fire dragon Dinraal: glide alongside it as it flies and shoot or strike the claw, scale or horn you want. Star Fragments fall as shooting stars at night, so wait for dark, watch for the streaks and run to where they land. You need them for the Tunic of Time, Sheik’s Mask and Cap of the Wind.

Hunt Lizalfos for horns and tails
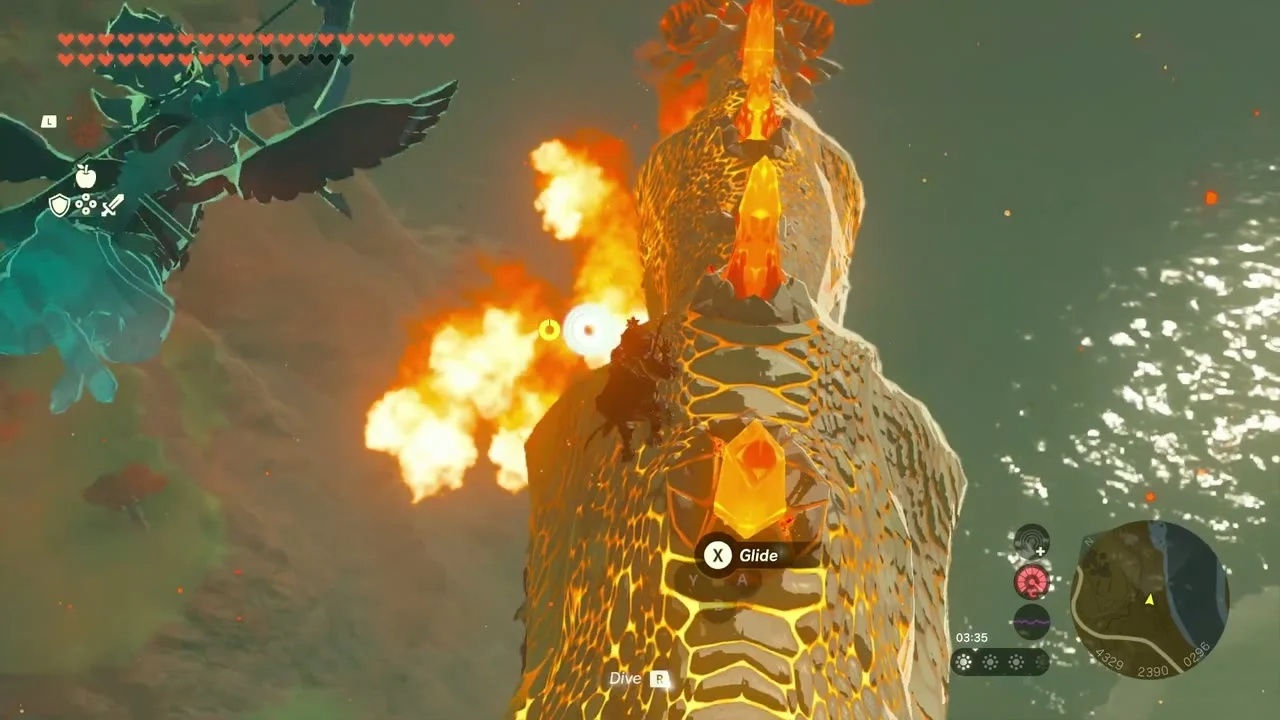
Match the Lizalfos to the upgrade: Electric for the Rubber pieces and Yiga Mask, Fire-Breath for the Snowquill Tunic and Yiga Armor, Ice-Breath for the Desert Voe Trousers. Fire-Breath Lizalfos live in the hot canyons (Eldin Canyon and Gerudo Canyon, where they are out in the day), and Ice-Breath ones take their place at night in Gerudo Canyon and are common in the Hebra Mountains and Gerudo Highlands. Electric Lizalfos are the rarest and are found in the Gerudo Desert and around Faron, so keep a stock of Electric Lizalfos Tails for the Rubber pieces. Defeat one, pick up the Horn and Tail it leaves, and repeat; tails do not drop every time, so budget a long session, and a Bomb Flower or other Zonai attachment makes the groups easier.

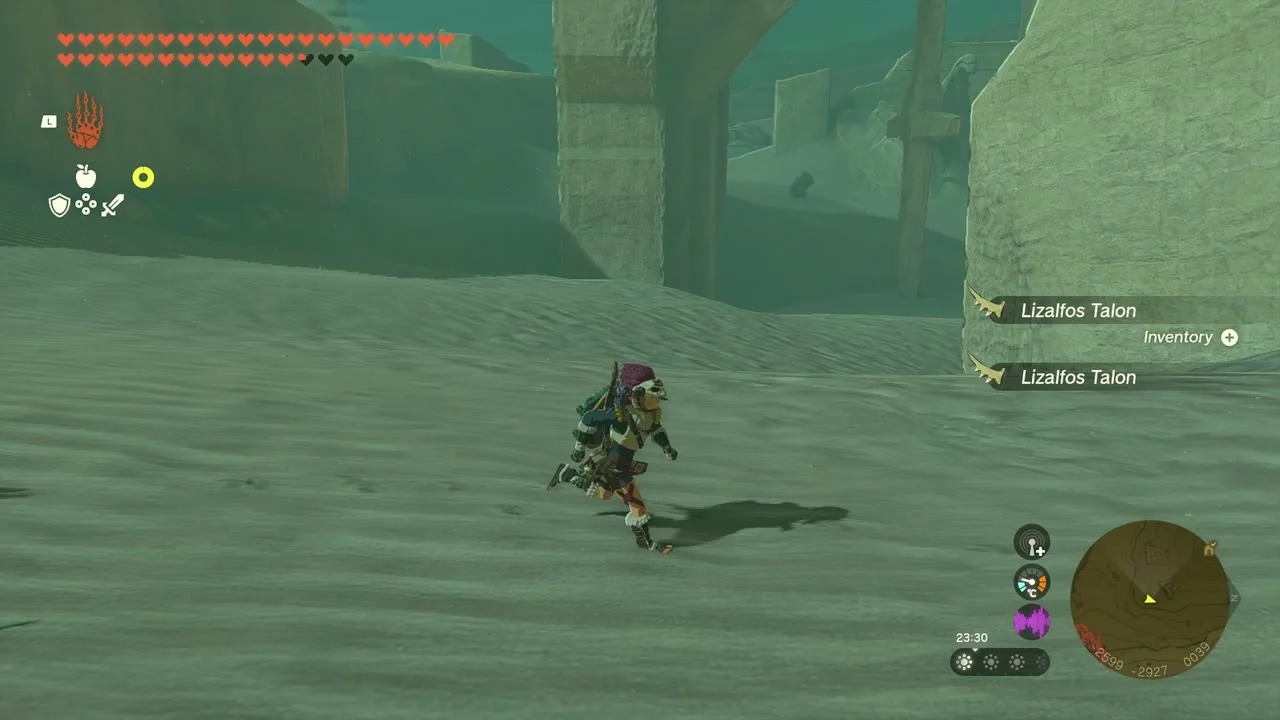
Kill Molduga in the East Barrens
Molduga lurk beneath the sand of the Gerudo Desert; the usual spots are south of Siwakama Shrine and near Karahatag Shrine, and there is another in the East Barrens (the Wanted: Molduga side quest). Shoot it when it surfaces and finish it with strong attacks; each one drops Molduga Fins, Molduga Guts and a Molduga Jaw, which the Radiant Mask and Radiant Tights need for their last upgrade.

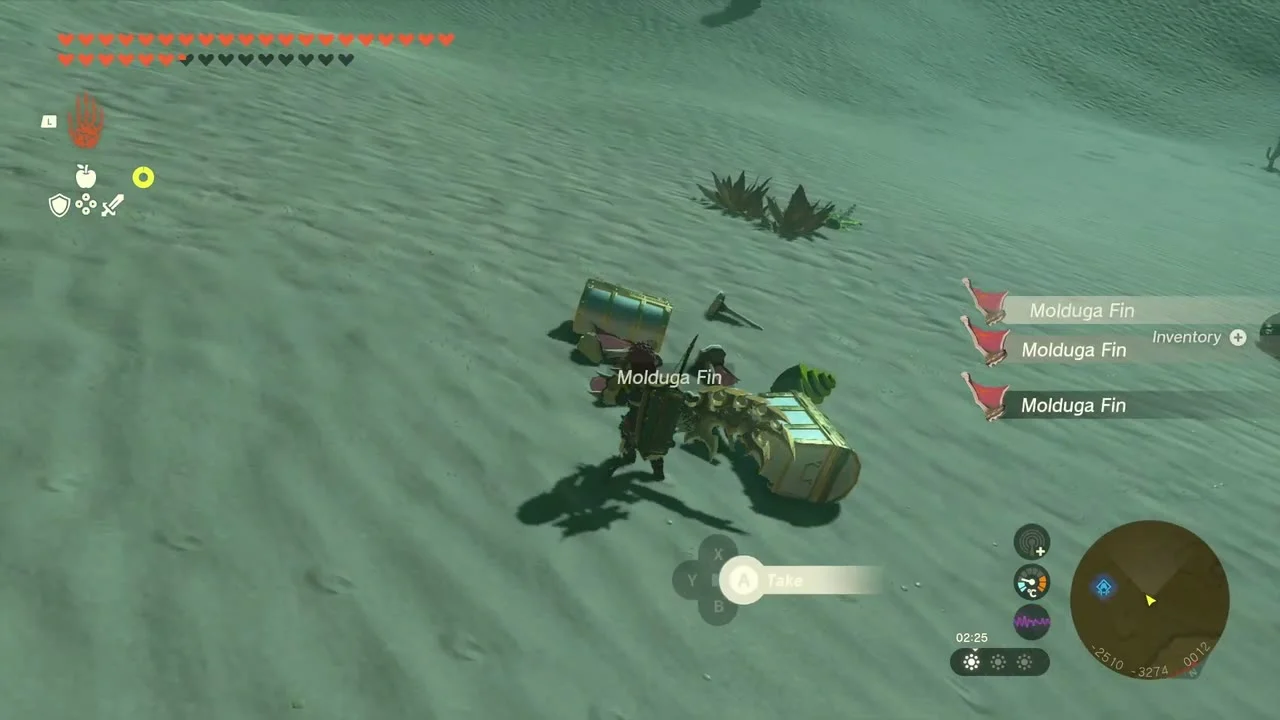
Fight Lynels for hoofs and guts
Each defeated Lynel can leave Lynel Hoof, Lynel Guts and horns, along with its weapons such as a Savage Lynel Shield (or Lynel Shield or Mighty Lynel Shield, depending on your progress) or a Lynel Bow. The Soldier’s Greaves, Fierce Deity Boots, Radiant Tights and Barbarian Leg Wraps all draw on these drops, so fight several in one session.
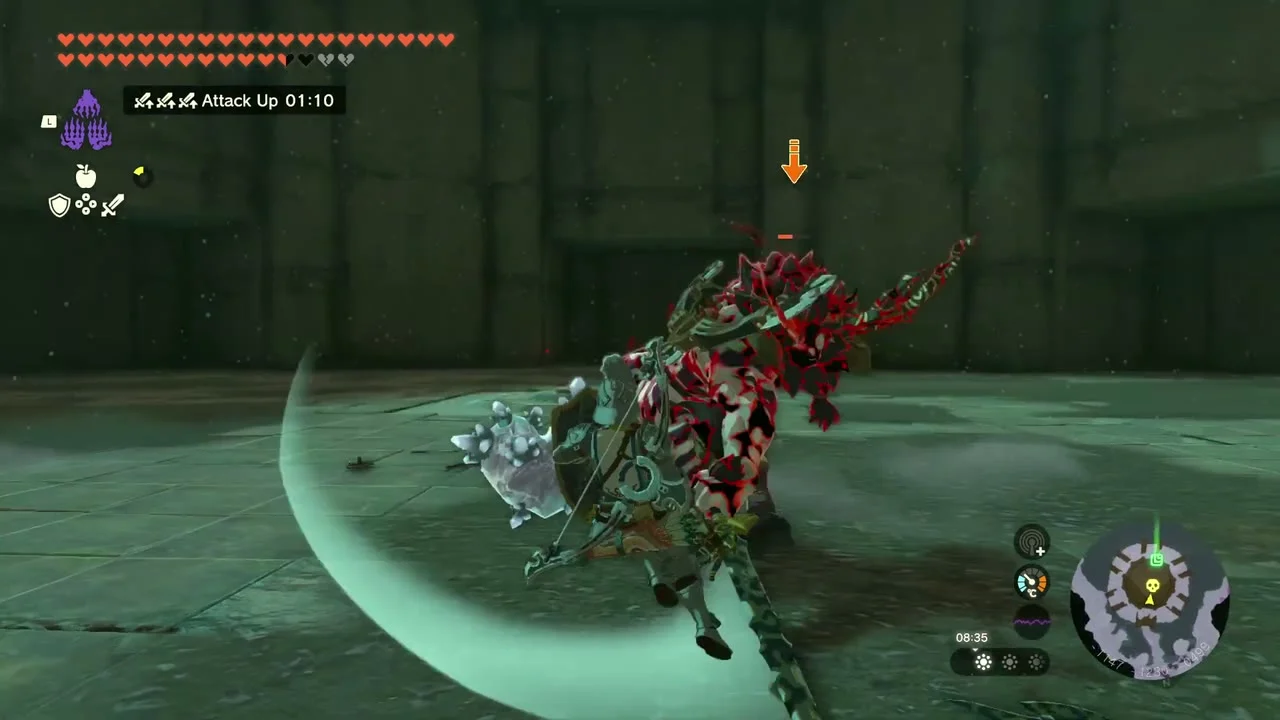


Sell the spares in Zora’s Domain
Cleff’s Coral Reef shop in Zora’s Domain buys spare horns, wings and plants, and sells the Swift Violet that the Snow Boots need. Sell the extras to fund the upgrade fees.


Hearty Bass for the Zora Greaves can be picked up from shallow water, and the Stealthfin Trout for the Stealth Mask come from fishing in rivers and lakes.
Return to Purah and begin Crisis at Hyrule Castle
Report to Purah at Lookout Landing
When you are done, go to Purah on the Lookout Landing platform. She wraps up the regional phenomena you resolved, which completes the main quest Regional Phenomena, and gives you Crisis at Hyrule Castle with the objective ‘Explore Hyrule Castle’.

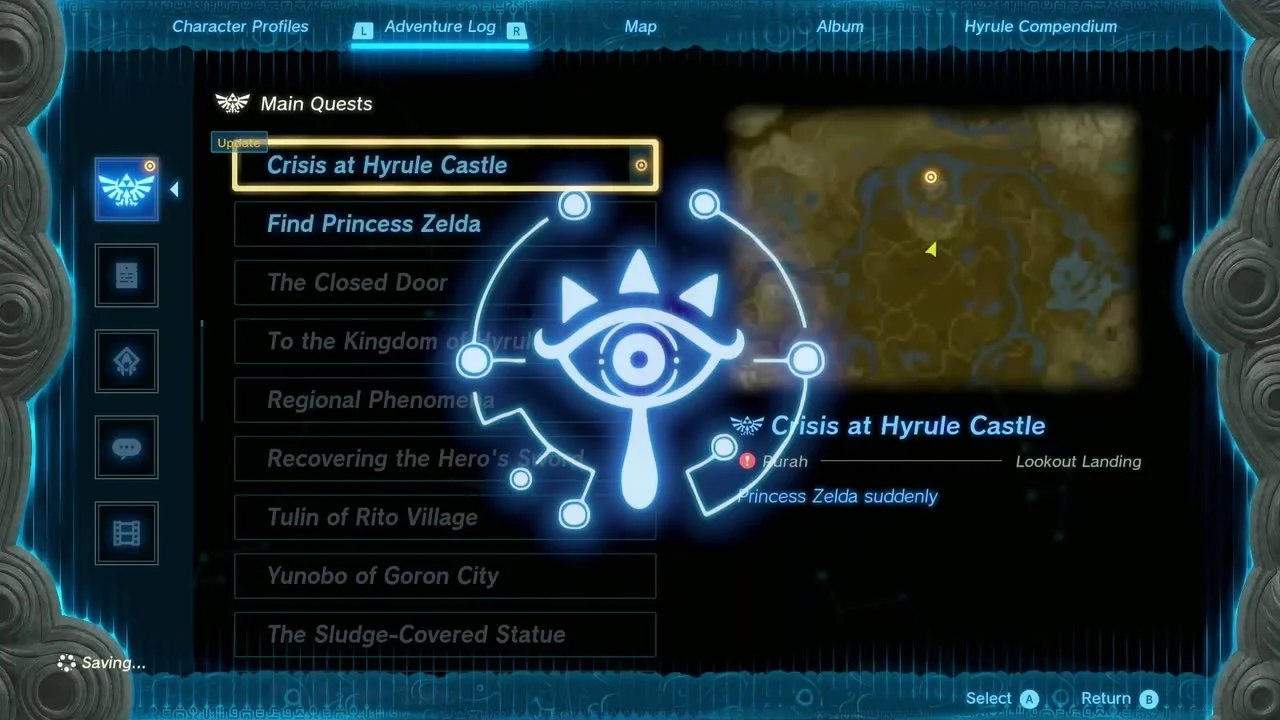
Head for Hyrule Castle
Head north from Lookout Landing to the castle that floats above the field.
Collectibles in this chapter
| Item | Count |
|---|---|
| Stone tablets photographed | 12 (one of them falls into the Depths) |
| Rupees from Wortsworth | 1,200 (100 per tablet) |
| Minibosses | 3 (Frost Gleeok, Obsidian Frox, King Gleeok) |
| Paraglider fabrics | 1 (Zonai Survey Team Fabric) |
| Cotera upgrade rounds | 3 |
