





















Tears of the Kingdom 100% Completion Walkthrough43 chapters
Great Sky Island
- Great Sky Island4 shrines, 4 caves and Bubbul Gems, 17 Korok seeds
Hyrule Field and Hyrule Castle
- Lookout LandingParaglider, Crisis at Hyrule Castle, Jiosin and Kyononis shrines, 2 caves, 3 wells
- Hyrule FieldSusuyai and Ishodag shrines, the Hyrule Field Chasm, 2 caves, 13 Koroks
- Hyrule Castle Town RuinsSepapa, Yamiyo and Tukarok shrines, 2 caves, 4 wells, Koroks, chests and Battle Taluses in route order
- Central Hyrule Depthslight all 7 Lightroots, loot Daphnes and Gustaf Canyon Mines, find the Miner's Top
- Rest of Hyrule CastleRoyal Hidden Passage loot, 8 castle chests, Phantom Ganon, Energy Wells
- South Hyrule FieldShrines, Koroks & the Great Plateau
- South Hyrule Field DepthsGreat Abandoned Central Mine, Master Kohga, Autobuild, Majora's Mask
Tabantha and Hyrule Ridge
- Tabantha FrontierNew Serenne Stable, Hestu, Courage Island and the Glide Shirt, 3 shrines, 2 Korok seeds, Lindor's Brow Cave
- Forgotten TempleImpa and the Geoglyphs, Dragon's Tears, Kiuyoyou and Mayausiy shrines, Yiga Maritta Branch, 9 Koroks
- Tanagar Canyon & Hyrule RidgeRunakit and Iun-orok shrines, 2 caves, 12 Koroks, 20 chests, 8 minibosses and Dragon's Tear 6
- Thundra Plateau & Tabantha Bridgesolve the noon shadow puzzle, Tabantha Bridge Stable, Makurukis Shrine, 19 Korok seeds, 9 chests, 3 minibosses
- Lindor's Brow DepthsLightroots; Two Yiga camps (Bomb Bouquet, Flamethrower Balloon)
- Hyrule Ridge and Tabantha FrontierIkatak, Oromuwak, Ganos and Ga-ahisas shrines, 4 caves, a well, 26 Koroks and 3 minibosses
Hebra
- Rito VillageGatakis and Ijo-o shrines, Sikatag Lightroot, 9 Korok seeds, 14 chests
- Hebra MountainsShrines, Wind Temple & Koroks; Raspro Pass, Biron Snowshelf & Royal Hidden Passage
- Corvash Canyon MineTrousers of the Hero, Floodlights schematic, Sea-Breeze Boomerang, four Lightroots, Colgera
- Raspro Pass DepthsNupisoyuat and Sasag Lightroots, Colgera, Cap of Time, Tunic of the Wind, two Yiga camps and 13 minibosses
- Tabantha TundraTaninoud, Orochium, Oshozan-u, Mayaotaki, Nouda and Tenbez shrines, three Lightroots, caves and Bubbul Gems
- Pikida Stonegrove DepthsEvil Spirit Greaves, Ikatoayam, Muihcoro and Sikatag Lightroots, 3 Yiga schematics, Frox fights
Great Hyrule Forest
- Great Hyrule Forest7 shrines, 8 Lightroots, 2 caves, 2 wells, Korok Mask, Glide Tights
Eldin
- EldinEldin Canyon, Shrines, Caves & Goron City
- Eldin Canyon Depths10 Lightroots, Zant's Helmet, Trousers of the Wild, Biggoron's Sword, 3 Yiga schematics and Eldin's sky chests
Faron
- FaronHighland Stable, Lake Hylia & Popla Foothills
Necluda
- Kakariko VillageMakasura Shrine, Kakariko Village Well, 2 caves, Ring Ruins chests, 10 Korok seeds and village quests
- West Necluda and Lanayru WetlandsShrines, Koroks & Caves; Jonsau, Kurakat
- Hateno VillageZanmik and Mayahisik shrines, Shield of the Mind's Eye and Phrenic Bow wells, 7 Koroks
- East NecludaRabella Wetlands, Sifumim Shrine, Lurelin Village, 21 Korok seeds
- East Necluda DepthsKumamayn Shrine, 4 Lightroots, Midna's Helmet, Cap of the Hero, Trousers of the Wind and 18 Depths chests
Lanayru
- Lanayru Great SpringShrines, Koroks & Caves; Ralis Channel, 3 shrines, 8 caves
- Zora's DomainMogawak and Ihen-a shrines, Ploymus cave, Pristine Sanctum, Zora Armor, Sidon of the Zora and Clues to the Sky
- Wellspring IslandAncient Zora Waterworks chests, Igoshon Shrine, 2 Korok seeds, Water Temple's four wheels and Mucktorok
- Mount LanayruShrines, Koroks & Light Rings; Jikais and Anedamimik shrines
Gerudo
- Gerudo DesertShrines, Caves & Koroks; West and South Sands
- Gerudo TownGerudo Shelter shops and quests, Valley of Silent Statues, Lightning Temple and Queen Gibdo, Chichim Shrine
- Gerudo Desert DepthsGranajh and Daval mines, three Master Kohga fights, Queen Gibdo, Mucktorok, Sheik's Mask and 37 chests
- Gerudo HighlandsSkyview Tower, Rotsumamu and Suariwak shrines, Mayasiar Shrine, Yiga hideout
Akkala
- AkkalaTarrey Town quests, 4 shrines, Hinox, Battle Talus
- Akkala Sky Islands and DepthsGikaku and Natak shrines, Old Maps, Lomei Depths Labyrinth, Mucktorok, 5 Lightroots and 19 chests
Finale and completion
- Ancient Tablets, Gleeoks and Armor Upgradesall 13 stone tablets with coordinates, Frost and King Gleeok, Obsidian Frox, Cotera upgrades and farming
- Hyrule CastleRoyal gear chests, Korok seeds, Serutabomac Shrine
- Thunderhead IslesCharged armor, Joku-usin and Joku-u Shrines, Dragonhead Island's relic
- 100% Completion: Armor Upgrades & Korok BonusHestu's Gift, Ancient Hero's Aspect, Great Fairy Cotera upgrade costs and materials, then Destroy Ganondorf
This chapter is in 2 parts, in the order a 100% run reaches them. Jump to a part:
Part 1: Shrines, Caves & Koroks
| Region | Gerudo Highlands Sky (Rakashog, Siyamotsus and South Lomei Castle), Gerudo Canyon and Mount Nabooru, then west across Kara Kara Bazaar to the edge of Gerudo Town |
|---|---|
| Shrines | 6: Rakashog (A Reflective Device, sky), Siyamotsus (Unlit Blessing, sky), Rakakudaj (Rauru’s Blessing), Turakamik (Hidden Metal), Mayatat (A Sliding Device), Soryotanog (Buried Light) |
| Lightroots | Four lie directly under surface shrines: Jadukakar (Rakakudaj), Kimakarut (Turakamik), Tatayam (Mayatat), Gonatoyros (Soryotanog). See all Lightroots. |
| Caves and wells | 10 caves with a Bubbul Gem each (Mount Nabooru South, Stalry Plateau, Lower Spectacle Rock, Mount Nabooru, Koukot Plateau, Taafei Hill, Spectacle Rock, Gerudo Canyon Mine, East Gerudo Ruins, Oasis Source); Mount Nabooru Well and Kara Kara Bazaar Well |
| Koroks | 28 seeds collected across the stretch, plus the datamined seeds in the box listed under “Also in this area” |
| Minibosses | King Gleeok (sky), Blue-Maned Lynel, two Stone Taluses, Flame Gleeok |
| Armor | Desert Voe Headband (Kara Kara Bazaar) |
| Quests | Disaster in Gerudo Canyon, The Gerudo Canyon Crystal, The Blocked Well, A Picture for the Closed Stable I and II, Gleeok Guts, Piaffe, Packed Away, Whirly Swirly Things, Decorate with Passion, Riju of Gerudo Town |
This chapter works across the Gerudo Highlands from the sky down: two sky shrines and a King Gleeok fight over South Lomei Castle, then the canyon’s caves, Koroks and chests around Mount Nabooru and Spectacle Rock, the Crystal quest and Turakamik Shrine, the old mine and ruins to the south, and finally the sandy road west past Kara Kara Bazaar to Mayatat and Soryotanog shrines. Coordinates are map units (X, Y, height); larger Y is further north.
Quick route
Start in the sky above the canyon: solve Rakashog Shrine for a Large Zonai Charge, then Siyamotsus Shrine for a Mighty Construct Bow (Strong or Mighty, depending on your progress), cross the South Lomei Castle maze to its top-floor chest and take the Sage’s Will from the ruined island to the west after King Gleeok.
Drop to Gerudo Canyon Pass for Quince’s quest, the Steering Stick chest, Mount Nabooru South Cave, Stalry Plateau Cave and Lower Spectacle Rock Cave, then carry the glowing crystal along the river to Rakakudaj Shrine.
Work Mount Nabooru Cave, Mount Nabooru Well and Koukot Plateau Cave, collecting the Koroks and arrow chests between them, and beat the Blue-Maned Lynel.
Continue east to Taafei Hill Cave, Spectacle Rock Cave, the two Stone Taluses and the Flame Gleeok, then solve Turakamik Shrine and finish at Gerudo Canyon Stable with Piaffe’s quests.
Go south for the Blocked Well, Gerudo Canyon Mine and East Gerudo Ruins Cave, then head west for Kara Kara Bazaar, Oasis Source, Mayatat Shrine and Soryotanog Shrine at the edge of Gerudo Town.
Gerudo Highlands Sky
Rakashog Shrine: A Reflective Device (Puzzle)
Rakashog Shrine at (-1715, -2118, 1162), on a sky island above Mount Nabooru. Trial A Reflective Device, type Puzzle (a Sky shrine, so there is no Lightroot below). Launch from the Gerudo Canyon Skyview Tower and glide east to reach it. Every room is solved by bouncing a beam of sunlight off mirror orbs into the gems above the doors, and the shrine chest holds a Large Zonai Charge.
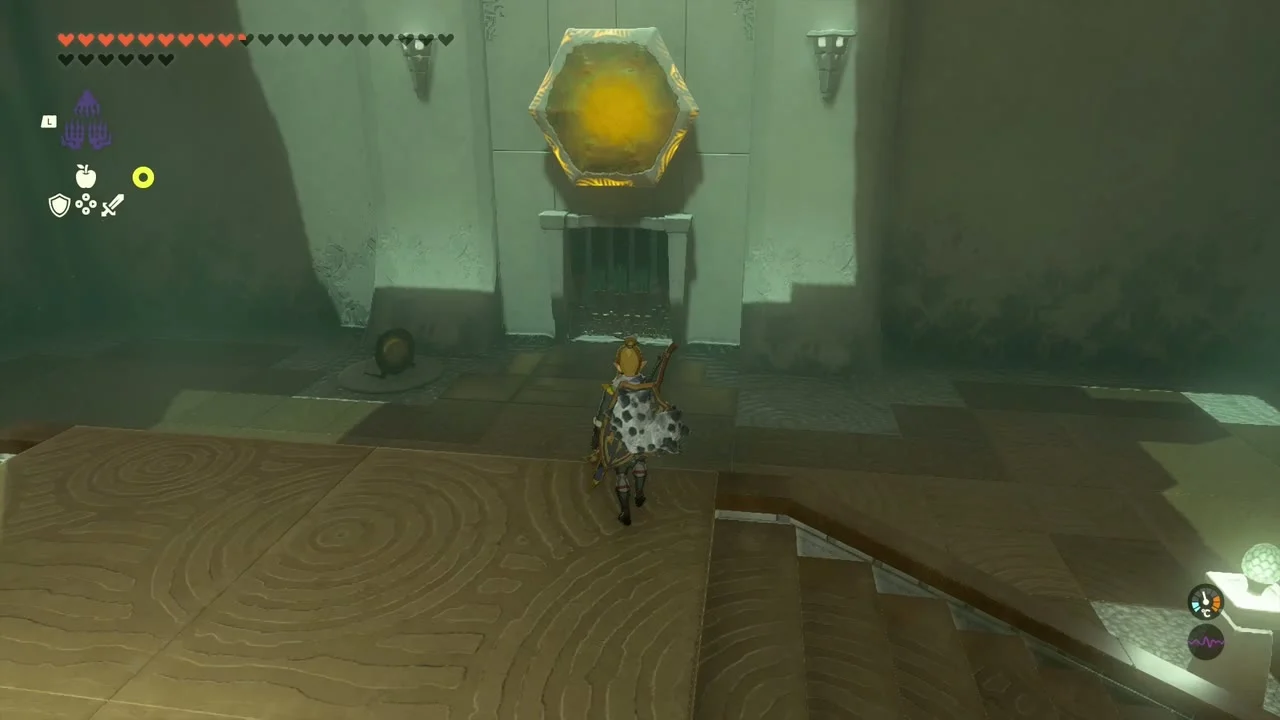
Aim the first mirror at the gate gem
Pick up the mirror orb beside the entrance with Ultrahand and carry it into the sunlight so the beam hits the yellow gem above the first gate. Rotate the orb until the gem turns green and the gate opens.

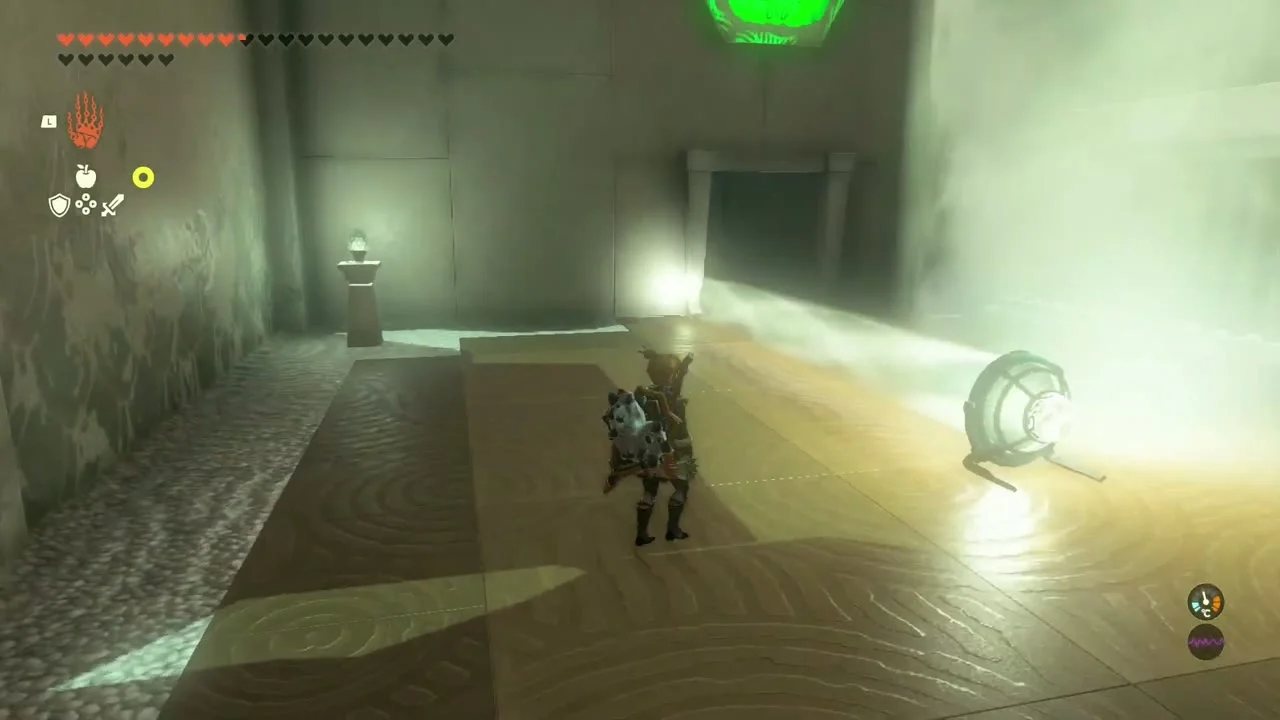
Carry the mirror through to the next room
Take the mirror through the open gate and set it on the floor mark in the sun on the far side. The beam it throws must reach the gem on the next wall, so tilt the orb until the light lands on it.

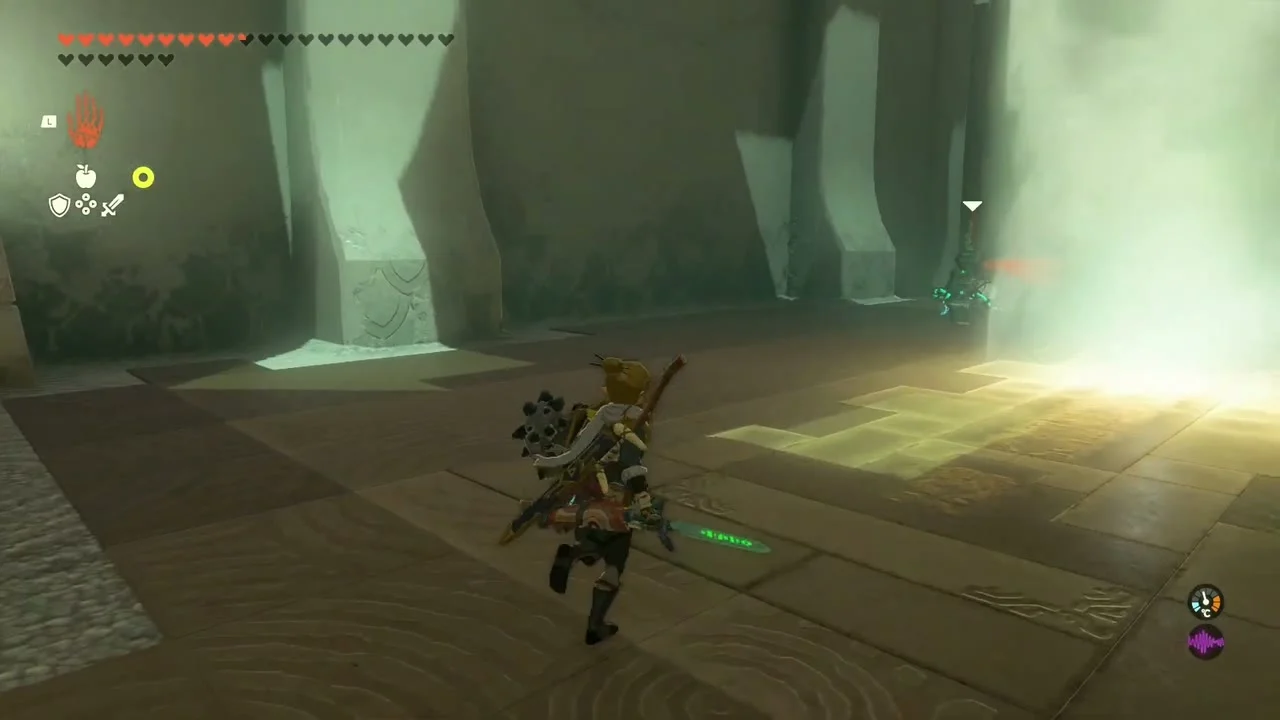
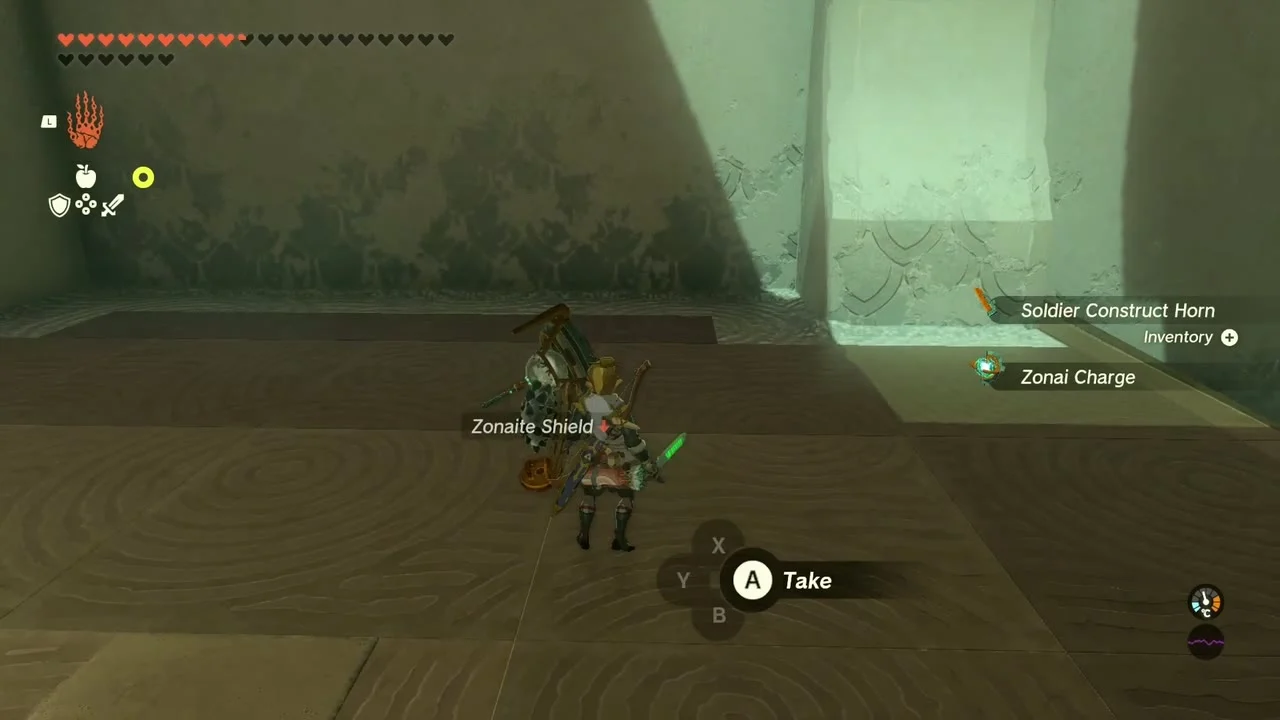
Clear the Constructs and bridge the gap
A pair of Soldier Constructs guard the room with the large stone block and drop Zonai Charges and Soldier Construct Horns, so defeat them first. Then attach a mirror to the raised platform so the beam continues through the bars into the room beyond.
Raise the mirror on the stone cube
Stand the large stone cube under the beam and put a second mirror on top of it. The cube lifts the orb into the sunlight and sends the beam across the room to the next gem.

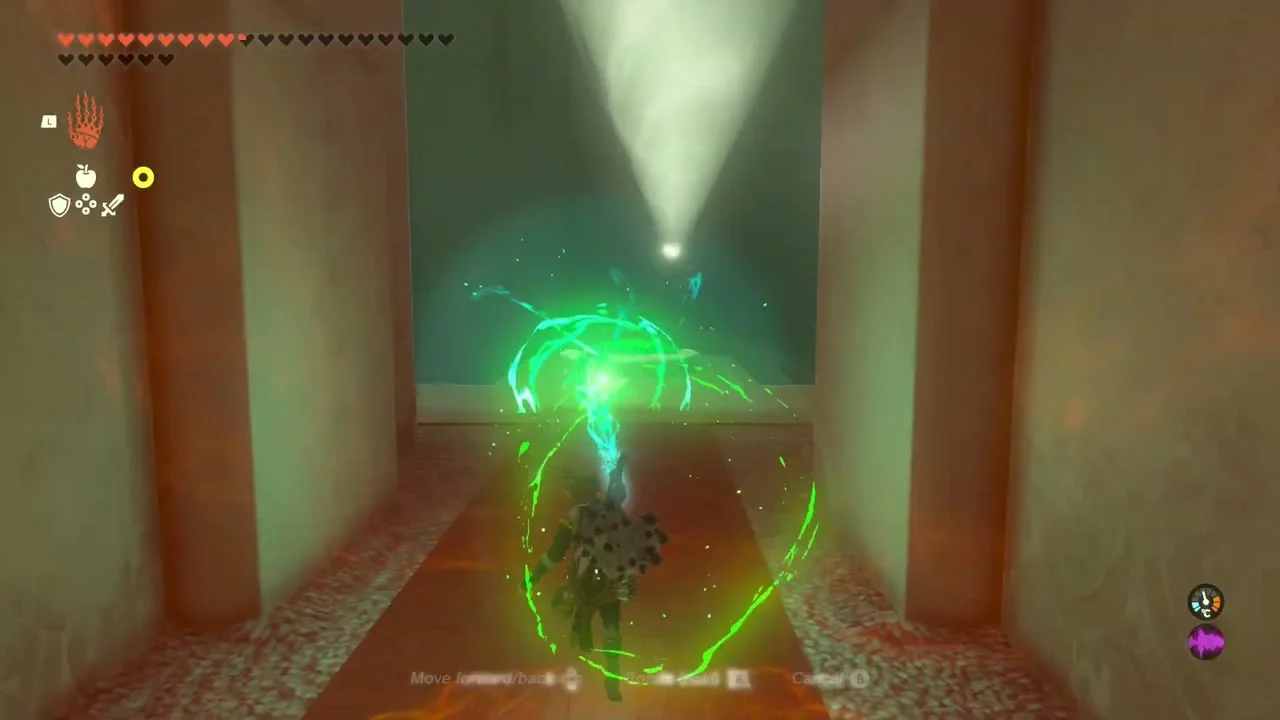
Open the chest room
Open the chest room for the Large Zonai Charge, then step back to the main path. A Large Zonai Charge fully refills a vehicle’s Zonai Energy Cell, so keep it for a long flight.
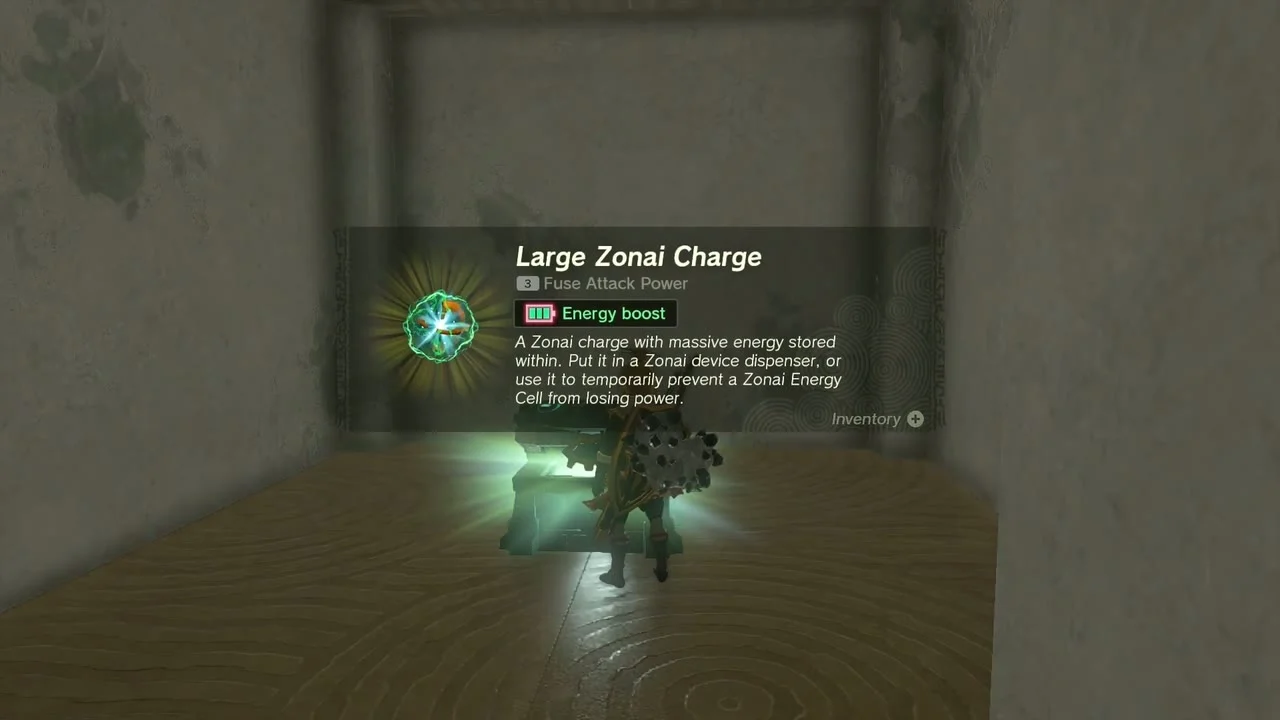
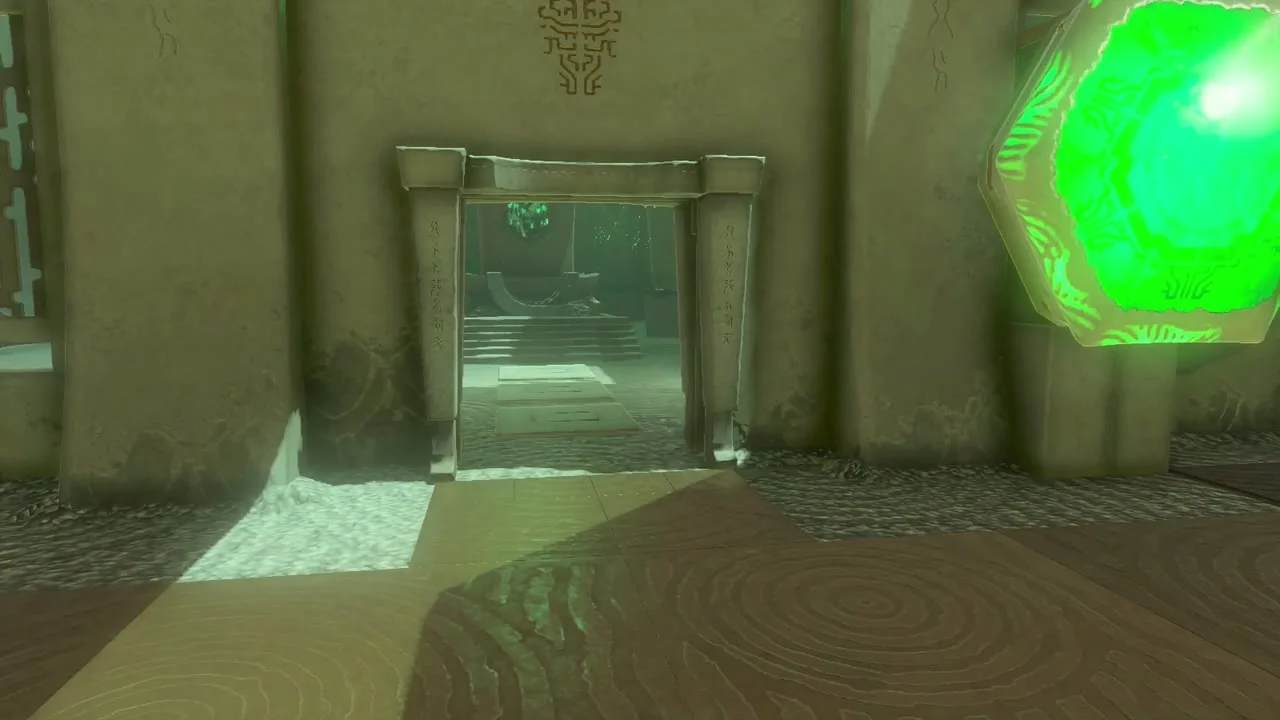
Light the last gem and take the Light of Blessing
Place one mirror in the main beam and aim a second at the final gem. The last gate opens and the altar with the Light of Blessing waits at the end of the corridor.


Siyamotsus Shrine: Unlit Blessing (Puzzle)
Siyamotsus Shrine at (-1795, -3294, 1024), on a sky island near South Lomei Labyrinth. Trial Unlit Blessing, type Puzzle. To get there, glide southeast from the Gerudo Canyon Skyview Tower and steer south to the labyrinth island (a Wing with Fan and Rocket devices makes the trip easy). You light braziers with Fire Fruit arrows and are launched to the exit.
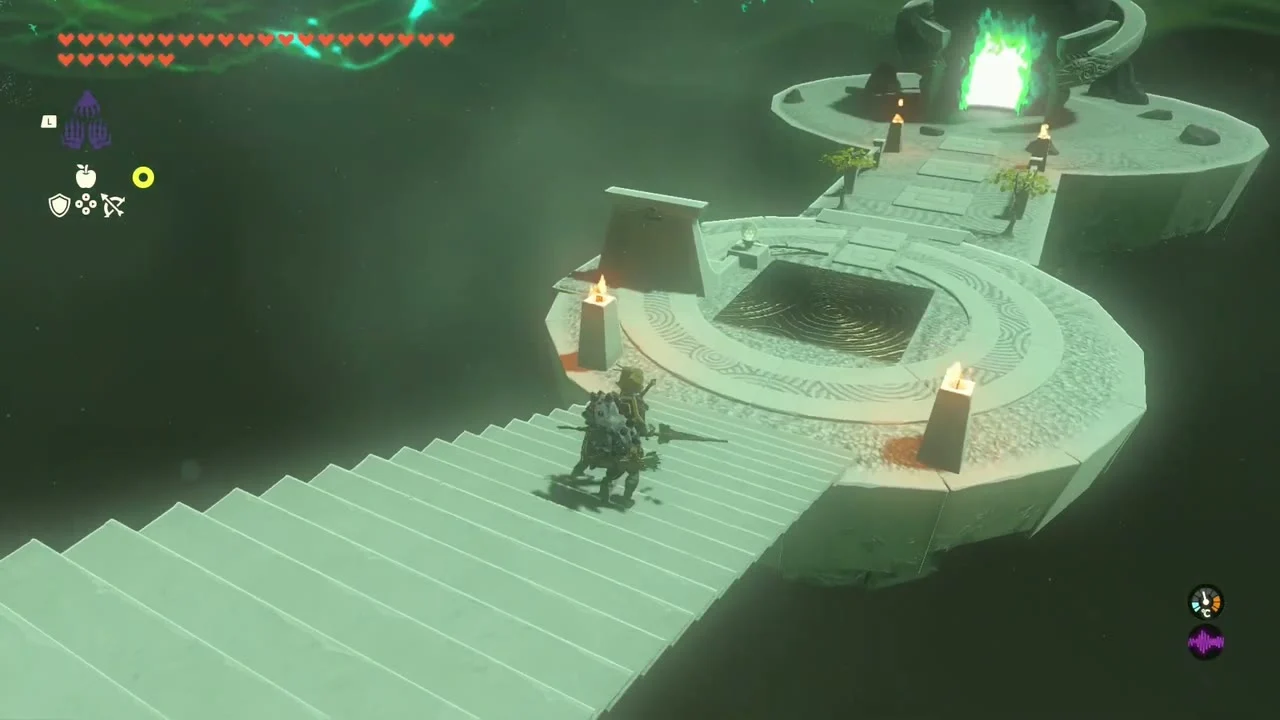
Climb the stairs and open the chest
Walk up the first staircase to the chest on the round platform. It holds a Mighty Construct Bow, and there are 10 arrows on the platform beside it.

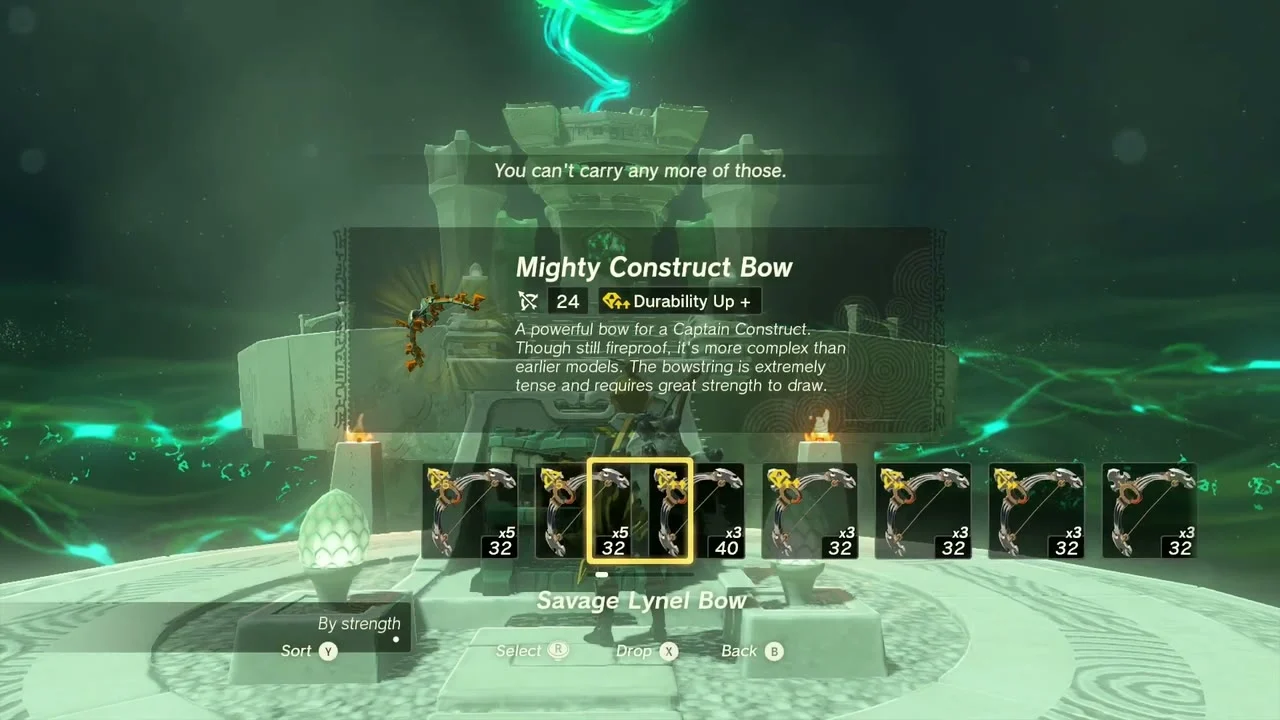
Fuse Fire Fruit to your arrows
Pick Fire Fruit from the shrubs on either side of the start, attach it to an arrow and shoot the unlit braziers on the far side (two are already lit). You only get a few arrows, so aim each shot carefully.


Ride the platform to the exit
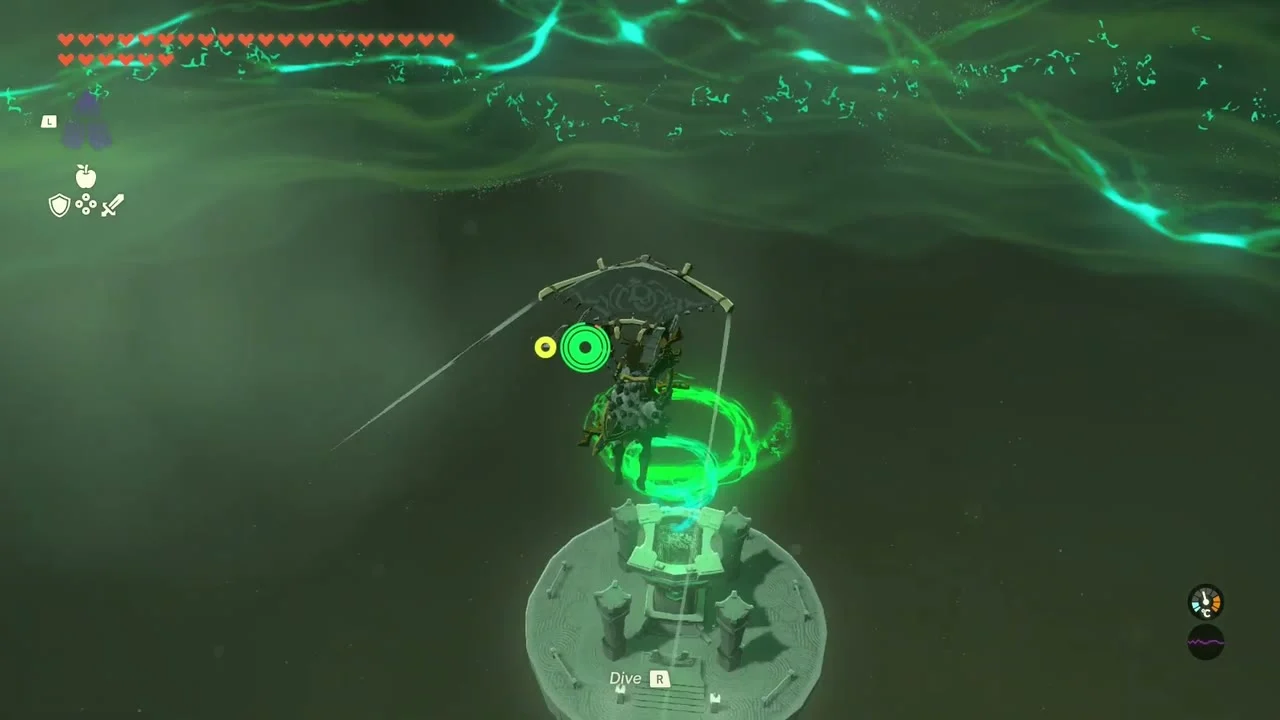
Once the braziers burn, the chest you opened earlier slides behind you and becomes a launch pad. Stand on it, wait to be fired into the air and glide to the end of the shrine.
Claim the Light of Blessing
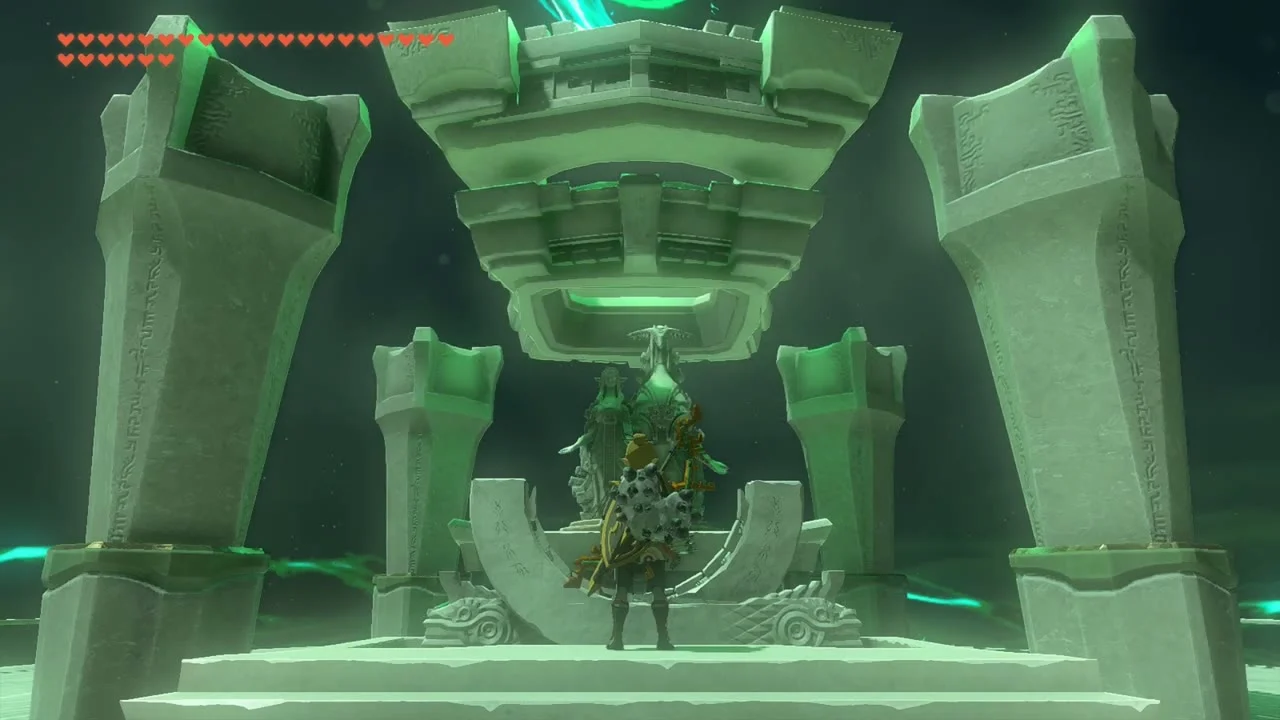
Take the Light of Blessing at the altar. The shrine then works as a fast-travel point on the sky island.

Cross South Lomei Castle top floor
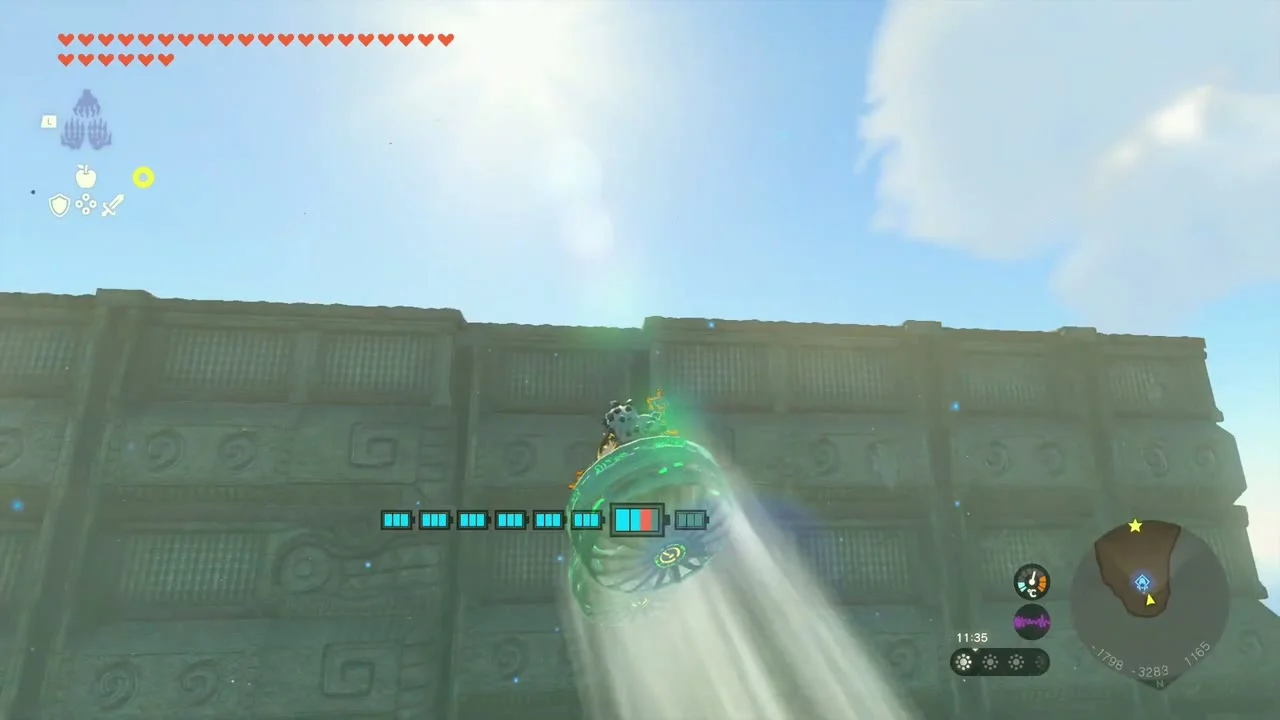
The top floor of South Lomei Castle is a huge stone maze floating above the canyon. Land on it with a fanplane or by gliding, work your way across the walls to the stone pedestal and open the chest there, the one the minimap marks on the maze roof.

Take the Korok seed above the maze
A Korok seed is hidden among the sky islands south of the maze, near (-1714, -3578, 1186) (Catch the falling light). Chase the falling light and catch it before it lands.
Defeat King Gleeok over the sky ruins
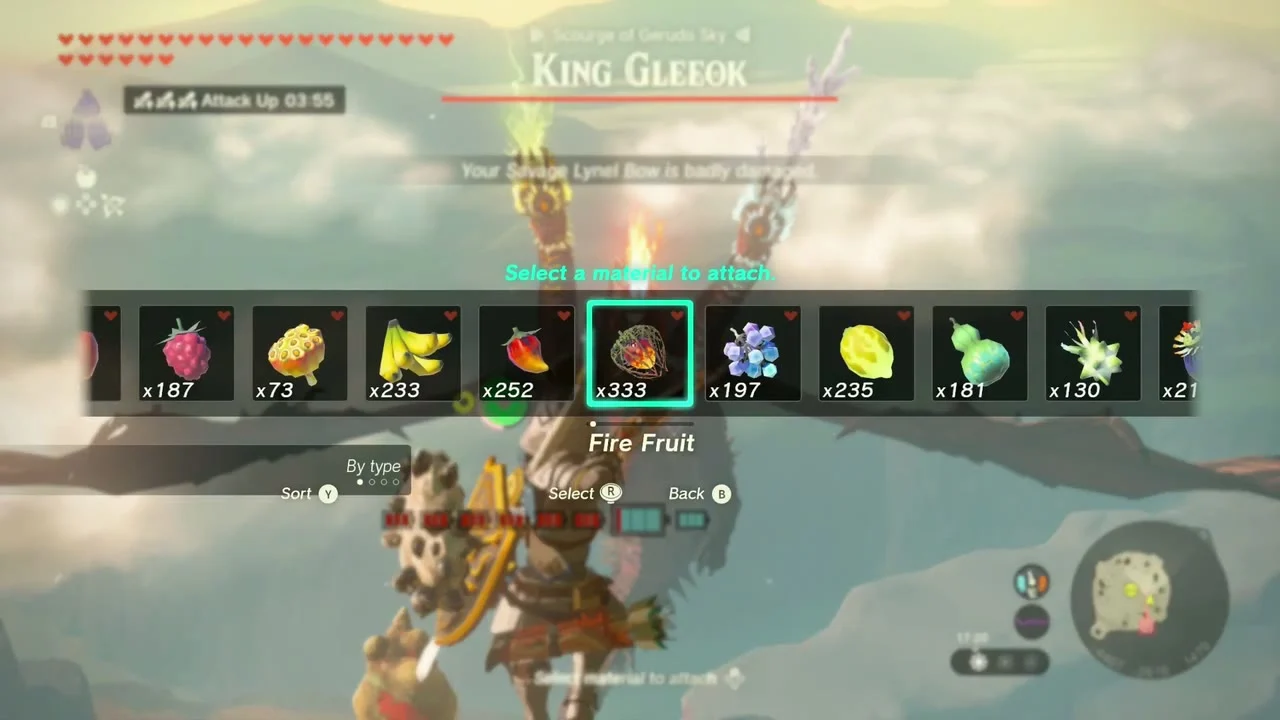
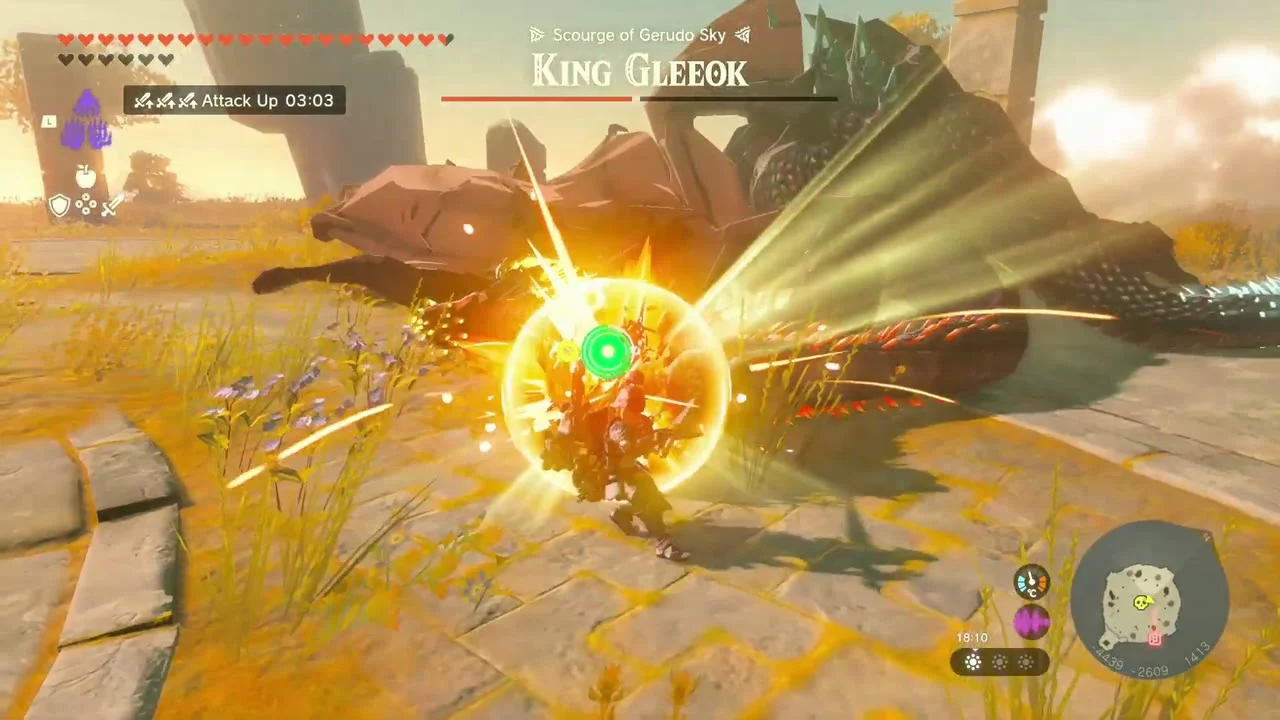
Miniboss: King Gleeok, the Scourge of Gerudo Sky, circles the ruined islands near (-4439, -2609, 1413). Fuse Fire Fruit to your arrows and shoot its heads from the ruin platform; when a head drops, run in and strike it. It has about 12,000 HP and three heads (fire, ice and thunder), so match your arrows to the head you shoot. It drops a Gleeok Wing, Gleeok Guts and the Flame, Frost and Thunder Horns.
Take the Sage’s Will from the ruined island
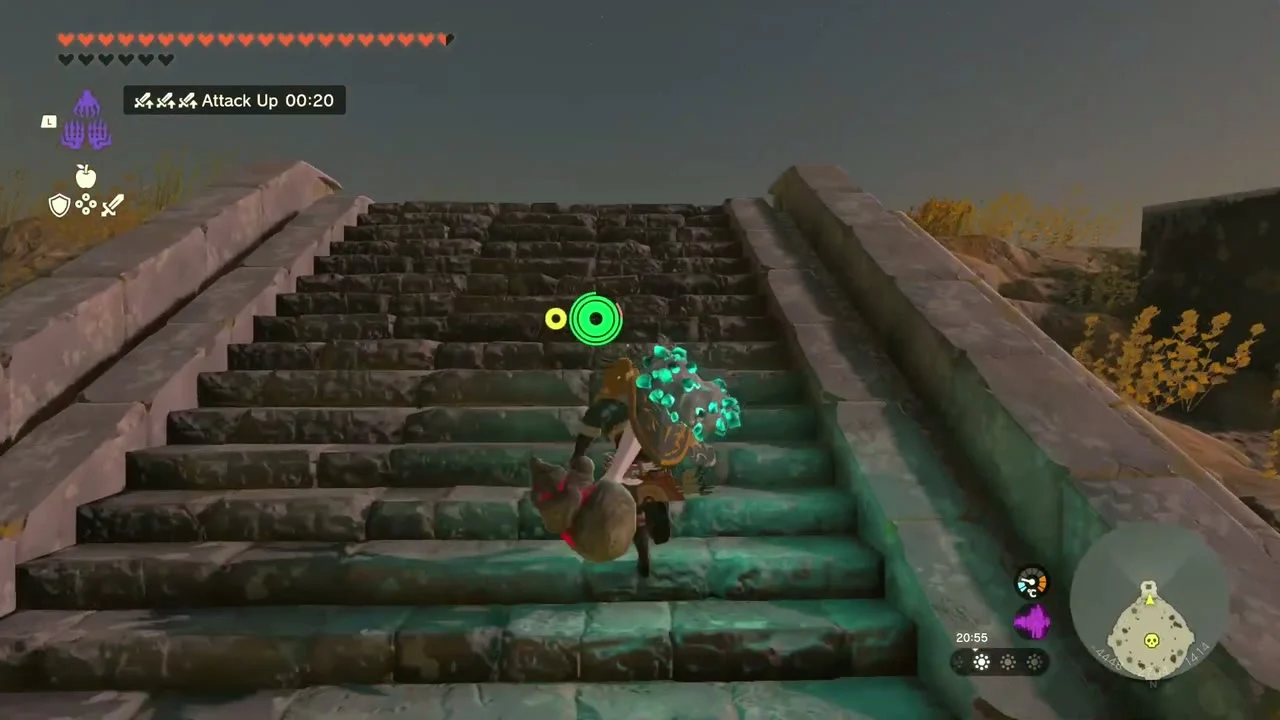
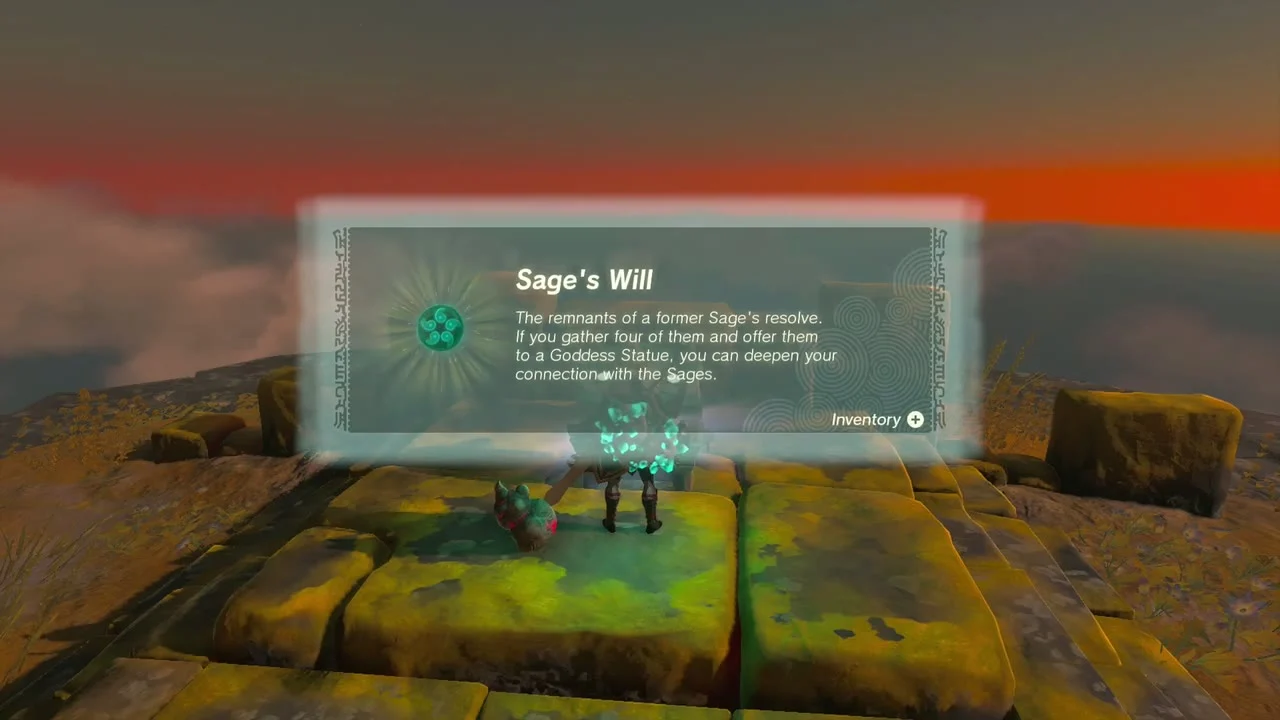
Chest: Sage’s Will at (-4447, -2727, 1418), on a stone dais on the ruined island. Climb the stairs to the dais and open the chest to receive a Sage’s Will; offer four of them to a Goddess Statue to deepen your connection with the Sages.
Gerudo Canyon Pass, Mount Nabooru and Spectacle Rock
Start Disaster in Gerudo Canyon
Quest: Disaster in Gerudo Canyon (full quest page). Quince waits at Gerudo Canyon Pass near (-1661, -2039) and has lost three friends on the road. They rest in caves, in shade by the roadside or around campfires; speak to each, then report back to Quince when all three are found.
Ascend to the Steering Stick chest
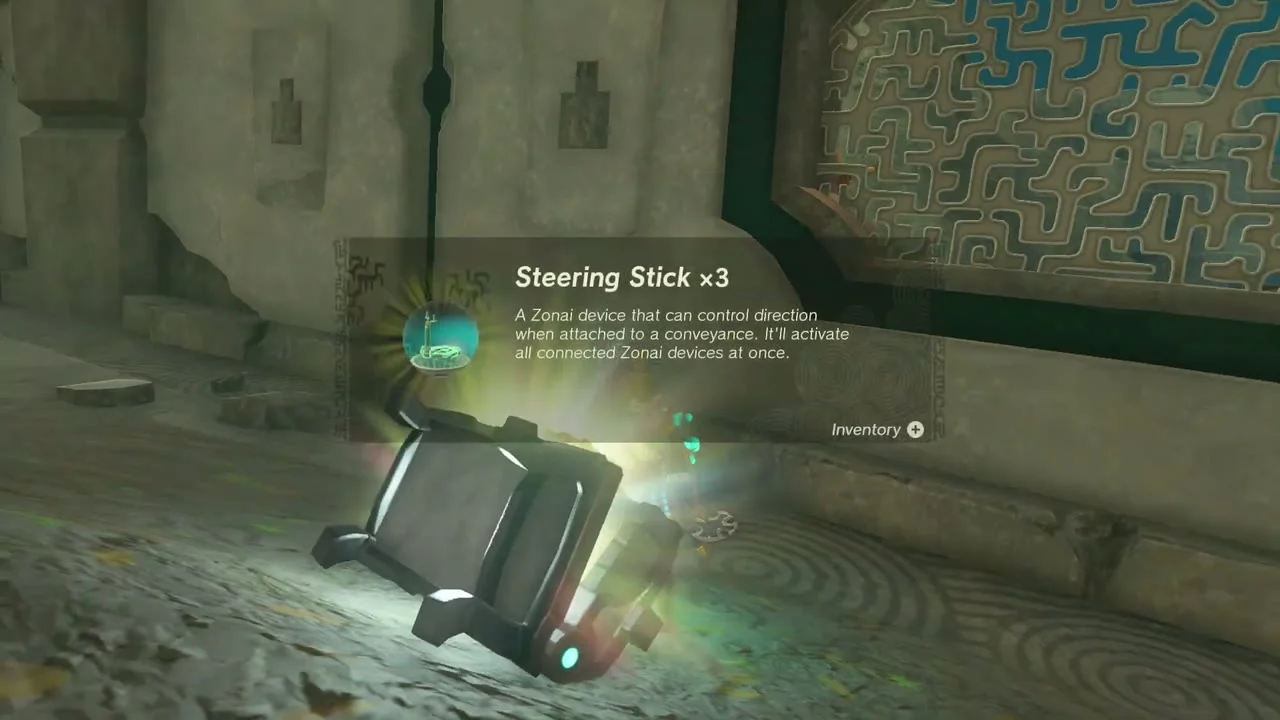
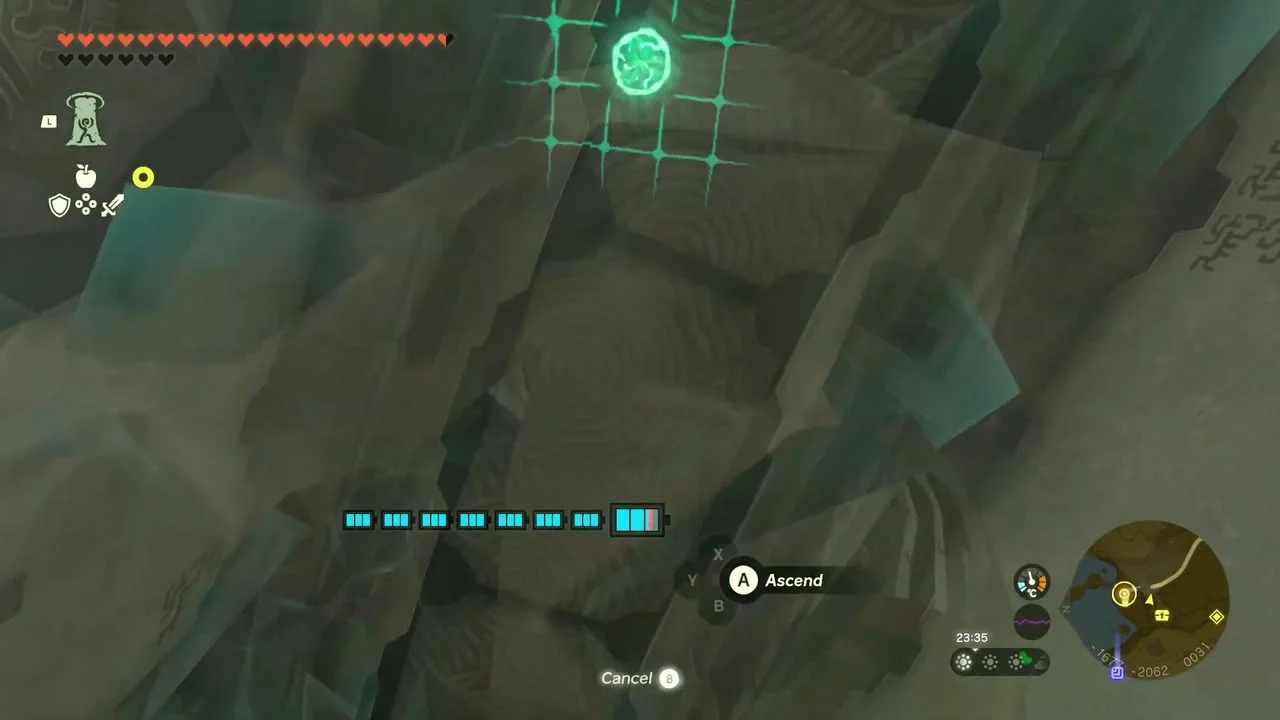
Chest: Steering Stick x3 at (-1677, -2062, 31), inside the narrow ruin passage near the pass. Use Ascend through the ceiling at the end of the corridor to reach the chamber above, then open the chest for Steering Stick x3.
Clear Mount Nabooru South Cave
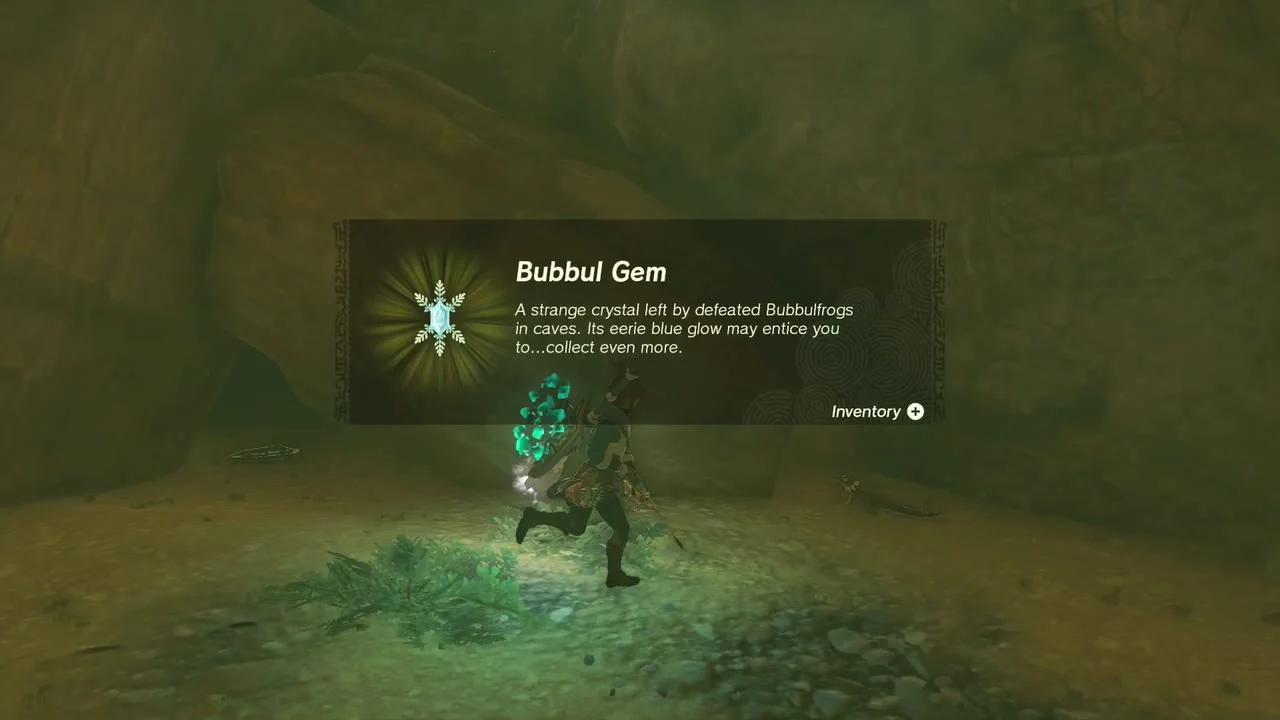
Cave: Mount Nabooru South Cave at (-1726, -2183, 5). Shine the cave with Brightbloom Seeds, defeat the monsters and weaken the Bubbulfrog in the back cavern for a Bubbul Gem.
Take the Bubbul Gem in Stalry Plateau Cave
Cave: Stalry Plateau Cave at (-1527, -2222, -20), on the plateau east of Gerudo Canyon Pass. A Fire-Breath Lizalfos guards the entrance. The cave is small: the Bubbulfrog hangs on the ceiling for a Bubbul Gem, and a chest buried under tumbleweed holds a Knight’s Shield (it scales up to a Royal Shield (or Traveler’s Shield, Soldier’s Shield or Knight’s Shield, depending on your progress) as you progress).
Take the Bubbul Gem in Lower Spectacle Rock Cave
Cave: Lower Spectacle Rock Cave at (-1744, -2394, -11). Drop into the low entrance, throw a Brightbloom Seed to spot the Bubbulfrog and weaken it for a Bubbul Gem.
Help the exhausted Korok
Korok seed (Bring the exhausted Korok to its friend) at (-1640, -2359, 7). Pick up the tired Korok with Ultrahand and carry it to its friend across the flat; the delivery gives you a seed.
Carry the glowing crystal to Rakakudaj Shrine
Shrine quest: The Gerudo Canyon Crystal (Mysterious Voice, Gerudo Canyon). Follow the light beam to the crystal and fix it to a wheeled cart built with Ultrahand. Add wheels and a power source, then drive it along the riverbank to the shrine; keep the crystal on the cart and do not tip it.

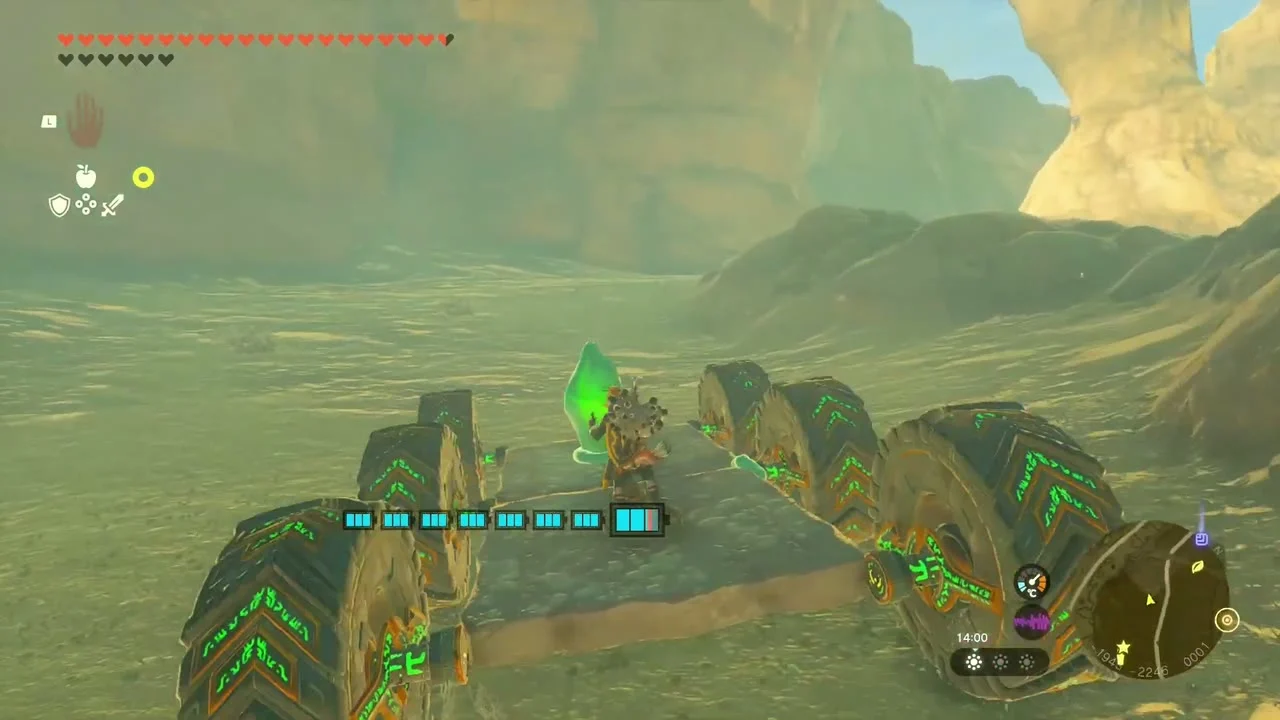
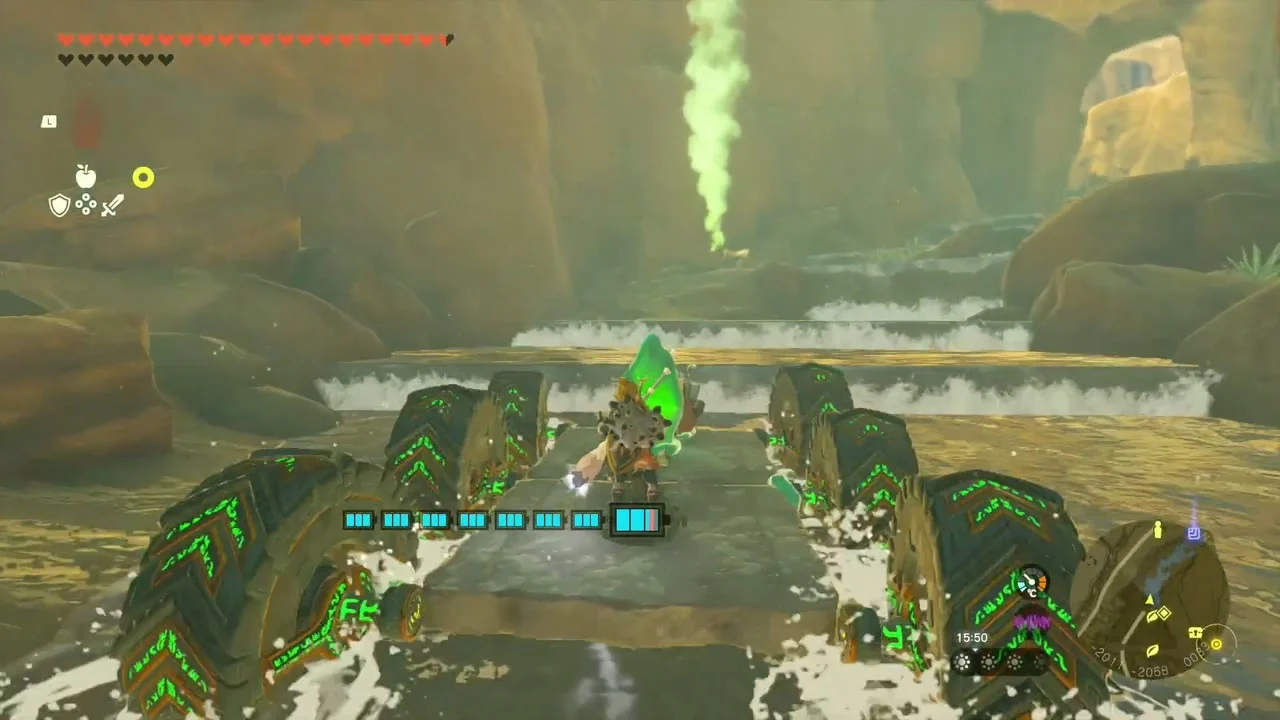
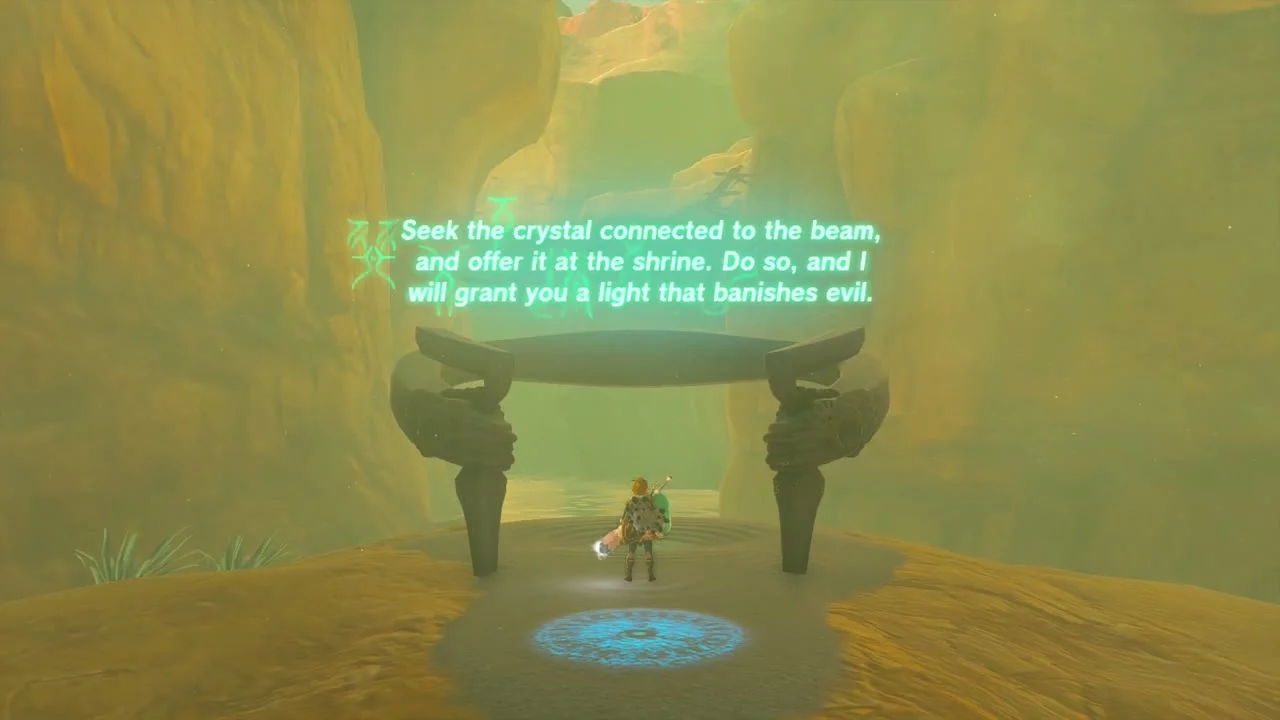
Complete Rakakudaj Shrine: Rauru’s Blessing
Rakakudaj Shrine at (-2036, -1853, 78), trial Rauru’s Blessing (type Rauru’s Blessing). There is no puzzle: offer the crystal, walk in, open the chest for a Mighty Zonaite Longsword (Strong or Mighty, depending on your progress) and take the Light of Blessing. The Jadukakar Lightroot lies below at (-2037, -1852, -525).
Mount Nabooru Cave, Mount Nabooru Well and the plateau Koroks
Explore Mount Nabooru Cave
Cave: Mount Nabooru Cave at (-1967, -2059, 30) and (-1795, -1961, 31), a river cave. Ride Zonai devices down the underground river, open the chest at the end and take the Bubbul Gem from the Bubbulfrog.
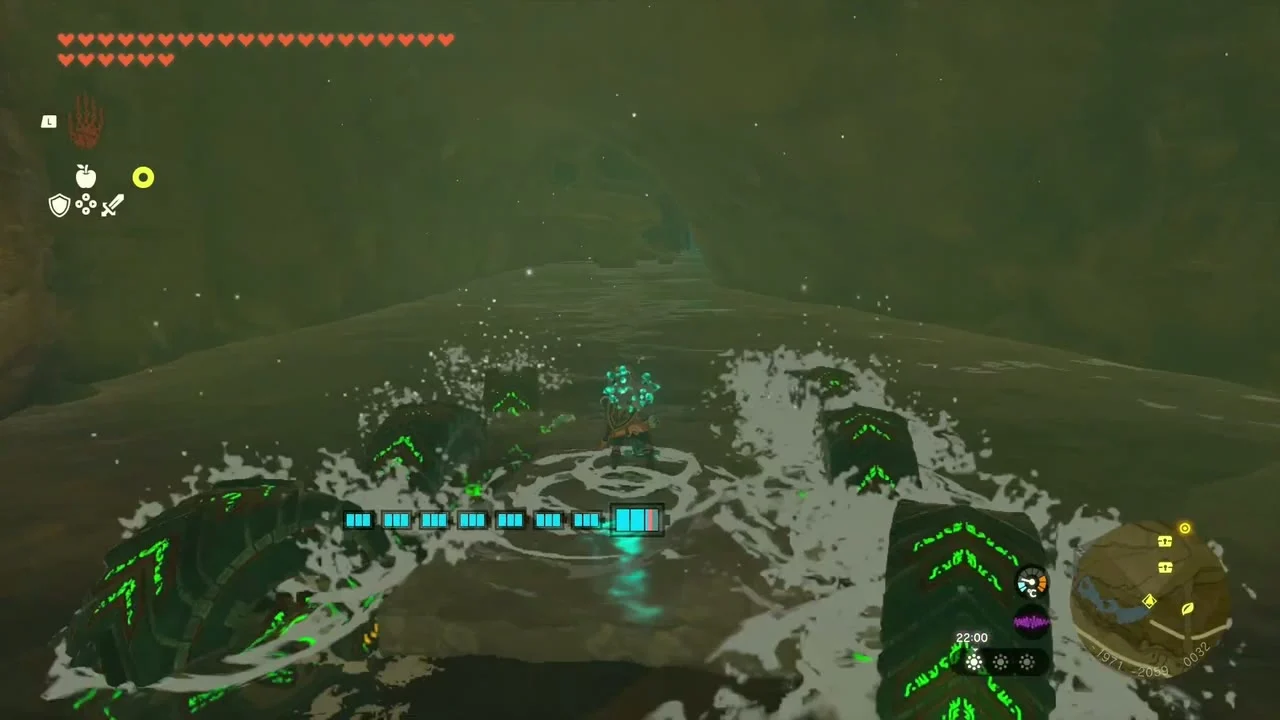

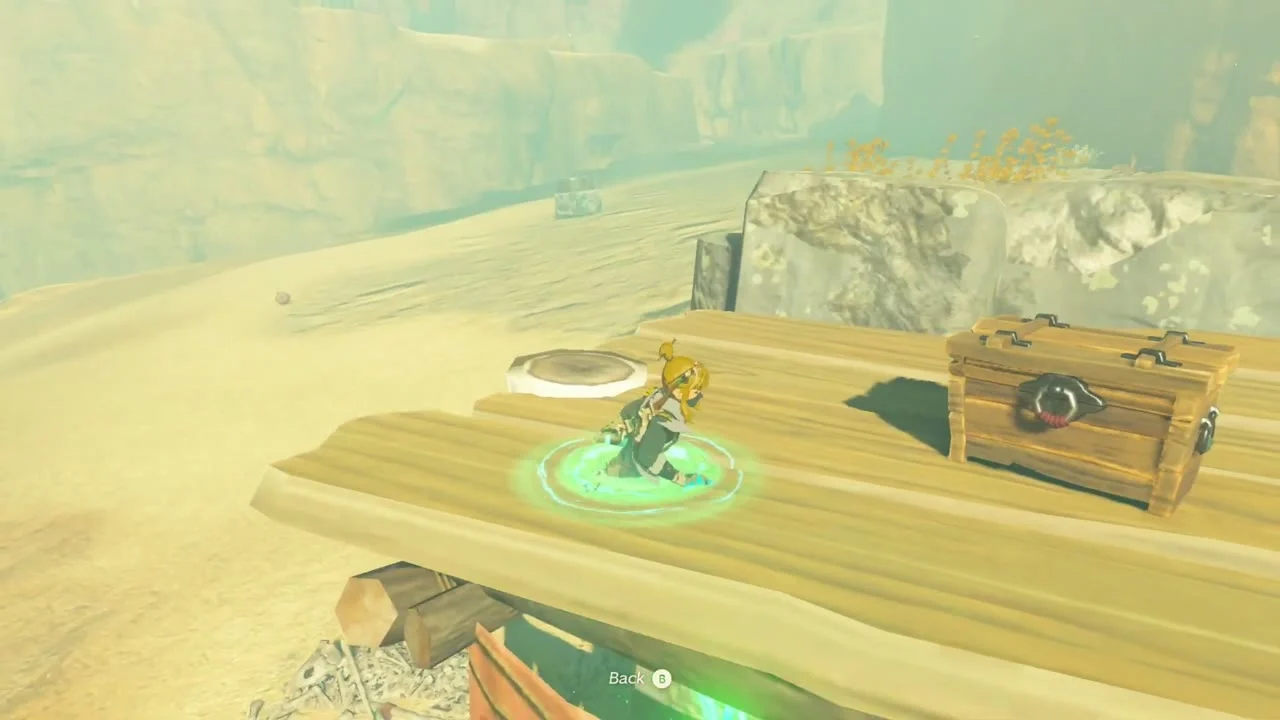
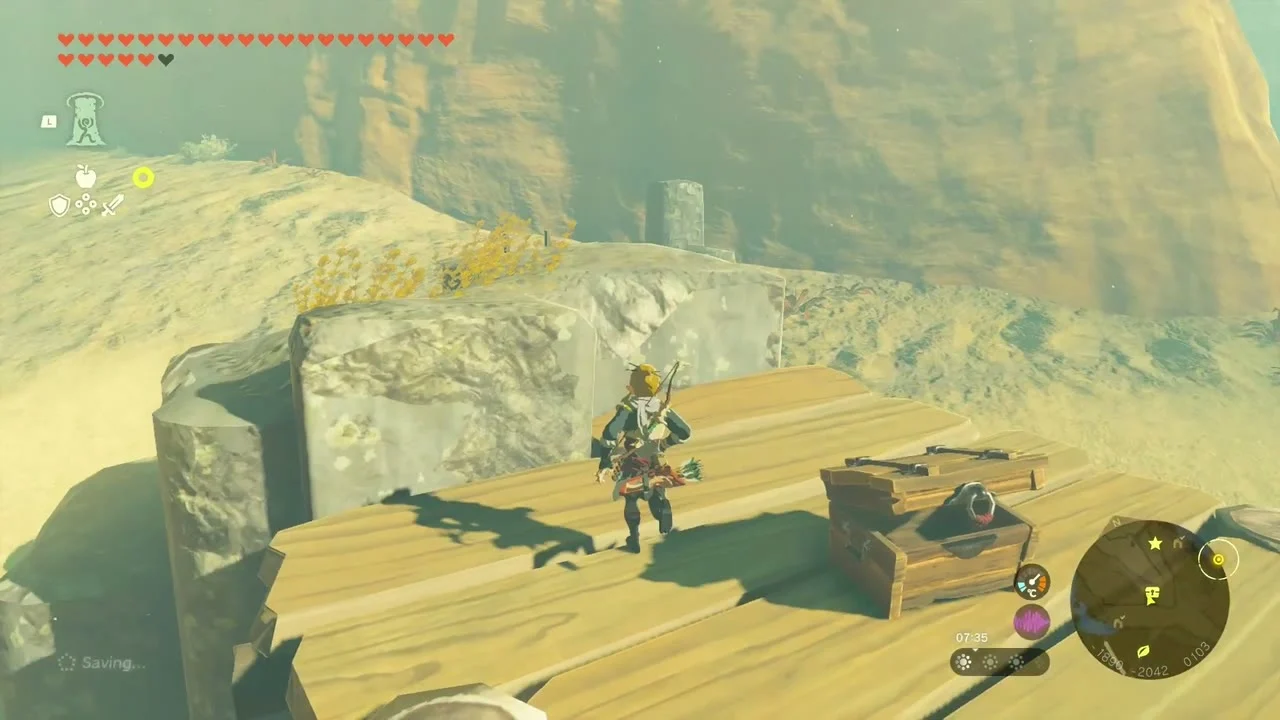
Open the plank chests
Chest: Arrow on a wooden plank platform on the cliff above the sand. Ascend through the overhang to reach it. More plank-mounted arrow chests sit around the Koukot Plateau lake.
Complete the rock pattern
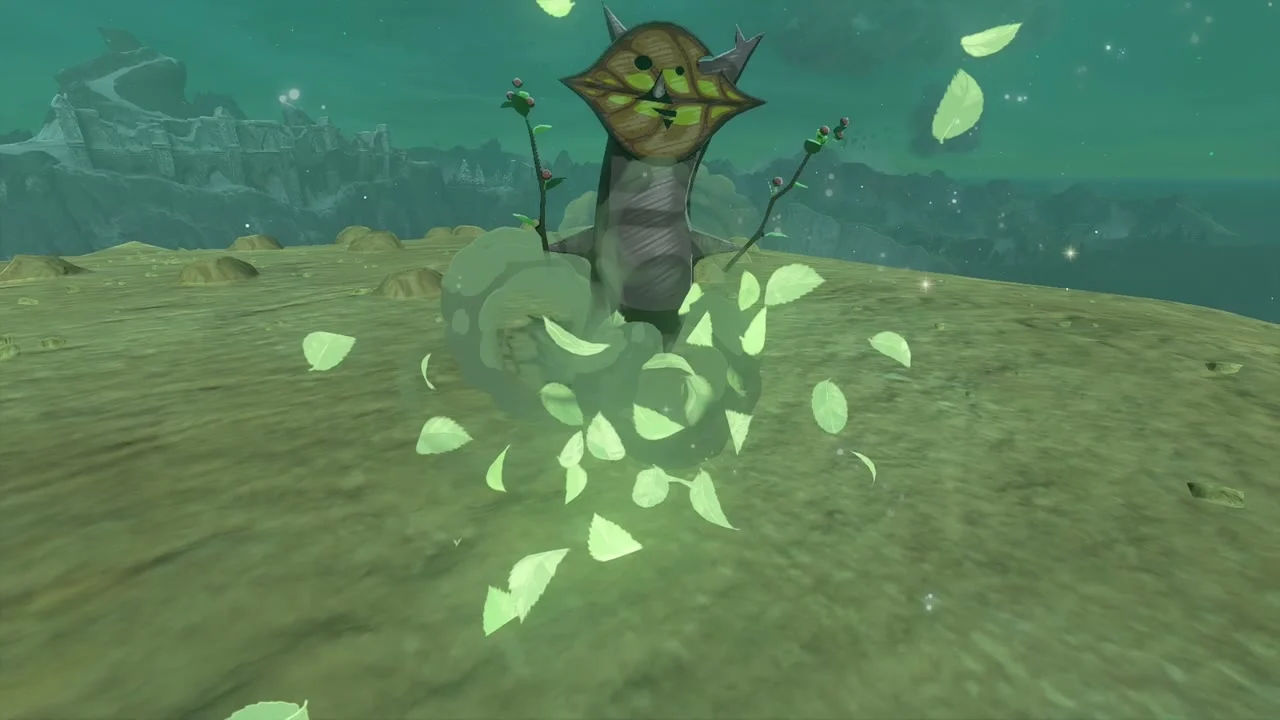
Korok seed (Complete the rock pattern) at (-1942, -2131, 81). Pick up the loose rocks in the sand and fit them into the empty spots of the stone pattern.
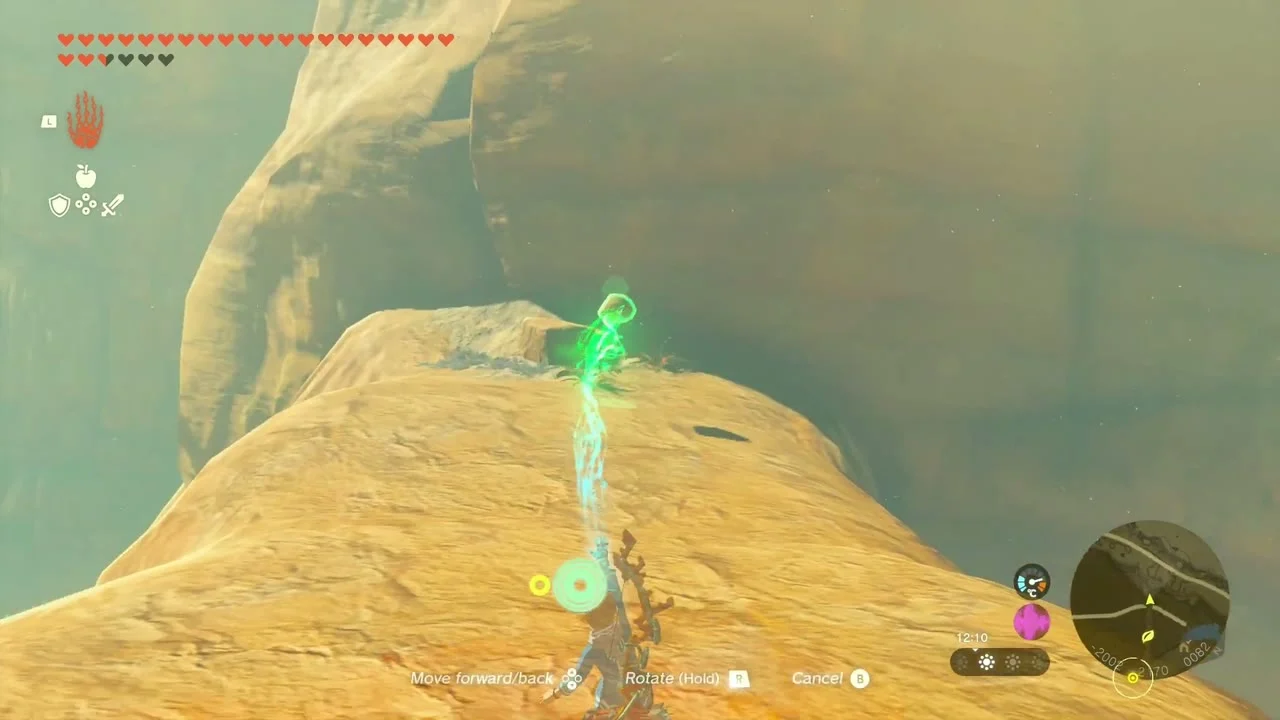

Stack the cube puzzle
Korok seed (Complete the cube puzzle) at (-1938, -2821, 157). Stack the loose blocks between the two stone pillars with Ultrahand so they fill the gap.

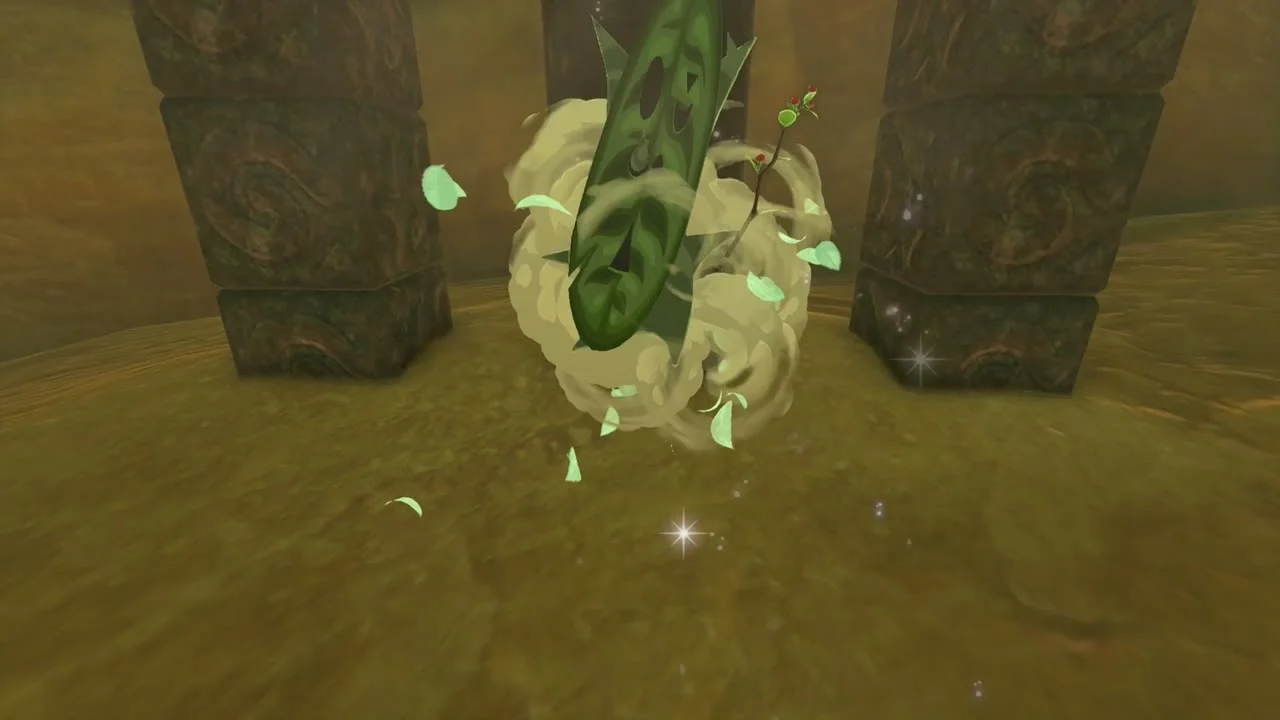
Complete the second rock pattern
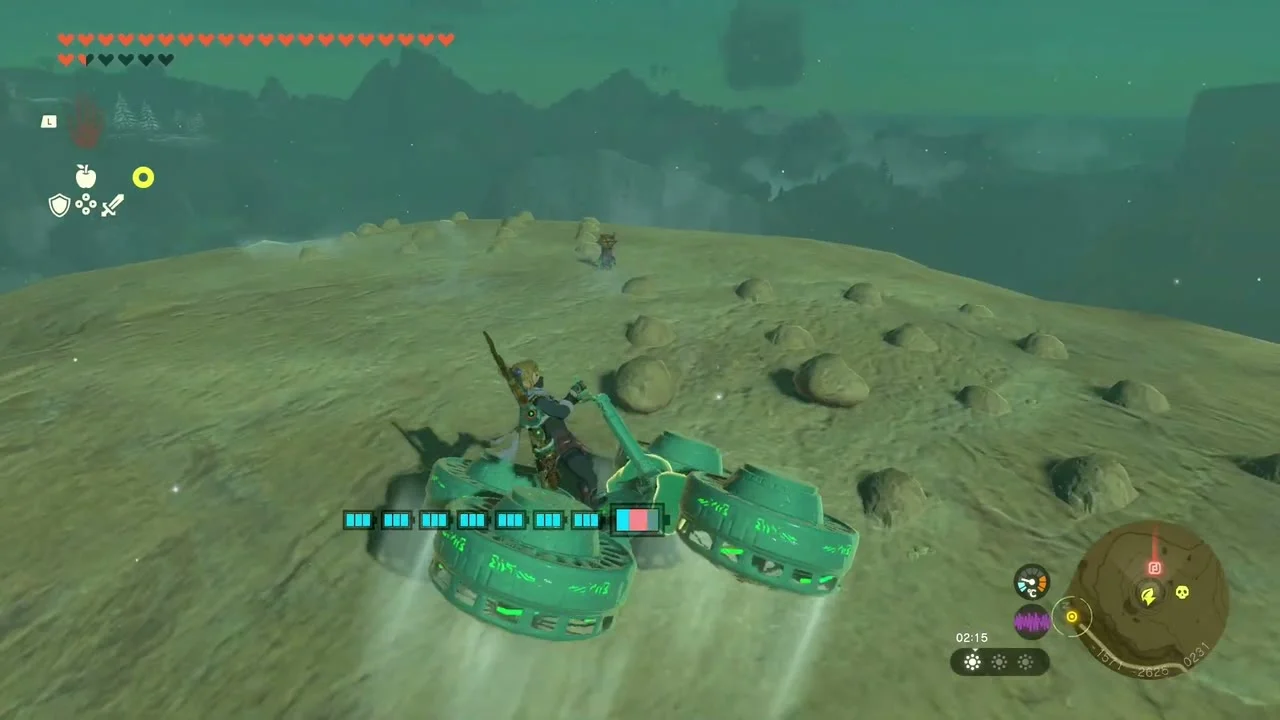
Korok seed (Complete the rock pattern) at (-1556, -2625, 230). Cross the sand on a hover bike or by glider, then rebuild the stone pattern beside the pillar.
Clear Mount Nabooru Well
Well: Mount Nabooru Well at (-1720, -2238, 31), on the cliff above the river. Glide in, climb down the shaft and follow the passage to the monsters inside.
Defeat the Blue-Maned Lynel
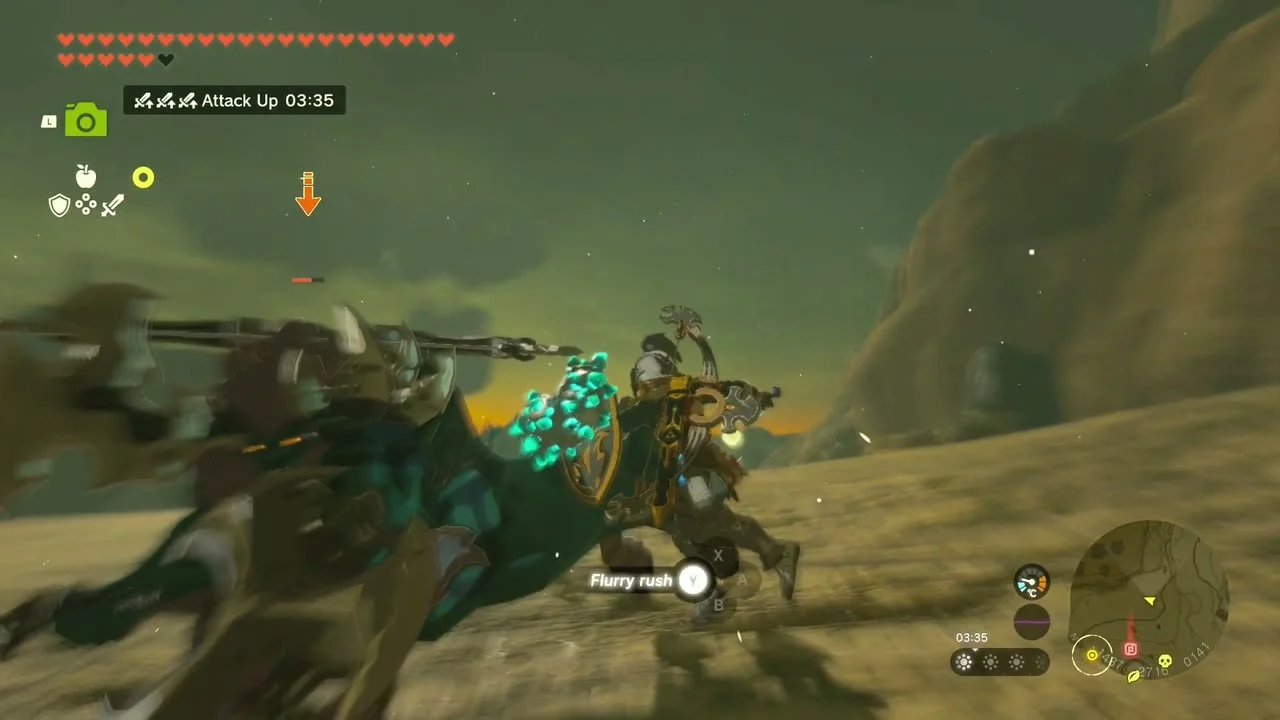
Miniboss: Blue-Maned Lynel at about (-1445, -2705, 140). Dodge its swings for flurry rushes and keep distance with arrows. It drops a Lynel Mace Horn, Lynel Hoof and a Mighty Lynel Shield (its tier depends on your progress).

Collect the lakeside Koroks
Korok seeds (Lift the rock x2, Break the acorn pot) at (-2198, -1679), (-2244, -1740) and (-2329, -1825), around the Koukot Plateau lake. Lift the rock to uncover each Korok; for the acorn pot, hit it with an arrow or weapon.

Clear Koukot Plateau Cave
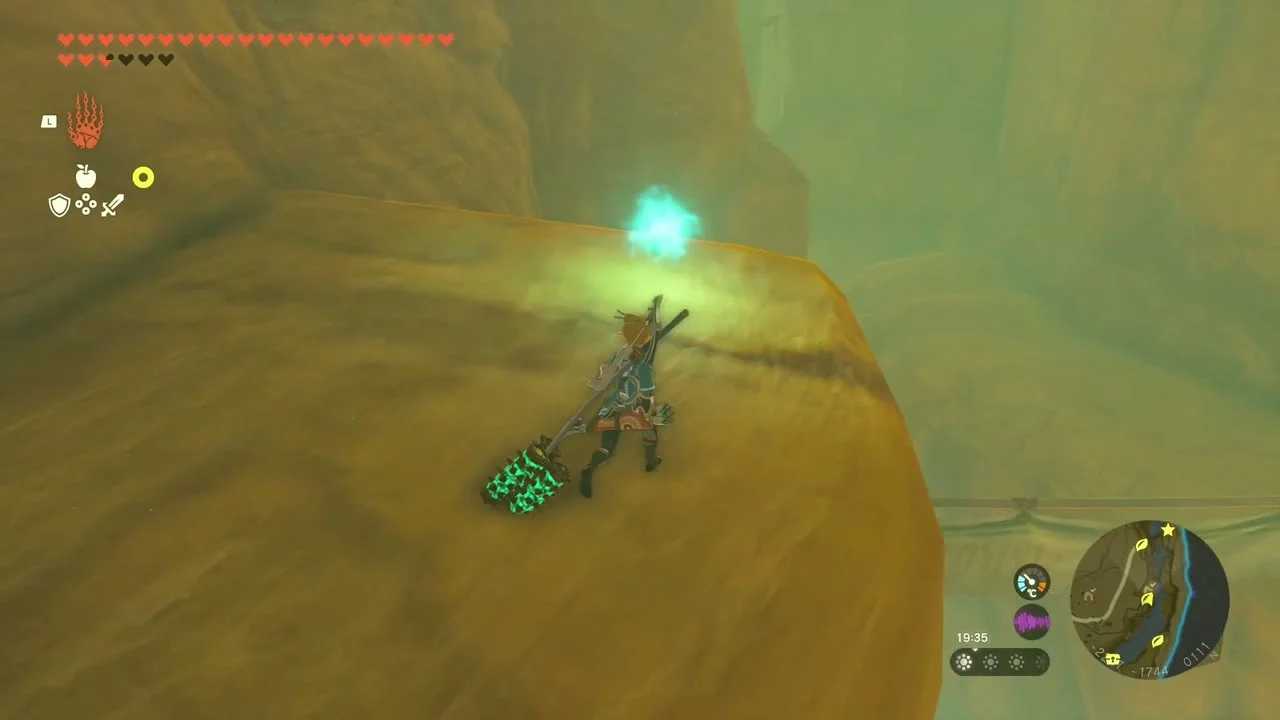
Cave: Koukot Plateau Cave at (-2258, -1759, 56) and (-2173, -1841, 126). Follow the cave to the Bubbulfrog and take its Bubbul Gem.
Finish Disaster in Gerudo Canyon
Return to Quince once you have found all three of his friends; talking to him completes the quest.
Taafei Hill, Spectacle Rock and Turakamik Shrine
Open the Purple Rupee and Topaz chests
Chests: Purple Rupee and Topaz at (-2361, -1843, 58) and (-2417, -1930, 57), on the ridge west of Taafei Hill. A Purple Rupee is worth 50 rupees.
Yiga Blademaster Station at (-2433, -1819, 145) lies directly below Taafei Hill Cave, behind the waterfall that flows out of it. You need the full Yiga outfit to be let in; the Blademaster inside starts The Yiga Clan Exam, and finishing it opens the back room with its chests, a second Bubbulfrog and Suariwak Shrine.
Clear Taafei Hill Cave and the Stone Talus
Cave: Taafei Hill Cave at (-2457, -1798, 176) with a Bubbul Gem. Miniboss: Stone Talus near (-2560, -1714): shoot the ore on its back, then strike the glowing weak spot when it is stunned.
Lift the rock above the road
Korok seed (Lift the rock) at (-2486, -2054, 121). Lift the stone in the grass to find the Korok.
Return the exhausted Korok
Korok seed x2 (Bring the exhausted Korok to its friend) at (-2439, -2144, 264). Pick up the tired Korok at the foot of the scaffold and carry it up the wooden platform to its friend; the pair give two seeds.
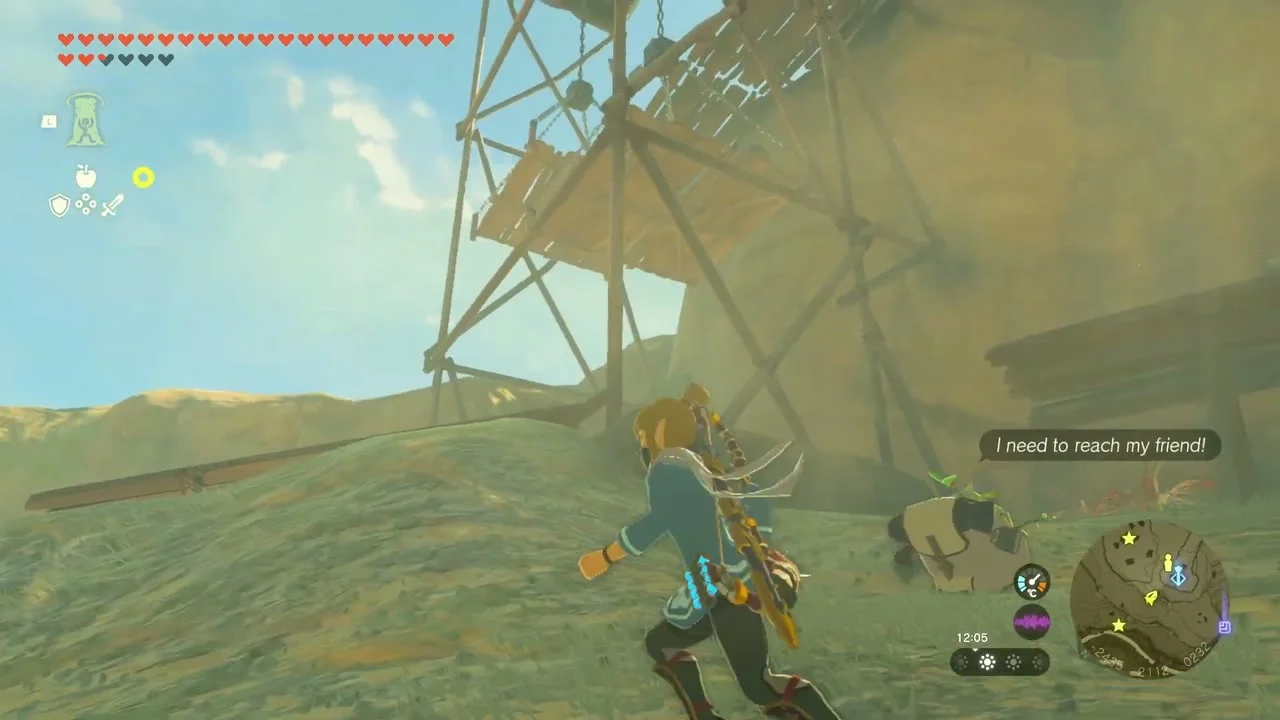

Burn the leaves and lift the rock
Korok seed (Burn the leaves and lift the rock) at (-2264, -2163, 251). Light the dry leaves under the overhang with Fire Fruit or a torch, then lift the rock.

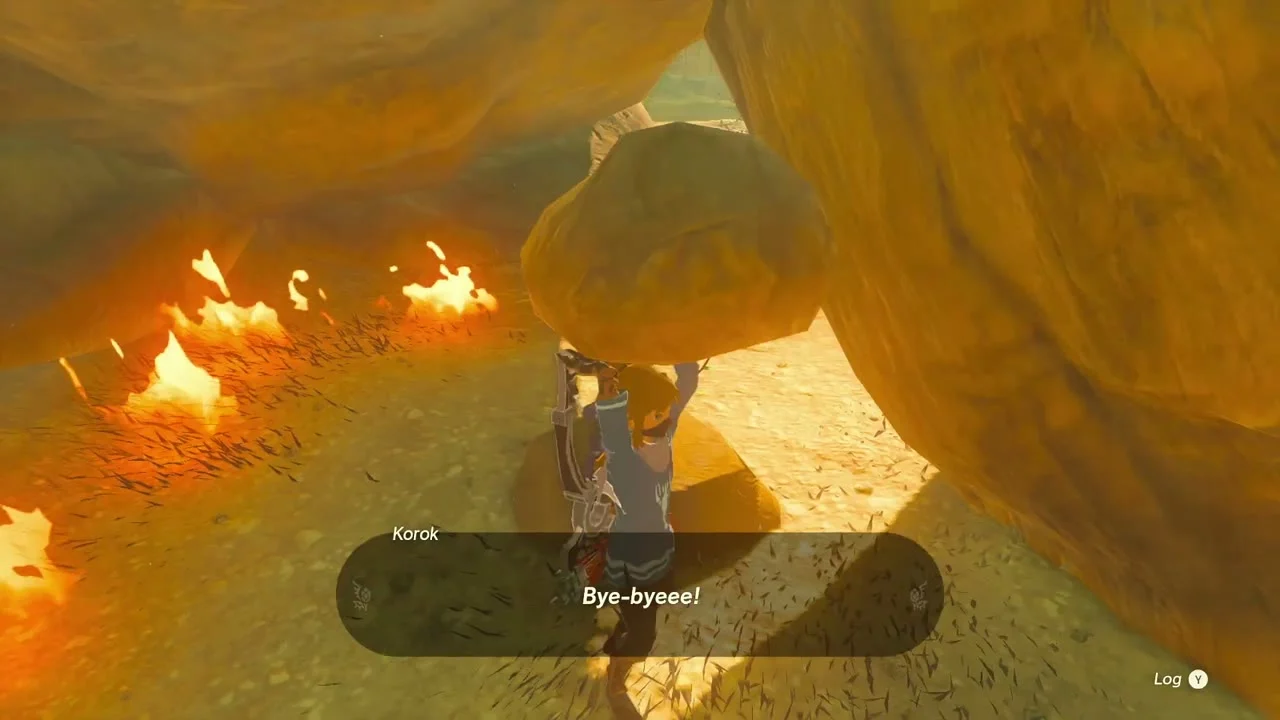
Place the boulder on the tree stand
Korok seed (Place the boulder on the tree stand) at (-2243, -2212, 259). Lift the nearby boulder with Ultrahand and set it on the stump.

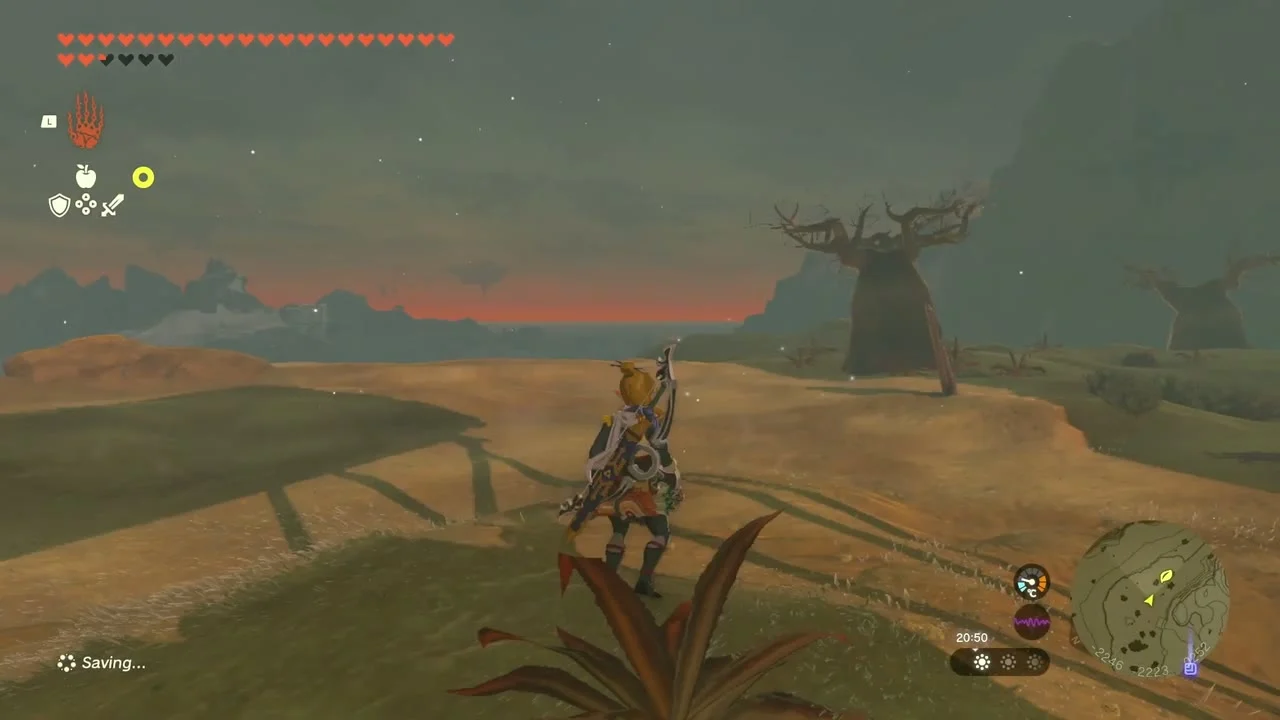
Break the acorn pot under the overhang
Korok seed (Break the acorn pot) at (-2011, -2469, 222), under a hanging chain and rock. Hit the pot to make the Korok appear.
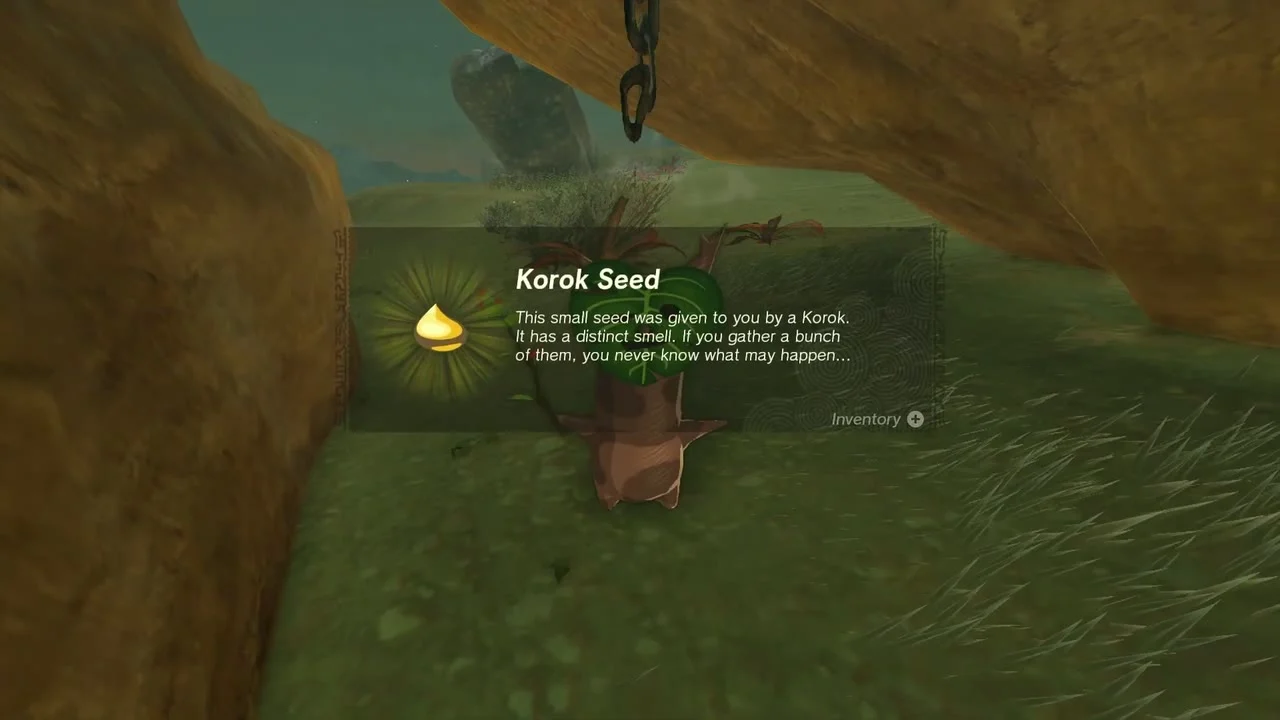
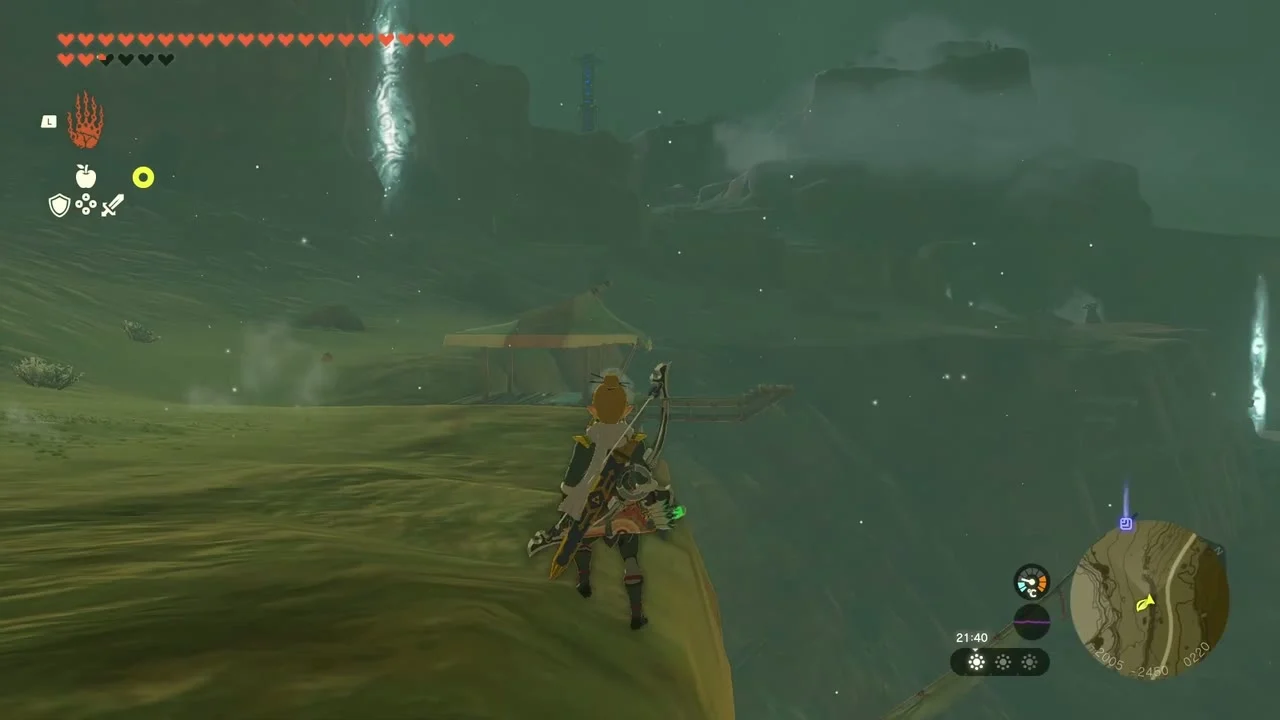
Explore Spectacle Rock Cave
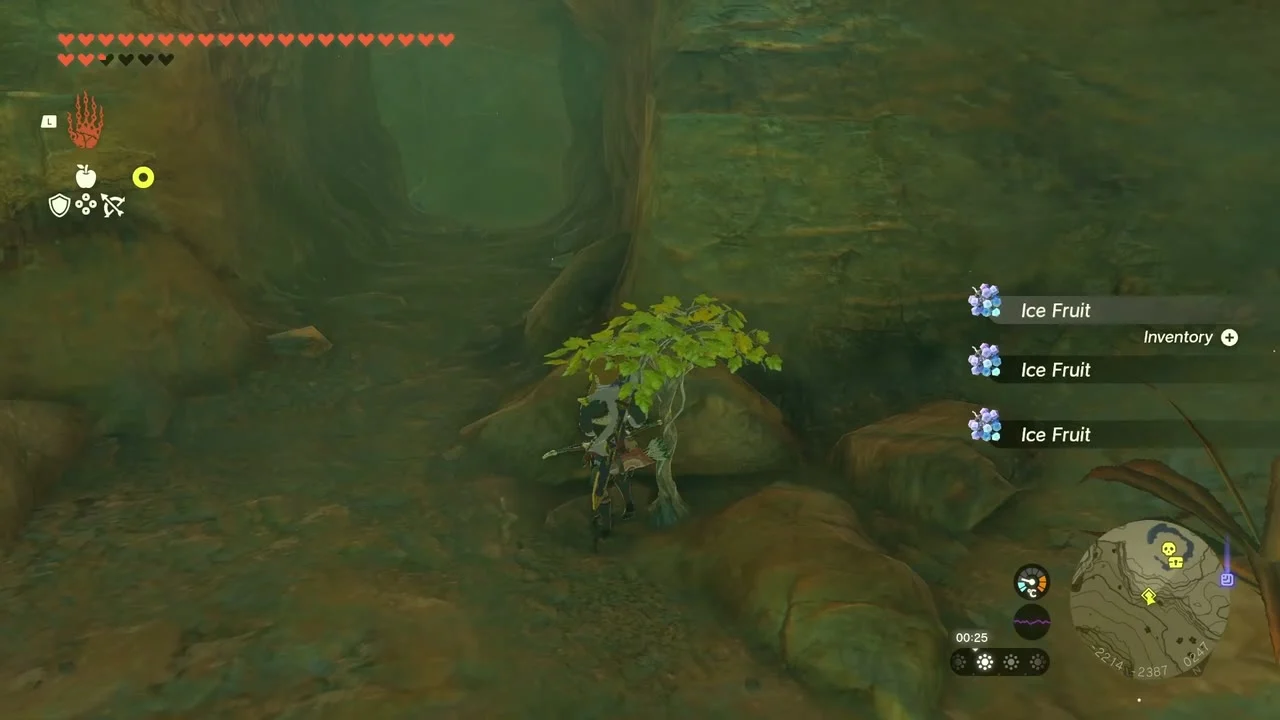
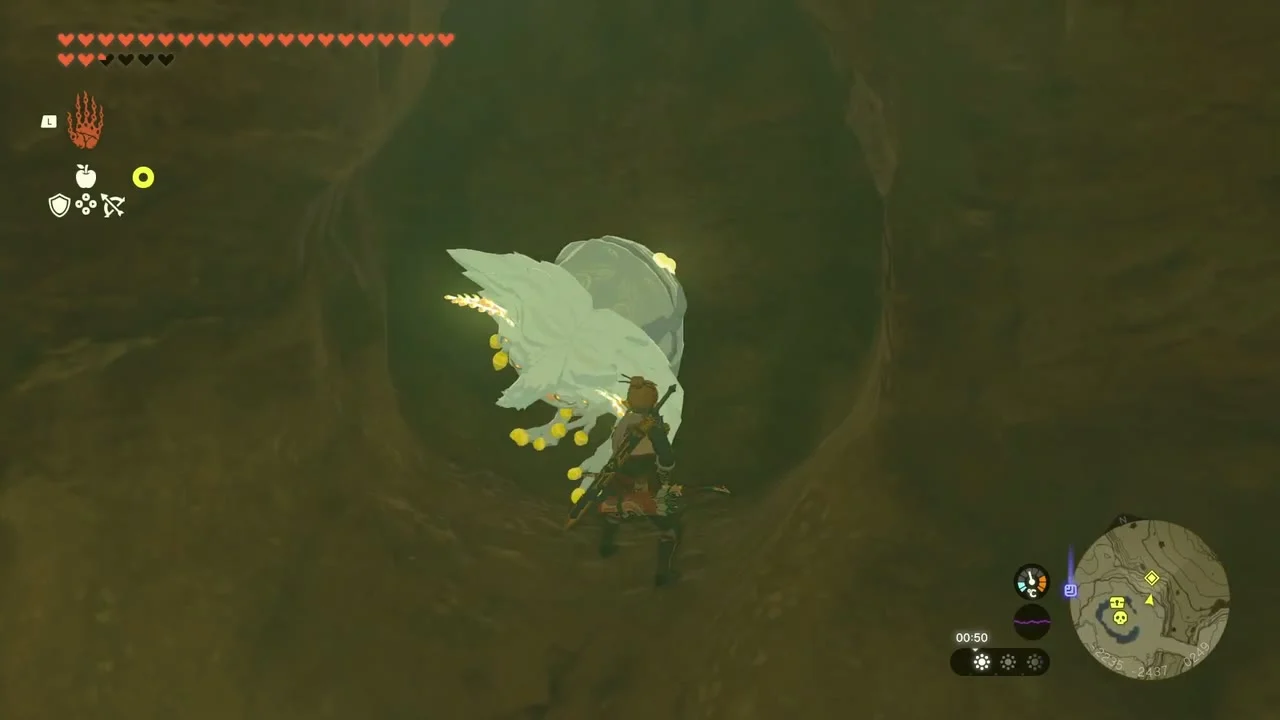
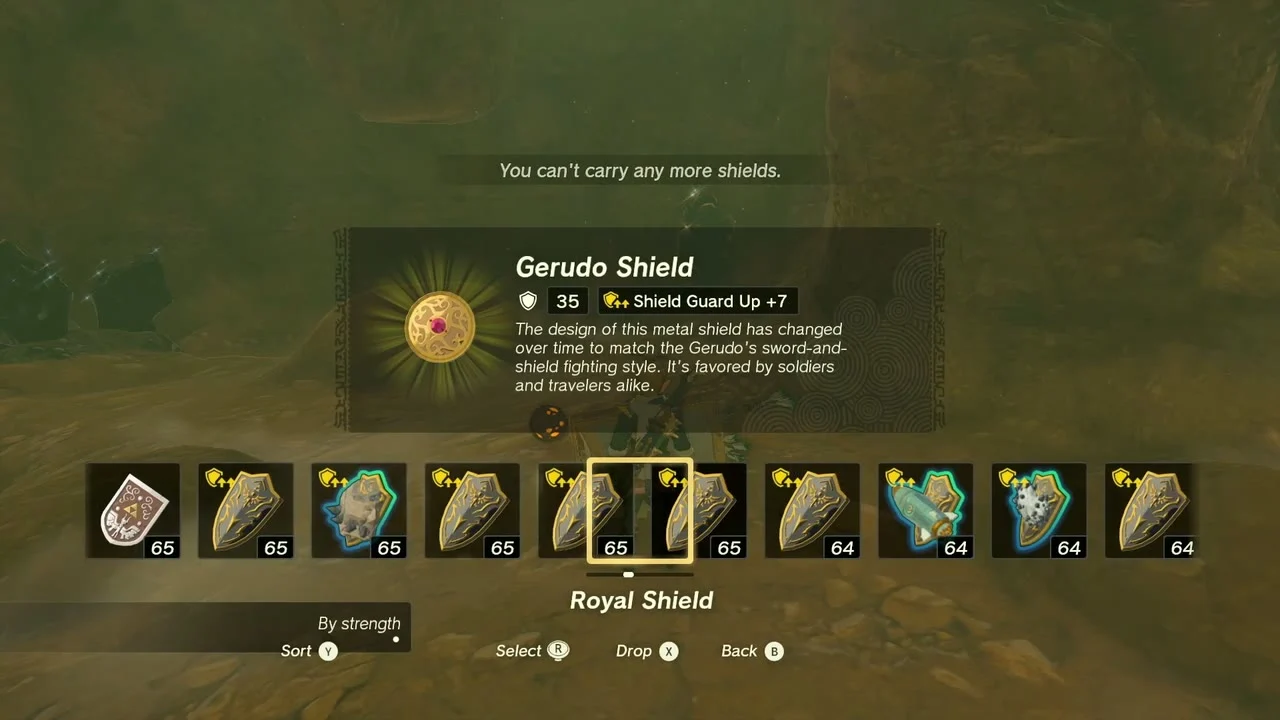
Cave: Spectacle Rock Cave at (-2215, -2395, 247), on top of Spectacle Rock. Pick the Ice Fruit in the first chamber, take the Bubbul Gem from the Bubbulfrog and open the side chest for a Gerudo Shield.
Defeat the Stone Talus and the Flame Gleeok
Miniboss: Stone Talus at (-2301, -2462, 358) on the rock top. Miniboss: Flame Gleeok at (-2125, -2637, 396), circling Spectacle Rock: shoot its heads with Ice Fruit arrows. Keep its Gleeok Guts for Malena’s quest.
Examine where the arrows point
Korok seed (Examine where the arrows point to) at (-2620, -2198, 67). Glide down to the canyon floor and look at the spot the stone arrows point at.

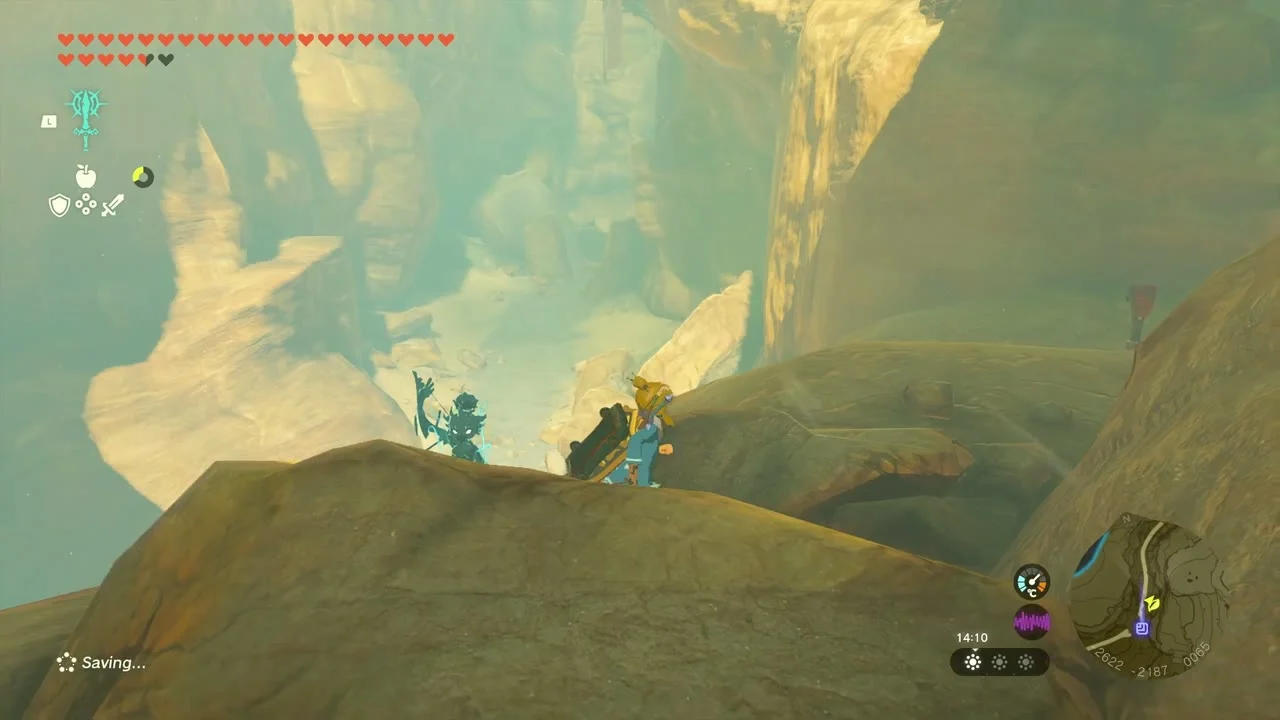
Turakamik Shrine: Hidden Metal (Puzzle)
Turakamik Shrine at (-2657, -2237, 81), on the ridge above Gerudo Canyon Stable. Trial Hidden Metal, type Puzzle; the Kimakarut Lightroot is directly below at (-2656, -2237, -509). Use Ultrahand to join metal balls and electrify the gears.
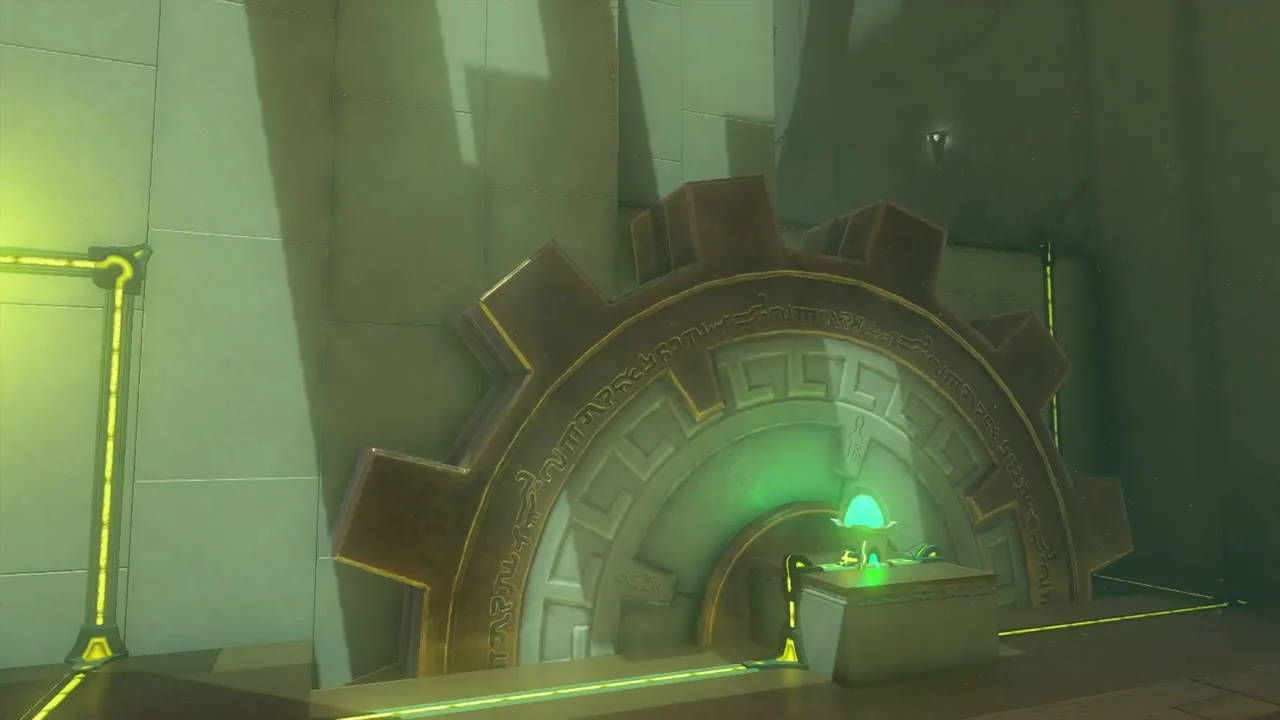
Connect the metal balls to power the cog
Pick up the charged metal ball at the first cog, join it to a second ball with Ultrahand and fuse them so electricity travels down to the gear and turns it.
Swing the chained balls together
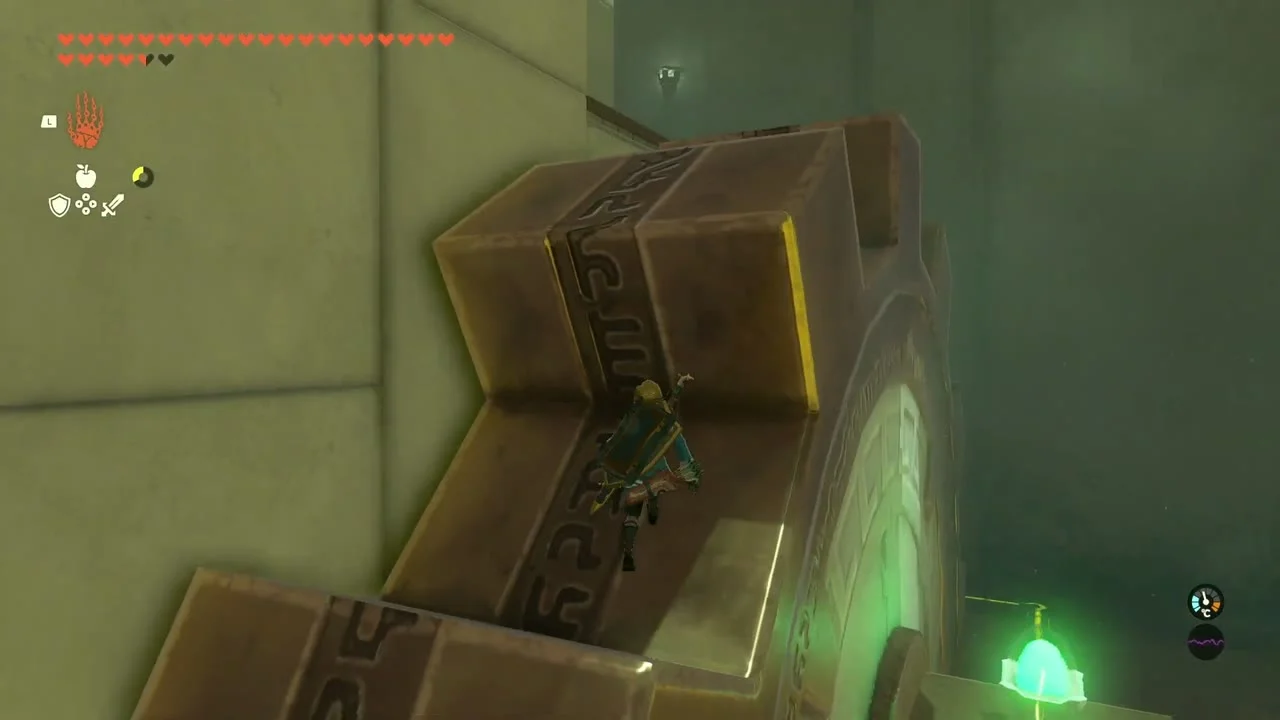
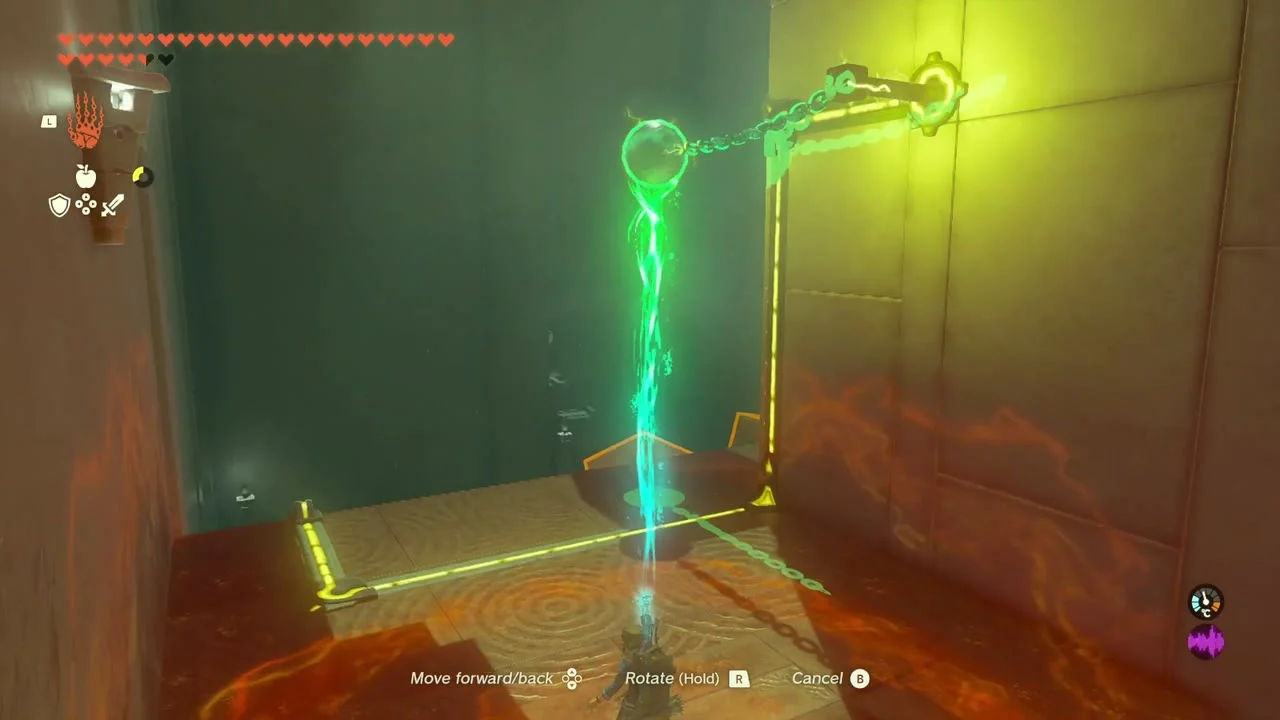
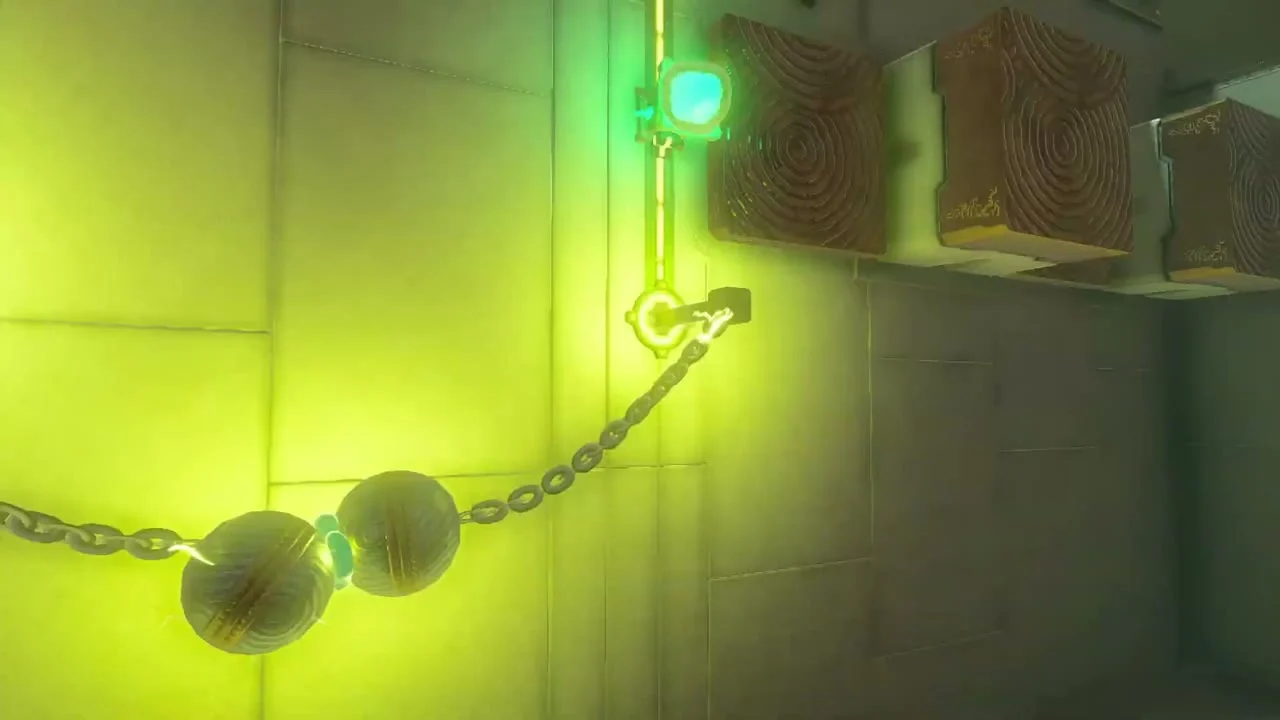
In the second room two balls hang from short chains. Swing one with Ultrahand, then connect it to the other so the current runs through the wall; platforms extend and let you Ascend.
Take the chest above the cog
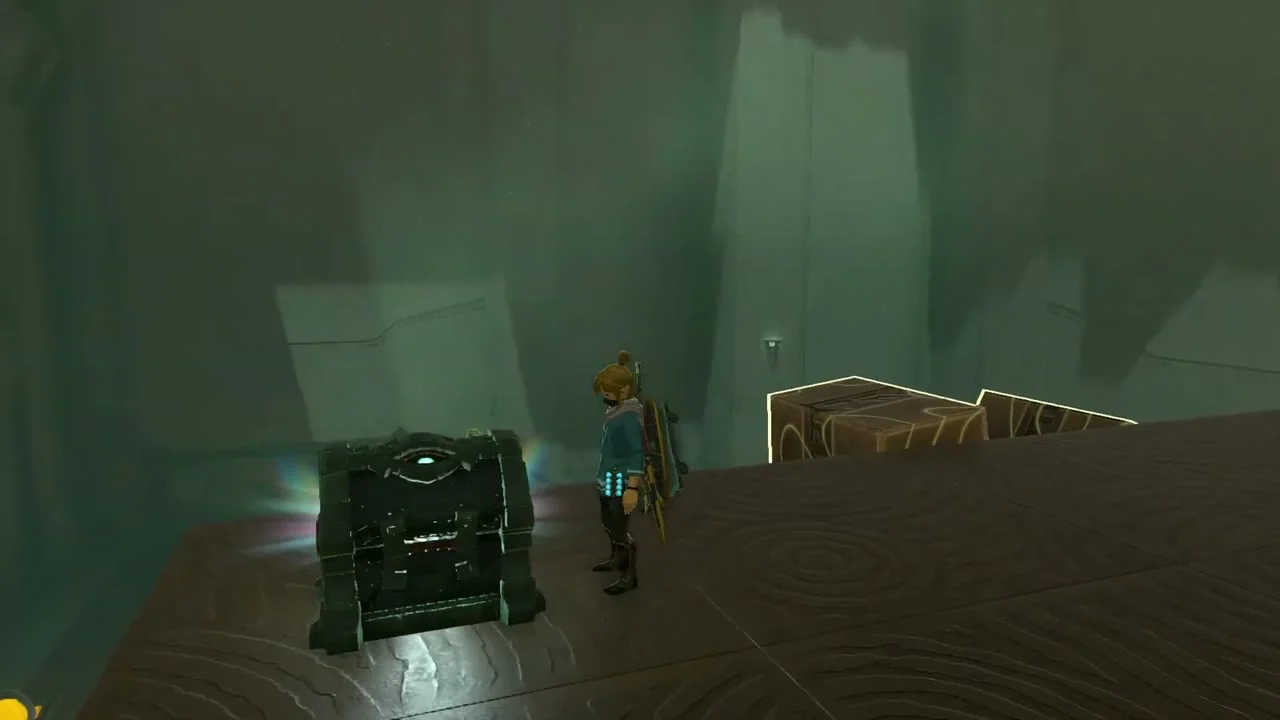
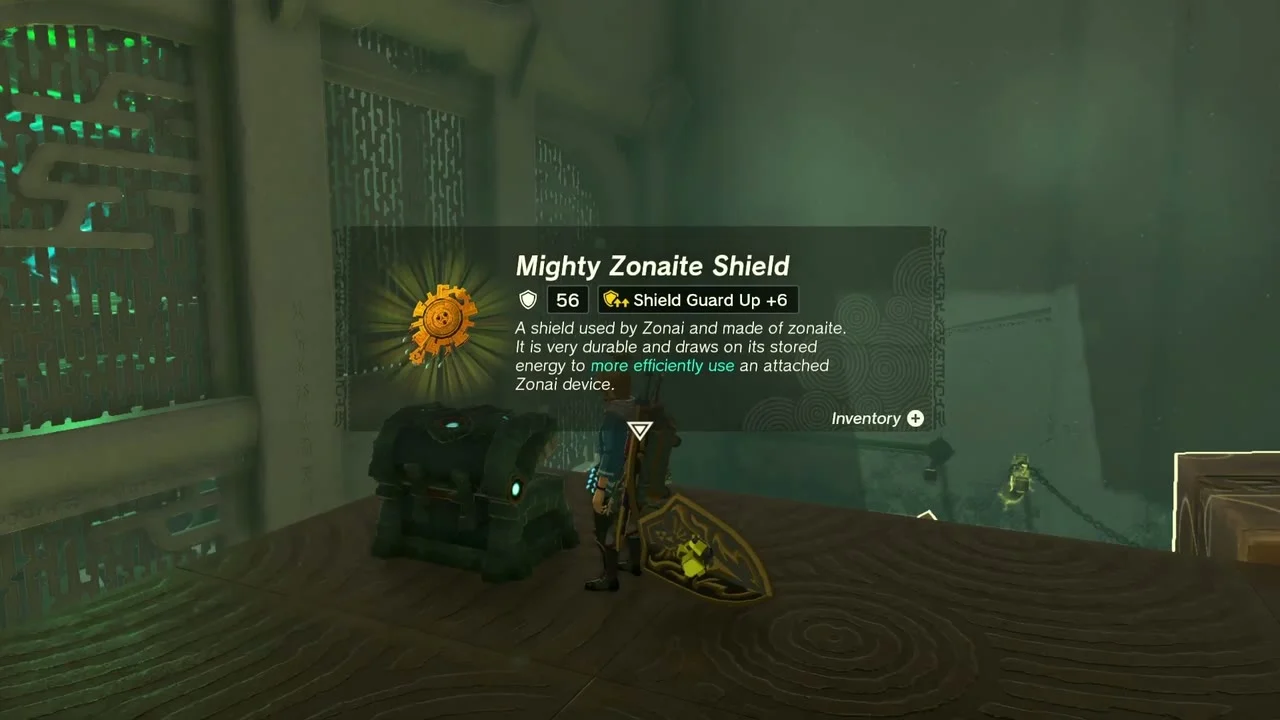
Use Recall on the large cog to lift it, climb on and wrap the chain around the nearest metal rod to charge it. The chest here holds a Mighty Zonaite Shield (Strong or Mighty, depending on your progress).
Power the final door
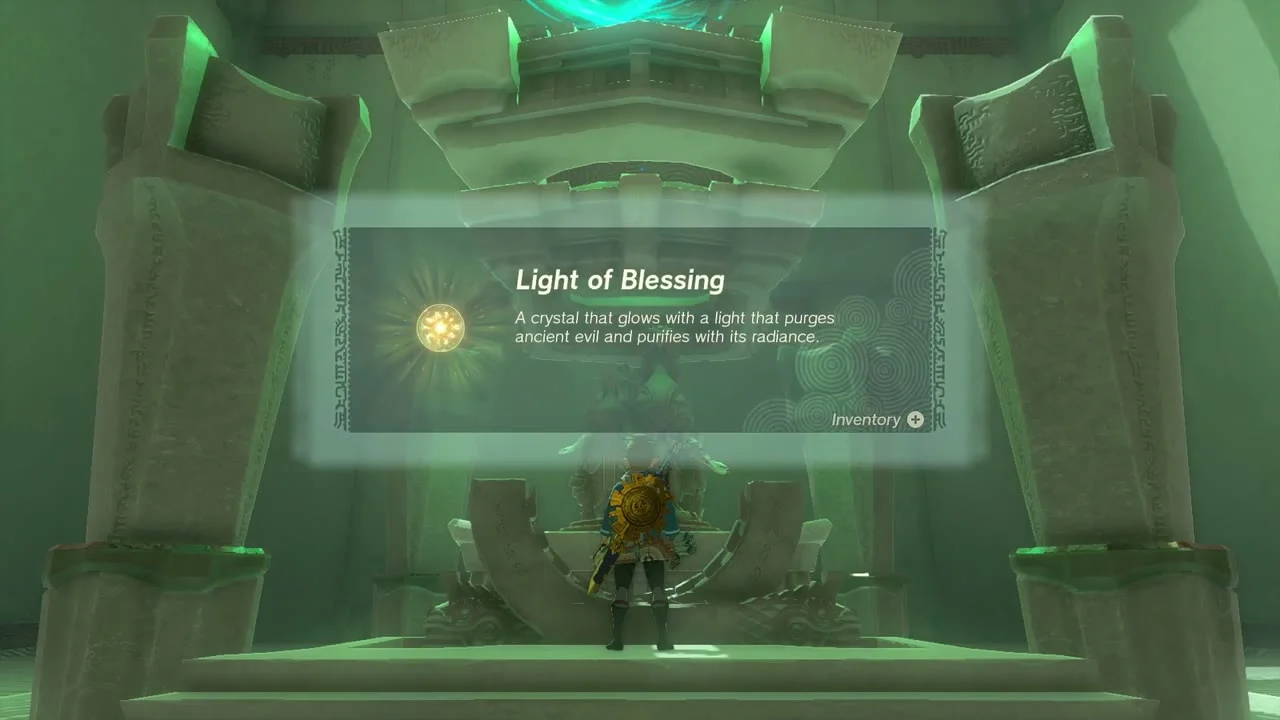
Rest a metal pole across the two rods by the last door so the current reaches it, then take the Light of Blessing.
Gerudo Canyon Stable and Piaffe
Gerudo Canyon Stable sits at (-2777, -2229, 34). Piaffe’s quests are Piaffe, Packed Away (destroy the crates in the stable; the reward is a Pony Point) and the photo quests A Picture for the Closed Stable I and II, covered below. A chest of Giant Brightbloom Seeds x5 sits in the canyon on the way to the stable.
The Blocked Well, Gerudo Canyon Mine and East Gerudo Ruins
Open The Blocked Well
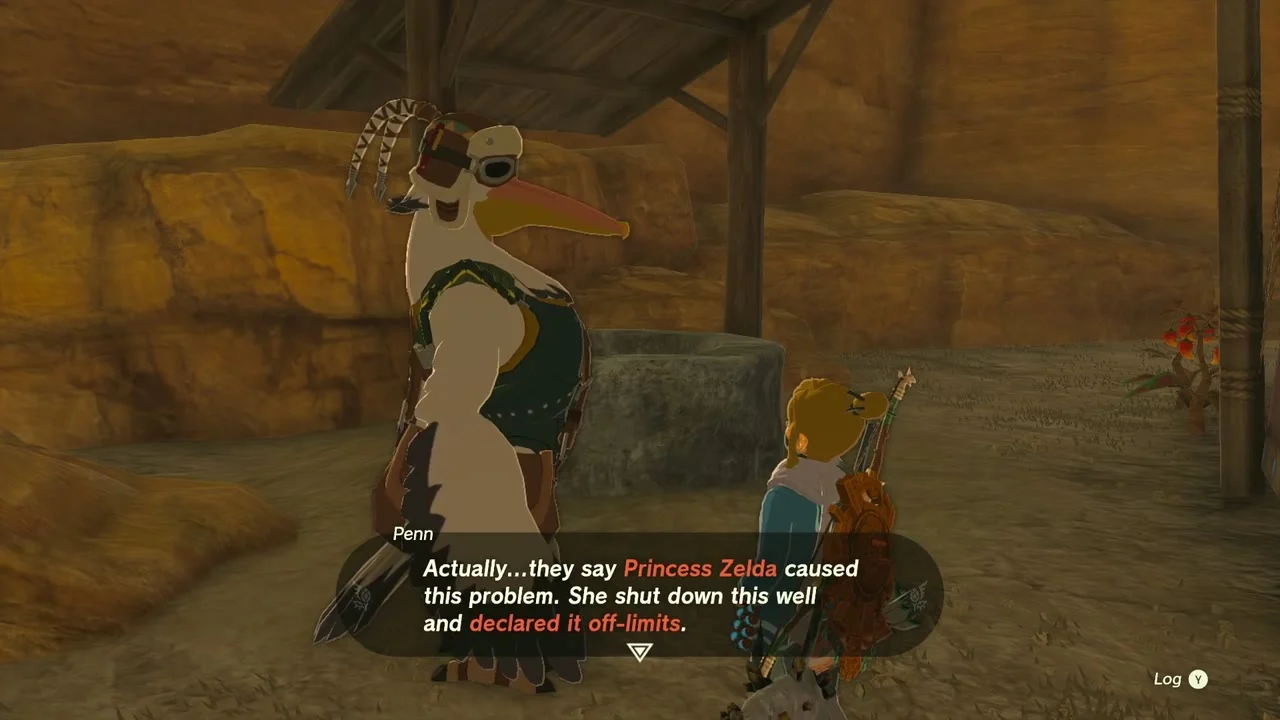
Side adventure: The Blocked Well (Penn, Gerudo Canyon Stable). Drop into the well by the stable, break the rock wall inside and defeat the monsters in the cave beyond. The chest there holds a Gerudo Bow.

Photograph the smiling Spectacle Rock
Side quest: A Picture for the Closed Stable I. Fly above Spectacle Rock, near (-1775, -2092, 1149) over the sky islands, and take a Camera photo from straight overhead (the island of Rakashog Shrine works) so the rock looks like a grin. Show Piaffe. For part II, photograph the Forgotten Sword in the Gerudo Highlands.
Deliver Gleeok Guts to Malena
Side quest: Gleeok Guts (Malena, Gerudo Canyon). Bring her one Gleeok Guts from a Gleeok (King Gleeok always drops it); she pays a Gold Rupee.
Collect the south-canyon Koroks
Korok seeds at (-2261, -2341, 292) (Reach the target ring within the time limit), (-2712, -2355, 129) (Break the acorn pot), (-2936, -2214, 208) (Follow the flower) and (-2820, -2831, 68) (Reach the target ring within the time limit). For follow-the-flower, trail the blossom to the Korok; for the rings, start the timer and glide straight to the ring.
Search Gerudo Canyon Mine
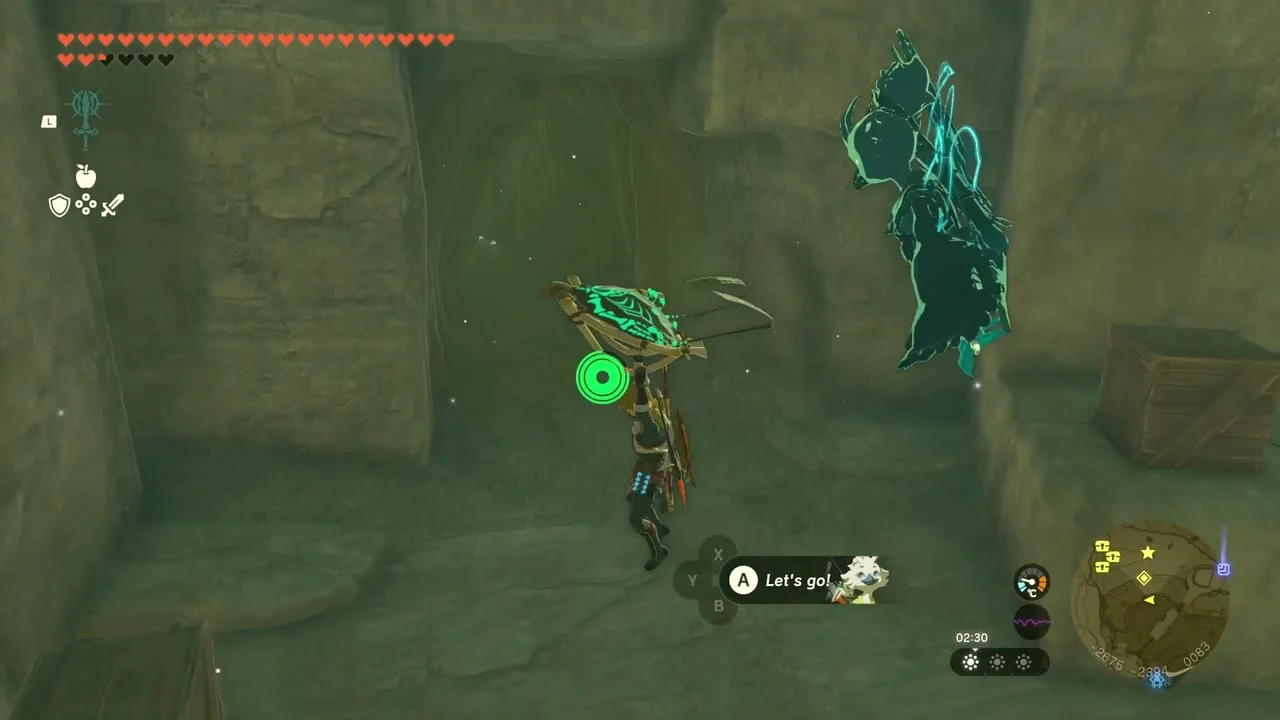
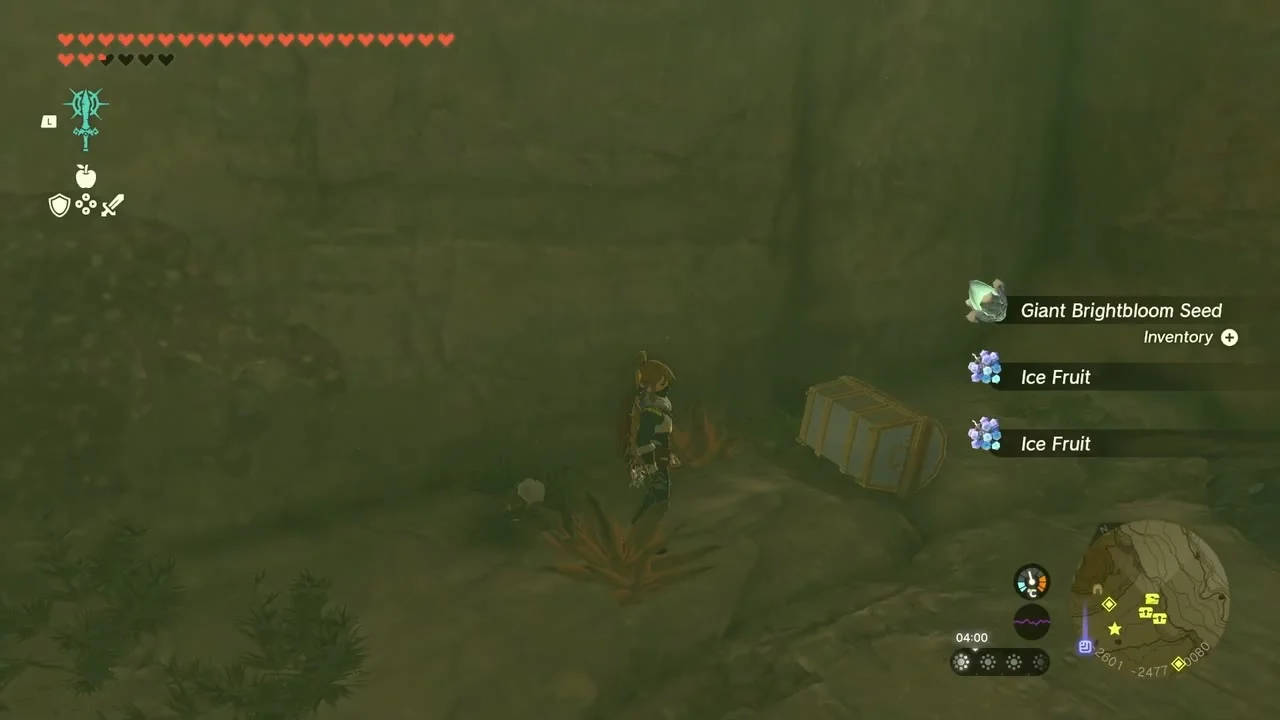
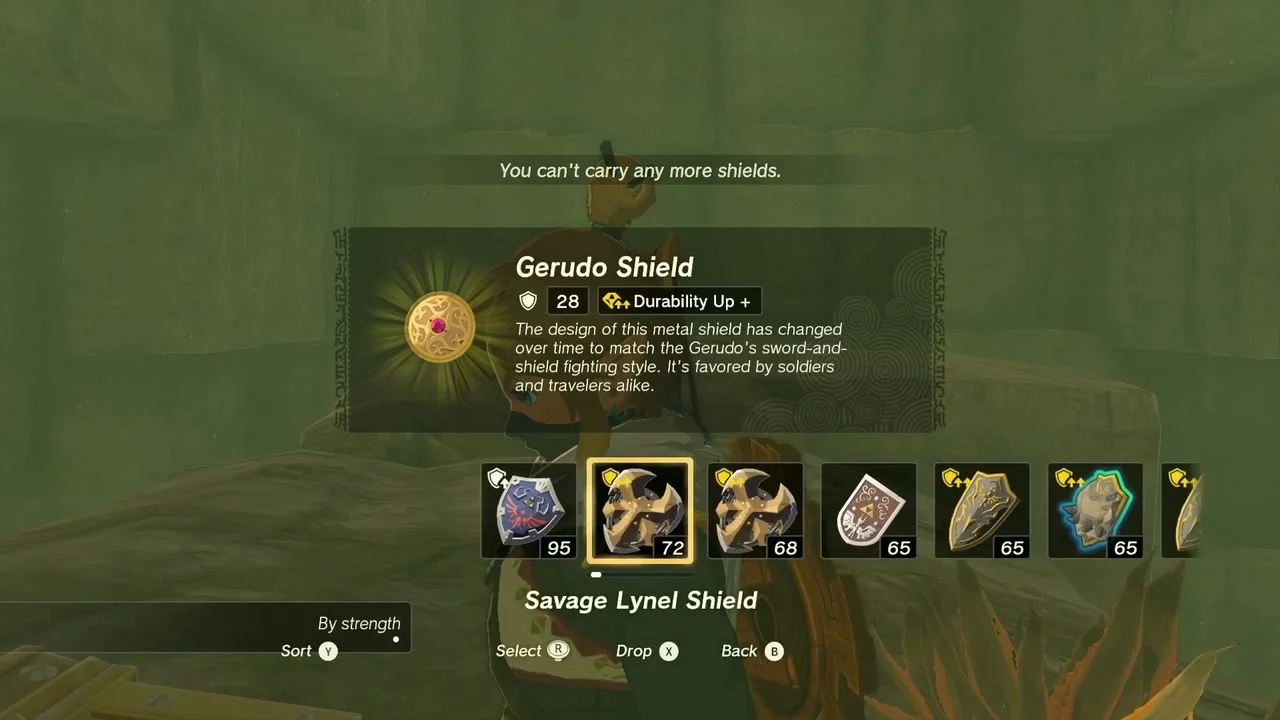
Cave: Gerudo Canyon Mine at (-2611, -2604, 112) and (-2676, -2402, 79). A Blue Boss Bokoblin patrols the mine, and an Ice Like guards a high ledge with a chest of Bomb Flowers. Loot the mine for a Giant Brightbloom Seed and Ice Fruit near the crates, Rock Salt, a Gerudo Shield chest (twice), a Gerudo Scimitar and the Bubbul Gem from the Bubbulfrog near (-2623, -2445, 116).

Open the plank chest above the sand
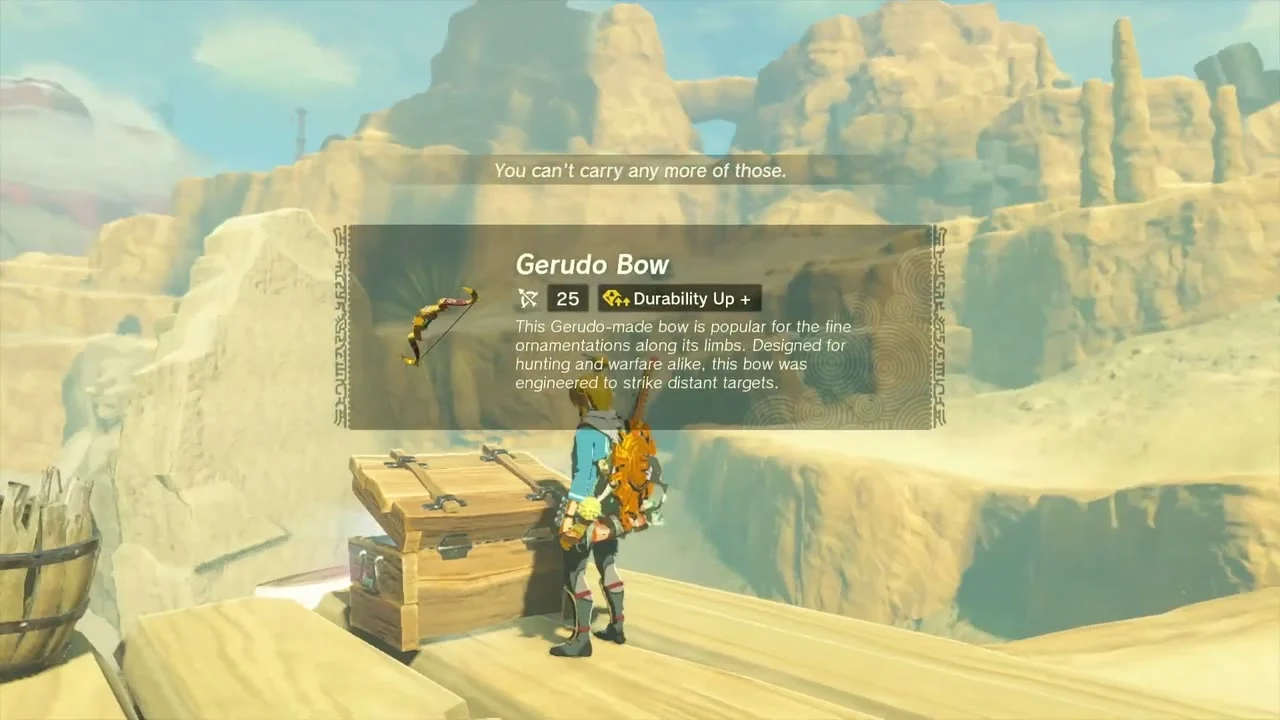
Chest: Gerudo Bow at (-2787, -2827, 29), on a wooden platform at the edge of the sand. Glide to it and open it for a Gerudo Bow.

Photograph the sand vortex
Take a picture of the quicksand sinkhole in the desert for Kula in Whirly Swirly Things; Kula waits by Musanokir Shrine.
Explore East Gerudo Ruins Cave
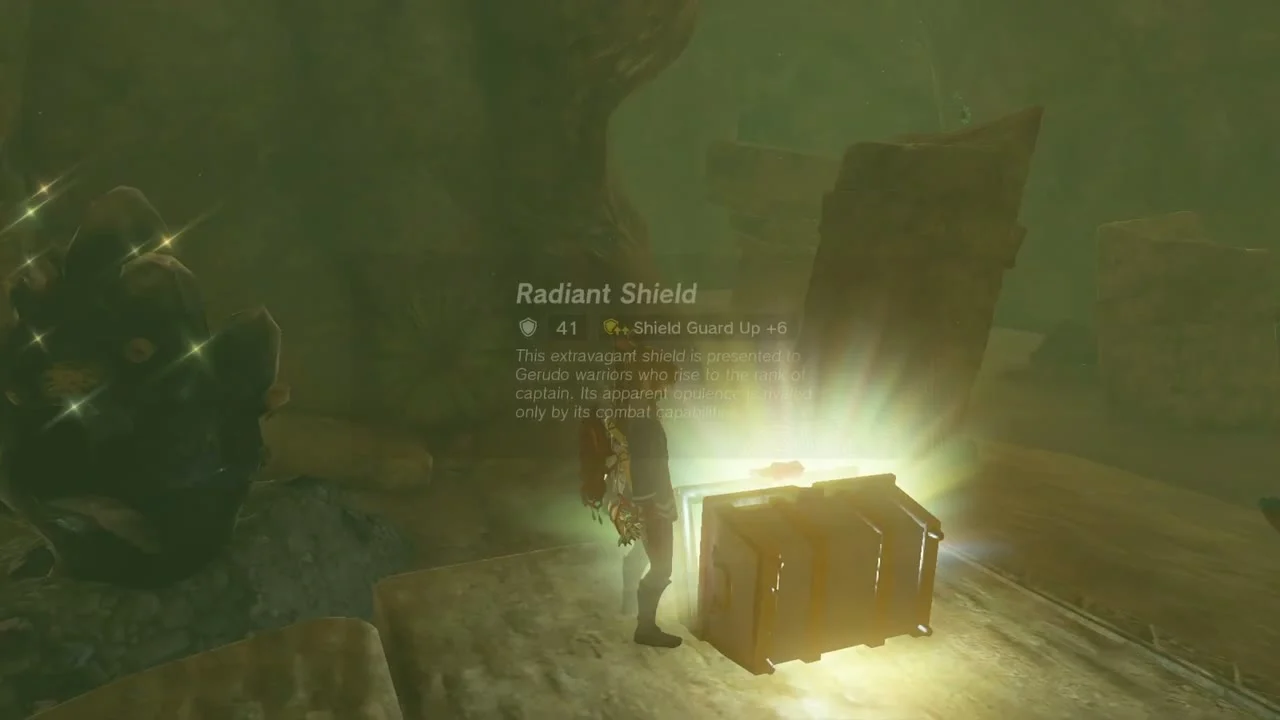
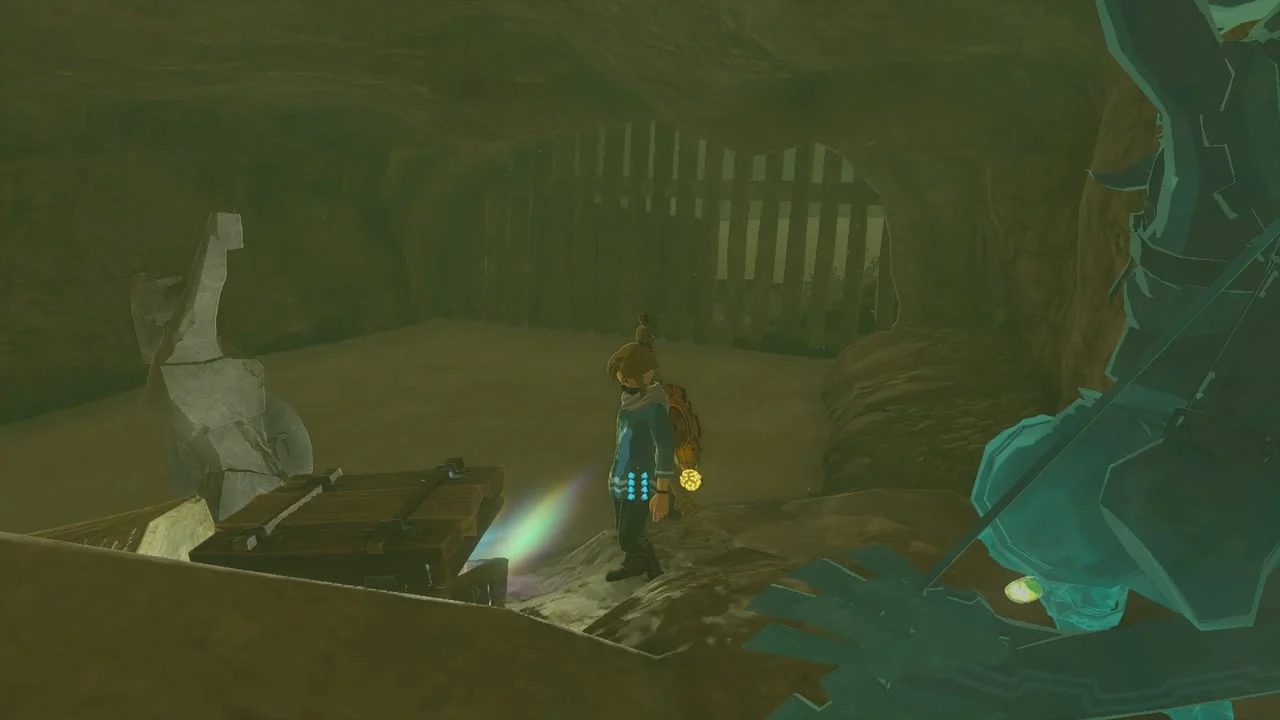
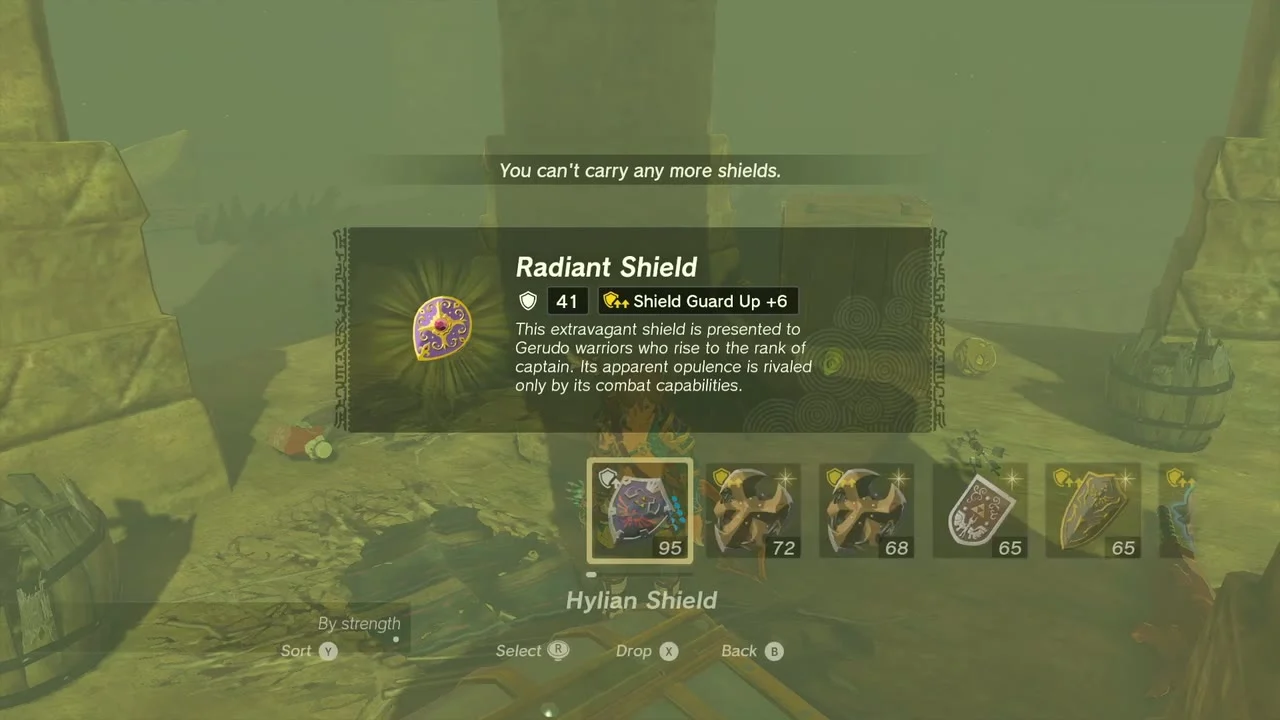
Cave: East Gerudo Ruins Cave at (-2696, -2808, -67). Light the cave with Brightbloom Seeds; the chest at (-2654, -2863, 56) holds a Radiant Shield, and there is a Topaz chest further on plus a Bubbul Gem near (-2715, -2863, -48).
Kara Kara Bazaar, Oasis Source and the road to Gerudo Town
Bring the tired Korok to its friend
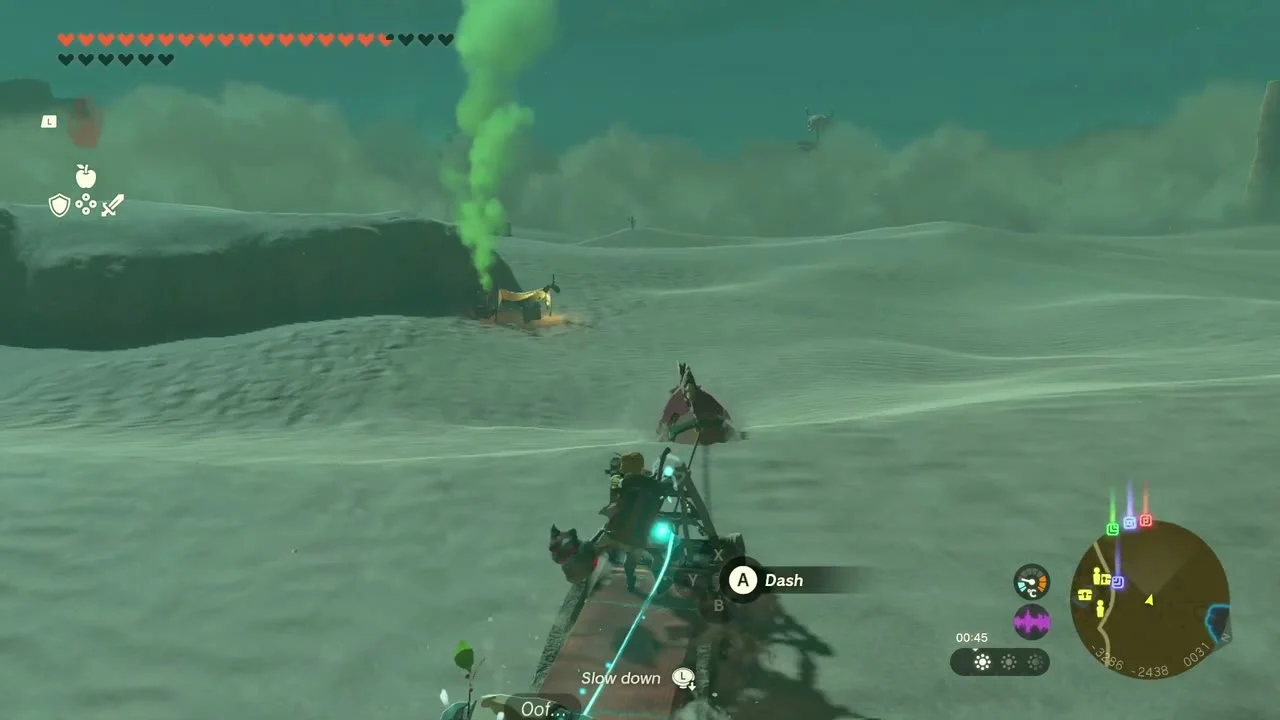
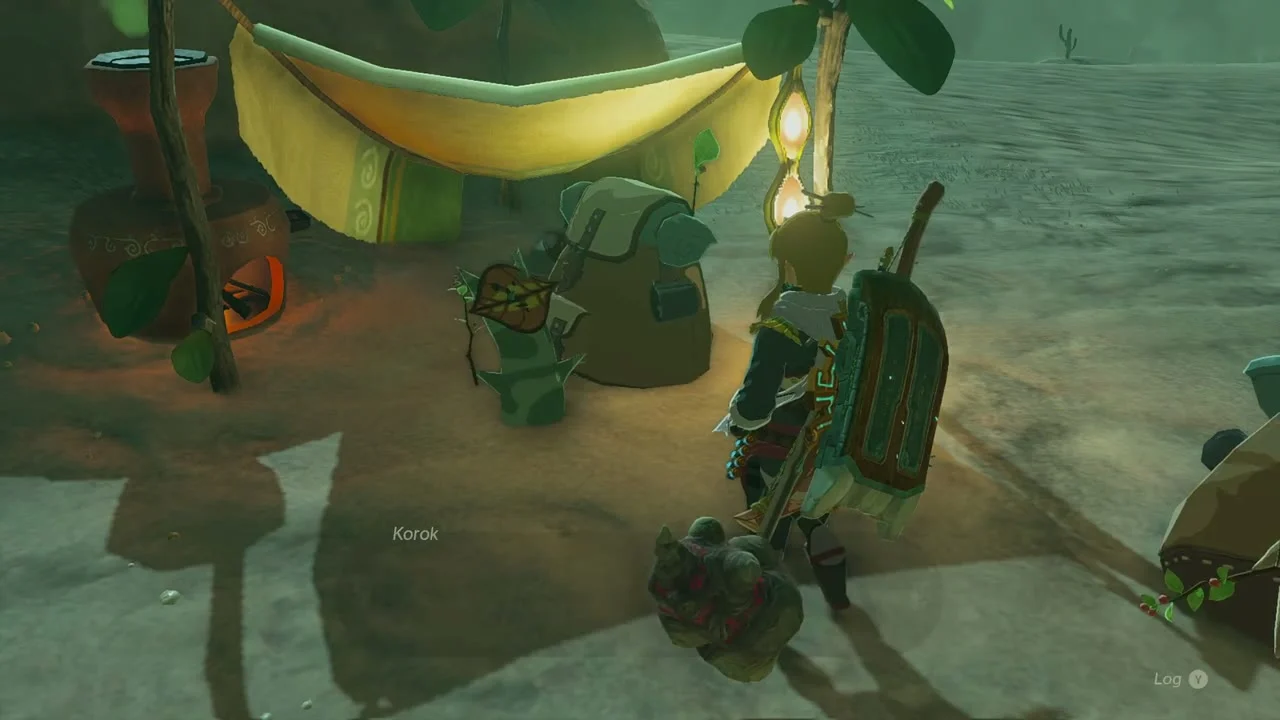
Korok seed (Bring the exhausted Korok to its friend) at (-3316, -2461, 29). Load the Korok on a sand sled and follow the green smoke to its friend’s camp.
Mayatat Shrine: A Sliding Device (Puzzle)
Mayatat Shrine at (-3290, -2512, 37), near Kara Kara Bazaar. Trial A Sliding Device, type Puzzle; the Tatayam Lightroot is directly below at (-3291, -2511, -496). You build a fan-powered sled to cross the sand.
Build the fan sled
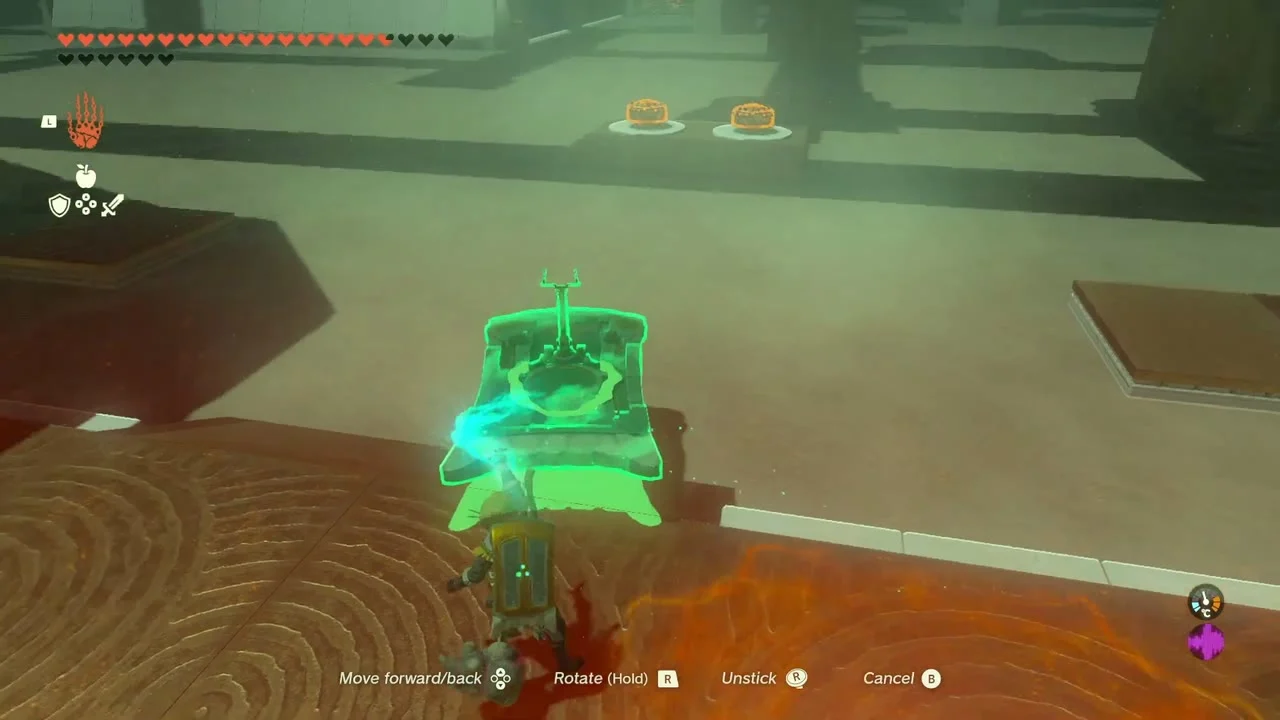
Ride a sled down the slope and use Rewind to get back up, then use Ultrahand to attach the Steering Stick to a sled and a Fan to its back, so the fan points backward.

Drive across the sand
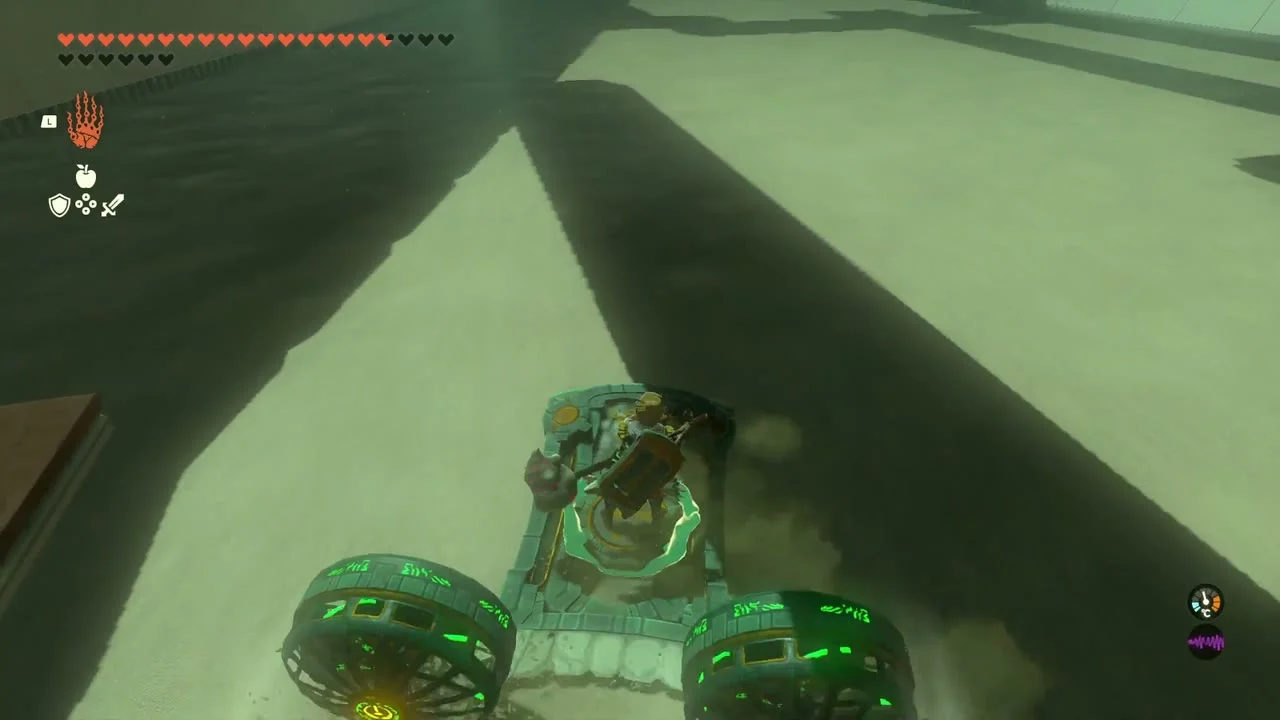
Activate the fans and steer the sled across the sand to the ledge on the far side.
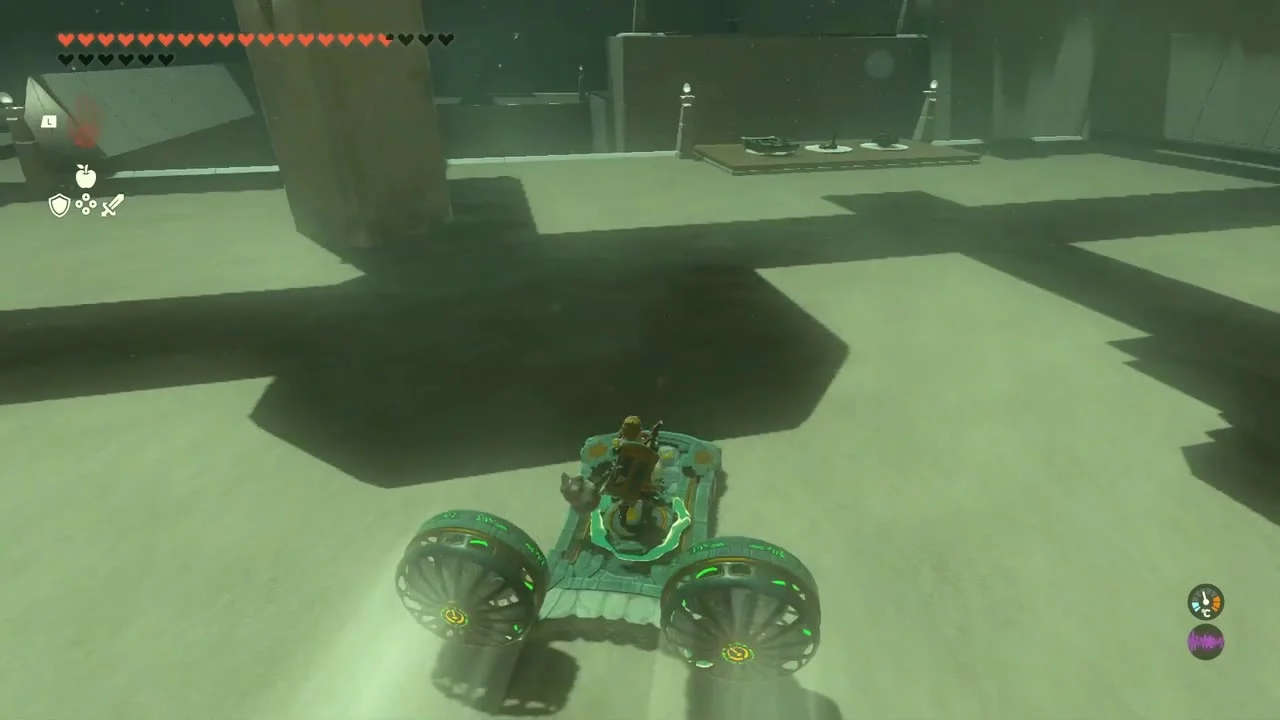
Take the arrow chest
Follow the back-left path to the chest, which holds Arrow x10.
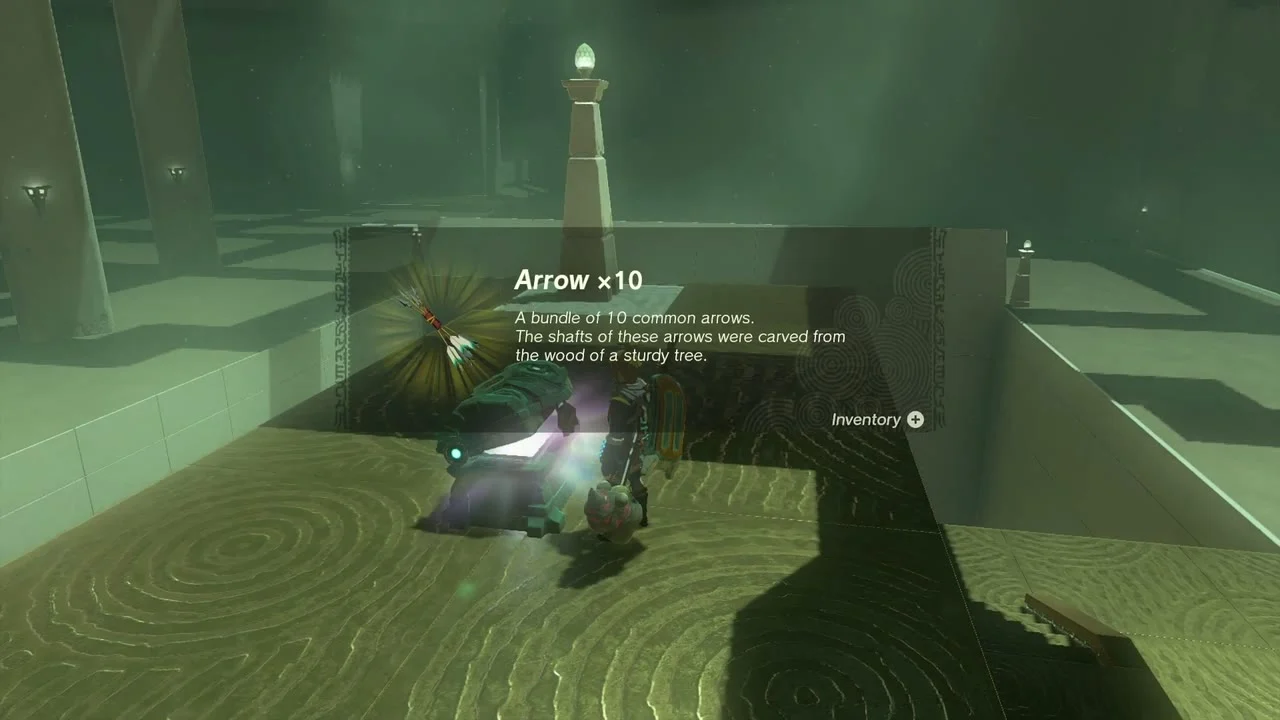
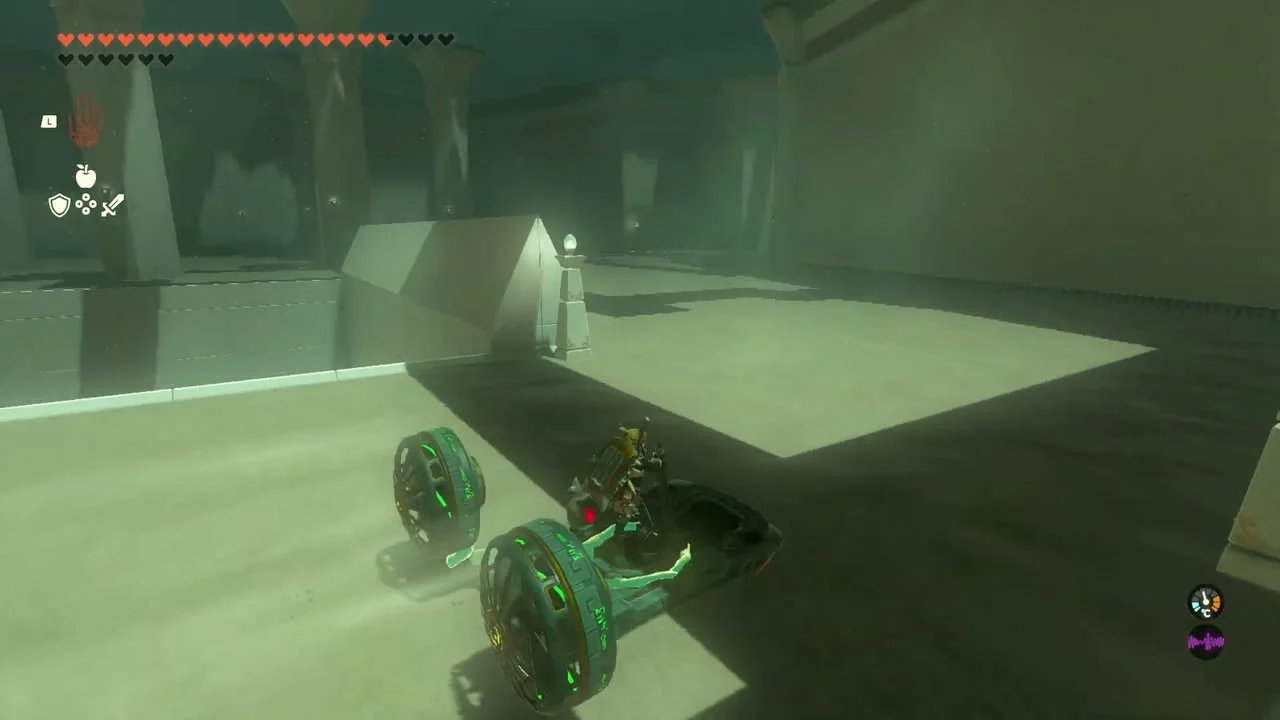
Claim the Light of Blessing
Take the Light of Blessing at the altar in the back right of the room.
Buy the Desert Voe Headband
The market stalls of Kara Kara Bazaar around (-3219, -2512) sell the Desert Voe Headband (450 rupees at Saula’s Armor Shop), the first piece of the Desert Voe set that protects against the heat. The Spaulder and Trousers are sold in Gerudo Town once the Lightning Temple is cleared.
Enter Oasis Source
Cave: Oasis Source at (-3354, -2693, -4), reached through Kara Kara Bazaar Well. Follow the passage down, take the Bubbul Gem from the Bubbulfrog and open the chest for a Radiant Shield.
Show Boraa a ruby weapon
Side quest: Decorate with Passion (Boraa, Kara Kara Bazaar). Fuse a ruby to a weapon and show it to her.
Climb the tower for the sparkling spot
Korok seed (Go up to examine the sparking spot) at (-3267, -2609, 122). Climb the wooden scaffold, use Ascend to reach the top of the clay silo and examine the glowing spot.
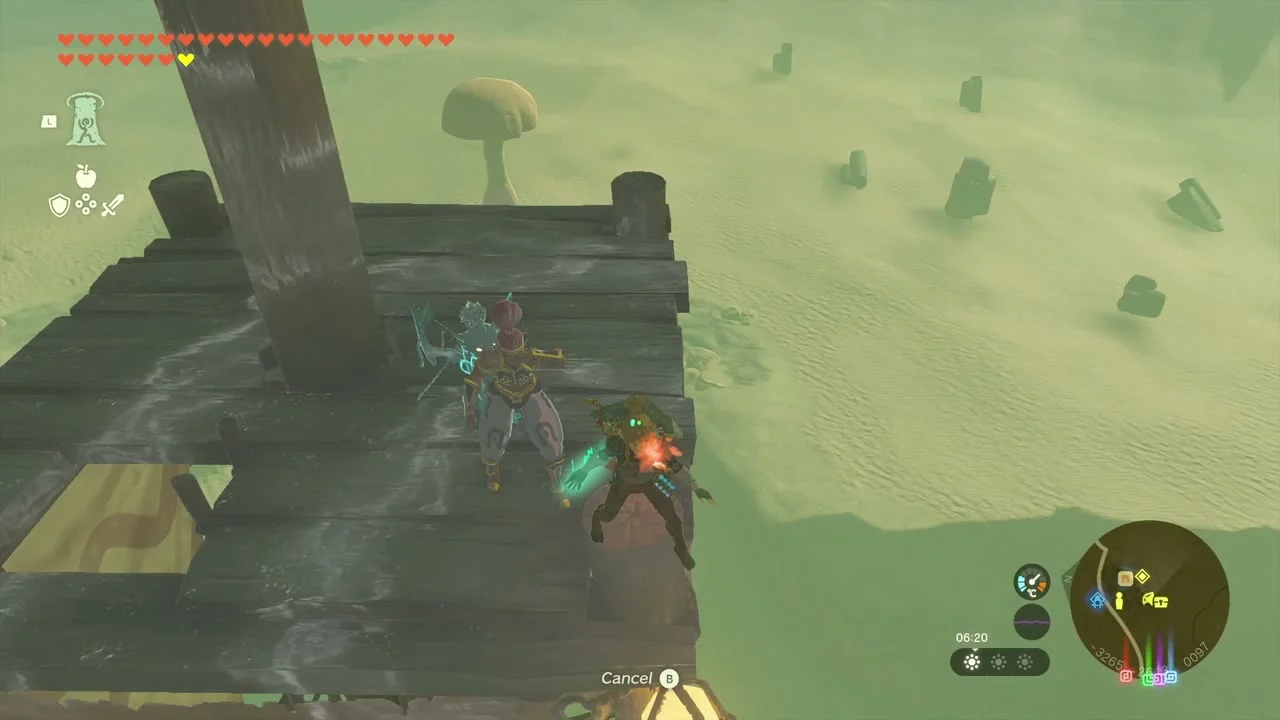

Catch the dandelion
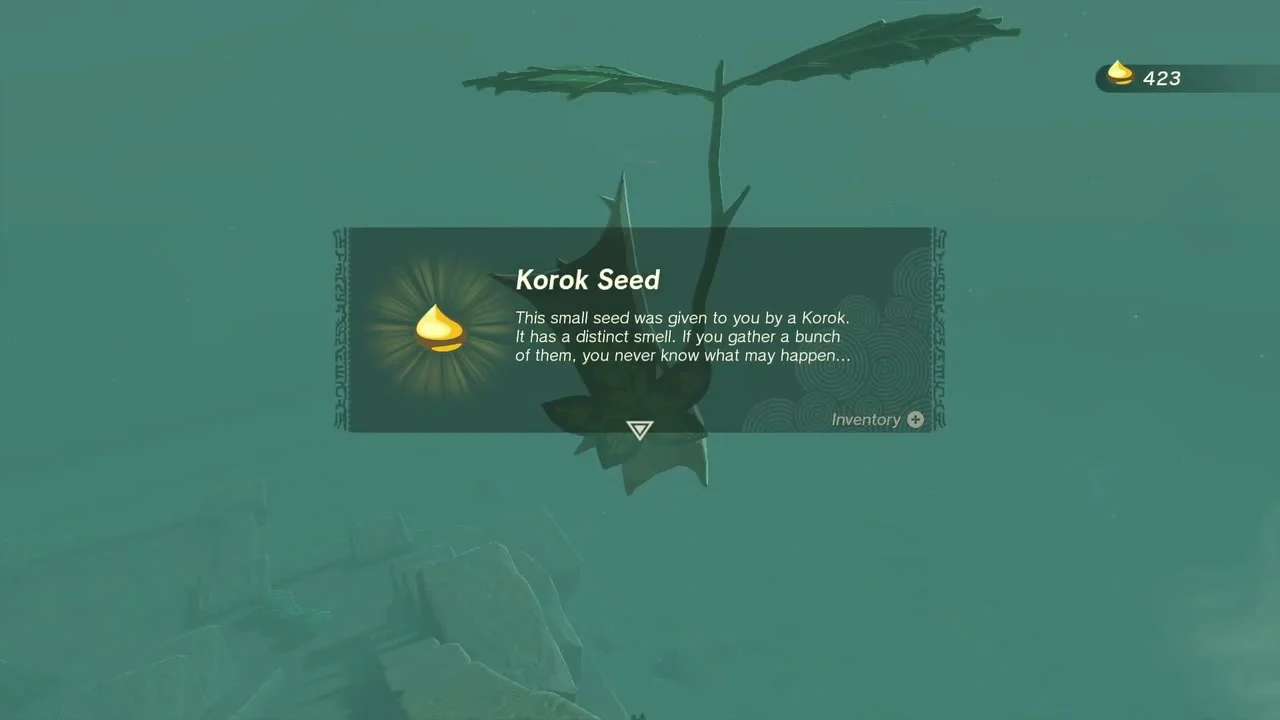
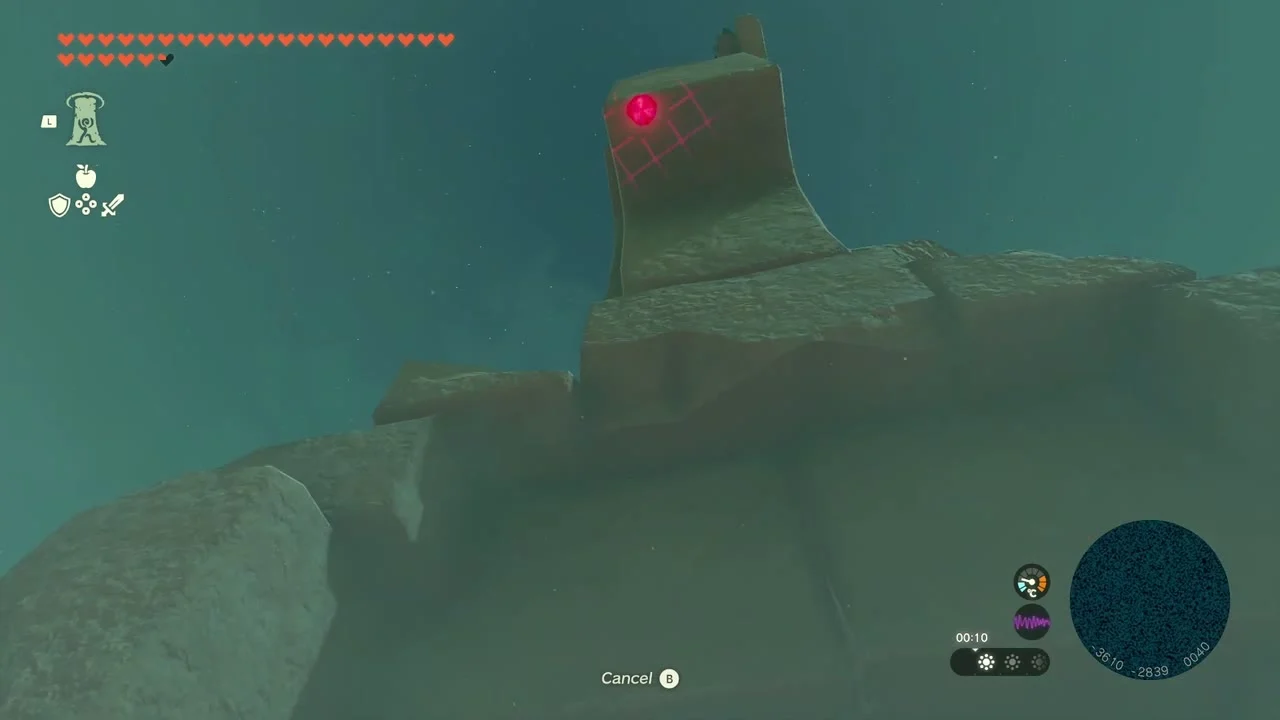
Korok seed (Attack and catch the dandelion) at (-3610, -2843, 73). Shoot the floating dandelion seed head and grab it before it lands.
Soryotanog Shrine: Buried Light (Puzzle)
Soryotanog Shrine at (-3882, -2962, 136), on the highest point of Gerudo Town. Trial Buried Light, type Puzzle; the Gonatoyros Lightroot is below at (-3882, -2963, -455). You dig out sand with a fan.
Open the first chest for the Small Key
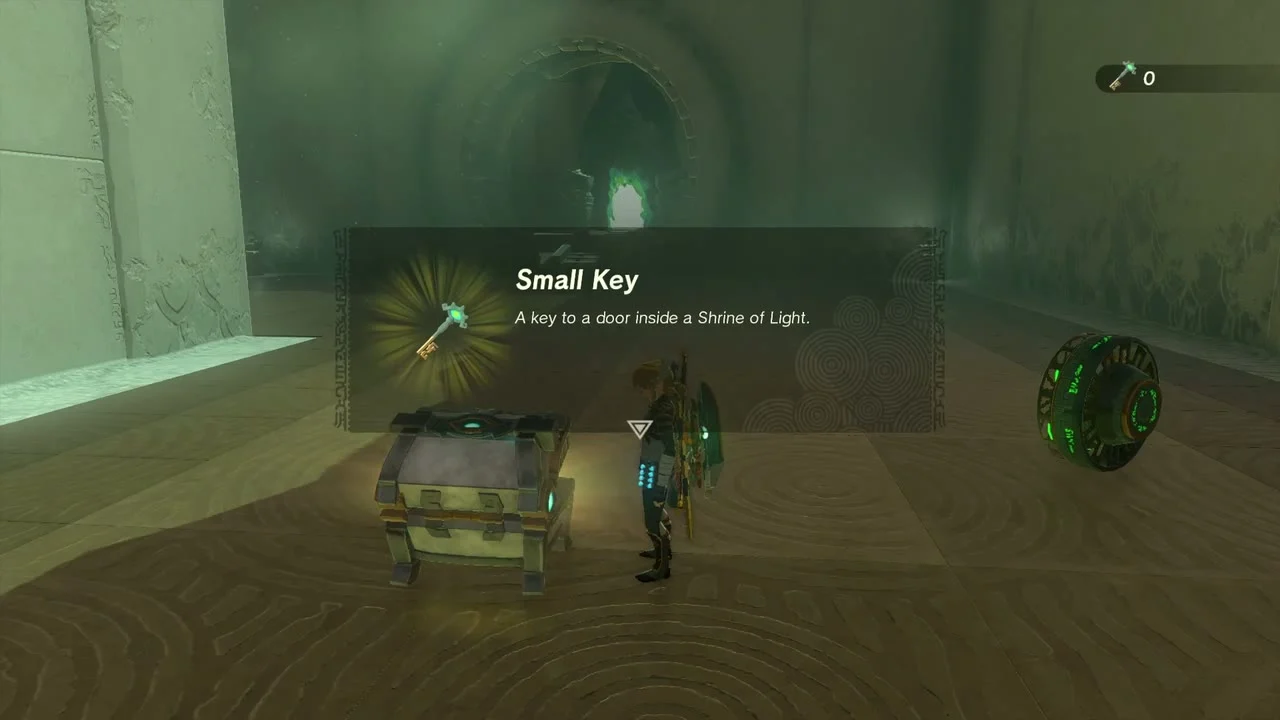
Pull the fan out of the sand with Ultrahand, switch it on and blow the nearest sand pile away. The chest it reveals holds a Small Key for the locked door.

Blow the sand off the gears
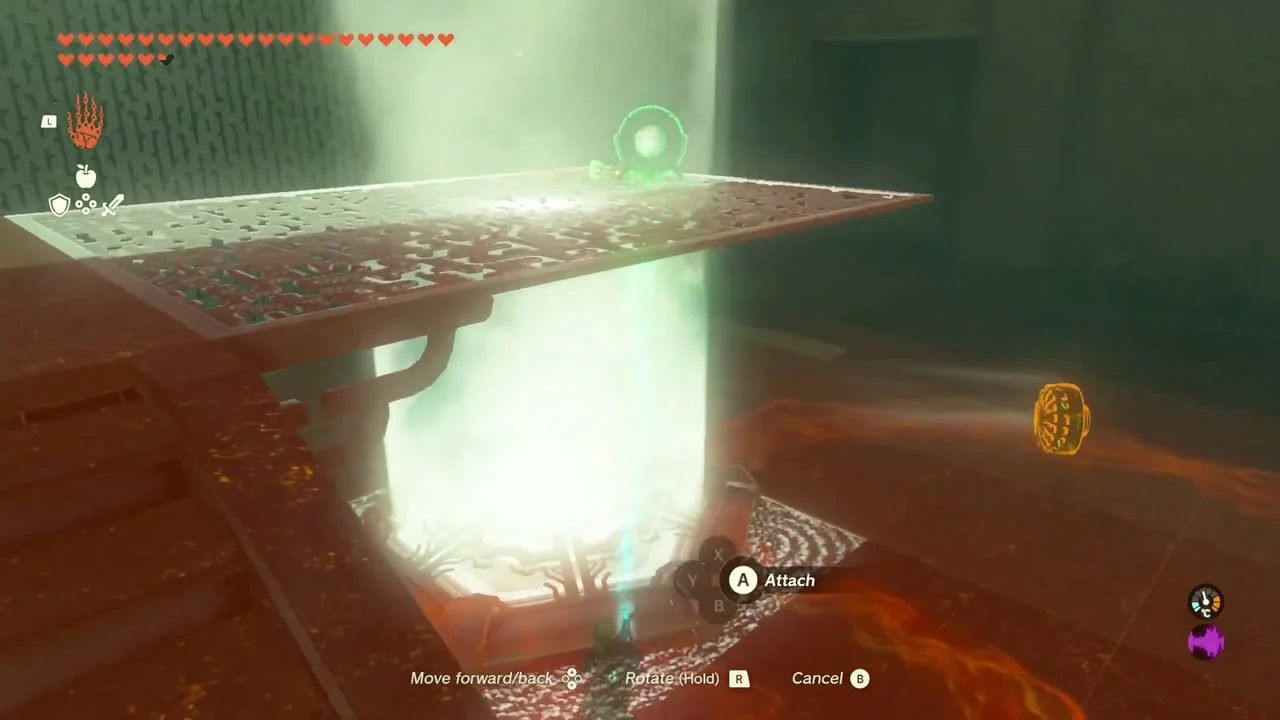
Carry the fan through the door and use it to clear the sand from the large gear and floor plates. A Construct hides in the sand; defeat it for a Fan Guster.


Lift the platform with the fan
Use the fan to reach the upper ledge and open the chest there for Arrow x10.


Claim the Light of Blessing
Bounce the light reflector’s beam on to the hexagonal symbol to open the altar room and take the Light of Blessing.

Take the Gerudo Shield outside
Outside the shrine, a chest at the foot of the rock holds a Gerudo Shield.
Reach the target ring near Gerudo Town
Korok seed (Reach the target ring within the time limit) at (-3934, -2940, 86). Start the timer and glide down to the ring above the sandstone tower.
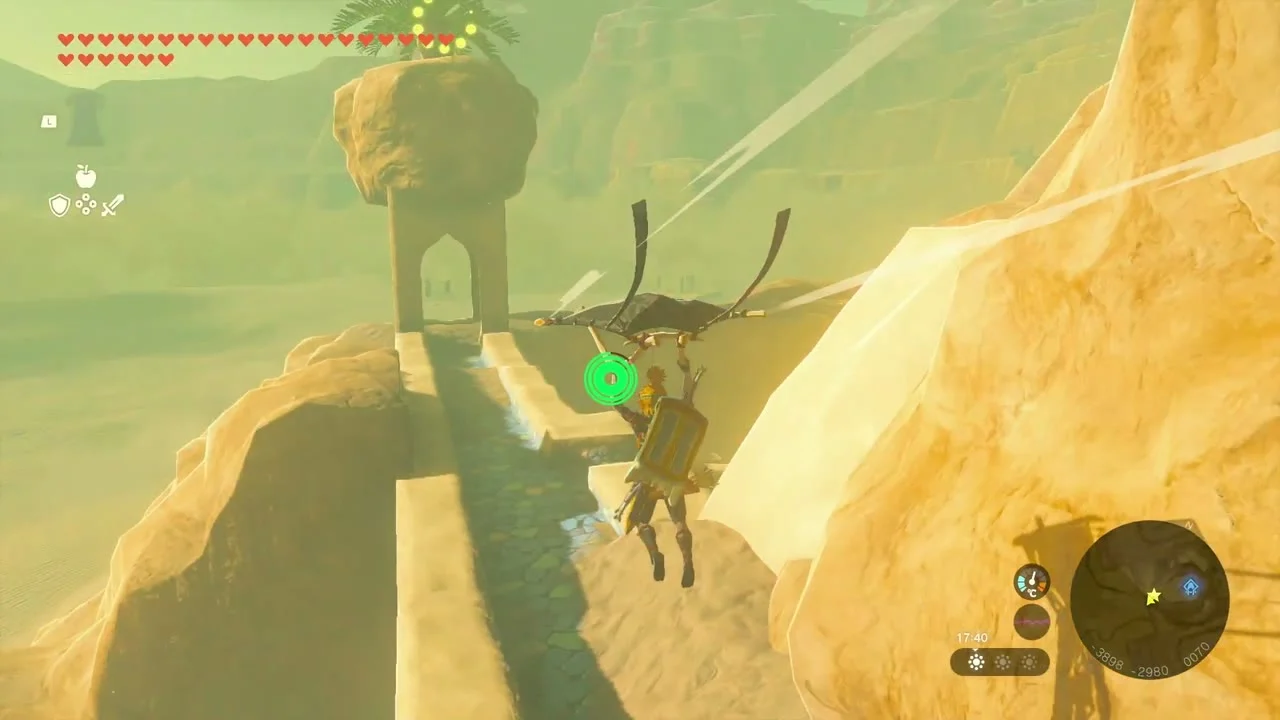

Meet Riju at the shelter
Main quest: Riju of Gerudo Town (Riju, Gerudo Town).
Also in this area
The dataset lists these ground-level Koroks in the box X -4000 to -1500, Y -3350 to -1700 that the route above does not mention: Attack and catch the dandelion (-3845, -1895), Use Ascend on the marker (-3827, -2859) and (-3757, -2442), Lift the rock (-3749, -2287), (-1700, -1826) and (-1516, -1922), Follow the flower (-3588, -3029), Pull the plug (-3584, -1990) and (-1705, -1706), Break the acorn pot (-3581, -1985) and (-3193, -1744), Shoot the balloon(s) (-3574, -1851), Use the paraglider to reach the goal (-3430, -3128), Complete the rock pattern (-3320, -2274), Catch the sparkling spot (-3315, -2164), Complete the cube puzzle (-3208, -1855), and Bring the exhausted Korok to its friend (-3078, -3044).
Tips for this stretch
Bring Heat Resistance food for the day and Cold Resistance for the nights in the sand; the Gerudo armor sold at Kara Kara Bazaar helps with both. Keep a handful of Brightbloom Seeds for the caves and Fire Fruit for King Gleeok. Every cave here holds exactly one Bubbulfrog, so there is one Bubbul Gem per cave.
Gerudo Desert checklist
| Collectible | Count | Where |
|---|---|---|
| Shrines | 6 | Rakashog, Siyamotsus, Rakakudaj, Turakamik, Mayatat, Soryotanog |
| Lightroots (below shrines) | 4 | Jadukakar, Kimakarut, Tatayam, Gonatoyros |
| Bubbul Gems | 10 | Ten caves listed in the facts table |
| Wells | 2 | Mount Nabooru Well, Kara Kara Bazaar Well |
| Korok seeds | 28 | 5 on the first canyon pass and sky, 6 around Mount Nabooru and the plateau, 7 around Spectacle Rock, 4 in the south canyon and 6 on the road to Gerudo Town |
| Minibosses | 5 | King Gleeok, Blue-Maned Lynel, Stone Talus x2, Flame Gleeok |
| Armor | 1 | Desert Voe Headband |
| Sage’s Will | 1 | Ruined sky island west of South Lomei |
Part 2: West and South Sands
| Region | Gerudo Desert beyond Gerudo Town: the dunes south and west of town (Southern Oasis, Toruma Dunes, Gerudo Great Skeleton), the East Barrens, and the eastern canyon edge at Kitawak Shrine |
|---|---|
| Shrines | 7: Karahatag (Drifting Flame, puzzle), Irasak (Rauru’s Blessing), Miryotanog (Proving Grounds: Lure), Kudanisar (Bridging the Sands, puzzle), Siwakama (Moving the Spheres, puzzle), Kitawak (Upward and Forward, puzzle), Motsusis (Rauru’s Blessing) |
| Lightroots | 12 lit in the depths of the Gerudo Desert, each under its surface shrine: Sisustom (Motsusis), Amakawis (Siwakama), Mihcihc (Chichim), Gataharak (Karahatag), Kasari (Irasak), Gonatoyrim (Miryotanog), Gonatoyros (Soryotanog), Rasinaduk (Kudanisar), Tatayam (Mayatat), Kimakarut (Turakamik), Jadukakar (Rakakudaj), Kawatik (Kitawak). See all Lightroots. |
| Caves | 5, each with a Bubbul Gem: Central Gerudo Cave, Gerudo Great Skeleton, West Gerudo Underground Ruins, Ancient Altar Ruins, South Gerudo Cave. No wells in this stretch. See all caves. |
| Koroks | 24 puzzles solved: 20 single seeds plus 4 exhausted-Korok deliveries that each pay Korok Seed x2, for 28 seeds. Datamined seeds in the area that are not collected here are listed at the end. See all Korok seeds. |
| Minibosses | 4 Molduga fights (Palu Wasteland South, Toruma Dunes and East Barrens) and Flux Construct III in the South Lomei depths labyrinth |
| Armor and gear | Vah Naboris Divine Helm, Phantom Greaves, Evil Spirit Mask, Scimitar of the Seven, Gerudo Fabric paraglider fabric |
| Quests | The Missing Owner, Pride of the Gerudo, To the Ruins!, WANTED: Molduga, Cold-Endurance Contest!, Heat-Endurance Contest!, The Great Tumbleweed Purge, The South Lomei Prophecy |
This chapter clears the rest of the Gerudo Desert surface once Gerudo Town is open: seven shrines, five Bubbul Gem caves, four Moldugas, 24 Korok puzzles and the three-layer South Lomei Labyrinth, spread between the sand dunes south of town, the Toruma Dunes in the west, the East Barrens and the Gerudo Highlands edge, and ends by lighting all 12 Gerudo Lightroots. Coordinates are map units (X, Y, height); larger Y is further north.
Quick route
Start south of Gerudo Town near Southern Oasis: beat the first Molduga, run the sand race for Gerudo Fabric, solve Karahatag Shrine, take the Bubbul Gem in Central Gerudo Cave and deliver the first exhausted Korok.
Head southwest to Irasak Shrine, loot the maze-ruin chests, explore Gerudo Great Skeleton and deliver the second exhausted Korok, then climb to Miryotanog Shrine in the western dunes.
Work north through Toruma Dunes: free Isha from a Molduga, empty the chests, visit West Gerudo Underground Ruins, collect the eight Koroks of the western canyons and solve Kudanisar Shrine.
Return to town for the Pride of the Gerudo quest, then run east for Pokki’s ruins, Siwakama Shrine, the East Barrens Molduga, Ancient Altar Ruins, South Gerudo Cave and the Koroks along the way.
Finish at Kitawak Shrine in the east, win Rahdo’s endurance contests, clear the tumbleweeds and collect the Korok seeds on the plateau.
Then take on South Lomei Labyrinth: the surface maze and Motsusis Shrine, the four sky terminals and roof terminal, and Flux Construct III in the depths for the Evil Spirit Mask. Dive on afterwards to light the 12 Lightroots.
Palu Wasteland South: Molduga, Desert Race and Karahatag Shrine
Defeat the Molduga at (-3329, -3352)
Miniboss: Molduga at (-3329, -3352, 16), south of Gerudo Town. A Molduga hunts by sound, so stay on rock outcrops or in a vehicle and strike its mouth with explosives or arrows when it surfaces. It drops Molduga Guts and a Molduga Fin.


Run the sand race for Gerudo Fabric
Minigame: Desert Race near (-3620, -3623, 20), east of Karahatag Shrine. Beat the course timer on a sand-sled between the flag poles and the Gerudo racer rewards you with Gerudo Fabric, a paraglider fabric that resists sand heat.

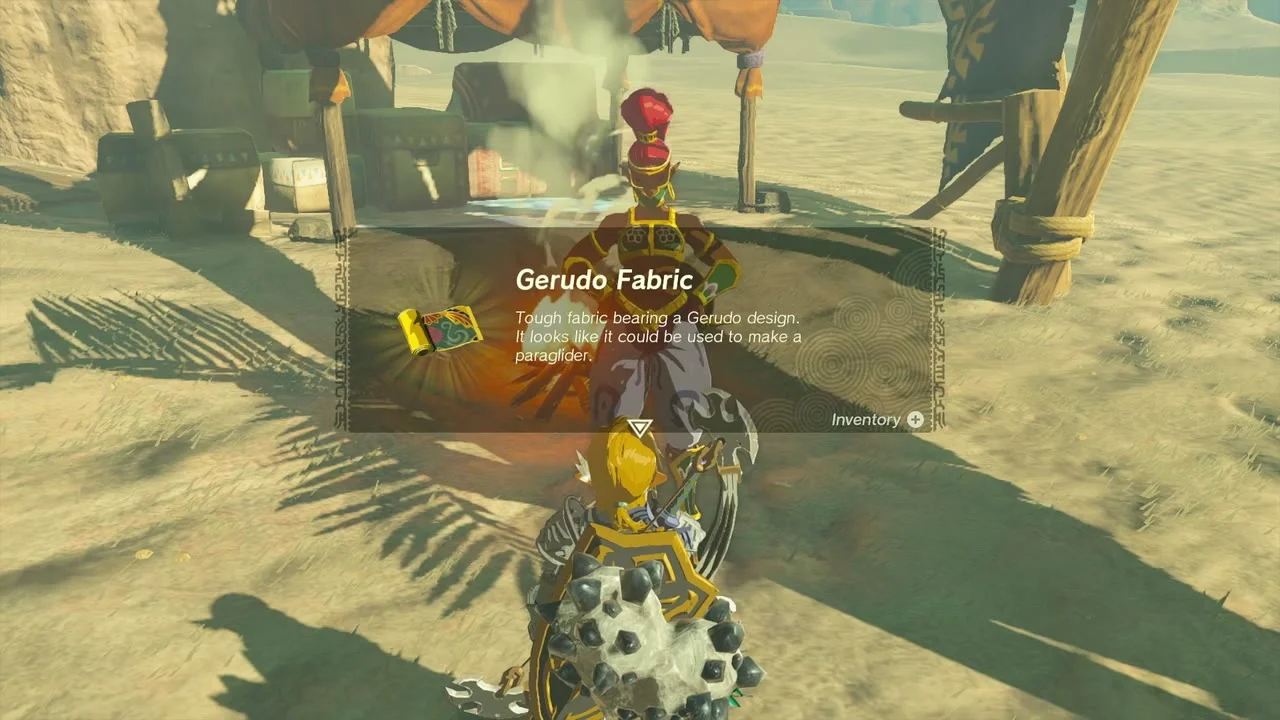
Karahatag Shrine: Drifting Flame (Puzzle)
Karahatag Shrine at (-3727, -3625, 57), on the cliff above Southern Oasis. Trial Drifting Flame, type Puzzle; the Gataharak Lightroot is directly below at (-3728, -3624, -515). The chest holds a Mighty Construct Bow (Strong or Mighty, depending on your progress).
Light the gate torch
Pick up the unlit torch inside the entrance, light it at the burning pedestal and touch it to the upside-down torch by the barred gate to open it. A Fire Fruit or Red Chuchu Jelly arrow shot at the same torch works too.

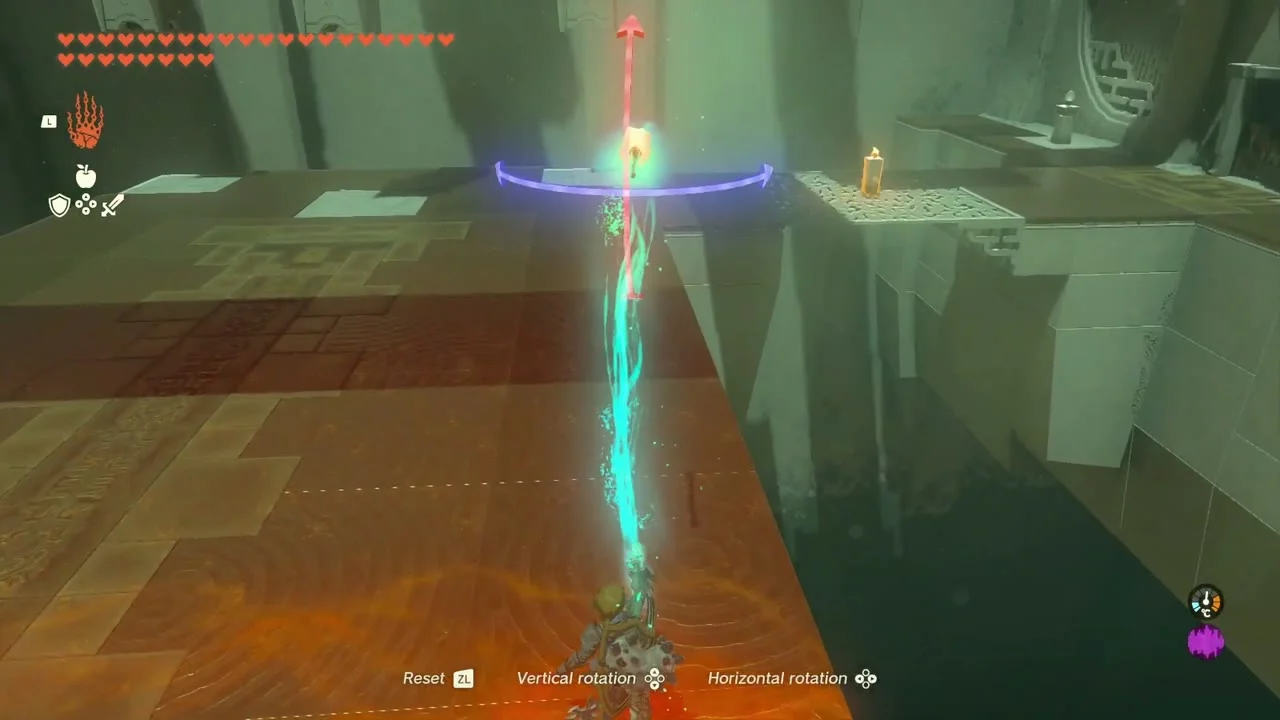
Carry the lit candle to the dark spots
Grab the lit candle with Ultrahand and carry it above the lava floor to each of the three unlit candle holders hanging overhead. Lift the flame under each one until it catches.

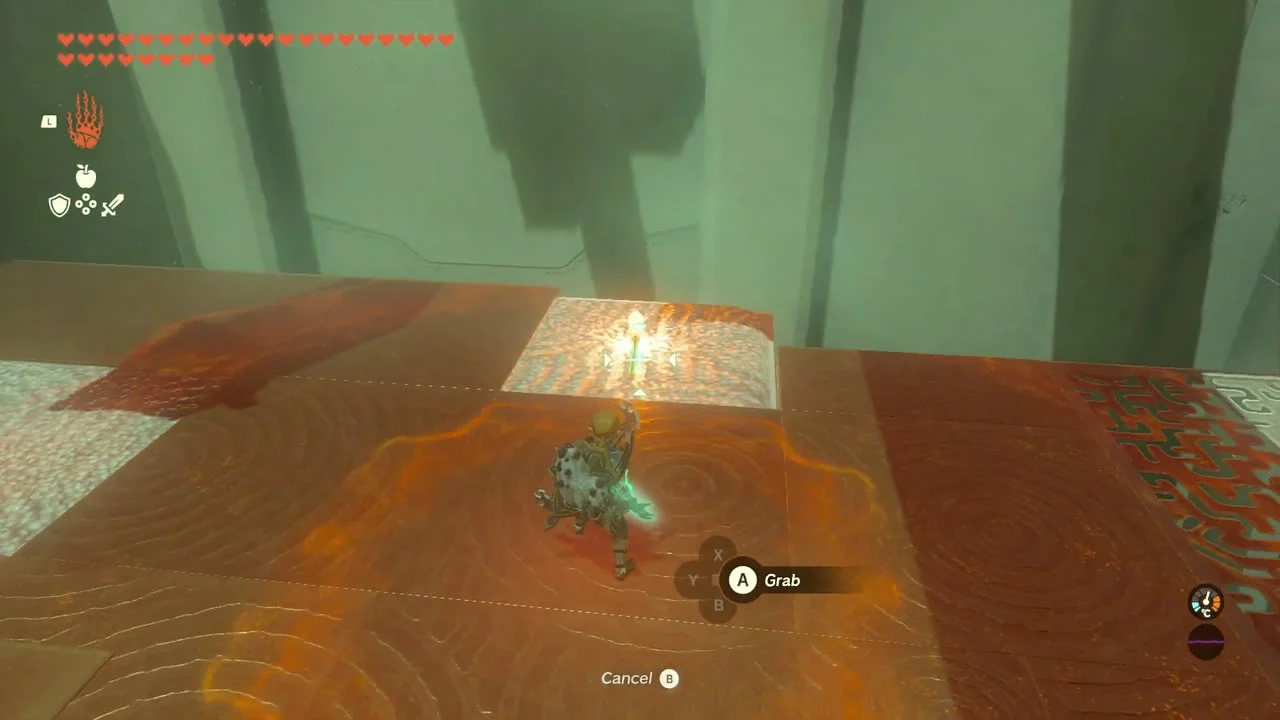
Drop the platform with the bullseye switch
Climb the ladder to the caged bullseye switch and shoot or throw something at the target. The big platform lowers, so you can carry the candle onto it and Recall it back up as the platform rises to light the last holder.

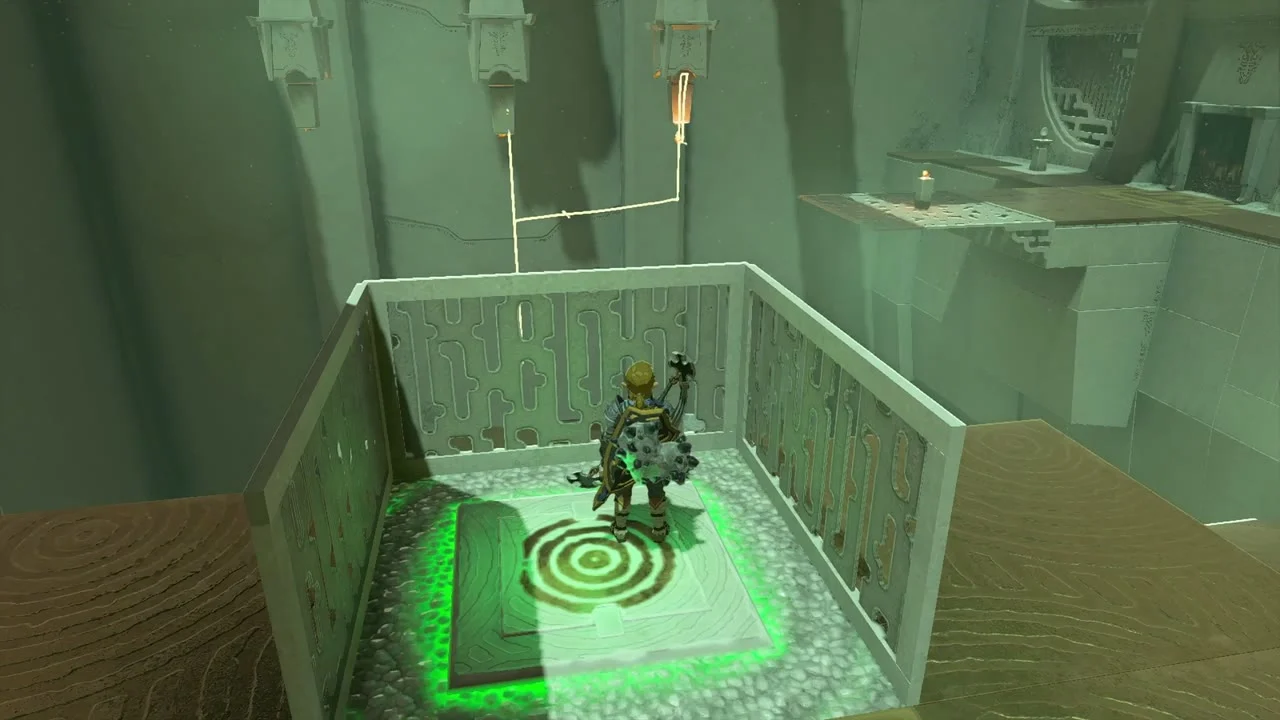
Open the chest below the switch
The chest sits in a small alcove below the ground. Stand beside the lit brazier on the right-hand bridge, facing the ladder you climbed, then glide down into the alcove. It holds a Mighty Construct Bow (Strong or Mighty, depending on your progress); Ascend back up through the ceiling afterwards.
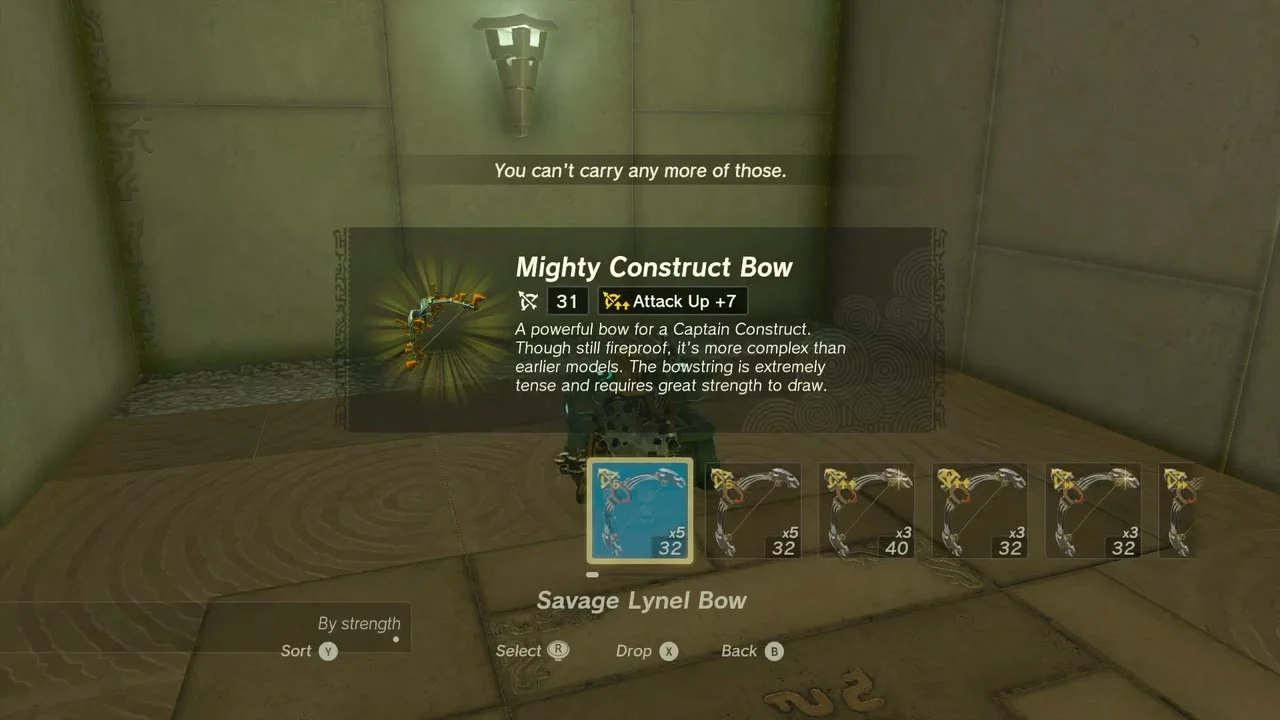
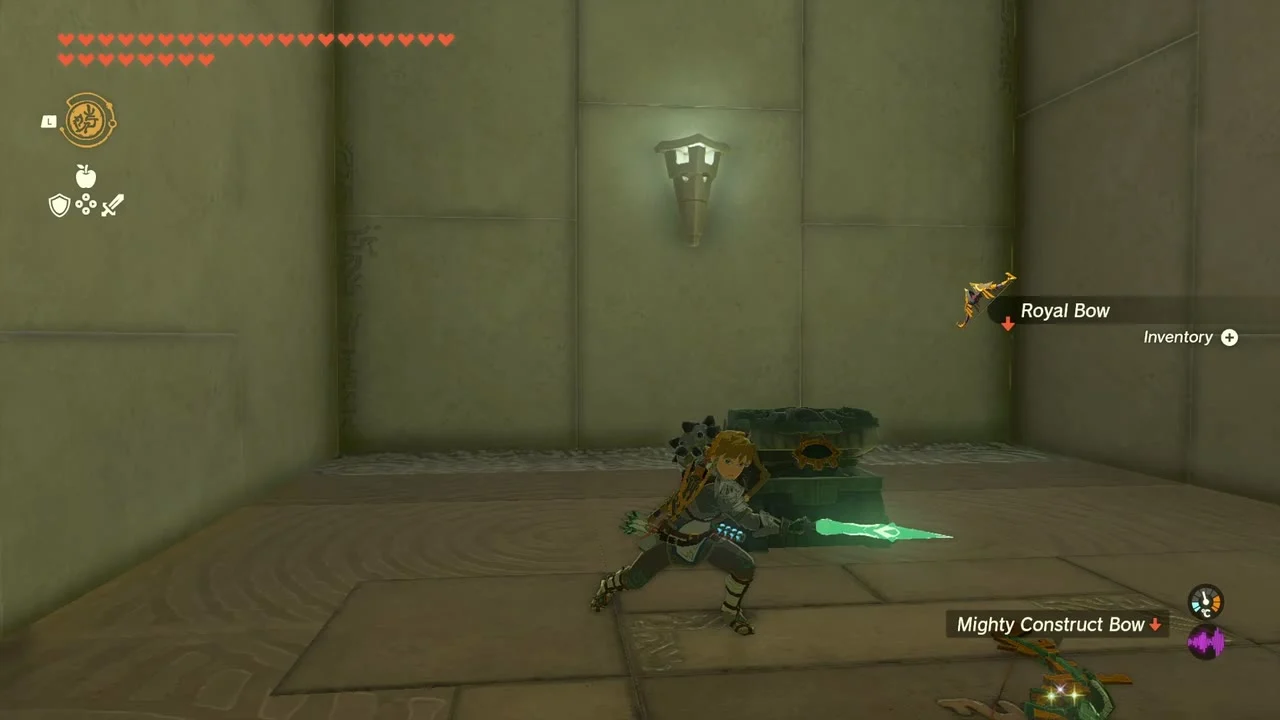
Claim the Light of Blessing
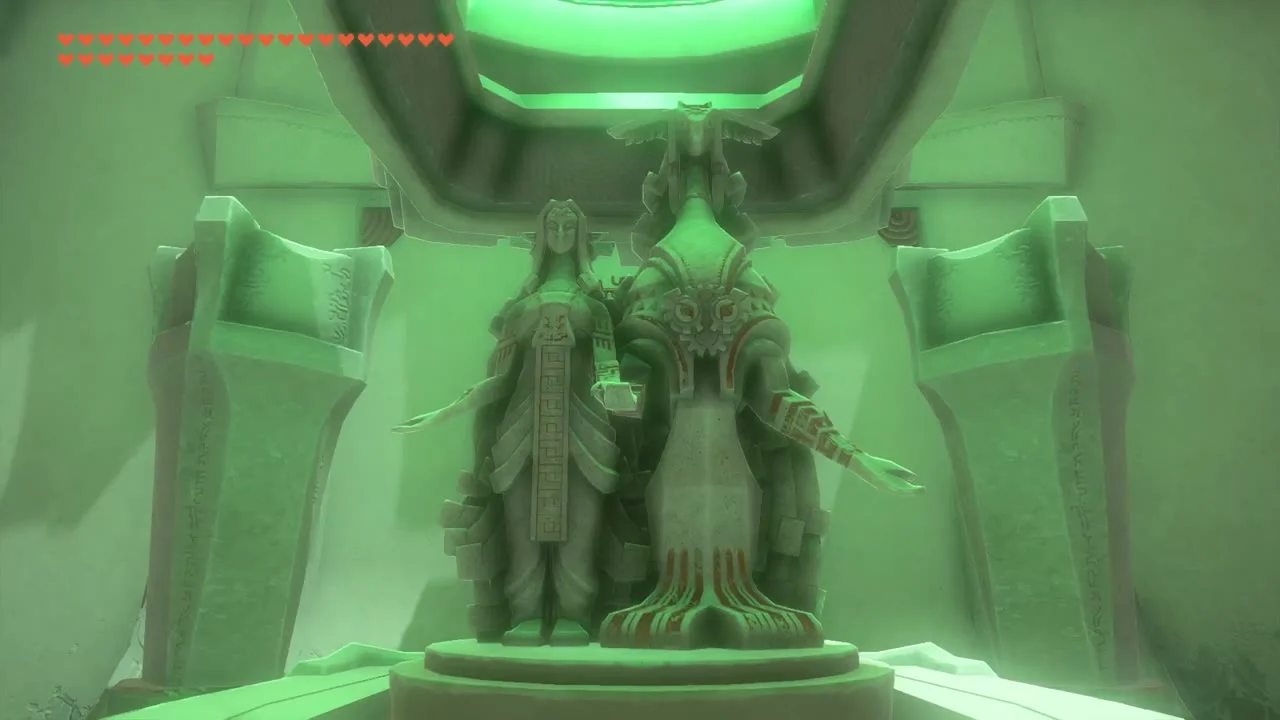
With all three holders lit, the exit gate opens. Walk through to the altar for the Light of Blessing.

Central Gerudo Cave and the First Exhausted Korok
Take the Bubbul Gem in Central Gerudo Cave
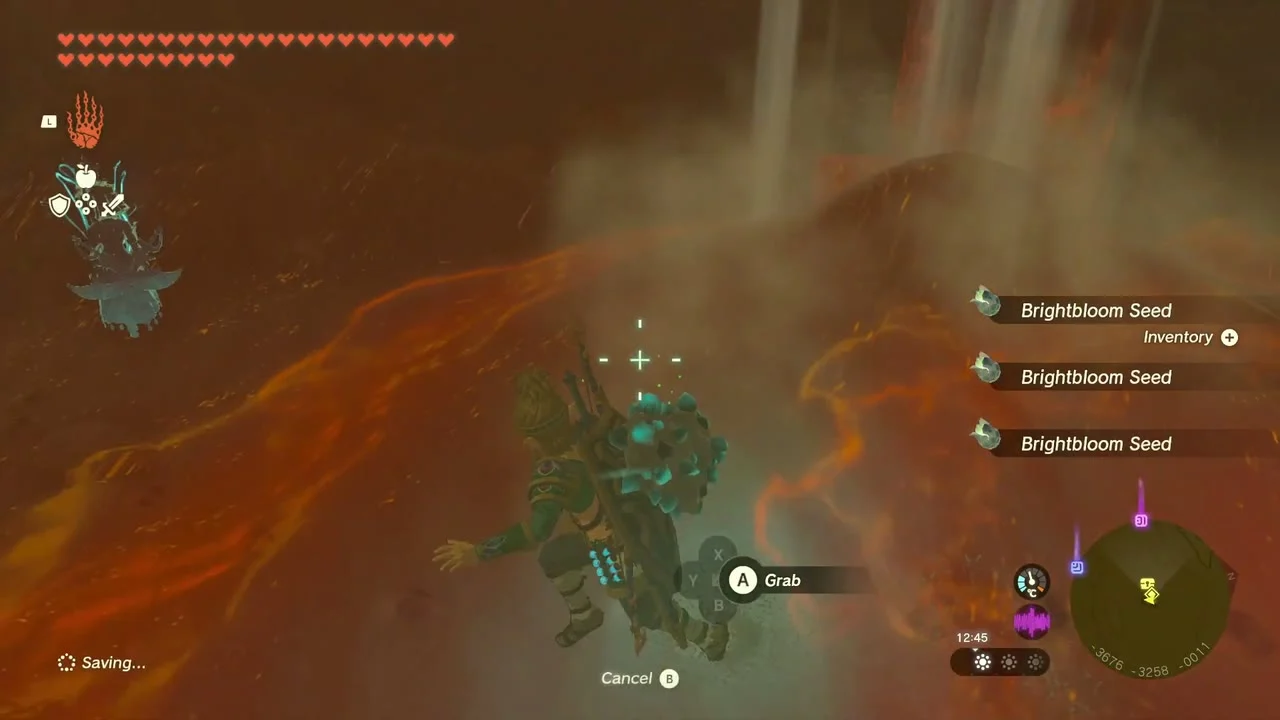
Cave: Central Gerudo Cave at (-3679, -3255, -18), in the dunes north of Karahatag Shrine. Light the dark passages with Brightbloom Seeds and defeat the Constructs. A chest holds a Flame Emitter, and the Bubbulfrog in the back cavern pays out a Bubbul Gem; rubies can be mined from the walls along the way.

Carry the exhausted Korok to its friend
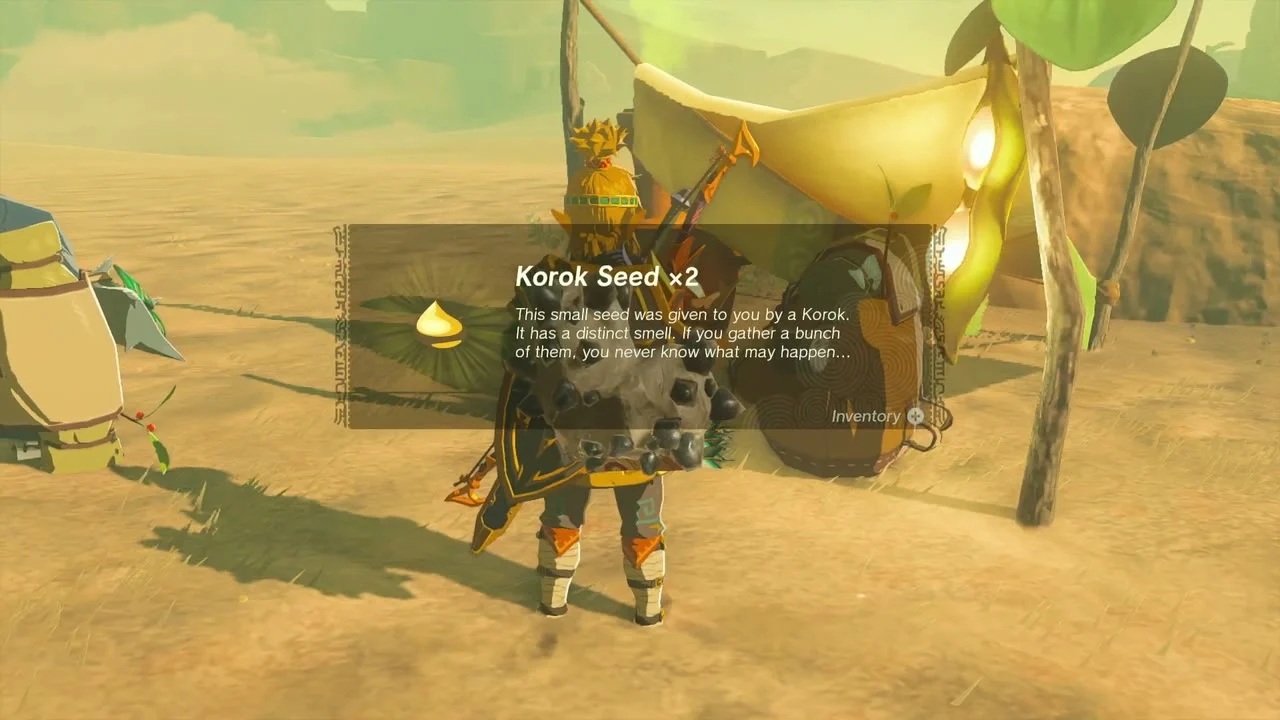
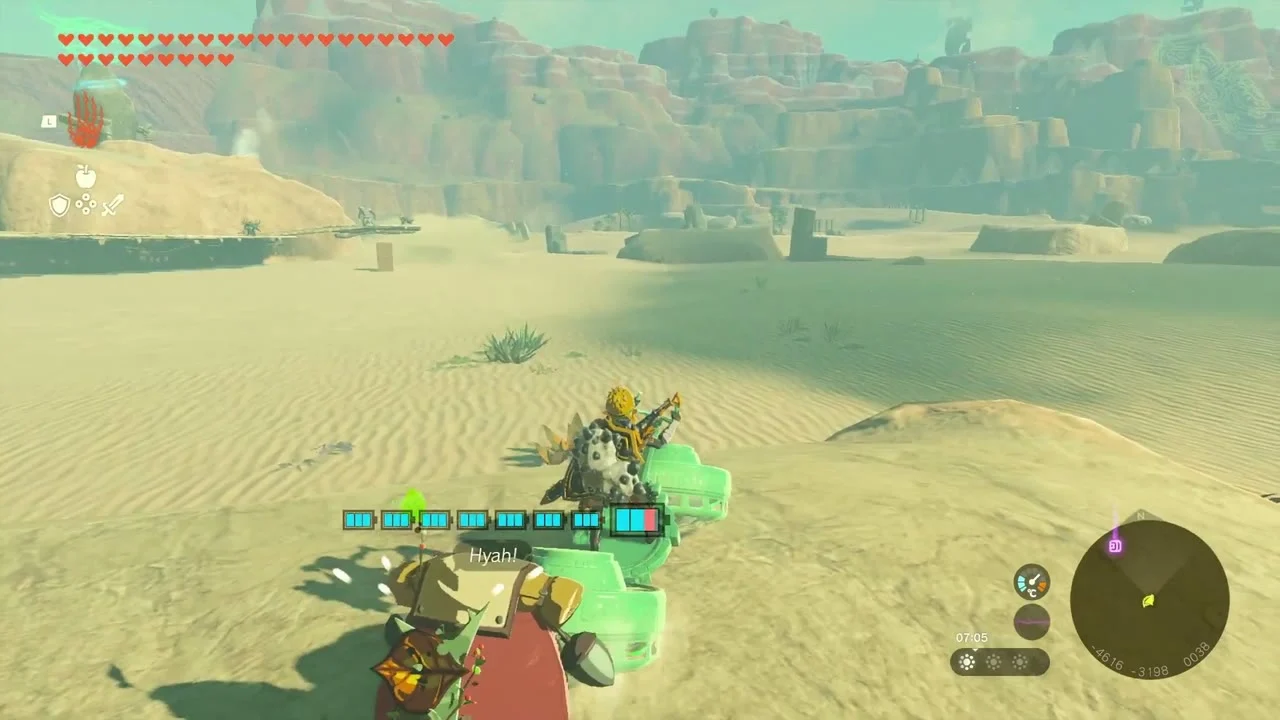
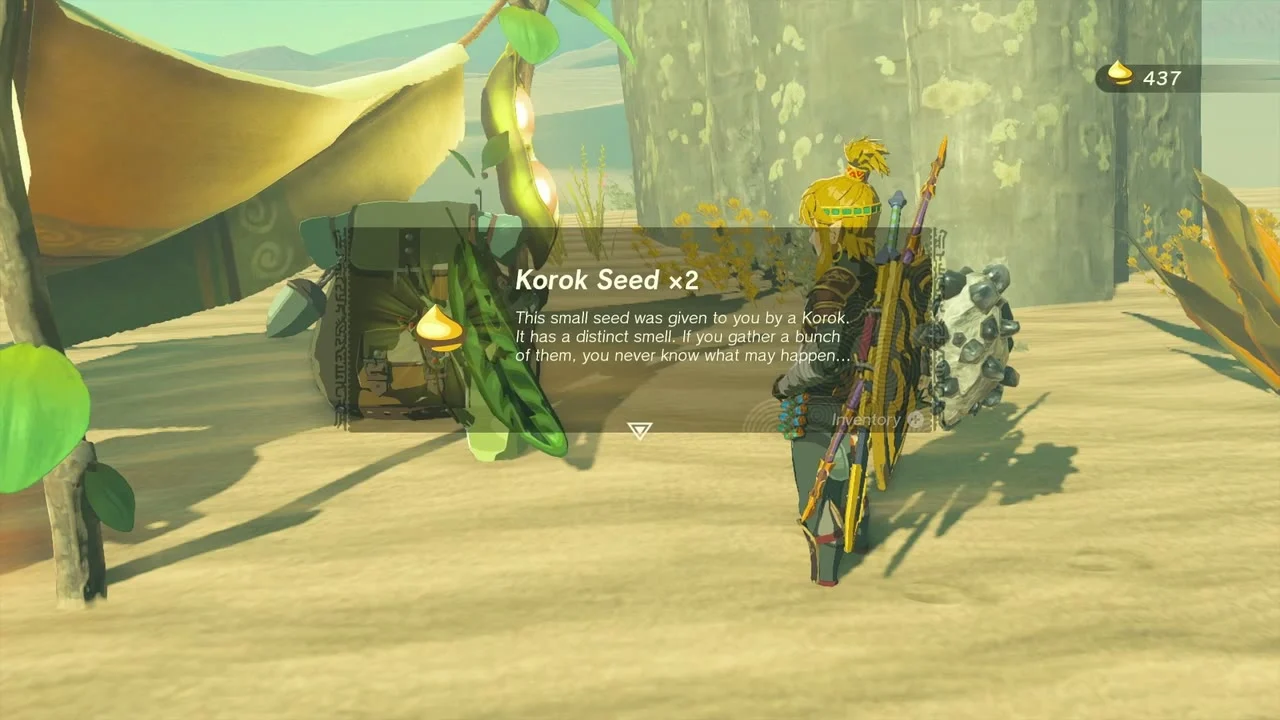
Korok seed (Bring the exhausted korok to its friend) ends at (-3742, -3478, 16). Pick up the exhausted Korok by the palms near (-3806, -3181), carry it south on a sled or Zonai vehicle without letting it fall and leave it beside its friend’s tent. The friend pays Korok Seed x2.

Irasak Shrine and the Arbiter’s Grounds
Irasak Shrine: Rauru’s Blessing
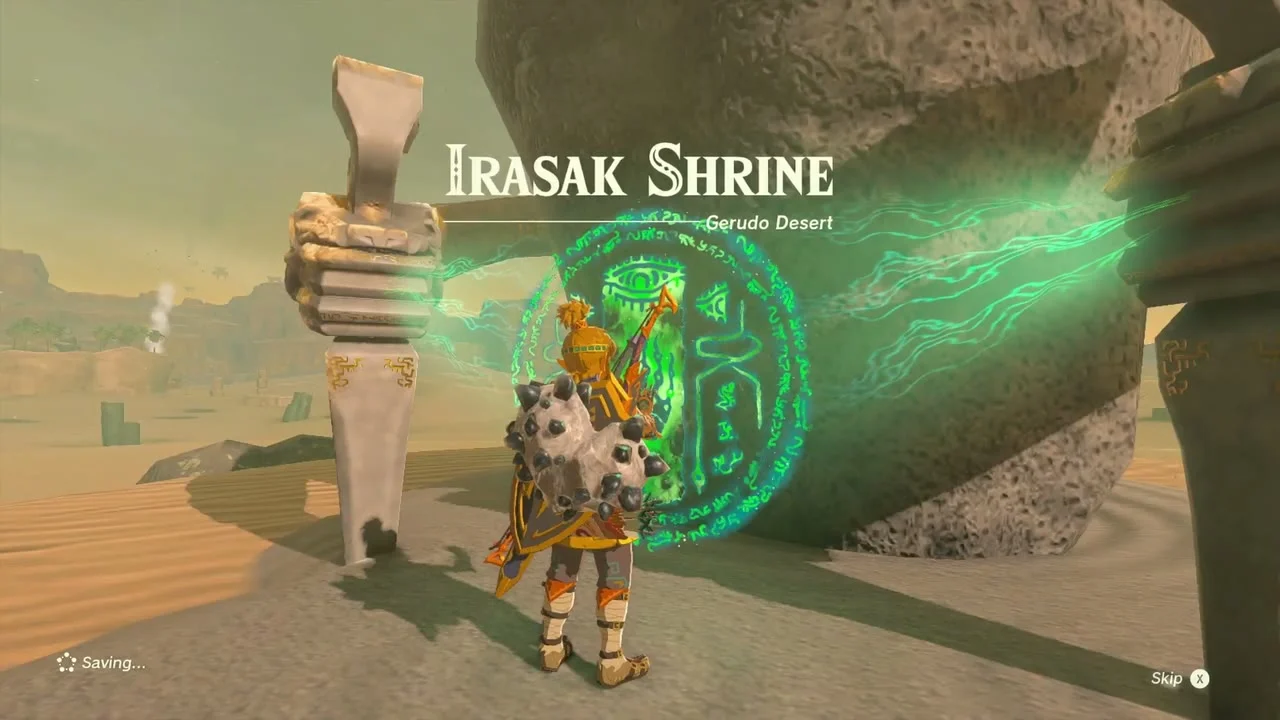
Irasak Shrine at (-4158, -3825, 41), in the Arbiter’s Grounds, a ring of quicksand. Trial Rauru’s Blessing, so there is no puzzle: open the chest for a Large Zonai Charge and take the Light of Blessing at the end of the room. The Kasari Lightroot is below at (-4158, -3826, -499). Glide in from high ground or arrive on a sled to avoid the quicksand.

Loot the maze-ruin chests
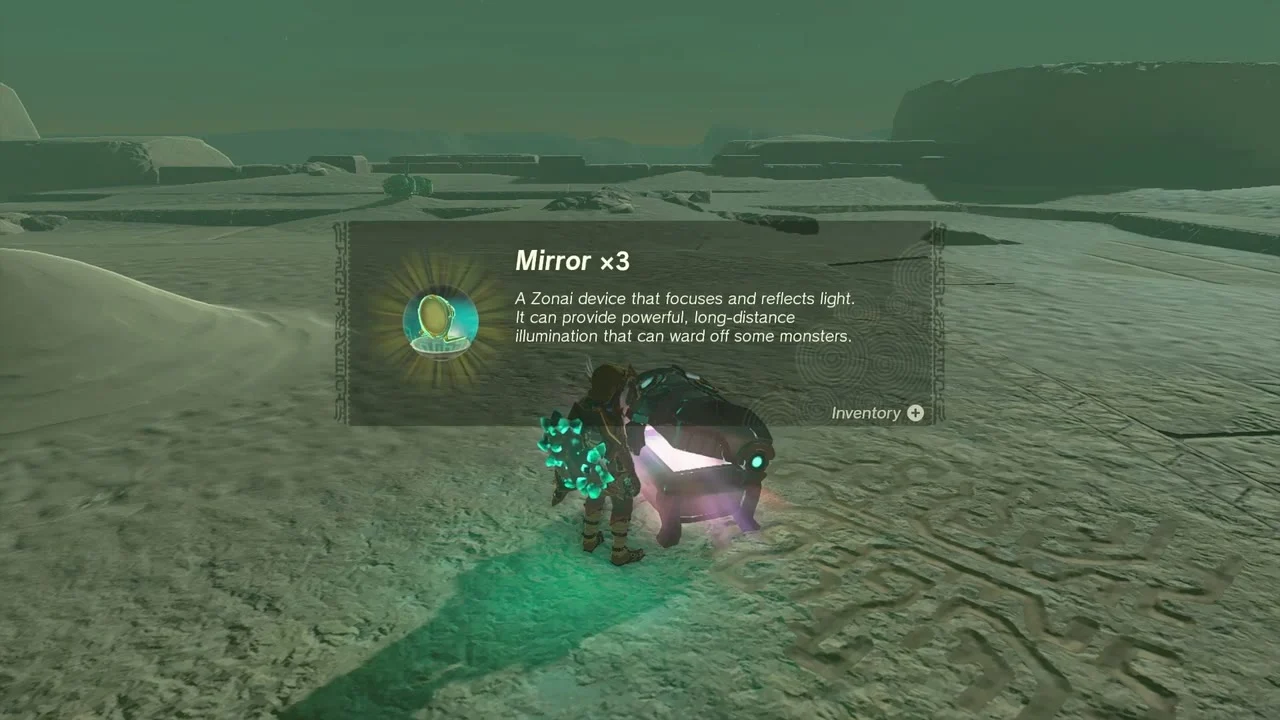
Three chests sit in the sunken stone maze west of the shrine. Radiant Shield at (-4354, -3598, 86); Topaz at (-4545, -3700, 115); and Mirror x3 at (-4512, -3605, 176) beside a standing construct. Use a Zonai vehicle or a glider to hop between the walls instead of walking the maze.


Chest on a wooden platform: a stash of planks and a chest sit near (-4634, -3860, 38) inside a small enemy camp; clear the camp and open the chest.
Gerudo Great Skeleton and Miryotanog Shrine
Enter Gerudo Great Skeleton
Cave: Gerudo Great Skeleton at (-4814, -3875, -1), under the huge ribcage in the far southwest. Inside, a chest at about (-4940, -3862) holds Topaz, the Bubbulfrog gives a Bubbul Gem, and a hidden Korok seed (Burn the leaves and lift the rock) sits at (-4909, -3777, -30): burn the dry leaves with a flame, lift the rock they cover and the Korok pops out.


Deliver the second exhausted Korok
Korok seed (Bring the exhausted korok to its friend) ends at (-4877, -3564, 39). Pick the Korok up on the dunes around (-4633, -3234) and carry the Korok on a sled southwest to its friend. It pays Korok Seed x2.
Miryotanog Shrine: Proving Grounds: Lure
Miryotanog Shrine at (-4680, -3086, 68), on a hill in Toruma Dunes. Trial Proving Grounds: Lure, type Proving Grounds: you enter in your underwear with no gear or Zonai abilities except what the shrine supplies. The Gonatoyrim Lightroot is below at (-4681, -3086, -524).
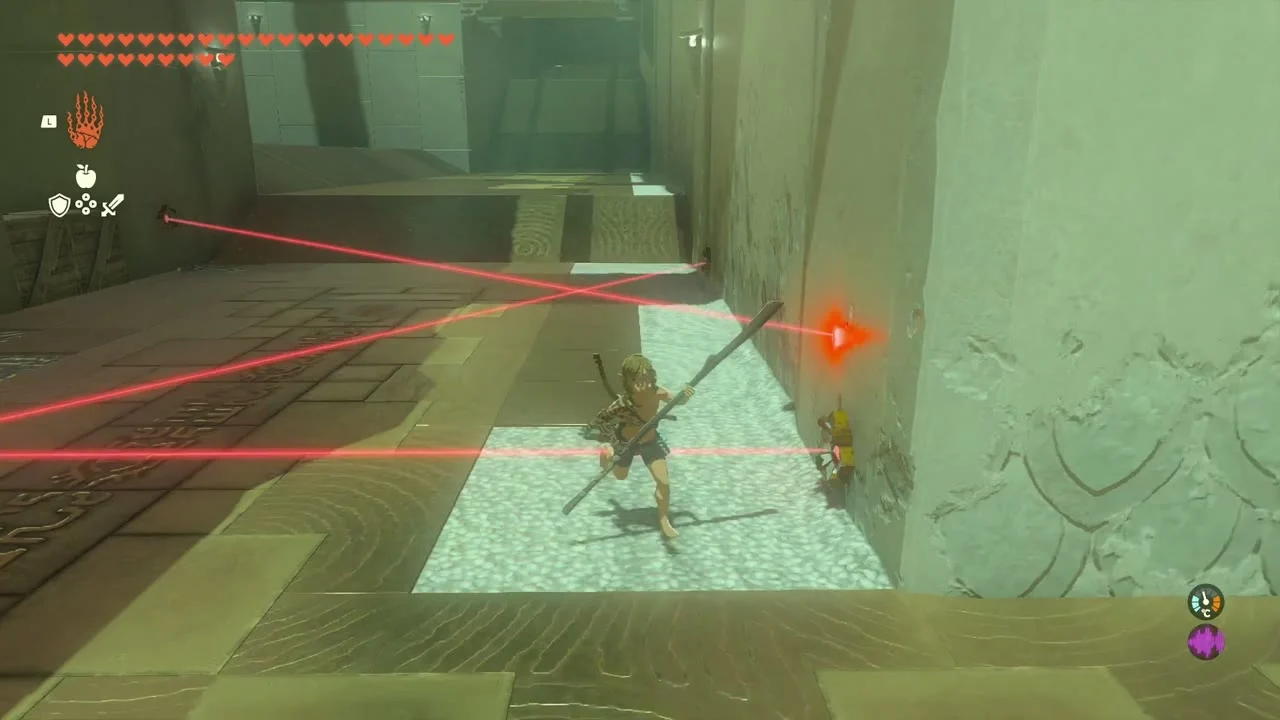
Slip through the laser hall
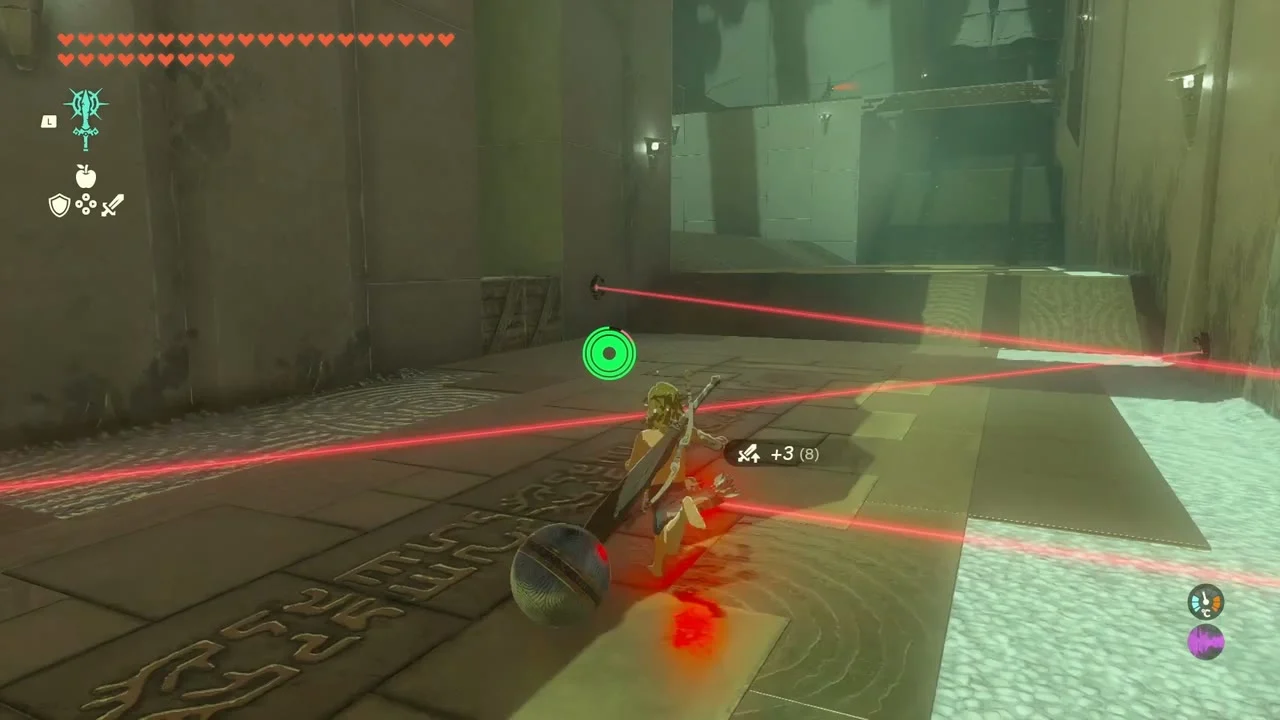
Keep out of the red laser beams; touching one sets off a rolling boulder trap. Move along the walls and use the gaps between the beams to reach the end of the hall.
Arm yourself from the side rooms
Take the starting kit from the weapon rack (a Long Stick, Thick Stick (or Sturdy Thick Stick or Gnarled Thick Stick, depending on your progress), Old Wooden Bow and five arrows); nothing from outside comes past this point. Break the two crates left of the entrance ramp to uncover a shrub of Fire Fruit, and fuse the spikes and red barrels you find to your weapons.
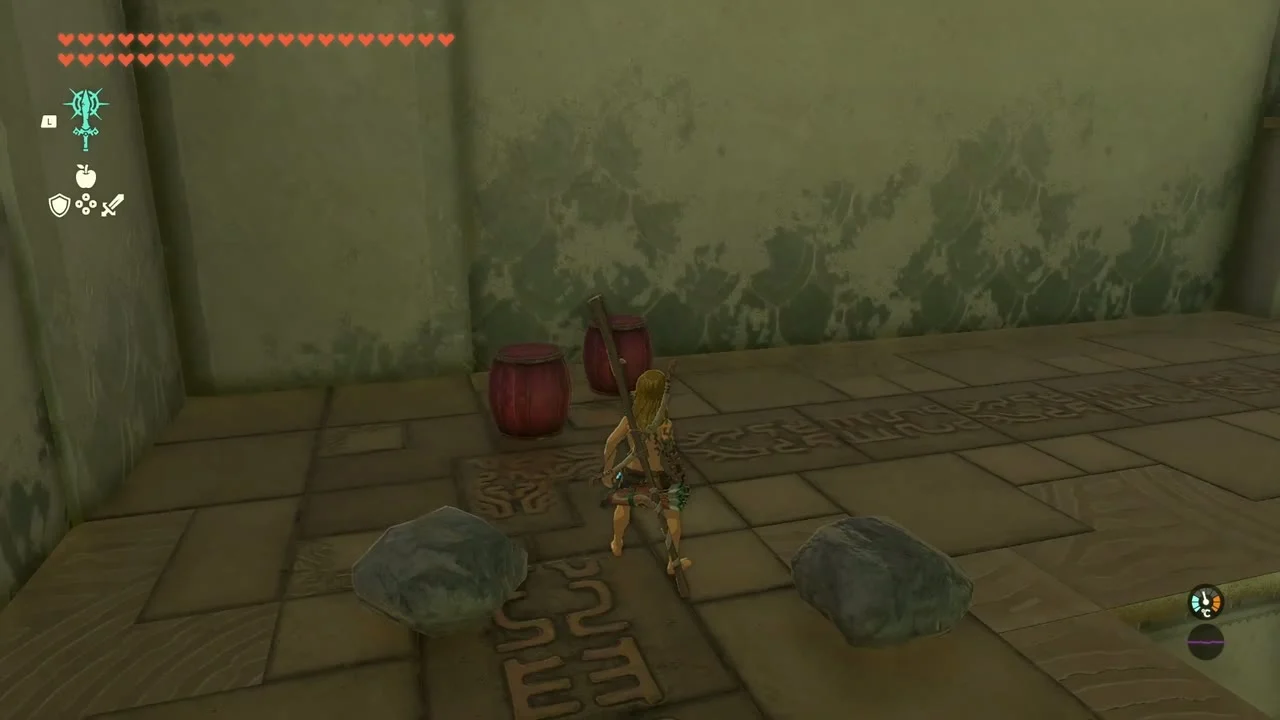

Defeat the Construct guardians
Soldier Constructs with laser eyes guard each hall. Hit them from behind cover, burn the crates blocking the beams and use Fire Fruit arrows on the ones you cannot reach.
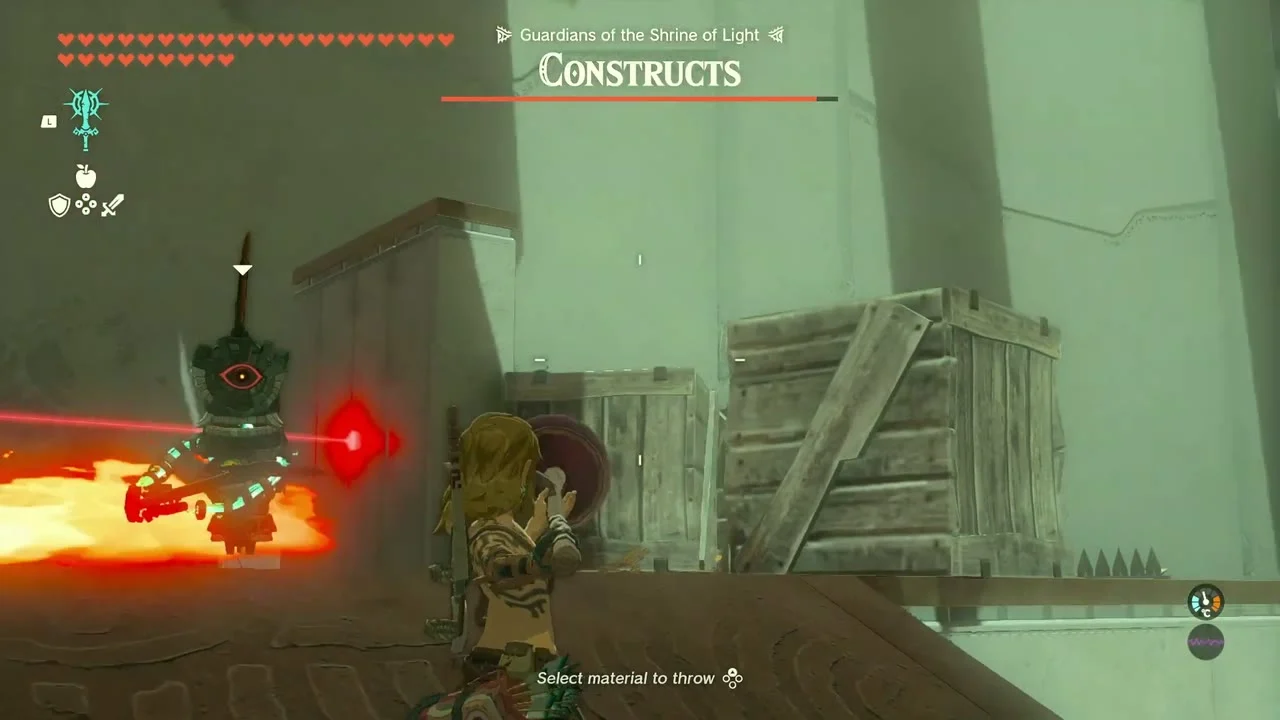

Open the chest and take the Light
The chest at the end holds a Captain Blade (II to IV, depending on your progress). Then step up to the altar for the Light of Blessing.
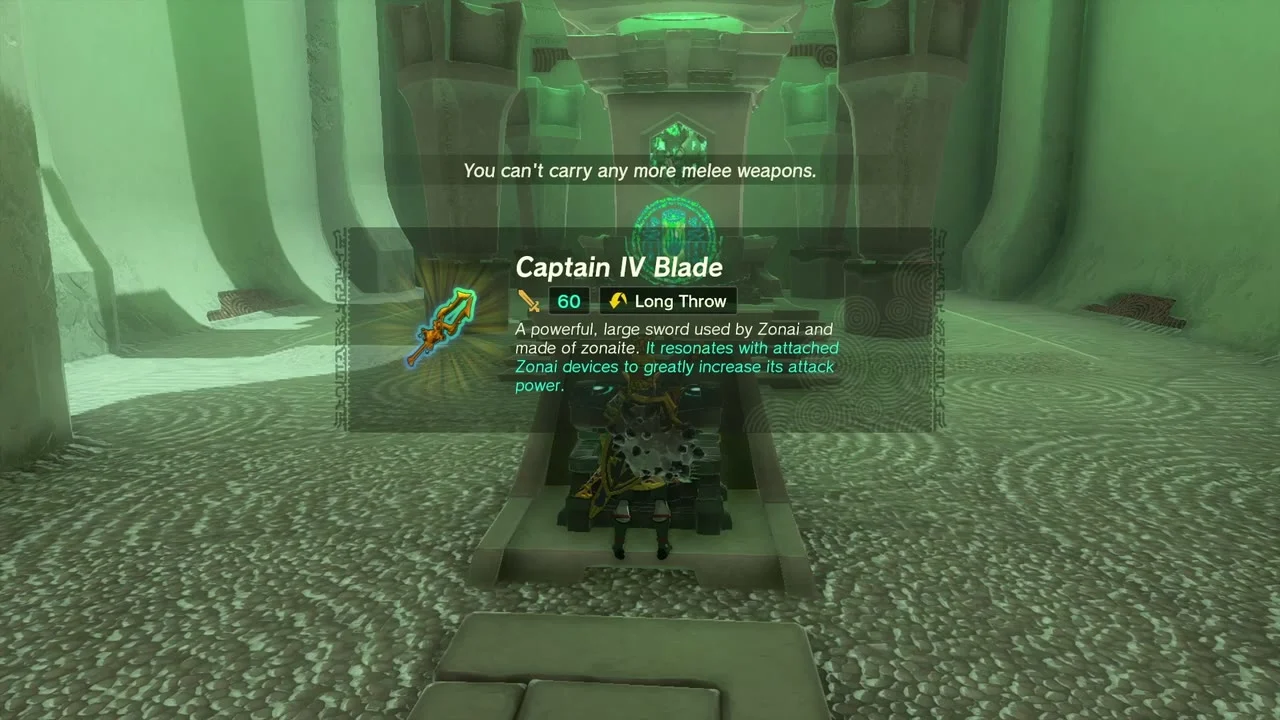

Toruma Dunes: Isha, the Chests and West Gerudo Underground Ruins
Rescue Isha from the Molduga
Miniboss: Molduga at (-4766, -2828, 29) and side quest: The Missing Owner (Cara, Gerudo Town). Cara’s boss Isha is frozen in place on the dunes because the Molduga will devour anything that makes noise. Defeat the Molduga to free her, then report to Cara and visit Isha’s shop in Gerudo Town; Isha then starts Pride of the Gerudo below. A second Molduga patrols near (-4120, -2596, 54), beside the Royal Claymore (or Traveler’s Claymore, Soldier’s Claymore or Knight’s Claymore, depending on your progress) chest.
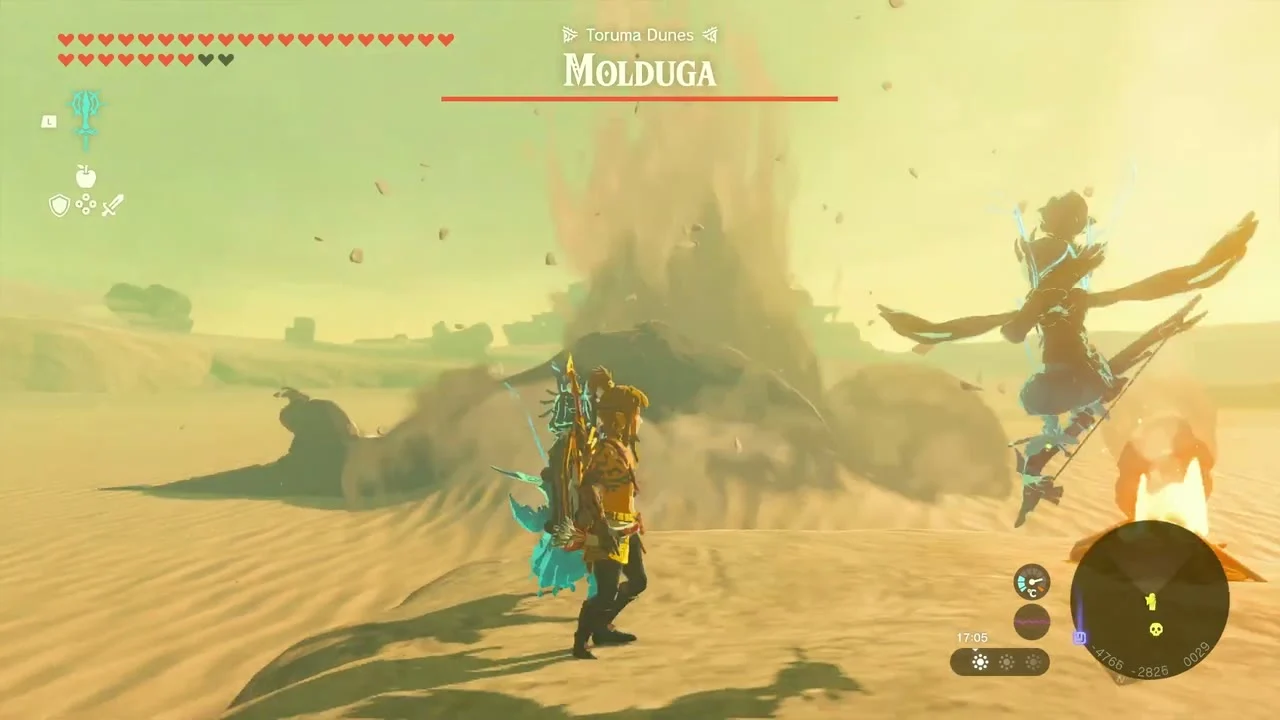

Open the desert chests
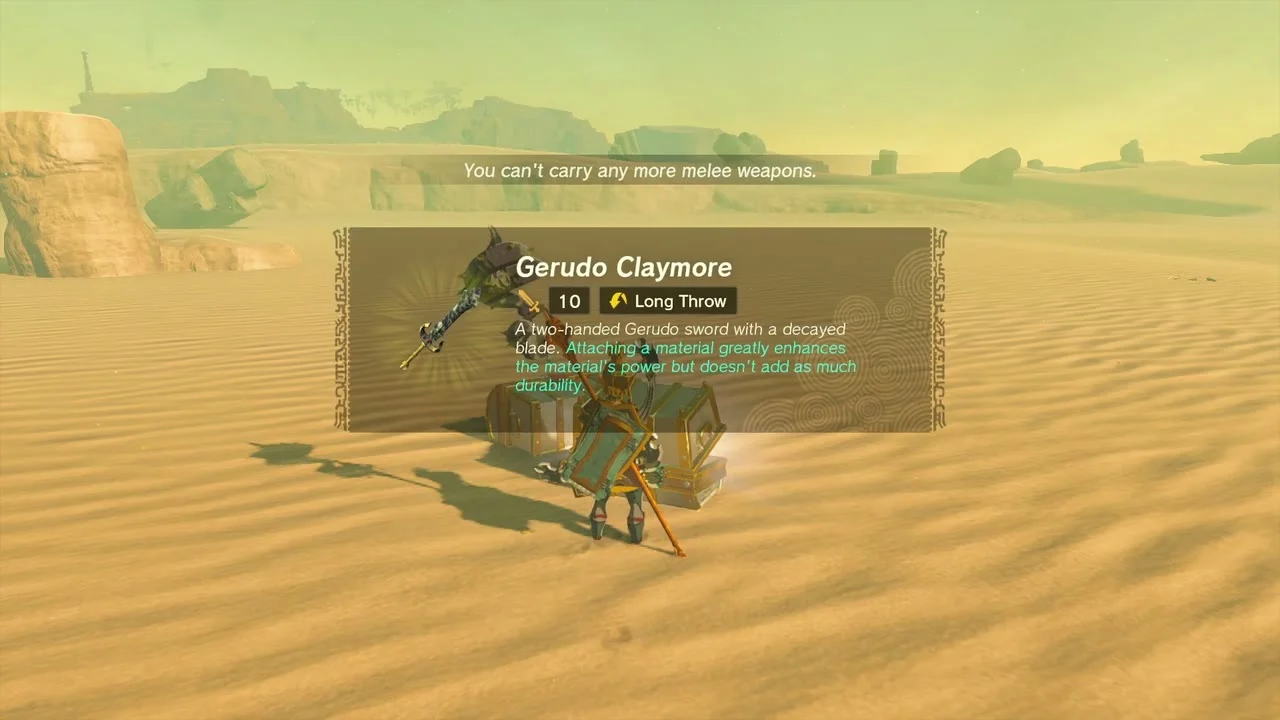
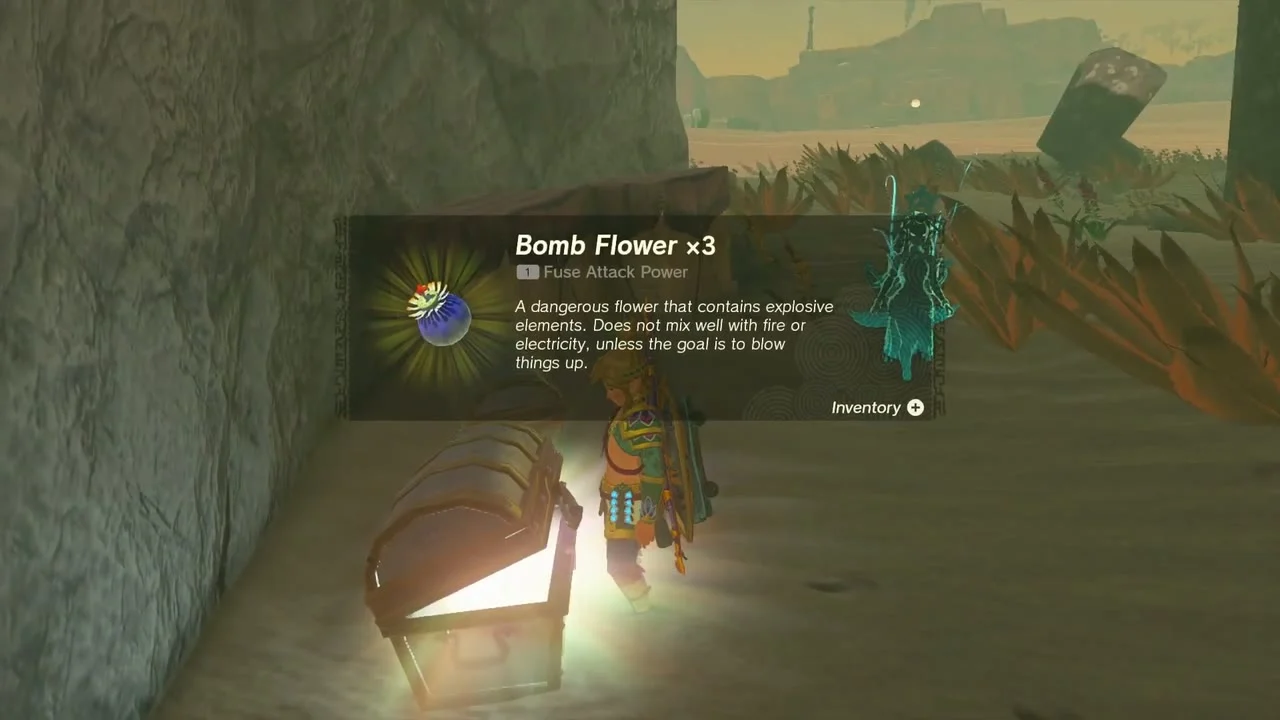
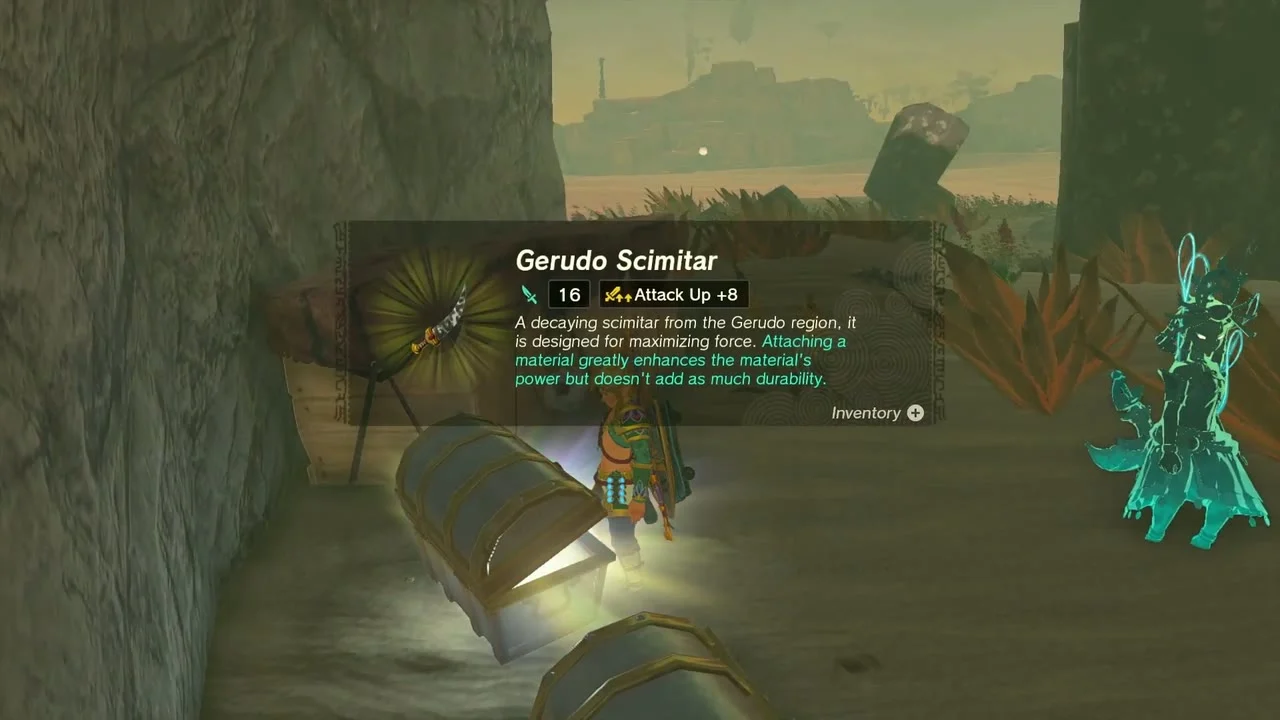
Chests in the western dunes: Gerudo Claymore at (-4809, -2840, 27); Bomb Flower x3 and Gerudo Scimitar, two chests together under a rocky overhang at (-4303, -2830, 37); and a Royal Claymore at about (-4018, -2619, 41), left in the sand where the second Molduga surfaces.

Pick up the Large Zonaite and two Radiant Shields
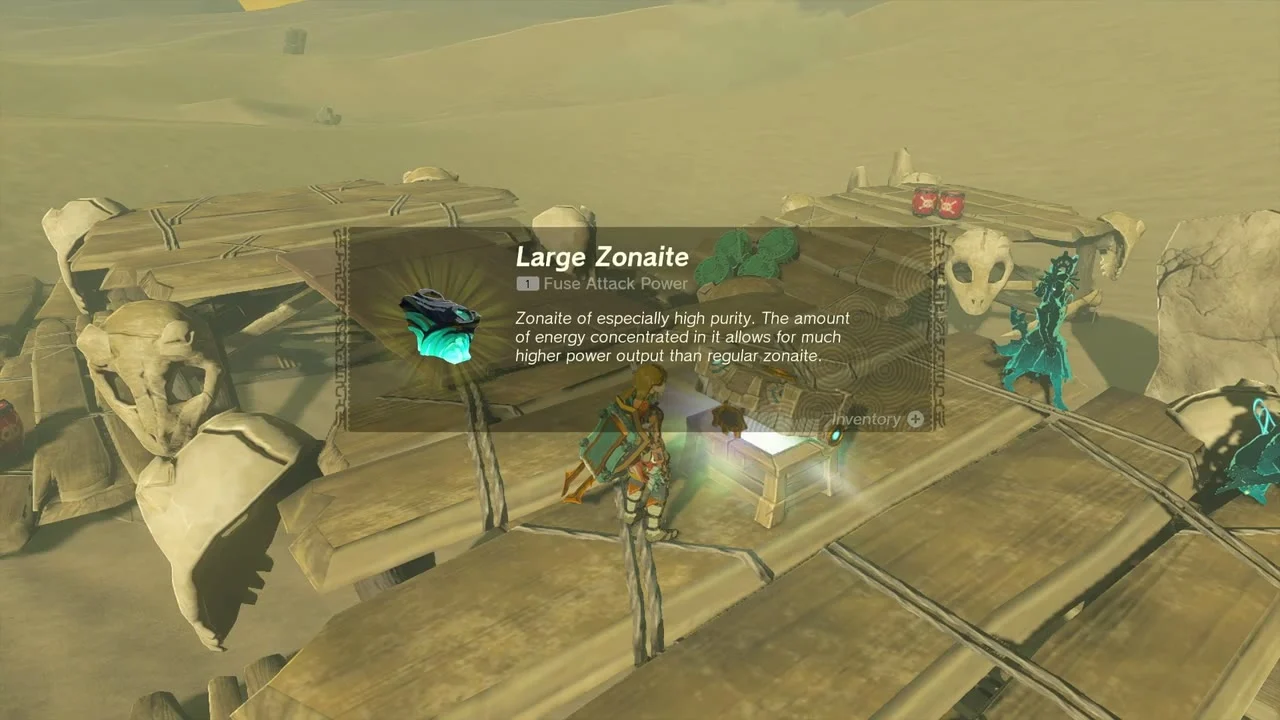
Large Zonaite at (-4627, -2410, 37), on a platform among huge bone ruins. Radiant Shield at (-4938, -2158, 34), beside a wind-eroded pillar, and a second Radiant Shield at (-4662, -1980, 24) in front of a stone arch. Each chest opens once, so keep one shield and sell or drop the duplicate.

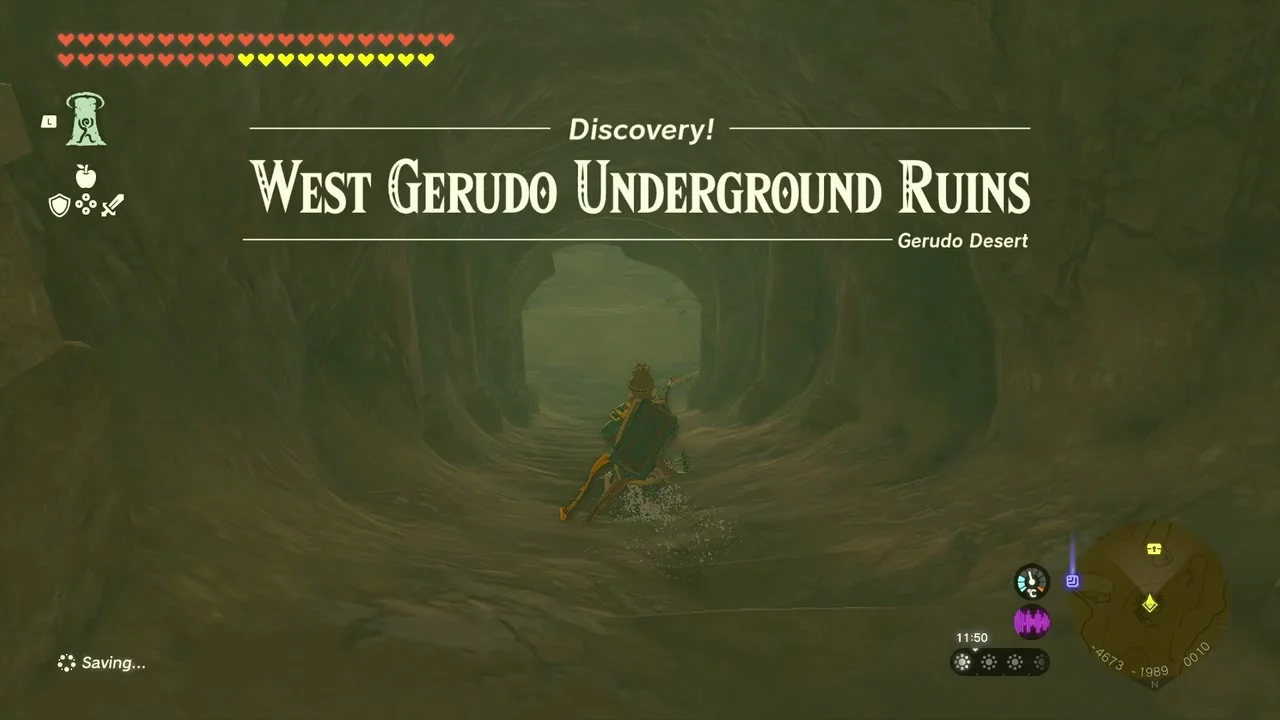
Explore West Gerudo Underground Ruins
Cave: West Gerudo Underground Ruins at (-4673, -1986, 9). Drop in through the opening in the sand and follow the dark passages with Brightbloom Seeds. A chest holds a Gerudo Spear, the Bubbulfrog drops a Bubbul Gem, and the chest at the far end holds the Vah Naboris Divine Helm, an armor piece with shock resistance. Ascend through the ceiling to leave.


Take the Frost Emitter from the device capsule
Zonai device: Frost Emitter at about (-4184, -2050, 77), on a green pedestal near Kudanisar Shrine. Open the capsule to receive a Frost Emitter.
Koroks of the Western Canyons
Eight Korok puzzles sit between the chests and Kudanisar Shrine.
Korok seed (Catch the sparkling spot) at (-4132, -2592, 53): chase the drifting sparkle across the dunes and catch it. Korok seed (Use Ascend on the marker) at (-4591, -2349, 46): find the green marker under a rock overhang and Ascend through it. Korok seed (Attack and catch the dandelion) at (-4710, -2161, 102): hit the floating dandelion seed with an arrow and catch it before it lands, then climb the spire where the Korok waits.
Korok seed (Shoot the balloon) at (-4687, -1962, 61): shoot the red balloon floating above the sand. Korok seed (Use the paraglider to reach the goal) at (-4438, -2113, 49): launch from the start platform and glide to the target ring. Korok seed (Follow the flower) at (-4425, -2262, 63): keep close behind the small flower as it flies along the canyon.
Korok seed (Complete the cube puzzle) at (-4393, -2015, 101): slide the stone cubes into the pattern shown on the platform. Korok seed (Bring the exhausted korok to its friend) ends at (-4320, -1861, 65): pick the Korok up around (-3950, -2367), carry it north-west across the sand and set it down beside its friend. It pays Korok Seed x2.
Kudanisar Shrine: Bridging the Sands (Puzzle)
Kudanisar Shrine at (-4167, -2143, 63), near Karusa Valley in the north-west of the desert. Trial Bridging the Sands, type Puzzle; the Rasinaduk Lightroot is below at (-4168, -2142, -508). A river of quicksand and spike crushers separates the planks you build with.
Bridge the first sand strip
Use Ultrahand to drag the floating plank to the stone platform opposite the stairs and lay it across the sand. Sand drains stamina, so cross on the planks and stay out of the quicksand.

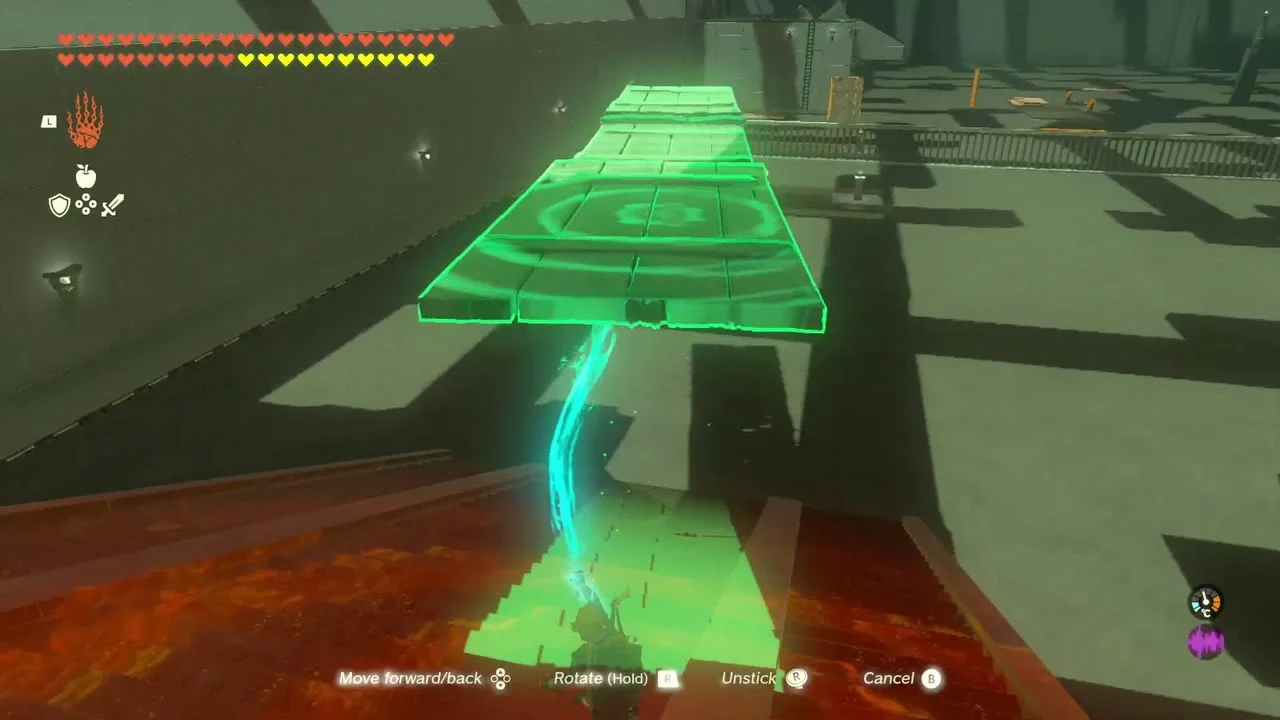
Chain planks across the second section
Pick up the loose planks and join them end to end with Ultrahand to span the next gap. Lean the finished plank against the fence if the end is short.
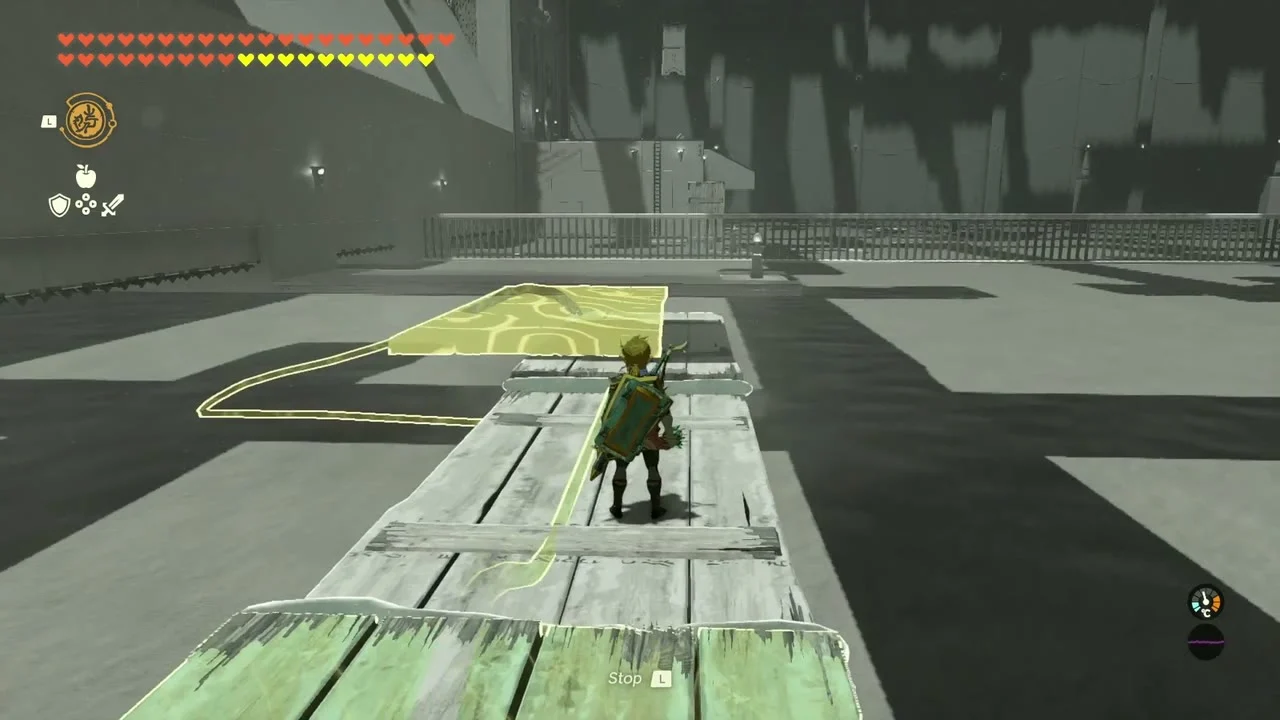
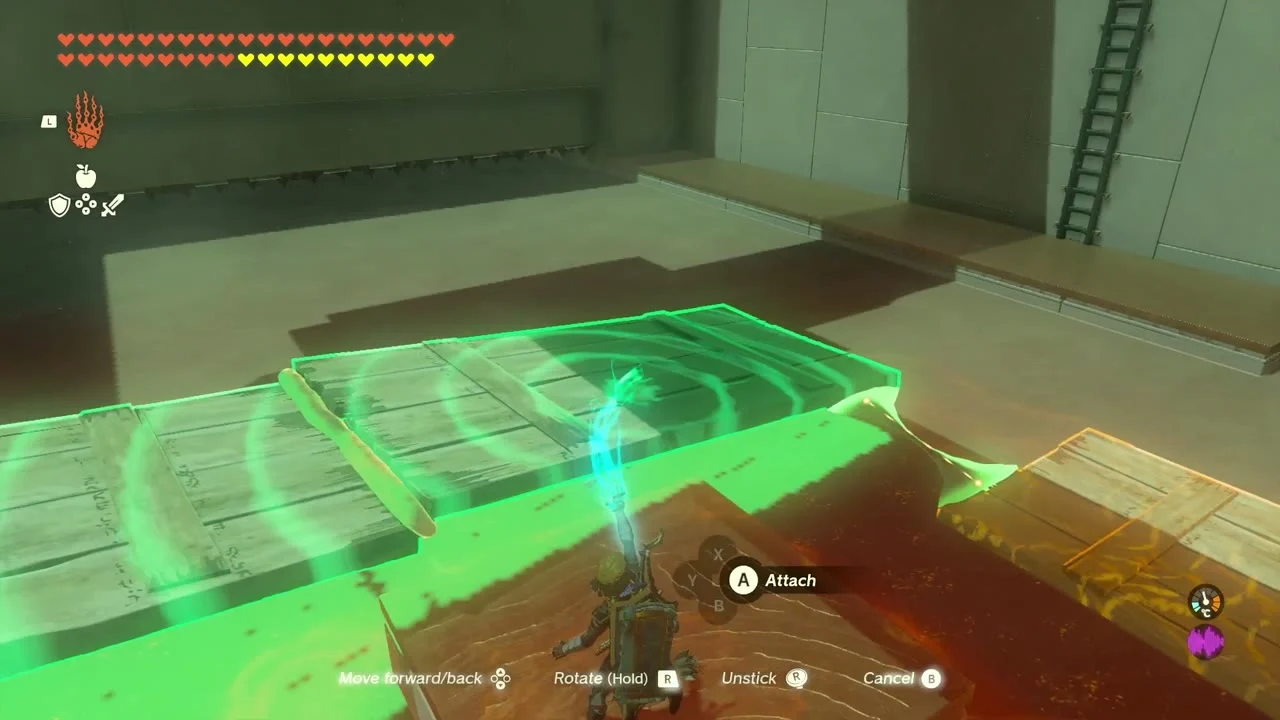
Raise a plank ramp to the upper ledge
Tilt a plank against the fence as a ramp and run up it to the raised platform, before the spikes reach you.
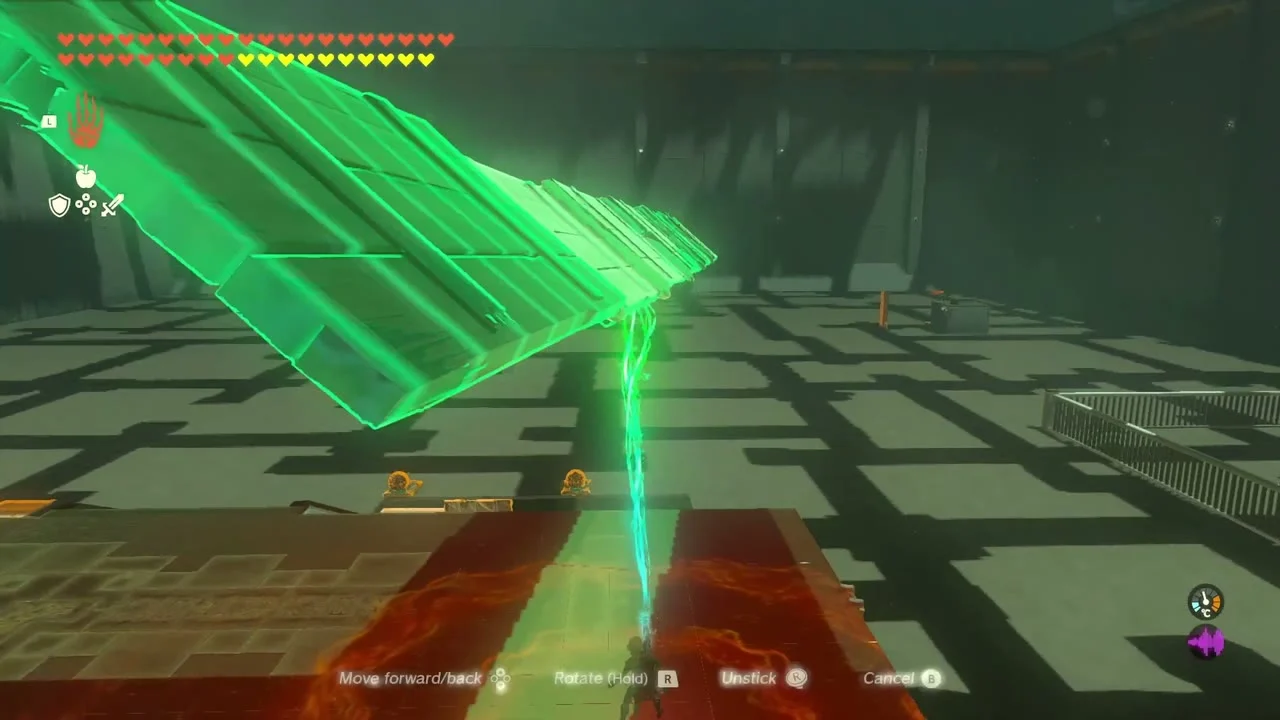

Cross the last sand on a fan board
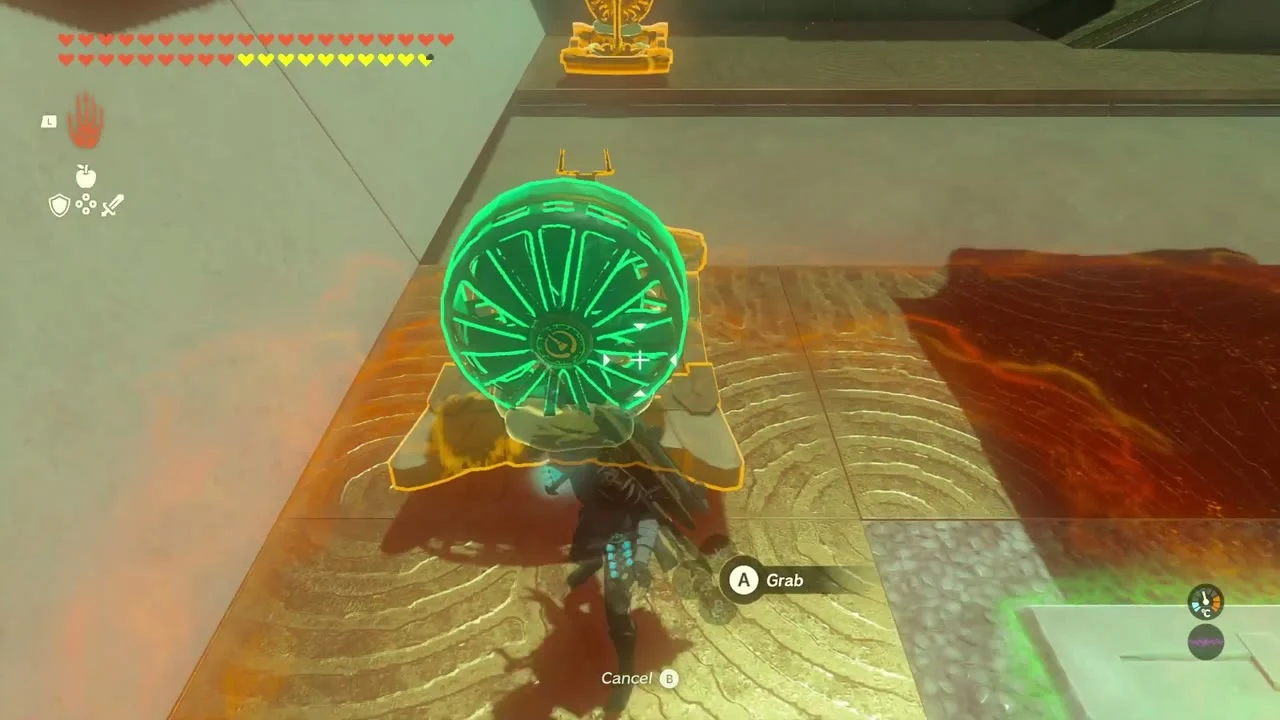
Pick up the Fan, attach it to a plank and sit on the plank to drive the board across the final stretch of sand. A Construct waits nearby, so defeat it first.

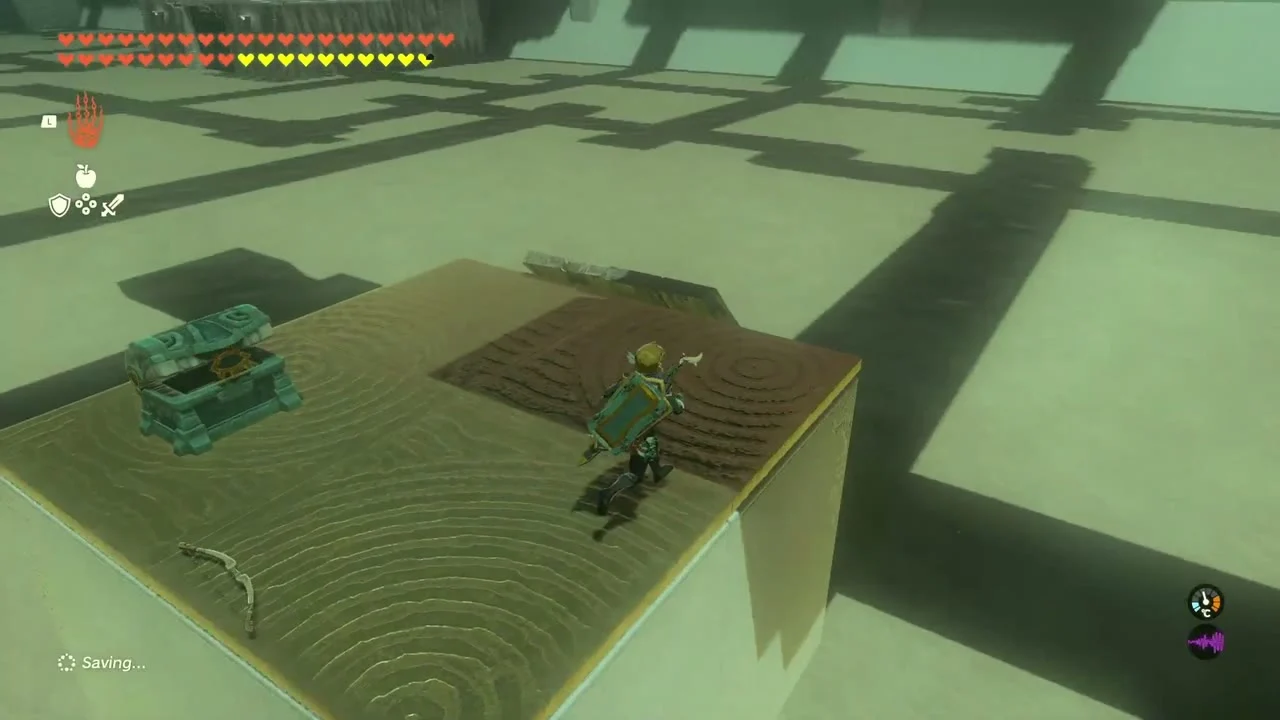
Open both chests and finish
Two chests hold Arrow x10 and a Hasty Elixir. The arrow chest hangs from a rope above a platform with a fan sled; shoot the rope and quickly catch the chest with Ultrahand. The elixir chest is on a raised platform in the far corner, which you reach with plank ramps and where a Soldier Construct hides. Then take the Light of Blessing at the exit.
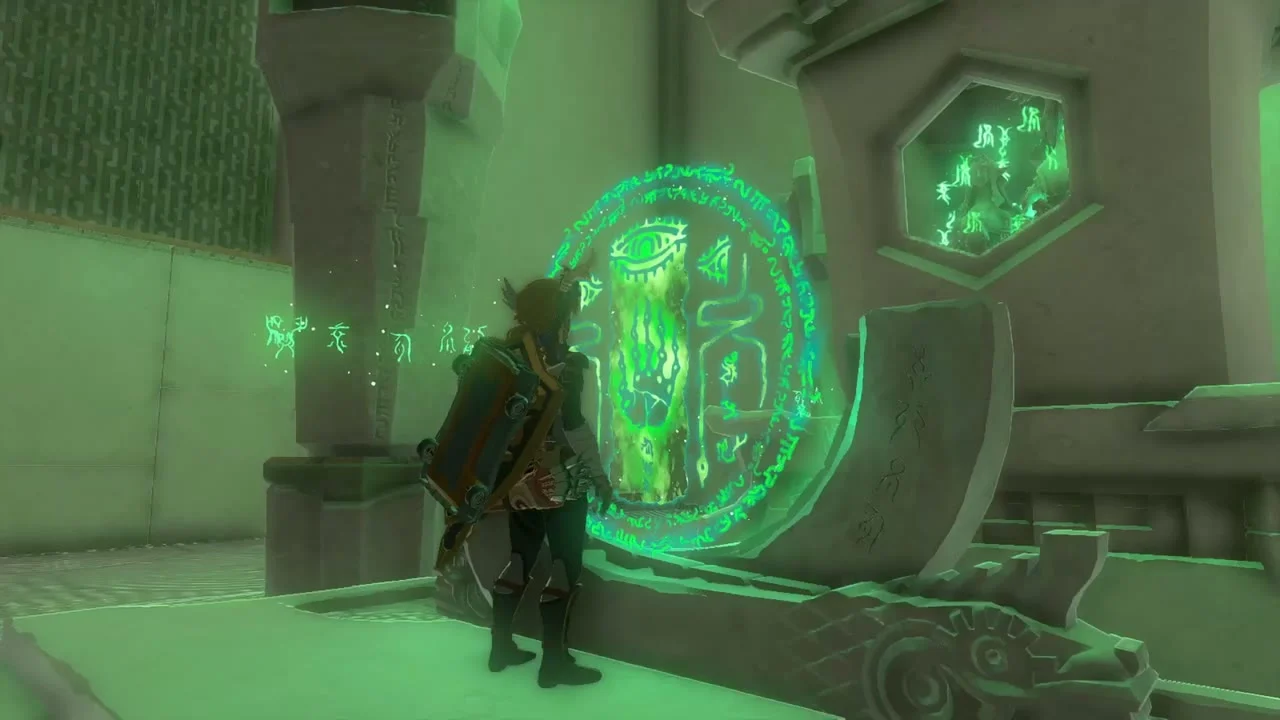
East Barrens: Quests, Siwakama Shrine and Ancient Altar Ruins
Forge the Scimitar of the Seven
Side quest: Pride of the Gerudo (Isha, Gerudo Town). Bring Isha 10 Flint, 4 Diamonds, a Gerudo Scimitar and a Gerudo Shield (a decayed one is fine). She forges the Scimitar of the Seven and will remake it for the same materials if you ever lose it. The scimitars and shields drop from the chests earlier in this chapter.
Carry Pokki to the ruins
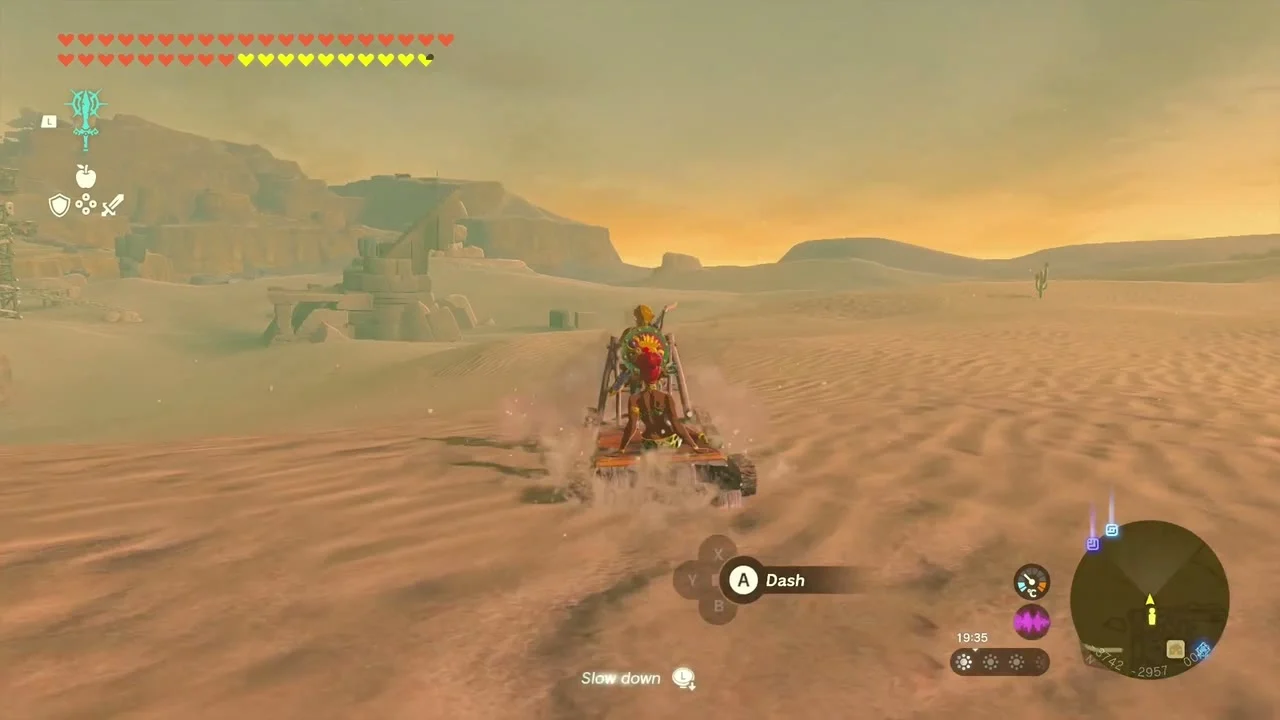
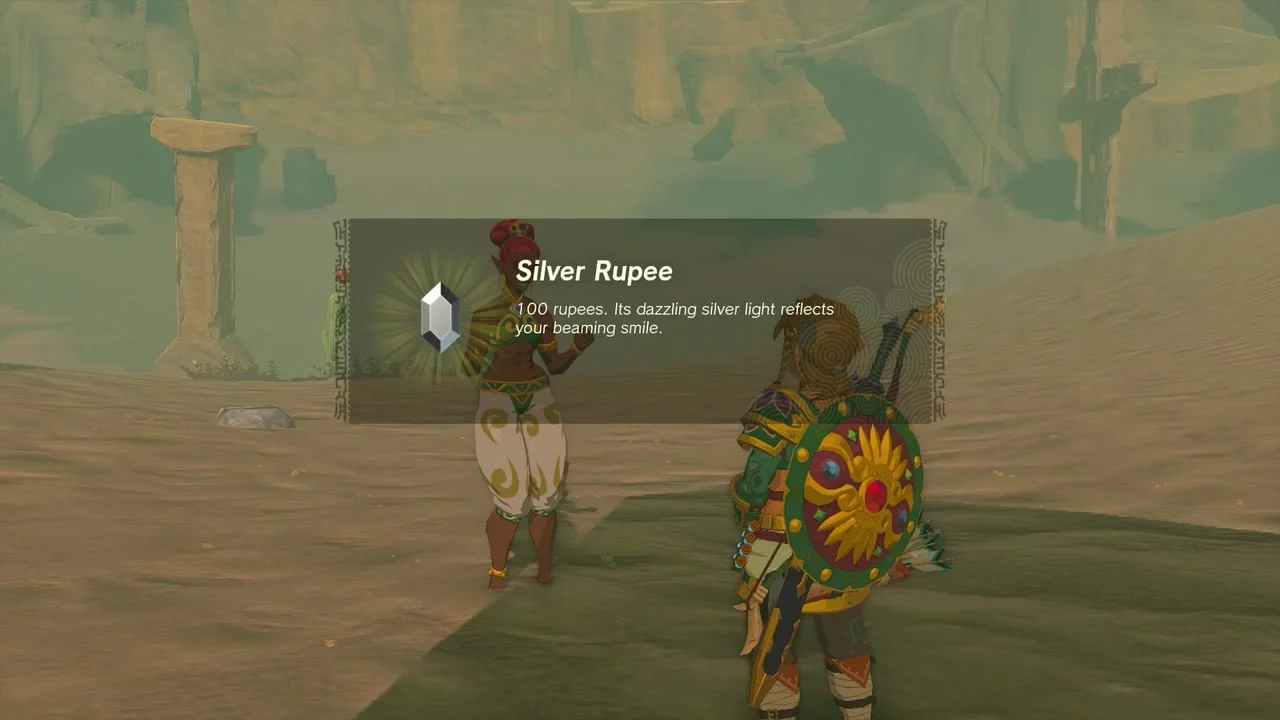
Side quest: To the Ruins! (Pokki, Gerudo Town). Pokki lost the map to ruins where huge statues face each other, somewhere in the east of the desert. Ride a sand sled east with her on the back; the statues are at the end of the dunes. The reward is a Silver Rupee.
Open the three chests in the rock chamber
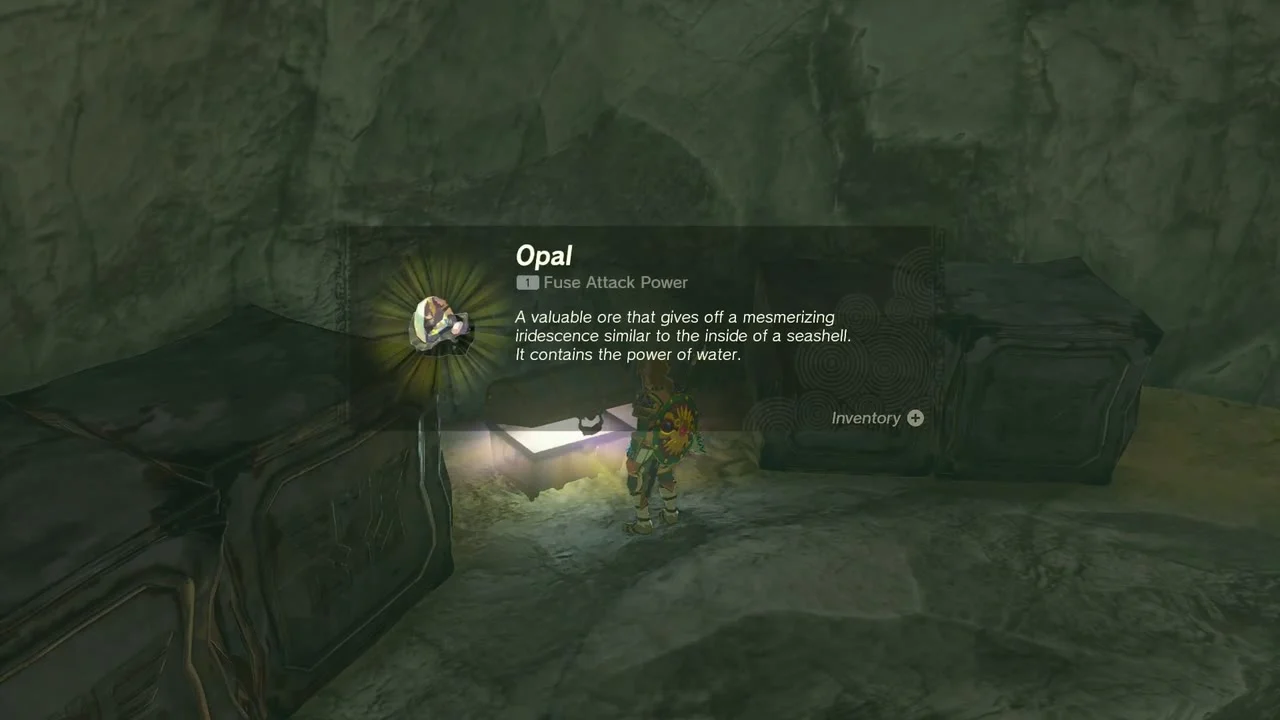
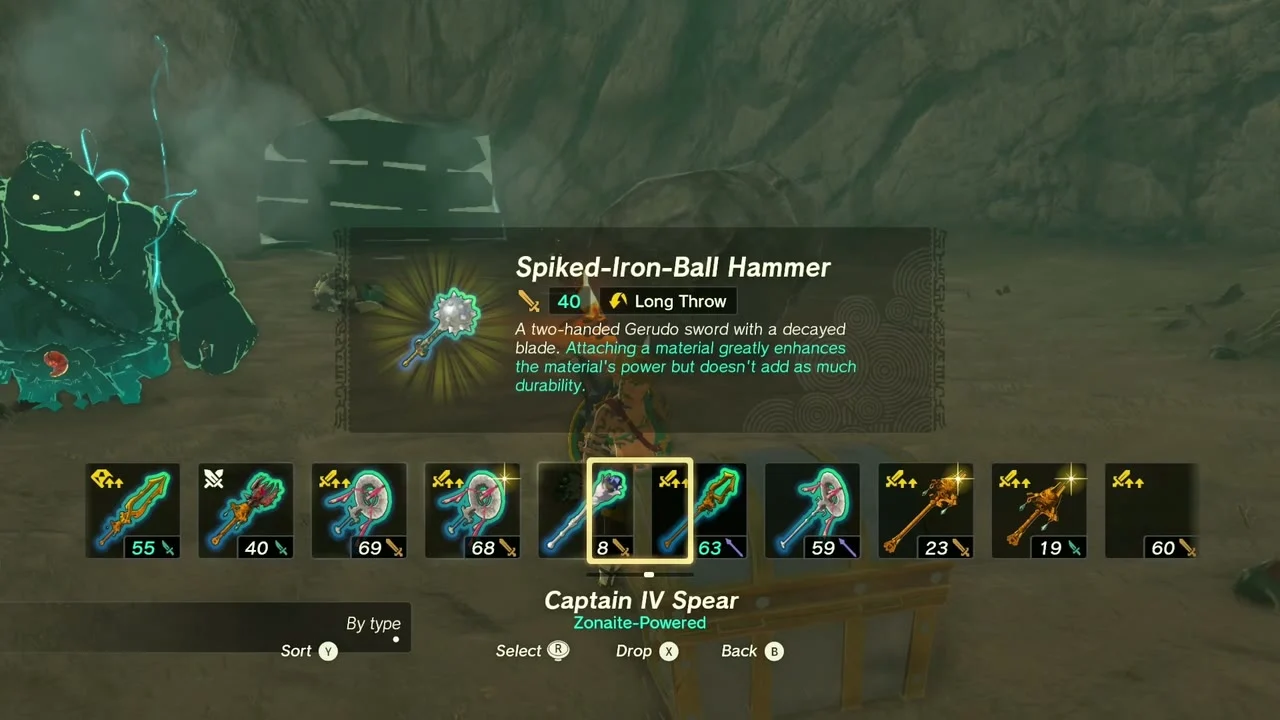
A small rock chamber near (-2673, -3266, 15) holds three chests: a Gerudo Claymore, an Opal, and, at (-2658, -3262), a Spiked-Iron-Ball Hammer. Drop through the sand into the chamber and open each in turn.

Catch the sparkling spot
Korok seed (Catch the sparkling spot) at (-2428, -3263, 44), a short run east of the chamber: follow the glittering spot as it floats between the rocks and touch it to reveal the Korok.
Siwakama Shrine: Moving the Spheres (Puzzle)
Siwakama Shrine at (-2445, -3344, 55), in the East Barrens. Trial Moving the Spheres, type Puzzle; the Amakawis Lightroot is below at (-2439, -3343, -486). Every room is solved by moving heavy stone spheres with Ultrahand. A Molduga patrols the sand outside, so arrive by vehicle or glider.
Bridge the first gap with a sphere
Pick up the large sphere on the far ledge with Ultrahand and set it in the middle of the first gap, then hop across its top.

Roll a sphere into the cracked wall
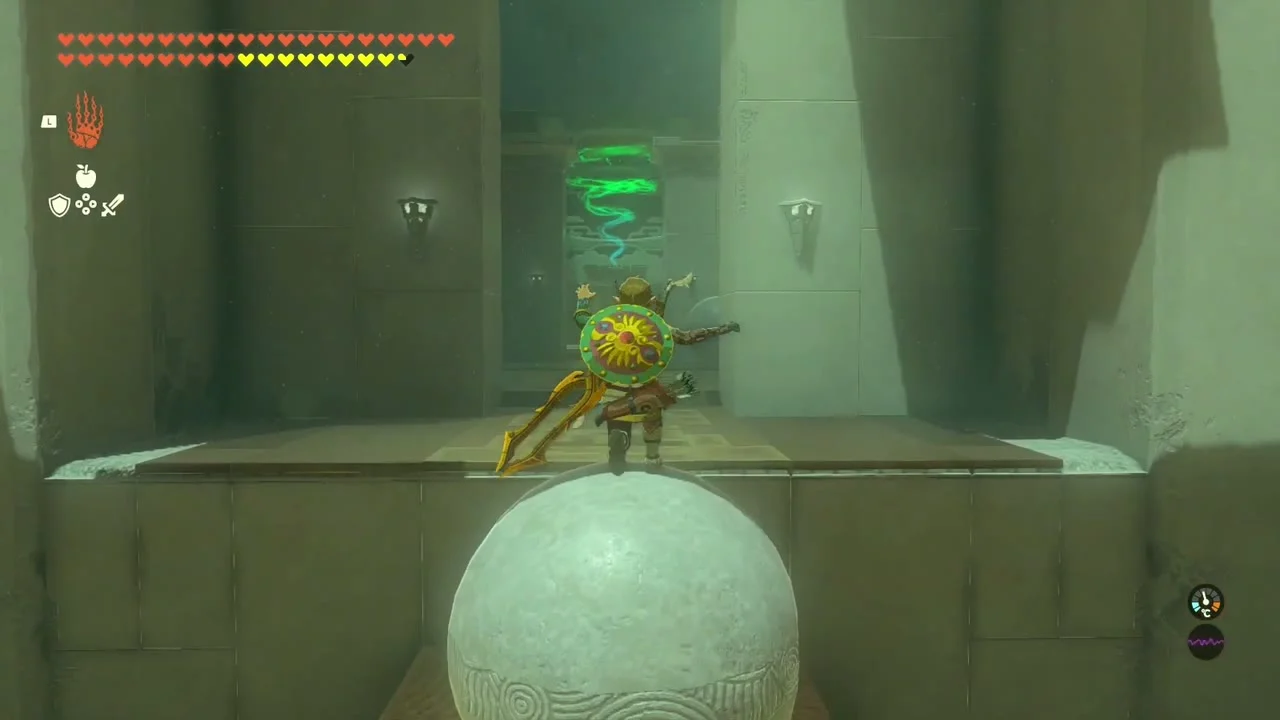
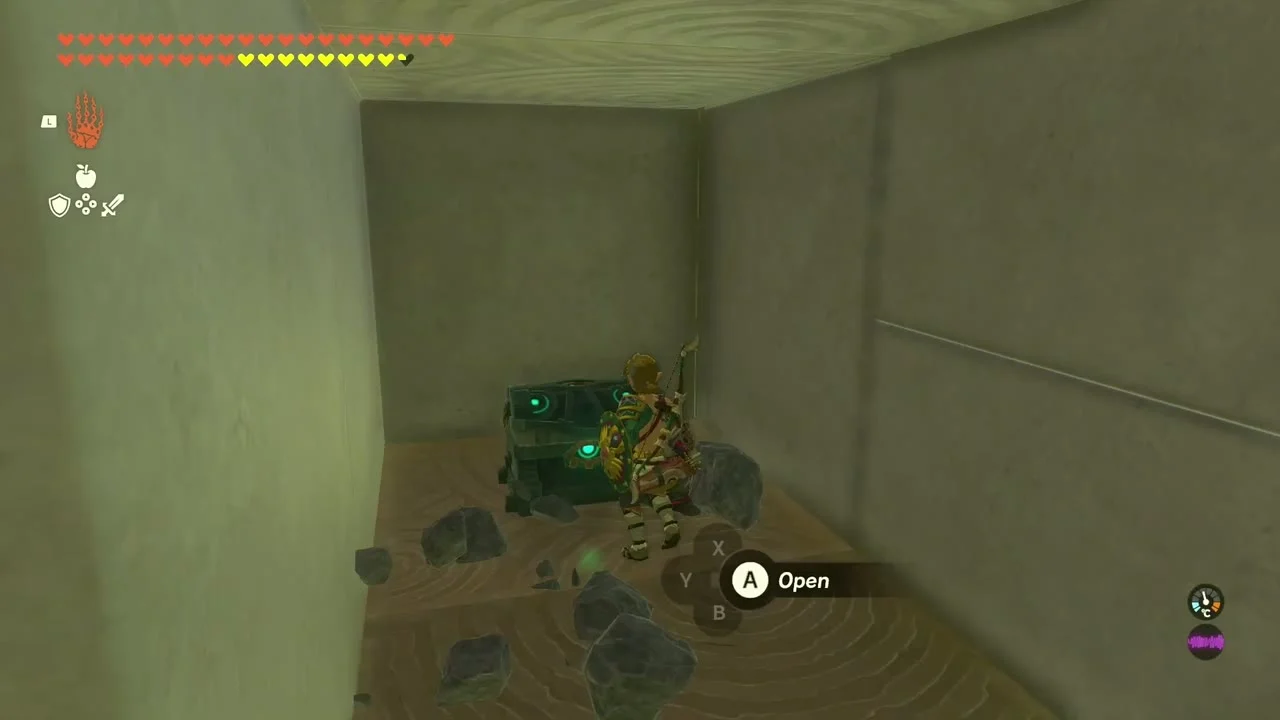
Take one sphere off the right side of the platform and drop it on the ramp so it rolls into the cracked section of wall. The wall hides a chest holding Bomb Flower x5. A hammer or a Bomb Flower breaks the wall directly if you carry one.
Fuse two spheres on the middle peak
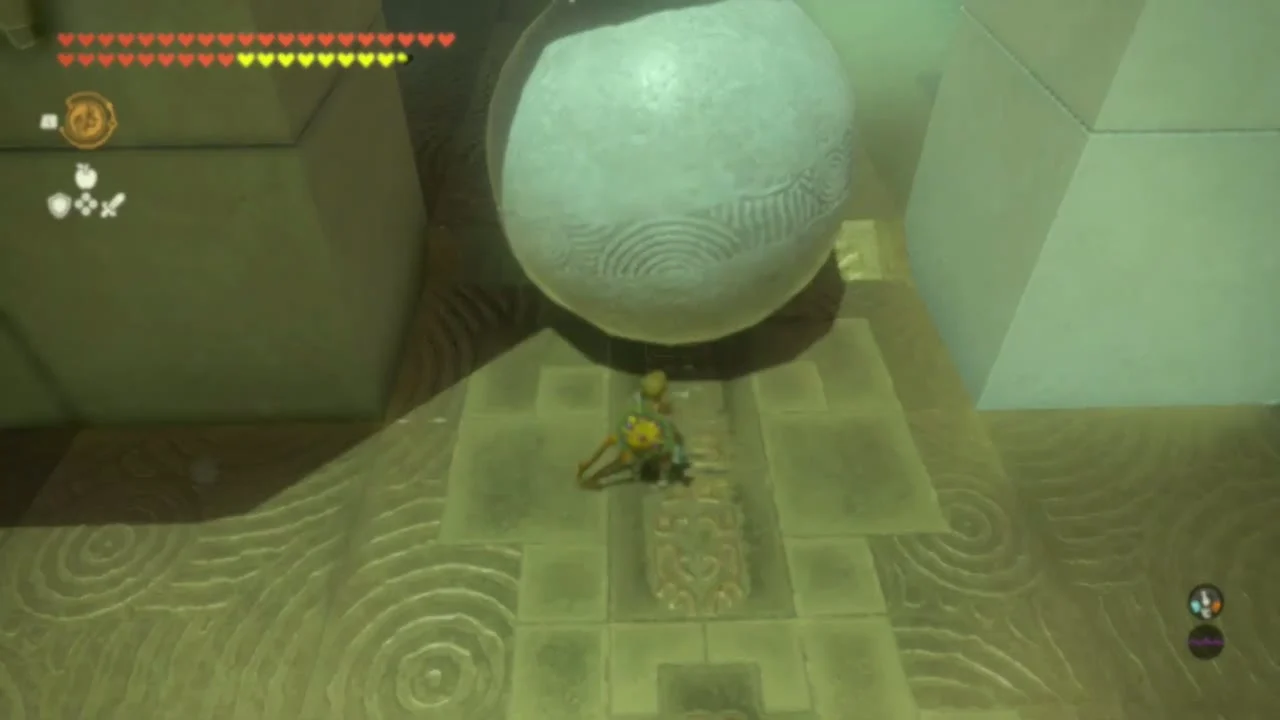
Return to the main platform, fuse the two remaining spheres together and place them on either side of the peak so they hold steady and form a bridge over the gap.
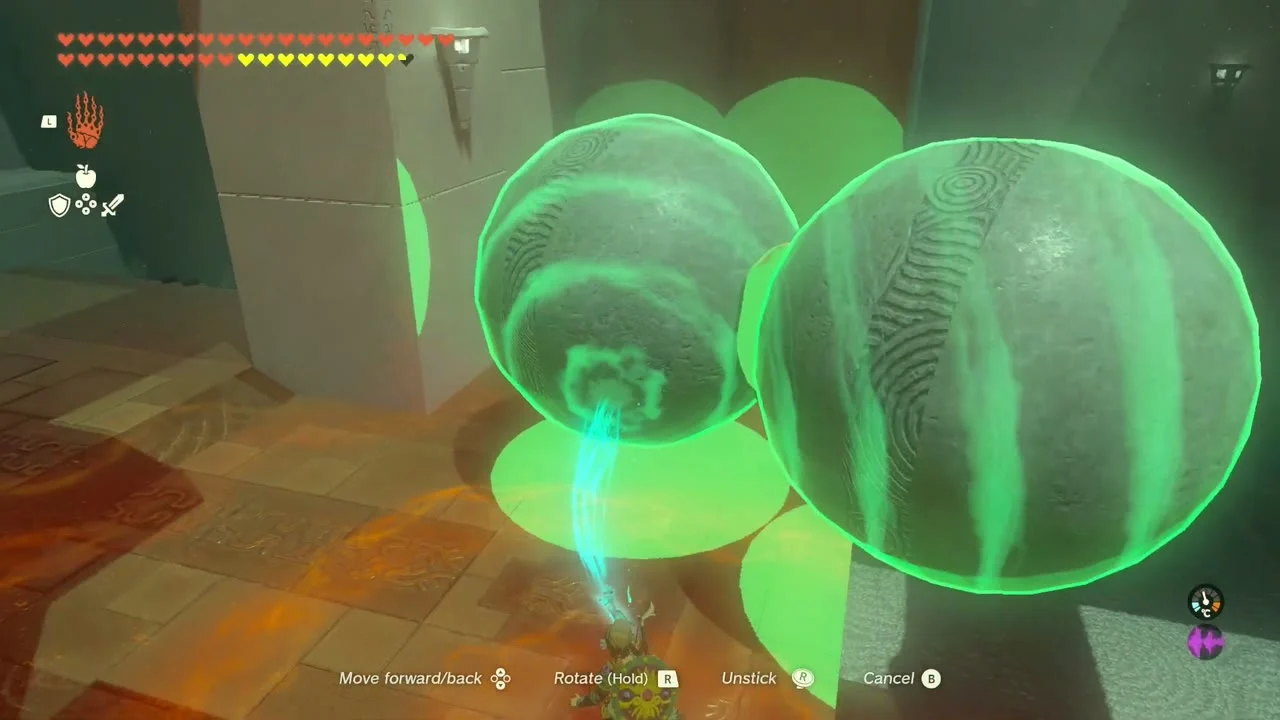

Build the three-sphere pyramid
The last gap is a pyramid, so join all three spheres into a triangle with the single sphere closest to the altar. They sit centred on the pyramid and let you cross to the Light of Blessing.


Defeat the East Barrens Molduga
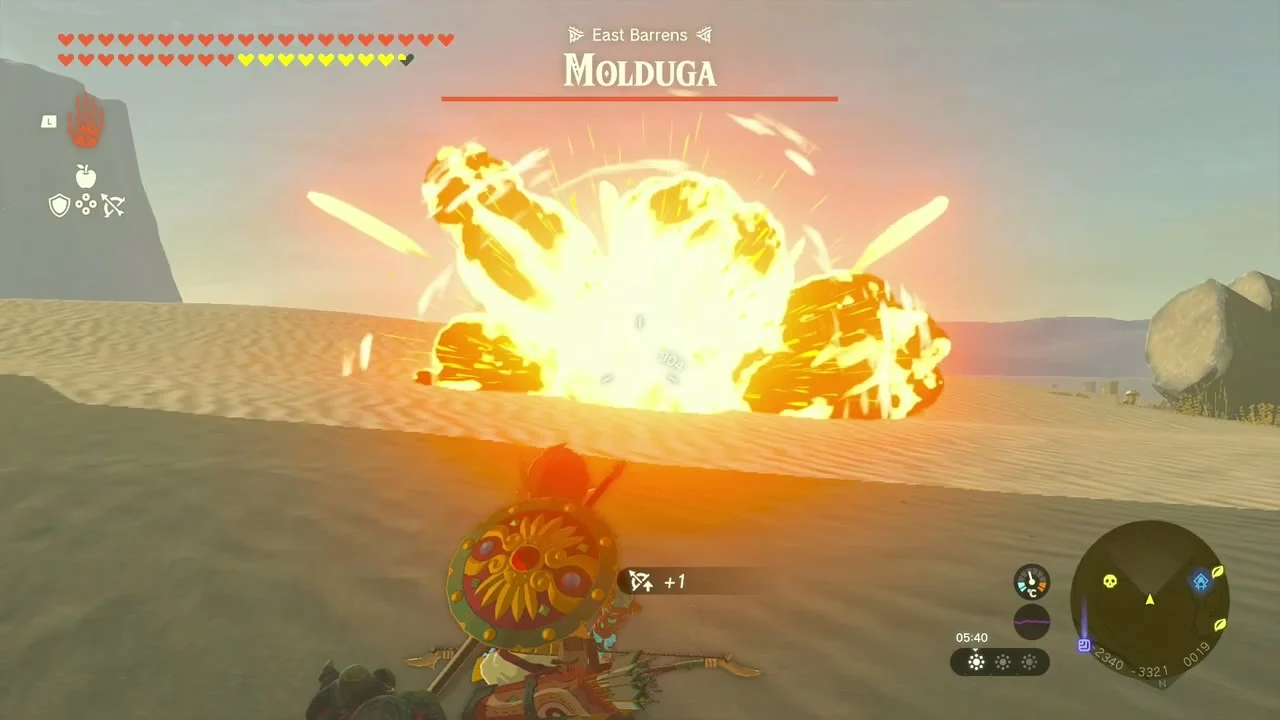
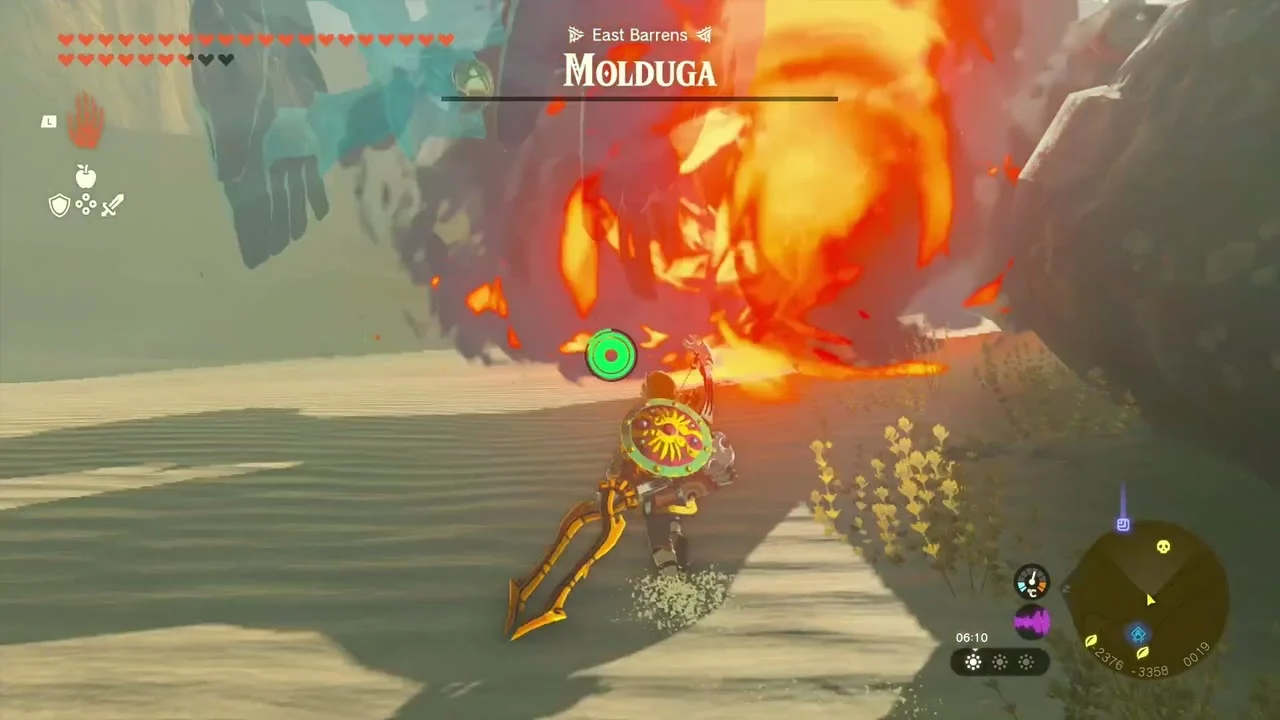
Miniboss: Molduga at (-2340, -3321, 19), beside Siwakama Shrine. Fight it from the stone ridges, lob Bomb Flowers into its mouth when it surfaces, and report back to Gralens at the Emergency Shelter in Lookout Landing to finish WANTED: Molduga. Molduga loot spills on the sand where it falls.
Deliver the third exhausted Korok
Korok seed (Bring the exhausted korok to its friend) ends at (-2546, -3930, 14). Pick the Korok up at (-2503, -3409), carry it south on a vehicle and leave it by the friend’s tent. It pays Korok Seed x2. A few steps away is Korok seed (Attack and catch the dandelion) at (-2546, -3952, 38): shoot the floating dandelion and catch it before it lands.
Explore Ancient Altar Ruins
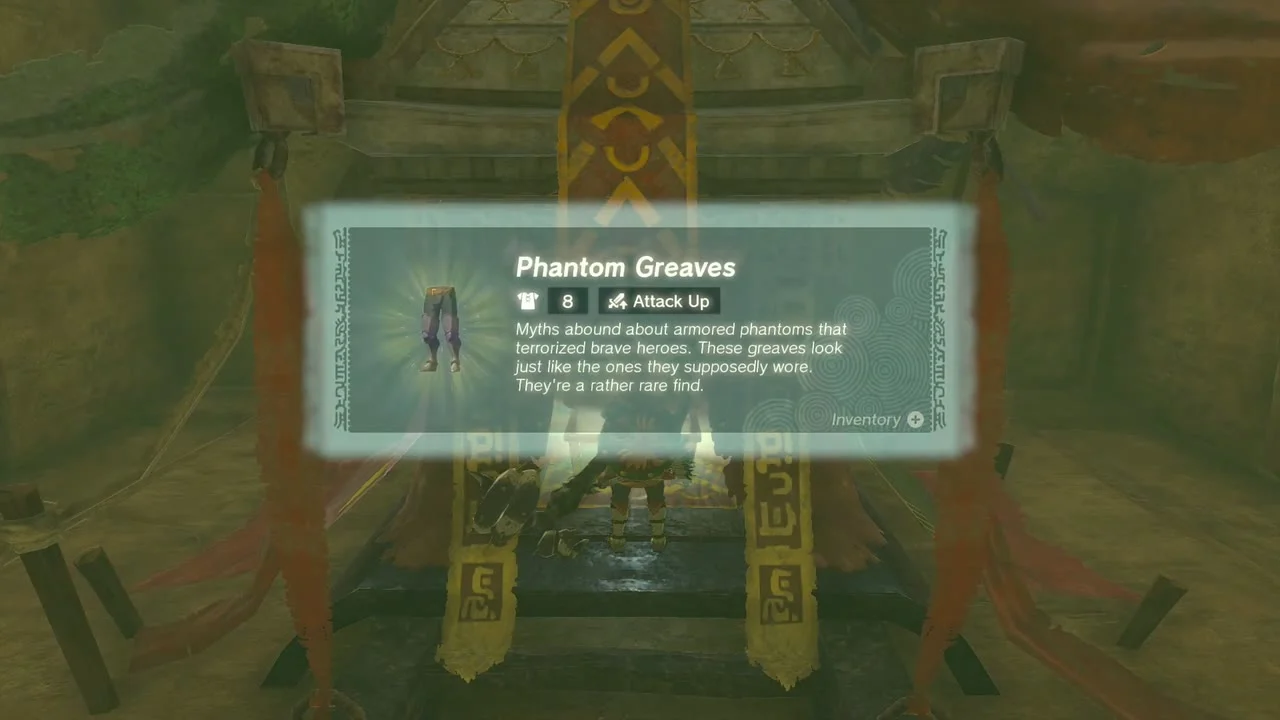
Cave: Ancient Altar Ruins at (-2535, -3626, -48), a ruin of columns and tapestries sunk under the sand. A chest at the entrance shrine holds the Phantom Greaves, another holds a Topaz, and the Bubbulfrog drops a Bubbul Gem. Deeper in, two chests hold a Gerudo Bow and a third a Gerudo Scimitar. Bring Brightbloom Seeds and Fire Fruit for the Constructs.

Explore South Gerudo Cave
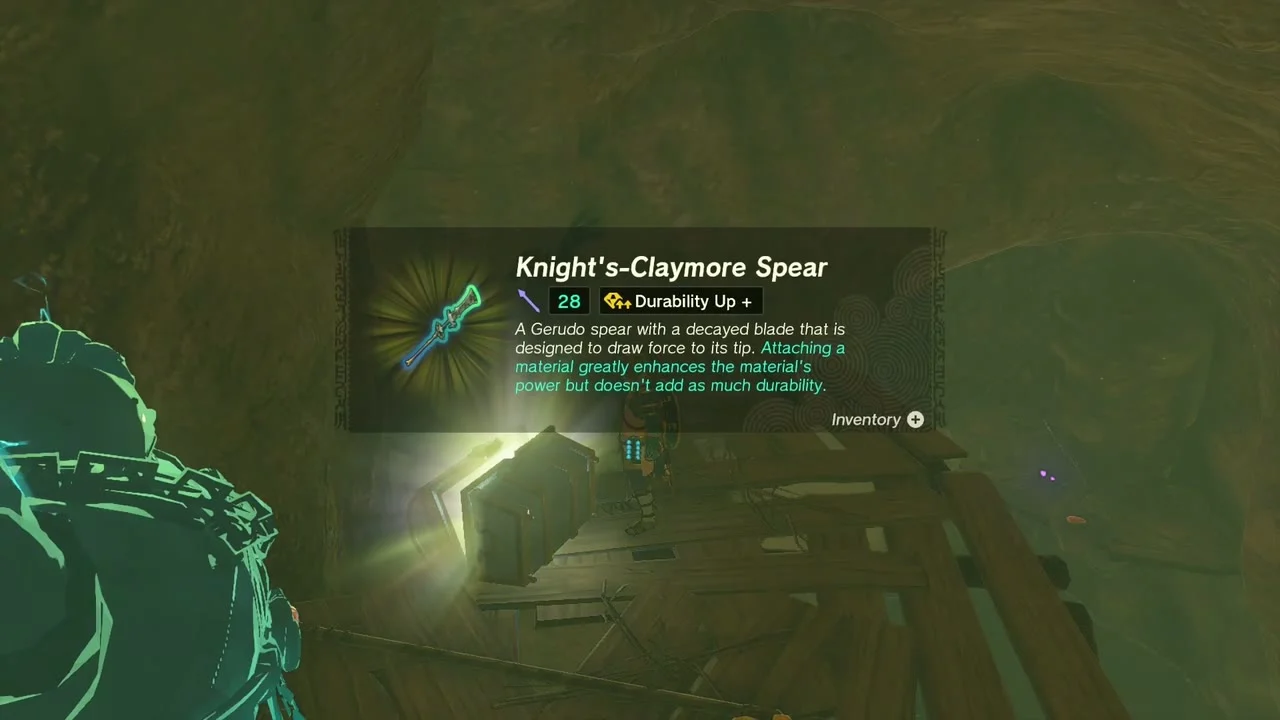
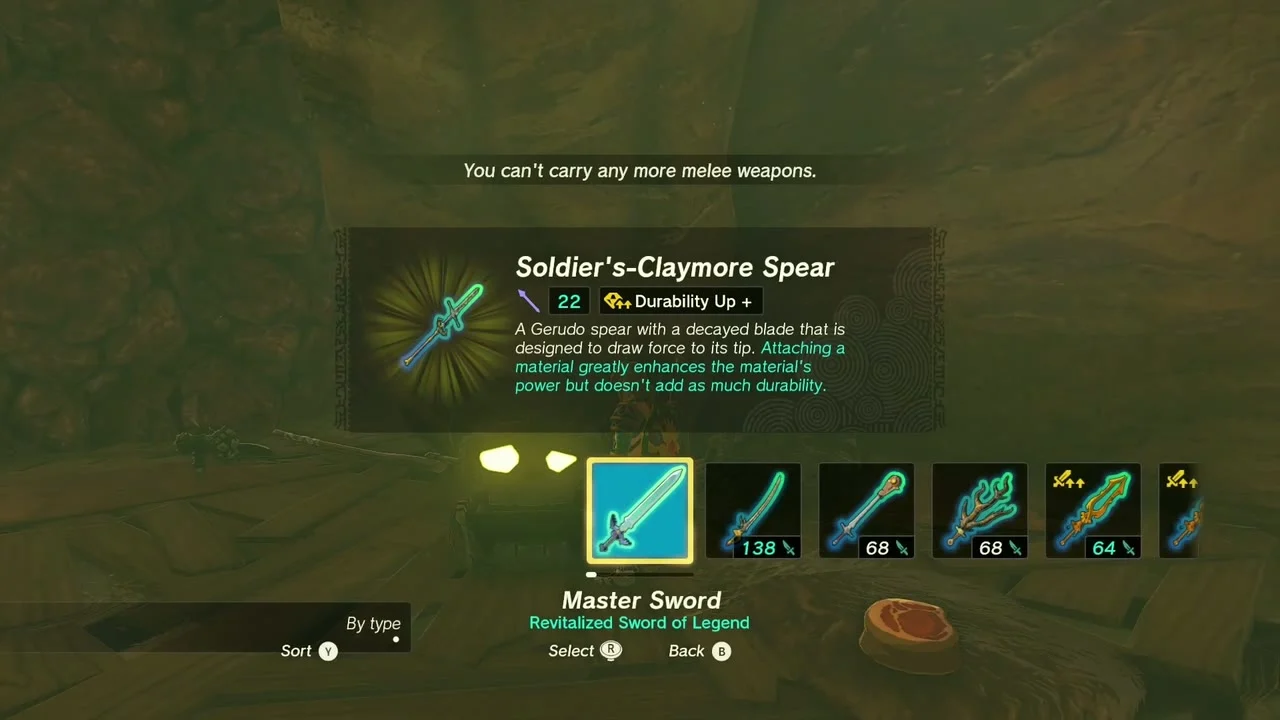
Cave: South Gerudo Cave at (-2939, -3857, -37). Drop into the cave, climb the wooden scaffolds and open the two chests for a Knight’s-Claymore Spear and a Soldier’s-Claymore Spear, then take the Bubbul Gem from the Bubbulfrog in the back chamber.
Three Koroks on the way to Kitawak Shrine
Korok seed (Lift the rock) at (-1944, -3184, 127): lift the boulder on the ridge to uncover the Korok. Korok seed (Pull the plug) at (-1609, -3084, 203): pull the stone plug out of the basin to release the Korok. Korok seed (Use Ascend on the marker) at (-1427, -2976, 281): Ascend through the green marker on the underside of the rock shelf.
Gerudo Highlands Edge: Kitawak Shrine, Rahdo and the Plateau Koroks
Kitawak Shrine: Upward and Forward (Puzzle)
Kitawak Shrine at (-1530, -2928, 334), on top of East Gerudo Mesa, south-east of Spectacle Rock. Trial Upward and Forward, type Puzzle; the Kawatik Lightroot is below at (-1531, -2928, -752). Glide down from a nearby high point to reach the mesa.
Drop the first bridge with the stone slab
Grab the stone slab next to the raised bridge and set it on top of the bridge. The extra weight drops it so you can cross the gap.

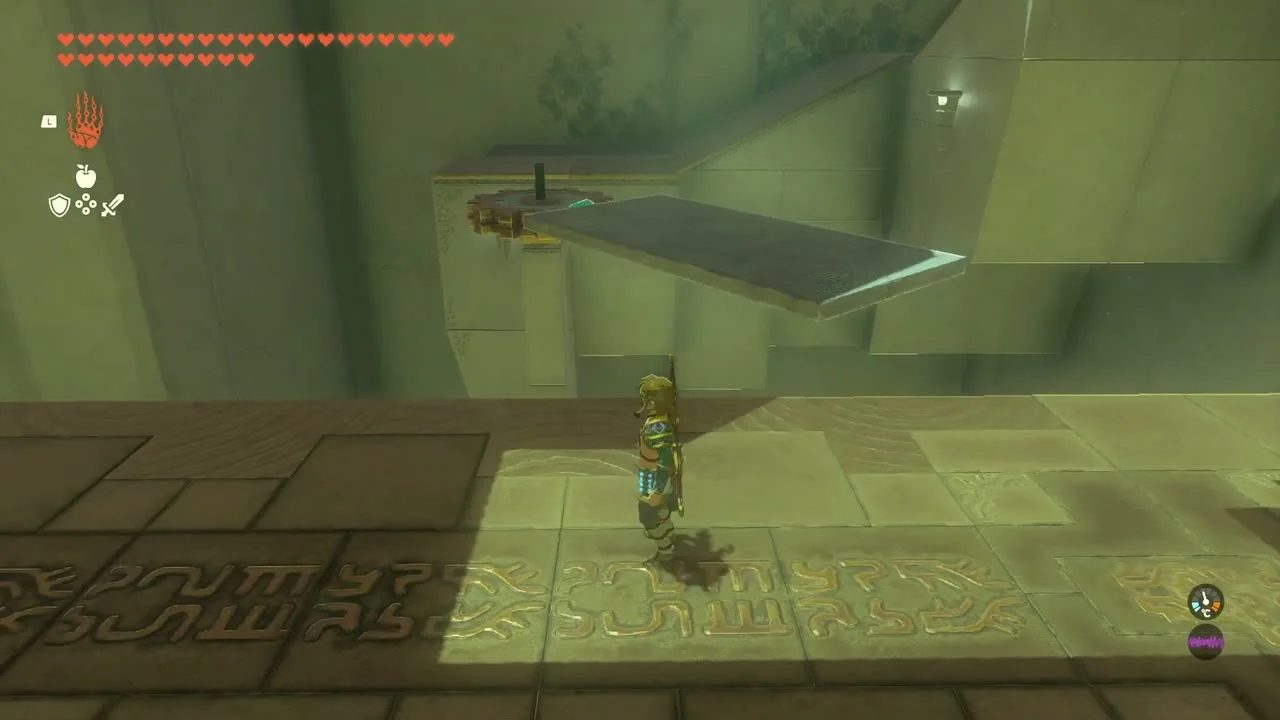
Ride the gear platform to the arrow chest
Take the slab off the bridge and attach it to the rim of the spinning gear to make a rotating platform. Jump on when it comes round, ride it to the far side and open the chest for Arrow x10.

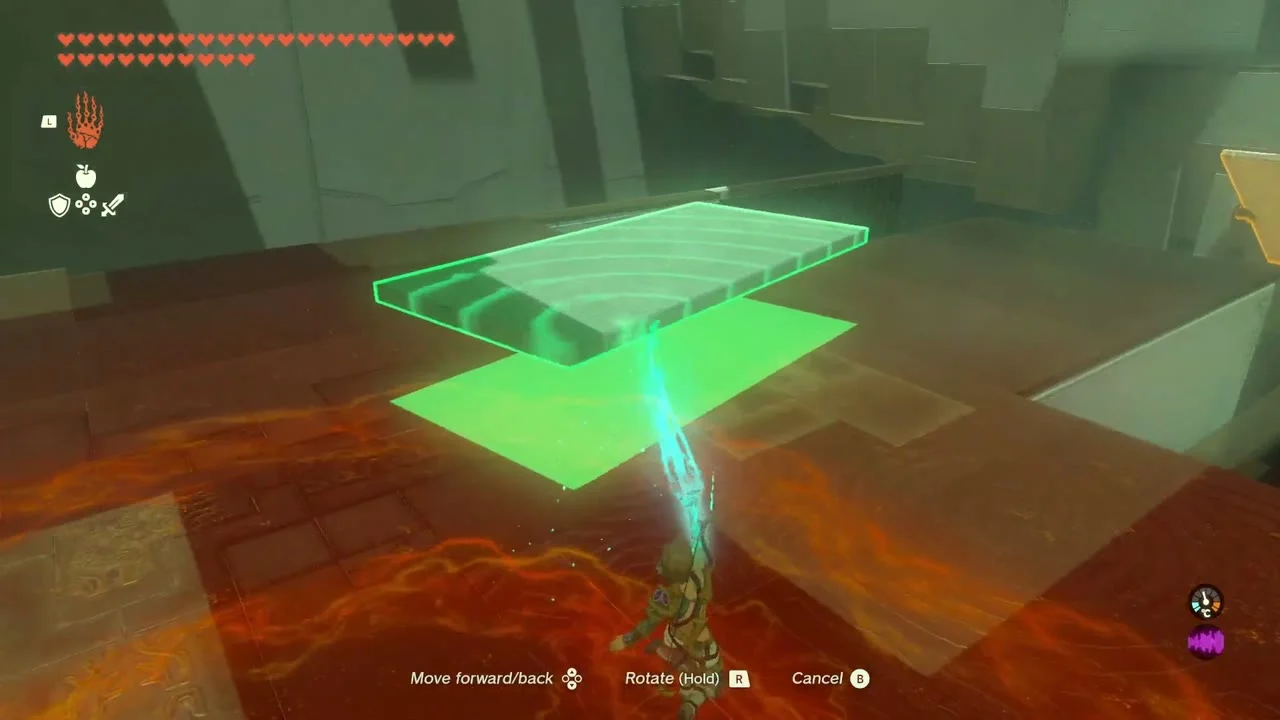
Build the ramp and launch off the piston
Back at the main platform, lay the slab and a second plank across the seesaw to form a ramp, then stand at the low end under the piston and shoot the pillar to fire it. You are flung up to the next level; glide to the exit and take the Light of Blessing.
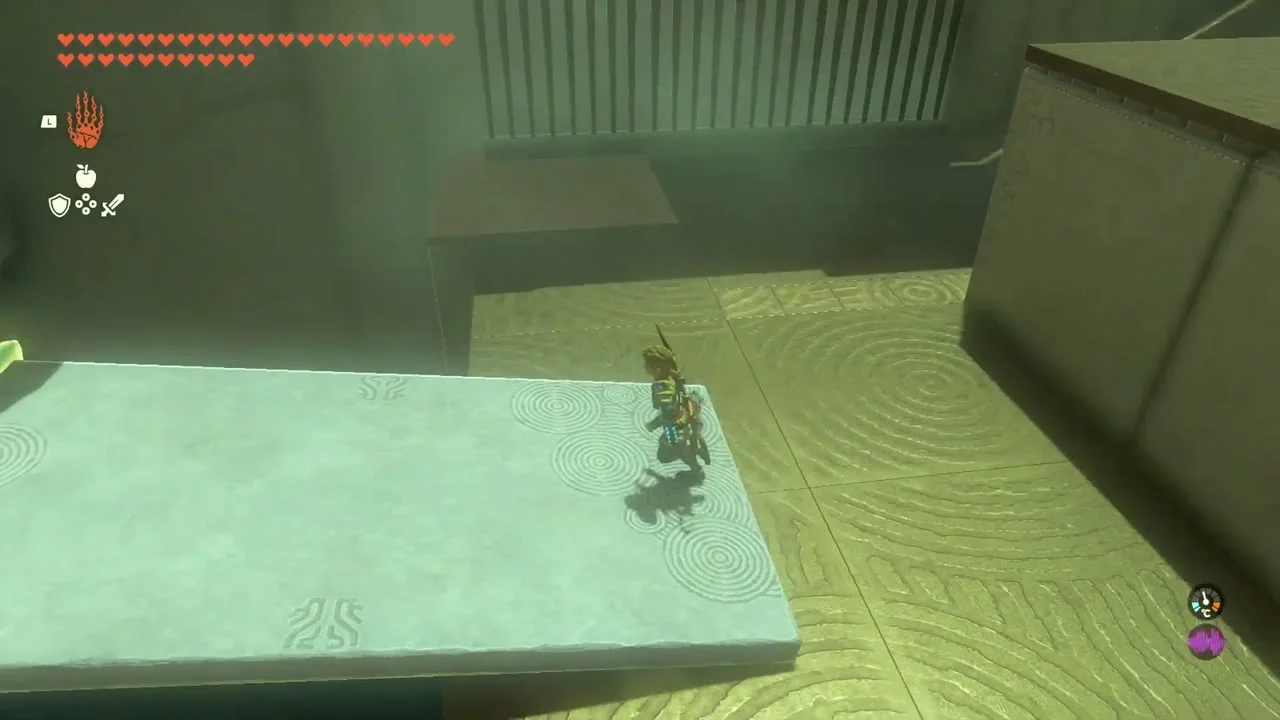
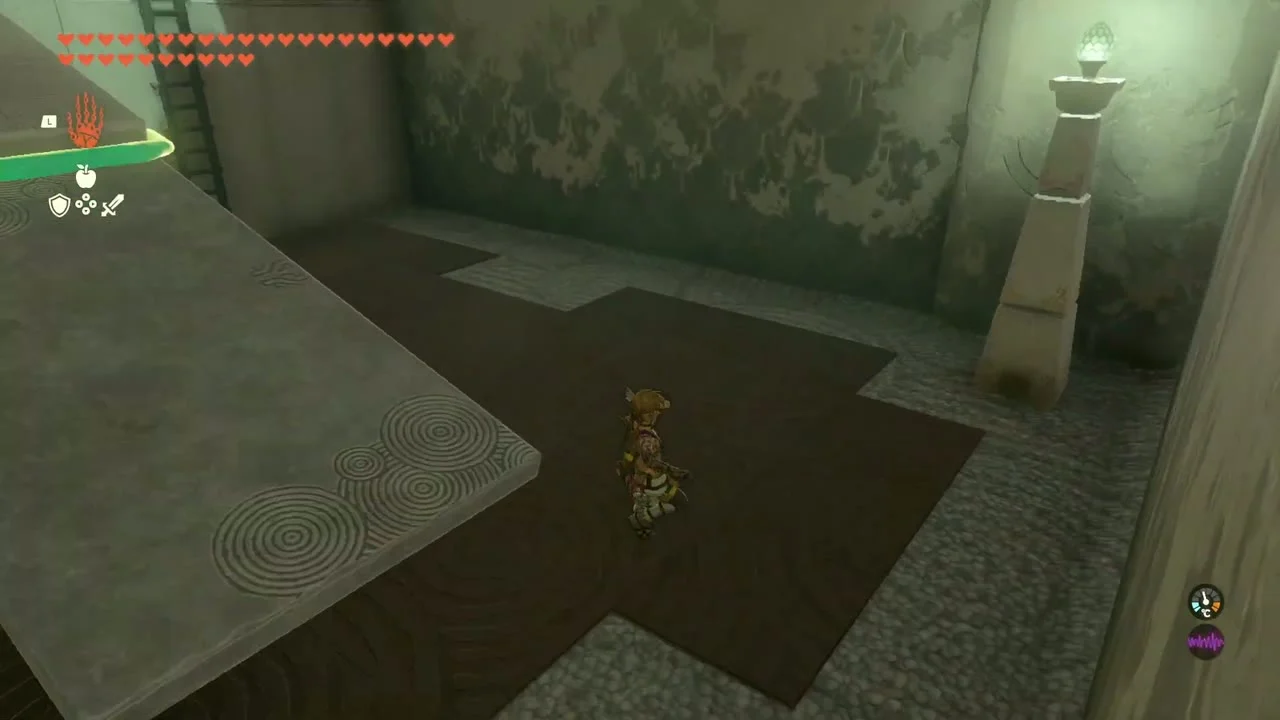
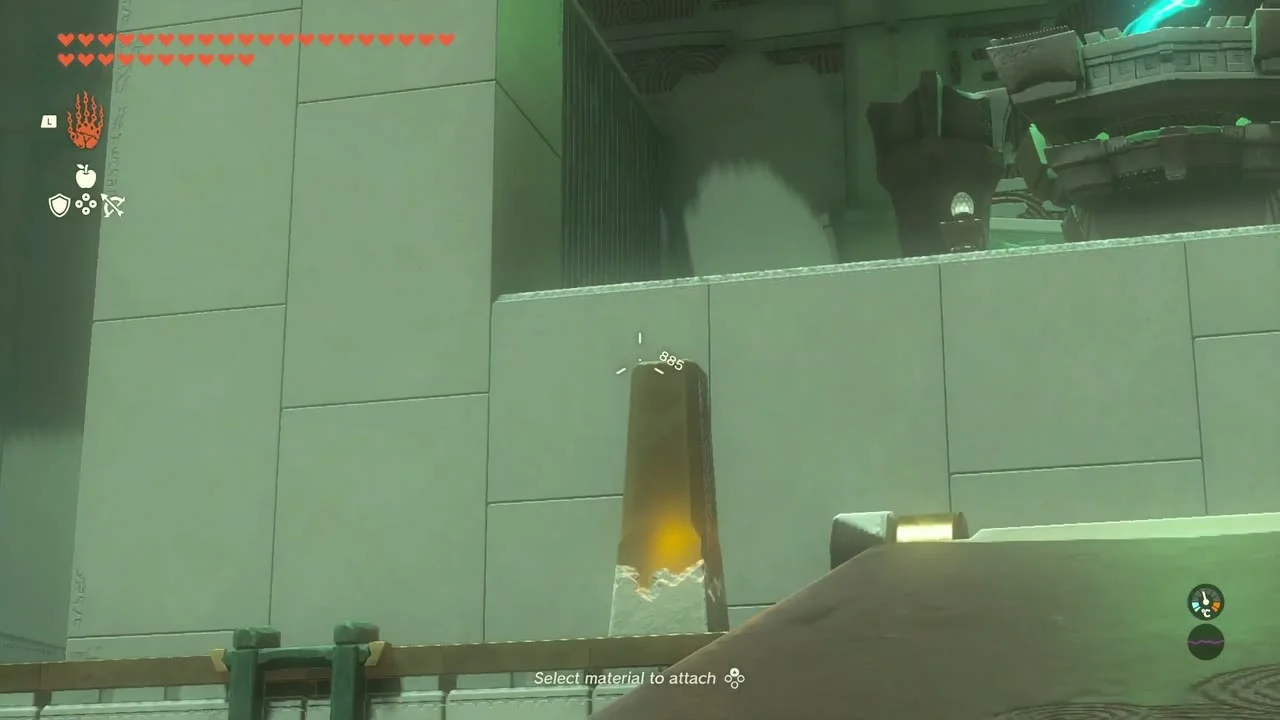
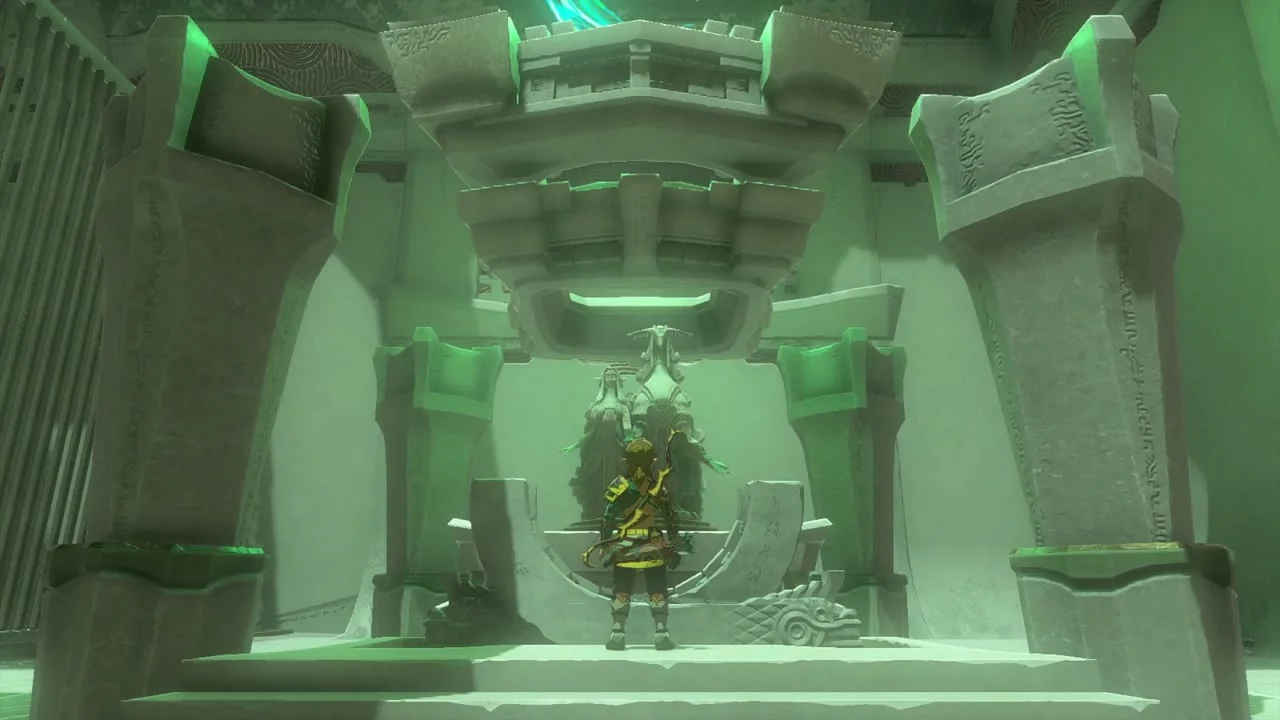
Win the endurance contests against Rahdo
Side quests: Cold-Endurance Contest! and Heat-Endurance Contest! (Rahdo, Gerudo Canyon). Climb onto the pillar beside Rahdo’s tent near (-1370, -3353, 473) and stand there in nothing but your underwear without touching the ground. First comes the cold night, and after you win, a daytime heat contest. Eat Cold Resistance and Heat Resistance food beforehand and wait out the clock on the pillar. Most guides give the entry fee as about 50 rupees for the cold night and 150 for the heat contest, and both pay out a rupee prize.


Take the Rocket chest
Chest: Rocket x3 at (-1024, -3779, 190), on a ledge of the plateau south of the pillar. Glide in from the pillar and open the chest for Rocket x3.
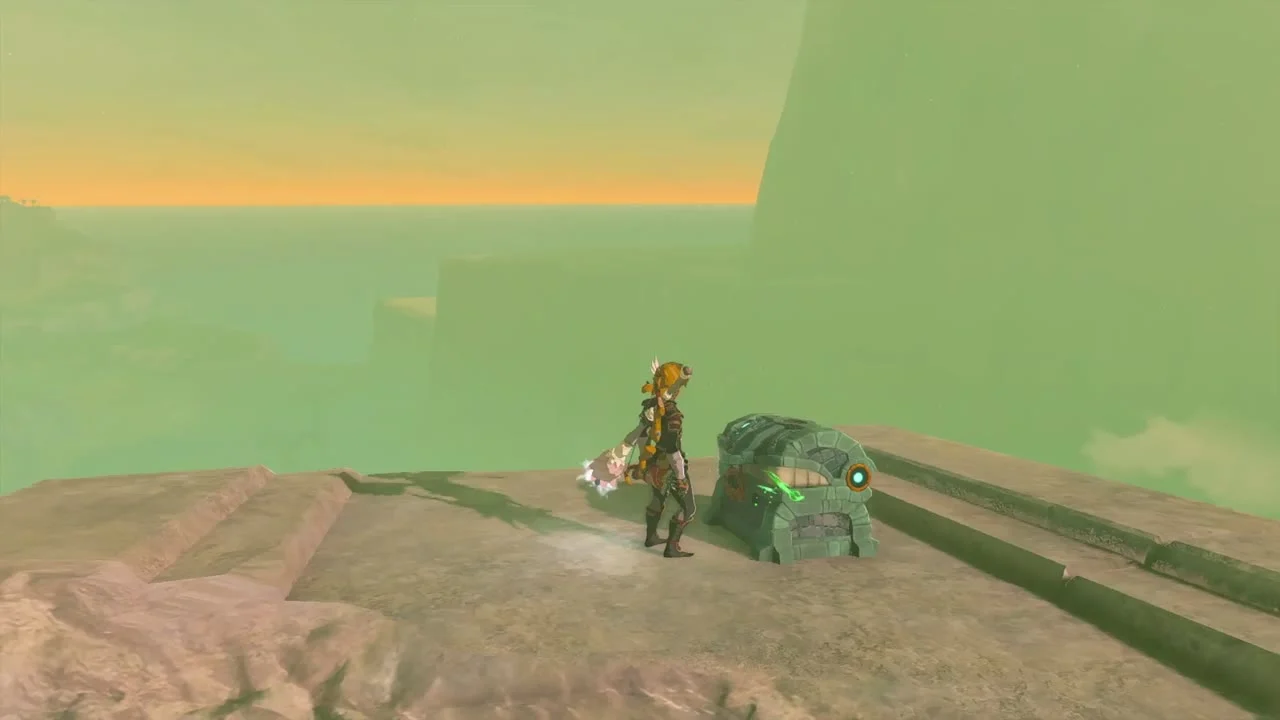

Clear the tumbleweeds for Barles
Side quest: The Great Tumbleweed Purge (Barles, Gerudo Canyon). Barles is cleaning a mountain of garbage near (-1010, -3577, 219) and the tumbleweeds keep rolling back. Burn or destroy every tumbleweed in the area, make room in your pouch and talk to her for a Royal Shield (or Traveler’s Shield, Soldier’s Shield or Knight’s Shield, depending on your progress).
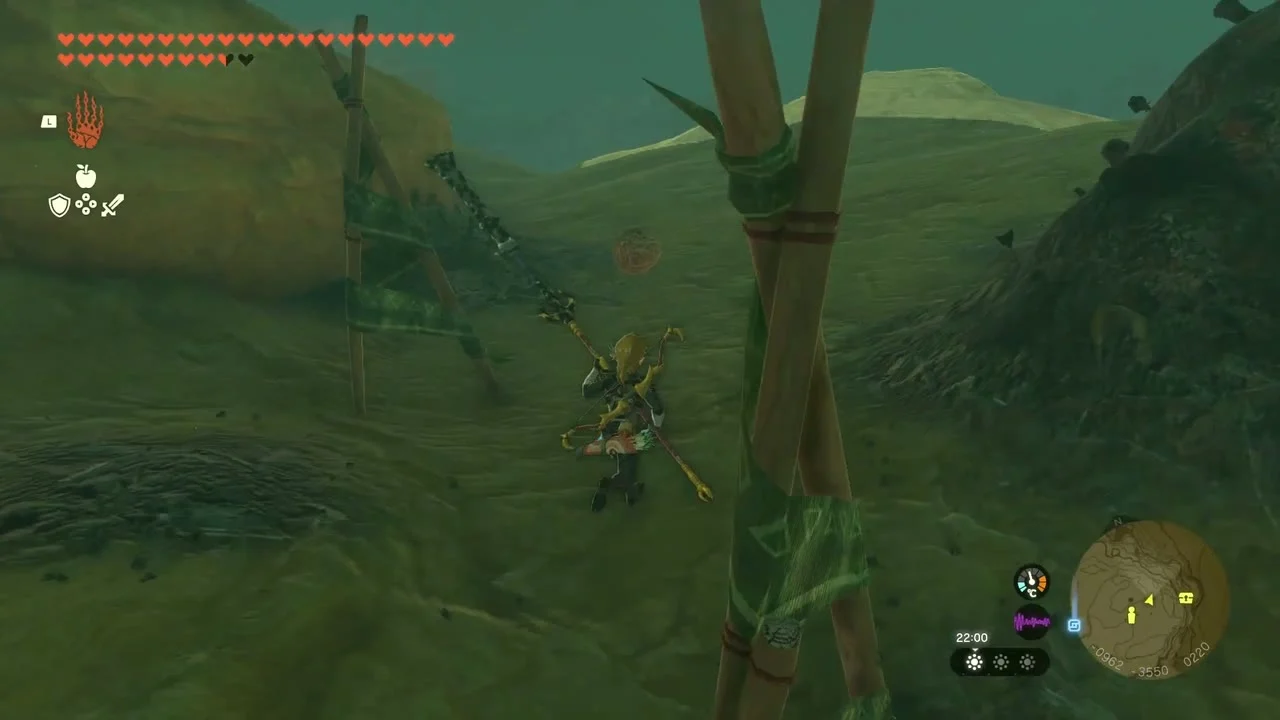

Six Koroks on the plateau
Korok seed (Lift the rock) at (-1385, -3493, 434): lift the boulder to find the Korok. Korok seed (Complete the cube puzzle) at (-1451, -3638, 436): fit the cubes into the pattern. Korok seed (Complete the rock pattern) at (-1369, -3724, 395): repeat the rock pattern shown beside the stone ring.
Korok seed (Examine where the arrows point to) at (-1178, -3510, 219): follow the arrow signs painted on the cliff to the hidden Korok. Korok seed (Follow the flower) at (-994, -3254, 251): follow the flower along the ledge. Korok seed (Complete the cube puzzle) at (-1152, -3303, 276): the second cube puzzle, on a platform to the north.
Upgrade gear at Great Fairy Cotera
Any Great Fairy you have awakened can upgrade the Desert Voe Headband, Sapphire Circlet and Sand Boots you have picked up here; there is no Great Fairy in the Gerudo Desert itself, so carry the armor and its materials to a fountain elsewhere in Hyrule.
South Lomei Labyrinth: Surface, Sky and Depths
Side quest: The South Lomei Prophecy (a Mysterious Voice, South Lomei Labyrinth). The labyrinth is a three-layer maze in the Gerudo Highlands: the surface maze ends at a dragon ring terminal and Motsusis Shrine, the sky maze above it has four more terminals plus a fifth on its roof, and the dive from the roof lands in the depths maze, where Flux Construct III guards the final terminal and the Evil Spirit Mask. Glide in from Gerudo Canyon Skyview Tower and bring heat and cold resistance; the maze has extreme weather. Chests here hold 14 items in total.
Raid the surface maze chests
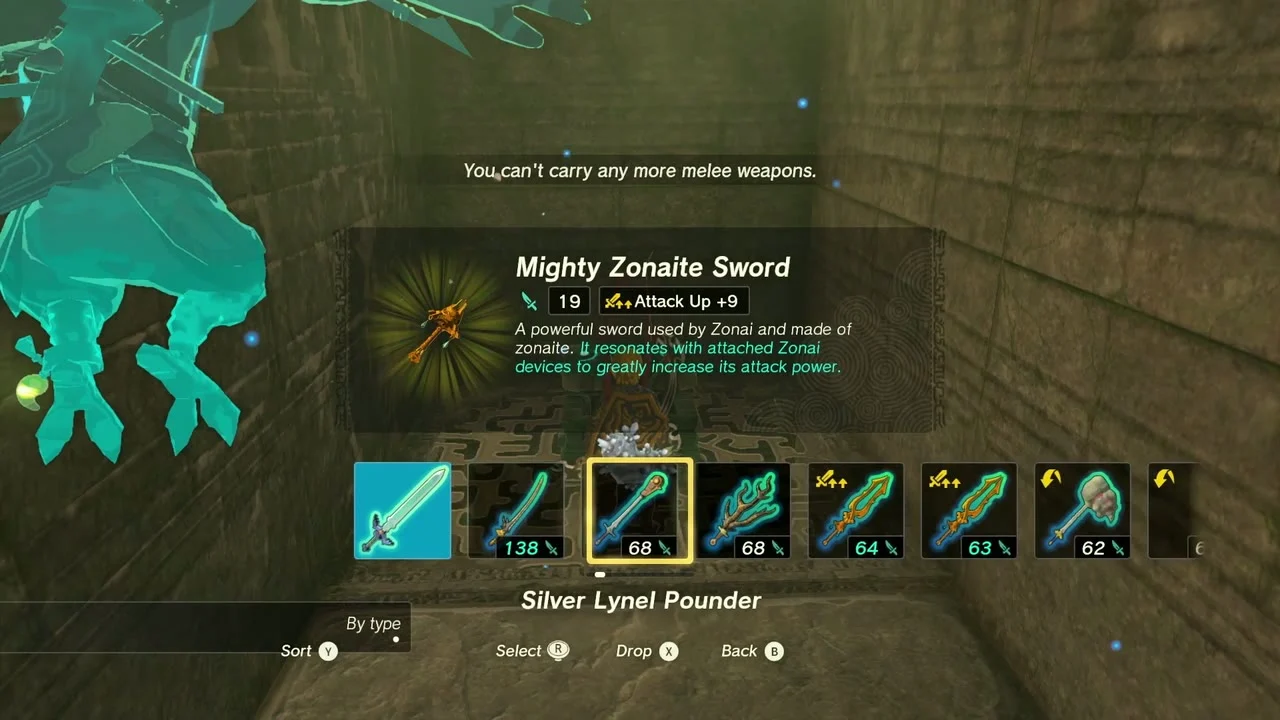
Follow the trail of acorns and nuts from the entrance table, cross the gloom pools by riding a campfire updraft or building a bridge, and open the chests off the main path. A Mighty Zonaite Sword (Strong or Mighty, depending on your progress) sits at about (-1822, -3404, 73) and a Mighty Zonaite Longsword (Strong or Mighty, depending on your progress) at about (-1847, -3540, 71). A third chest near (-1770, -3420, 71) holds a Big Battery.


Activate the dragon ring terminal and Motsusis Shrine
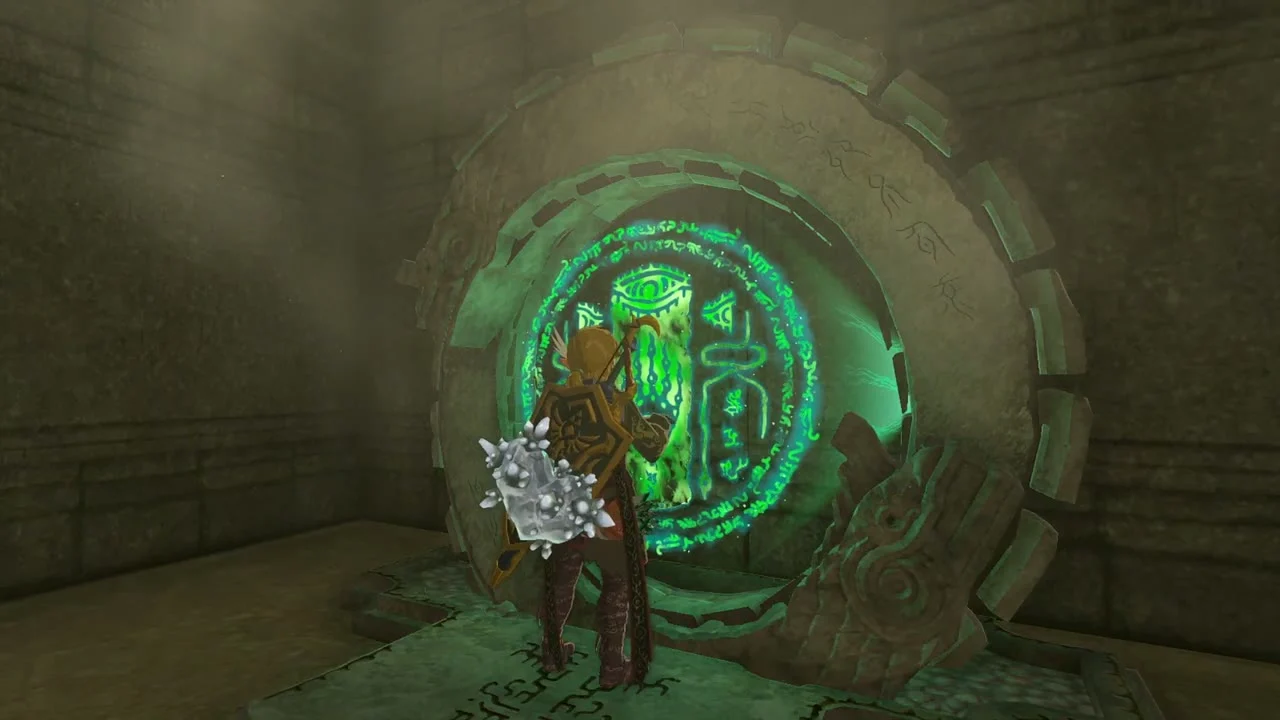
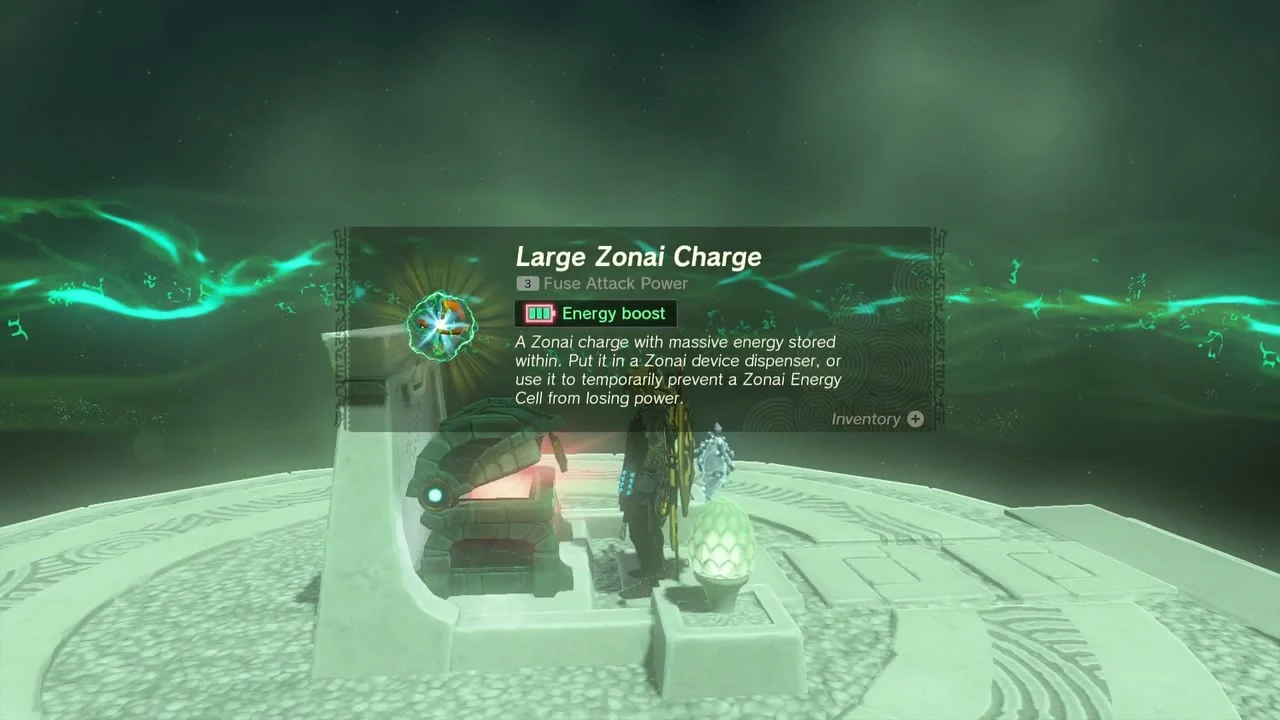
Follow the maze to its deepest point and activate the dragon ring terminal there. The door it opens leads out to Motsusis Shrine at (-1795, -3486, 59), trial Rauru’s Blessing (no puzzle). Open the chest for a Large Zonai Charge and take the Light of Blessing. The Sisustom Lightroot is directly below at (-1795, -3497, -478).


Take the balloon Korok at the maze wall
Korok seed (Shoot the balloon) at (-1794, -3579, 123), on the south side of the maze. Shoot the floating balloon to bring the Korok down.
Reach the sky maze
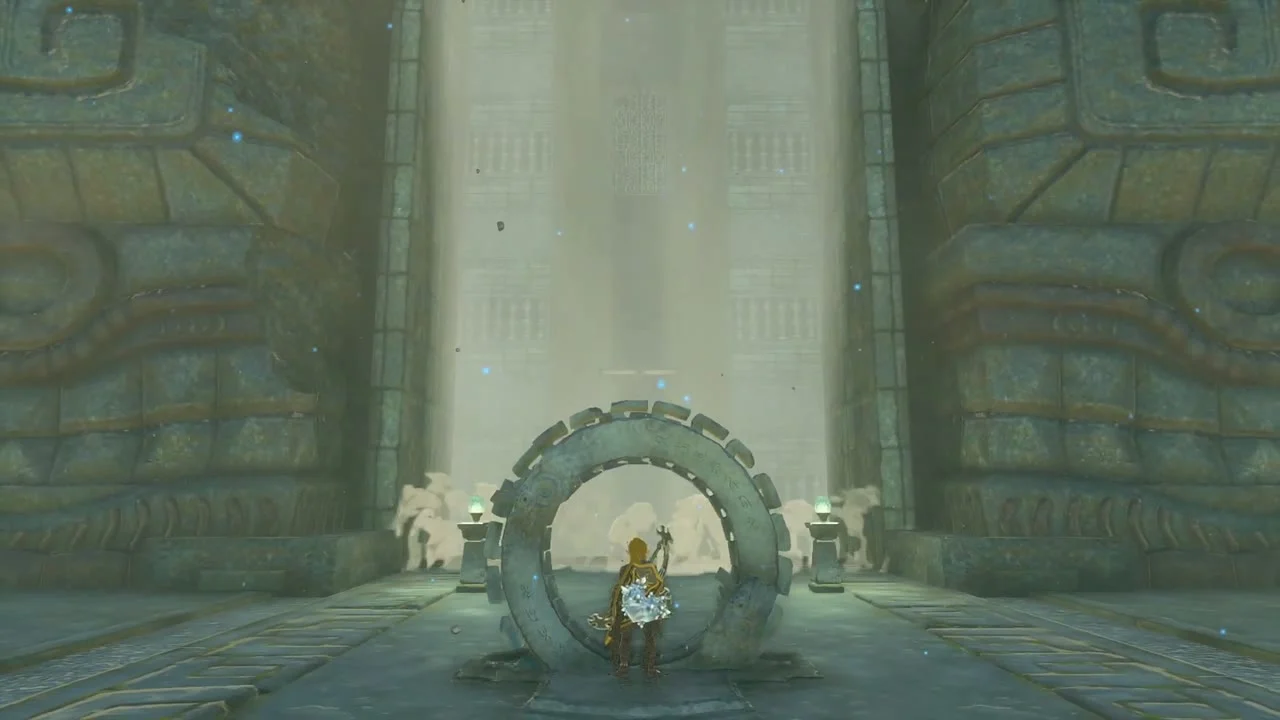
Take the voice’s directions to the north side of the sky maze: glide from the Gerudo Canyon Skyview Tower to the sky island south-east of it, fast travel to Siyamotsus Shrine in the sky, then fly a Zonai vehicle with fans and rockets to the stone ring at the labyrinth entrance. The ring opens the way in.

Activate the four sky terminals
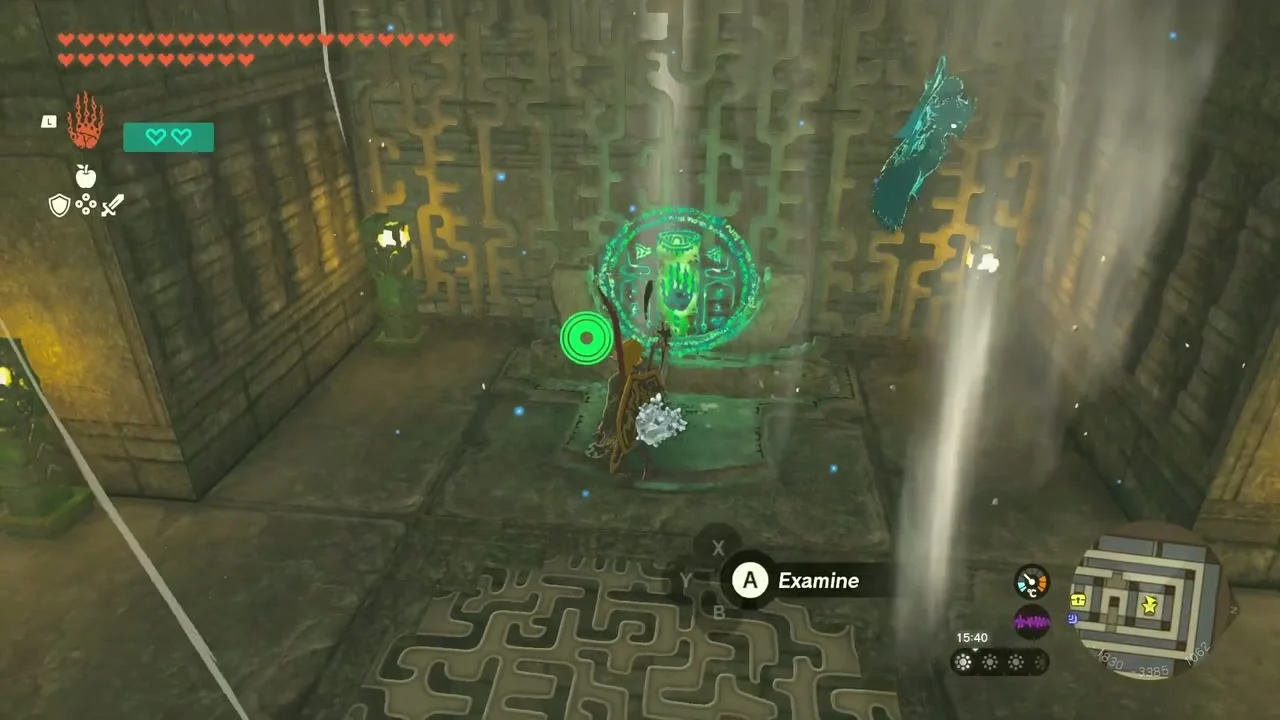
The sky maze has no floor, only updrafts, so glide between the walls and examine each terminal ring in turn. Your quest log counts them off; fast travel to the shrine between terminals if you fall. Four terminals open a fifth on the roof.

Open the five sky chests
Five chests sit on the maze ledges: Mighty Zonaite Spear (Strong or Mighty, depending on your progress), Mighty Zonaite Shield (Strong or Mighty, depending on your progress), Mighty Zonaite Sword, Zonaite Bow and a Mighty Zonaite Longsword. Land on each platform with the glider and open the chest before the wind pushes you off.




Activate the roof terminal and dive
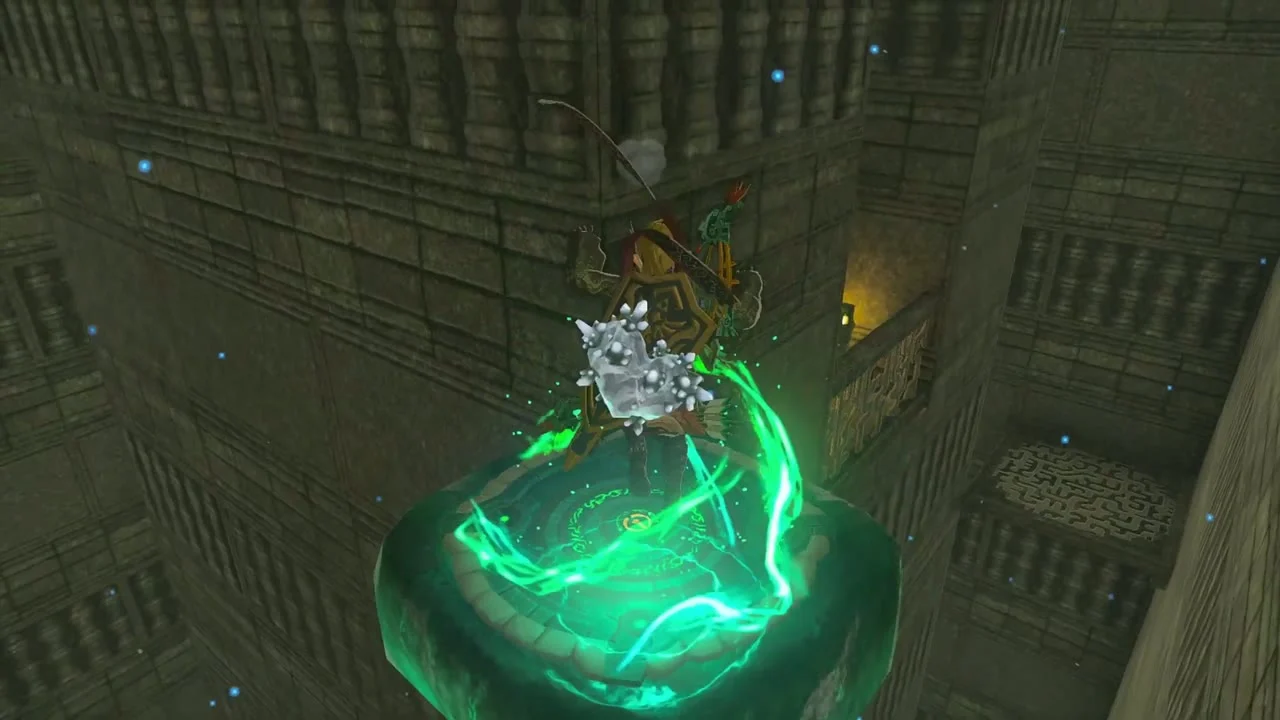
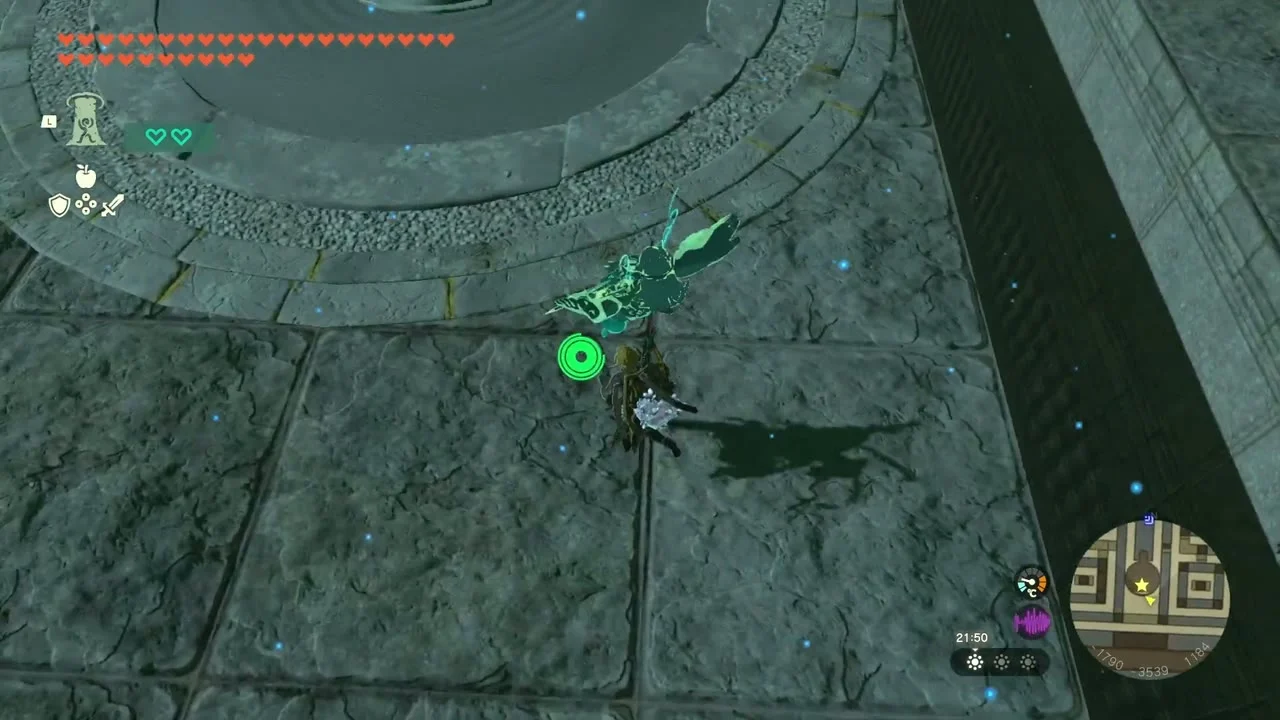
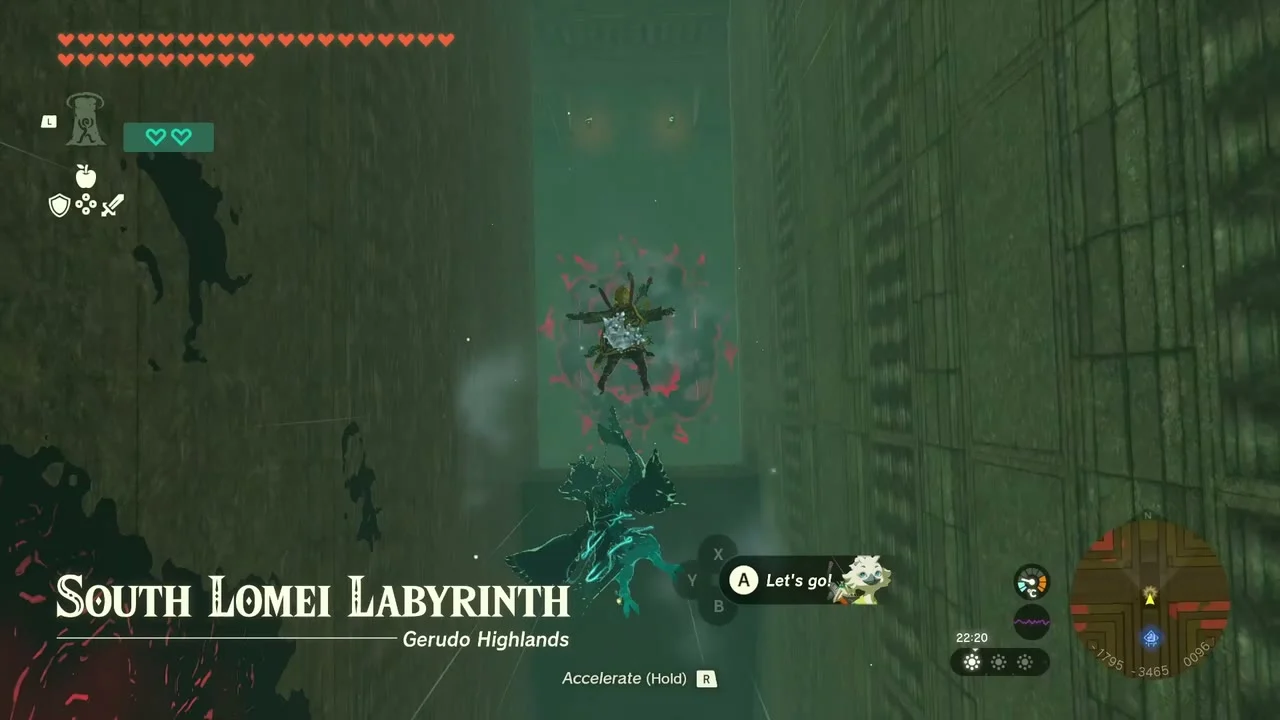
Ride the updraft to the roof and activate the fifth terminal. A voice tells you to dive into the depths, so jump straight off the maze and open the paraglider when the red lights of the depths come into view.
Defeat Flux Construct III
Miniboss: Flux Construct III at the South Lomei Depths Labyrinth, (-1795, -3579, -539). Fire Brightbloom arrows to light the arena first, then fight it in the open and stay close to the walls, because its swings hit hard. Separate its glowing core cube from the rest of its body: in humanoid form it slams down, in cube form it rolls after you, and in UFO form it floats out of reach, so stand on a block it throws and use Recall to ride it back up to the UFO body, then strike the core. Its death opens the way to the last terminal.

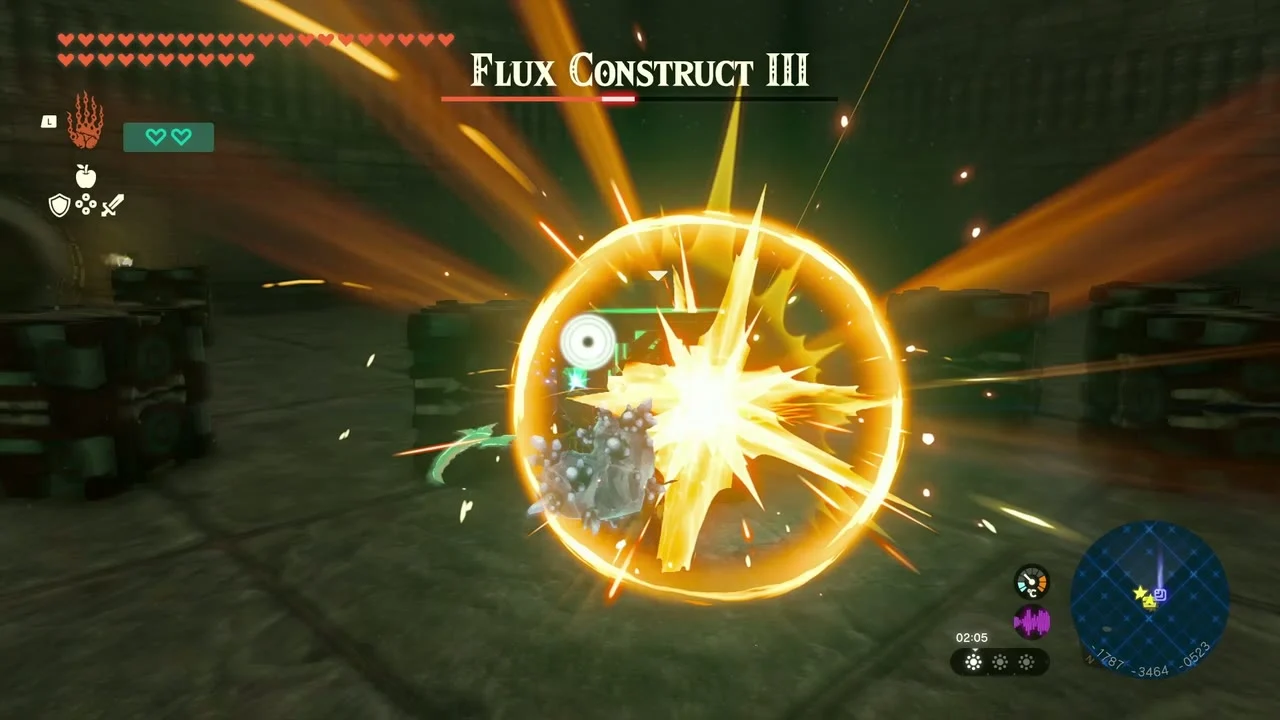
Open the depths chests and take the Evil Spirit Mask
The depths maze has four side chests: Soldier IV Reaper, Zonaite Bow, Soldier IV Blade and Soldier IV Spear. At the end, the chest by the final terminal holds the Evil Spirit Mask, a Stealth Up armor piece, and the terminal completes the quest. If you lose the mask it can be bought again from a Bargainer Statue in the Depths for 400 Poes.


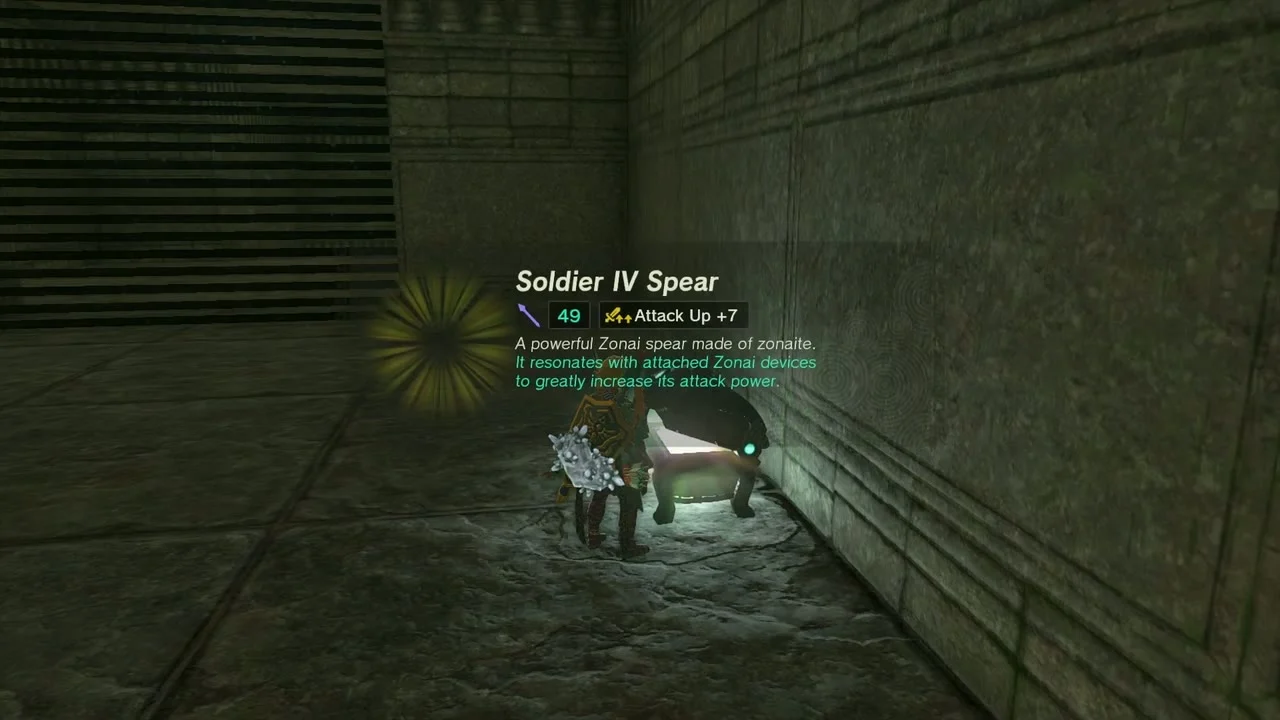

Gerudo Desert Lightroots
Light the 12 Lightroots
Each Lightroot sits directly under the shrine named beside it, so dive through that shrine’s Lightroot hole or walk to the coordinates in the depths. Sisustom (Motsusis Shrine, (-1795, -3497, -478)); Amakawis (Siwakama, (-2439, -3343, -486)); Mihcihc (Chichim, (-3211, -3005, -491)); Gataharak (Karahatag, (-3728, -3624, -515)); Kasari (Irasak, (-4158, -3826, -499)); Gonatoyrim (Miryotanog, (-4681, -3086, -524)).
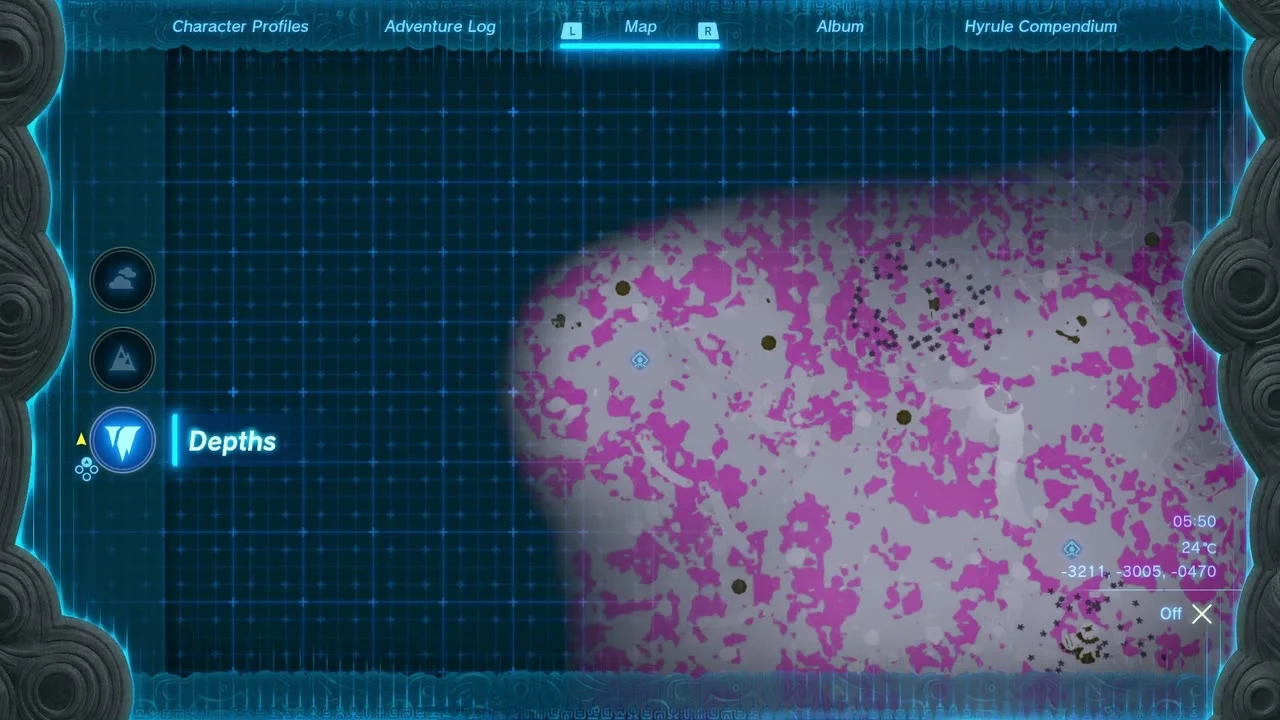
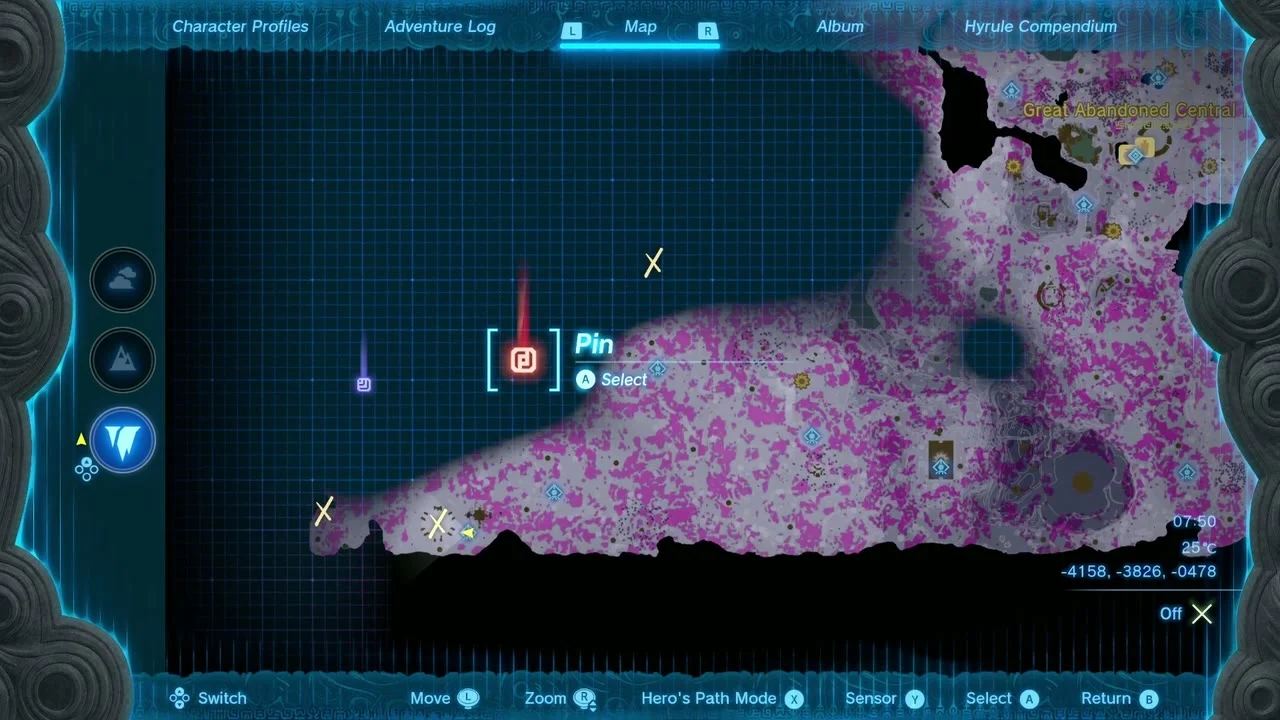
The rest are Gonatoyros (Soryotanog, (-3882, -2963, -455)); Rasinaduk (Kudanisar, (-4168, -2142, -508)); Tatayam (Mayatat, (-3291, -2511, -496)); Kimakarut (Turakamik, (-2656, -2237, -509)); Jadukakar (Rakakudaj, (-2037, -1852, -525)); and Kawatik (Kitawak, (-1531, -2928, -752)). Landmarks on the way include the Gerudo Underground Cemetery, Desert Coliseum, Gerudo Dark Skeleton and Abandoned Kara Kara Mine.
Also in this area
The data lists these ground Koroks within reach of the route that this chapter does not collect: Break the acorn pot (-4363, -1845) and Lift the rock (-4148, -1931). Three more sit north of the Kitawak plateau: Examine where the arrows point to (-1432, -1952), Bring the exhausted korok to its friend (-1374, -2443) and Lift the rock (-1294, -2213).
Tips for this stretch
Bring Heat Resistance food by day and Cold Resistance by night, and carry Bomb Flowers and fire arrows for the Moldugas. A sand sled or other fast vehicle makes the long legs between shrines easy, and Brightbloom Seeds light every cave here.
Gerudo Desert 2 checklist
| Collectible | Count | Where |
|---|---|---|
| Shrines | 7 | Karahatag, Irasak, Miryotanog, Kudanisar, Siwakama, Kitawak, Motsusis |
| Lightroots (below shrines) | 12 | Sisustom, Amakawis, Mihcihc, Gataharak, Kasari, Gonatoyrim, Gonatoyros, Rasinaduk, Tatayam, Kimakarut, Jadukakar, Kawatik |
| Bubbul Gems | 5 | Central Gerudo Cave, Gerudo Great Skeleton, West Gerudo Underground Ruins, Ancient Altar Ruins, South Gerudo Cave |
| Korok puzzles | 24 | 3 in the southern dunes, 8 in the western canyons, 6 in the East Barrens, 6 on the plateau and 1 at South Lomei Labyrinth (28 seeds: four deliveries pay Korok Seed x2) |
| Chests listed | 46 | 8 south dunes, 11 west, 11 east, 2 on the plateau and 14 in South Lomei Labyrinth |
| Minibosses | 5 | Molduga x4, Flux Construct III |
| Armor | 3 | Vah Naboris Divine Helm, Phantom Greaves, Evil Spirit Mask |
| Side quests | 8 | The South Lomei Prophecy, The Missing Owner, Pride of the Gerudo, To the Ruins!, WANTED: Molduga, Cold-Endurance Contest!, Heat-Endurance Contest!, The Great Tumbleweed Purge |
