





















Tears of the Kingdom 100% Completion Walkthrough43 chapters
Great Sky Island
- Great Sky Island4 shrines, 4 caves and Bubbul Gems, 17 Korok seeds
Hyrule Field and Hyrule Castle
- Lookout LandingParaglider, Crisis at Hyrule Castle, Jiosin and Kyononis shrines, 2 caves, 3 wells
- Hyrule FieldSusuyai and Ishodag shrines, the Hyrule Field Chasm, 2 caves, 13 Koroks
- Hyrule Castle Town RuinsSepapa, Yamiyo and Tukarok shrines, 2 caves, 4 wells, Koroks, chests and Battle Taluses in route order
- Central Hyrule Depthslight all 7 Lightroots, loot Daphnes and Gustaf Canyon Mines, find the Miner's Top
- Rest of Hyrule CastleRoyal Hidden Passage loot, 8 castle chests, Phantom Ganon, Energy Wells
- South Hyrule FieldShrines, Koroks & the Great Plateau
- South Hyrule Field DepthsGreat Abandoned Central Mine, Master Kohga, Autobuild, Majora's Mask
Tabantha and Hyrule Ridge
- Tabantha FrontierNew Serenne Stable, Hestu, Courage Island and the Glide Shirt, 3 shrines, 2 Korok seeds, Lindor's Brow Cave
- Forgotten TempleImpa and the Geoglyphs, Dragon's Tears, Kiuyoyou and Mayausiy shrines, Yiga Maritta Branch, 9 Koroks
- Tanagar Canyon & Hyrule RidgeRunakit and Iun-orok shrines, 2 caves, 12 Koroks, 20 chests, 8 minibosses and Dragon's Tear 6
- Thundra Plateau & Tabantha Bridgesolve the noon shadow puzzle, Tabantha Bridge Stable, Makurukis Shrine, 19 Korok seeds, 9 chests, 3 minibosses
- Lindor's Brow DepthsLightroots; Two Yiga camps (Bomb Bouquet, Flamethrower Balloon)
- Hyrule Ridge and Tabantha FrontierIkatak, Oromuwak, Ganos and Ga-ahisas shrines, 4 caves, a well, 26 Koroks and 3 minibosses
Hebra
- Rito VillageGatakis and Ijo-o shrines, Sikatag Lightroot, 9 Korok seeds, 14 chests
- Hebra MountainsShrines, Wind Temple & Koroks; Raspro Pass, Biron Snowshelf & Royal Hidden Passage
- Corvash Canyon MineTrousers of the Hero, Floodlights schematic, Sea-Breeze Boomerang, four Lightroots, Colgera
- Raspro Pass DepthsNupisoyuat and Sasag Lightroots, Colgera, Cap of Time, Tunic of the Wind, two Yiga camps and 13 minibosses
- Tabantha TundraTaninoud, Orochium, Oshozan-u, Mayaotaki, Nouda and Tenbez shrines, three Lightroots, caves and Bubbul Gems
- Pikida Stonegrove DepthsEvil Spirit Greaves, Ikatoayam, Muihcoro and Sikatag Lightroots, 3 Yiga schematics, Frox fights
Great Hyrule Forest
- Great Hyrule Forest7 shrines, 8 Lightroots, 2 caves, 2 wells, Korok Mask, Glide Tights
Eldin
- EldinEldin Canyon, Shrines, Caves & Goron City
- Eldin Canyon Depths10 Lightroots, Zant's Helmet, Trousers of the Wild, Biggoron's Sword, 3 Yiga schematics and Eldin's sky chests
Faron
- FaronHighland Stable, Lake Hylia & Popla Foothills
Necluda
- Kakariko VillageMakasura Shrine, Kakariko Village Well, 2 caves, Ring Ruins chests, 10 Korok seeds and village quests
- West Necluda and Lanayru WetlandsShrines, Koroks & Caves; Jonsau, Kurakat
- Hateno VillageZanmik and Mayahisik shrines, Shield of the Mind's Eye and Phrenic Bow wells, 7 Koroks
- East NecludaRabella Wetlands, Sifumim Shrine, Lurelin Village, 21 Korok seeds
- East Necluda DepthsKumamayn Shrine, 4 Lightroots, Midna's Helmet, Cap of the Hero, Trousers of the Wind and 18 Depths chests
Lanayru
- Lanayru Great SpringShrines, Koroks & Caves; Ralis Channel, 3 shrines, 8 caves
- Zora's DomainMogawak and Ihen-a shrines, Ploymus cave, Pristine Sanctum, Zora Armor, Sidon of the Zora and Clues to the Sky
- Wellspring IslandAncient Zora Waterworks chests, Igoshon Shrine, 2 Korok seeds, Water Temple's four wheels and Mucktorok
- Mount LanayruShrines, Koroks & Light Rings; Jikais and Anedamimik shrines
Gerudo
- Gerudo DesertShrines, Caves & Koroks; West and South Sands
- Gerudo TownGerudo Shelter shops and quests, Valley of Silent Statues, Lightning Temple and Queen Gibdo, Chichim Shrine
- Gerudo Desert DepthsGranajh and Daval mines, three Master Kohga fights, Queen Gibdo, Mucktorok, Sheik's Mask and 37 chests
- Gerudo HighlandsSkyview Tower, Rotsumamu and Suariwak shrines, Mayasiar Shrine, Yiga hideout
Akkala
- AkkalaTarrey Town quests, 4 shrines, Hinox, Battle Talus
- Akkala Sky Islands and DepthsGikaku and Natak shrines, Old Maps, Lomei Depths Labyrinth, Mucktorok, 5 Lightroots and 19 chests
Finale and completion
- Ancient Tablets, Gleeoks and Armor Upgradesall 13 stone tablets with coordinates, Frost and King Gleeok, Obsidian Frox, Cotera upgrades and farming
- Hyrule CastleRoyal gear chests, Korok seeds, Serutabomac Shrine
- Thunderhead IslesCharged armor, Joku-usin and Joku-u Shrines, Dragonhead Island's relic
- 100% Completion: Armor Upgrades & Korok BonusHestu's Gift, Ancient Hero's Aspect, Great Fairy Cotera upgrade costs and materials, then Destroy Ganondorf
| Region | Spirit Temple in the Depths, Korok Forest in Great Hyrule Forest, the Temple of Time on the Great Sky Island, Great Fairy Cotera’s fountain in West Necluda (1762, -2185), the Depths below Hyrule Castle, the Hateno Ancient Tech Lab |
|---|---|
| Rewards | Ancient Blade (50 Zonaite each), Hestu’s Gift, Ancient Hero’s Aspect, maximum-level armor, the end of the main story, Robbie’s Fabric |
| You need | All 152 Shrines of Light, all 1,000 Korok Seeds, a full Hyrule Compendium, Poes, rupees and a pile of monster parts, gems and dragon parts |
| Main quests | Find the Fifth Sage (hand-in), Destroy Ganondorf |
| Side quests | Ancient Blades Below, The Shrine Explorer, Filling Out the Compendium |
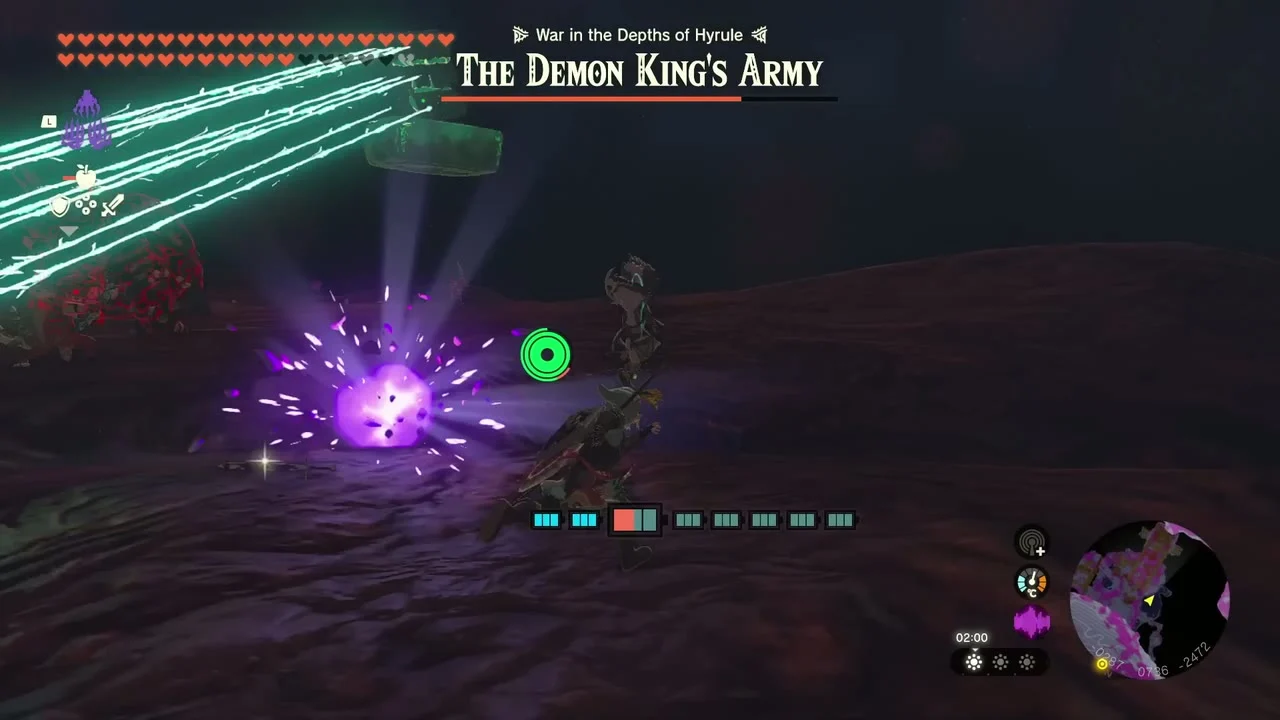
| Bosses | Demon King’s Army, Demon King Ganondorf, Demon Dragon |
This is the clean-up stretch of a 100% game: spend your Zonaite and Poes, take Hestu’s Gift for finding every Korok Seed, open the Temple of Time chest for the Ancient Hero’s Aspect, then farm monster parts until every armor set is at four stars at Great Fairy Cotera. When the gear is done, descend beneath Hyrule Castle and finish the story. The only real time sink is the farming, so use the tables below and hunt each part once.
Quick route
Trade Zonaite for Ancient Blades with the Mining Construct in the Spirit Temple and spend leftover Poes at a Bargainer Statue. Walk into Korok Forest to give Hestu your seeds and take Hestu’s Gift. Return to the Temple of Time and open the chest for the Ancient Hero’s Aspect.
Fast travel to Eshos Shrine, glide to Cotera’s fountain and upgrade what you can, then farm dragon parts, Gleeok and Hinox drops, gems and Star Fragments for the rest. When everything is at four stars, report to Purah, take on Destroy Ganondorf, and use the time afterwards to finish the Compendium and the last unvisited map locations.
Spirit Temple extras
Trade Zonaite for Ancient Blades
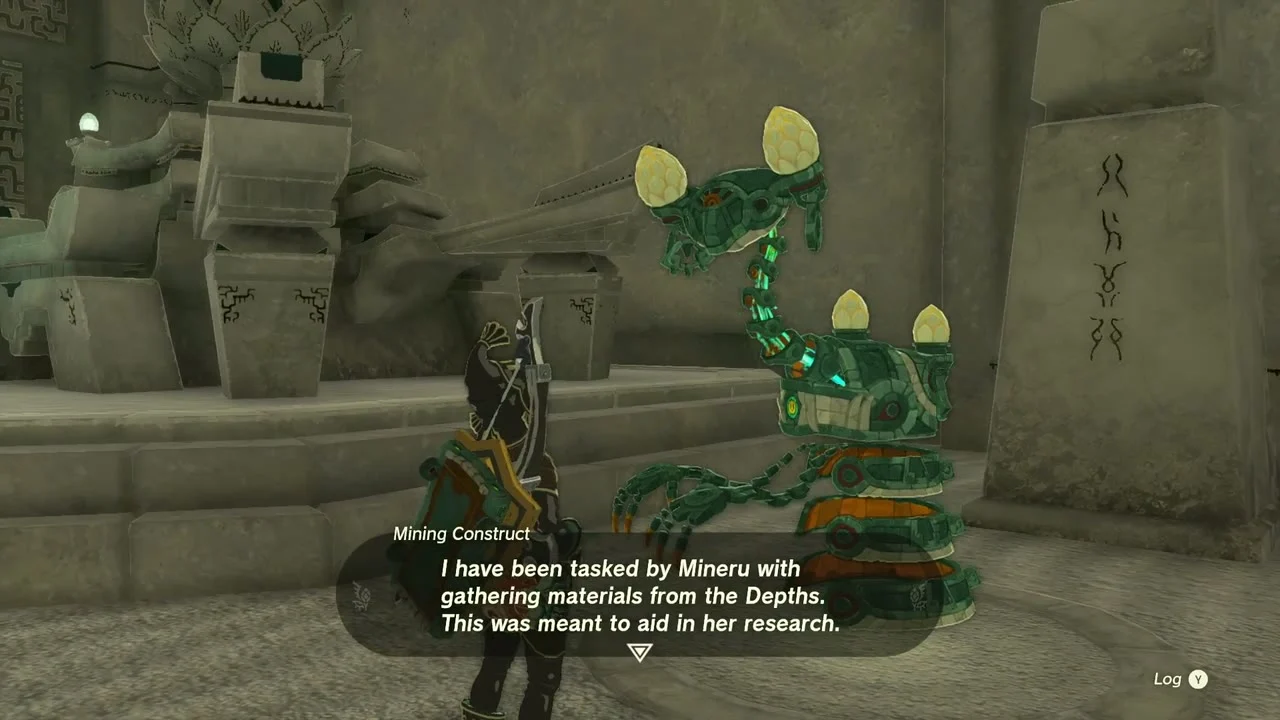
The Mining Construct inside the Spirit Temple in the Depths, beside Mineru’s Construct, hands over one Ancient Blade for every 50 Zonaite. It becomes available once the Spirit Temple is complete and the Seized Construct is beaten; Zonaite comes from ore deposits throughout the Depths and caves. The first trade completes Ancient Blades Below and you can repeat the trade whenever you have another 50 Zonaite. An Ancient Blade is too small to wield, but fuse it to an arrow for a strong special shot.

Spend your Poes at a Bargainer Statue
Bargainer Statues take Poes in an “Offer Poes” menu. The listings include the Sword of the Hero (100 Poes), Biggoron’s Sword (150), the Magic Rod, Magic Scepter and Magic Staff (100 each) and the Island Lobster Shirt, Sheik’s Mask, Majora’s Mask, Midna’s Helmet, Zant’s Helmet and Ravio’s Hood (400 each). The Lookout Landing statue starts with only Dark Clump, a few ingredients and the Depths and Dark armor; the other six statues (all in the Depths) stock the full list. Further listings: Dusk Claymore (140), Fierce Deity Sword (160), Sea-Breeze Boomerang (100), Sea-Breeze Shield (120), and 400 each for the Hero, Time, Twilight, Wind, Sky, Wild, Awakening, Fierce Deity, Phantom, Evil Spirit and Tingle sets plus the Korok Mask. Several of these are re-buys of items you can also find elsewhere, so spend Poes on what you are missing.
Korok bonus: Hestu’s Gift
Find Hestu in Korok Forest
Hestu waits in Korok Forest in Great Hyrule Forest, at about (422, 2174), a short walk from Musanokir Shrine (407, 2133). Fast travel to the shrine and walk into the forest. Hestu moves between a few places over the game, so go to Korok Forest once you hold the final seeds.


Take Hestu’s Gift
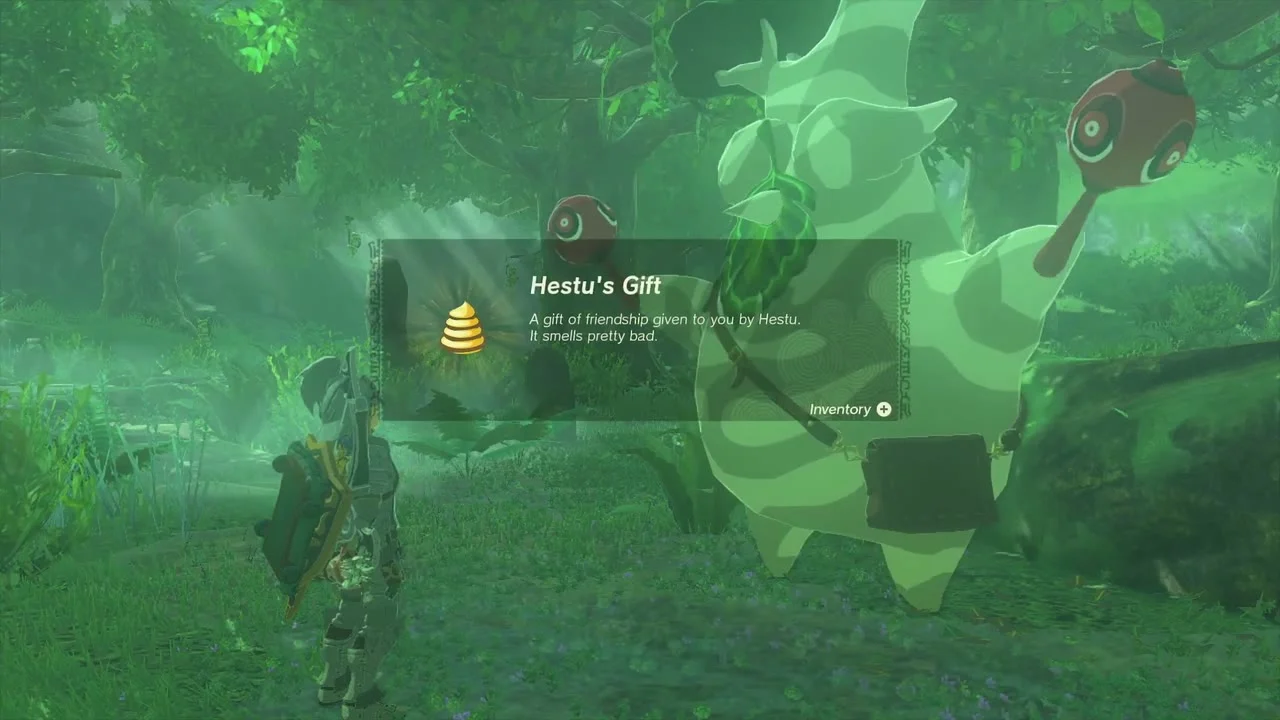
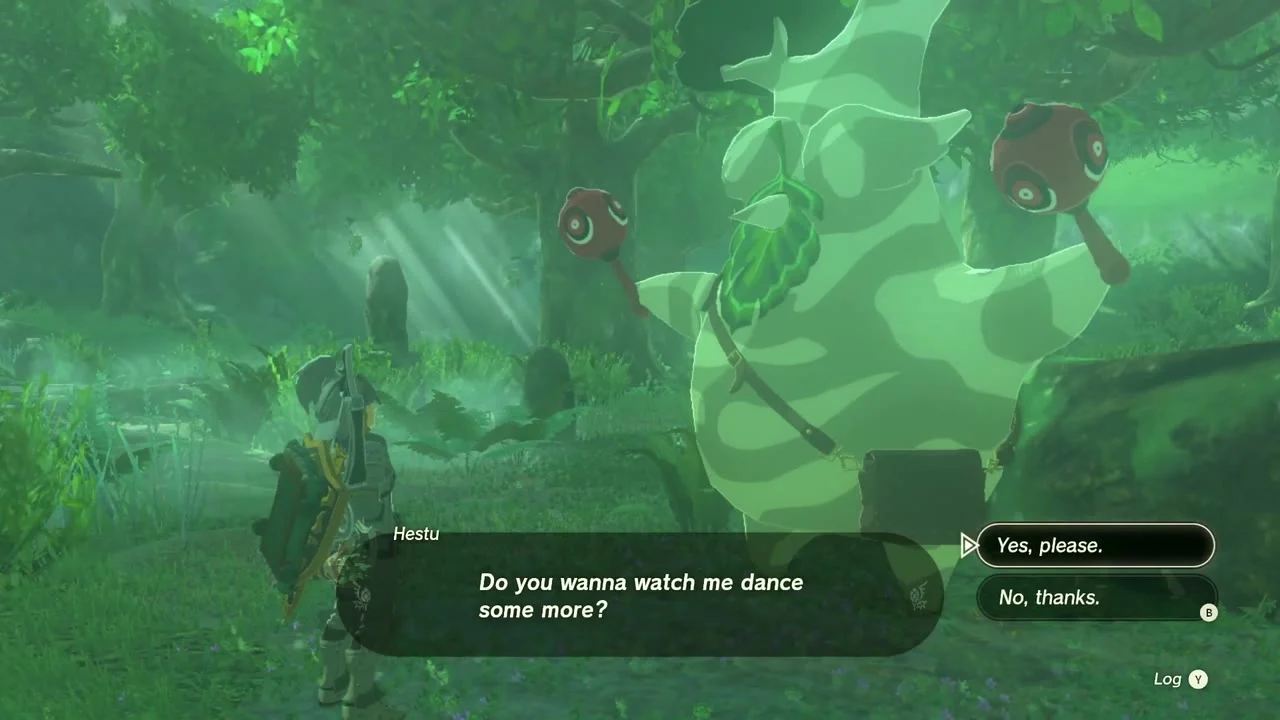
Once you have found all 1,000 Korok Seeds and fully upgraded your inventory, Hestu gives you Hestu’s Gift, a friendship present that “smells pretty bad”. It is a key item with no gameplay use, but it lets you return to Hestu and ask him to dance whenever you like. Of the 1,000 seeds, 900 come from Korok puzzles and the rest from the traveling Korok pairs that give two seeds each.
The Shrine Explorer: Ancient Hero’s Aspect
Open the chest in the Temple of Time
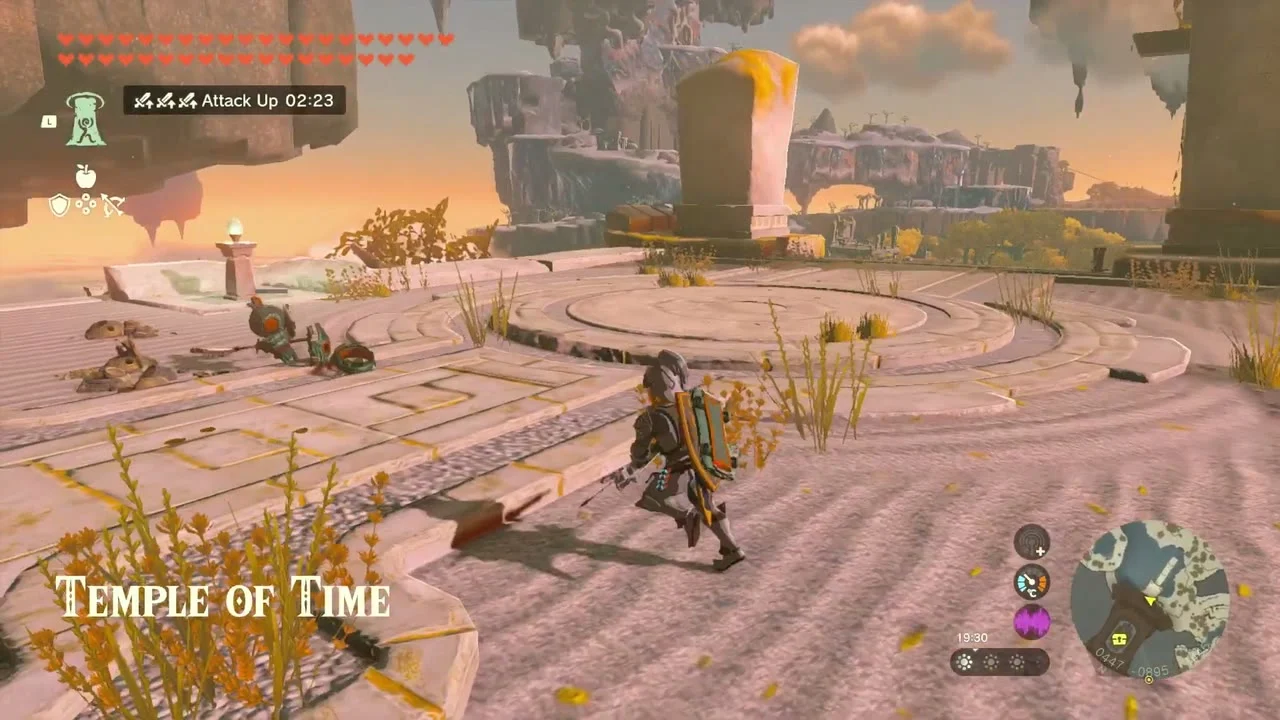
After you complete the last of the 152 Shrines of Light, Rauru asks you to return to the Temple of Time on the Great Sky Island. Travel there, walk to the Goddess statue in the main hall and open the chest for the Ancient Hero’s Aspect, which completes The Shrine Explorer. It is a full outfit in one piece, with Defense 12 that rises to 84 at four stars.
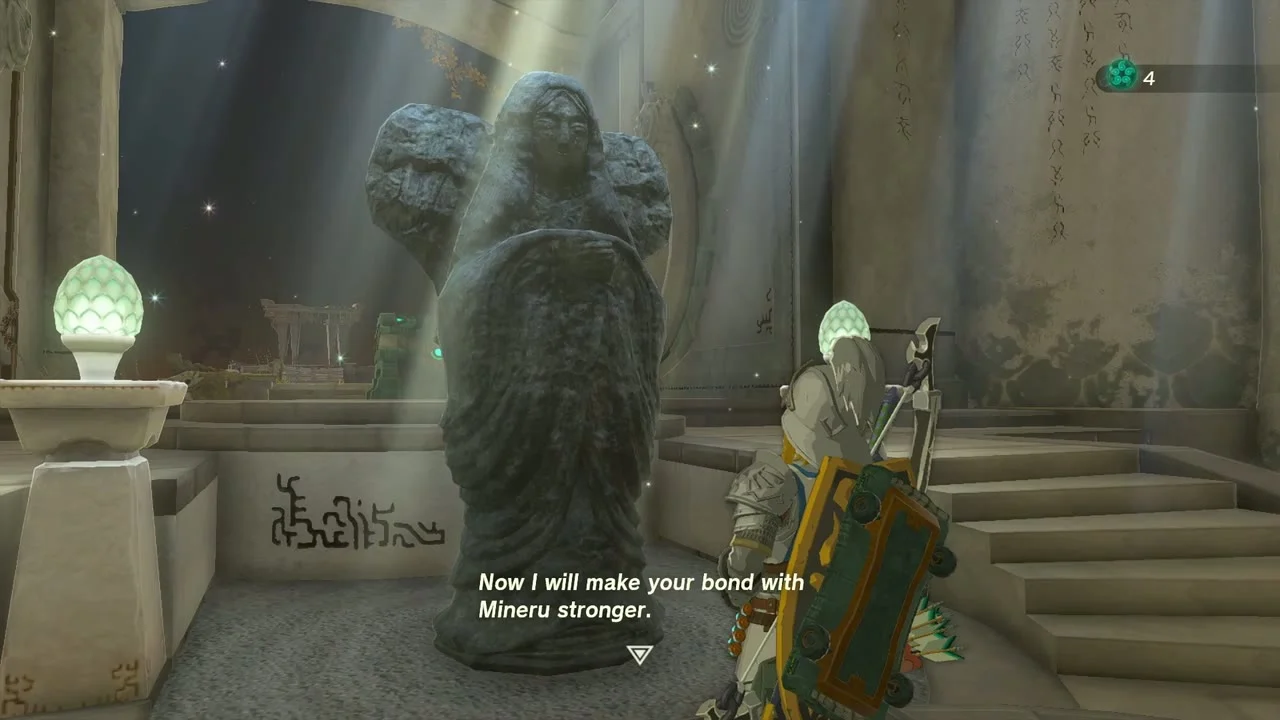

Worn after at least two upgrades, it gives the Master Sword Beam Up set bonus, a 50 percent boost to the sword beam. Its upgrades cost triple the normal rupees (30, 150, 600 and 1,500).
Great Fairy Cotera and armor upgrades
Reach Cotera’s fountain
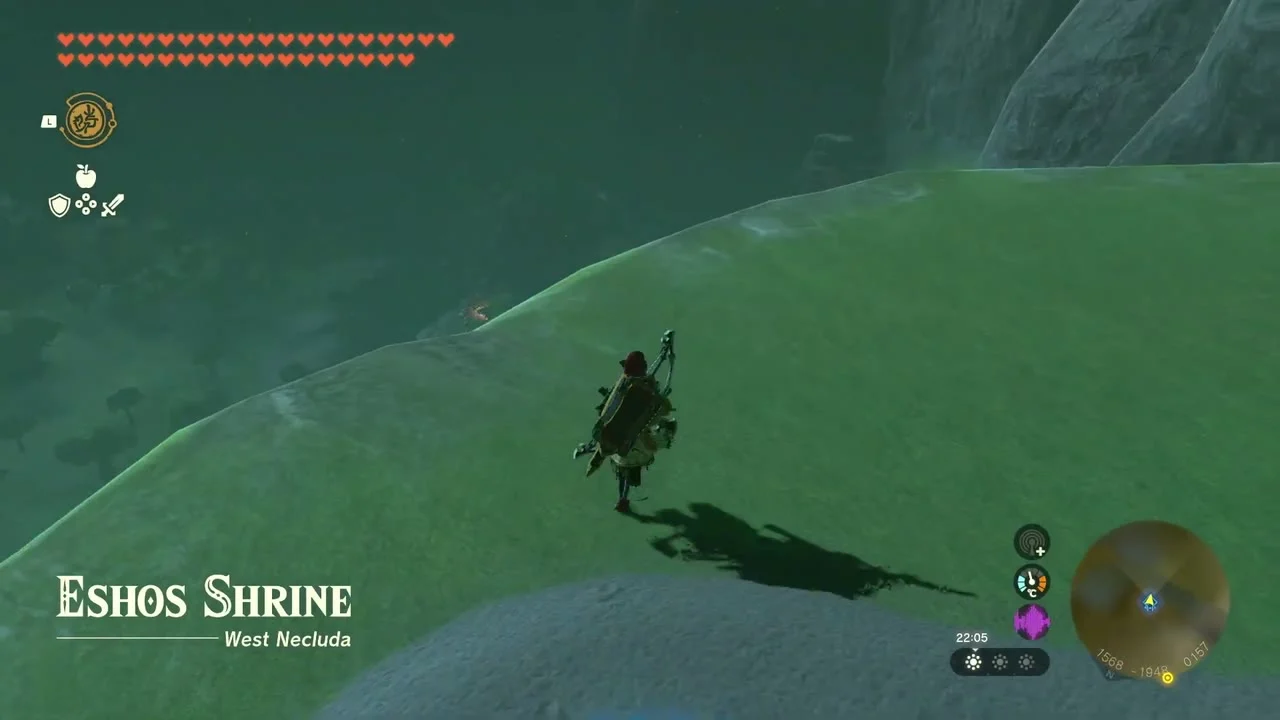
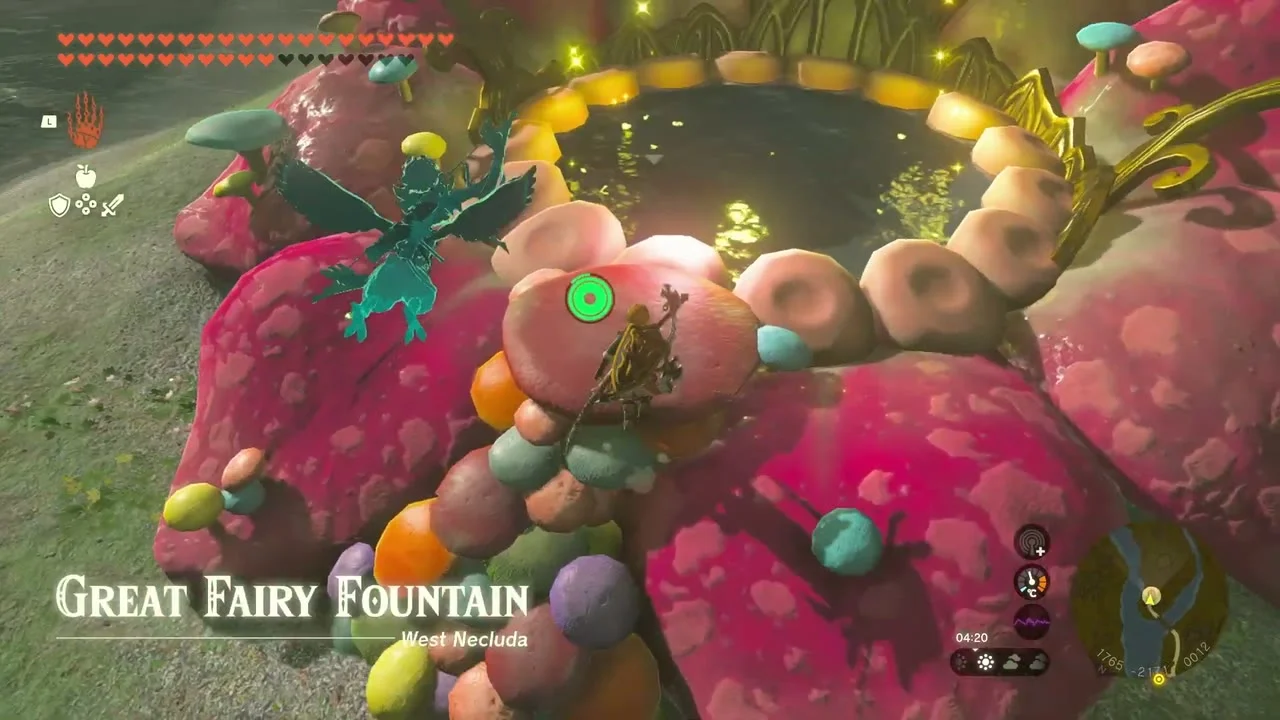
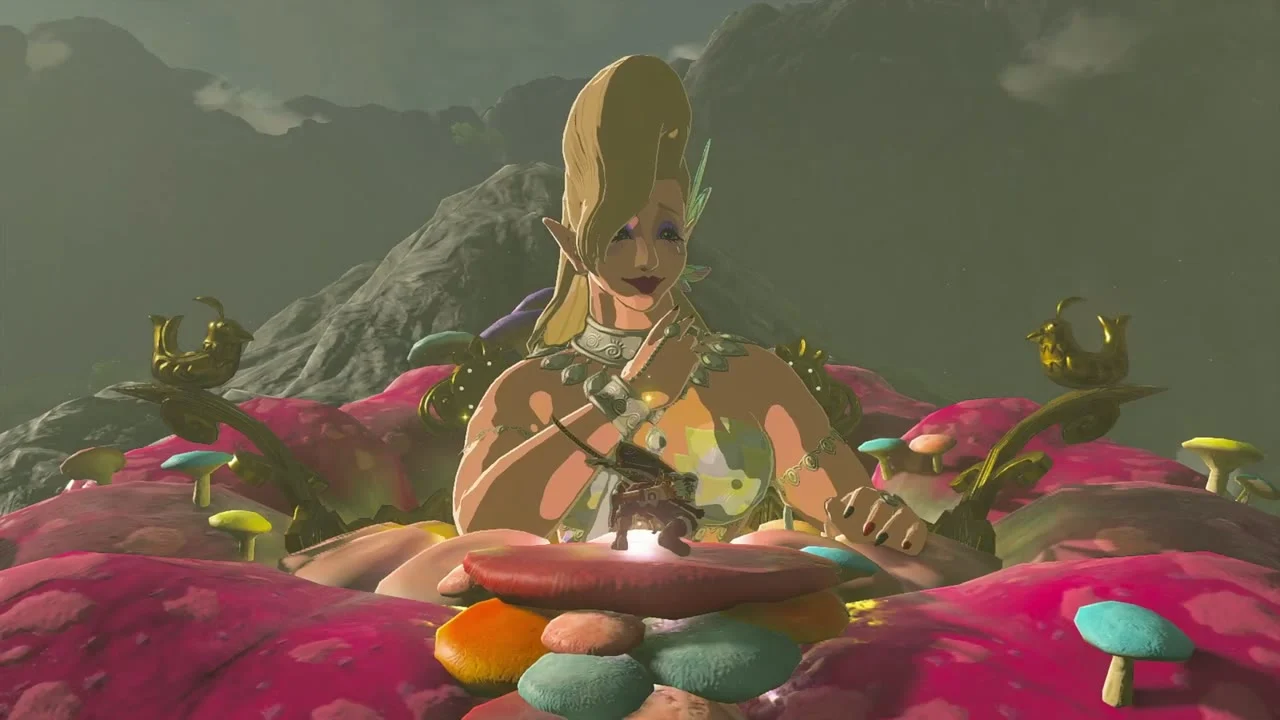
Cotera’s Great Fairy Fountain is in West Necluda at (1762, -2185), south of Dueling Peaks Stable. The quickest approach is to fast travel to Eshos Shrine (1565, -1944) on the hill to the north-west and glide south-east. Cotera appears only after you finish Serenade to Cotera, which Mastro of the Stable Trotters offers at Dueling Peaks Stable once you have finished Serenade to a Great Fairy and Honey, Bee Mine (the drummer Beetz). Talk to her and choose which piece of clothing to enhance.

Check the cost before you upgrade
Each star costs rupees plus materials. Ordinary armor costs 10 rupees for the first star, 50 for the second, 200 for the third and 500 for the fourth, and the Ancient Hero’s Aspect costs three times as much. The fairy’s menu shows what you have and what you need, so check it before you farm. Armor can reach four stars only once all four Great Fairies are awake; Tera gives the first upgrade and each further fairy raises the cap by one. Only armor that belongs to a set (bought from shops or quest rewards) can be upgraded; armor found loose in chests cannot. Wearing a full set at two stars or more gives its set bonus. The first fairy needs Serenade to a Great Fairy from Pen at Woodland Stable (reached through Potential Princess Sightings!); the other Serenade quests open after it.
| Fairy | Fountain | Unlock |
|---|---|---|
| Tera | (916, 1386), north of Woodland Stable | Serenade to a Great Fairy (Penn, Woodland Stable) |
| Mija | (-1460, 2995), north-east of Snowfield Stable | Serenade to Mija, after The Hornist’s Dramatic Escape |
| Cotera | (1768, -2180), south of Dueling Peaks Stable | Serenade to Cotera, after Honey, Bee Mine |
| Kaysa | (-1557, -1231), west of Outskirt Stable | Serenade to Kaysa, after The Flute Player’s Plan |
What each armor set needs
The table lists the materials for every star, from the game’s data. Materials are per piece, so a full set costs three times as much. Rupees are 10, 50, 200 and 500 per star (30, 150, 600 and 1,500 for the Ancient Hero’s Aspect).
| Armor | Defense (base to max) | Star 1 | Star 2 | Star 3 | Star 4 |
|---|---|---|---|---|---|
| Ancient Hero’s Aspect | 12 to 84 | Silver Bokoblin Horn x9, Hinox Guts x9, Zonaite x15 | Silver Moblin Horn x9, Frox Guts x9, Large Zonaite x10 | Silver Lizalfos Horn x9, Molduga Guts x9, Large Zonaite x15 | Silver Lynel Saber Horn x9, Silver Lynel Mace Horn x9, Gleeok Guts x9 |
| Cap of the Wild | 4 to 28 | Acorn x10, Farosh’s Scale x2 | Courser Bee Honey x5, Farosh’s Claw x2 | Energetic Rhino Beetle x3, Shard of Farosh’s Fang x2, Shard of Farosh’s Spike x5 | Star Fragment x3, Farosh’s Horn x2, Shard of Farosh’s Spike x10 |
| Tunic of the Wild | 4 to 28 | Acorn x10, Naydra’s Scale x2 | Courser Bee Honey x5, Naydra’s Claw x2 | Energetic Rhino Beetle x3, Shard of Naydra’s Fang x2, Shard of Naydra’s Spike x5 | Star Fragment x3, Naydra’s Horn x2, Shard of Naydra’s Spike x10 |
| Trousers of the Wild | 4 to 28 | Acorn x10, Dinraal’s Scale x2 | Courser Bee Honey x5, Dinraal’s Claw x2 | Energetic Rhino Beetle x3, Shard of Dinraal’s Fang x2, Shard of Dinraal’s Spike x5 | Star Fragment x3, Dinraal’s Horn x2, Shard of Dinraal’s Spike x10 |
| Fierce Deity Mask | 3 to 20 | Hinox Toenail x5, Dinraal’s Scale x1 | Hinox Tooth x5, Dinraal’s Claw x1 | Hinox Guts x2, Shard of Dinraal’s Fang x1 | Lynel Guts x2, Dinraal’s Horn x1 |
| Fierce Deity Armor | 3 to 20 | Hinox Toenail x5, Naydra’s Scale x1 | Hinox Tooth x5, Naydra’s Claw x1 | Hinox Guts x2, Shard of Naydra’s Fang x1 | Lynel Guts x2, Naydra’s Horn x1 |
| Fierce Deity Boots | 3 to 20 | Hinox Toenail x5, Farosh’s Scale x1 | Hinox Tooth x5, Farosh’s Claw x1 | Hinox Guts x2, Shard of Farosh’s Fang x1 | Lynel Guts x2, Farosh’s Horn x1 |
| Champion’s Leathers | 5 to 32 | Silent Princess x3, Light Dragon’s Scale x2 | Silent Princess x3, Light Dragon’s Talon x2, Sundelion x10 | Silent Princess x5, Shard of Light Dragon’s Fang x2, Sundelion x15 | Silent Princess x10, Light Dragon’s Horn x2, Sundelion x20 |
| Tunic of Memories | 4 to 28 | Silent Princess x3, Light Dragon’s Scale x1 | Silent Princess x3, Light Dragon’s Talon x1, Farosh’s Horn x2 | Silent Princess x5, Shard of Light Dragon’s Fang x1, Naydra’s Horn x2 | Silent Princess x10, Light Dragon’s Horn x1, Dinraal’s Horn x2 |
| Hero set (each piece) | 3 to 20 | Ruby x1, Star Fragment x1 | Ruby x4, Star Fragment x1 | Ruby x6, Star Fragment x1 | Ruby x10, Star Fragment x1 |
| Time set (each piece) | 3 to 20 | Amber x10, Star Fragment x1 | Amber x20, Star Fragment x1 | Amber x30, Star Fragment x1 | Amber x40, Star Fragment x1 |
| Wind set (each piece) | 3 to 20 | Opal x5, Star Fragment x1 | Opal x10, Star Fragment x1 | Opal x15, Star Fragment x1 | Opal x25, Star Fragment x1 |
| Twilight set (each piece) | 3 to 20 | Topaz x1, Star Fragment x1 | Topaz x4, Star Fragment x1 | Topaz x6, Star Fragment x1 | Topaz x10, Star Fragment x1 |
| Sky set (each piece) | 3 to 20 | Sapphire x1, Star Fragment x1 | Sapphire x4, Star Fragment x1 | Sapphire x6, Star Fragment x1 | Sapphire x10, Star Fragment x1 |
| Awakening set (each piece) | 3 to 20 | Luminous Stone x10, Star Fragment x1 | Luminous Stone x15, Star Fragment x1 | Luminous Stone x20, Star Fragment x1 | Luminous Stone x30, Star Fragment x1 |
| Radiant set (each piece) | 3 to 20 | Luminous Stone x10, Bokoblin Guts x1 | Luminous Stone x15, Moblin Guts x2 | Luminous Stone x20, Horriblin Guts x3, Gibdo Bone x10 | Luminous Stone x30, Lynel Guts x3, Molduga Jaw x3 |
| Barbarian set (each piece) | 3 to 20 | Mighty Thistle x3 | Lynel Saber Horn x2, Lynel Mace Horn x2, Razorshroom x5 | Blue-Maned Lynel Saber Horn x3, Blue-Maned Lynel Mace Horn x3, Razorclaw Crab x3 | White-Maned Lynel Saber Horn x3, White-Maned Lynel Mace Horn x3, Bladed Rhino Beetle x3 |
| Royal Guard set (each piece) | 4 to 24 | Boss Bokoblin Horn x3, Bokoblin Guts x3 | Blue Boss Bokoblin Horn x3, Boss Bokoblin Guts x3 | Black Boss Bokoblin Horn x3, Hinox Guts x3 | Silver Boss Bokoblin Horn x3, Molduga Guts x3, Gleeok Guts x3 |
| Zonaite set (each piece) | 4 to 28 | Soldier Construct Horn x5 | Soldier Construct II Horn x5, Captain Construct I Horn x5, Zonaite x5 | Soldier Construct III Horn x5, Captain Construct II Horn x5, Large Zonaite x5 | Soldier Construct IV Horn x5, Captain Construct III Horn x5, Large Zonaite x10 |
| Sheik’s Mask | 2 to 16 | Silent Princess x1, Star Fragment x1 | Silent Princess x2, Star Fragment x2 | Silent Princess x4, Star Fragment x3 | Silent Princess x8, Star Fragment x4 |
The Hero, Time, Wind, Twilight, Sky and Awakening sets use the same materials on all three pieces, as do the Radiant, Barbarian, Royal Guard and Zonaite sets. Dragon pieces differ: the Cap, Tunic and Trousers of the Wild each need a different dragon (Farosh, Naydra and Dinraal), and so do the three Fierce Deity pieces, so you need parts from all three.
Farming the materials
Dragon parts
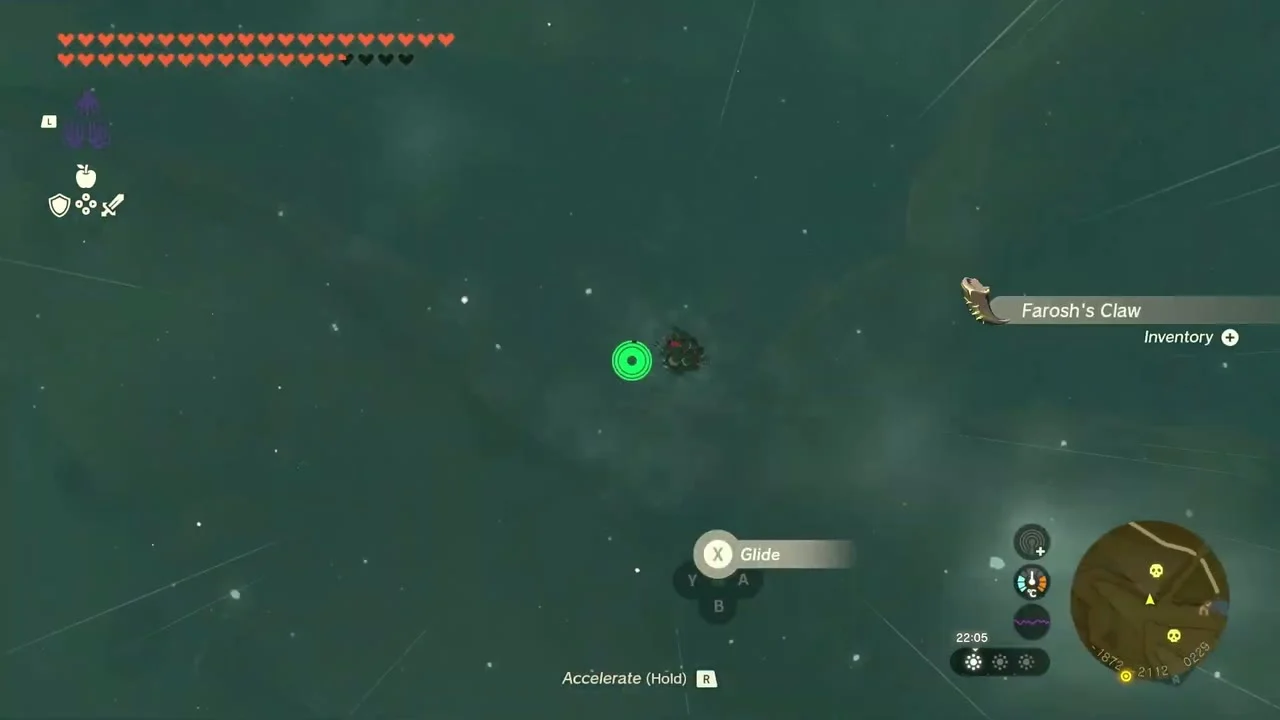
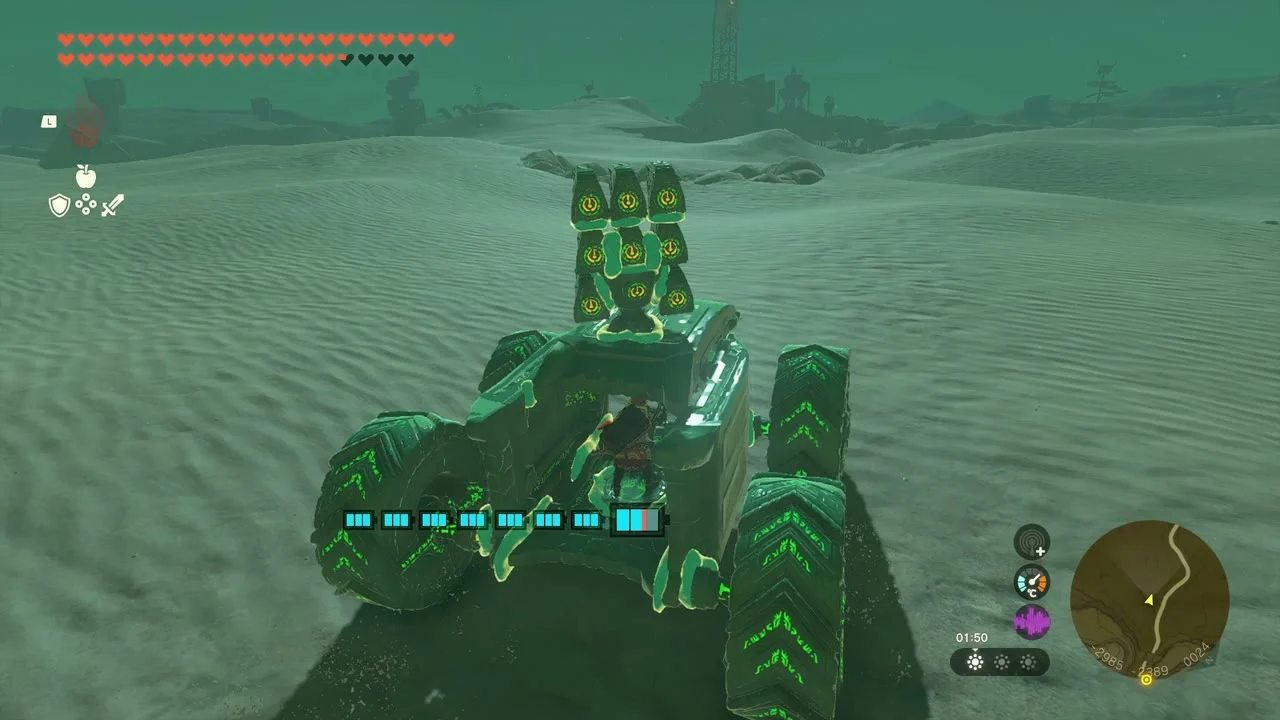
Scales, claws, fang shards, spike shards and horns come from Dinraal, Naydra, Farosh and the Light Dragon as they fly their routes. Shoot the body for scales, the feet for claws, the head for horns and the mouth for fang shards, and land on the back for spike shards, then catch whatever falls. Dinraal flies between Eldin and Akkala, Naydra circles East Necluda and dives into the Depths north of Kakariko Village, and Farosh patrols the Gerudo Desert and Lake Hylia (drop any metal weapon first). The Light Dragon flies over the whole map; its parts come back in about ten minutes.
Gleeok drops
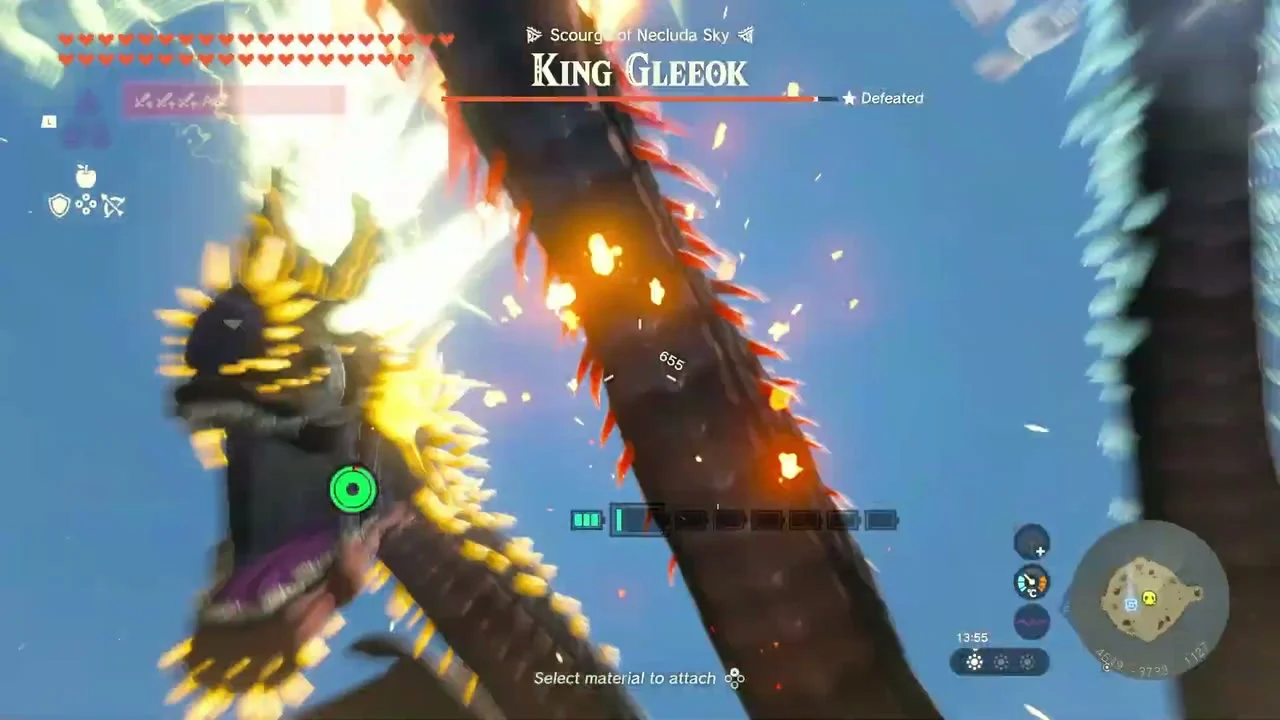
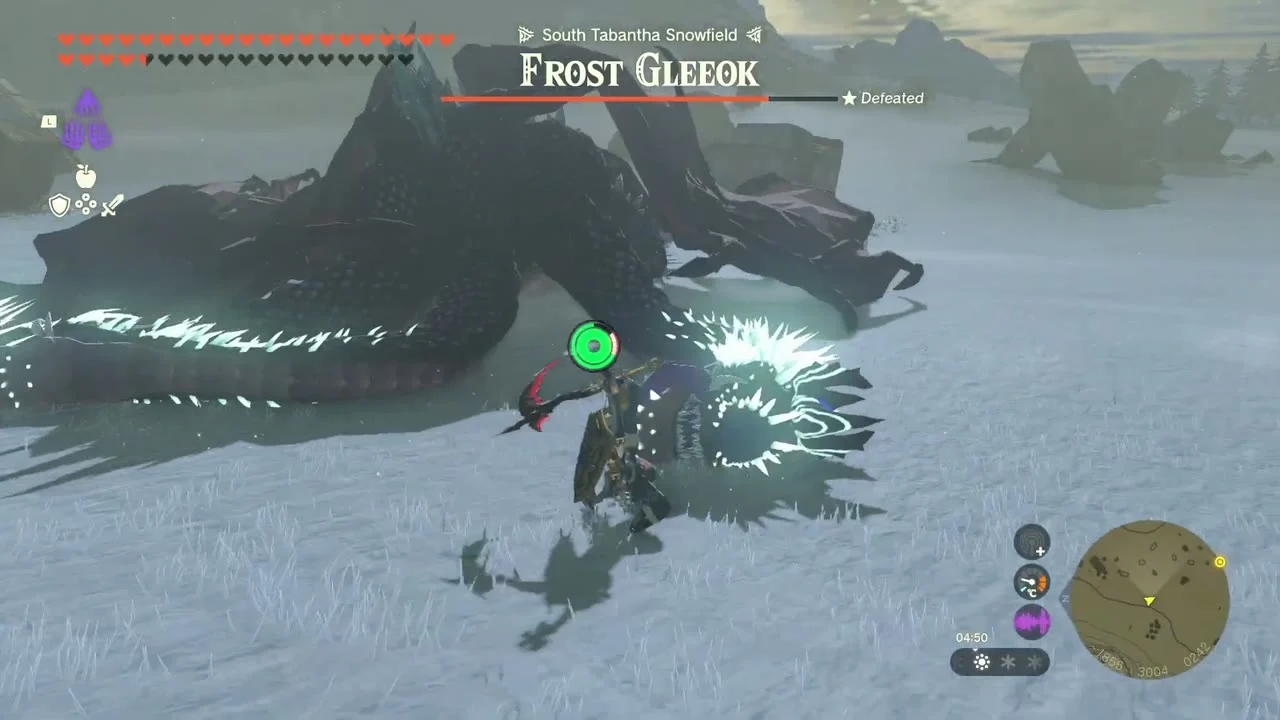
Gleeoks drop wings, horns and the Gleeok Guts needed for four-star Ancient Hero’s Aspect and Royal Guard pieces. Fight Frost Gleeok in the South Tabantha Snowfield and King Gleeok in the Necluda Sky arena. Shoot each head with arrows to stagger it, then finish with a strong weapon.
Hinox, Lynel and other big drops
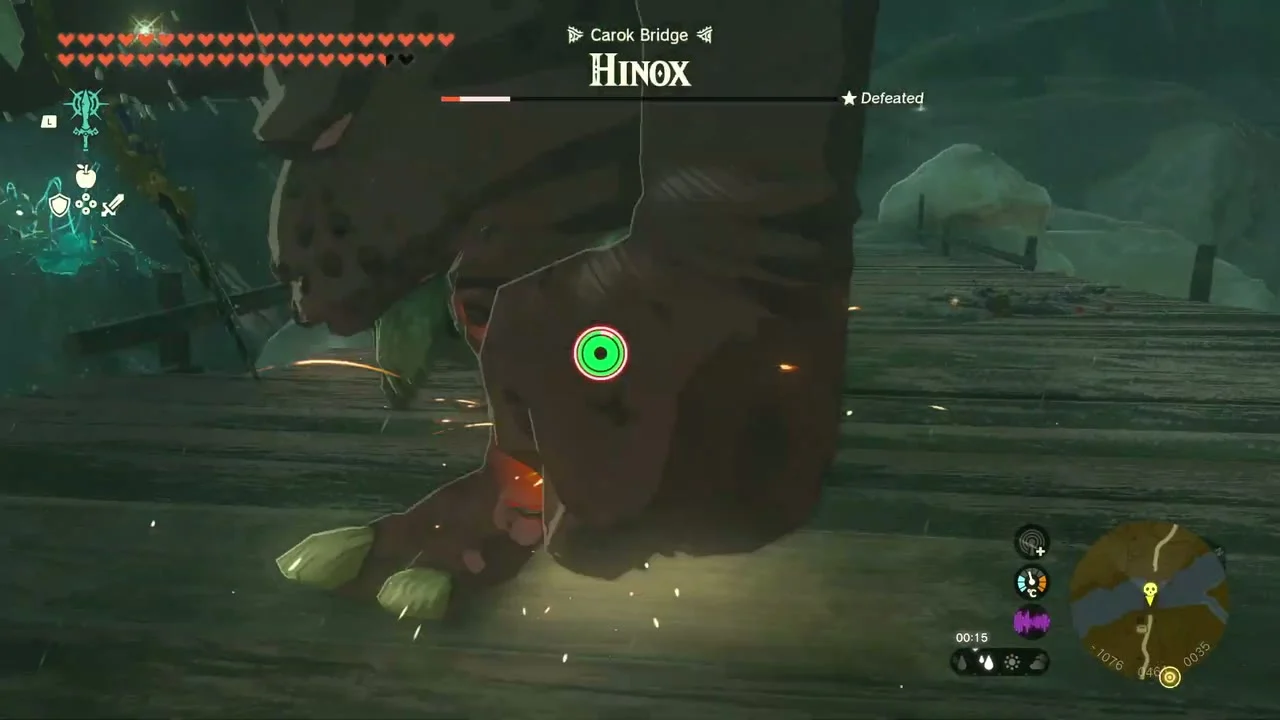
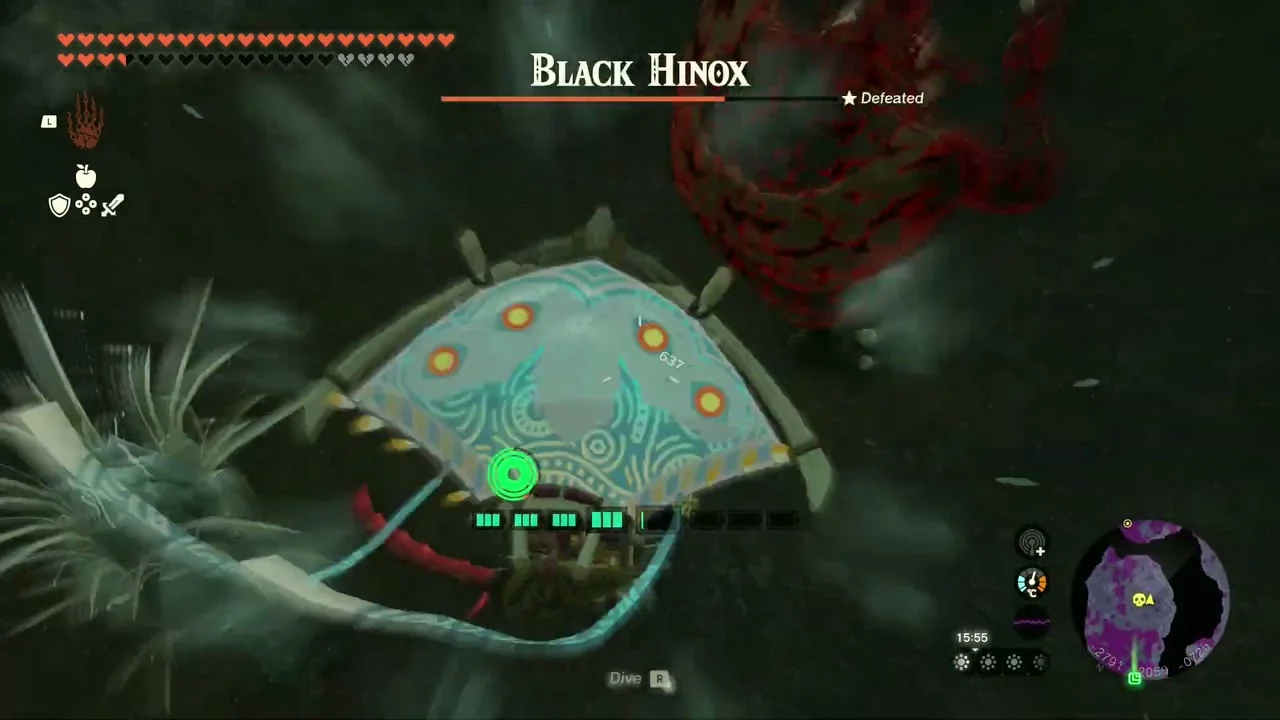
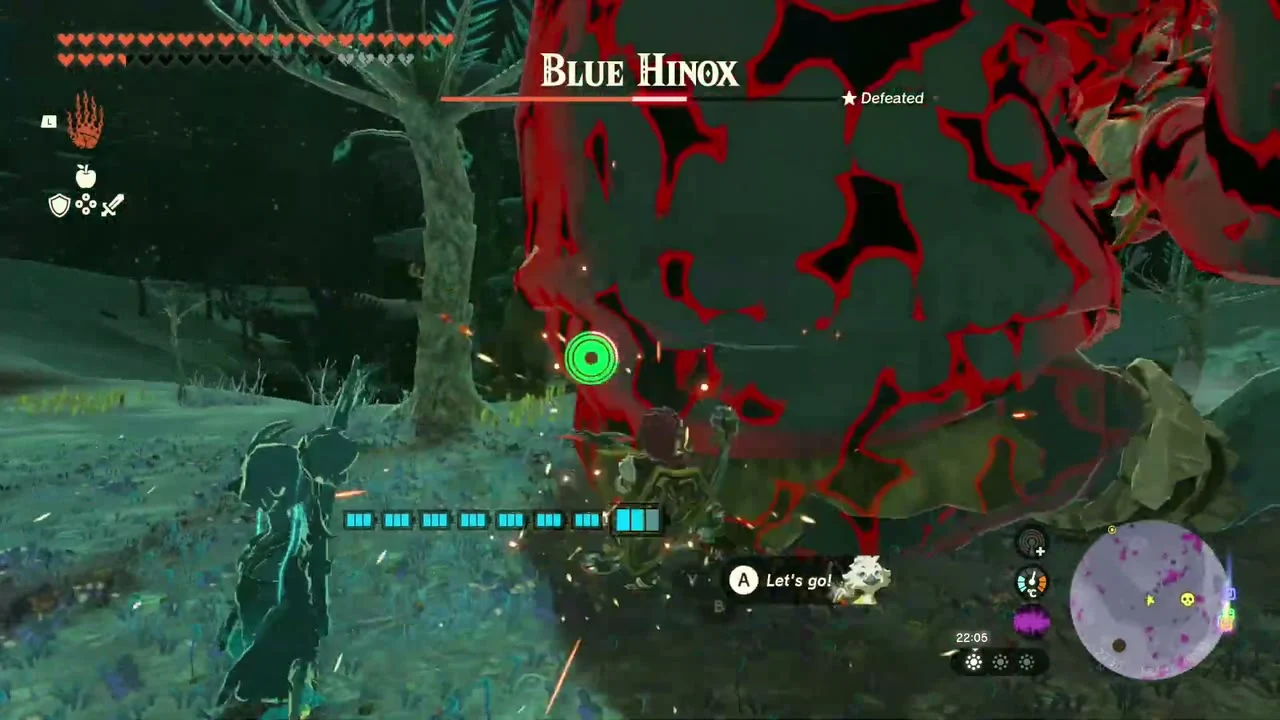
Hinox are the main source of Hinox Guts, Toenails and Teeth, and the Blue and Black Hinox in the Depths drop the same parts. Lynels give the horns and Guts for the Barbarian, Fierce Deity and Ancient Hero’s Aspect sets; the fourth star of the Ancient Hero’s Aspect wants Silver Lynel horns and the Barbarian set wants White-Maned ones. Frox, Moldugas and Constructs cover Frox Guts, Molduga parts and Construct horns.
Gems, beetles, honey and Star Fragments
Ruby, Sapphire, Topaz and Opal come from ore deposits and Talus drops. Energetic Rhino Beetles sit on trees, mostly in Faron and on the Great Sky Island. Courser Bee Honey comes from hives high in trees, so shoot them down. A Star Fragment falls on any clear night, one per night, and glows as it drops. For Silent Princess and Luminous Stone, use the Purah Pad’s Sensor+ once the plant or stone is registered in your Compendium.
Destroy Ganondorf
Descend through the Depths beneath Hyrule Castle
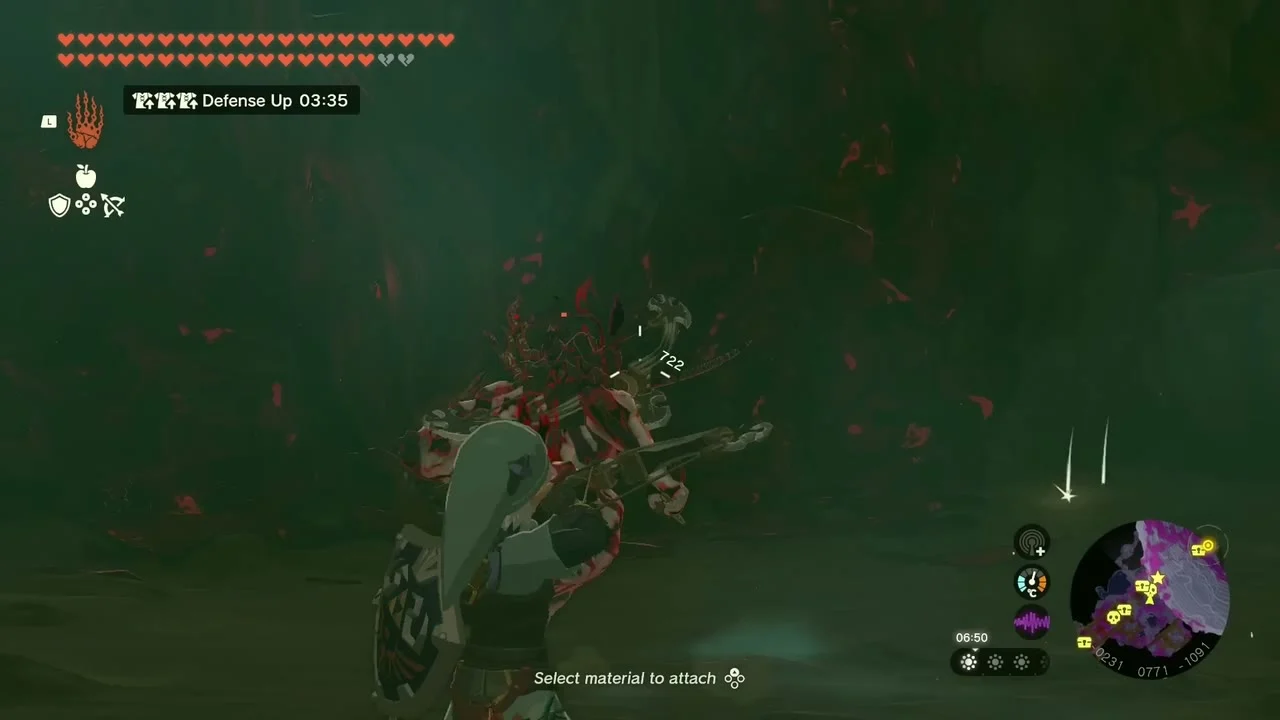
With the gear ready and the fifth Sage found, report to Purah at Lookout Landing and Destroy Ganondorf begins. The route is down Hyrule Castle Chasm and there are no shrines to restock at, so bring Defense Up meals and Sundelion dishes. Along the way chests hold Royal Bows, Royal Shields and a Royal Guard’s Bow, and you fight a Silver-Maned Lynel and a Phantom Ganon.


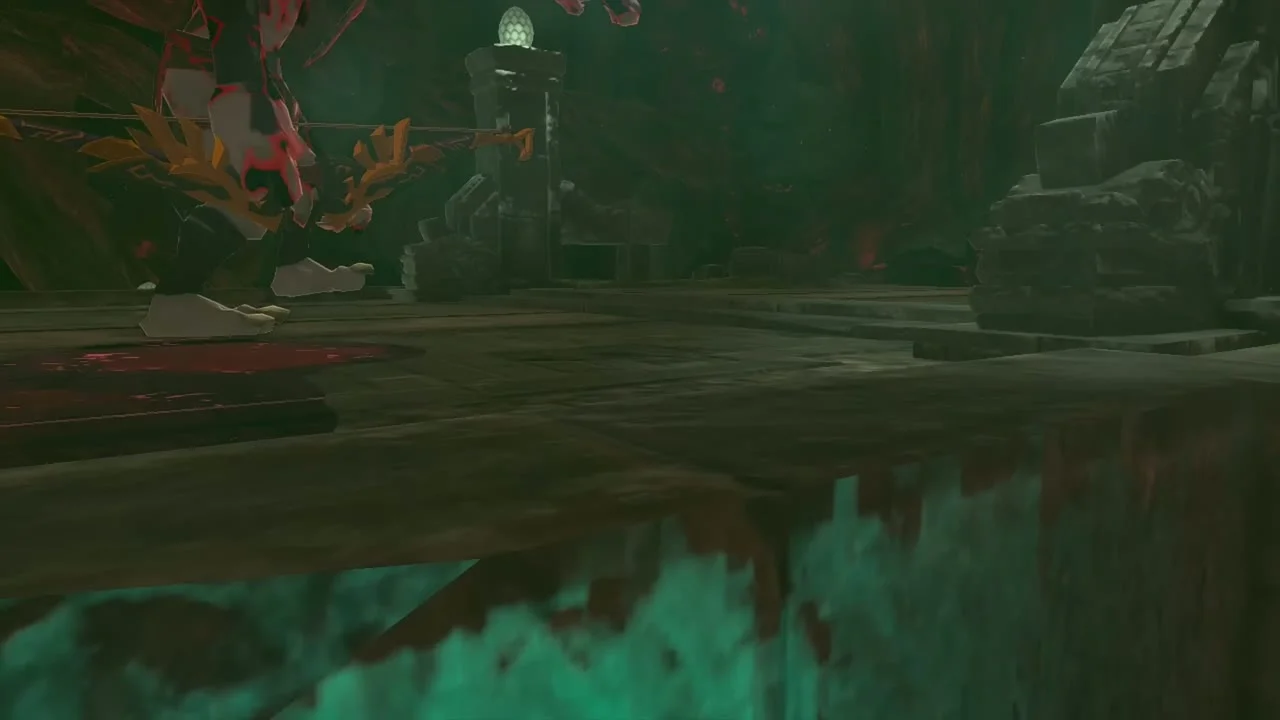
Survive the Demon King’s Army
Each Sage you awakened fights beside you in the arena. Stay mobile, let the Sages draw attention and take out the weaker enemies first. Shoot flying enemies with lightning arrows or use Riju’s lightning, and stay out of the gloom.


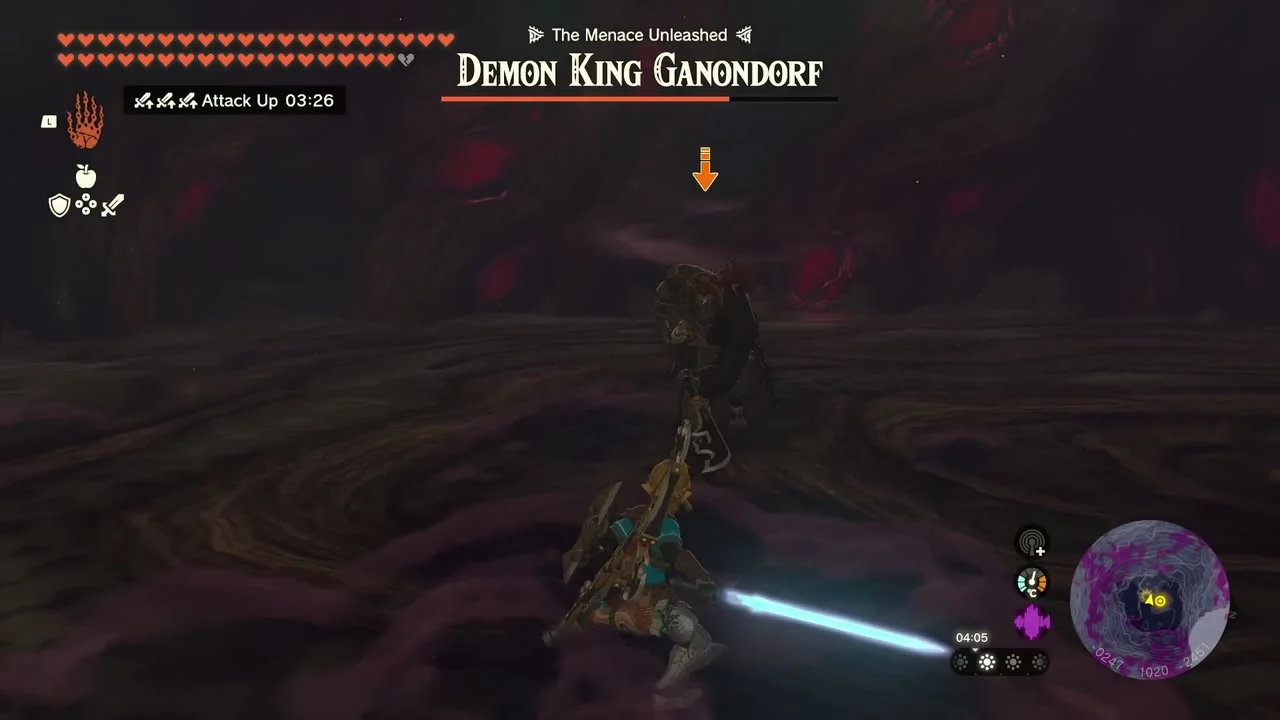
Fight Demon King Ganondorf
Ganondorf fights with a sword, a spear and a club. Headshot him with bows to stagger him, or dodge at the last moment for a Flurry Rush. In the second phase Sages and copies join in; in the third you fight alone against ranged orb attacks, so keep Sundelion meals ready.


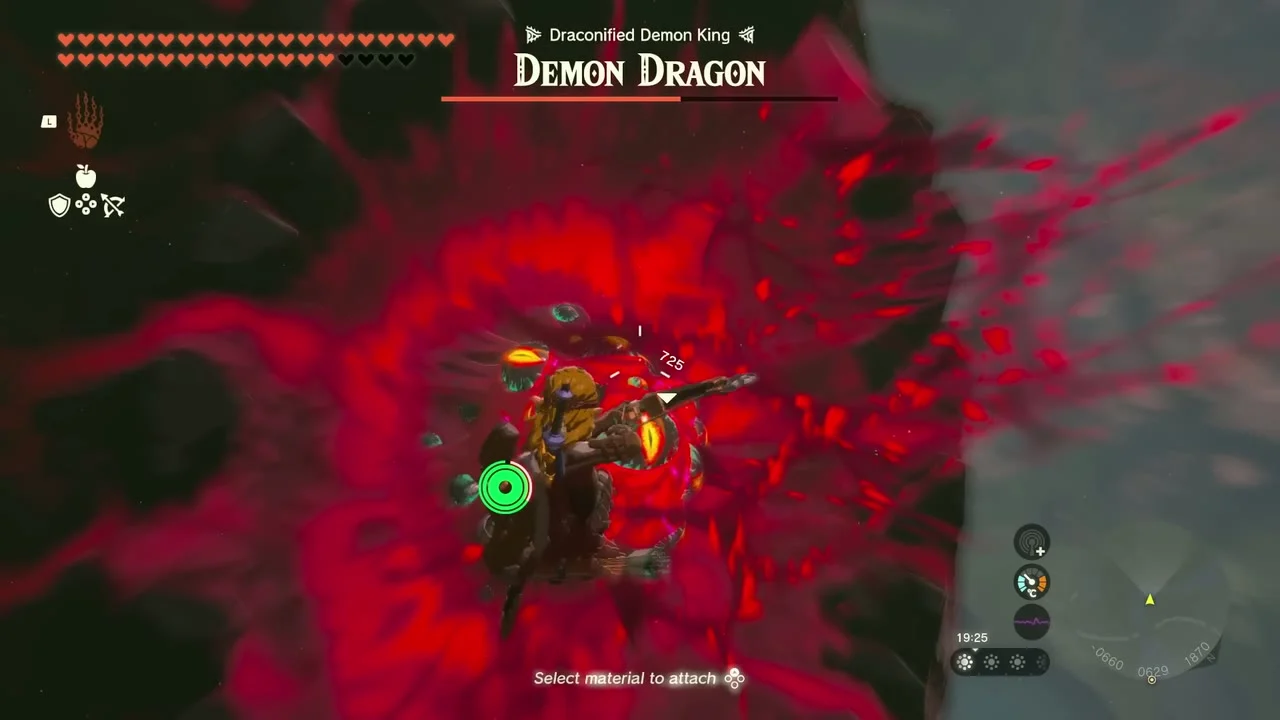
Defeat the Demon Dragon
The Light Dragon carries you onto the Demon Dragon. Destroy the four glowing crystals on its back with the Master Sword, then strike the Secret Stone on its head to finish the fight, then catch Zelda in free fall. After the credits your save returns to just before the final battle, so you can keep collecting.

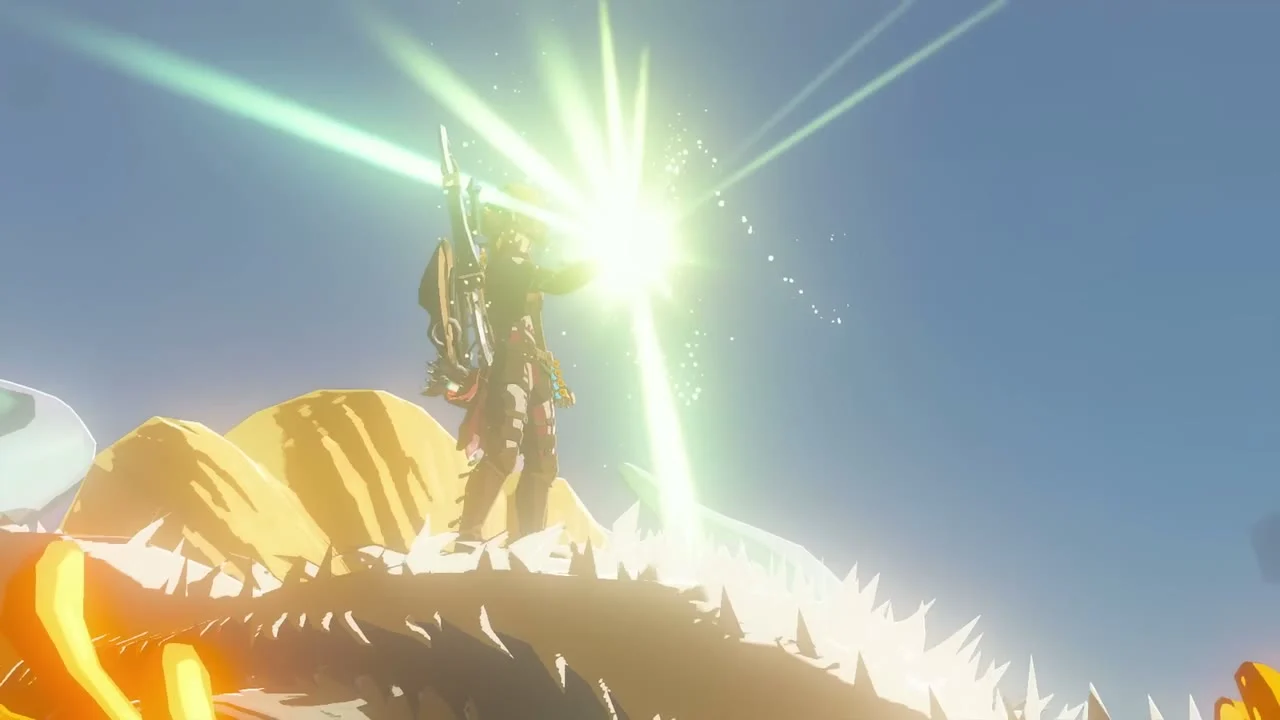
After the credits
Finish the Hyrule Compendium
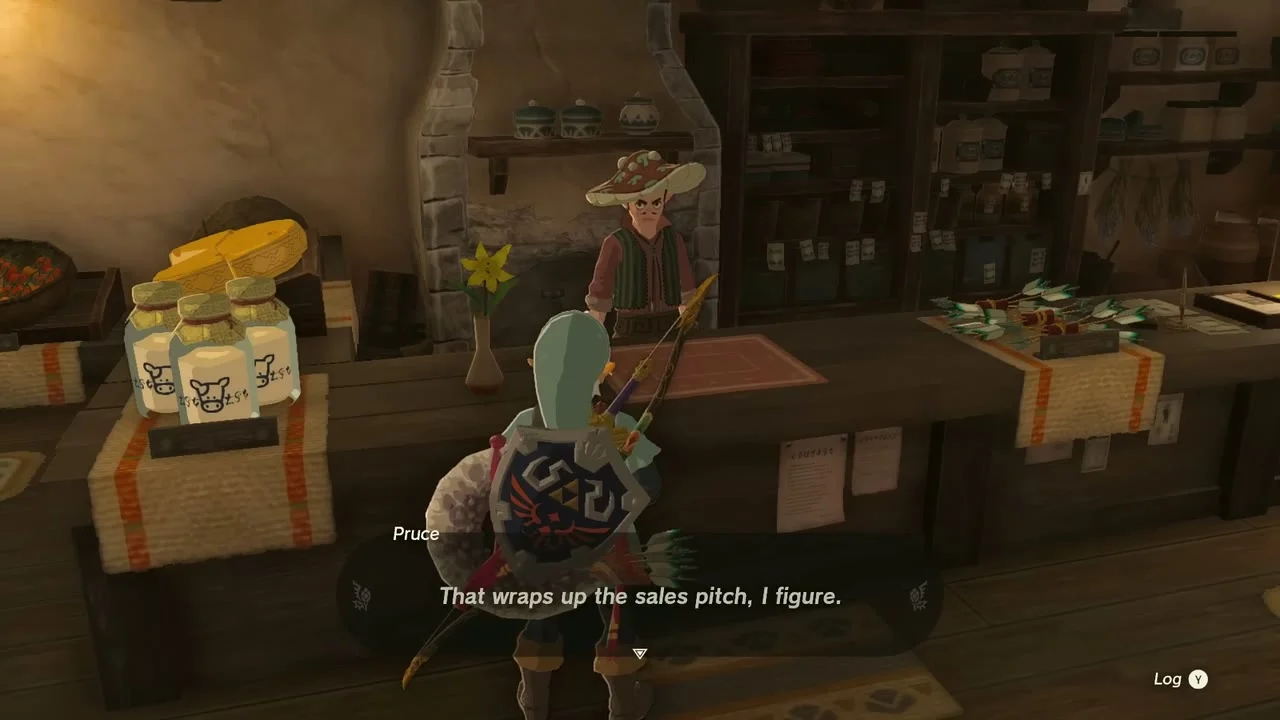
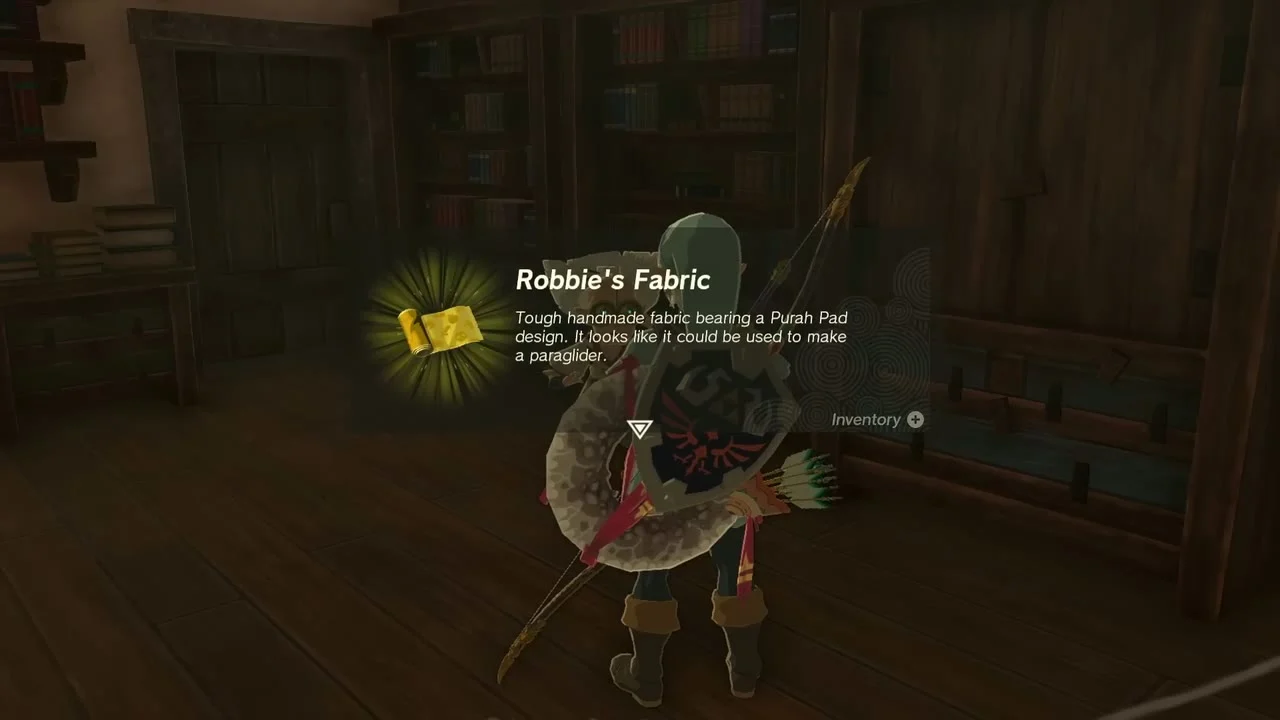
The camera comes from Robbie after Presenting: Sensor+, and he must have moved to the Hateno Ancient Tech Lab. The album holds 64 photos, but deleting photos does not remove Compendium progress, and each monster variant needs its own entry. Take the Compendium to Robbie at the Hateno Ancient Tech Lab. He sells any picture you are missing for 100 rupees each. When the Compendium is complete he gives you Robbie’s Fabric, a paraglider fabric you can apply at Sayge’s Kochi Dye Shop in Hateno Village.
Visit the last map locations
The final locations to clear on the map include Lake Ferona Cave (1930, 1272), Stolock Bridge (1627, 2478), Lurker in the Lost Woods (723, 1918), Gleeok Bridge (-1310, -787), Gatepost Town Ruins (-538, -1445), Horwell Bridge (680, -978) and Boné Pond East Cave (2185, 142). Walk or glide through each to register it.
What counts toward 100%
Map completion and quest completion are tracked separately, and the percentage tracker only appears after the final main quest. Each map discovery adds 0.04 percent; the Korok Seeds alone make up about 40 percent. Most guides count 23 main quests, 60 side adventures, 31 shrine quests, 139 side quests and 18 memories, and on the map: 152 Shrines, 120 Lightroots, 15 Skyview Towers, 14 main stables, 4 Great Fairies, 12 Tears of the Dragon, 30 Device Dispensers, 2 Tech Labs, 7 Bargainer Statues, 1,000 Korok Seeds, 58 Wells, plus named locations, shops, Crystal Refineries, caves and chasms. Chests, armor upgrades and the Compendium do not count toward the percentage, so those are optional completion goals. Shrine quests are not marked on the map and are easy to miss.
Checklist
- Ancient Blades from the Mining Construct (50 Zonaite each)
- Hestu’s Gift from Hestu in Korok Forest
- Ancient Hero’s Aspect from the Temple of Time chest
- All four Great Fairies awake and every armor set at four stars
- Destroy Ganondorf complete
- Hyrule Compendium finished and Robbie’s Fabric collected
