





















Tears of the Kingdom 100% Completion Walkthrough43 chapters
Great Sky Island
- Great Sky Island4 shrines, 4 caves and Bubbul Gems, 17 Korok seeds
Hyrule Field and Hyrule Castle
- Lookout LandingParaglider, Crisis at Hyrule Castle, Jiosin and Kyononis shrines, 2 caves, 3 wells
- Hyrule FieldSusuyai and Ishodag shrines, the Hyrule Field Chasm, 2 caves, 13 Koroks
- Hyrule Castle Town RuinsSepapa, Yamiyo and Tukarok shrines, 2 caves, 4 wells, Koroks, chests and Battle Taluses in route order
- Central Hyrule Depthslight all 7 Lightroots, loot Daphnes and Gustaf Canyon Mines, find the Miner's Top
- Rest of Hyrule CastleRoyal Hidden Passage loot, 8 castle chests, Phantom Ganon, Energy Wells
- South Hyrule FieldShrines, Koroks & the Great Plateau
- South Hyrule Field DepthsGreat Abandoned Central Mine, Master Kohga, Autobuild, Majora's Mask
Tabantha and Hyrule Ridge
- Tabantha FrontierNew Serenne Stable, Hestu, Courage Island and the Glide Shirt, 3 shrines, 2 Korok seeds, Lindor's Brow Cave
- Forgotten TempleImpa and the Geoglyphs, Dragon's Tears, Kiuyoyou and Mayausiy shrines, Yiga Maritta Branch, 9 Koroks
- Tanagar Canyon & Hyrule RidgeRunakit and Iun-orok shrines, 2 caves, 12 Koroks, 20 chests, 8 minibosses and Dragon's Tear 6
- Thundra Plateau & Tabantha Bridgesolve the noon shadow puzzle, Tabantha Bridge Stable, Makurukis Shrine, 19 Korok seeds, 9 chests, 3 minibosses
- Lindor's Brow DepthsLightroots; Two Yiga camps (Bomb Bouquet, Flamethrower Balloon)
- Hyrule Ridge and Tabantha FrontierIkatak, Oromuwak, Ganos and Ga-ahisas shrines, 4 caves, a well, 26 Koroks and 3 minibosses
Hebra
- Rito VillageGatakis and Ijo-o shrines, Sikatag Lightroot, 9 Korok seeds, 14 chests
- Hebra MountainsShrines, Wind Temple & Koroks; Raspro Pass, Biron Snowshelf & Royal Hidden Passage
- Corvash Canyon MineTrousers of the Hero, Floodlights schematic, Sea-Breeze Boomerang, four Lightroots, Colgera
- Raspro Pass DepthsNupisoyuat and Sasag Lightroots, Colgera, Cap of Time, Tunic of the Wind, two Yiga camps and 13 minibosses
- Tabantha TundraTaninoud, Orochium, Oshozan-u, Mayaotaki, Nouda and Tenbez shrines, three Lightroots, caves and Bubbul Gems
- Pikida Stonegrove DepthsEvil Spirit Greaves, Ikatoayam, Muihcoro and Sikatag Lightroots, 3 Yiga schematics, Frox fights
Great Hyrule Forest
- Great Hyrule Forest7 shrines, 8 Lightroots, 2 caves, 2 wells, Korok Mask, Glide Tights
Eldin
- EldinEldin Canyon, Shrines, Caves & Goron City
- Eldin Canyon Depths10 Lightroots, Zant's Helmet, Trousers of the Wild, Biggoron's Sword, 3 Yiga schematics and Eldin's sky chests
Faron
- FaronHighland Stable, Lake Hylia & Popla Foothills
Necluda
- Kakariko VillageMakasura Shrine, Kakariko Village Well, 2 caves, Ring Ruins chests, 10 Korok seeds and village quests
- West Necluda and Lanayru WetlandsShrines, Koroks & Caves; Jonsau, Kurakat
- Hateno VillageZanmik and Mayahisik shrines, Shield of the Mind's Eye and Phrenic Bow wells, 7 Koroks
- East NecludaRabella Wetlands, Sifumim Shrine, Lurelin Village, 21 Korok seeds
- East Necluda DepthsKumamayn Shrine, 4 Lightroots, Midna's Helmet, Cap of the Hero, Trousers of the Wind and 18 Depths chests
Lanayru
- Lanayru Great SpringShrines, Koroks & Caves; Ralis Channel, 3 shrines, 8 caves
- Zora's DomainMogawak and Ihen-a shrines, Ploymus cave, Pristine Sanctum, Zora Armor, Sidon of the Zora and Clues to the Sky
- Wellspring IslandAncient Zora Waterworks chests, Igoshon Shrine, 2 Korok seeds, Water Temple's four wheels and Mucktorok
- Mount LanayruShrines, Koroks & Light Rings; Jikais and Anedamimik shrines
Gerudo
- Gerudo DesertShrines, Caves & Koroks; West and South Sands
- Gerudo TownGerudo Shelter shops and quests, Valley of Silent Statues, Lightning Temple and Queen Gibdo, Chichim Shrine
- Gerudo Desert DepthsGranajh and Daval mines, three Master Kohga fights, Queen Gibdo, Mucktorok, Sheik's Mask and 37 chests
- Gerudo HighlandsSkyview Tower, Rotsumamu and Suariwak shrines, Mayasiar Shrine, Yiga hideout
Akkala
- AkkalaTarrey Town quests, 4 shrines, Hinox, Battle Talus
- Akkala Sky Islands and DepthsGikaku and Natak shrines, Old Maps, Lomei Depths Labyrinth, Mucktorok, 5 Lightroots and 19 chests
Finale and completion
- Ancient Tablets, Gleeoks and Armor Upgradesall 13 stone tablets with coordinates, Frost and King Gleeok, Obsidian Frox, Cotera upgrades and farming
- Hyrule CastleRoyal gear chests, Korok seeds, Serutabomac Shrine
- Thunderhead IslesCharged armor, Joku-usin and Joku-u Shrines, Dragonhead Island's relic
- 100% Completion: Armor Upgrades & Korok BonusHestu's Gift, Ancient Hero's Aspect, Great Fairy Cotera upgrade costs and materials, then Destroy Ganondorf
| Region | Thunderhead Isles and Dragonhead Island (Faron Sky), reached from the Zonai Ruins by Dracozu Lake in Faron; the Construct Factory and four depots in the West Necluda Depths; the Spirit Temple |
|---|---|
| Quests | Find the Fifth Sage, Secret of the Ring Ruins (finished), Guidance from Ages Past (finished) |
| Shrines | Joku-usin Shrine (Proving Grounds: Short Circuit, 1075, -3347, 799) and Joku-u Shrine (Rauru’s Blessing, 1376, -3339, 442) |
| Key locations | Zonai Ruins (890, -2937), Thunderhead Isles (912, -3065, 1895), Dragonhead Island (1460, -3381, 1895), Tobio’s Hollow Chasm (1305, -2397), Construct Factory (869, -2174, -571), Right-Arm Depot (569, -2112), Left-Arm Depot (706, -2432), Right-Leg Depot (1144, -2117), Left-Leg Depot (1016, -2293) |
| Requirements | Camera on your Purah Pad (Camera Work in the Depths) to photograph the Ring Ruins slab, and at least 10 hearts for the gate on Dragonhead Island |
| Armor | Charged Shirt, Charged Trousers and Charged Headdress (chests along the Dracozu River) |
| Boss | Seized Construct (Spirit Temple) |
| Reward | Heart Container, Vow of Mineru (Sage of Spirit); unlocks Trail of the Master Sword |
This stretch of the main story sends you after the fifth sage. Decode the Ring Ruins slab, wear the Charged armor at the Zonai Ruins and give the altar a Zonai Charge to call down a lightning bolt that opens the Thunderhead Isles, then follow the Zonai relic on Dragonhead Island down to the Depths, rebuild Mineru’s Construct from four depots and ride it to the Spirit Temple. Coordinates are map units (X, Y, height); larger Y is further north.
Quick route
Talk to Purah at Lookout Landing, then to Paya and Tauro in Kakariko Village, and read the stone slab in the Ring Ruins. Go to the Popla Foothills Skyview Tower and on to the Zonai Ruins, where the three Charged pieces are hidden in underground chambers. Put them on and offer a Zonai Charge at the altar.
Fly up to the Thunderhead Isles, work east across them to Joku-usin Shrine and on to Dragonhead Island, enter the door, touch the relic and dive into Tobio’s Hollow Chasm. In the Depths collect the four depot parts, assemble Mineru’s Construct at the Construct Factory and ride it to the Spirit Temple.
Find the fifth sage
Report back at Lookout Landing
With the false Zelda exposed, go to Lookout Landing and talk to Purah and the gathered sages. Purah points you to ruins from the age of legends, which starts the quest Find the Fifth Sage. Stock up on bombs from Josha’s shop if you need them.
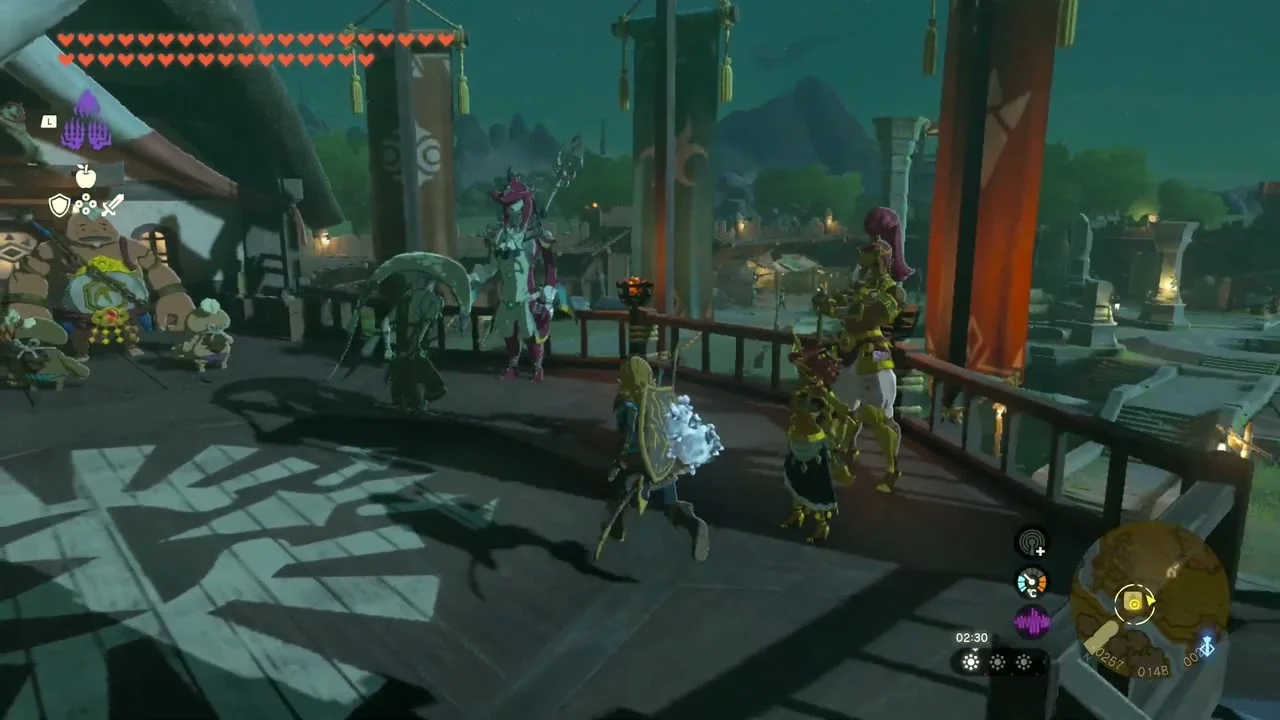
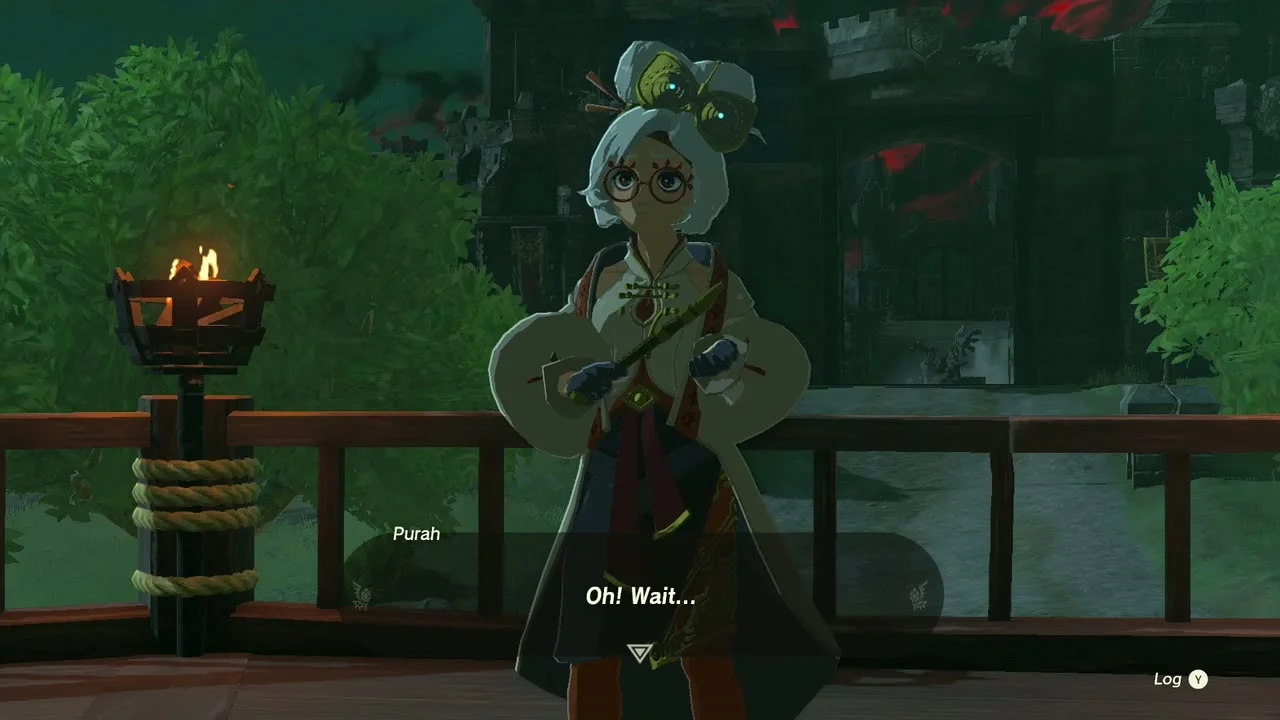
Read the slab in the Ring Ruins
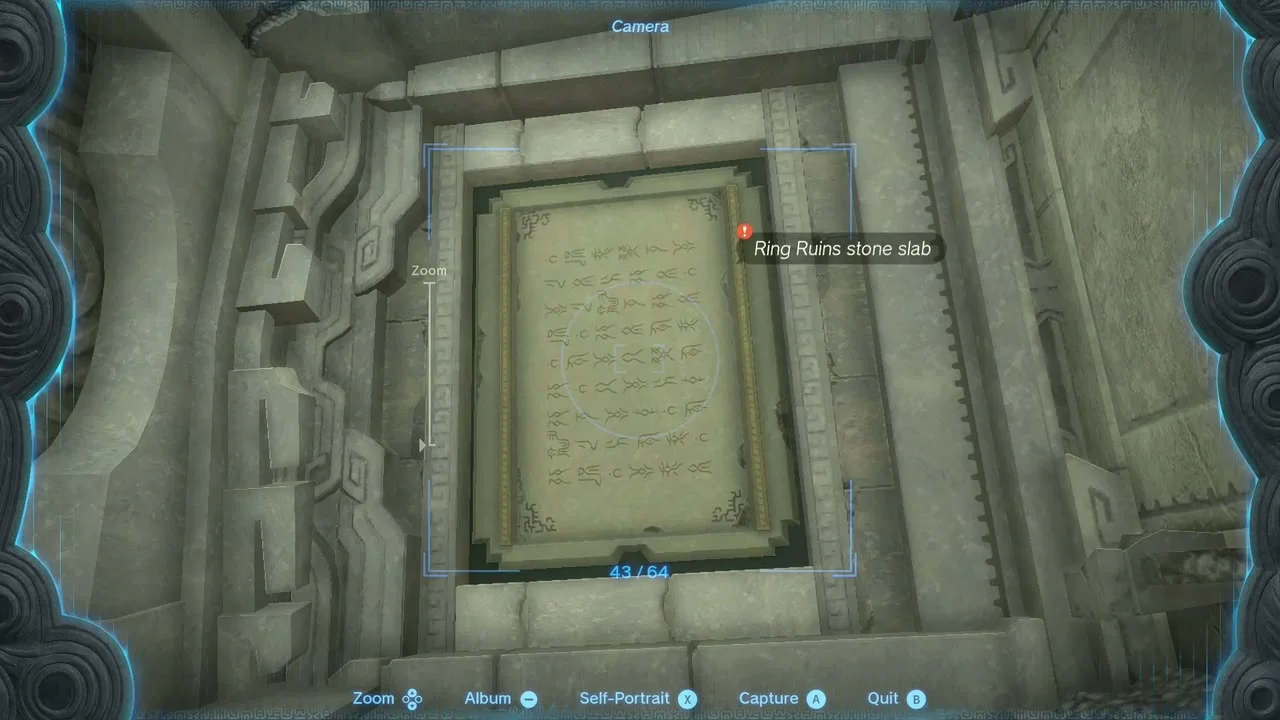
Speak to Paya and Tauro in Kakariko Village. They are exploring the Ring Ruins (1810, -907), which the impostor had forbidden. Climb the scaffolding and use Ascend from directly beneath the floating ring to get inside, then photograph the stone slab in the central chamber with the Camera and show the picture to Tauro so he can decode it. The writing points to the Zonai Ruins in Faron, and your next waypoint is the Popla Foothills Skyview Tower.
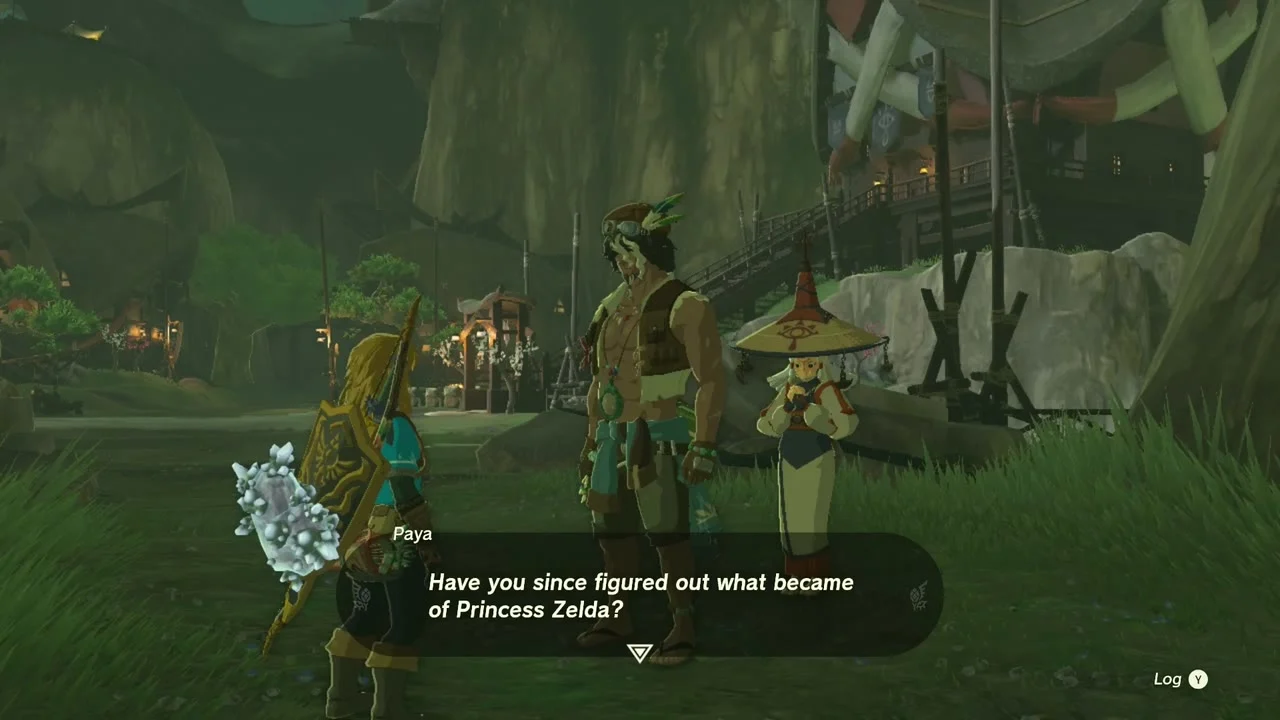
Meet Tauro at the Zonai Ruins
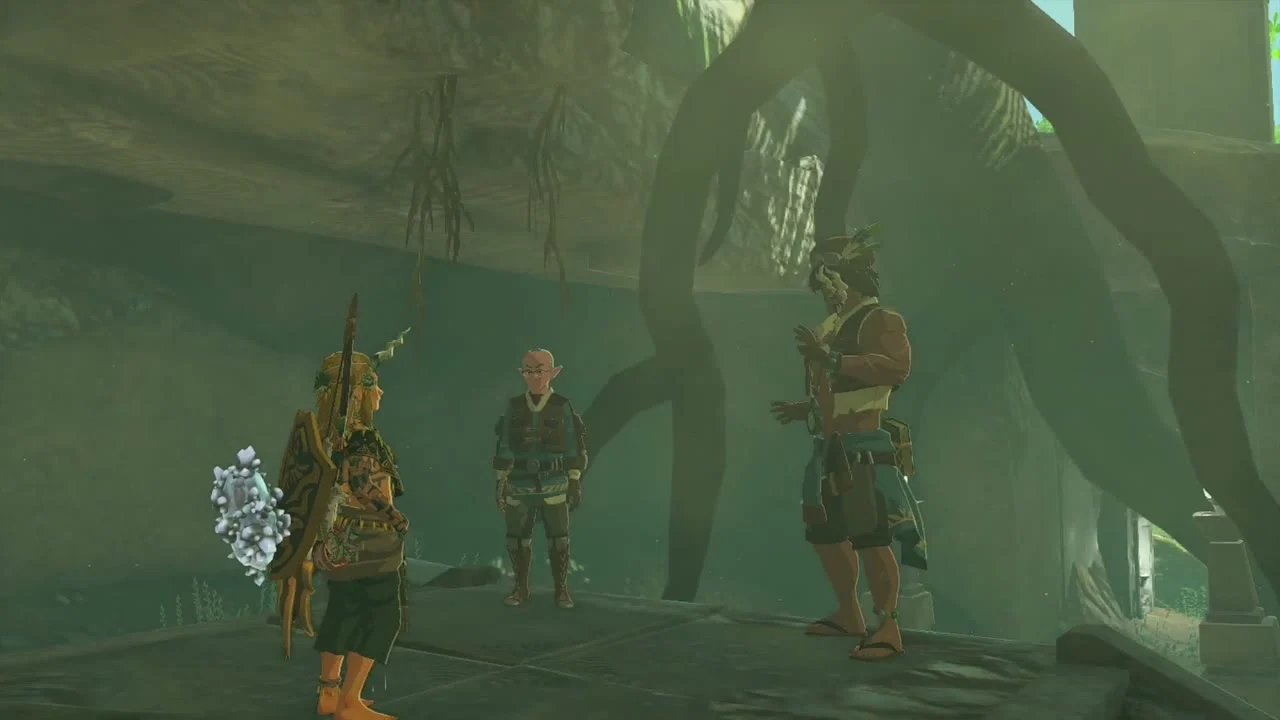
Reach the Popla Foothills Skyview Tower. The tower is broken: drop down the well in front of it and enter the cave on the south wall (about 605, -2226) to free the repairman, who fixes it. Then talk to Calip, who has set up camp at the tower (skip time at a campfire if he is asleep). Then head southeast toward Dracozu Lake to the Zonai Ruins (890, -2937), a site marked by stone dragon statues. Tauro is waiting in a cave just east of the campfire at the lake’s north-east edge (about 968, -2531), where he explains the riddle: wear the electric garb hidden at the long-necked dragons along the wide-mouthed forest serpent, then offer a Zonai Charge to the altar at the tail.
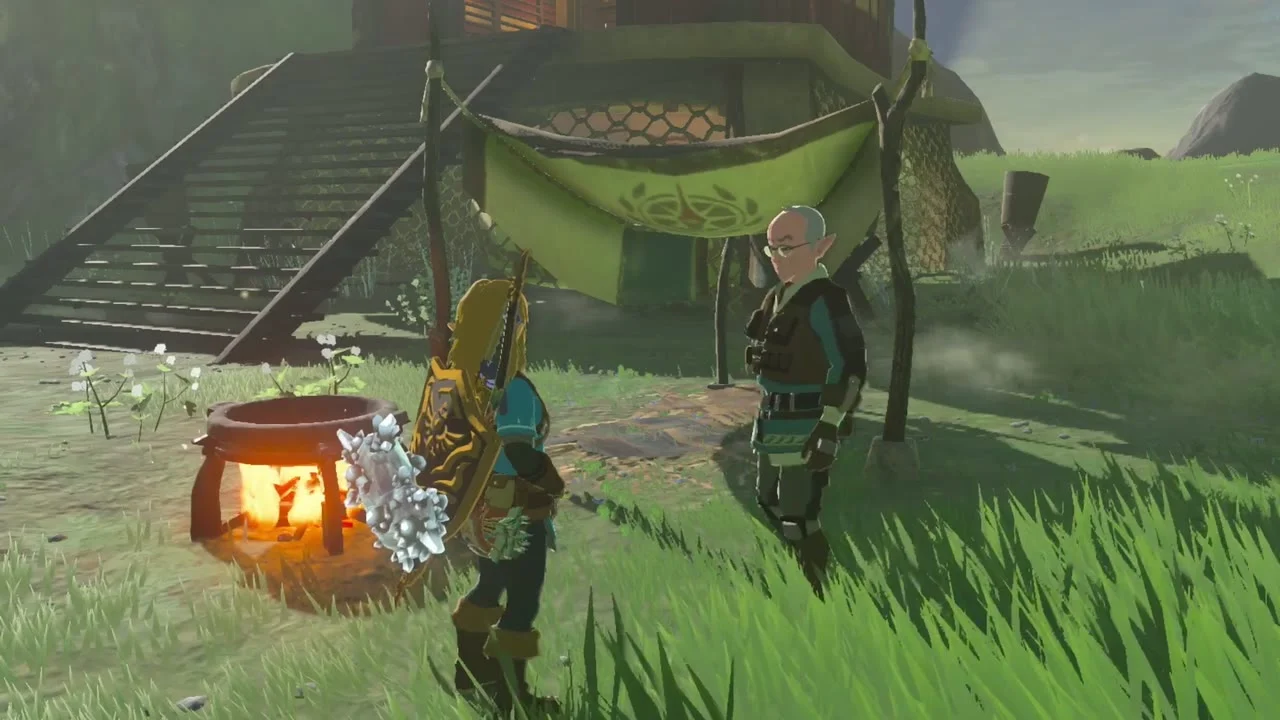


Serpent riddle
Collect the Charged armor
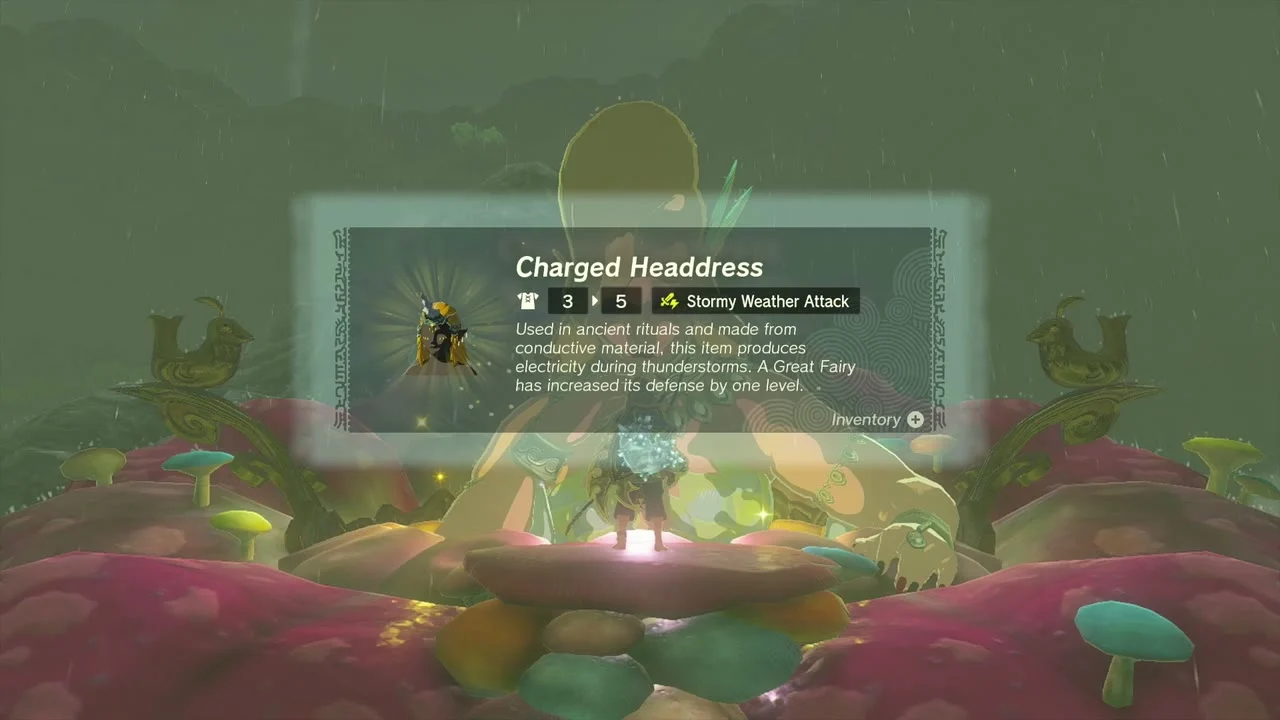
Follow the Dracozu River south and look for lamp-lit doorways. Three small caves each hold one chest. The Charged Shirt is in the cave where you met Tauro (about 1002, -2539). The Charged Trousers are further south in a cave on the right (about 986, -2689) whose door is blocked by rocks: break them with a hammer, a bomb or a Zonai device, or Yunobo’s rolling charge. The Charged Headdress is further south again in a cave on the left (about 970, -2803) whose entrance is choked with brown roots: cut them with a melee weapon. Each piece has a Stormy Weather Attack effect, and the full set gives a Stormy Weather Charge bonus. Guides give slightly different coordinates for each cave, so follow the lamps.

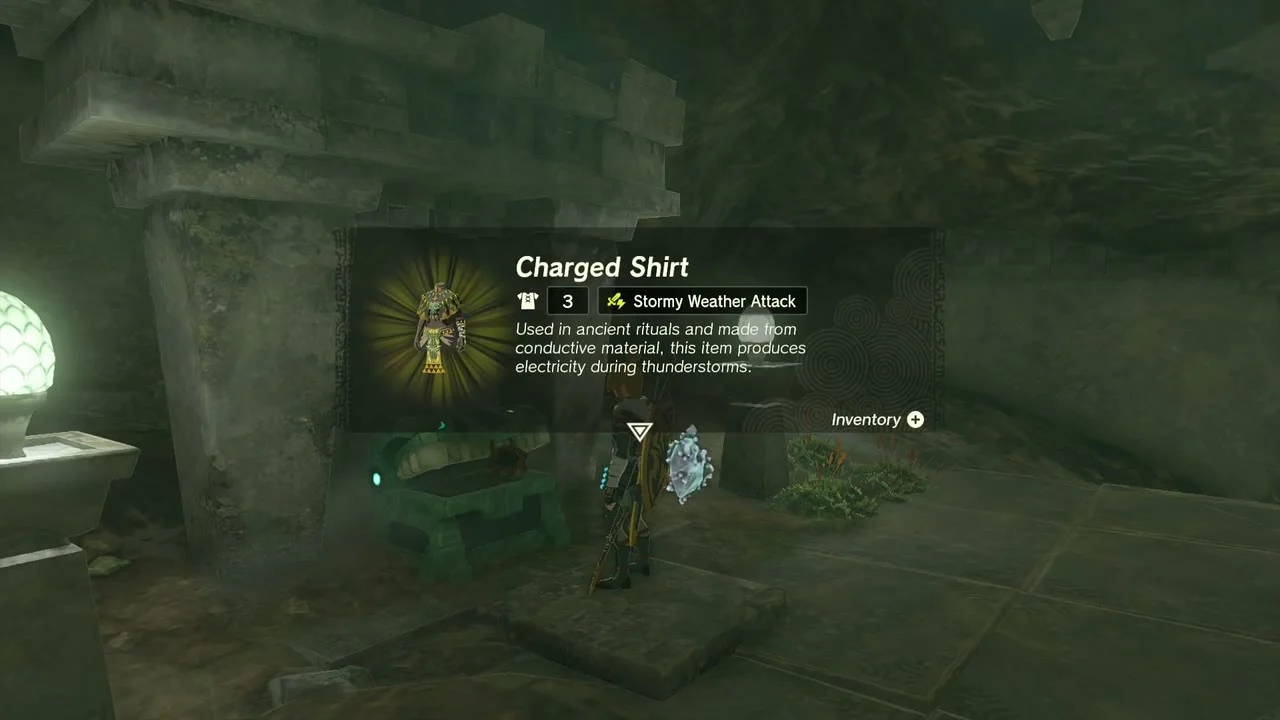
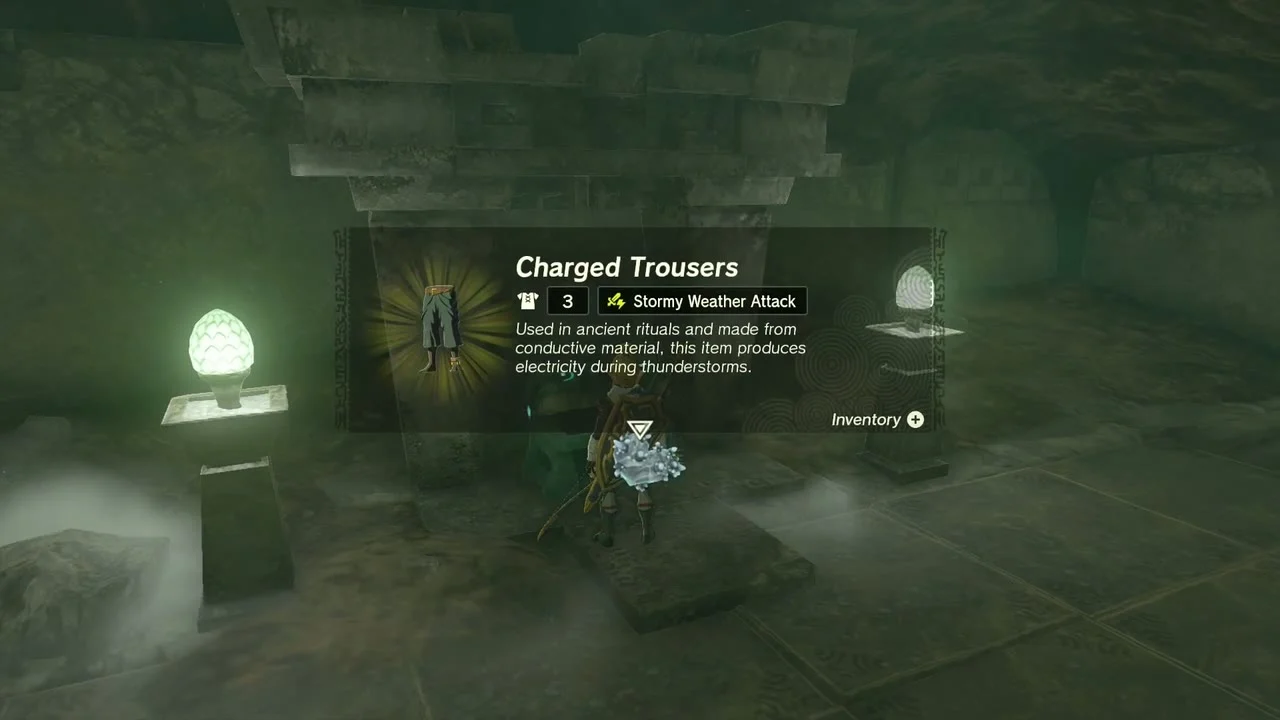
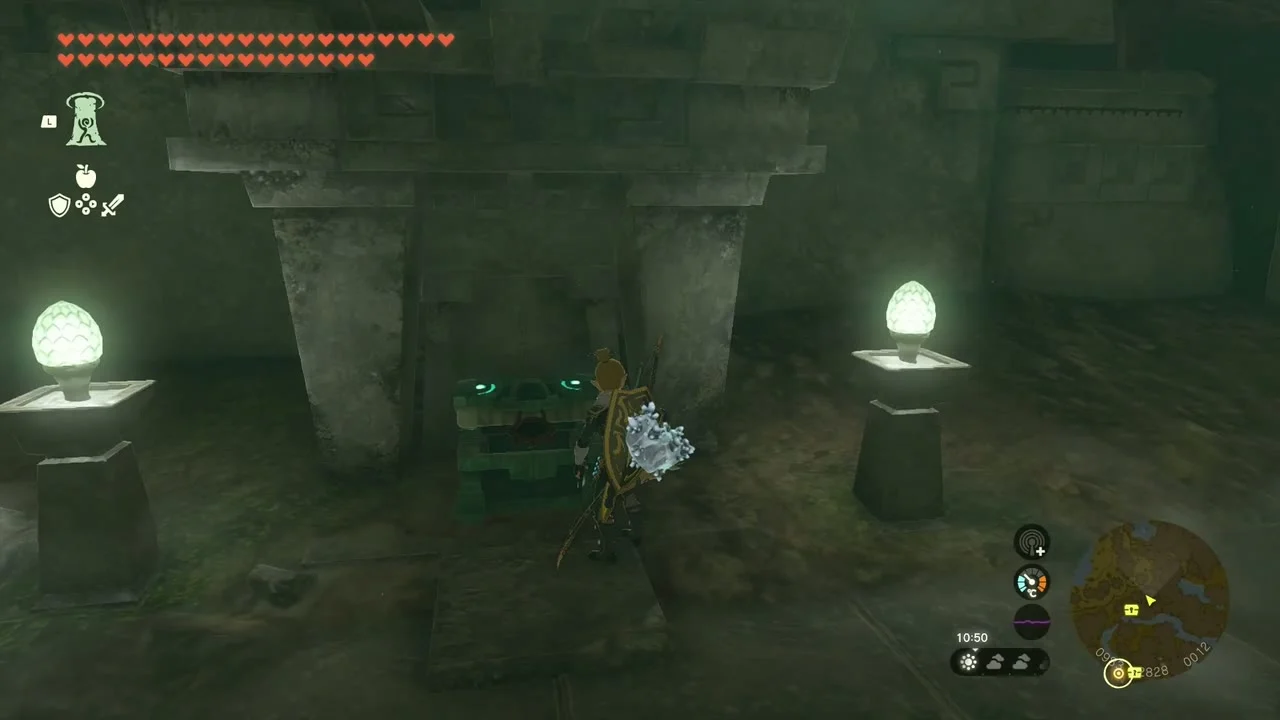
Offer a Zonai Charge at the altar
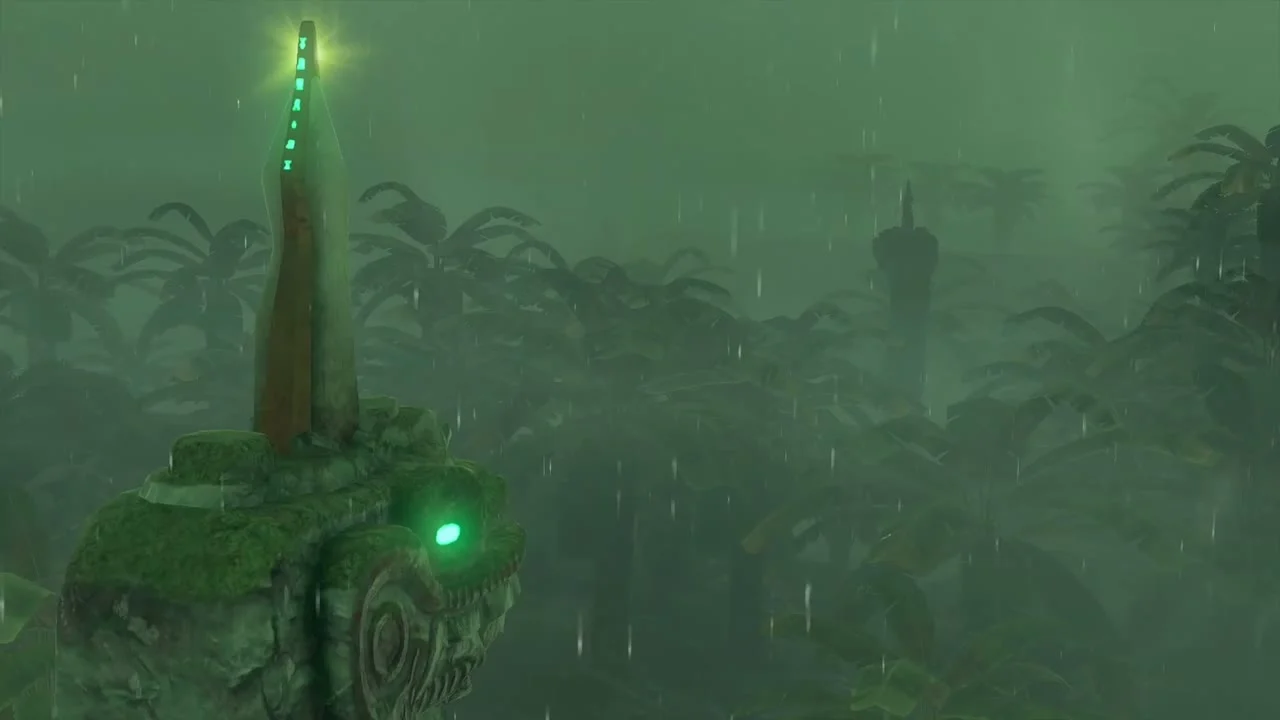
Put on all three pieces. At the river’s end is a fourth lamp-lit cave west of Damel Forest (about 707, -2757) with an altar where a chest would normally sit. Stand at it and offer a Zonai Charge. A cutscene plays and the eternal storm over the isles clears, which makes the Thunderhead Isles reachable. Go back to the Popla Foothills Skyview Tower and talk to Calip again.


Upgrade the armor (optional)
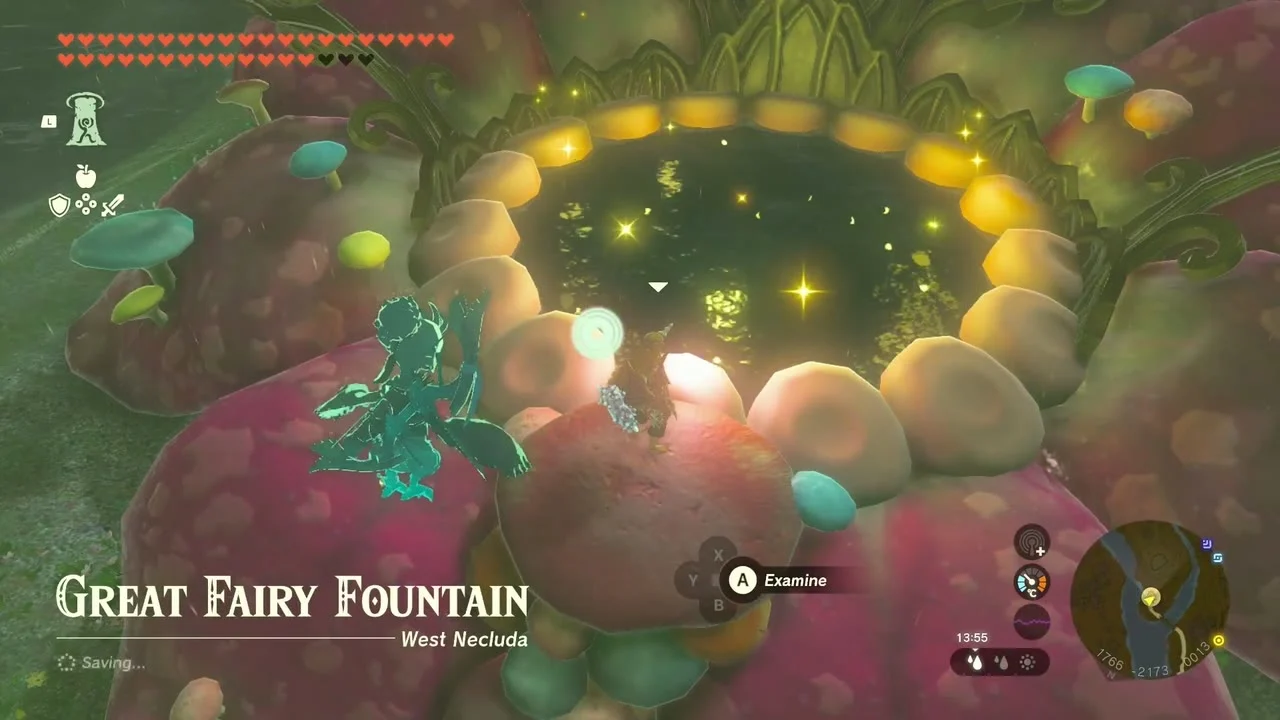
Before you go up, you can visit Great Fairy Cotera at the Great Fairy Fountain in West Necluda (1768, -2180) and upgrade the Charged armor. The set only has small defense, so most players skip this unless they want its Stormy Weather bonuses.
Thunderhead Isles
Reach the isles
The isles sit above Faron at about (912, -3065, 1895). Launch from the Popla Foothills Skyview Tower and glide southeast onto the islands, or build a flying vehicle. The islands form a long chain that ends at Dragonhead Island. Use Ascend to climb through pillars and ruins, Zonai fans for the large gaps and lightning rods to power launchers. The glide to Dragonhead Island is long, so carry stamina food or sleep at a stable bed first.

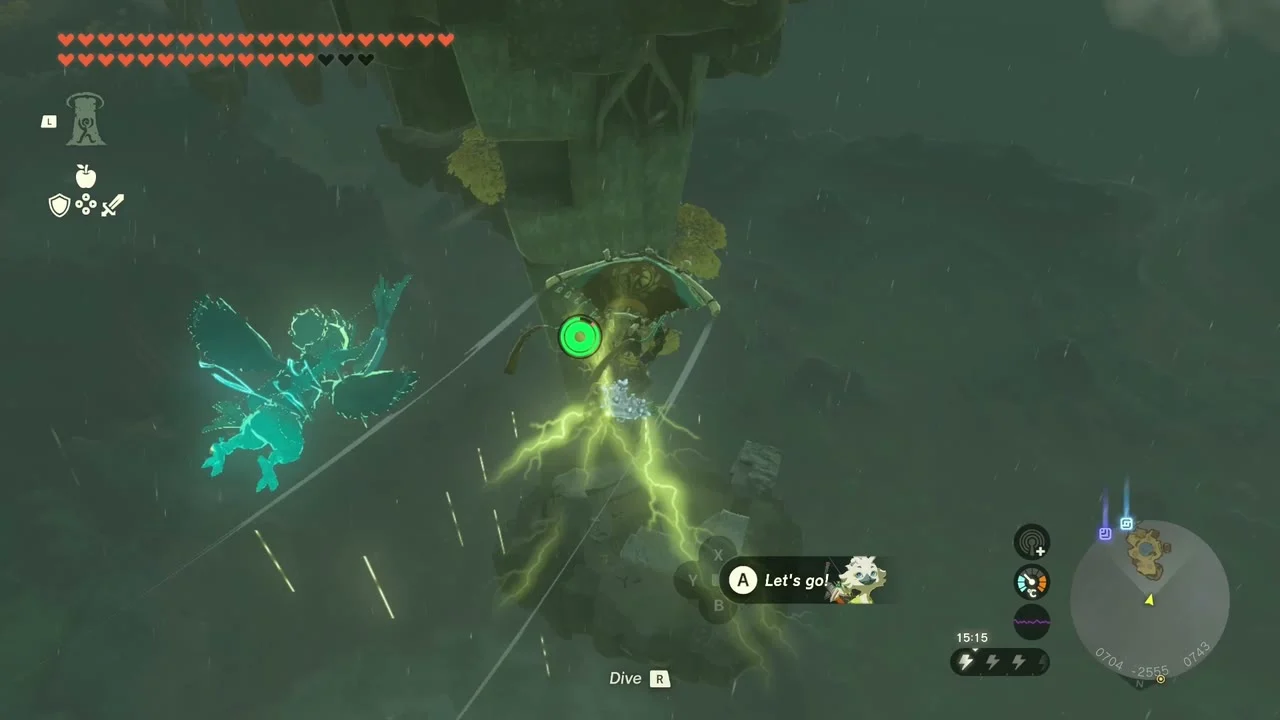

Handle the lightning
Lightning strikes metal constantly, so unequip metal weapons, bows and shields while you cross. To power a conductor wired to a launcher, equip a weapon beside it so the bolt is drawn in, then unequip it quickly; the conductor takes the strike and you can ride the launcher. Riju’s lightning also activates some of these launchers.
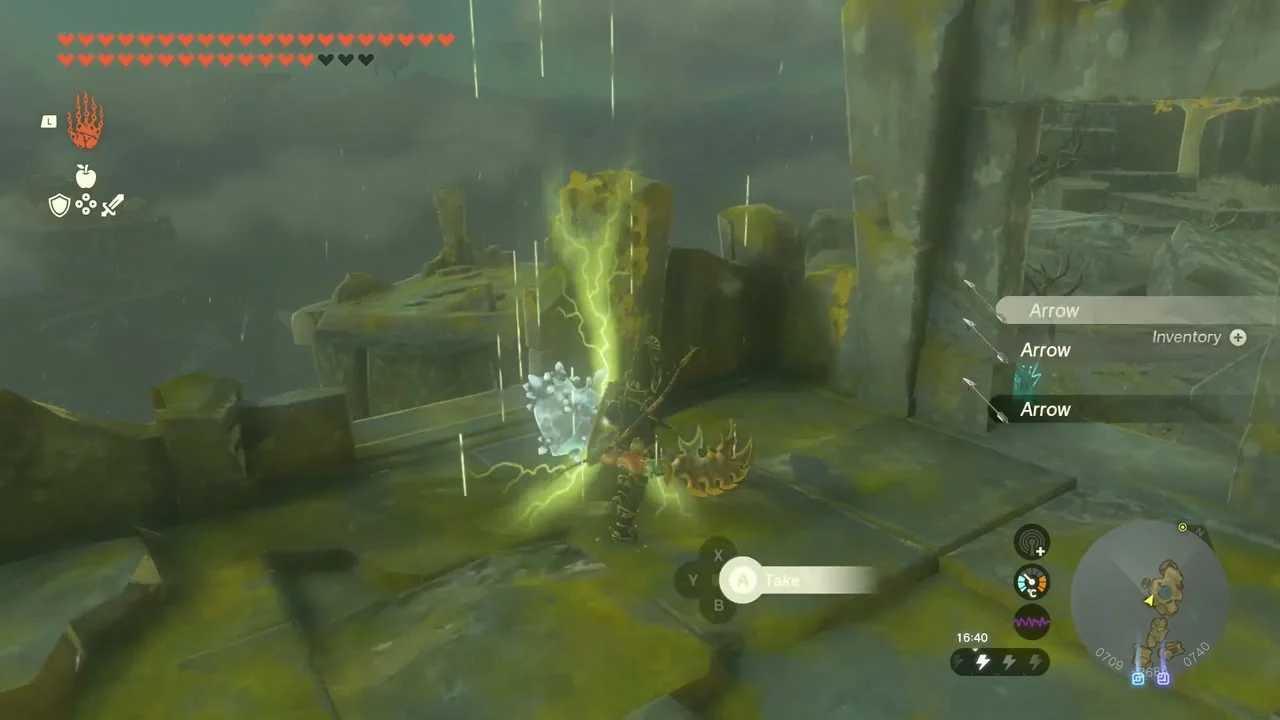
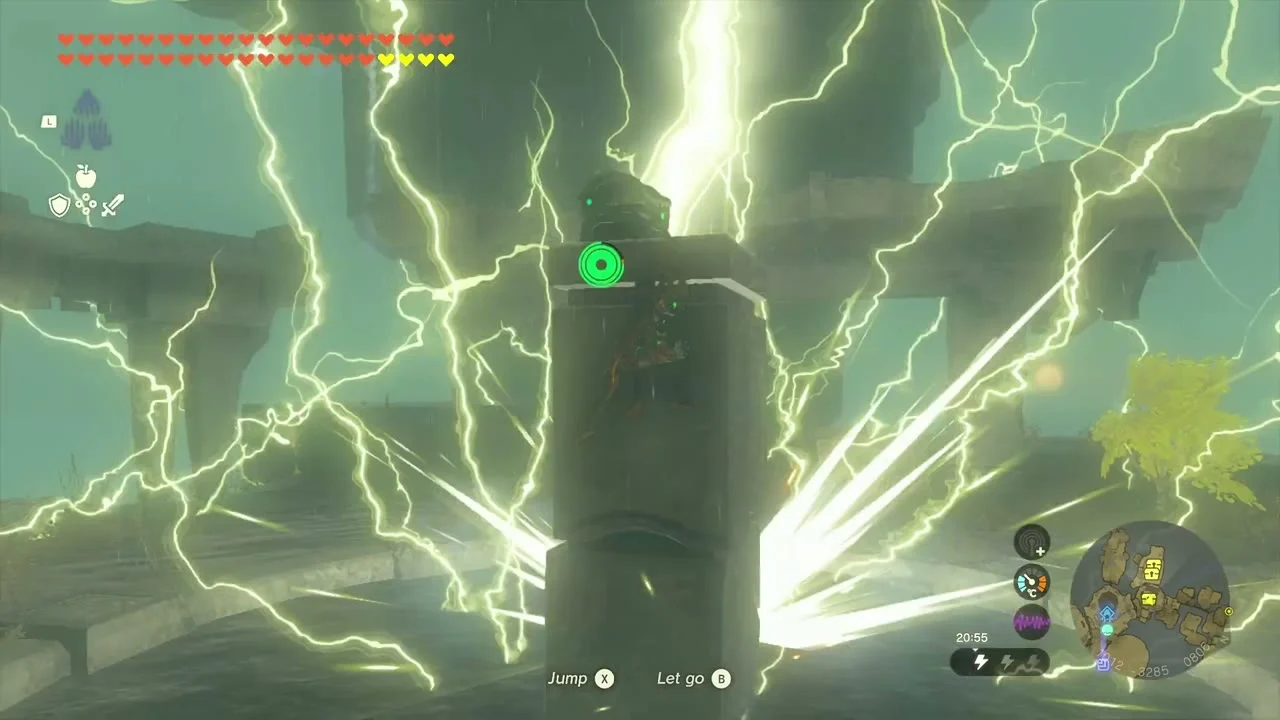
Loot the first islands
Along the first stretch of the isles are several chests, including two that hold Old Maps (guides point them to a spot north of Crenel Canyon Mine and to Retsam Grove). Open them for a Mighty Zonaite Spear (Strong or Mighty, depending on your progress) (on a stone platform in the first ruin) and a Topaz (further along, on a ledge beside a lit lamp). Constructs patrol this stretch, so take them out before looting.
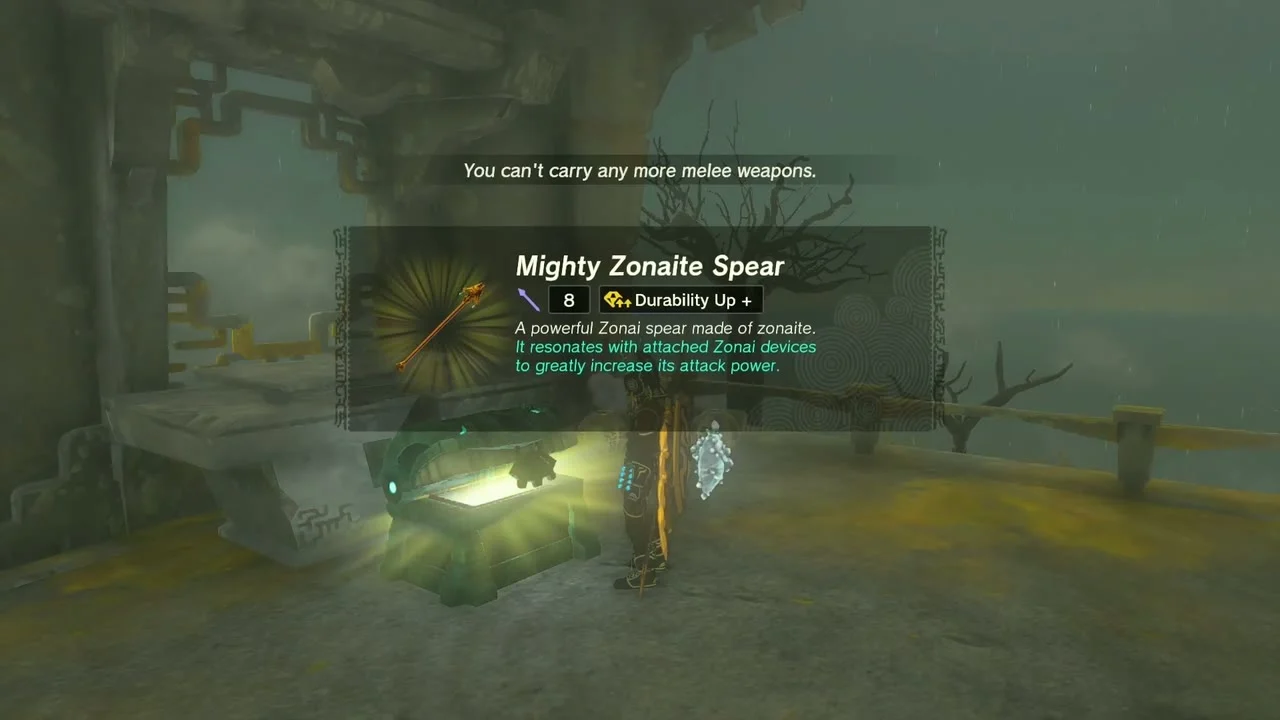

Raid the sunken ruin and the weapon chests
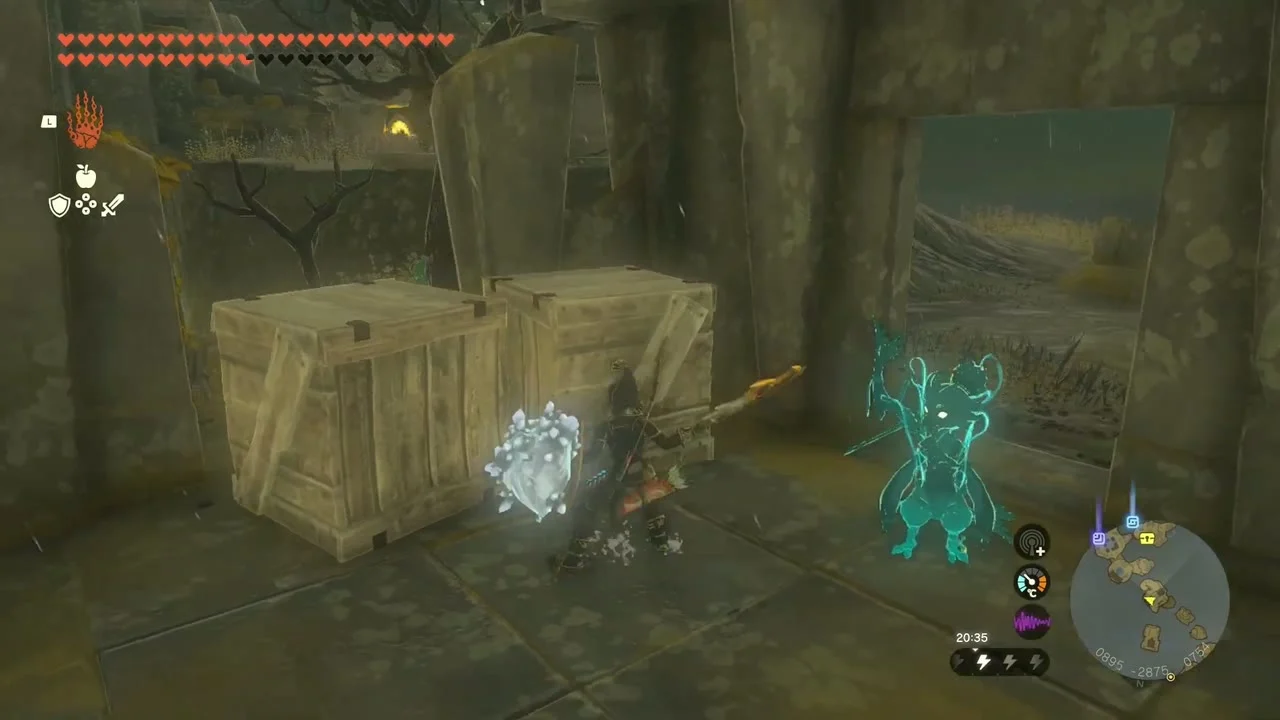
Further on, a flooded ruin holds several weapon chests, including a Mighty Zonaite Spear and a Zonaite Bow. Use Ultrahand to move the stone blocks and bridge the water. More chests along the chain hold Mighty Zonaite Shields, a Big Battery, Shock Emitters and an Old Map.


Complete Joku-usin Shrine
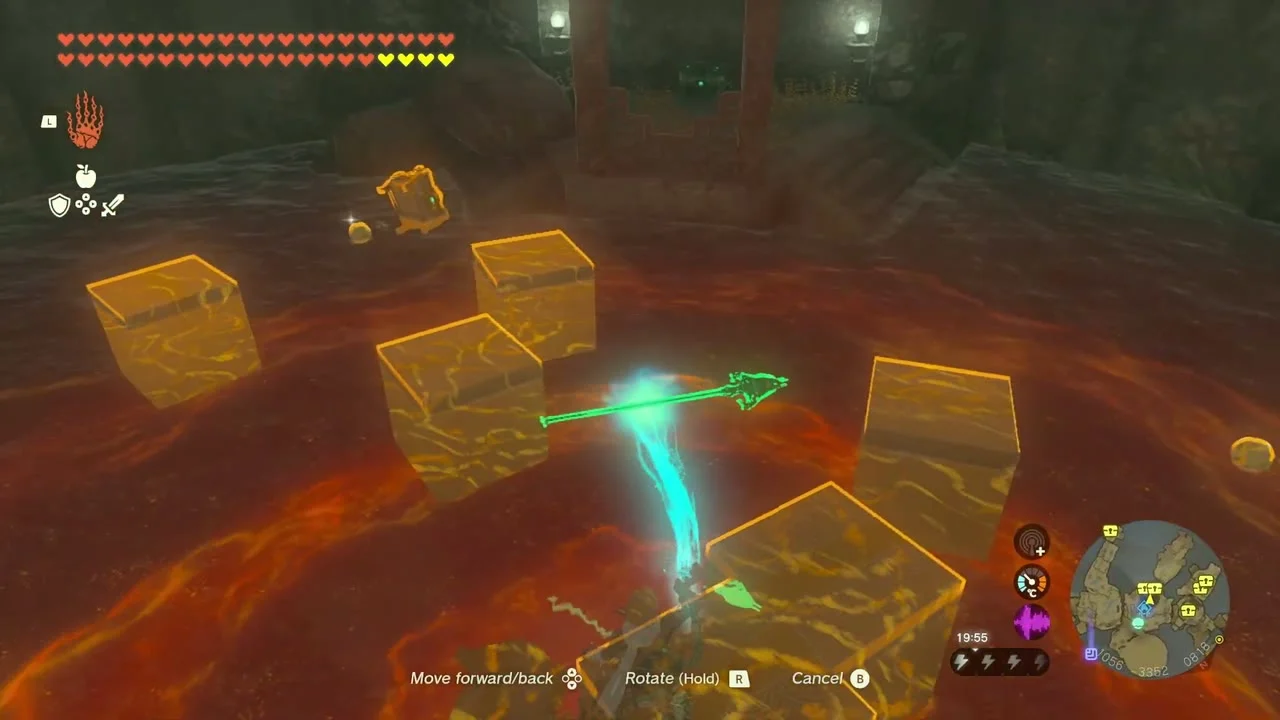
Joku-usin Shrine (1075, -3347, 799) is a Proving Grounds: Short Circuit trial. Your gear is removed on entry. Grab the weapon on the left, run through the doorway to the Shock Emitter, and use shock attacks on the Constructs, which are weak to electricity. Use Ascend to reach the ones on high platforms. The chest at the end holds an Electro Elixir, and the green-runed structure behind it gives a Light of Blessing and unlocks the shrine for fast travel. Reach the shrine by riding the rail below it on a platform driven by a Fan and using Ascend to come up outside it.


Dragonhead Island
Cross to Dragonhead Island
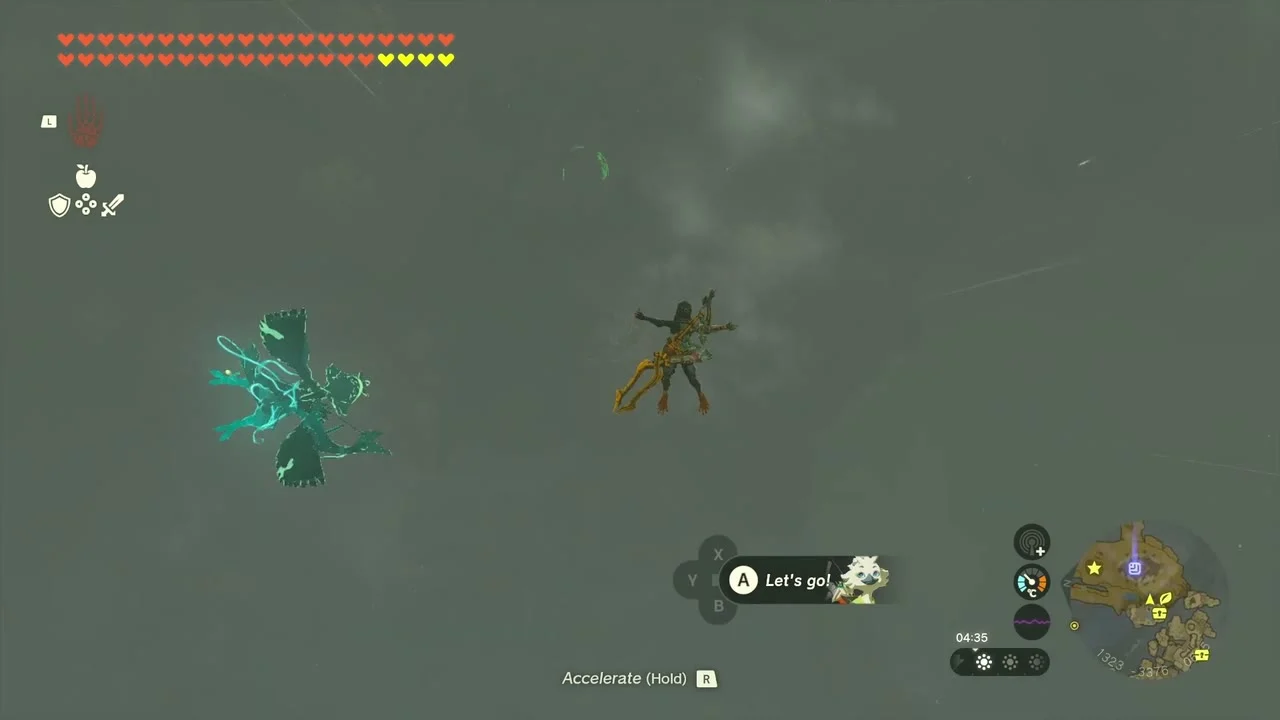
The last island in the chain is Dragonhead Island (1460, -3381, 1895). Glide or fly to its cliff and climb to the plateau.

Light the Joku-u Shrine
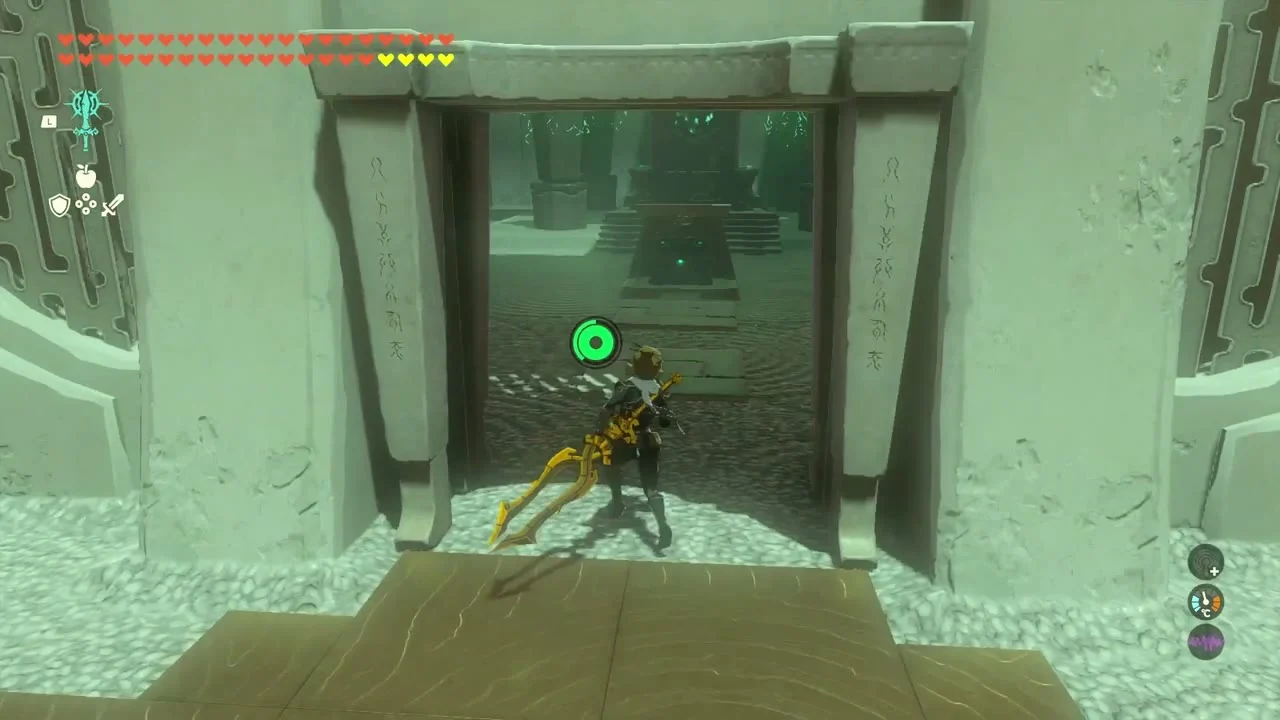
Joku-u Shrine (1376, -3339, 442) is a Rauru’s Blessing shrine at the island’s eye, so there is no trial. Glide into the centre of the eye, walk in and examine the green runes to get a Light of Blessing; the shrine then works as a fast travel point.

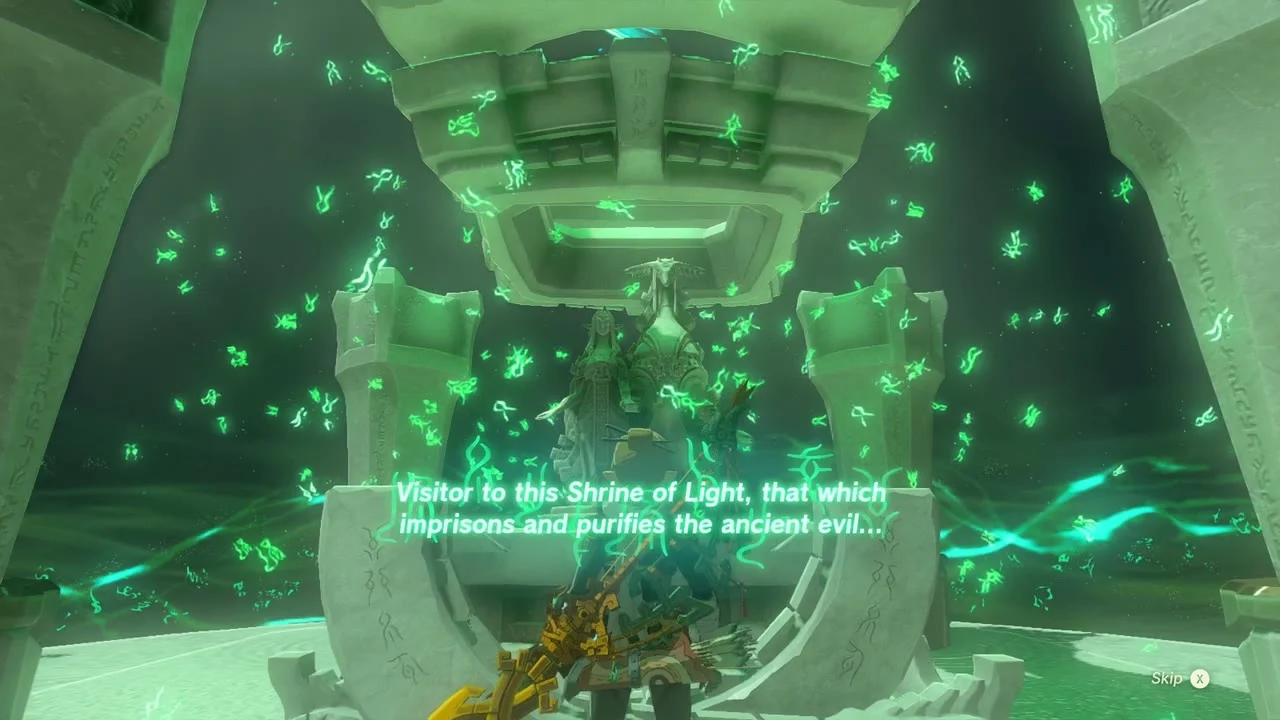
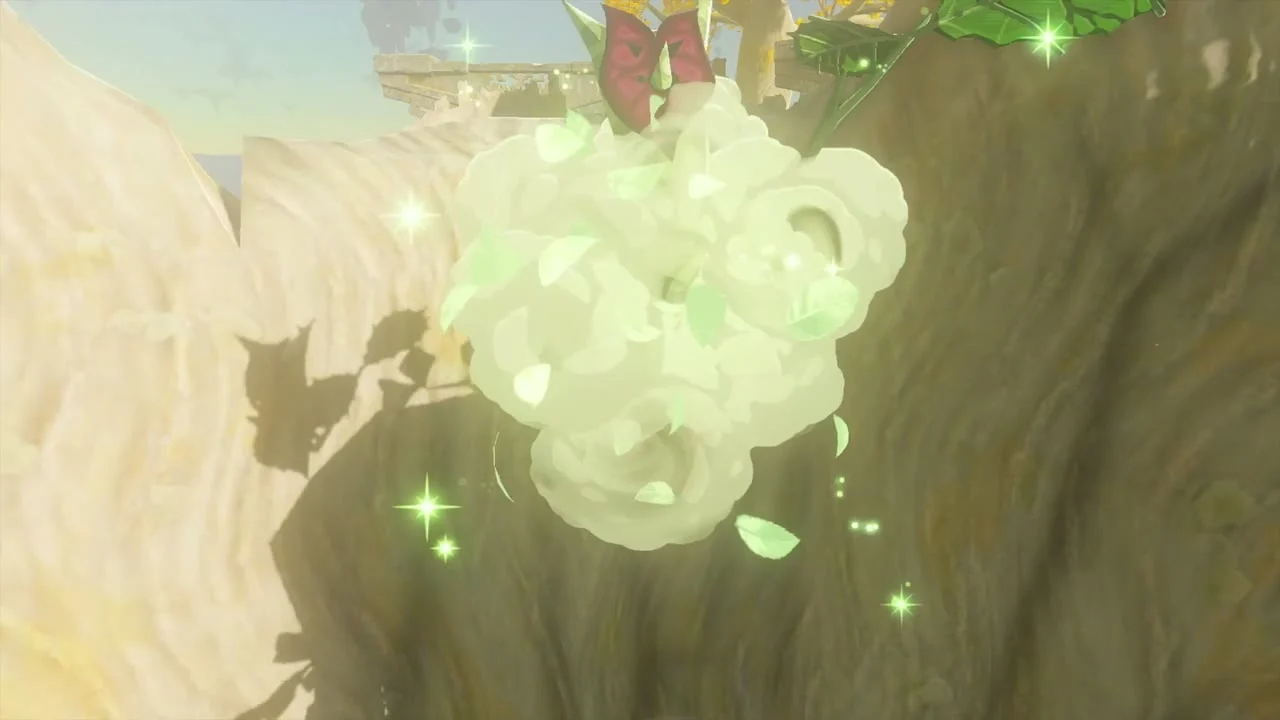
Catch the Korok on the cliff
A Korok hides on the cliff face of Dragonhead Island. Climb the wall and reach it to receive a Korok Seed.


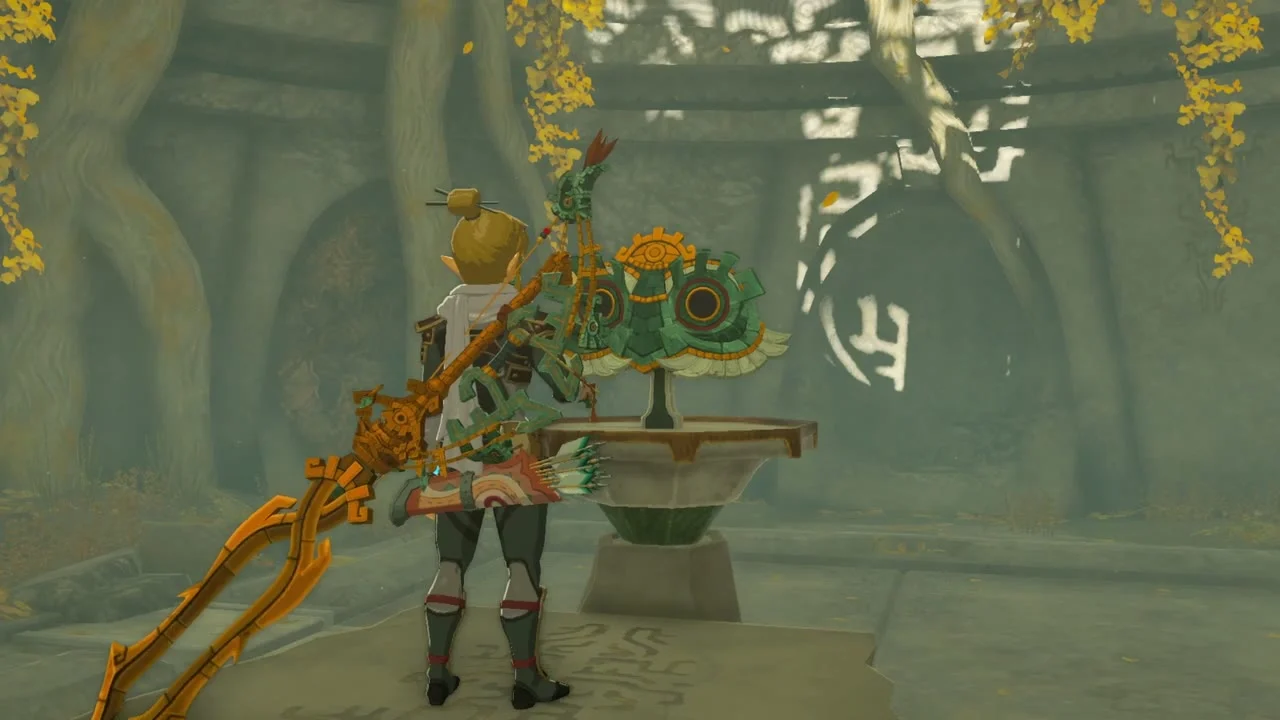
Touch the Zonai relic
Cut or burn the roots across from the shrine, then open the huge gate beyond. The gate needs at least 10 hearts, so do not come here with fewer. In the chamber a Zonai relic (a green laser device) stands on a pedestal. Touch it and a beam of green light points down to the surface. Pick it up and follow the light, which completes Secret of the Ring Ruins and starts Guidance from Ages Past.

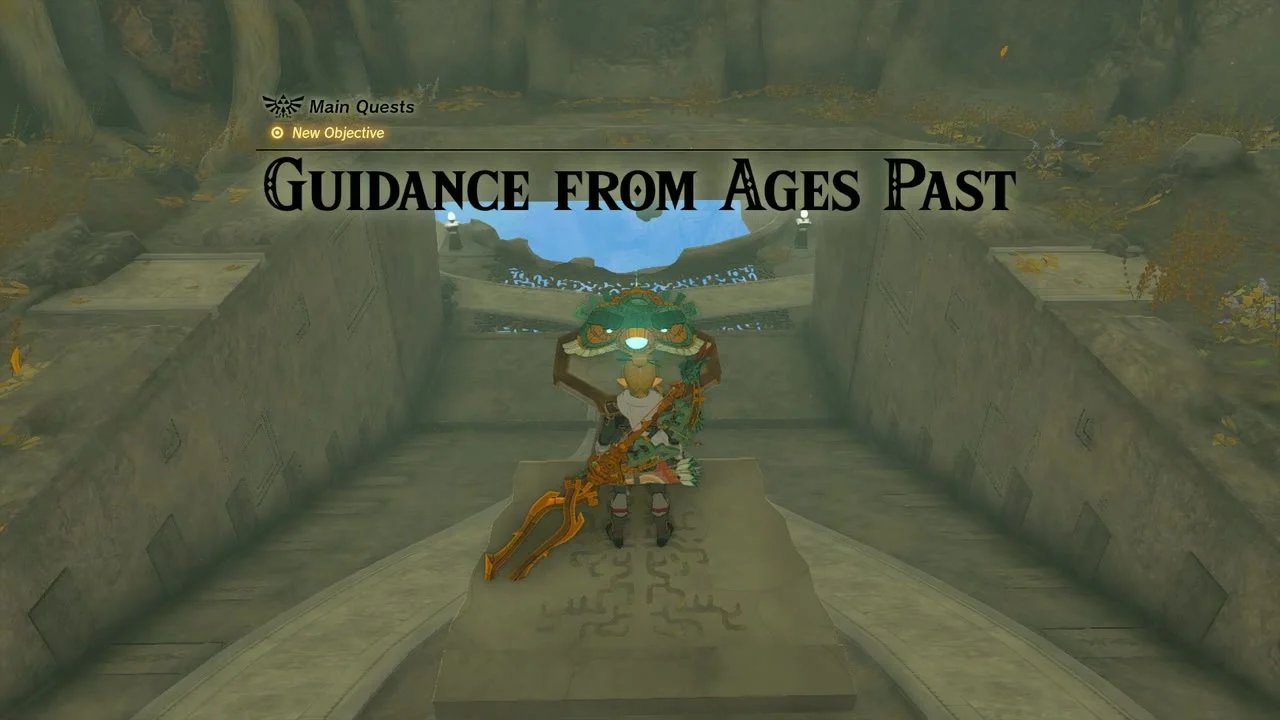
Follow the light to the chasm
Build a flier from a Wing, two Fans, a Steering Stick and the relic fixed to the front of the wing, and follow the beam to the water-surrounded ruins just north of Tobio’s Hollow Chasm (about 1322, -2463; the chasm itself is at 1305, -2397). Place the relic on the altar there so the beam shines on it; this opens a path underground. Put the relic on the elevator pedestal and ride down to the Construct Factory in the Depths, then light the Muokuij Lightroot and set the relic in the altar’s head. The light then points to the four depots.
Mineru’s Construct
Collect the four depots
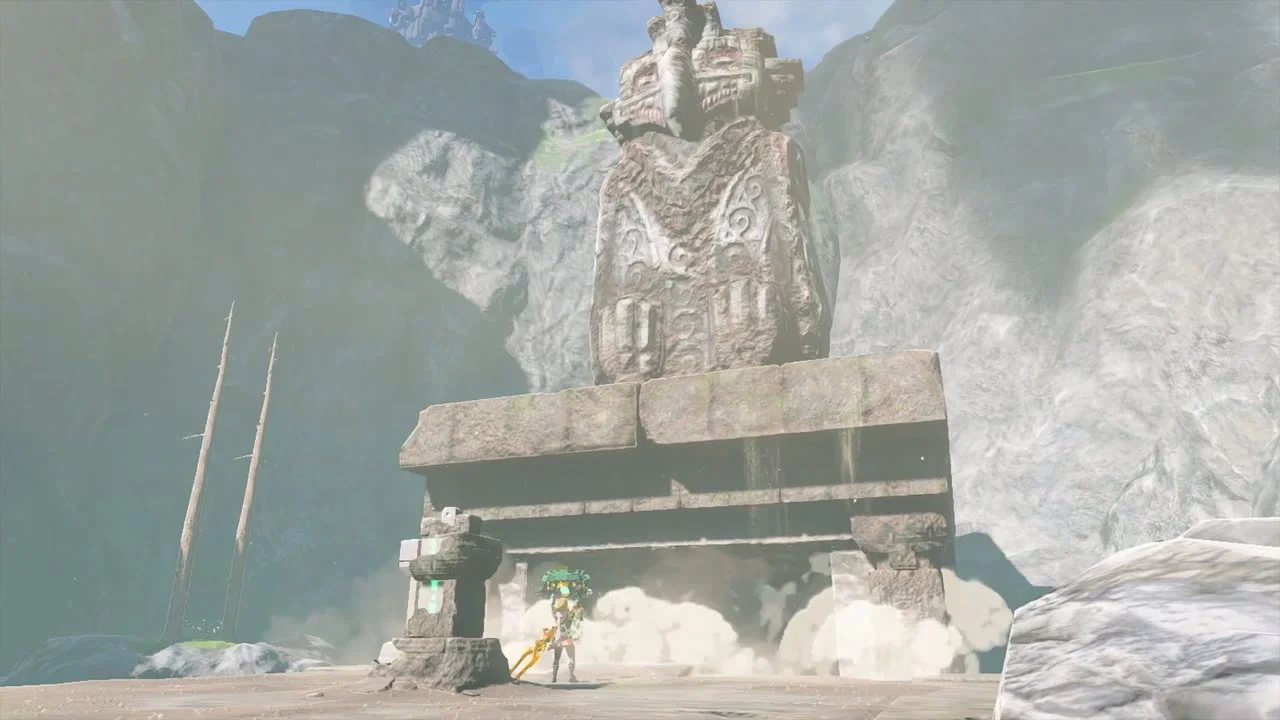
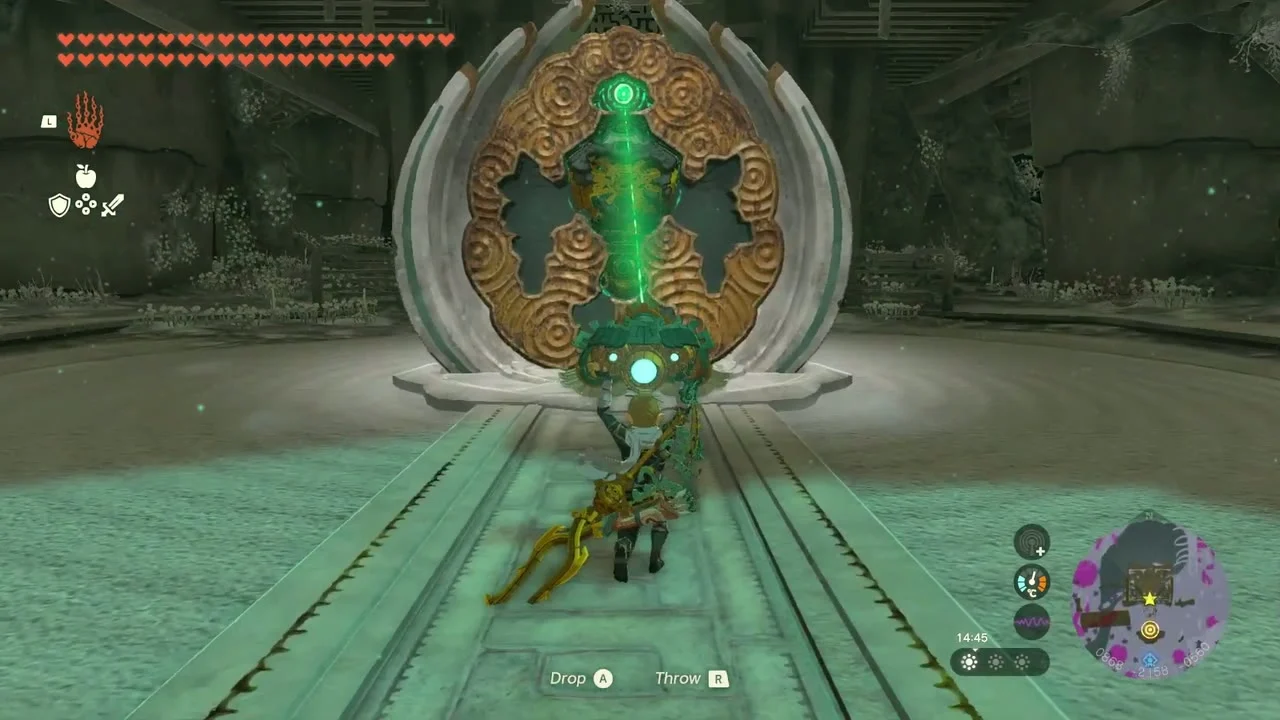
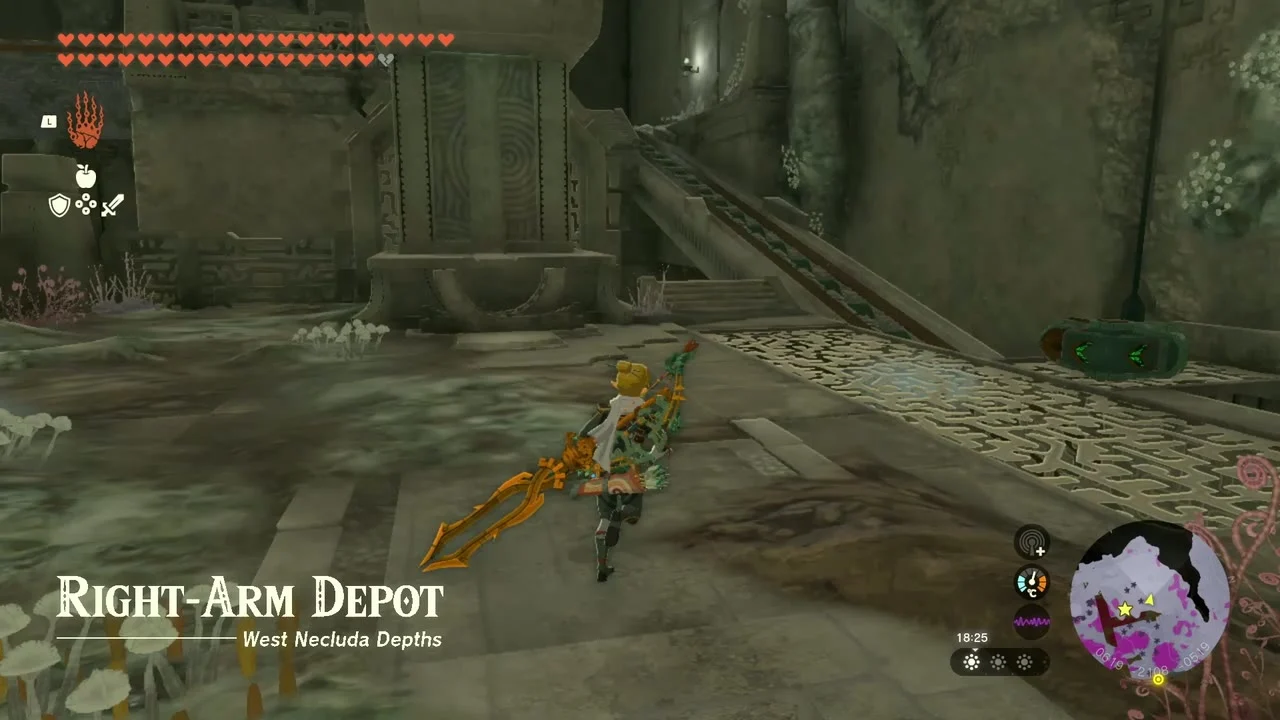
The light points to four depots around the Construct Factory: Right-Arm Depot (569, -2112), Left-Arm Depot (706, -2432), Right-Leg Depot (1144, -2117) and Left-Leg Depot (1016, -2293). Each one holds a Construct part in a box that has to be carried back to the factory, and each has a chest with Zonaite or Steering Sticks on the way. Guides suggest the order south-east, south-west, north-west, north-east. Left-Leg: carry the box over the wall, lower the bridge to a steep angle, attach a rocket and launch it upstairs. Left-Arm: lift the door with Recall, cross the lava room in a wheeled car, throw the box over the narrow lava path and raft it down the river to the factory. Right-Arm: ride the conveyor, cross the electrified pole on wheels or a fan, then drive the box down the ramp. Right-Leg: reach the Uisihcoj Lightroot first, ride the fan elevators, hang the box on the rail with a fan and U-shaped stones, then fly or carry it back. Use Brightbloom Seeds and Zonai lights in the dark.
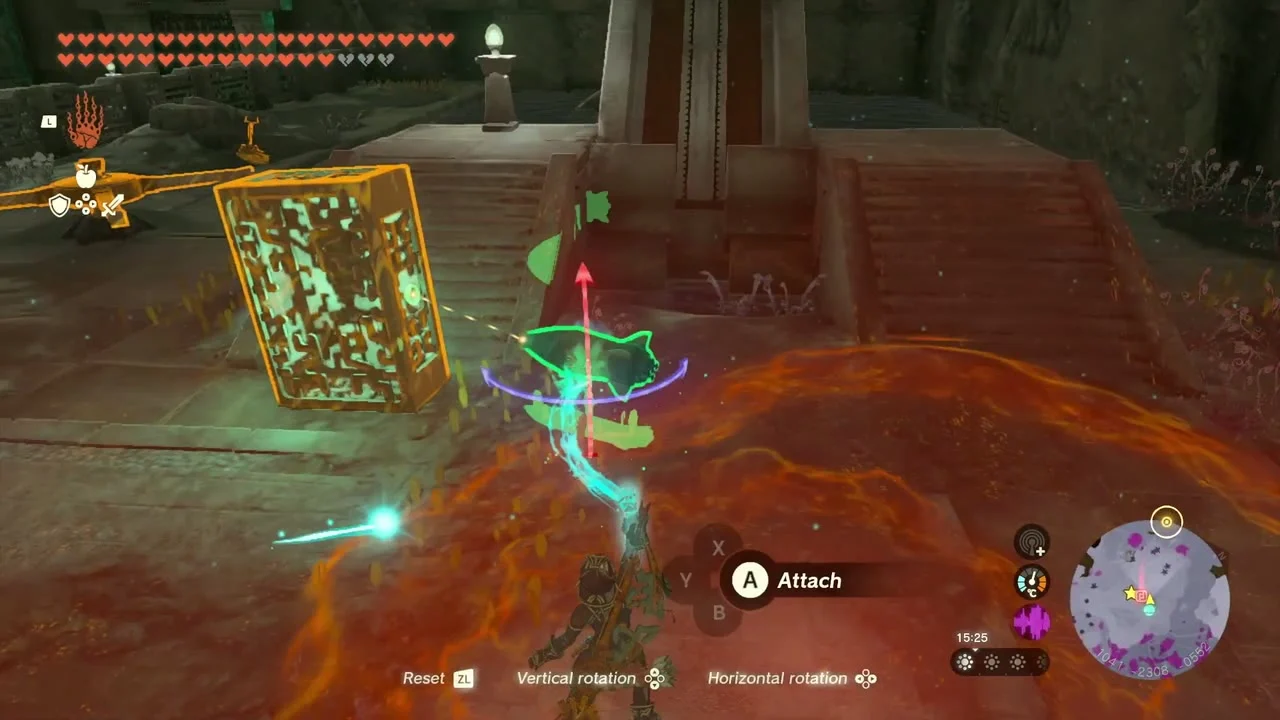
Place each part in the factory
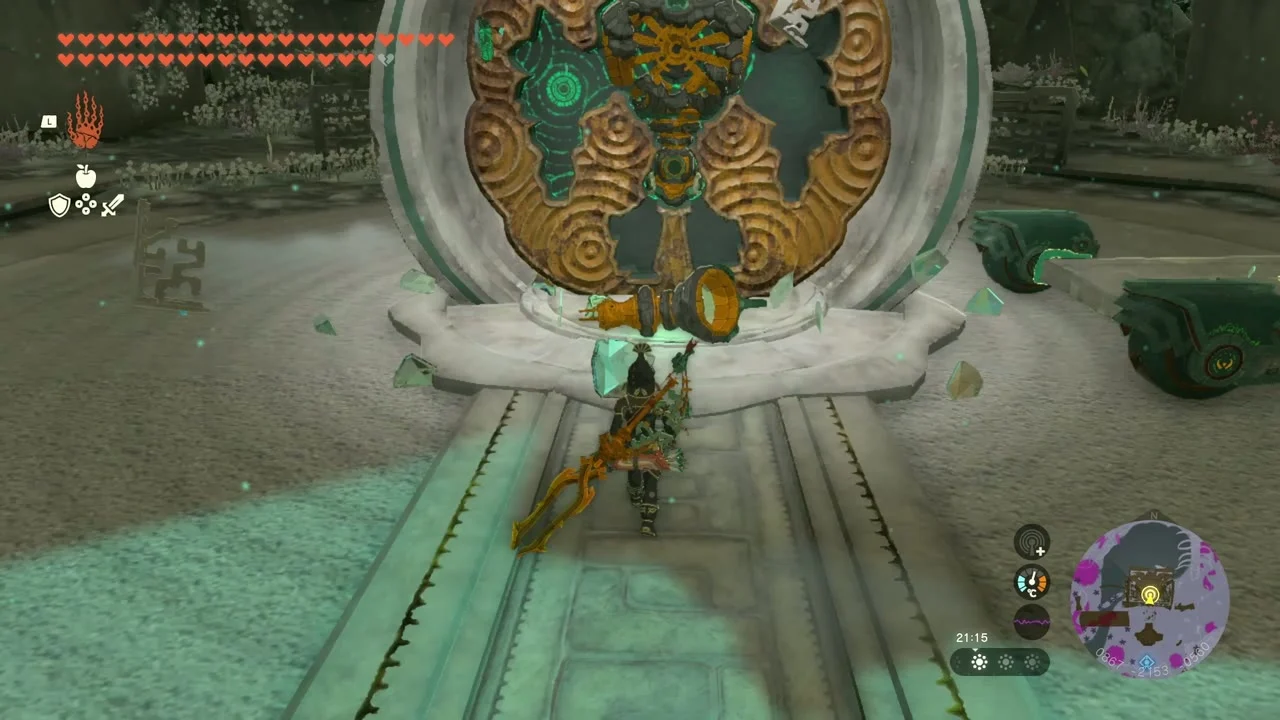
Bring each part to the Construct Factory (869, -2174, -571) and fit it into the statue. After three parts a voice says that only one is left. When the fourth part is placed, the body is complete and Mineru’s spirit enters it.
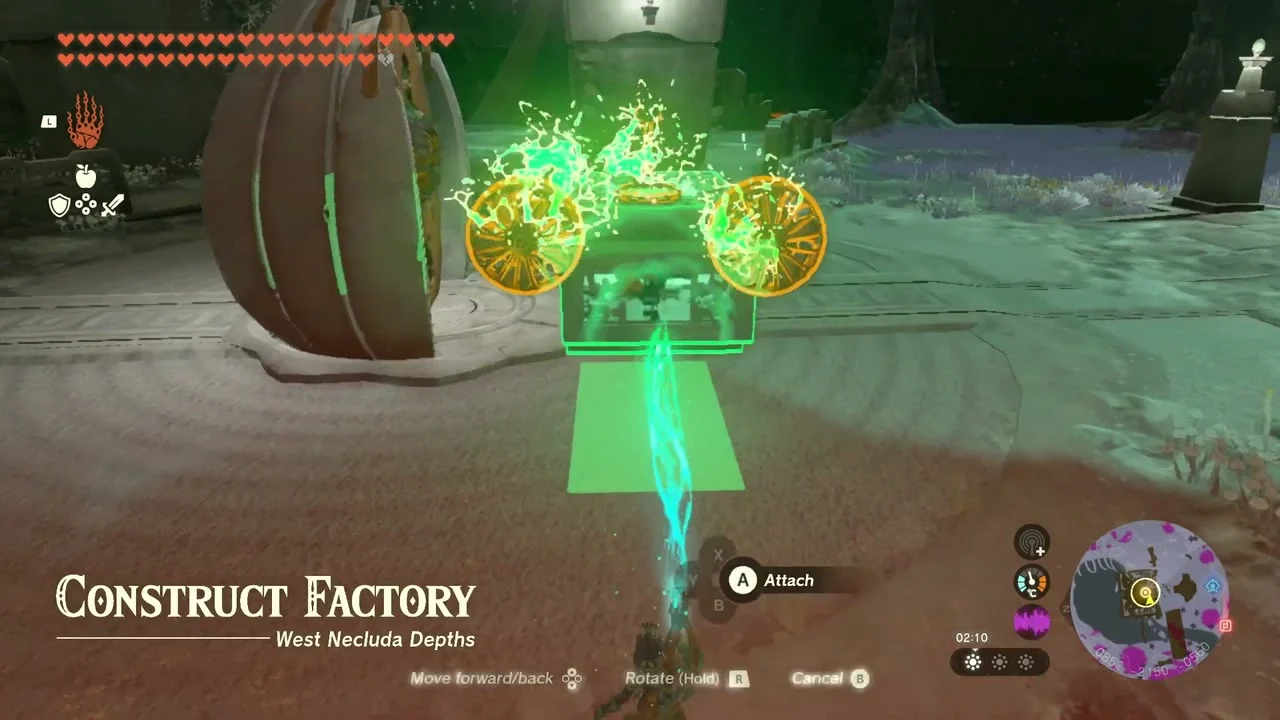
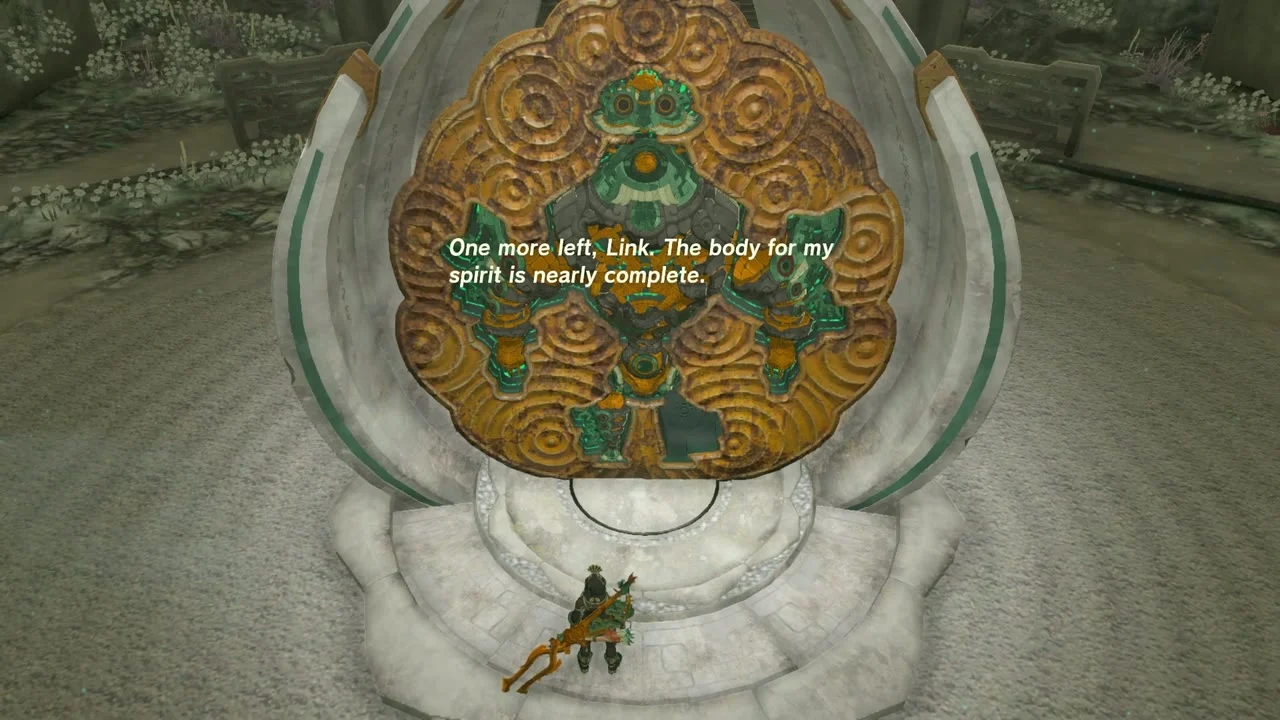
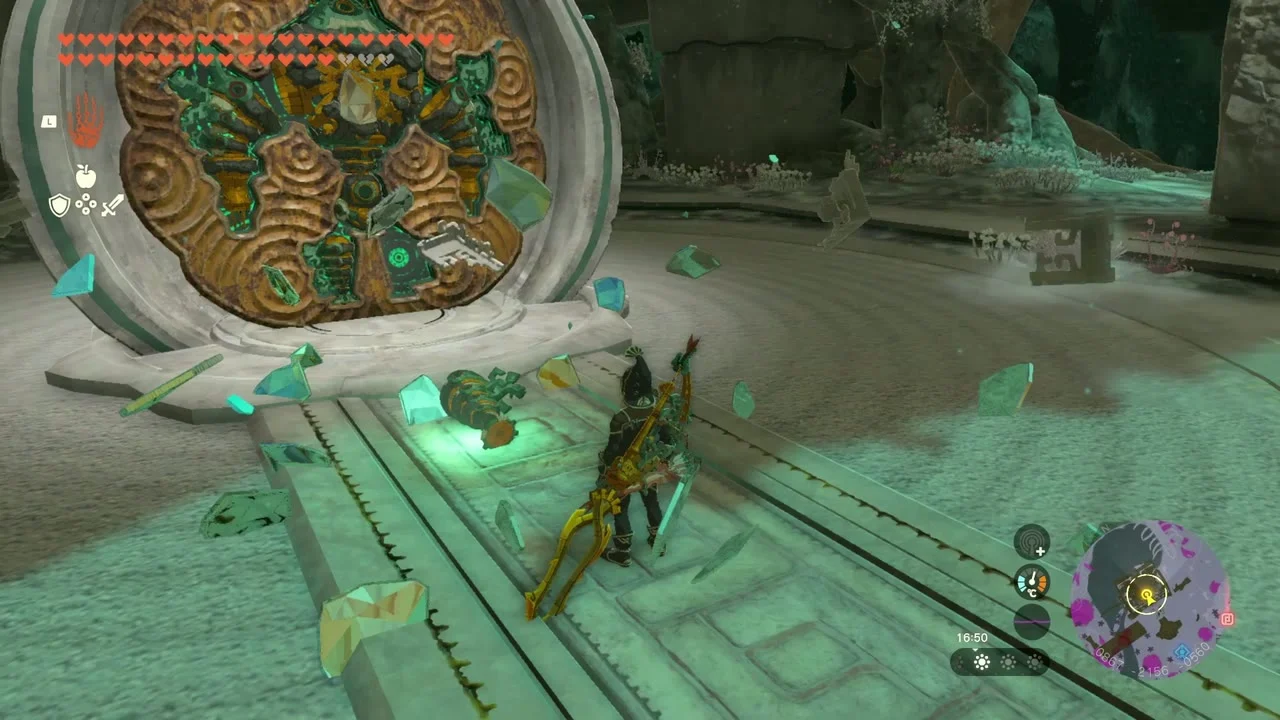
Learn the Construct’s controls
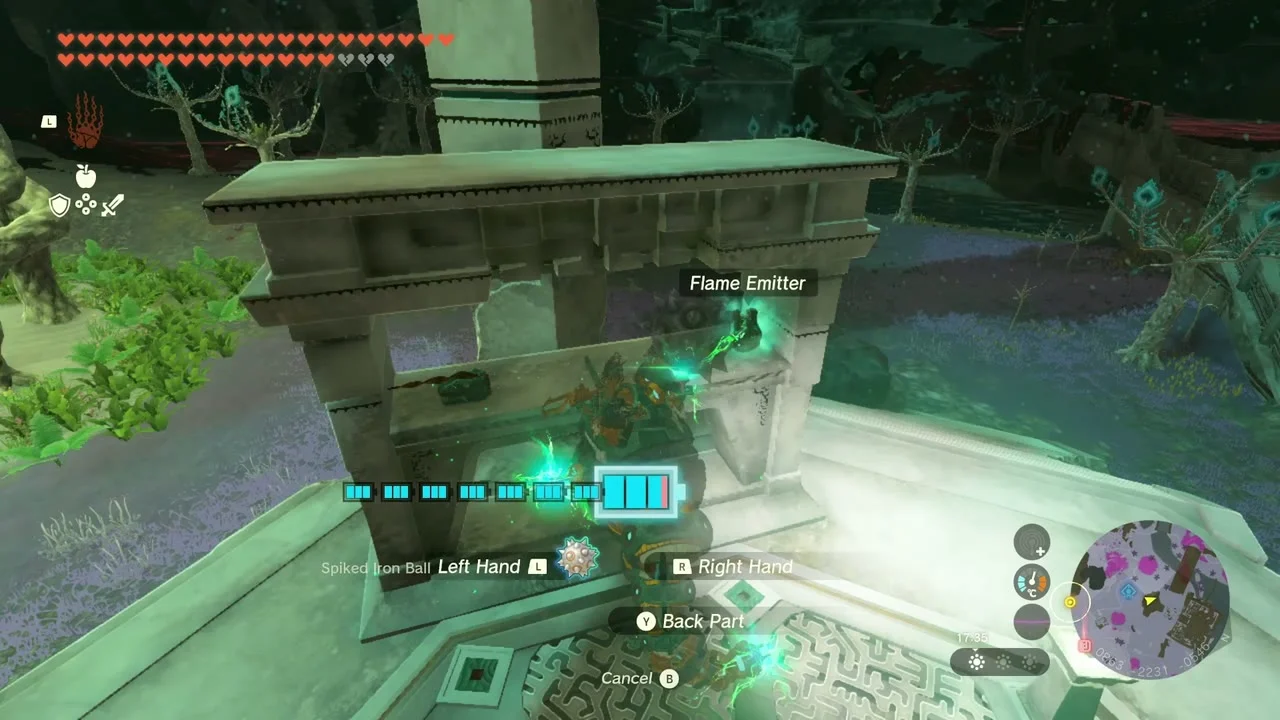
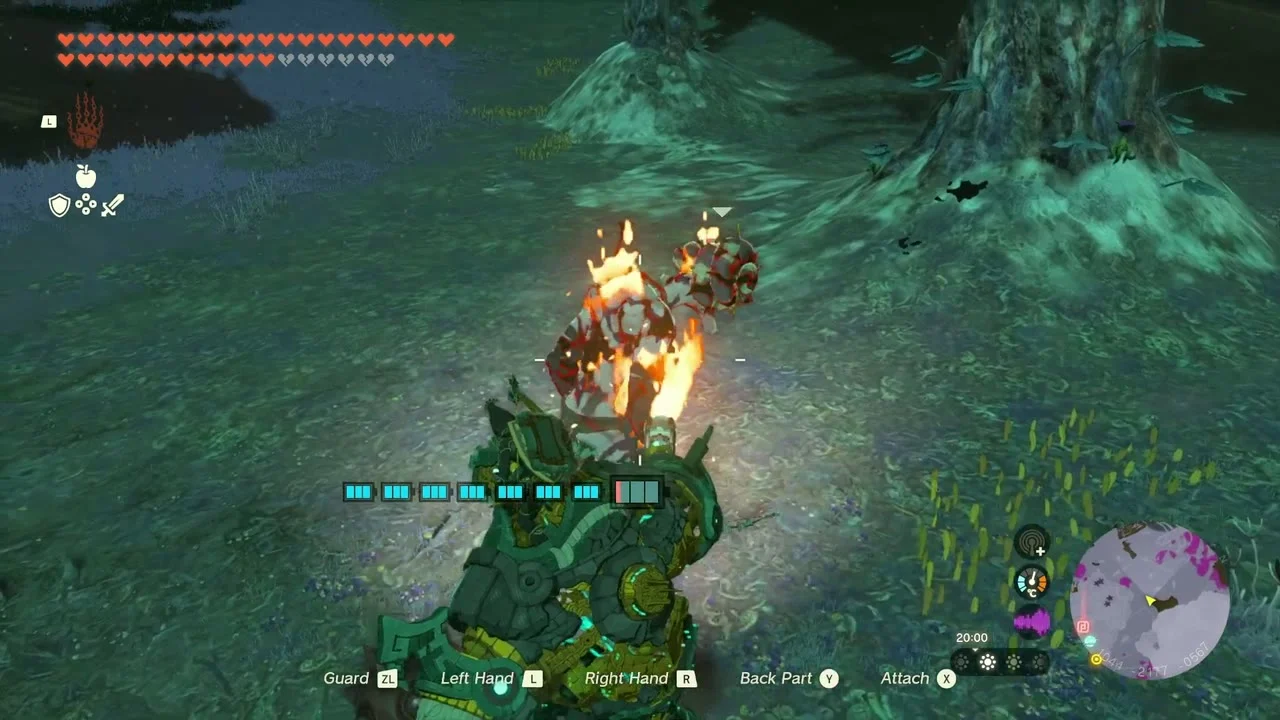
Mount the Construct and practise at the nearby armories. The Construct’s hands can each carry a Zonai device, such as a Flame Emitter or a spiked ball, and the back part carries another. Moving uses battery and standing still recharges it. You can guard, punch and use the back part to boost your travel, and a fan on its back speeds it up.
Ride to the Spirit Temple
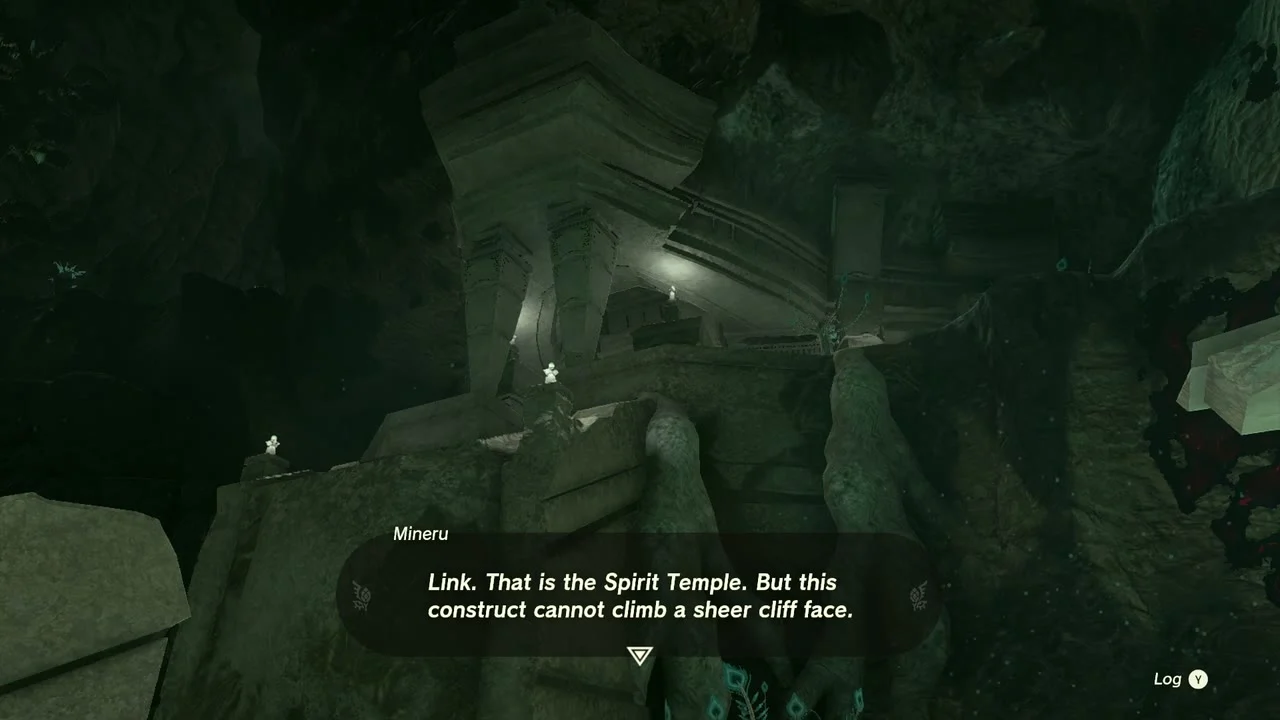
Follow the quest marker across the Depths. The Construct shrugs off most enemies, and you can punch a Hinox on the way. When you reach the sheer cliff below the Spirit Temple, the Construct cannot climb it, so attach rockets to its back and use them like a jetpack to fly up.

Spirit Temple
Enter the temple
Ride the Construct to the owl statue and put the relic on it; the elevator activates and takes you down. Walk across the red Gloom on the platform beyond to trigger the fight.


Defeat the Seized Construct
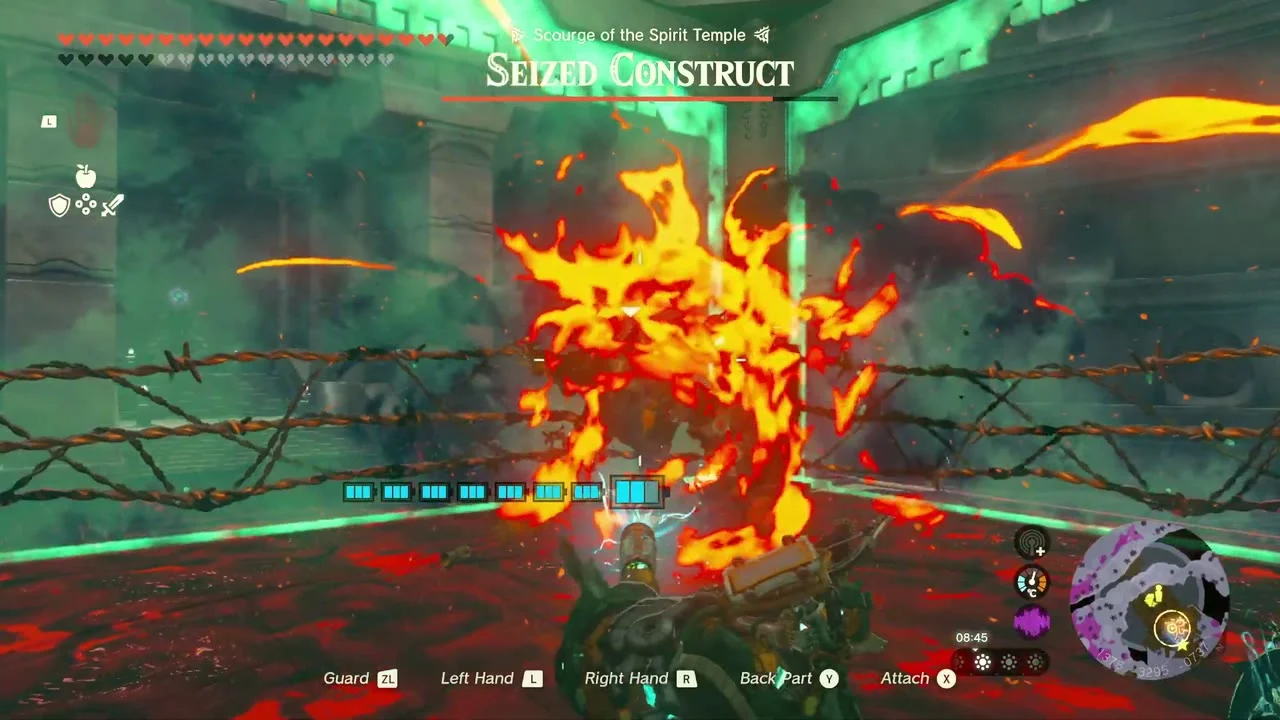
Boss: Seized Construct. You pilot Mineru’s Construct inside a barbed-wire arena. Fuse spiked balls (or a Flame Emitter) to the hands and block its large swings; after a block, hit it three times to push it into the barbed wire, then repeat. Against its electric whips, run sideways in circles because blocking does not work. When it fires the blue cannon, block while stepping sideways, then run in and land three hits while it recharges. At half health it takes to the air: stand under it, block and attack after it lands. The fight rewards a Heart Container.

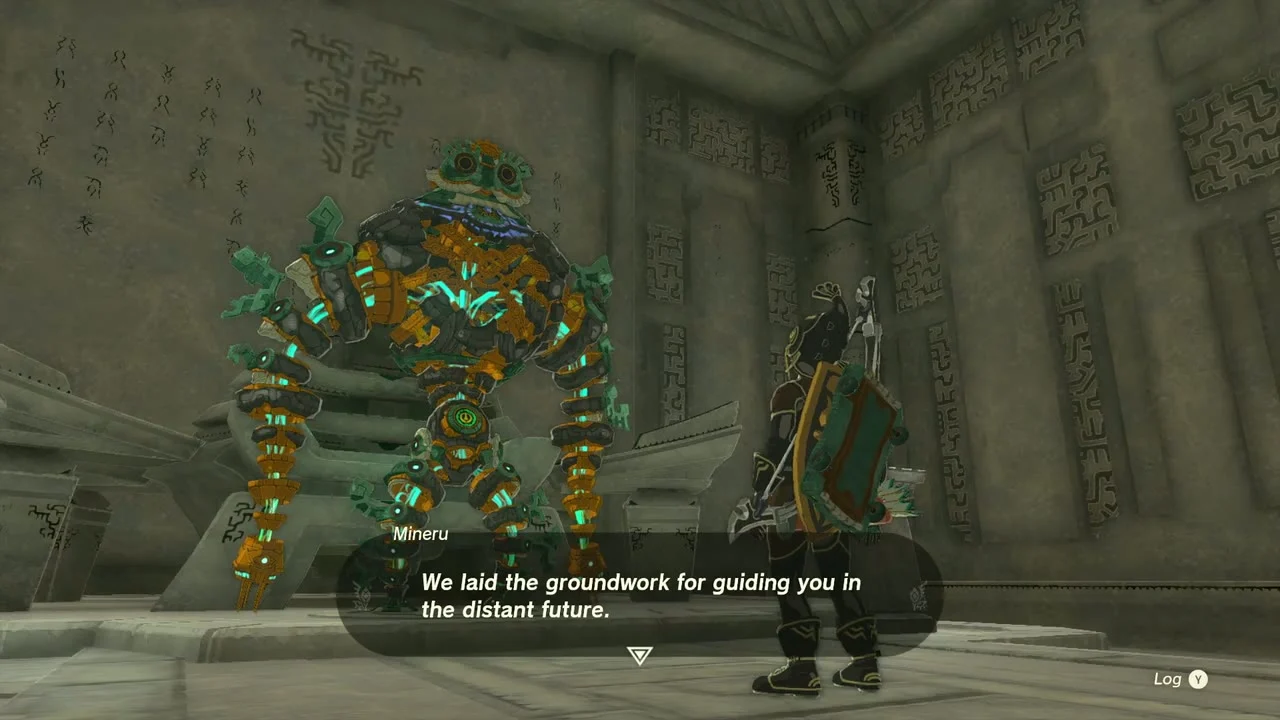
Receive the Vow of Mineru
After the battle Mineru tells you about the Imprisoning War and the fate of the Master Sword. Accept her vow to gain the Vow of Mineru, which makes her the Sage of Spirit; you can summon her from the key items menu to help in battle. Touching the teardrop on the altar triggers the story cutscenes and unlocks Trail of the Master Sword. Talk to Purah at Lookout Landing to finish Find the Fifth Sage.

Collectibles in this chapter
- Armor: Charged Shirt, Charged Trousers, Charged Headdress (3)
- Shrines: Joku-usin Shrine, Joku-u Shrine (2)
- Heart Container: Spirit Temple (Seized Construct) (1)
- Chests on the Thunderhead Isles: Mighty Zonaite Spear, Zonaite Bow, Mighty Zonaite Shields, Topaz, Old Maps, Big Battery, Shock Emitters
- Korok Seed: Dragonhead Island cliff (1)
Koroks in this area
| Type | Coordinates (X, Y, height) |
|---|---|
| Attack and catch the dandelion | 1273, -3190, 104 |
| Attack and catch the dandelion | 1580, -3033, 228 |
| Complete the cube puzzle | 699, -2953, 16 |
| Complete the cube puzzle | 1327, -3275, 93 |
| Complete the cube puzzle | 1691, -3324, 66 |
| Dive into the ring | 1329, -3404, 470 |
| Examine where the arrows point to | 953, -3476, 22 |
| Follow the flower | 1532, -3261, 96 |
| Lift the rock | 967, -3184, 715 |
| Lift the rock | 1475, -3263, 86 |
| Pop the hidden balloon | 1023, -3228, 16 |
| Shoot the balloon(s) | 795, -3345, 81 |
| Use Ascend on the marker | 1235, -3217, 46 |
