





















Tears of the Kingdom 100% Completion Walkthrough43 chapters
Great Sky Island
- Great Sky Island4 shrines, 4 caves and Bubbul Gems, 17 Korok seeds
Hyrule Field and Hyrule Castle
- Lookout LandingParaglider, Crisis at Hyrule Castle, Jiosin and Kyononis shrines, 2 caves, 3 wells
- Hyrule FieldSusuyai and Ishodag shrines, the Hyrule Field Chasm, 2 caves, 13 Koroks
- Hyrule Castle Town RuinsSepapa, Yamiyo and Tukarok shrines, 2 caves, 4 wells, Koroks, chests and Battle Taluses in route order
- Central Hyrule Depthslight all 7 Lightroots, loot Daphnes and Gustaf Canyon Mines, find the Miner's Top
- Rest of Hyrule CastleRoyal Hidden Passage loot, 8 castle chests, Phantom Ganon, Energy Wells
- South Hyrule FieldShrines, Koroks & the Great Plateau
- South Hyrule Field DepthsGreat Abandoned Central Mine, Master Kohga, Autobuild, Majora's Mask
Tabantha and Hyrule Ridge
- Tabantha FrontierNew Serenne Stable, Hestu, Courage Island and the Glide Shirt, 3 shrines, 2 Korok seeds, Lindor's Brow Cave
- Forgotten TempleImpa and the Geoglyphs, Dragon's Tears, Kiuyoyou and Mayausiy shrines, Yiga Maritta Branch, 9 Koroks
- Tanagar Canyon & Hyrule RidgeRunakit and Iun-orok shrines, 2 caves, 12 Koroks, 20 chests, 8 minibosses and Dragon's Tear 6
- Thundra Plateau & Tabantha Bridgesolve the noon shadow puzzle, Tabantha Bridge Stable, Makurukis Shrine, 19 Korok seeds, 9 chests, 3 minibosses
- Lindor's Brow DepthsLightroots; Two Yiga camps (Bomb Bouquet, Flamethrower Balloon)
- Hyrule Ridge and Tabantha FrontierIkatak, Oromuwak, Ganos and Ga-ahisas shrines, 4 caves, a well, 26 Koroks and 3 minibosses
Hebra
- Rito VillageGatakis and Ijo-o shrines, Sikatag Lightroot, 9 Korok seeds, 14 chests
- Hebra MountainsShrines, Wind Temple & Koroks; Raspro Pass, Biron Snowshelf & Royal Hidden Passage
- Corvash Canyon MineTrousers of the Hero, Floodlights schematic, Sea-Breeze Boomerang, four Lightroots, Colgera
- Raspro Pass DepthsNupisoyuat and Sasag Lightroots, Colgera, Cap of Time, Tunic of the Wind, two Yiga camps and 13 minibosses
- Tabantha TundraTaninoud, Orochium, Oshozan-u, Mayaotaki, Nouda and Tenbez shrines, three Lightroots, caves and Bubbul Gems
- Pikida Stonegrove DepthsEvil Spirit Greaves, Ikatoayam, Muihcoro and Sikatag Lightroots, 3 Yiga schematics, Frox fights
Great Hyrule Forest
- Great Hyrule Forest7 shrines, 8 Lightroots, 2 caves, 2 wells, Korok Mask, Glide Tights
Eldin
- EldinEldin Canyon, Shrines, Caves & Goron City
- Eldin Canyon Depths10 Lightroots, Zant's Helmet, Trousers of the Wild, Biggoron's Sword, 3 Yiga schematics and Eldin's sky chests
Faron
- FaronHighland Stable, Lake Hylia & Popla Foothills
Necluda
- Kakariko VillageMakasura Shrine, Kakariko Village Well, 2 caves, Ring Ruins chests, 10 Korok seeds and village quests
- West Necluda and Lanayru WetlandsShrines, Koroks & Caves; Jonsau, Kurakat
- Hateno VillageZanmik and Mayahisik shrines, Shield of the Mind's Eye and Phrenic Bow wells, 7 Koroks
- East NecludaRabella Wetlands, Sifumim Shrine, Lurelin Village, 21 Korok seeds
- East Necluda DepthsKumamayn Shrine, 4 Lightroots, Midna's Helmet, Cap of the Hero, Trousers of the Wind and 18 Depths chests
Lanayru
- Lanayru Great SpringShrines, Koroks & Caves; Ralis Channel, 3 shrines, 8 caves
- Zora's DomainMogawak and Ihen-a shrines, Ploymus cave, Pristine Sanctum, Zora Armor, Sidon of the Zora and Clues to the Sky
- Wellspring IslandAncient Zora Waterworks chests, Igoshon Shrine, 2 Korok seeds, Water Temple's four wheels and Mucktorok
- Mount LanayruShrines, Koroks & Light Rings; Jikais and Anedamimik shrines
Gerudo
- Gerudo DesertShrines, Caves & Koroks; West and South Sands
- Gerudo TownGerudo Shelter shops and quests, Valley of Silent Statues, Lightning Temple and Queen Gibdo, Chichim Shrine
- Gerudo Desert DepthsGranajh and Daval mines, three Master Kohga fights, Queen Gibdo, Mucktorok, Sheik's Mask and 37 chests
- Gerudo HighlandsSkyview Tower, Rotsumamu and Suariwak shrines, Mayasiar Shrine, Yiga hideout
Akkala
- AkkalaTarrey Town quests, 4 shrines, Hinox, Battle Talus
- Akkala Sky Islands and DepthsGikaku and Natak shrines, Old Maps, Lomei Depths Labyrinth, Mucktorok, 5 Lightroots and 19 chests
Finale and completion
- Ancient Tablets, Gleeoks and Armor Upgradesall 13 stone tablets with coordinates, Frost and King Gleeok, Obsidian Frox, Cotera upgrades and farming
- Hyrule CastleRoyal gear chests, Korok seeds, Serutabomac Shrine
- Thunderhead IslesCharged armor, Joku-usin and Joku-u Shrines, Dragonhead Island's relic
- 100% Completion: Armor Upgrades & Korok BonusHestu's Gift, Ancient Hero's Aspect, Great Fairy Cotera upgrade costs and materials, then Destroy Ganondorf
| Region | Hyrule Castle interior (Royal Hidden Passage, then Observation Room to Docks and Lockup), followed by the Tabantha Frontier and Hebra Depths |
|---|---|
| Chests | 15: 5 in the Royal Hidden Passage, 9 inside the castle (including the Hylian Shield at the Docks), 1 in the Depths |
| Key items | Hylian Shield (Docks), Royal Hyrulean Fabric (Lockup back room), Bubbul Gem (Royal Hidden Passage), Energy Well x2 (Crystal Refinery) |
| Minibosses | Gloom Hands and Phantom Ganon (Docks); Gloom Spawn and a second Phantom Ganon (Lockup back room); Blue-White Frox and Frost Talus (Depths) |
| Lightroots | 5: Koro-nui, Kawumoro, Kataki, So-oaw, Worihas (see all Lightroots) |
| Quest | The Rito Rope Bridge (giver Gesane, Lucky Clover Gazette) |
| Map units | X runs east, Y runs north: a larger Y is further north |
This chapter finishes the Royal Hidden Passage, then works through Hyrule Castle’s inner rooms from the Observation Room to the Docks, where Gloom Hands and Phantom Ganon guard the stairs to the Hylian Shield. Afterwards you trade Crystallized Charges for Energy Wells, finish The Rito Rope Bridge and light five Lightroots under the Tabantha Frontier and Hebra. Free a few weapon, bow and shield slots first, because nearly every chest here holds one.
Quick route
Finish the Royal Hidden Passage: Soldier’s Armor, Royal Bow (or Traveler’s Bow, Soldier’s Bow or Knight’s Bow, depending on your progress), the Bubbul Gem, Royal Shield, Royal Halberd (or Traveler’s Spear, Soldier’s Spear or Knight’s Halberd, depending on your progress), then the Royal Guard Uniform in the Guards’ Chamber.
Climb into the castle through the Observation Room, cross the Dining Hall, and open the Royal Halberd, Royal Bow and Diamond chests.
Take the West Passage to the Lockup for a Royal Shield and Royal Bow, then bomb into the back room, beat the Gloom Spawn and Phantom Ganon there and take the Royal Hyrulean Fabric. Finish at the Docks: beat the Gloom Hands and Phantom Ganon, light the torch and open the chest for the Hylian Shield.
Finish with the East Passage: a Royal Shield and a Red Rupee.
Buy Crystallized Charges at the Abandoned Hebra Mine and turn them into Energy Wells at a Crystal Refinery.
Start The Rito Rope Bridge, then jump into the Hyrule Ridge Chasm for the Koro-nui, Kawumoro, Kataki, So-oaw and Worihas Lightroots.
Before you start
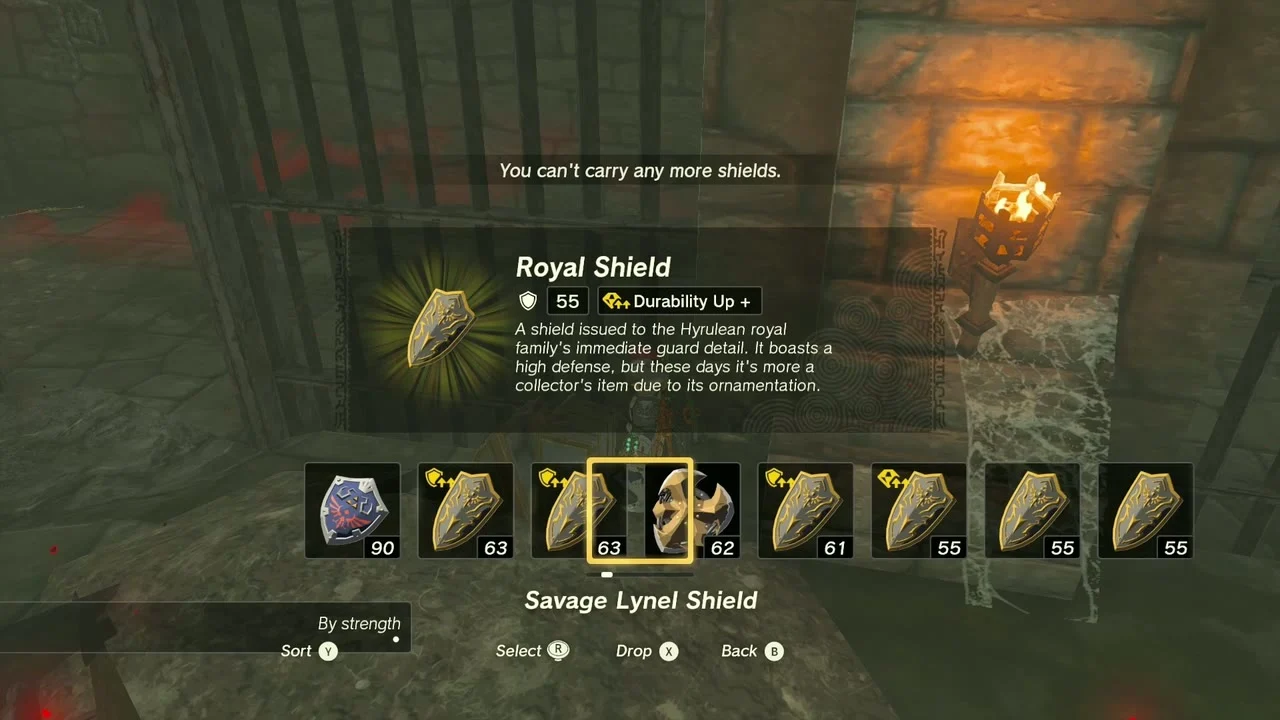
The chests inside the castle are mostly Royal-quality gear: Royal Bows, Royal Shields and Royal Halberds are strong but decay with use, so keep the best of each and drop or fuse the rest. When your weapon, bow or shield slots are full the game tells you that you cannot carry any more of that type, so empty slots before each room. Bring Bomb Flowers and arrows for the Docks and Lockup fights, fire (a torch, Fire Fruit or a flame weapon) for the Docks torch, and a few hearty dishes for the gloom inside the castle.
Coordinates in this chapter are the same X and Y numbers printed on the minimap bezel, so you can drop a map pin on a room and walk straight to it. The Depths sections use the same units, with the Depths map layer selected.
Royal Hidden Passage: the second half
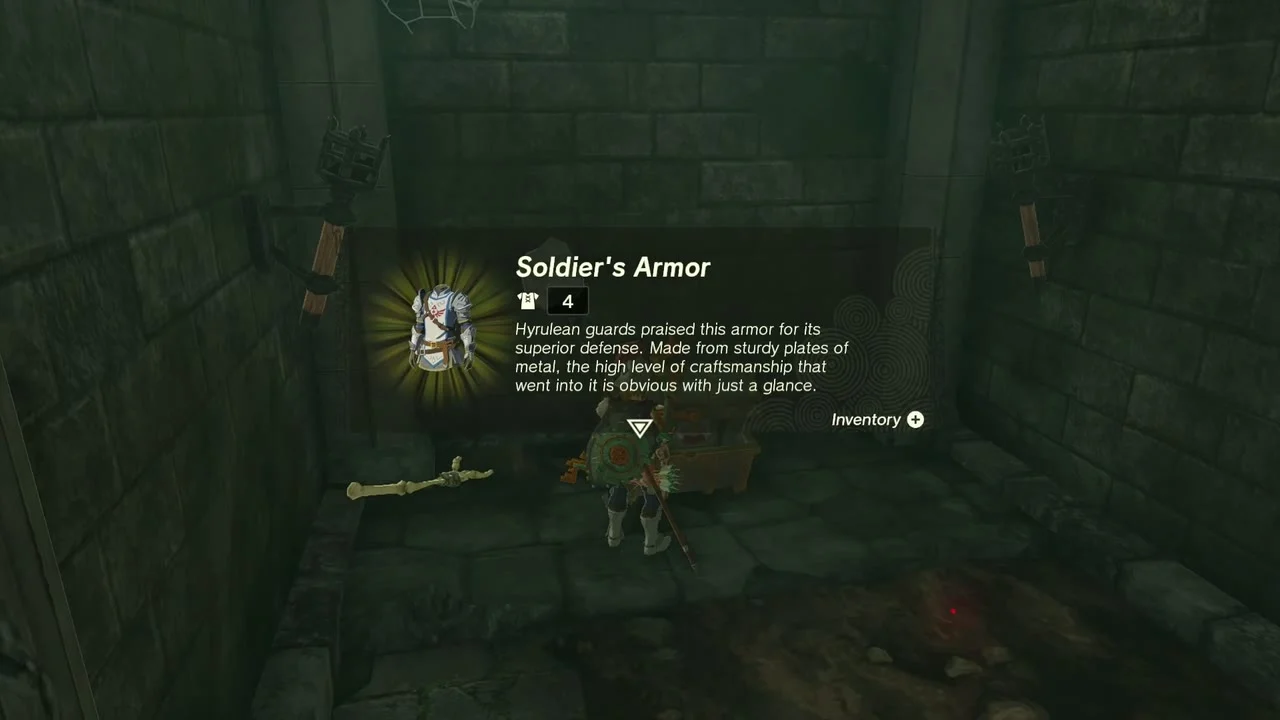
Open the Soldier’s Armor chest
The Soldier’s Armor chest is in a small stone side room, reached through the hole in the north-east room of the passage. Open it for Soldier’s Armor, the chest piece of the Soldier set.

Find the Royal Bow in the grass cavern
Further on, the tunnel opens into a dark cavern overgrown with grass and bushes. A chest waits in the undergrowth; open it for a Royal Bow (attack 47).
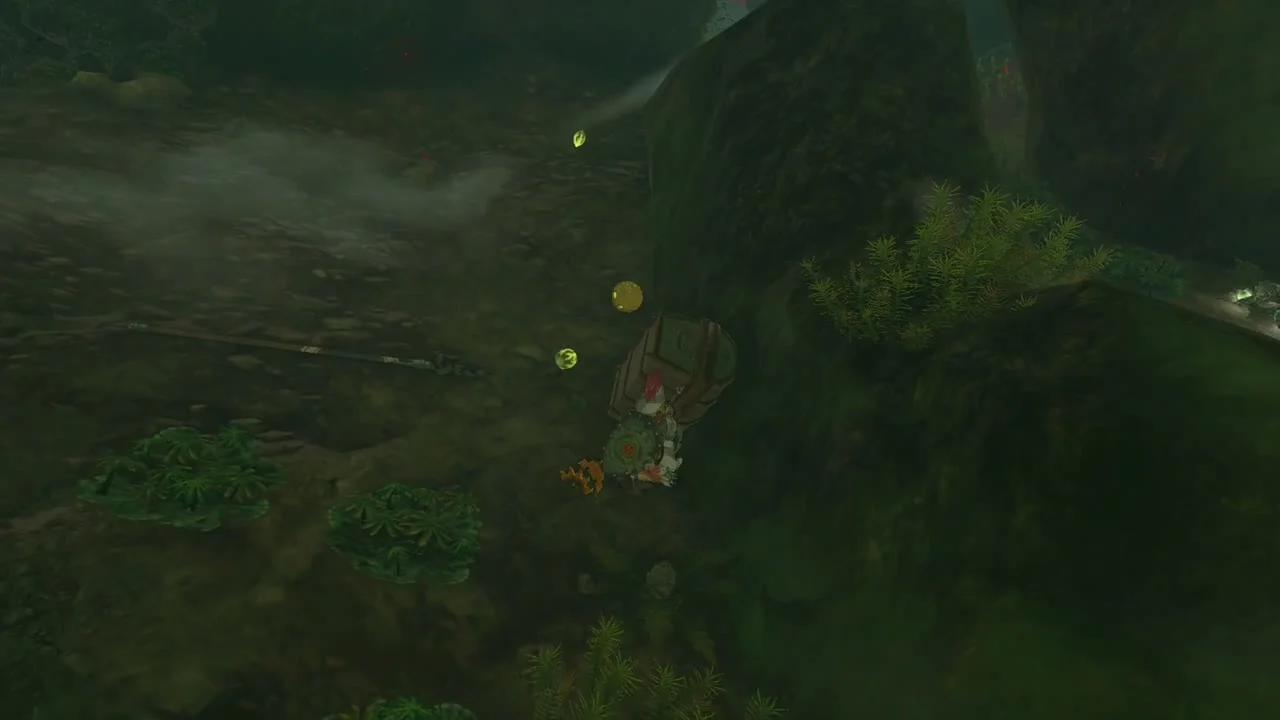

Shoot the Bubbulfrog
Look down into the chasm beyond the Shock Like and shoot the Bubbulfrog with an arrow. It drops a Bubbul Gem.


Open the Royal Shield chest
In a stone chamber further along, a chest sits against the wall. It holds a Royal Shield (guard 63).
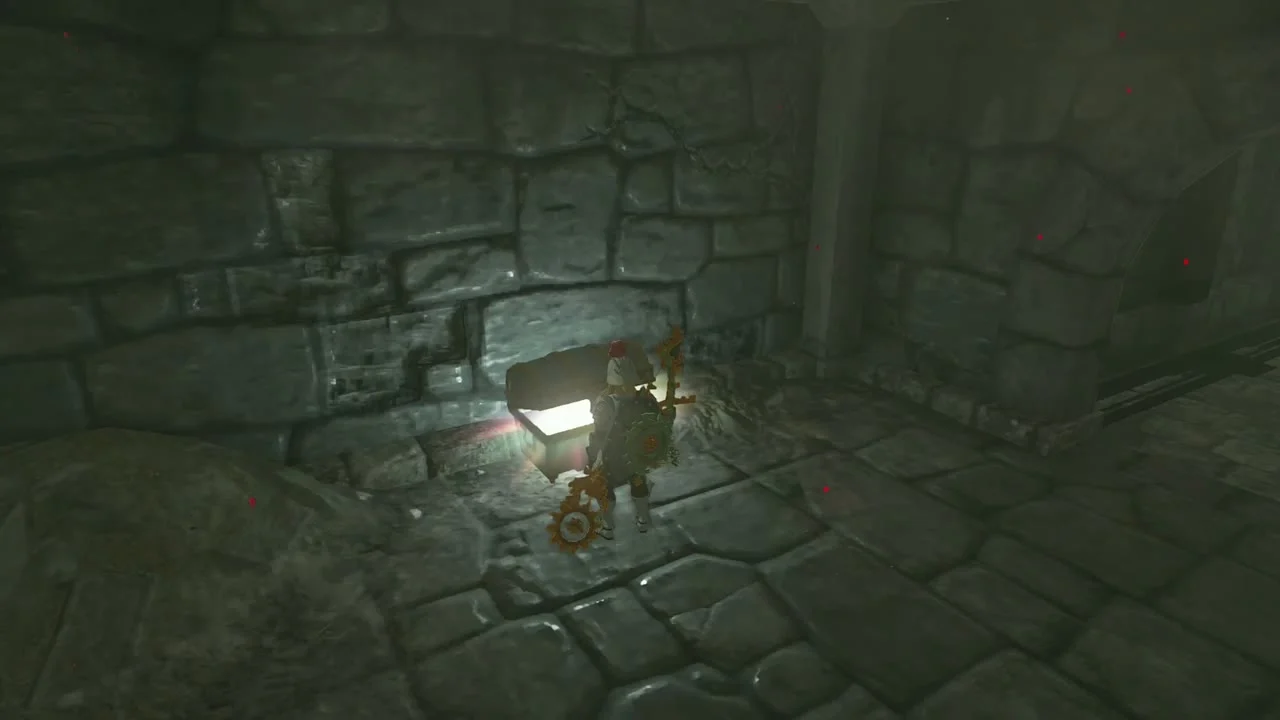

Take the Royal Halberd
The next chest is in a round chamber lined with stone pillars. It holds a Royal Halberd (attack 14).
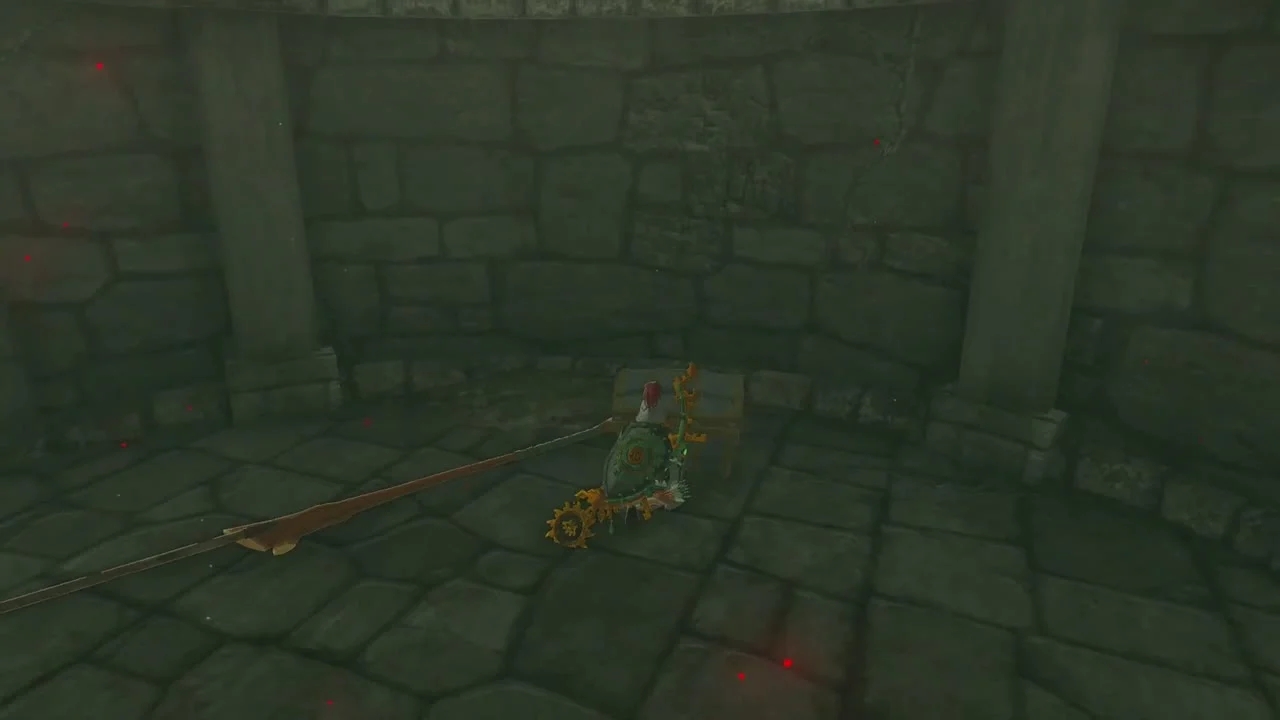

Loot the Guards’ Chamber
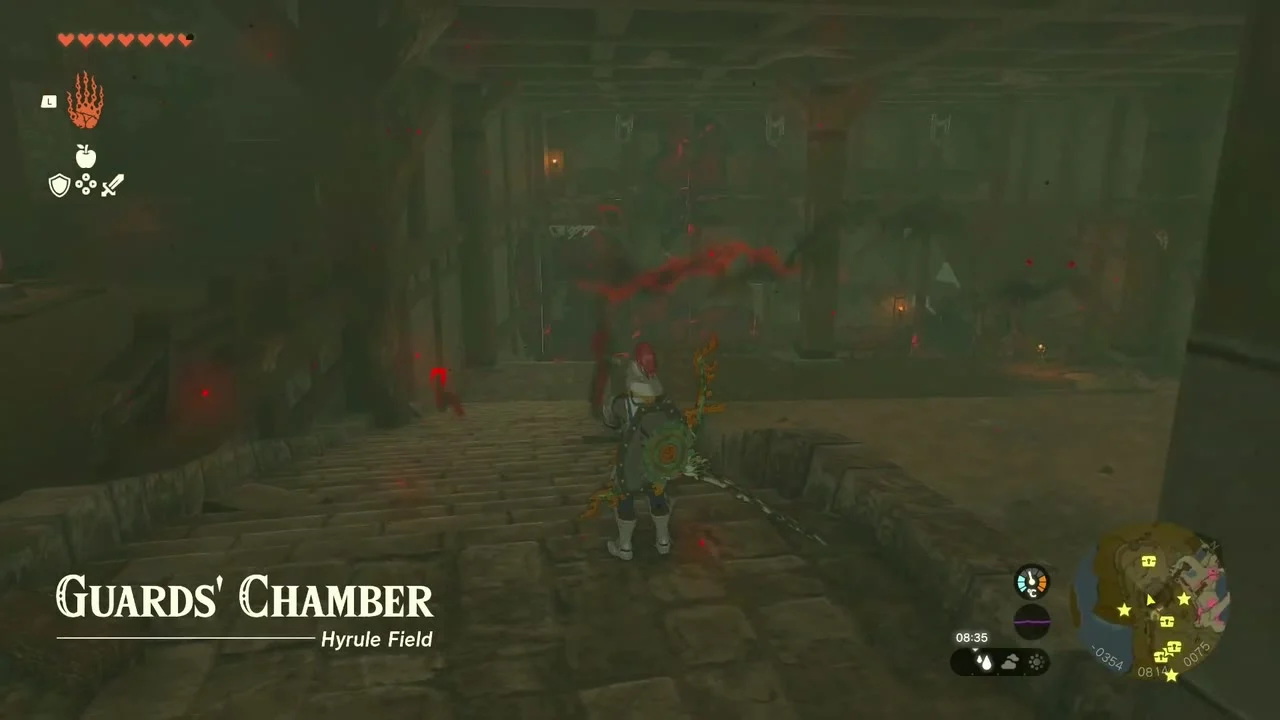
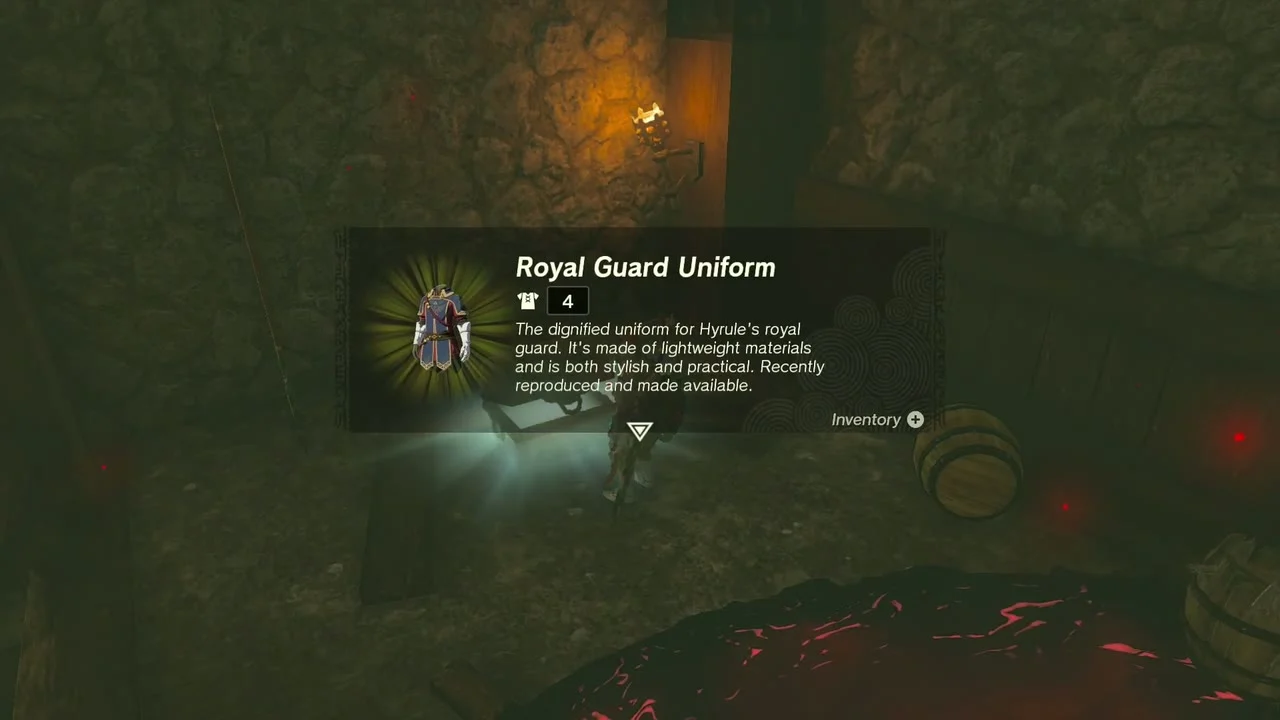
The passage ends at the Guards’ Chamber (X -369, Y 847), a barrel-filled cellar under the First Gatehouse. A chest at the foot of the west wall holds the Royal Guard Uniform (defense 4), the chest piece of the Royal Guard set.

Observation Room and Dining Hall
Cross the Observation Room
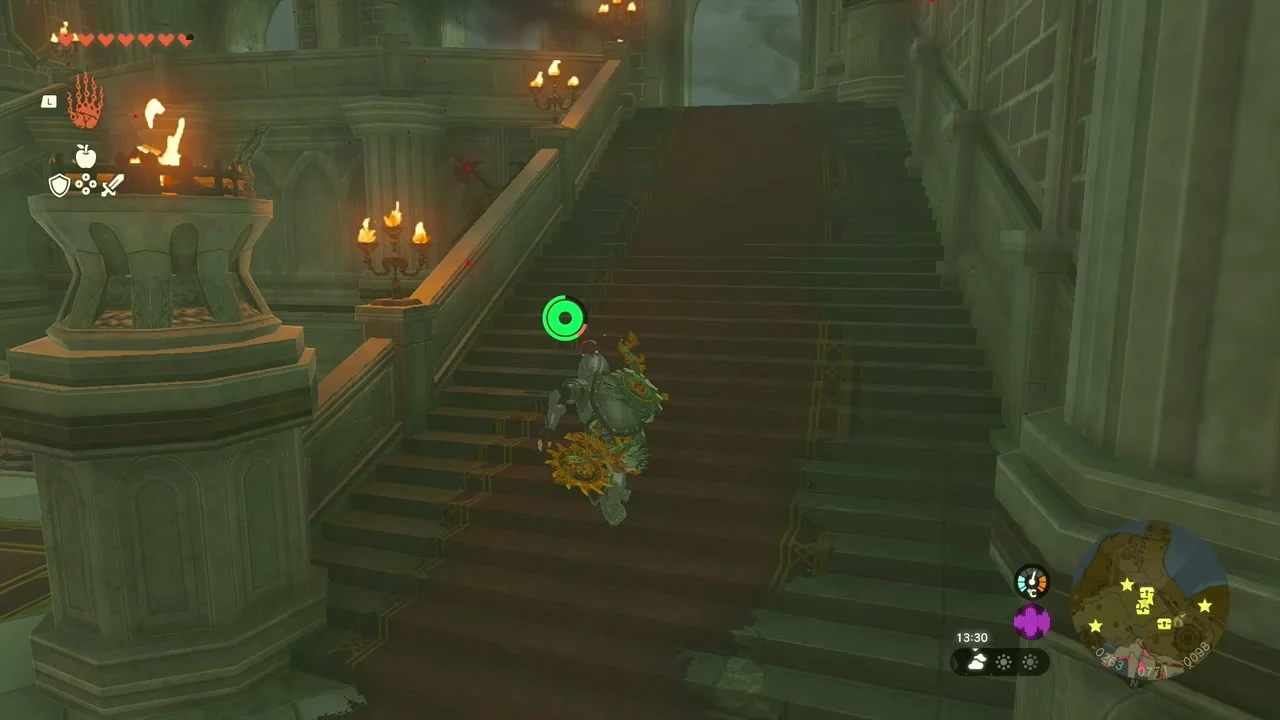
The Observation Room (X -254, Y 778) is the first grand room of the castle interior: a red-carpeted hall with a staircase along one wall. Head through it toward the Dining Hall.

Walk the Dining Hall
The Dining Hall (X -112, Y 852) is the long vaulted banquet room with stone steps at its near end. Cross it and take the side passages beyond for the chests below.


Castle chests: Halberd, Bow and Diamond
Open the twin chests
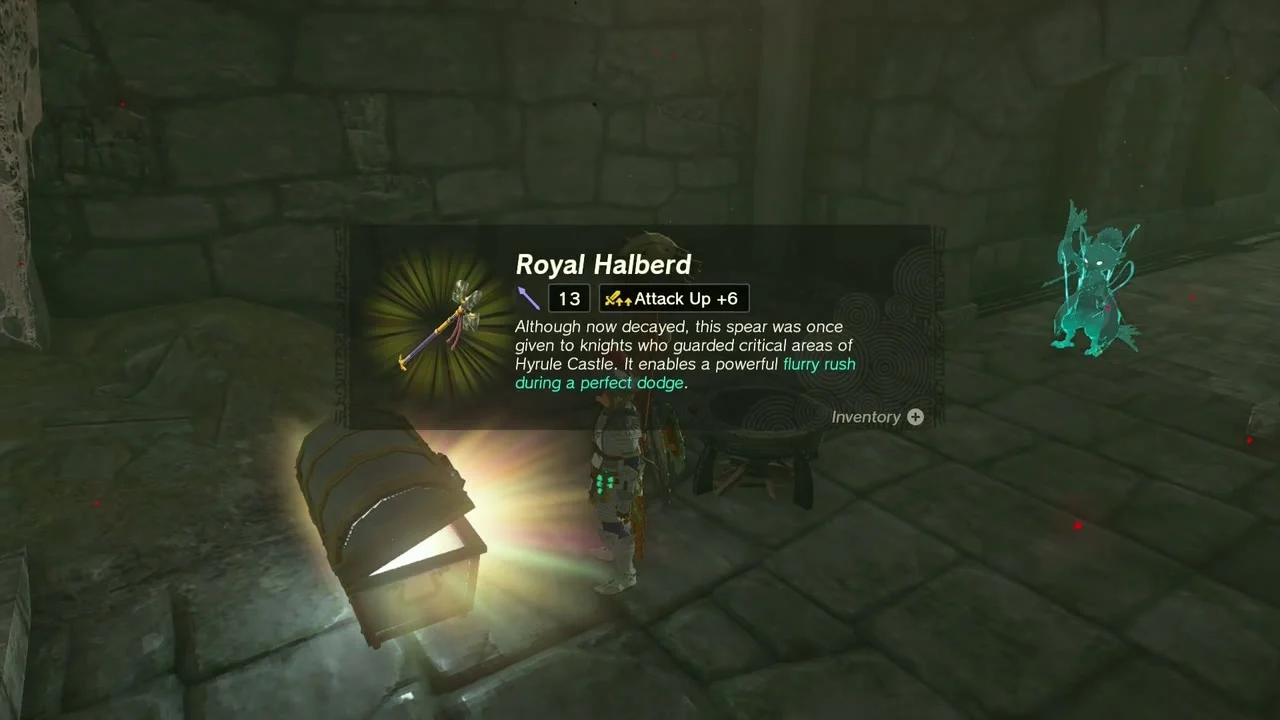
In a stone room with a cooking pot, two chests sit side by side. One holds a Royal Halberd (attack 13) and the other a Royal Bow (attack 38).

Reach the Diamond
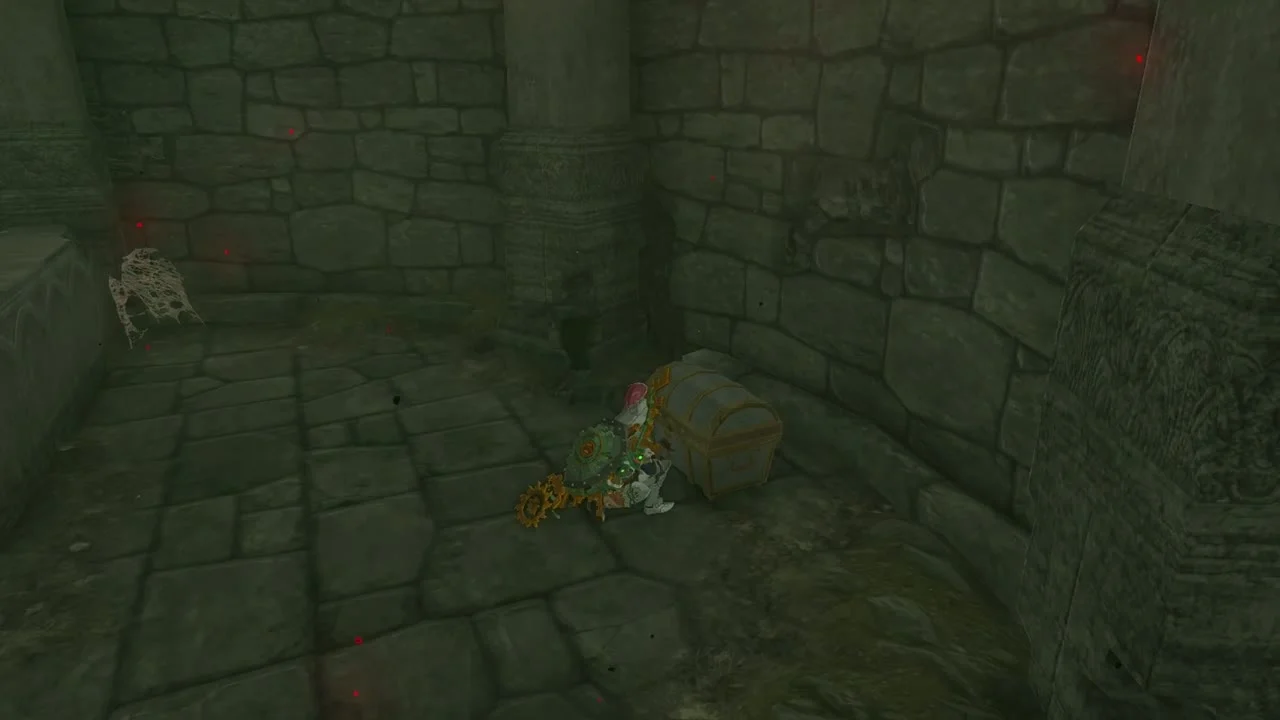
Down a flight of stairs, in a small room with a ladder, a chest holds a Diamond.

West Passage and Lockup
Take the West Passage to the Lockup
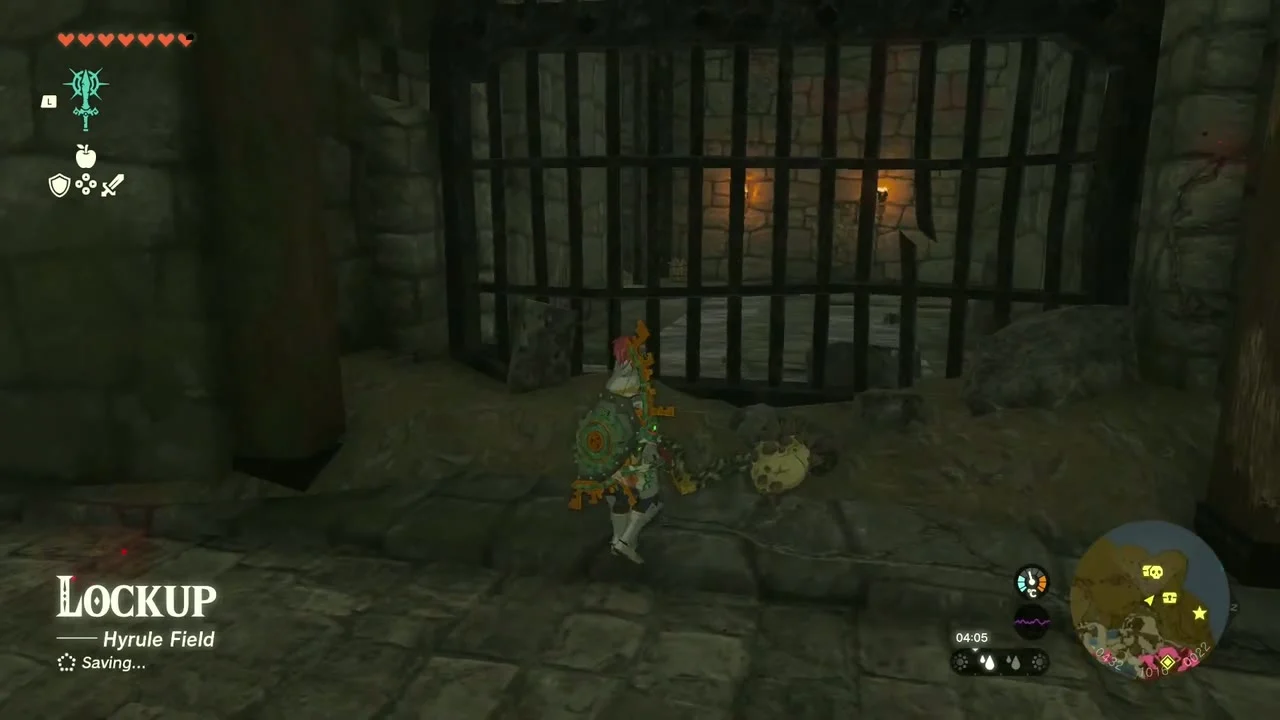
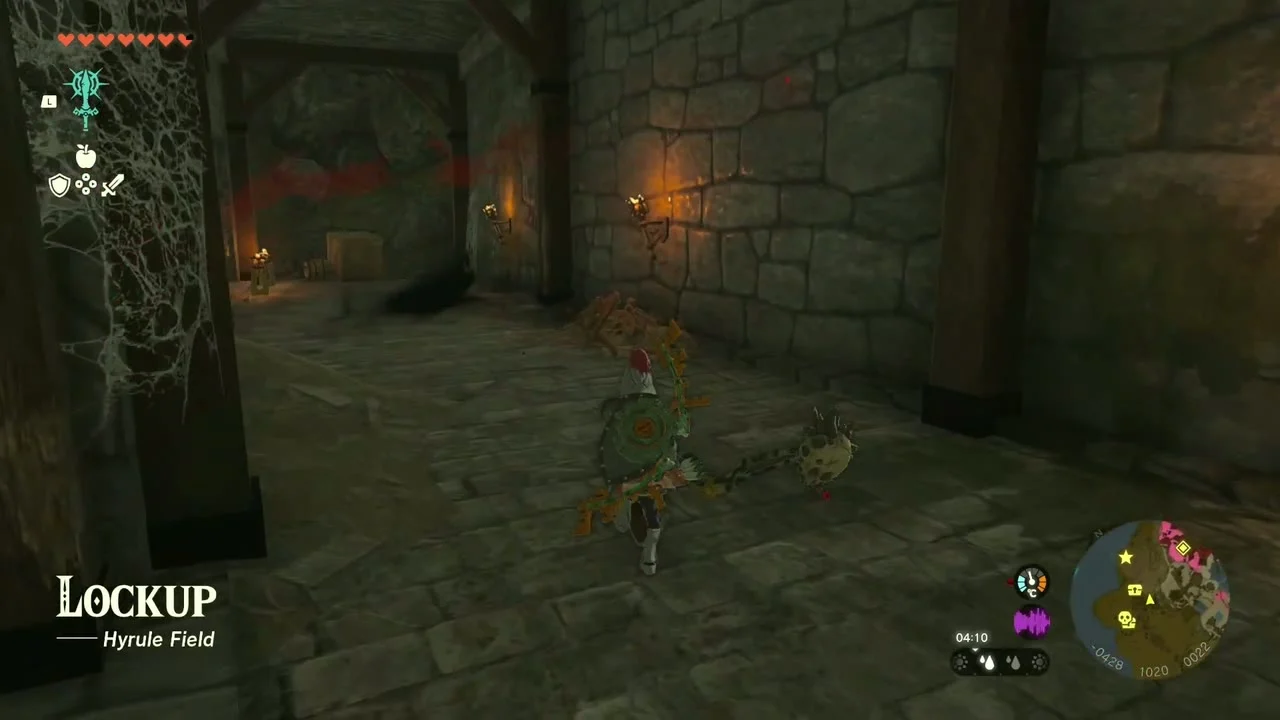
The West Passage (X -449, Y 858) leads to the Lockup (X -444, Y 1062), a block of barred cells behind an iron gate.

Open the cell chests
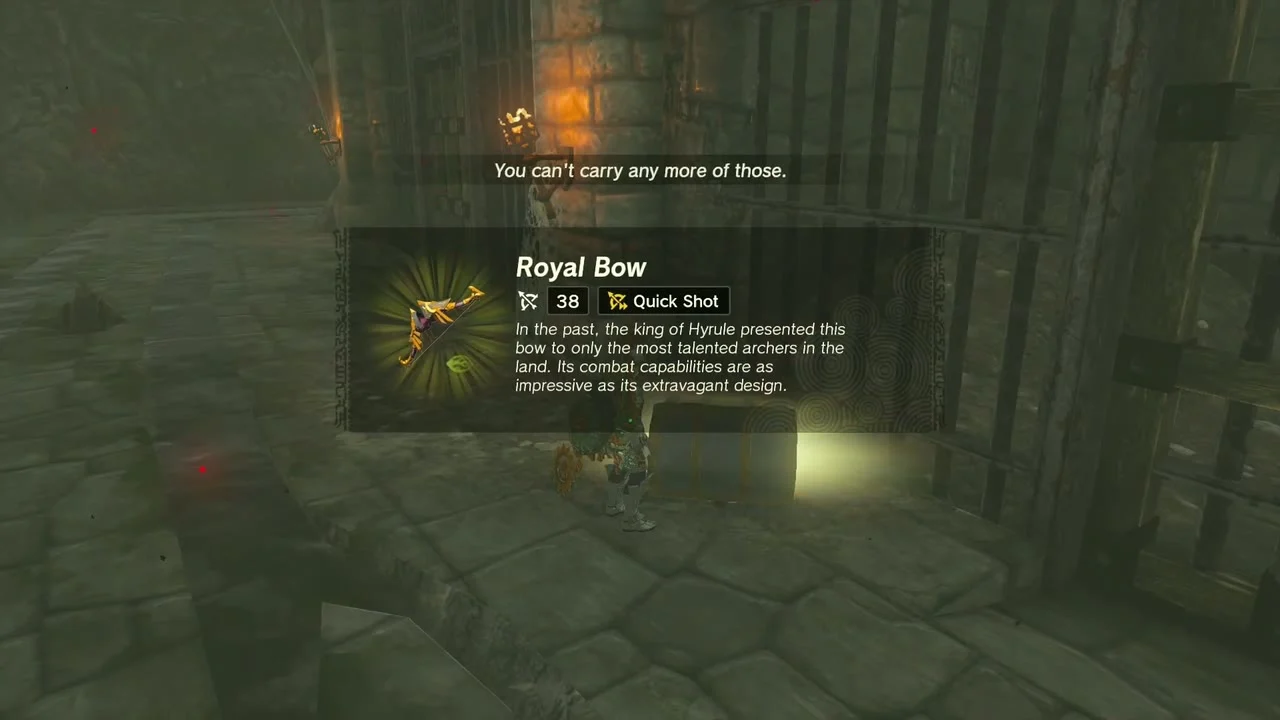
Chests stand behind the bars of the Lockup cells. One holds a Royal Shield (guard 55) and another a Royal Bow (attack 38).
Find the Royal Hyrulean Fabric
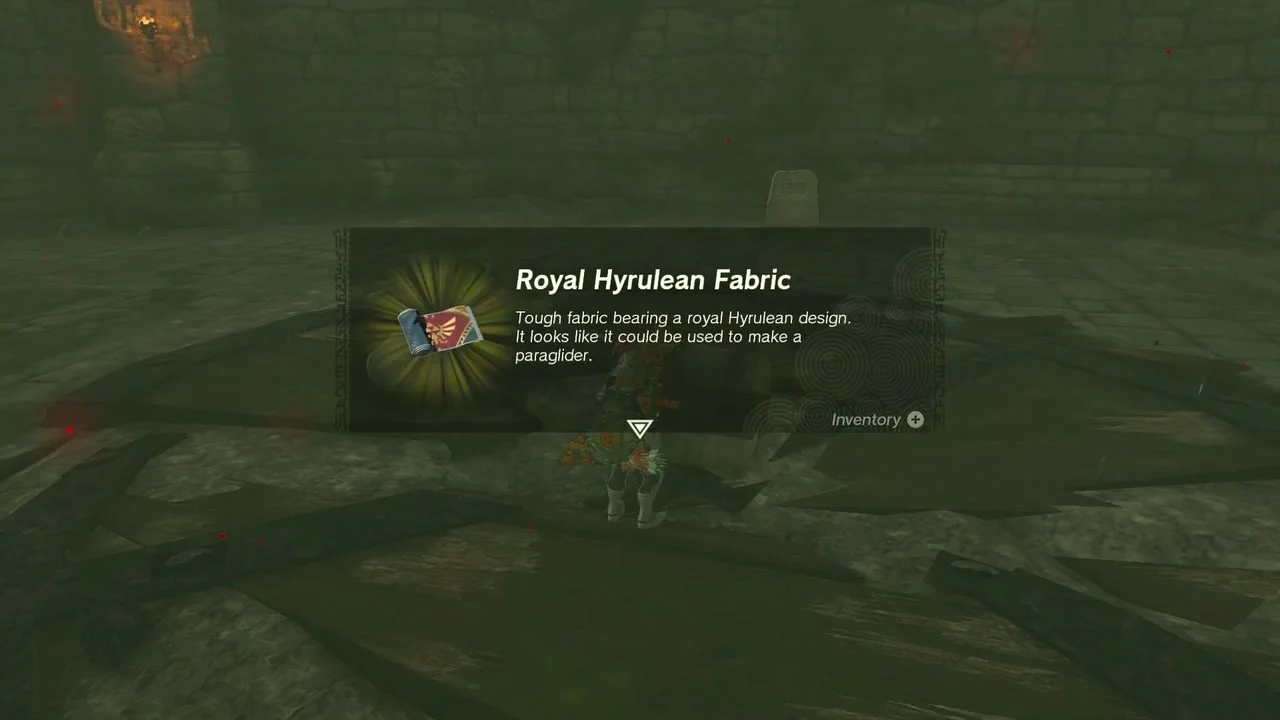
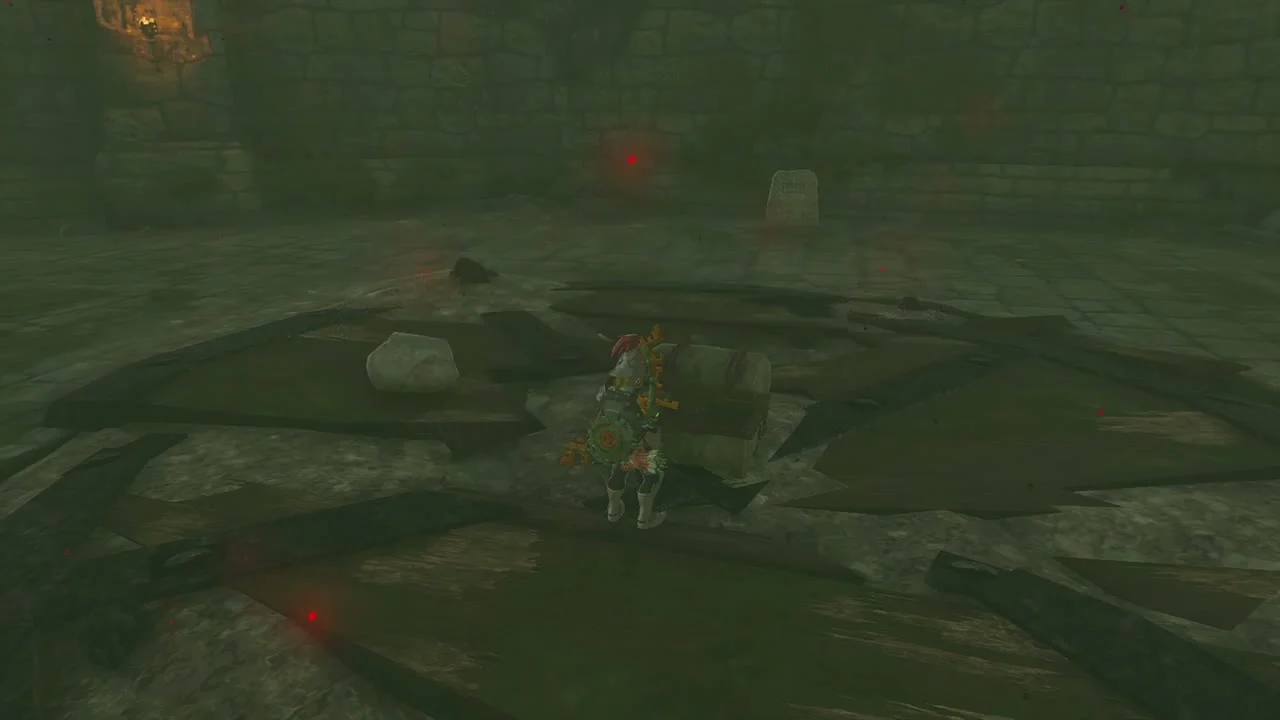
In the Lockup’s sealed back room, a chest holds the Royal Hyrulean Fabric, a paraglider fabric. The gate is sealed, so bomb through the ceiling from above ground on the castle’s west-north-west side (the chest is listed near X -488, Y 1010). A Gloom Spawn waits inside and a Phantom Ganon appears when it falls, so beat both before opening the chest. Sayge at the Kochi Dye Shop applies the fabric to your paraglider for 20 rupees.
Docks: Gloom Spawn and Phantom Ganon
Defeat Gloom Hands, then Phantom Ganon
The Docks (X -252, Y 1188) sit at the north end of the castle. Reach the small dock beneath the statue by following the lily pads across the water, then climb the stairs behind the statue. Gloom Hands spawn on the steps; defeating them summons Phantom Ganon, and you can keep hitting him to clear the gloom at his feet. At the top, light the unlit stone torch with any fire source and a chest appears holding the Hylian Shield (guard 90, the strongest shield in the game, but it breaks like any other, so spend it carefully).



East Passage
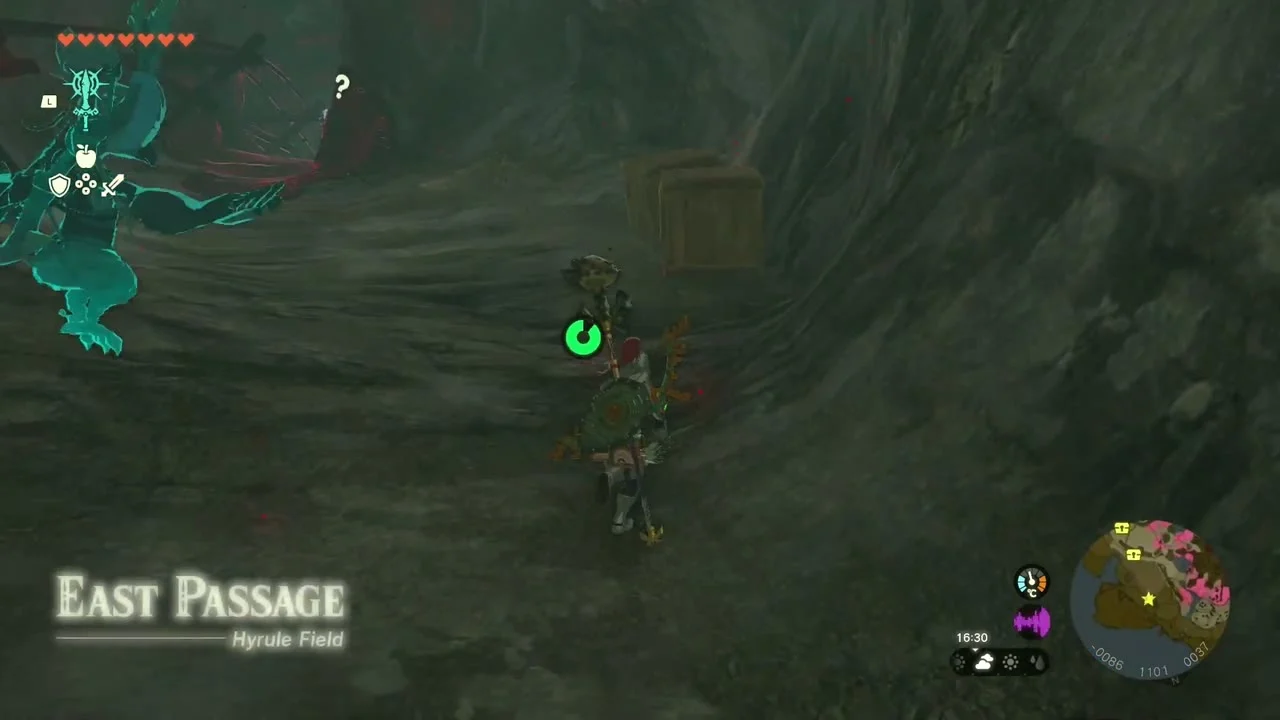
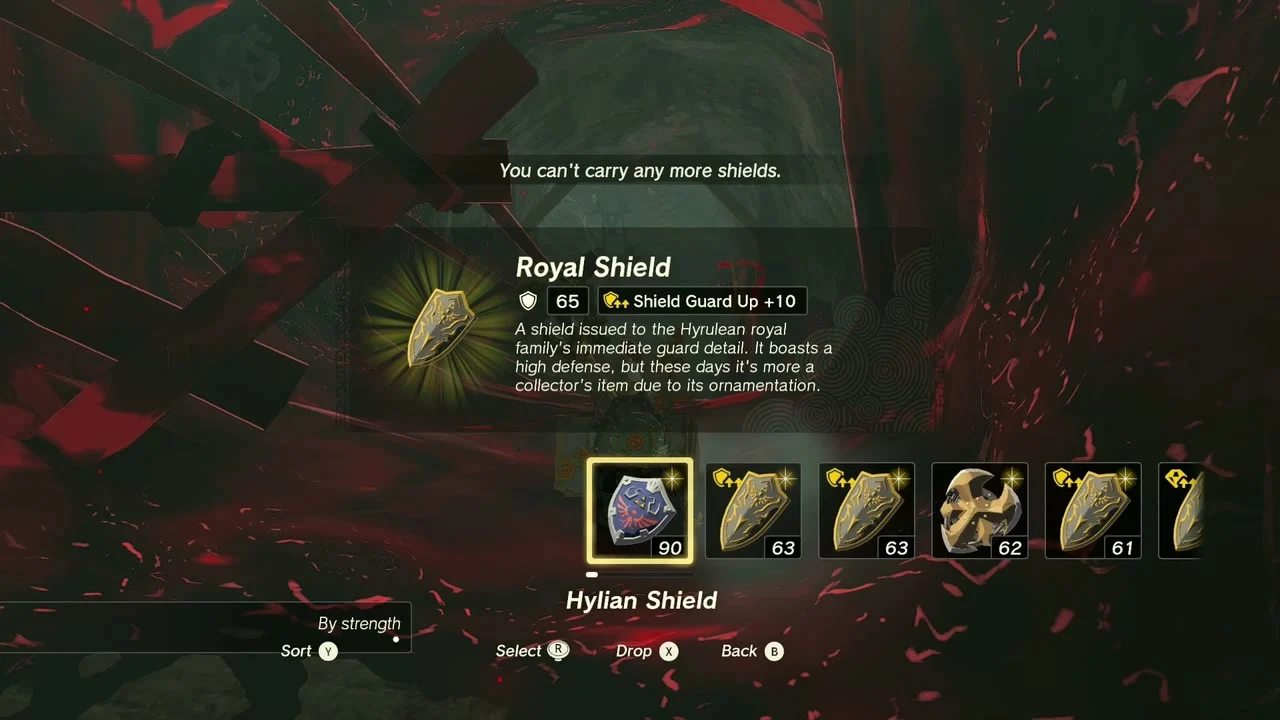
Collect the Royal Shield
The East Passage (X -120, Y 975) is a dark tunnel on the east side of the castle. Its first chest holds a Royal Shield (guard 65).
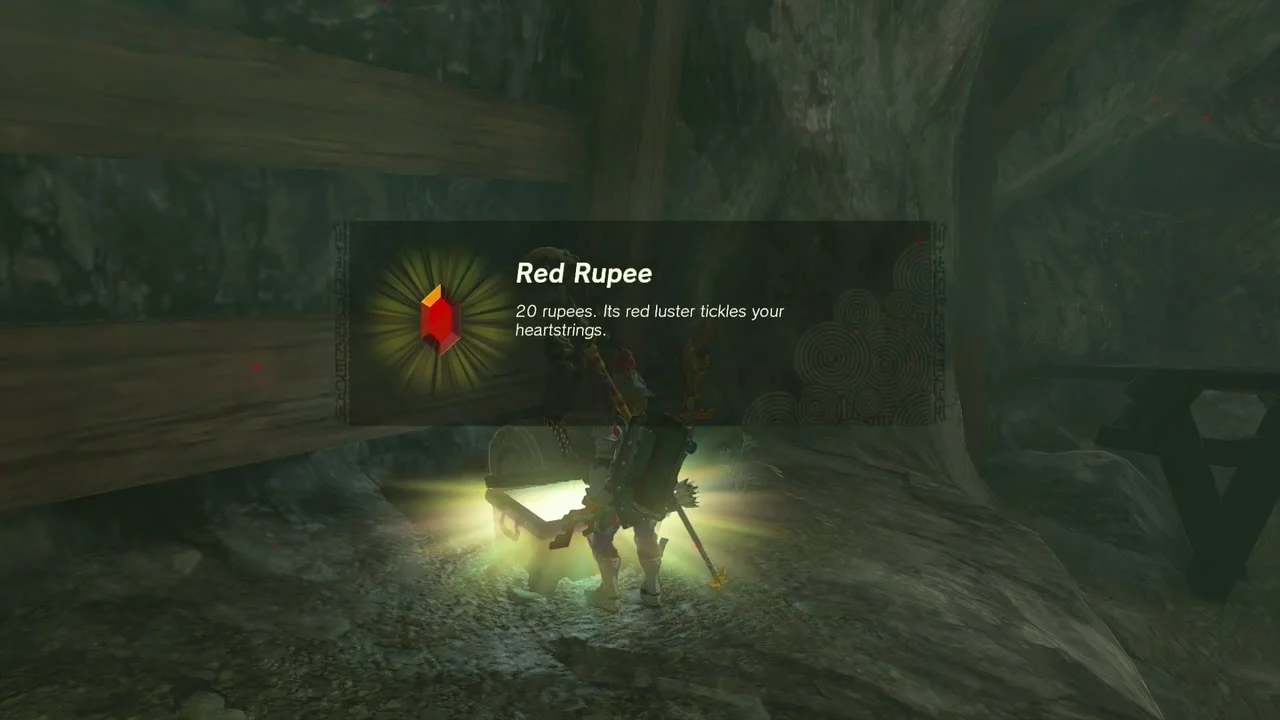
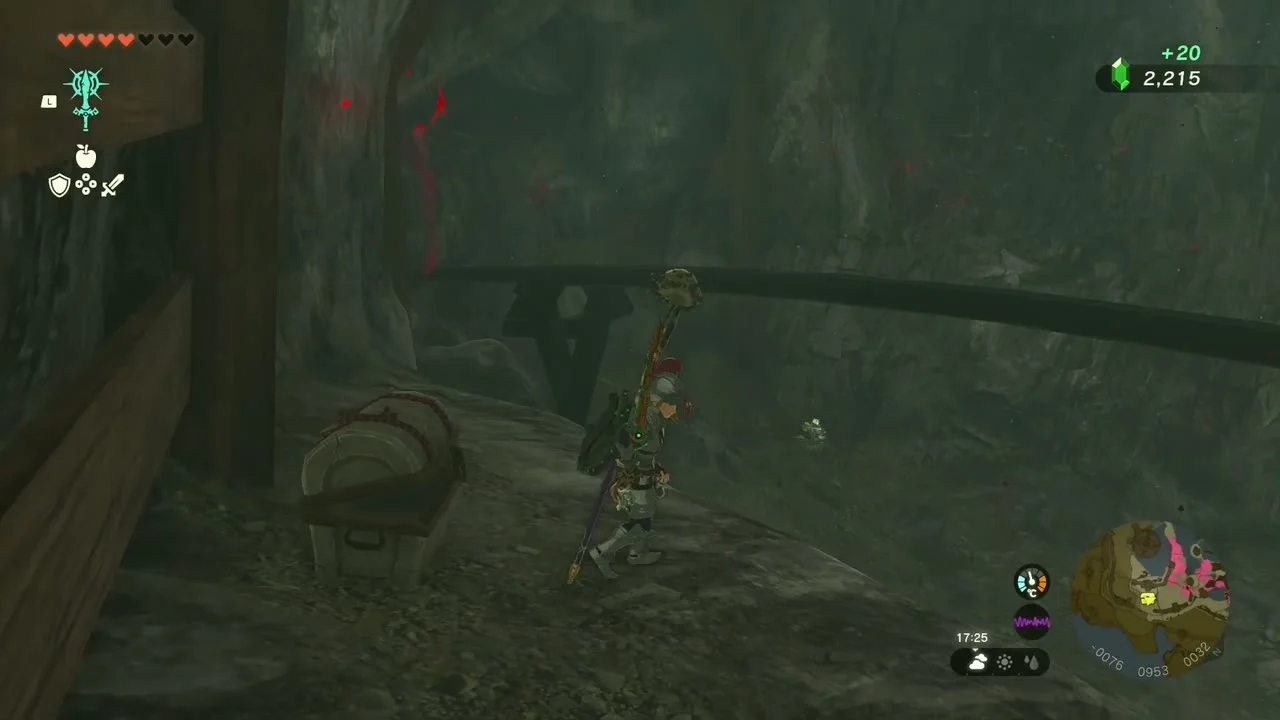
Grab the Red Rupee
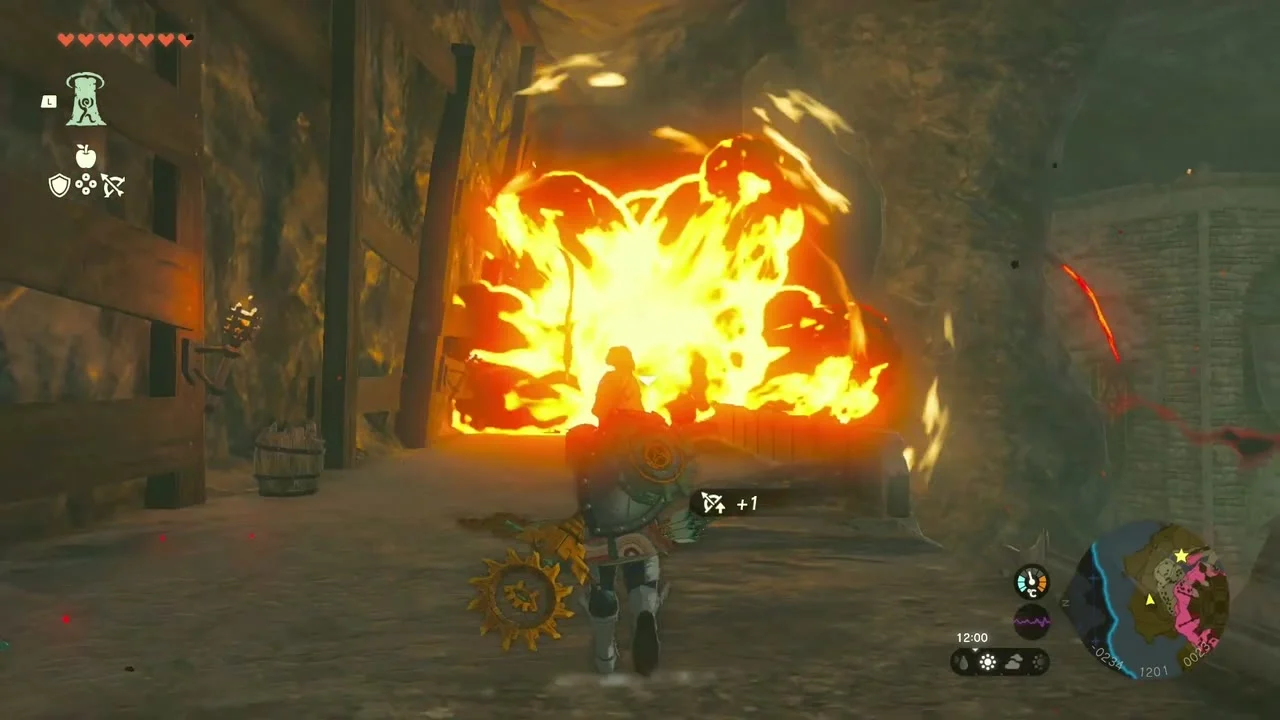
Further along, in a rock passage braced with wooden beams, the last chest holds a Red Rupee (20 rupees), listed at about (-75, 952, 33).
Energy Wells
Buy Crystallized Charges at the Forge Construct
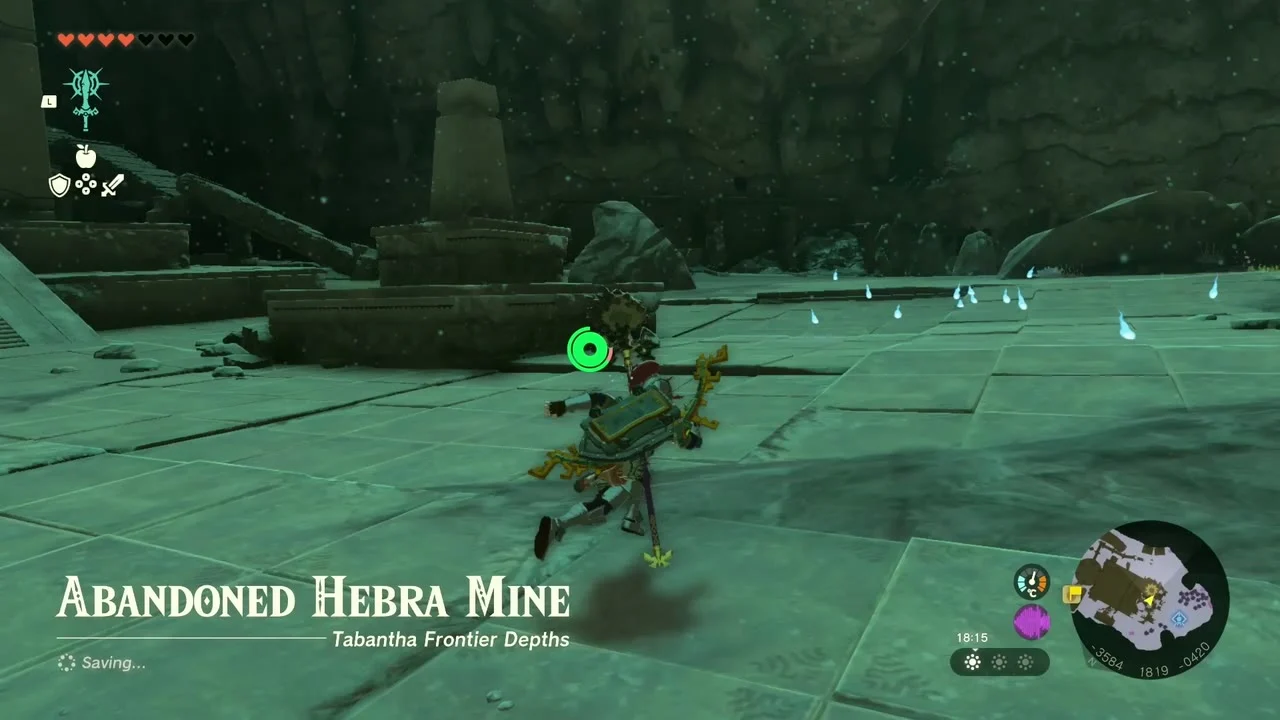
In the Abandoned Hebra Mine (X -3457, Y 1862) in the Tabantha Frontier Depths, talk to the Forge Construct. A Crystallized Charge costs 3 Zonaite and it stocks 30.

Cash in at a Crystal Refinery
Take the charges to the Steward Construct at a Crystal Refinery; the Great Sky Island one stands by Nachoyah Shrine. It converts 100 Crystallized Charges into one Energy Well, and a batch here earned Energy Well x2.


The Rito Rope Bridge
Start with Gesane
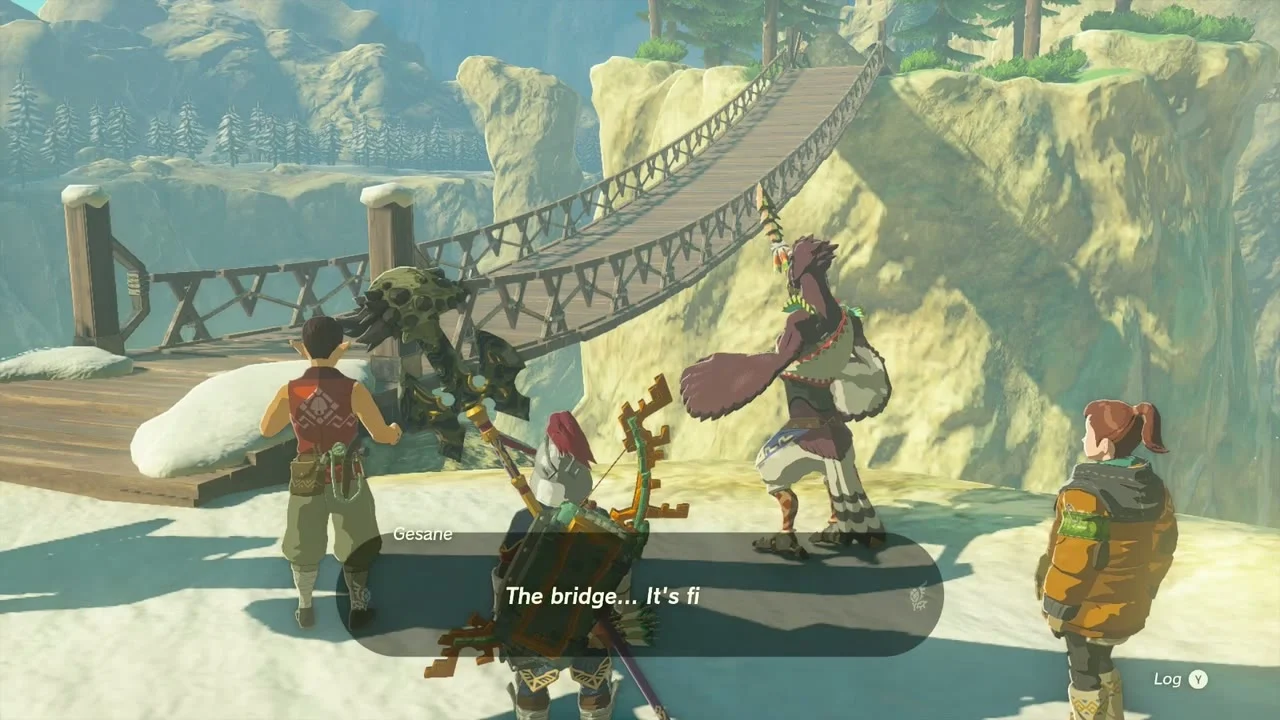
Gesane at the Lucky Clover Gazette (X -3255, Y 1757) wants the rope bridge repaired and sends you to find the carpenter whose name ends in “son”.


Recruit Karson at Lookout Landing
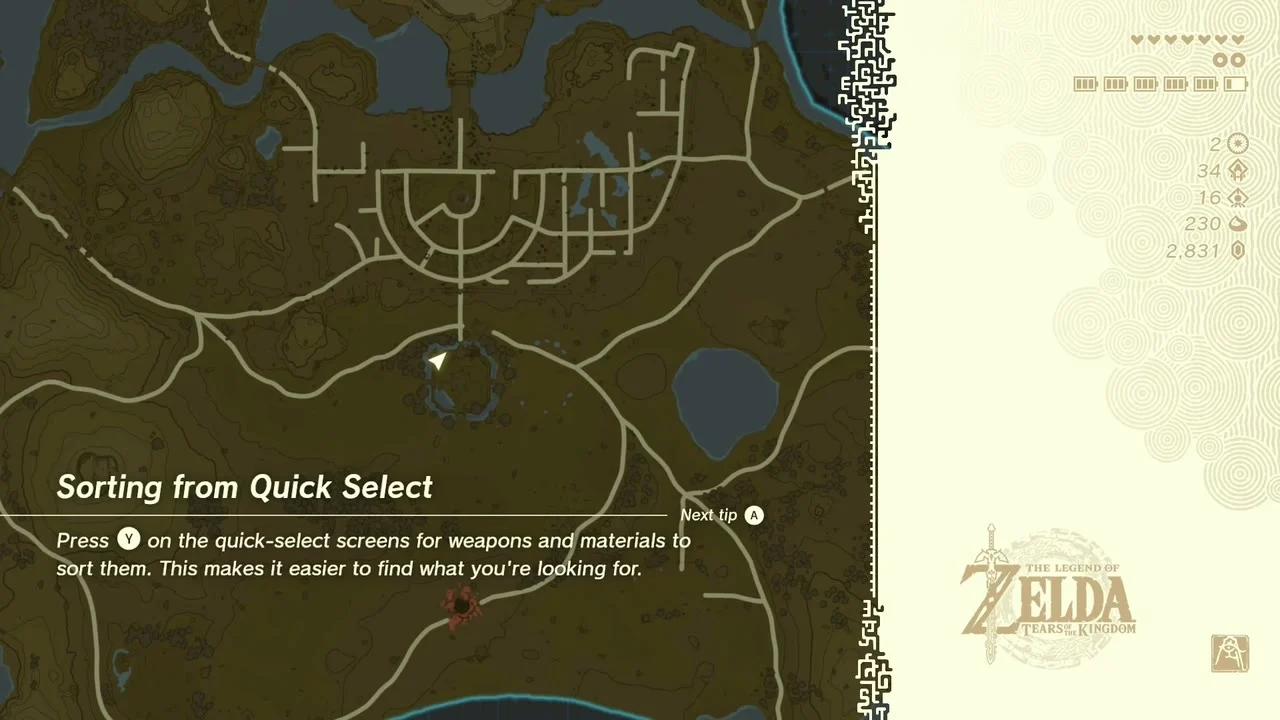
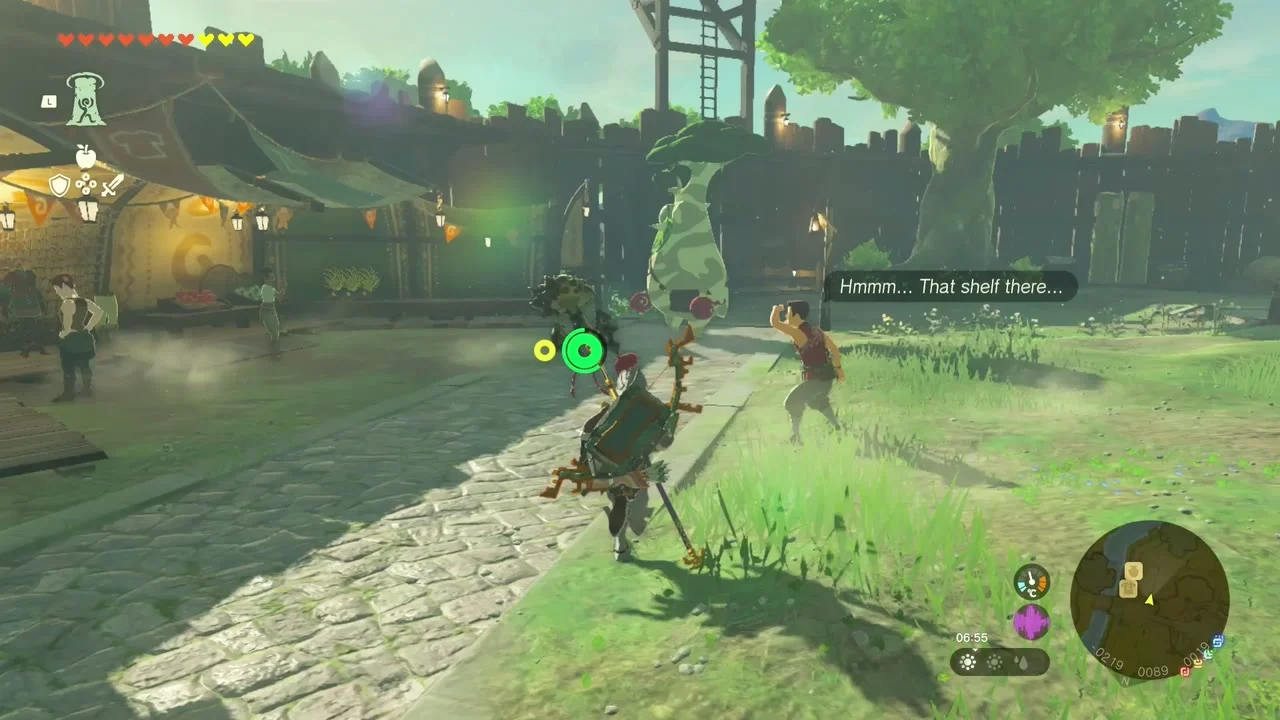
The carpenter is Karson at Lookout Landing. Talk to him and he heads to the bridge.
Bring Karson 20 Wood
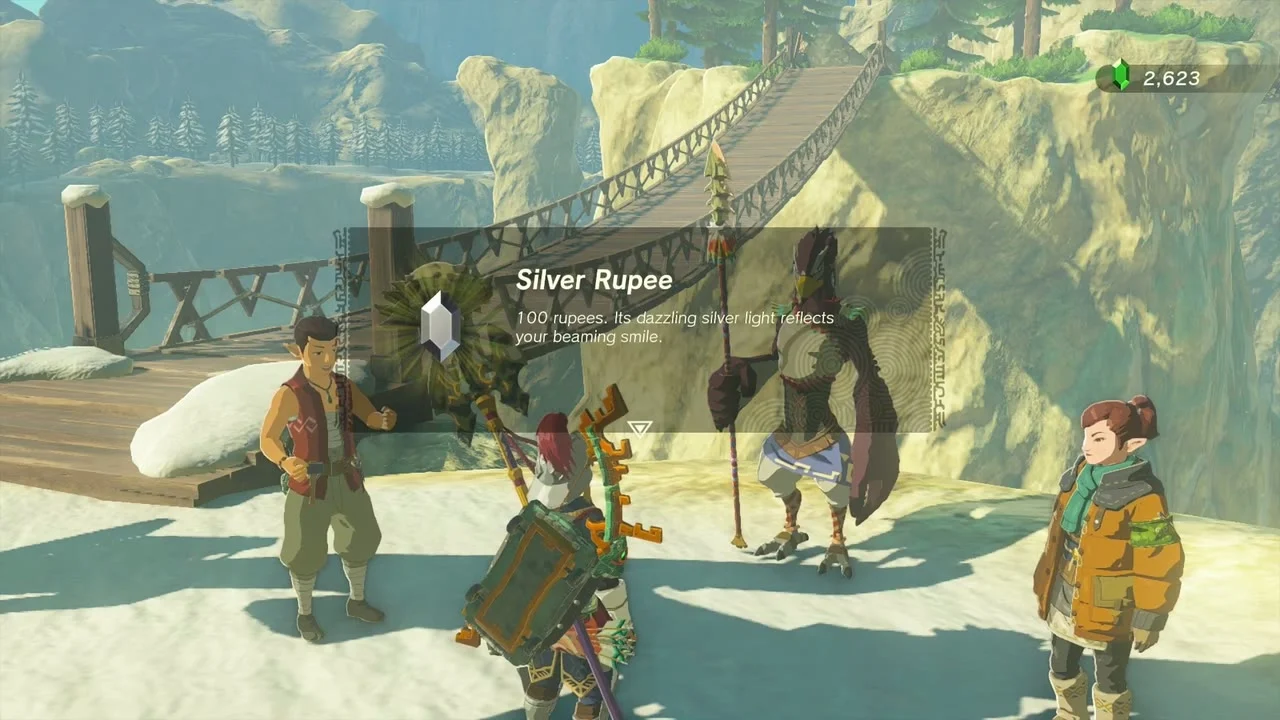
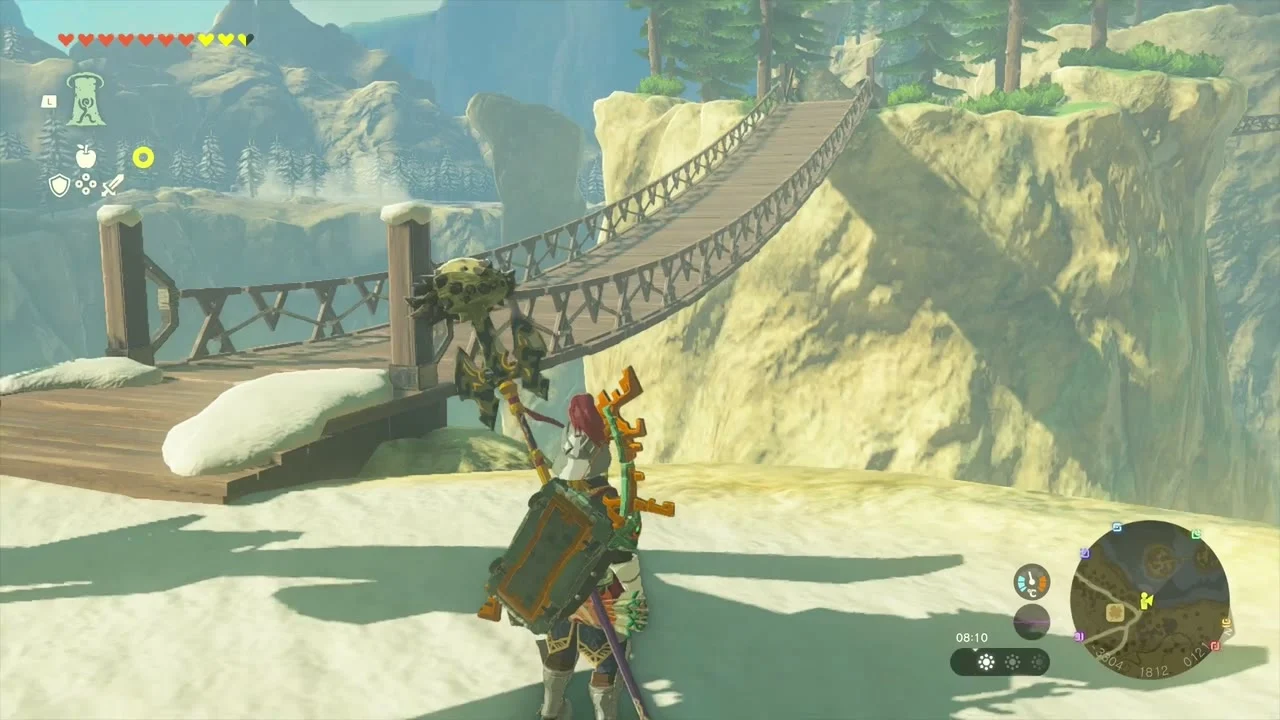
At the bridge, give Karson 20 Wood and he finishes the repair. Gesane rewards you with a Silver Rupee and the quest is complete.
Tabantha Frontier Depths
Dive into the Hyrule Ridge Chasm
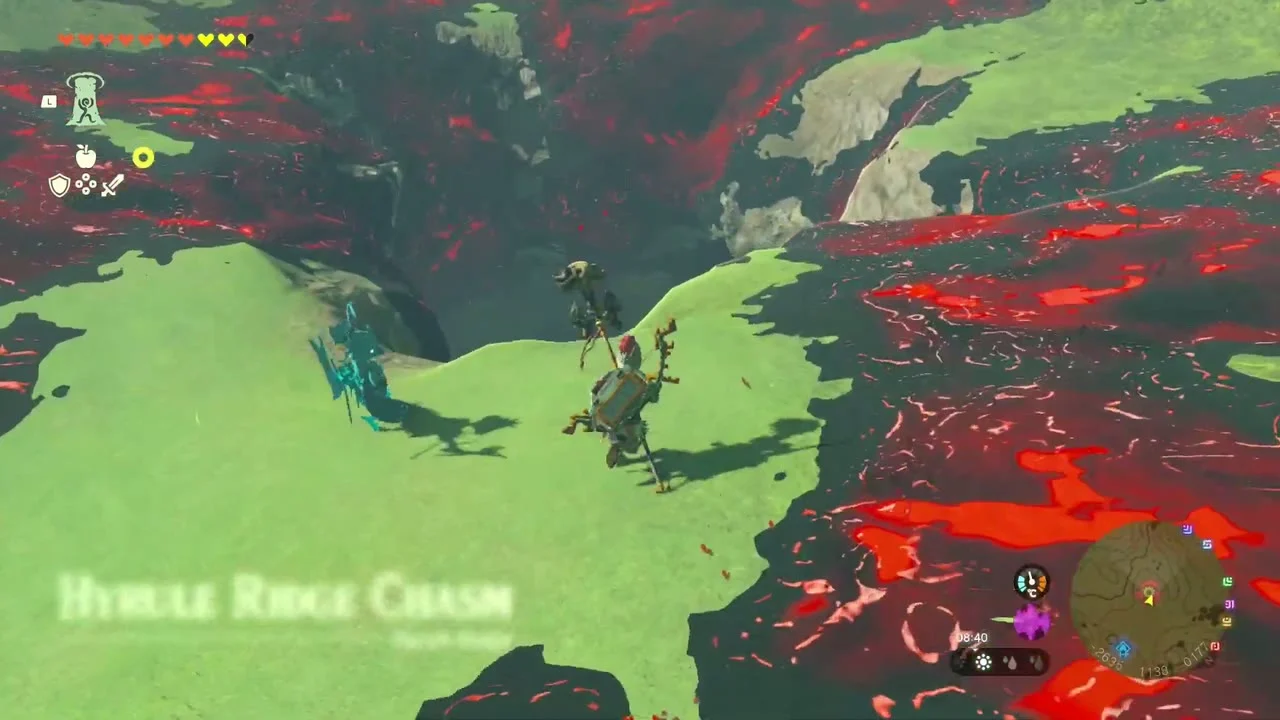
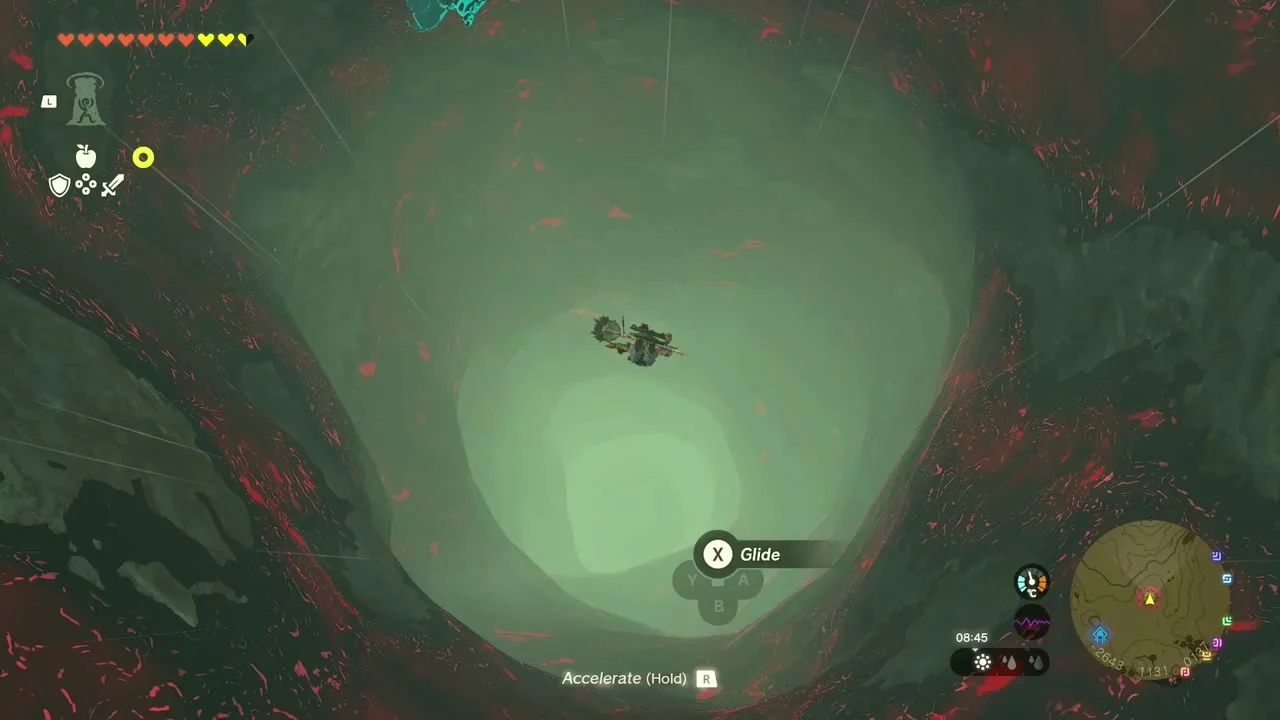
The Hyrule Ridge Chasm (X -2644, Y 1126) is the way down. Jump in and glide to the floor of the Depths.
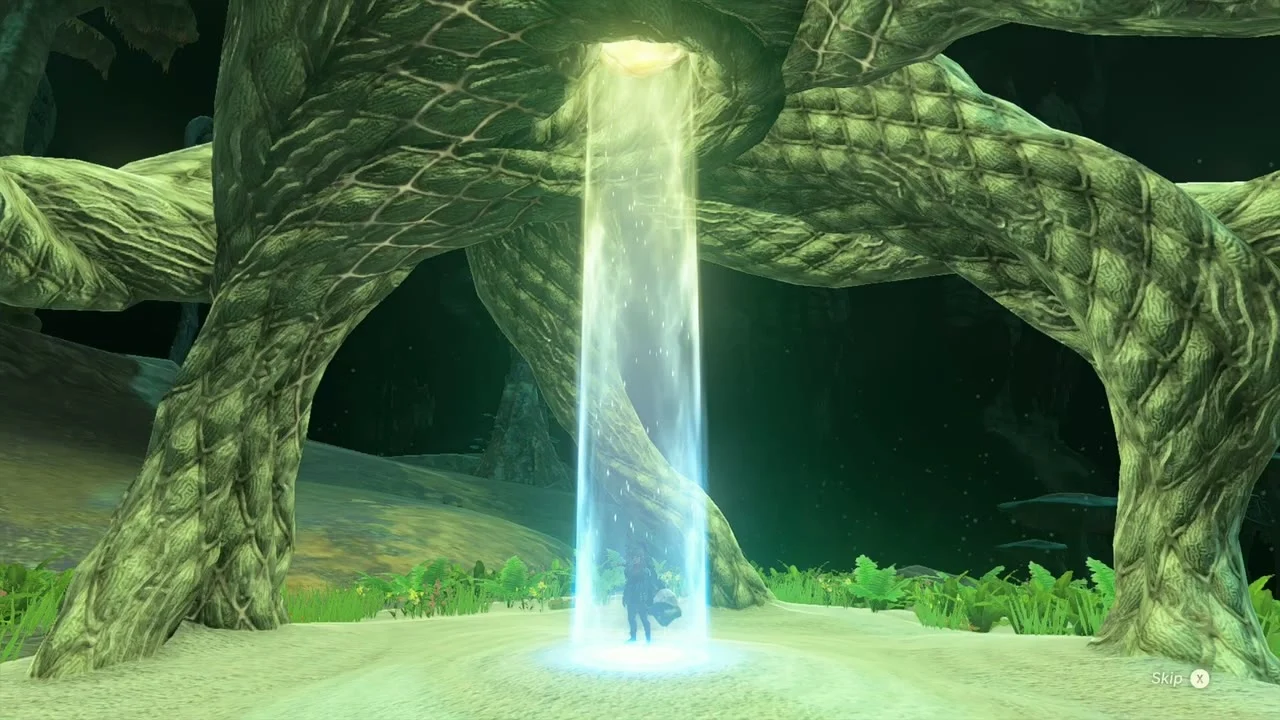
Light Koro-nui
Koro-nui Lightroot (X -3538, Y 851) lies under Iun-orok Shrine. Walk into its roots and examine them.

Light Kawumoro
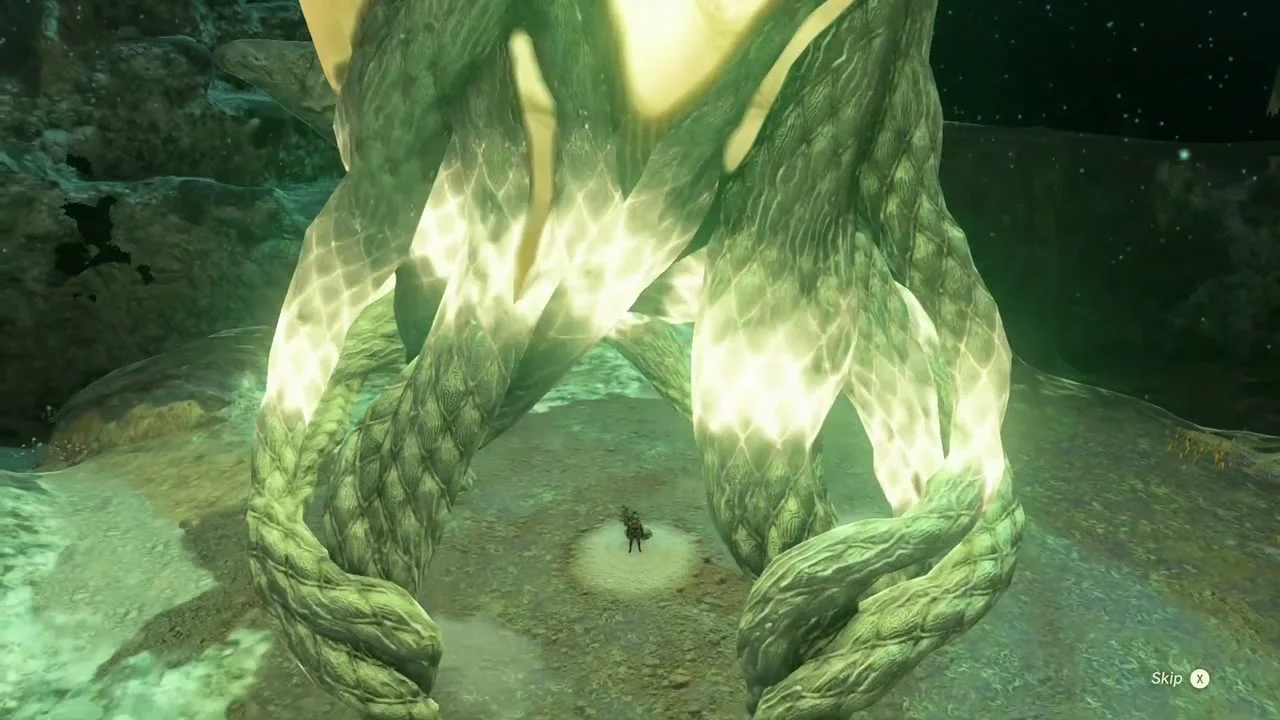
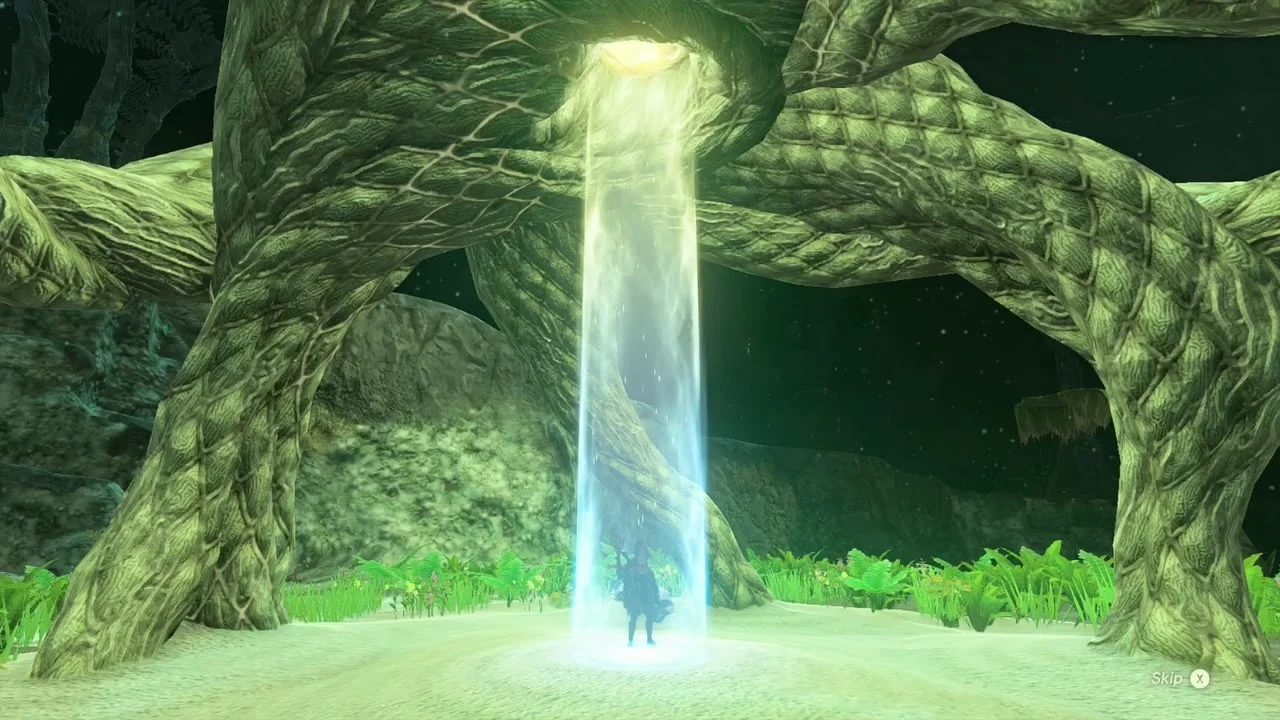
Kawumoro Lightroot (X -3078, Y 1617) lies under Oromuwak Shrine. Examine the roots to light them.
Defeat the Blue-White Frox
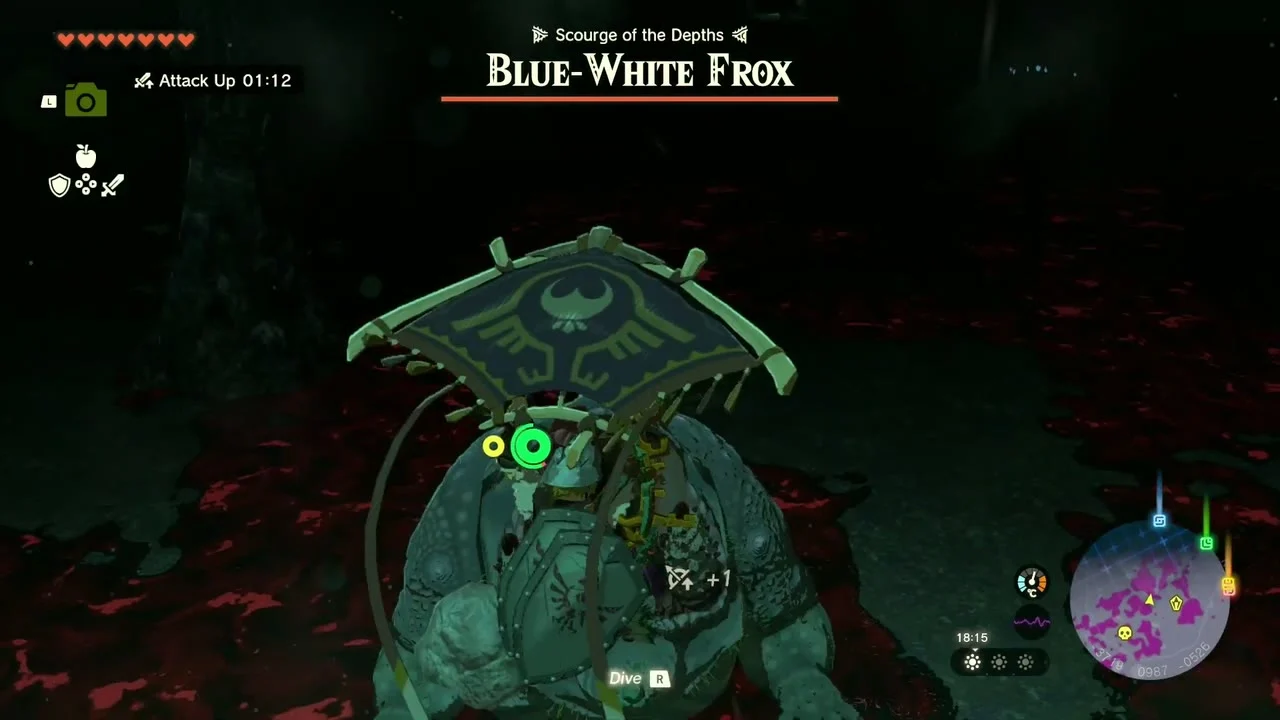
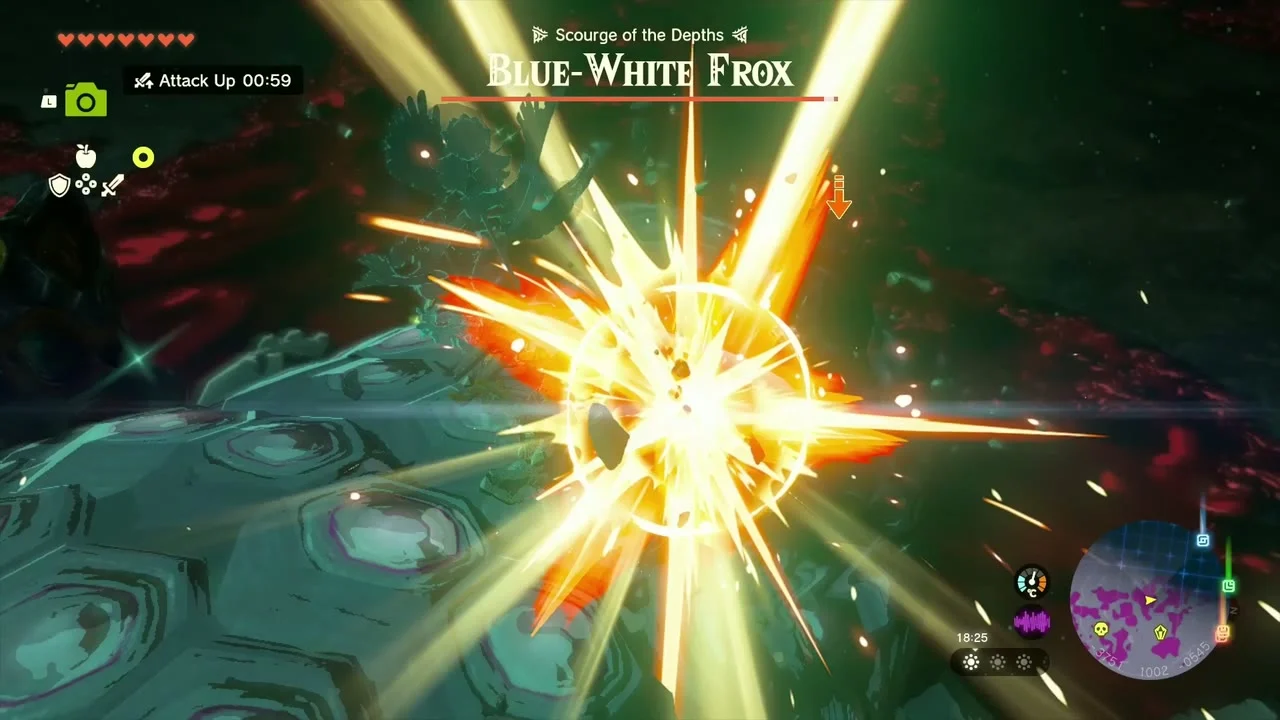
A Blue-White Frox (X -3721, Y 1006), a “Scourge of the Depths”, lies in the gloom on the way to Kataki. Climb onto its back and keep attacking the weak points on its shell.

Light Kataki
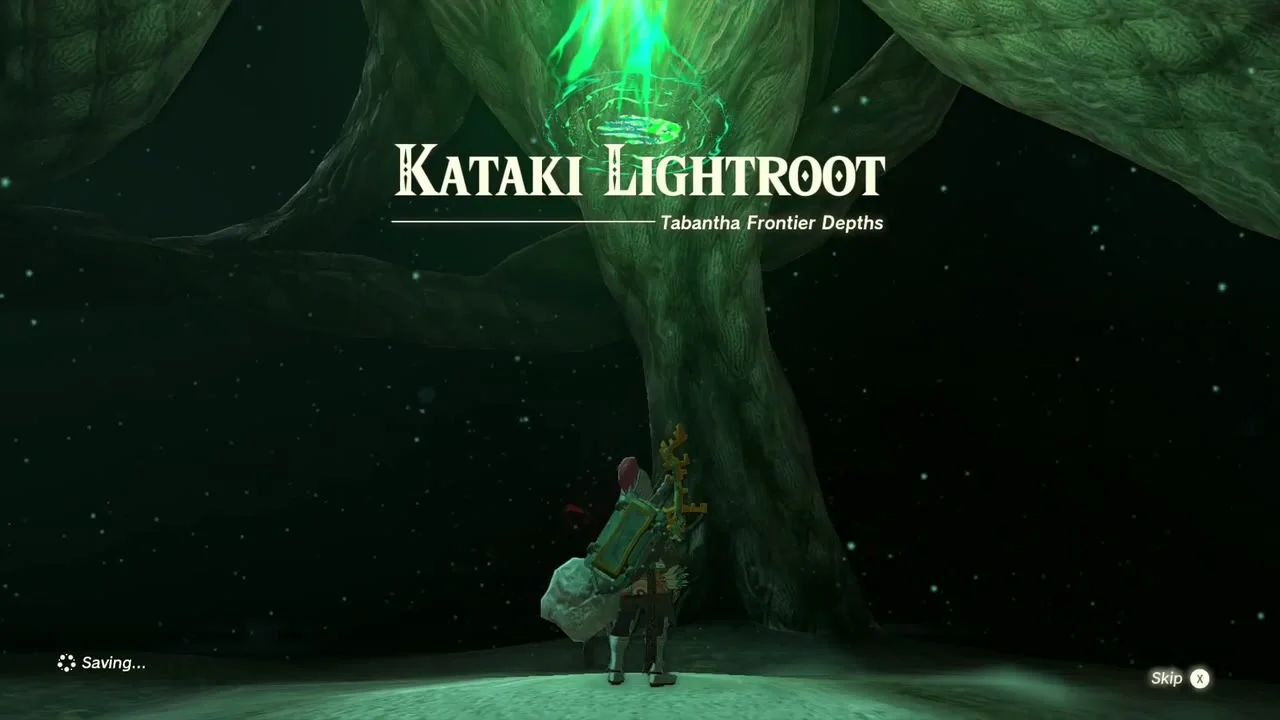
Kataki Lightroot (X -3951, Y 1139) lies under Ikatak Shrine, a Rauru’s Blessing shrine. Examine the roots to light them.
Light So-oaw
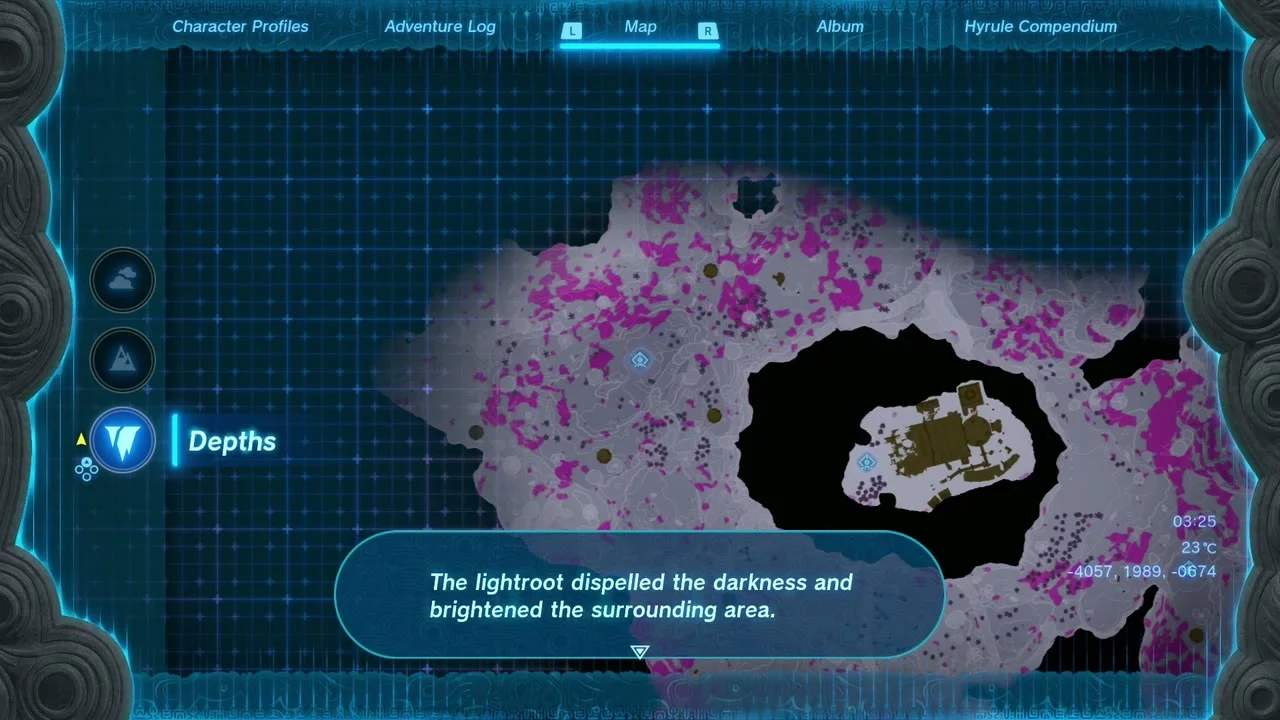
So-oaw Lightroot (X -4058, Y 1990) lies under Wao-os Shrine. Examine the roots on arrival.

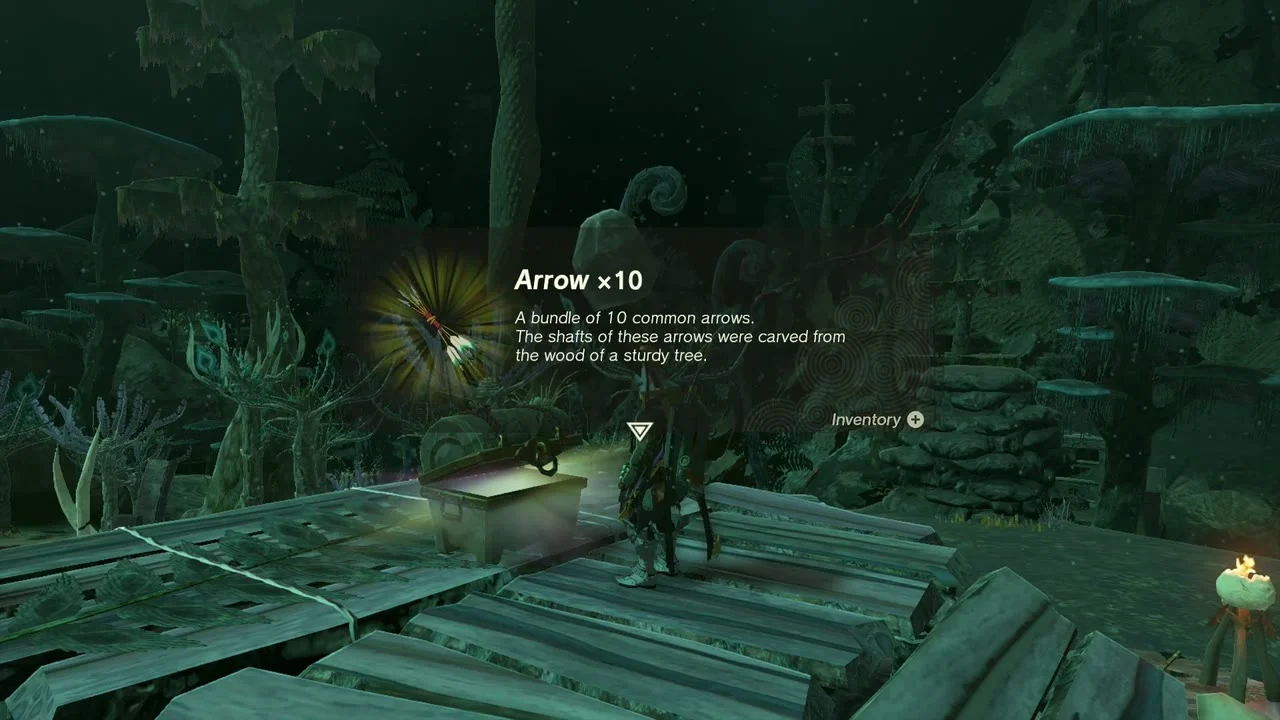
Open the Arrow chest
In a Bokoblin camp near X -3800, Y 2130, a chest on the wooden platform holds Arrow x10.

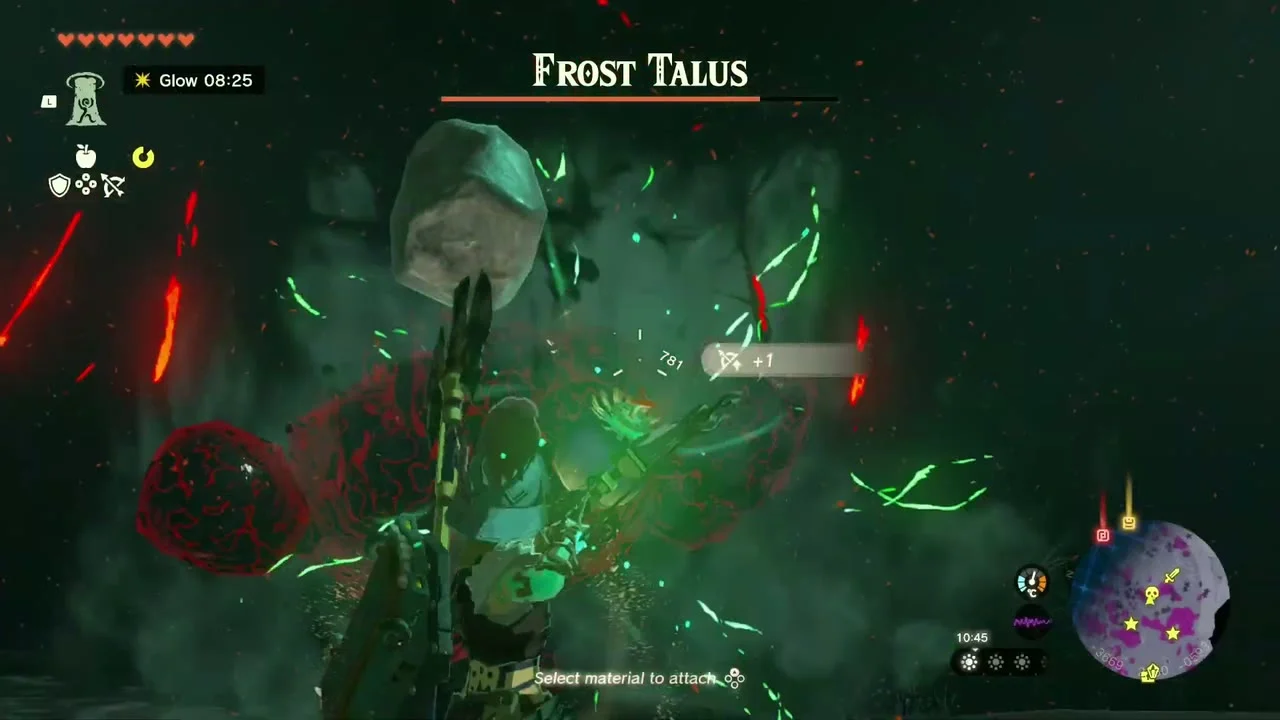
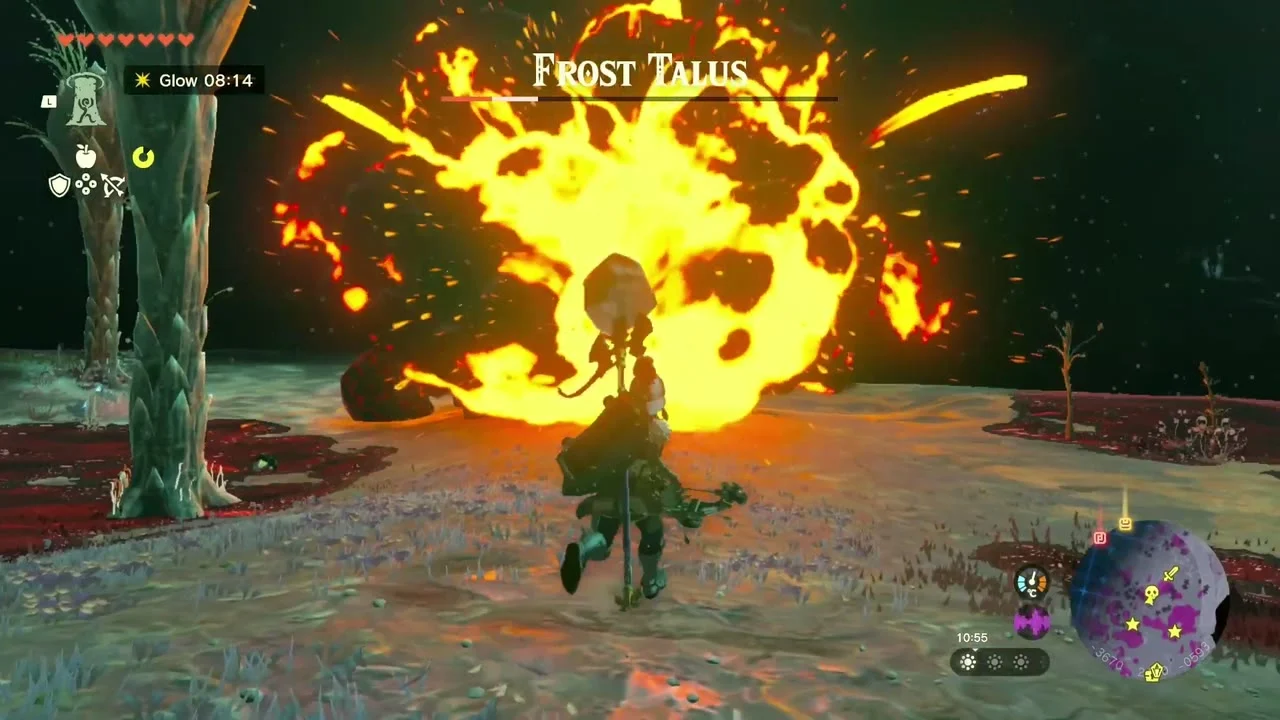
Defeat the Frost Talus
A Frost Talus walks the gloom flats near X -3690, Y 2125, between the camp and Worihas. Bomb Flowers from range wear it down.
Light Worihas
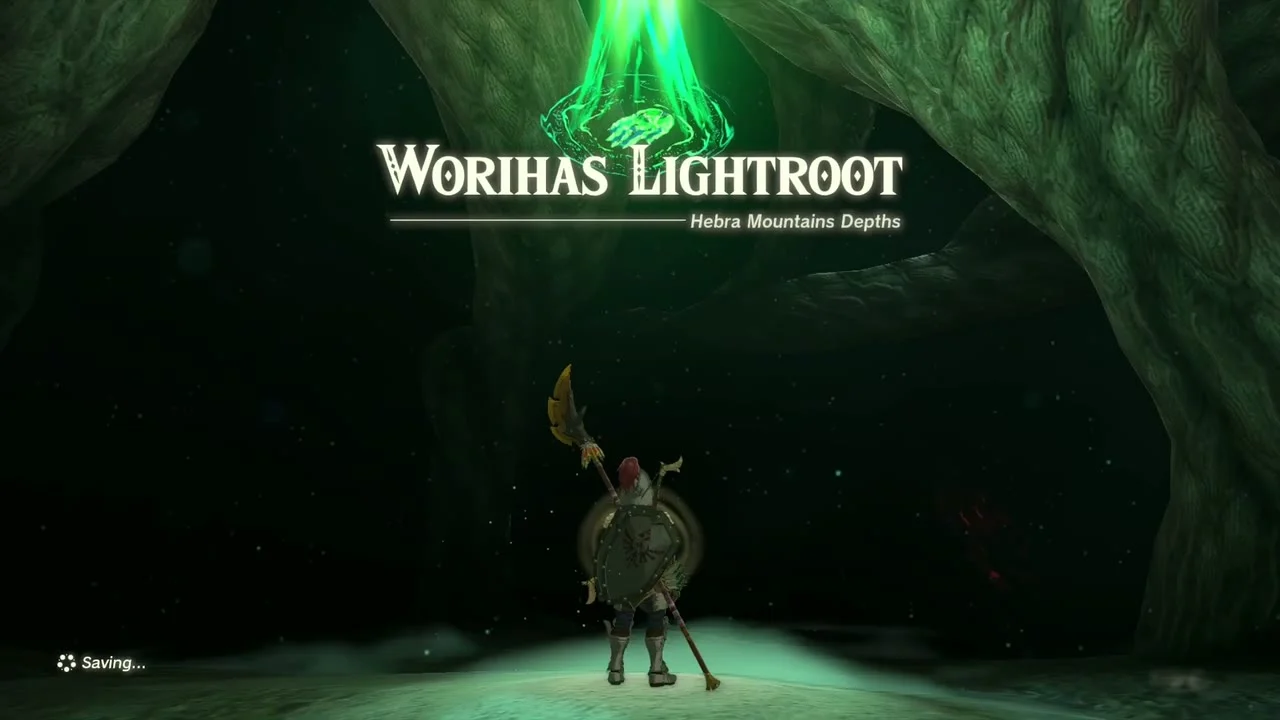
Worihas Lightroot (X -3353, Y 2385) lies under Sahirow Shrine. Examine the roots to light them.

Spot Corvash Canyon Mine
Extra notes
- Observation Room: the floor grate here, lifted with Ultrahand, is the way down into the Royal Hidden Passage; the Diamond chest is just below it.
- Lockup Back Room: the Royal Hyrulean Fabric chest sits in a sealed room guarded by a Gloom Spawn, which releases a Phantom Ganon when it falls. Most guides suggest killing the Gloom Spawn with Bomb Flower arrows through the cell door, since it cannot follow you through it, though the Phantom Ganon can leave the cell and fight you in the corridor.
- The Rito Rope Bridge: The 20 Wood comes from chopping trees and logs near the Lucky Clover Gazette.
Also in this area: Korok seeds
These datamined Korok seeds lie inside the castle footprint, listed by type and coordinates (X, Y).
- Lift the rock: (-287, 839), (-254, 943), (-128, 813)
- Complete the cube puzzle: (-344, 785), (-52, 971)
- Complete the rock pattern: (-61, 867)
- Shoot the balloon: (-438, 1115), (-360, 885), (-272, 746)
- Pop the hidden balloon: (-394, 998), (-83, 906)
- Catch the sparkling spot: (-421, 845)
- Ring the bell: (-254, 1061)
Rest of Hyrule Castle collectibles
| Collectible | Count | Where |
|---|---|---|
| Royal Hidden Passage chests | 5 | Soldier’s Armor, Royal Bow, Royal Shield, Royal Halberd, Royal Guard Uniform |
| Bubbul Gem | 1 | Royal Hidden Passage chasm |
| Castle chests | 9 | Royal Halberd, Royal Bow (x2), Diamond, Royal Shield (x2), Royal Hyrulean Fabric, Hylian Shield, Red Rupee |
| Depths chests | 1 | Arrow x10 |
| Energy Wells | 2 | Crystal Refinery, from Crystallized Charges |
| Lightroots | 5 | Koro-nui, Kawumoro, Kataki, So-oaw, Worihas |
| Minibosses | 5 | Gloom Hands, Gloom Spawn, Phantom Ganon (x2), Blue-White Frox, Frost Talus |
| Quests | 1 | The Rito Rope Bridge (Silver Rupee) |
