





















Tears of the Kingdom 100% Completion Walkthrough43 chapters
Great Sky Island
- Great Sky Island4 shrines, 4 caves and Bubbul Gems, 17 Korok seeds
Hyrule Field and Hyrule Castle
- Lookout LandingParaglider, Crisis at Hyrule Castle, Jiosin and Kyononis shrines, 2 caves, 3 wells
- Hyrule FieldSusuyai and Ishodag shrines, the Hyrule Field Chasm, 2 caves, 13 Koroks
- Hyrule Castle Town RuinsSepapa, Yamiyo and Tukarok shrines, 2 caves, 4 wells, Koroks, chests and Battle Taluses in route order
- Central Hyrule Depthslight all 7 Lightroots, loot Daphnes and Gustaf Canyon Mines, find the Miner's Top
- Rest of Hyrule CastleRoyal Hidden Passage loot, 8 castle chests, Phantom Ganon, Energy Wells
- South Hyrule FieldShrines, Koroks & the Great Plateau
- South Hyrule Field DepthsGreat Abandoned Central Mine, Master Kohga, Autobuild, Majora's Mask
Tabantha and Hyrule Ridge
- Tabantha FrontierNew Serenne Stable, Hestu, Courage Island and the Glide Shirt, 3 shrines, 2 Korok seeds, Lindor's Brow Cave
- Forgotten TempleImpa and the Geoglyphs, Dragon's Tears, Kiuyoyou and Mayausiy shrines, Yiga Maritta Branch, 9 Koroks
- Tanagar Canyon & Hyrule RidgeRunakit and Iun-orok shrines, 2 caves, 12 Koroks, 20 chests, 8 minibosses and Dragon's Tear 6
- Thundra Plateau & Tabantha Bridgesolve the noon shadow puzzle, Tabantha Bridge Stable, Makurukis Shrine, 19 Korok seeds, 9 chests, 3 minibosses
- Lindor's Brow DepthsLightroots; Two Yiga camps (Bomb Bouquet, Flamethrower Balloon)
- Hyrule Ridge and Tabantha FrontierIkatak, Oromuwak, Ganos and Ga-ahisas shrines, 4 caves, a well, 26 Koroks and 3 minibosses
Hebra
- Rito VillageGatakis and Ijo-o shrines, Sikatag Lightroot, 9 Korok seeds, 14 chests
- Hebra MountainsShrines, Wind Temple & Koroks; Raspro Pass, Biron Snowshelf & Royal Hidden Passage
- Corvash Canyon MineTrousers of the Hero, Floodlights schematic, Sea-Breeze Boomerang, four Lightroots, Colgera
- Raspro Pass DepthsNupisoyuat and Sasag Lightroots, Colgera, Cap of Time, Tunic of the Wind, two Yiga camps and 13 minibosses
- Tabantha TundraTaninoud, Orochium, Oshozan-u, Mayaotaki, Nouda and Tenbez shrines, three Lightroots, caves and Bubbul Gems
- Pikida Stonegrove DepthsEvil Spirit Greaves, Ikatoayam, Muihcoro and Sikatag Lightroots, 3 Yiga schematics, Frox fights
Great Hyrule Forest
- Great Hyrule Forest7 shrines, 8 Lightroots, 2 caves, 2 wells, Korok Mask, Glide Tights
Eldin
- EldinEldin Canyon, Shrines, Caves & Goron City
- Eldin Canyon Depths10 Lightroots, Zant's Helmet, Trousers of the Wild, Biggoron's Sword, 3 Yiga schematics and Eldin's sky chests
Faron
- FaronHighland Stable, Lake Hylia & Popla Foothills
Necluda
- Kakariko VillageMakasura Shrine, Kakariko Village Well, 2 caves, Ring Ruins chests, 10 Korok seeds and village quests
- West Necluda and Lanayru WetlandsShrines, Koroks & Caves; Jonsau, Kurakat
- Hateno VillageZanmik and Mayahisik shrines, Shield of the Mind's Eye and Phrenic Bow wells, 7 Koroks
- East NecludaRabella Wetlands, Sifumim Shrine, Lurelin Village, 21 Korok seeds
- East Necluda DepthsKumamayn Shrine, 4 Lightroots, Midna's Helmet, Cap of the Hero, Trousers of the Wind and 18 Depths chests
Lanayru
- Lanayru Great SpringShrines, Koroks & Caves; Ralis Channel, 3 shrines, 8 caves
- Zora's DomainMogawak and Ihen-a shrines, Ploymus cave, Pristine Sanctum, Zora Armor, Sidon of the Zora and Clues to the Sky
- Wellspring IslandAncient Zora Waterworks chests, Igoshon Shrine, 2 Korok seeds, Water Temple's four wheels and Mucktorok
- Mount LanayruShrines, Koroks & Light Rings; Jikais and Anedamimik shrines
Gerudo
- Gerudo DesertShrines, Caves & Koroks; West and South Sands
- Gerudo TownGerudo Shelter shops and quests, Valley of Silent Statues, Lightning Temple and Queen Gibdo, Chichim Shrine
- Gerudo Desert DepthsGranajh and Daval mines, three Master Kohga fights, Queen Gibdo, Mucktorok, Sheik's Mask and 37 chests
- Gerudo HighlandsSkyview Tower, Rotsumamu and Suariwak shrines, Mayasiar Shrine, Yiga hideout
Akkala
- AkkalaTarrey Town quests, 4 shrines, Hinox, Battle Talus
- Akkala Sky Islands and DepthsGikaku and Natak shrines, Old Maps, Lomei Depths Labyrinth, Mucktorok, 5 Lightroots and 19 chests
Finale and completion
- Ancient Tablets, Gleeoks and Armor Upgradesall 13 stone tablets with coordinates, Frost and King Gleeok, Obsidian Frox, Cotera upgrades and farming
- Hyrule CastleRoyal gear chests, Korok seeds, Serutabomac Shrine
- Thunderhead IslesCharged armor, Joku-usin and Joku-u Shrines, Dragonhead Island's relic
- 100% Completion: Armor Upgrades & Korok BonusHestu's Gift, Ancient Hero's Aspect, Great Fairy Cotera upgrade costs and materials, then Destroy Ganondorf
This chapter is in 2 parts, in the order a 100% run reaches them. Jump to a part:
Part 1: 7 shrines, 8 Lightroots, 2 caves, 2 wells, Korok Mask, Glide Tights, Typhlo Ruins quests
| Region | Great Hyrule Forest and the Typhlo Ruins (surface), the North Hyrule Sky Archipelago and Bravery Island (sky), and the Great Hyrule Forest Depths below |
|---|---|
| Shrines | Mayam, Simosiwak, Kikakin, Tenmaten, Sikukuu, Mayak and Minetak (7) |
| Lightroots | Nikakik, Katenim, Netamnet, Uukukis, Eknupup, Ramobnukas, Sijnin and Rikonasum (8; see all Lightroots) |
| Caves and wells | Rauru Hillside Cave, Deplian Badlands Cave, Elma Knolls Well, Rauru Settlement Ruins Well |
| Quests | The North Hyrule Sky Crystal (shrine quest), Investigate the Thyphlo Ruins and The Owl Protected by Dragons (Kazul), The Treasure Hunters (Domidak), Addison’s signboards |
| Bubbul Gems | 2: Rauru Hillside Cave and Deplian Badlands Cave |
| Armor | Glide Tights (Dive Ceremony, Bravery Island), Korok Mask (Forest Coliseum, Depths) |
| Minibosses | Flux Construct I, Stone Talus (2), Hinox (2), Black Hinox (2), Gloom Spawn and Phantom Ganon (2) |
| Korok seeds | 23 Koroks are placed in this area, 21 on the surface and 2 in the sky (see all Korok seeds) |
This chapter covers the forest north of Hyrule Field: the floating islands above it, the Typhlo Ruins and the Drenan Highlands, the wells and caves of the west and the Deplian Badlands in the north-east, then the Depths beneath it all. Coordinates are map units (X, Y, height); larger Y is further north. Bring Brightbloom Seeds for the dark wells, caves and the Depths, and a few Zonai Charges for the Dive Ceremony.
Quick route
Start in the sky. Carry the crystal to Mayam Shrine in the North Hyrule Sky Archipelago, then drop to Bravery Island, finish the Dive Ceremony for the Glide Tights and clear Simosiwak Shrine.
Land by the Drenan Highlands Chasm and work through the Korok puzzles around it, then enter the Typhlo Ruins for Kazul’s monolith quests, the Stone Talus and Kikakin Shrine.
Go south-west to Elma Knolls Well and Tenmaten Shrine, fix Addison’s signboards, help the Treasure Hunters at Rauru Hillside and clear Rauru Settlement Ruins Well and Rauru Hillside Cave.
Turn north-east to Sikukuu Shrine and the Deplian Badlands, take Mayak Shrine and Deplian Badlands Cave with Minetak Shrine, then drop into the Depths to light eight Lightroots and win the Korok Mask.
Sky: North Hyrule Sky Archipelago and Bravery Island
Mayam Shrine and the crystal
Mayam Shrine (Rauru’s Blessing). The North Hyrule Sky Archipelago floats above the forest and the shrine is at (340, 2814, 1834). The shrine quest The North Hyrule Sky Crystal (from the Mysterious Voice) asks you to find the crystal on the islands and carry it to the shrine. Mayam is a Rauru’s Blessing shrine with no puzzle: open the chest for a Magic Rod and take the Light of Blessing. A Device Dispenser on the same island chain, near (443, 2822, 1819), hands out Shock Emitters, Lights, Steering Sticks and Homing Carts, and a Korok waits on a sky stump at (524, 2748, 1862).


Flux Construct I
Miniboss (Flux Construct I). A Flux Construct I on a southern island of the archipelago carries the shrine crystal; take it down before you can pick the crystal up. Knock its cube parts apart and attack the exposed core; Zonai charges and weapon drops reward the win.
Bravery Island and the Dive Ceremony
Bravery Island (206, 1937, 1984). Land on the lowest level and talk to the Steward Construct. The first run is practice; every run costs a Zonai Charge, and you must pass through all the rings within 35 seconds. Finish the ceremony for the Glide Tights, which improve skydiving mobility. The practice run also reveals Simosiwak Shrine. The island has a Device Dispenser (Light, Flame Emitter, Battery and Construct Head) and a Korok at (285, 1960, 753) who asks you to catch a falling light.


Simosiwak Shrine
Simosiwak Shrine (Proving Grounds: Lights Out). At (162, 1971, 772). The gear is stripped and the arena is dark, so grab the light shield and stick by the steps and beat the three Constructs one at a time, borrowing their drops to strengthen your weapon. The chest before the altar holds a Bright Elixir. Full guide: Simosiwak Shrine.
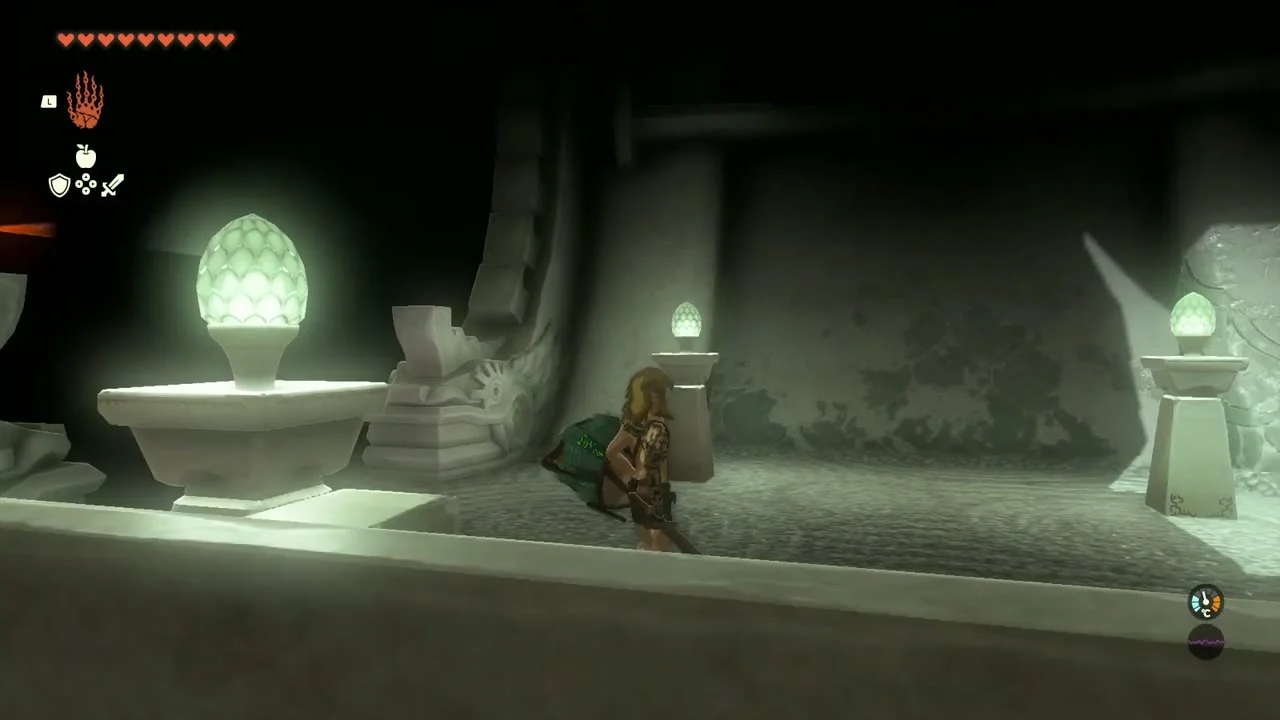
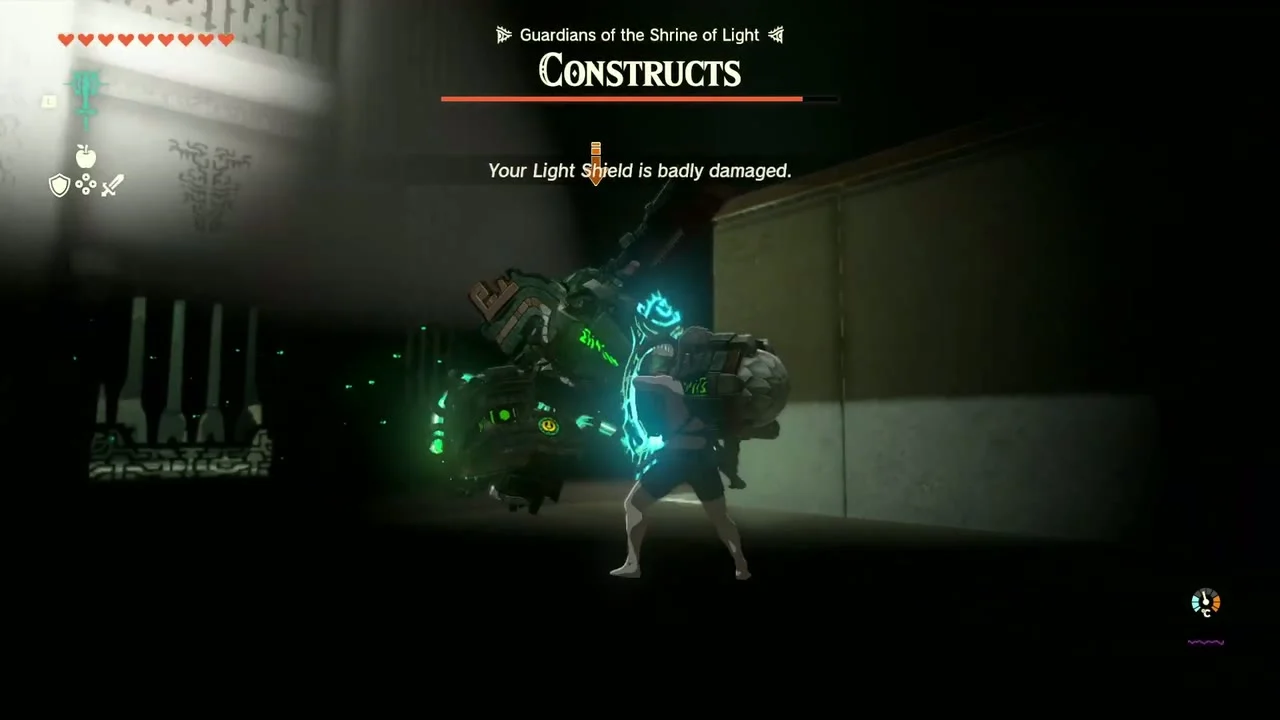
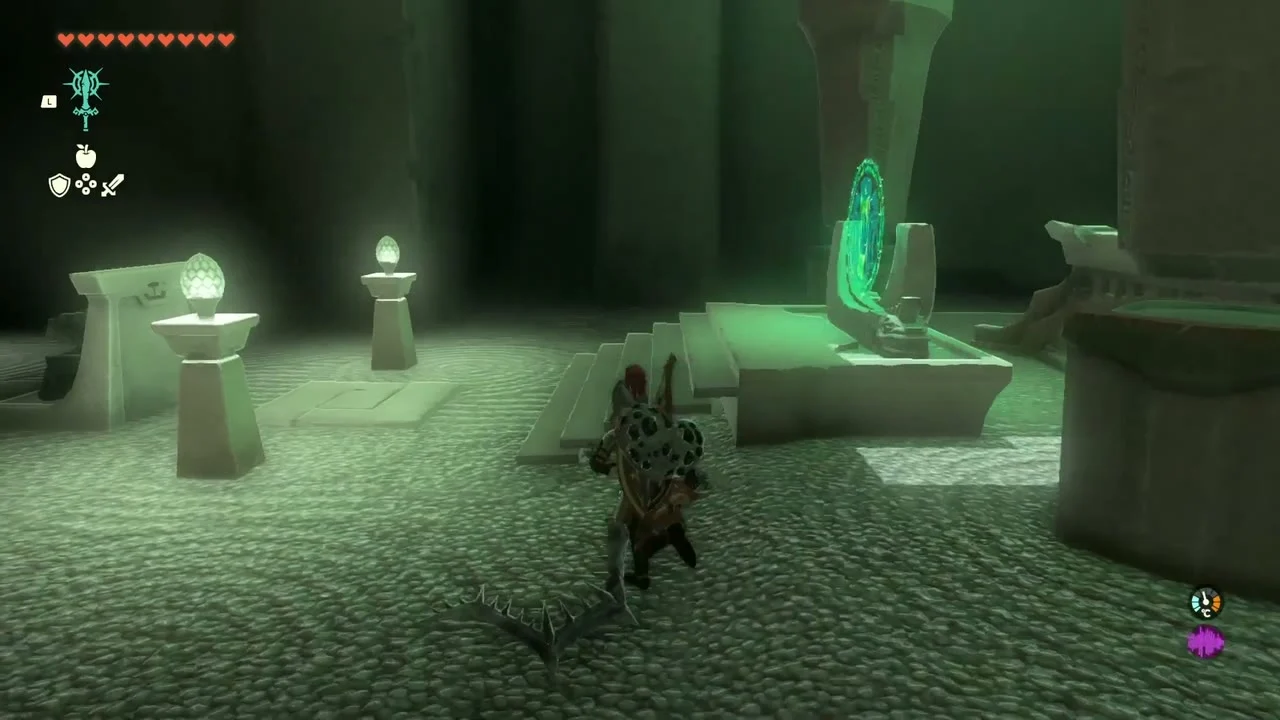
Clear the dark arena
Pick up the light shield and the stick next to the steps, then step down. Go left first to find a lone Construct in the darkness and defeat it; its drops can be fused to your weapon. The second Construct, on the far side of the room, wields a fire-spitting Ruby Broadsword, so keep the shield between you. The last one stands in the far left corner with a flame device and a light shield; strike it quickly and avoid getting burned. Your own gear returns and the door opens when all three are down.
The shrine counts as a Proving Grounds trial, so the Light of Blessing waits at the altar past the chest. Because the lights stay on the weapons you borrow, keep the light shield equipped until the fight ends.
Drenan Highlands and the Typhlo Ruins
Land by the Drenan Highlands Chasm at (-71, 2983, 126) and glide east to the Typhlo Ruins Skyview Tower at (343, 3141, 173); the ruins lie directly below it at (327, 3079).
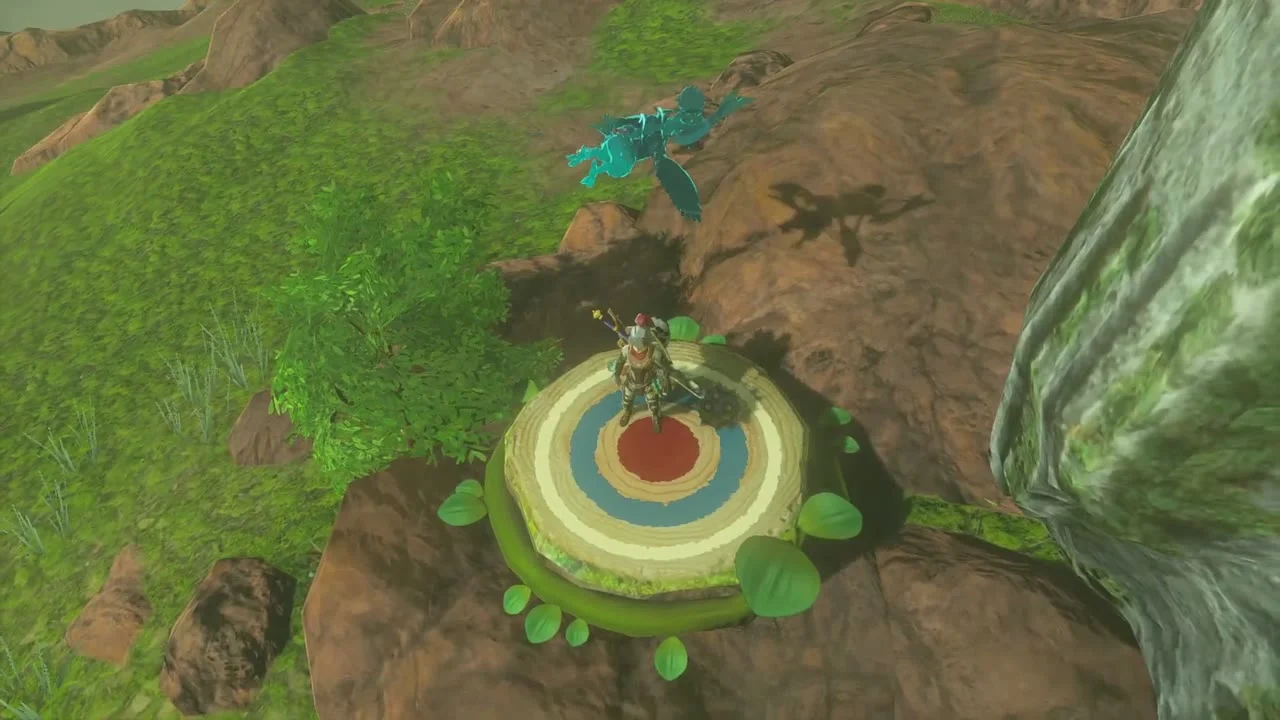
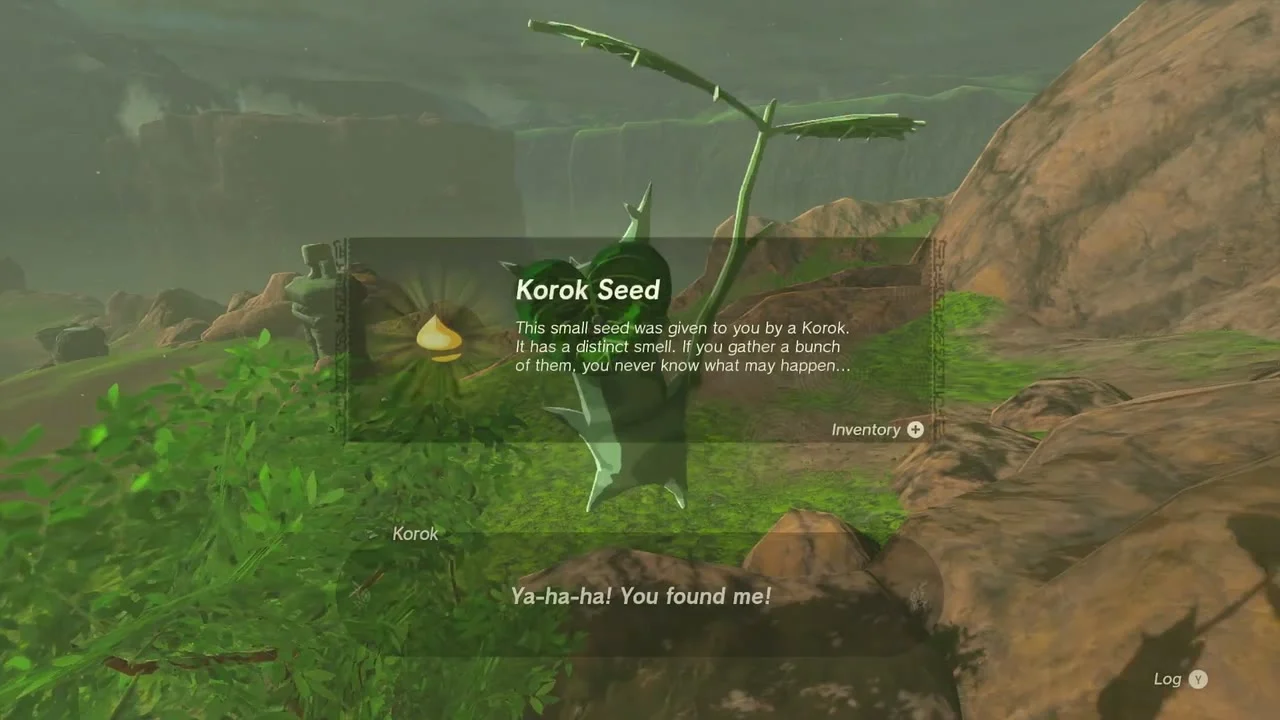
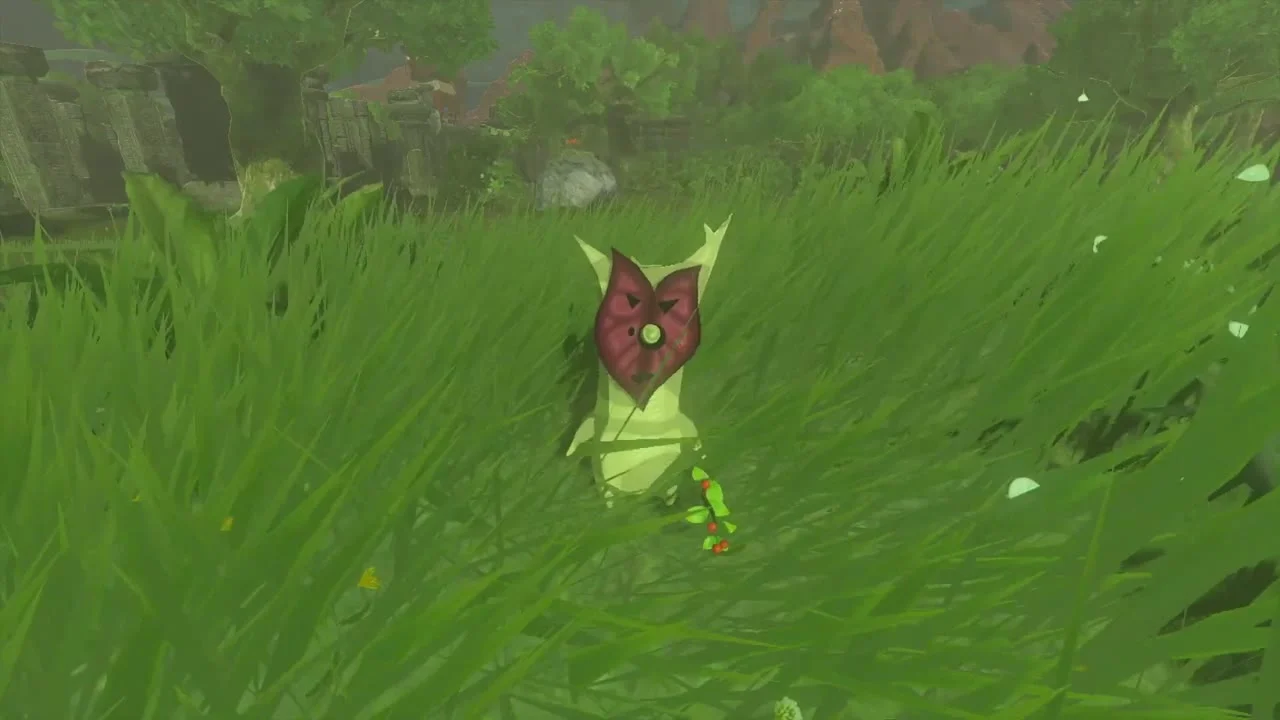
Korok seeds around the chasm. Five Koroks sit within a short glide of the chasm. A paraglider Korok at (52, 3147, 176) wants you to glide through a target ring near (61, 3114). A Korok Duo at (18, 3099, 168) needs its exhausted friend carried across. Lift-the-rock Koroks lie at (171, 3036, 176) and (127, 3151, 181), and a cube puzzle Korok at (276, 3119, 182). Each pays a Korok Seed; the Duo pays two.
Investigate the Typhlo Ruins
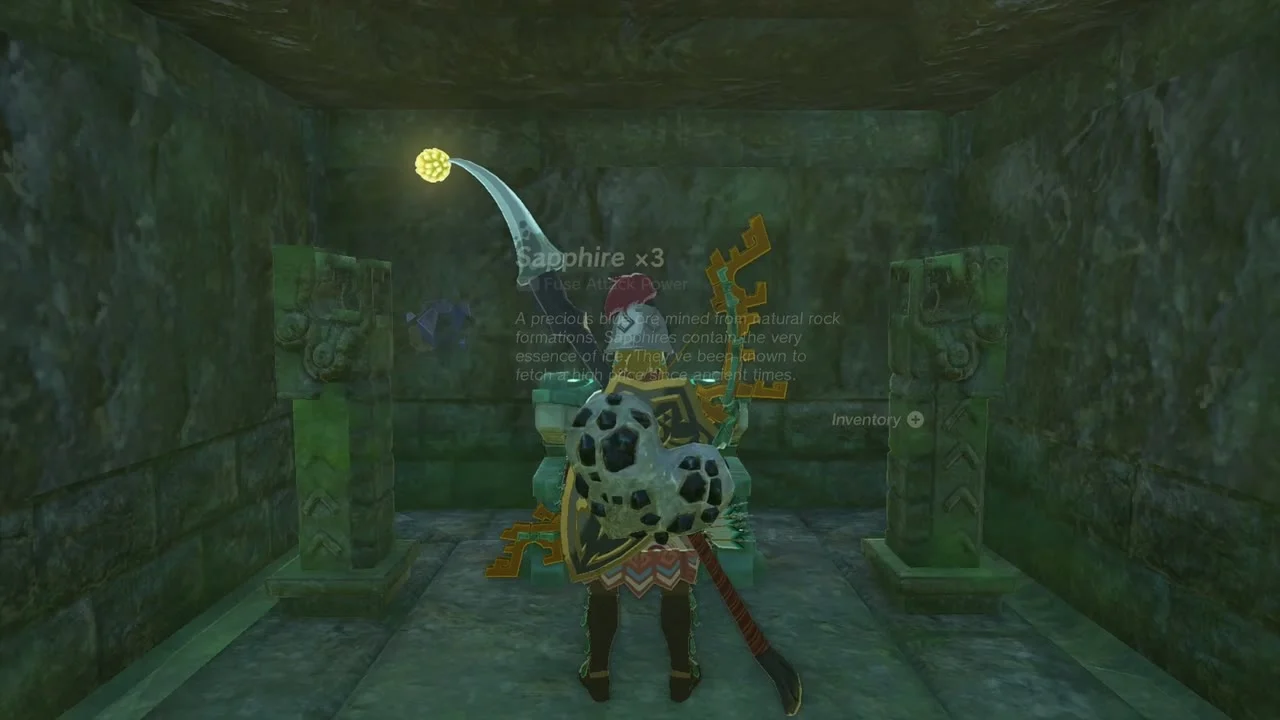
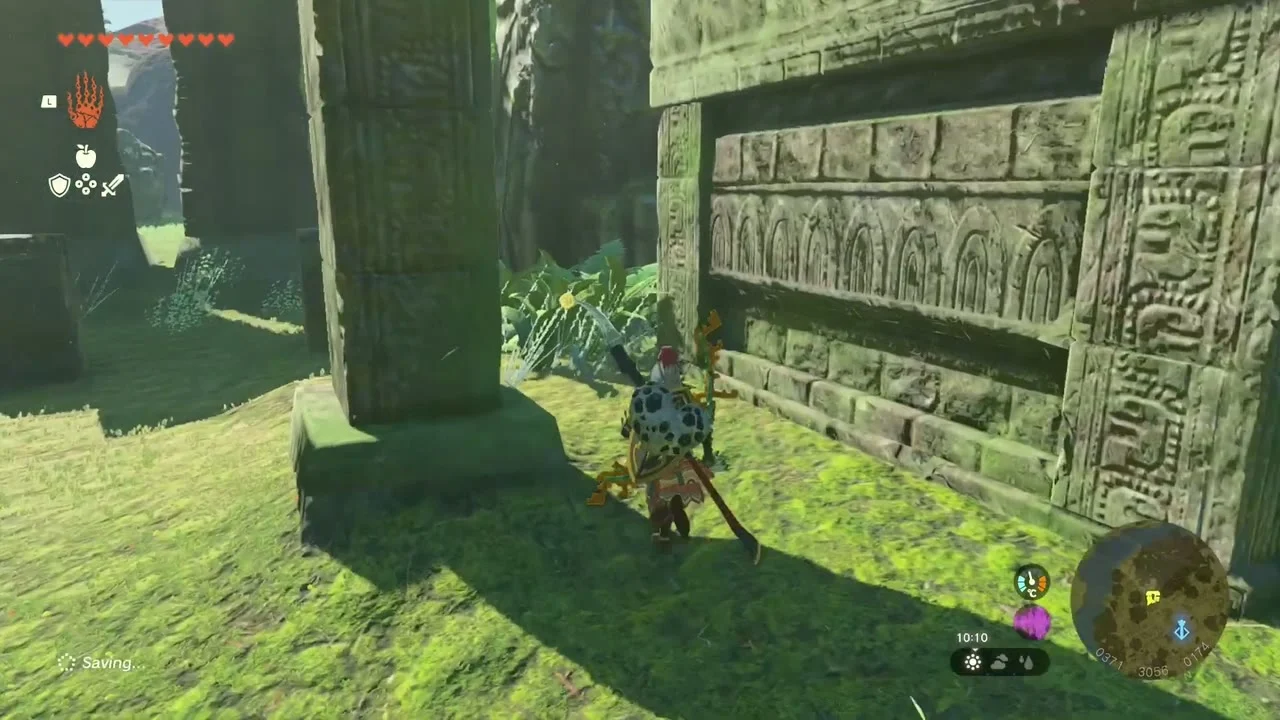
Quest (Kazul). Kazul of the Zonai Survey Team camps beside the tower. Read his monoliths to start the side adventure Investigate the Thyphlo Ruins, which runs four sub-quests, one for each sage. For The Owl Protected by Dragons, bring Tulin’s gust to the stone platform in front of the giant stone owl ringed by dragon heads, on the south-south-east side of the ruins near (364, 3056, 175). A stone hut opens and the chest holds Sapphire x3.
Ruins chests
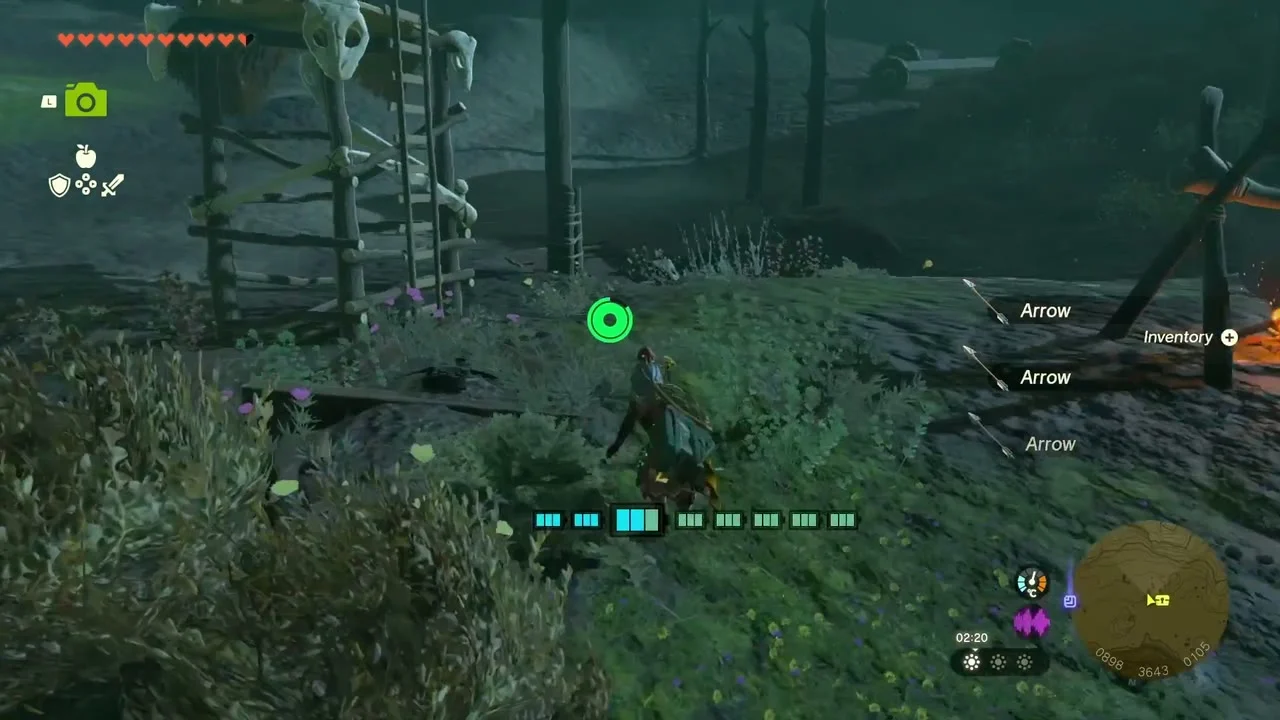
Royal Broadsword (or Traveler’s Sword, Soldier’s Broadsword or Knight’s Broadsword, depending on your progress). A chest in the ruins’ terraces holds a Royal Broadsword. A Forest Dweller’s Shield chest and an Arrow x5 chest also lie among the grass terraces and wooden platforms of the Drenan Highlands.
Addison’s signboard
Addison. One of Addison’s signboards leans on the road near the ruins at about (493, 2939, 178). Rebuild its frame with Ultrahand from the planks nearby and Addison pays Red Rupees plus a bonus.
Stone Talus
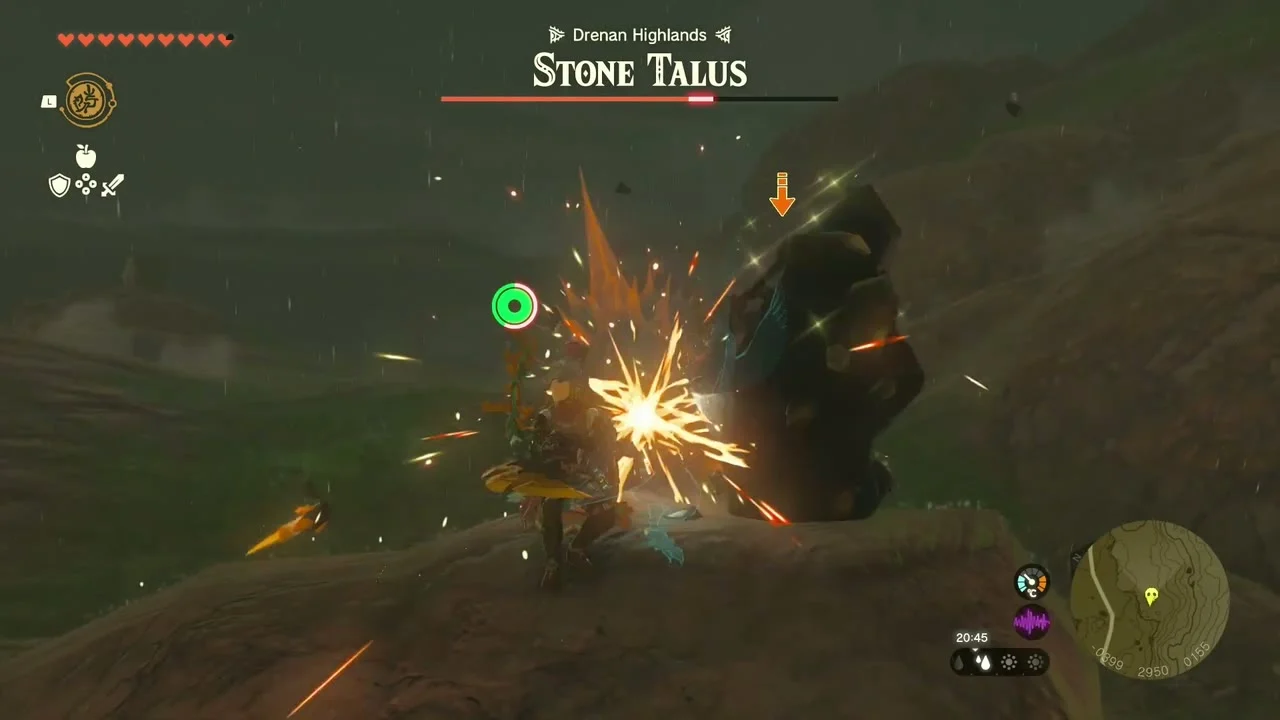
Miniboss (Stone Talus). A Stone Talus patrols the Drenan Highlands. Dodge its slams, hit the glowing ore on its back with arrows or a heavy weapon, and break the ore deposits for gems.

Highland chests
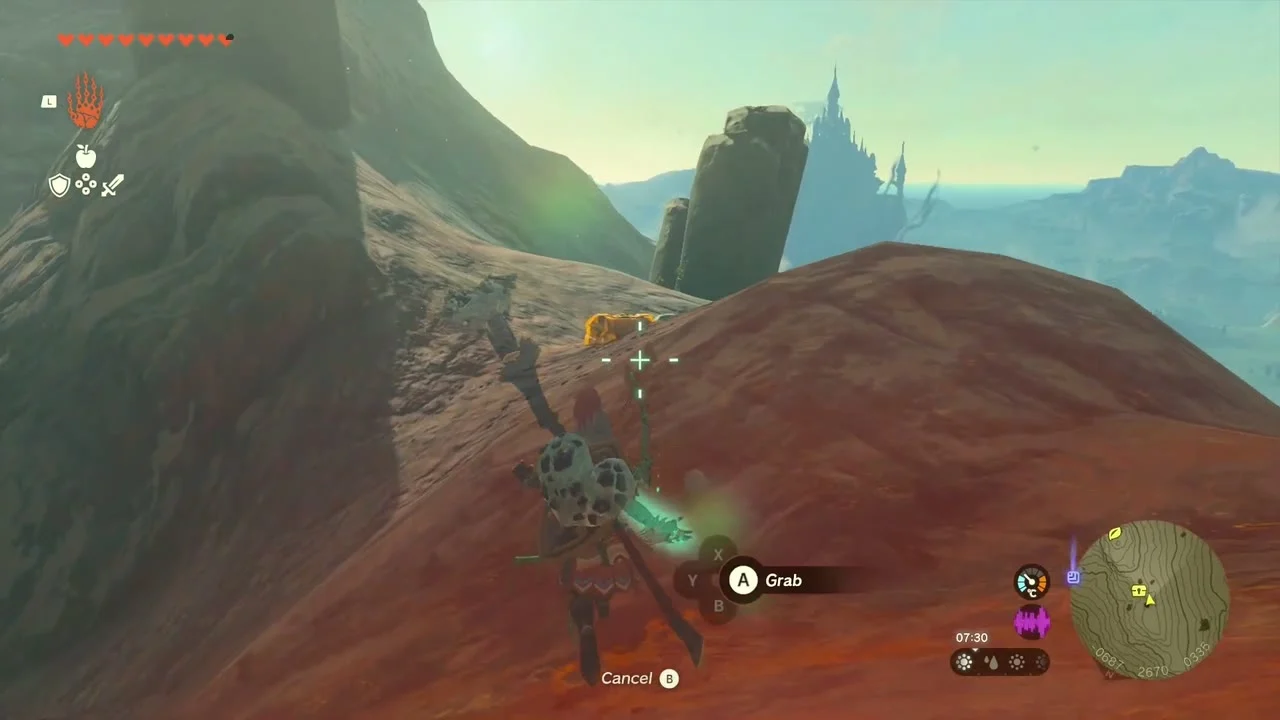
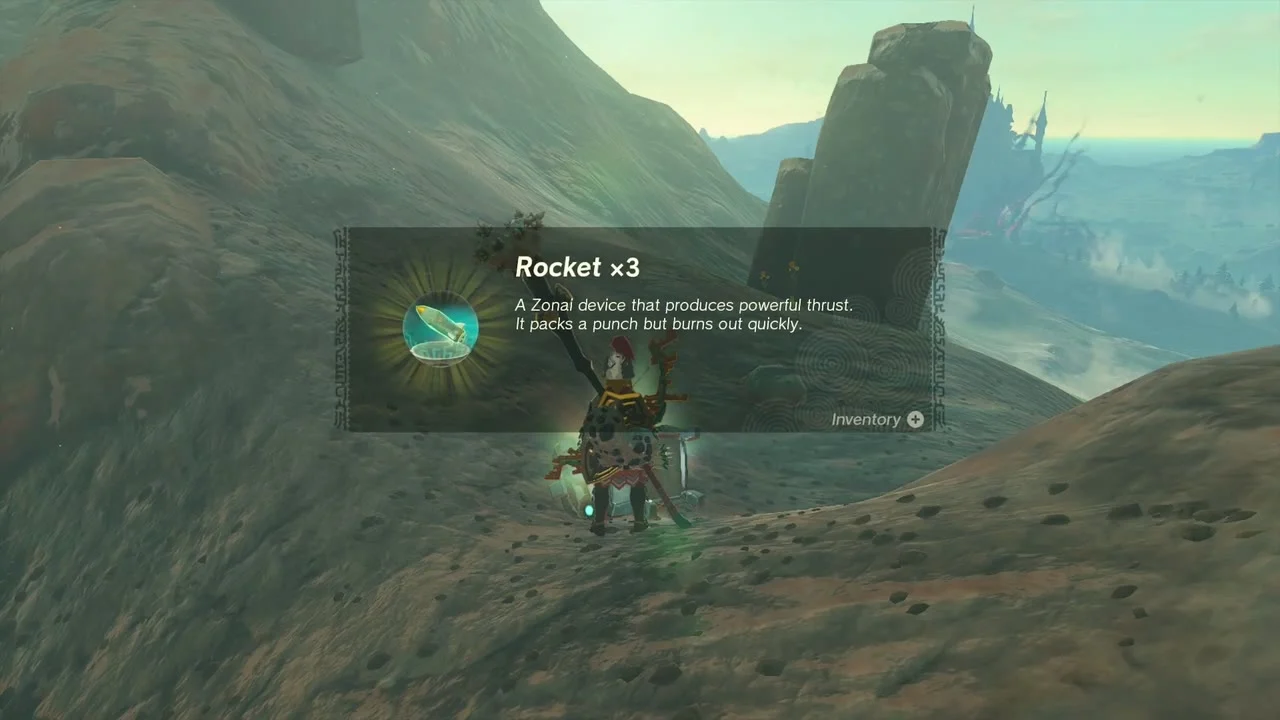
Chest (Rocket x3). On the red-rock ridge a chest beside leaning stone slabs holds Rocket x3. Climb the slope with Ultrahand to reach the ledge, then open it.
Kikakin Shrine
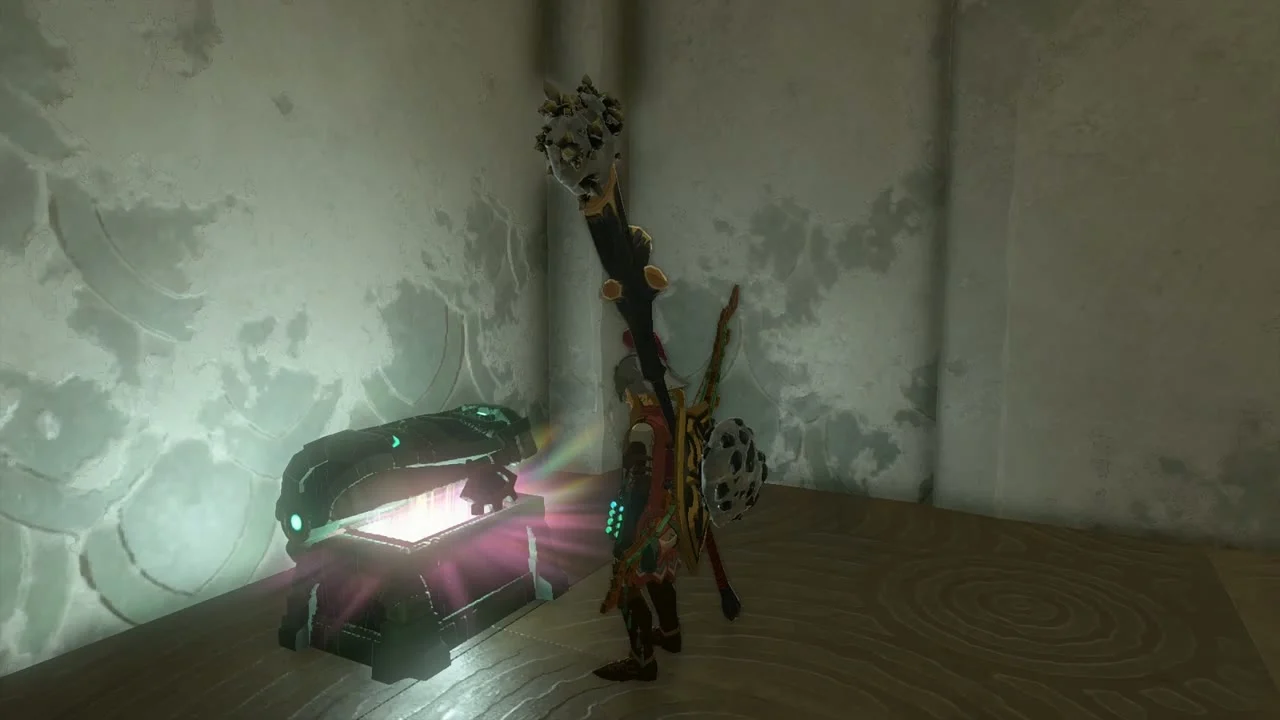
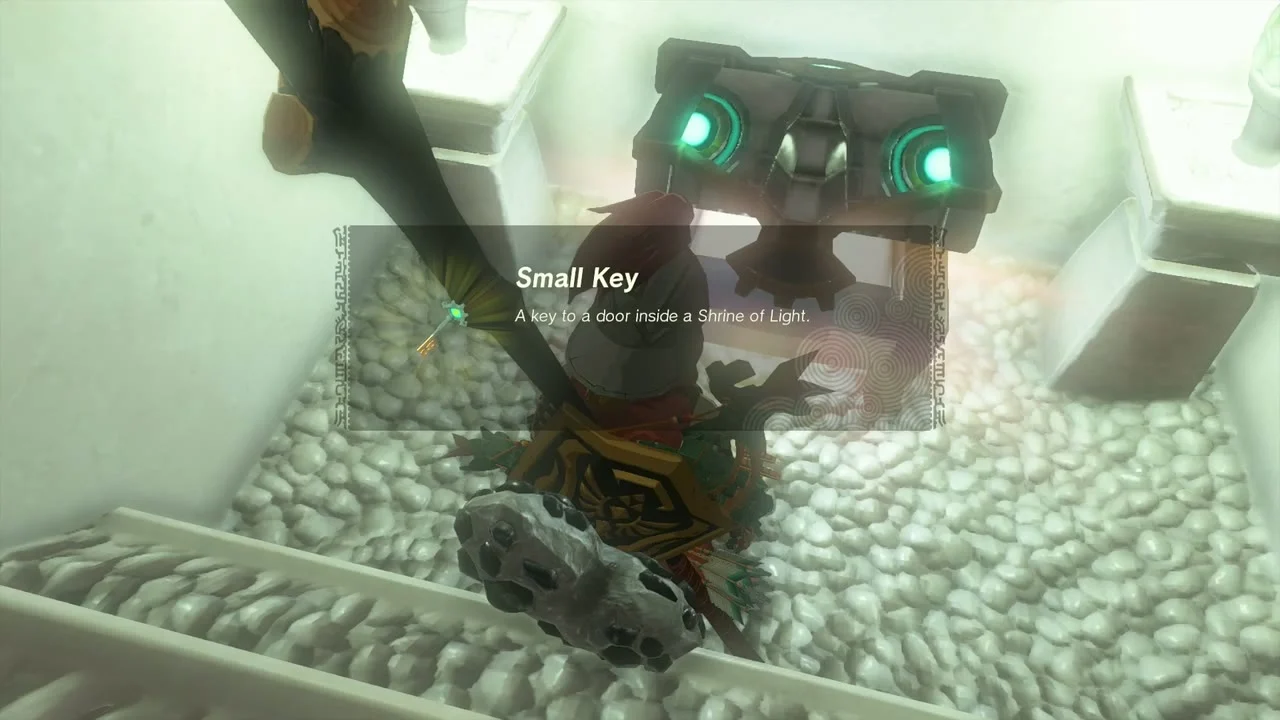
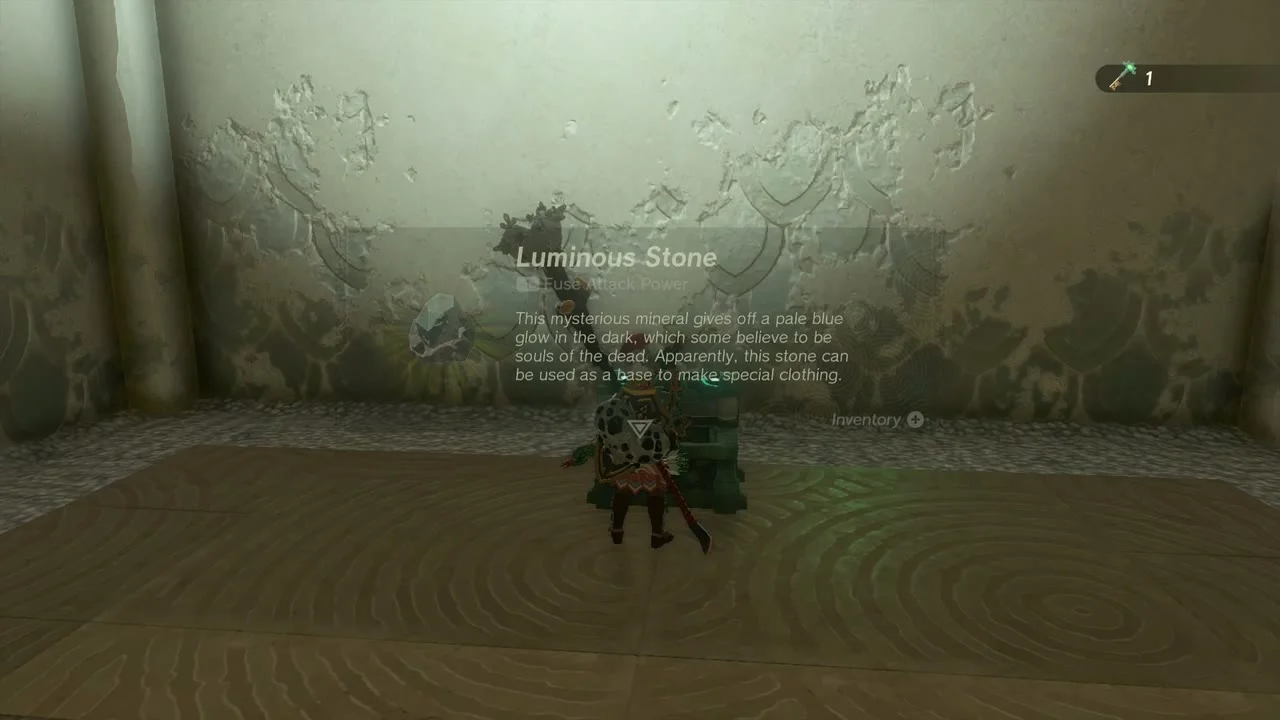
Kikakin Shrine (Shining in Darkness, puzzle). At (-395, 2735, 301), on the eastern flank of Mount Drena. The maze is dark; take the Zonai light from the floor at the start. Use Ultrahand to pull the box from a wall for a chest with Amber, bypass the lasers for a chest with an Opal, and lift the middle tile in the lit dead end for a chest with a Small Key. Unlock the door for the Zonaite Bow and find the Luminous Stone chest before the gate. The Nikakik Lightroot is below. Full guide: Kikakin Shrine.

Follow the maze in order
Take the flashlight from the floor and walk the only open path opposite the end door. Take the left corridor, then at the side corridor on your right use Ultrahand to remove the box in the wall; behind it is the Amber chest. Return, turn right at the spiked wall and follow the corridor straight to the laser room; slip past the beams for the Opal chest, and watch the spiked wall at the far end.
Find the Small Key
Go right at the first split, straight at the second and right at the third. The dead end has a lit spot on the floor: lift the middle tile to find the chest with the Small Key. Retrace your steps to the door at the exit and use the key there; the gate beyond holds the Light of Blessing.
Phantom Ganon
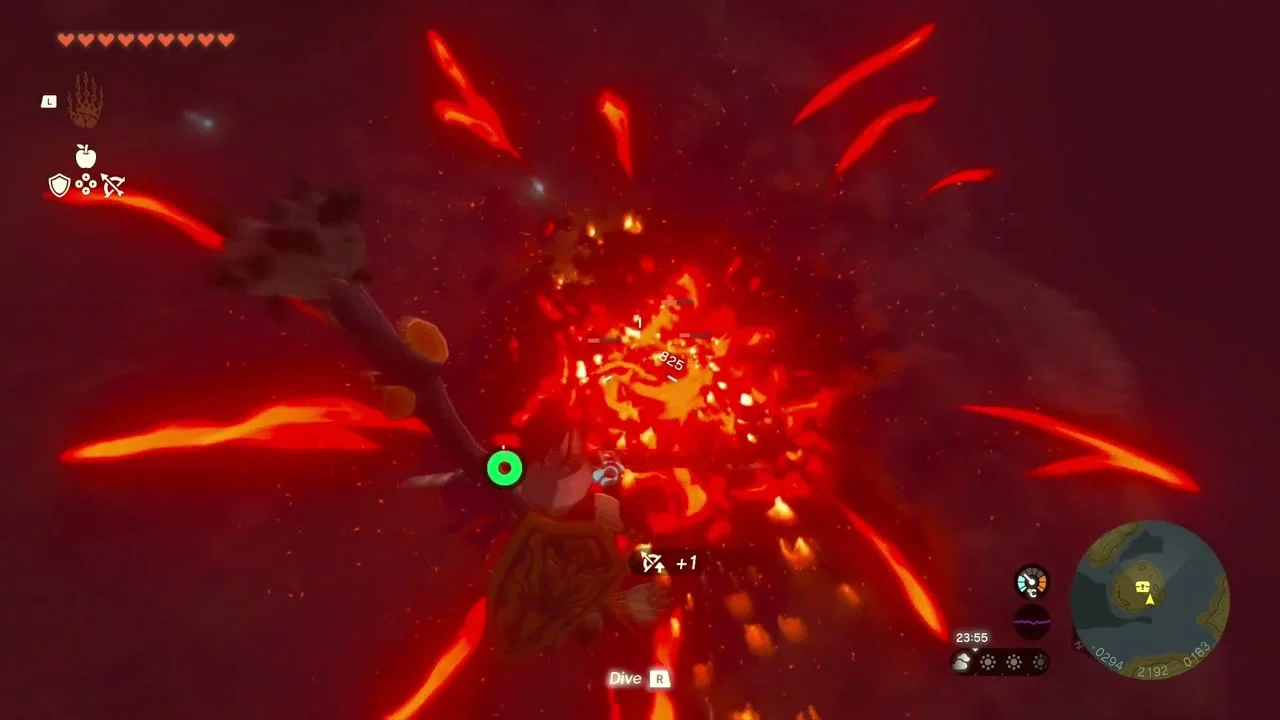
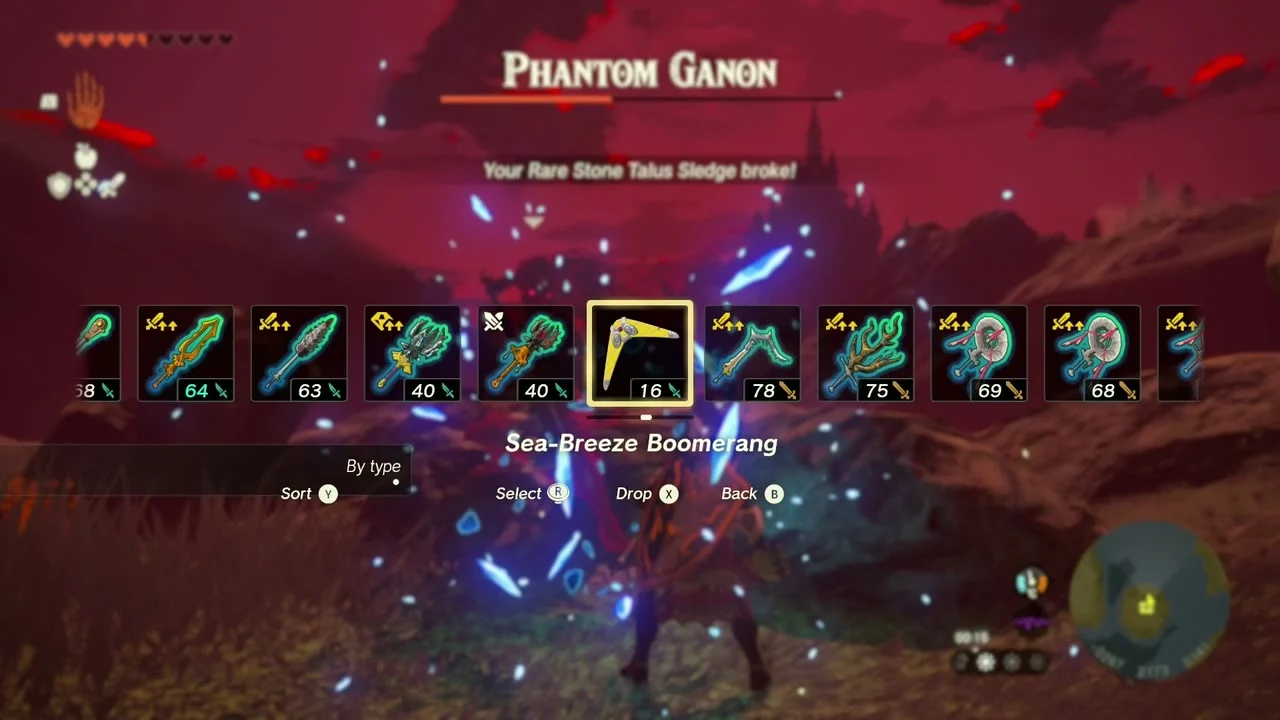
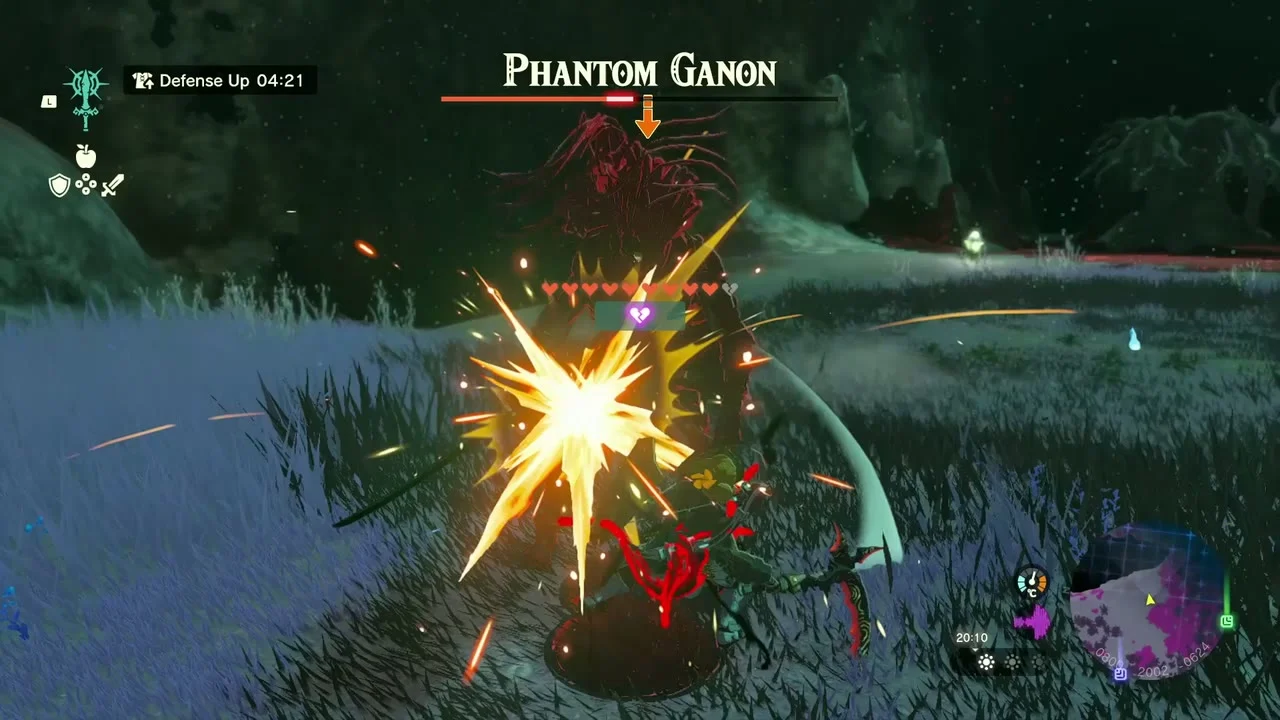
Miniboss (Gloom Spawn and Phantom Ganon). Defeat the Gloom Spawn first, then Phantom Ganon, who sends fire and teleports; stay behind your shield and strike when he stops. His arena holds a chest with a Forest Dweller’s Spear.
Hinox
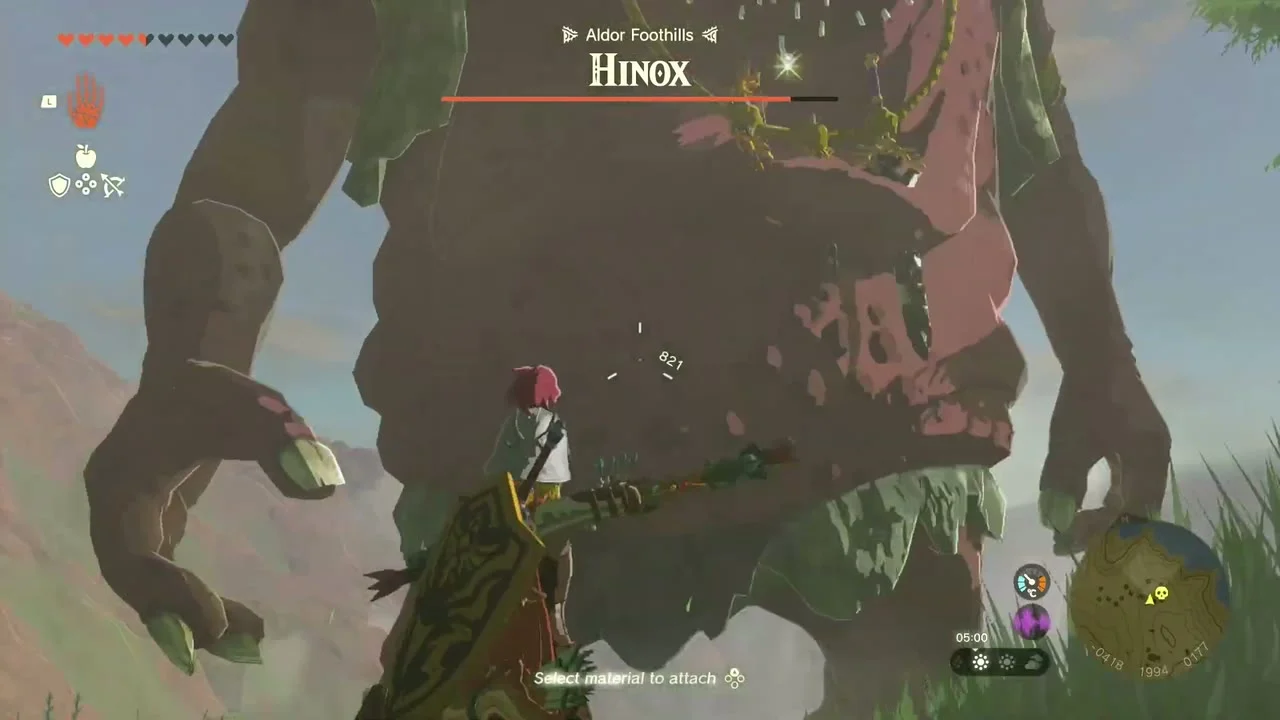
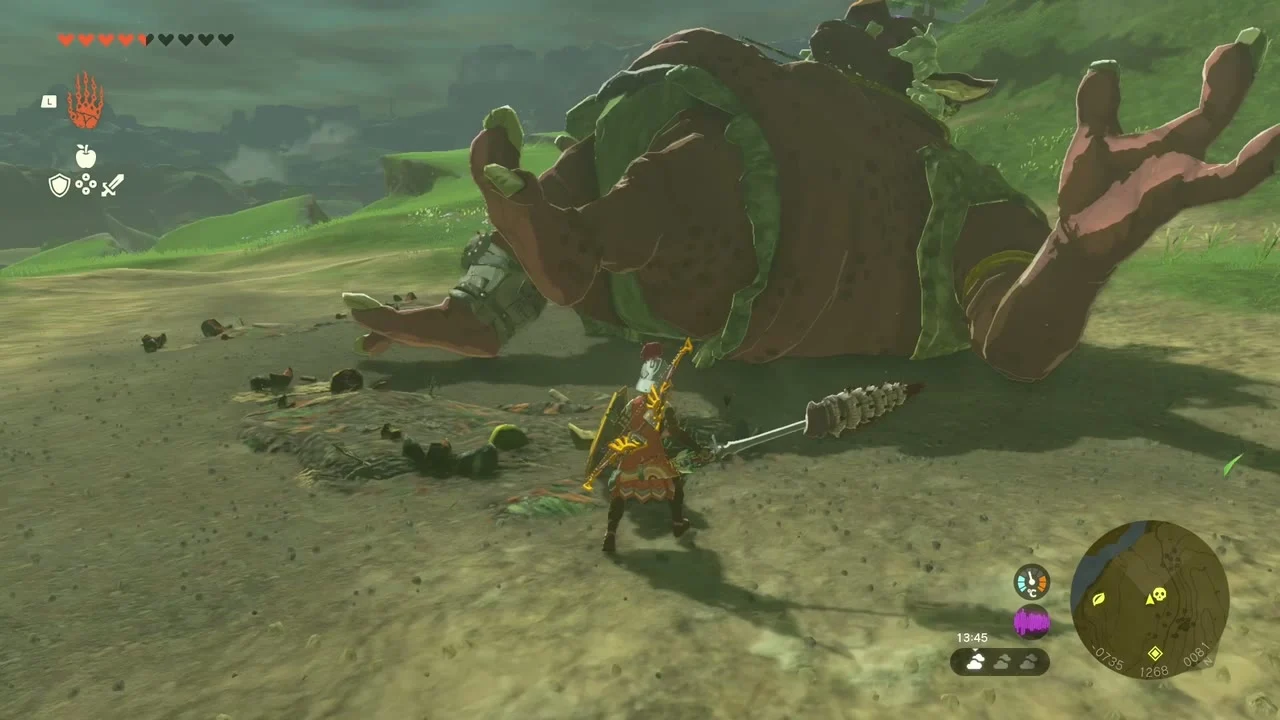
Miniboss (Hinox). A Hinox stalks the slopes of Elma Knolls and another sleeps beneath the highlands. Shoot the eye to stun it, then climb its body and strike the eye while it is down.
Elma Knolls and Rauru Hillside
Elma Knolls Well and Tenmaten Shrine
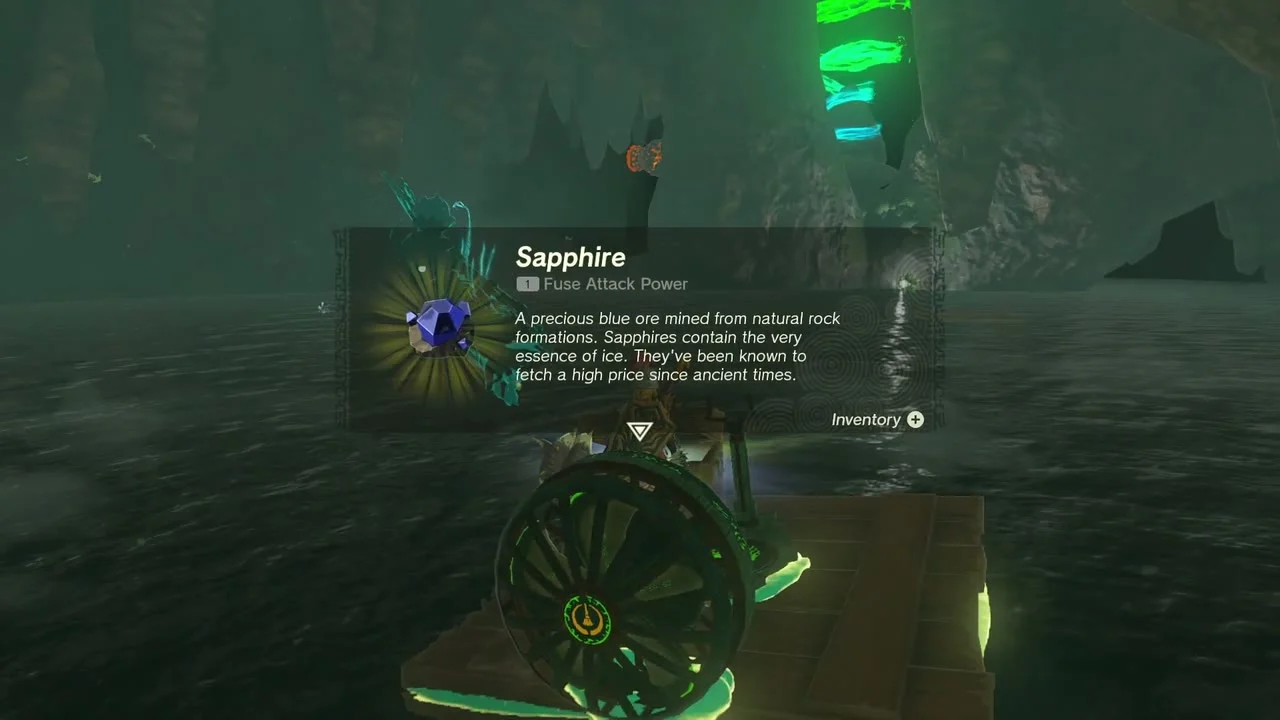
Elma Knolls Well (-672, 1355, 88). The well sits at the south-west end of Elma Knolls beside a broken shack and wagon; the Elma Knolls Chasm is at (-456, 1722, 168). It is very dark, so throw Brightbloom Seeds or fuse them to arrows. A chest past the first drop holds a Royal Broadsword, and a floating chest in the water holds a Sapphire. A large lake blocks the way to the shrine: fan a wooden board across or glide to a floating plank.

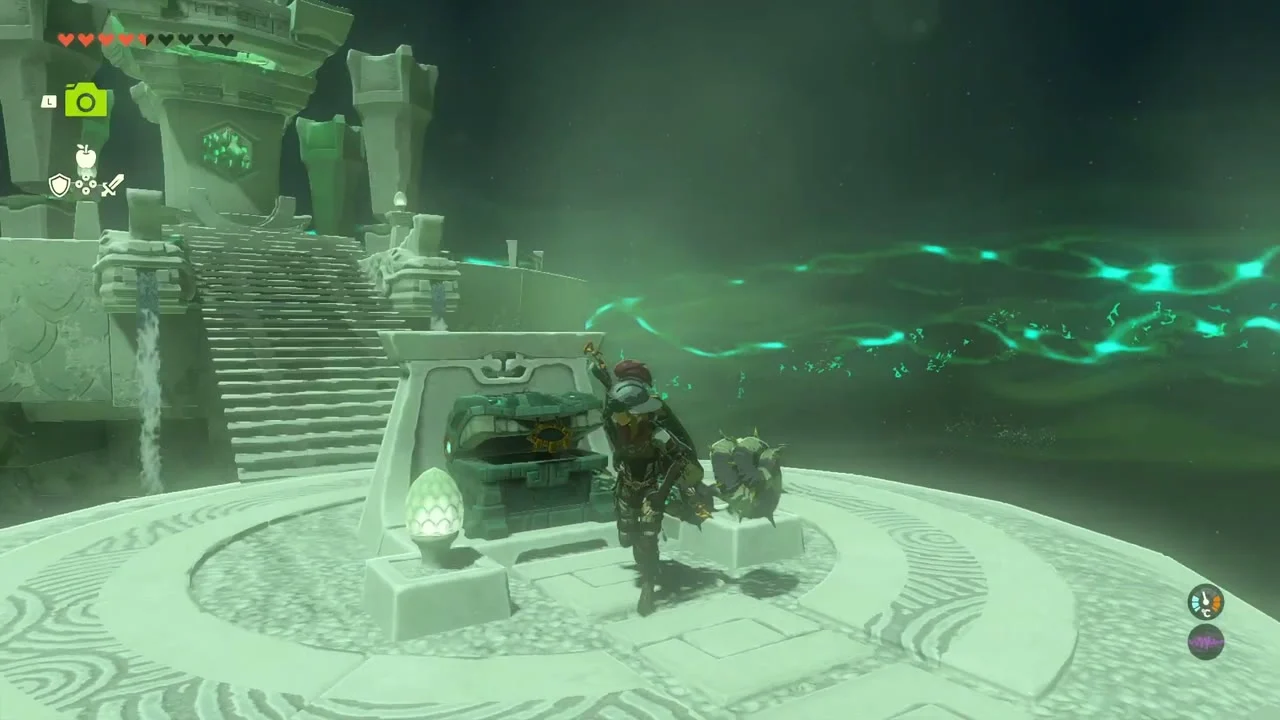
Tenmaten Shrine (Rauru’s Blessing). At (-594, 1550, 0) inside the well. It has no puzzle: open the chest for a Large Zonai Charge and take the Light of Blessing. The Netamnet Lightroot lies below.

Addison’s signboards
Addison. More signboards stand along the road from Elma Knolls toward Rauru Hillside; rebuild each frame with Ultrahand from the loose planks for Red Rupees and extra goods.
The Treasure Hunters
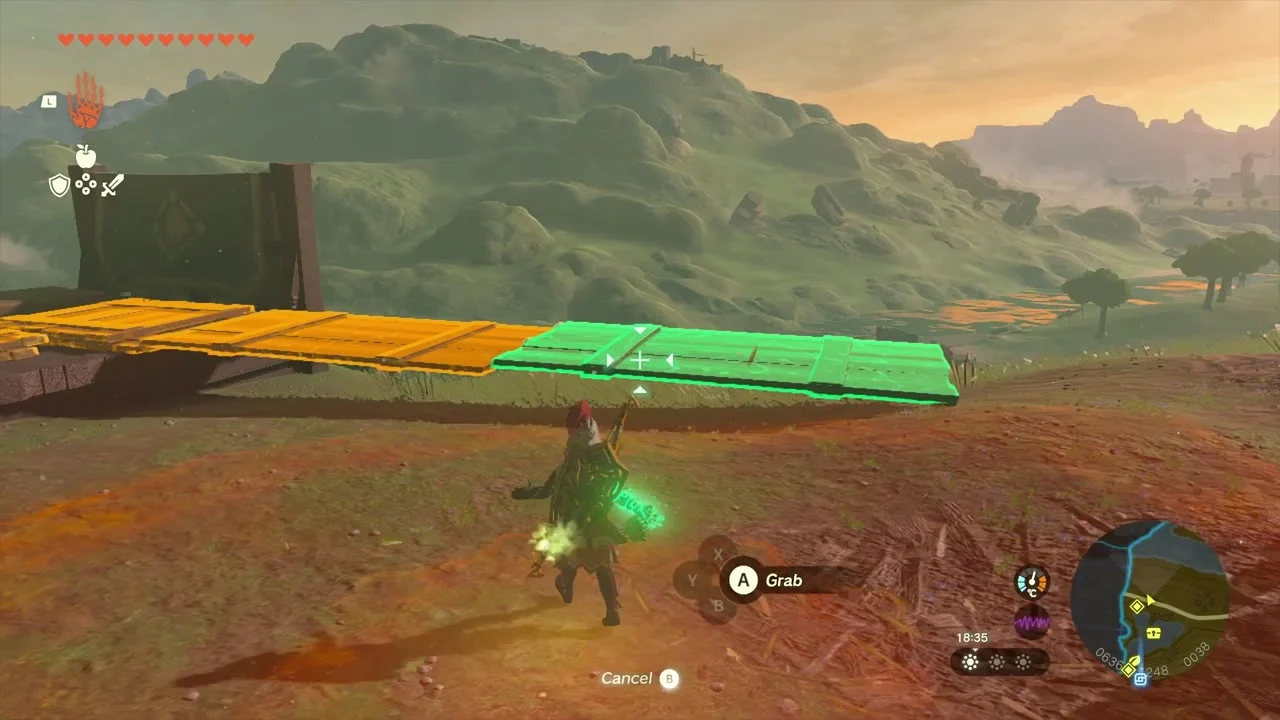
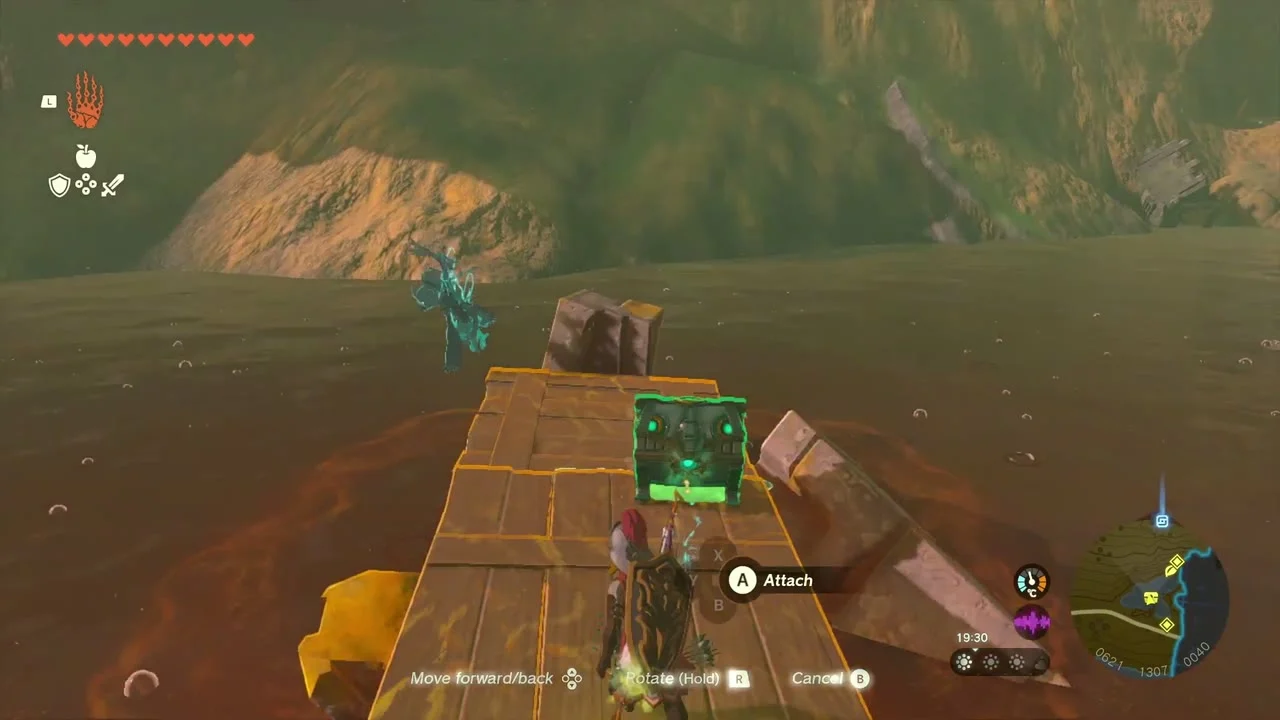
Quest (Domidak). At Rauru Hillside, Domidak and Prissen are stuck beside a chest sunk in a bottomless bog. Build a plank bridge or cart with Ultrahand, or glide over and remove the three Bomb Flowers in the chest, then speak to Domidak.
Rauru Settlement Ruins Well and Rauru Hillside Cave
Rauru Settlement Ruins Well. A dark, shallow well beside the ruins; the chest holds a Royal Broadsword. Back outside, a Korok on a broken wall hands over a Korok Seed.


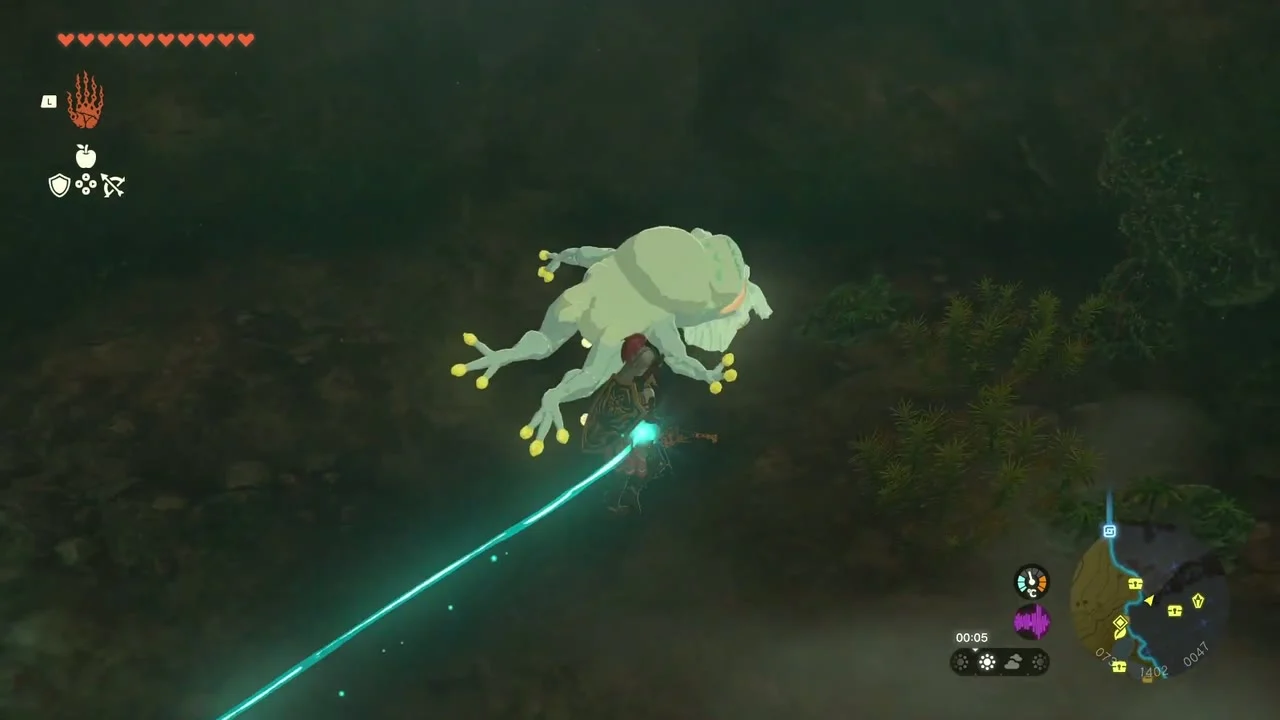
Rauru Hillside Cave. The entrance is on the south-west side of Rauru Hillside. Take the branch with the mud puddle and hop through it quickly, then break the grey rocks on the north-east wall for the Bubbulfrog; knock it down with an arrow for the Bubbul Gem. Defeat the Horriblins in the larger cavern and open the chest on the wooden ledge for a Silver Lizal Spear. A Royal Shield (or Traveler’s Shield, Soldier’s Shield or Knight’s Shield, depending on your progress) chest lies earlier in the cave.

A Master Sword in Time
Dragon’s Tear (Memory 15). The geoglyph tear is at about (892, 2952, 362) in the Deplian Badlands South, north-east of Sikukuu Shrine. Collect it for the memory A Master Sword In Time.
Sikukuu Shrine and the Deplian Badlands
Sikukuu Shrine (Spinning Gears, puzzle). At (698, 2793, 239), south-east of the tower. Stop the gears with Recall to land the ball in the switch, then turn the handle with Ultrahand and ride the large gear’s teeth into the small room for the chest with a Mighty Zonaite Longsword (Strong or Mighty, depending on your progress). Ride the gear back up to the altar. The Uukukis Lightroot is below.


Room one: land the ball in the switch
A ball rolls off a turning gear and must land in a switch to open the gate. Stop the gear with Recall and reverse its direction so the ball drops on the far side; if it lands directly in the switch, the door opens, or you can place it by hand with Ultrahand.
Room two: turn the big gear
Grab the handle beside the gears with Ultrahand and turn it a few rotations counter-clockwise, then use Recall on the larger gear so it spins clockwise. Slip between the teeth to drop into the small chest room, then return by turning the handle clockwise, recalling the large gear and riding its teeth up to the altar.
Chests (Spiked-Iron-Ball Hammer, Cobble Crusher). On a wooden platform in the badlands a chest holds a Spiked-Iron-Ball Hammer. A Rock Octorock nearby drops a Cobble Crusher from its hole.
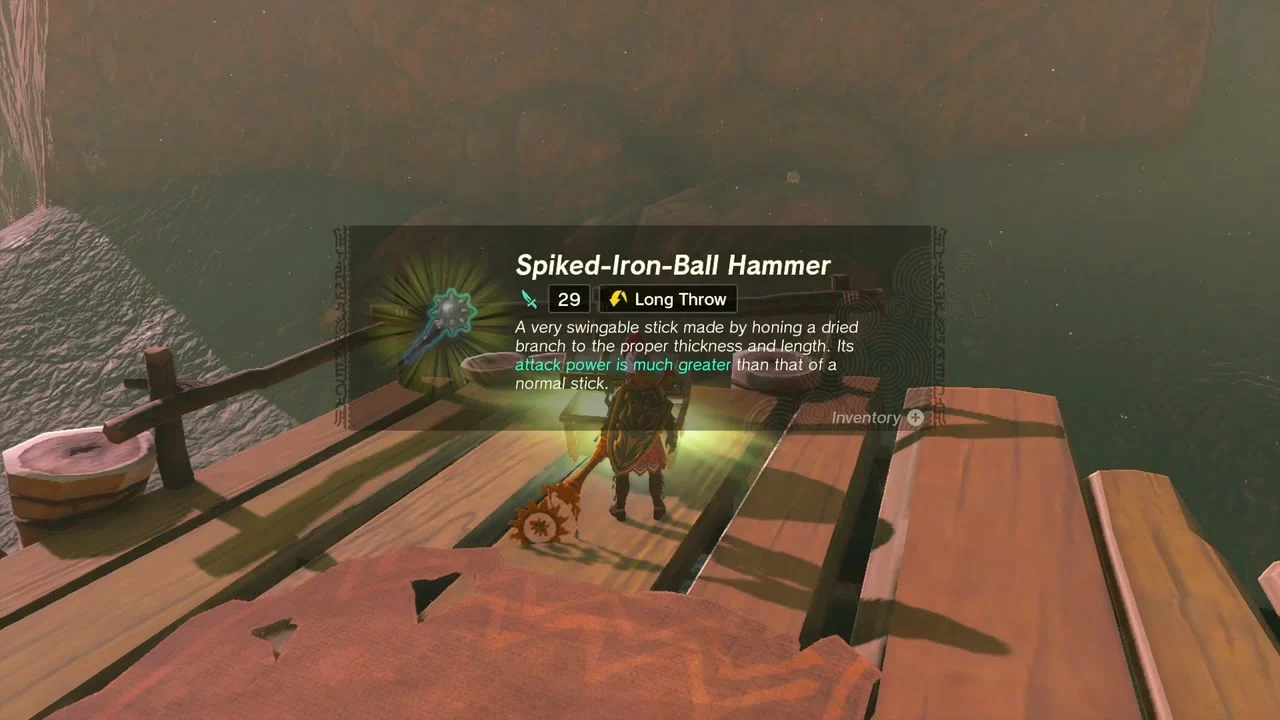
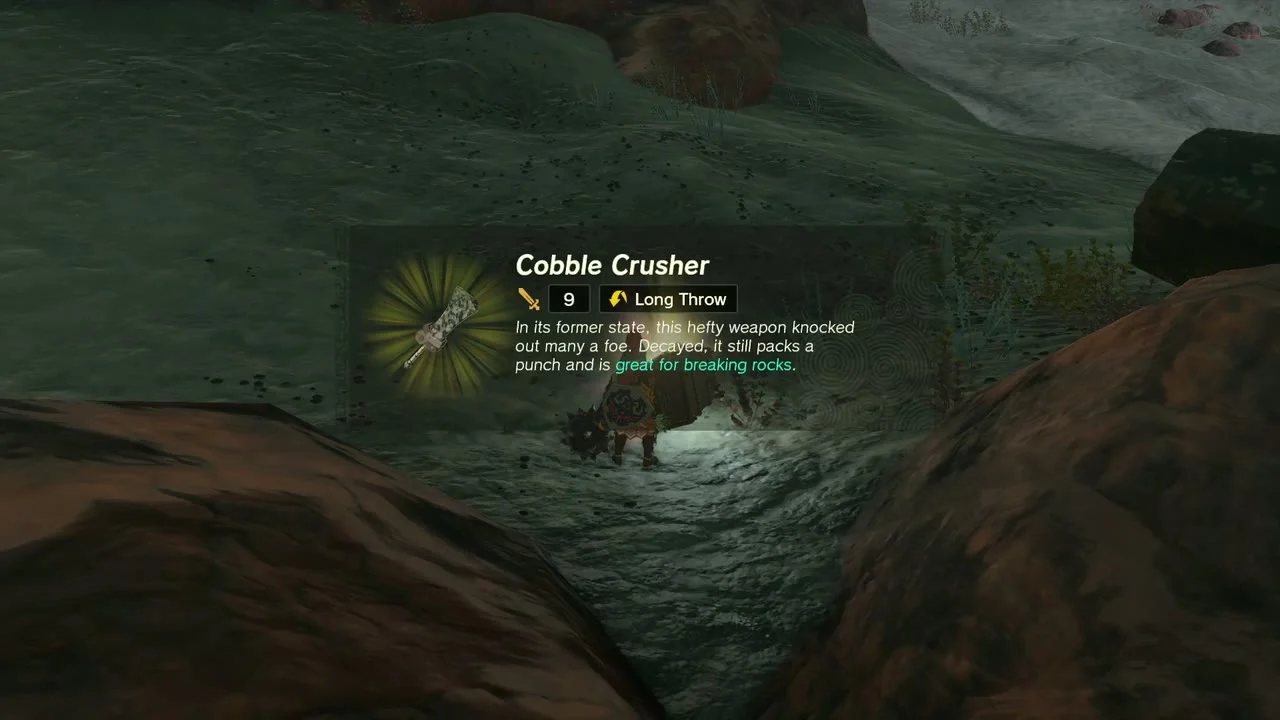
Dinraal. A dragon flies through the Eldin Mountains. Shoot it with arrows as it passes to collect Dinraal’s Scale.

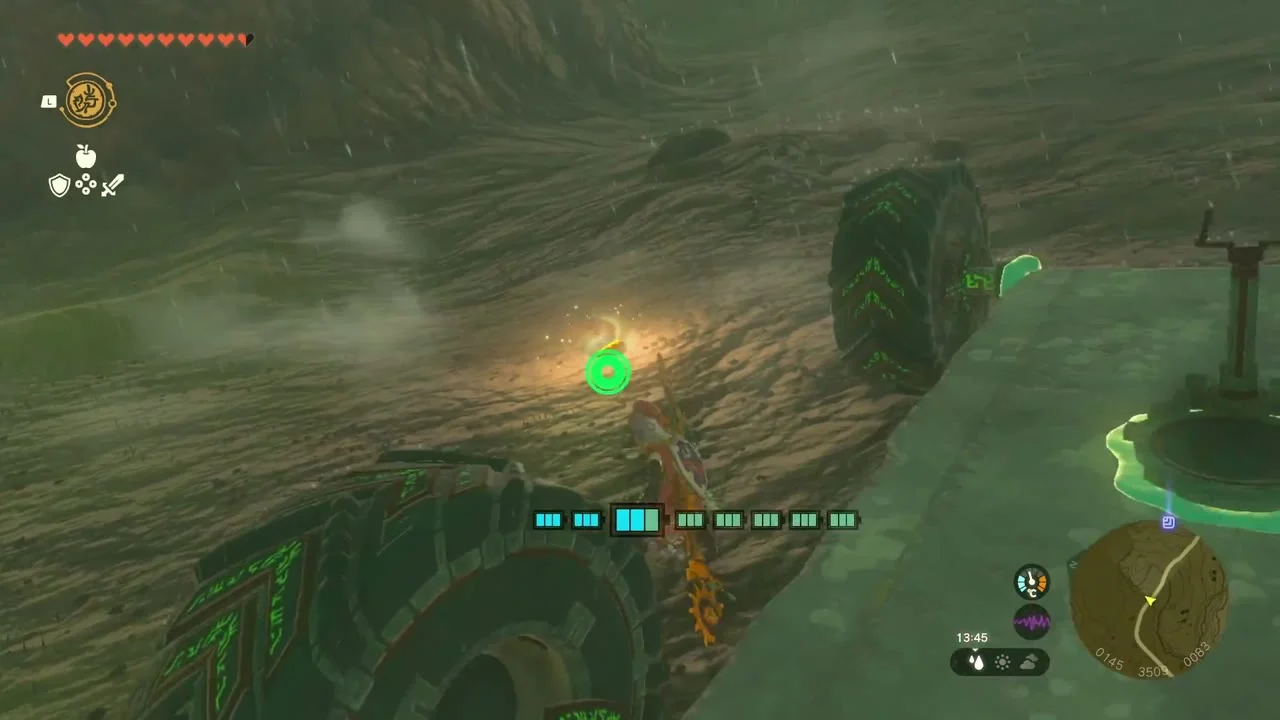
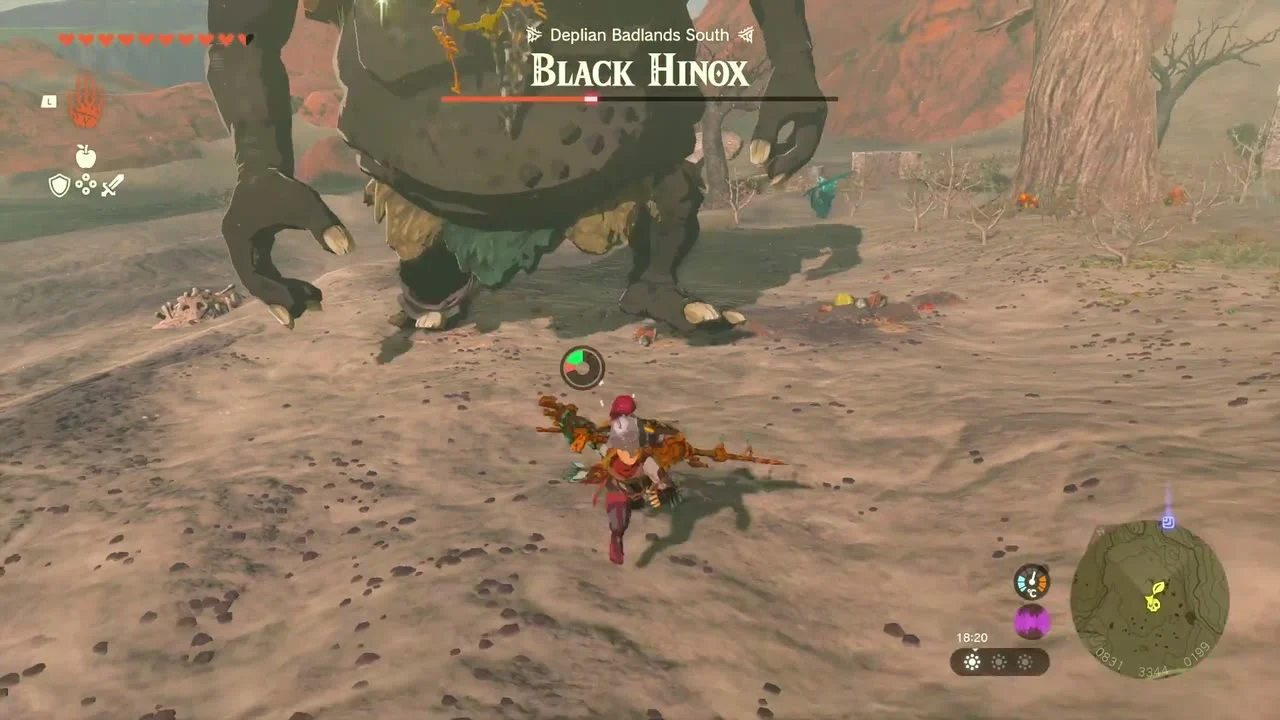
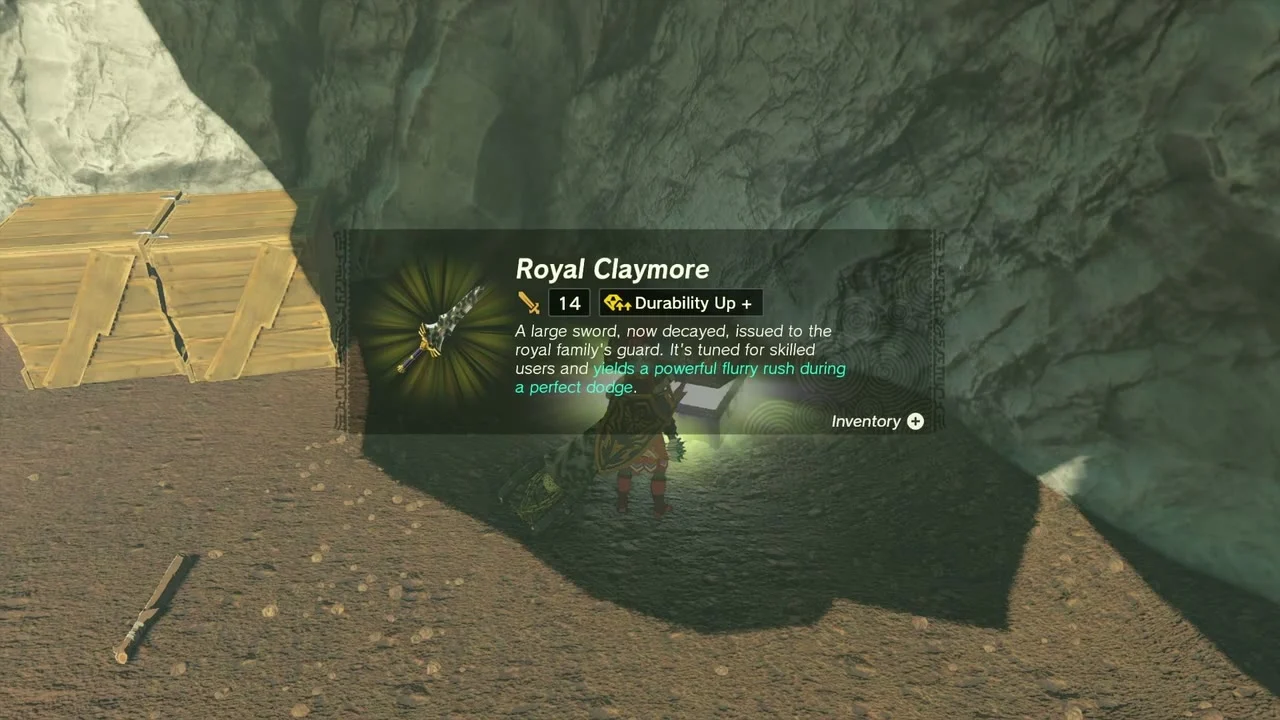
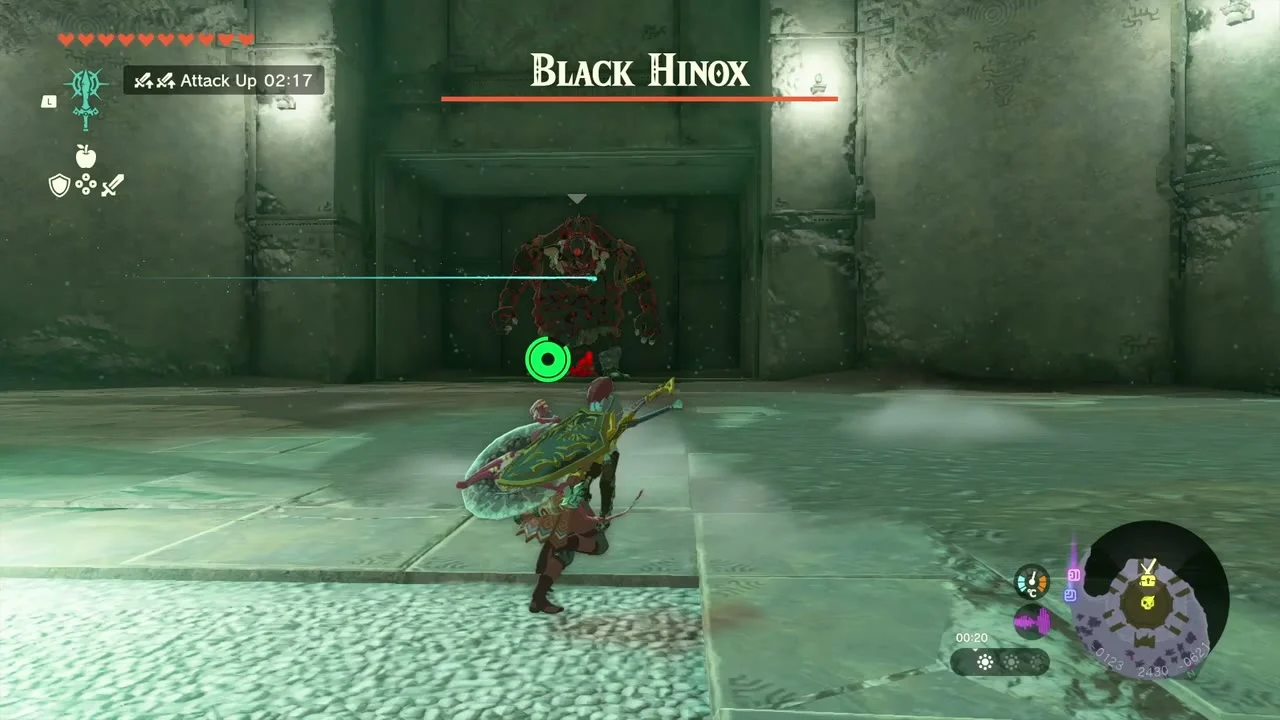
Miniboss (Black Hinox) and chests. A Black Hinox roams the Deplian Badlands South. Further along, chests hold a Royal Claymore (or Traveler’s Claymore, Soldier’s Claymore or Knight’s Claymore, depending on your progress) and Steering Stick x5, and one more holds Cart x5.
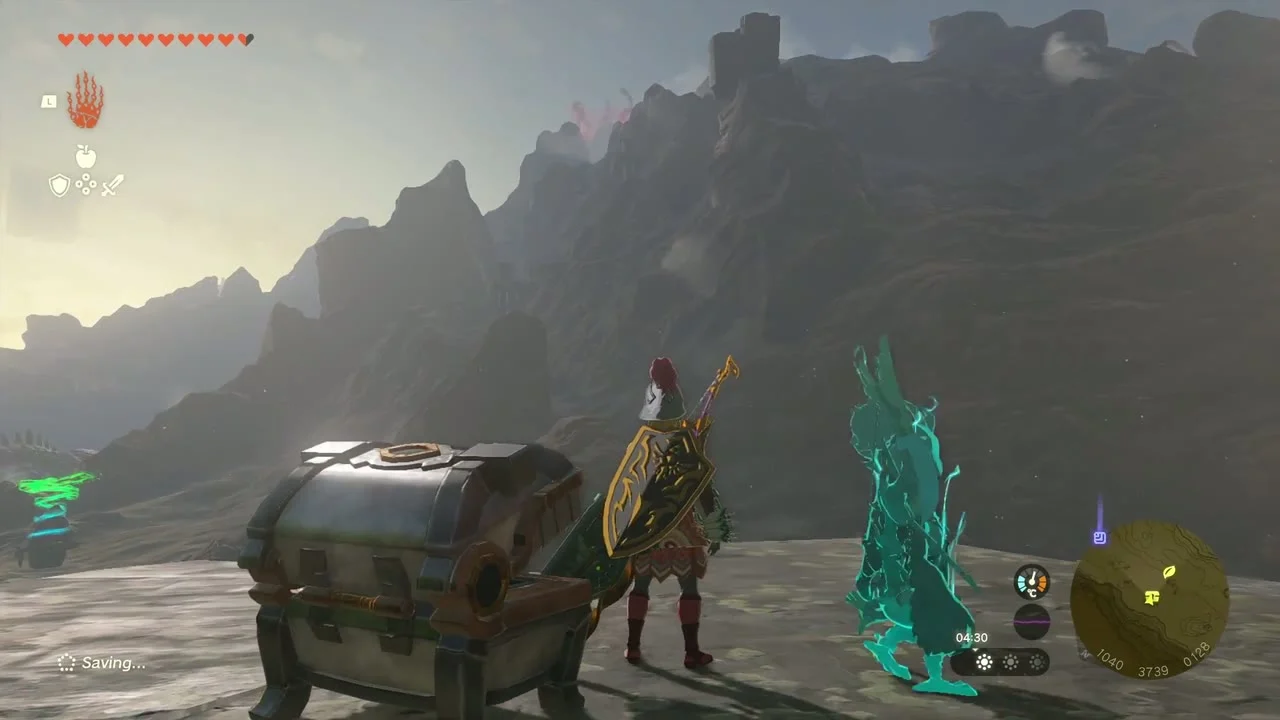
Mayak Shrine (Timely Catches, puzzle). At (1269, 3733, 119). Drop the ball on the track with Ultrahand and hit the pillar in time to slide the button under it; the second room repeats the idea at greater height. The chest holds a Large Zonai Charge.


Room one: hit the pillar on time
Note the orange pillar near the entrance: it moves a sliding button. Use the piston to reach the higher level, drop the ball onto the track with Ultrahand, then run back and hit the pillar just before the ball leaves the track. Picking the ball up and replacing it lets you repeat the attempt; Recall can freeze the ball so you can watch where it will land.
Room two: the same trick, higher up
The second ball sits much higher and the timing is tighter. Use the same pillar-strike, hitting it when the ball is nearly on top of you, and glide down to the pillar while Recall runs. When both targets are hit the green gate opens: touch it for the Light of Blessing and the shrine’s fast travel point.
Stone Talus
Miniboss (Stone Talus). A second Stone Talus waits in the badlands before the shrine. Use arrows on the ore, then smash it.
Deplian Badlands Cave and Minetak Shrine
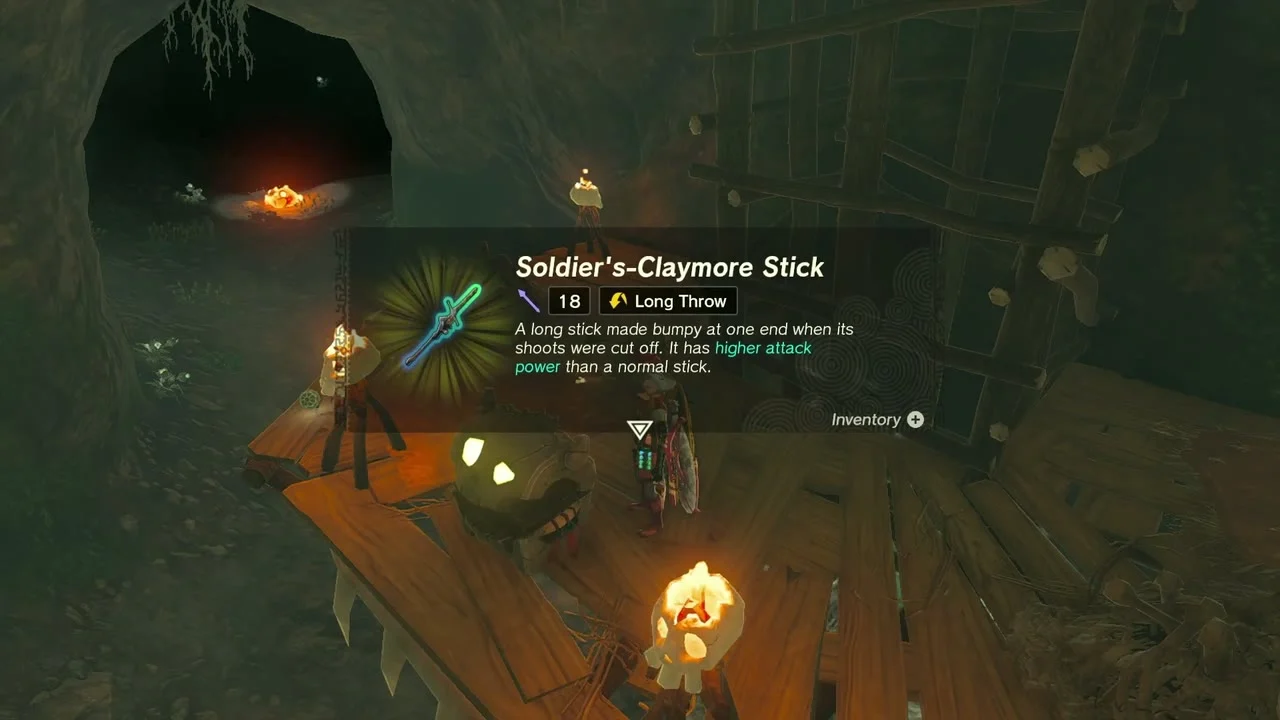
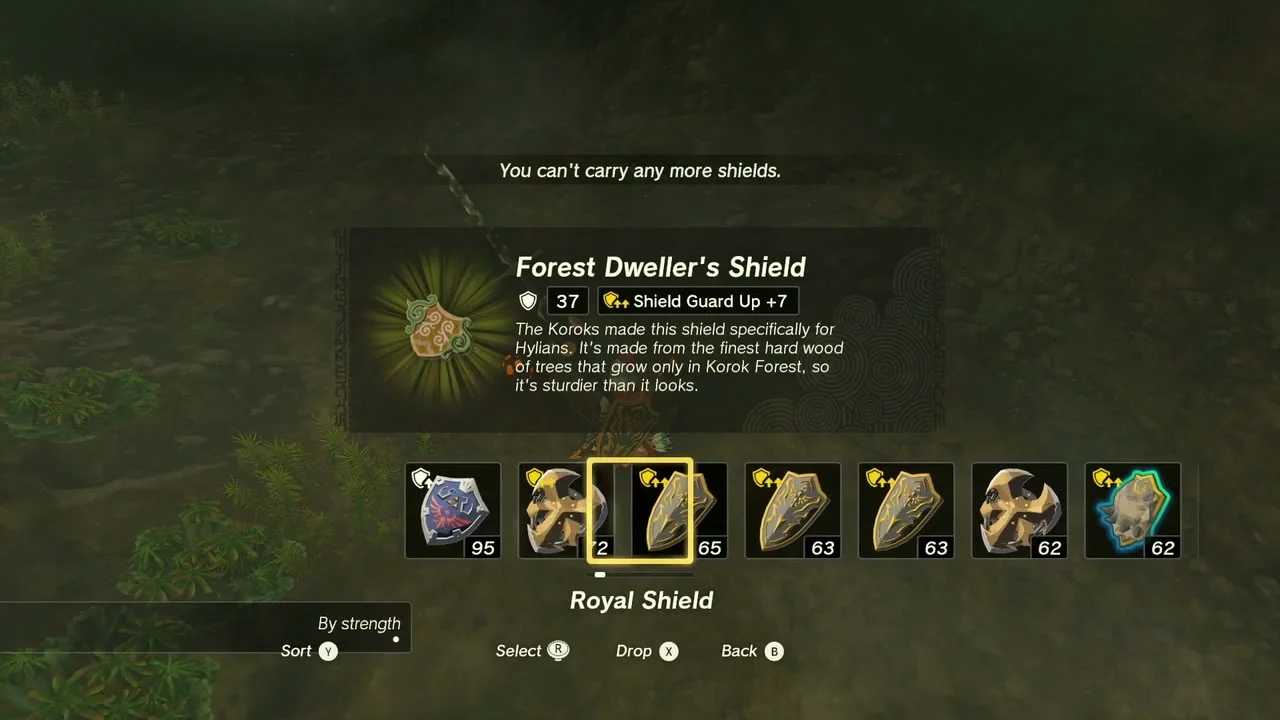
Deplian Badlands Cave (307, 3579, 87). The entrance is south-east of the Bokoblin camp, against the cliff. Light the tunnels with Brightbloom Seeds. The pair of Blue Horriblins guard a chest with a Soldier’s-Claymore Stick; the right-hand route leads to a chest with a Forest Dweller’s Shield. A Bubbulfrog hides in a small side room off the first right-hand corridor for a Bubbul Gem. The large chamber guarded by a Black Horriblin holds a Forest Dweller’s Spear.

Minetak Shrine (Rauru’s Blessing). At (393, 3484, 82) at the end of the cave. It has no puzzle: open the chest for a Big Battery and take the Light of Blessing. The Katenim Lightroot lies below. Back outside, a chest in the badlands holds a Royal Claymore and another Arrow x5.
Great Hyrule Forest Depths
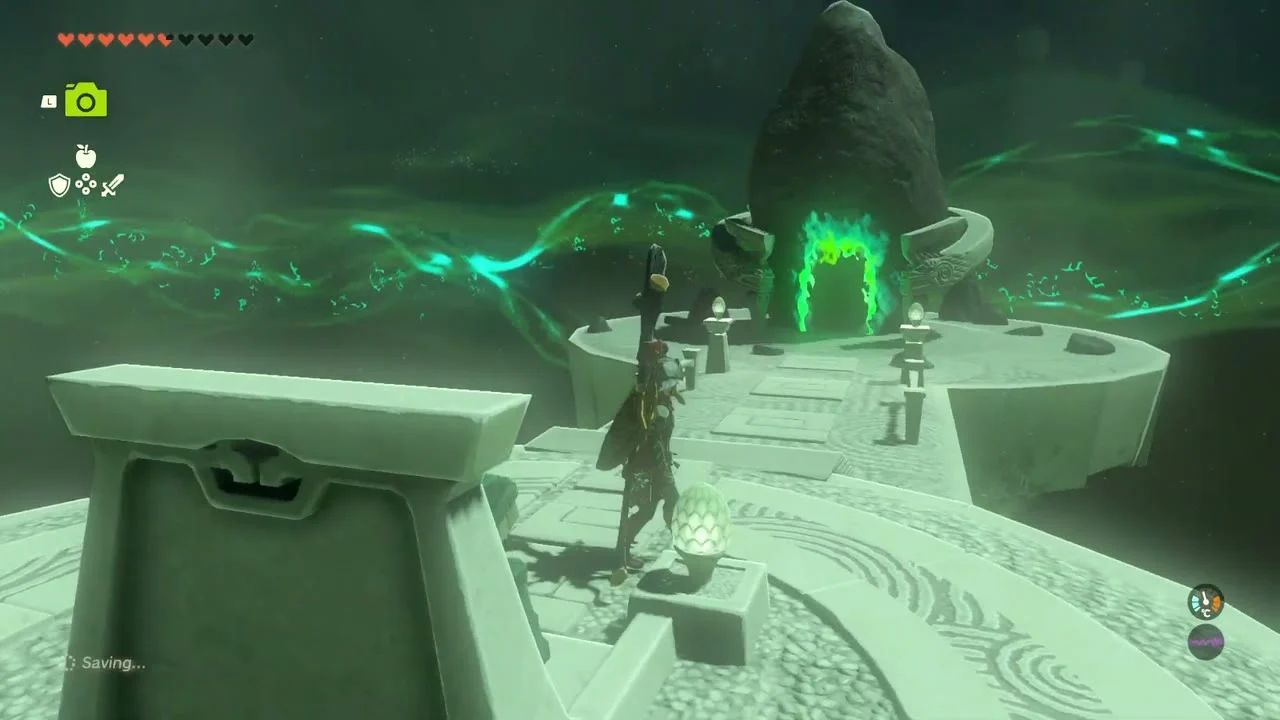
Drop through the Drenan Highlands Chasm or the Minshi Woods Chasm (1059, 1668, 149). The Depths are dark: glide, throw Brightbloom Seeds and touch each Lightroot bud to light the map.
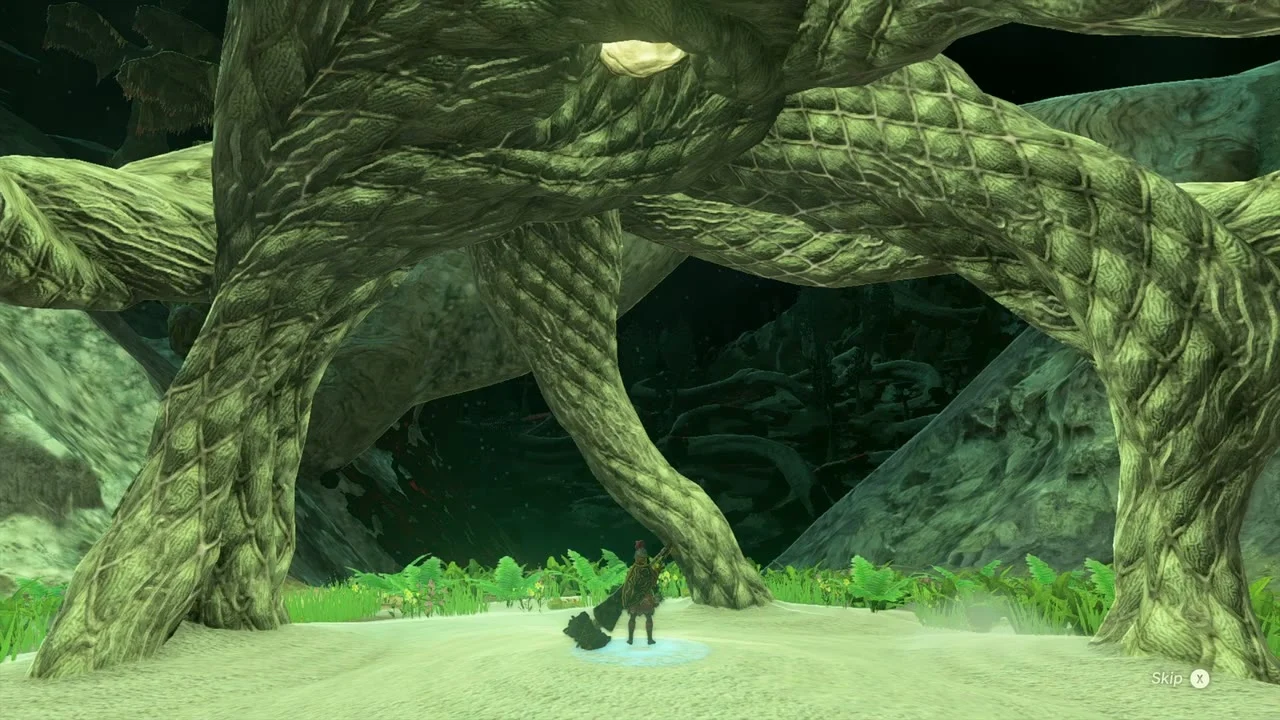
Lightroots (Nikakik, Katenim, Netamnet, Uukukis). Nikakik at (-396, 2735, -746) lies below Kikakin Shrine, Katenim at (394, 3483, -615) below Minetak Shrine, Netamnet at (-595, 1549, -620) below Tenmaten Shrine and Uukukis at (697, 2792, -692) below Sikukuu Shrine.


Reach each root quickly
Glide in a straight line from the chasm drop toward the bright dot on your map, throwing Brightbloom Seeds as you go to see the ground ahead. Every Lightroot lights a large circle, so prioritise the ones nearest the next surface target: Nikakik, then Katenim to the north-east, with Netamnet and Uukukis far to the west and east respectively.
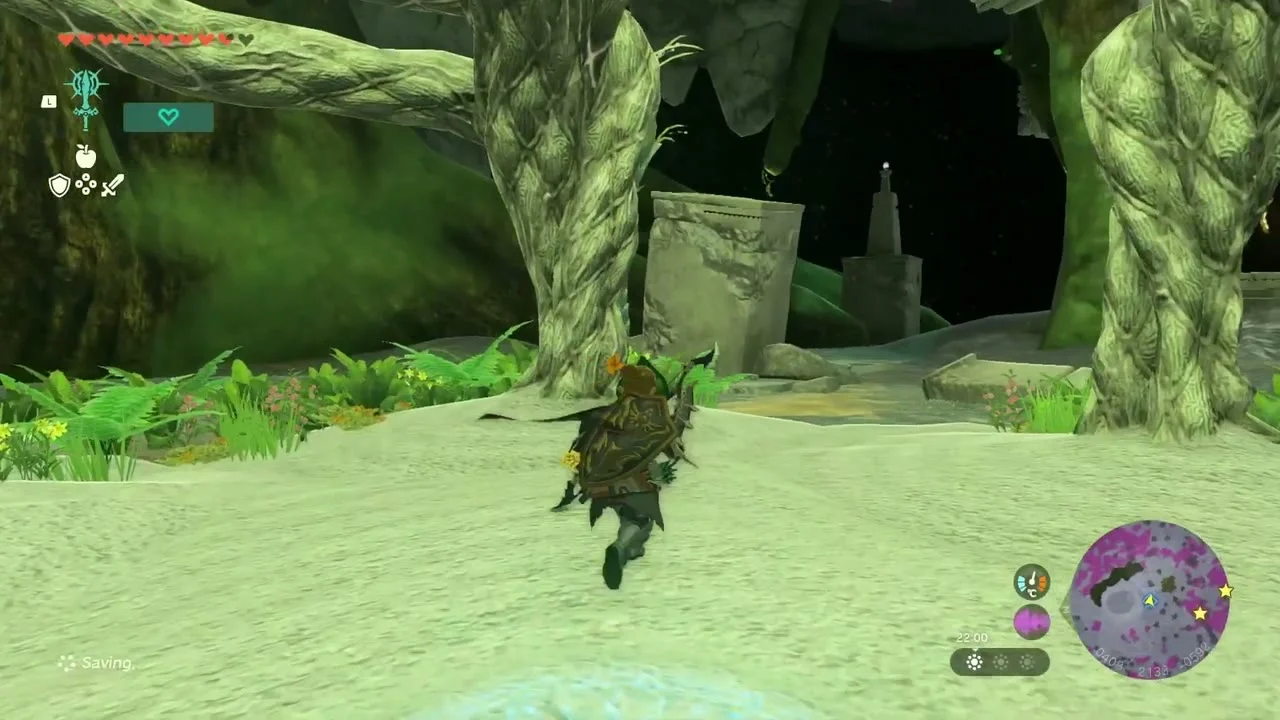
Lightroots (Eknupup, Ramobnukas, Sijnin, Rikonasum). Eknupup at (622, 2211, -632) and Minshi Grove at (1042, 1544, -632) are in the east, Ramobnukas at (166, 2321, -646) is the starting point for the Forest Coliseum, Sijnin at (355, 1892, -646) lies below Ninjis Shrine and Rikonasum at (406, 2134, -613) below Musanokir Shrine, beside Korok Forest.

Forest Coliseum
Forest Coliseum (-114, 2433, -633). West of Ramobnukas Lightroot, follow the trail of Mighty Bananas; the middle one triggers the trap. Beat the gloom-covered Black Hinox by shooting its eye or burning its wooden armor and open the chest for the Korok Mask. It can be bought again from the Bargainer Statue for 400 Poes.


Phantom Ganon
Miniboss (Gloom Spawn and Phantom Ganon). A second pair waits on the Depths flats between the Lightroots. Fight them as before, then loot the chest nearby for a Large Crystallized Charge. A chest on the south-western side of the Korok Forest grove, guarded by an Evermean (a walking tree), holds another Large Crystallized Charge.

Korok Forest
Korok Forest (419, 2140). From Rikonasum Lightroot a route climbs from the Depths into Korok Forest on the surface, where Hestu lives.
Korok seeds in this chapter
Every Korok placed in this area, by puzzle type and position (surface, then sky). Carry puzzles list the starting Korok.
| Puzzle | Coordinates |
|---|---|
| Break the acorn pot | (951, 1536, 160) |
| Reach the target ring within the time limit | (758, 1643, 153) |
| Dive into the ring | (-39, 1690, 129) |
| Examine the sparkling spot | (-332, 1747, 199) |
| Shoot the balloons | (985, 1804, 211), (-680, 3534, 287) |
| Offer fruit to the statues | (-669, 1966, 133) |
| Pull the plug | (-579, 2603, 386) |
| Bring the exhausted Korok to its friend | (772, 2857, 215), (594, 3043, 188), (18, 3099, 168), (55, 3554, 74), (549, 3690, 89) |
| Lift the rock | (785, 2953, 282), (171, 3036, 176), (127, 3151, 181), (859, 3355, 209) |
| Complete the cube puzzle | (276, 3119, 182) |
| Complete the rock pattern | (-476, 3133, 119) |
| Use the paraglider to reach the goal | (52, 3147, 176) |
| Sky: catch the falling light | (285, 1960, 753) |
| Sky: climb the wall to the marker | (524, 2748, 1862) |
Great Hyrule Forest checklist
| Collectible | Count | Where |
|---|---|---|
| Shrines | 7 | Mayam, Simosiwak, Kikakin, Tenmaten, Sikukuu, Mayak, Minetak |
| Lightroots | 8 | Nikakik, Katenim, Netamnet, Uukukis, Eknupup, Ramobnukas, Sijnin, Rikonasum |
| Caves | 2 | Rauru Hillside Cave, Deplian Badlands Cave |
| Wells | 2 | Elma Knolls Well, Rauru Settlement Ruins Well |
| Bubbul Gems | 2 | Rauru Hillside Cave, Deplian Badlands Cave |
| Armor | 2 | Glide Tights, Korok Mask |
| Minibosses | 9 | Flux Construct I, Stone Talus x2, Hinox x2, Black Hinox x2, Phantom Ganon x2 |
Part 2: Deku Tree Chasm, Musanokir, Sakunbomar, Ninjis
| Region | Great Hyrule Forest (Central Hyrule): Korok Forest, the Lost Woods and Mido Swamp on the surface, plus the Great Hyrule Forest Depths below |
|---|---|
| Main quest | Recovering the Hero’s Sword (started) |
| Side quests | The Secret Room (completed), Walton’s Treasure Hunt (completed), Whirly Swirly Things (started) |
| Shrine quests | None Shall Pass?, Maca’s Special Place, A Pretty Stone and Five Golden Apples |
| Shrines | 4: Musanokir (Swing to Hit, puzzle), Sakunbomar, Ninjis and Pupunke (all Rauru’s Blessing) |
| Lightroots | 5 (see all Lightroots): Rikonasum, Sijnin, Ramobnukas and Eknupup below the four shrines, plus Uukukis in the Depths |
| Korok seeds | 0 on the forest floor in this stretch (see all Korok seeds) |
| Chests | 15: 7 on the surface, 8 in the Depths |
| Bosses and minibosses | Phantom Ganon (Gloom Spawn), Stone Talus (Lost Woods), then in the Depths two Obsidian Frox, Flux Construct II, King Gleeok, a Stone Talus and Stalnox |
| Armor | Cap of Twilight (Gleeok Den) |
This chapter clears the gloom from the Great Deku Tree, finishes the four shrines hidden in Korok Forest and the Lost Woods, then drops into the Depths below the forest for the Yiga hideouts, King Gleeok and the Uukukis Lightroot. Coordinates are map units (X, Y, height); larger Y is further north. The four shrines are all within about 450 units of Korok Forest at (419, 2140).
Quick route
Dive into Deku Tree Chasm and beat Phantom Ganon in the Korok Grove to lift the gloom from the Great Deku Tree, then talk to the tree to start Recovering the Hero’s Sword.
Clear Musanokir Shrine beside the tree, pray at the Goddess Statue for a Heart Container, and finish The Secret Room and Walton’s Treasure Hunt for Korok Fabric and a Forest Dweller’s Bow.
Follow Zooki’s nightshade trail in the Lost Woods and carry the crystal from the Stone Talus to Sakunbomar Shrine, then glide in from the sky to Ninjis Shrine and open the chest by Lake Saria.
Collect five Golden Apples in Mido Swamp for Damia, carry the crystal to Pupunke Shrine, then drop through the chasm for the Yiga hideouts, King Gleeok’s Cap of Twilight and the Uukukis Lightroot.
Deku Tree Chasm and the Great Deku Tree
Deku Tree Chasm. The chasm sits just north of Korok Forest at about (418, 2193, 143). Jump in and glide down through the red gloom into the Korok Grove, the Great Hyrule Forest Depths area directly under the tree. The grove is dark, so bring Brightbloom Seeds and gloom-resistant food.
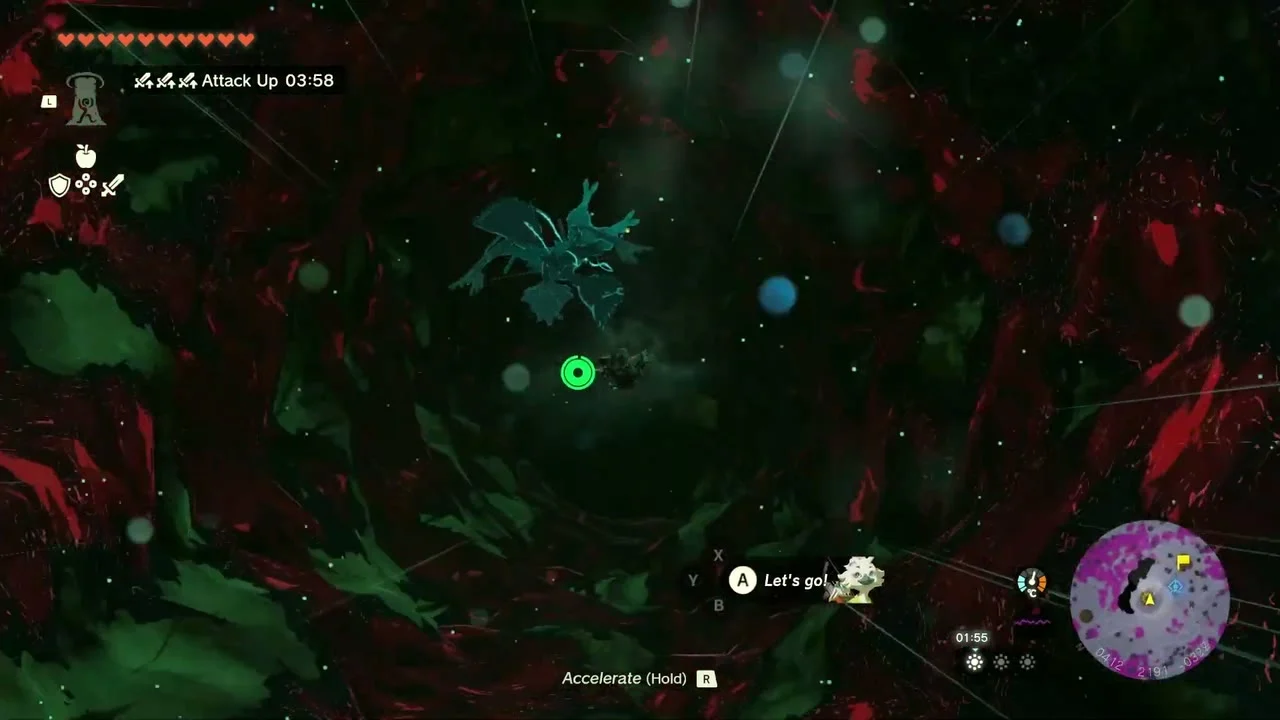
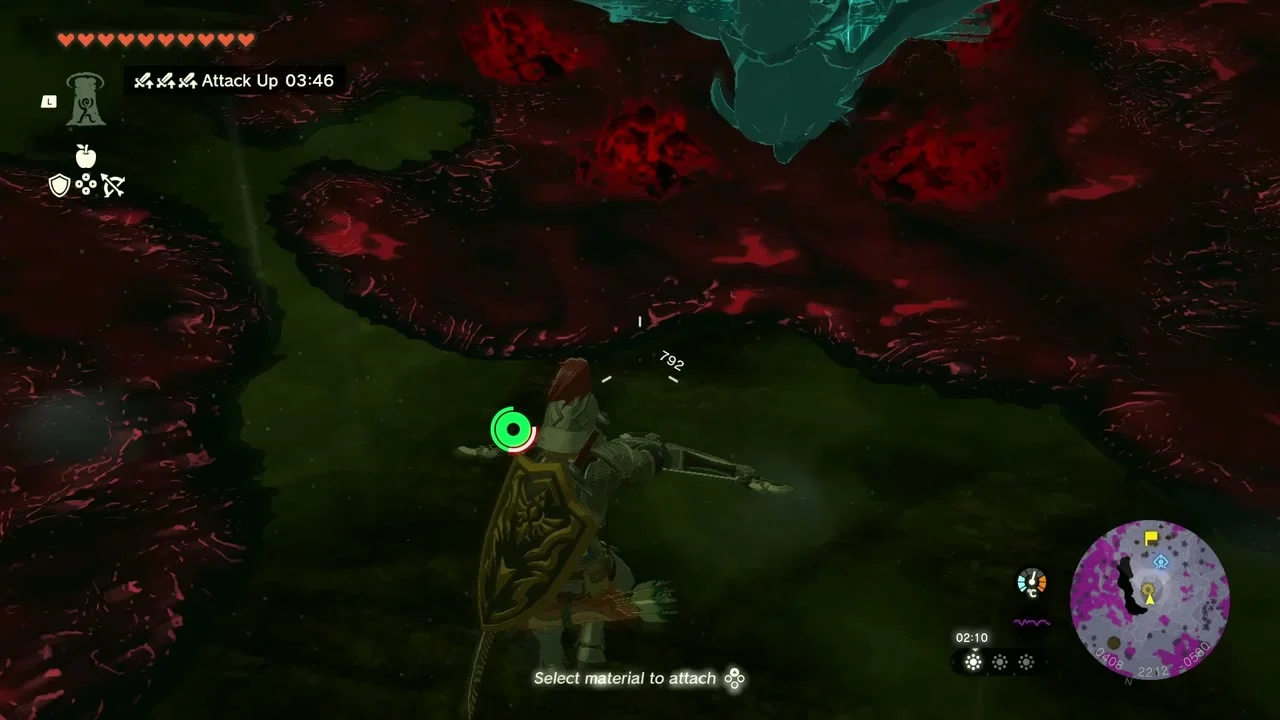
Miniboss: Phantom Ganon (Gloom Spawn). The Gloom Spawn grows out of a pool of gloom in the middle of the grove and splits into Phantom Ganon clones. Attack the target the marker arrow points at. When it falls the gloom drains out of the Great Deku Tree.


Quest: Recovering the Hero’s Sword. Speak to the Great Deku Tree in Korok Forest. He tells you the Master Sword has been moved and sends you looking for it; you also unlock Memory 01 (The Master Sword’s Power) and the Korok Forest quests below.
Musanokir Shrine and Korok Forest
Musanokir Shrine (Swing to Hit). The shrine stands at (407, 2133, 157), on the forest path just outside the Great Deku Tree. It is a puzzle shrine with Rikonasum Lightroot (406, 2134, -613) below it. Every room hands you Ultrahand-only parts, so the whole trial is about swinging a weight into round targets. Full solution on the Musanokir Shrine page.

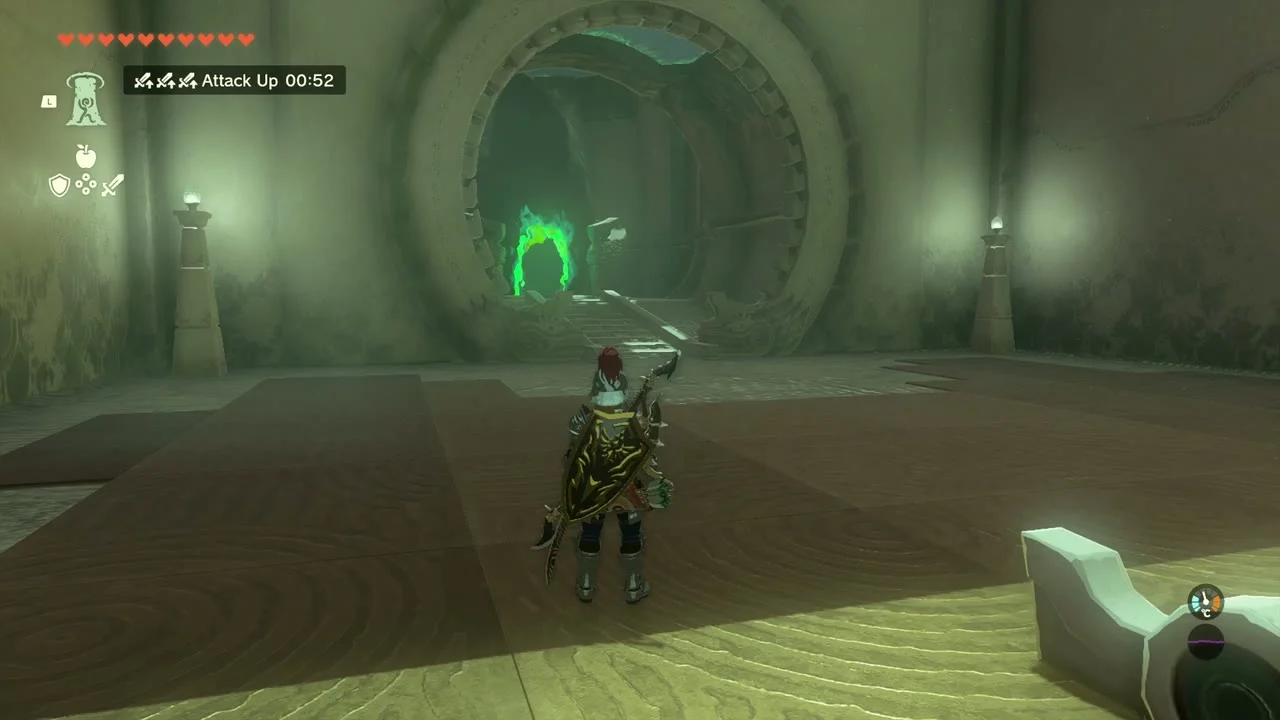
Lower the board across the first gap
Use Ultrahand on the stone board by the entrance and drop it across the gap to form a bridge. Carry the loose block through the gate beside the first target; you need it for the pendulum.
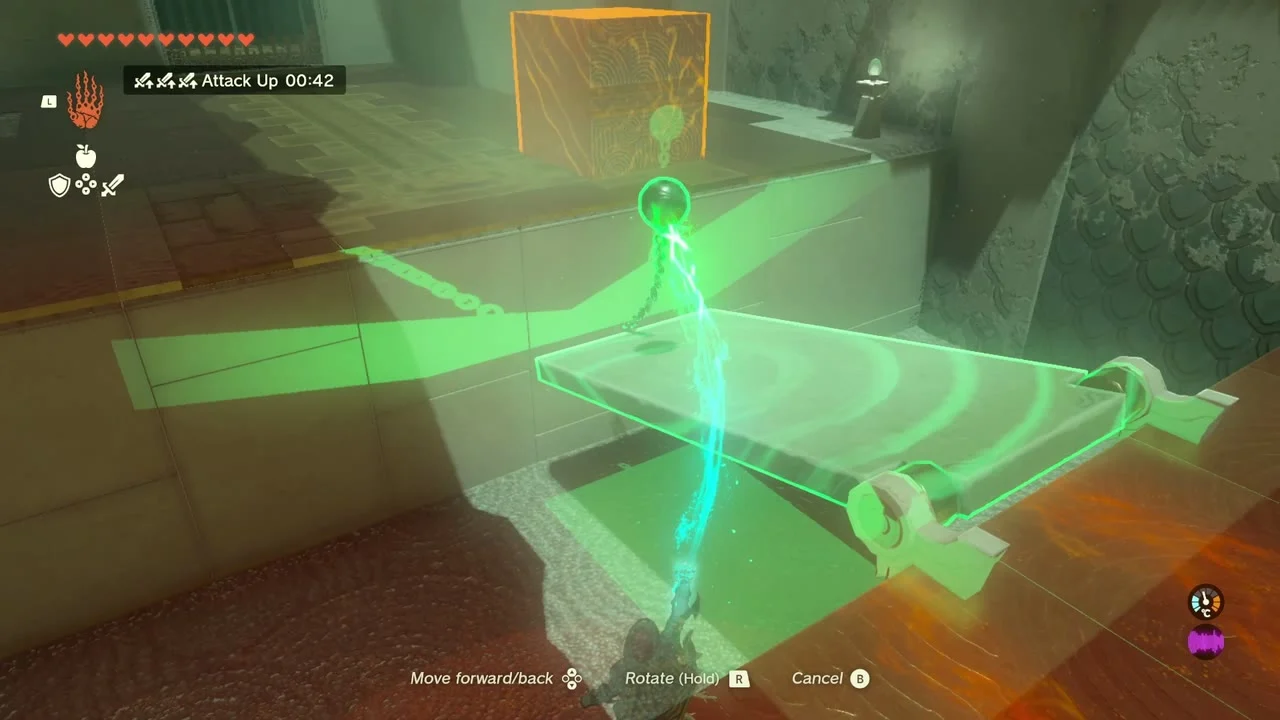

Swing the weight into the target
Attach the block to the end of the hanging beam. Pull the beam back as far as it goes, line it up with the ring target and let go so the weight swings into it and opens the gate.


Reach the chest on the high platform
The Large Zonai Charge chest sits on a maze-patterned platform above the last room. Climb up to the ledge and open it for a Large Zonai Charge.
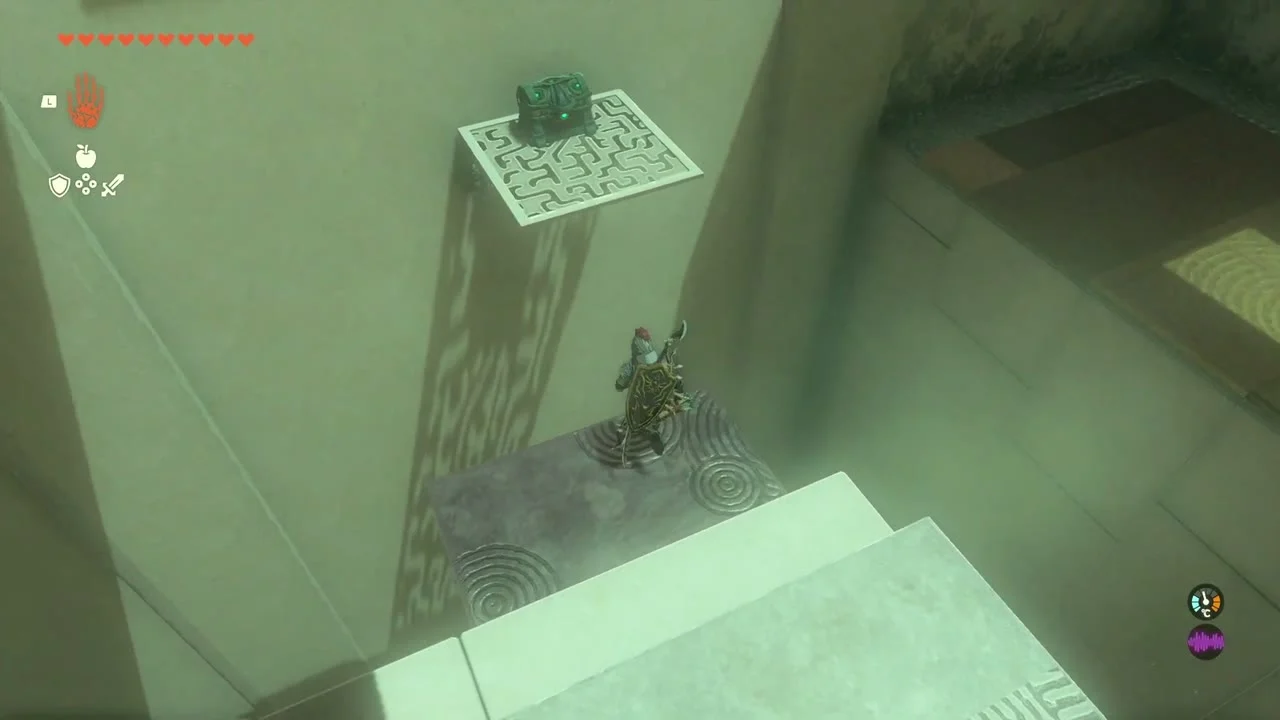
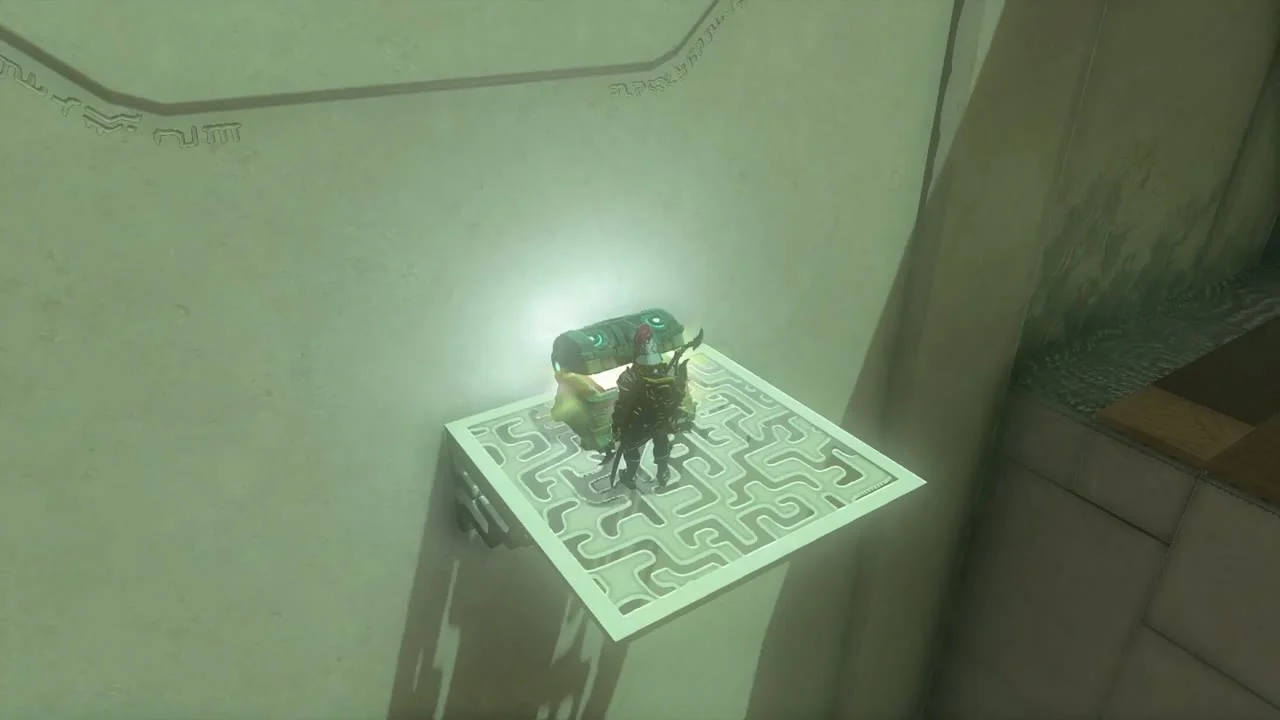
Hit the last target and take the Light of Blessing
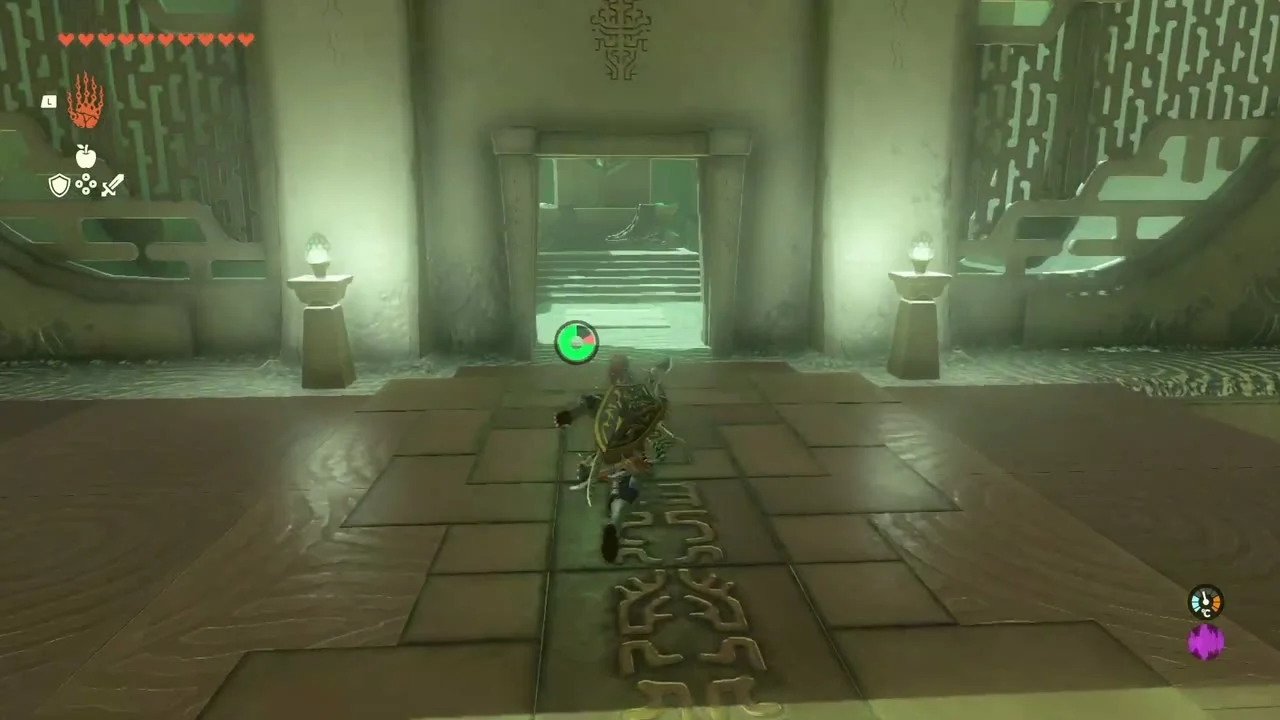
Hit the final target the same way, then walk through the gate it opens. The gate opens onto a short stair; step on the altar for the Light of Blessing.

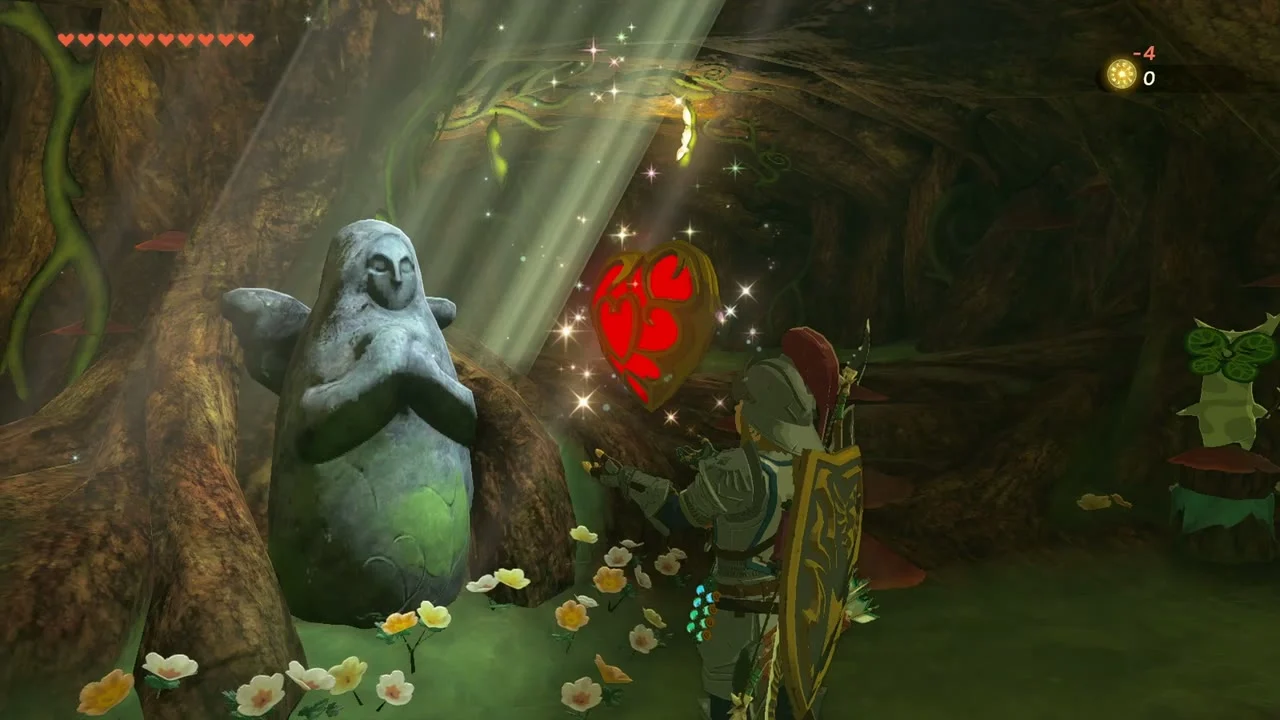
Heart Container (Goddess Statue). A Goddess Statue stands in a mossy hollow beside the Korok Forest path, close to the tree. Pray at it with Lights of Blessing and it rewards you with a Heart Container.

Hestu. Hestu is inside Korok Forest. Hand him Korok seeds to expand your inventory slots.
Quest: Whirly Swirly Things. Kula stands to the left of Musanokir Shrine’s exit. He wants a photo of a whirlpool and then of a sand whirlpool,. The final reward is five Endura Carrots.
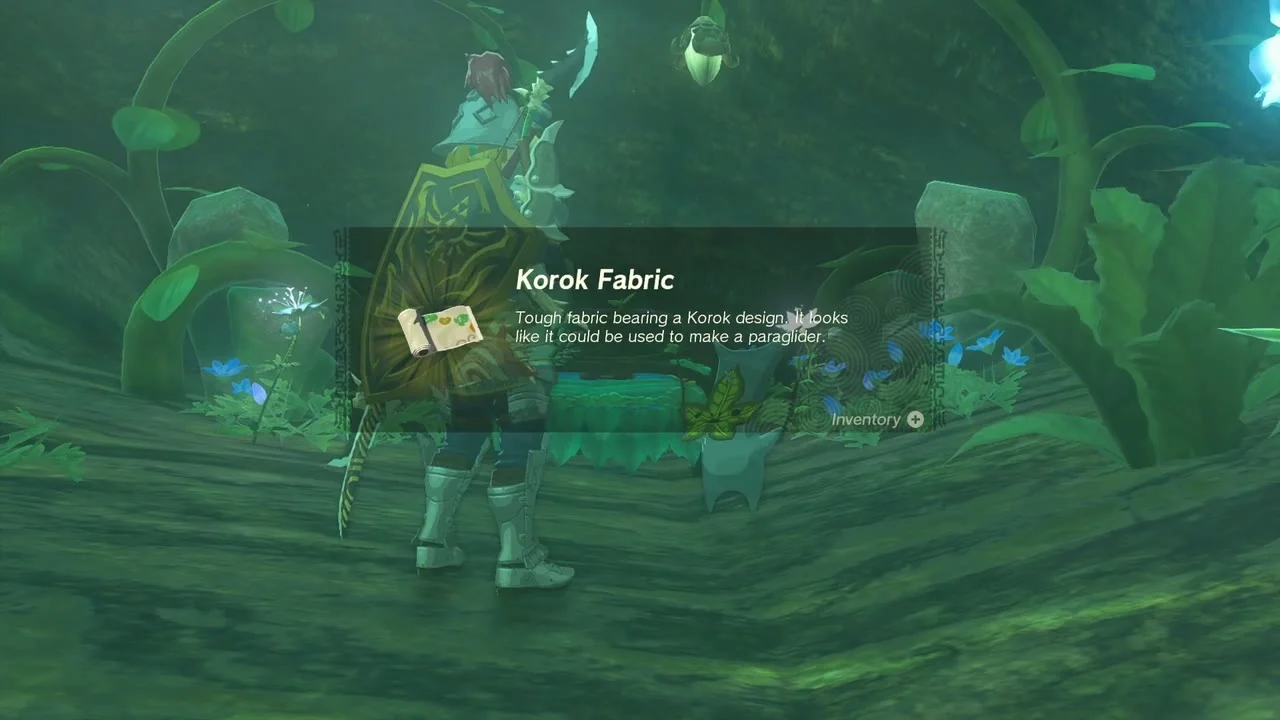
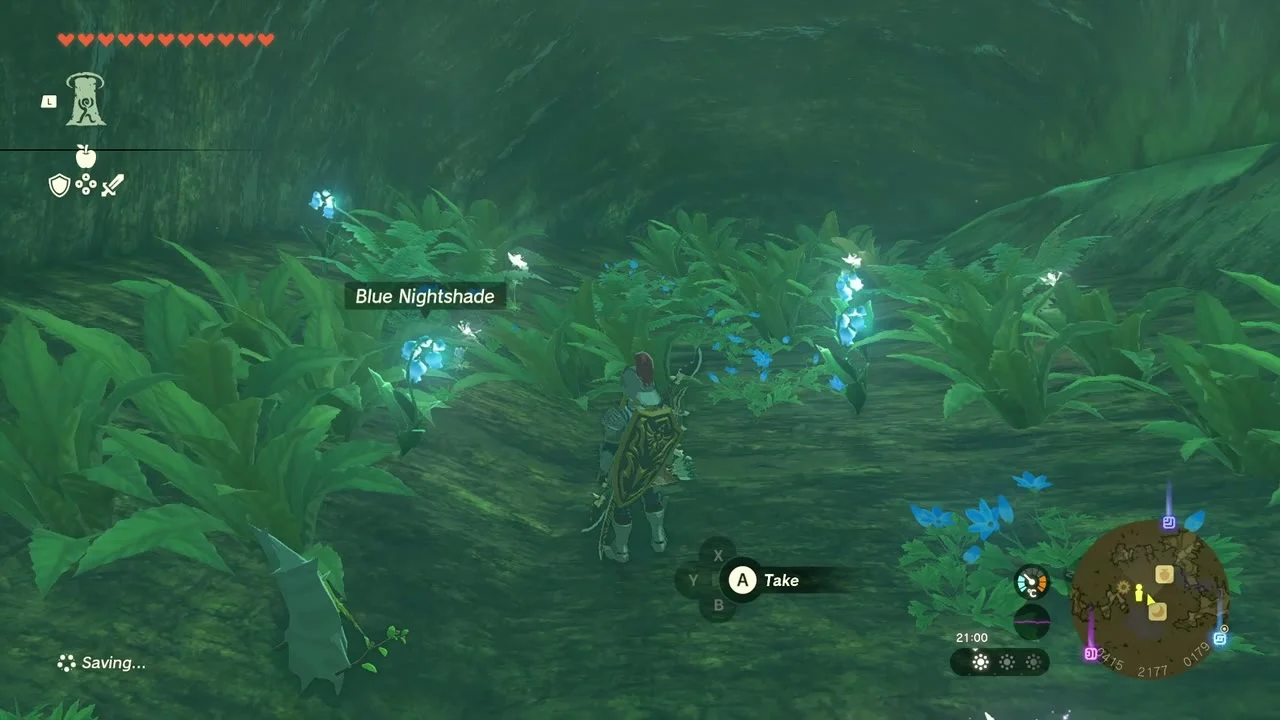
Quest: The Secret Room. Oaki is building a room inside the Great Deku Tree’s mouth. Collect four Blue Nightshade, glowing flowers that grow in the undergrowth of the forest, and bring two Giant Brightbloom Seeds. Give them to Oaki and wait for night if asked, and he gives you Korok Fabric.
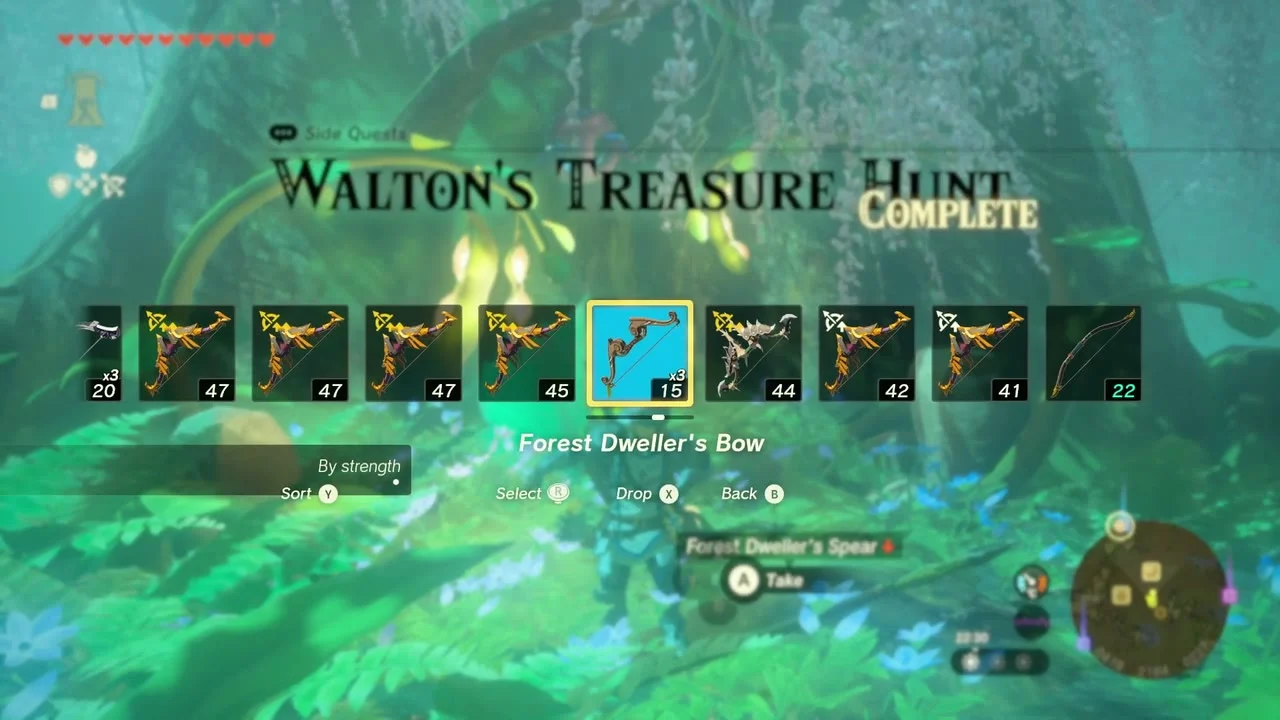
Quest: Walton’s Treasure Hunt. Walton sits at a leaf shelter on the Great Deku Tree. Find the Forest Dweller’s Sword and Spear on the bark above the tree’s face, then the Forest Dweller’s Shield on a ledge below. Pick them off with Ultrahand and hand them to Walton, who rewards you with a Forest Dweller’s Bow; empty a bow slot first.
Lost Woods: None Shall Pass?, Sakunbomar and Ninjis
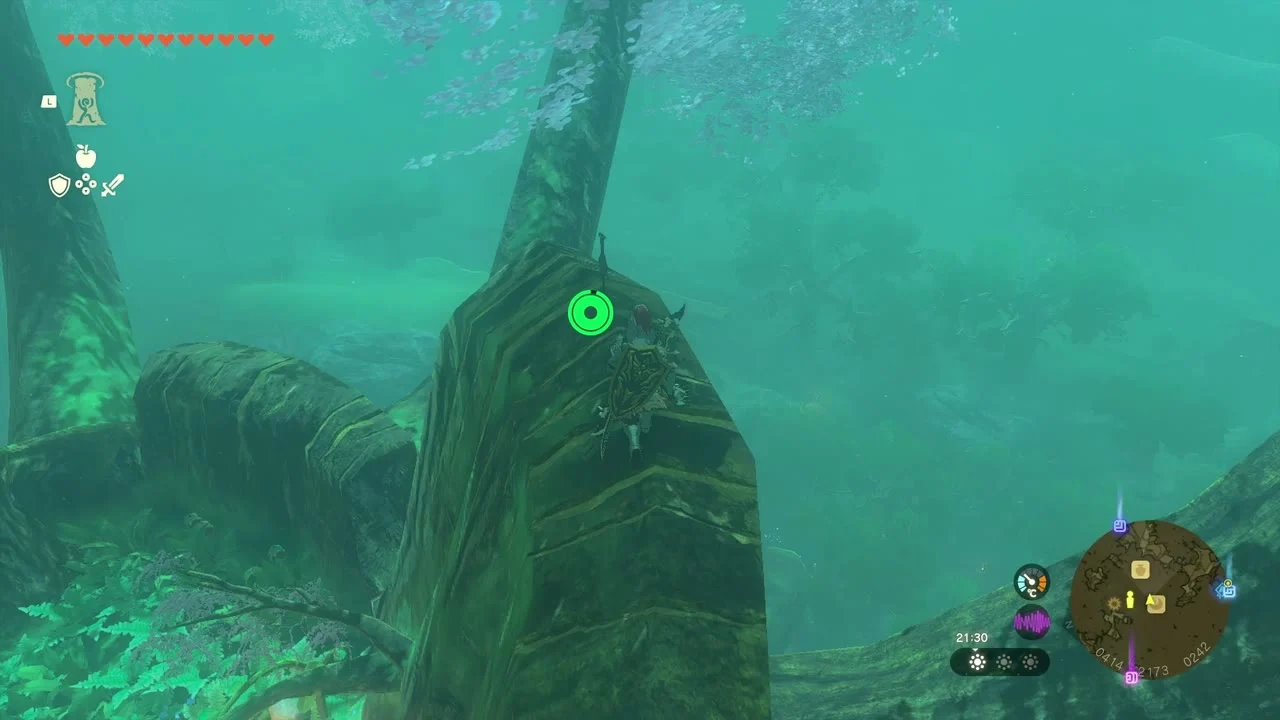
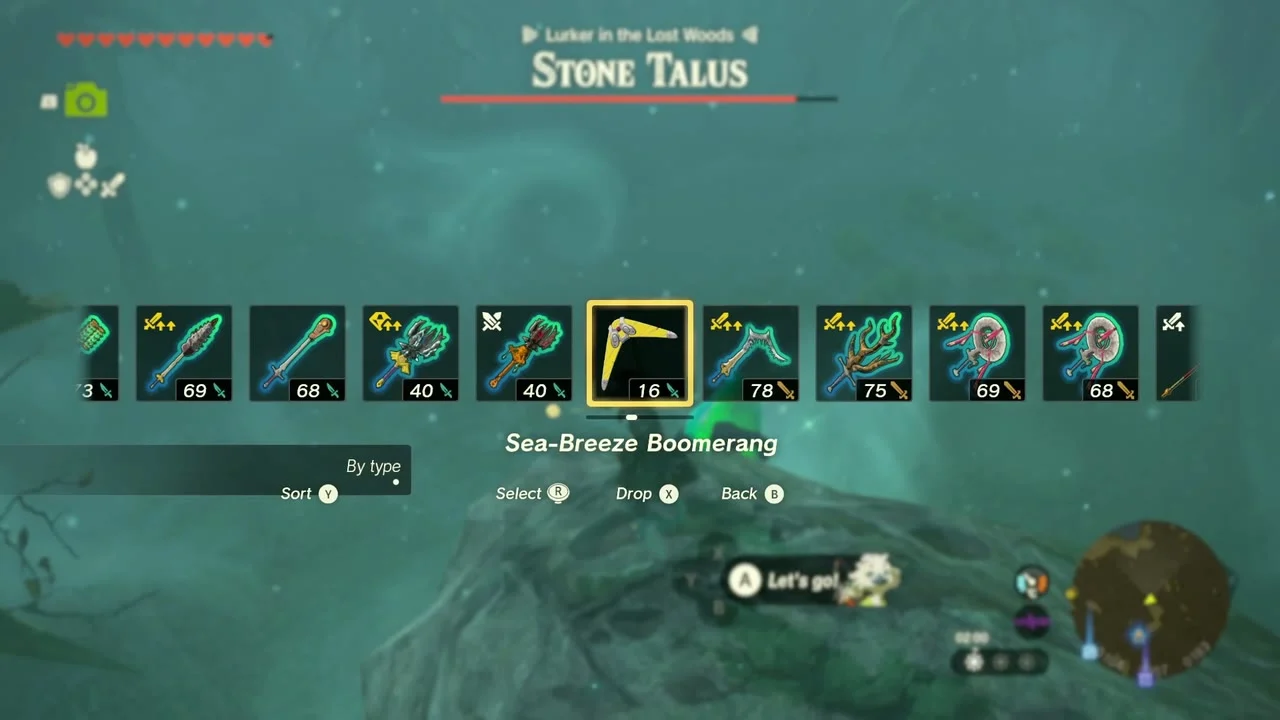
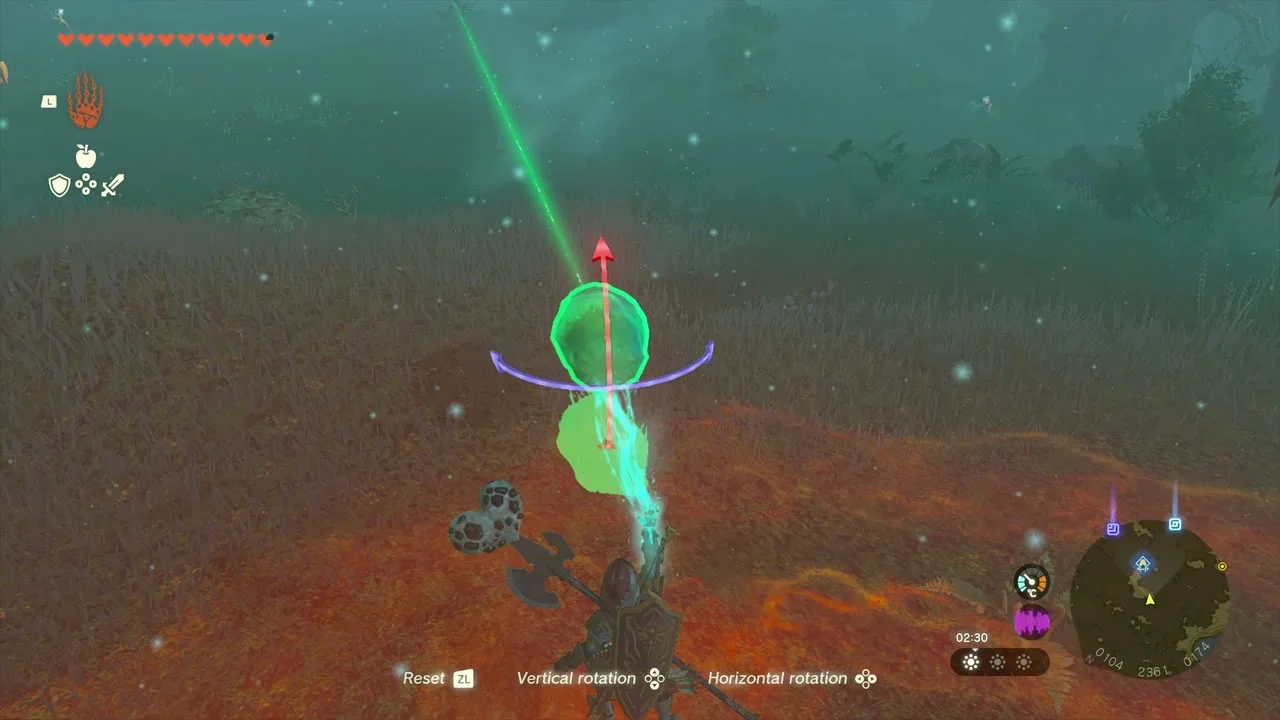
Quest: None Shall Pass? Zooki guards the north-west edge of Korok Forest. Follow the trail of glowing Blue Nightshade into the Lost Woods and light the shrine plinth, then follow the green beam to the Stone Talus. Climb its back and break the crystal from its head. Carry the crystal back with Ultrahand and set it on the pedestal.
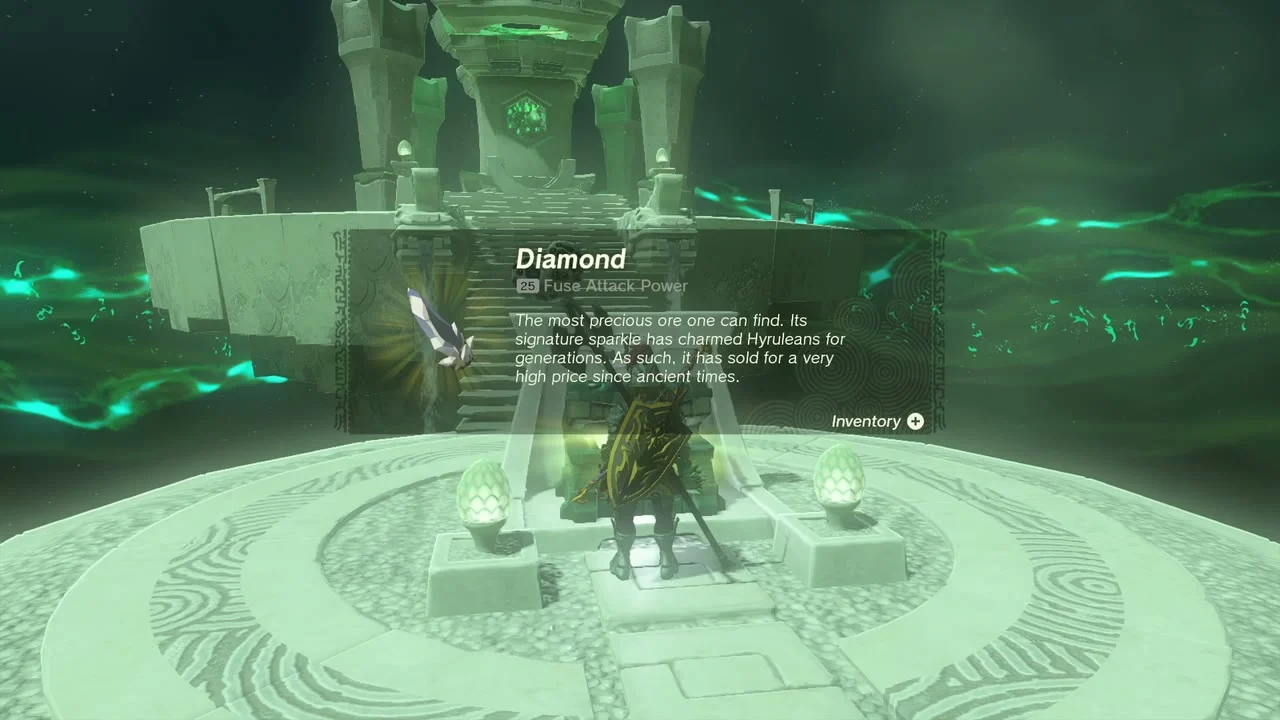
Sakunbomar Shrine (Rauru’s Blessing). The shrine is at (166, 2320, 192) in the Lost Woods, with Ramobnukas Lightroot (166, 2321, -646) below. There is no puzzle: walk up the stairs, open the chest for a Diamond and take the Light of Blessing from the altar.
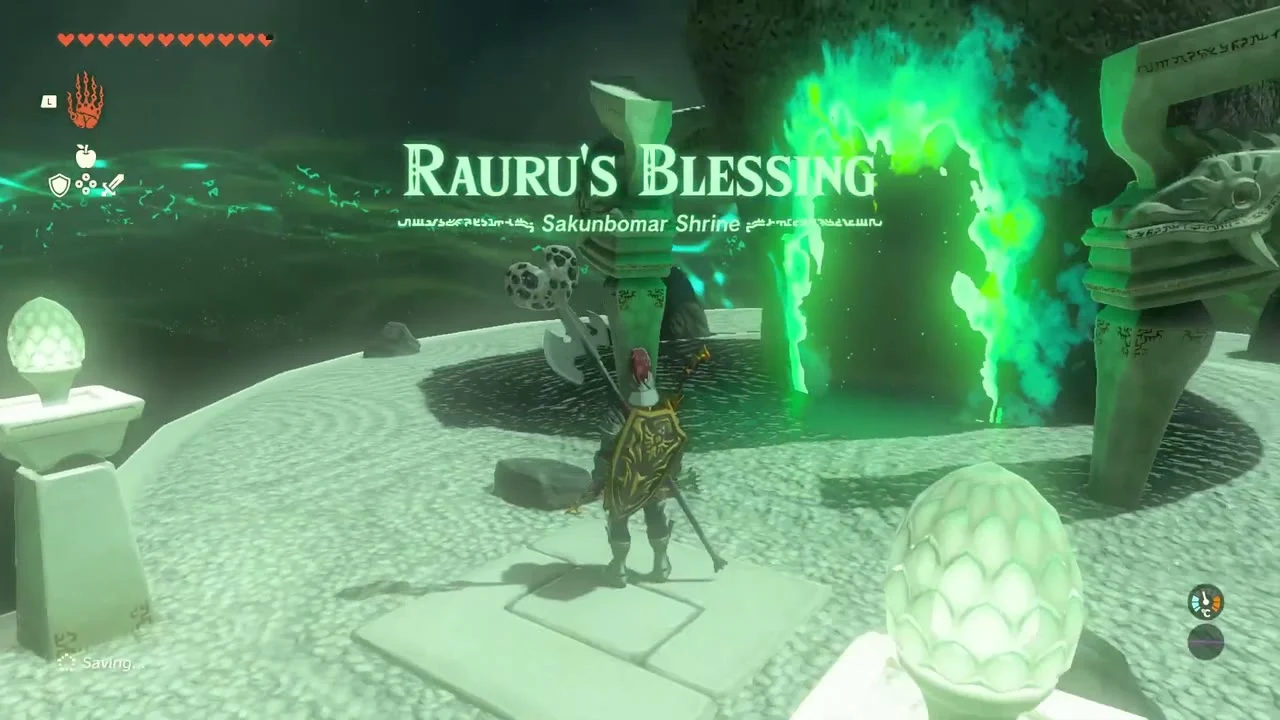
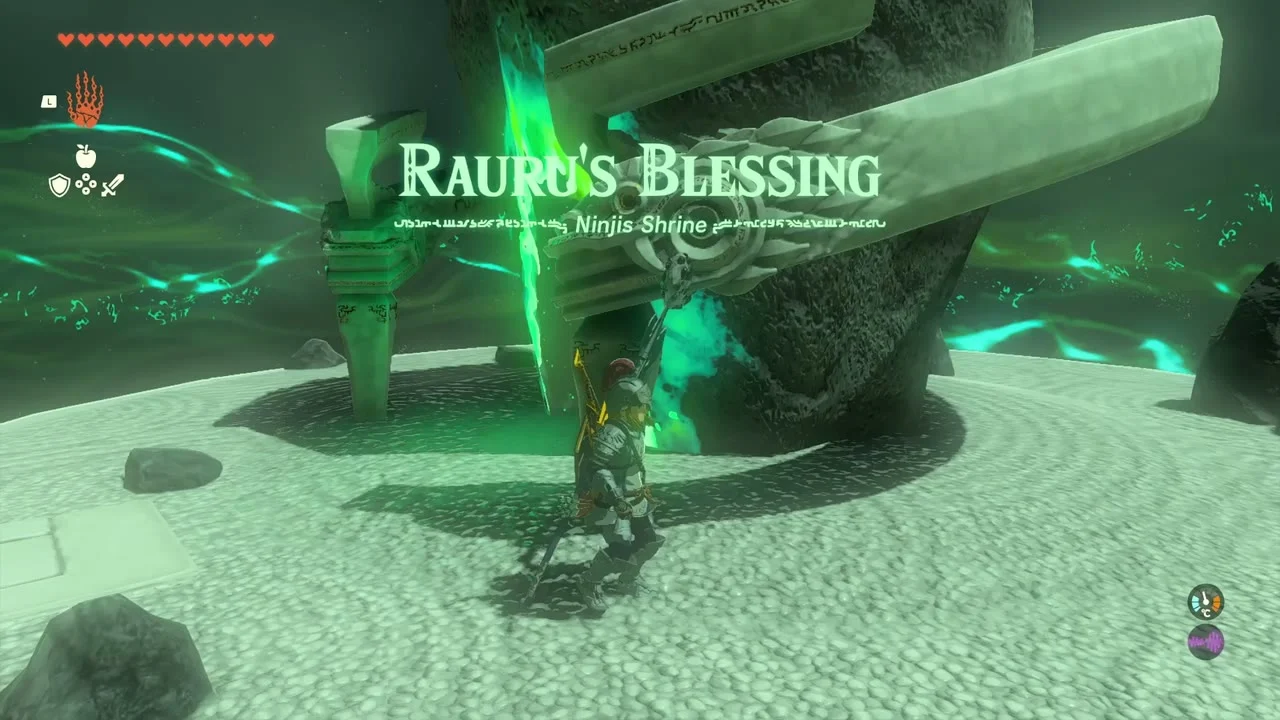
Ninjis Shrine and Maca’s Special Place. Maca waits in the south-west of Korok Forest at about (382, 2085, 145). Fast travel to Simosiwak Shrine on Bravery Island in the sky and glide down into the fog of the Lost Woods; the shrine glows green below. Ninjis Shrine (Rauru’s Blessing, (354, 1891, 192)) has a chest with a Mighty Construct Bow (Strong or Mighty, depending on your progress) and a Light of Blessing. Sijnin Lightroot (355, 1892, -646) lies below.


Chest (Forest Dweller’s Bow). Near Lake Saria at about (55, 1917, 174), a chest sits at the foot of a huge tree in the open fog. Open it for a Forest Dweller’s Bow.


Mido Swamp and Pupunke Shrine
Chest (Forest Dweller’s Shield). In the swamp, beside a fence at the base of a very large tree, a chest holds a Forest Dweller’s Shield.

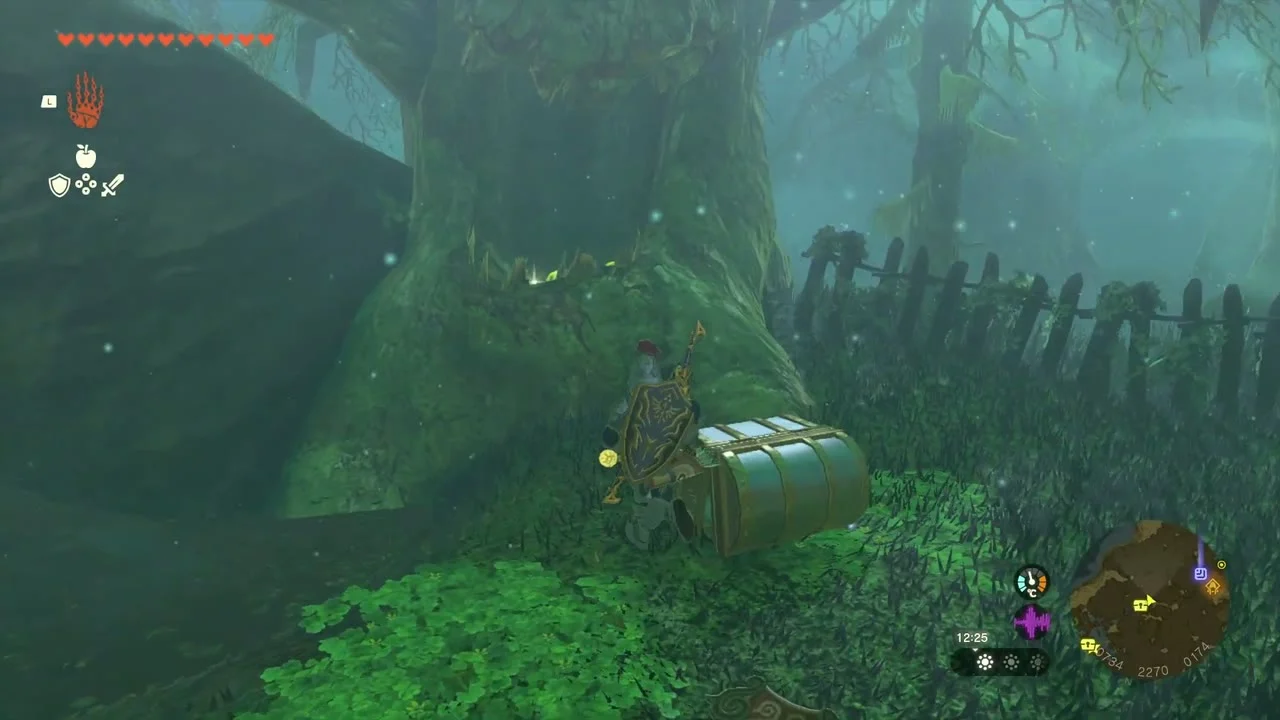
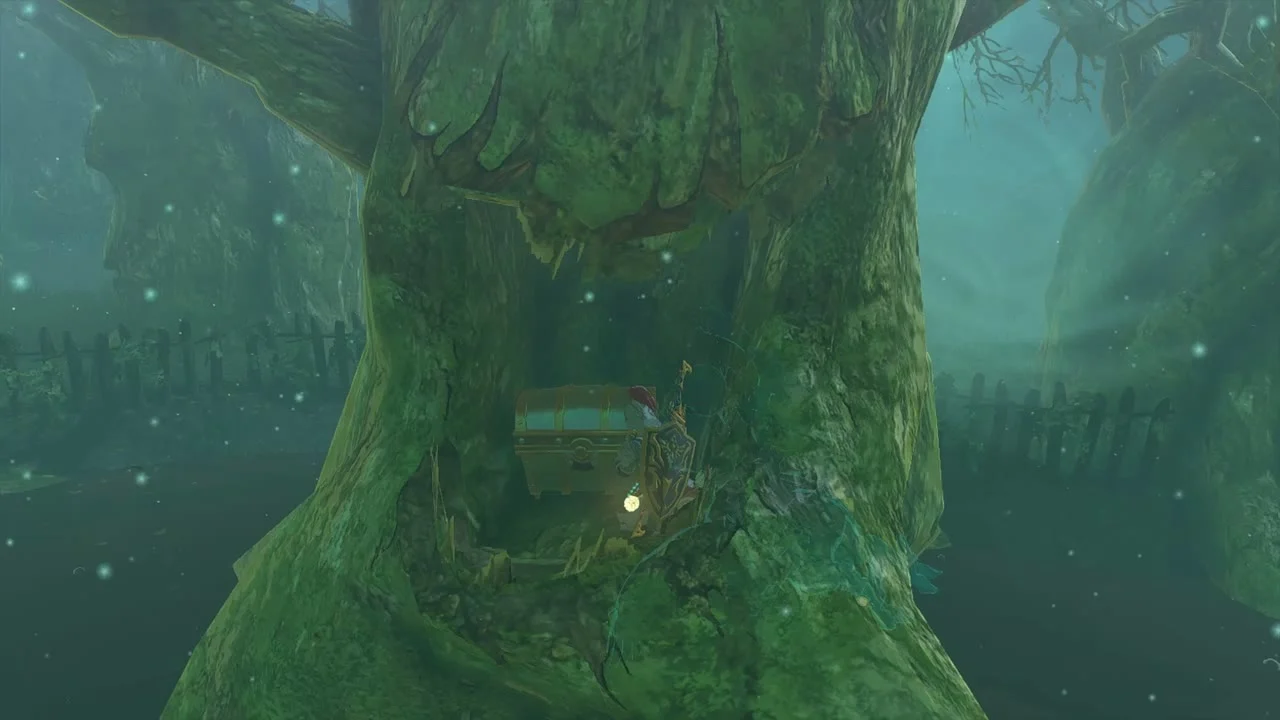
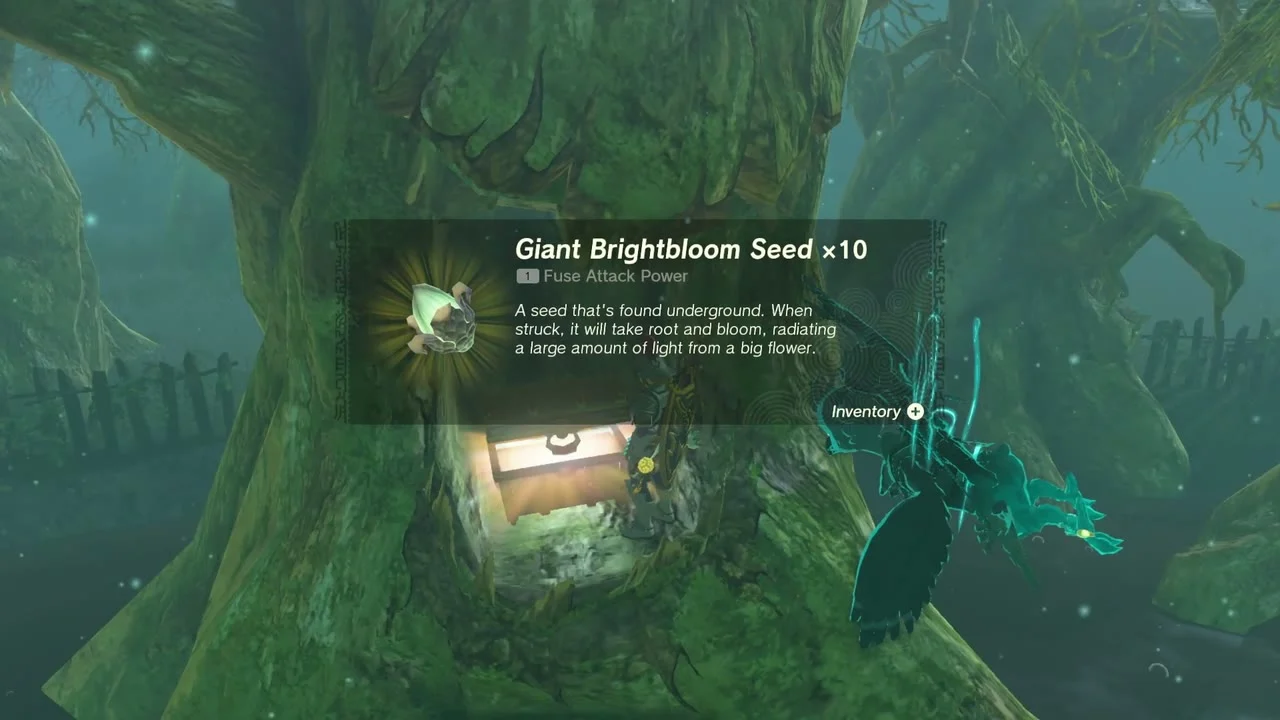
Chest (Giant Brightbloom Seed x10). Further on, a small chest sits inside a hollow in a mossy swamp tree. Climb up to the hollow and open it for Giant Brightbloom Seed x10, enough light for a long Depths trip.
Quest: A Pretty Stone and Five Golden Apples. Damia waits beside a green crystal on the path through Korok Forest and trades it for five Golden Apples. The trees grow on the north side of Mido Swamp at about (812, 2354); five apples from anywhere count. Return to Damia, then carry the crystal with Ultrahand through the hollow log to the shrine.


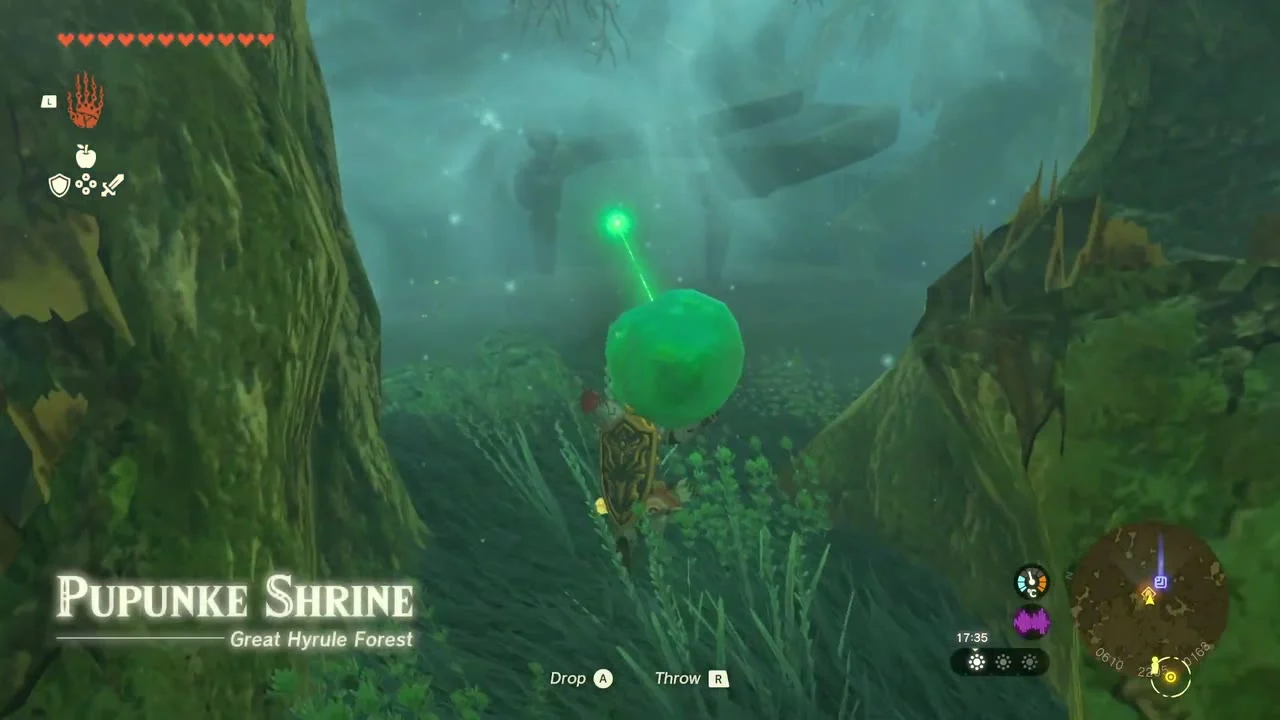
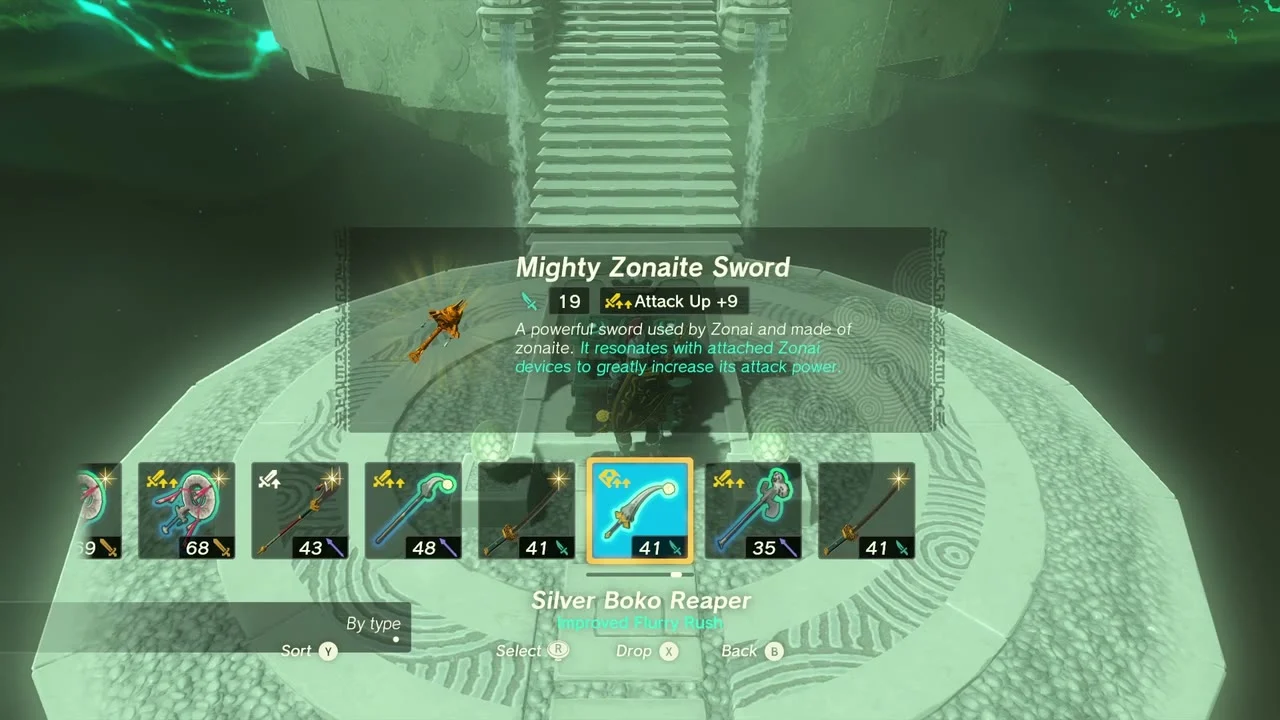
Pupunke Shrine (Rauru’s Blessing). At (621, 2211, 178), with Eknupup Lightroot (622, 2211, -632) below. Set the crystal on the pedestal, climb the stairs and open the chest for a Mighty Zonaite Sword (Strong or Mighty, depending on your progress), then take the Light of Blessing.

The Depths of Typhlo Ruins
The Depths below the forest are full of gloom and Yiga hideouts. Bring Sunny food, Brightbloom Seeds and the Lightroot beams as waypoints. The Depths chests are not marked on the surface map.
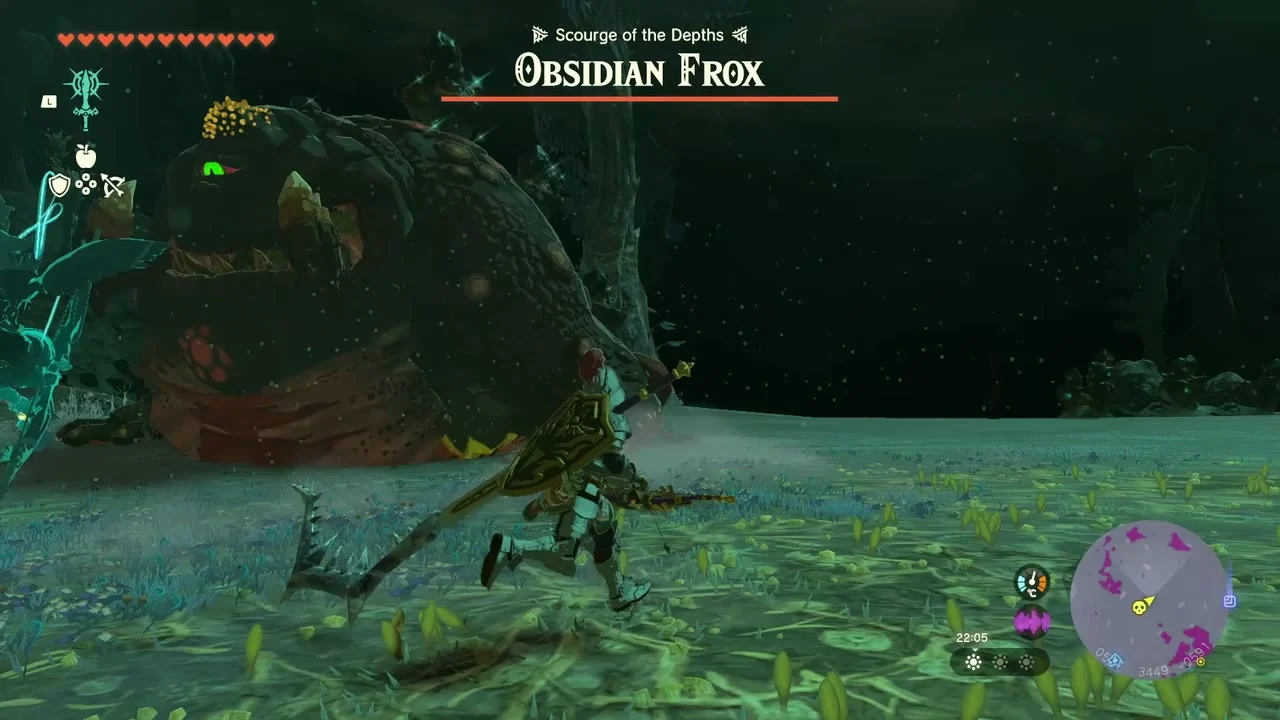
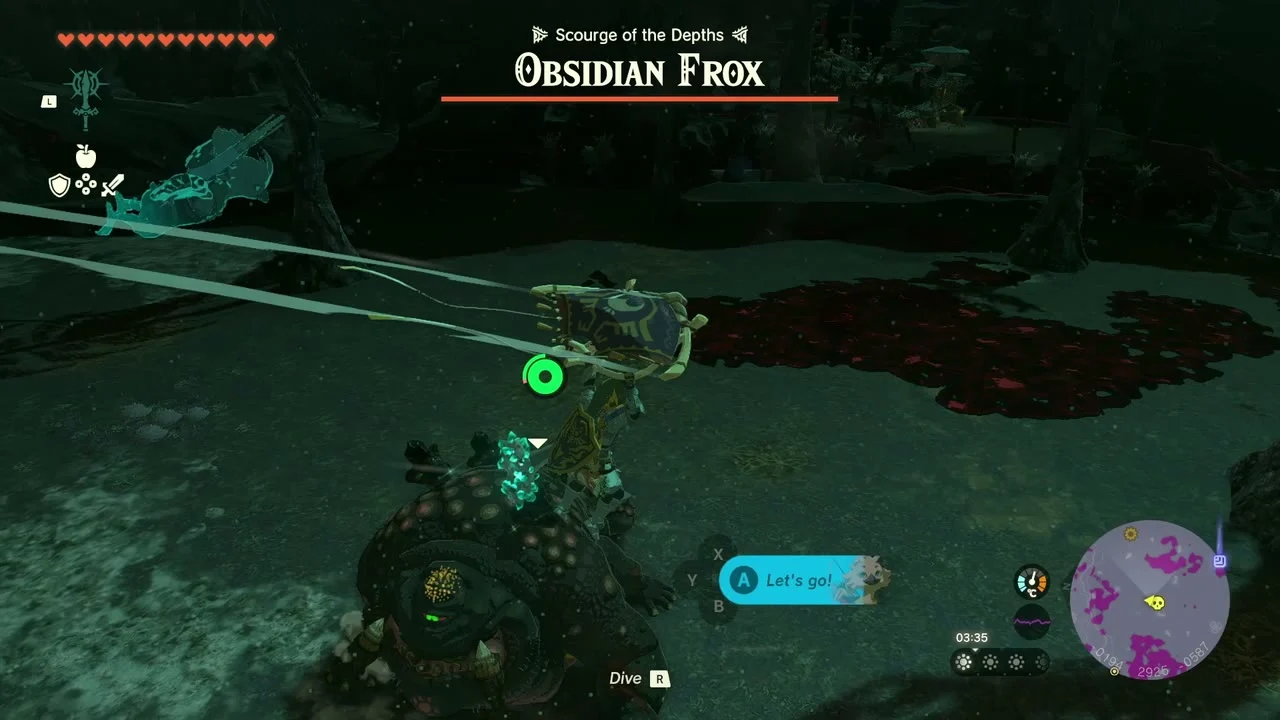
Miniboss: Obsidian Frox. Two Obsidian Frox roam this part of the Depths. Shoot the eye on the underside as it lunges, then climb its back and hit the glowing ore on top.
Yiga hideout 1. A Yiga camp of red-and-white wooden walkways holds two chests: a Yiga Schematic (Charged Charger) and a Large Crystallized Charge.


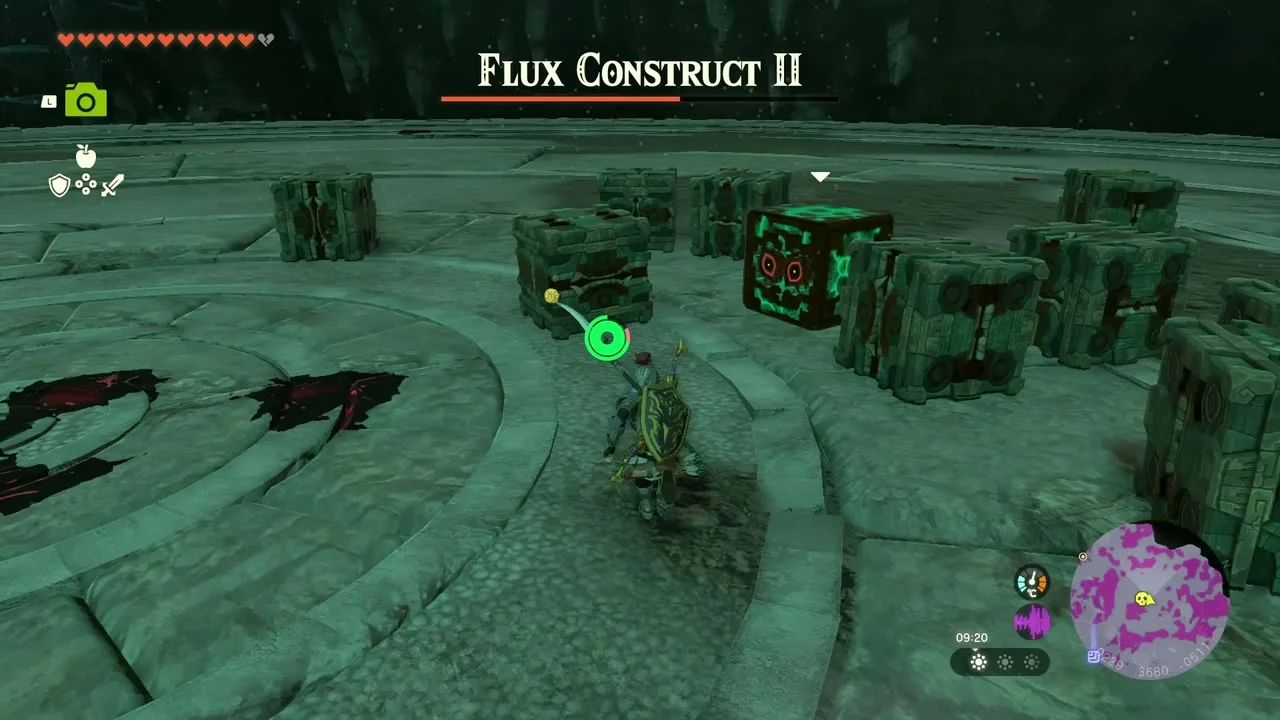
Miniboss: Flux Construct II. A circular arena of stone blocks holds Flux Construct II.

Yiga hideout 2. A second Yiga camp has another pair of chests with a Yiga Schematic (Aerial Cannon) and a Large Crystallized Charge.
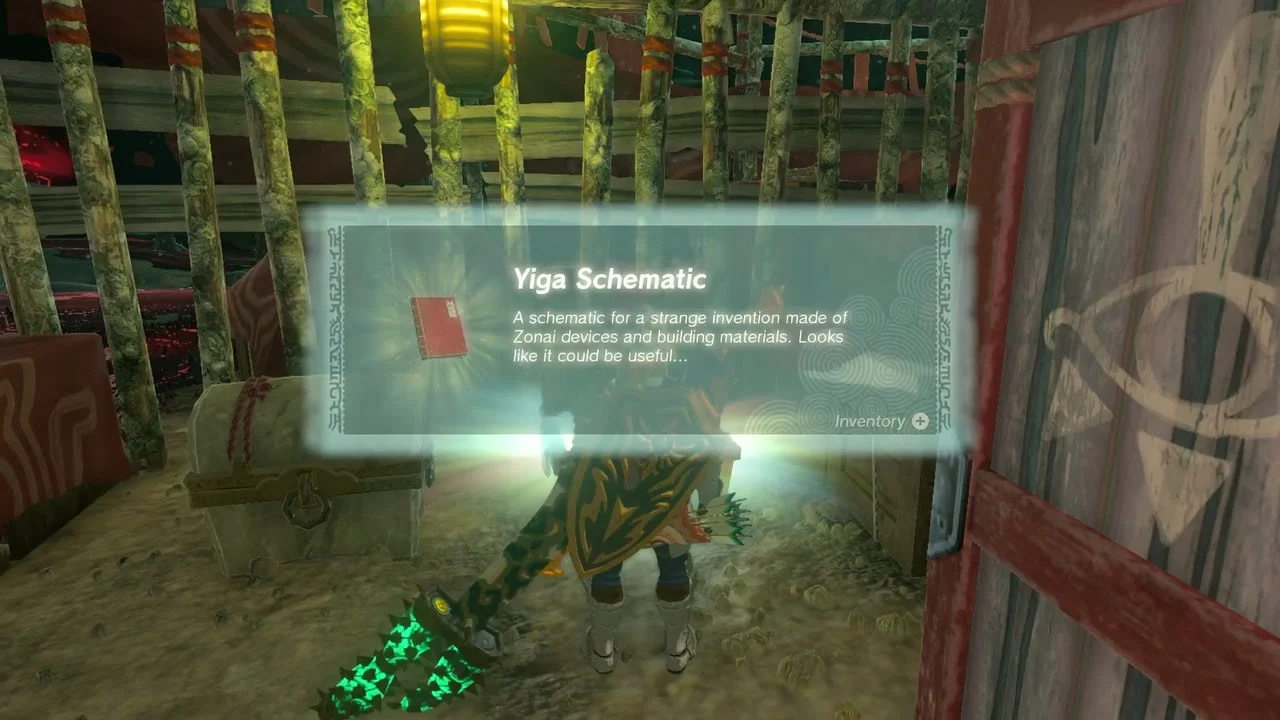
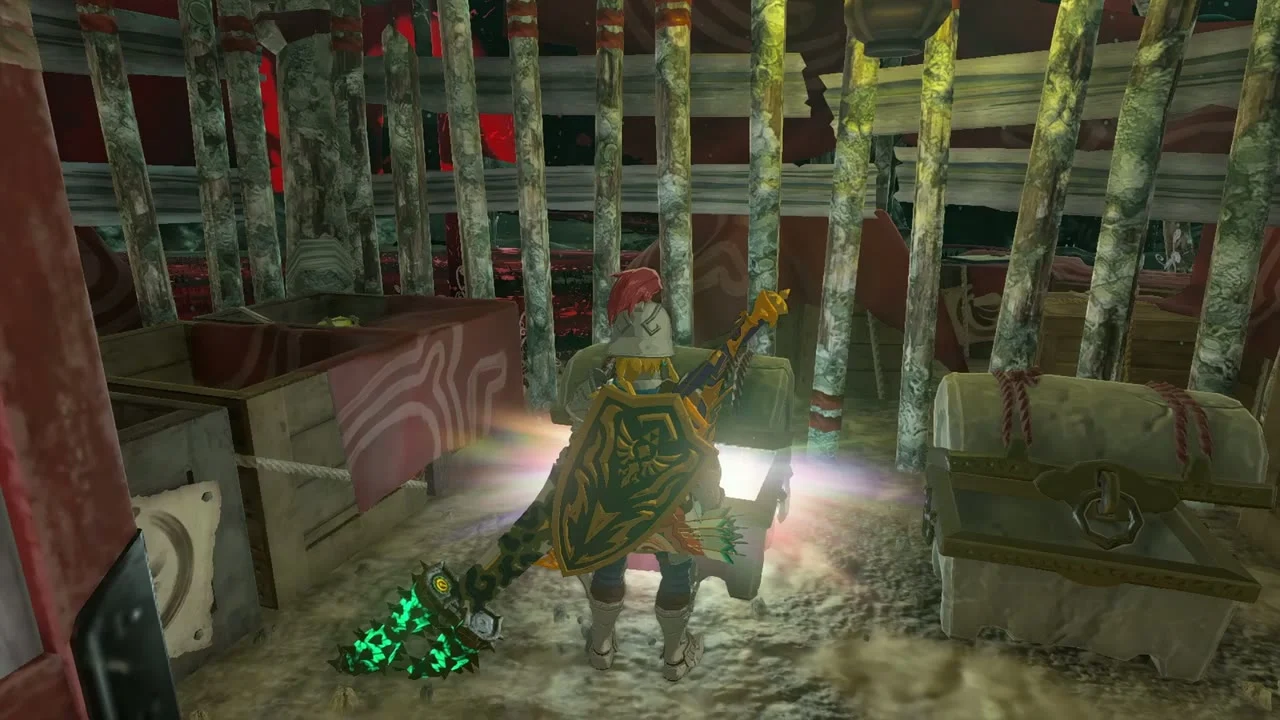
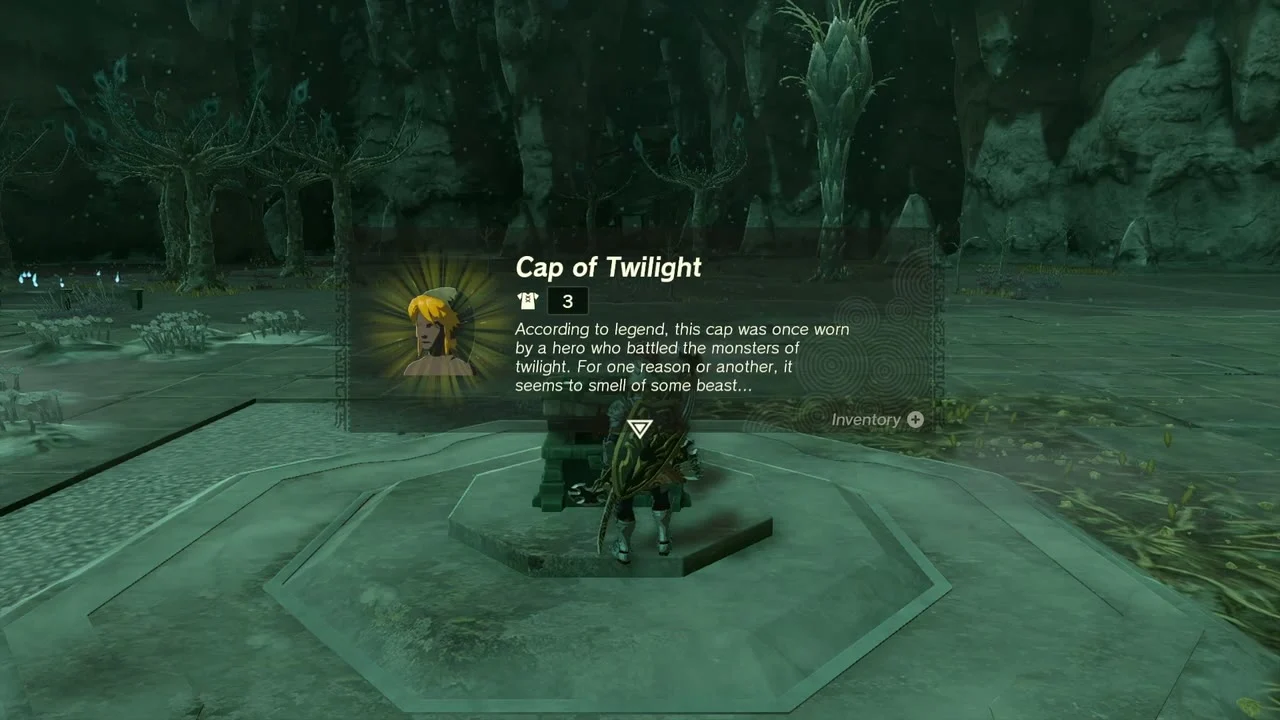
Miniboss: King Gleeok, and the Cap of Twilight. Gleeok Den is at (331, 3111, -458). King Gleeok fires flame, ice and lightning; shoot each head to leave it open and finish with heavy hits. The chest on the octagonal floor is sealed by gloom until the king falls; afterwards open it for the Cap of Twilight. If you lose the cap, a Bargainer Statue in the Depths sells it again for Poes. The other pieces of the Twilight set (Tunic and Trousers) are in other Depths regions, not here.

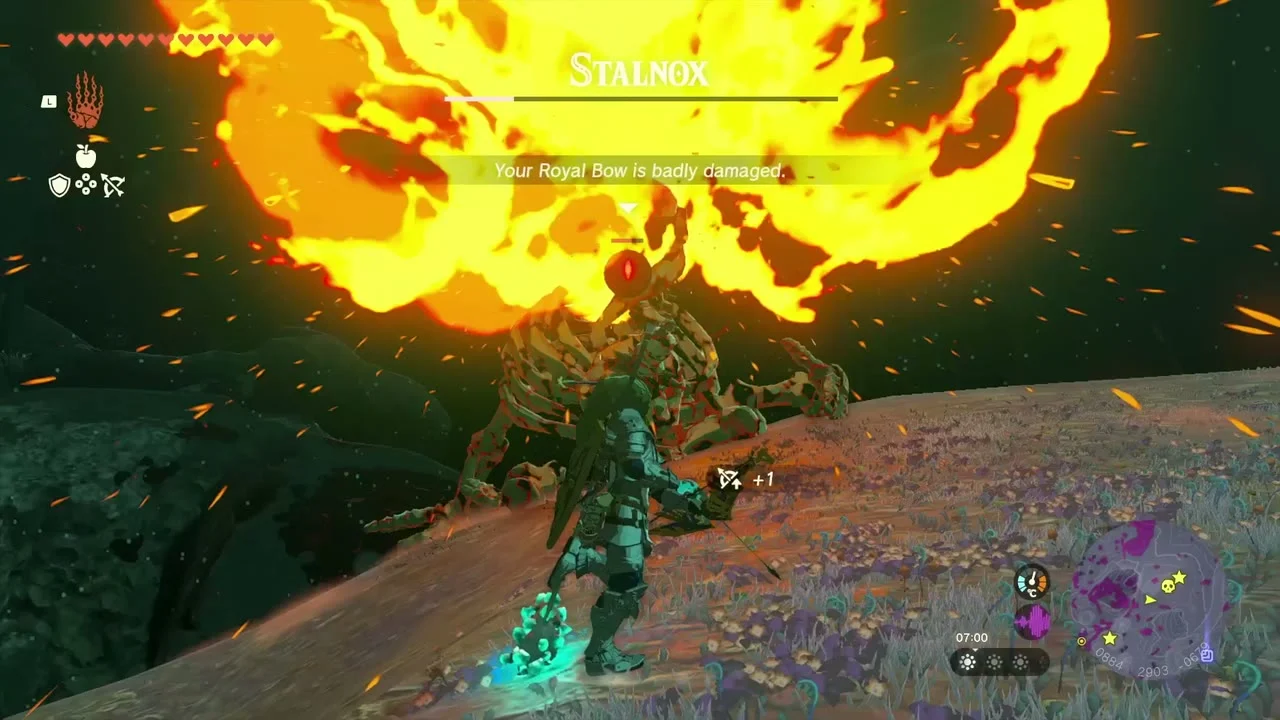
Miniboss: Stone Talus and Stalnox. A gloom-covered Stone Talus, a second Obsidian Frox and a Stalnox guard the cavern farther along the Depths route, each with its own boss bar.
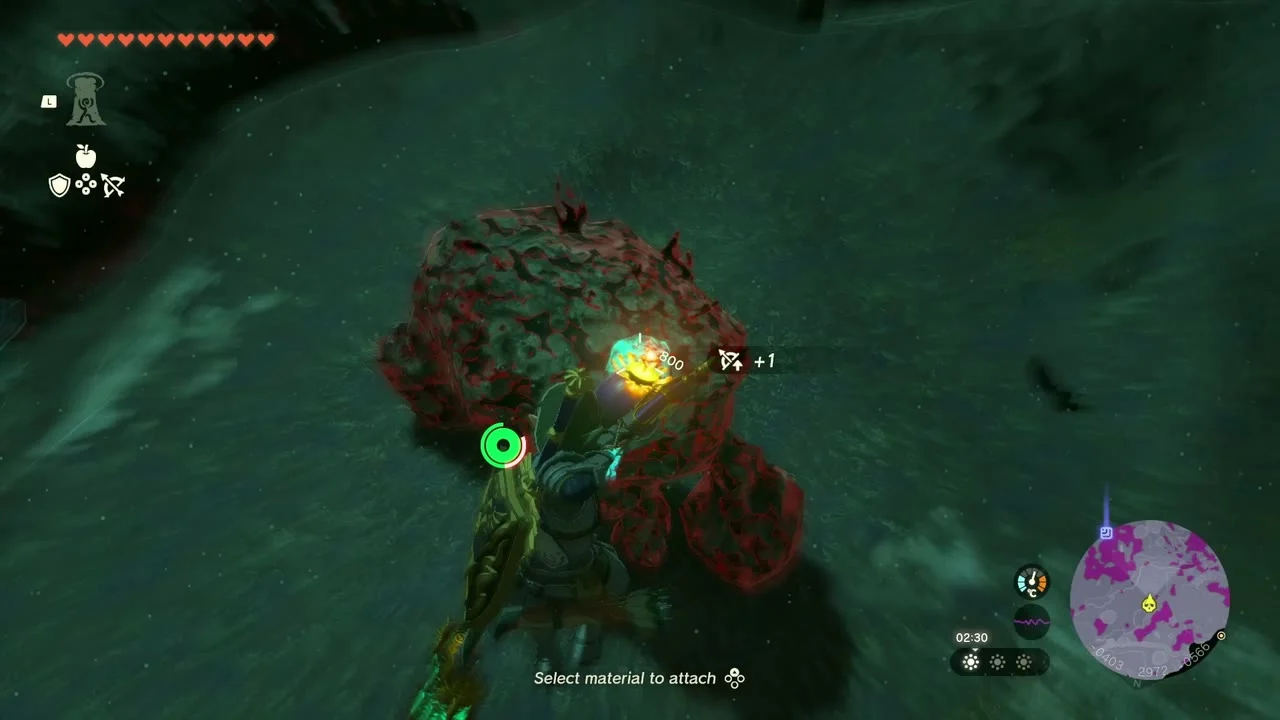
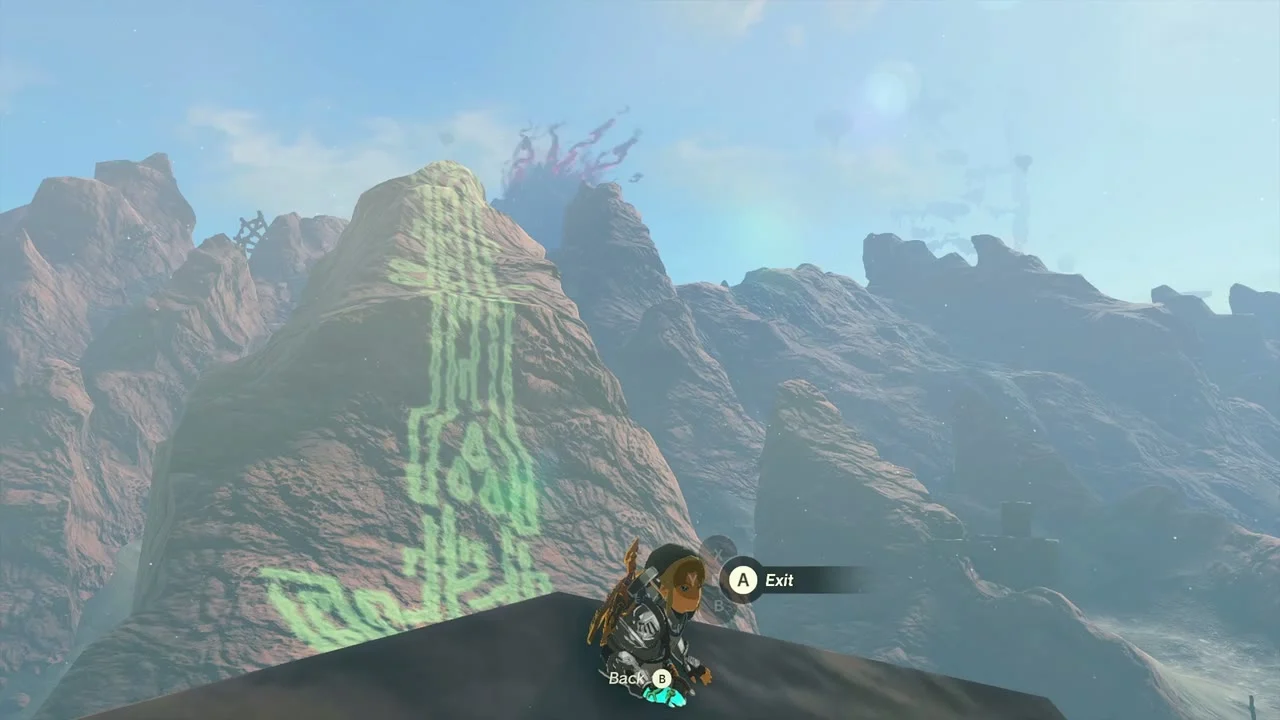
Lighthouse shortcut. Near the end of the Depths run, climb the Lighthouse structure to its summit for a view over the forest; from there you can launch back to the surface.

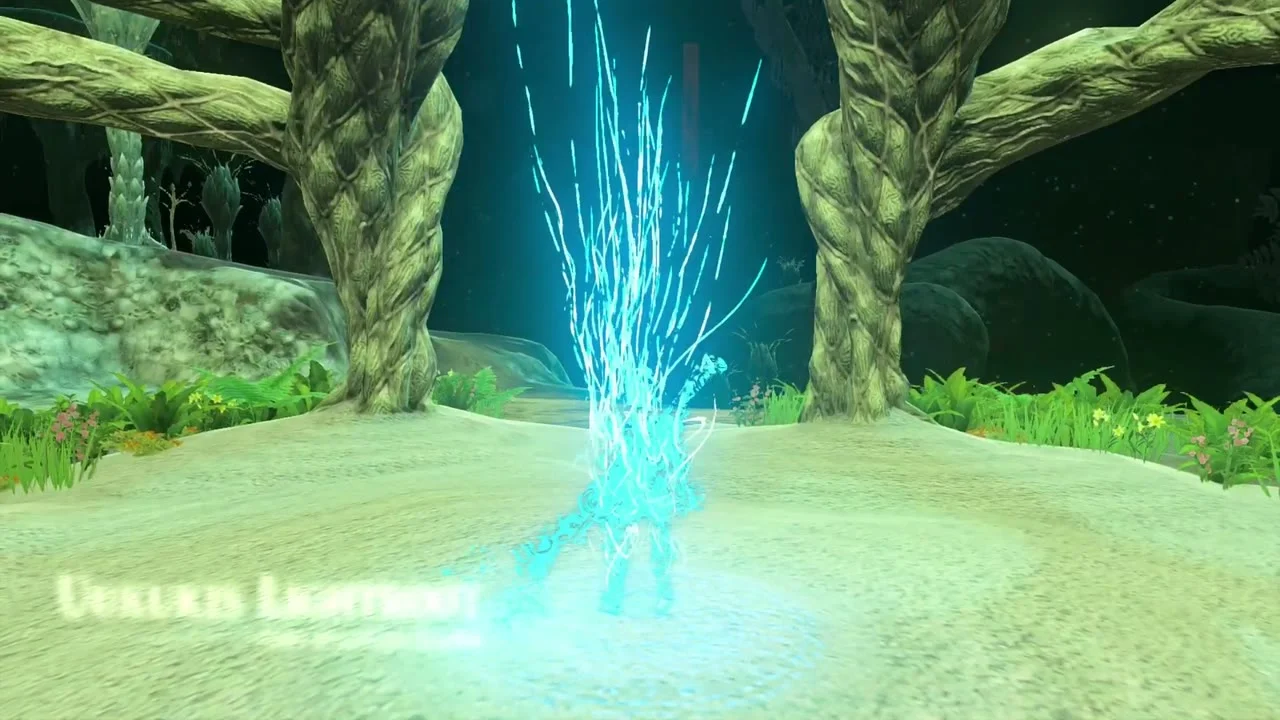
Lightroot: Uukukis. Uukukis Lightroot sits at (697, 2792, -692) on a white sand patch; it lies below Sikukuu Shrine in Eldin Mountains. Activate it for fast travel and a lit area.

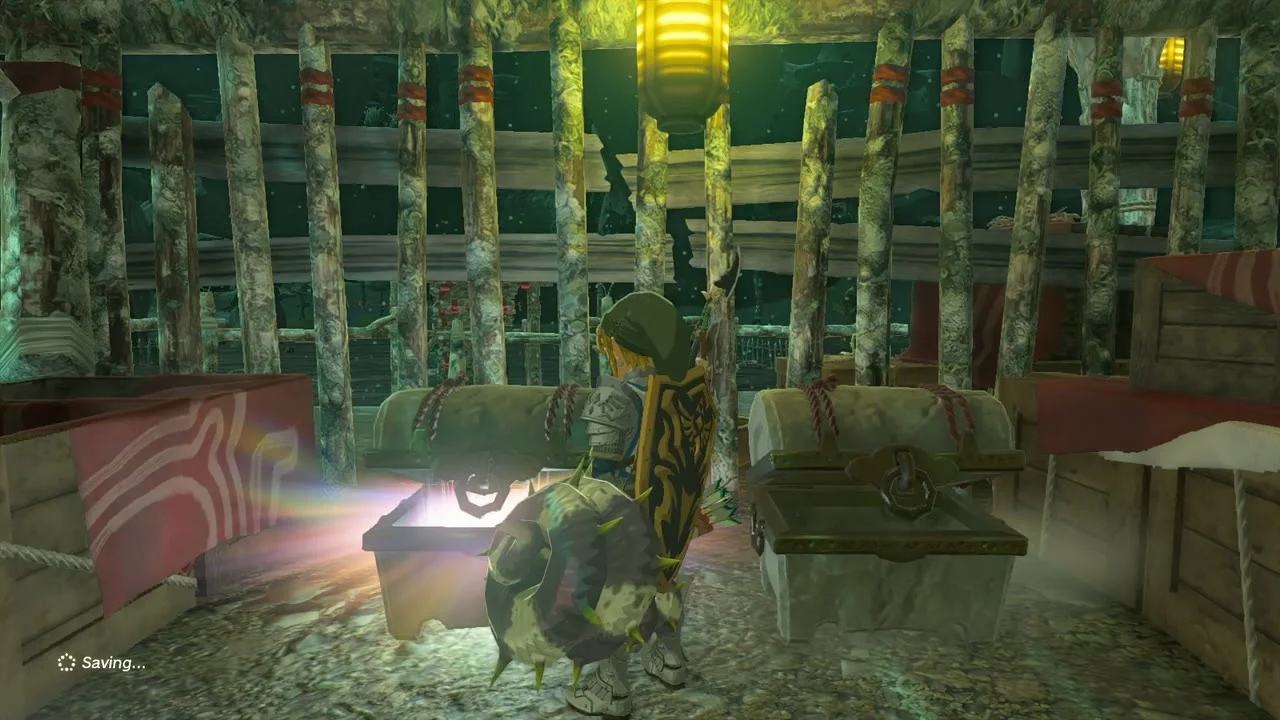
Chest (Large Crystallized Charge). Drena Canyon Mine at (-561, 2584, -844) is in the Great Hyrule Forest Depths. A wooden shed there holds a chest with a Large Crystallized Charge.


Yiga hideout 3. A third hideout holds a Yiga Schematic (Fishing Trawler) and a Large Crystallized Charge.

Also in this area
Korok seeds. No Korok seed sits on the forest floor in this stretch. The nearest datamined Koroks are a spark-trail Korok at (-332, 1747, 199) to the west, a balloon Korok at (985, 1804, 211) to the south-east, and a falling-light Korok in the sky at (285, 1960, 753).
Caves. No cave entrances fall inside this stretch of Great Hyrule Forest.
Great Hyrule Forest part 2 checklist
| Collectible | Count | Where |
|---|---|---|
| Shrines | 4 | Musanokir, Sakunbomar, Ninjis, Pupunke |
| Lightroots | 5 | Rikonasum, Sijnin, Ramobnukas, Eknupup, Uukukis |
| Surface chests | 7 | Large Zonai Charge, Diamond, Mighty Construct Bow, Forest Dweller’s Bow, Forest Dweller’s Shield, Giant Brightbloom Seed x10, Mighty Zonaite Sword |
| Depths chests | 8 | Three Yiga hideouts (Charged Charger, Aerial Cannon, Fishing Trawler schematics, three Large Crystallized Charges), Cap of Twilight, Large Crystallized Charge |
| Heart Containers | 1 | Goddess Statue, Korok Forest |
| Minibosses | 8 | Phantom Ganon, Stone Talus, two Obsidian Frox, Flux Construct II, King Gleeok, Stone Talus (Depths), Stalnox |
| Quests | 7 | Recovering the Hero’s Sword, The Secret Room, Walton’s Treasure Hunt, Whirly Swirly Things, None Shall Pass?, Maca’s Special Place, A Pretty Stone and Five Golden Apples |
