





















Tears of the Kingdom 100% Completion Walkthrough43 chapters
Great Sky Island
- Great Sky Island4 shrines, 4 caves and Bubbul Gems, 17 Korok seeds
Hyrule Field and Hyrule Castle
- Lookout LandingParaglider, Crisis at Hyrule Castle, Jiosin and Kyononis shrines, 2 caves, 3 wells
- Hyrule FieldSusuyai and Ishodag shrines, the Hyrule Field Chasm, 2 caves, 13 Koroks
- Hyrule Castle Town RuinsSepapa, Yamiyo and Tukarok shrines, 2 caves, 4 wells, Koroks, chests and Battle Taluses in route order
- Central Hyrule Depthslight all 7 Lightroots, loot Daphnes and Gustaf Canyon Mines, find the Miner's Top
- Rest of Hyrule CastleRoyal Hidden Passage loot, 8 castle chests, Phantom Ganon, Energy Wells
- South Hyrule FieldShrines, Koroks & the Great Plateau
- South Hyrule Field DepthsGreat Abandoned Central Mine, Master Kohga, Autobuild, Majora's Mask
Tabantha and Hyrule Ridge
- Tabantha FrontierNew Serenne Stable, Hestu, Courage Island and the Glide Shirt, 3 shrines, 2 Korok seeds, Lindor's Brow Cave
- Forgotten TempleImpa and the Geoglyphs, Dragon's Tears, Kiuyoyou and Mayausiy shrines, Yiga Maritta Branch, 9 Koroks
- Tanagar Canyon & Hyrule RidgeRunakit and Iun-orok shrines, 2 caves, 12 Koroks, 20 chests, 8 minibosses and Dragon's Tear 6
- Thundra Plateau & Tabantha Bridgesolve the noon shadow puzzle, Tabantha Bridge Stable, Makurukis Shrine, 19 Korok seeds, 9 chests, 3 minibosses
- Lindor's Brow DepthsLightroots; Two Yiga camps (Bomb Bouquet, Flamethrower Balloon)
- Hyrule Ridge and Tabantha FrontierIkatak, Oromuwak, Ganos and Ga-ahisas shrines, 4 caves, a well, 26 Koroks and 3 minibosses
Hebra
- Rito VillageGatakis and Ijo-o shrines, Sikatag Lightroot, 9 Korok seeds, 14 chests
- Hebra MountainsShrines, Wind Temple & Koroks; Raspro Pass, Biron Snowshelf & Royal Hidden Passage
- Corvash Canyon MineTrousers of the Hero, Floodlights schematic, Sea-Breeze Boomerang, four Lightroots, Colgera
- Raspro Pass DepthsNupisoyuat and Sasag Lightroots, Colgera, Cap of Time, Tunic of the Wind, two Yiga camps and 13 minibosses
- Tabantha TundraTaninoud, Orochium, Oshozan-u, Mayaotaki, Nouda and Tenbez shrines, three Lightroots, caves and Bubbul Gems
- Pikida Stonegrove DepthsEvil Spirit Greaves, Ikatoayam, Muihcoro and Sikatag Lightroots, 3 Yiga schematics, Frox fights
Great Hyrule Forest
- Great Hyrule Forest7 shrines, 8 Lightroots, 2 caves, 2 wells, Korok Mask, Glide Tights
Eldin
- EldinEldin Canyon, Shrines, Caves & Goron City
- Eldin Canyon Depths10 Lightroots, Zant's Helmet, Trousers of the Wild, Biggoron's Sword, 3 Yiga schematics and Eldin's sky chests
Faron
- FaronHighland Stable, Lake Hylia & Popla Foothills
Necluda
- Kakariko VillageMakasura Shrine, Kakariko Village Well, 2 caves, Ring Ruins chests, 10 Korok seeds and village quests
- West Necluda and Lanayru WetlandsShrines, Koroks & Caves; Jonsau, Kurakat
- Hateno VillageZanmik and Mayahisik shrines, Shield of the Mind's Eye and Phrenic Bow wells, 7 Koroks
- East NecludaRabella Wetlands, Sifumim Shrine, Lurelin Village, 21 Korok seeds
- East Necluda DepthsKumamayn Shrine, 4 Lightroots, Midna's Helmet, Cap of the Hero, Trousers of the Wind and 18 Depths chests
Lanayru
- Lanayru Great SpringShrines, Koroks & Caves; Ralis Channel, 3 shrines, 8 caves
- Zora's DomainMogawak and Ihen-a shrines, Ploymus cave, Pristine Sanctum, Zora Armor, Sidon of the Zora and Clues to the Sky
- Wellspring IslandAncient Zora Waterworks chests, Igoshon Shrine, 2 Korok seeds, Water Temple's four wheels and Mucktorok
- Mount LanayruShrines, Koroks & Light Rings; Jikais and Anedamimik shrines
Gerudo
- Gerudo DesertShrines, Caves & Koroks; West and South Sands
- Gerudo TownGerudo Shelter shops and quests, Valley of Silent Statues, Lightning Temple and Queen Gibdo, Chichim Shrine
- Gerudo Desert DepthsGranajh and Daval mines, three Master Kohga fights, Queen Gibdo, Mucktorok, Sheik's Mask and 37 chests
- Gerudo HighlandsSkyview Tower, Rotsumamu and Suariwak shrines, Mayasiar Shrine, Yiga hideout
Akkala
- AkkalaTarrey Town quests, 4 shrines, Hinox, Battle Talus
- Akkala Sky Islands and DepthsGikaku and Natak shrines, Old Maps, Lomei Depths Labyrinth, Mucktorok, 5 Lightroots and 19 chests
Finale and completion
- Ancient Tablets, Gleeoks and Armor Upgradesall 13 stone tablets with coordinates, Frost and King Gleeok, Obsidian Frox, Cotera upgrades and farming
- Hyrule CastleRoyal gear chests, Korok seeds, Serutabomac Shrine
- Thunderhead IslesCharged armor, Joku-usin and Joku-u Shrines, Dragonhead Island's relic
- 100% Completion: Armor Upgrades & Korok BonusHestu's Gift, Ancient Hero's Aspect, Great Fairy Cotera upgrade costs and materials, then Destroy Ganondorf
This chapter is in 2 parts, in the order a 100% run reaches them. Jump to a part:
Part 1: Shrines, Koroks & the Great Plateau
| Region | Central Hyrule: Hyrule Field south and east of Lookout Landing, from Whistling Hill and Riverside Stable down to the Bridge of Hylia, then west onto the Great Plateau |
|---|---|
| Side quests | Wanted: Hinox! (finished), Feathered Fugitives, A Picture for Riverside Stable, Whirly Swirly Things |
| Side adventures | Gourmets Gone Missing, A Call from the Depths (started) |
| Shrines | 6: Teniten (Combat Training: Throwing), Tajikats (Building with Logs), Kamizun (Proving Grounds: Beginner), Riogok (Force Transfer), Tadarok (Fire and Water), Kyokugon (Alignment of the Circles) |
| Caves and wells | 4 caves (Whistling Hill Cave, Shrine of Resurrection, River of the Dead Waterfall Cave, Great Plateau Foothill Cave) and 1 well (Riverside Stable Well) |
| Lightroots | 3 lit: Nogukoyk, Kogoir and Koradat (see all Lightroots); the other three sit under the surface shrines |
| Korok seeds | 47 (see Hyrule Field Korok seeds) |
| Bubbul Gems | 4: Whistling Hill Cave, Shrine of Resurrection, River of the Dead Waterfall Cave, Great Plateau Foothill Cave |
| Minibosses | Battle Talus x2, Boss Bokoblin x2, Gloom Spawn with Phantom Ganon x2 |
| Armor | Rubber Armor (Whistling Hill Cave), Yiga Mask (Yiga hideout on the western plateau) |
This chapter sweeps the grassland between Lookout Landing and the Bridge of Hylia, then climbs onto the Great Plateau and works west across it. Every shrine, cave, chest and Korok seed on the way is listed in route order. Coordinates are map units (X, Y, height): larger Y is further north, and the minimap rim prints the same numbers, so you can match any entry against your own position.
Quick route
Hand in Wanted: Hinox! at Lookout Landing, then work south over Whistling Hill: the Silver Moblin Sledge chest, a Battle Talus and its Ruby chest, the Whistling Hill Cave with its Bubbul Gem and Rubber Armor, and Teniten Shrine just outside it.
Carry the exhausted Koroks east, clear Tajikats Shrine, and settle at Riverside Stable for Gourmets Gone Missing, Feathered Fugitives, A Picture for Riverside Stable and the well beneath it.
Sweep south through Owlan Bridge, the East Post Ruins and Proxim Bridge to Kamizun Shrine, then loop west to the Bridge of Hylia and the Great Plateau gate.
On the plateau, drop through the Shrine of Resurrection, visit the Temple of Time Ruins, throw the Goddess Statue Eyes into the four chasms, clear Riogok Shrine, the River of the Dead Waterfall Cave with Tadarok Shrine, and Great Plateau Foothill Cave with Kyokugon Shrine, then light three Lightroots below them.
Lookout Landing and the Silver Moblin Sledge camp
Quest (Wanted: Hinox!). Report the defeated Hinox to Gralens in the monster-control room at Lookout Landing; he is the quest giver, and the Hinox itself lives around Trilby Plain. Pray at the Goddess Statue in the same room for a Heart Container.
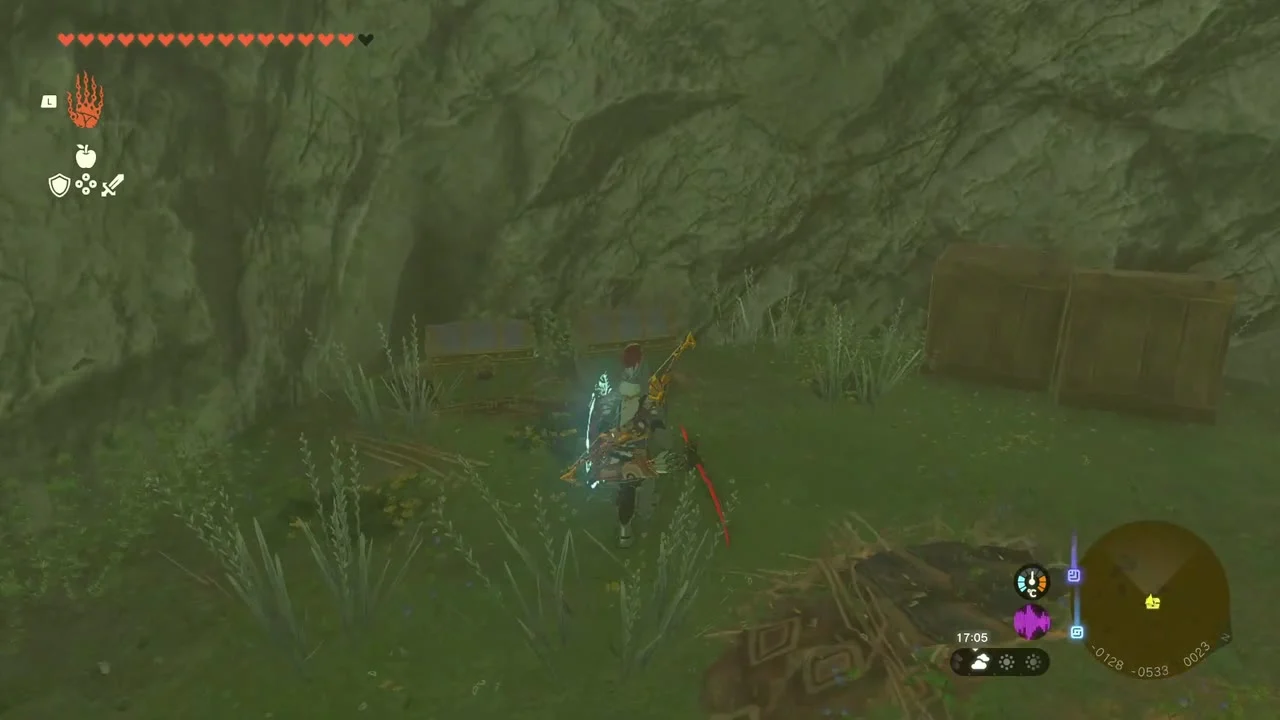
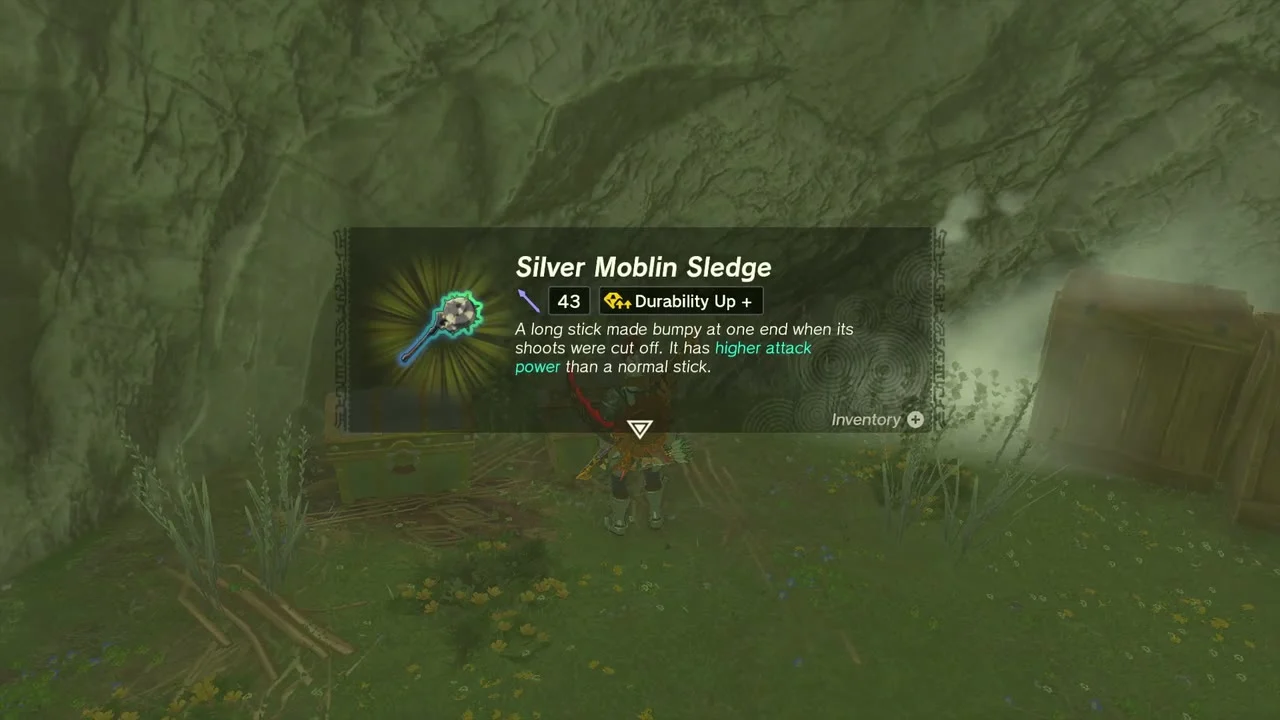
Chest (Silver Moblin Sledge). Go south from Lookout Landing to the rocky overhang at about (-128, -533, 23), where a chest sits in the grass at the foot of the cliff. It holds a Silver Moblin Sledge, a long two-handed club.
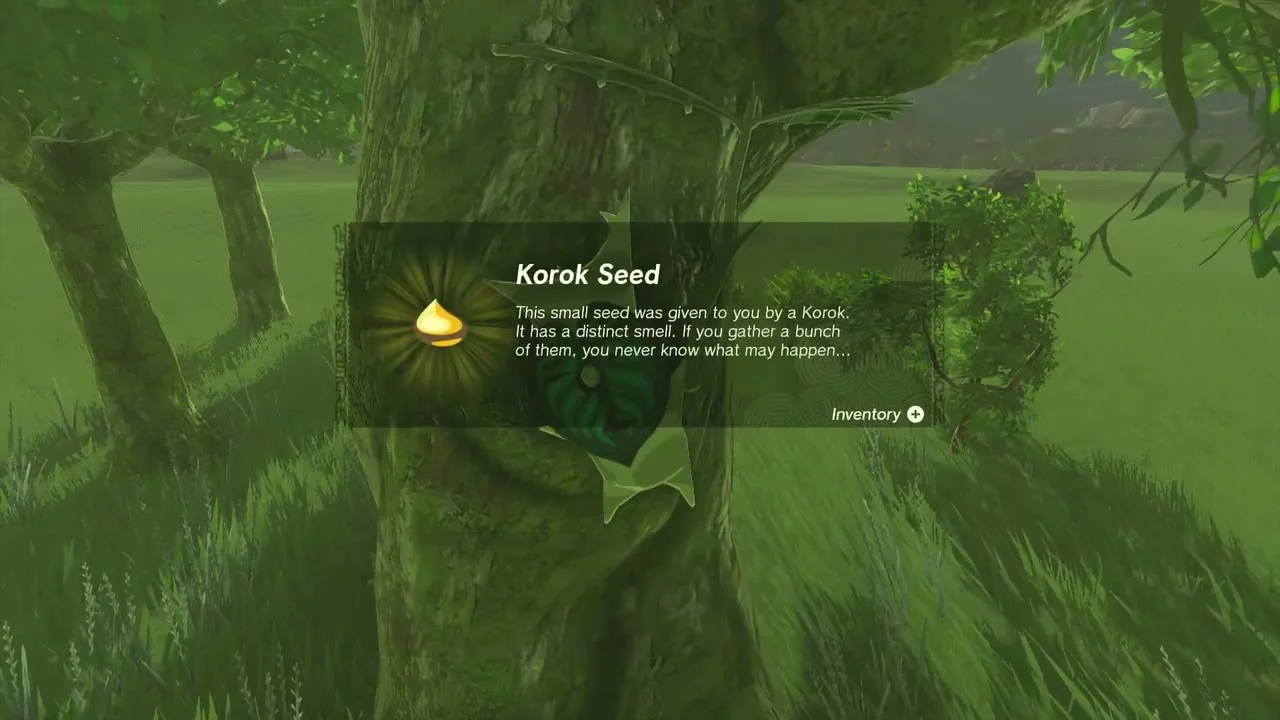
Korok seed (hidden acorn pot). Under the trees at (-311, -550, 25), a small acorn pot is hidden in the undergrowth. Break it and the Korok behind it hands over its seed.

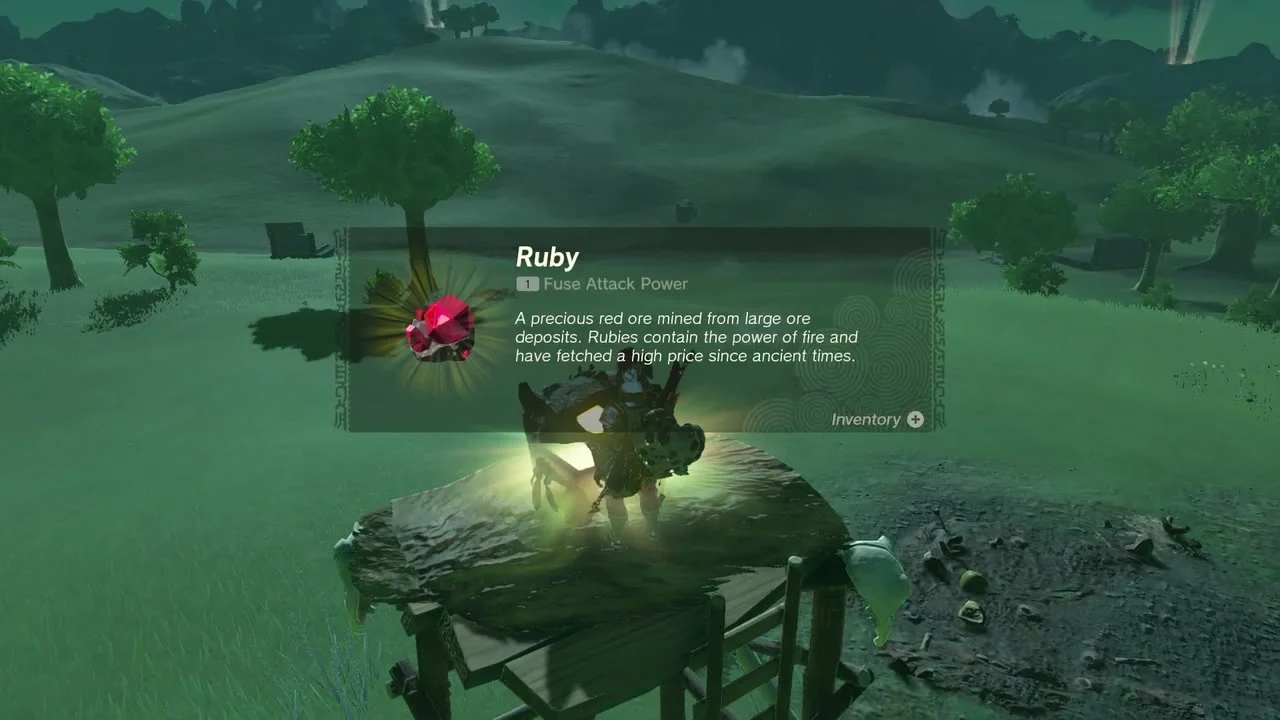
Miniboss (Battle Talus) and Ruby chest. A Battle Talus sleeps in the open grass at about (-95, -780, 34). Fuse a Muddle Bud to an arrow and shoot it to confuse the Talus, then hit the ore deposit on its back. Climb the skull-topped watchtower nearby at (-106, -786, 40) and open the chest for a Ruby.

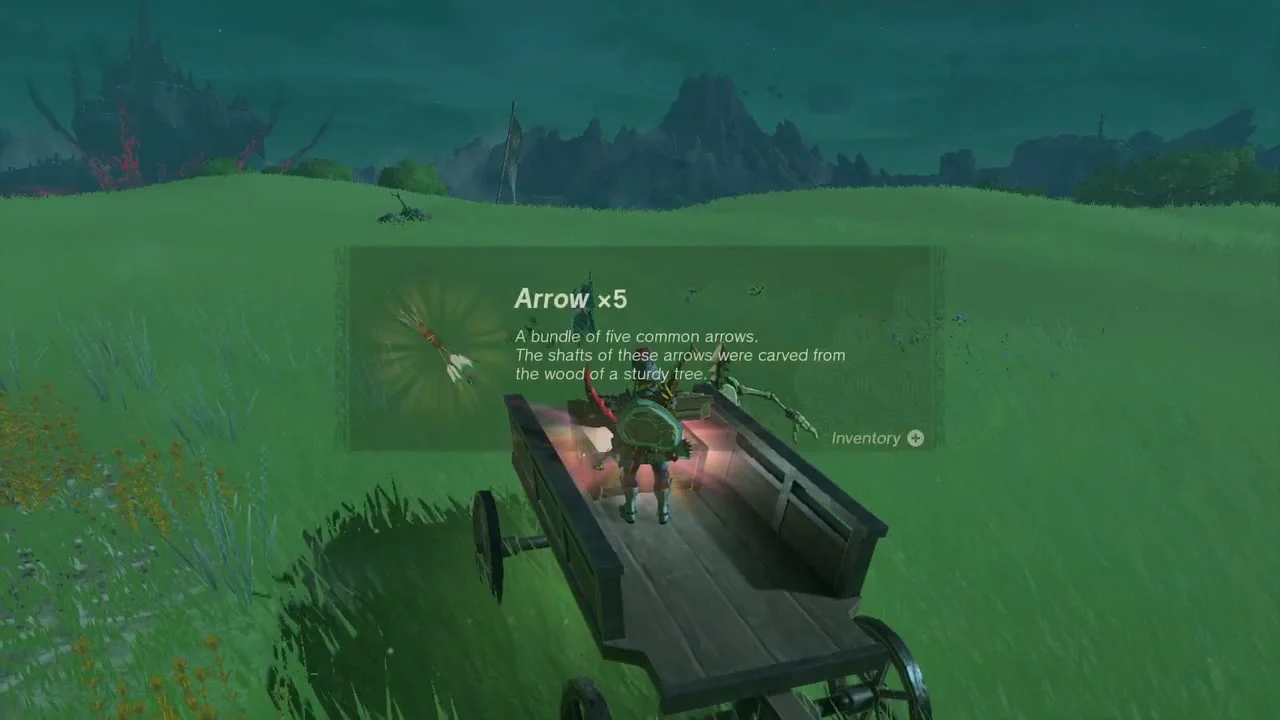
Chest (Arrow x5). A parked wagon on the open grass at (-345, -989, 38) carries a chest. Climb on and open it for Arrow x5.

Korok seed (dandelion). At the edge of the wood at (-124, -938, 45), a dandelion puff drifts in the air. Hit it as it floats off and the Korok behind it gives you its seed.


Whistling Hill Cave and Teniten Shrine
Whistling Hill Cave. The entrance is a hole in the rock face on the south-west side of Whistling Hill, at (-72, -1045, 17). Inside is a short loop of cavern passages guarded by Keese and a few Constructs.
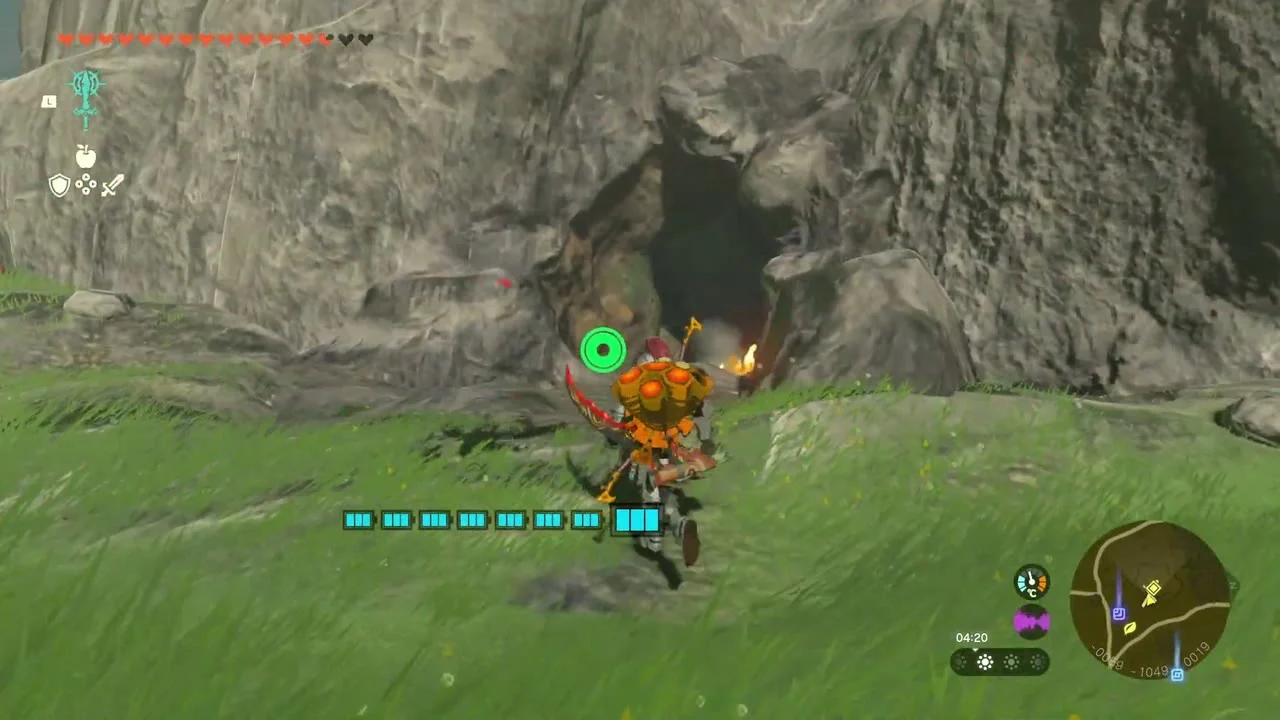

Bubbul Gem. In the lower cavern near (-131, -1052, -7), a Bubbulfrog sits on the cave floor. Catch it for a Bubbul Gem; you hand these in later for Hestu’s quest.
Chests (Royal Shield (or Traveler’s Shield, Soldier’s Shield or Knight’s Shield, depending on your progress), Giant Brightbloom Seed). Three chests in the inner passages each hold a Royal Shield, and a Giant Brightbloom Seed lies on the cave floor beside a rock wall. Take them as you loop through.

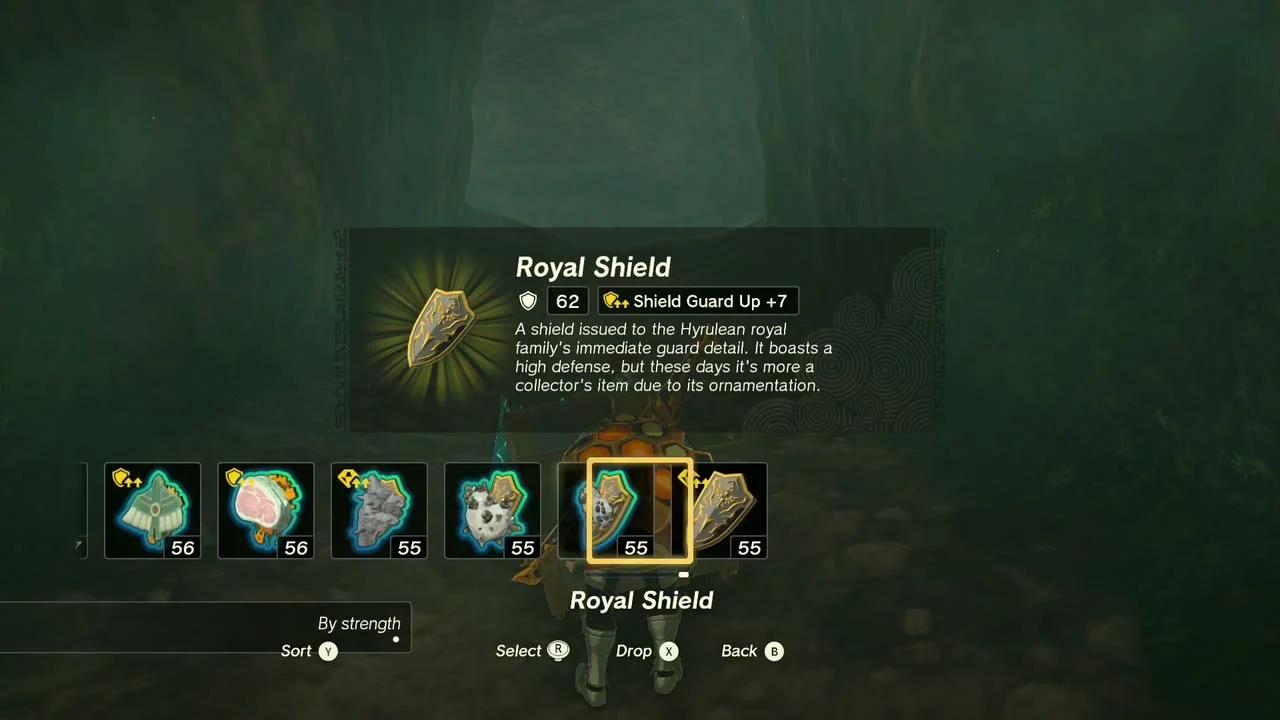
Chest (Rubber Armor). Near the back of the cave, a chest behind a breakable wall (guarded by a Shock Like) holds a piece of Rubber Armor. The set resists electricity. Guides also list a chest with a Soldier’s Shield in the cave, and vine walls that hide more chests and materials (burn or cut the vines).
Teniten Shrine
Teniten Shrine (Combat Training: Throwing, a Combat Training trial) stands at (-74, -1115, 34), just outside the cave on Whistling Hill. The Netinet Lightroot lies below it at (-73, -1115, -492).
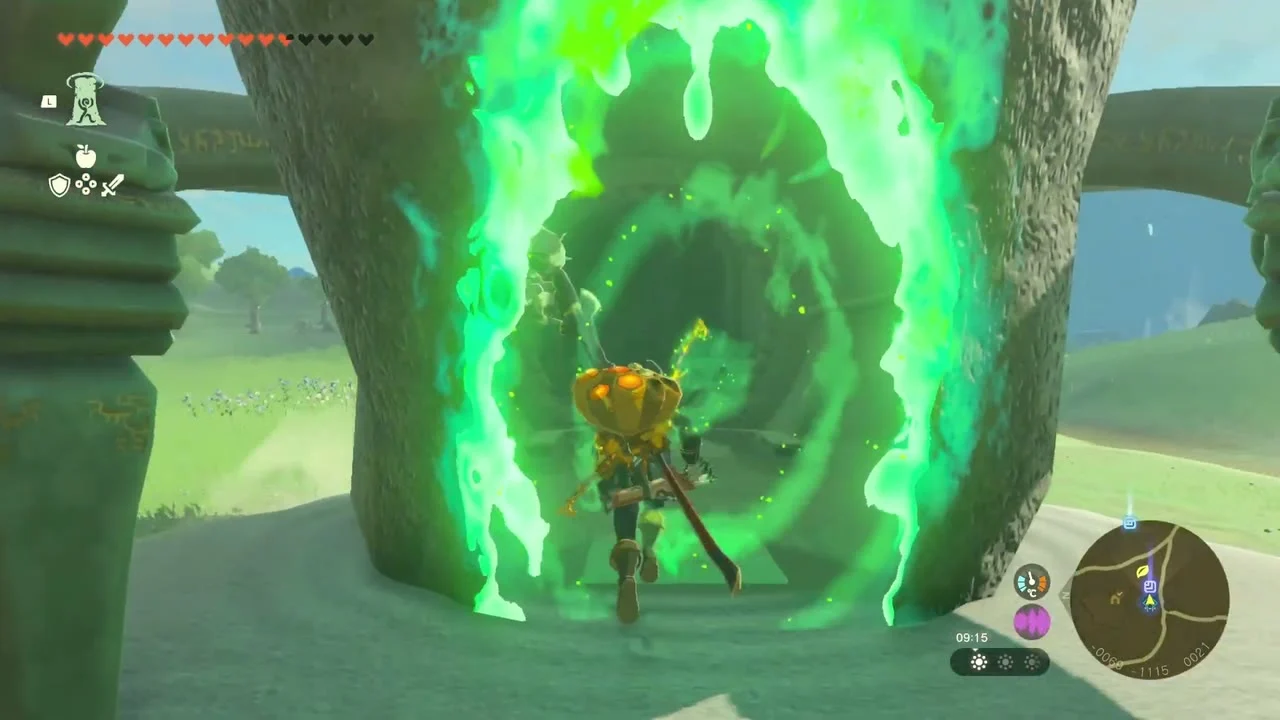
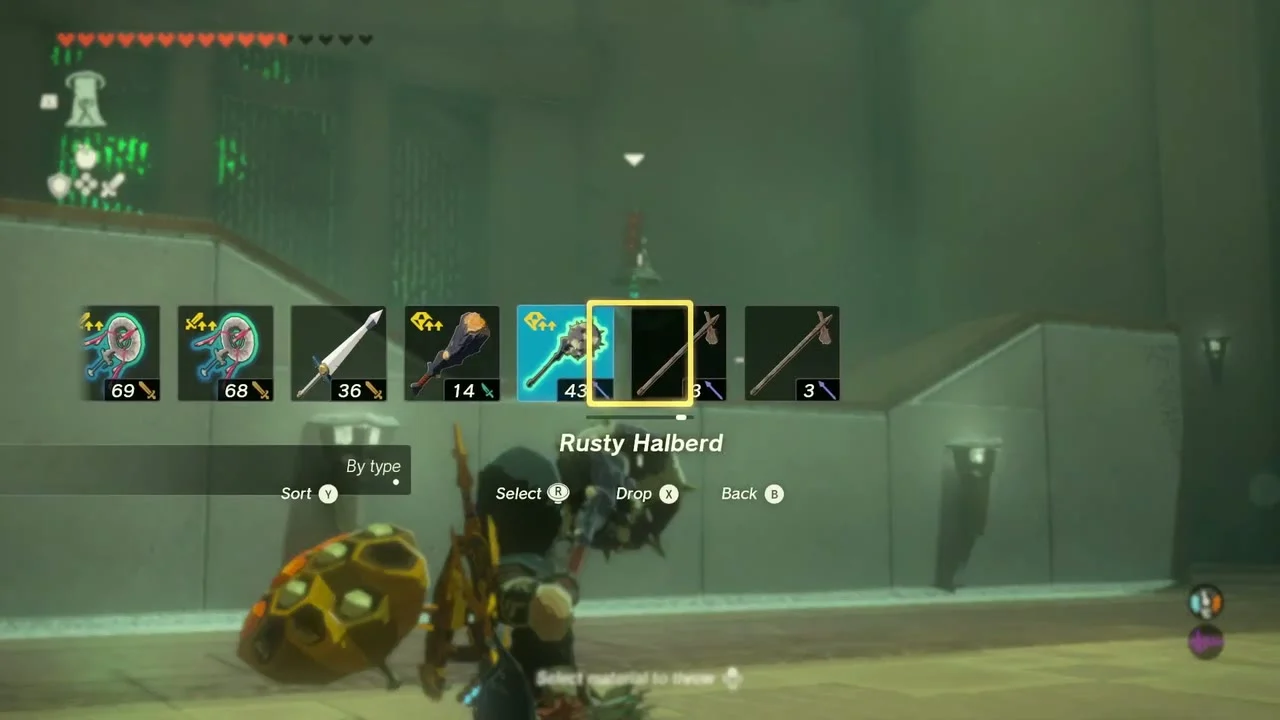
Take a throwing weapon
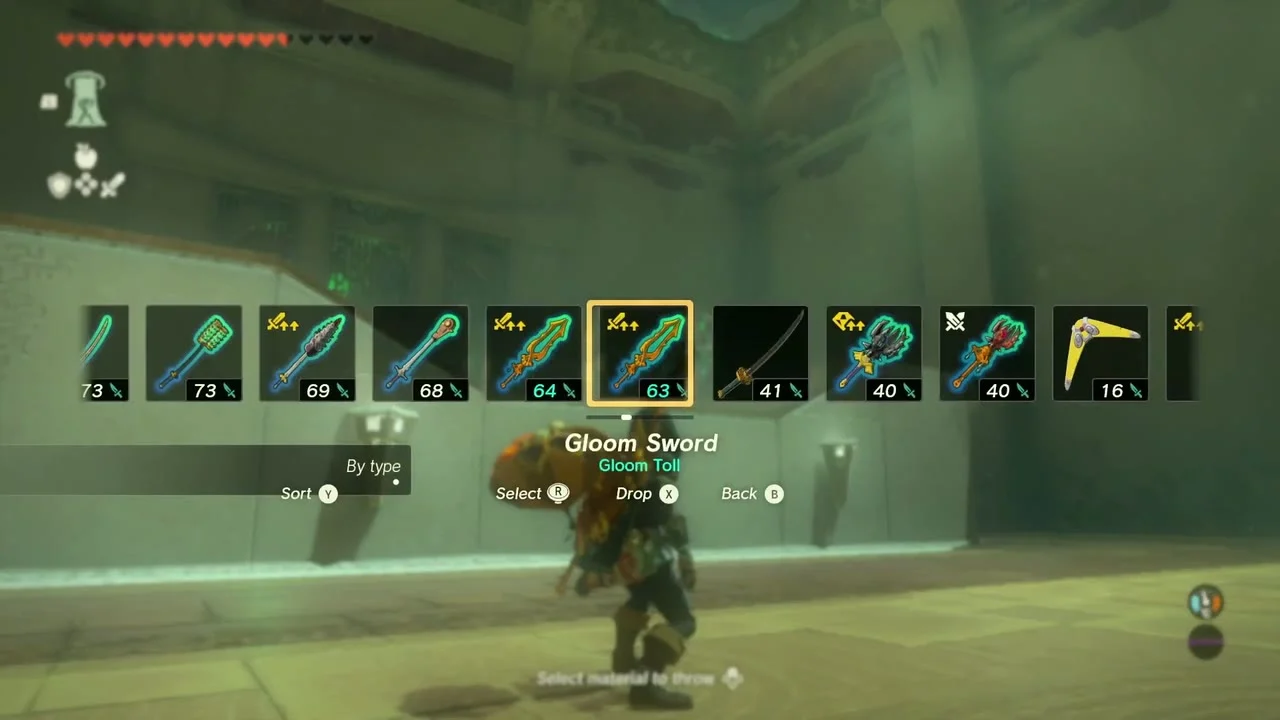
Pick up one of the Rusty Halberds from the rack beside the entrance. Any spare weapon works, so grab several in case you miss.
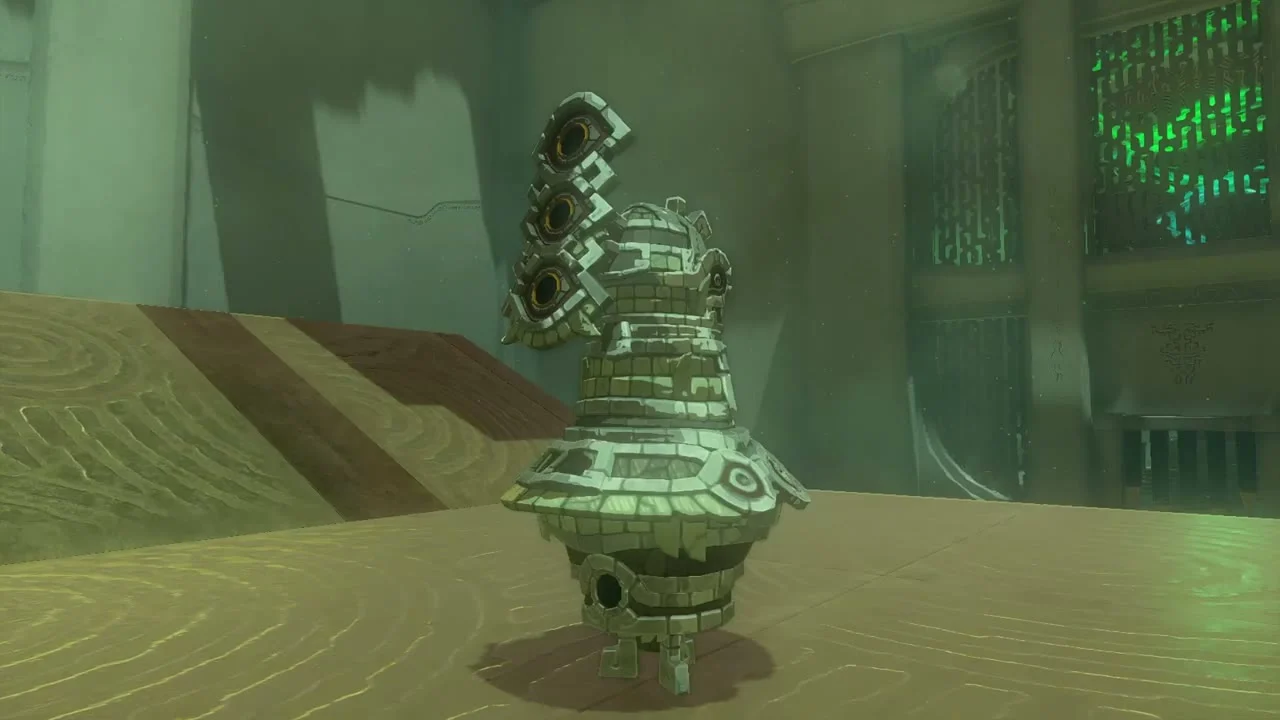
Hit the Training Construct twice
Throw a weapon at the Construct on its platform. After the first hit it starts sliding side to side, so lead the second throw. Only thrown weapons hurt it; arrows do nothing.
Climb to the chest
Climb the ladder at the side of the raised platform and open the chest for a Mighty Zonaite Spear (Strong or Mighty, depending on your progress), then take the Light of Blessing.


Carrying Koroks and the road east
Korok seeds x2 (carry the exhausted Korok). An exhausted Korok near the shrine begs you to carry it to its friend at (-152, -1530, 20), under a tent to the south. Lift it with Ultrahand, build a flyer from a Zonai Wing with a fan or Rocket, and fly it over. Both Koroks give a seed.

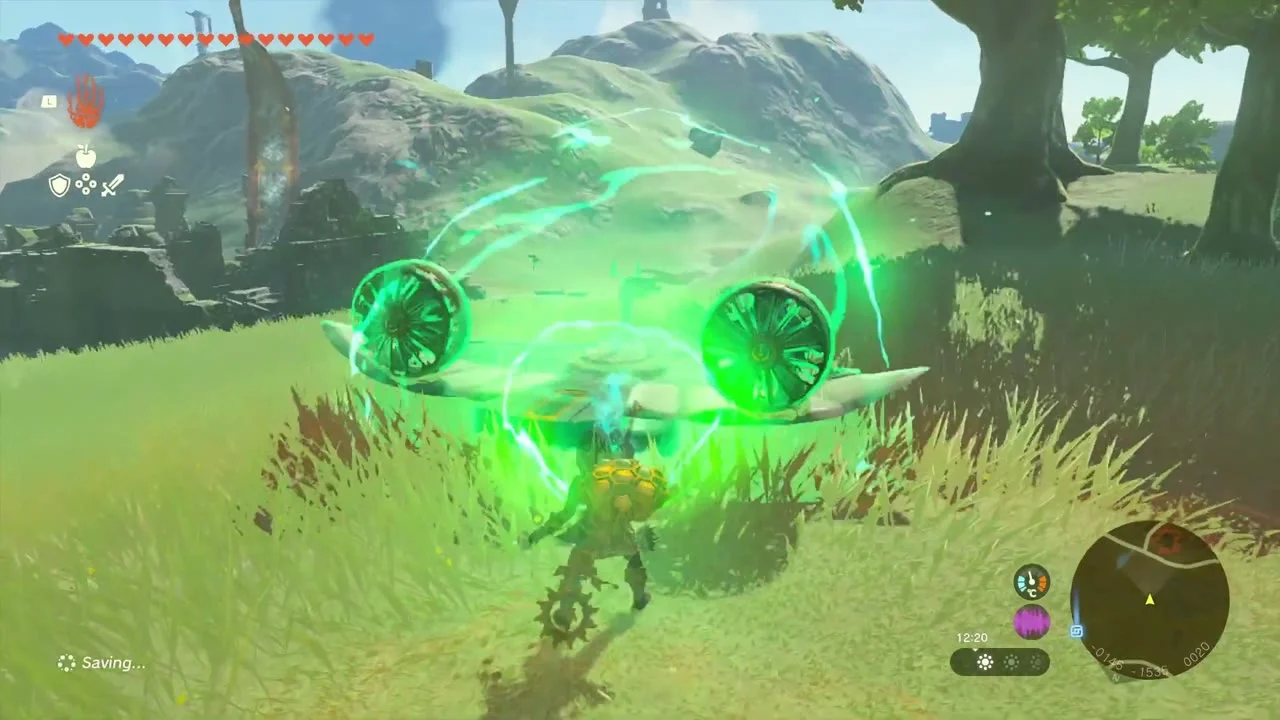
Korok seed (sparkling spot). On the grass slope east of Whistling Hill at (211, -886, 66), a sparkle hangs in the grass. Walk into it to flush out the Korok.
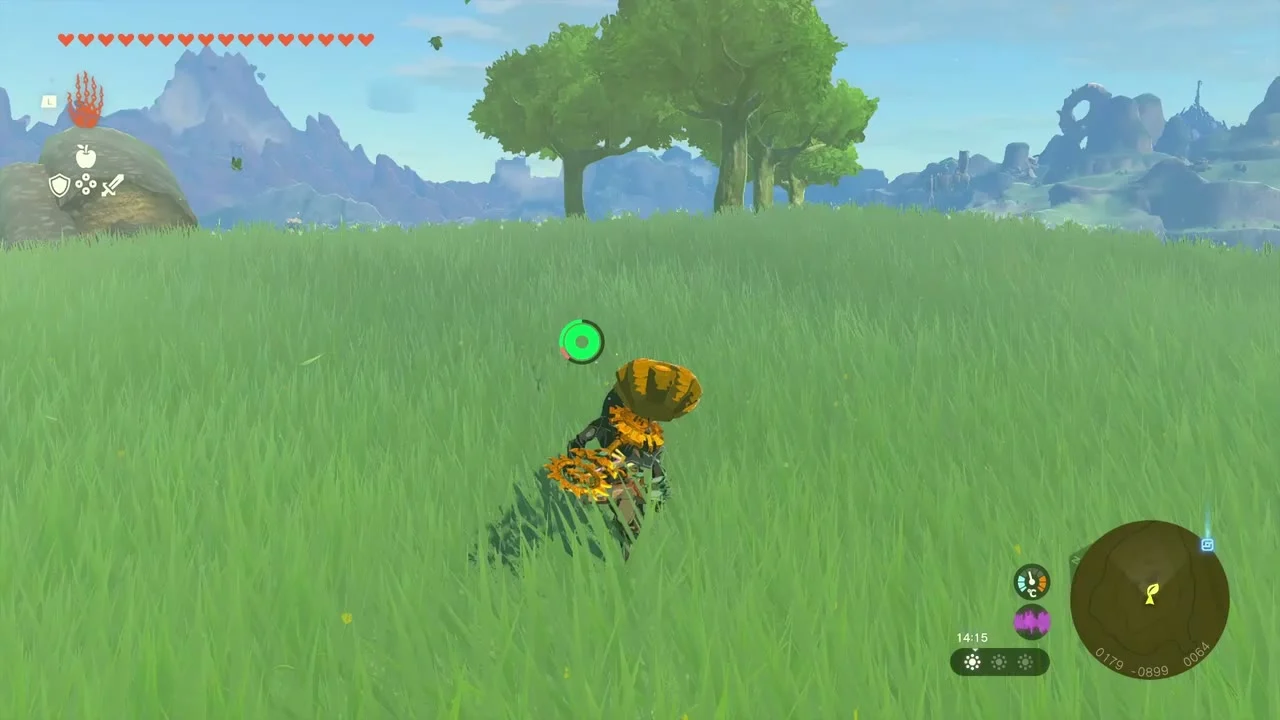

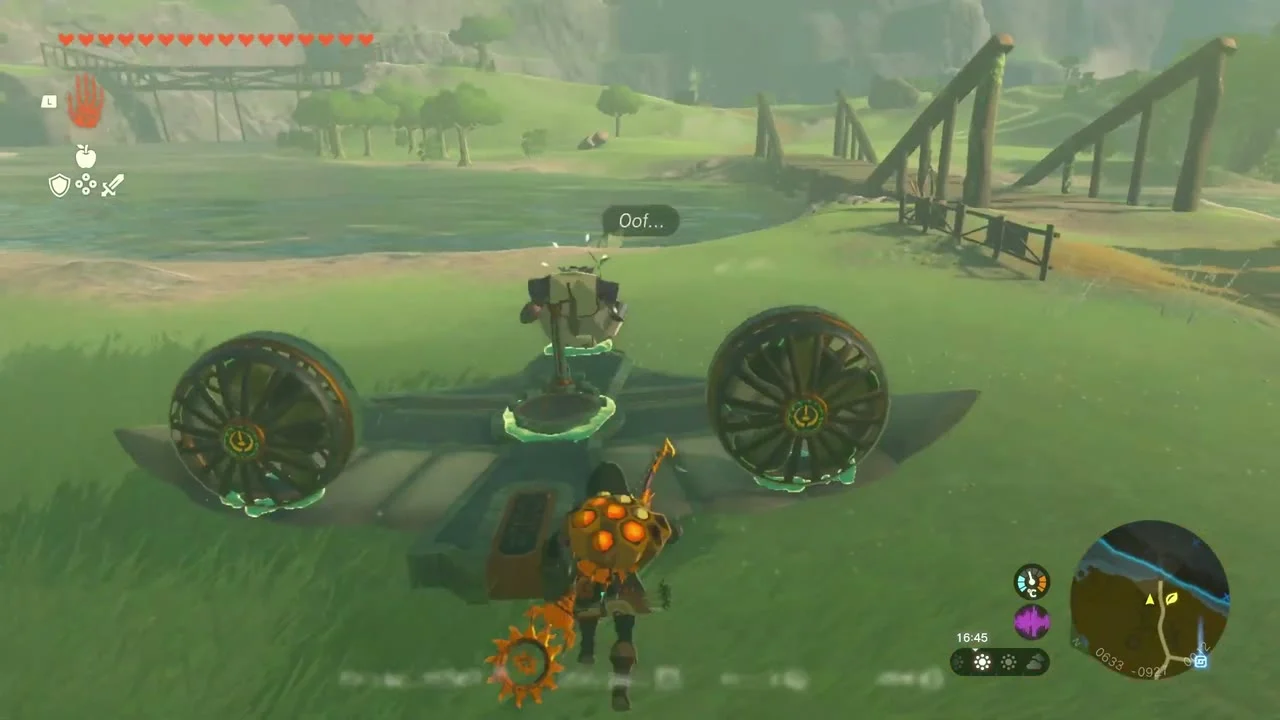
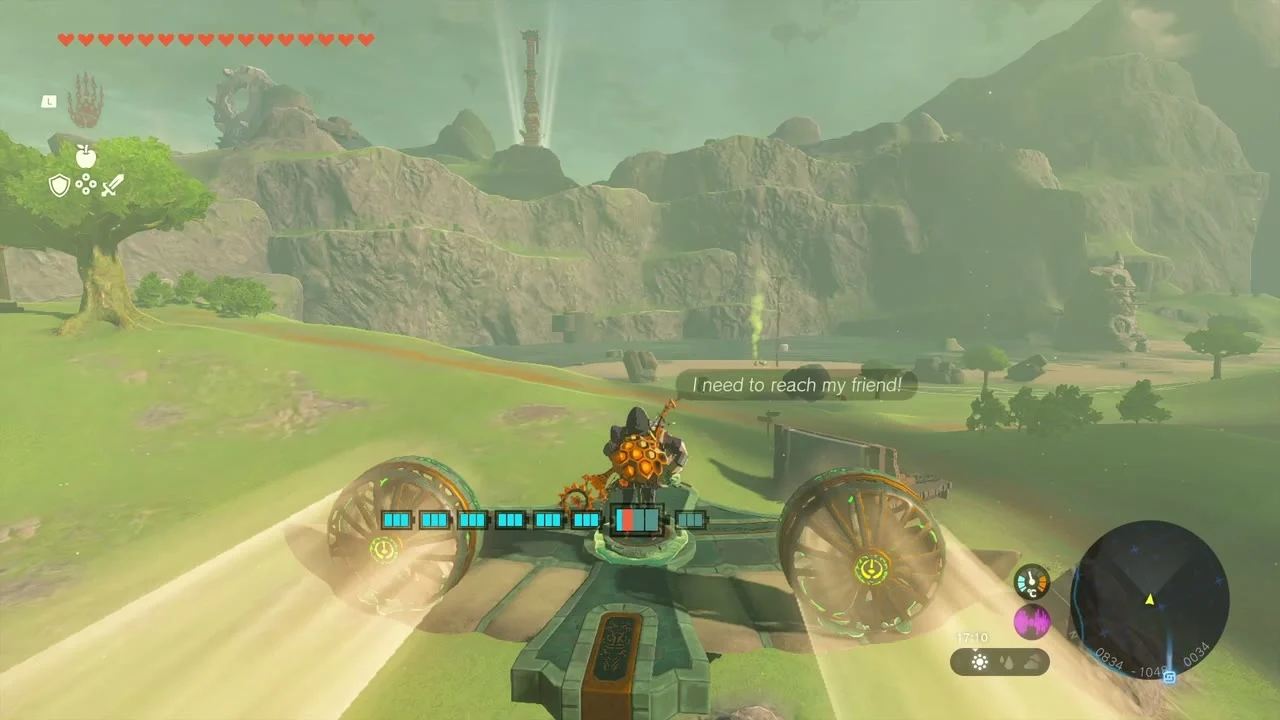
Korok seeds x2 (second carry). Another exhausted Korok near the road at about (581, -940) needs to reach its friend at (1018, -1185, 9) on the far side of the river. Build a Zonai Wing glider with two fans and fly it across; both Koroks give a seed.
Tajikats Shrine
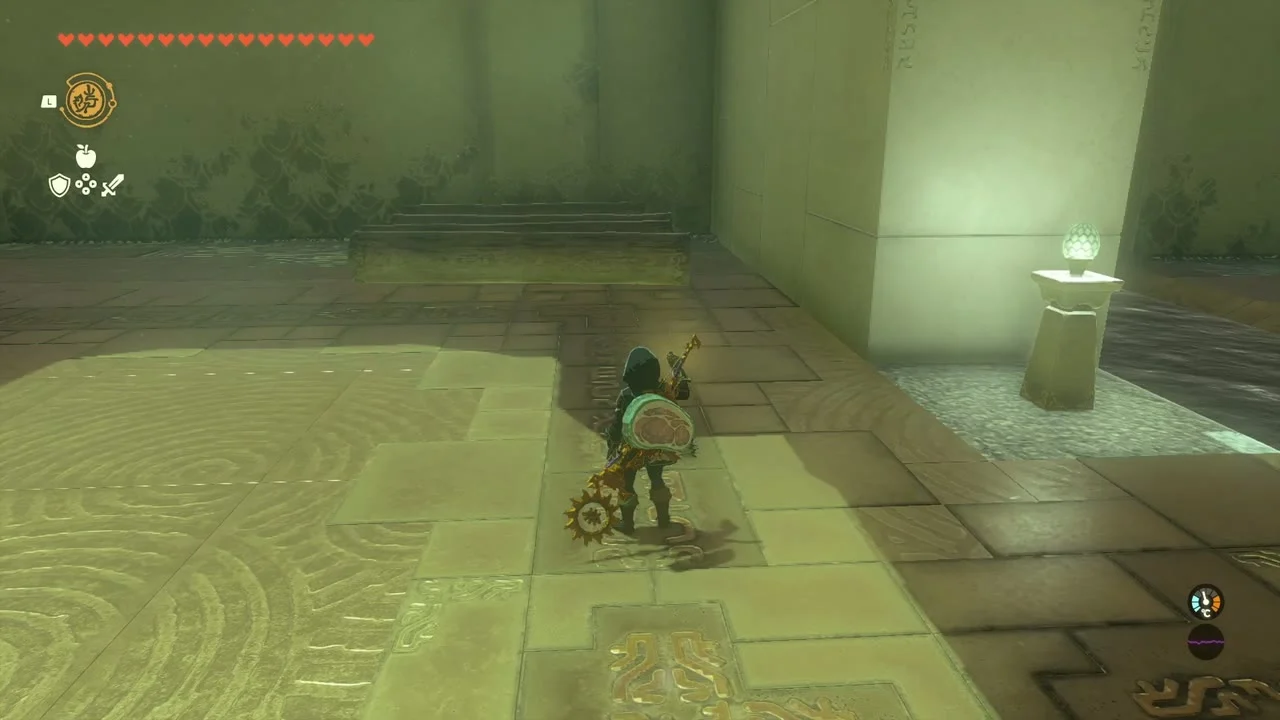
Tajikats Shrine (Building with Logs, a puzzle trial) stands at (343, -1009, 30), north of Riverside Stable. The Stakijat Lightroot lies below it at (343, -1008, -489). The only tool you need is Ultrahand.

Lean a log into a ramp
Pick up the log near the entrance and stand it against the first ledge as a ramp, then climb up.

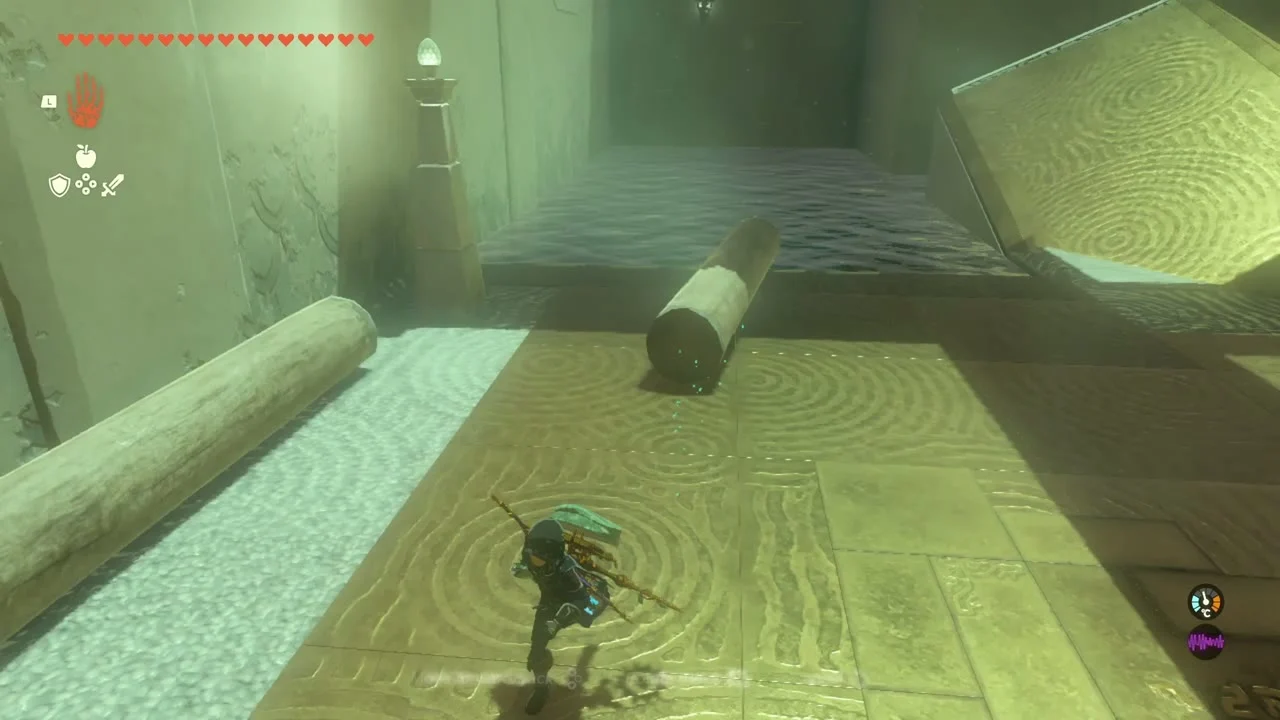
Bridge the water with joined logs
Join logs end to end into one long beam, then lean it against the wall or lay it across the gap to reach the far platform.

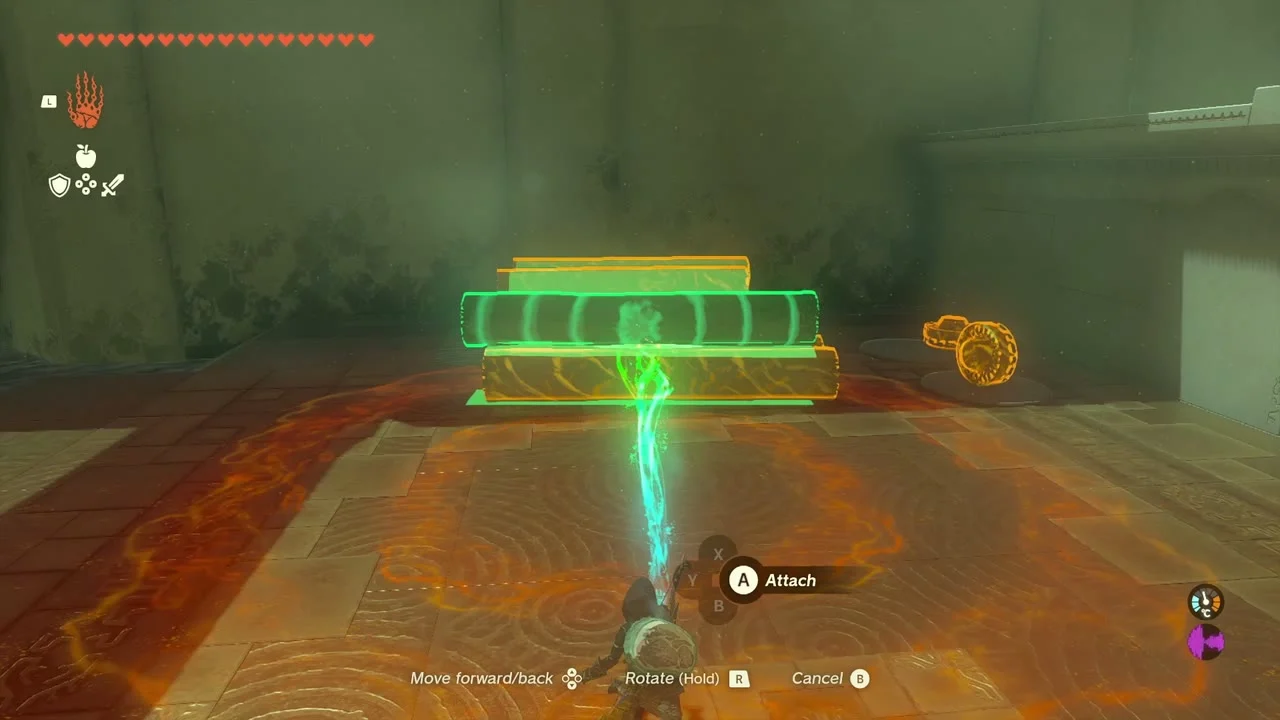
Build a log raft with fans and finish
Stick logs side by side into a raft, attach two fans at the back and shoot an arrow at the fans to power across the large pool. Open the chest on the final platform for a Spiky Shield, then take the Light of Blessing.

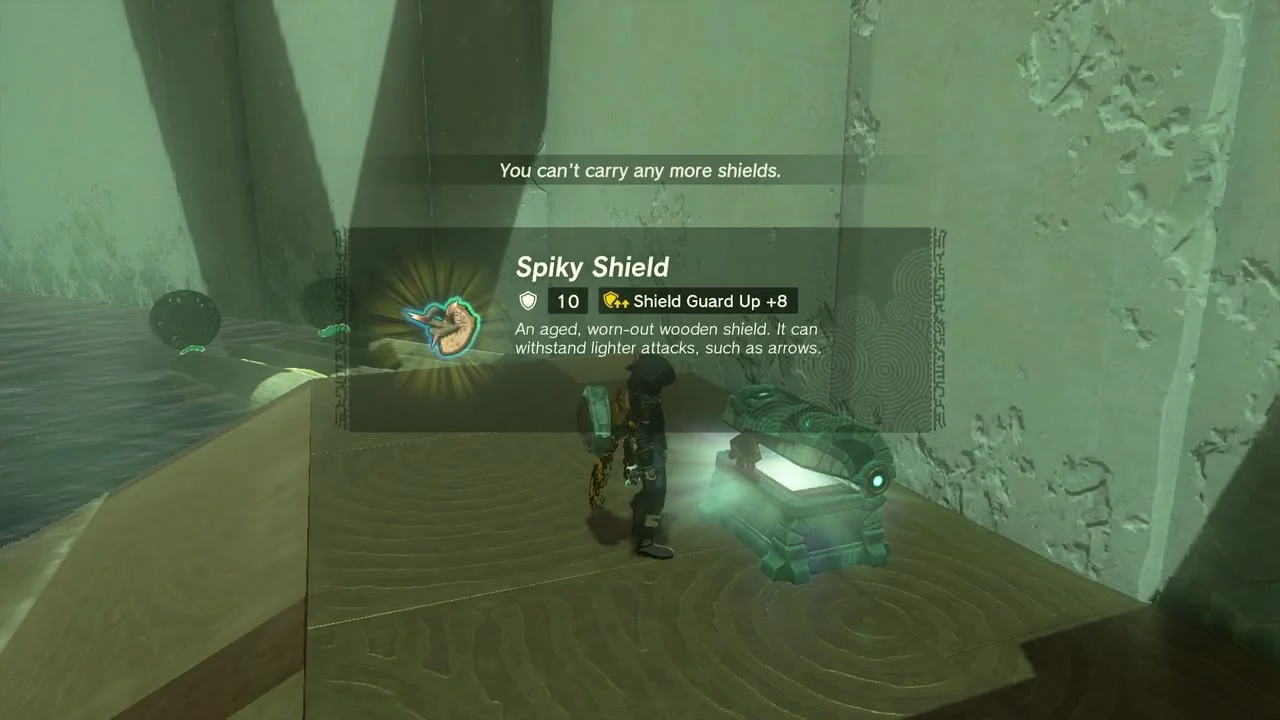
Riverside Stable
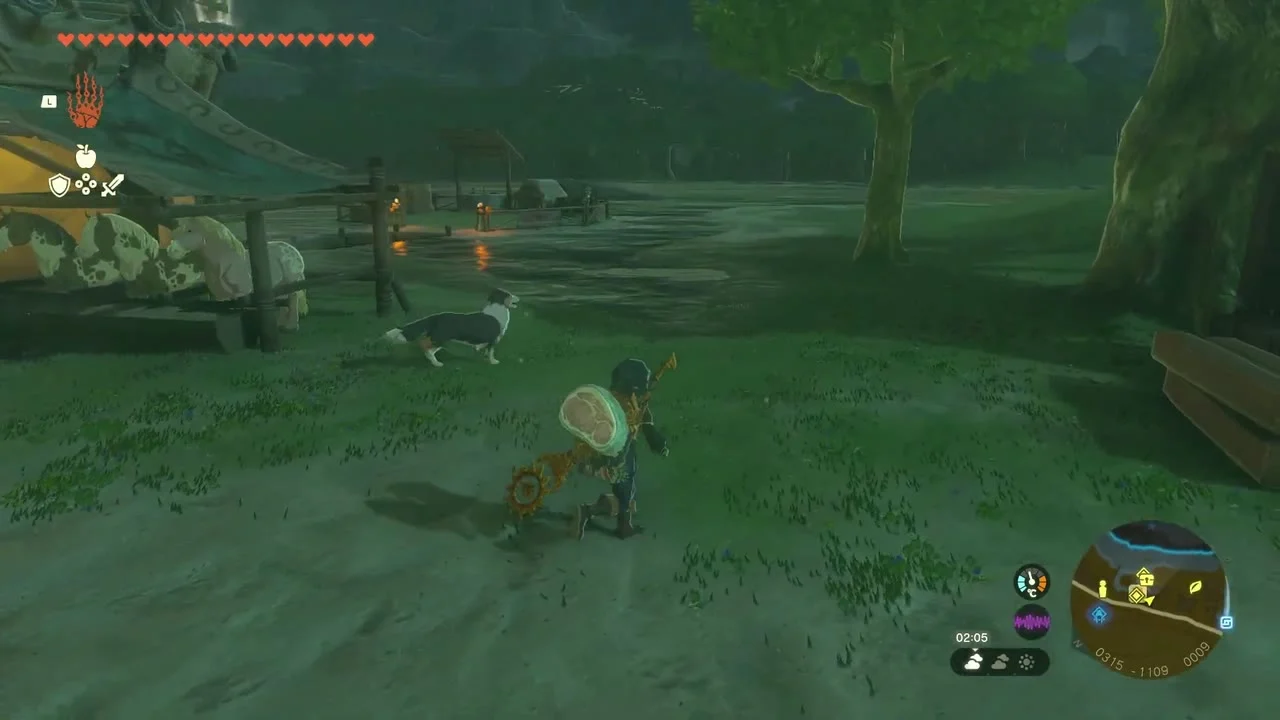
Riverside Stable. The stable stands at (339, -1095) beside the road. Beedle sells Arrow x5 and cooking ingredients here, and Ember, the owner, is inside. The dog by the trees will take any food you give it.

Quest (Gourmets Gone Missing). Talk to Gotter, the cook in the pen by the river behind the stable, who is waiting on a group of gourmets that never arrived. They are camped in tents along the road in the woods east of Owlan Bridge, at about (544, -1186, 16), and are all sick. Cook a Meat and Rice Bowl from one Raw Meat, one Hylian Rice and one Rock Salt (the rice is sold by the wandering merchant at the stable) and give it to Agus, who sits by the cooking pot. Penn then pays you in Rupees; guides disagree on the exact amount, which rises with the number of Potential Princess Sightings! quests you have finished.
Quest (Feathered Fugitives). Once Gourmets Gone Missing is done, Teli outside the stable asks you to round up five Cuccos he scared off. They are all close by: one inside the stable near the back wall, one on the stable roof (Ascend or climb), one in a tree south of the stable, one on the ruins rubble in the river to the south-east (bridge the water with planks or freeze it), and one near the Stable Trotters’ stage. Carry each one back and throw it into the pen. Teli rewards you with a Silver Rupee. Do not hit a Cucco with a weapon or Rod, or the whole flock turns on you.
Quest (A Picture for Riverside Stable). Ember wants a picture of a Great Goddess Statue for the empty frame on his wall. The nearest statue is just south-east of the stable, close to Tajikats Shrine (about 343, -1015). Photograph it with the Purah Pad camera, then return to the frame. The reward is a Pony Point and an Energizing Crab Stir-Fry.
Riverside Stable Well
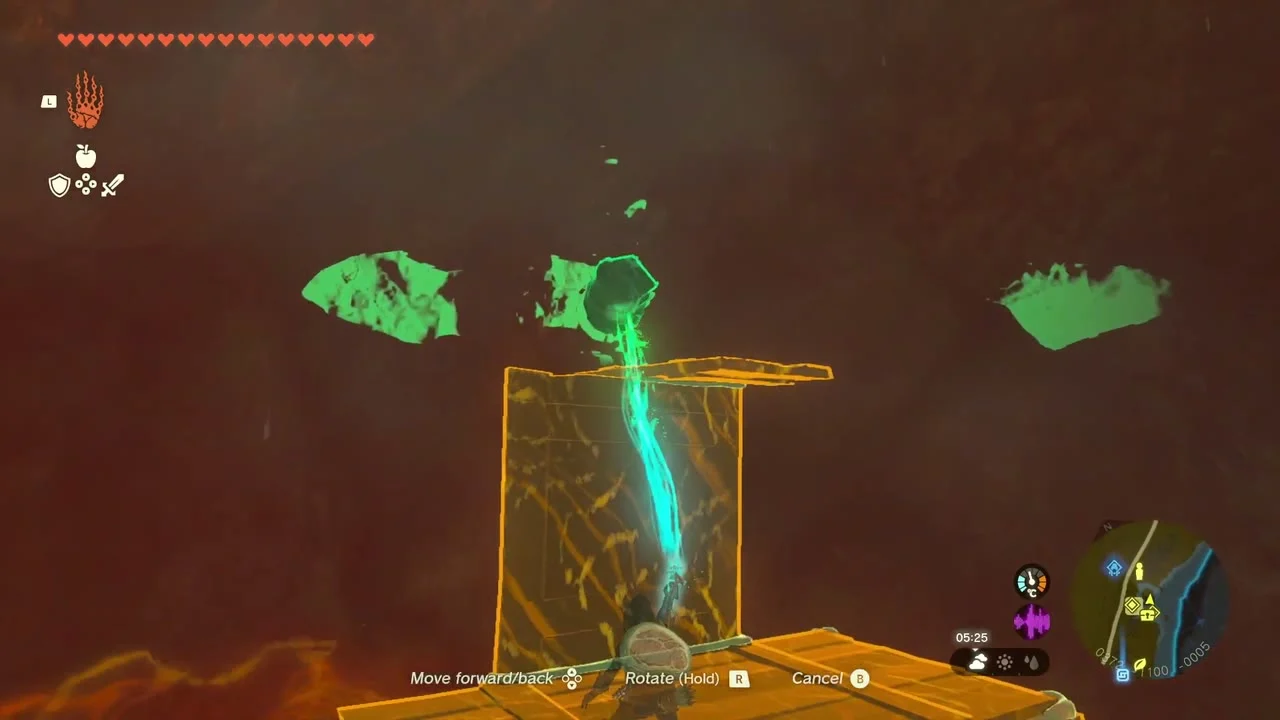
Riverside Stable Well. The well entrance is a few steps south of the stable at (365, -1126, -4). Drop in and stack the loose boards with Ultrahand into a staircase up the wall.

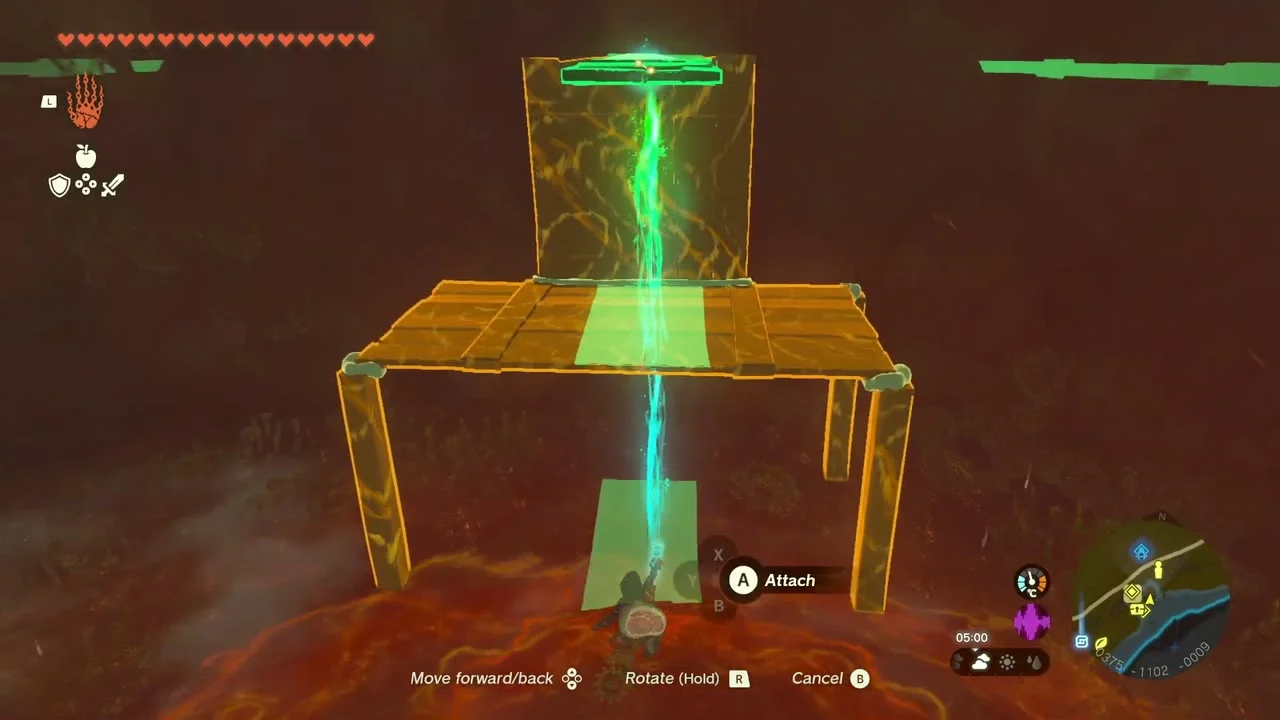
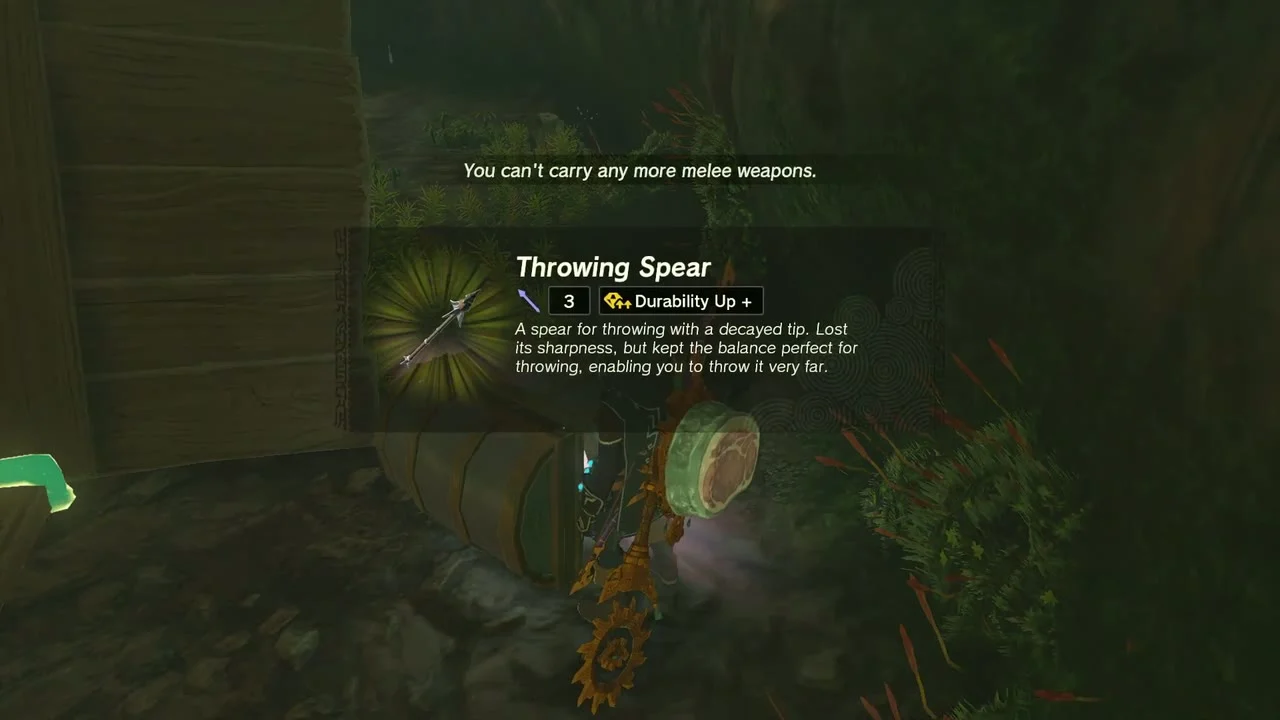
Chest (Throwing Spear). At the top of the board stairs, the chest holds a Throwing Spear.
Owlan Bridge to Proxim Bridge
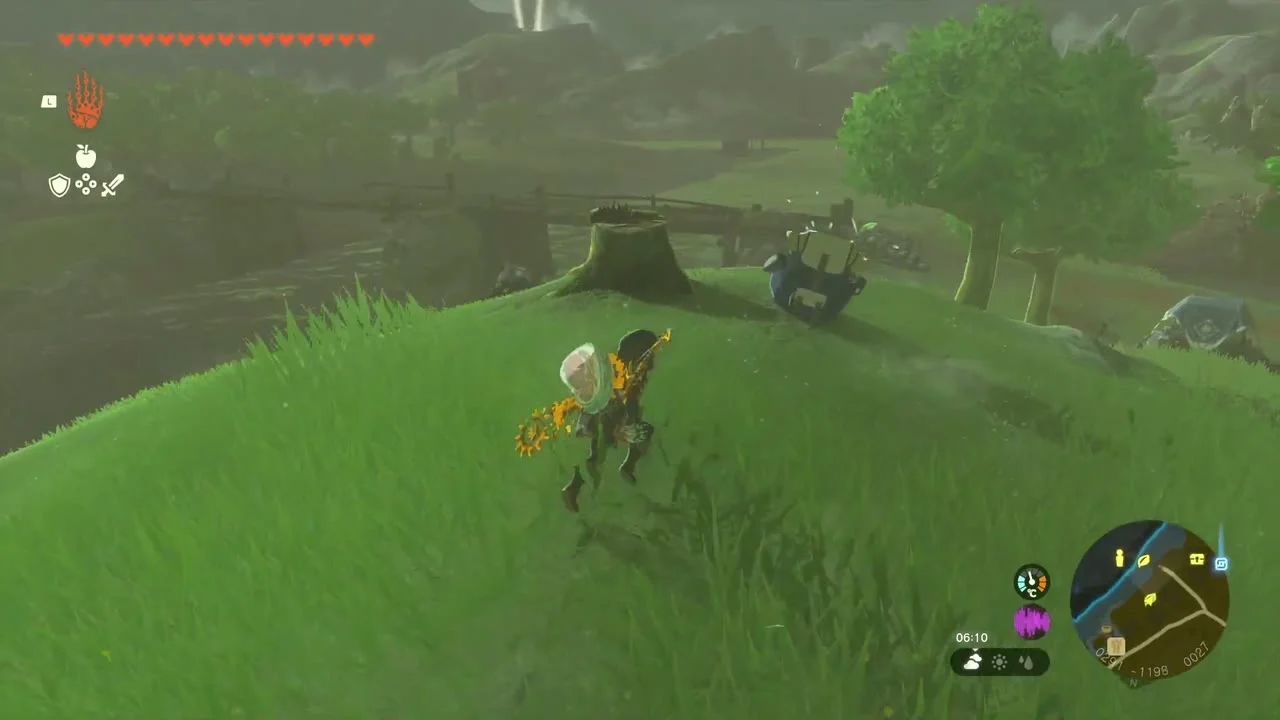
Korok seeds x2 (third carry). An exhausted Korok waits on the hillside south-east of the stable at about (293, -1188, 25); its friend is under a tent at (342, -1662, 18) beside the road to the south. Fly it over with a Zonai Wing and a Rocket; both Koroks give a seed.
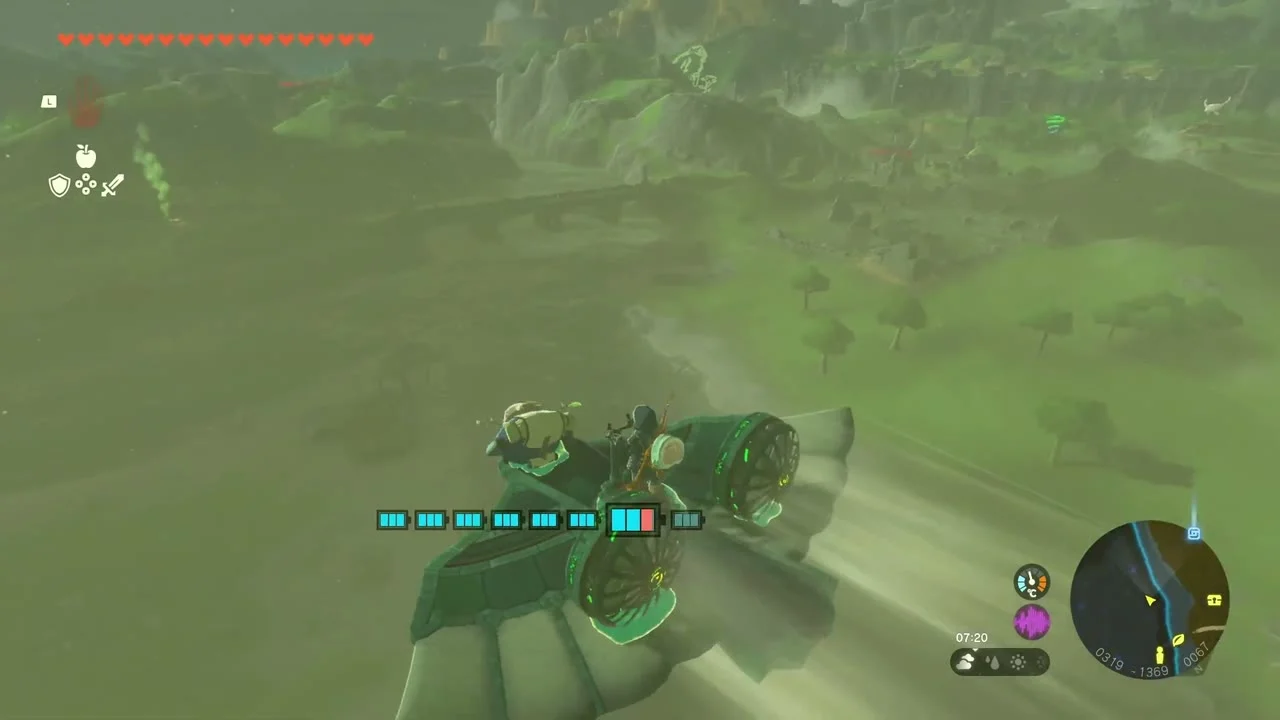
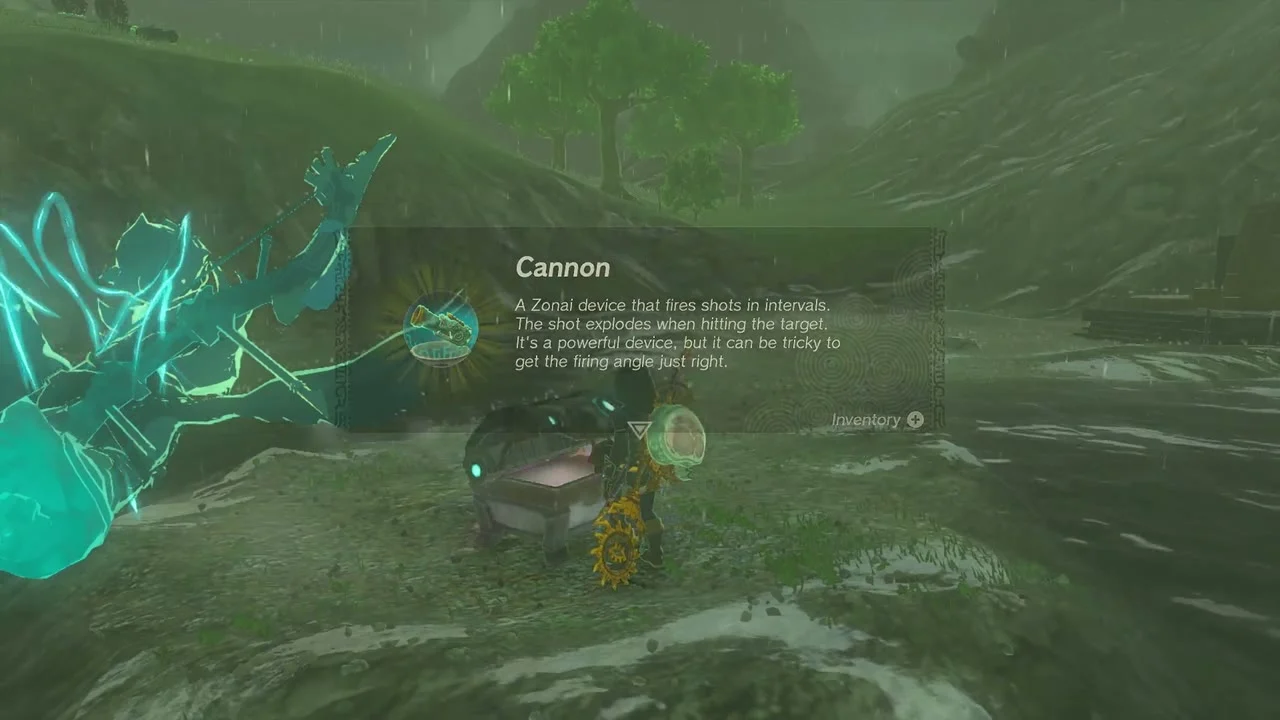
Chests (Ancient Blade, Cannon). Two chests sit together on the road at about (268, -1652, 9) and (260, -1650, 9). One holds an Ancient Blade and the other a Cannon.

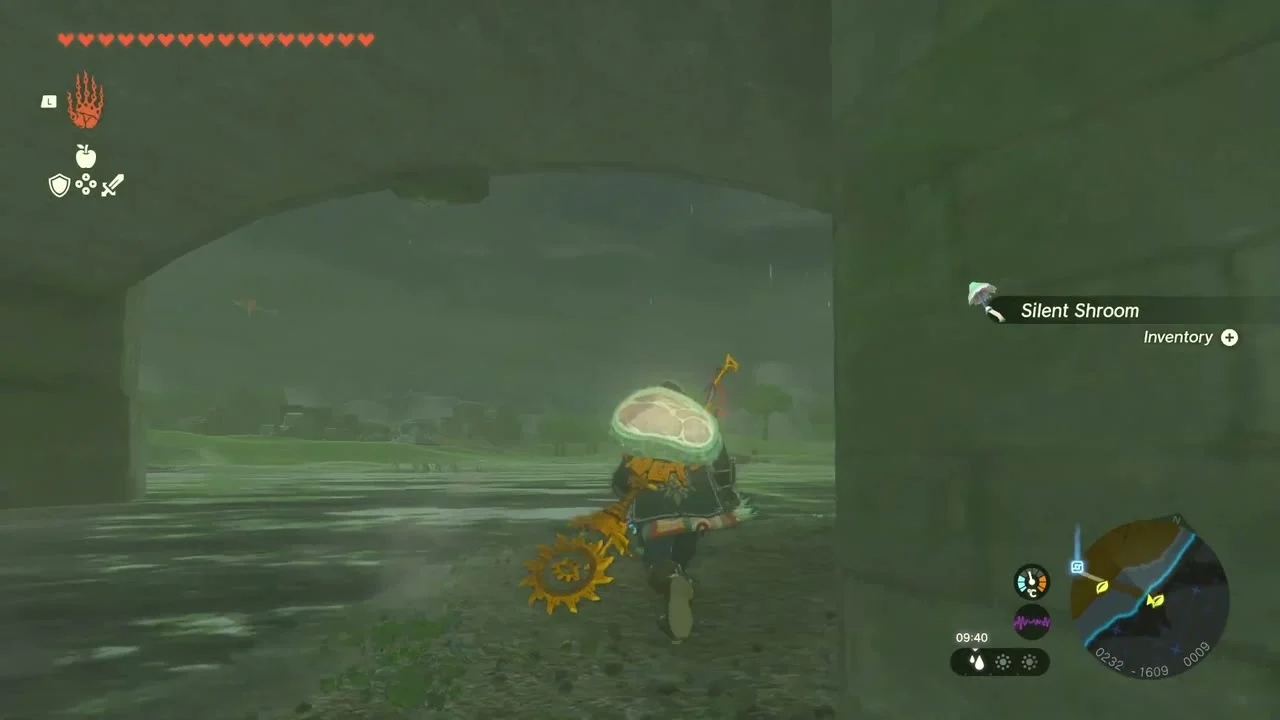
Korok seed (Ascend). At the bridge approach at (228, -1608, 15), a green marker waits under the arch. Use Ascend on it to pass up through the stone onto the bridge, where the Korok waits.
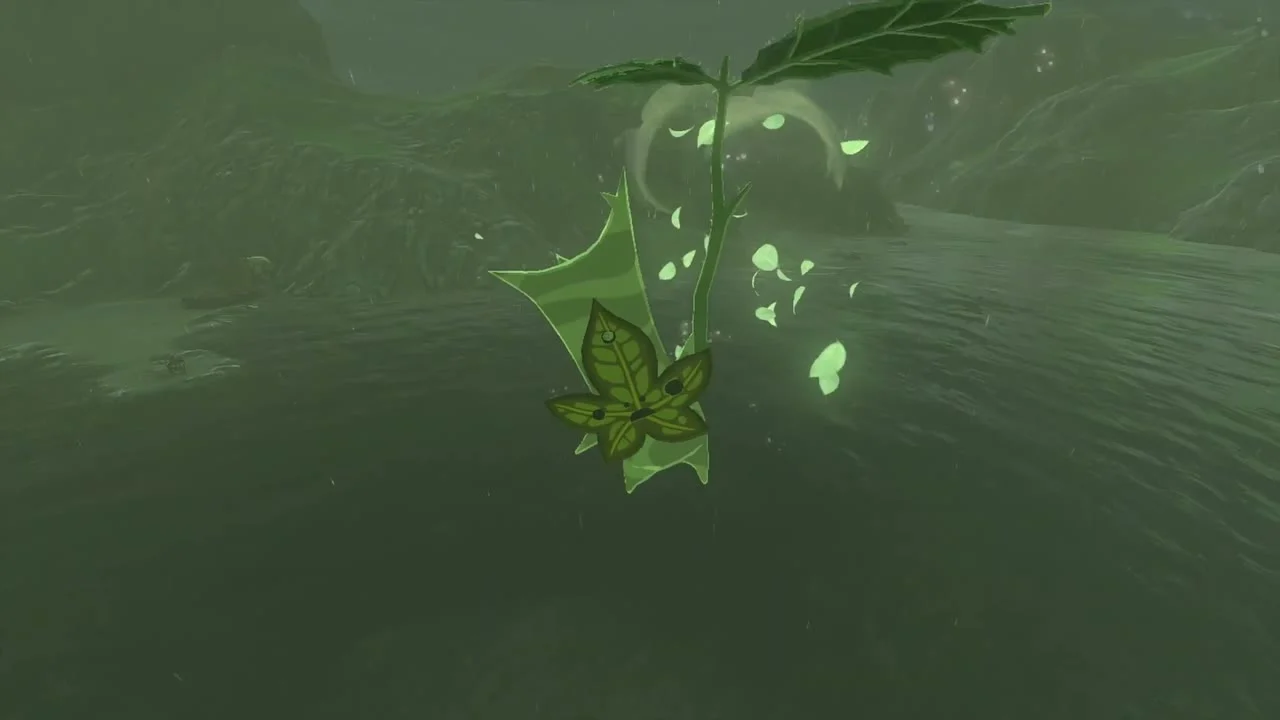
Korok seed (dandelion). Beside the river at (543, -1265, 49), a dandelion floats from a perch. Hit it for the Korok’s seed.
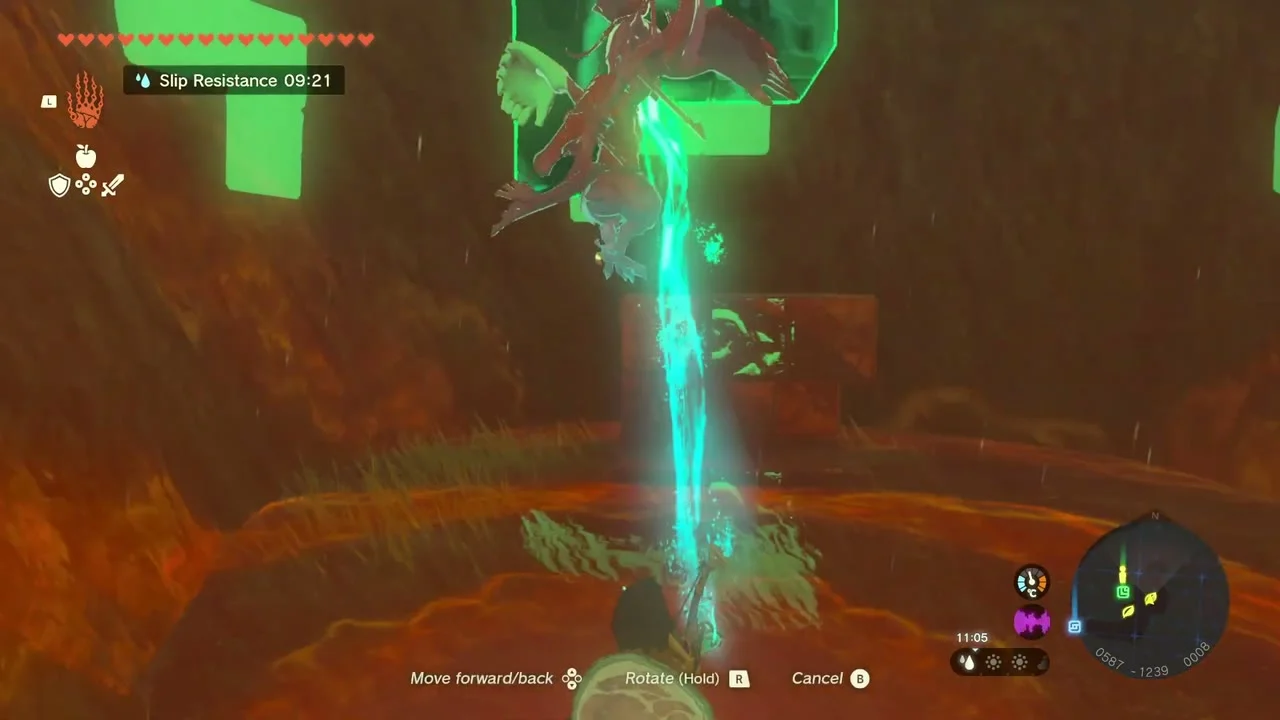
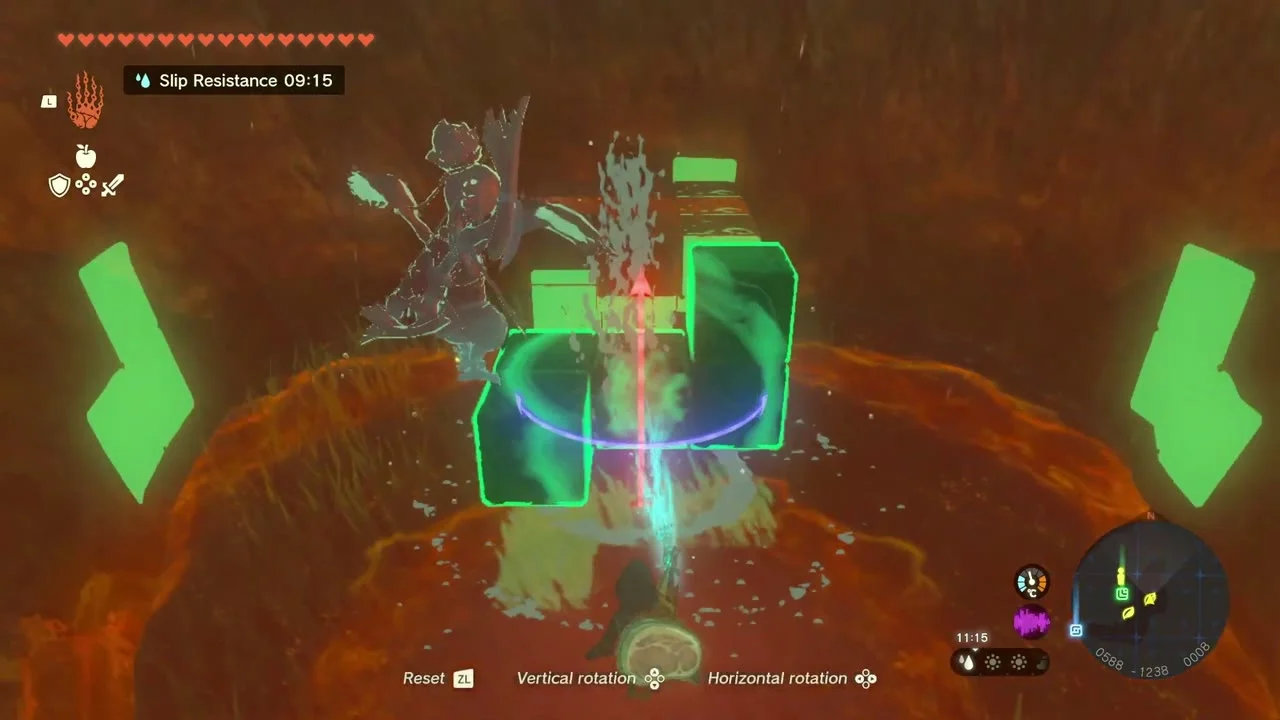
Korok seed (cube puzzle). In a clearing at (588, -1232, 11), a small block puzzle sits on the grass. Move the cube pieces into the outline shown to receive the seed.
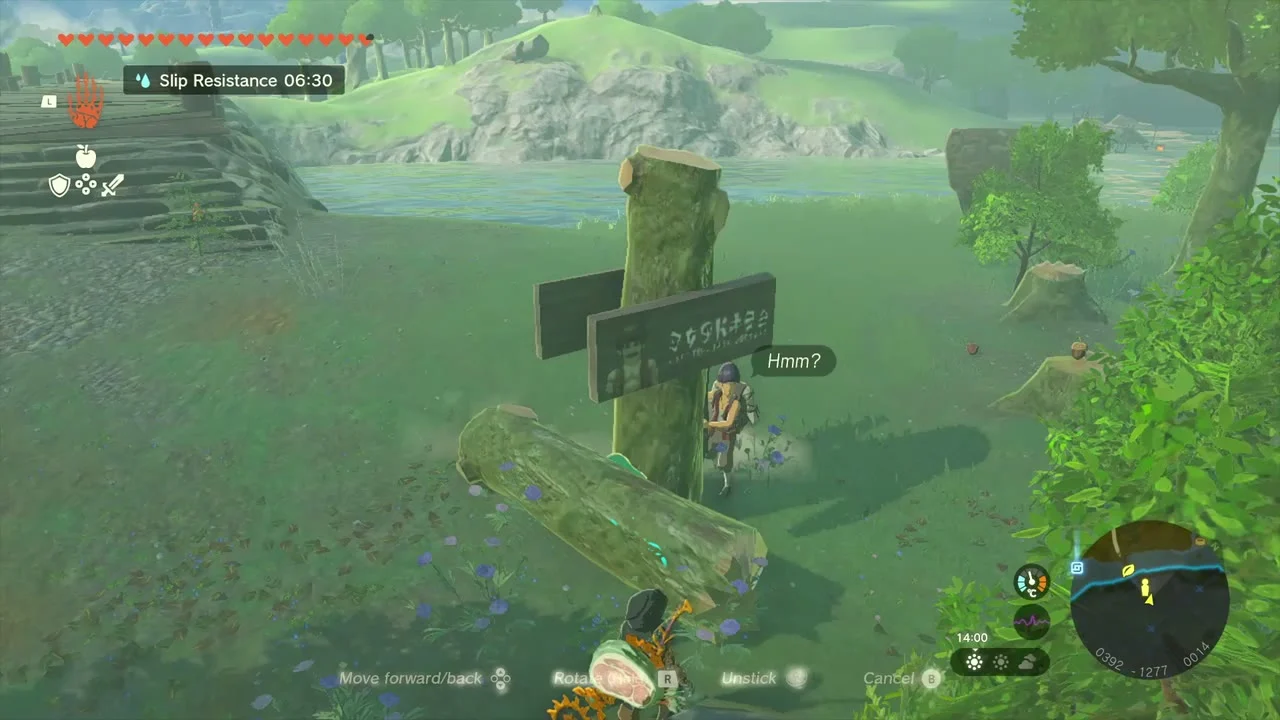
Quest (Help Addison). By Owlan Bridge at about (390, -1272, 14), Addison’s sign lies on its side. Lift it with Ultrahand and stand it upright to earn a reward.

Korok seed (lift the rock). Under Owlan Bridge at (333, -1282, 9), a boulder covers the Korok. Lift it away with Ultrahand.
Chest (Owlan Bridge nest). A straw nest on a wooden platform beside the bridge at about (321, -1313, 18) holds a chest.
Miniboss (Boss Bokoblin) and chest. A Boss Bokoblin holds a wooden fort at about (12, -1266, 16). Beat it, then climb the fort’s platform at (34, -1282, 30) to open the chest, which holds a Spiked-Iron-Ball Sledge.

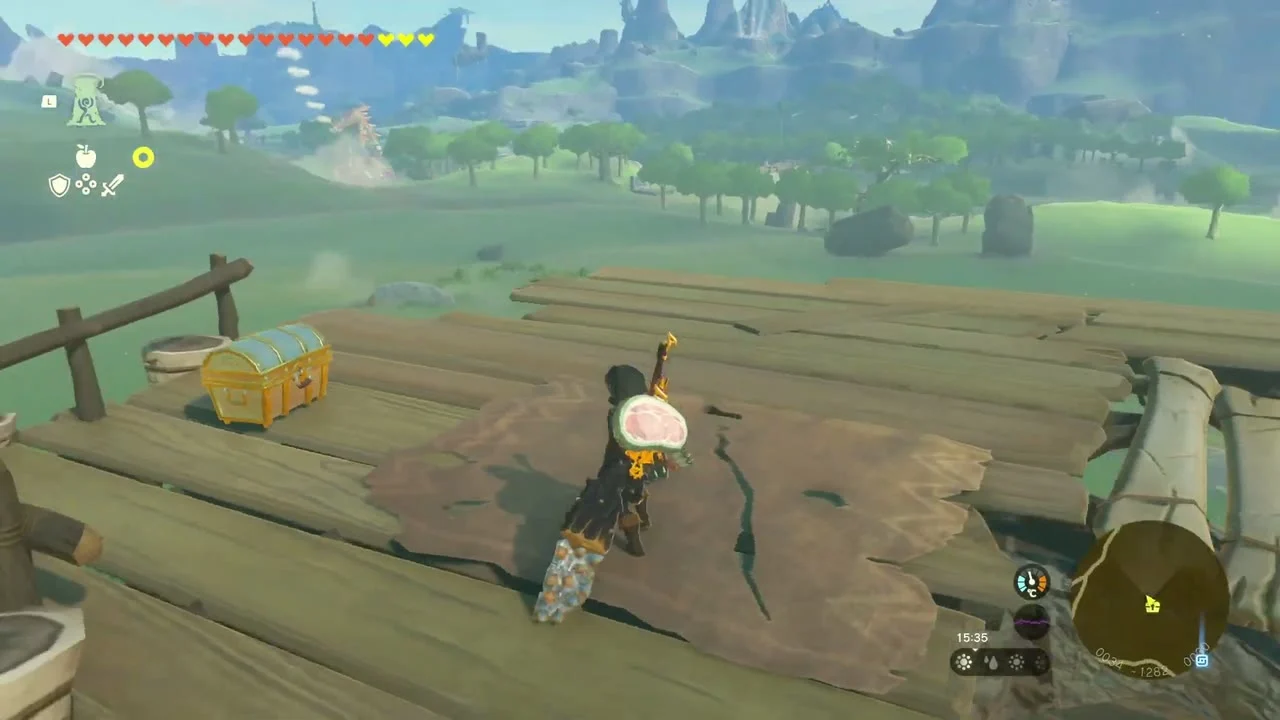
East Post Ruins. The ruined outpost at about (101, -1510, 26) holds a chest at (117, -1491, 13) beside the old wall.
Korok seed (lift the rock). At Proxim Bridge, (147, -1611, 30), a rock sits on the stairs. Lift it for the Korok.
Chest (Ruby). In the reeds beside a ruined wall at (-54, -1568, 10), a chest holds a Ruby.
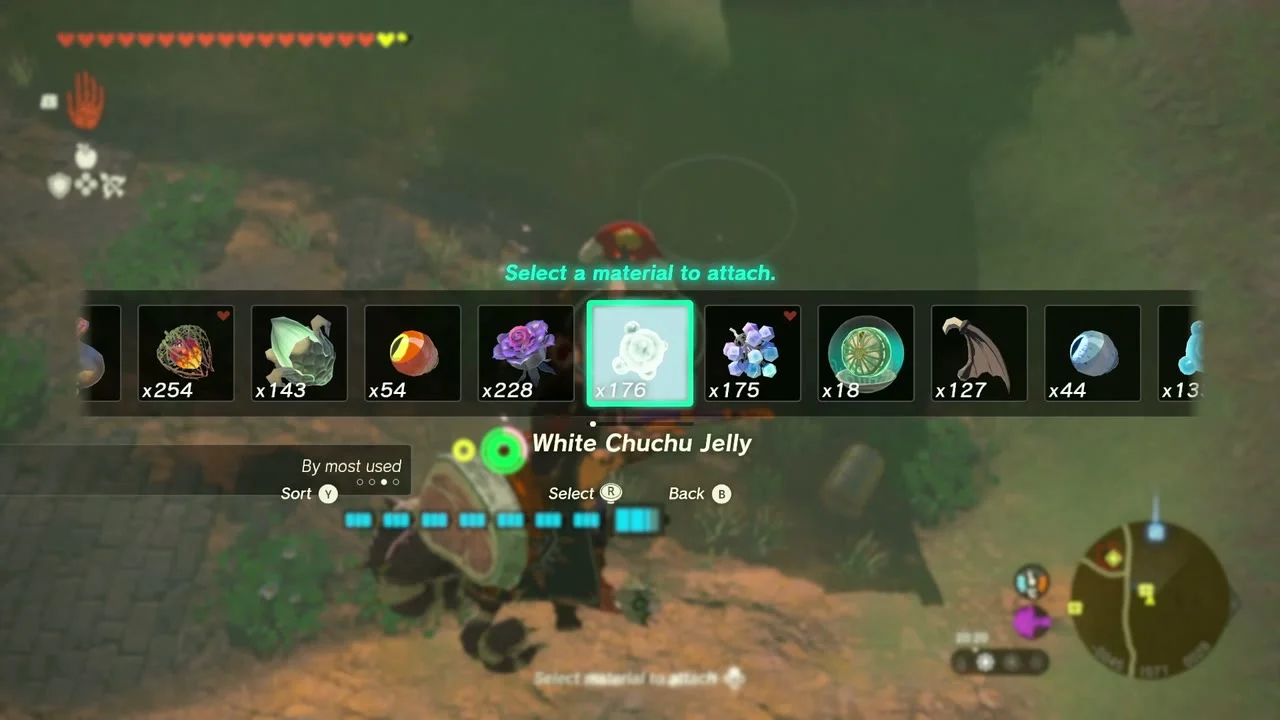

Forest of Time Chasm. The chasm opens at (-146, -1640, 7) and drops straight to the Depths. It is the closest chasm if you want to light Lightroots from here.
Kamizun Shrine
Kamizun Shrine (Proving Grounds: Beginner, a Proving Grounds trial) stands at (-177, -1558, 36), just north-west of the chasm. The Nuzimak Lightroot lies below it at (-178, -1559, -494). A chest sits on a wooden platform in a tree at (-218, -1489, 41) on the way in.

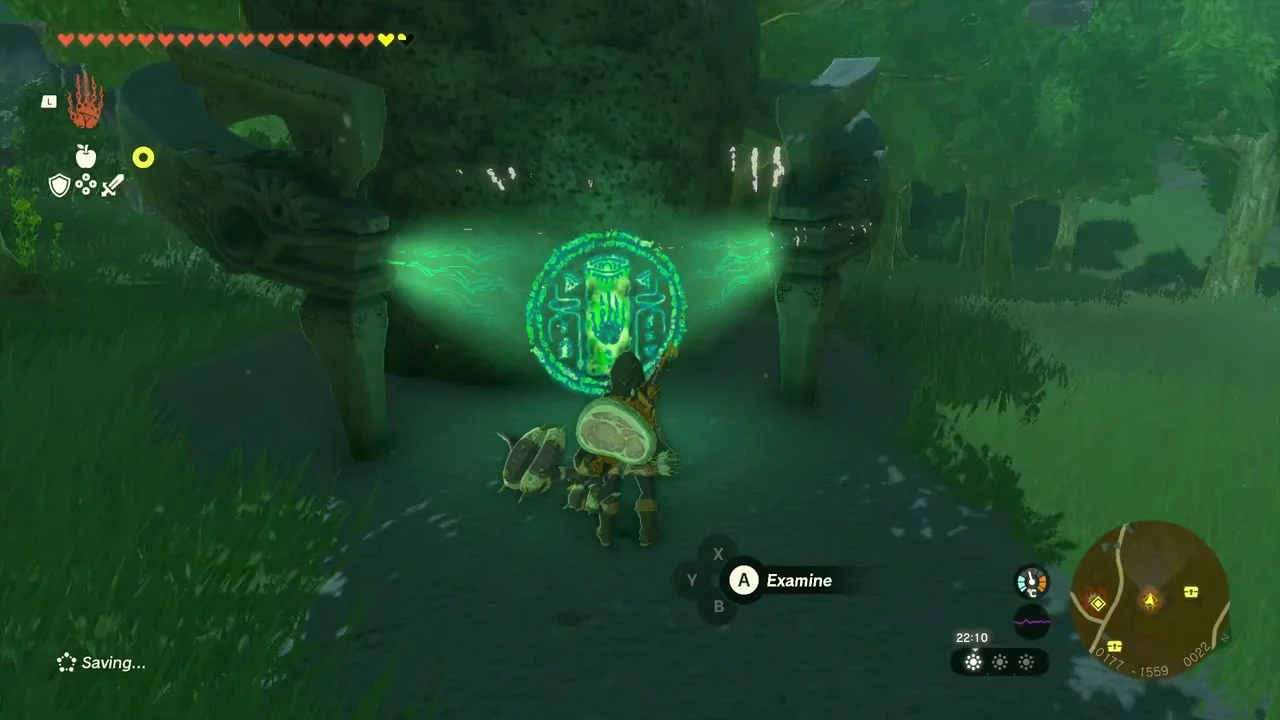
Use only the shrine’s gear
You start with a wooden stick, a wooden shield and a wooden bow. Fuse the Spiked Iron Ball from the far side of the room to your stick for extra damage.
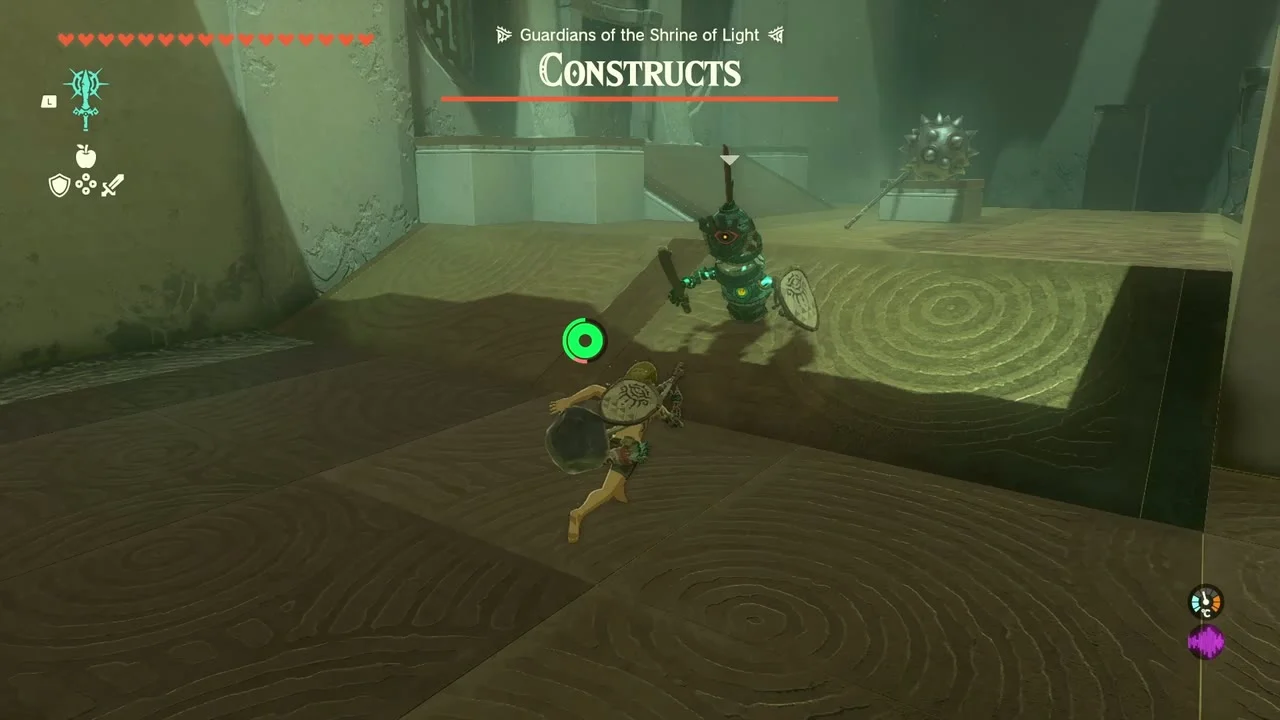
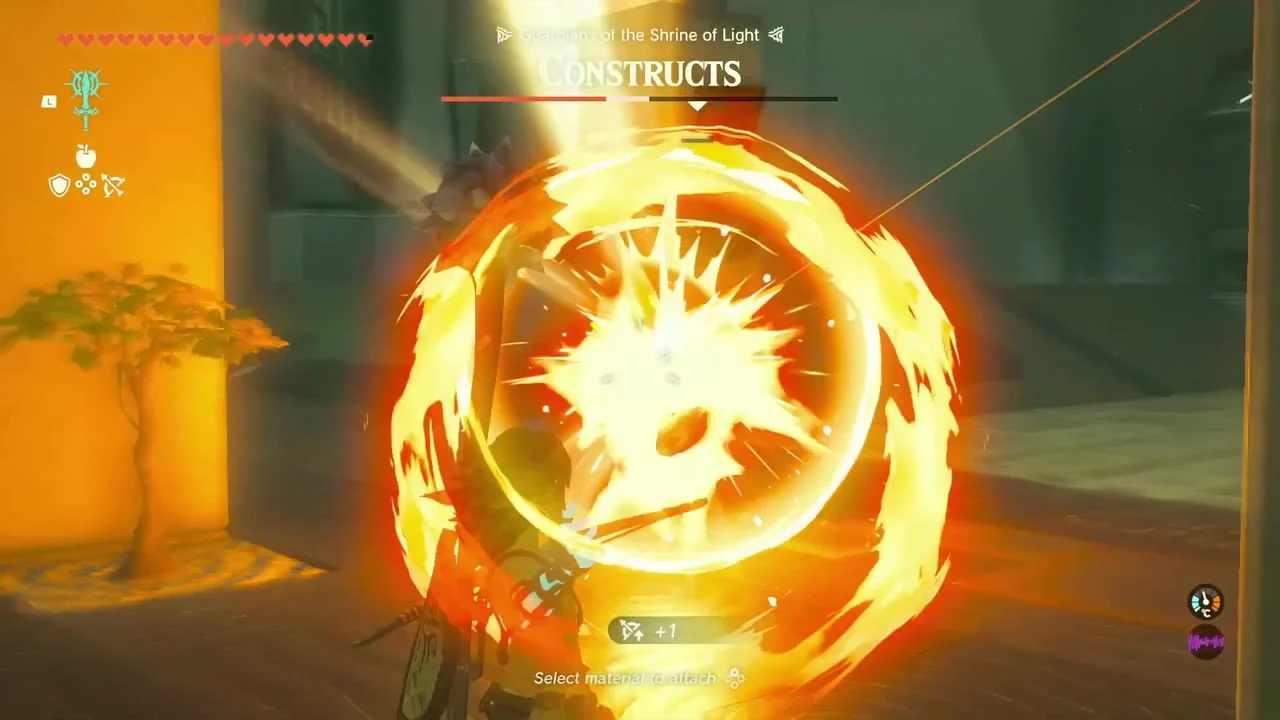
Defeat the four Soldier Constructs
Three melee Constructs chase you while a fourth shoots arrows from range. Take the archer out with the bow first, then fight the others one at a time.
Open the chest
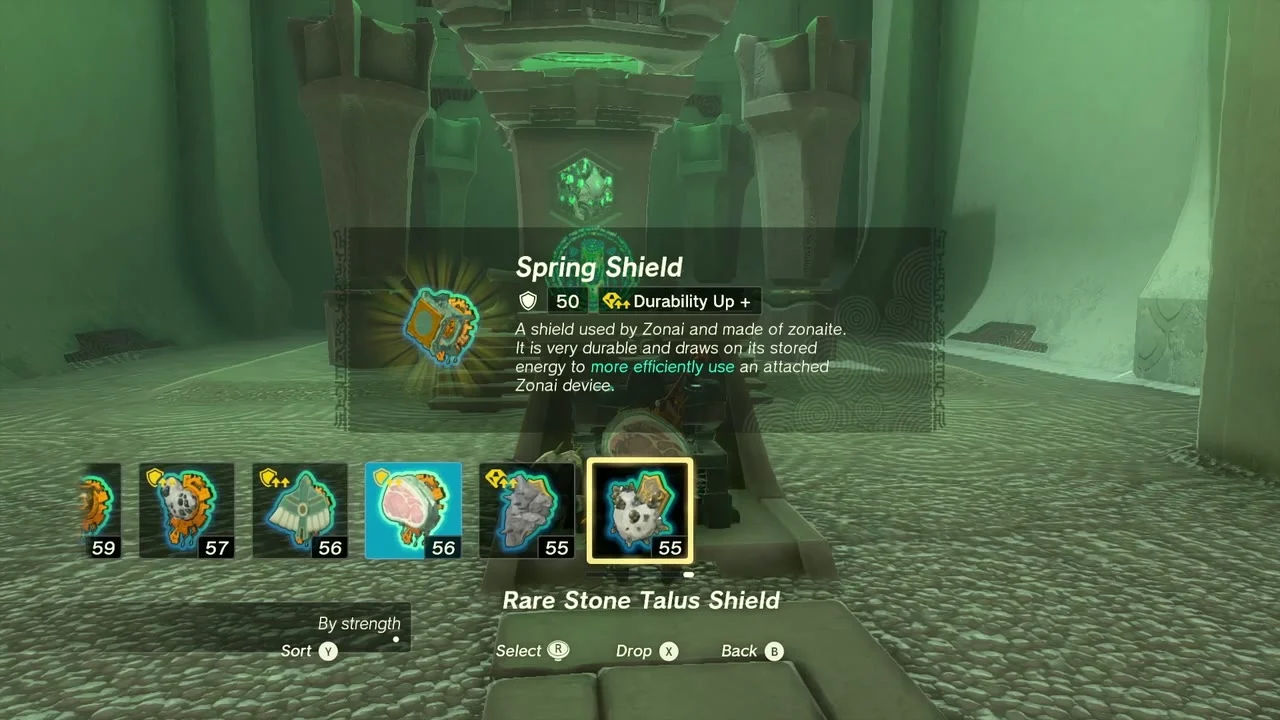
Your gear comes back when the last Construct falls. Open the chest for a Spring Shield, then take the Light of Blessing.

Chest (stone slab). A chest rests on a stone slab at (-17, -1731, 80) to the south-east of the shrine; climb the slab to reach it.
Korok seed (boulder on the tree stand). At (63, -1753, 47), a stump with a stand sits beside a large boulder. Carry the boulder to the stand with Ultrahand.
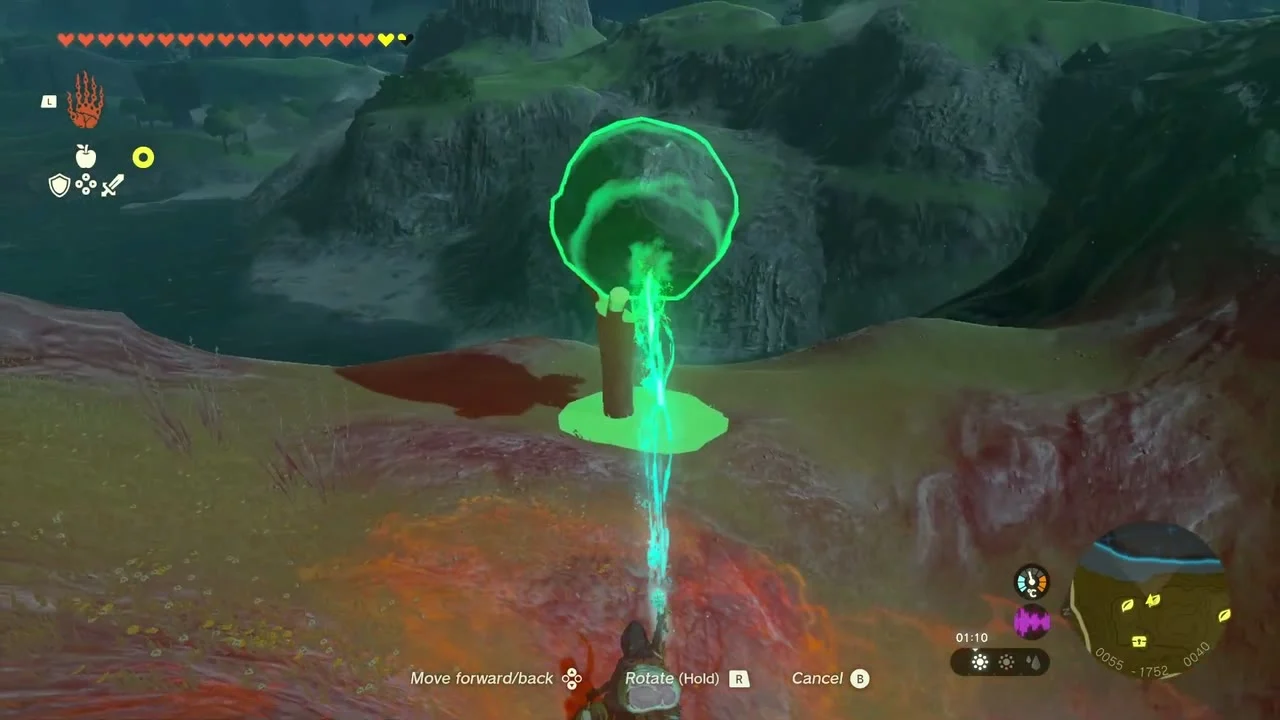

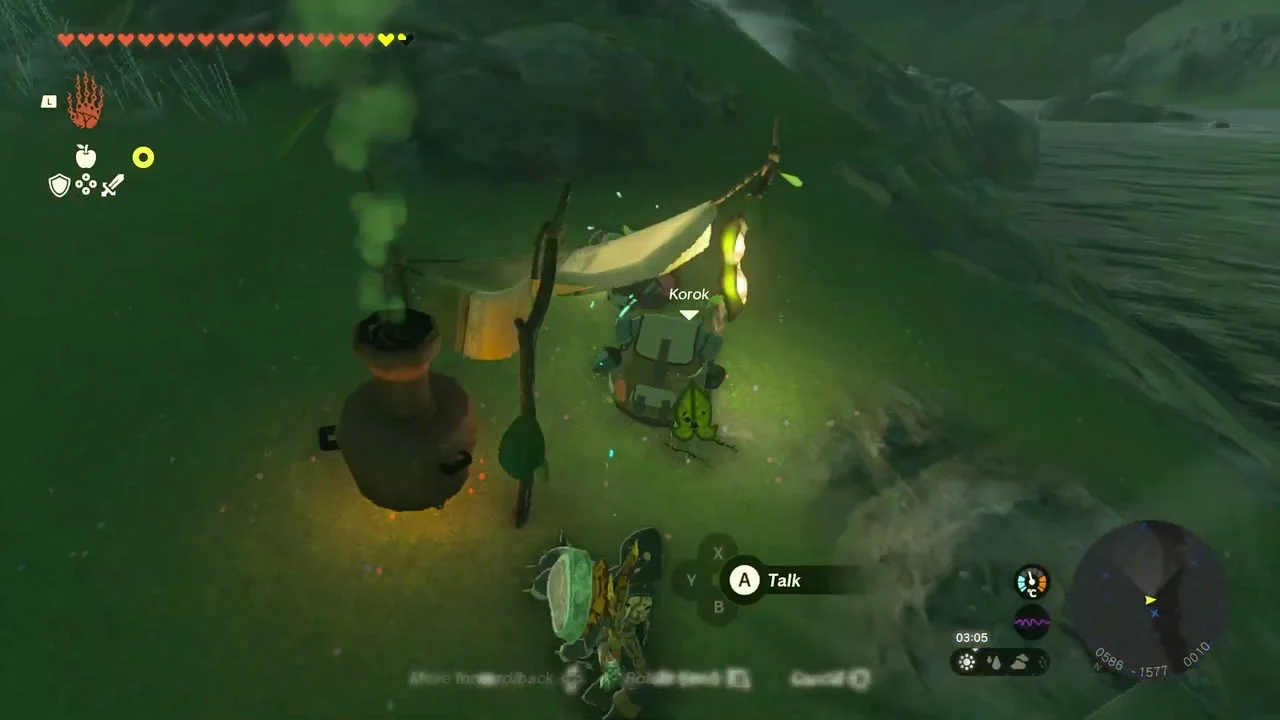
Korok seeds x2 (fourth carry). Lift the exhausted Korok near (50, -1713, 59) and fly it to its friend by the lake at (586, -1580, 11). Both Koroks give a seed.
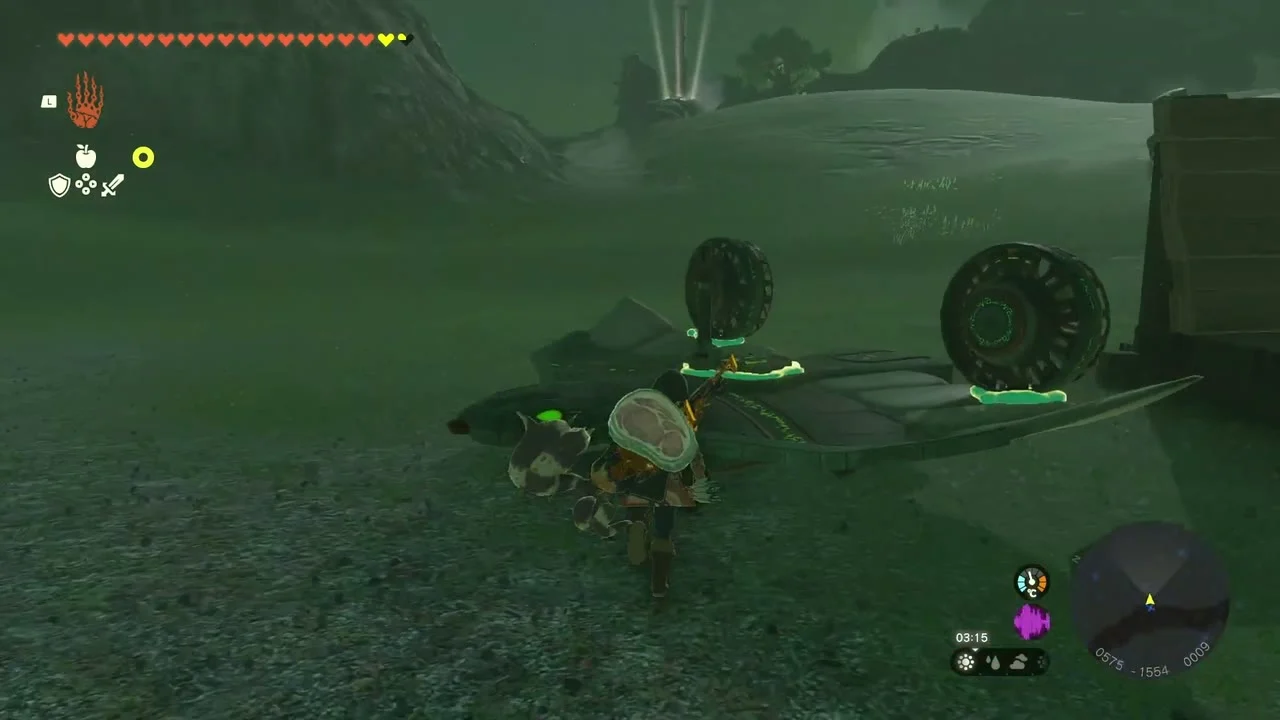
Korok seed (follow the flower). Under the ruined arch at (0, -1900, 108), a glowing flower leads you along a path to the Korok.
Bridge of Hylia and the road to the Great Plateau
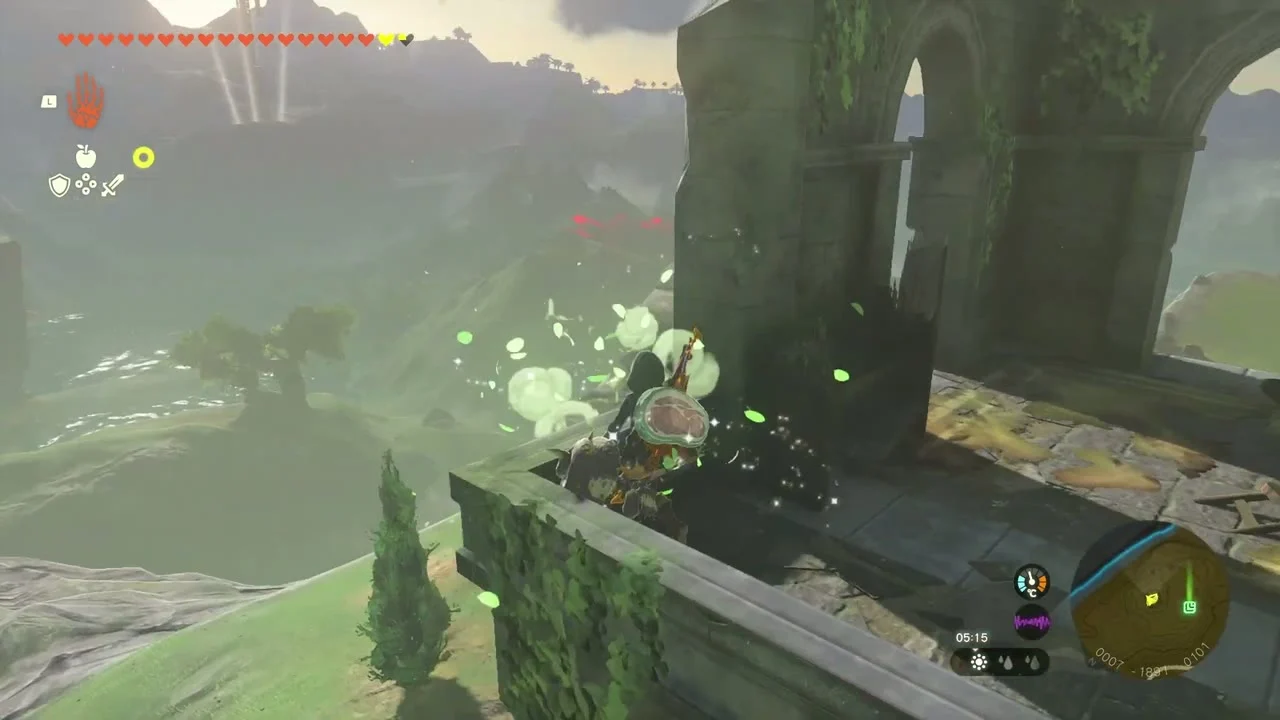
Bridge of Hylia. South of the ruins the road runs over the Bridge of Hylia at (-37, -2518). A rock beside the bridge at (-102, -2292, 70) hides a Korok: lift it for the Korok seed.

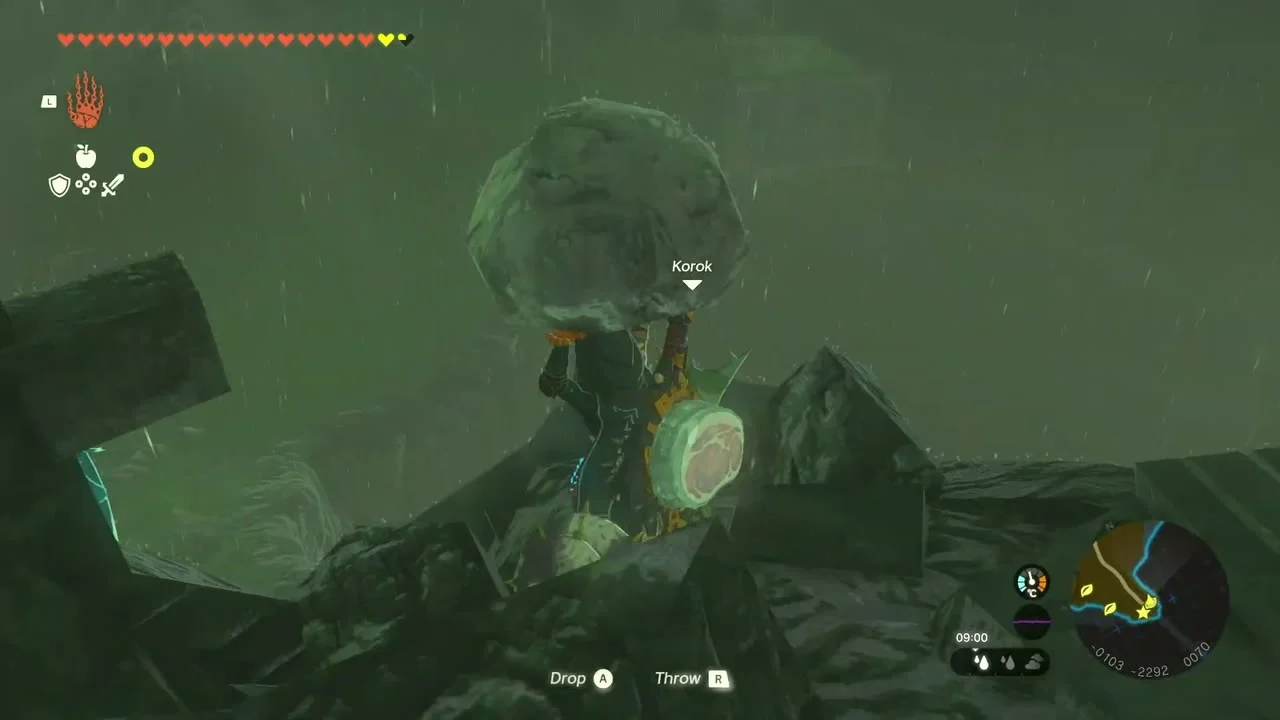
Korok seed (repair the roof). At (-207, -2205, 20), a small stand lacks its roof. Build a roof from the planks nearby with Ultrahand to claim the seed.
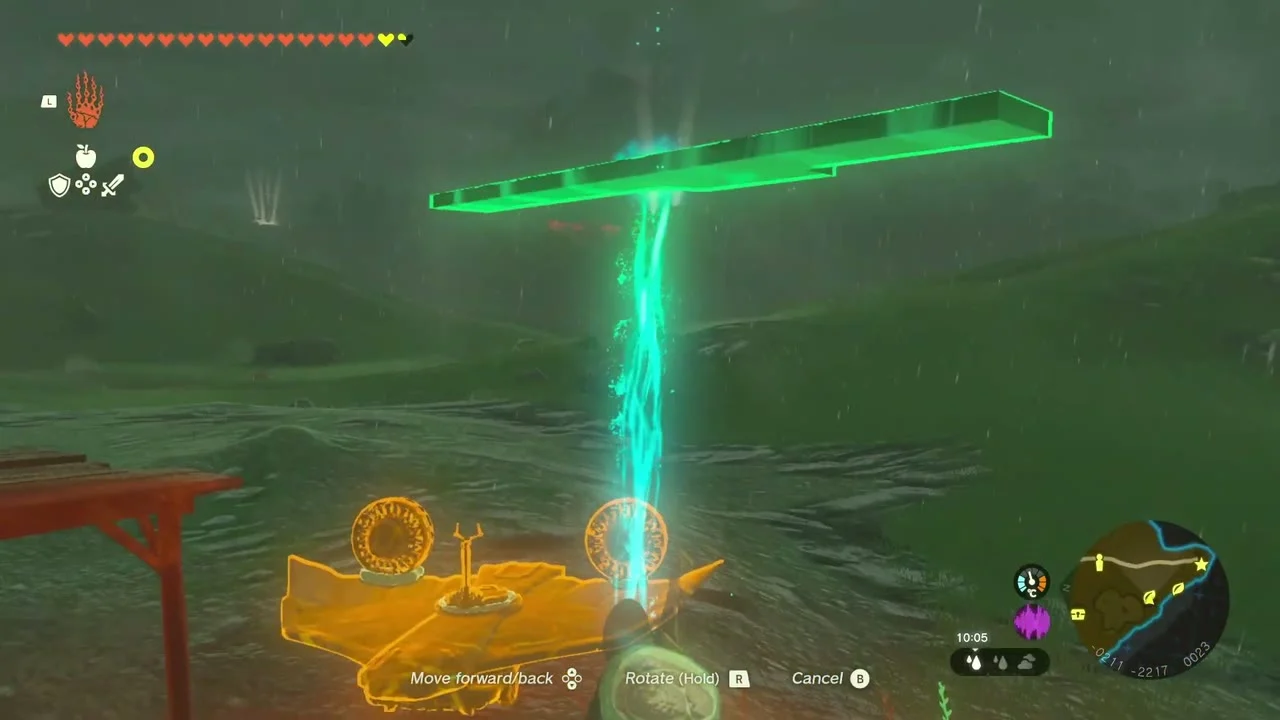

Korok seeds x2 (fifth carry). Pick up the exhausted Korok at about (-183, -2245, 19) and fly it across the water to its friend at (-216, -2595, -11).
Quest (Whirly Swirly Things). Kula, who waits by Musanokir Shrine in Great Hyrule Forest, wants pictures of a whirlpool and a sand swirl. The whirlpool is the Lake Hylia whirlpool above En-oma Shrine (reached from Popla Foothills Skyview Tower), and the sand swirl is the quicksand sinkhole at the Ancient Prison Ruins entrance; neither is on this route. Photograph each with the Purah Pad camera (the camera comes from Robbie) and show Kula for 5 Endura Carrots.
Quest (Help Addison). At (-146, -2118, 18), Addison’s sign lies fallen again. Stand it upright with Ultrahand; a chest sits next to it at (-156, -2124, 18).
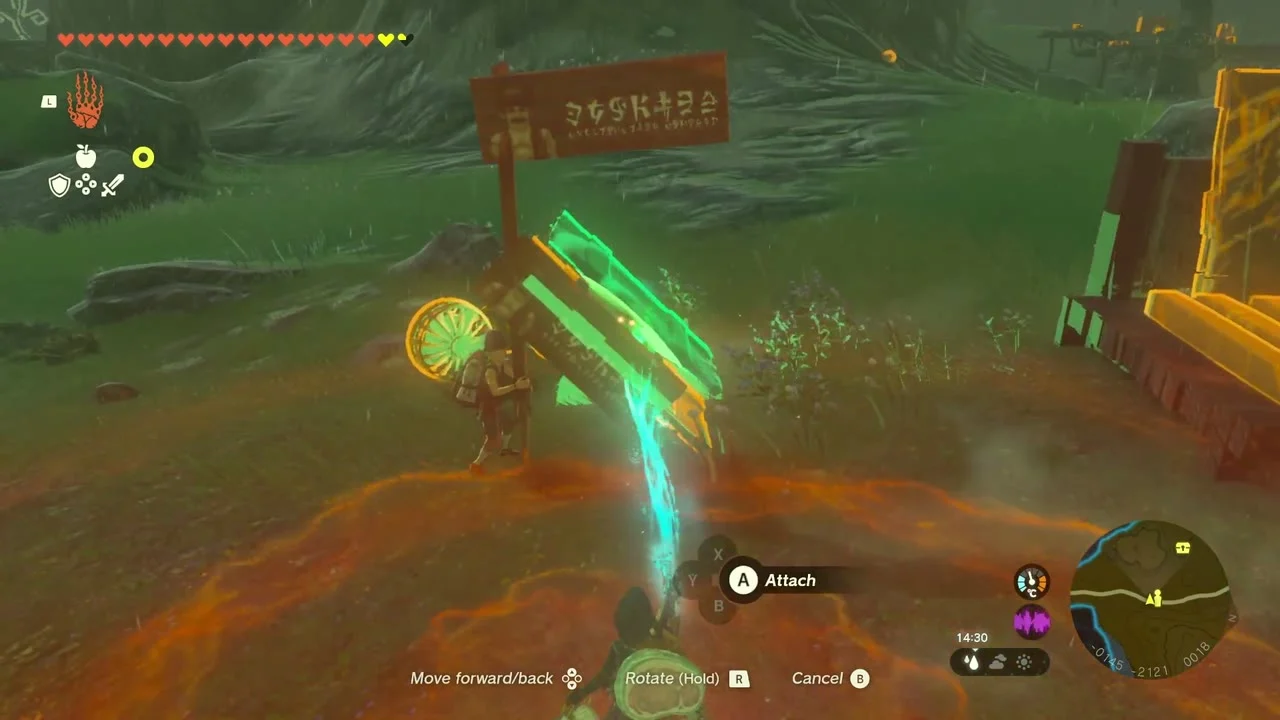
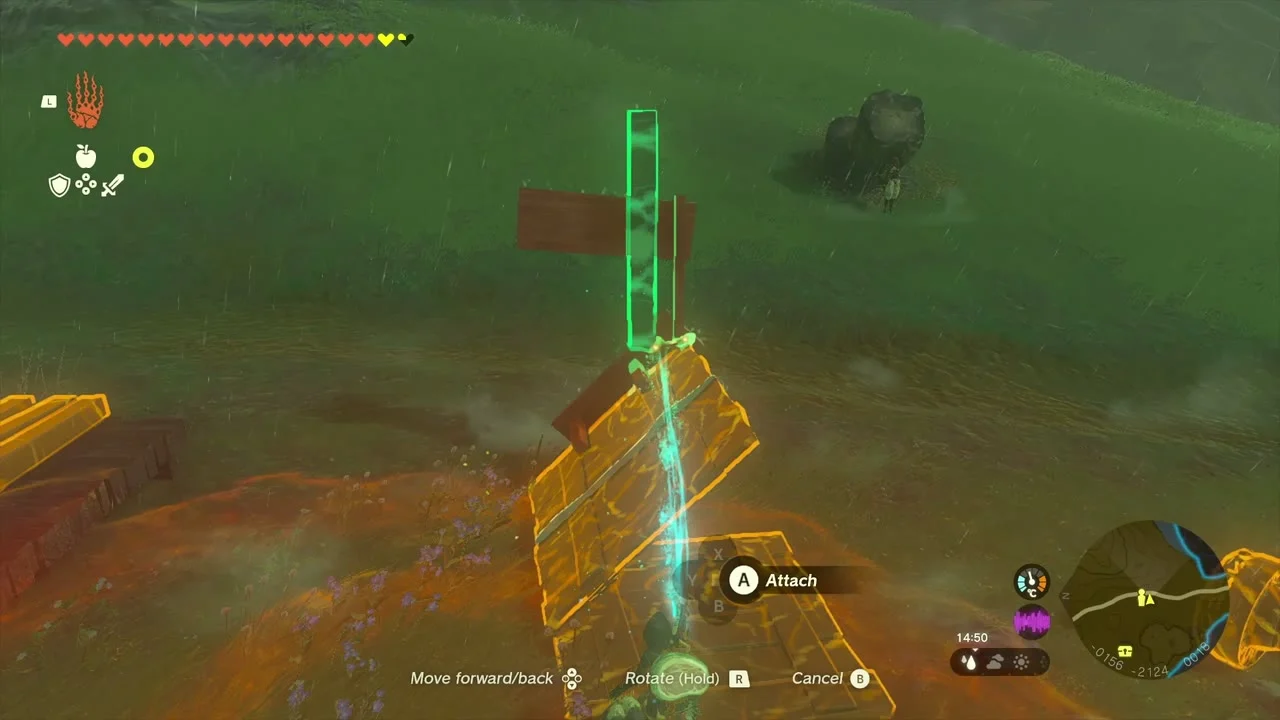
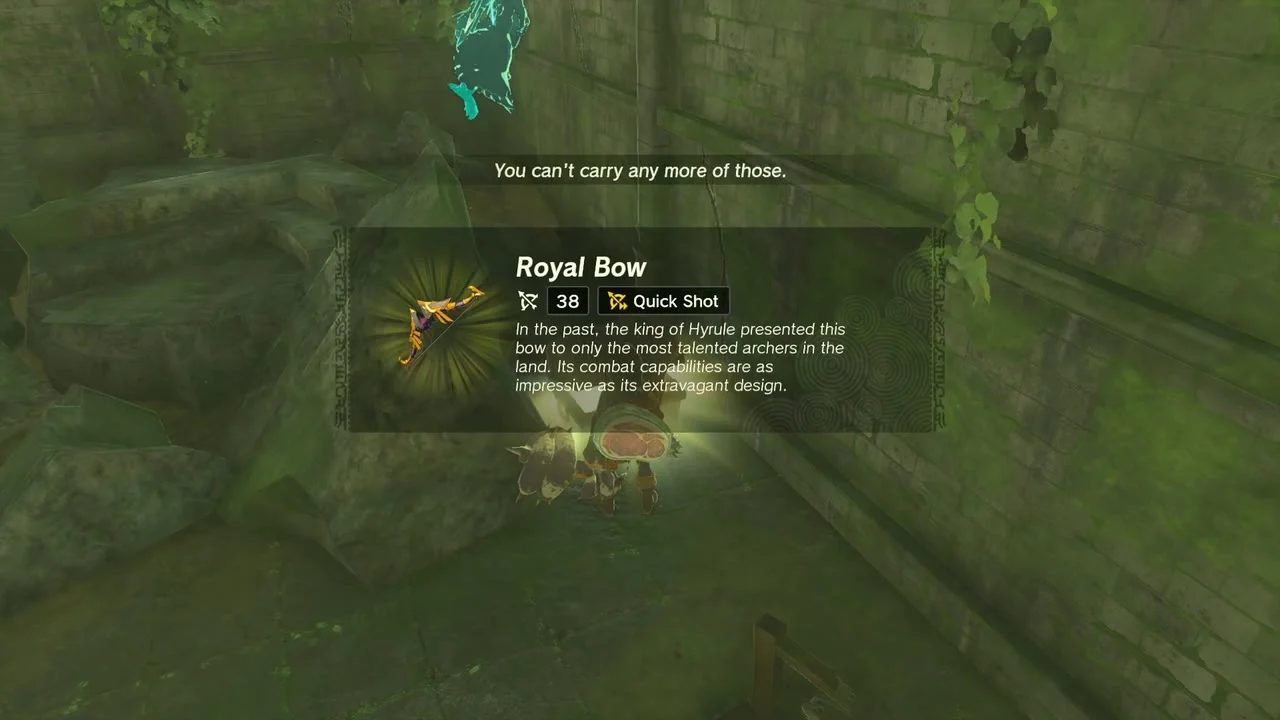
Chests (Royal Claymore (or Traveler’s Claymore, Soldier’s Claymore or Knight’s Claymore, depending on your progress), Royal Bow). A chest at a Bokoblin camp at (-247, -2074, 24) holds a Royal Claymore. Another in the ruins at (-332, -1924, 26) holds a Royal Bow.

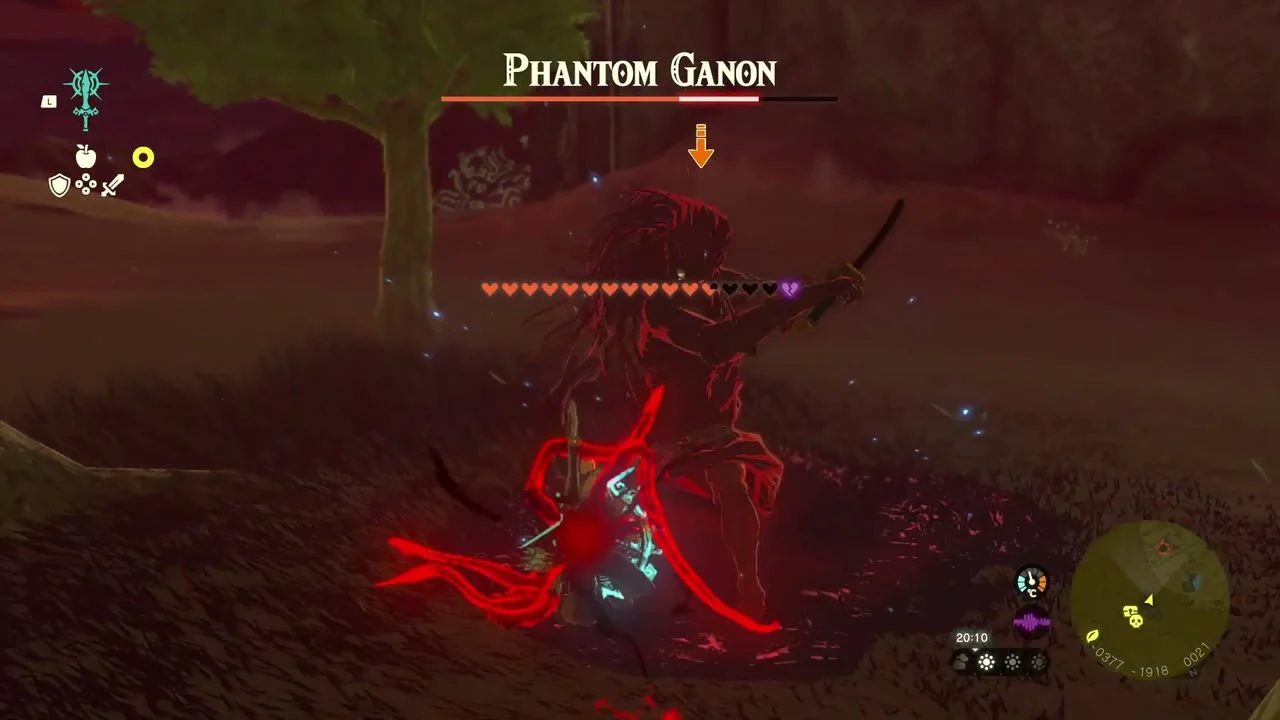
Miniboss (Gloom Spawn and Phantom Ganon). A patch of gloom at (-371, -1914, 22) spawns a Gloom Spawn and a Phantom Ganon. Fight the Ganon with a strong weapon.
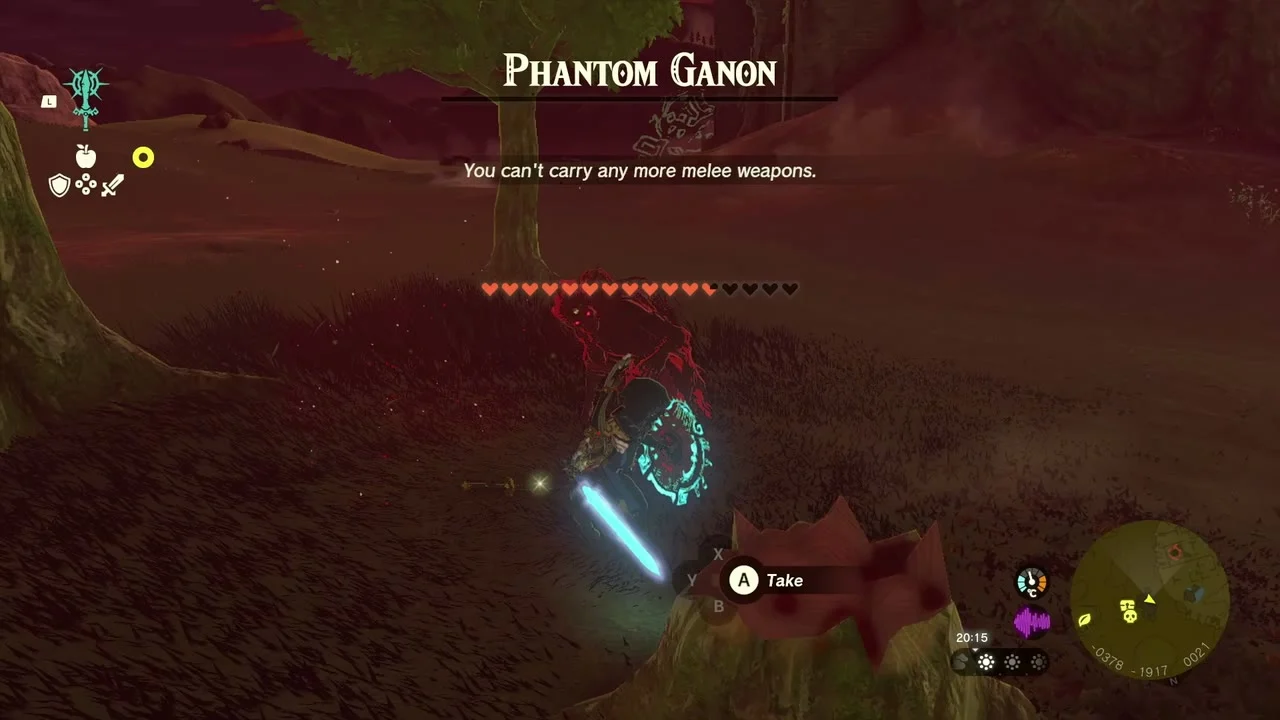
Chest (Emblazoned Shield). A Bokoblin camp among the ruins at about (-334, -1606, 18) has a chest holding an Emblazoned Shield. More chests sit around the same camp.


Korok seed (sparkling spot). On the grass at (-238, -1918, 41), a sparkling spot hangs just above the ground and drifts away as you approach. Chase it down and catch it for the seed.
Korok seed (shoot the balloons). At (-281, -1576, 54), balloons float over a ruin. Shoot them with arrows to receive the seed.
Korok seeds x2 (sixth carry). Carry the exhausted Korok from about (-455, -1667, 22) to its friend under a tent at (-509, -1696, 65).
Korok seed (break the acorn). On the ruined ridge up to the plateau gate at (-611, -1525, 73), a hanging acorn is hidden in the foliage. Break it to claim the seed.
The Great Plateau
Great Plateau entrance. The plateau is entered through the gateway at about (-578, -1501, 13), where a stream of water pours through the portcullis. The Zelda memorial is just inside; from here the rest of the chapter runs west across the plateau.

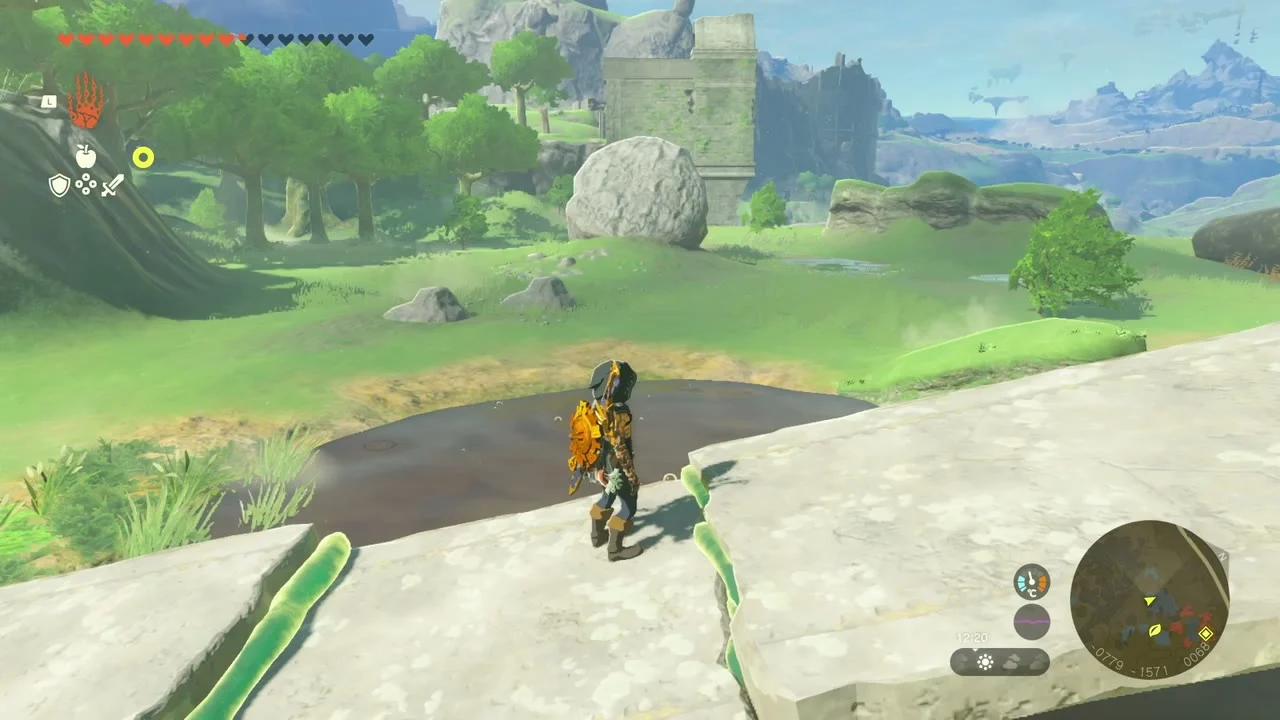
Great Plateau North Chasm. The north chasm opens at (-660, -1520, 67), just inside the entrance. It is one of the four chasms in A Call from the Depths, and later the quickest way down to the Depths.
Korok seeds x2 (seventh carry). Lift the exhausted Korok from (-713, -1540, 66) and carry it to its friend at (-1025, -1857, 142) beside the Shrine of Resurrection.
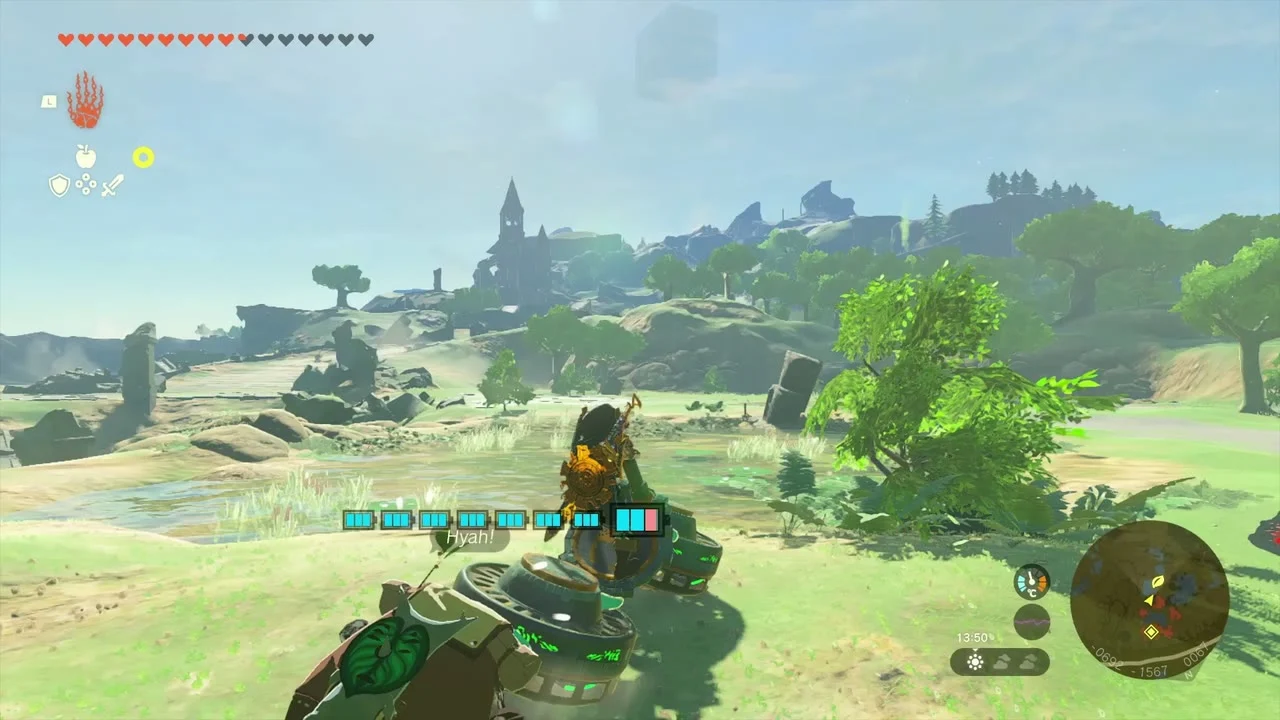
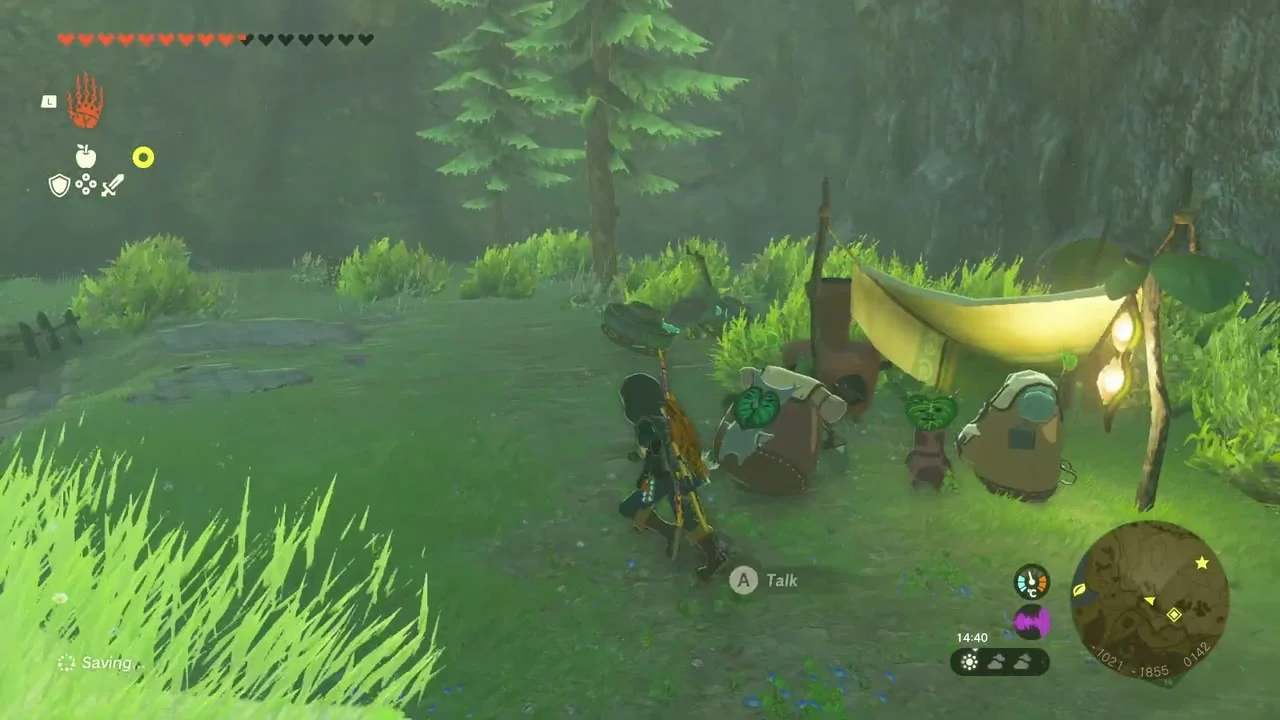
Korok seed (lift the rock). At (-889, -1907, 106), a boulder covers the Korok. Lift it away.
Korok seed (paraglider to the goal). At (-668, -1779, 78), glide to the bullseye platform and land on it.
Korok seeds (balloon and sparkle). Near the Temple of Time Ruins, pop the hidden balloon at (-829, -1963, 142), then climb to the sparkle on the tower at (-811, -1964, 192). Each gives a seed.
Chest (Royal Shield). At (-799, -1879, 101), a chest in the ruin holds a Royal Shield.
Shrine of Resurrection and the Temple of Time Ruins
Shrine of Resurrection. The cave mouth is at about (-1082, -1854, 135), on the plateau’s western ridge; the chamber itself is at (-1061, -1829, 142). Slip through the overgrown opening and follow the tunnel down.
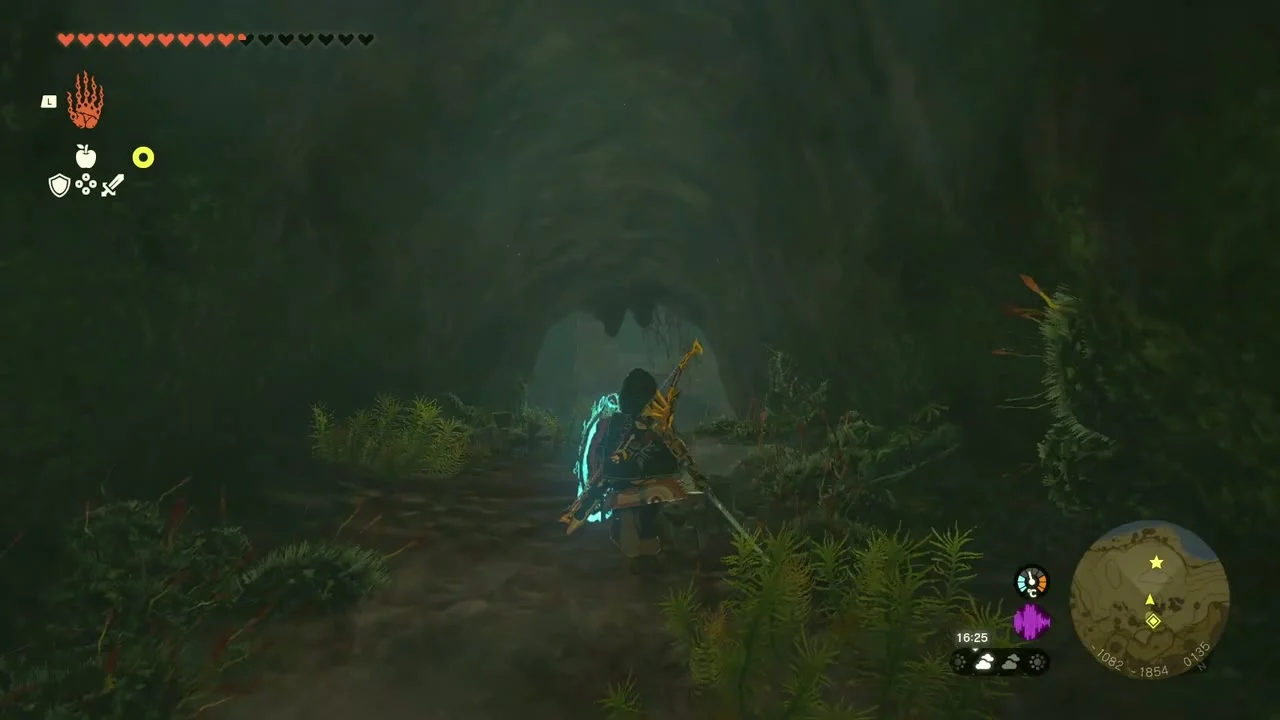
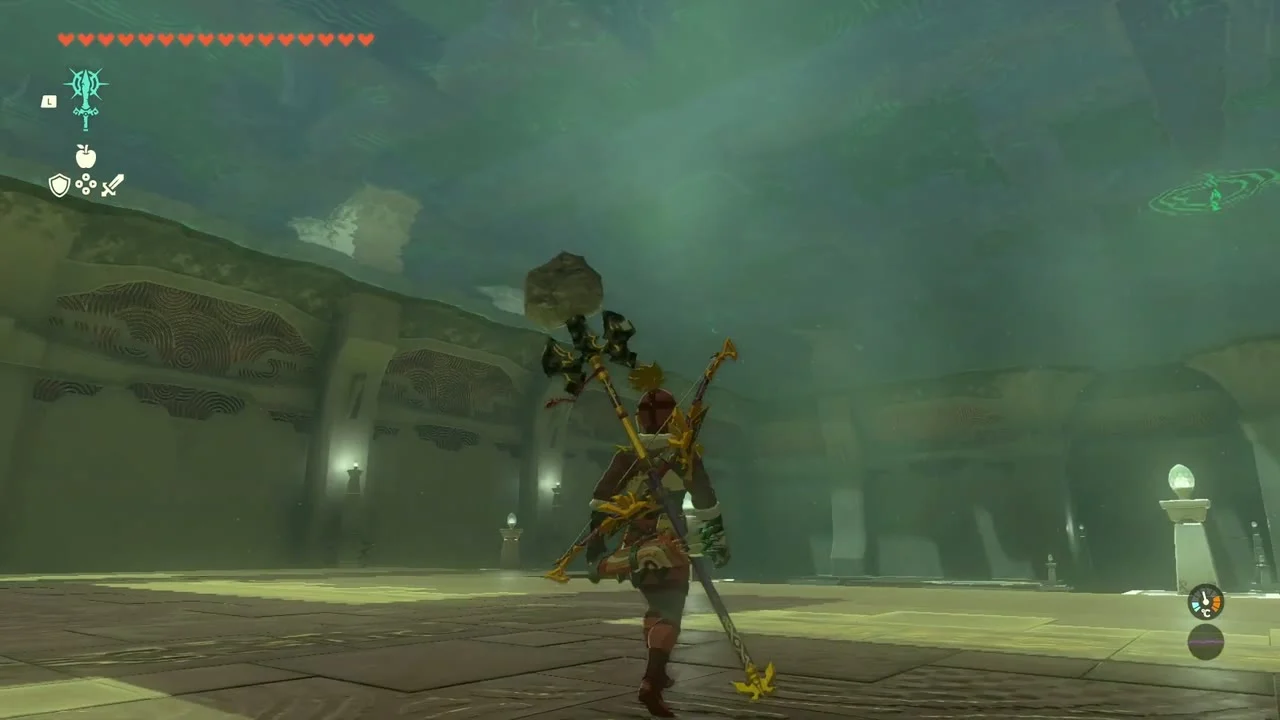
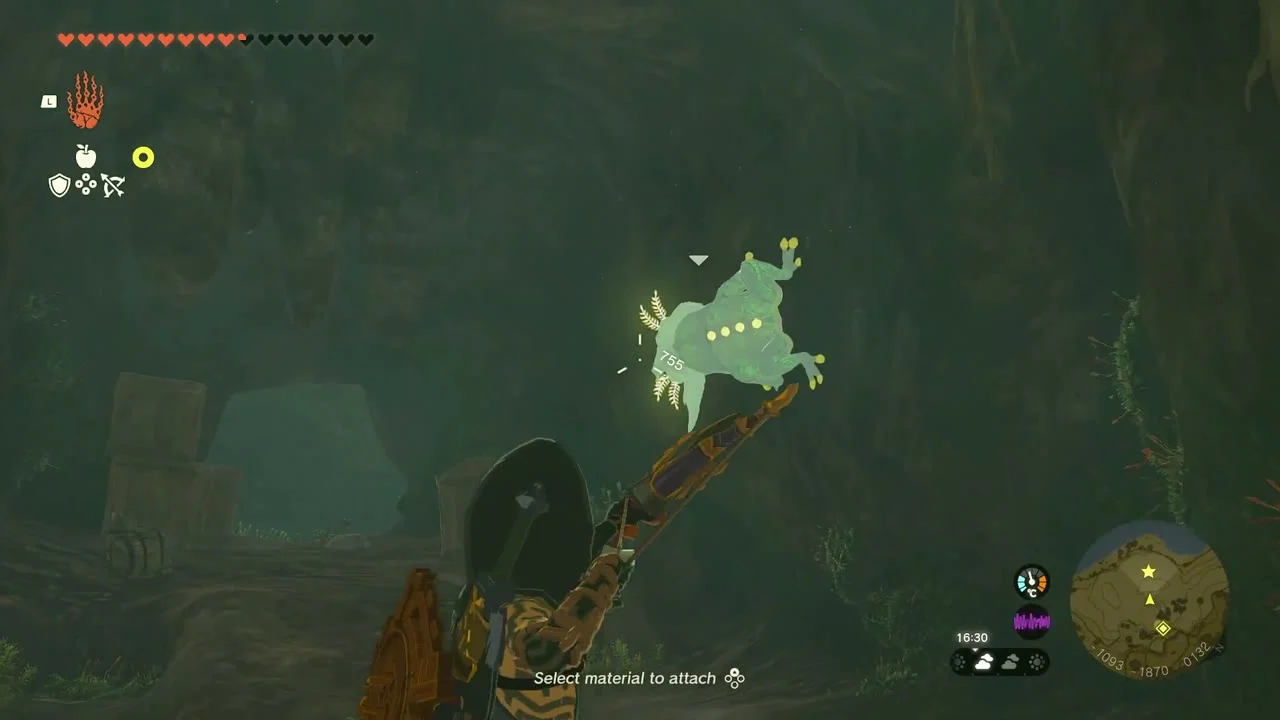
Bubbul Gem. The Bubbulfrog hops around the first cavern as you enter. Catch it for a Bubbul Gem.

Temple of Time Ruins. The ruins stand at (-818, -2002, 117), at the plateau’s southern edge. Pray at the Goddess Statue in the sunlit nave to start A Call from the Depths; the voice tells you to throw four Goddess Statue Eyes into four chasms and carry them to the place beneath the temple.


Photo for Ember. Any Great Goddess Statue counts for A Picture for Riverside Stable; if you skipped the one beside Tajikats Shrine, photograph this one and take the picture back to the frame at Riverside Stable.
Western plateau: chasms, Yiga hideout and Koroks
Miniboss (Boss Bokoblin). A Boss Bokoblin camp at about (-560, -1808, 65) on the central plateau blocks the road to the chasm. Defeat it before moving on.
Great Plateau East Chasm. The east chasm yawns at (-465, -1989, 73). Carry a Goddess Statue Eye over with Ultrahand and drop it in; this registers the first of four eyes.
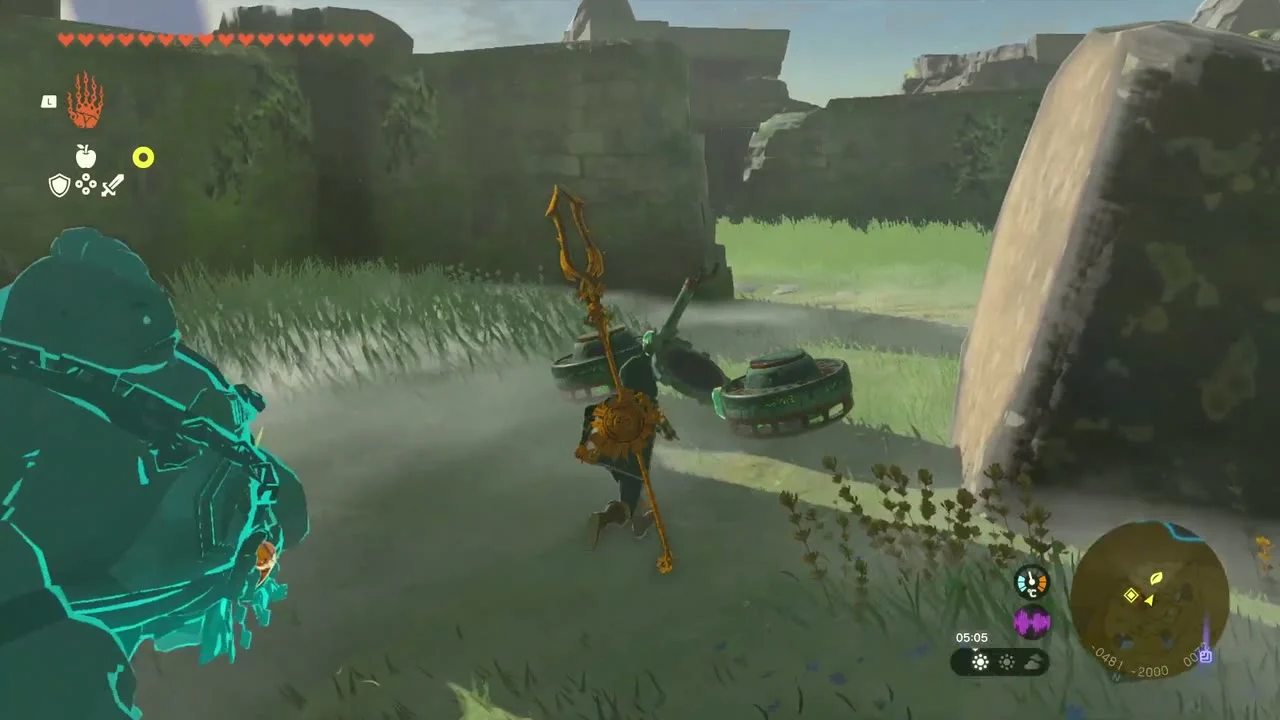

Korok seed (cube puzzle). Just south-west of the chasm at (-472, -2039, 77), move the stone cubes to match the pattern.
Yiga hideout. A hidden hideout sits in the woods at (-792, -2262, 87). The camp is ringed with wooden spikes, so glide in from above; you fight two Yiga before Pilar hands over the Yiga Mask, the first piece of the Yiga set (the Yiga Armor and Yiga Tights come from elsewhere; all three are needed to infiltrate the Gerudo hideout).
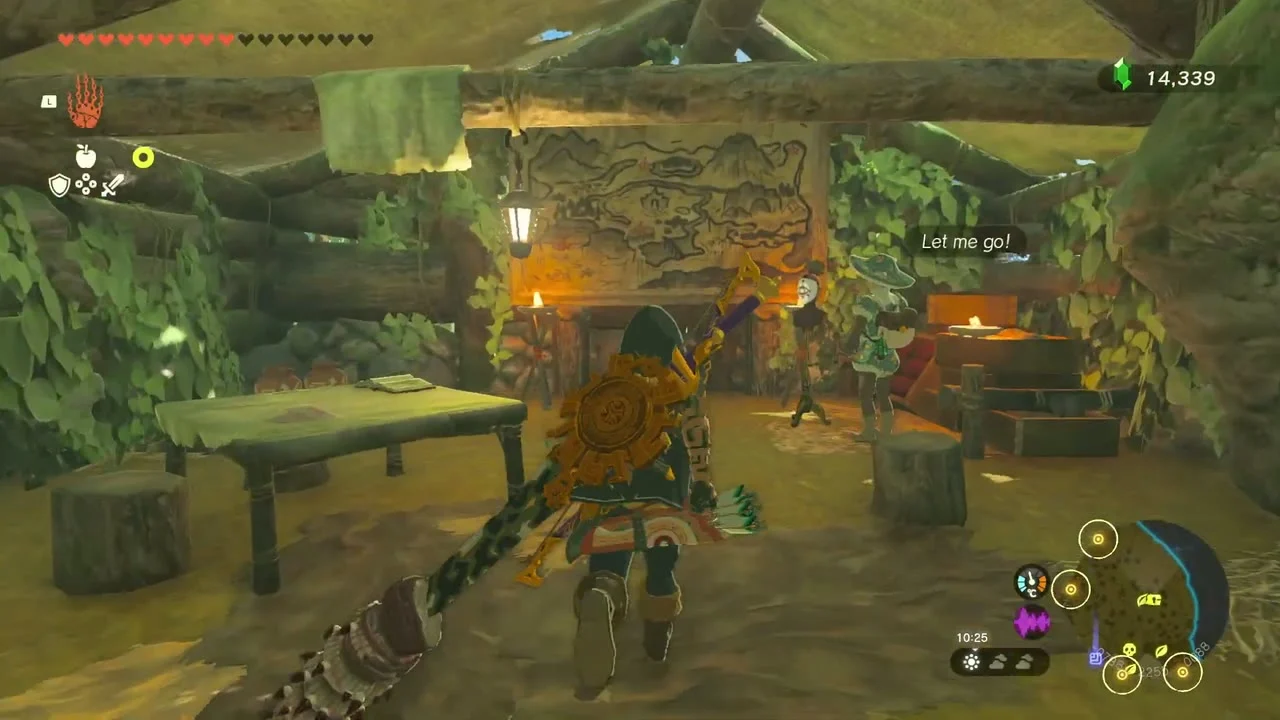

Korok seed (offer fruit to the statues). Near the hideout at (-790, -2229, 88), two small statues sit by a hut. Offer them a piece of fruit, such as Mighty Bananas, from the inventory.
Korok seed (Ascend). At (-930, -2208, 75), find the marker under a rocky overhang and use Ascend through it.
Korok seed (cube puzzle). At (-886, -2270, 20), a second cube puzzle waits on a small rise. Solve it to claim the seed.
Great Plateau North Chasm. Return to the north chasm at (-672, -1521, 66) and drop the second eye in. A chest on the ridge between the chasm and the next Korok holds a Royal Broadsword (or Traveler’s Sword, Soldier’s Broadsword or Knight’s Broadsword, depending on your progress).
Korok seeds (balloon and plug). Shoot the balloon at (-964, -1606, 103), then pull the plug at (-952, -1720, 97) on the pond edge for the second seed.
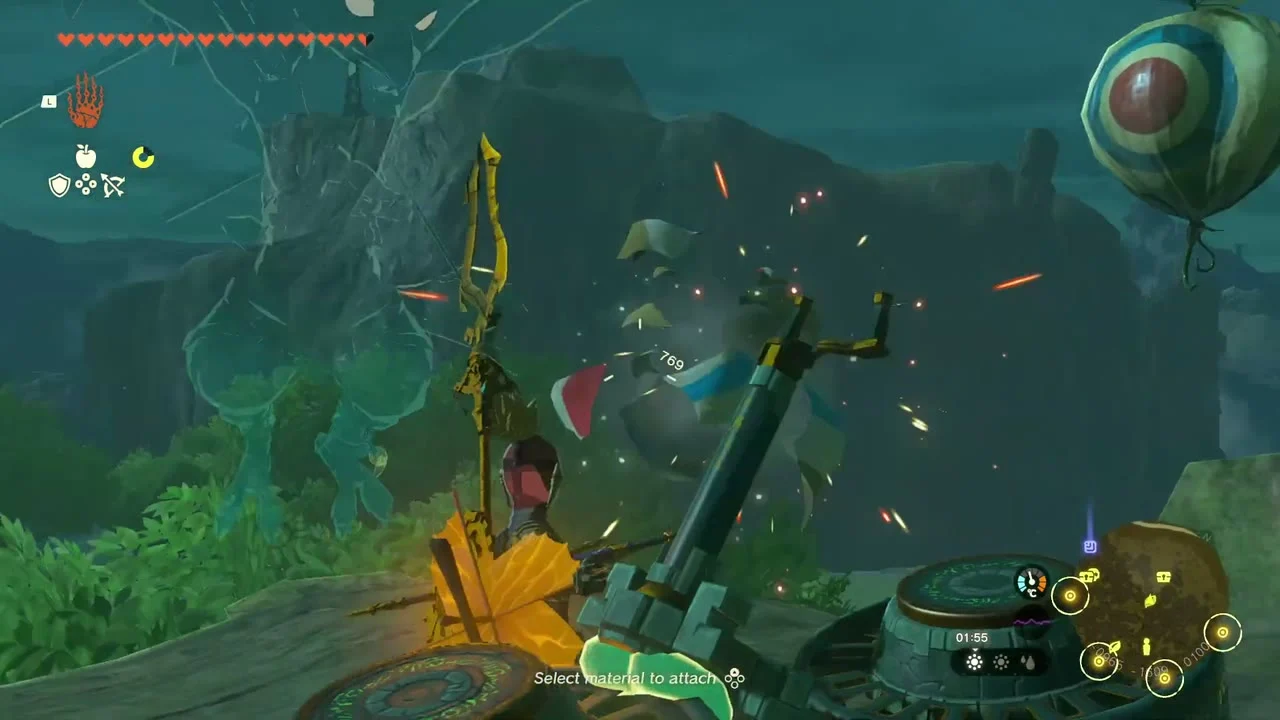

Korok seed (Ascend). At (-950, -1839, 91), a second Ascend marker leads up through a tree.
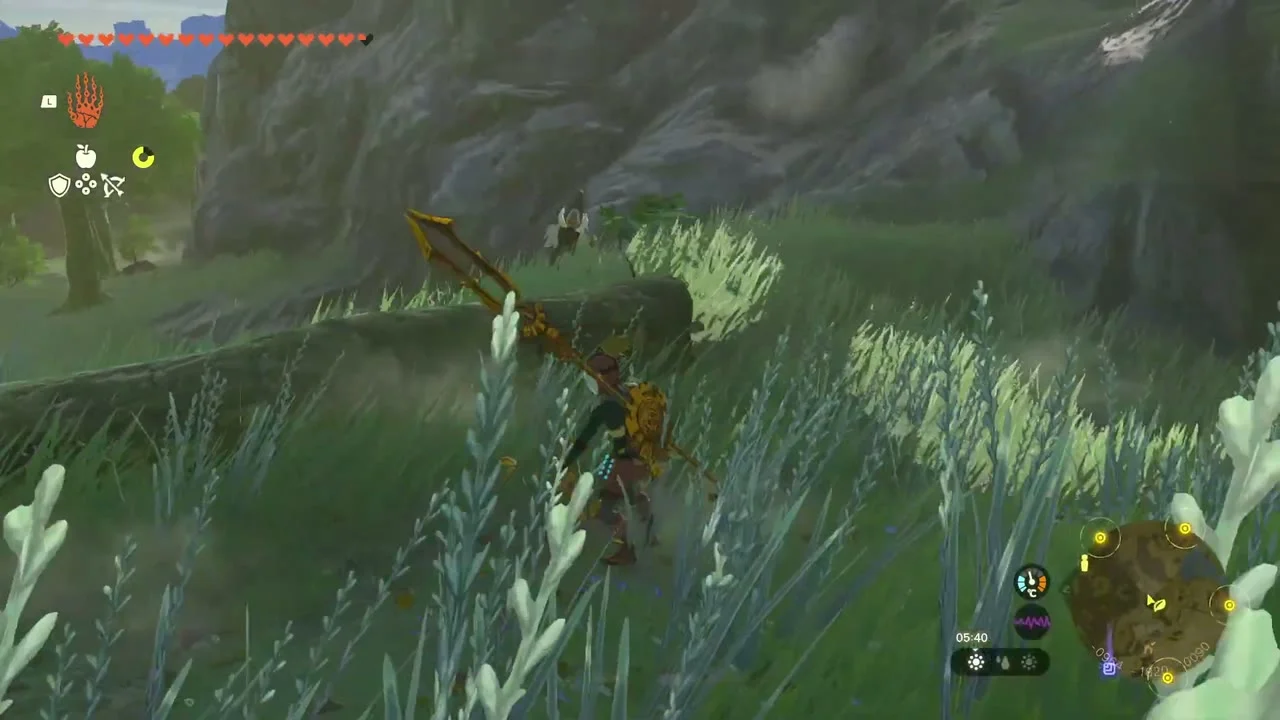

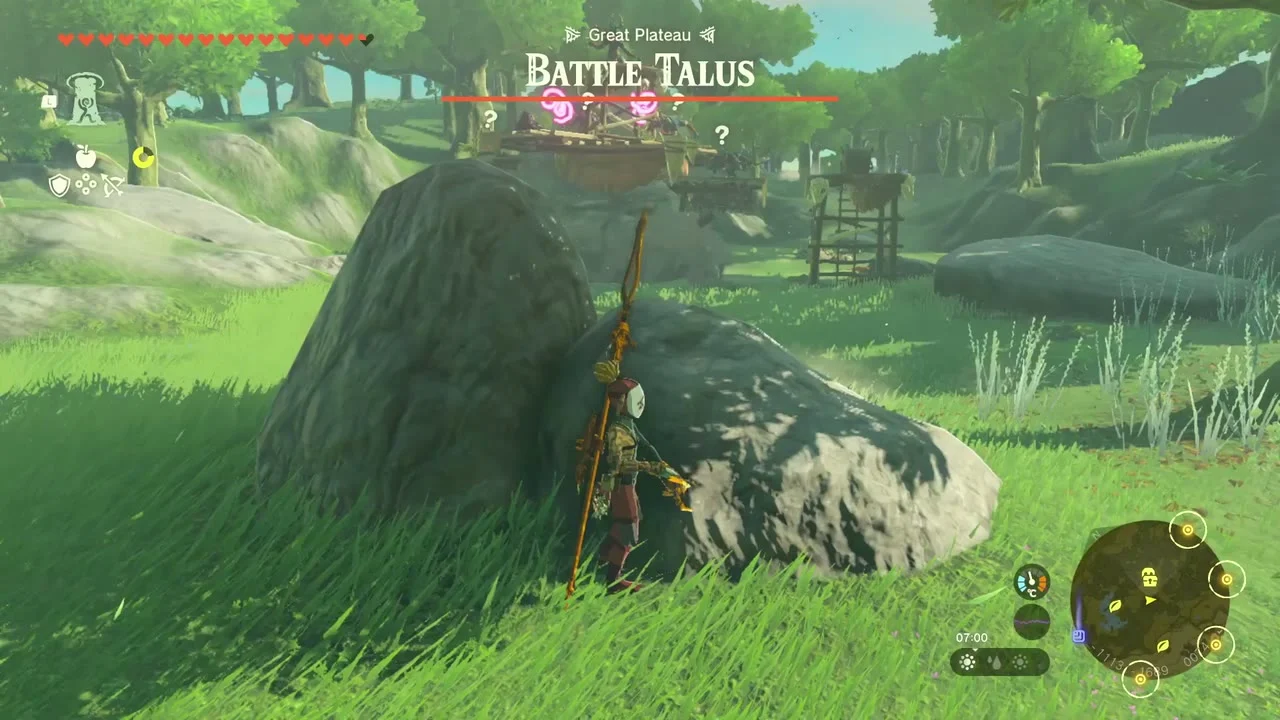
Miniboss (Battle Talus). A Battle Talus rests at (-1113, -1639, 74) under the plateau’s western trees. Use the Muddle Bud trick from Whistling Hill, then hit the ore deposit on its back. A skull watchtower beside it at (-1083, -1659, 73) holds a chest.

Korok seed (follow the flower). At (-1202, -1690, 83), a glowing flower leads to the next Korok.
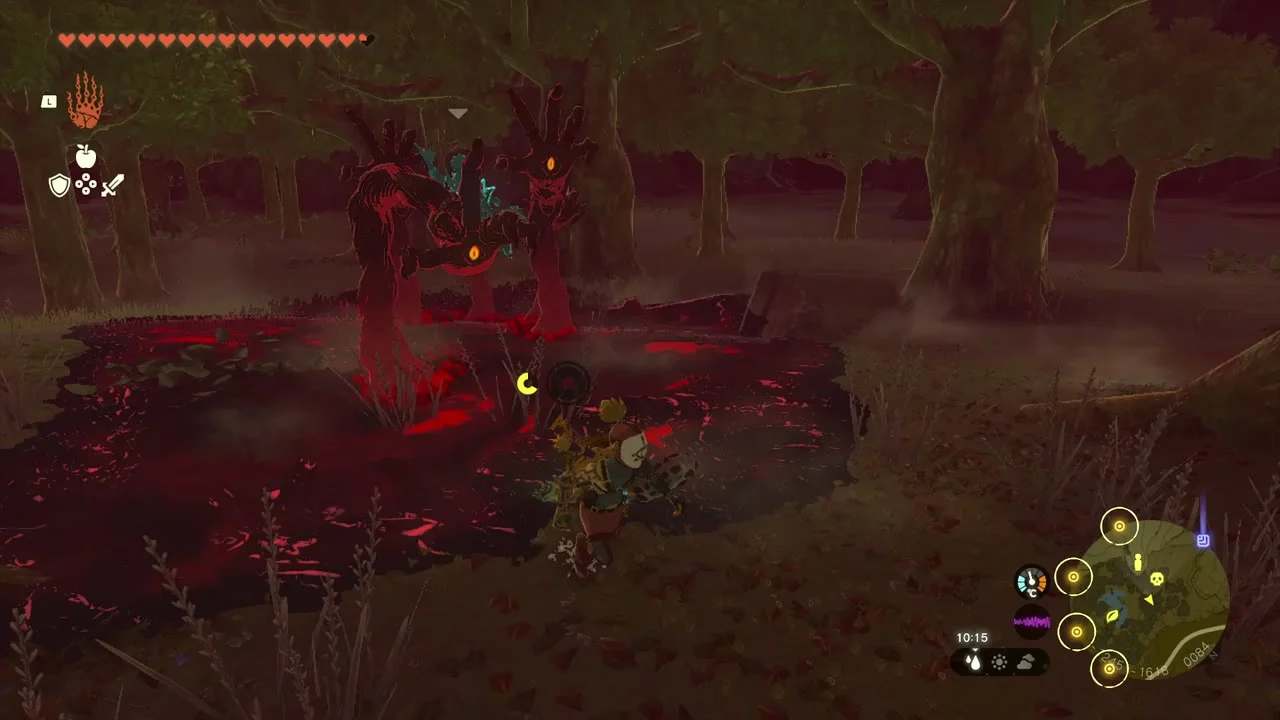
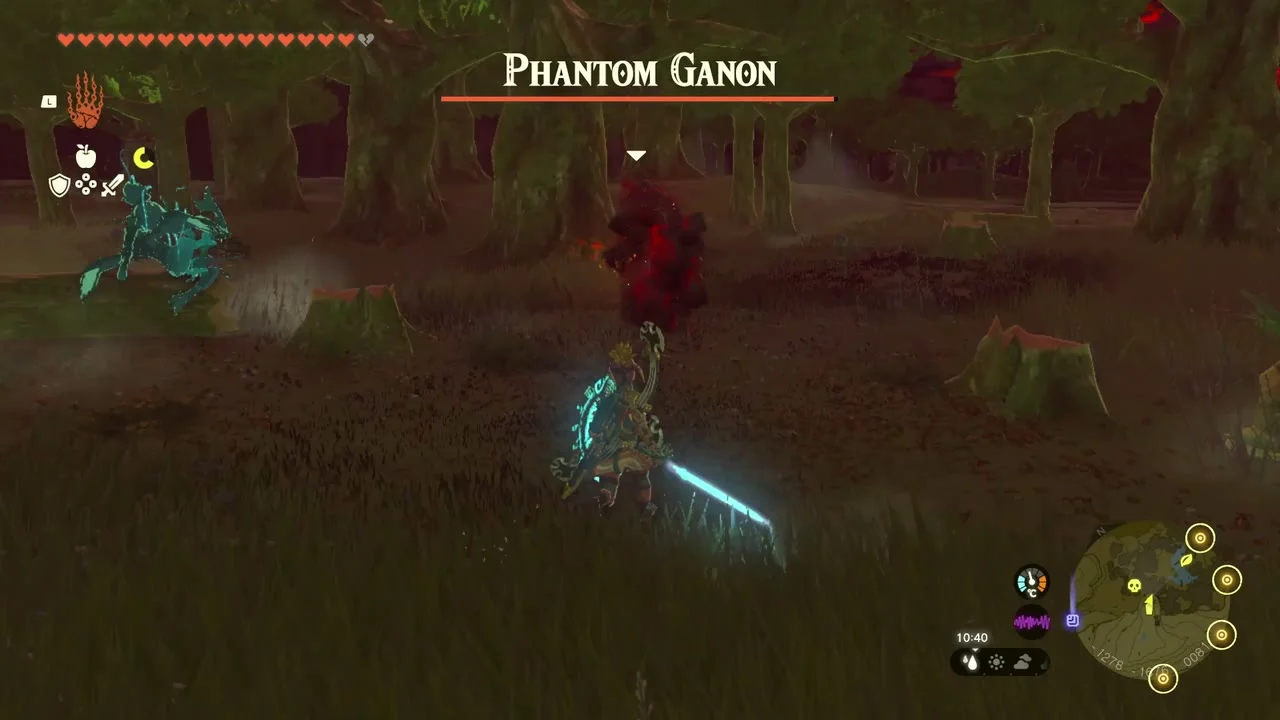
Miniboss (Gloom Spawn and Phantom Ganon). The gloom pool at (-1278, -1616, 81) spawns a Gloom Spawn and a Phantom Ganon. Fight the Ganon with a strong weapon.
Riogok Shrine
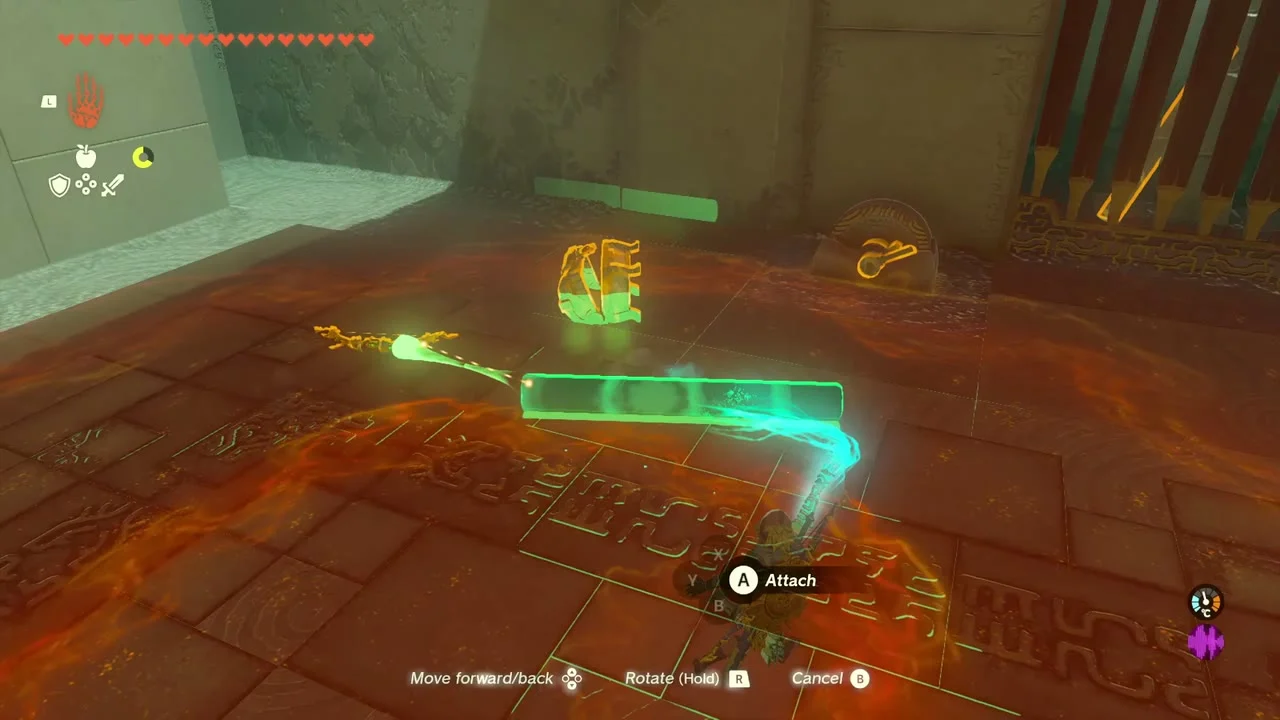
Riogok Shrine (Force Transfer, a puzzle trial) stands at (-1441, -1616, 102), on the northwest corner of the plateau. The Kogoir Lightroot lies below it at (-1442, -1616, -559). It uses Ultrahand, Ascend and Recall.

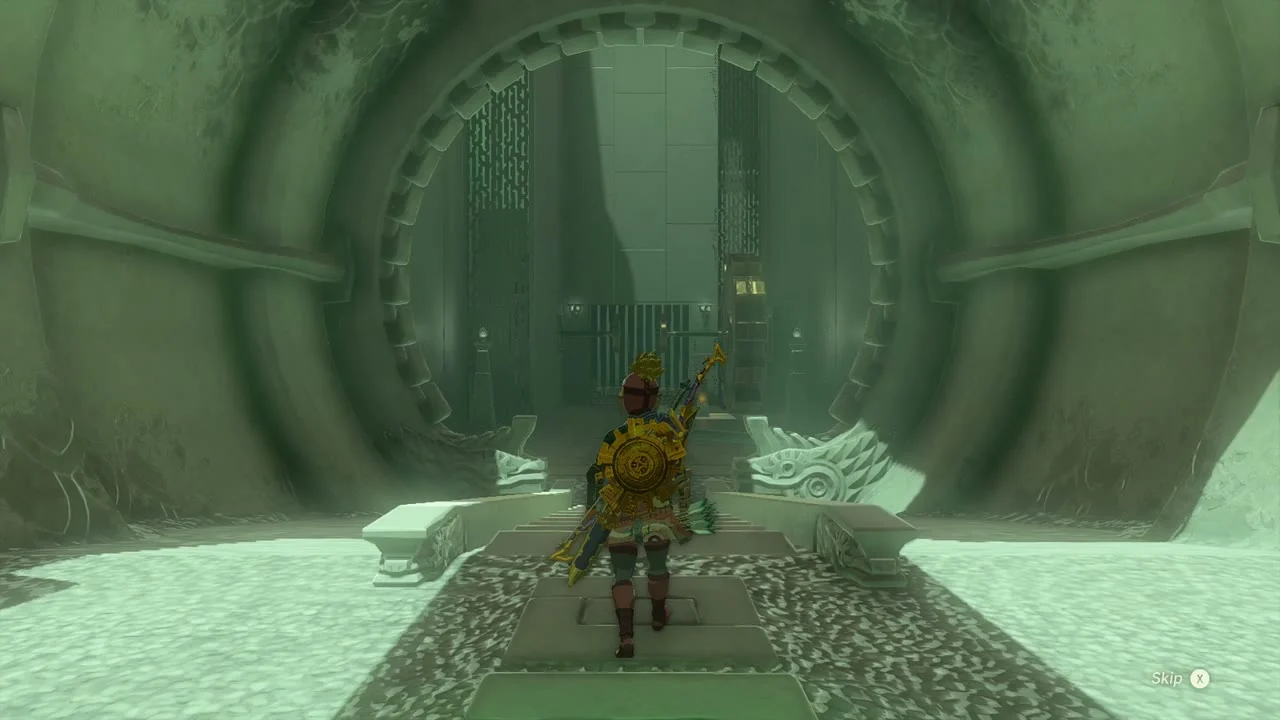
Jam the gears with a log
Fit the log into the gap in the gears so the gate opens, and enter the next room.


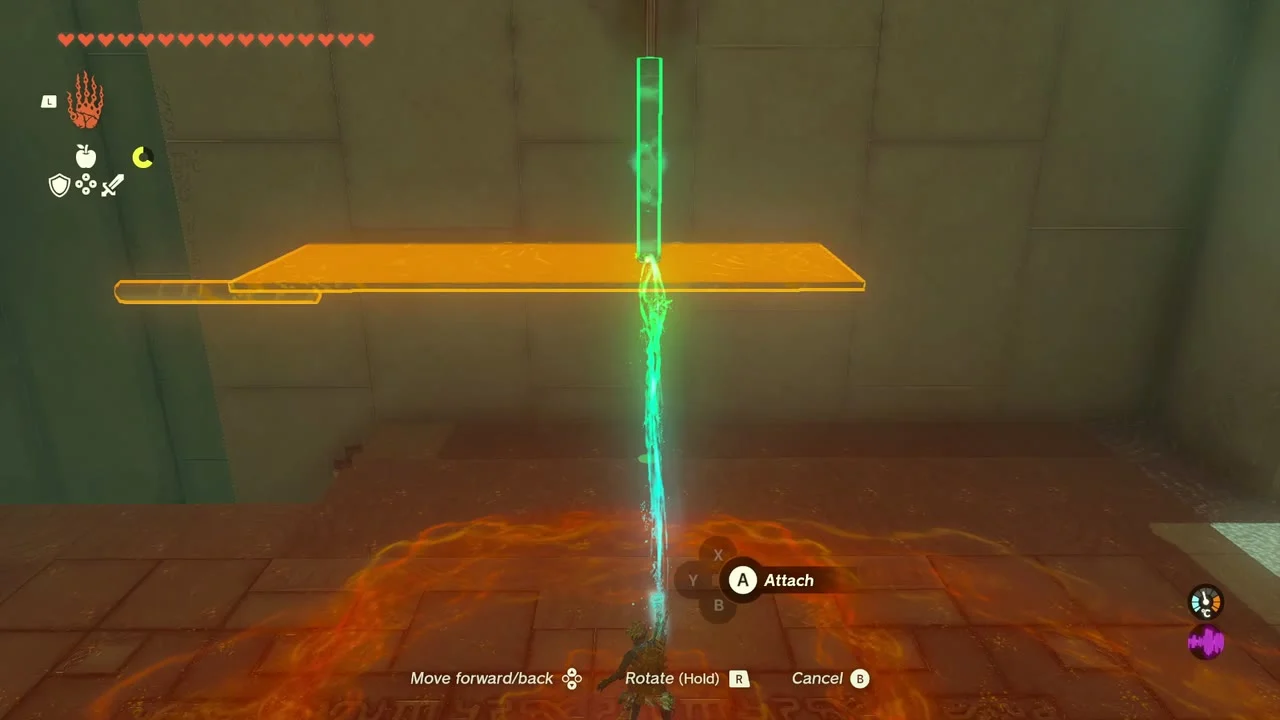
Ride the weighted panels up
Lift a panel on the rail with Ultrahand and let it drop to throw the lighter panel up, then Recall and Ascend to the top. Repeat with the smaller panel for the Light of Blessing.

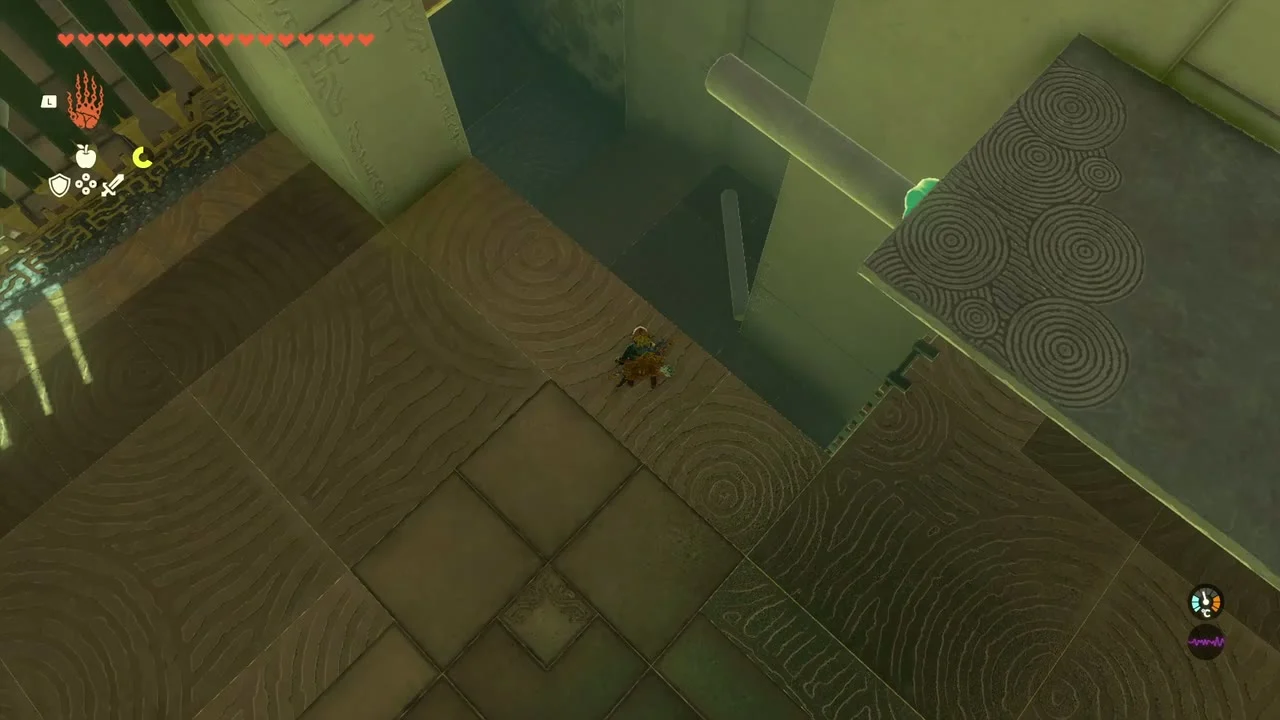
Take the optional chest
Raise the plank with Ultrahand to the ledge in the back right corner and open the chest for a Mighty Construct Bow (Strong or Mighty, depending on your progress).
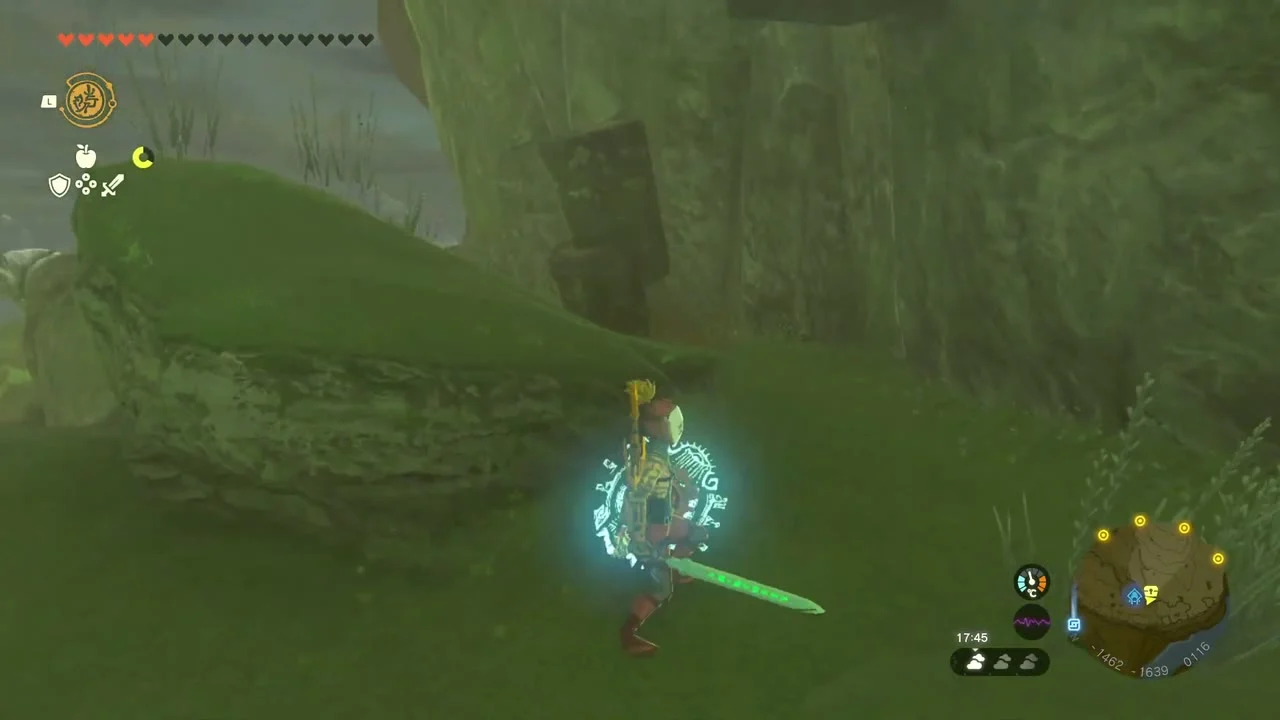
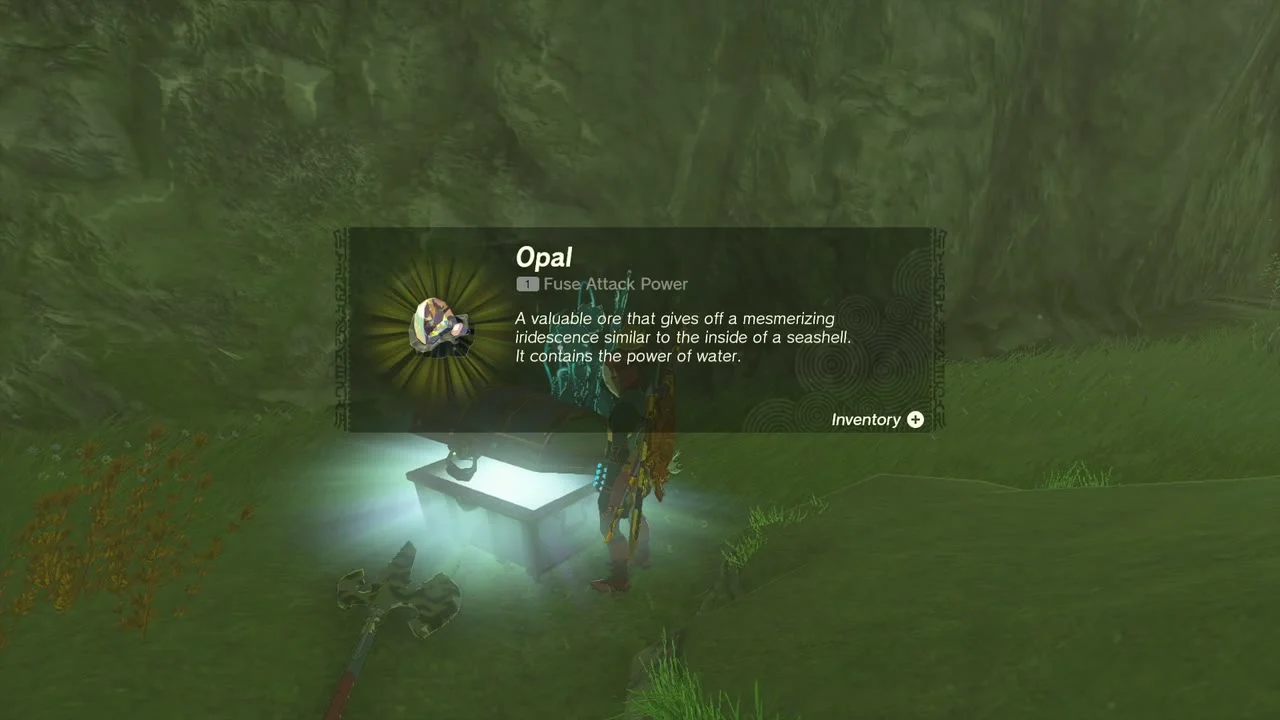
Chest (Opal). Outside the shrine, at (-1462, -1639, 116), a chest on a ridge holds an Opal.
Korok seed (sparkling spot). At (-1151, -1788, 155), a sparkle waits on the plateau’s southern slope. Walk into it to catch the Korok.
Southwestern plateau
Chest (Royal Shield). A chest near (-1455, -1778, 145) holds a Royal Shield.

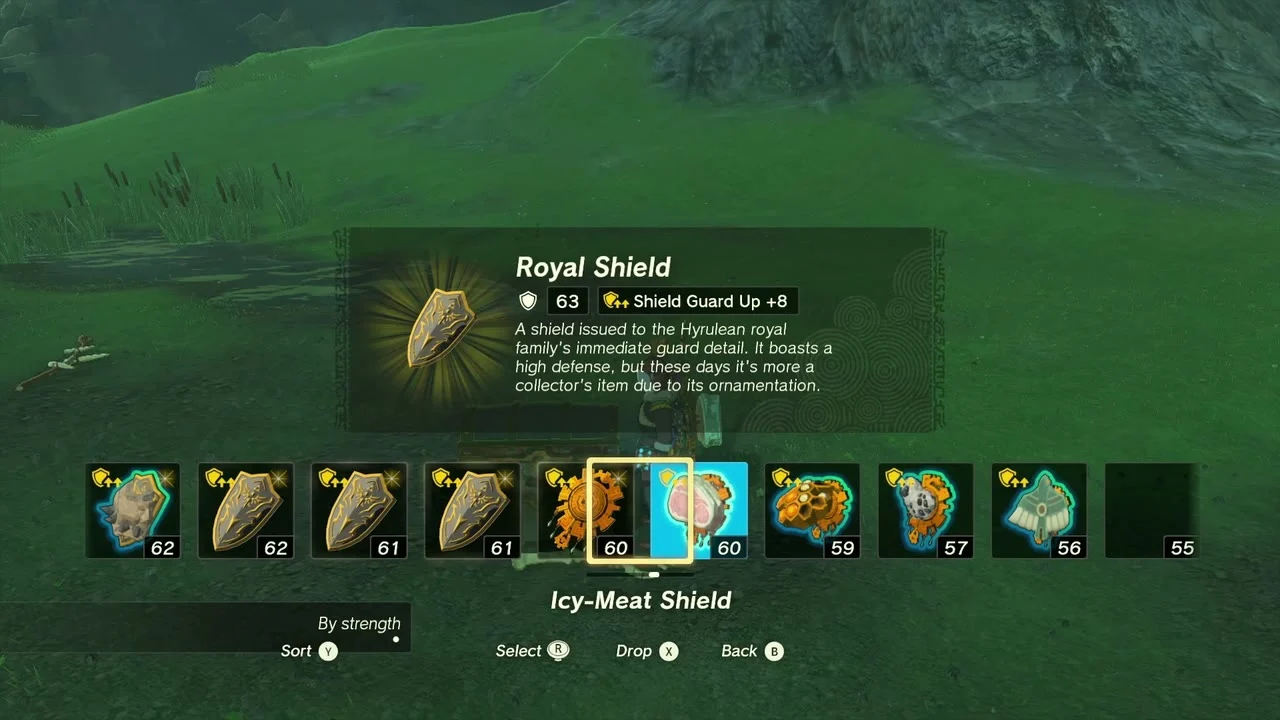
Korok seeds x2 (eighth carry). Carry the exhausted Korok from the lake shore to its friend at (-1178, -2088, 145). Both Koroks give a seed.
Chest (Wooden Shield). At (-1172, -2088, 144), a chest holds a Wooden Shield.


Korok seed (sparkling spot). Build a plank bridge over the pond to the island at (-1086, -2050, 146) and walk into the sparkle.
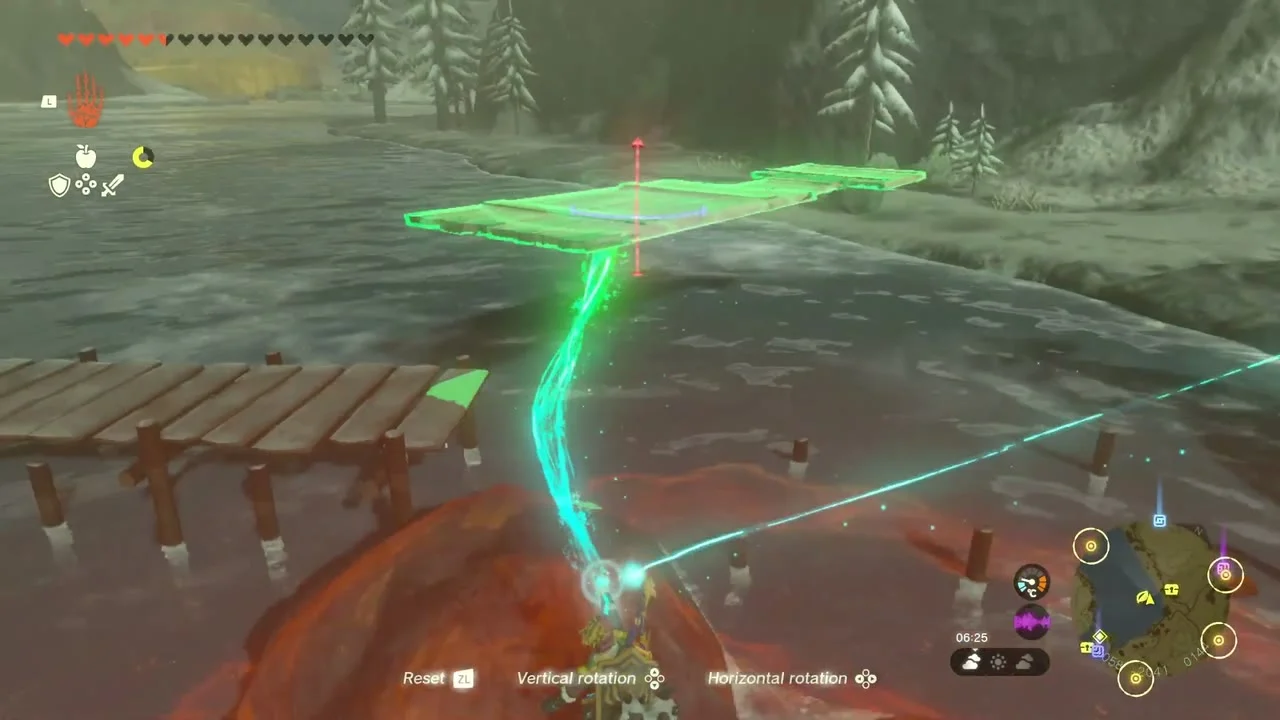
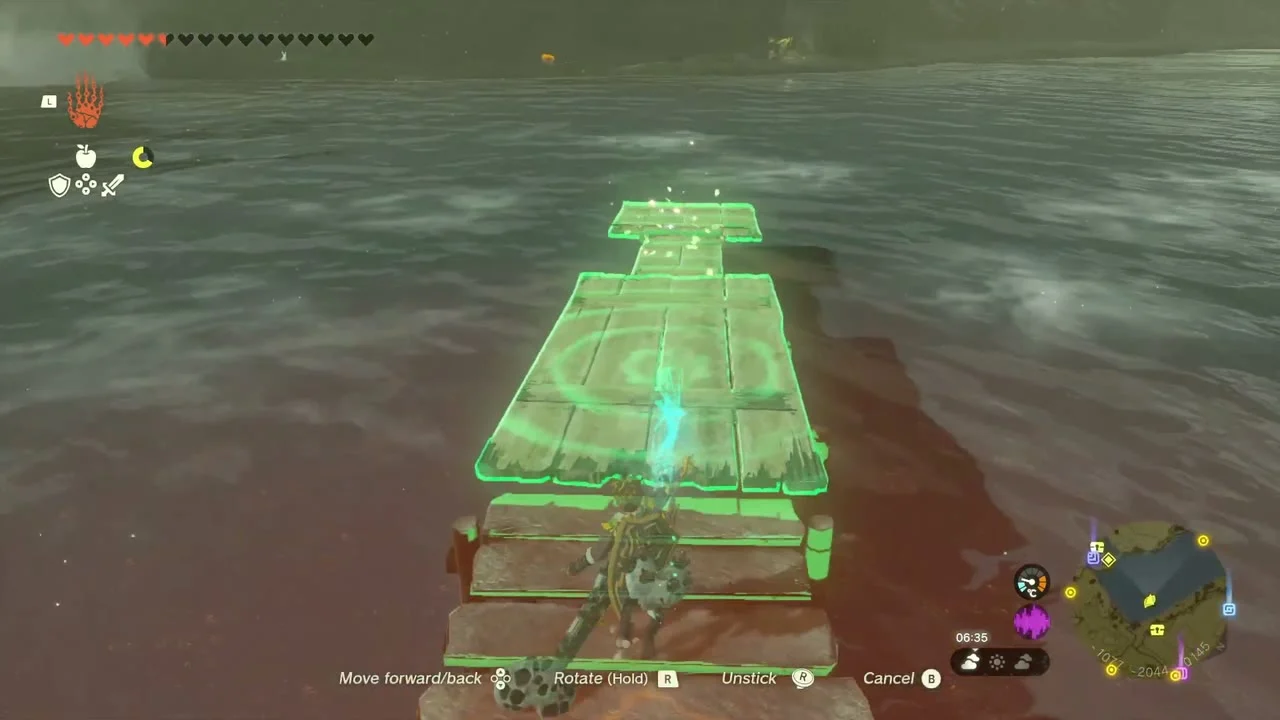
Great Plateau South Chasm. The south chasm opens at (-942, -2336, 168). Drop the third eye in.

River of the Dead Waterfall Cave and Tadarok Shrine
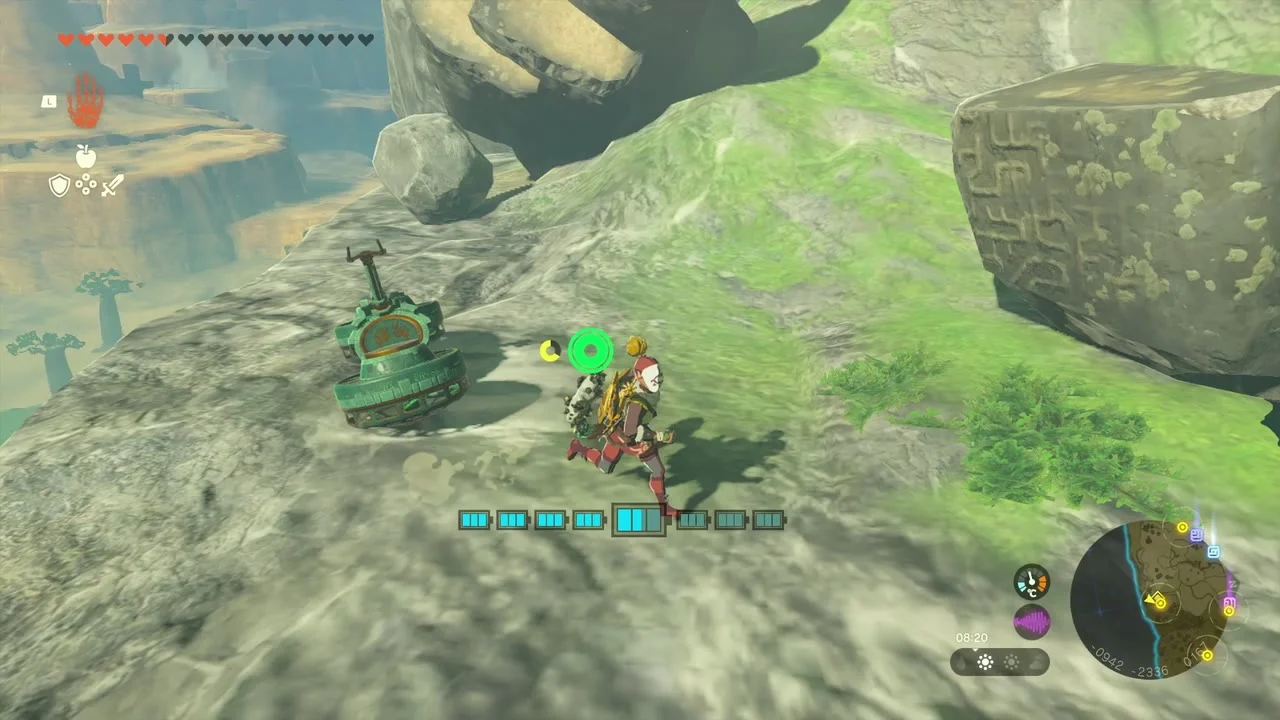
River of the Dead Waterfall Cave. The entrance is beside the waterfall at about (-1092, -2162, 143).
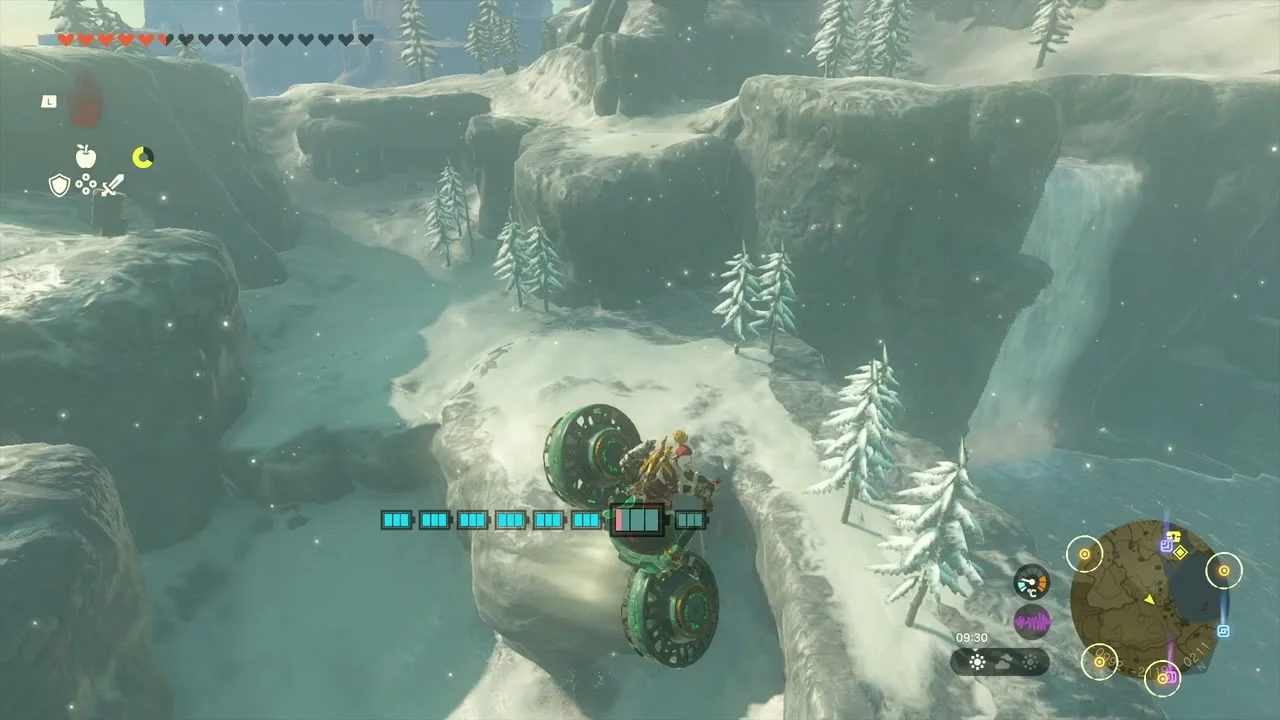

Bubbul Gem. A Bubbulfrog sits just inside the entrance. Catch it for a Bubbul Gem. A chest further in holds a Royal Shield.
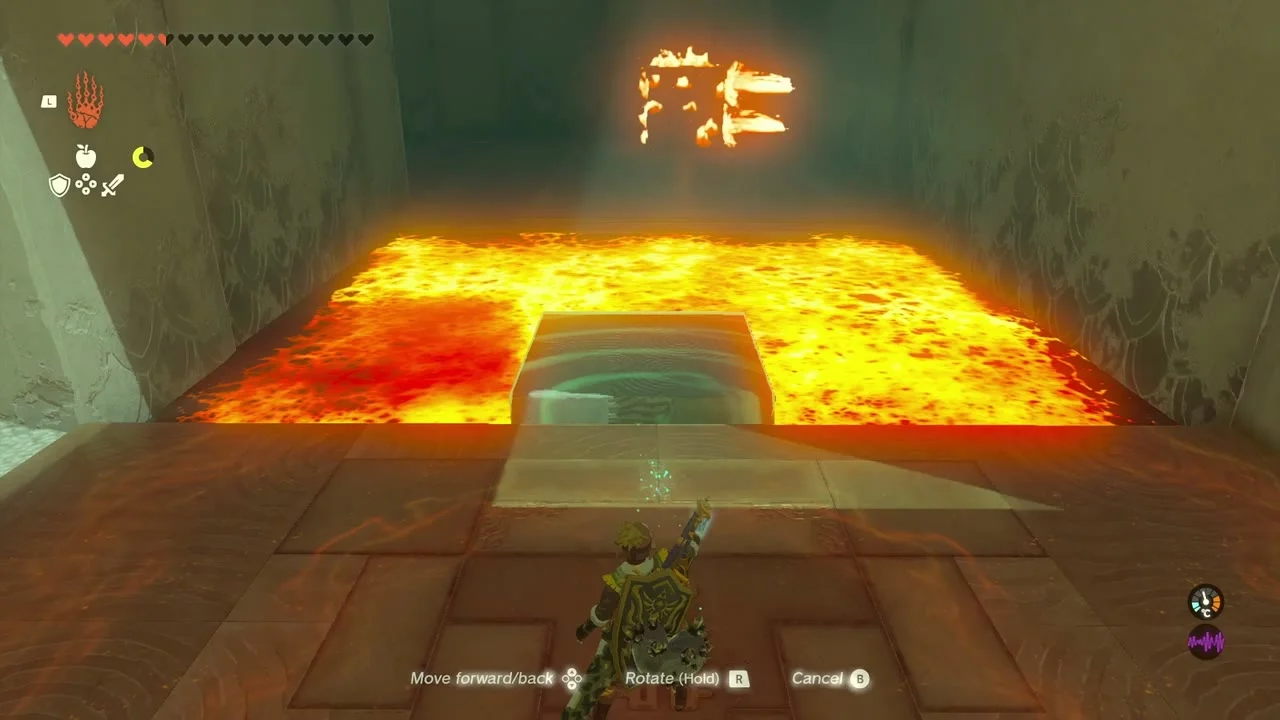
Tadarok Shrine (Fire and Water, a puzzle trial) sits at the end of the cave at (-1081, -2186, 142). The Koradat Lightroot lies below it at (-1080, -2186, -582).


Bridge the lava pit
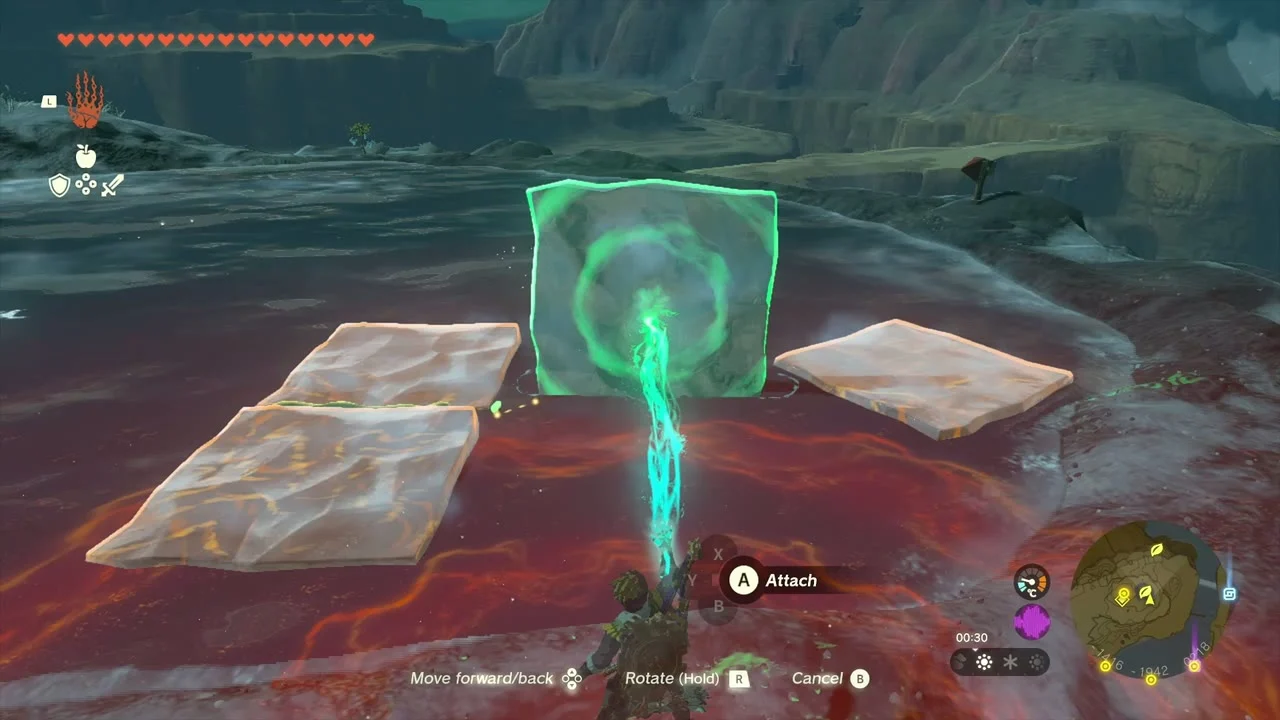
Use Ultrahand to lay the stone or metal block across the lava as a bridge.
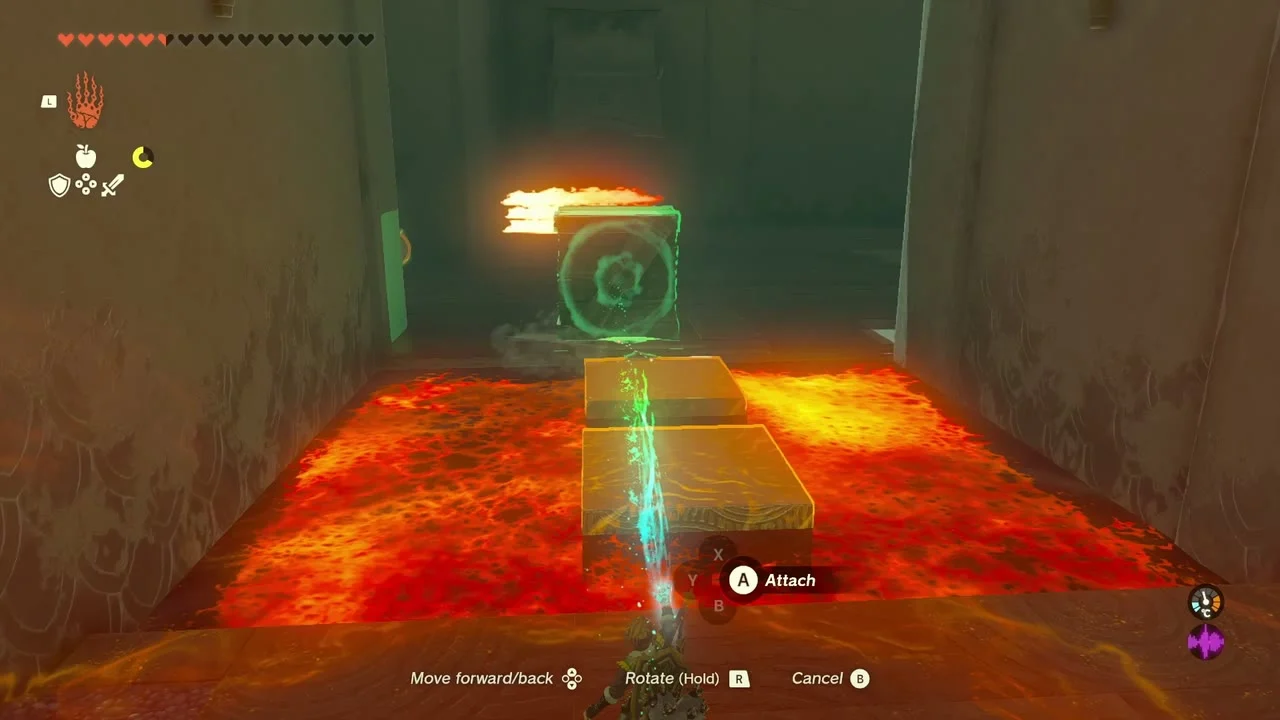
Melt the ice
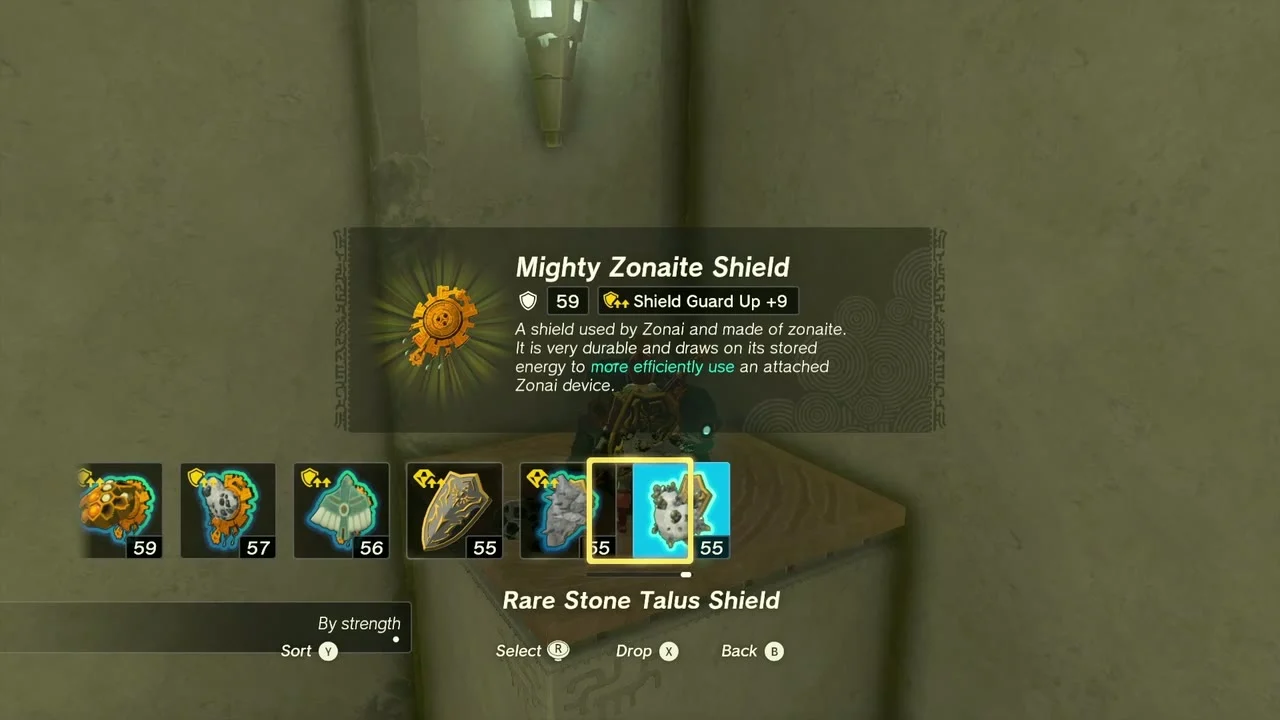
Block the flames with a slab so the ice block melts slowly, then climb the ice to the chest, which holds a Mighty Zonaite Shield (Strong or Mighty, depending on your progress).
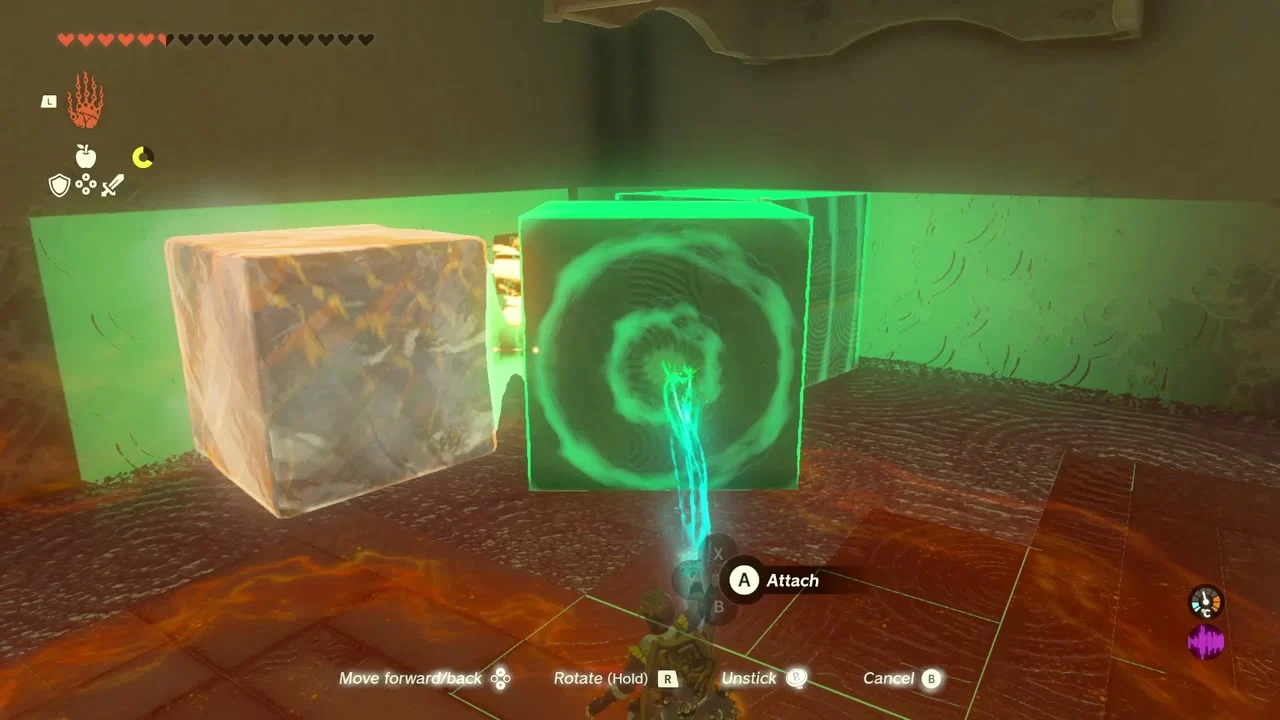
Stack a tower and ascend
Stack the blocks into a tall column, Ascend through it to the altar and take the Light of Blessing.


Korok seeds (lift rock). At (-1294, -2213, 312), lift a boulder on the plateau’s southern ridge for a Korok seed, and the same at (-1516, -1922, 132) on the far western edge.

Great Plateau West Chasm. The west chasm at (-1450, -1943, 218) takes the fourth eye. Once it is thrown, A Call from the Depths sends you into the Depths below the Goddess Statue.

Great Plateau Foothill Cave and Kyokugon Shrine
Quest (Help Addison). At (-855, -1450, 19), a fallen signpost leans against a post. Stand it upright with Ultrahand for the reward.


Great Plateau Foothill Cave. The entrance is at (-834, -1488, 26), at the foot of the plateau cliffs north of Kyokugon Shrine. Rubble and Horriblins guard it.


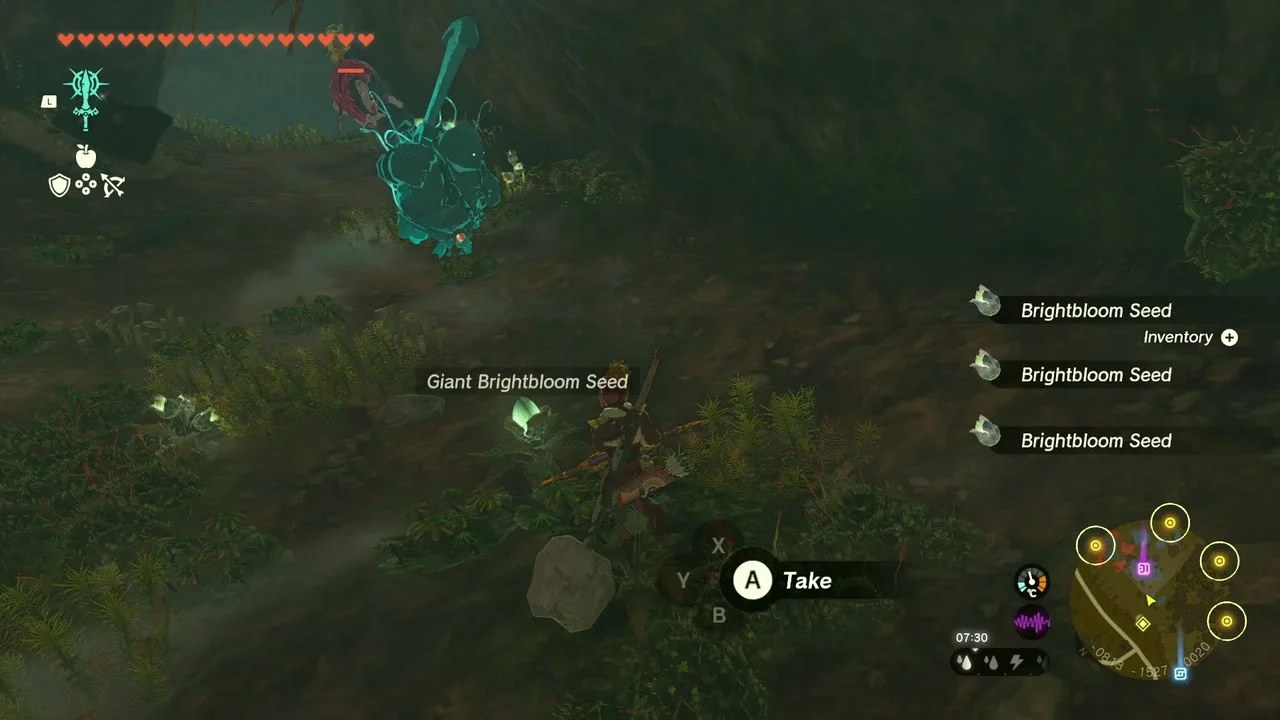
Giant Brightbloom Seed. A Giant Brightbloom Seed lies on the floor of the first cavern; take it to light the dark passages.
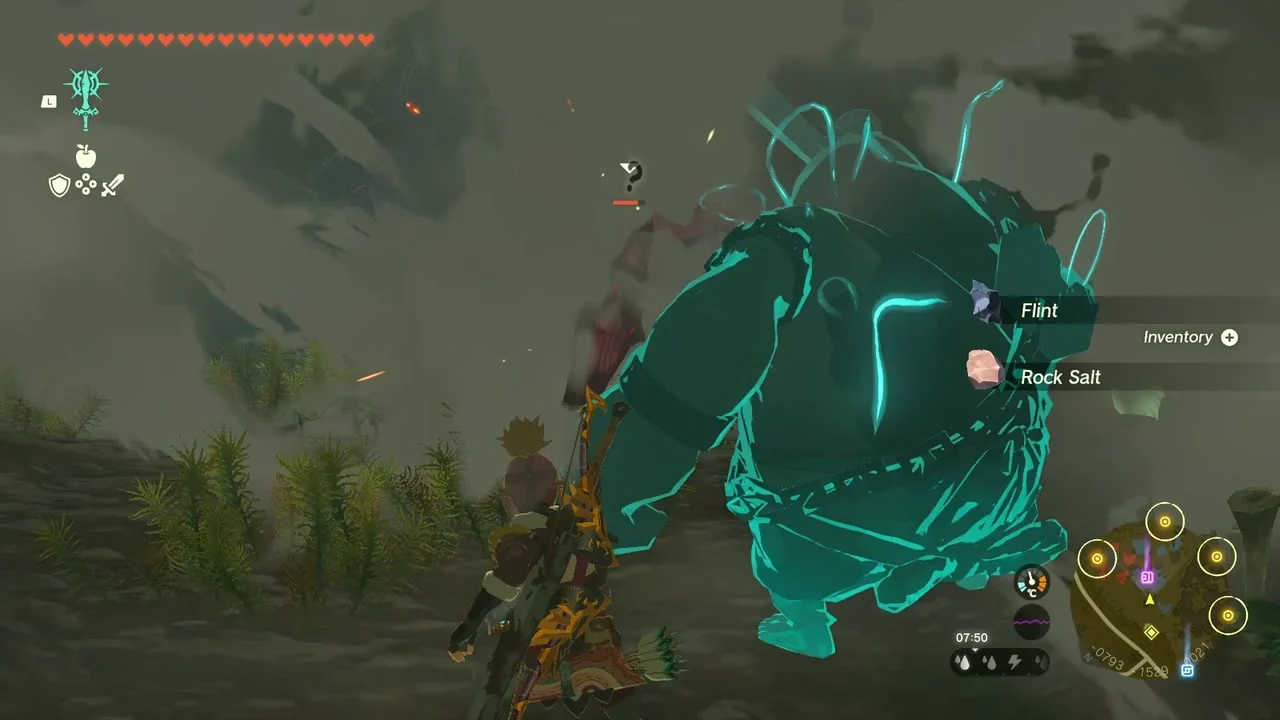
Bubbul Gem. Deeper in, at (-782, -1535, 19), a Bubbulfrog sits in the cavern. Catch it for a Bubbul Gem.
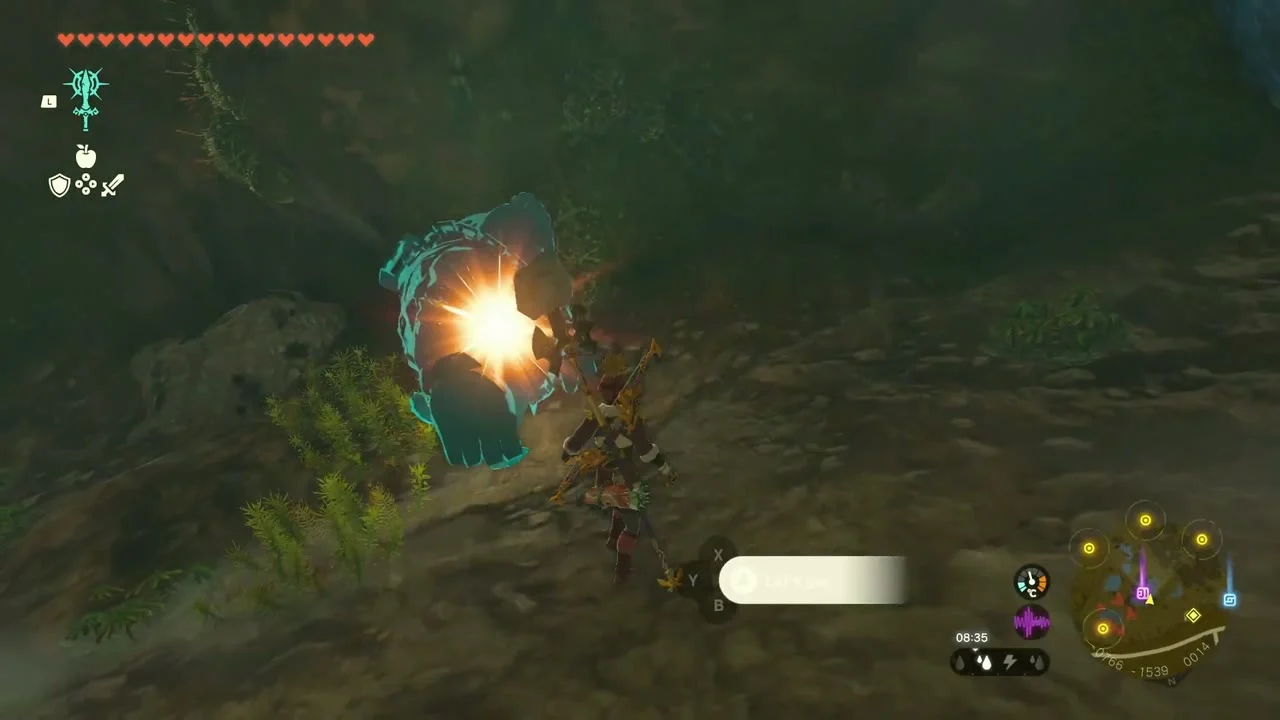
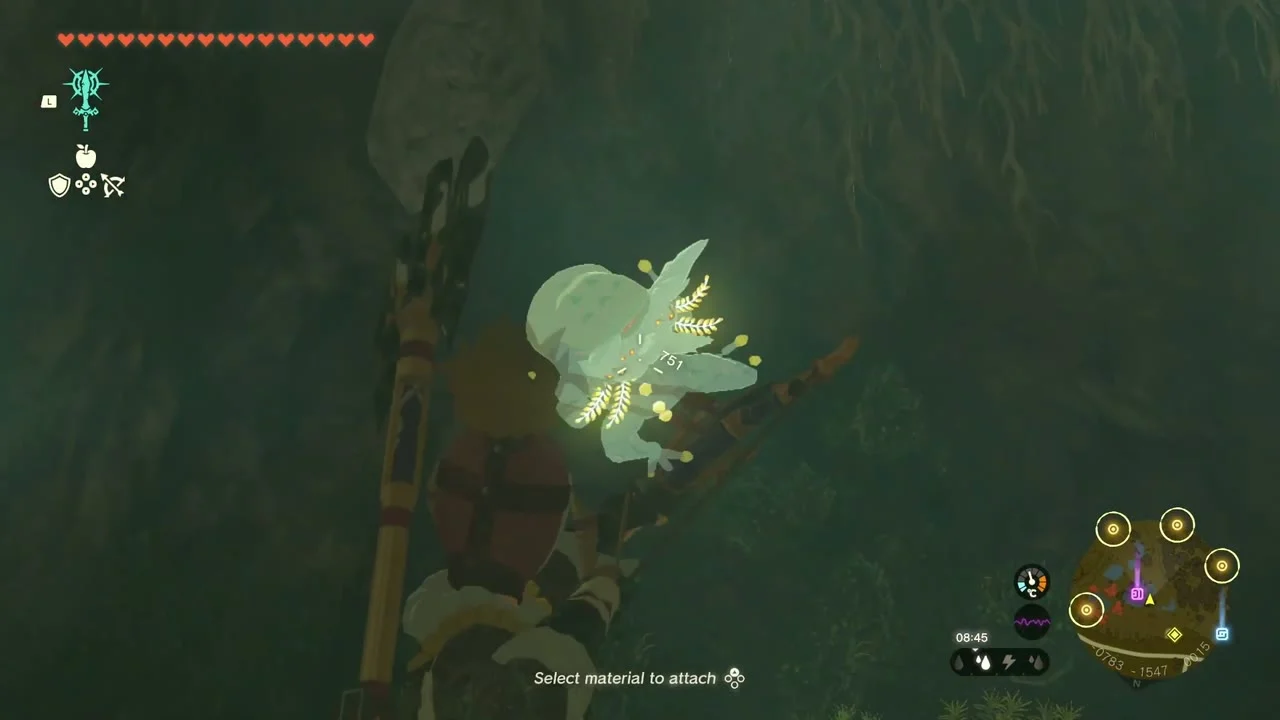
Kyokugon Shrine (Alignment of the Circles, a puzzle trial) stands at the cave’s end at (-709, -1551, 19). The Nogukoyk Lightroot lies below it at (-708, -1551, -538).
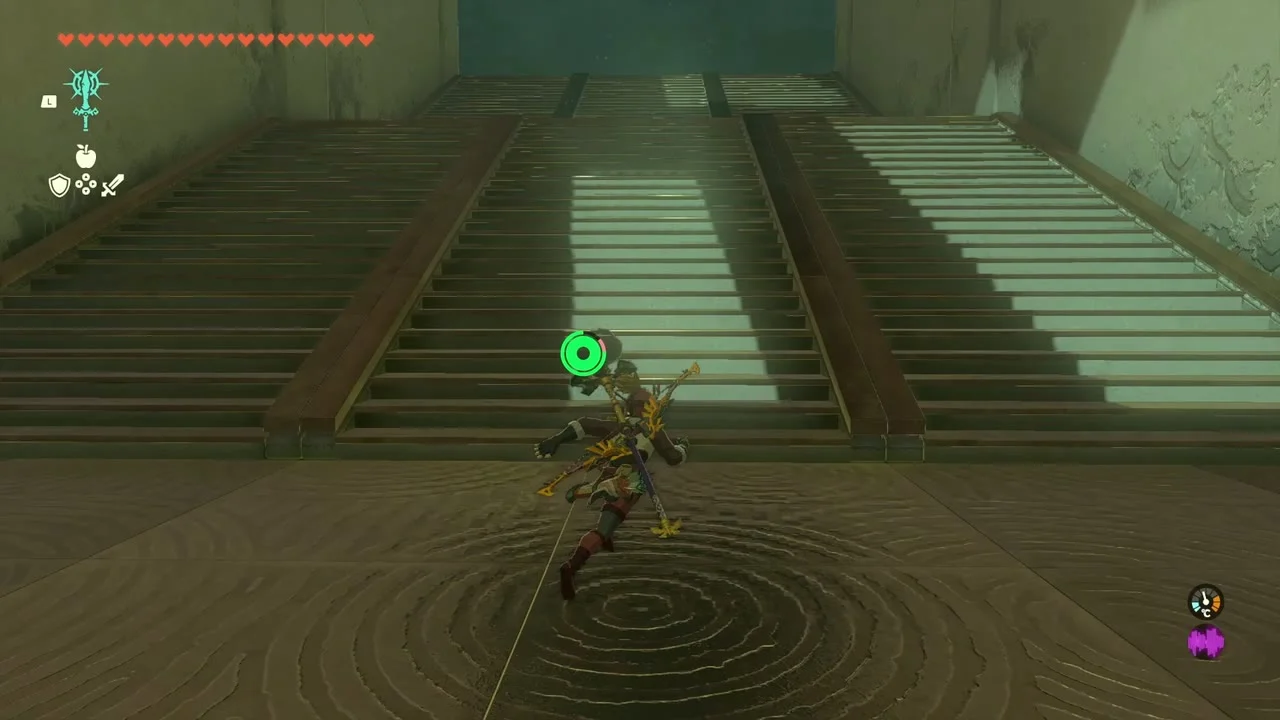
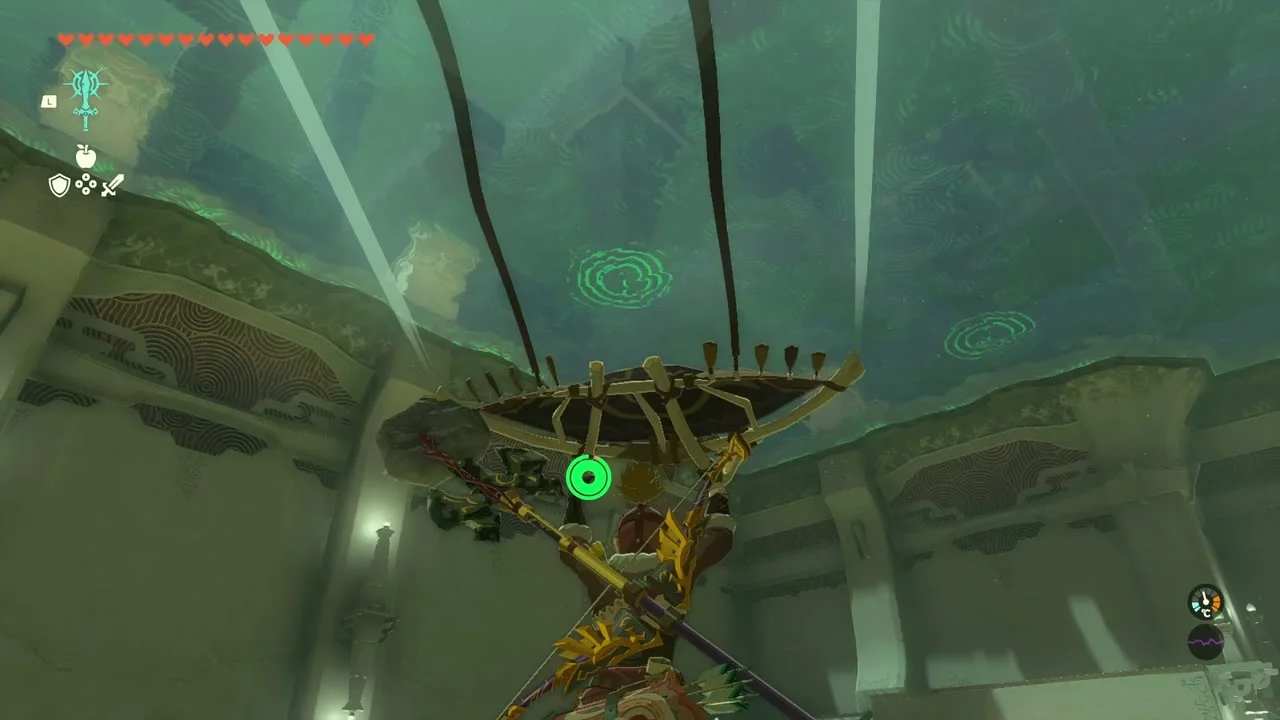
Read the ceiling
Four glowing marks on the ceiling show which of the ten floor slots to fill.

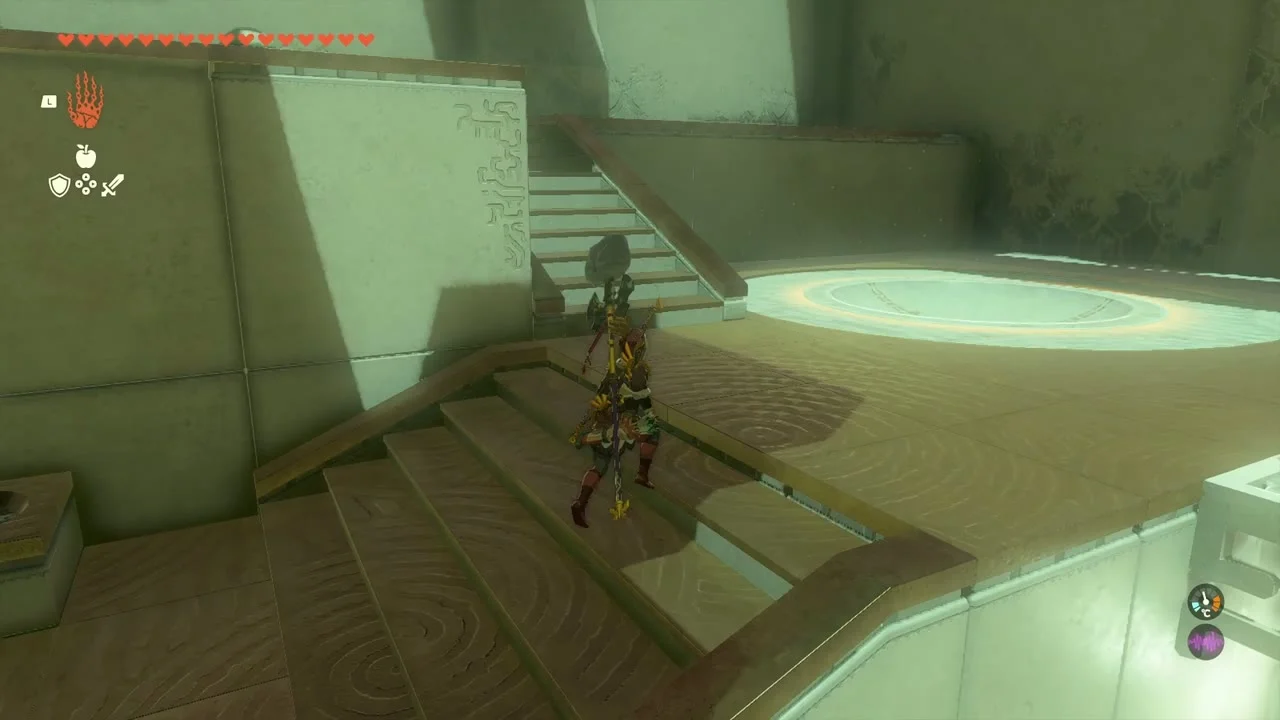
Place the four orbs
Drop one orb in the bowl directly beneath each mark. The rear gate opens and the Light of Blessing is yours.
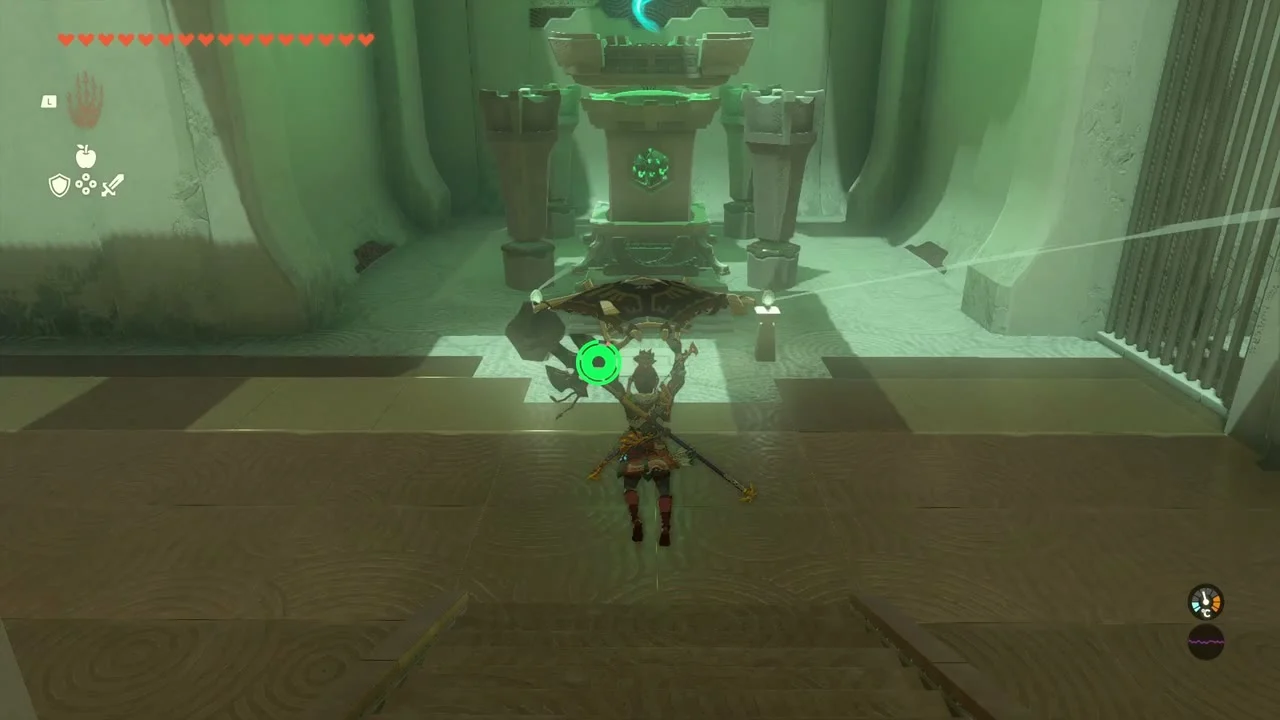
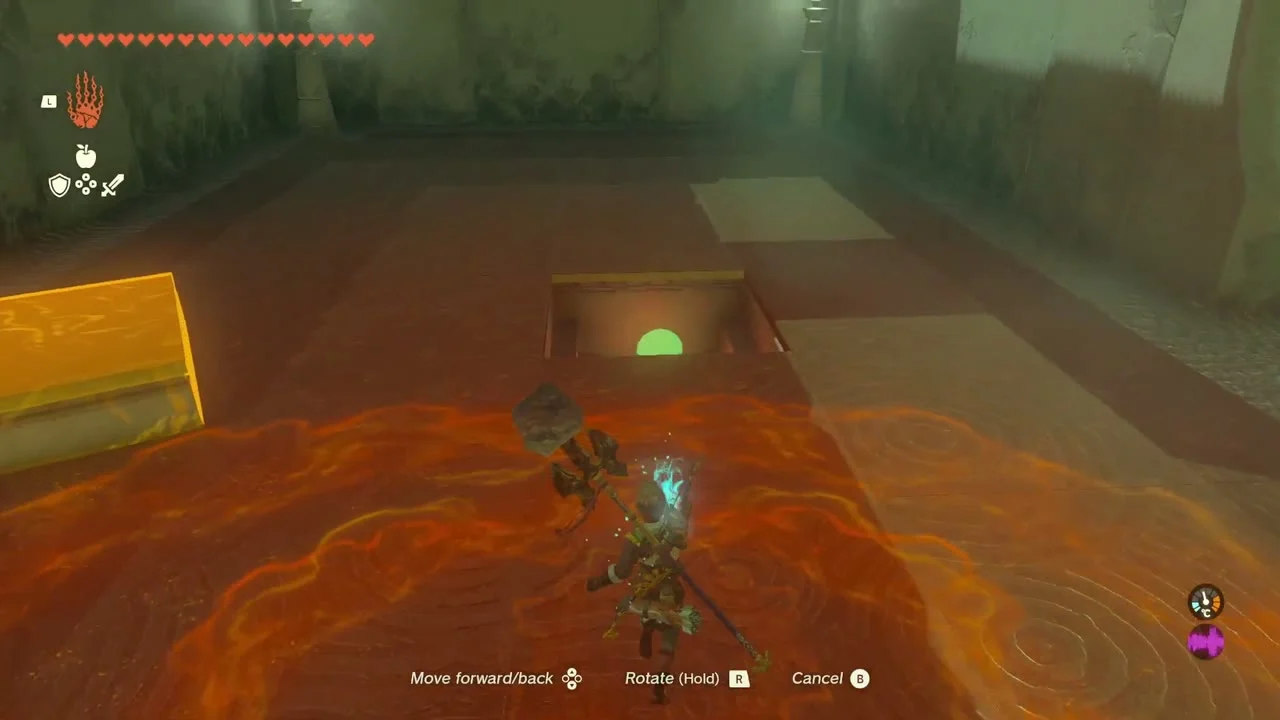
Find the hidden fifth slot
A fifth mark sits over a disguised stone box. Lift the nearby tile with Ultrahand, drop the spare orb in the slot, and open the side chest for a Hearty Elixir.
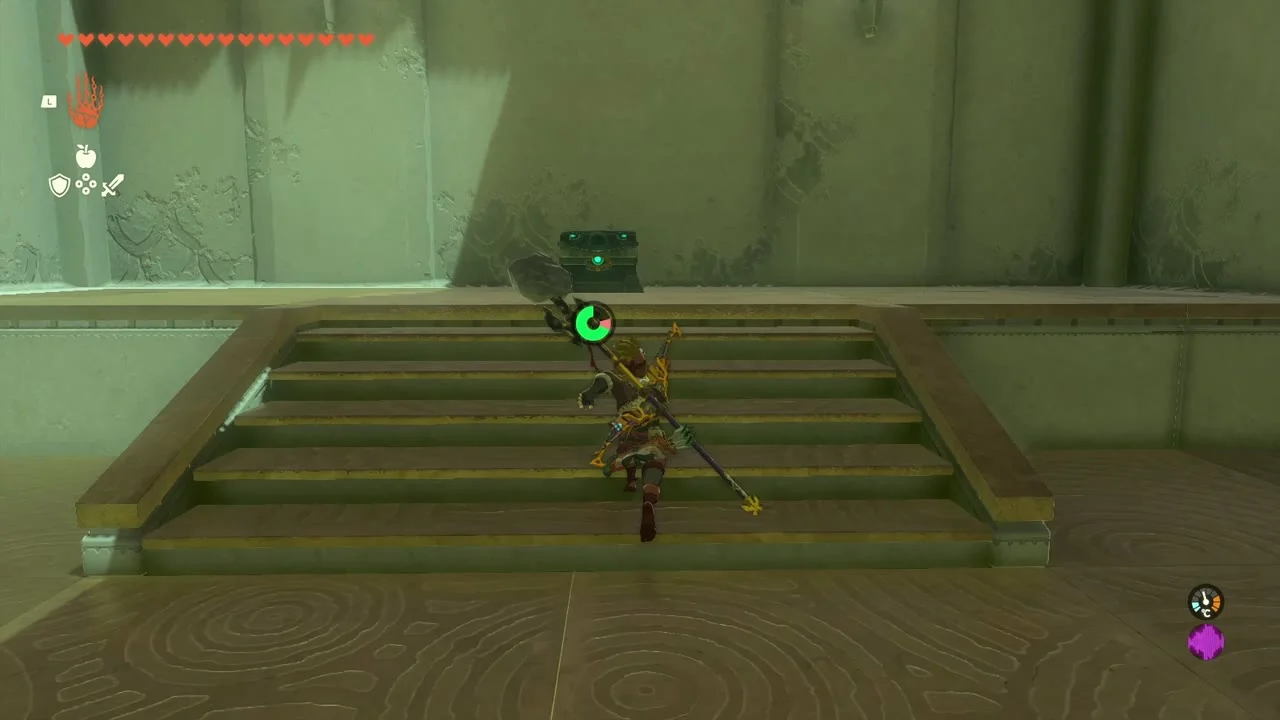

Lightroots under the plateau shrines
Descent. Jump into the Great Plateau North Chasm at (-660, -1520, 67) and glide down into the Depths. Each Lightroot lies directly below its surface shrine, so use the shrine coordinates to line up the dive.
Nogukoyk Lightroot. Under Kyokugon Shrine at (-708, -1551, -538). Light it first.


Kogoir Lightroot. Under Riogok Shrine at (-1442, -1616, -559). Light it second.


Koradat Lightroot. Under Tadarok Shrine at (-1080, -2186, -582). Light it third.
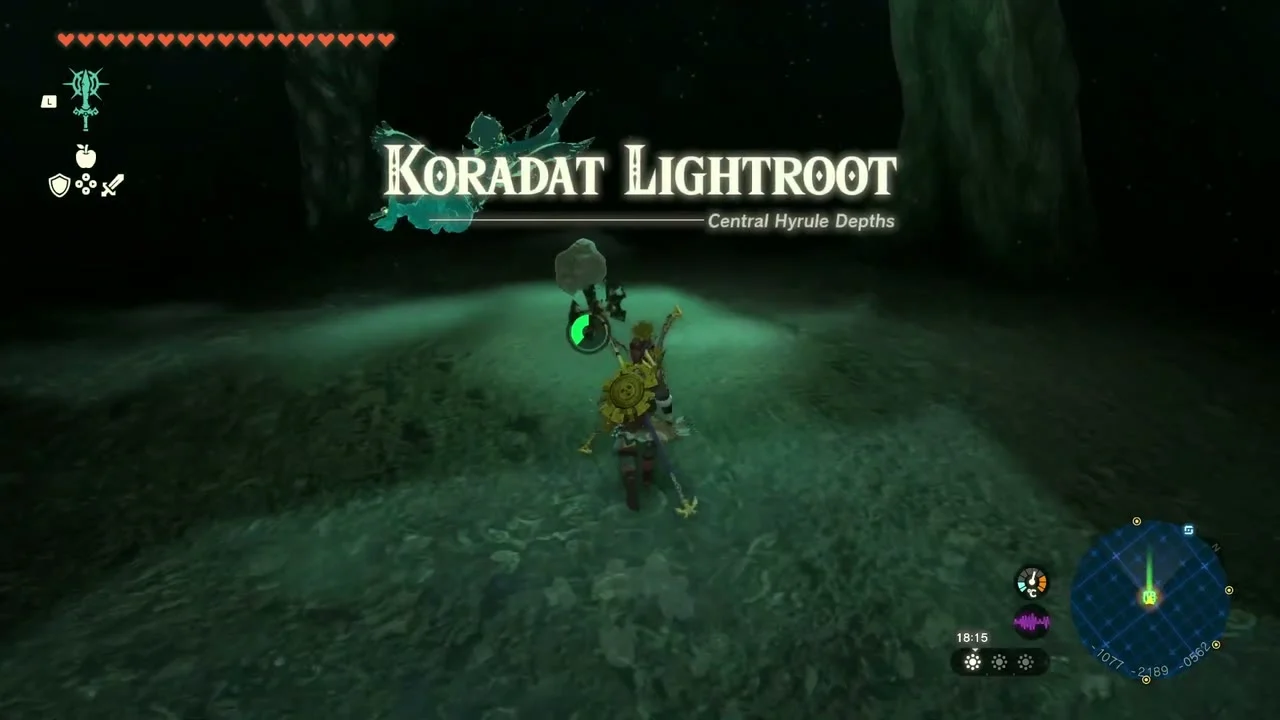

A Call from the Depths. With all four eyes thrown, the quest sends you down to the Depths below the Goddess Statue, to the Bargainer Statue, where you hand each eye over.
Lookout Landing resupply
Heart Container and Zonai shop. Back at Lookout Landing, pray at the Goddess Statue for another Heart Container, buy arrows from the shop and trade crystallized charges at the Zonai steward for the devices you need.
Also in this area
These datamined Korok seeds lie in the same stretch of Hyrule Field but were not collected in this route. Each is listed as puzzle type and (X, Y, height).
- Bring the exhausted Korok to its friend: (-1302, -1331, 138), (-880, -929, 19), (343, -2182, 57)
- Attack and catch the dandelion: (-1053, -1328, 69), (312, -1765, 74)
- Break the hidden acorn pot: (-1428, -1297, 36)
- Burn the leaves and lift the rock: (297, -1833, 17)
- Catch the sparkling spot: (351, -1999, 8)
- Complete the rock pattern: (-1039, -2397, 28), (-510, -1176, 22)
- Dive into the ring: (-1152, -1012, 13), (45, -2133, -11)
- Examine where the arrows point to: (-1432, -1952, 220)
- Follow the flower: (267, -2214, 38), (459, -1698, 27)
- Go up to examine the sparkling spot: (-636, -2382, -9)
- Lift the rock: (-1518, -1508, 43), (-664, -1222, 28), (-599, -1076, 36), (567, -2384, 112)
- Offer apples to the statues: (-1316, -1261, 33), (163, -1940, 45)
- Place the boulder on the tree stand: (342, -2379, 30)
- Reach the target ring within the time limit: (-594, -1414, 39), (458, -2141, 12)
- Repair the roof: (296, -1496, 10)
Collectibles in this chapter
- Shrines: 6 (Teniten, Tajikats, Kamizun, Riogok, Tadarok, Kyokugon)
- Caves: 4 (Whistling Hill Cave, Shrine of Resurrection, River of the Dead Waterfall Cave, Great Plateau Foothill Cave)
- Wells: 1 (Riverside Stable Well)
- Lightroots lit: 3 (Nogukoyk, Kogoir, Koradat)
- Bubbul Gems: 4
- Korok seeds: 47
- Minibosses: 6 (Battle Talus x2, Boss Bokoblin x2, Gloom Spawn with Phantom Ganon x2)
- Armor: Rubber Armor (Whistling Hill Cave), Yiga Mask (Yiga hideout)
- Quests: Wanted: Hinox! finished; Gourmets Gone Missing, Feathered Fugitives, A Picture for Riverside Stable and Whirly Swirly Things progressed; A Call from the Depths started
Part 2: Usazum, Jinodok & Utsushok Shrines, Satori Mountain and the Depths
| Region | West Hyrule Field around Satori Mountain and Outskirt Stable, the sky above South Hyrule, the Central Hyrule and Hyrule Ridge Depths below it, then Popla Foothills and Highland Stable in the south-east |
|---|---|
| Shrine quests | The Satori Mountain Crystal (finished), The South Hyrule Sky Crystal (finished) |
| Side quests and adventures | A Picture for Outskirt Stable (finished), A Picture for Highland Stable (started), An Eerie Voice (finished), Hateno Village Research Lab (started), A Mystery in the Depths (finished) |
| Shrines | 3: Usazum (Rauru’s Blessing), Jinodok (Rauru’s Blessing, sky), Utsushok (Long or Wide, puzzle) |
| Caves and wells | 1 cave (Satori Mountain Foothill Cave), 1 excavation cave (Popla Foothills Excavation Site) and 2 wells (Popla Foothills North Well, Popla Foothills South Well) |
| Lightroots | 4 lit: Nuzimak, Nihcayam, Muzasu, Napanos (see all Lightroots) |
| Korok seeds | 12 (8 on the western surface, 2 in the sky, 2 near Highland Stable) |
| Bubbul Gems | 2: Satori Mountain Foothill Cave, Popla Foothills Excavation Site |
| Minibosses and bosses | Stone Talus (surface), Hinox (cave), Flux Construct II and III (sky), Frox, Battle Talus, Stone Talus x2 and Obsidian Frox (Depths), Marbled Gohma |
| Skyview Tower | Popla Foothills Skyview Tower, repaired and activated |
This chapter picks up west of Hyrule Field on the slopes of Satori Mountain, where a Hinox guards the crystal that wakes Usazum Shrine. From there you take to the sky for Jinodok Shrine and the Flux Constructs, drop into the Depths to light four Lightroots and fight Marbled Gohma, then finish in the south-east with Popla Foothills Skyview Tower and Utsushok Shrine. Coordinates are map units (X, Y, height): larger Y is further north, and the minimap rim prints the same numbers.
Quick route
Start on the grassy slopes west of Satori Mountain and sweep four Korok seeds on the way up to the Ancient Blade chest, then climb for the boulder, Ascend and tree-hollow seeds, beat the Stone Talus and enter Satori Mountain Foothill Cave. Kill the Hinox, take the crystal and its Silver Rupee, catch the Bubbulfrog, and carry the crystal out to Usazum Shrine.
Photograph the cherry-blossom tree for Embry at Outskirt Stable, return to Josha at Lookout Landing to close A Mystery in the Depths, and pick up the Hateno Village Research Lab adventure from Robbie. Then launch into the sky for the Old Map, Sage’s Will and Magic Rod chests, the Jinodok Shrine crystal and the two Flux Constructs.
Dive through the chasm to light Nuzimak, Nihcayam, Muzasu and Napanos, collect the Large Crystallized Charges, the Yiga Schematic and the Sword of the Hero, and take down Marbled Gohma. Finally return to the surface at Popla Foothills, repair the Skyview Tower through the Excavation Site, carry the exhausted Korok near Highland Stable, clear Utsushok Shrine and finish An Eerie Voice with Penn.
Satori Mountain slopes (surface)
Korok seed (lift the rock). West of Satori Mountain at (-2600, -669, 213), a boulder sits wedged between two tree trunks. Lift it away with Ultrahand and the Korok behind it gives you its seed.


Korok seed (follow the flower). Walk the trail of flowers to the clover Korok at (-2497, -567, 205). Stay on the petals and it appears at the end of the path.

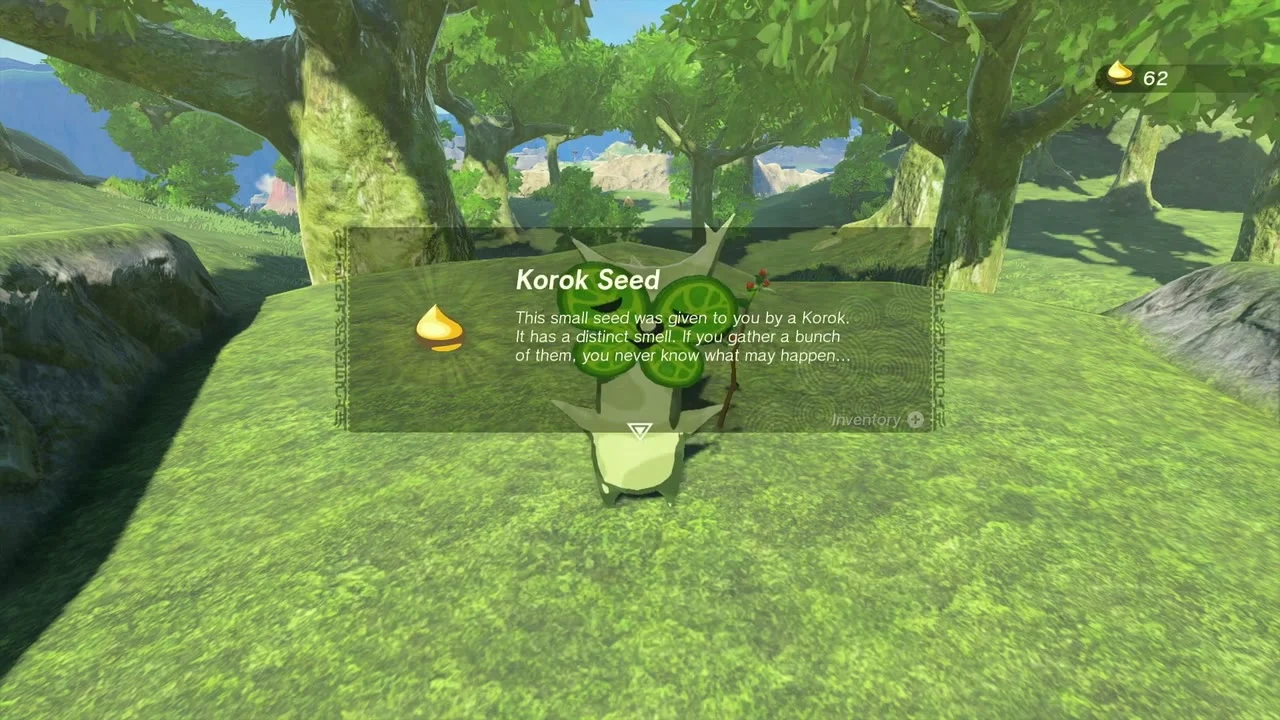
Korok seed (paraglider goal). A target ring hangs below the ridge at (-2437, -554, 205). Glide from the cliff edge above it and pass through the ring to receive the seed.


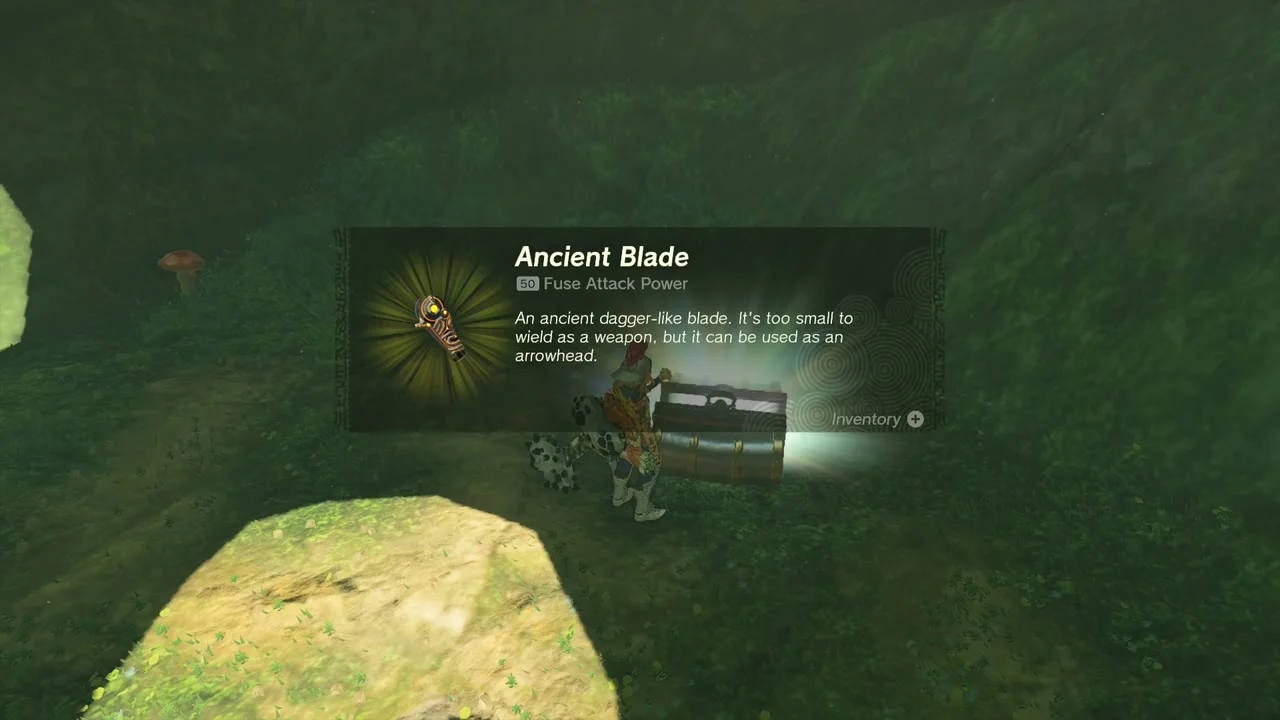
Chest (Ancient Blade). A chest sits under a rock arch on the same hillside, close to the paraglider ring. It holds an Ancient Blade, an arrowhead material.
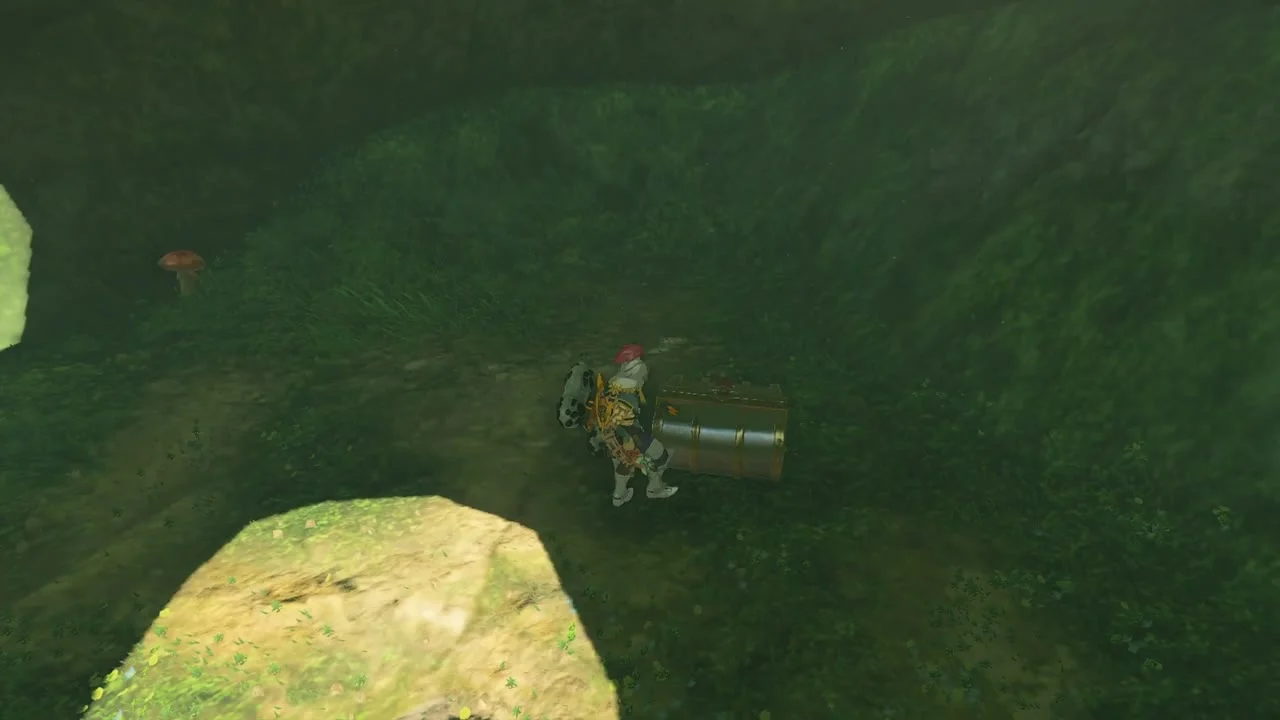
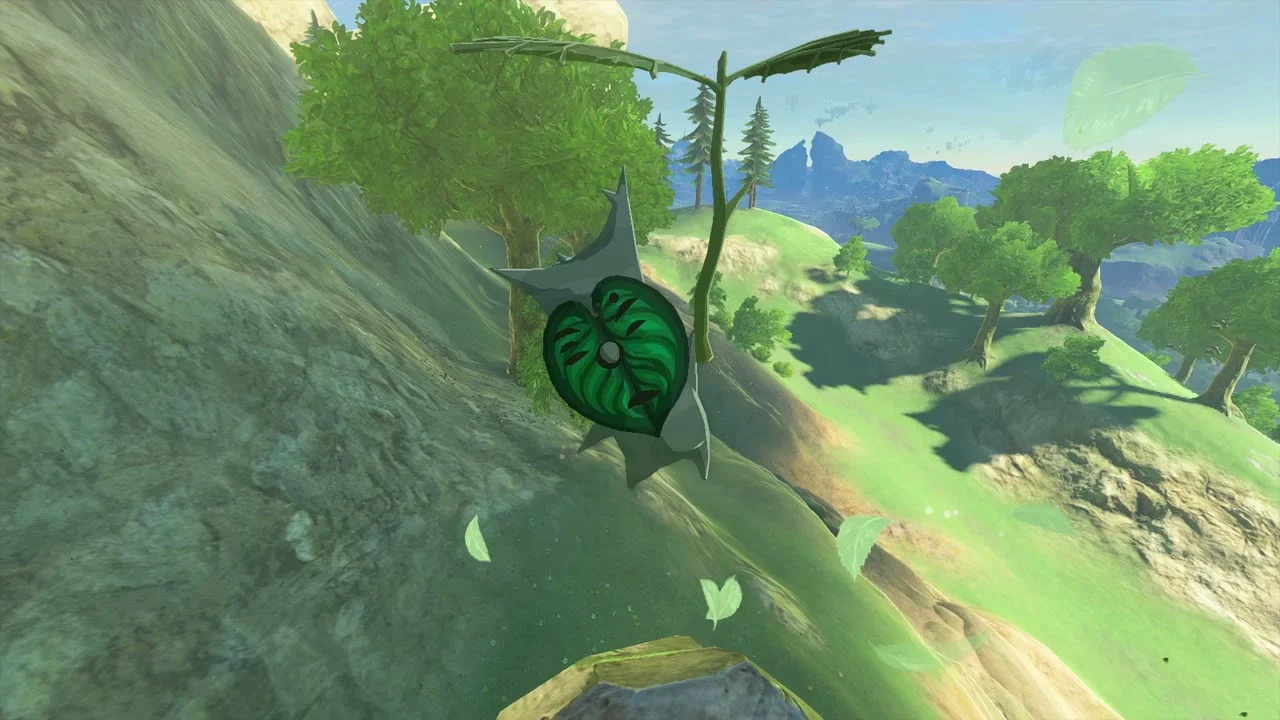
Korok seed (boulder on the tree stand). Further up at (-2352, -741, 211), a wooden tree stand waits beside a loose boulder. Lift the boulder with Ultrahand and set it on the stand.

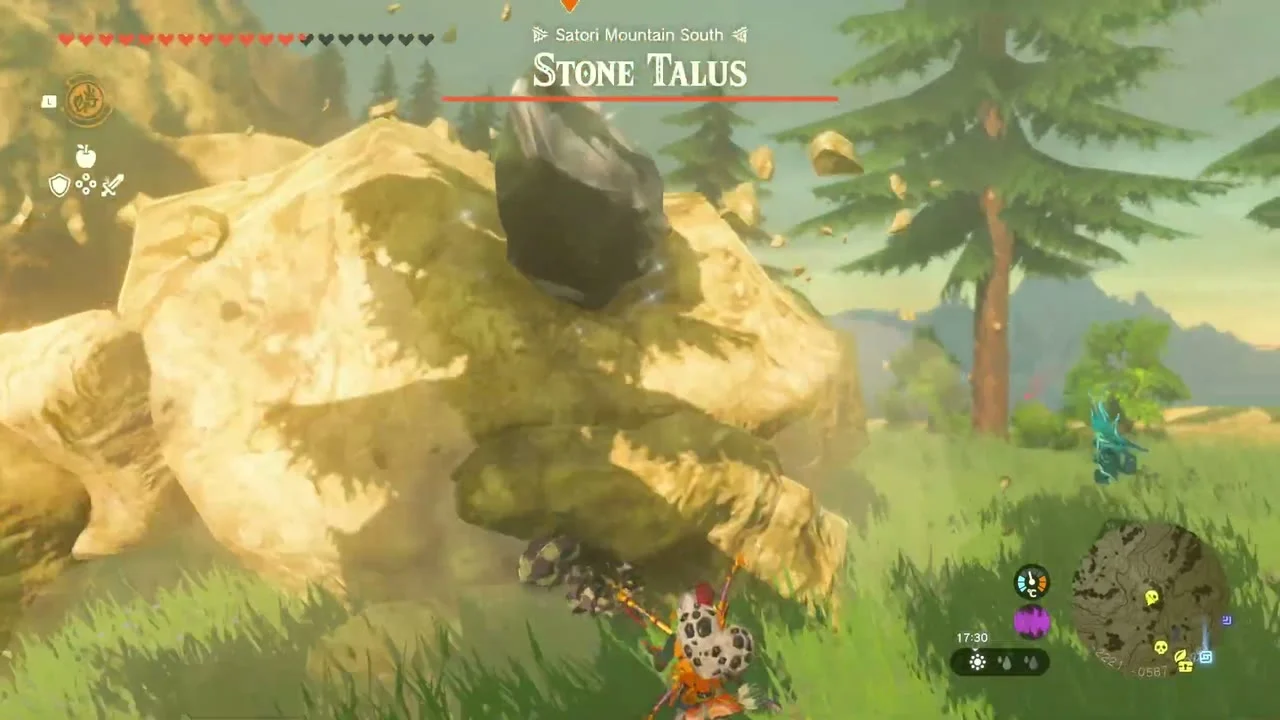
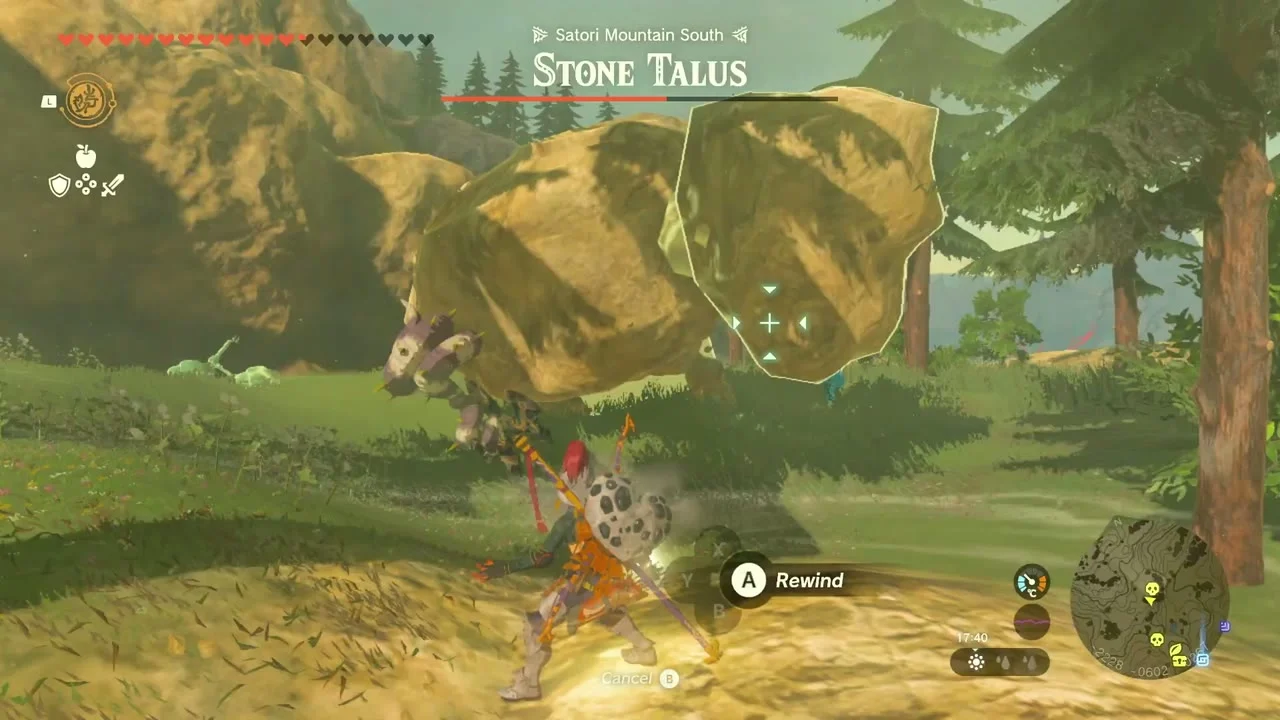
Miniboss (Stone Talus). A Stone Talus rises from the outcrop at about (-2216, -581, 267). Fuse a Muddle Bud or Bomb Flower to an arrow, shoot its eye, then pull the ore deposit on its back for rewards.
Korok seed (Ascend). On the bare orange peak above the Talus at (-2220, -693, 210), a Korok sits on the summit. Use Ascend through the overhang from below to reach the top.

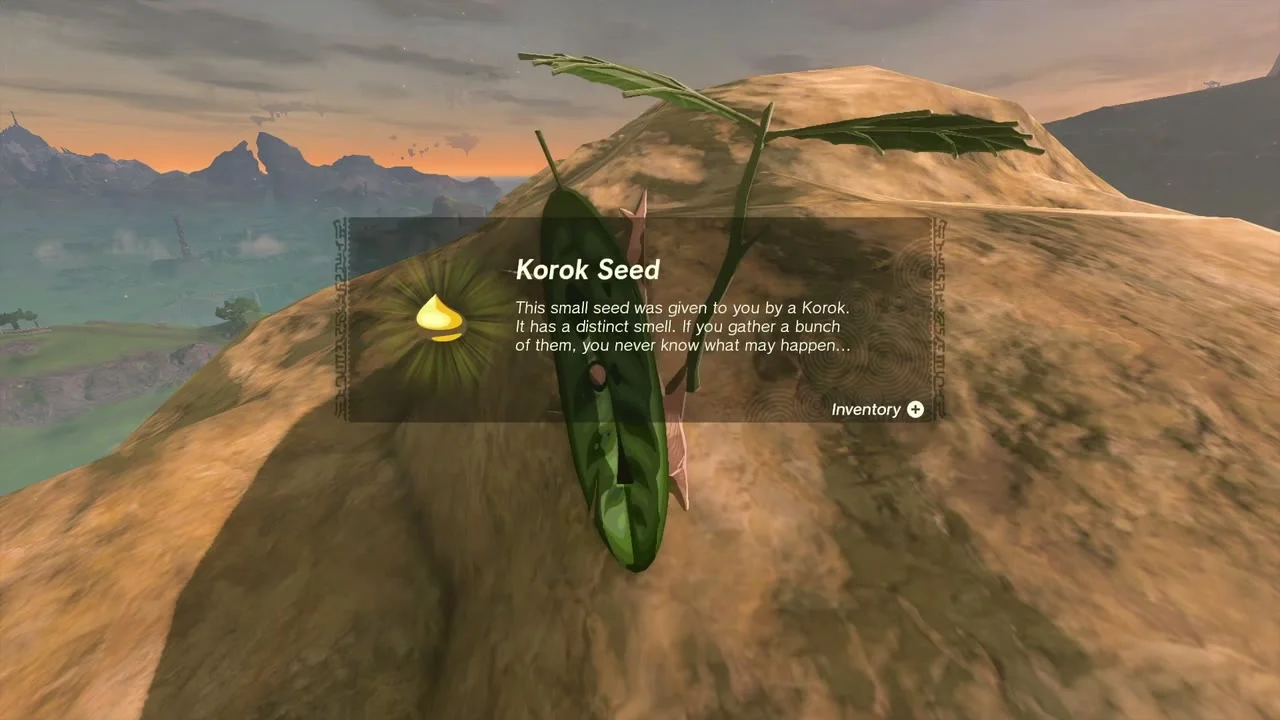
Korok seed (lift the rock). In the tree roots at (-2200, -798, 170), a rock covers the Korok. Lift it with Ultrahand to uncover the seed.


Usazum Shrine and Satori Mountain Foothill Cave
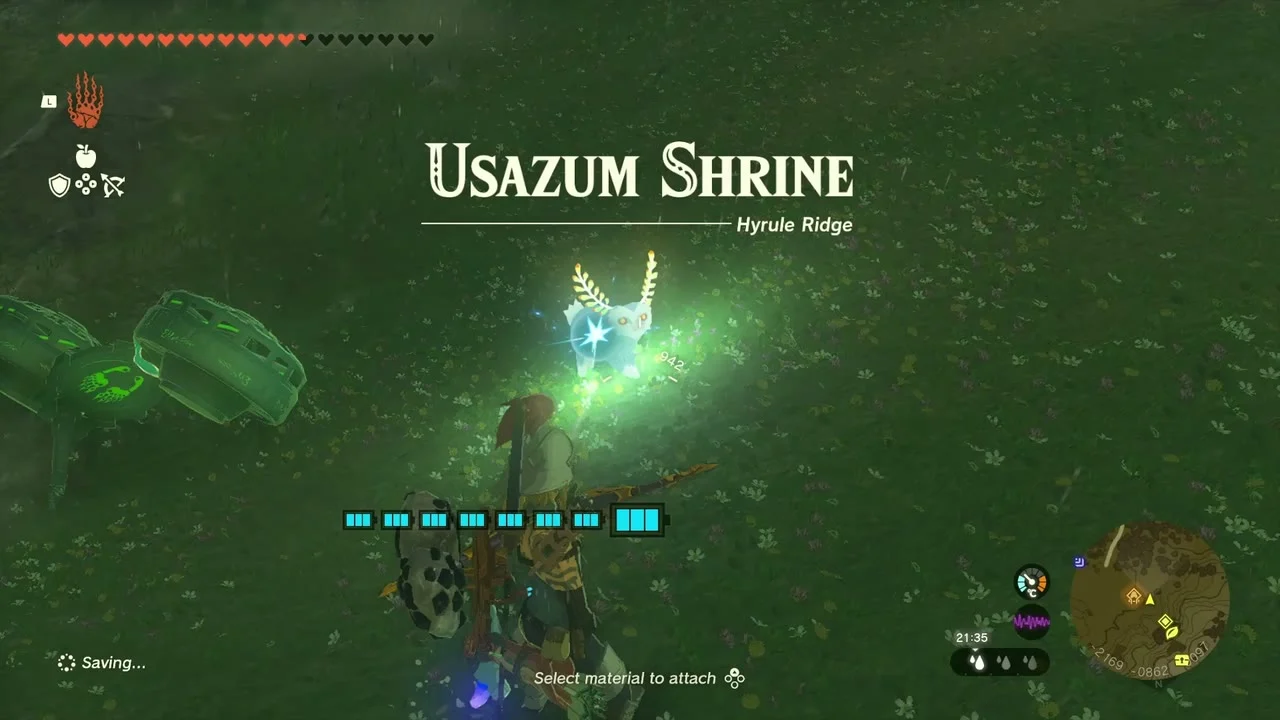
Quest started: The Satori Mountain Crystal. Usazum Shrine (Rauru’s Blessing) stands at (-2138, -874, 107) at the foot of Satori Mountain. Its pedestal is empty. Interact with it and a beam leads to the crystal, which a Hinox carries inside Satori Mountain Foothill Cave. The Muzasu Lightroot lies below the shrine at (-2138, -874, -563).

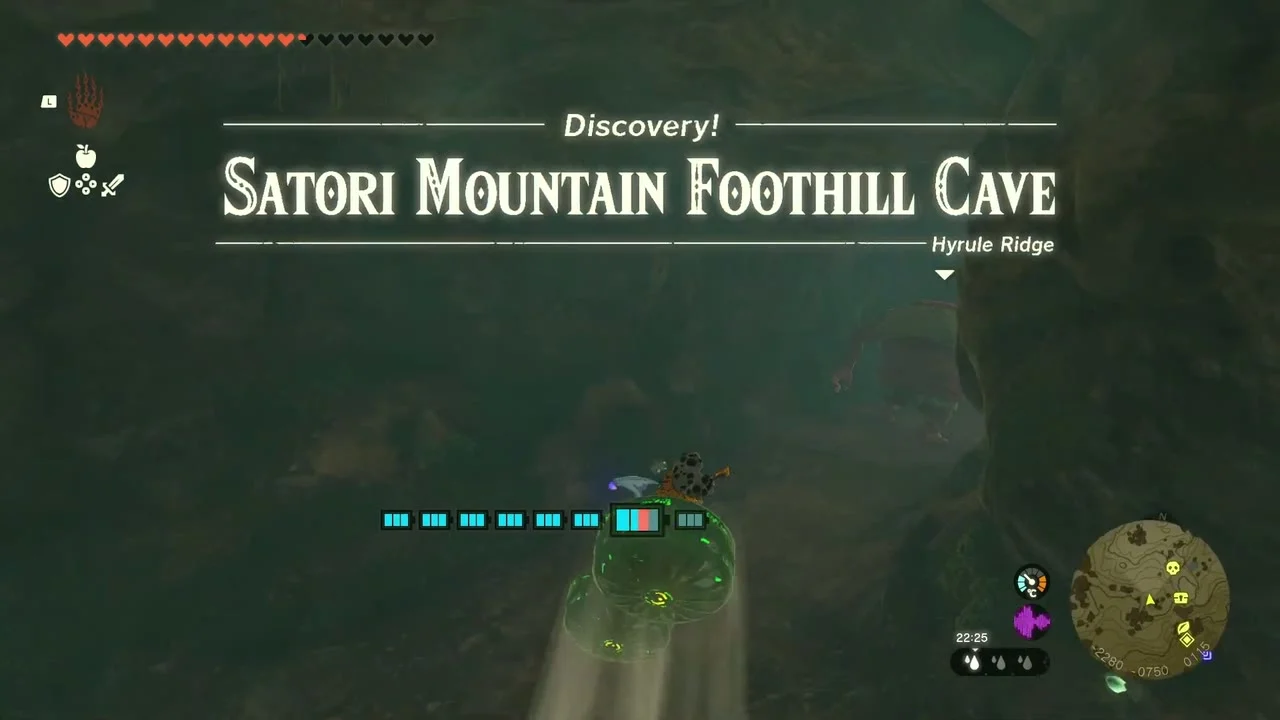
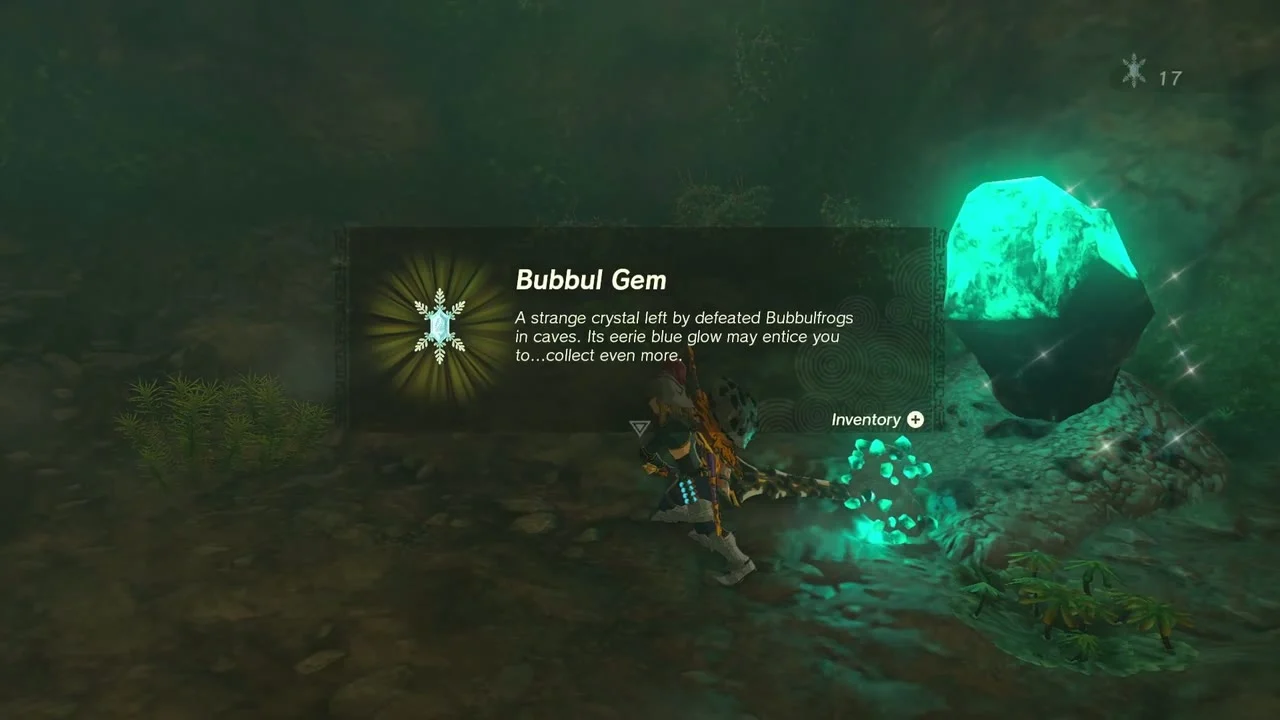
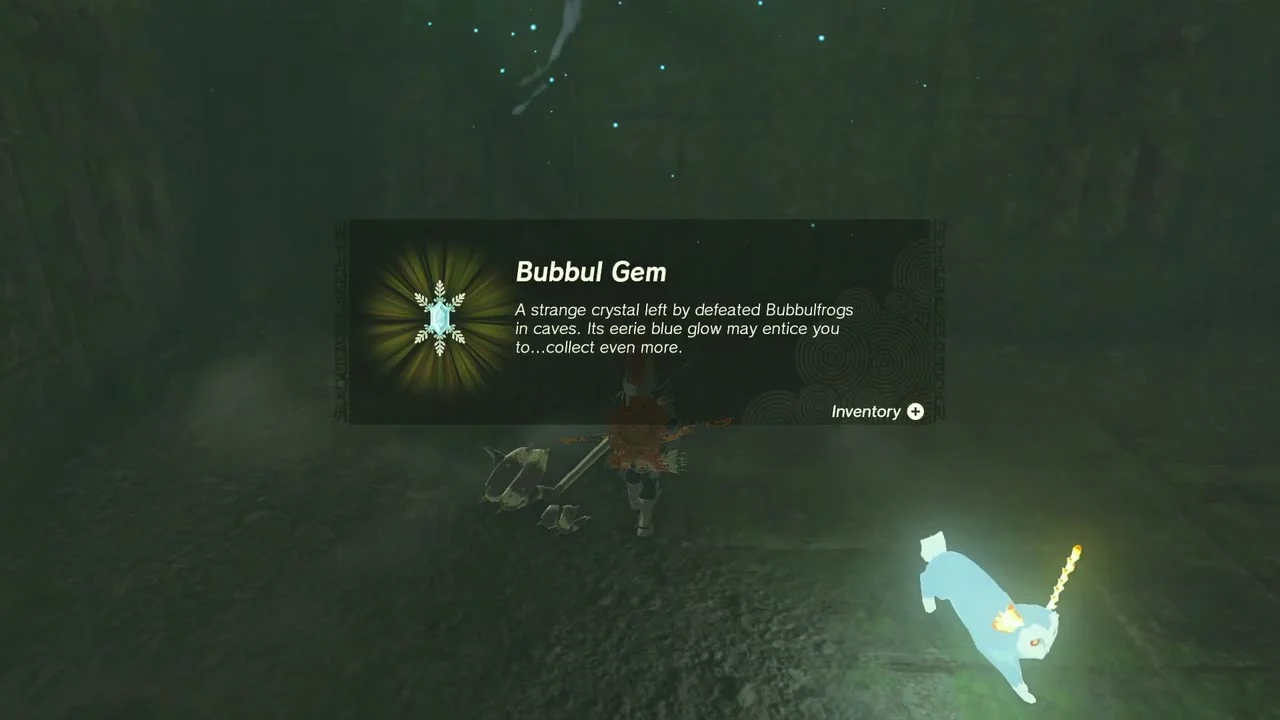
Satori Mountain Foothill Cave. The entrance is on the cliff face at (-2198, -807, 117). The Hinox patrols the circular cavern, so fuse Bomb Flowers to arrows and shoot its eye. Then finish it with strong melee hits. A chest in the elevated tunnel that bisects the cave holds a Silver Rupee, a hollow in the cave wall hides another chest with 100 Rupees, and a Bubbulfrog deeper in the cave drops a Bubbul Gem.

Carry the crystal out
Place the crystal on the shrine pedestal
Pick up the crystal the Hinox dropped and carry it out of the cave and back to the shrine. Place it on the pedestal and the shrine opens. Inside, open the chest for a Mighty Zonaite Spear (Strong or Mighty, depending on your progress) and take the Light of Blessing to finish the quest.


More Koroks on the western slopes
Korok seed (Ascend). South-west of the cave at (-2394, -1033, 127), a green marker glows on a mossy hill. Use Ascend under the overhang to reach the leaf Korok at the top.


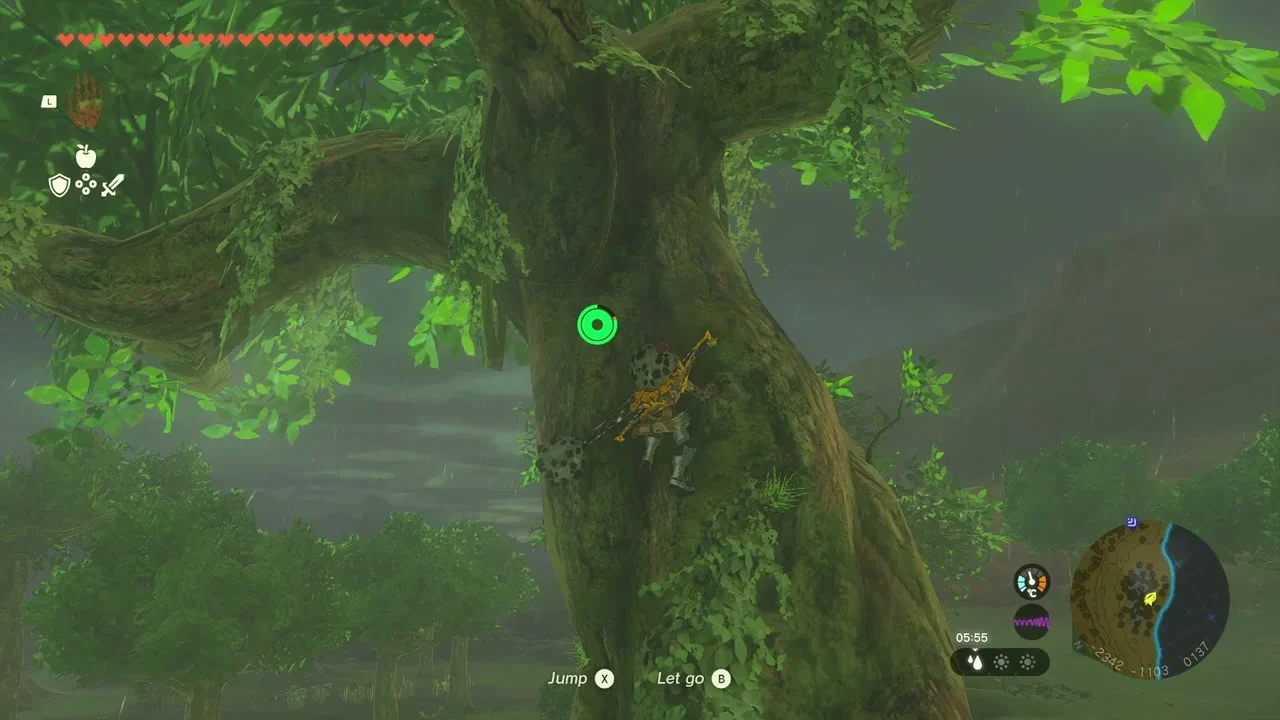
Korok seed (lift the rock). A big tree at (-2340, -1104, 144) has a hollow high in its trunk. Climb the trunk, lift the rock in the hollow with Ultrahand and take the seed.
Outskirt Stable and Lookout Landing
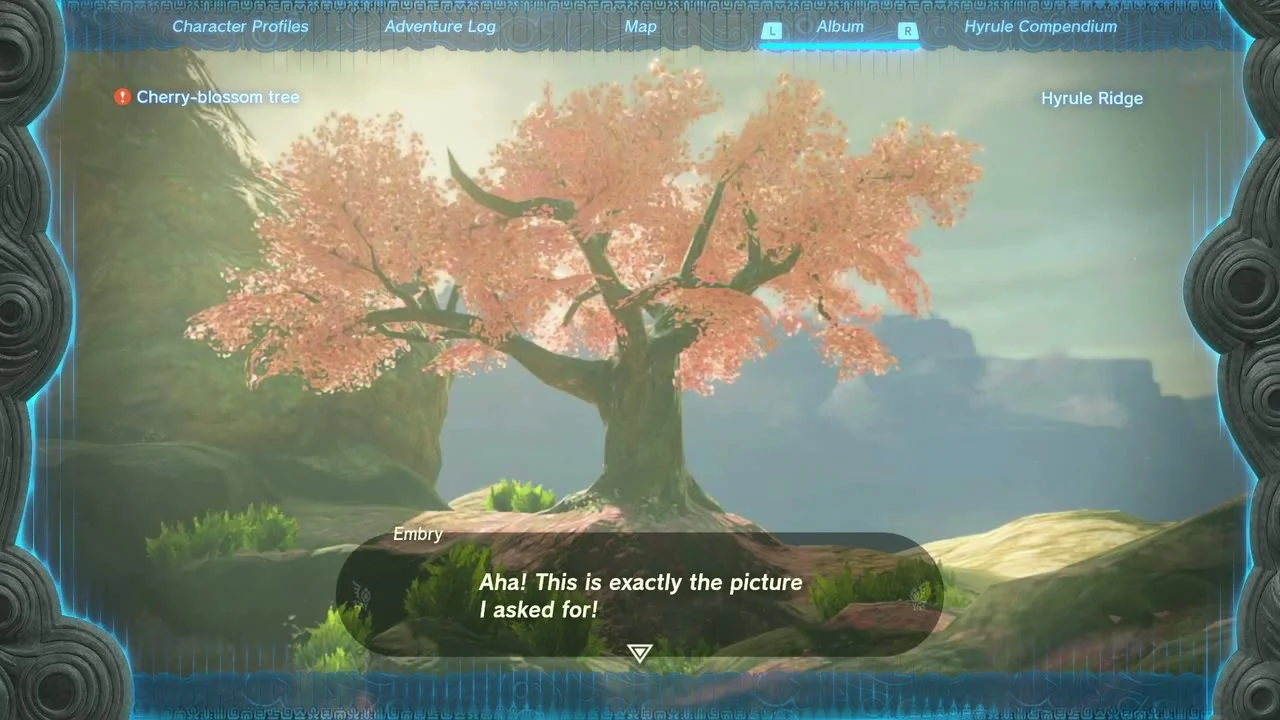
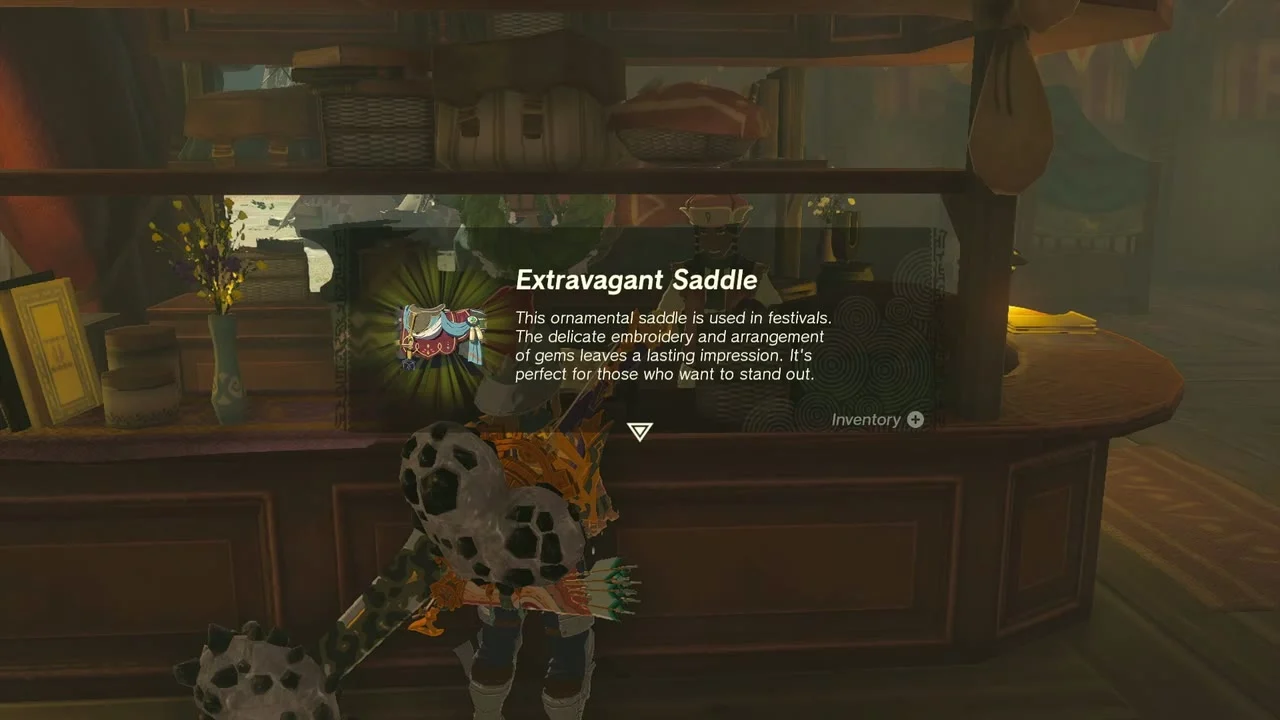
Quest (A Picture for Outskirt Stable). Embry at Outskirt Stable wants a photo of the cherry-blossom tree on Satori Mountain. Photograph the tree with the Purah Pad camera, then show Embry the picture. You can then spend Pony Points here: 26 points buys the Extravagant Saddle.

Quest finished (A Mystery in the Depths). Report back to Josha at Lookout Landing. He hands over a Schema Stone for the Autobuild and asks you to keep exploring the Depths.
Side adventure started (Hateno Village Research Lab). Once the Josha quest is done, talk to Robbie at Lookout Landing. He sends you to the Hateno Ancient Tech Lab to have a shrine sensor fitted to your Purah Pad.
South Hyrule sky islands
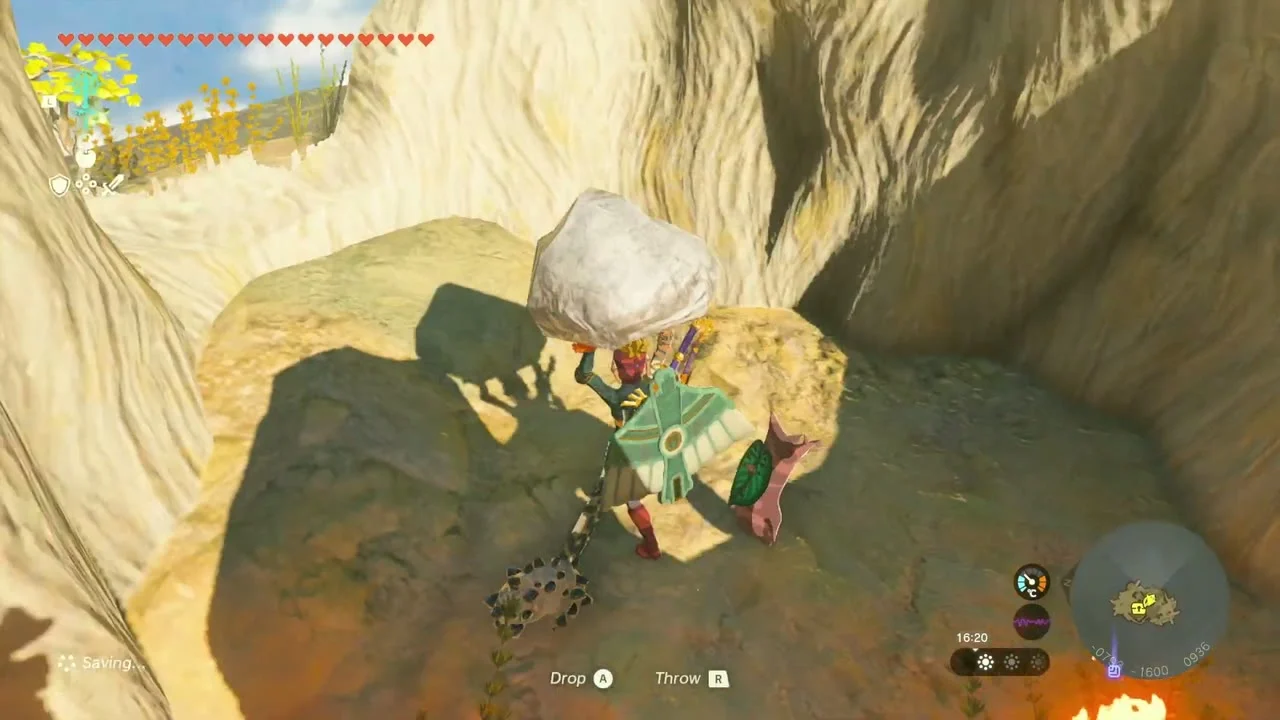
Korok seed (burn the leaves and lift the rock). On a rocky island at (-793, -1601, 936) leaves cover a rock. Burn the leaves with a flame source, then lift the rock with Ultrahand.

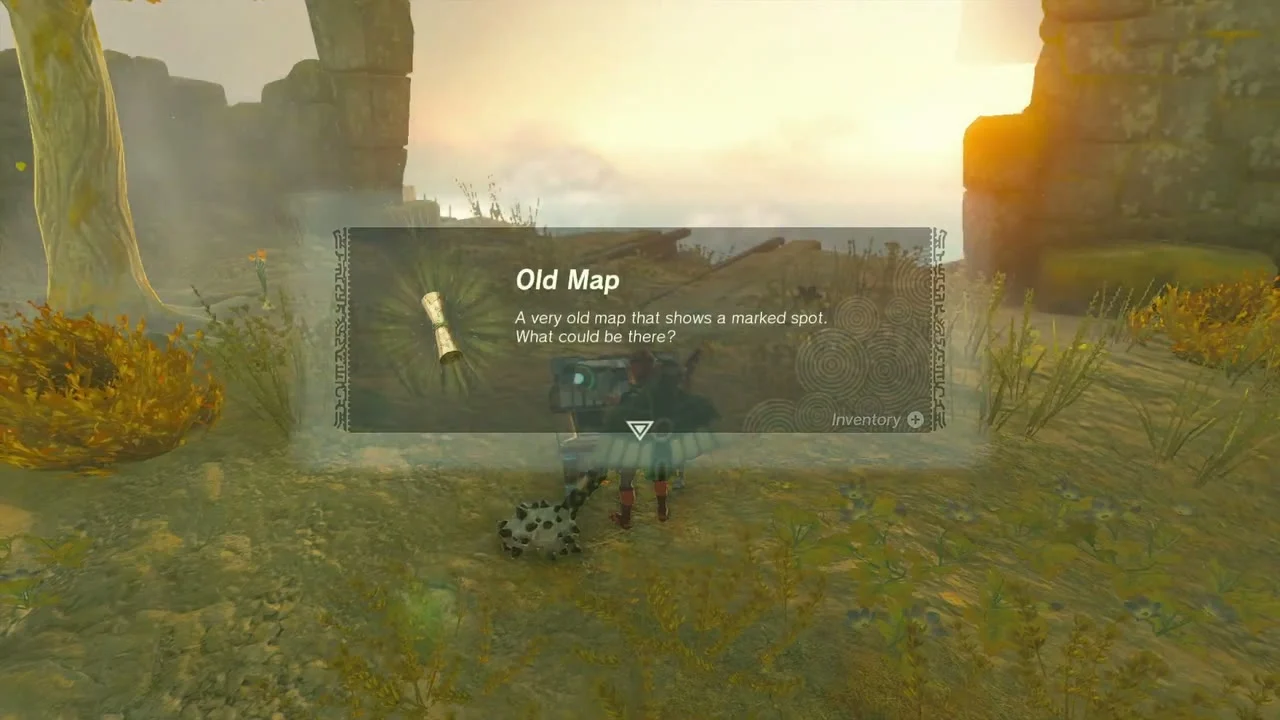
Chest (Old Map). On the ruined maze-floor island at about (-838, -1551, 861), a chest holds an Old Map. Open the map to mark the buried treasure on the Depths map.

Chest (Sage’s Will). On the island at about (-939, -1745, 1013) a red-glowing pillar blocks the chamber. Fuse a log to it with Ultrahand to bridge the gap, then open the chest for Sage’s Will.

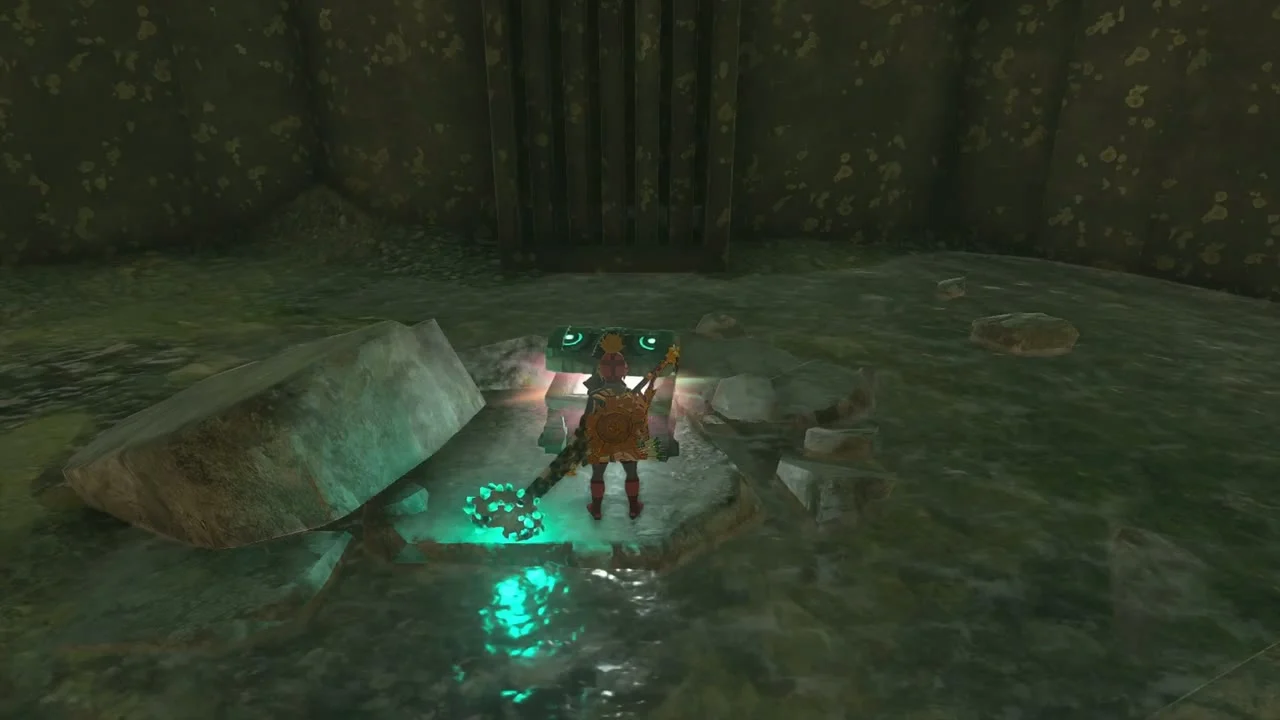
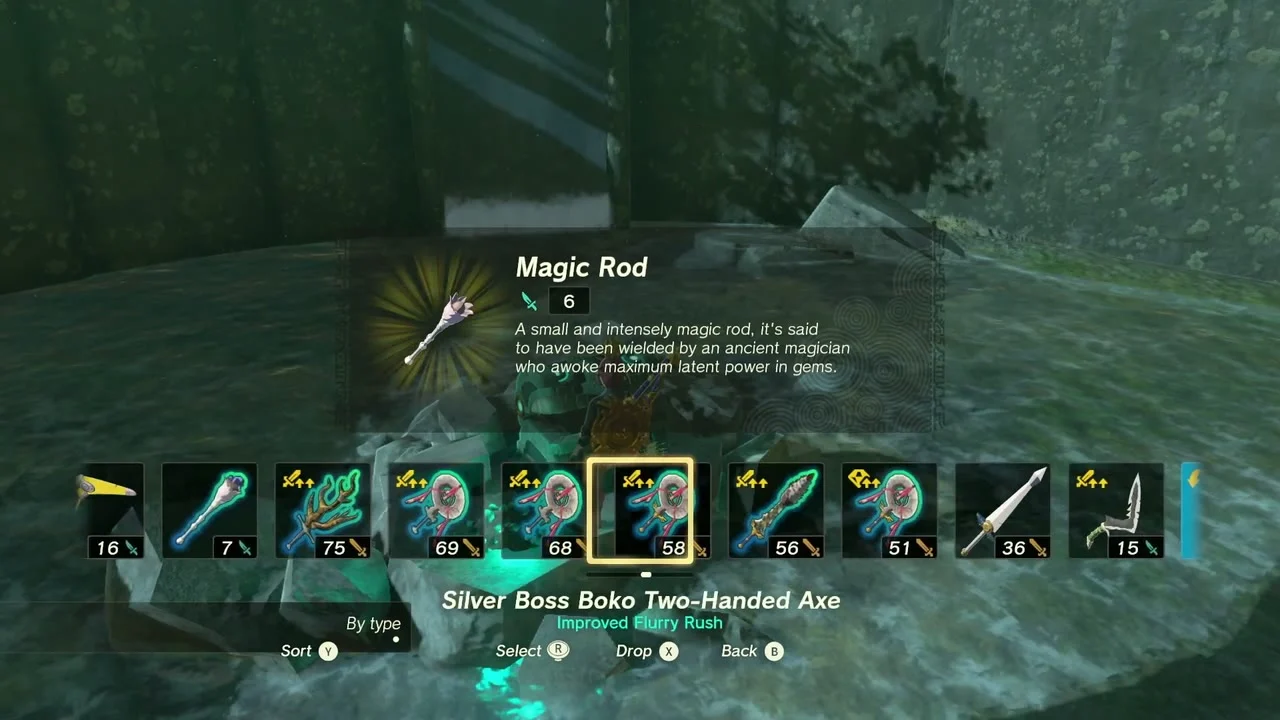
Chest (Magic Rod). A flooded stone room at (-1008, -1731, 1018) has a second chest. It holds a Magic Rod.
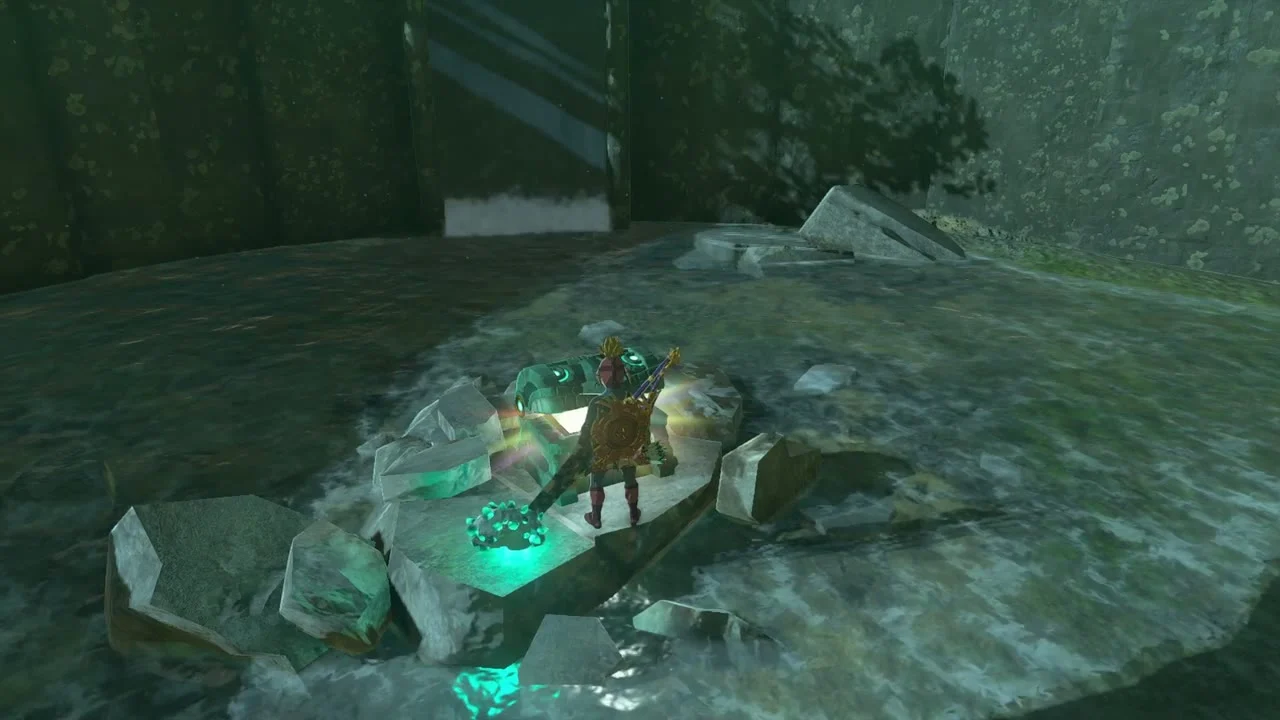
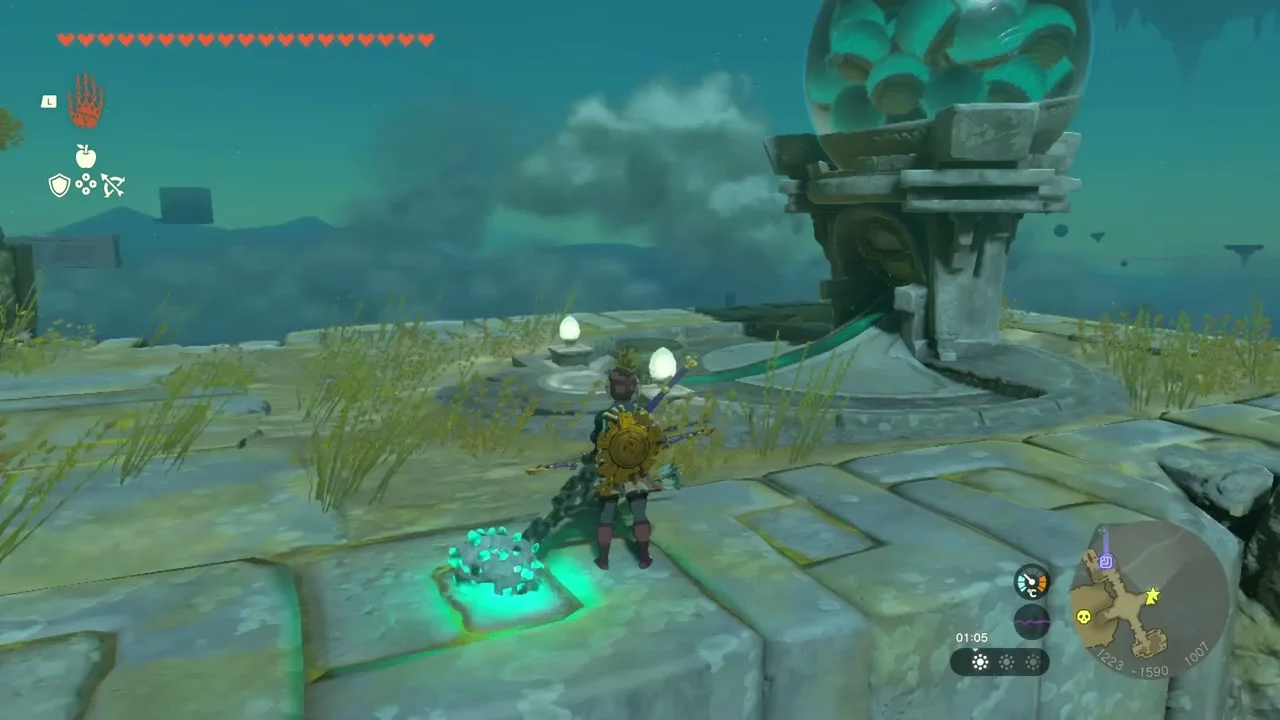
Device dispenser. The first island of the next archipelago has a Zonai device dispenser at about Y -1587, height 1007. Feed it Zonai charges for devices.

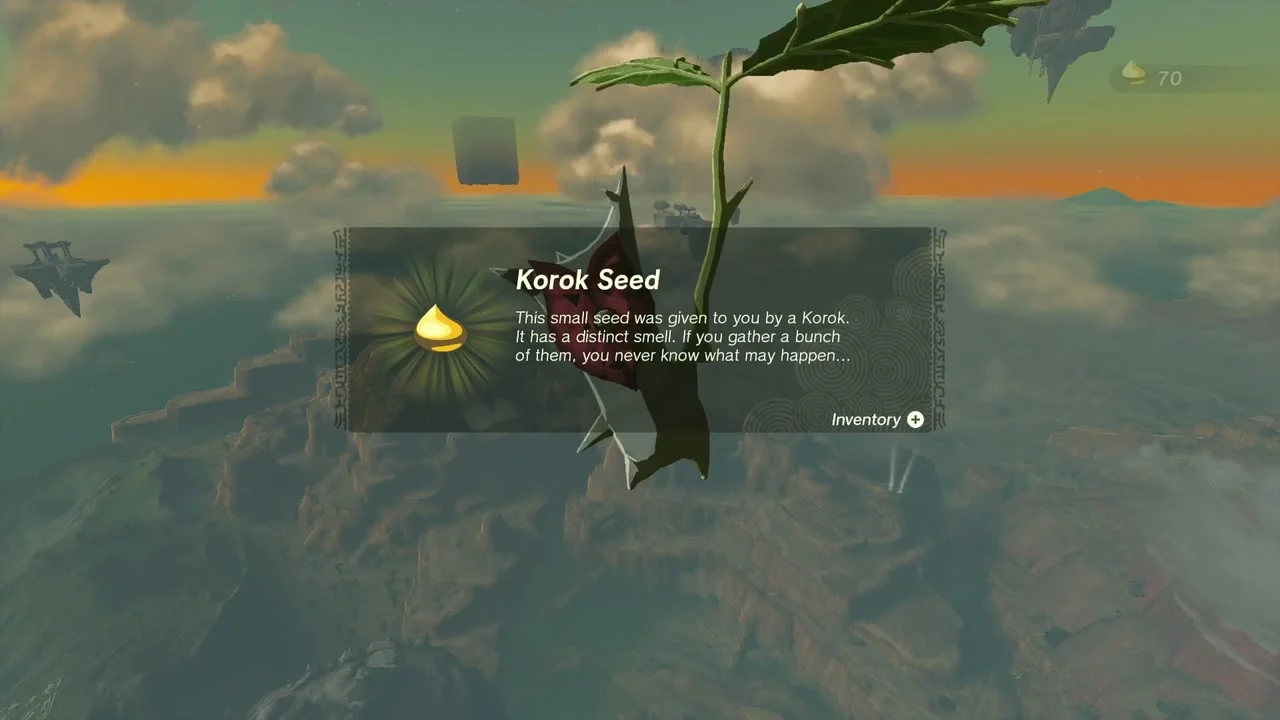
Korok seed (touch the marker). On the wall of the island at (-1402, -1522, 1032), a marker hangs high up. Climb the wall and touch it for the seed.
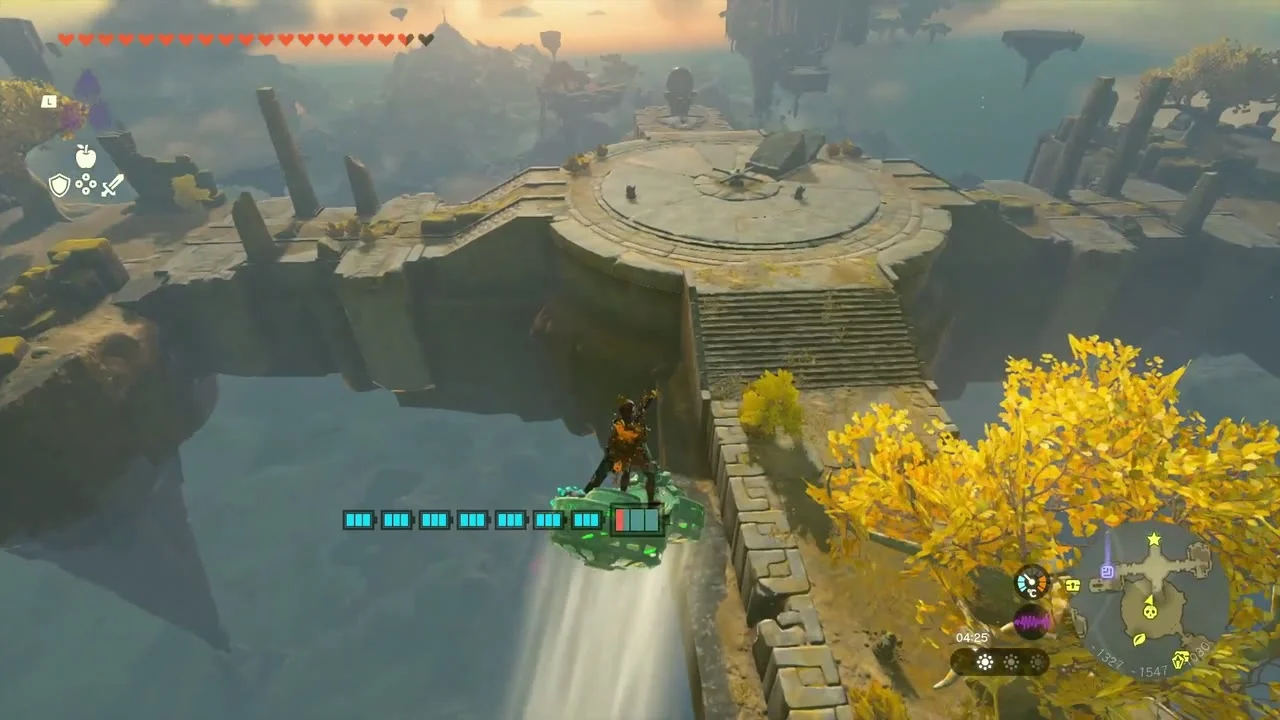
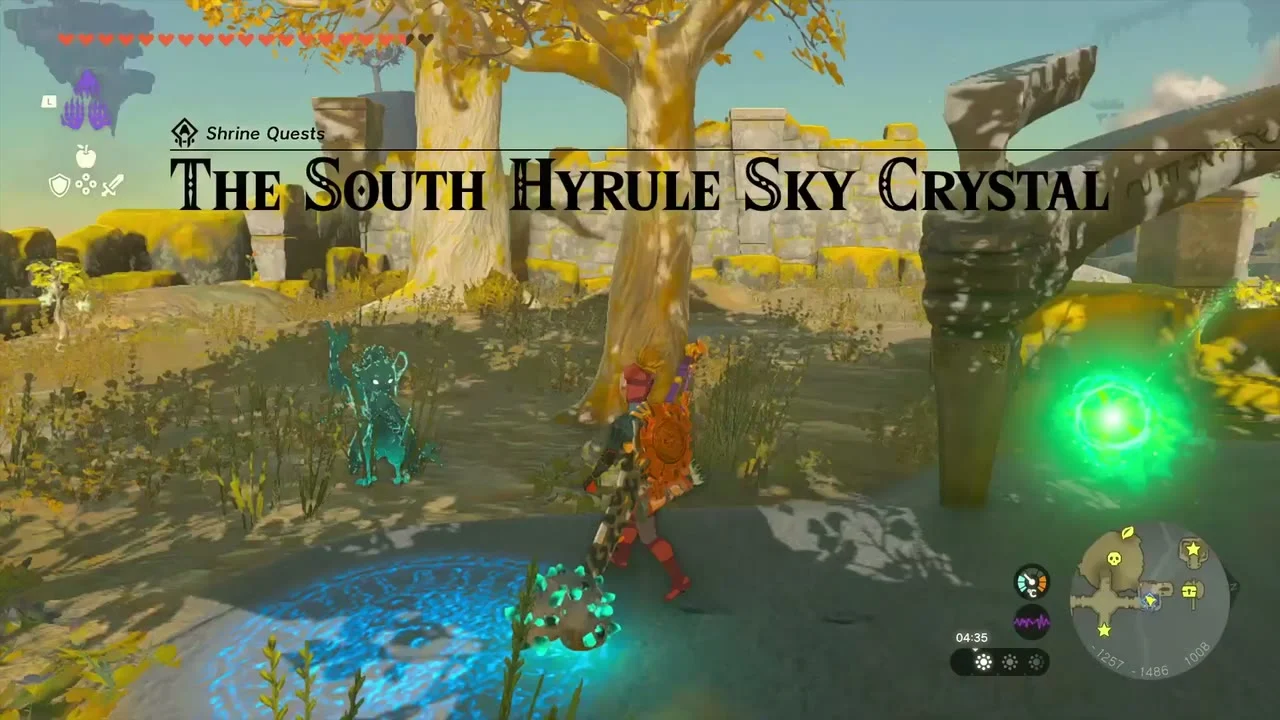
Quest started: The South Hyrule Sky Crystal. Jinodok Shrine (Rauru’s Blessing) stands at (-1257, -1486, 1021). Interact with the empty base and the beam shows where the crystal sits on a neighbouring island. Carry it back across the gap.

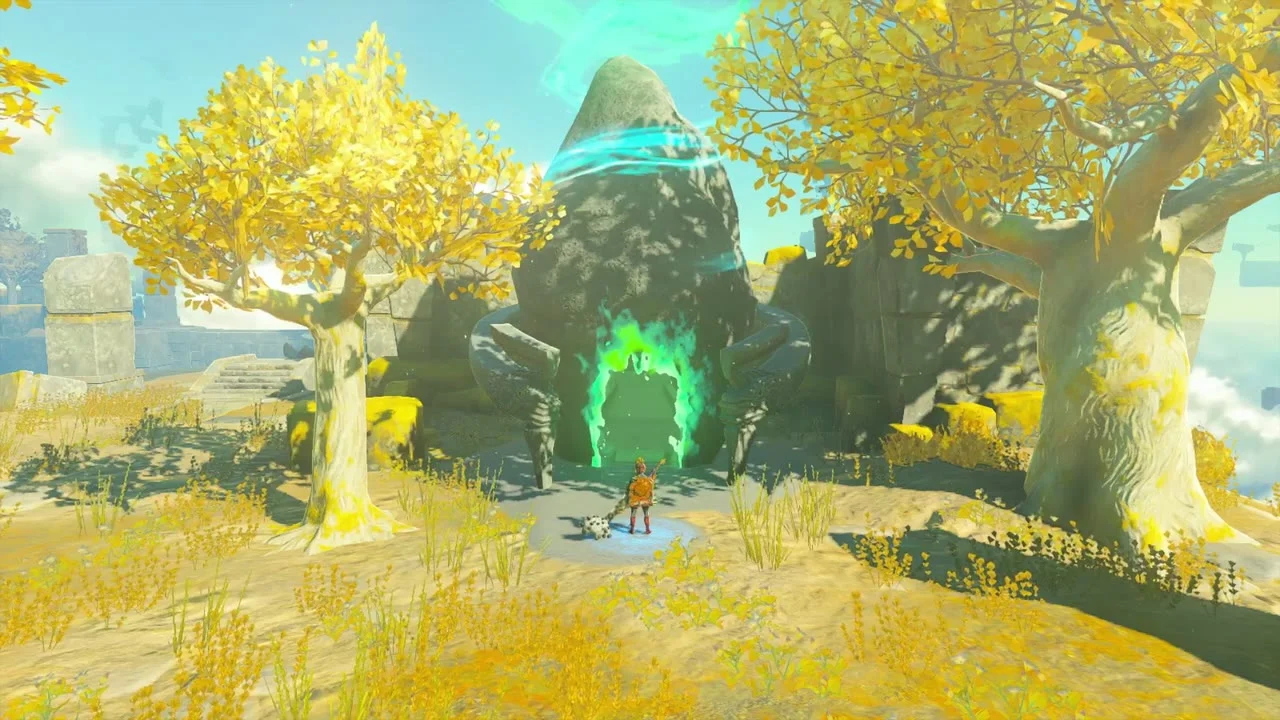
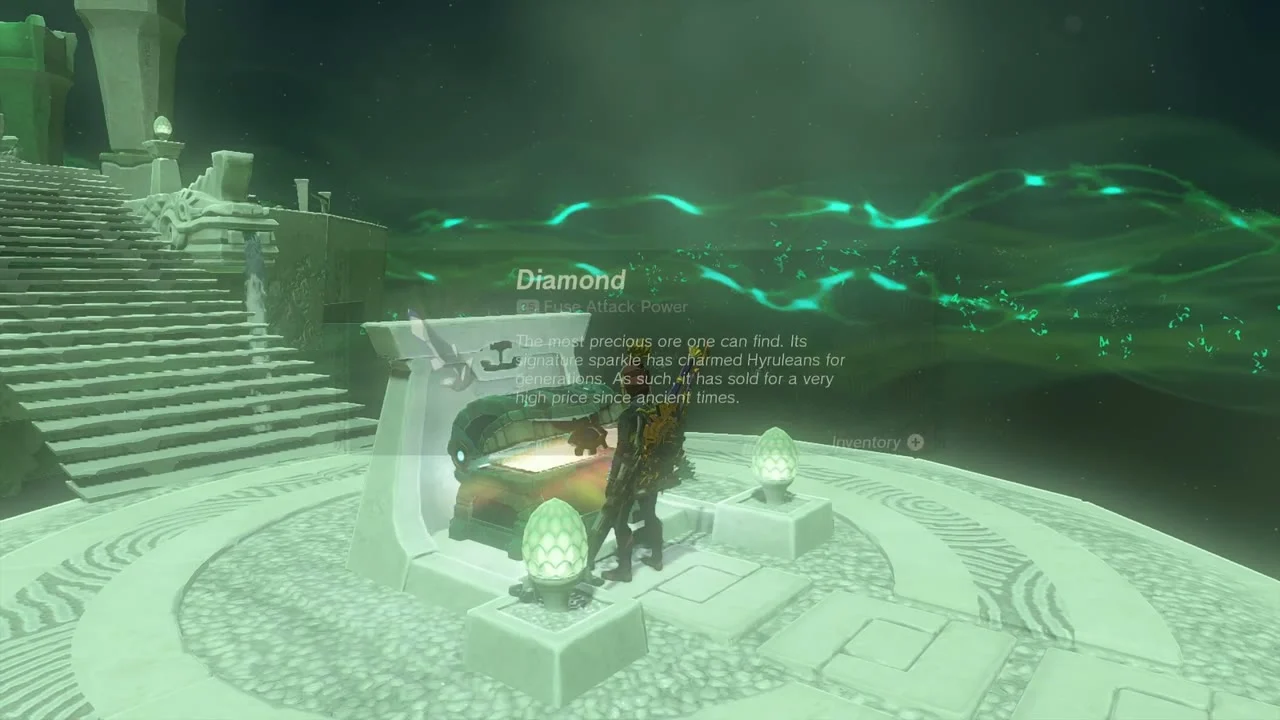
Jinodok Shrine. There is no puzzle inside: a chest on the platform holds a Diamond, and the glowing gate gives the Light of Blessing.

Chests (Old Map x2). Two more Old Maps lie on the sunlit islands between the shrine and the next archipelago. Open both and mark them on your map.


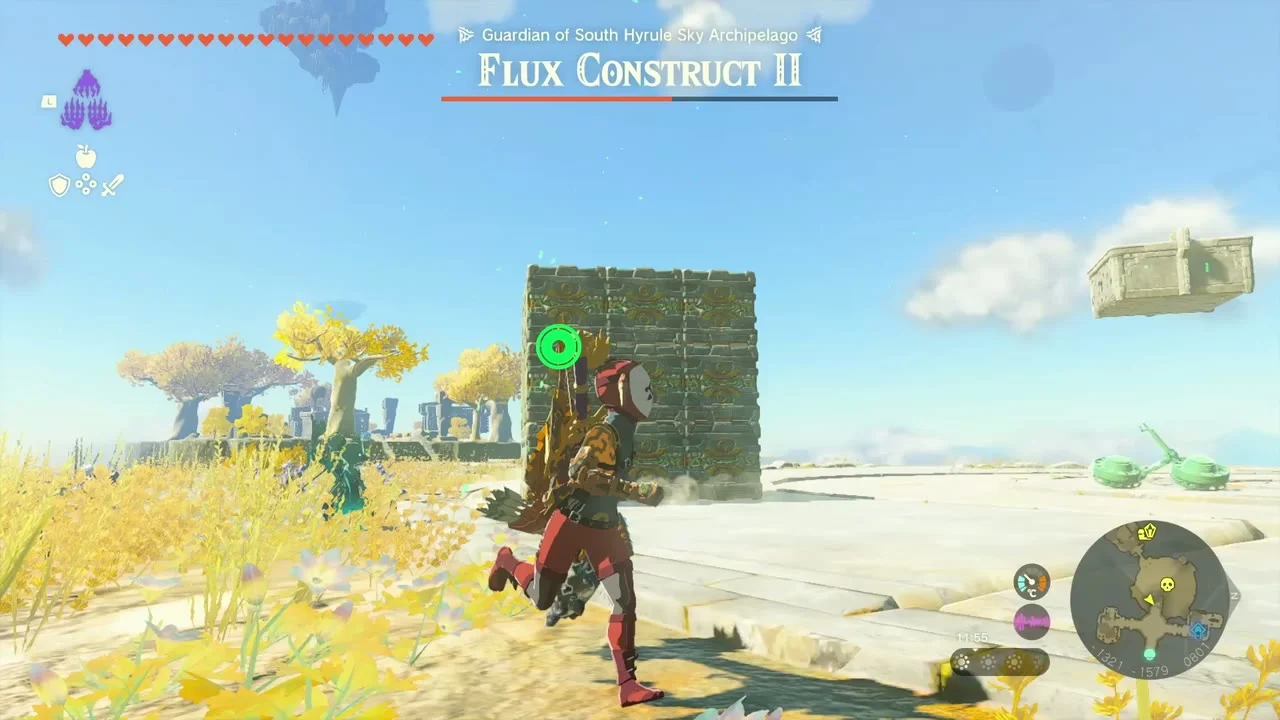
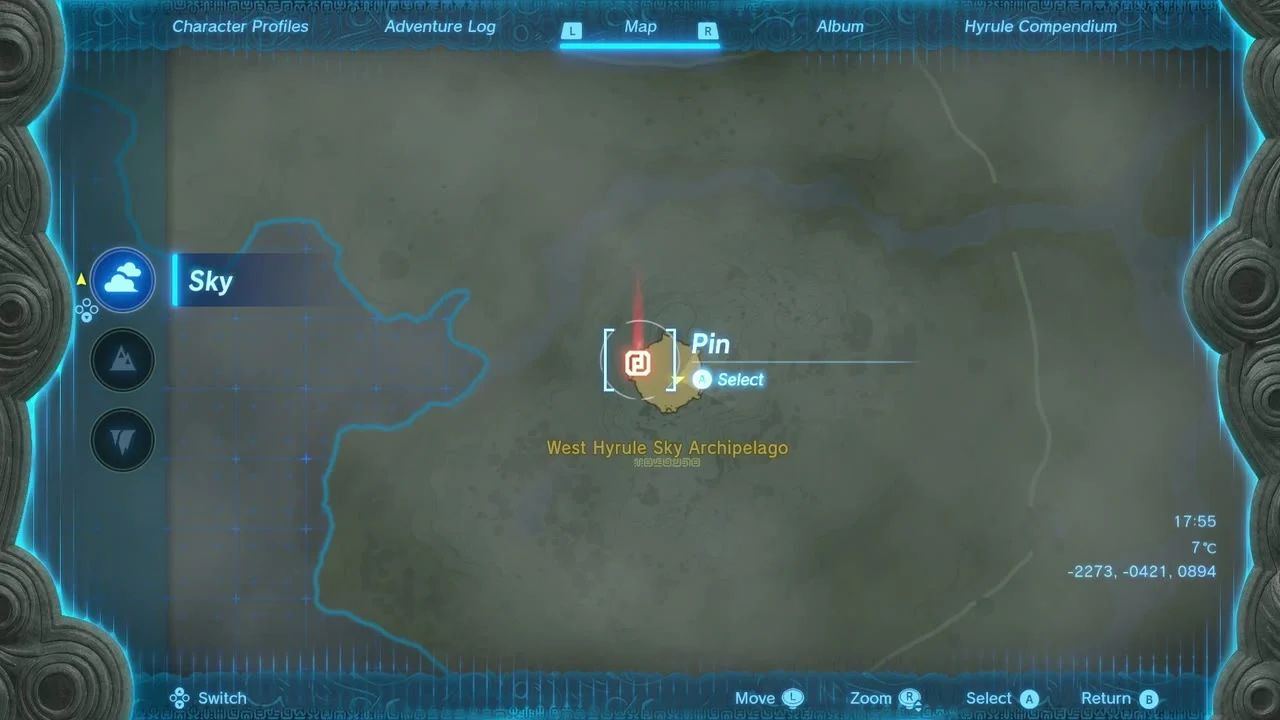
Miniboss (Flux Construct II and III). Flux Construct II holds the island at (-1327, -1567, 801), and Flux Construct III the one at (-2270, -424, 914). Attack the glowing cores between the blocks and use Ultrahand to take the shields apart.
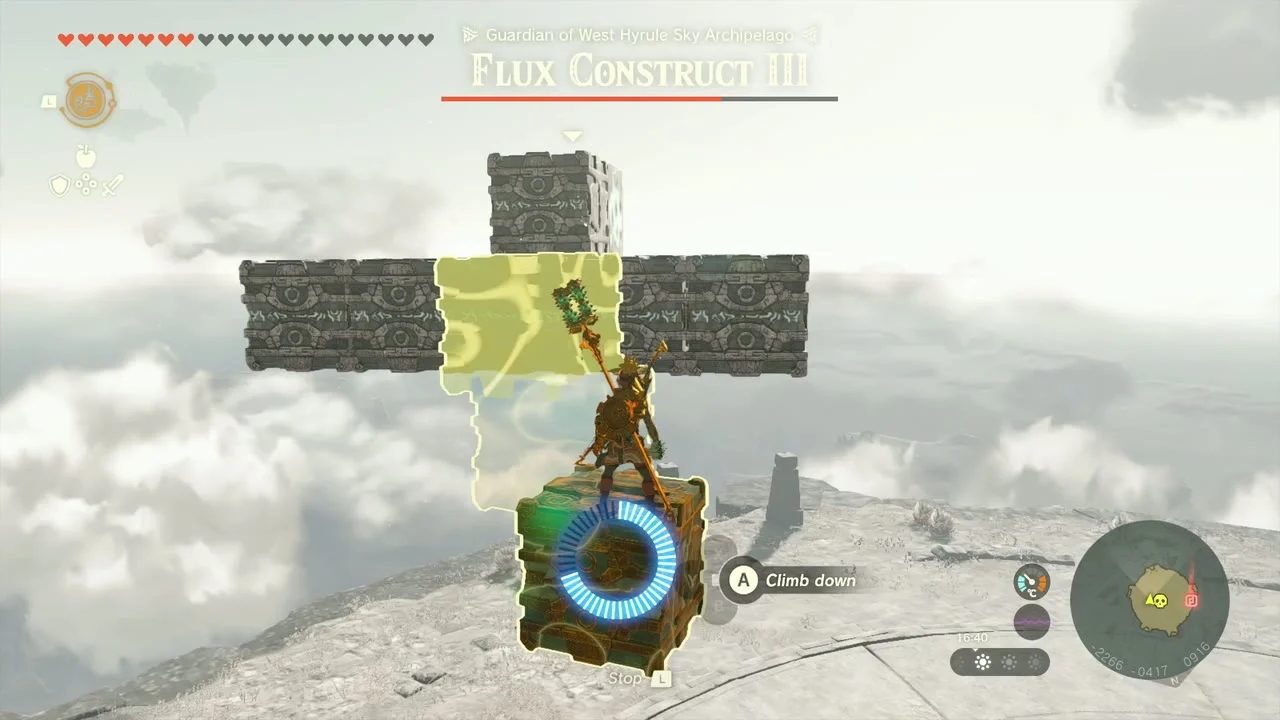
Chest (Sage’s Will). The island after Flux Construct III holds a chest with a second Sage’s Will. This is in the West Hyrule Sky Archipelago.

Central Hyrule and Hyrule Ridge Depths
Lightroot (Nuzimak). Drop into the Depths and make for the Nuzimak Lightroot at (-178, -1559, -494), directly below Kamizun Shrine, and light it.
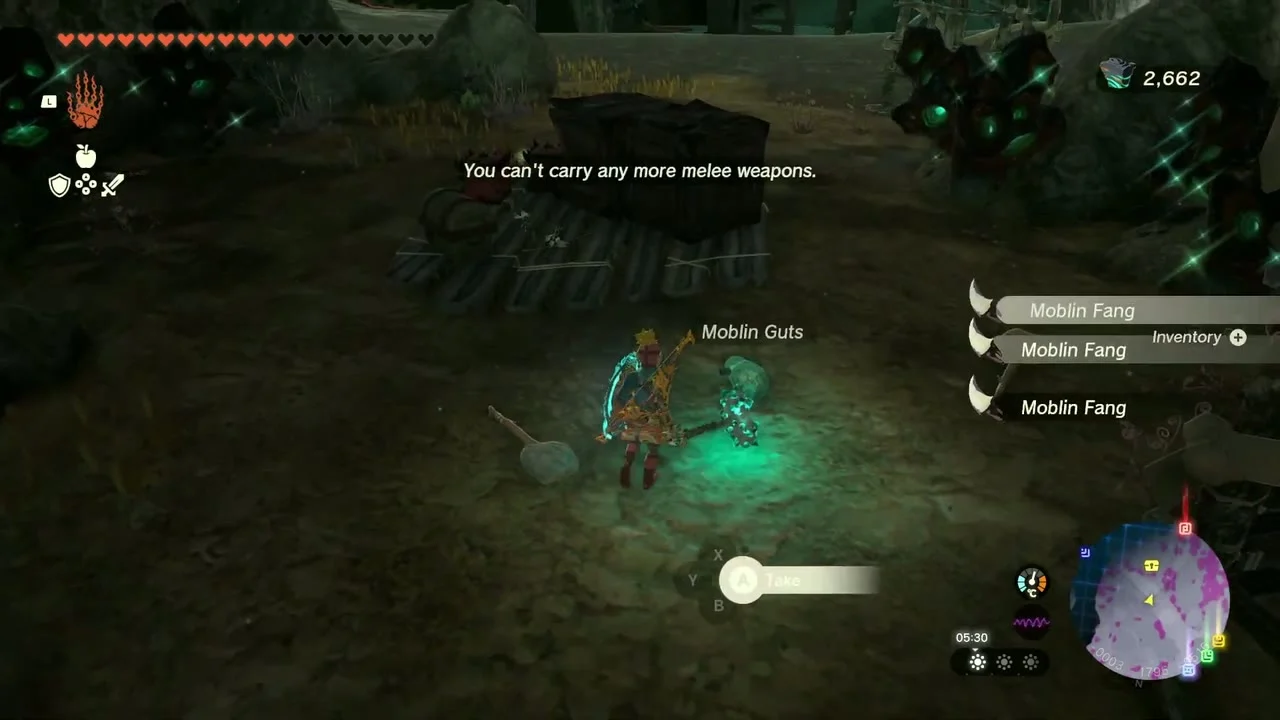
Chest (Sundelion). A wooden camp deck holds a chest with a Sundelion, plus two more with Arrow x5. Use Ultrahand to lift the crates.

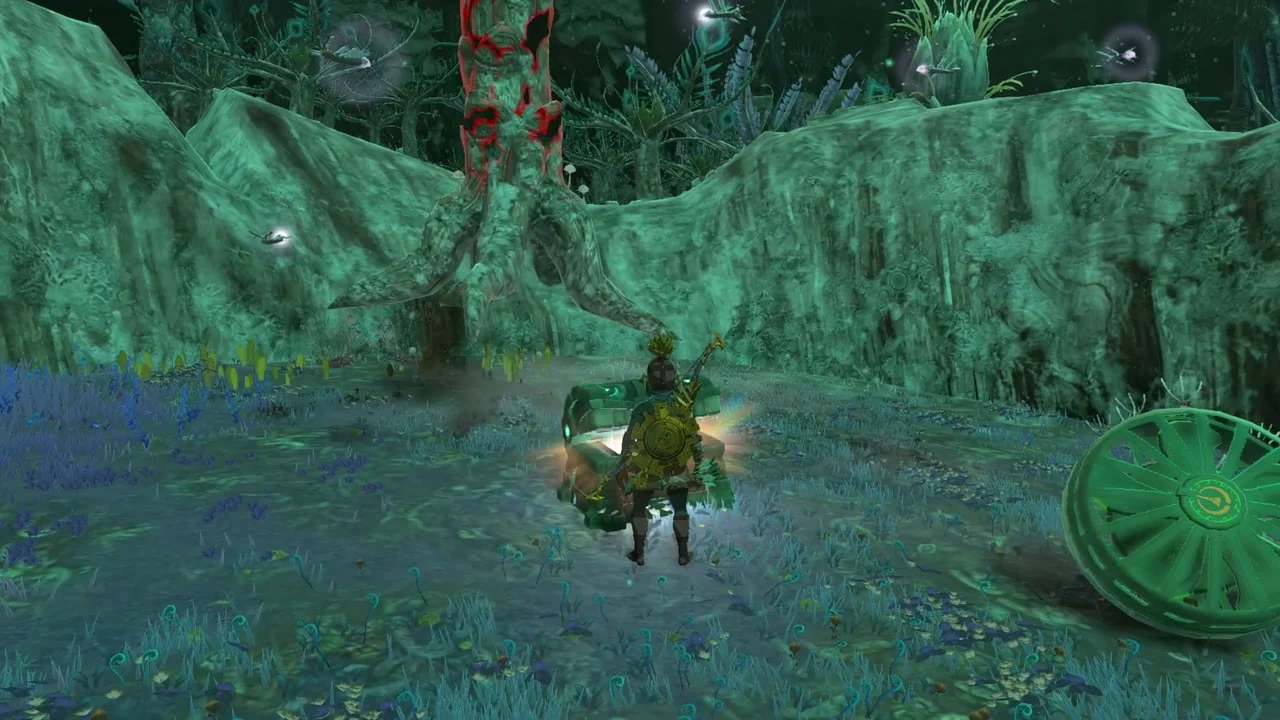
Grove of Time chest. The Grove of Time at (-383, -1544, -515) hides a chest beside a Zonai stone vessel in the clearing. It holds a Large Crystallized Charge.

Chest (Sundelion). A raised wooden platform with torches further on has a second chest with a Sundelion.
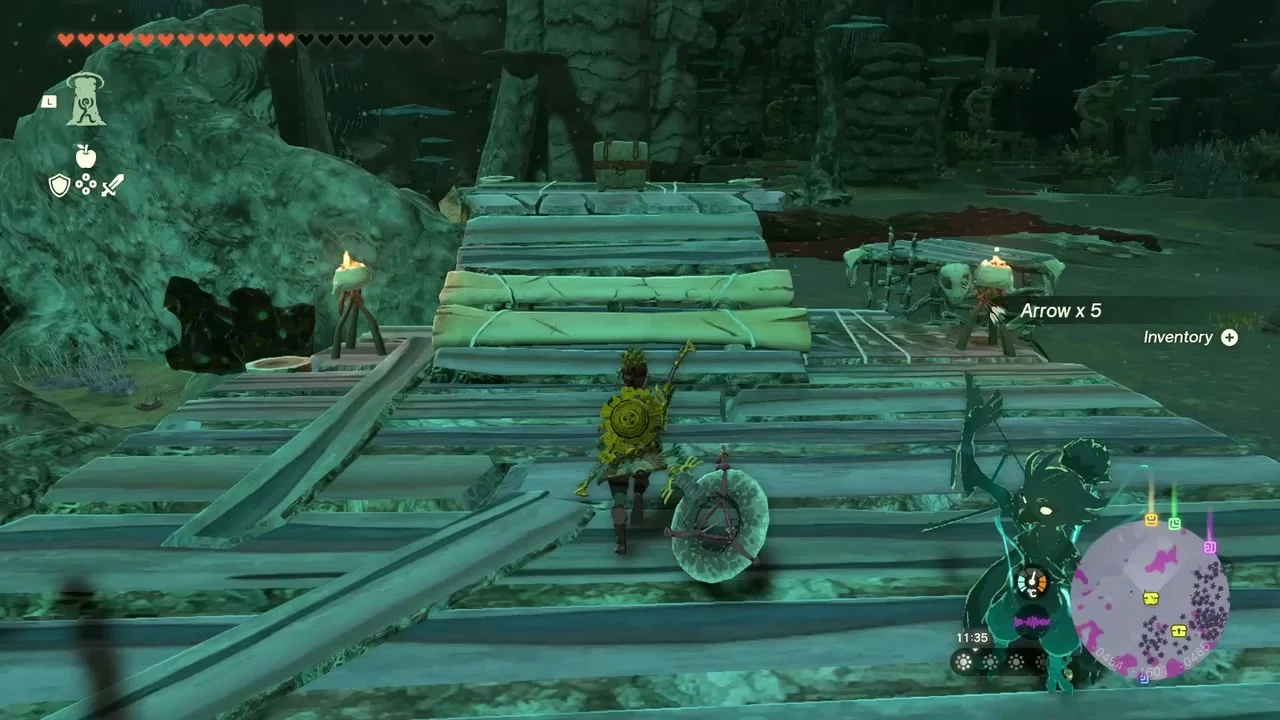

Chest (Giant Brightbloom Seed). A raft of crates in the Depths holds a chest with Giant Brightbloom Seed x5. Brightbloom seeds light up the dark for the rest of the trip.

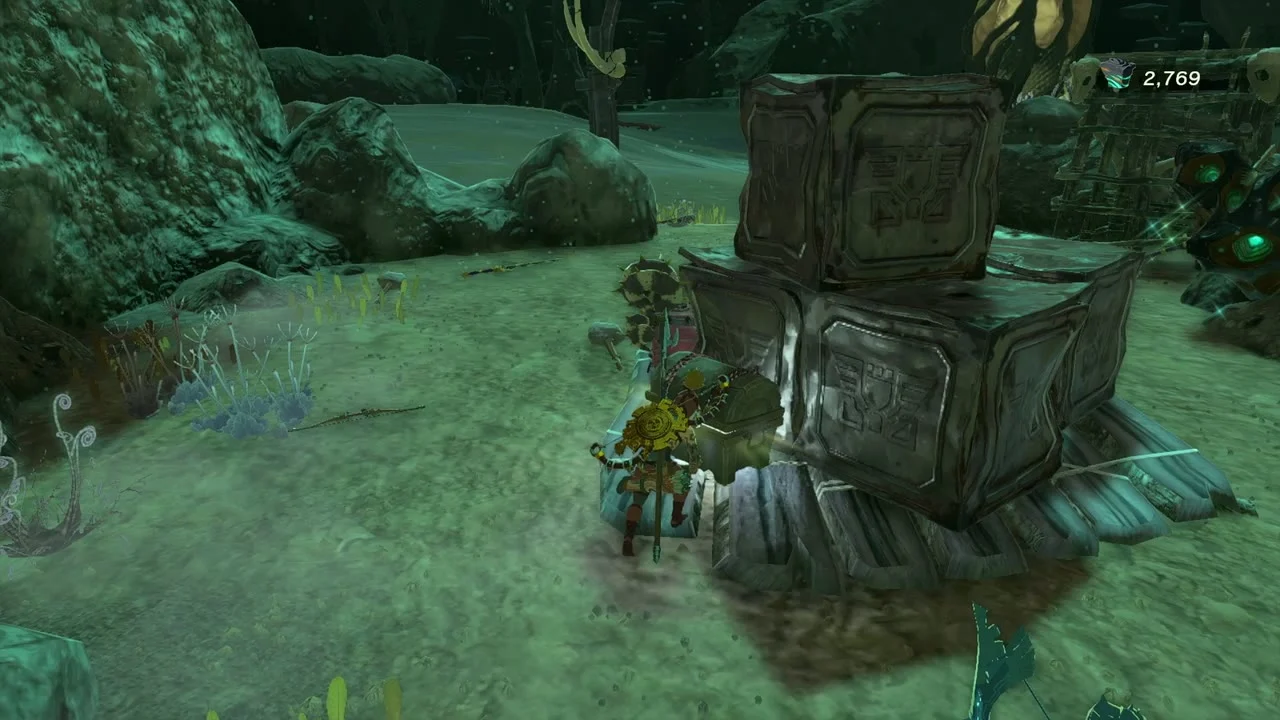
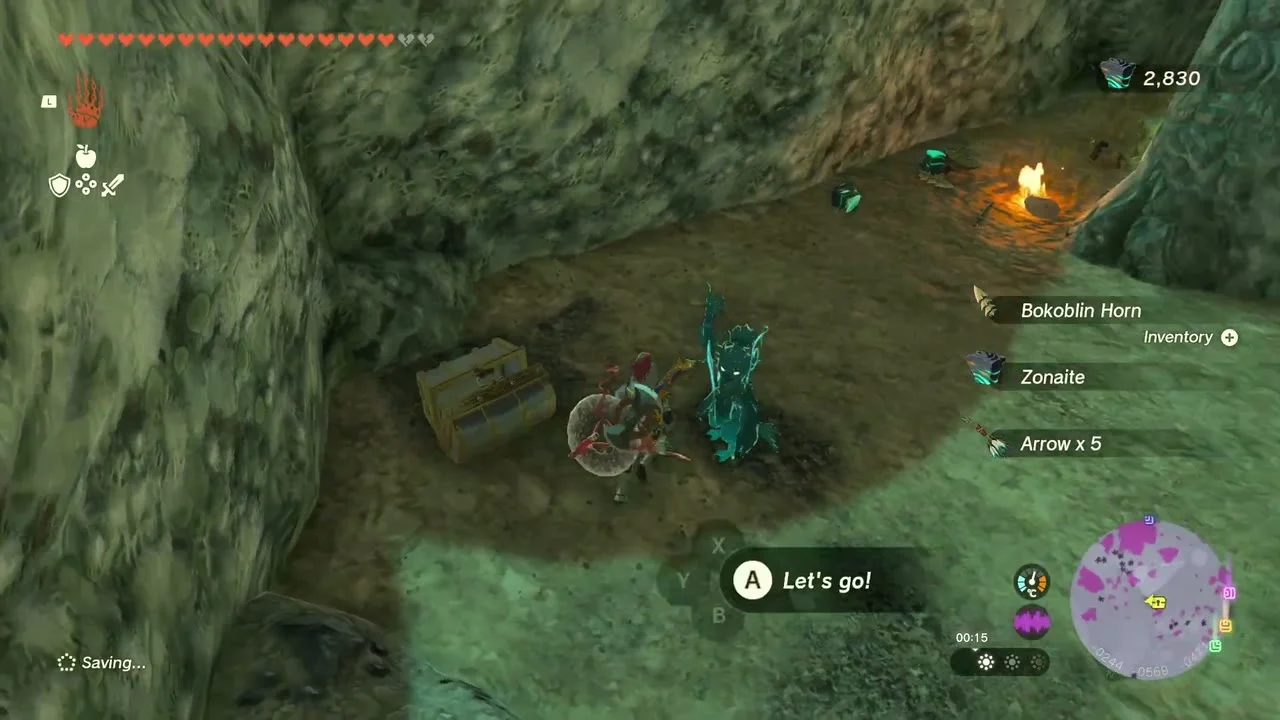
Chest (Rock Salt). A rock alcove beside a campfire has a chest with Rock Salt.

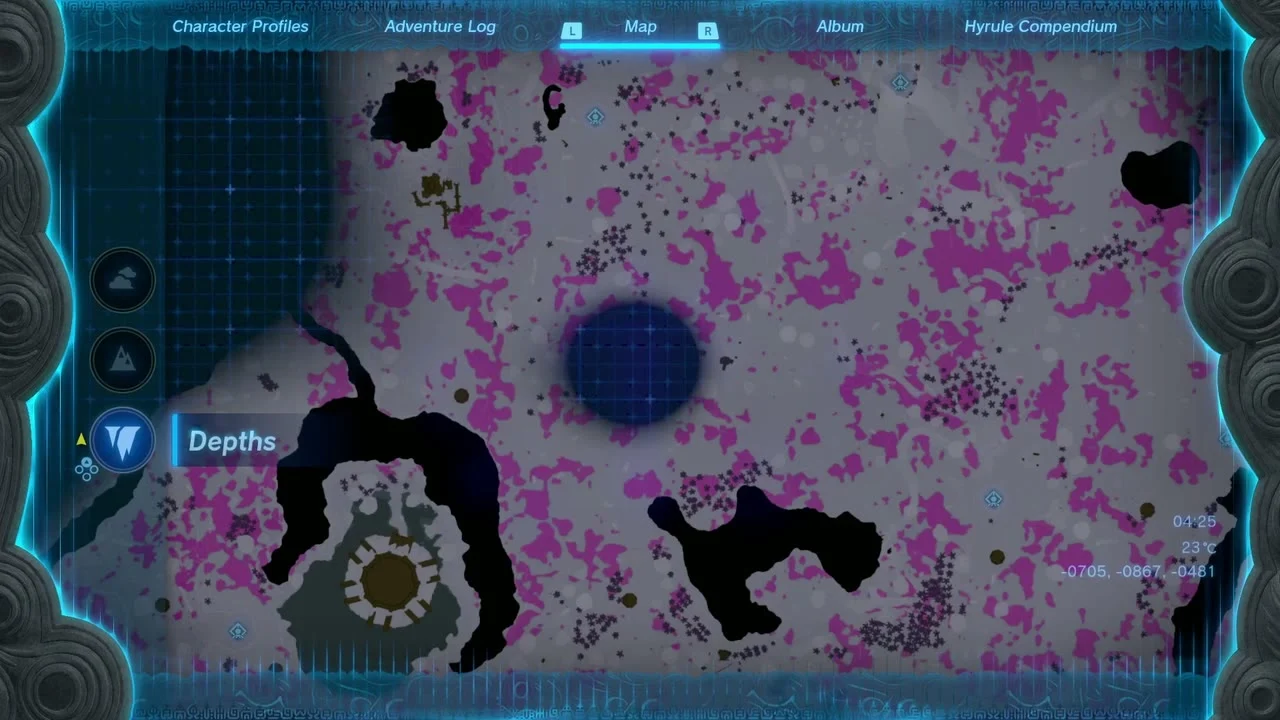
Lightroot (Nihcayam). The Nihcayam Lightroot at (-705, -867, -501) lies below Mayachin Shrine. Light it.

Chest (Brightbloom Seed). On a wooden deck on the slope beyond, a chest holds Brightbloom Seed x5.
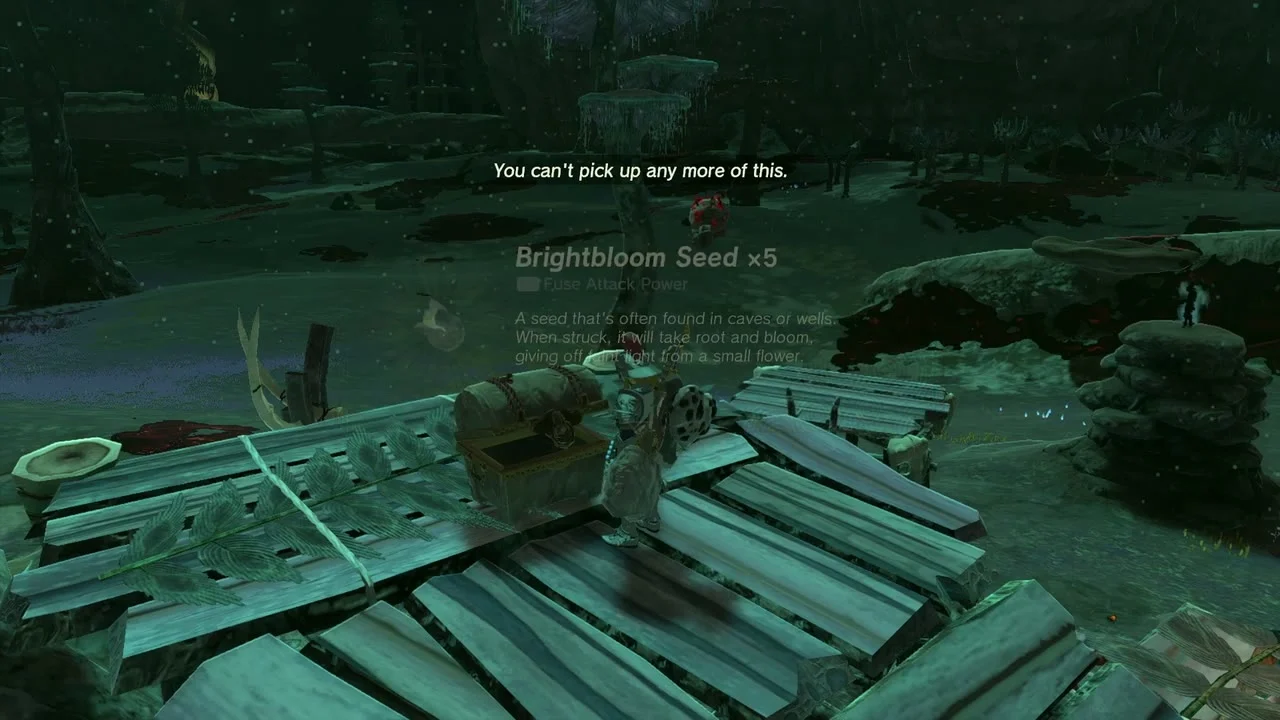

Nabooru Canyon Mine. Nabooru Canyon Mine sits at (-1801, -2088, -602); a stone chamber there has a chest. It holds a Large Crystallized Charge.

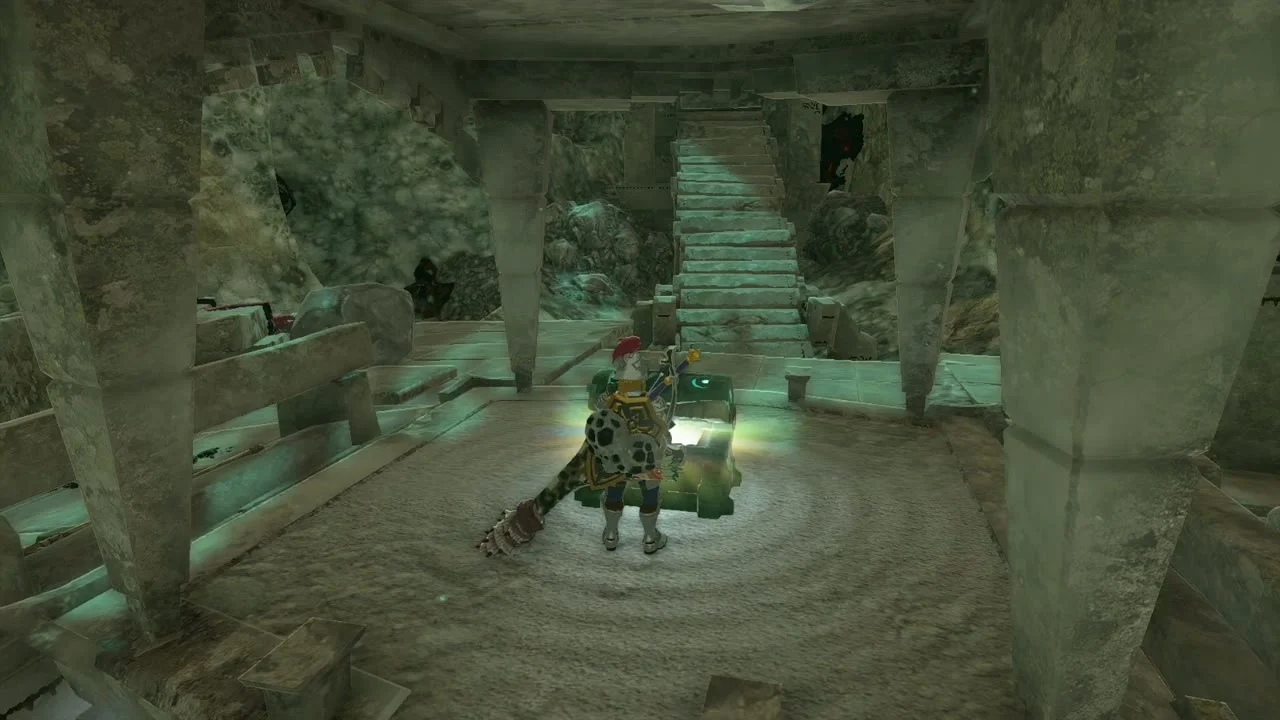
Lightroot (Muzasu). The Muzasu Lightroot lies below Usazum Shrine at (-2138, -874, -563), in the Hyrule Ridge Depths beyond Dalite Grove at (-2119, -1088, -444). Light it.


Lightroot (Napanos). The Napanos Lightroot at (-1921, -359, -656) lies below Sonapan Shrine, to the north-east of Muzasu. Light it.
Chest (Yiga Schematic). A spiked Yiga storeroom holds a chest with a Yiga Schematic, which registers a new Autobuild design, and a second chest with a Large Crystallized Charge.


Chest (Sword of the Hero). A chest in a clearing in the Depths holds a Sword of the Hero.
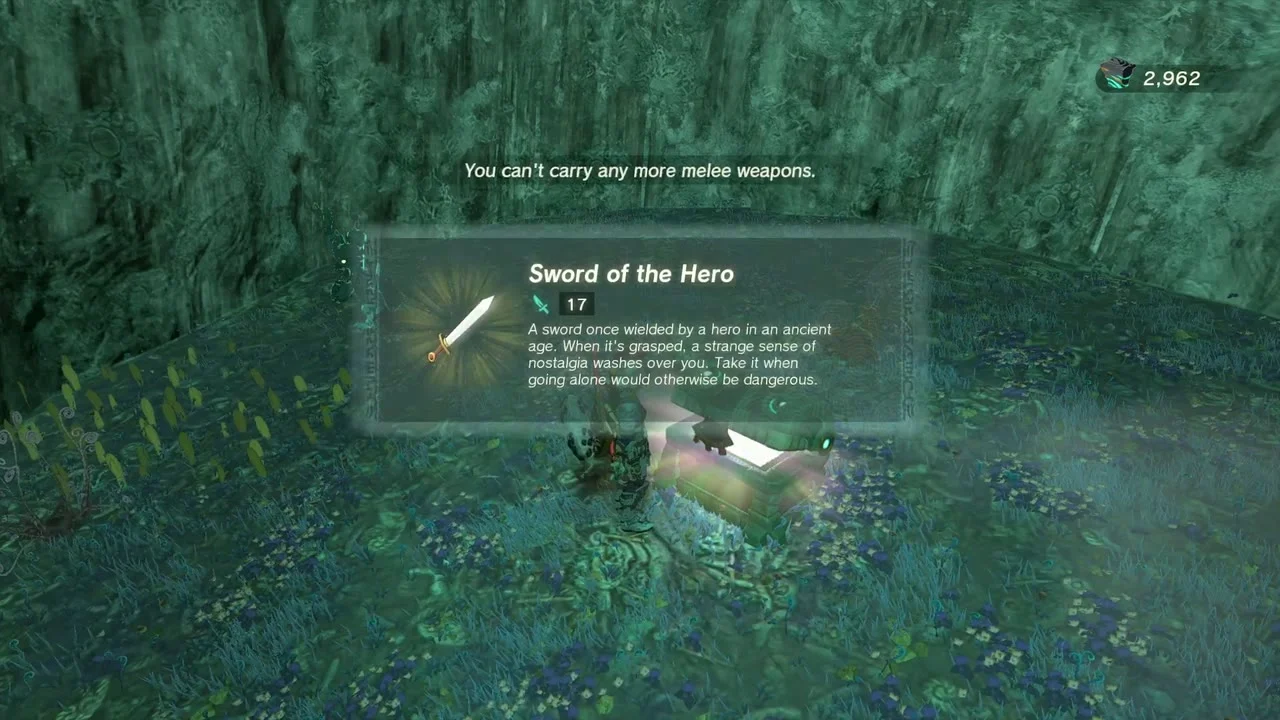

Blupee Burrow chest. Blupee Burrow at (-2288, -367, -893) has a chest in the roots holding a Large Crystallized Charge.


Depths bosses on the way. Expect a Frox, a Battle Talus, two Stone Talus fights and an Obsidian Frox between the Lightroots. Fuse Bomb Flowers to arrows and shoot their weak spots.
Marbled Gohma
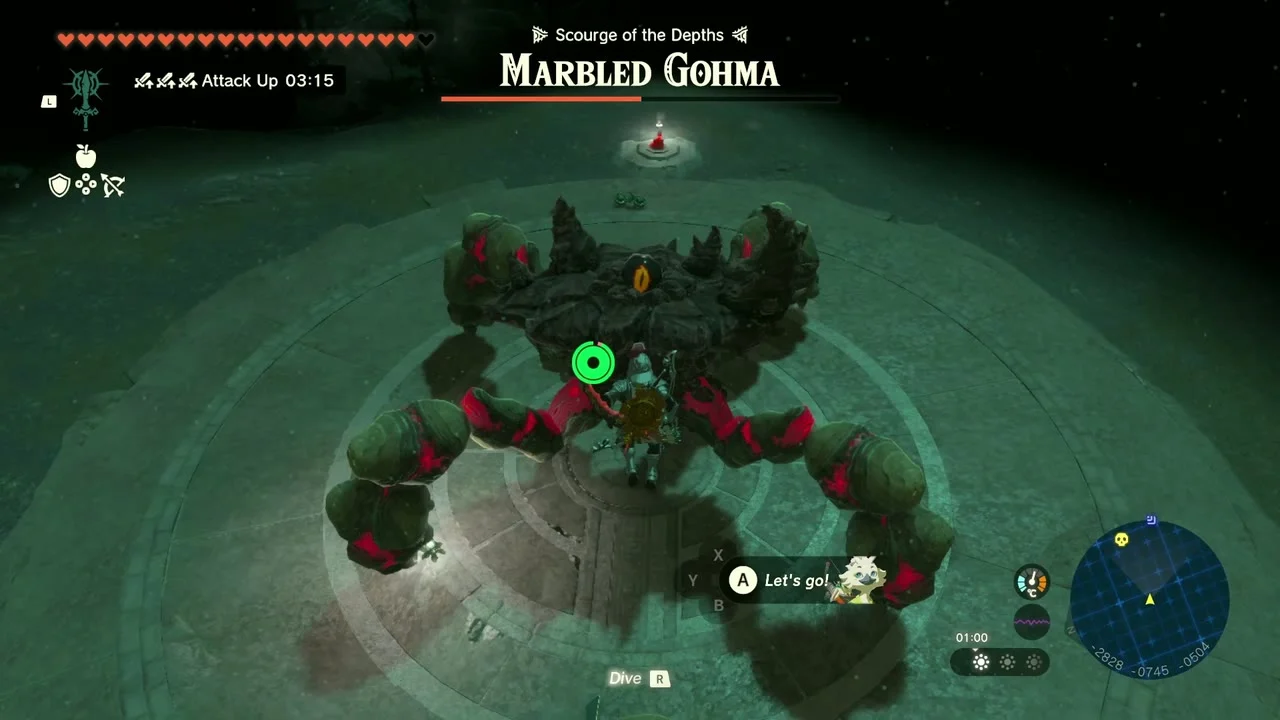
Boss (Marbled Gohma). The Depths rematch is a huge arena, and guides place the western Marbled Gohma rematch near the Yiga Clan Hideout chasm under the Gerudo Highlands. Shoot its legs with Bomb Flower arrows and cut it down when it falls; it drops a Marbled Gohma Leg.
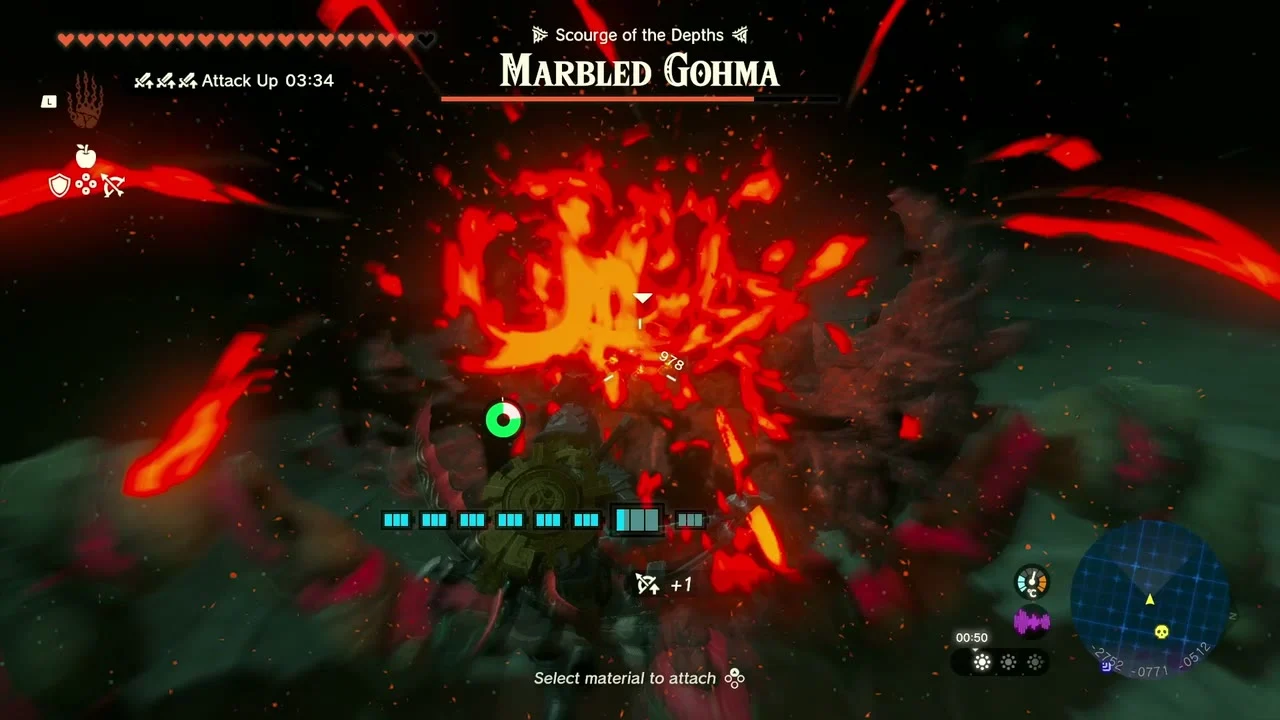
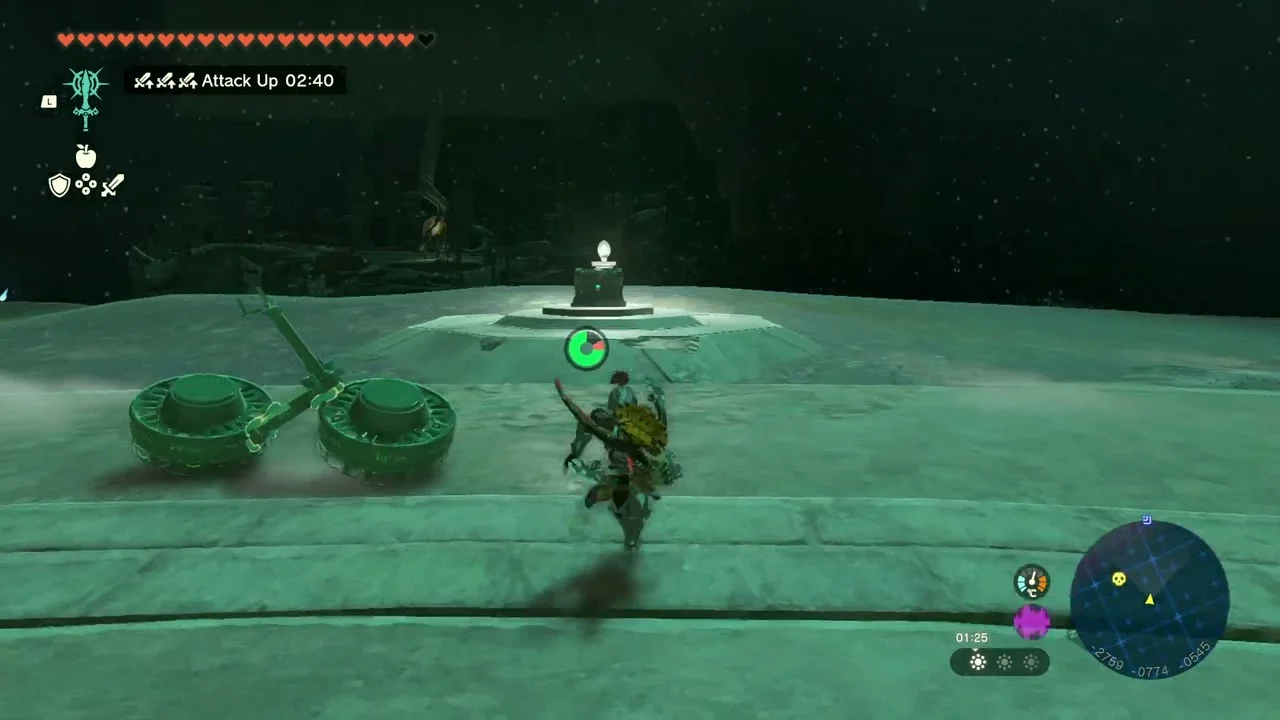
Chest (Huge Crystallized Charge). After the fight, a pedestal in the arena center holds a Huge Crystallized Charge.

Popla Foothills (surface)
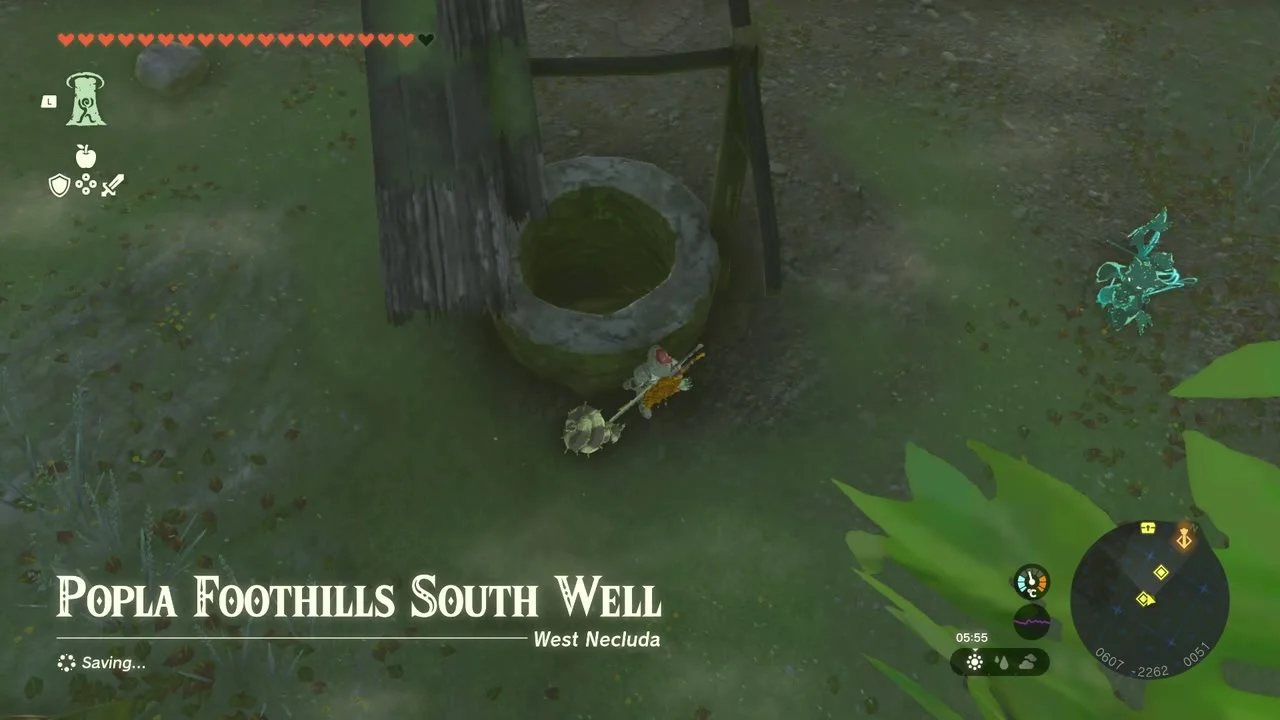
Wells. Popla Foothills North Well sits at (594, -2100, 78) and the South Well at (606, -2261, 35). The Skyview Tower stands between them at (605, -2127, 92).

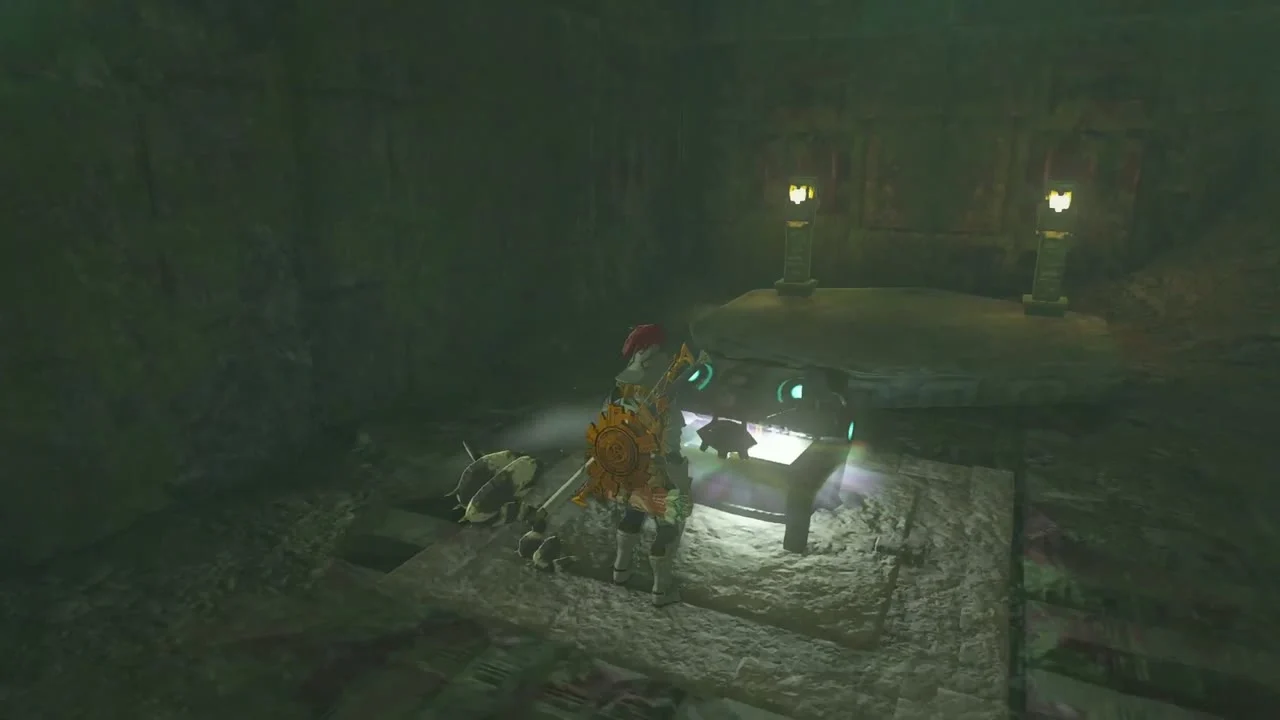
Popla Foothills Excavation Site. The entrance at (609, -2210, 51) is below the south cliff. Free the trapped technician Elmerson, drag the chest onto the pressure plate behind the gate, and open it for a Topaz. A Bubbulfrog inside the site gives you a Bubbul Gem: go back through the west corridor, climb into the other corridor and look up at its dead end. Freeing Elmerson also pays 50 Rupees.

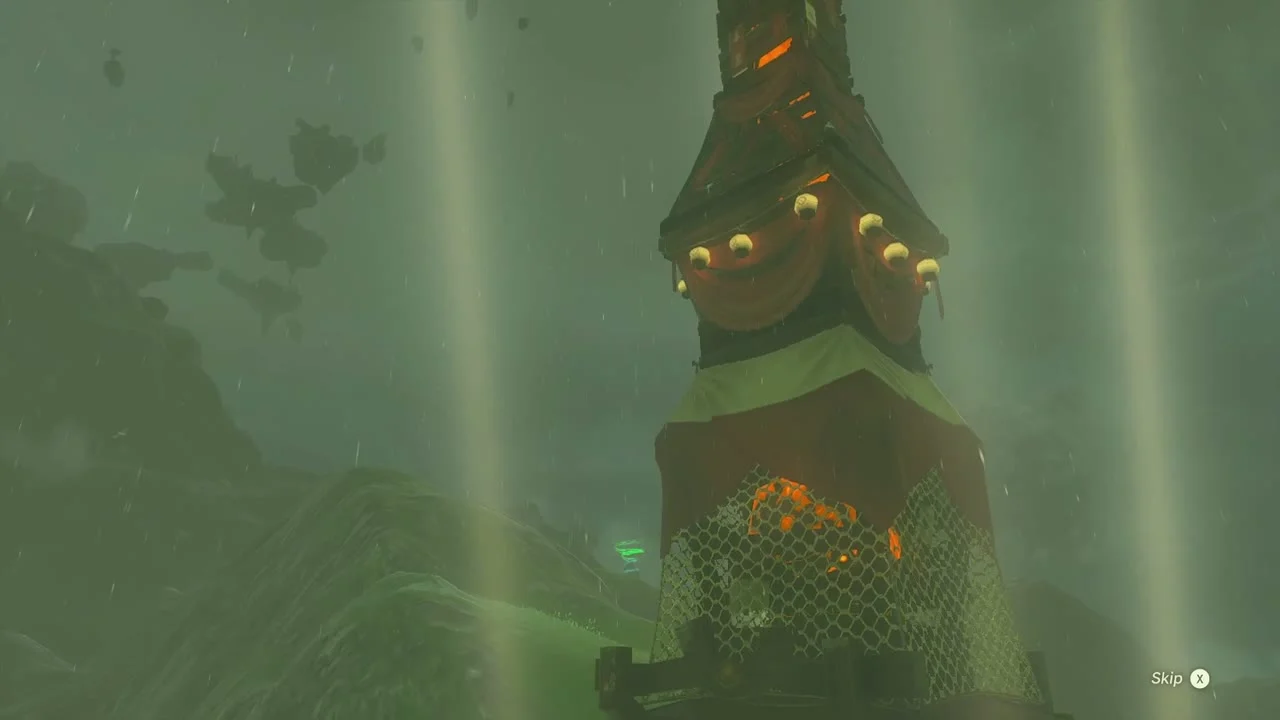
Skyview Tower. Return to the tower; with Elmerson free it is repaired and you can activate it.

Highland Stable and Utsushok Shrine
Highland Stable. The stable at (530, -3451, 95) is in the Faron Grasslands. Ask Padok about A Picture for Highland Stable: he wants a photo of the Giant White Stallion near Horse God Bridge.
Korok seed x2 (carry the exhausted Korok). Near the stable at about (520, -3478), an exhausted Korok asks to be taken to its friend at the camp nearby. Build a Zonai Wing with fans and fly it over to receive Korok Seed x2.

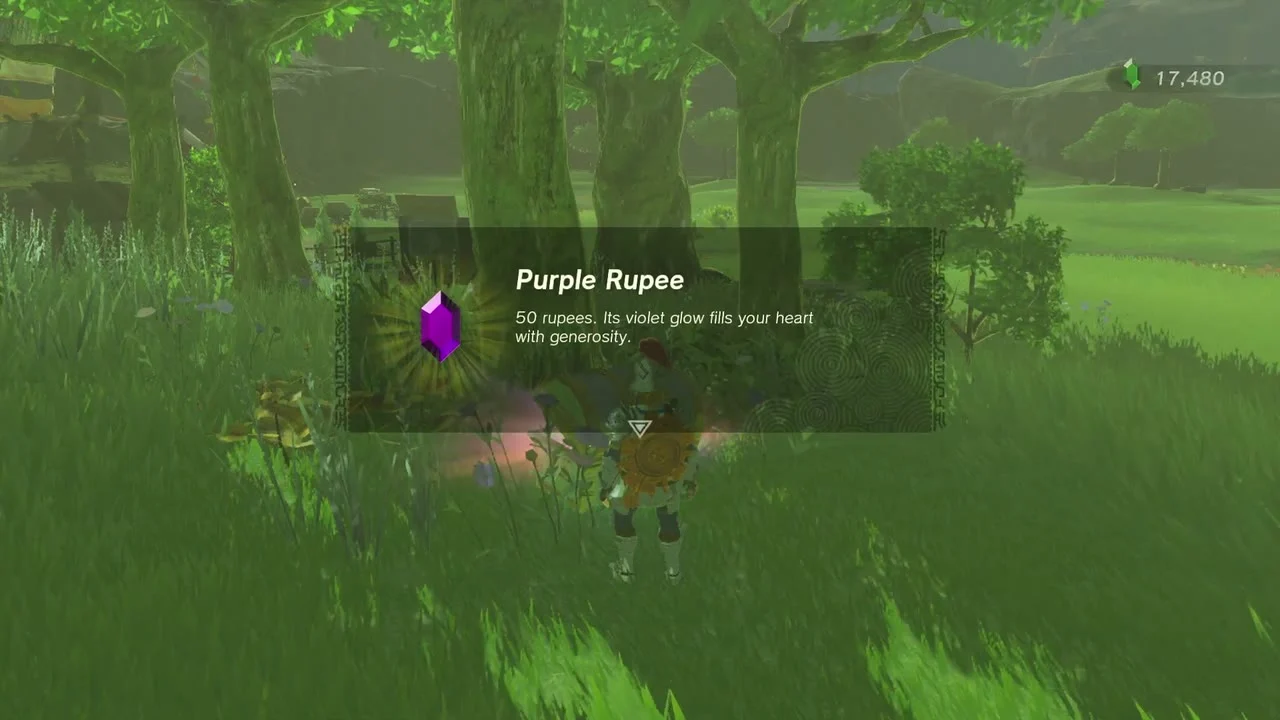
Chest (Purple Rupee). A chest hides in the long grass at (548, -3378, 50). It holds a Purple Rupee.

Utsushok Shrine
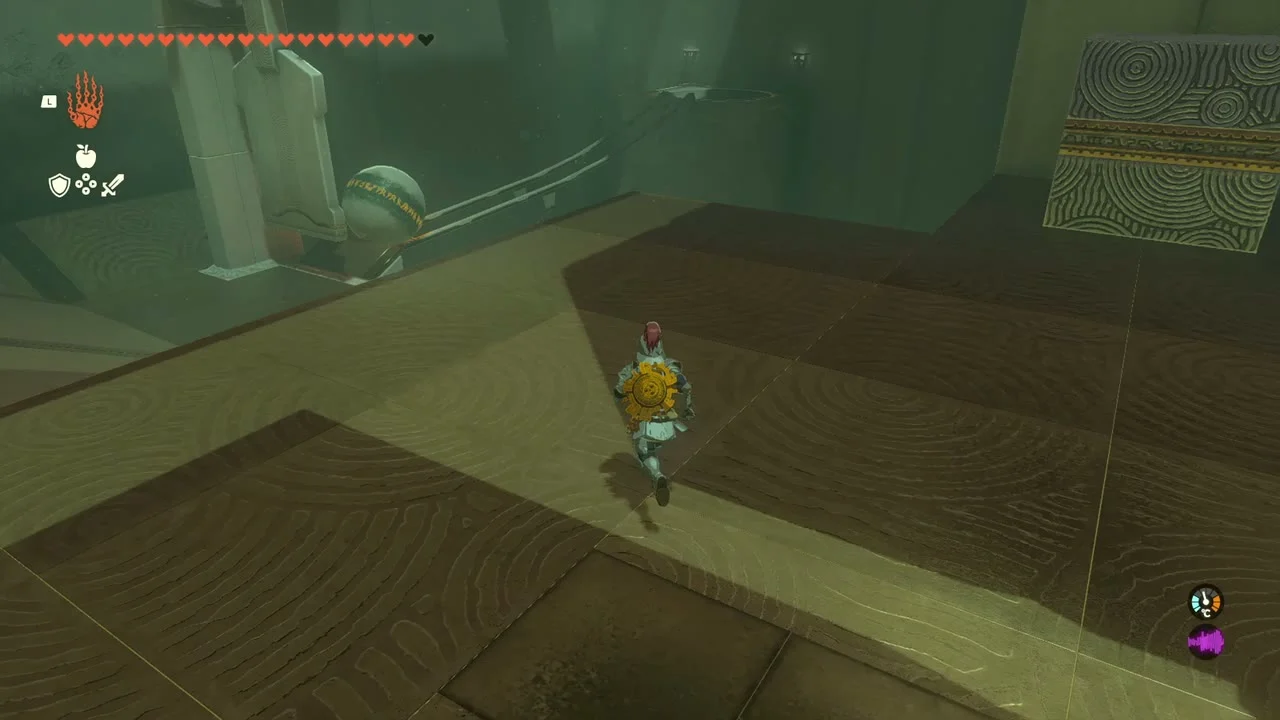
Utsushok Shrine (Long or Wide, a puzzle trial) stands at (669, -3358, 85), north-east of Highland Stable. The Kohsustu Lightroot lies below it at (670, -3358, -504).
Swing the paddle to hit the ball
Lift the paddle with Ultrahand as high as it goes and release it so it knocks the ball along the rail into the first socket.

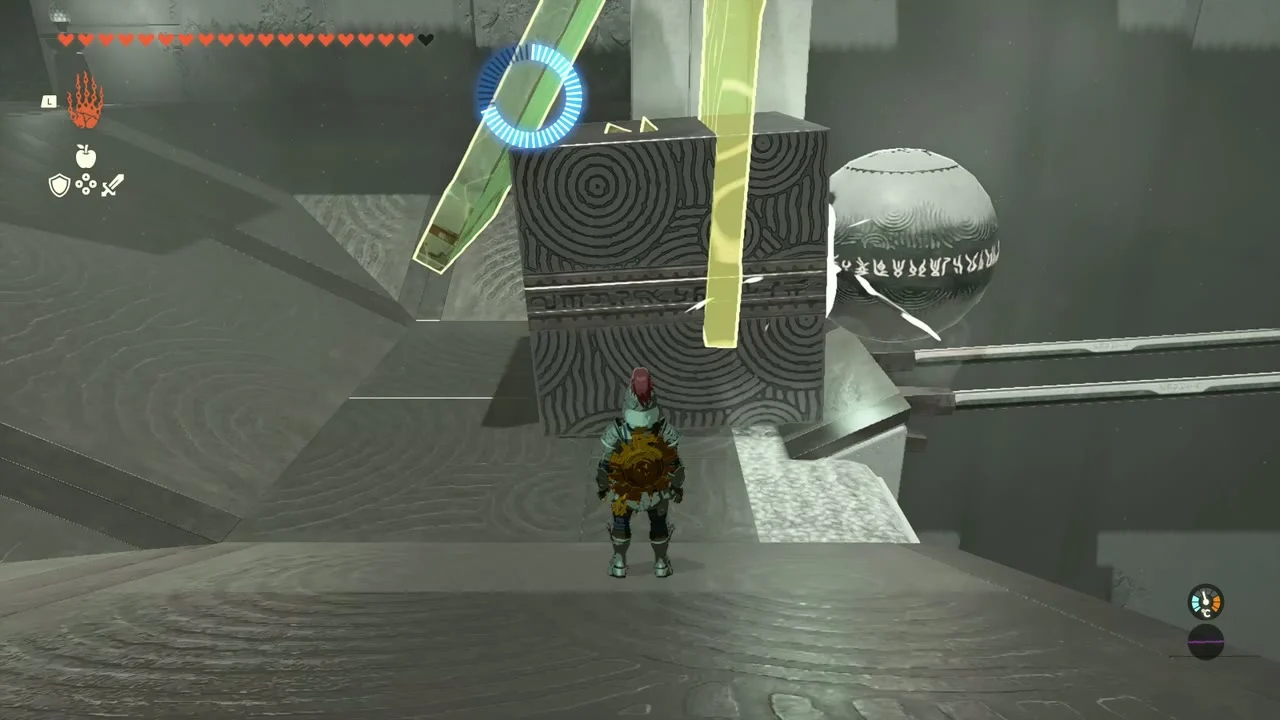
Weight the paddle for the incline
Fuse the block from the floor to the back of the paddle, pull it back and release to push the ball up the incline into the switch.
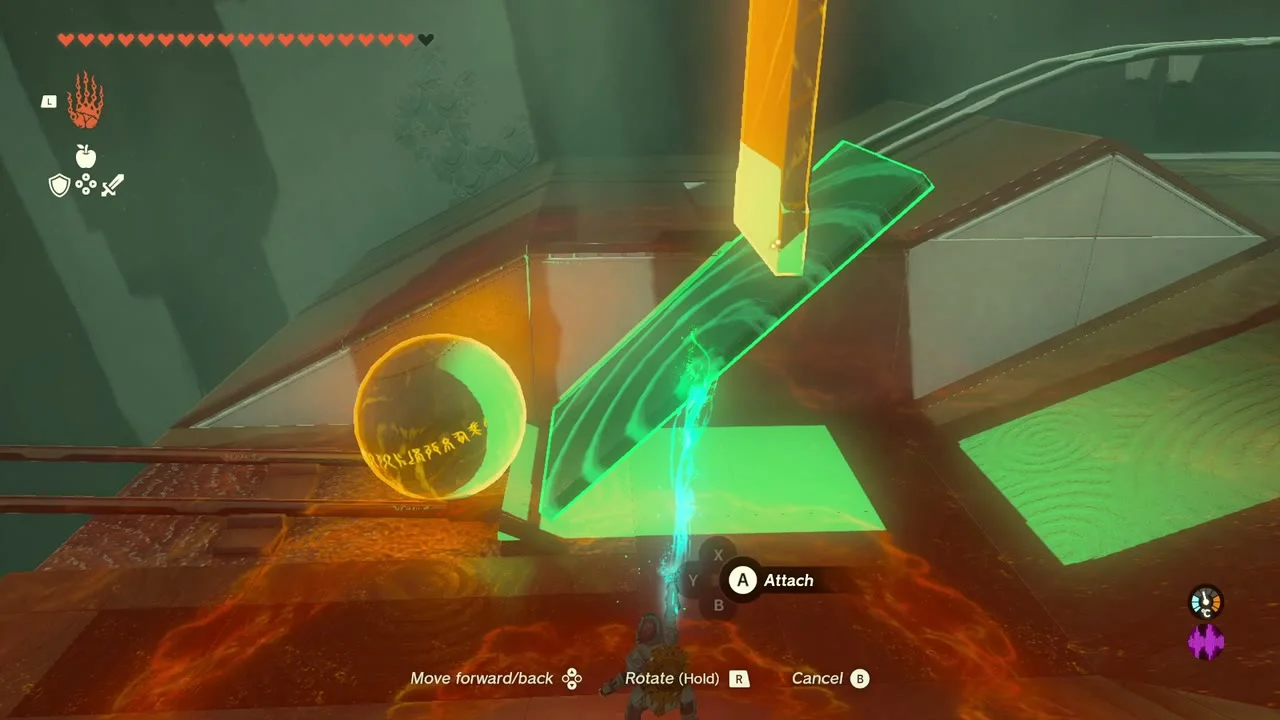
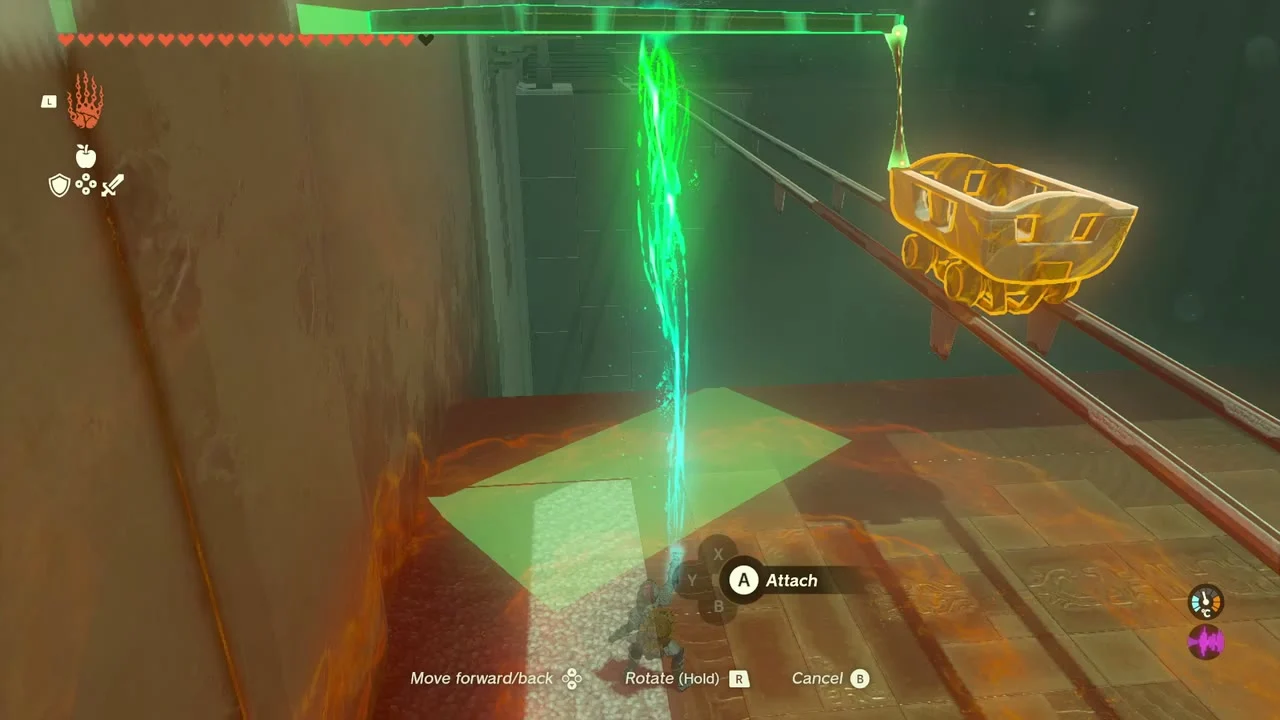
Free the mine cart
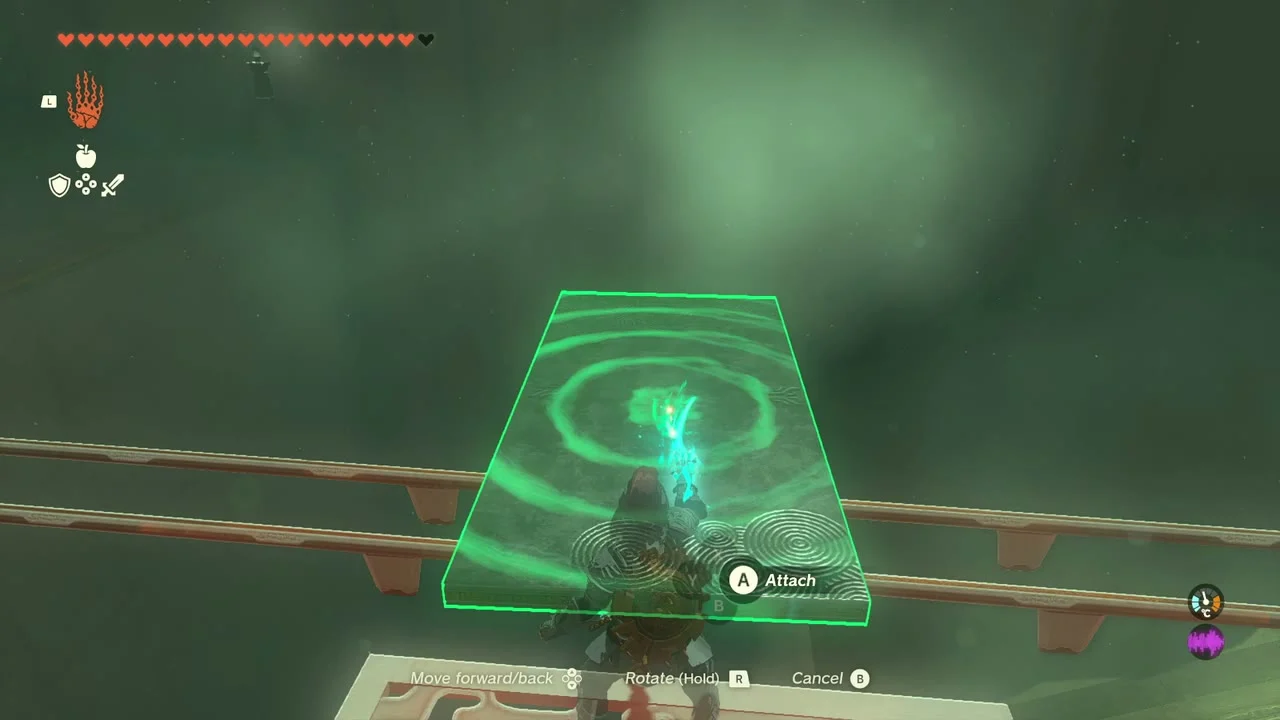
Attach the plank to the paddle, hit the ball down the rail into the socket to release the mine cart, then attach a plank to hit the cart.
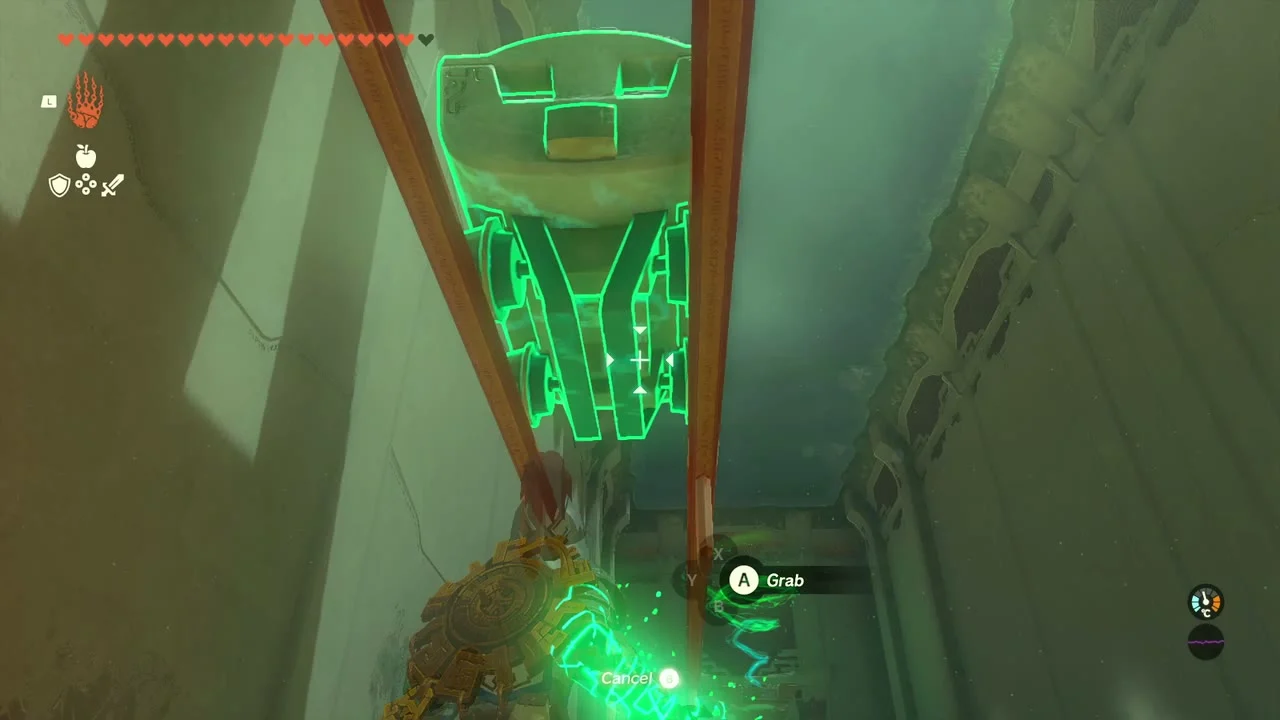
Ride the cart and grab the chest
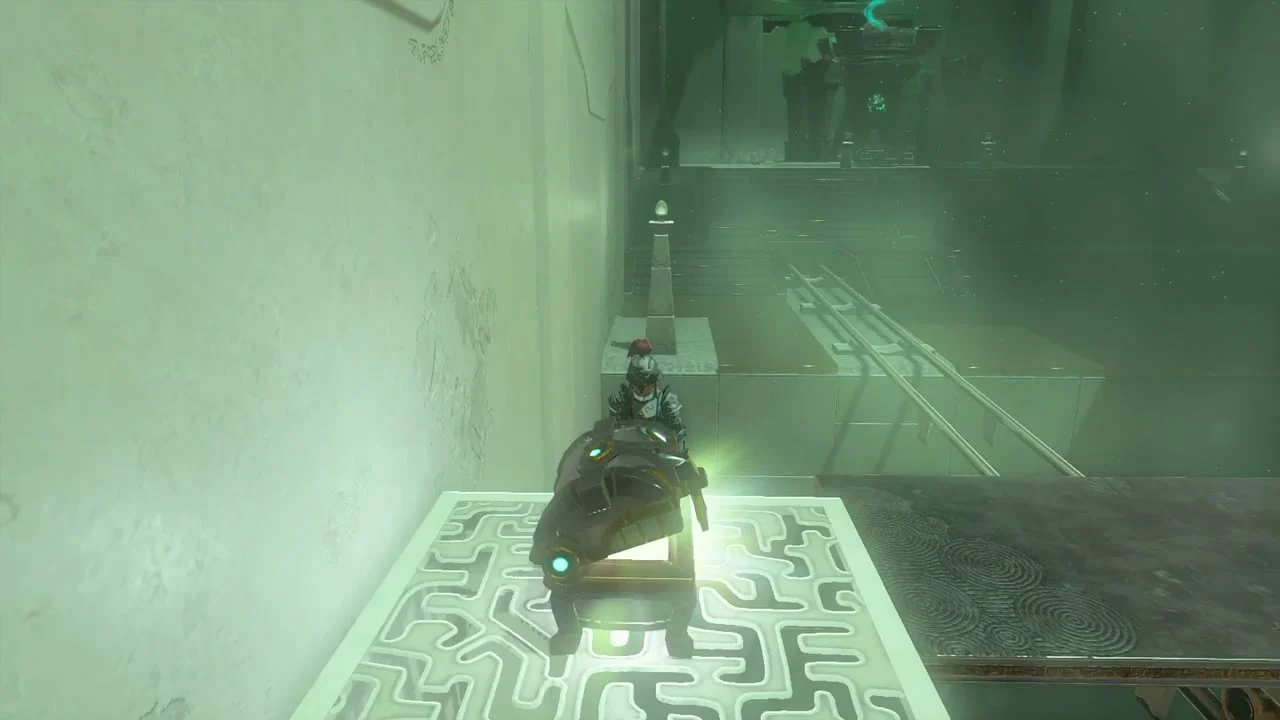
Jump on the platform, release the paddle to launch it down the track and use Ultrahand to pick the chest off the wall as you pass. It holds a Sneaky Elixir. Take the Light of Blessing at the end.
An Eerie Voice
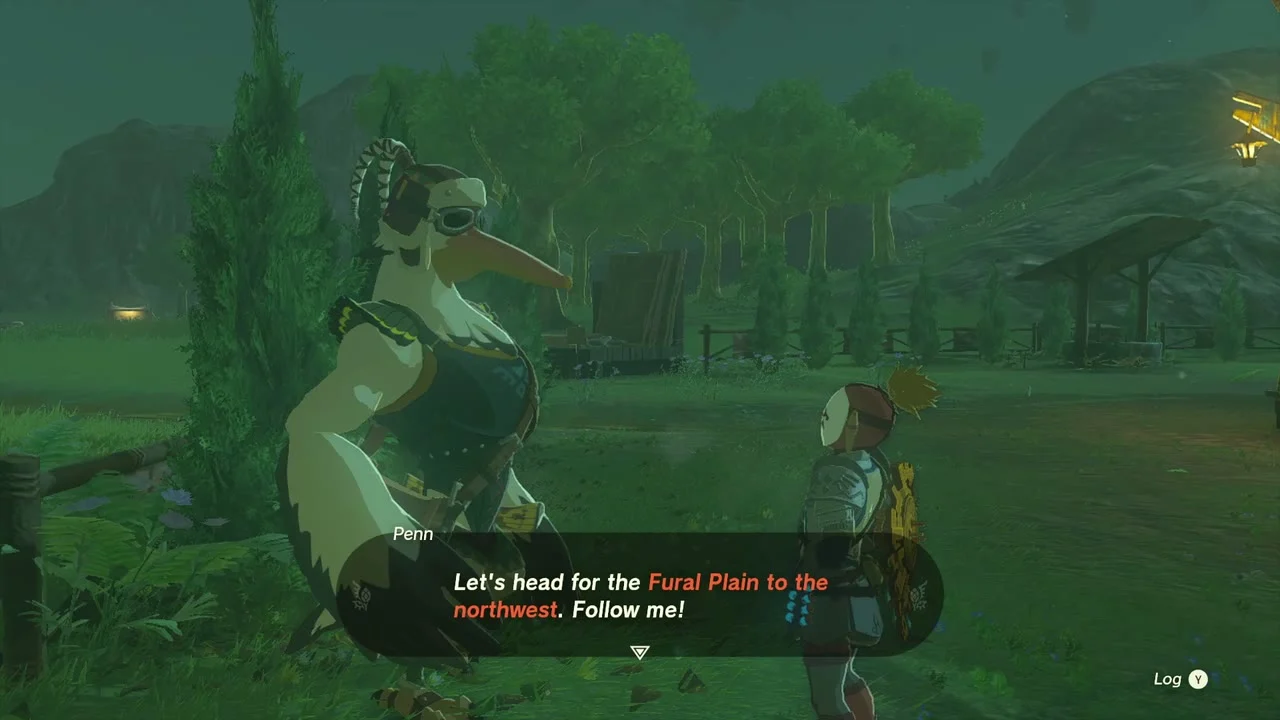
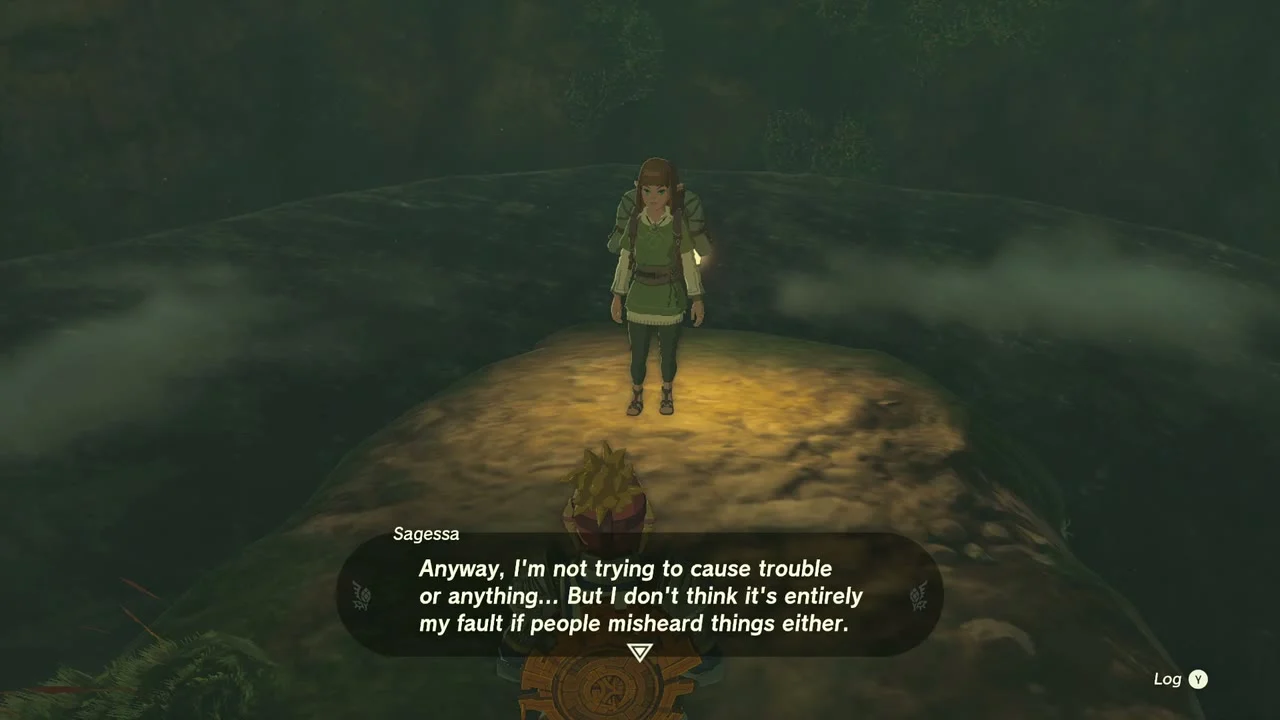
Side adventure (An Eerie Voice). Penn at Highland Stable says the voice is only heard at night. Wait until night, follow him to Fural Plain and drop into Haran Lakefront Well to meet Sagessa, who has been spooking the travelers. Report back to Penn to finish.
Also in this area
These datamined Korok seeds lie in the same stretches but were not collected in this route. Each is listed as puzzle type and (X, Y, height).
- West slopes: Complete the rock pattern (-2714, -496, 86); Follow the flower (-1967, -1090, 98); Lift the rock (-1968, -594, 148); Go up to examine the sparkling spot (-2867, -1123, 413)
- Sky: Use the paraglider to reach the goal (-1929, -1823, 1150)
- Popla Foothills and Highland Stable: Bring the exhausted Korok to its friend (343, -2182, 57); Catch the sparkling spot (351, -1999, 8); Complete the cube puzzle (699, -2953, 16); Dive into the ring (784, -2764, 11); Lift the rock (339, -2832, -14), (567, -2384, 112); Offer apples to the statues (637, -2314, 60); Place the boulder on the tree stand (342, -2379, 30), (422, -2884, 30), (895, -2217, 153); Reach the target ring within the time limit (458, -2141, 12), (889, -2394, 78); Shoot the balloons (795, -3345, 81)
Collectibles in this chapter
- Shrines: 3 (Usazum, Jinodok, Utsushok)
- Caves and wells: 1 cave (Satori Mountain Foothill Cave), 1 excavation site, 2 wells (Popla Foothills North and South)
- Lightroots lit: 4 (Nuzimak, Nihcayam, Muzasu, Napanos)
- Bubbul Gems: 2
- Korok seeds: 12
- Minibosses and bosses: Stone Talus, Hinox, Flux Construct II and III, Frox, Battle Talus, Stone Talus x2, Obsidian Frox, Marbled Gohma
- Quests: Satori Mountain Crystal, South Hyrule Sky Crystal, A Picture for Outskirt Stable, An Eerie Voice and A Mystery in the Depths finished; Hateno Village Research Lab and A Picture for Highland Stable started
