





















Tears of the Kingdom 100% Completion Walkthrough43 chapters
Great Sky Island
- Great Sky Island4 shrines, 4 caves and Bubbul Gems, 17 Korok seeds
Hyrule Field and Hyrule Castle
- Lookout LandingParaglider, Crisis at Hyrule Castle, Jiosin and Kyononis shrines, 2 caves, 3 wells
- Hyrule FieldSusuyai and Ishodag shrines, the Hyrule Field Chasm, 2 caves, 13 Koroks
- Hyrule Castle Town RuinsSepapa, Yamiyo and Tukarok shrines, 2 caves, 4 wells, Koroks, chests and Battle Taluses in route order
- Central Hyrule Depthslight all 7 Lightroots, loot Daphnes and Gustaf Canyon Mines, find the Miner's Top
- Rest of Hyrule CastleRoyal Hidden Passage loot, 8 castle chests, Phantom Ganon, Energy Wells
- South Hyrule FieldShrines, Koroks & the Great Plateau
- South Hyrule Field DepthsGreat Abandoned Central Mine, Master Kohga, Autobuild, Majora's Mask
Tabantha and Hyrule Ridge
- Tabantha FrontierNew Serenne Stable, Hestu, Courage Island and the Glide Shirt, 3 shrines, 2 Korok seeds, Lindor's Brow Cave
- Forgotten TempleImpa and the Geoglyphs, Dragon's Tears, Kiuyoyou and Mayausiy shrines, Yiga Maritta Branch, 9 Koroks
- Tanagar Canyon & Hyrule RidgeRunakit and Iun-orok shrines, 2 caves, 12 Koroks, 20 chests, 8 minibosses and Dragon's Tear 6
- Thundra Plateau & Tabantha Bridgesolve the noon shadow puzzle, Tabantha Bridge Stable, Makurukis Shrine, 19 Korok seeds, 9 chests, 3 minibosses
- Lindor's Brow DepthsLightroots; Two Yiga camps (Bomb Bouquet, Flamethrower Balloon)
- Hyrule Ridge and Tabantha FrontierIkatak, Oromuwak, Ganos and Ga-ahisas shrines, 4 caves, a well, 26 Koroks and 3 minibosses
Hebra
- Rito VillageGatakis and Ijo-o shrines, Sikatag Lightroot, 9 Korok seeds, 14 chests
- Hebra MountainsShrines, Wind Temple & Koroks; Raspro Pass, Biron Snowshelf & Royal Hidden Passage
- Corvash Canyon MineTrousers of the Hero, Floodlights schematic, Sea-Breeze Boomerang, four Lightroots, Colgera
- Raspro Pass DepthsNupisoyuat and Sasag Lightroots, Colgera, Cap of Time, Tunic of the Wind, two Yiga camps and 13 minibosses
- Tabantha TundraTaninoud, Orochium, Oshozan-u, Mayaotaki, Nouda and Tenbez shrines, three Lightroots, caves and Bubbul Gems
- Pikida Stonegrove DepthsEvil Spirit Greaves, Ikatoayam, Muihcoro and Sikatag Lightroots, 3 Yiga schematics, Frox fights
Great Hyrule Forest
- Great Hyrule Forest7 shrines, 8 Lightroots, 2 caves, 2 wells, Korok Mask, Glide Tights
Eldin
- EldinEldin Canyon, Shrines, Caves & Goron City
- Eldin Canyon Depths10 Lightroots, Zant's Helmet, Trousers of the Wild, Biggoron's Sword, 3 Yiga schematics and Eldin's sky chests
Faron
- FaronHighland Stable, Lake Hylia & Popla Foothills
Necluda
- Kakariko VillageMakasura Shrine, Kakariko Village Well, 2 caves, Ring Ruins chests, 10 Korok seeds and village quests
- West Necluda and Lanayru WetlandsShrines, Koroks & Caves; Jonsau, Kurakat
- Hateno VillageZanmik and Mayahisik shrines, Shield of the Mind's Eye and Phrenic Bow wells, 7 Koroks
- East NecludaRabella Wetlands, Sifumim Shrine, Lurelin Village, 21 Korok seeds
- East Necluda DepthsKumamayn Shrine, 4 Lightroots, Midna's Helmet, Cap of the Hero, Trousers of the Wind and 18 Depths chests
Lanayru
- Lanayru Great SpringShrines, Koroks & Caves; Ralis Channel, 3 shrines, 8 caves
- Zora's DomainMogawak and Ihen-a shrines, Ploymus cave, Pristine Sanctum, Zora Armor, Sidon of the Zora and Clues to the Sky
- Wellspring IslandAncient Zora Waterworks chests, Igoshon Shrine, 2 Korok seeds, Water Temple's four wheels and Mucktorok
- Mount LanayruShrines, Koroks & Light Rings; Jikais and Anedamimik shrines
Gerudo
- Gerudo DesertShrines, Caves & Koroks; West and South Sands
- Gerudo TownGerudo Shelter shops and quests, Valley of Silent Statues, Lightning Temple and Queen Gibdo, Chichim Shrine
- Gerudo Desert DepthsGranajh and Daval mines, three Master Kohga fights, Queen Gibdo, Mucktorok, Sheik's Mask and 37 chests
- Gerudo HighlandsSkyview Tower, Rotsumamu and Suariwak shrines, Mayasiar Shrine, Yiga hideout
Akkala
- AkkalaTarrey Town quests, 4 shrines, Hinox, Battle Talus
- Akkala Sky Islands and DepthsGikaku and Natak shrines, Old Maps, Lomei Depths Labyrinth, Mucktorok, 5 Lightroots and 19 chests
Finale and completion
- Ancient Tablets, Gleeoks and Armor Upgradesall 13 stone tablets with coordinates, Frost and King Gleeok, Obsidian Frox, Cotera upgrades and farming
- Hyrule CastleRoyal gear chests, Korok seeds, Serutabomac Shrine
- Thunderhead IslesCharged armor, Joku-usin and Joku-u Shrines, Dragonhead Island's relic
- 100% Completion: Armor Upgrades & Korok BonusHestu's Gift, Ancient Hero's Aspect, Great Fairy Cotera upgrade costs and materials, then Destroy Ganondorf
This chapter is in 3 parts, in the order a 100% run reaches them. Jump to a part:
Part 1: Shrines, Koroks & Caves
| Region | The Lanayru Depths under Boné Pond, then the surface from Boné Pond and Tabahl Woods north-east through Upland Zorana to Luto’s Crossing and the approach to Zora’s Domain |
|---|---|
| Shrines | 1: Maoikes Shrine (Rauru’s Blessing) |
| Caves and wells | 4 caves (Boné Pond East Cave, Tabahl Woods Cave, Oren Bridge Cave, Cave Under Zora’s Domain), Luto’s Channel and Tabahl Woods Well |
| Lightroots | 2 lit in the Depths: Uasnoj and Sekioam; Sekioam lies below Maoikes Shrine (see all Lightroots) |
| Skyview Tower | Upland Zorana Skyview Tower (2866, 581, 372) |
| Korok seeds | 18 collected here (see Lanayru Korok seeds) |
| Bubbul Gems | 5: Boné Pond East Cave, Tabahl Woods Cave, Luto’s Channel, Oren Bridge Cave, Cave Under Zora’s Domain |
| Minibosses | Marbled Gohma (Depths), Phantom Ganon, Boss Bokoblin |
| Quests | Mired in Muck (Bazz), Addison’s signpost, Secret Treasure under the Great Fish chest in the cave under Zora’s Domain |
This stretch lights the last Lanayru Wetlands Lightroots in the Depths, then climbs the surface valley of Boné Pond, Tabahl Woods and Upland Zorana toward Zora’s Domain. Everything is listed in route order. Coordinates are map units (X, Y, height): larger Y is further north, and the minimap rim prints the same numbers, so you can match any entry against your own position.
Quick route
Drop into the Lanayru Wetlands Depths, light Uasnoj Lightroot, beat Marbled Gohma for its Huge Crystallized Charge, and light Sekioam Lightroot below Maoikes Shrine.
Return to the surface, climb Upland Zorana Skyview Tower and clean Bazz with a Splash Fruit for Mired in Muck.
Work through Boné Pond East Cave, solve Maoikes Shrine, and clear the Koroks and chests around Boné Pond up to Addison’s signpost.
Sweep Tabahl Woods and the Tabahl Woods Cave, take the Phantom Ganon fight, and finish with Luto’s Channel, Oren Bridge Cave, the Upland Zorana Koroks and the Cave Under Zora’s Domain.
Depths: Uasnoj Lightroot, Marbled Gohma and Sekioam Lightroot
Light Uasnoj, defeat Marbled Gohma and light Sekioam
Uasnoj Lightroot (1742, 18, -480) sits directly under Jonsau Shrine. Light it, then head east to the Marbled Gohma arena at about (1655, -83, -459). Shoot its eye when it opens, break its legs and strike the exposed body; the pedestal chest in the middle opens afterwards for a Huge Crystallized Charge, and the boss drops a Marbled Gohma Leg, a strong fuse material. Keep going east and light Sekioam Lightroot at (2276, 149, -522); it sits below Maoikes Shrine and lets you pop out right at the cave you want next.


Upland Zorana Skyview Tower and Mired in Muck
Climb the tower and activate it
Upland Zorana Skyview Tower stands at (2866, 581, 372), north-east of Tabahl Woods. Use the launcher at the base and activate the terminal at the top to reveal Lanayru Great Spring on the map. The tower is also the starting point for most of the stretch below.
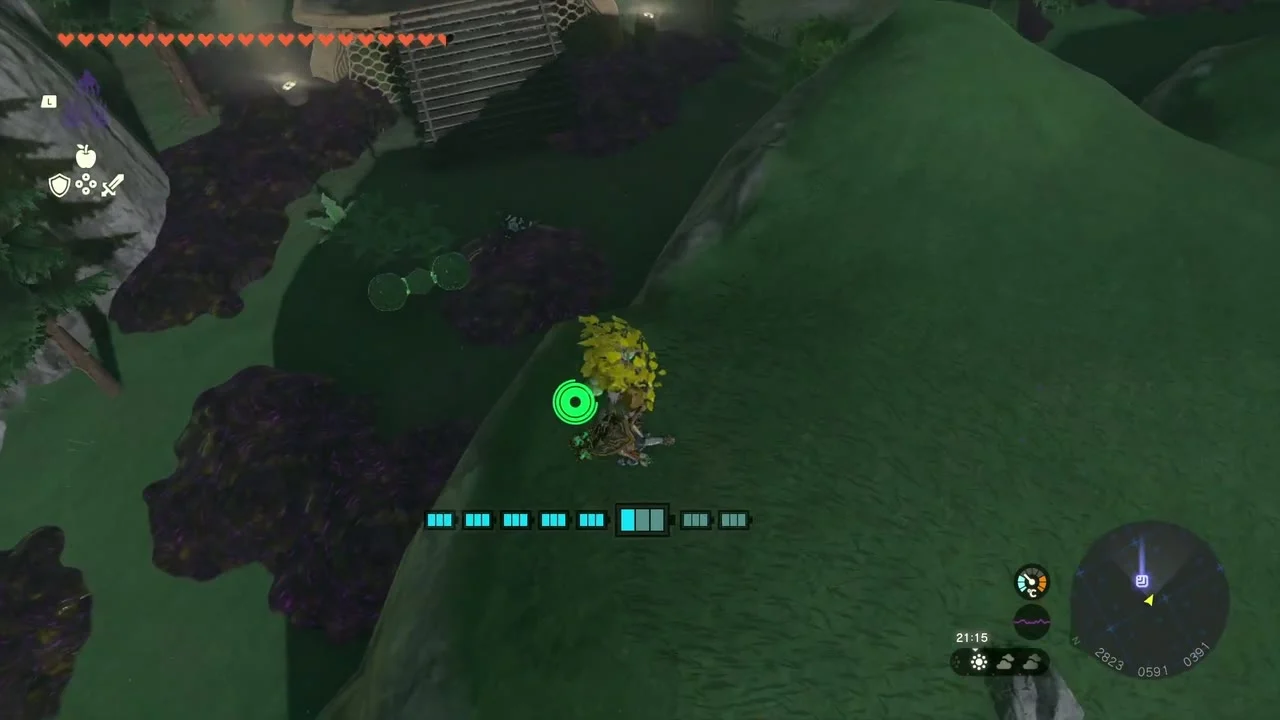

The slope below the tower is covered in gloom-purple patches left behind by the sludge. Avoid walking through them and use the glider to cross the open ground instead, or you will lose hearts for no reason. When you reach the tower, glance at the map: every cave on this page shows as a marker on the Upland Zorana side, and pinning a few stamps now will keep the sweep orderly.
Wash Bazz with a Splash Fruit
Side quest (Mired in Muck). Bazz, a sludge-covered Zora, lies on the slope at the foot of the tower at (2843, 580, 376). Throw a Splash Fruit at him (they grow on the small trees nearby) or fire one from a bow, then talk to him again to receive a Zora Spear. Make room in your weapon slots first.
Boné Pond East Cave and Maoikes Shrine
Cross the cave from the skull entrance
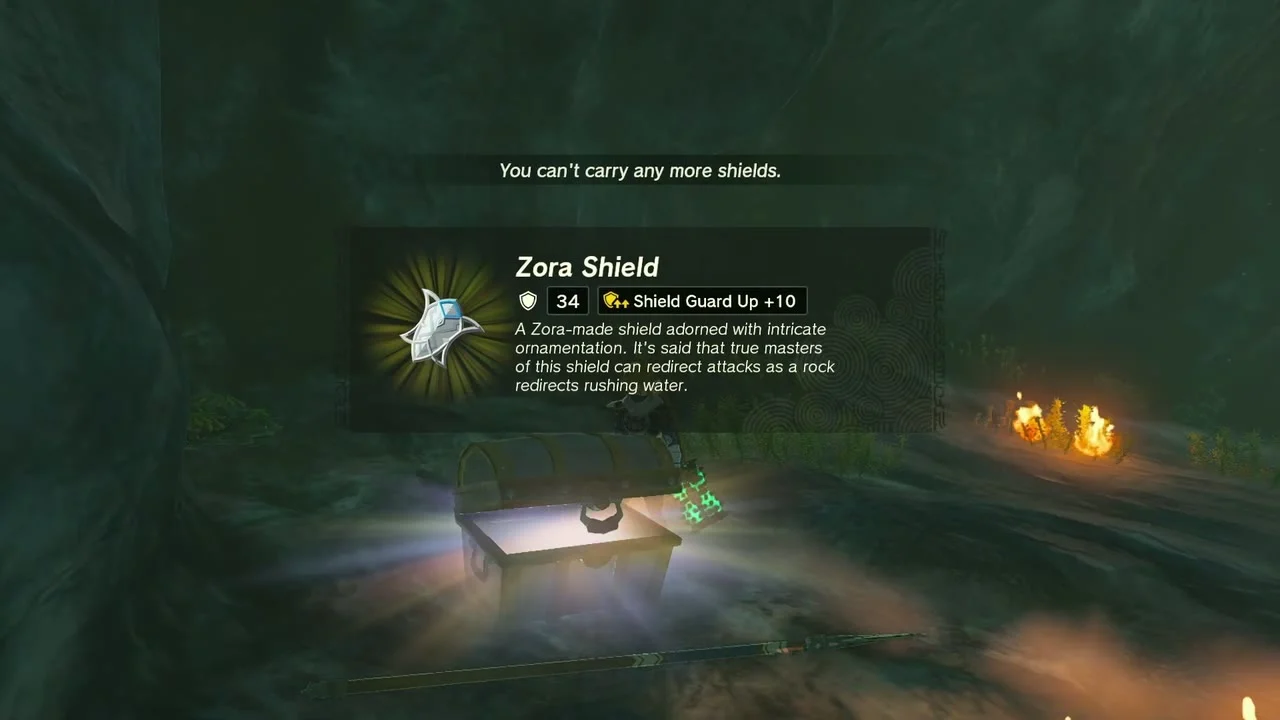
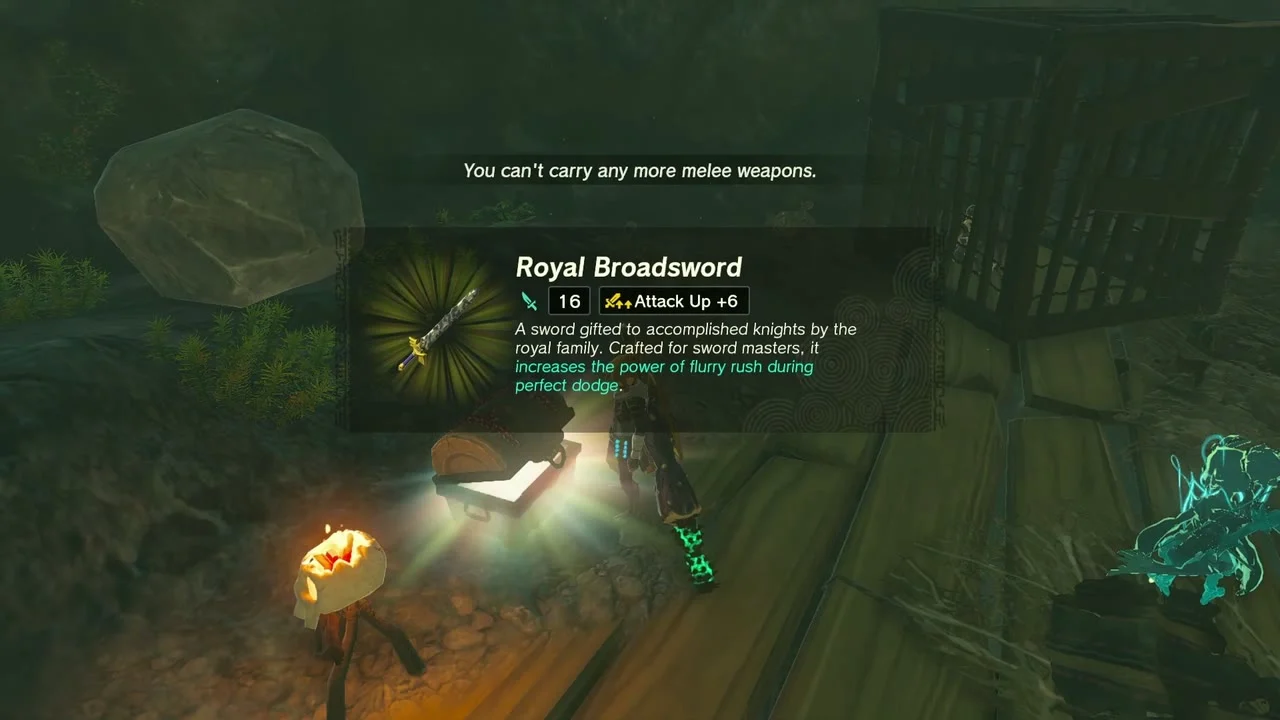
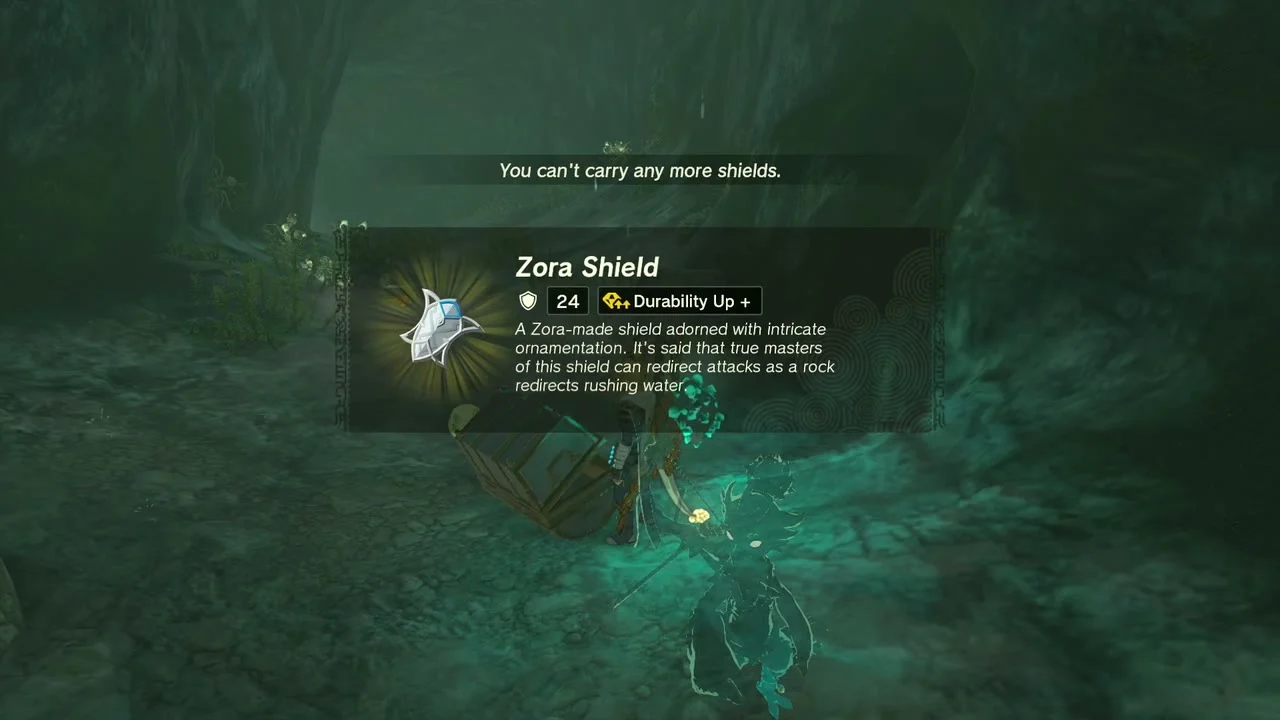
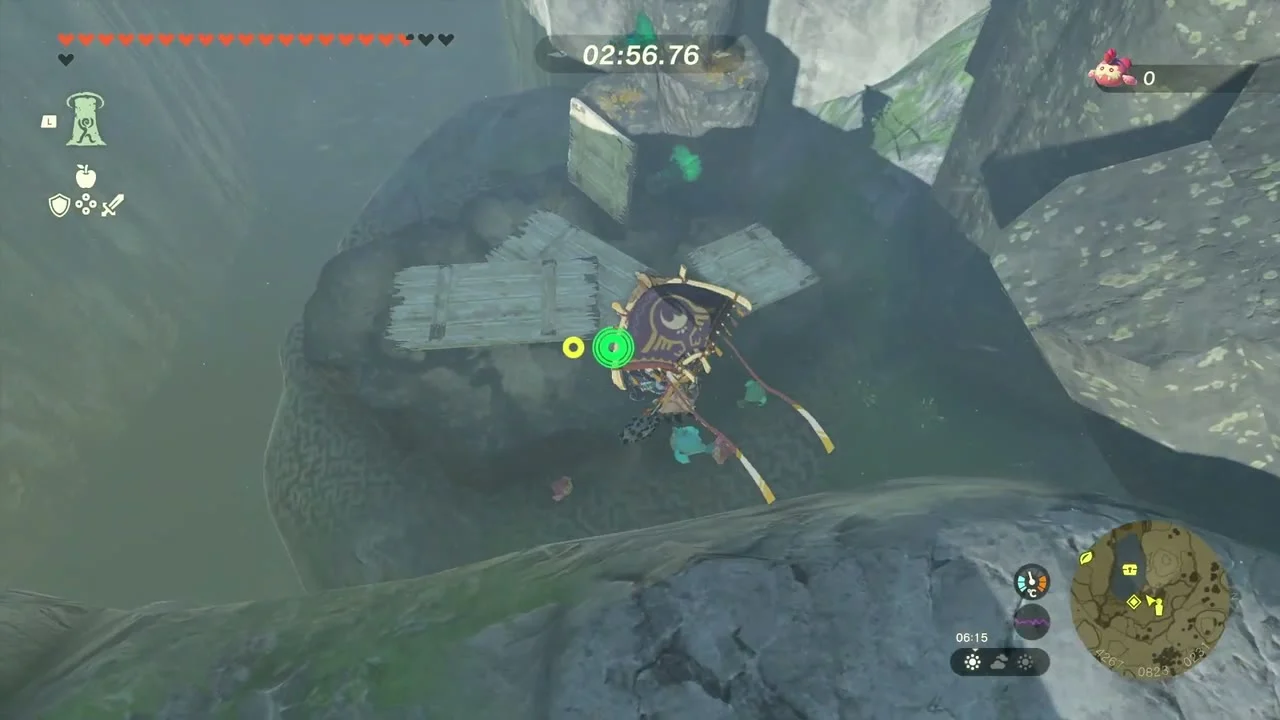
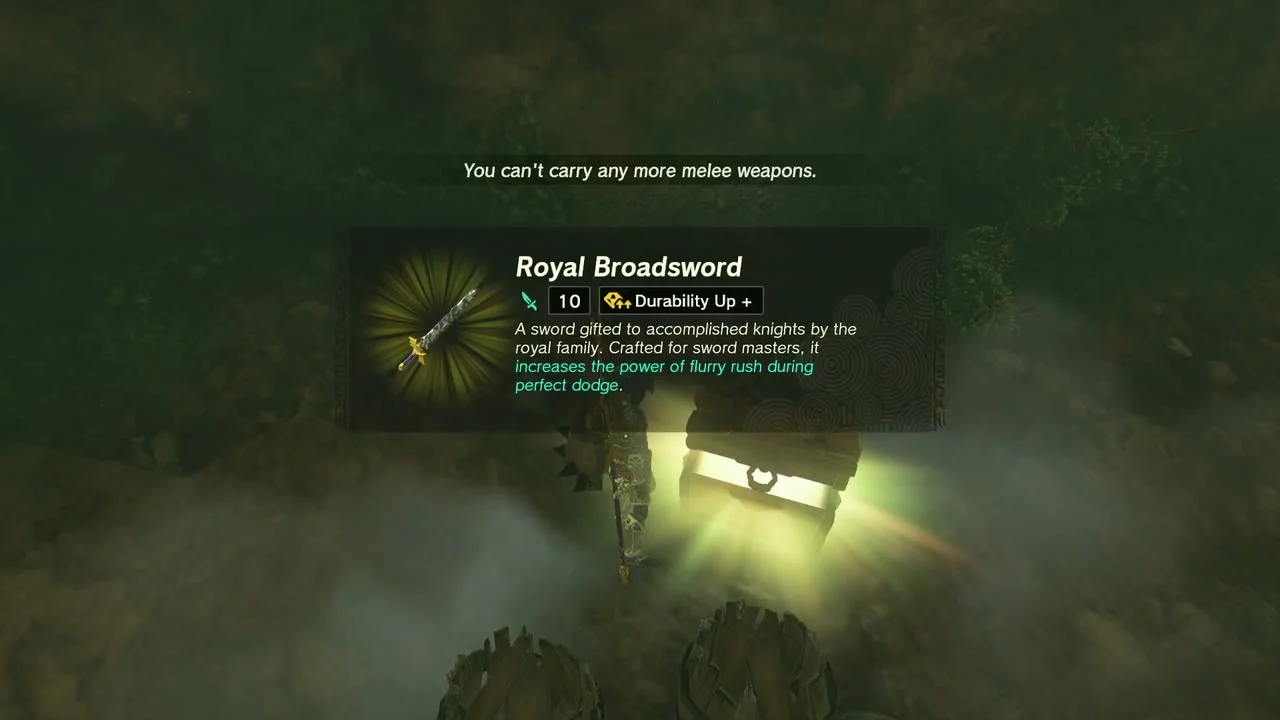
Boné Pond East Cave has four entrances around the skull-topped hill: (2185, 142, 37), (2215, 100, 71), (2260, 108, 110) and (2253, 14, 16). The cave is dark and full of Zonaite-powered Constructs, so light torches and use the Fuse arrows. A chest at about (2273, 66, 34), next to a fire, holds a Zora Shield. Further in, a chest on a plank platform at about (2252, 90, 65) holds a Royal Broadsword (Soldier’s to Royal, depending on your progress), near the Blue Bokoblins and their boss; a Hylian named Hino is caged nearby, and once the Bokoblins are beaten he thanks you with Salt-Grilled Meat, Sneaky Meat, Seafood Fry and a Fairy Tonic. Hino will also tell you the phase of the moon. A Bubbul Gem sits deeper in, where the Bubbulfrog hides in the roots at about (2248, 90, 35); throw a Keese Eyeball for it to jump out.
Clear Maoikes Shrine
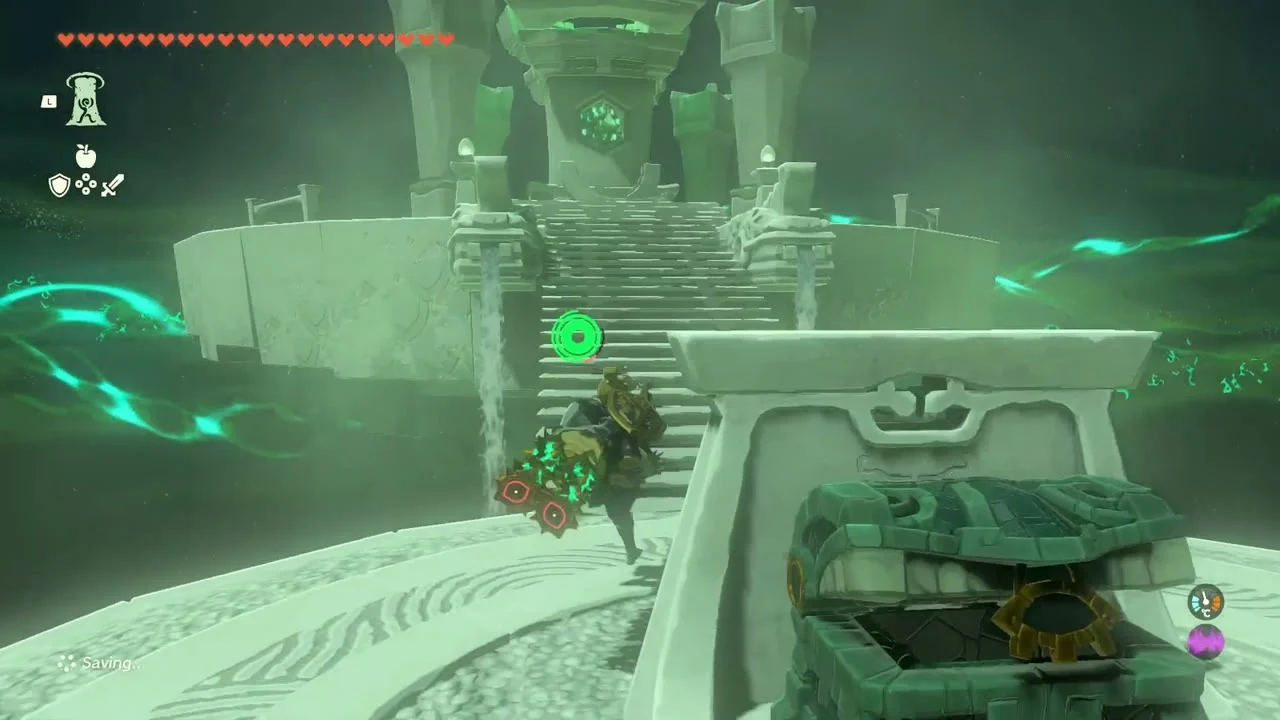
Maoikes Shrine (Rauru’s Blessing, a Rauru’s Blessing shrine) stands at (2276, 147, 92) inside the cave; see the shrine page. Walk up the stairs, open the chest for a Diamond, then step through the glowing ring to the monk and take the Light of Blessing. The Sekioam Lightroot sits below it. The cave’s roof entrance is under the skull-shaped peak, and the Bubbulfrog and boss area lead up to the shrine. The shrine is a pure Rauru’s Blessing: there is no puzzle, only the chest and the monk, so it is the fastest shrine in the valley.

Collect the cave-top Koroks
Korok seed (break the acorn pot, 2307, 132, 104). Above the cave on the grassy summit, throw a bomb flower or any thrown object at the acorn pot to flush the Korok out of the tall grass.


Korok seed (dive into the ring, 2306, 14, 56). Glide from the cliff top above the pond and fly through the ring above the pit; the Korok waits in the crevice below.
Korok seed (complete the cube puzzle, 2211, 49, 52). Past the arched cave mouth, use Ultrahand to lay the loose stone cubes into the square pattern and the Korok springs out.
Boné Pond chests, Addison and the carried Korok
Take the chests along the pond
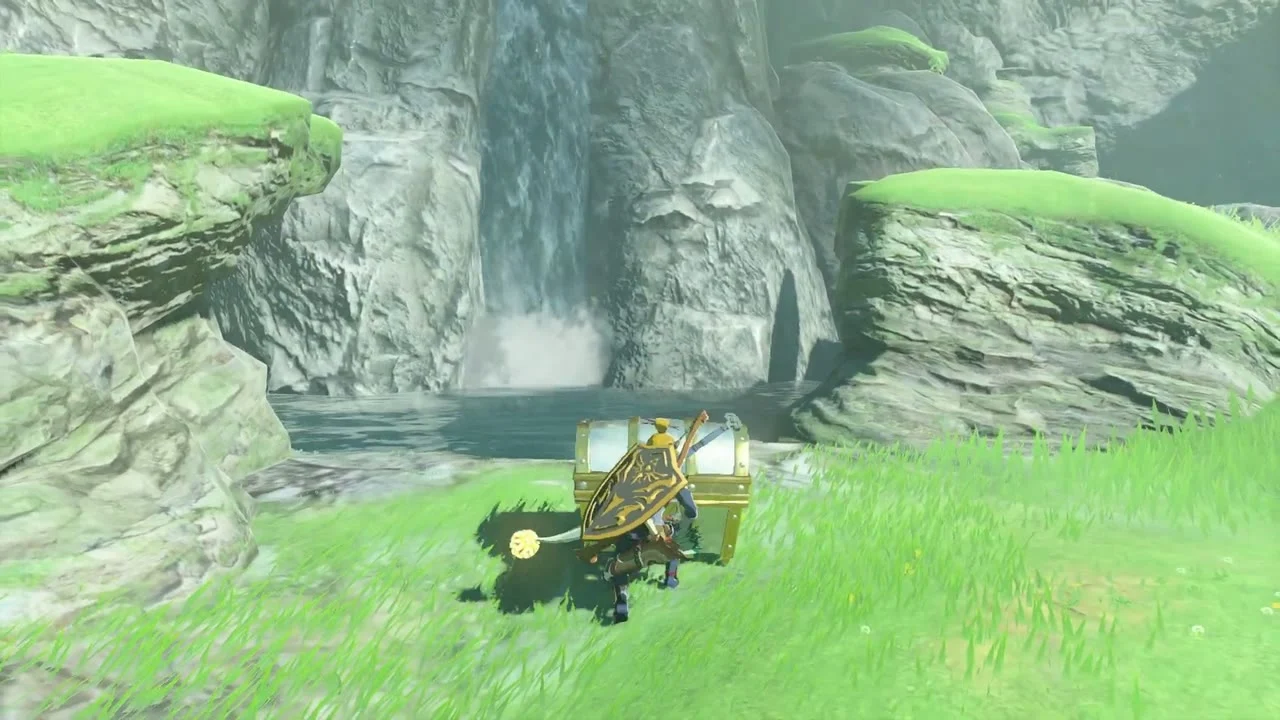
Chest (Ruby). By the waterfall at the west edge of the pond, near (2154, 72, 44), a chest holds a Ruby. Further along the slope, a chest under stacked crates at about (2198, 96, 72) holds a Purple Rupee (this one sits just outside the cave’s west exit), and a chest on a rock in the river at about (2177, 190, 9) holds an Arrow. Grab the wooden crates for materials as you pass.


Fix Addison’s signpost and deliver the Korok
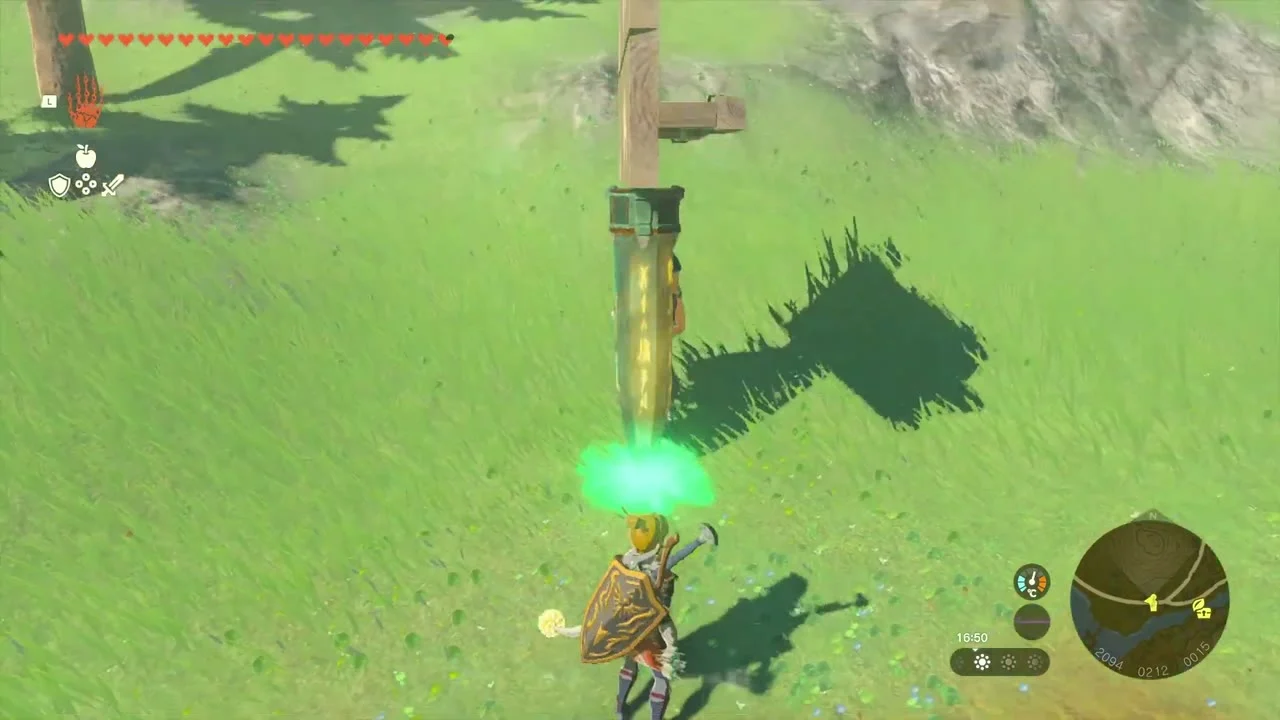
Addison’s signpost (2188, 189, 9). A signboard lies beside the road at the river bend. Stand it up with Ultrahand and let go; Addison pays you in rupees.


Korok seeds x2 (carry the exhausted Korok, friend at 2201, 158, 34). Pick up the exhausted Korok on the road and carry it north to its friend in the tent at (2201, 158, 34). Both Koroks give a seed.
Korok seed (shoot the balloon, 2334, 273, 27). Near the Zora ruins on the hill north-east, shoot the balloon hanging over the cannon platform.
Tabahl Woods
The woods are a mix of grassy ridges and river canyons, with the four Koroks below spread across a short loop. Start at the rock ledge above the pond, climb east along the ridge to the flower trail, and finish in the canyon with the hollow log. Fast-travel back to the tower afterwards to restart the loop from the north.
Lift the rock, copy the pattern and follow the flower
Korok seed (lift the rock, 2471, 150, 79). On the rock ledge above the pond, lift the boulder at (2471, 150, 79).

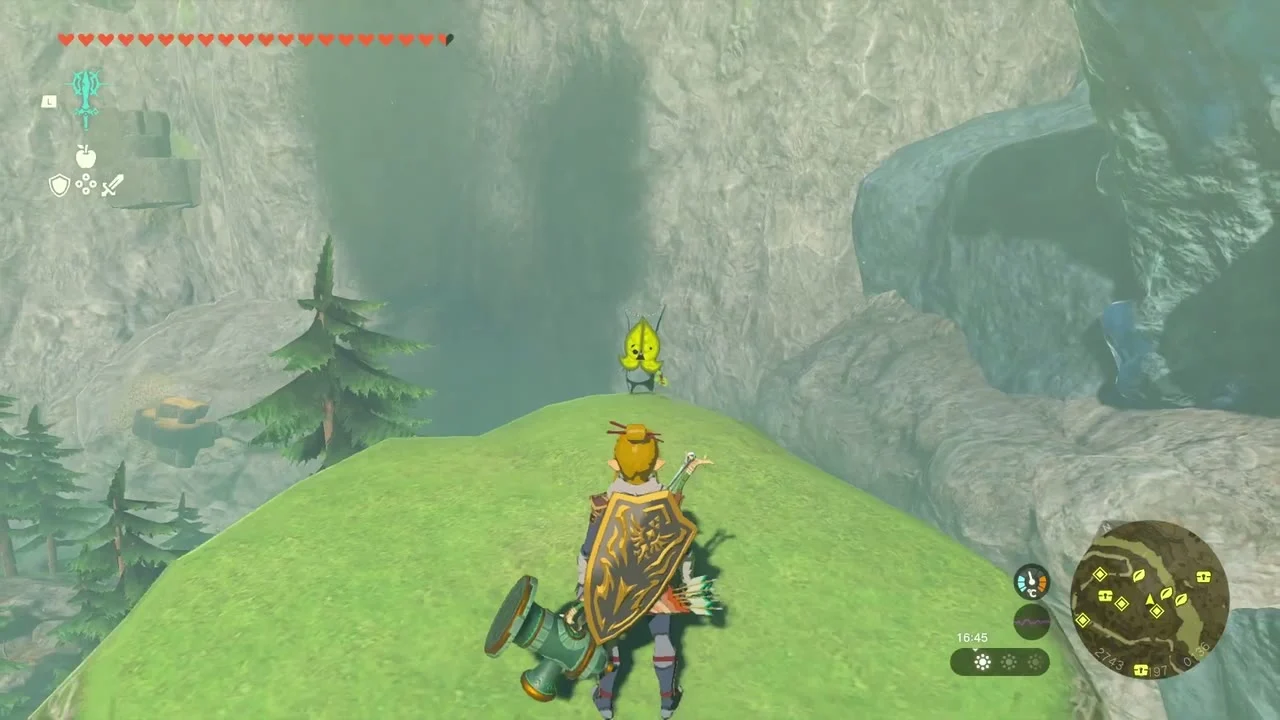

Korok seed (complete the rock pattern, 2460, -40, 79). A ring of pale stones sits on the cliff south of Boné Pond; return the loose stones to the ring.
Korok seed (follow the flower, 2746, 202, 137). Follow the trail of flowers along the ridge to the Korok on the hilltop.
Korok seed (pull the plug, 2782, 197, 81). By the river in the narrow canyon, pull the plug out of the hollow log to drain it and the Korok pops out.
Search Tabahl Woods Cave
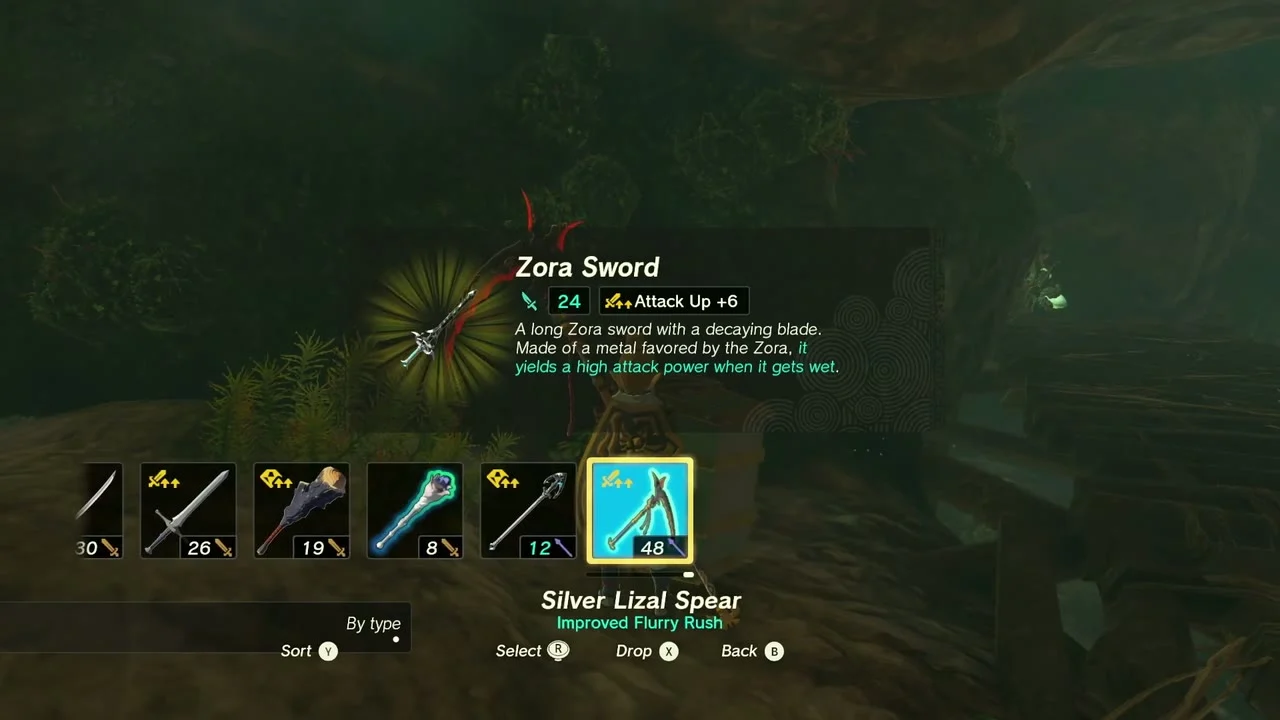
Tabahl Woods Well (2746, 175, 114) is a short walk from the path. Tabahl Woods Cave has entrances at (2674, 287, 89), (2605, 227, 75) and (2679, 217, 92). All three entrances open into one room with a pair of Horriblins and a Bubbulfrog, so the Bubbul Gem is easy to take. The single chest, at the north-west end of the cave, holds a Lizal Spear (Blue to Silver, depending on your progress).

Beat the Phantom Ganon and open the shield chests
Miniboss (Phantom Ganon, 2544, 246, 65). A Phantom Ganon patrols the road east of the woods. Sidestep its swings and counter. Nearby, a chest holds a Mighty Zonaite Shield (Strong or Mighty, depending on your progress), and a second chest further along holds a Zora Shield.


Collect the Upland Zorana Koroks
Korok seed (use Ascend on the marker, 2673, -11, 107). Beneath a ceiling of rock, use Ascend through the marked spot to emerge at the Korok.
Korok seed (follow the flower, 3011, -370, 193) and Korok seed (examine where the arrows point, 2960, -53, 144). Follow the flower trail up the south ridge, then follow the painted arrows on the next hill to the second Korok.
Korok seed (shoot the balloon, 2951, -78, 317). From the peak, shoot the balloon hanging in the air for the seed. A chest near (3012, -237, 244) holds a Mighty Zonaite Spear (Strong or Mighty, depending on your progress).
Luto’s Channel
The valley east of the woods drops towards the Zora river. Luto’s Channel is the first of the flooded caves; the entrance faces the river, so swim or glide in from the north bank and keep your glider ready to cross the gaps between the stone shelves.
Swim through the channel
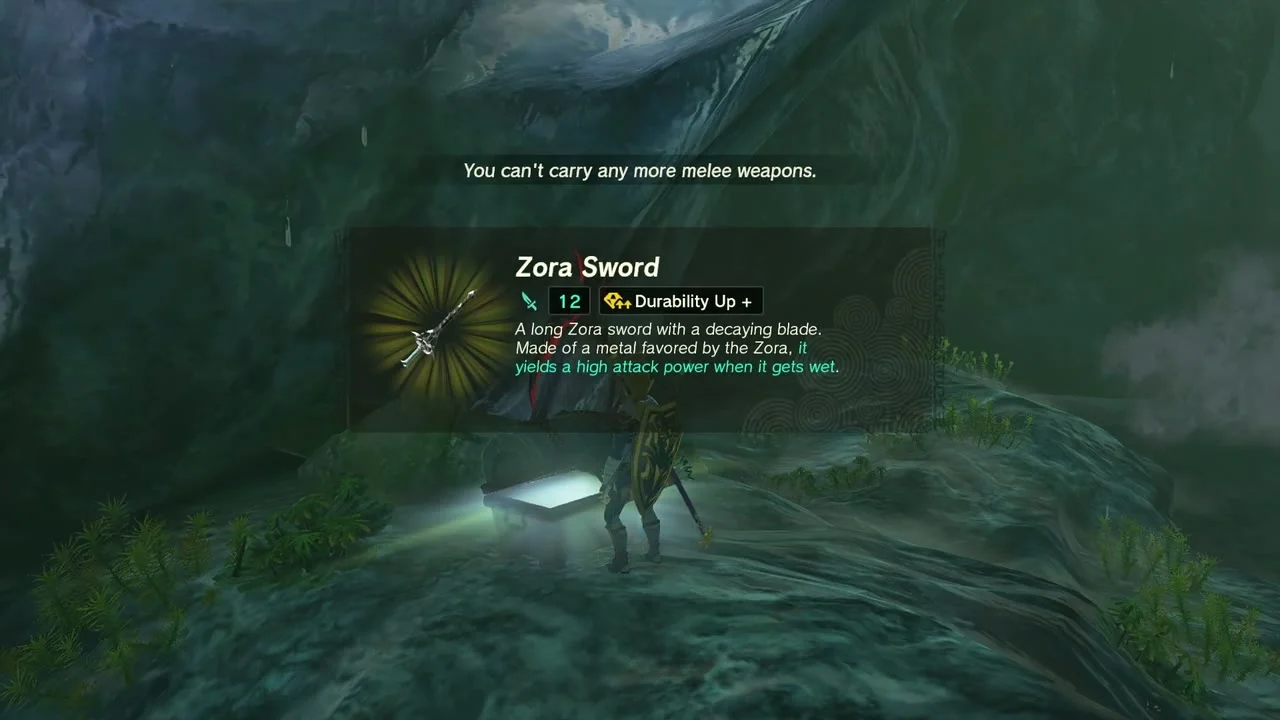
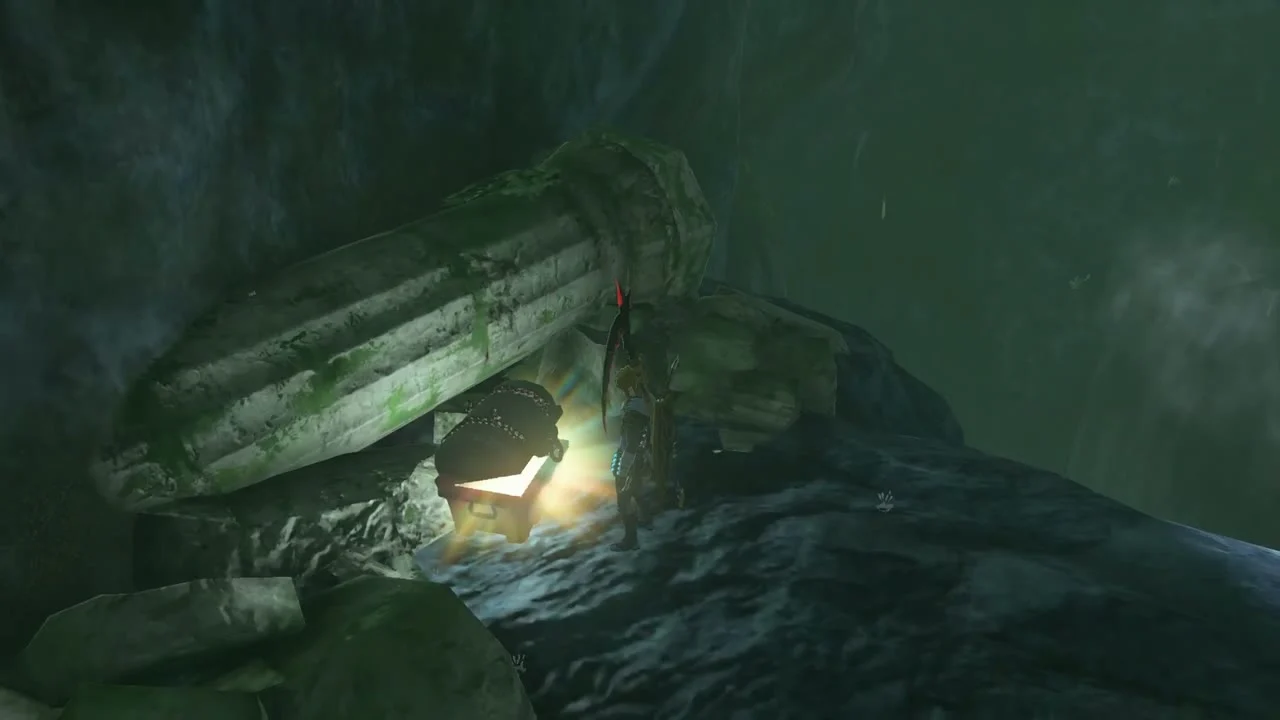
Luto’s Channel (3094, -51, 79) is a short flooded cave on the riverbank south of Luto’s Crossing. Cross the wooden planks over the fast river (Recall reverses their direction) and Ascend from the opposite bank; the tunnel mouth is slippery. A chest at the back holds a Zora Sword and another chest holds a shield; past the waterfall at the east end a chest holds a Zora Shield. The Bubbul Gem is in a separate room reached by climbing up at the west end.
Oren Bridge, Luto’s Crossing and the cave under Zora’s Domain
This last stretch follows the Zora river from Oren Bridge to the Great Zora Bridge below Zora’s Domain. The road is lined with chests, so you will want a few free weapon slots, and the river gives you a free ride on a Zonai raft if you do not want to walk the bank.
Search Oren Bridge Cave and the Koroks along the road
Oren Bridge Cave (2909, -65, 81) is hidden below the bridge. A Bubbul Gem is in the first chamber and a chest holds a Royal Claymore (Soldier’s to Royal, depending on your progress). Stand on the wooden board at the end of the water and Ascend into the room above; the chest and the Bubbulfrog are up there.


Korok seed (lift the rock, 2851, -27, 80). On the river rock by the bridge, pick up the boulder.
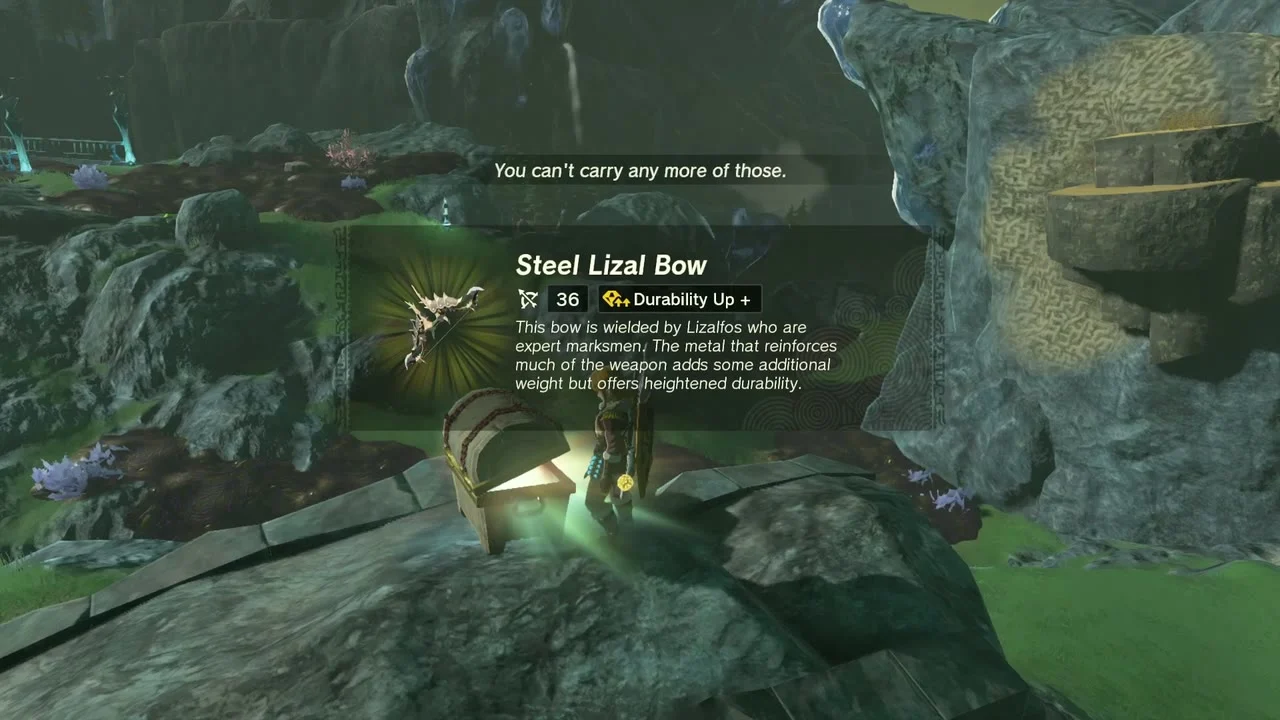
Chests along the road: a Zora Bow beside the crates at about (2845, 23, 83), a Zora Spear at the roadside, another Zora Spear on the rock further along, and a Steel Lizal Bow (or Lizal Bow or Strengthened Lizal Bow, depending on your progress) on a rock ledge.
Take the target Korok and the sparkle Korok
Korok seed (paraglide to the goal, 3272, -13, 277). Glide from the top of the ridge to the target ring on the cliff.

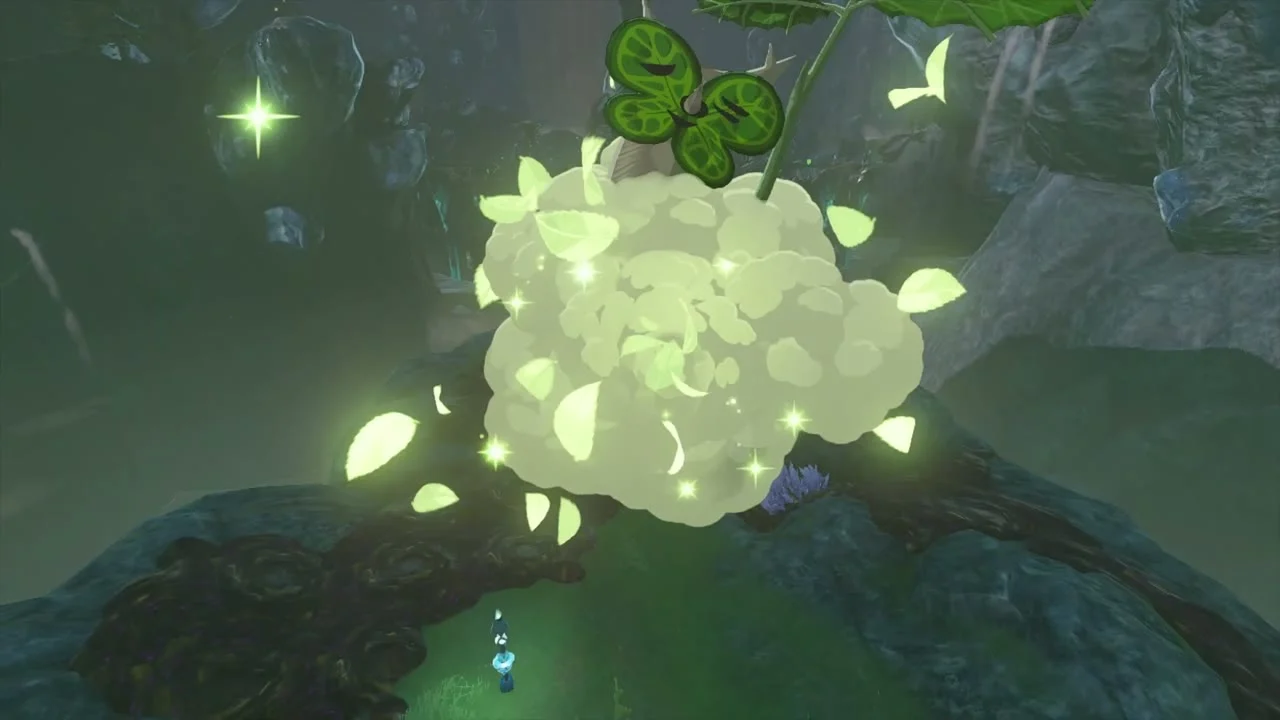

Korok seeds (examine the sparkle, 3192, 226, 151; lift the rock, 3219, 282, 78). North of Luto’s Crossing, step into the sparkle in the bushes, then lift the boulder at (3219, 282, 78) for the second seed.
Reach the cave under Zora’s Domain
Take the road east from Luto’s Crossing towards the Great Zora Bridge; the waterfall entrance is below its western end. Once inside you can fish for Zora materials in the pool, but the chest is the goal.
Miniboss (Boss Bokoblin). A Boss Bokoblin guards Luto’s Crossing at (3067, 3, 157).
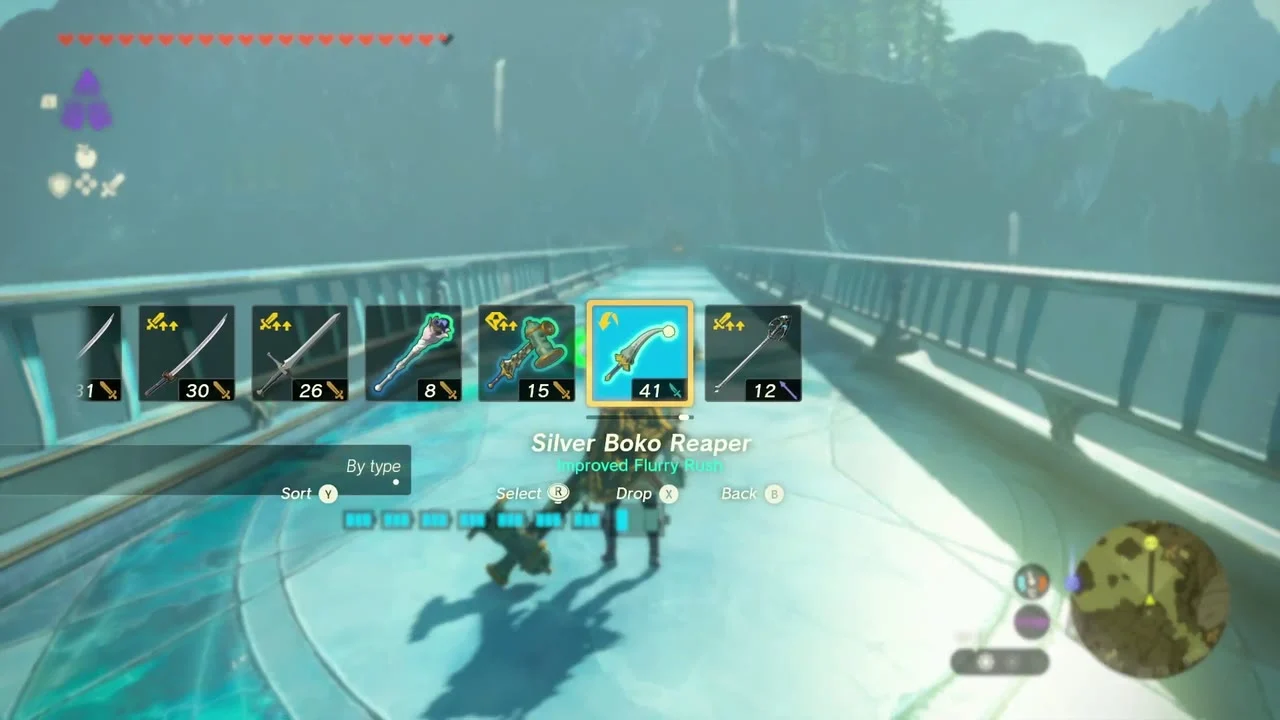


Cave Under Zora’s Domain (3240, 373, 75). Behind the waterfall below the Great Zora Bridge, a chest at about (3334, 532, 17) holds the Vah Ruta Divine Helm; a Bubbul Gem is further along. Take off the Zora armor or it launches you up the waterfall.
Collectibles in this chapter
- Shrines: 1 (Maoikes); Depths Lightroots lit: 2 (Uasnoj, Sekioam)
- Caves: 4, plus Luto’s Channel; well: 1 (Tabahl Woods); Bubbul Gems: 5
- Korok seeds: 18
- Minibosses: Marbled Gohma, Phantom Ganon, Boss Bokoblin
- Quests: Mired in Muck
Also in this area
These datamined Korok seeds lie in the same valley and were not collected on this route: exhausted Korok at (2619, 56, 119) with its friend; exhausted Korok at (2640, 633, 177); sparkle at (2425, 409, 195); target ring at (2580, 488, 182); sparkle at (2554, 767, 118); acorn pot at (2941, 210, 206); target ring at (2954, 256, 222); dive ring at (3135, -432, 13); fruit statues at (3203, -661, 0); rock pattern at (3010, -785, 146); rock pattern at (3167, 586, 115); balloon at (3284, 338, 250); sparkle at (3322, 515, 308); lift rock at (3329, 532, 112).
Zora stone monuments
Sidon has re-inscribed the old Zora stone monuments (Learnings of the Zora) around the spring. Several sit on this route: Part Two on the cliff north of Oren Bridge, Part Four south of Luto’s Crossing, and Part One south of Ralis Pond. They are lore only and do not give a reward, but each one marks a good vantage point for spotting the nearby Koroks and chests from the air.
Mired in Muck, step by step
Bazz stays frozen in the sludge until water touches him, so a single Splash Fruit is enough. Pick the fruit from the small trees beside the tower, stand within a couple of paces and throw it at him, or place it on the ground and strike it with a weapon. Talk to him again, and accept the Zora Spear only after you have emptied a weapon slot, otherwise the spear will not fit.
Cave tips
Boné Pond East Cave is the busiest of the four, so do it after Sekioam Lightroot: you can exit the Depths directly beneath the cave, light the torches near the chests and fight the Constructs near the doorway. Tabahl Woods Cave is a single room, so it is a quick stop for its one chest and the Bubbulfrog. Luto’s Channel and the Cave Under Zora’s Domain are flooded, so keep your stamina up and bring Swim Speed food if you have it.
What to carry
Bring spare arrows for the balloon and sparkle Koroks, several Zonai fans or a Zonai wing for the carried Korok, a dozen Splash Fruit or Chuchu Jelly for gloom and mud, and a few cooked meals for cold and gloom damage. The chests in this stretch mostly hold Zora weapons, so empty your weapon slots before the Upland Zorana loop and keep your best Fuse materials for the Phantom Ganon.
Route tips
Bring a Splash Fruit for Bazz, Keese Eyeballs for the Bubbulfrogs, and Brightbloom Seeds for the Depths. Upland Zorana Skyview Tower is the best fast-travel point for every stop after Tabahl Woods.
Part 2: Ralis Channel, 3 shrines, 8 caves, 40 Korok seeds, Zora Greaves and Lightscale Trident
| Region | Lanayru Great Spring surface: Upland Zorana, Ralis Channel, Sokkala Bridge, Ulria Grotto and Ja’Abu Ridge |
|---|---|
| Shrines | Joniu (Rauru’s Blessing), Rasitakiwak (Proving Grounds: Vehicles), Gatanisis (A Well-Timed Bounce) |
| Caves | 8, each with a Bubbul Gem |
| Side quests | The Blue Stone, A Token of Friendship, Glory of the Zora, The Fort at Ja’Abu Ridge, The Moonlit Princess, The Never-Ending Lecture, A Wife Wafted Away, True Treasure, A Crabulous Deal |
| Korok seeds | 40 |
| Armor | Zora Greaves, Climbing Boots |
Clear the surface around Upland Zorana and Ulria Grotto after the Water Temple: eight caves, three shrines, the Zora Greaves and Lightscale Trident quests, and 40 Korok seeds.
Quick route
Start in Zora’s Domain by collecting the side quests, then work the Reservoir Lakefront Cavern, Upland Zorana Foothill Cave and the Zora Greaves chest in the Ancient Zora Waterworks, taking the four Korok seeds on the plateau and the Mighty Zonaite Spear (Strong or Mighty, depending on your progress) chest as you go.
Move west for the Ralis Channel and Joniu Shrine, then clear the Upland Zorana Summit Cave, Byroad and Mountainside caves, the Boss Bokoblin and the Stone Talus, collecting eight Korok seeds on the way.
Head east over Sokkala Bridge for the chests, the Lynel and the Battle Talus, take Rasitakiwak Shrine, then finish with the Ulria Grotto caves, Gatanisis Shrine, the Goddess Statue, the Ja’Abu Ridge fort and fourteen more Korok seeds.
Upland Zorana and the Waterworks
Collect the Zora’s Domain side quests
Side quests in Zora’s Domain, all picked up in the town before you head out. The Never-Ending Lecture (Chroma and Khira: the Zora helm is hidden in a sky fish), The Moonlit Princess (Seggin: photograph the Mipha statue in moonlight at Mipha’s Court and show him), A Wife Wafted Away (Fronk: his wife Mei is on a sky island above the domain), True Treasure (Kodah: Tarm Point Cave), A Crabulous Deal (Cleff: 10 Bright-Eyed Crabs for a Sapphire), Glory of the Zora (Dento), The Fort at Ja’Abu Ridge (Gaddison) and The Blue Stone (Ledo, East Reservoir Lake).
Fetch the blue stone from the Reservoir Lakefront Cavern
Reservoir Lakefront Cavern at (3809, 419, 208), on the shore of East Reservoir Lake. This is the cave Ledo mentions for The Blue Stone: Ledo rewards the stone with Zora Fabric. Strike the Bubbulfrog inside for a Bubbul Gem.

Collect the four Korok seeds on the plateau
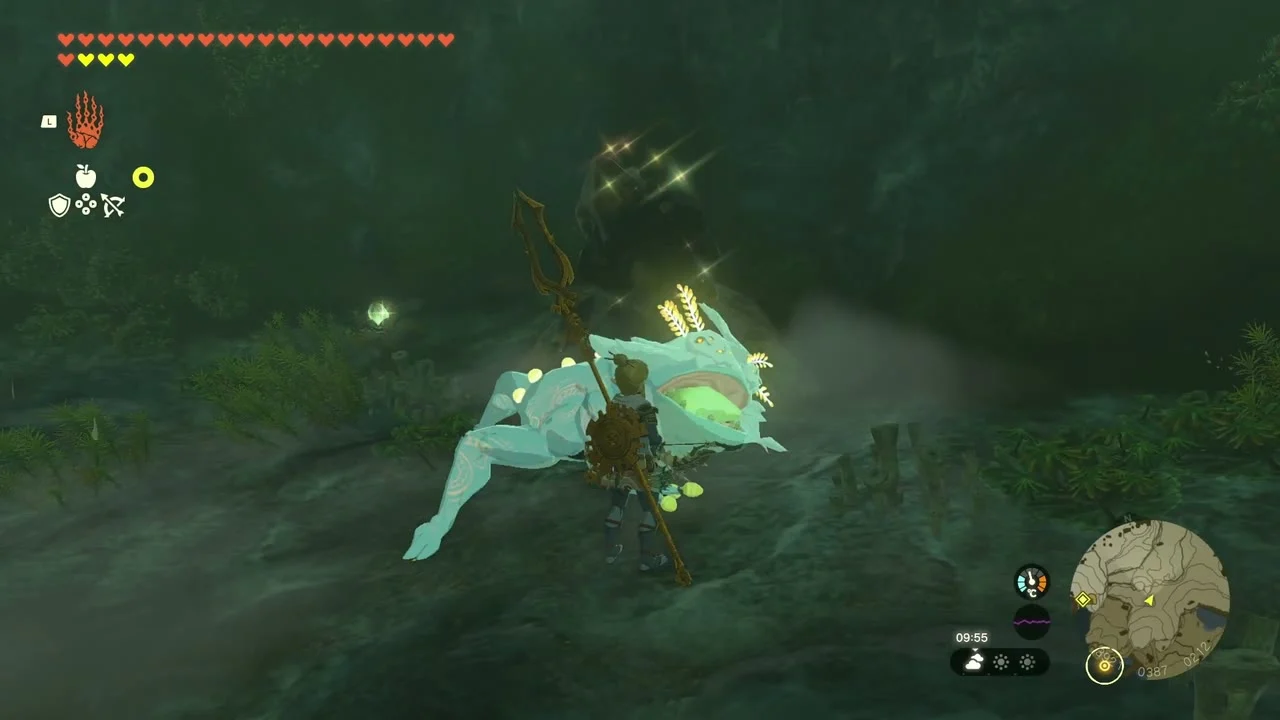
Korok seeds in the Upland Zorana area: Pop the hidden balloon at (3588, 416, 207) by the stone arch on the shore; Follow the flower at (3678, 450, 257), following the petals up the cliff; Complete the rock pattern at (3167, 586, 115), setting the loose stones into the missing circle; and Dive into the ring at (3387, 741, 177), skydiving through the ring over the river.


Find the Zora Greaves for Yona
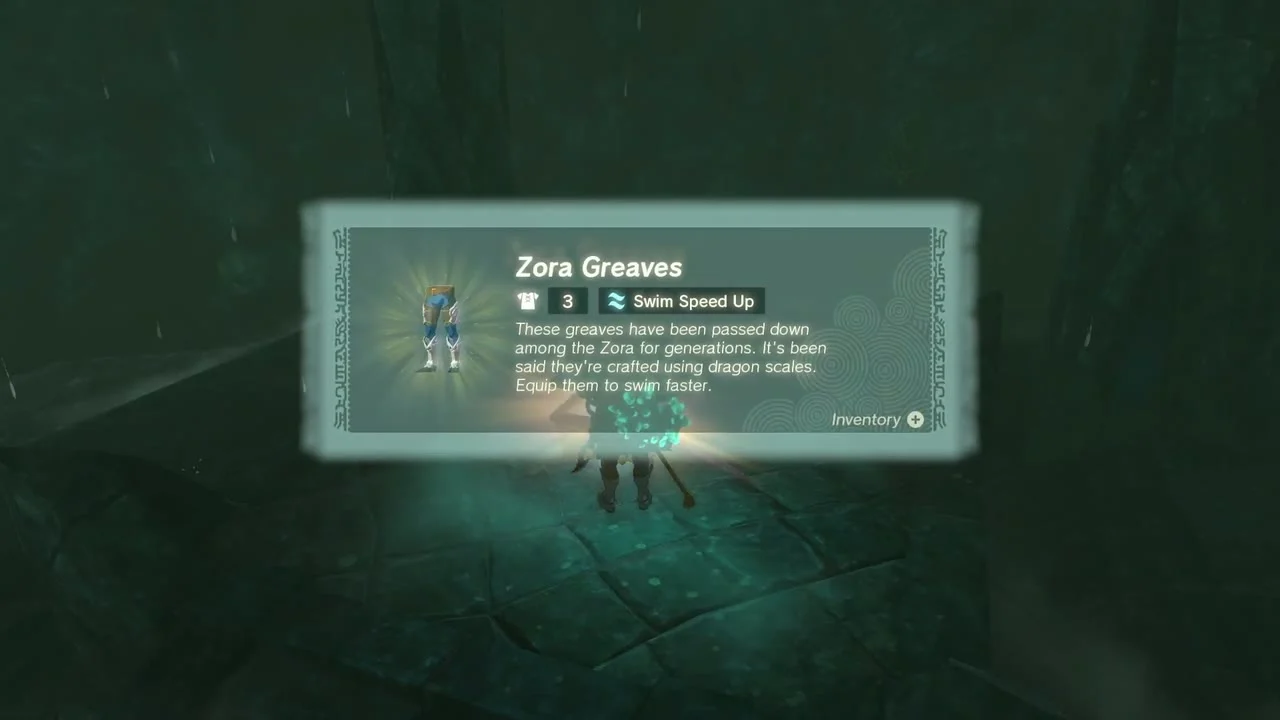
Chest: Zora Greaves at about (3585, 247, -105) in the Ancient Zora Waterworks. After the Water Temple and the Sidon of the Zora main quest, talk to Yona in Zora’s Domain to start A Token of Friendship. Dive into the whirlpool in East Reservoir Lake; the waterworks are now drained. On the bottom level, run around the large central pillar to a hole in the floor and drop through. You land beside a Stone Talus at about (3632, 280, -103), which you can fight by hitting the ore on its back or simply run past. The chest sits behind the waterfall at the back of the room: open it for the Zora Greaves, which completes the quest.

Take the Mighty Zonaite Spear chest and the Boss Bokoblin
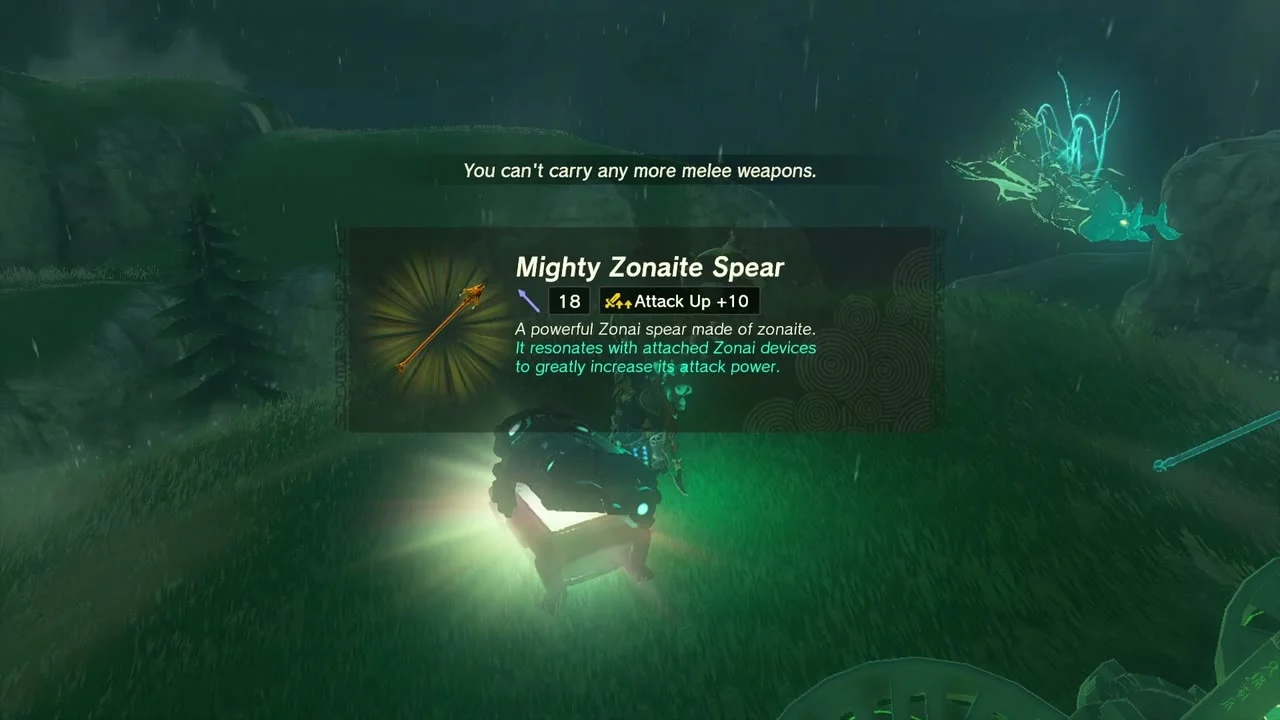
Chest: Mighty Zonaite Spear at about (3184, 933, 448), on a ridge north of Upland Zorana: open it for a Mighty Zonaite Spear. The Boss Bokoblin camp is at about (3148, 892, 422) just below; hit it with arrows or bombs from range.

Clear Upland Zorana Foothill Cave and forge the Lightscale Trident
Upland Zorana Foothill Cave at (3147, 667, 177). Inside, strike the Bubbulfrog (about (3043, 721, 227)) for a Bubbul Gem and open the chest at about (3060, 721, 226) for a Zora Spear. Take the spear, three Diamonds and five Flint to Dento in the workshop behind the shop in Zora’s Domain to finish Glory of the Zora and receive the Lightscale Trident. The quest unlocks once the sludge is cleared from Zora’s Domain, and even a decayed spear is accepted. Diamonds are the bottleneck: smash every ore deposit and Luminous Stone you meet, and some shrine chests (Yomizuk, Sihajog) also hold one. The Trident does double damage while you are wet and Dento will reforge it if it breaks.


Ralis Channel and the Byroad caves
Open the first Zora Shield chest and take the nearby Korok seeds
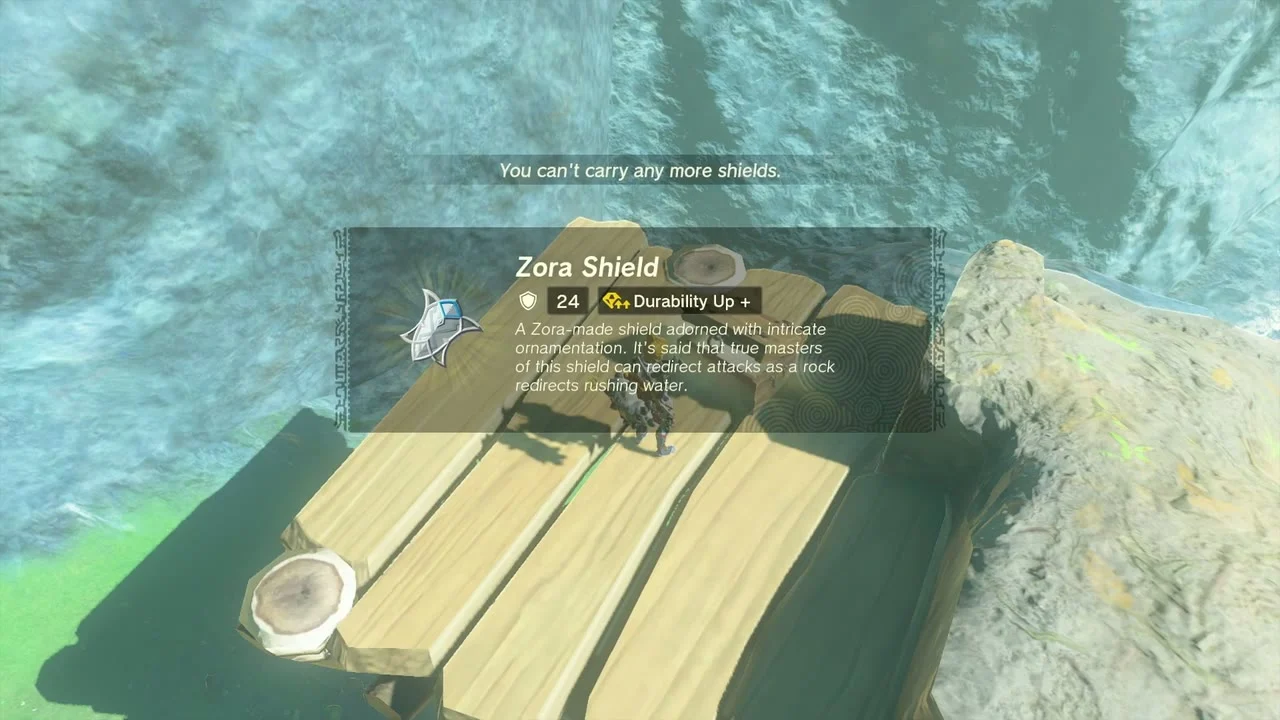
Chest: Zora Shield at about (3113, 739, 332), on a wooden platform in the highlands: take the Zora Shield. Nearby Korok seeds: (3105, 462, 173) at the waterfall pool; (3075, 176, 261) on the rocky peak overlooking the valley; and Break the hidden acorn pot at (2940, 208, 205), breaking the pot beside the Korok.

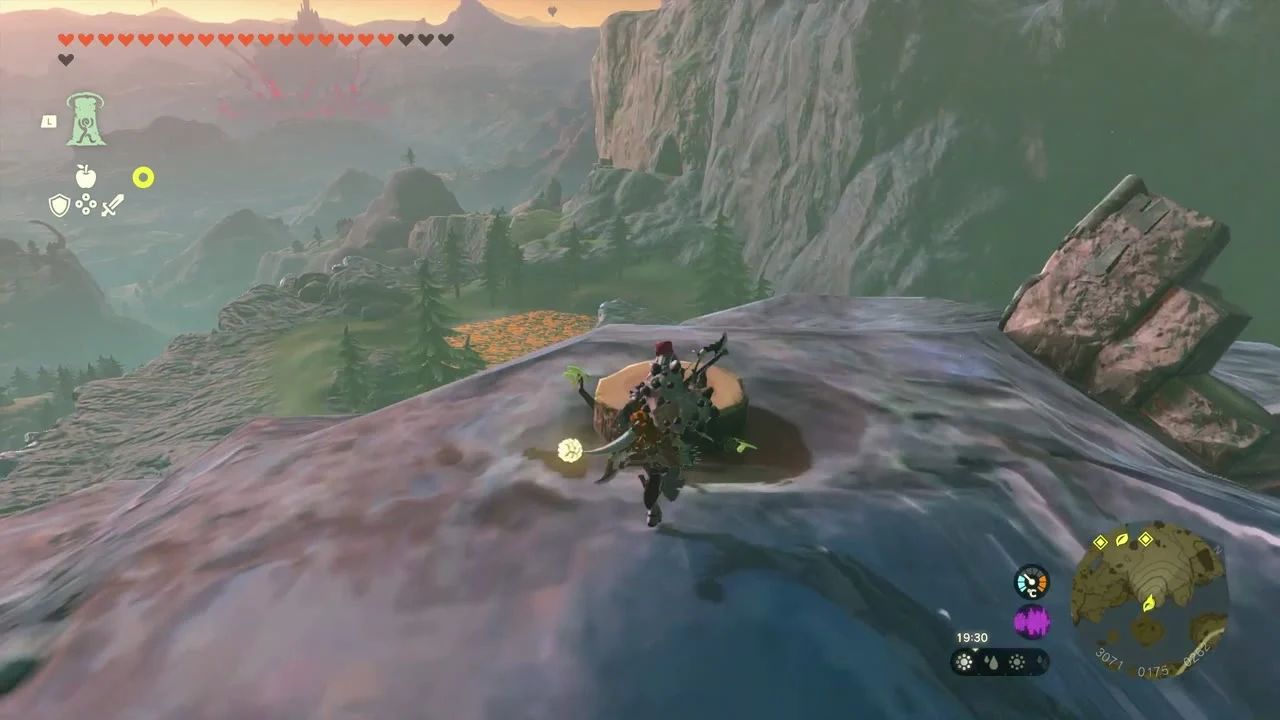
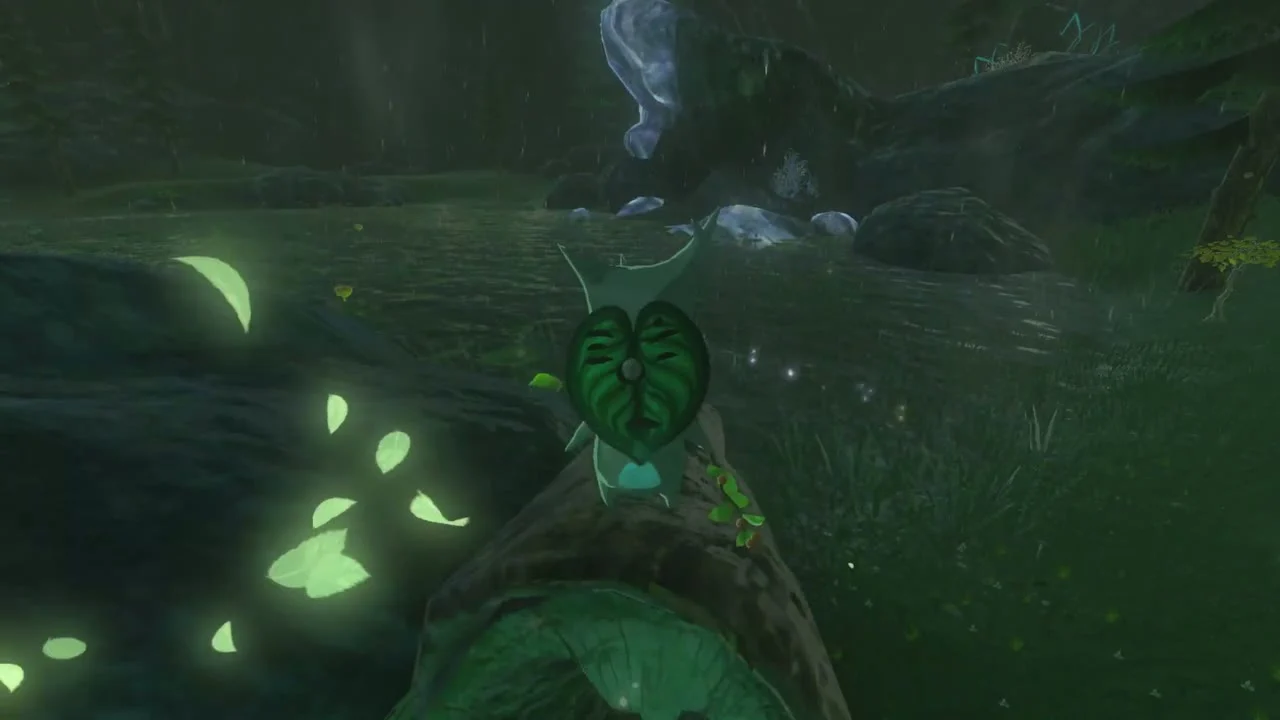
Clear Ralis Channel and Joniu Shrine
Ralis Channel cave at (2958, 253, 202). Inside, collect the Arrow x5 chest and strike the Bubbulfrog for a Bubbul Gem; the shrine quest The Ralis Channel Crystal has you place the rock and carry the crystal to Joniu Shrine at (2918, 507, 168), trial Rauru’s Blessing. Its chest holds a Large Zonai Charge and the Lightroot below is Uinoj at (2918, 508, -816).

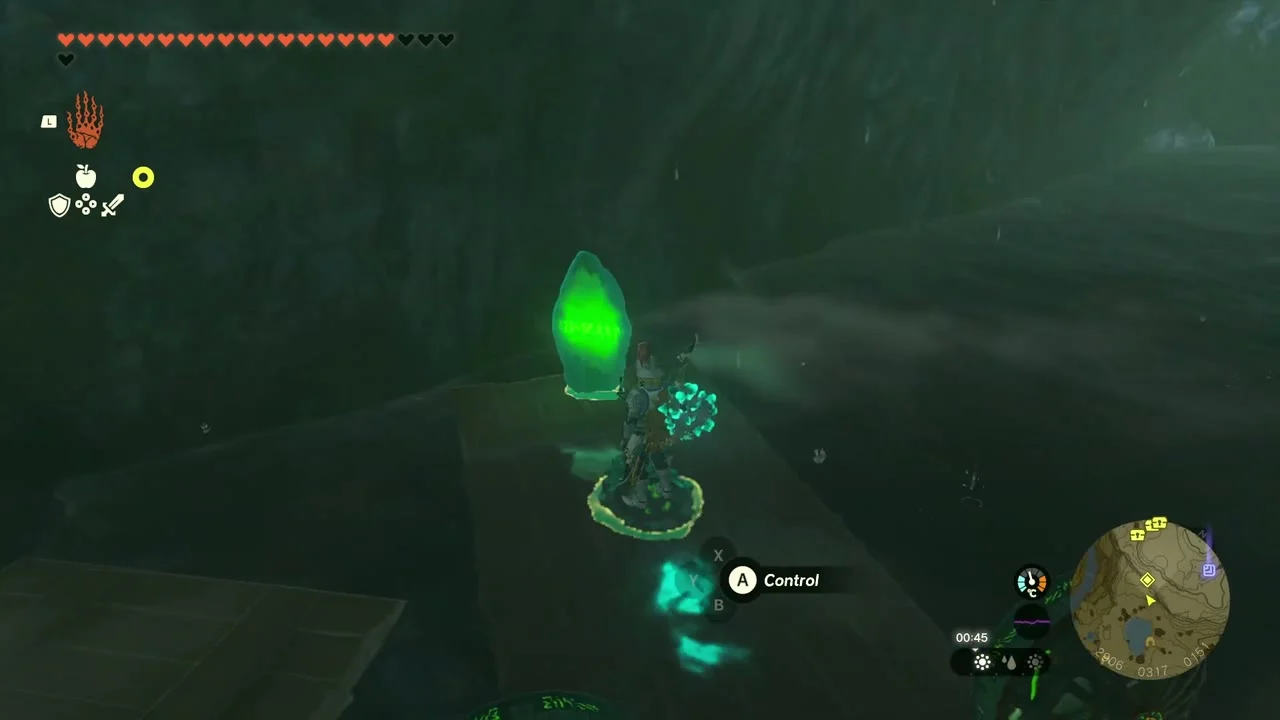

Strike the Bubbulfrog in the Summit Cave
Upland Zorana Summit Cave at (2850, 477, 324). Follow the passage to the pool at the back and strike the Bubbulfrog for a Bubbul Gem.

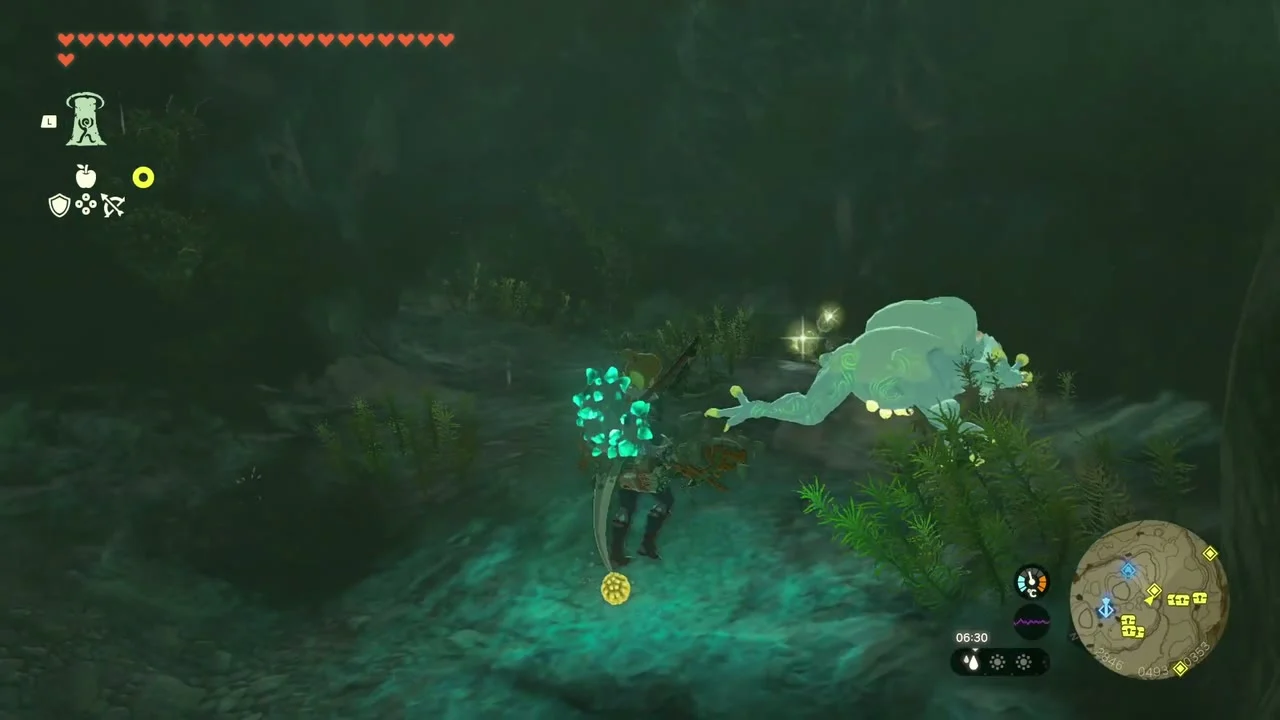
Collect the five Byroad chests and its Bubbul Gem
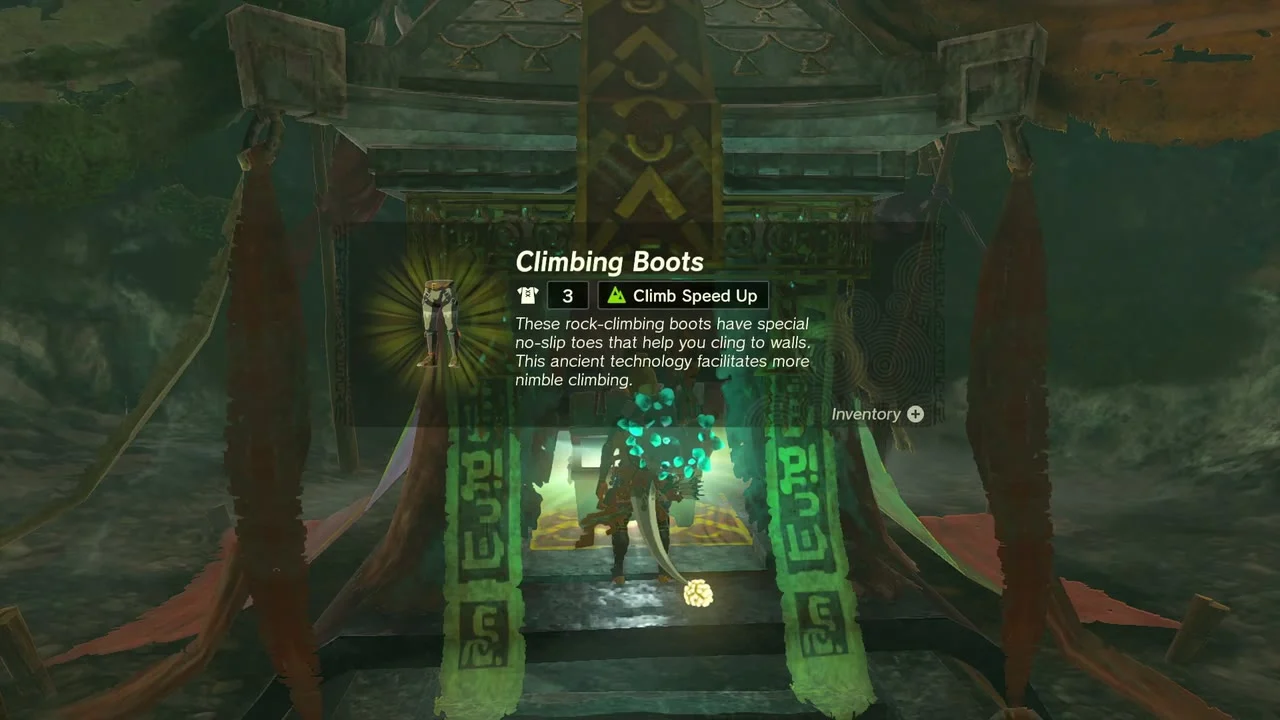
Upland Zorana Byroad at (2863, 346, 227) with five chests: a Zora Shield near the entrance (2819, 437, 218), a Zora Sword (2814, 457, 226), an Arrow (2778, 538, 188), Climbing Boots (about (2831, 549)) and a second Zora Shield (2799, 398, 212). Strike the Bubbulfrog at about (2811, 520, 187) for a Bubbul Gem. Lift the floodgate at the back of the flooded room with Ultrahand to drain it and reach the Climbing Boots through the crumbled passage on the east side; the Bubbulfrog sits in a small room at the south-east end behind vines that you clear by throwing a weapon at them. Chest contents here vary between guides (several list two Zora Swords rather than a Zora Shield), so take whatever each chest holds.



Climb through the Mountainside Cave
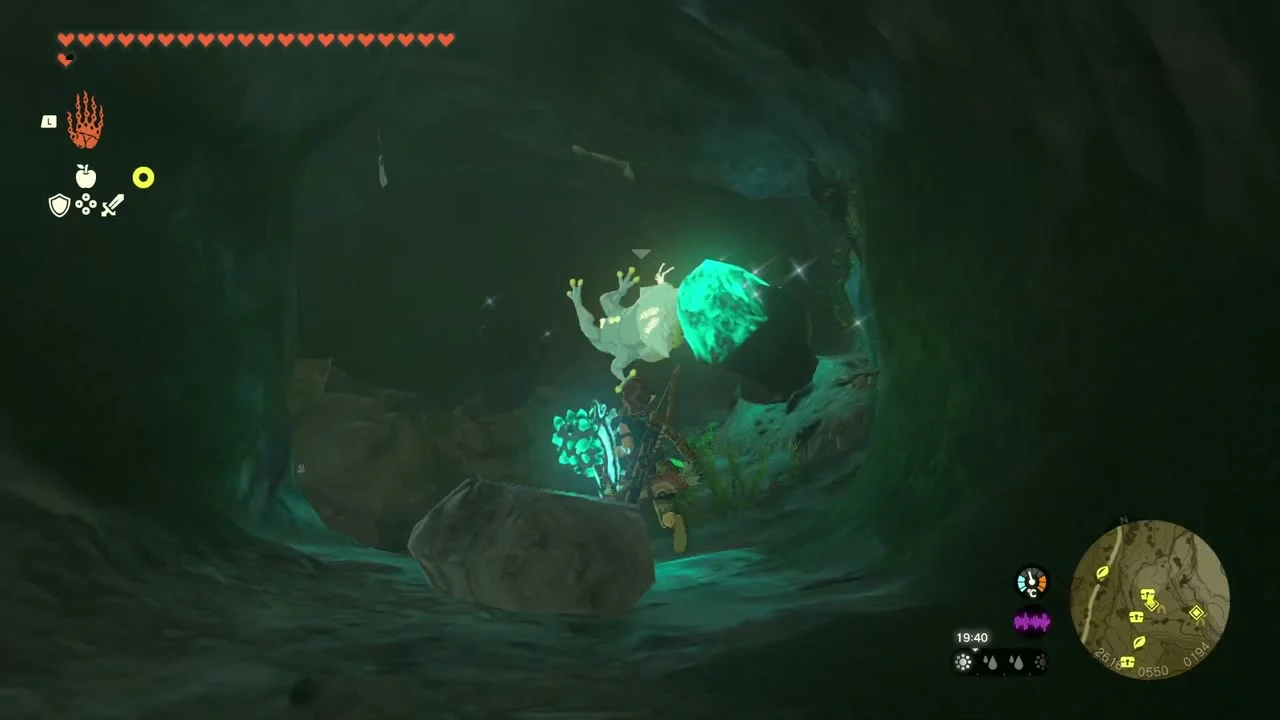
Upland Zorana Mountainside Cave at (2570, 517, 164). The cave holds a Zora Sword chest (about (2600, 536, 183)), a Bubbulfrog for a Bubbul Gem and a Royal Broadsword (or Traveler’s Sword, Soldier’s Broadsword or Knight’s Broadsword, depending on your progress) chest (about (2618, 550, 194)) among pink coral.

Take the Wing chest and the Korok seeds above the valley
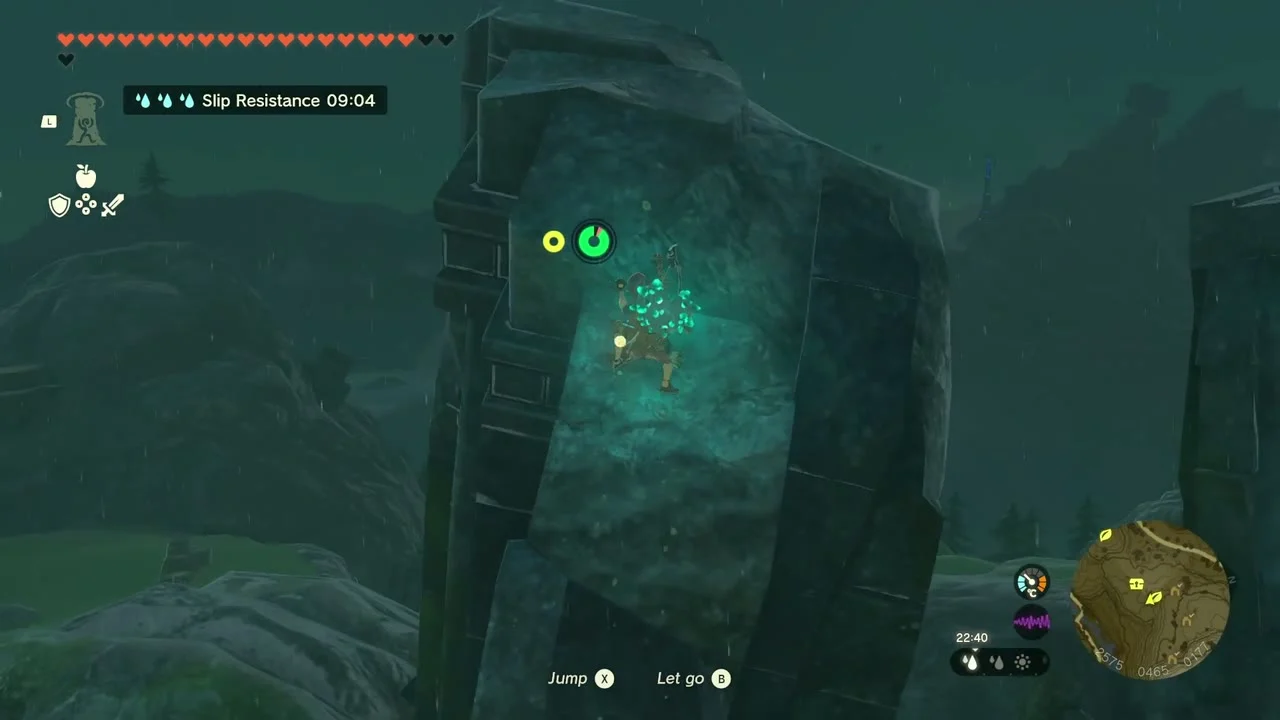
Chest: Wing on the plateau after the caves: open it for a Wing. Korok seeds: Reach the target ring within the time limit at (2580, 488, 182), a seed at (2525, 412, 195), and Catch the sparkling spot at (2554, 767, 118).
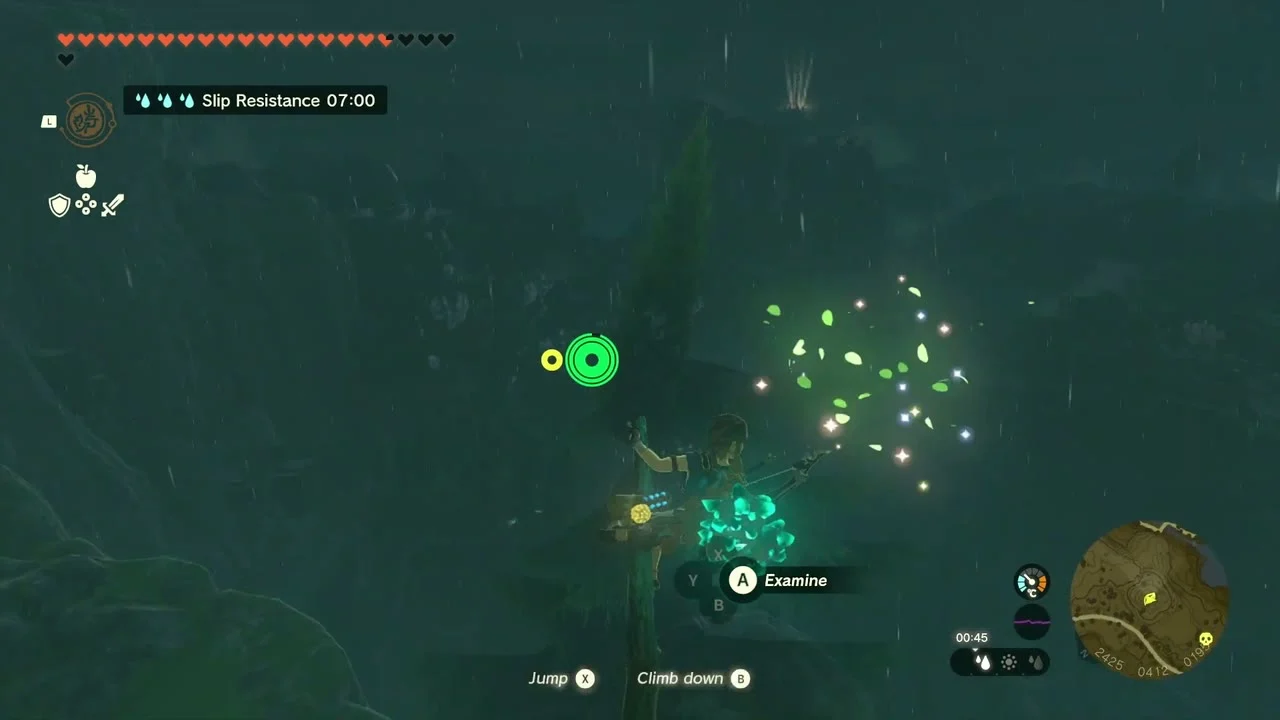
Defeat the Boss Bokoblin and Stone Talus
Miniboss: Boss Bokoblin at about (2324, 388, 120), west of the byroad, and Miniboss: Stone Talus at about (2476, 909, 71). Hit the Talus’s ore deposit on its back for fast gems.

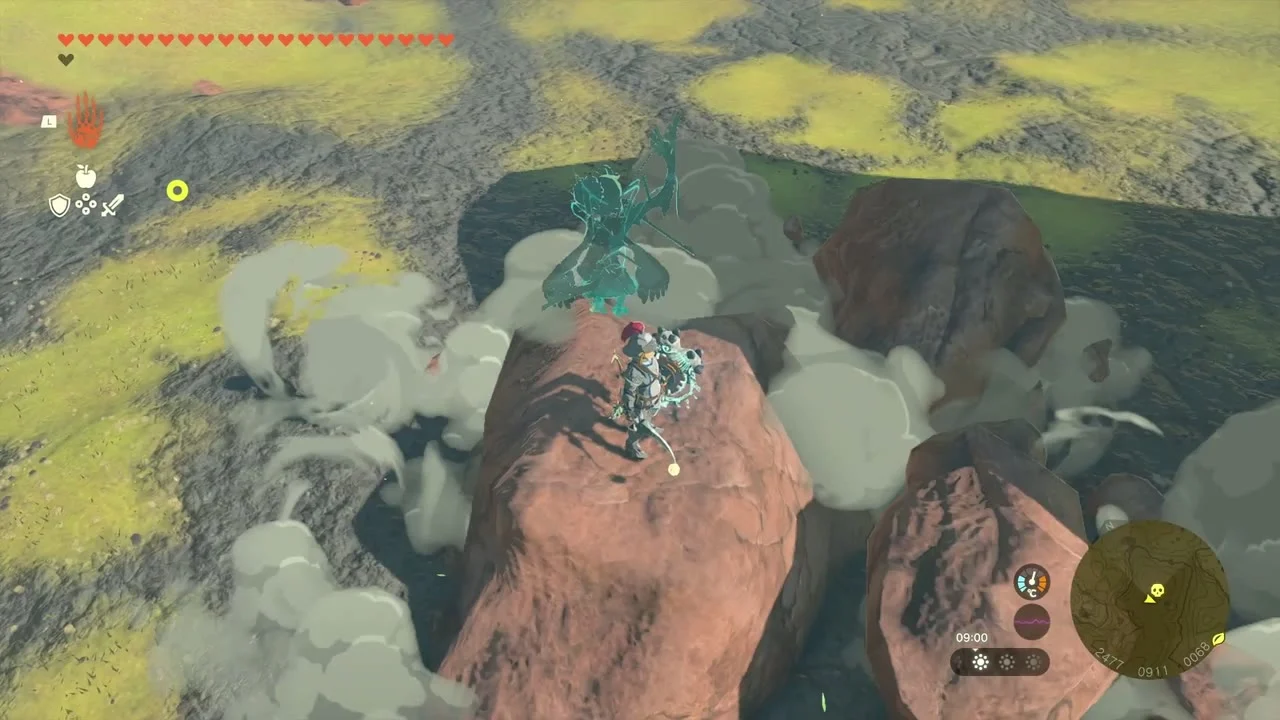
Finish with two Korok seeds and an Opal
Korok seeds at about (2552, 766, 117) (Catch the sparkling spot) and (2555, 646, 126) and the exhausted Korok in the forest that must be carried to its friend. Chest: Opal at about (2819, 534, 391), at the top of the cliff: take the Opal.

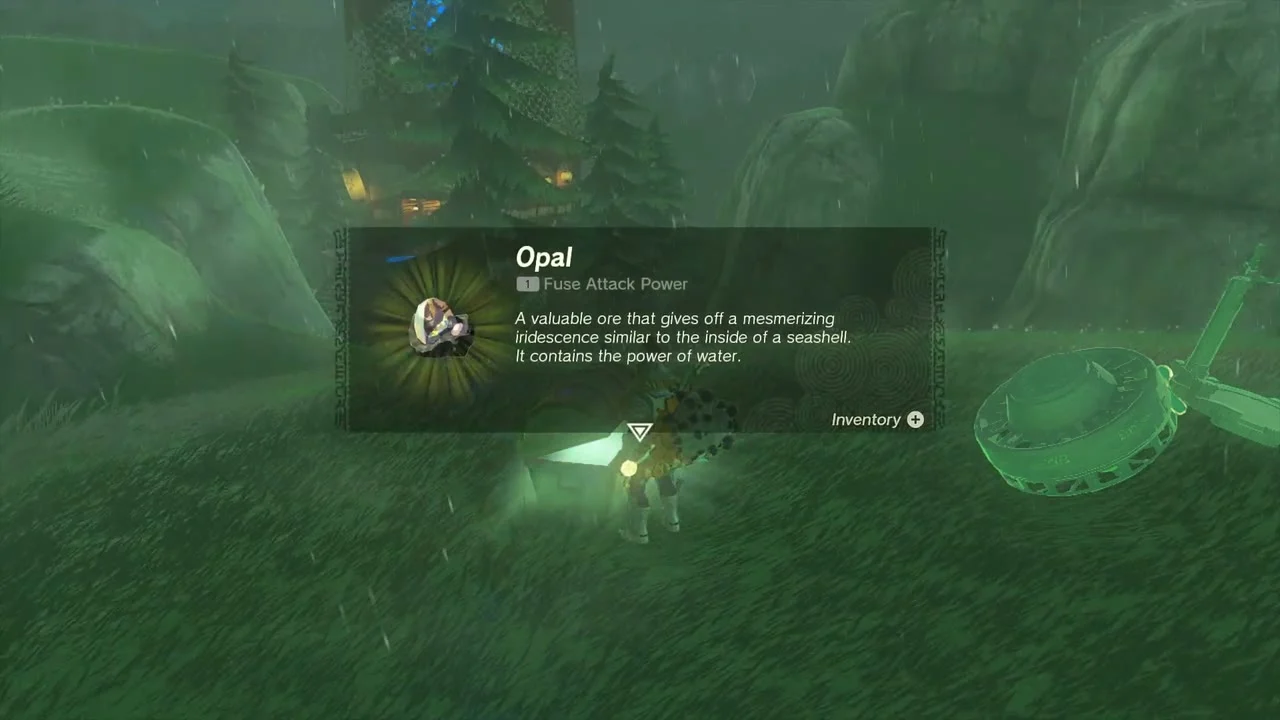
Sokkala Bridge and Rasitakiwak Shrine
Take the first chests and Addison’s sign
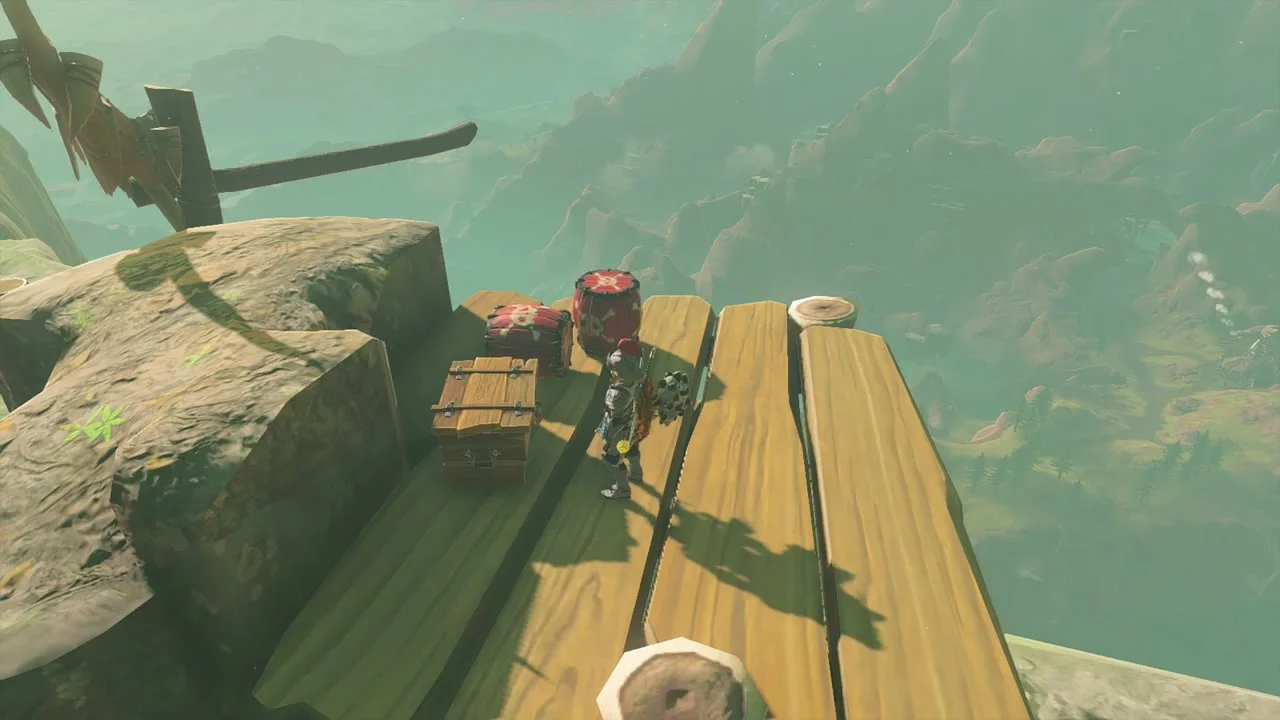
Chest: Large Zonai Charge at about (2883, 696, 366) and Chest: Arrow x5 at about (2895, 748, 351) on the plateau chain. Addison’s Hudson Construction sign stands nearby: hold it upright with Ultrahand and brace it from behind with planks.

Collect the first Korok seeds on the plateau
Korok seeds: Lift the rock at (3011, 940, 396); Examine where the arrows point to at (3073, 1138, 281); and Burn the leaves and lift the rock at (3165, 1423, 256), setting the leaf pile alight with a Fire Fruit or flame emitter.
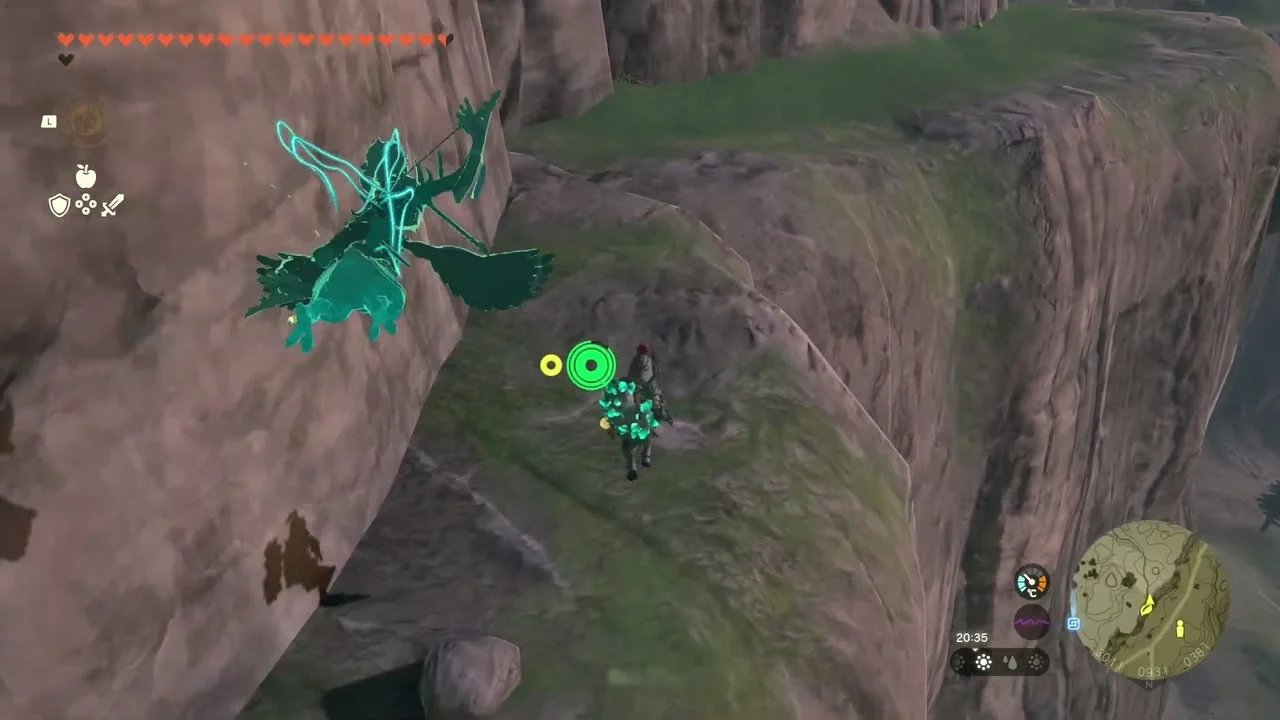

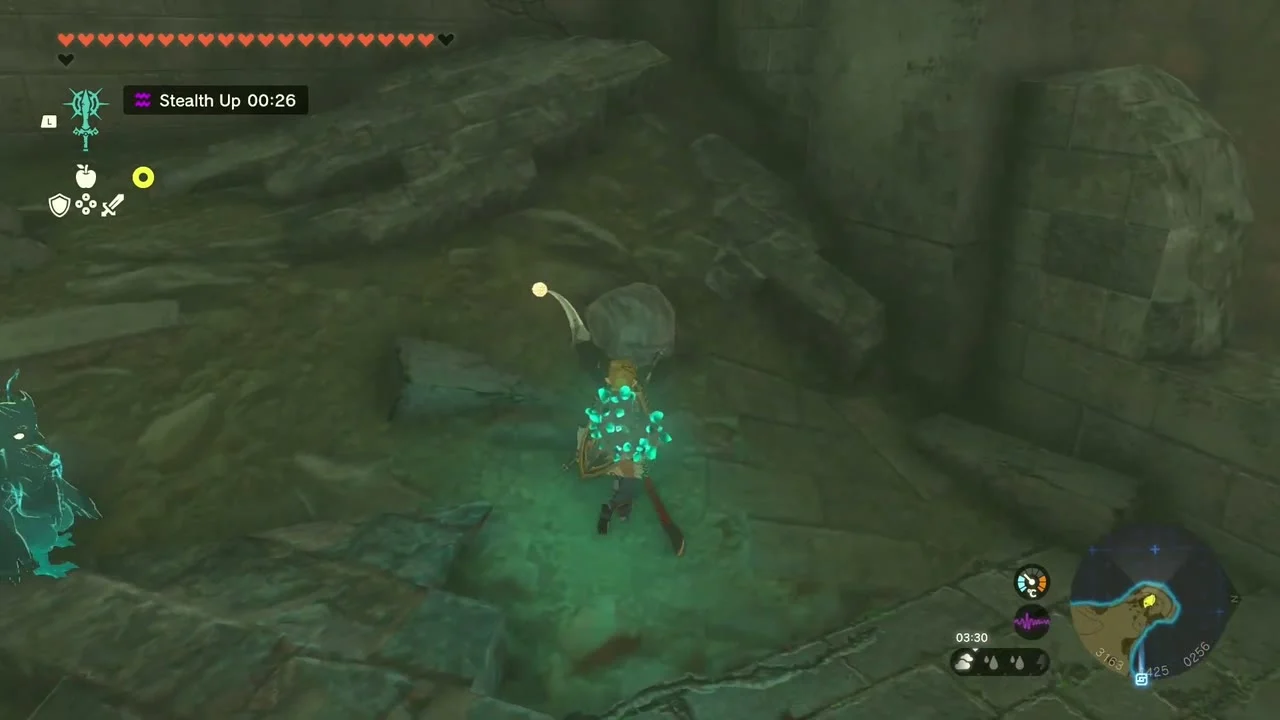
Help Toren against the monsters
Toren’s side adventure sends you to clear the monsters from a fort; finish it and you receive the Monster-Control-Crew Fabric, a paraglider fabric.
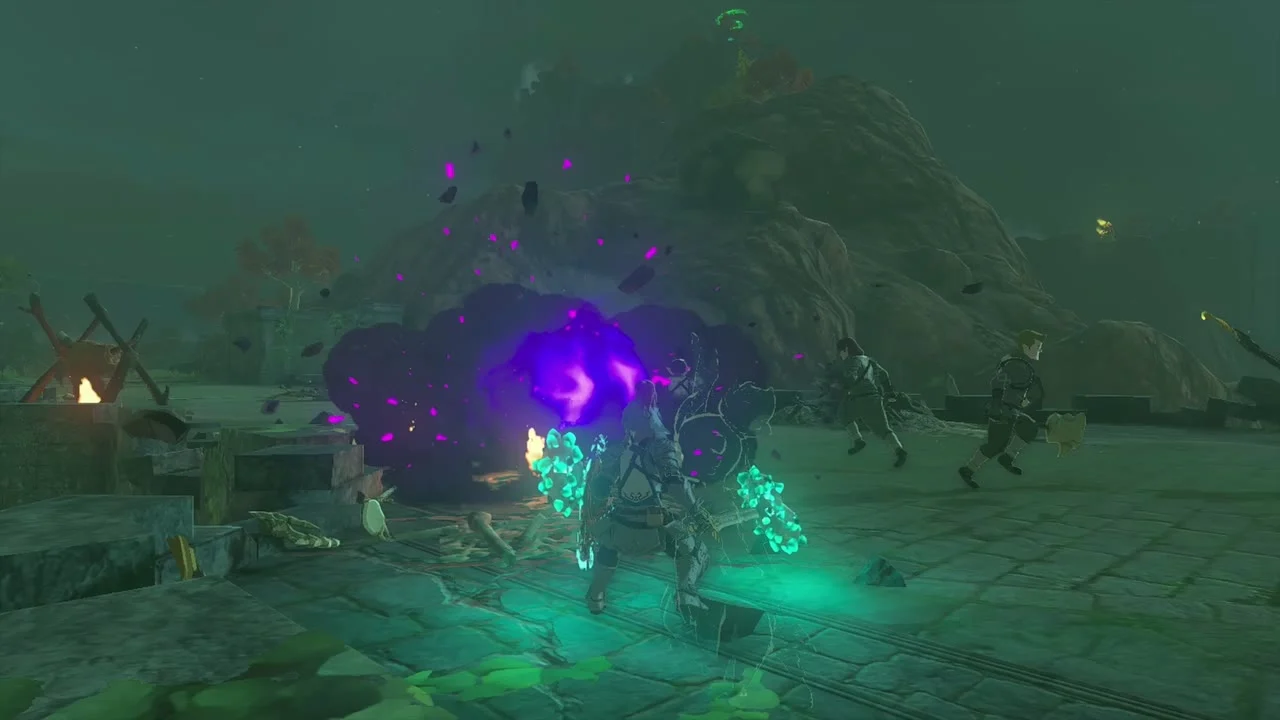
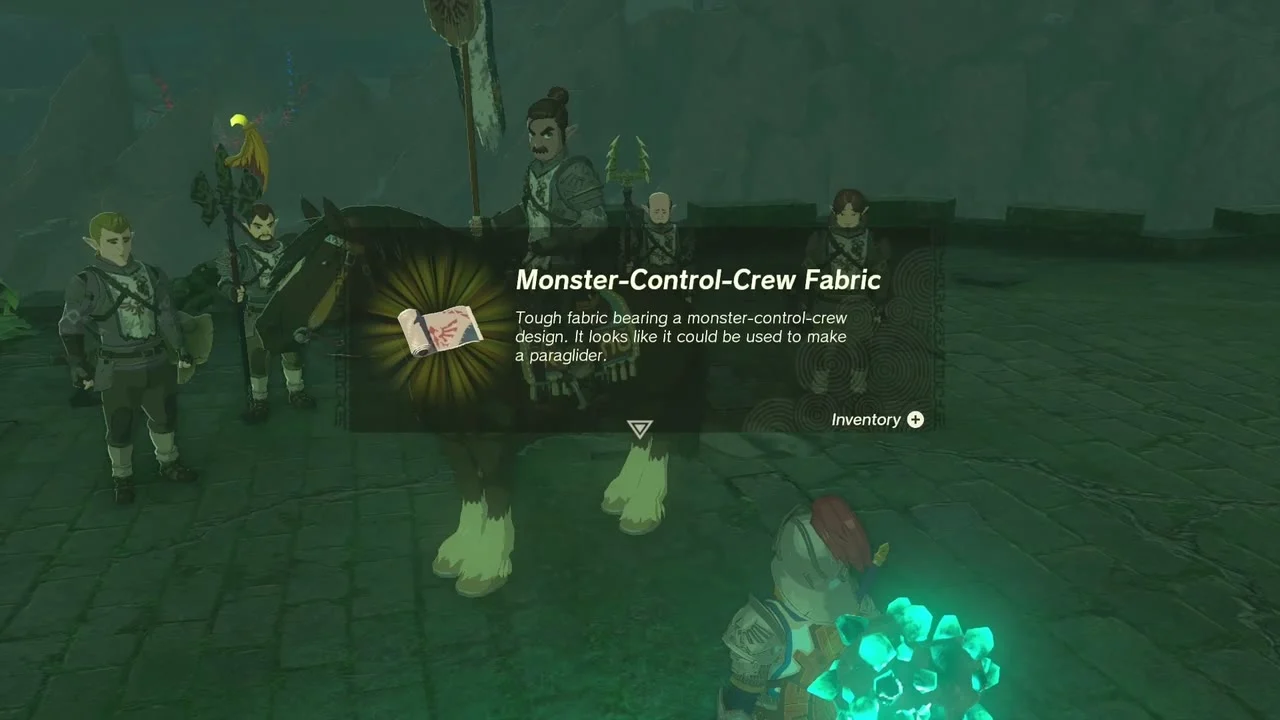
Cross Sokkala Bridge and open its chests
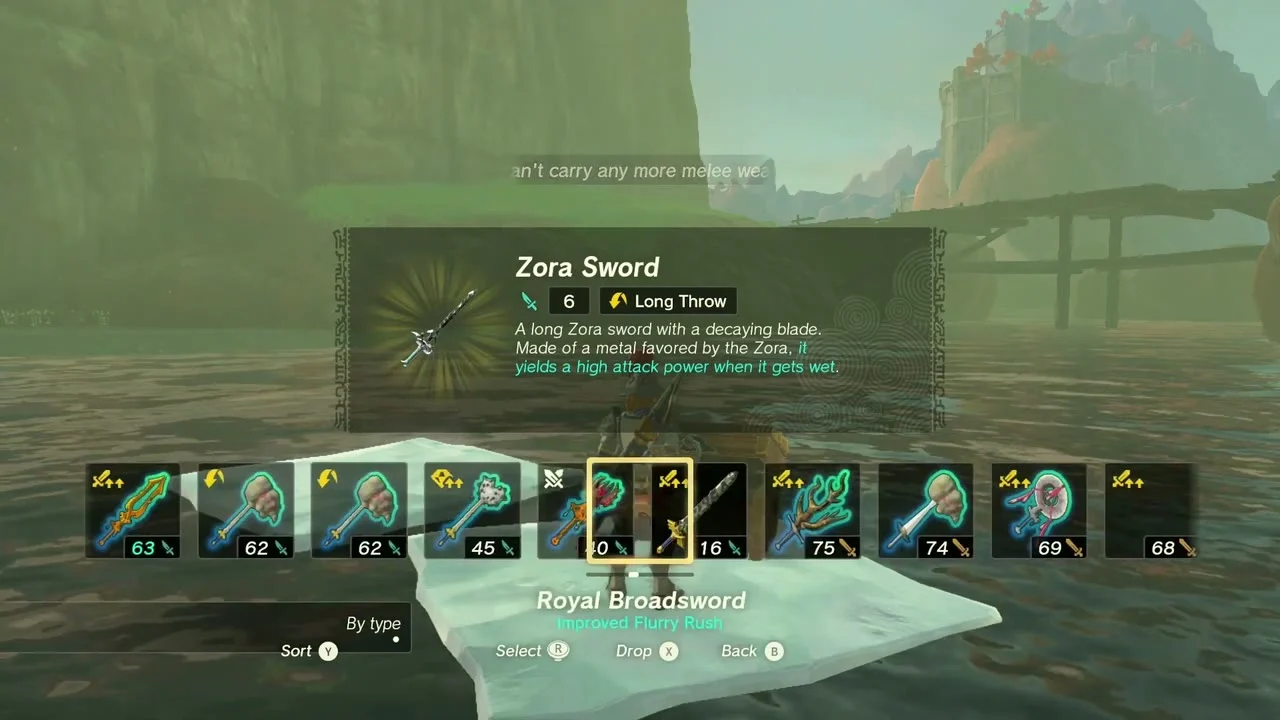
Sokkala Bridge at (3686, 1004) has chests with Arrow x10, a Zora Sword and a Zora Longsword. The Korok seed Complete the rock pattern at (3546, 964, 394) is west of the bridge; another at (3801, 855, 276) is east of it.


Defeat the White-Maned Lynel
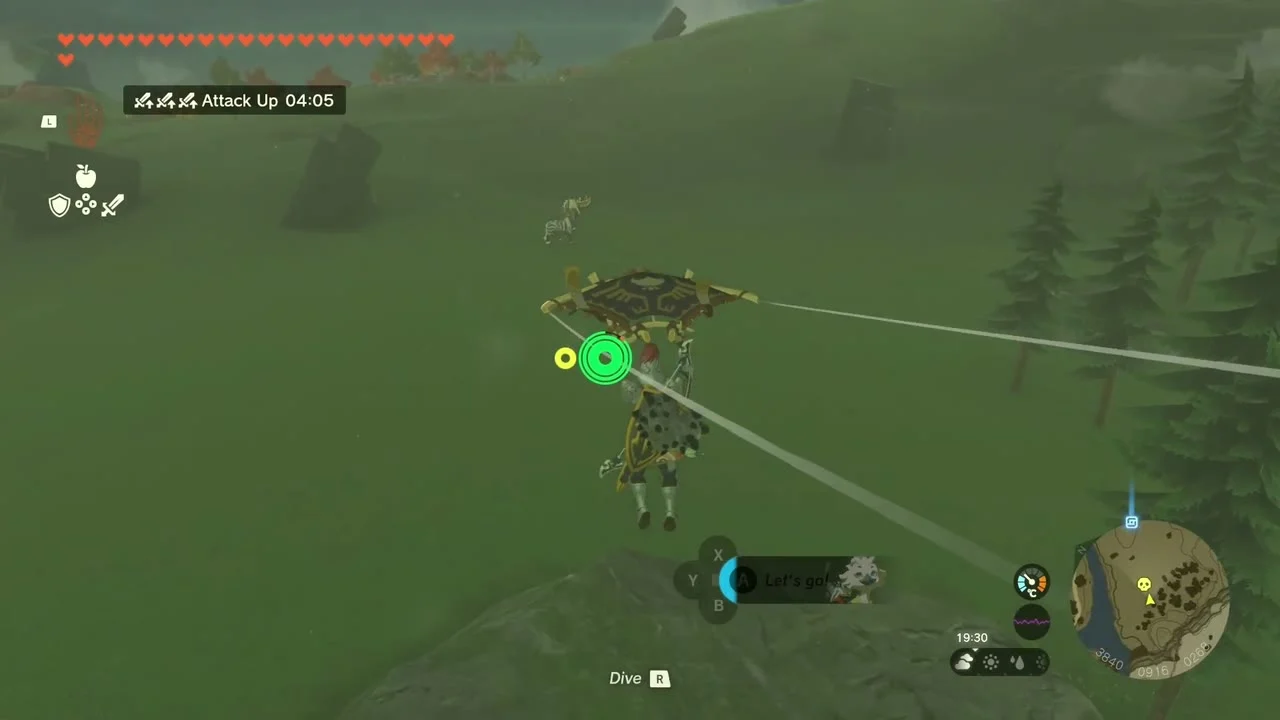
Miniboss: White-Maned Lynel at about (3840, 916, 268), east of Sokkala Bridge. Shoot it from range and parry its swings with a shield.

Take down the Battle Talus and open the Gnarled Wooden Stick chest
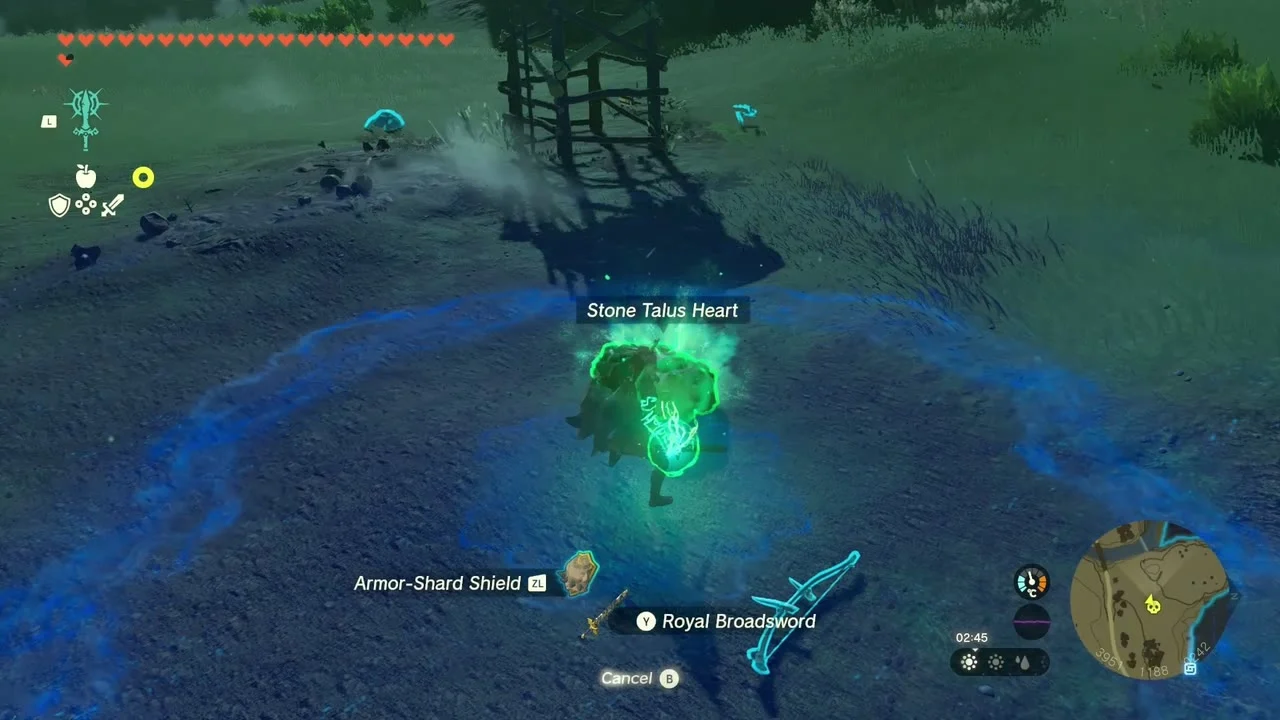
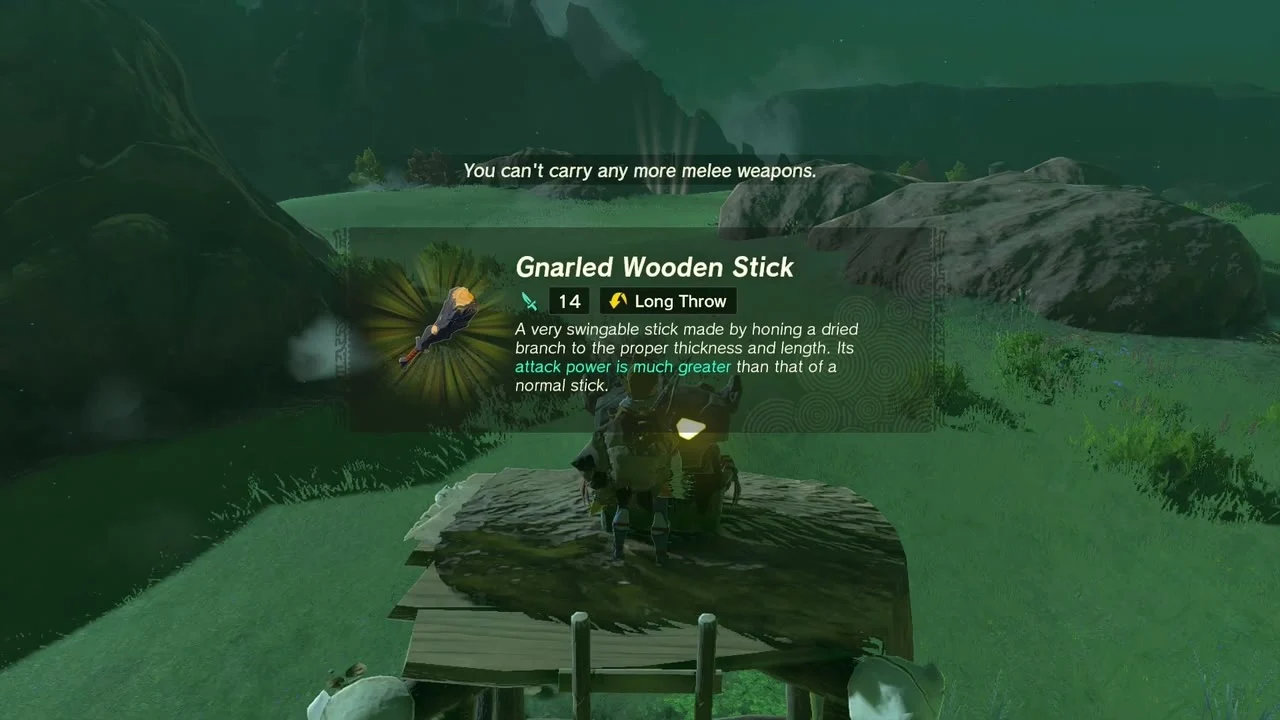
Miniboss: Battle Talus at about (3939, 1160, 242), then Chest: Gnarled Wooden Stick (or Wooden Stick or Sturdy Wooden Stick, depending on your progress) at about (3933, 1191, 242). The Talus drops a Stone Talus Heart, and the chest holds a Gnarled Wooden Stick. Korok seeds nearby: Pull the plug at (3868, 1086, 225) and Follow the flower at (3882, 1341, 247).
Clear Rasitakiwak Shrine
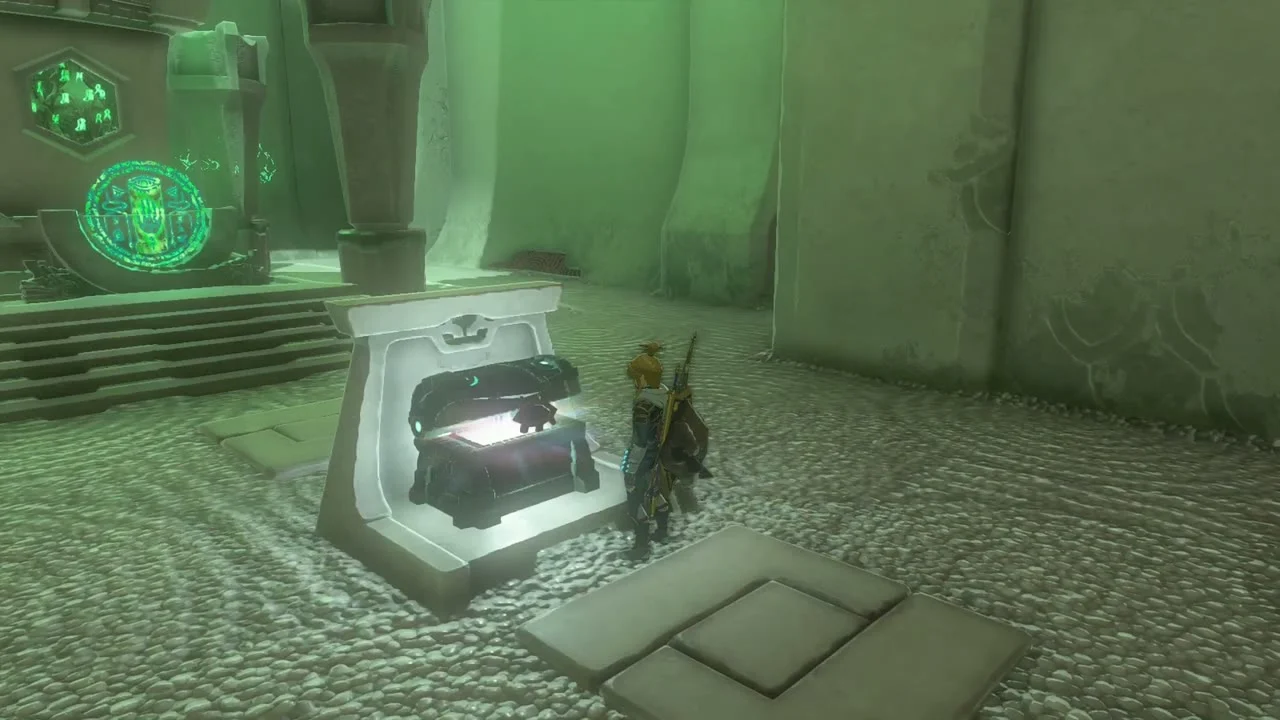
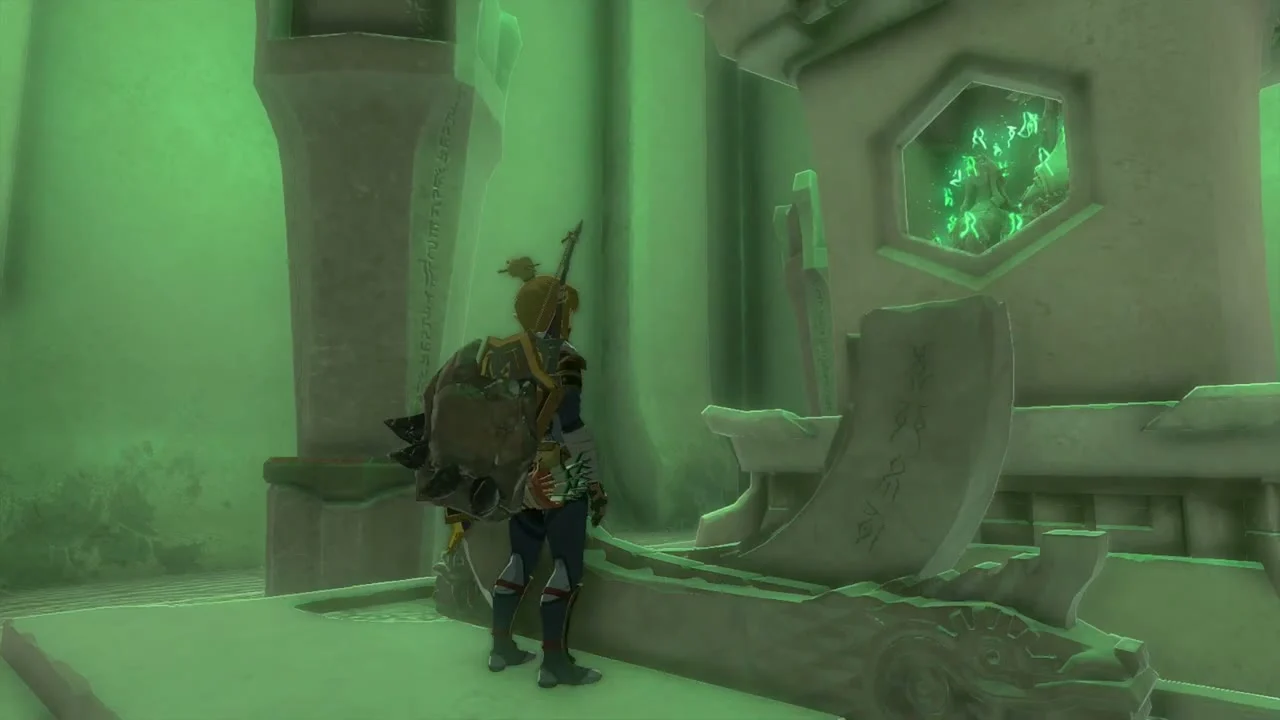
Rasitakiwak Shrine at (4166, 1322, 242), trial Proving Grounds: Vehicles (type Proving Grounds). The Lightroot below is Kawikatisar at (4166, 1321, -694). Build a vehicle from the supplied devices to clear the course; the chest holds a Magic Rod.

Ulria Grotto and Gatanisis Shrine
Collect the Zonaite and Hover Stone chests
Chest: Zonaite x3 at about (4152, 985, 284) and Chest: Hover Stone x5 at about (4077, 908, 315). Open them for Zonaite x3 and Hover Stone x5.


Collect the Korok seeds above Ulria Grotto
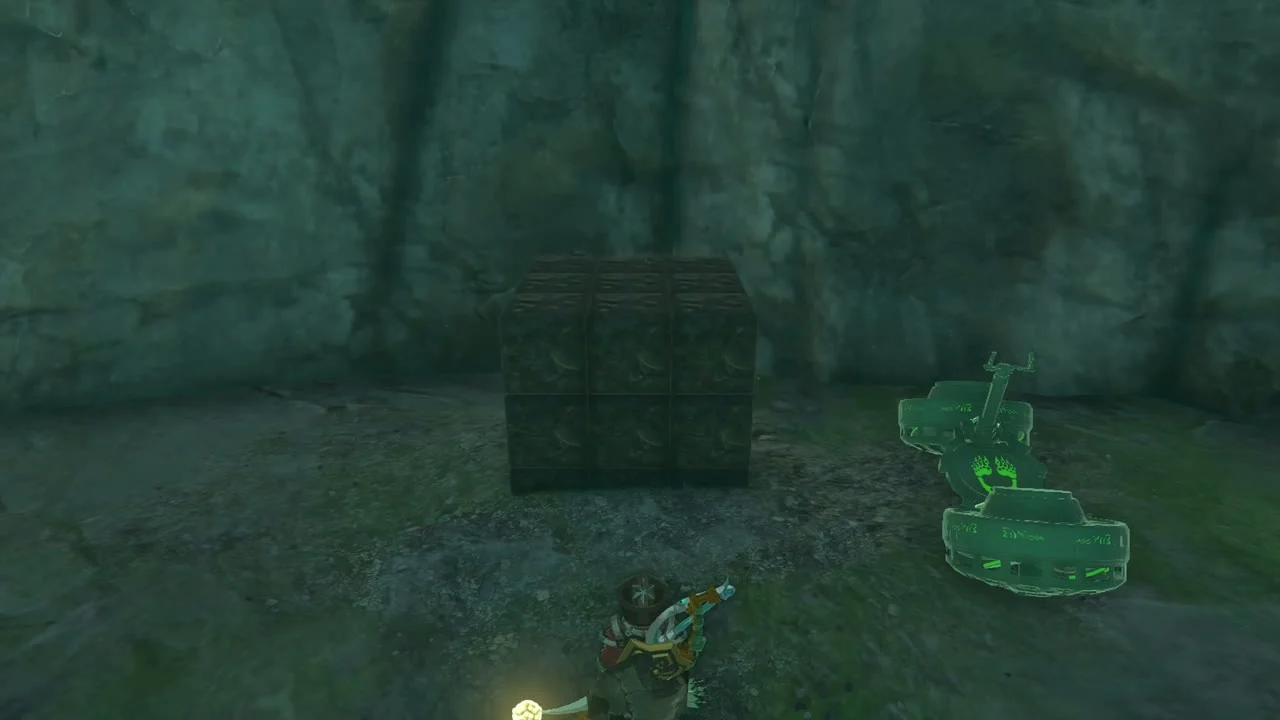
Korok seeds: Complete the cube puzzle at (3905, 803, 385), and seeds near (4070, 956, 277) and (4170, 800, 228). Set the cubes into the marked footprint for the first; the others are ledge and climbing puzzles near the grotto.


Win the plushie game
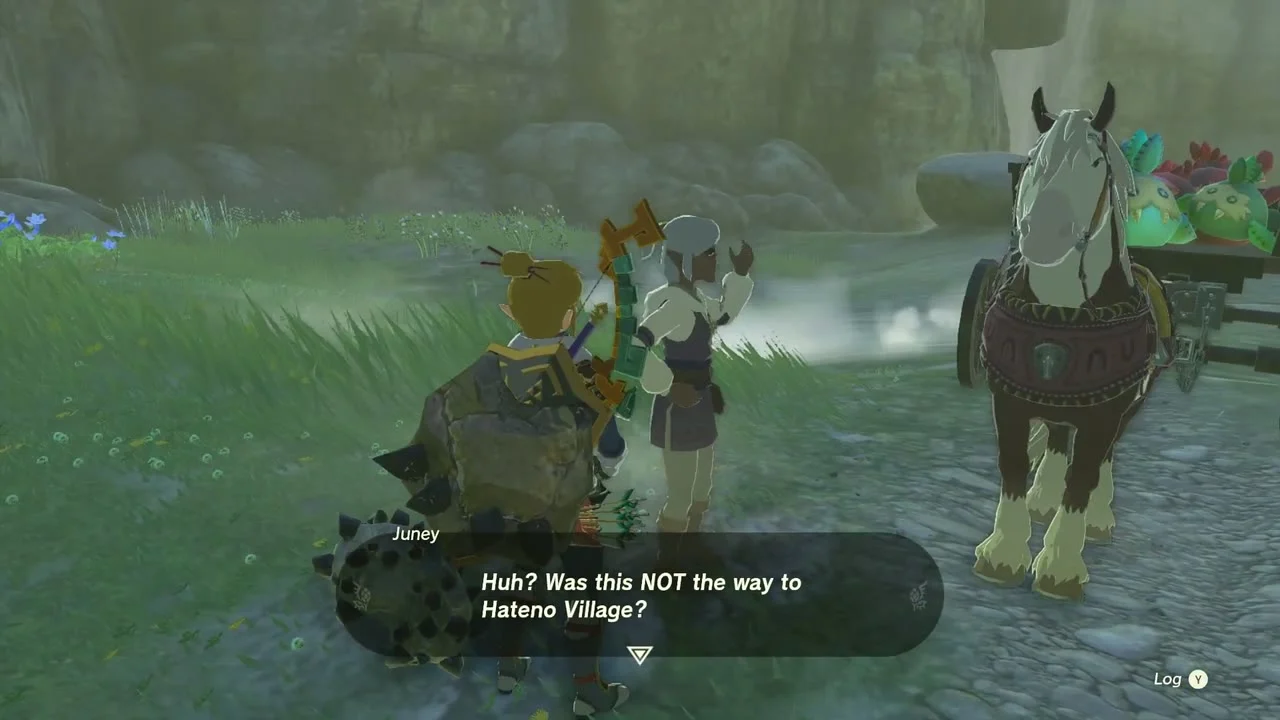
Take the plushies back mini-game at about (4271, 828): carry the scattered plushies back to Juney’s wagon before the time runs out.
Clear Ulria Grotto East Cave and its Hinox
Ulria Grotto East Cave at (4505, 705, 96). Defeat the Blue Hinox at about (4437, 744, 111), then open the chests: a Royal Broadsword at about (4428, 732, 111) and Amber at about (4478, 716, 104). Strike the Bubbulfrog for a Bubbul Gem.


Clear Gatanisis Shrine
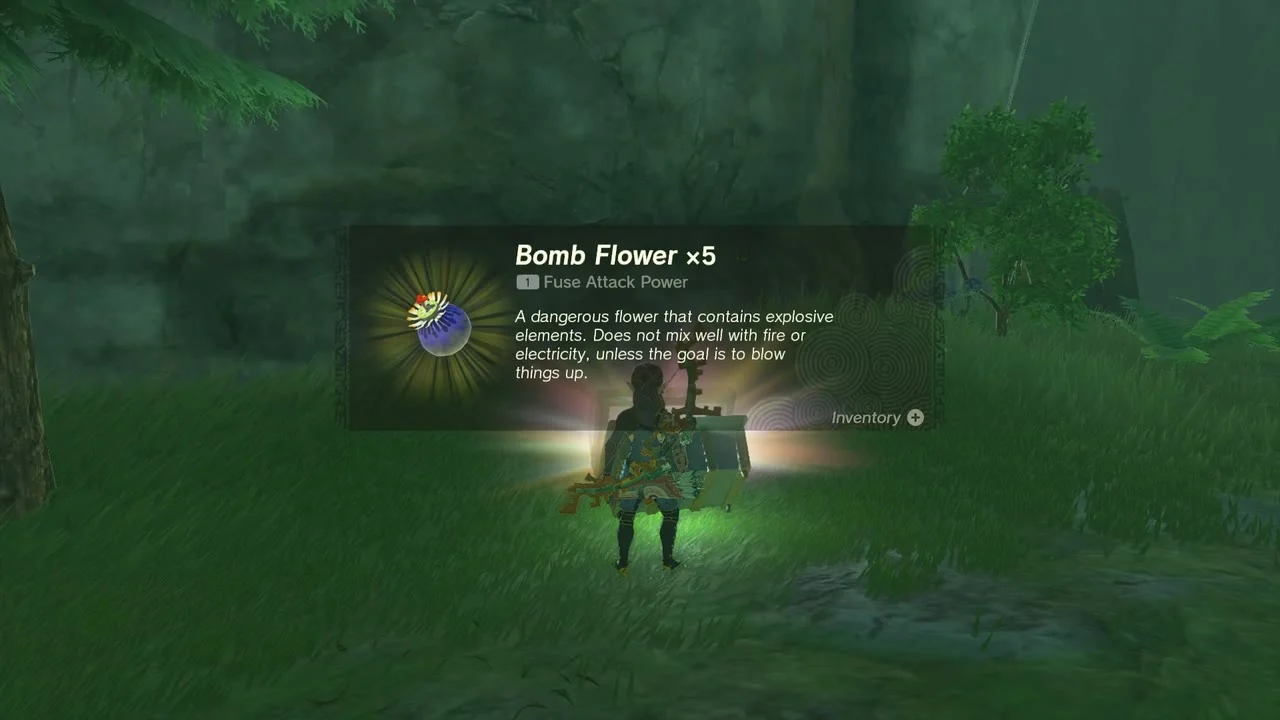
Gatanisis Shrine at (4497, 826, 109), trial A Well-Timed Bounce (type Puzzle). The Lightroot below is Sisinatag at (4497, 827, -556). Time your bounces across the gaps; the chest holds Bomb Flower x5.
Trade Lights of Blessing for a Heart Container
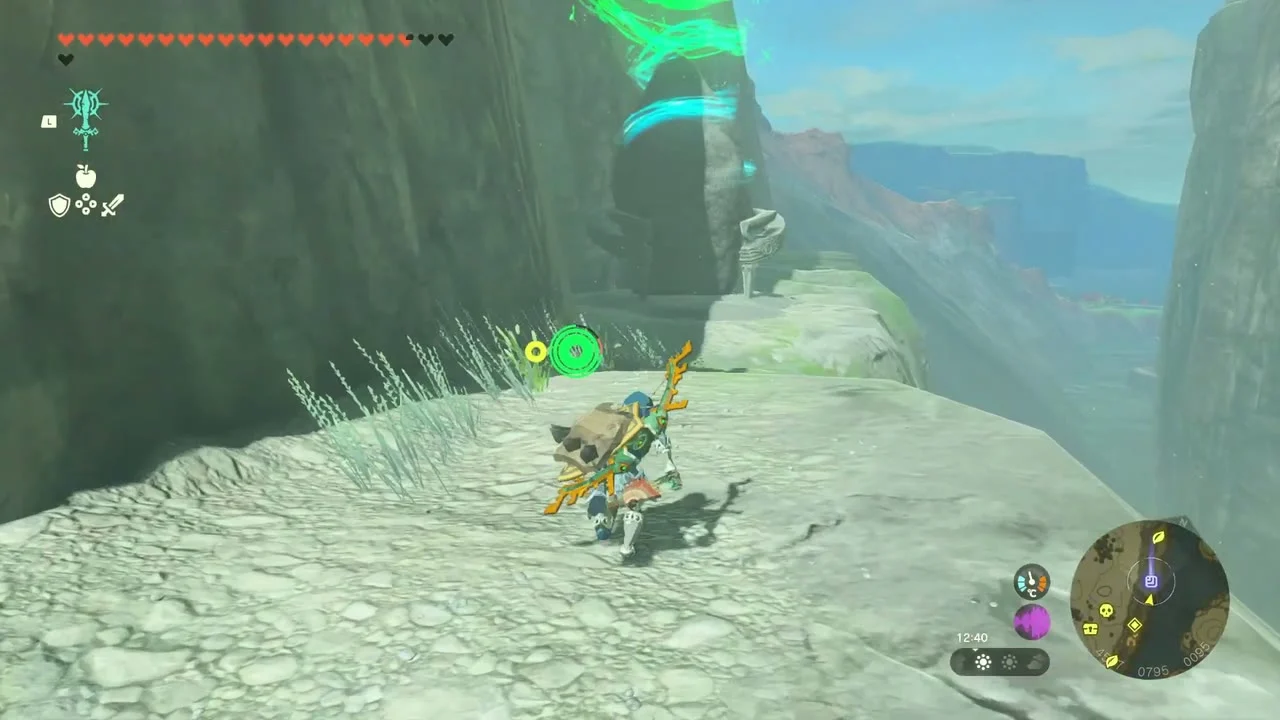
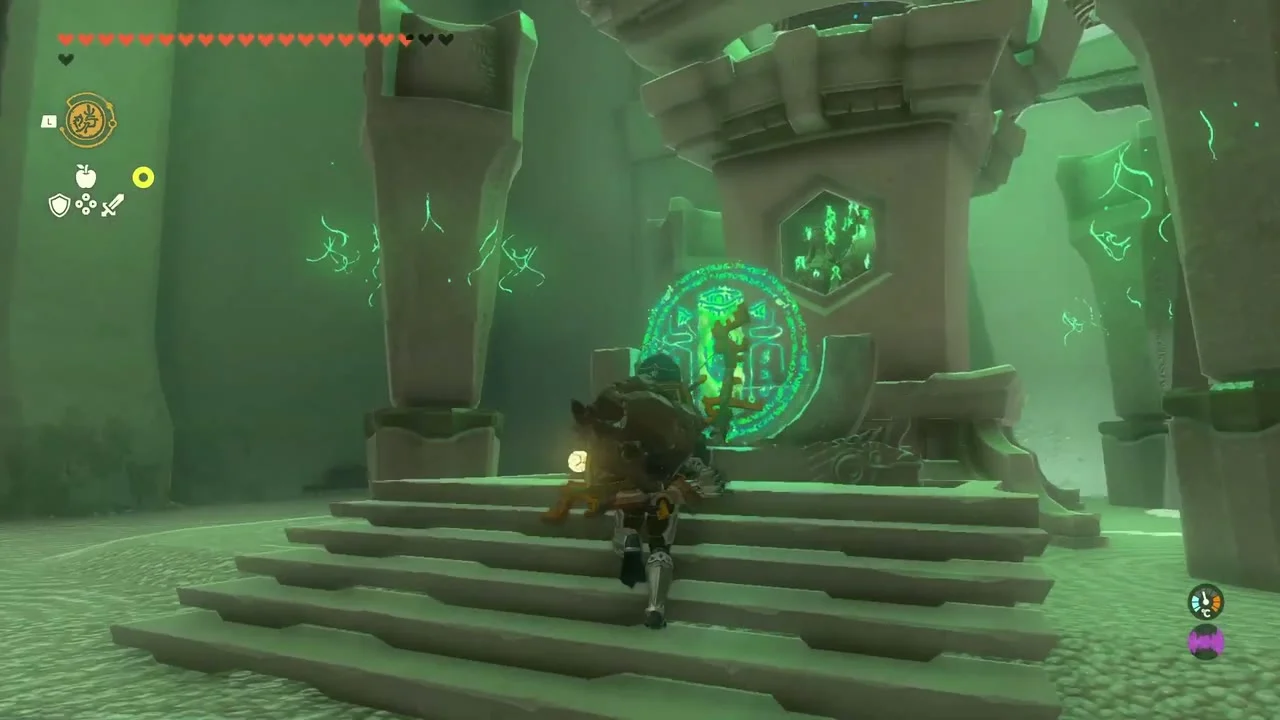
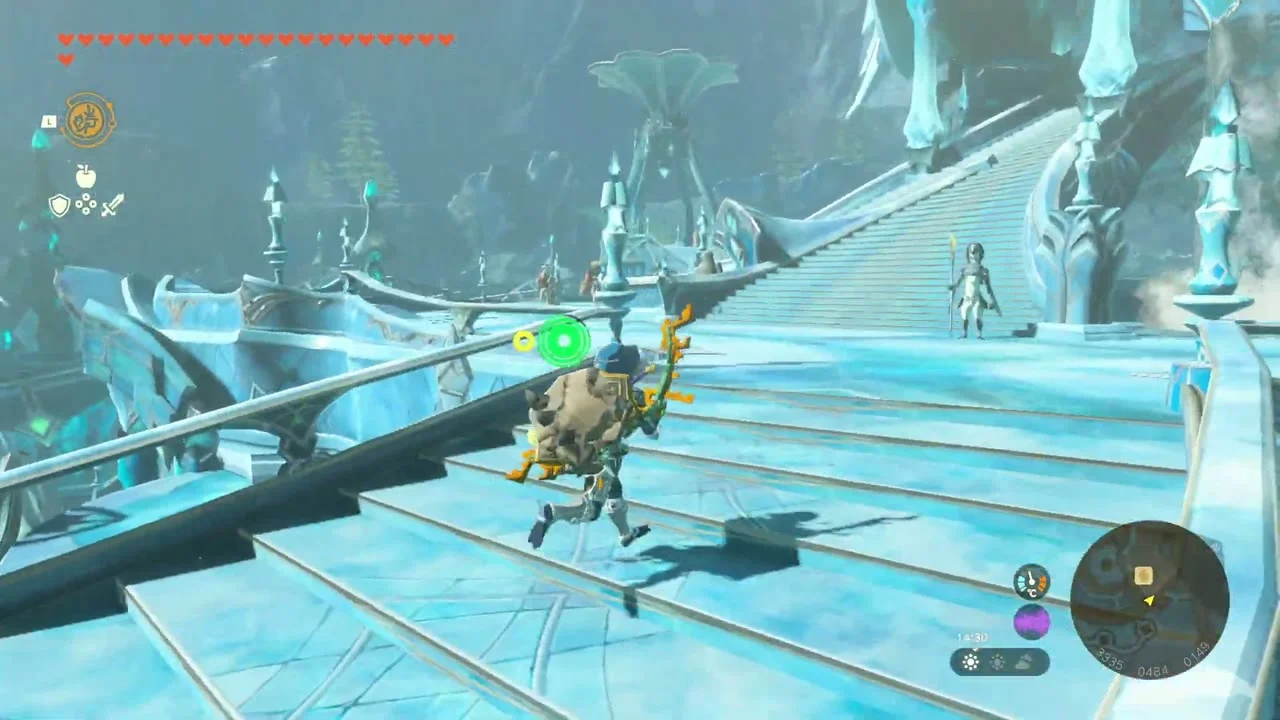
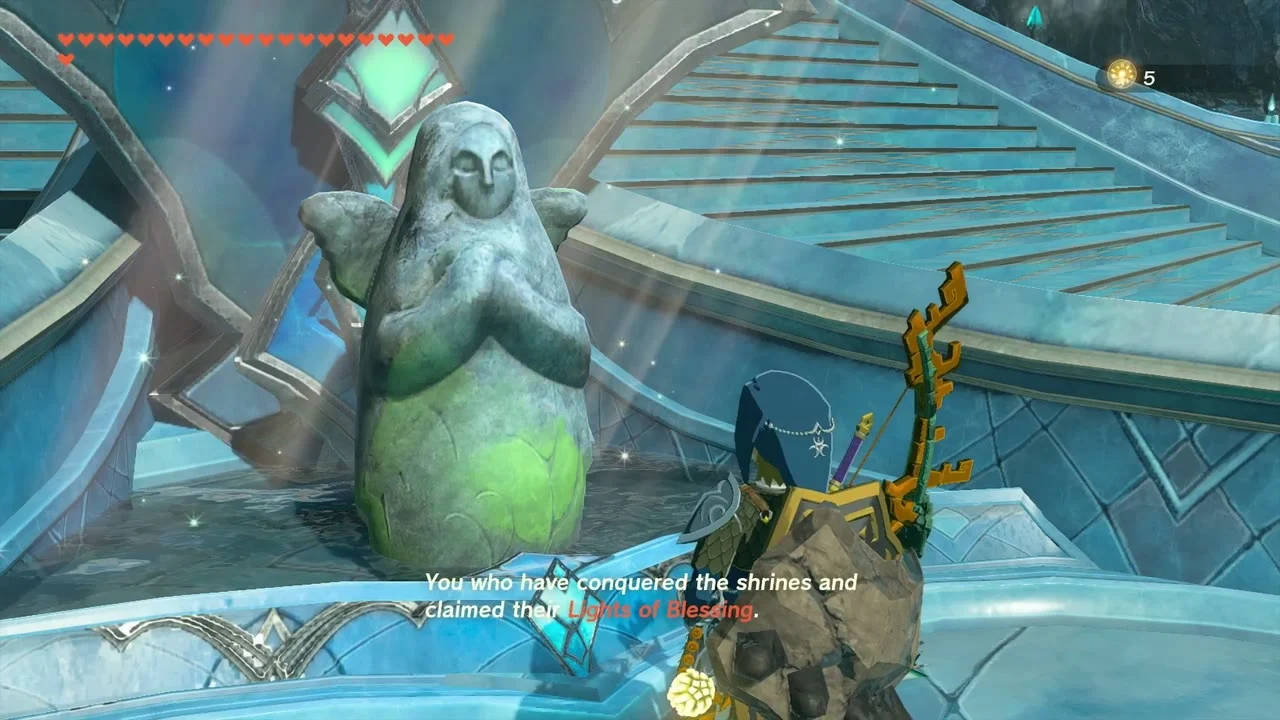
At the Goddess Statue in Mipha’s Court at about (3335, 484, 148), offer four Lights of Blessing for a Heart Container or Stamina Vessel.
Open the last chests and the Korok seeds on Tingel Island
Chest: Zora Sword at about (4477, 901, 97) and Chest: Sapphire at about (4662, 974, 205). Korok seeds: (4498, 952, 92) by the waterfall; Examine where the arrows point to at (4715, 1418, 183) on Tingel Island; and one at (4700, 547, 229). A chest at (4673, 840, 208) holds Bomb Flower.

Ja’Abu Ridge and the Ulria South cave
Take the Zora Spear chest and the first Korok seeds
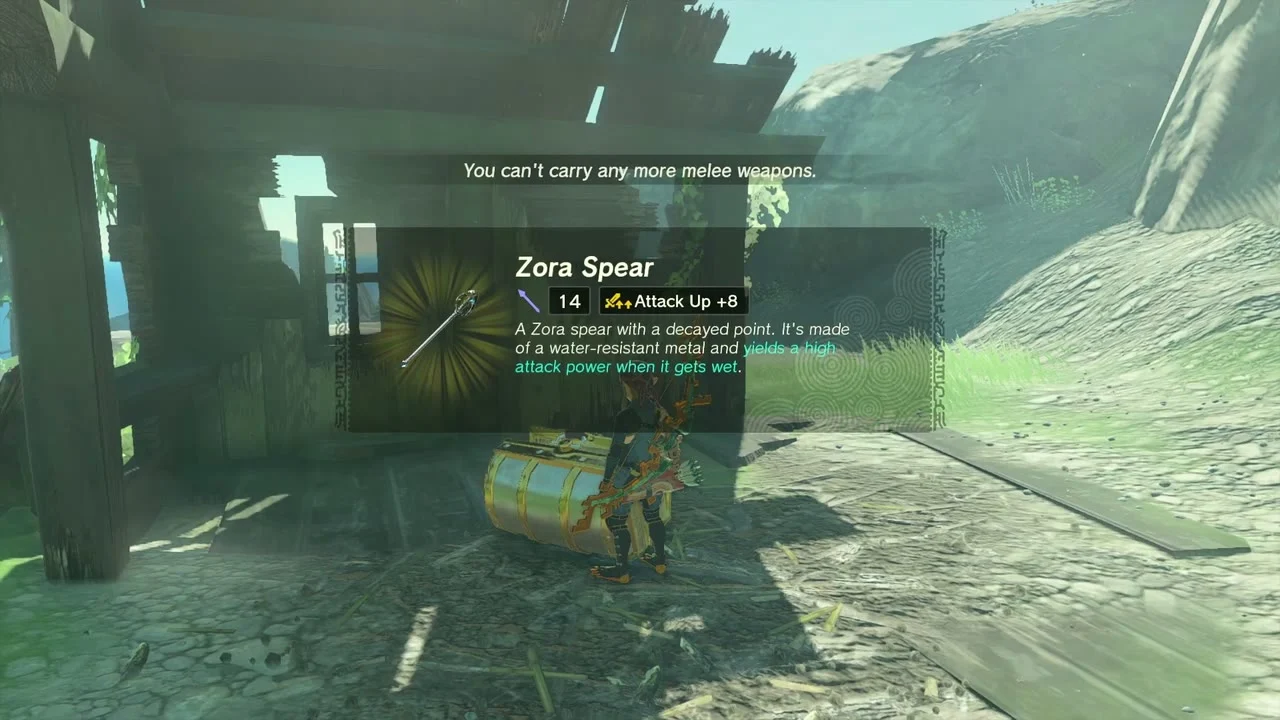
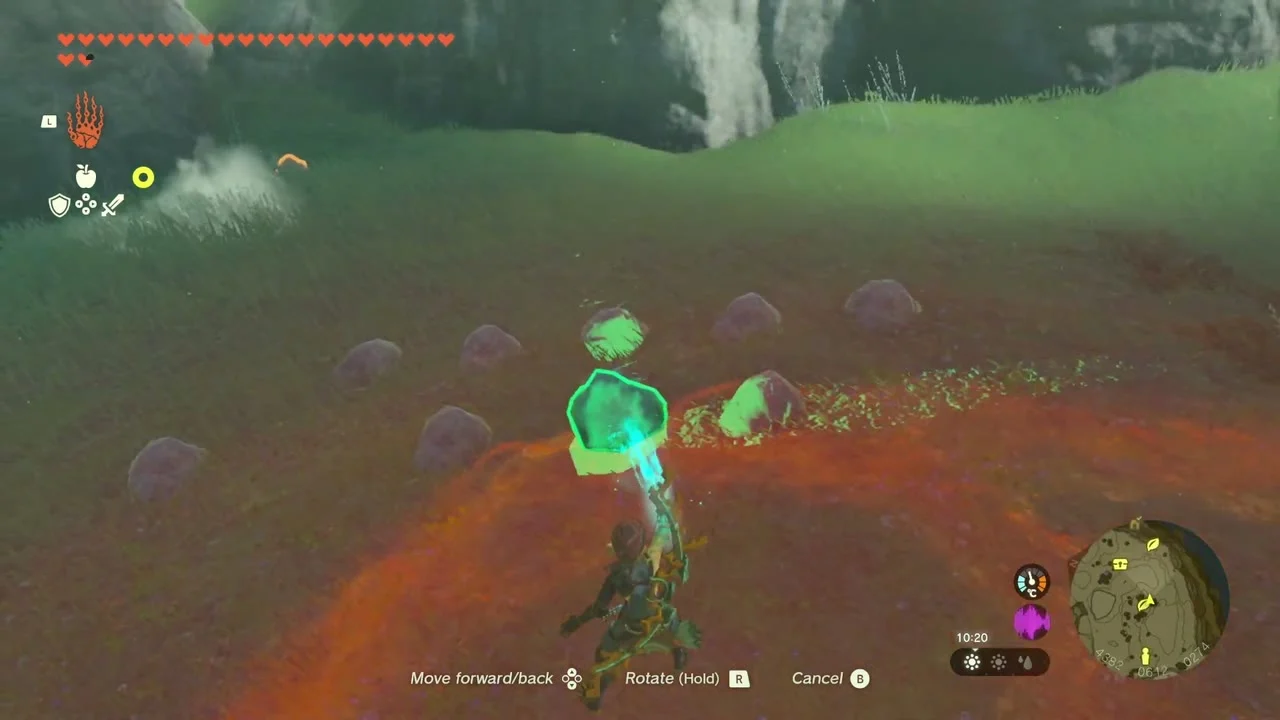
Chest: Zora Spear at about (4448, 707, 273), in a wooden shelter: take the Zora Spear. Korok seeds: (4474, 630, 258); Complete the rock pattern at (4388, 612, 275); and Pull the plug at (4174, 698, 248).
Clear Ulria Grotto South Cave and the Stone Talus
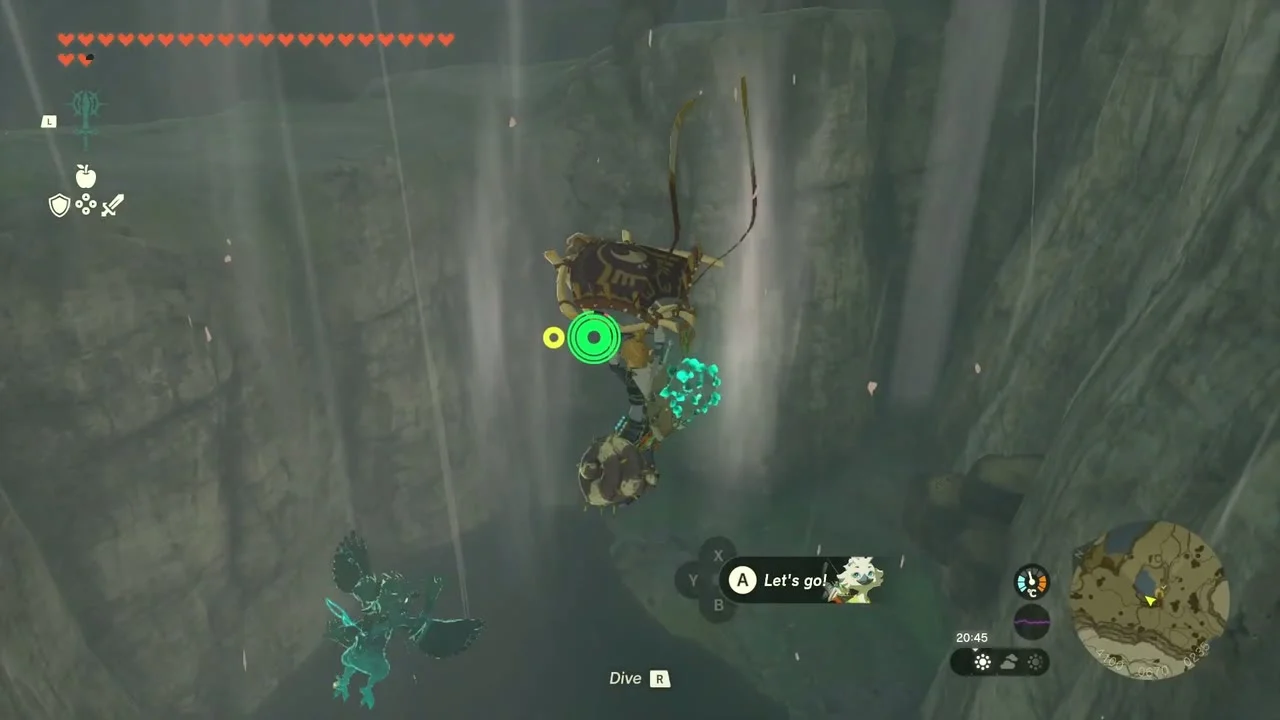
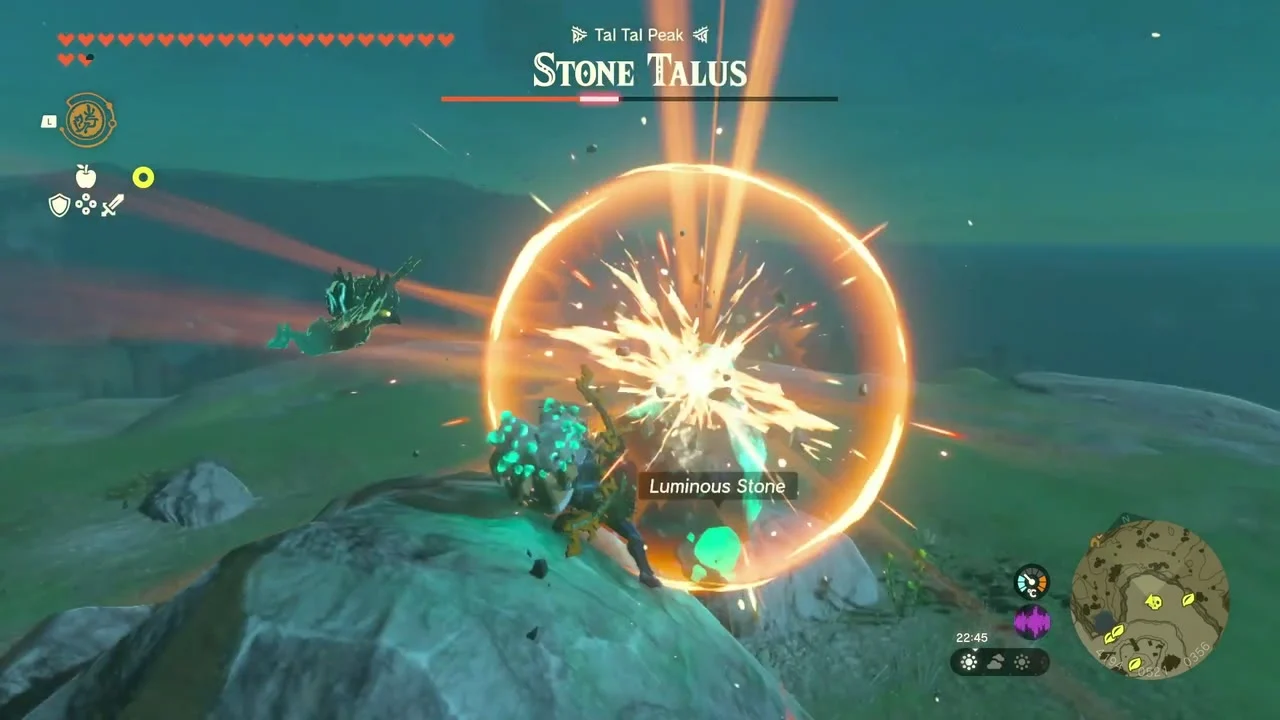
Ulria Grotto South Cave at (4122, 662, 187). Strike the Bubbulfrog at about (4177, 614, 205) for a Bubbul Gem and defeat the Stone Talus outside at about (4194, 521, 356). A chest at about (4107, 518, 63) holds a Zora Sword.
Collect the Korok seeds around Ja’Abu Ridge
Korok seeds: (4096, 509, 371); (4227, 484, 358); (4089, 467, 376); Lift the rock at (4134, 406, 416); Lift the rock at (4165, 63, 349); (4227, 135, 321); and Complete the cube puzzle at (4271, 137, 106).

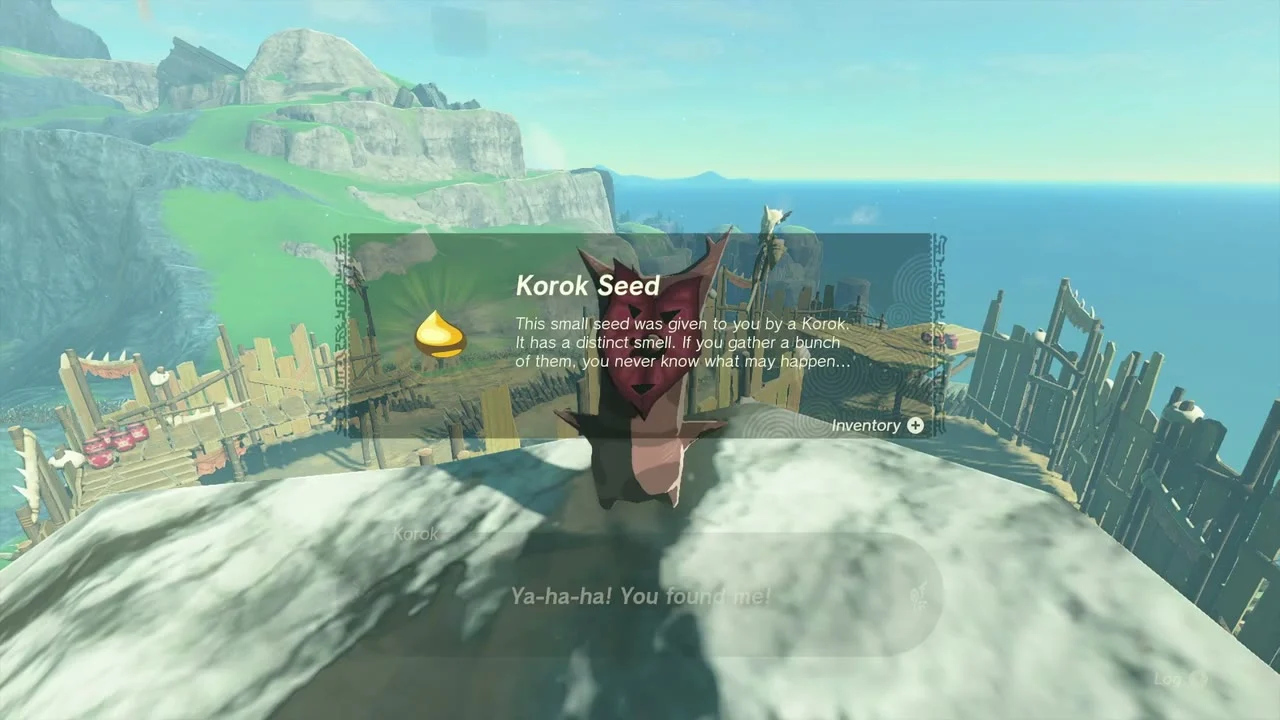
Clear the fort at Ja’Abu Ridge
For The Fort at Ja’Abu Ridge, defeat the monsters in the fort at about (4167, 59, 349). Its chests hold a Lynel Reaper, Arrow x5 and Amber. Talk to Gaddison afterwards for a Silver Rupee. The quest becomes available after the Water Temple and Sidon of the Zora; enemy ranks scale with your progress. Pick off the Bokoblin on the watchtower first so it cannot raise the alarm, use Ascend to reach the platforms above the fort, and drop barrels or a bomb arrow into the group. If Hino is caged in the fort, lift the cage with Ultrahand to free him for a reward.


Defeat the Boss Bokoblins and the Blue Hinox
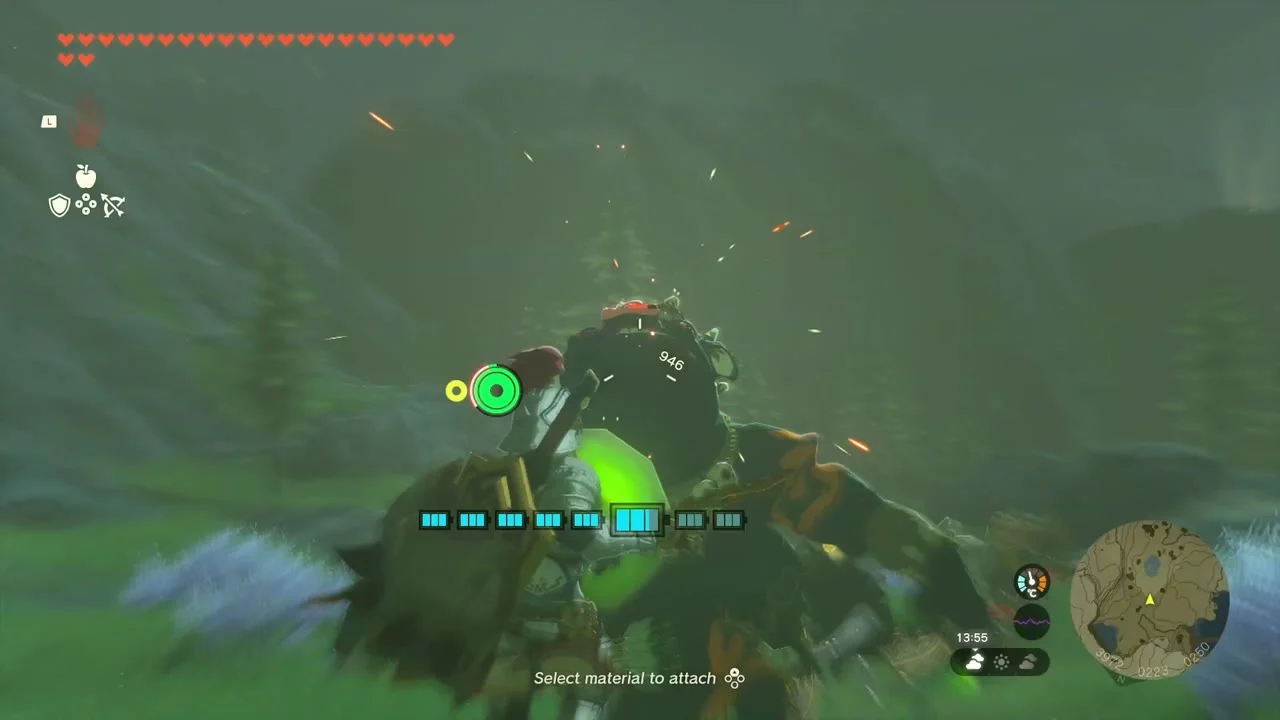
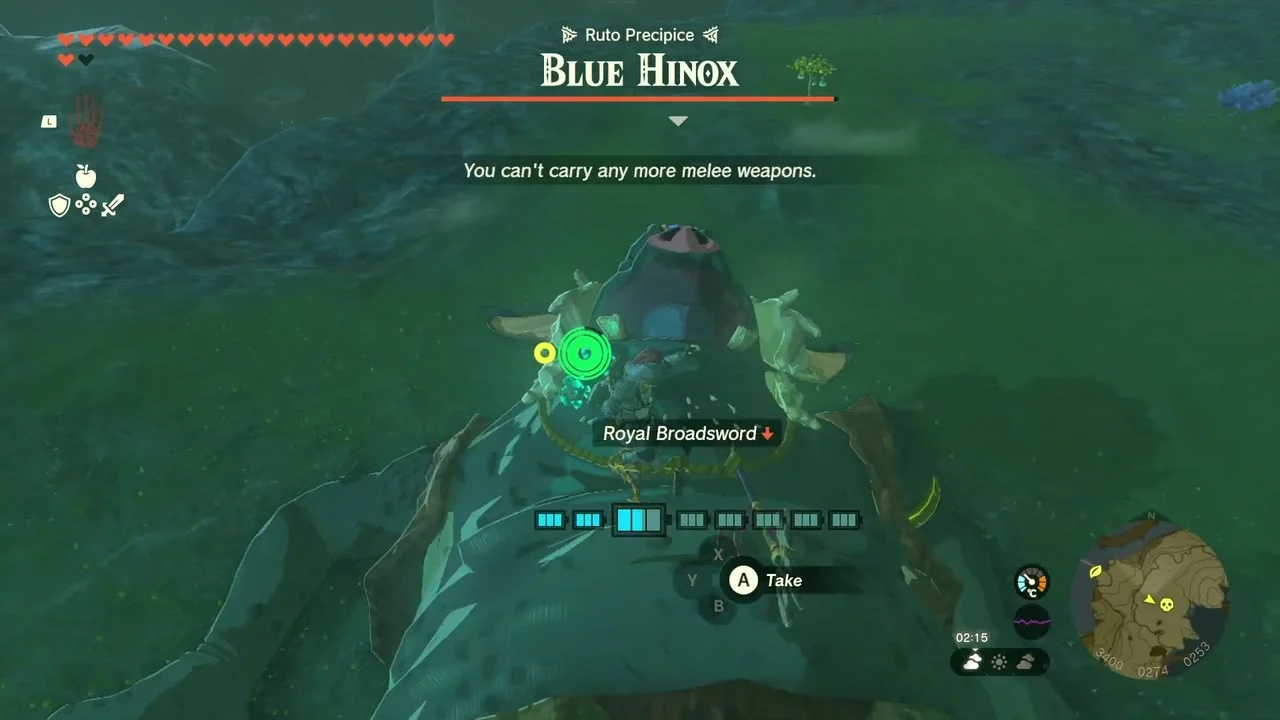
Minibosses: a Boss Bokoblin at about (3972, 223, 251) and another at about (3696, -250, 241), then the Blue Hinox at about (3437, 234, 262) at Ruto Precipice. Shoot the Hinox’s eye to stagger it.
Finish with the last Korok seeds
Korok seeds: (3851, 62, 211); Complete the cube puzzle at (3526, -367, 150); the exhausted Korok to its friend near (3524, -60, 211); and Shoot the balloon(s) at (3284, 338, 250).

Also in this area
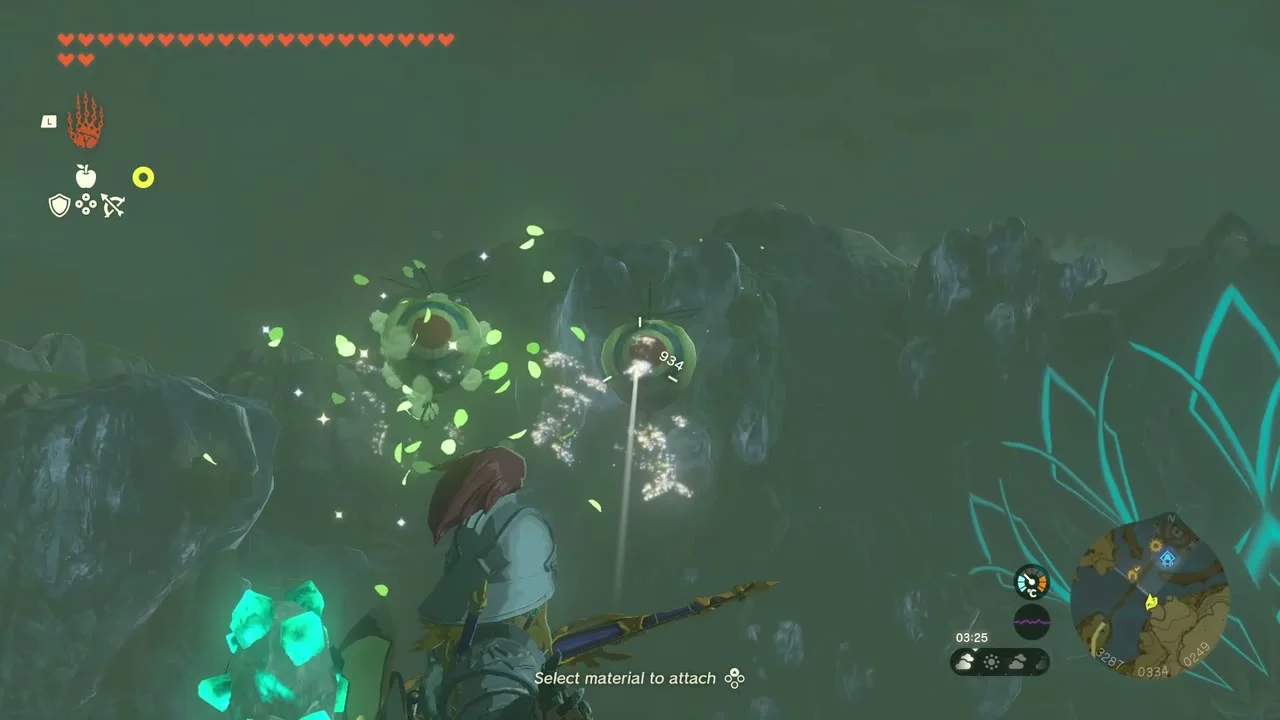
Datamined Koroks in this box that this route did not collect include Go up to examine the sparking spot (3192, 226, 151) and (3322, 515, 308), Lift the rock (3219, 282, 78) and (3329, 532, 112), Catch the sparkling spot (3111, 1298, 319), and Catch the falling light (3234, 461, 941).
Lanayru Great Spring part 2 checklist
| Collectible | Count | Where |
|---|---|---|
| Korok seeds | 40 | 4 Upland Zorana, 8 Ralis and Byroad, 7 Sokkala, 7 Ulria, 14 Ja’Abu |
| Shrines | 3 | Joniu, Rasitakiwak, Gatanisis |
| Caves | 8 | Reservoir Lakefront, Foothill, Ralis Channel, Summit, Byroad, Mountainside, Ulria East, Ulria South |
| Bubbul Gems | 8 | one per cave |
| Armor | 2 | Zora Greaves, Climbing Boots |
| Goddess Statue | 1 | Mipha’s Court |
Part 3: Apogek, Yomizuk and Jirutagumac shrines, 9 Lightroots, Horon Lagoon and Tarm Point caves
| Region | Surface: Upland Zorana to Ja’Abu Ridge, Brynna Plain, Talus Plateau and Tarm Point. Sky: Lanayru Sky Archipelago and Wellspring Island. Depths: Lanayru Great Spring Depths and the Akkala Highlands Depths |
|---|---|
| Shrines | Apogek Shrine (Wings on the Wind, puzzle), Yomizuk Shrine (Rauru’s Blessing, inside Tarm Point Cave), Jirutagumac Shrine (A Flying Device, puzzle, sky) |
| Lightroots | 9 lit: Niuzimod, A-nehi, Kawikatisar, Agihi-ihcoj, Sisinatag, Kegopa, Kuzimoy, Uinoj, Kawagom. See all Lightroots. |
| Caves | Horon Lagoon Cave (Rubber Tights, Bubbul Gem), Tarm Point Cave (Royal Shield (or Traveler’s Shield, Soldier’s Shield or Knight’s Shield, depending on your progress), Bubbul Gem, Yomizuk Shrine) |
| Quests | True Treasure, A Wife Wafted Away, The Six Dragons chest, three Hudson Construction signs for Addison, Dragon’s Tear memory: The Sages’ Vow, Sidon’s Solemn Vow |
| Koroks | 15 collected (14 on the surface from Samasa Plain to Wintre Island, 1 in the sky) |
| Armor | Rubber Tights (Horon Lagoon Cave), Trousers of Twilight (Ancient Underground Fortress, Depths) |
| Minibosses and bosses | Two Flux Construct II and a Flame Gleeok in the sky; Mucktorok, Boss Bokoblin, Battle Talus, Flux Construct II, Frox and Stone Talus in the Depths |
This chapter finishes the surface of the Lanayru Great Spring east of Zora’s Domain, from the Samasa Plain pond to Ja’Abu Ridge, Talus Plateau and Tarm Point, then climbs to the Lanayru sky islands for Jirutagumac Shrine, two Sage’s Wills and Sidon’s Solemn Vow, and dives into the Depths below to light nine Lightroots and clear the Akkala Highlands Depths camps.
Quick route
Start at the pond on Samasa Plain for a Korok seed and Addison’s sign, clear the statue cave and the hammer pit, take the Zora Shield from the gully and ferry the exhausted Korok across the lake before fixing Addison’s second sign on Brynna Plain.
Glide east to Horon Lagoon for Horon Lagoon Cave, its Bubbul Gem and the Rubber Tights, then work up Talus Plateau for the Ancient Blade, the Sages’ Vow Dragon’s Tear and the Korok seeds around the lava hill.
Finish with Apogek Shrine and the exhausted Korok on Ja’Abu Ridge, then Tarm Point Cave for Sasan’s quest, the Royal Shield, the Bubbul Gem and Yomizuk Shrine.
Take to the sky for Mei, the Old Map, Wellspring Island, Jirutagumac Shrine and the two Sage’s Wills, offer them at the Goddess Statue in Zora’s Domain, then drop into the Depths to light Niuzimod and the eight Lightroots below the Lanayru Great Spring, with the chests, camps and bosses between them.
Upland Zorana to Brynna Plain (surface)
Dive into the lily-pad ring for a Korok seed
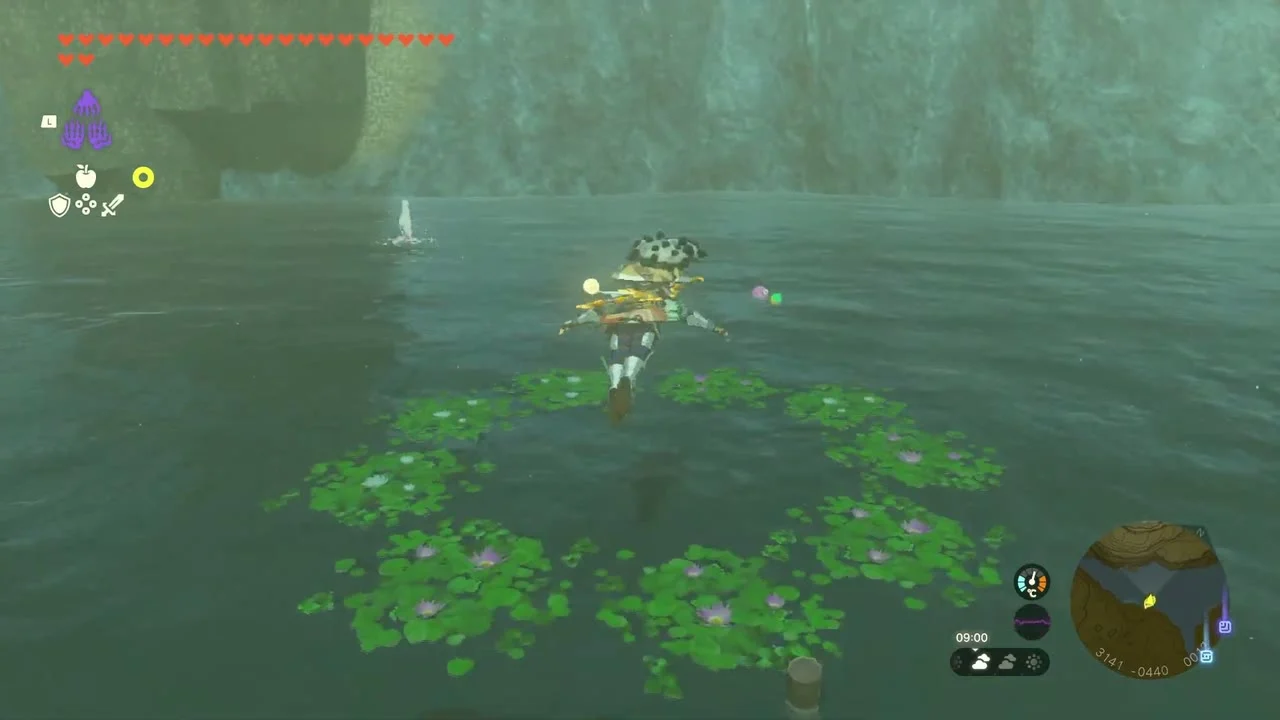
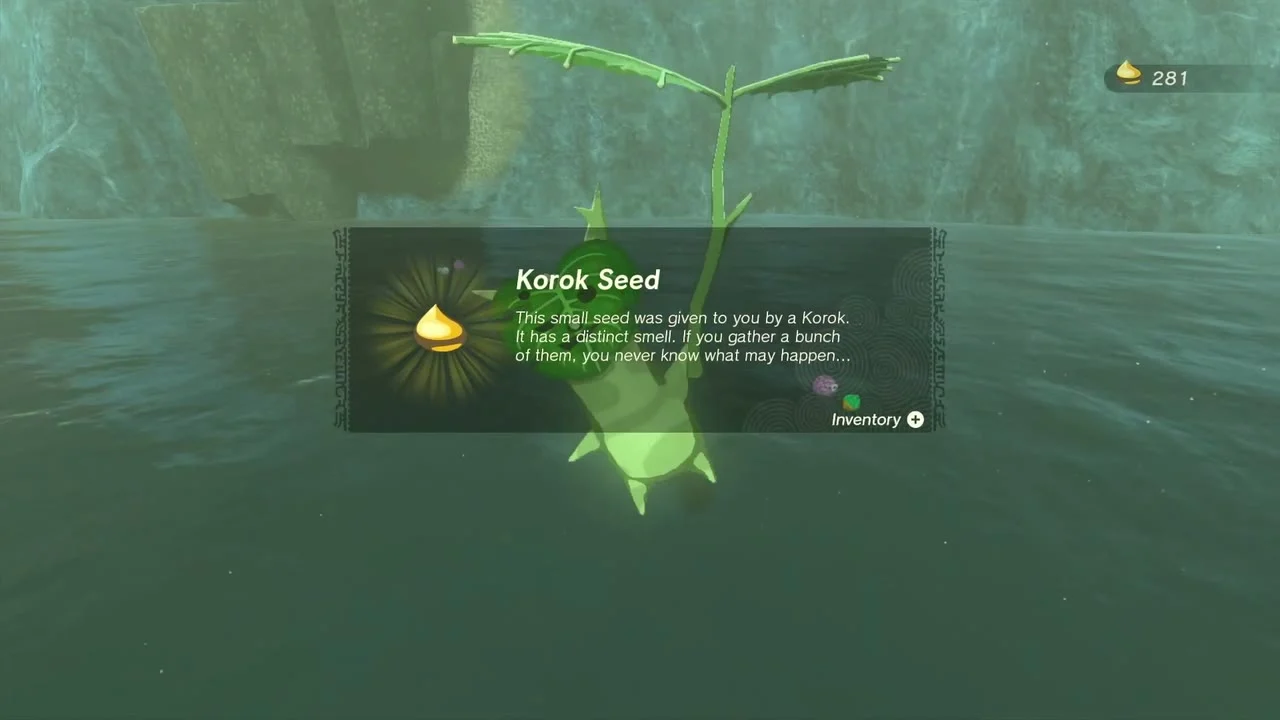
Korok seed (Dive into the ring) at (3141, -440), on the pond west of Samasa Plain. Jump from the jetty and glide or drop through the ring of lily pads floating on the water to make the Korok appear and take the seed.
Fix Addison’s sign on Samasa Plain
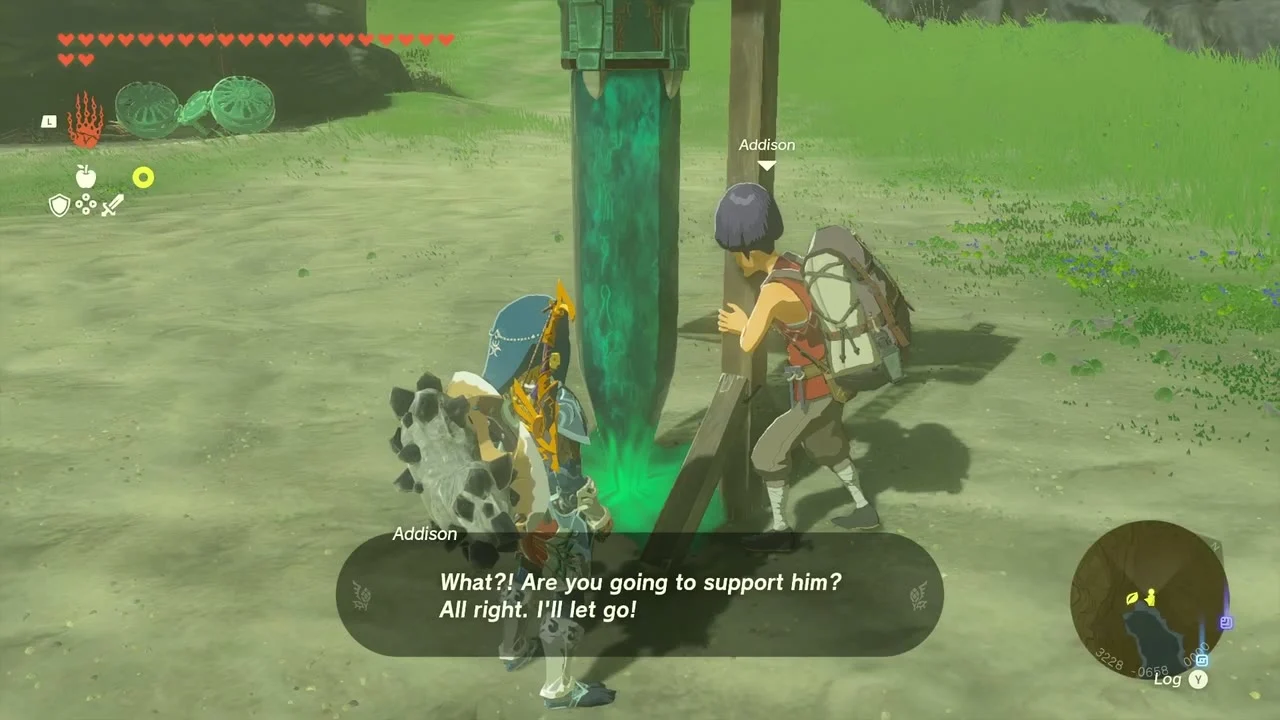
Addison’s Hudson Construction sign at about (3224, -659), on Samasa Plain beside the road. The sign leans over: prop the post upright with a plank or a Zonai device and talk to Addison to finish it.

Light the statues in the rock cave
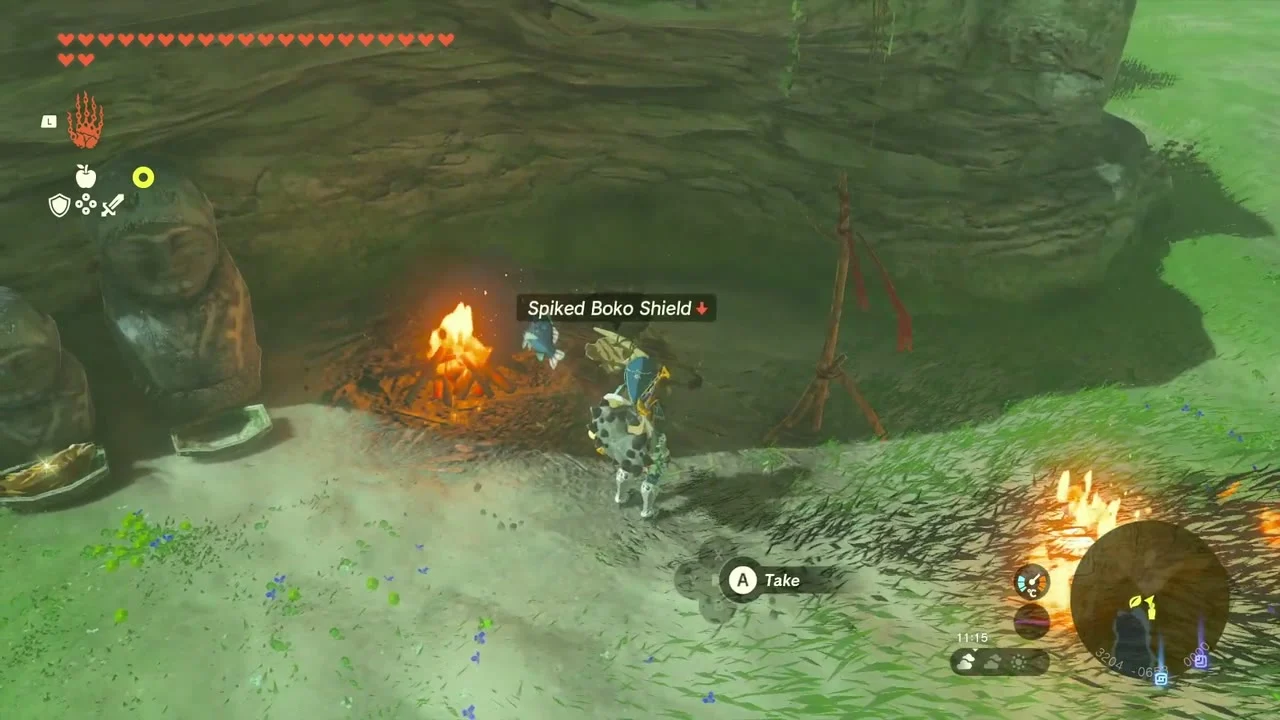
Korok seed (Offer fruits to the statues) at (3203, -661), in a small rock cave with a campfire and a row of stone statues. Grab the Spiked Boko Shield (or Boko Shield or Dragonbone Boko Shield, depending on your progress) by the fire, set fruit on the offering plates in front of the statues and the Korok pops out with the seed.
Open the hammer chest in the rock pit
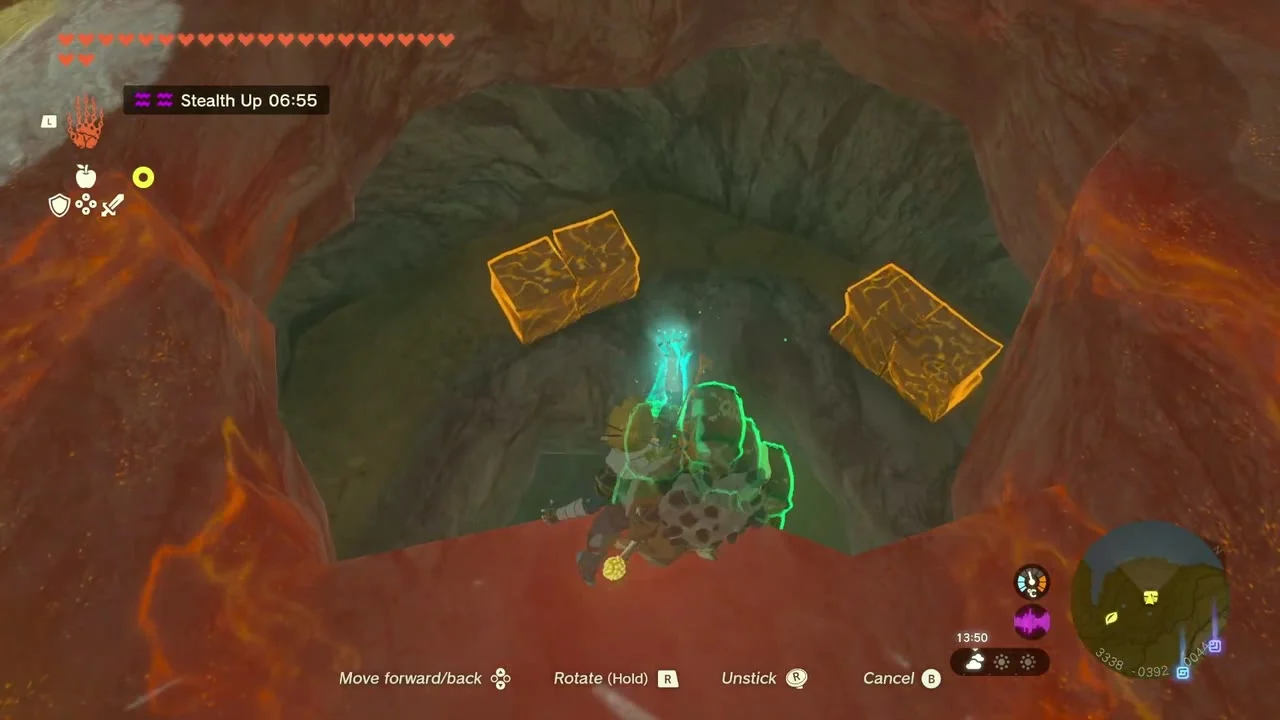
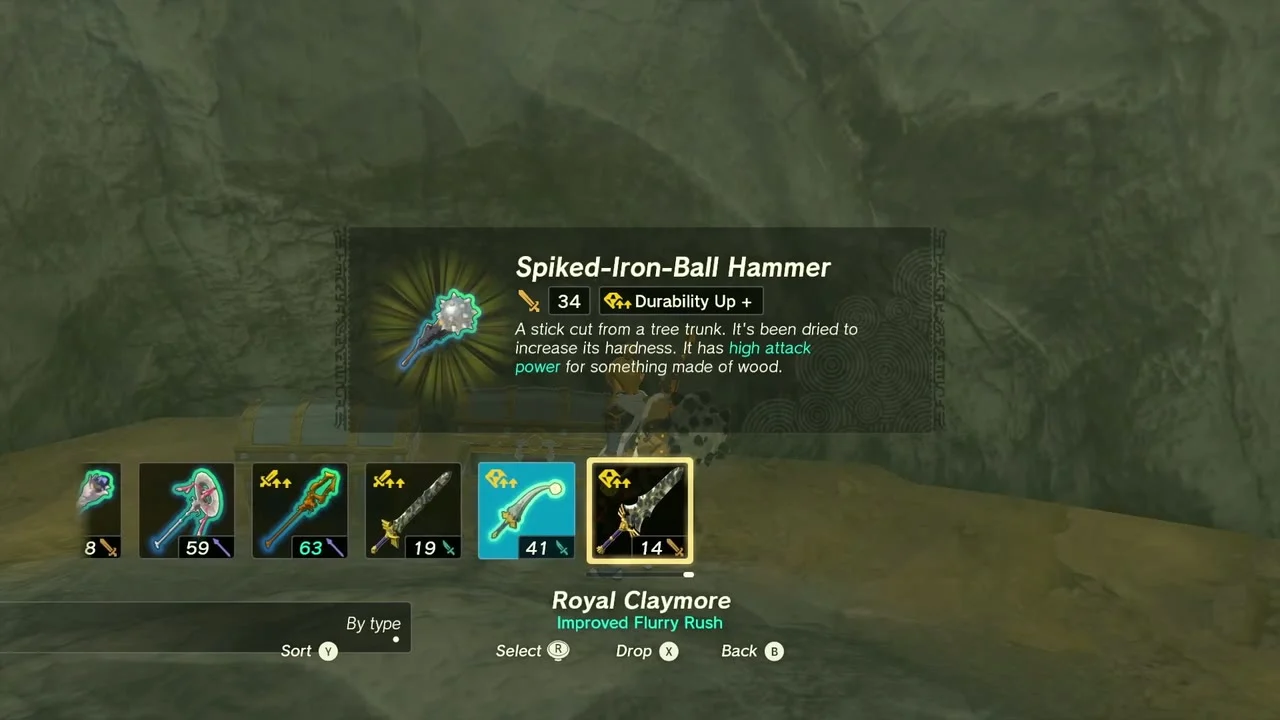
Chest: Spiked-Iron-Ball Hammer at (3341, -392), in a pit full of orange-lit boulders. Drop down, open the chest for the Spiked-Iron-Ball Hammer, then stack rock cubes with Ultrahand to climb back out.
Find the Korok in the tree branches
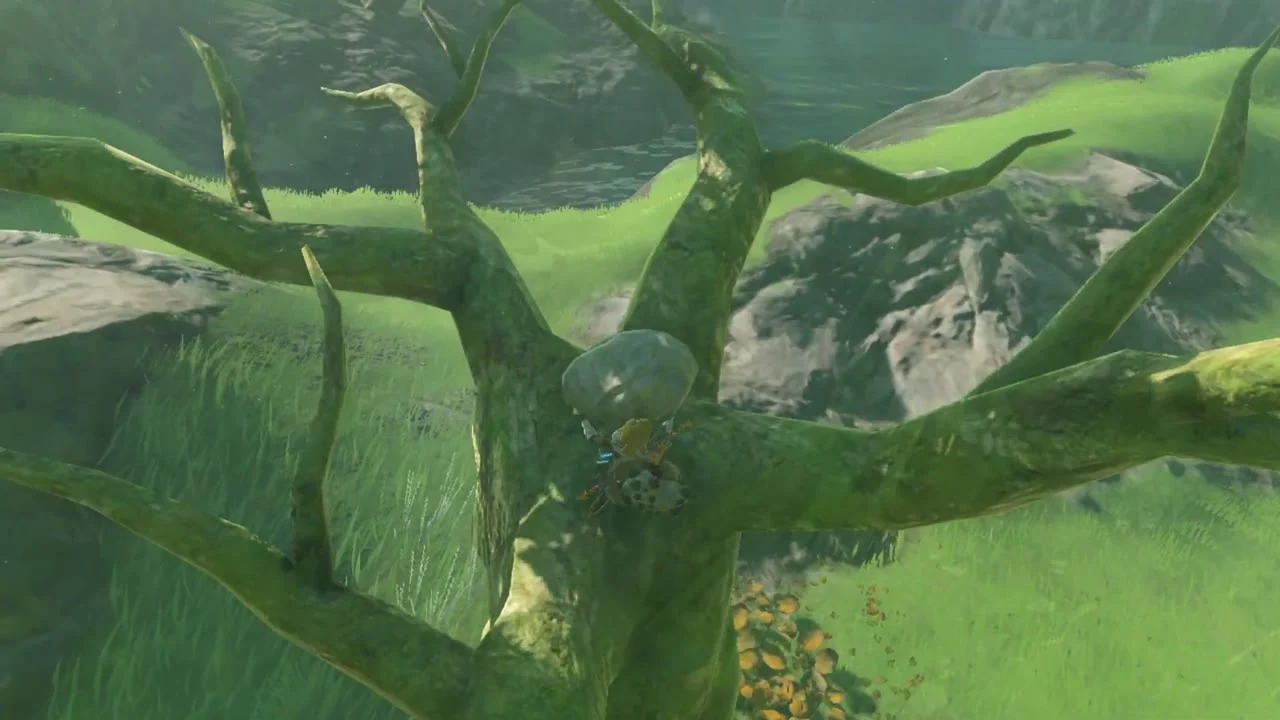
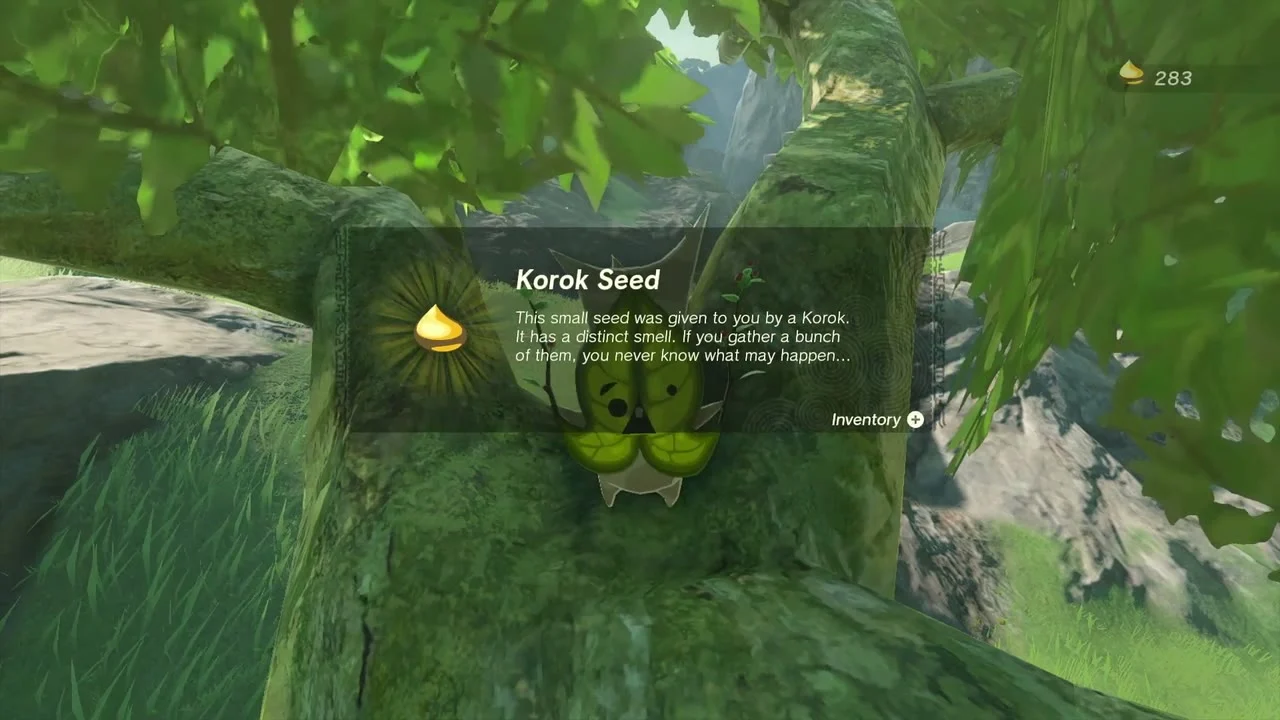
Korok seed (Lift the rock) at (3321, -475), beside a ruined arch above the road. The Korok is hiding in the branches of the tree here; lift the rock at the foot of the arch to make it appear and collect the seed.
Take the Zora Shield from the dark gully
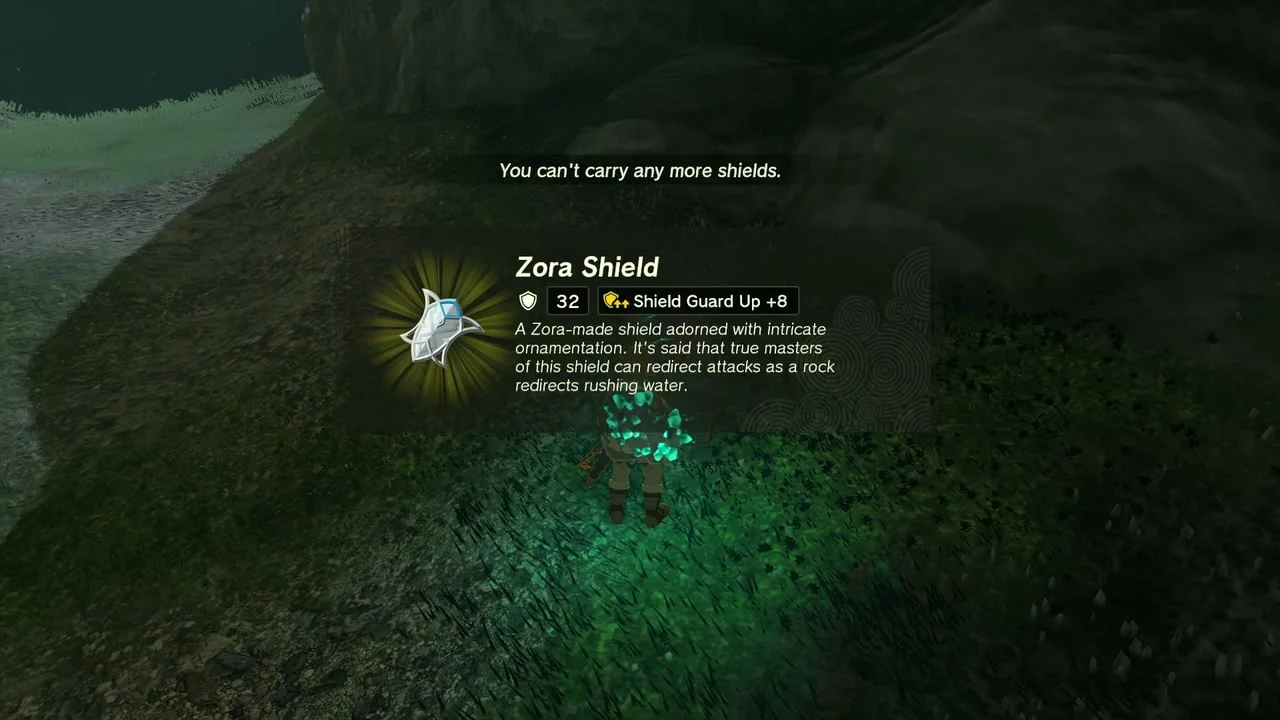
Chest: Zora Shield at (3482, -552), at the bottom of a dark gully. A fire-breathing monster patrols the gully, so shoot it from above before dropping in; the chest holds the Zora Shield.

Carry the exhausted Korok across the lake
Korok seed (Bring the exhausted Korok to its friend): the exhausted Korok sits by a campfire at (3649, -603). Pick it up and ferry it by raft or fan boat across the lake to its friend on the dark rock islet at (3729, -627), then take the seed.

Complete the rock pattern
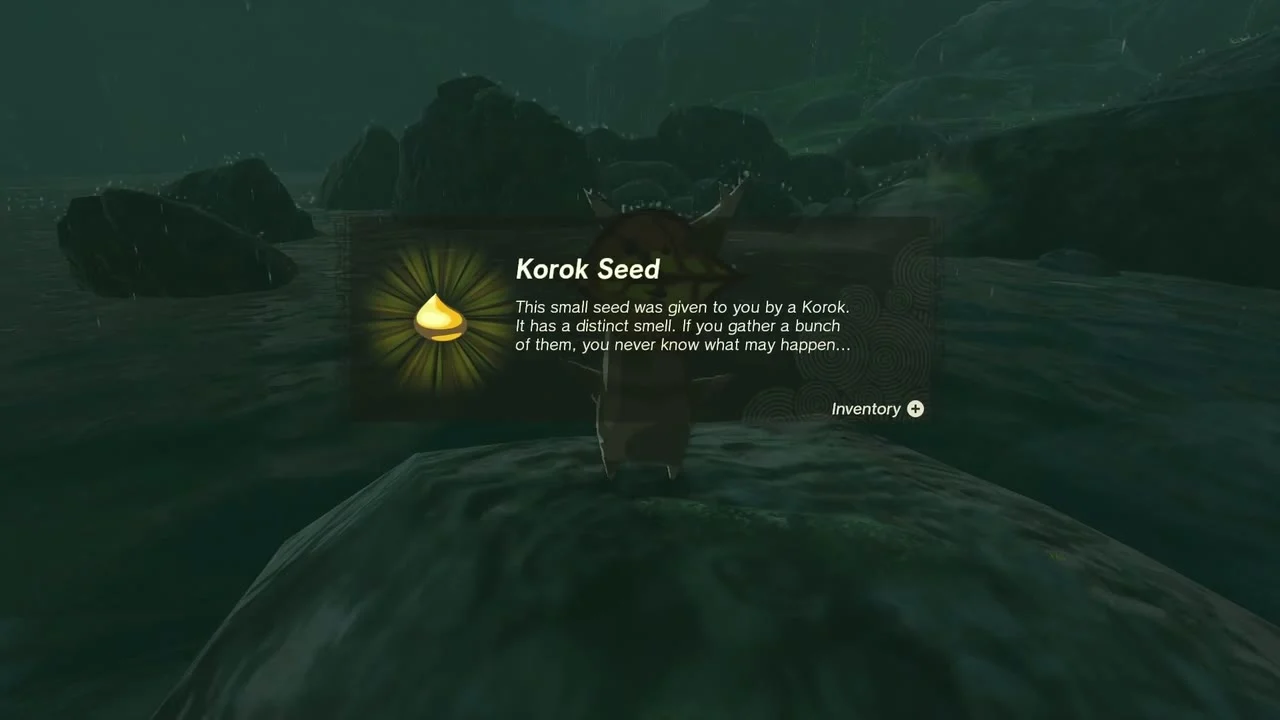
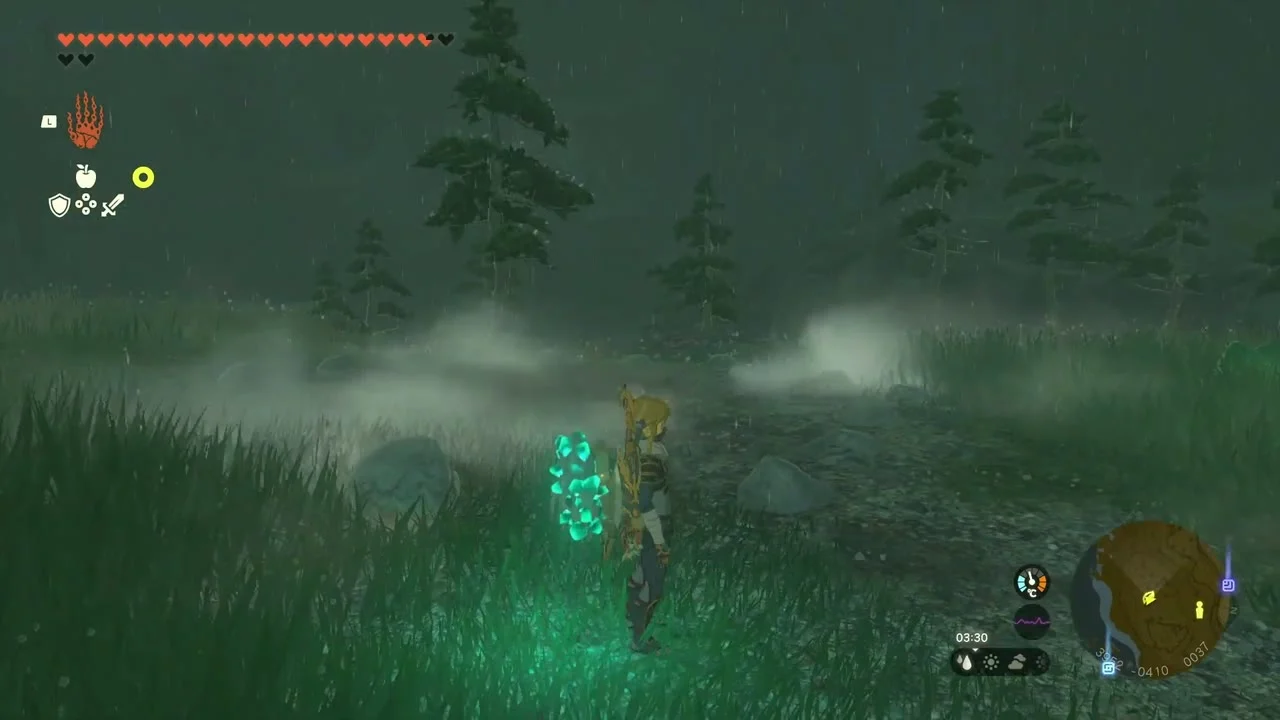
Korok seed (Complete the rock pattern) at (3944, -413), on a rain-soaked hillside. Fit the loose rocks into the glowing outline on the ground with Ultrahand until the pattern is complete and the Korok appears.

Repair Addison’s sign on Brynna Plain
Addison’s Hudson Construction sign at (3973, -295), on Brynna Plain. Build a short frame of planks under the sign so it stands, then speak to Addison; the reward is a Red Rupee.


Follow the arrows to the Korok
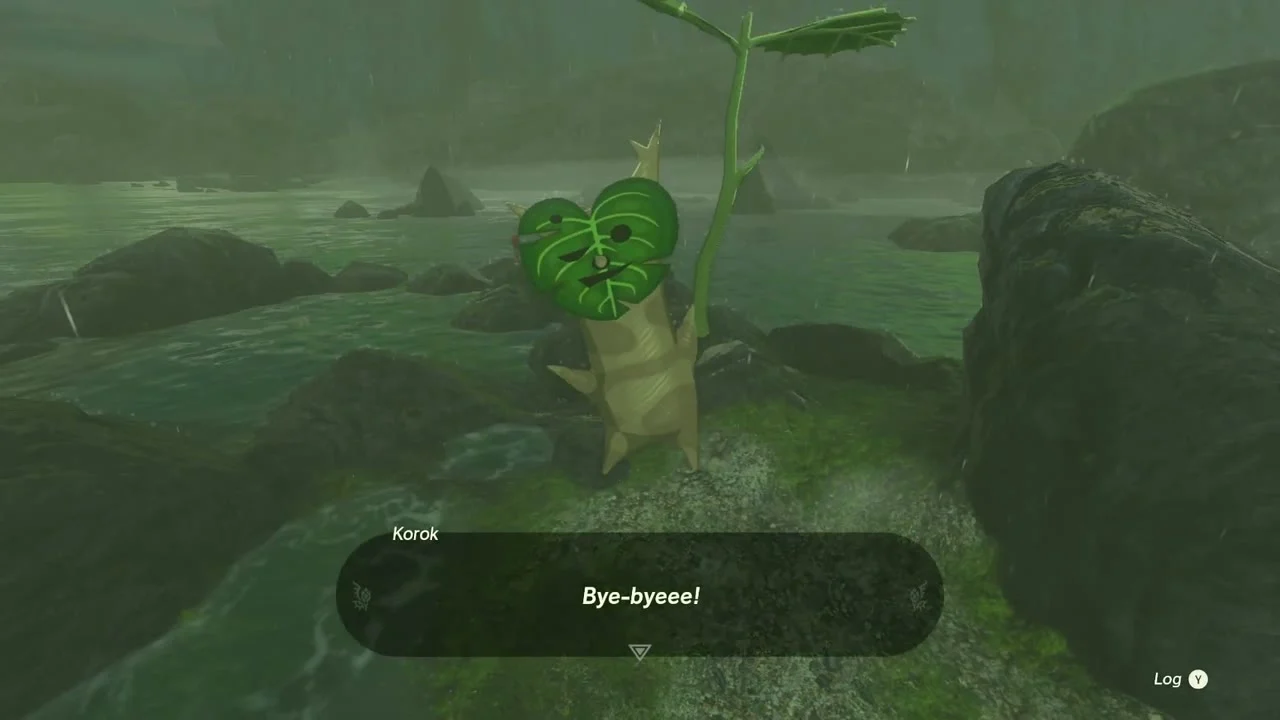
Korok seed (Examine where the arrows point to) at (4142, -557), on a rocky outcrop in the rain. Arrows are stuck in the ground pointing toward the Korok; follow them to the rock and examine the spot to get the seed.
Horon Lagoon, Talus Plateau and Tarm Point (surface)
Glide through the target ring
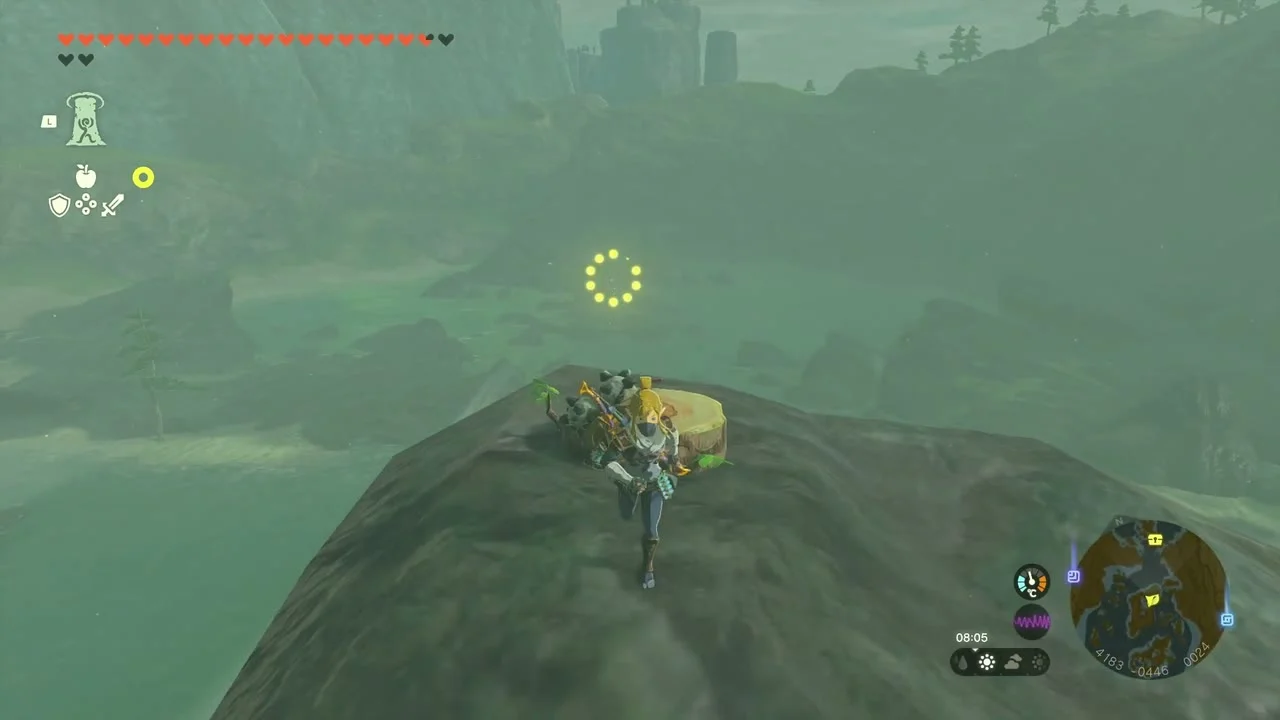
Korok seed (Reach the target ring within the time limit) at (4231, -311), above the bay east of the rainy outcrop. Step on the stump to start the ring, then glide through the yellow ring and land on the far islet before the timer runs out.
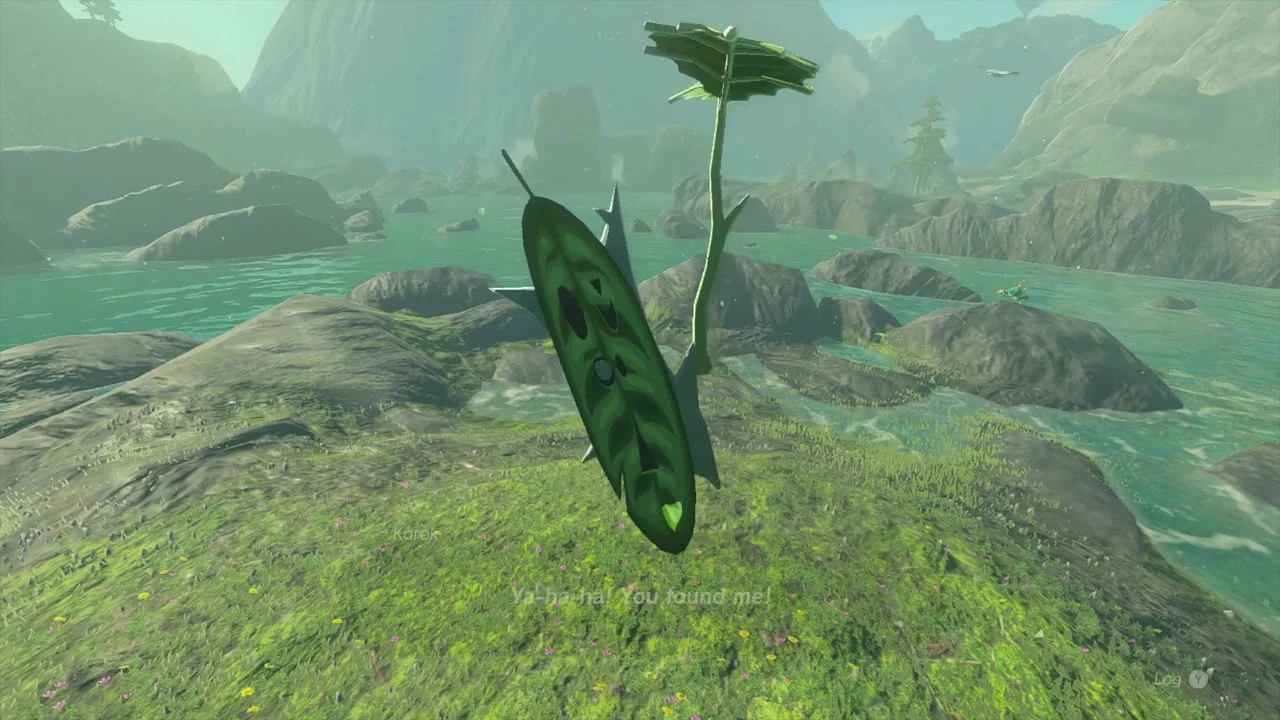
Enter Horon Lagoon Cave
Horon Lagoon Cave at (4246, -255), on a small islet in Horon Lagoon. Drop into the hole on the islet and swim through the flooded cave; a Horriblin throws rocks from a ledge near the start, so deal with it first.

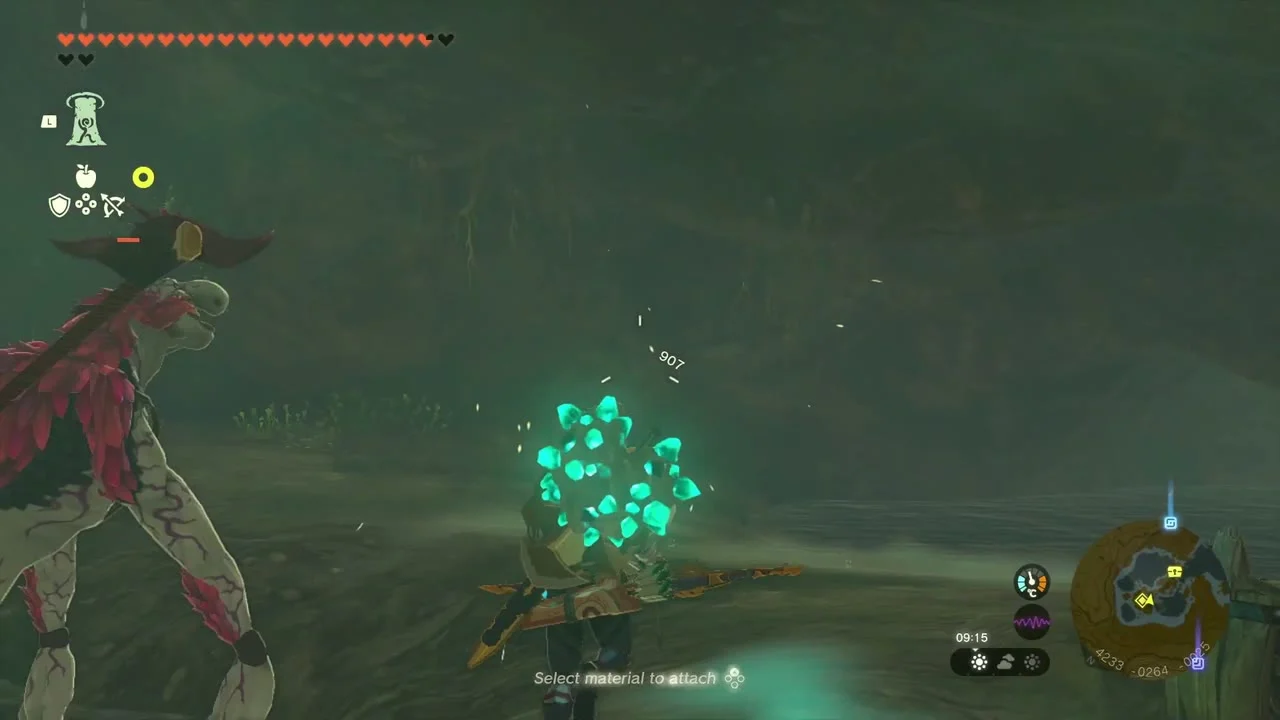
Catch the Bubbulfrog
Bubbul Gem at about (4228, -308), in the water at the back of the cave. Shoot or hit the glowing Bubbulfrog and it drops a Bubbul Gem; trade these to Koltin for monster masks.


Open the Rubber Tights chest
Chest: Rubber Tights at (4274, -375), behind a wooden shrine-style gate in the cave. Near the far end, breakable boulders sit high on the wall: fire a Bomb Flower arrow at them (Bomb Flowers grow in the cave) and open the chest behind the gap for the Rubber Tights, which give Shock Resistance. The water rises and falls, so wait for high tide to pass the spikes; knocking Horriblins into the water is the quickest way to deal with them. Take the Brightbloom Seeds on the way out before you Ascend back to the surface.
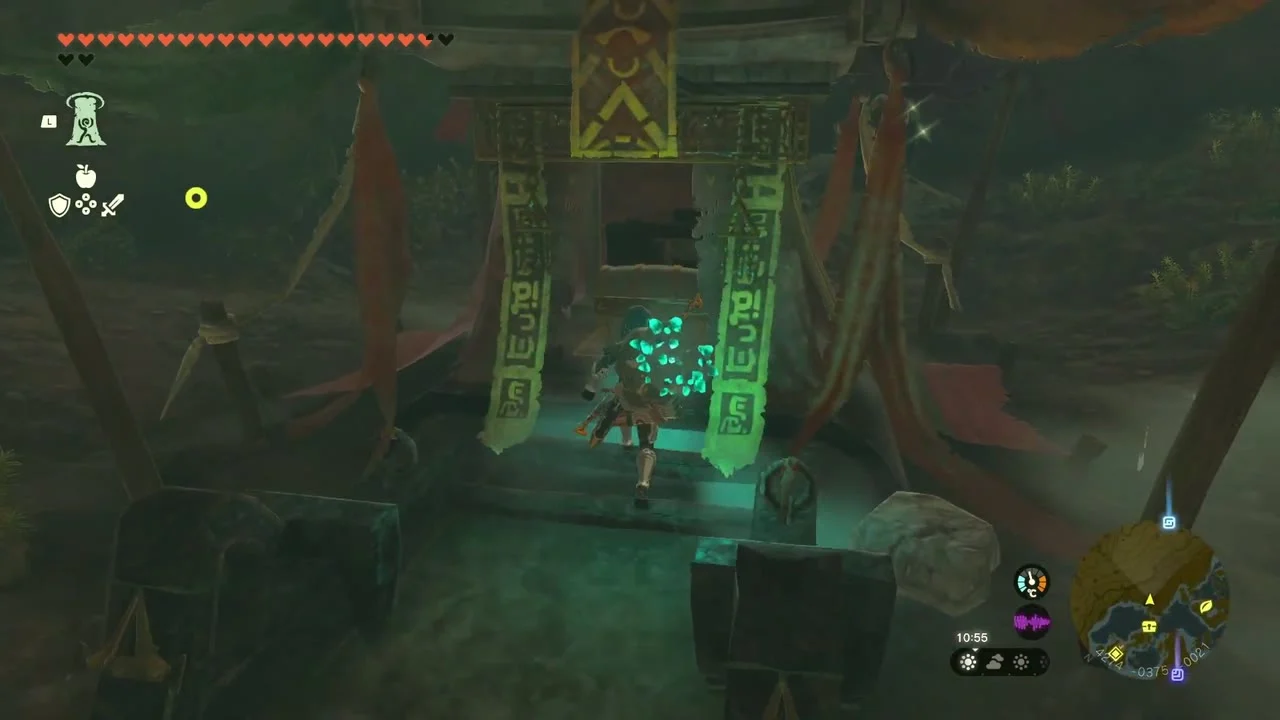


Catch the dandelion on Talus Plateau
Korok seed (Attack and catch the dandelion) at (4325, -141), on a white rock on the hillside. Hit the dandelion fluff drifting beside the rock and catch it before it lands to make the Korok appear.
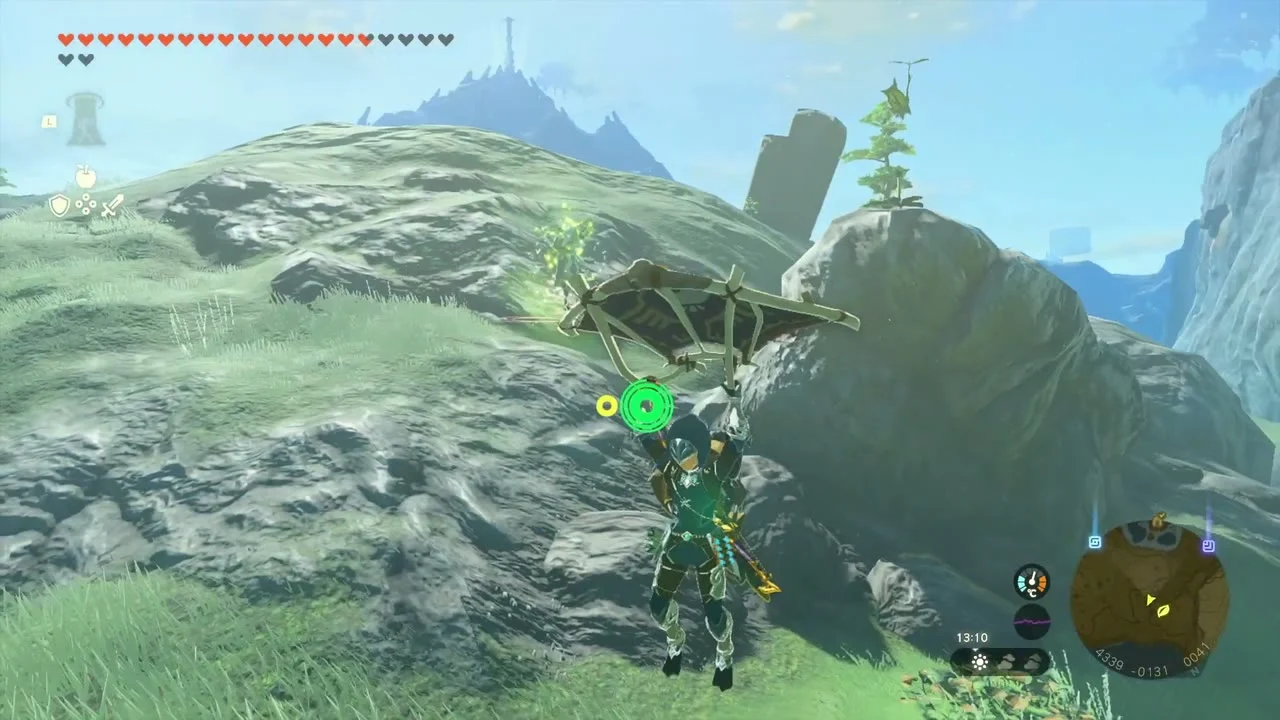

Grab the Ancient Blade in the coast cave
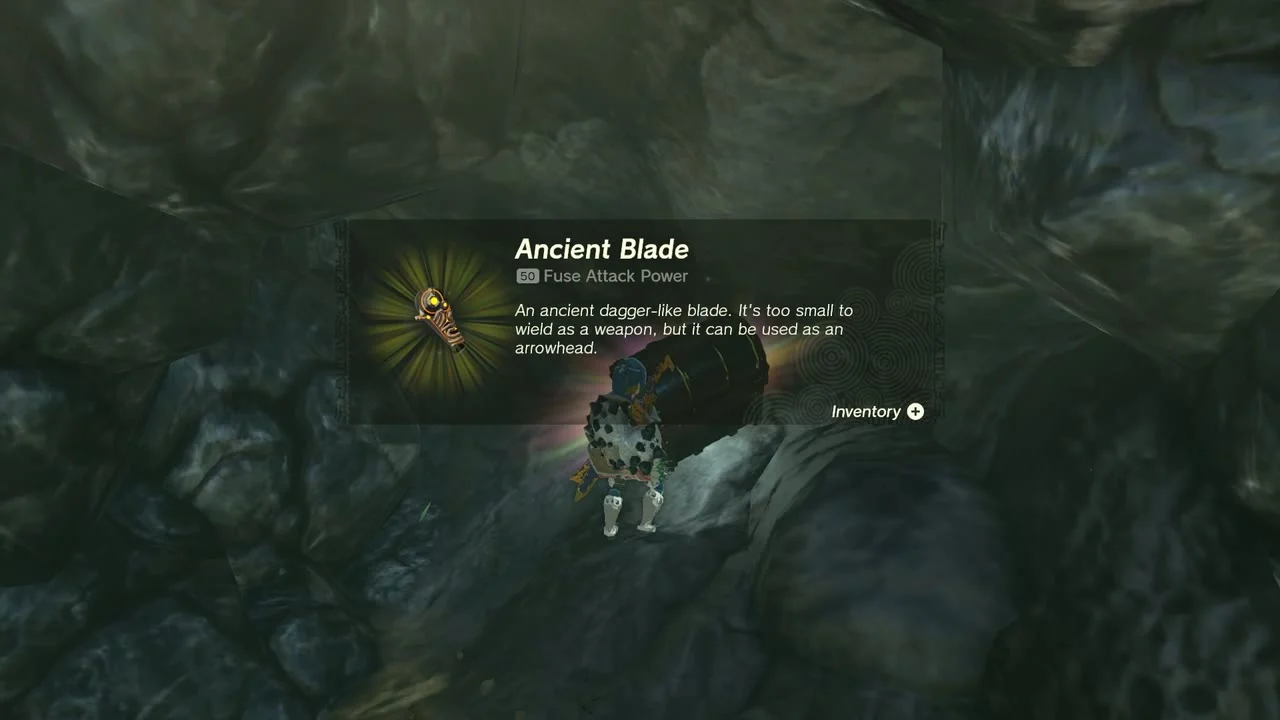
Chest: Ancient Blade at (4511, -227), in a small cave in the rocks along the Talus Plateau coast. A construct stands guard in the cave; defeat it or slip by and open the chest for the Ancient Blade, a fuse material.

View the Sages’ Vow Dragon’s Tear
Dragon’s Tear: The Sages’ Vow at (4467, -305), on a hill in Talus Plateau marked by a glowing pool. Walk to the Dragon’s Tear among the pines and touch it to view the memory; it belongs to the Talus Plateau geoglyph.


Lift the rock below the geoglyph hill
Korok seed (Lift the rock) at (4459, -357), just below the geoglyph hill. Lift the grey rock on the slope and the Korok is underneath; its leaf pops up as you reach it.

Ascend to the marker and open the weapon chest
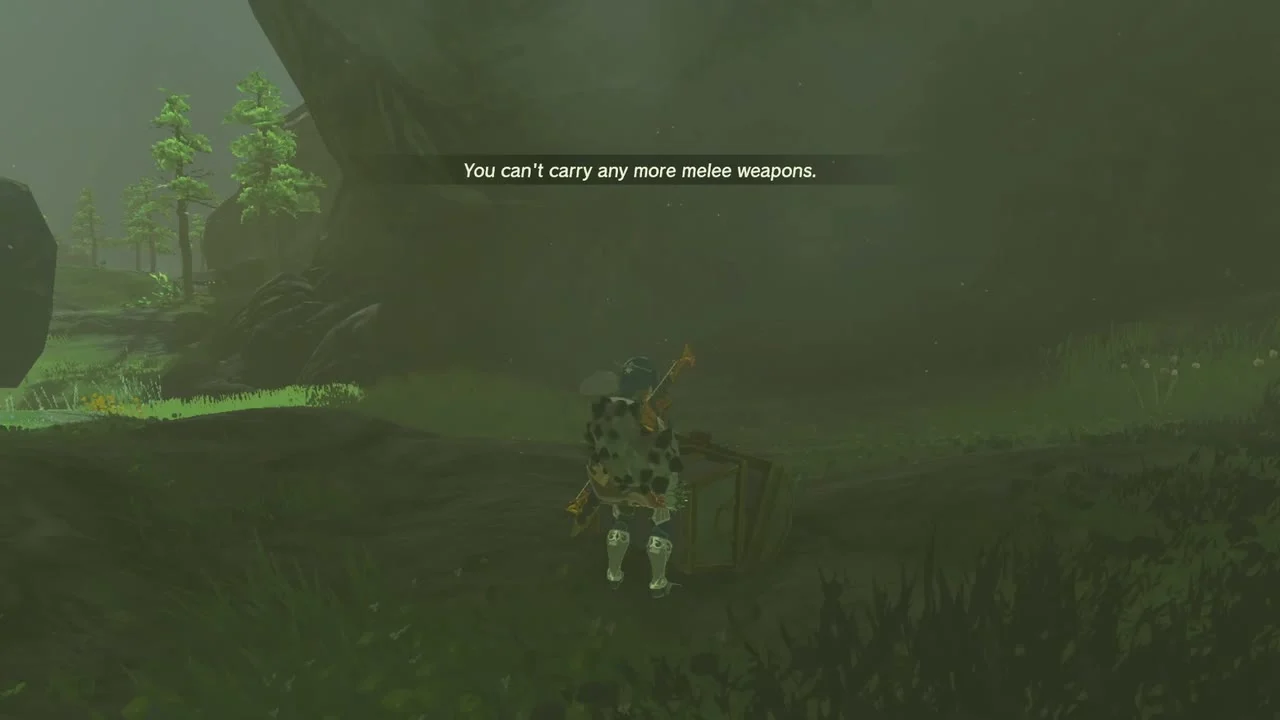
Korok seed (Use Ascend on the marker) at (4441, -480), on a lava-warmed ridge. Ascend through the ceiling at the marker to reach the Korok. Nearby is a chest at about (4443, -466) that holds a weapon, so free up a weapon slot before you open it.

Build a cube bridge over the lava
Korok seed (Complete the cube puzzle) at (4395, -535), above a lava pool. Attach the loose rock cubes to each other with Ultrahand so they form a platform across the lava to the ledge and collect the seed.

Fix Addison’s sign by Yomizuk Shrine
Addison’s Hudson Construction sign at (4334, -570), on the hillside above Tarm Point near Yomizuk Shrine. Prop the leaning sign upright with planks and a support beam, then talk to Addison.


Apogek Shrine and Ja’Abu Ridge
Reach Apogek Shrine
Apogek Shrine at (3886, -216, 177), trial Wings on the Wind (puzzle), on the cliffs below Ja’Abu Ridge. Lightroot below: Kegopa Lightroot. Land on the ruins above the shrine and drop beneath them to find the entrance.

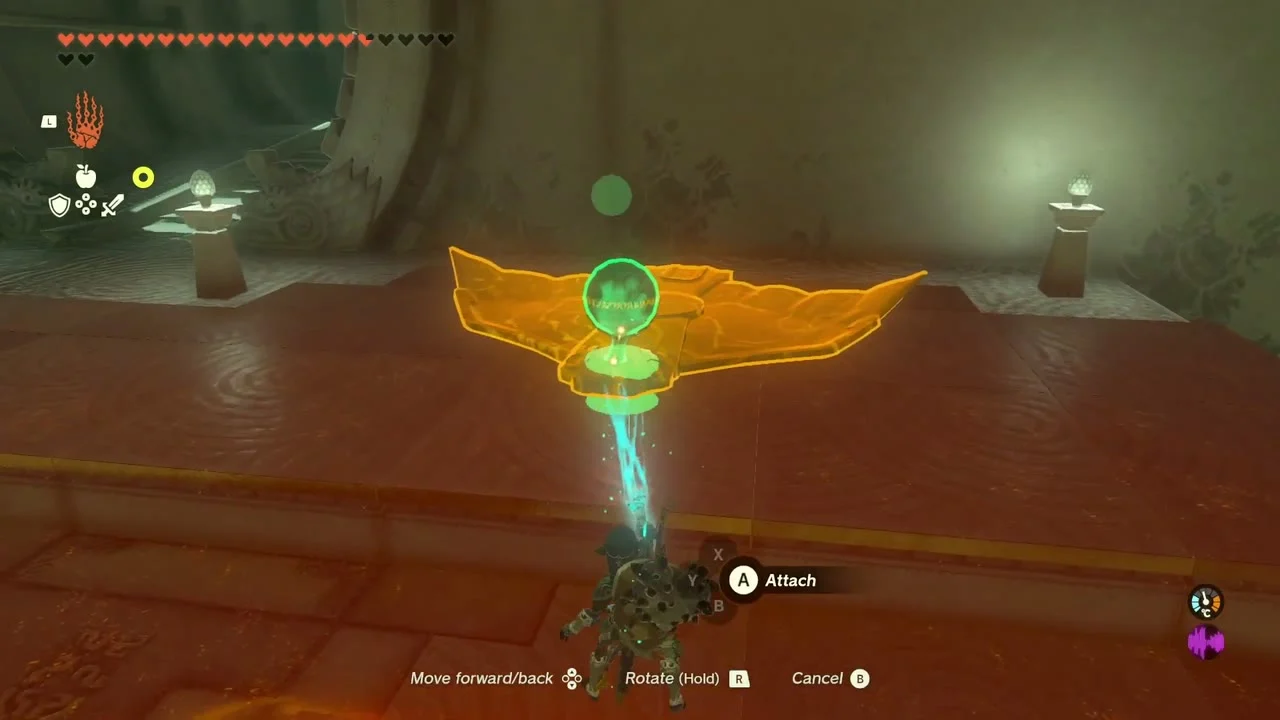
Slide the Wing along the rail
Pick up the Wing from the left ledge and set it on the orange rail at the start of the shrine. Attach the ball to it first, ride the Wing across the gap and drop the ball into the switch to open the gate.

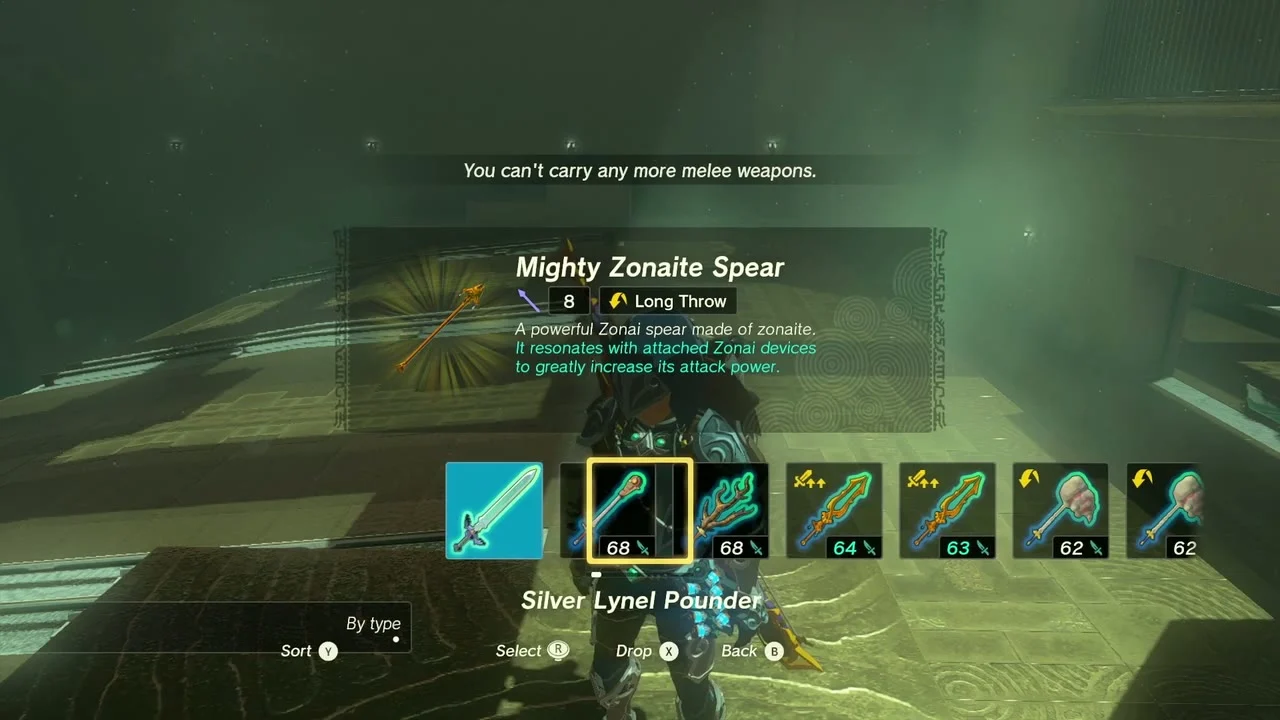
Take the Mighty Zonaite Spear
Chest: Mighty Zonaite Spear (Strong or Mighty, depending on your progress), on the raised platform in the second room. Set a Fan beside the platform to carry you up and pick up the Mighty Zonaite Spear from the light column.
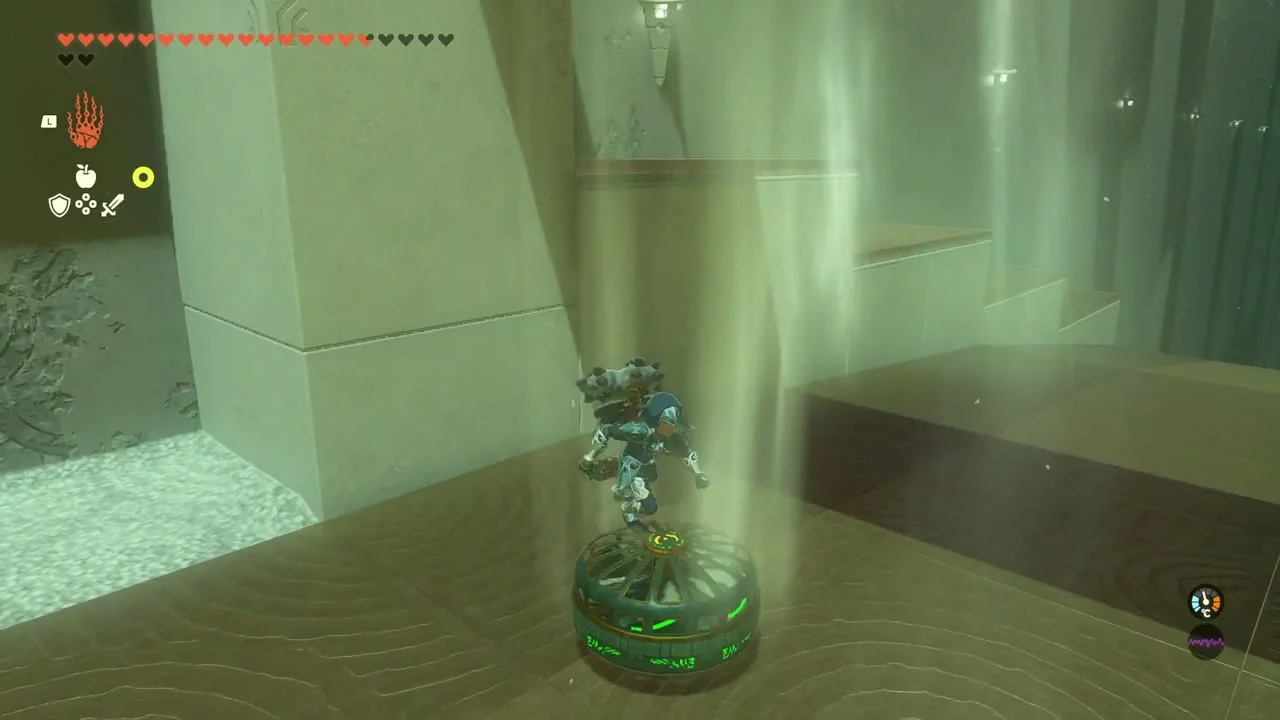
Fly to the Rauru statue
Combine two Fans with a Wing, set it on the rail and fly it over the lava to the exit. At the Rauru statue claim the Light of Blessing.

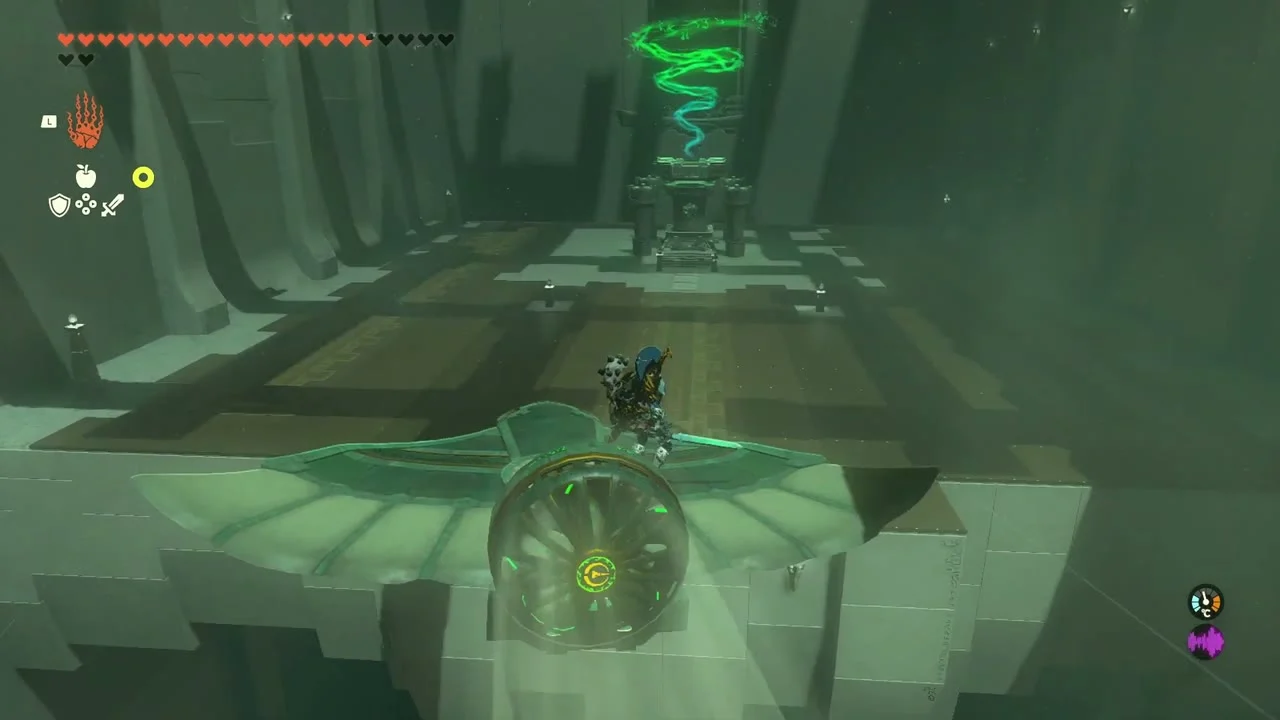
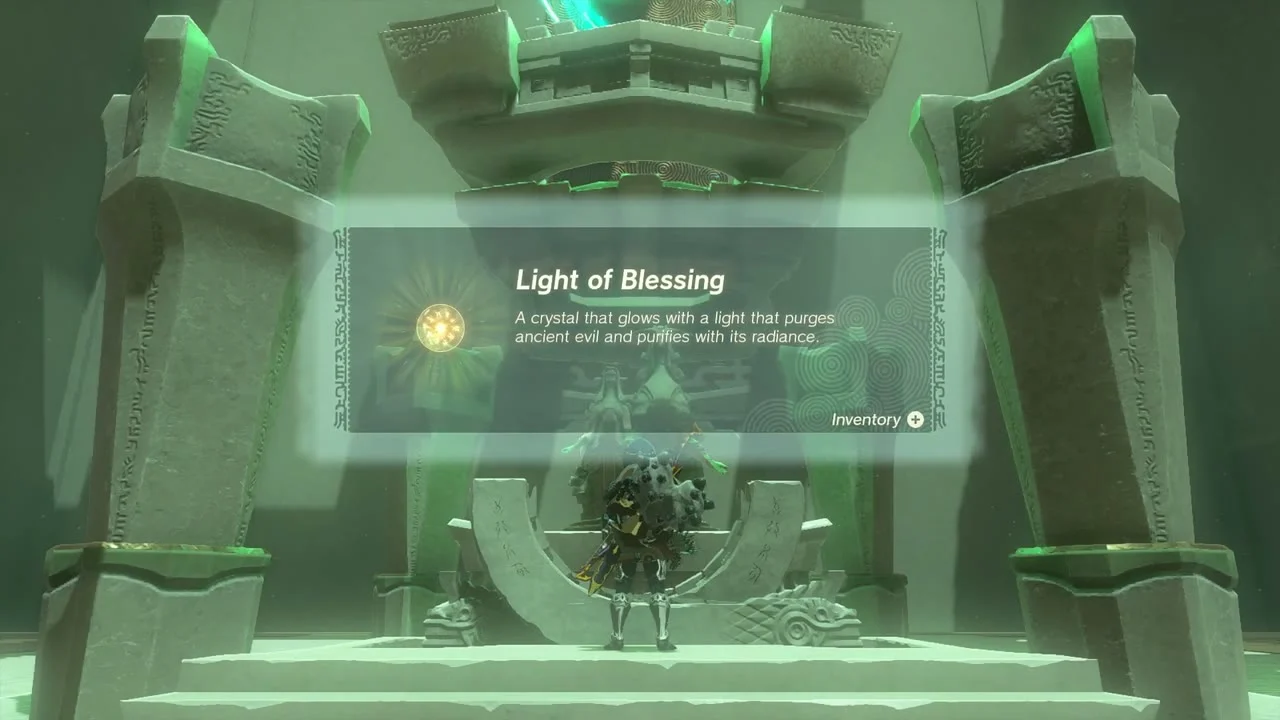
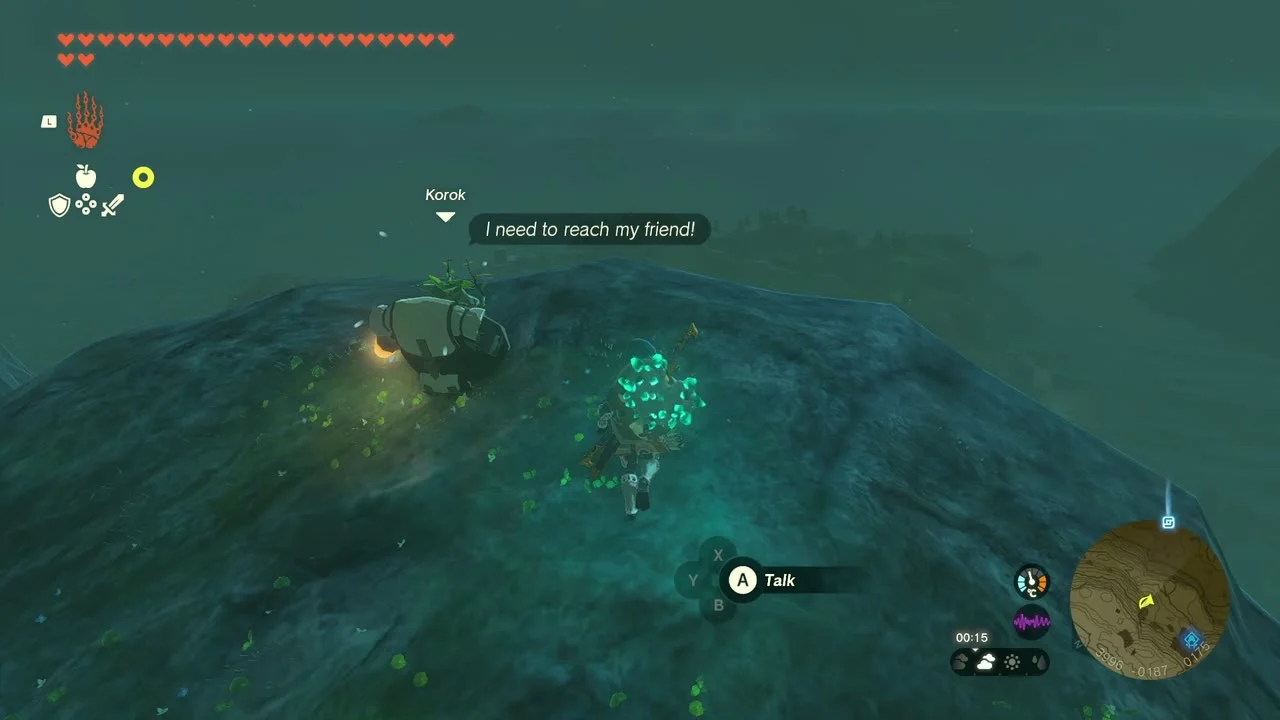
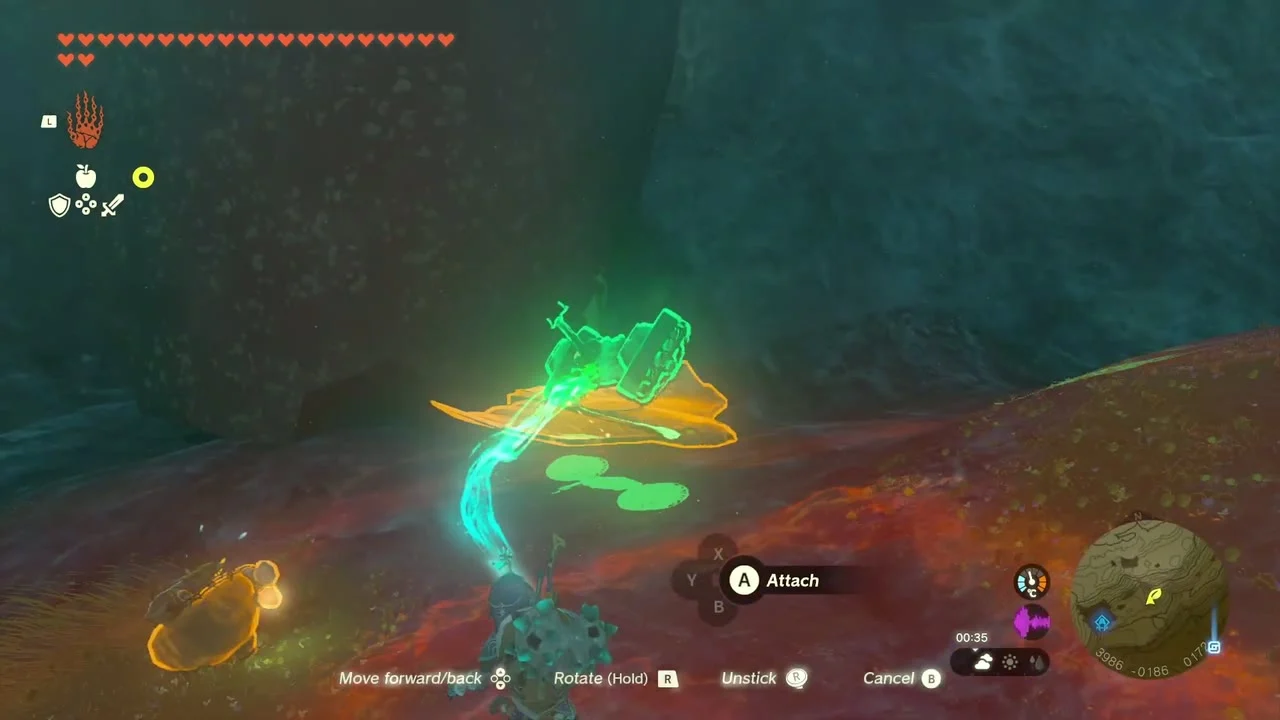
Deliver the exhausted Korok from Ja’Abu Ridge
Korok seed (Bring the exhausted Korok to its friend): the exhausted Korok is at (3996, -187) on the top of Ja’Abu Ridge. Build a Wing with a Fan on the lava rock beside it, load the Korok and fly it east to its friend on the stone pillar at (4460, -752).
Tarm Point Cave and Yomizuk Shrine
Deliver the Korok and take the bridge seed
Korok seed (Follow the flower) at (4462, -843), on the ruined stone bridge. Set the exhausted Korok down at the pillar at (4449, -743), glide on to the bridge and follow the flower to the Korok to collect the seed.
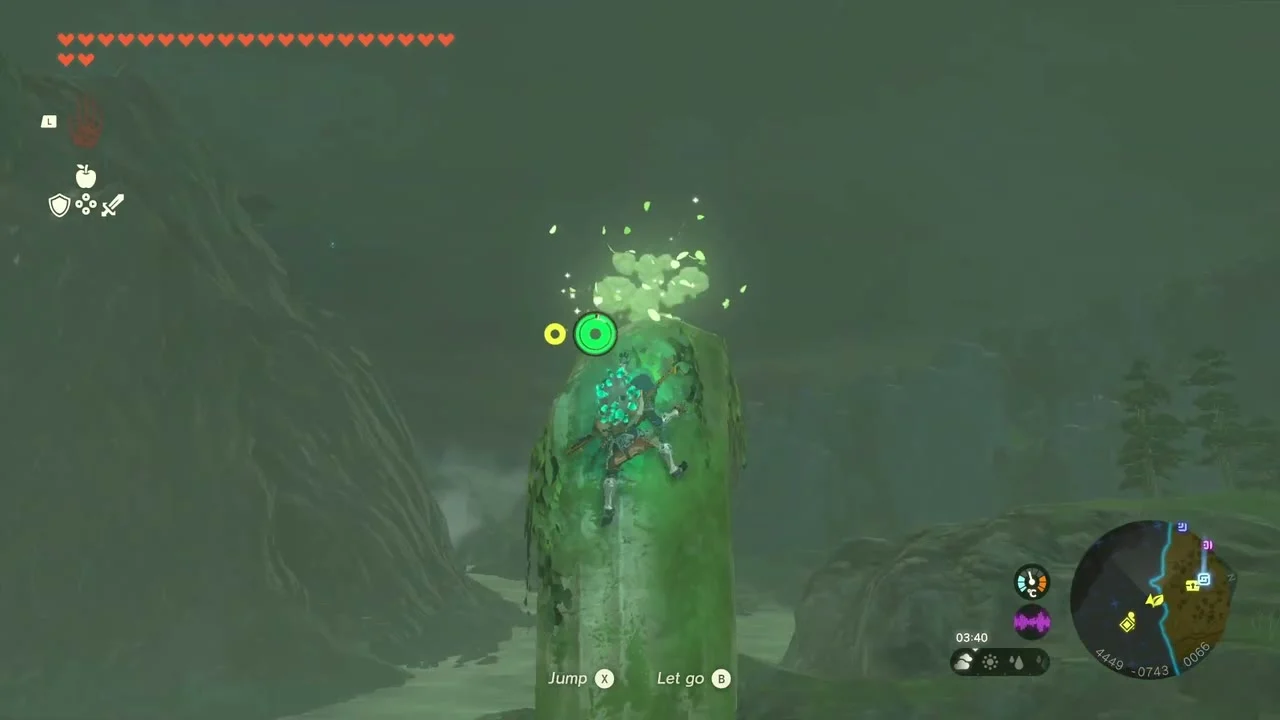

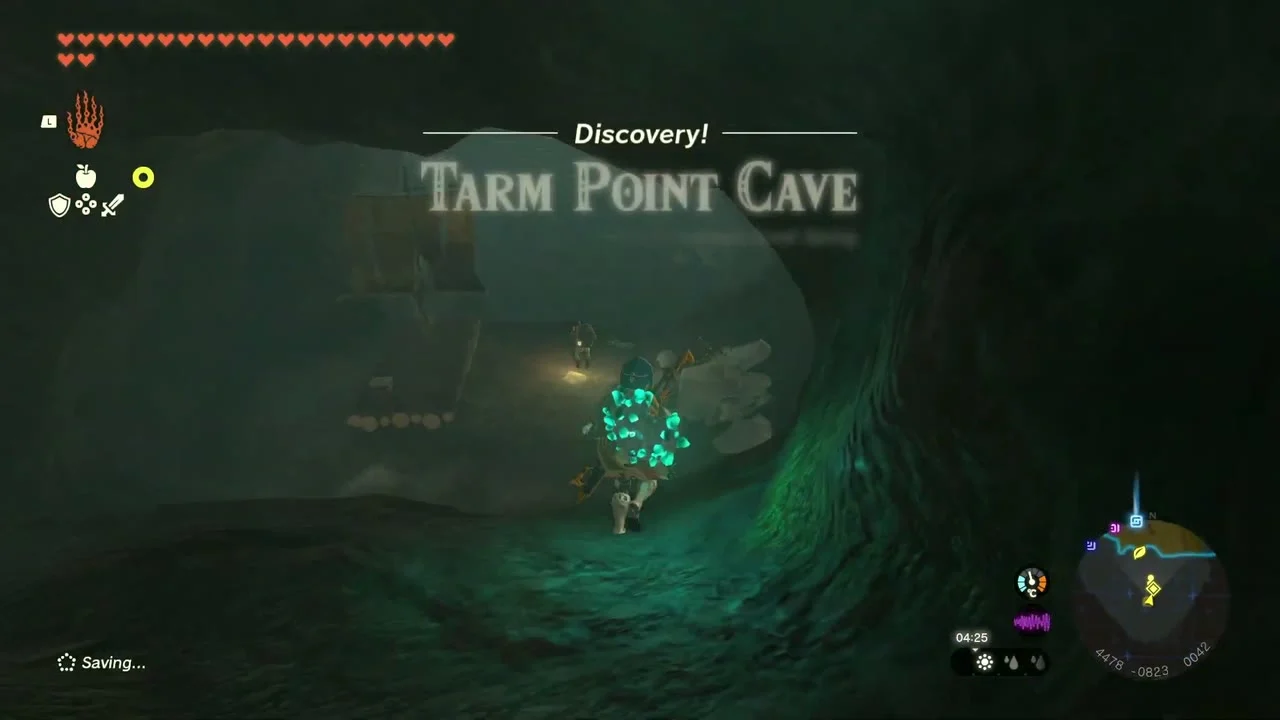
Enter Tarm Point Cave
Tarm Point Cave at (4478, -823), in the cliff above Tarm Point on the south-east edge of the Lanayru Great Spring. Walk into the cave mouth beside the ruins; Sasan stands just inside, which advances the side quest True Treasure (giver Kodah, Zora’s Domain inn).

Ferry Sasan across the flooded cave
Sasan cannot cross the tidal water alone. Build a raft with Ultrahand from a board plus a fan or sail and wheels, put Sasan on it and sail him south to Finley; the water rises and falls, so wait for the high tide to float over the rocks.


Take the Royal Shield on the ice
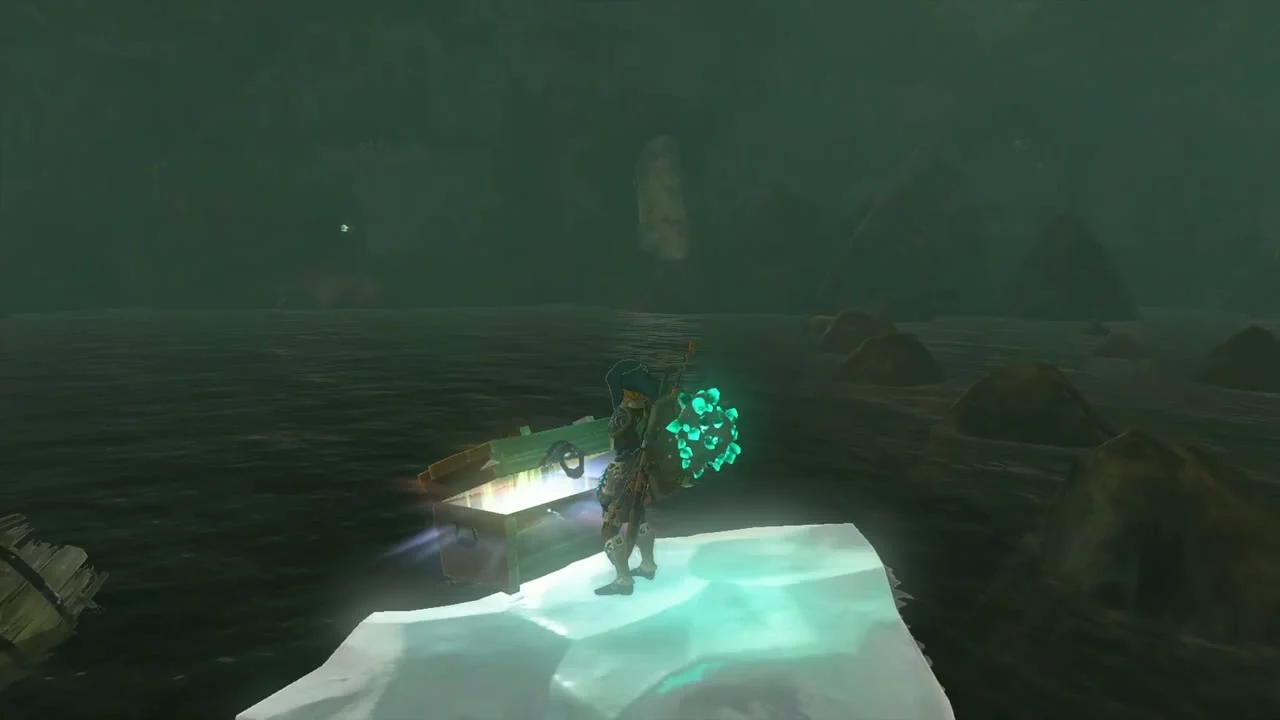
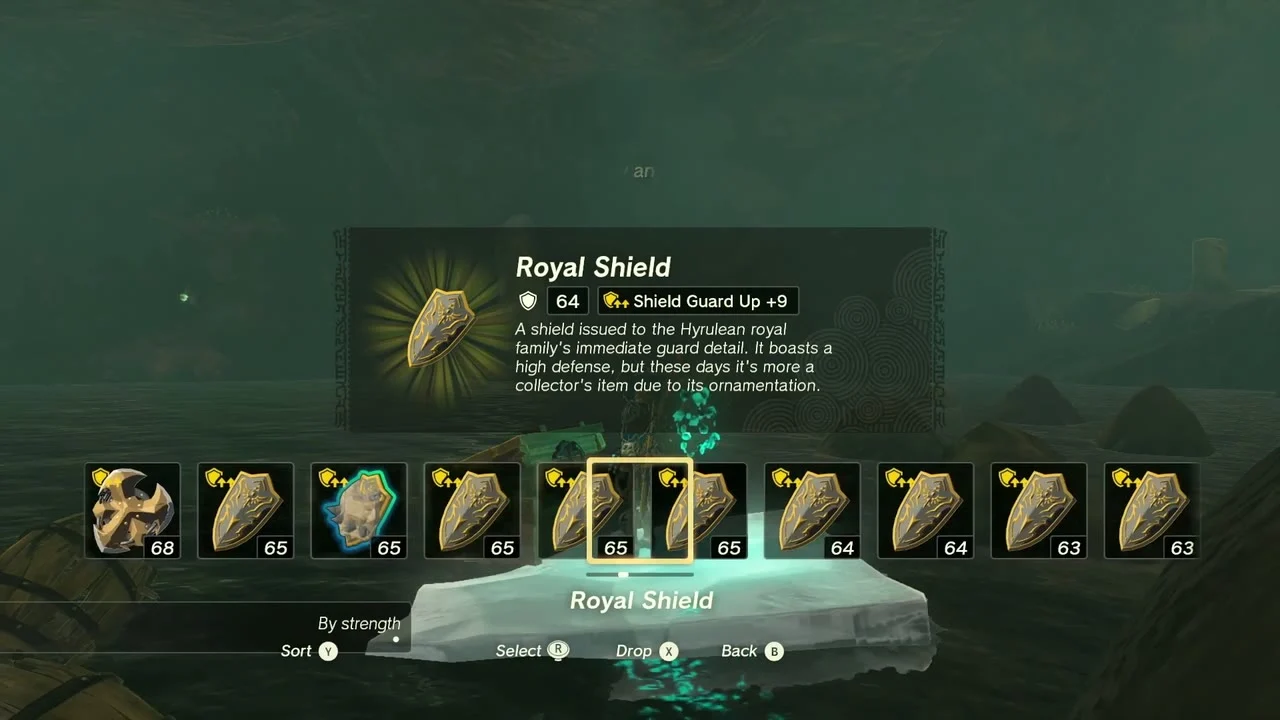
Chest: Royal Shield at (4431, -656), on a ledge in the middle of a lava pool. Cool the lava with a Frost Emitter to make ice sheets, walk across them and open the chest for the Royal Shield.
Catch the Bubbulfrog
Bubbul Gem at about (4431, -751), at the southern end of the cave. Hit the glowing Bubbulfrog as you sail past to receive a Bubbul Gem.


Finish True Treasure
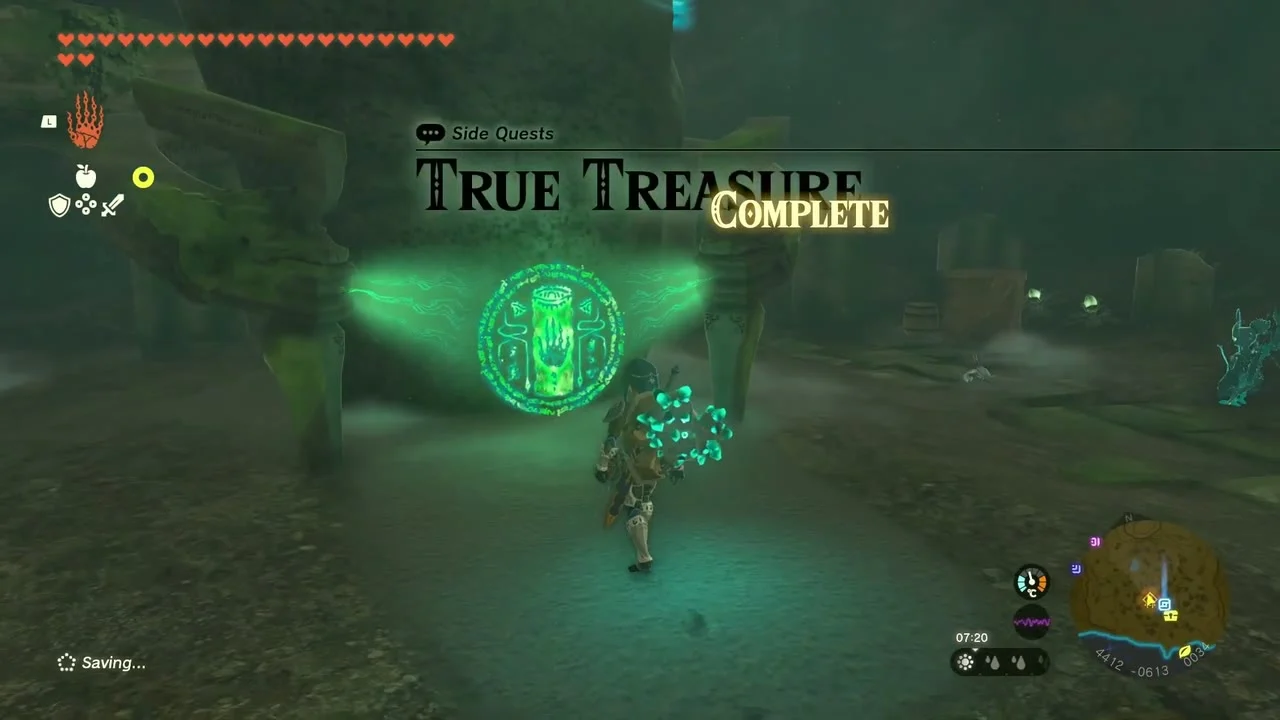
True Treasure (side quest, giver Kodah at the Zora’s Domain inn): at the far end of the cave, Sasan reaches Finley and the quest completes. Sasan and Finley each reward you with an Opal (two in total). A prebuilt raft waits in the cave, and fusing a Korok Frond to a weapon and swinging it behind the sail also pushes the raft; speak to them again once you have room for the gift.
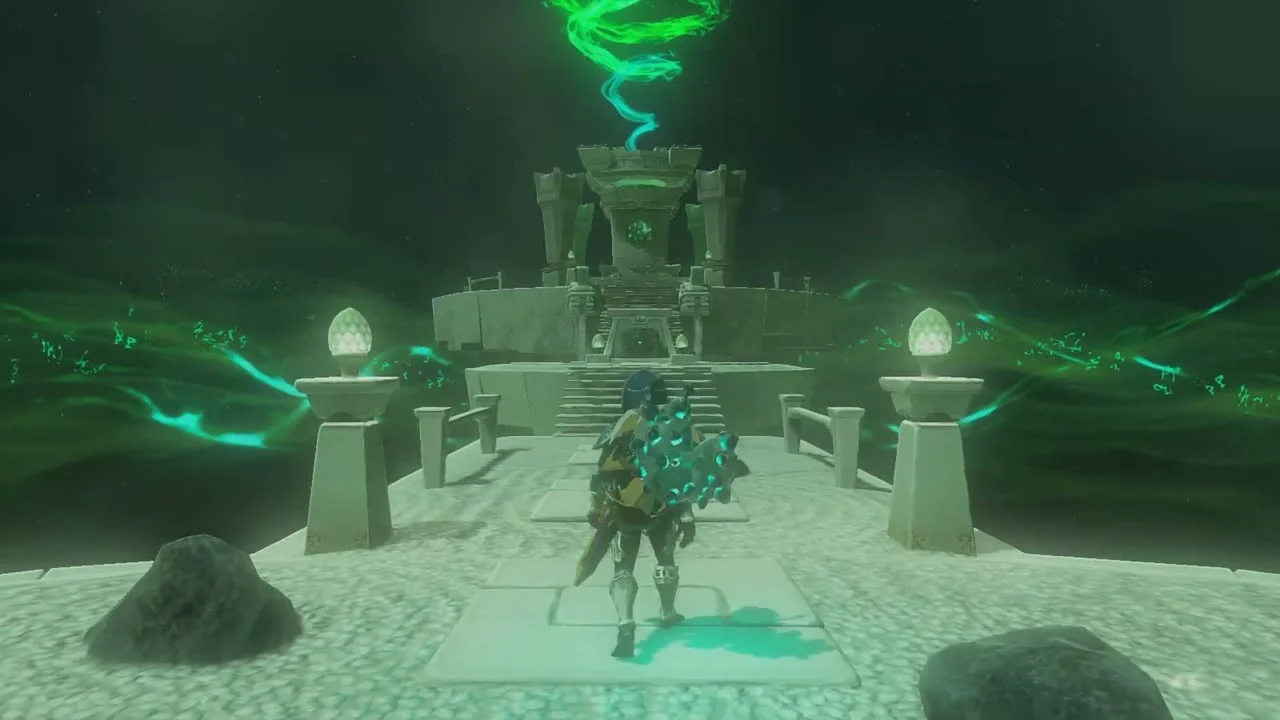
Clear Yomizuk Shrine: Rauru’s Blessing
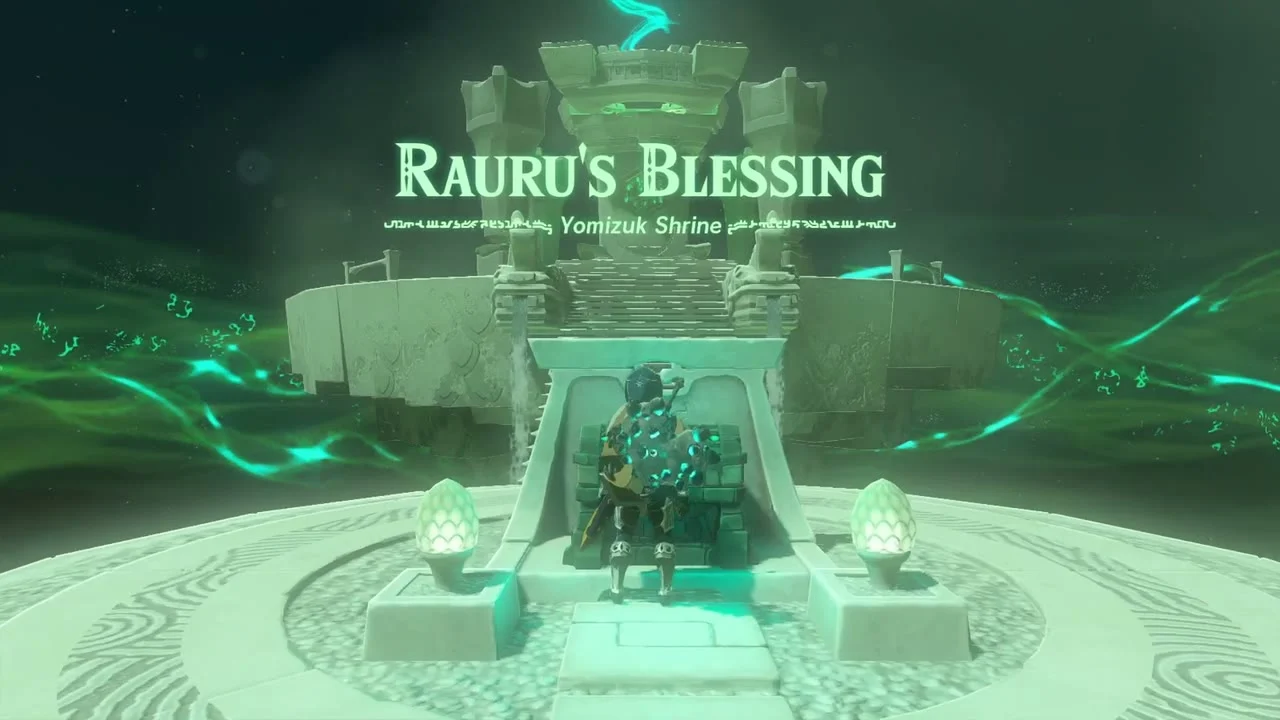
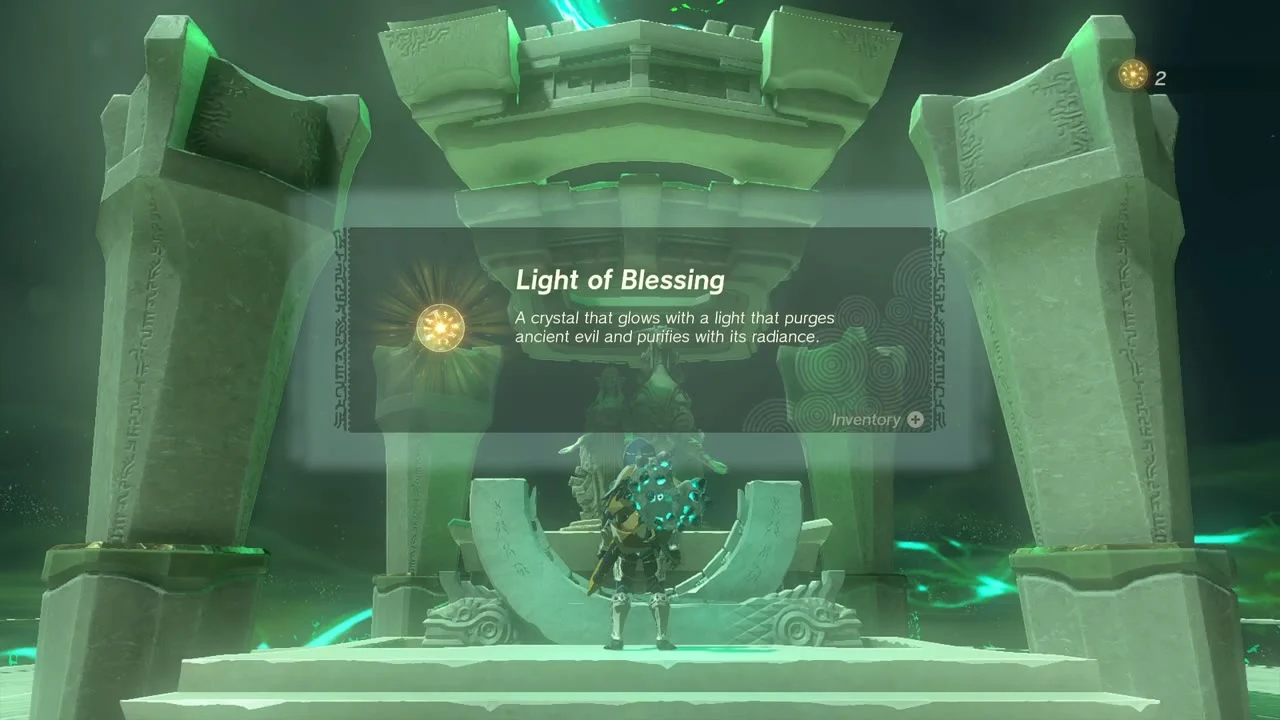
Yomizuk Shrine at (4413, -613, 48), trial Rauru’s Blessing (no puzzle), at the end of Tarm Point Cave. Lightroot below: Kuzimoy Lightroot. Open the chest for a Diamond and claim the Light of Blessing from the Rauru statue.

Catch the sparkling spot on Wintre Island
Korok seed (Catch the sparkling spot) at (4523, -1004), on the grass of Wintre Island south of Tarm Point. Chase the sparkling spot that flickers over the grass and catch it before it vanishes.
Sky: Mei, the Old Map and Wellspring Island
Find Mei on the floating island
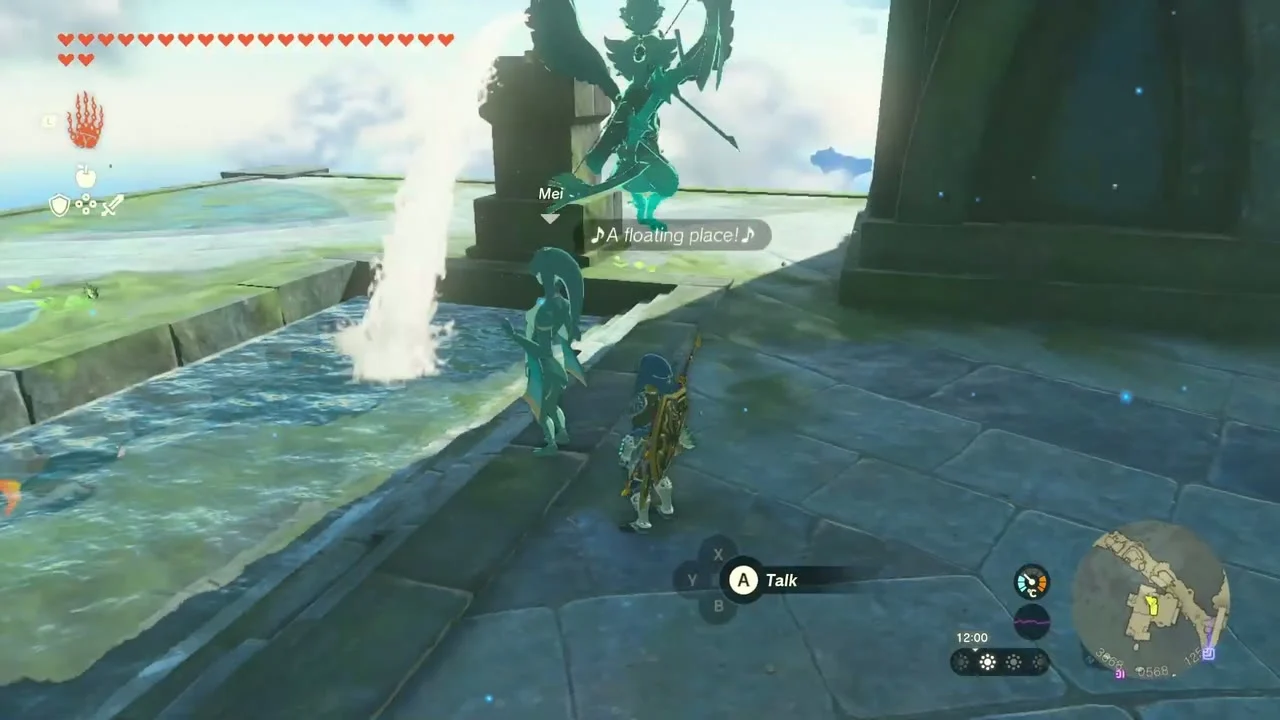
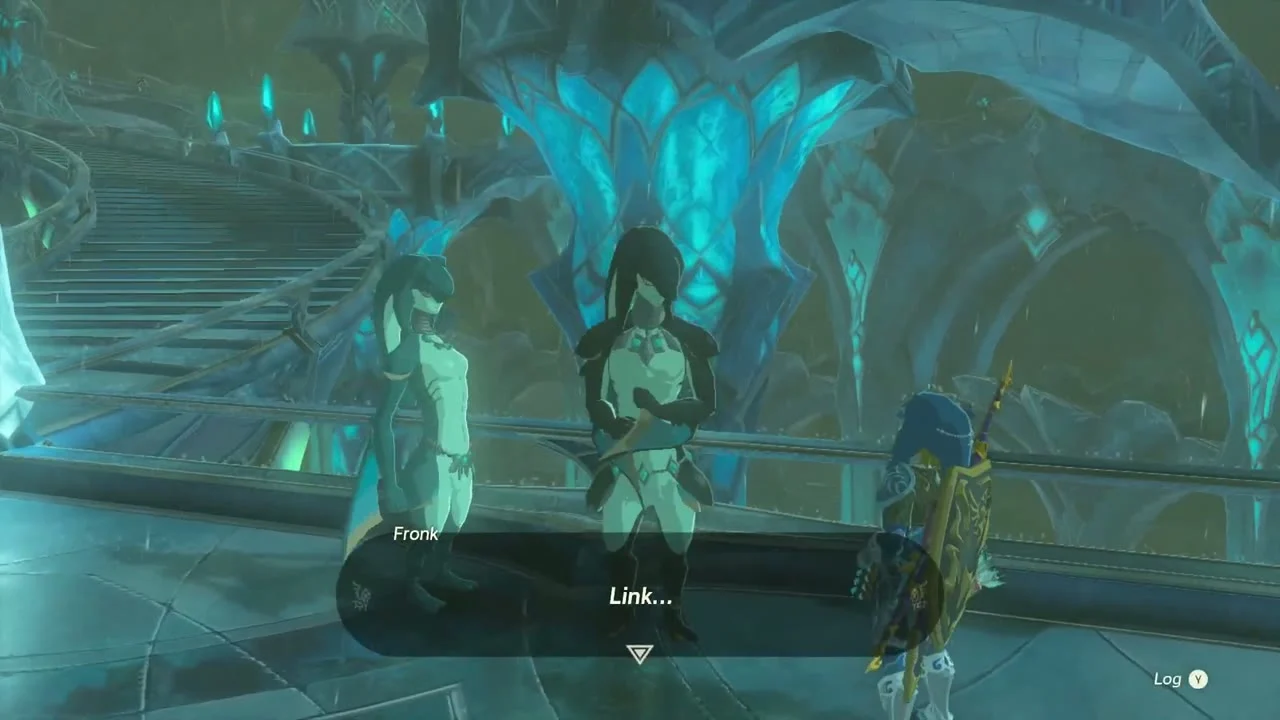
A Wife Wafted Away (side quest, giver Fronk at Zora’s Domain). Mei is on a small sky island with a waterfall pool at about (3668, 568), near Wellspring Island. Tell her Fronk is worried, then return to Zora’s Domain to finish the quest with the couple.
Open the Old Map chest
Chest: Old Map at (3167, 457, 935), on the floor of a yellow-ruin sky island west of Wellspring Island. The Old Map marks Cuho Canyon Mine in the Tabantha Frontier Depths, where the Tunic of the Wind is.
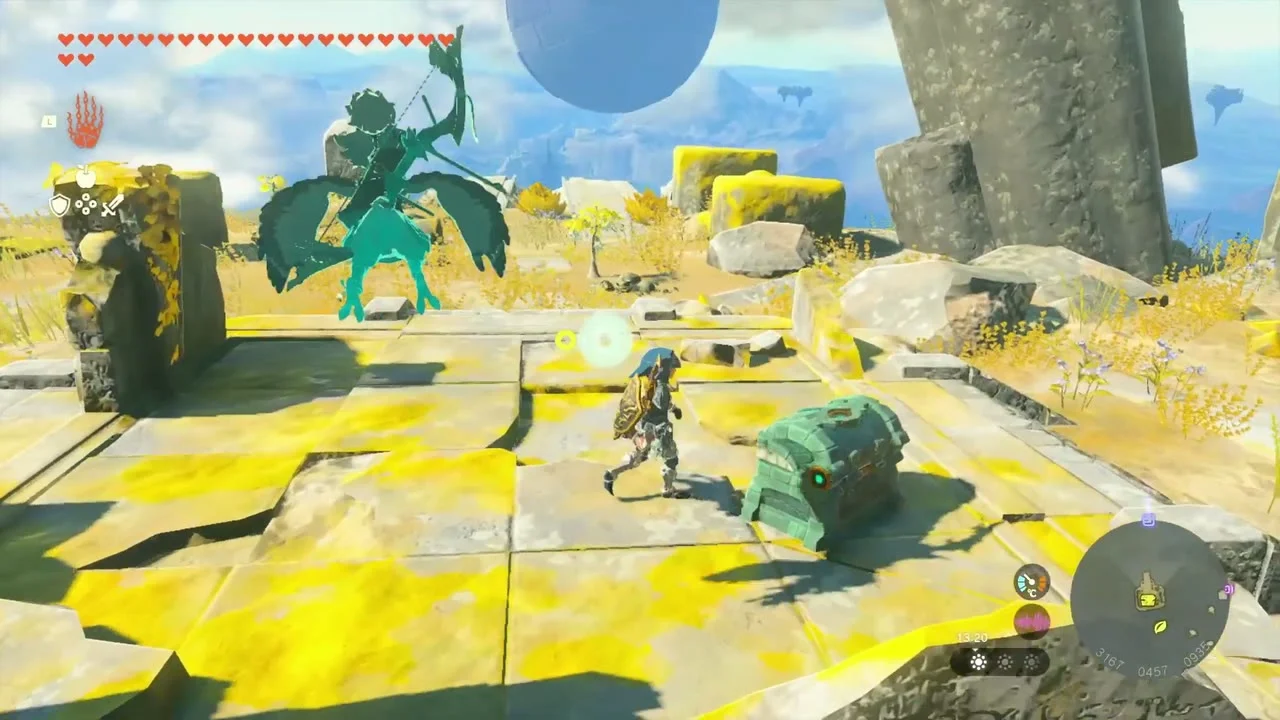

Catch the falling light on the stump
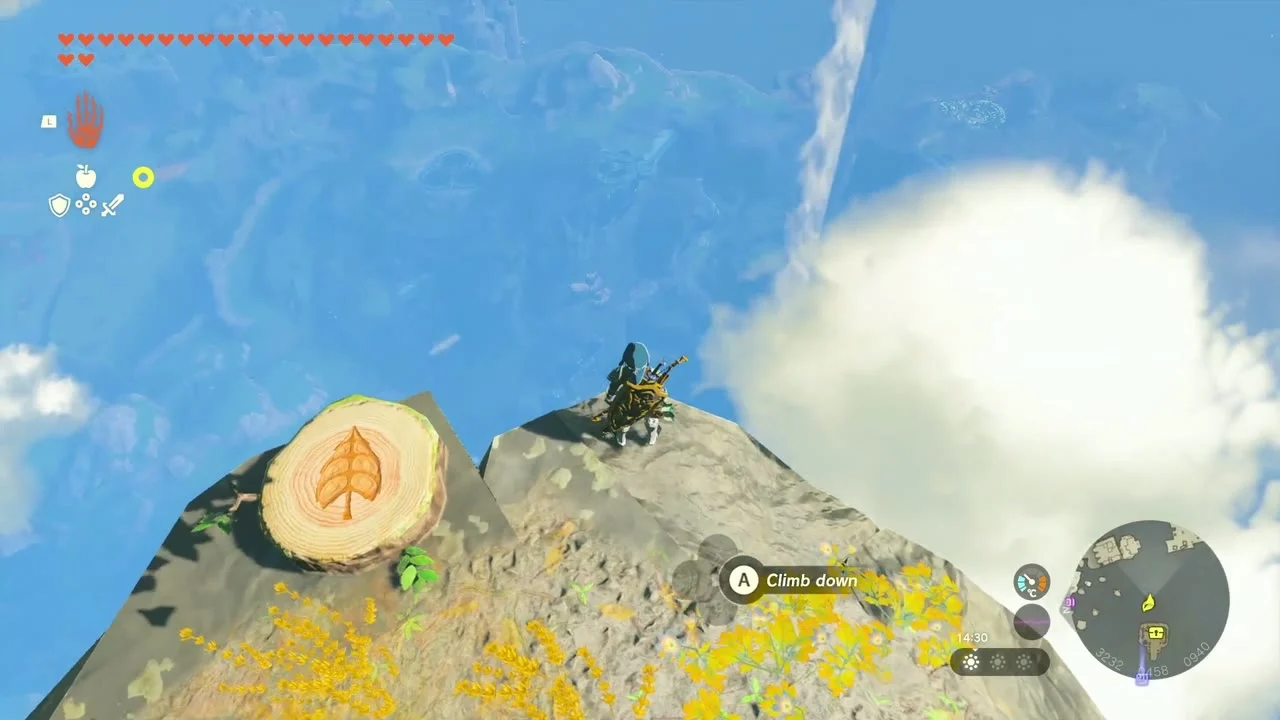
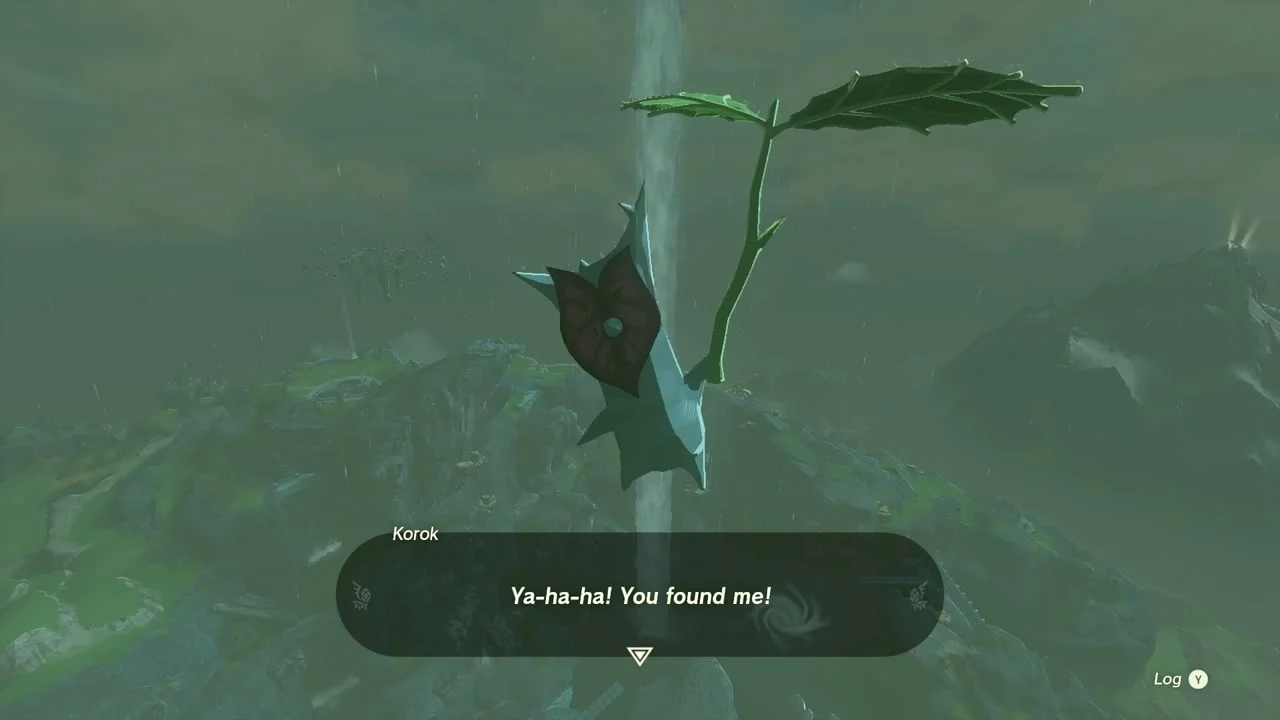
Korok seed (Catch the falling light) at (3234, 461, 941), on a rock top above the Old Map island. Jump from the leaf-marked stump and glide down to catch the falling light before it lands.
Defeat Flux Construct II on Wellspring Island
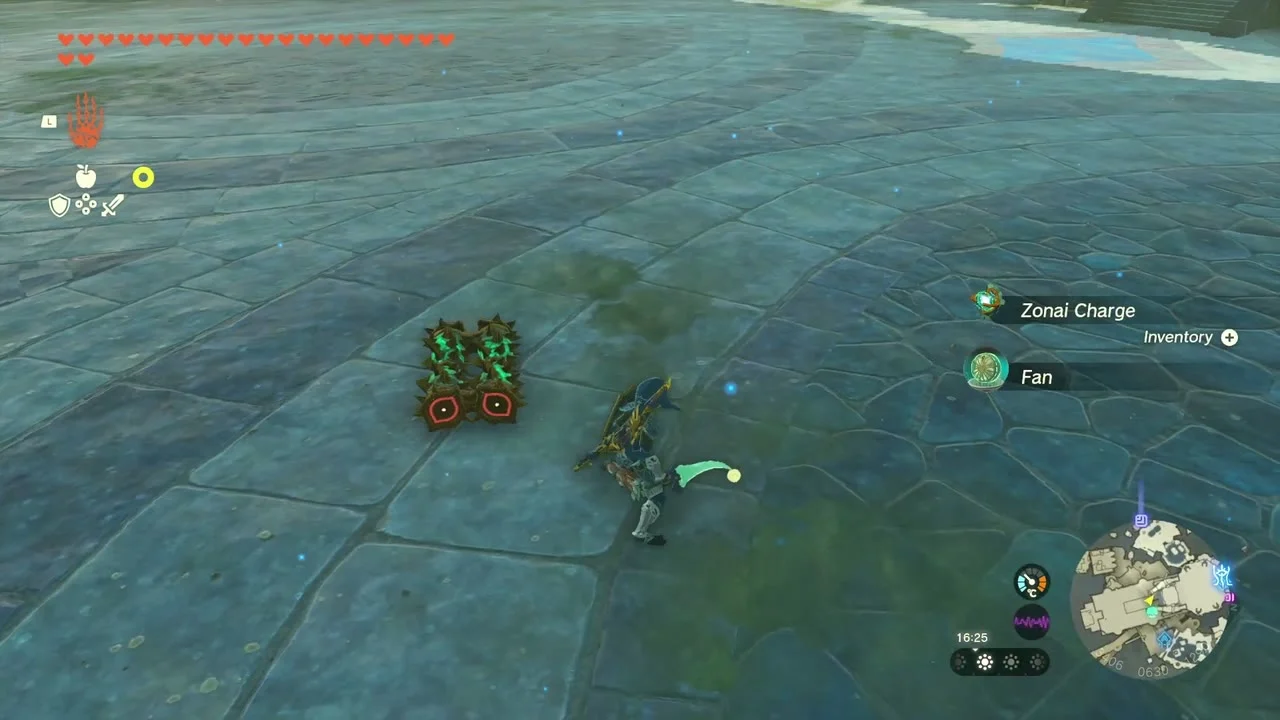
Miniboss: Flux Construct II at about (3403, 630, 1300), on Wellspring Island. Strap Bomb Flowers to cubes or throw them at its core, then destroy the exposed core; it drops Zonai Charges and a Fan. It carries a chest on its shoulder holding a Sage’s Will near Igoshon Shrine at about (3418, 644, 1317): defeat it, or pull the chest off with Ultrahand and run.

Jirutagumac Shrine and the Sage’s Wills
Reach the sphere island and use the dispenser
Jirutagumac Shrine at (2915, 534, 964), trial A Flying Device (puzzle), inside the giant sphere island of the Lanayru Sky Archipelago (launch from Upland Zorana Skyview Tower and drop through the opening on top). The Device Dispenser on the plaza at (2912, 506) hands out Carts and a Beam Emitter.

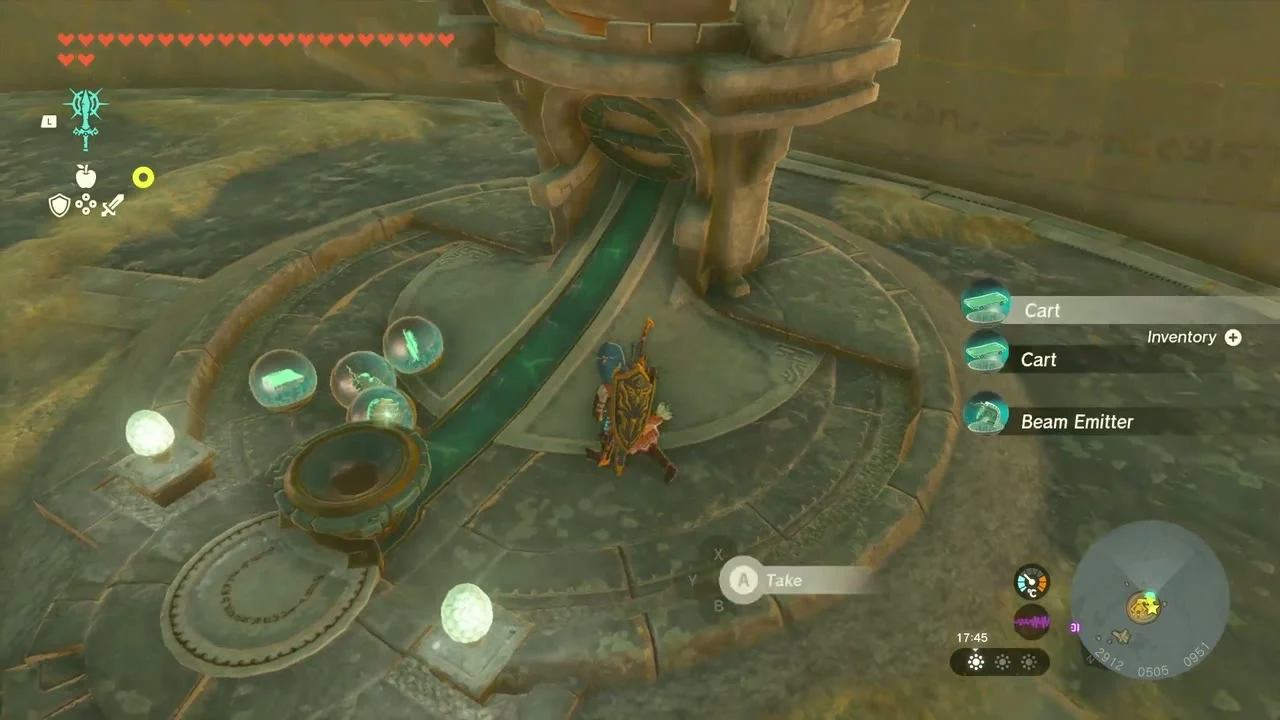
Ride the Wings over the lava
Put the Wing from the entrance onto the first rail over the lava and ride it across. In the second room an endless supply of Carts rolls down a ramp: attach a Cart under a Wing to coast down to the lower floor.
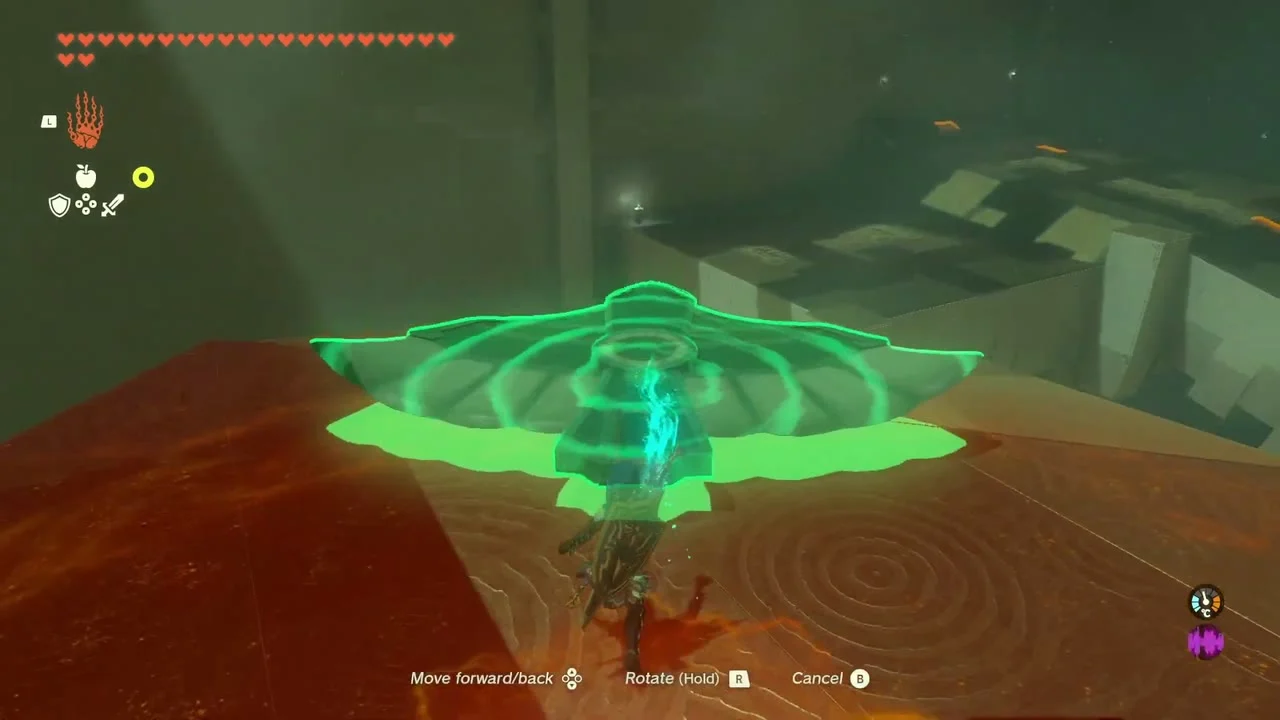
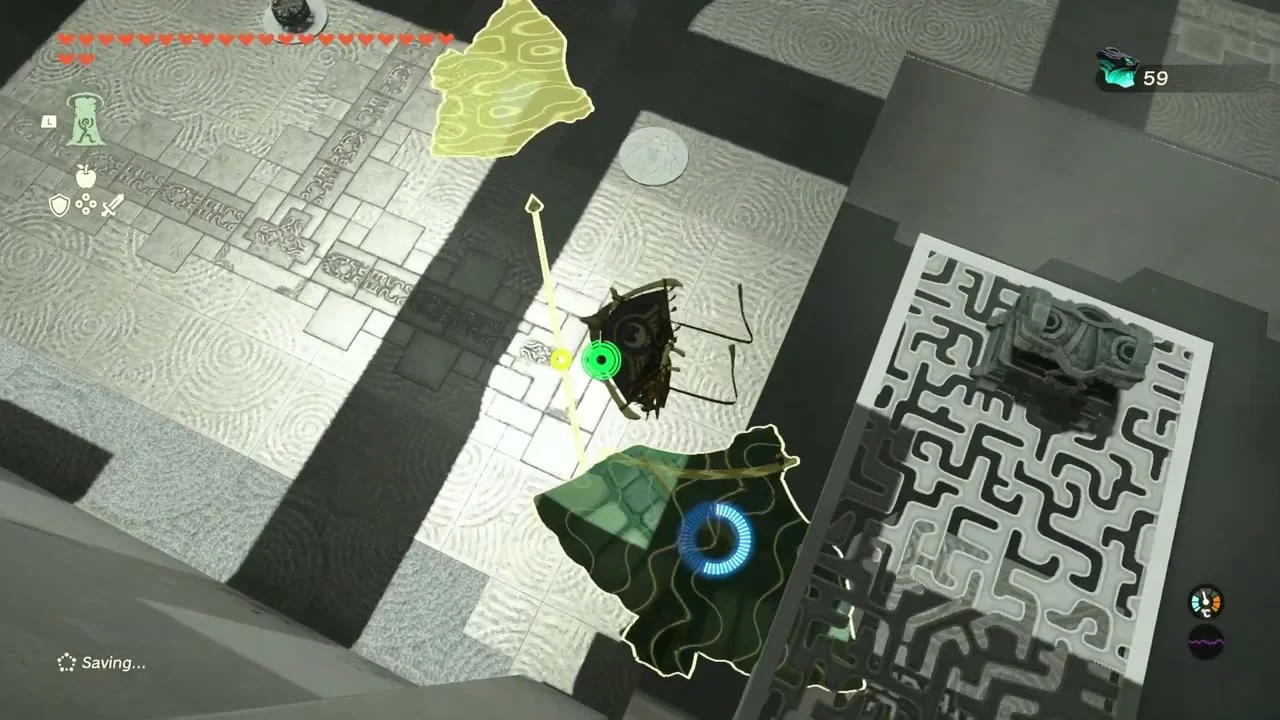
Fan-power the Wing to the exit
Collect the Large Zonaite chest from the platform reached with a Wing bridge, grab the Fan from the right-hand floor, attach it to the back of the Wing and ride to the Rauru statue for the Light of Blessing.

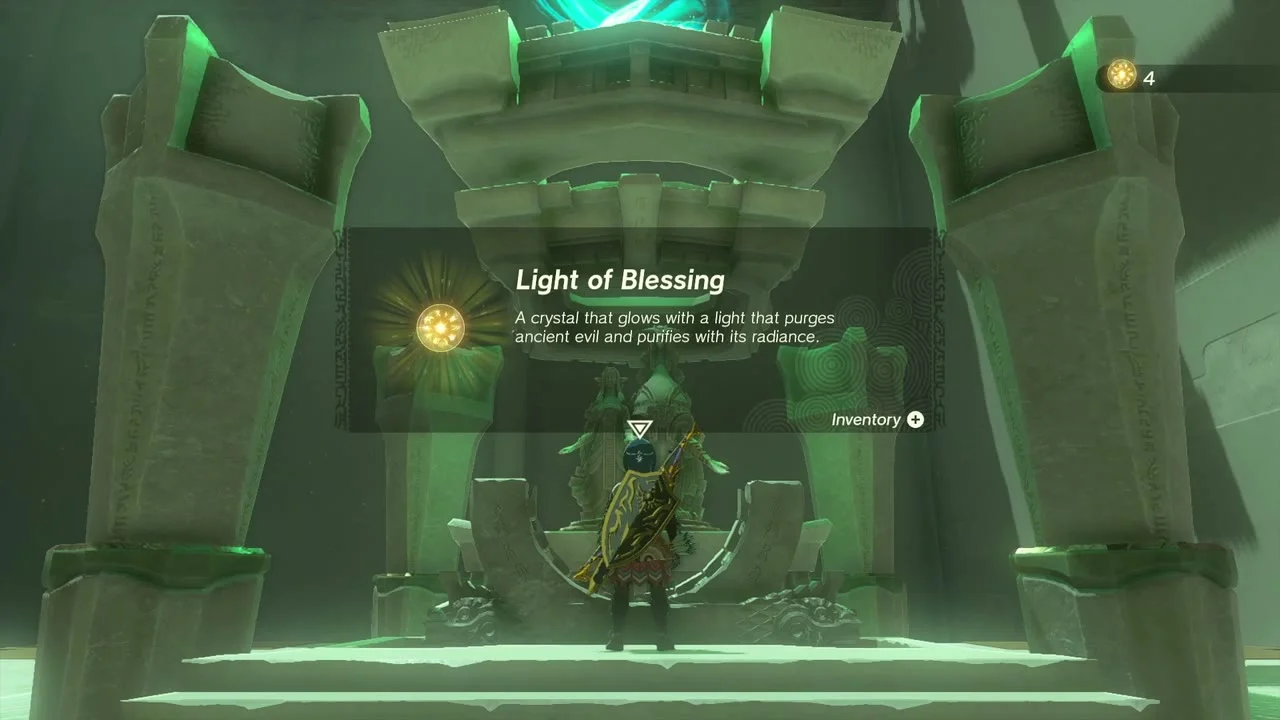
Take the first Sage’s Will
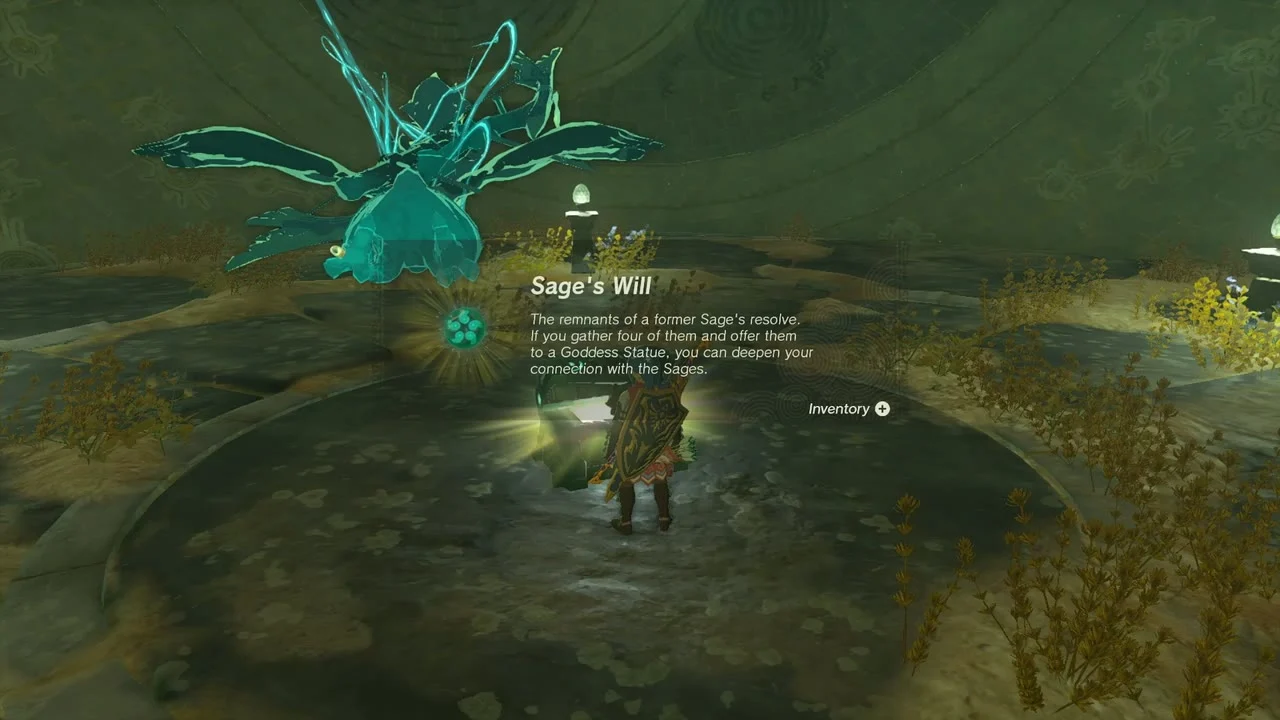
Chest: Sage’s Will at (2920, 529, 934), on the lower floor of the same sphere island, just outside the shrine. Open the chest for a Sage’s Will. The island’s entrances rotate on their own: wait until an opening reaches the lower half, or detach the fan and turn the sphere yourself until the opening lines up with the equator, then glide into the lower section where the chest sits in the centre.

Defeat the Flame Gleeok
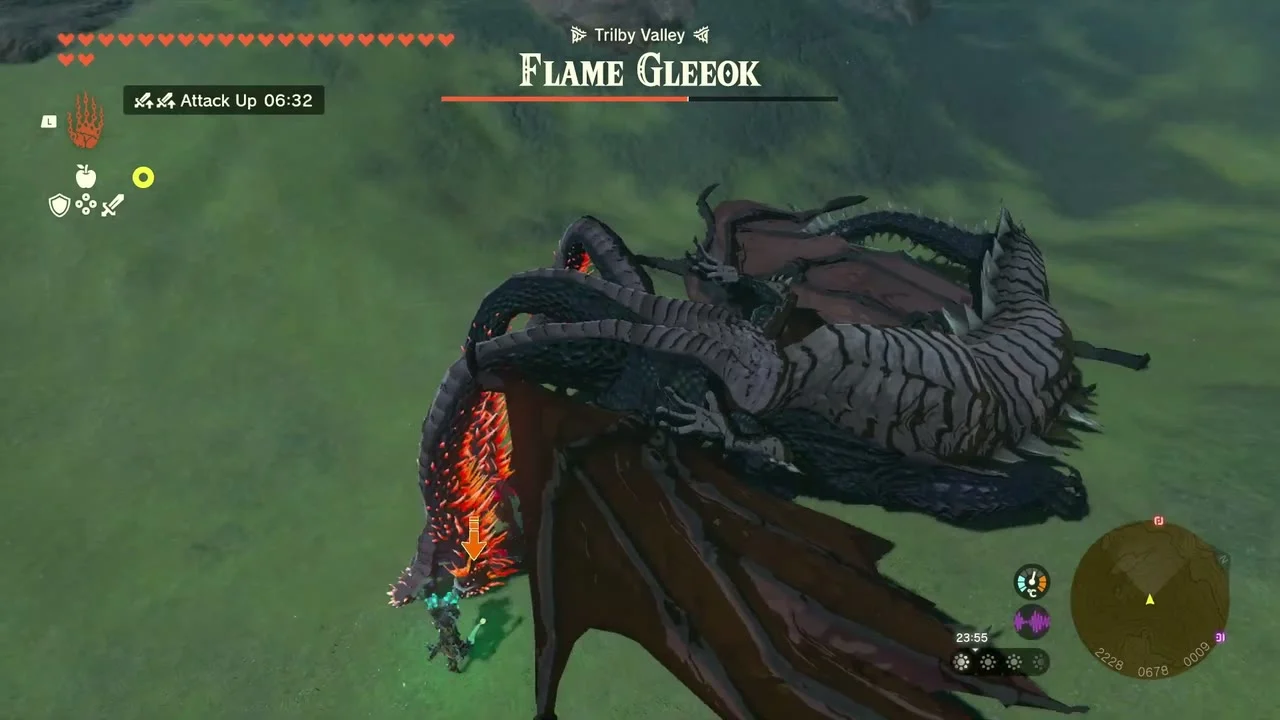
Miniboss: Flame Gleeok at about (2460, 612, 882), over the Lanayru sky archipelago west of the sphere. Ride a cart with a Fan and hit it with arrows or Bomb Flowers; when it falls to the grass at about (2228, 678) finish it on the ground and take its drops.

Defeat Flux Construct II and take the second Sage’s Will
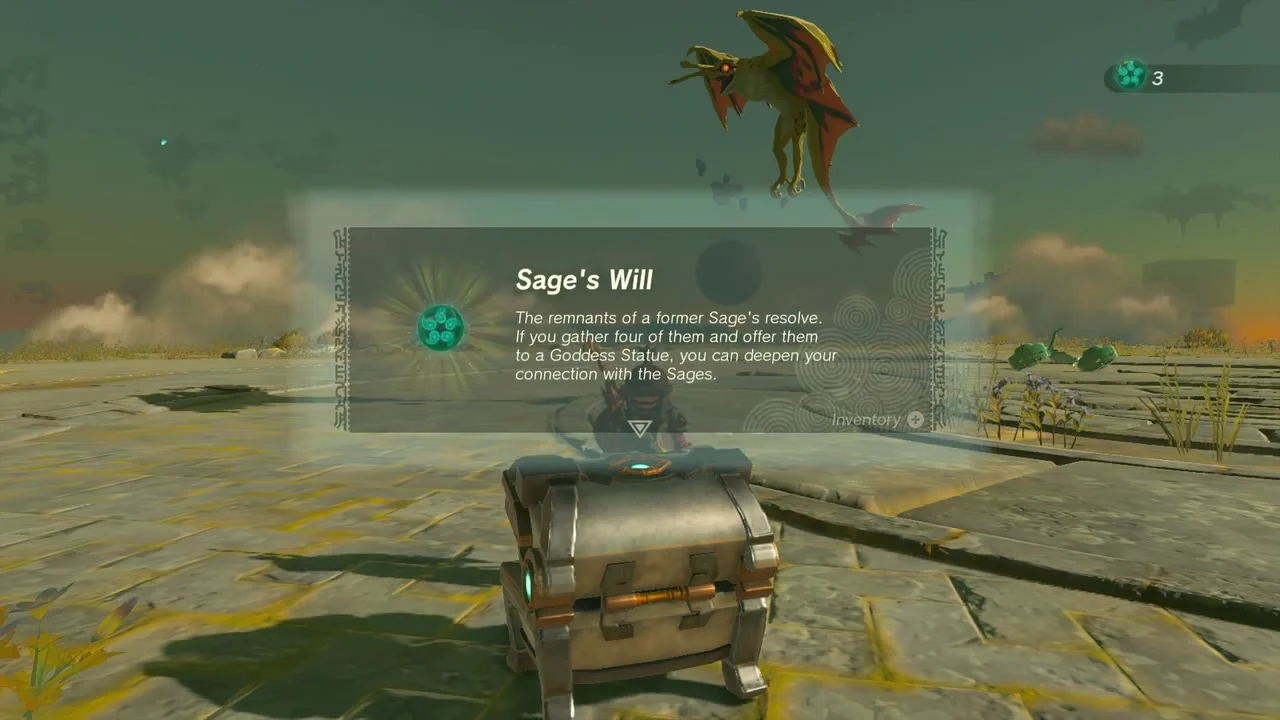
Miniboss: Flux Construct II and Chest: Sage’s Will at (3003, -255, 894), on the island south-west of Wellspring Island. Burn the construct with Bomb Flowers at the core; its chest holds a second Sage’s Will.

Offer the Sage’s Wills to the Goddess Statue
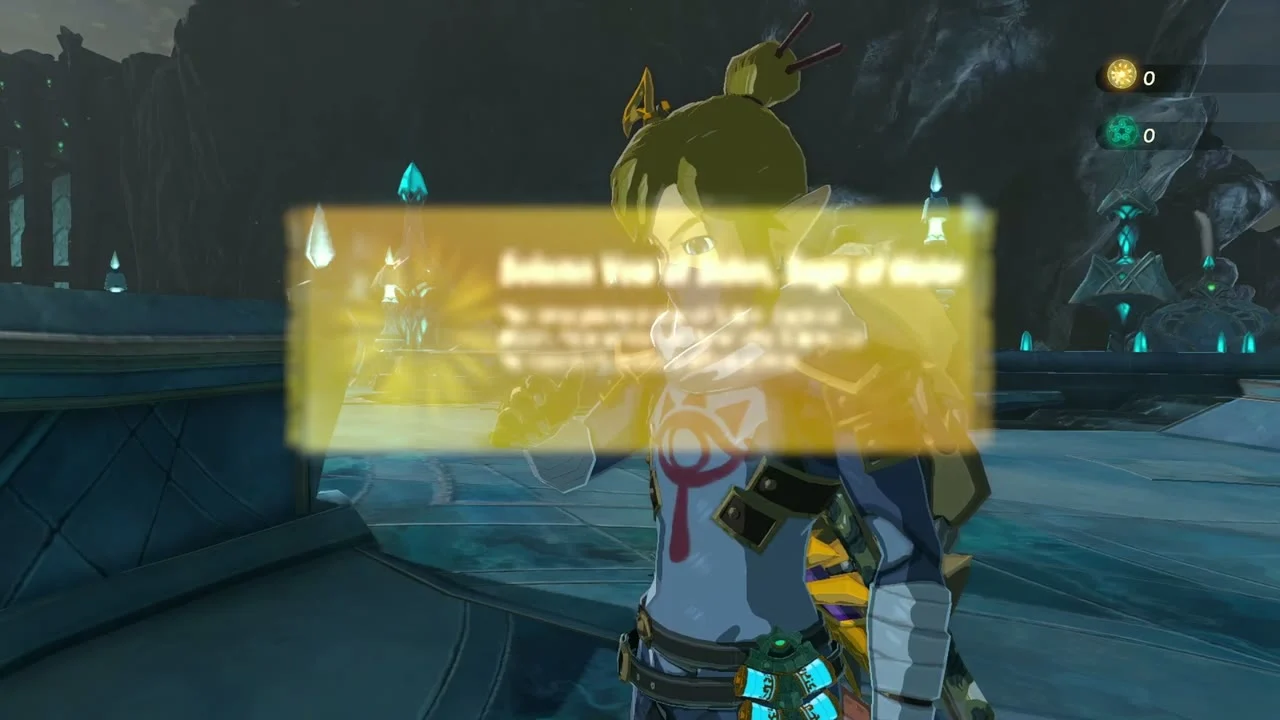
At the Goddess Statue in Zora’s Domain at (3315, 501, 150), offer four Sage’s Wills (three of them from this chapter: the sphere island, the island south-west of Wellspring Island and the Flux Construct on Wellspring Island) to deepen Sidon’s vow; each Sage needs four, and each can be upgraded once. The statue also trades four Lights of Blessing for a Heart Container; after the Wills, the key item becomes the Solemn Vow of Sidon, Sage of Water.

Use Sidon on the six dragon statues
The Six Dragons chest (Thyphlo Ruins side adventure, giver Kazul) at about (3176, 187), on the mud flats east of Ruto Lake. Stand among the six dragon heads and fire Sidon’s water power at them; the paving rises and a chest on a rock islet at about (3217, 160) holds Opal x5.
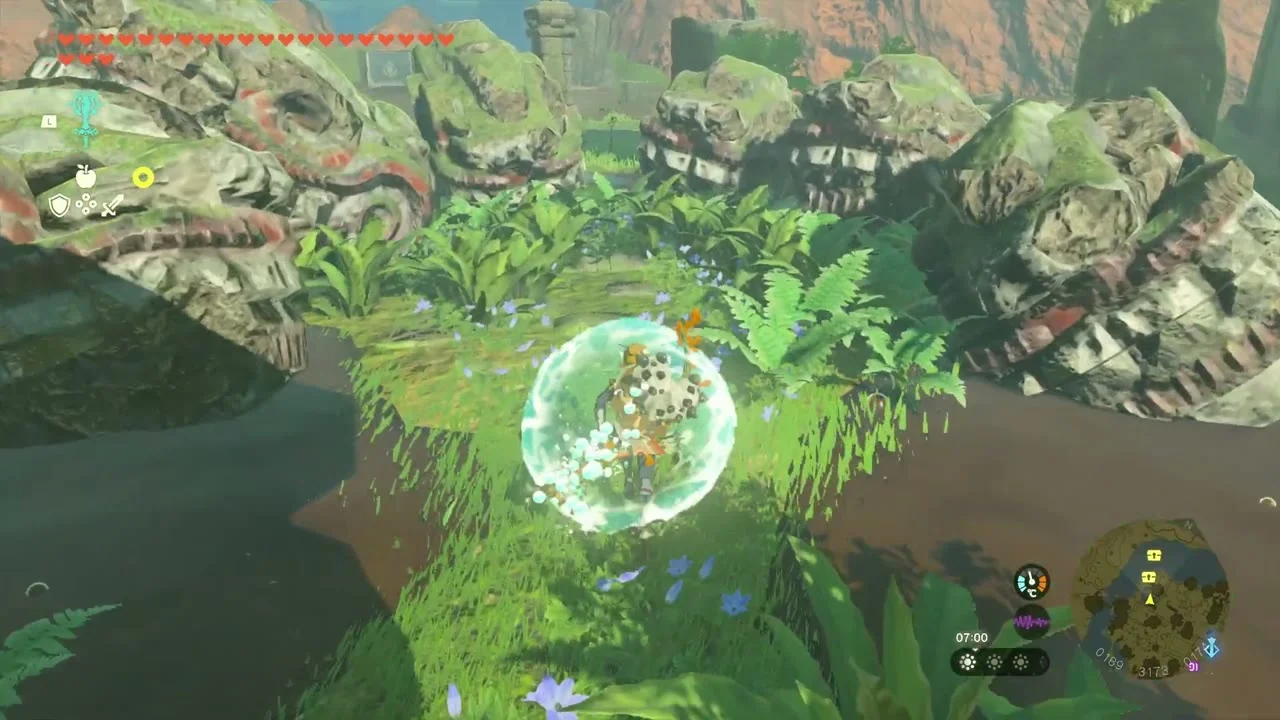


Depths: Akkala Highlands and the Lanayru Great Spring
Light Niuzimod Lightroot
Niuzimod Lightroot at (3304, 1442, -811), below Domizuin Shrine in the Akkala Highlands. Drop through the chasm and glide to the glowing root to light it.

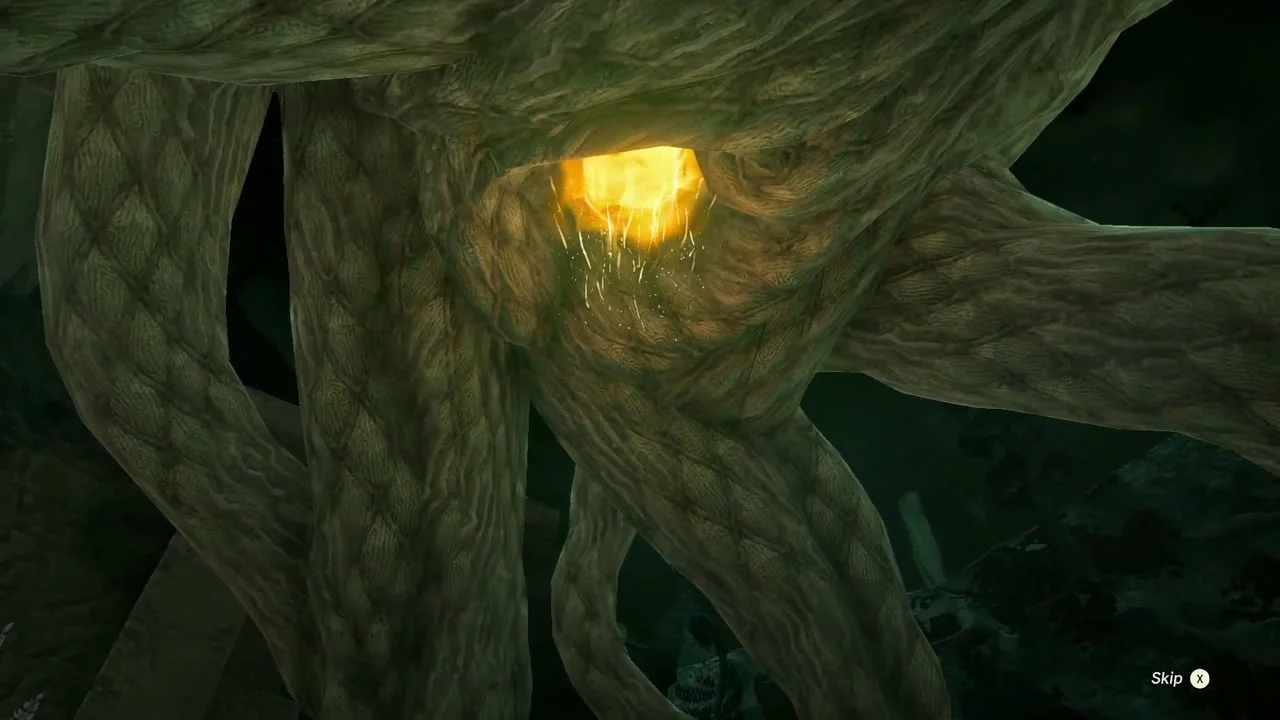
Take the Trousers of Twilight
Chest: Trousers of Twilight at (3318, 1506, -857), inside the Ancient Underground Fortress in the Akkala Highlands Depths. Light Niuzimod first so the ruins are visible, then fight through the Lizalfos, Boss Bokoblin and Bokoblins (or glide straight into the roofless centre of the ruins) and open the chest for the Trousers of Twilight (part of the Hero of Twilight set).


Light A-nehi Lightroot
A-nehi Lightroot at (3785, 578, -947), below Ihen-a Shrine, beside Ploymus Canyon Mine.
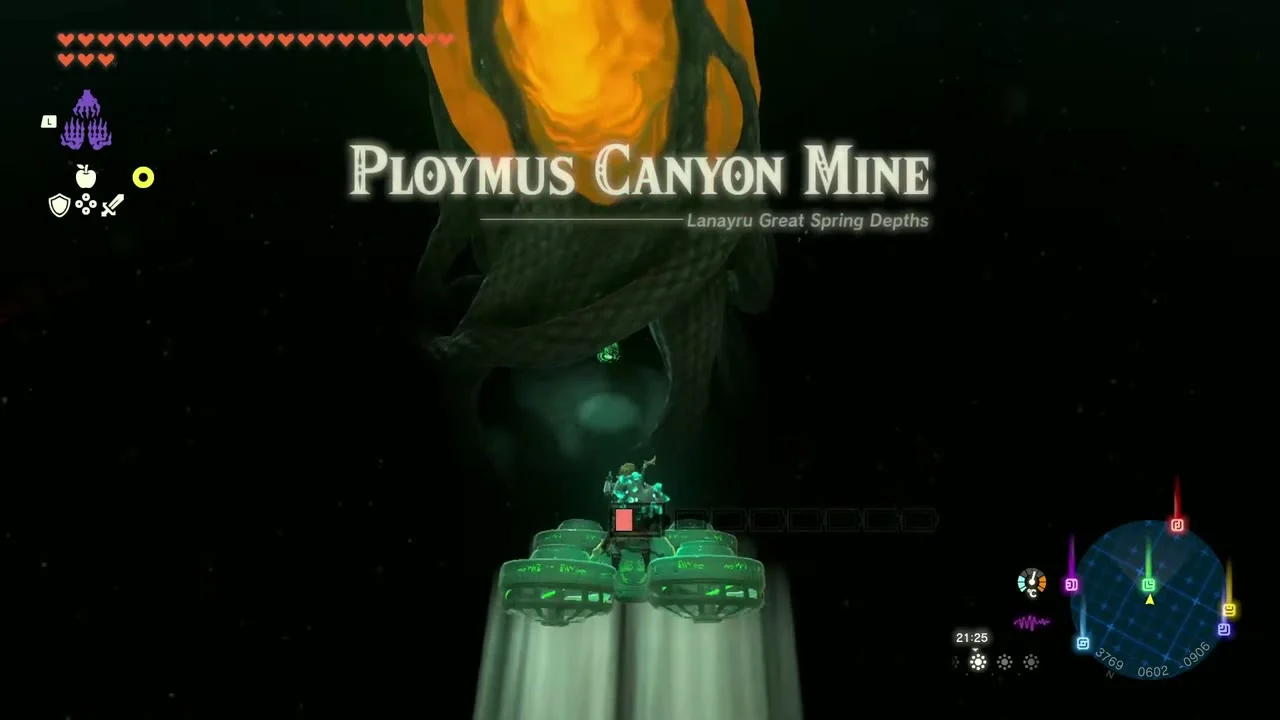
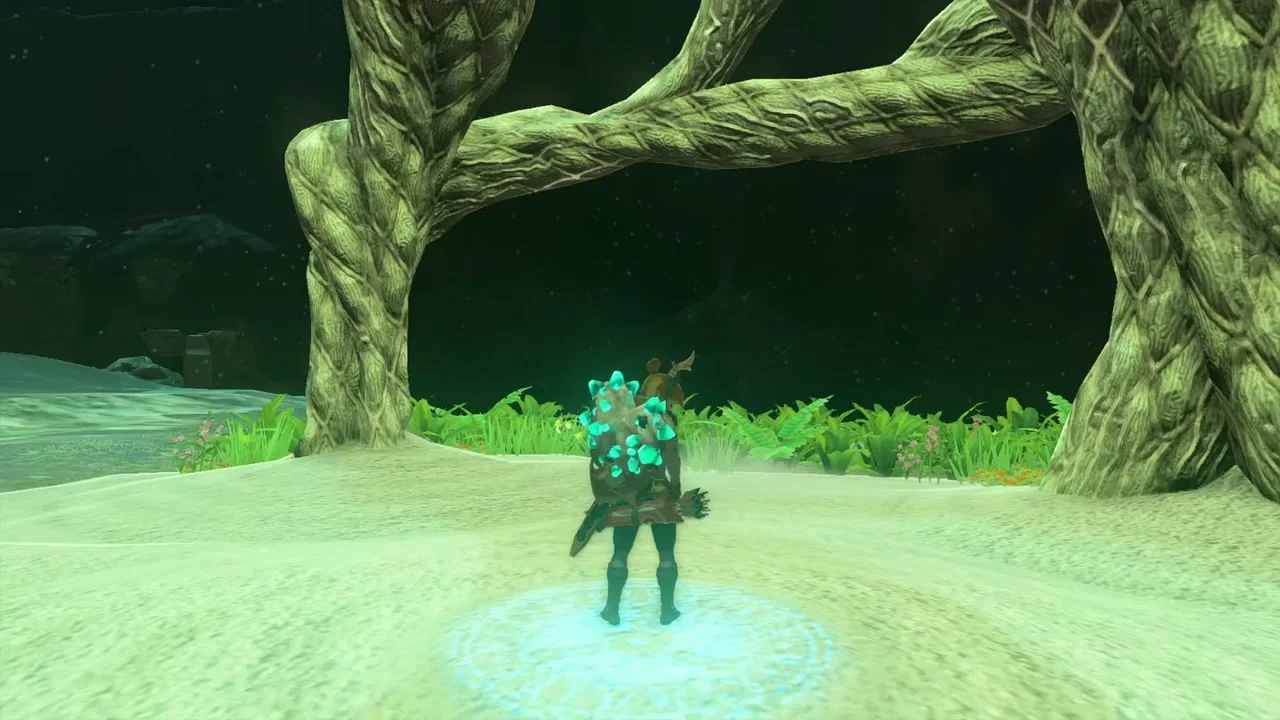
Light Kawikatisar Lightroot
Kawikatisar Lightroot at (4166, 1321, -694), below Rasitakiwak Shrine in the Akkala Highlands Depths. Cross the gap on a Fan vehicle and touch the root.
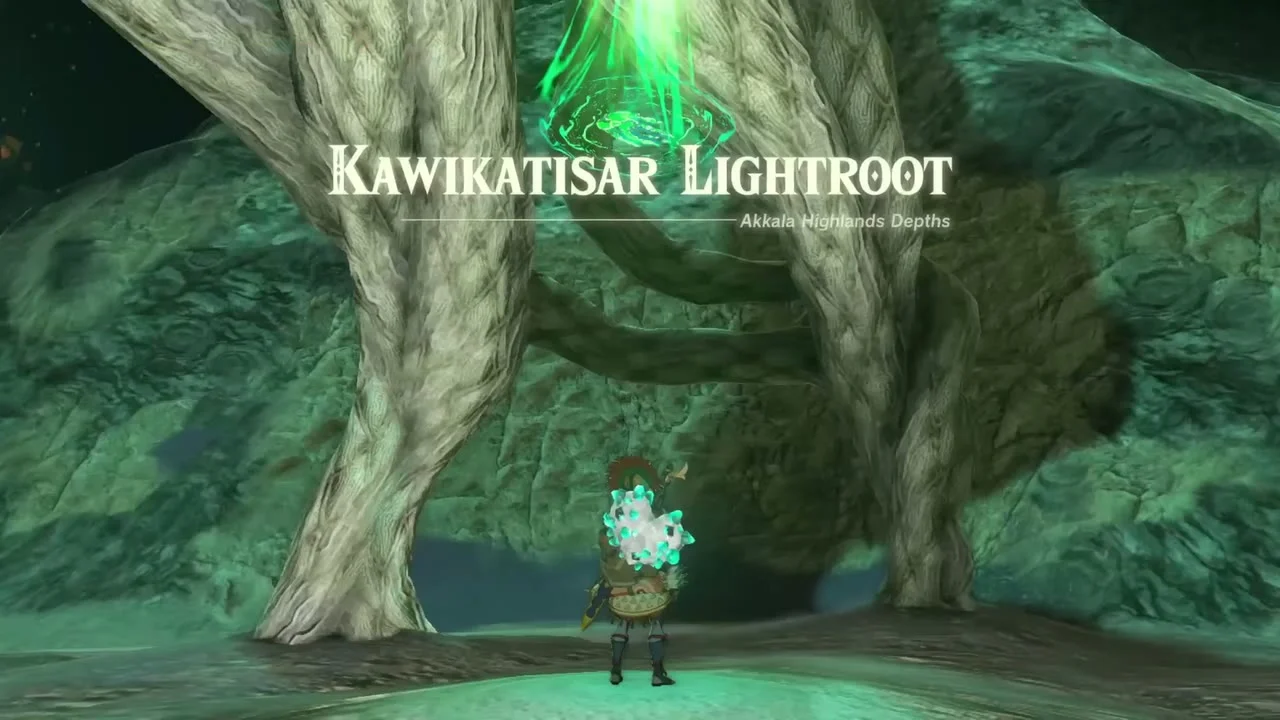

Light Agihi-ihcoj Lightroot
Agihi-ihcoj Lightroot at (3811, 1219, -557), below Jochi-ihiga Shrine in the Akkala Highlands Depths.
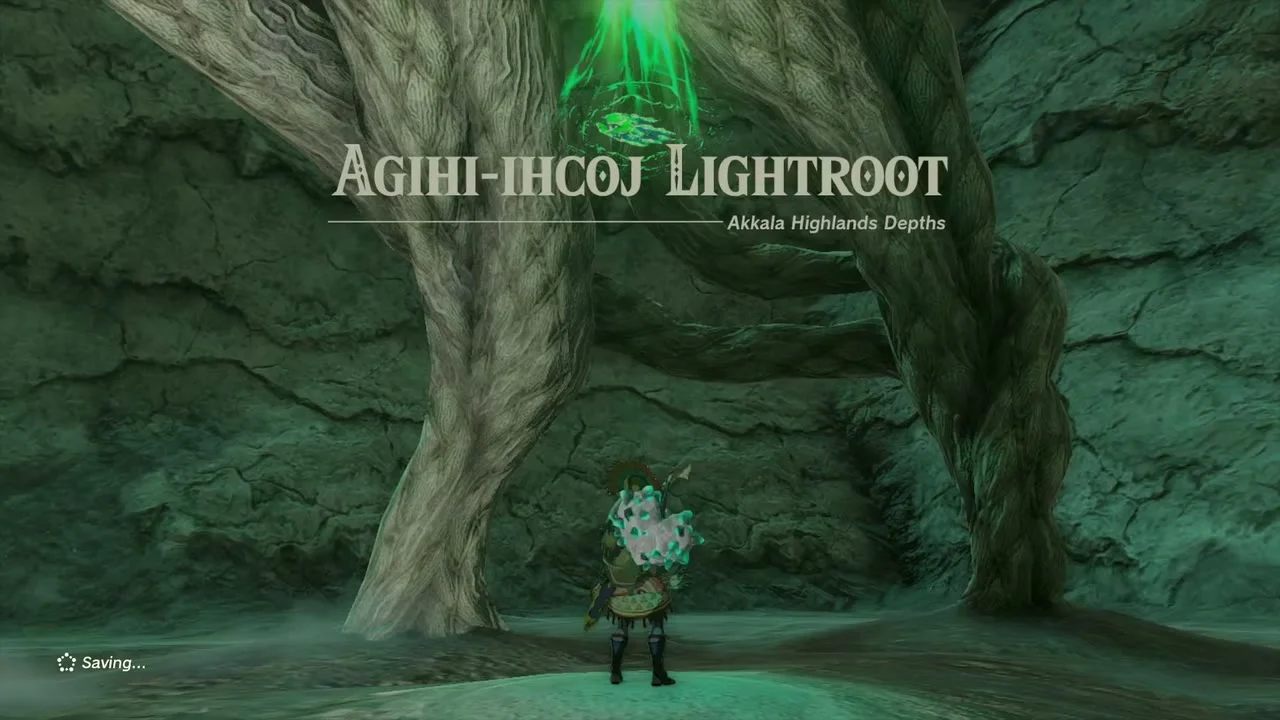

Light Sisinatag Lightroot
Sisinatag Lightroot at (4497, 827, -556), below Gatanisis Shrine in the Akkala Highlands Depths.

Light Kegopa Lightroot
Kegopa Lightroot at (3886, -215, -629), below Apogek Shrine in the Lanayru Great Spring Depths.

Light Kuzimoy Lightroot
Kuzimoy Lightroot at (4413, -612, -534), below Yomizuk Shrine in the Lanayru Great Spring Depths.

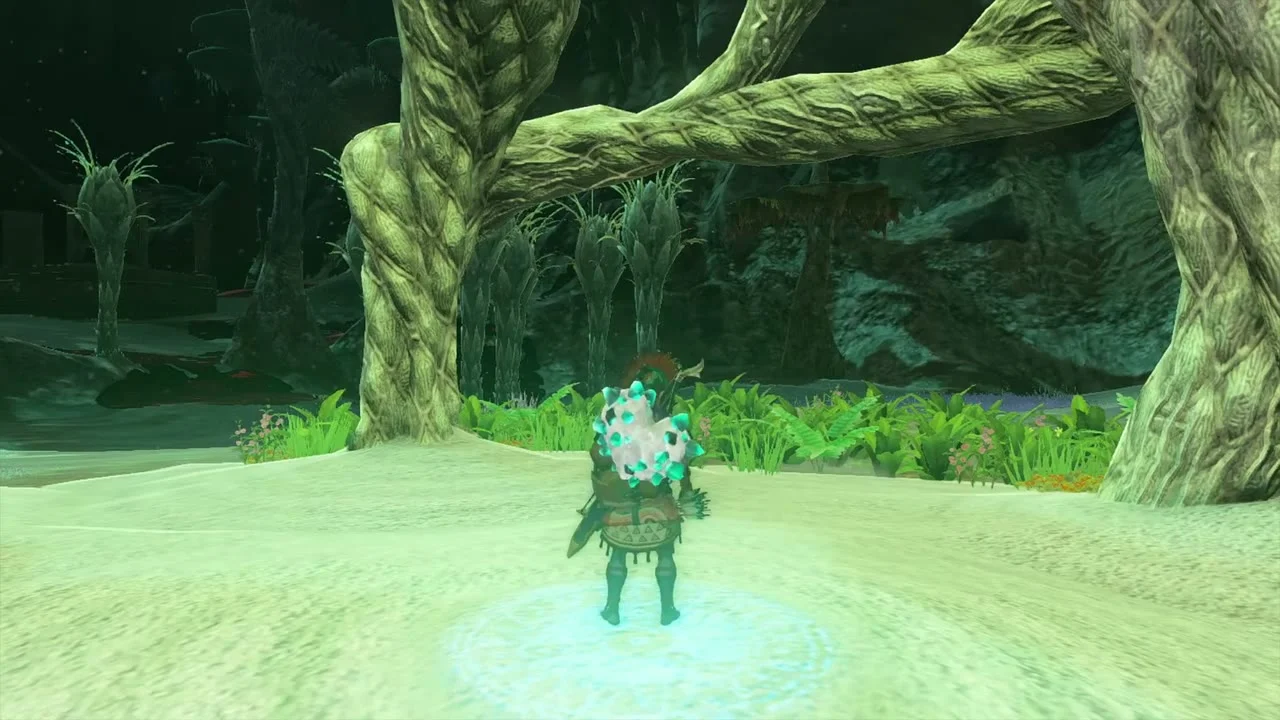
Light Uinoj Lightroot
Uinoj Lightroot at (2918, 508, -816), below Joniu Shrine in the Lanayru Great Spring Depths, close to the Mucktorok arena.
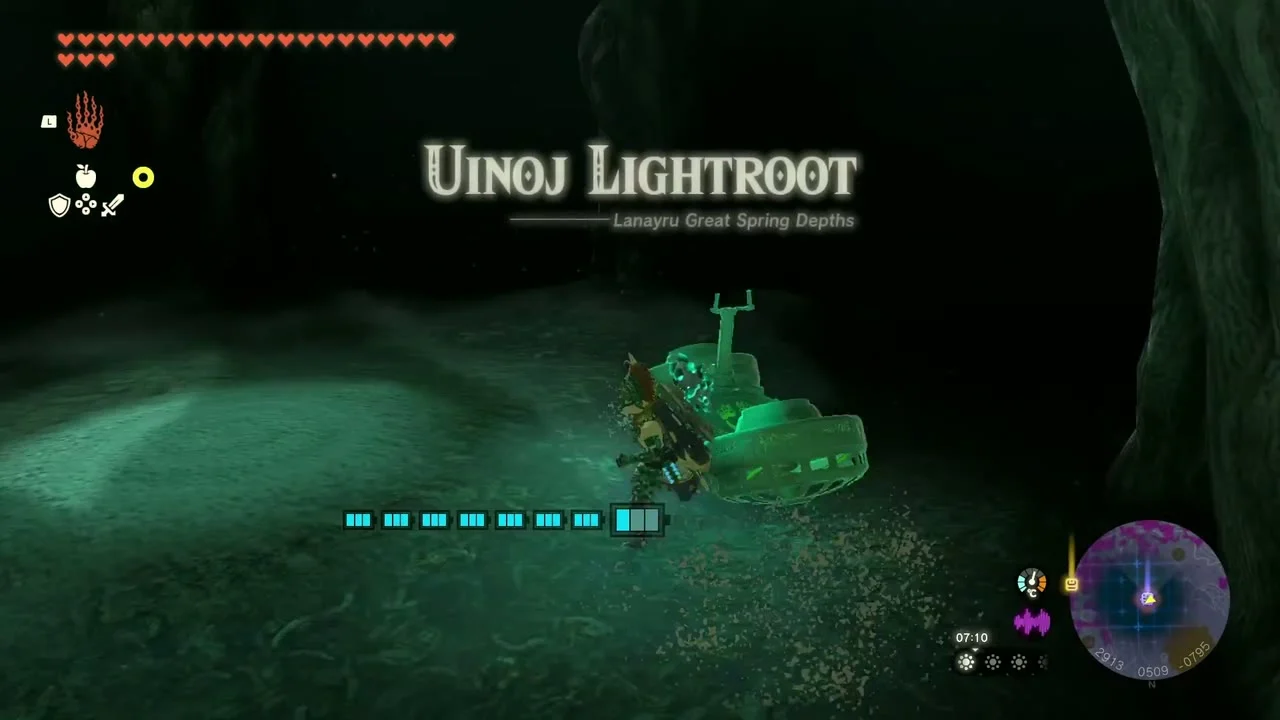
Light Kawagom Lightroot in Abandoned Lanayru Mine
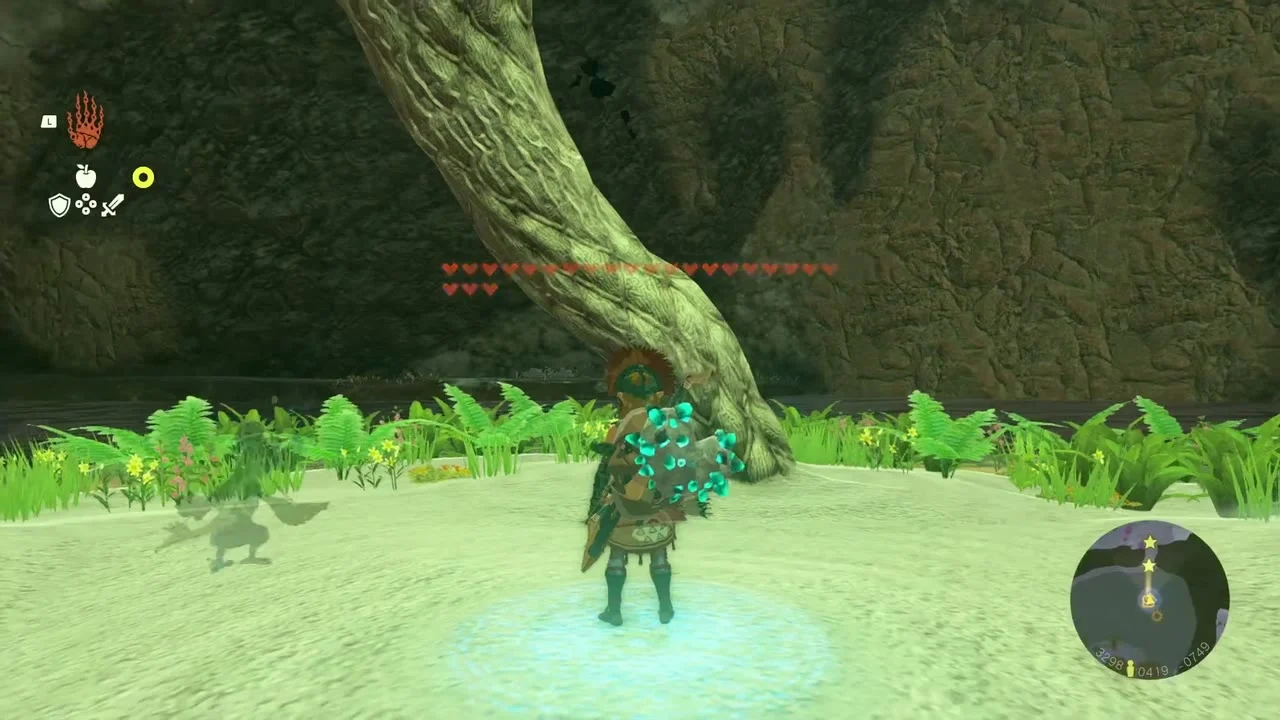
Kawagom Lightroot at (3298, 419, -770), below Mogawak Shrine, inside Abandoned Lanayru Mine (3237, 603, -721). Light the root, then open the underwater chest at about (3191, 534, -749) for Large Crystallized Charge.
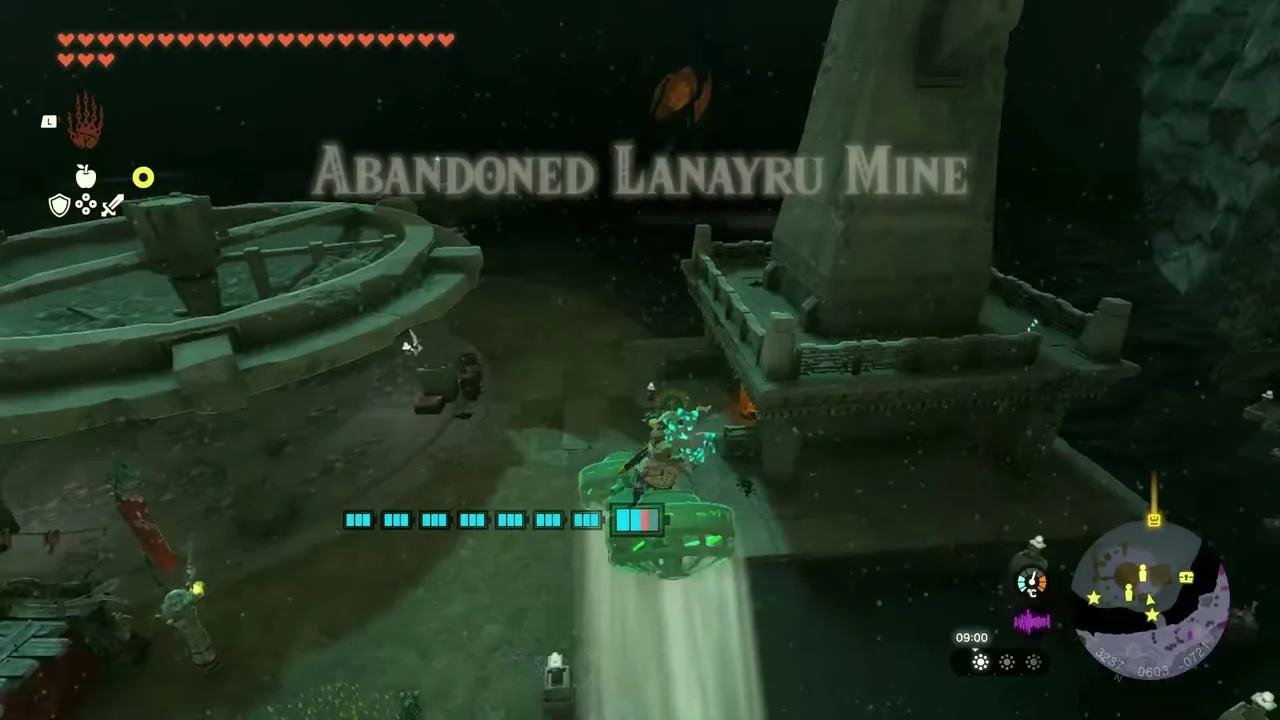

Take the Schema Stone from the Steward Construct
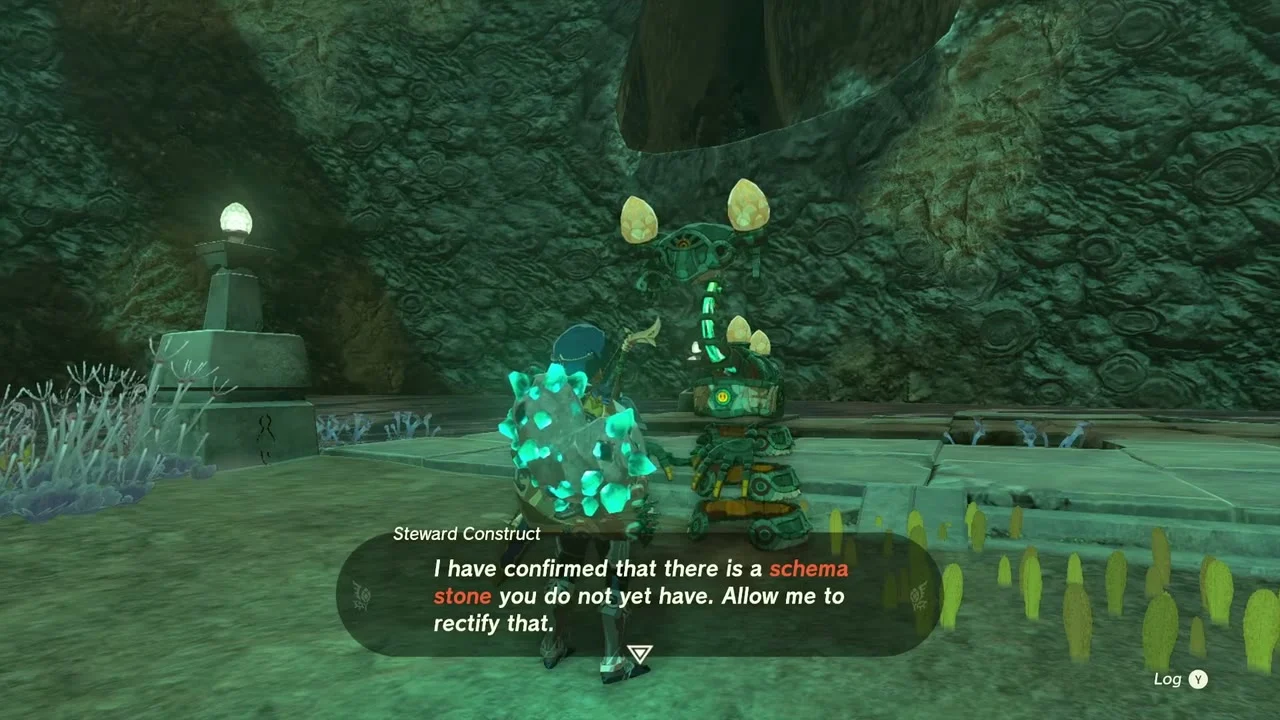
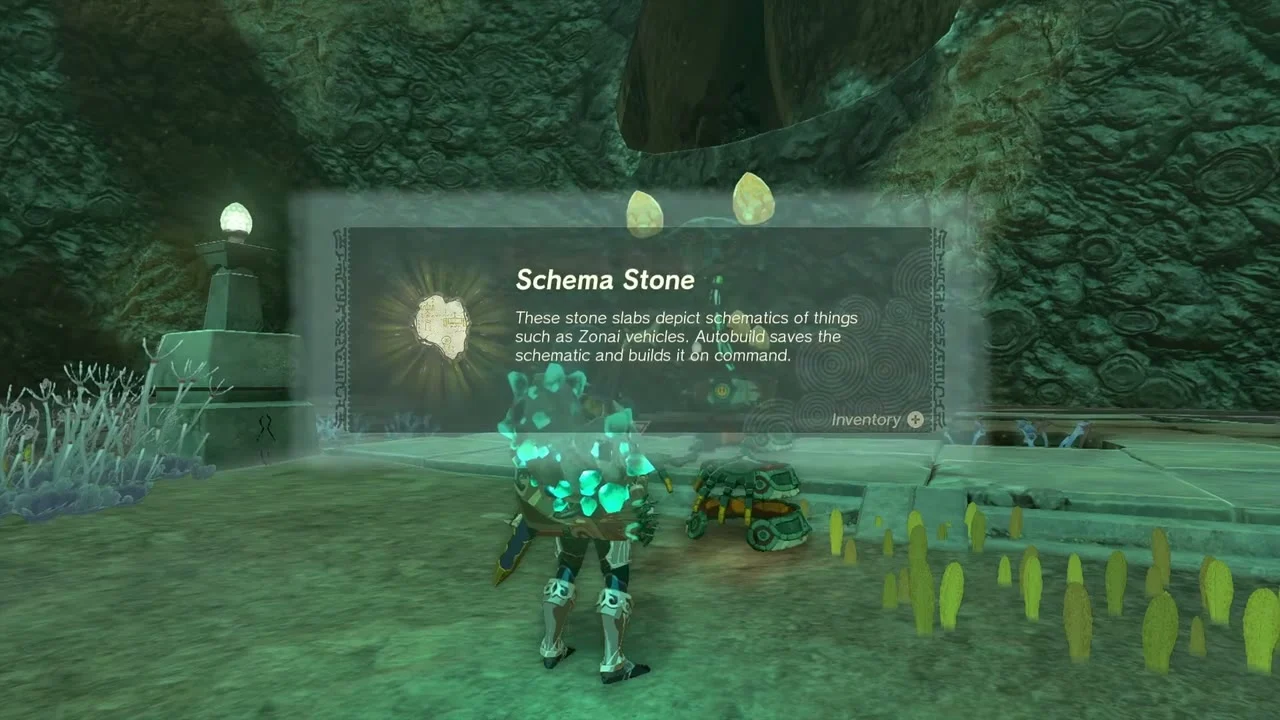
Schema Stone, from the Steward Construct in Abandoned Lanayru Mine at about (3258, 589, -750). Talk to the construct and take the Schema Stone to register the Zonai design.
Search Ruto Canyon Mine
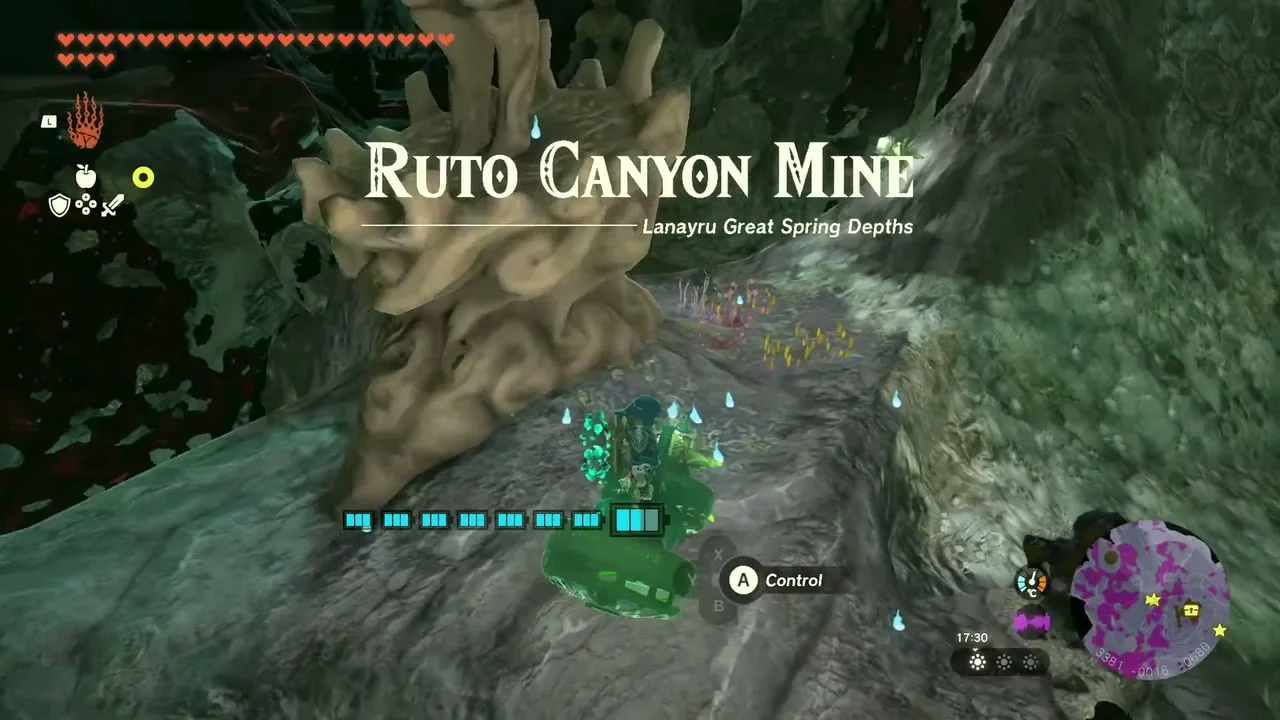
Ruto Canyon Mine at (3294, -31, -840). A Yiga Clan member loiters in the tunnels at about (3331, 25, -712); the mine’s pedestals hold Zonaite and Large Zonaite, and a chest sits on a blue crystal ledge at about (3344, 78).
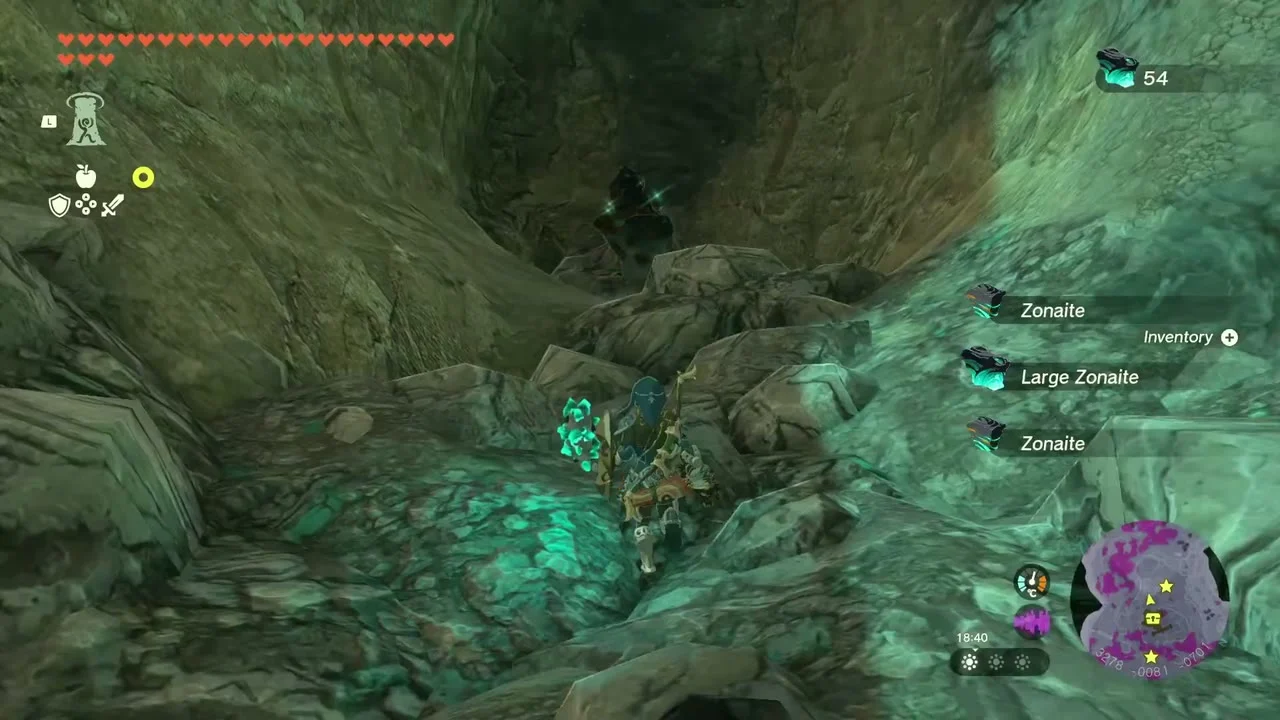
Take the Giant Brightbloom Seeds at the Bokoblin camp
Chest: Giant Brightbloom Seed x5 at about (2600, 0, -586), on a wooden scaffold camp west of Tabahl Grove. Clear the Bokoblins and open the crate chest for Giant Brightbloom Seed x5.
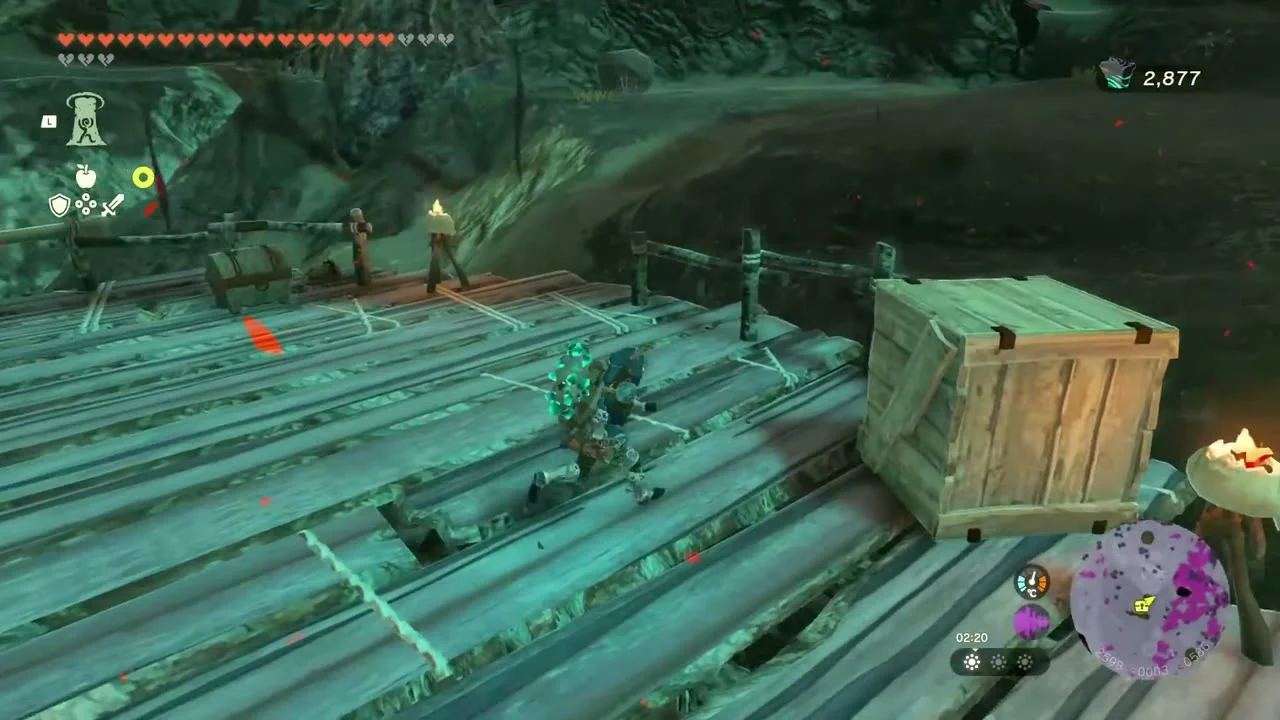

Open the Sea-Breeze Shield chest in Tabahl Grove
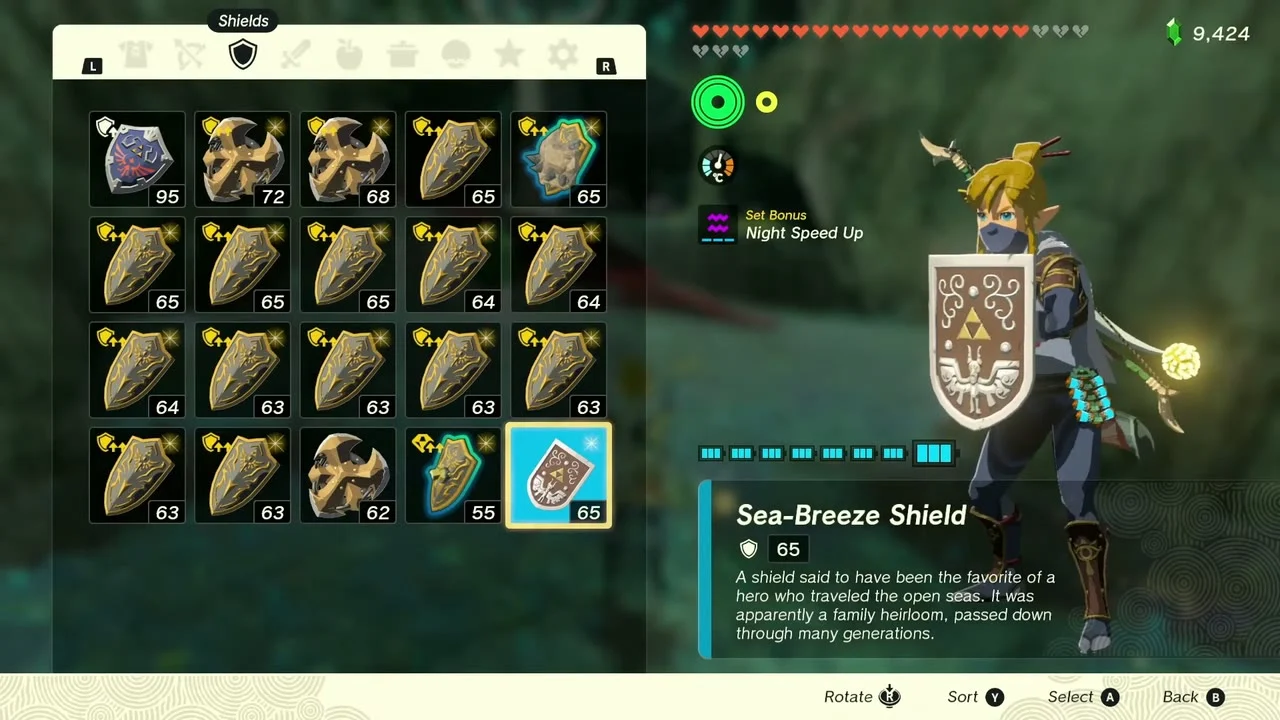
Chest: Sea-Breeze Shield at (2674, 254, -558), in Tabahl Grove (2618, 171). Glide through the fungal grove to the large stump; the chest sits on the stump next to a tree that is really an Evermean. The Old Map from the sky points here.
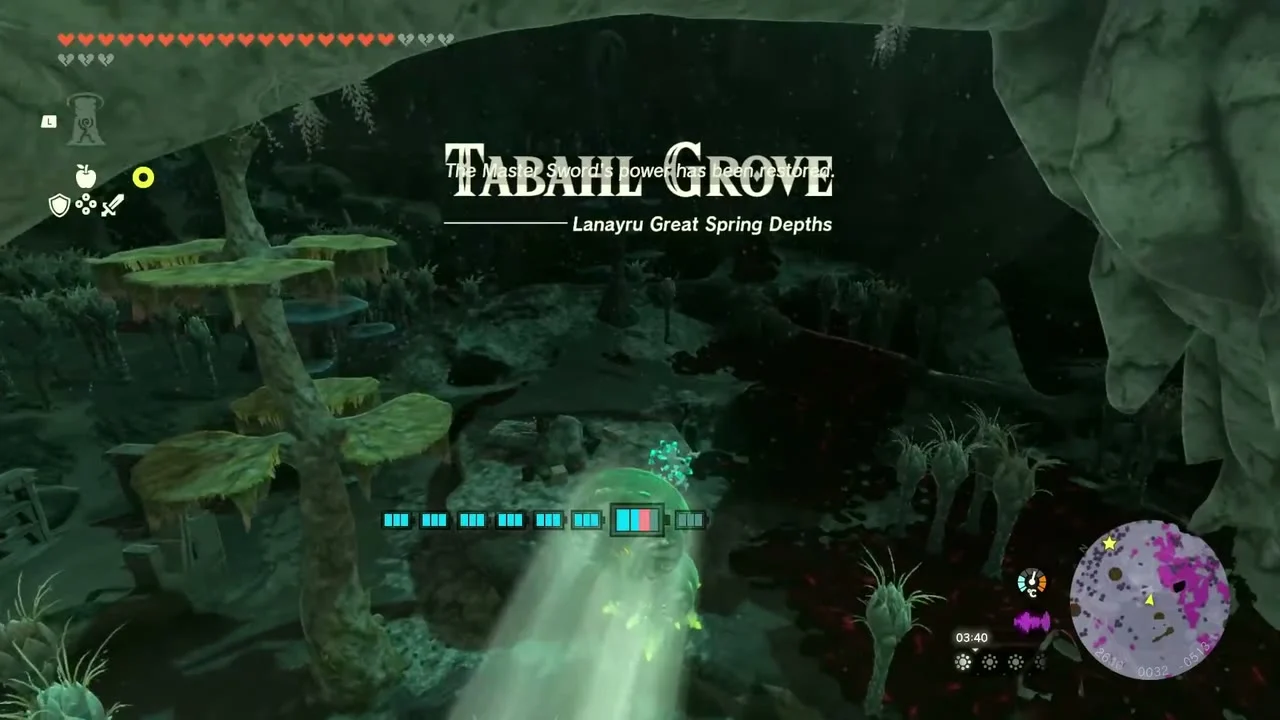
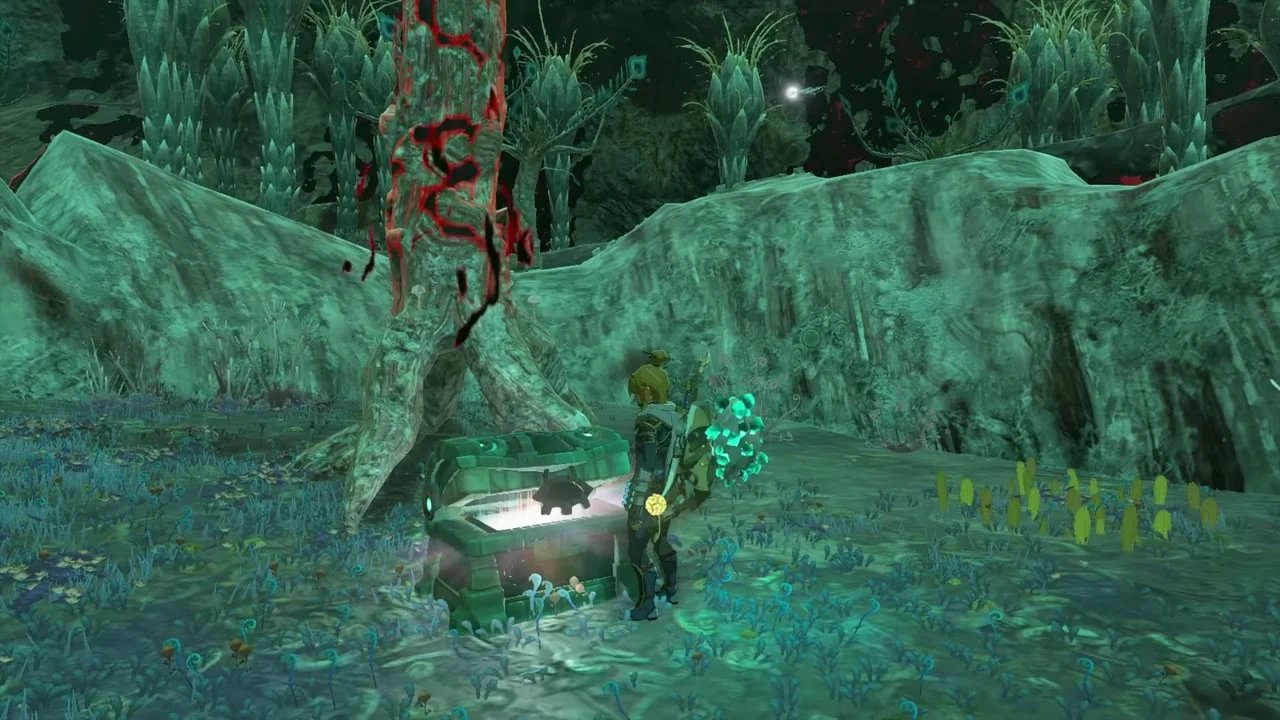
Take the arrows at the second camp
Chest: Arrow x10 at (2503, 408, -590), on the scaffold of a Bokoblin camp south-west of Uinoj Lightroot. Open the crate chest for Arrow x10.
Defeat Mucktorok
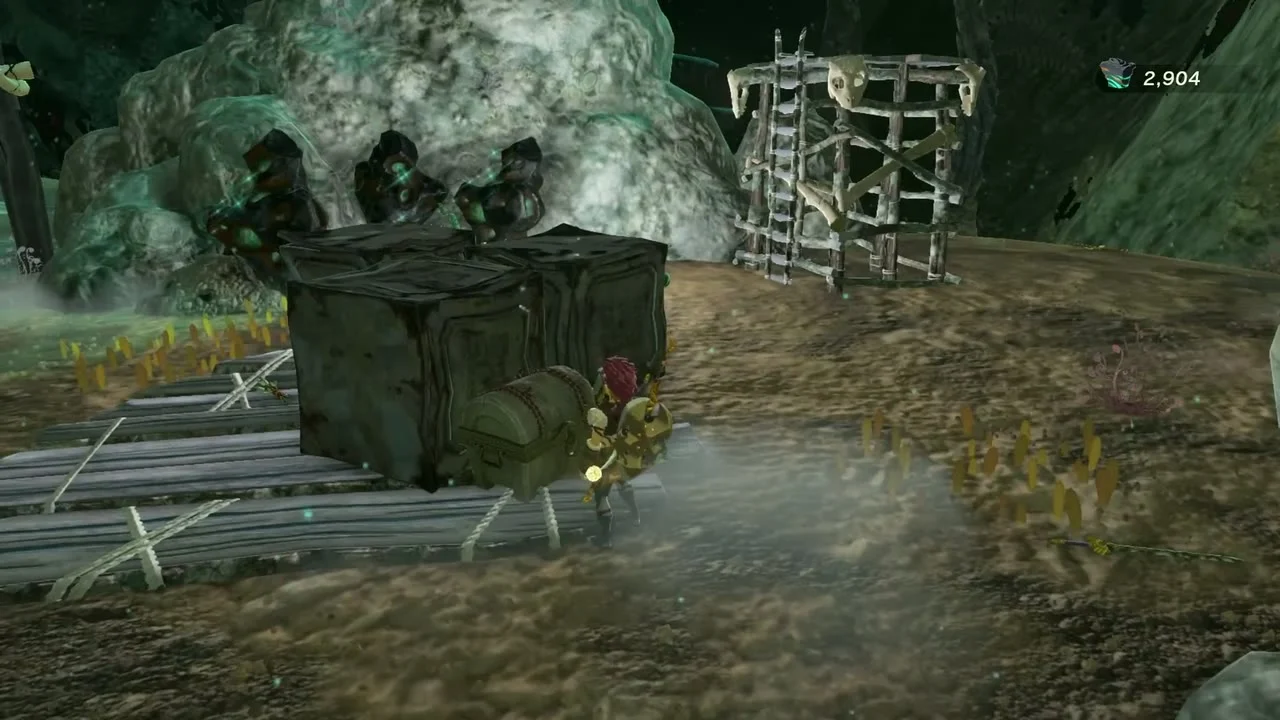
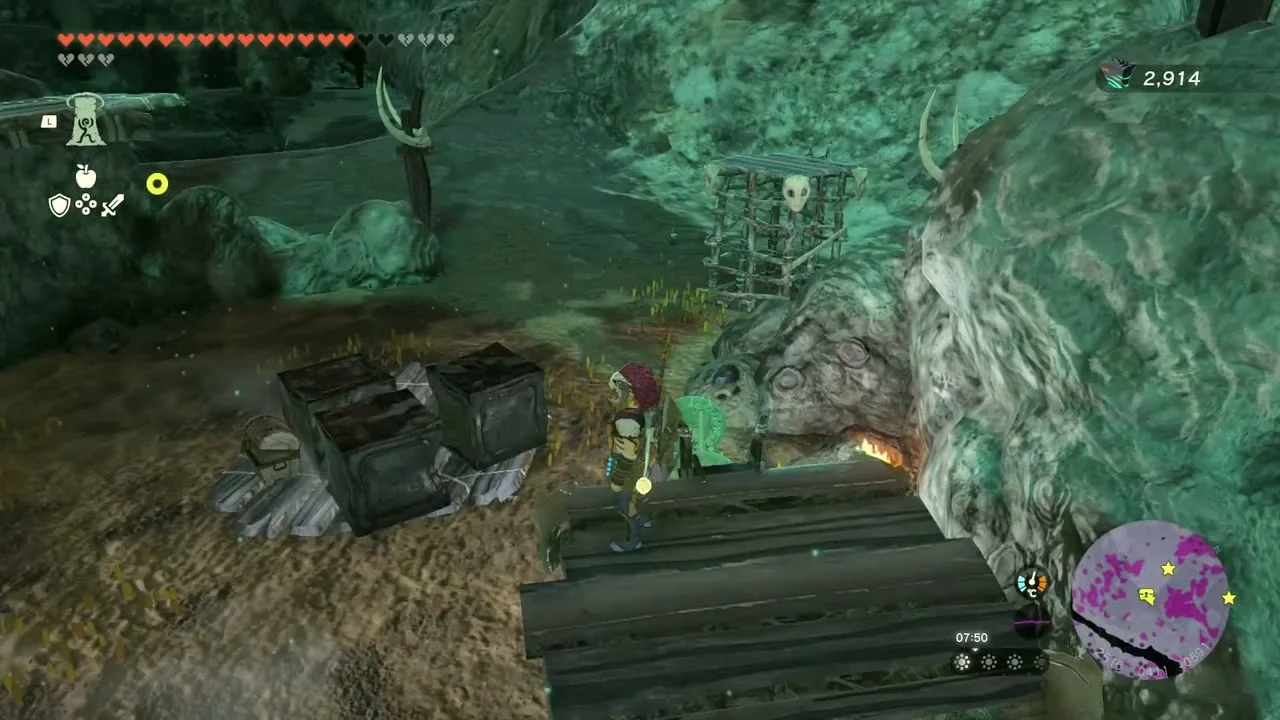
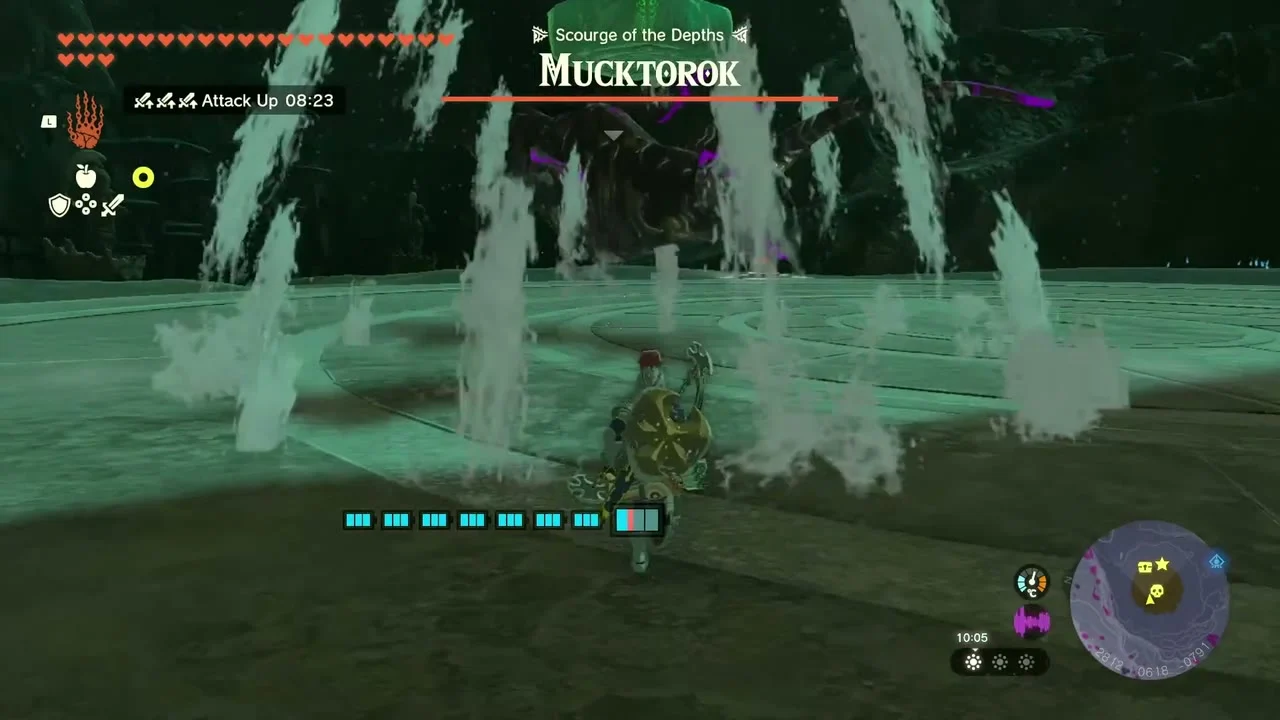
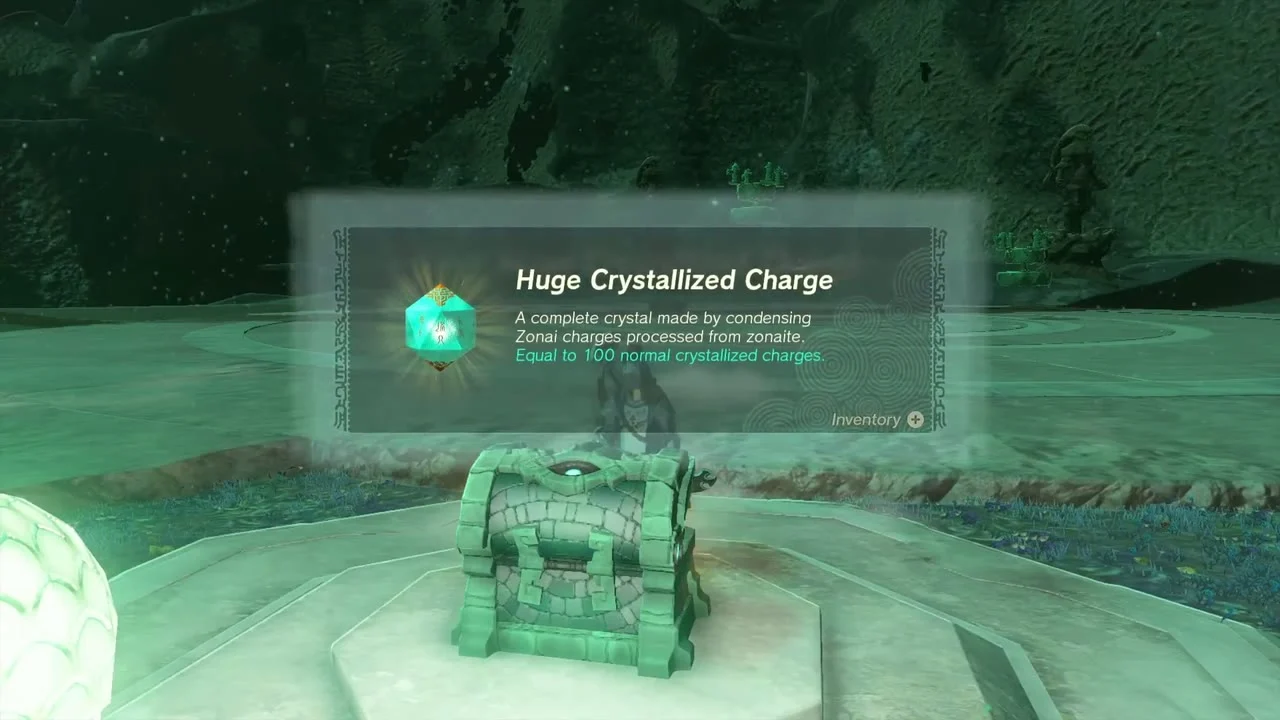
Boss: Mucktorok at (2794, 611, -791), near Uinoj Lightroot. Use the Ultrahand device on the rail, strike the sludge shark when it surfaces and open the chest for Huge Crystallized Charge at (2851, 613). This is an optional rematch of the Water Temple boss: hit the shark with water twice to expose the Mucktorok, then attack it (Wind Burst arrows from the air help), and it also drops Octorok materials.
Akkala Highlands Depths: camps, Battle Talus and Frox
Open the crate chest at the Moblin camp
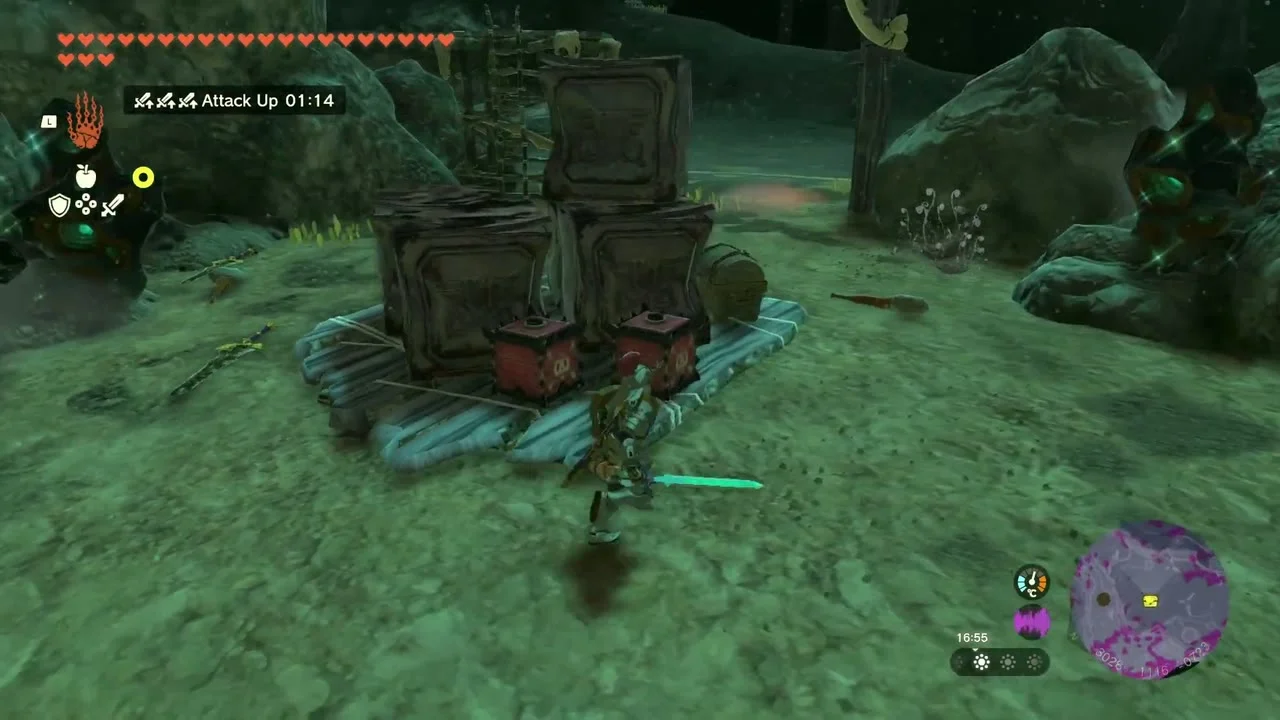
Chest: Arrow at (3026, 1116, -723), on a crate platform in the Akkala Highlands Depths. Fight the camp and open the chest for the arrows.

Clear the scaffold camp and defeat the Boss Bokoblin
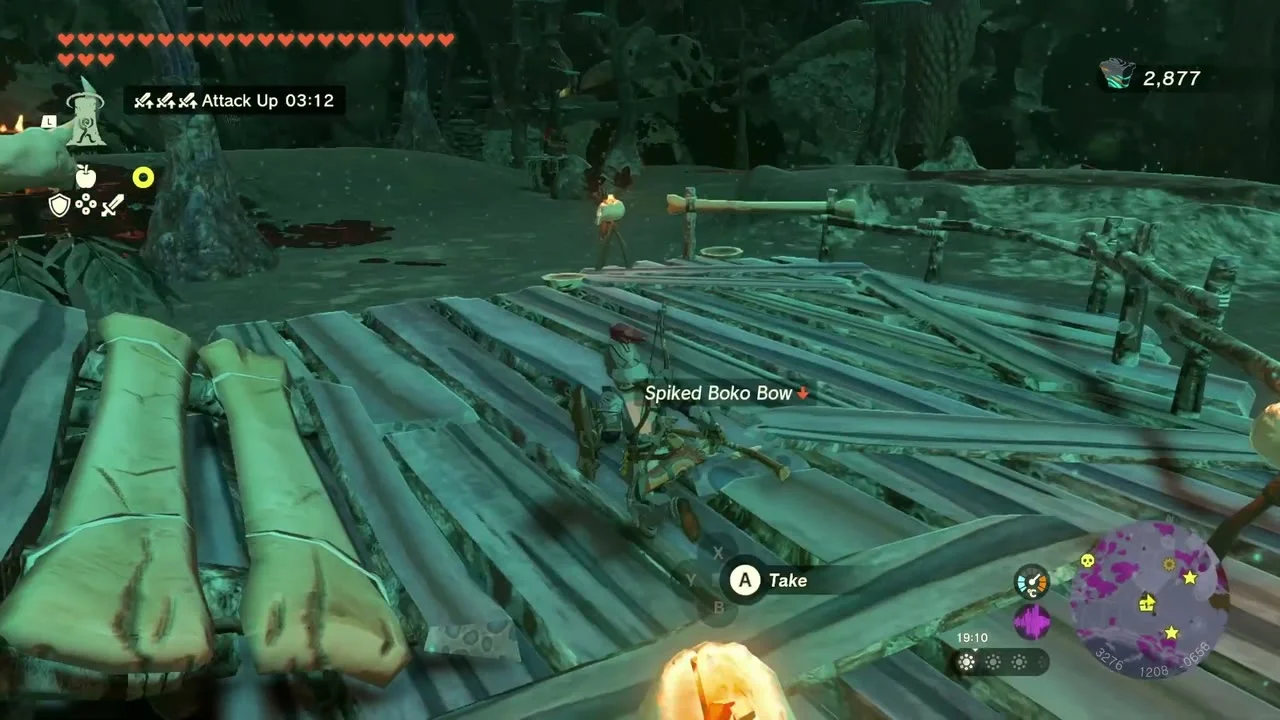
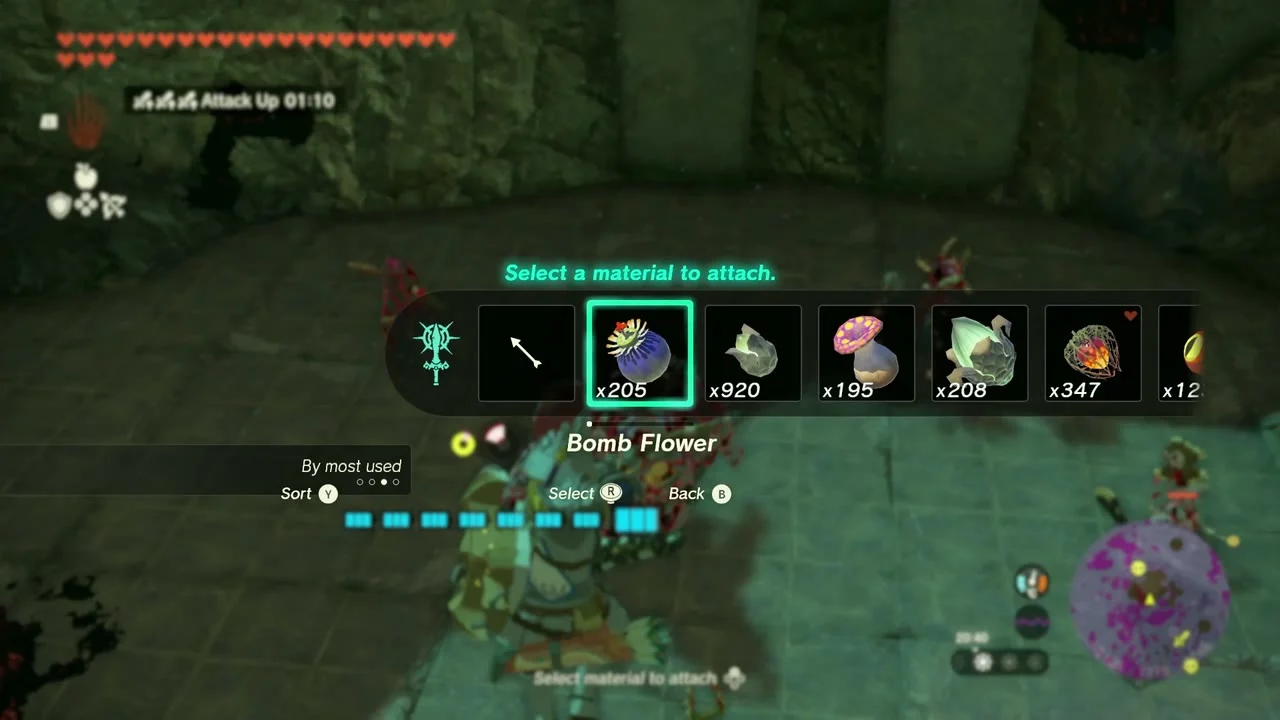
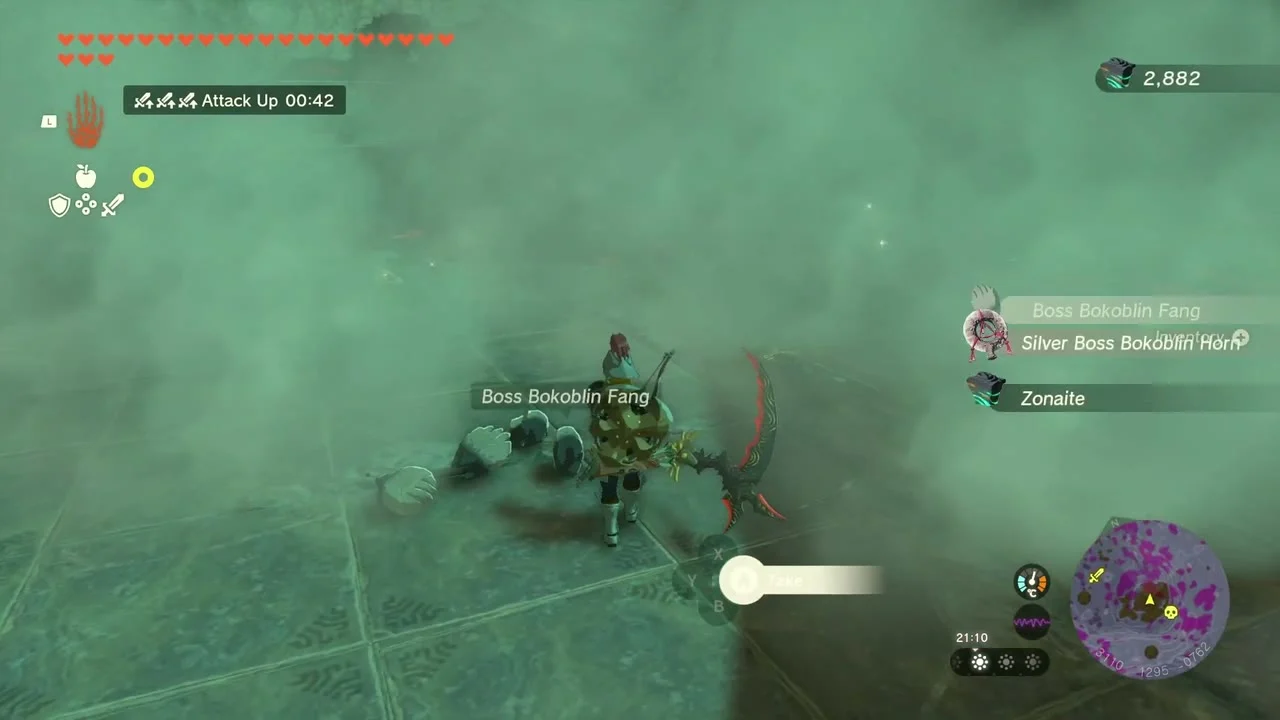
Miniboss: Boss Bokoblin at (3105, 1313, -708), in a ruined hall. A scaffold camp at about (3276, 1208) holds a Spiked Boko Bow (or Boko Bow or Dragonbone Boko Bow, depending on your progress) and a Giant Brightbloom Seed x5 chest; bring Bomb Flowers for the Boss Bokoblin, which drops a Boss Bokoblin Fang and a Silver Boss Bokoblin Horn.
Defeat the Battle Talus
Miniboss: Battle Talus at about (2966, 1440, -691), on a leaf-shaped shelf of the Depths. Attach a Giant Brightbloom Seed or throw Bomb Flowers at the glowing ore on its back, then break its core.


Defeat Flux Construct II in the Depths
Miniboss: Flux Construct II at (3196, 1033, -842), on a circular arena floor. Throw Bomb Flowers at the cube stacks it assembles; the core drops Zonai Charges and a Large Zonai Charge.

Take the Arrow x10 chest
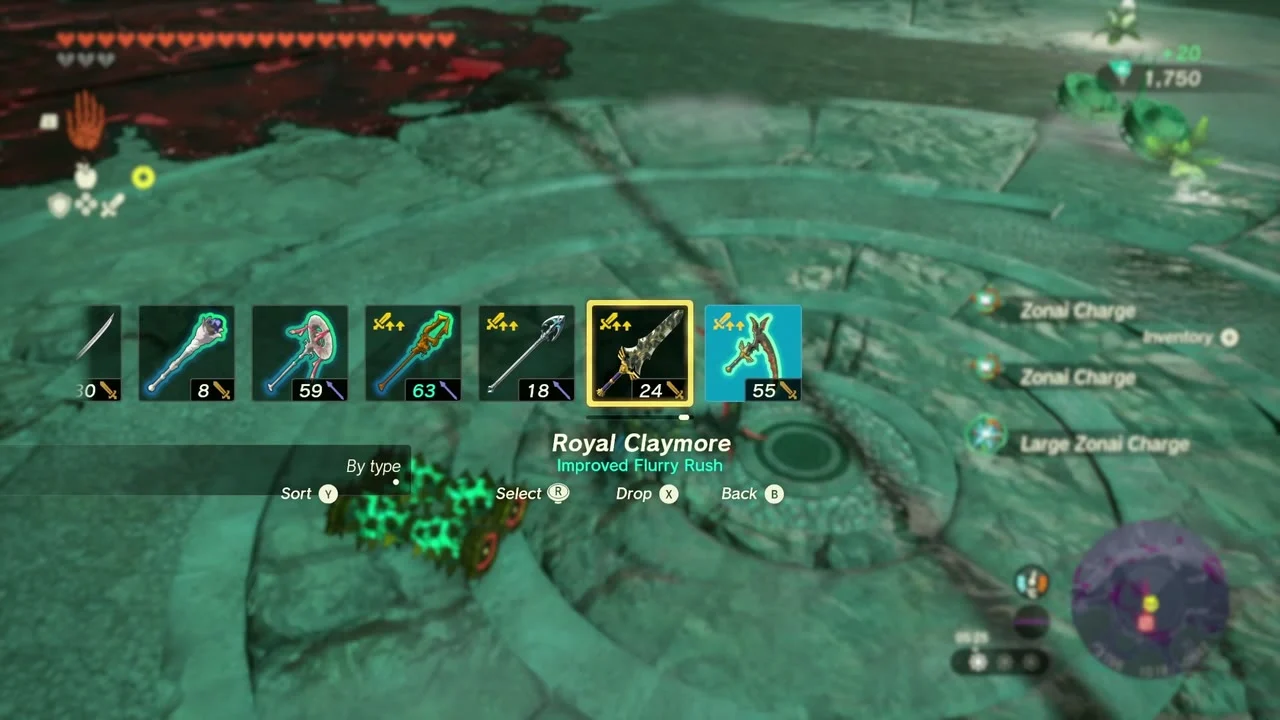
Chest: Arrow x10 at (3452, 966, -846), on a wooden platform camp. The chest holds Arrow x10.


Search Ploymus Canyon Mine
Ploymus Canyon Mine at (3780, 504, -1036). Cross the mine’s ruins and open the chest for Large Crystallized Charge at about (3798, 443, -955).

Open the Sundelion chests and defeat the Frox
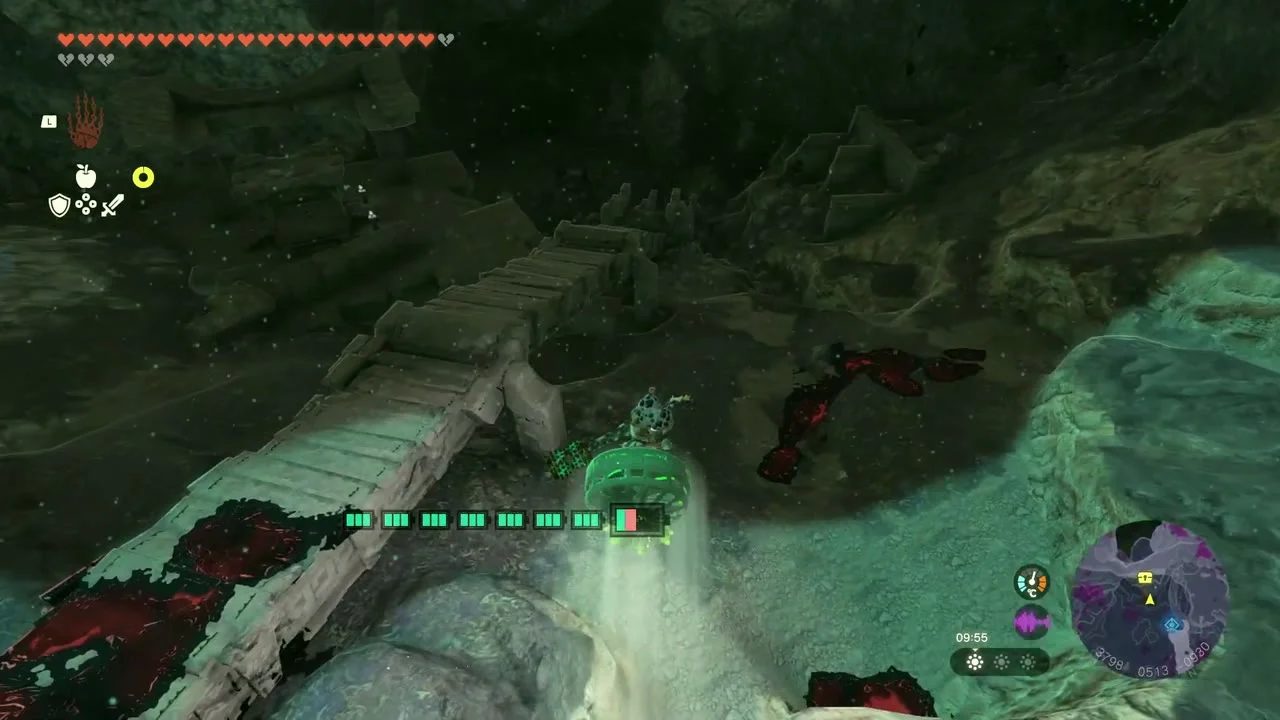
Chest: Sundelion at (4045, 744, -670) and again at about (3880, 1318, -685), on wooden camp platforms; each holds Sundelion. Miniboss: Frox at about (4150, 990, -657): glide over it, shoot its eye and drop Bomb Flowers on the exposed back.


Loot the Yiga hideouts for schematics
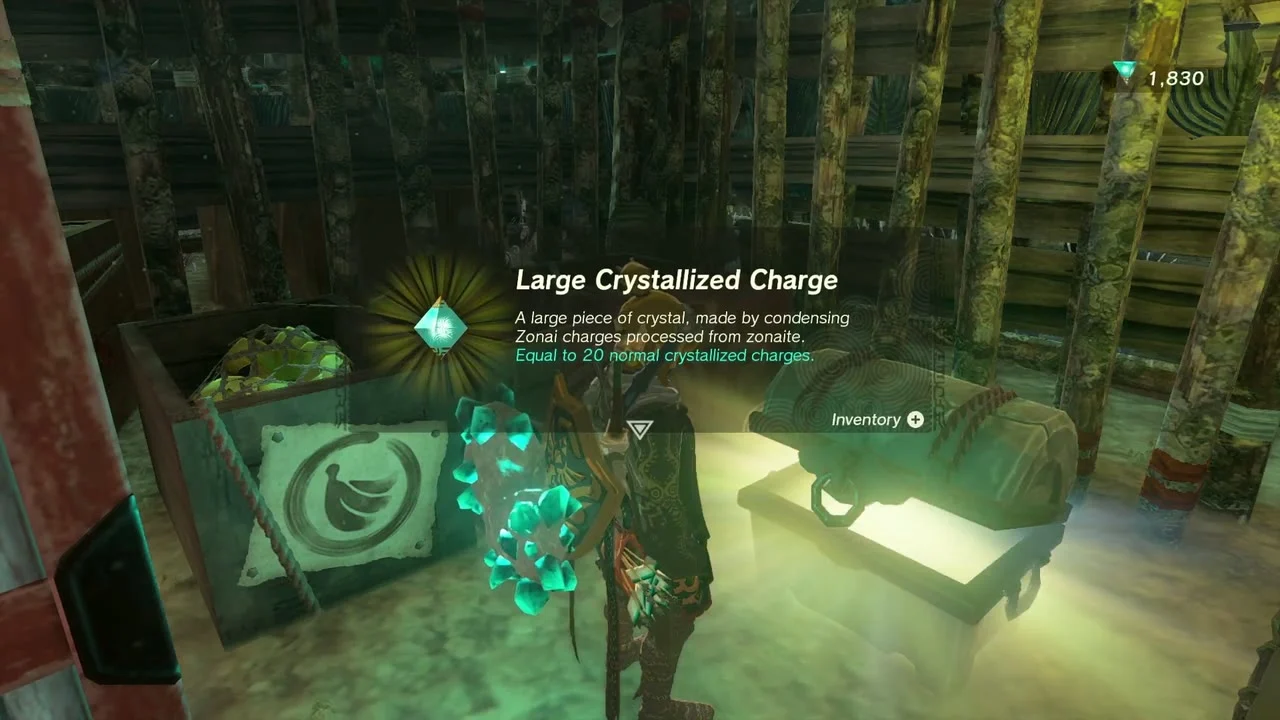
Chest: Yiga Schematic and Large Crystallized Charge at (4409, 635, -708), in the first Yiga camp, and a second one later in the same stretch. Each hideout’s chests hold a Yiga Schematic (the design is registered with Autobuild) and a Large Crystallized Charge. A Stone Talus also roams the Depths between the two camps.

Also in this area
These datamined Koroks fall inside this chapter’s surface box (X 2900 to 4700, Y -900 to -50) but were not collected here: Shoot the balloon(s) (2951, -78, 317), Examine where the arrows point to (2960, -53, 144), Complete the rock pattern (3010, -785, 146), Follow the flower (3011, -370, 193), Bring the exhausted Korok to its friend (3304, -773, 10 and 4499, -648, 75), Complete the cube puzzle (3526, -367, 150) and Dive into the ring (4188, -811, 4). In the sky, Catch the sparkling spot (3496, 579, 1193) and Shoot the balloon(s) (3413, 617, 1550) are also left.
Tips for this stretch
Bring a Frost Emitter for Tarm Point Cave, Fans and Wings for Apogek and Jirutagumac shrines, and plenty of Bomb Flowers for the Flux Constructs, Battle Talus and Boss Bokoblin. The Mighty Zonaite Spear and Zora Longsword chests need free weapon slots, so clear space first. Every Lightroot lit here becomes a fast-travel point for the Depths.
Lanayru Great Spring part 3 checklist
| Collectible | Count | Where |
|---|---|---|
| Lightroots lit | 9 | Niuzimod, A-nehi, Kawikatisar, Agihi-ihcoj, Sisinatag, Kegopa, Kuzimoy, Uinoj, Kawagom |
| Shrines | 3 | Apogek, Yomizuk (Tarm Point Cave), Jirutagumac (sky) |
| Caves | 2 | Horon Lagoon Cave, Tarm Point Cave |
| Bubbul Gems | 2 | Horon Lagoon Cave, Tarm Point Cave |
| Korok seeds | 15 | 14 on the surface (Samasa Plain to Wintre Island), 1 in the sky (stump above the Old Map island) |
| Sage’s Wills | 2 | Jirutagumac sphere island, south-west of Wellspring Island |
| Old Maps | 1 | Cuho Canyon Mine (Tunic of the Wind) |
| Addison signs | 3 | Samasa Plain, Brynna Plain, Yomizuk Shrine |
| Dragon’s Tears | 1 | The Sages’ Vow (4467, -305) |
| Armor | 2 | Rubber Tights, Trousers of Twilight |
| Bosses | 1 | Mucktorok |
