





















Tears of the Kingdom 100% Completion Walkthrough43 chapters
Great Sky Island
- Great Sky Island4 shrines, 4 caves and Bubbul Gems, 17 Korok seeds
Hyrule Field and Hyrule Castle
- Lookout LandingParaglider, Crisis at Hyrule Castle, Jiosin and Kyononis shrines, 2 caves, 3 wells
- Hyrule FieldSusuyai and Ishodag shrines, the Hyrule Field Chasm, 2 caves, 13 Koroks
- Hyrule Castle Town RuinsSepapa, Yamiyo and Tukarok shrines, 2 caves, 4 wells, Koroks, chests and Battle Taluses in route order
- Central Hyrule Depthslight all 7 Lightroots, loot Daphnes and Gustaf Canyon Mines, find the Miner's Top
- Rest of Hyrule CastleRoyal Hidden Passage loot, 8 castle chests, Phantom Ganon, Energy Wells
- South Hyrule FieldShrines, Koroks & the Great Plateau
- South Hyrule Field DepthsGreat Abandoned Central Mine, Master Kohga, Autobuild, Majora's Mask
Tabantha and Hyrule Ridge
- Tabantha FrontierNew Serenne Stable, Hestu, Courage Island and the Glide Shirt, 3 shrines, 2 Korok seeds, Lindor's Brow Cave
- Forgotten TempleImpa and the Geoglyphs, Dragon's Tears, Kiuyoyou and Mayausiy shrines, Yiga Maritta Branch, 9 Koroks
- Tanagar Canyon & Hyrule RidgeRunakit and Iun-orok shrines, 2 caves, 12 Koroks, 20 chests, 8 minibosses and Dragon's Tear 6
- Thundra Plateau & Tabantha Bridgesolve the noon shadow puzzle, Tabantha Bridge Stable, Makurukis Shrine, 19 Korok seeds, 9 chests, 3 minibosses
- Lindor's Brow DepthsLightroots; Two Yiga camps (Bomb Bouquet, Flamethrower Balloon)
- Hyrule Ridge and Tabantha FrontierIkatak, Oromuwak, Ganos and Ga-ahisas shrines, 4 caves, a well, 26 Koroks and 3 minibosses
Hebra
- Rito VillageGatakis and Ijo-o shrines, Sikatag Lightroot, 9 Korok seeds, 14 chests
- Hebra MountainsShrines, Wind Temple & Koroks; Raspro Pass, Biron Snowshelf & Royal Hidden Passage
- Corvash Canyon MineTrousers of the Hero, Floodlights schematic, Sea-Breeze Boomerang, four Lightroots, Colgera
- Raspro Pass DepthsNupisoyuat and Sasag Lightroots, Colgera, Cap of Time, Tunic of the Wind, two Yiga camps and 13 minibosses
- Tabantha TundraTaninoud, Orochium, Oshozan-u, Mayaotaki, Nouda and Tenbez shrines, three Lightroots, caves and Bubbul Gems
- Pikida Stonegrove DepthsEvil Spirit Greaves, Ikatoayam, Muihcoro and Sikatag Lightroots, 3 Yiga schematics, Frox fights
Great Hyrule Forest
- Great Hyrule Forest7 shrines, 8 Lightroots, 2 caves, 2 wells, Korok Mask, Glide Tights
Eldin
- EldinEldin Canyon, Shrines, Caves & Goron City
- Eldin Canyon Depths10 Lightroots, Zant's Helmet, Trousers of the Wild, Biggoron's Sword, 3 Yiga schematics and Eldin's sky chests
Faron
- FaronHighland Stable, Lake Hylia & Popla Foothills
Necluda
- Kakariko VillageMakasura Shrine, Kakariko Village Well, 2 caves, Ring Ruins chests, 10 Korok seeds and village quests
- West Necluda and Lanayru WetlandsShrines, Koroks & Caves; Jonsau, Kurakat
- Hateno VillageZanmik and Mayahisik shrines, Shield of the Mind's Eye and Phrenic Bow wells, 7 Koroks
- East NecludaRabella Wetlands, Sifumim Shrine, Lurelin Village, 21 Korok seeds
- East Necluda DepthsKumamayn Shrine, 4 Lightroots, Midna's Helmet, Cap of the Hero, Trousers of the Wind and 18 Depths chests
Lanayru
- Lanayru Great SpringShrines, Koroks & Caves; Ralis Channel, 3 shrines, 8 caves
- Zora's DomainMogawak and Ihen-a shrines, Ploymus cave, Pristine Sanctum, Zora Armor, Sidon of the Zora and Clues to the Sky
- Wellspring IslandAncient Zora Waterworks chests, Igoshon Shrine, 2 Korok seeds, Water Temple's four wheels and Mucktorok
- Mount LanayruShrines, Koroks & Light Rings; Jikais and Anedamimik shrines
Gerudo
- Gerudo DesertShrines, Caves & Koroks; West and South Sands
- Gerudo TownGerudo Shelter shops and quests, Valley of Silent Statues, Lightning Temple and Queen Gibdo, Chichim Shrine
- Gerudo Desert DepthsGranajh and Daval mines, three Master Kohga fights, Queen Gibdo, Mucktorok, Sheik's Mask and 37 chests
- Gerudo HighlandsSkyview Tower, Rotsumamu and Suariwak shrines, Mayasiar Shrine, Yiga hideout
Akkala
- AkkalaTarrey Town quests, 4 shrines, Hinox, Battle Talus
- Akkala Sky Islands and DepthsGikaku and Natak shrines, Old Maps, Lomei Depths Labyrinth, Mucktorok, 5 Lightroots and 19 chests
Finale and completion
- Ancient Tablets, Gleeoks and Armor Upgradesall 13 stone tablets with coordinates, Frost and King Gleeok, Obsidian Frox, Cotera upgrades and farming
- Hyrule CastleRoyal gear chests, Korok seeds, Serutabomac Shrine
- Thunderhead IslesCharged armor, Joku-usin and Joku-u Shrines, Dragonhead Island's relic
- 100% Completion: Armor Upgrades & Korok BonusHestu's Gift, Ancient Hero's Aspect, Great Fairy Cotera upgrade costs and materials, then Destroy Ganondorf
| Region | Ancient Zora Waterworks (beneath East Reservoir Lake), then Wellspring Island and the Water Temple (The Great Wellspring of Hyrule) in the Lanayru Great Spring Sky |
|---|---|
| Main quest | Sidon of the Zora: explore the underwater cave, explore Wellspring Island, explore the Water Temple, defeat Mucktorok, return to Zora’s Domain |
| Shrine | Igoshon Shrine (Orbs of Water, Puzzle) at (3480, 665, 1339) |
| Korok seeds | 3 around Wellspring Island |
| Chests | 5 in the Ancient Zora Waterworks, 16 on Wellspring Island (including Igoshon Shrine) and 7 in the Water Temple |
| Bubbul Gem | 1 in the Ancient Zora Waterworks |
| Miniboss and boss | Flux Construct II (Wellspring Island); Mucktorok, Scourge of the Water Temple |
| Rewards | Vow of Sidon, Sage of Water; Heart Container; Sage’s Will; Hover Stone, Hydrant and Big Battery chests; the side quest A Token of Friendship starts afterwards |
| Previous / next | Zora’s Domain / Lanayru Great Spring, part 2 |
Clear the Ancient Zora Waterworks, ride the waterfall up to Wellspring Island, loot its floating ruins and Igoshon Shrine, then work through the Water Temple with Sidon: fill four Water Wheels, hold the central device and beat Mucktorok to earn Sidon’s vow as the Sage of Water.
Quick route
Open the five chests of the Ancient Zora Waterworks, fish out the Bubbul Gem and use the terminal at the far end to reach Wellspring Island by the waterfall.
Glide across the island’s ruins for the two Korok seeds, the Old Maps, the Hydrant and Hover Stone chests, Igoshon Shrine with its Large Zonai Charge, the Flux Construct II guarding the Sage’s Will, and the Captain and Soldier chests on the eastern bridges.
Enter the Water Temple, take the Sapphire chest, activate the four Water Wheels in any order, collect the temple’s chests, fill the vessels and defeat Mucktorok for the Heart Container, then return to Zora’s Domain for the Vow of Sidon.
Ancient Zora Waterworks
Open the Zora Shield chest at the start
Chest: Zora Shield at about (3735, 308, 37), on a ledge just past where you surface in the drowned waterworks. Swim to the rock shelf under the broken wall and open the chest for a Zora Shield, a Zonai-built shield that redirects water.

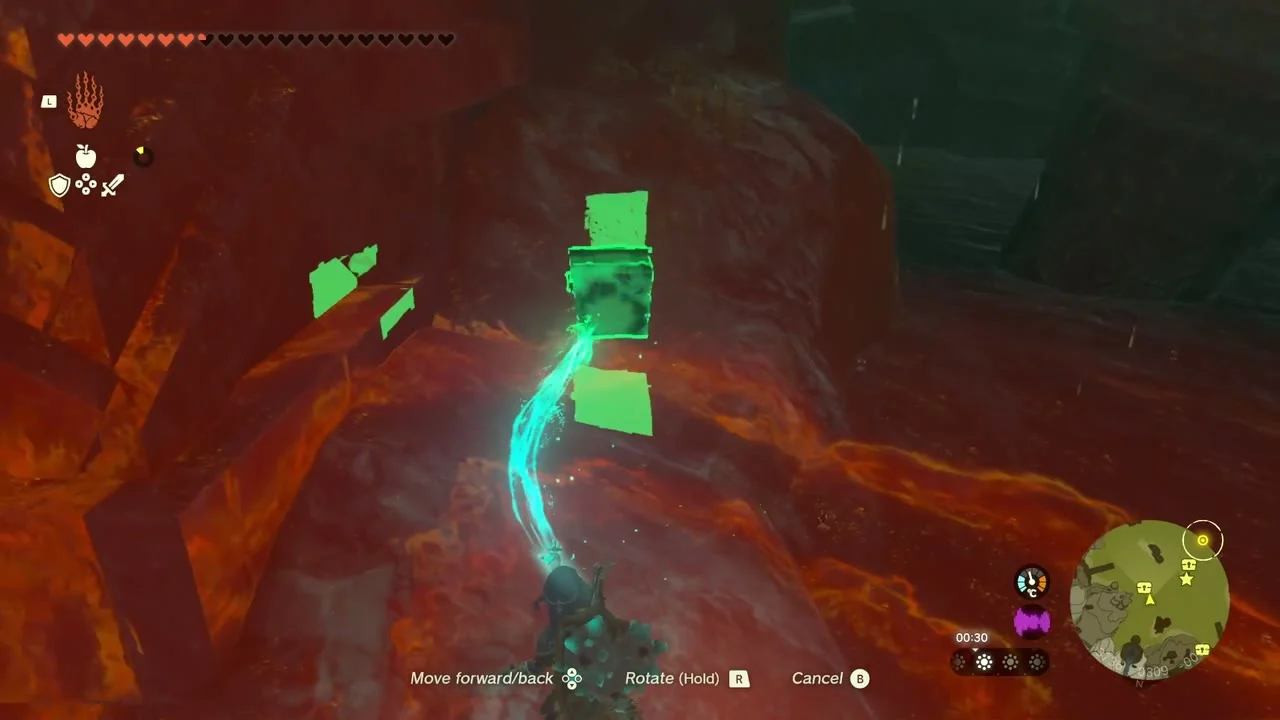
Take the Opal from the round shaft
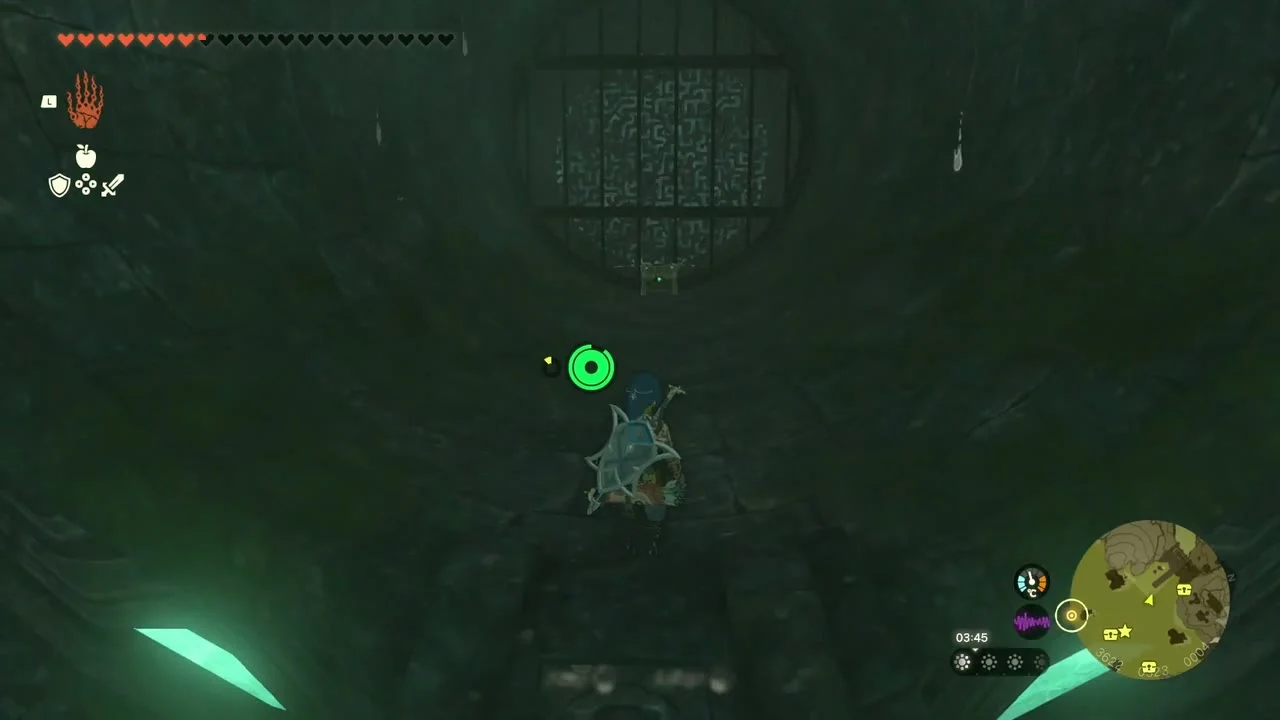
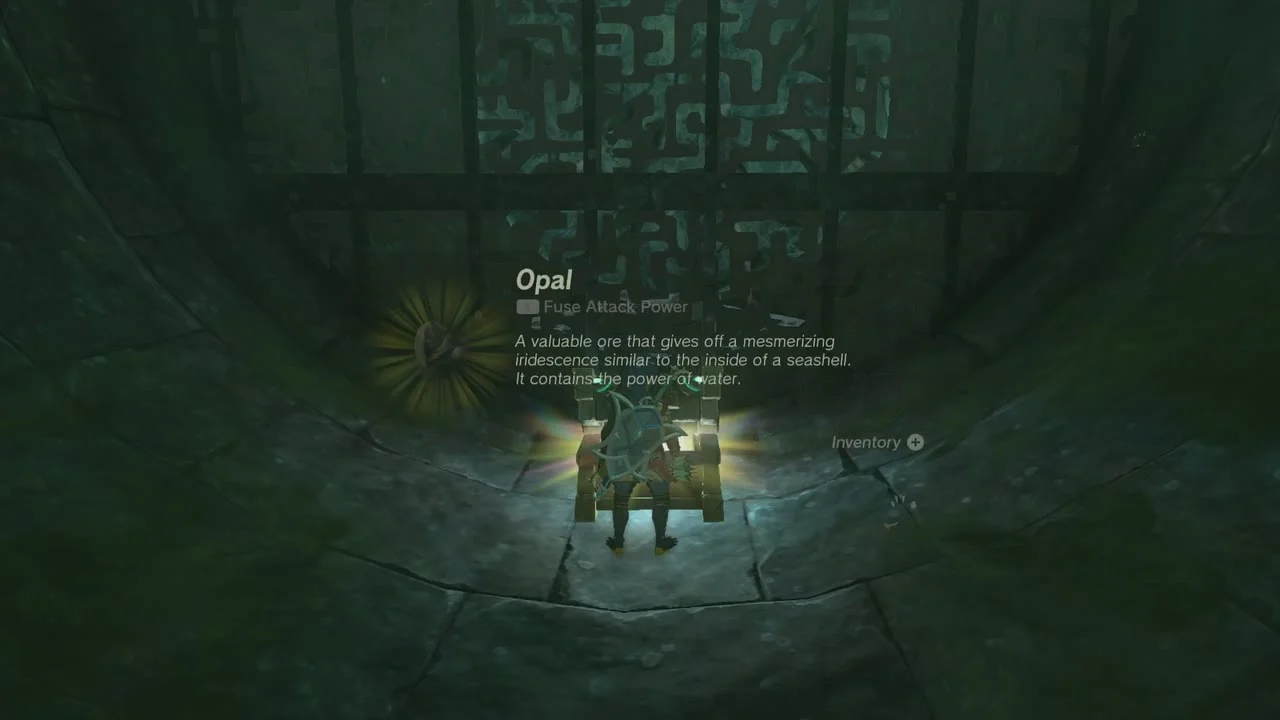
Chest: Opal at about (3614, 326, 4), at the bottom of a circular drainage shaft. Drop into the shaft and open the chest for an Opal; a ceiling grate above lets you swim back out.
Burn the thorns for the Large Zonai Charge
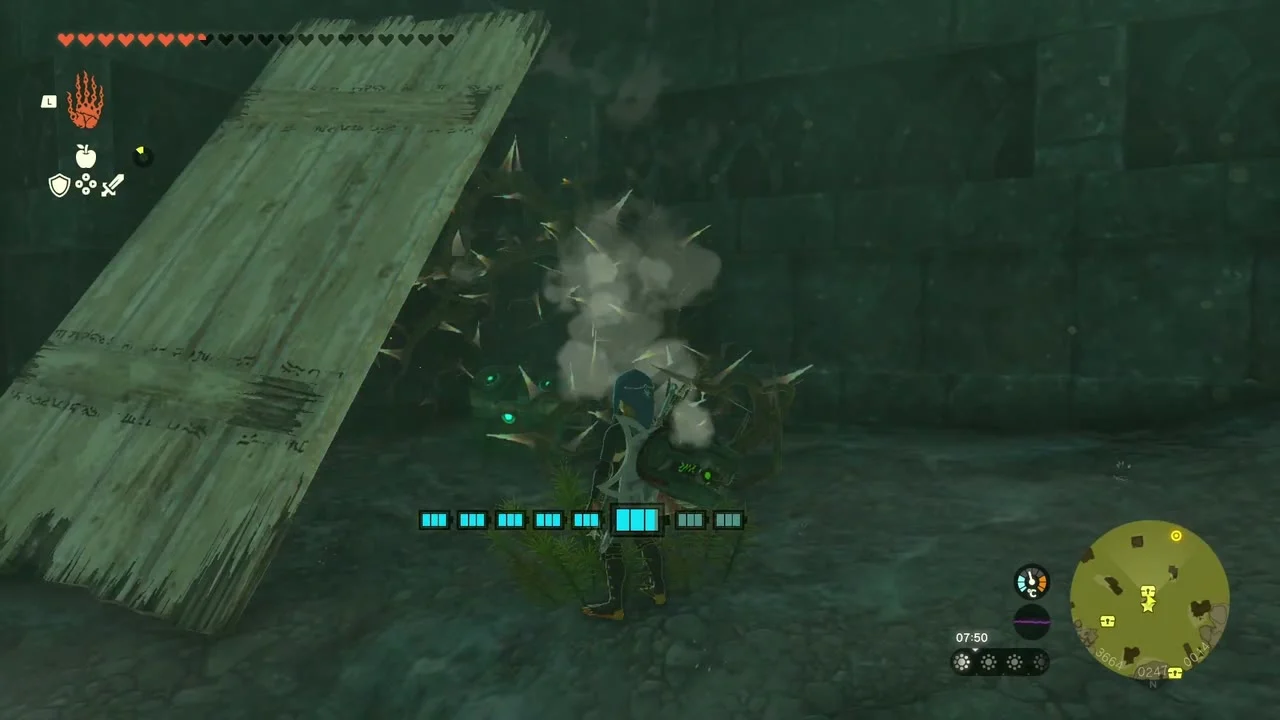
Chest: Large Zonai Charge at about (3666, 245, 13), wrapped in thorny roots behind a boarded wall. Tilt the wooden board aside and clear the thorns with a fire attack or a bomb, then open the chest for a Large Zonai Charge.

Swim on to the Zora Longsword and the second Zora Shield
Chests: Zora Longsword and Zora Shield on rocky outcrops in the flooded halls beyond. The chests hold a Zora Longsword and another Zora Shield; the second sits among pink coral on the way to the exit.


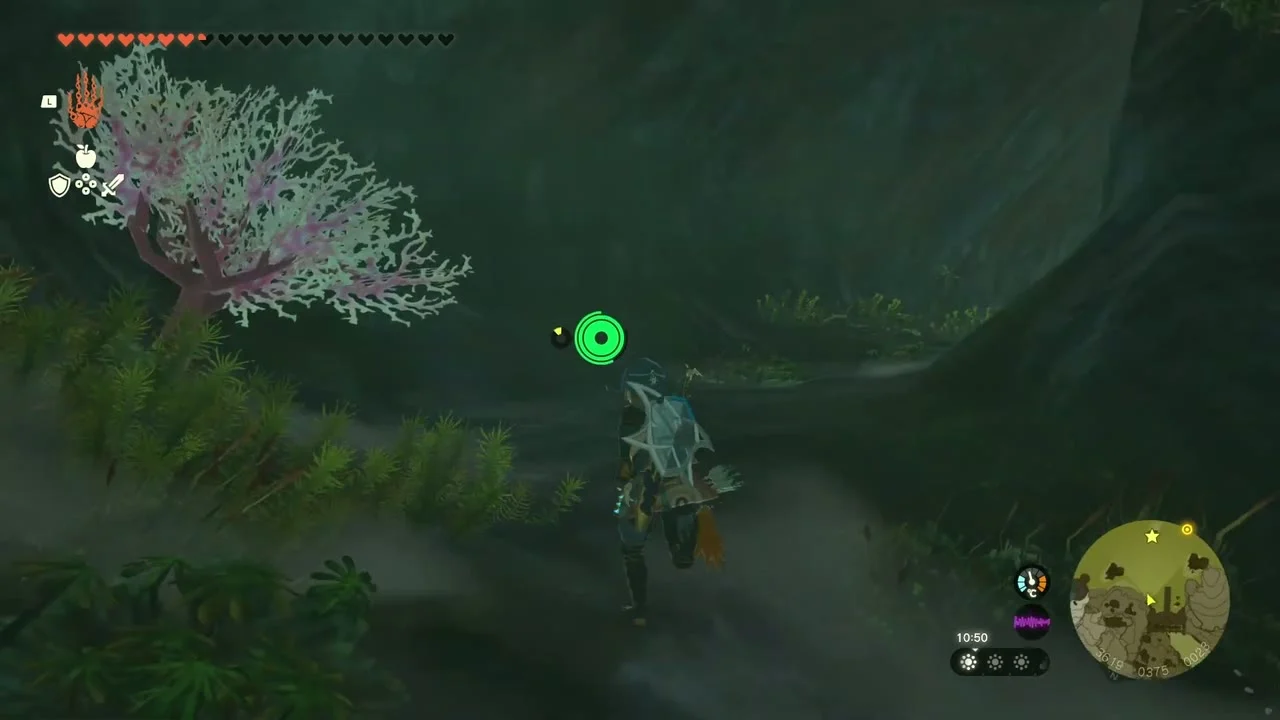
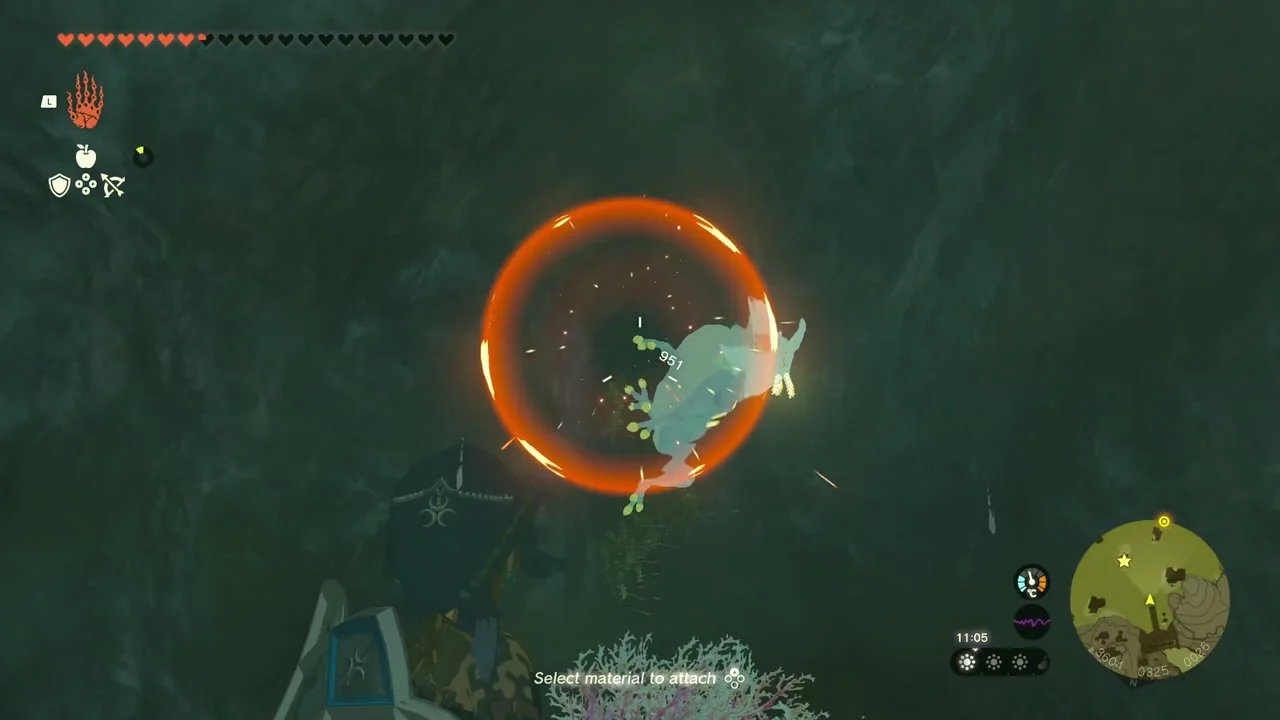
Catch the Bubbul Gem
Bubbul Gem among the coral at about (3620, 364, 26) in the same hall as the second Zora Shield. Strike the glowing Bubbulfrog when it hops to collect the Bubbul Gem.
Use the terminal and ride the waterfall up
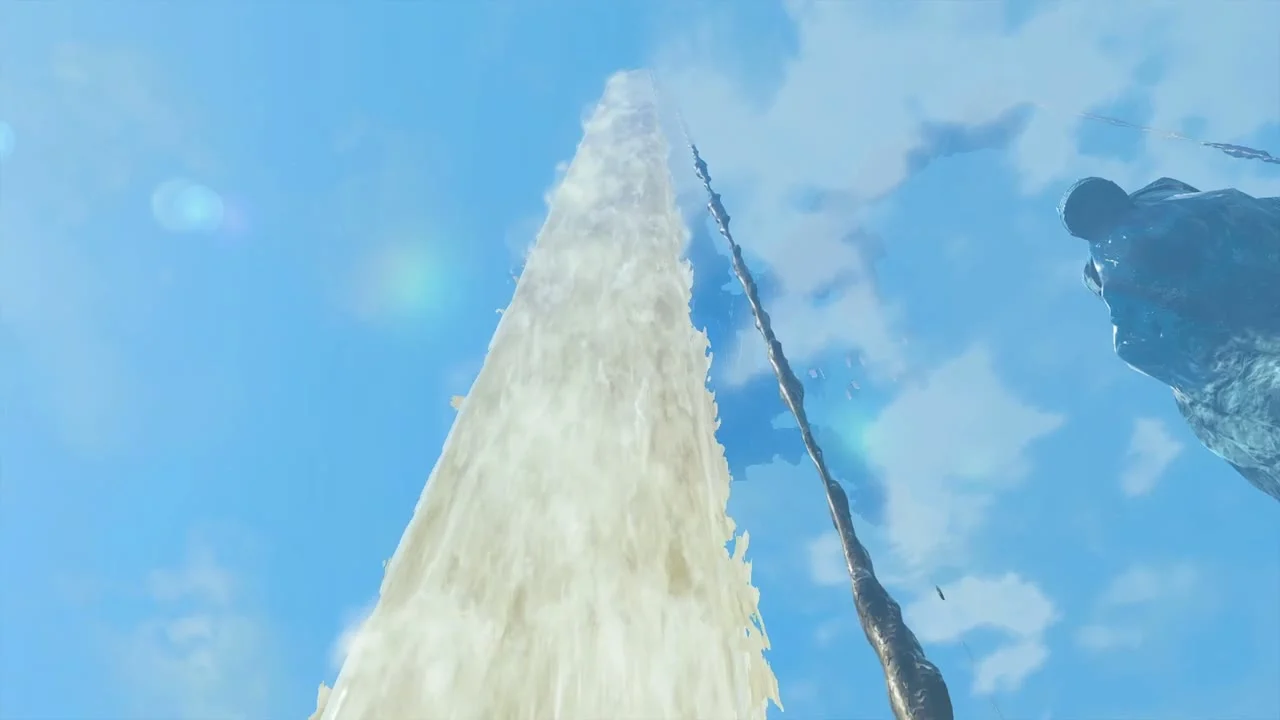
To get here, break the boulders blocking the drain pipes with bomb arrows or a hammer so the water level rises, ride the wooden planks up to each pipe, climb the ladder, flip the switch with Ultrahand and glide across to the terminal. Follow the stairs at the far end to the green Zonai terminal and activate it to start the water rushing upward. Swim to the waterfall beside it and climb the column of water; it launches you into the sky above Zora’s Domain, where the main quest updates to Explore the Wellspring Island.

Wellspring Island
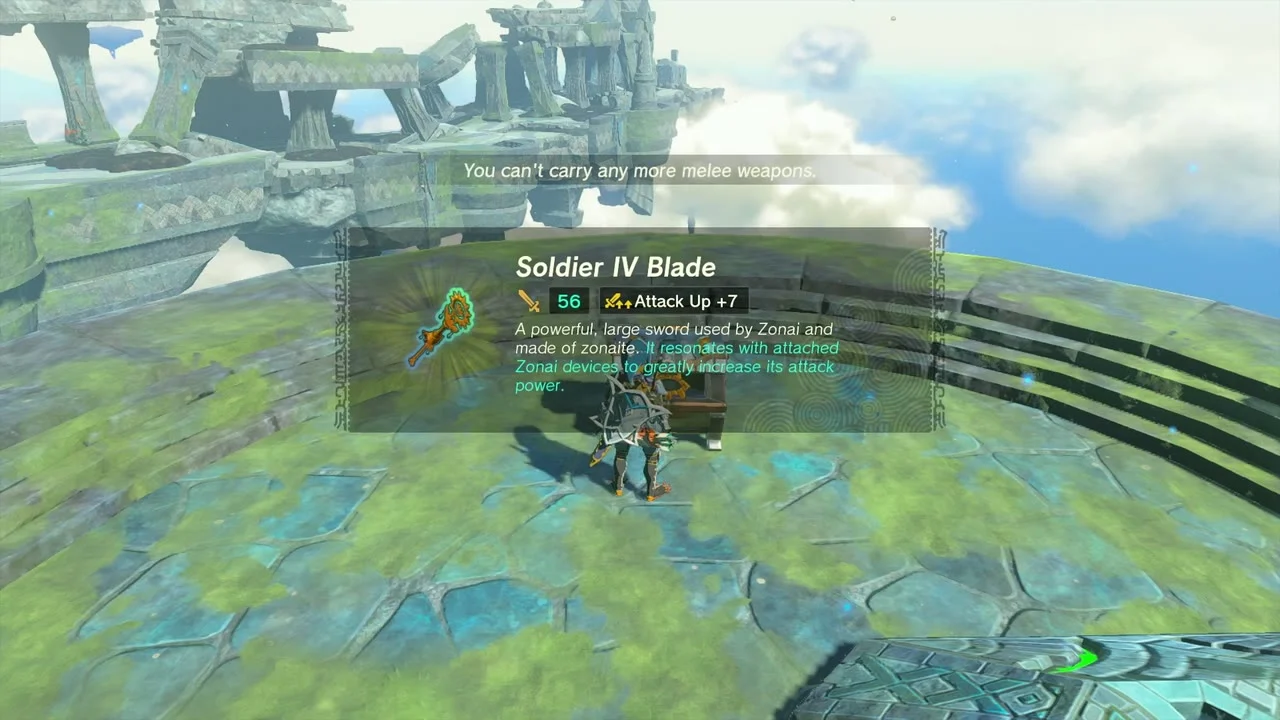
Take the Soldier IV Blade and the first Korok seed
Chest: Soldier IV Blade on the first round platform where you land, at height 1,200. Open it for a Soldier IV Blade (III or IV, depending on your progress), then follow the curved wall to the black pit on the next ring at about (3496, 579, 1193) for the Korok seed sparkling in the pit’s mouth.
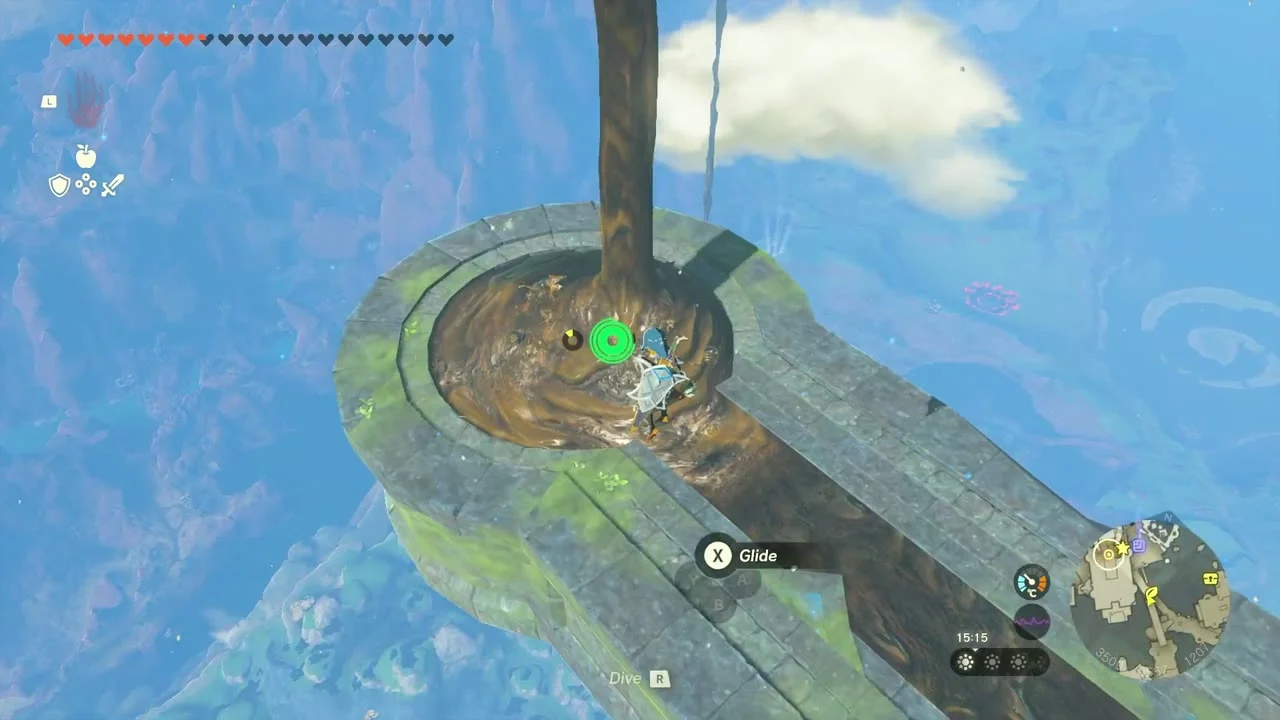
Glide to the Soldier IV Spear chest
Chest: Soldier IV Spear on the broken bridge east of the first ring. Glide across the gap to the platform with the chest and take the Soldier IV Spear.

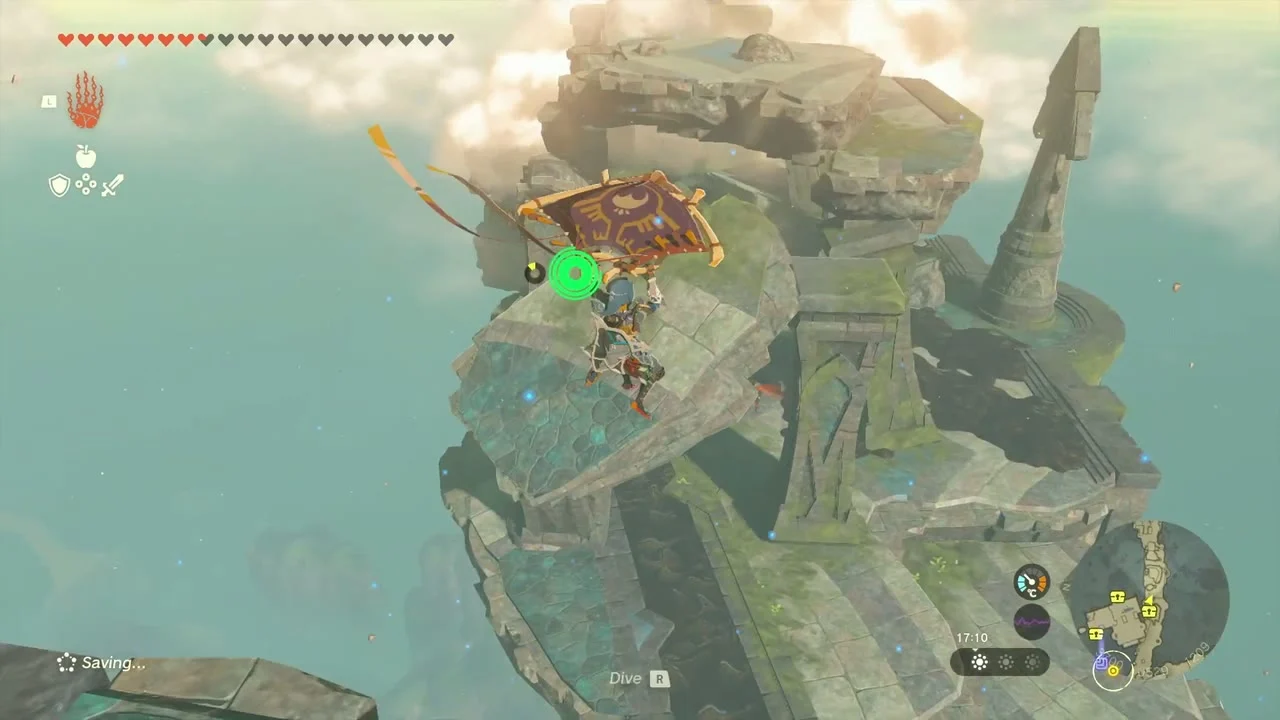
Open the Big Battery chest
Chest: Big Battery on the stone terrace beside the tall gateway. A Big Battery holds many more charges than the small batteries Zonai dispensers produce, so keep it for a long vehicle or the Water Temple devices.


Clear the next platforms: Old Map and Hydrant
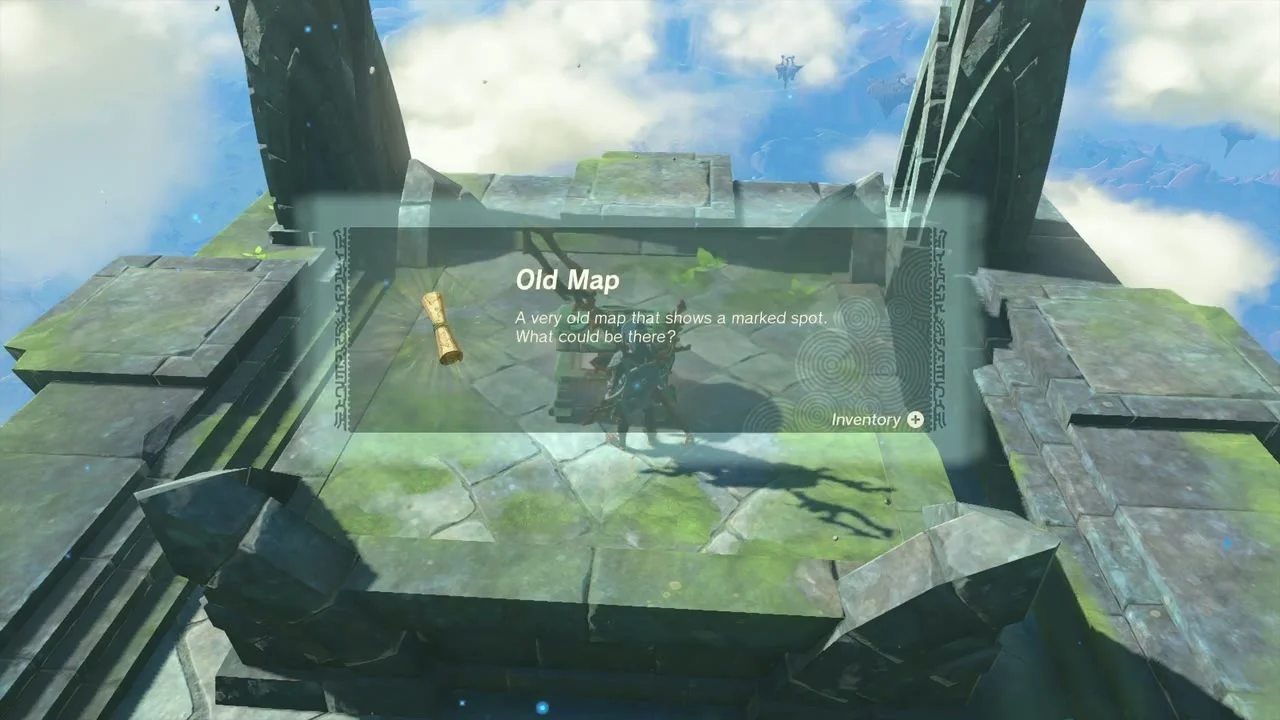
Chests: Old Map and Hydrant. The first, at height 1,245 and about 588 north, is on a dark ledge under the arch; it holds an Old Map. A second chest at about (3633, 614, 1266) holds a Hydrant, a Zonai device that sprays water when struck.

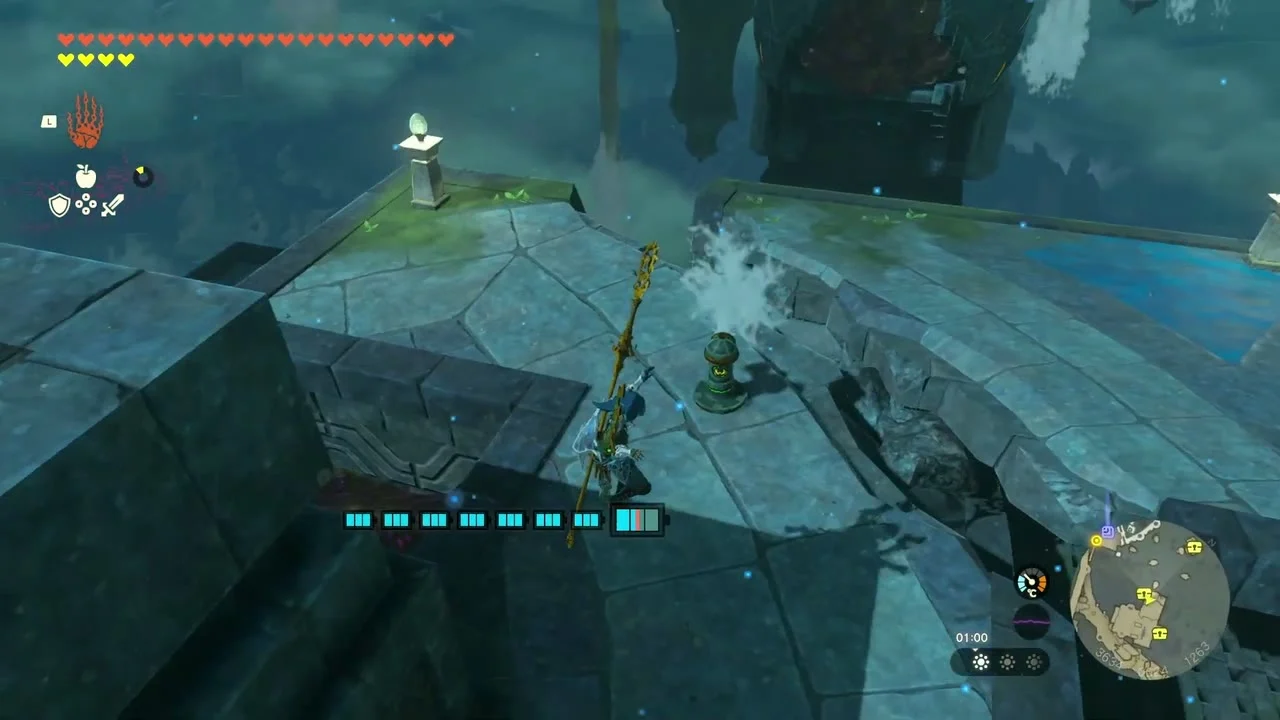
Take the Hover Stone chest
Chest: Hover Stone x3 at about (3613, 748, 1302), on a ruined walkway in the middle of the island. Open it for three Hover Stones. A Device Dispenser at (3430, 637, 1316) on the island hands out Fans, Hover Stones, Wings, Batteries and Stabilizers if you feed it Zonai Charge.
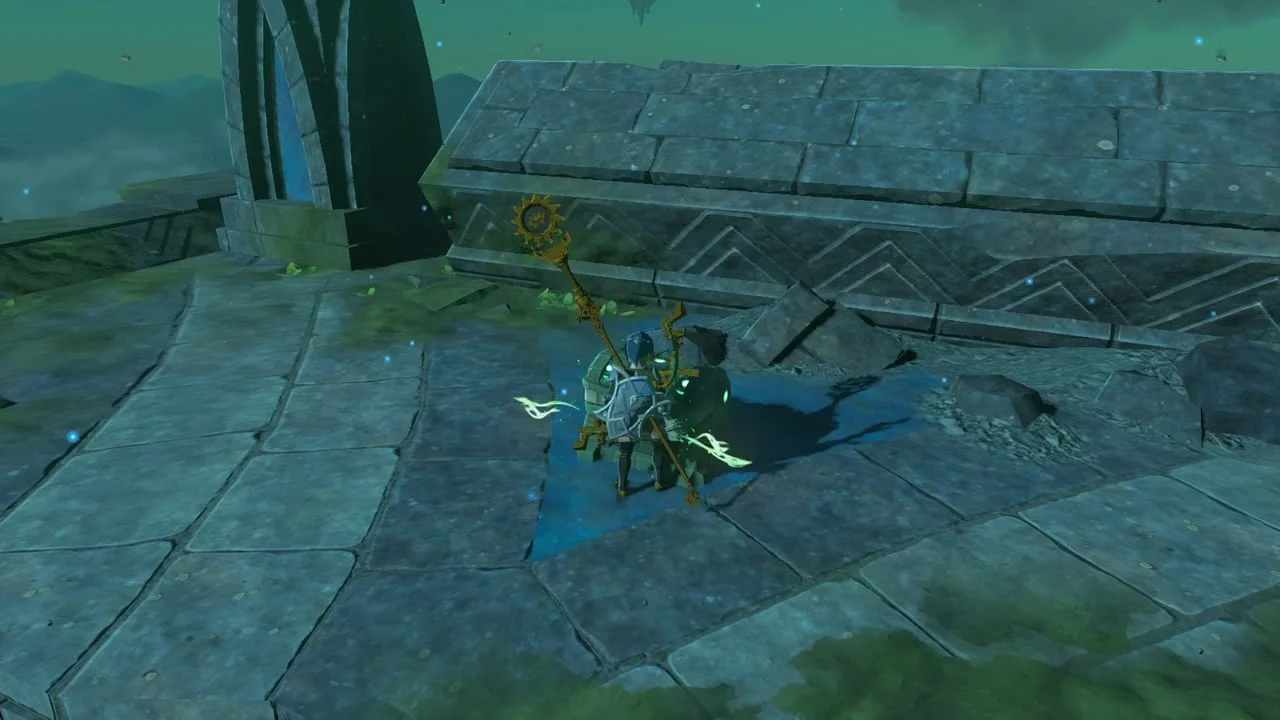
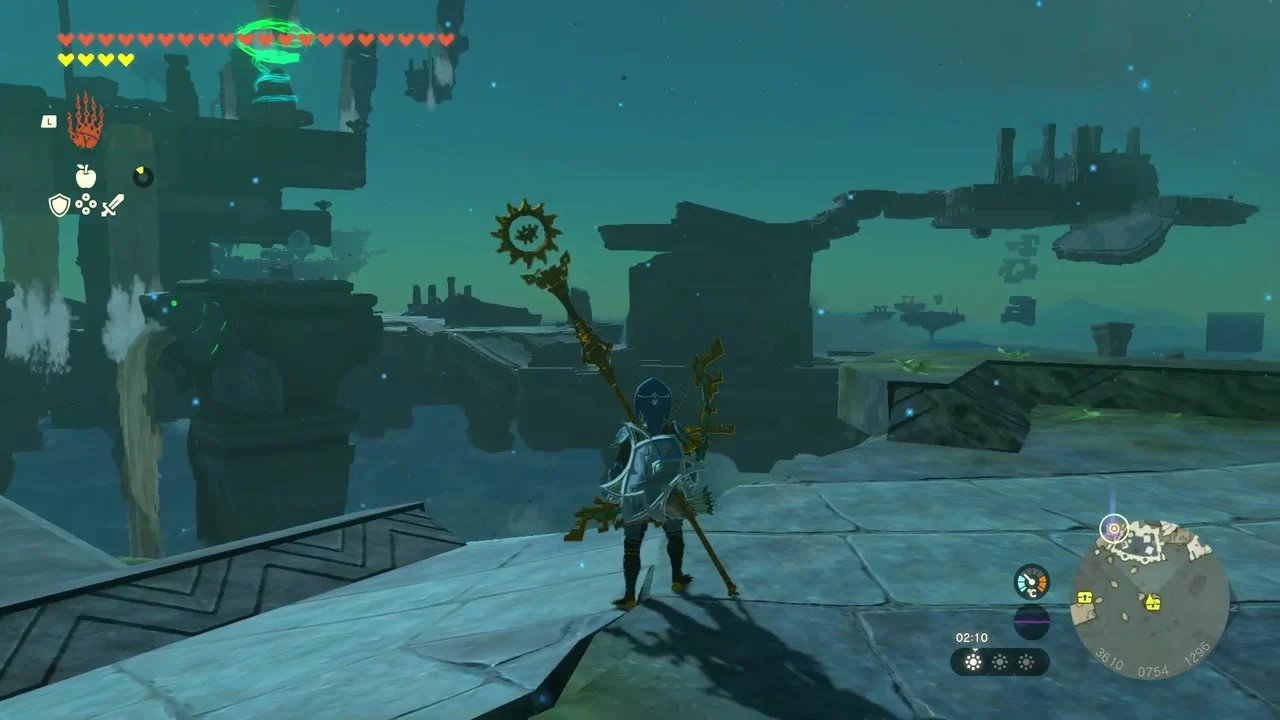
Climb to Igoshon Shrine
Igoshon Shrine at (3480, 665, 1339), trial Orbs of Water (type Puzzle). Ride the floating water globule upward and hop off at the ledge, then use Ultrahand to drag the second globule under the falling chest and pull it to the exit so the shrine’s Large Zonai Charge chest opens.
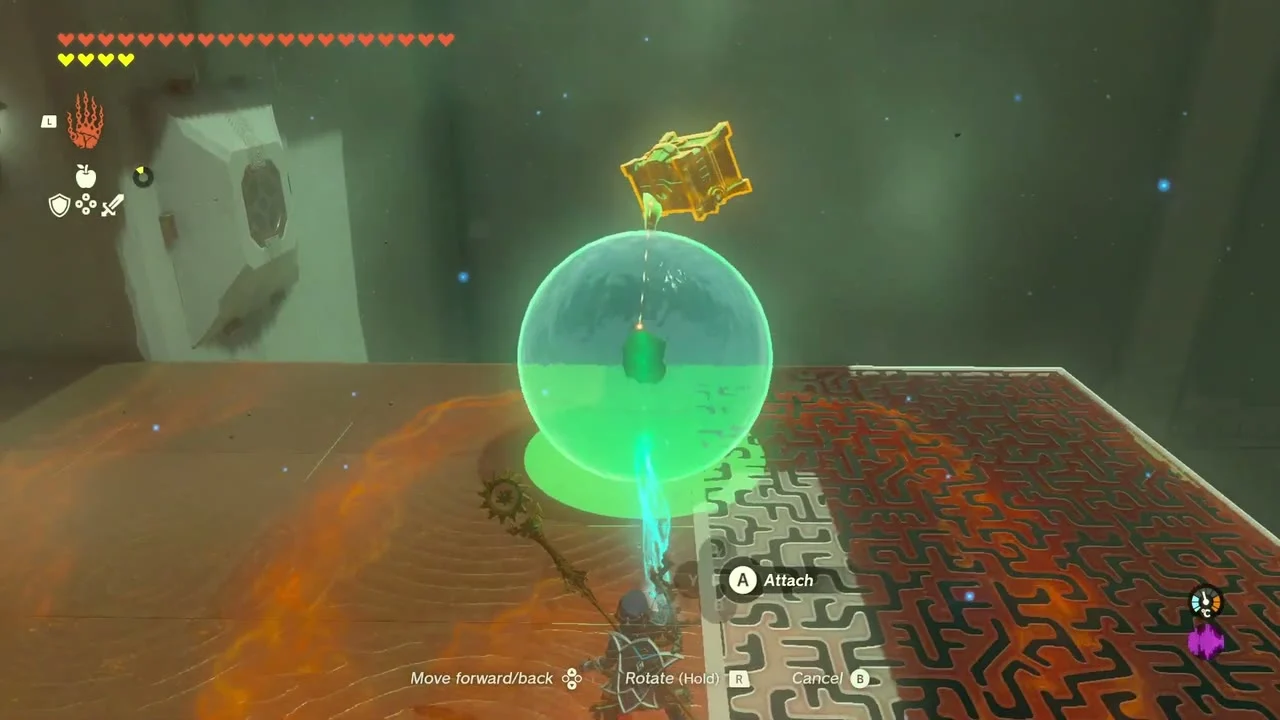

Defeat Flux Construct II for the Sage’s Will
Miniboss: Flux Construct II at about (3379, 633, 1291), just west of Igoshon Shrine. Attack it from range or while it is staggered; it explodes into Zonai Charges and the Sage’s Will chest it guards opens for you. Four Sage’s Wills upgrade a vow at a Goddess Statue.
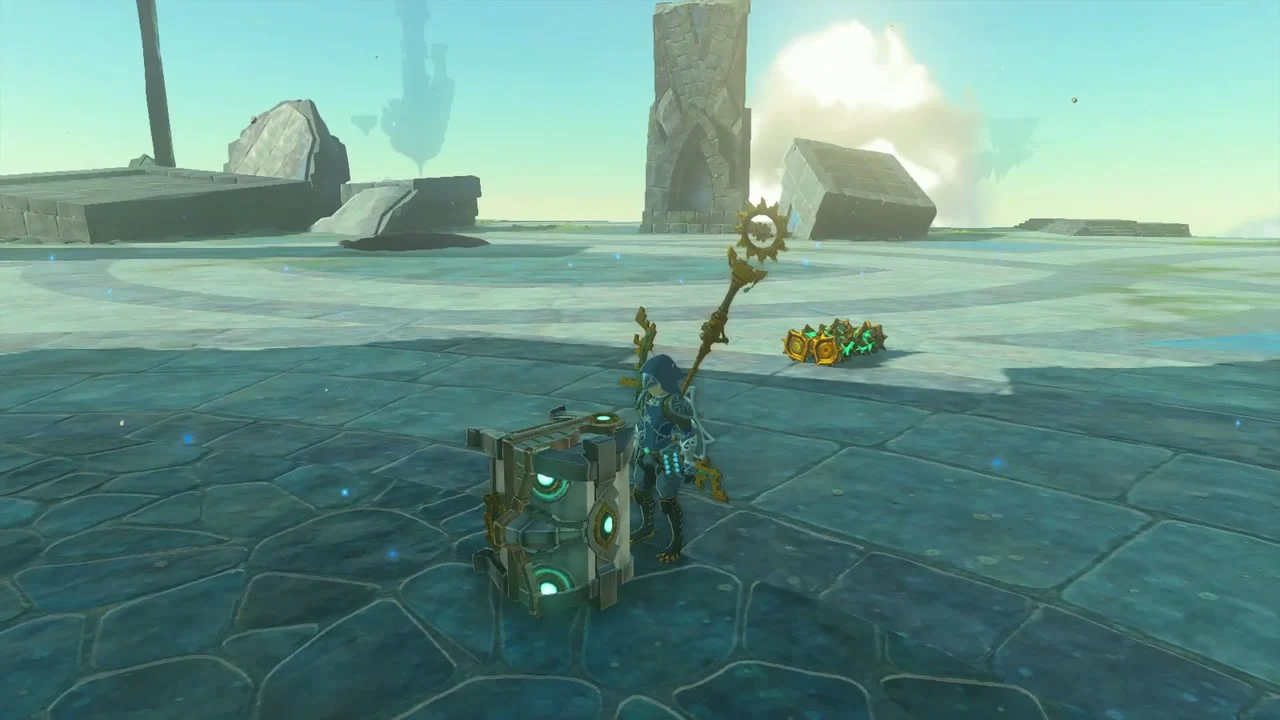

Loot the Spear chest and the plateau chests
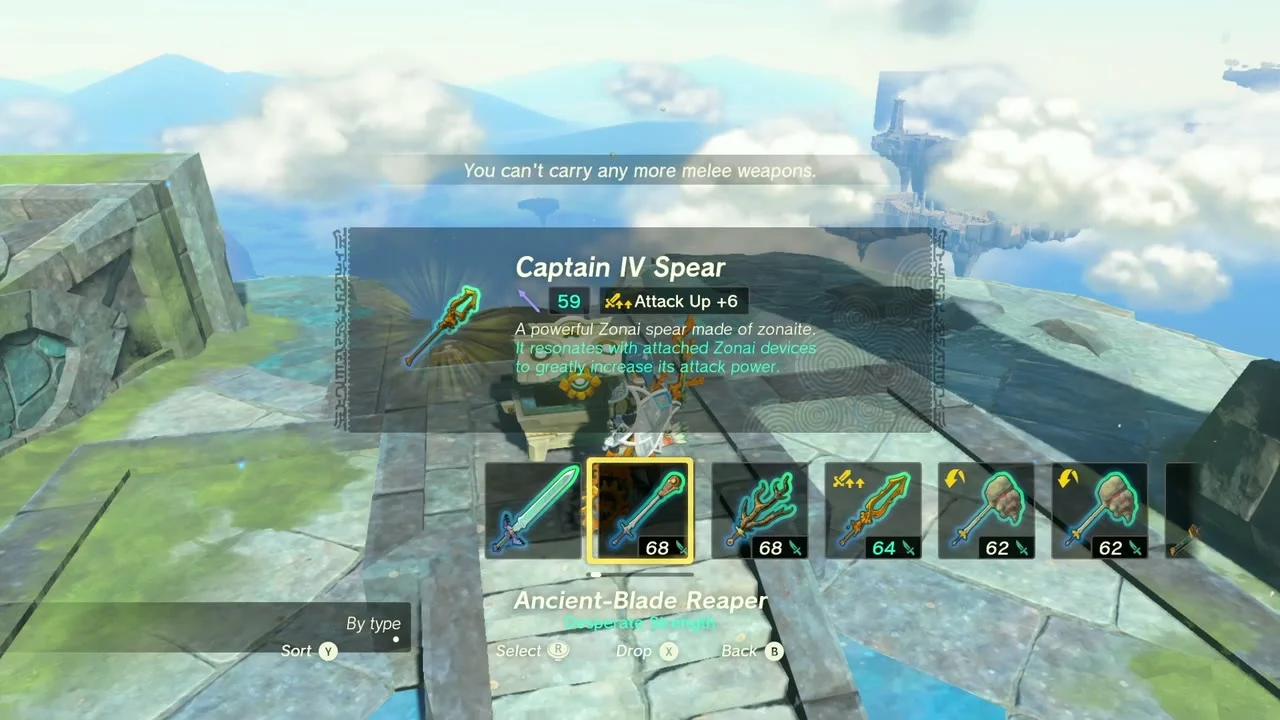
Chest: Soldier IV Spear beyond the plaza west of Igoshon Shrine. Further along the ring a chest at about (3415, 843, 1332) holds a Soldier IV Reaper, and one on the stairs of the flooded courtyard holds a Captain IV Spear.

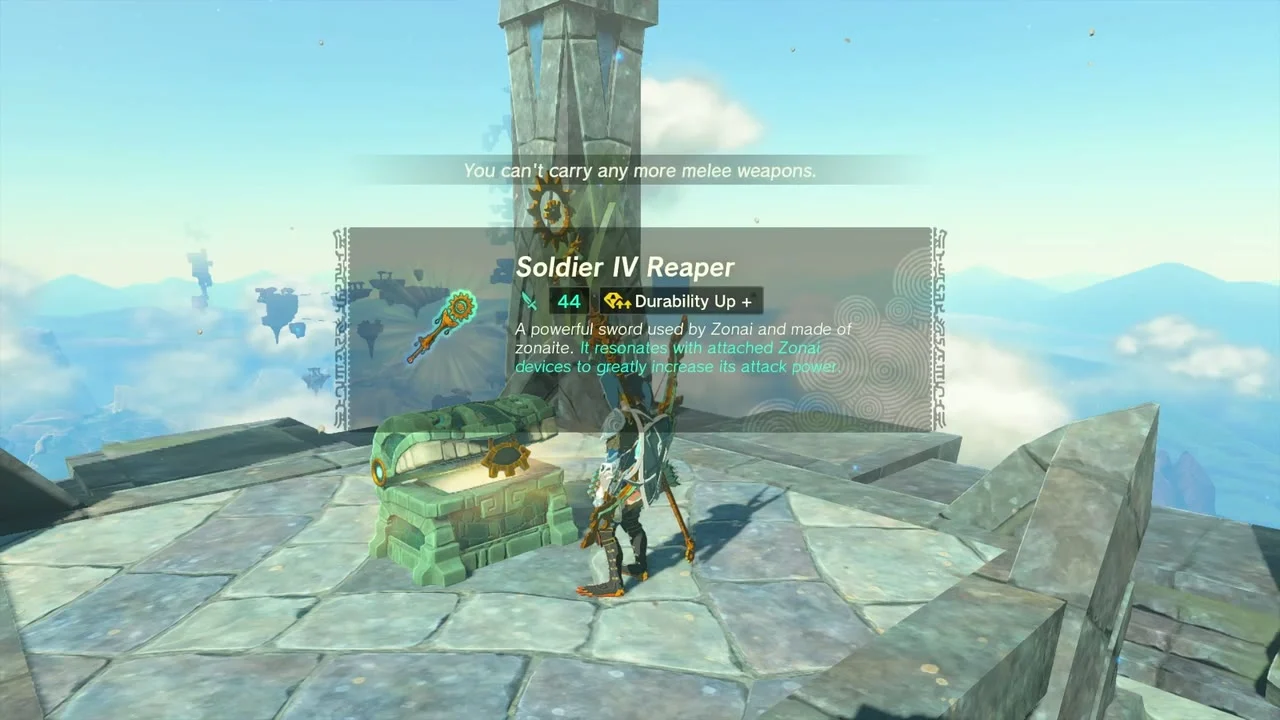
Cross the long stone bridges
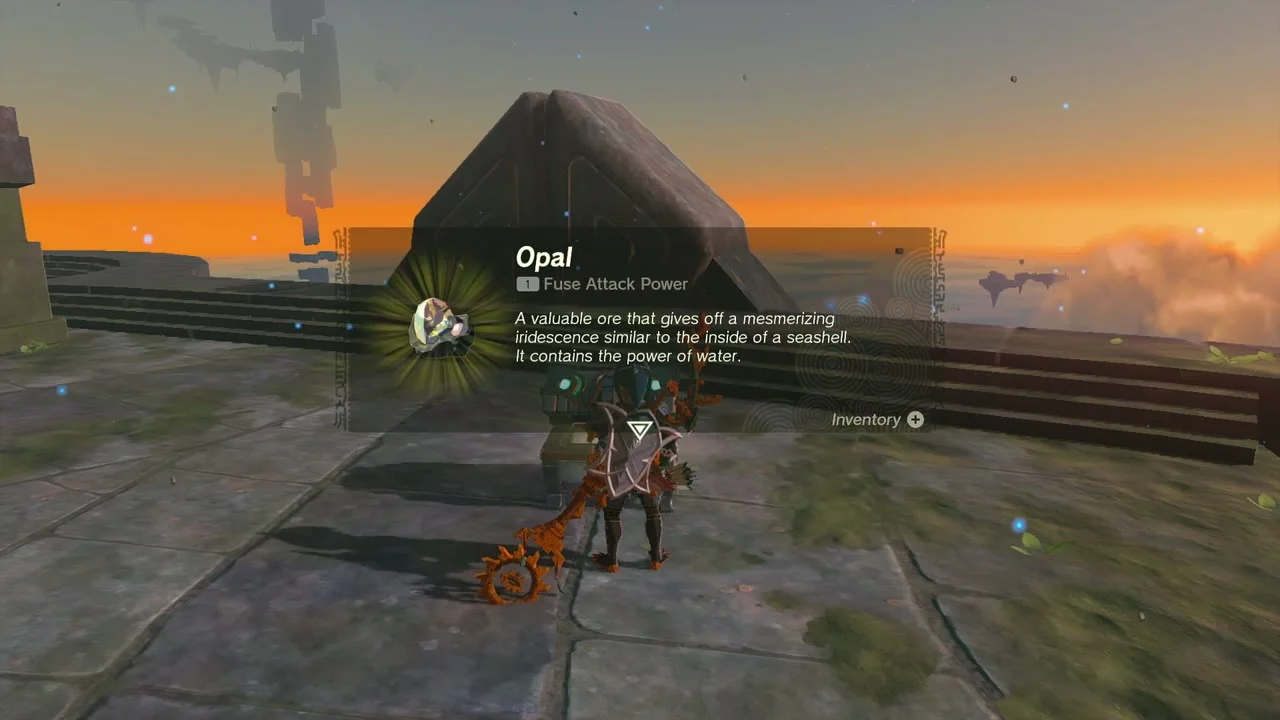
Chests along the eastern bridges. At the far end of the long bridge a chest holds a Large Zonai Charge, the next an Old Map and, on the block after, a Soldier IV Blade; farther on, a ruined pillar hides a Captain IV Reaper. The last chest, at the launch tower facing the Water Temple, holds an Opal.


Take the second Korok seed
Korok seed at (3413, 617, 1550), on the upper floating platform reached by gliding off the stairs near the Water Temple entrance. Shoot the balloon the Korok is hiding behind to make it appear.


Third Korok seed (catch the falling light) at about (3234, 461, 941), on the lower part of the sky archipelago. Skydive off the island toward the light as it falls and catch it before it reaches the ground. Another “catch the falling light” Korok lies far to the north at (3662, 1408, 1168); it belongs to the neighbouring sky islands rather than this route.
Water Temple
Glide into The Great Wellspring of Hyrule
The Water Temple at (3265, 685, 1690) is the big hall with stone mushrooms under the entrance arch. Glide into the central pool, where the lily pad island at (3322, 669, 1718) holds a Sapphire chest, then work through the four Water Wheels. Sidon is with you and his Power of Water clears sludge, shields you from fire and shoots water at the wheels.


Fire up the first Water Wheel on B1
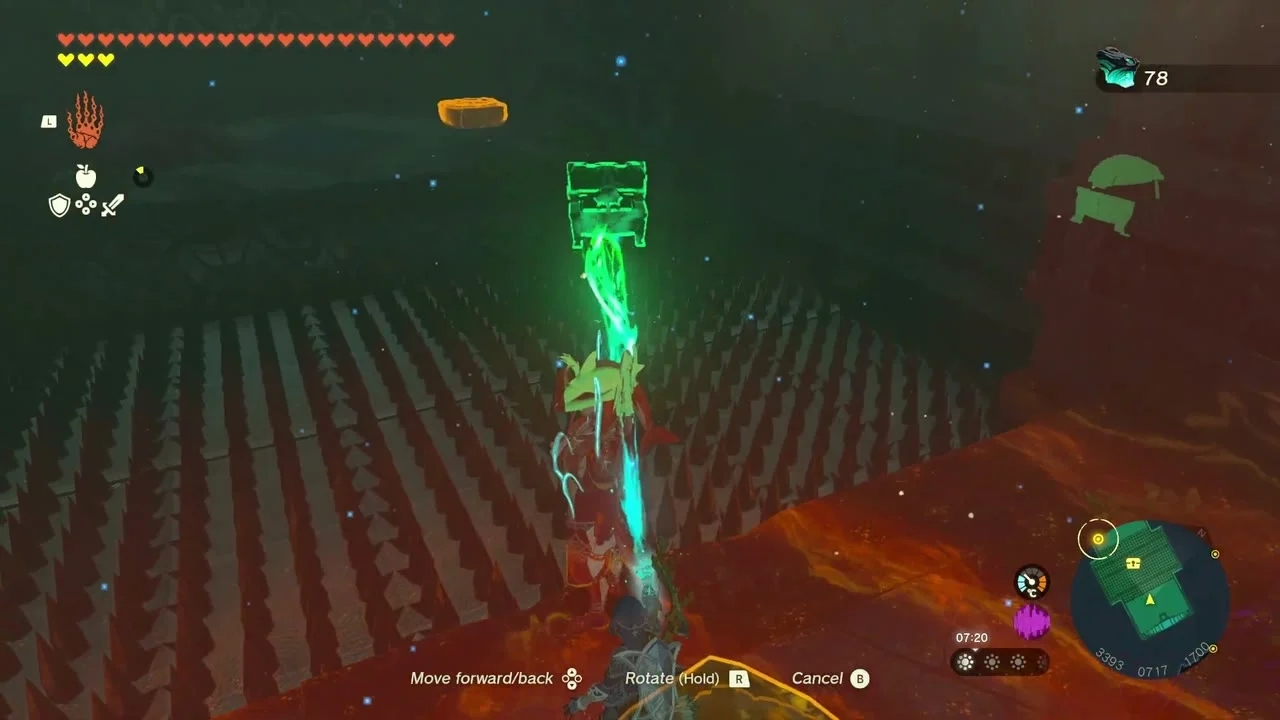
B1 Water Wheel, on the west side. Drop through the hole, use Sidon’s Power of Water to protect you while you walk through the wall of fire, then use Ultrahand to join floating blocks into a bridge over the spikes. A Large Zonaite chest sits in this room; take it, attach the ball to a floating block so it holds its socket, and the gate opens so you can aim Sidon’s water at the wheel.

Release the west 1F wheel
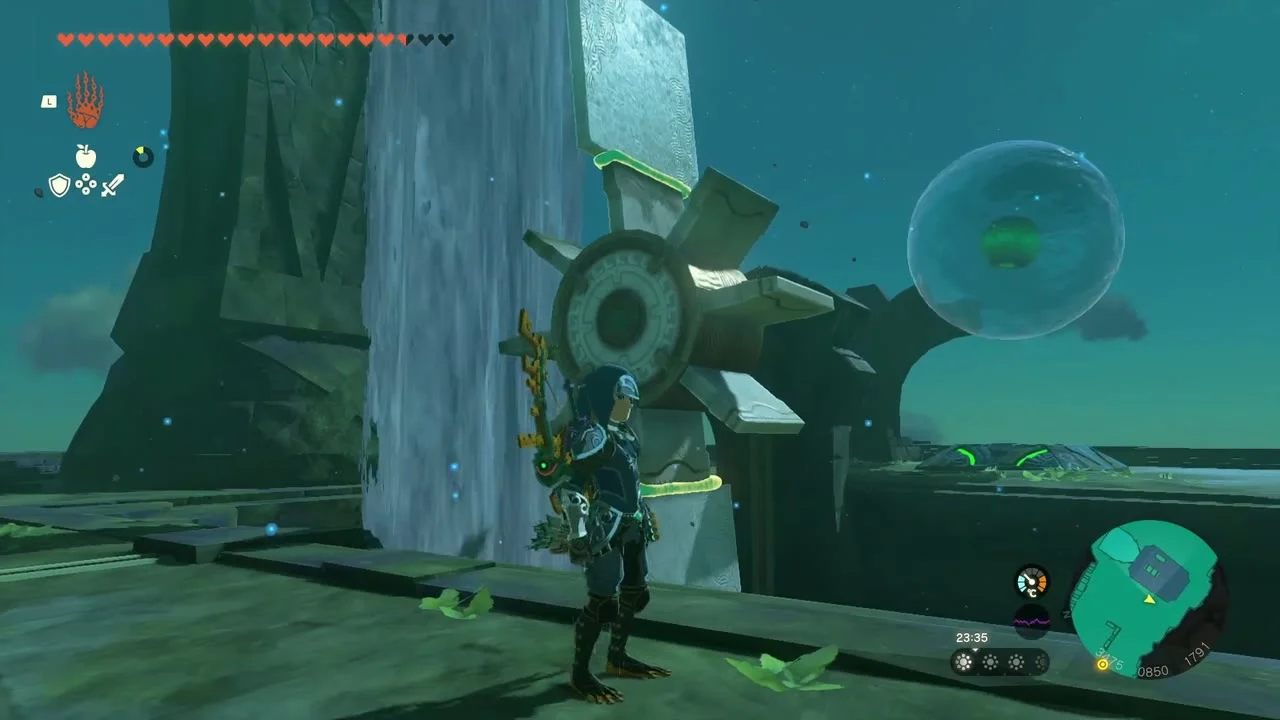
West 1F Water Wheel. Wash the sludge off the bubble dispenser at the north-west edge, put the big ball in a bubble and ride your own bubble to the upper level. Hold the spillway gate open with a floating block, push the ball into its socket as the water drains, then activate the wheel in the building that was underwater.


Power the east wheel with a water generator
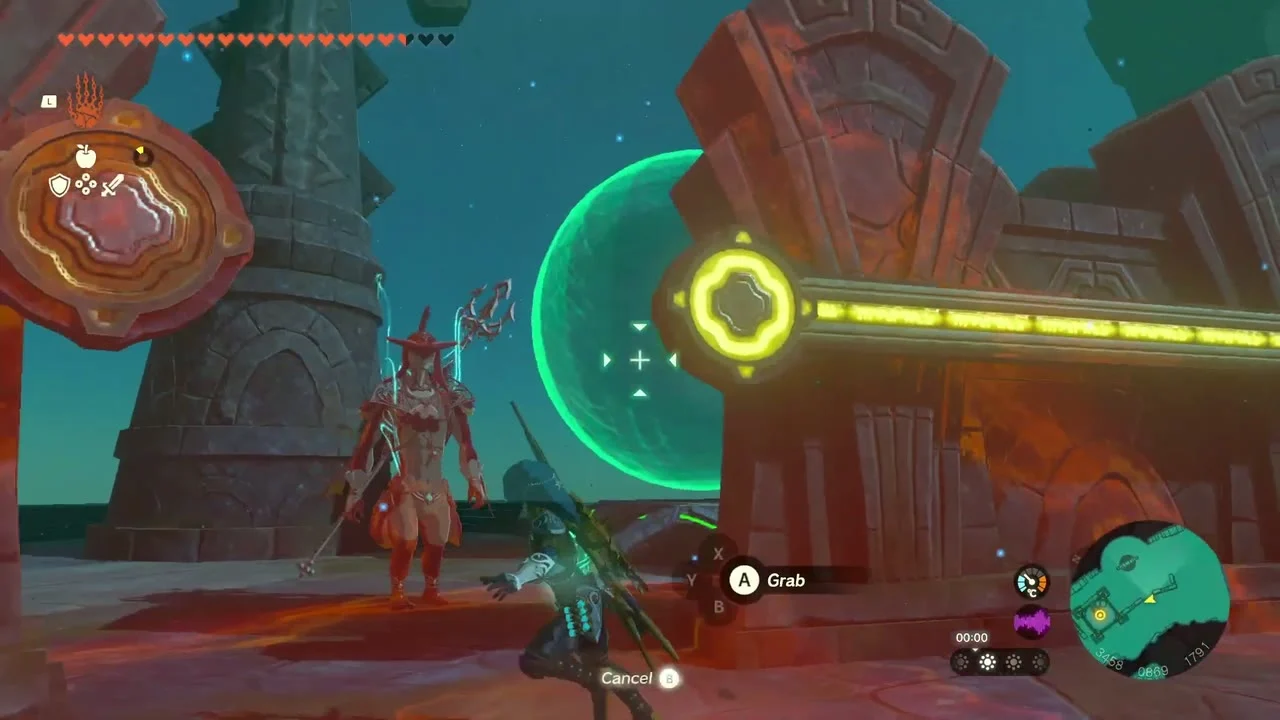
East 1F Water Wheel. Attach a bubble to a spear and throw it at the sludge-covered snake statue to open the east area. Build a water generator from boards on the wheel to power the door, then use Ultrahand to place the bubble so both of its nodes are in the water and power crosses the gap.
Shoot the torch for the southeast wheel
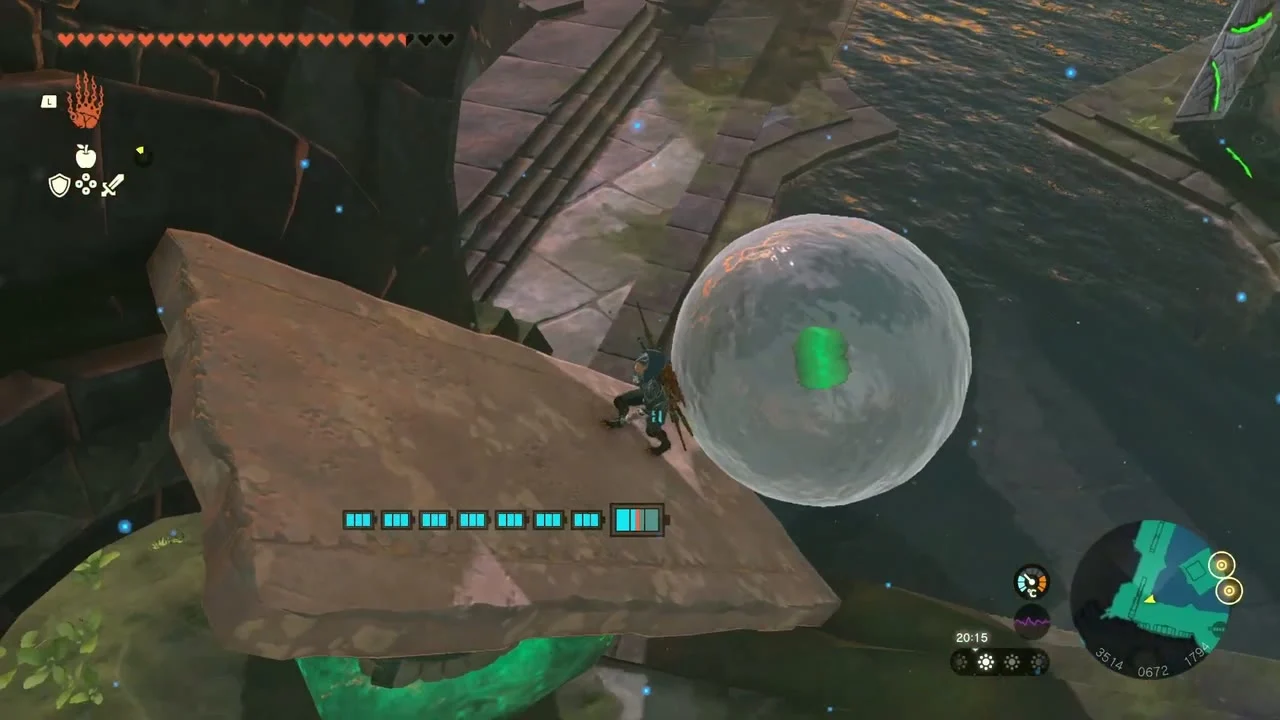
Southeast 1F Water Wheel. Climb the platform with the Like Like and go to the back corner. Attach a bubble to a board to clear sludge from the spinning block, then shoot the torch inside it: gain height, glide, and draw your bow in mid-air to slow time. With the water drained, activate the wheel in the middle of the area.

Pick up the temple’s chests
Chests in the Water Temple besides the Sapphire and Large Zonaite: a Zora Shield on a lone platform you glide to from the west wheel, a Zonaite Longsword (Strong or Mighty, depending on your progress) that appears once the Fire Like is defeated, Arrow x5, an Opal and a Large Zonai Charge (reached with a stone slate and a water bubble) on the upper levels as you work towards the east and southeast wheels. The Large Zonaite needs a shot at the ceiling platform’s switch to drop it. Guides disagree slightly on the weapon and shield entries here, so check each chest.
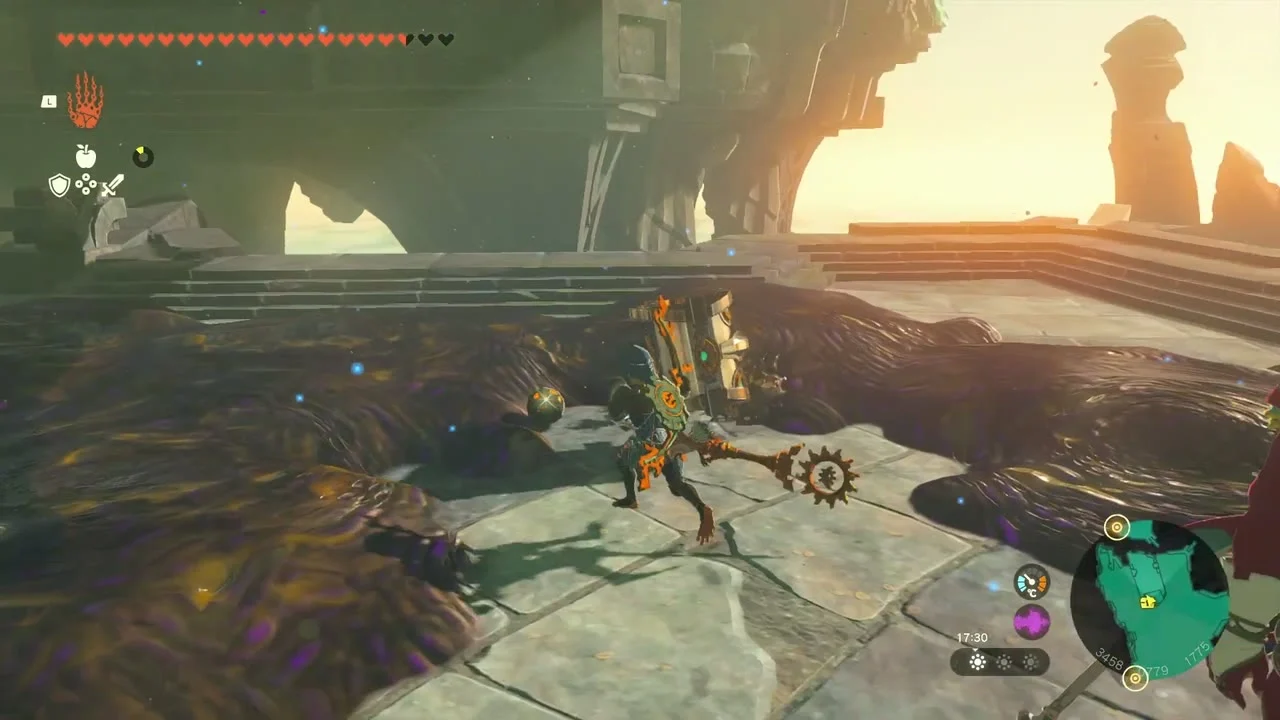
Use the central device
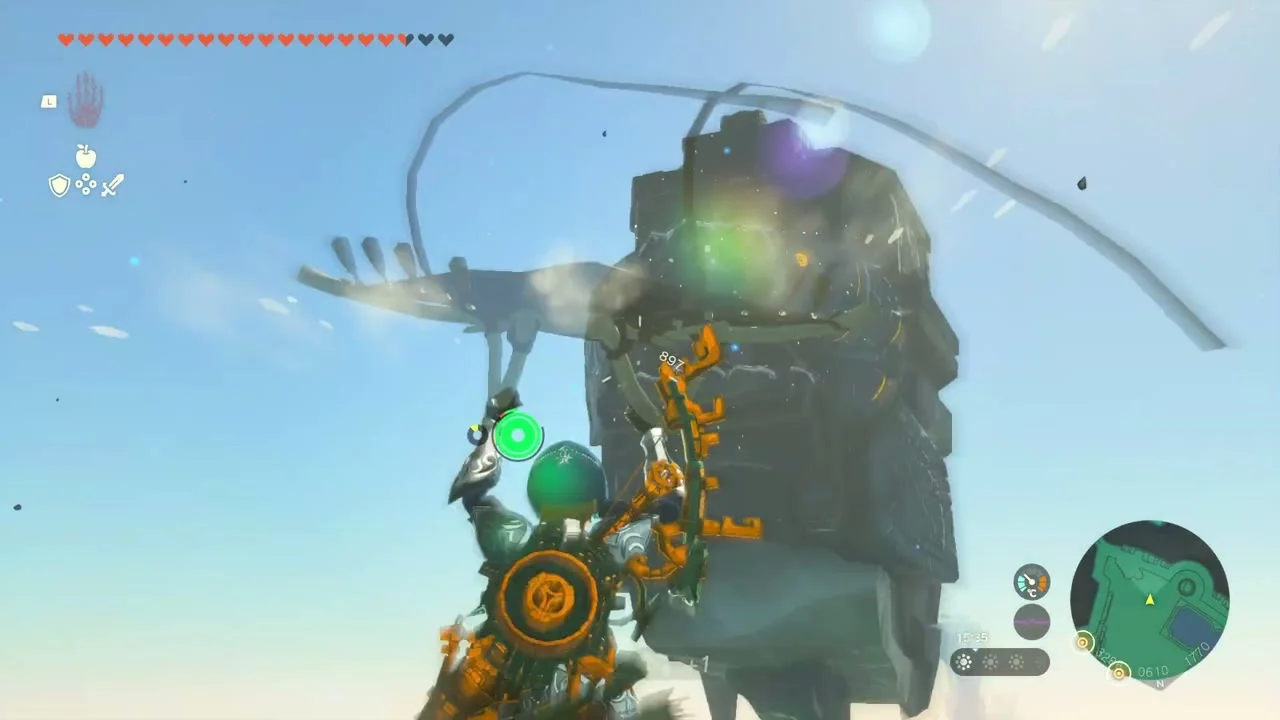
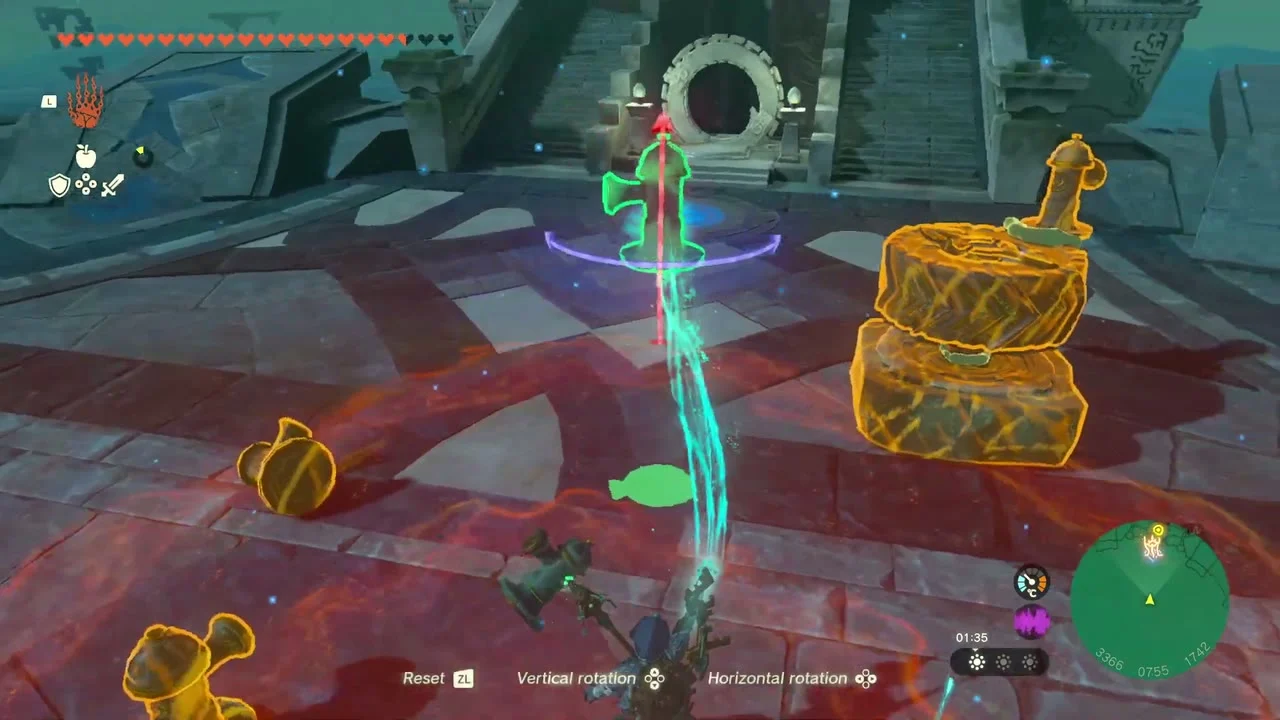
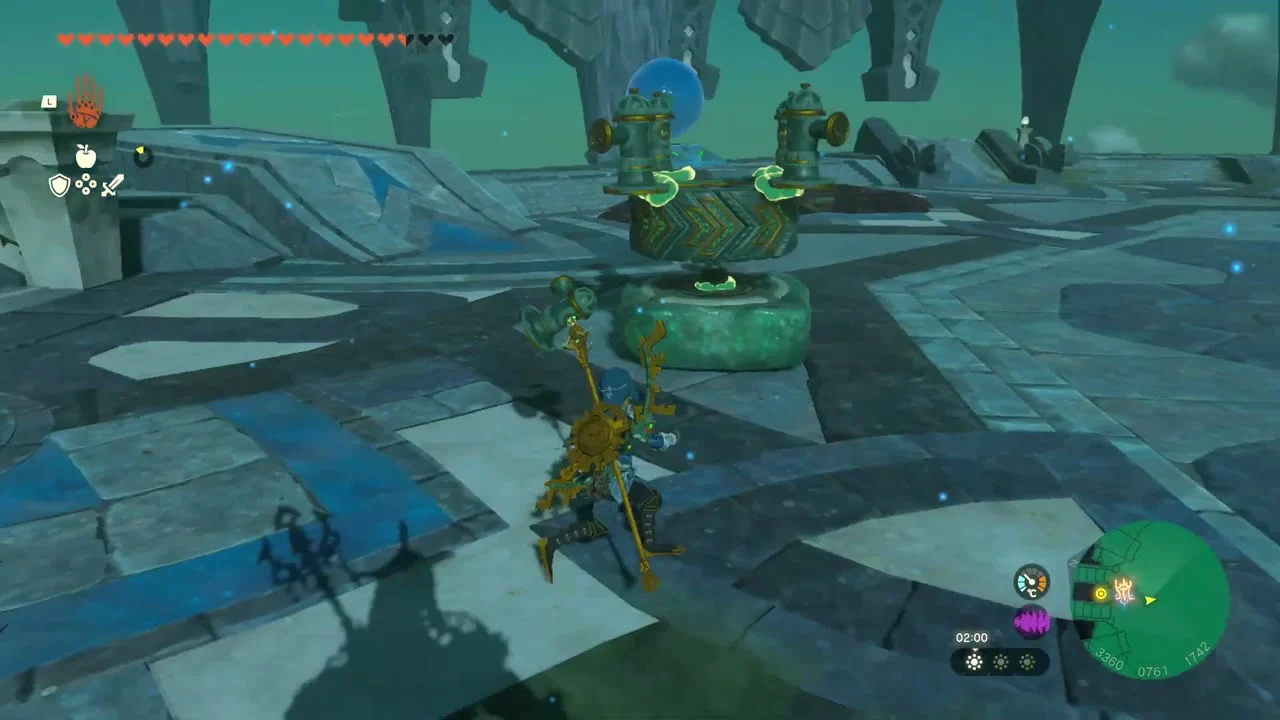
When all four vessels are full, return to the central platform at about (3365, 757, 1742). Use Ultrahand to line up the stacked pieces of the central device and activate it with Sidon; the water drains the sludge and Mucktorok appears.
Mucktorok
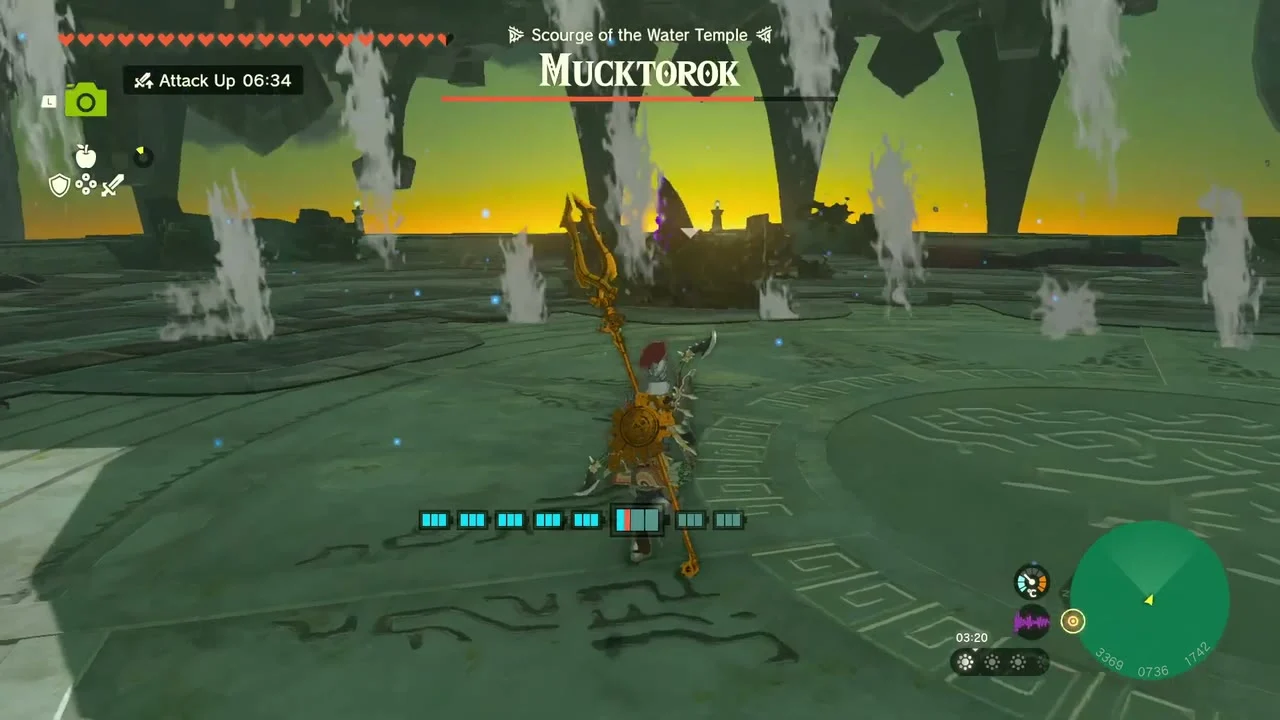
Wash Mucktorok with water
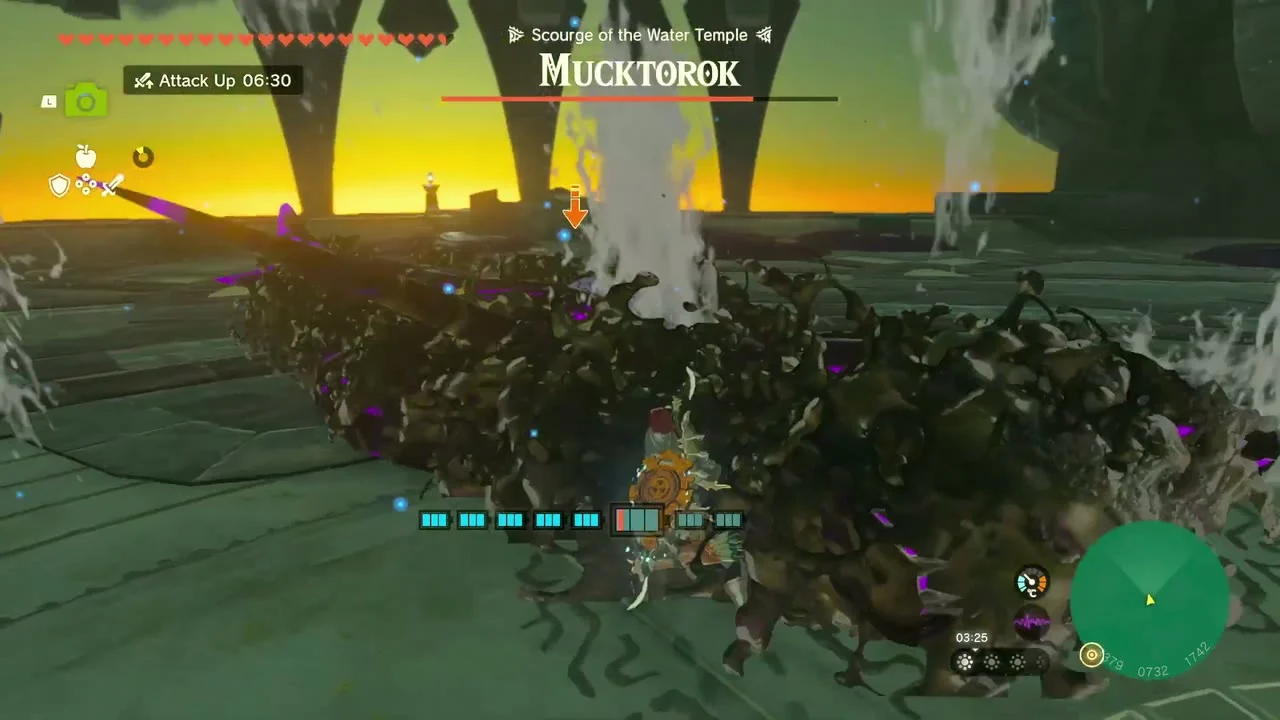
Mucktorok swims through the sludge as a giant shark with sludge shockwaves and a beam. Hit it with water from Sidon’s Power of Water, a Splash Fruit arrow or a Hydrant, which exposes it and sends it flopping on the ground.

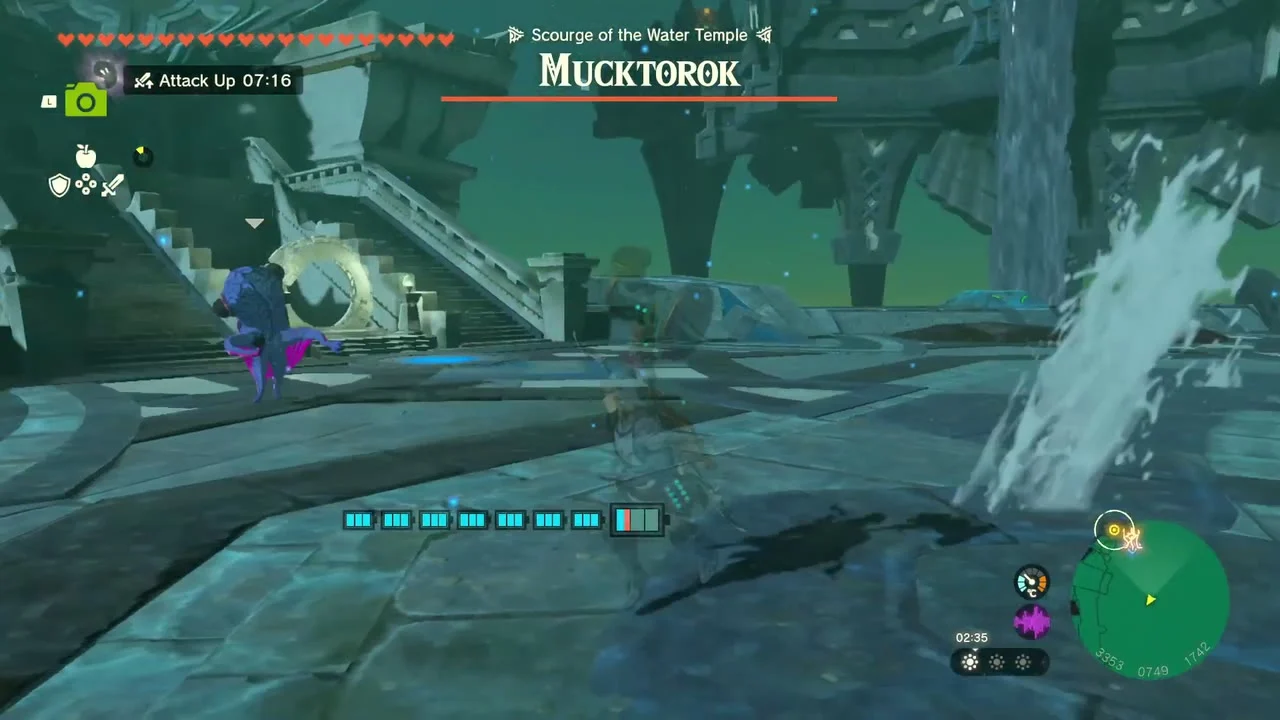
Attack while it is stunned
Rush in with your strongest weapon or a fast spear while it is down, then back off before the next shockwave. Keep a water bubble up at all times, since it absorbs one hit; its shard attack can be outrun, and when it fires its beam, jump over it and glide in to hit it with water. Around half health it jumps away through the sludge puddles, so wash them clean and use a Keese Eyeball or homing arrow. In the second phase it covers the arena in sludge: have Sidon clear it and keep damaging the boss. Bring plenty of arrows, Splash Fruit or Chuchu Jelly, and healing food. Defeating it grants a Heart Container, ending the main quest Sidon of the Zora.
After the boss
Return to Zora’s Domain
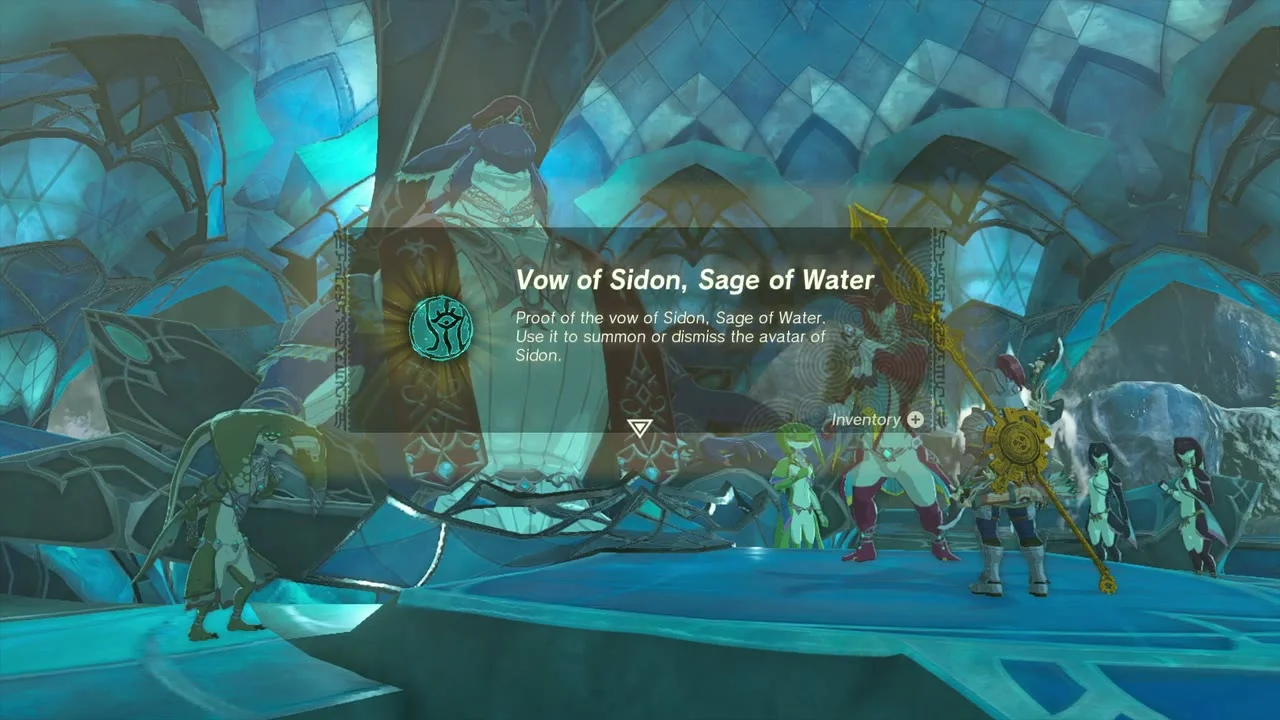
Head back to Zora’s Domain for the Vow of Sidon, Sage of Water at Mipha’s statue. Speak with Yona afterwards to start the side quest A Token of Friendship, which sends you for the Zora Greaves hidden in the Ancient Zora Waterworks.

Wellspring Island checklist
| Collectible | Count | Where |
|---|---|---|
| Korok seeds | 3 | Sparkle on the first ring, balloon platform near the temple, falling light below the island |
| Shrines | 1 | Igoshon Shrine |
| Chests, Ancient Zora Waterworks | 5 | Zora Shield x2, Opal, Large Zonai Charge, Zora Longsword |
| Chests, Wellspring Island | 16 | Soldier IV Blade x2, Soldier IV Spear x2, Big Battery, Old Map x2, Hydrant, Hover Stone x3, Large Zonai Charge x2 (including Igoshon Shrine), Sage’s Will, Soldier IV Reaper, Captain IV Spear, Captain IV Reaper, Opal |
| Chests, Water Temple | 7 | Sapphire, Large Zonaite, Zora Shield, Zonaite Longsword, Arrow x5, Large Zonai Charge, Opal |
| Bubbul Gems | 1 | Ancient Zora Waterworks |
| Device Dispensers | 1 | Wellspring Island |
| Boss | 1 | Mucktorok |
