





















Tears of the Kingdom 100% Completion Walkthrough43 chapters
Great Sky Island
- Great Sky Island4 shrines, 4 caves and Bubbul Gems, 17 Korok seeds
Hyrule Field and Hyrule Castle
- Lookout LandingParaglider, Crisis at Hyrule Castle, Jiosin and Kyononis shrines, 2 caves, 3 wells
- Hyrule FieldSusuyai and Ishodag shrines, the Hyrule Field Chasm, 2 caves, 13 Koroks
- Hyrule Castle Town RuinsSepapa, Yamiyo and Tukarok shrines, 2 caves, 4 wells, Koroks, chests and Battle Taluses in route order
- Central Hyrule Depthslight all 7 Lightroots, loot Daphnes and Gustaf Canyon Mines, find the Miner's Top
- Rest of Hyrule CastleRoyal Hidden Passage loot, 8 castle chests, Phantom Ganon, Energy Wells
- South Hyrule FieldShrines, Koroks & the Great Plateau
- South Hyrule Field DepthsGreat Abandoned Central Mine, Master Kohga, Autobuild, Majora's Mask
Tabantha and Hyrule Ridge
- Tabantha FrontierNew Serenne Stable, Hestu, Courage Island and the Glide Shirt, 3 shrines, 2 Korok seeds, Lindor's Brow Cave
- Forgotten TempleImpa and the Geoglyphs, Dragon's Tears, Kiuyoyou and Mayausiy shrines, Yiga Maritta Branch, 9 Koroks
- Tanagar Canyon & Hyrule RidgeRunakit and Iun-orok shrines, 2 caves, 12 Koroks, 20 chests, 8 minibosses and Dragon's Tear 6
- Thundra Plateau & Tabantha Bridgesolve the noon shadow puzzle, Tabantha Bridge Stable, Makurukis Shrine, 19 Korok seeds, 9 chests, 3 minibosses
- Lindor's Brow DepthsLightroots; Two Yiga camps (Bomb Bouquet, Flamethrower Balloon)
- Hyrule Ridge and Tabantha FrontierIkatak, Oromuwak, Ganos and Ga-ahisas shrines, 4 caves, a well, 26 Koroks and 3 minibosses
Hebra
- Rito VillageGatakis and Ijo-o shrines, Sikatag Lightroot, 9 Korok seeds, 14 chests
- Hebra MountainsShrines, Wind Temple & Koroks; Raspro Pass, Biron Snowshelf & Royal Hidden Passage
- Corvash Canyon MineTrousers of the Hero, Floodlights schematic, Sea-Breeze Boomerang, four Lightroots, Colgera
- Raspro Pass DepthsNupisoyuat and Sasag Lightroots, Colgera, Cap of Time, Tunic of the Wind, two Yiga camps and 13 minibosses
- Tabantha TundraTaninoud, Orochium, Oshozan-u, Mayaotaki, Nouda and Tenbez shrines, three Lightroots, caves and Bubbul Gems
- Pikida Stonegrove DepthsEvil Spirit Greaves, Ikatoayam, Muihcoro and Sikatag Lightroots, 3 Yiga schematics, Frox fights
Great Hyrule Forest
- Great Hyrule Forest7 shrines, 8 Lightroots, 2 caves, 2 wells, Korok Mask, Glide Tights
Eldin
- EldinEldin Canyon, Shrines, Caves & Goron City
- Eldin Canyon Depths10 Lightroots, Zant's Helmet, Trousers of the Wild, Biggoron's Sword, 3 Yiga schematics and Eldin's sky chests
Faron
- FaronHighland Stable, Lake Hylia & Popla Foothills
Necluda
- Kakariko VillageMakasura Shrine, Kakariko Village Well, 2 caves, Ring Ruins chests, 10 Korok seeds and village quests
- West Necluda and Lanayru WetlandsShrines, Koroks & Caves; Jonsau, Kurakat
- Hateno VillageZanmik and Mayahisik shrines, Shield of the Mind's Eye and Phrenic Bow wells, 7 Koroks
- East NecludaRabella Wetlands, Sifumim Shrine, Lurelin Village, 21 Korok seeds
- East Necluda DepthsKumamayn Shrine, 4 Lightroots, Midna's Helmet, Cap of the Hero, Trousers of the Wind and 18 Depths chests
Lanayru
- Lanayru Great SpringShrines, Koroks & Caves; Ralis Channel, 3 shrines, 8 caves
- Zora's DomainMogawak and Ihen-a shrines, Ploymus cave, Pristine Sanctum, Zora Armor, Sidon of the Zora and Clues to the Sky
- Wellspring IslandAncient Zora Waterworks chests, Igoshon Shrine, 2 Korok seeds, Water Temple's four wheels and Mucktorok
- Mount LanayruShrines, Koroks & Light Rings; Jikais and Anedamimik shrines
Gerudo
- Gerudo DesertShrines, Caves & Koroks; West and South Sands
- Gerudo TownGerudo Shelter shops and quests, Valley of Silent Statues, Lightning Temple and Queen Gibdo, Chichim Shrine
- Gerudo Desert DepthsGranajh and Daval mines, three Master Kohga fights, Queen Gibdo, Mucktorok, Sheik's Mask and 37 chests
- Gerudo HighlandsSkyview Tower, Rotsumamu and Suariwak shrines, Mayasiar Shrine, Yiga hideout
Akkala
- AkkalaTarrey Town quests, 4 shrines, Hinox, Battle Talus
- Akkala Sky Islands and DepthsGikaku and Natak shrines, Old Maps, Lomei Depths Labyrinth, Mucktorok, 5 Lightroots and 19 chests
Finale and completion
- Ancient Tablets, Gleeoks and Armor Upgradesall 13 stone tablets with coordinates, Frost and King Gleeok, Obsidian Frox, Cotera upgrades and farming
- Hyrule CastleRoyal gear chests, Korok seeds, Serutabomac Shrine
- Thunderhead IslesCharged armor, Joku-usin and Joku-u Shrines, Dragonhead Island's relic
- 100% Completion: Armor Upgrades & Korok BonusHestu's Gift, Ancient Hero's Aspect, Great Fairy Cotera upgrade costs and materials, then Destroy Ganondorf
This chapter is in 3 parts, in the order a 100% run reaches them. Jump to a part:
Part 1: Shrines, Koroks & Light Rings
| Region | Surface: Mount Lanayru, Spring of Wisdom, Lanayru Range, Naydra Snowfield and Ovli Plain down to Hateno Village. Sky: South Lanayru Sky Archipelago and Valor Island. Depths: Lanayru Great Spring Depths |
|---|---|
| Shrines | Zakusu Shrine (Proving Grounds: Ascension), Mayanas Shrine (The Ice Guides You, sky), Sihajog Shrine (Rauru’s Blessing, sky) |
| Lightroots | Usukaz Lightroot lies below Zakusu Shrine at (3525, -1482, -633); it is lit in the next chapter. See all Lightroots. |
| Towers and statues | Mount Lanayru Skyview Tower, Goddess Statue of Wisdom (Spring of Wisdom), Cotera’s Great Fairy Fountain |
| Quests | The High Spring and the Light Rings, Goddess Statue of Wisdom, The South Lanayru Sky Crystal, four Hudson Construction signs for Addison, Dive Ceremony |
| Koroks | 17 collected: 3 in the sky, 14 on the surface |
| Armor | Cap of the Wind (Depths chest), Glide Mask (Dive Ceremony reward) |
| Minibosses | Phantom Ganon (3 on the surface, 1 in the Depths), Frost Talus, Stone Talus |
This chapter closes out the Depths below the Lanayru Great Spring, then climbs Mount Lanayru: activate the tower, ride the Light Rings at the Spring of Wisdom to open Zakusu Shrine, work the sky islands for Mayanas and Sihajog shrines and the Glide Mask, and sweep the snowy surface and Ovli Plain down toward Hateno Village.
Quick route
Finish the Depths with the Sundelion chest and the Phantom Ganon that guards the Cap of the Wind, then climb to the surface and activate Mount Lanayru Skyview Tower.
Launch from the tower to the sky island at the Spring of Wisdom, ride the Light Rings, clear Zakusu Shrine, then fly to Mayanas Shrine for the South Lanayru Sky Crystal and on to Valor Island for the Glide Mask and Sihajog Shrine.
Land on the snowy slopes for the Frost Talus, Addison’s sign and the Royal Shield (or Traveler’s Shield, Soldier’s Shield or Knight’s Shield, depending on your progress) chests, speak to Nazbi and offer Naydra’s Claw at the Spring of Wisdom, then work the Phantom Ganons and Koroks across Naydra Snowfield, Ovli Plain and the lowlands, and finish with the Great Fairy fountain and Hateno Village.
Depths: finishing the Lanayru Great Spring Depths
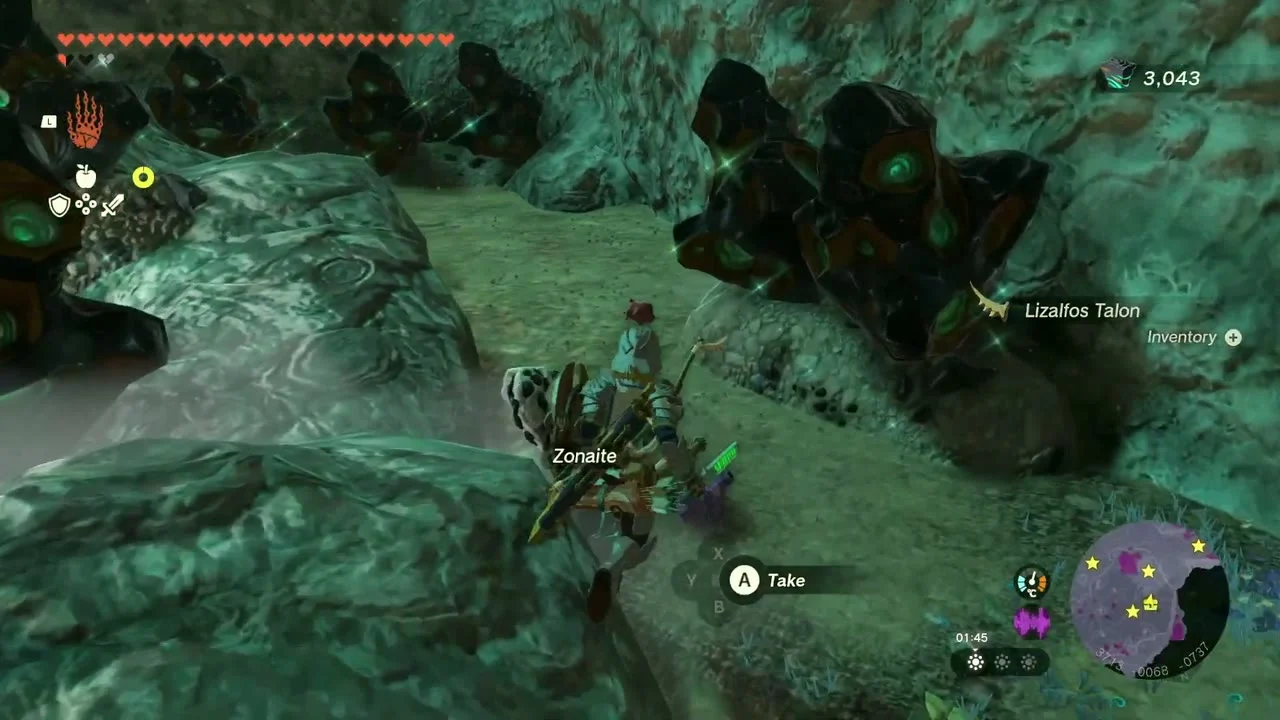
Open the Sundelion chest on the scaffold camp
Chest: Sundelion at (3708, -50, -731), on a Bokoblin scaffold camp in the Lanayru Great Spring Depths. Shoot or burn the Bokoblins, climb the scaffold and open the chest for Sundelion.

Defeat Phantom Ganon for the Cap of the Wind
Miniboss: Phantom Ganon at about (4635, 628, -723), in the Akkala Highlands Depths. Stay mobile, shoot it with arrows when it stops and strike it when it lunges; then open the chest on the white altar for the Cap of the Wind (Hero of Winds set, Attack Up). Most guides place this chest in the Depths below Tingel Island, reached by dropping into Tingel Island Chasm and breaking through the rock walls between its small areas with a Rock Hammer or Mineru’s cannon; opening the chest releases Gloom Spawn, and the Phantom Ganon appears once they are defeated. The fight is optional, and the Cap can also be had by scanning a Toon Link amiibo.


Mount Lanayru Skyview Tower
Activate the tower
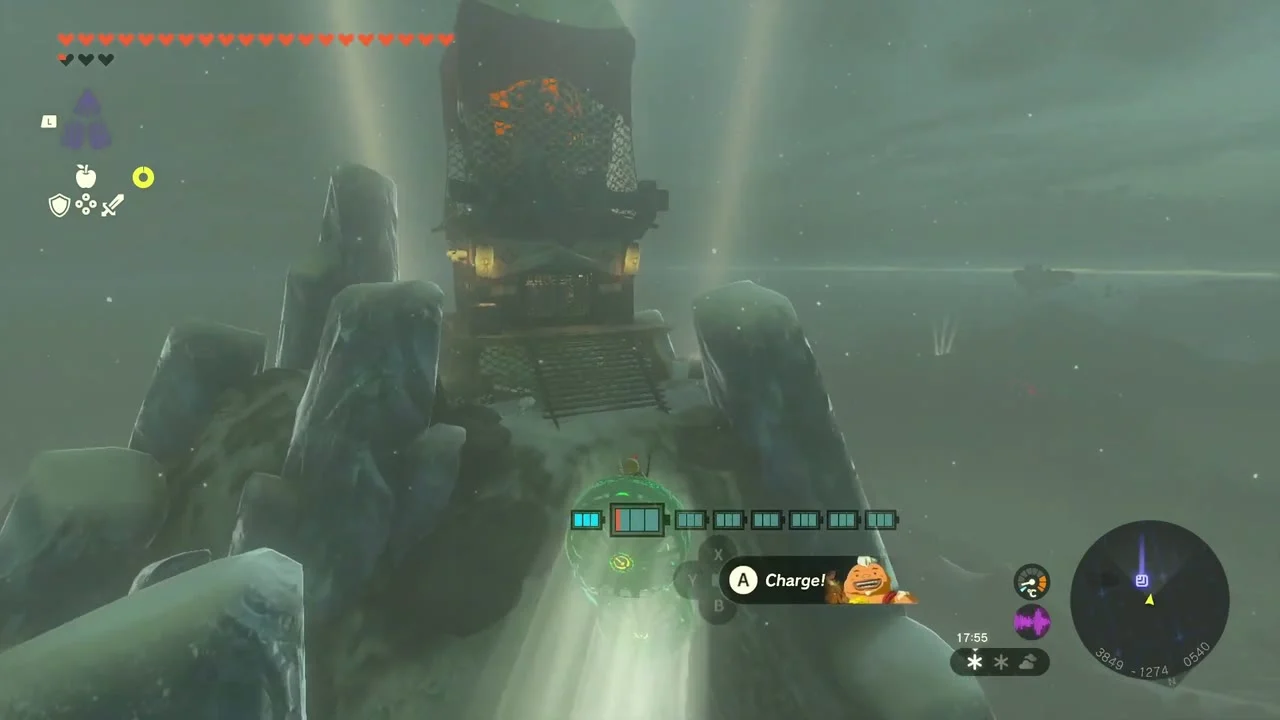
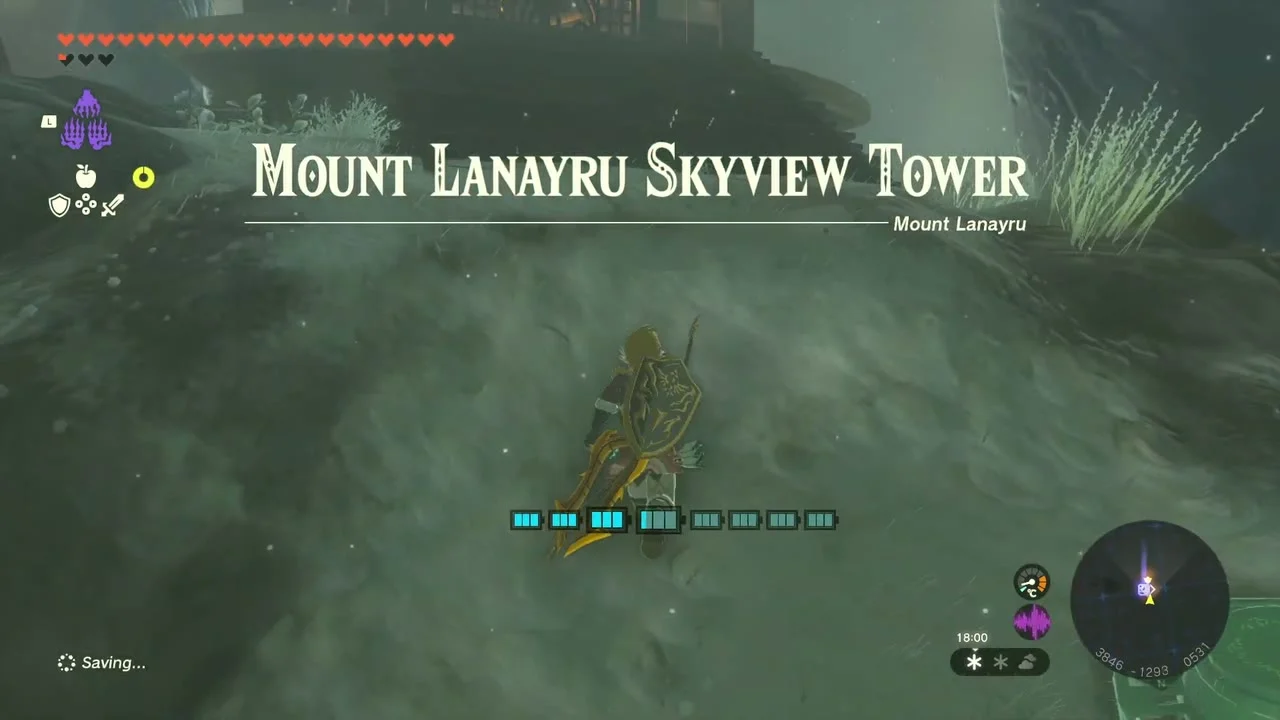
Mount Lanayru Skyview Tower at (3847, -1314, 532), on the peak of Mount Lanayru. Climb up the tower base, step on the pad and launch to scan the area; this also marks the shrine quest above it.
Zakusu Shrine and the Light Rings
Start the Light Rings course
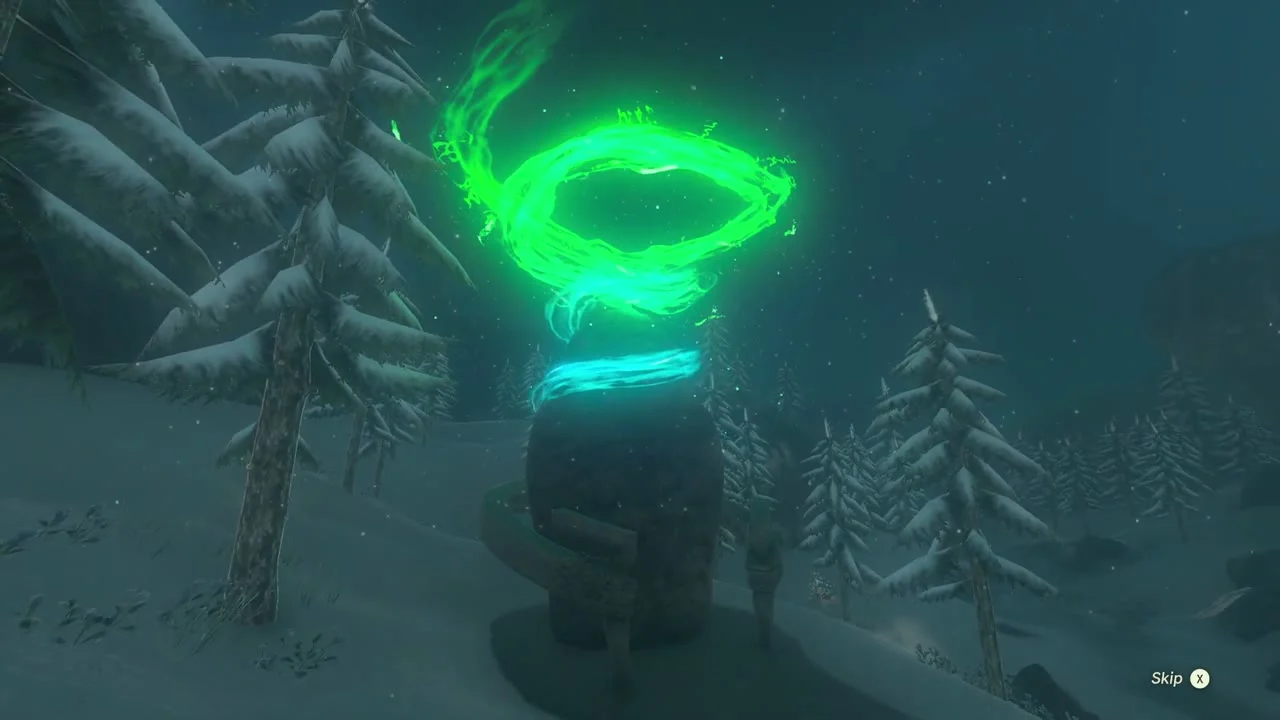
The High Spring and the Light Rings (shrine quest, giver Nazbi at the Spring of Wisdom). Glide from Mount Lanayru Skyview Tower to the sky island south-east of it at about (3961, -1539, 1119), where a green ring begins the course. Talk to Nazbi at the Spring of Wisdom first to start the quest. Grab the Sled Shield beside the sigil before activating it, shield-surf (jump and press ZL + A) down the mountainside through the green rings, and use the paraglider to slow down; each ring must be cleared before its timer ends, and the last ring reveals the shrine entrance.

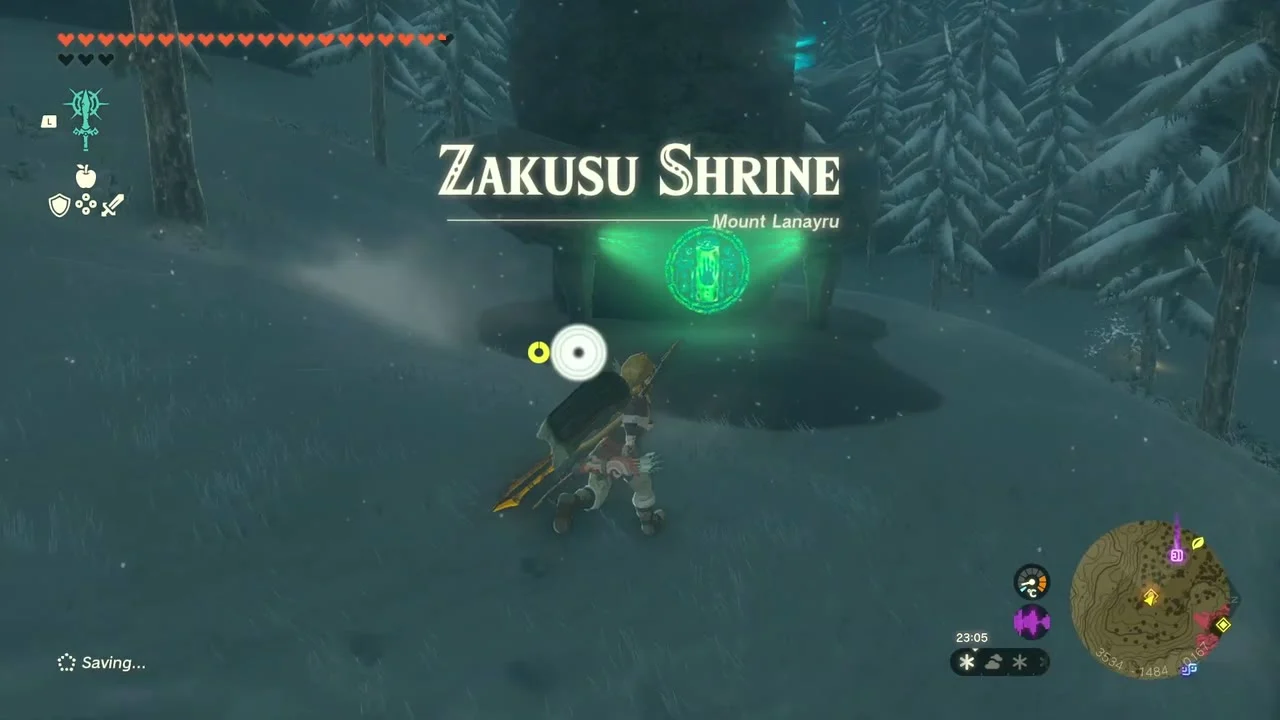
Enter Zakusu Shrine: Proving Grounds, Ascension
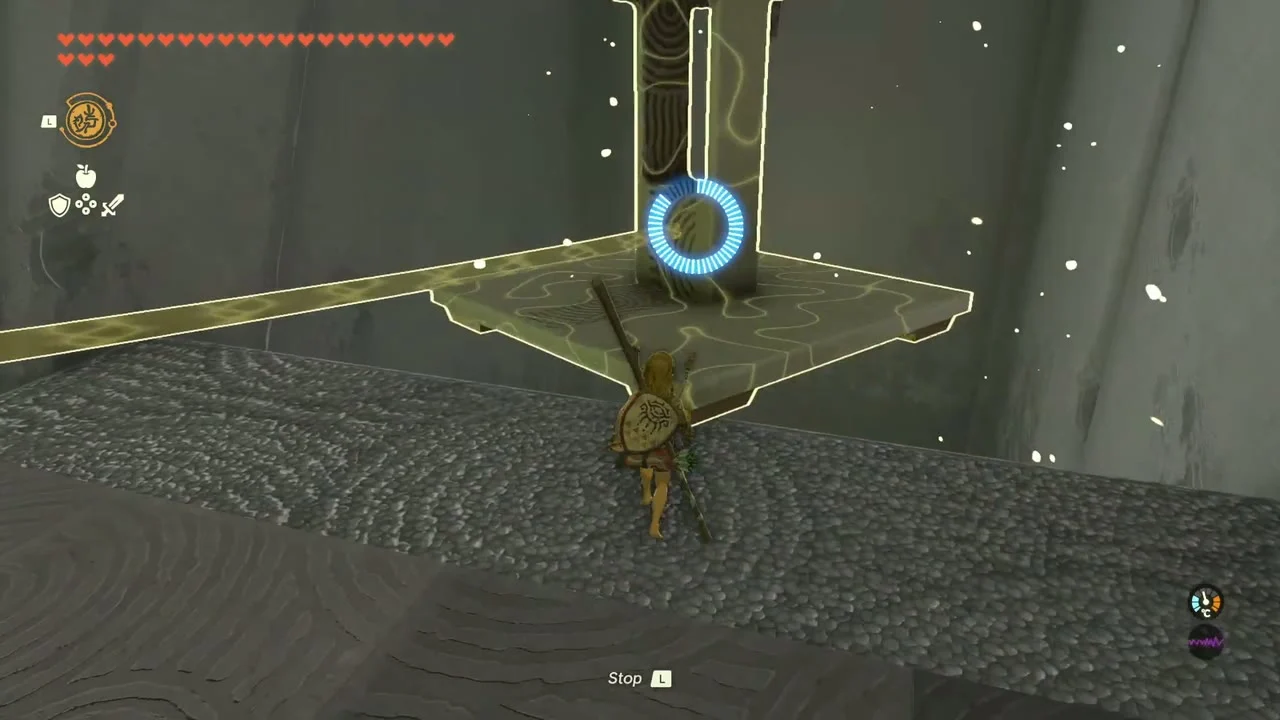
Zakusu Shrine at (3526, -1482, 181), trial Proving Grounds: Ascension (type Proving Grounds). Lightroot below: Usukaz Lightroot. You enter with only the supplied gear and must defeat six Constructs: take the weapons at the end of the left hall, Recall a sliding platform to reach the upper area, pick Fire Fruit from the tree to shoot a fire arrow into the eye of the hammer Construct, and use a spiked slab as a shield. Once all six are down the top gate opens.
Take the chest and the Light of Blessing
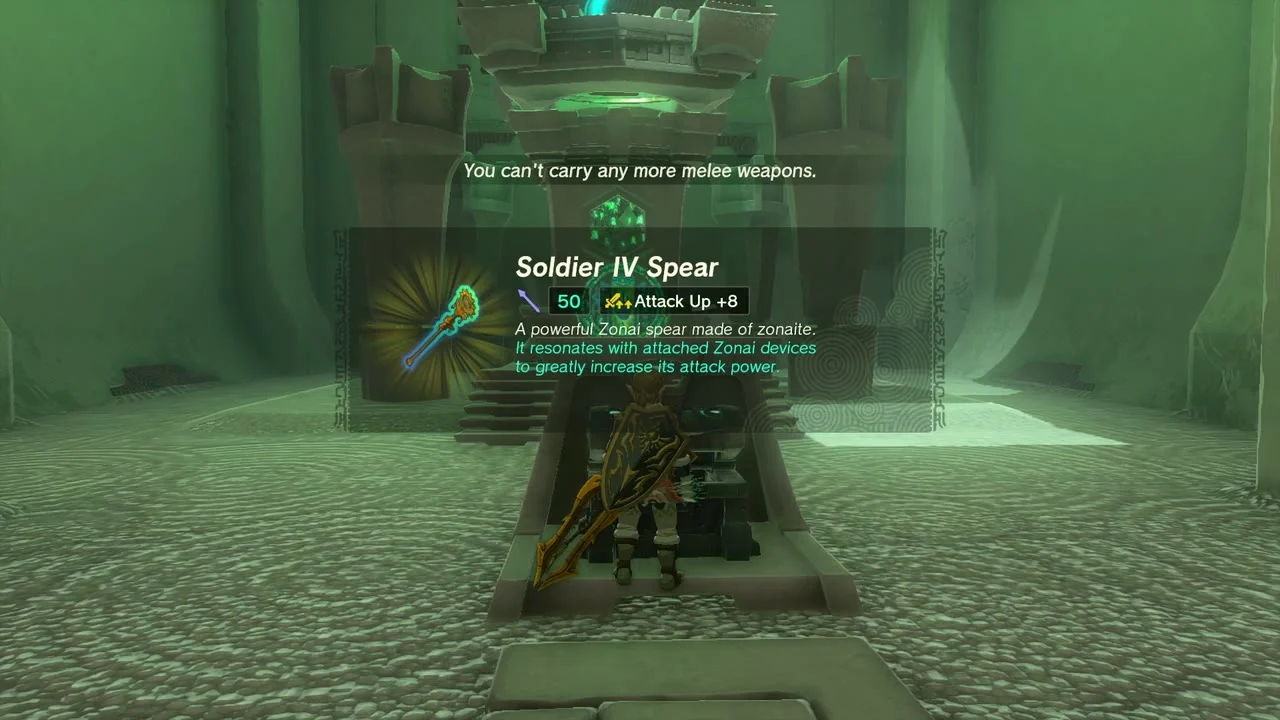
Chest: Soldier’s Spear (II to IV, depending on your progress) at the end of the shrine. Open it for the Soldier’s Spear (or Traveler’s Spear, Knight’s Halberd or Royal Halberd, depending on your progress), then claim the Light of Blessing at the Rauru statue.

South Lanayru Sky Archipelago
Catch the falling light on the sky island
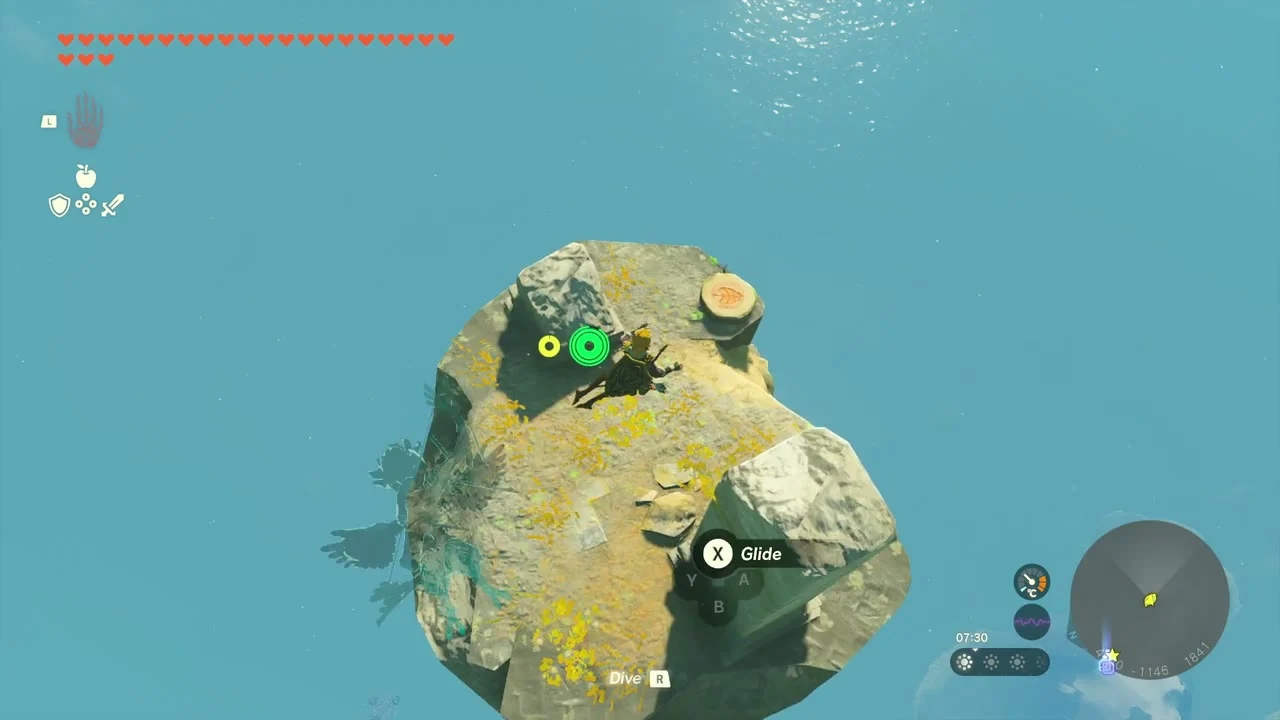
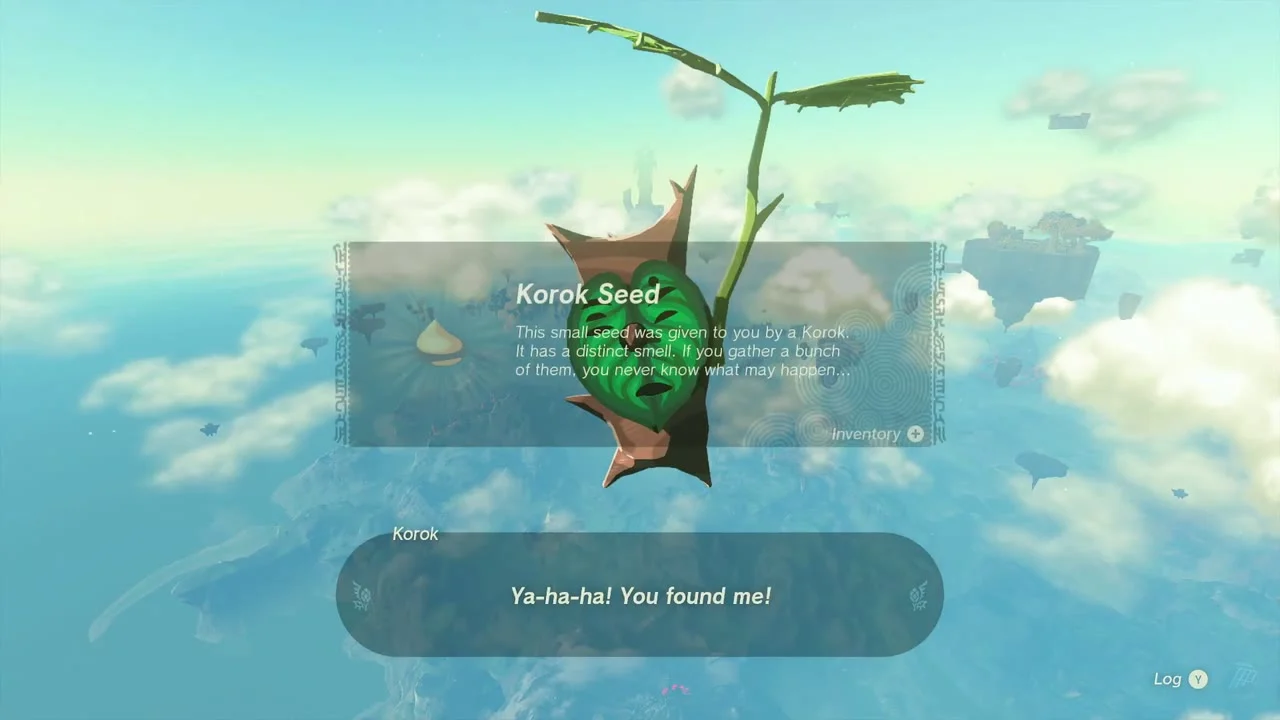
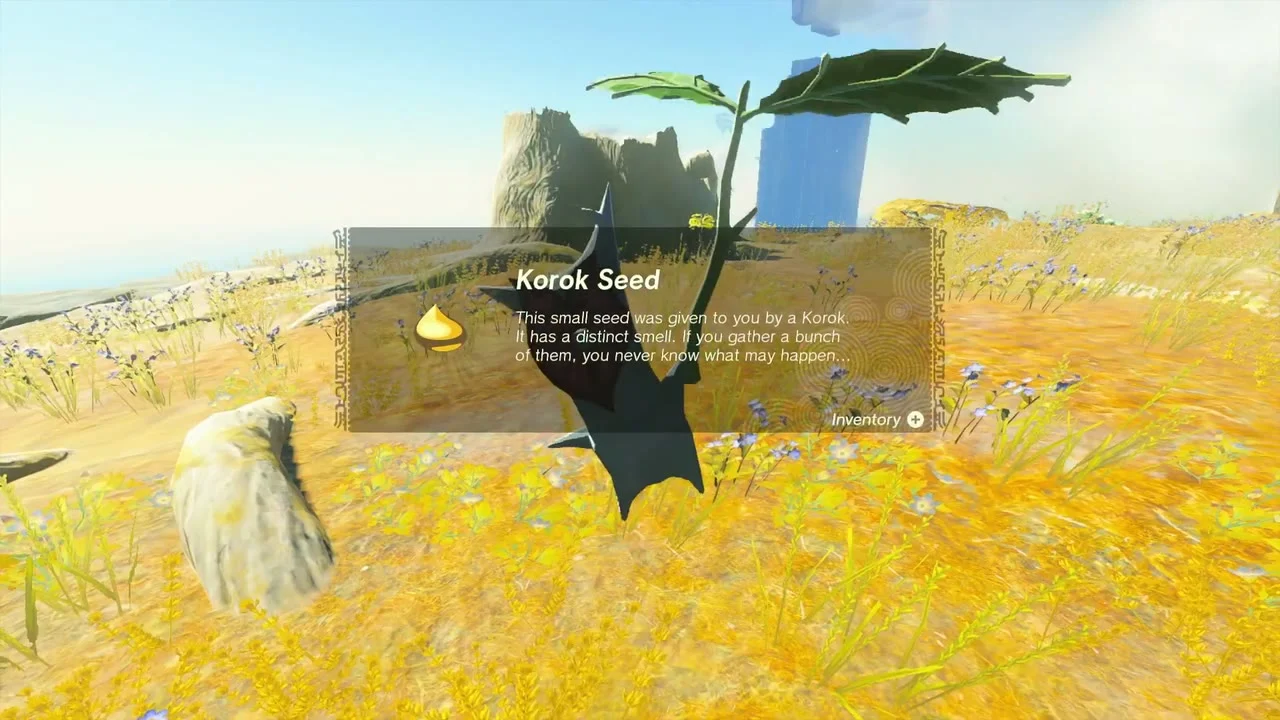
Korok seed (Catch the falling light) at (4747, -1155, 1829), on a rock island with a leaf-marked stump. Jump from the stump and catch the falling light before it lands, then take the seed.
Use the Device Dispenser
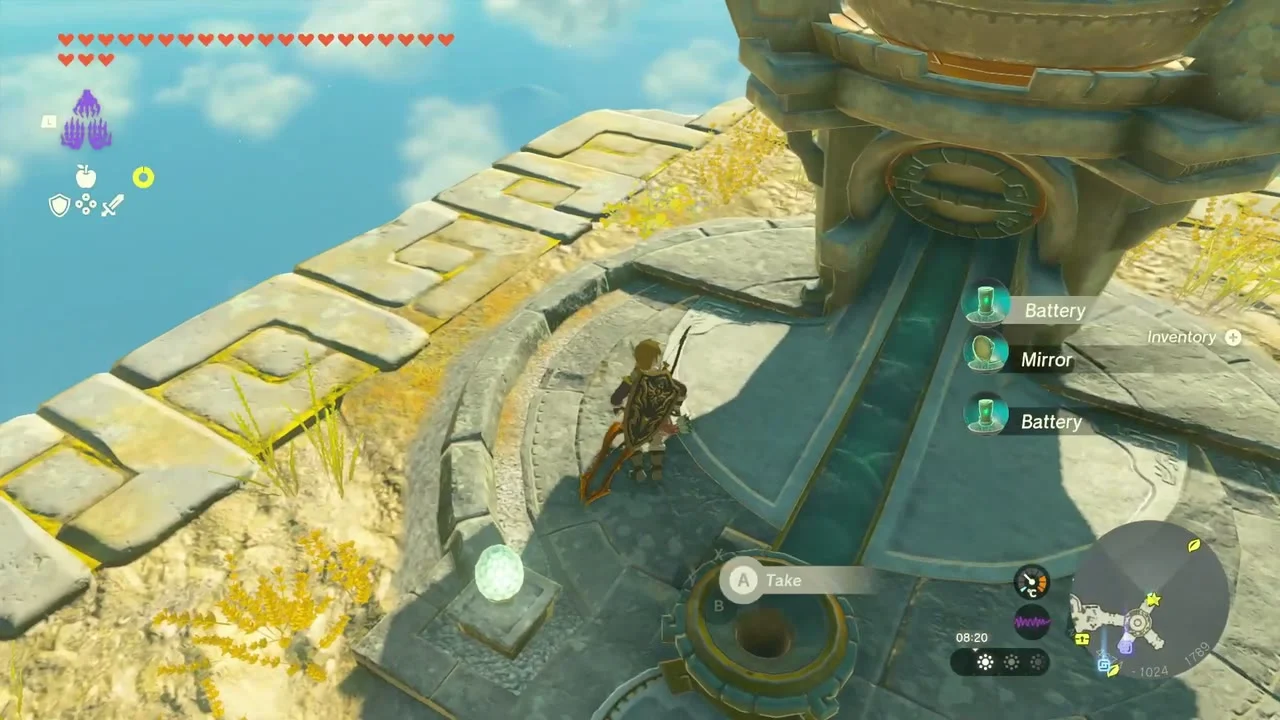
Device Dispenser at about (4666, -1019, 1790), on a sandy plaza in the South Lanayru Sky Archipelago. Feed it Zonai Charges for devices; chests sit in the golden grass around the plaza.

Start The South Lanayru Sky Crystal
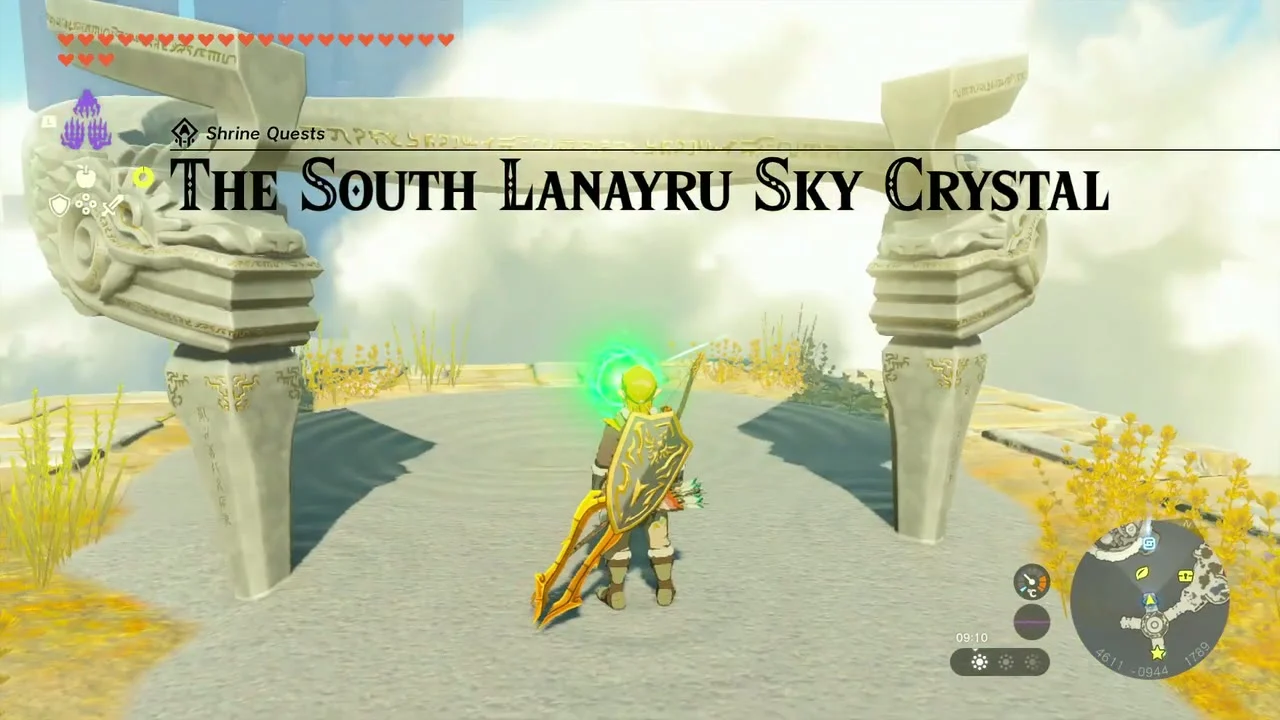
Mayanas Shrine at (4613, -947, 1803), trial The Ice Guides You (puzzle). The South Lanayru Sky Crystal (shrine quest): step onto the blue altar in front of the shrine and a mysterious voice asks for the crystal connected to the shrine. Find the crystal in the vine-covered rock island south of the shrine at about (4658, -864, 1779): take the prebuilt Zonai device down the north-east stairs to fly there, cut the vines with a weapon, and the crystal is behind a second set of vines. Attach the crystal to a vehicle (add two batteries if you reuse the device), fly it back and set it on the altar.


Place the crystal and finish the quest
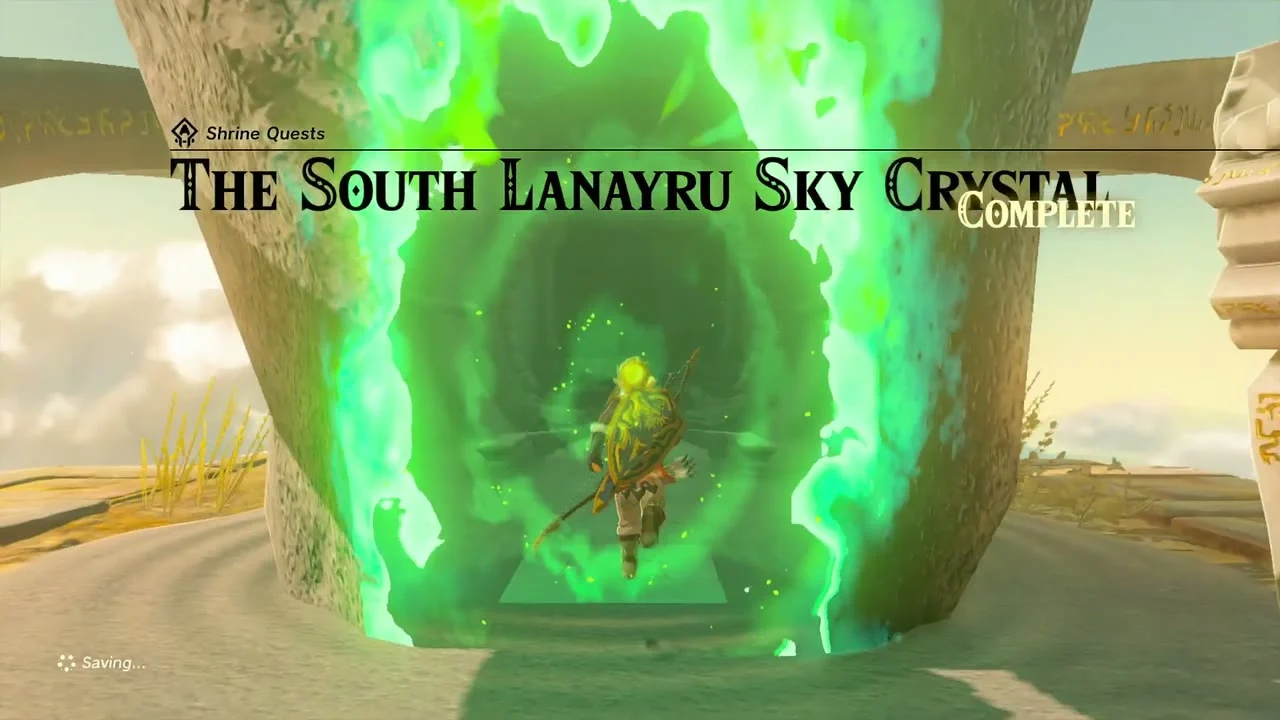
Ascend with the crystal back to the shrine plaza, stand it in the ring and the quest The South Lanayru Sky Crystal completes.

Pop the balloon for a Korok seed
Korok seed (Shoot the balloon(s)) at (4818, -822, 1941), on a grassy sky island east of the shrine. Shoot the balloon floating beside the rock to make the Korok appear.

Solve The Ice Guides You
Inside Mayanas Shrine, aim the Frost Emitter at the water so the ice sheets slide down the slope onto the target, then bridge the spikes with the yellow blocks to reach the chest. The chest holds the Mighty Zonaite Shield (Strong or Mighty, depending on your progress).


Valor Island
Complete the Dive Ceremony
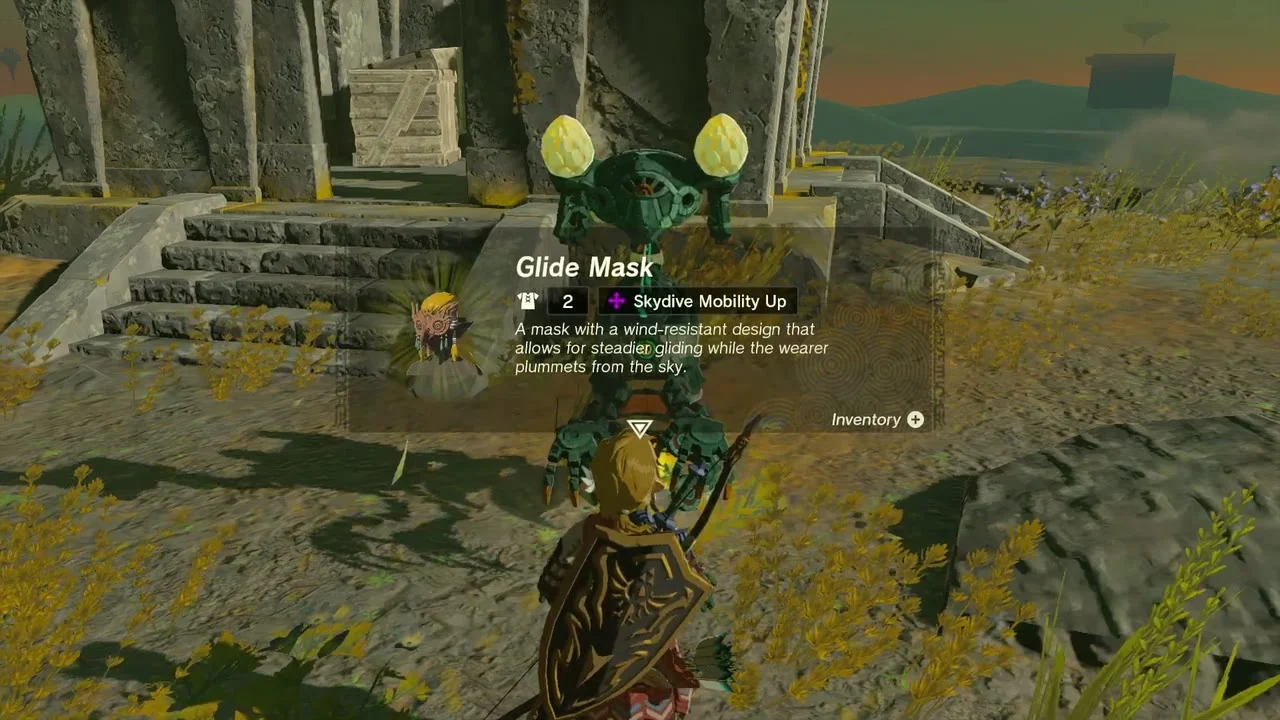
Dive Ceremony, at the Steward Construct on Valor Island (4545, -846, 1134 area). Talk to the construct, complete the untimed practice run (which makes Sihajog Shrine appear), then dive through every green ring and open your paraglider within 35 seconds; your reward is the Glide Mask (Skydive Mobility Up). Starting from the bottom construct saves time. The construct will let you try again for one Zonai Charge.

Clear Sihajog Shrine: Rauru’s Blessing
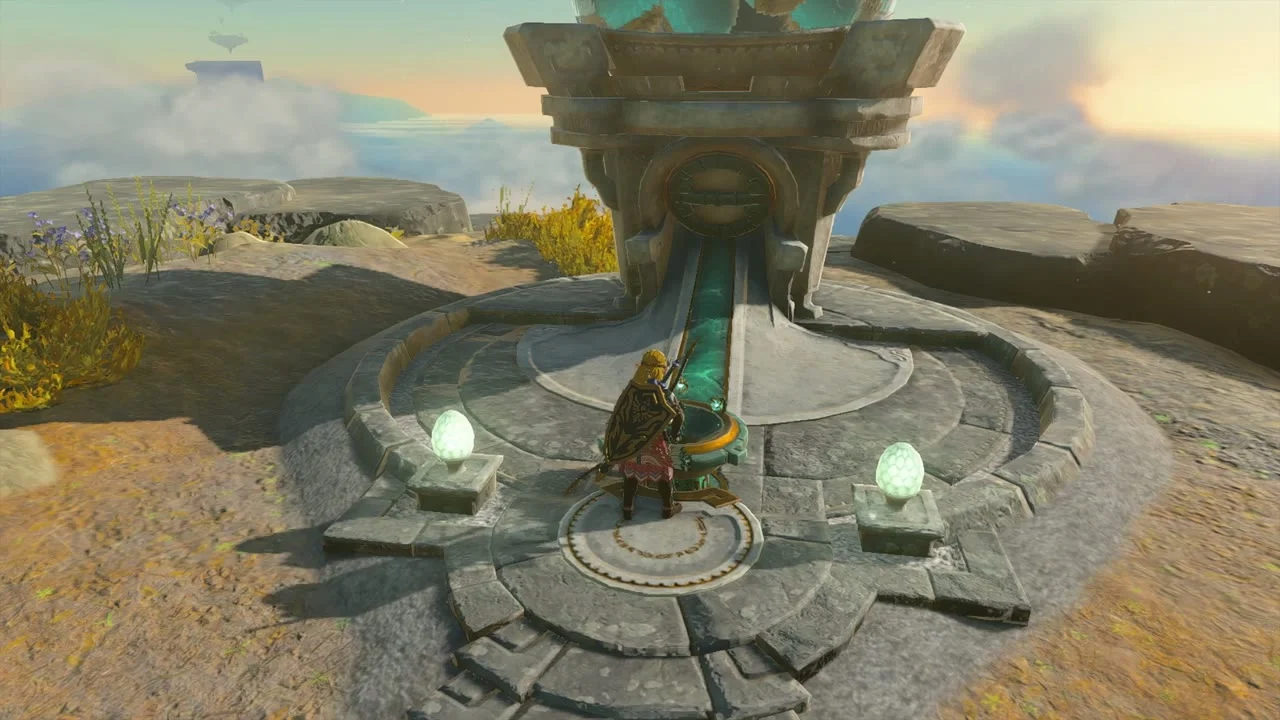
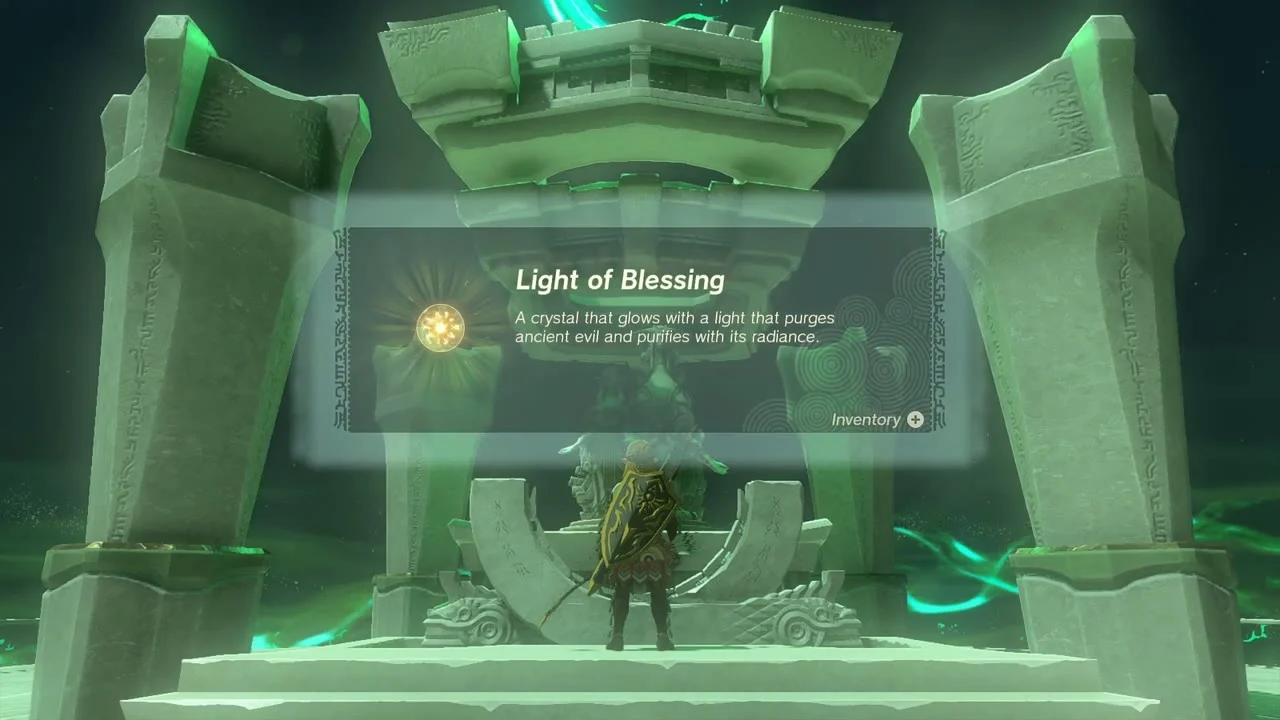
Sihajog Shrine at (4545, -846, 1134), trial Rauru’s Blessing (no puzzle), in the ruins of Valor Island. A Device Dispenser sits beside the shrine. Open the chest for a Diamond and claim the Light of Blessing.

Catch the falling light on the rock tower
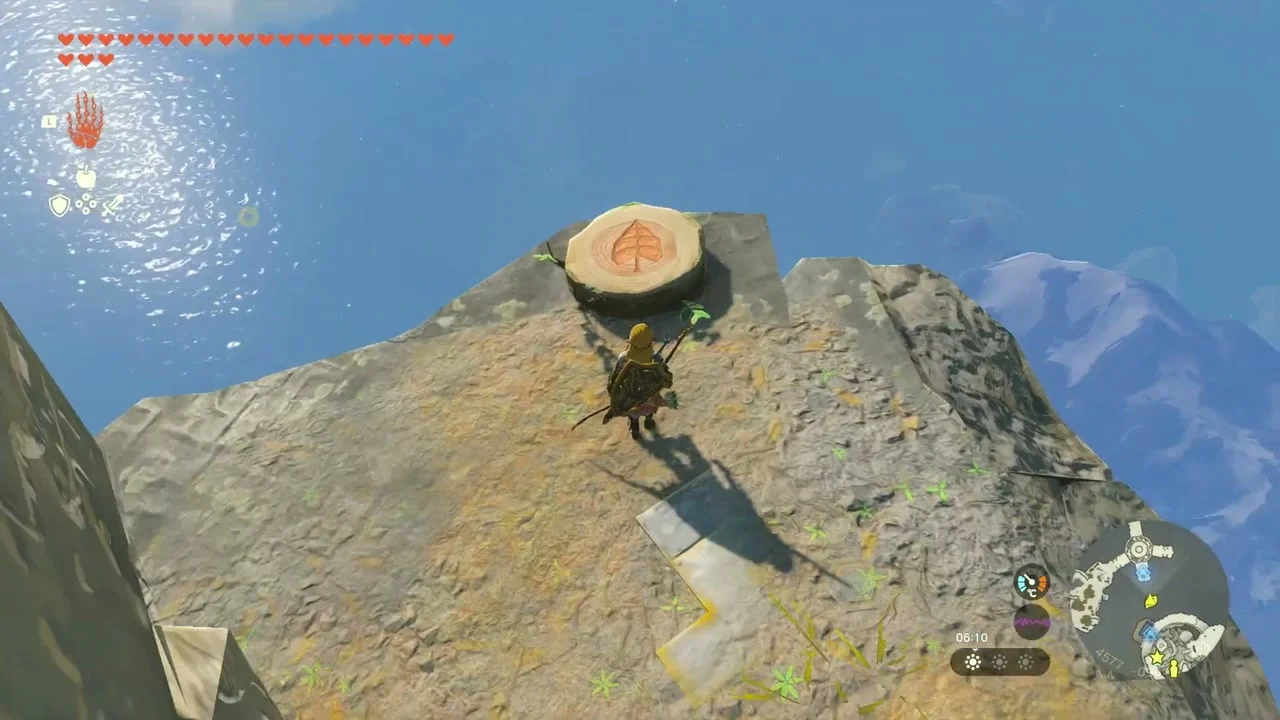
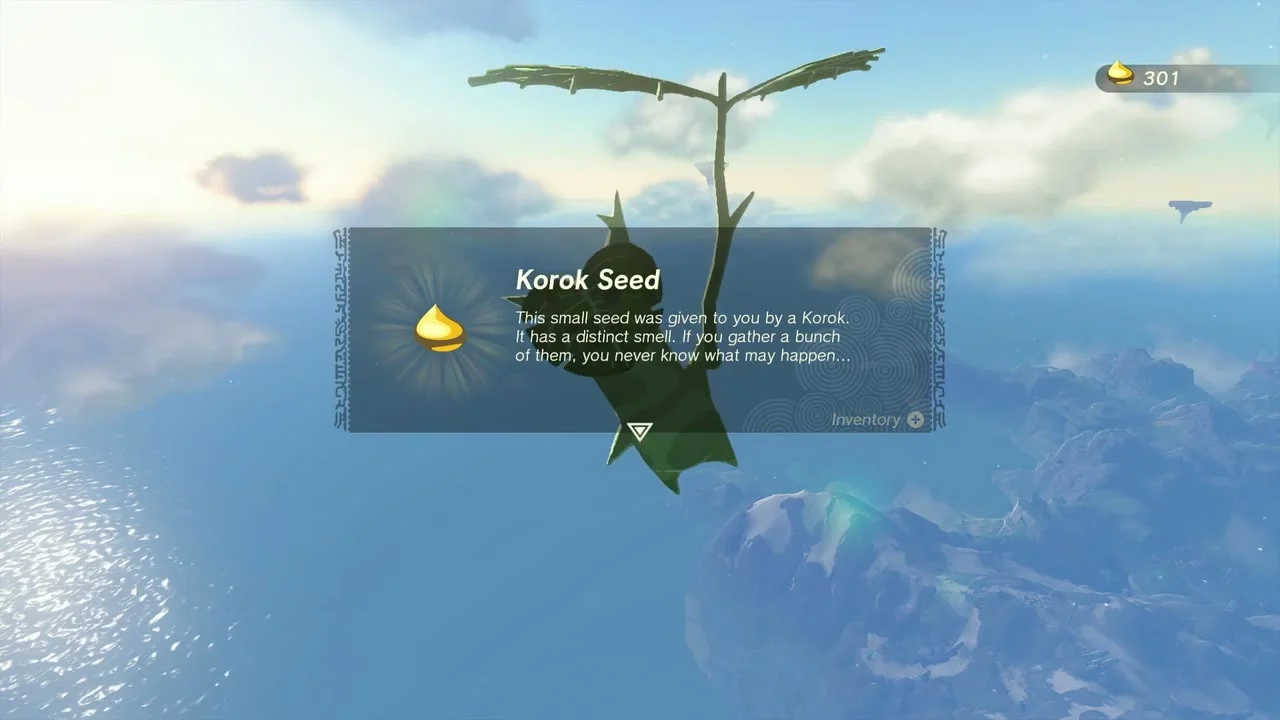
Korok seed (Catch the falling light) at (4579, -909, 1128), on a sky rock south of Valor Island. Jump from the leaf-marked stump at the top and catch the falling light as you glide.
Dive into the ring over the sea
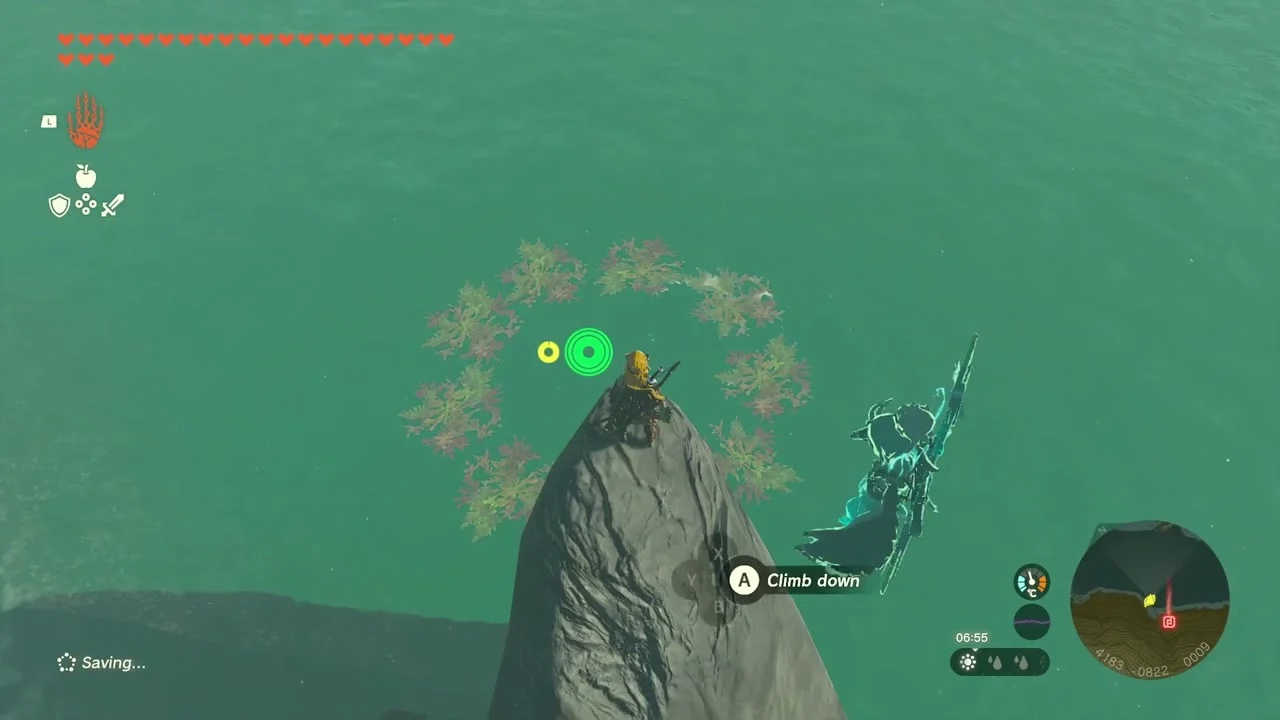
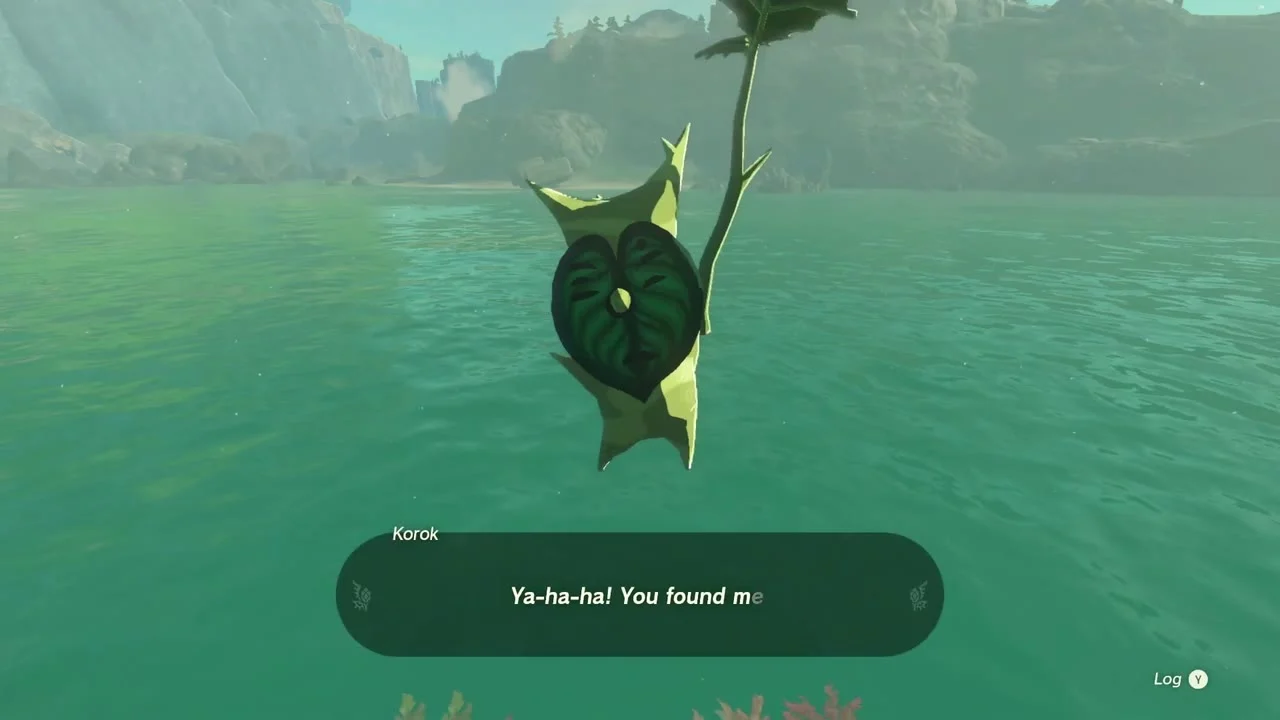
Korok seed (Dive into the ring) at (4188, -811, 4), in the water off Lodrum Headland. Climb the rock tip, dive through the ring of flowers around it and the Korok surfaces in the water below.
Mount Lanayru surface and Spring of Wisdom
Pull the plug on the snowy slope
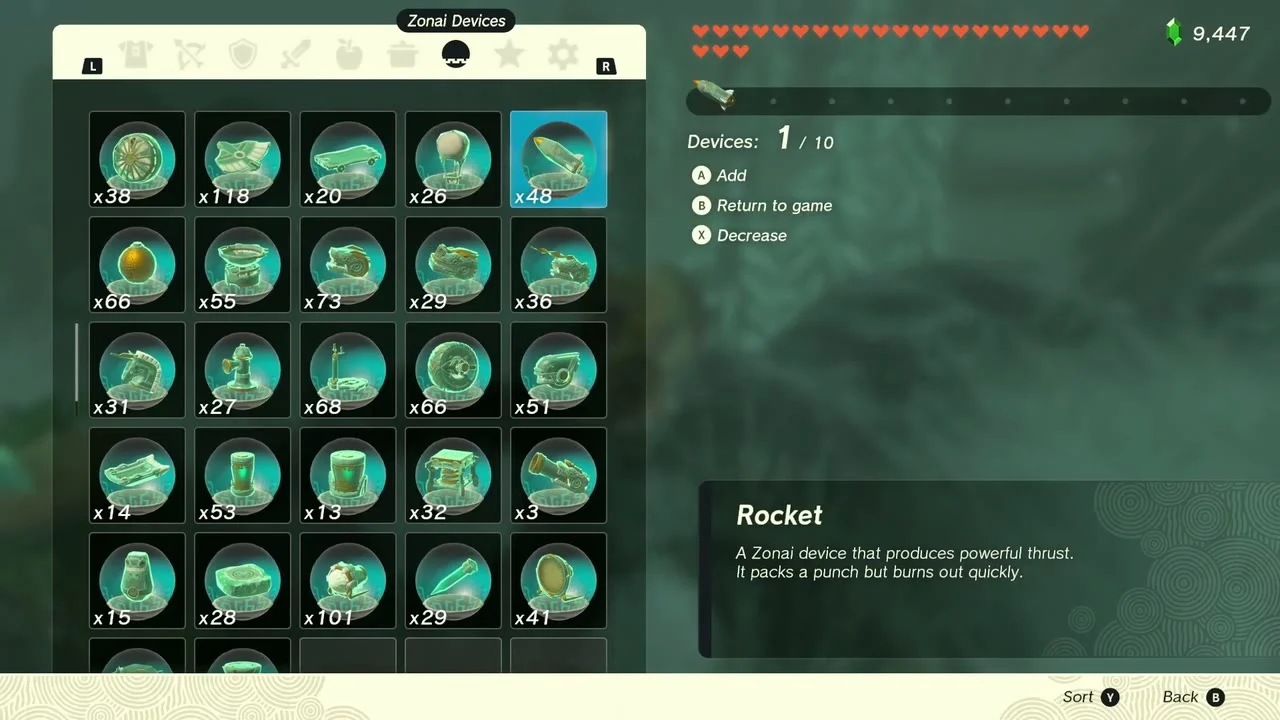
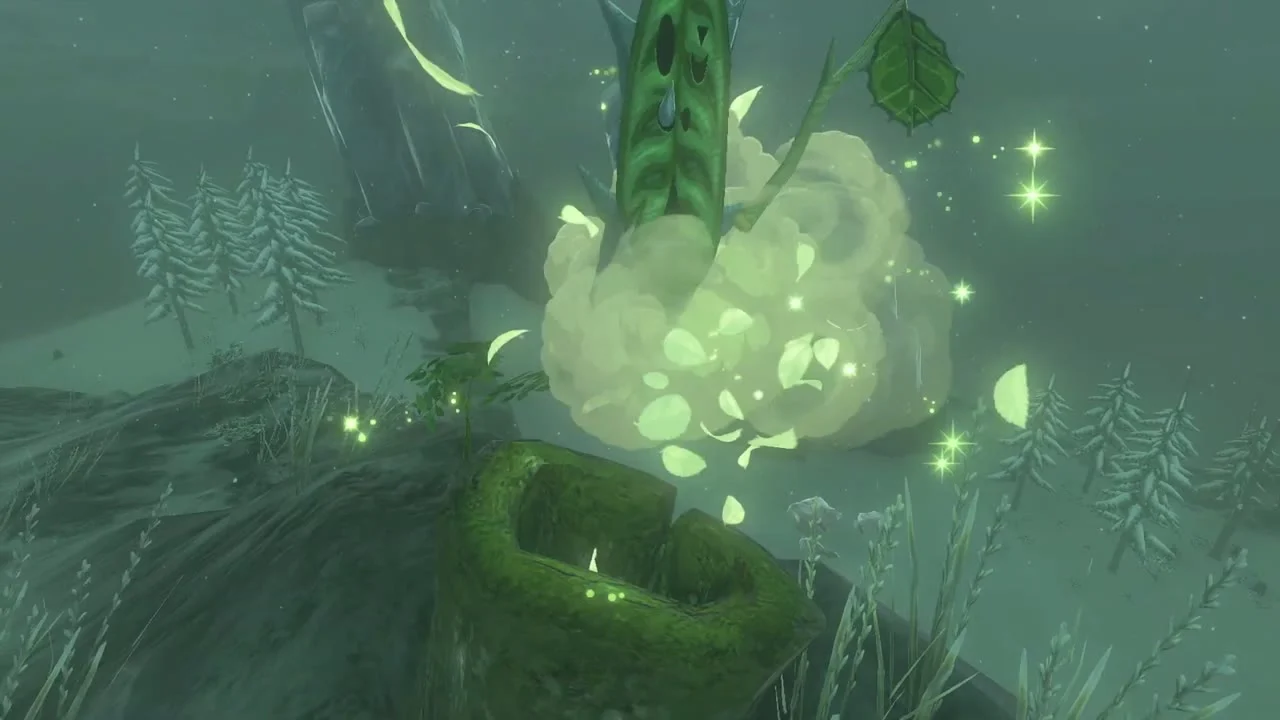
Korok seed (Pull the plug) at (4027, -1094, 349), on the Lanayru Range slopes. Attach a Rocket to the plug in the snow with Ultrahand and let the thrust pull it free to release the Korok.
Defeat the Frost Talus
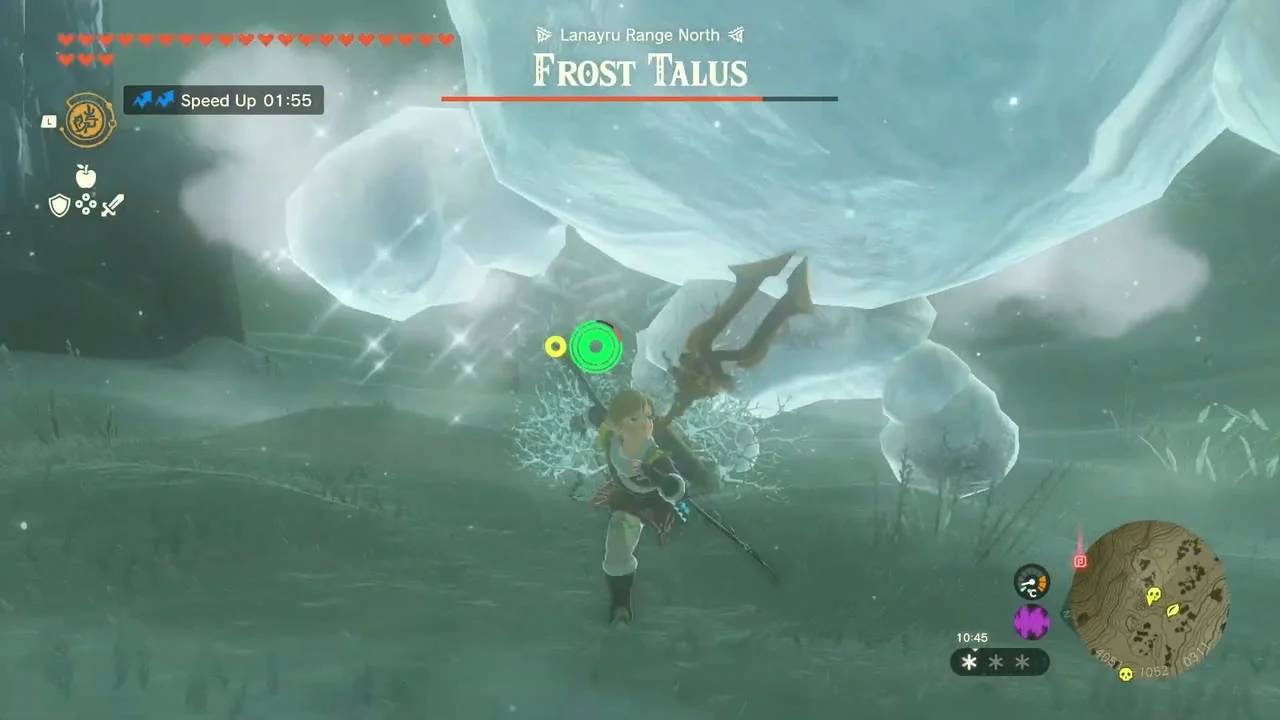
Miniboss: Frost Talus at about (4054, -1049, 313), on the Lanayru Range North slope. Throw Fire Fruit at the ice on its back or shoot the glowing ore, then strike the exposed core.

Fix Addison’s sign
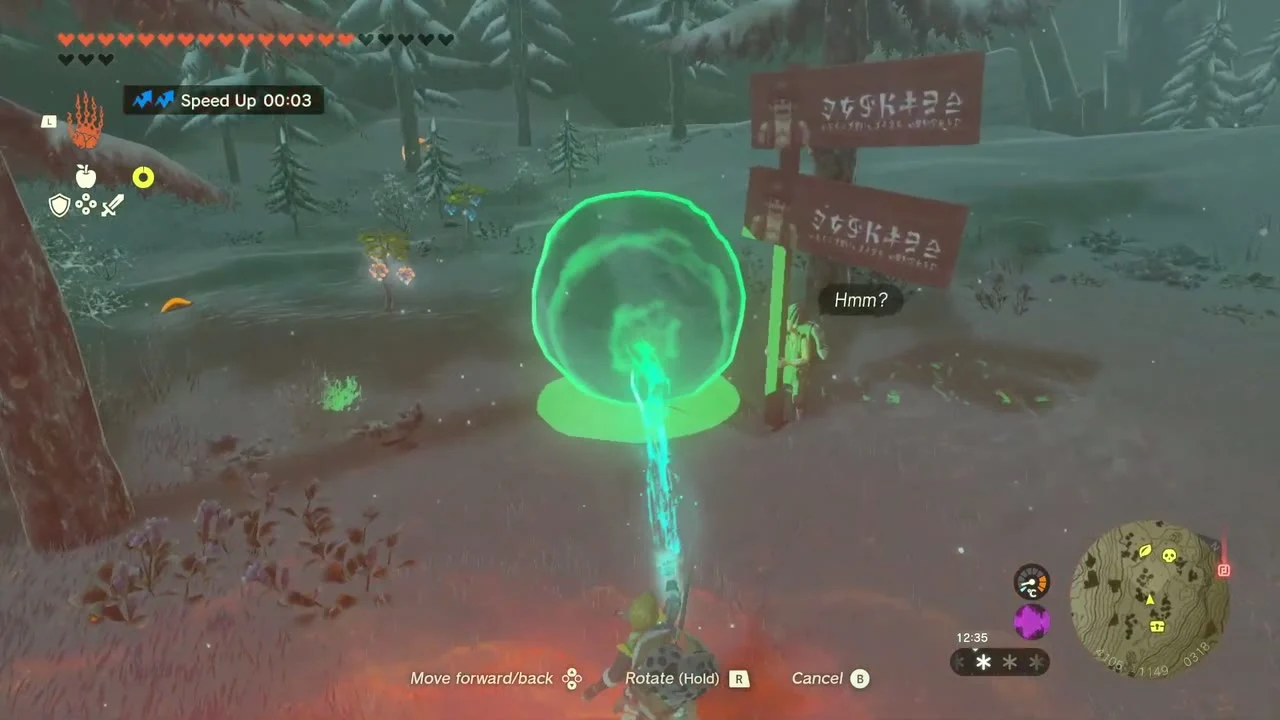
Addison’s Hudson Construction sign at about (4103, -1143), below the Spring of Wisdom. Prop the sign upright with a Zonai device or plank and speak to Addison.
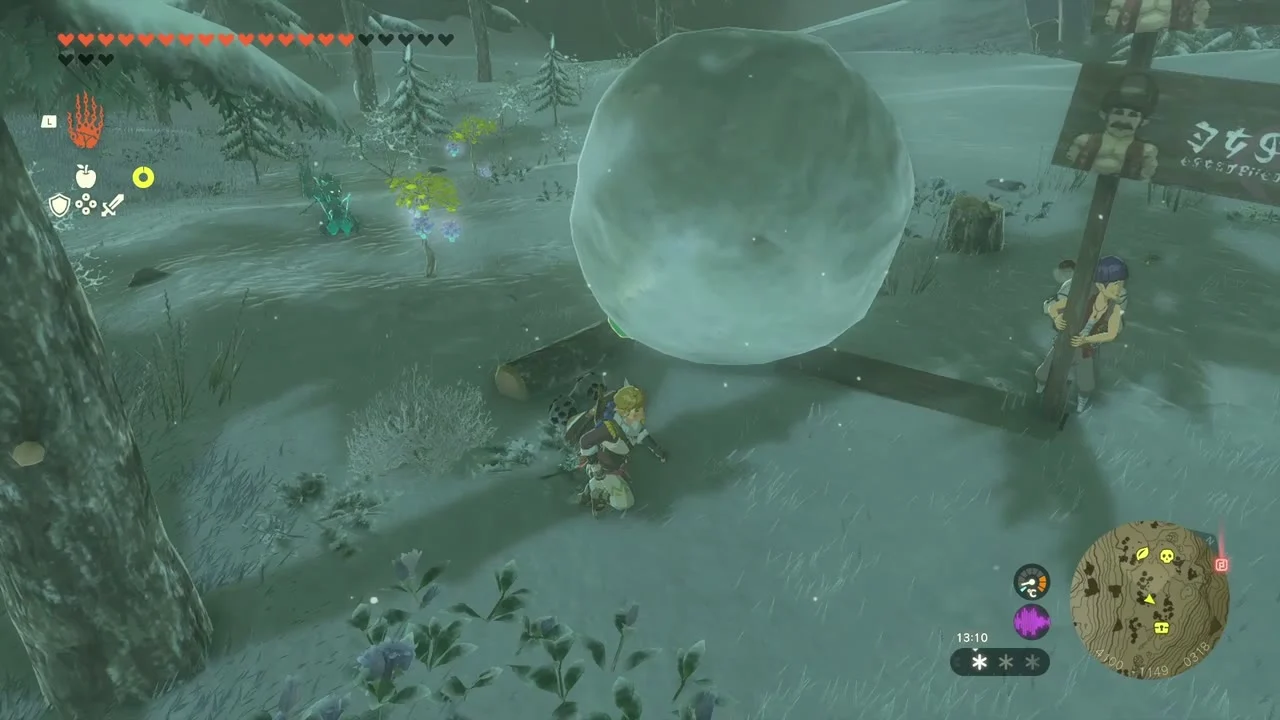
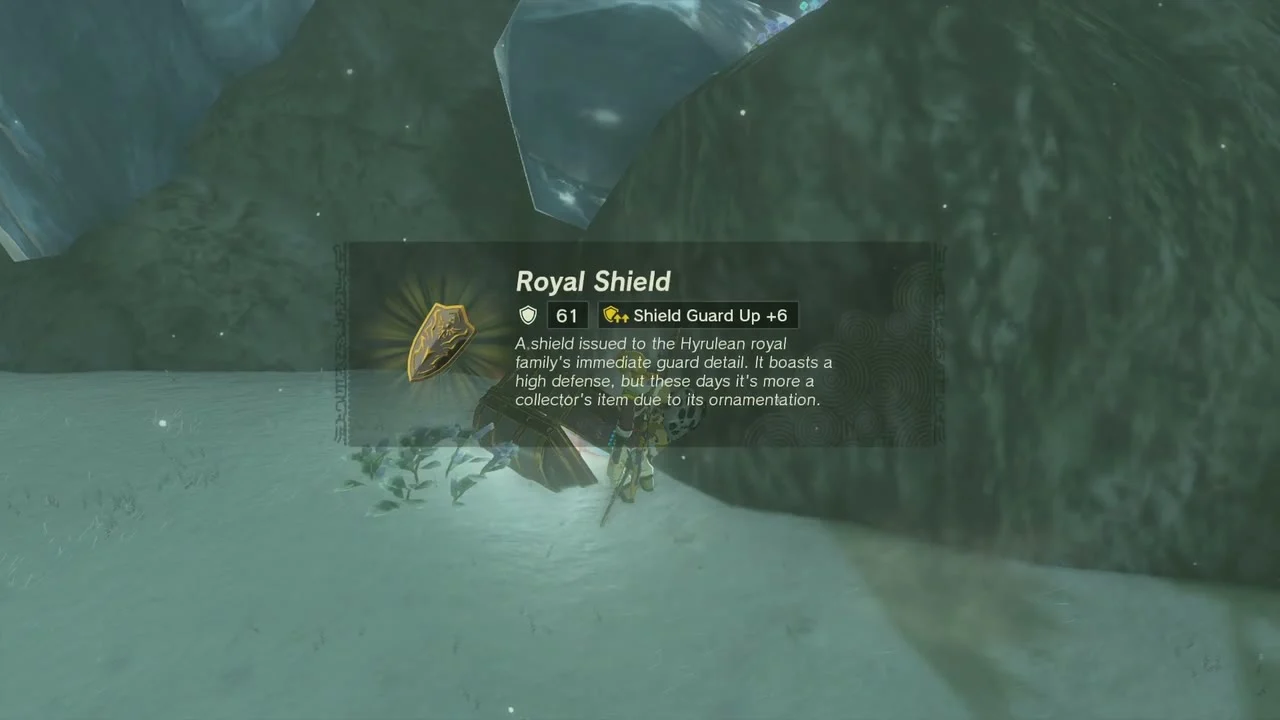
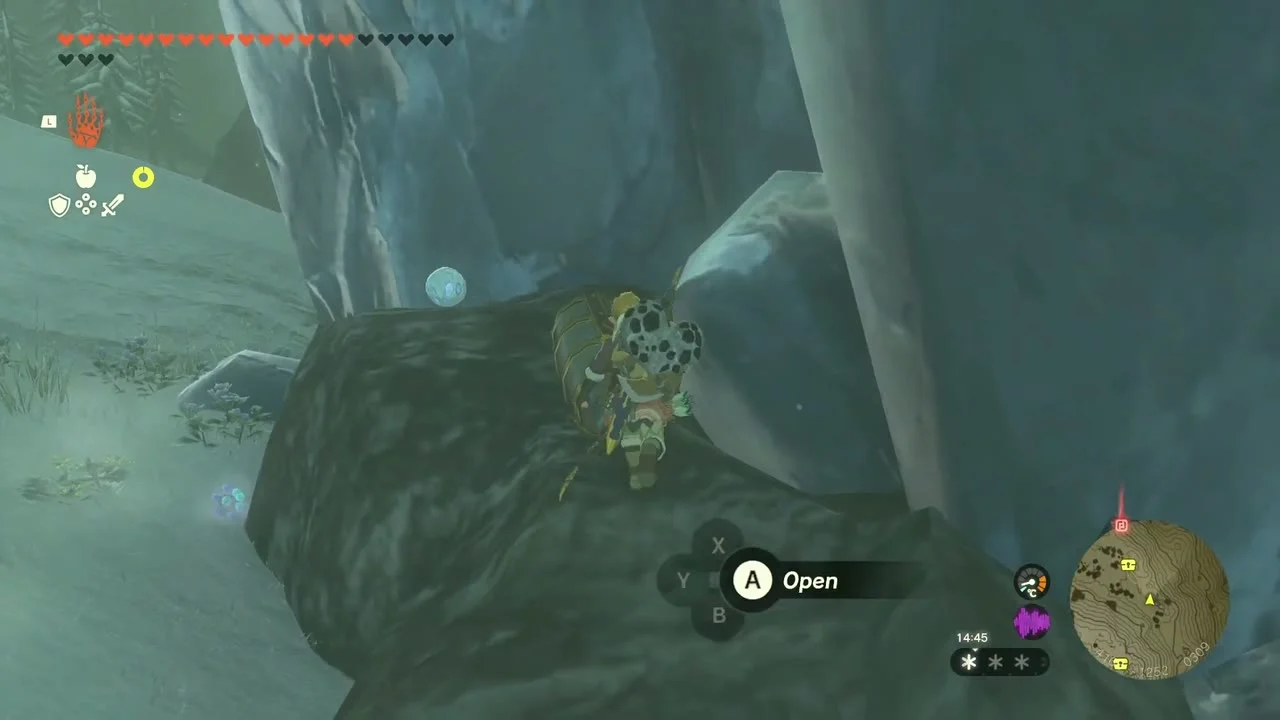
Open the Royal Shield chests in the ice cave
Chest: Royal Shield x2 at (4166, -1274) and (4161, -1252), in an ice-walled ravine. Melt the ice with Fire Fruit to reach both chests; each holds a Royal Shield, so free a shield slot first.
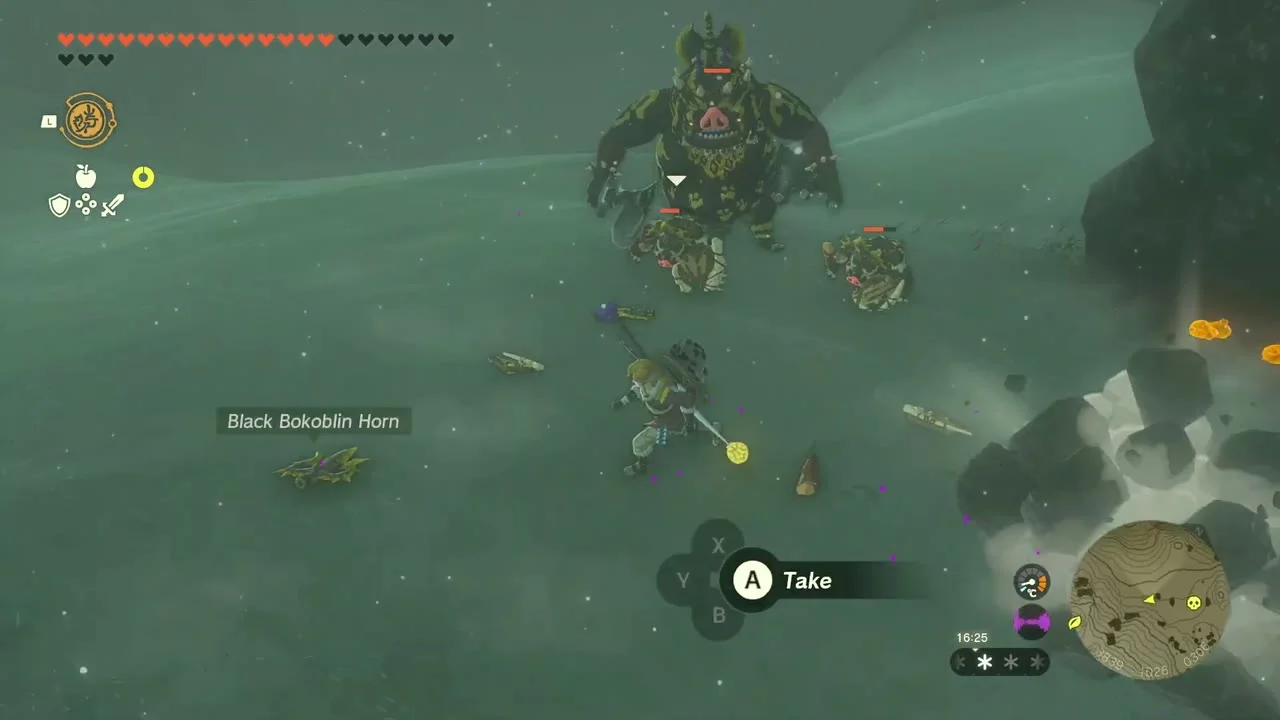
Take down the horde at the Boss Bokoblin camp
Miniboss: Boss Bokoblin at about (3850, -1018, 316), on a snowy ridge. Glide in from above and drop bomb flowers on the camp; its horn and fang drop as loot.

Catch the dandelion on the cliff
Korok seed (Attack and catch the dandelion) at (3741, -1151, 451), on a cliff ledge. Hit the dandelion fluff beside the leaf-marked stump and catch it before it lands.
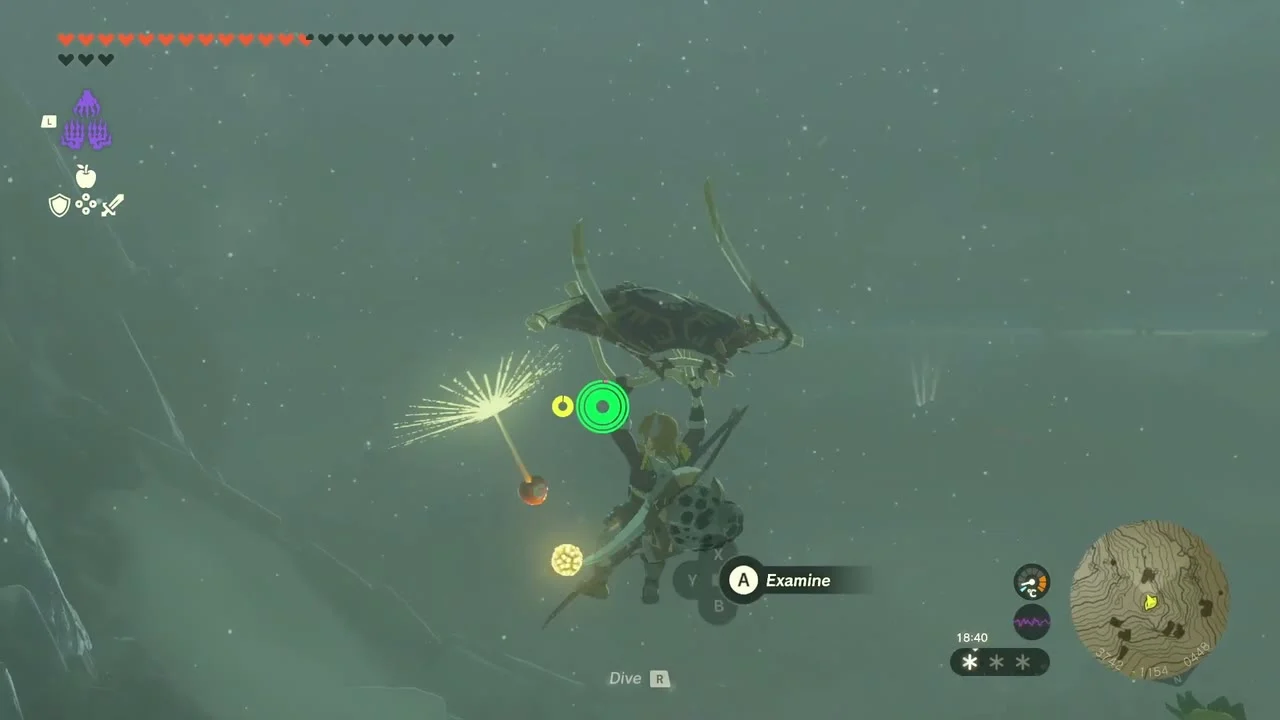

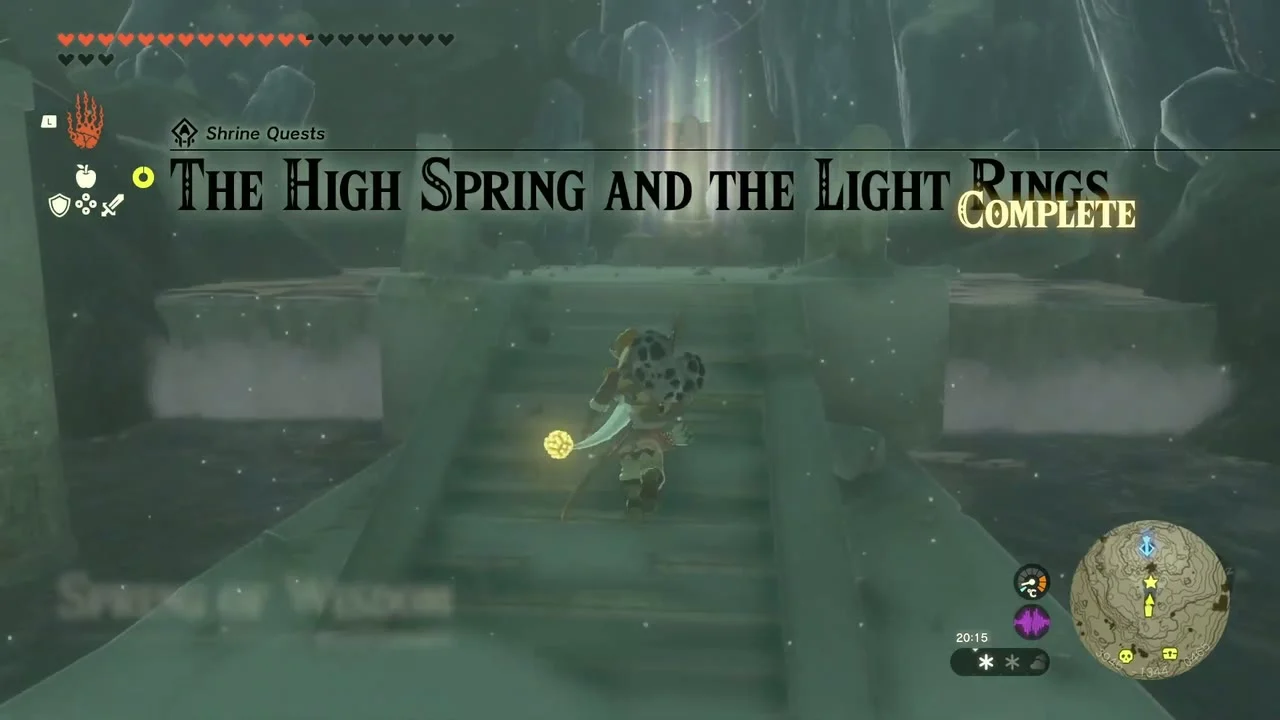
Talk to Nazbi to finish the Light Rings quest
The High Spring and the Light Rings (shrine quest, giver Nazbi): the treasure hunter Nazbi camps beside a fire at about (3960, -1356, 465) near the Spring of Wisdom. Talk to him after Zakusu Shrine and the journal entry completes.

Offer Naydra’s Claw at the Spring of Wisdom
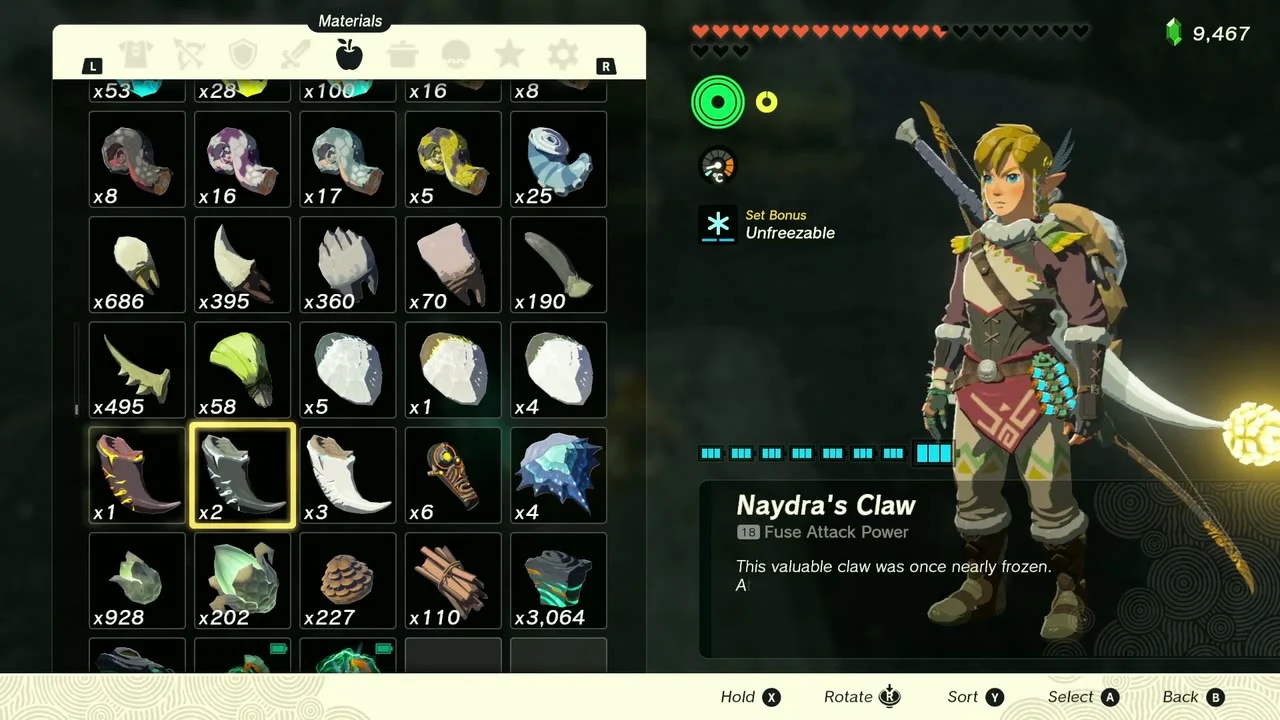
Goddess Statue of Wisdom (side quest, giver the Goddess Statue at the Spring of Wisdom, (3926, -1335)). Shoot one of Naydra’s limbs as she flies over Mount Lanayru, pick up Naydra’s Claw and offer it at the spring. The statue sends power to the Mother Goddess Statue and rewards you with a Sapphire.


Open the Wooden Shield chest and fight Phantom Ganon
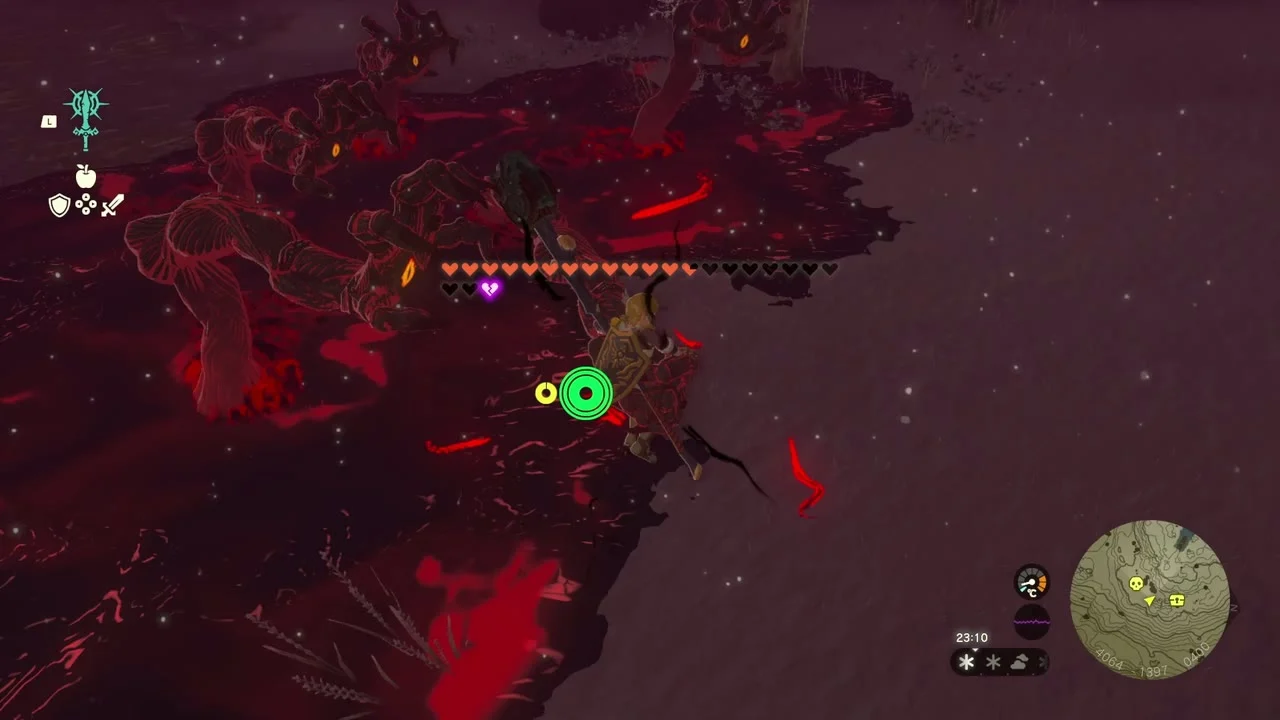
Chest: Wooden Shield at (4069, -1369, 409), in an ice cave. Take the Wooden Shield; free a shield slot first. Then Miniboss: Phantom Ganon at about (4060, -1400, 414): stay mobile in the red gloom, shoot it when it becomes visible and strike it from behind.

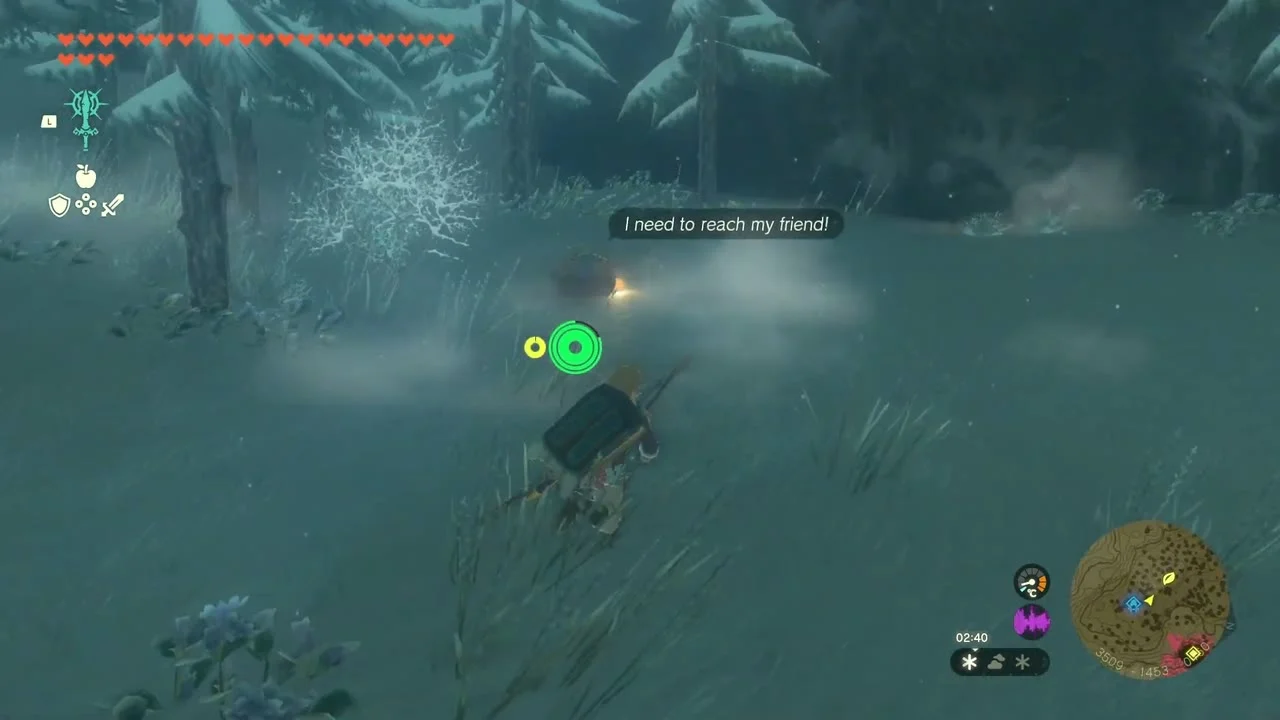
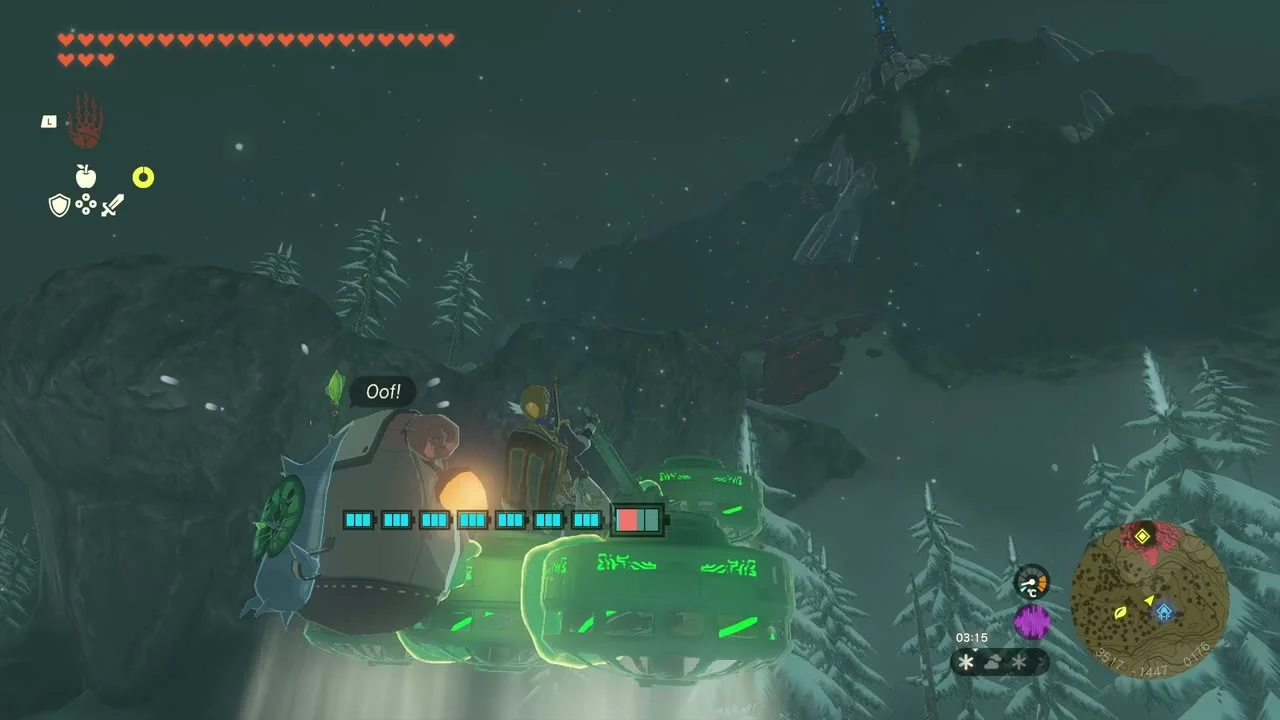
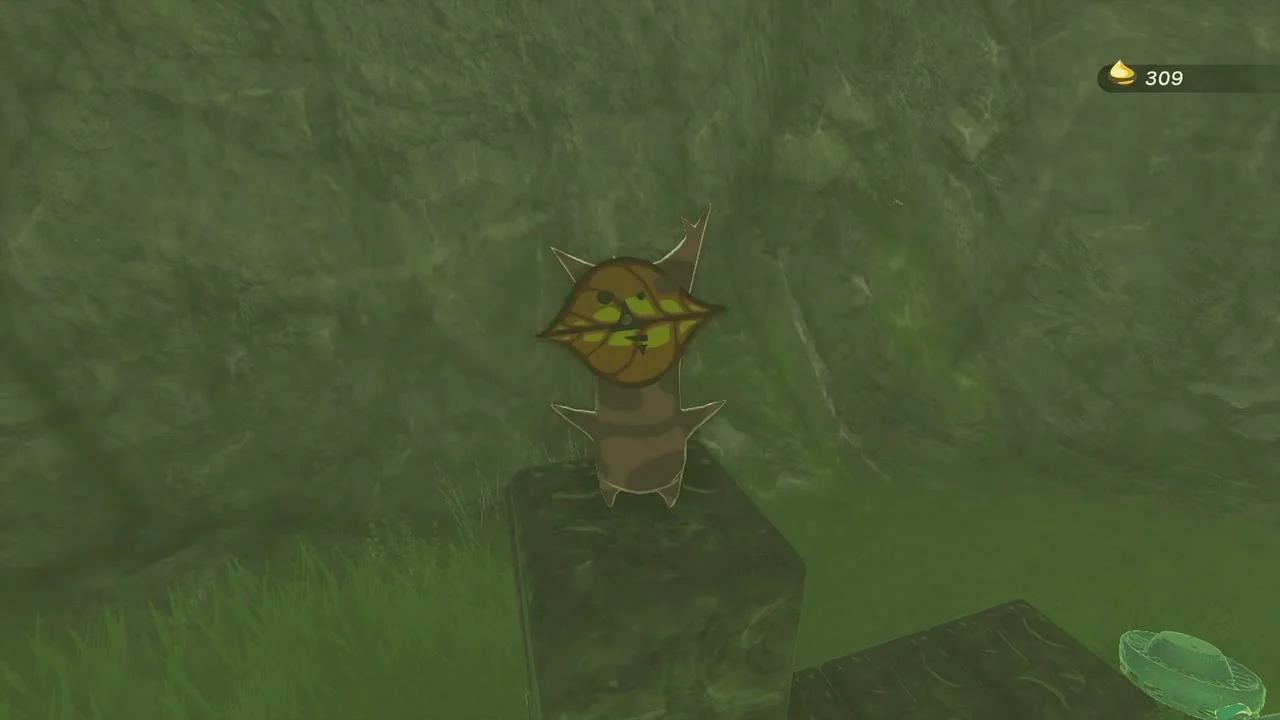
Carry the exhausted Korok
Korok seed (Bring the exhausted Korok to its friend): the exhausted Korok rests at (3499, -1451, 162). Load it onto a cart with a fan with Ultrahand and carry it to its friend at about (3667, -1385, 297).
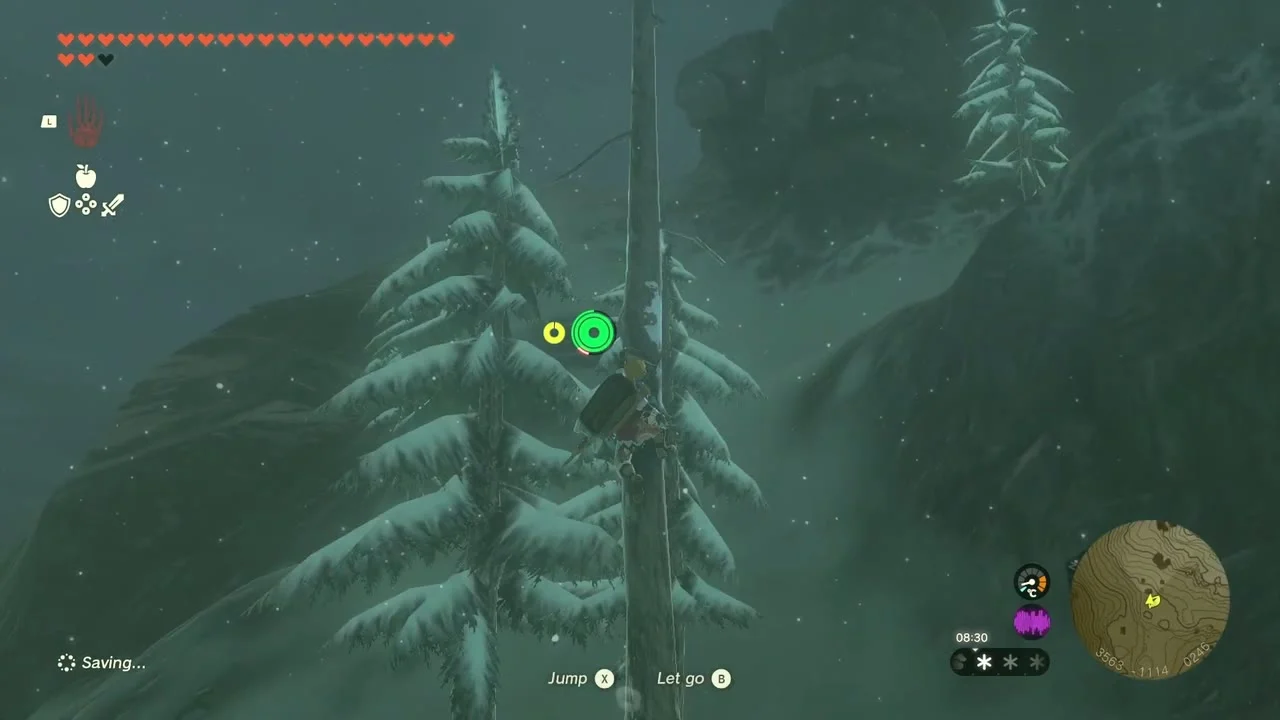
Examine the sparkling spot
Korok seed (Go up to examine the sparking spot) at (3562, -1112, 255), on a pine slope. Climb the tree to the sparkling spot and examine it to release the Korok.
Solve the cube puzzle
Korok seed (Complete the cube puzzle) at (3250, -1335, 170), on the green plateau below the snow line. Join the loose cubes together with Ultrahand to finish the cube puzzle.

Defeat Phantom Ganon on the plateau
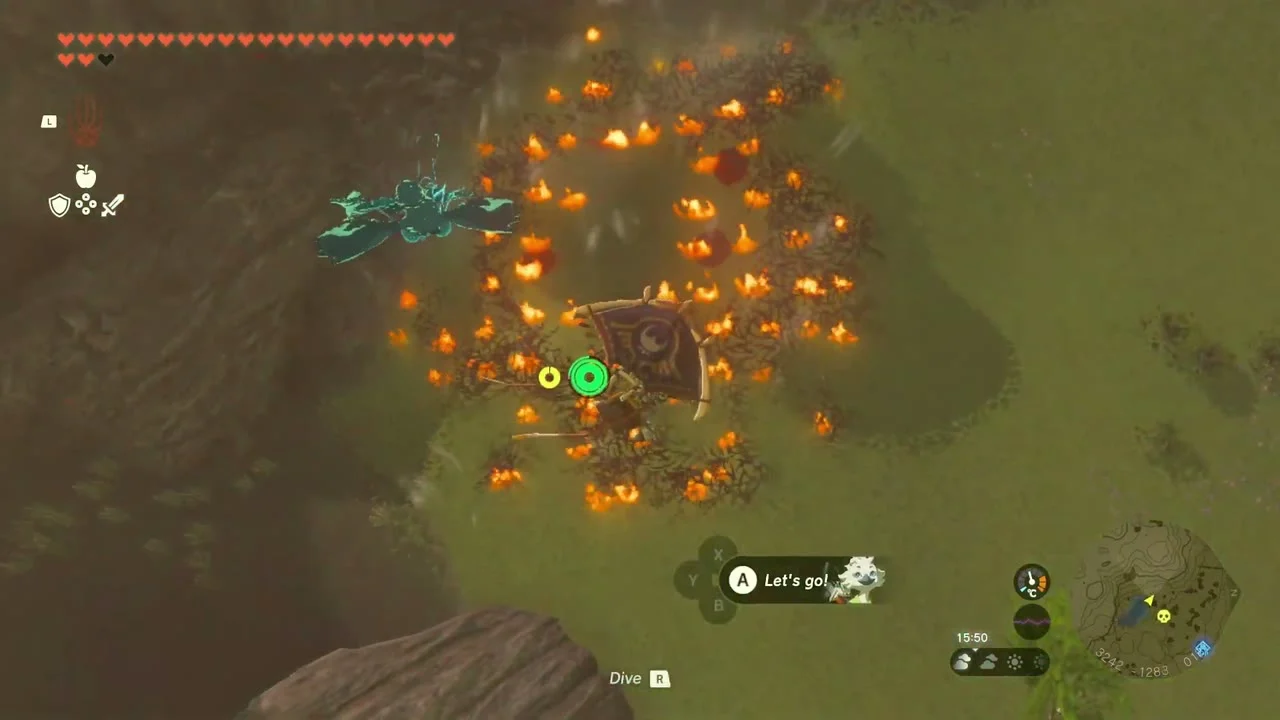
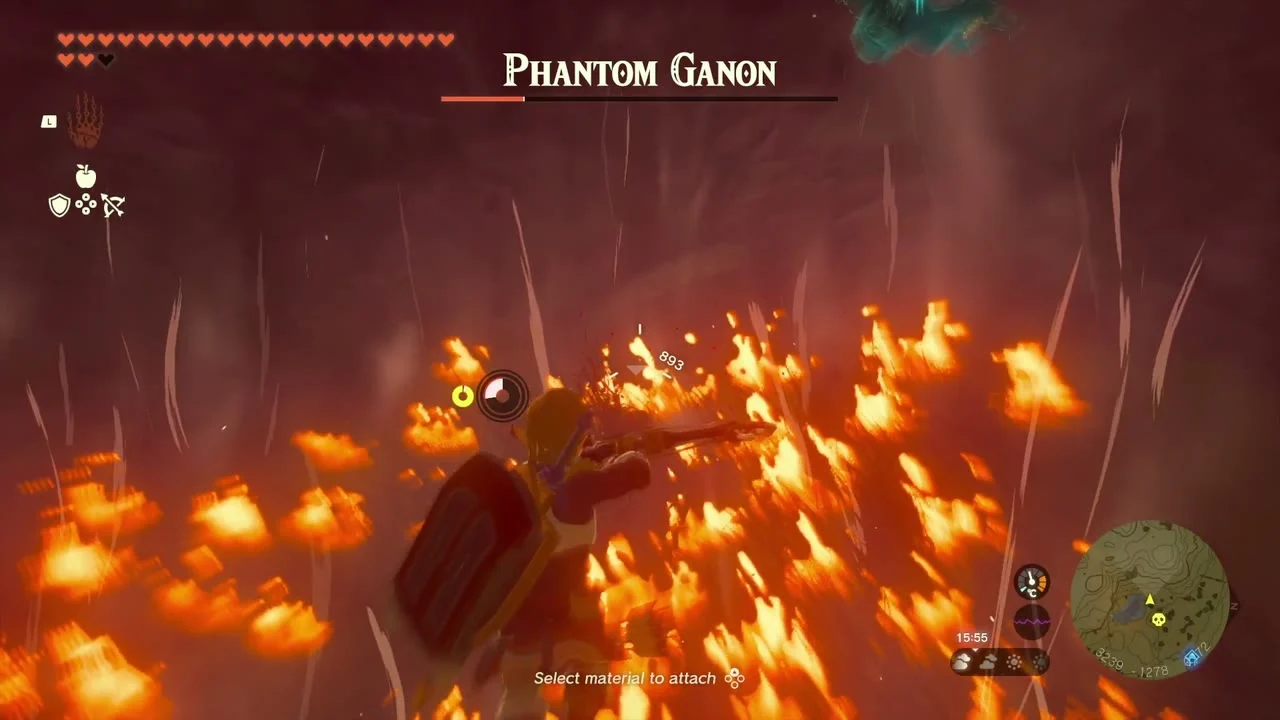
Miniboss: Phantom Ganon at about (3240, -1277, 172). Burn the grass to reveal it: the fire lights up around you; dodge and shoot arrows when it appears.
Take the Dragonbone Boko Shield from the tower
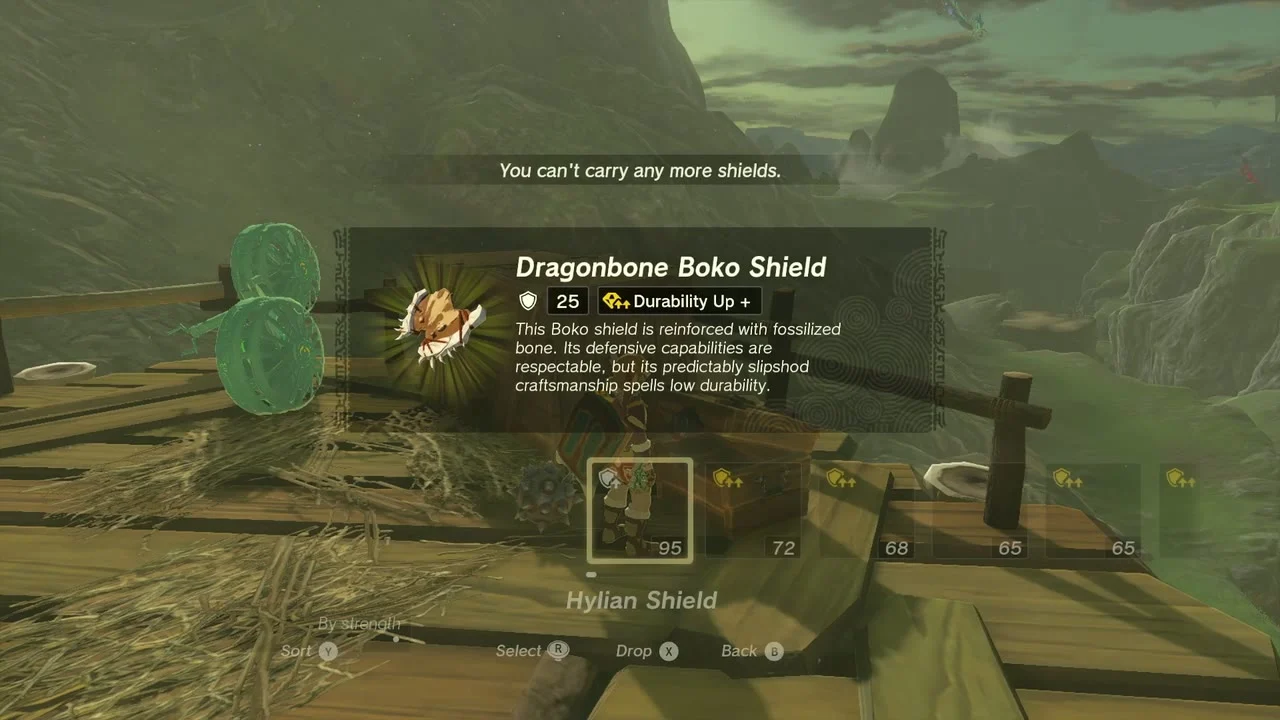
Chest: Dragonbone Boko Shield (or Boko Shield or Spiked Boko Shield, depending on your progress) at (3082, -1250, 229), on a wooden Bokoblin tower. Climb the planks and open the crate chest for the Dragonbone Boko Shield.

Pull the plug on the mountain top
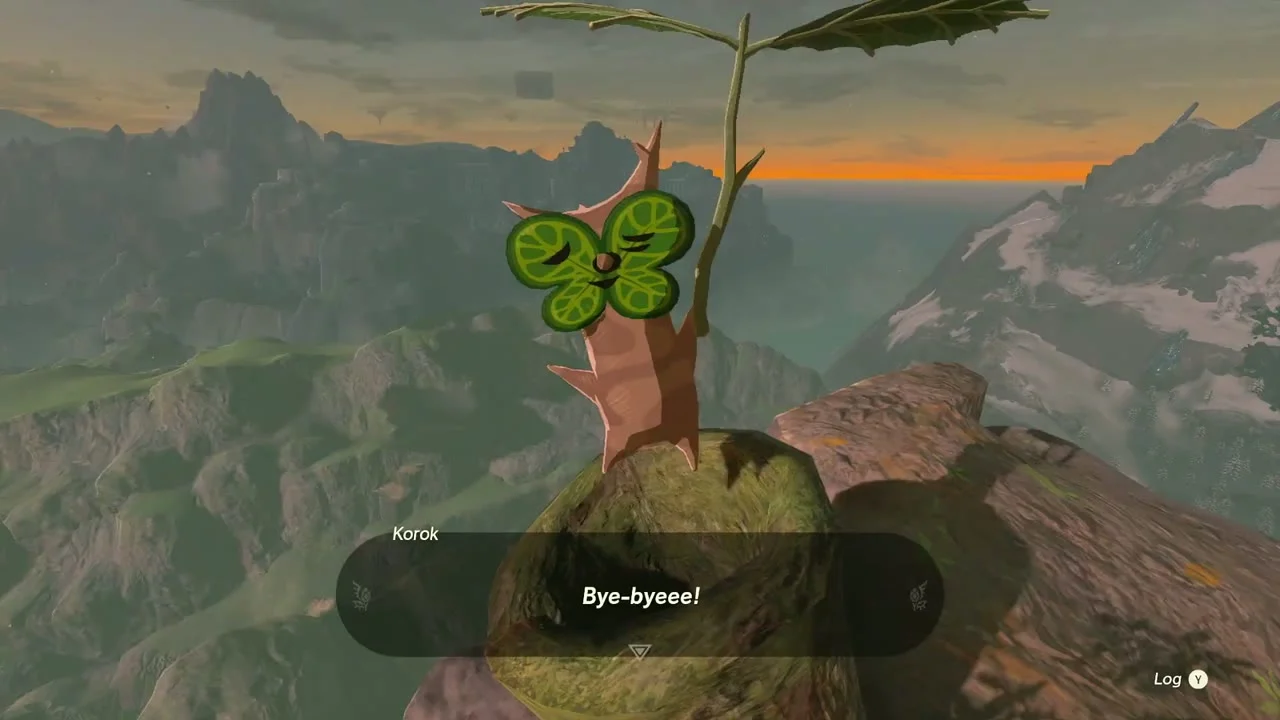
Korok seed (Pull the plug) at (2920, -1392, 380), on a high rocky peak. Build a ledge with Ultrahand and pull the stuck plug free; the Korok waves goodbye from its stump.

Ovli Plain and Hateno Village
Upgrade clothing at Cotera’s Great Fairy Fountain
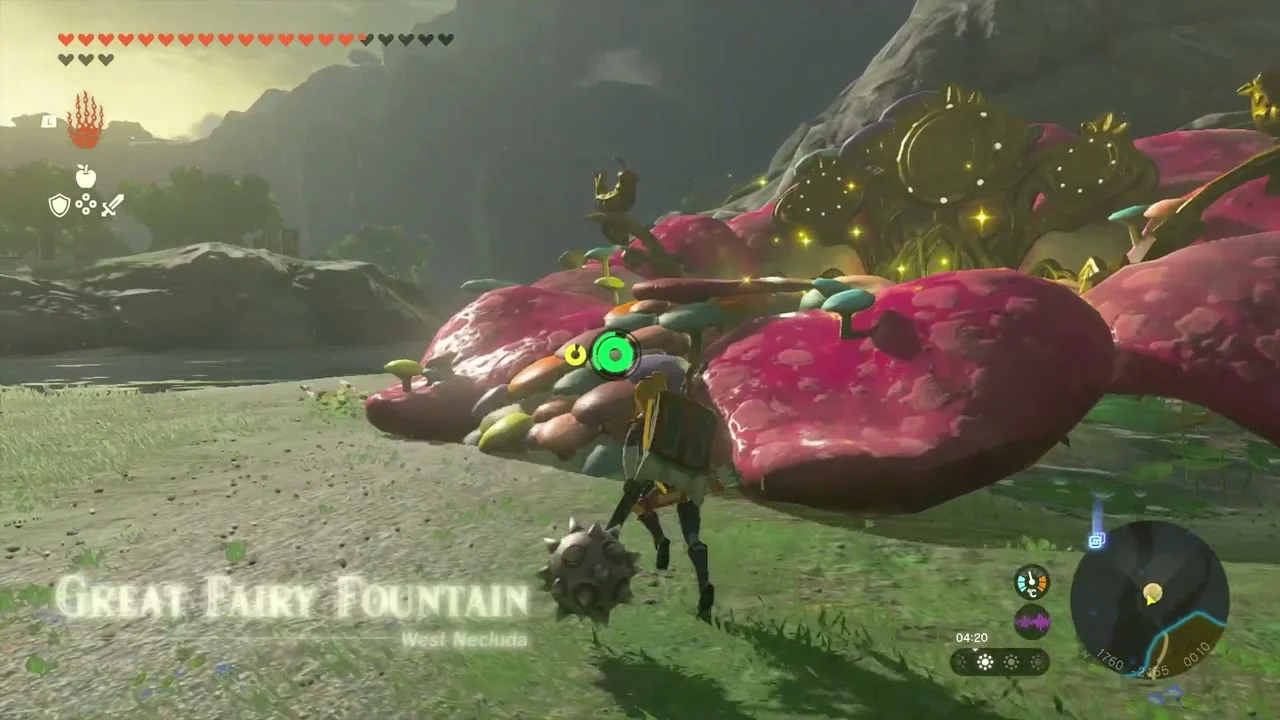
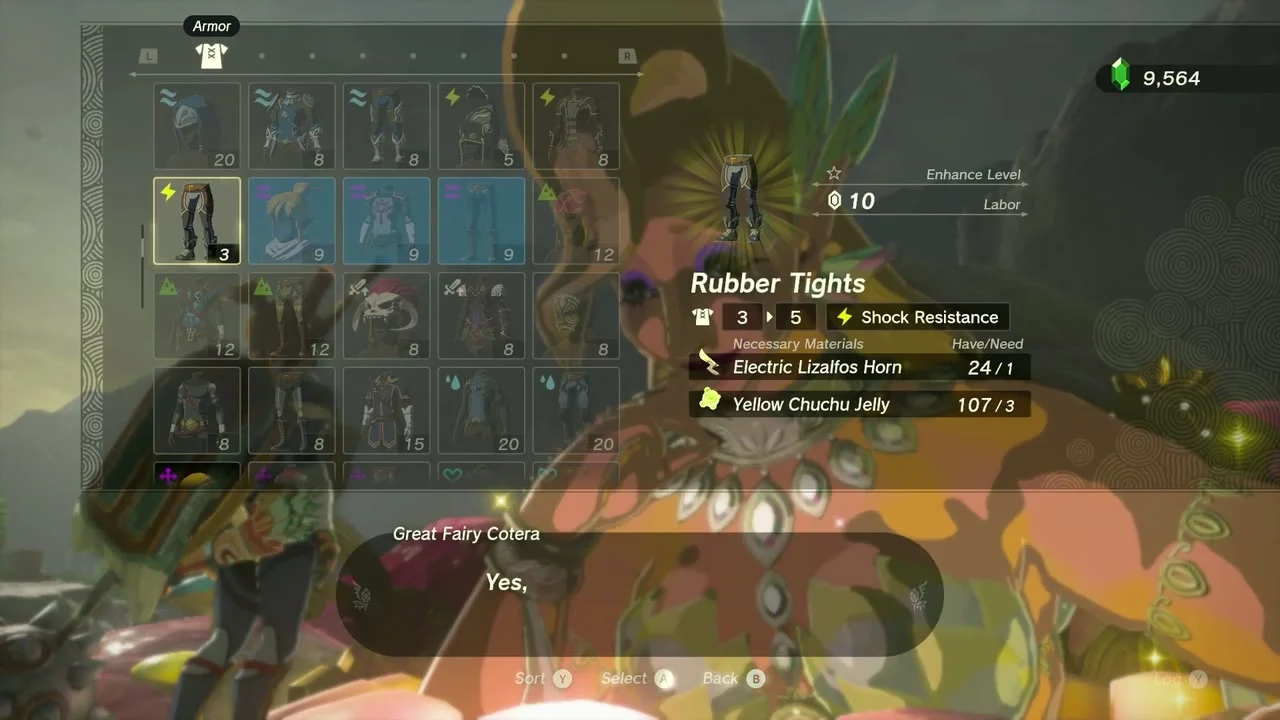
Cotera’s Great Fairy Fountain at (1760, -2165), south of Little Twin Bridge in West Necluda. Cotera enhances armor for a fee; ask her to upgrade the Rubber Tights or the Glide Mask.
Complete the rock pattern on Ovli Plain
Korok seed (Complete the rock pattern) at (3237, -1545, 197), on the grass plateau. Fit the loose rocks into the outline on the ground with Ultrahand to reveal the Korok.


Open the bluff chest at the camp
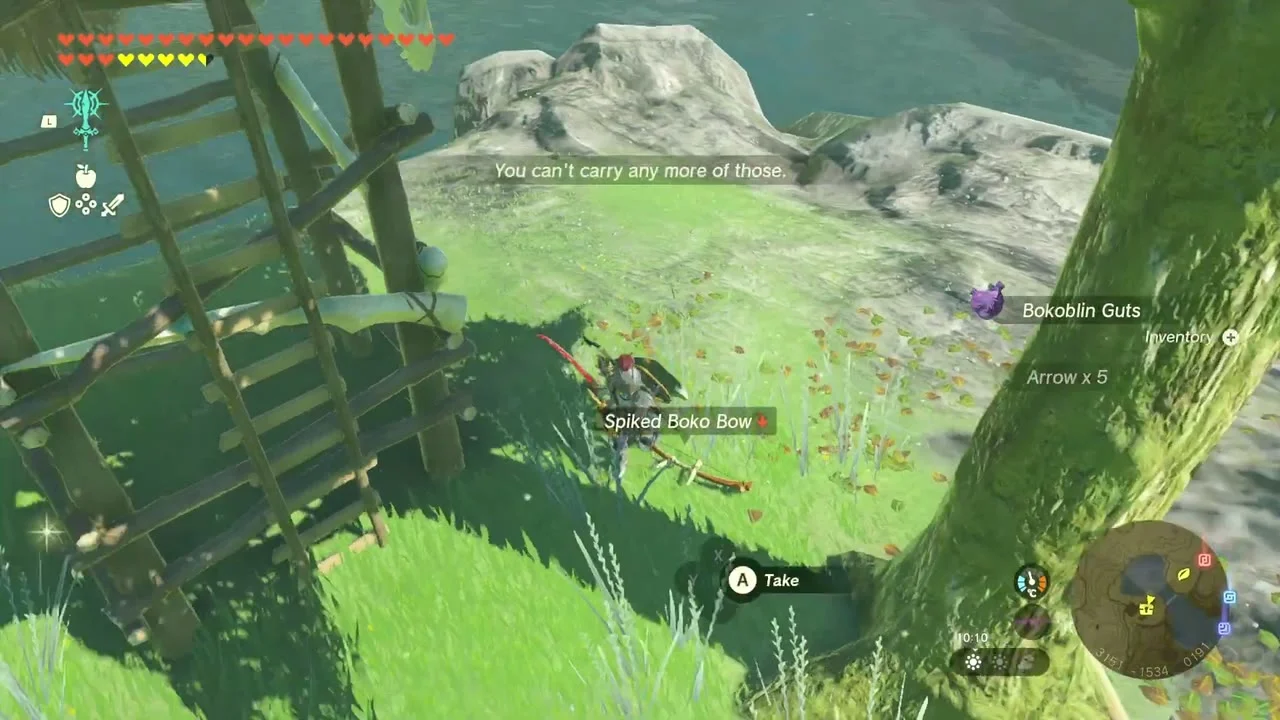
Chest at about (3149, -1556, 191), on a grassy bluff beside a Bokoblin camp with a campfire and wooden tower. Defeat the camp and open the chest; the camp also drops a Spiked Boko Bow (or Boko Bow or Dragonbone Boko Bow, depending on your progress).

Defeat the Stone Talus
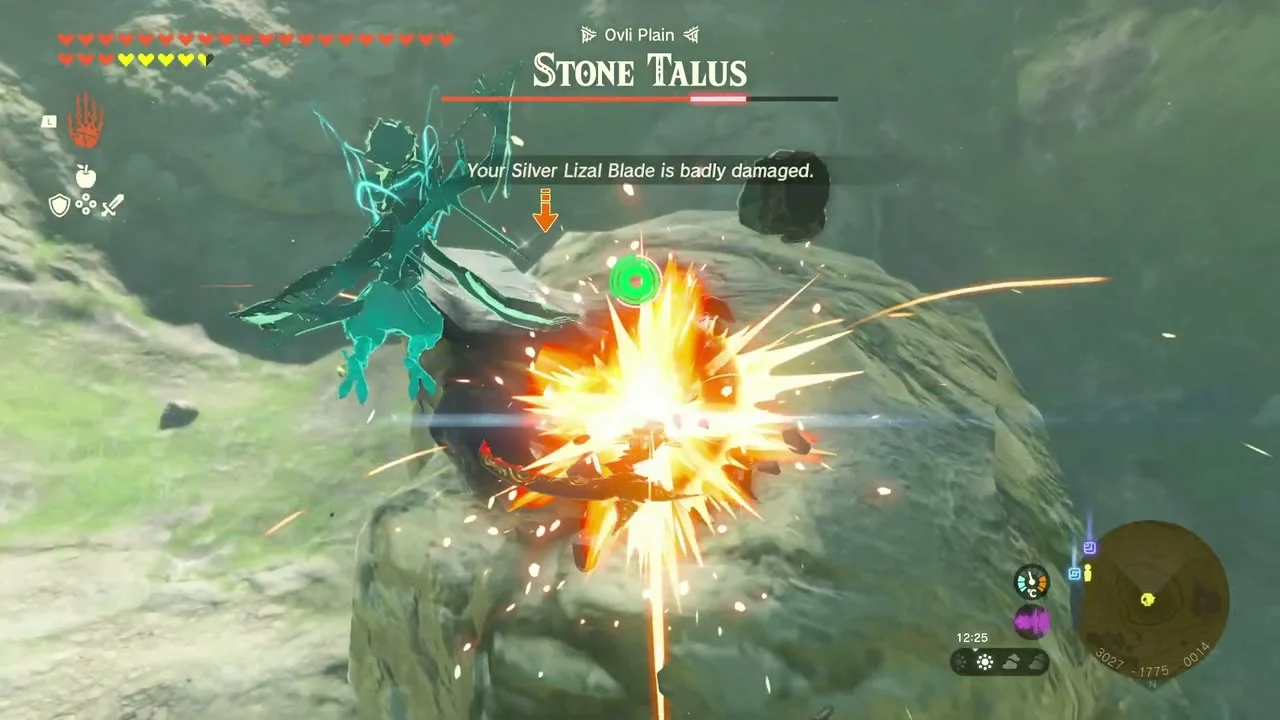
Miniboss: Stone Talus at (3016, -1764, 7), on Ovli Plain. Hit the glowing rock on its back with the Zonai or a bomb, then knock off the weak point; it drops Luminous Stone.

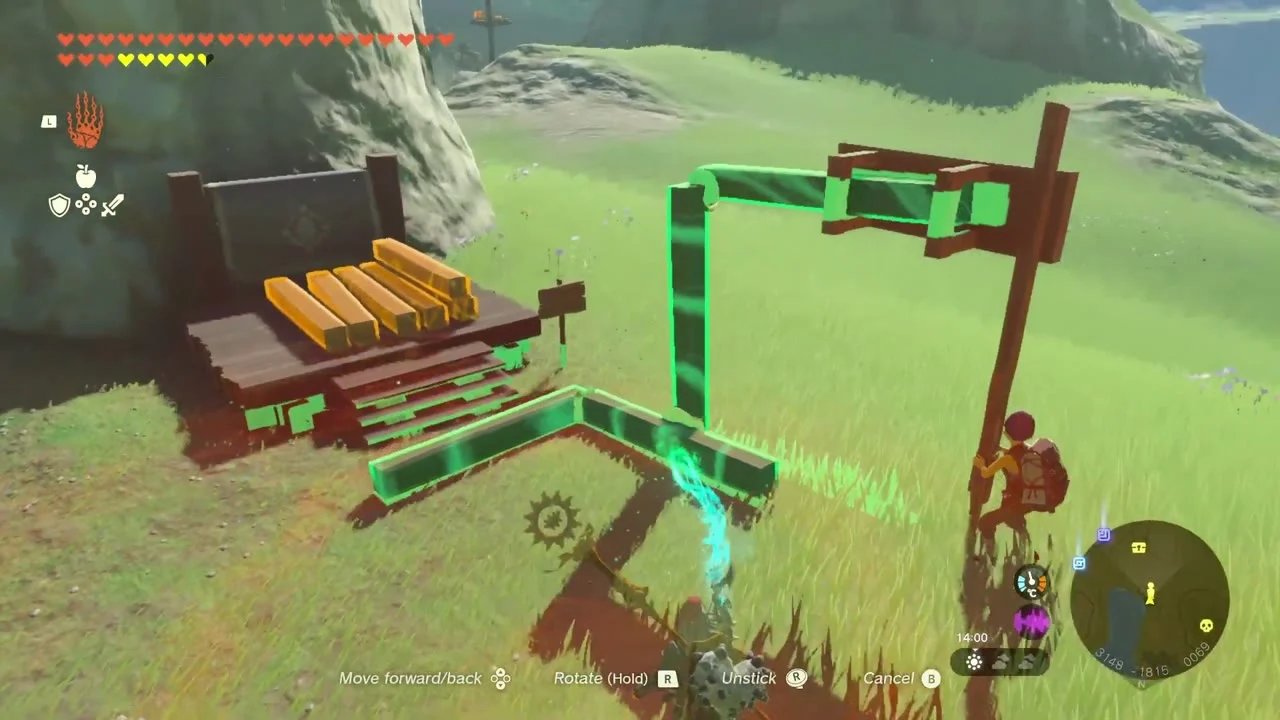
Fix Addison’s sign by the lake
Addison’s Hudson Construction sign at (3145, -1819, 70), beside a lakeside shack. Attach planks to prop up the sign and talk to Addison.

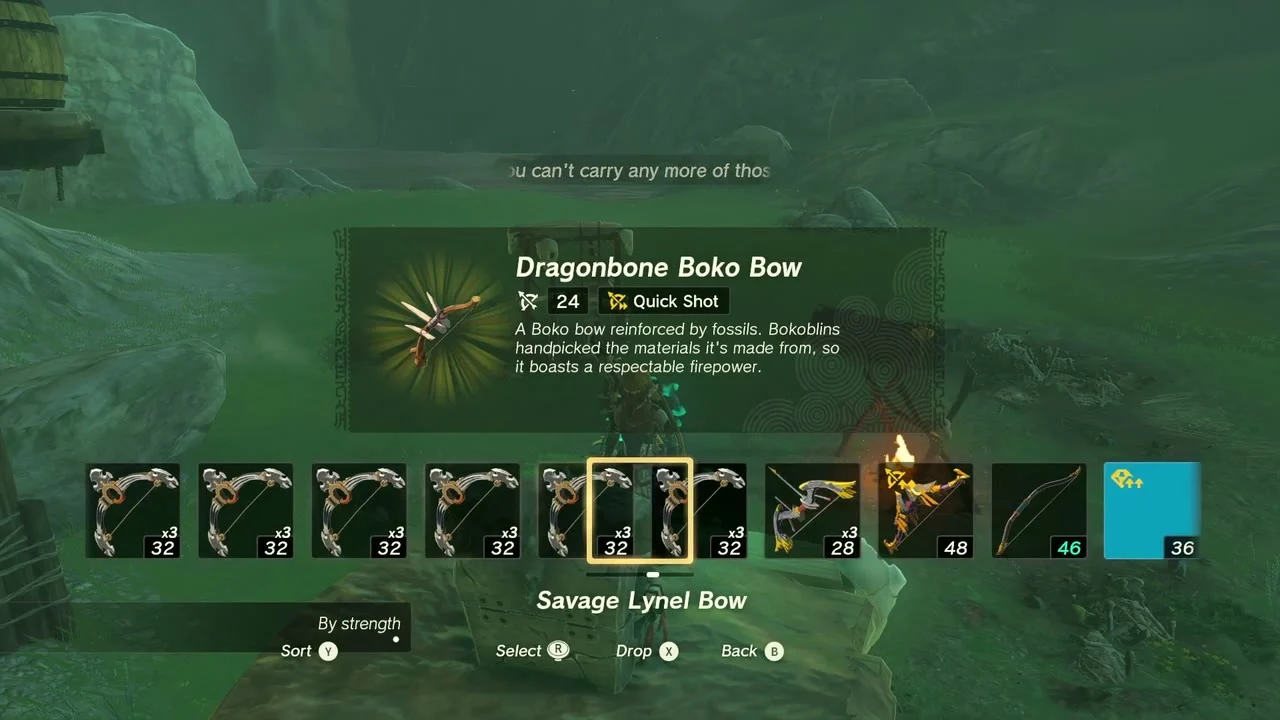
Open the Dragonbone Boko Bow chest
Chest: Dragonbone Boko Bow at (3194, -1916, 68), on Ovli Plain near a wooden dock. Defeat the Bokoblins and open the chest for the Dragonbone Boko Bow.

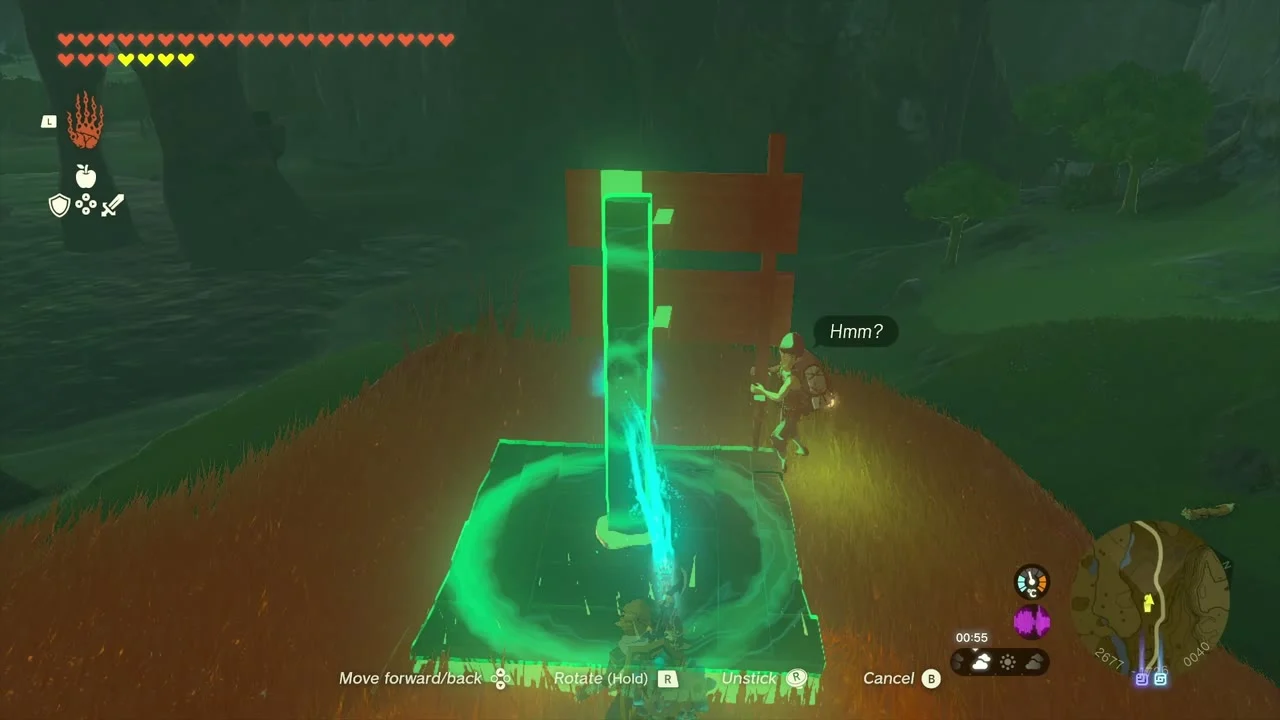
Fix Addison’s sign on the Cliffs of Quince road
Addison’s Hudson Construction sign at (2674, -1722, 41), at the Cliffs of Quince. Attach the plank to the sign post and talk to Addison.
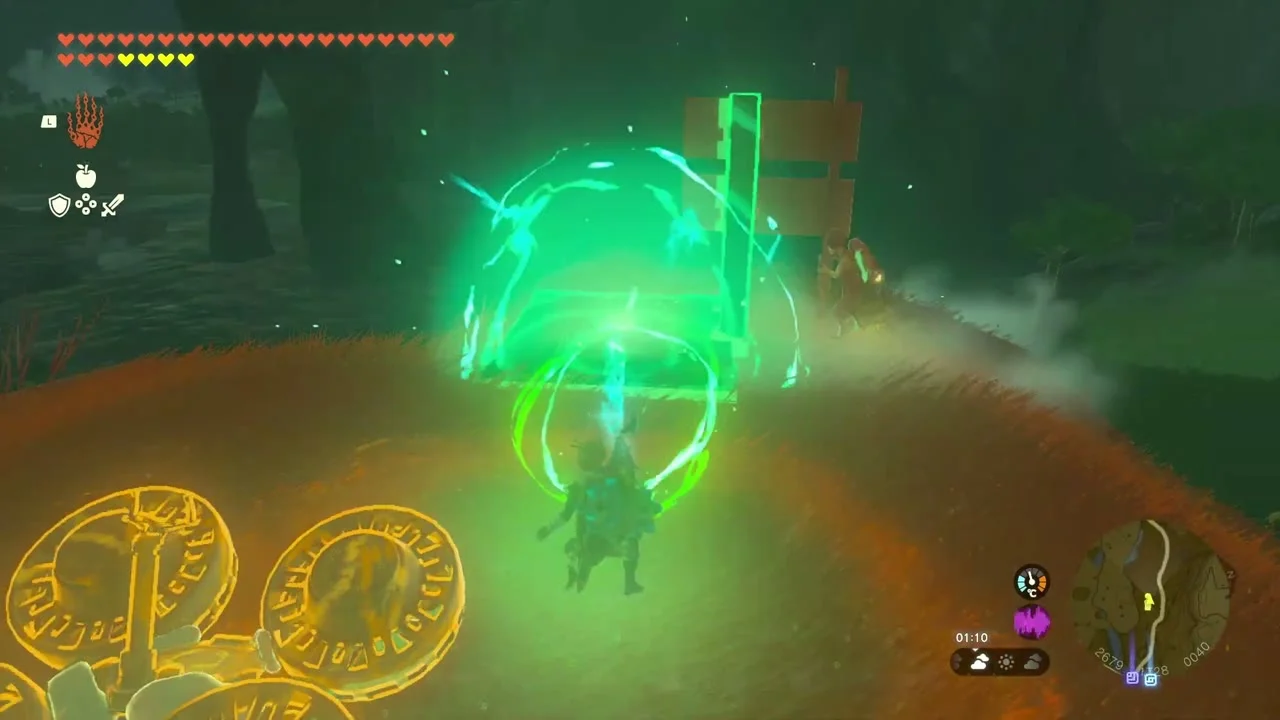
Dive into the lily pond for a Korok seed
Korok seed (Dive into the ring) at (2804, -1851, 13), in a hidden pond. Drop into the pond and swim through the ring of lily pads to claim the seed.
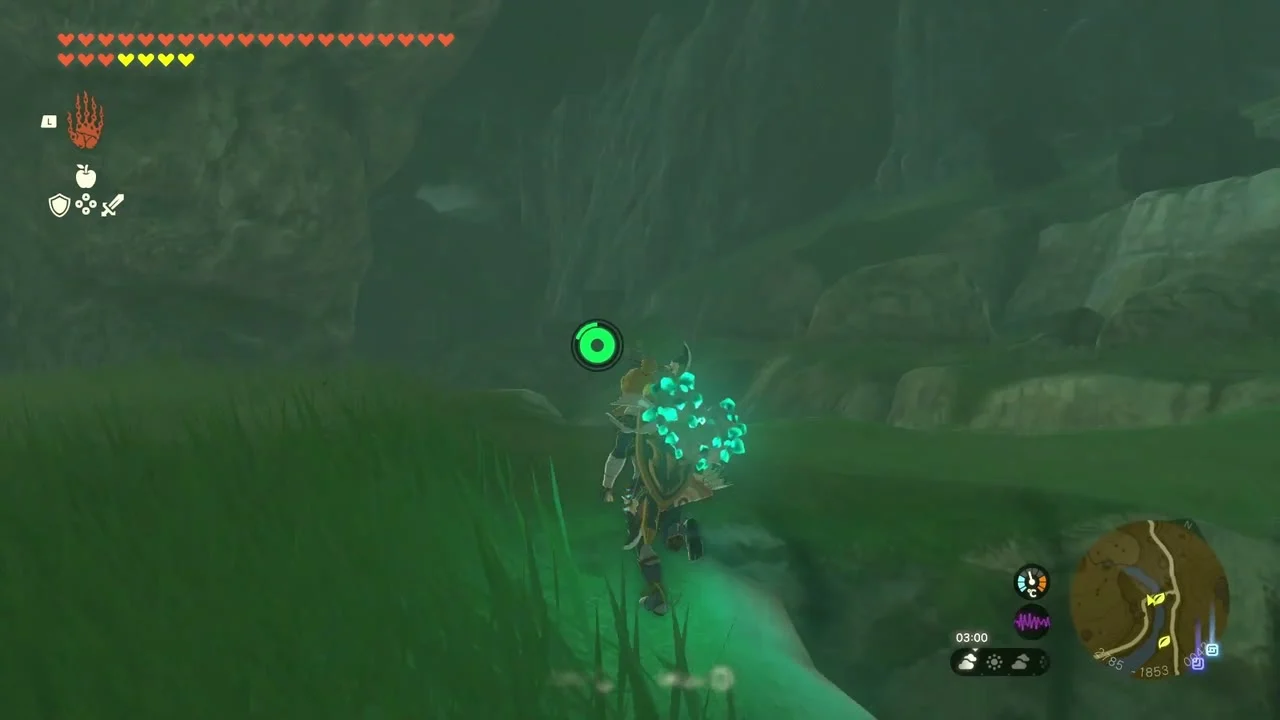

Carry the exhausted Korok to Hateno Village
Korok seed (Bring the exhausted Korok to its friend): the Korok rests at (2856, -1909, 40). Put it on a cart with fans and carry it east to its friend beside the tent at (3251, -2114, 99), in Hateno Village.
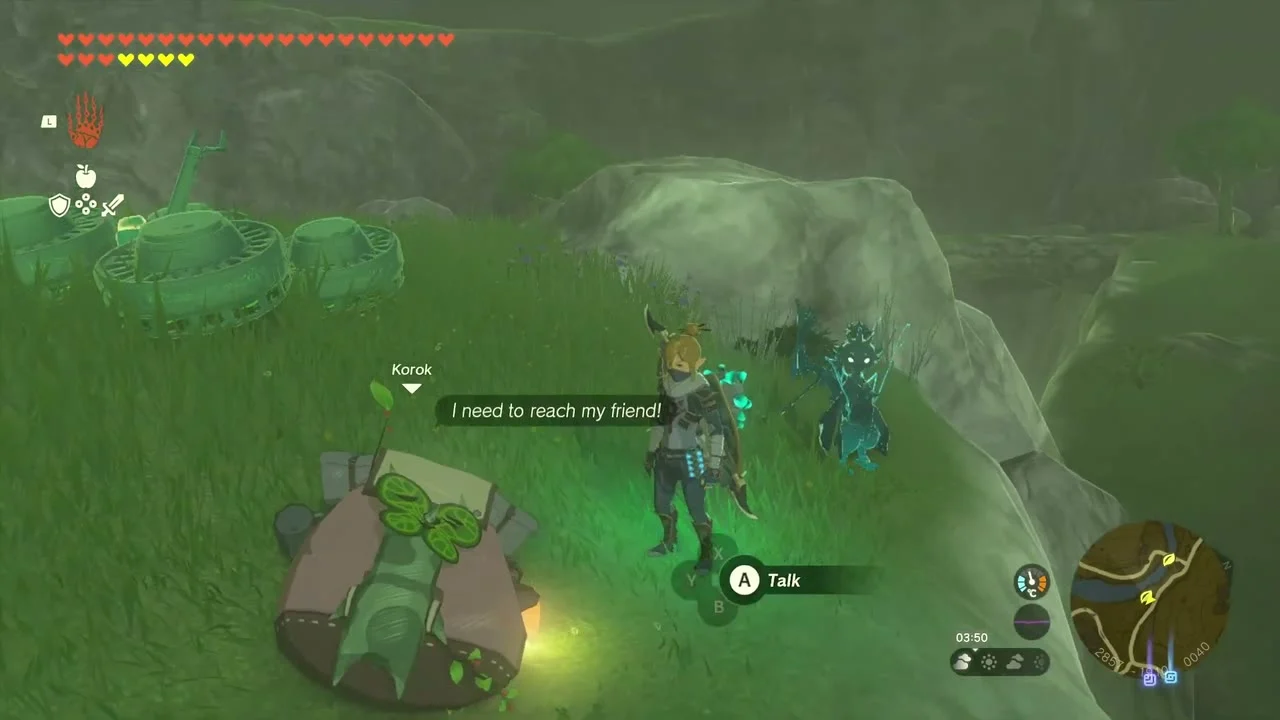

Use the paraglider to reach the goal
Korok seed (Use the paraglider to reach the goal) at (2975, -2025, 19), on a boulder above the road. Glide from the stump on the white boulder to the target stump and take the seed.

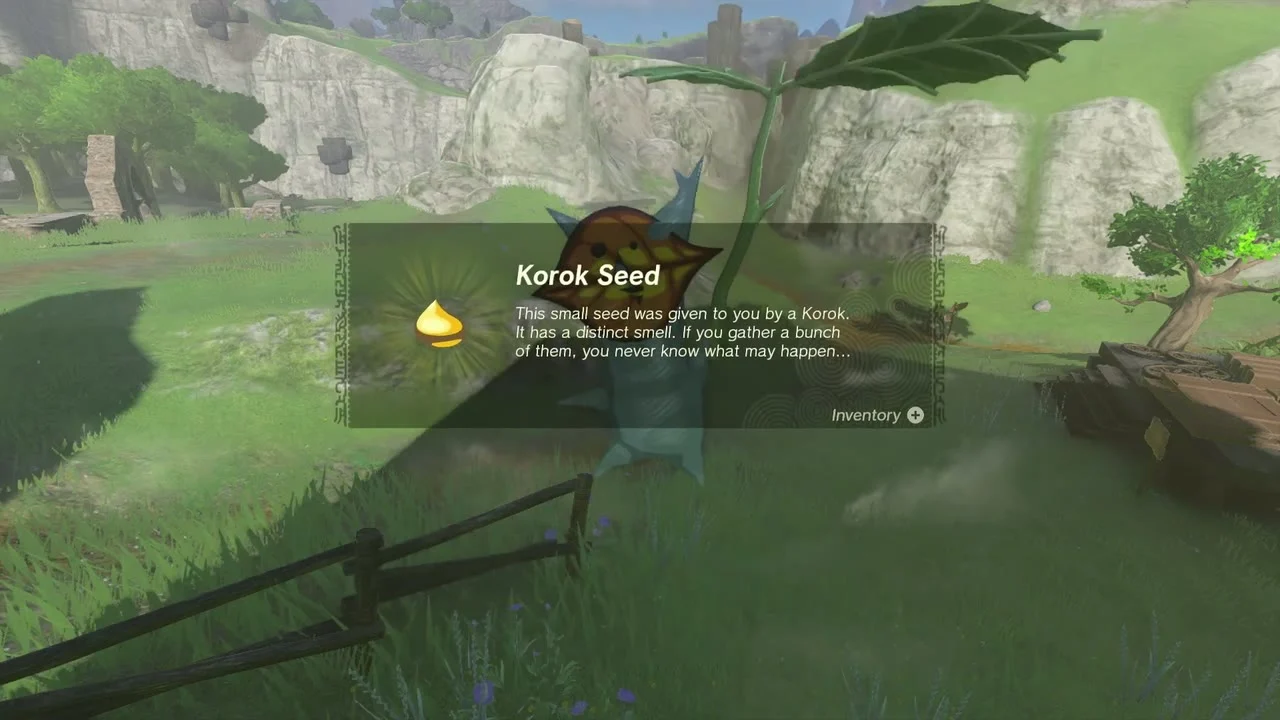
Defeat Phantom Ganon near the road
Miniboss: Phantom Ganon at about (2908, -2049, 25). Burn the grass with a Fire Fruit or Bomb Flower to reveal it, then strike it when it stops.
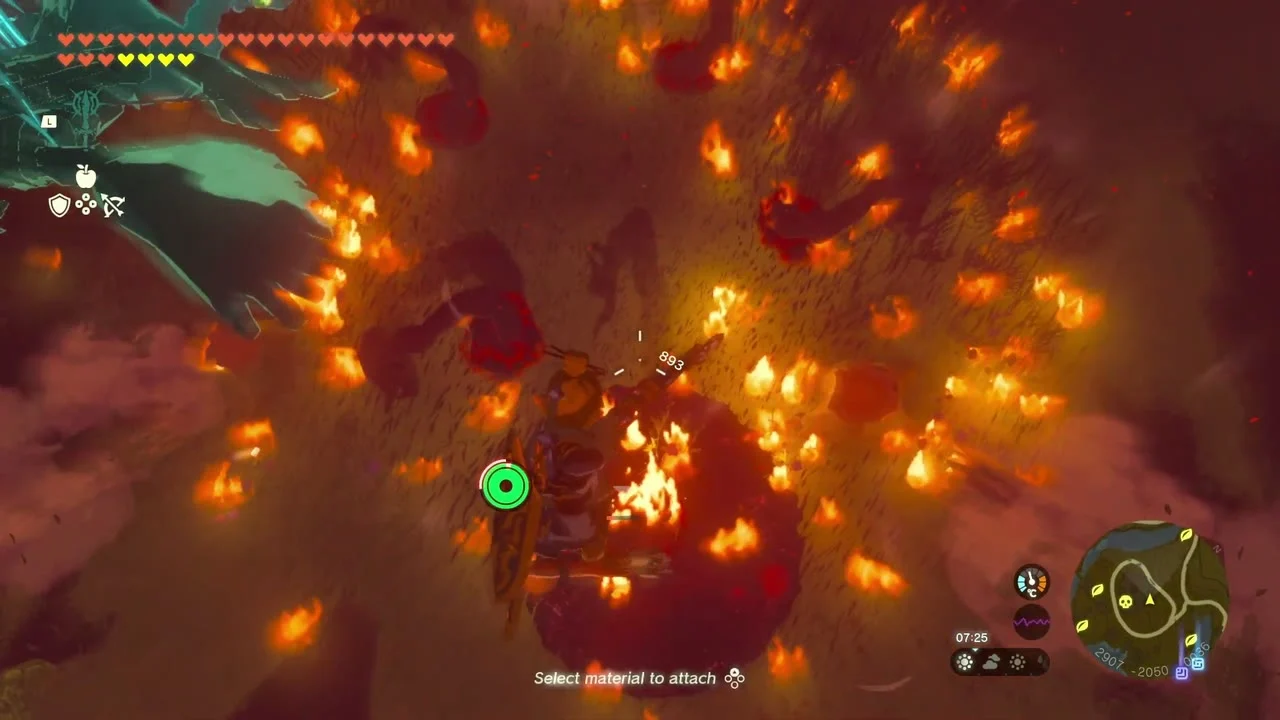

Catch the sparkling spot near the tree
Korok seed (Go up to examine the sparking spot) at (2837, -2120, 22), by a large tree. Follow the leaf marker up the trunk to the sparkling spot.

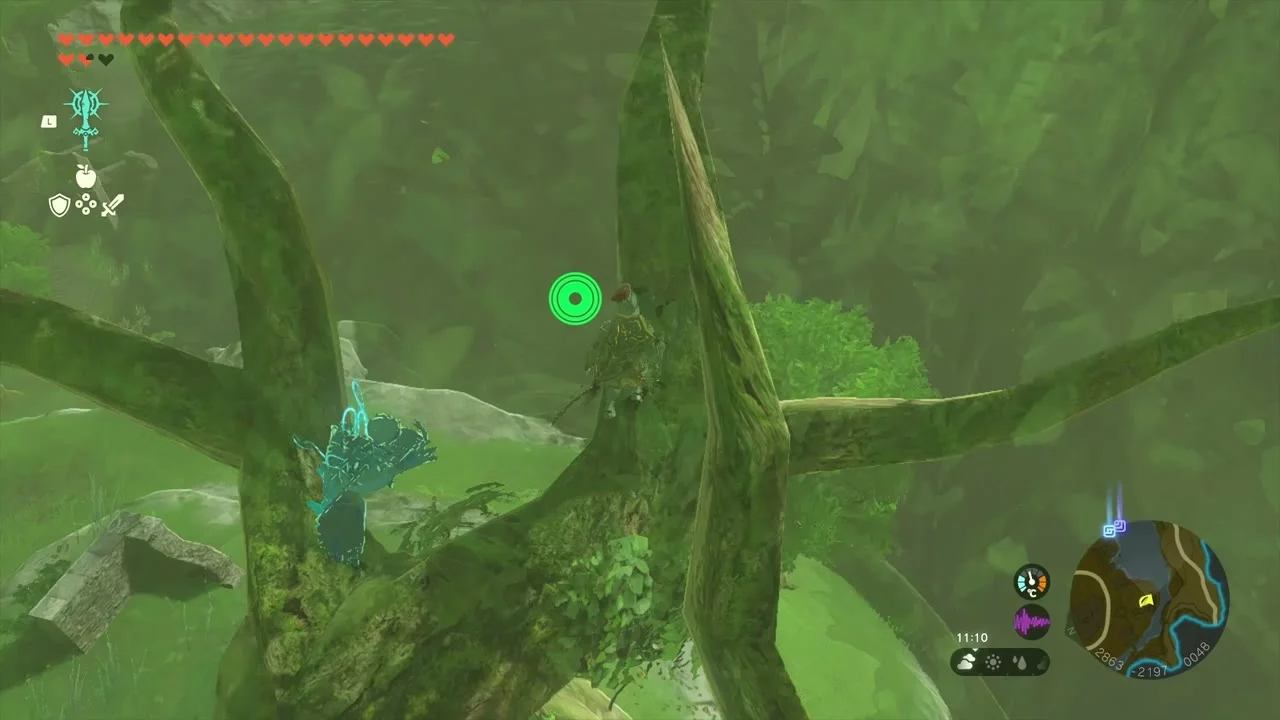
Repair the Hudson sign in Midla Woods
Addison’s Hudson Construction sign at (3142, -2138, 63), in Midla Woods. Stand a Stake against the sign post with Ultrahand and talk to Addison.

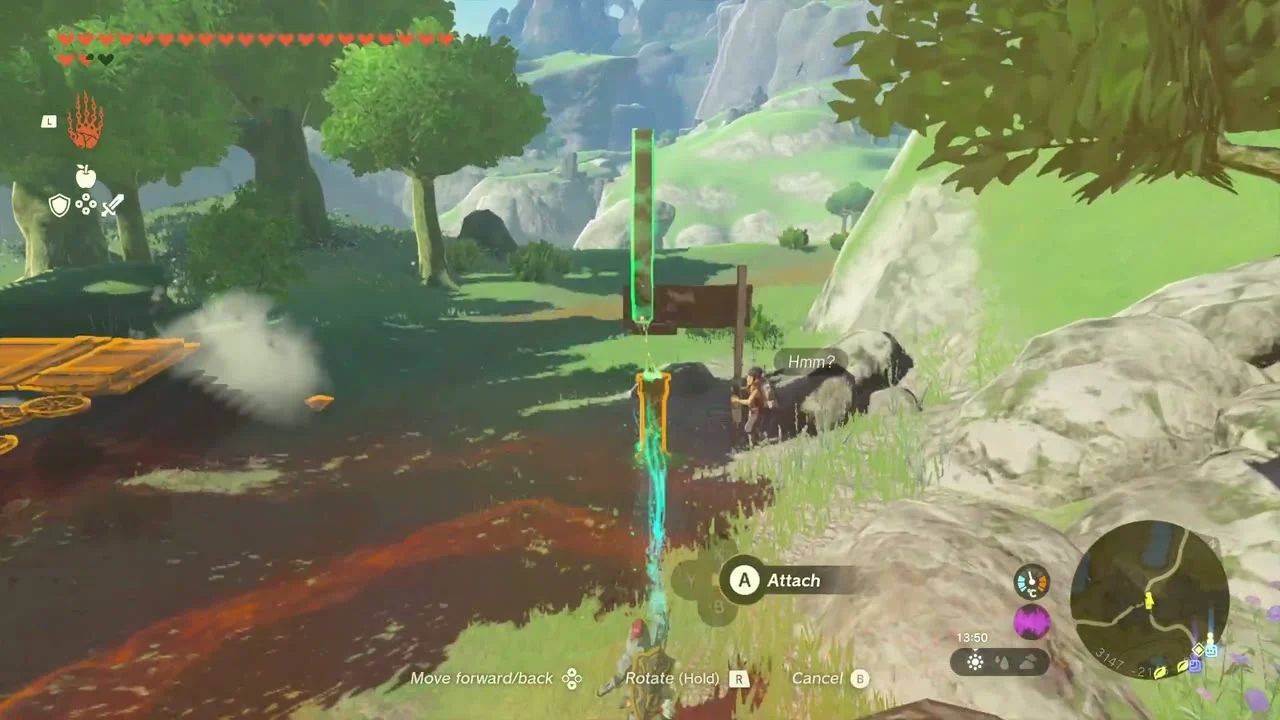
Visit Zelda’s Secret Well
Zelda’s Secret Well at about (3301, -2300), east of Hateno Village in East Necluda. Climb down the ladder into the well to the small workshop with Zelda’s diary and open the chest for the Well-Worn Hair Band, which ties your hair back like in Breath of the Wild (it has no defence; Cece’s shop sells it again later).


Also in this area
These datamined Koroks fall inside this chapter’s box (X 2600 to 4900, Y -1950 to -700) but were not collected here: Bring the exhausted Korok to its friend (2613, -1868, 19 and 3304, -773, 10), Follow the flower (2704, -1164, 97), Lift the rock (2833, -1118, 102 and 2809, -2247, 125), Complete the rock pattern (4335, -1870, 212), Go up to examine the sparking spot (3528, -1683, 361, 3741, -1685, 386 and 3895, -1683, 386), Catch the sparkling spot (3715, -1949, 176 and 4523, -1004, 7), Place the boulder on the tree stand (4395, -1458, 70), Follow the flower (4506, -1521, 1) and Dive into the ring (4188, -811, 4 is collected on Valor Island; none left).
Tips for this stretch
Bring Cold Resistance (level two for the Light Rings), a paraglider and a spare shield for the ring course, Fire Fruit for the ice and for the Frost Talus, and free weapon and shield slots because many chests here hold gear. Cotera’s fountain is the closest Great Fairy for armor upgrades.
Mount Lanayru checklist
| Collectible | Count | Where |
|---|---|---|
| Shrines | 3 | Zakusu (surface), Mayanas and Sihajog (sky) |
| Skyview Towers | 1 | Mount Lanayru |
| Korok seeds | 17 | 3 sky, 14 surface |
| Addison signs | 4 | Spring of Wisdom slope, Ovli Plain lake, Cliffs of Quince, Midla Woods |
| Armor | 2 | Cap of the Wind, Glide Mask |
| Minibosses | 4 | Phantom Ganon (surface and Depths), Frost Talus, Stone Talus |
| Great Fairies | 1 | Cotera |
| Goddess Statues | 1 | Spring of Wisdom |
Part 2: Jikais and Anedamimik shrines, Walnot Mountain, Deepback Bay and Mapla Point caves
| Region | East Necluda coast and the lower slopes of Mount Lanayru (Surface): Hateno Bay, Walnot Mountain, Deepback Bay, Mapla Point and Ebon Mountain West |
|---|---|
| Shrines | Jikais Shrine (Jailbreak, Puzzle, 4266, -1673, Walnot Mountain Cave) and Anedamimik Shrine (A Retraced Path, Puzzle, 4232, -2178, Deepback Bay Cave) |
| Lightroots | Siakij Lightroot under Jikais Shrine and Kimimadena Lightroot under Anedamimik Shrine. See all Lightroots. |
| Caves | Walnot Mountain Cave (Bubbul Gem, Boss Bokoblin), Deepback Bay Cave (Bubbul Gem), Mapla Point Cave (Bubbul Gem, Chumin) |
| Quests finished or started | Team Cece or Team Reede?, The Mayoral Election, Photographing a Chuchu, Homegrown in Hateno, A Bottled Cry for Help, a Hudson Construction sign for Addison, an offering for Satori |
| Koroks | 14 collected on the surface |
| Chests | Amber, Rock Salt, Giant Boomerang, Royal Bow (or Traveler’s Bow, Soldier’s Bow or Knight’s Bow, depending on your progress), Knight’s Claymore (Royal Claymore (or Traveler’s Claymore, Soldier’s Claymore or Knight’s Claymore, depending on your progress) later), Barbarian Leg Wraps, Magic Staff, Arrow (x2), Blue-Maned Lynel Reaper, Shield of the Mind’s Eye, Large Zonai Charge (x2), Zonaite x3, Purple Rupee, Eightfold Longblade, Phrenic Bow |
| Minibosses | 2 Boss Bokoblins (Walnot Mountain Cave and the snowfield above it) and a Blue Hinox on Ebon Mountain West |
| Armor | Barbarian Leg Wraps (Walnot Mountain Cave), Cece Hat (The Mayoral Election) |
This chapter finishes the Hateno Village side adventures, then works the south-east coast: the sea-stack and beach Koroks east of Hateno Bay, Walnot Mountain Cave with Jikais Shrine, the Deepback Bay and Mapla Point caves, and the snowy slopes of Mount Lanayru above. Almost every collectible here is within a short glide or a Zonai-vehicle hop of the coast.
Quick route
Finish Team Cece or Team Reede? by talking to Cece, start the election with Sophie, collect the Cece Hat, take the Chuchu, Cucco and Horse fabrics from Sayge, and defend Reede’s field through the night.
Fly south-east to the beach Koroks near Hateno Bay, pick up the message bottle for A Bottled Cry for Help, then take the waterfall Korok and enter Walnot Mountain Cave to open its chests, kill the Boss Bokoblin and clear Jikais Shrine.
Climb the slopes above for the Arrow chest, the stump and flower Koroks and the Blue-Maned Lynel Reaper, then glide back down to the coast for the dandelion Korok, Deepback Bay Cave with Anedamimik Shrine and its Bubbul Gem, and the cube Korok.
Finish with Mapla Point Cave and Chumin, the plug and rock Koroks, the Hinox on Ebon Mountain West and the offering to Satori.
Hateno Village: finishing the quests
Finish Team Cece or Team Reede?
Side adventure. Giver Cece, Hateno Village. Once every voter has had a Hylian Shroom, go back into Cece’s clothing shop and talk to her; the quest ends and The Mayoral Election opens. You can hand the shrooms to Reede’s supporters in any order.
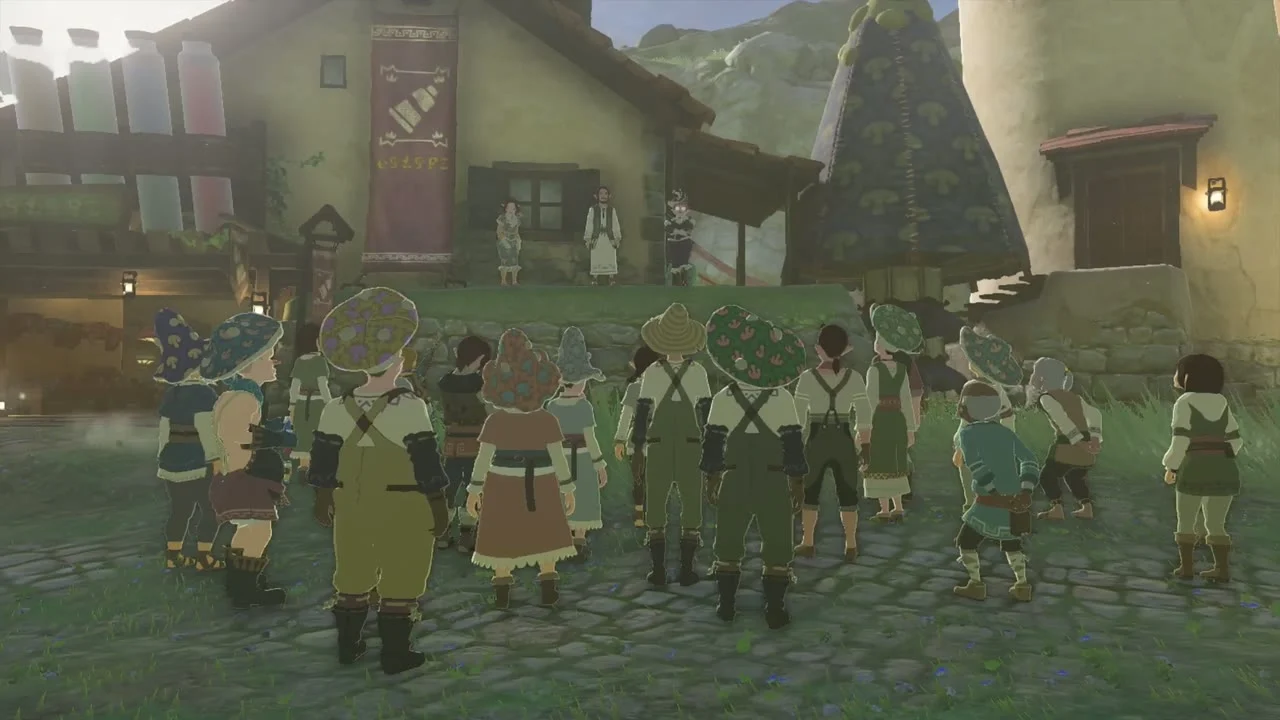
Hold The Mayoral Election
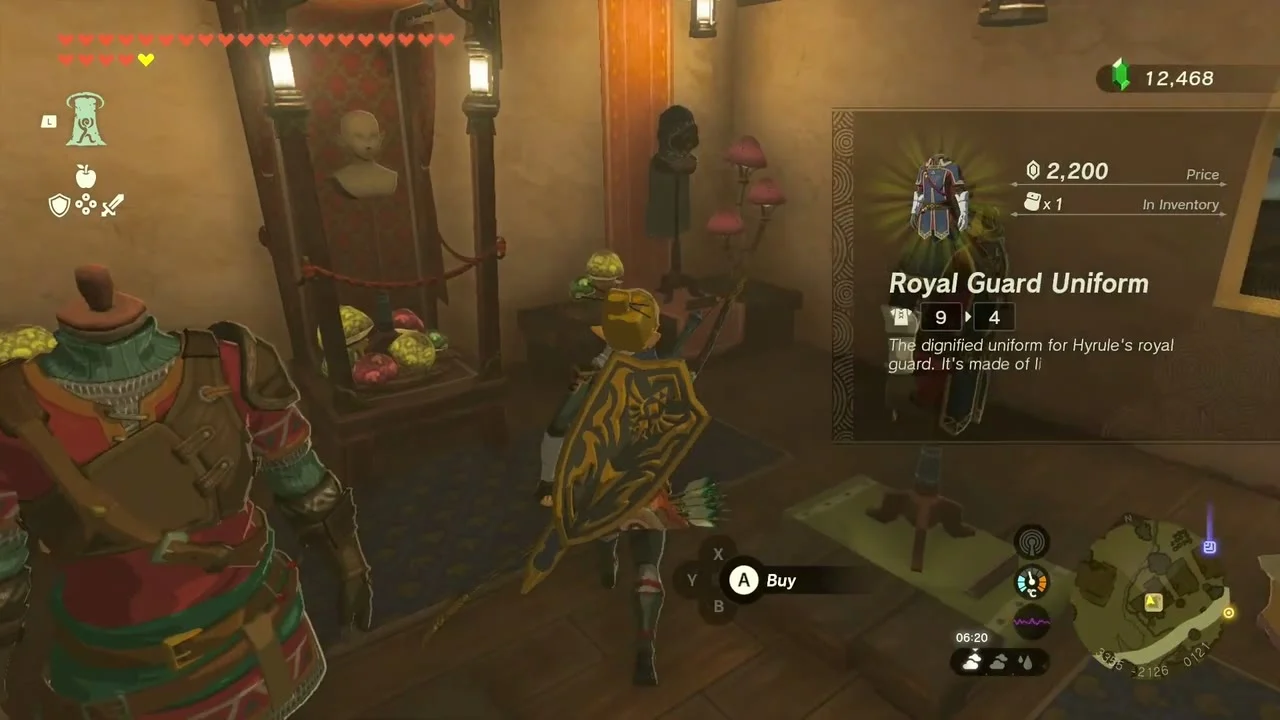
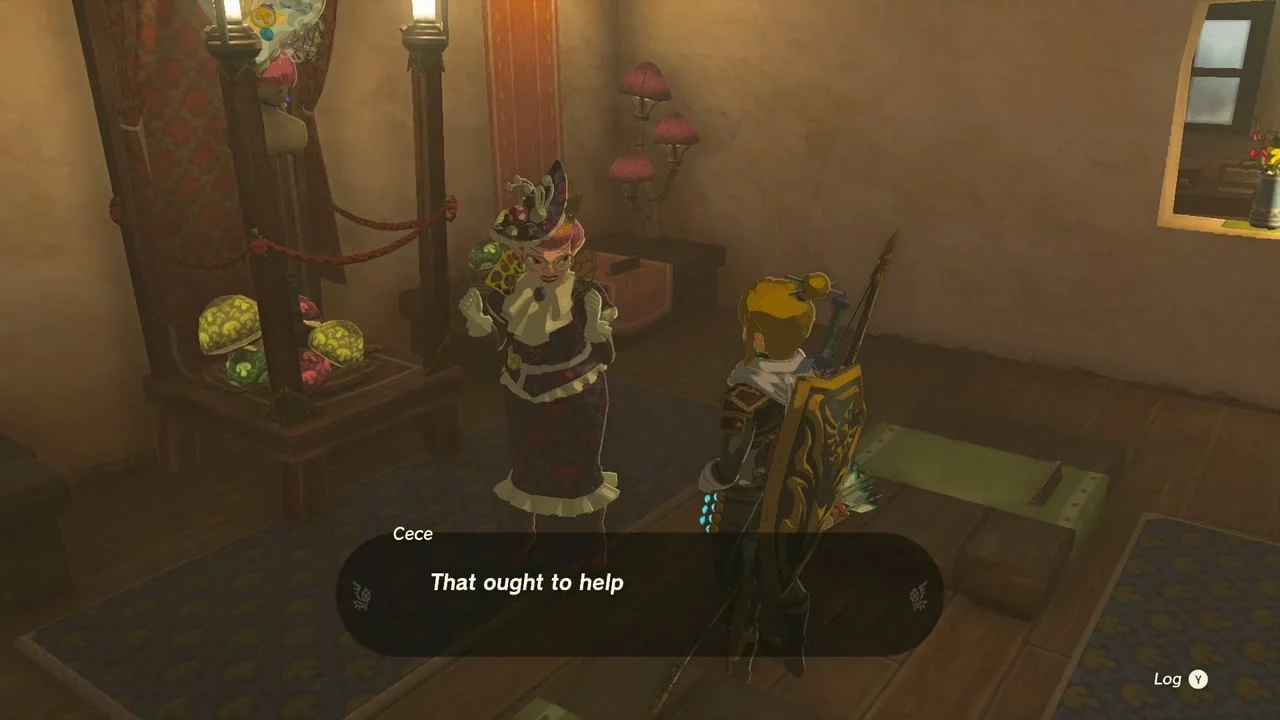
Side adventure. Starts after the candidates finish preparing, Hateno Village. Talk to Sophie in front of Ventest Clothing on a clear daytime hour to begin the vote; Reede stays mayor, then Cece invites you back to Ventest Clothing for a thank-you gift, the Cece Hat (Head armor).

Photographing a Chuchu
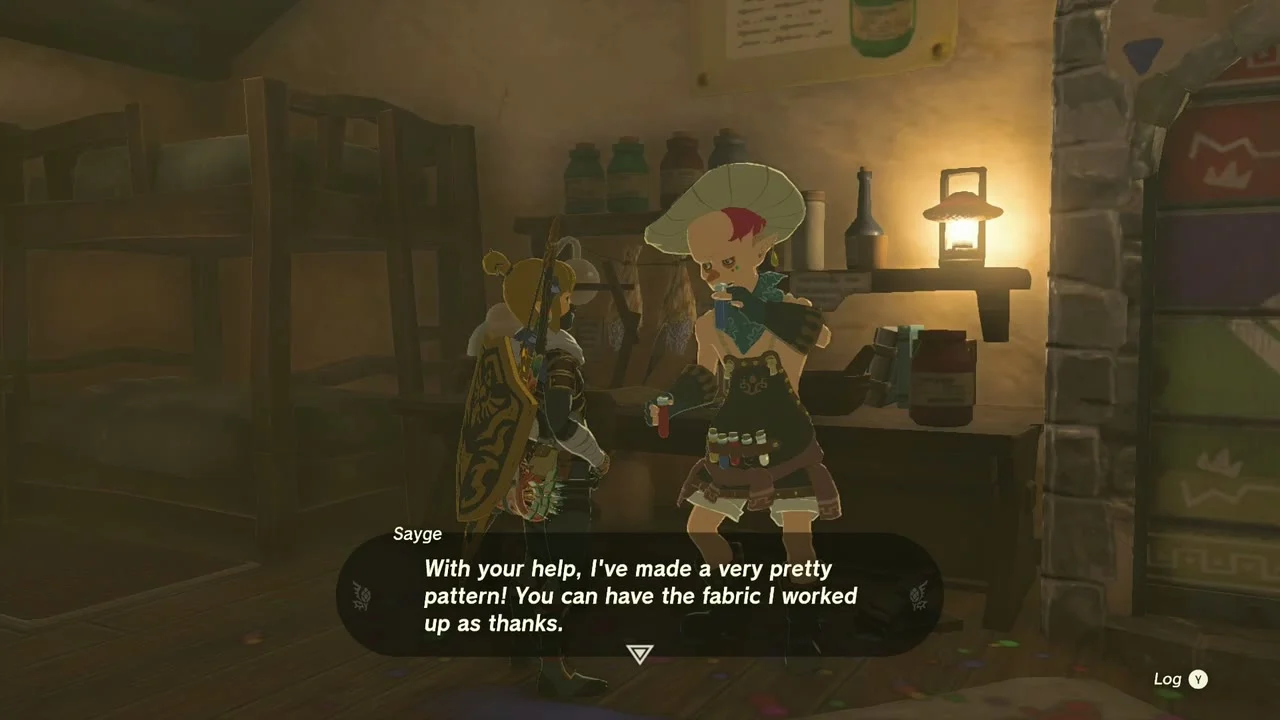
Side quest. Giver Sayge, Kochi Dye Shop (3404, -2152), Hateno Village. Photograph a blue Chuchu with the Purah Pad camera and show the Compendium picture to Sayge for the Chuchu Fabric. Sayge also trades the Cucco Fabric and Horse Fabric for Compendium photos of a Cucco and a horse.

Defend Homegrown in Hateno
Side quest. Giver Reede, his field north of the village, Hateno Village. After Reede plants the vegetables, return at night and keep monsters off the field until sunrise; bring a bow and stunning materials such as Dazzlefruit. You need to have finished The Mayoral Election first, and Reede stands among the crops just left of the village entrance; if he is hit too many times the quest fails, and sunrise comes at 5 am. Reward: Sun Pumpkin x5, and Sun Pumpkins go on sale in the village.


Hateno Bay beach and the sea stacks
Carry the sleeping Korok friend
Korok seed x2 around (3880, -2160) and (3896, -2440) (the data lists the pair near (3898, -2505)), on the grass hillside south of the village. A Korok sits beside a small Zonai fan rig: carry it with Ultrahand to its friend on the coast, and both give a seed.


Find the message bottle on Hateno Bay
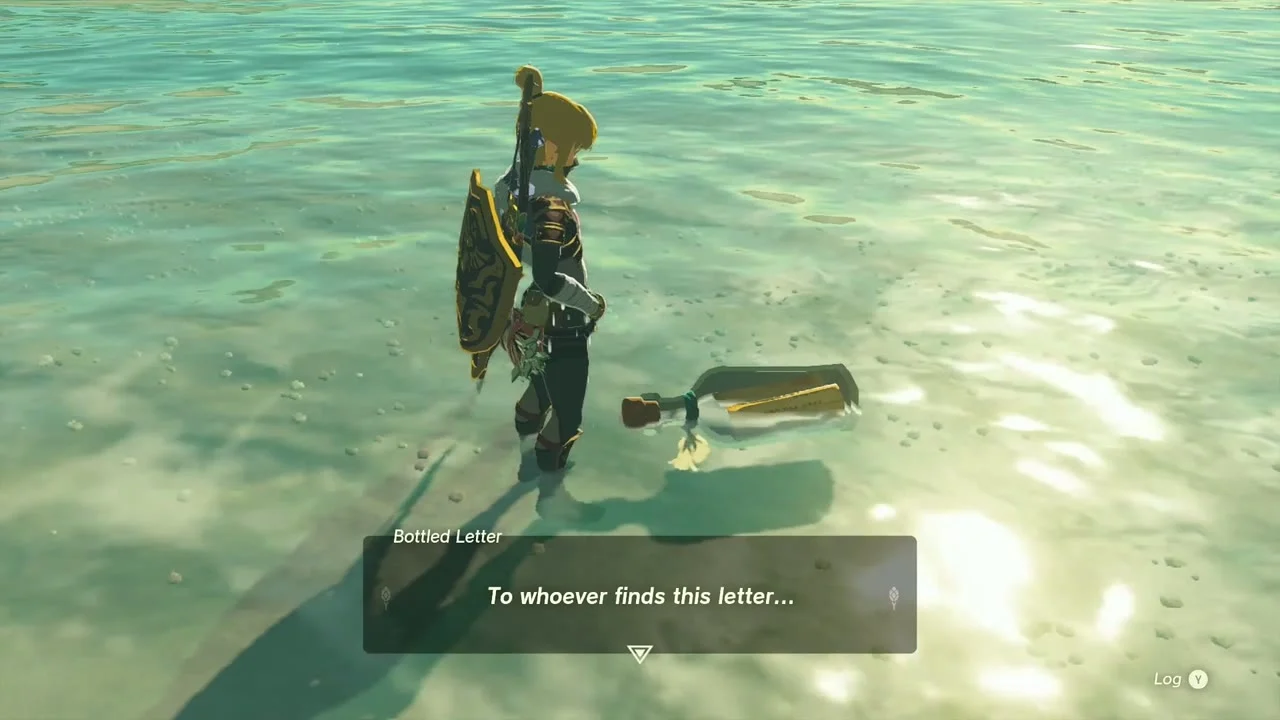
A Bottled Cry for Help (side quest). Giver Bottled Letter, Hateno Bay at about (3936, -2509). Pick up the bottle floating in the shallows at the beach and read it: the writer is trapped in a cave, and a trail of floating Brightbloom Seeds and flowers on the sea leads there. Build a boat from the planks, fan and control stick lying nearby, follow the trail east to Mapla Point and use the Mapla Point Cave section below.
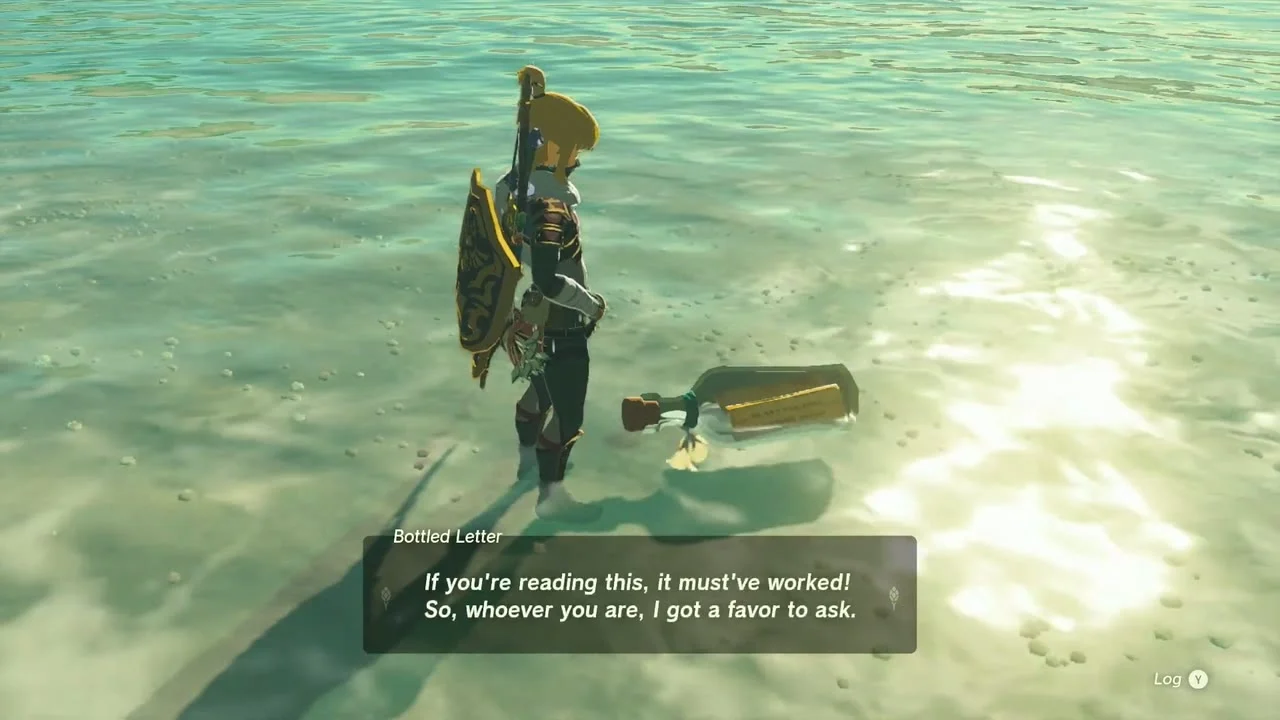
Lift the rock at the waterfall pool
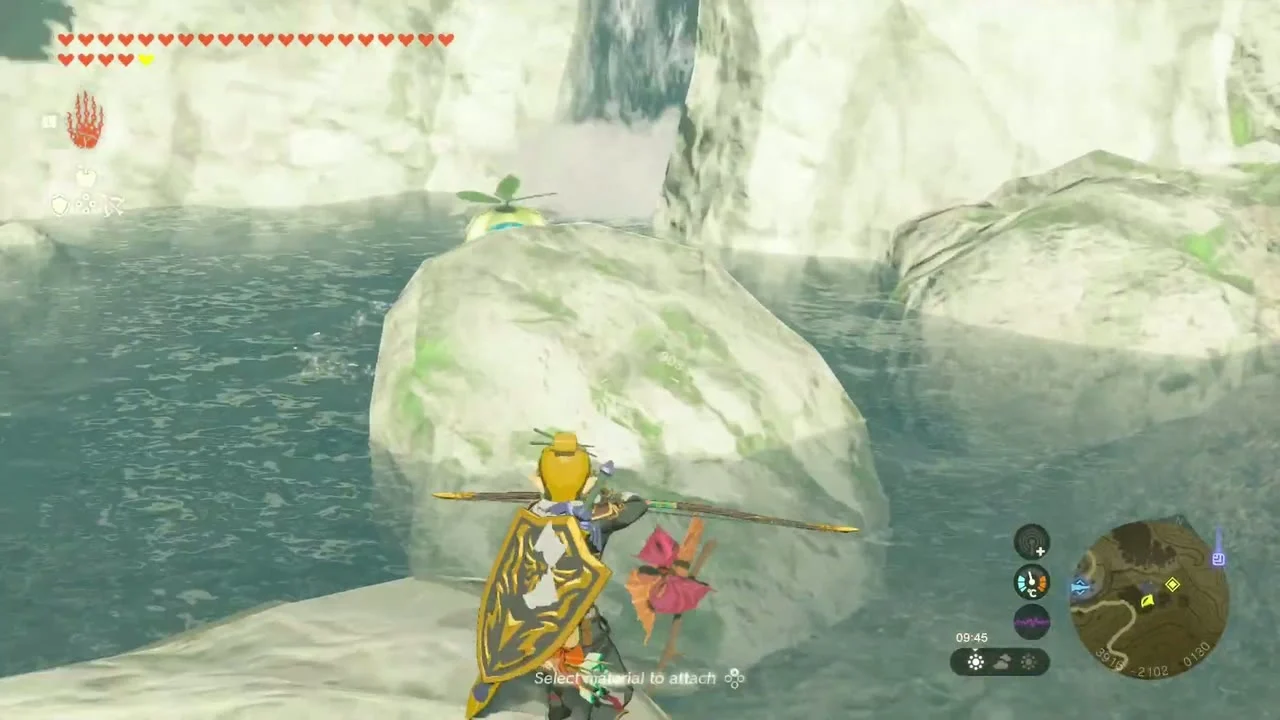
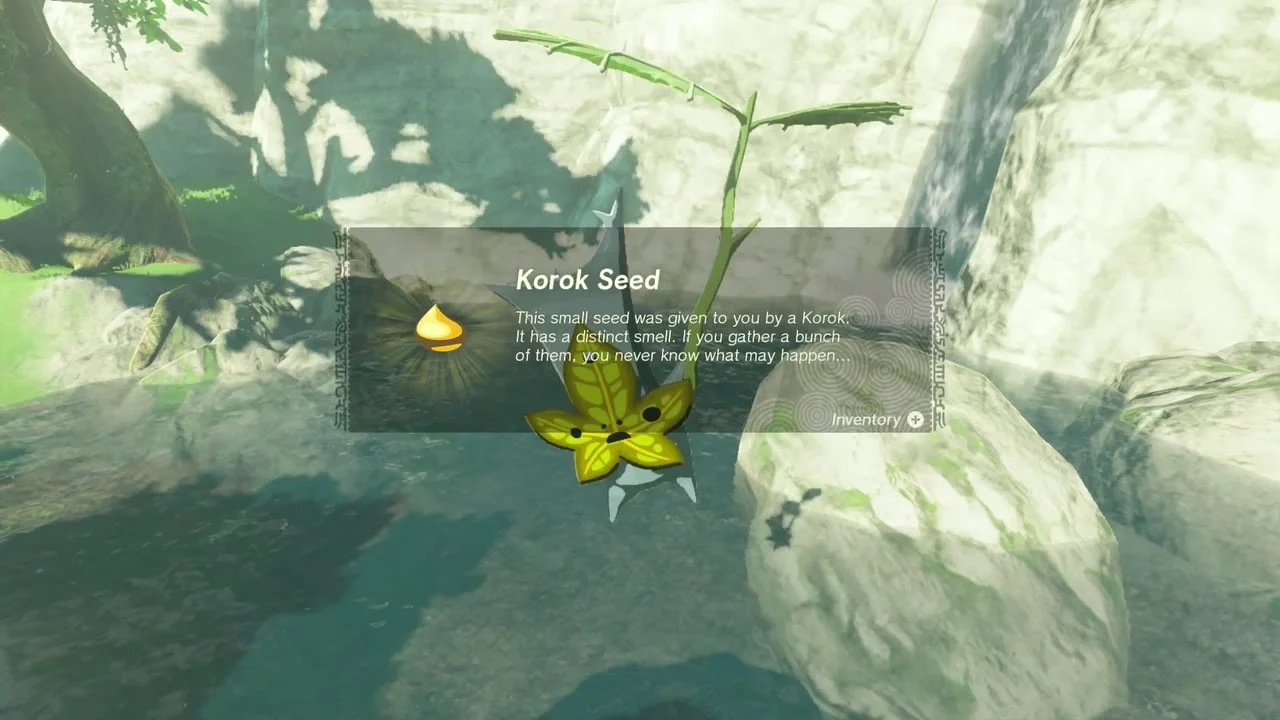
Korok seed at about (3916, -2103), in a rock pool beneath a small waterfall. Climb onto the big white boulder at the pool’s edge; the Korok on top gives its seed.
Walnot Mountain Cave
Enter Walnot Mountain Cave
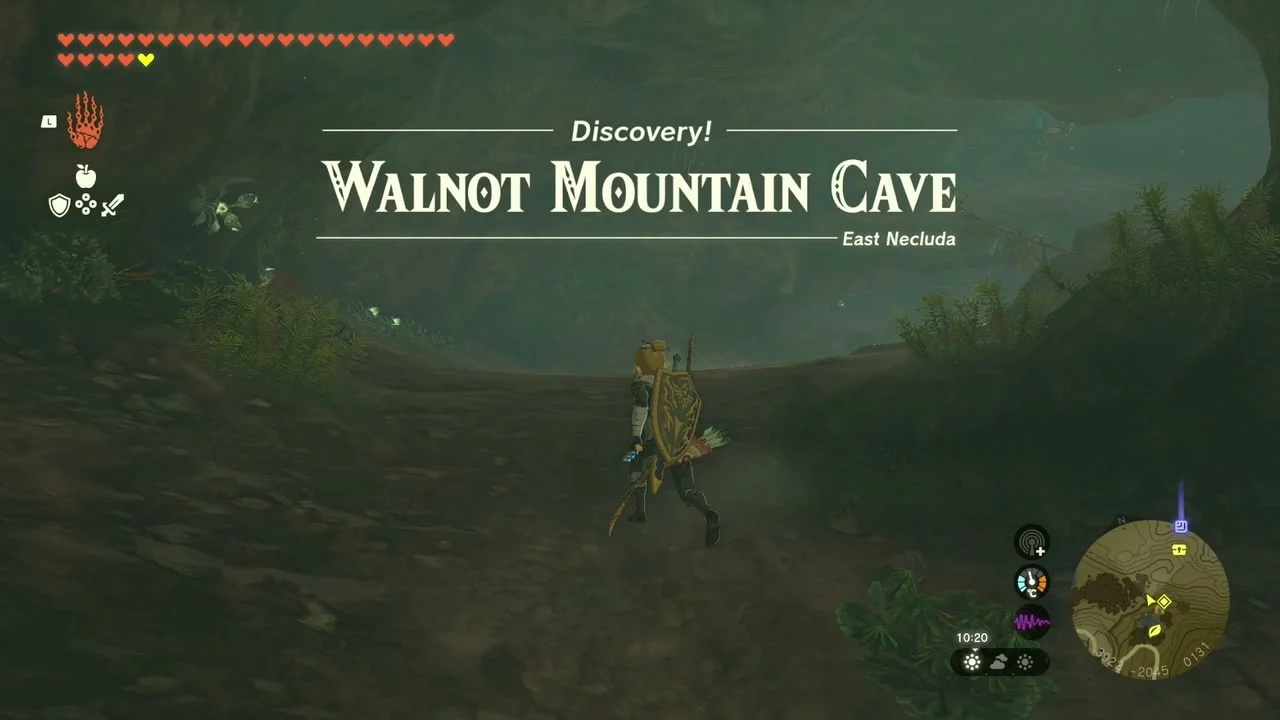
Walnot Mountain Cave at (3922, -2045), East Necluda. The cave entrance is a hole in the hillside on the lower slope of Walnot Mountain; drop in and bring Brightbloom Seeds, because the passage is dark and the floor is steep and slippery.
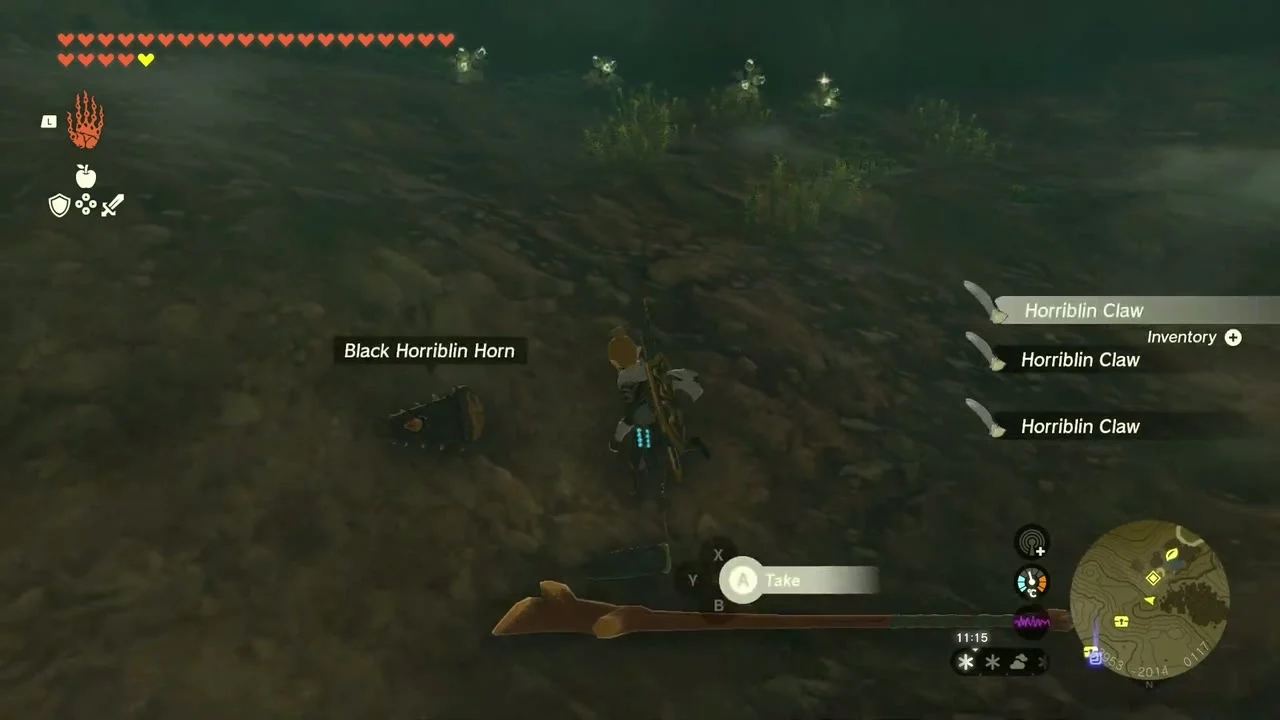
Open the Amber chest
Chest: Amber at about (3987, -1990), a short way past the entrance chamber. The chest holds Amber; mine the Amber deposits on the walls as you go, since there are many.

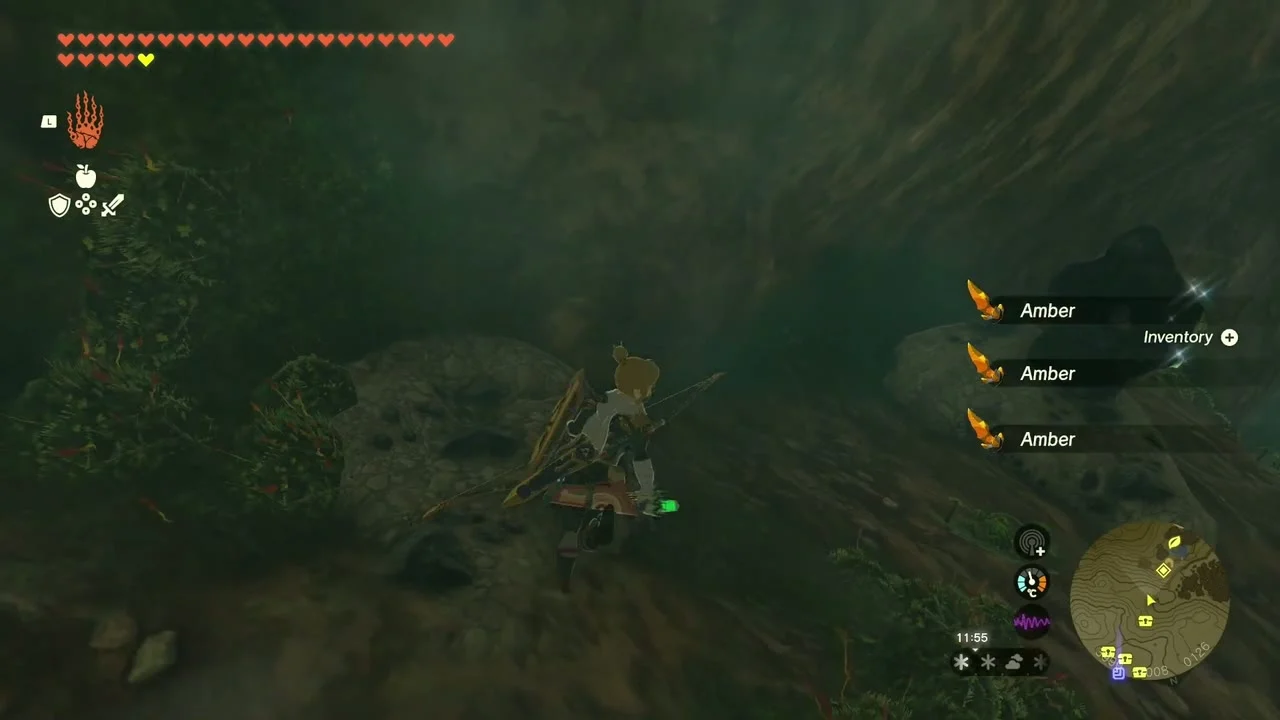
Take the Bubbul Gem
Bubbul Gem at about (4116, -1903), on the steep stone slope in the middle of the cave. Ice Chuchu patrol the lower level around the halfway point. A glowing Bubbulfrog sits against the wall of the slope; knock it down with an arrow or a thrown item and pick up the gem it leaves behind, which you can trade for the Mystic armor set.
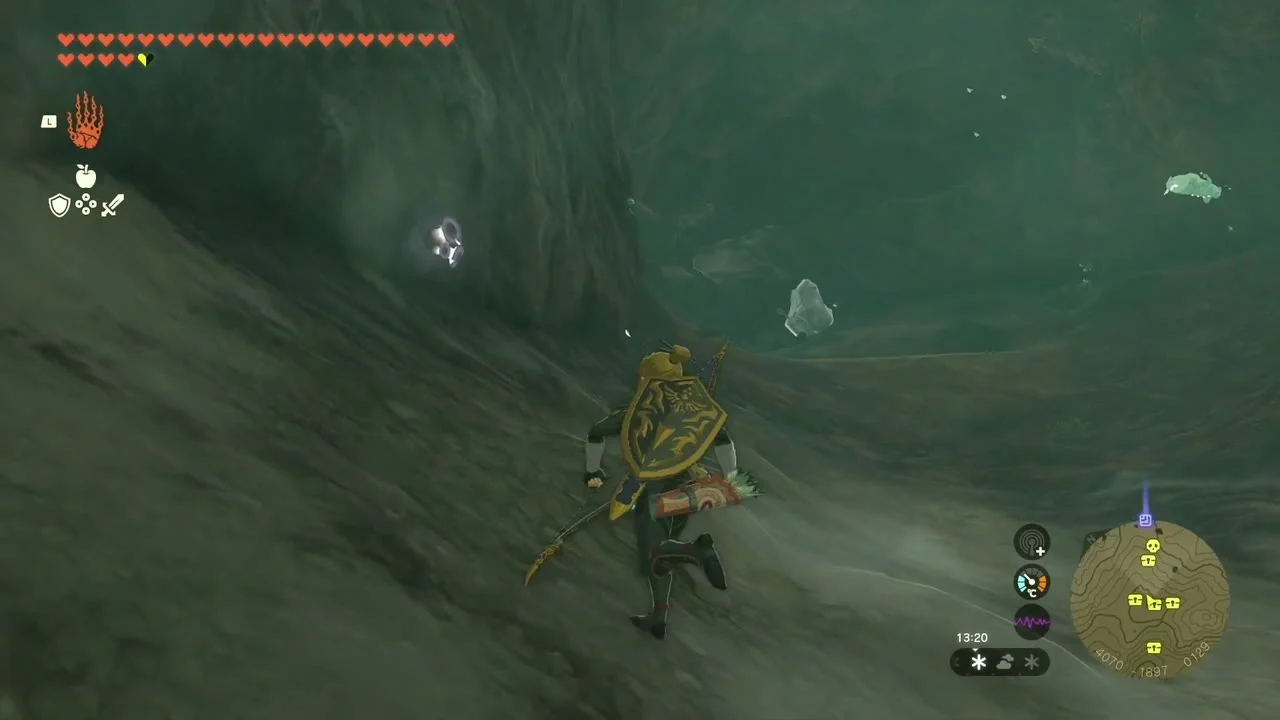
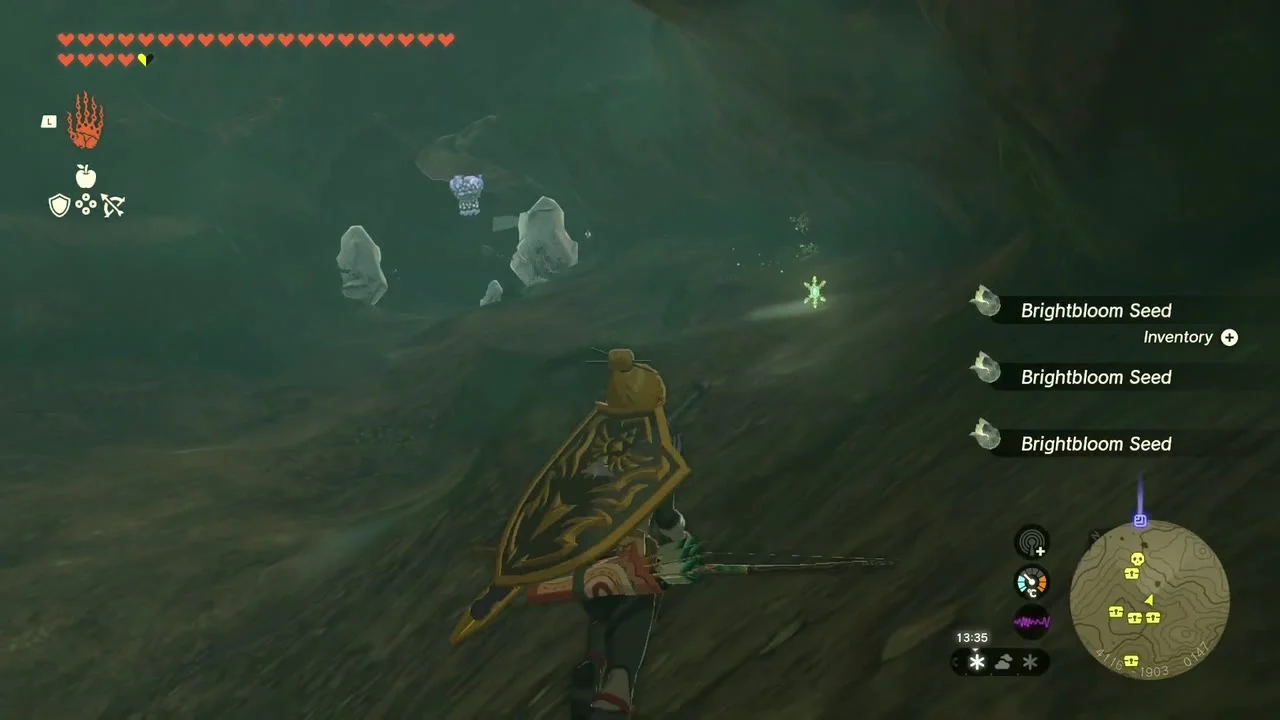
Open the Rock Salt and Giant Boomerang chests
Chests: Rock Salt and Giant Boomerang at about (4157, -1821), in the cave’s inner chamber. Blast through the ice pillars around the nook with Bomb Flowers (or melt them with fire), then open the two chests for Rock Salt and a Giant Boomerang.


Defeat the Boss Bokoblin
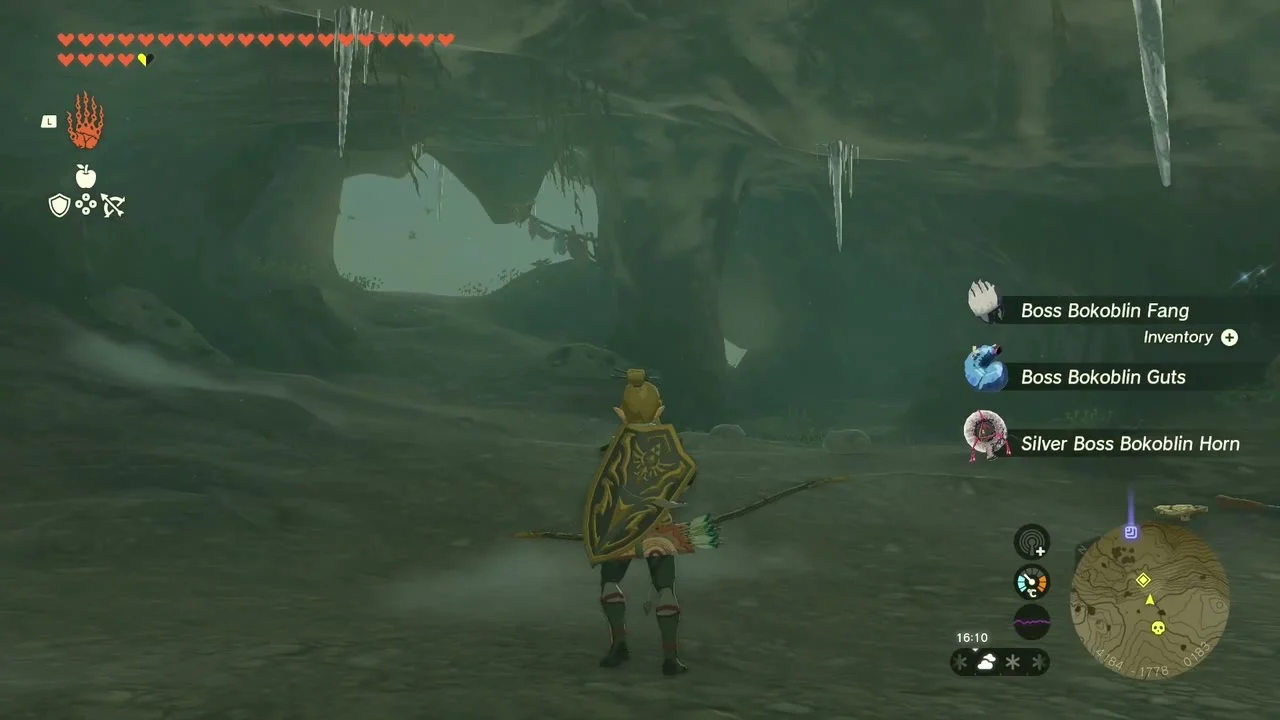
Miniboss: Boss Bokoblin at about (4194, -1788), in the cave’s big back chamber, with Bokoblin and Moblin backup. This is a black Boss Bokoblin. The cave’s north entrance, beside Jikais Shrine, is where you meet it; the south entrance is near water just east of the Hateno Ancient Tech Lab. Parry its swing or hit it from behind with a Sneakstrike; it drops Boss Bokoblin Fang and a Silver Bokoblin Horn.

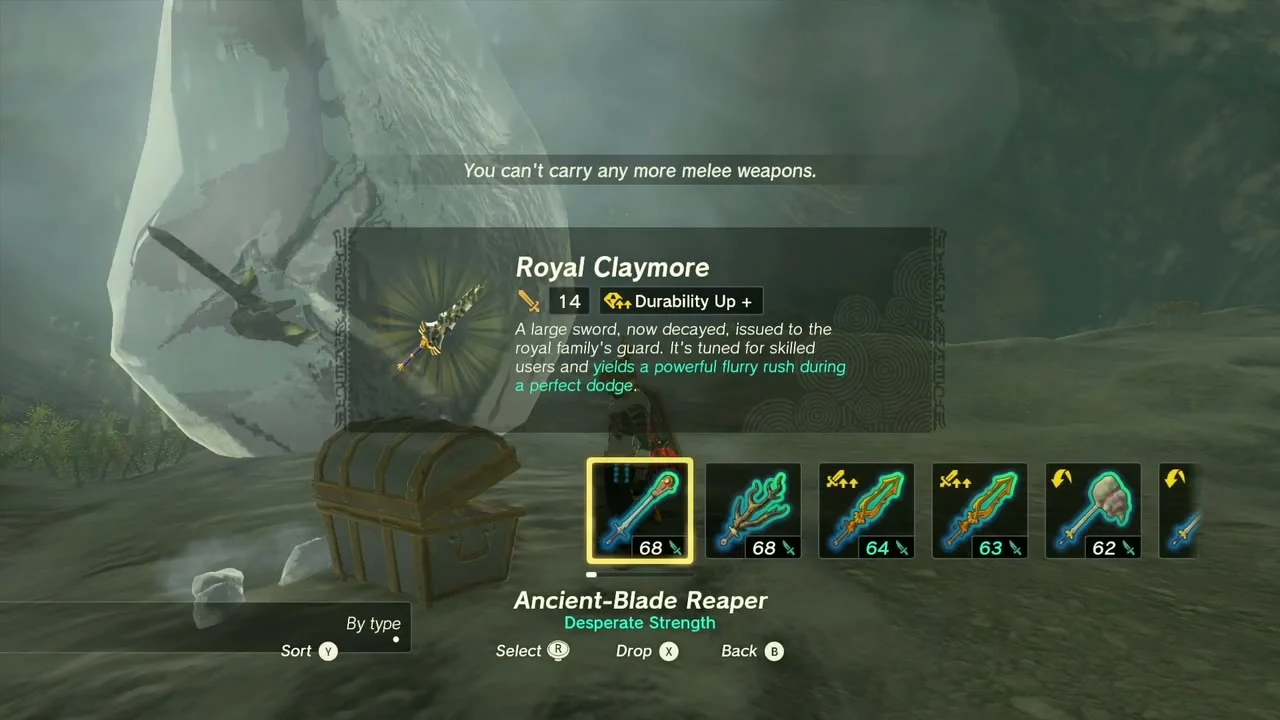
Open the Royal Bow, Royal Claymore and Barbarian Leg Wraps chests
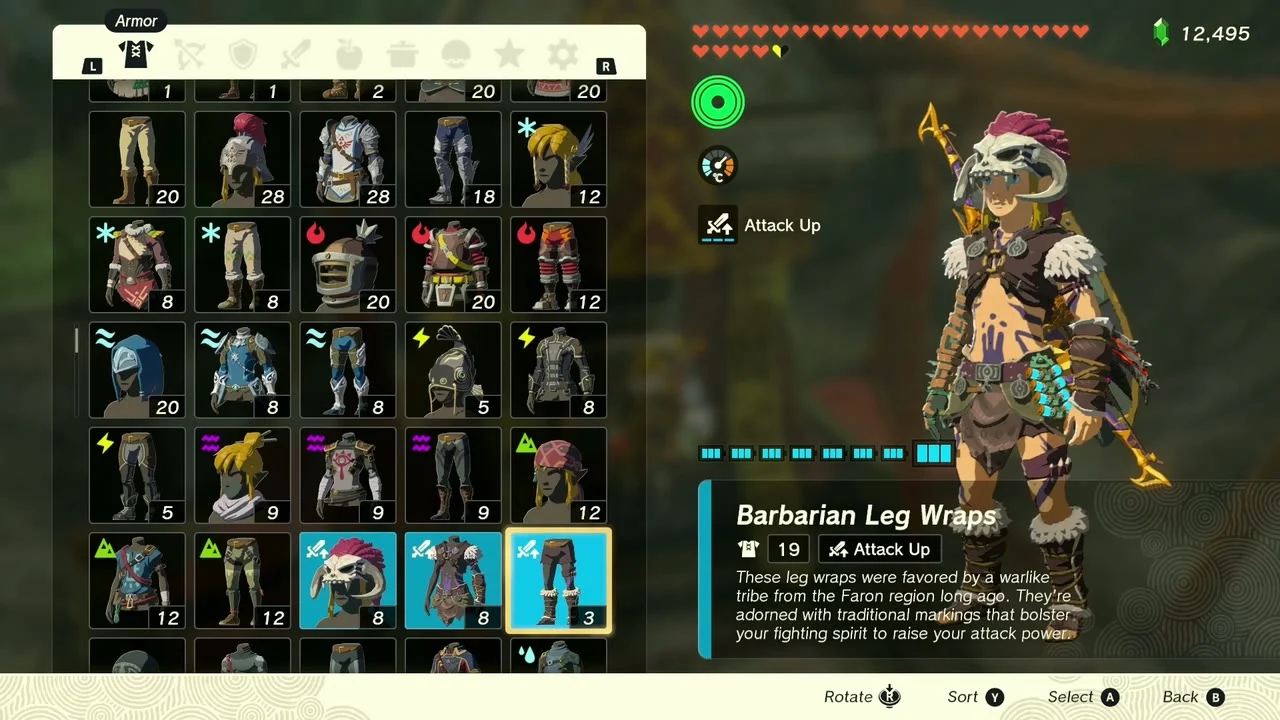
Chests at about (4076, -1906), on the cave’s north ledge. Open them for the Royal Bow (a Knight’s Bow early on, Royal Bow depending on your progress), the Knight’s Claymore (it becomes a Royal Claymore later in the game, depending on your progress) and the Barbarian Leg Wraps (Legs armor, Attack Up). Some of these chests are frozen in ice: melt it with any fire source, such as a Fire Fruit, Flame Emitter or torch.
Burn the barricade and enter Jikais Shrine
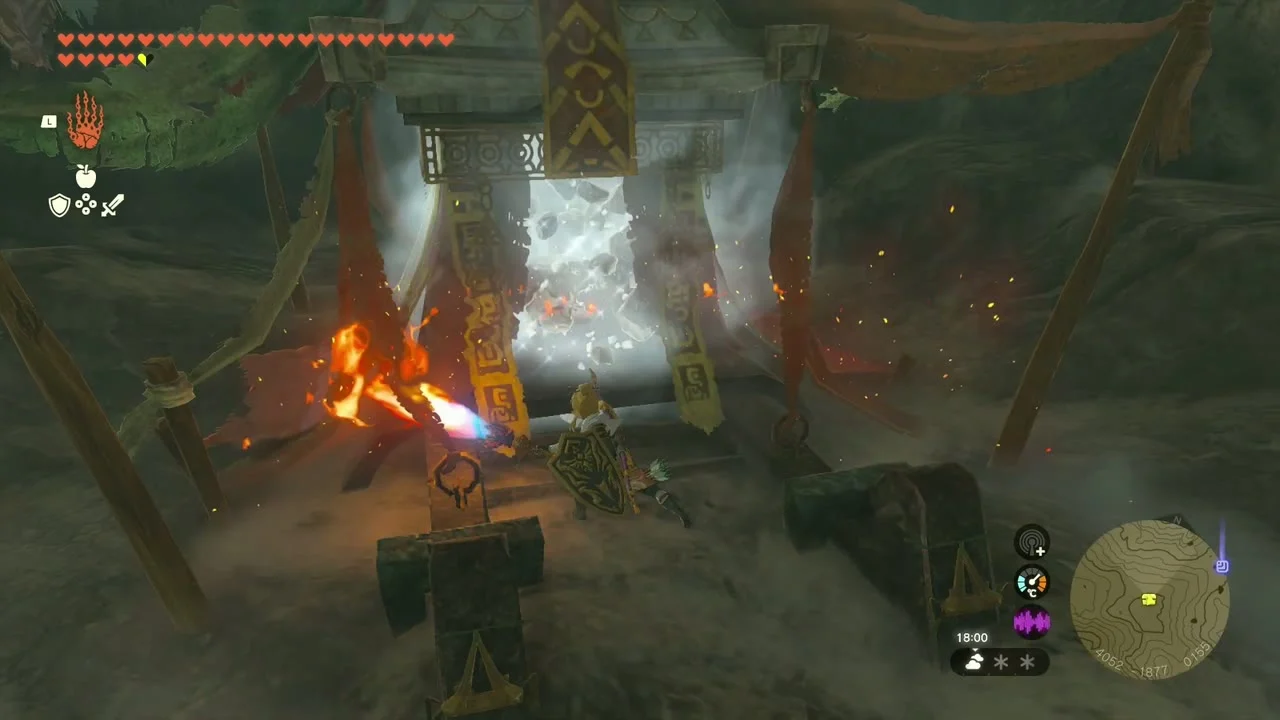
Jikais Shrine at (4266, -1673, 195), trial Jailbreak (Puzzle); Siakij Lightroot is below. At about (4052, -1877) the shrine door is closed by a wooden barricade; set it alight with a Fire Fruit or flame emitter and walk through.
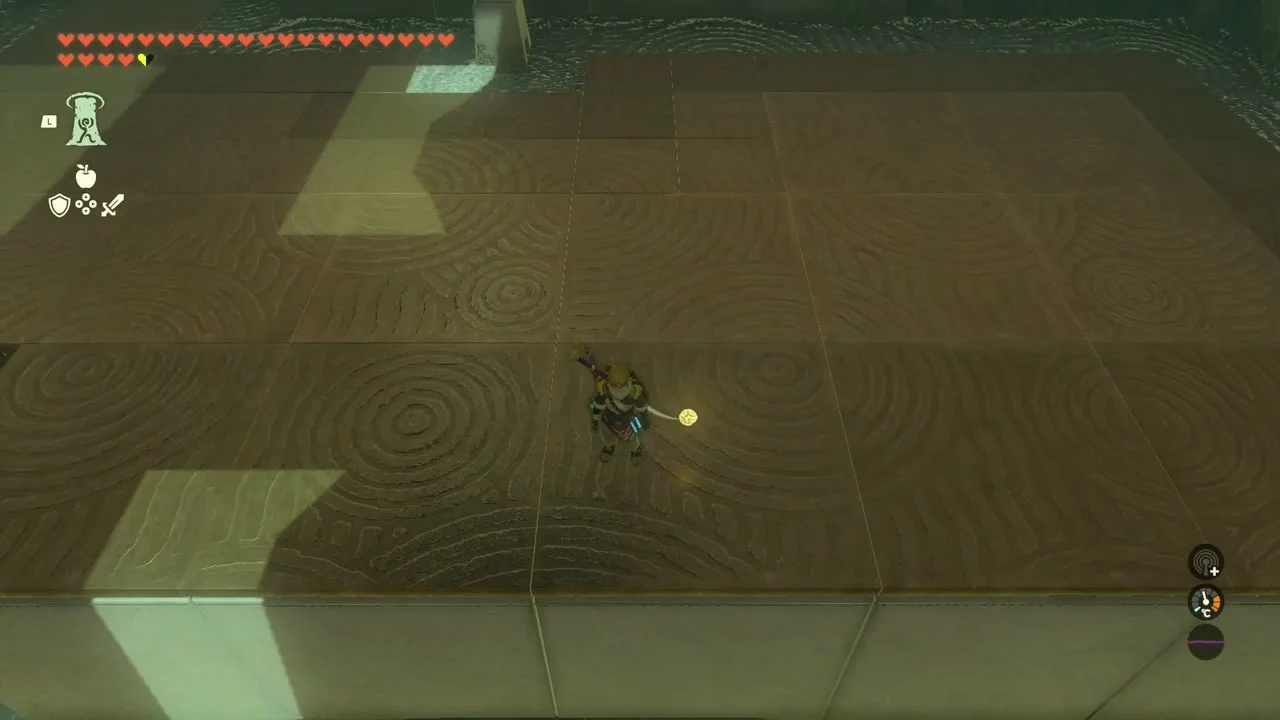
Line up the blocks and Ascend
Use Ultrahand to line the loose blocks up with the first ledge, then Ascend through the block to rise onto the platform and glide to the larger block.
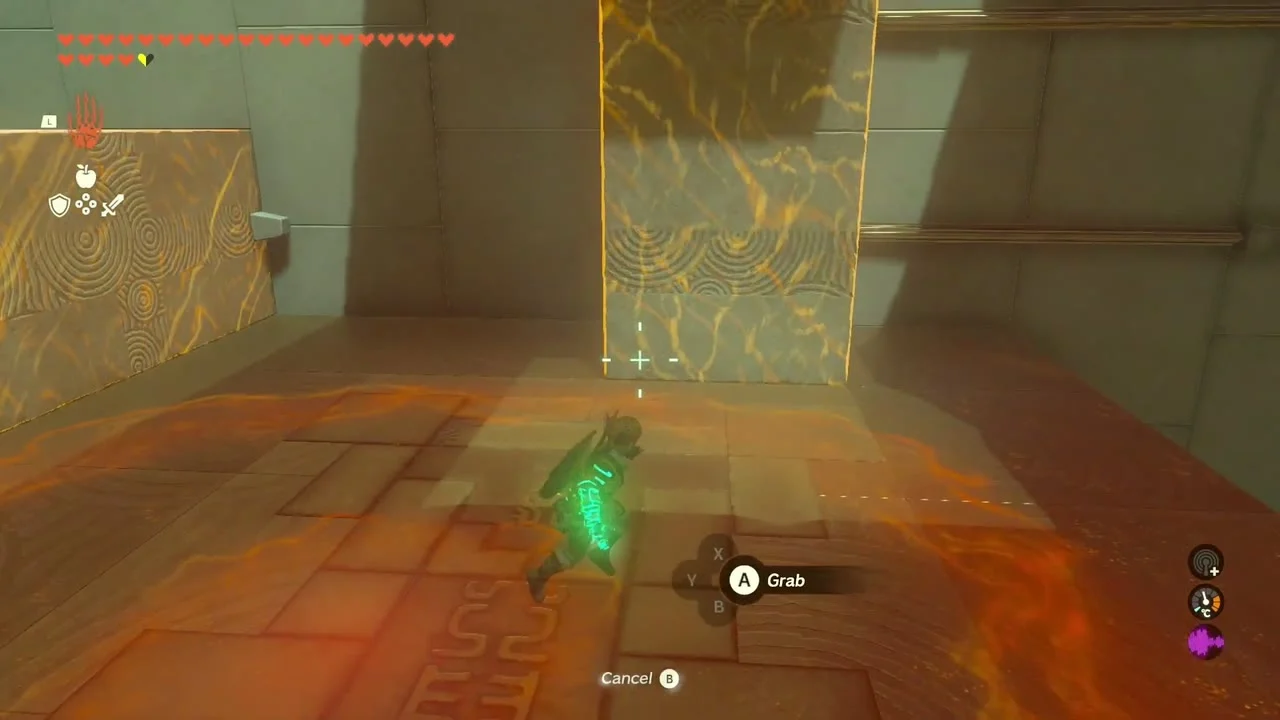
Take the Magic Staff chest
Chest: Magic Staff. In the second room, look up and to the right between the tall walls and Ascend to the ledge. The chest holds the Magic Staff.


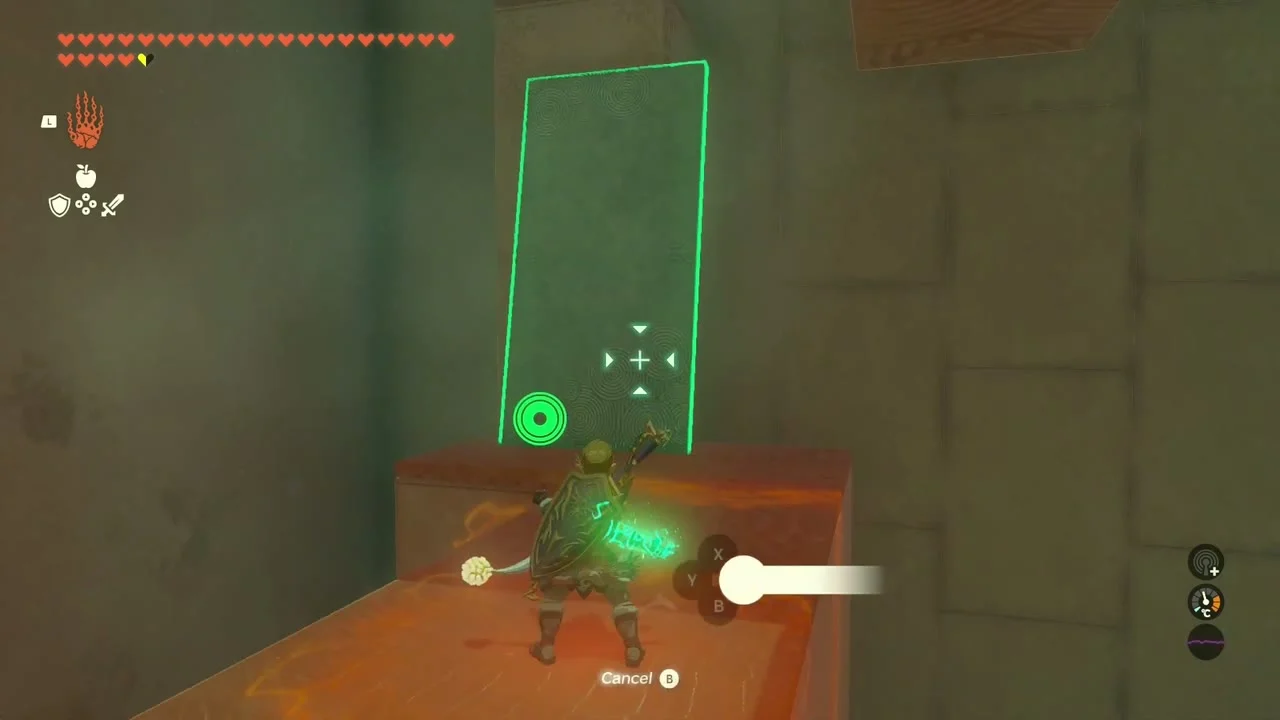
Pull the flat block from the wall
At the apparent dead end, Ultrahand the flat block leaning on the wall and set it so you can walk under the pillar above, then Ascend through the ceiling to the top level.
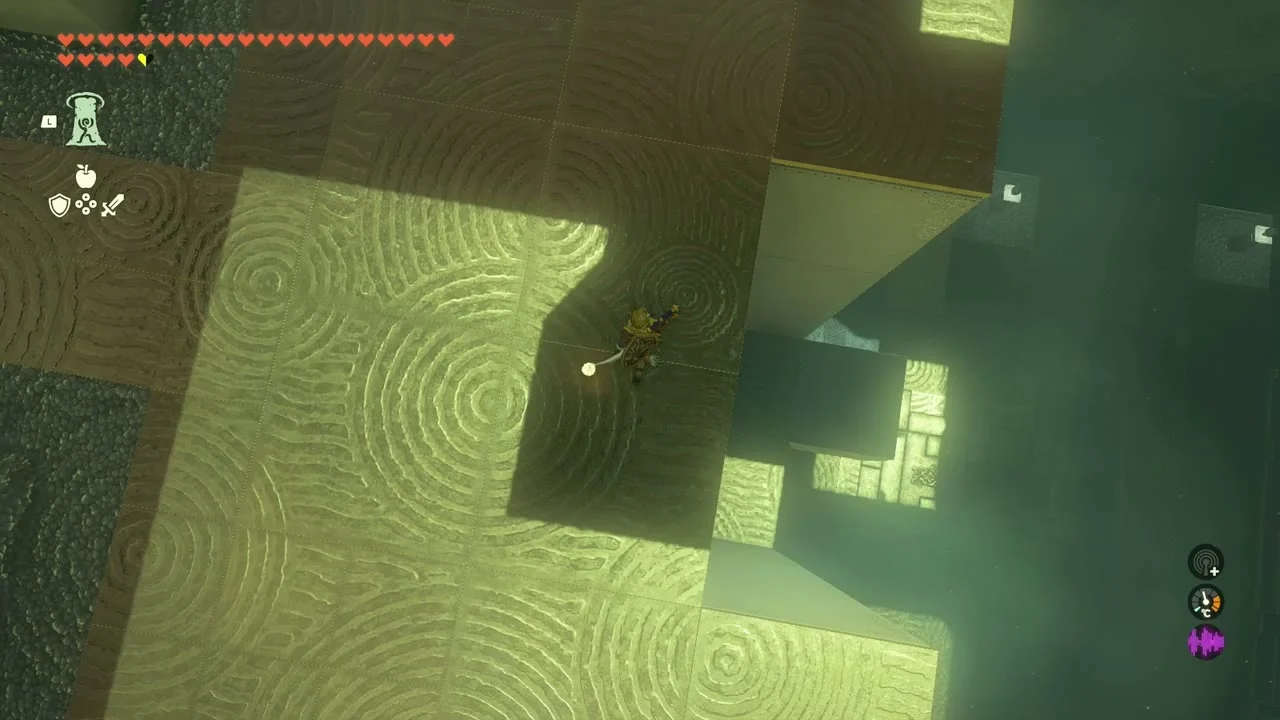
Cross the cage to the altar
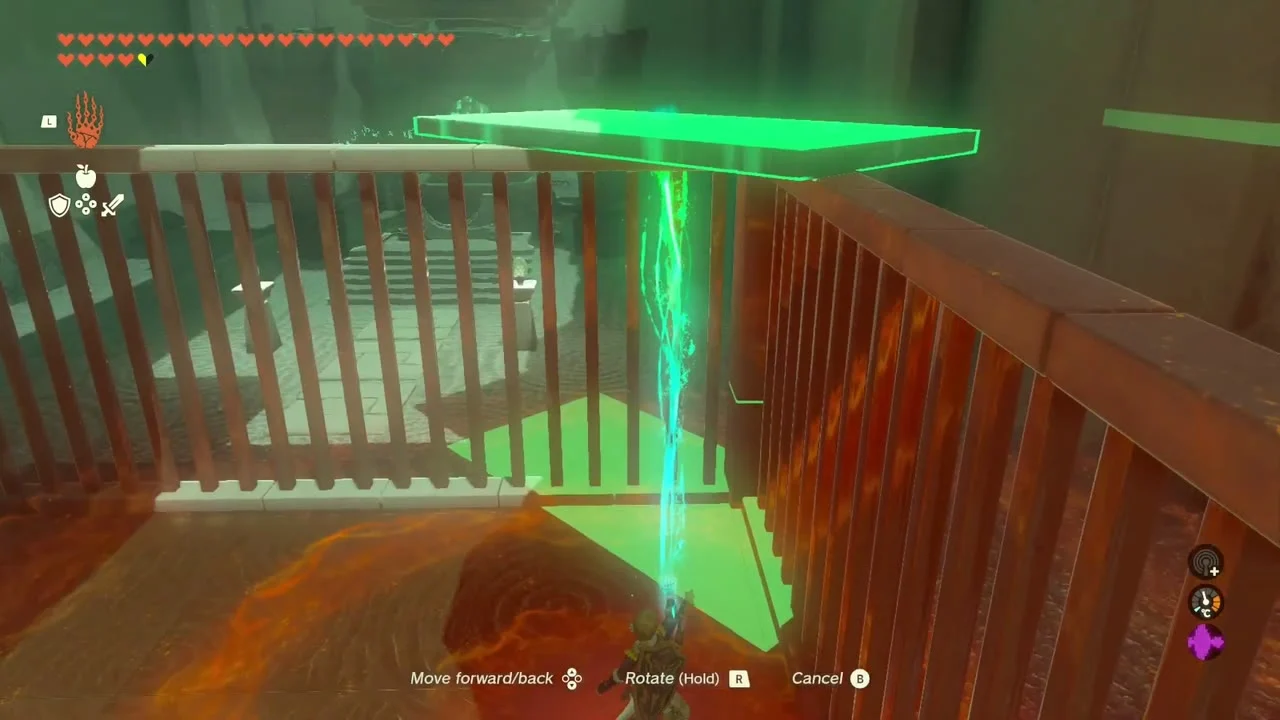
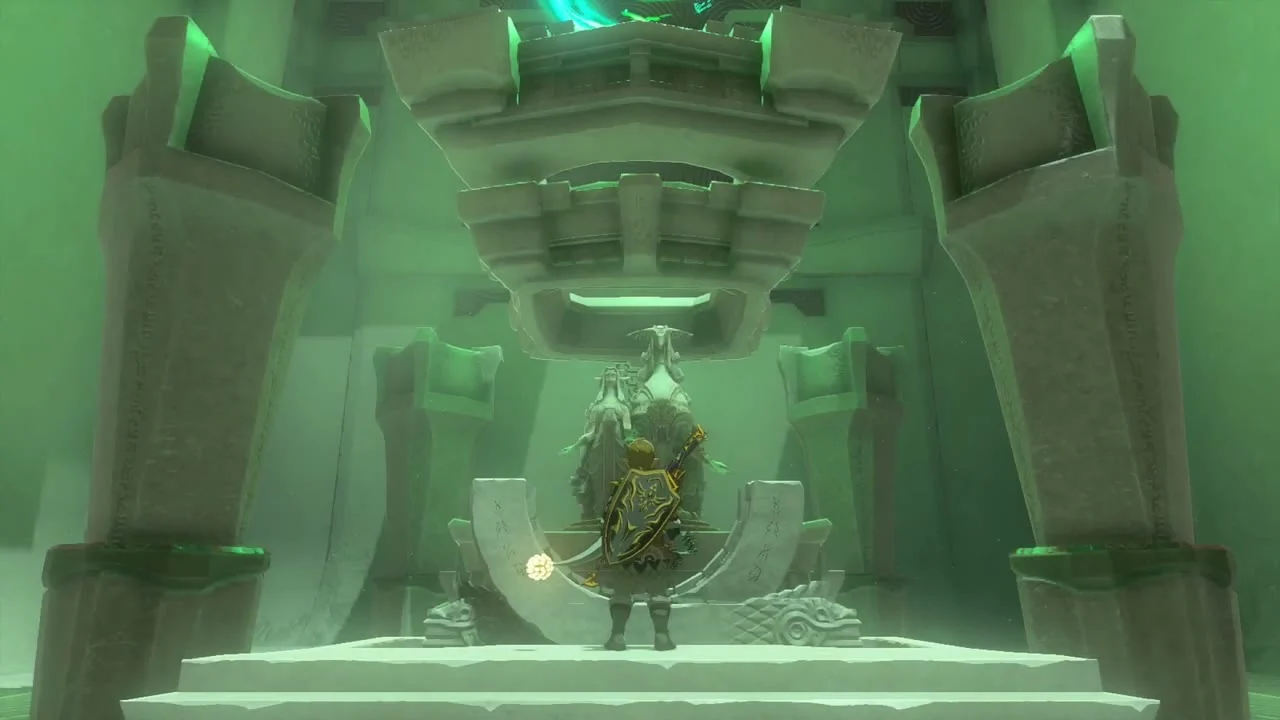
Take the second flat block from the wall opposite the altar and lay it across the corner of the large cage, Ascend onto it and walk over to the altar for a Light of Blessing.
Mount Lanayru slope
Open the Arrow chest
Chest: Arrow at about (4374, -1592), on the grassy slope above Walnot Mountain Cave. Glide down onto the ridge and open the chest for a bundle of Arrows.


Place the boulder on the tree stand
Korok seed (Place the boulder on the tree stand) at about (4402, -1456), on a grassy shelf above the sea. Lift the nearby rock with Ultrahand and set it on the flat stump to reveal the Korok.

Follow the flower
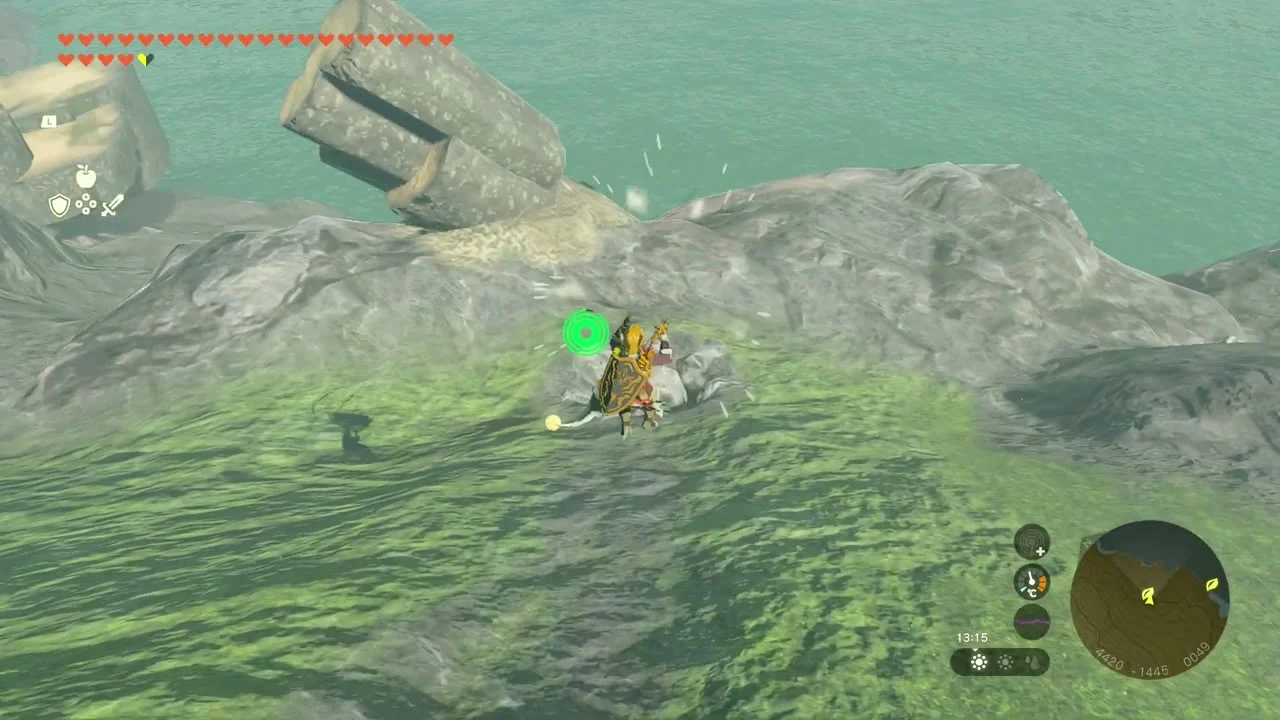
Korok seed (Follow the flower) at (4506, -1521), on a rock stack in the water below the cliff. Follow the flower along the shore until it stops, then talk to the Korok on the rocks.
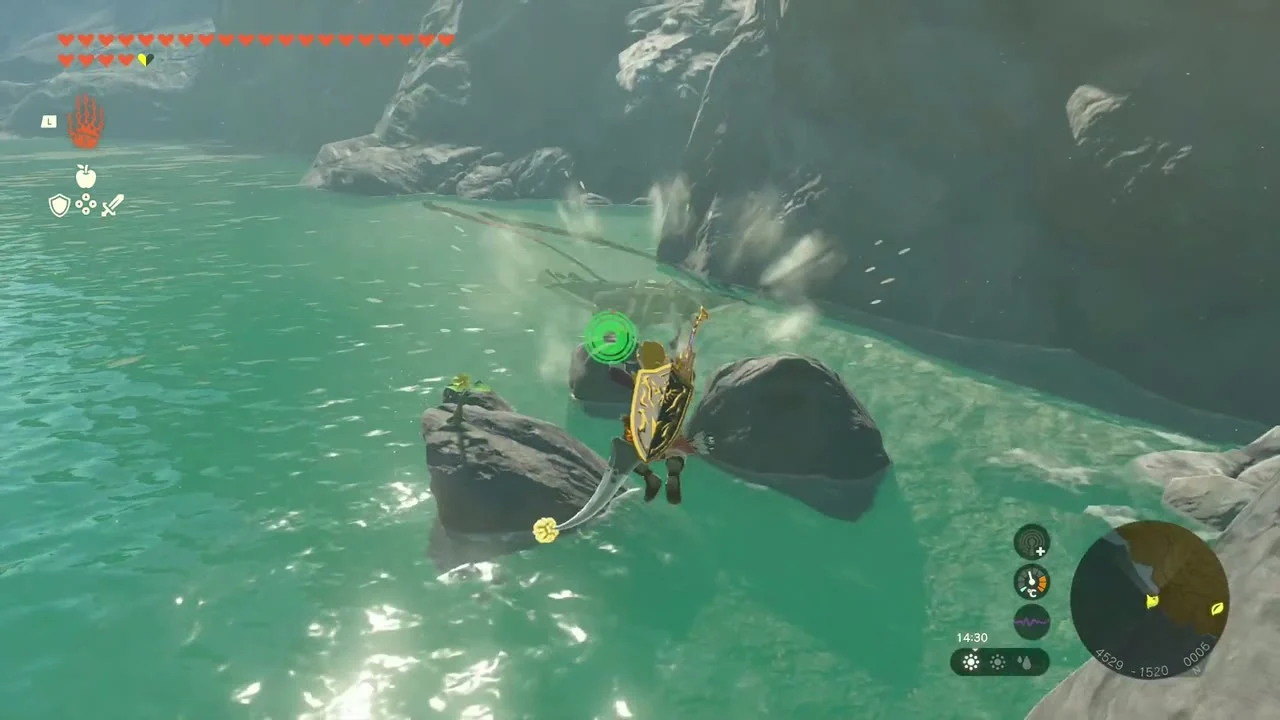

Climb to the Blue-Maned Lynel Reaper
Chest: Blue-Maned Lynel Reaper at about (4035, -1662), on a snowed-in plank bridge on the upper slope. Wear cold-resistance gear for the climb, then open the chest for the Blue-Maned Lynel Reaper.

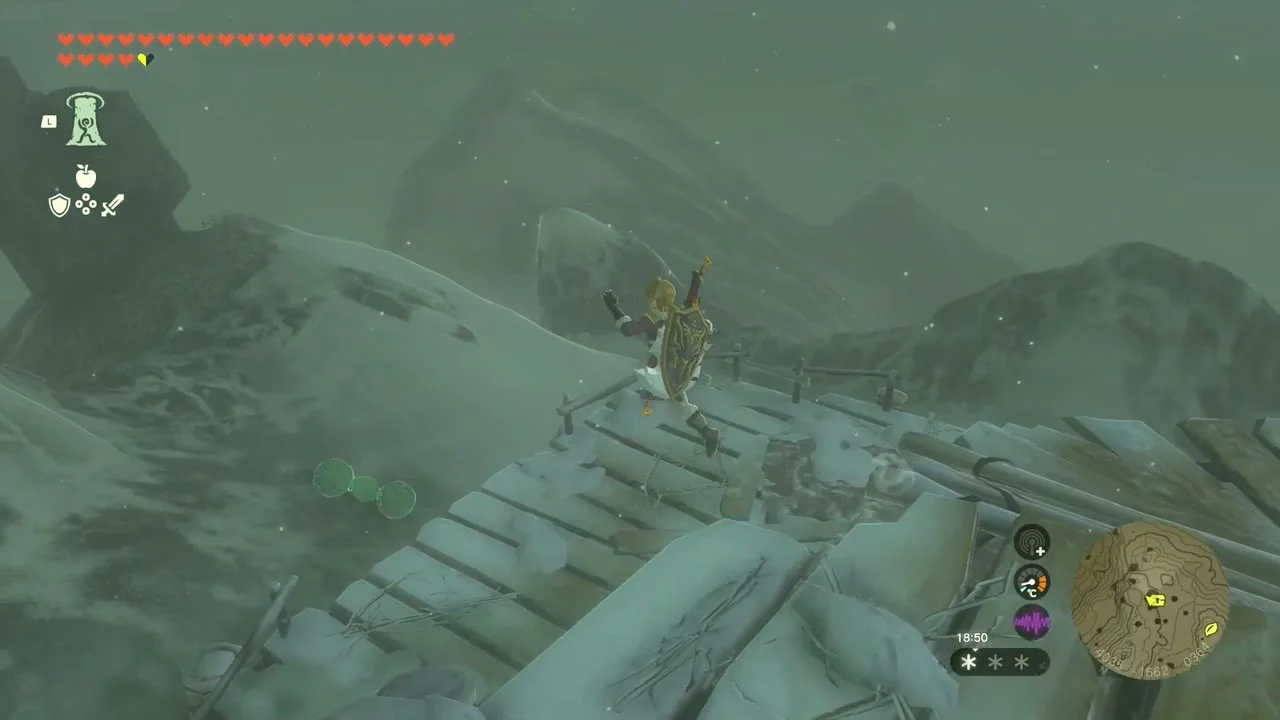
Climb the snowy pine trees
Korok seeds (Go up to examine the sparkling spot) at (3895, -1683) and about (3939, -1688), at the top of tall pines on the snowfield. Climb the trunk to the sparkling spot and press A on the glitter at the tip to release the Korok.
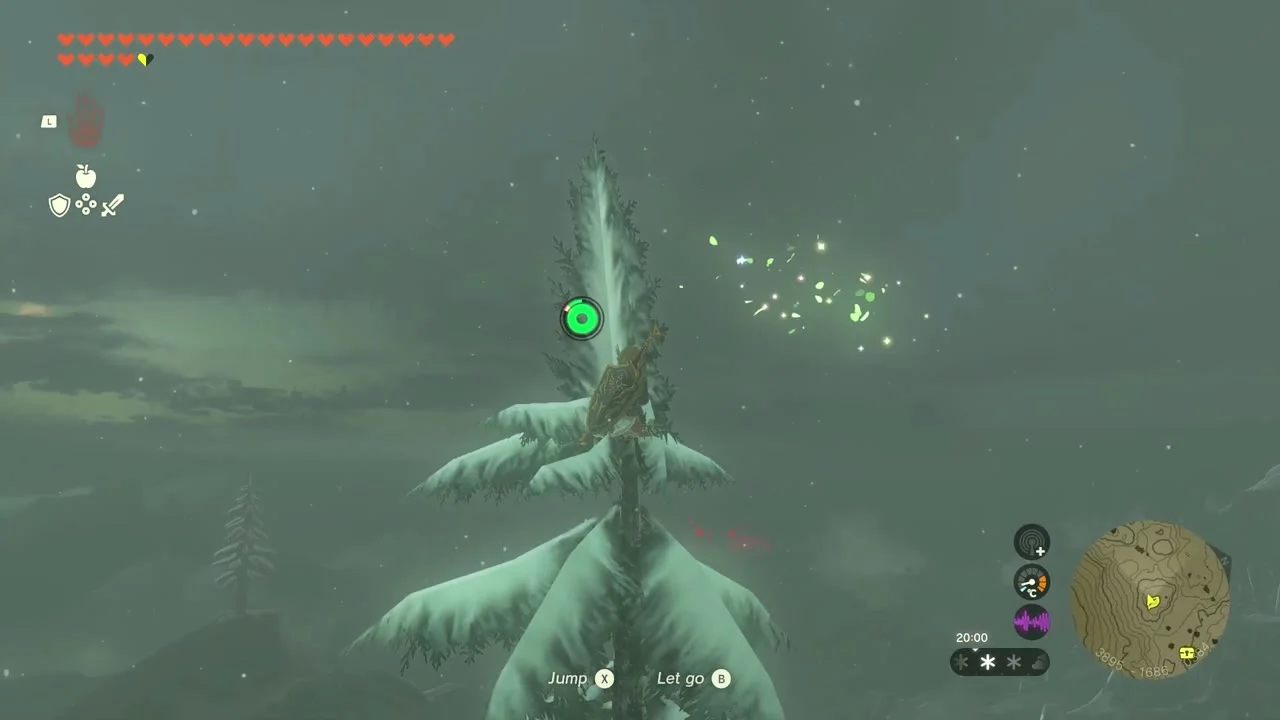

Defeat the second Boss Bokoblin
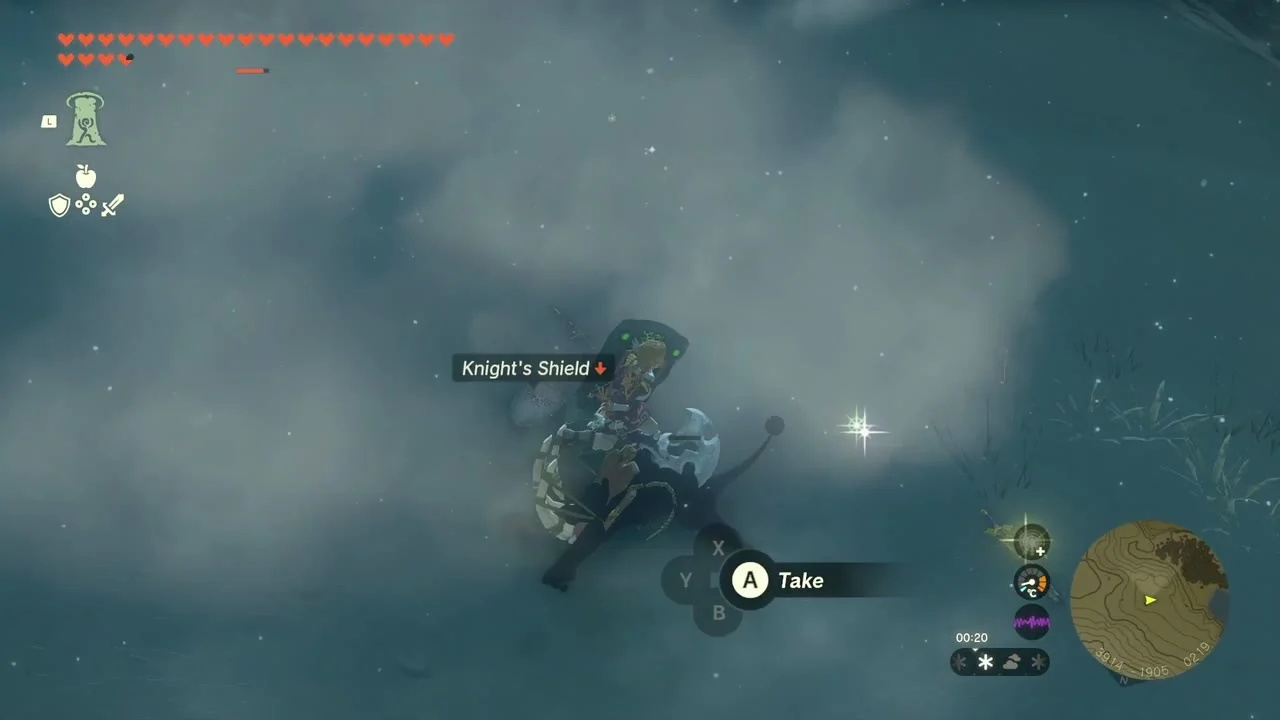
Miniboss: Boss Bokoblin at about (3918, -1908), on the snowfield south-west of the pines. Use Sneakstrike on the boss if it has not noticed you; it leaves Boss Bokoblin Fang and a Knight’s Shield (or Traveler’s Shield, Soldier’s Shield or Royal Shield, depending on your progress).
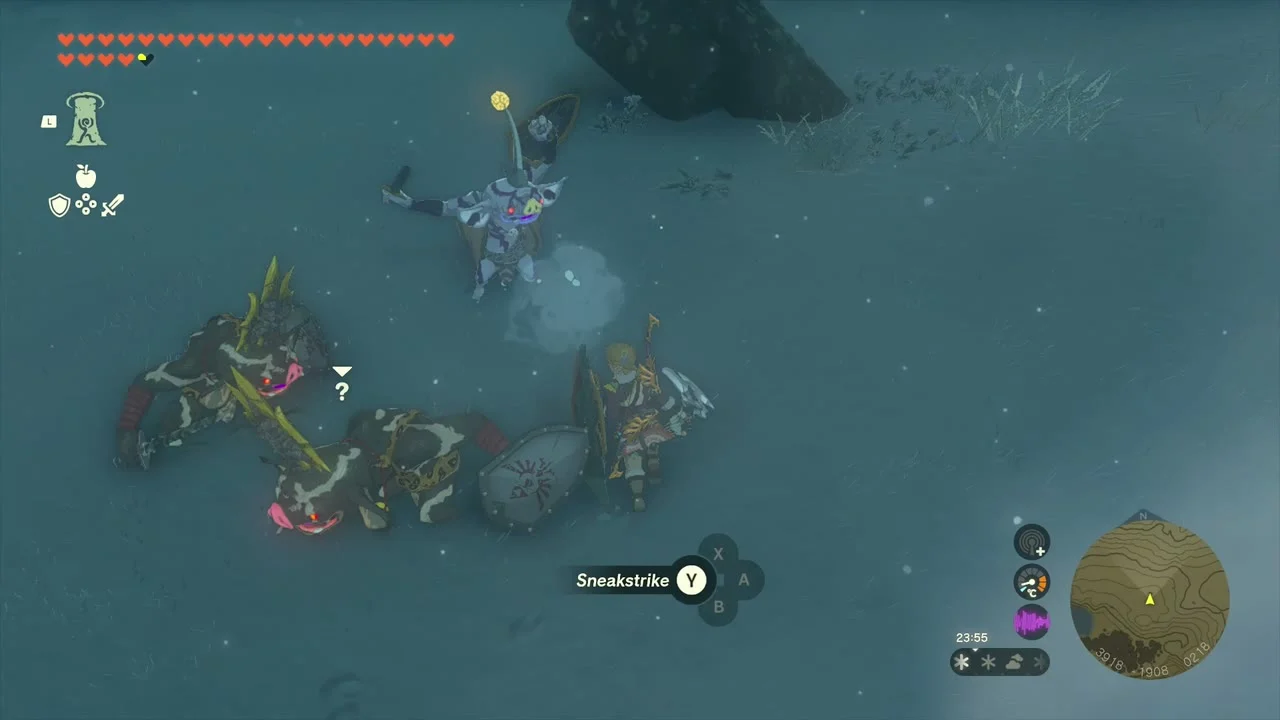
Deepback Bay and the Anedamimik Shrine
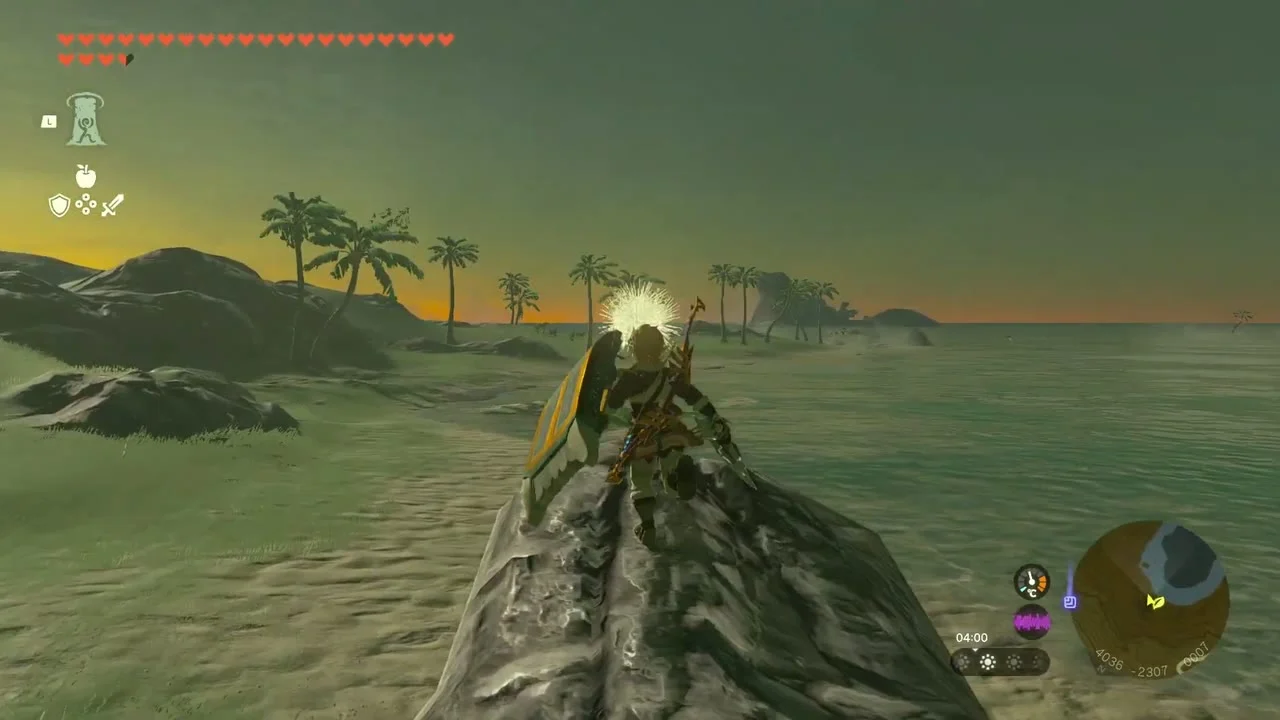
Catch the dandelion Korok
Korok seed (Attack and catch the dandelion) at (4036, -2307), on a rock on the beach. Hit the dandelion floating over the rock with an arrow or sword swing so that its fluff lands on the Korok, and take the seed.

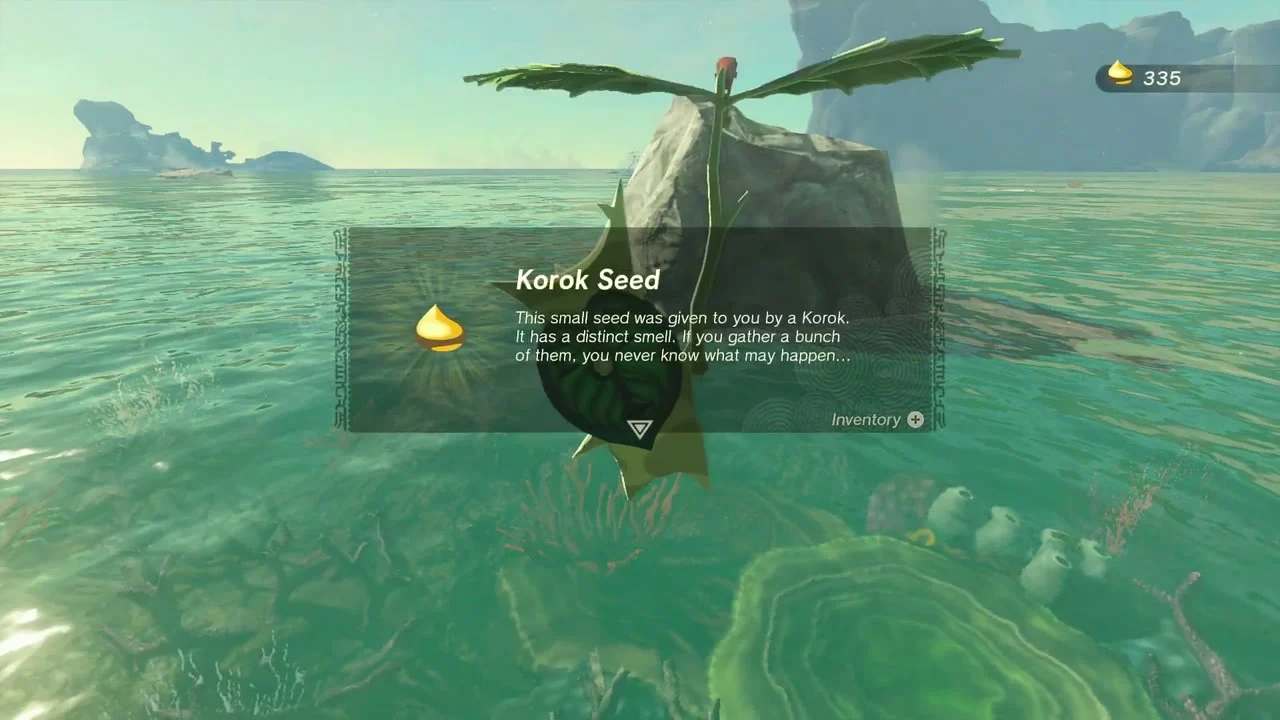
Examine where the arrows point
Korok seed (Examine where the arrows point to) at (4118, -2573), on a rock in the sea off the coast. Boat or glide to the small rock, follow the arrow signs painted on the stone to the glowing spot and examine it.

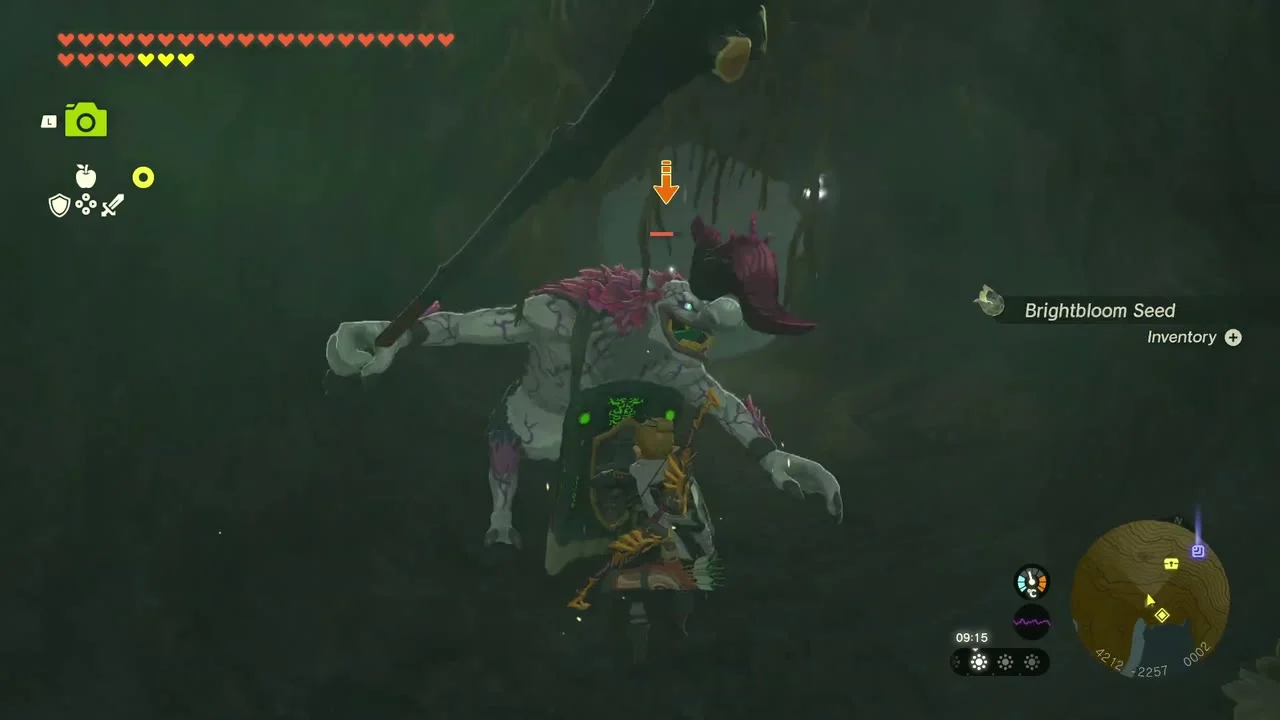
Enter Deepback Bay Cave
Deepback Bay Cave at (4213, -2262), on the north-west side of Deepback Bay. Defeat the Horriblins at the entrance and pick up the Brightbloom Seeds, because the cave is dark.
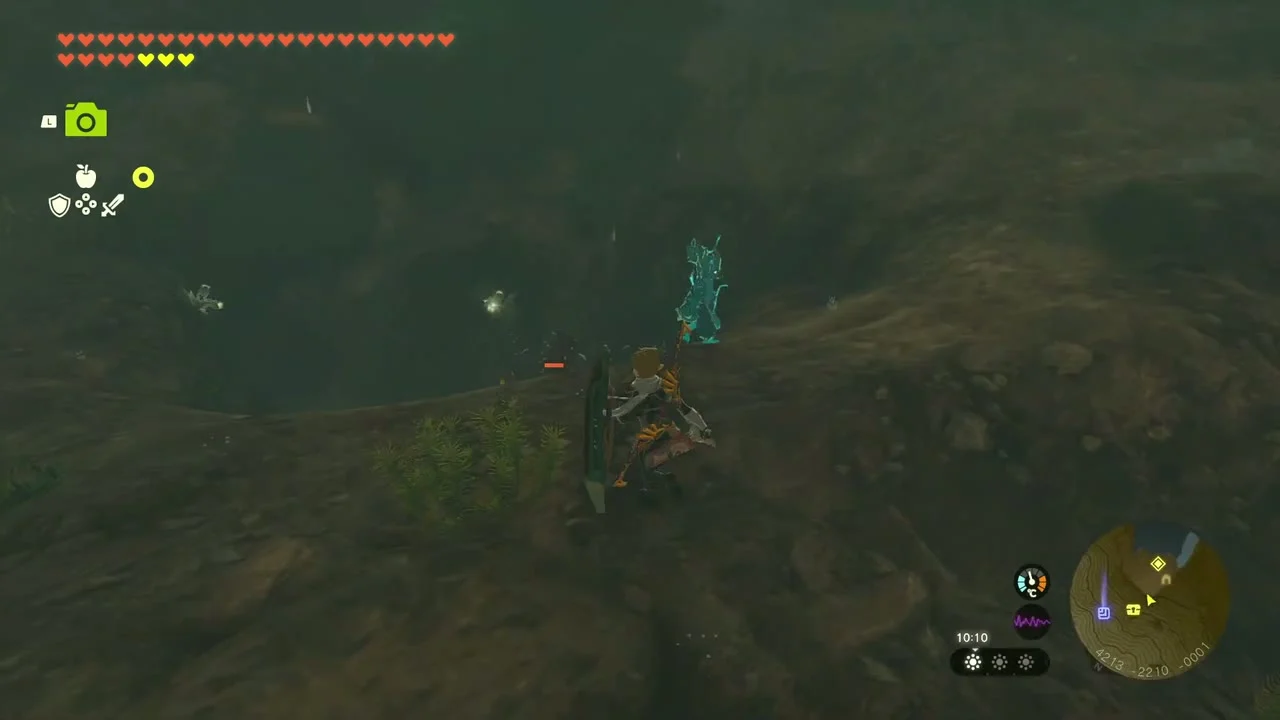
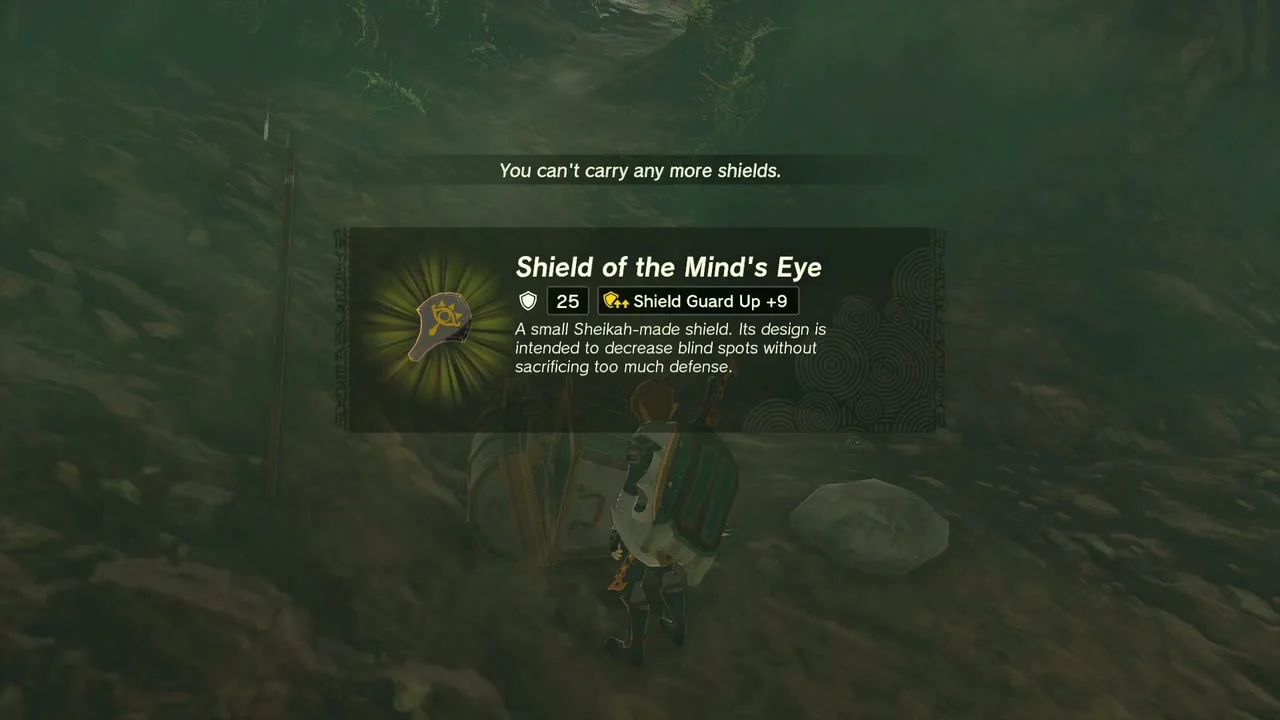
Open the Shield of the Mind’s Eye chest
Chest: Shield of the Mind’s Eye in the cave’s first lower chamber. The chest holds the Shield of the Mind’s Eye; make room in your shield slots first or the game will tell you that you can’t carry more.

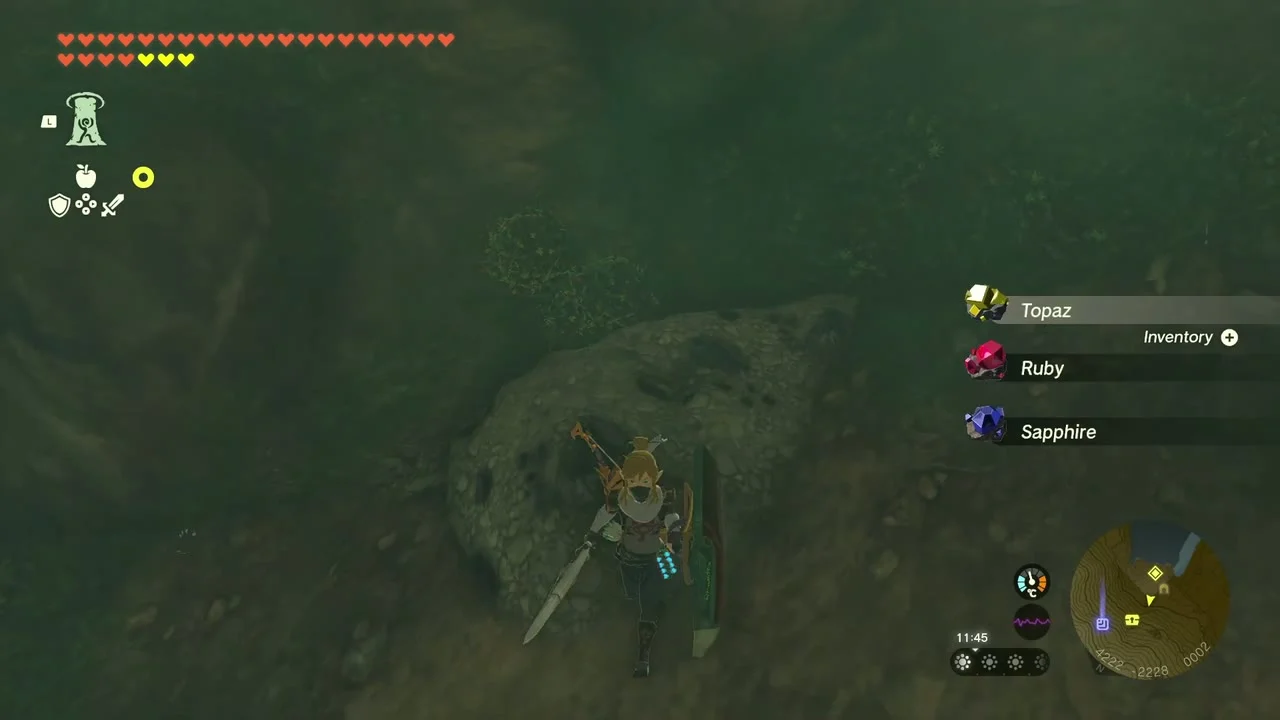
Catch the Bubbul Gem
Bubbul Gem at about (4250, -2144), in the narrow upper passage near the shrine. Walk up to the glowing Bubbulfrog on the cave floor for the gem.

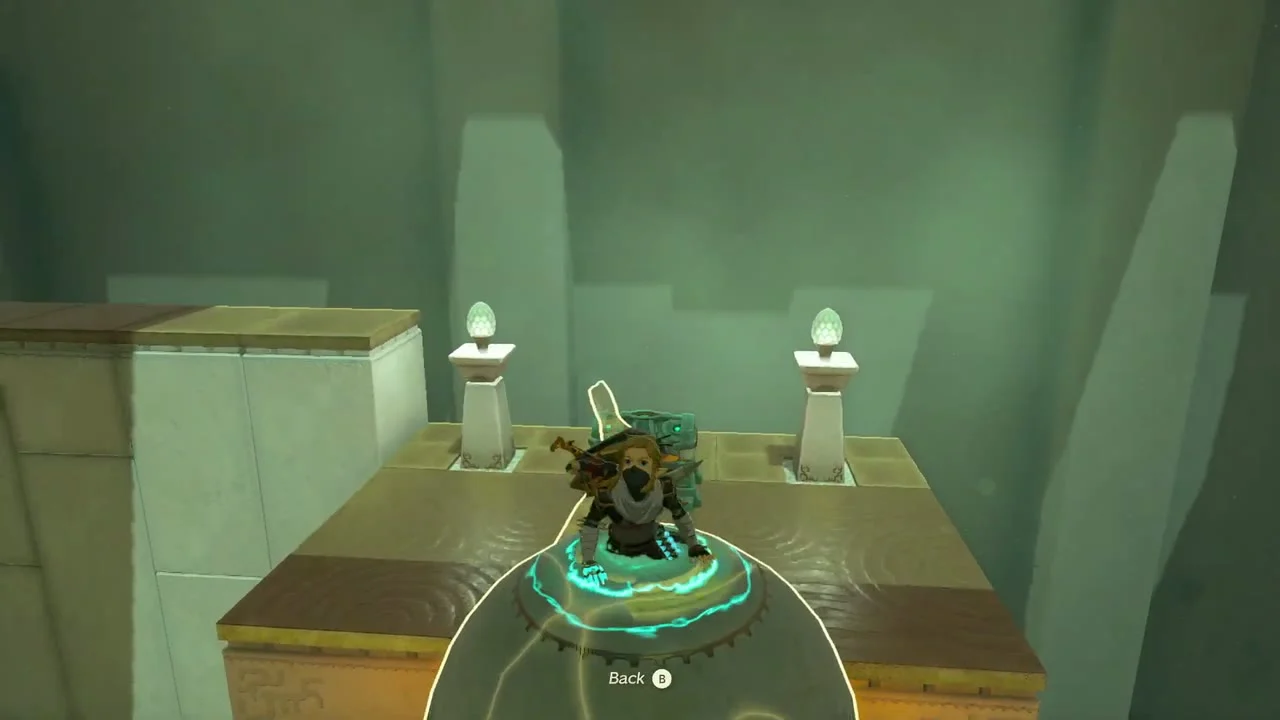
Clear Anedamimik Shrine: A Retraced Path
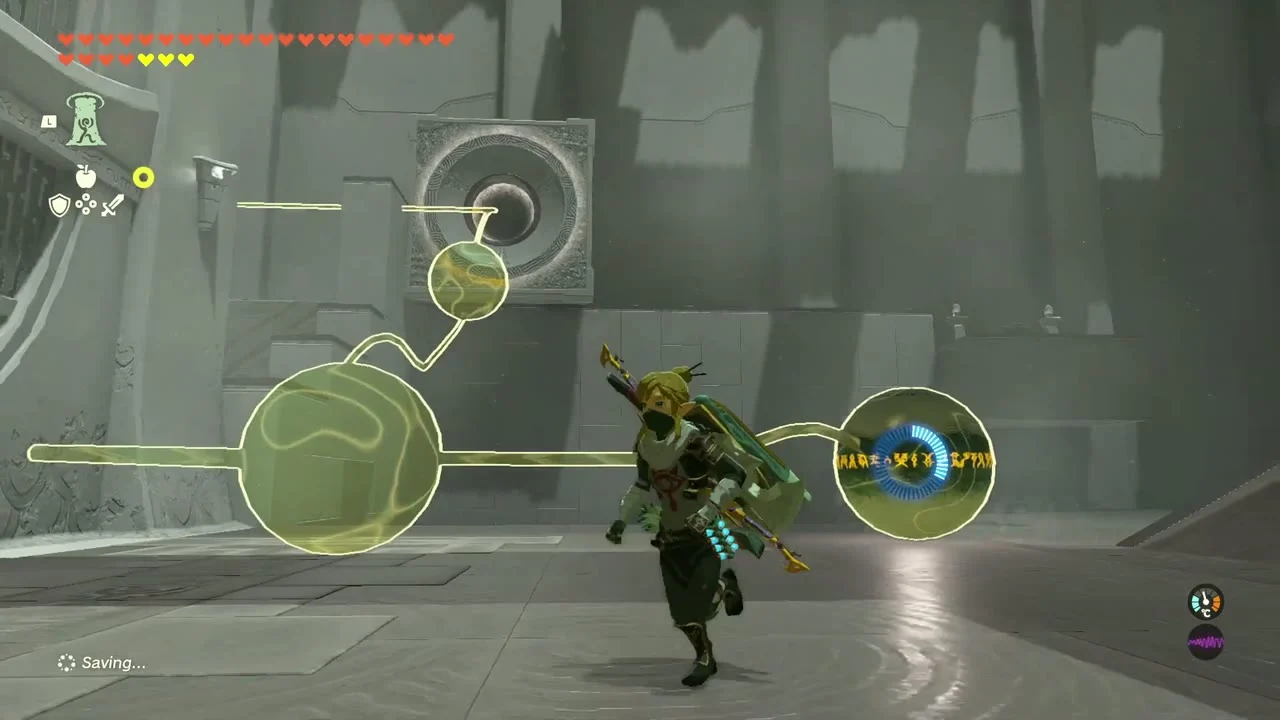
Anedamimik Shrine at (4232, -2178, 1), trial A Retraced Path (Puzzle); Kimimadena Lightroot is beneath it. Pick up the glowing ball with Ultrahand and set it on the first pedestal. Use Recall on it when it rolls away to send it back along its path, then guide it into the socket in the wall to open the gate. Take the Large Zonai Charge chest and claim the Light of Blessing at the altar.


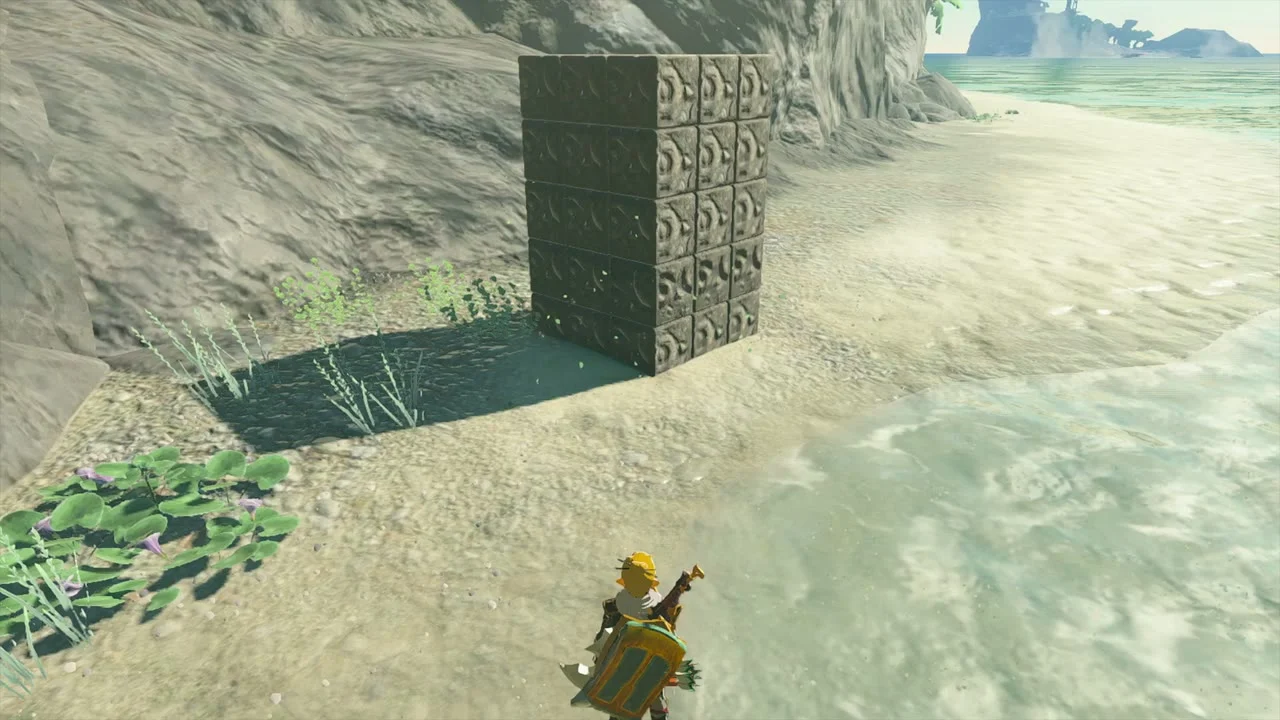
Complete the cube puzzle
Korok seed (Complete the cube puzzle) at (4394, -2414), on the sandy bank at the foot of the cliff east of Deepback Bay. A wall of patterned cubes is missing one piece; take the loose cube lying beside it with Ultrahand and fit it into the gap.

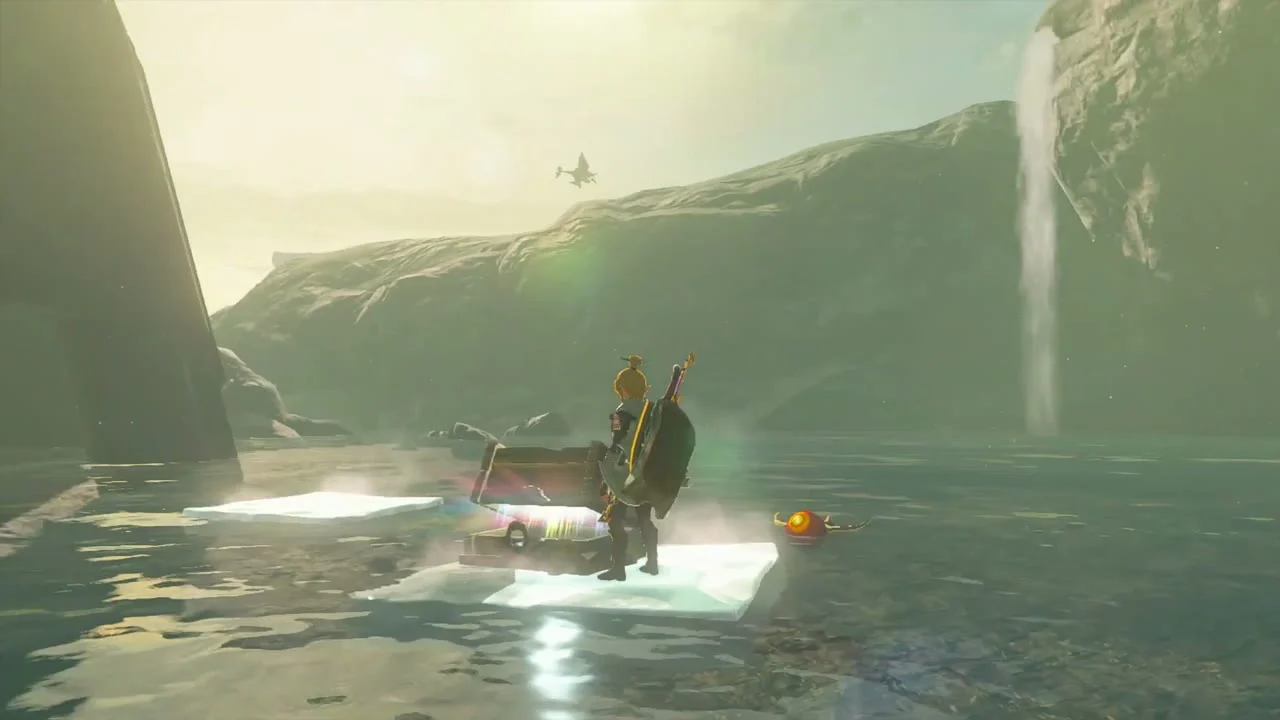
Take the Arrow and Zonaite x3 chests
Chests: Arrow and Zonaite x3 on the cliff shore east of the cube Korok. The first chest sits on a slab of ice in a seaside pool below a waterfall; open it for an Arrow. A second chest in a cave beyond holds Zonaite x3.

Mapla Point and Ebon Mountain West
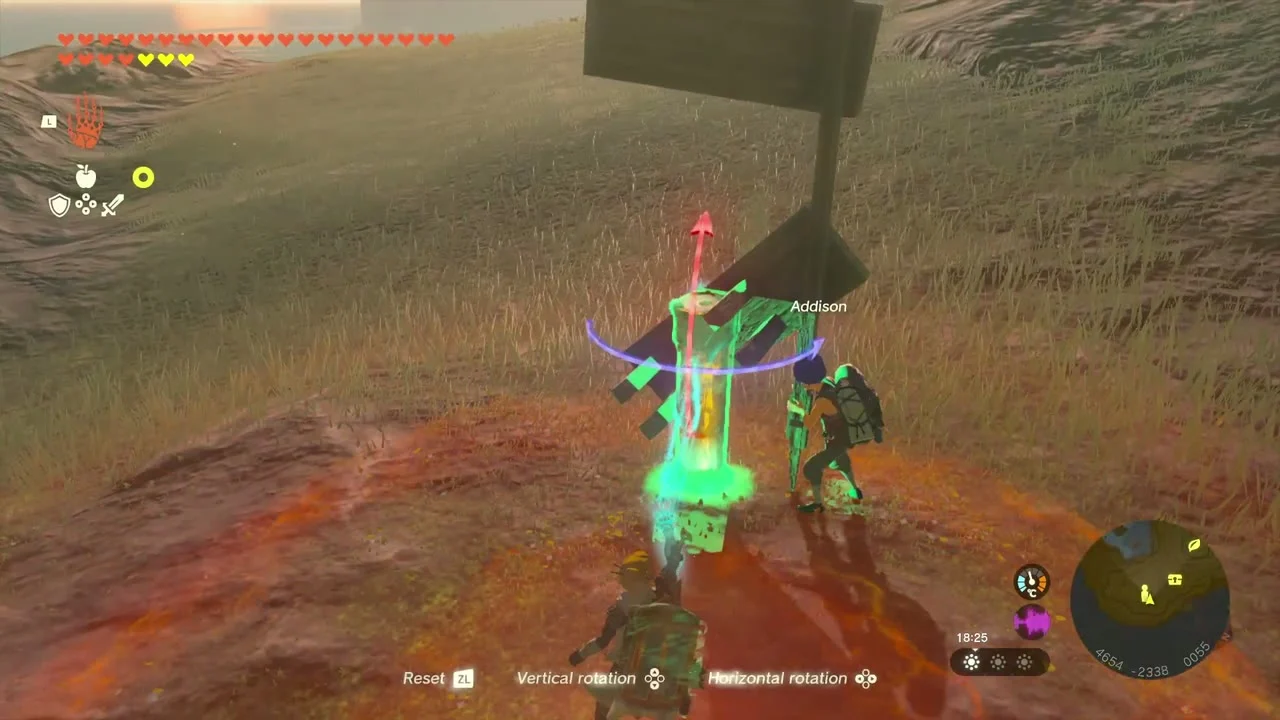
Build Addison’s sign
Hudson Construction sign (side adventure). Giver Addison, at about (4654, -2338), on the headland of Mapla Point. Pick up the sign with Ultrahand and plant it upright on the red-marked patch of ground where Addison is standing.


Pull the plug
Korok seed (Pull the plug) at (4591, -2159), on a rock in the sea off Mapla Point. Pull the plug set into the stone with Ultrahand until the water drains and the Korok appears.
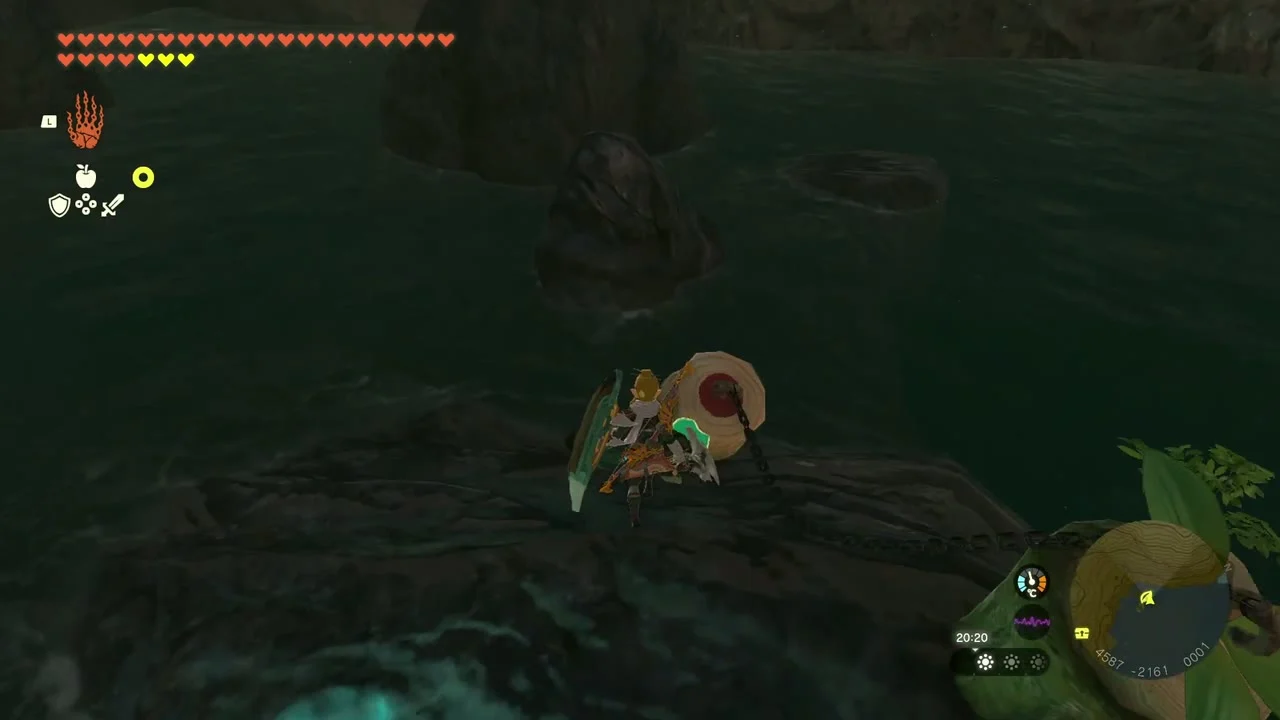
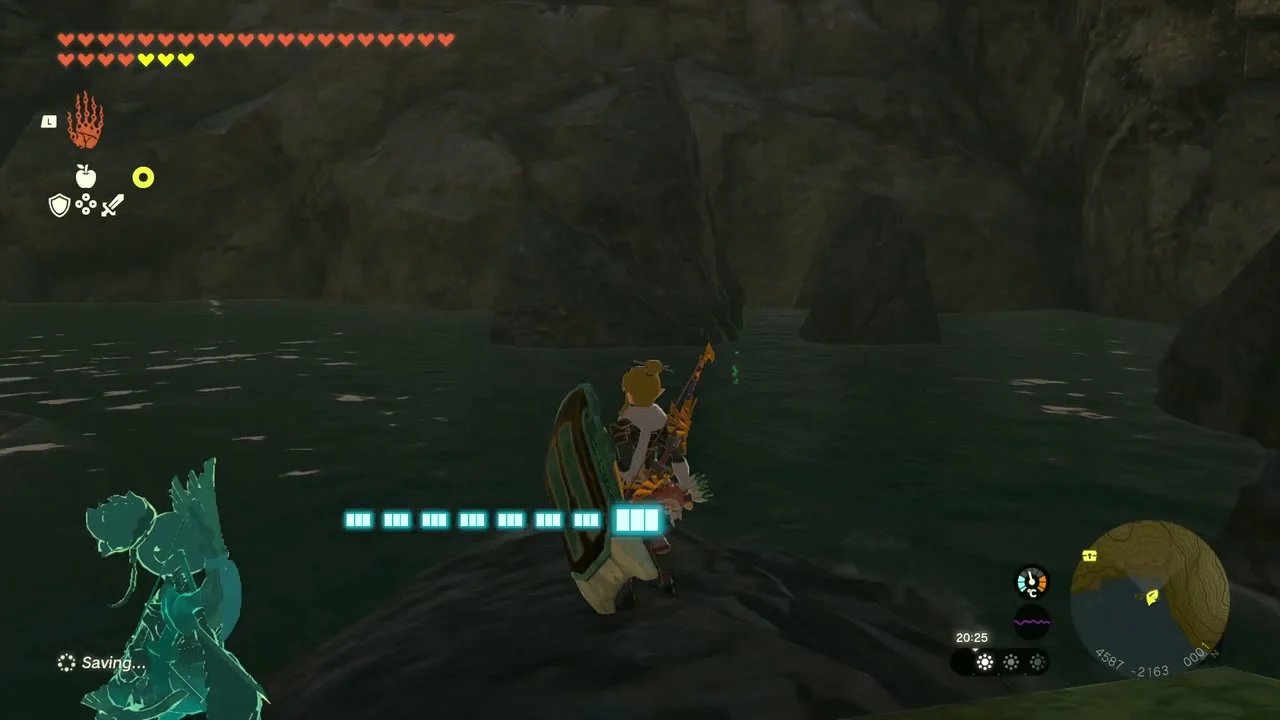
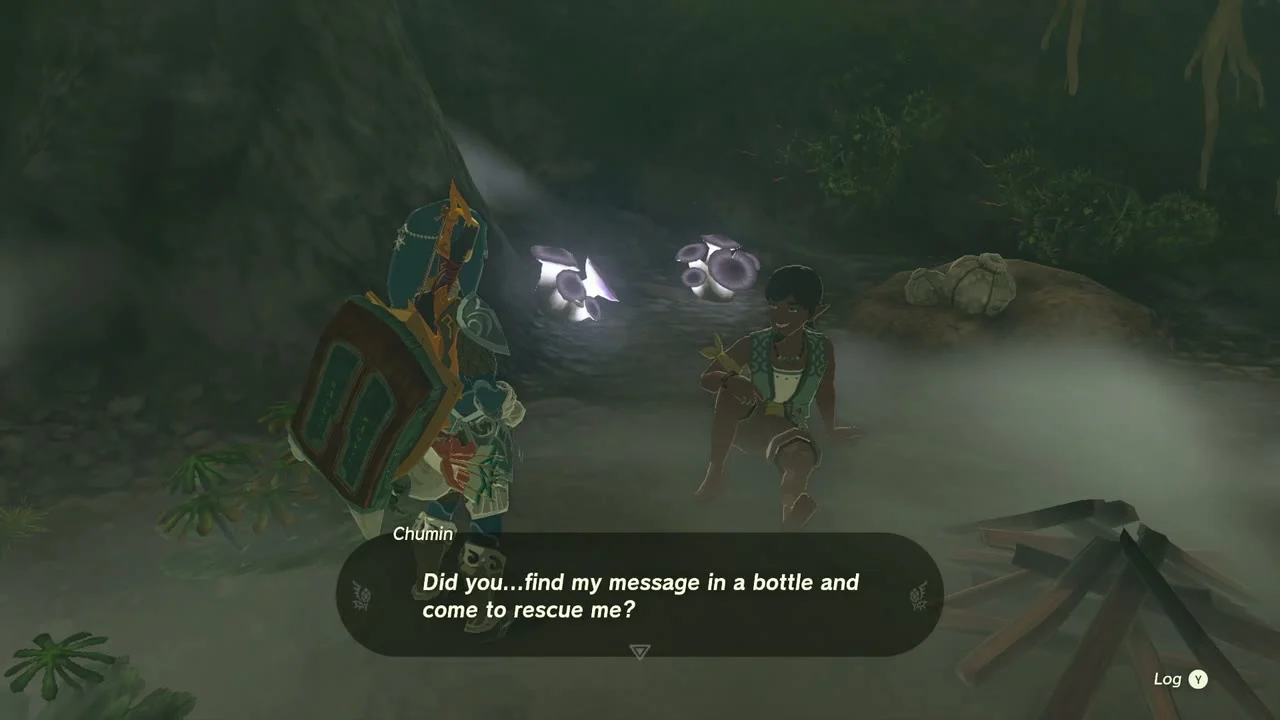
Free Chumin in Mapla Point Cave
Mapla Point Cave at (4585, -2246), on the east cliffs of Mapla Point. Swim into the cave, clear the rock that blocks the exit and talk to Chumin; this completes A Bottled Cry for Help and earns a Silver Rupee (100 rupees).

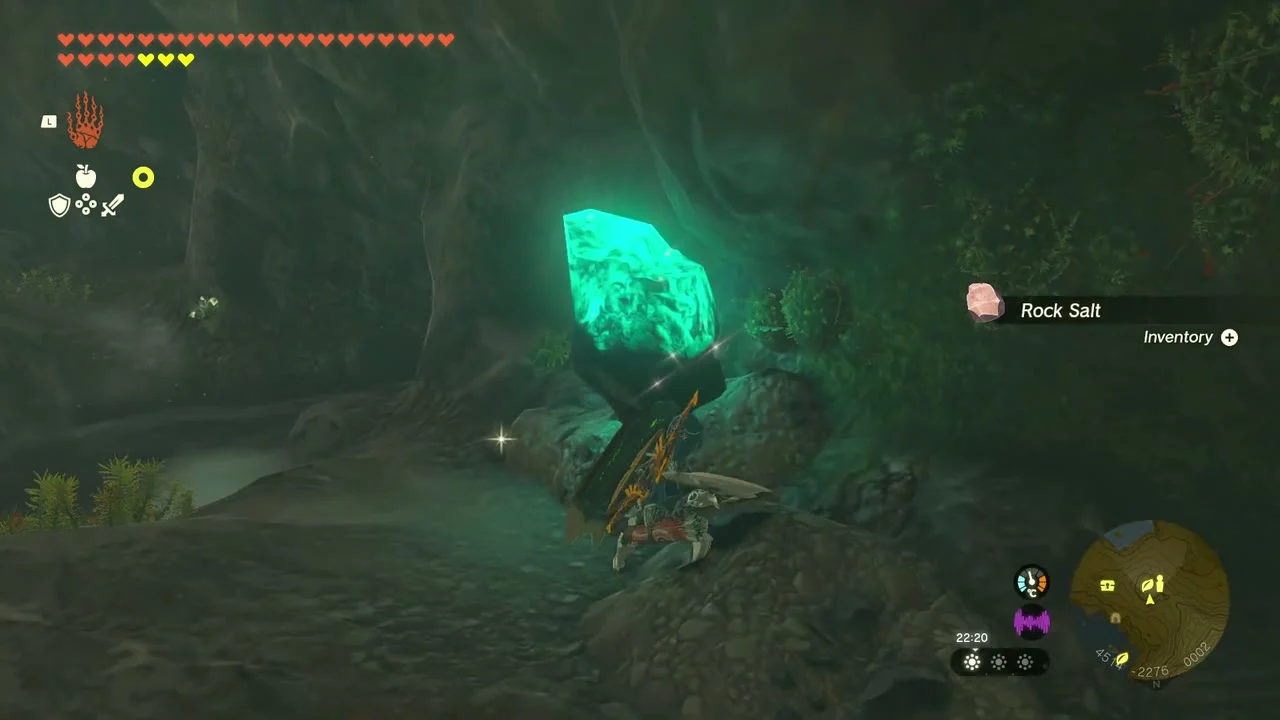
Open the Purple Rupee chest and take the Bubbul Gem
Chest: Purple Rupee at about (4566, -2296), further in the cave. Open it for a Purple Rupee, then take the Bubbul Gem from the Bubbulfrog at about (4545, -2303) by Ascending through the ceiling.


Lift the rock on the coast
Korok seed (Lift the rock) at (4516, -2305), on a rocky headland above the bay. Lift the stone with Ultrahand to let the Korok out.

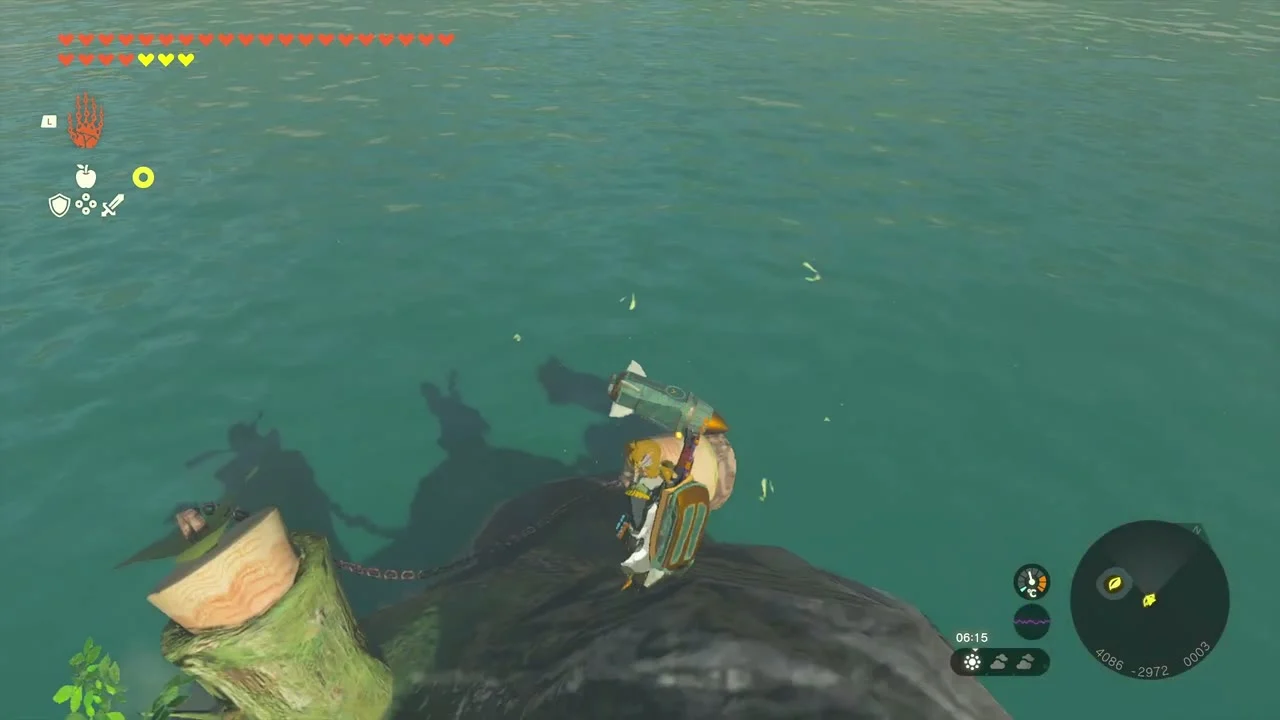
Pull the plug on the south islet
Korok seed (Pull the plug) at (4083, -2974), on a rock out at sea south of Hateno Bay. Boat to the rock and pull the plug as before.

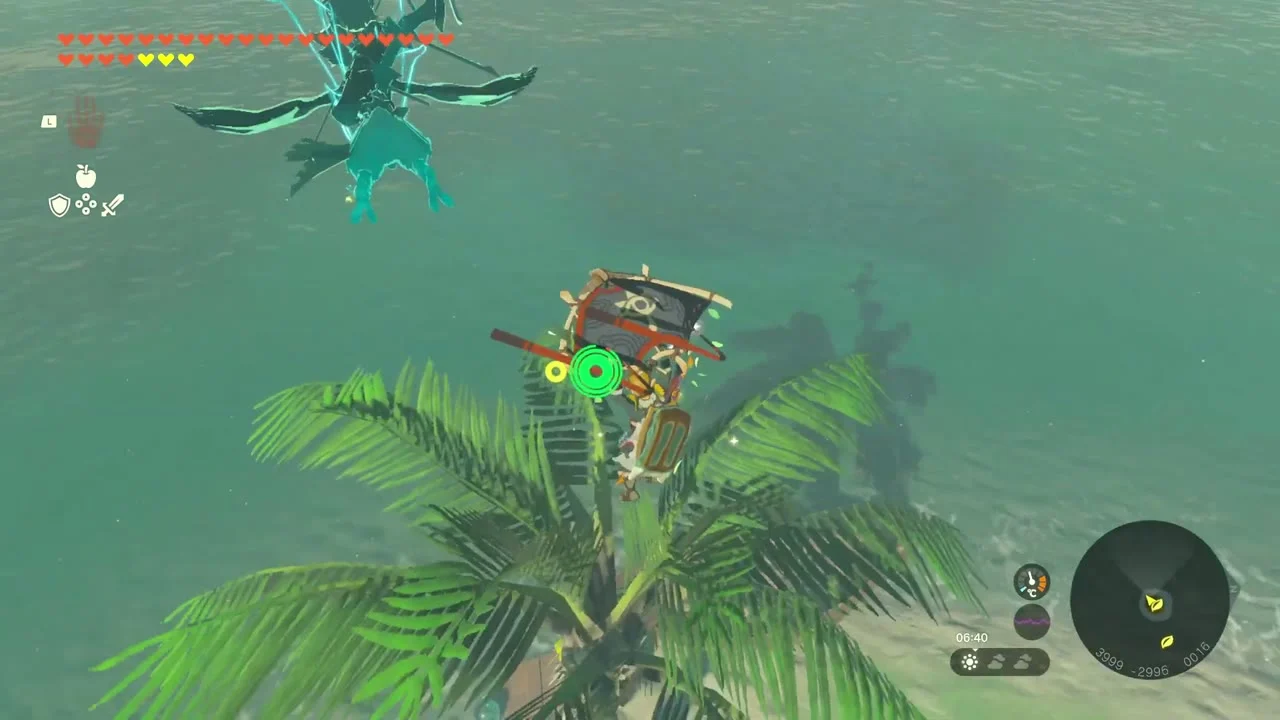
Examine the palm tree
Korok seed (Go up to examine the sparkling spot) at (3997, -2995), in a palm tree on a small island. Climb the tree to the glitter near its top and press A.

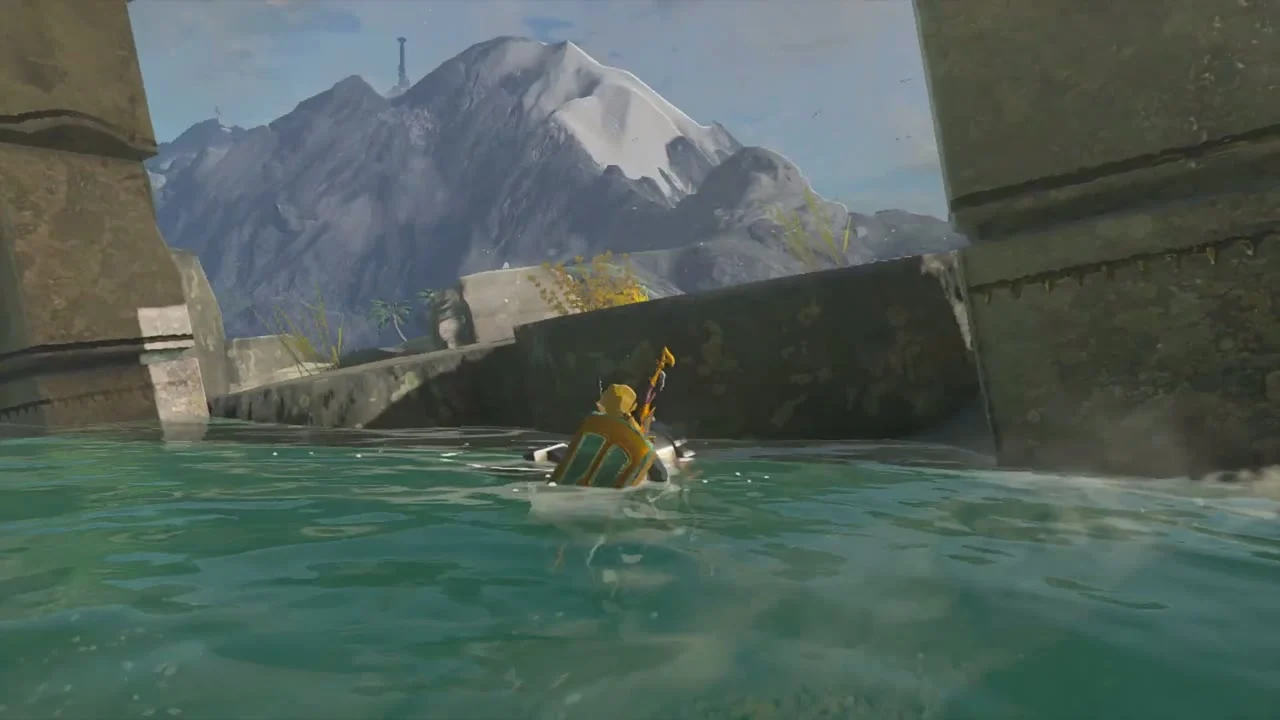
Take the Large Zonai Charge chest
Chest: Large Zonai Charge in the sea south of Mapla Point, near (4510, -2704). Swim through the stone gateway there and open the chest for a Large Zonai Charge.

Defeat the Hinox and take the Eightfold Longblade
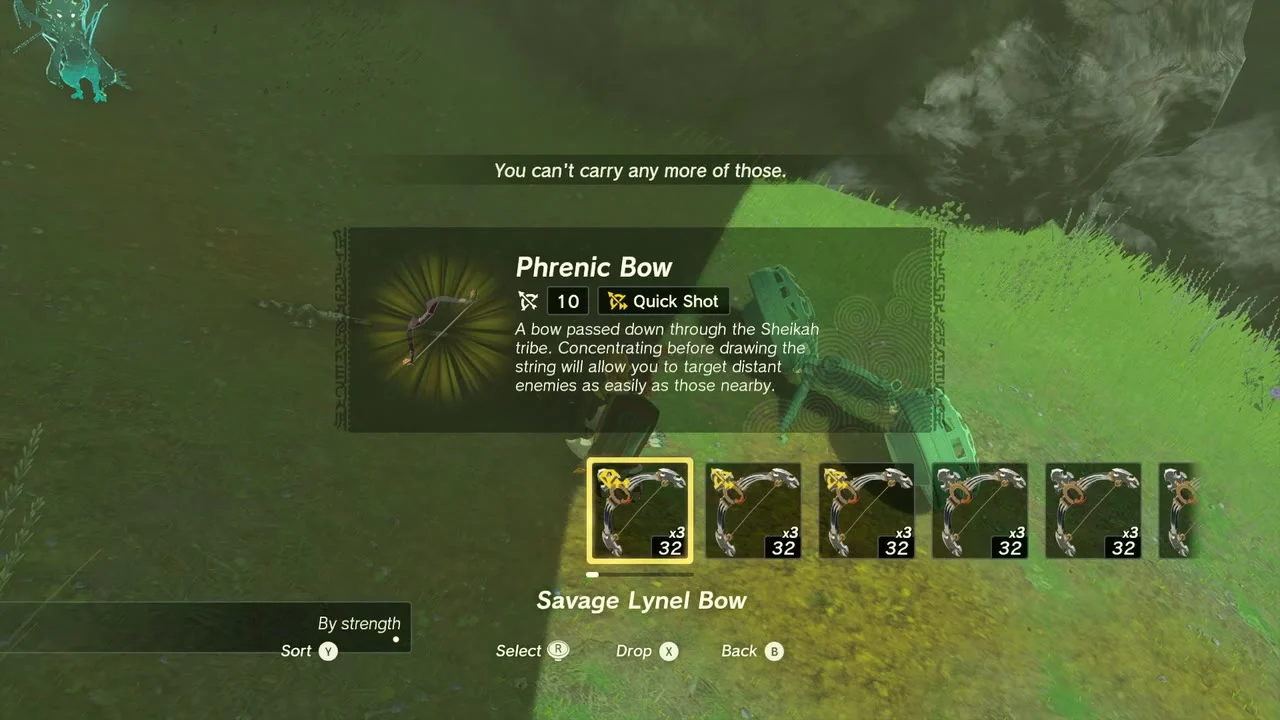
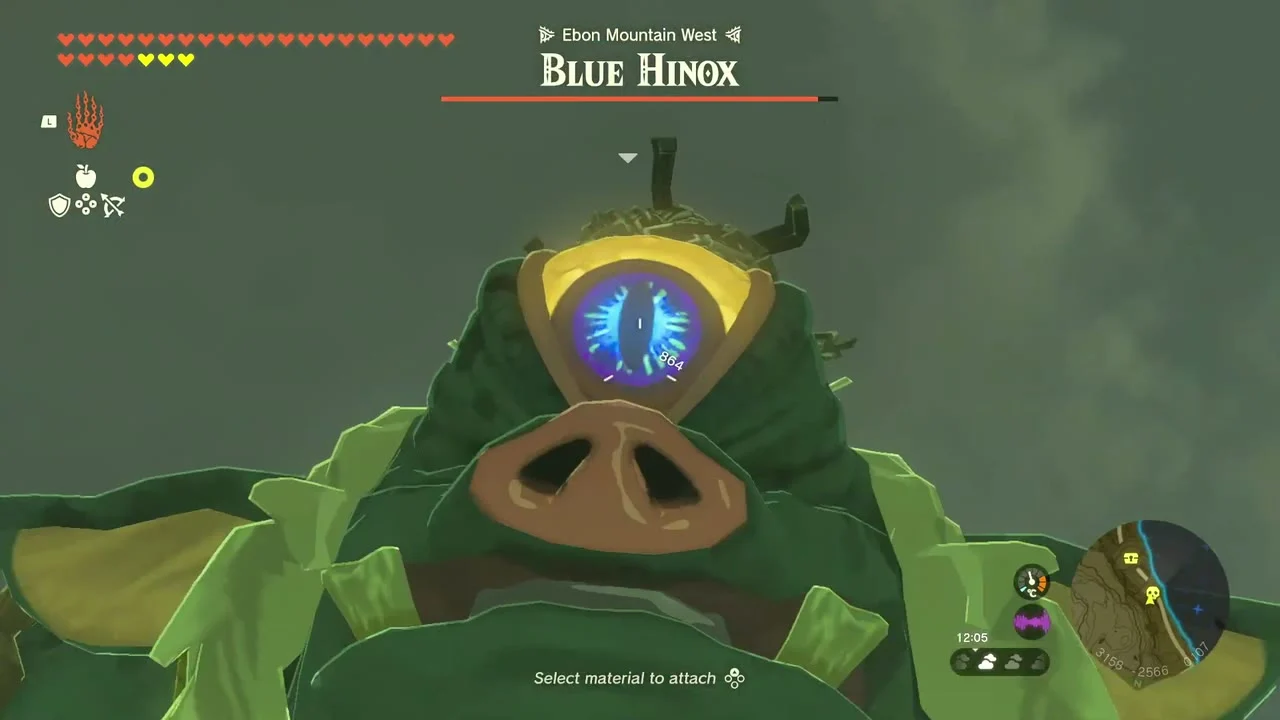
Miniboss: Blue Hinox at about (4158, -2566), on Ebon Mountain West. Shoot its eye to stun it, then climb its body and hit the weak spot. Chests nearby hold the Eightfold Longblade and the Phrenic Bow.

Make the offering to Satori
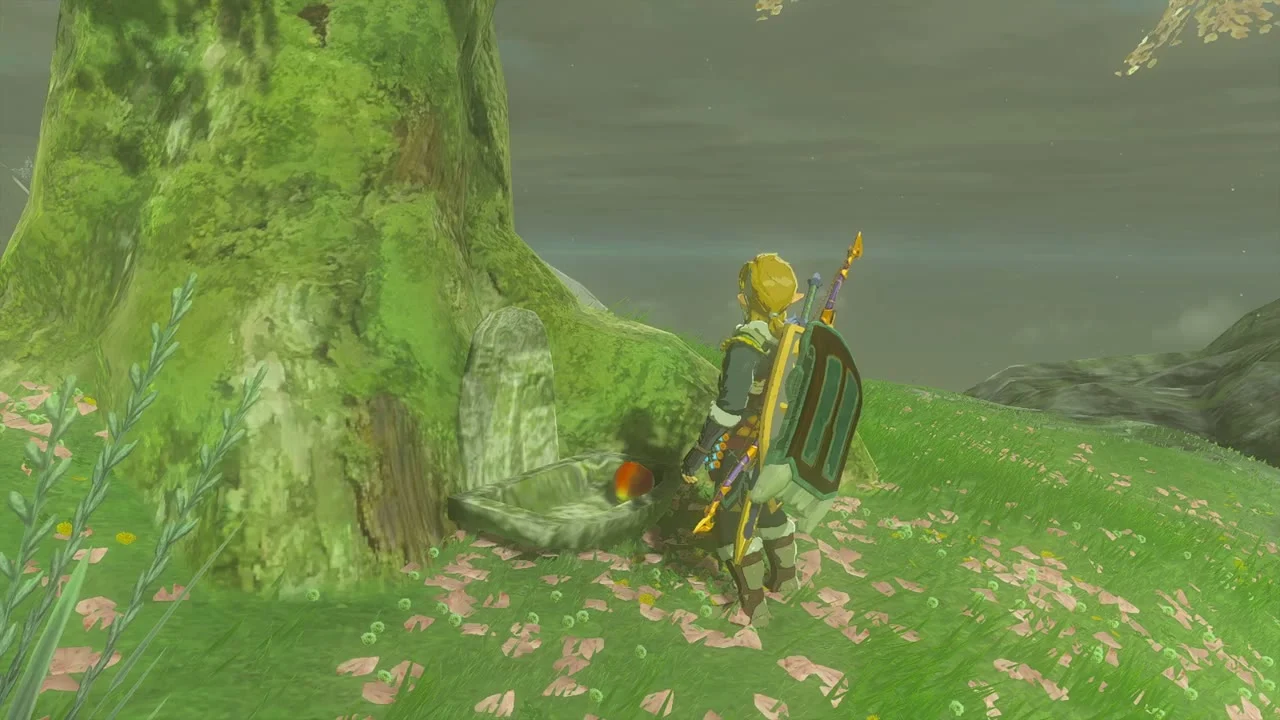
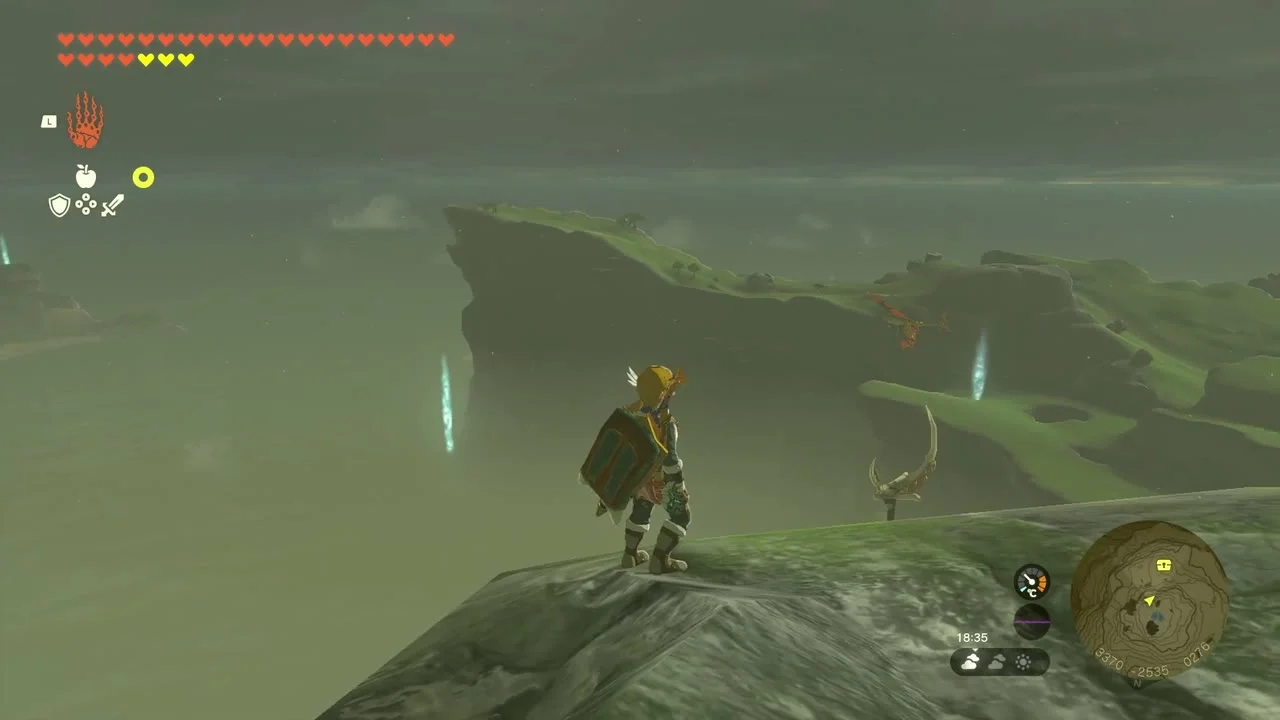
Offering to Satori at about (4370, -2535), under the blossoming tree on the high cliff. Make your offering at the foot of the tree.
Also in this area
The data lists these Koroks in the south-east box (X 3800 to 5300, Y -3600 to -1300) that this route did not pick up: Bring the exhausted Korok to its friend (3898, -2505), Examine where the arrows point to (3932, -2479), Shoot the balloon(s) (3913, -2100) and (4491, -3396), Complete the rock pattern (4335, -1870) and Go up to examine the sparkling spot (4598, -3561).
Mount Lanayru Part 2 checklist
| Collectible | Count | Where |
|---|---|---|
| Shrines | 2 | Jikais (Walnot Mountain Cave), Anedamimik (Deepback Bay Cave) |
| Lightroots | 2 | Siakij, Kimimadena (below the shrines) |
| Korok seeds | 14 | 7 on the Hateno coast and slopes, 7 on the Deepback Bay and Mapla Point coast |
| Caves | 3 | Walnot Mountain Cave, Deepback Bay Cave, Mapla Point Cave |
| Bubbul Gems | 3 | One in each cave |
| Minibosses | 3 | 2 Boss Bokoblins, 1 Blue Hinox |
| Armor | 2 | Barbarian Leg Wraps, Cece Hat |
Part 3: Oakle’s Navel Cave and Tokiy Shrine, 6 Koroks, five Lightroots, Depths mines and an Old
| Region | Surface: the East Necluda uplands between Meda Mountain, Oakle’s Navel and Hateno Village. Depths: Mount Lanayru Depths and East Necluda Depths (Abandoned Hateno Mine to Lanayru Canyon Mine). Sky: Necluda Sky Archipelago |
|---|---|
| Shrines | Tokiy Shrine (Rauru’s Blessing, 2304, -2377) opened with the Oakle’s Navel Cave crystal. See Tokiy Shrine. |
| Lightroots | 5 lit: Usukaz (under Zakusu Shrine, 3525, -1482), Siakij, Kimimadena, Kisihayam and Kimnaz. See all Lightroots. |
| Caves, wells, towers | Oakle’s Navel Cave (Bubbul Gem), Rabella Wetlands Skyview Tower, plus the Depths mines Abandoned Hateno, Ebon Canyon, Walnot Canyon, Lanayru Canyon, Madorna Canyon and Canyon of Awakening |
| Quests | The Oakle’s Navel Cave Crystal (shrine quest), Aerocuda Fabric for Sayge, Uma’s Garden (planted), a Heart Container at the Hateno Village statue |
| Koroks | 6 collected on the surface |
| Armor | Cap of the Sky (Retsam Grove chest, Depths), Dark Hood (300 Poes at any Bargainer Statue, such as the Wellspring of Wisdom one) |
| Minibosses | 1 Boss Bokoblin on the surface; Depths: 2 Stone Taluses, a Flux Construct and a Frost Talus |
This chapter sweeps the highlands west of Hateno for chests, a Boss Bokoblin camp and six Korok seeds, carries a crystal out of Oakle’s Navel Cave to open Tokiy Shrine, and then drops into the Depths to light four Lightroots and empty the mines under Mount Lanayru. It ends with the Rabella Wetlands Skyview Tower and an Old Map chest in the sky.
Quick route
Open the Arrow chest on the ridge, show Sayge a photo of an Aerocuda for Aerocuda Fabric, then take the Silver Boko Reaper chest and clear the Boss Bokoblin camp for its Amber, Opal, Luminous Stone and Gnarled Wooden Stick (or Wooden Stick or Sturdy Wooden Stick, depending on your progress) chests.
Take the rock-lift Korok above the camp, offer apples to the two statues on the next hill, and carry the exhausted Korok to its friend at the pond before entering Oakle’s Navel Cave.
Carry the crystal along the beam to Tokiy Shrine, grab the Eightfold Blade chest and the Bubbul Gem on the way, then collect the rock pattern Korok, the rock-lift Korok on the cliff, the Phrenic Bow and Savage Lynel Bow (or Lynel Bow or Mighty Lynel Bow, depending on your progress) chests and the plug Korok.
Spend a Heart Container at the Hateno Village statue, have Uma plant a crop, then drop down the Mount Lanayru chasm to light the Usukaz Lightroot.
In the Depths, light Siakij, Kimimadena, Kisihayam and Kimnaz, then work Abandoned Hateno Mine, Ebon Canyon Mine, Walnot Canyon Mine, Lanayru Canyon Mine, the Wellspring of Wisdom Bargainer Statue, Madorna Canyon Mine, Ginner Grove and Canyon of Awakening Mine. Finish by climbing out to the Rabella Wetlands Skyview Tower and the sky chest with the Old Map.
Highlands above East Necluda (surface)
Open the Arrow chest on the ridge
Chest: Arrow at about (3357, -2597, 246), on a wooden scaffold at the edge of a ridge in the East Necluda highlands. Glide onto the scaffold and open the chest for a stack of Arrow; it is a quick grab before you head down into the valley.

Show Sayge an Aerocuda photo for Aerocuda Fabric
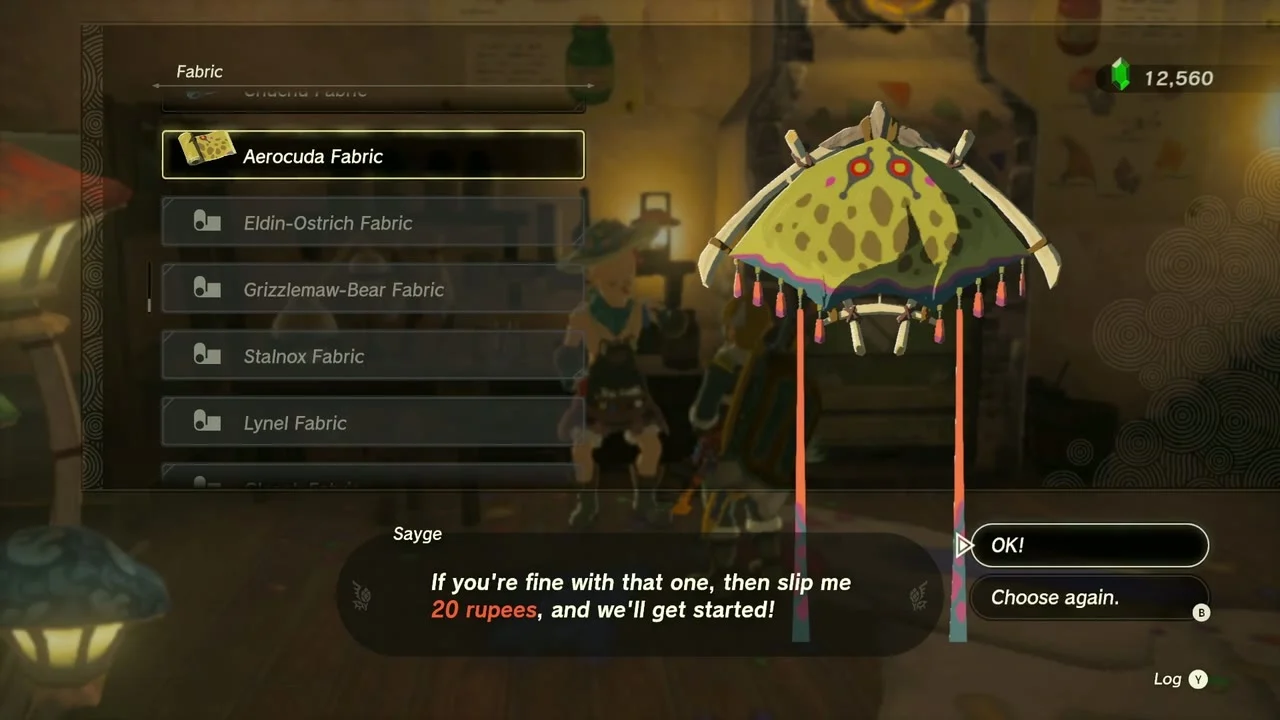
Paraglider fabric: Aerocuda Fabric from Sayge in the Hateno Dye Shop, Hateno Village. Once your Hyrule Compendium holds a picture of an Aerocuda, show it to Sayge as a new reference and she gives you Aerocuda Fabric. Choose Rework it, pick the fabric from the list and pay 20 rupees to give your paraglider the Aerocuda pattern.

Take the Silver Boko Reaper chest
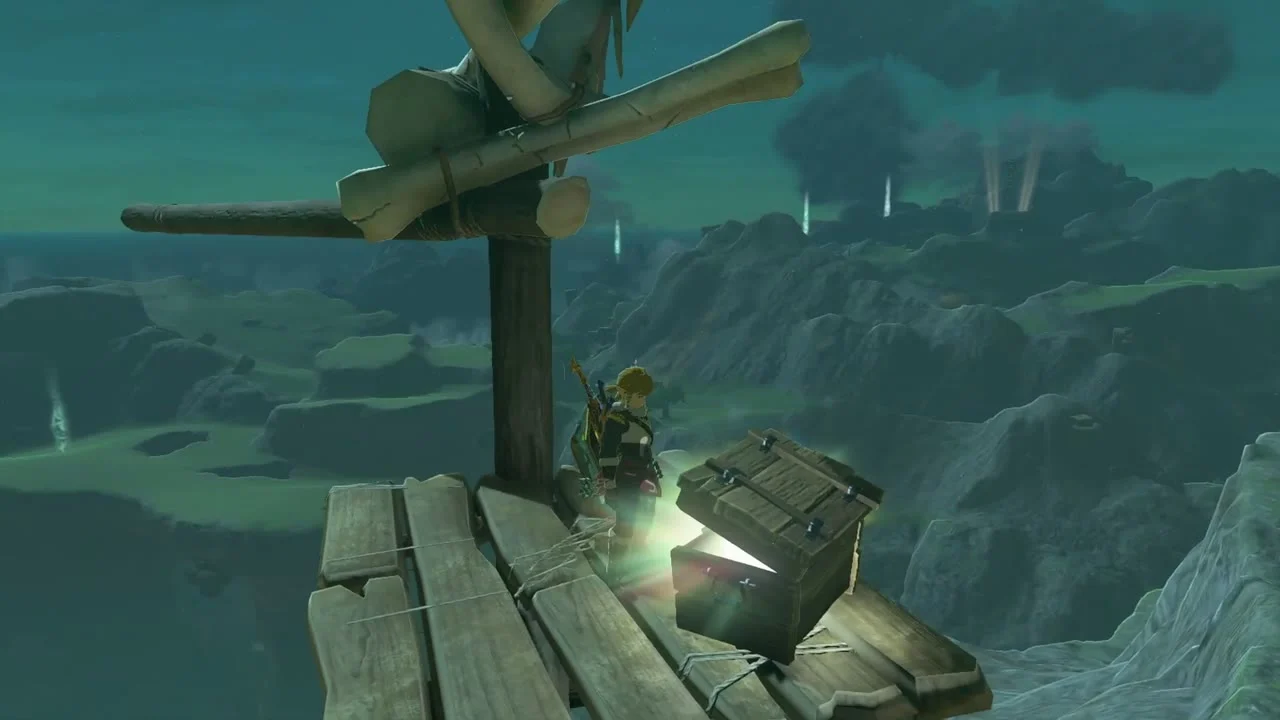
Chest: Silver Boko Reaper at about (3058, -2380, 119), beside a wooden lookout tower on a grassy hill east of the Boss Bokoblin camp. Climb the stand and open the chest for a Silver Boko Reaper, a strong stick-type weapon that is useful for fusing.

Clear the Boss Bokoblin camp
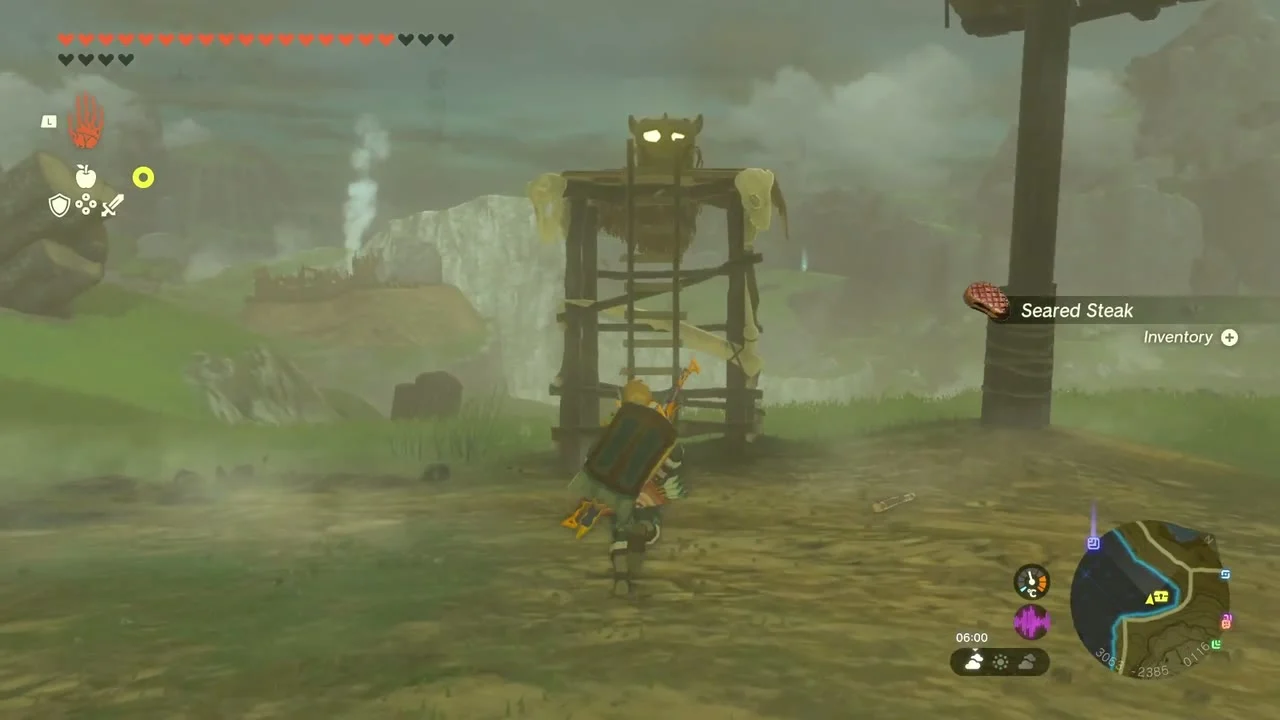
Miniboss: Boss Bokoblin at the monster camp at about (2790, -2255, 105), on the highlands about 650 units west of Hateno Village. Climb the ladder up the camp wall or glide in over the fence, fight the Boss Bokoblin and its companions on the ground, and keep a couple of spare weapons for the chests that follow.


Open the Amber, Opal and Gnarled Wooden Stick chests
Chests: Amber, Opal and Gnarled Wooden Stick inside the camp at about (2785, -2255, 104). Several chests sit in the yard and against the back wall; one cage chest can be lifted with Ultrahand. Open them for Opal, Amber and a Gnarled Wooden Stick.


Open the Luminous Stone chest
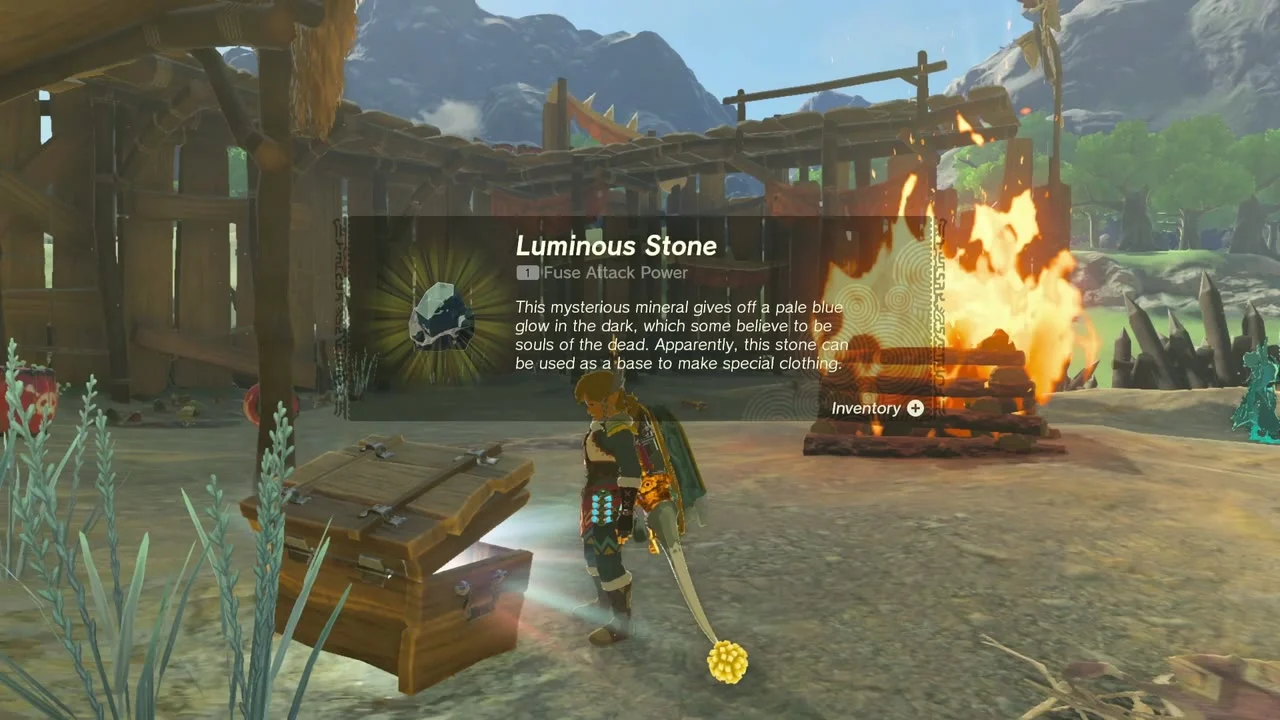
Chest: Luminous Stone at about (2790, -2262, 108), beside the campfire at the edge of the camp. Open the chest for a Luminous Stone, a gem that glows blue in the dark and is used to dye and fuse.

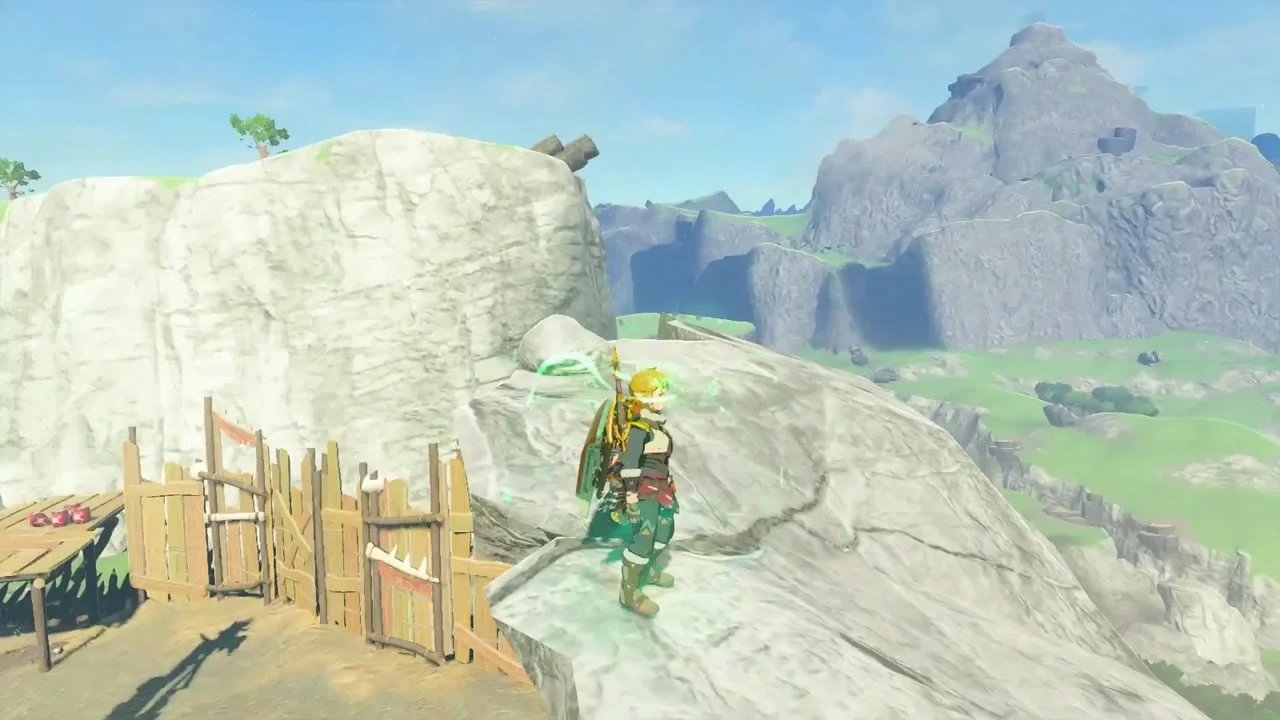
Lift the rock above the camp
Korok seed (Lift the rock) at (2809, -2247, 125), on a white rock ledge just above the camp. Climb onto the rock, then lift the boulder from the ledge with Ultrahand; the Korok underneath gives you its seed.

Offer apples to the statues
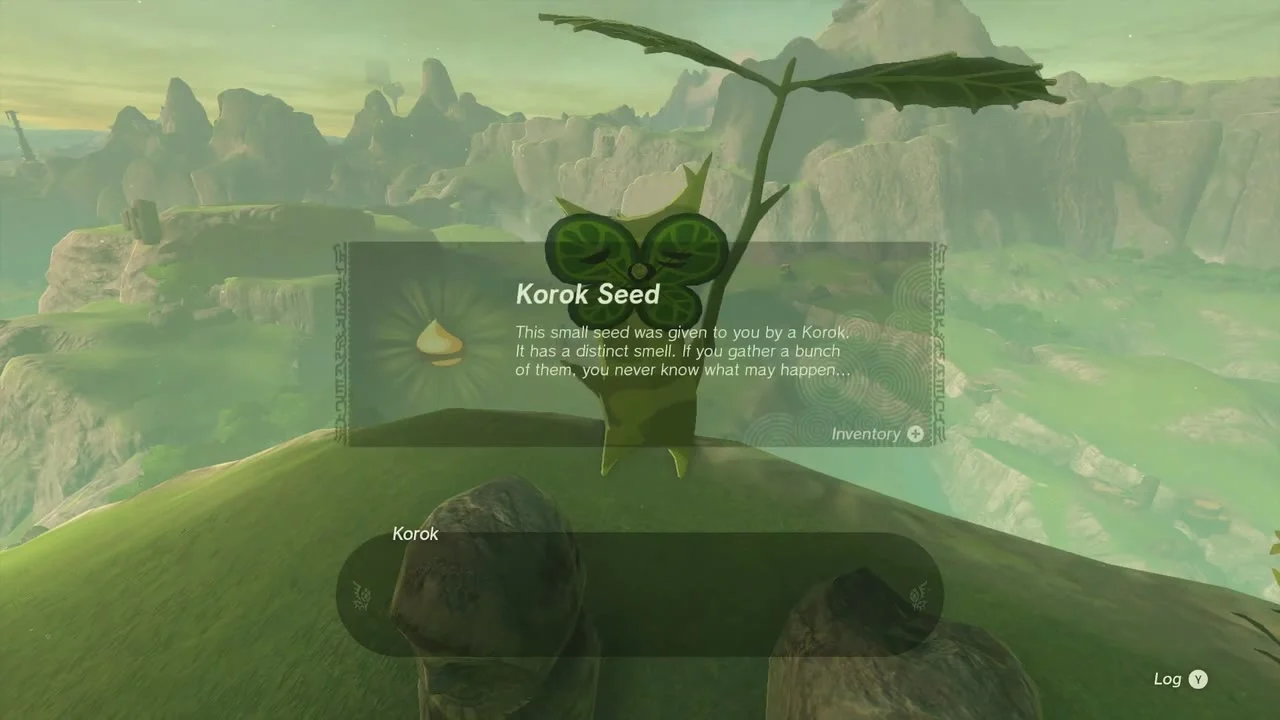
Korok seed (Offer apples to the statues) at (2724, -2122, 150), on a flower-covered hill to the south-east of the camp. Two stone Korok statues each have a small dish in front of them; place an Apple on each dish and the Korok appears, giving you its seed.

Carry the exhausted Korok to its friend
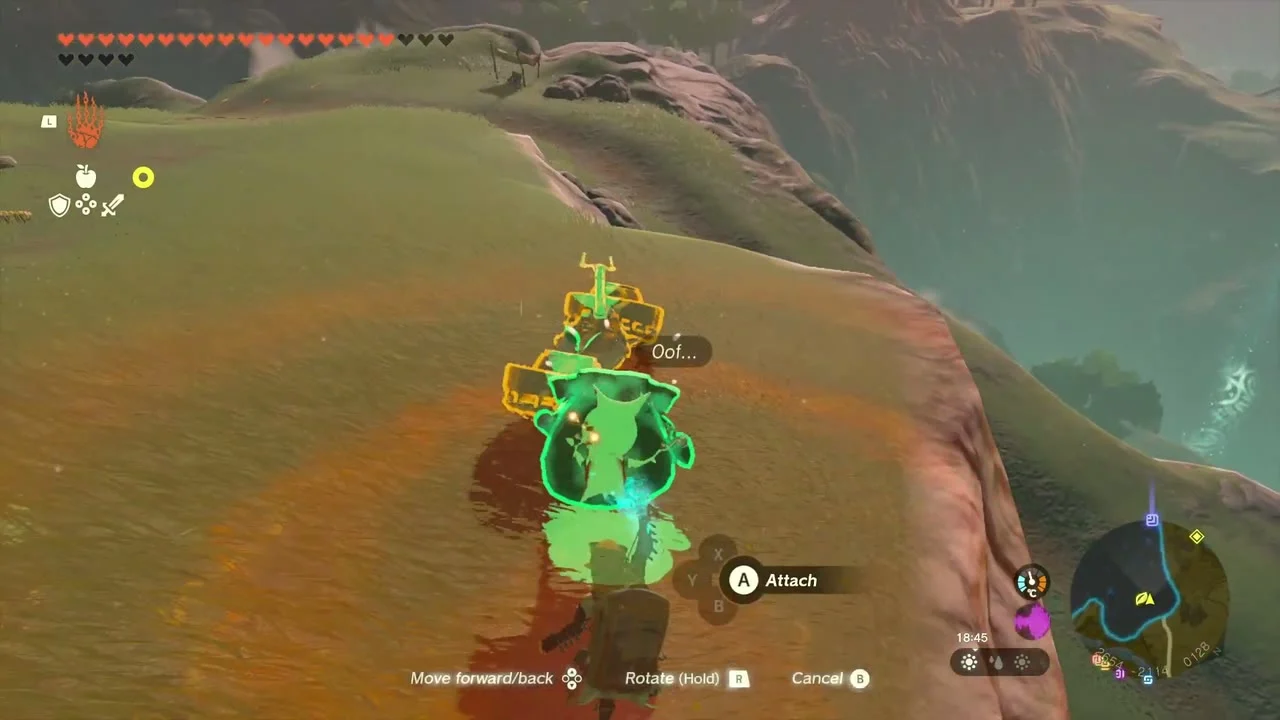
Korok seed (Bring the exhausted Korok to its friend) at (2482, -2048, 9), at the pond on the south-east side of Oakle’s Navel. Pick up the exhausted Korok with Ultrahand (about (2654, -2114)) and carry it down the slope to the Korok waiting by the tent at the pond.
Oakle’s Navel Cave and Tokiy Shrine
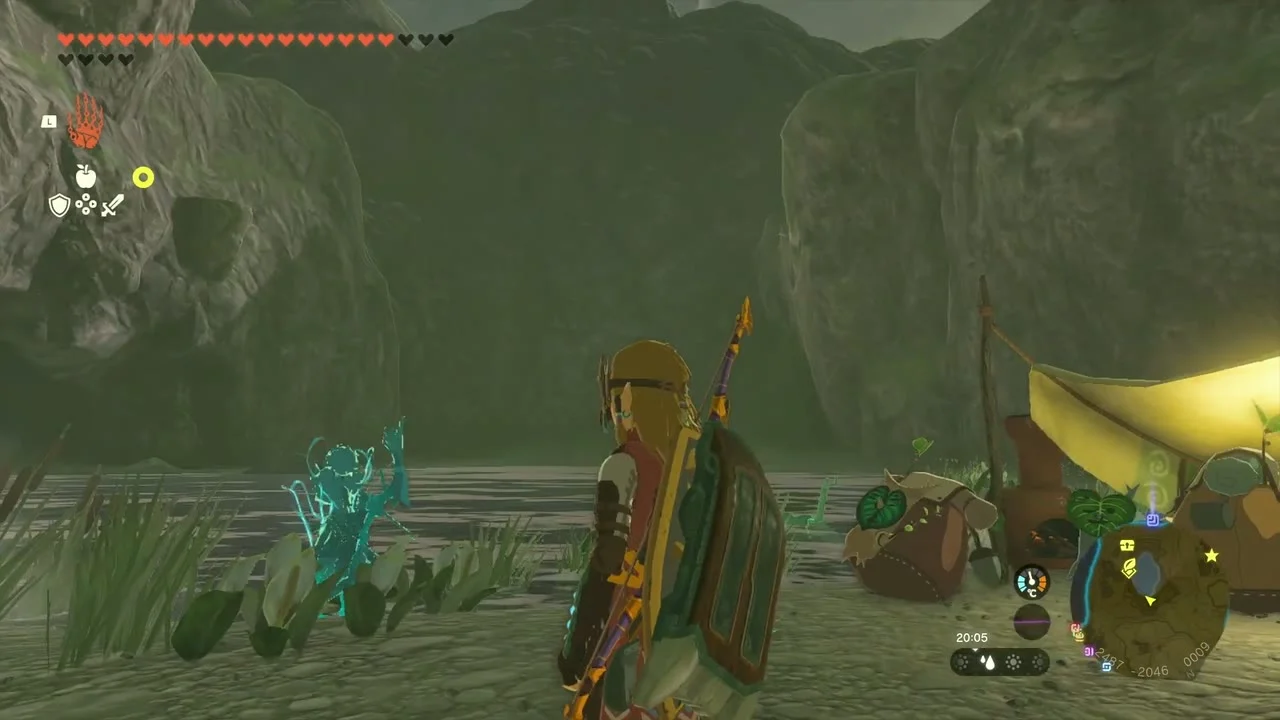
Find Oakle’s Navel Cave and examine the crystal
Oakle’s Navel Cave at (2504, -2106, 6), on the south-east shore of the Oakle’s Navel lake in West Necluda. Walk into the dark cavern along the water’s edge and follow the passage until a green crystal stands on a stone stand at about (2449, -2185, -28). Examine it to start the shrine quest The Oakle’s Navel Cave Crystal.

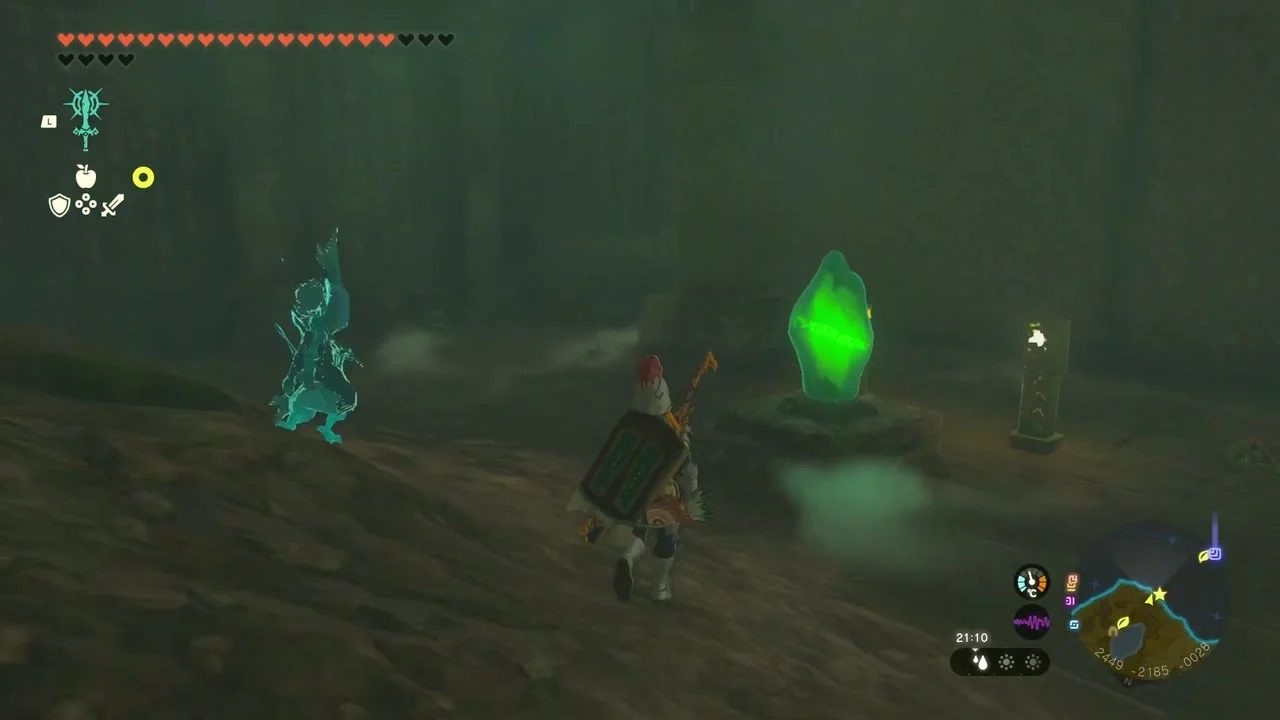
Carry the crystal along the green beam
The crystal sends out a green beam; follow it through the cave to find where the crystal must be placed. The easiest method is to build a small Zonai cart from Wheels and a platform, set the crystal on it with Ultrahand and push it along the beam. Boulders roll down the first room, so use Recall on any that come near and keep moving, and run past the Shock Like hanging near the entrance.
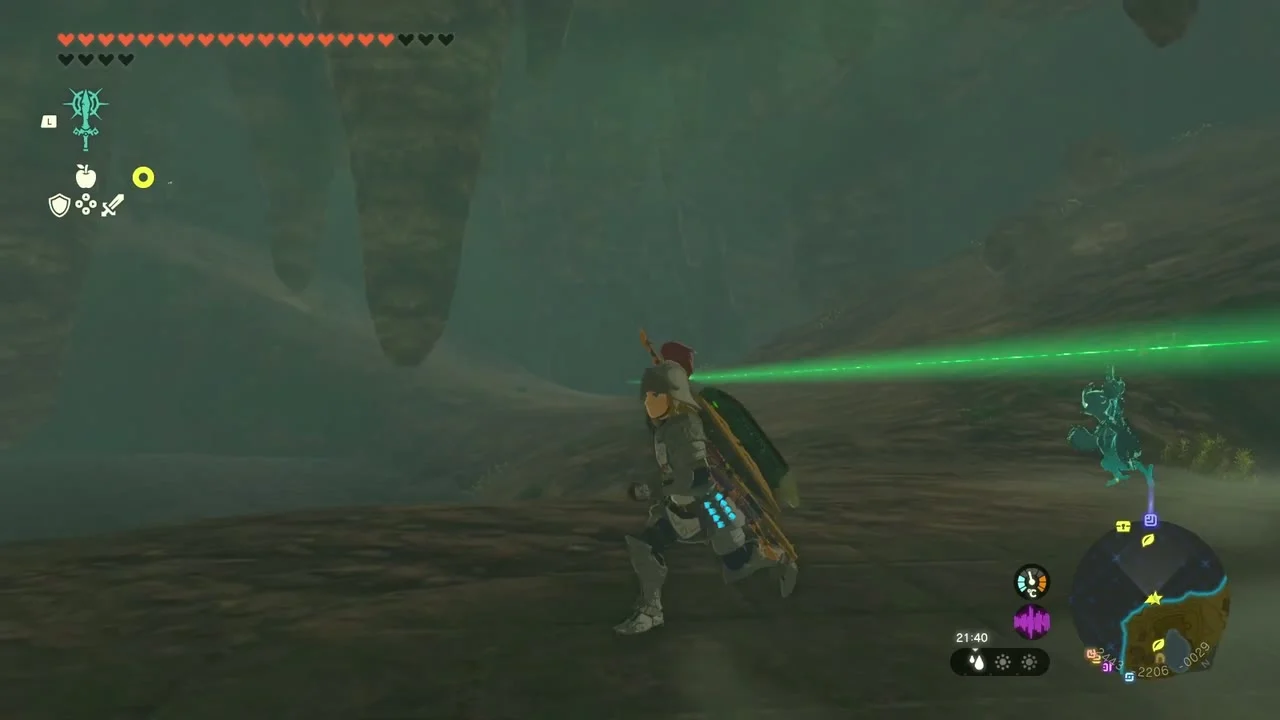

Open the Eightfold Blade chest
Chest: Eightfold Blade at about (2435, -2295, -8), on a stone platform between two lit pillars, off the main beam path. Once the shrine quest is finished the boulders stop falling in the first room, which makes this side chest easier to reach. Open it for an Eightfold Blade, a Sheikah-style sword. Guides place it up a small opening on the left side of the large boulder room.
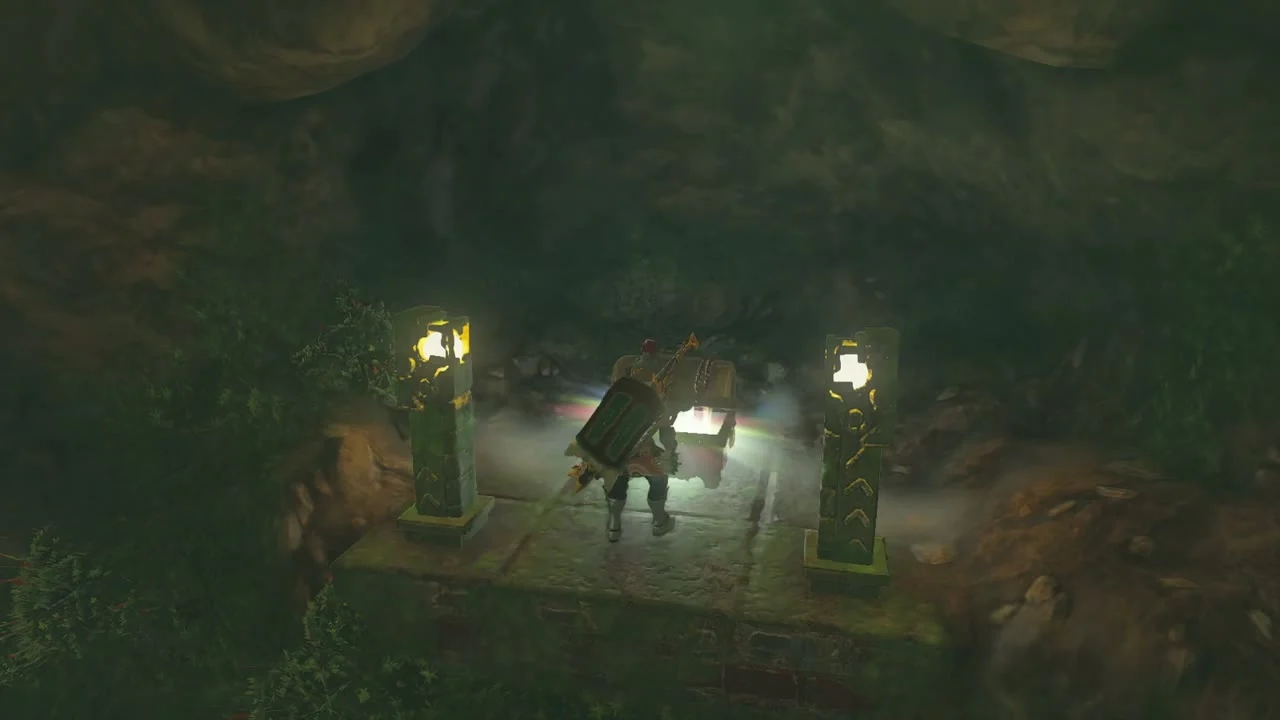
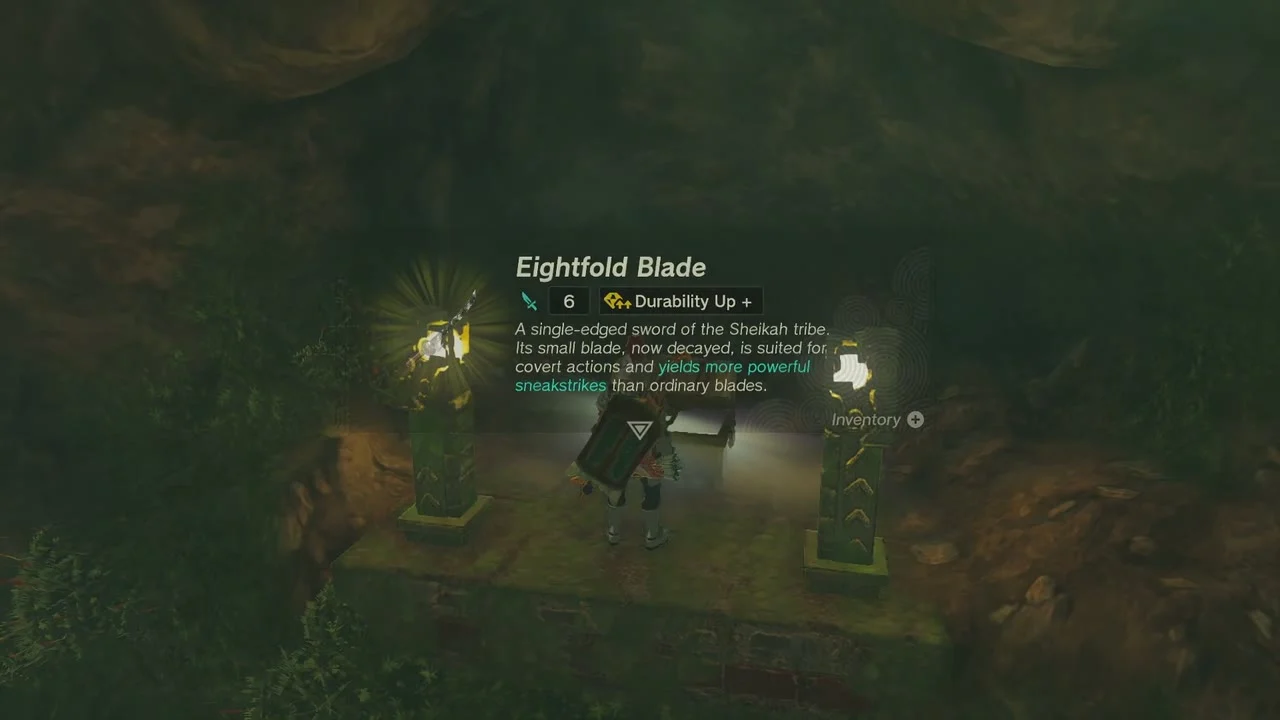
Carry the crystal to the shrine pedestal
Follow the beam to its end and set the crystal on the pedestal at the shrine doorway; Tokiy Shrine (Rauru’s Blessing, 2304, -2377, -15) then rises out of the water. Climb the stairs, step through the door and open the chest for Large Zonai Charge, then take the Light of Blessing from the terminal. The Yikot Lightroot lies directly beneath the shrine.


Take the Bubbul Gem
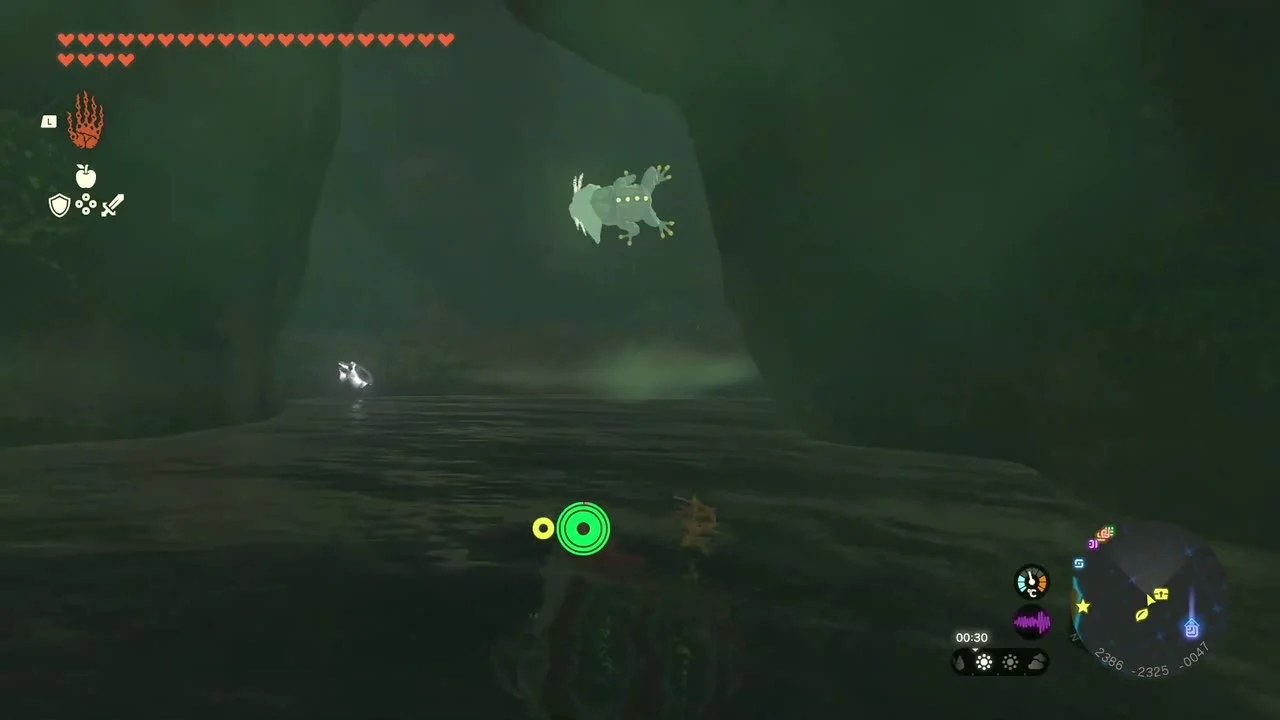
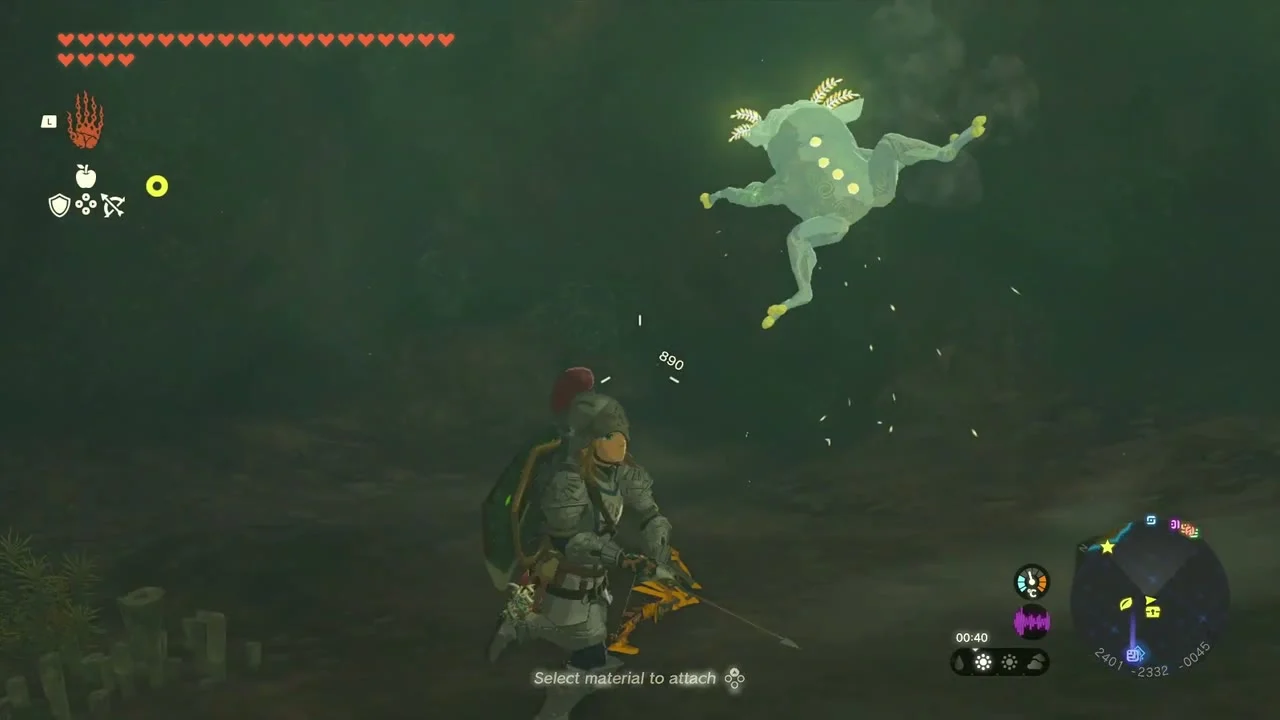
Bubbul Gem at about (2395, -2329, -47), at the water in the south-west part of the cave. The Bubbulfrog leaps around the ceiling above the pool; shoot it with an arrow or throw something at it to knock it down and collect the Bubbul Gem that it leaves. Guides describe the route as: in the last room, follow the narrow opening down to the water, then take the small opening on the right, which leads to the Bubbulfrog room. There is only one Bubbulfrog in the cave.
Korok seeds and chests around the lake
Complete the rock pattern
Korok seed (Complete the rock pattern) at (2413, -2269, 113), on an orange-lit slope above the west shore. A ring of rocks has one gap: lift the loose stone beside it with Ultrahand and set it in the empty spot to receive the seed.


Lift the rock on the cliff ledge
Korok seed (Lift the rock) at (2489, -2122, 33), on a small ledge on the cliff above the lake. Glide down onto the ledge, lift the boulder with Ultrahand and take the seed from the Korok beneath.


Open the Phrenic Bow chest
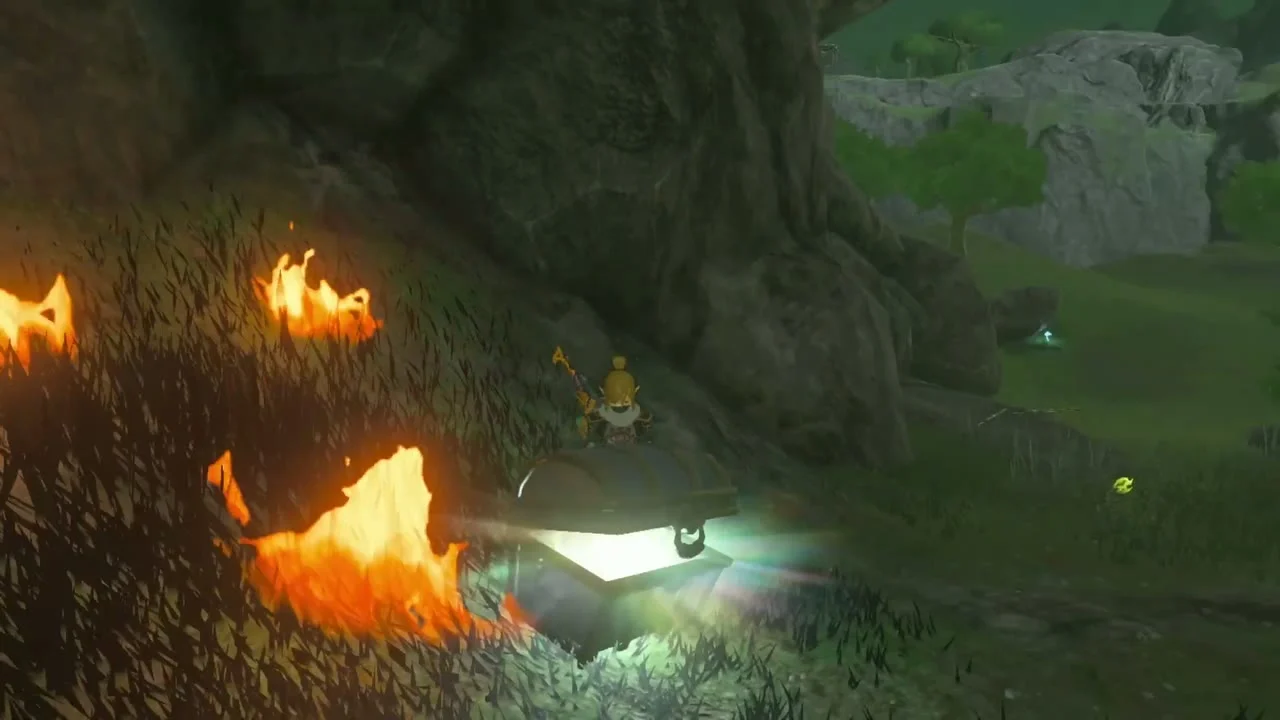
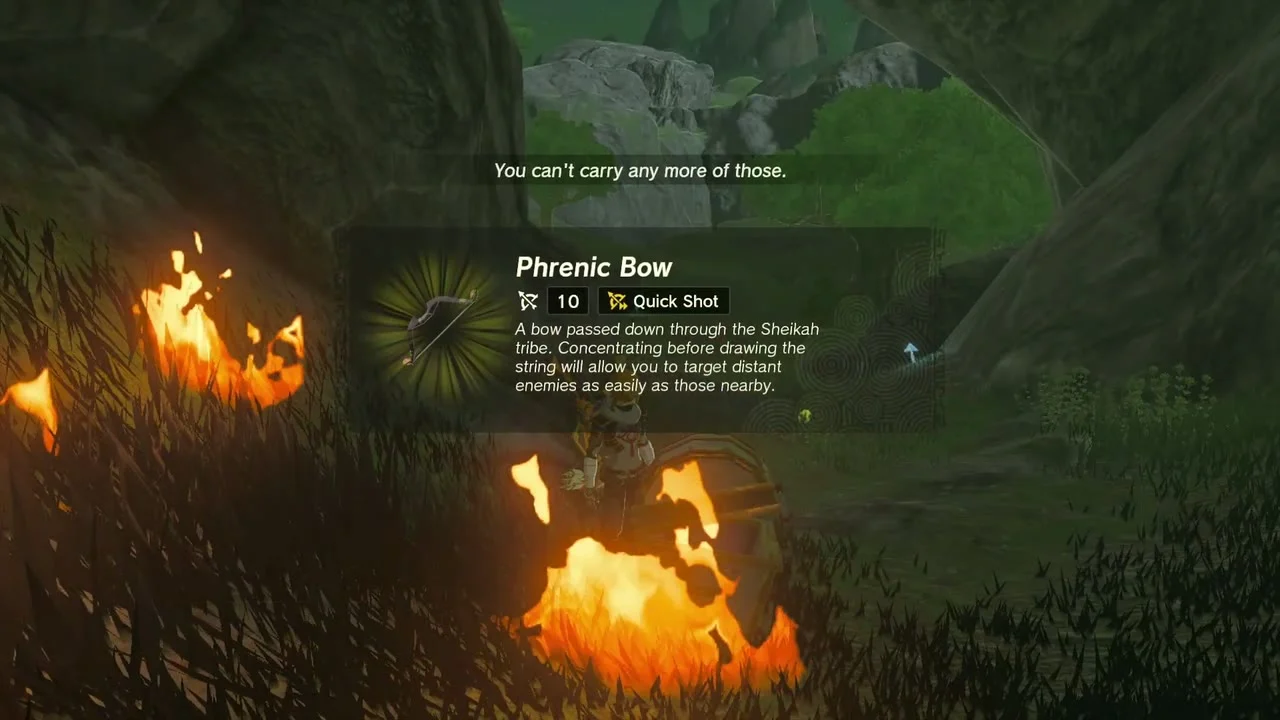
Chest: Phrenic Bow at about (2550, -2196, 58), in long grass south-east of the lake. Burn the dry grass if you want a clear path, then open the chest for a Phrenic Bow.
Open the Savage Lynel Bow chest
Chest: Savage Lynel Bow (Mighty or Savage Lynel Bow, depending on your progress) at about (2329, -2086, 94), on a nest-like perch of sticks and planks on a high rock west of the lake. Climb up beside the perch and open the chest for a Savage Lynel Bow.

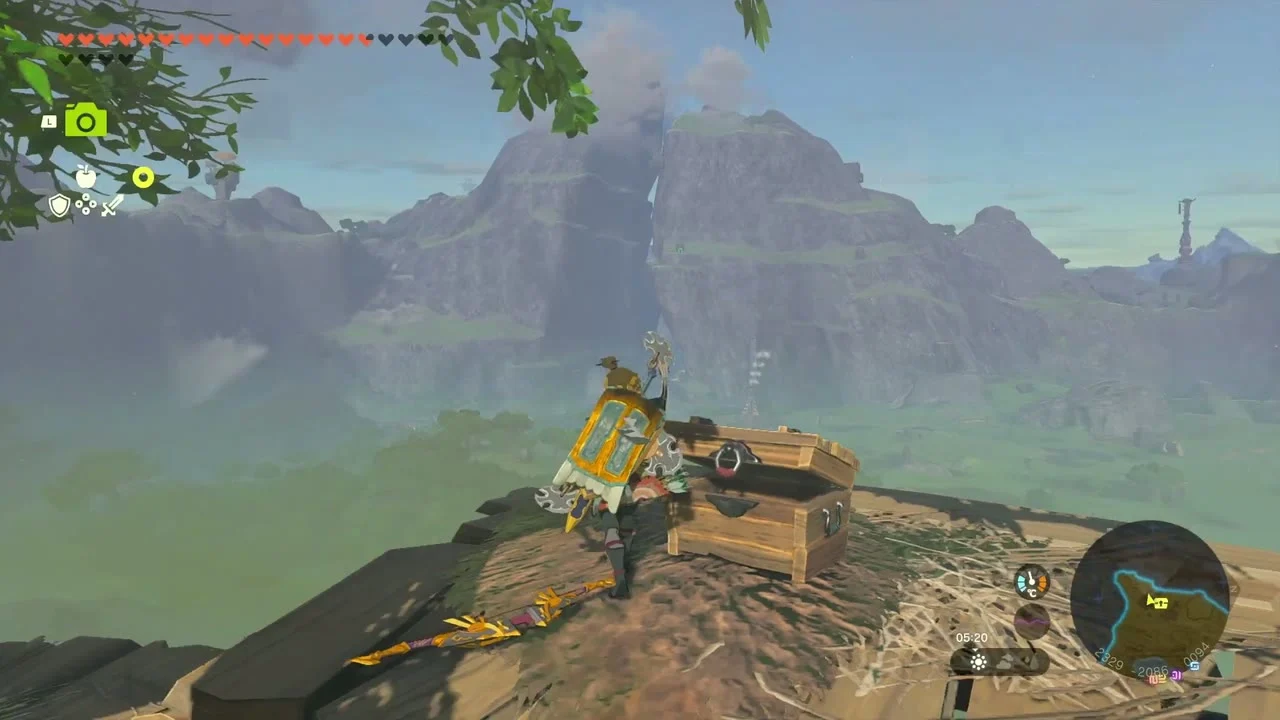
Free the Korok under the plug rock
Korok seed (Pull the plug) at (2513, -1866, 138), on a sloping yellow-flower meadow to the north. Use Ultrahand on the large block that plugs the Korok’s hole, drag it free and take the seed.

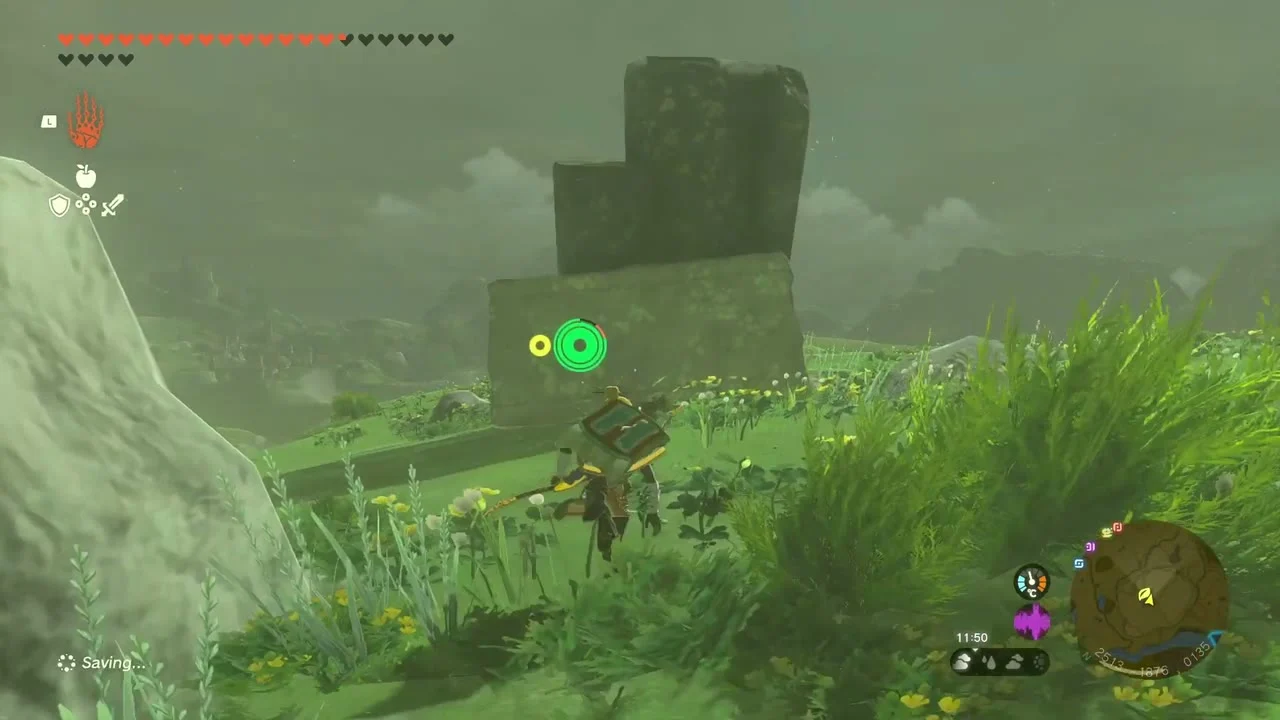
Hateno Village statue and Uma
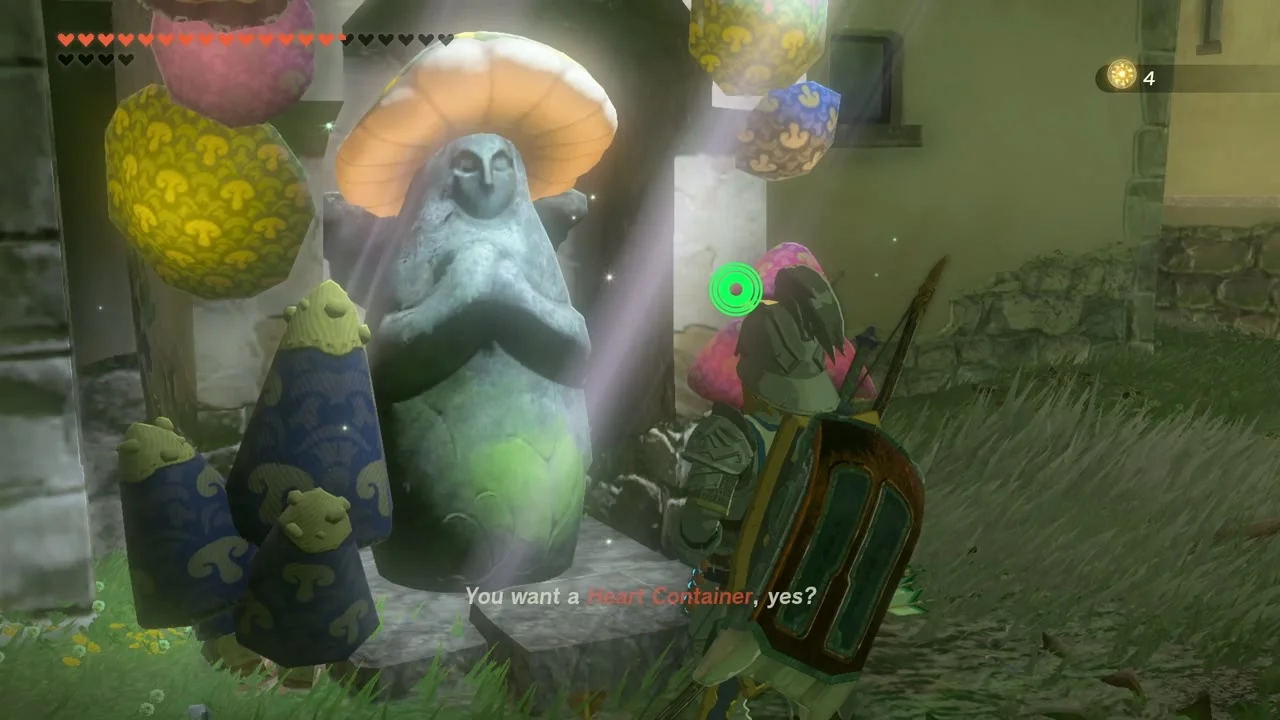
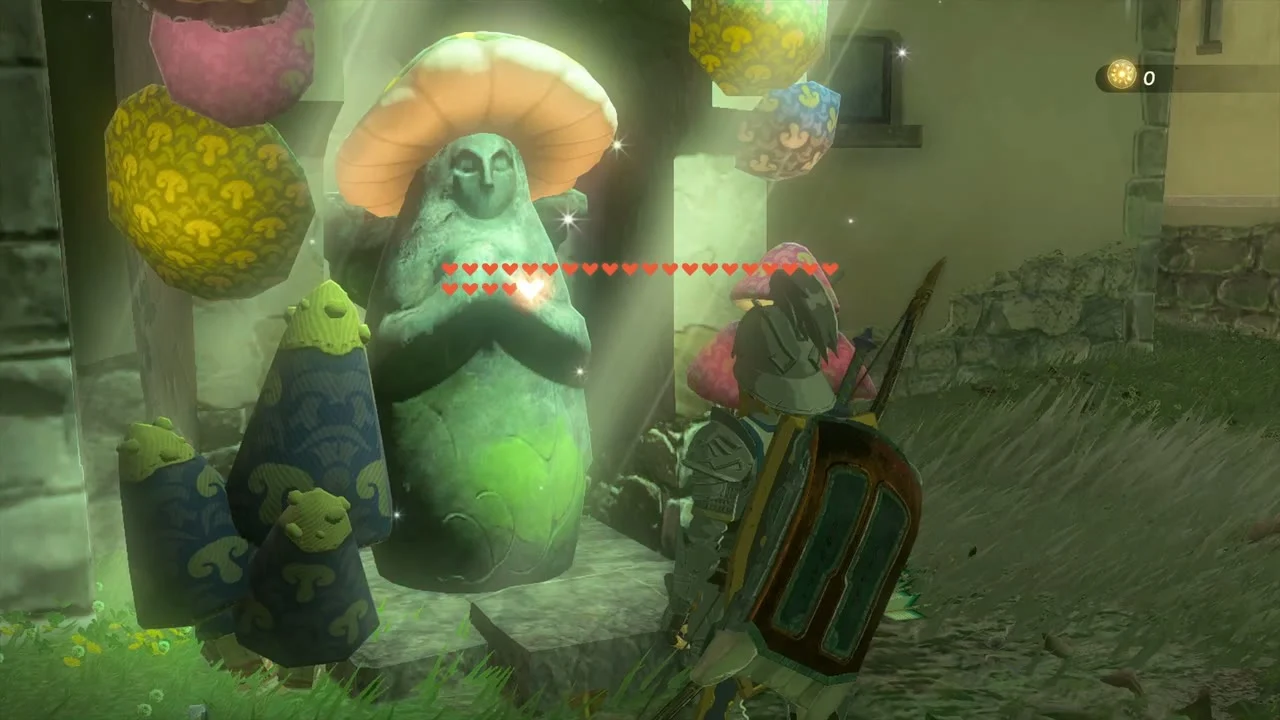
Trade four Lights of Blessing for a Heart Container
Goddess statue: Heart Container at the Hateno Village statue (3439, -2098, 131), in the village. Talk to the statue with four Lights of Blessing in hand and choose a Heart Container.
Plant a crop in Uma’s Garden
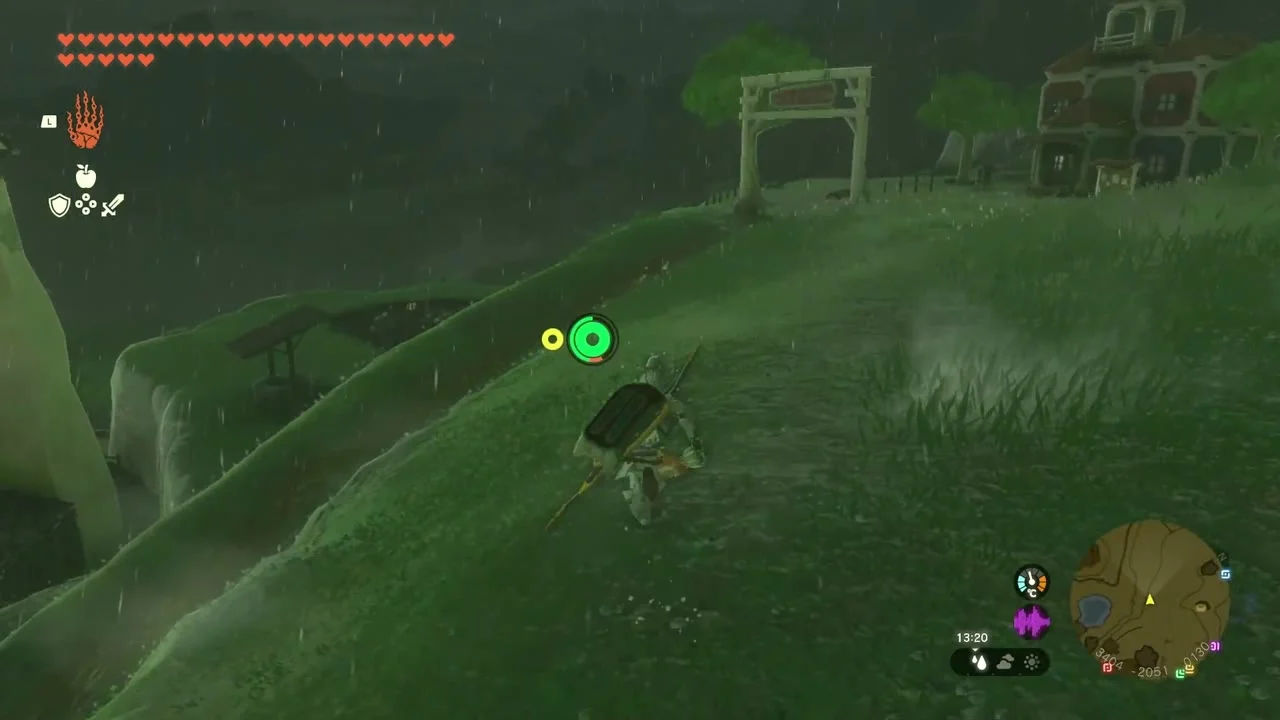
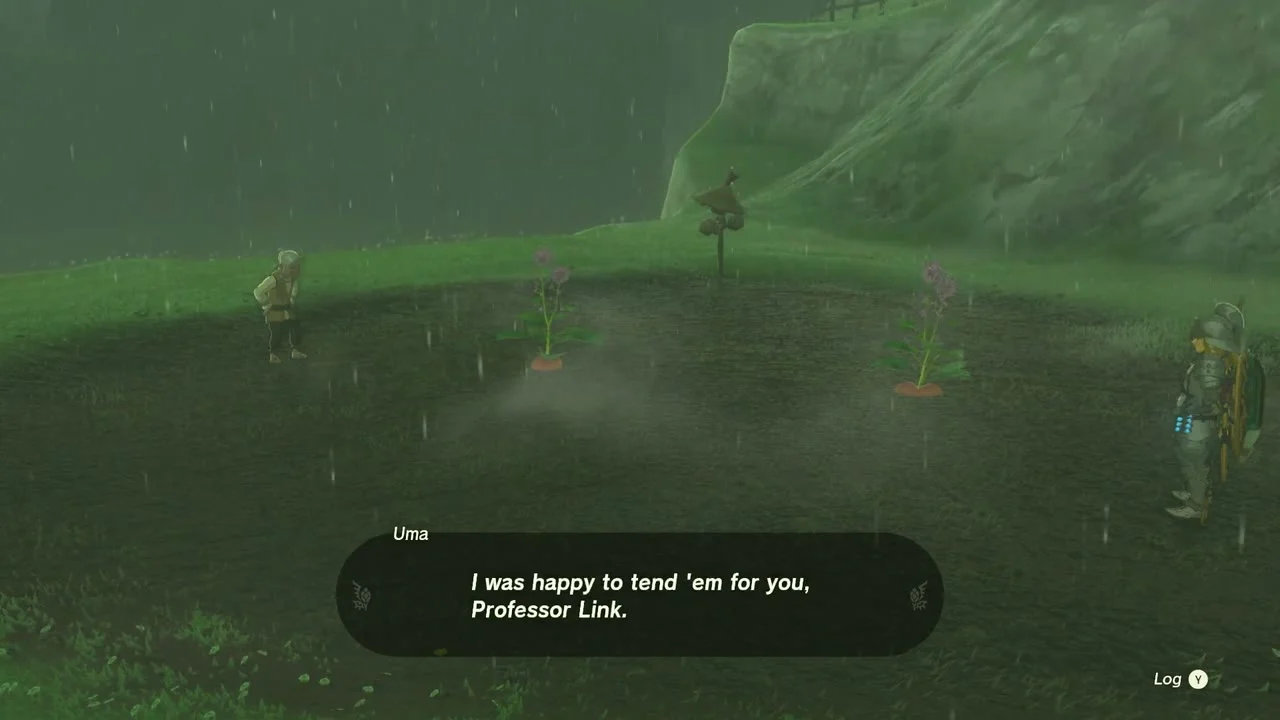
Quest: Uma’s Garden from Uma at the school garden north of Hateno Village (about (3362, -2046)). Talk to Uma after Teach Me a Lesson II and pick a crop; then come back later to harvest, or ask her to plant something else.
Mount Lanayru chasm and the Usukaz Lightroot
Light the Usukaz Lightroot
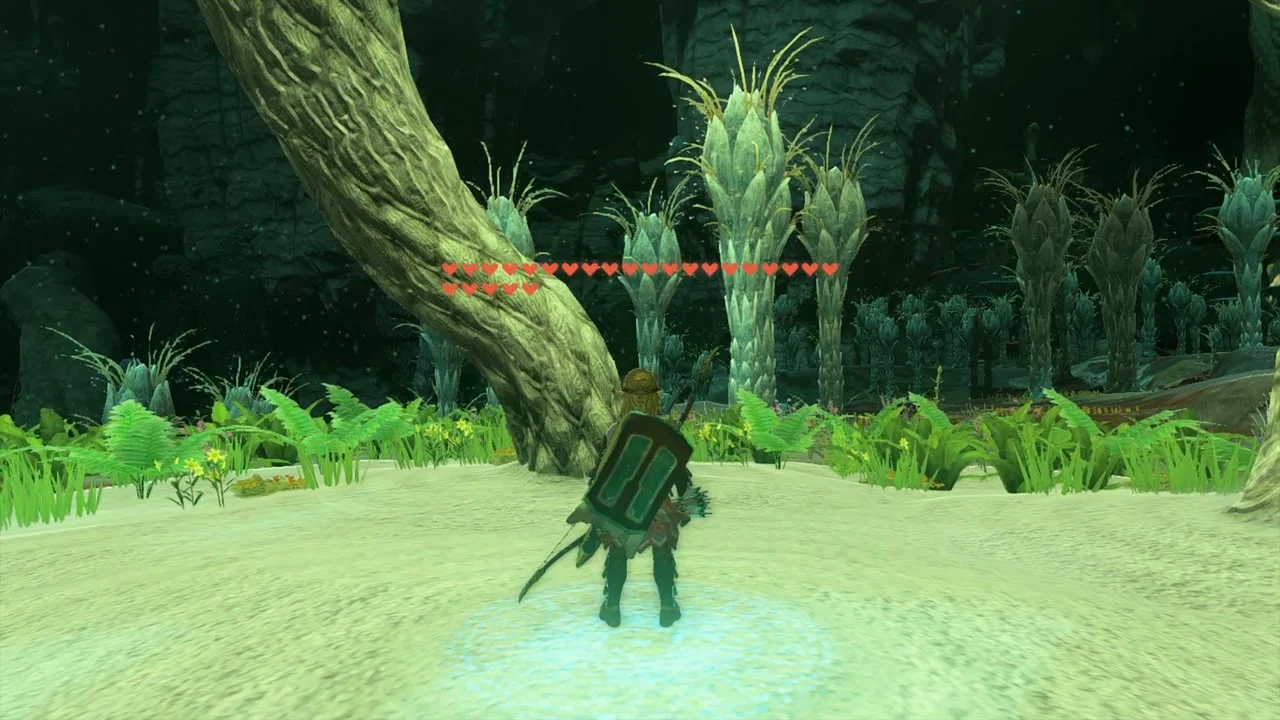
Usukaz Lightroot at (3525, -1482, -633) in the Depths, below Zakusu Shrine on Mount Lanayru. Dive into a chasm on the slopes of Mount Lanayru and glide down toward that spot. Zakusu Shrine above ties into the shrine quest The High Spring and the Light Rings.

Lightroots in the Depths
Light Siakij Lightroot
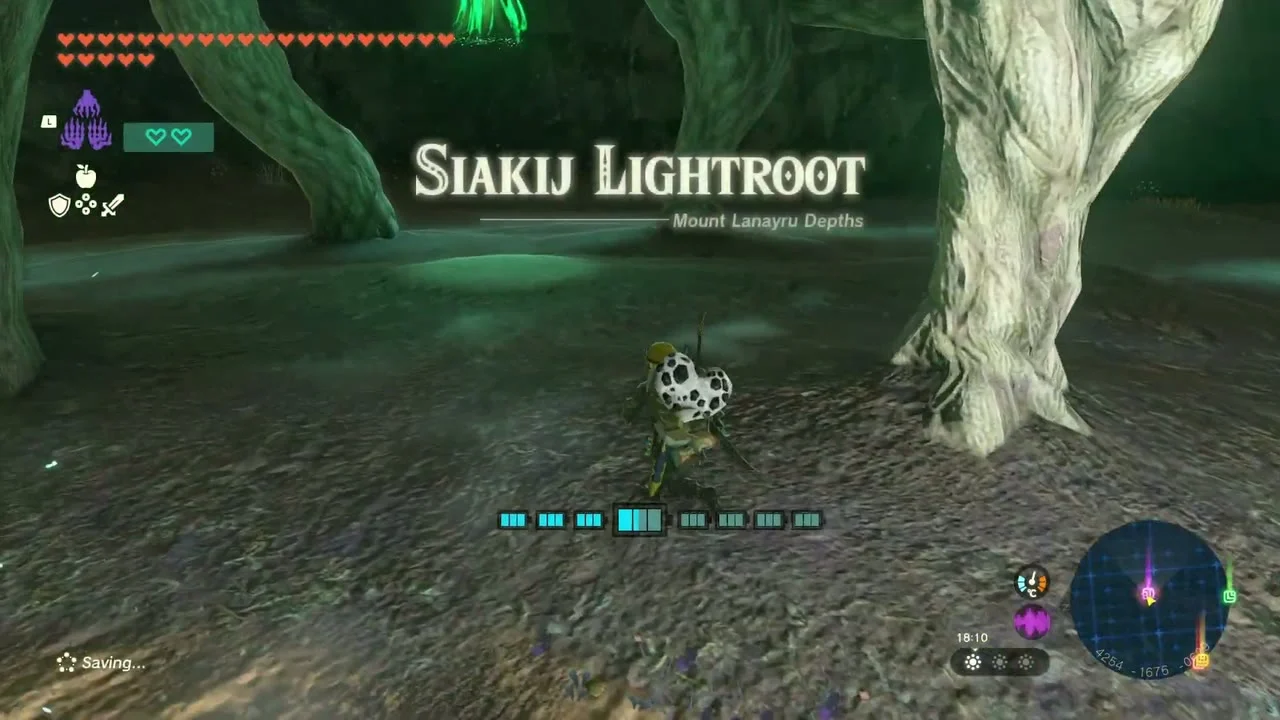
Siakij Lightroot at (4267, -1672, -649), in the Mount Lanayru Depths directly below Jikais Shrine in Walnot Mountain Cave. Dive from a chasm on the Walnot Mountain side and glide to the root; lighting it reveals the north-east end of the Depths map.

Light Kimimadena Lightroot
Kimimadena Lightroot at (4232, -2177, -542), below Anedamimik Shrine in Deepback Bay Cave. It lies about 500 units south of Siakij. The unlit root hangs as an orange bulb in the cavern; reach it with a fan craft and light it.
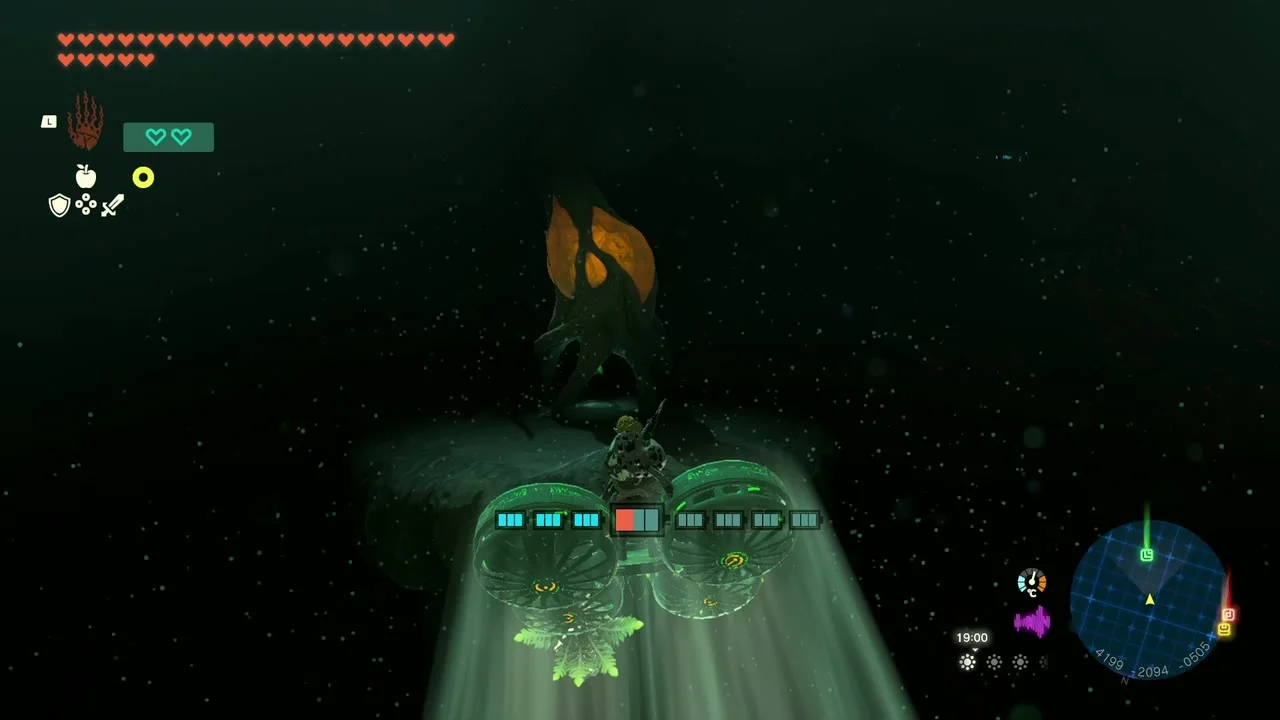
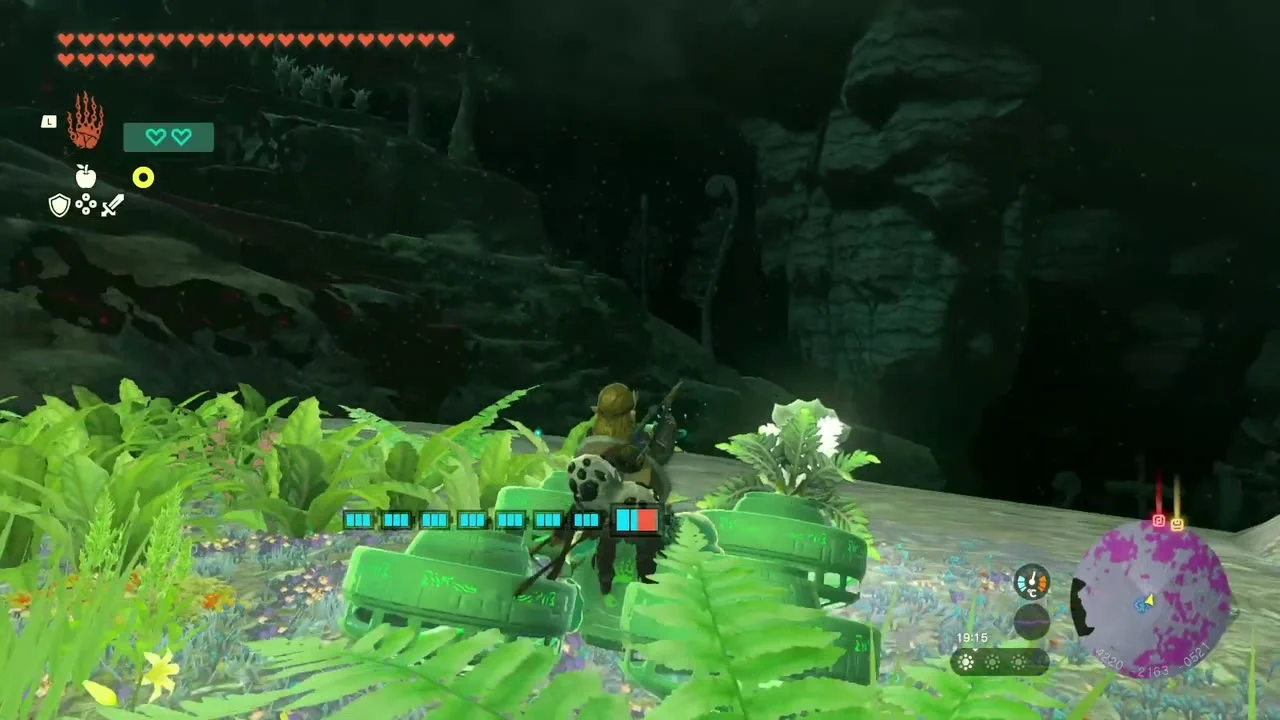
Light Kisihayam Lightroot at Retsam Grove
Kisihayam Lightroot at (3728, -2059, -686), in Retsam Grove in the East Necluda Depths, below Mayahisik Shrine. The orange bulb hangs from a twisted trunk; ride a fan craft up to it to light the root.

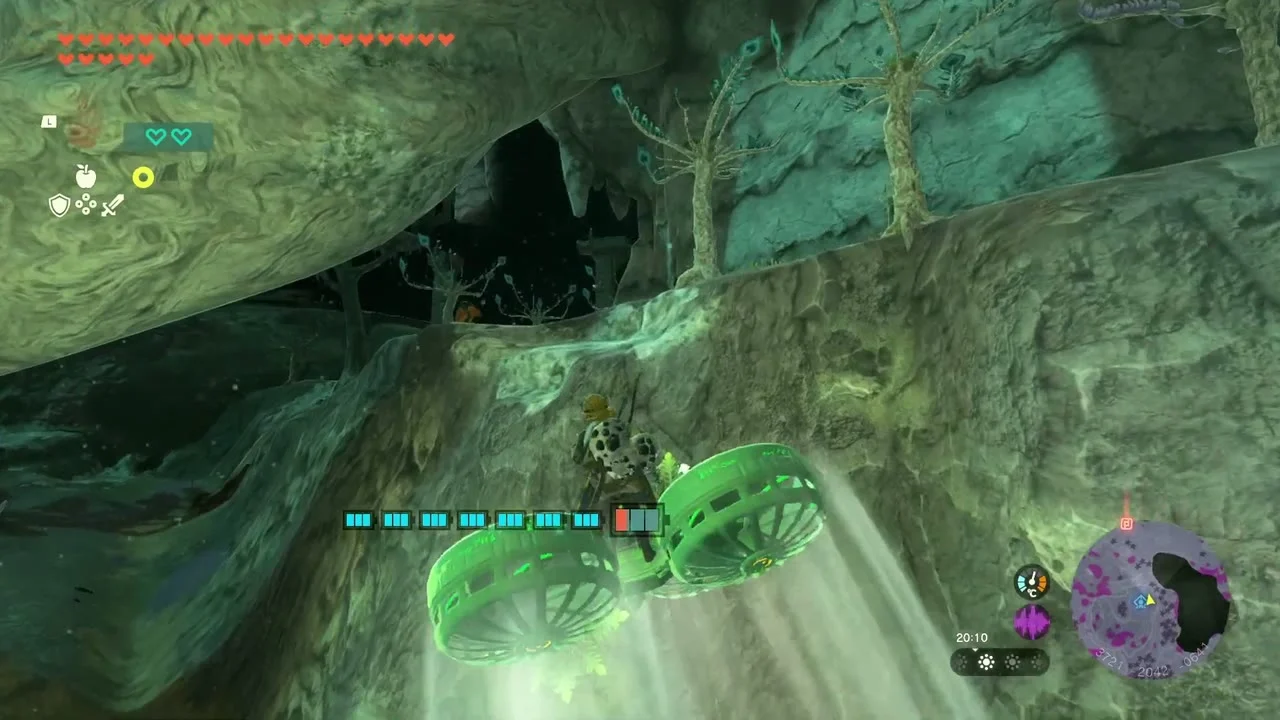
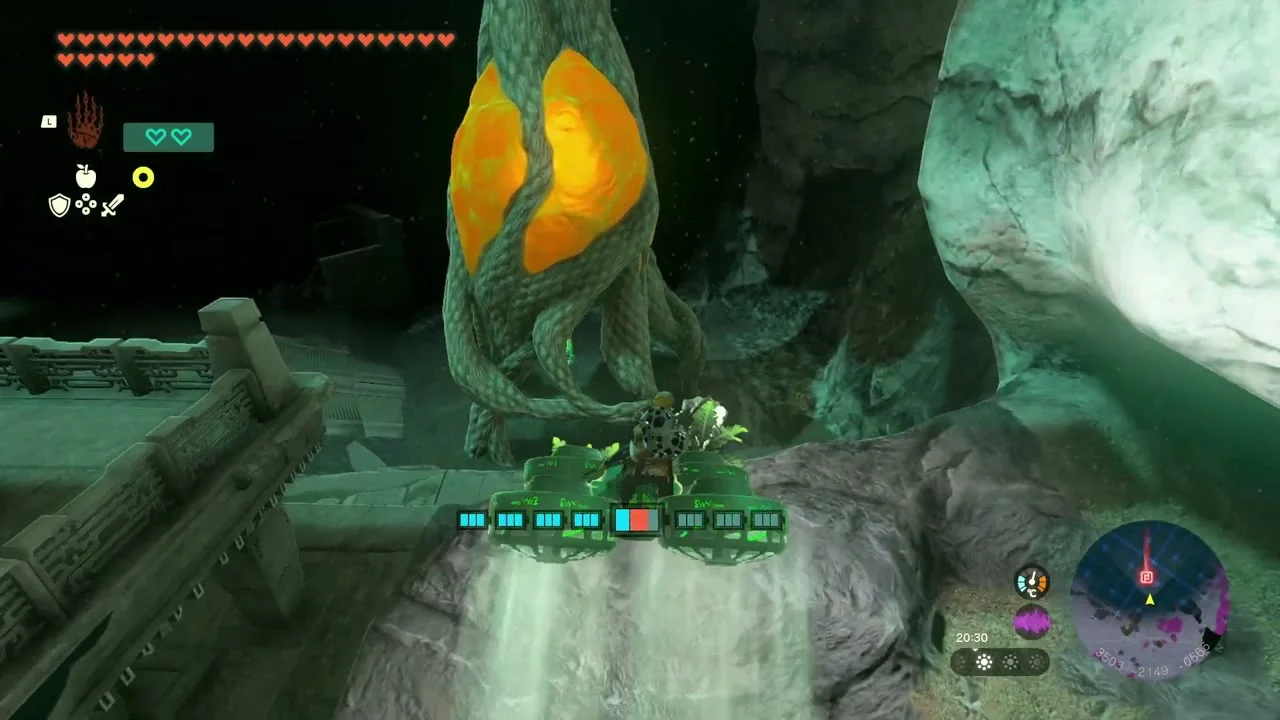
Light Kimnaz Lightroot
Kimnaz Lightroot at (3469, -2181, -615), below Zanmik Shrine in Hateno Village. The orange bulb is wrapped in the roots of a tall cavern pillar; reach it with a fan craft and light it.
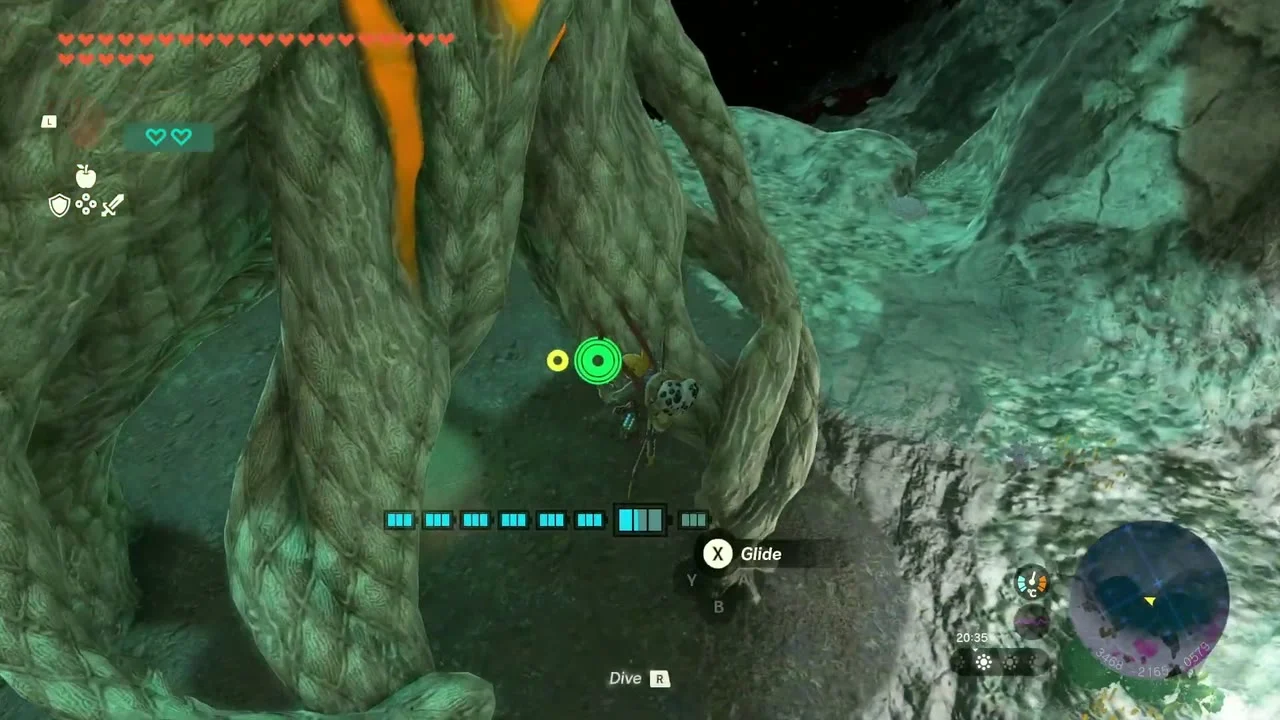
Abandoned Hateno Mine
Learn the Bridge schematic from the Steward Construct
Abandoned Hateno Mine at (3548, -2228, -485), in the East Necluda Depths below Hateno Village. Talk to the Steward Construct in the mine hall (it needs Autobuild first) and it gives you the Schema Stone for the Bridge schematic.

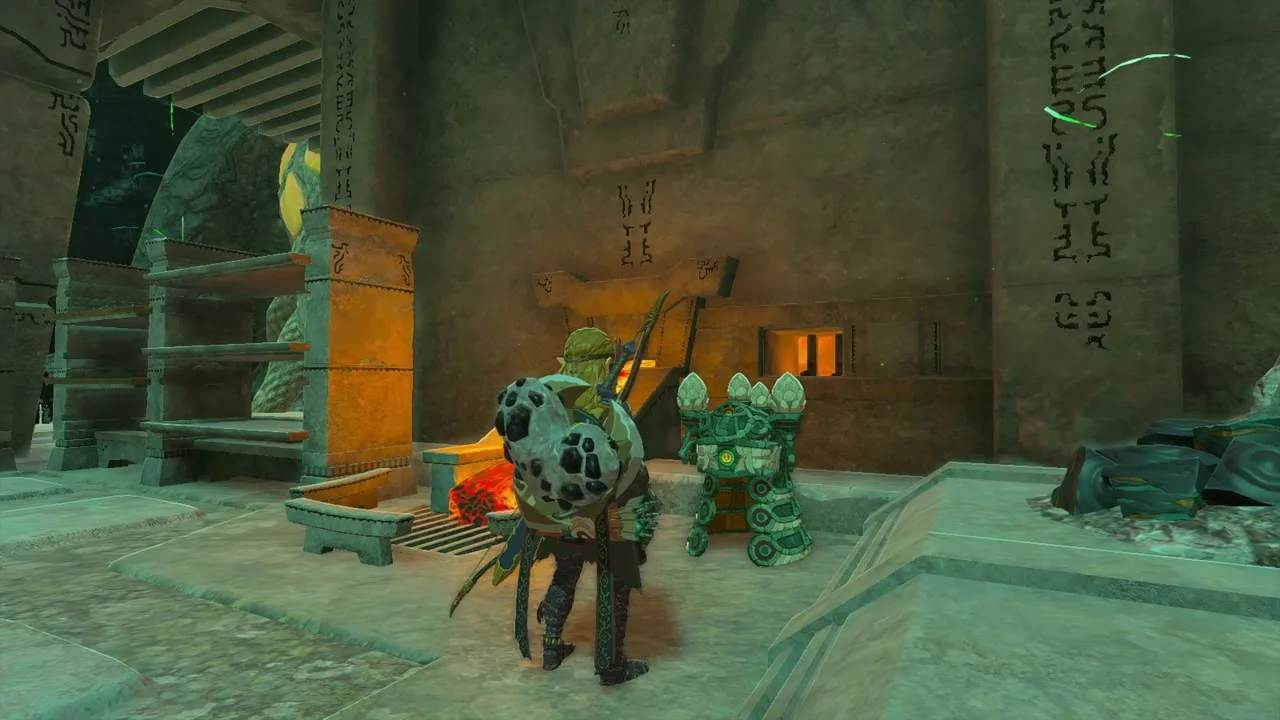
Open the Large Crystallized Charge chests
Chests: Large Crystallized Charge x2 in the mine, on lamp-lit stone platforms, each guarded by a Gloom-touched monster. Clear the guard and open each chest for a Large Crystallized Charge.
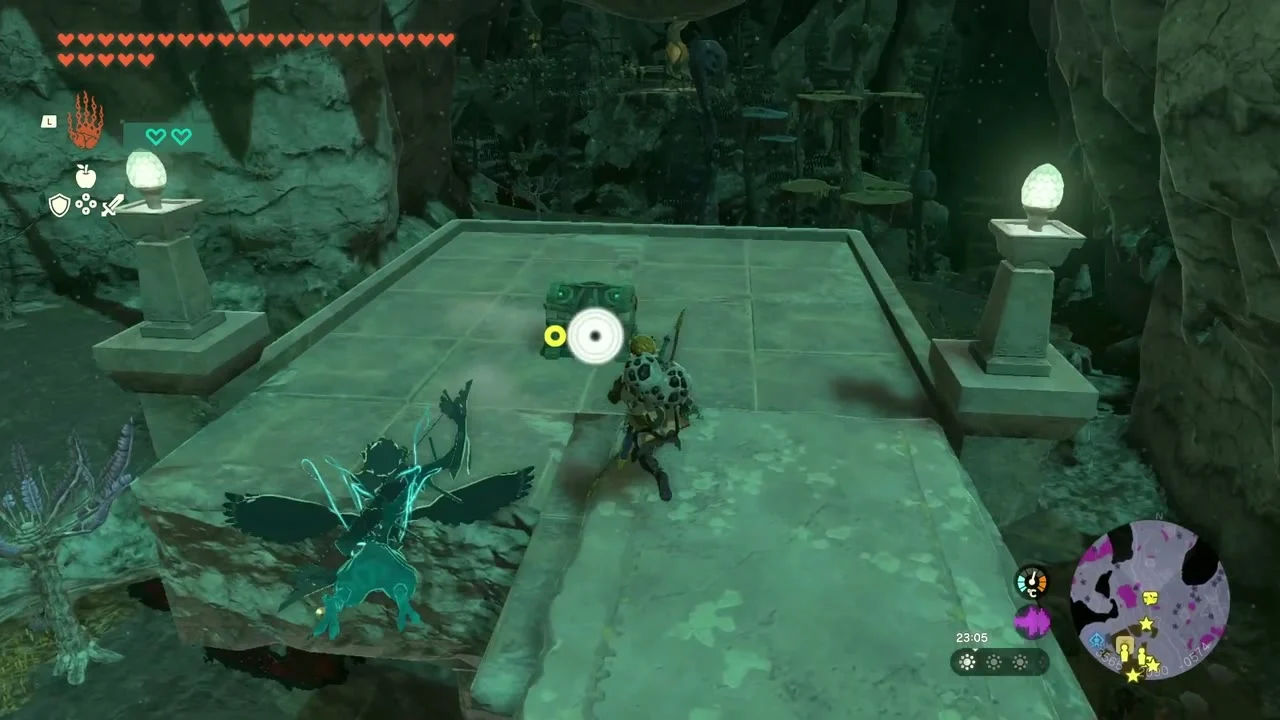
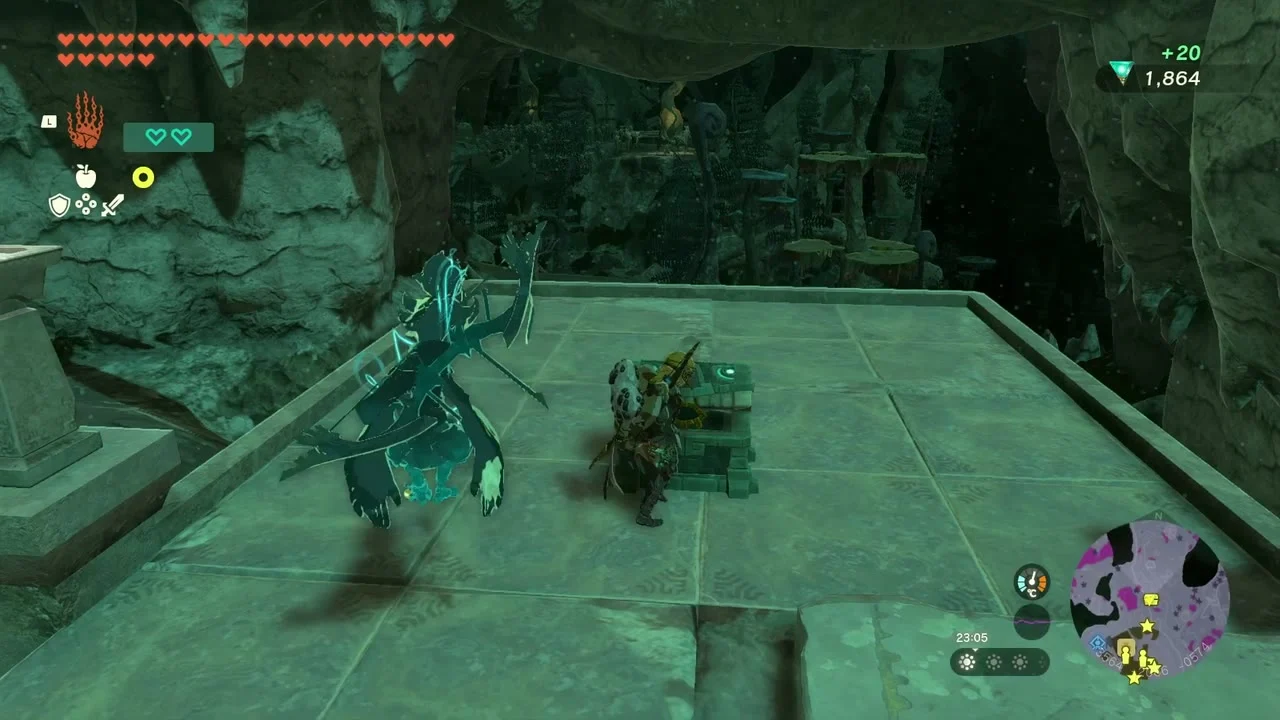
Ebon Canyon Mine and Walnot Canyon Mine
Open the Zonai Charge and weapon chests at Ebon Canyon Mine
Ebon Canyon Mine at (3329, -2514, -777). The chest at about (3312, -2500, -708) holds Zonai Charge. Further east, on a ridge of the Depths at about (4175, -2430, -452), three chests hold a Phrenic Bow, Arrow and an Eightfold Blade.
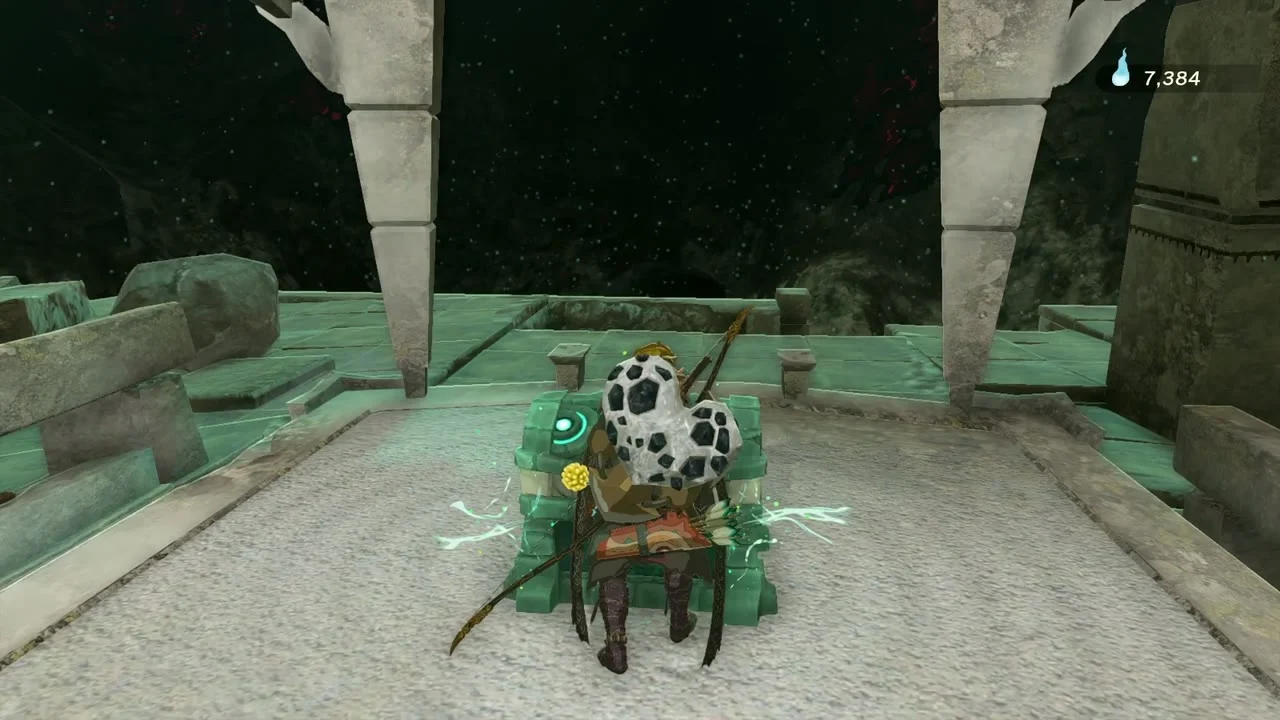

Take the Cap of the Sky
Chest: Cap of the Sky in Retsam Grove in the East Necluda Depths, on a giant hollow tree stump near the Kisihayam Lightroot (most guides agree on this spot). Open the chest for the Cap of the Sky, part of the Hero of the Sky set; the Tunic of the Sky is in a separate chest in Minshi Grove in the Depths, and once you own a piece the Bargainer Statues sell it.
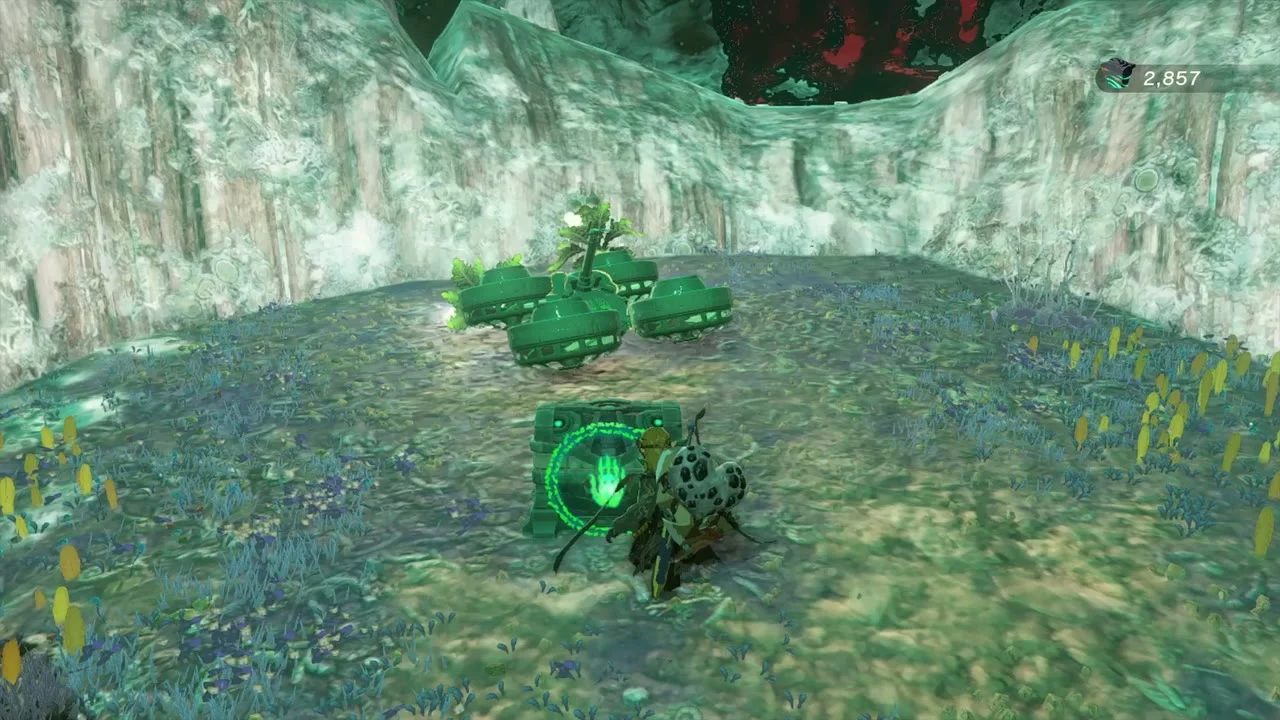
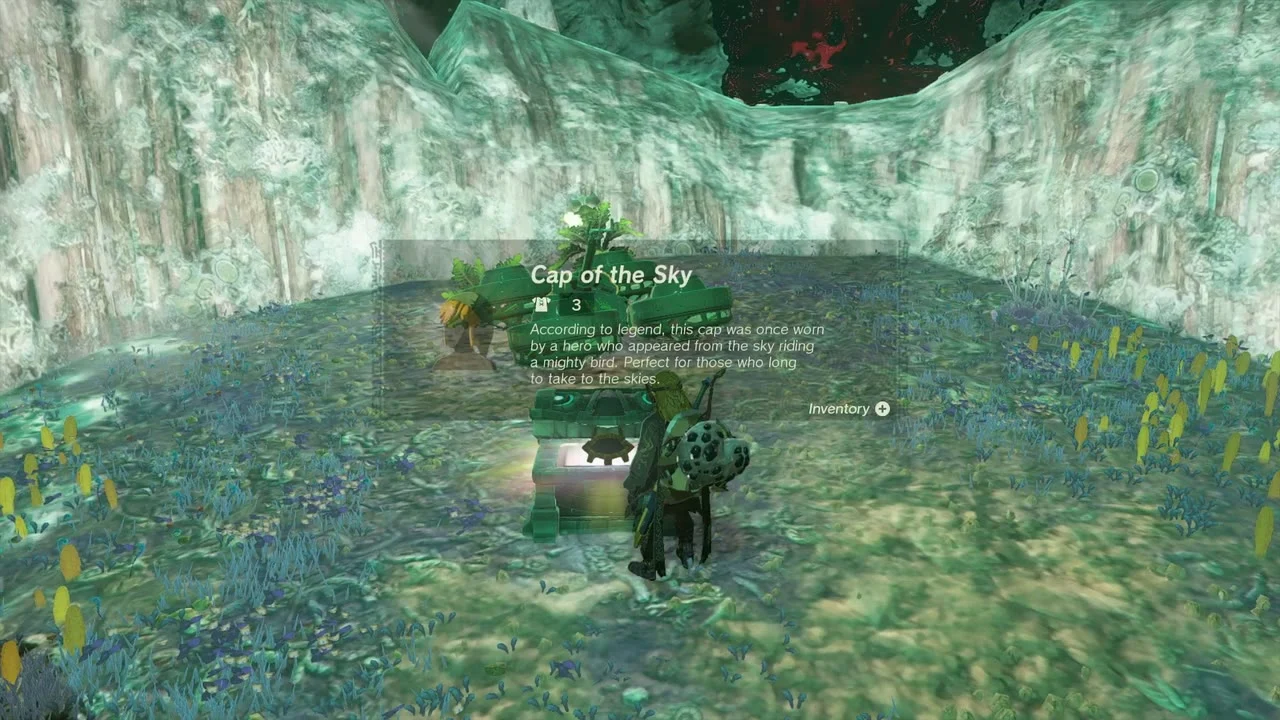
Open the chest at Walnot Canyon Mine
Walnot Canyon Mine at (4223, -1912, -804), in the Mount Lanayru Depths. The chest at about (4254, -1969, -752) sits at the foot of a stone staircase beside a carved pillar; open it for a Large Crystallized Charge.


Open the Sundelion chest at the Bokoblin camp
Chest: Sundelion on a wooden platform at a bone-decorated Bokoblin camp in the Depths. Open the chest for a Sundelion, a heart-restoring flower that grows only on the surface.

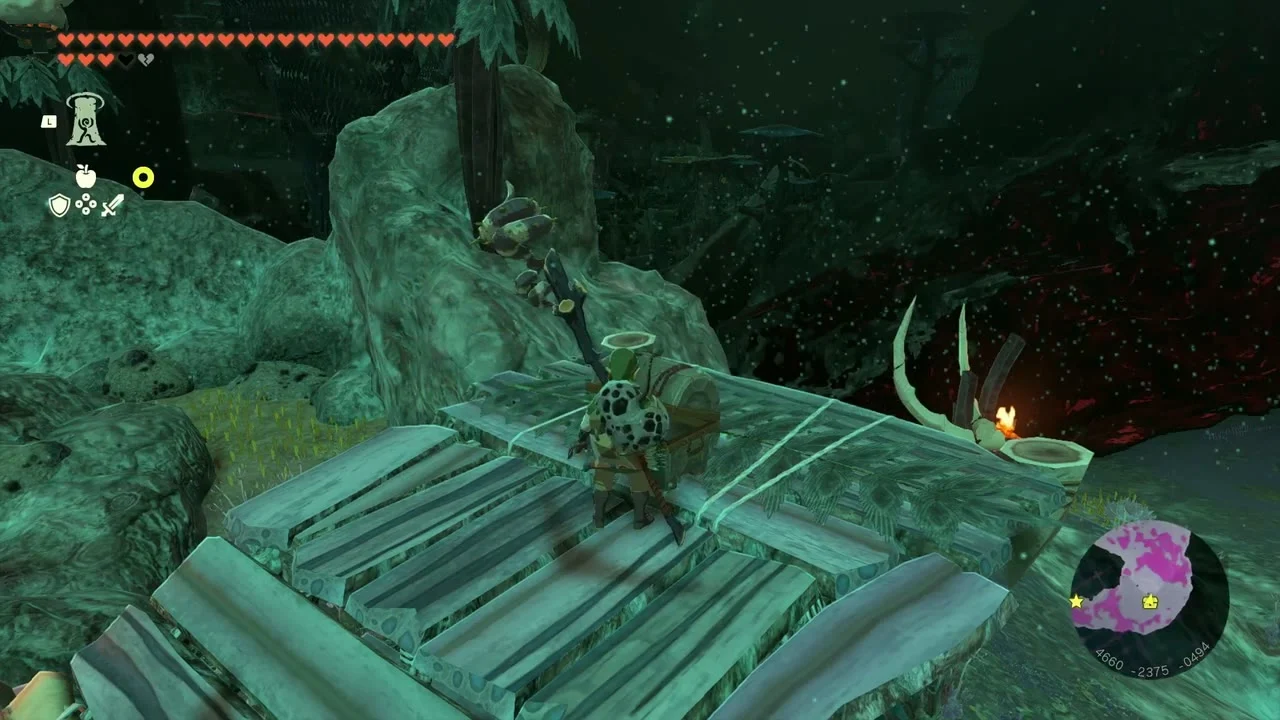
Lanayru Canyon Mine and Wellspring of Wisdom
Open the chest at Lanayru Canyon Mine
Lanayru Canyon Mine at (4003, -1379, -743), below the slopes of Mount Lanayru. The chest at about (3966, -1365, -899) stands beside a stone gate on a walkway; open it for a Large Crystallized Charge.


Find the Wellspring of Wisdom and its Bargainer Statue
Wellspring of Wisdom at (3837, -1273, -520), under the Spring of Wisdom. Swim through the glowing spring and follow the cavern to the Bargainer Statue at (3851, -1334, -851); spend 300 Poes to buy the Dark Hood, part of the Dark armor set. All Bargainer Statues share the same stock, so you can buy it at any statue you have found.
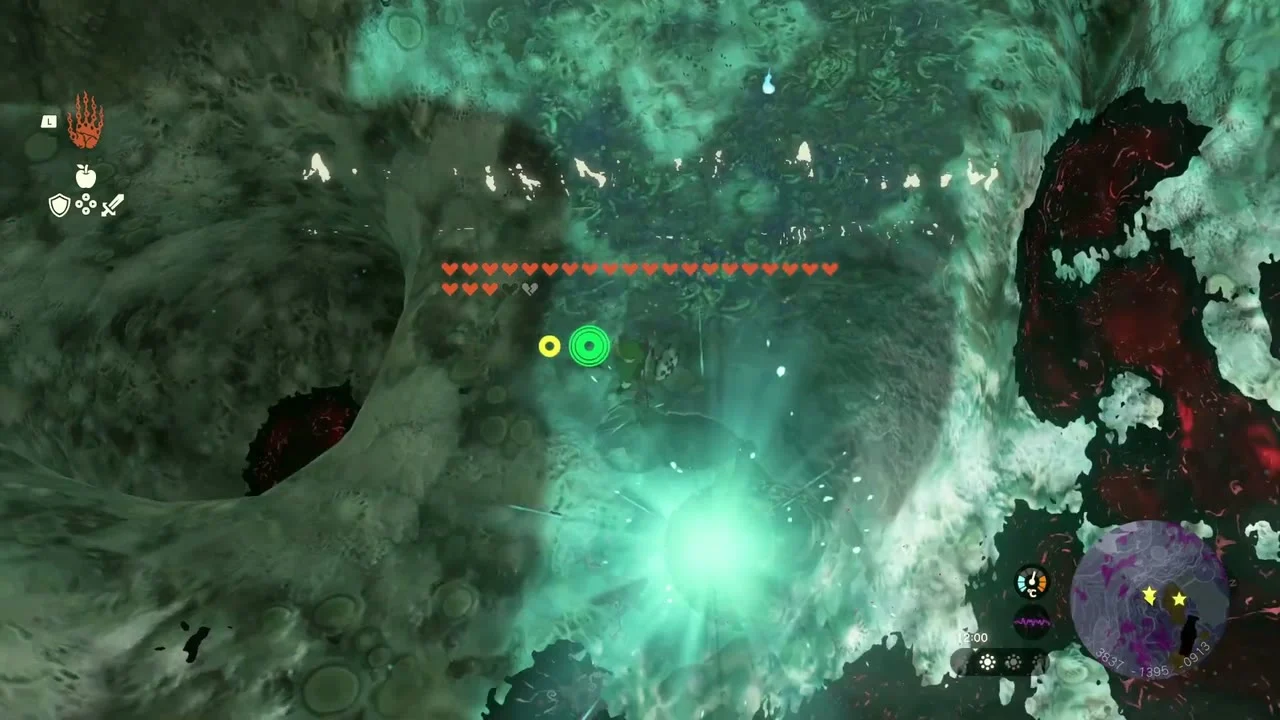
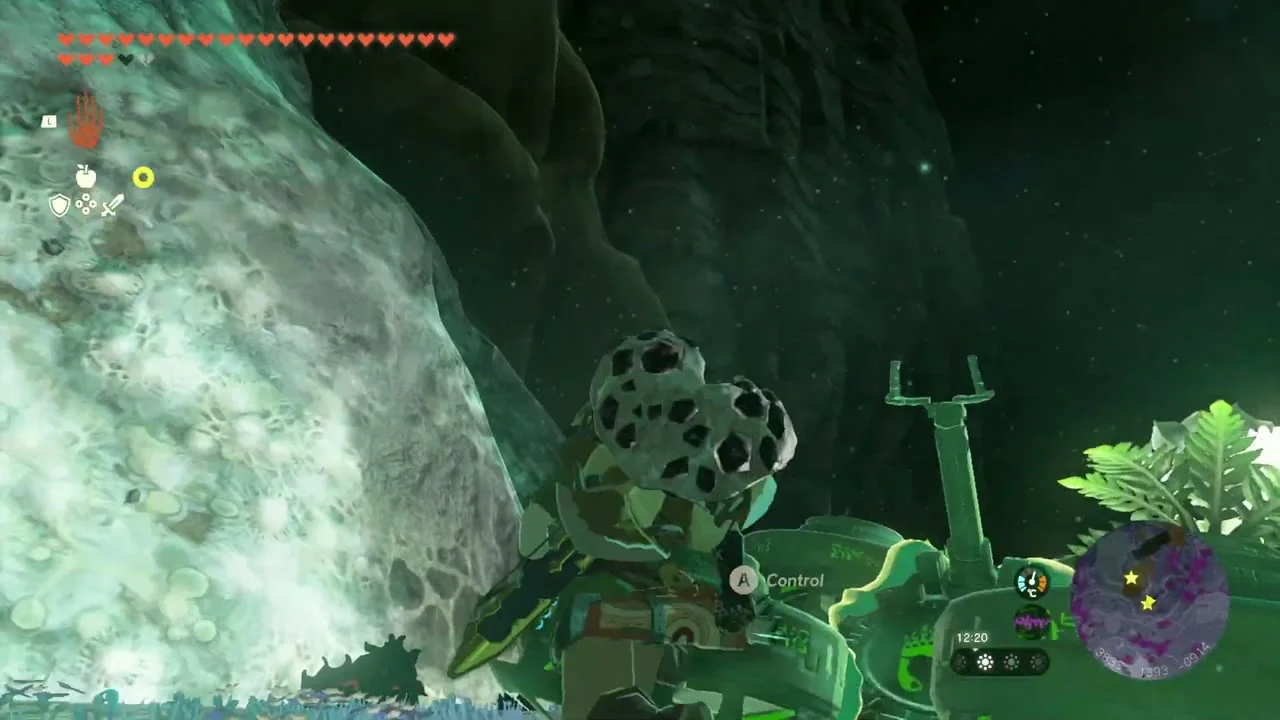
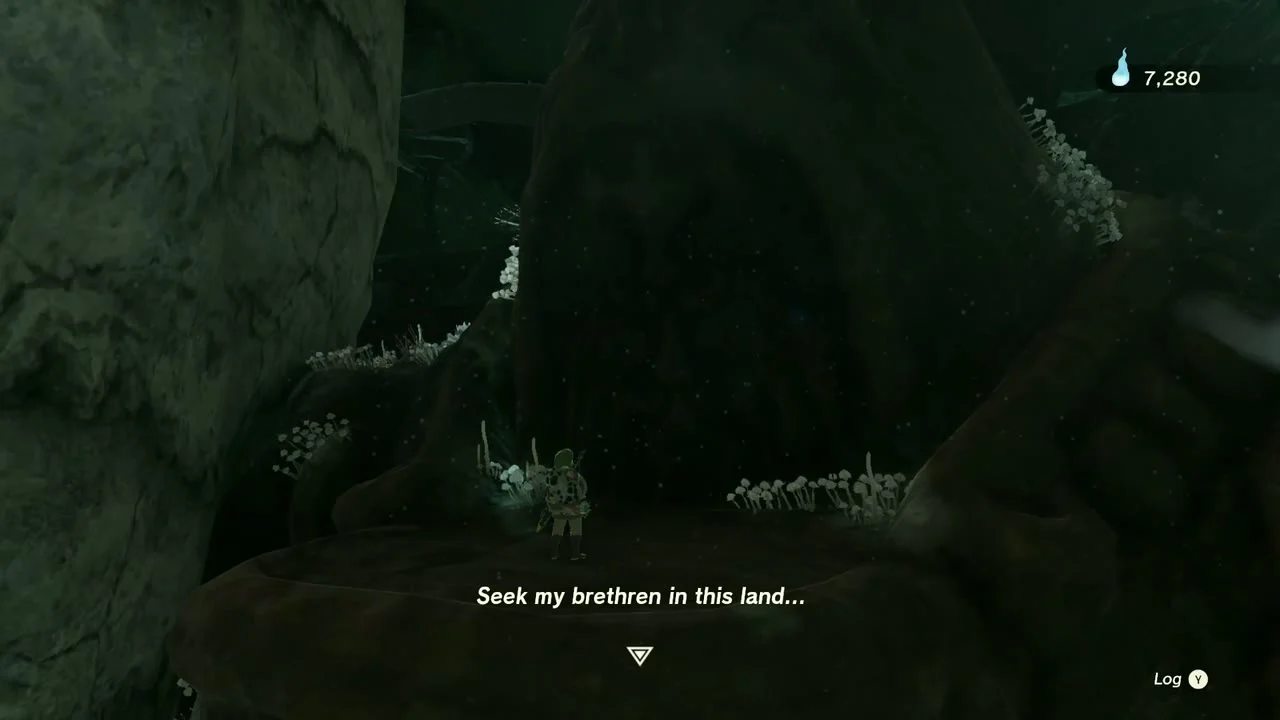
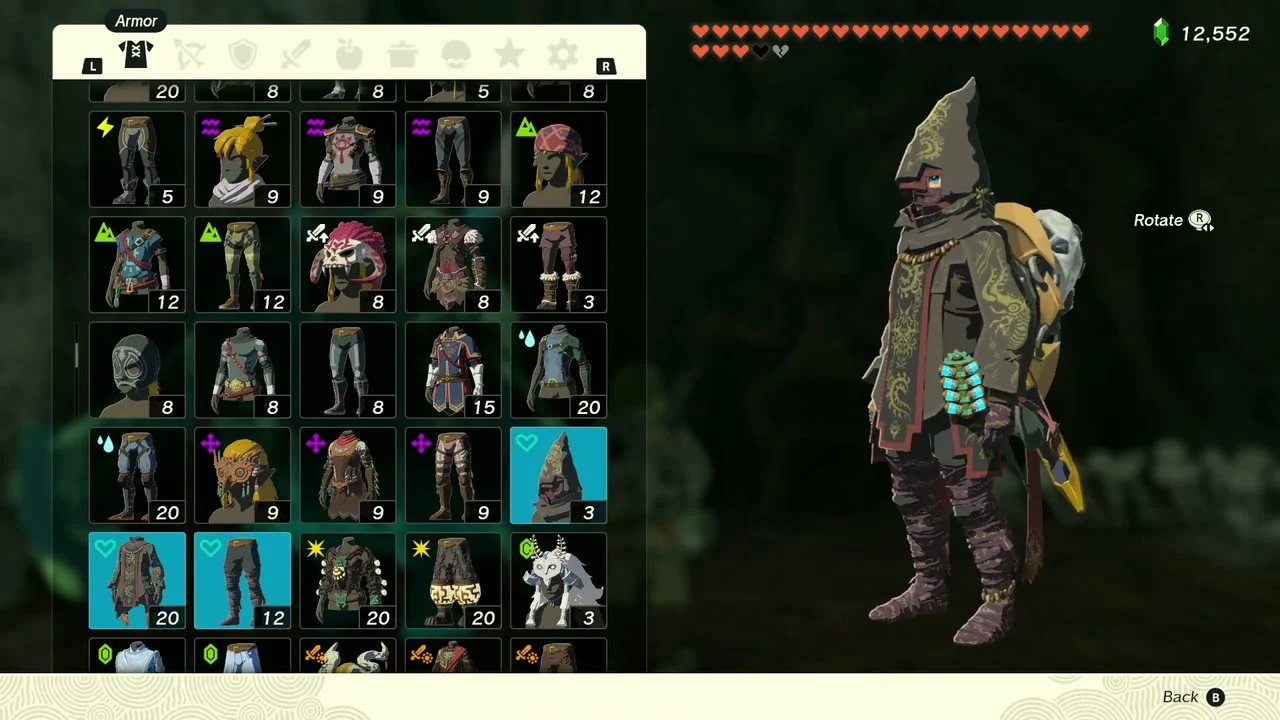
Madorna, Ginner and Awakening mines
Defeat the Stone Talus south of Retsam Grove
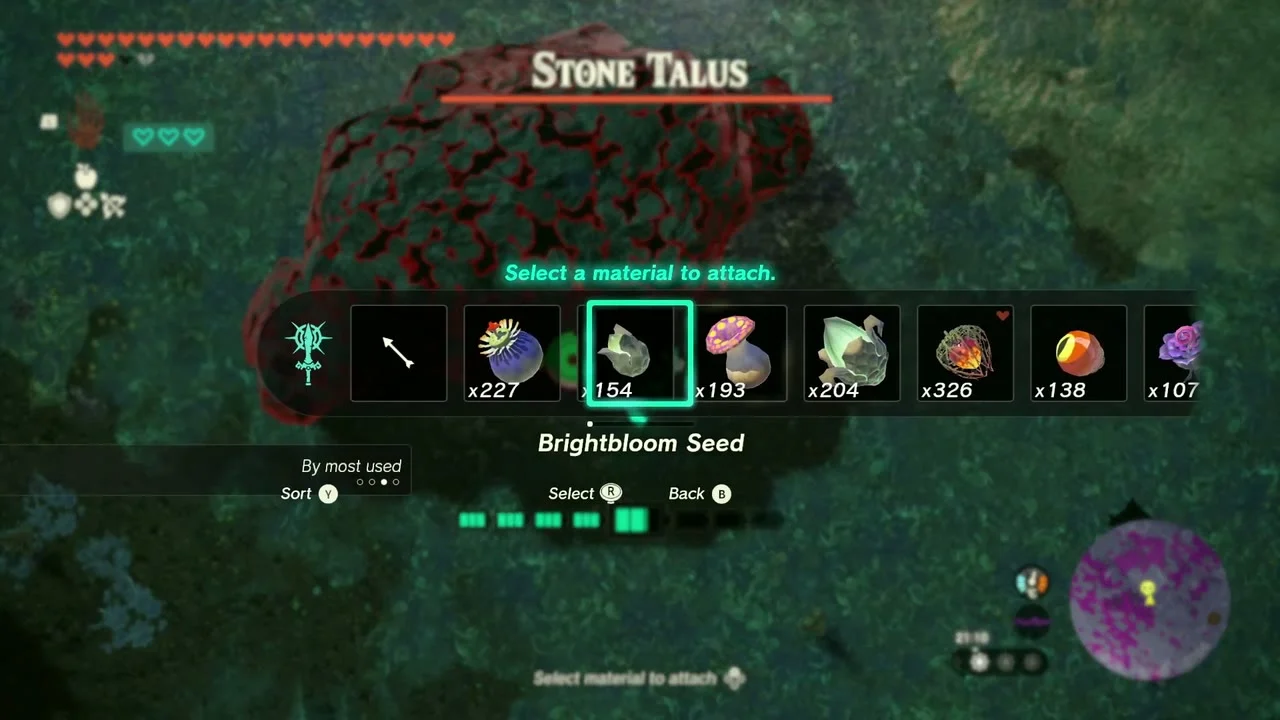
Miniboss: Stone Talus in the Mount Lanayru Depths. Shoot its glowing ore weak spot with arrows, ideally with a Bomb Flower attached so the blast knocks it down, then hit the exposed spot with your strongest weapon.

Defeat the Flux Construct
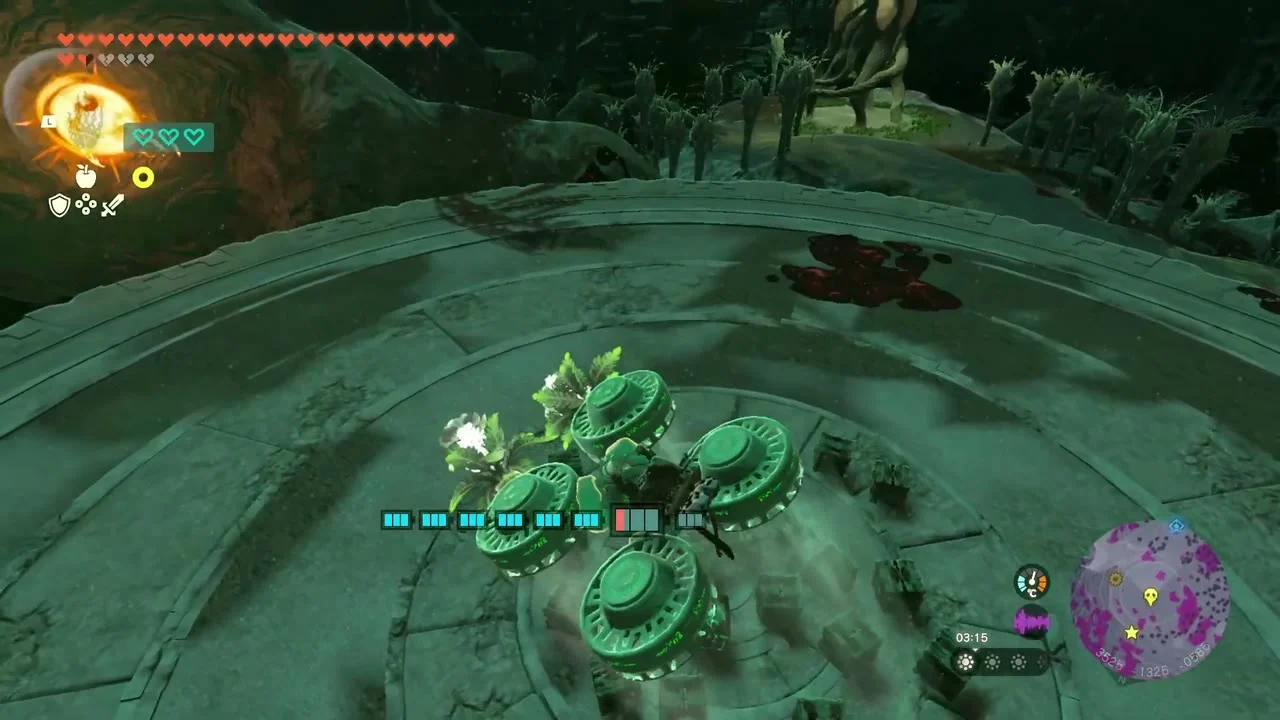
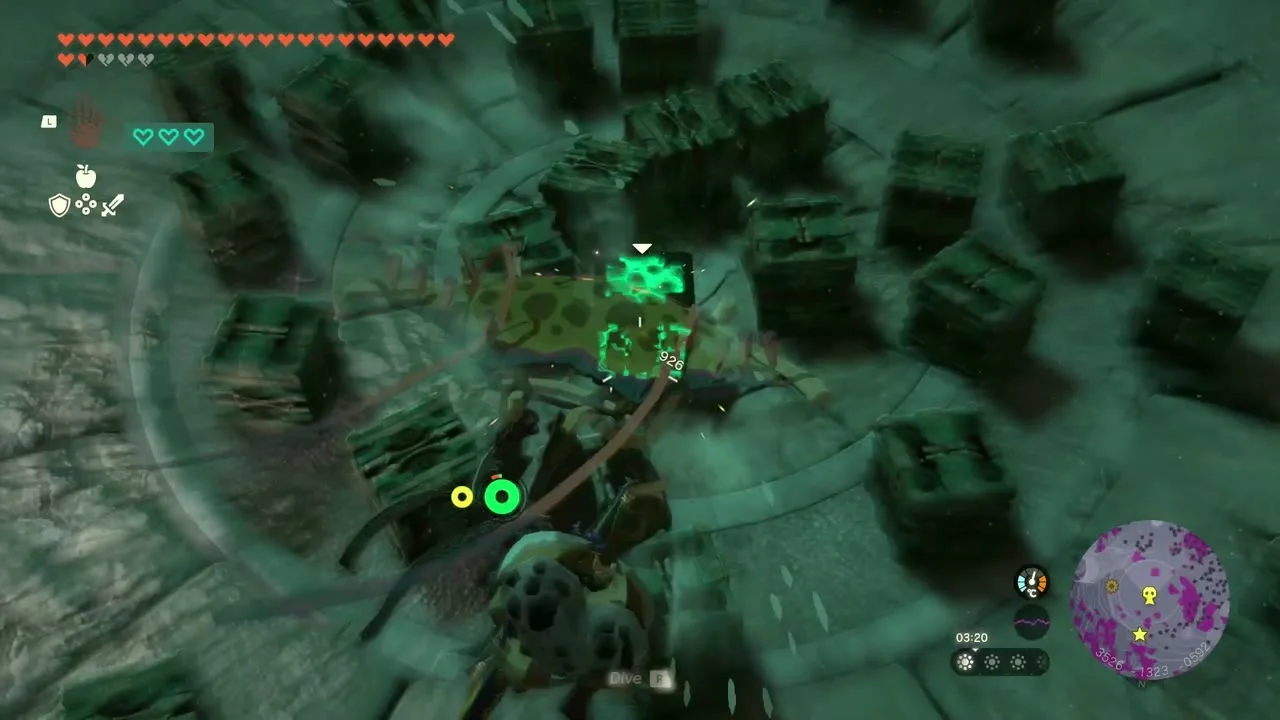
Miniboss: Flux Construct in a circular arena further along the Depths. Stay mobile while it gathers floating cubes and strikes; hit its glowing core while it is exposed and keep the hover craft nearby for repositioning.
Open the chest at Madorna Canyon Mine
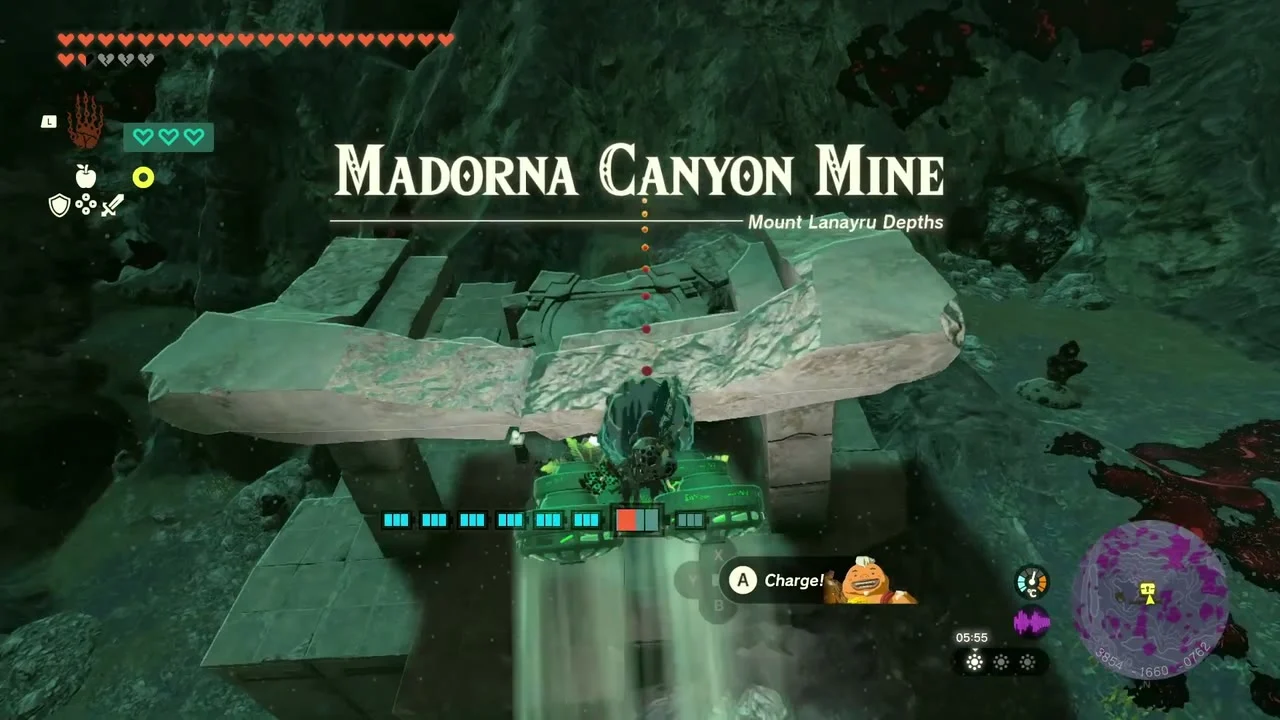
Chest: Large Crystallized Charge in Madorna Canyon Mine at (3889, -1668, -865). Ride your craft up onto the stone table and open the chest in the pillared room for a Large Crystallized Charge.
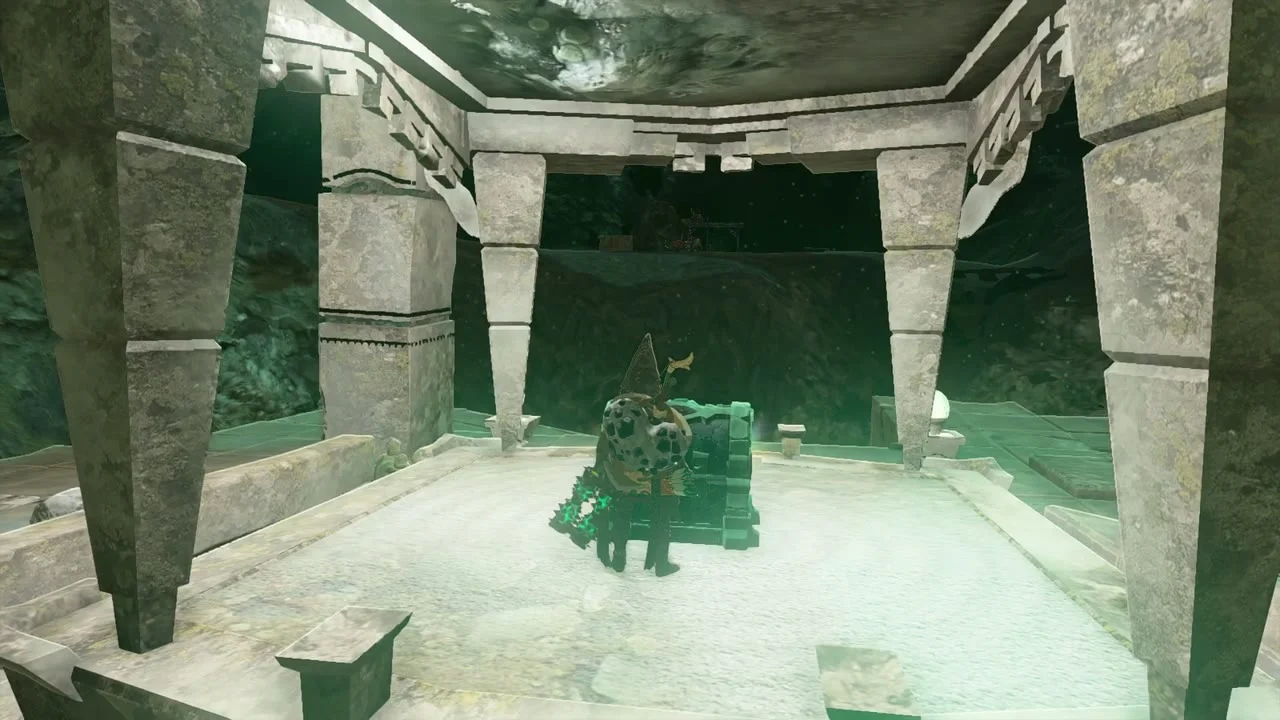
Open the Ginner Grove and Middla Grove chests
Chests: Large Crystallized Charge x2, one at Ginner Grove (3220, -2057, -595) and one at Middla Grove. Both are in dark forests of bare trees; open each chest for a Large Crystallized Charge. A Flux Core II Pounder can be picked up from the surrounding Constructs.
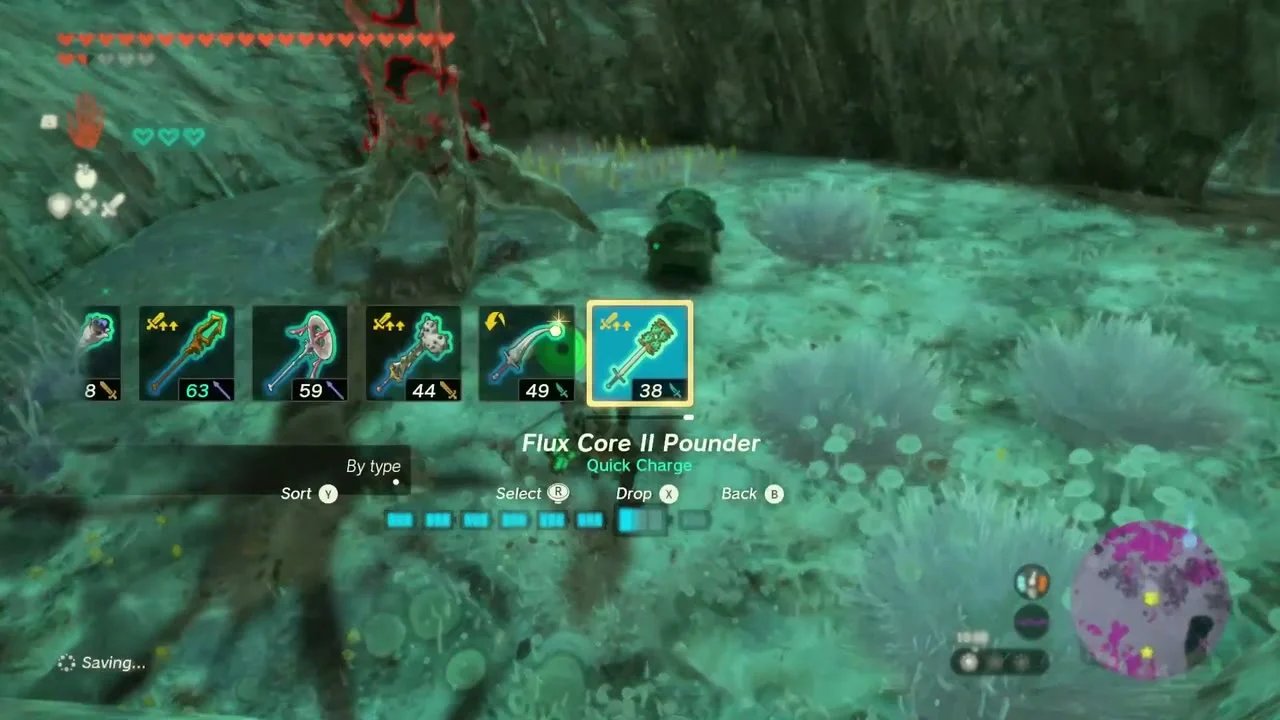
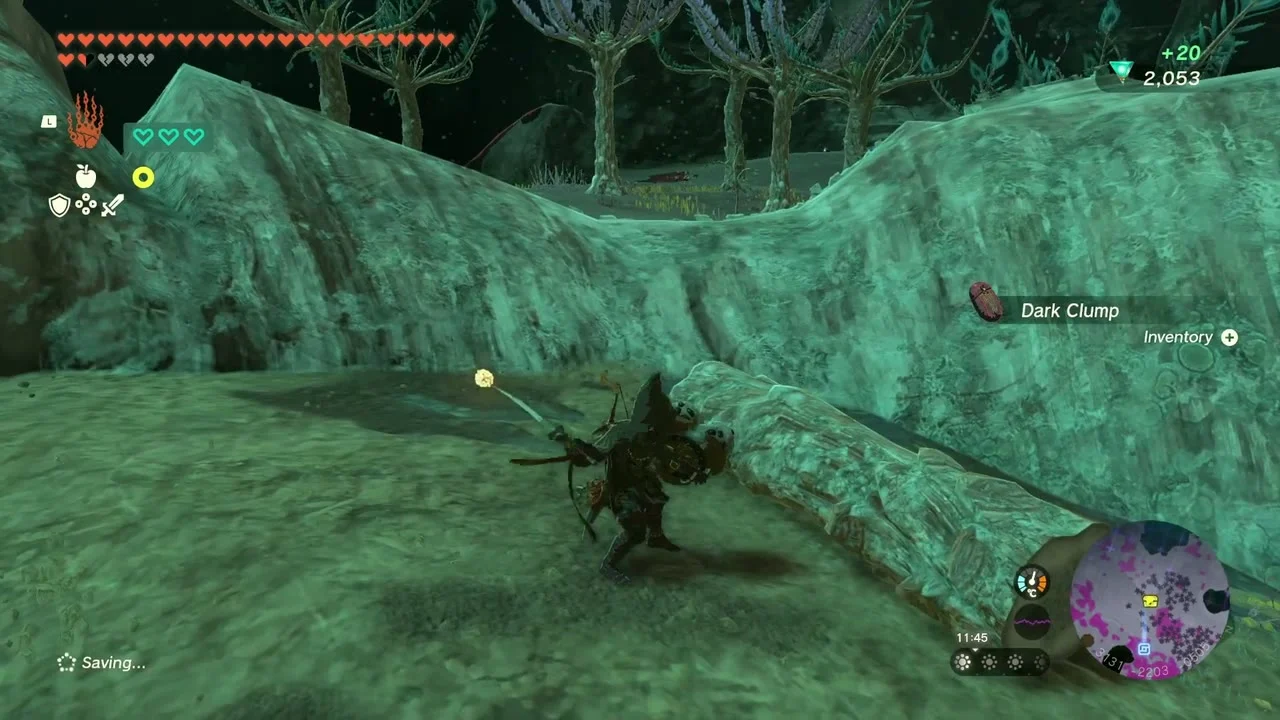
Take the Yiga Schematic
Chests: Yiga Schematic and Large Crystallized Charge in a Yiga hideout in the Depths. Open the chest for a Yiga Schematic, which lets you store the Yiga-style contraption in Autobuild, and take the Large Crystallized Charge chest at the same camp.
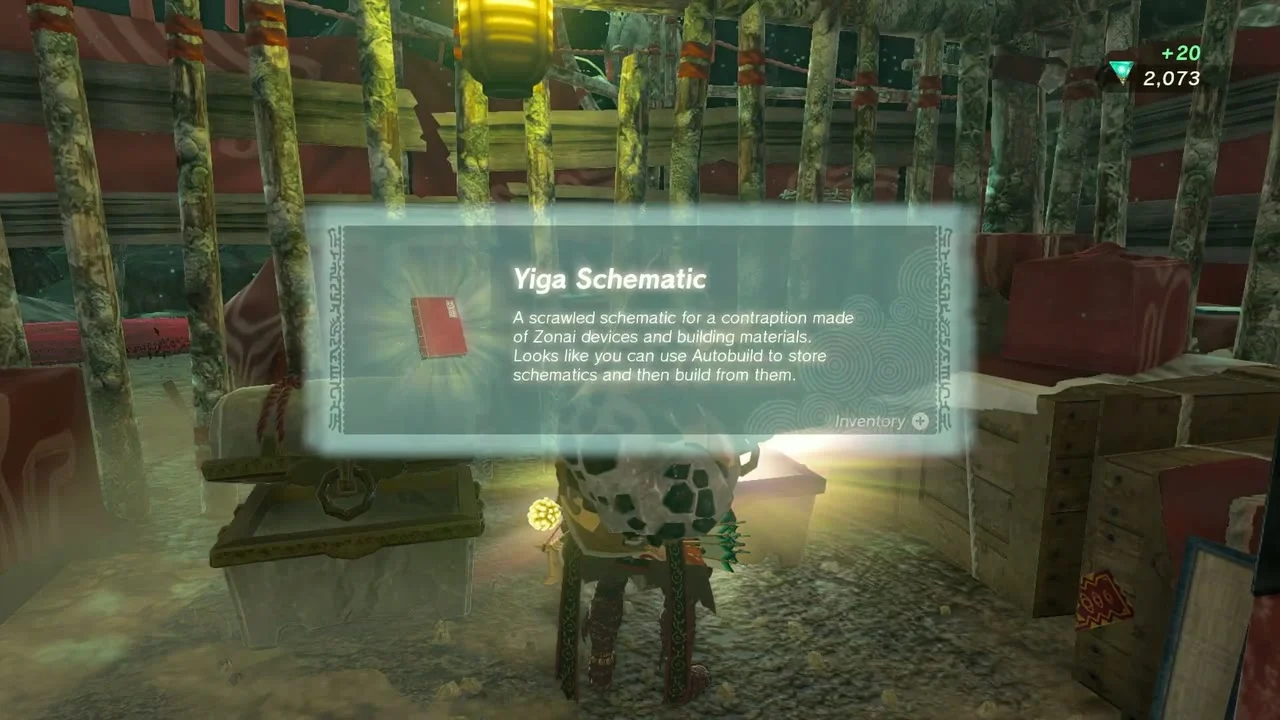
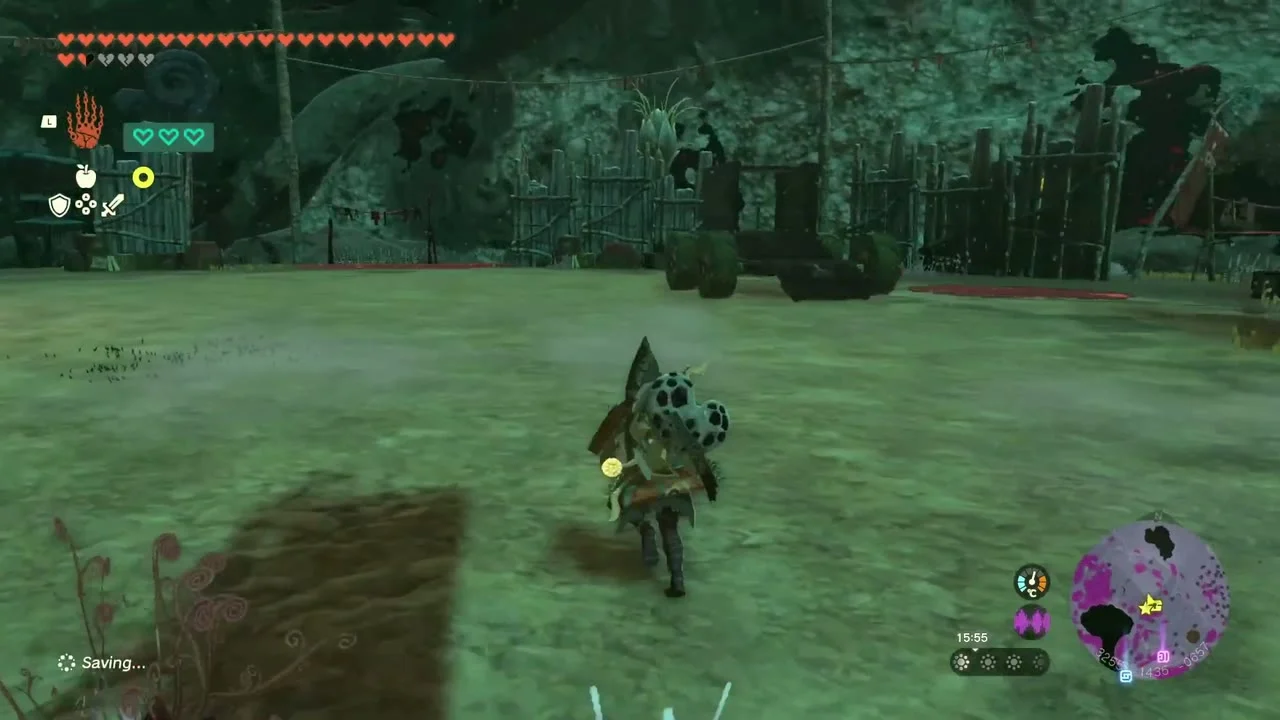
Open the Canyon of Awakening Mine chest
Chest: Large Crystallized Charge in Canyon of Awakening Mine at (2935, -1404, -839). Climb into the stone gazebo and open the chest for a Large Crystallized Charge.
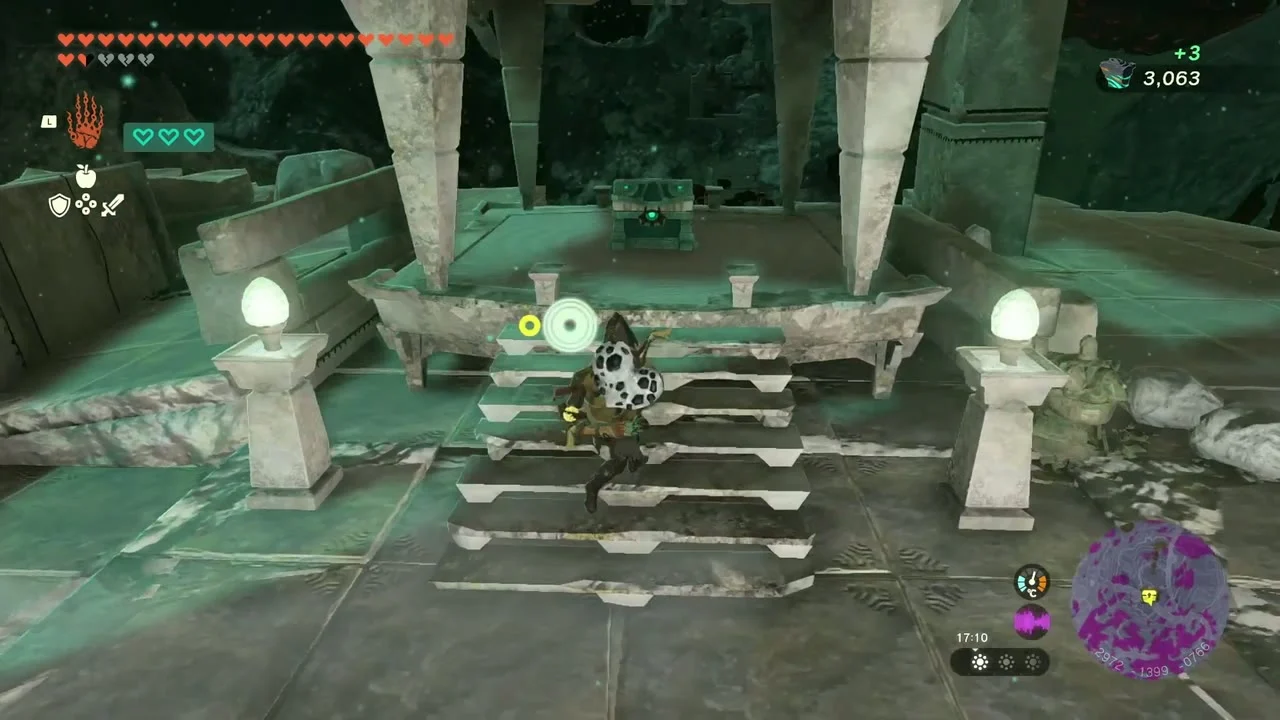
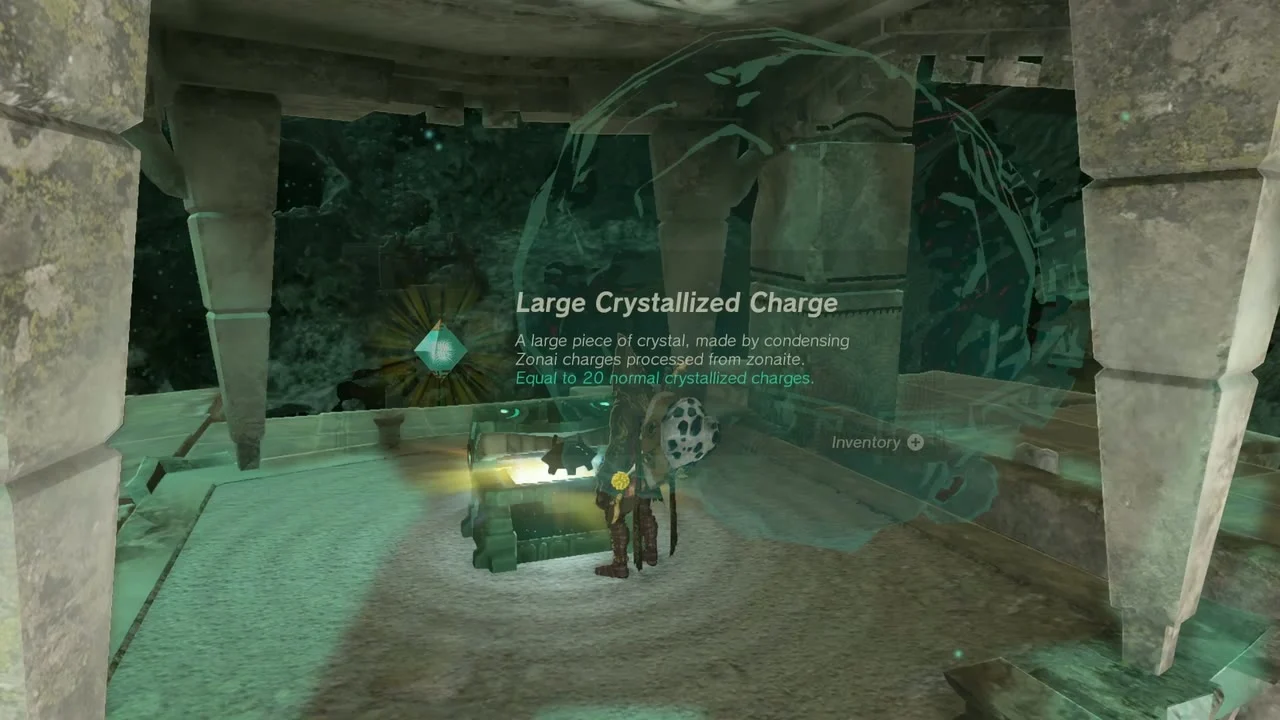
Defeat the second Stone Talus and the Frost Talus
Minibosses: Stone Talus and Frost Talus in the Depths after Canyon of Awakening Mine. Beat the Stone Talus as before. The Frost Talus is covered in ice: use fire, such as a flaming arrow or Fire Fruit on a weapon, then strike its glowing ore weak spot.


Rabella Wetlands Skyview Tower and the Old Map
Activate Rabella Wetlands Skyview Tower
Rabella Wetlands Skyview Tower at (2420, -2755, 216), in the Rabella Wetlands of East Necluda. Climb to the terminal on top and use it to reveal the map and launch yourself into the sky.


Open the Old Map chest in the sky
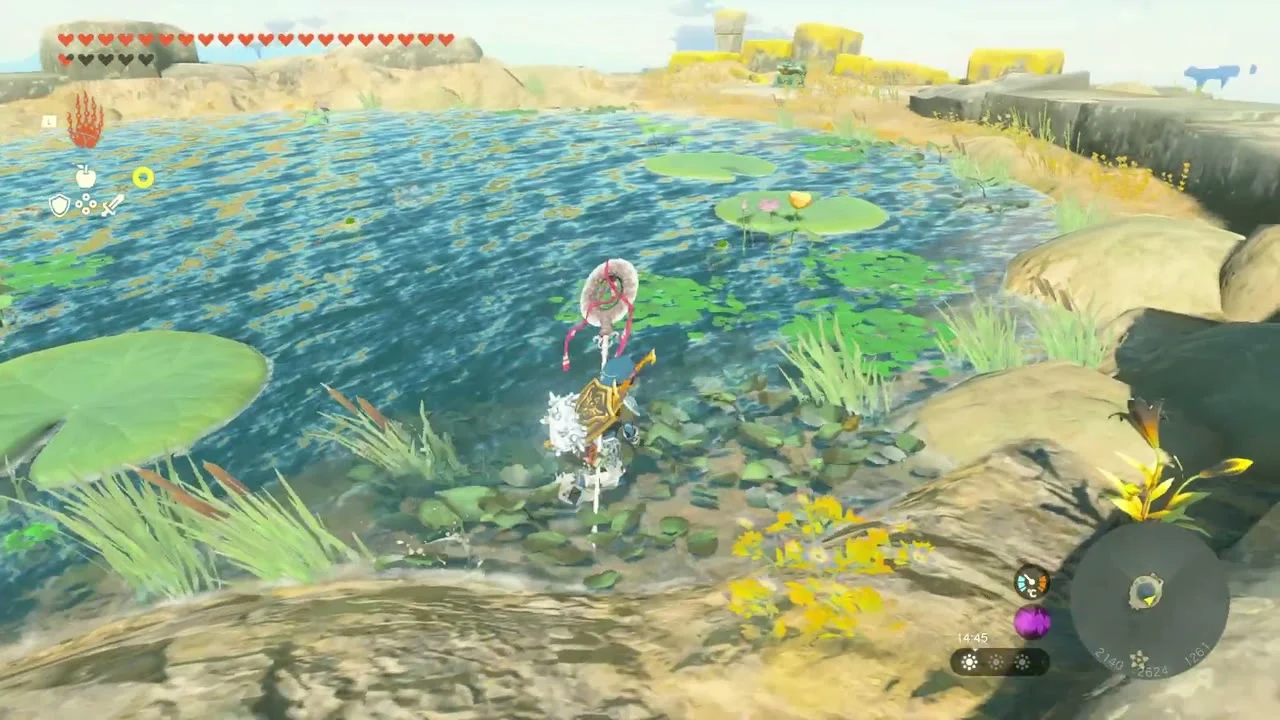
Chest: Old Map at about (2162, -2575, 1262) on a floating island with a small pond in the Necluda Sky Archipelago. Launch from the tower, glide to the island and open the chest for an Old Map. One guide lists this map as leading to a chest at Hebra Canyon Mine in the Depths (a Sea-Breeze Boomerang), far to the north-west.

Also in this area
The Korok data lists these seeds in the box around Oakle’s Navel and the camp highlands that this route did not pick up: Lift the rock (2325, -1828), Follow the flower (2332, -1827), Go up to examine the sparkling spot (2397, -1846) and (2837, -2120), Bring the exhausted Korok to its friend (2613, -1868), Dive into the ring (2804, -1851), Catch the sparkling spot (2867, -2187), Use the paraglider to reach the goal (2975, -2025) and Pop the hidden balloon (2277, -2360).
Mount Lanayru Part 3 checklist
| Collectible | Count | Where |
|---|---|---|
| Shrines | 1 | Tokiy Shrine (via the Oakle’s Navel Cave Crystal) |
| Lightroots | 5 | Usukaz, Siakij, Kimimadena, Kisihayam, Kimnaz |
| Koroks | 6 | Lift the rock (2809, -2247), Offer apples (2724, -2122), Exhausted Korok (2482, -2048), Rock pattern (2413, -2269), Lift the rock (2489, -2122), Pull the plug (2513, -1866) |
| Caves | 1 | Oakle’s Navel Cave (Bubbul Gem) |
| Skyview Towers | 1 | Rabella Wetlands |
| Minibosses | 5 | Boss Bokoblin, 2 Stone Taluses, Flux Construct, Frost Talus |
| Armor | 2 | Cap of the Sky (Retsam Grove), Dark Hood (300 Poes) |
| Old Maps | 1 | Necluda Sky Archipelago |
