





















Tears of the Kingdom 100% Completion Walkthrough43 chapters
Great Sky Island
- Great Sky Island4 shrines, 4 caves and Bubbul Gems, 17 Korok seeds
Hyrule Field and Hyrule Castle
- Lookout LandingParaglider, Crisis at Hyrule Castle, Jiosin and Kyononis shrines, 2 caves, 3 wells
- Hyrule FieldSusuyai and Ishodag shrines, the Hyrule Field Chasm, 2 caves, 13 Koroks
- Hyrule Castle Town RuinsSepapa, Yamiyo and Tukarok shrines, 2 caves, 4 wells, Koroks, chests and Battle Taluses in route order
- Central Hyrule Depthslight all 7 Lightroots, loot Daphnes and Gustaf Canyon Mines, find the Miner's Top
- Rest of Hyrule CastleRoyal Hidden Passage loot, 8 castle chests, Phantom Ganon, Energy Wells
- South Hyrule FieldShrines, Koroks & the Great Plateau
- South Hyrule Field DepthsGreat Abandoned Central Mine, Master Kohga, Autobuild, Majora's Mask
Tabantha and Hyrule Ridge
- Tabantha FrontierNew Serenne Stable, Hestu, Courage Island and the Glide Shirt, 3 shrines, 2 Korok seeds, Lindor's Brow Cave
- Forgotten TempleImpa and the Geoglyphs, Dragon's Tears, Kiuyoyou and Mayausiy shrines, Yiga Maritta Branch, 9 Koroks
- Tanagar Canyon & Hyrule RidgeRunakit and Iun-orok shrines, 2 caves, 12 Koroks, 20 chests, 8 minibosses and Dragon's Tear 6
- Thundra Plateau & Tabantha Bridgesolve the noon shadow puzzle, Tabantha Bridge Stable, Makurukis Shrine, 19 Korok seeds, 9 chests, 3 minibosses
- Lindor's Brow DepthsLightroots; Two Yiga camps (Bomb Bouquet, Flamethrower Balloon)
- Hyrule Ridge and Tabantha FrontierIkatak, Oromuwak, Ganos and Ga-ahisas shrines, 4 caves, a well, 26 Koroks and 3 minibosses
Hebra
- Rito VillageGatakis and Ijo-o shrines, Sikatag Lightroot, 9 Korok seeds, 14 chests
- Hebra MountainsShrines, Wind Temple & Koroks; Raspro Pass, Biron Snowshelf & Royal Hidden Passage
- Corvash Canyon MineTrousers of the Hero, Floodlights schematic, Sea-Breeze Boomerang, four Lightroots, Colgera
- Raspro Pass DepthsNupisoyuat and Sasag Lightroots, Colgera, Cap of Time, Tunic of the Wind, two Yiga camps and 13 minibosses
- Tabantha TundraTaninoud, Orochium, Oshozan-u, Mayaotaki, Nouda and Tenbez shrines, three Lightroots, caves and Bubbul Gems
- Pikida Stonegrove DepthsEvil Spirit Greaves, Ikatoayam, Muihcoro and Sikatag Lightroots, 3 Yiga schematics, Frox fights
Great Hyrule Forest
- Great Hyrule Forest7 shrines, 8 Lightroots, 2 caves, 2 wells, Korok Mask, Glide Tights
Eldin
- EldinEldin Canyon, Shrines, Caves & Goron City
- Eldin Canyon Depths10 Lightroots, Zant's Helmet, Trousers of the Wild, Biggoron's Sword, 3 Yiga schematics and Eldin's sky chests
Faron
- FaronHighland Stable, Lake Hylia & Popla Foothills
Necluda
- Kakariko VillageMakasura Shrine, Kakariko Village Well, 2 caves, Ring Ruins chests, 10 Korok seeds and village quests
- West Necluda and Lanayru WetlandsShrines, Koroks & Caves; Jonsau, Kurakat
- Hateno VillageZanmik and Mayahisik shrines, Shield of the Mind's Eye and Phrenic Bow wells, 7 Koroks
- East NecludaRabella Wetlands, Sifumim Shrine, Lurelin Village, 21 Korok seeds
- East Necluda DepthsKumamayn Shrine, 4 Lightroots, Midna's Helmet, Cap of the Hero, Trousers of the Wind and 18 Depths chests
Lanayru
- Lanayru Great SpringShrines, Koroks & Caves; Ralis Channel, 3 shrines, 8 caves
- Zora's DomainMogawak and Ihen-a shrines, Ploymus cave, Pristine Sanctum, Zora Armor, Sidon of the Zora and Clues to the Sky
- Wellspring IslandAncient Zora Waterworks chests, Igoshon Shrine, 2 Korok seeds, Water Temple's four wheels and Mucktorok
- Mount LanayruShrines, Koroks & Light Rings; Jikais and Anedamimik shrines
Gerudo
- Gerudo DesertShrines, Caves & Koroks; West and South Sands
- Gerudo TownGerudo Shelter shops and quests, Valley of Silent Statues, Lightning Temple and Queen Gibdo, Chichim Shrine
- Gerudo Desert DepthsGranajh and Daval mines, three Master Kohga fights, Queen Gibdo, Mucktorok, Sheik's Mask and 37 chests
- Gerudo HighlandsSkyview Tower, Rotsumamu and Suariwak shrines, Mayasiar Shrine, Yiga hideout
Akkala
- AkkalaTarrey Town quests, 4 shrines, Hinox, Battle Talus
- Akkala Sky Islands and DepthsGikaku and Natak shrines, Old Maps, Lomei Depths Labyrinth, Mucktorok, 5 Lightroots and 19 chests
Finale and completion
- Ancient Tablets, Gleeoks and Armor Upgradesall 13 stone tablets with coordinates, Frost and King Gleeok, Obsidian Frox, Cotera upgrades and farming
- Hyrule CastleRoyal gear chests, Korok seeds, Serutabomac Shrine
- Thunderhead IslesCharged armor, Joku-usin and Joku-u Shrines, Dragonhead Island's relic
- 100% Completion: Armor Upgrades & Korok BonusHestu's Gift, Ancient Hero's Aspect, Great Fairy Cotera upgrade costs and materials, then Destroy Ganondorf
| Region | Tabantha Frontier (Hebra) and the eastern Hyrule Ridge around Gisa Crater, Ancient Columns, Brightcap Cave and Tabantha Village Ruins, plus the Tabantha Sky Archipelago above them |
|---|---|
| Shrines | Ikatak Shrine (Rauru’s Blessing), Oromuwak Shrine (A Launching Device), Ganos Shrine (Rauru’s Blessing, sky), Ga-ahisas Shrine (Rauru’s Blessing, sky) |
| Lightroots | Kataki Lightroot (below Ikatak, -3951, 1139) and Kawumoro Lightroot (below Oromuwak, -3077, 1616); see all Lightroots |
| Caves | Gisa Crater Cave, Ancient Columns Cave, Brightcap Cave, Tabantha Hills Cave (one Bubbul Gem each) |
| Well | Tabantha Village Ruins Well |
| Quests | The Gisa Crater Crystal, The Tabantha Sky Crystal, The Hornist’s Dramatic Escape, Misko’s Treasure of Awakening I and II, Cave Mushrooms That Glow, Open the Door, Potential Princess Sightings!, the Tabantha Hills Dragon’s Tear memory |
| Armor | Tunic of Awakening (Ancient Columns Cave), Frostbite Shirt (Brightcap Cave), Zonaite Helm (sky chest) |
| Minibosses | Stone Talus, Battle Talus, Boss Bokoblin, Flame Gleeok, Stalnox, Flux Construct III |
| Previous / next | Lindor’s Brow Depths / Rito Village |
This chapter sweeps the cliffs, ruins and snowy hills of the Tabantha Frontier west of Hyrule Ridge, then climbs to the sky archipelago above it. Expect two Rauru’s Blessing shrines on the ground, two more in the sky, four caves with a Bubbul Gem apiece, and one of the densest Korok clusters in the game.
Quick route
Start on the grassy ridge above Gisa Crater and take the Korok seeds along the way, free Eustus’s wagon, and drop a Stone Talus for its ore.
Enter Gisa Crater Cave, launch the crystal out with rockets and carry it to Ikatak Shrine, then take the second entrance for the Bubbul Gem.
Fell the Flame Gleeok in the ruined Ancient Columns, drop into Ancient Columns Cave for the Tunic of Awakening, and climb the cliffs for Korok seeds and chests.
Work down to Oromuwak Shrine, pick up the Mighty Zonaite Shield (Strong or Mighty, depending on your progress) and the Boss Bokoblin hammer, then clear Brightcap Cave for the Frostbite Shirt and its Bubbul Gem.
Visit the Lucky Clover Gazette, Tabantha Hills Cave and the Tabantha Village Ruins with its well, view the Tabantha Hills Dragon’s Tear, fell Stalnox, then fly to the Tabantha Sky Archipelago for Ganos and Ga-ahisas shrines.
Eastern ridge: Koroks and the Eustus wagon
Find the Korok on the sprout hill
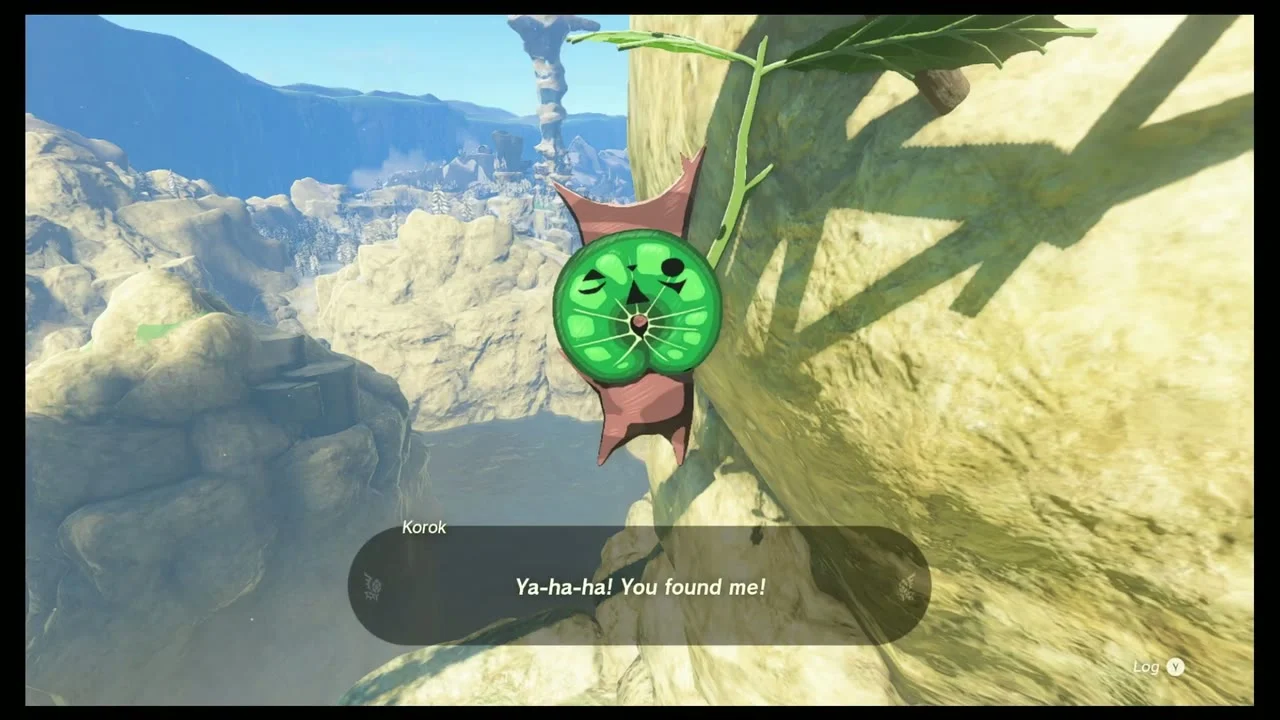
Korok seed (flower sprout). On the grassy rise south of Gisa Crater, a lone flower grows on top of a small boulder. Climb the boulder, step over the flower and walk to the hilltop; the Korok is waiting a few steps beyond with its leaf above the grass.

Ascend beside the twin statues
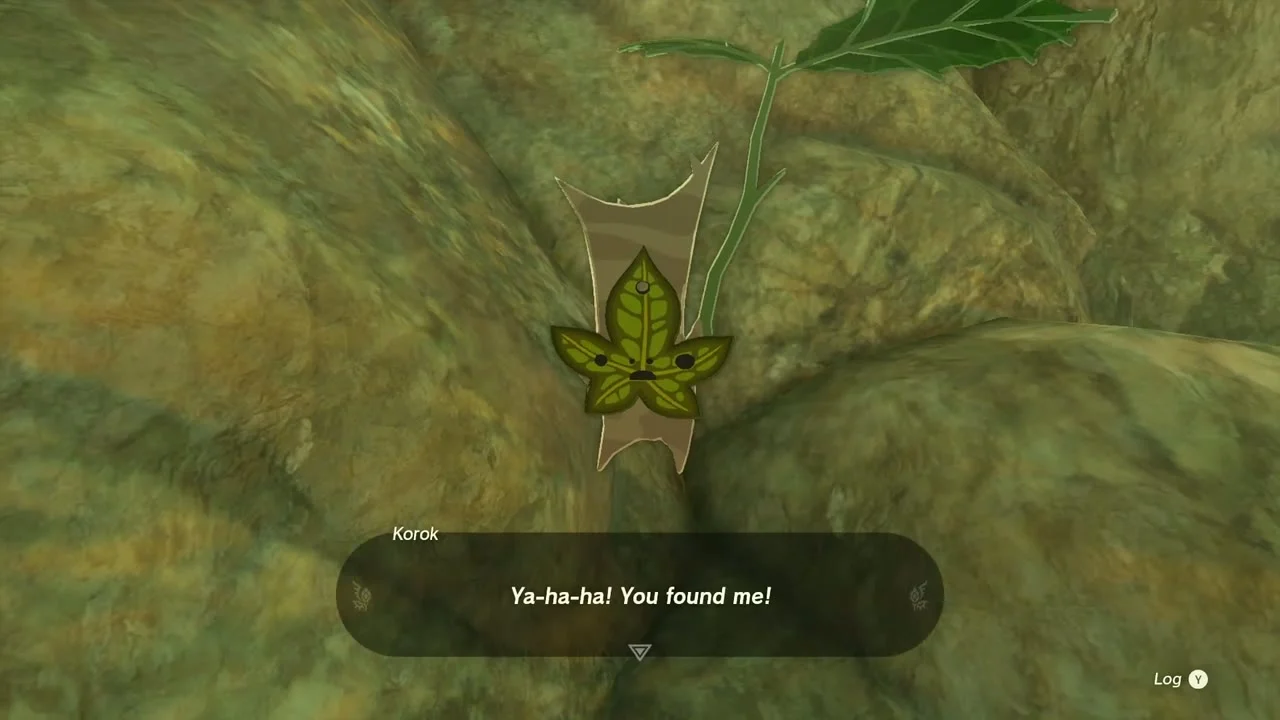
Korok seed (stone statues). Two weathered stone faces stand in a grassy hollow under a rock ledge. Use Ascend through the overhang directly above them and climb the cliff top; a Korok leaf puffs open on the mossy slope.

Search the flower meadow
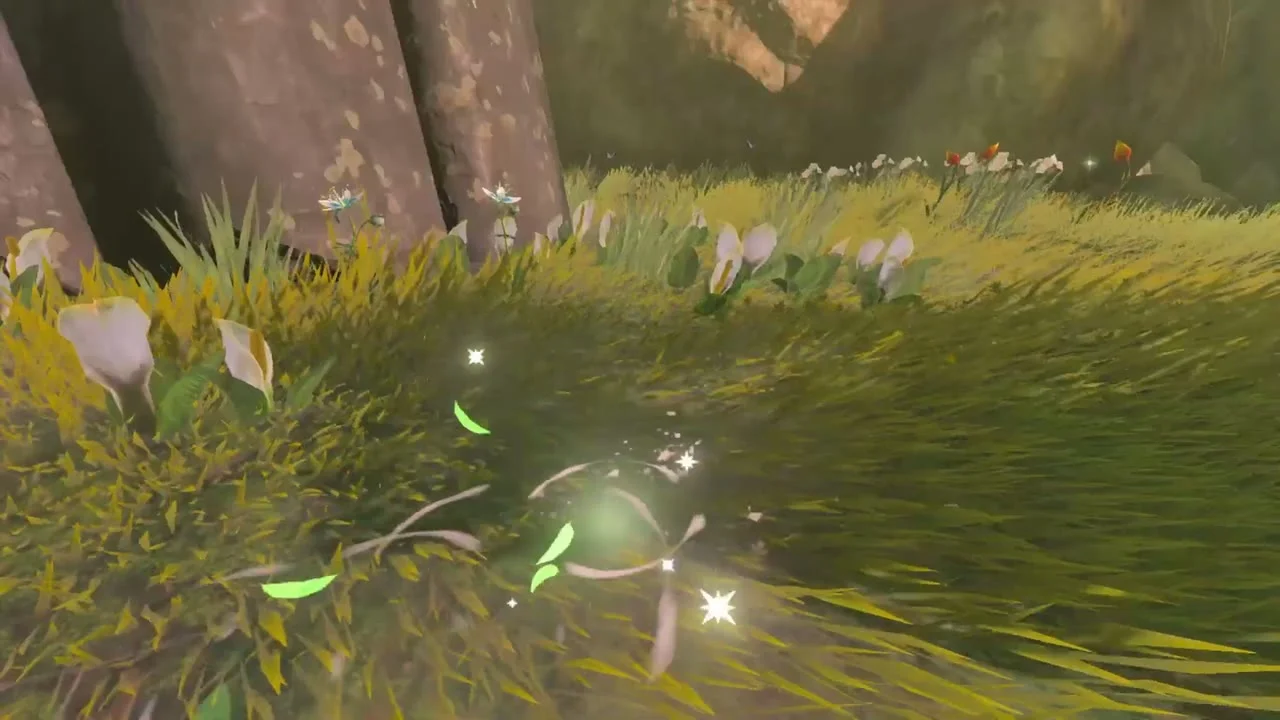
Korok seed (meadow). Further on, a steep meadow of white and orange flowers hides a Korok at the foot of a tall pillar. Look for the lone leaf among the blooms and walk up to it.

Lift Eustus’s wagon out of the hole
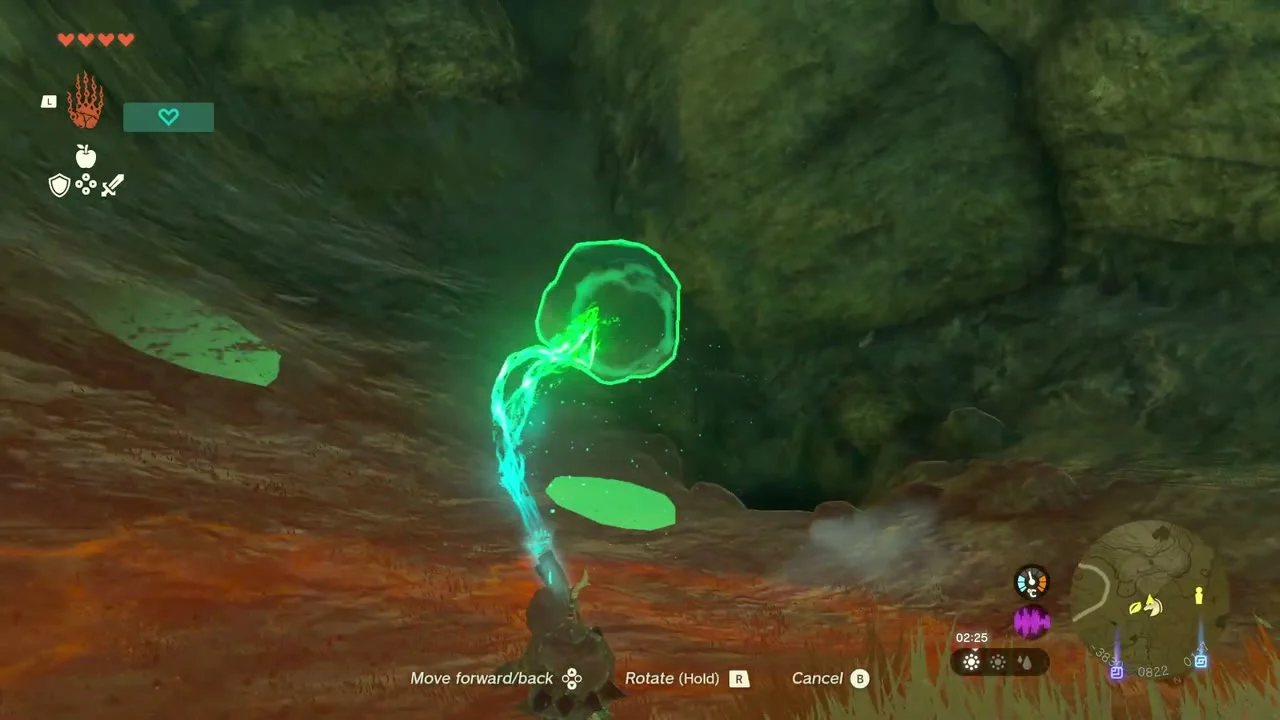
The Hornist’s Dramatic Escape. Eustus the horn player and his wagon are stuck in a hole near Tabantha Bridge Stable and Nero Hill; most guides say the quest becomes available once the Serenade to Mija chain is under way (if he is not there, check that chain first). Drop in, talk to him until he agrees to sit in the wagon, build a lift with a grate, two Flame Emitters, two balloons and a fan, and carry the wagon out. Leave the seats empty and set the wagon down on solid ground. Eustus thanks you with three Courser Bee Honey, so keep room in your pouch and talk to him again if it is full.


Place the boulder on the tree stand
Korok seed (boulder). A round boulder rests on a bare ledge above a slope, with a tree stand standing on a hill beside it. Pick up the boulder with Ultrahand and rest it on the stand (datamined: Place the boulder on the tree stand, about -3817, 833). The Korok leaps out beside the rock.
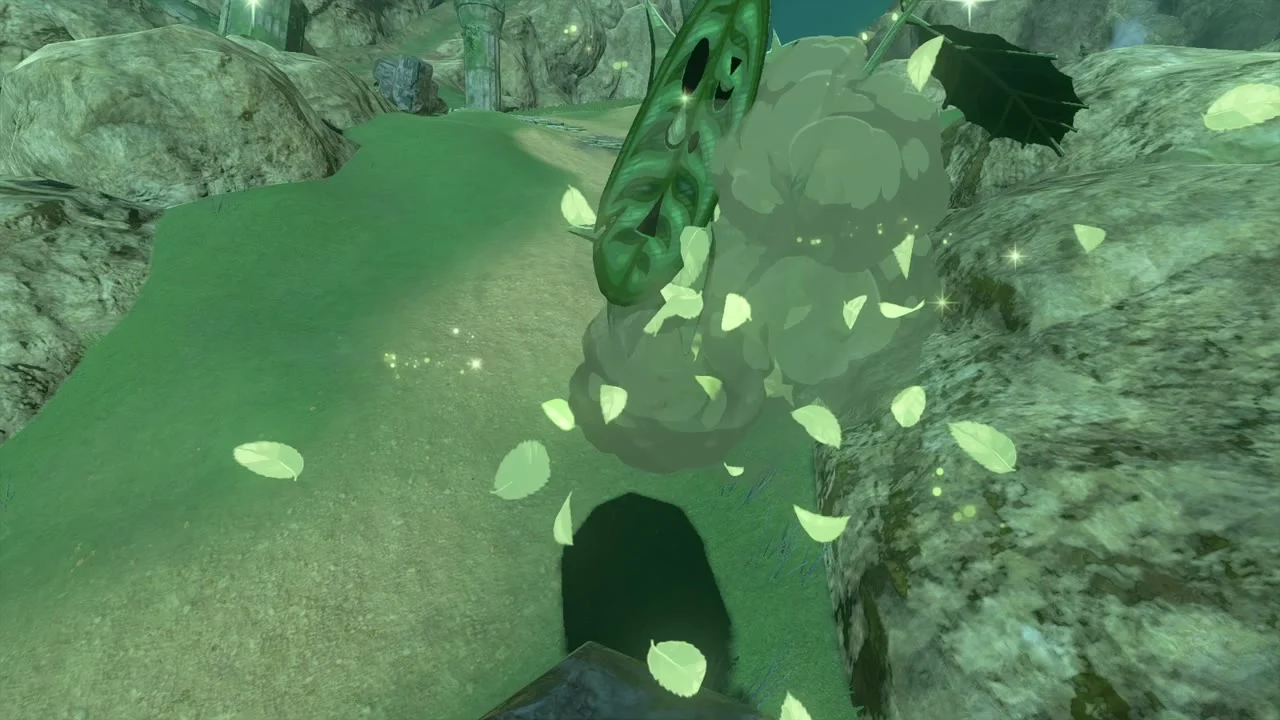

Stone Talus and the Gisa Crater cliffs
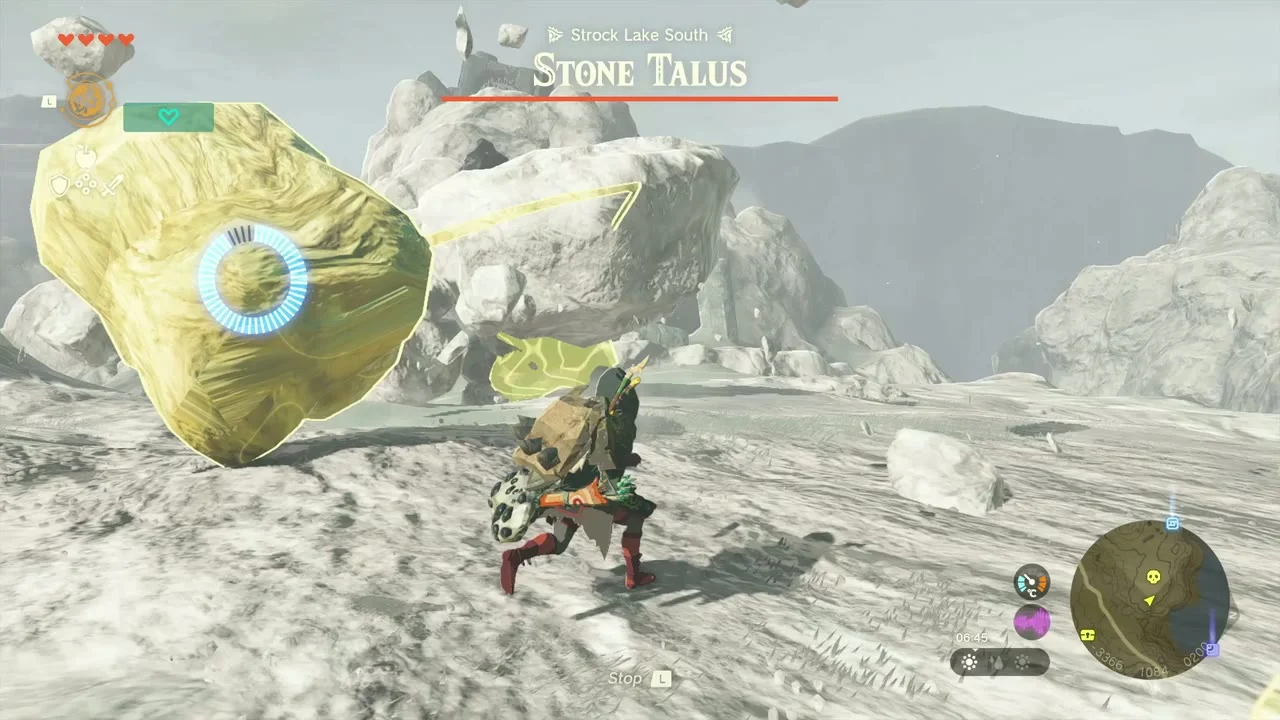
Break the Stone Talus
Miniboss: Stone Talus. A Stone Talus wanders the grass near Strock Lake. Hit its glowing ore patch on the back with a strong or fused weapon (or climb onto it and hammer the ore) until it collapses. It drops Amber, Rare Ore and a Stone Talus Heart.


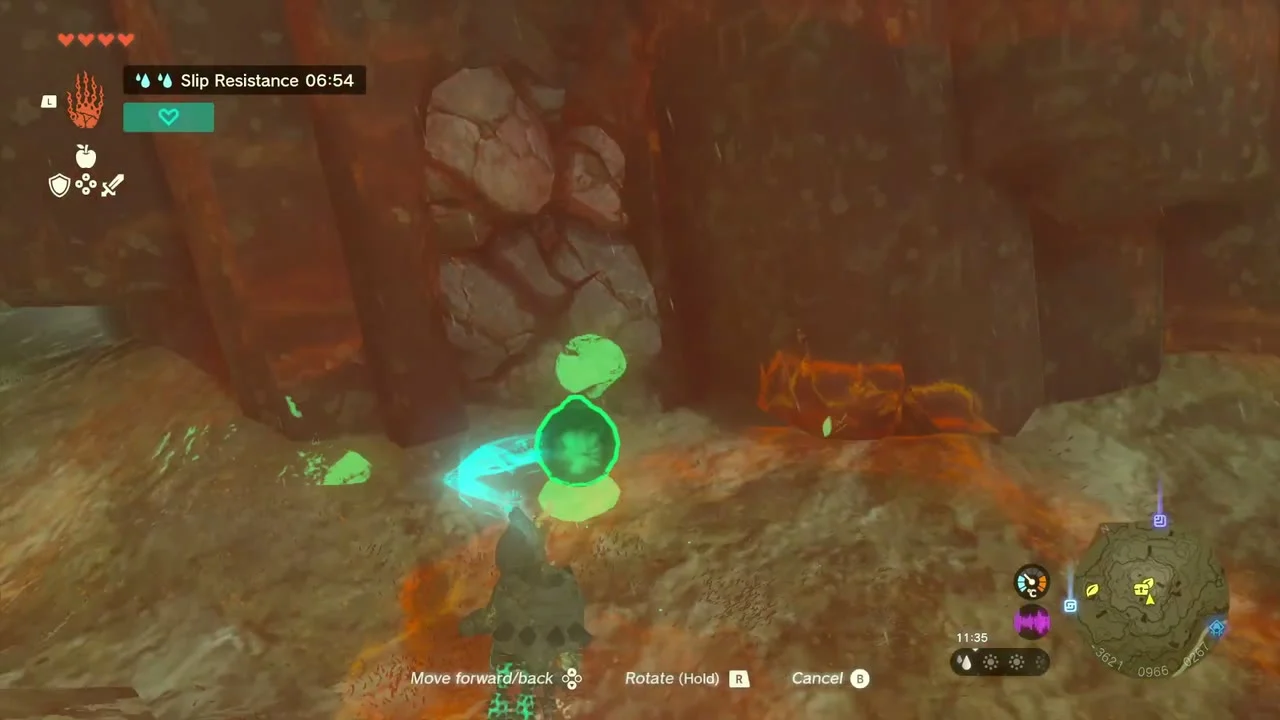
Open the chest in the stone seam
Chest (Large Zonai Charge). A crack in the cliff face is blocked by red-stained rock. Use Ultrahand to pull the loose blocks aside, crawl through, and open the chest at the back for a Large Zonai Charge.

Bring the tired Korok to its friend
Two Korok seeds (exhausted Korok). A small Korok is slumped under a rock overhang with a Korok-style carrier backpack nearby. Pick it up, carry it uphill past the green plume to its friend’s yellow tent, and you receive a seed from each of them (datamined: Bring the exhausted Korok to its friend, about -3557, 767).
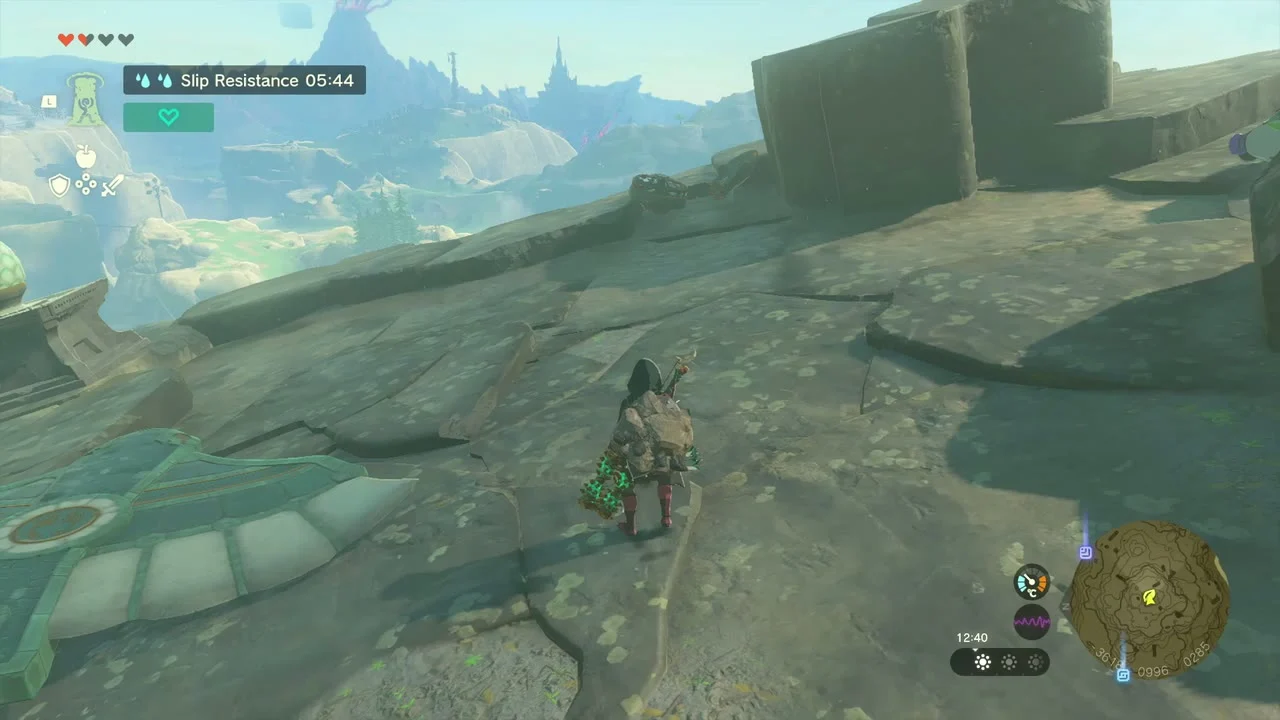

Gisa Crater and Ikatak Shrine
Reach Gisa Crater Cave
Gisa Crater Cave. Entrances sit at about -3865, 1011 and -3931, 1090 on the crater’s rim. Take the north entrance and look for the green beam of the Gisa Crater Crystal: the cave holds Ice Likes and Stalkoblins and a partly buried chest you free with Ultrahand (guides report a Feathered Spear inside it; the cave’s chest contents vary a little by source, so take whatever is inside).


Launch the crystal with rockets
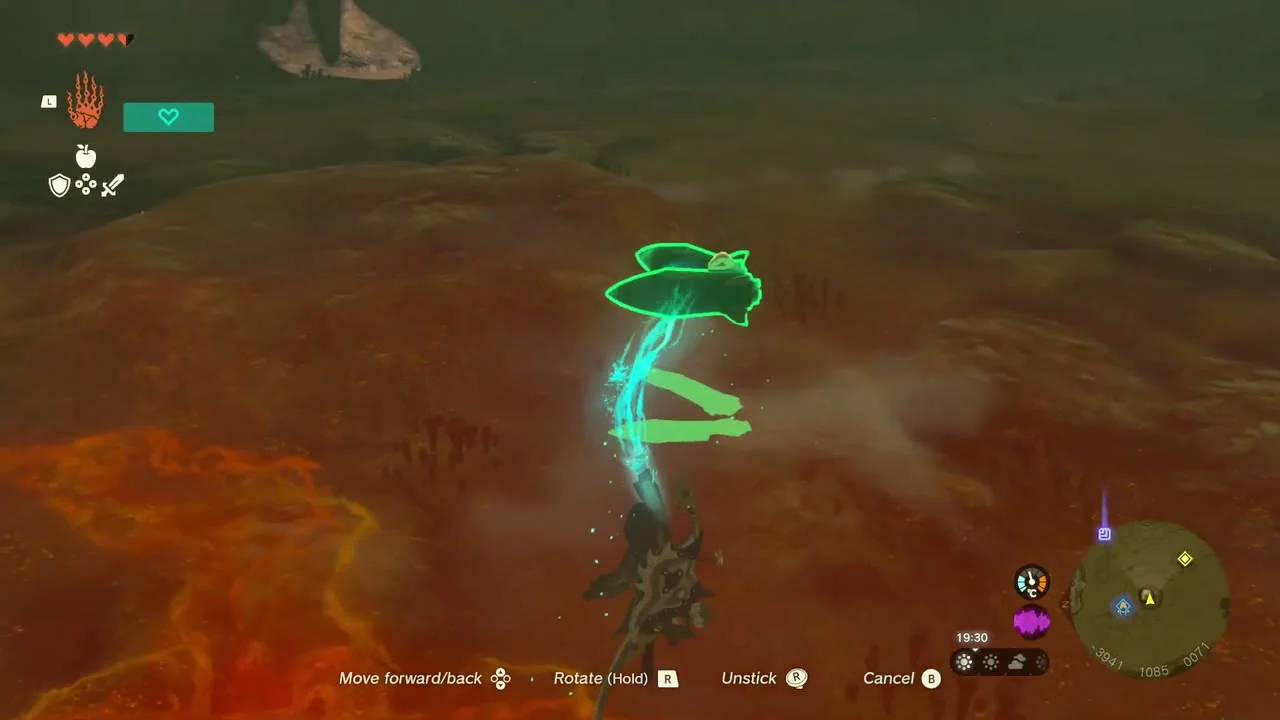
The Gisa Crater Crystal. Start the shrine quest at Ikatak Shrine’s beam, then find the green crystal deep in the cave. Set it in the middle of the chamber, attach a rocket or two to its sides, aim it at the hole and strike a rocket. The crystal shoots out of the crater; follow it down and carry it to the shrine.

Offer the crystal at Ikatak Shrine
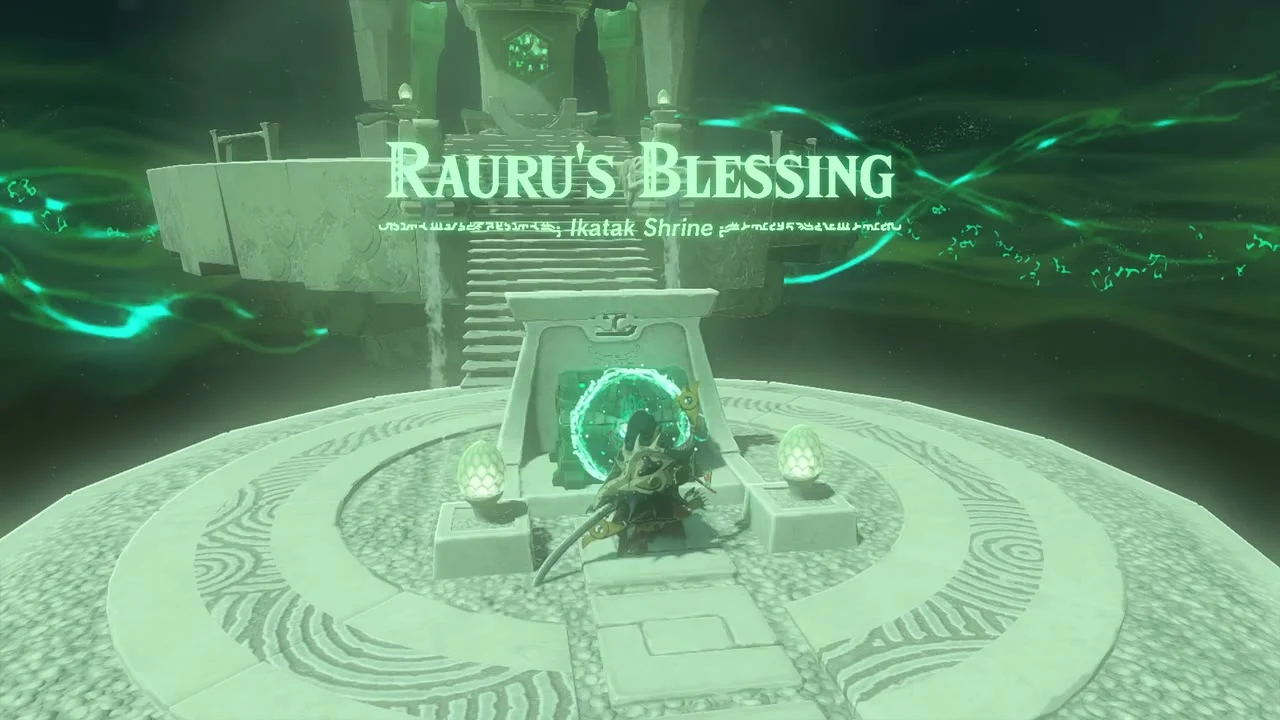
Ikatak Shrine (Rauru’s Blessing). Ikatak sits on a dry plain at -3951, 1139 with the Kataki Lightroot below it. Place the crystal on the stand to open the shrine; inside, open the chest for a Big Battery and take the Light of Blessing at the end. No puzzle, no combat.

Trade the Light of Blessing
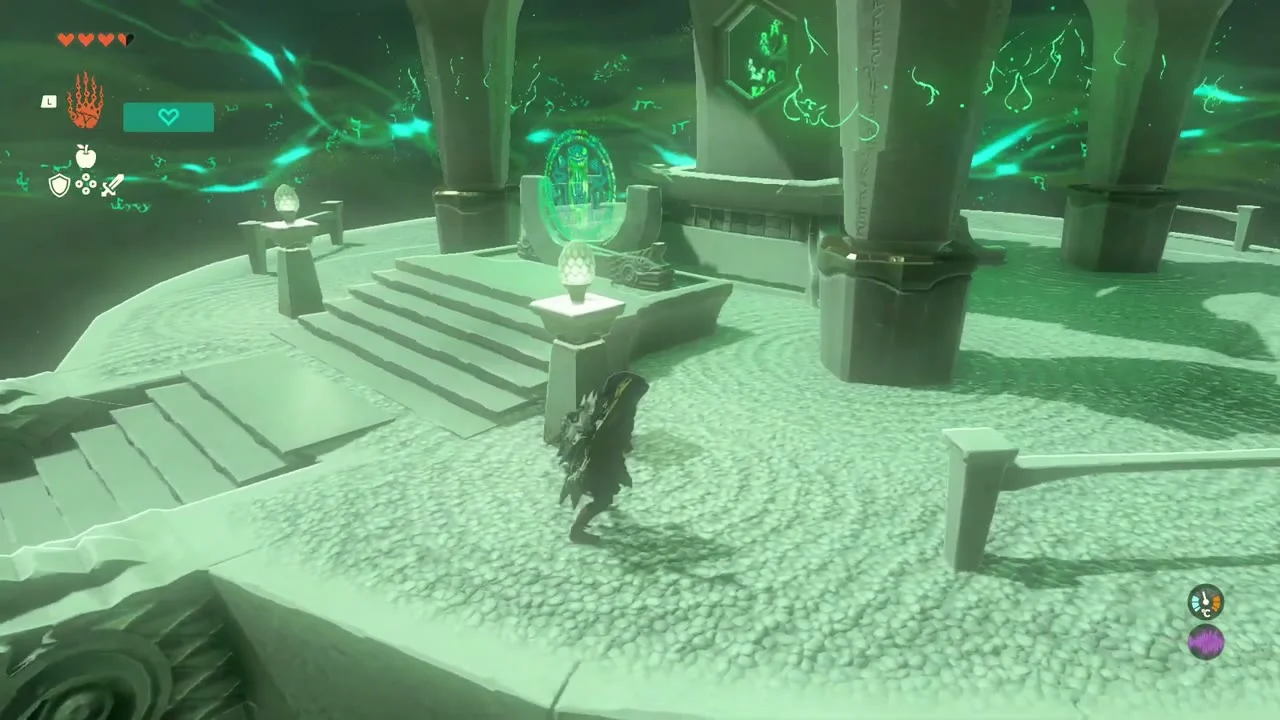
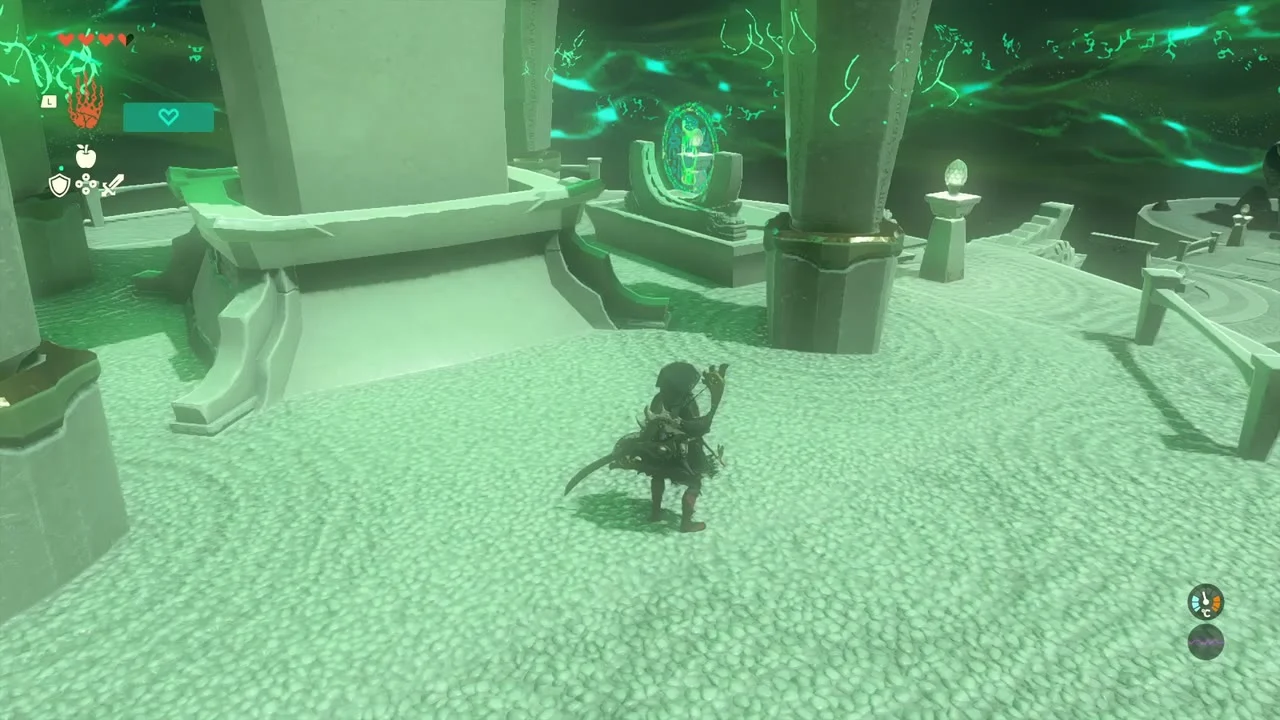
Light of Blessing. Four Lights of Blessing buy a Heart Container or a Stamina Vessel at a Goddess Statue. Ikatak, Ganos and Ga-ahisas are all Rauru’s Blessing shrines that give one Light each, and Oromuwak gives another.
Take the second entrance for the Bubbul Gem
Bubbul Gem (Gisa Crater Cave). The south-east passage is plugged with red sediment; break it with a Bomb Flower or a rock-smashing weapon. Inside are ore deposits and a Bubbulfrog. Knock it down with an arrow and take the Bubbul Gem.
Rayne Highlands and Ancient Columns
Take the Opal off the Bokoblin lookout
Chest (Opal). A wooden Bokoblin lookout stands on a mossy outcrop with a red skull barrel beside the chest. Defeat the Bokoblins, blow up the barrel only if you want to clear the platform, and open the chest for an Opal.


Glide to the log target
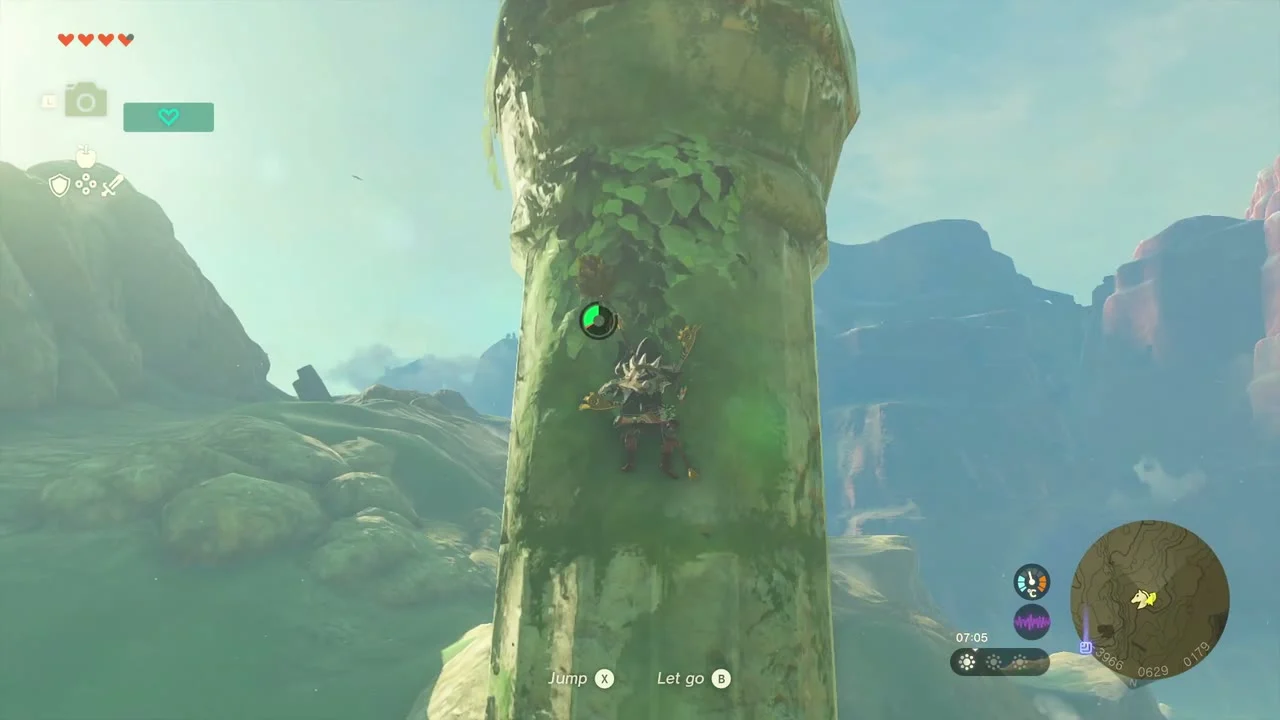
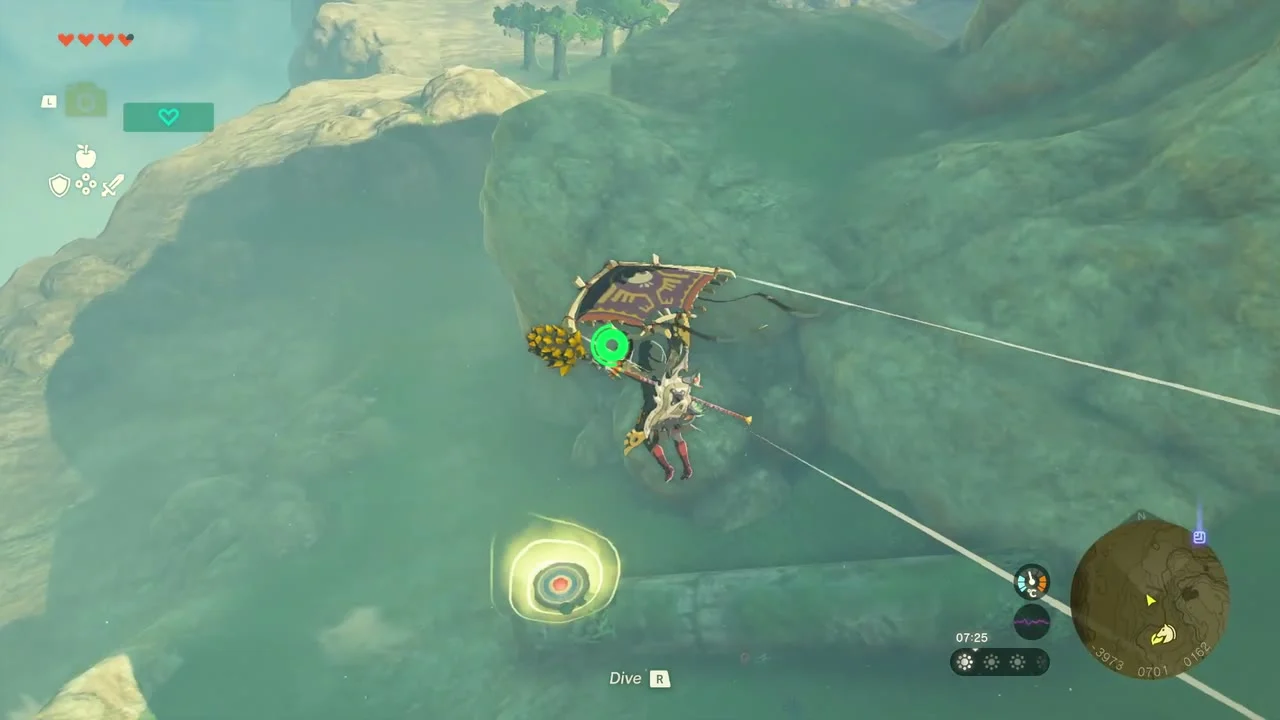
Korok seed (target). A tall mossy pillar rises over the grass. Climb it, jump off and glide to the bullseye target at the end of a fallen log; the Korok appears at the foot of the rocks beside it (datamined: Use the paraglider to reach the goal).
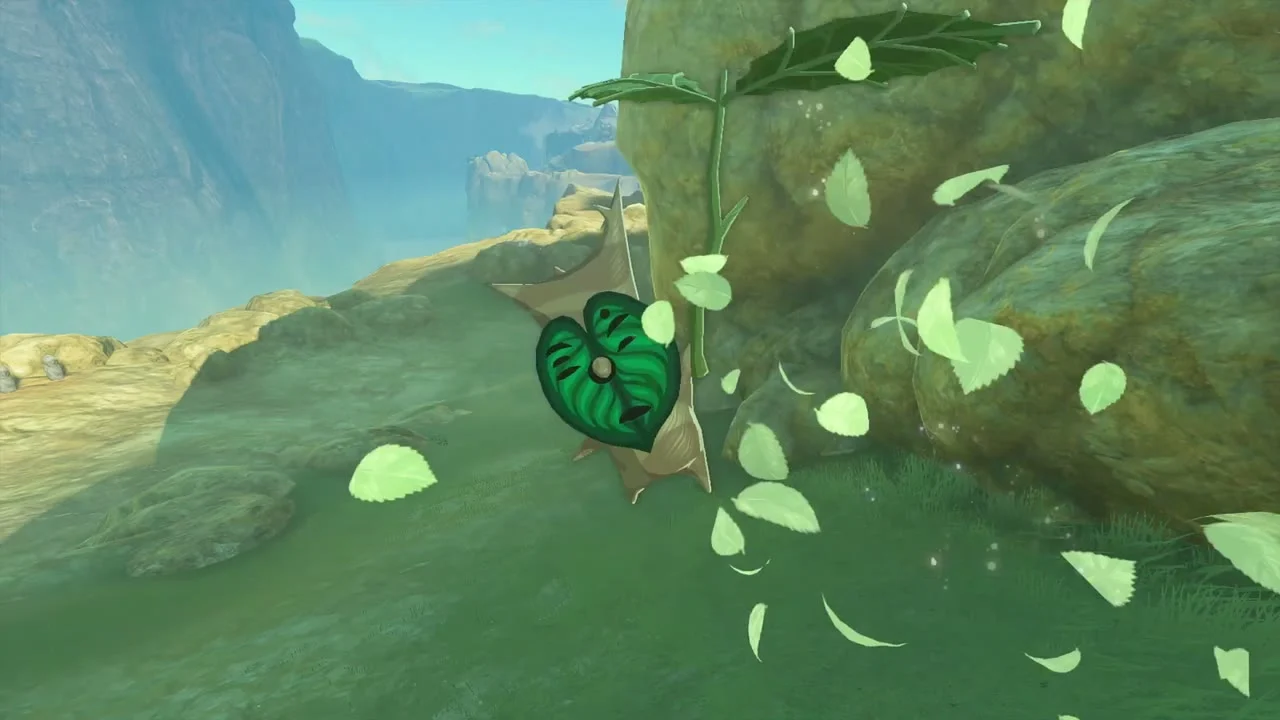
Offer fruit to the three statues
Korok seed (statue circle). A ring of three moss-covered statues stands on a hillside. Drop a Spicy Pepper (or any fruit) at each one; white clouds puff when each is fed and the Korok appears (datamined: Offer fruits to the statues, about -4059, 773).
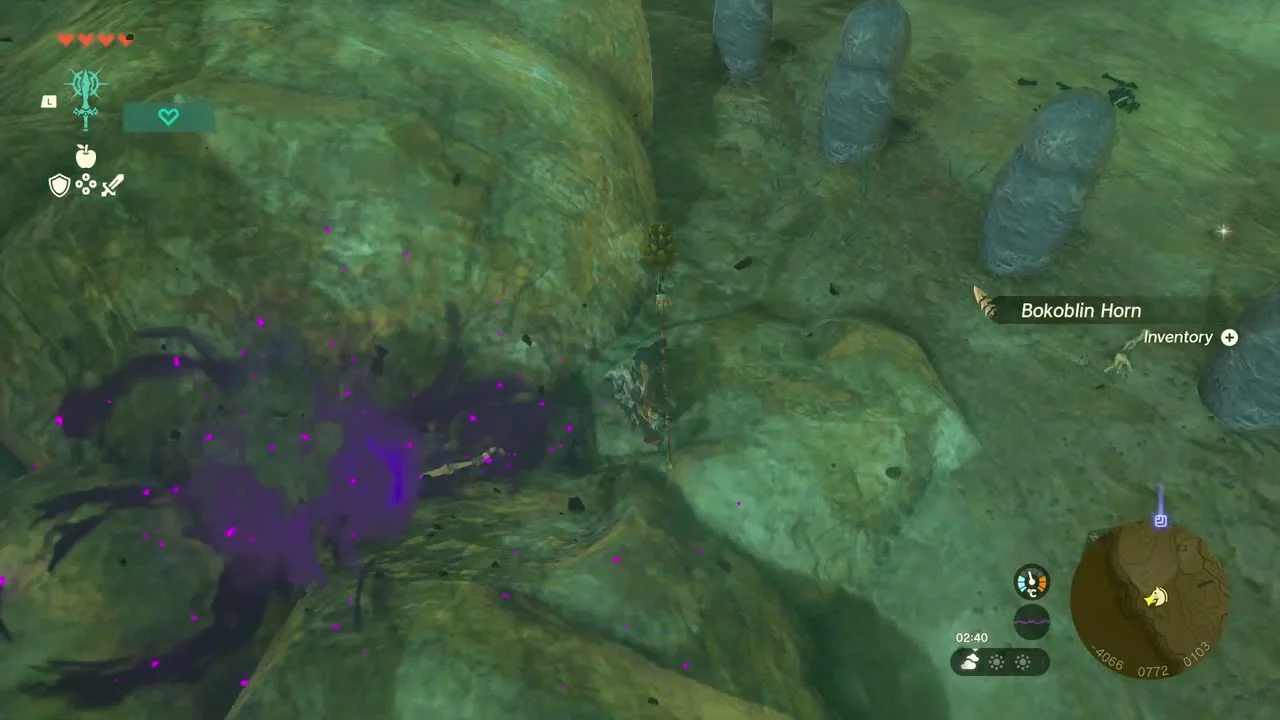

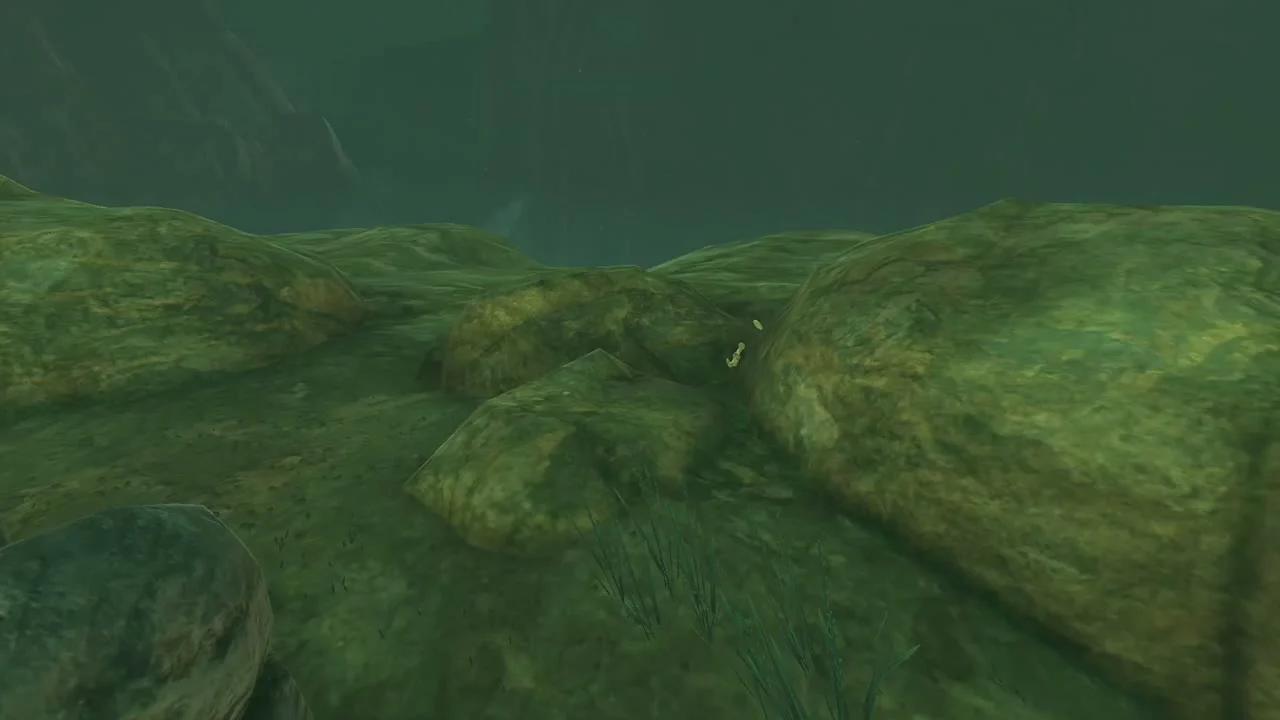
Climb into the oak
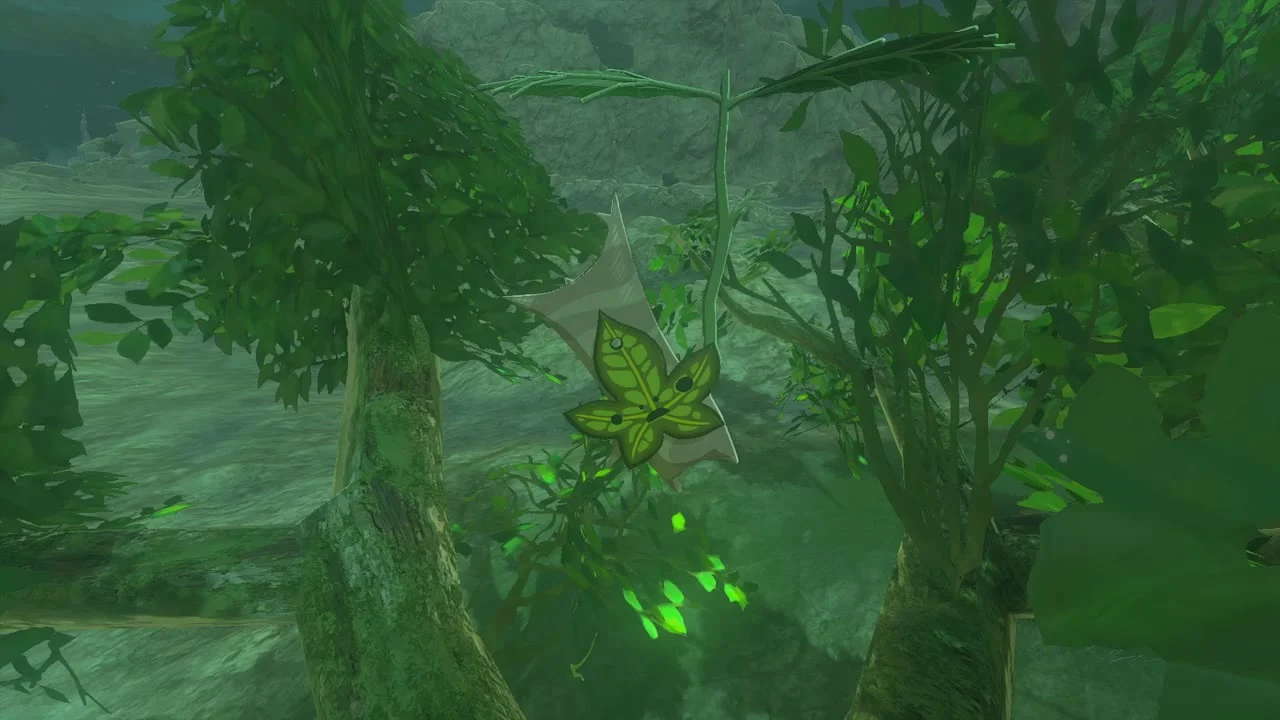
Korok seed (pine cone tree). In a dark forest, a Hylian Pine Cone tree has a crown that you can climb. Shoot or hit the cone, climb the trunk and search the leaves; the Korok is in the treetop. Stalkoblins will rise around the trunk.
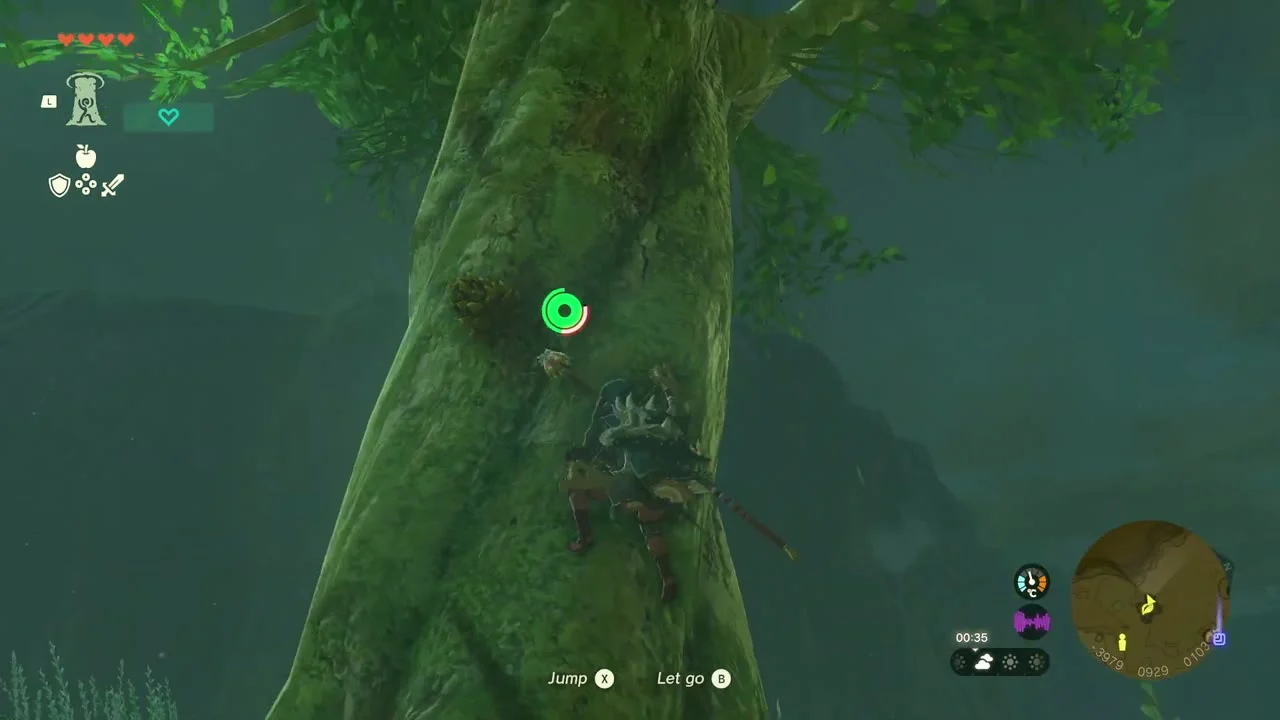
Defeat the Flame Gleeok
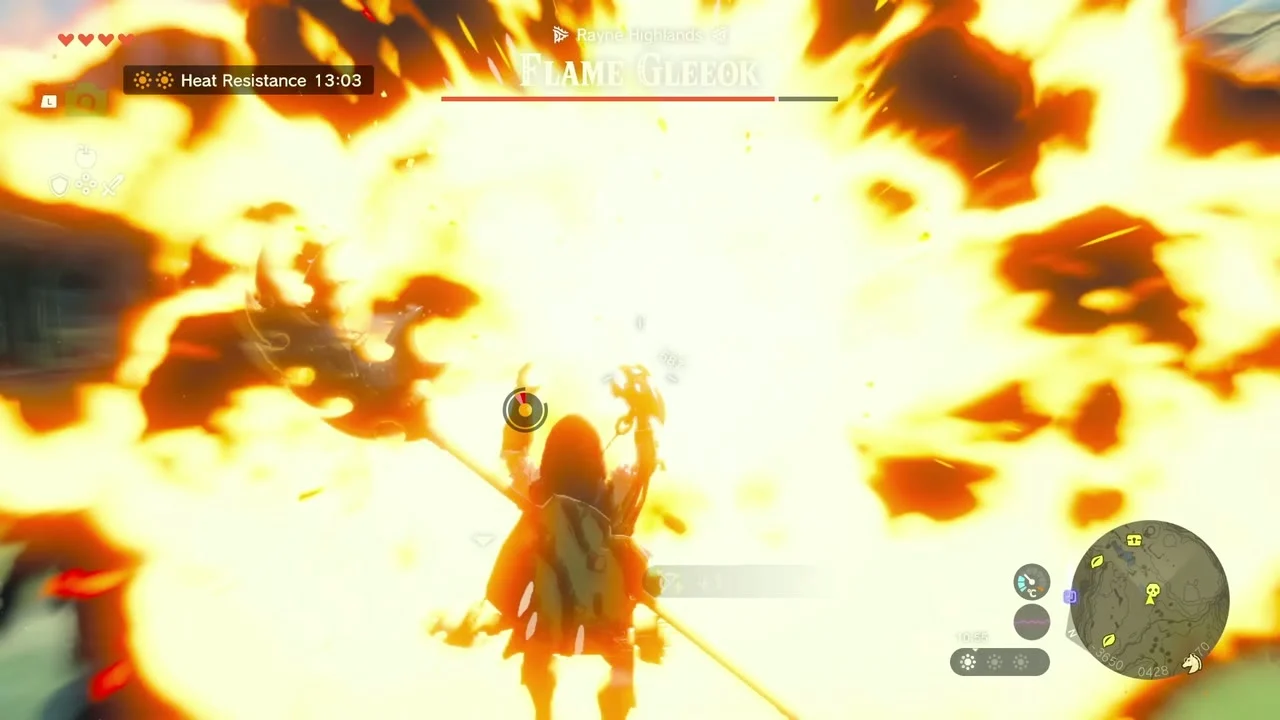
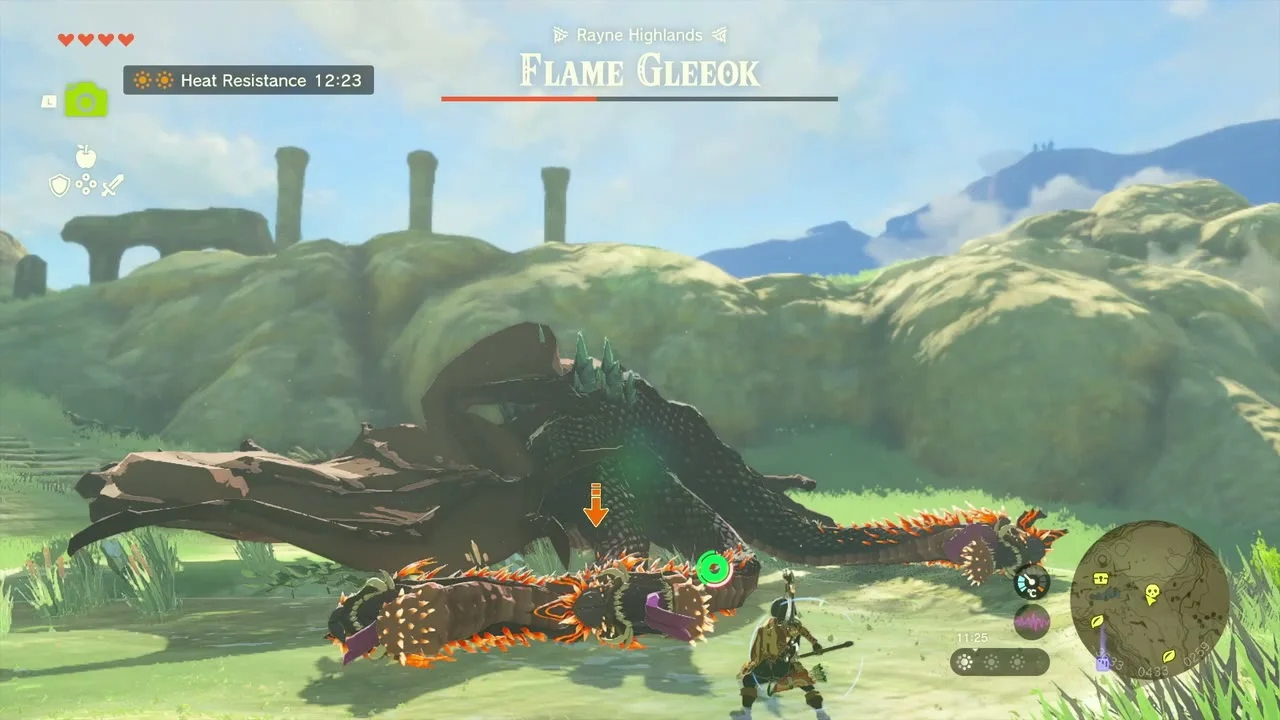
Miniboss: Flame Gleeok. In the ruined columns of the Rayne Highlands, a Flame Gleeok circles over the grass. Stay clear of its fireballs, shoot its three heads one at a time with Ice Fruit or White Chuchu Jelly arrows, and stun it with a Bomb Flower arrow. It drops a Gleeok Wing and a Gleeok Flame Horn.

Ancient Columns Cave
Drop through the pit
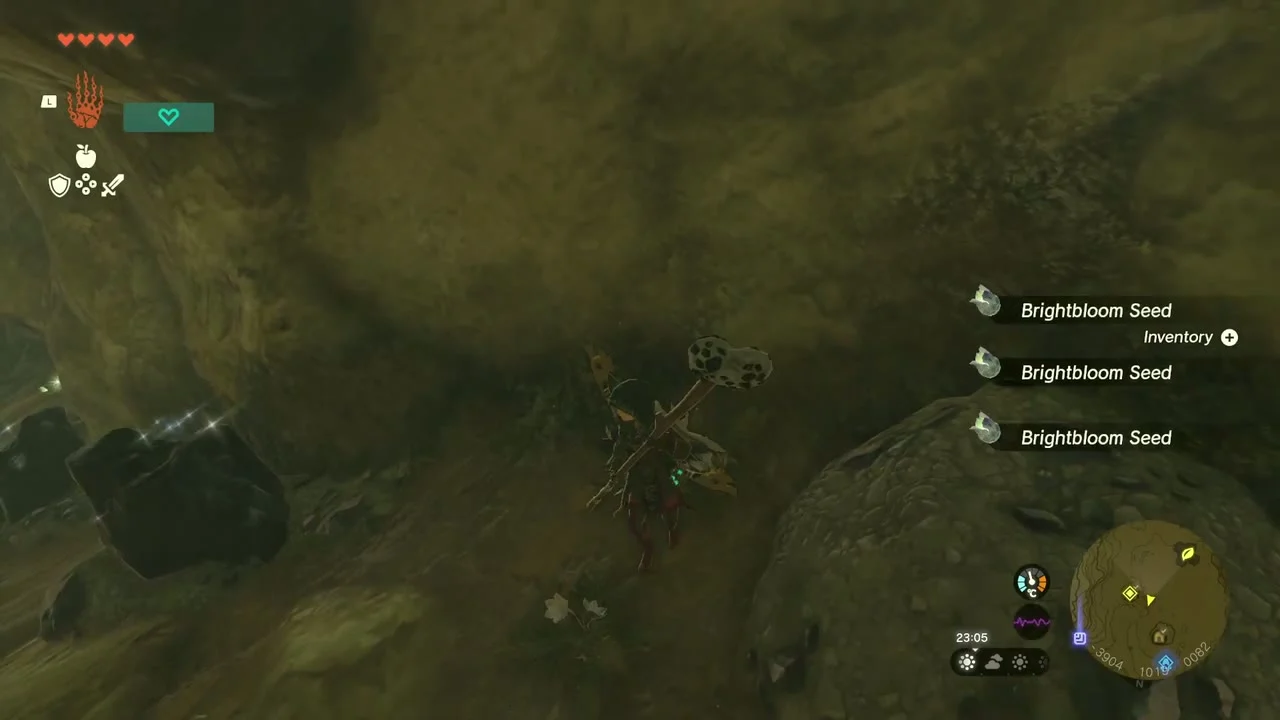
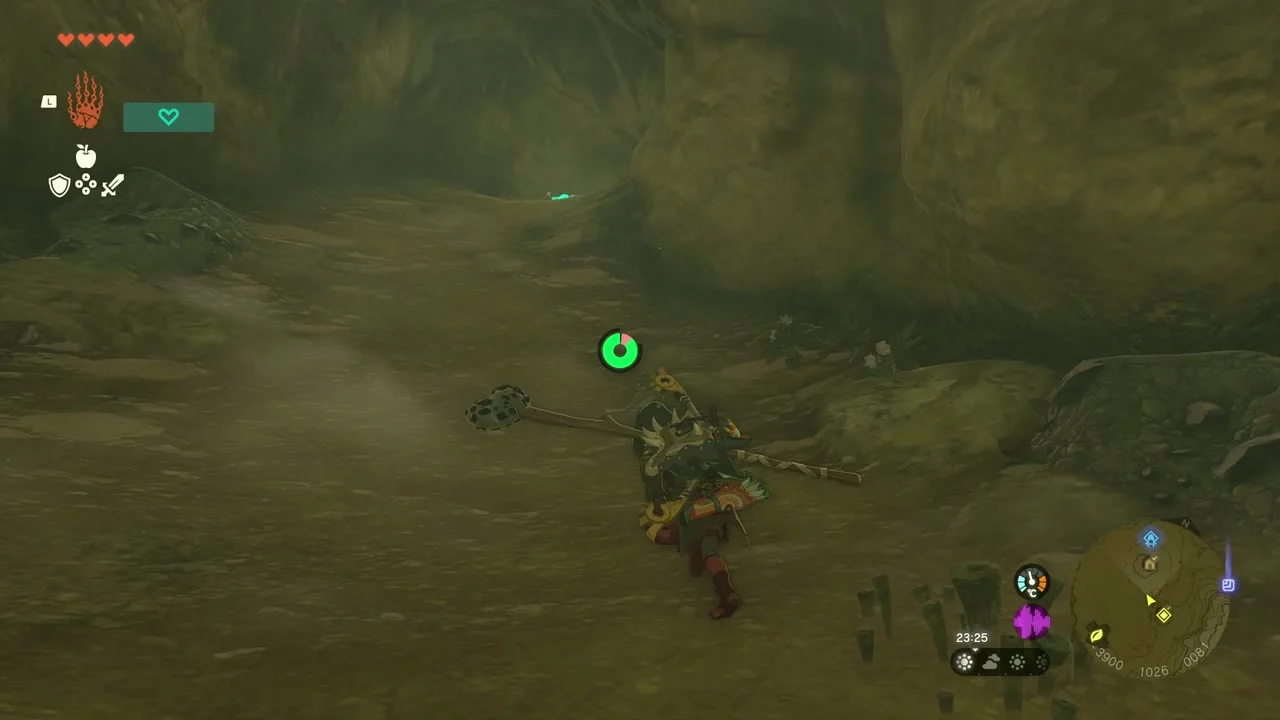
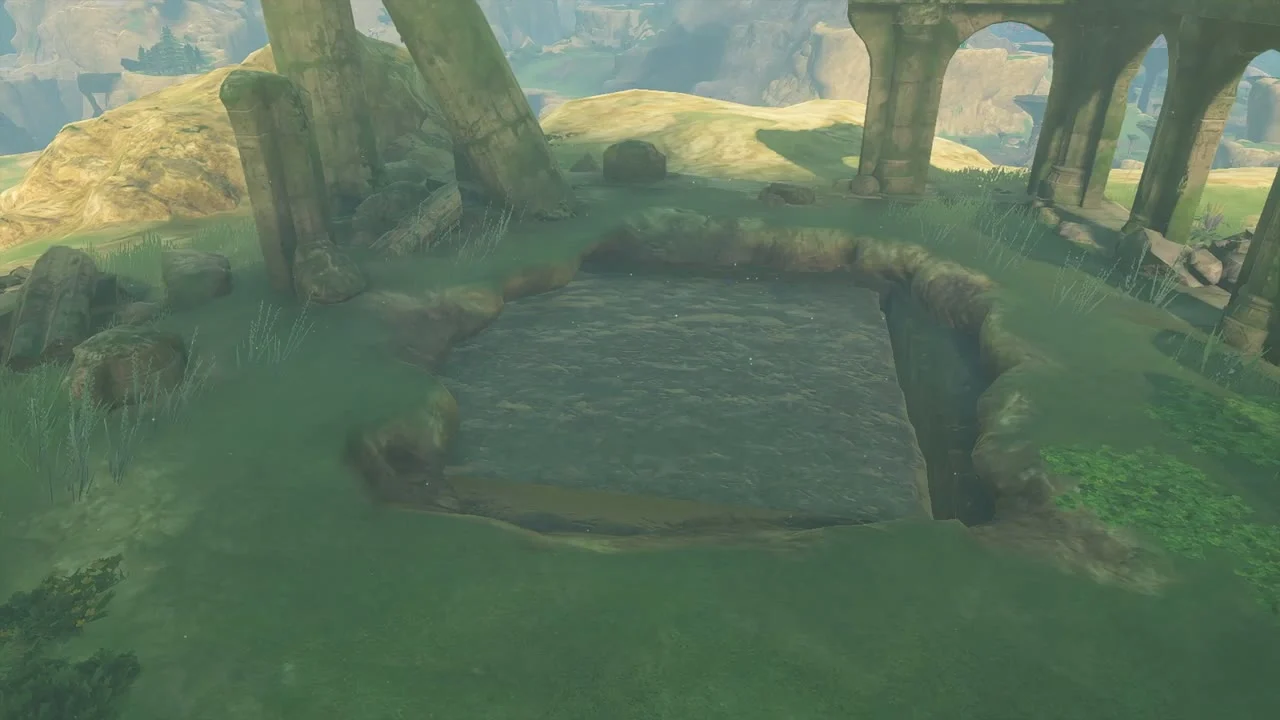
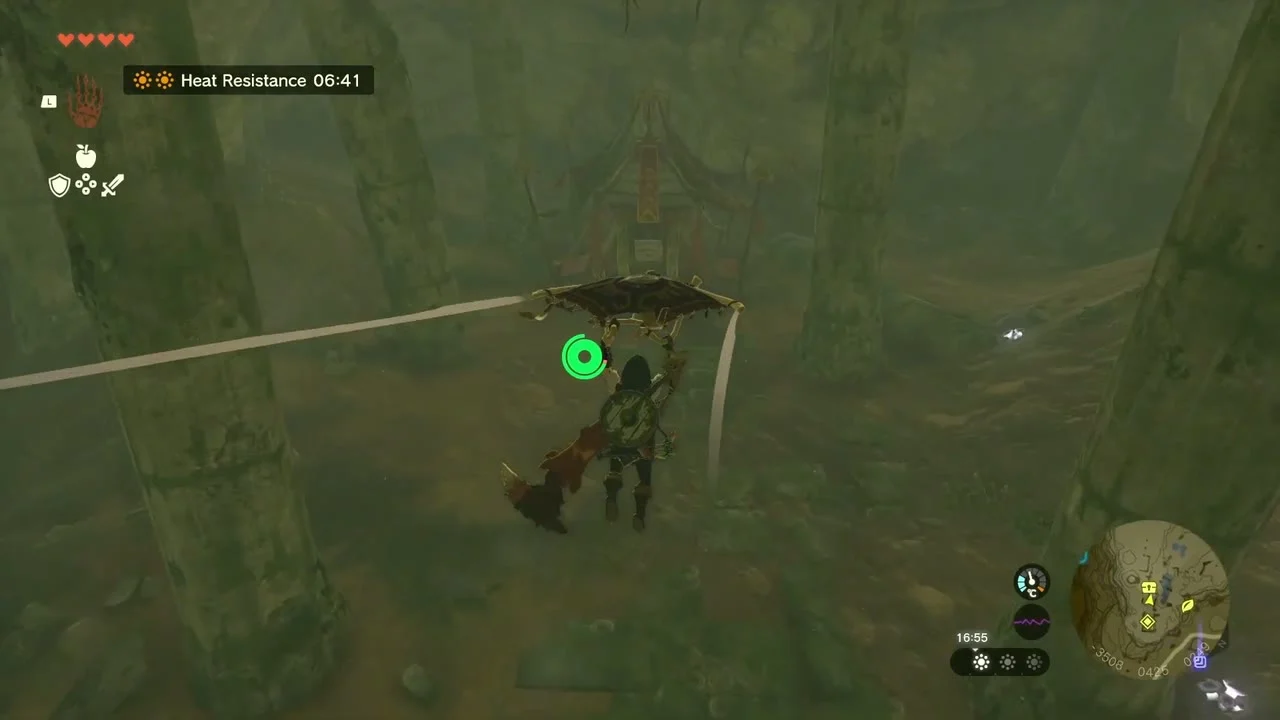
Ancient Columns Cave. The entrance (-3465, 449) is a square pit in the grass among the broken columns. Glide down; the first chamber has Brightcaps and Brightbloom Seeds.


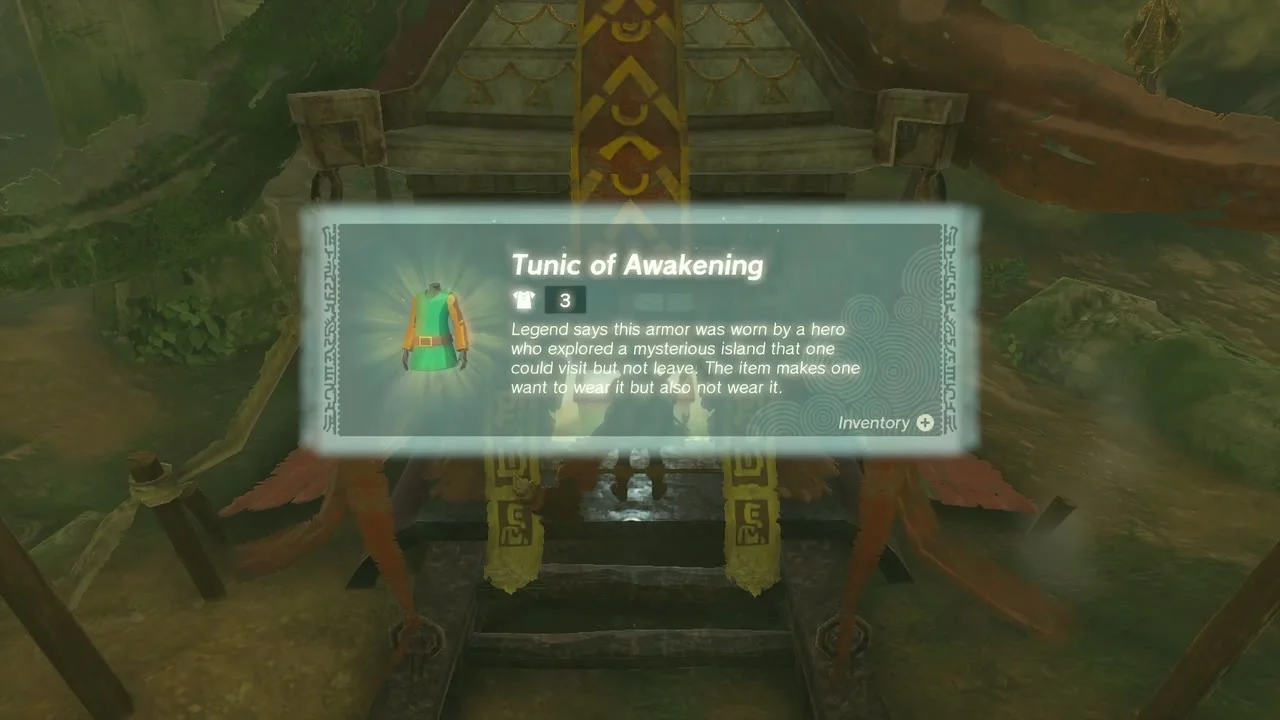
Open the Tunic of Awakening chest
Misko’s Treasure of Awakening I. Ancient Columns Cave holds the first Misko treasure: a decorated shrine-shaped chest. Open it for the Tunic of Awakening. Misko’s Letter (Side Quest) asks only that you reach it; the riddle points to the pillars where Rayne, Piper and Tanagar meet.
Knock down the Bubbulfrog
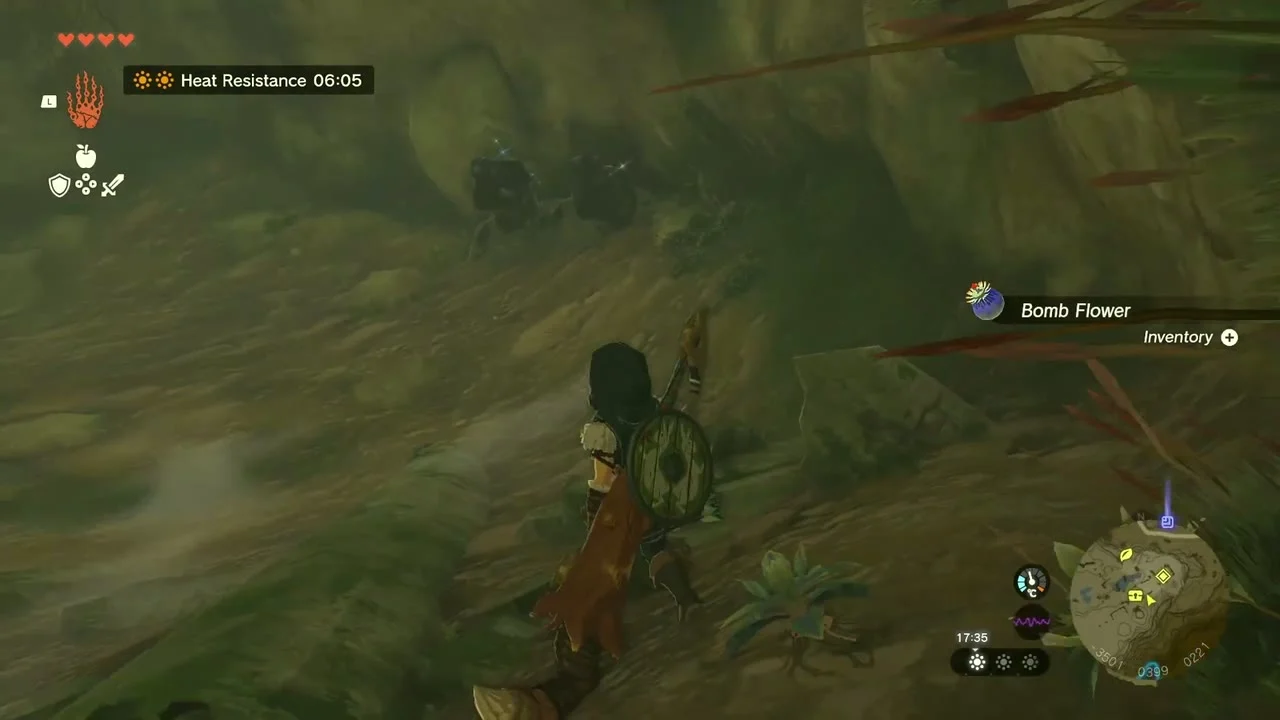
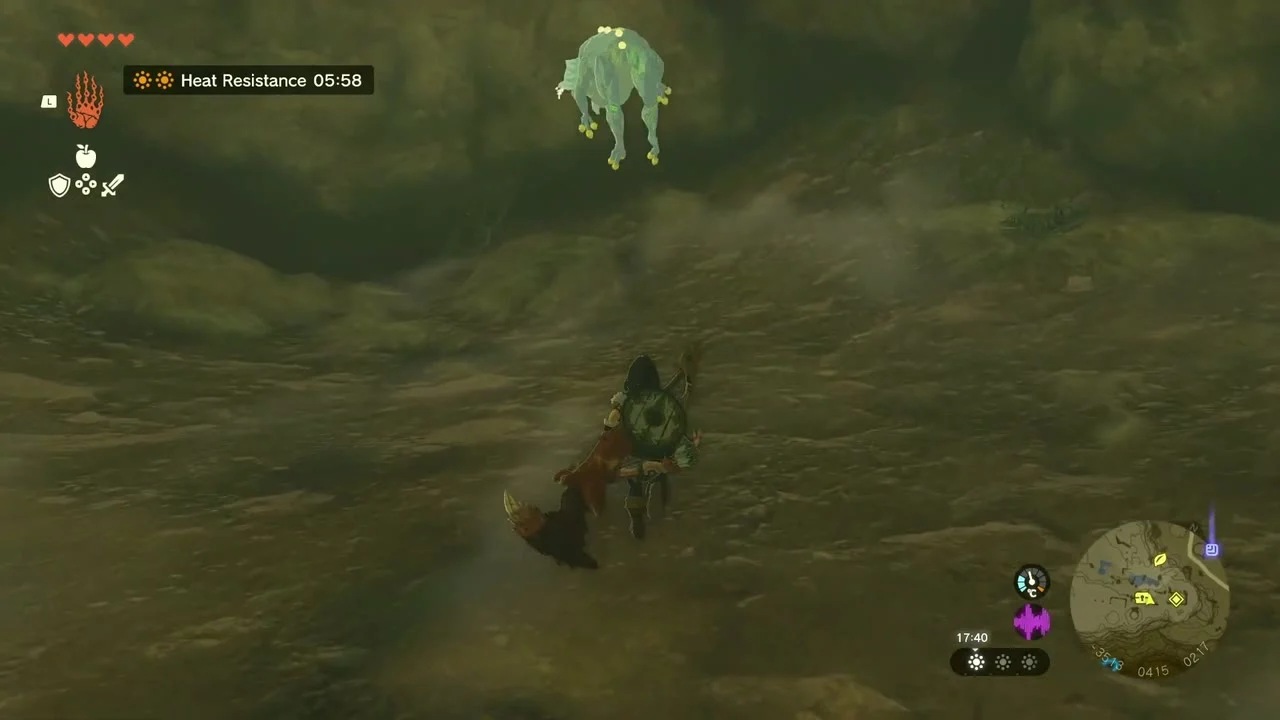
Bubbul Gem (Ancient Columns Cave). Further in, a Bubbulfrog clings to the ceiling. Shoot it with a Bomb Flower arrow when it opens its mouth and collect the Bubbul Gem. Leave by Ascending through the low ceiling.
The cave also has a stone tablet that begins Misko’s Treasure of Awakening II. Its riddle sends you to the old battle ruins in Hyrule Field, where you offer a Soldier’s Claymore (or Traveler’s Claymore, Knight’s Claymore or Royal Claymore, depending on your progress) to the two sculpted soldiers; the third riddle then points to a shadow puzzle on Hyrule Ridge. Completing all three parts gives the full Armor of Awakening set.
Cliffs above the Tamio River
Ascend through the red rock to the cliff Korok
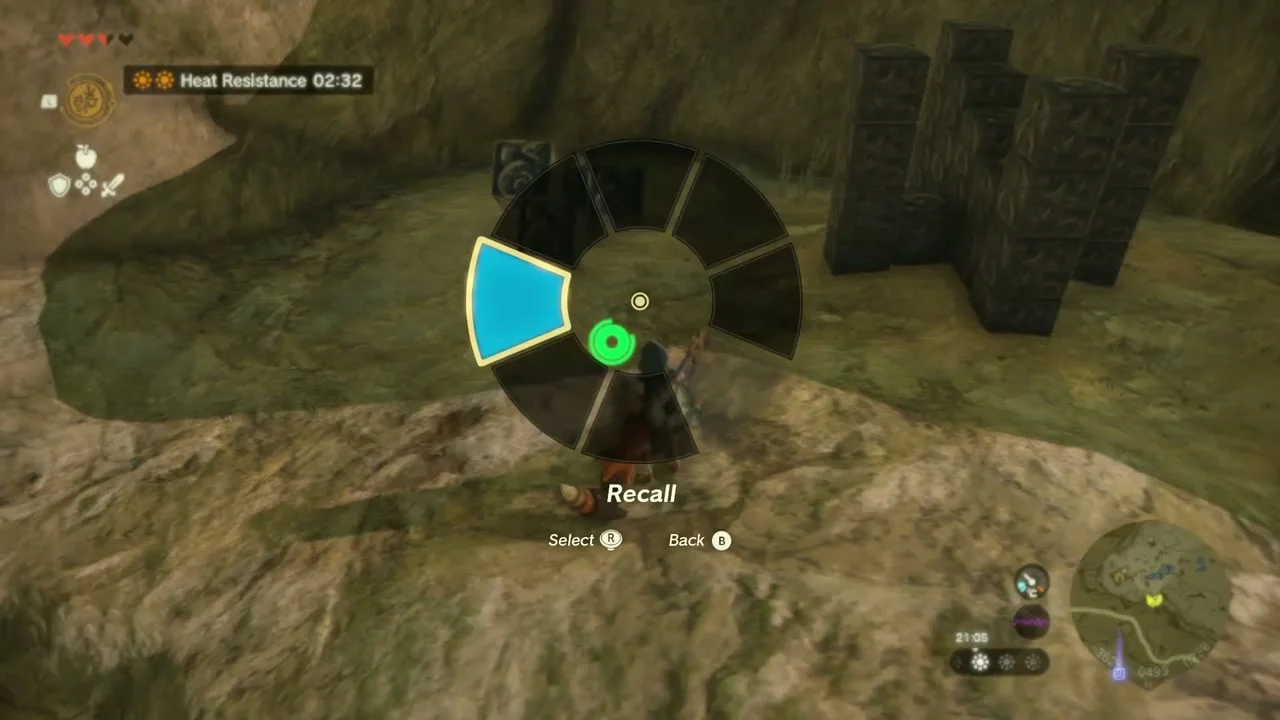
Korok seed (block puzzle). A slim rock gap on the cliff is filled with red-stained blocks. Use Ultrahand to rebuild them into a stack (cube puzzle) and the Korok appears behind them.


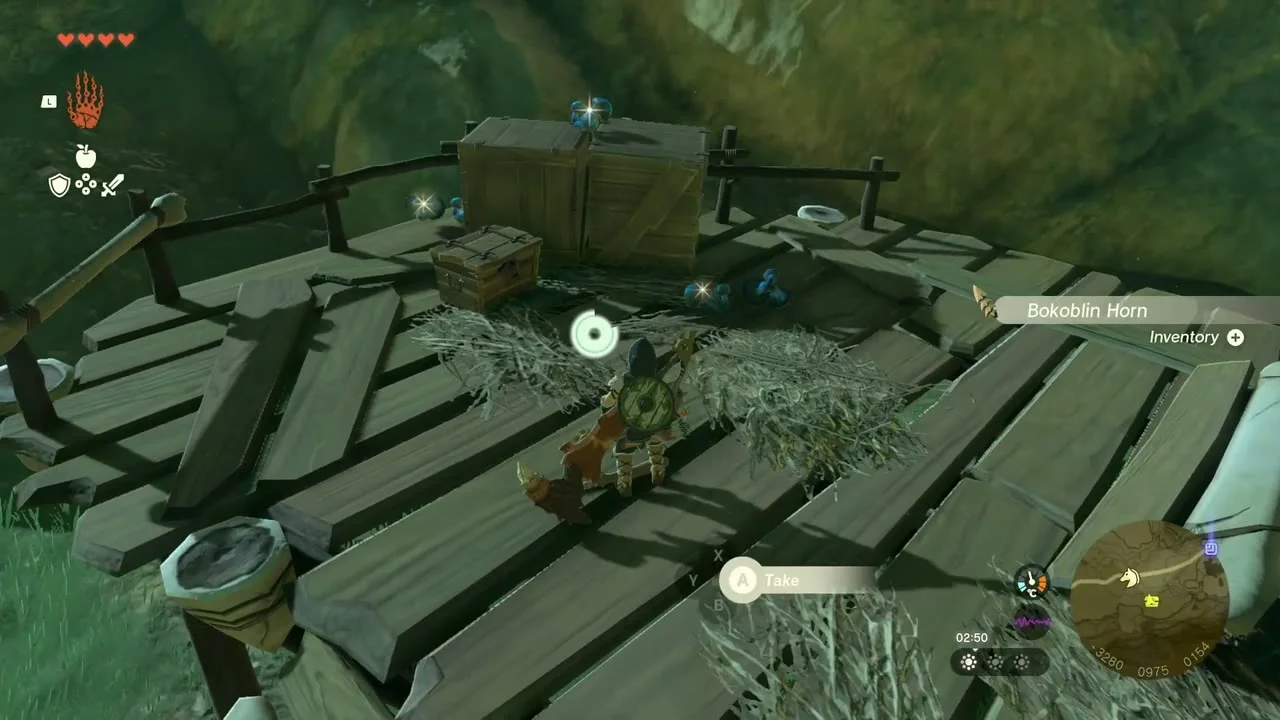
Search the Bokoblin lookout for arrows
Chest (Arrow x5). A wooden Bokoblin scaffold on a hillside holds crates and a nest. Clear the Bokoblins and open the chest for Arrow x5.

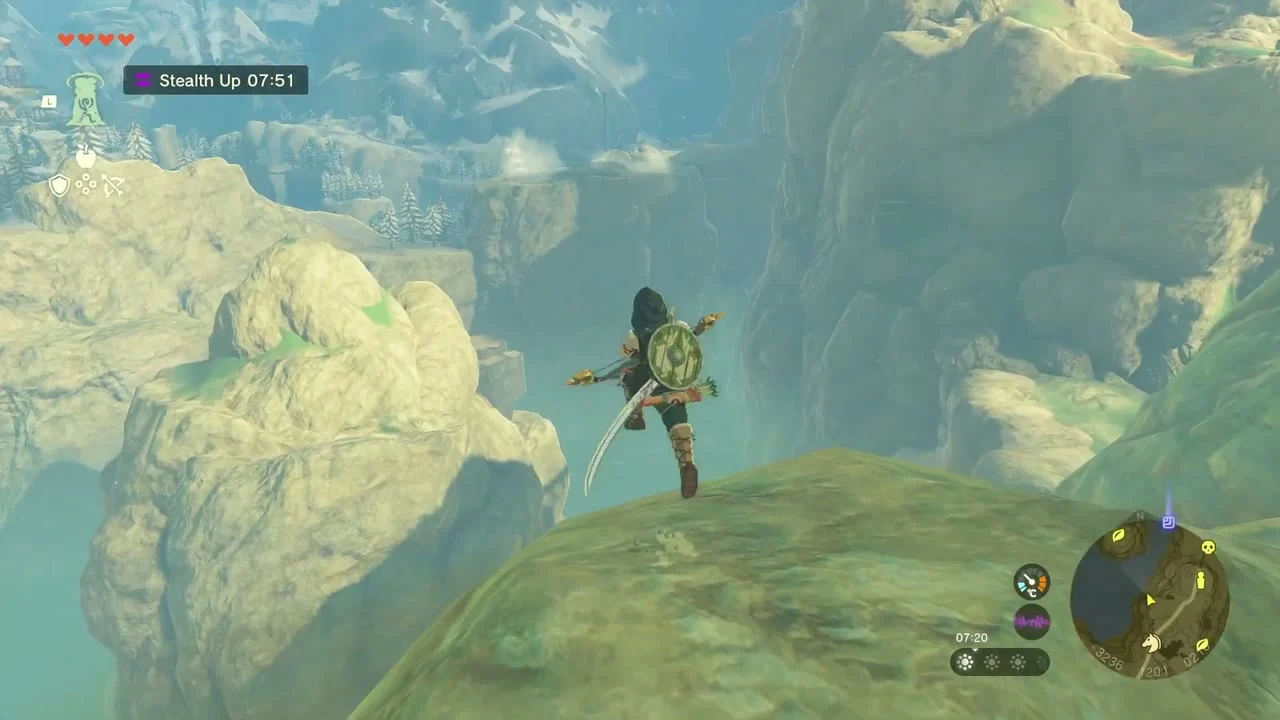
Find the hilltop Korok
Korok seed (hilltop). At the top of a green hill beyond the cliff a Korok sits in plain sight: walk to the summit and talk to it.

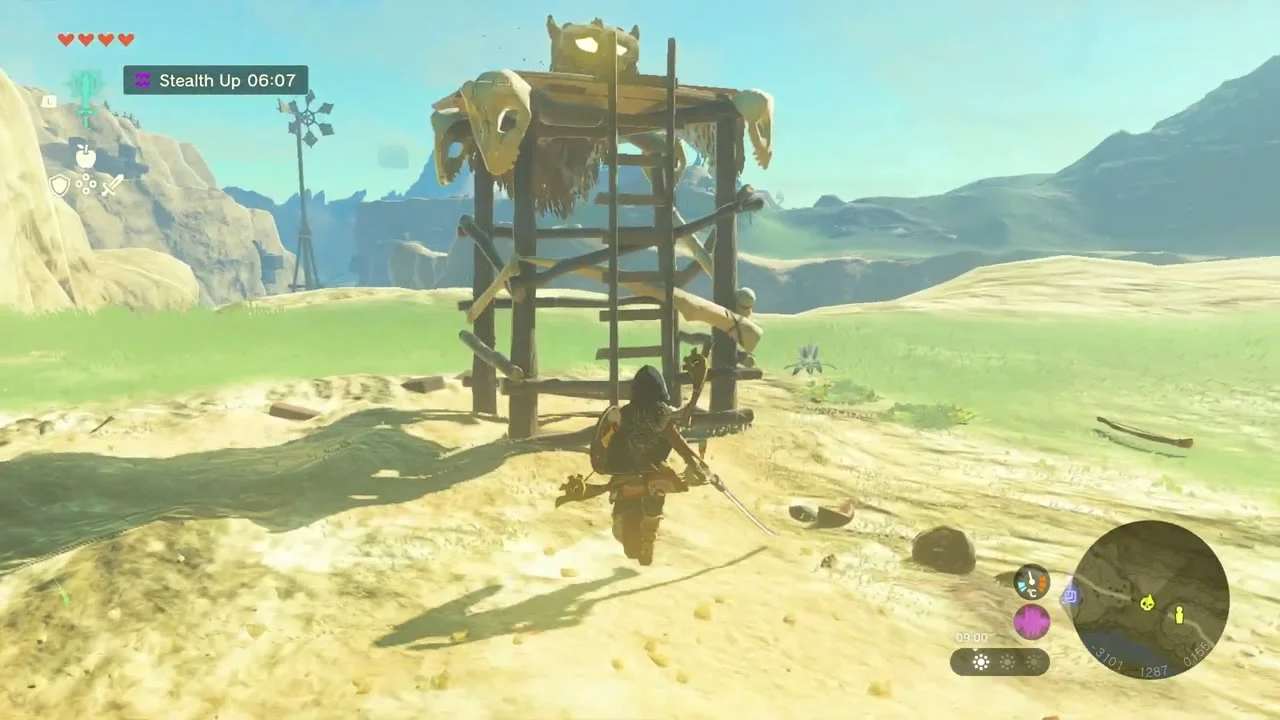
Take the Ruby from the Battle Talus
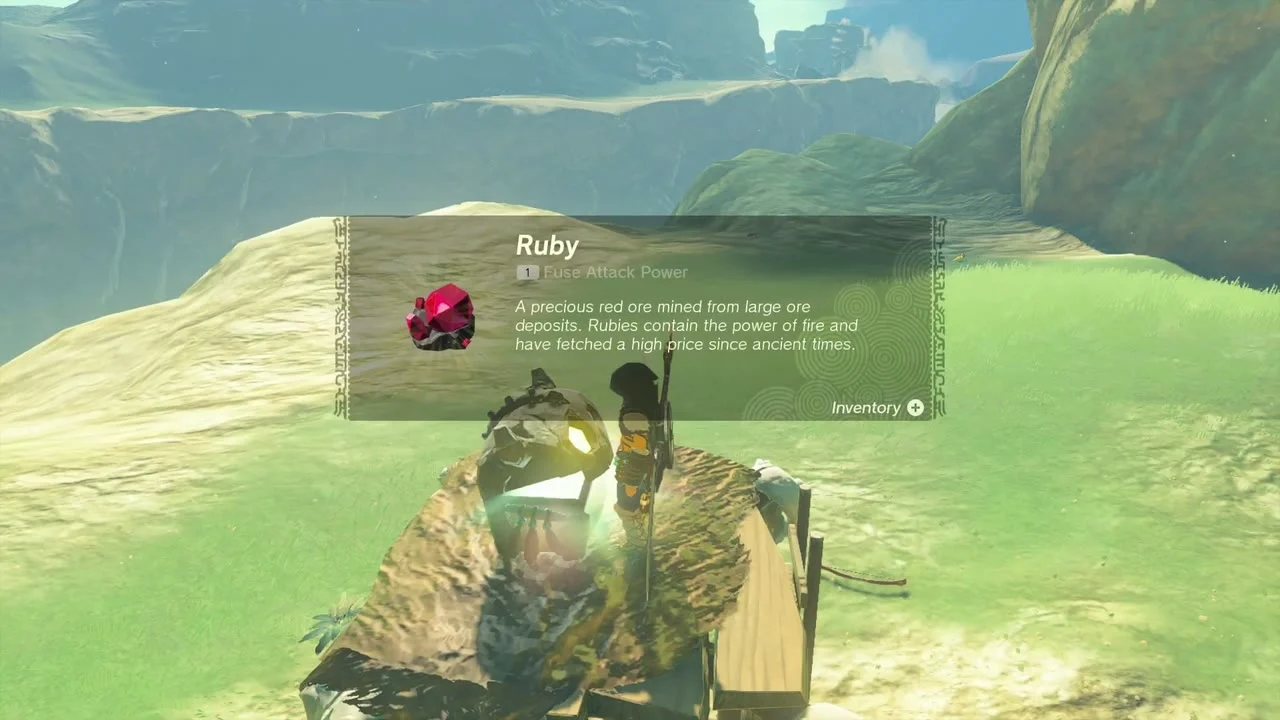
Miniboss: Battle Talus. A Battle Talus wanders the road with a wooden tower on its back. Shoot its ore, climb up and strike the glowing weak points. It drops a Talus Heart, and a chest on its tower platform holds a Ruby.
Oromuwak Shrine
Reach the shrine
Oromuwak Shrine. Oromuwak lies at -3078, 1617, north of Kolami Bridge. Its trial, A Launching Device, is a Puzzle; Kawumoro Lightroot is below.
Fire the rocket at the target
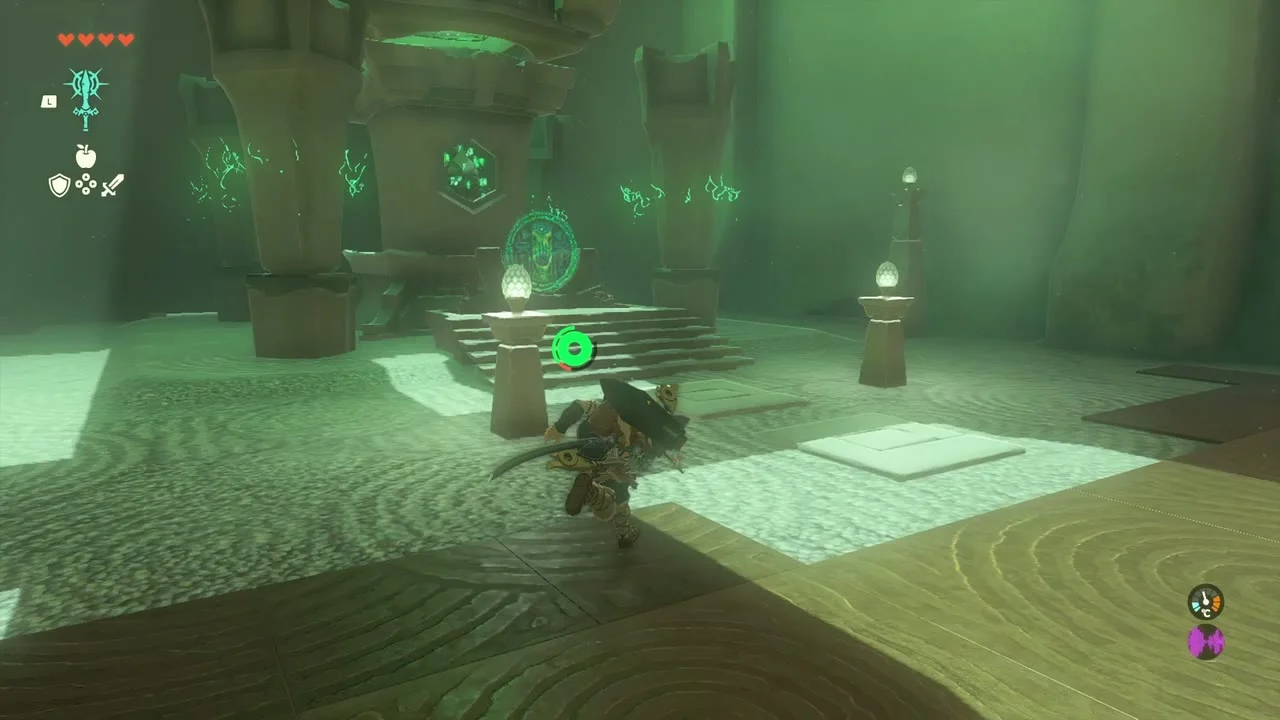
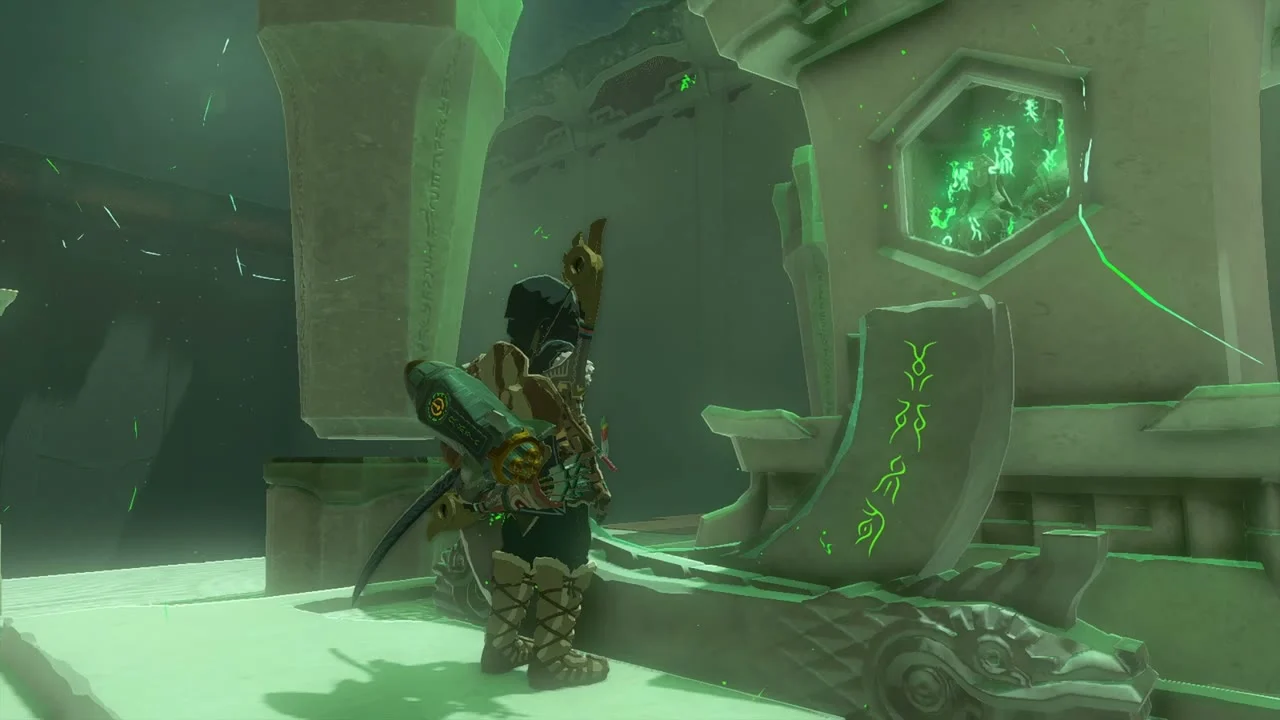
Grab one of the two rockets near the entrance, set it into the groove on the left ramp and hit it with a weapon so it flies to the big round target across the room. The target opens the first door.

Rocket-power the minecart
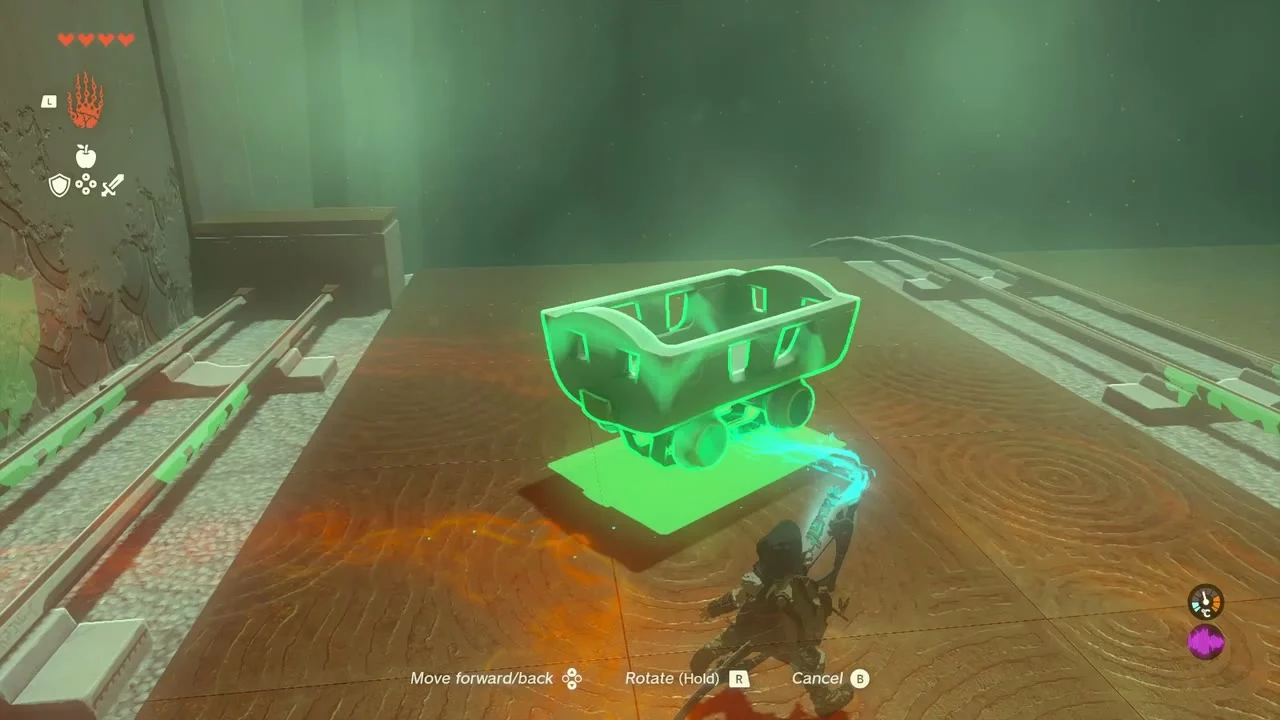
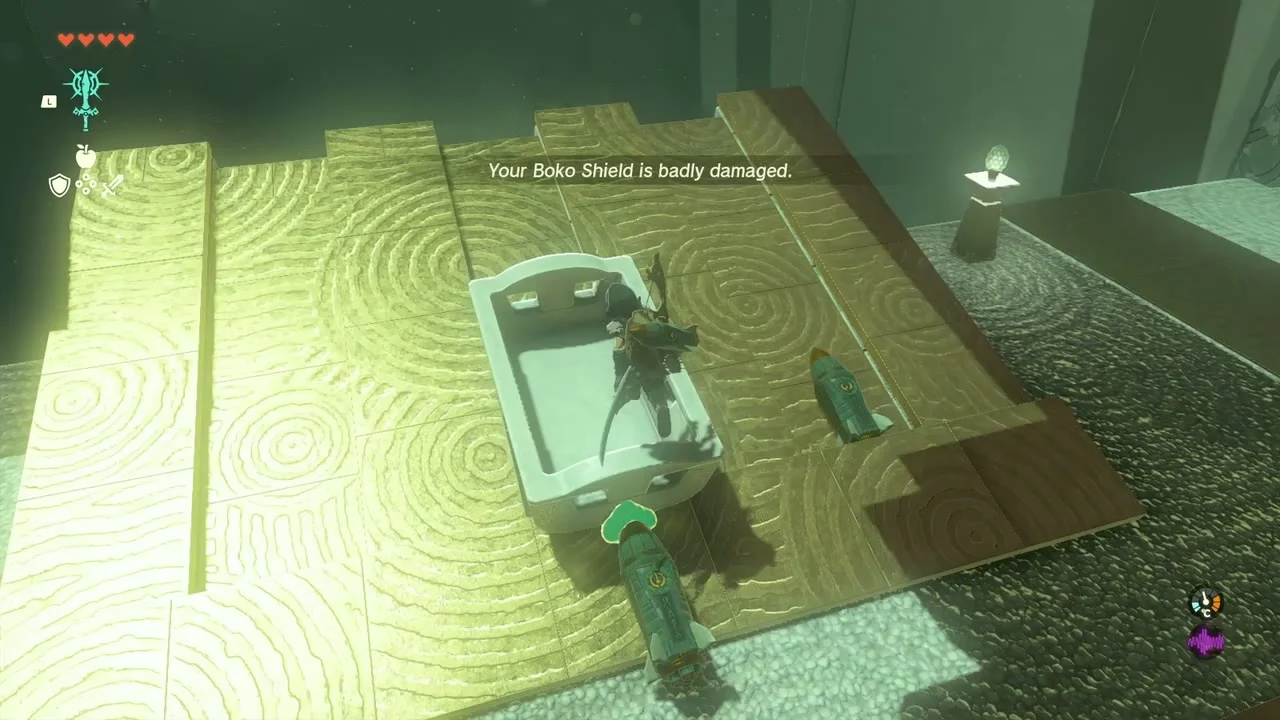
The second room has a track leading to a higher platform. Take the rockets from the first room, fix them to the front of the cart pointing forward, climb in and strike a rocket to ride up the ramp.

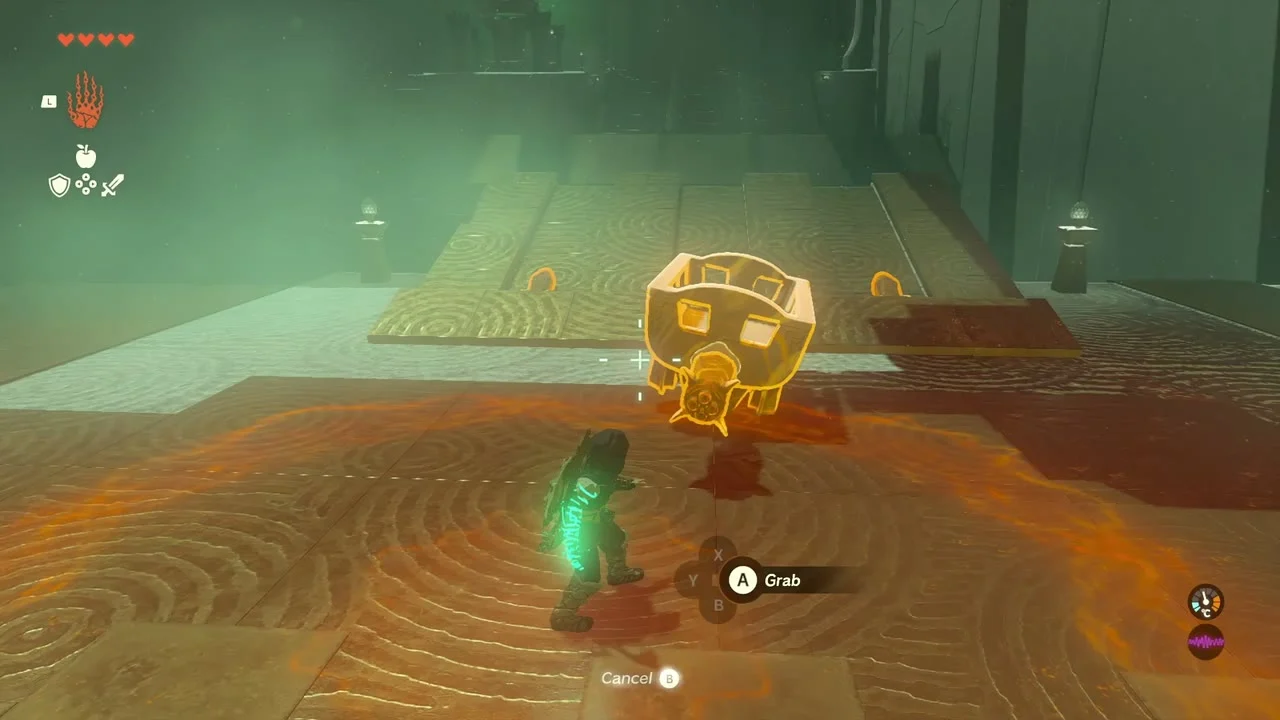
Build a flying cart for the chest
The Ruby chest sits on a grated platform in the upper corner. Fix two ramp rockets to the side of a spare cart, jump in, strike them and glide off at the top. The last room uses the same idea: stand a cart upright against the ramp, rockets on both sides, and ride to the Light of Blessing.

Cliff chests and Boss Bokoblin
Take the Mighty Zonaite Shield
Chest (Mighty Zonaite Shield). On a ruined stone landing in the cliffs, a chest sits behind stair-shaped slabs. Open it for a Mighty Zonaite Shield.


Clear the Boss Bokoblin camp
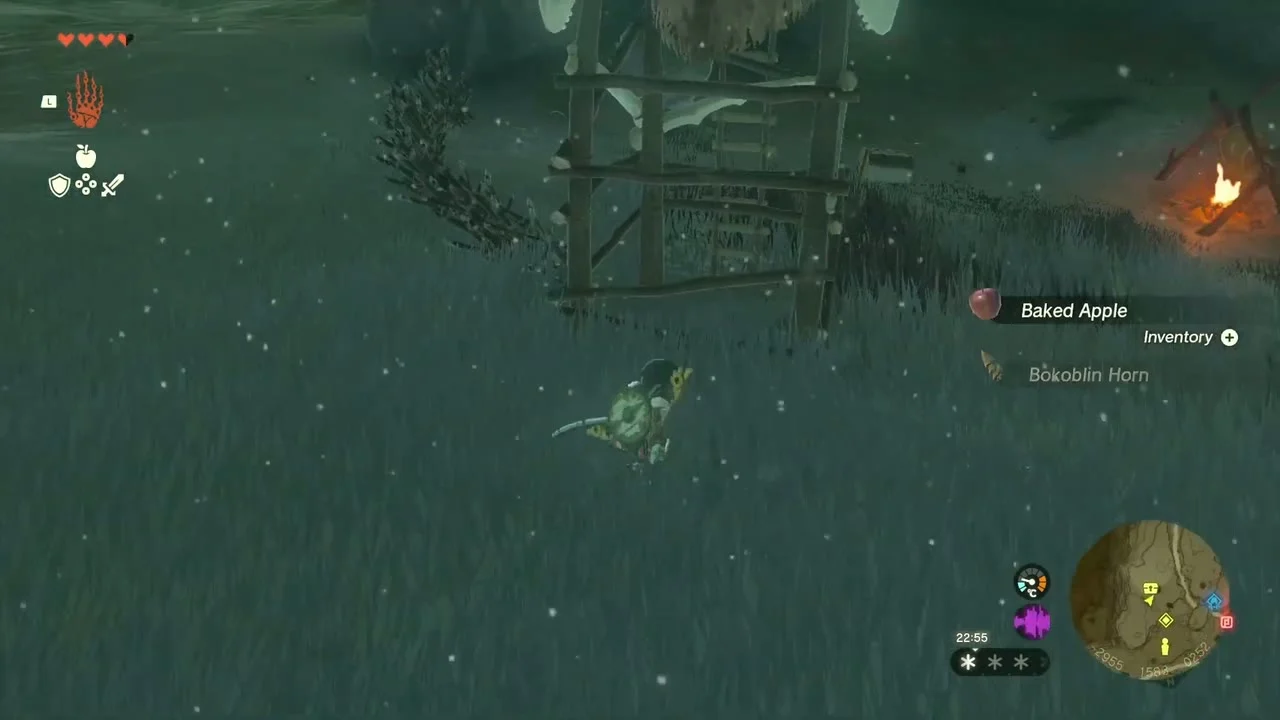
Miniboss: Boss Bokoblin. A Boss Bokoblin holds a tower camp on the grass with a campfire and skull barrels. Shoot the archers, then fight the Boss from range. The chest in the camp holds a Spiked-Iron-Ball Hammer; Arrow x10 and a Baked Apple lie around the fire.
Brightcap Cave and Nat’s mushrooms
Start Cave Mushrooms That Glow
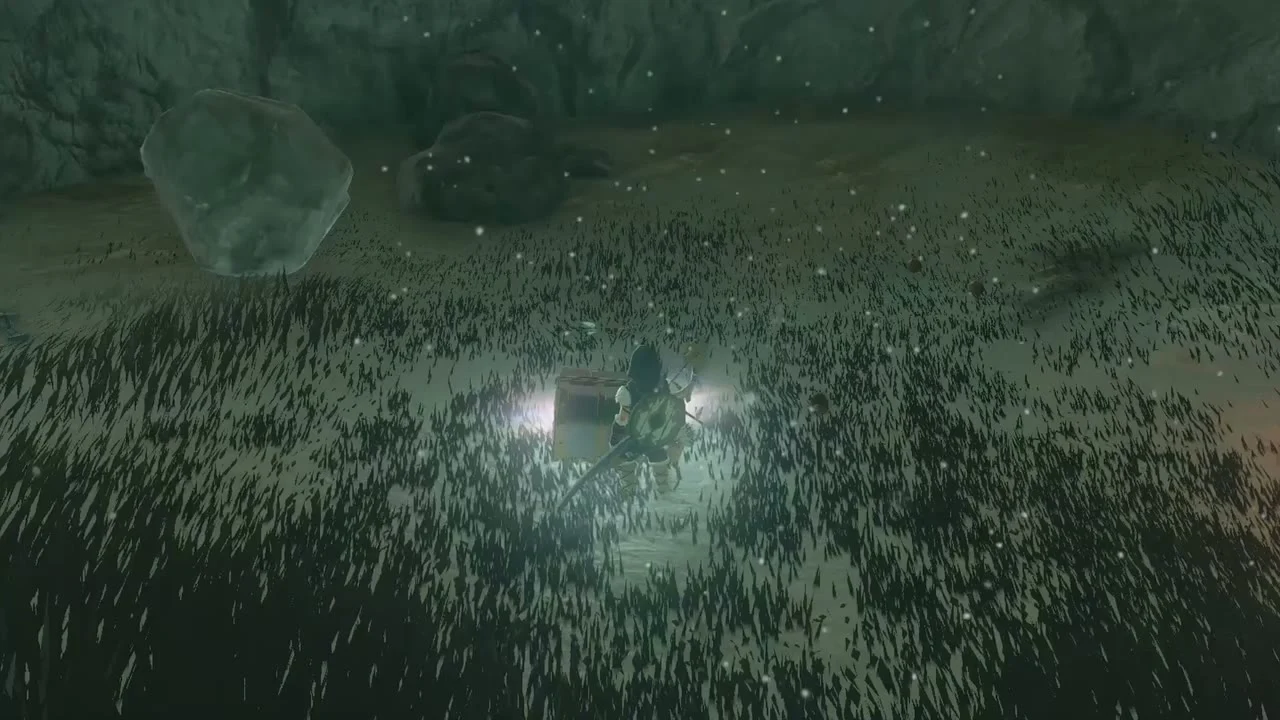
Cave Mushrooms That Glow (Side Quest). Nat and her sister stand outside Brightcap Cave on the Tabantha Frontier and ask for 10 Brightcaps. Gather them inside, hand them over and you learn Spicy Tomato Mushroom Stew.

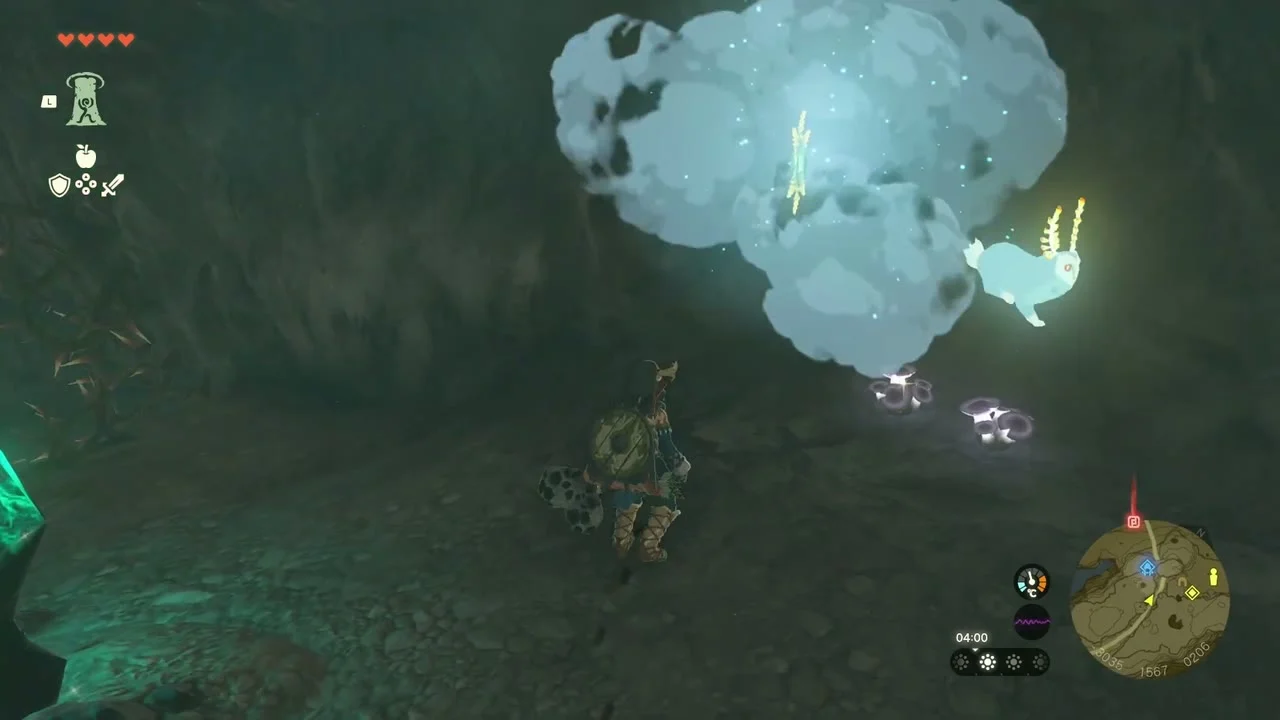
Collect Brightcaps and the Feathered Spear
Brightcap Cave. The entrance is at -3005, 1635, between Tabantha Hills and Rito Village. Brightcaps grow all along the walls; a chest in a side passage holds a Feathered Spear.
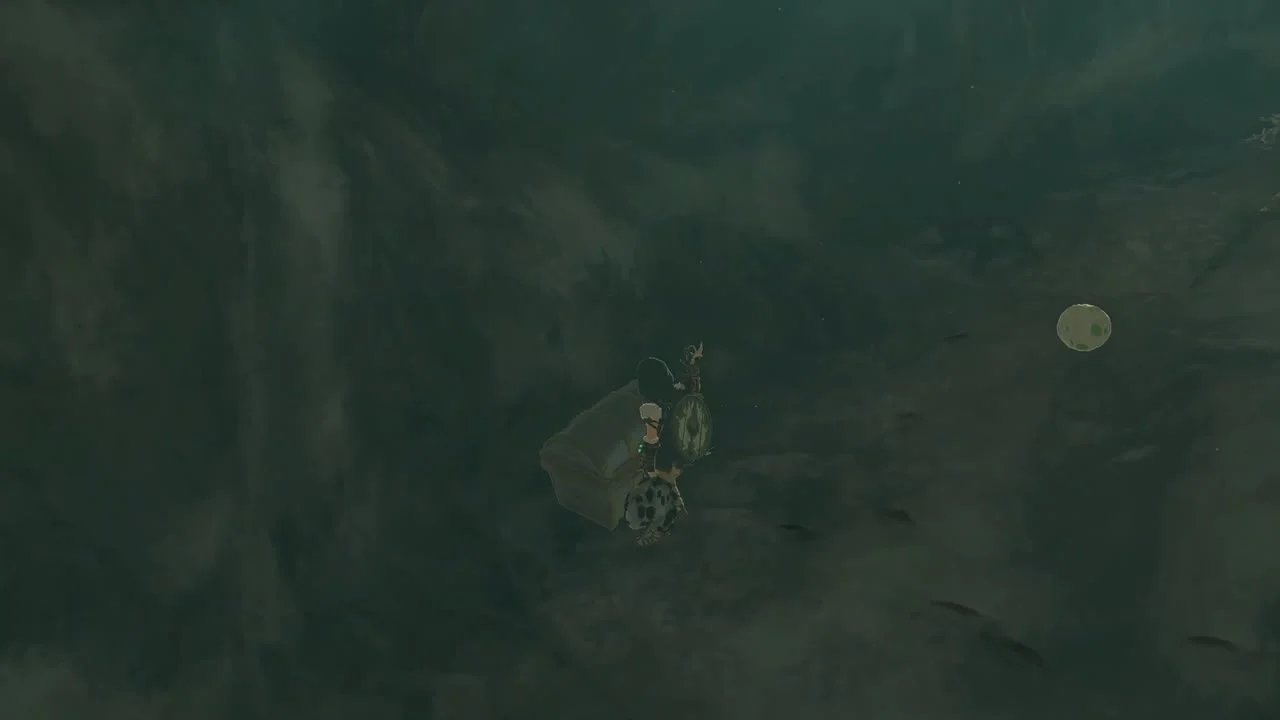
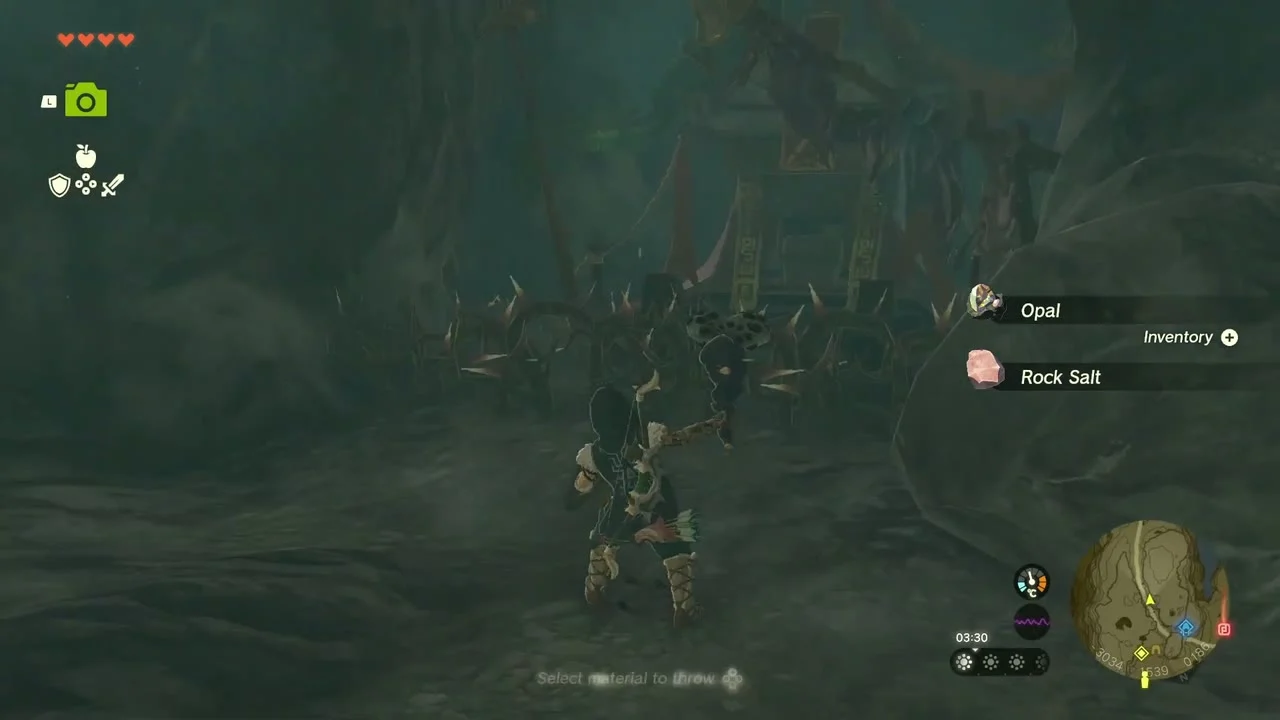
Burn the thorns for the Frostbite Shirt
Armor (Frostbite Shirt). At the back, a shrine-like chest is walled by thorns. Burn the thorns with a fire weapon, a Fire Fruit or a flaming arrow and open it for the Frostbite Shirt, which gives cold resistance.


Collect the Bubbul Gem
Bubbul Gem (Brightcap Cave). A Bubbulfrog hangs near the Brightcap room. Hit it with an arrow and pick up the Bubbul Gem.


Lucky Clover Gazette and Misko’s second riddle
Start Potential Princess Sightings!
Potential Princess Sightings! The Lucky Clover Gazette office stands in the old Rito Stable at the end of the road to Rito Village. Talk to Traysi and Penn inside to begin the 12 stable investigations.
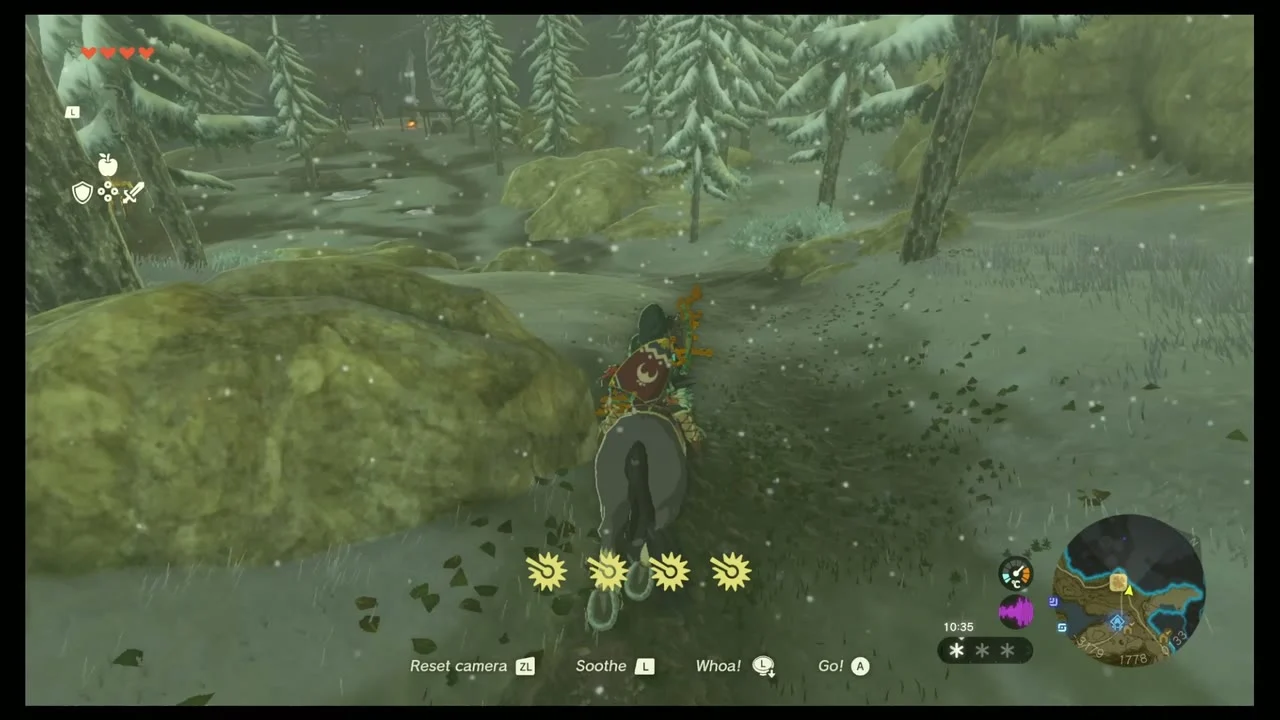
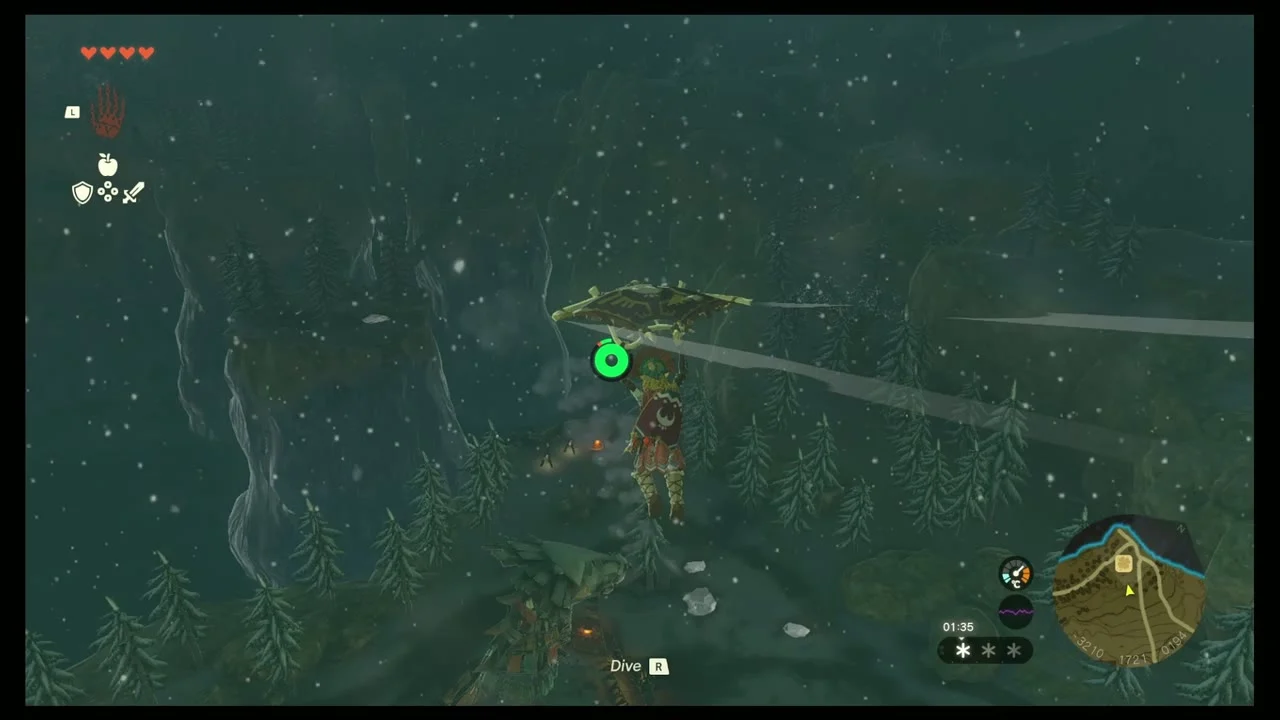
Find the Falcon Bow chests
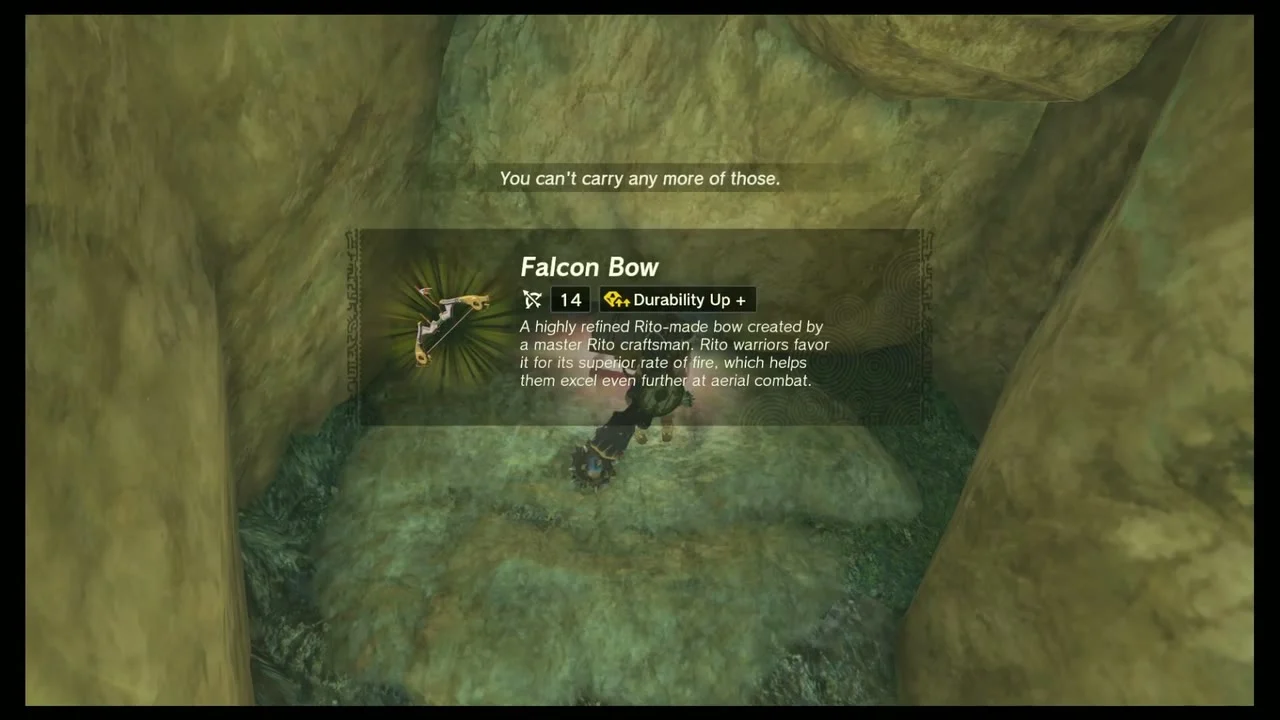
Chests (Falcon Bow x2). Two Falcon Bow chests sit in small rock cavities in the cliffs of the frontier. Bomb the cracked rock, step into the hollow and open each chest for a Falcon Bow.
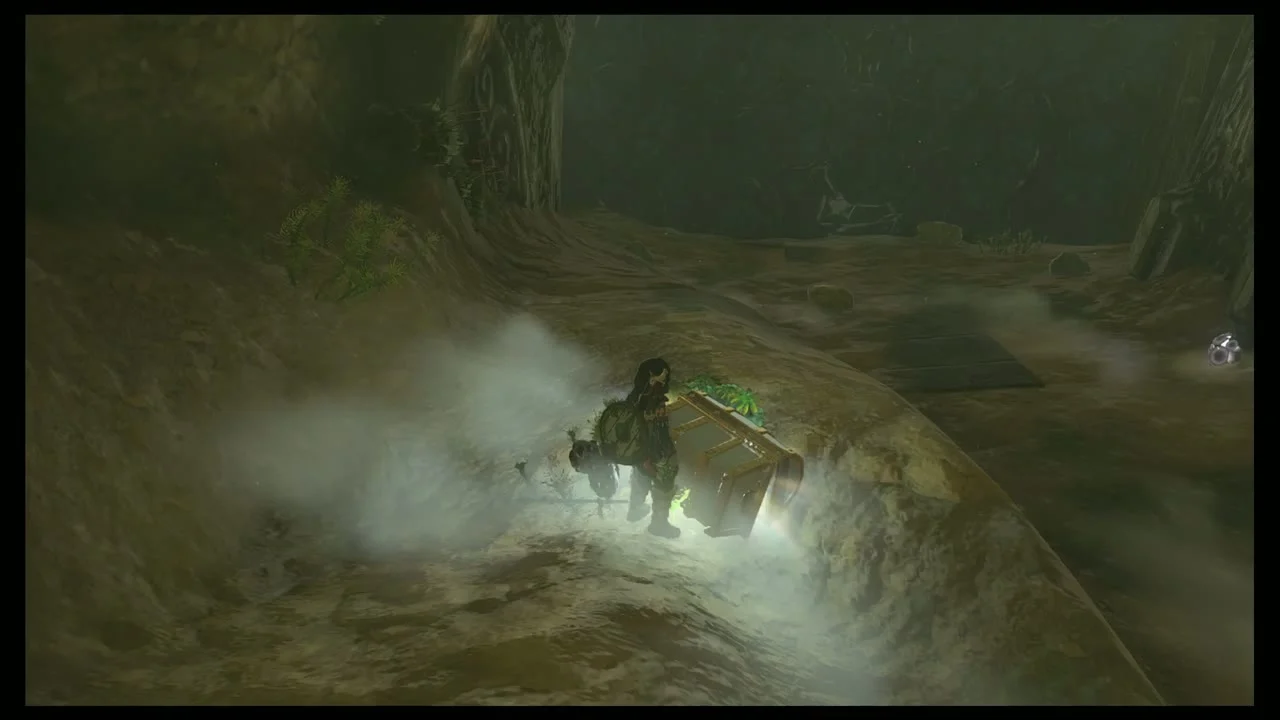
Reach the Korok on the cliff face
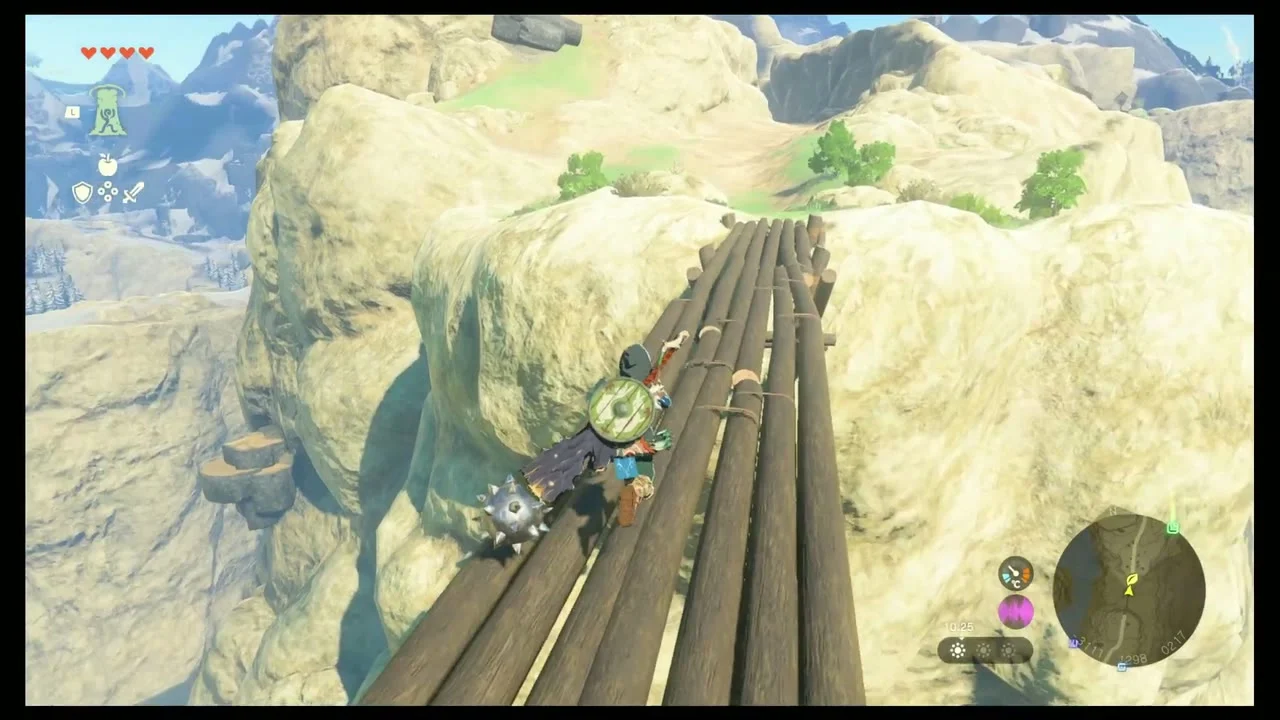
Korok seed (log ramp). A tall cliff has a Korok high on its face. Lay a ramp of logs from the grass to the top with Ultrahand and climb it; the Korok’s leaf is just off the side of the wall.

Tabantha Hills Cave
Enter Tabantha Hills Cave
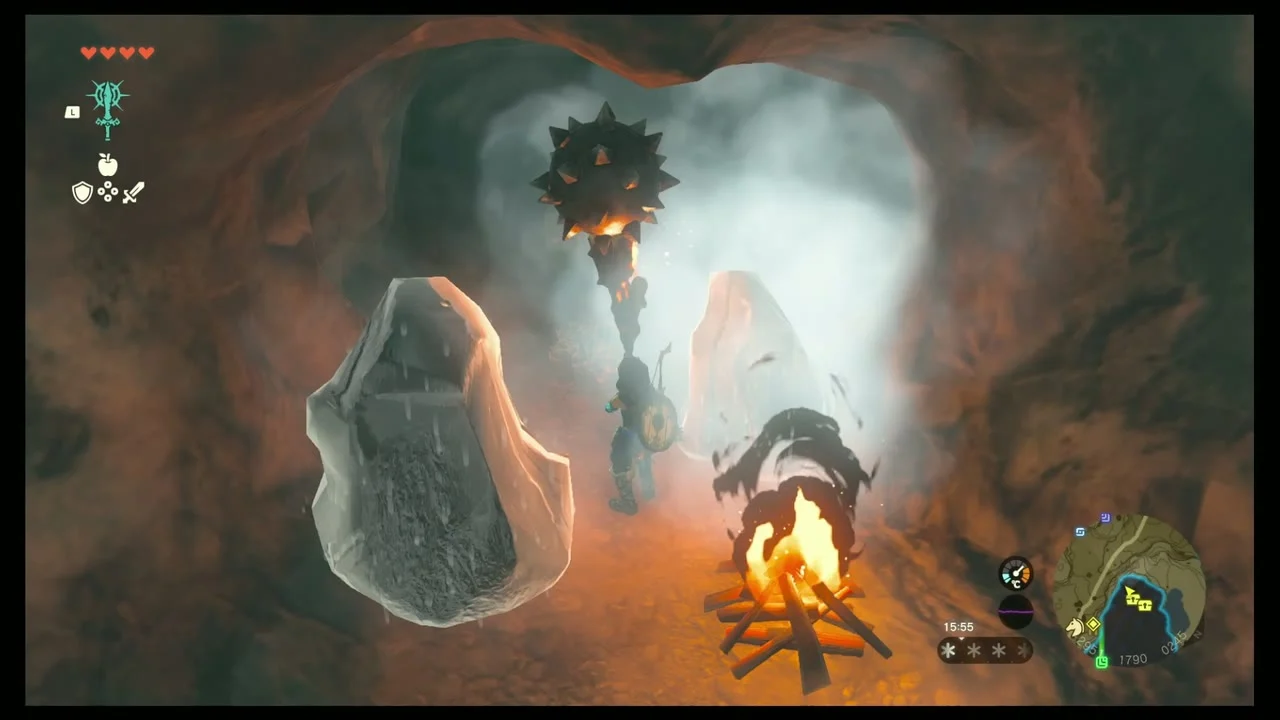
Tabantha Hills Cave. The entrance (-2840, 1771) is a wooden doorway with skulls in front of a blue ice wall, east of the Lucky Clover Gazette. Break the ice and drop in; the walls are slippery.


Defeat the Horriblins for the first chest
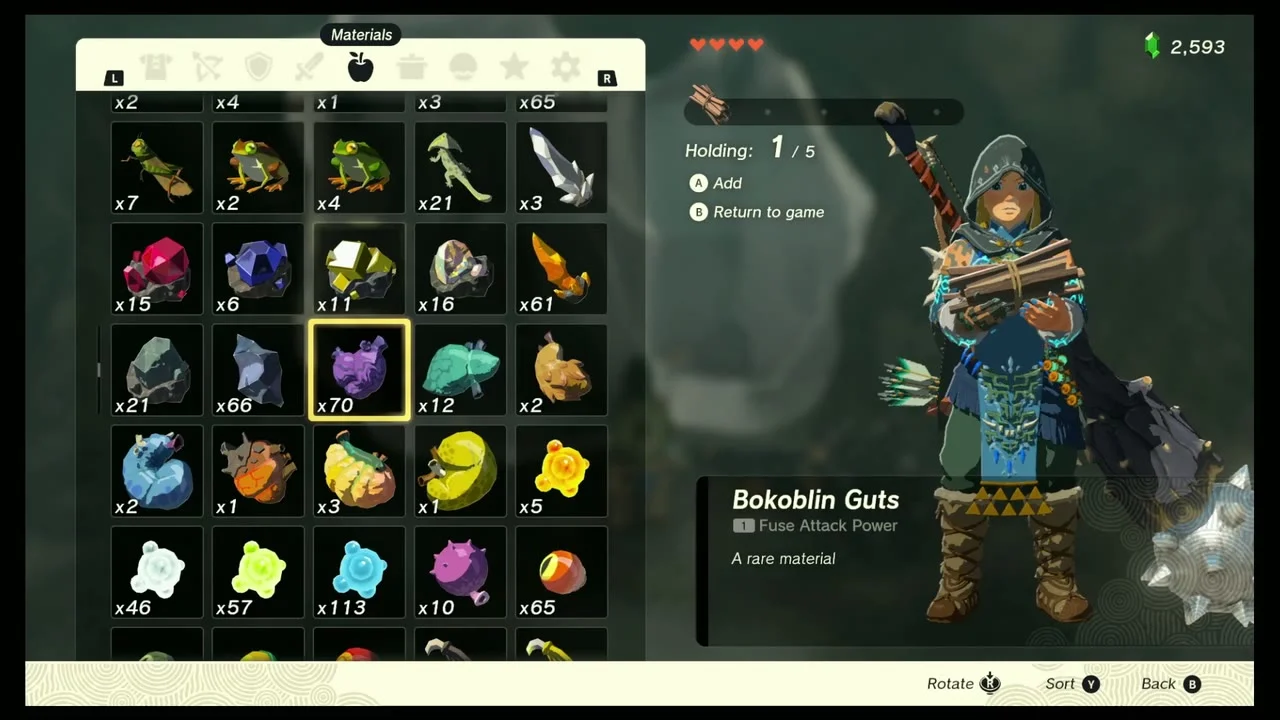
Chest (Soldier’s-Claymore Spear). Turn left to a small passage with two Horriblins and a Blue Horriblin. Defeat them and a chest appears with the Soldier’s-Claymore Spear.


Melt the ice for the Feathered Spear
Chest (Feathered Spear). Against the south-west wall of the same chamber, two ice blocks conceal a second chest. Melt them with fire and open it for a Feathered Spear.
Hit the Bubbulfrog
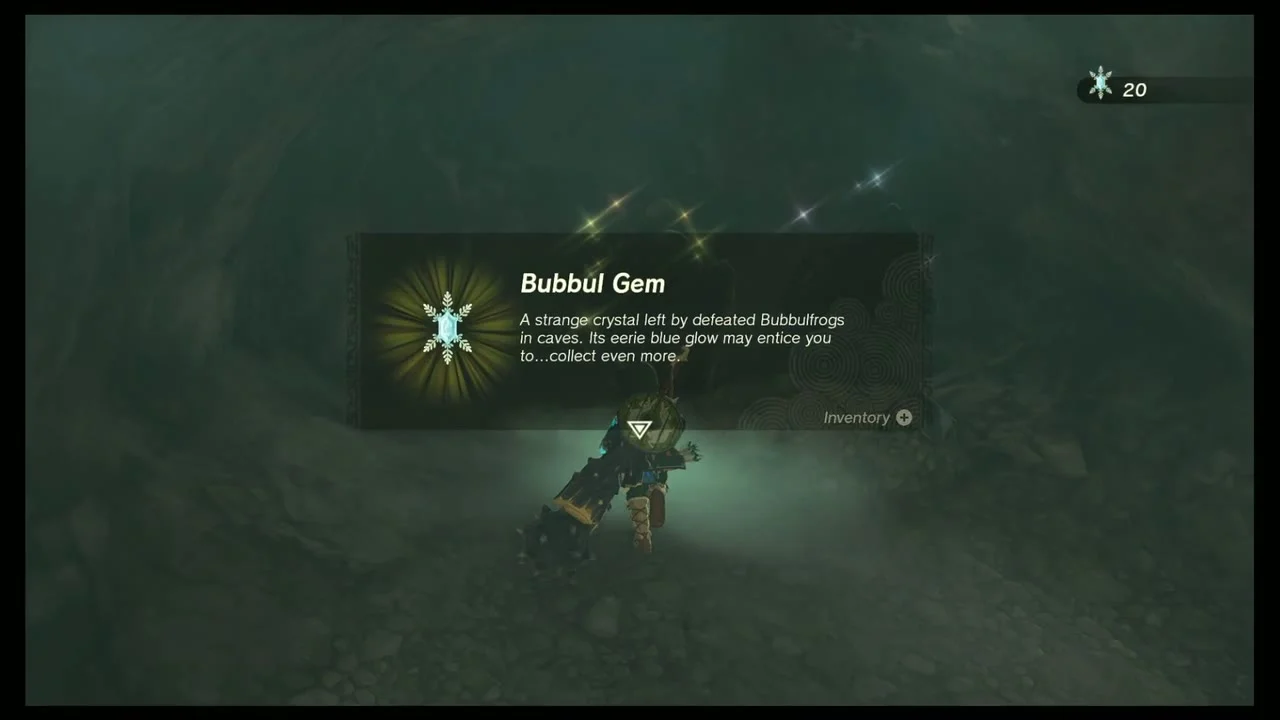
Bubbul Gem (Tabantha Hills Cave). Climb the ice and turn right to the third chamber, where a Bubbulfrog sits. Shoot it and take the Bubbul Gem.

Open the Door and the Tabantha Hills Dragon’s Tear
Help the shield-surfers
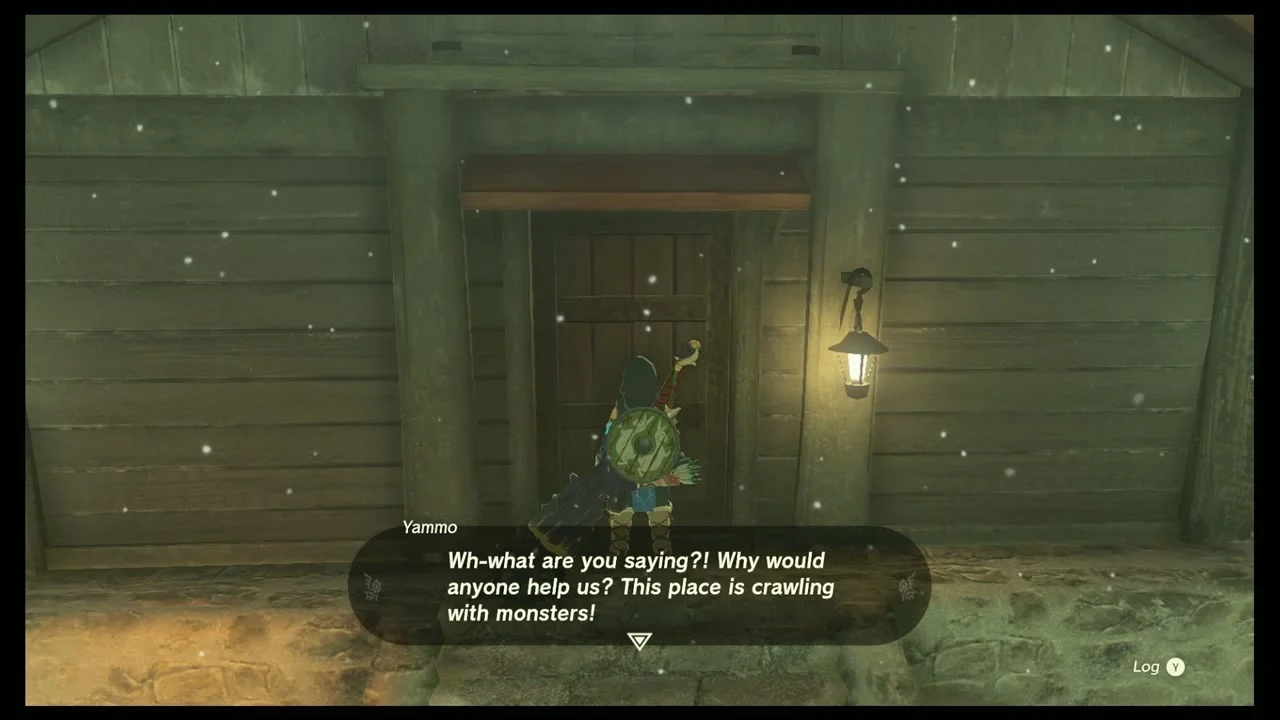
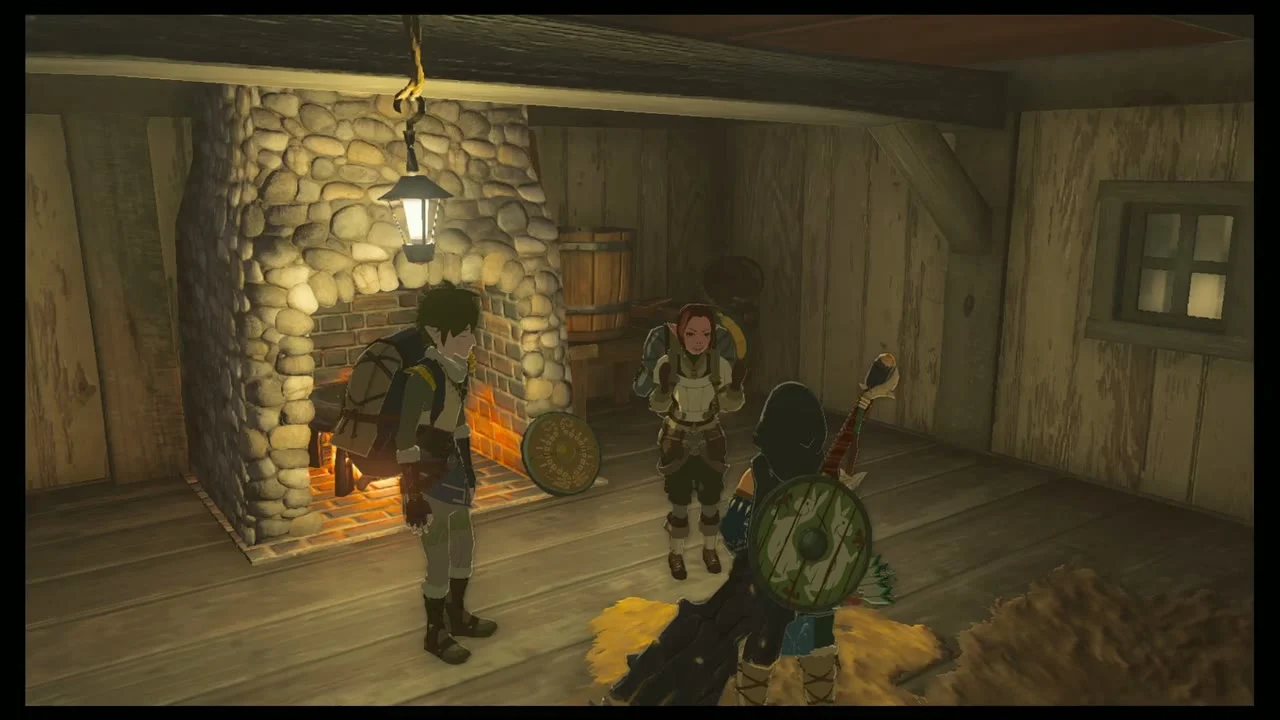
Open the Door (Side Quest, Jogo). At a cabin in the Tabantha Village Ruins, Jogo and Yammo are stuck inside with monsters at the door. Defeat the Soldier Constructs in the snow outside; the pair give you a Spicy Elixir and a shield for shield surfing.
Take the snow Koroks
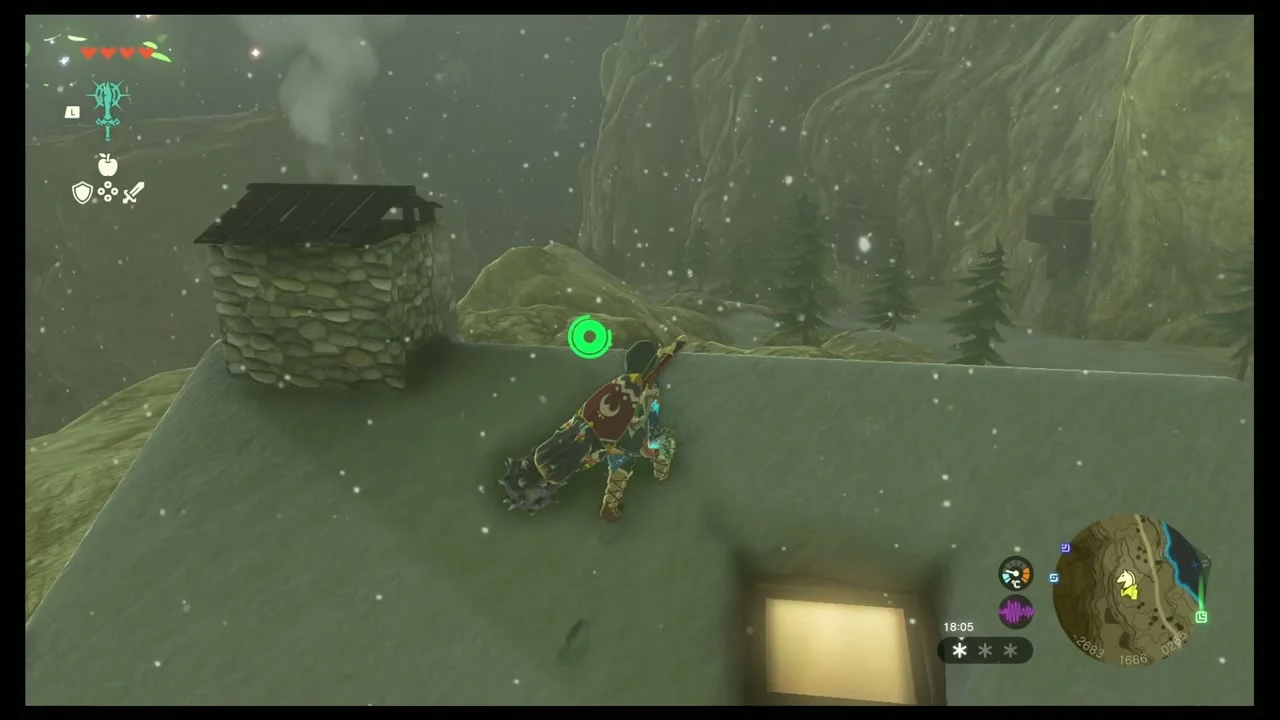
Korok seeds (snowfield). Two Koroks hide in the snowy hills near the cabin and further on; one sits in the open beside a snowy log, the other is marked by a glowing ring on the ground. Walk up to each and talk to it.

Fly to the Tabantha Hills Dragon’s Tear
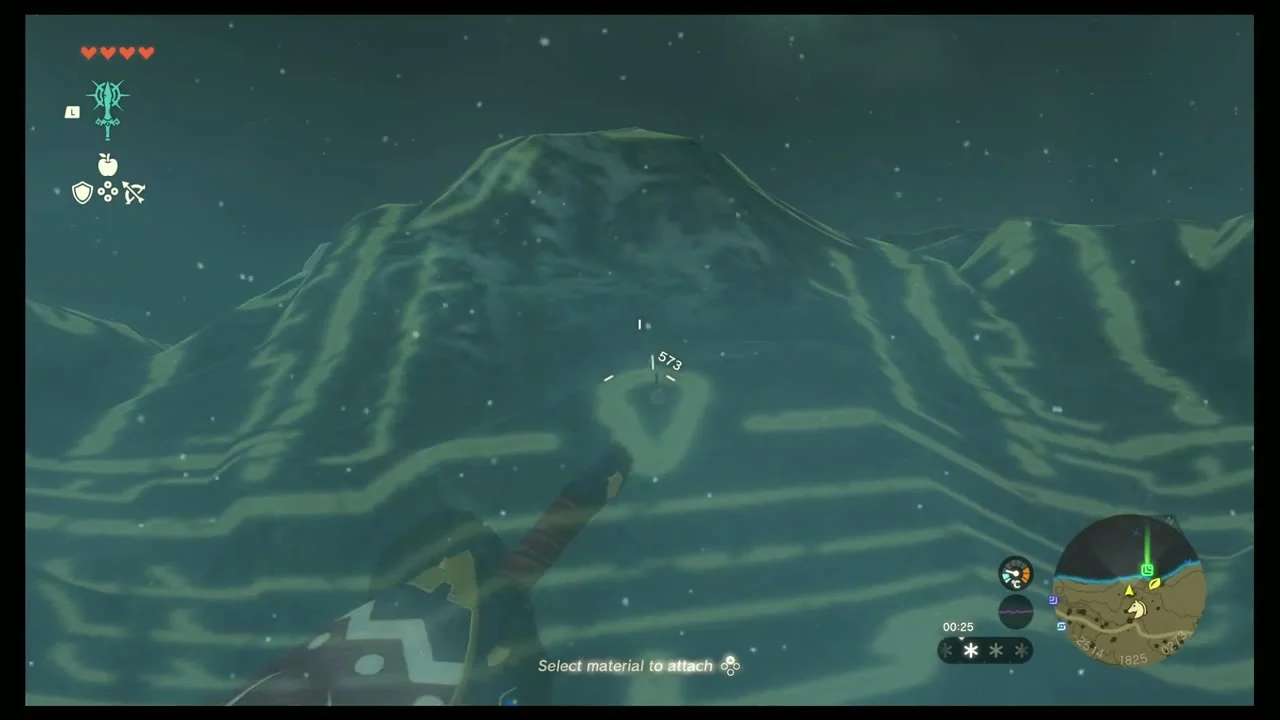
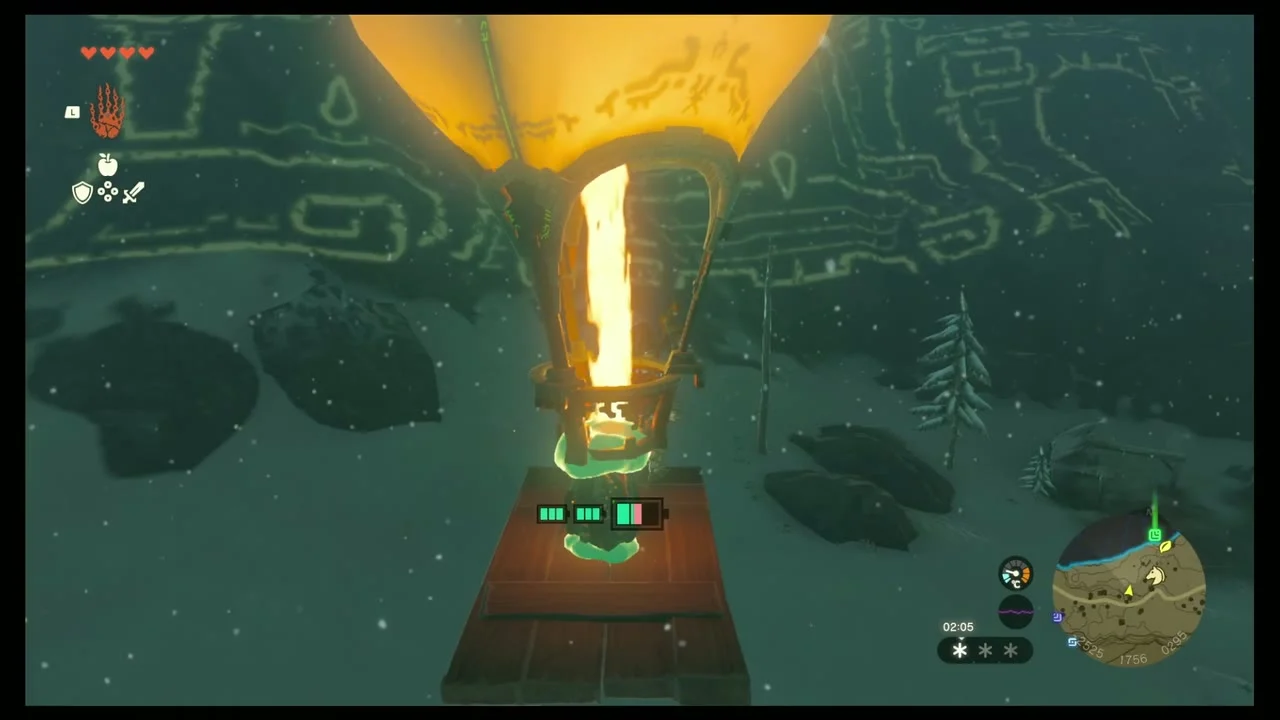
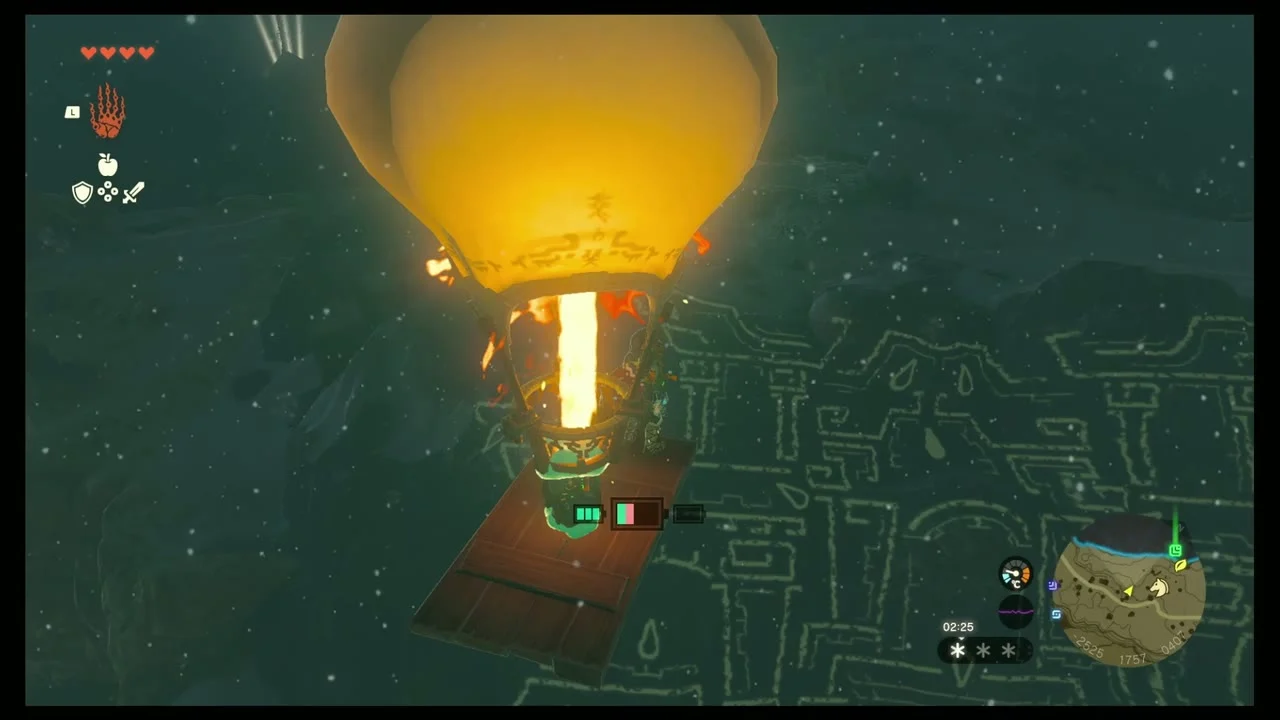
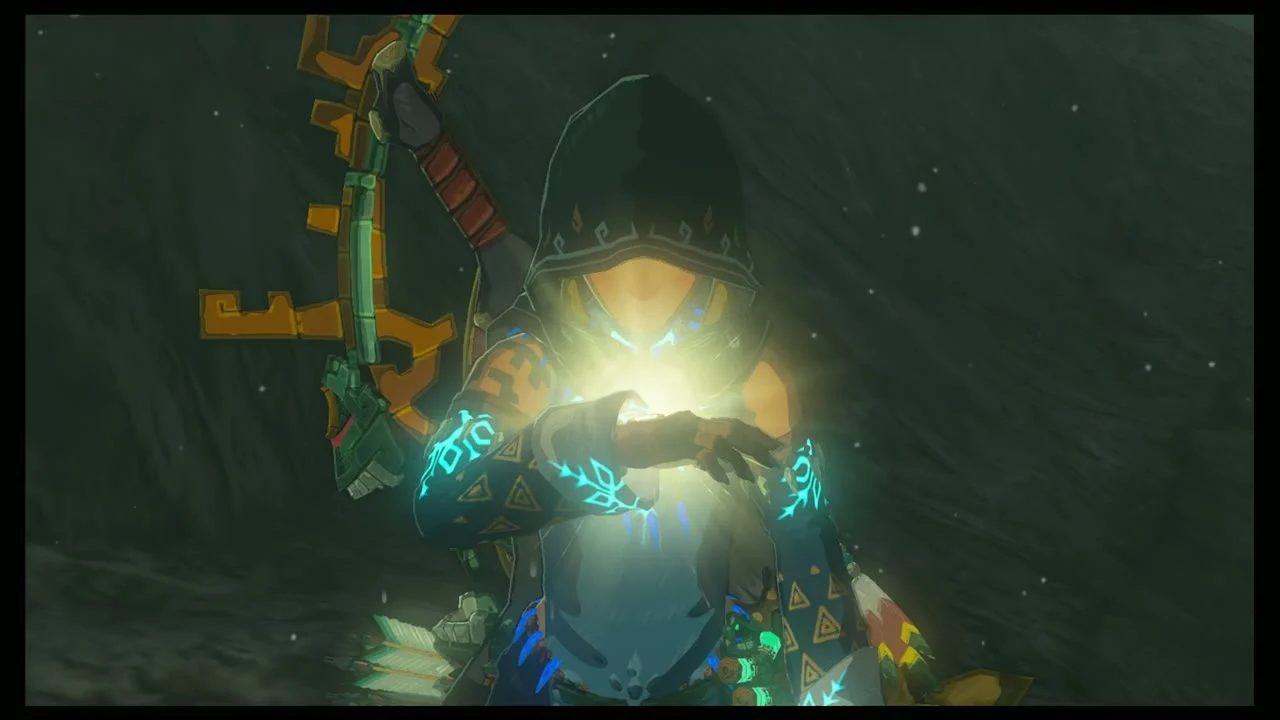
Memory 2: An Unfamiliar World. The geoglyph at Tabantha Hills shows Hyrule Castle. Build a balloon vehicle, fly over the marked path and dive through the golden ring to the Dragon’s Tear (-2551, 1889, 319).
Tabantha Village Ruins
Take the Kite Shield and the broadsword
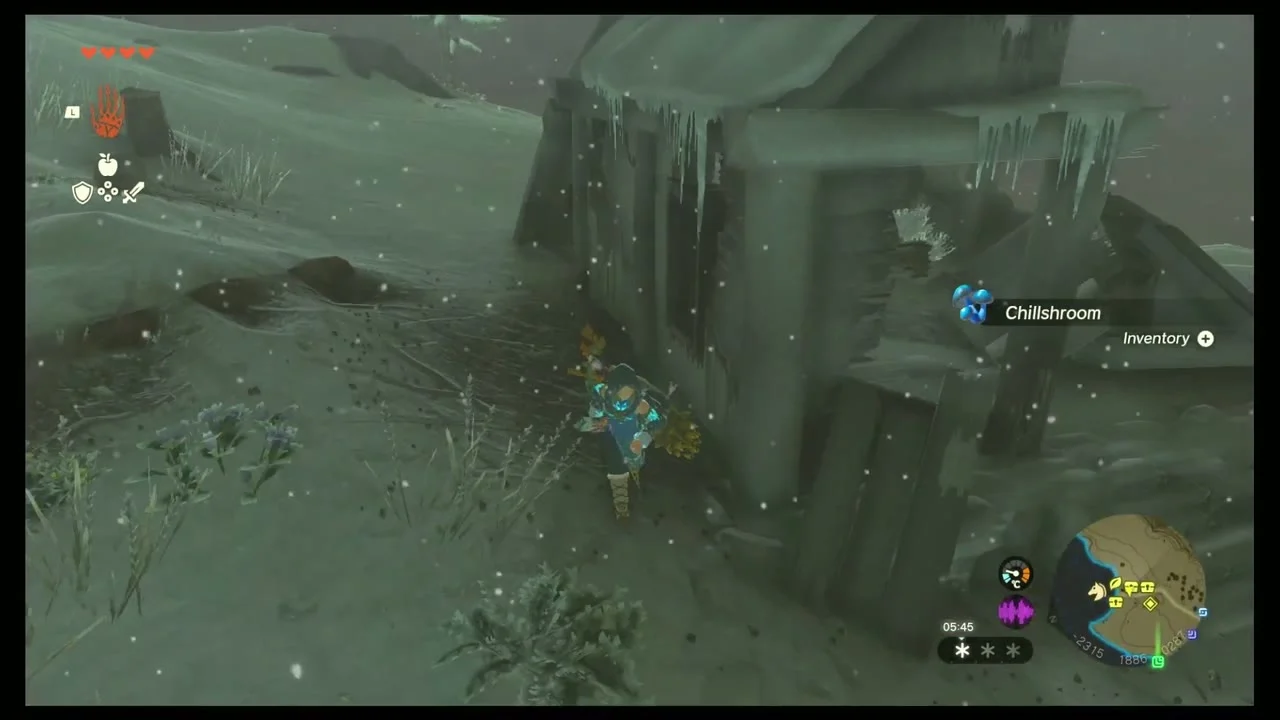
Chests (Kite Shield and broadsword). In the snowed-under ruins, a chest on the north-west side holds a Kite Shield and another on the east side a broadsword.

Drop into the well
Tabantha Village Ruins Well. The well sits on the main path between the Gazette and Snowfield Stable (-2358, 1871). Below, break the ice with fire to open a chest with a Purple Rupee.


Raise Addison’s sign
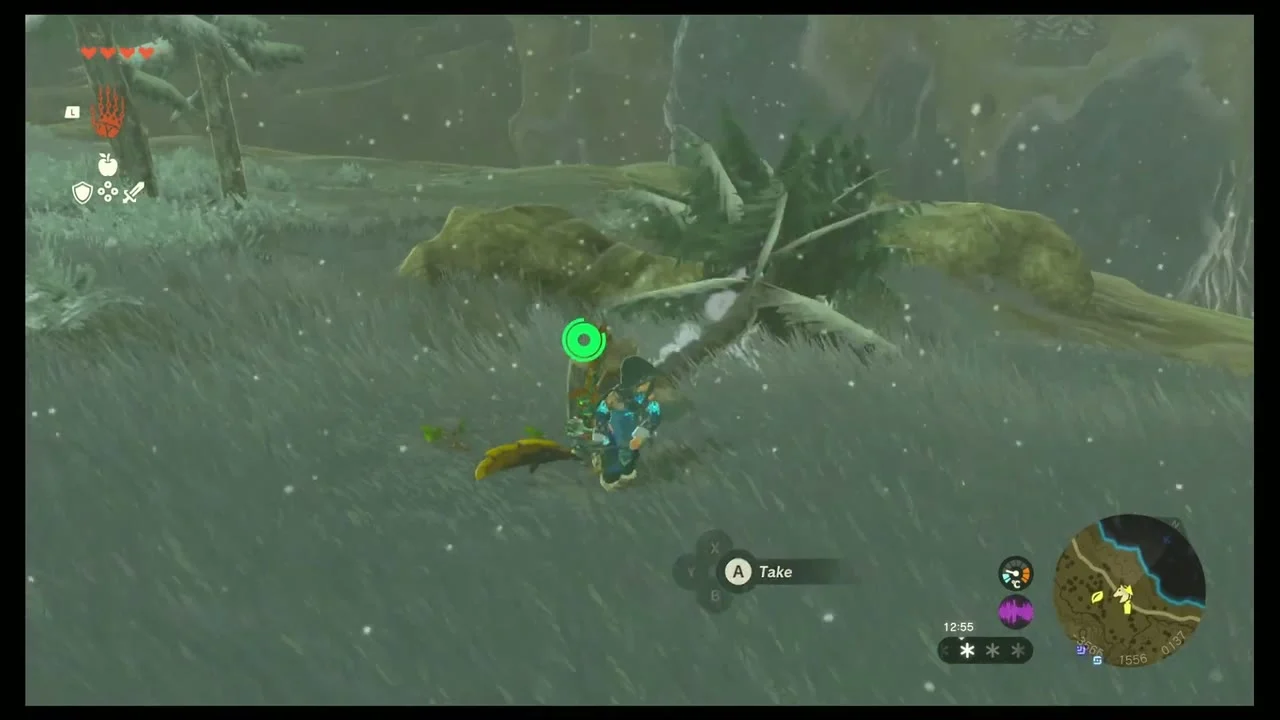
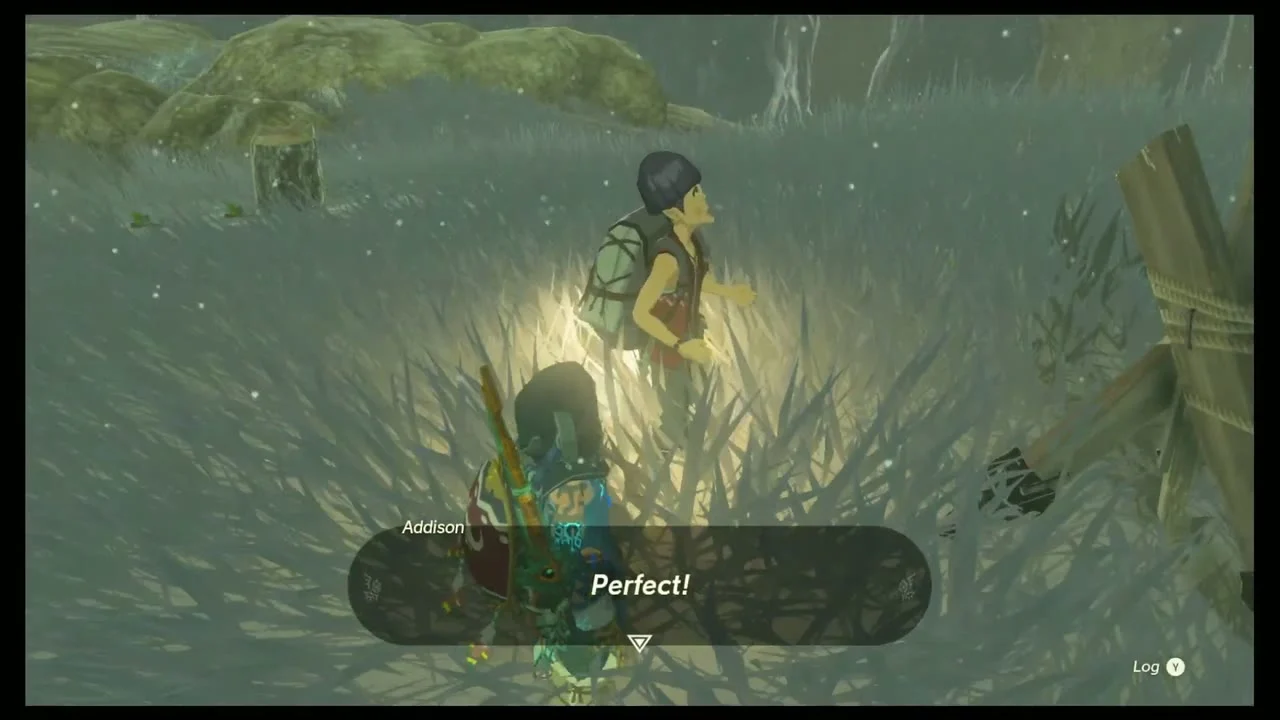
Addison’s sign (Red Rupee). A wooden sign on the road in the snow has fallen flat. Place a log or plank behind it with Ultrahand and let it stand; Addison pays a Red Rupee and food.
Find the last snow Korok
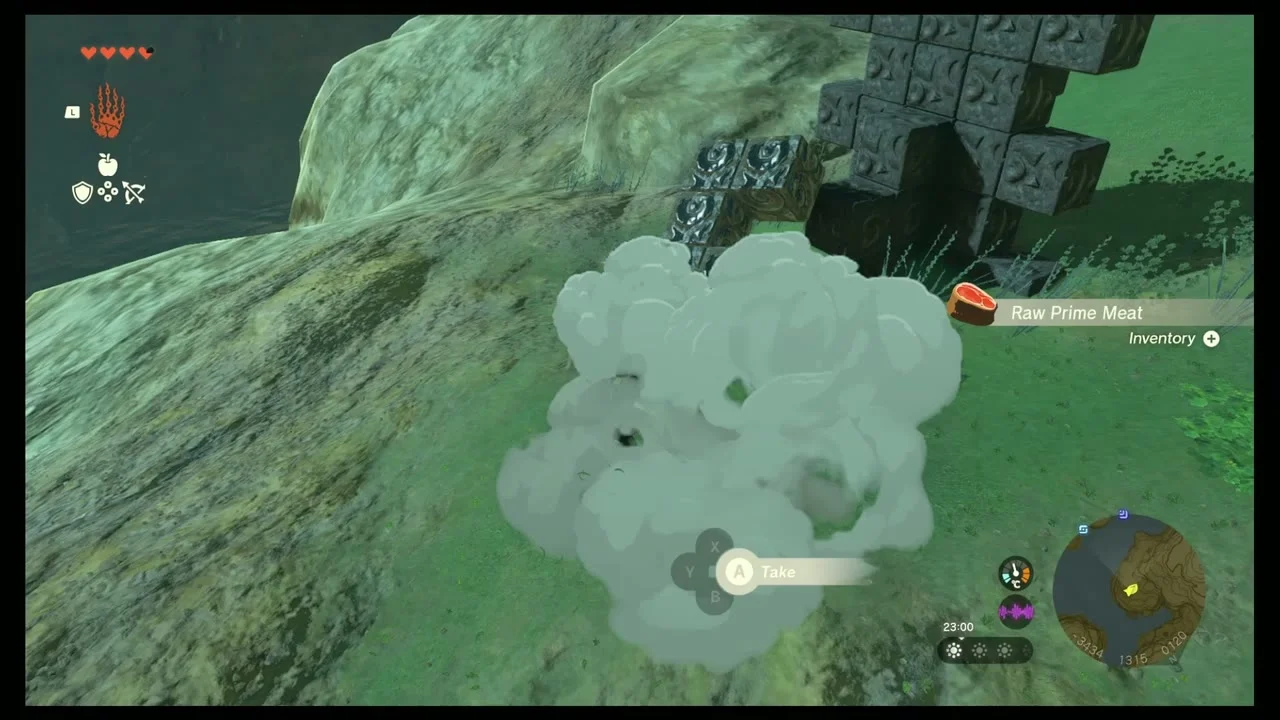
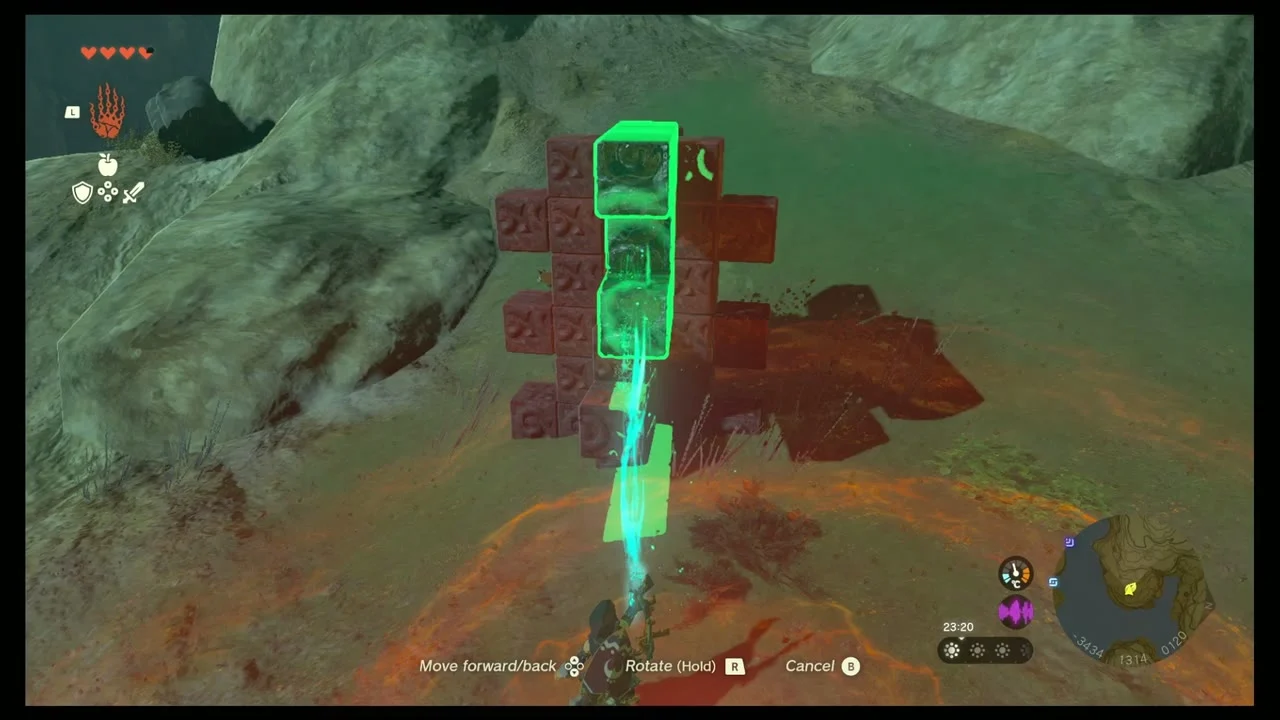
Korok seed (pillar ring). Under the ancient pillars south of the lake, a Korok waits at the end of a fenced path; walk up to the leaf.
Defeat Stalnox
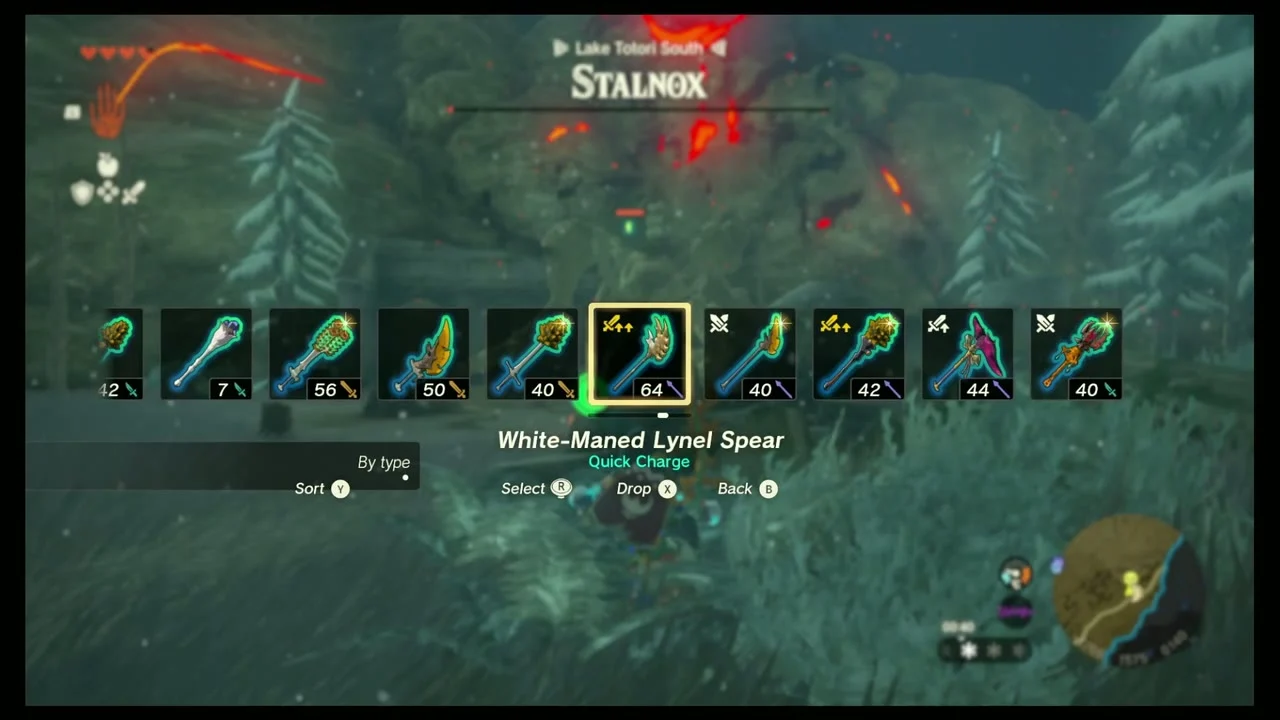
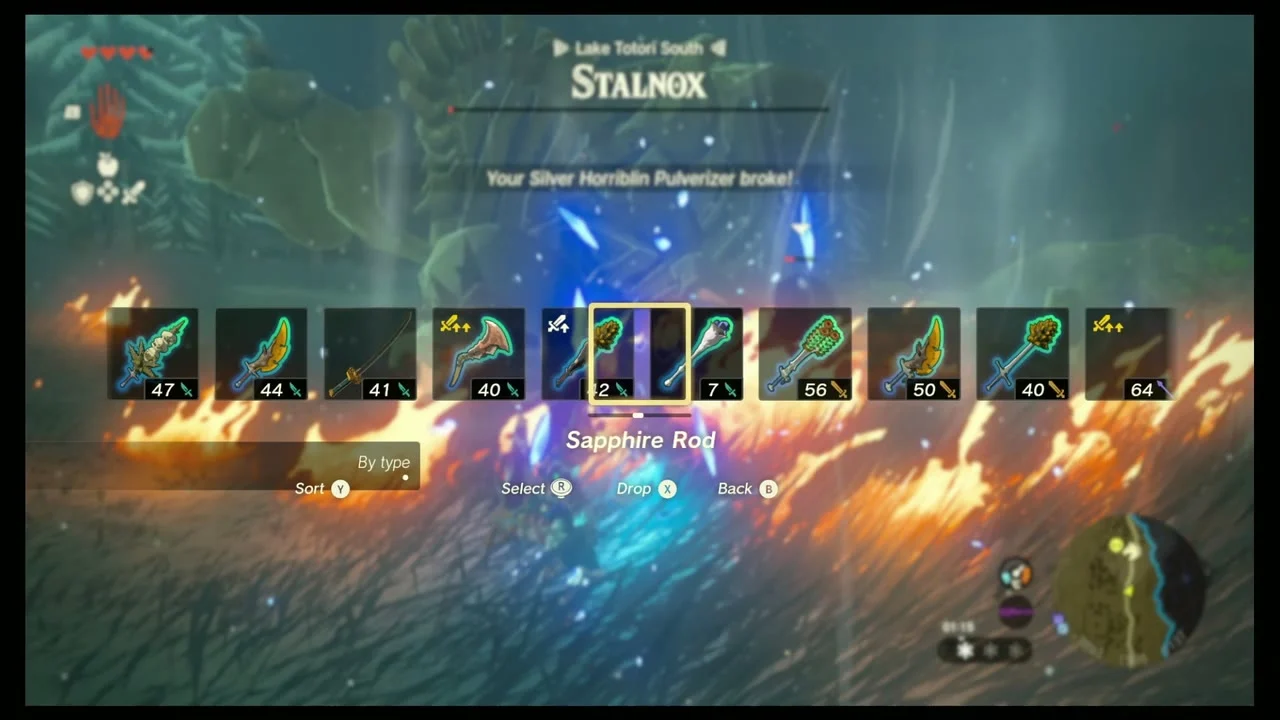
Miniboss: Stalnox. Near Lake Totori a Stalnox rises. Throw a Bomb Flower or fire at its eye, then smash the eye when it comes loose. It drops a Stalnox Horn and a Hinox Tooth.
Tabantha Sky Archipelago
Ride up to the sky
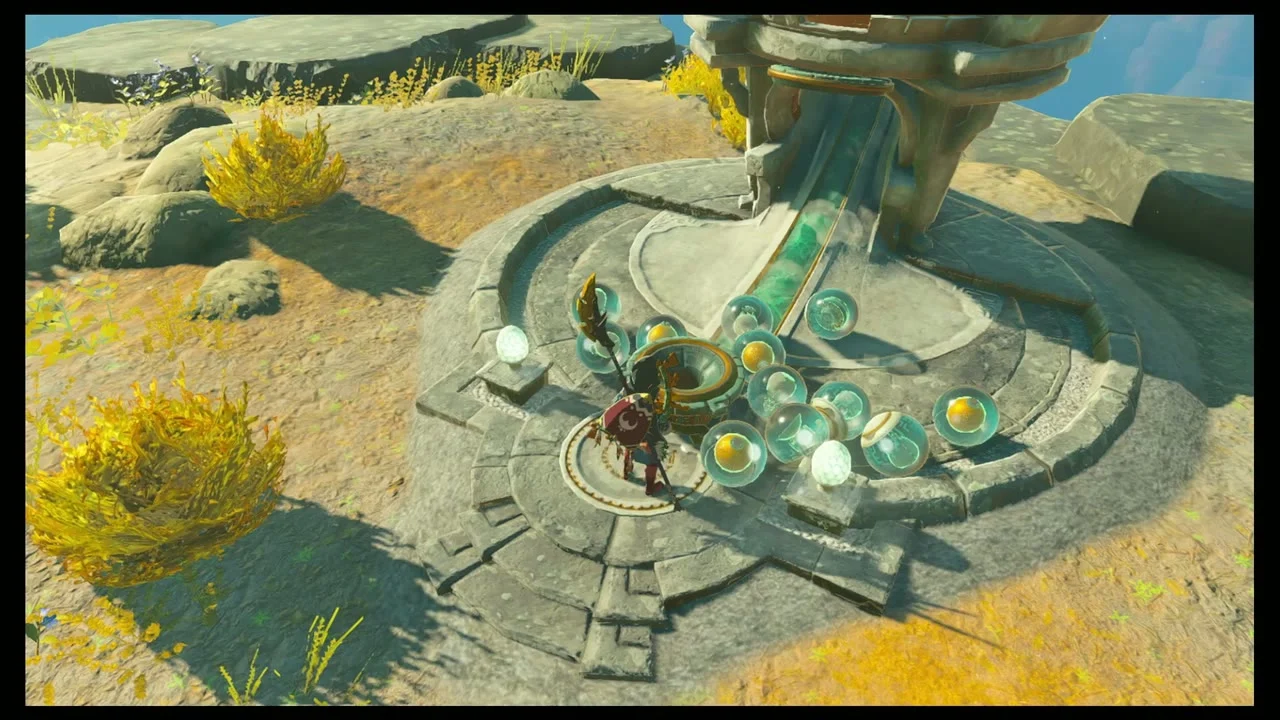
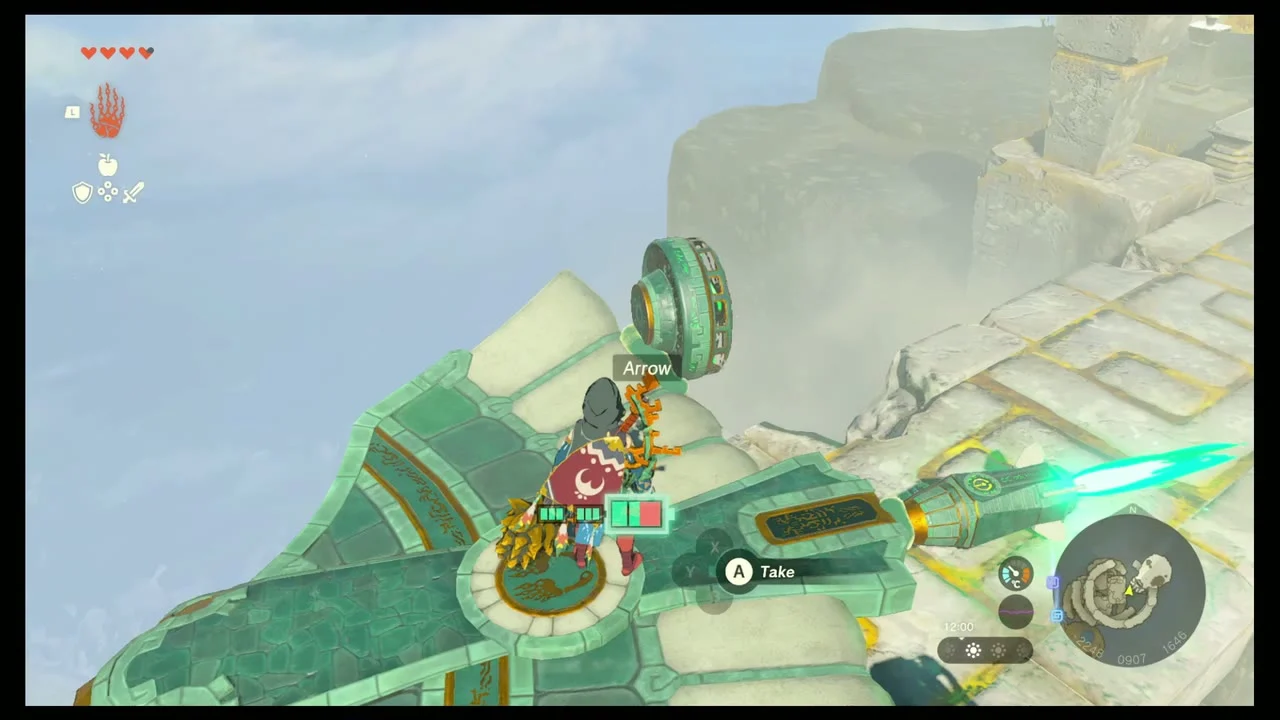
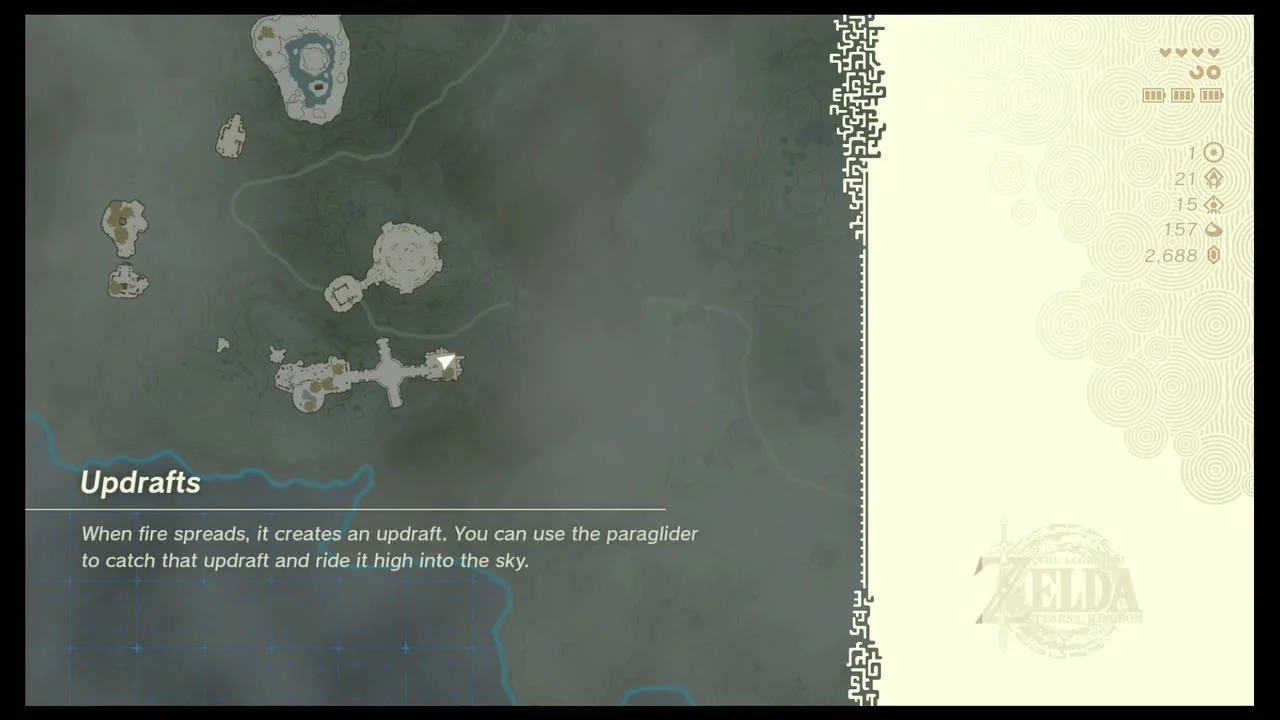
Sky access. Courage Island’s Zonai Device Dispenser at -2371, 782 provides balloons, fans and Portable Pots. From the sky island build a winged flyer with fans and glide north-west to the Tabantha Sky Archipelago.

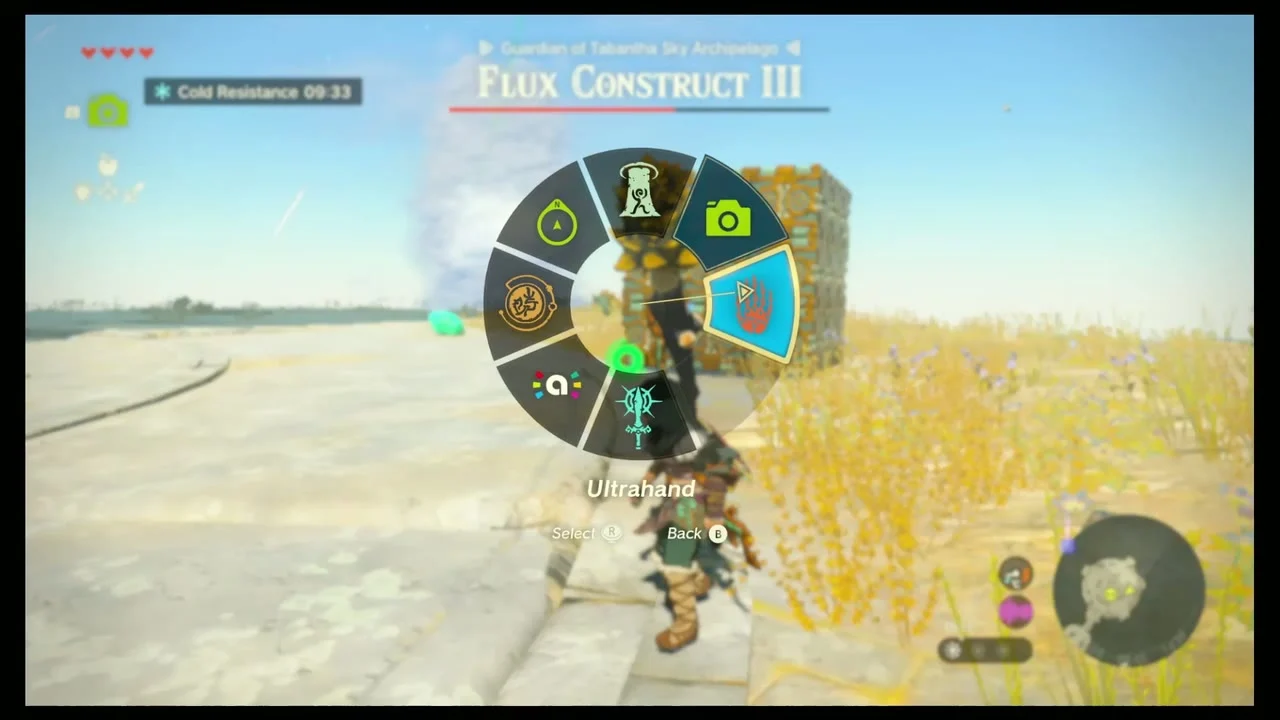
Defeat Flux Construct III
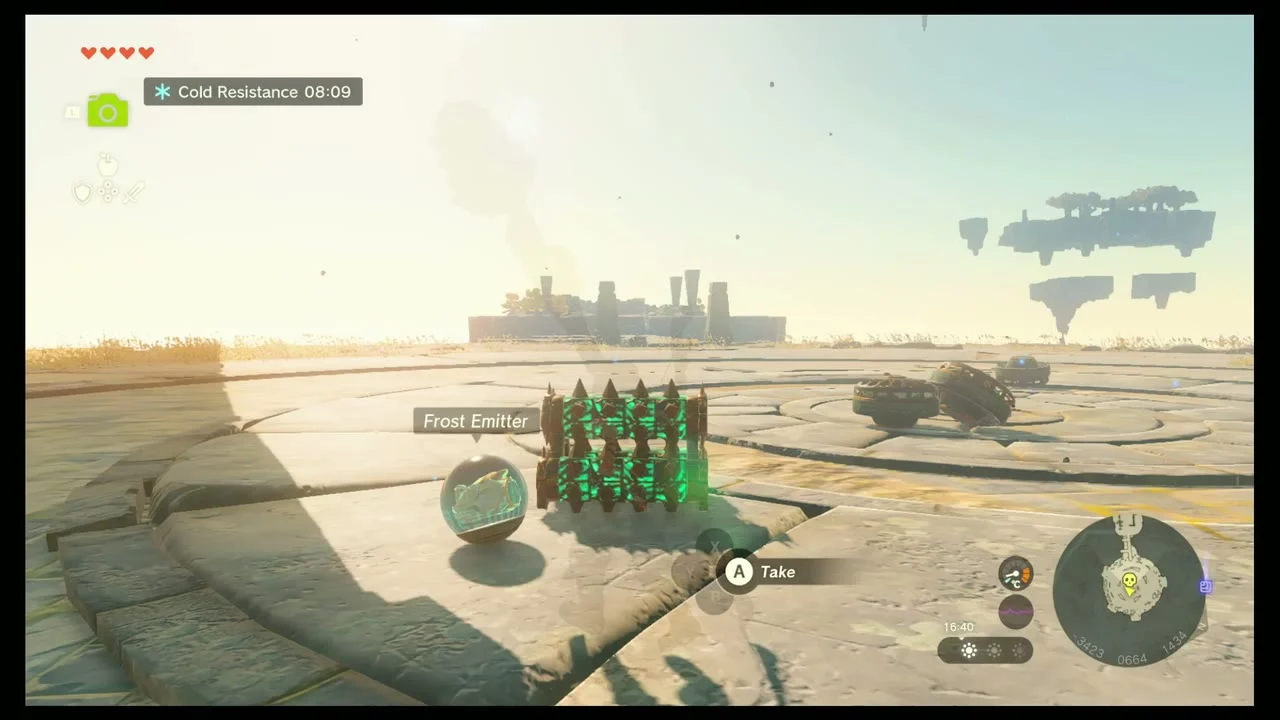
Miniboss: Flux Construct III. The Tabantha Sky Crystal is held by a Flux Construct III on the lower island. Attack its weak point and take the crystal; you do not have to kill it.

Carry the crystal to Ganos Shrine
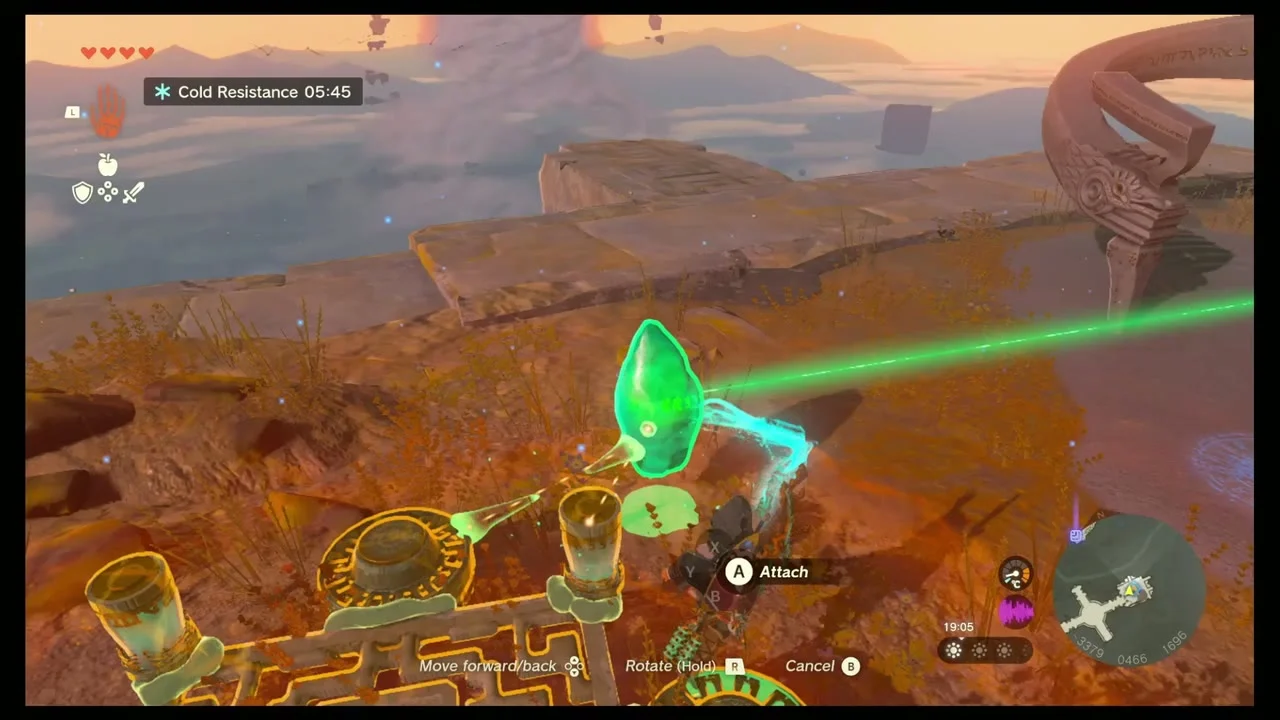
Ganos Shrine (Rauru’s Blessing). Build a hover vehicle with Zonai fans and a Zonai Charge, strap the crystal to it and fly to the shrine at -3369, 467, 1708. The shrine chest holds a Diamond.

Open the old maps
Chests (Old Map). Three Old Map chests are scattered on the sky islands, on grassy ledges and beside ruins. Each one marks a Depths mine.

Collect the sky Koroks
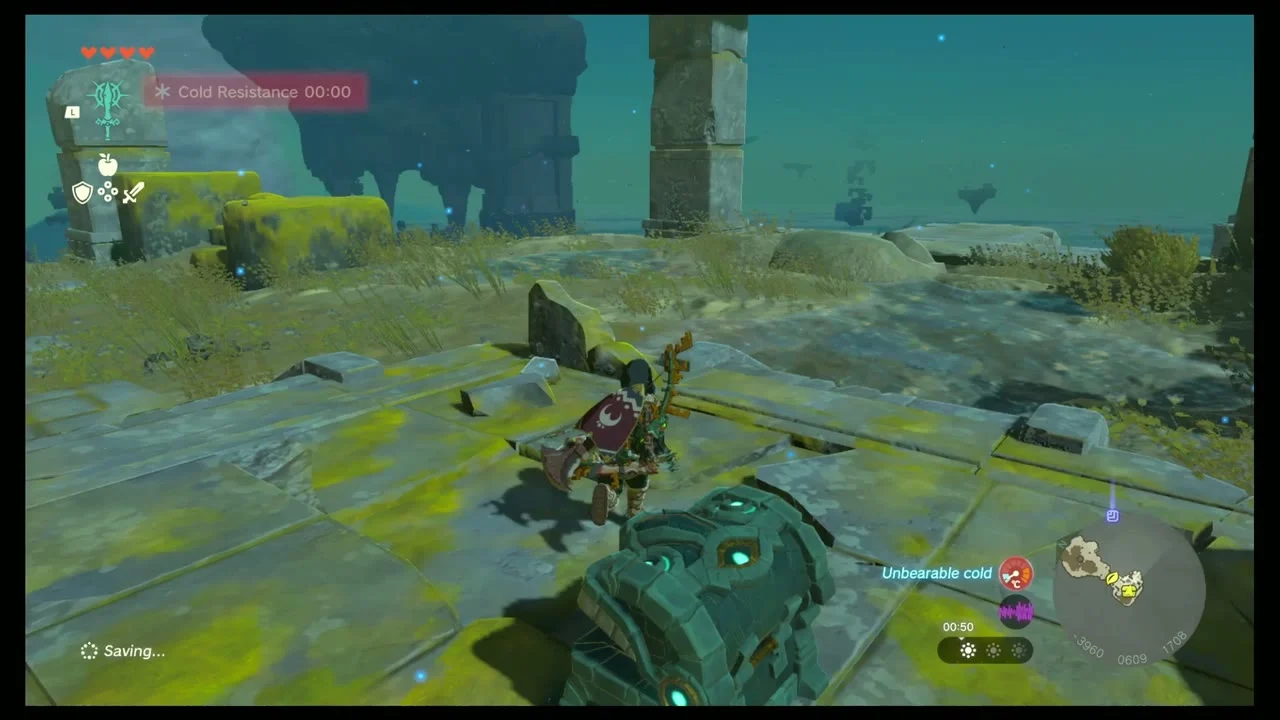
Korok seeds (sky). Four Korok seeds are found on islands between Ganos and Light Cast Island. Look for sprouting leaves on the tops of pillars and in flower clumps beside old trees.
Light Cast Island and Ga-ahisas Shrine
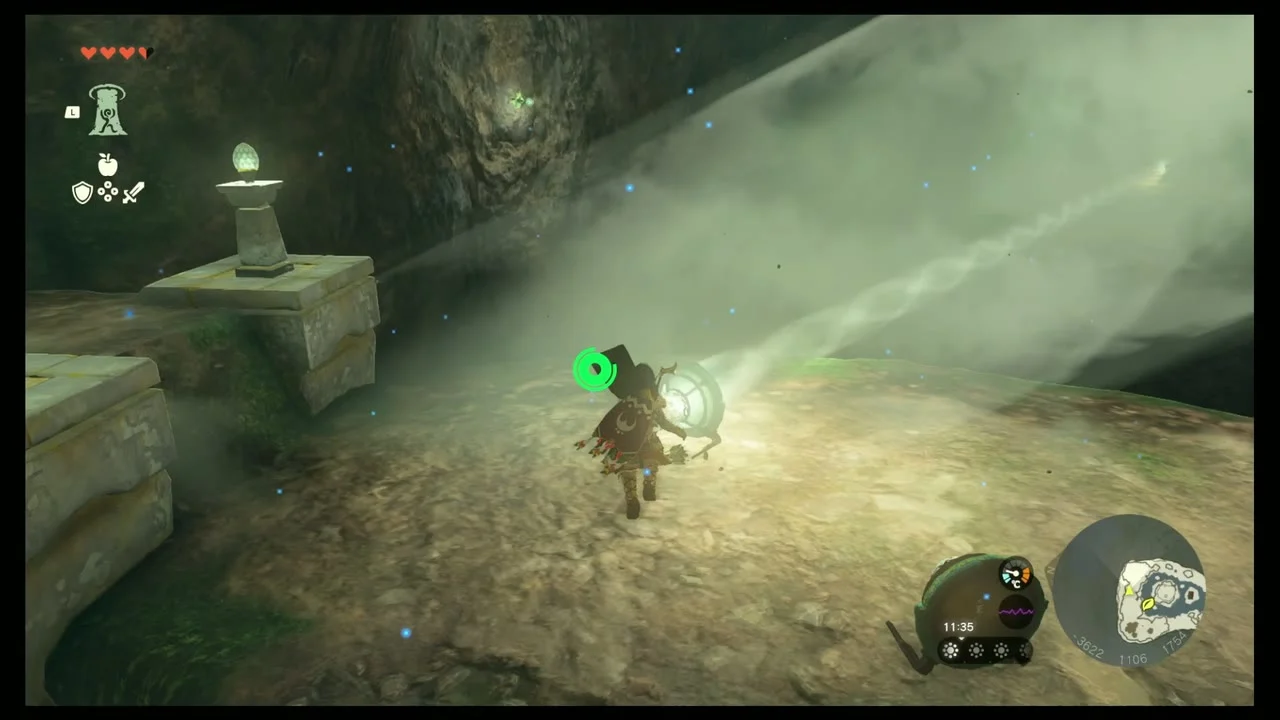
Drain the pool and aim the beam
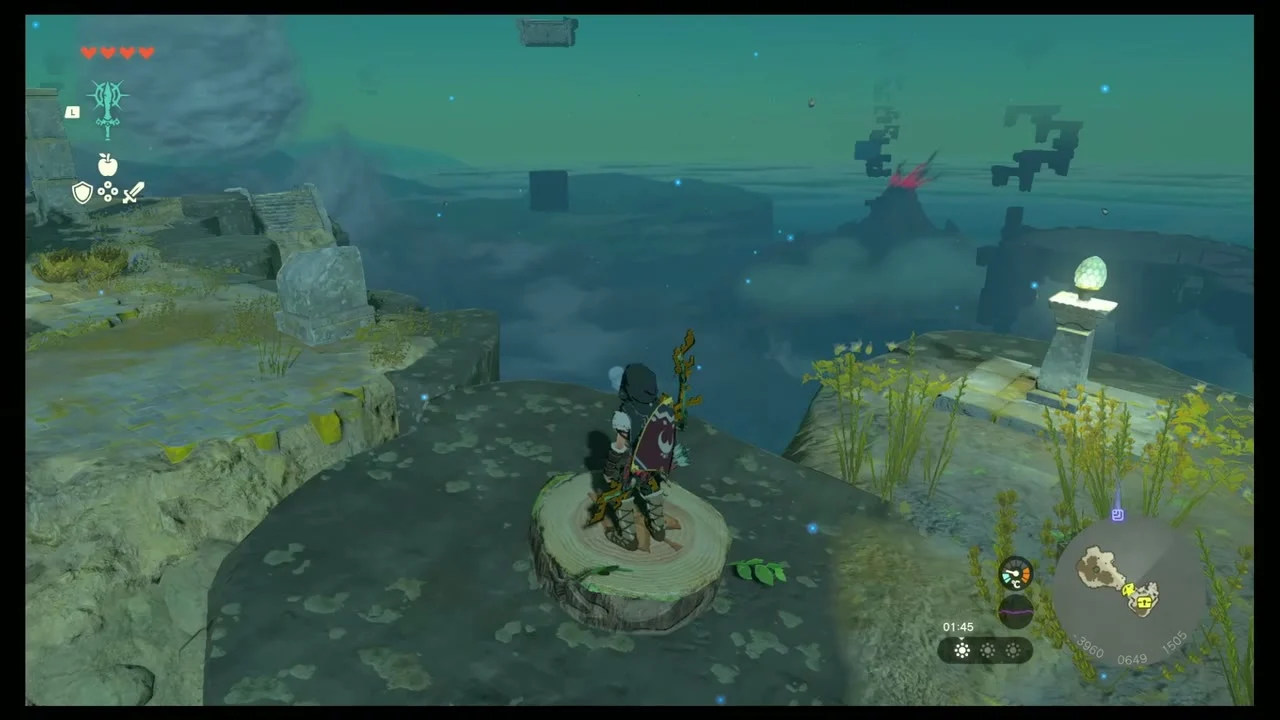
Light Cast Island. Interact with the terminal on the north-west side to drain the pool. Collect the Mirror x3 chest, then use Mirrors to carry the light beam to the switch that opens the shrine path.
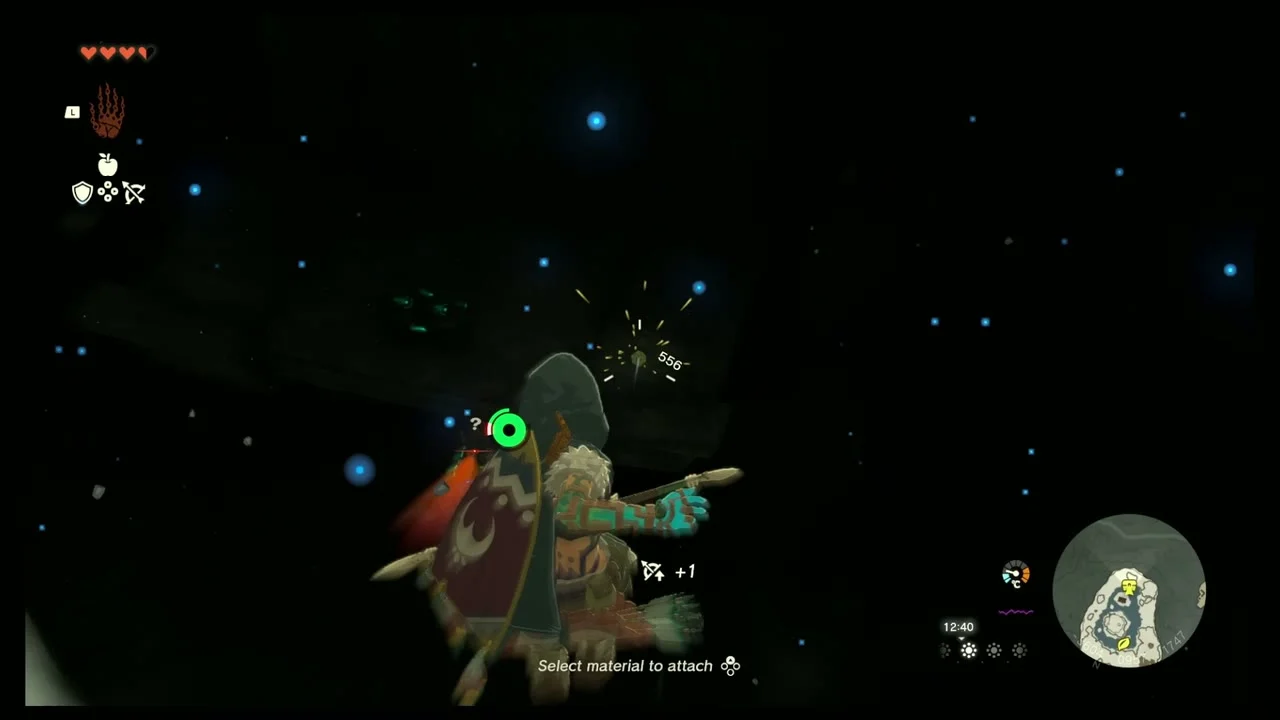
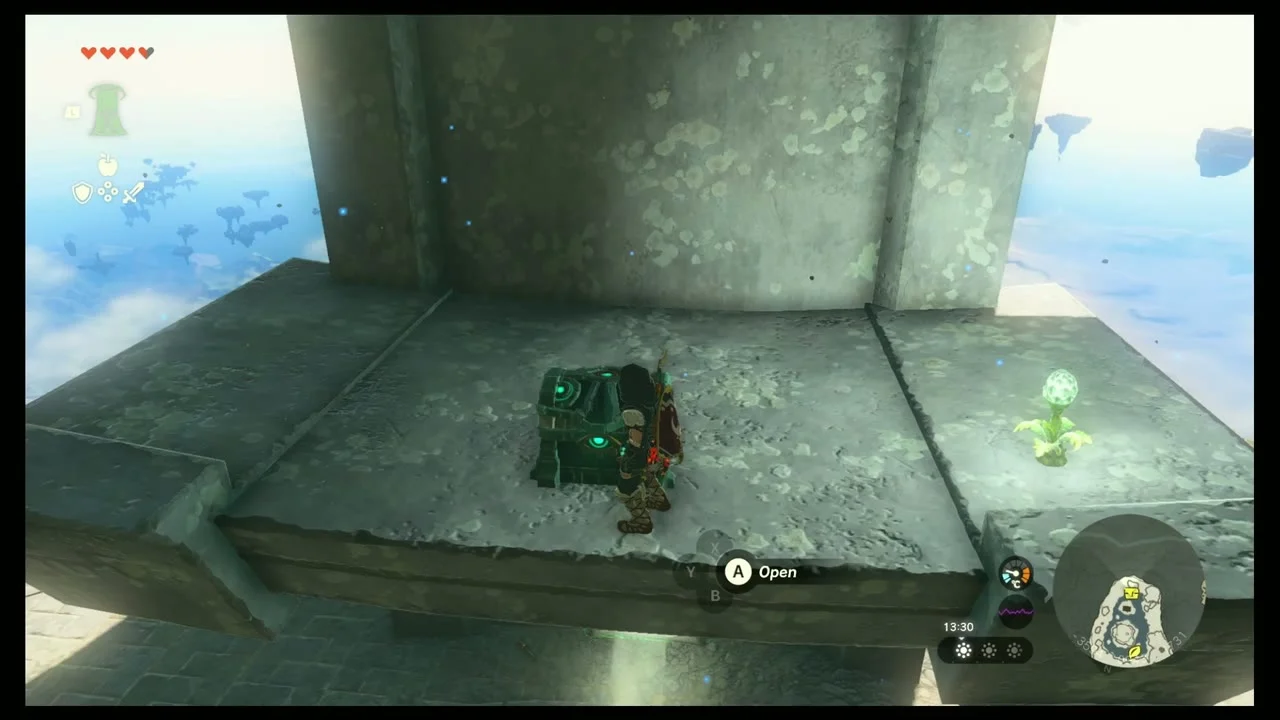
Take the Zonaite Helm and Star Fragment
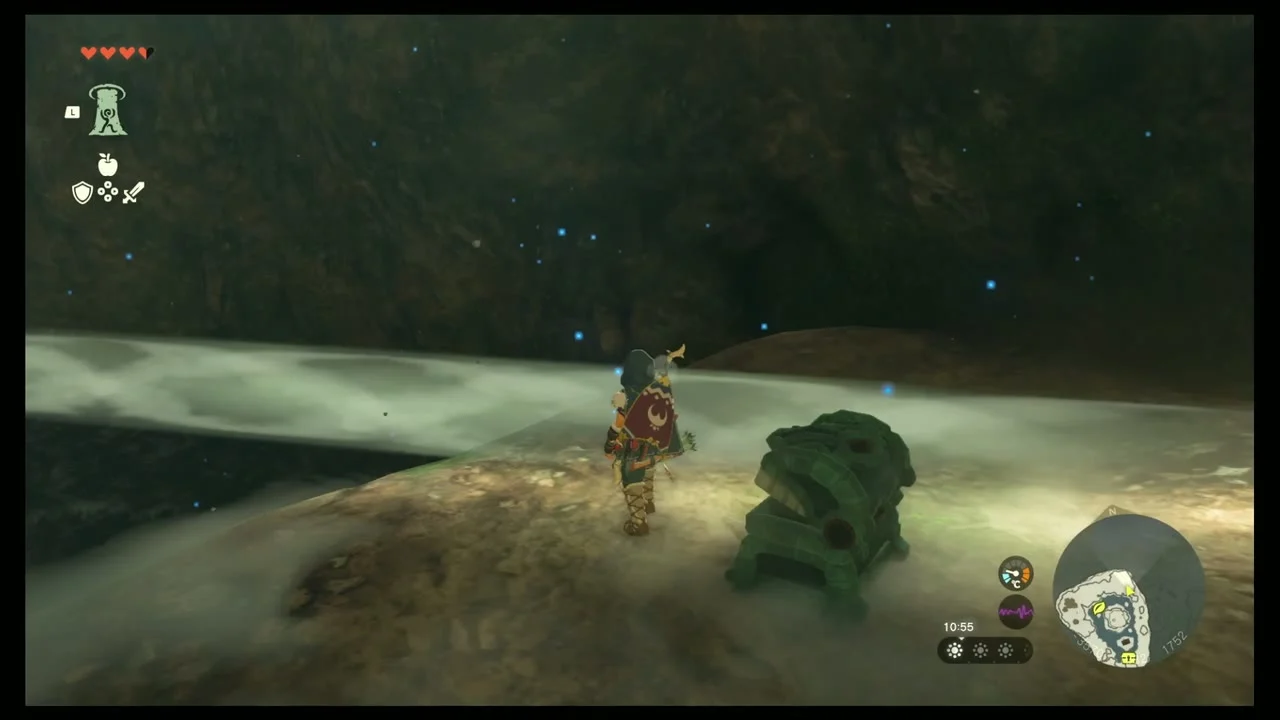
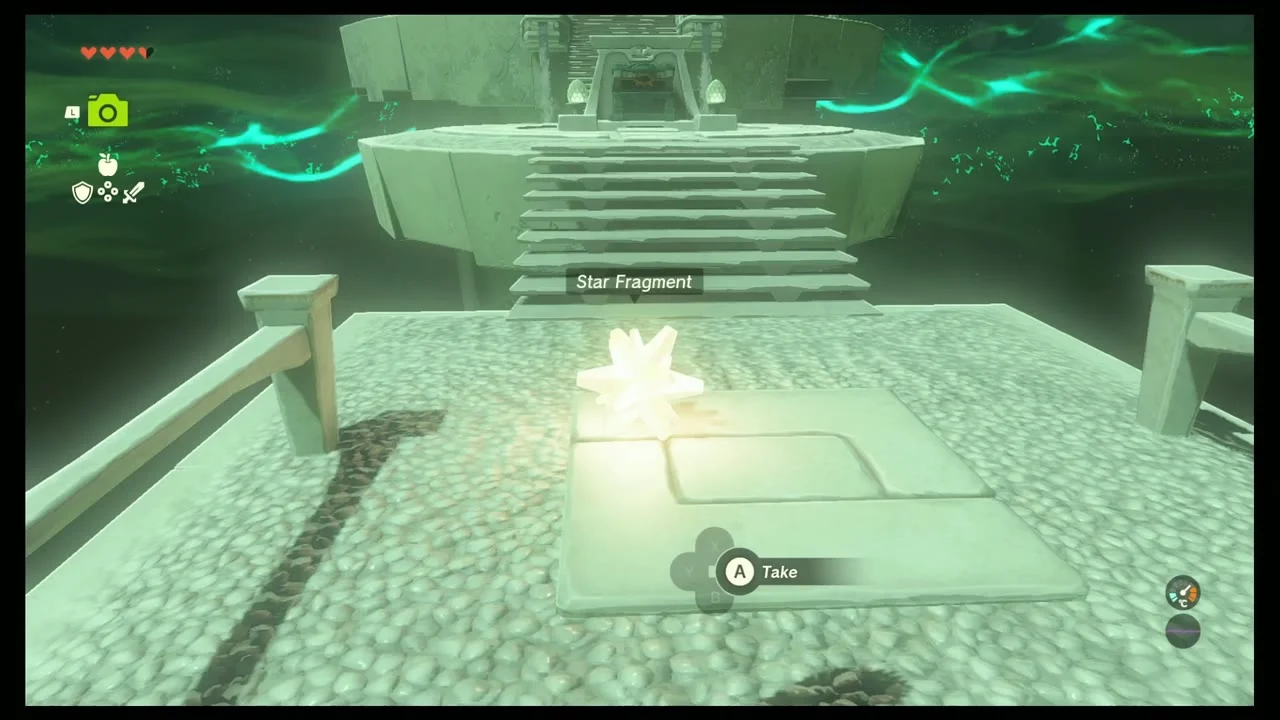
Chests (Zonaite Helm, Star Fragment). A grassy ledge near the cave entrance holds a Zonaite Helm; the shrine itself holds a Star Fragment.
Enter Ga-ahisas Shrine
Ga-ahisas Shrine (Rauru’s Blessing). No puzzle. Walk to the shrine at -3596, 960, 1712 and claim the Light of Blessing.

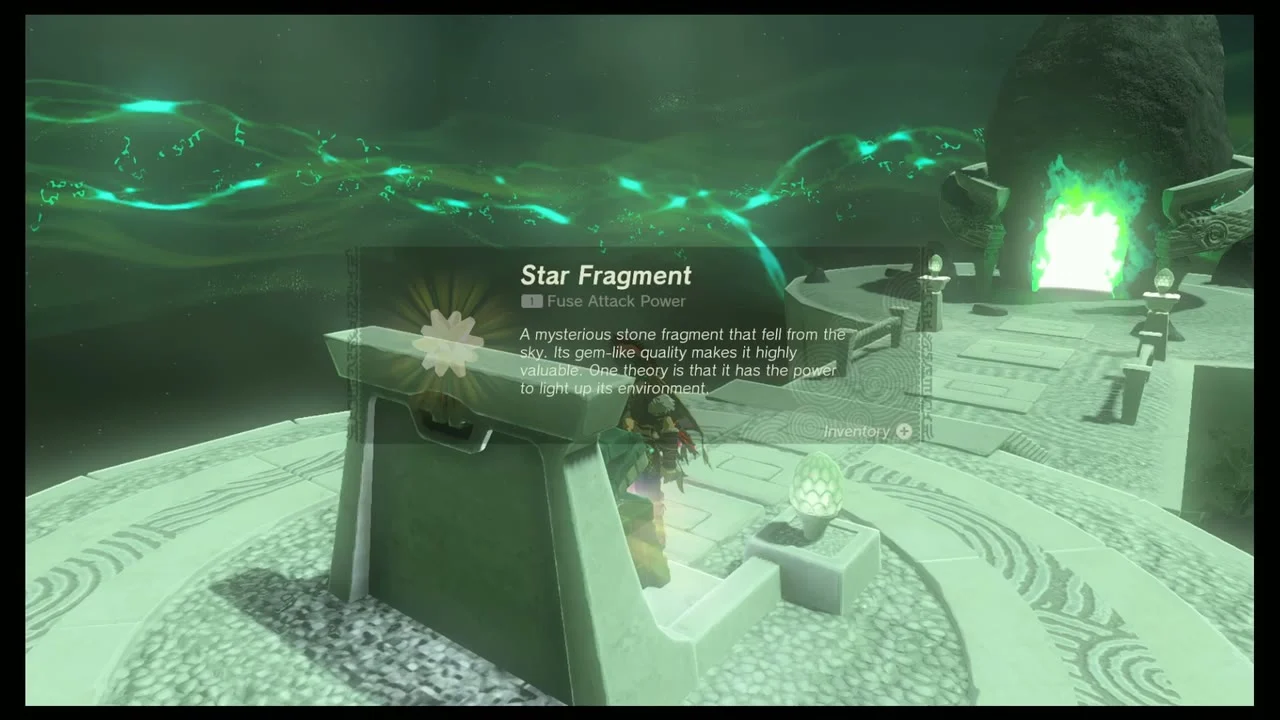
Collect the Hover Stone and Zonai devices
Device Dispenser (Light Cast Island). The dispenser at -3612, 1066, 1655 gives Mirrors, Balloons, Springs, Wings and Hover Stones. Take a Hover Stone for your Autobuild.


Sage’s Will and the fallen star
Chest (Sage’s Will). A chest on a rail island holds a Sage’s Will. Four Wills upgrade a sage’s Vow at a Goddess Statue. If a star falls at night, run to it and take a Star Fragment.

Also in this area
The dataset lists 41 Koroks in the Tabantha Frontier box. Types and coordinates not covered above: Use Ascend on the marker (-4062, 1793; -3715, 1039; -3434, 708), Complete the rock pattern (-4012, 1636; -2824, 703), Lift the rock (-3985, 1708; -3696, 1685; -3634, 1808; -3284, 1340; -3147, 1107; -3011, 584), Pop the hidden balloon (-3546, 577; -3225, 578), Follow the flower (-3598, 1537; -2919, 546; -3609, 357), Pull the plug (-3137, 1553), Dive into the ring (-2677, 892), and Reach the target ring within the time limit (-2653, 1283).
Hyrule Ridge and Tabantha Frontier checklist
| Collectible | Count | Where |
|---|---|---|
| Shrines | 4 | Ikatak, Oromuwak (surface); Ganos, Ga-ahisas (sky) |
| Lightroots | 2 | Kataki, Kawumoro |
| Caves | 4 | Gisa Crater, Ancient Columns, Brightcap, Tabantha Hills |
| Bubbul Gems | 4 | One in each cave |
| Well | 1 | Tabantha Village Ruins Well |
| Minibosses | 6 | Stone Talus, Battle Talus, Boss Bokoblin, Flame Gleeok, Stalnox, Flux Construct III |
| Armor | 3 | Tunic of Awakening, Frostbite Shirt, Zonaite Helm |
| Quests | 8 | Gisa Crater Crystal, Tabantha Sky Crystal, Hornist’s Dramatic Escape, Misko I and II, Cave Mushrooms That Glow, Open the Door, Potential Princess Sightings! |
