





















Tears of the Kingdom 100% Completion Walkthrough43 chapters
Great Sky Island
- Great Sky Island4 shrines, 4 caves and Bubbul Gems, 17 Korok seeds
Hyrule Field and Hyrule Castle
- Lookout LandingParaglider, Crisis at Hyrule Castle, Jiosin and Kyononis shrines, 2 caves, 3 wells
- Hyrule FieldSusuyai and Ishodag shrines, the Hyrule Field Chasm, 2 caves, 13 Koroks
- Hyrule Castle Town RuinsSepapa, Yamiyo and Tukarok shrines, 2 caves, 4 wells, Koroks, chests and Battle Taluses in route order
- Central Hyrule Depthslight all 7 Lightroots, loot Daphnes and Gustaf Canyon Mines, find the Miner's Top
- Rest of Hyrule CastleRoyal Hidden Passage loot, 8 castle chests, Phantom Ganon, Energy Wells
- South Hyrule FieldShrines, Koroks & the Great Plateau
- South Hyrule Field DepthsGreat Abandoned Central Mine, Master Kohga, Autobuild, Majora's Mask
Tabantha and Hyrule Ridge
- Tabantha FrontierNew Serenne Stable, Hestu, Courage Island and the Glide Shirt, 3 shrines, 2 Korok seeds, Lindor's Brow Cave
- Forgotten TempleImpa and the Geoglyphs, Dragon's Tears, Kiuyoyou and Mayausiy shrines, Yiga Maritta Branch, 9 Koroks
- Tanagar Canyon & Hyrule RidgeRunakit and Iun-orok shrines, 2 caves, 12 Koroks, 20 chests, 8 minibosses and Dragon's Tear 6
- Thundra Plateau & Tabantha Bridgesolve the noon shadow puzzle, Tabantha Bridge Stable, Makurukis Shrine, 19 Korok seeds, 9 chests, 3 minibosses
- Lindor's Brow DepthsLightroots; Two Yiga camps (Bomb Bouquet, Flamethrower Balloon)
- Hyrule Ridge and Tabantha FrontierIkatak, Oromuwak, Ganos and Ga-ahisas shrines, 4 caves, a well, 26 Koroks and 3 minibosses
Hebra
- Rito VillageGatakis and Ijo-o shrines, Sikatag Lightroot, 9 Korok seeds, 14 chests
- Hebra MountainsShrines, Wind Temple & Koroks; Raspro Pass, Biron Snowshelf & Royal Hidden Passage
- Corvash Canyon MineTrousers of the Hero, Floodlights schematic, Sea-Breeze Boomerang, four Lightroots, Colgera
- Raspro Pass DepthsNupisoyuat and Sasag Lightroots, Colgera, Cap of Time, Tunic of the Wind, two Yiga camps and 13 minibosses
- Tabantha TundraTaninoud, Orochium, Oshozan-u, Mayaotaki, Nouda and Tenbez shrines, three Lightroots, caves and Bubbul Gems
- Pikida Stonegrove DepthsEvil Spirit Greaves, Ikatoayam, Muihcoro and Sikatag Lightroots, 3 Yiga schematics, Frox fights
Great Hyrule Forest
- Great Hyrule Forest7 shrines, 8 Lightroots, 2 caves, 2 wells, Korok Mask, Glide Tights
Eldin
- EldinEldin Canyon, Shrines, Caves & Goron City
- Eldin Canyon Depths10 Lightroots, Zant's Helmet, Trousers of the Wild, Biggoron's Sword, 3 Yiga schematics and Eldin's sky chests
Faron
- FaronHighland Stable, Lake Hylia & Popla Foothills
Necluda
- Kakariko VillageMakasura Shrine, Kakariko Village Well, 2 caves, Ring Ruins chests, 10 Korok seeds and village quests
- West Necluda and Lanayru WetlandsShrines, Koroks & Caves; Jonsau, Kurakat
- Hateno VillageZanmik and Mayahisik shrines, Shield of the Mind's Eye and Phrenic Bow wells, 7 Koroks
- East NecludaRabella Wetlands, Sifumim Shrine, Lurelin Village, 21 Korok seeds
- East Necluda DepthsKumamayn Shrine, 4 Lightroots, Midna's Helmet, Cap of the Hero, Trousers of the Wind and 18 Depths chests
Lanayru
- Lanayru Great SpringShrines, Koroks & Caves; Ralis Channel, 3 shrines, 8 caves
- Zora's DomainMogawak and Ihen-a shrines, Ploymus cave, Pristine Sanctum, Zora Armor, Sidon of the Zora and Clues to the Sky
- Wellspring IslandAncient Zora Waterworks chests, Igoshon Shrine, 2 Korok seeds, Water Temple's four wheels and Mucktorok
- Mount LanayruShrines, Koroks & Light Rings; Jikais and Anedamimik shrines
Gerudo
- Gerudo DesertShrines, Caves & Koroks; West and South Sands
- Gerudo TownGerudo Shelter shops and quests, Valley of Silent Statues, Lightning Temple and Queen Gibdo, Chichim Shrine
- Gerudo Desert DepthsGranajh and Daval mines, three Master Kohga fights, Queen Gibdo, Mucktorok, Sheik's Mask and 37 chests
- Gerudo HighlandsSkyview Tower, Rotsumamu and Suariwak shrines, Mayasiar Shrine, Yiga hideout
Akkala
- AkkalaTarrey Town quests, 4 shrines, Hinox, Battle Talus
- Akkala Sky Islands and DepthsGikaku and Natak shrines, Old Maps, Lomei Depths Labyrinth, Mucktorok, 5 Lightroots and 19 chests
Finale and completion
- Ancient Tablets, Gleeoks and Armor Upgradesall 13 stone tablets with coordinates, Frost and King Gleeok, Obsidian Frox, Cotera upgrades and farming
- Hyrule CastleRoyal gear chests, Korok seeds, Serutabomac Shrine
- Thunderhead IslesCharged armor, Joku-usin and Joku-u Shrines, Dragonhead Island's relic
- 100% Completion: Armor Upgrades & Korok BonusHestu's Gift, Ancient Hero's Aspect, Great Fairy Cotera upgrade costs and materials, then Destroy Ganondorf
This chapter is in 2 parts, in the order a 100% run reaches them. Jump to a part:
Part 1: Skyview Tower, Rotsumamu and Suariwak shrines, Mayasiar Shrine, Yiga hideout, two Bubbul
| Region | Gerudo Highlands: the snowy plateaus and canyon rim north of Gerudo Canyon, from Meadela’s Mantle and Mystathi’s Shelf in the west to Taafei Hill in the east, plus the Gerudo Highlands Sky above them |
|---|---|
| Skyview Tower | Gerudo Highlands Skyview Tower (-3961, -1306, 416), the last of the 15 towers |
| Shrines | 3: Mayasiar Shrine (Rauru’s Blessing, sky), Rotsumamu Shrine (A Balanced Plan, puzzle), Suariwak Shrine (Rauru’s Blessing) |
| Lightroots below | Umamustor (Rotsumamu) and Kawiraus (Suariwak). See all Lightroots. |
| Caves | 2 with Bubbul Gems: Meadela’s Mantle Cave and Mystathi’s Shelf Cave, plus a third gem in the Yiga Blademaster Station. See all caves. |
| Koroks | About 40 Korok puzzles on the Highlands surface, plus 2 in the Gerudo sky (one at Starview Island, one at South Lomei Castle). The datamined seeds in the area are listed at the end. See all Korok seeds. |
| Minibosses | Battle Talus, Frost Talus, Phantom Ganon, Blue-Maned Lynel, Flame Gleeok, Frost Gleeok and two Boss Bokoblin camps |
| Gear | Lightning Helm (Yiga hideout), Earthwake Manual, Yiga Fabric, Travel Medallion, Star-Fragment Staff, Radiant Shield, Gerudo Bow x2, Royal Bow (or Traveler’s Bow, Soldier’s Bow or Knight’s Bow, depending on your progress), Gerudo Shield, Gerudo Scimitar x3 and Eightfold Blade / Longblade chests |
| Quests | The Dragon’s Tears (the Great Cliffs geoglyph), The Yiga Clan Exam, Infiltrating the Yiga Clan, Presenting: The Travel Medallion!, A Picture for the Closed Stable II |
The Gerudo Highlands are the cold, wind-scoured plateaus at the top of the desert. Activate the Skyview Tower first, then sweep the plateaus, the sky above them and the Yiga hideout for three shrines, two Bubbul caves and a long list of chests and Koroks. Coordinates are map units (X, Y, height); larger Y is further north.
Quick route
Dress for the cold (the Highlands need two levels of cold resistance, such as the Snowquill set or warming meals), then reach the Gerudo Highlands Skyview Tower through Meadela’s Mantle Cave, collecting a Gerudo Bow, a Topaz and a Bubbul Gem on the way.
Climb into the sky for the Old Map chest, Starview Island and Mayasiar Shrine, witness the Great Cliffs Dragon’s Tear, then loot the plateau chests.
Sweep the canyon rim for a Battle Talus and bow chests, join the Yiga hideout for the Lightning Helm and Earthwake Manual, then solve Rotsumamu Shrine and finish the Travel Medallion quest.
Clear the remaining Koroks, take on the Frost Talus, Phantom Ganon, Lynel and Flame Gleeok, finish the Yiga Clan Exam and Suariwak Shrine, then close with Mystathi’s Shelf Cave, the Frost Gleeok and the photo for Piaffe.
Skyview Tower and Meadela’s Mantle Cave
Activate Gerudo Highlands Skyview Tower
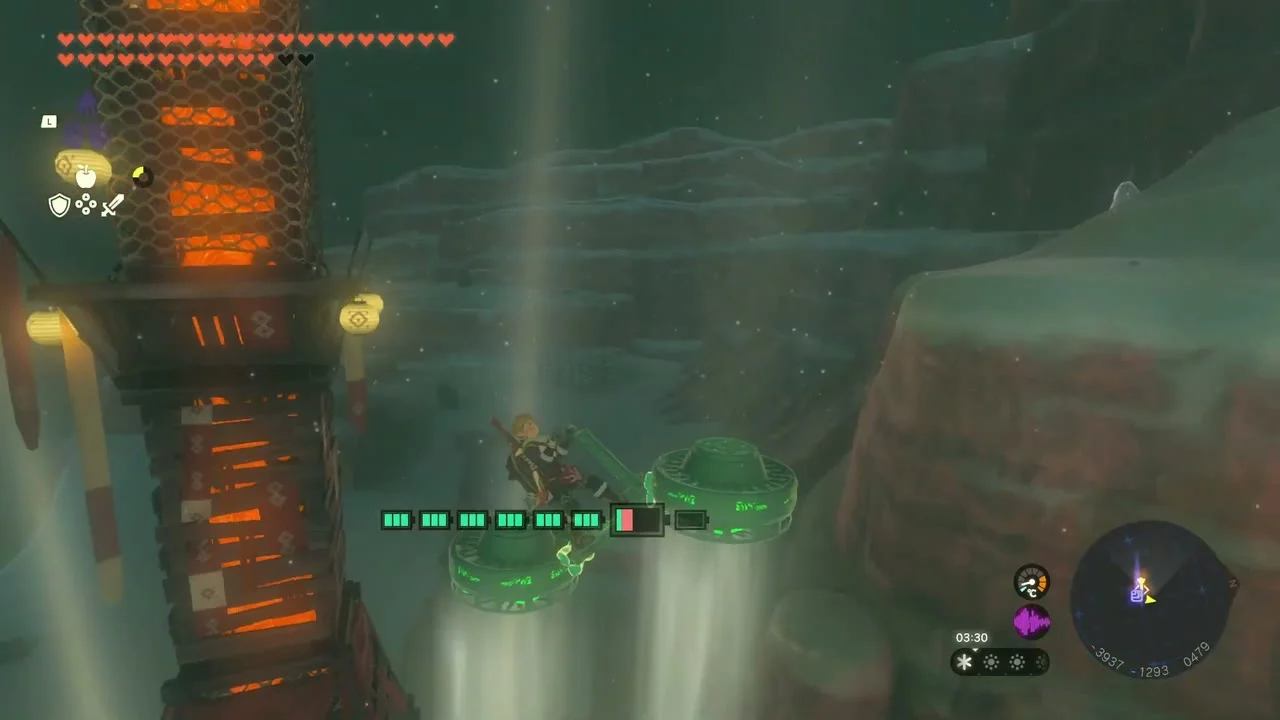
Gerudo Highlands Skyview Tower stands at (-3961, -1306, 416) on the plateau above Gerudo Canyon. Its entrance is buried under snow, so you cannot walk in: a note in the nearby tent points you to Meadela’s Mantle Cave in the cliff behind the tower. Once you come up inside the tower from below (see the next step), step on the console to activate it and map the region. Wear cold-resistant gear first.


Explore Meadela’s Mantle Cave
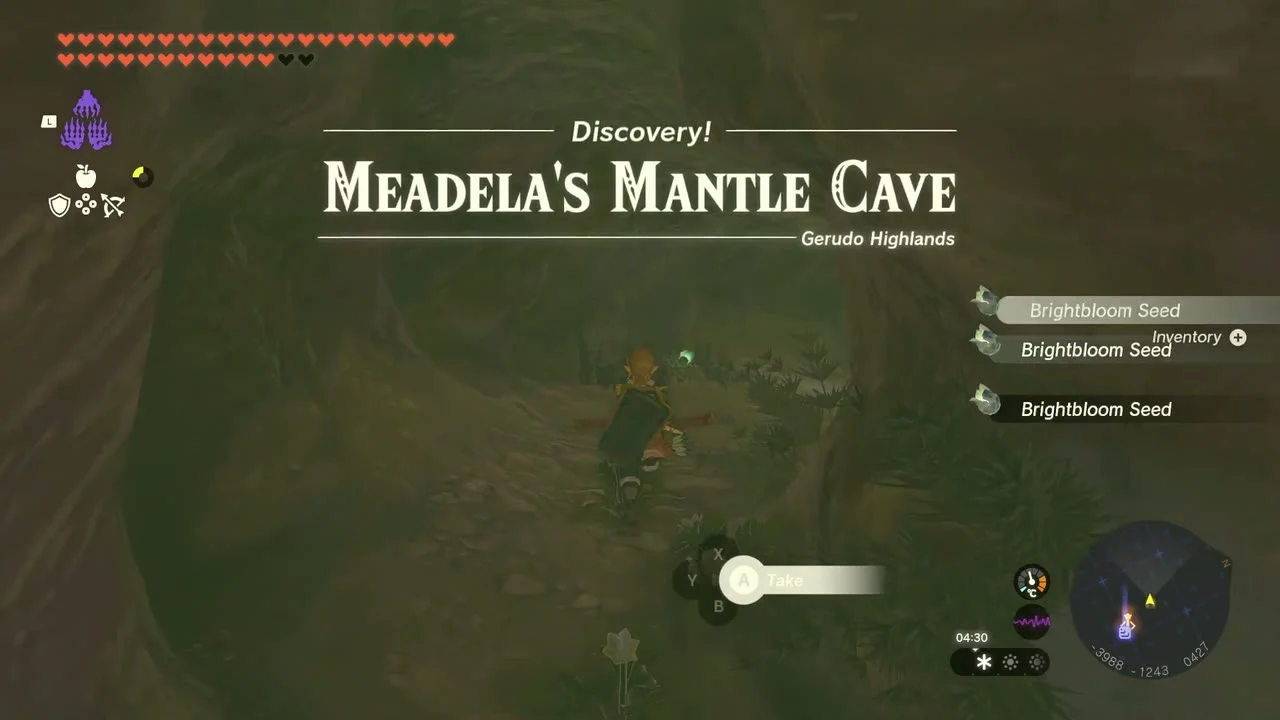
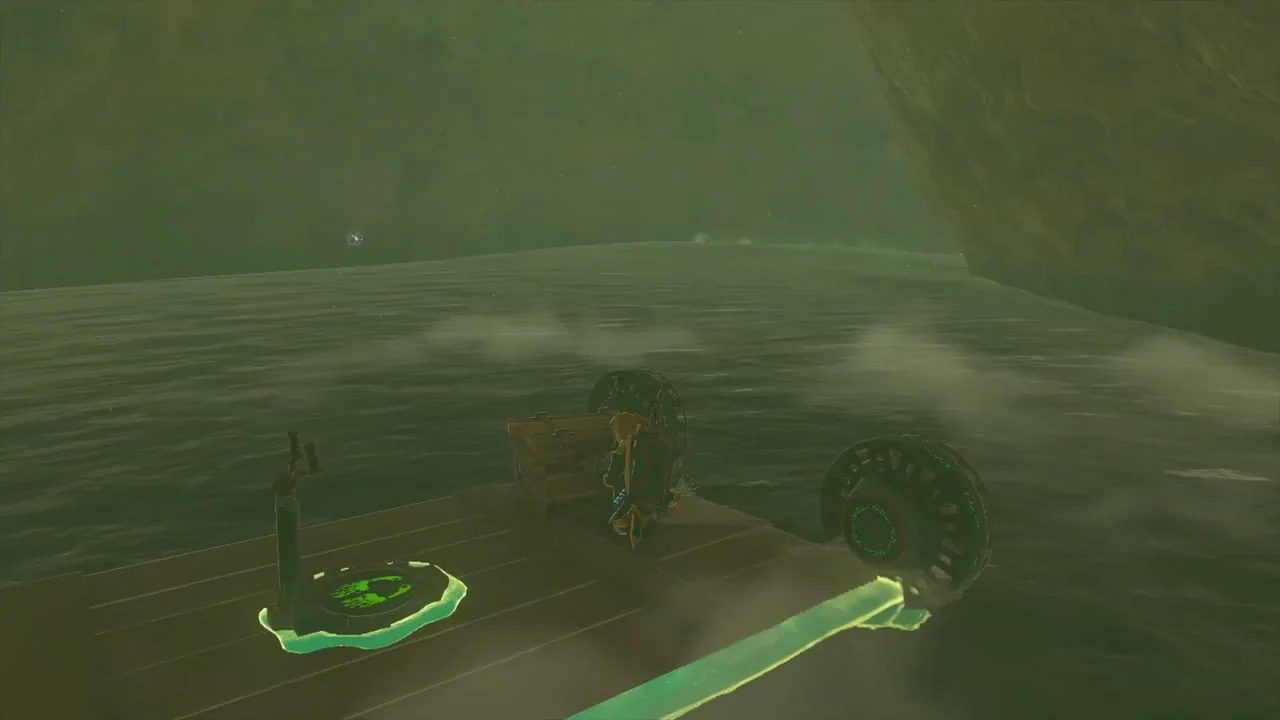
Meadela’s Mantle Cave at (-3983, -1245, 427) is a river cave a few steps north of the tower. Light it with Brightbloom Seeds, build a raft from the wood and Zonai parts lying inside and follow the river down the waterfall. A wooden platform at the end of the flow lets you Ascend straight up into the tower from beneath, which is how you activate it.

Open the Gerudo Bow chest
Float the raft to the chest on the far ledge, which holds a Gerudo Bow. A Dragonbone Boko Bow (or Boko Bow or Spiked Boko Bow, depending on your progress) also lies on a raft in the same lake.

Take the Bubbul Gem
The Bubbulfrog circles inside a ring of bubbles on an upper ledge. Hit it with an arrow or thrown item to collect a Bubbul Gem, then lay planks across the gap beyond it with Ultrahand.


Open the Topaz chest and leave
At the back of the cave a chest on the stone shelf holds a Topaz. Ascend through the ceiling above it to return to the plateau.


The sky above the Highlands
Open the Old Map chest
Launch from the tower into the Gerudo Highlands Sky. A chest in the ruined walls of a floating island holds an Old Map, with a Zonai Charge beside it; a stone maze slab sits on the island next door.
Fly into Starview Island
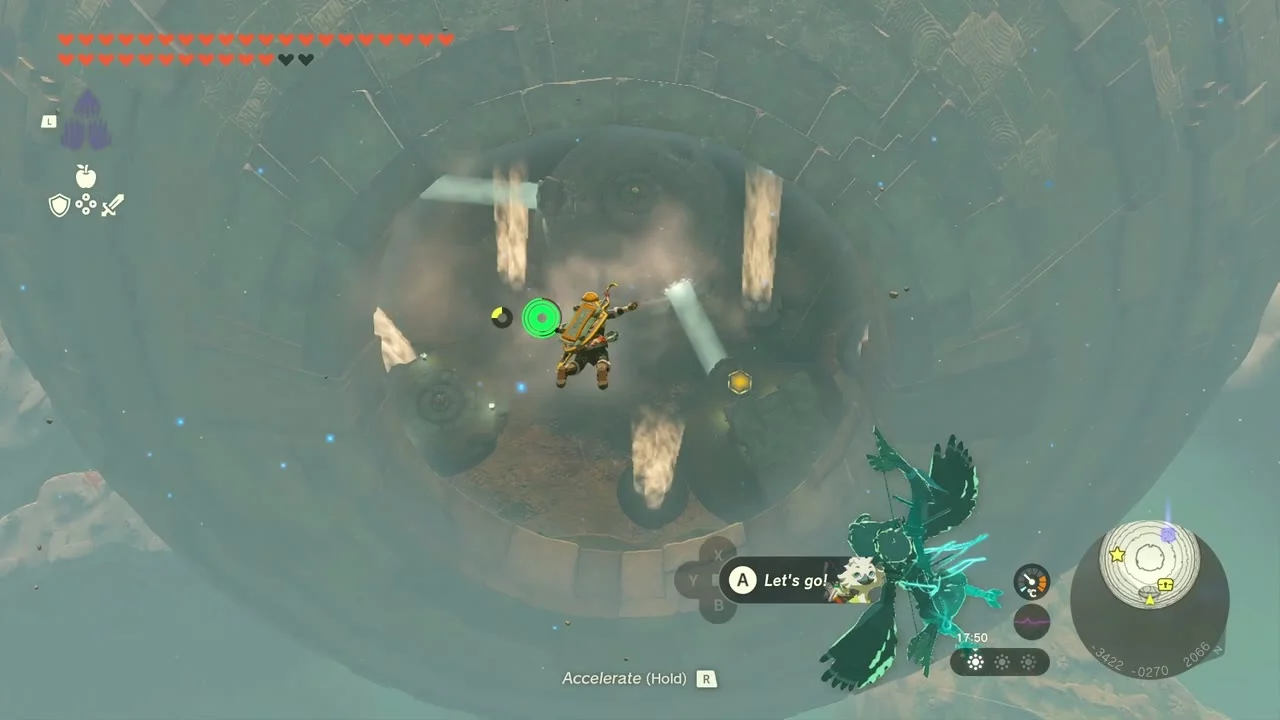
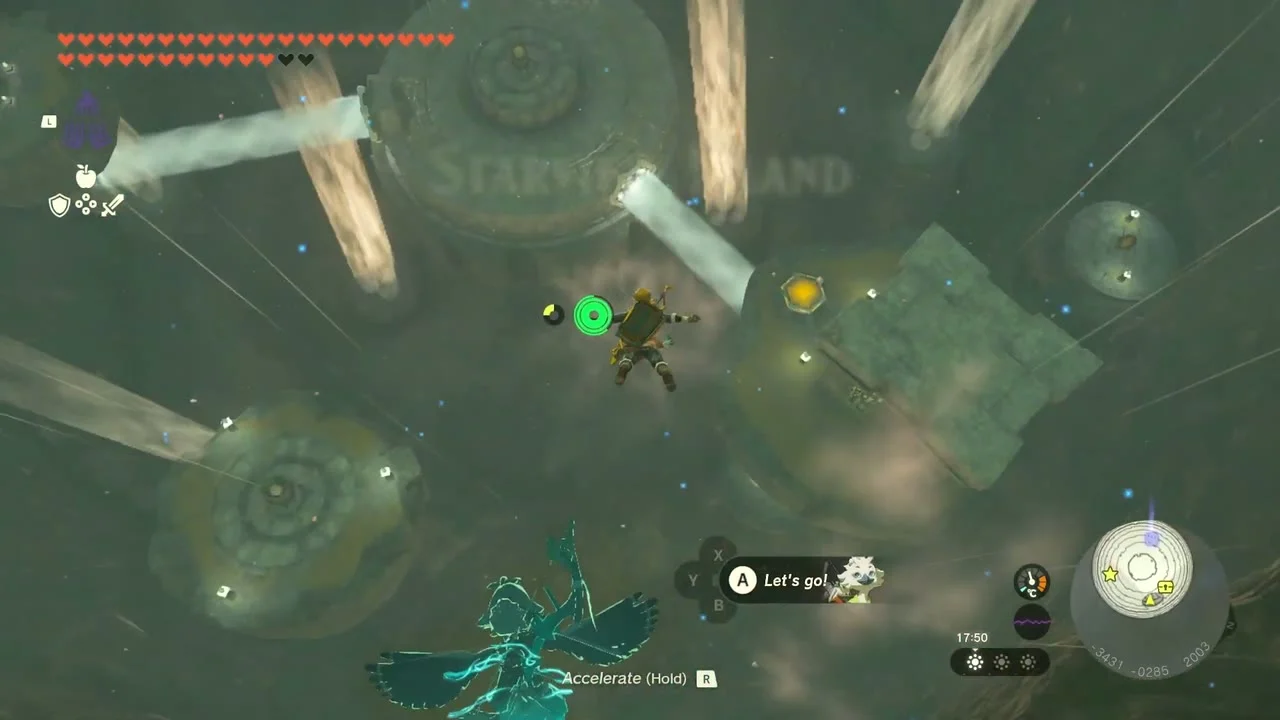
Starview Island is a hollow sphere of rock with light beams crossing its interior. Glide into the opening and use the Device Dispenser by the entrance before exploring. A Korok puzzle (glide to the stump) is also hidden on the island.
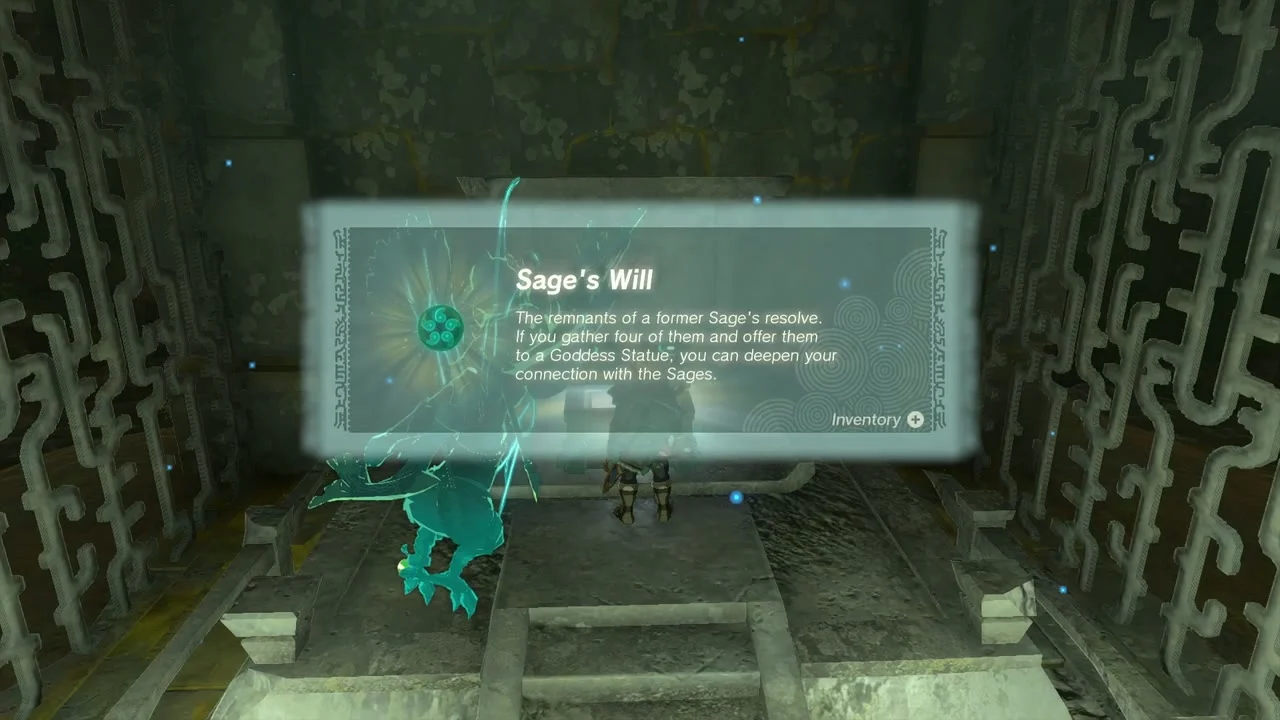
Open the Sage’s Will chest
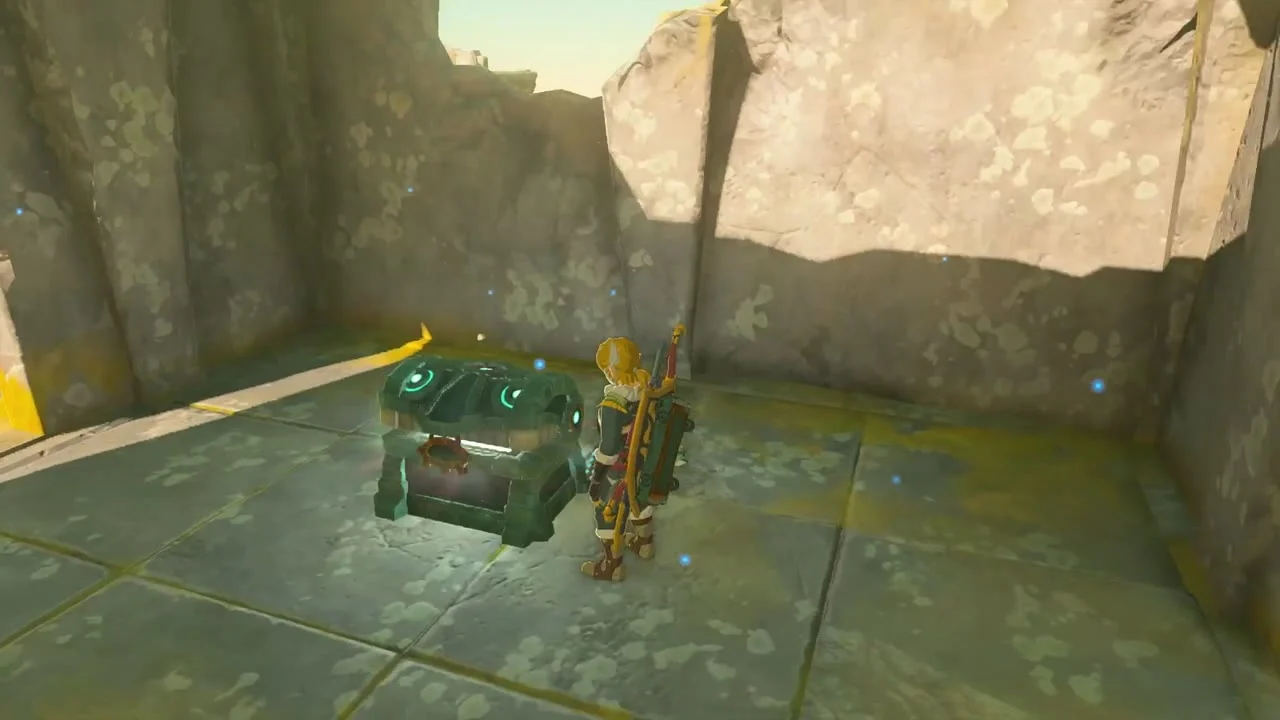
A chest in a stone alcove on the interior wall holds a Sage’s Will. Four Sage’s Wills can be offered to a Goddess Statue to strengthen a Sage’s vow.
Mayasiar Shrine: Rauru’s Blessing
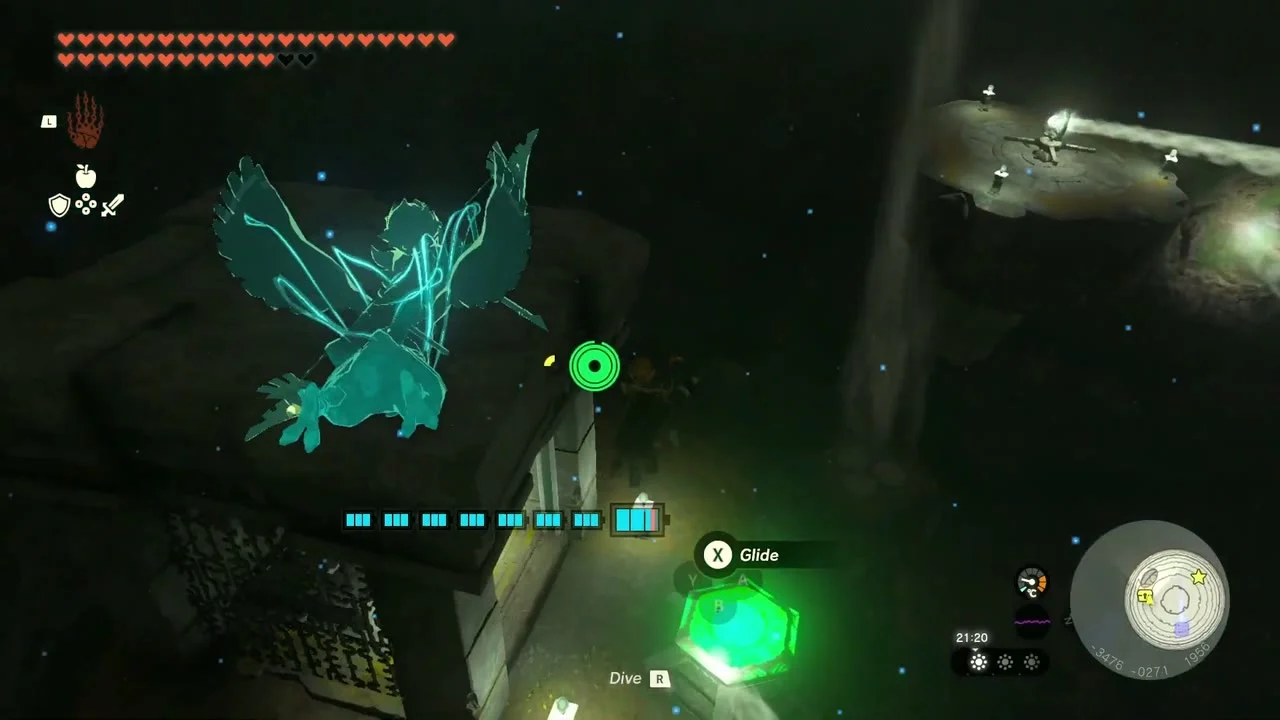
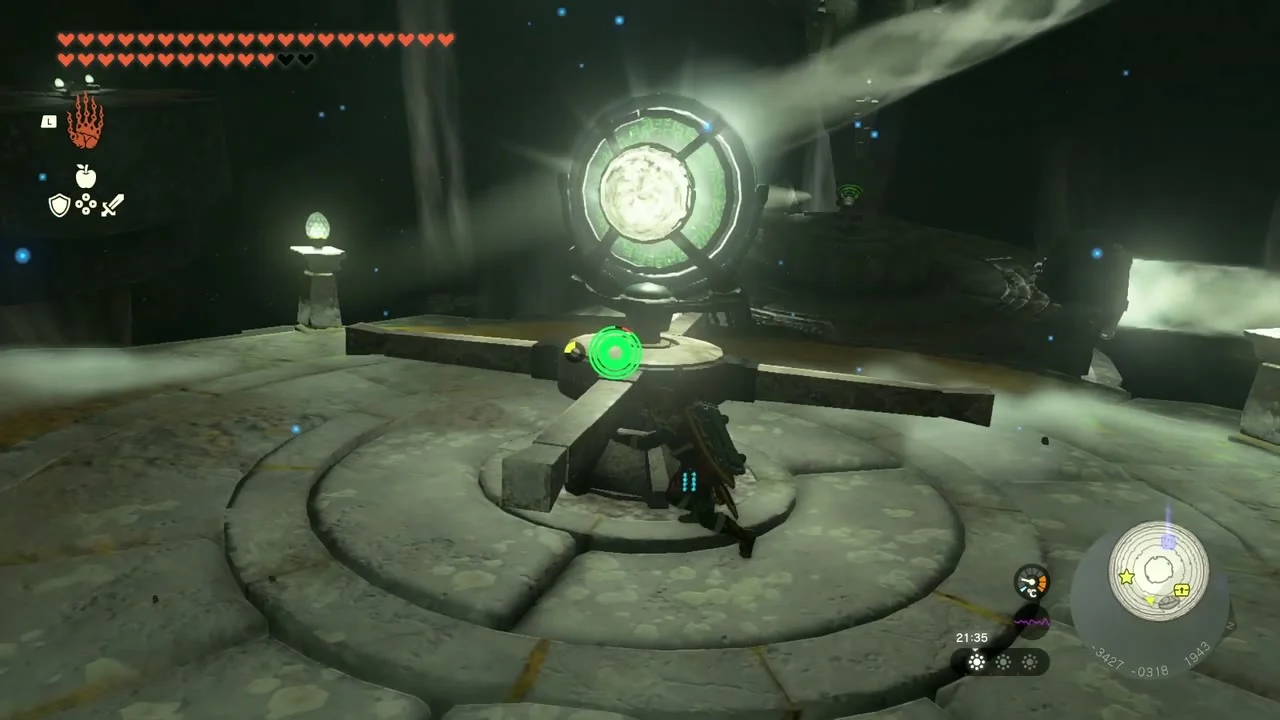
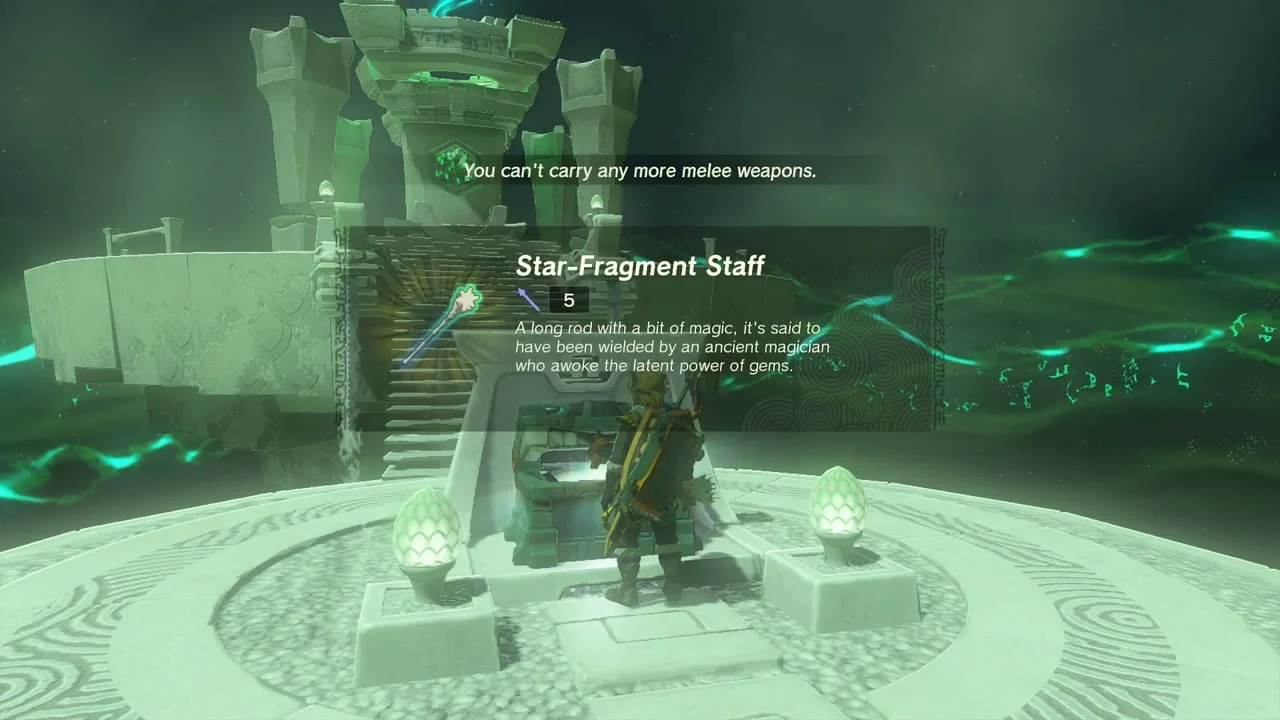
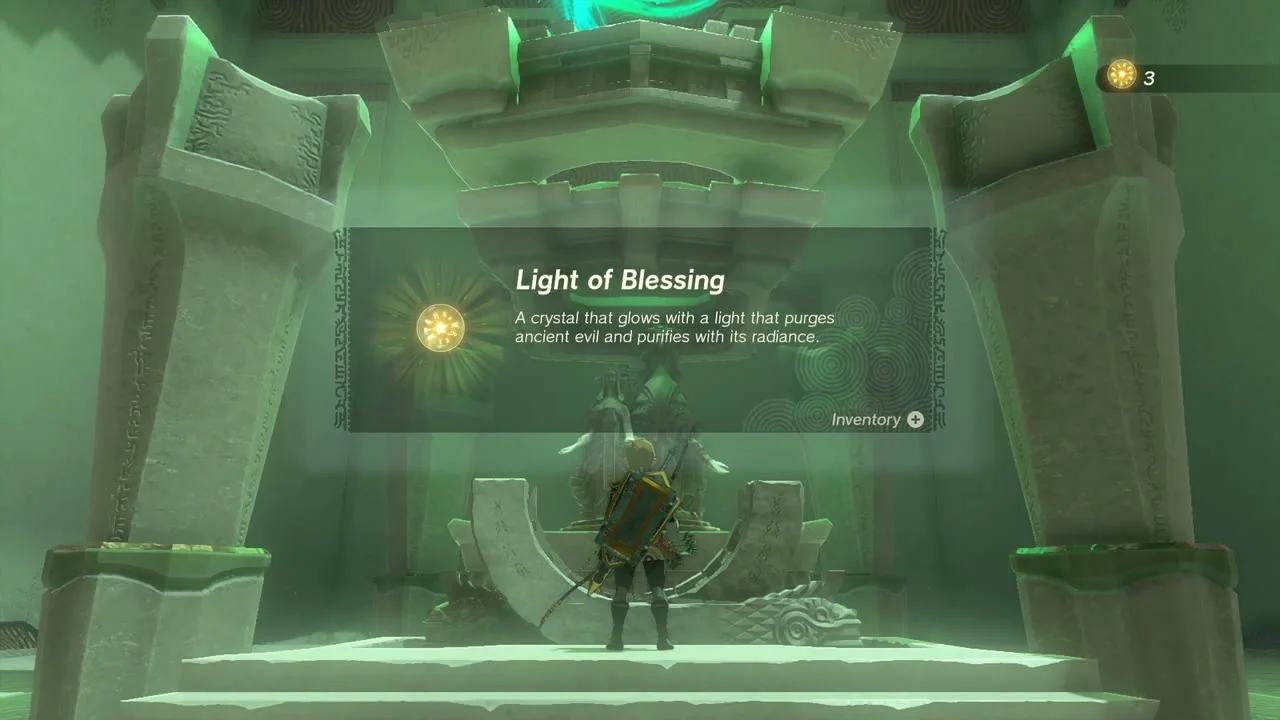
Mayasiar Shrine at (-3546, -320, 1978) sits inside Starview Island. Turn the light mirrors so the beam reaches the shrine door; the trial is Rauru’s Blessing, so inside there is only a chest with a Star-Fragment Staff and the Light of Blessing.


Dragon’s Tear and the plateau chests
Witness the final Dragon’s Tear
Glide to the geoglyph above the highlands and examine the glowing pool to see Memory 07: A Show of Fealty.


Loot the Radiant Shield and Arrow chests
Back on the plateau, a chest on a wooden camp platform holds a Radiant Shield; clear the Bokoblins around it first. A little further on, a chest holds Arrow x5.


Canyon rim and Yiga hideout
Cross Birida Lookout Chasm
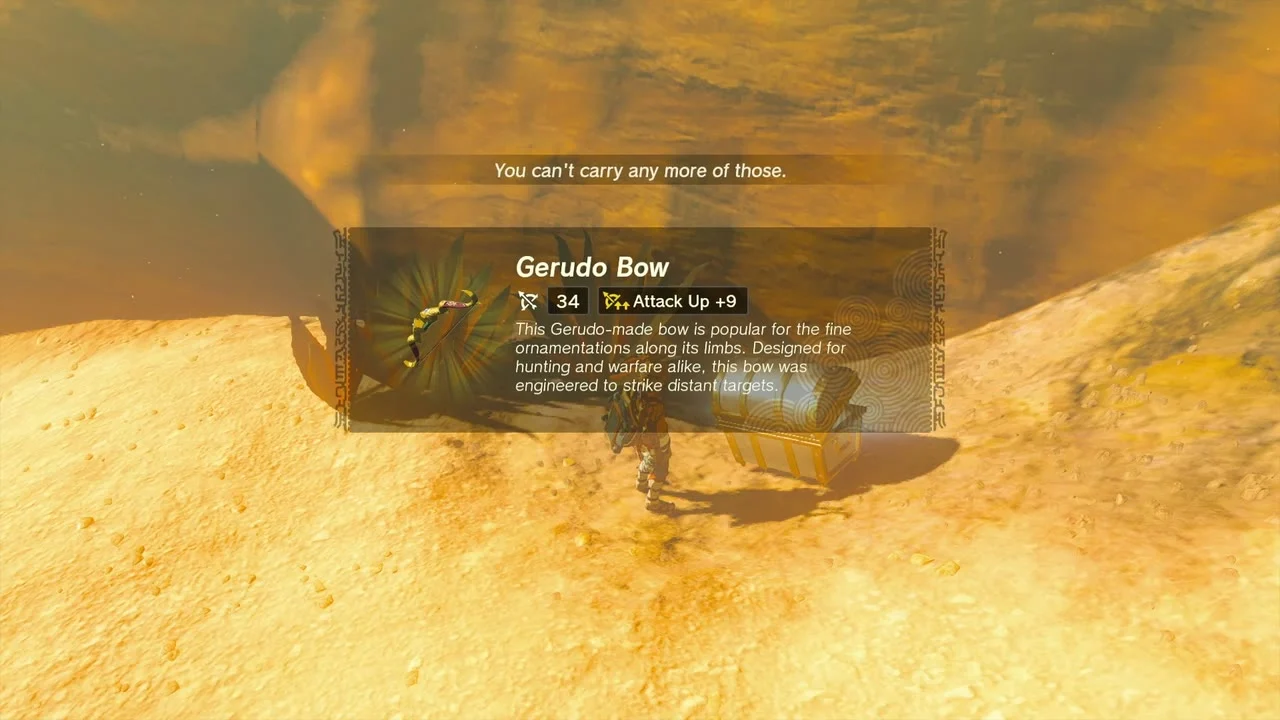
On the canyon’s rim, Birida Lookout Chasm drops into the Depths and serves as a landmark; the cliffs around it hold a second Gerudo Bow chest. Beware of chests half-buried in snow on the Highlands: some are Treasure Octoroks, and only a real chest responds to Ultrahand’s grab.

Collect the Royal Bow, Topaz and Opal chests
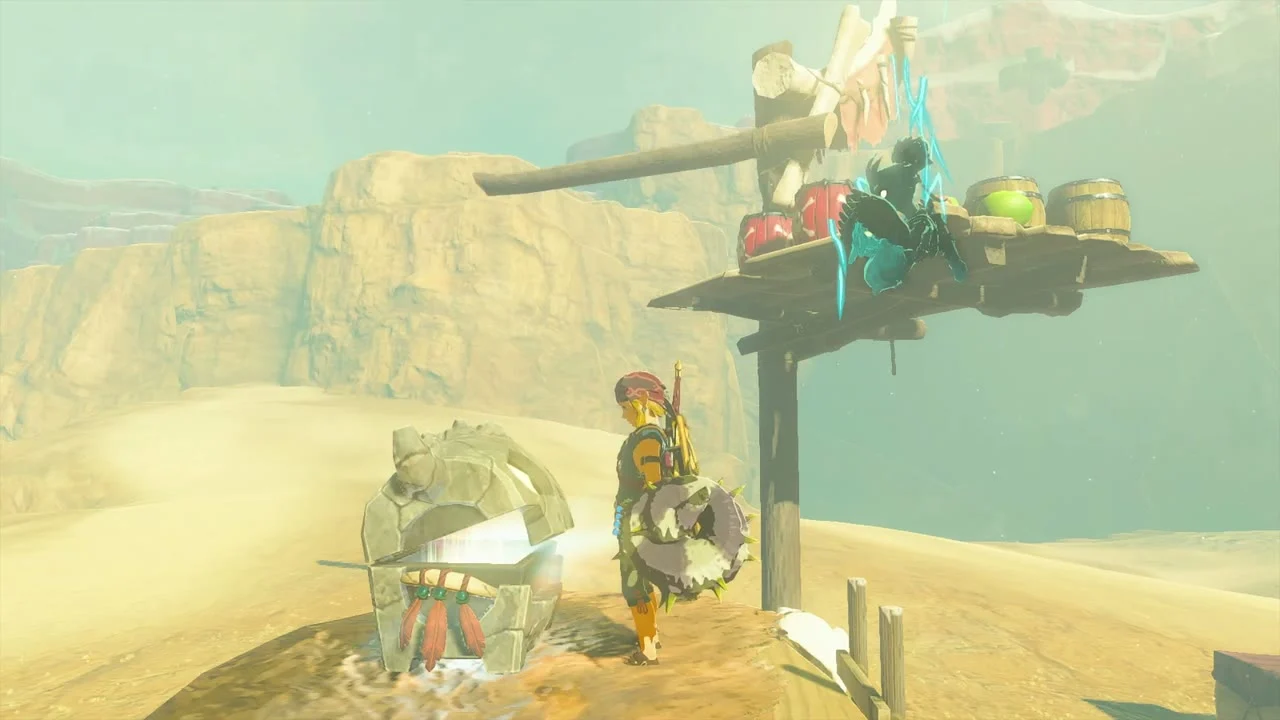
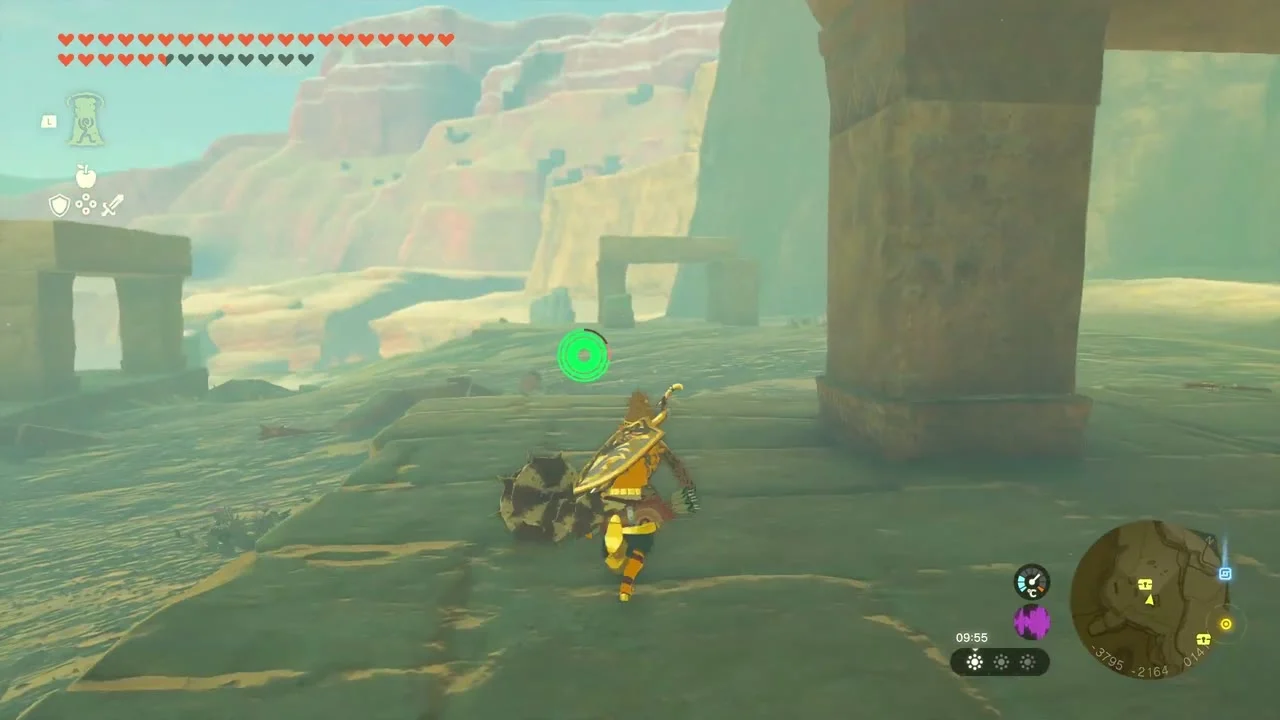
Three more chests are worth the detour: a Royal Bow at a wooden lookout camp, a Topaz beside a ruined archway, and an Opal at the foot of a rock arch.

Defeat the Battle Talus
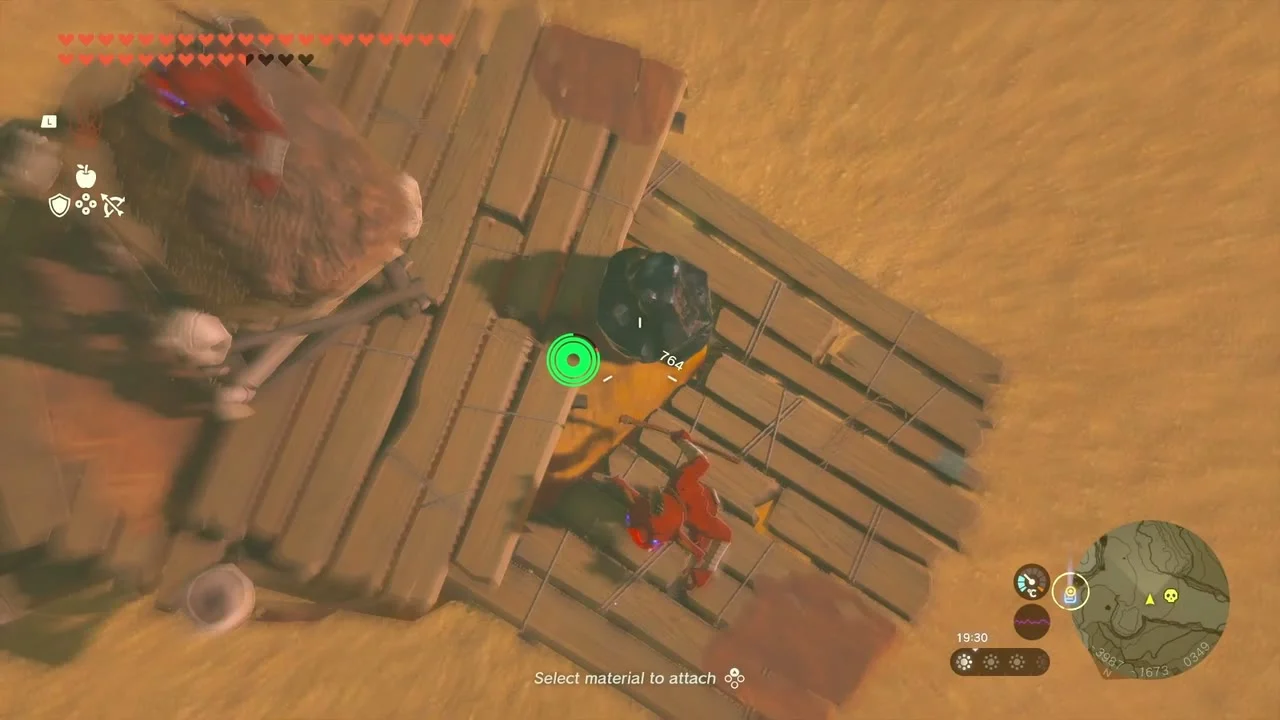
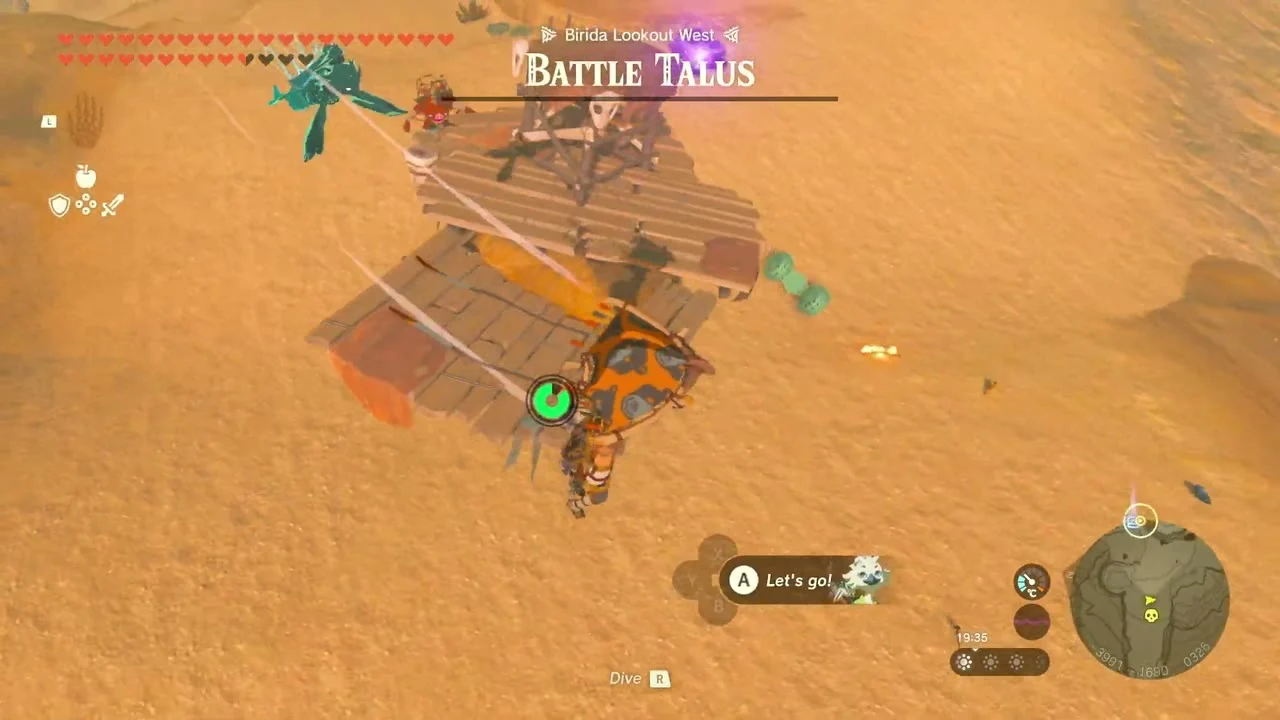
Miniboss: Battle Talus near Birida Lookout West. Fuse bombs to arrows or drop Bomb Flowers on its ore weak point and it falls fast.
Find the Yiga Clan Hideout
The Yiga Clan Hideout at (-3612, -1353, 331) has a locked door guarded by Mimos. Return wearing the full Yiga armor set (Yiga Mask, Yiga Armor and Yiga Tights, collected from the three Yiga branches) to complete Infiltrating the Yiga Clan; the guard lets you in when you are fully disguised, and without the set you fight Yiga Enforcers instead.


Raid the hideout chests
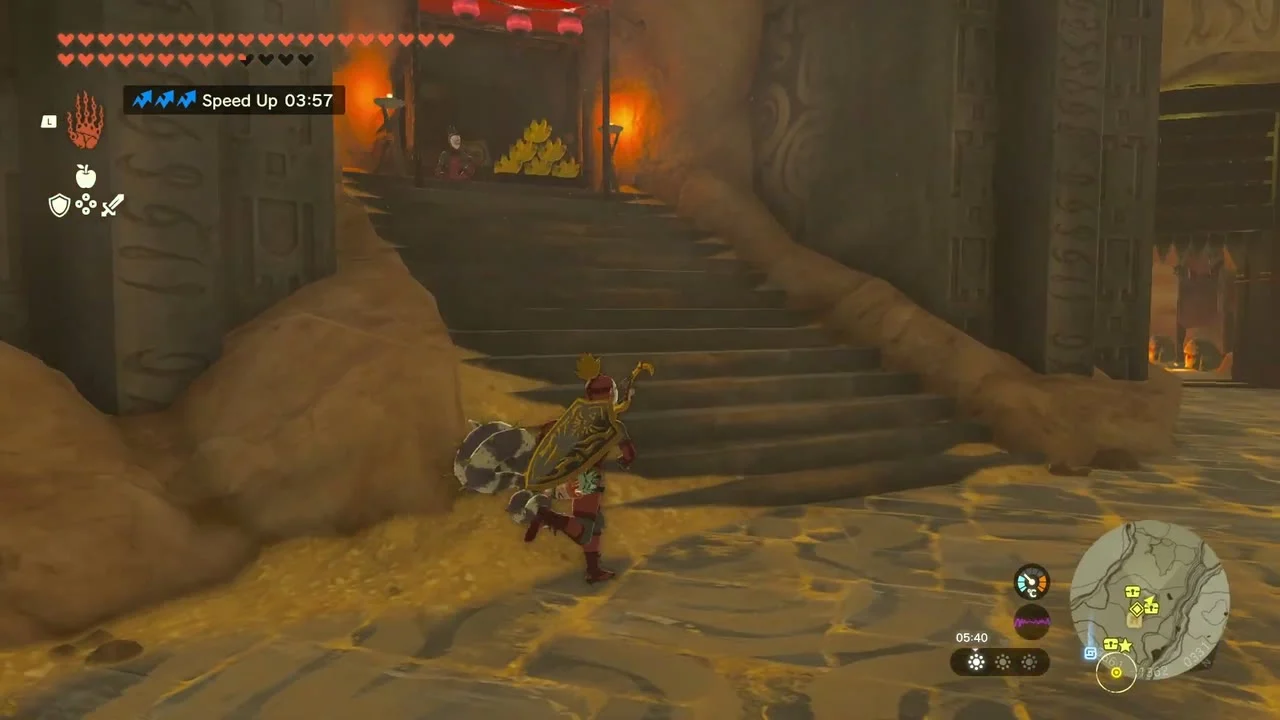
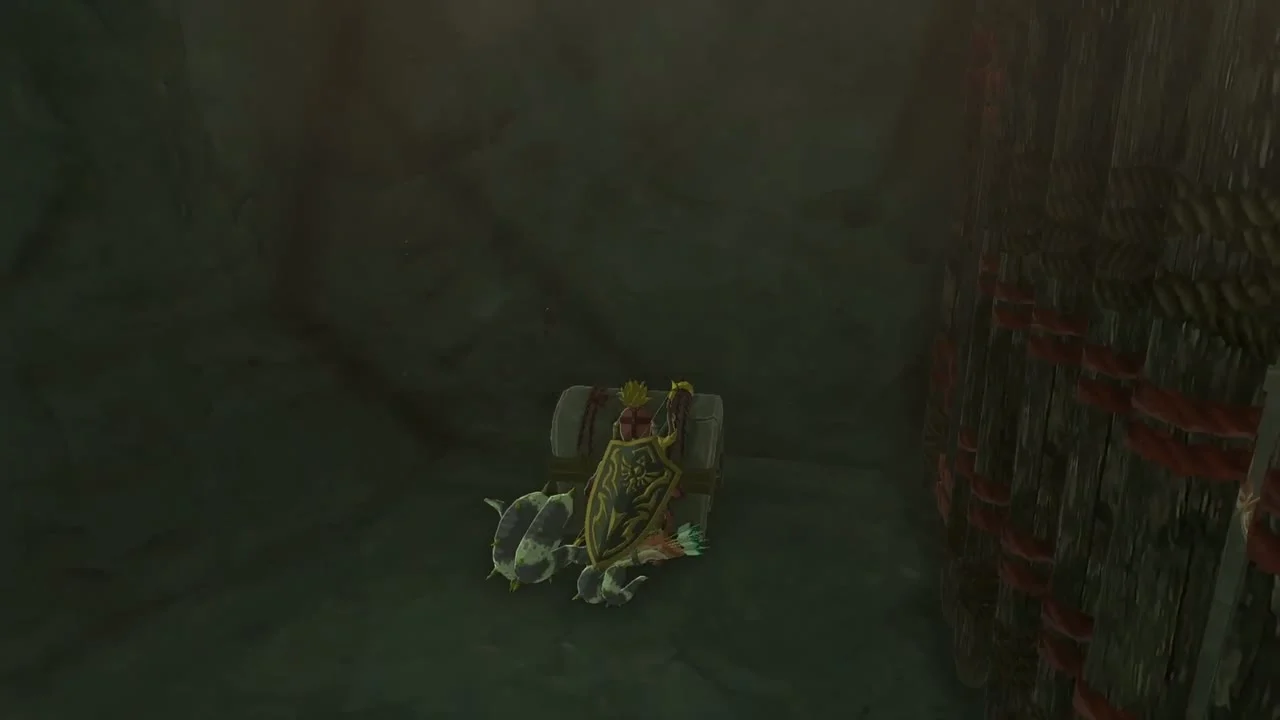
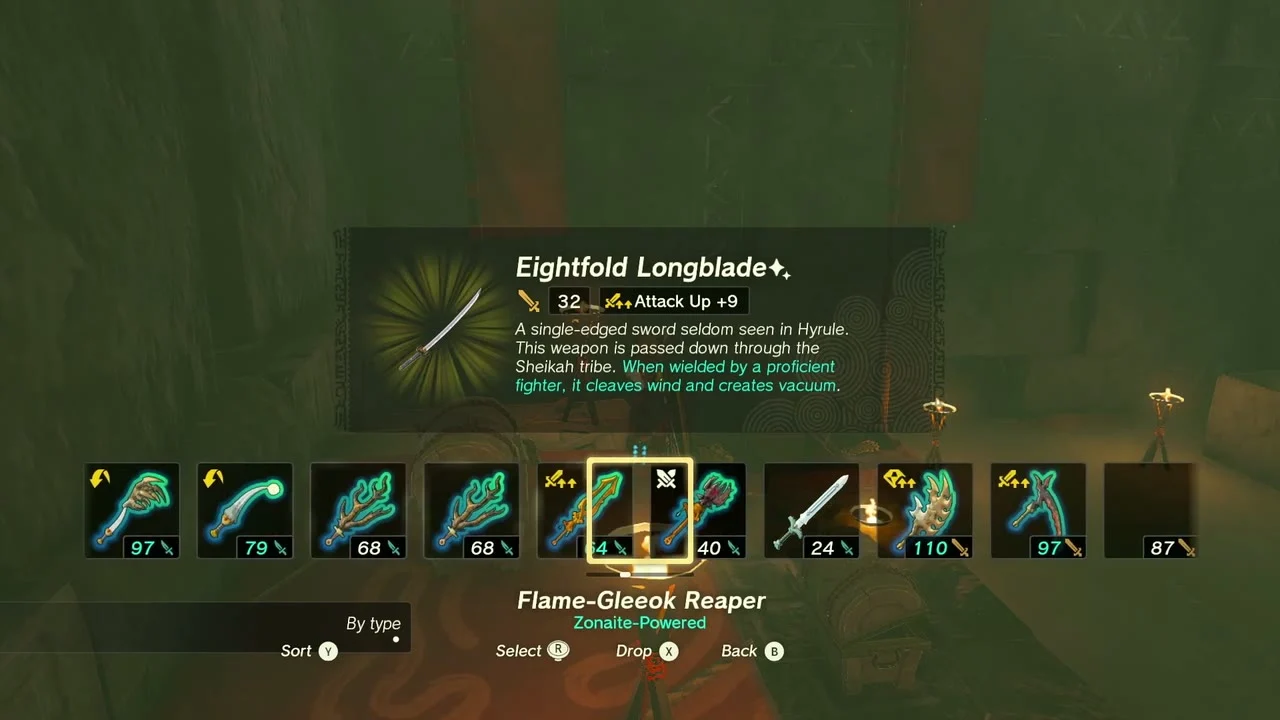
Inside, chests hold an Eightfold Blade, Mighty Bananas (for the Yiga Clan Exam), a Sneaky Elixir and an Eightfold Longblade. Brightbloom Seeds light the dark rooms.

Train with the Blademaster
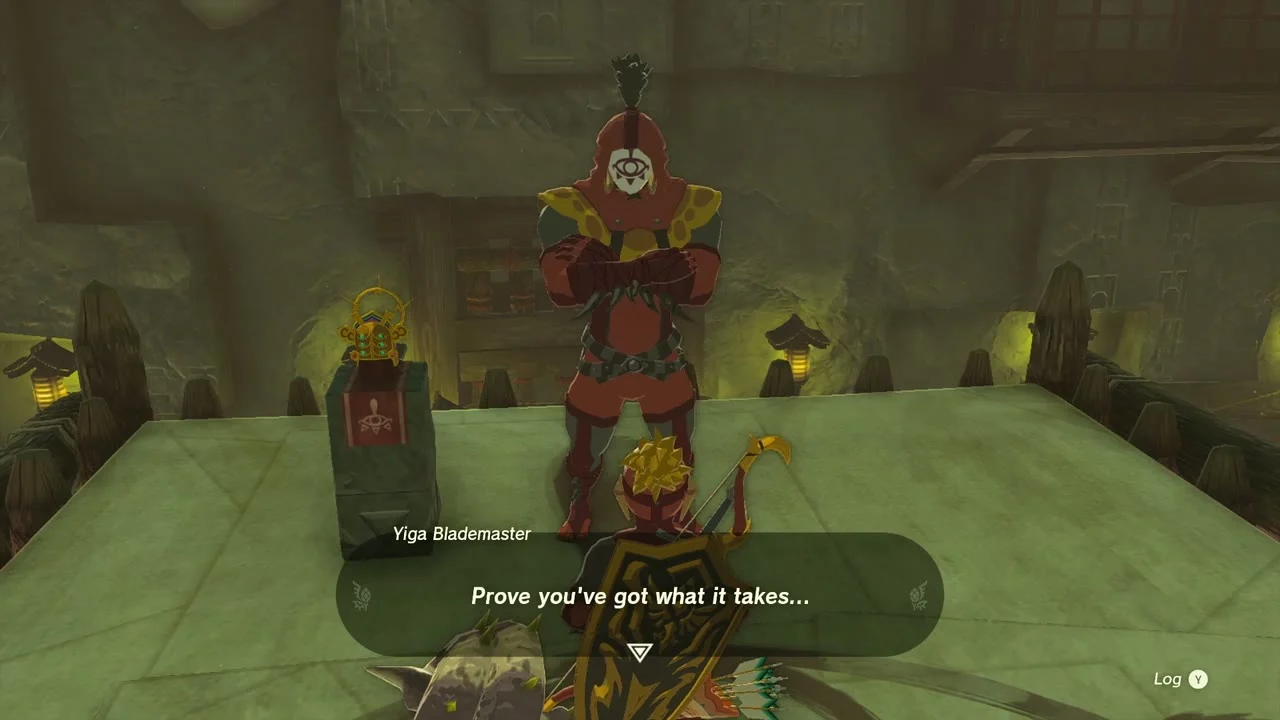
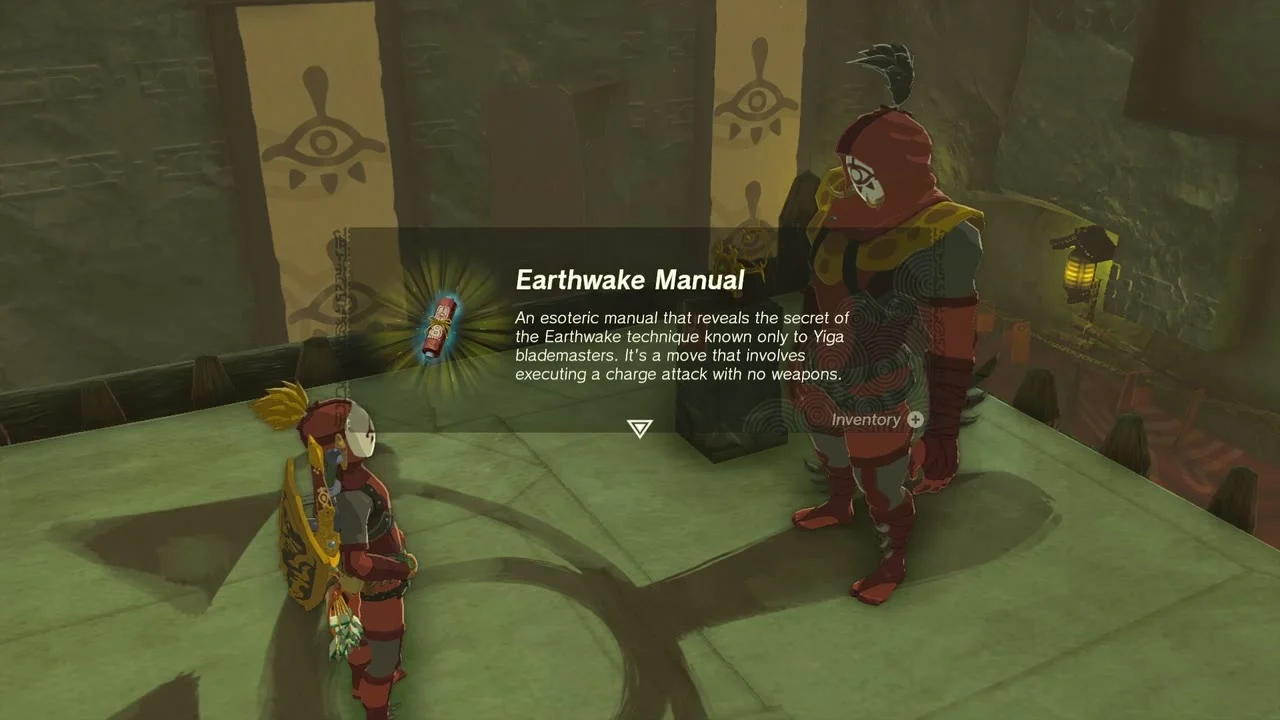
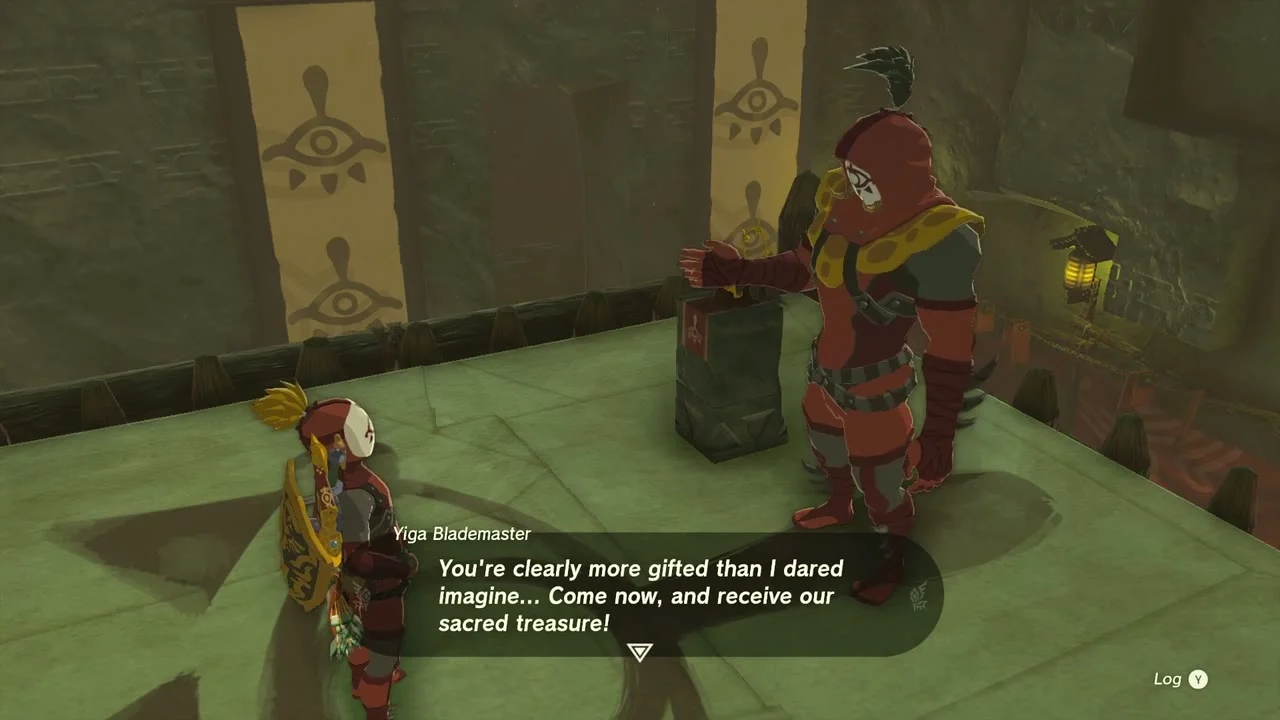
Speak to the Yiga Blademaster on the wooden tower (Ascend to reach the top) and take the timed training challenges. Each round gives you one minute to defeat a set number of enemies: the first round (three enemies) awards Yiga Fabric, a paraglider fabric; the second (about six, though some guides say five) awards the Earthwake Manual, the charge-attack technique; and the third (nine) awards the Lightning Helm. The first attempt is free and each retry costs 100 Rupees, so save before you start. A wide-arc weapon with a strong fused material helps.
Rotsumamu Shrine and the Travel Medallion
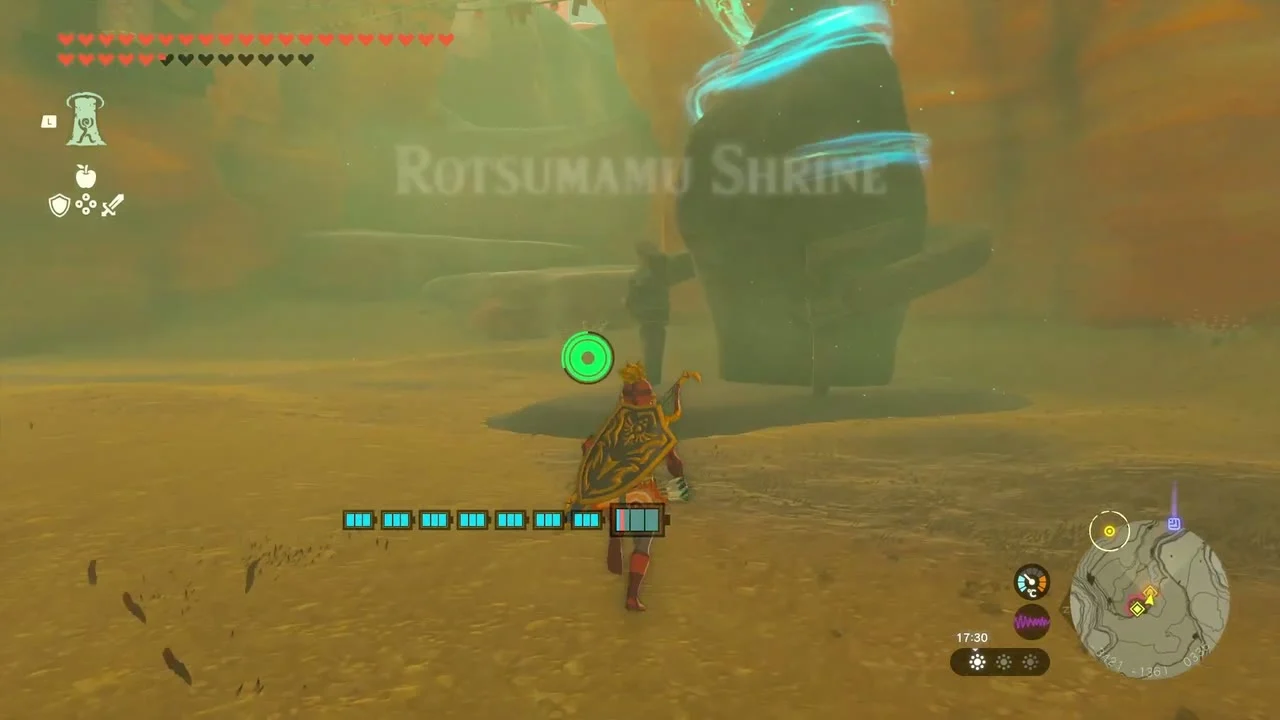
Rotsumamu Shrine: A Balanced Plan (Puzzle)
Rotsumamu Shrine at (-3407, -1363, 348), beside the Yiga Clan Hideout Chasm. Trial A Balanced Plan, a seesaw puzzle; the Umamustor Lightroot is directly below at (-3406, -1363, -800).

Tip the seesaws with weights
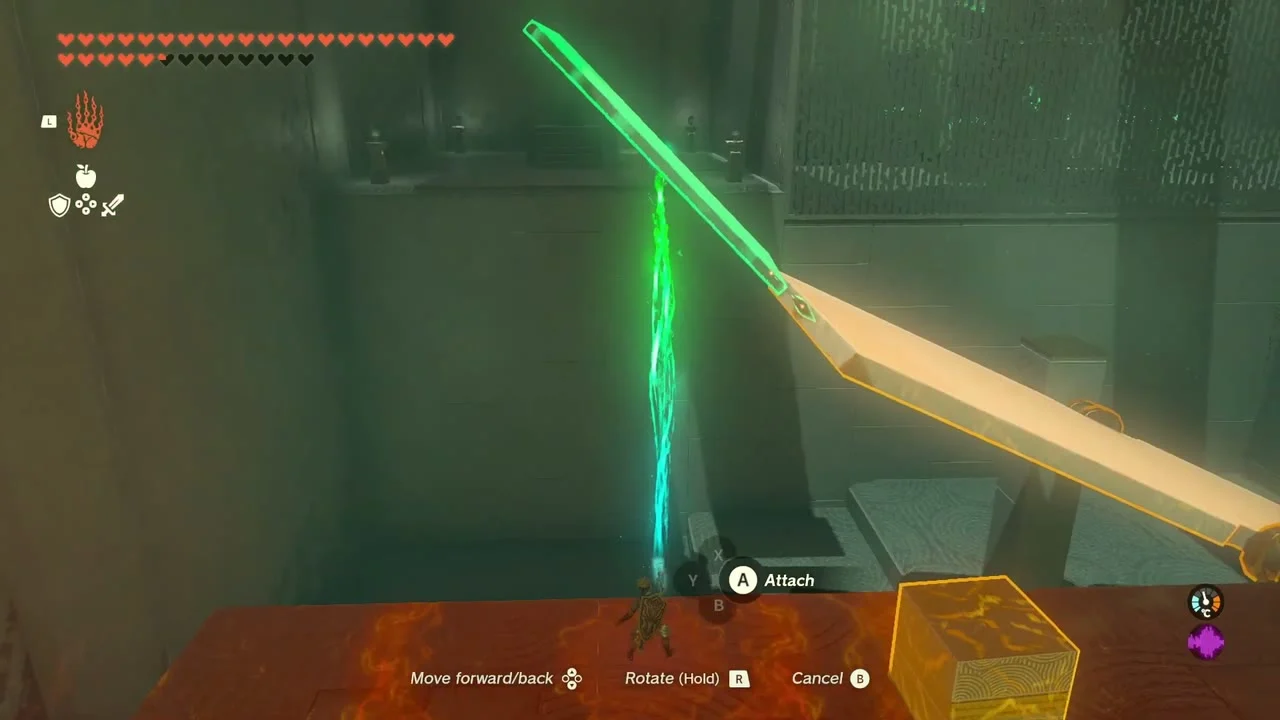
Each ramp tilts with weight. Ride a platform up as it lowers, then tip the next one by attaching a metal barrel or block to its high end with Ultrahand; Recall reverses a ramp that tipped the wrong way.


Claim the Large Zonaite and the Light of Blessing
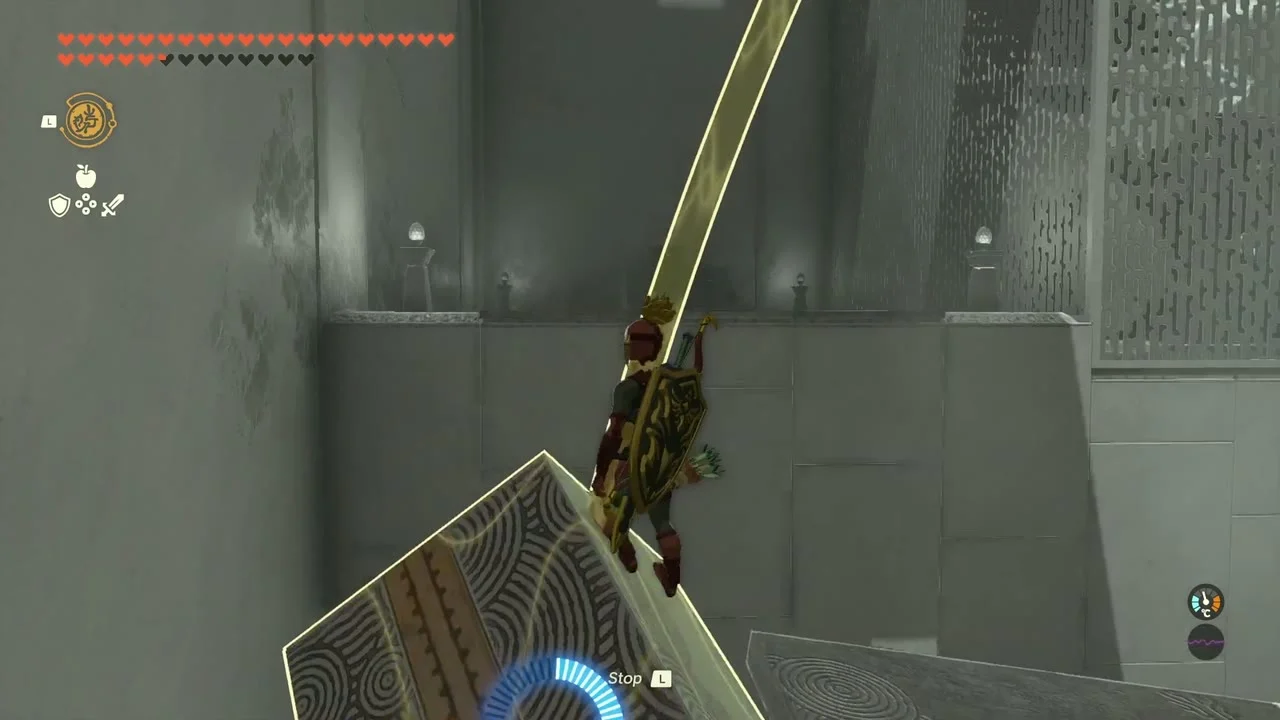
To reach the chest on the left ledge, attach a flat piece pointing toward the ledge and jump across for the Large Zonaite. Then tip the last ramp the other way by attaching a flat piece lengthwise to its left side and a movable block on the end, cross to the exit and take the Light of Blessing.

Present the Travel Medallion
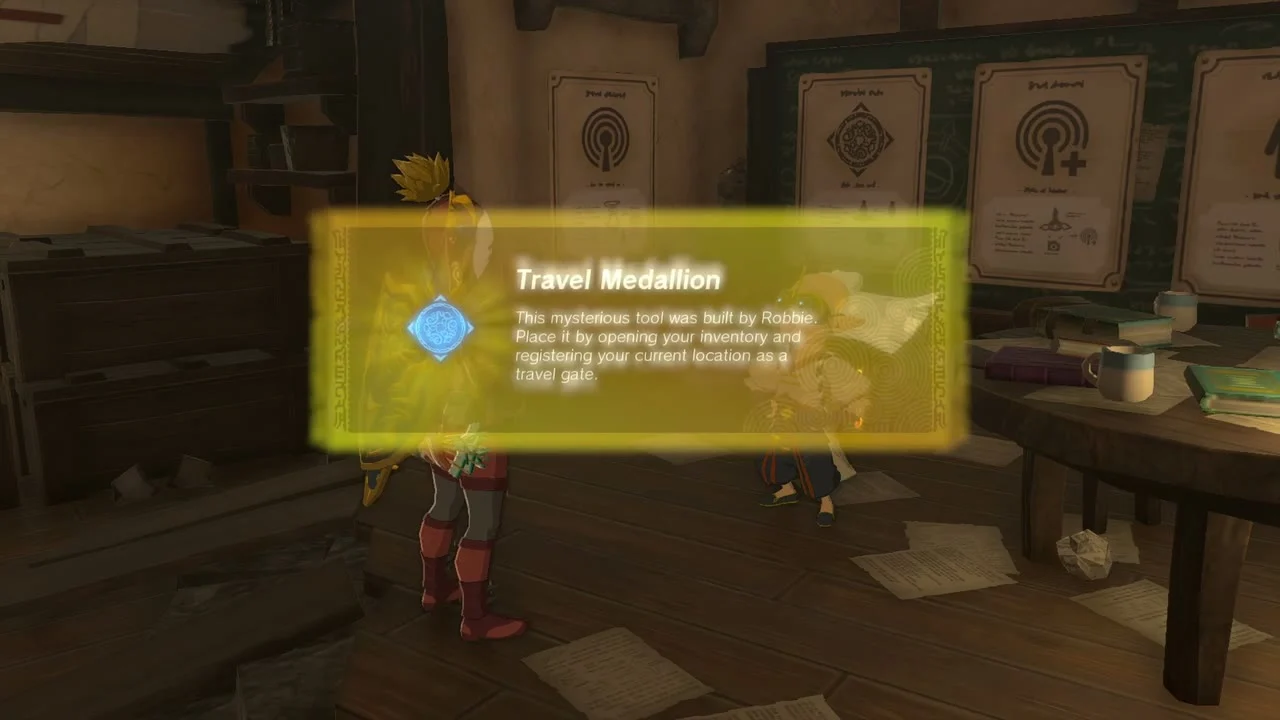
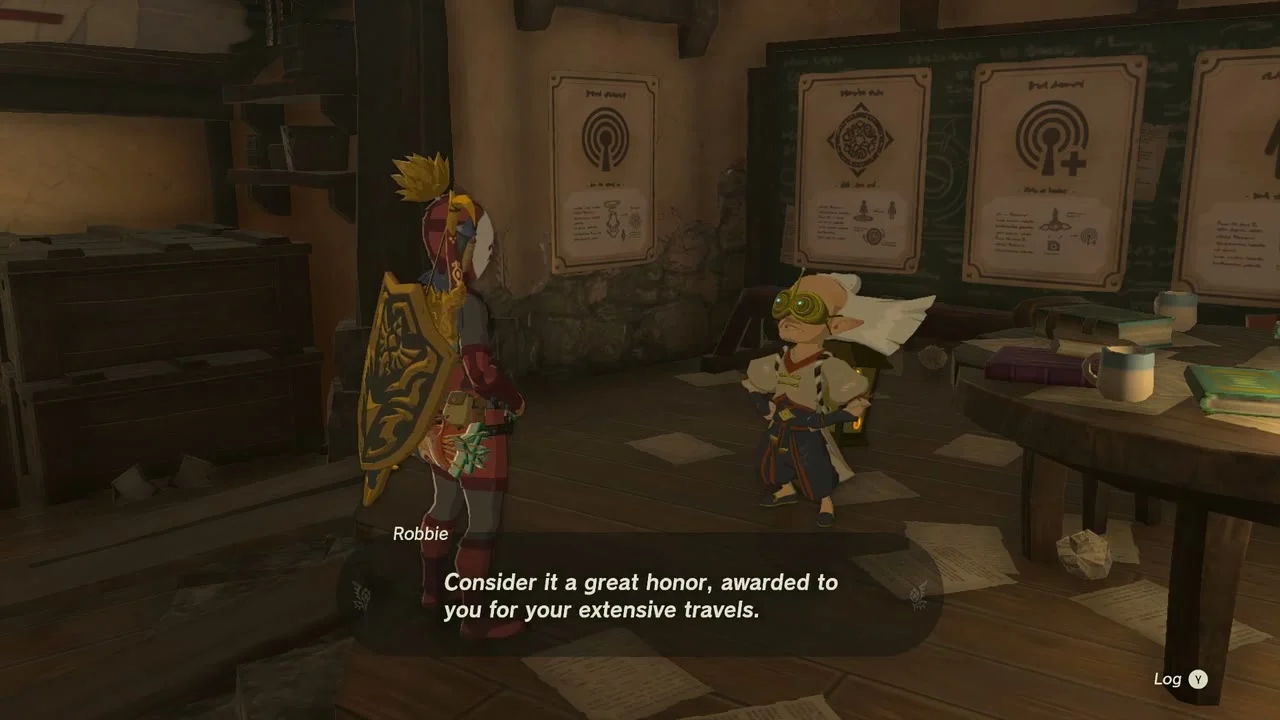
Finish Presenting: The Travel Medallion! at the Hateno Ancient Tech Lab. Robbie sends you to the Akkala Ancient Tech Lab (Yiga guards at the door) for the Travel Medallion Prototype, then installs further medallion upgrades once you have mapped ten, and then all fifteen, Skyview Tower regions. The medallion lets you place a marker and warp back to it.
Trade four Lights for a Heart Container
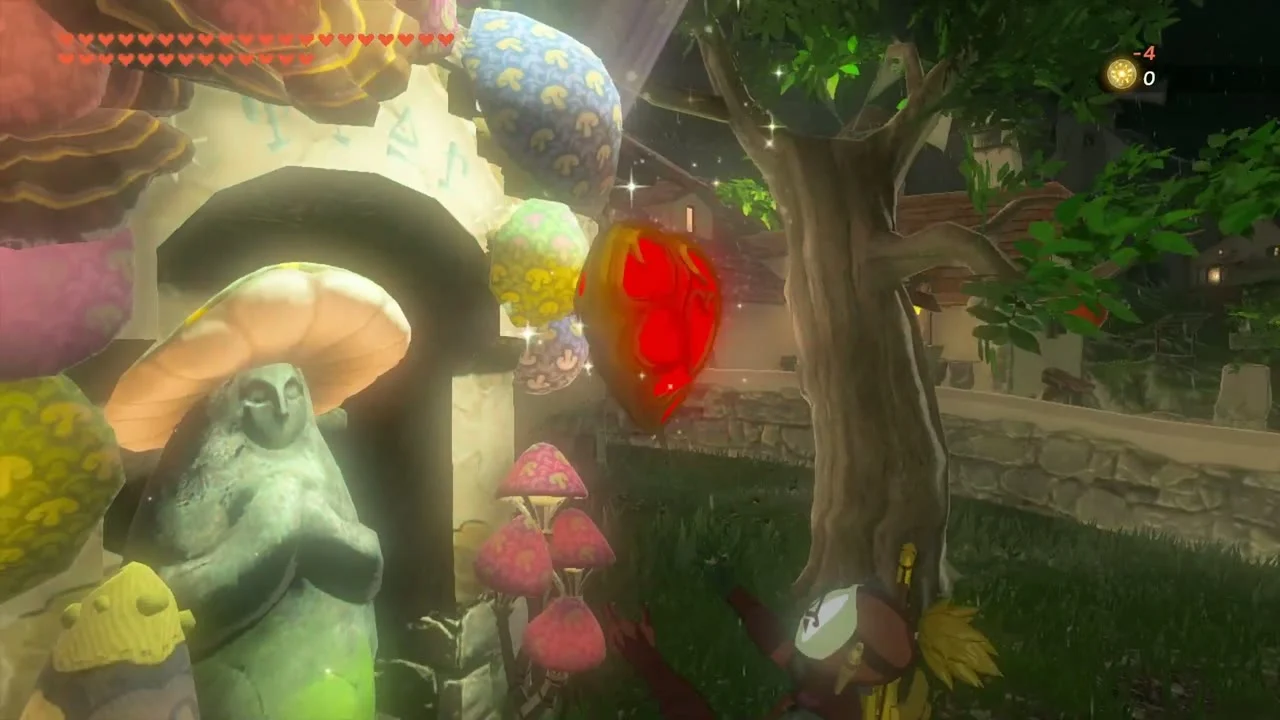
While in Hateno, offer four Lights of Blessing at the Goddess Statue for a Heart Container.

Plateau sweep: chests, Frost Talus and Koroks
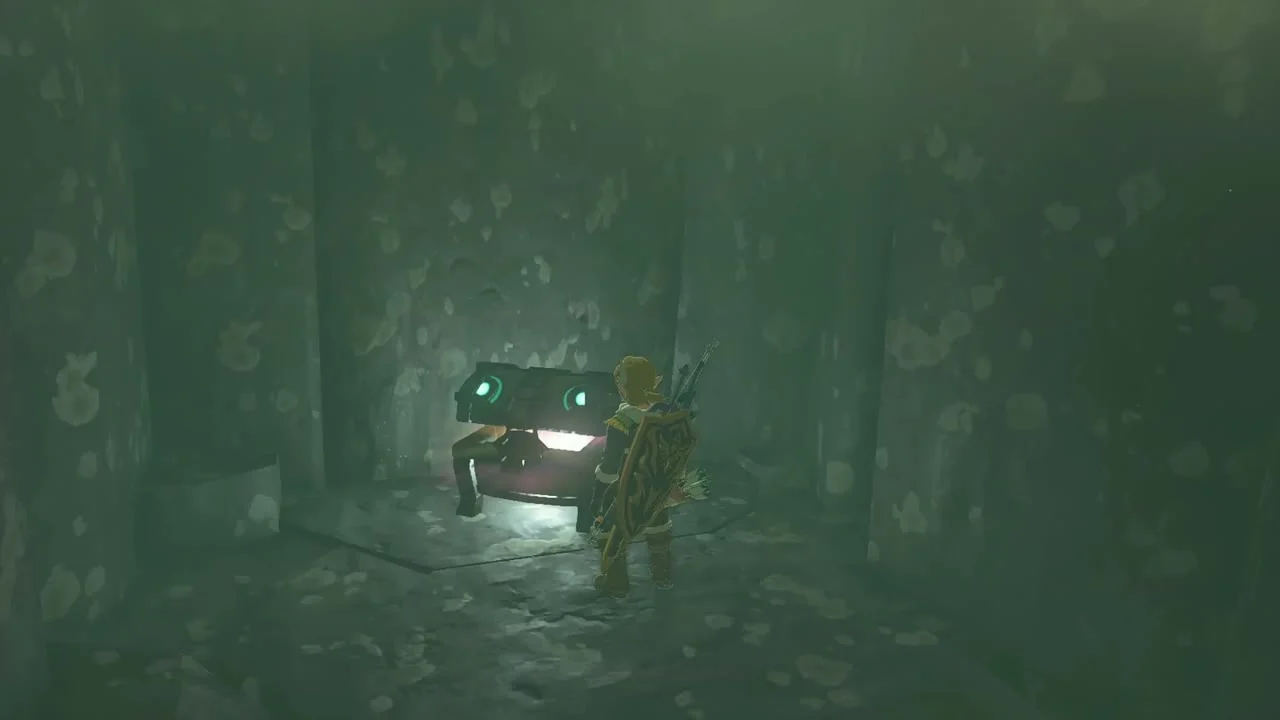
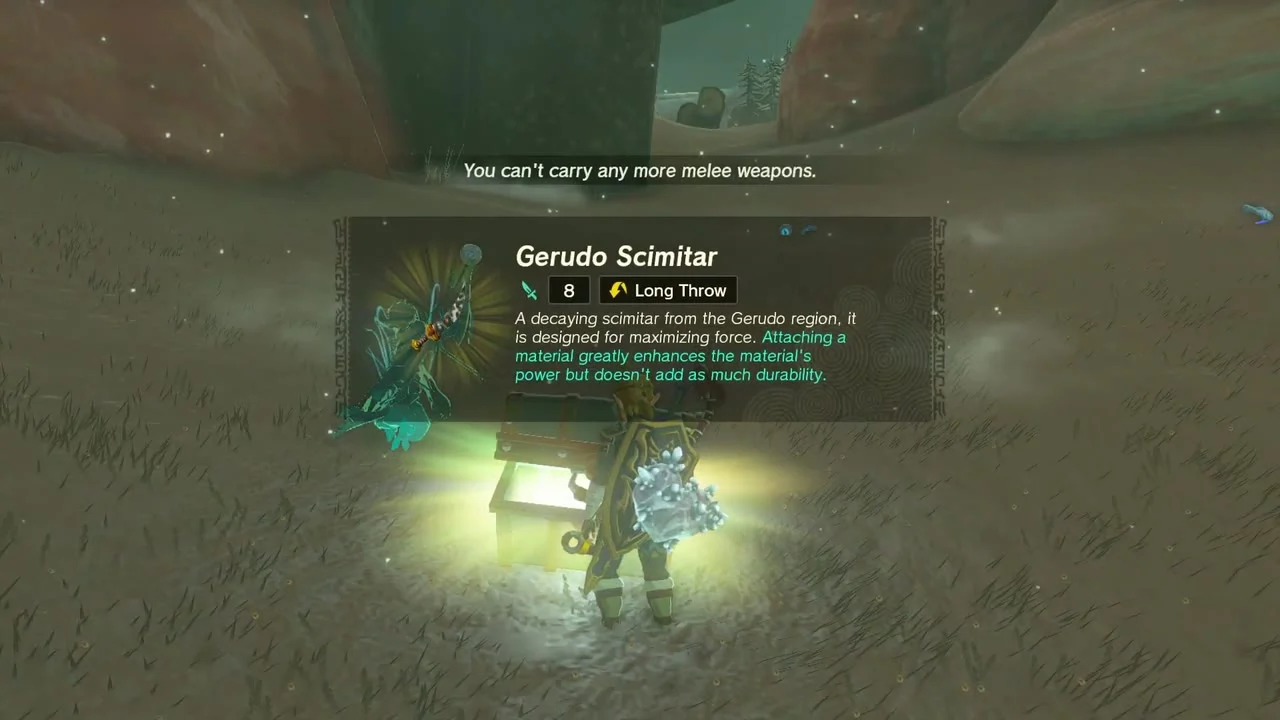
Gerudo Shield, Zonaite and Scimitar chests
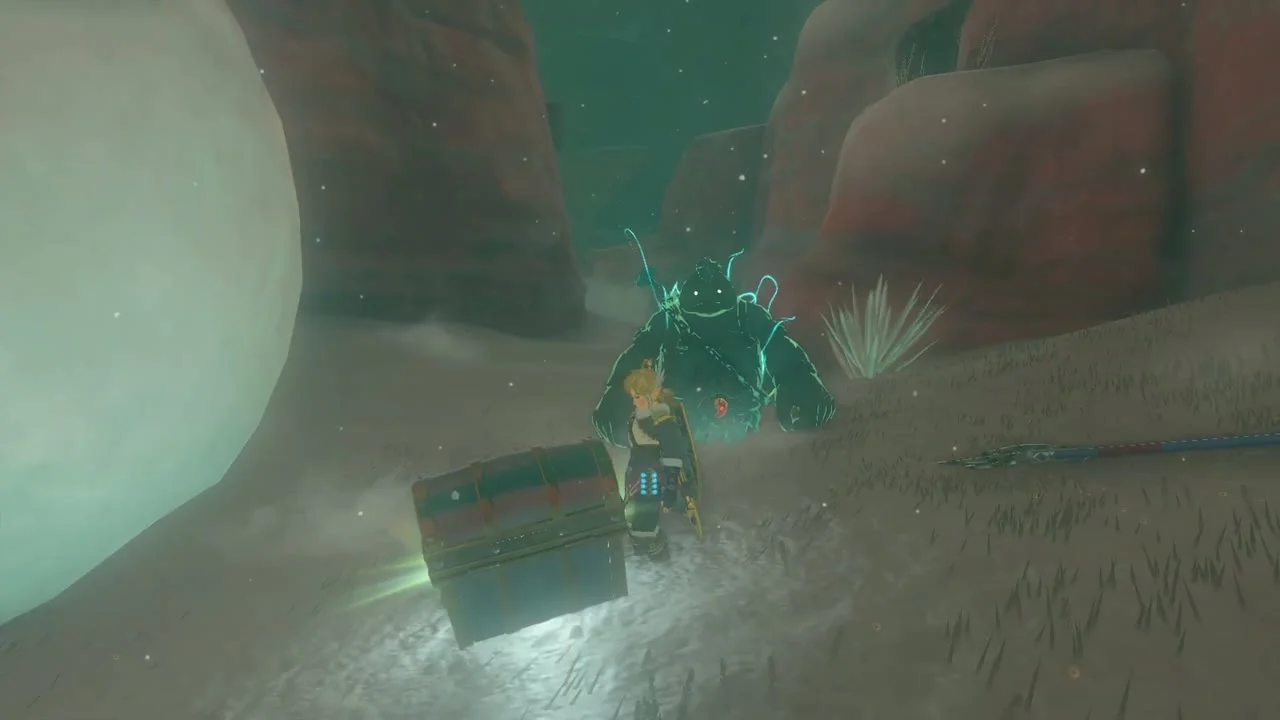
Back on the highlands, chests hold a Gerudo Shield, Zonaite x3 and a Gerudo Scimitar. Work along the canyon edge and check dark hollows.
Defeat the Frost Talus
Miniboss: Frost Talus on the snowfields; one sleeps at the southeast end of Laparoh Mesa, east of the Gerudo Summit, and another near East Rutimala Hill. Melt its ice armor with Fire Fruit or Bomb Flowers, then climb its back and strike the weak-point ore.


Defeat Phantom Ganon
Miniboss: Phantom Ganon rises from a gloom pool in the highlands. Stagger it with fused arrows, then slash it at close range.
Yiga Blademaster Station and The Yiga Clan Exam
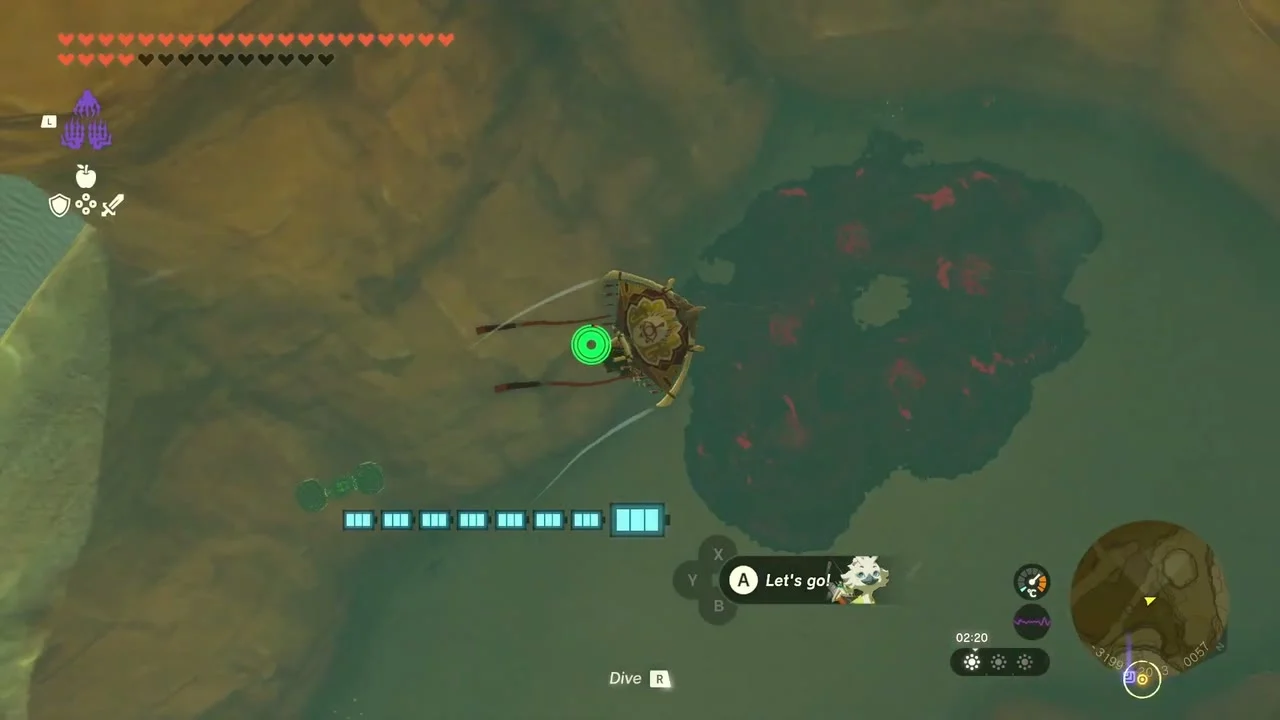
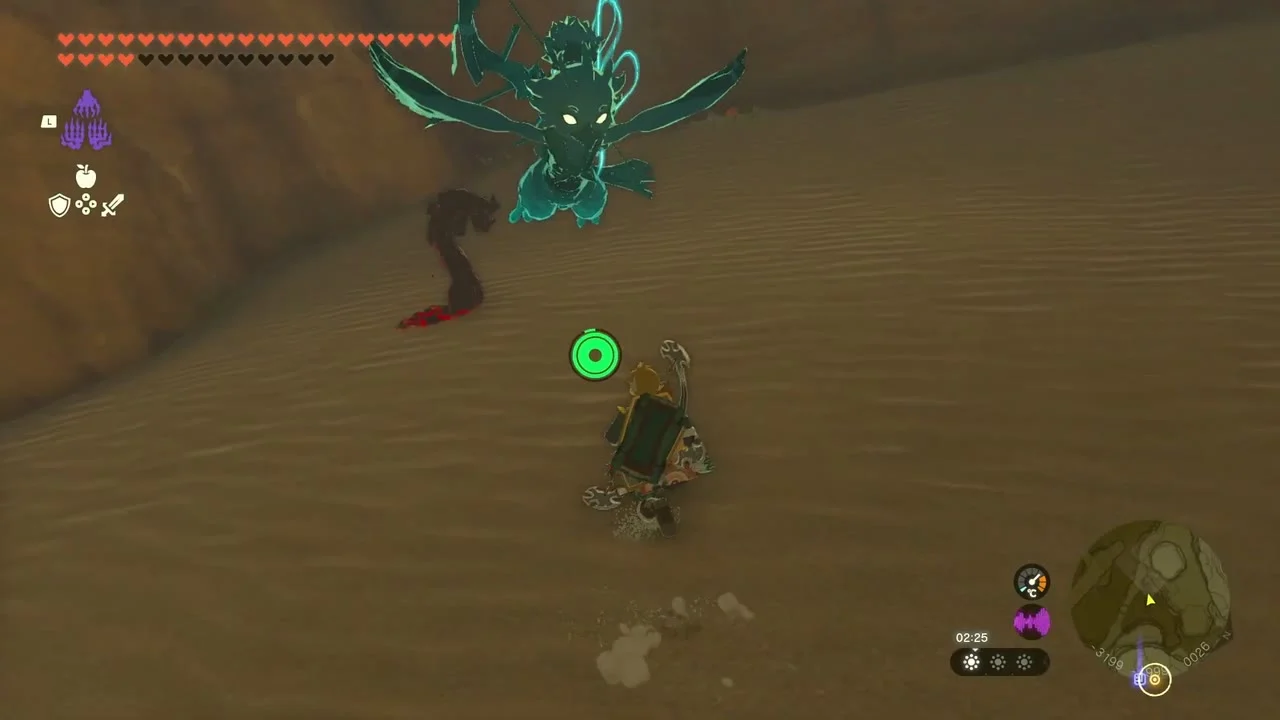
The Yiga Blademaster Station at (-2434, -1820, 146), behind a waterfall under Taafei Hill Cave, starts The Yiga Clan Exam; you must wear the full Yiga disguise to get in. Place a Mighty Banana in the bowl in front of each of the five Yiga frog statues around Gerudo Canyon, in any order. Guides place them just off the bridge to the Yiga stronghold, on the cliffsides north of the Gerudo Canyon Skyview Tower, inside Mount Nabooru Cave, on a plateau southeast of that tower and in the Gerudo Canyon Mine. Then report back to the Blademaster, who grants access to the Yiga inner sanctum and Suariwak Shrine.
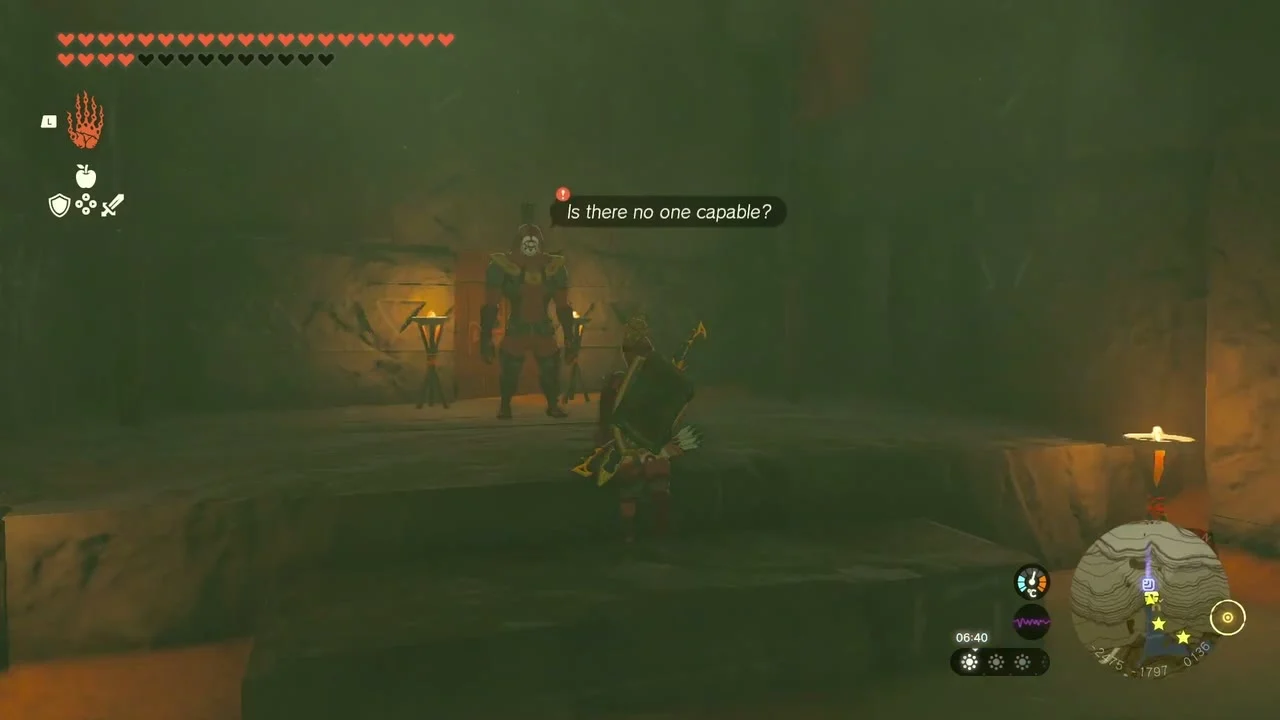

Defeat the Blue-Maned Lynel and the Flame Gleeok
Miniboss: Blue-Maned Lynel roams the open plateau; shoot its horns and parry its charge. Miniboss: Flame Gleeok circles a rocky basin; shoot its wings first, then each head.


Claim the Yiga Clan Exam reward
The Blademaster’s chests hold a Ruby and an Eightfold Longblade. A Bubbulfrog hides in a side room beyond for a Bubbul Gem.
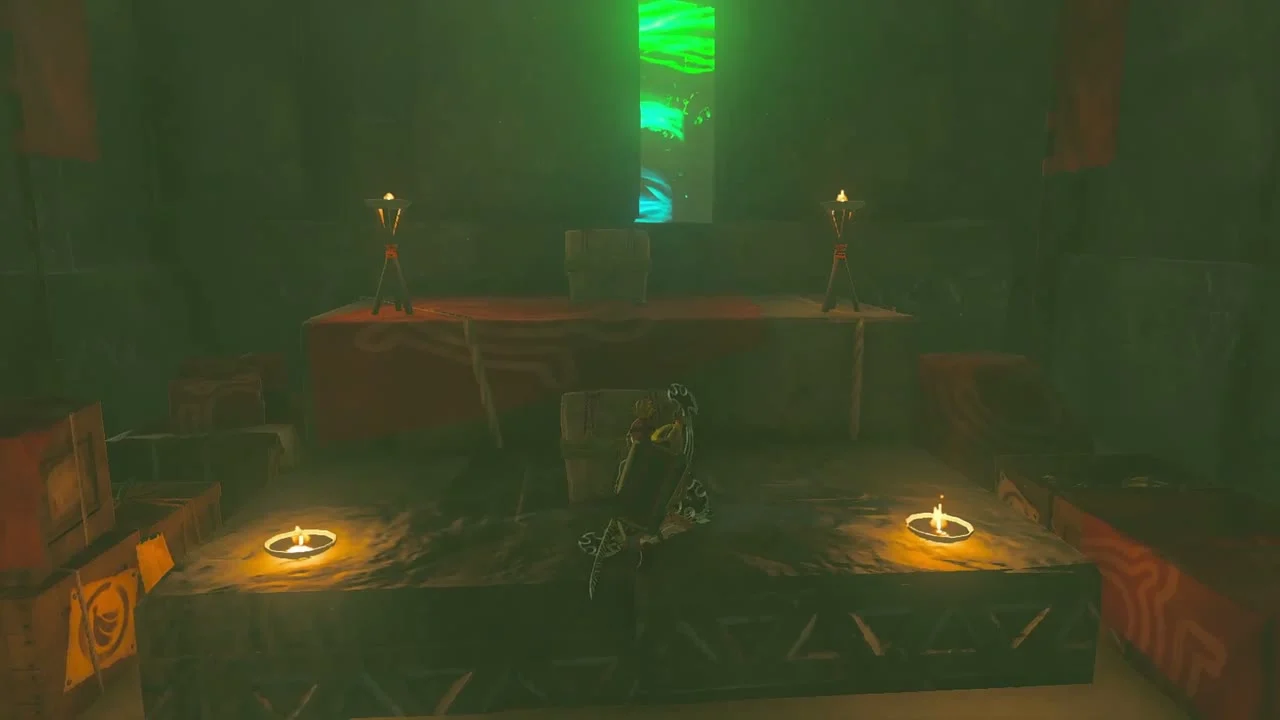

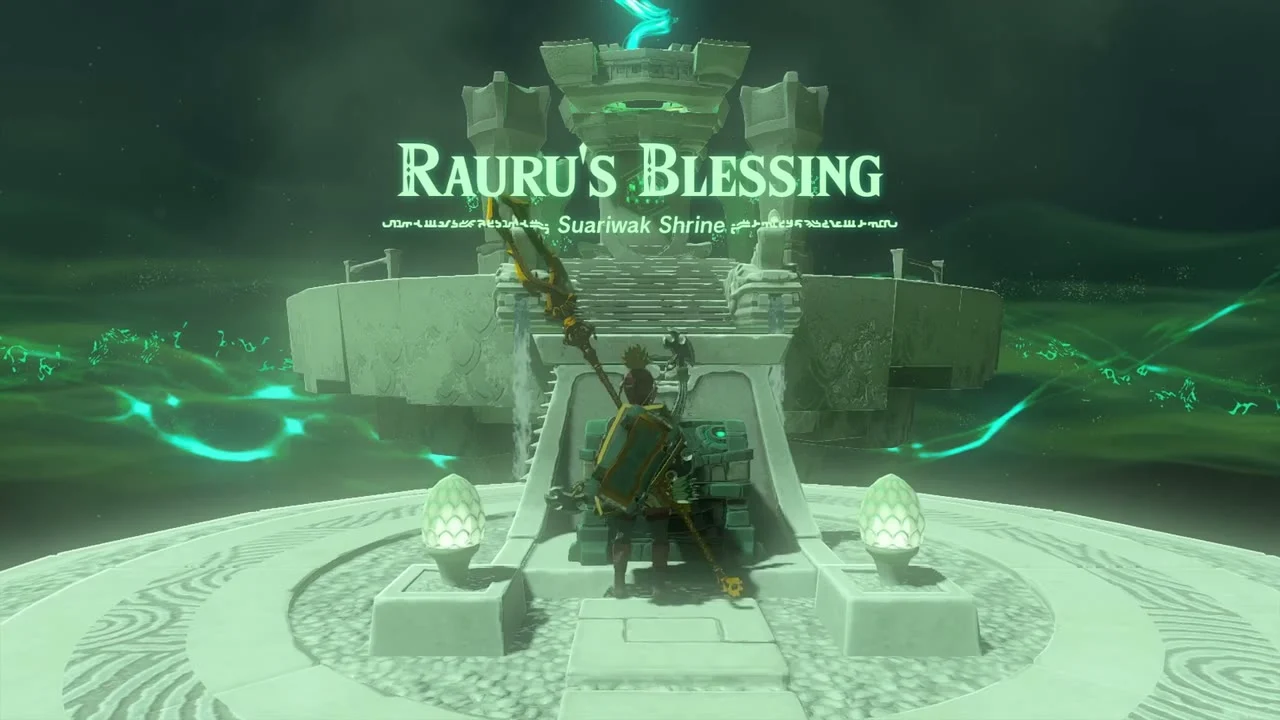
Suariwak Shrine: Rauru’s Blessing
Suariwak Shrine at (-2524, -1770, 145), near Taafei Hill Cave. Trial Rauru’s Blessing, so there is no puzzle (you must have finished the Yiga Clan Exam to enter): take the chest for a Big Battery, then the Light of Blessing. The Kawiraus Lightroot is below at (-2525, -1769, -734).

Last Eightfold Longblade and Frost Emitter chests
One more Eightfold Longblade waits in a rock hollow back on the plateau, and a chest in snowy ruins holds Frost Emitter x3.

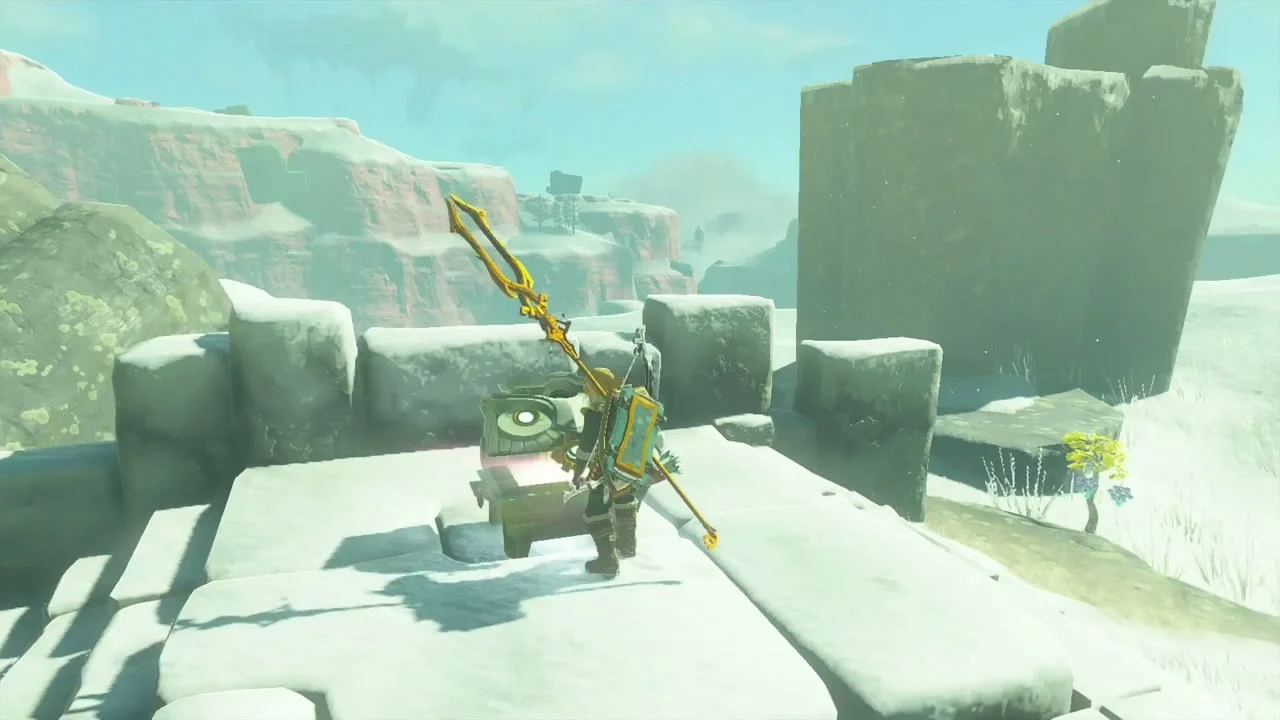
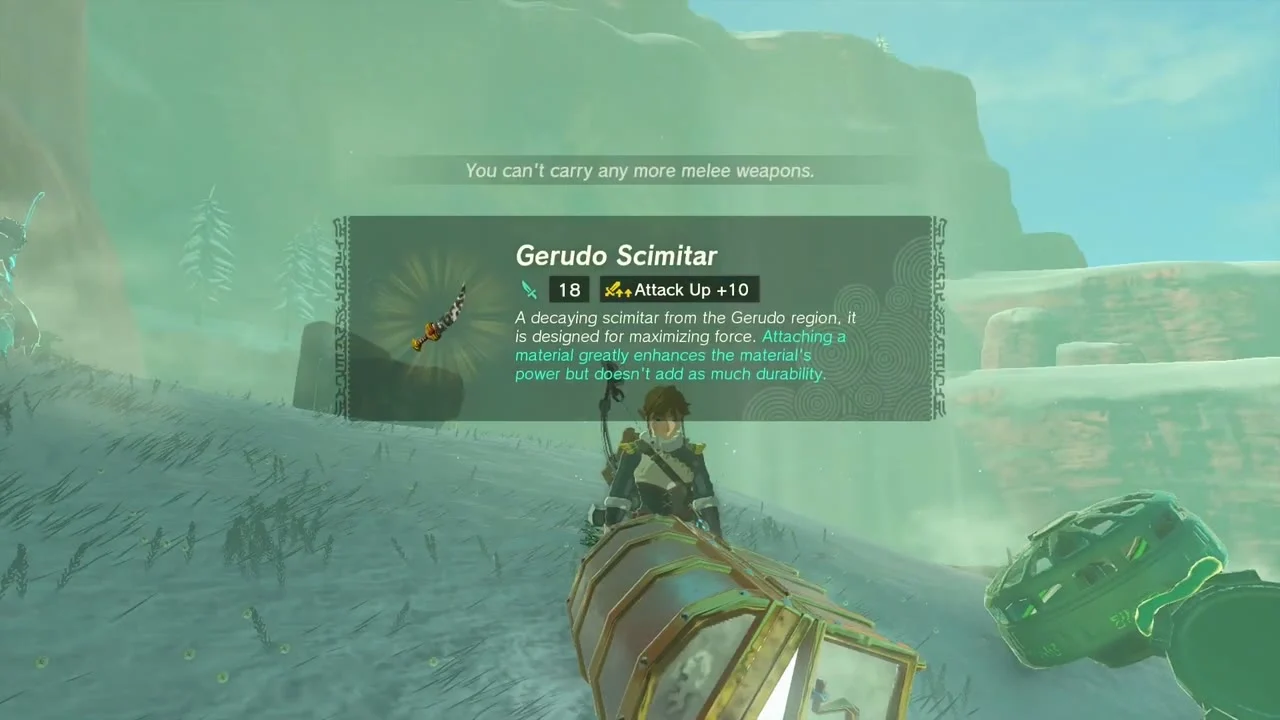
Boss Bokoblin camps and Gerudo Scimitar chests
Two Boss Bokoblin camps guard chests of Gerudo Scimitar, with an Arrow chest nearby. Bomb Flowers scatter the camps.

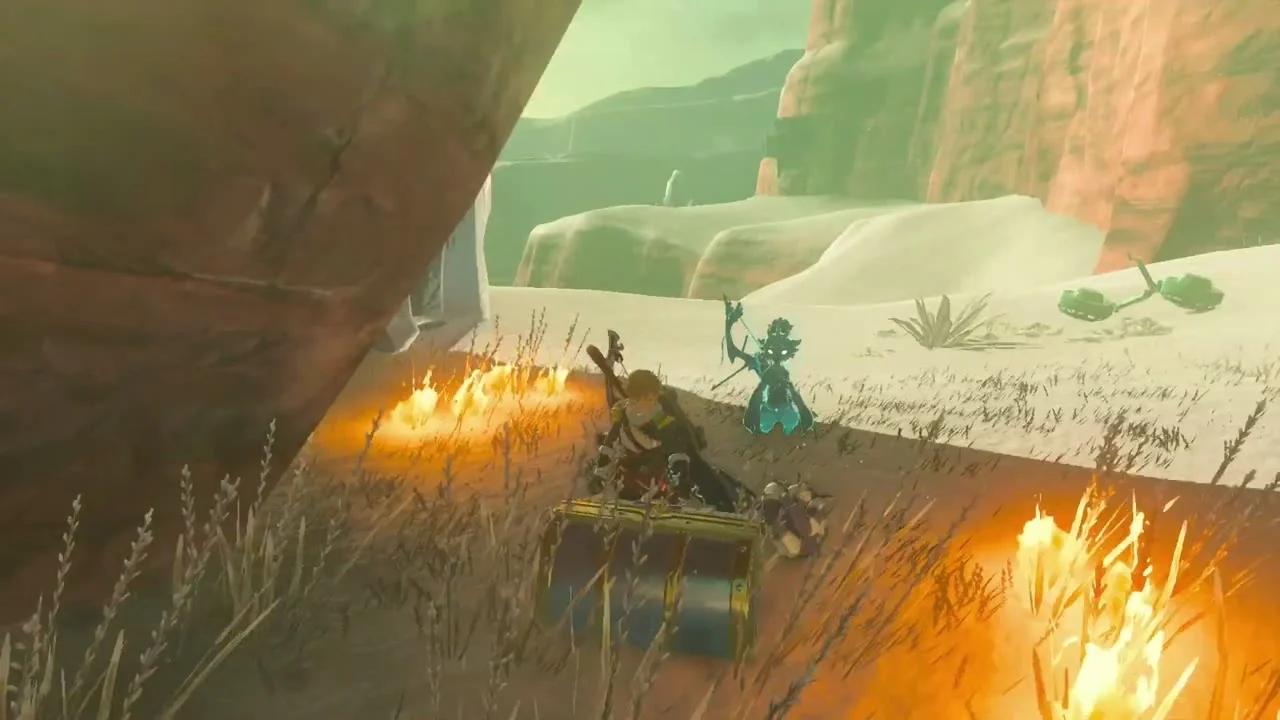
Mystathi’s Shelf Cave
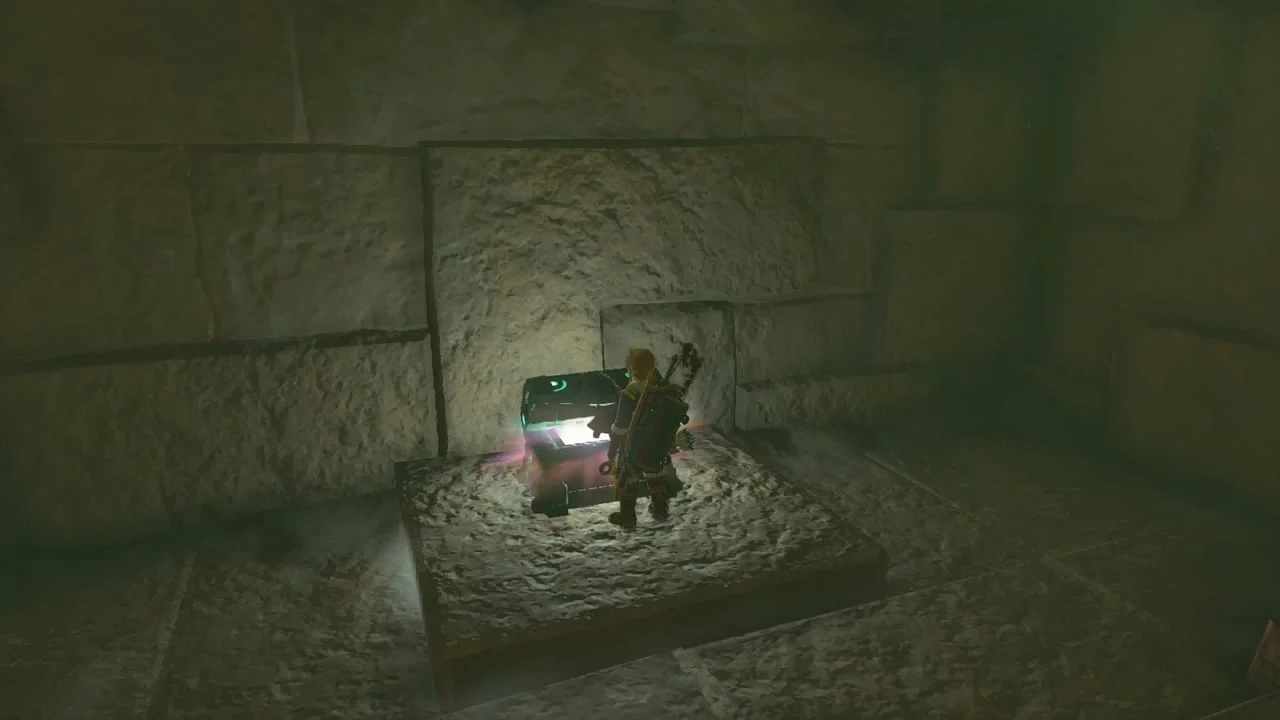
Mystathi’s Shelf Cave at (-3882, -727, 570). The easiest approach is to launch from the Gerudo Highlands Skyview Tower and glide south, looking for the lightning-bolt markings around a round opening in the cliff. A Bubbulfrog hides in the room to the left of the entrance for a Bubbul Gem. The chest in the main chamber holds Large Zonaite behind a gate that opens when you light the device with Riju’s Vow ability, so come back after earning the Vow of Riju if you cannot raise it yet.

Defeat the Frost Gleeok
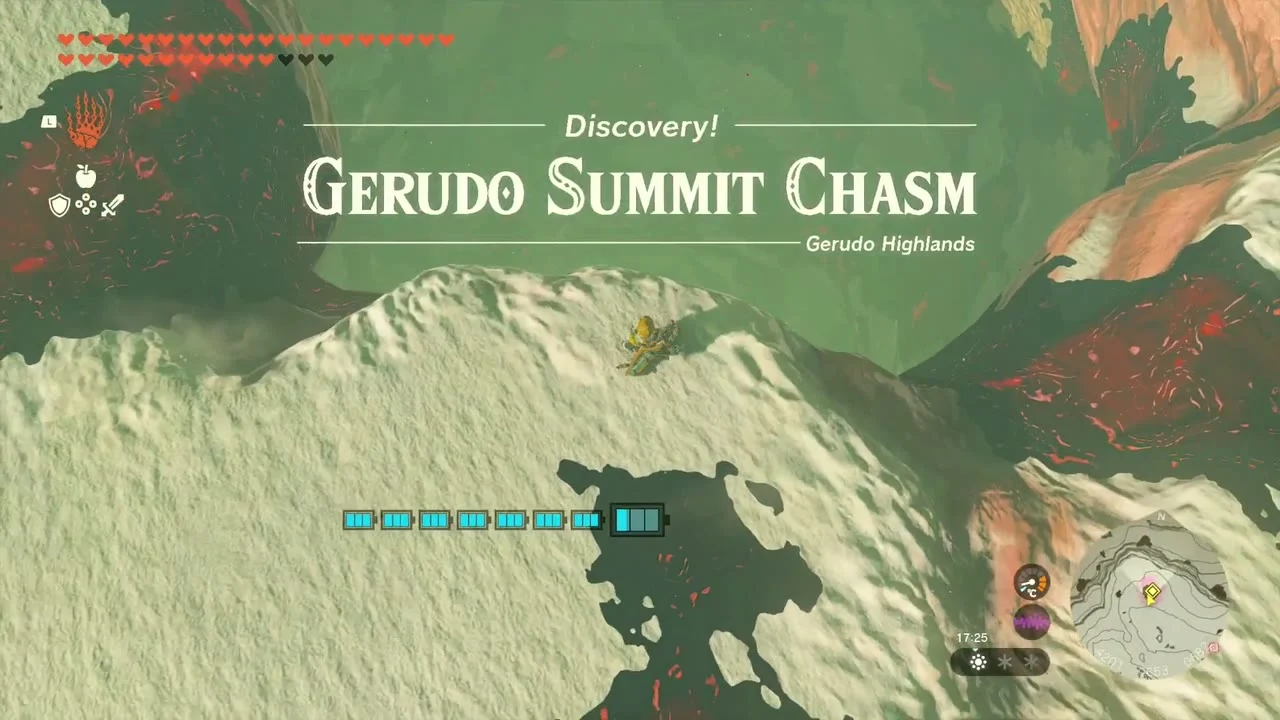
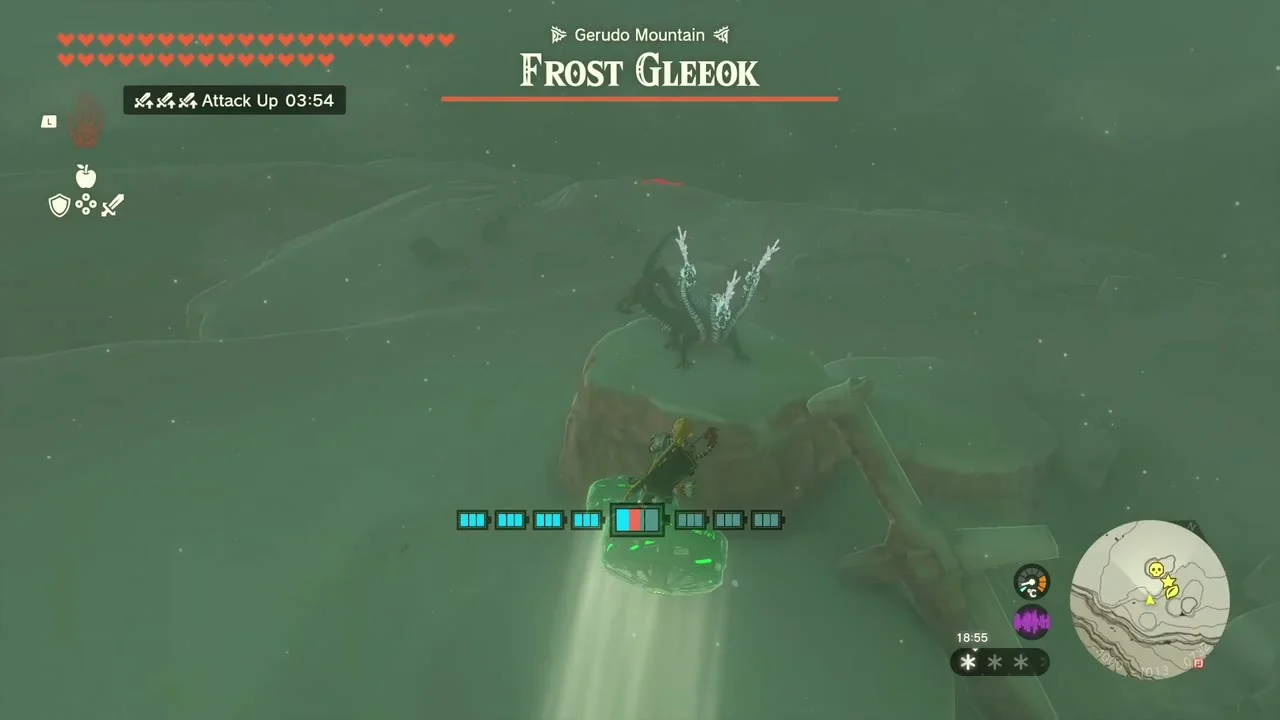
Miniboss: Frost Gleeok at Gerudo Summit Chasm. Fire Fruit arrows melt its ice armor; shoot each head, then slash them off while it is down.

Photograph the Forgotten Sword
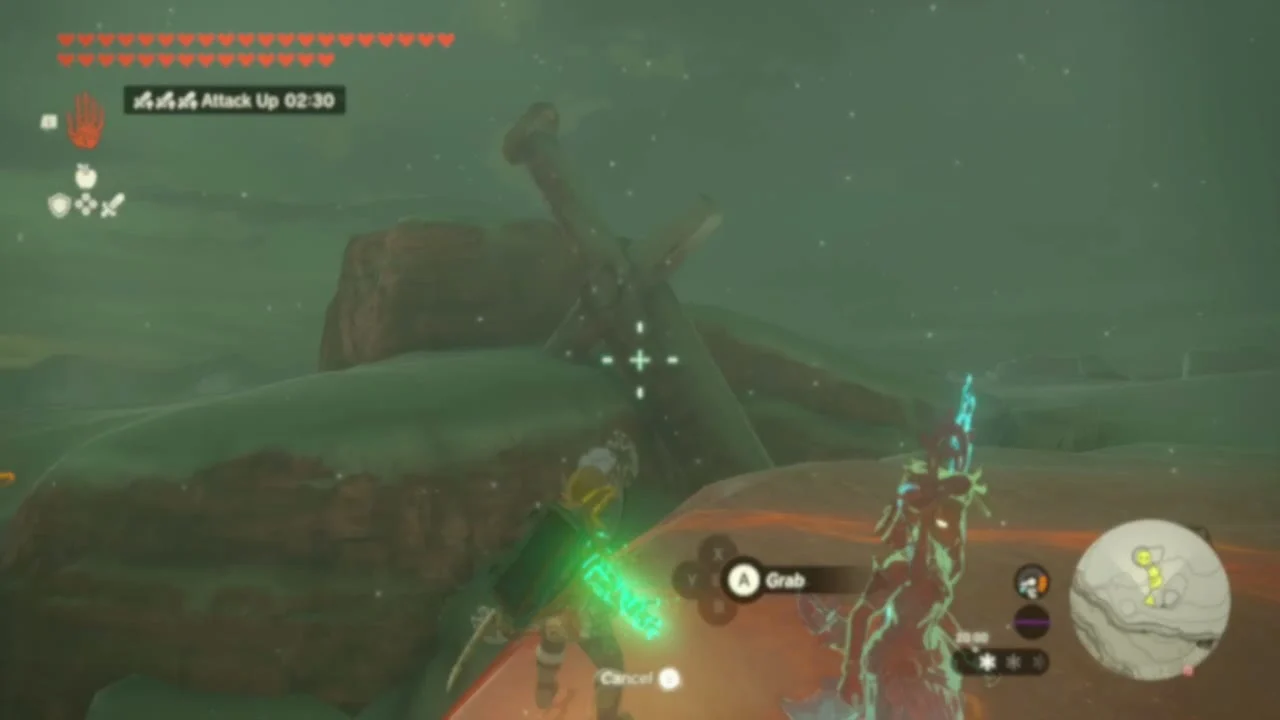
For A Picture for the Closed Stable II, photograph the Forgotten Sword on the south side of the Gerudo Summit, beside the Frost Gleeok (near -4024, -956, 709), then show it to Piaffe at Gerudo Canyon Stable by checking the empty frame. You need the Camera Work in the Depths and Piaffe, Packed Away quests done first, and you can zoom in from far away without fighting the Gleeok. Piaffe pays in Pony Points and a meal.
Korok seeds
Nintendo Life counts about 40 Korok puzzles on the Highlands surface, plus two in the Gerudo sky (Starview Island and South Lomei Castle). Five were matched to datamined entries by their coordinates:
- Complete the rock pattern near (-3561, -1558, 452).
- Place the boulder on the tree stand near (-3666, -1564, 471).
- Melt the ice block and lift the rock near (-3011, -1501, 577).
- Complete the cube puzzle near (-3899, -1644, 294).
- Use the paraglider to reach the goal at (-3369, -50, 2286), in the sky.
Datamined Koroks in the Highlands
| Puzzle | X | Y | Height |
|---|---|---|---|
| Complete the cube puzzle | -4911 | -1242 | 456 |
| Examine where the arrows point to | -4691 | -1236 | 525 |
| Bring the exhausted korok to its friend | -4507 | -589 | 511 |
| Place the boulder on the tree stand | -4420 | -351 | 522 |
| Pop the hidden balloon | -4389 | -715 | 566 |
| Lift the rock | -4376 | -524 | 451 |
| Complete the rock pattern | -4322 | -1090 | 523 |
| Lift the rock | -4002 | -969 | 714 |
| Build a roof for the statues | -3968 | -323 | 446 |
| Catch the sparkling spot | -3963 | -609 | 657 |
| Offer fruits to the statues | -3921 | -1590 | 242 |
| Complete the cube puzzle | -3899 | -1644 | 294 |
| Complete the cube puzzle | -3872 | -1176 | 496 |
| Melt the ice block and lift the rock | -3812 | -789 | 548 |
| Reach the target ring within the time limit | -3806 | -1474 | 317 |
| Follow the flower | -3737 | -996 | 535 |
| Reach the target ring within the time limit | -3674 | -798 | 634 |
| Place the boulder on the tree stand | -3666 | -1564 | 471 |
| Reach the target ring within the time limit | -3653 | -392 | 276 |
| Lift the rock | -3600 | -916 | 506 |
| Complete the rock pattern | -3565 | -732 | 556 |
| Complete the rock pattern | -3561 | -1558 | 452 |
| Go up to examine the sparking spot | -3493 | -985 | 616 |
| Repair the roof | -3467 | -168 | 66 |
| Melt the ice block and lift the rock | -3249 | -1463 | 401 |
| Shoot the balloon(s) | -3245 | -1030 | 572 |
| Use Ascend on the marker | -3163 | -1037 | 438 |
| Bring the exhausted korok to its friend | -3142 | -619 | 199 |
| Build a roof for the statues | -3102 | -1032 | 596 |
| Pull the plug | -3060 | -1286 | 500 |
| Melt the ice block and lift the rock | -3011 | -1501 | 577 |
| Reach the target ring within the time limit | -2961 | -1400 | 444 |
| Use the paraglider to reach the goal | -2921 | -481 | 15 |
| Go up to examine the sparking spot | -2867 | -1123 | 413 |
| Complete the rock pattern | -2714 | -496 | 86 |
| Use Ascend on the marker | -2672 | -1356 | 518 |
| Complete the rock pattern | -2643 | -1532 | 582 |
| Complete the cube puzzle | -2640 | -322 | 133 |
| Lift the rock | -2600 | -669 | 213 |
| Build a roof for the statues | -2505 | -1589 | 536 |
| Follow the flower | -2497 | -567 | 205 |
Gerudo Highlands checklist
| Collectible | Count | Where |
|---|---|---|
| Skyview Tower | 1 | Gerudo Highlands |
| Shrines | 3 | Mayasiar, Rotsumamu, Suariwak |
| Caves | 2 | Meadela’s Mantle, Mystathi’s Shelf |
| Bubbul Gems | 3 | Meadela’s Mantle, Yiga Blademaster Station, Mystathi’s Shelf |
| Minibosses | 7 | Battle Talus, Frost Talus, Phantom Ganon, Blue-Maned Lynel, Flame Gleeok, Frost Gleeok, Boss Bokoblin |
| Armor | 1 | Lightning Helm |
Part 2: Mayamats, Otutsum, Gasas and Turakawak shrines, Eighth Heroine cave, five Depths
| Region | Northern and western Gerudo Highlands (the snowfields from Rutimala Hill and Hemaar’s Descent up to Tanagar Canyon), the Gerudo Highlands Depths beneath them, and the clean-up errands that follow |
|---|---|
| Shrines | 4: Mayamats Shrine (A Route for a Ball, puzzle), Otutsum Shrine (Rauru’s Blessing), Gasas Shrine (Well-Timed Cuts, puzzle), Turakawak Shrine (Stacking a Path, puzzle) |
| Lightroots | 5 lit in the Depths: Umamustor, Kawiraus, Kawakarut, Mustuto and Stamayam (the last one earns the Dispelling Darkness Medal) |
| Caves | Statue of the Eighth Heroine Cave (Tingle’s Hood, Bubbul Gem), Gerudo Canyon Mine and Agaat Canyon Mine in the Depths |
| Bosses and minibosses | Marbled Gohma and Queen Gibdo (Depths), Hinox, Frost Talus, Silver-Maned Lynel, Red-Maned Lynel, Stone Talus, Frox, Flux Construct I and III, Battle Talus |
| Gear | Tingle’s Hood, Trousers of Time, Magic Rod, Royal Halberd (or Traveler’s Spear, Soldier’s Spear or Knight’s Halberd, depending on your progress), Royal Claymore (or Traveler’s Claymore, Soldier’s Claymore or Knight’s Claymore, depending on your progress) x2, Gerudo Spear x2, Gerudo Shield, Radiant Shield, Addison’s Fabric, Koltin’s Fabric, Zonai Fabric, Eldin-Ostrich Fabric, Dispelling Darkness Medal |
| Quests | Misko’s Treasure: Heroines Manuscript, Where Are the Wells?, Filling Out the Compendium, The Dragon’s Tears (final tear), Lurelin Resort Project, Legend of the Great Sky Island |
This is the second half of the Gerudo Highlands: four more shrines scattered across the snowfields, a hidden statue cave with the last Bubbul Gem, five Lightroots and a loop of boss arenas in the Depths, and the final Dragon’s Tear. Coordinates are map units (X, Y, height); larger Y is further north.
Quick route
Dress for the cold, fix the signpost for Addison, open the Frost Emitter chest and work through Mayamats Shrine in the far west, then loot the Royal Halberd and Gerudo Spear chests and finish Otutsum Shrine.
Use the Mirror chest to open the Statue of the Eighth Heroine, take Tingle’s Hood and the Bubbul Gem inside, then travel north-east to Gasas and Turakawak Shrines and beat the two Lynels on the way.
Drop into the Depths and light the five Lightroots, raid the Yiga hideouts and the Marbled Gohma and Queen Gibdo arenas, then close out the mines, the Goddess Statue, the final Dragon’s Tear and the side quests that unlock last.
West and north-west snowfields
Repair Addison’s signpost
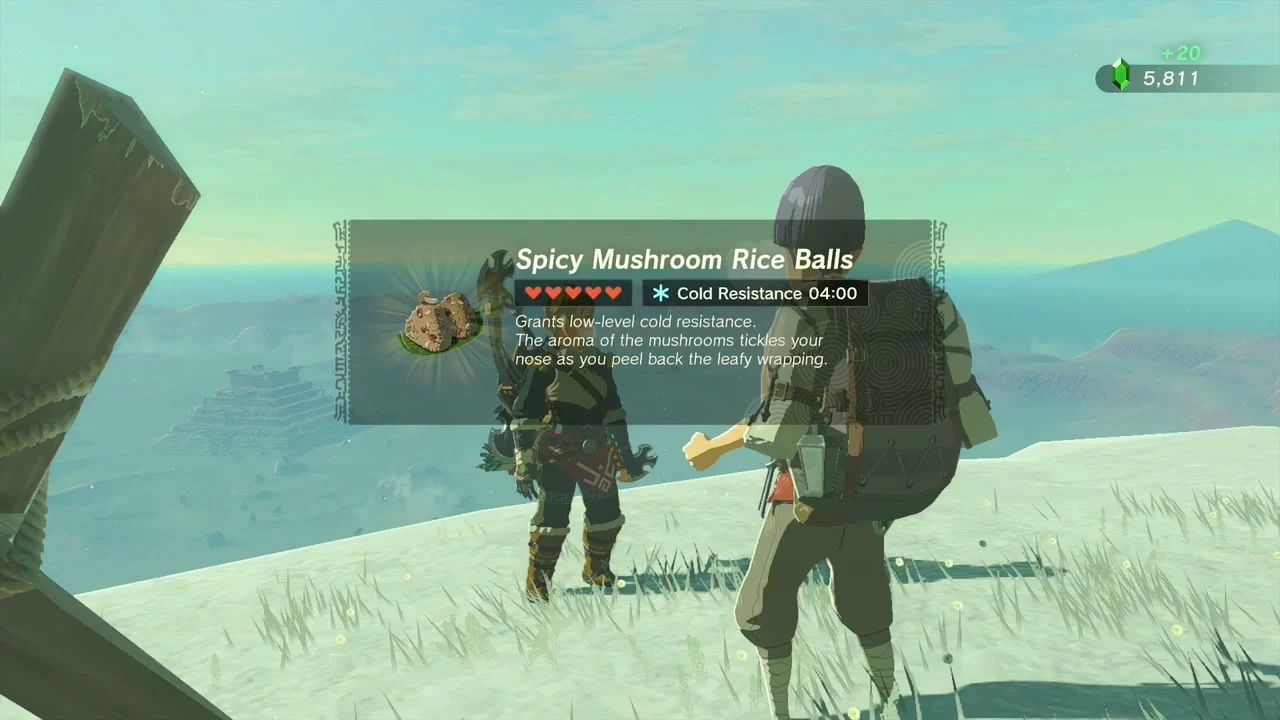
Addison’s signs lean over wherever you find them in the highlands. Talk to Addison, raise each sign with Ultrahand and take what he gives: each Hudson sign pays 20 Rupees, a rice ball (the Highlands ones are mushroom or meaty rice balls) and a material.

Open the Frost Emitter chest
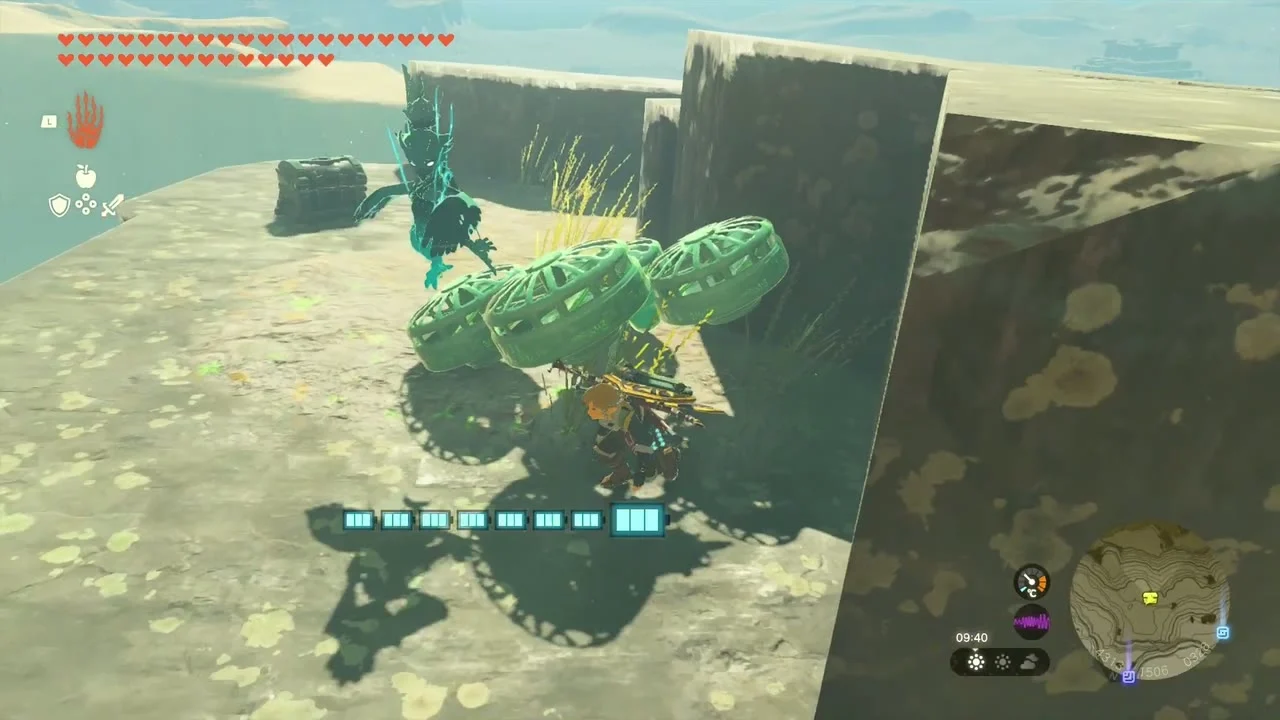
A closed chest sits on a sandy ledge above the red canyon wall, guarded by a clump of Zonai fans. Use the fans to cross the gap and open it for a Frost Emitter.
Mayamats Shrine: A Route for a Ball
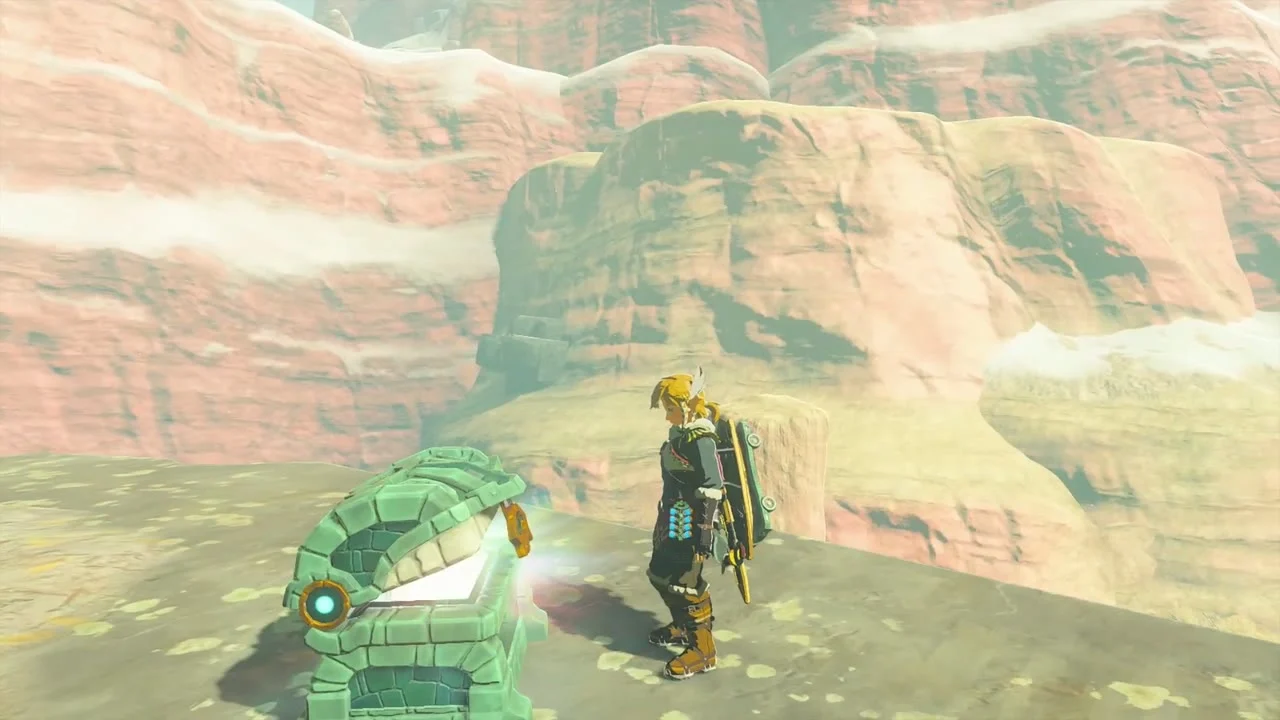
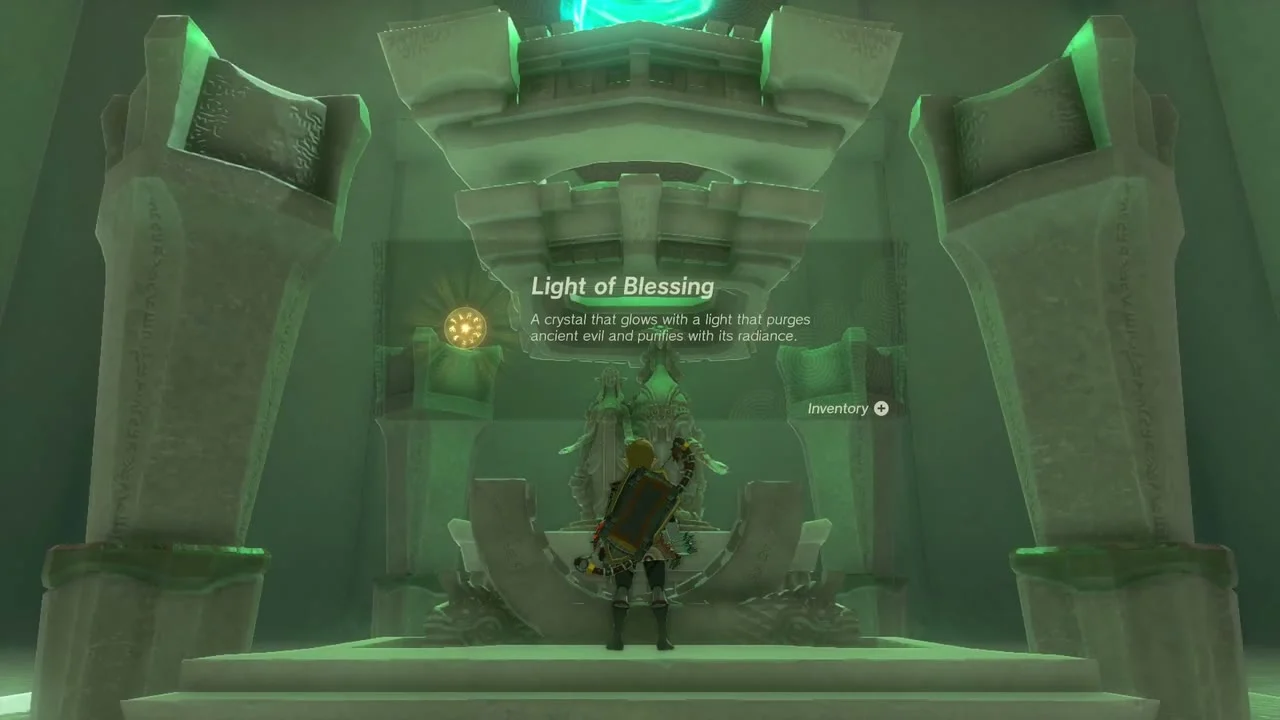
Mayamats Shrine at (-4637, -1513, 466), on Rutimala Hill; the Stamayam Lightroot is far below at (-4638, -1512, -911). In the first room ride the fan updraft to the ledge on the left and use Ultrahand to take the large ball, then lay it across the gap in front of the chest for a Large Zonai Charge. Rewind the small ball when it sits over the gap in the ramps so it rolls down the rails; stick it to the large ball, send both down together and drop the small one into the receptacle to open the exit and take the Light of Blessing.


Loot the Royal Halberd and Gerudo Spear chests
Between the shrines, a chest beside a wooden Bokoblin lookout holds a Royal Halberd, and a chest on a snowfield crate holds a Gerudo Spear. A second Gerudo Spear chest sits near another camp; clear the lookout Bokoblins first.


Otutsum Shrine: Rauru’s Blessing
Otutsum Shrine at (-4469, -671, 523) is a Rauru’s Blessing shrine with no puzzle: walk the stairs to the chest for a Topaz, then take the Light of Blessing. The Mustuto Lightroot lies below at (-4469, -672, -969).

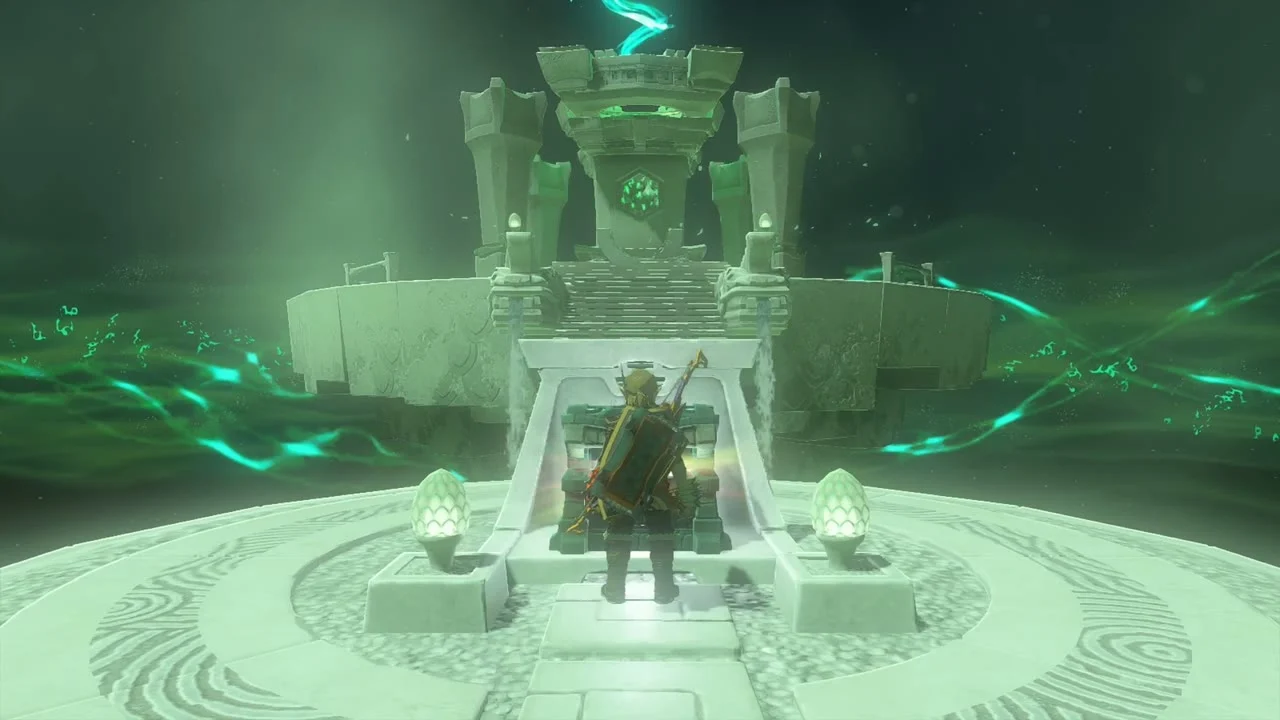
Take the Gerudo Shield and Radiant Shield chests
Chests along the snowy gullies hold a Gerudo Shield and a Radiant Shield.


Statue of the Eighth Heroine
Aim sunlight with the Mirror
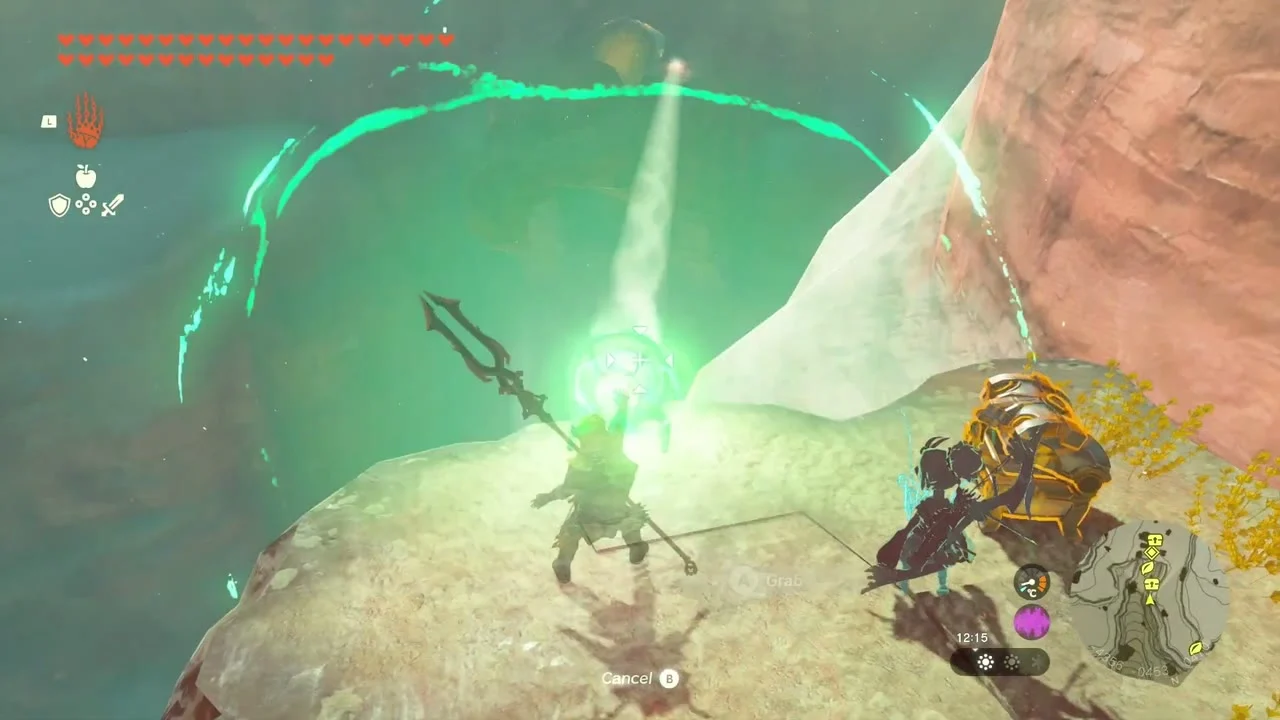
The statue stands above Hemaar’s Descent and the area needs two levels of cold resistance. A chest on a ledge north of the statue, atop some Zonai ruins, holds Mirrors (three, according to most guides). Wait for daylight (a campfire skips time), place a Mirror on the platform and angle the beam at the light shield on the statue, holding it on the orange switch for several seconds to open the entrance. Misko’s riddle for the statue can be bought from Domidak or Prissen for 100 Rupees after you finish Misko’s Cave of Chests. This is the solution to Misko’s Treasure: Heroines Manuscript.

Take Tingle’s Hood and the Bubbul Gem
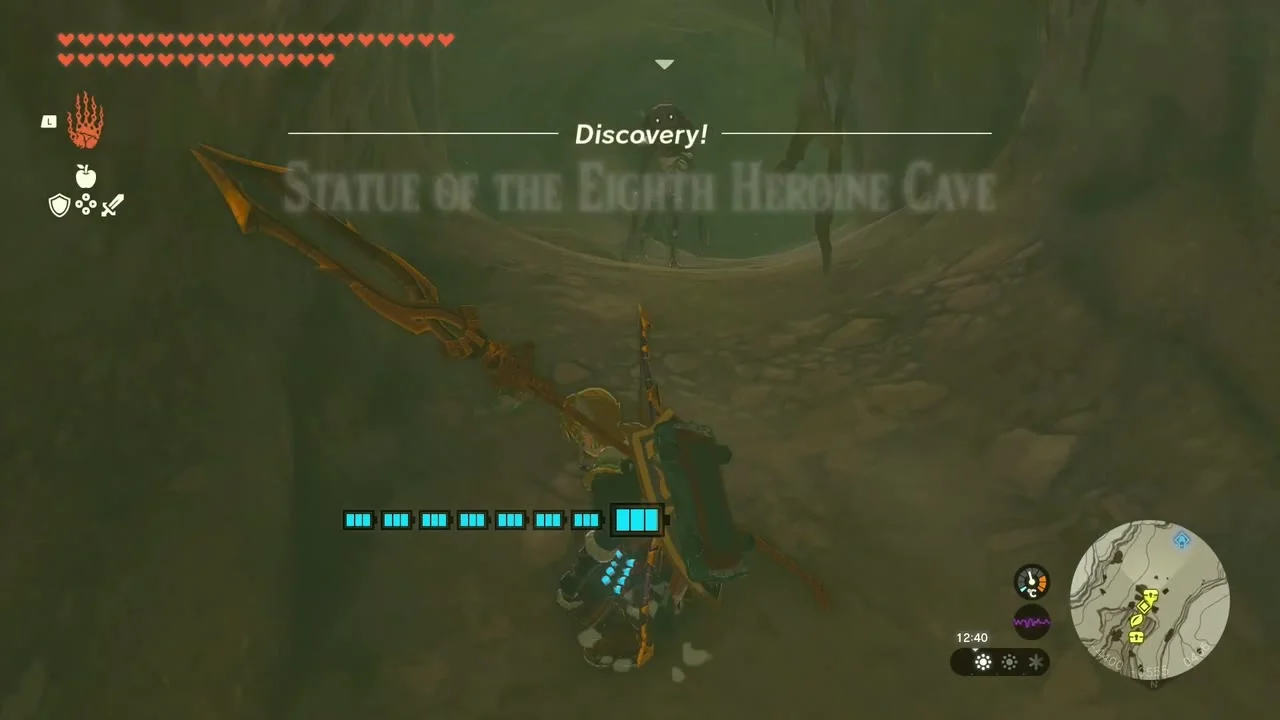
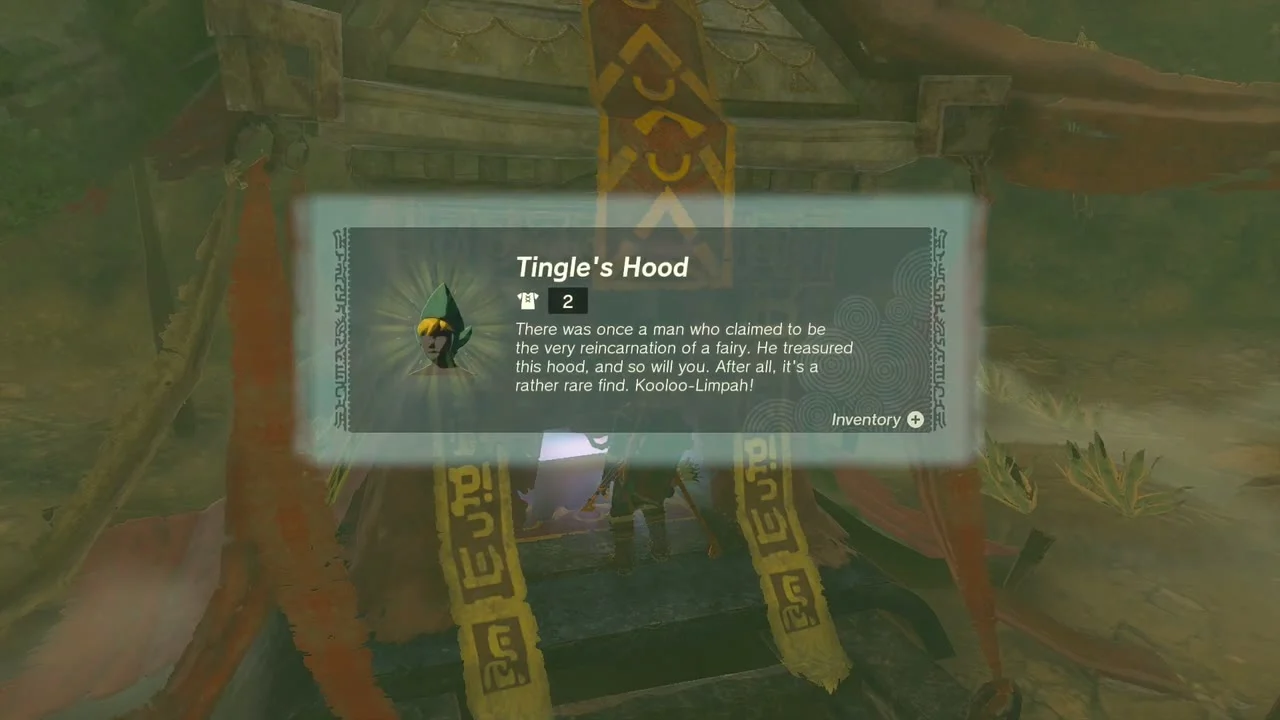
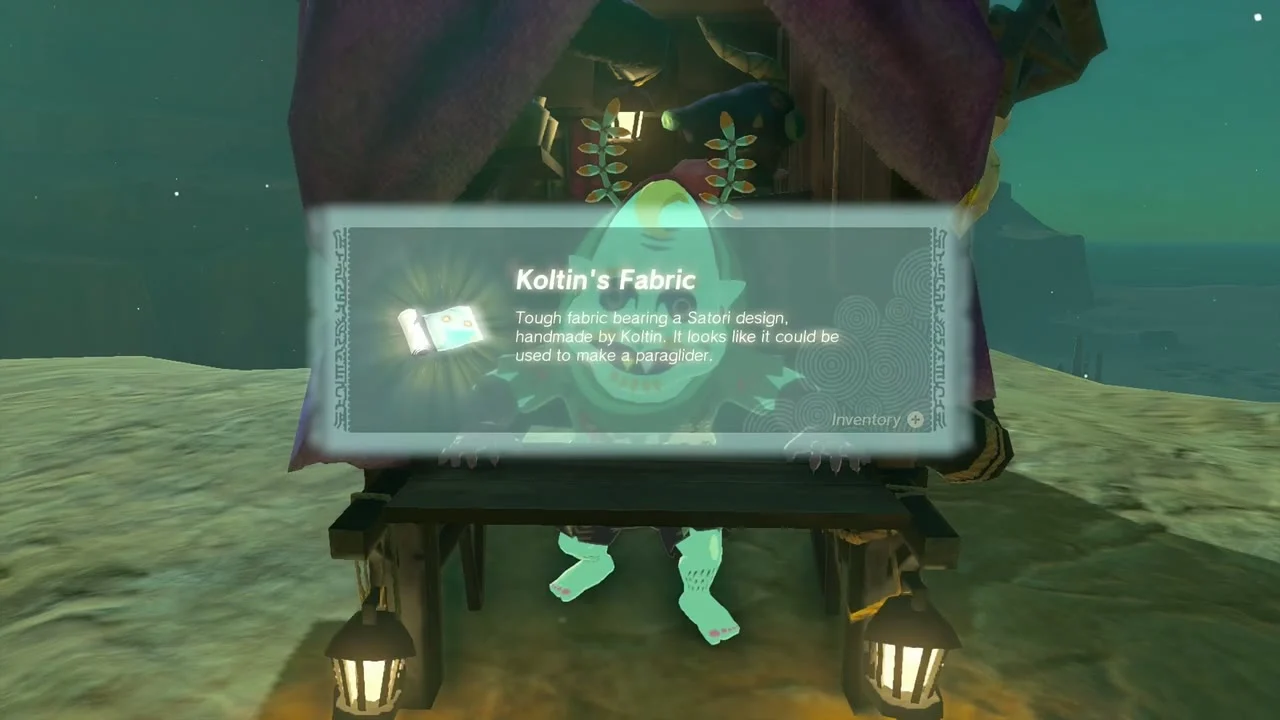
Inside Statue of the Eighth Heroine Cave at (-4384, -536, 473), beat the Gibdos, grab the fan with Ultrahand and blow the sand off the chest for Tingle’s Hood. Clear the sand at the east end to crawl into a side room where the Bubbulfrog gives a Bubbul Gem. Trade your gems with Koltin for Koltin’s Fabric.

Collect the western Korok seeds
The western snowfields hide a run of seeds. Check the table at the end for exact positions; the ones near your route are Complete the rock pattern (-4322, -1090, 523), Pop the hidden balloon (-4389, -715, 566), Lift the rock (-4376, -524, 451) and Place the boulder on the tree stand (-4420, -351, 522).

Gasas and Turakawak Shrines
Gasas Shrine: Well-Timed Cuts
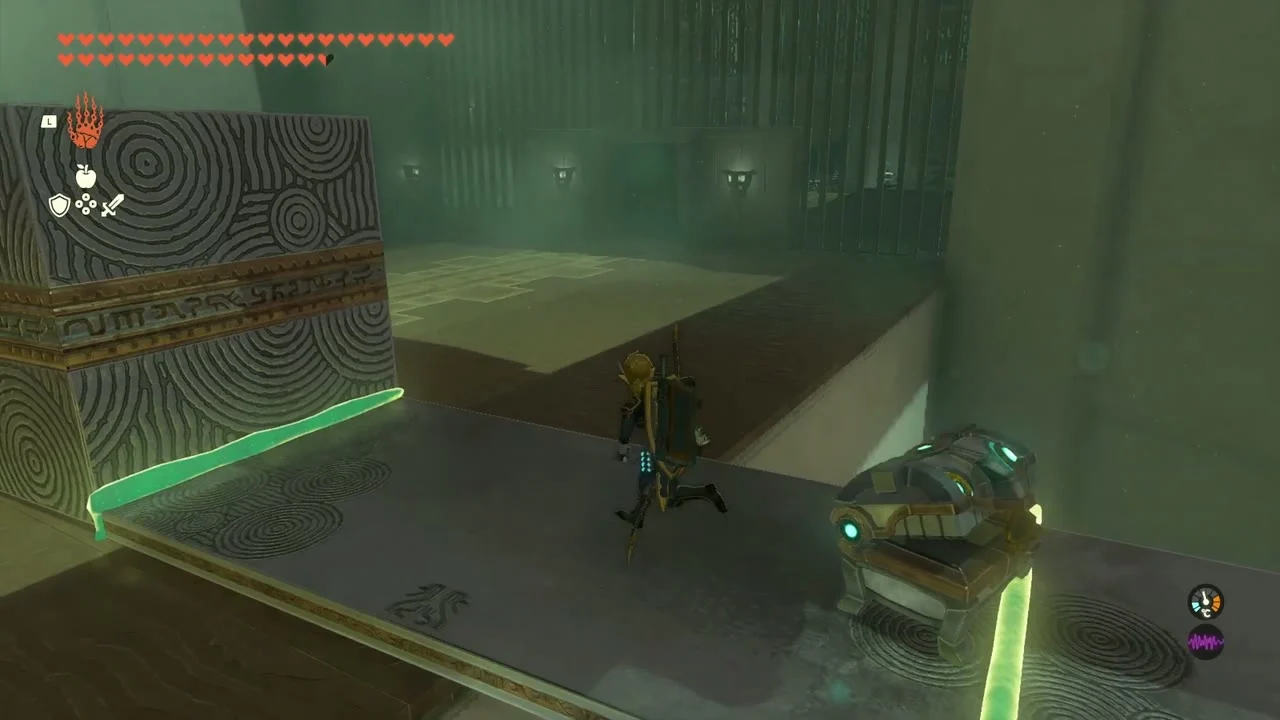
Gasas Shrine at (-4153, 98, 54), at the west end of Tanagar Canyon; the Sasag Lightroot sits below at (-4154, 97, -510). Shoot the ropes that hold the hanging blocks so they fall into the gaps and become bridges, and use Ultrahand and Ascend where a wall blocks the path. A chest holds a Small Key for the gate, and another a Large Zonai Charge.
Turakawak Shrine: Stacking a Path
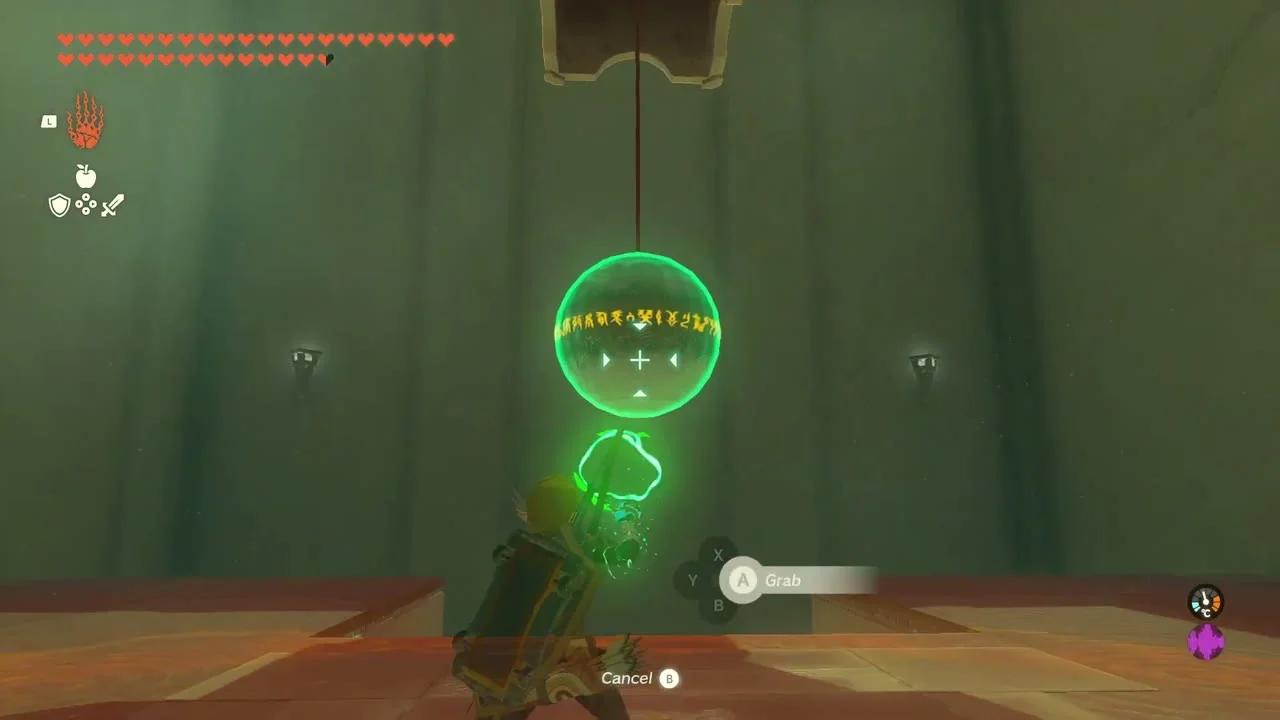
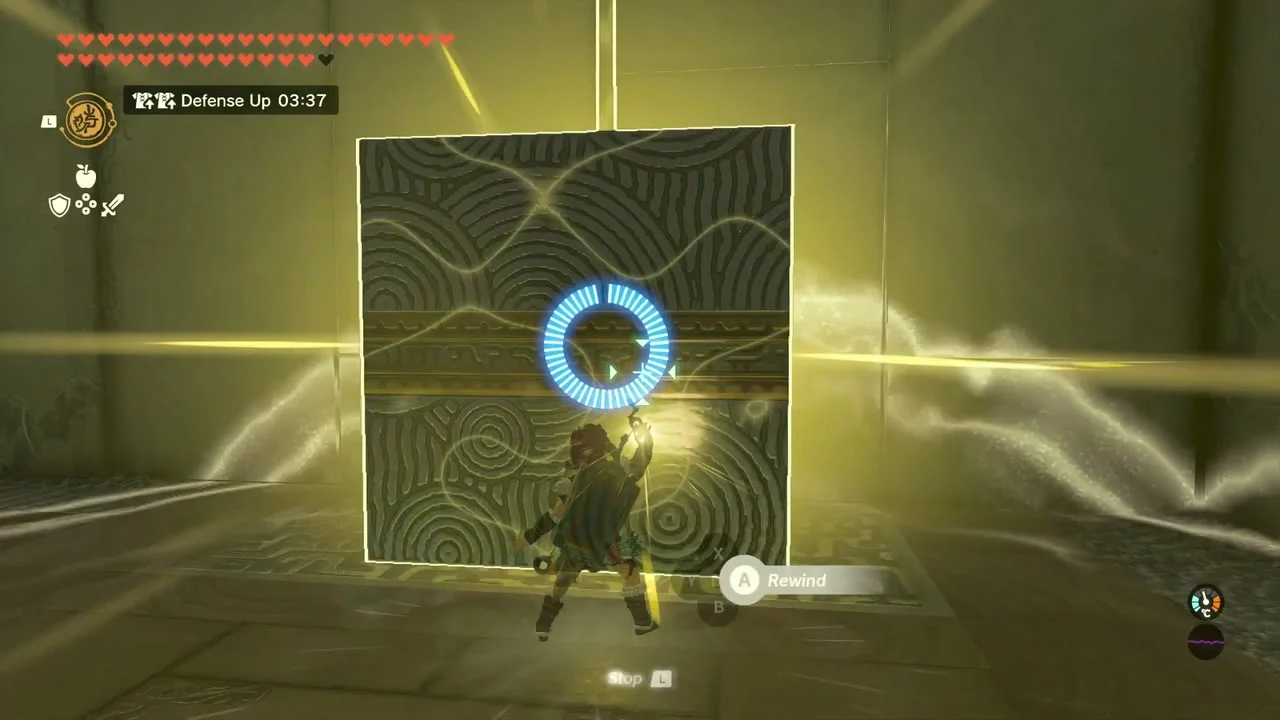
Turakawak Shrine at (-3497, -197, 79), south of Lake Illumeni; the Kawakarut Lightroot is below at (-3487, -214, -536). Stack the two climbable blocks, place the tower under the grate and Ascend through it to reach a caged chest with a Magic Rod, then lean the tower against the wall as a ramp to the exit.


Defeat the Lynels and take the Royal Claymores
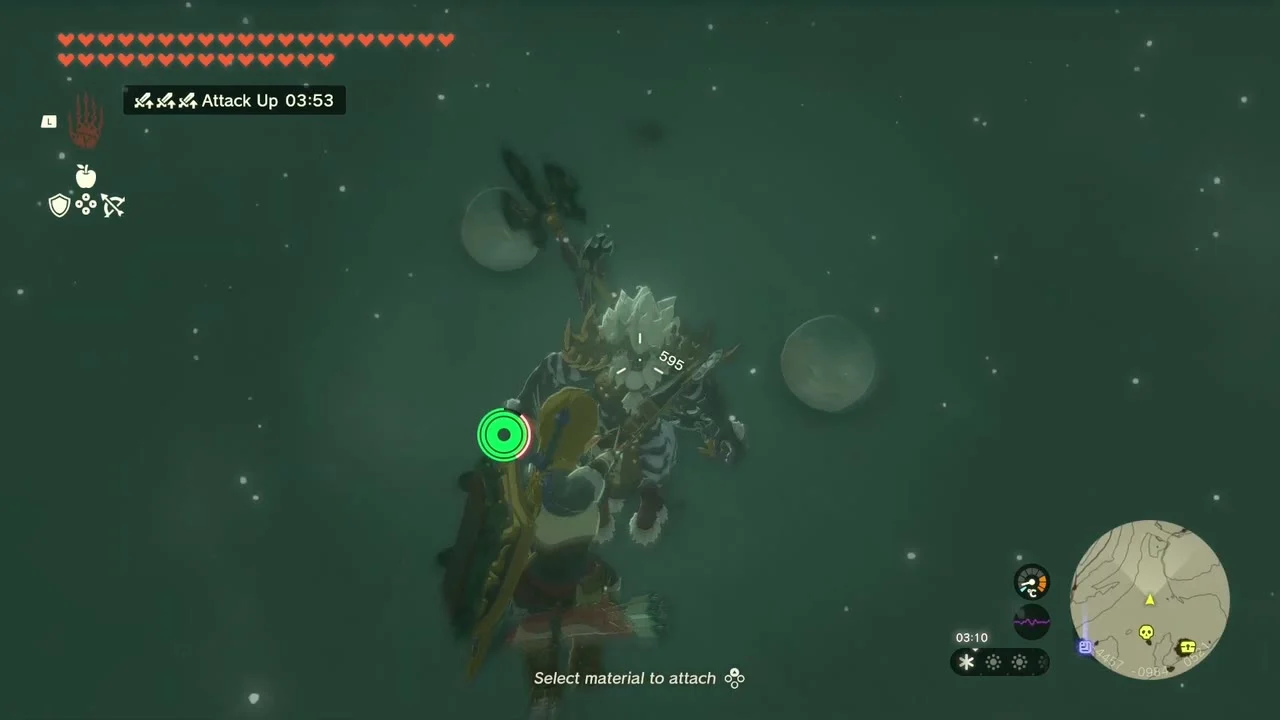
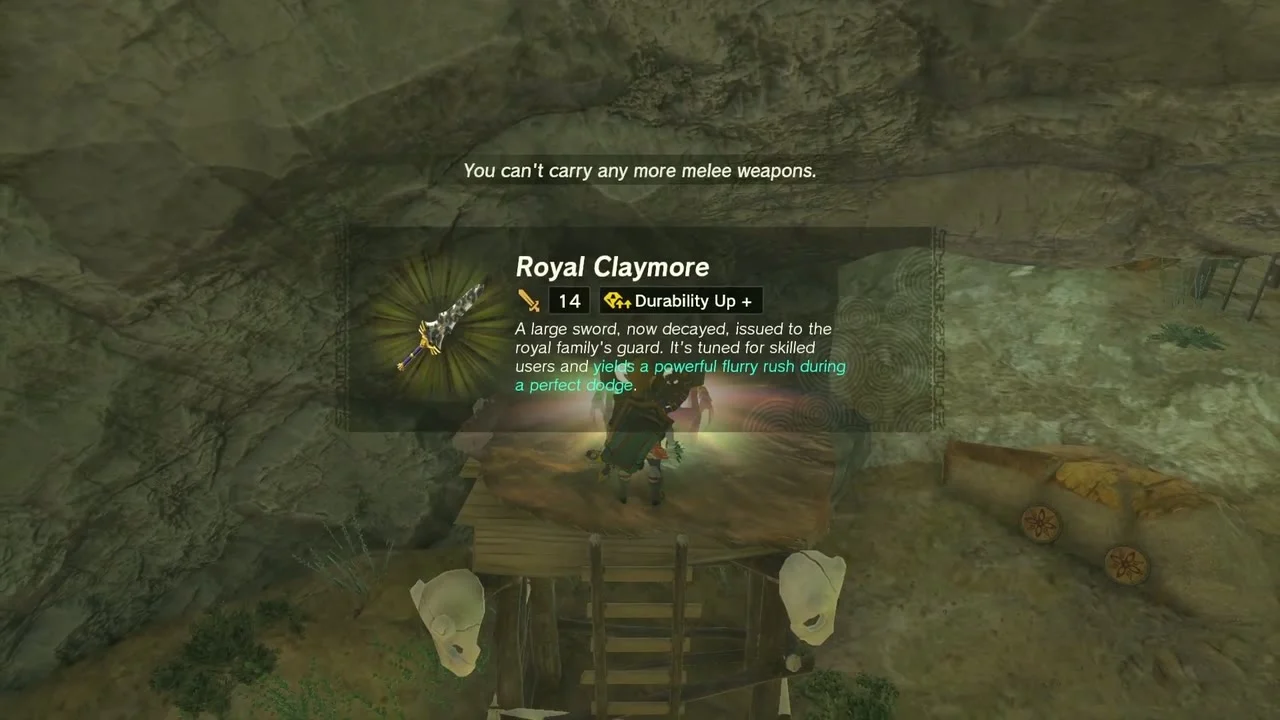
A Silver-Maned Lynel roams the valley west of Tanagar Canyon and a Red-Maned Lynel grazes in the grassland beyond it. Shoot their horns, parry the charge and finish them when they stagger. Bokoblin camps in the cliffs hold two chests of Royal Claymore.
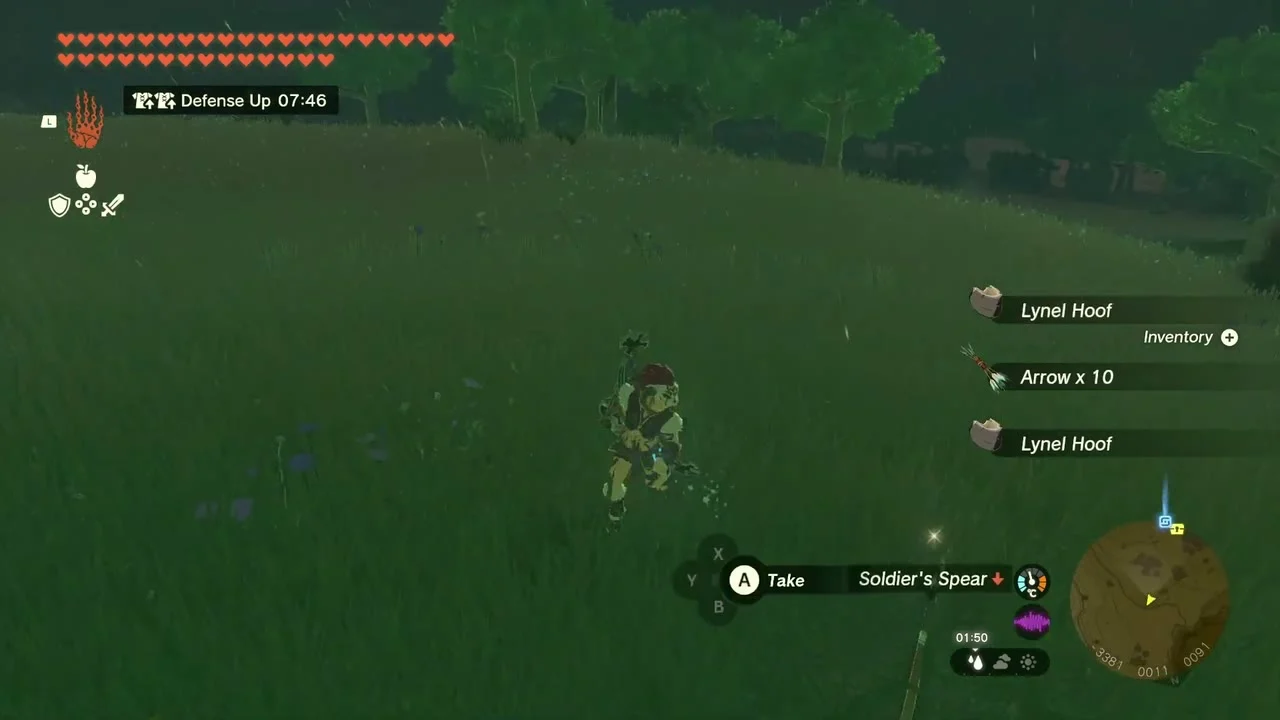
Finish Addison’s last sign
Raise any remaining signs in the canyon for Addison. Addison’s Fabric, a paraglider fabric, is the reward for standing up all 81 signs across Hyrule, so it arrives with the very last sign wherever that is; speak to Sayge at the Hateno dye shop to use it.
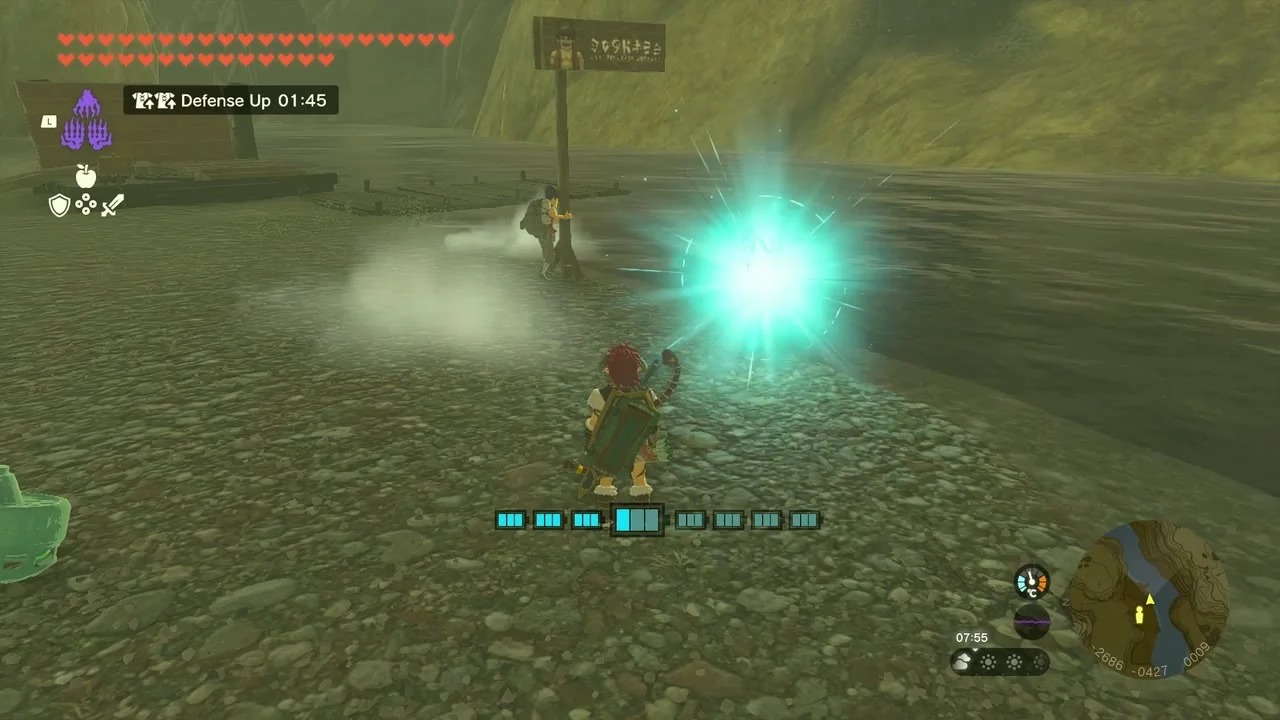

Upgrade armor with Great Fairy Cotera
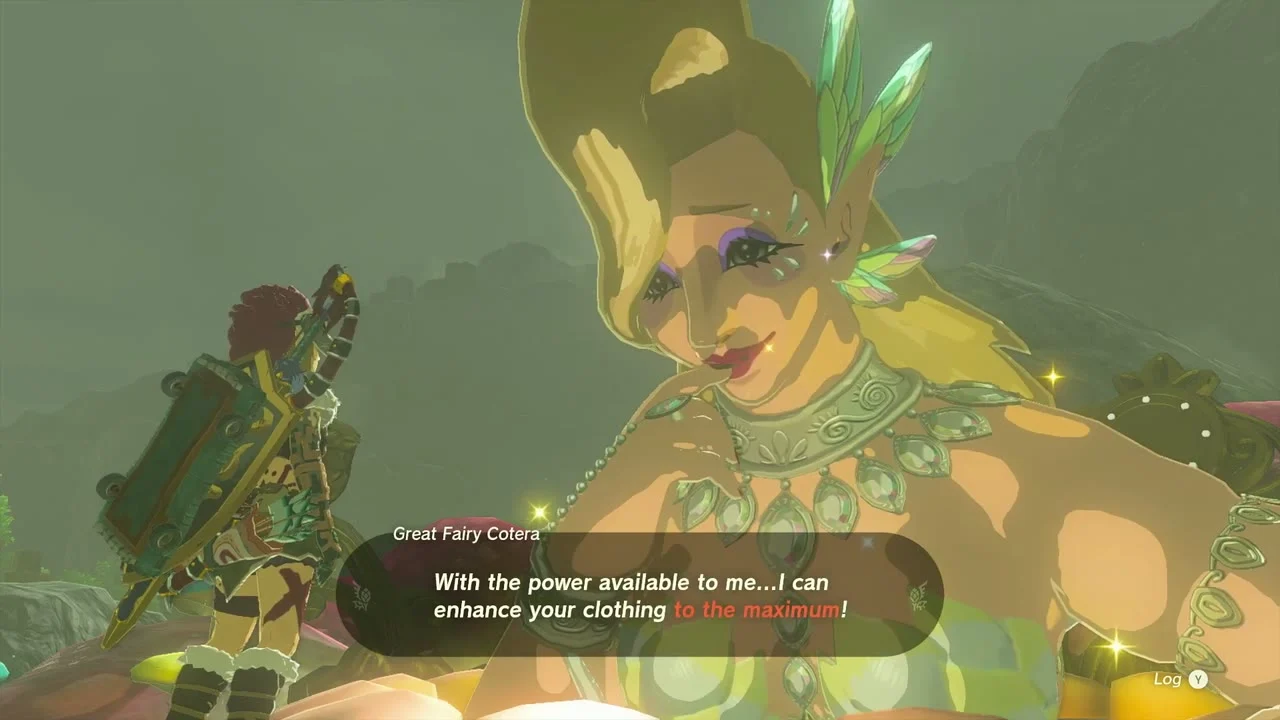
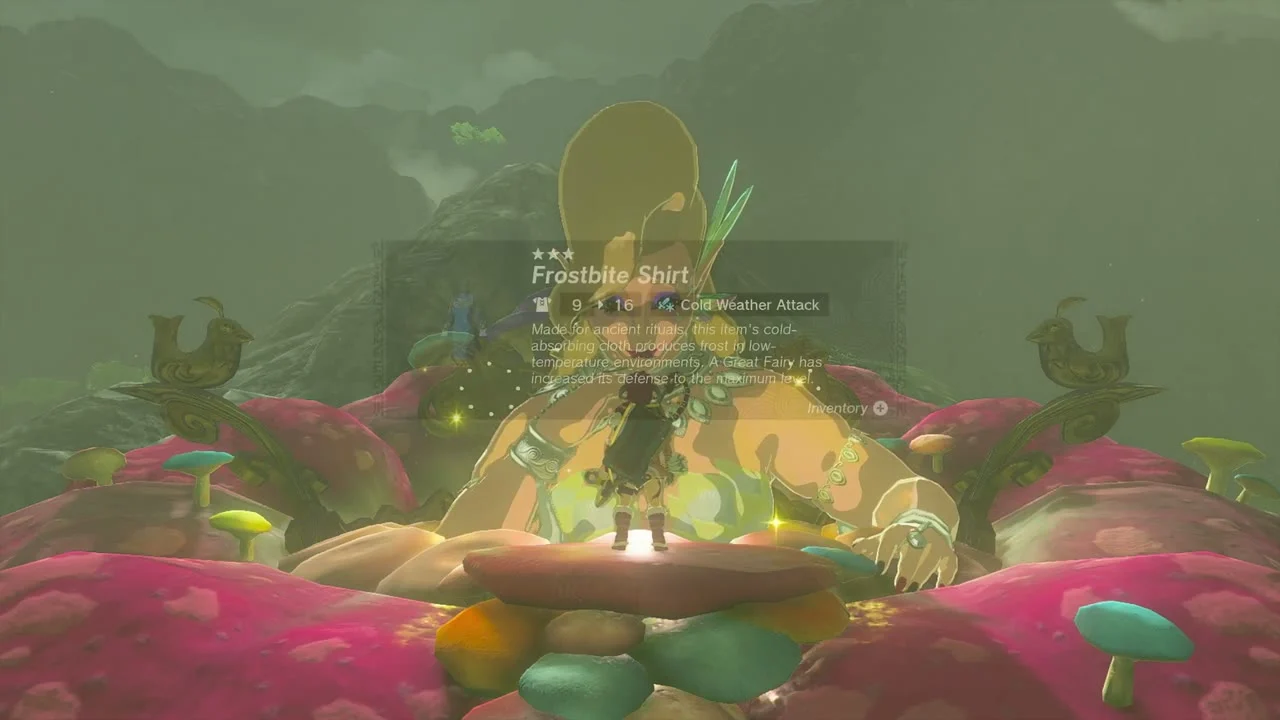
Great Fairy Cotera is one of the four Great Fairies who upgrade armor. You unlock each fairy by reuniting the Stable Trotters and delivering their wagon, and every upgrade costs Rupees and materials, shown in the upgrade menu once she is unlocked.
Gerudo Highlands Depths
Light the five Lightroots
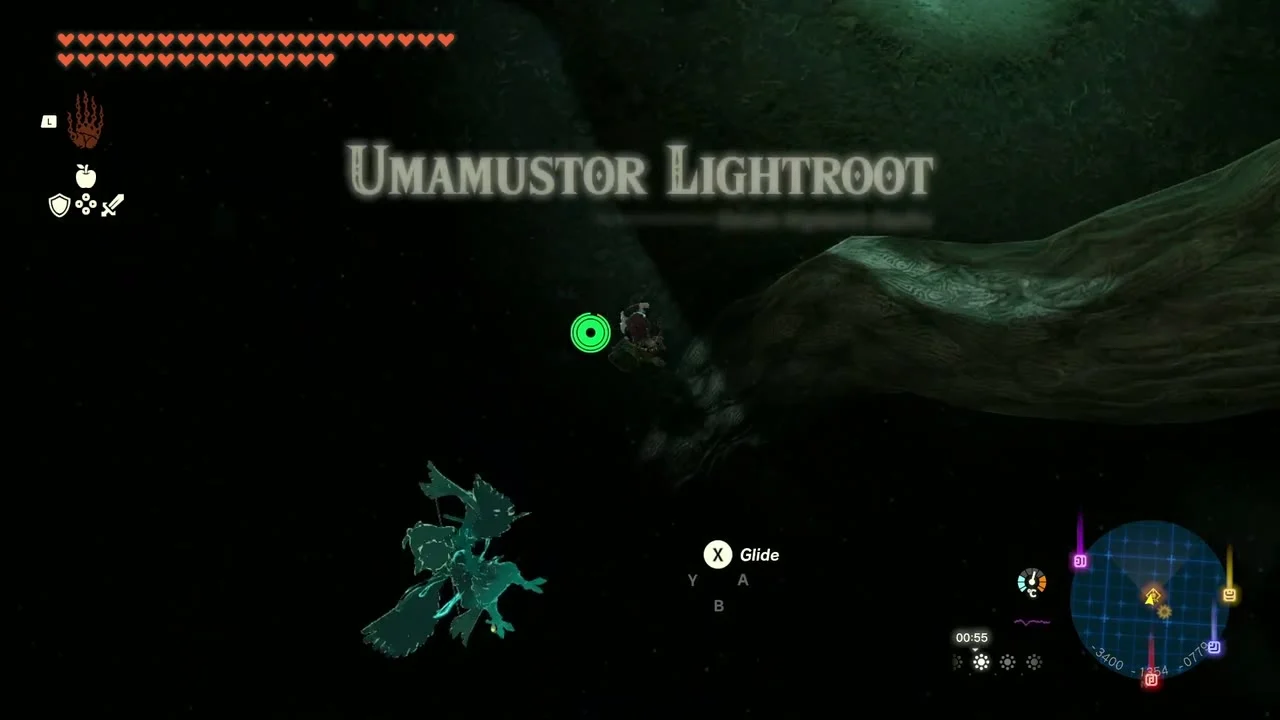
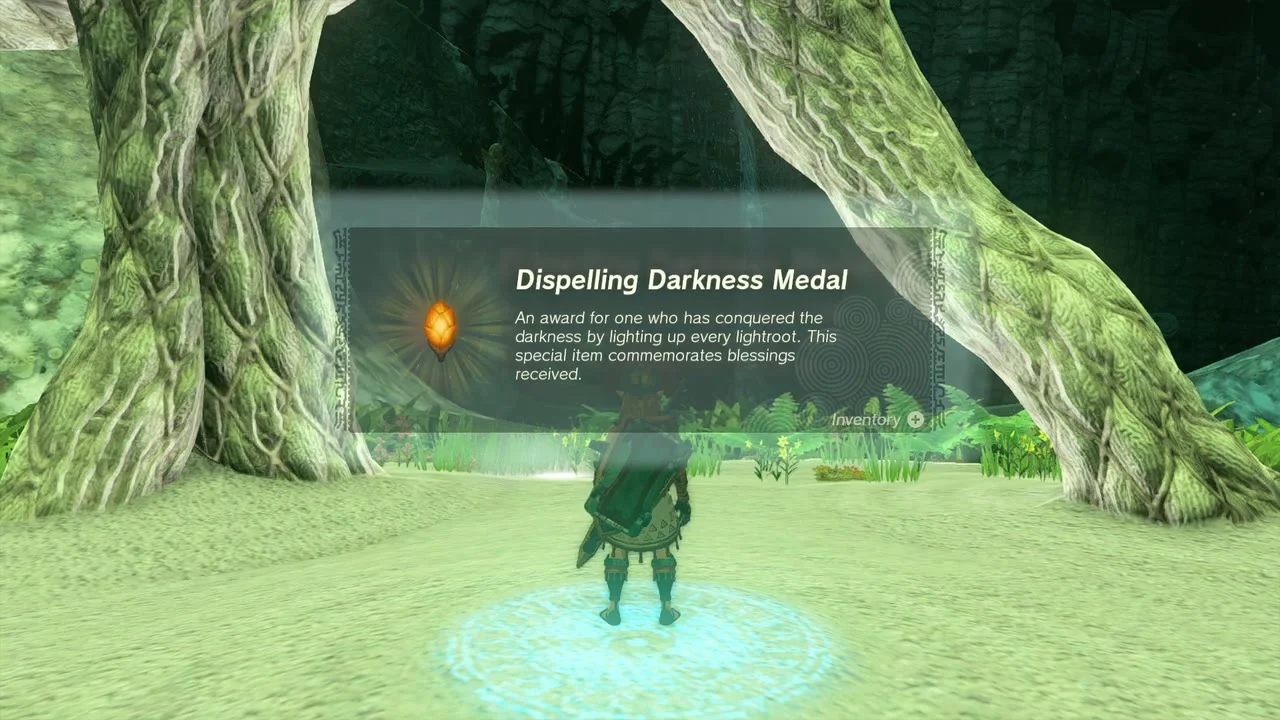
Dive through each chasm and light, in turn, Umamustor (-3406, -1363, -800), Kawiraus (-2525, -1769, -734), Kawakarut (-3487, -214, -536), Mustuto (-4469, -672, -969) and Stamayam (-4638, -1512, -911). Lighting the last one in the region awards the Dispelling Darkness Medal.

Loot the first chests
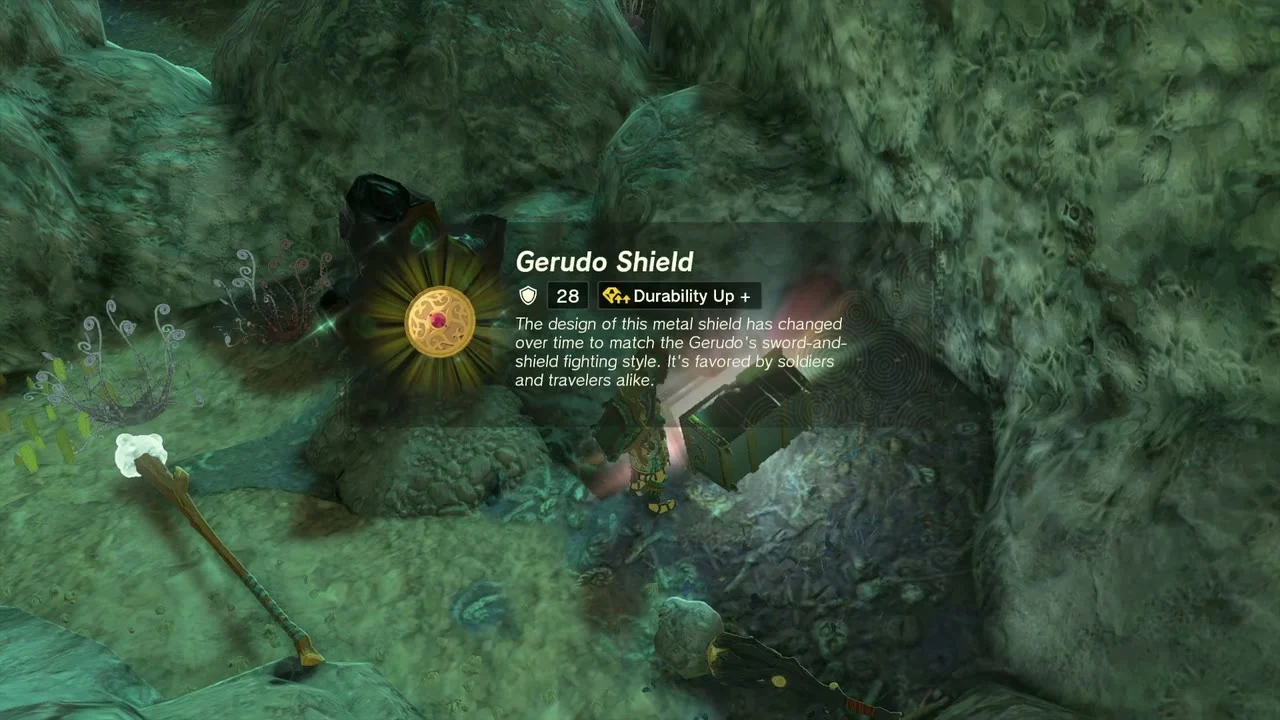
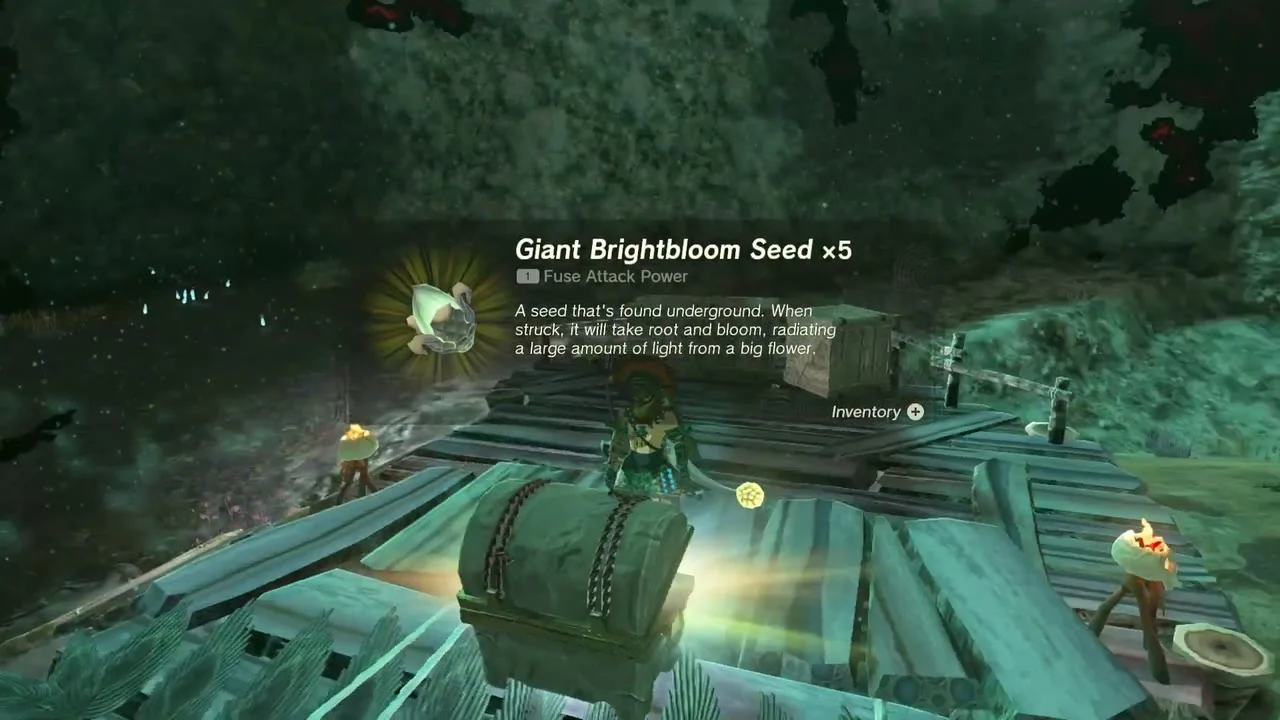
Near Stamayam a chest in a dark hollow holds a Gerudo Shield, and an Arrow x10 chest sits close by. On a wooden platform west of the Stone Talus a chest holds Giant Brightbloom Seed x5.
Raid the first Yiga hideout
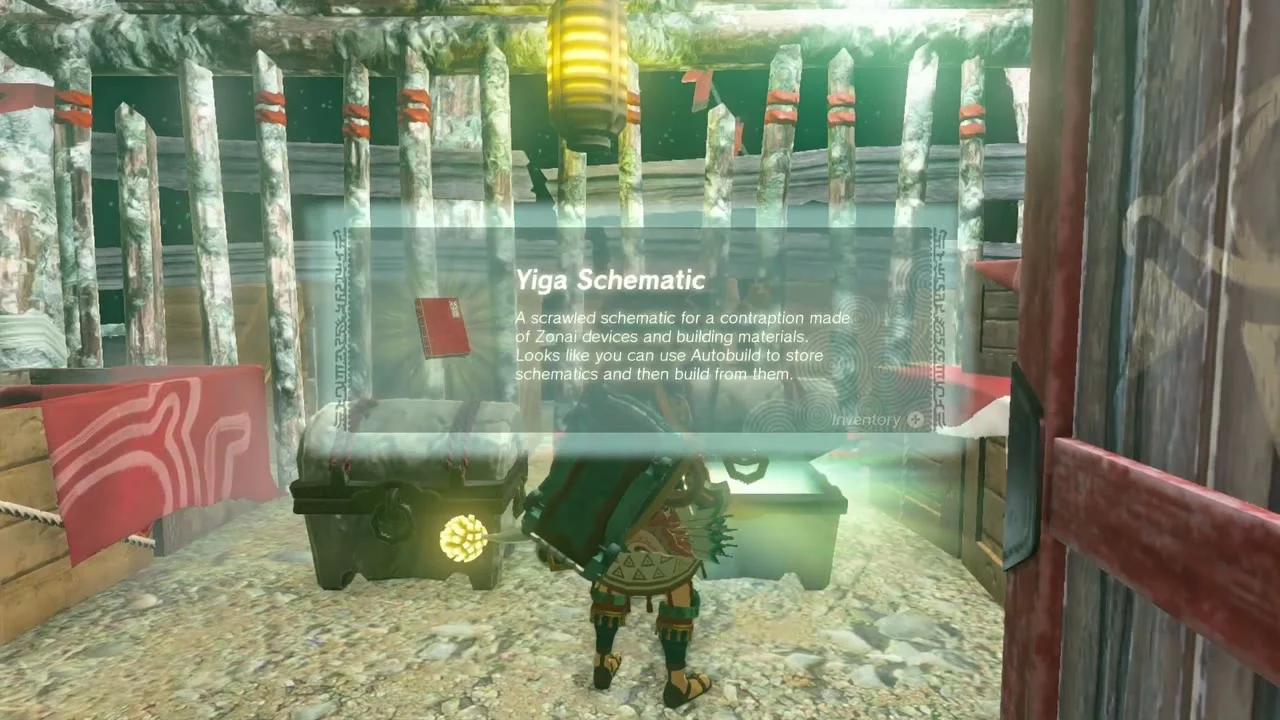
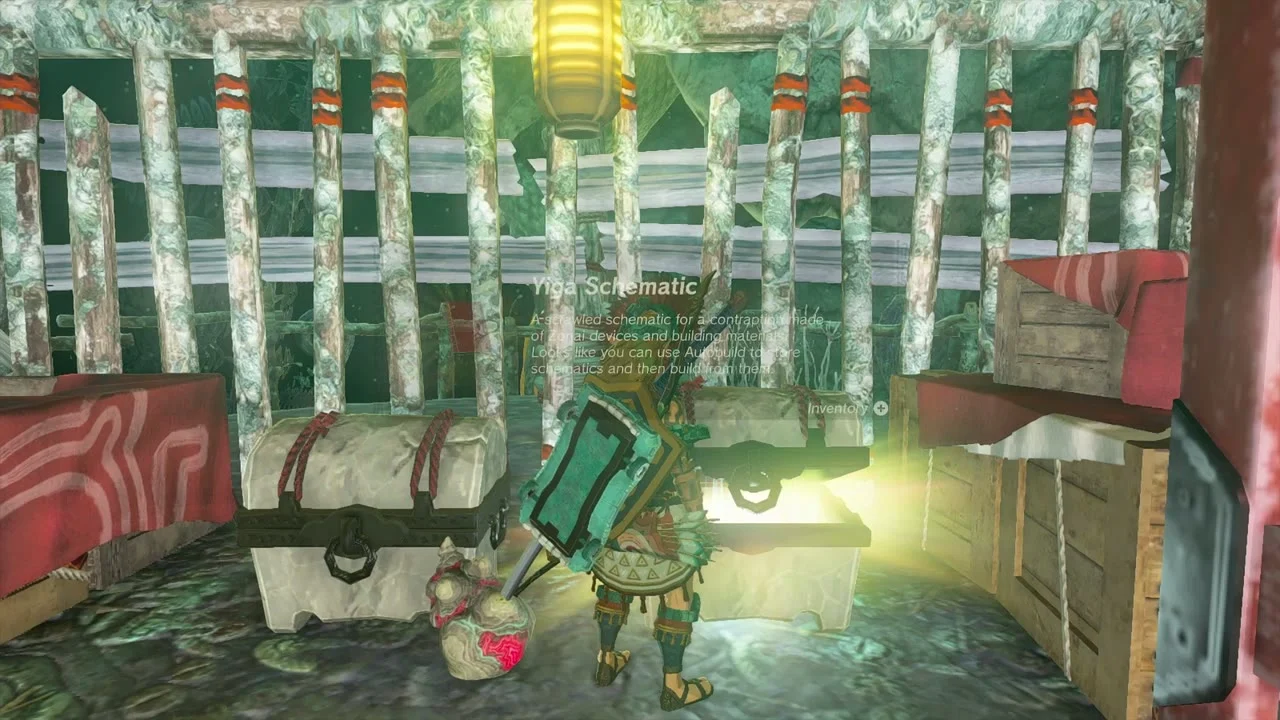
Break into the red-and-white Yiga hideout and open its chests for a Yiga Schematic and a Large Crystallized Charge. Light the area with Brightbloom Seeds before you step inside.

Defeat Marbled Gohma
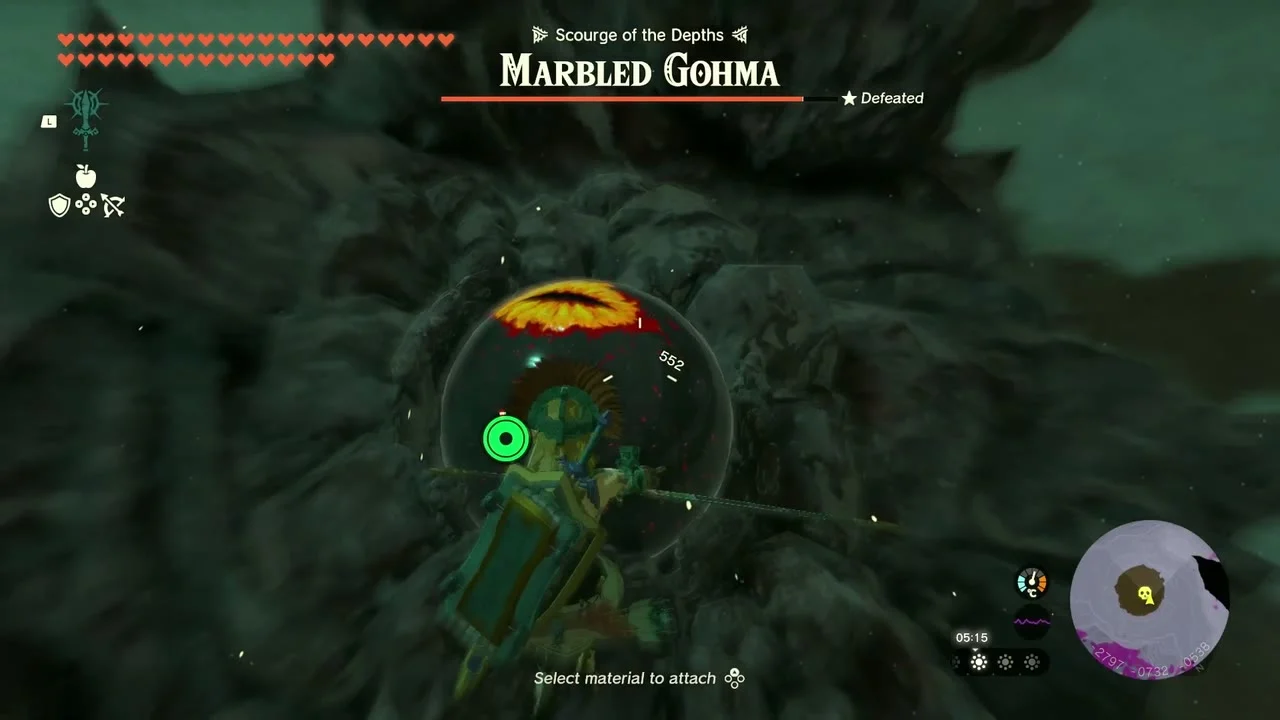
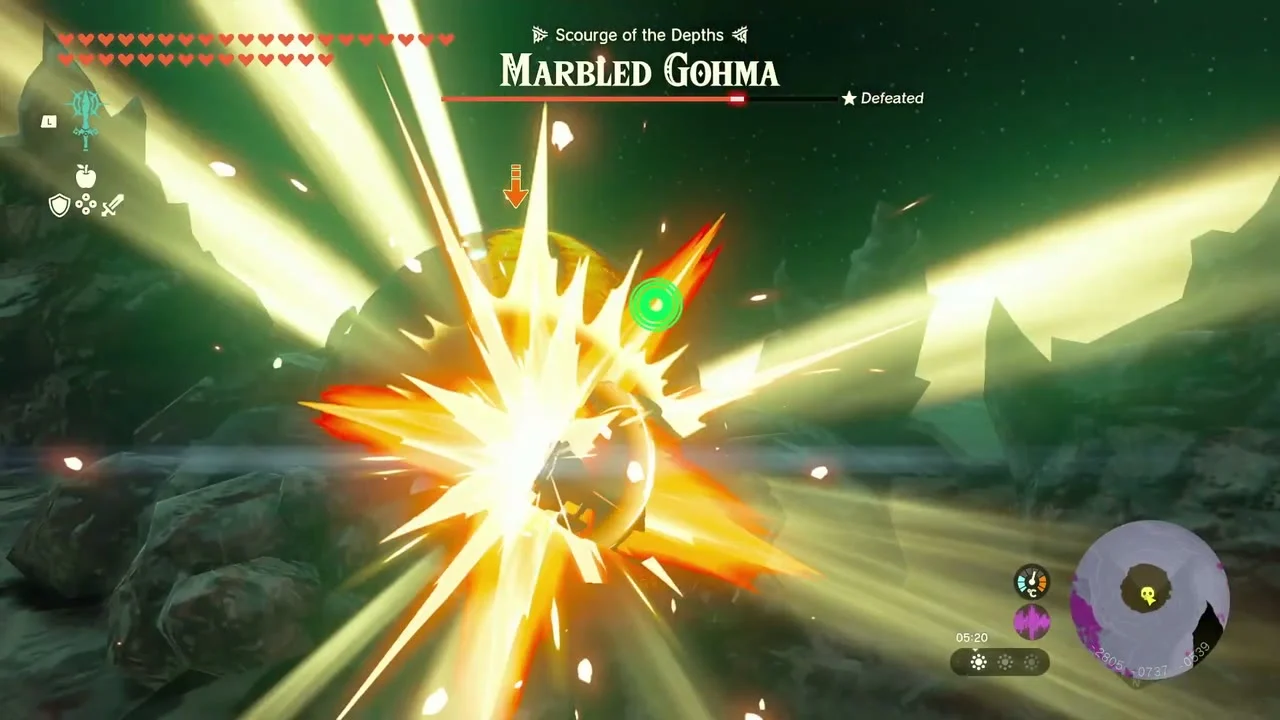
Boss: Marbled Gohma (Depths). Ride a hover vehicle around the arena, shoot the eye when it opens and hit it with fused arrows, then hit the weak point when it drops to the ground. It leaves a chest for a Giant Brightbloom Seed x5 after the fight.
Defeat Queen Gibdo
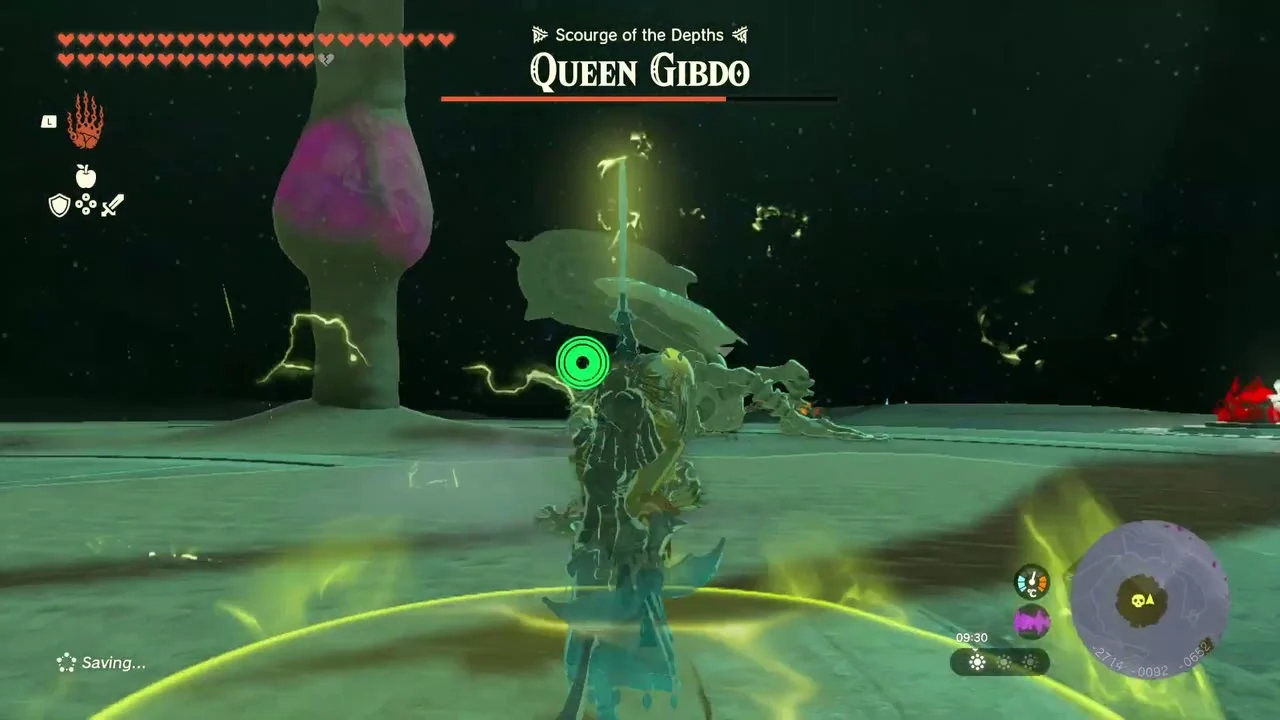
Boss: Queen Gibdo (Depths). Break the glowing mushrooms, knock the Queen down with shock arrows and slash her wings until she dies. The chest on the pedestal holds a Huge Crystallized Charge.

Second Yiga camp and Sundelion chests
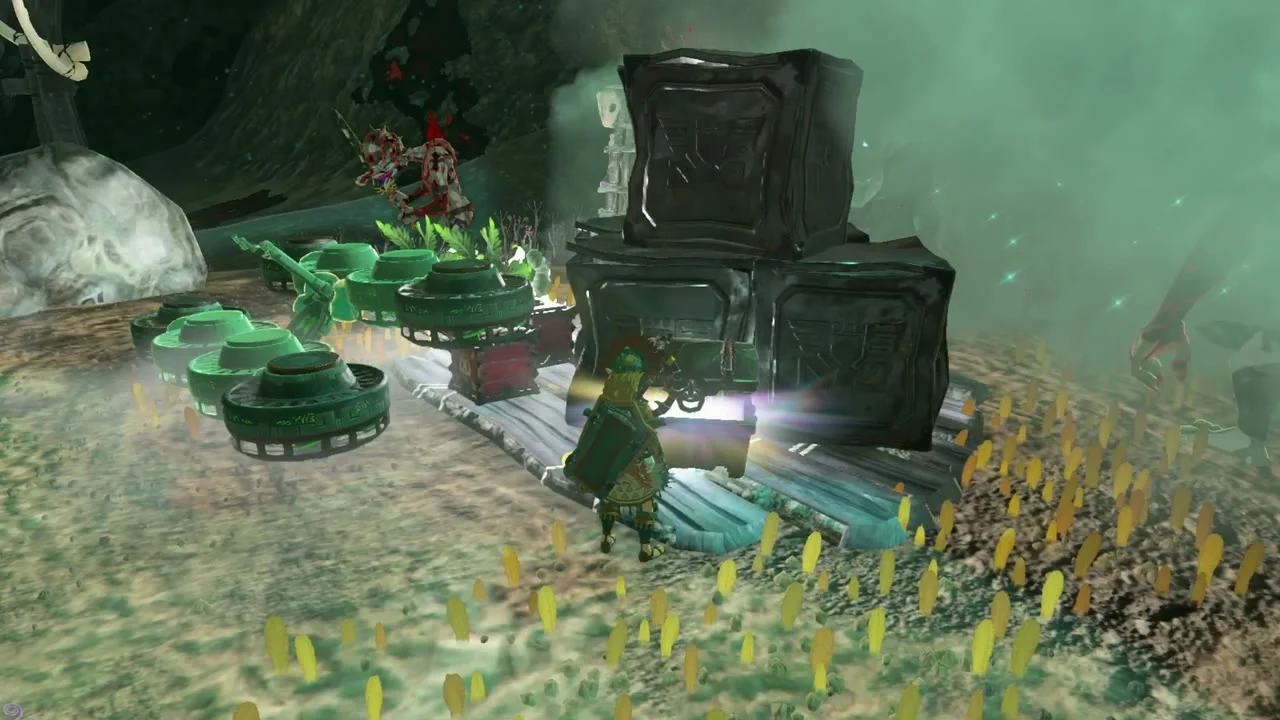
A second Yiga camp has another Yiga Schematic and Large Crystallized Charge. Two crate camps farther on hold a Sundelion each; clear the Bokoblins first.

Clear the roaming minibosses
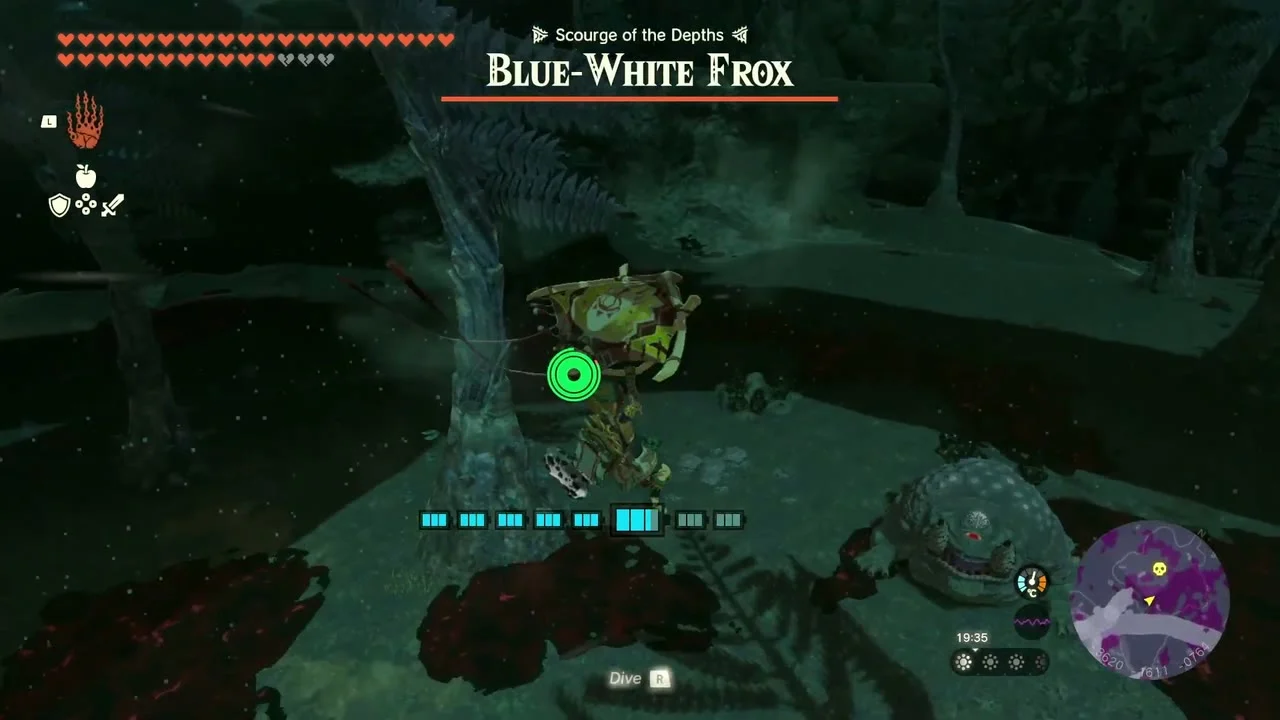
Along the route you meet a Stone Talus, a Blue-White Frox, Flux Construct I and a Battle Talus. Fuse bombs to arrows for the Talus weak points and hit the Frox with bomb flowers while it is mid-air.


Gerudo Canyon Mine and Flux Construct III
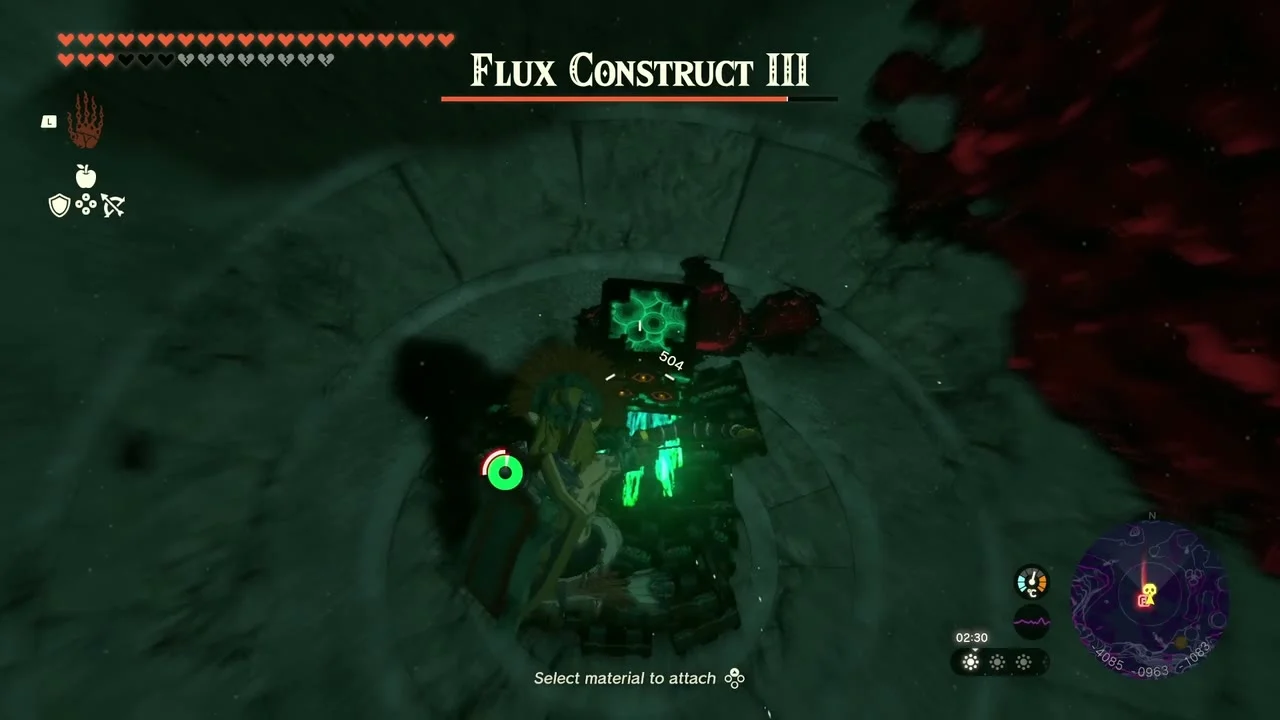
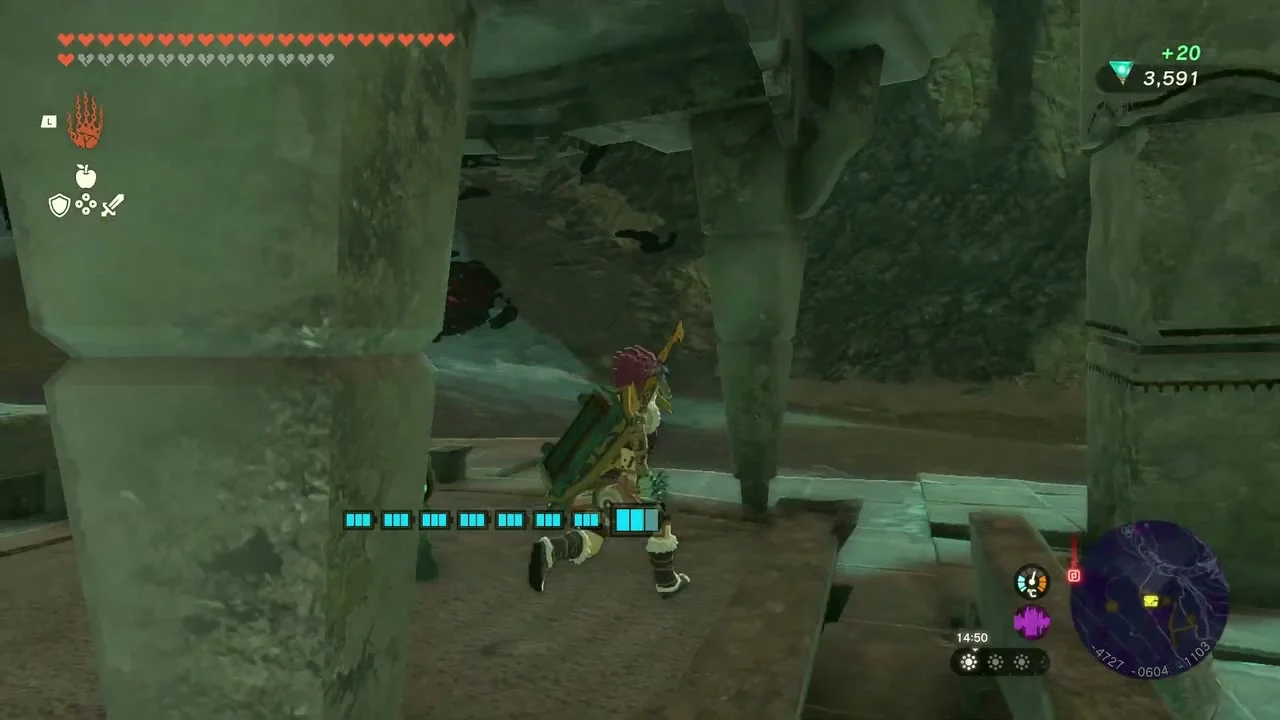
Gerudo Canyon Mine in the Highlands Depths holds Trousers of Time in a chest on an upper platform. Flux Construct III guards the route in; build up a stack of fused arrows and strike its cores before it reforms.


Agaat Canyon Mine
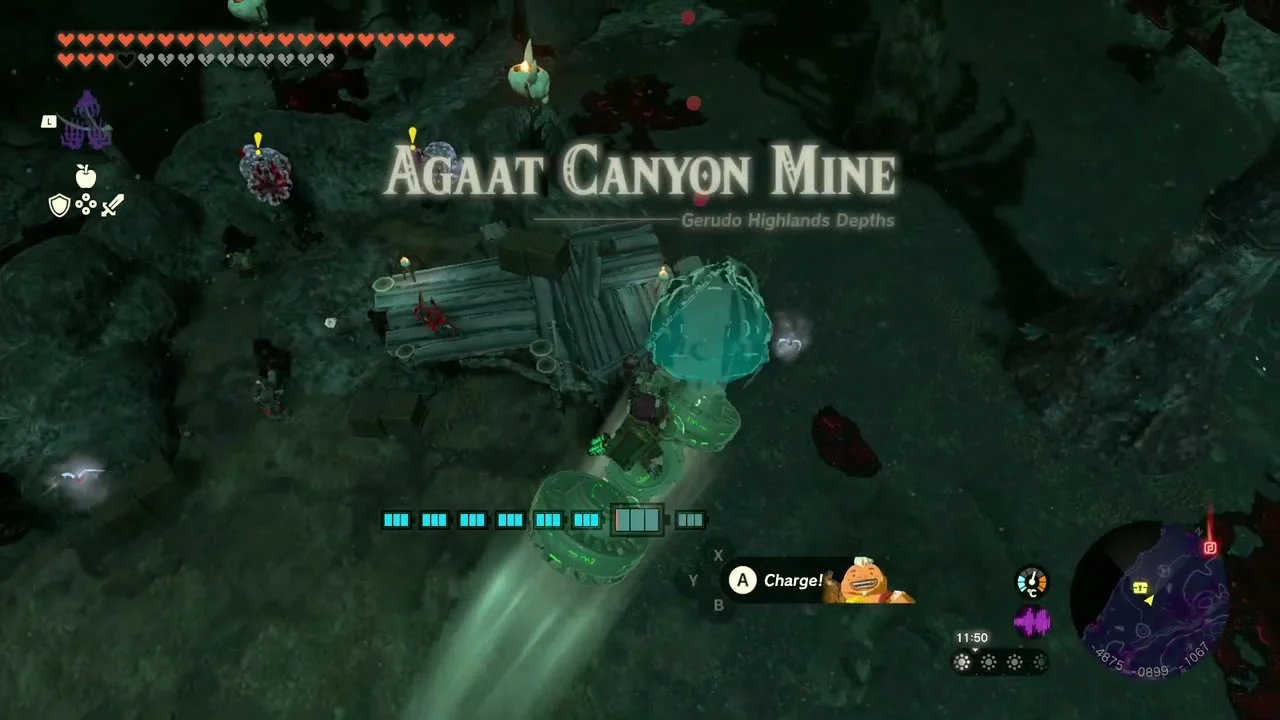
At Agaat Canyon Mine ride the charge pad into the cavern, open the Sundelion chest and then the Large Crystallized Charge chest further on. A Frost Talus roams the cavern beyond.
Final errands
Trade Lights of Blessing and report the wells
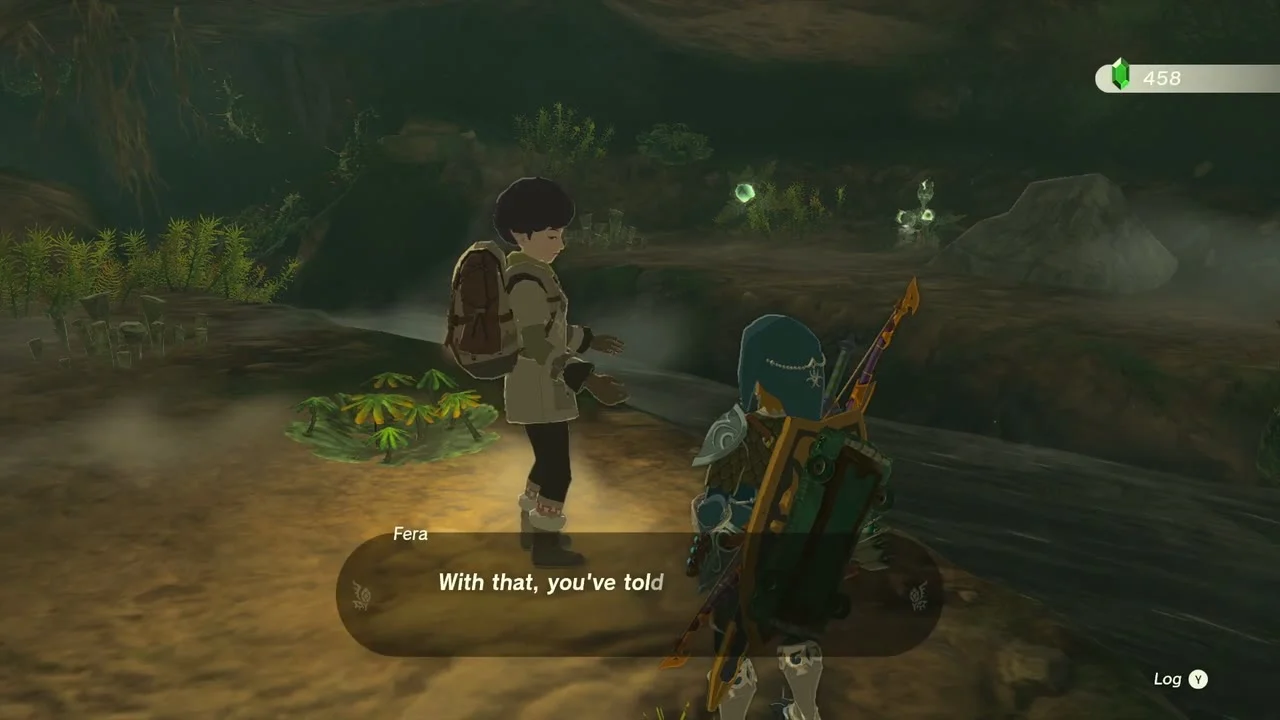
At the Goddess Statue in the Emergency Shelter near Lookout Landing, trade four Lights of Blessing for a Heart Container. Then tell Fera about every well to finish Where Are the Wells? and receive All’s Well.


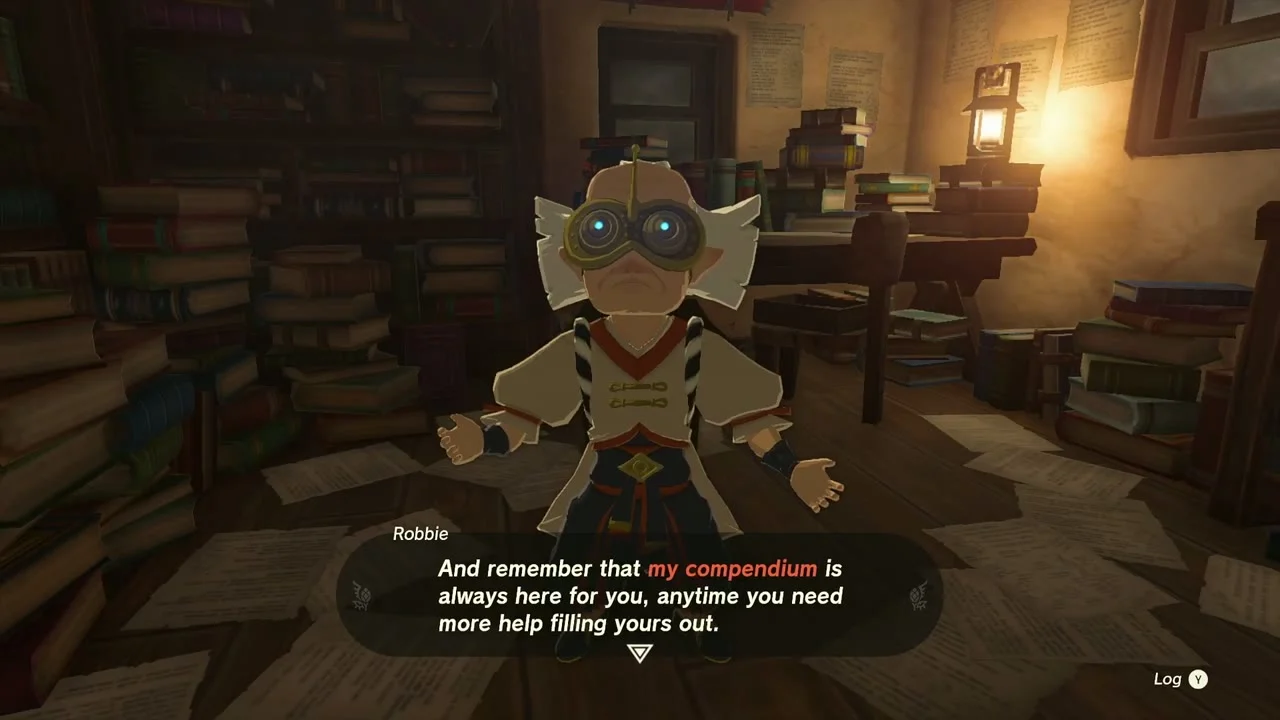
Buy compendium pictures from Robbie
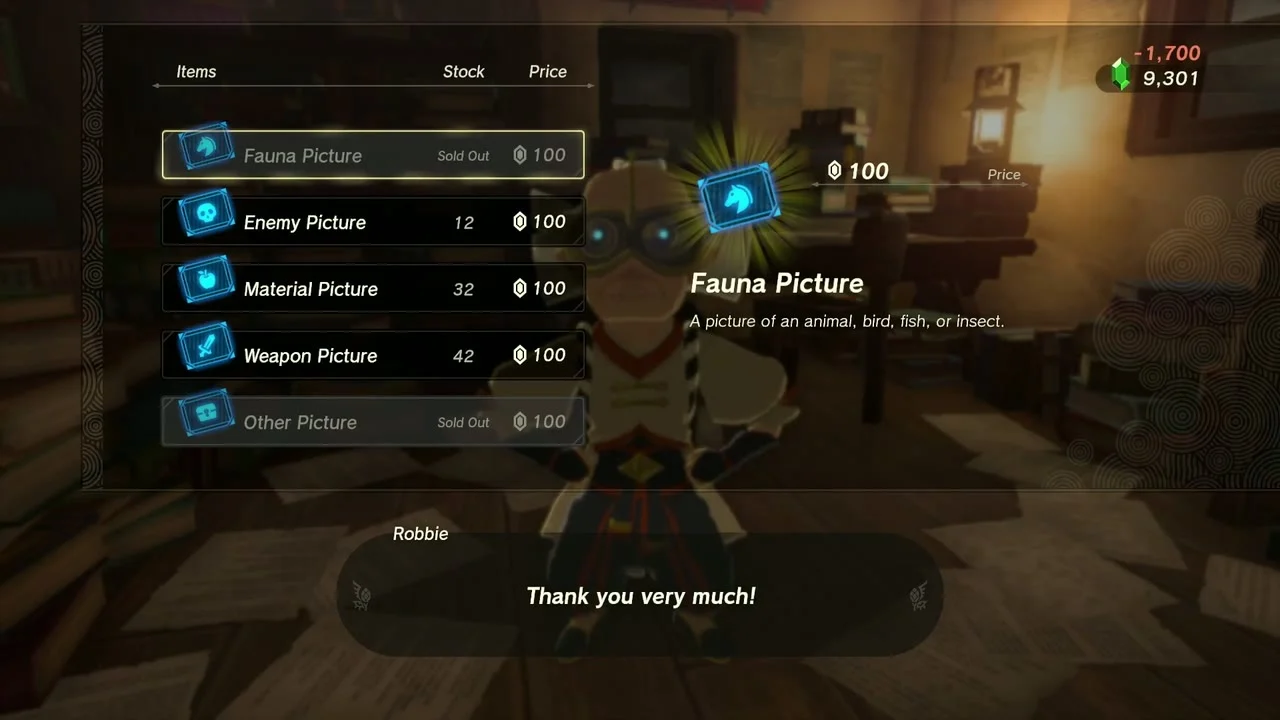
At Hateno Ancient Tech Lab, buy the pictures you are missing from Robbie to finish Filling Out the Compendium.
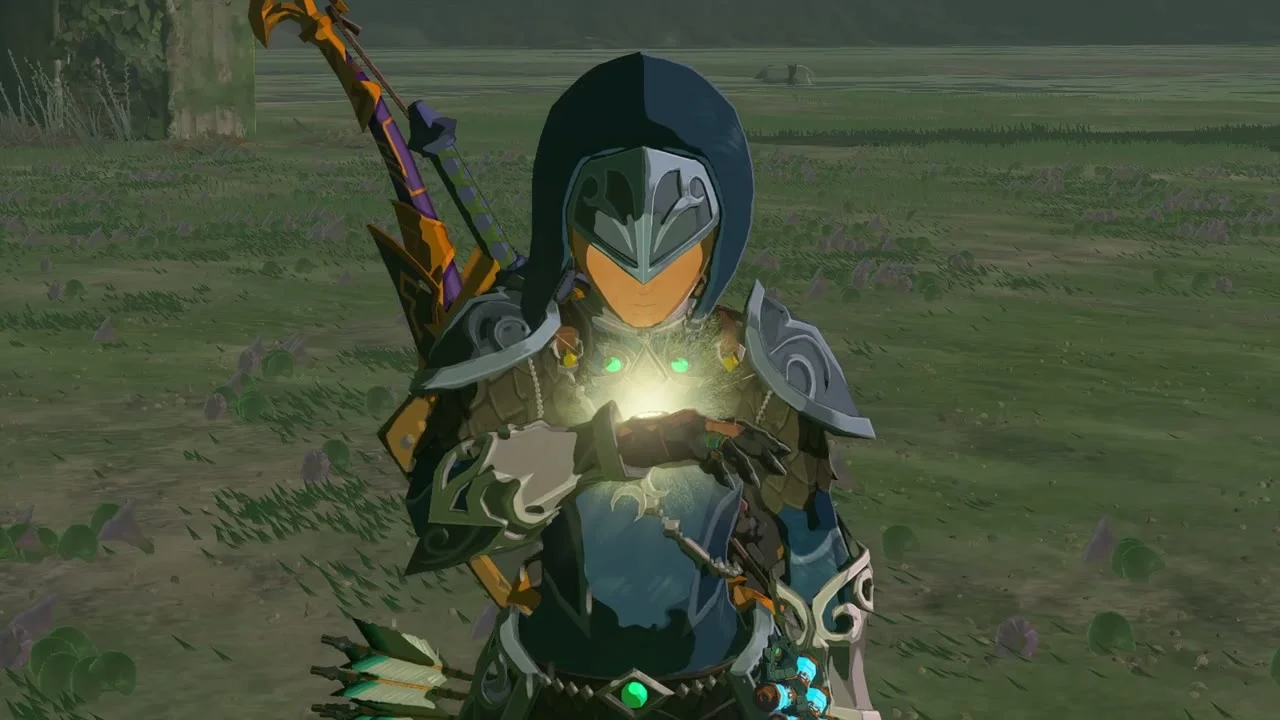
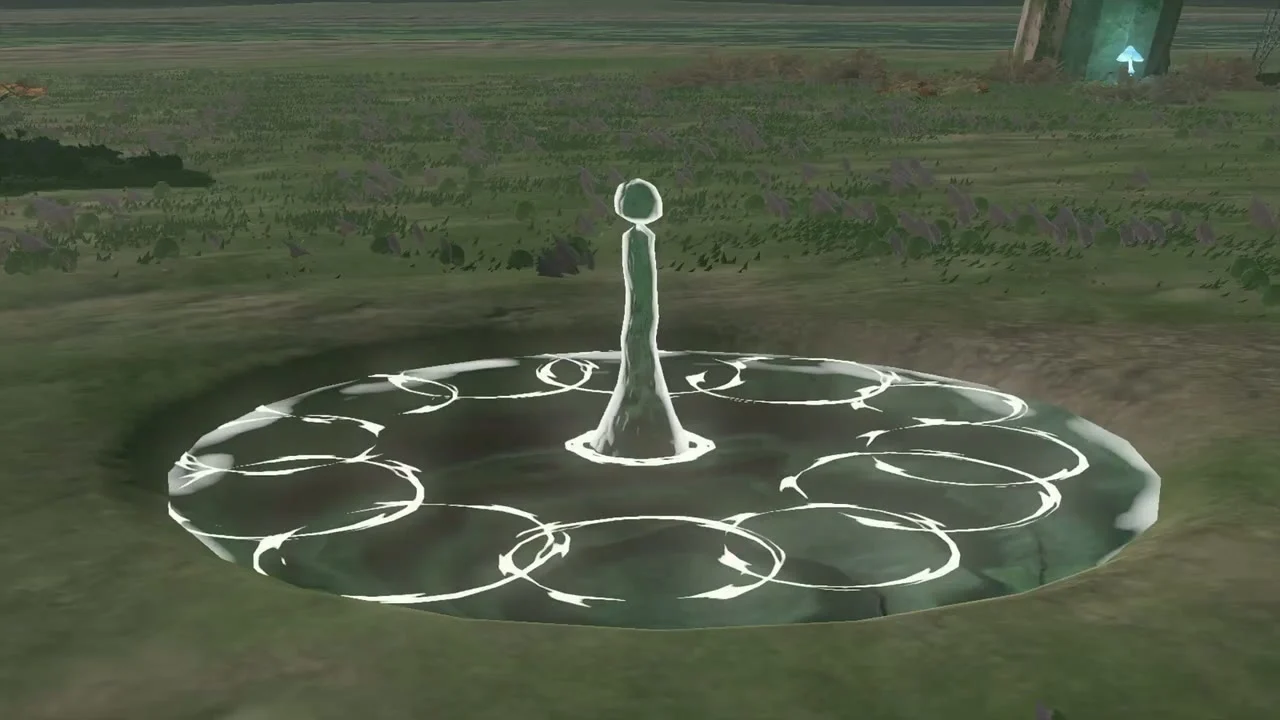
Witness the final Dragon’s Tear
The twelfth and last tear falls at (4535, 2144, 2) on Rist Peninsula in Akkala, and appears only after you have seen the other eleven. Step into the glowing pool to see the final memory, Tears of the Dragon, and finish The Dragon’s Tears.
Complete the Lurelin Resort Project
Speak to Rozel in Lurelin Village, recruit Tali and Shabonne in Tarrey Town and report back to Rozel to unlock the Lurelin Water Rally. Lurelin Resort Project needs the vehicle prototype quests done first.


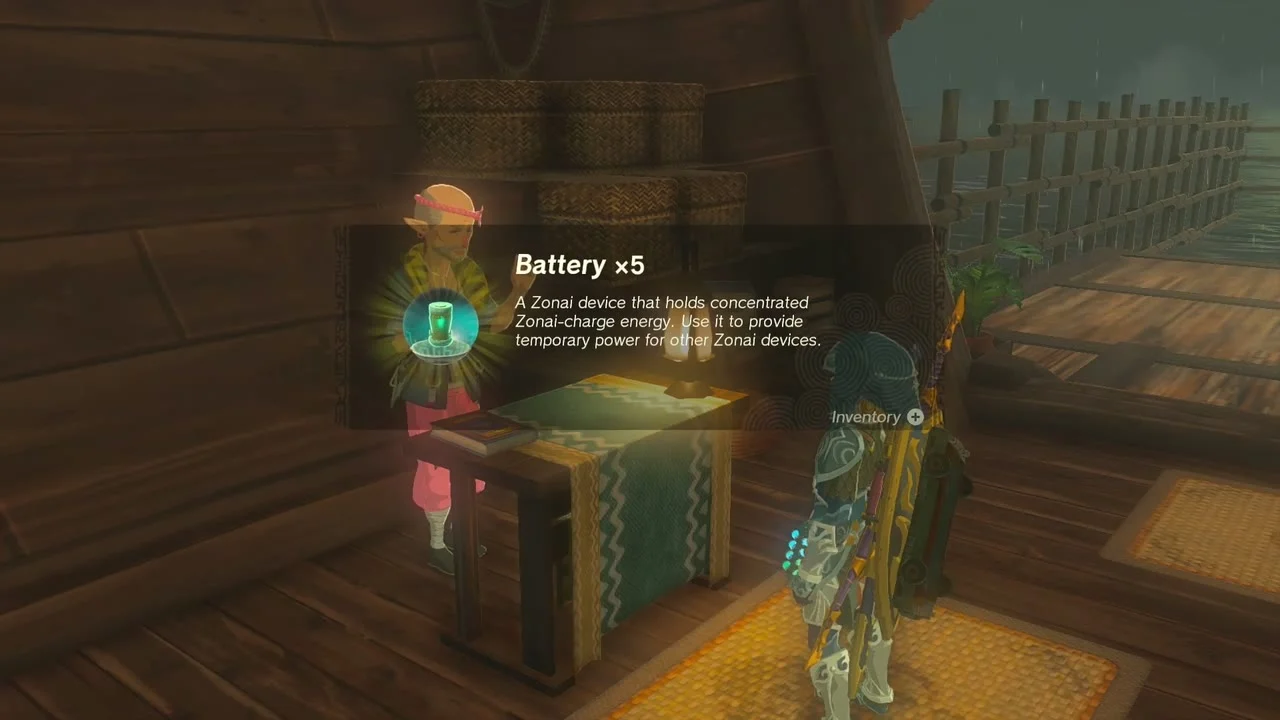
Finish Legend of the Great Sky Island
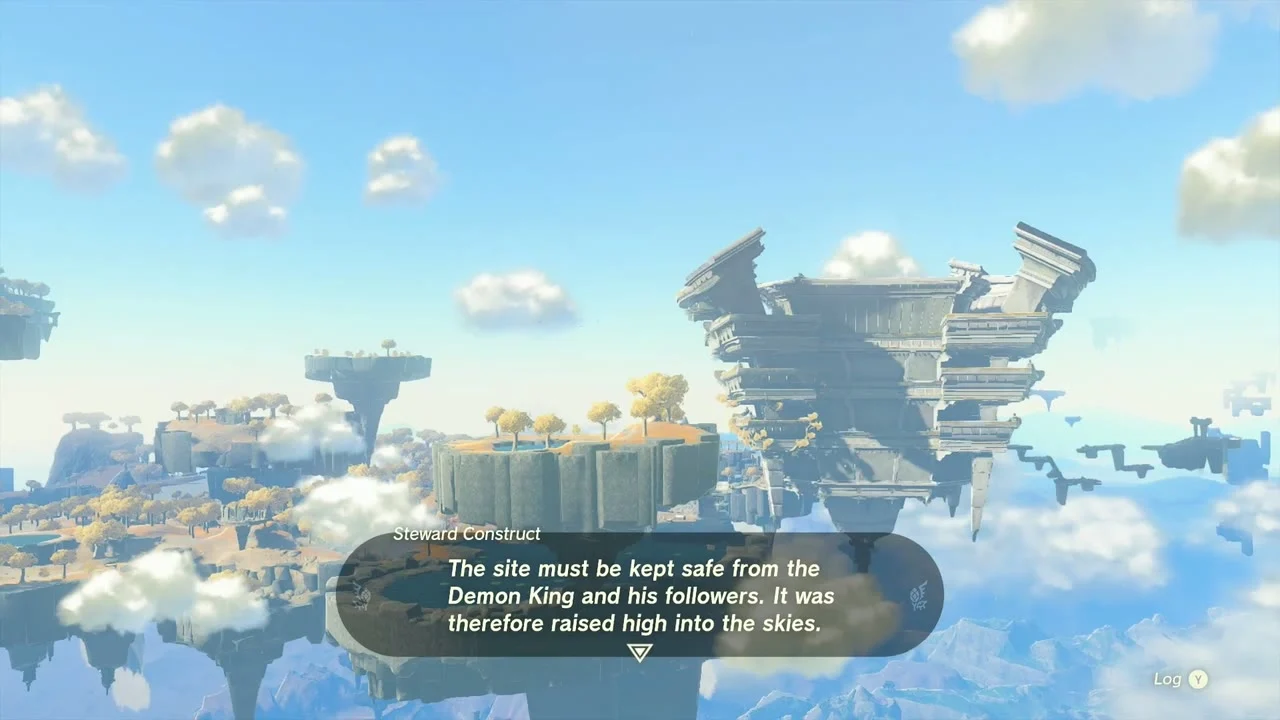
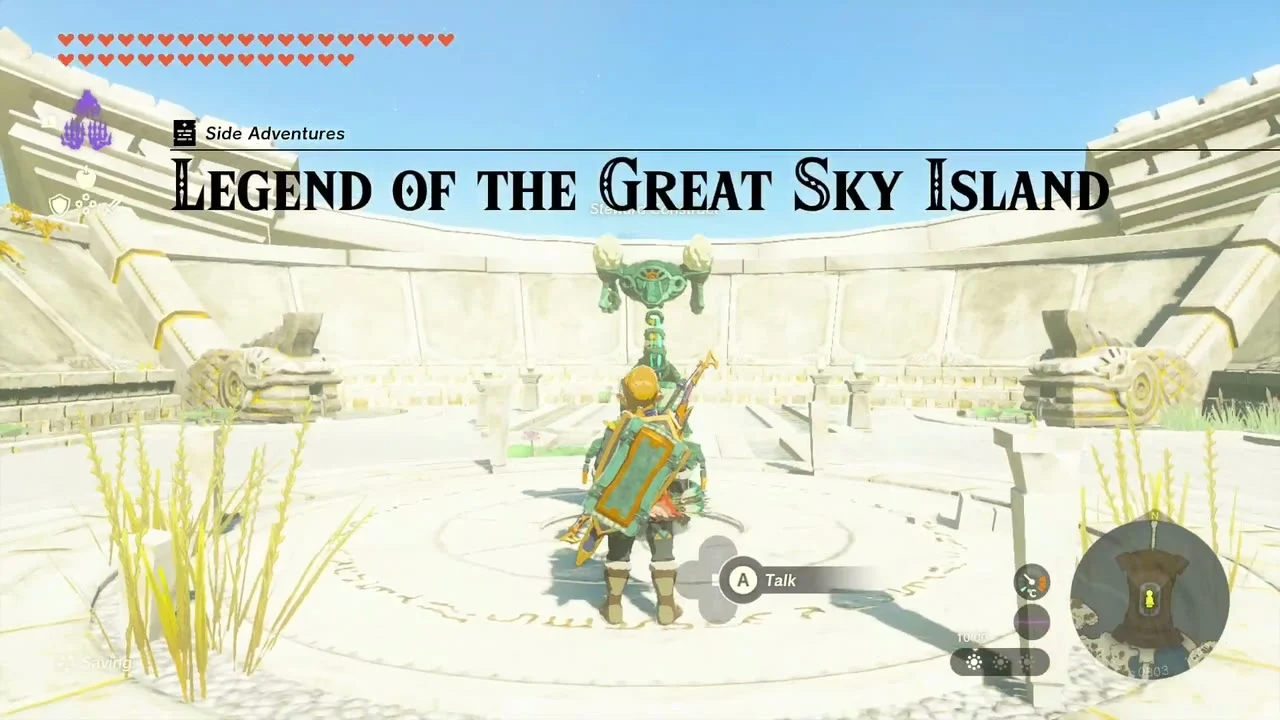
On the roof of the Temple of Time, Legend of the Great Sky Island asks you to light the three bonfires without touching the ground and return. The reward is Zonai Fabric.

Korok seeds
About fourteen Korok puzzles fall in this stretch, mostly across the snowfields between Rutimala Hill and Tanagar Canyon. The sky Korok at (-3369, -50, 2286) is covered in the previous chapter. The datamined Koroks in the northern highlands are:
| Puzzle | X | Y | Height |
|---|---|---|---|
| Bring the exhausted korok to its friend | -4074 | 35 | 57 |
| Use the paraglider to reach the goal | -3959 | 691 | 1503 |
| Complete the cube puzzle | -3820 | 178 | 55 |
| Follow the flower | -3609 | 357 | 297 |
| Use Ascend on the marker | -3600 | 110 | -90 |
| Burn the leaves and lift the rock | -3551 | 594 | 211 |
| Pop the hidden balloon | -3546 | 577 | 194 |
| Complete the cube puzzle | -3532 | 488 | 242 |
| Repair the roof | -3467 | -168 | 66 |
| Attack and catch the dandelion | -3444 | 661 | 252 |
| Pop the hidden balloon | -3225 | 578 | 163 |
| Reach the target ring within the time limit | -3200 | 343 | -68 |
| Lift the rock | -3132 | -113 | 209 |
| Follow the flower | -3117 | 234 | 111 |
| Bring the exhausted korok to its friend | -3017 | 104 | 205 |
| Lift the rock | -3011 | 584 | 132 |
| Follow the flower | -2919 | 546 | 196 |
| Reach the target ring within the time limit | -2913 | 240 | 204 |
| Bring the exhausted korok to its friend | -2599 | 189 | 147 |
| Burn the leaves and lift the rock | -2436 | 511 | 225 |
Gerudo Highlands, part 2 checklist
| Collectible | Count | Where |
|---|---|---|
| Shrines | 4 | Mayamats, Otutsum, Gasas, Turakawak |
| Lightroots | 5 | Umamustor, Kawiraus, Kawakarut, Mustuto, Stamayam |
| Bubbul Gems | 1 | Statue of the Eighth Heroine Cave |
| Bosses | 2 | Marbled Gohma, Queen Gibdo |
| Armor | 2 | Tingle’s Hood, Trousers of Time |
| Paraglider fabrics | 5 | Addison’s, Koltin’s, Zonai, Eldin-Ostrich |
