





















Tears of the Kingdom 100% Completion Walkthrough43 chapters
Great Sky Island
- Great Sky Island4 shrines, 4 caves and Bubbul Gems, 17 Korok seeds
Hyrule Field and Hyrule Castle
- Lookout LandingParaglider, Crisis at Hyrule Castle, Jiosin and Kyononis shrines, 2 caves, 3 wells
- Hyrule FieldSusuyai and Ishodag shrines, the Hyrule Field Chasm, 2 caves, 13 Koroks
- Hyrule Castle Town RuinsSepapa, Yamiyo and Tukarok shrines, 2 caves, 4 wells, Koroks, chests and Battle Taluses in route order
- Central Hyrule Depthslight all 7 Lightroots, loot Daphnes and Gustaf Canyon Mines, find the Miner's Top
- Rest of Hyrule CastleRoyal Hidden Passage loot, 8 castle chests, Phantom Ganon, Energy Wells
- South Hyrule FieldShrines, Koroks & the Great Plateau
- South Hyrule Field DepthsGreat Abandoned Central Mine, Master Kohga, Autobuild, Majora's Mask
Tabantha and Hyrule Ridge
- Tabantha FrontierNew Serenne Stable, Hestu, Courage Island and the Glide Shirt, 3 shrines, 2 Korok seeds, Lindor's Brow Cave
- Forgotten TempleImpa and the Geoglyphs, Dragon's Tears, Kiuyoyou and Mayausiy shrines, Yiga Maritta Branch, 9 Koroks
- Tanagar Canyon & Hyrule RidgeRunakit and Iun-orok shrines, 2 caves, 12 Koroks, 20 chests, 8 minibosses and Dragon's Tear 6
- Thundra Plateau & Tabantha Bridgesolve the noon shadow puzzle, Tabantha Bridge Stable, Makurukis Shrine, 19 Korok seeds, 9 chests, 3 minibosses
- Lindor's Brow DepthsLightroots; Two Yiga camps (Bomb Bouquet, Flamethrower Balloon)
- Hyrule Ridge and Tabantha FrontierIkatak, Oromuwak, Ganos and Ga-ahisas shrines, 4 caves, a well, 26 Koroks and 3 minibosses
Hebra
- Rito VillageGatakis and Ijo-o shrines, Sikatag Lightroot, 9 Korok seeds, 14 chests
- Hebra MountainsShrines, Wind Temple & Koroks; Raspro Pass, Biron Snowshelf & Royal Hidden Passage
- Corvash Canyon MineTrousers of the Hero, Floodlights schematic, Sea-Breeze Boomerang, four Lightroots, Colgera
- Raspro Pass DepthsNupisoyuat and Sasag Lightroots, Colgera, Cap of Time, Tunic of the Wind, two Yiga camps and 13 minibosses
- Tabantha TundraTaninoud, Orochium, Oshozan-u, Mayaotaki, Nouda and Tenbez shrines, three Lightroots, caves and Bubbul Gems
- Pikida Stonegrove DepthsEvil Spirit Greaves, Ikatoayam, Muihcoro and Sikatag Lightroots, 3 Yiga schematics, Frox fights
Great Hyrule Forest
- Great Hyrule Forest7 shrines, 8 Lightroots, 2 caves, 2 wells, Korok Mask, Glide Tights
Eldin
- EldinEldin Canyon, Shrines, Caves & Goron City
- Eldin Canyon Depths10 Lightroots, Zant's Helmet, Trousers of the Wild, Biggoron's Sword, 3 Yiga schematics and Eldin's sky chests
Faron
- FaronHighland Stable, Lake Hylia & Popla Foothills
Necluda
- Kakariko VillageMakasura Shrine, Kakariko Village Well, 2 caves, Ring Ruins chests, 10 Korok seeds and village quests
- West Necluda and Lanayru WetlandsShrines, Koroks & Caves; Jonsau, Kurakat
- Hateno VillageZanmik and Mayahisik shrines, Shield of the Mind's Eye and Phrenic Bow wells, 7 Koroks
- East NecludaRabella Wetlands, Sifumim Shrine, Lurelin Village, 21 Korok seeds
- East Necluda DepthsKumamayn Shrine, 4 Lightroots, Midna's Helmet, Cap of the Hero, Trousers of the Wind and 18 Depths chests
Lanayru
- Lanayru Great SpringShrines, Koroks & Caves; Ralis Channel, 3 shrines, 8 caves
- Zora's DomainMogawak and Ihen-a shrines, Ploymus cave, Pristine Sanctum, Zora Armor, Sidon of the Zora and Clues to the Sky
- Wellspring IslandAncient Zora Waterworks chests, Igoshon Shrine, 2 Korok seeds, Water Temple's four wheels and Mucktorok
- Mount LanayruShrines, Koroks & Light Rings; Jikais and Anedamimik shrines
Gerudo
- Gerudo DesertShrines, Caves & Koroks; West and South Sands
- Gerudo TownGerudo Shelter shops and quests, Valley of Silent Statues, Lightning Temple and Queen Gibdo, Chichim Shrine
- Gerudo Desert DepthsGranajh and Daval mines, three Master Kohga fights, Queen Gibdo, Mucktorok, Sheik's Mask and 37 chests
- Gerudo HighlandsSkyview Tower, Rotsumamu and Suariwak shrines, Mayasiar Shrine, Yiga hideout
Akkala
- AkkalaTarrey Town quests, 4 shrines, Hinox, Battle Talus
- Akkala Sky Islands and DepthsGikaku and Natak shrines, Old Maps, Lomei Depths Labyrinth, Mucktorok, 5 Lightroots and 19 chests
Finale and completion
- Ancient Tablets, Gleeoks and Armor Upgradesall 13 stone tablets with coordinates, Frost and King Gleeok, Obsidian Frox, Cotera upgrades and farming
- Hyrule CastleRoyal gear chests, Korok seeds, Serutabomac Shrine
- Thunderhead IslesCharged armor, Joku-usin and Joku-u Shrines, Dragonhead Island's relic
- 100% Completion: Armor Upgrades & Korok BonusHestu's Gift, Ancient Hero's Aspect, Great Fairy Cotera upgrade costs and materials, then Destroy Ganondorf
| Region | Central Hyrule: the ruins of Hyrule Castle Town, Crenel Hills, Rebonae Bridge, Wetland Stable and the outer grounds of Hyrule Castle |
|---|---|
| Shrines | Sepapa Shrine, Yamiyo Shrine, Tukarok Shrine |
| Lightroots | Apapes (below Sepapa and the Moat East Chasm), Oyimay (below Yamiyo), Korakut (below Tukarok); see all Lightroots |
| Caves | Crenel Hills Cave, Rebonae Bridge Cave (a Bubbul Gem in each) |
| Wells | Hyrule Castle Town Ruins Well, Rebonae Bridge Well, Wetland Stable Well, Wetland Stable South Well |
| Armor | Barbarian Armor (Crenel Hills Cave, one of Misko’s Treasures) |
| Minibosses | 3 Battle Taluses, Blue Boss Bokoblin, Like Like, 2 Wizzrobes |
| Key items | Stamina Vessel (Goddess Statue), Towing Harness (Wetland Stable) |
| Quests | Impa and the Geoglyphs, Fell into a Well!, An Uninvited Guest, Where Are the Wells?, The Hunt for Bubbul Gems! |
This chapter covers the broken streets of Hyrule Castle Town, the hills and rivers east and south of them, the Lanayru Wetlands edge around Wetland Stable, and the castle’s outer grounds up to the First Gatehouse. Most chests in the town are half-buried: grab them with Ultrahand and pull them out of the ground before opening. Bring Ultrahand, Ascend and Recall, a hammer or rock-fused weapon for ore, and plenty of arrows.
Quick route
Cross the river west of the castle, then work through the moat and Castle Town ruins: Water Reservoir, watchtower, cathedral and the Hyrule Castle Town Ruins Well.
Sweep the fields to the east: Romani Plains, Boneyard Bridge, Hyrule Forest Park, Sepapa Shrine, Helmhead Bridge and Yamiyo Shrine.
Climb into Crenel Hills for the Like Like, Crenel Hills Cave, Addison’s signs, the Zonai ruin and the sky islands.
Head to Rebonae Bridge and Wetland Stable, then north to Tukarok Shrine.
Finish by crossing the moat to the castle gate and clearing the outer grounds from the courtyard to the First Gatehouse.
Before you set out
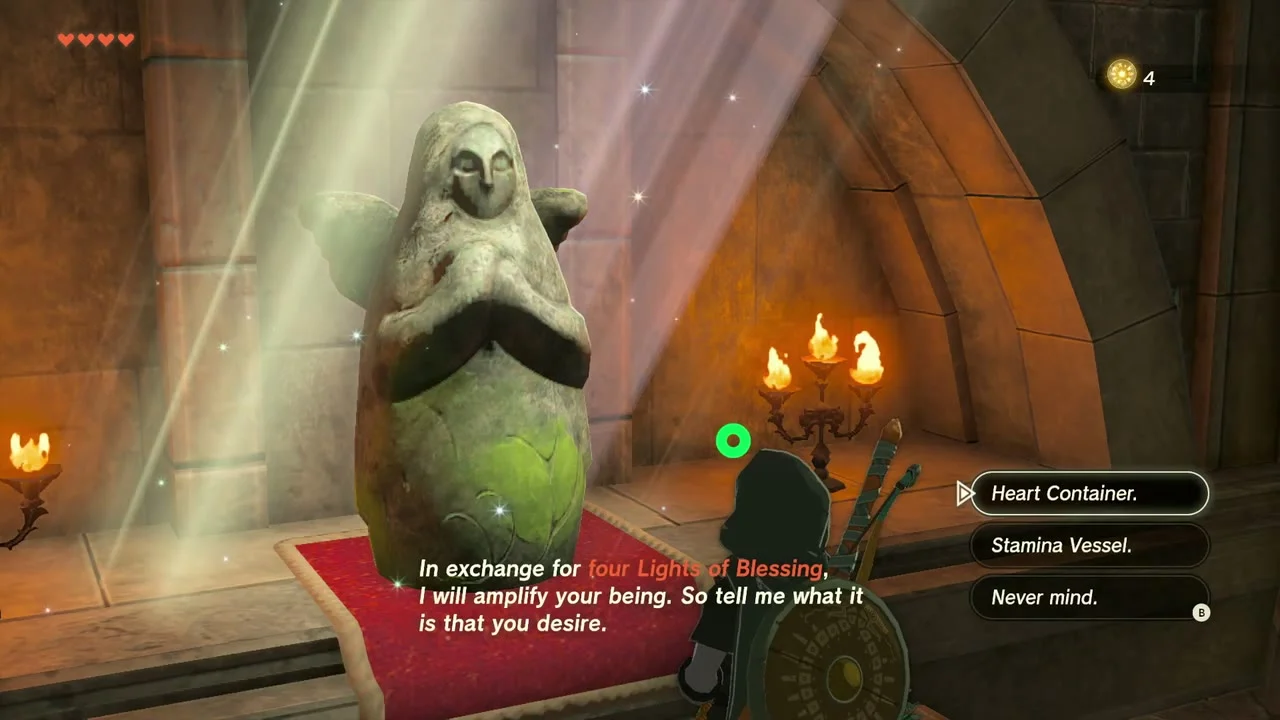
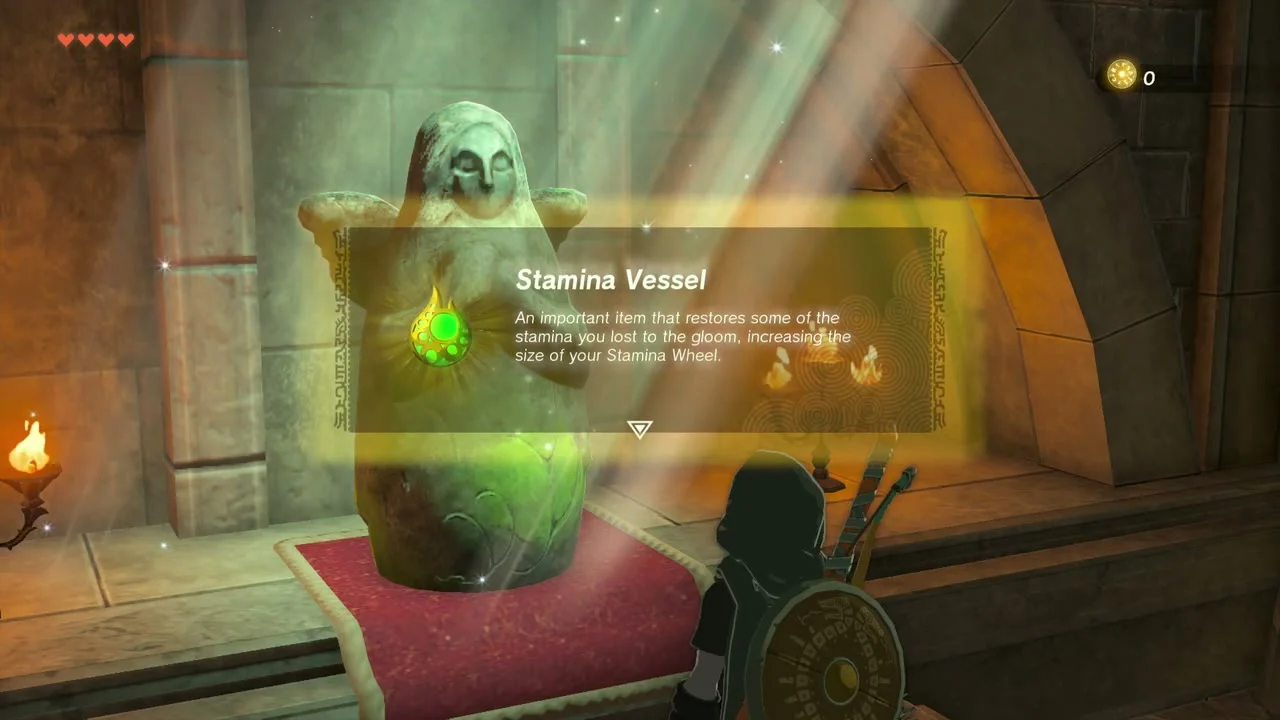
Stamina Vessel. The Goddess Statue in the Emergency Shelter at Lookout Landing trades four Lights of Blessing for a Heart Container or a Stamina Vessel. Take the Stamina Vessel: the towers and pillars ahead are long climbs.
Hyrule Castle Town Ruins: moat and river
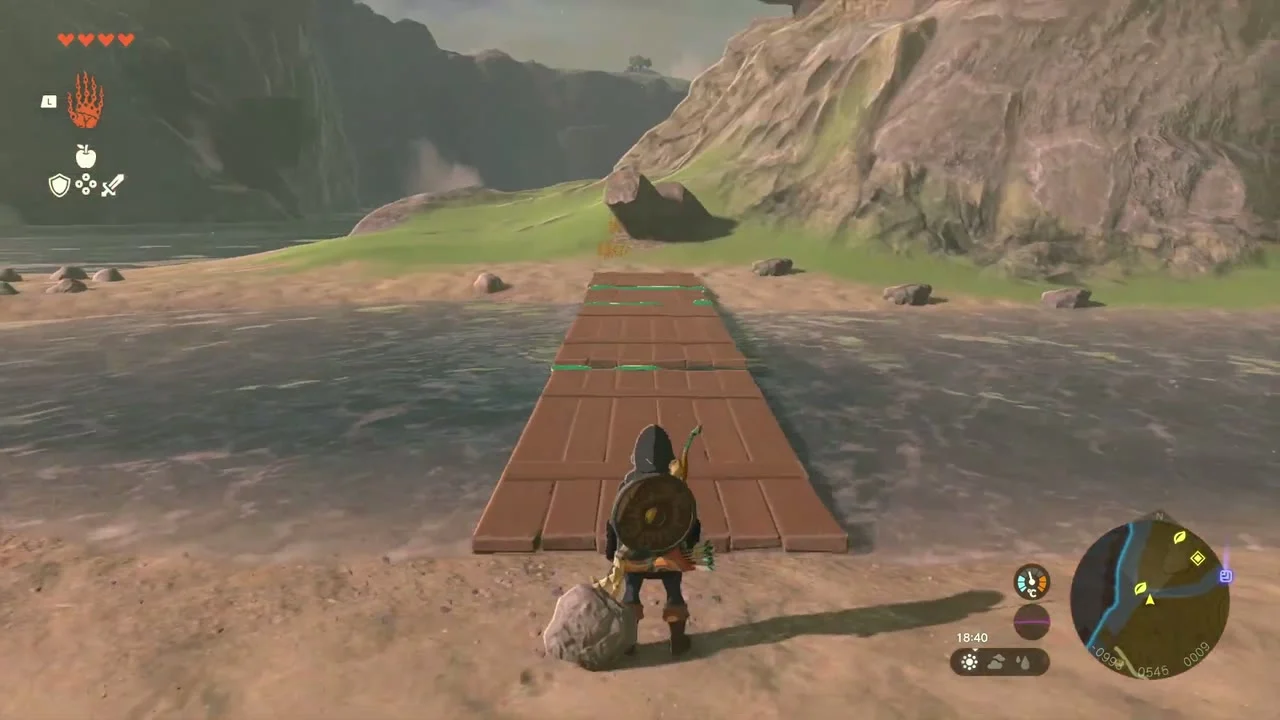
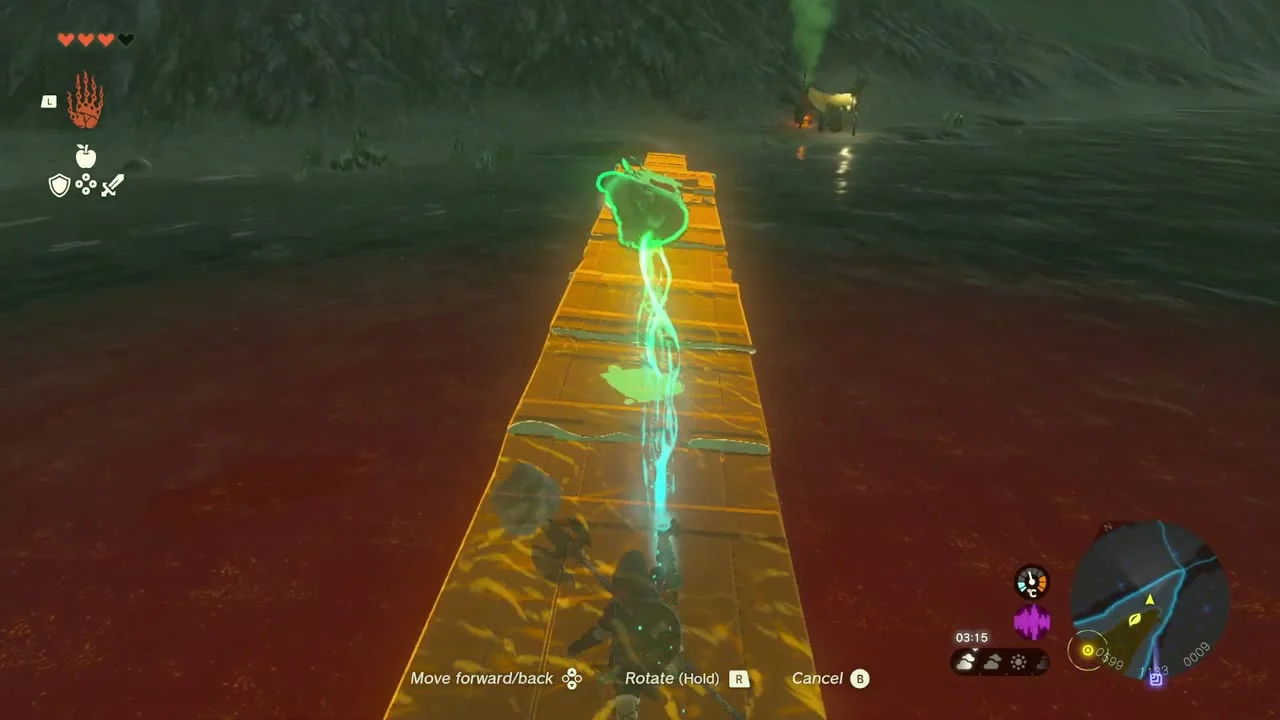
Chest (Amber). Northwest of Lookout Landing, planks and a broken jetty lie on the bank of the river feeding the western moat. Lay planks end to end with Ultrahand to cross to the sandbar, then smash the large ore deposit on it for Amber.

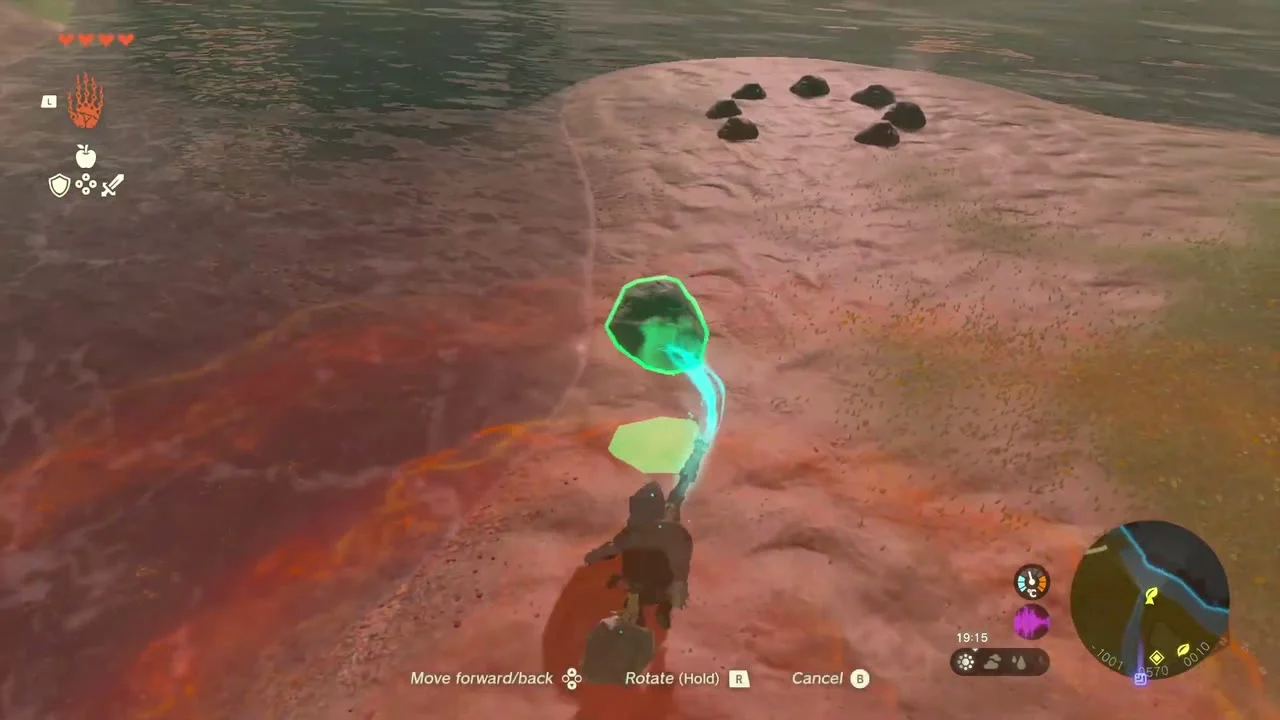
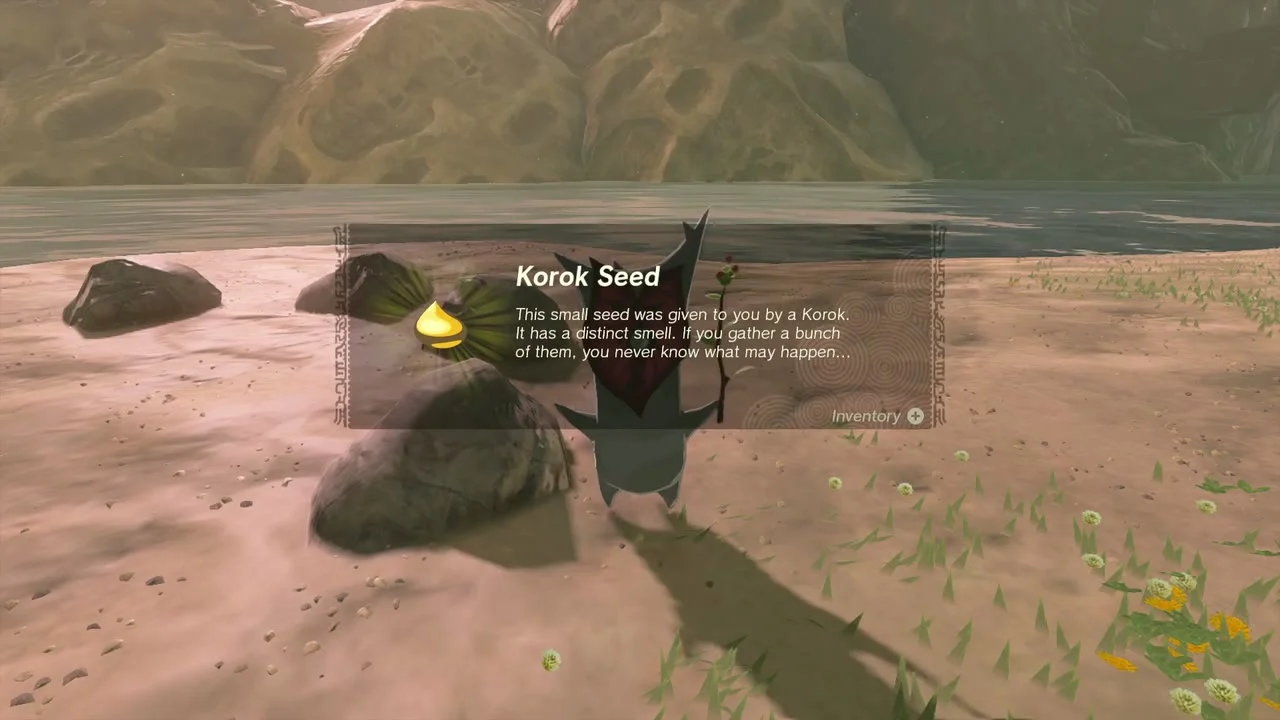
Korok seed (rock circle). At the far end of the same sandbar, a ring of small rocks has one gap. Carry the loose rock lying nearby to the gap with Ultrahand.
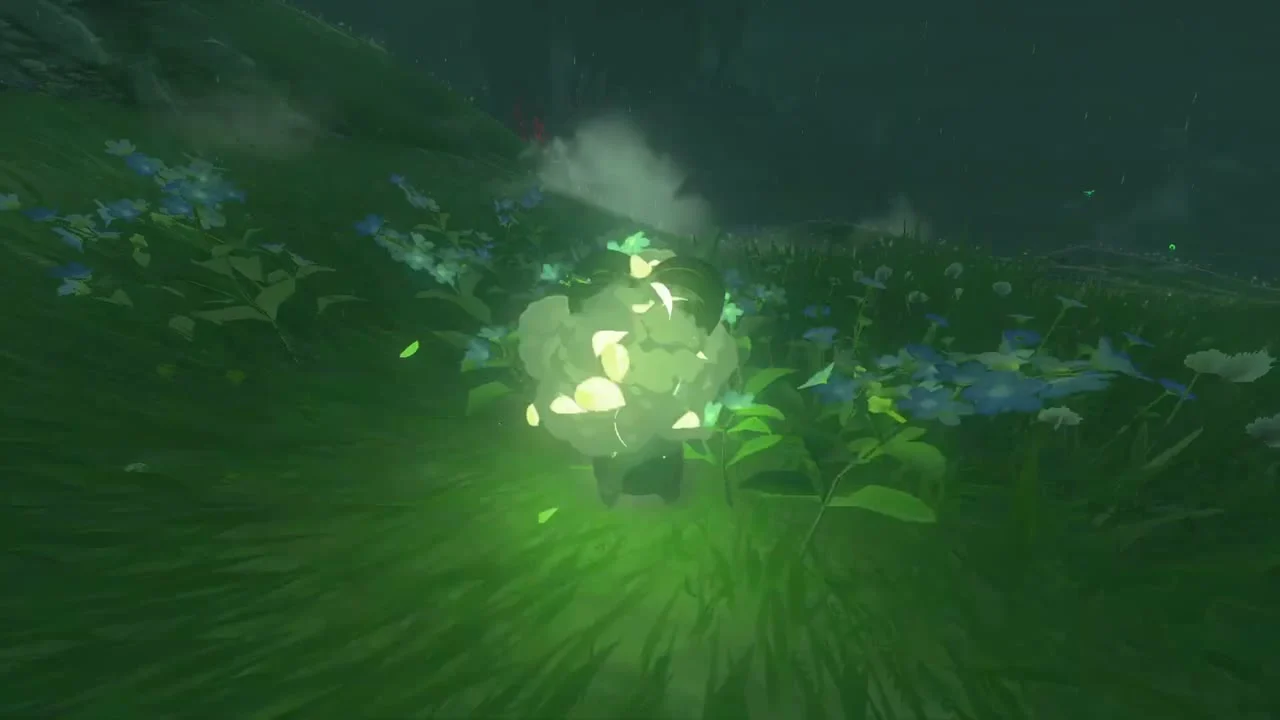
Korok seed (glittering trail): on the grassy hilltop near the chasm, run into the drifting trail of light over a patch of blue flowers and the Korok appears.


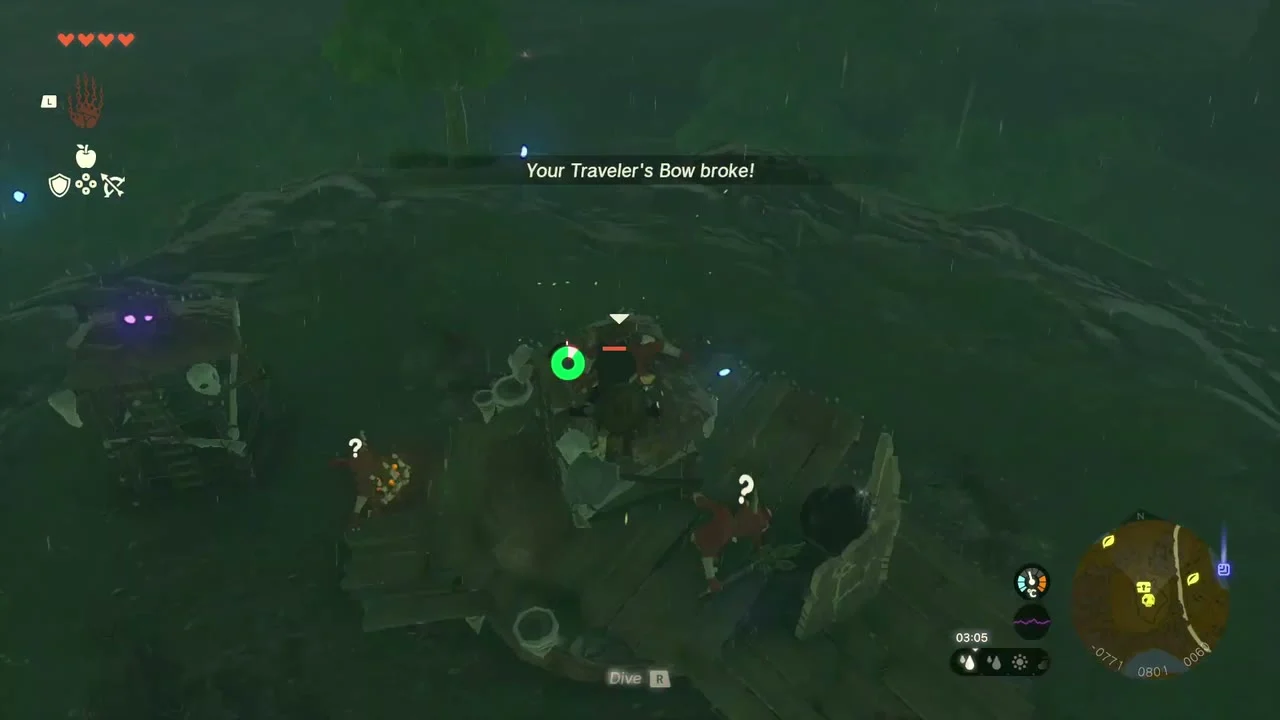
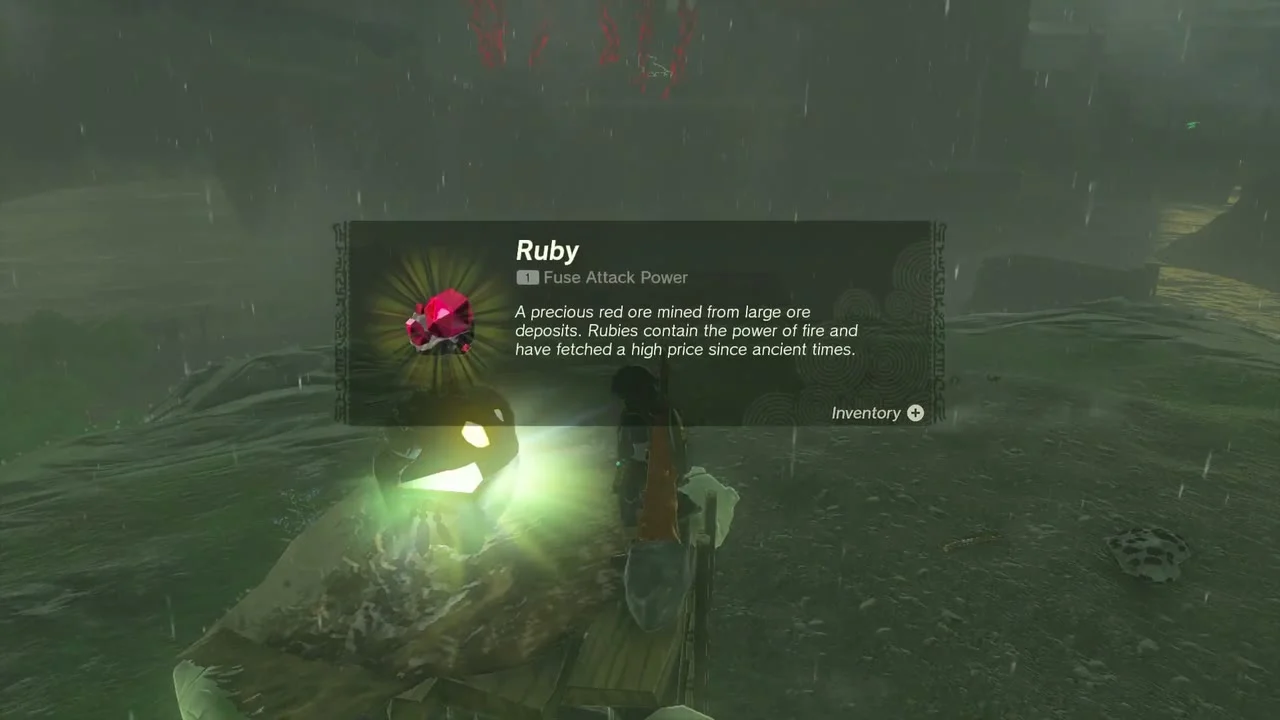
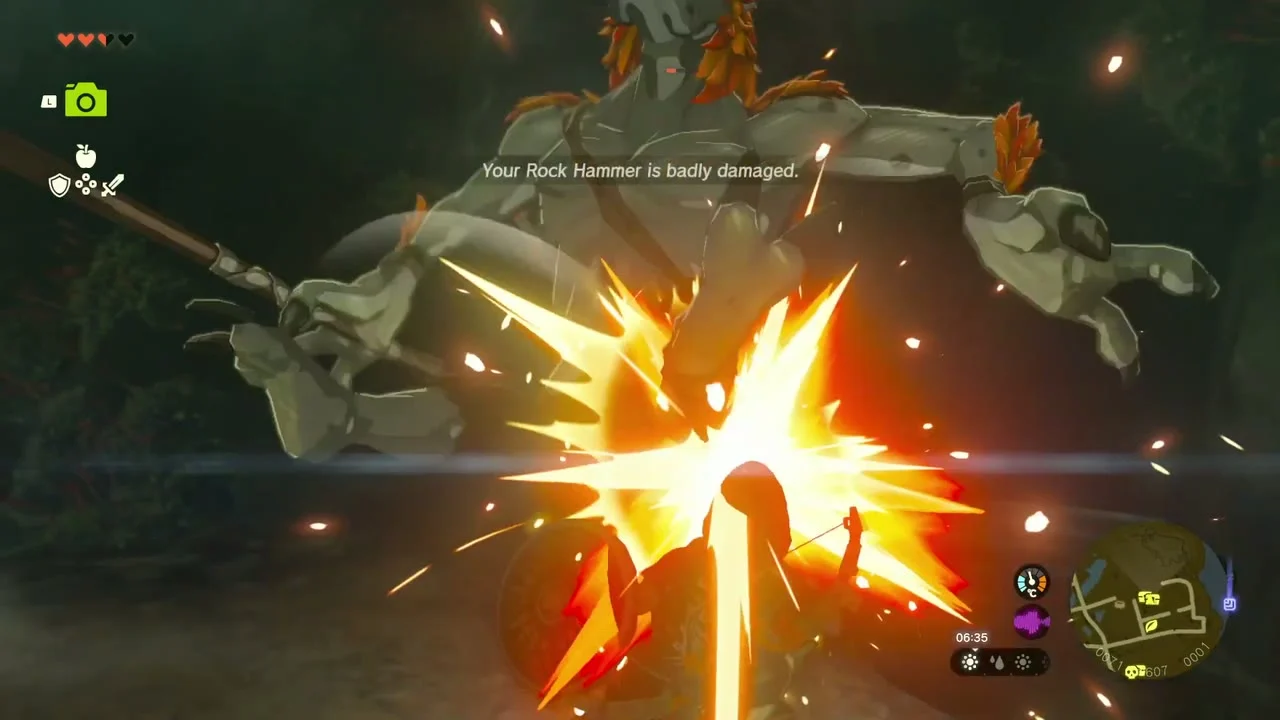
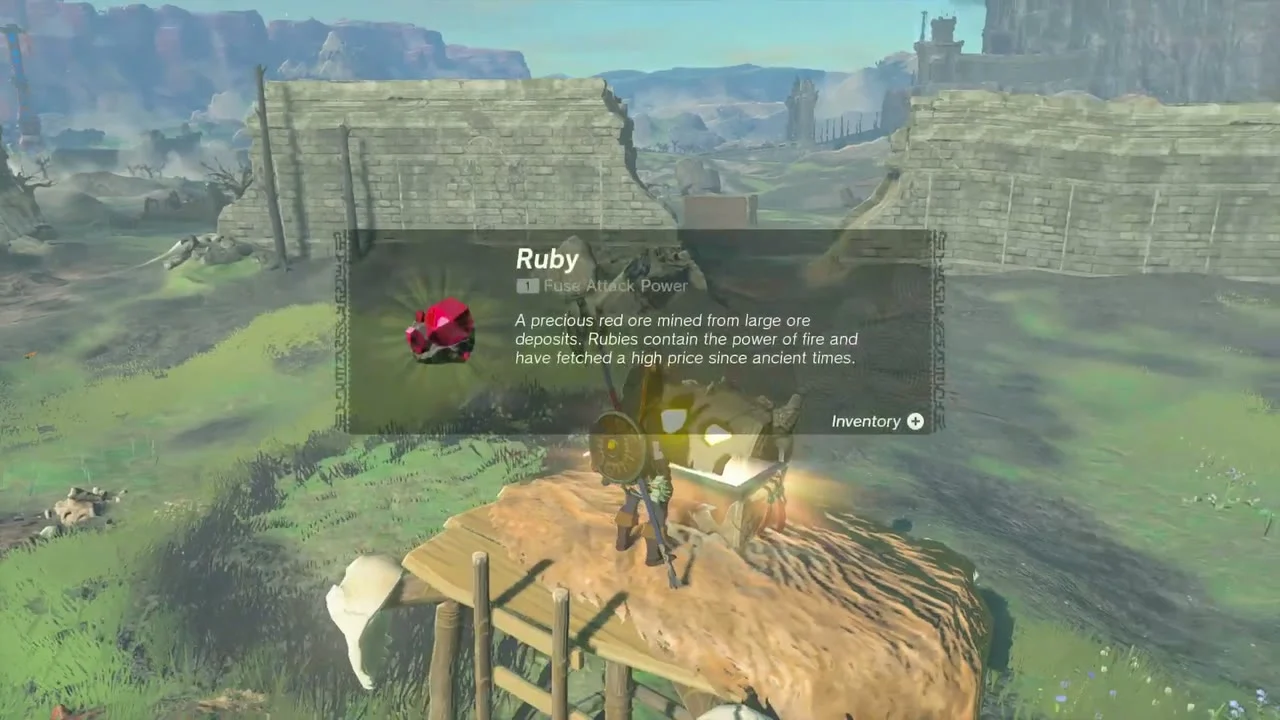
Miniboss: Battle Talus (west of the castle). A Battle Talus carries a Bokoblin tower on its back. Glide in from a nearby hill onto its back, clear the Bokoblins, then keep hitting the dark ore on top with a hammer or rock-fused weapon until it falls. The chest in the wrecked tower holds a Ruby.

Korok seed (follow the sparkle). On a rocky outcrop beside the river, yellow sparkles rise from a tree stump and drift away over the water. Glide after them; they settle over another stump on a grassy knoll across the river, and the Korok appears when you reach it.
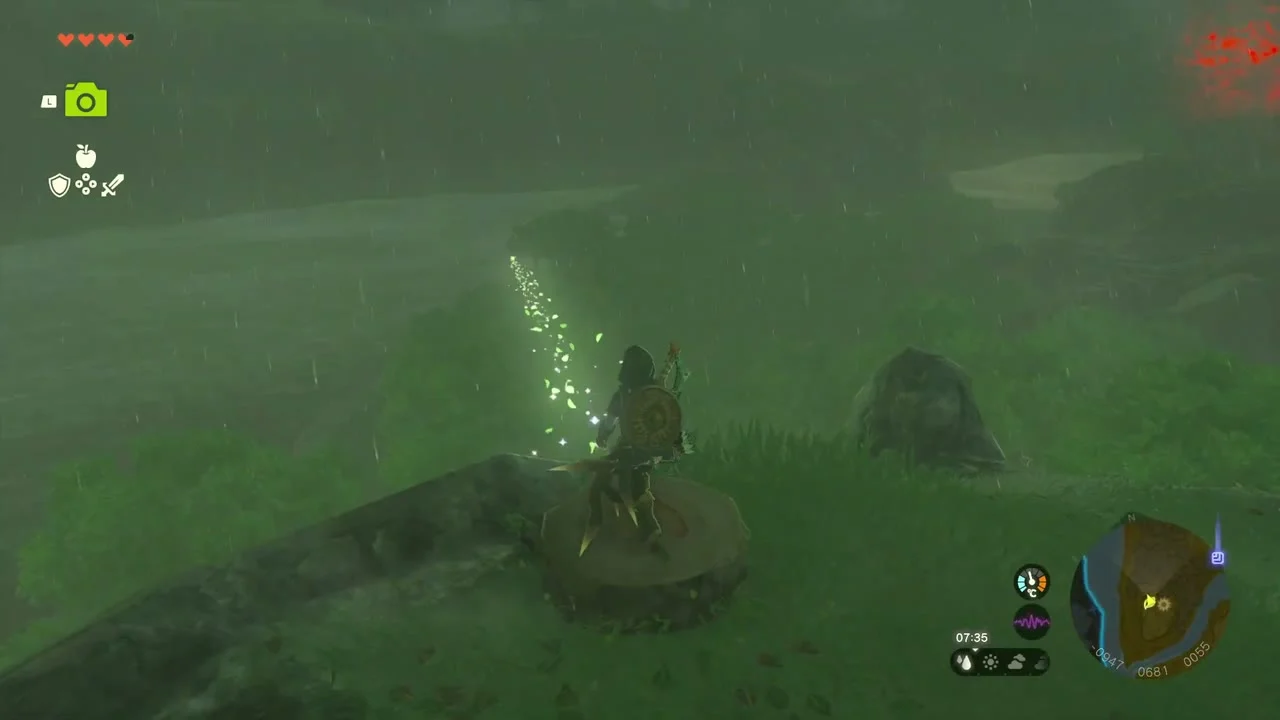
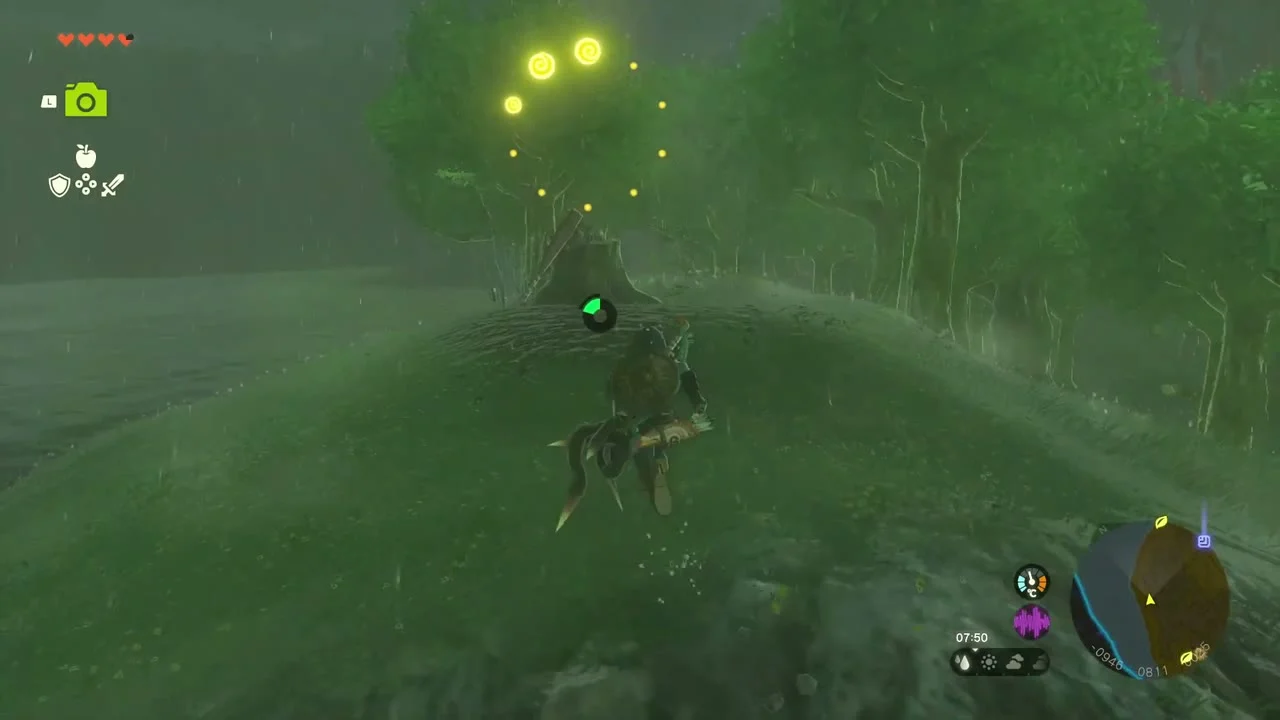
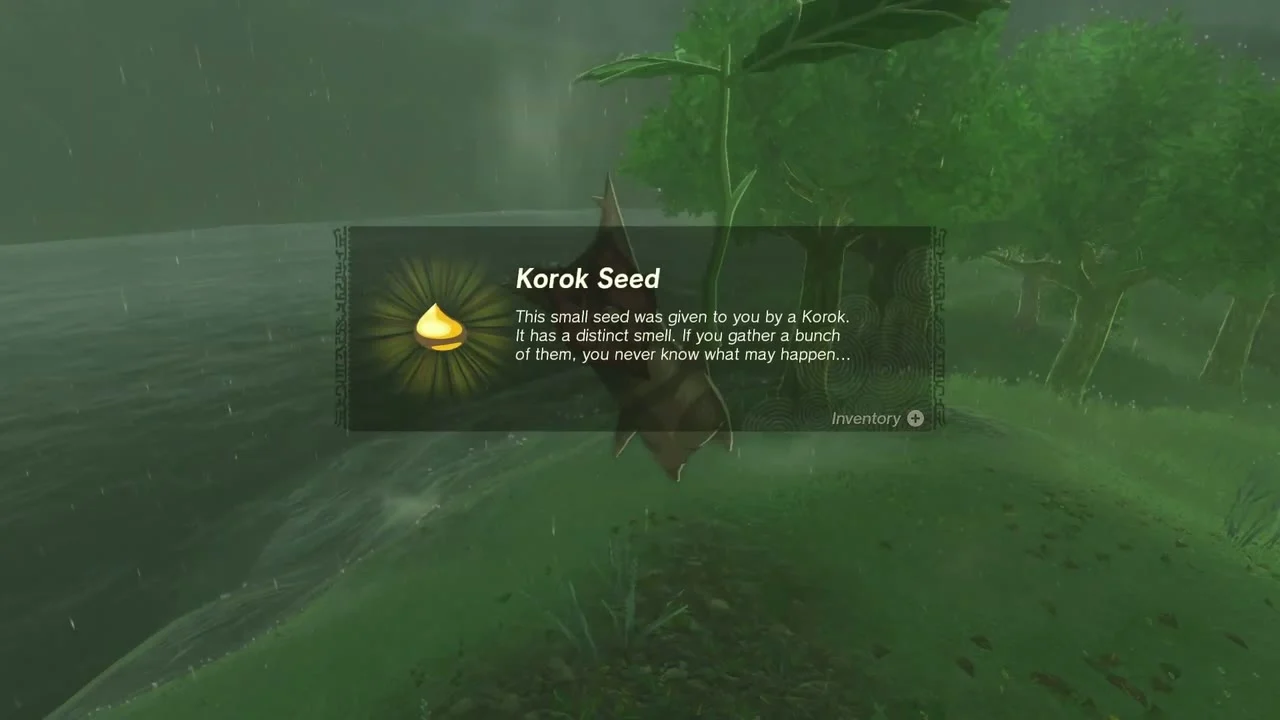
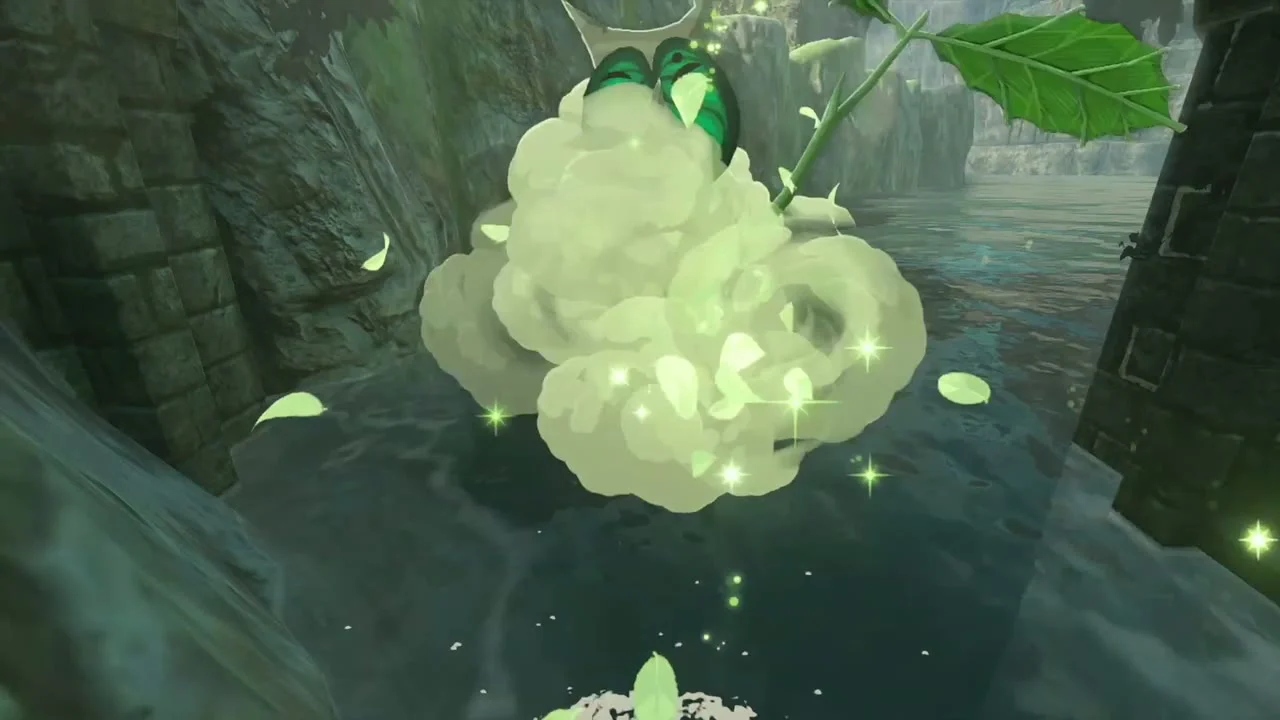
Korok seeds x2 (carry the Korok). A Korok with a huge backpack sits on a boulder beside the moat; green smoke from his friend’s camp rises across the water. Glue planks from the jetty into a raft with Ultrahand, fix fans to its back and put the Korok aboard. On the far bank, lift him with Ultrahand up the rocky slope to the camp for Korok Seed x2.


Hyrule Castle Town Ruins: moat, Water Reservoir and streets
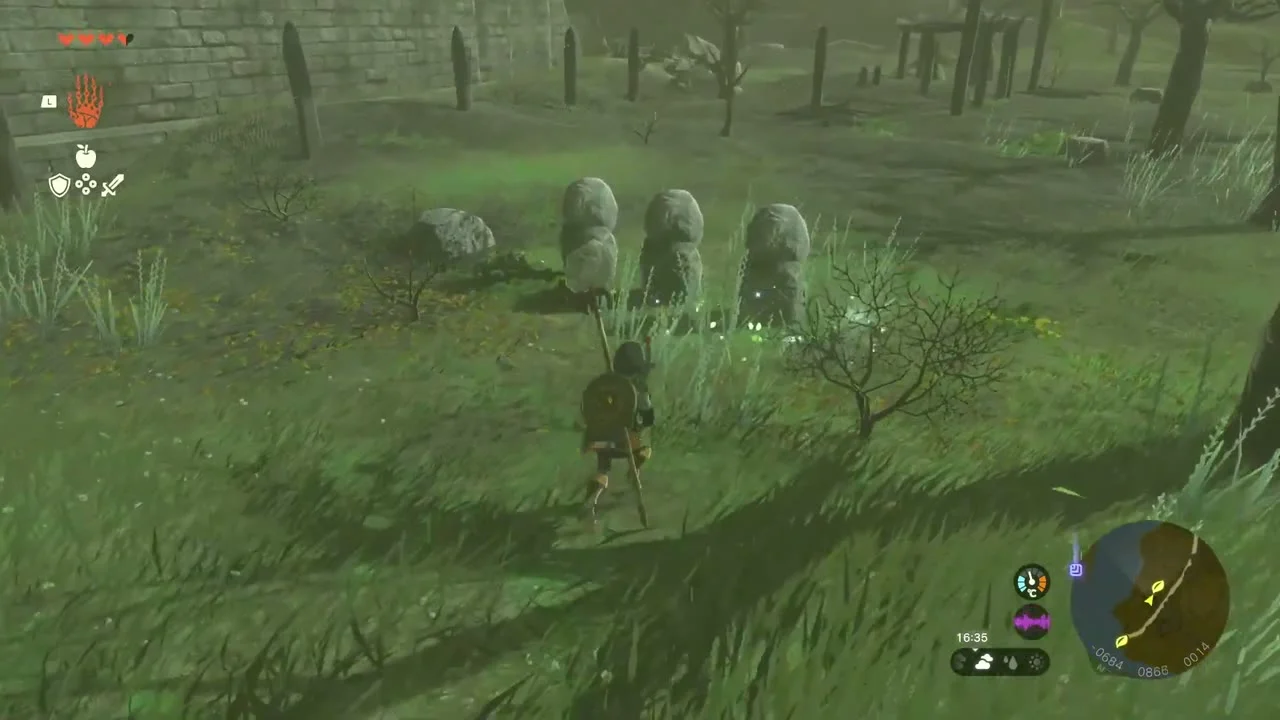
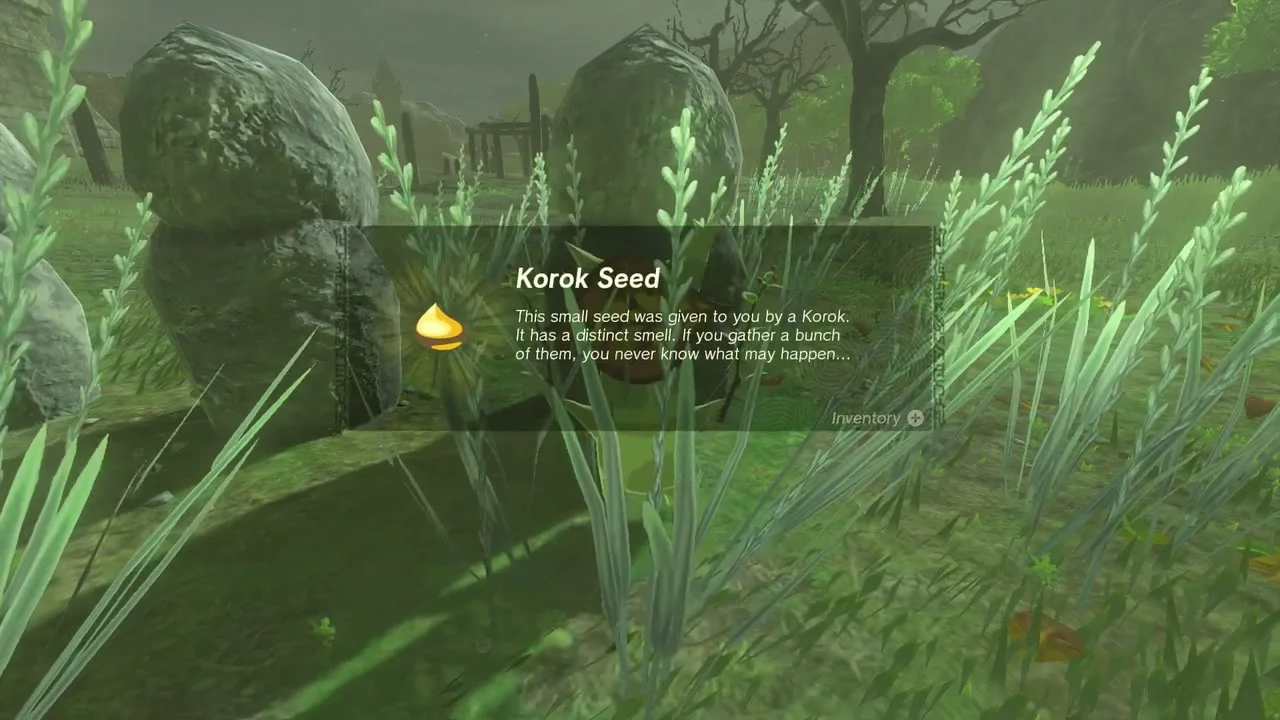
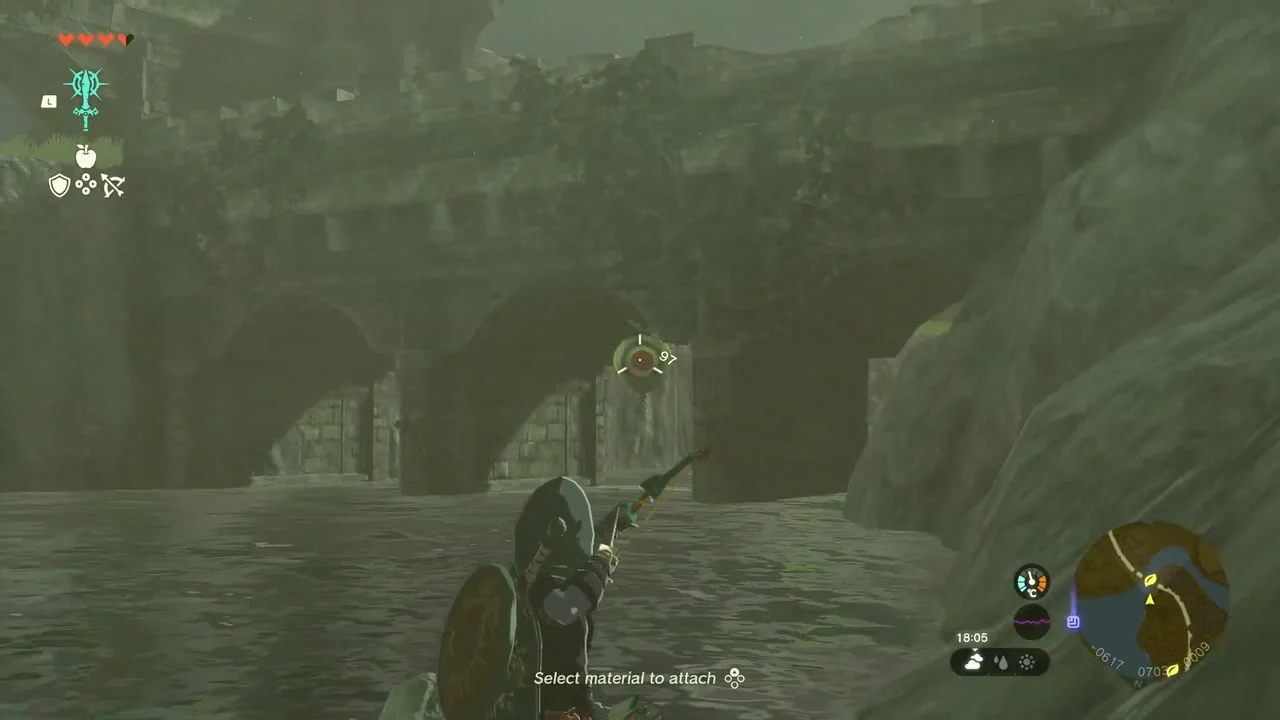
Korok seeds (three balloons). Three Korok balloons hang along the moat south of the town walls; shoot each with an arrow:
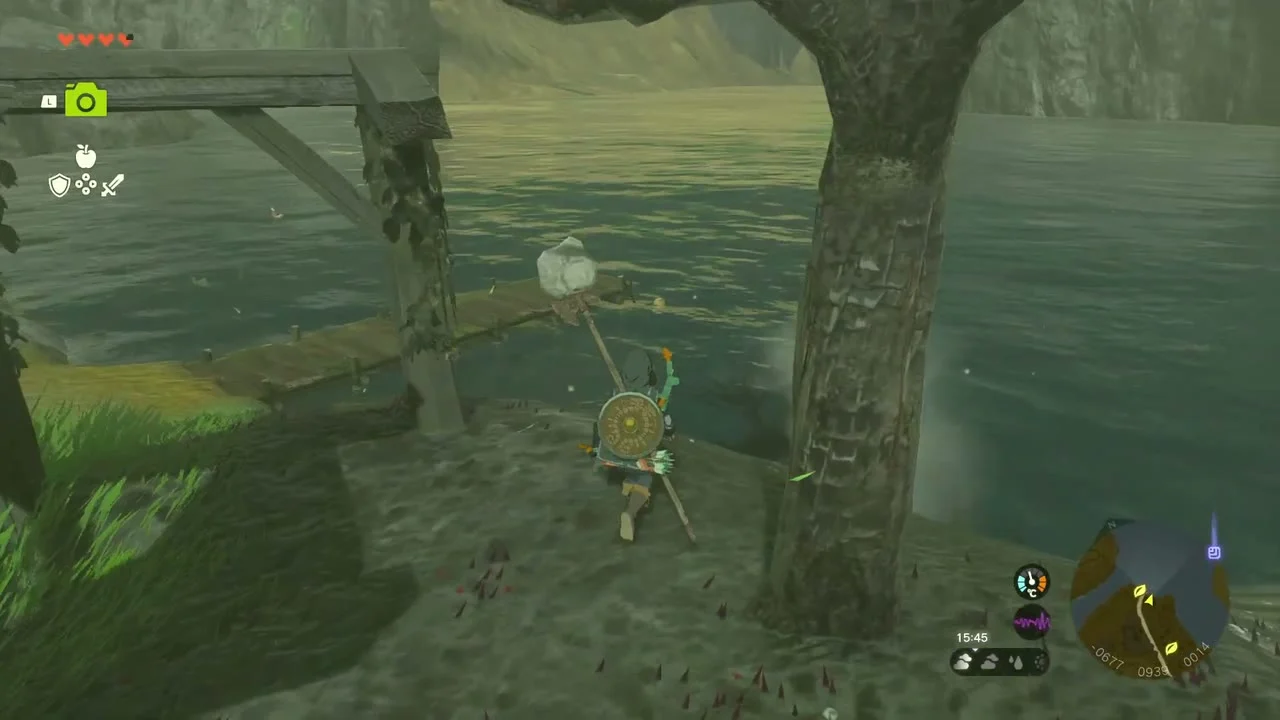
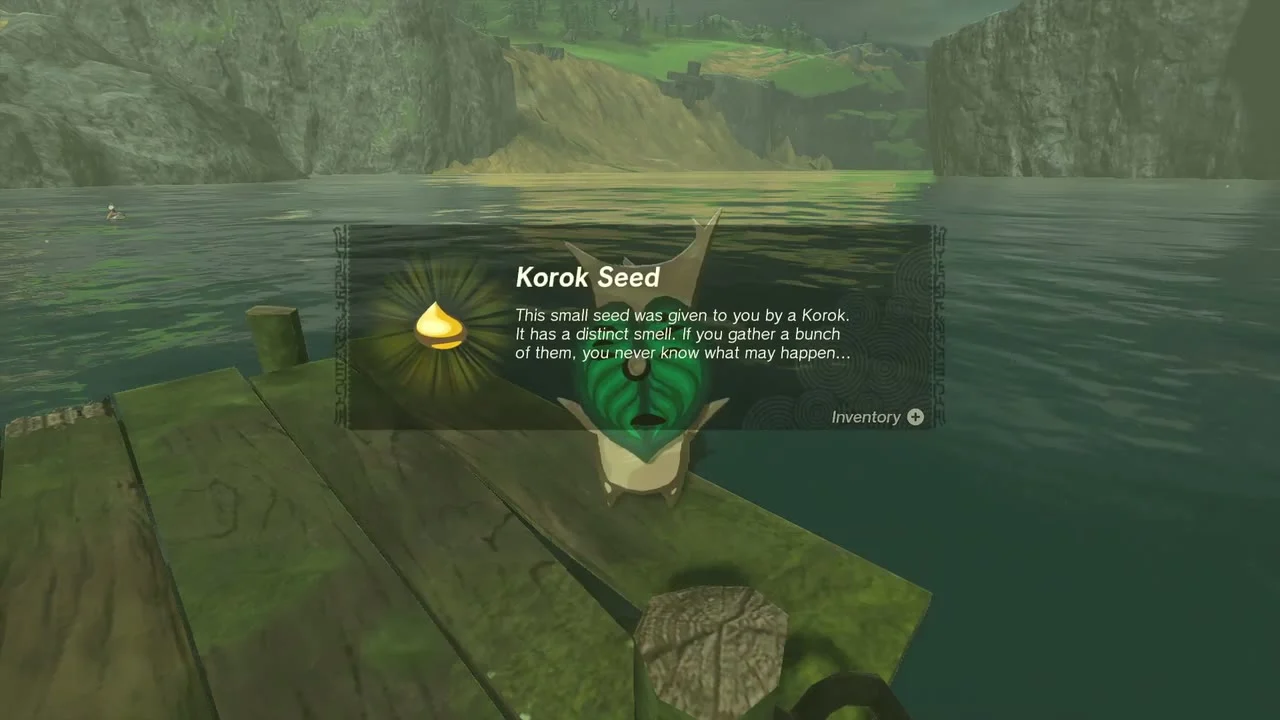
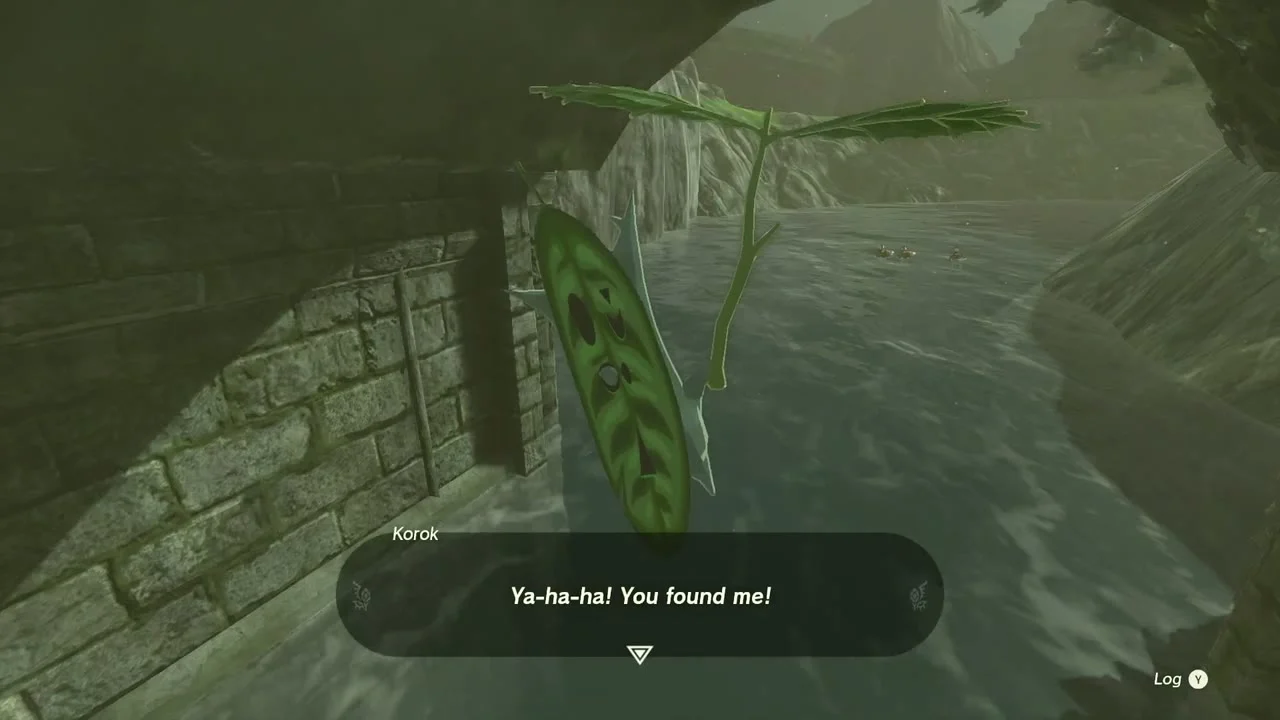
- Old dock: stand on the bank beside the wooden dock and look out over the water; the balloon floats just off its end.
- Prison statues: at Castle Town Prison, search the tall weeds right beside the row of rounded stone statues and the Korok pops out. No balloon here.
- Stone bridge: further east, climb down the rocks below the old stone bridge and look under the nearest arch for the balloon.
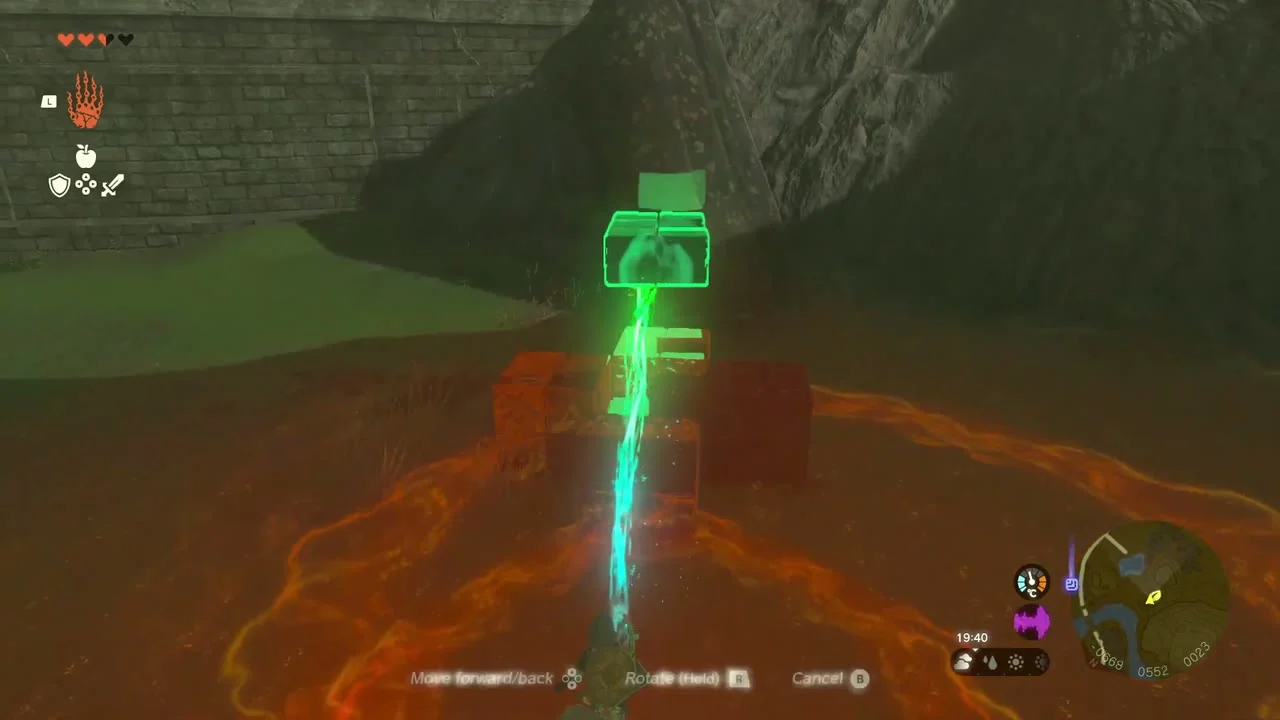
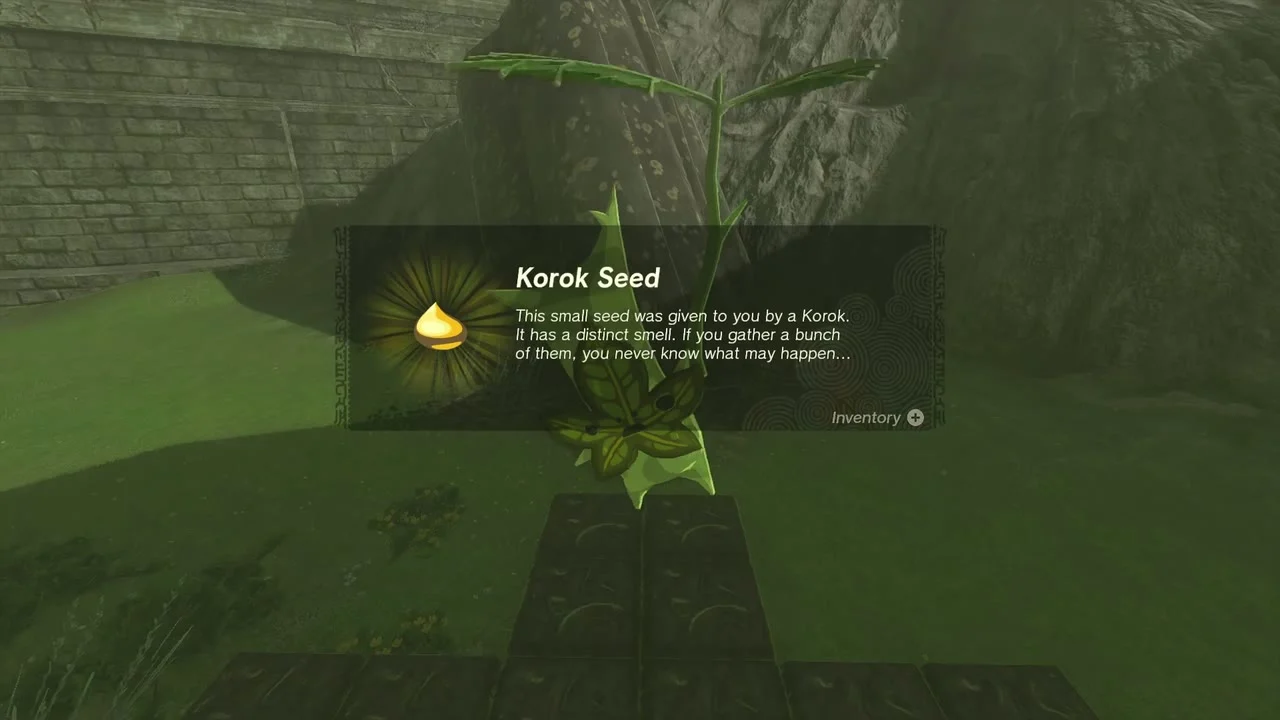
Korok seed (block pattern). Beside the ruined Water Reservoir walls, a square of stone blocks is missing one piece. Lift the loose block with Ultrahand, rotate it to match the others and set it in the gap.

Water Reservoir chests (4). Each is buried with only an edge showing; pull it out with Ultrahand first.

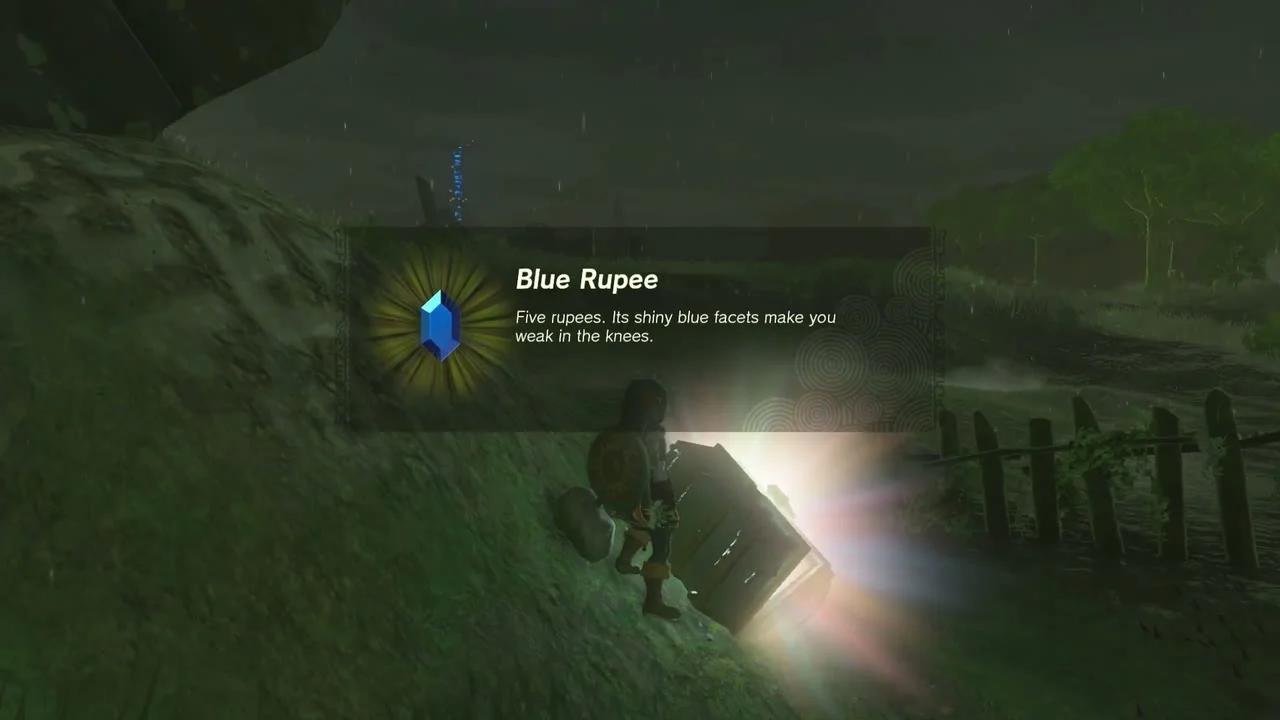


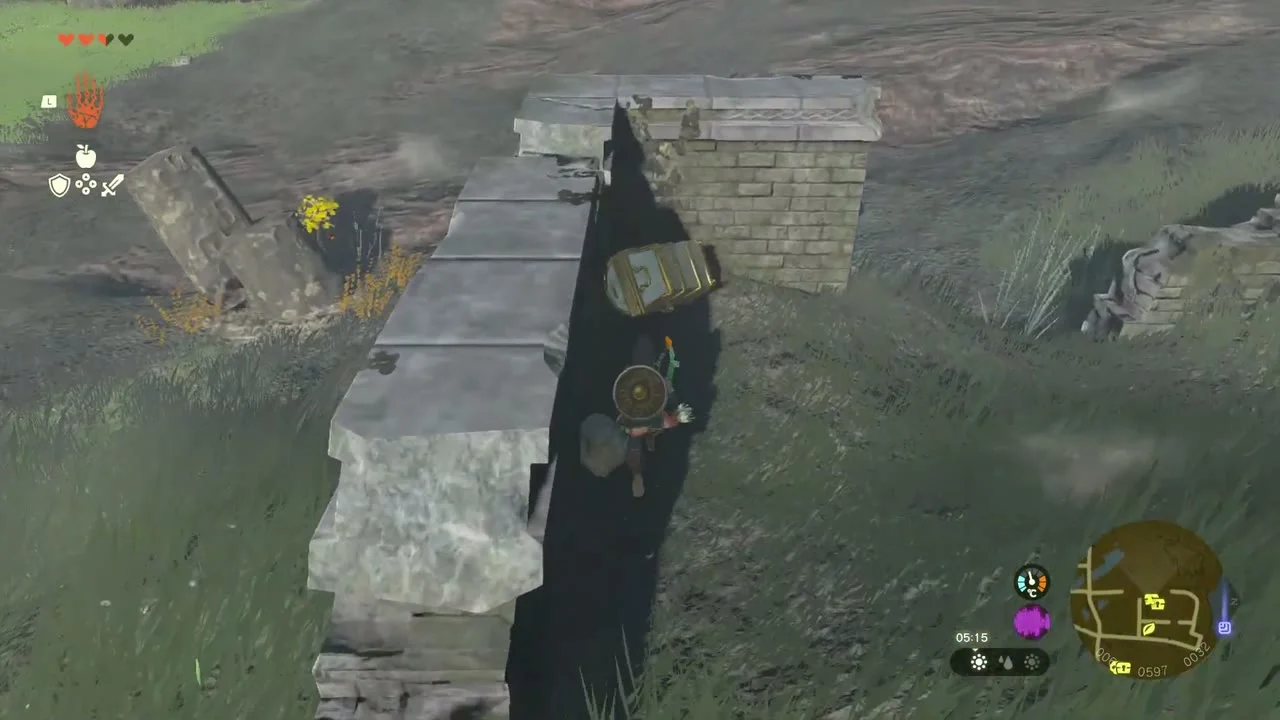
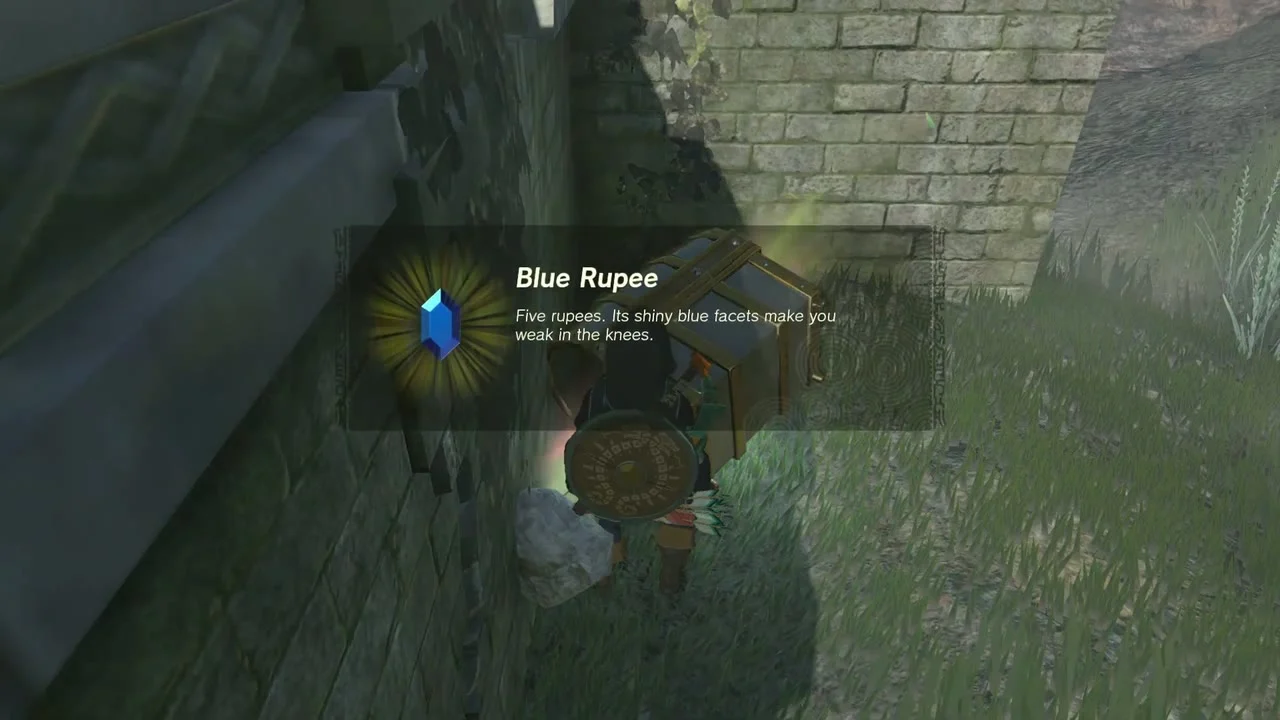
- In the slope beside a wooden fence: Blue Rupee.
- In the grass beside a collapsed wooden shed: Opal.
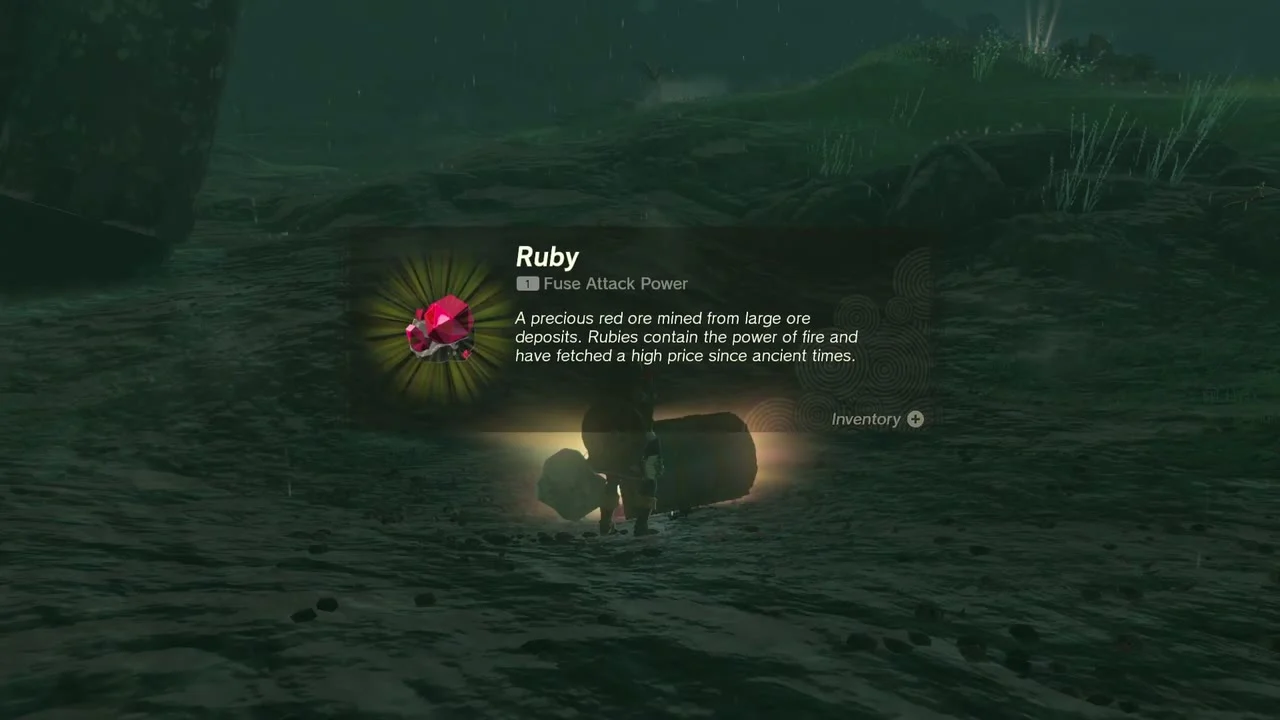
- In the bare rocky ground deeper in: Ruby, and a second chest nearby with a Green Rupee.
Korok seed (lone rock). Ascend up through the ruined reservoir building to the top of its stone wall. Lift the lone rock on the walkway to find the Korok underneath.
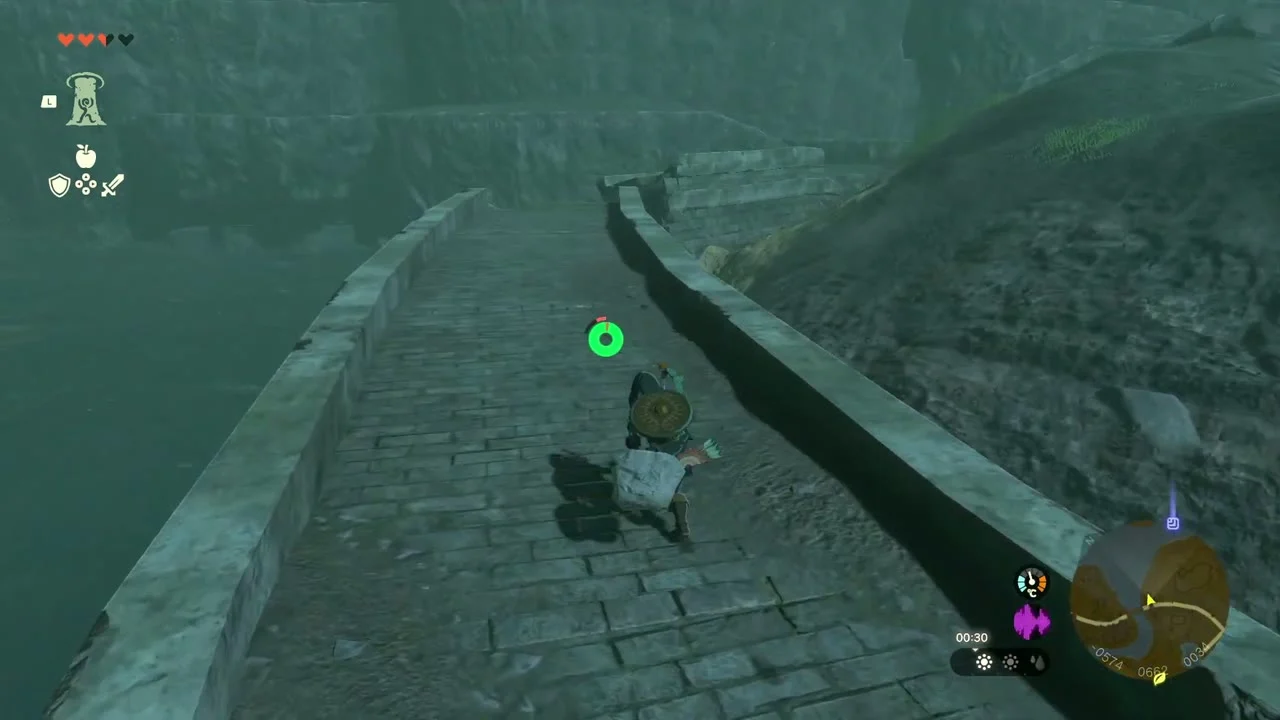


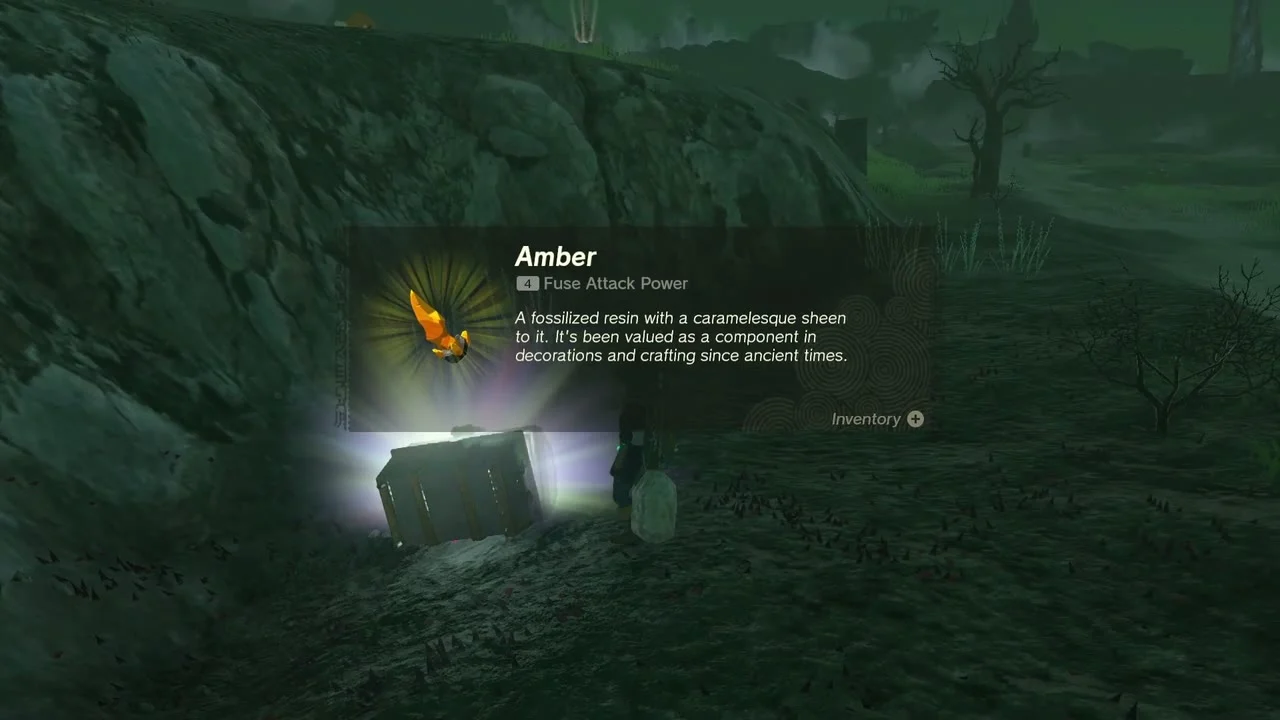
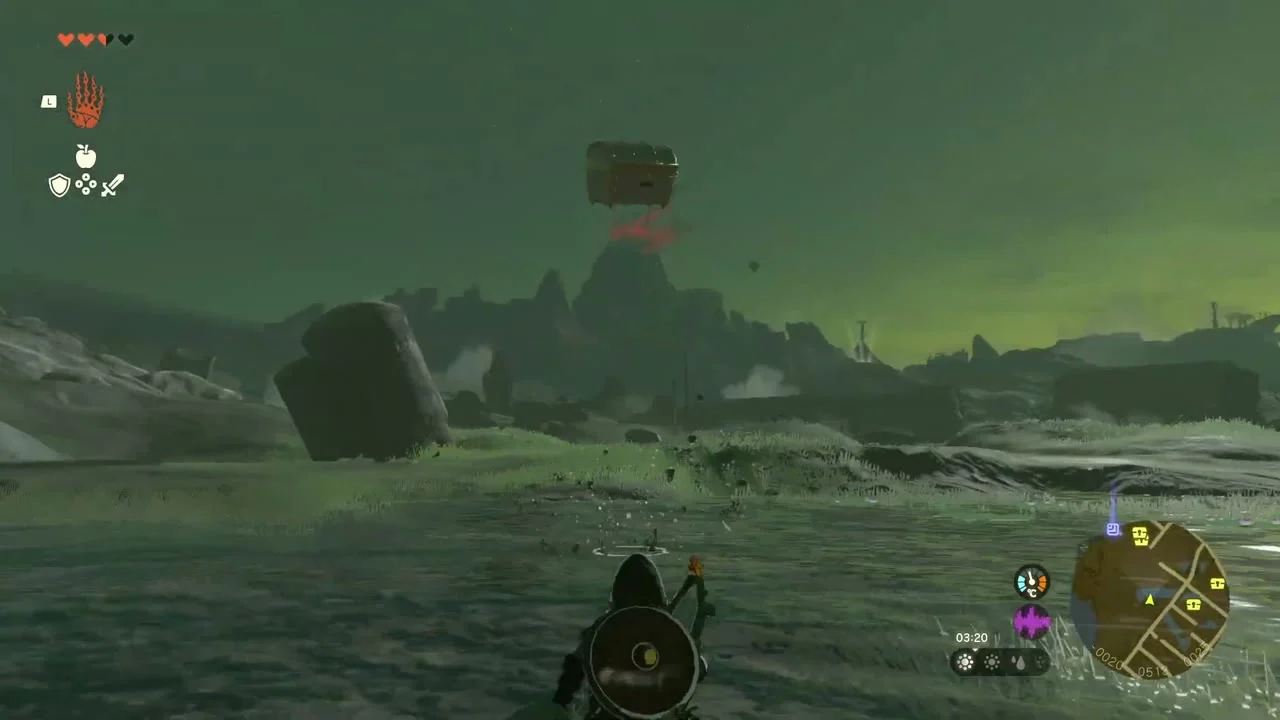
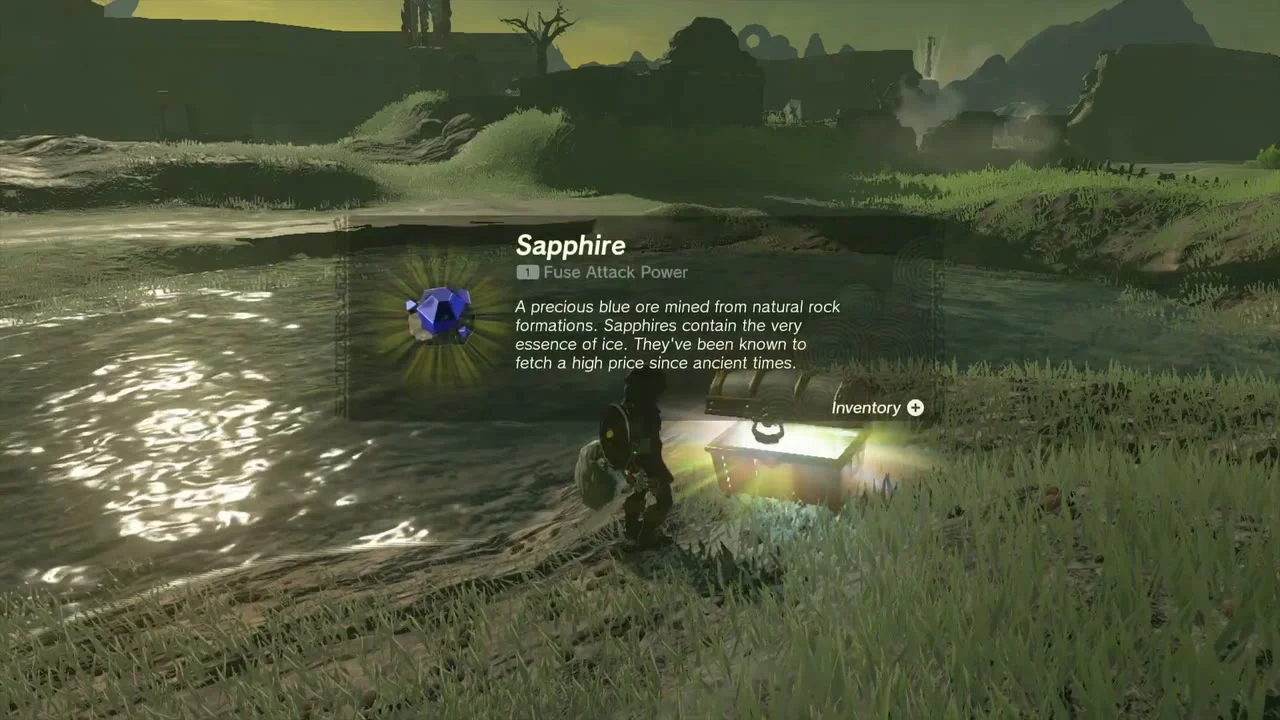
Buried street chests (3). South of the castle, pull these out with Ultrahand: Amber at the foot of a rock face, Red Rupee in the shallow stream running through the ruins, and Sapphire in the stream’s grassy bank.
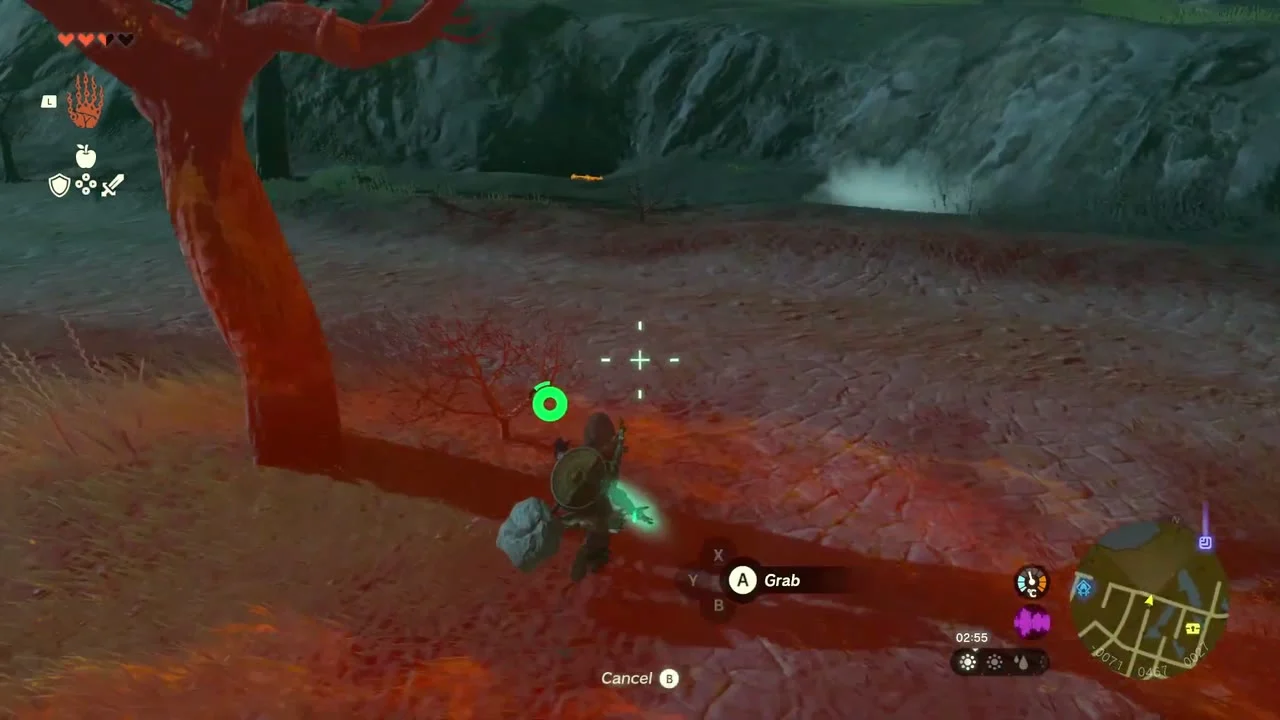
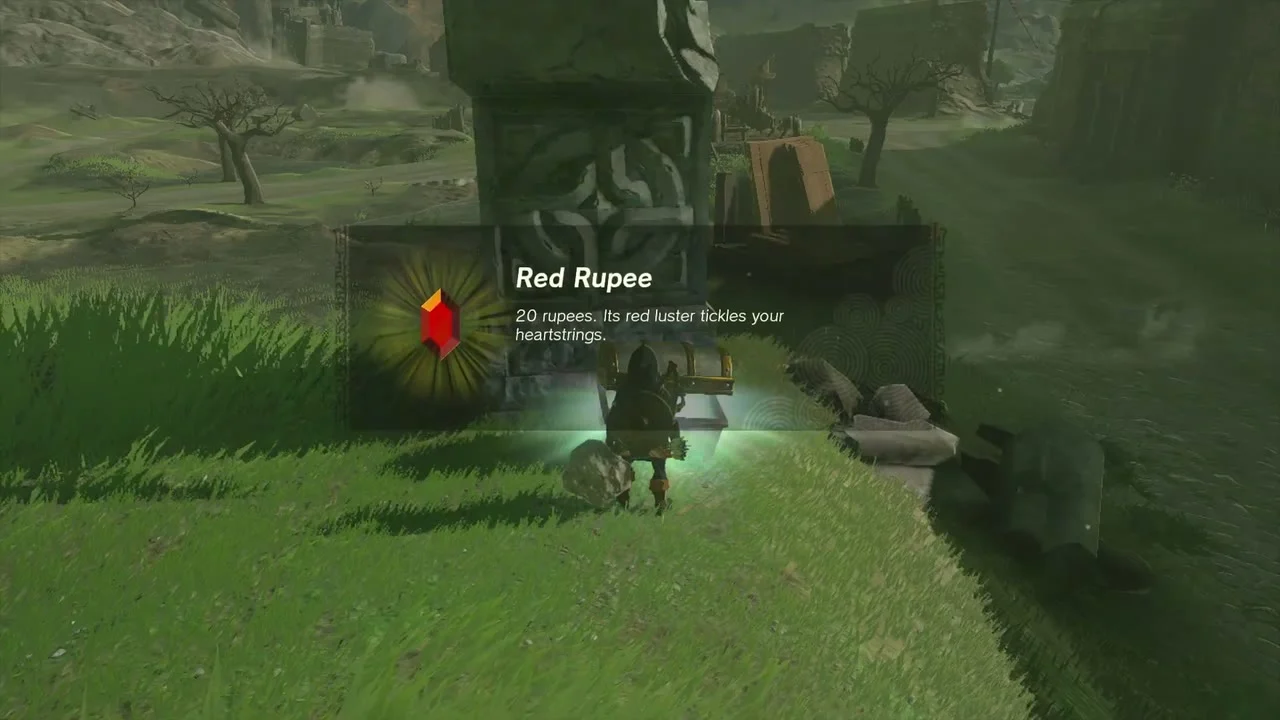
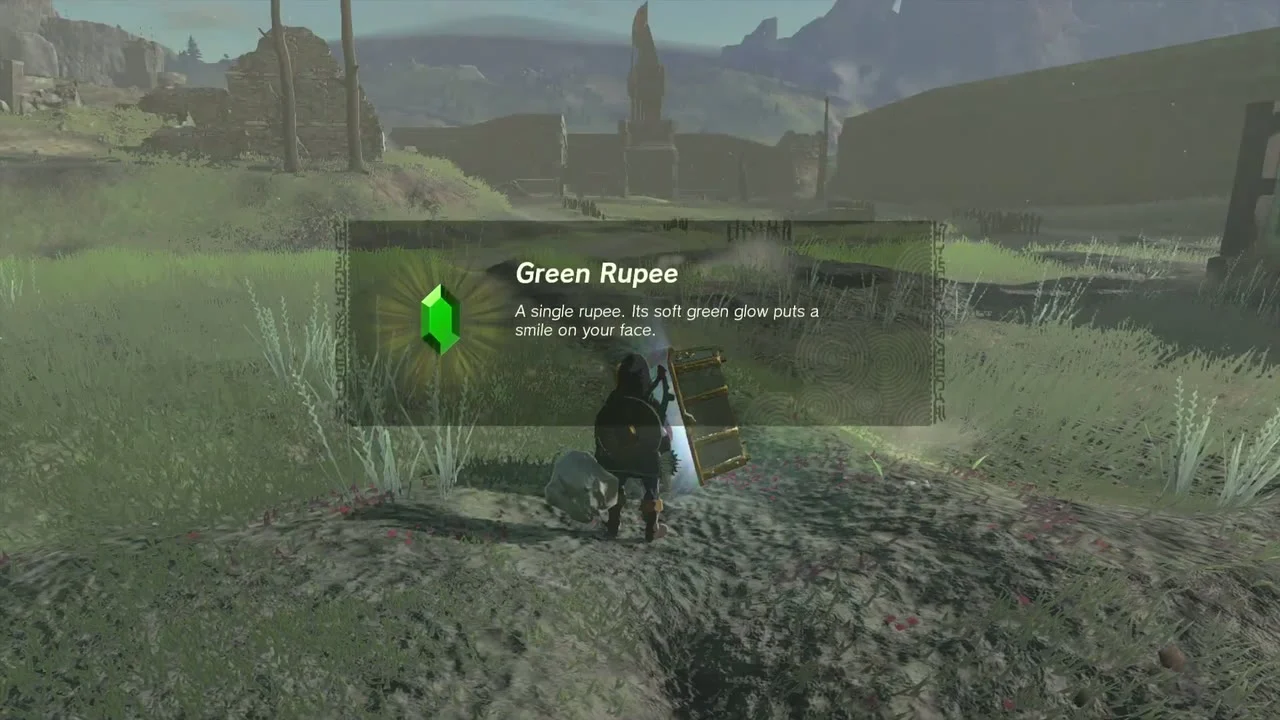
Castle Town Watchtower chests (2). Beside the carved stone pillar at the watchtower, a chest is buried in the slope (Red Rupee); a little further on, another is buried in the dirt track (Green Rupee).
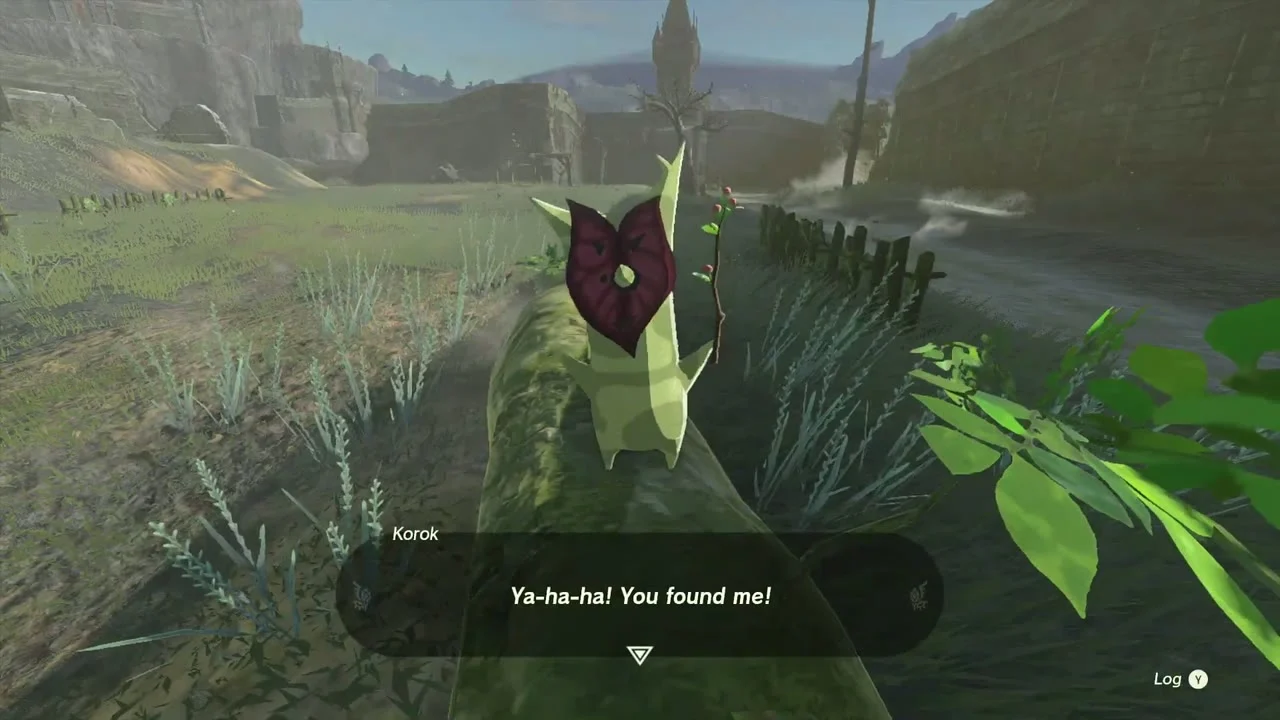
Korok seed (mossy sprout) and cathedral chest. On the verge of the road toward Hyrule Cathedral, a leafy sprout grows from a mossy mound; strike it. At the cathedral, a chest sits behind the low wall beside the ruined arches: lift it over the wall with Ultrahand for a Blue Rupee.

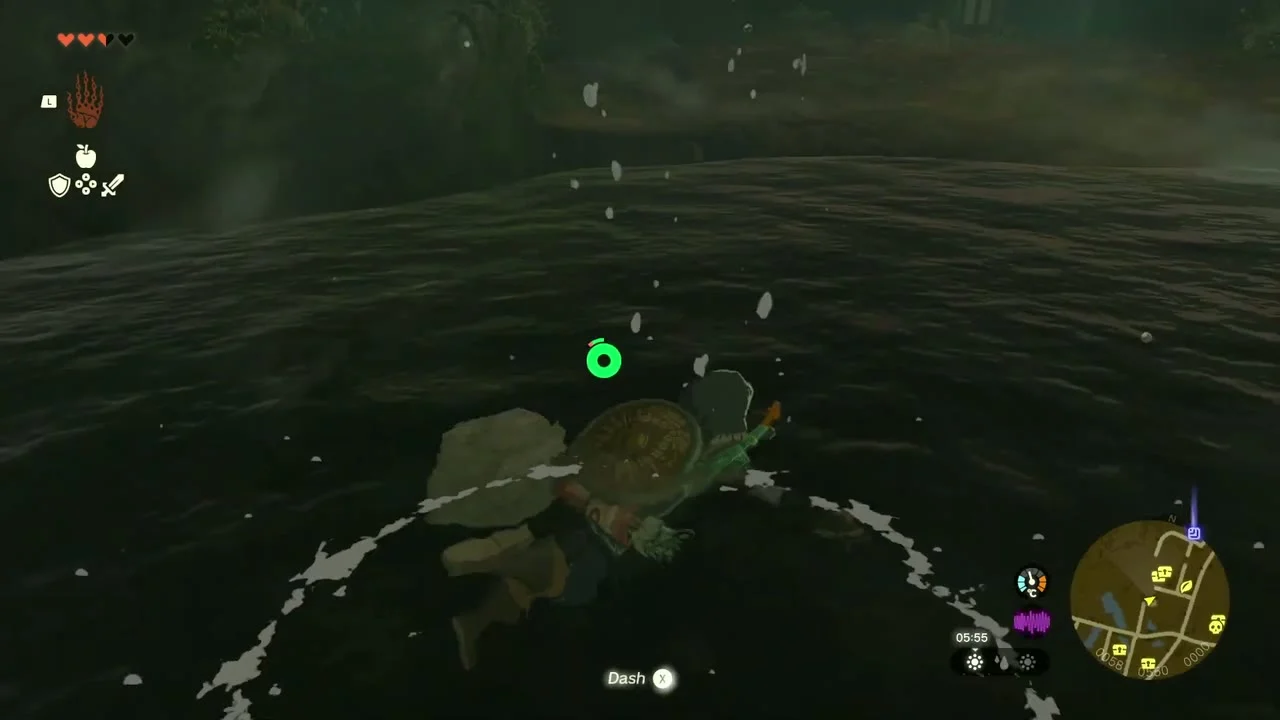
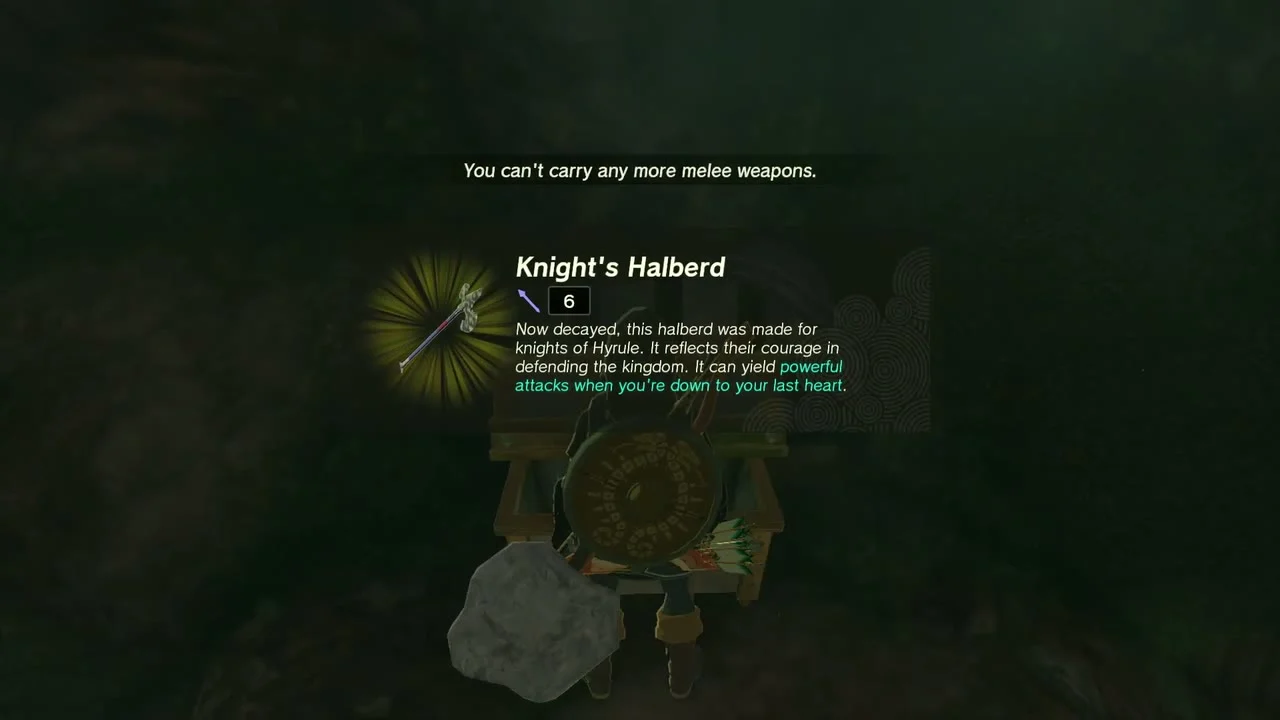
Hyrule Castle Town Ruins Well. The roofed well stands near the cathedral in the east part of the ruins. Drop in, fight the Horriblins in the flooded cavern and follow the water to the chest at the back: Knight’s Halberd (or Traveler’s Spear, Soldier’s Spear or Royal Halberd, depending on your progress). Ascend from beneath a low ceiling to leave. It counts toward Where Are the Wells?.

Hyrule Castle Town Ruins: Romani Plains to Yamiyo Shrine
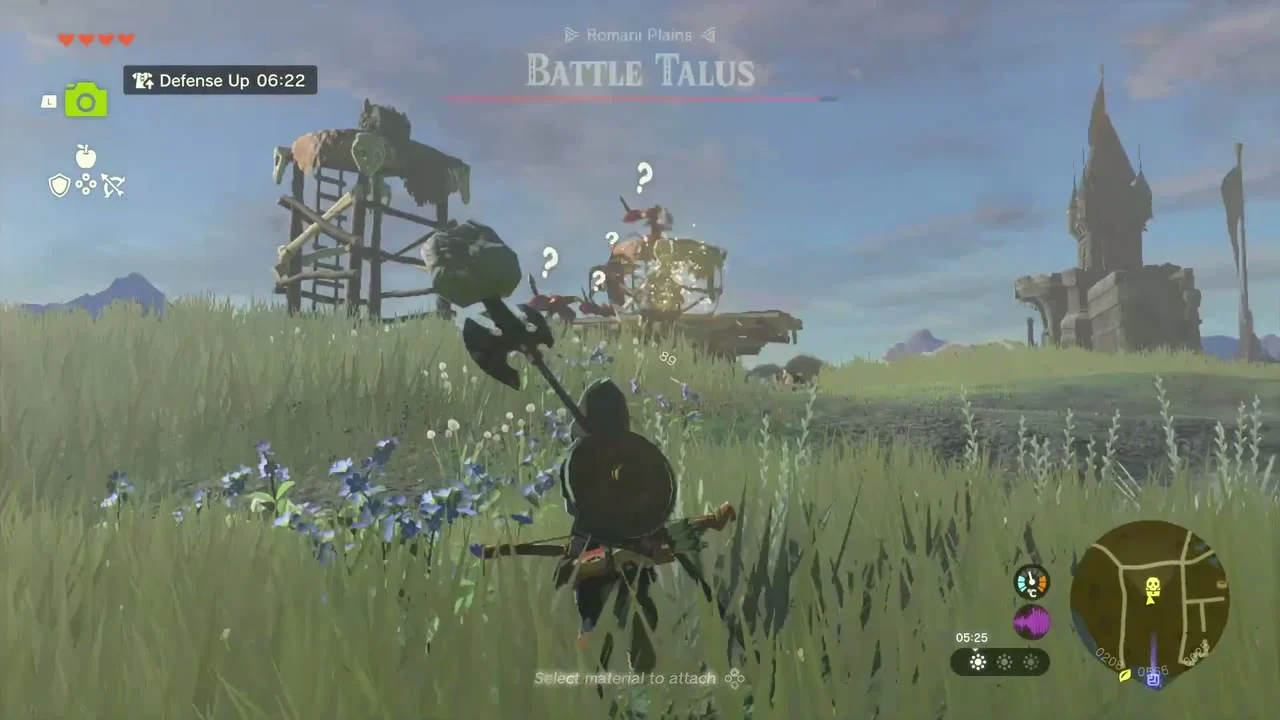
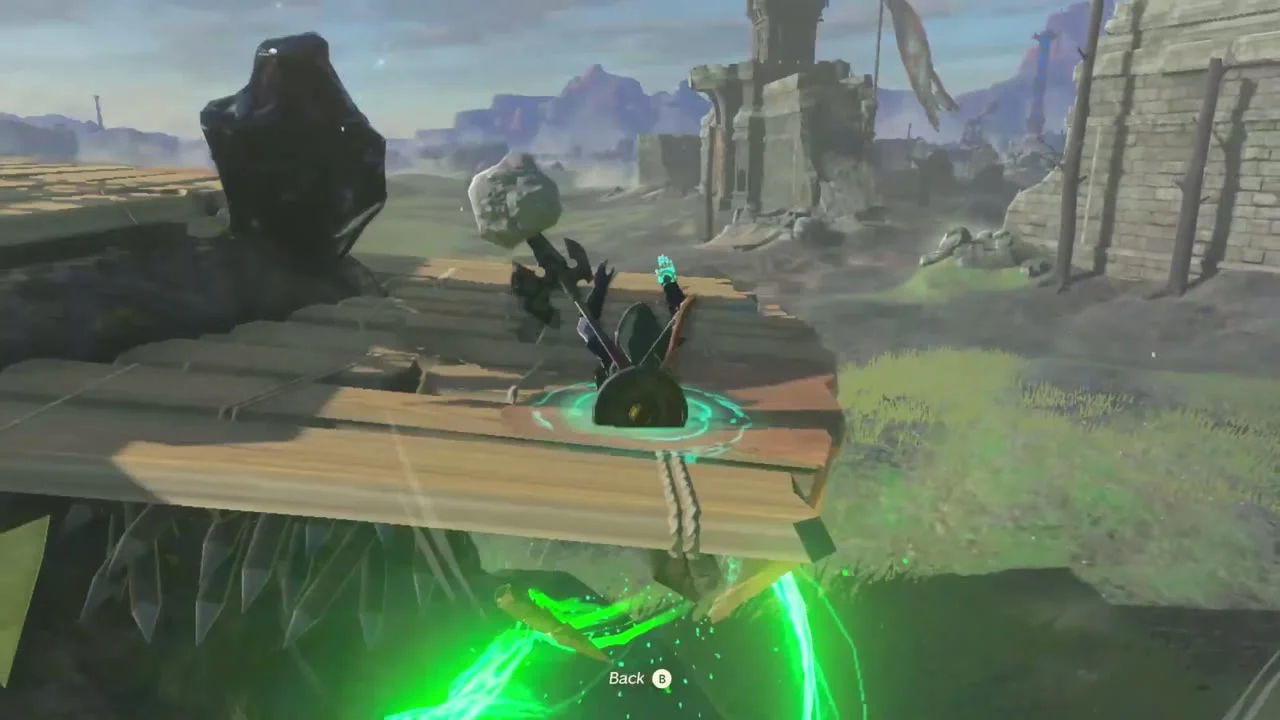
Miniboss: Battle Talus (Romani Plains). Another Battle Talus walks the plains with a Bokoblin tower on its back. Ascend from beneath its wooden platform, then hammer the ore on top. Afterwards climb the nearby Bokoblin lookout tower: the chest on its top platform holds a Ruby.

Korok seed (Boneyard Bridge). On the rocky bank at the south end of Boneyard Bridge, climb down beside the bridge to the object tucked against the stonework under the arch and take it; the Korok appears over the water.

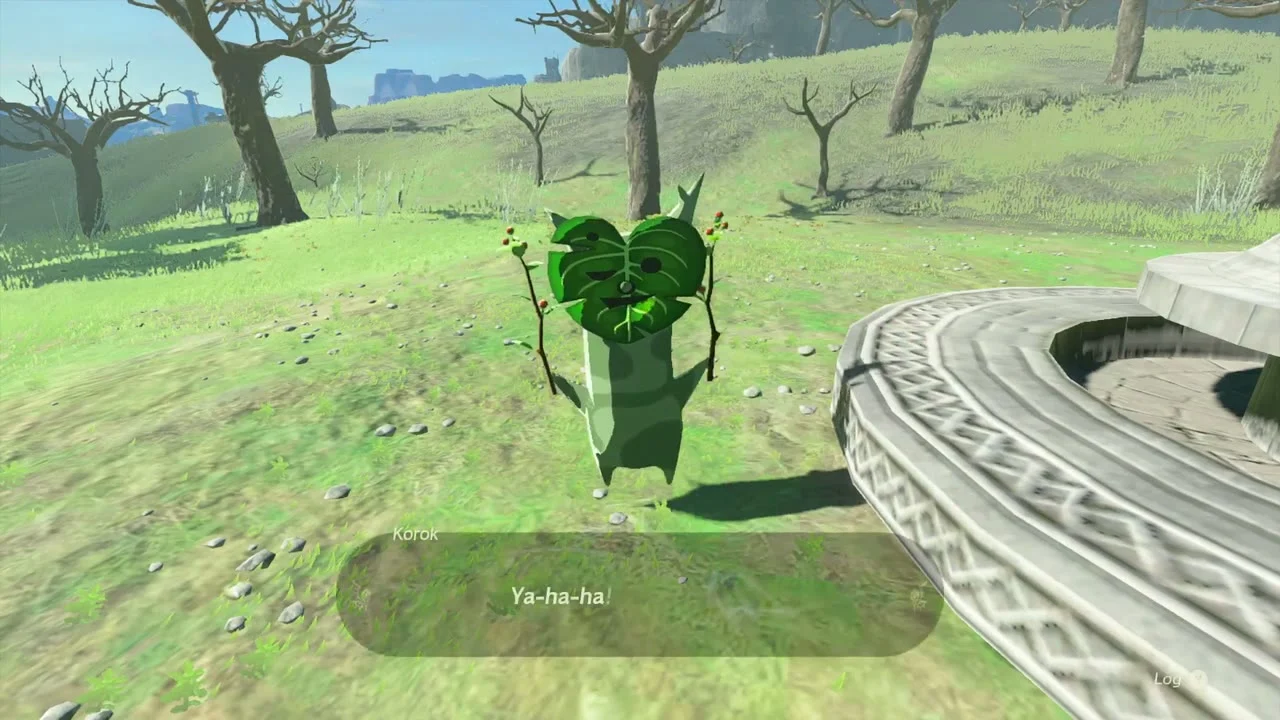
Korok seed (Hyrule Forest Park). A round stone fountain with a spire stands in the grass of the park. Lift the loose rock sitting on its rim. On the park road you can also meet Cado, who starts Impa and the Geoglyphs.

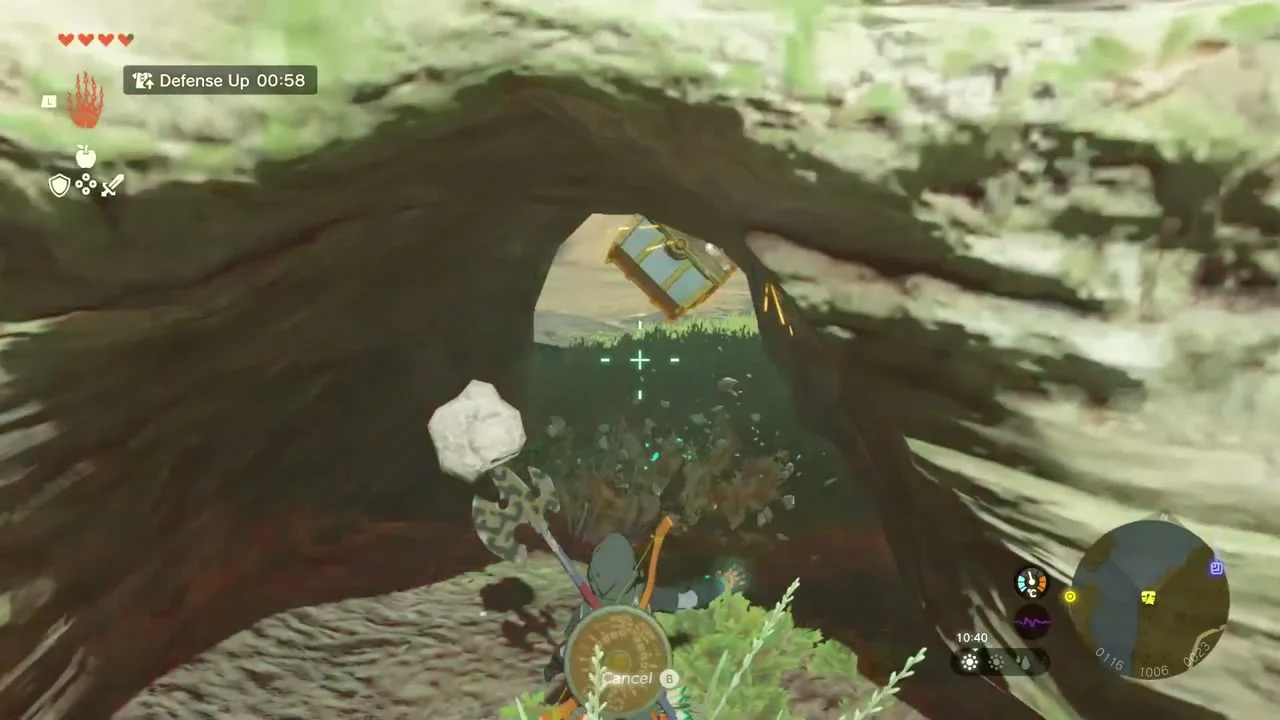
Chest (Brightbloom Seed x5). Past the park, a chest is wedged in the top of a natural rock arch beside the road. Pull it down with Ultrahand: Brightbloom Seed x5.

Sepapa Shrine stands on the dry grassy hilltop a little further on; its chest holds a Strong Construct Bow (Strong or Mighty, depending on your progress). The Apapes Lightroot is below it.
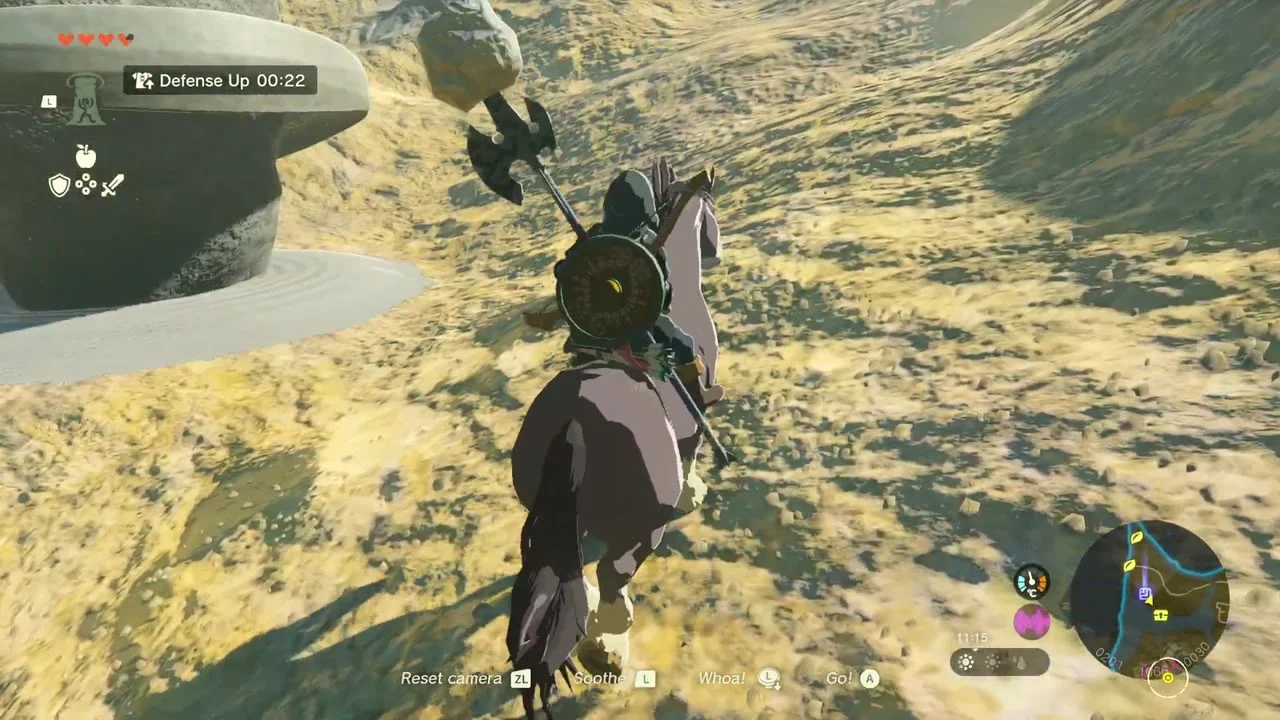

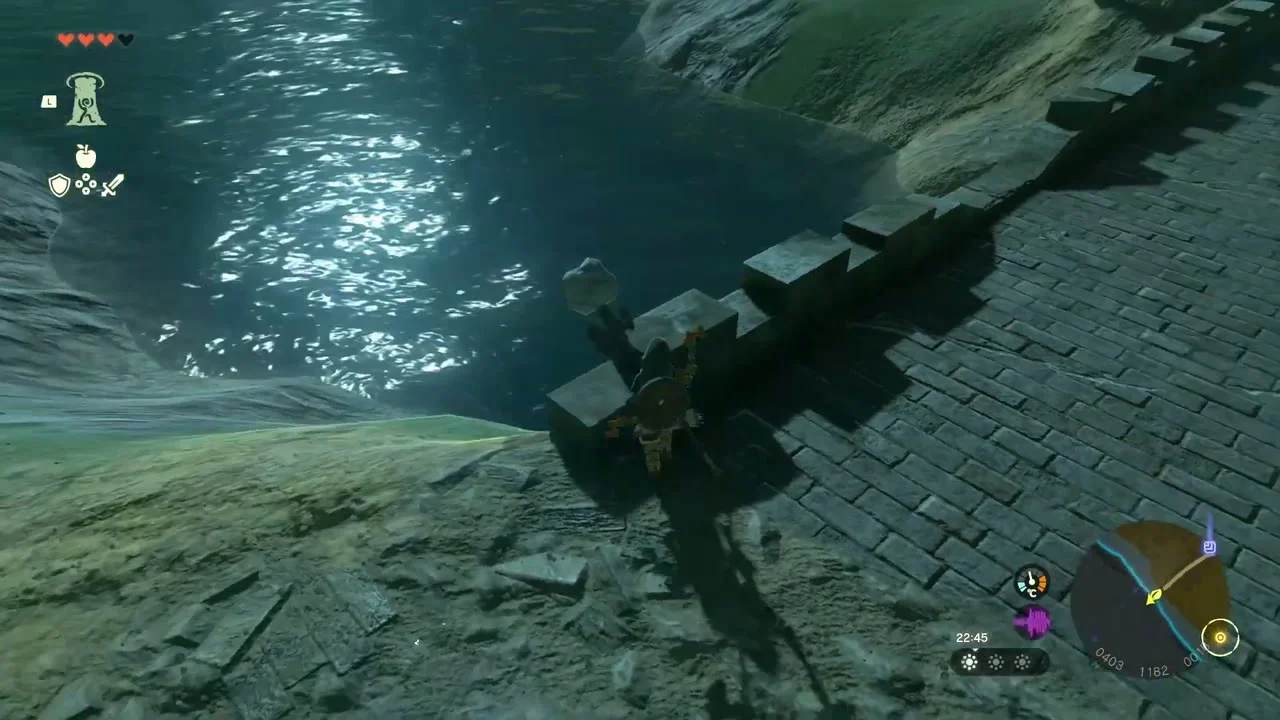
Korok seed (Helmhead Bridge). Take the old stone road west of the castle to Helmhead Bridge. Where the roadway has cracked at the edge, climb down its side to the hollow beneath. Blow the rubble at the back apart with a Bomb Flower or bomb arrow and the Korok drops out.

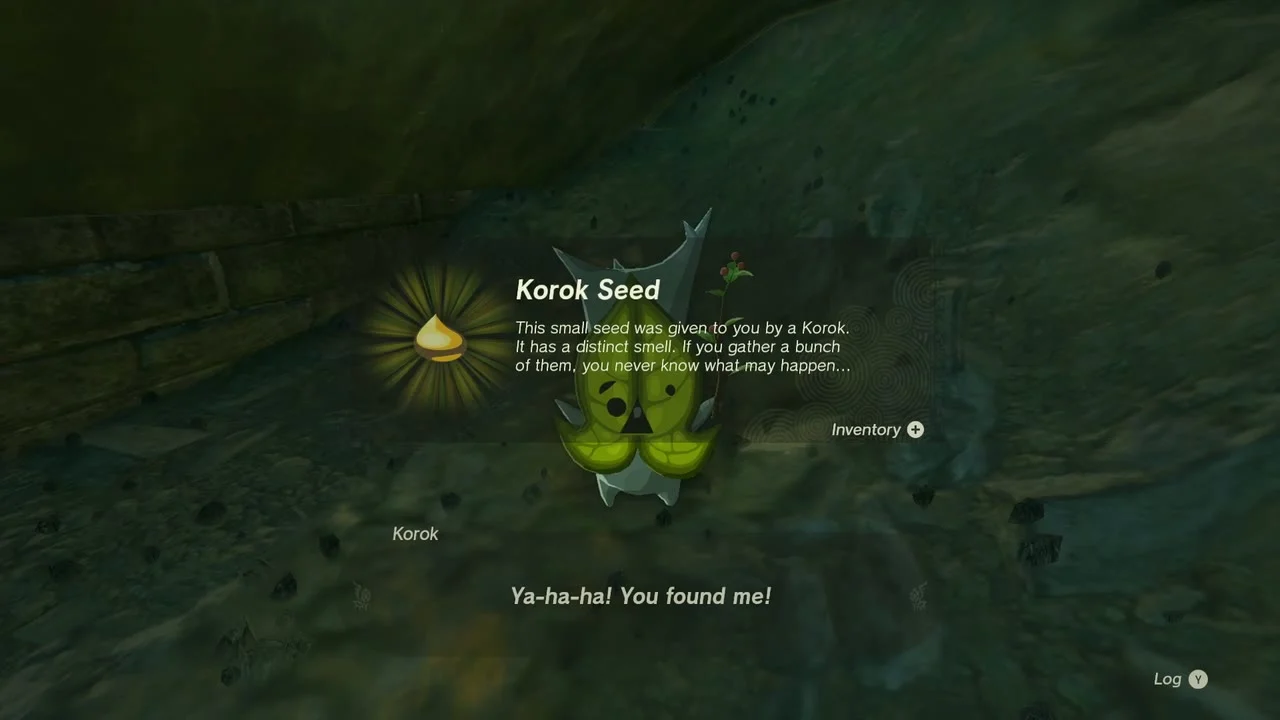
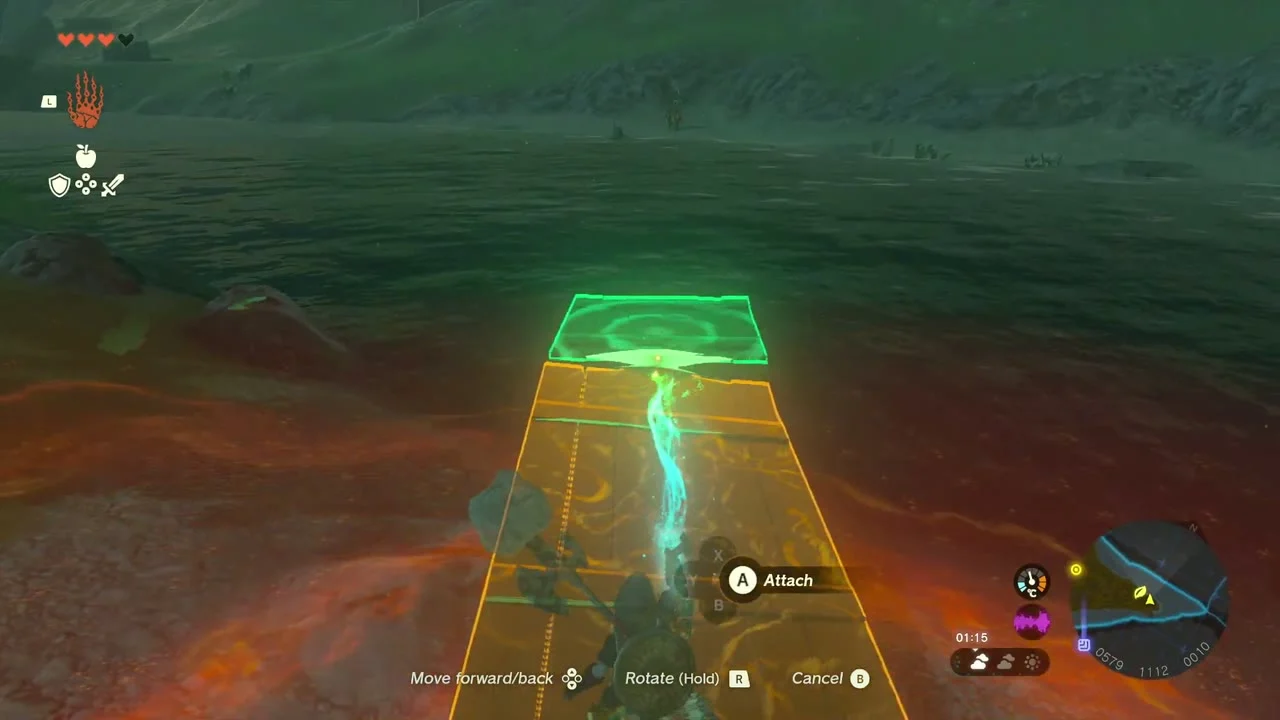
Korok seeds x2 (planks over the river). On the nearby riverbank, a Korok under a tree wants to reach its friend’s camp across the water. Lay planks end to end with Ultrahand into a bridge and carry him over for Korok Seed x2.


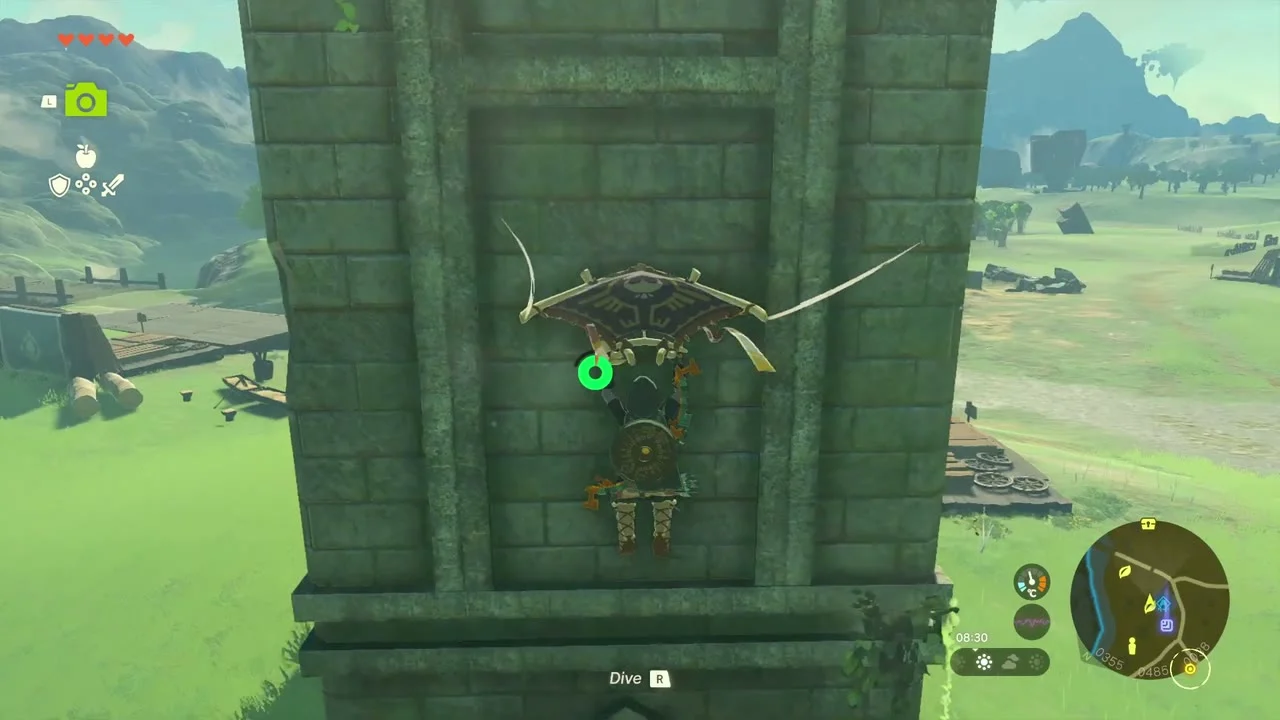
Yamiyo Shrine stands beside a tall ruined stone tower in the grassland; it is a combat shrine whose chest holds Bomb Flower x3. The Oyimay Lightroot is below it. Korok seed (tower sprout): climb the ruined tower beside the shrine and touch the sprout on its crown.
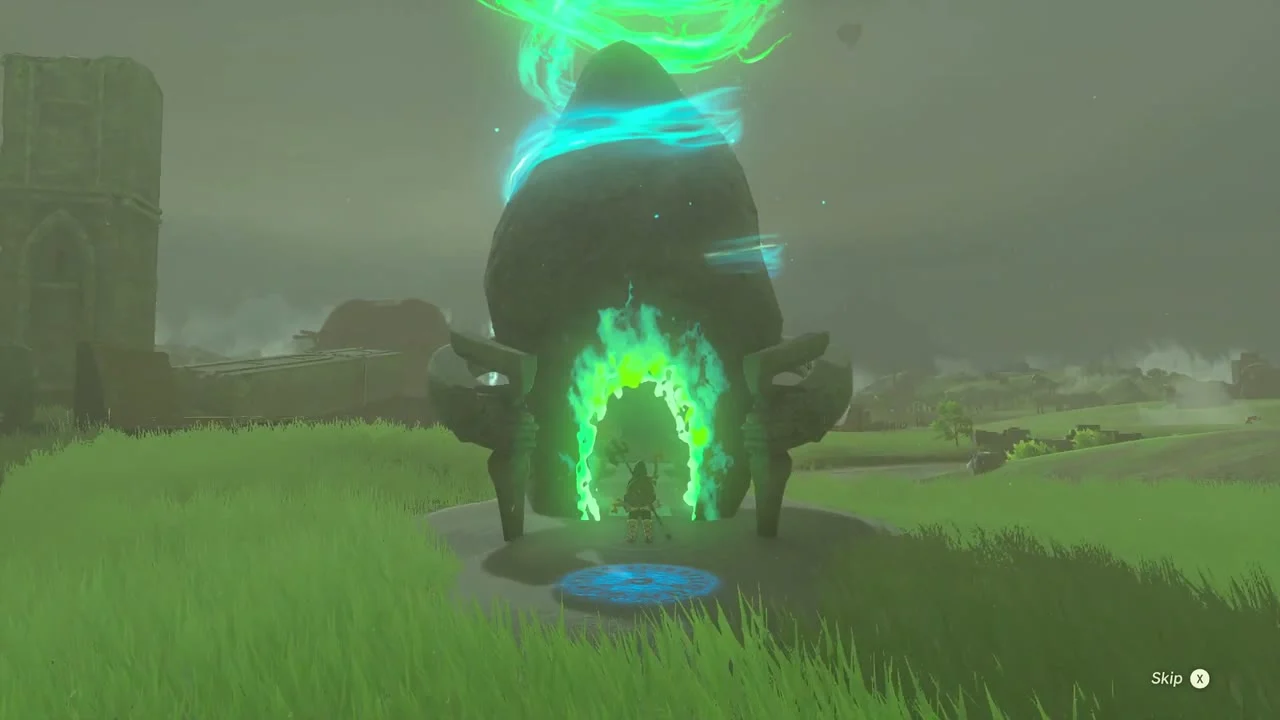
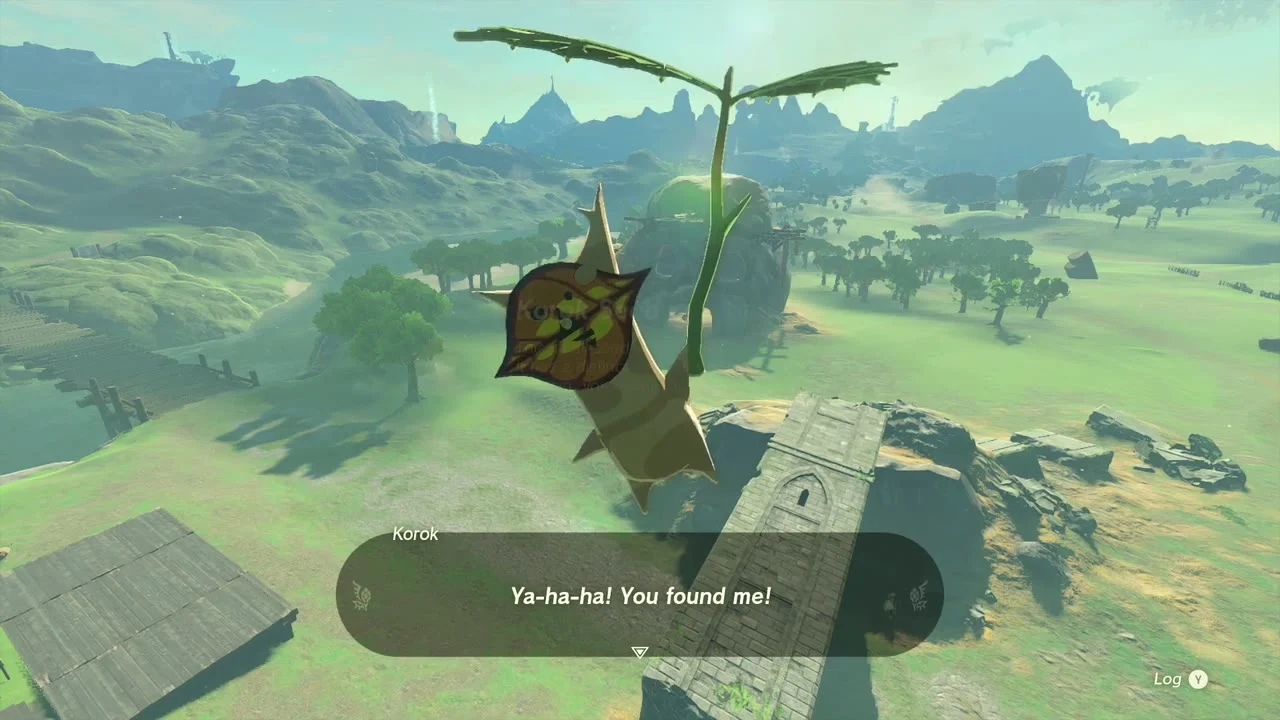
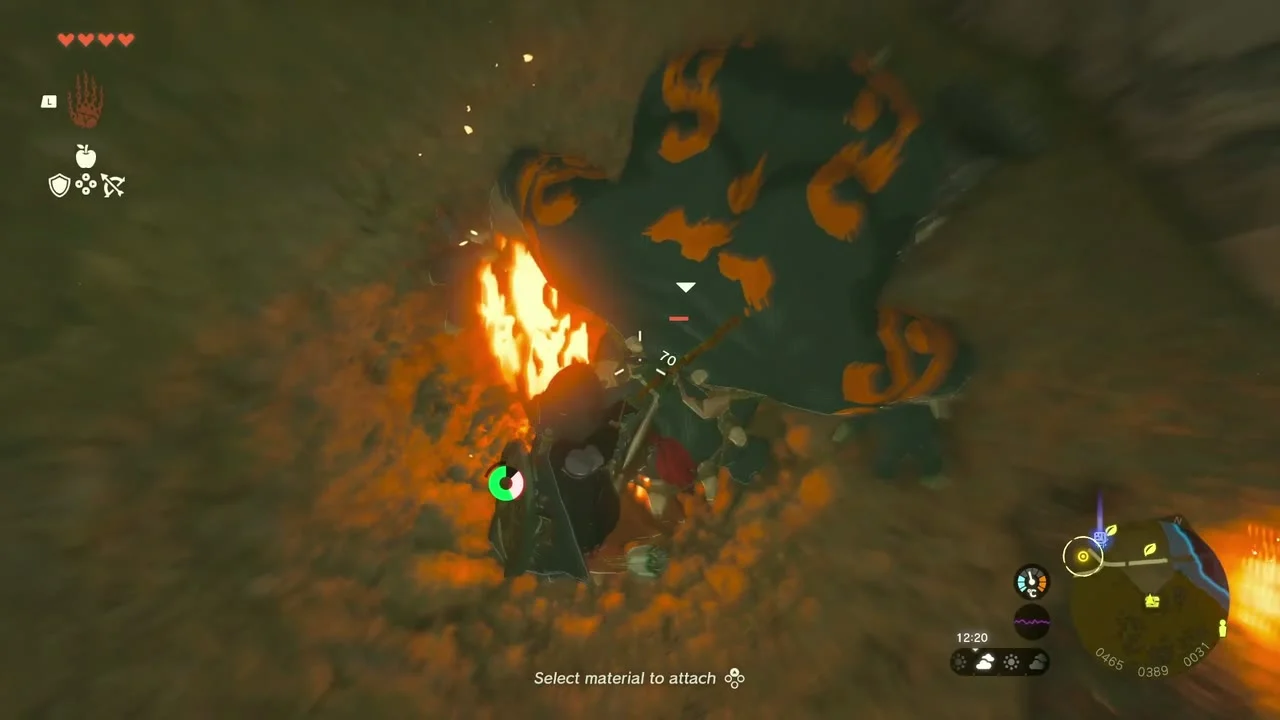
Chest (Bomb Flower x3) and Blue Boss Bokoblin. South of the shrine, a sandy rock mound topped by a wooden gate frame has planks leaning against it. Scramble up to the scaffold at the mouth of the hollow on its far side and open the chest: Bomb Flower x3. Drop through the opening in the hollow’s floor into a fire-lit chamber to fight the Blue Boss Bokoblin (hit it from behind, dodge its club). It drops a Blue Boss Bokoblin Horn, and the chest by the campfire holds a Hinox Hammer. Leave with Ascend.




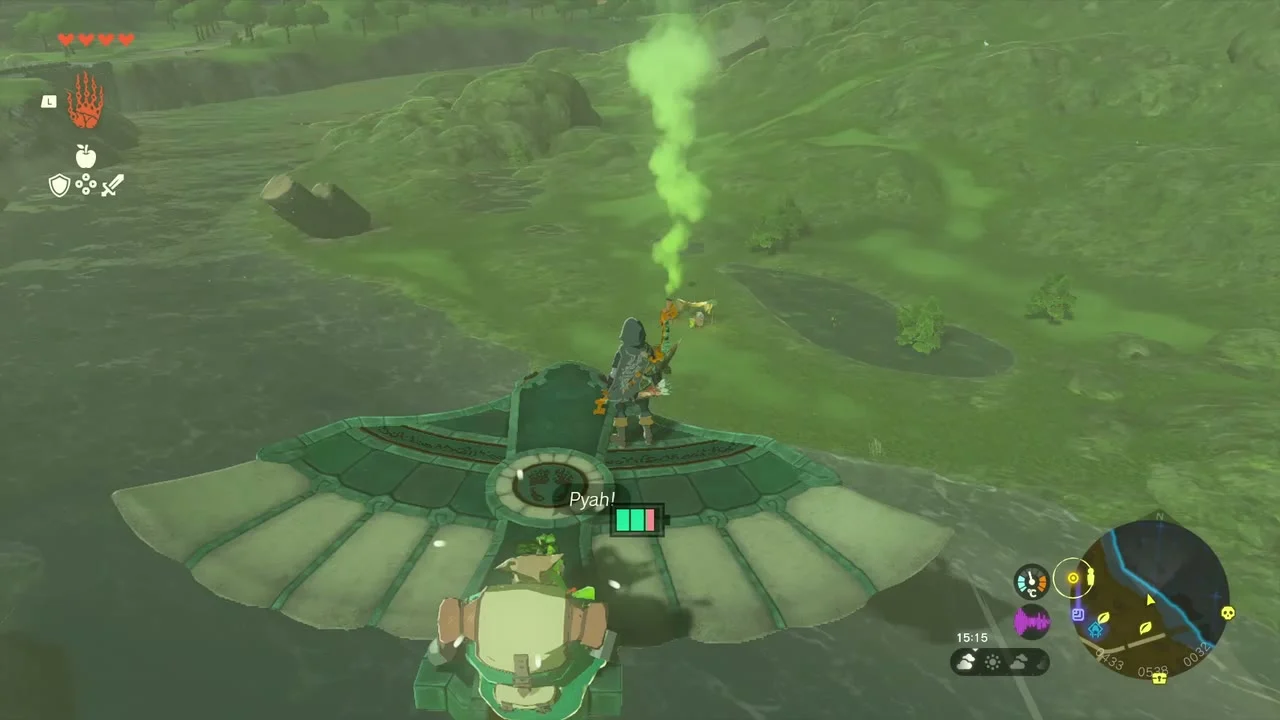
Korok seeds x2 (Zonai Wing ride). By a wooden hut on the hillside, a Korok has lost his friend, whose smoke rises across the valley. Stand a Zonai Wing upright with Ultrahand beside the mossy boulder, put the Korok on it and push it to the camp for Korok Seed x2.


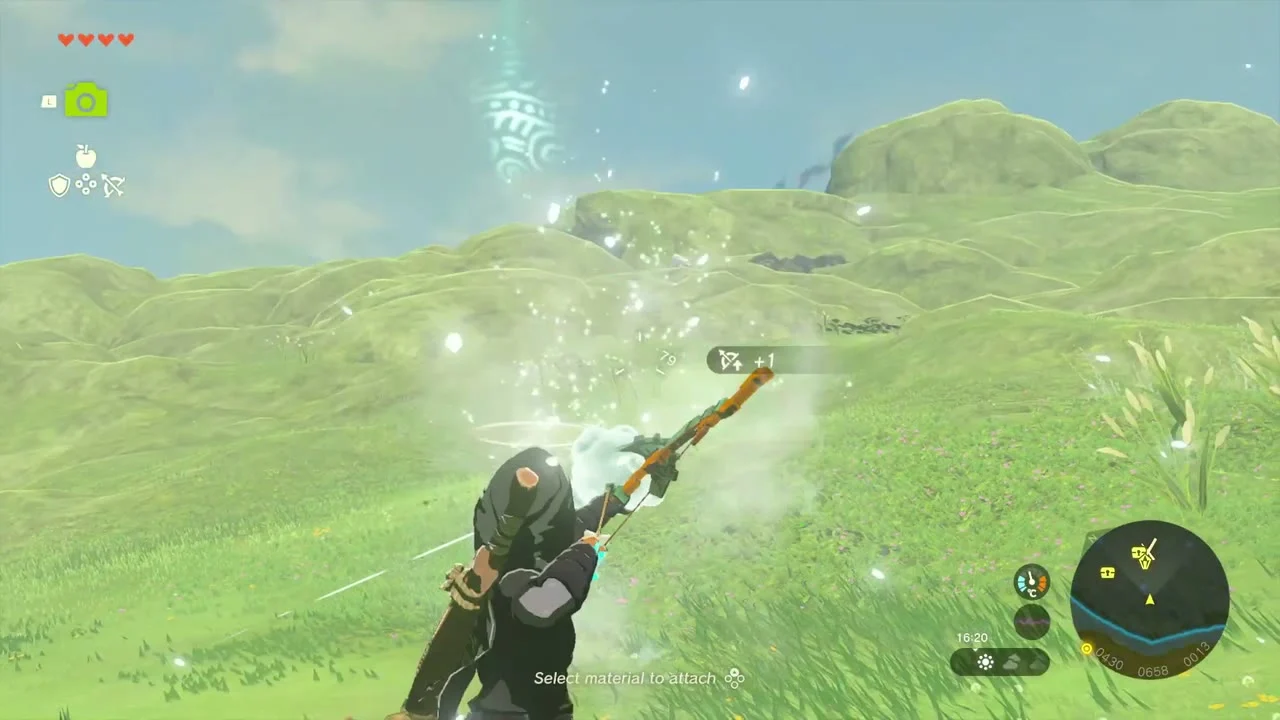
Miniboss: Wizzrobe. A Wizzrobe floats over the grassy hills further on. Shoot it down with arrows and pick up the weapon it drops (a Ruby Sword).

Crenel Hills
Miniboss: Like Like. Under a mossy rock arch at the edge of the hills a Like Like hangs above a hollow. Shoot its glowing core with a bomb or fire arrow once it lowers itself; it leaves a Like Like Stone. The chest in the dark hollow beneath holds a Traveler’s Shield (or Soldier’s Shield, Knight’s Shield or Royal Shield, depending on your progress).
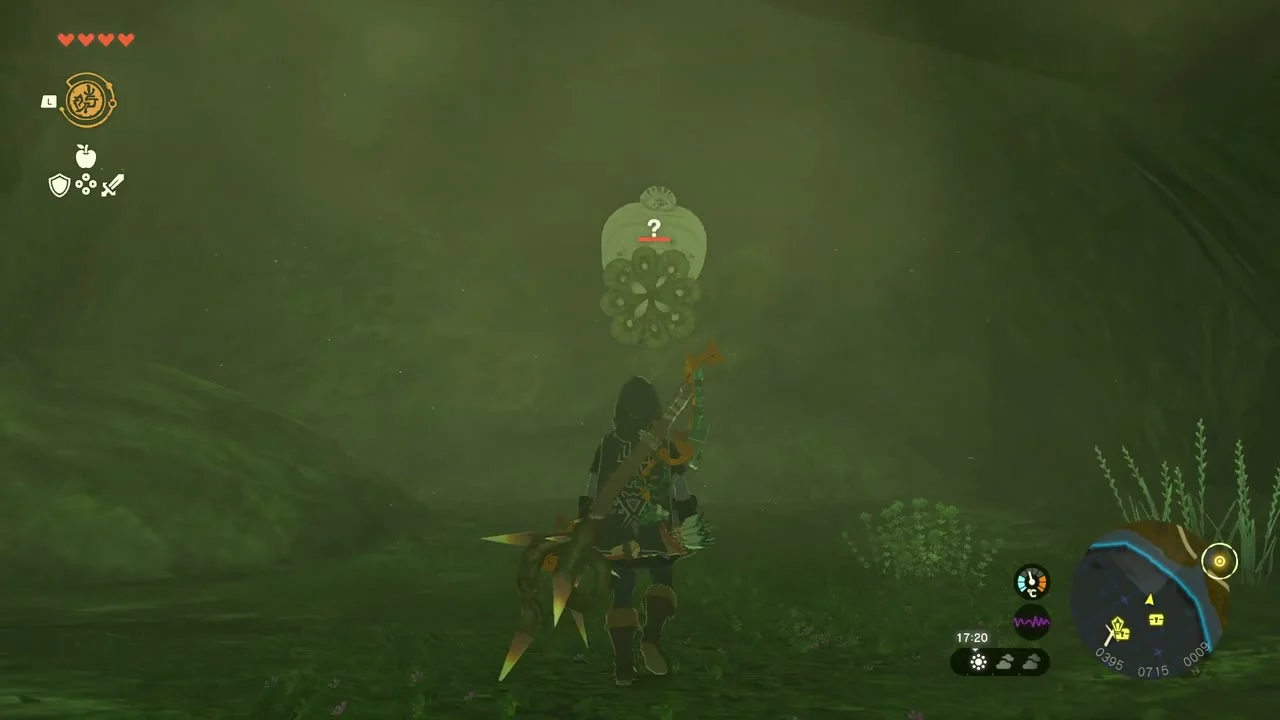
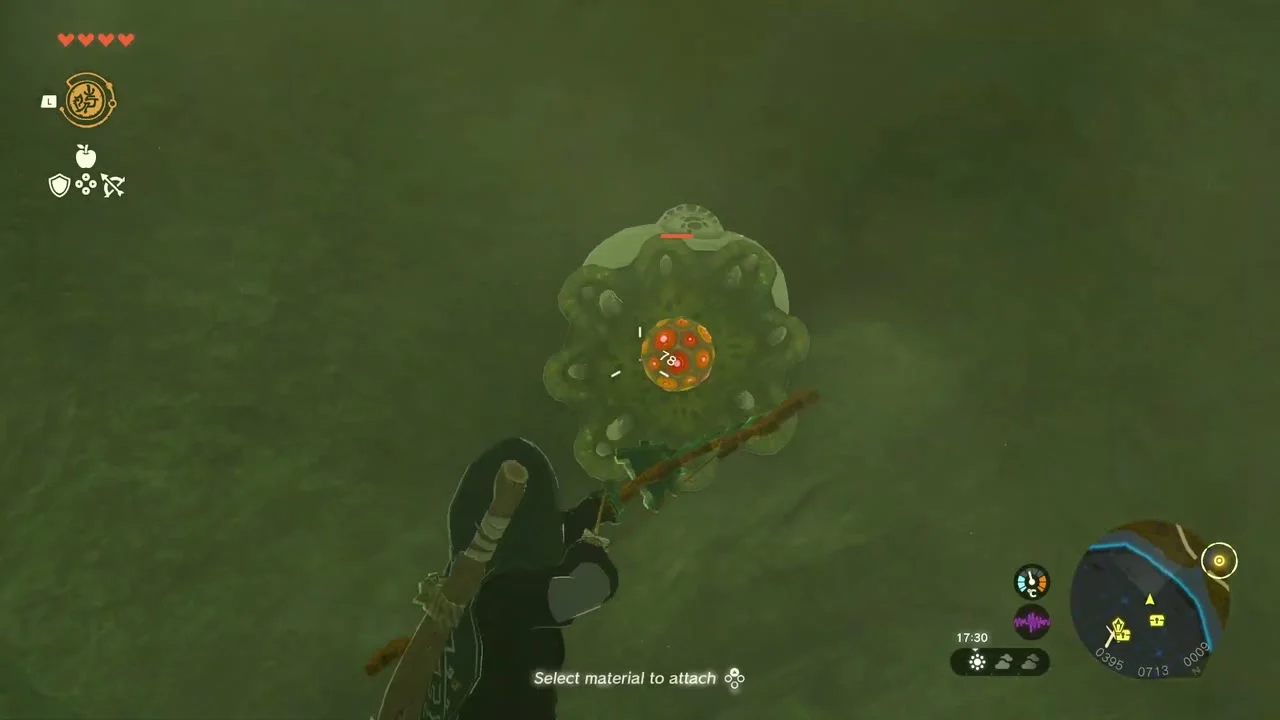


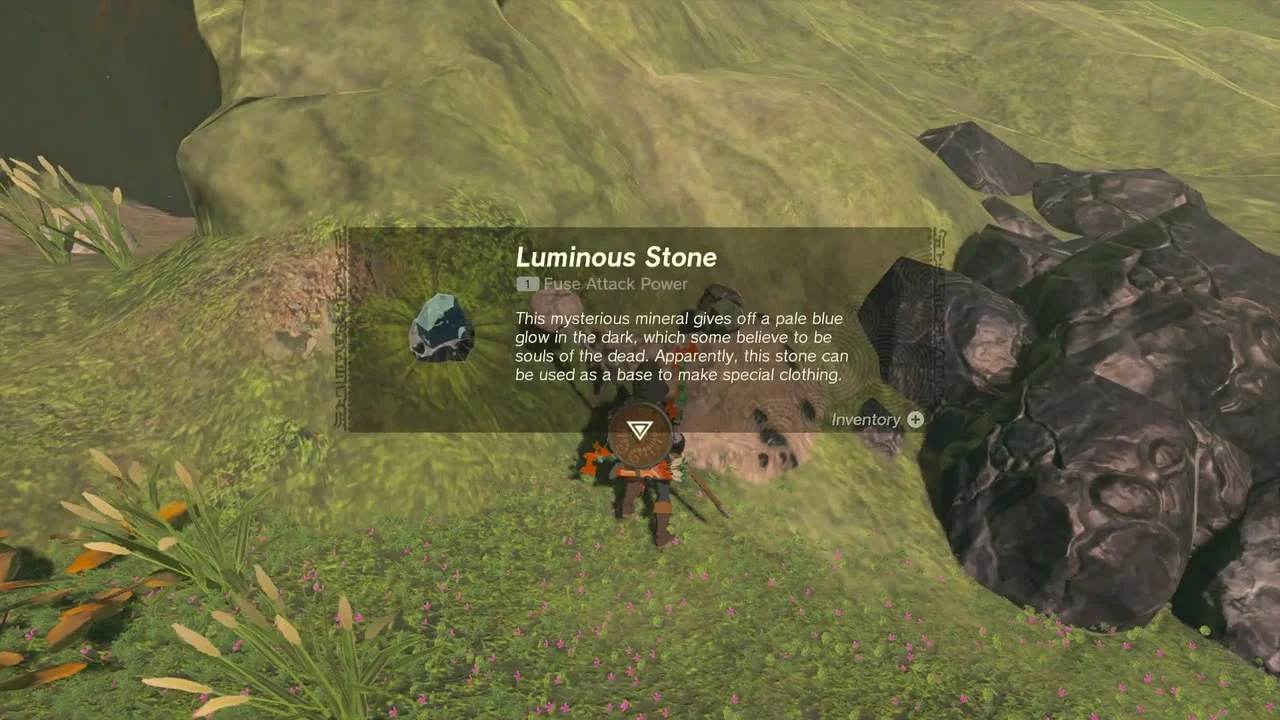
Luminous Stone and Crenel Hills Cave. Dark rock clusters on the slopes yield Luminous Stone and Flint when smashed with a hammer. Follow the hillside up to Crenel Hills Cave: it holds a Bubbul Gem and the Barbarian Armor, one of Misko’s Treasures. The cave page has the route and chest.

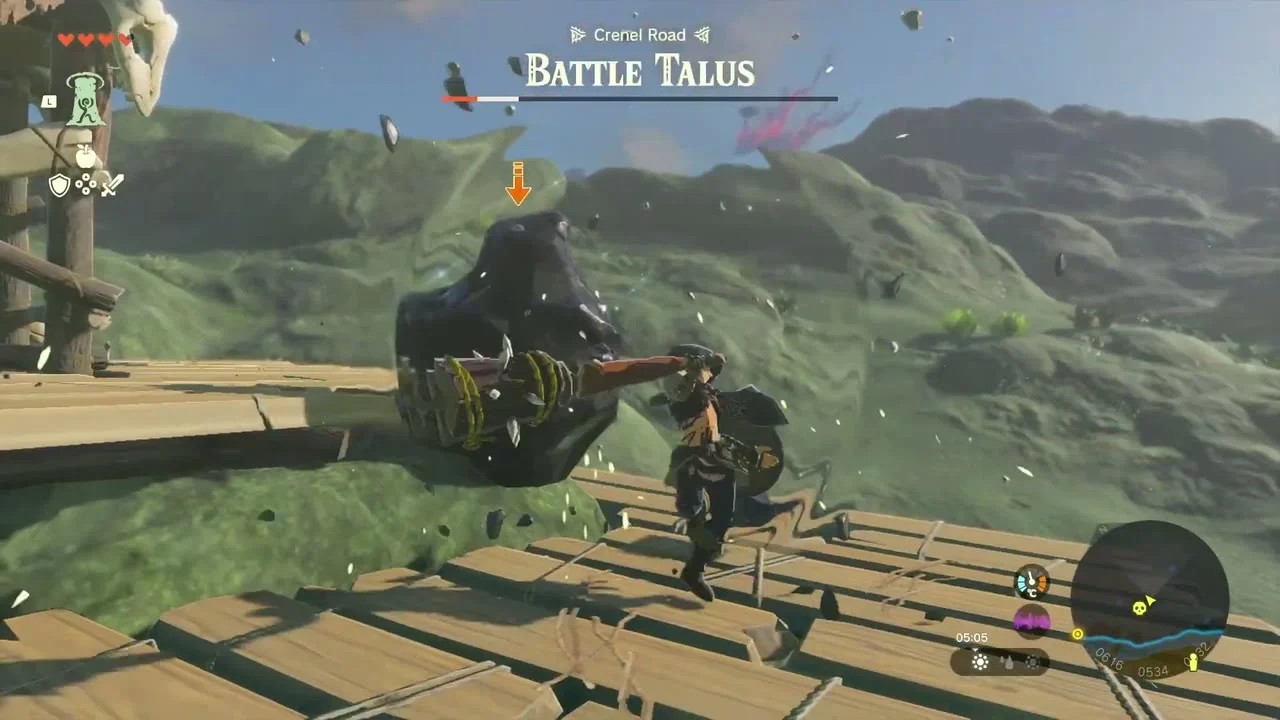
Miniboss: Battle Talus (Crenel Hills). A third Battle Talus walks the slopes beyond the cave with a lookout on its back. Ascend through its platform, break the ore on its back and collect the Amber and ore it drops.

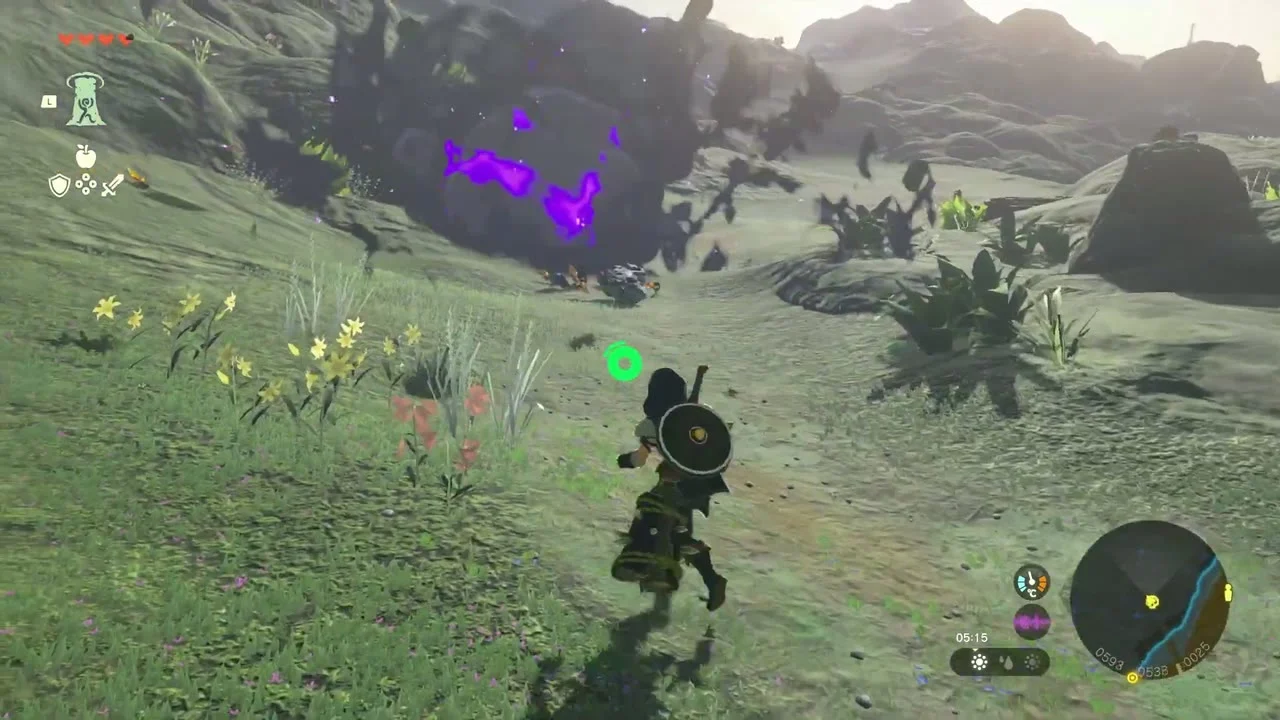
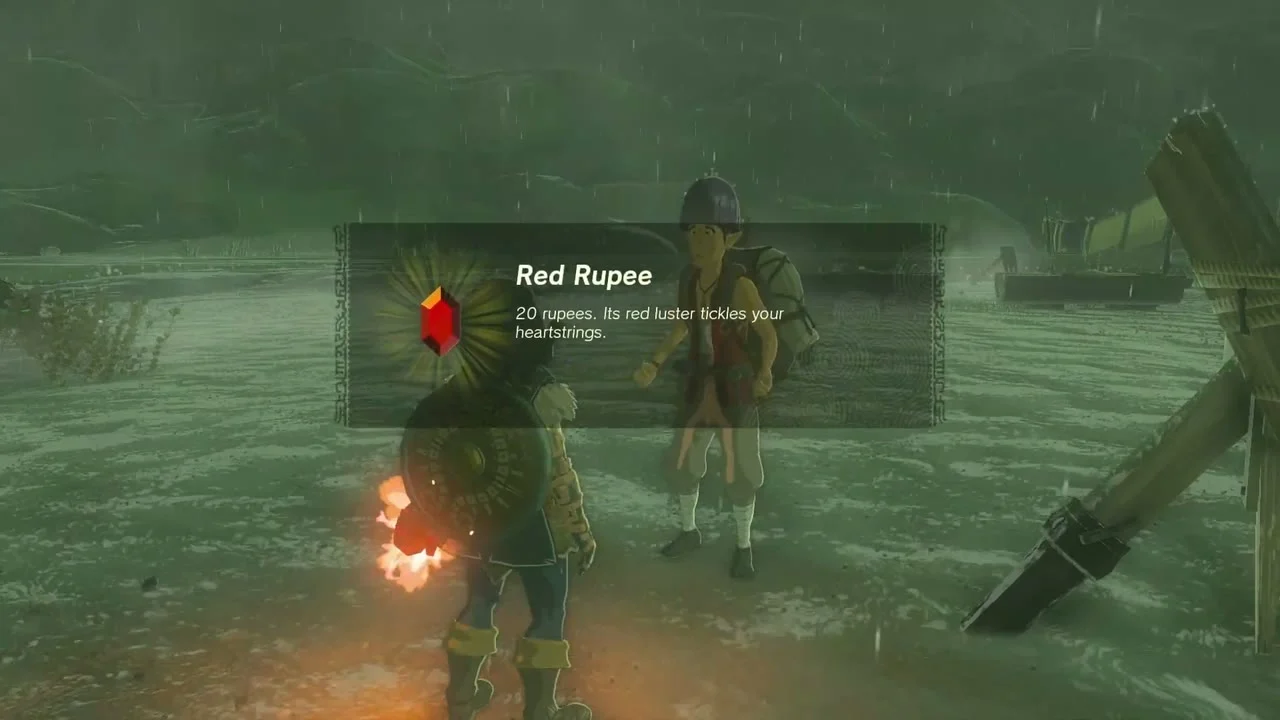
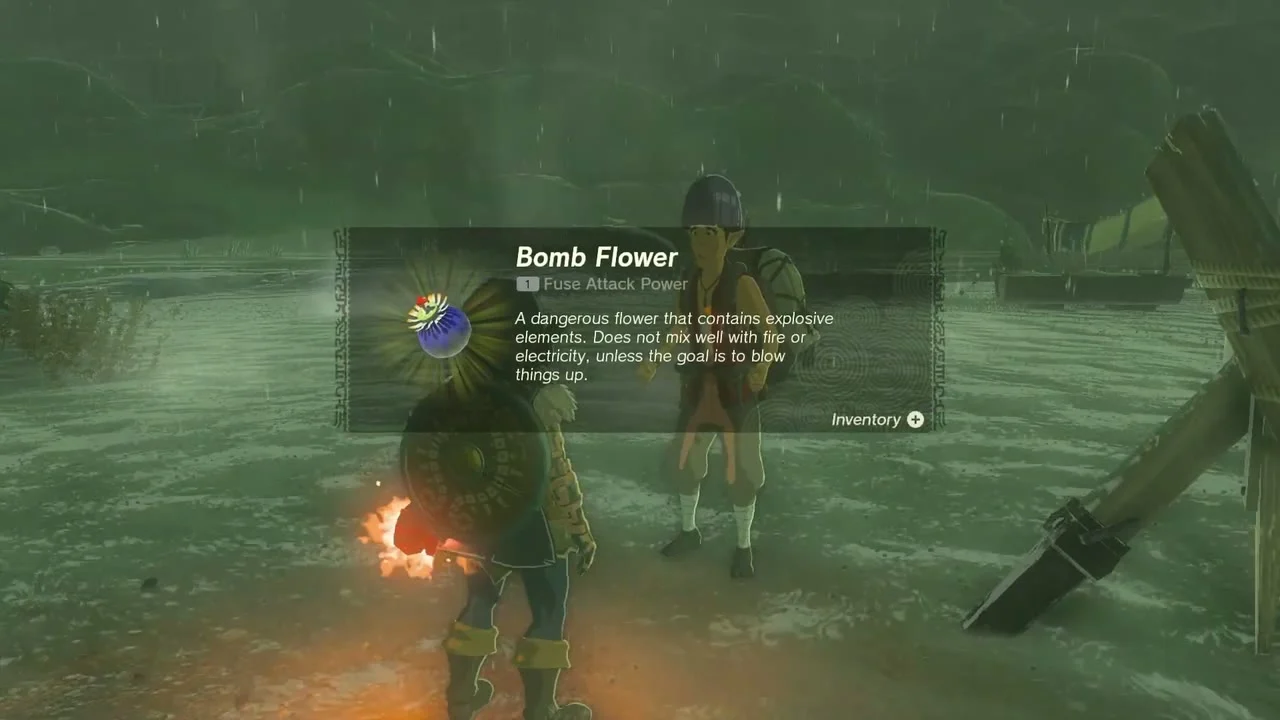
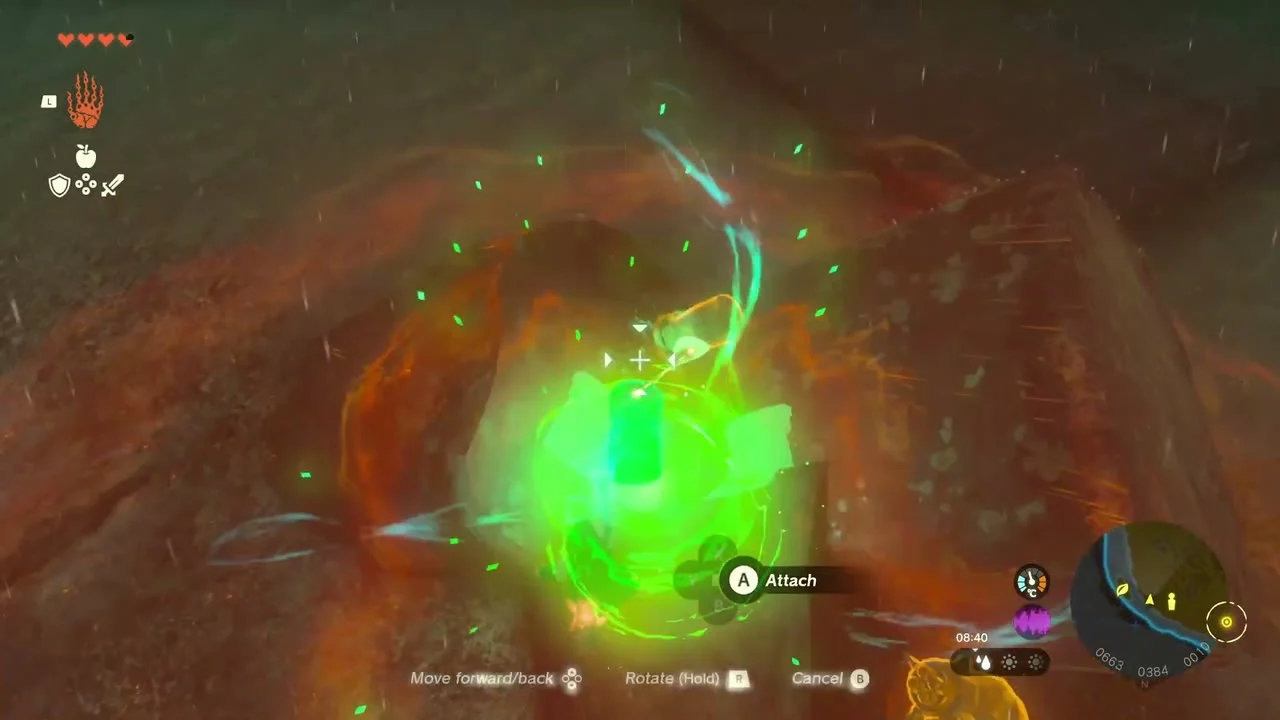
Addison’s sign (Orsedd Bridge). Past Orsedd Bridge, Addison cannot get a huge sign for President Hudson to stand. Build a support under it with planks and wheels so it stays upright. He pays a Red Rupee, Veggie Rice Balls and a Bomb Flower.


Korok seed (rock circle). On a flat stretch of the far river bank south of Addison, a ring of small stones has one gap. Lift the loose stone from the slope, carry it across the river and set it in the gap.


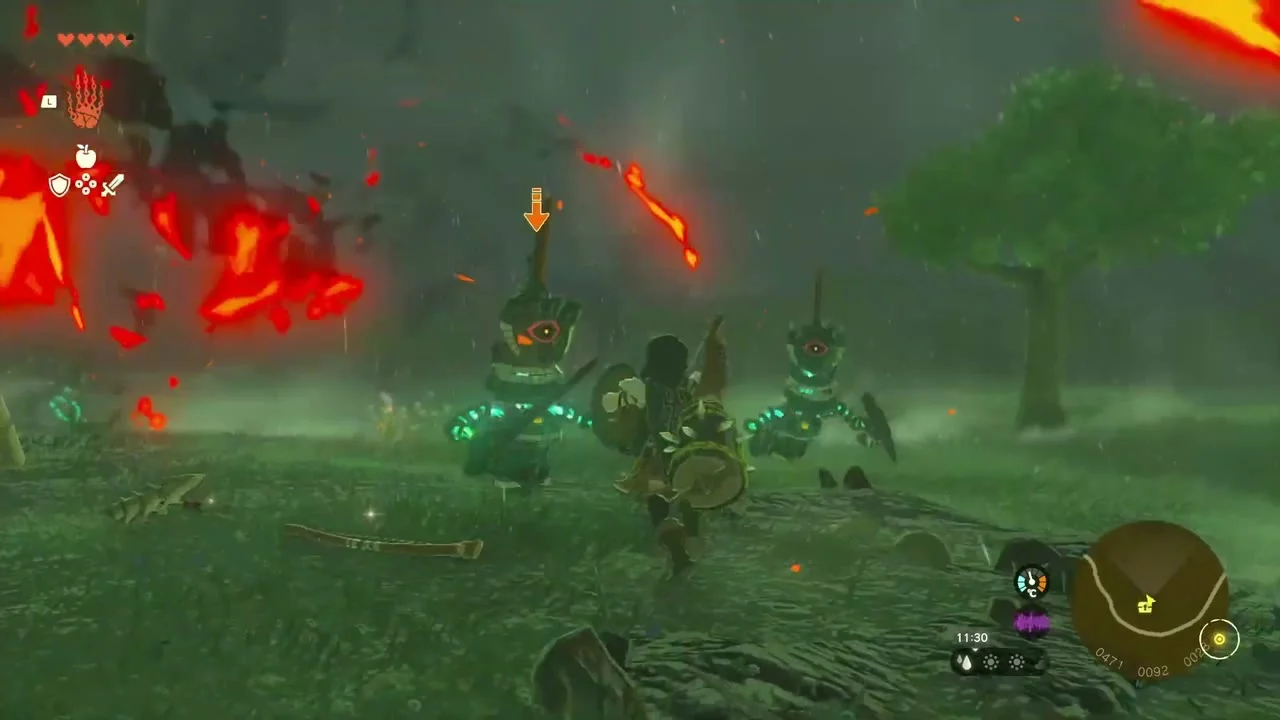
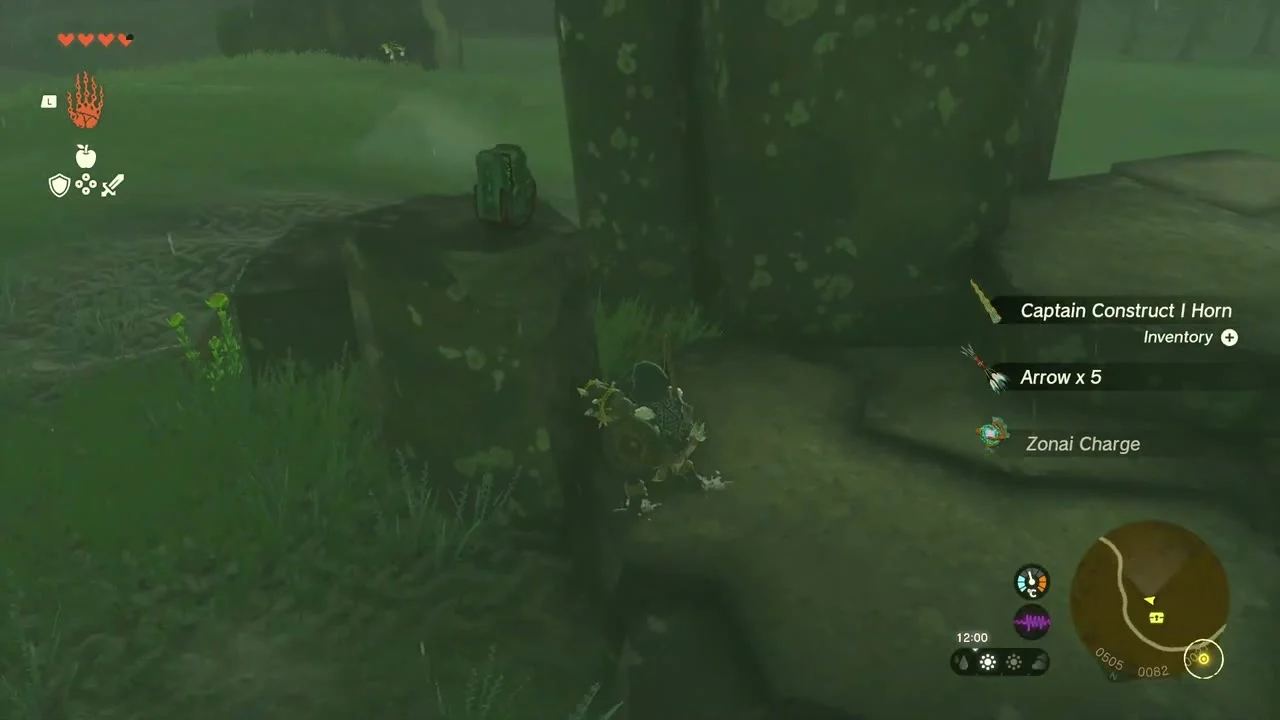
Bokoblin camp with Constructs. A camp with wooden lookout towers stands in the woods further on. The Constructs guarding it drop a Captain Construct I Horn, Arrows and a Zonai Charge.
Chest (Time Bomb x3). Near the end of this stretch a mushroom-shaped pillar of rock stands in the grass. Ascend through its overhang; the chest on top holds Time Bomb x3.


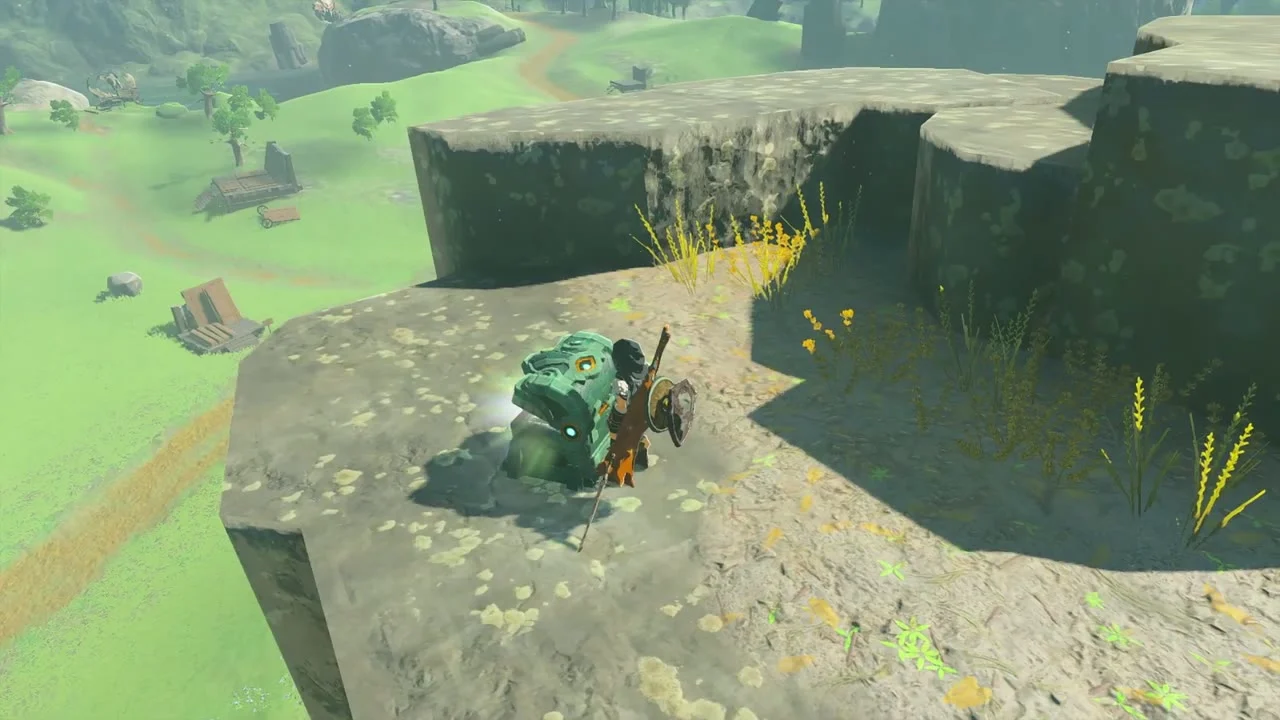
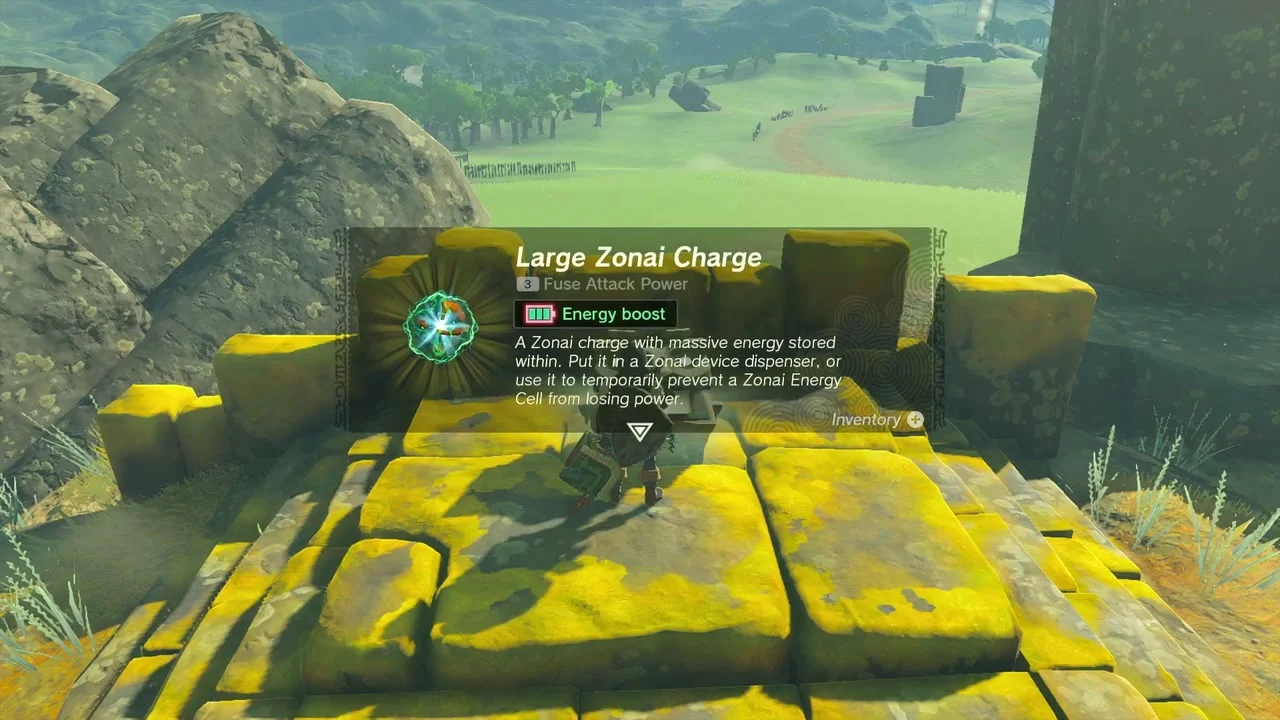
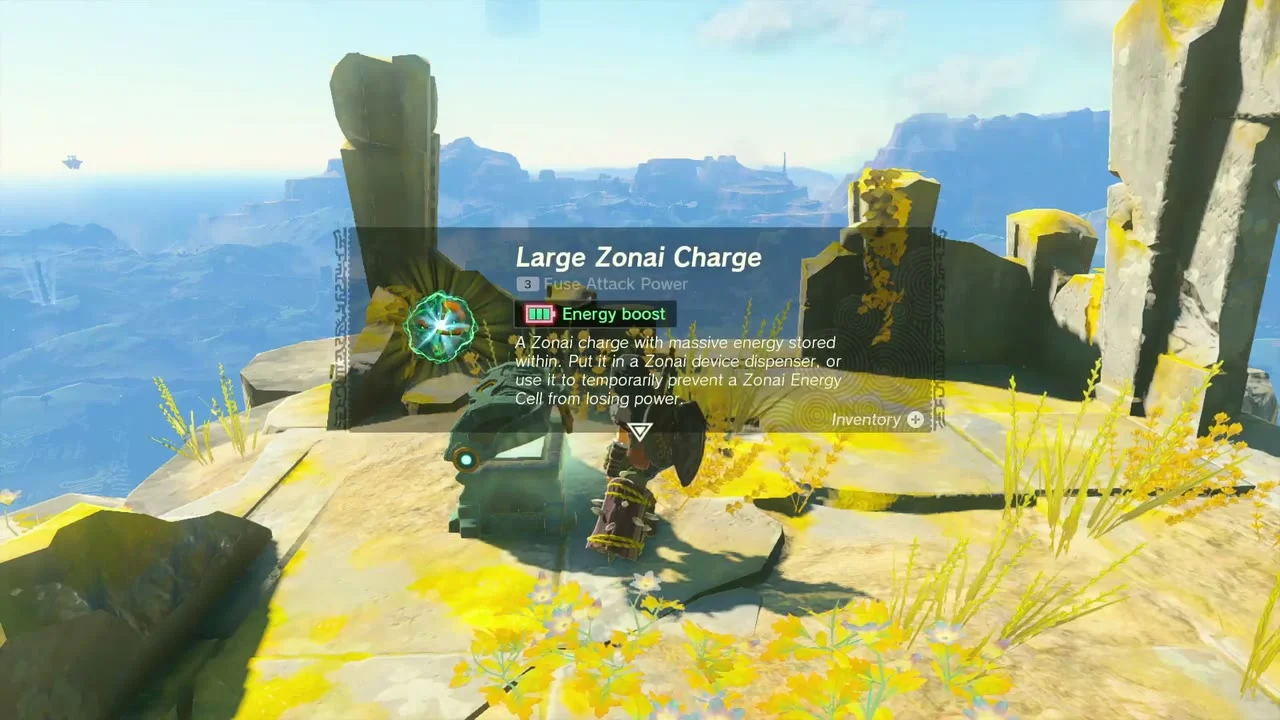
Chest (Large Zonai Charge). West of the castle road, a platform of yellow-mossed Zonai stone holds a chest with a glowing purple face. Defeat the two Soldier Constructs and the Captain Construct guarding it; the face turns green and the chest opens for a Large Zonai Charge. Calisa then thanks you with Rapid Simmered Fruit.


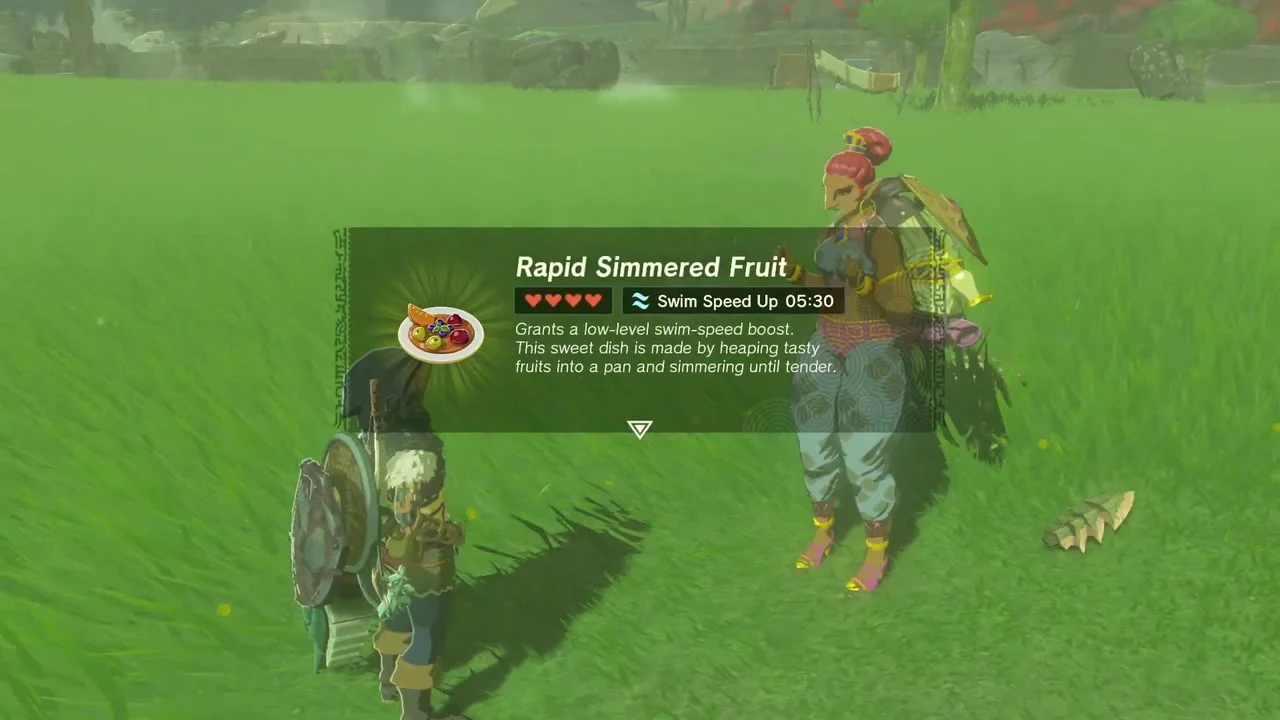
Chest (Arrow x5). Further along, a Bokoblin lookout tower stands by a ruined stockade. Clear the camp; a chest on the wooden platform at the foot of the fence holds Arrow x5.

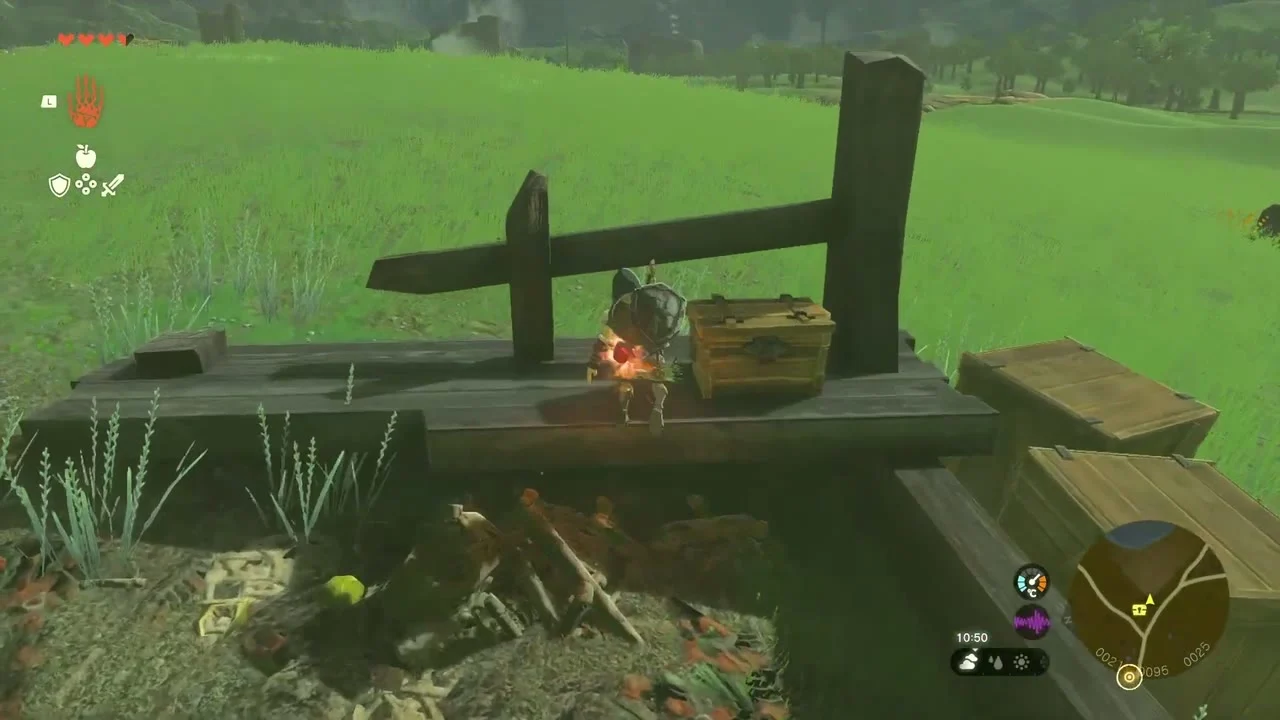

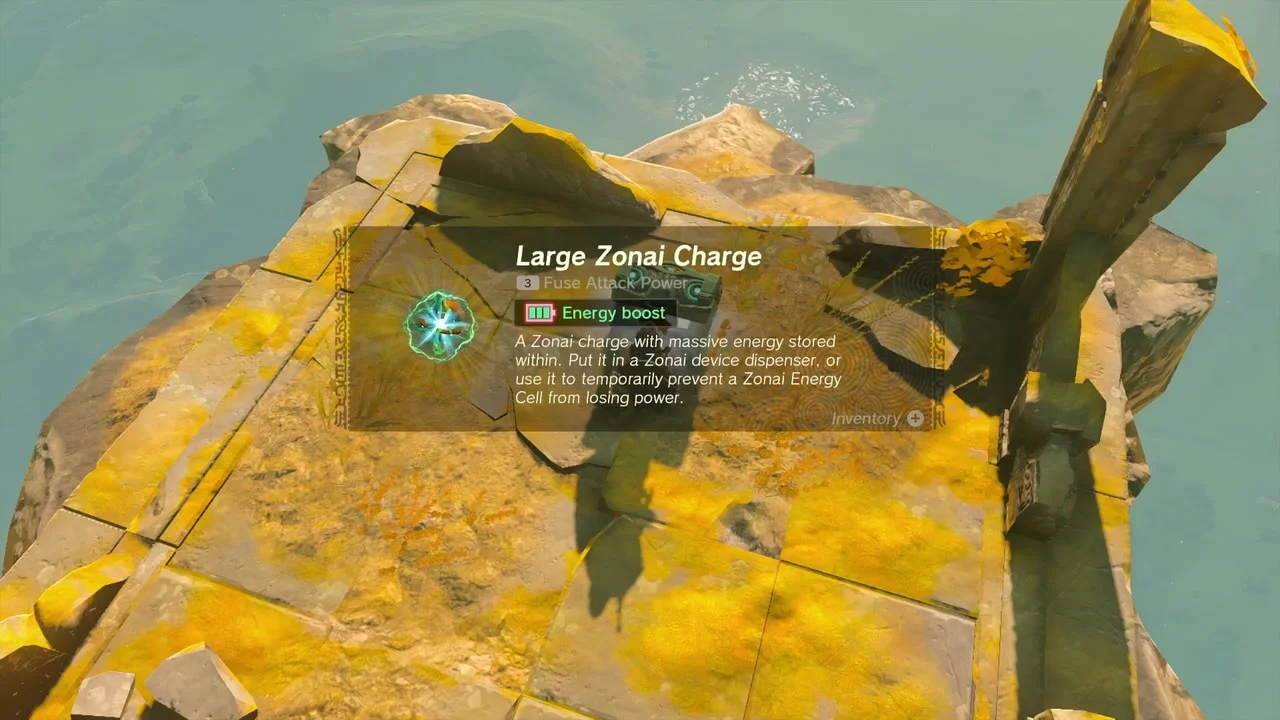
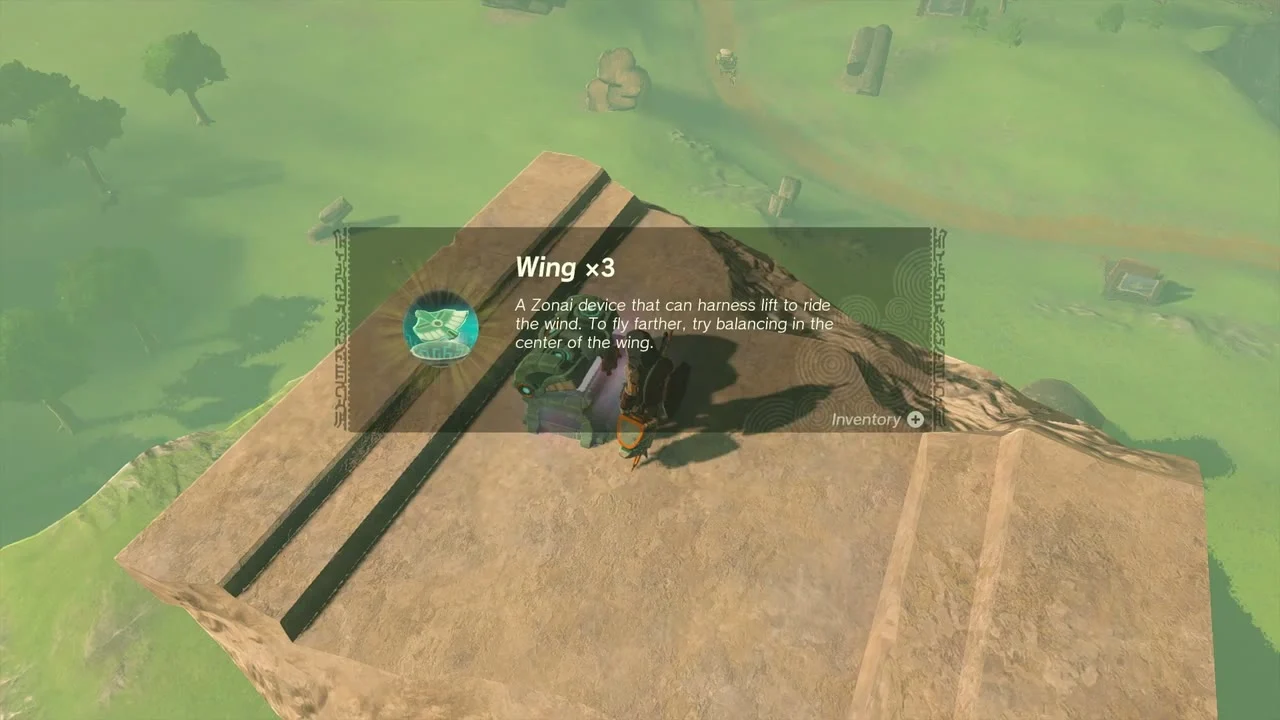
Central Hyrule Sky Archipelago. Deeper in the forest a mossy block that fell from the sky lies in the grass. Climb on it and use Recall to ride it up. On the nearest yellow Zonai island a chest holds a Large Zonai Charge; glide to the sloped slab beyond for a chest with Wing x3.
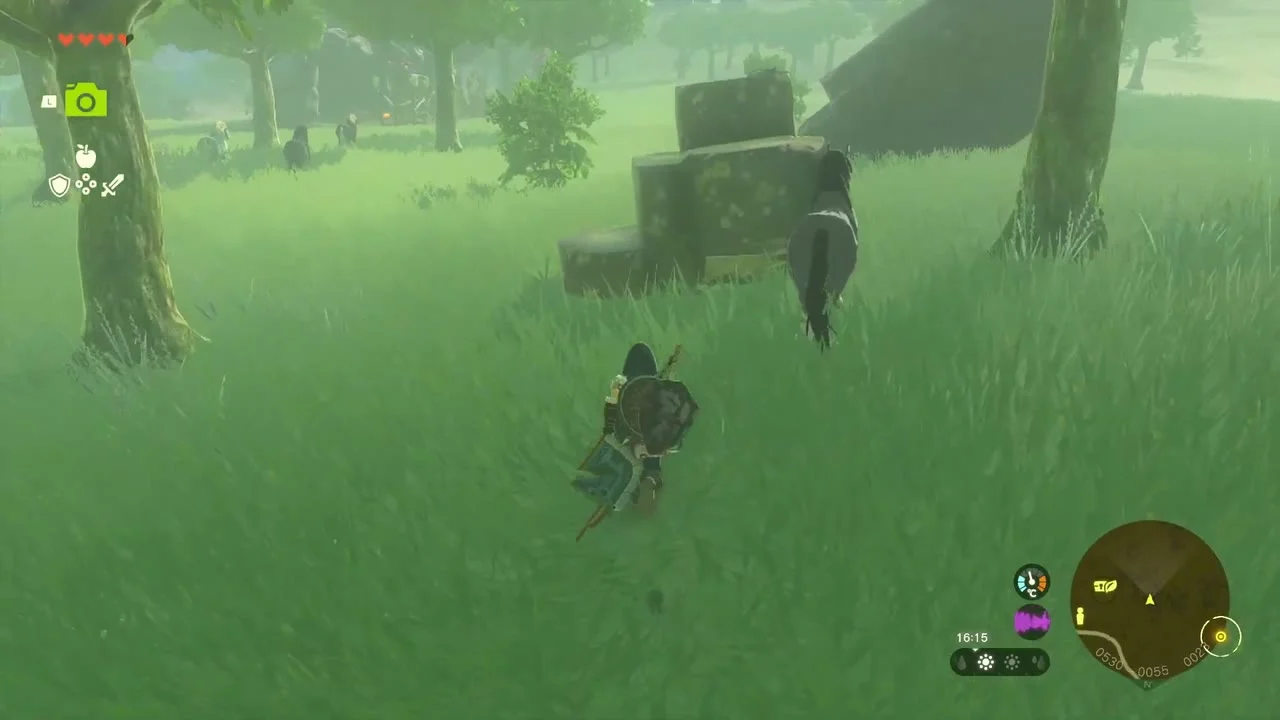
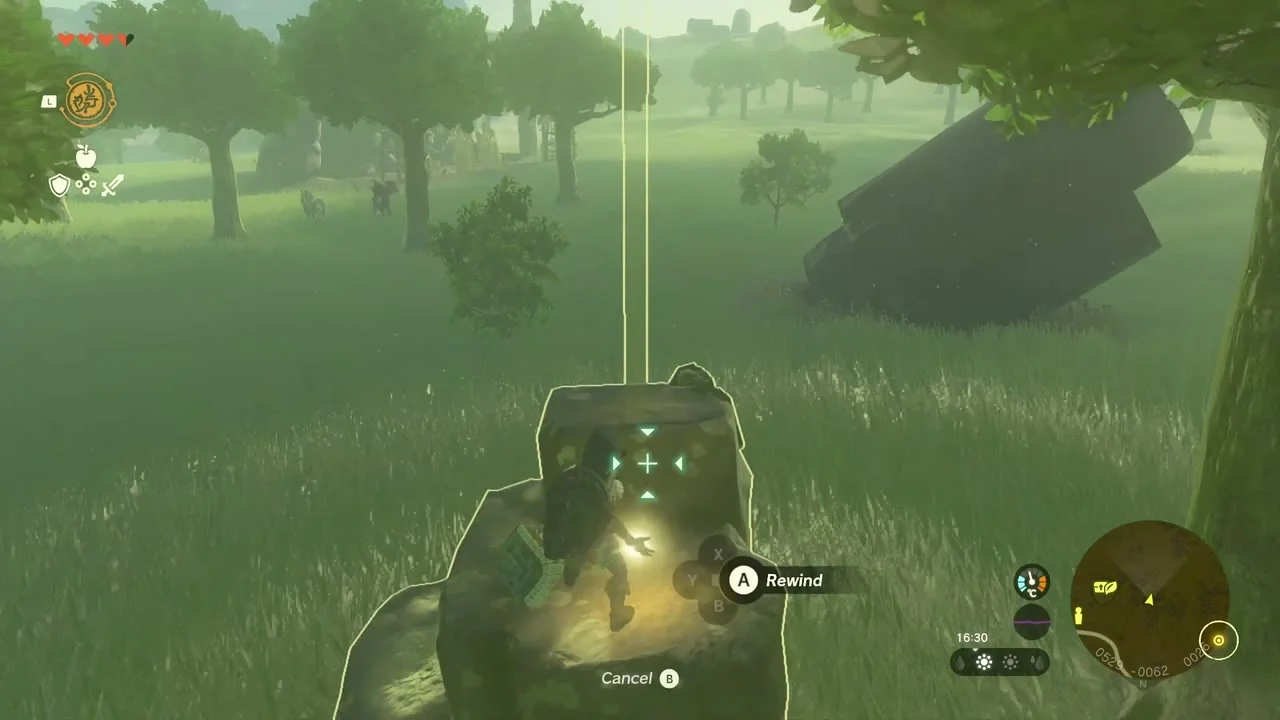
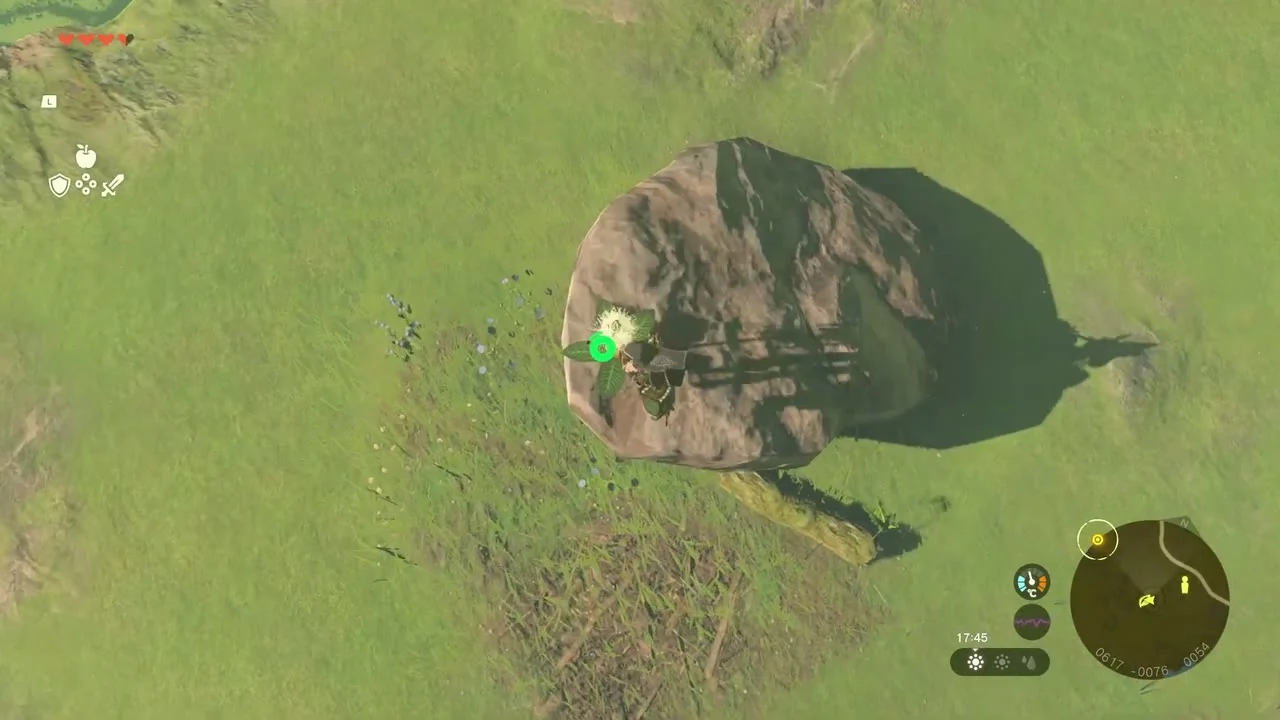
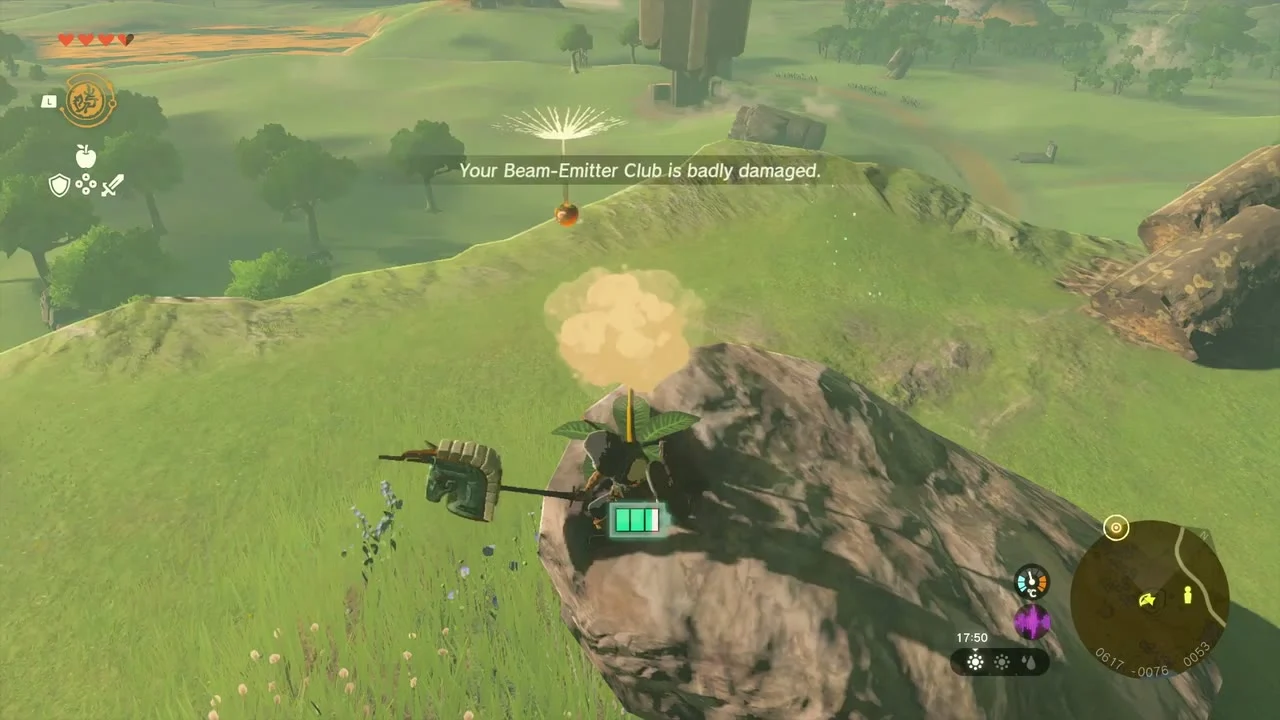
Korok seed (sprout on a rock). Glide down from the sloped island to the grassy ridge below. Hit the sprout on top of the lone rock there.
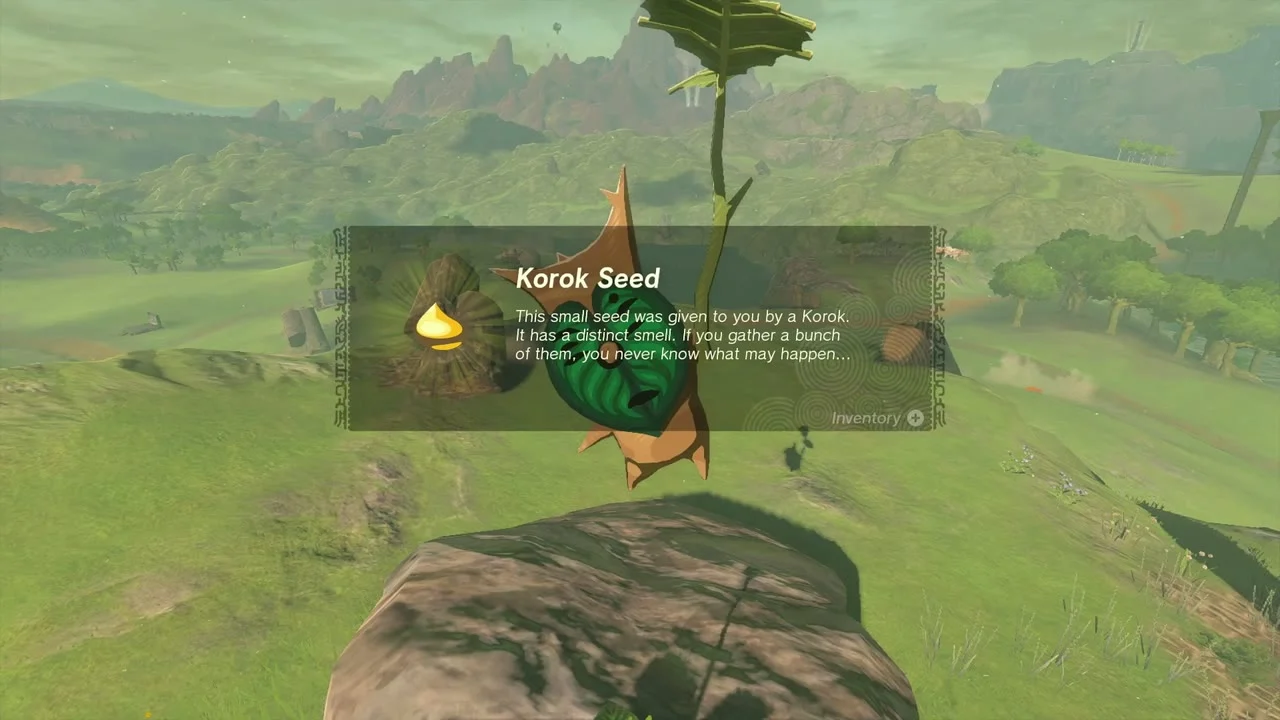
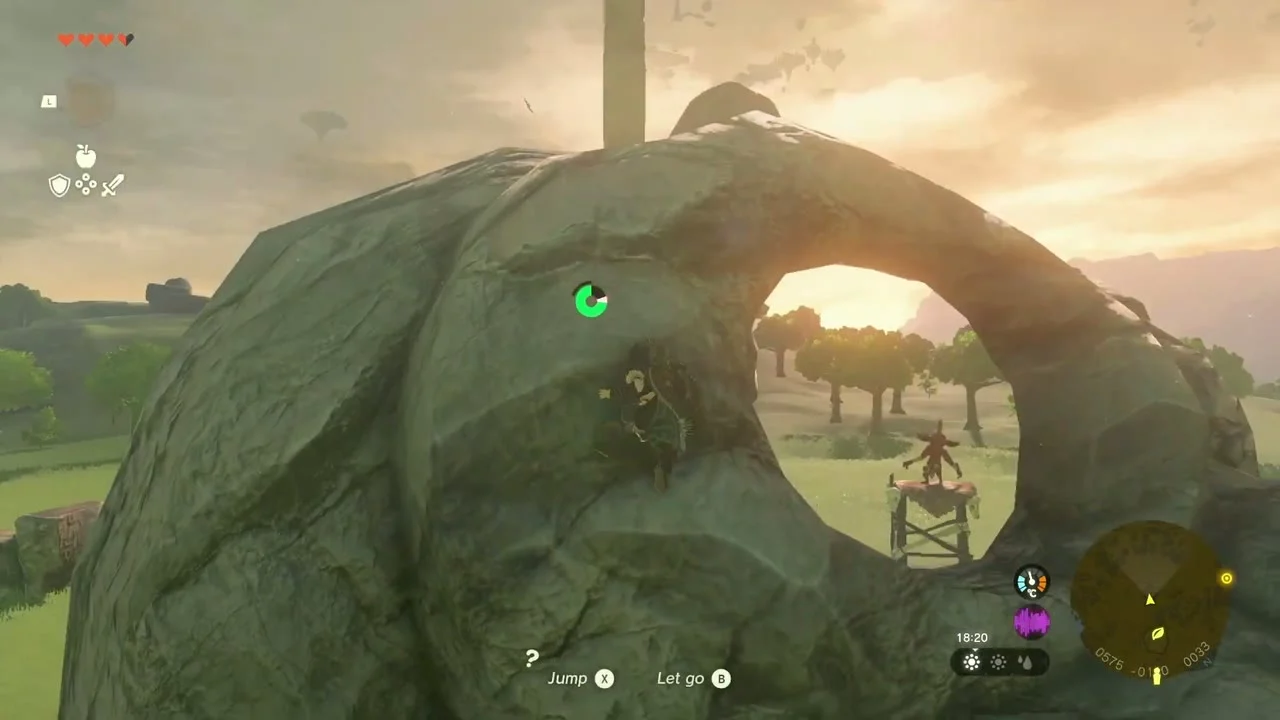
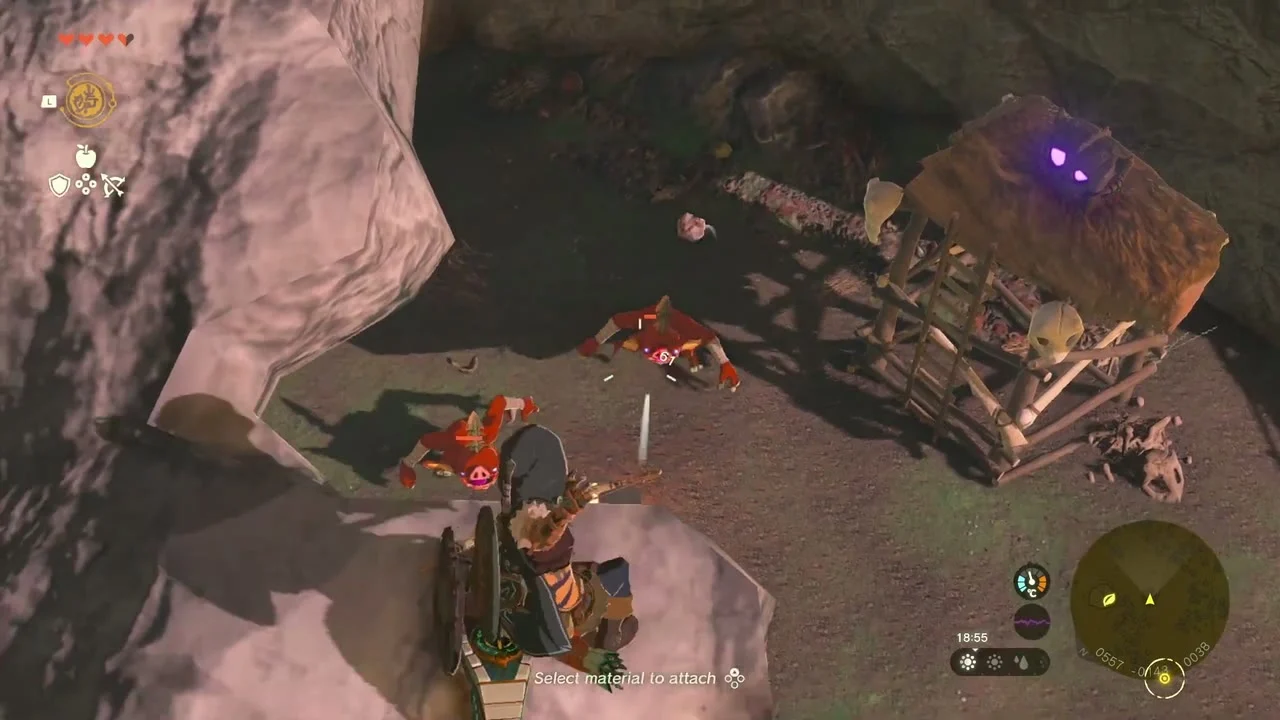
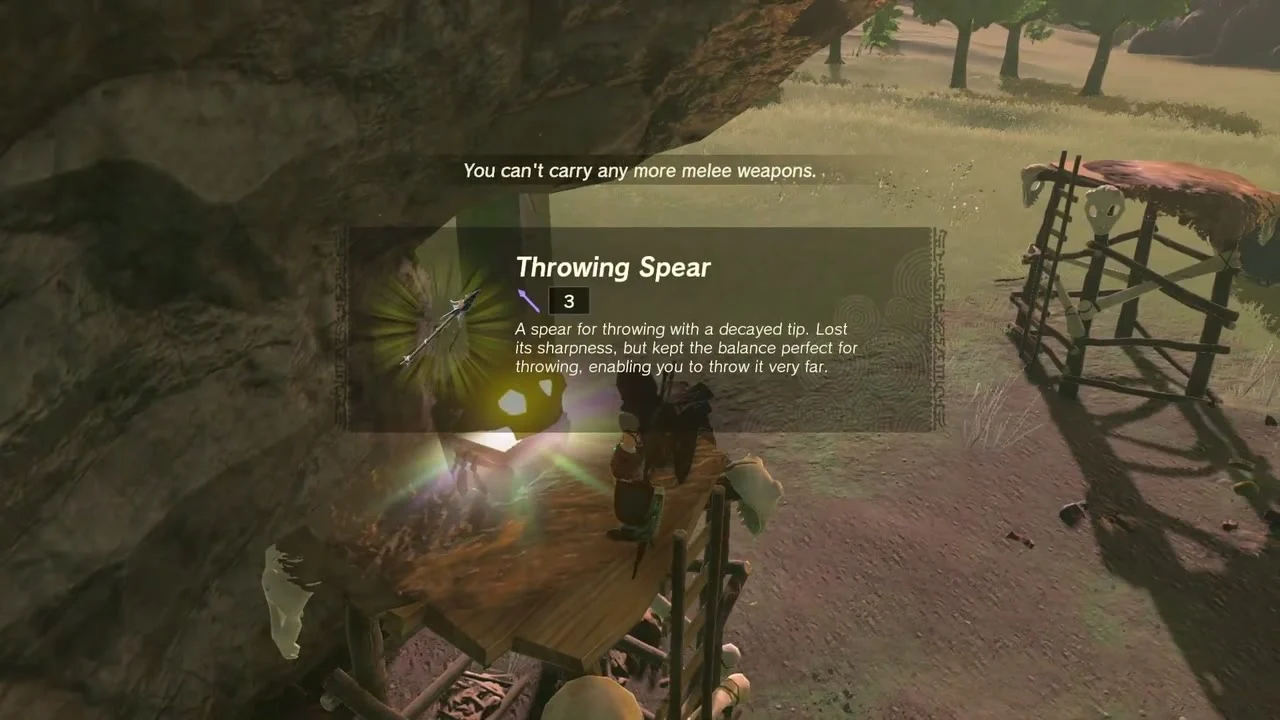
Chest (Throwing Spear). A giant boulder with a hole through it shelters a Bokoblin camp on the plains. Glide to its top, drop through the hole, clear the camp and open the chest on the wooden stand at the back: Throwing Spear.
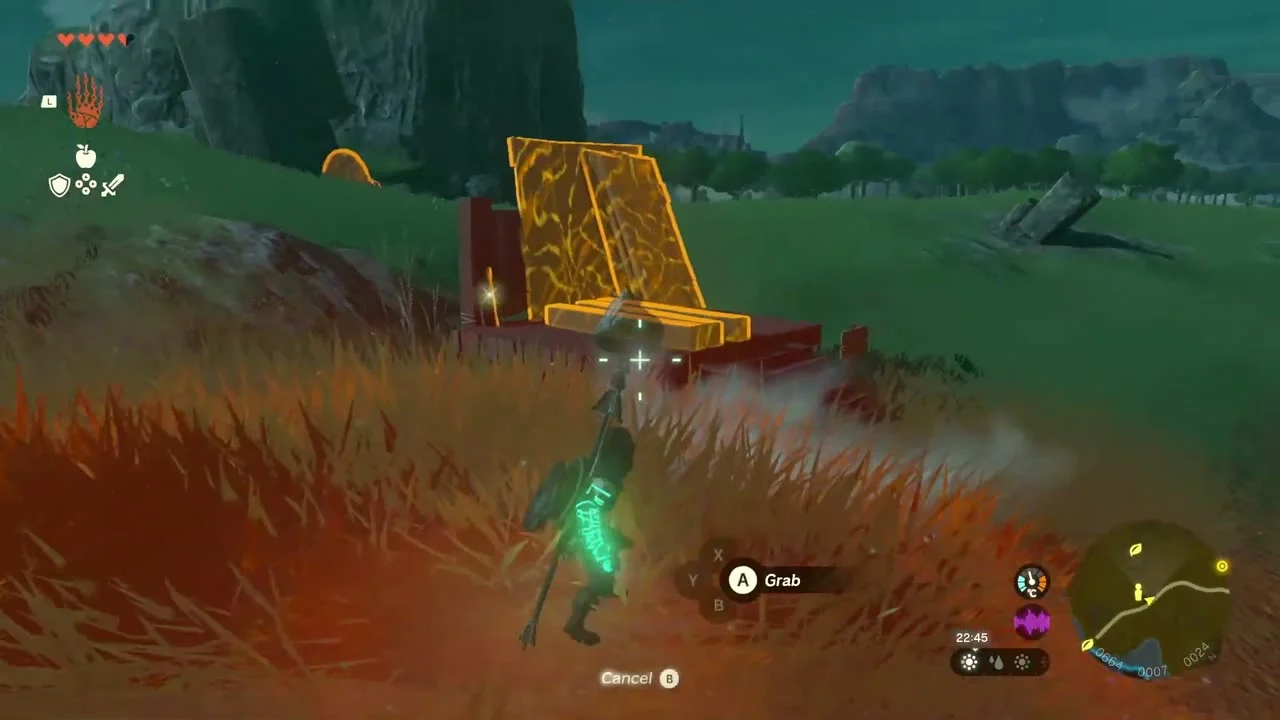
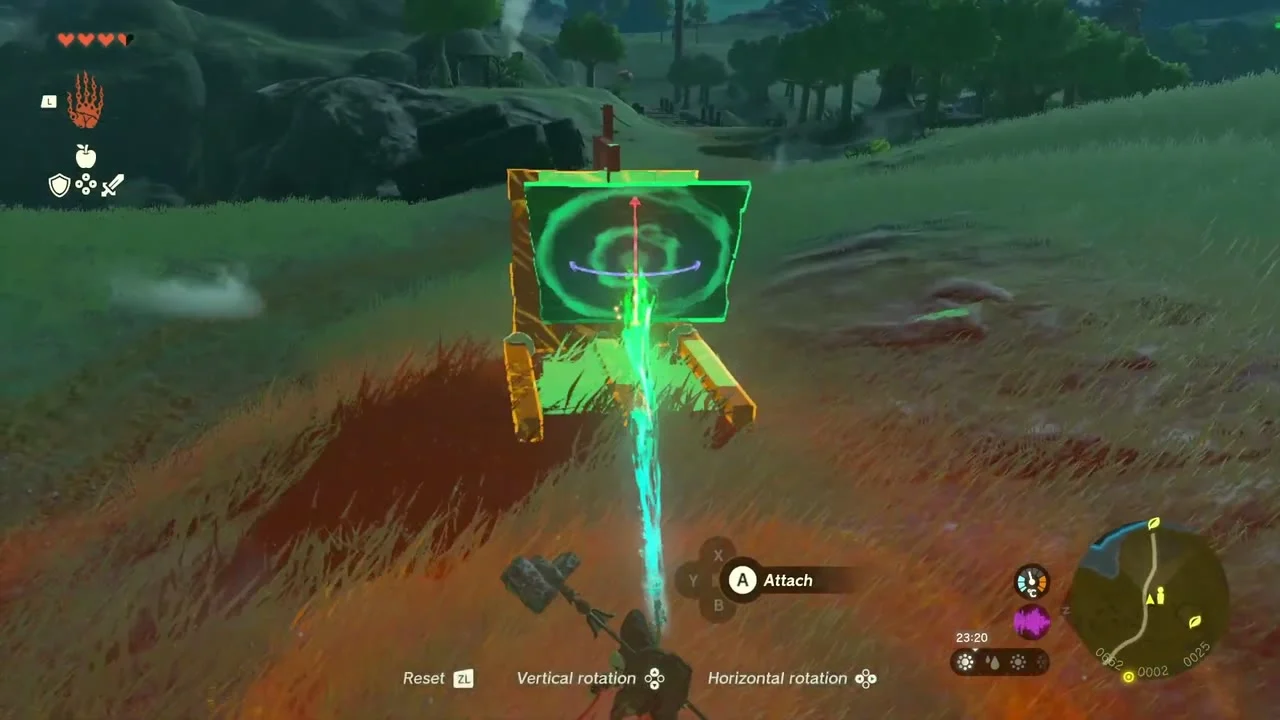
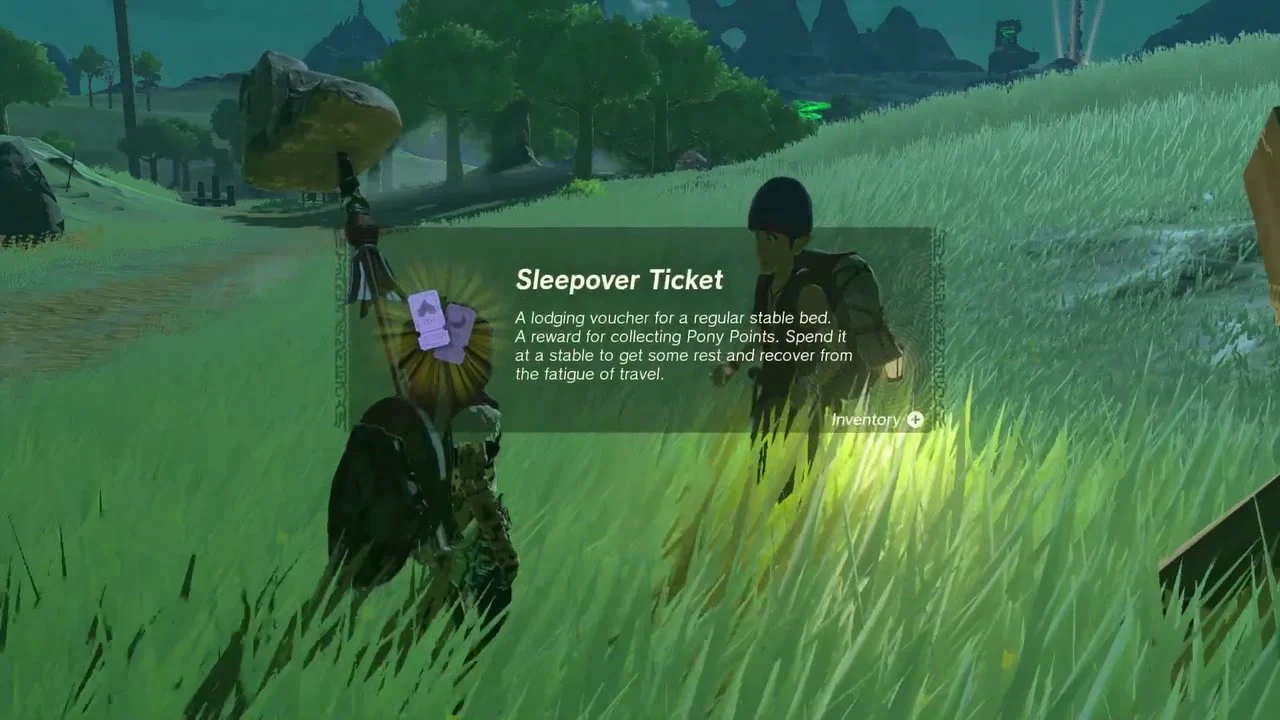
Addison’s second sign. Nearby, another sign leans over in the grass. Build a plank support under it with Ultrahand. Addison pays a Red Rupee, Veggie Rice Balls and a Sleepover Ticket.
Rebonae Bridge and Wetland Stable
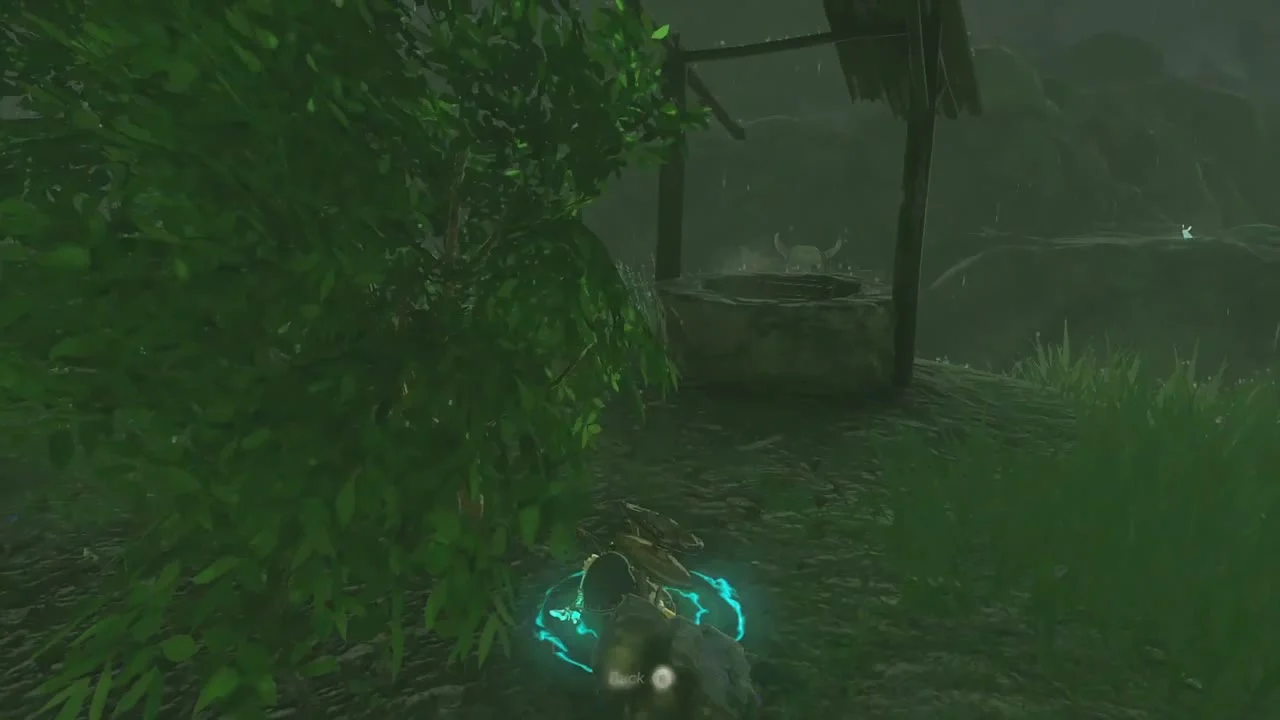
Rebonae Bridge Well. The stone-lined well sits in the grass on the river bank below the bridge. It also counts for Where Are the Wells?.

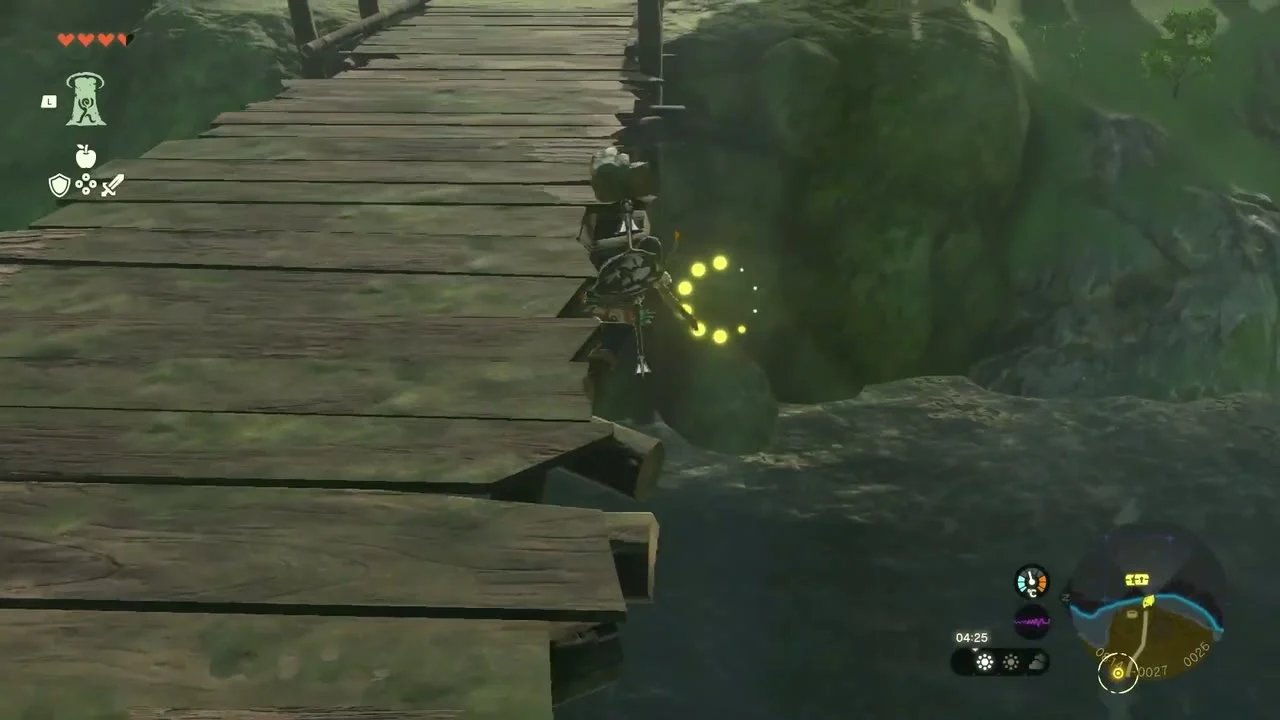
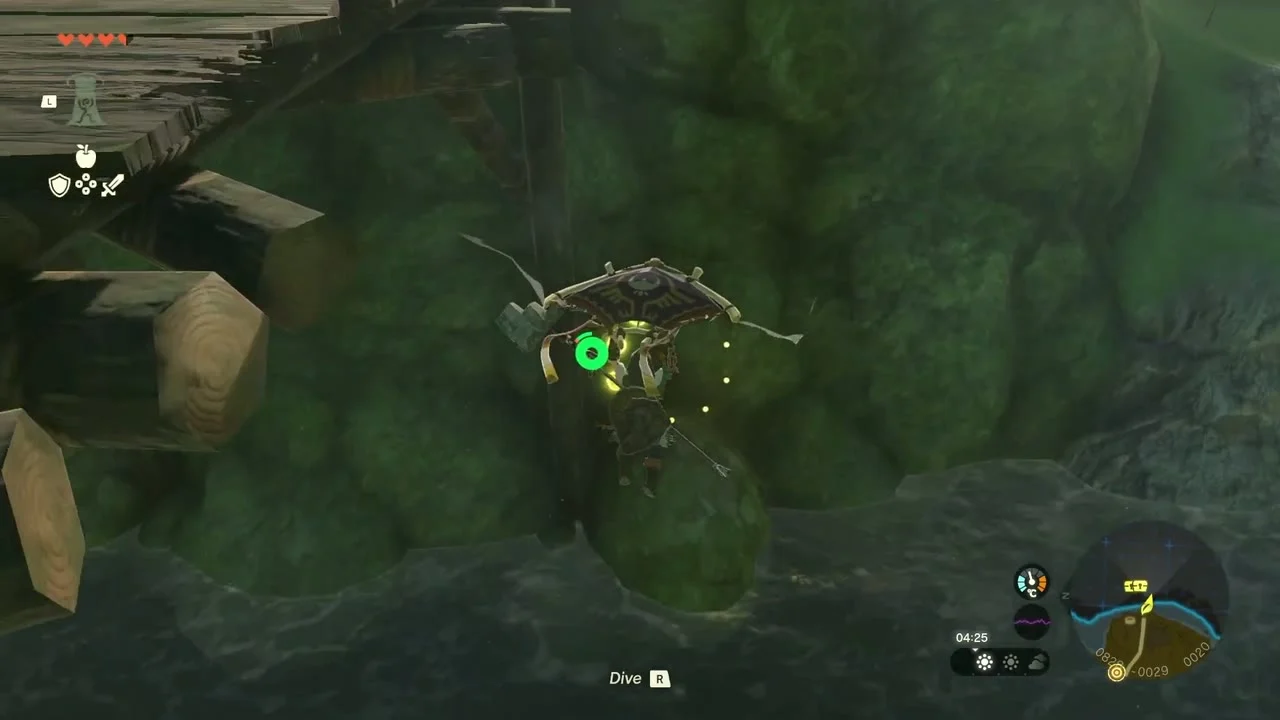
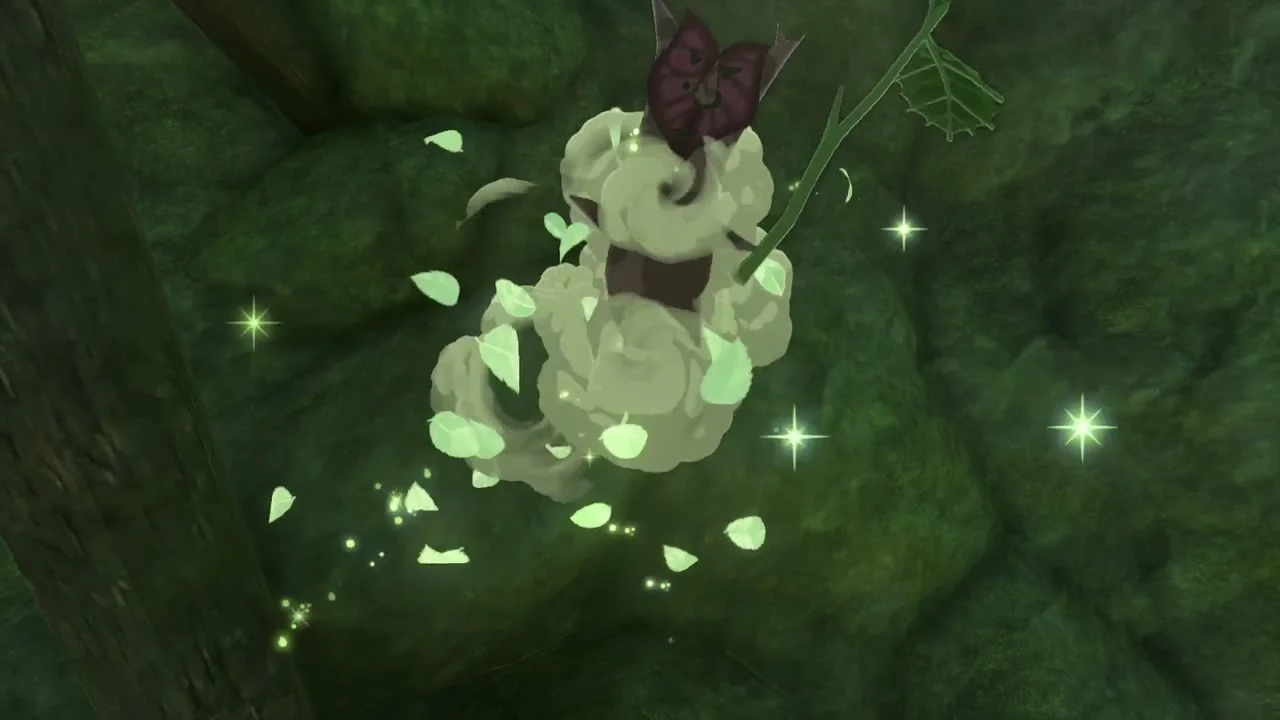
Korok seed (ring in the air). Under Rebonae Bridge, step onto the floating tree stump in the river and a ring of yellow dots appears beside the mossy pier. Glide through it. Then Ascend from beneath the bridge’s planks to reach the deck; Gladi stands there and starts The Hunt for Bubbul Gems!.

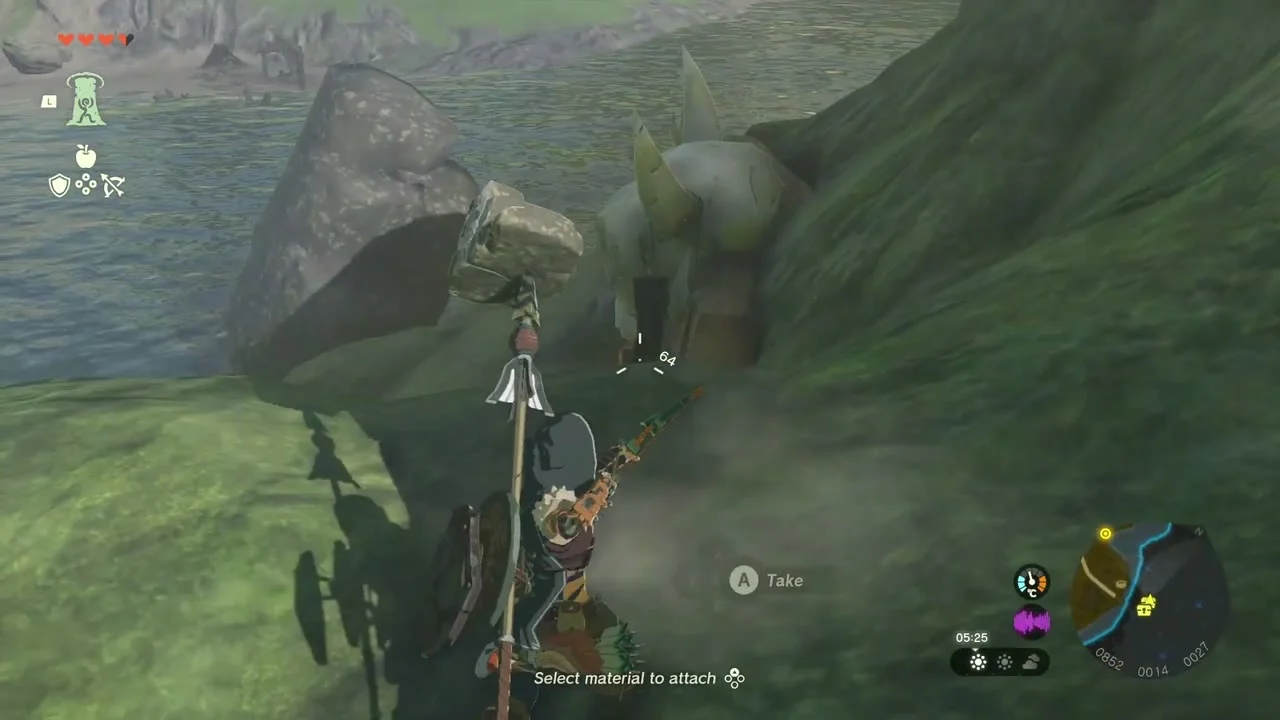
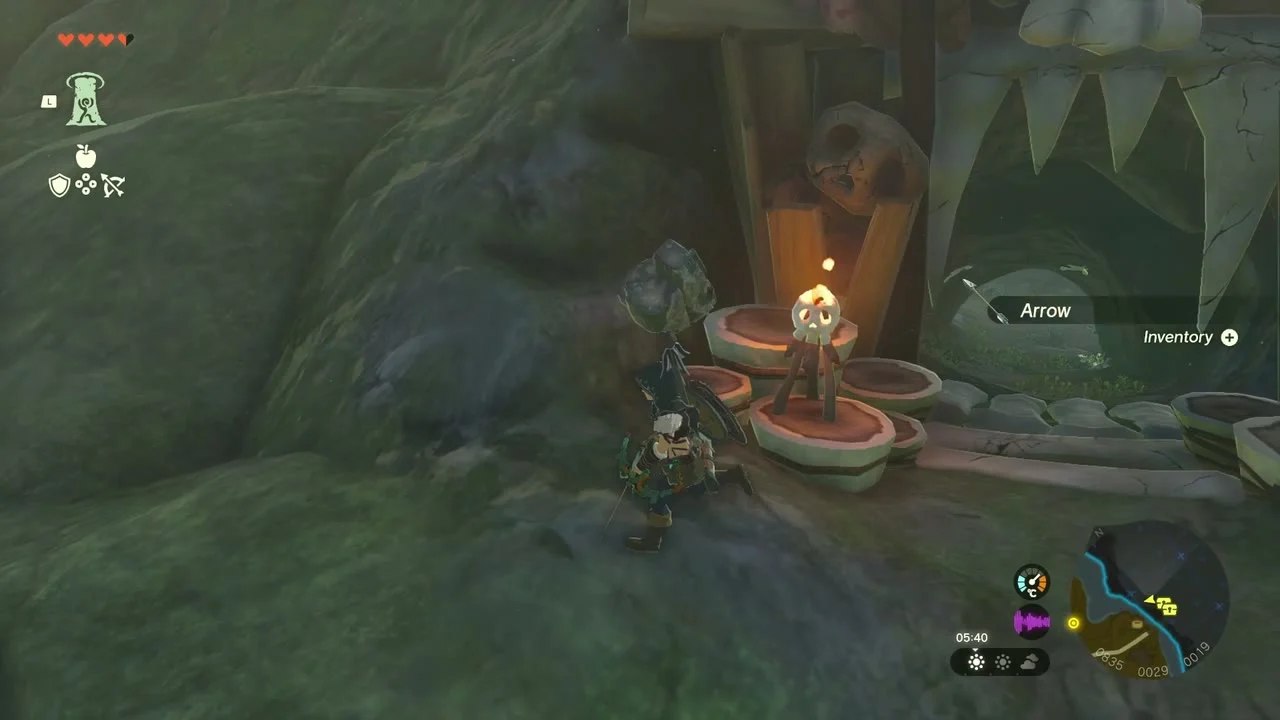
Rebonae Bridge Cave. Below the bridge, a Bokoblin camp with a giant monster skull sits against the cliff. The skull’s jaws are the entrance to Rebonae Bridge Cave: two chests and a Bubbul Gem. The cave page has the route.
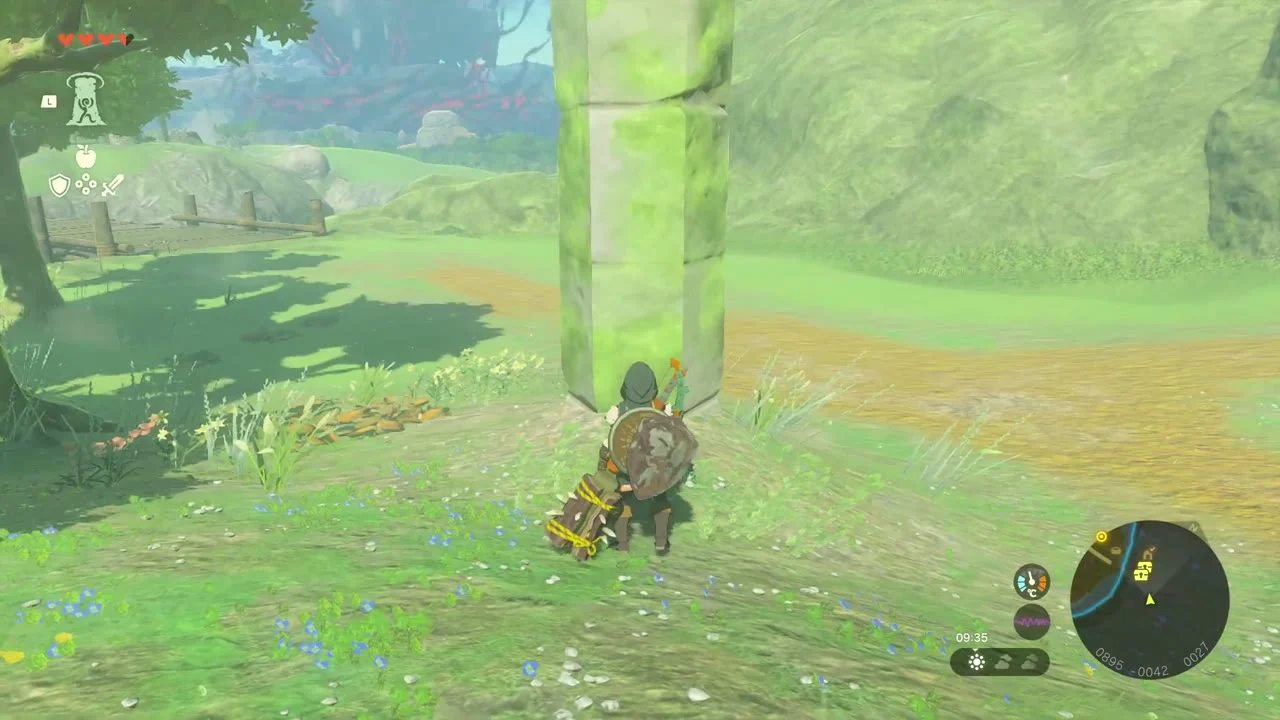
Chest (Sapphire). East of the bridge, a tall moss-covered pillar stands beside the dirt track. Eat a stamina meal and climb it, resting where you must; the chest on the hexagonal slab on top holds a Sapphire.

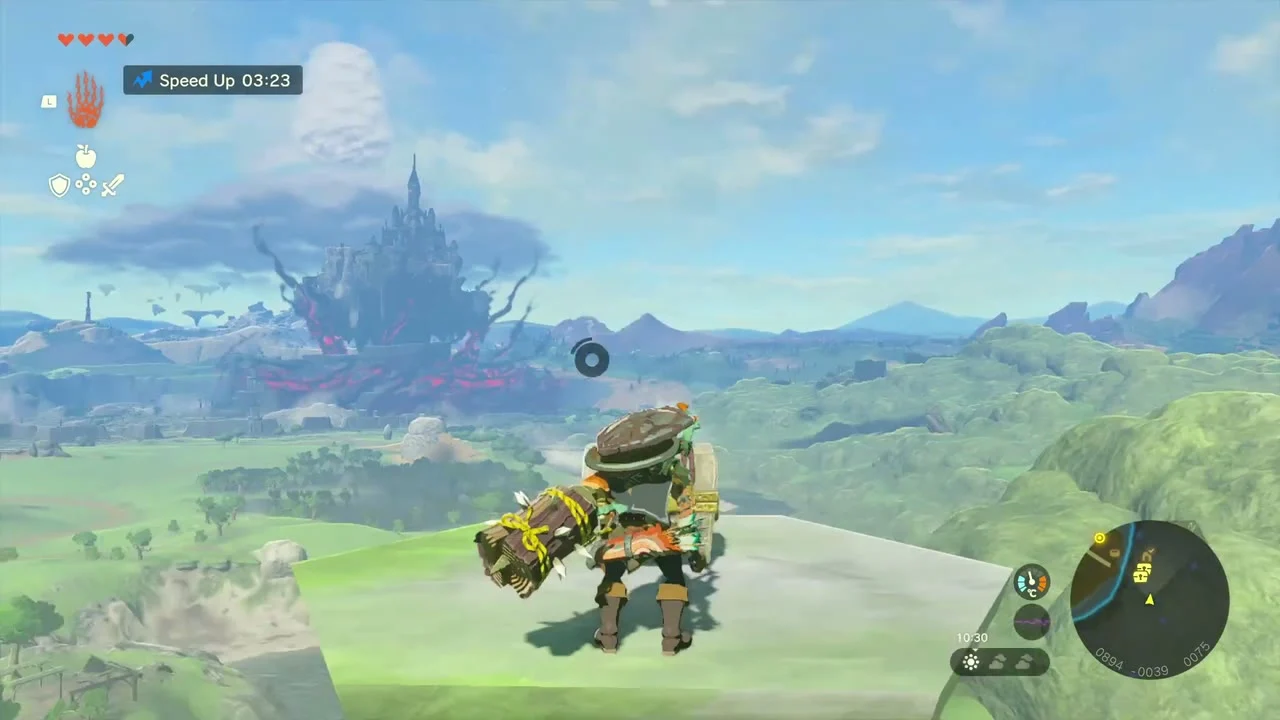

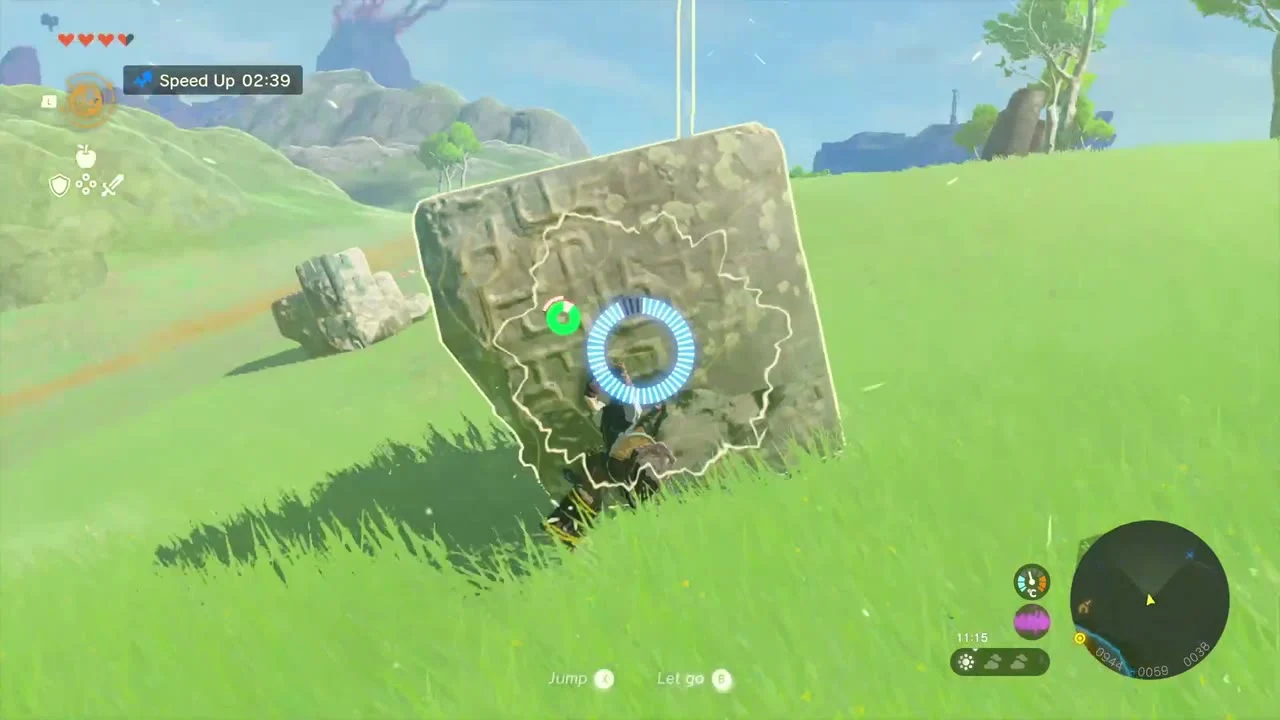
Chest (Large Zonai Charge). Glide down and use Recall on the big carved boulder lying nearby to ride it up to the Central Hyrule Sky Archipelago. The chest on the yellow island holds a Large Zonai Charge.
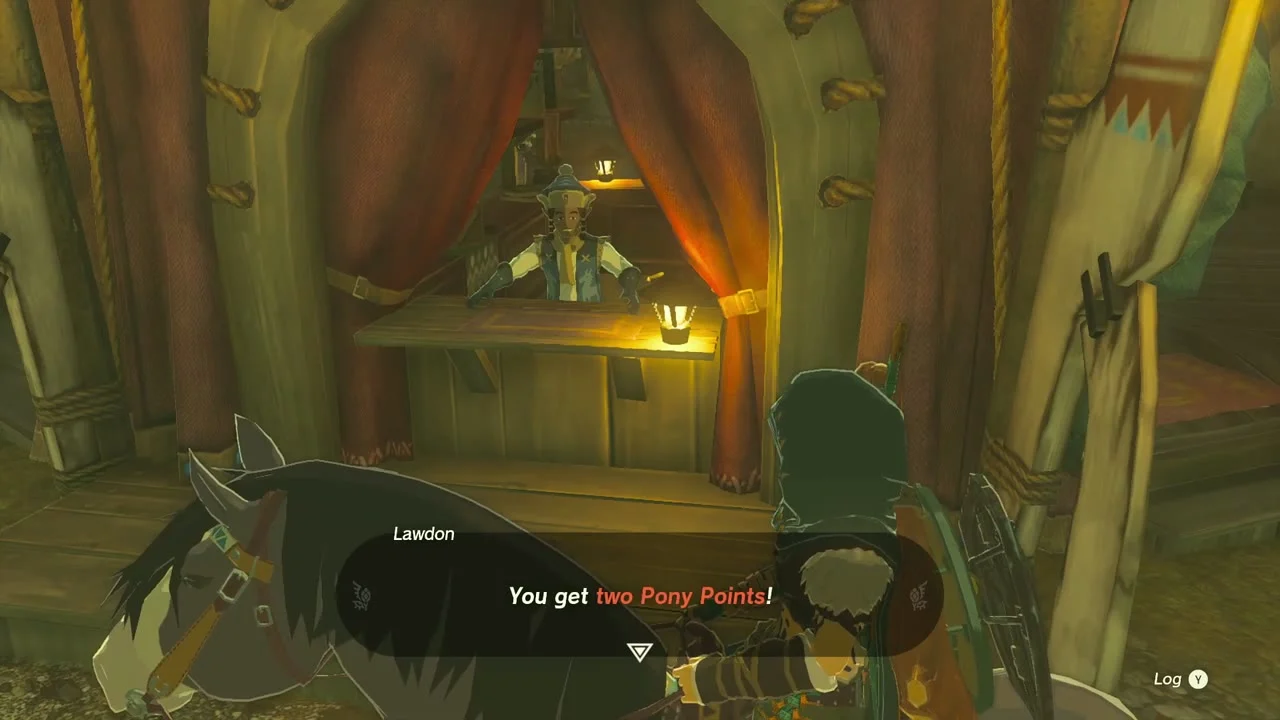
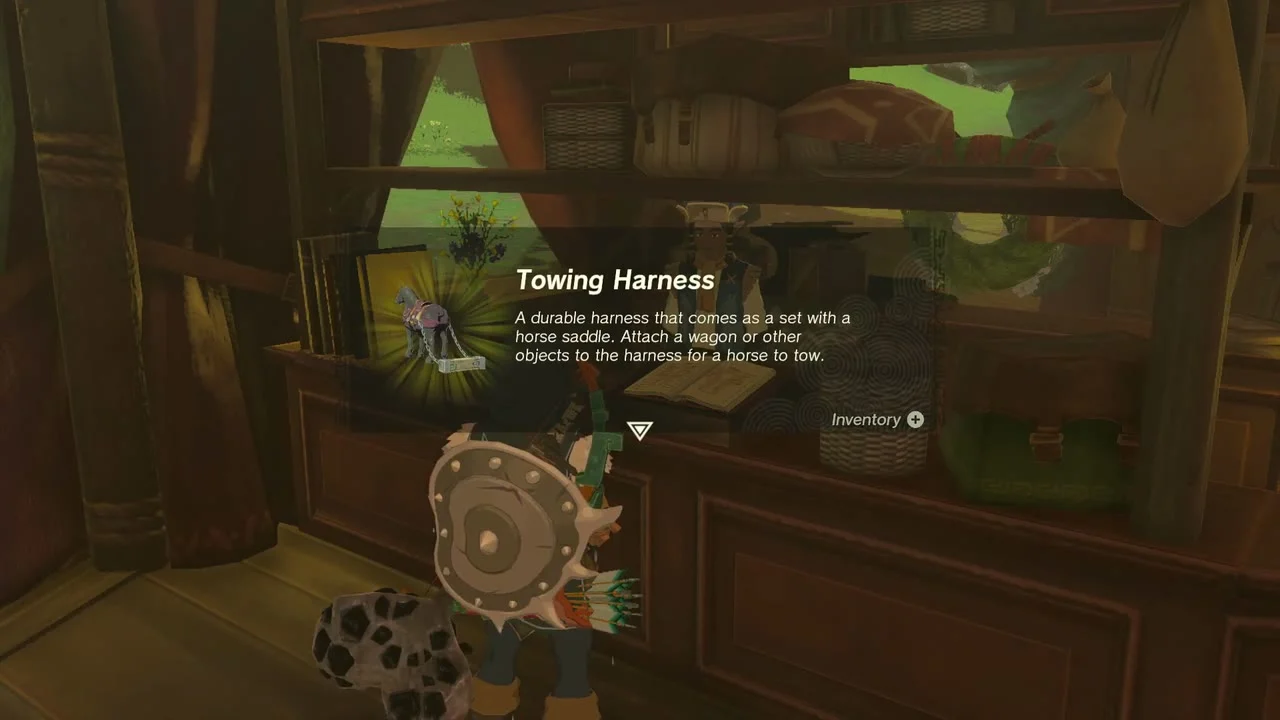
Wetland Stable: Towing Harness. Talk to Lawdon at the counter and register your horse for 2 Pony Points; resting at the inn also earns points. Redeem 3 Pony Points at the ledger on the counter for the Towing Harness, which lets a horse tow a wagon or object. An Uninvited Guest pays Pony Points too.


An Uninvited Guest and the two wells. Ami at the fence beside the stable wants a Blue Moblin camp cleared from the woods. Crouch through the tall grass, Sneakstrike the Moblin from behind and defeat the Lizalfos. Two wells lie in these woods: Wetland Stable Well, beside the camp, and Wetland Stable South Well, further into the trees, where Fera starts Where Are the Wells?.
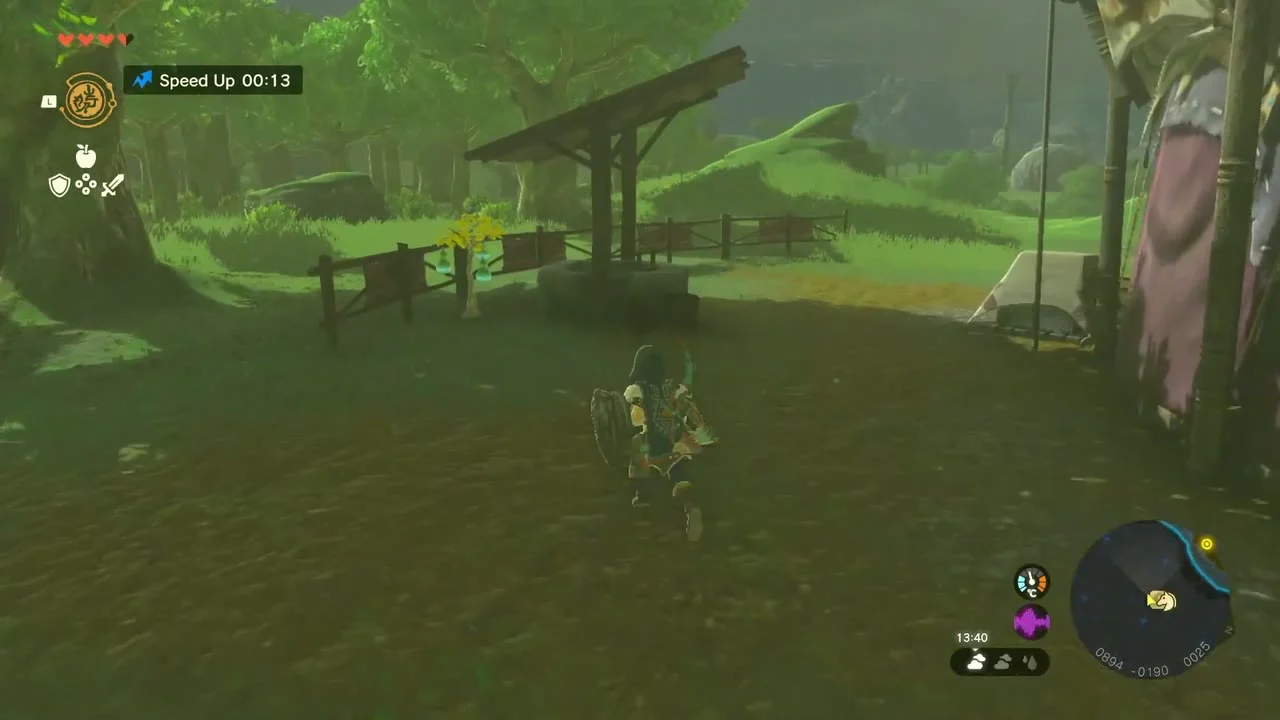

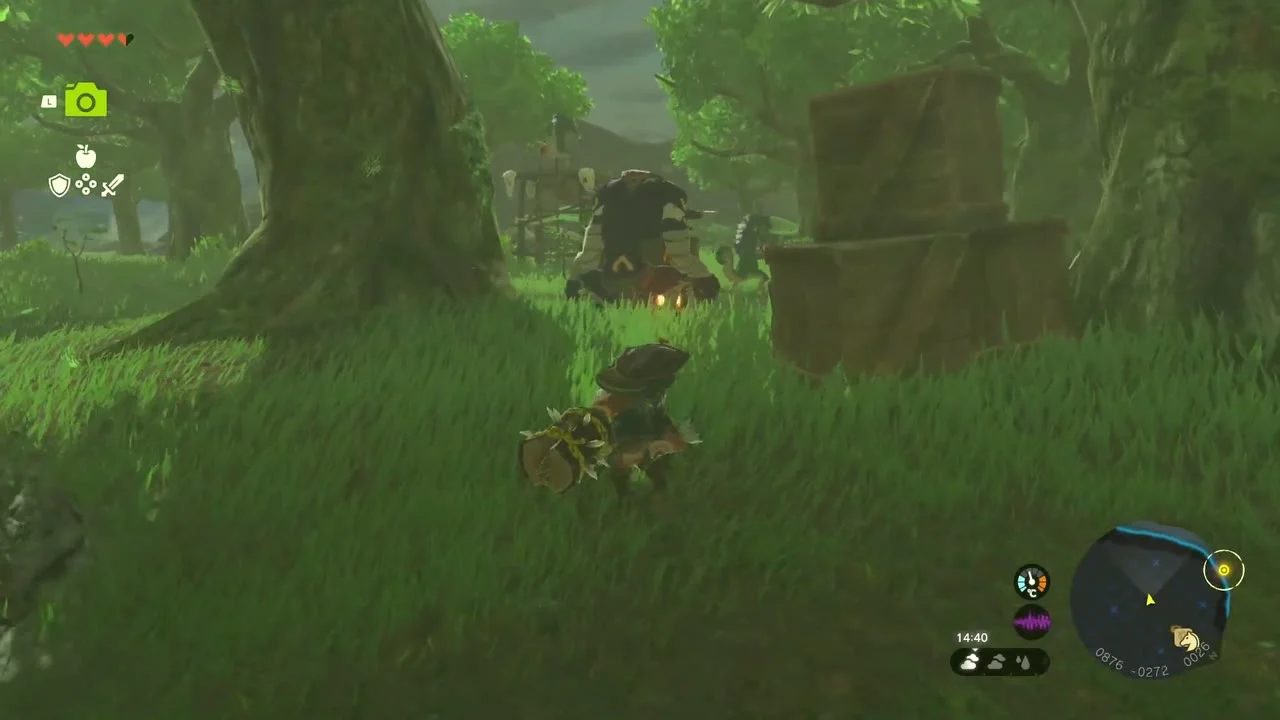
Tukarok Shrine (Forward Force) stands north of the stable in the woods, where a pale stone path leads under a round stone canopy. Its chest holds a Strong Zonaite Sword (Strong or Mighty, depending on your progress), and the Korakut Lightroot is below.
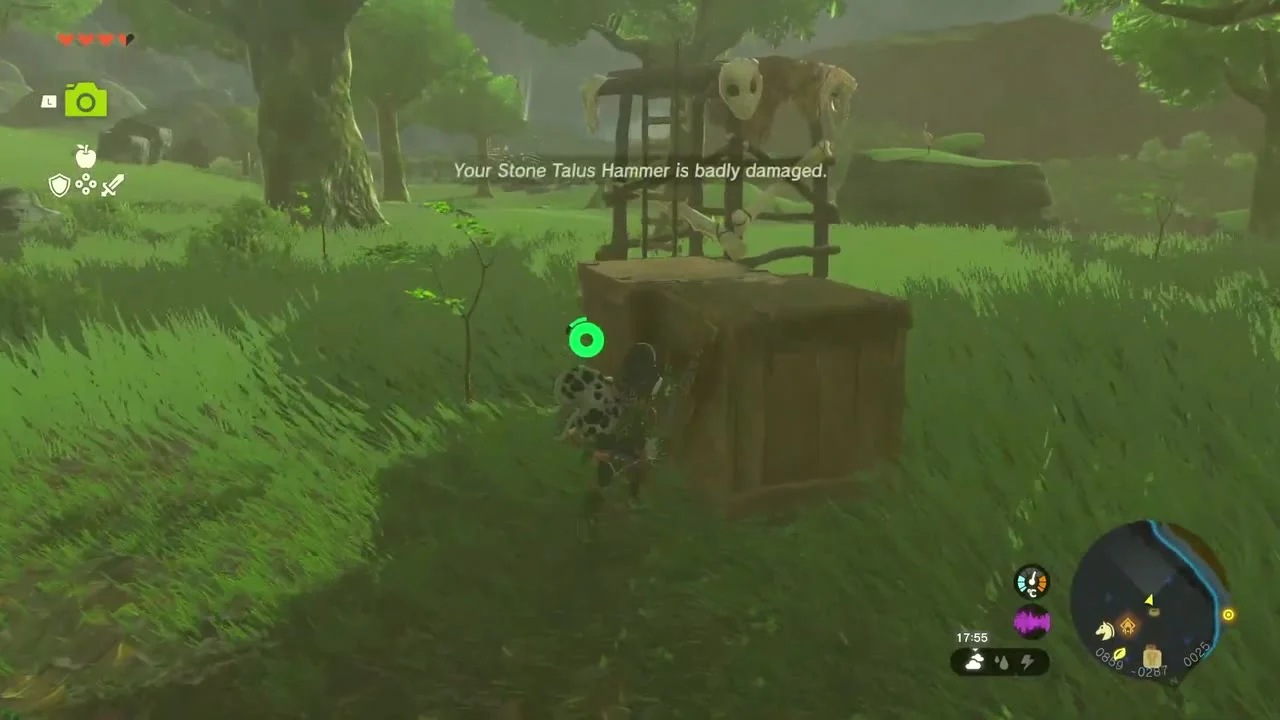
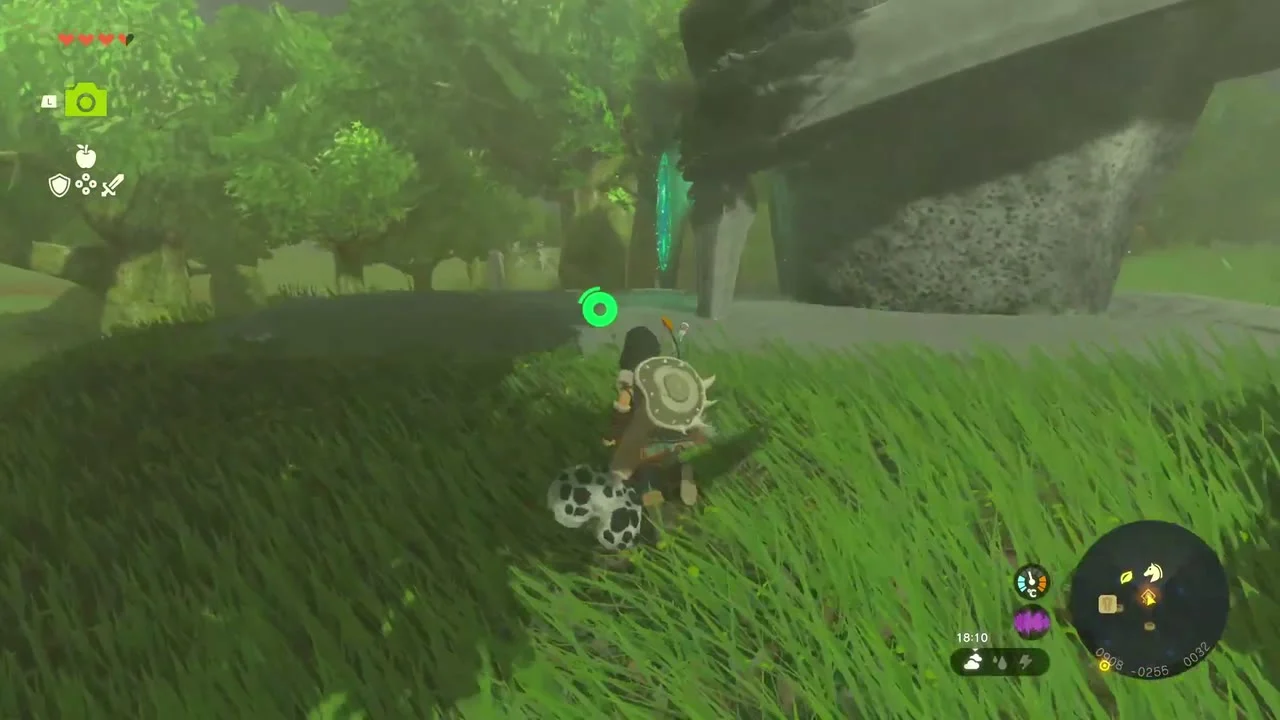
Korok seed (lump in the oak). In the woods north of Rebonae Bridge, climb the trunk of a tall oak to the fork of its branches and pick up the grey lump in the crook.


Castle approach: Moat East Chasm and the gate
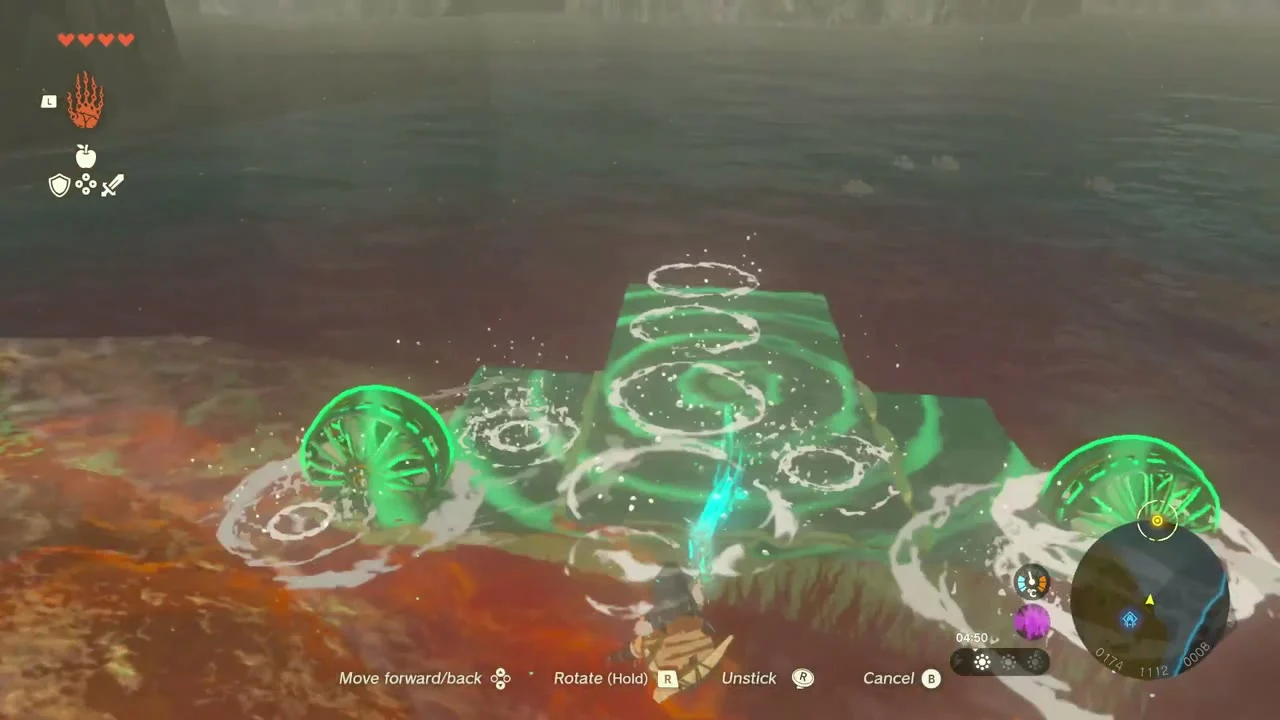
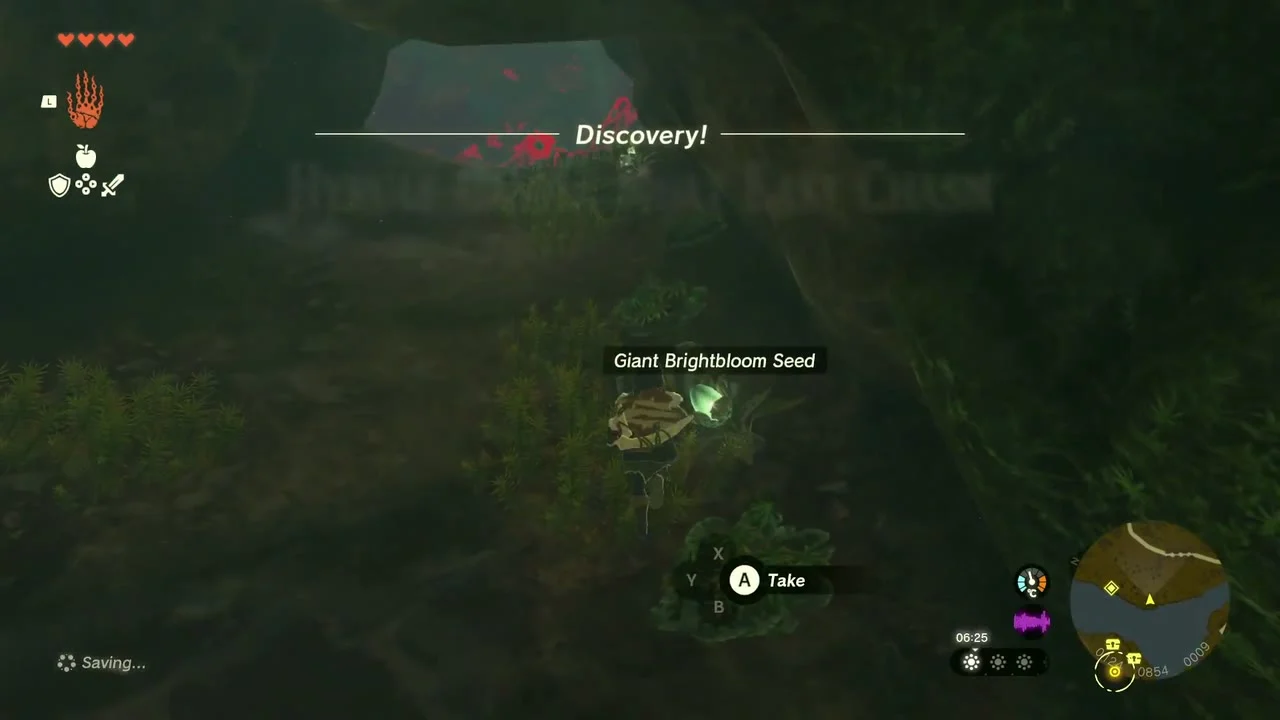
Hyrule Castle Moat East Chasm. Fast travel to Sepapa Shrine and walk down to the eastern bank of the moat. Lay a plank on the water with Ultrahand, attach a second beside it and fix a Zonai wheel to each side. Drive the raft along the channel around the cliff to the far shore, where the chasm opens in the rock with Brightbloom Seeds growing beside it.
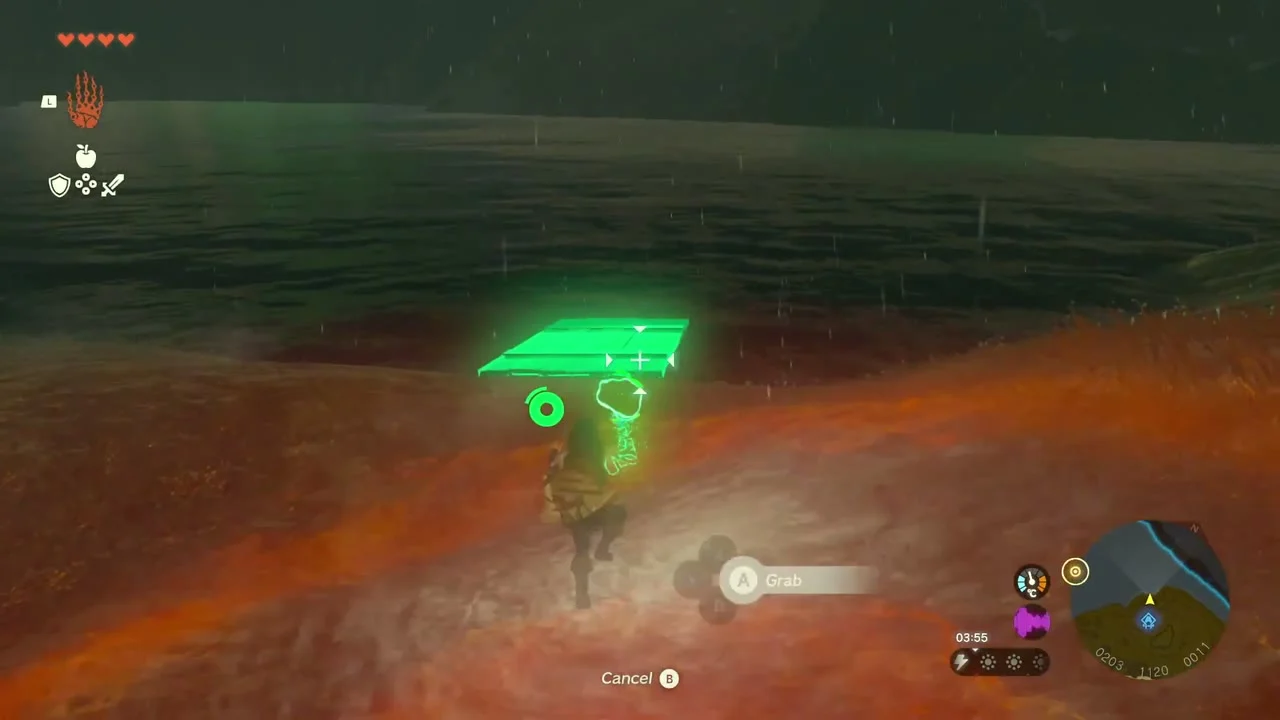

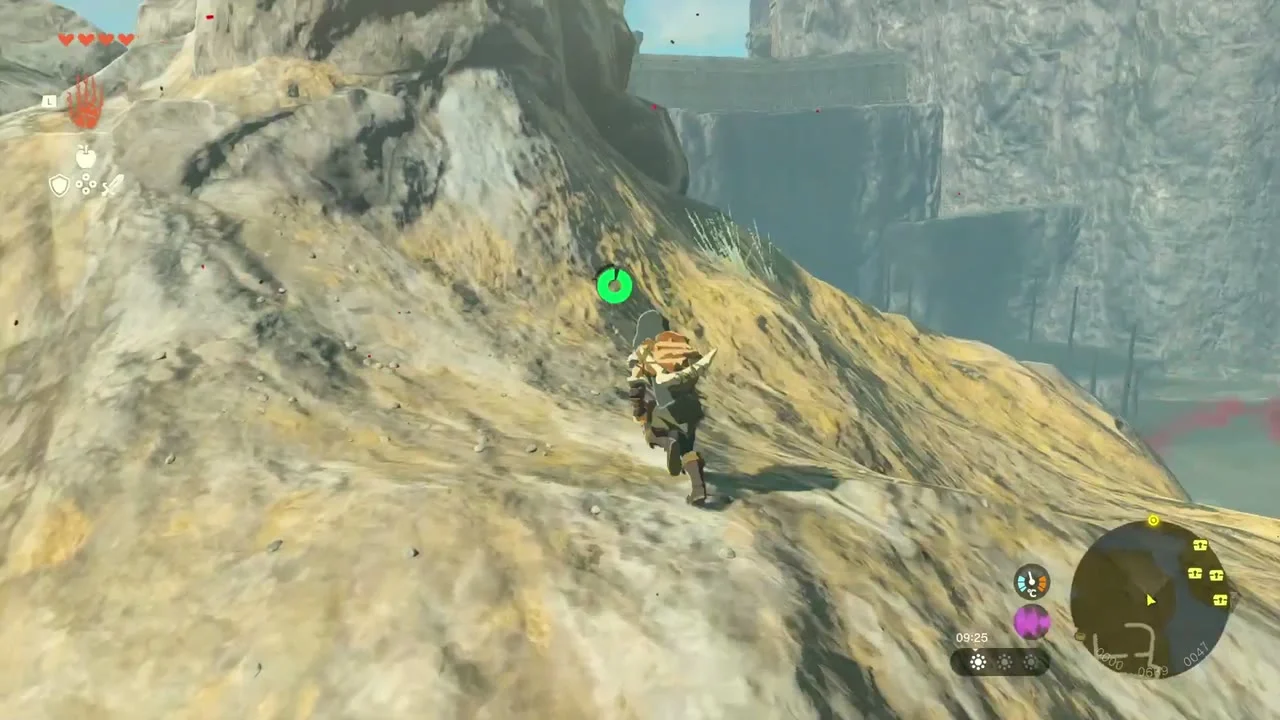
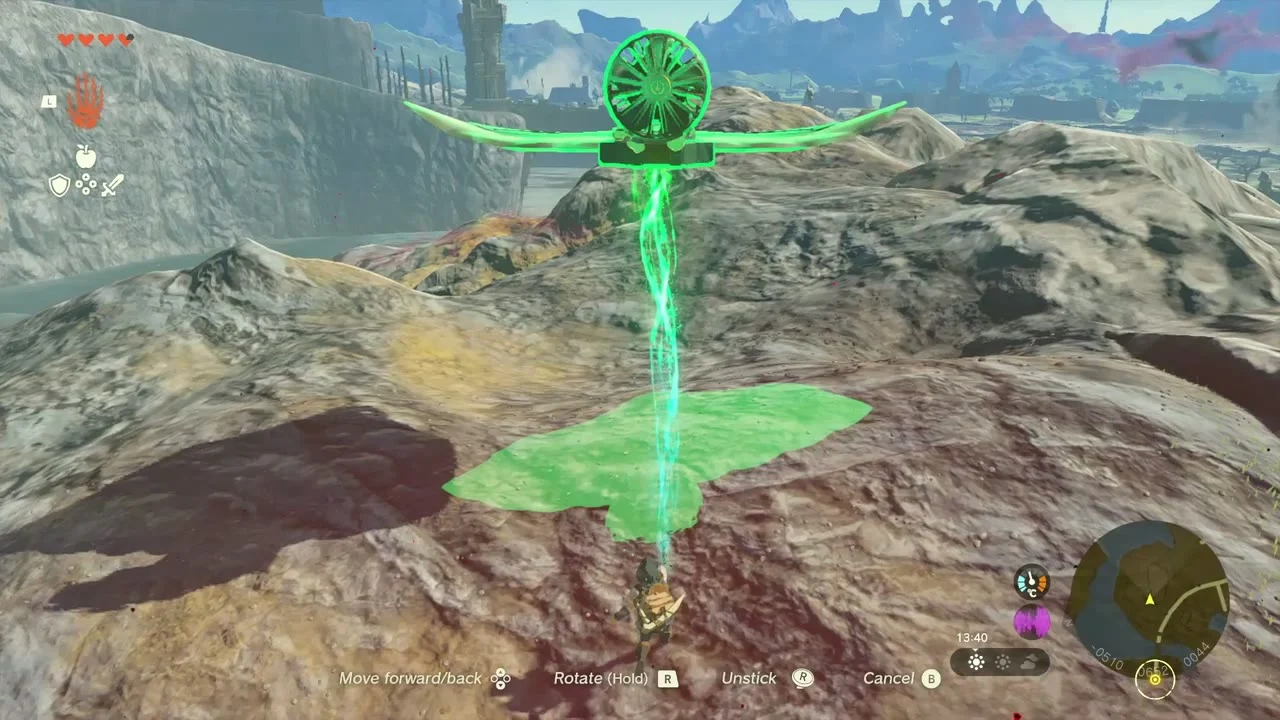
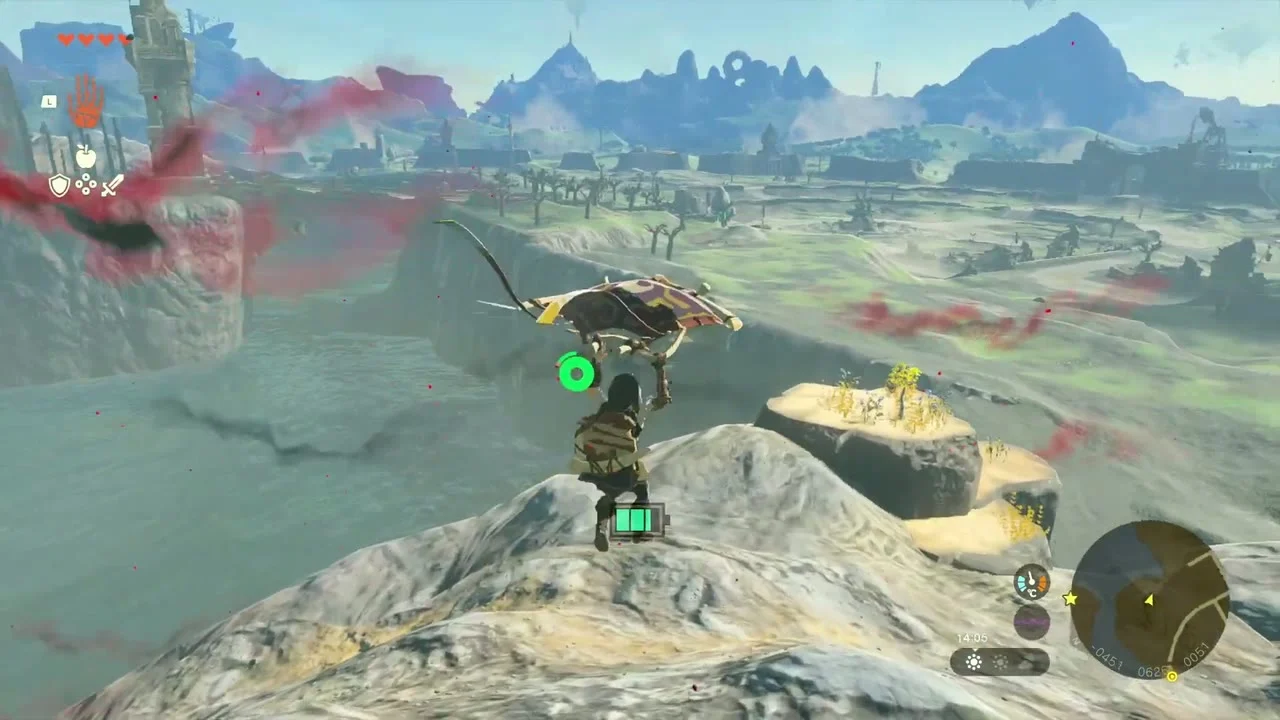
Crossing the moat. Back on the surface, follow the moat’s outer bank west, glide across the narrow channel and climb the rock face and boulders against the castle’s outer wall. From the rock on the north side, stand a Zonai Wing upright and fix a fan or two to its back, board it and fly out over the moat chasm to the narrow ledge under the wall.


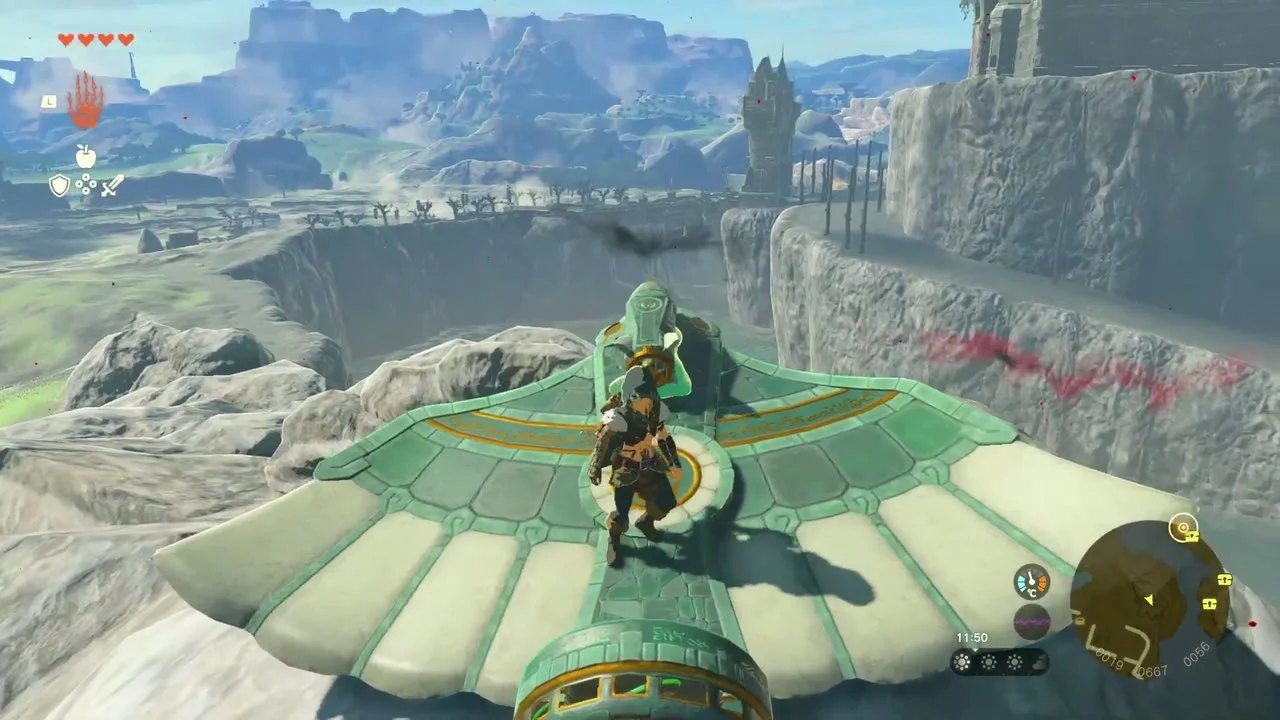
Moat Bridge. Follow the ledge onto Moat Bridge and run across. A rise of rock breaks the road at the far end: build another wing-and-fan glider, launch from the top of the rock and glide the last stretch to the road up to the castle.

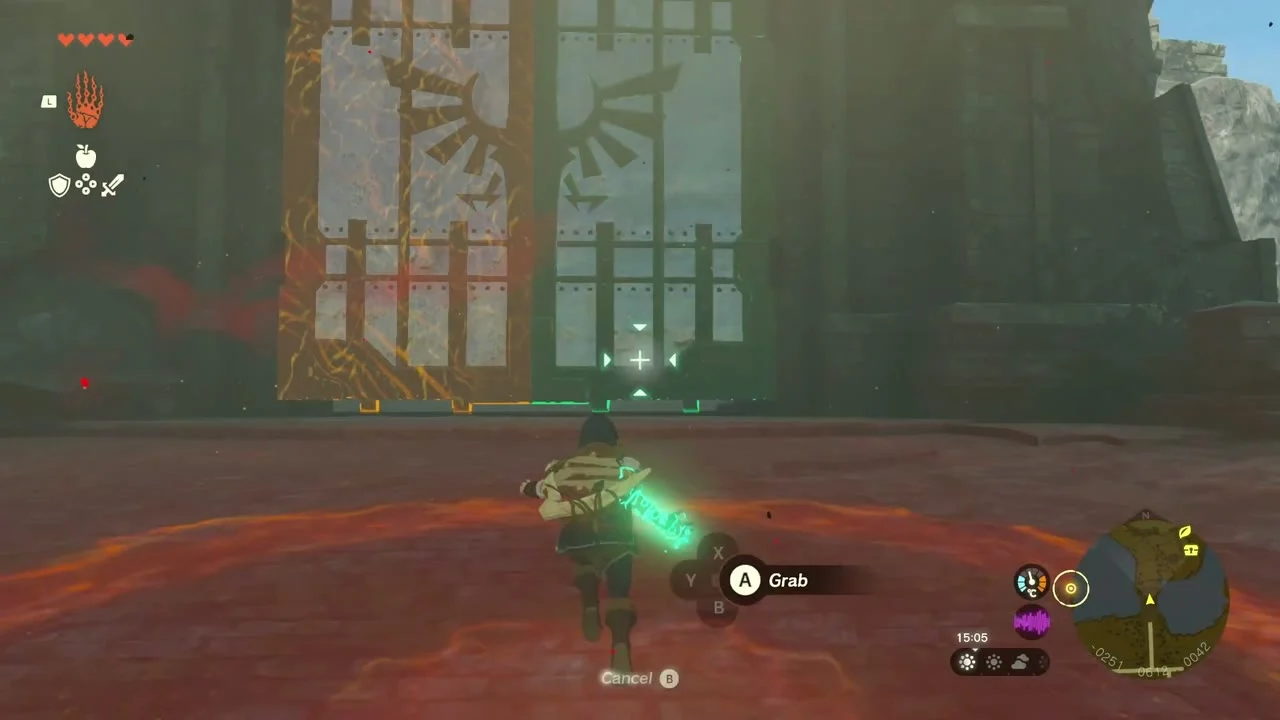
Castle gate. A heavy portcullis closes the gate. Grab it with Ultrahand and lift it clear to enter the grounds.

Hyrule Castle outer grounds
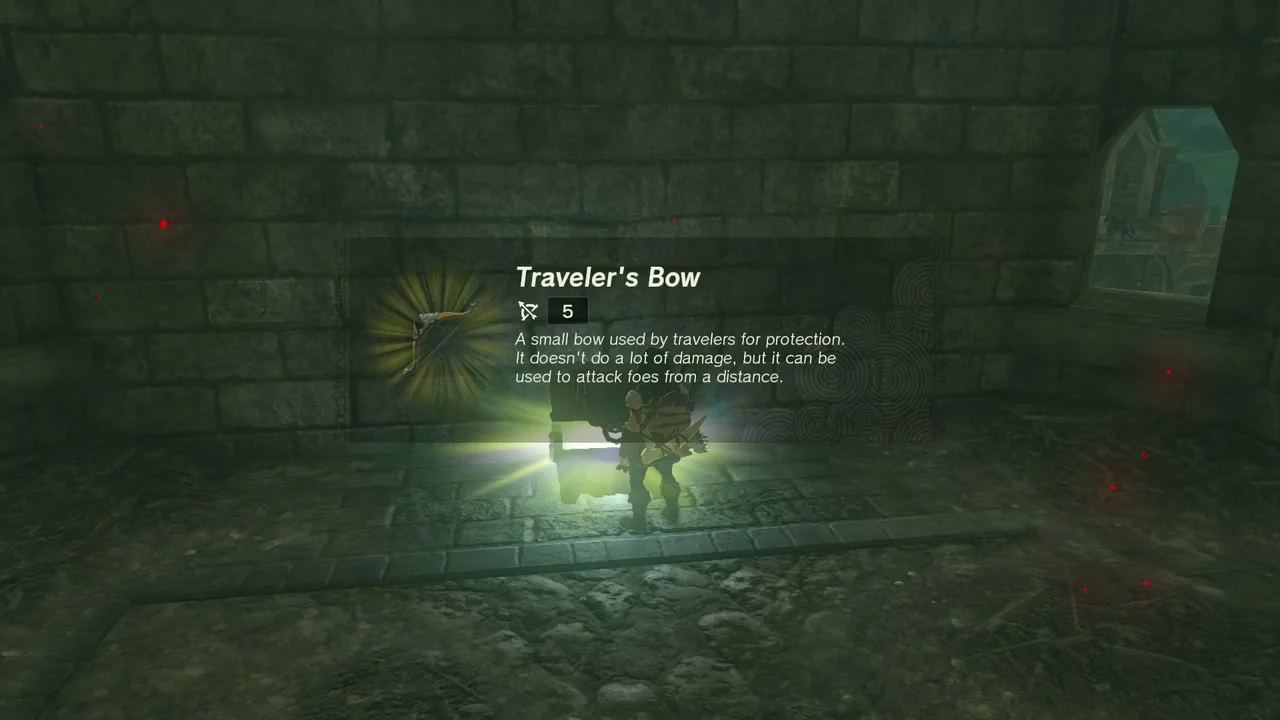
Courtyard chests. A chest in the courtyard just inside the walls holds a Soldier’s Spear. In the next room, break the stacked crates: the chest behind them holds a Traveler’s Bow (or Soldier’s Bow, Knight’s Bow or Royal Bow, depending on your progress).
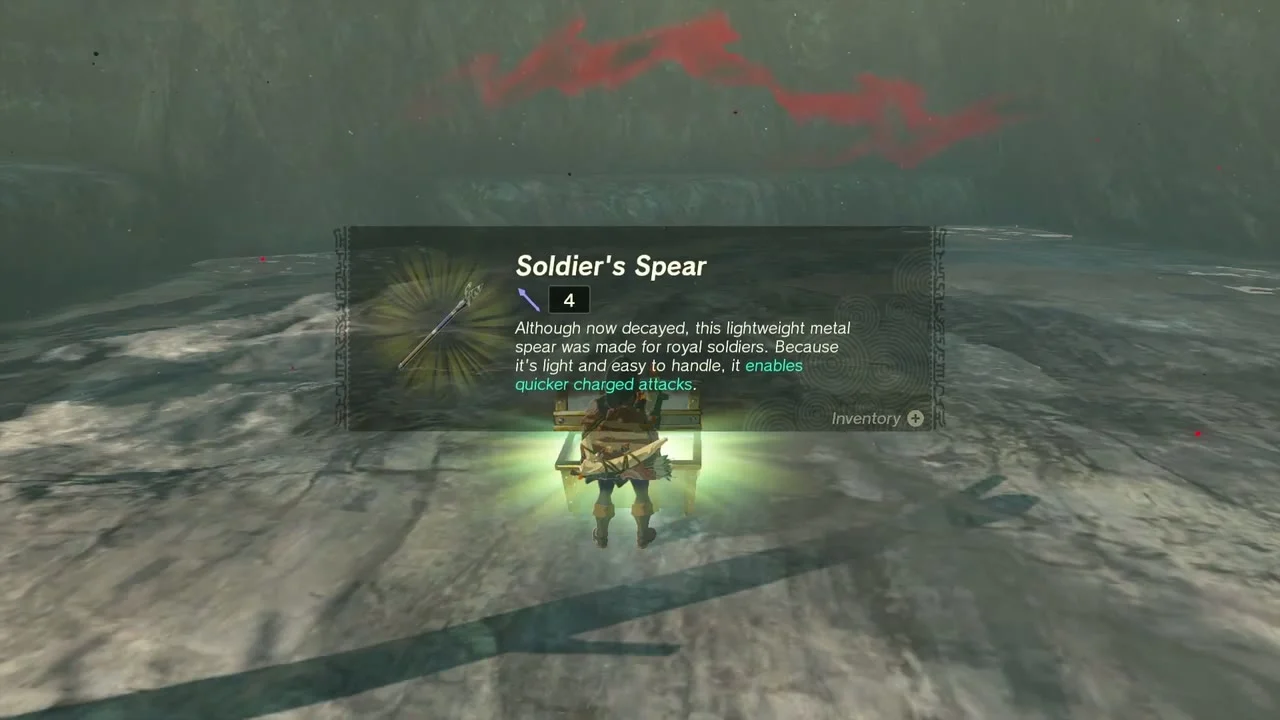
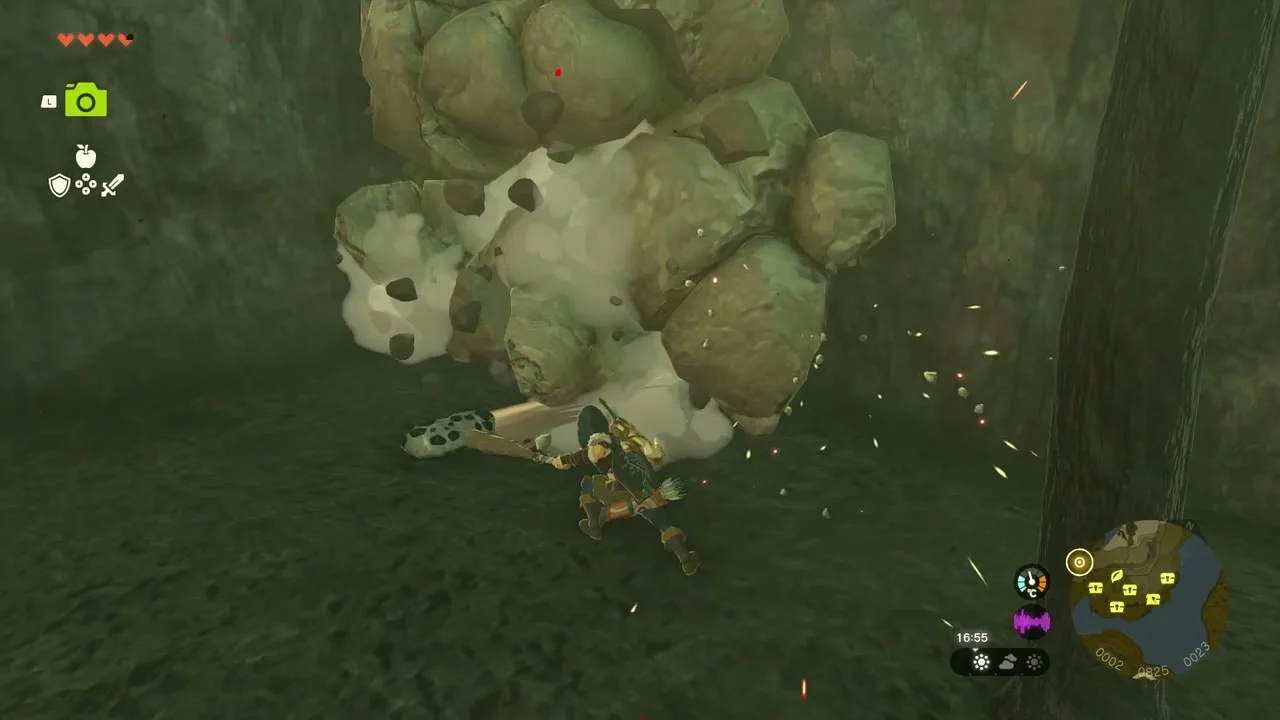

Chest (Soldier’s Spear, outer tower). Climb the outer tower on the east side of the courtyard, resting on the ledges, to the spiked battlements. The chest on the top platform holds a Soldier’s Spear.


Chests (Soldier’s Broadsword (or Traveler’s Sword, Knight’s Broadsword or Royal Broadsword, depending on your progress) and Soldier’s Shield). Further along the wall, a chest in a rocky hollow holds a Soldier’s Broadsword. At the next tower, stand under the low stone ceiling beside it and Ascend to the top; the chest there holds a Soldier’s Shield.

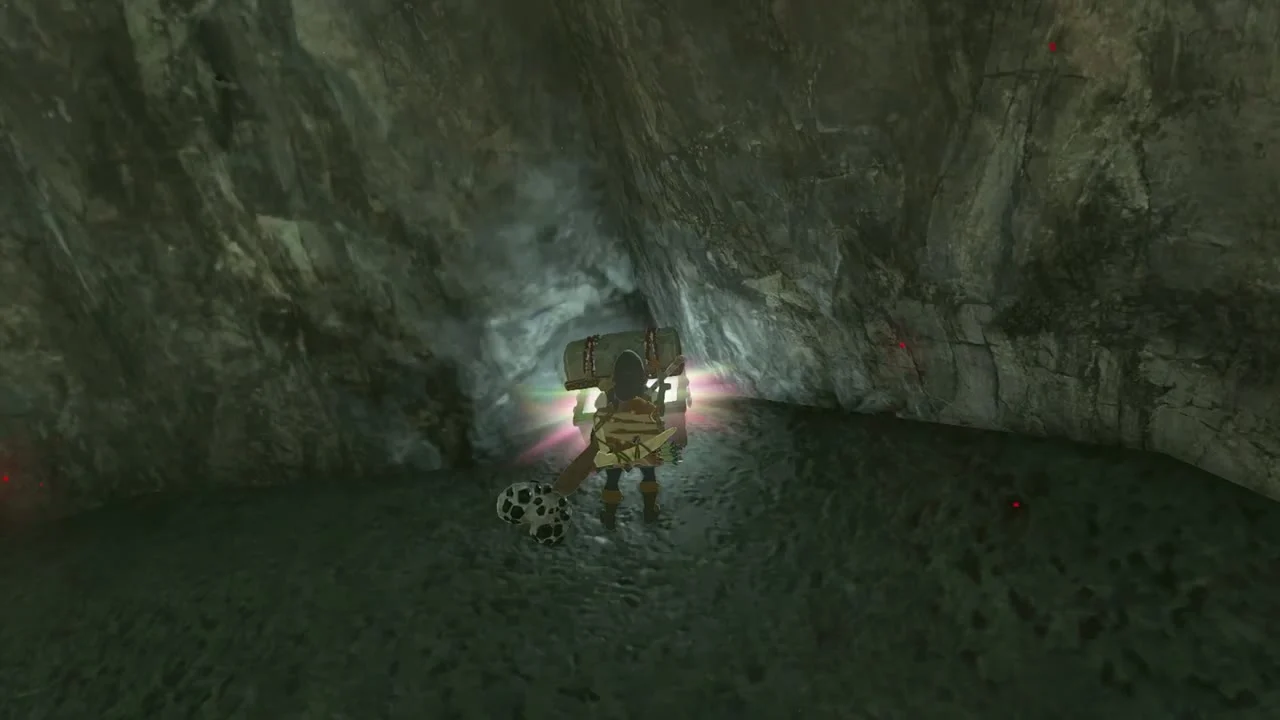

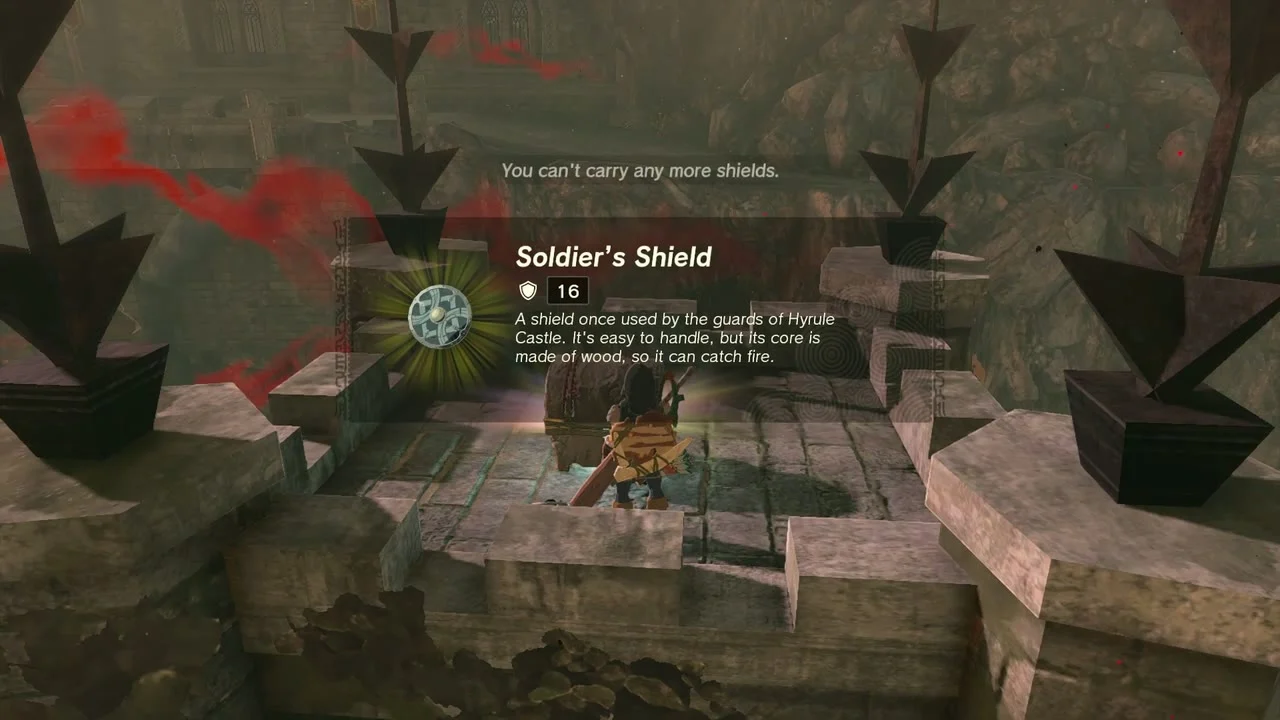
Dining Hall. At the end of the cobbled walkway the hall is full of wooden crates; smashing them yields Arrows, and a Soldier’s Shield and Spiked Boko Shield (or Boko Shield or Dragonbone Boko Shield, depending on your progress) lie among the debris.

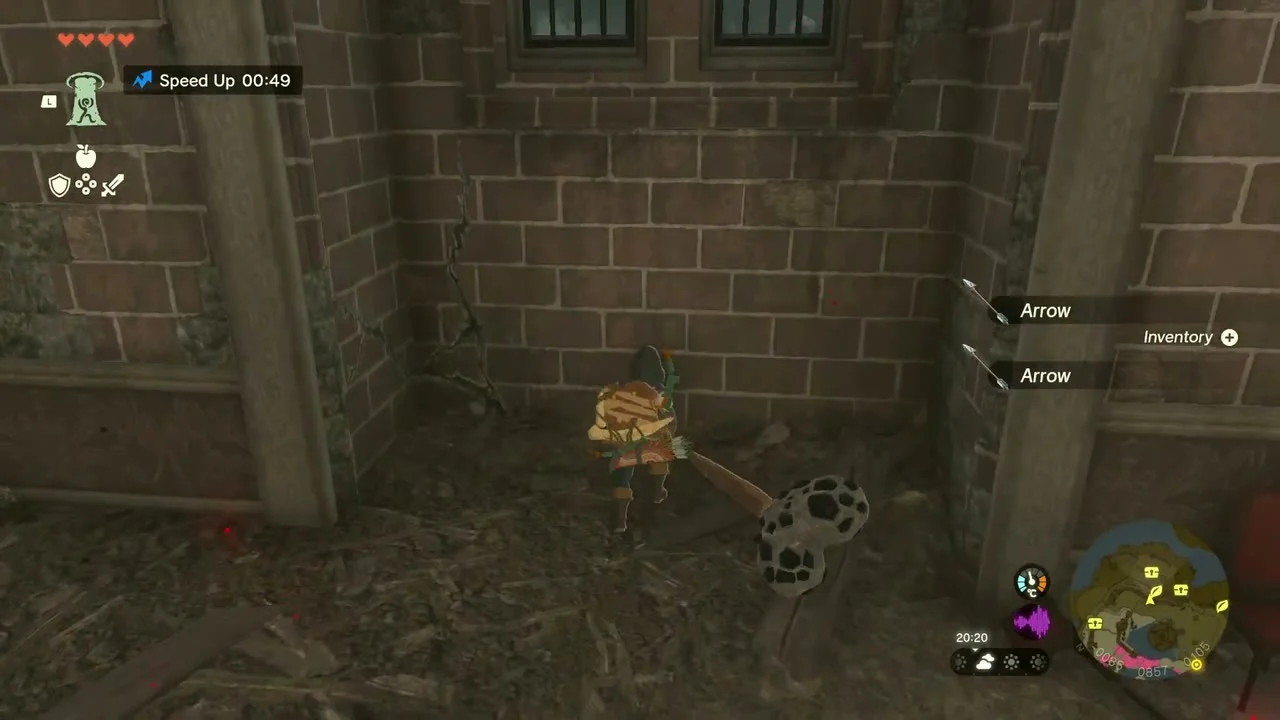
Korok seed (rock in the corridor). In the dark, wrecked corridor past the hall, lift the lone round rock against the wall with Ultrahand.
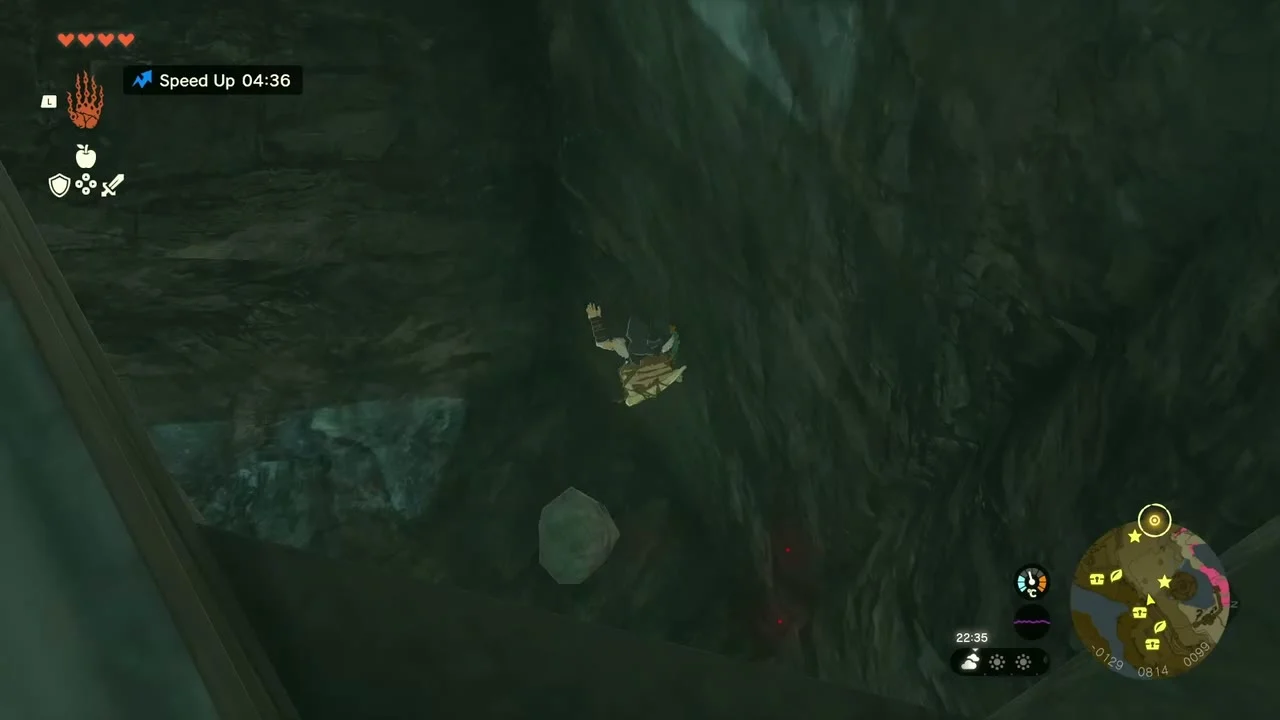
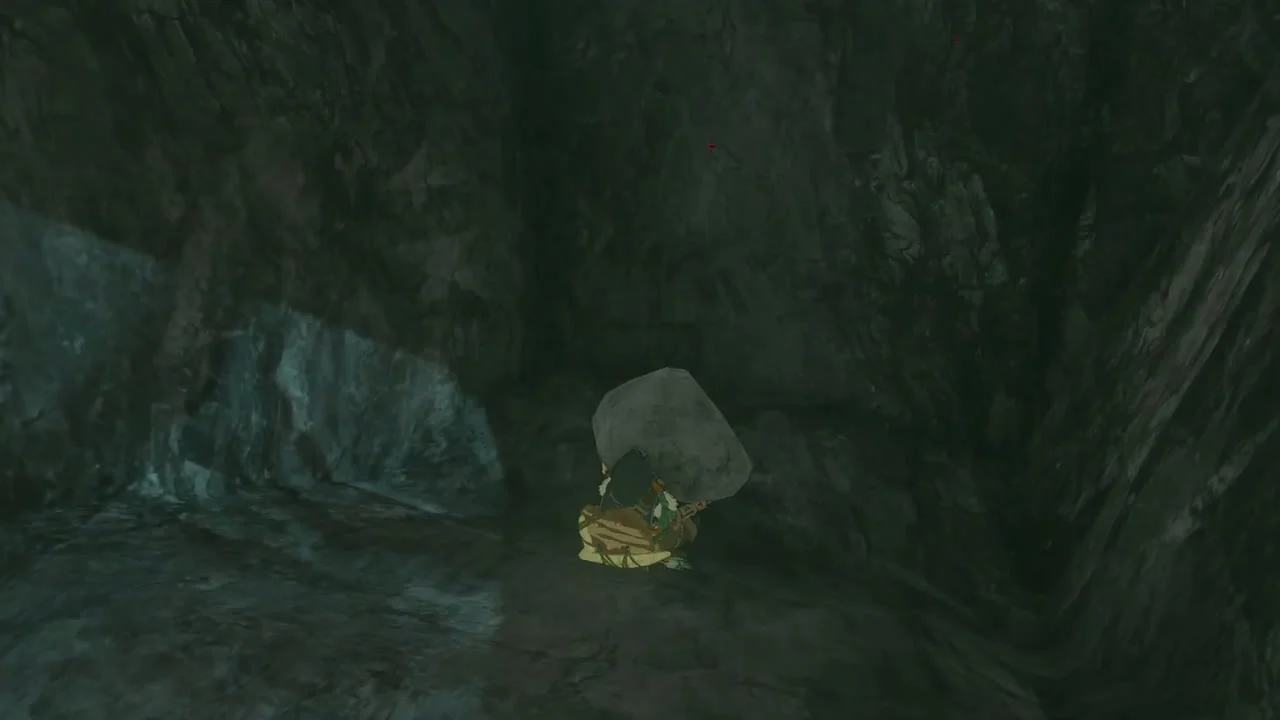

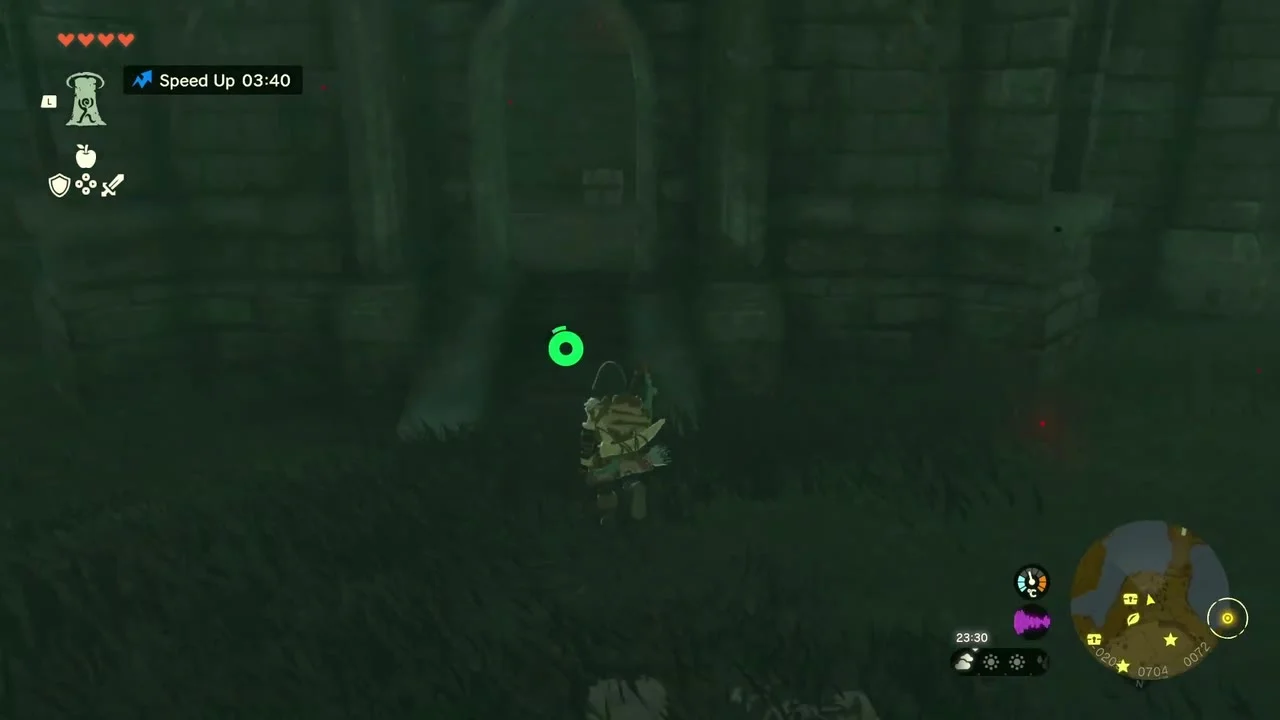
Chest (Traveler’s Bow). Take the ramp up through the gloomy passage and through the arched door at the top; the chest in the small room beyond holds a Traveler’s Bow.
Korok seed (rock circle on the tower). Climb the tall stone tower at the end of the walkway. On its octagonal top slab a circle of small rocks has one empty place: set the loose rock lying near the edge into it.
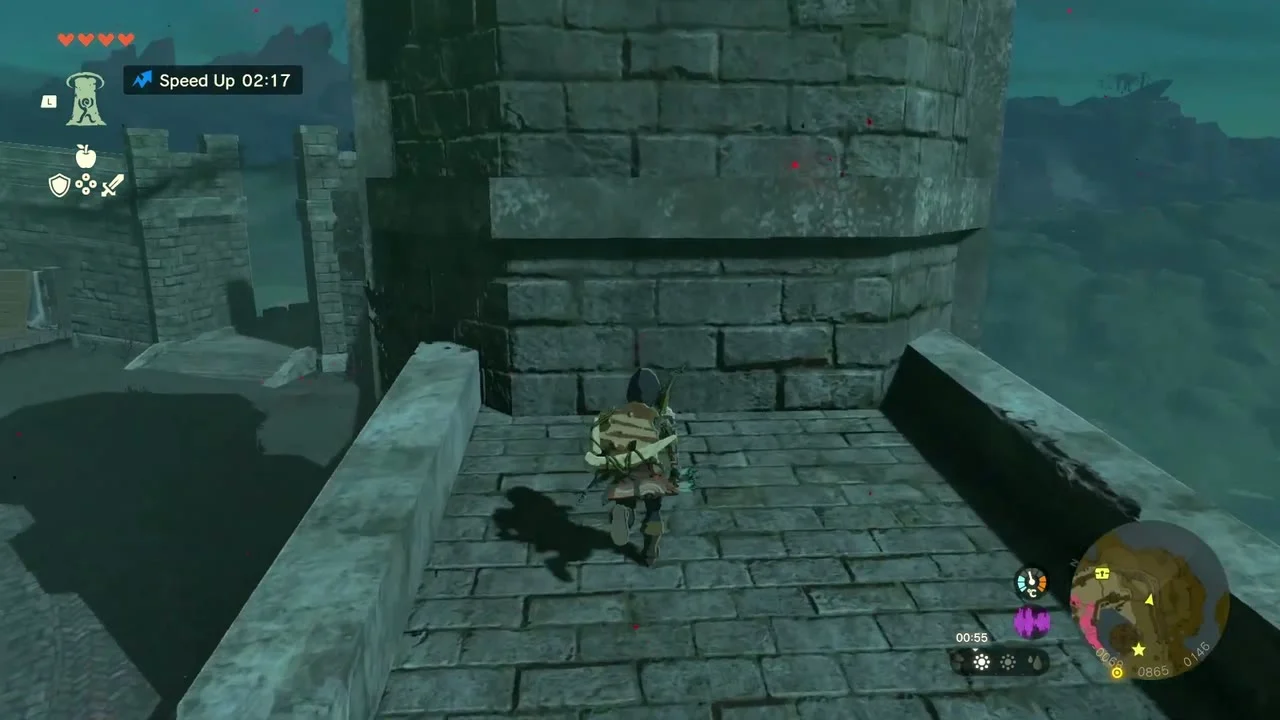


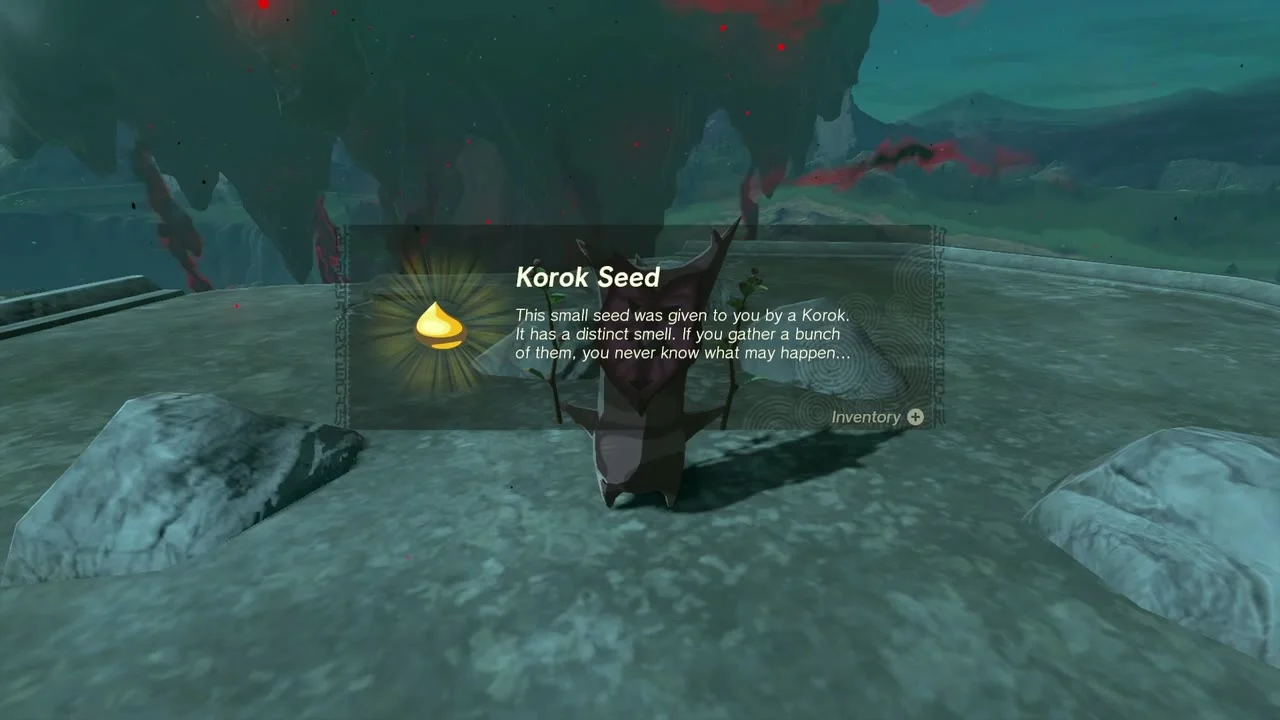
Chest (Knight’s Broadsword). Glide down from the tower to the ruined courtyard; the chest on its floor holds a Knight’s Broadsword.

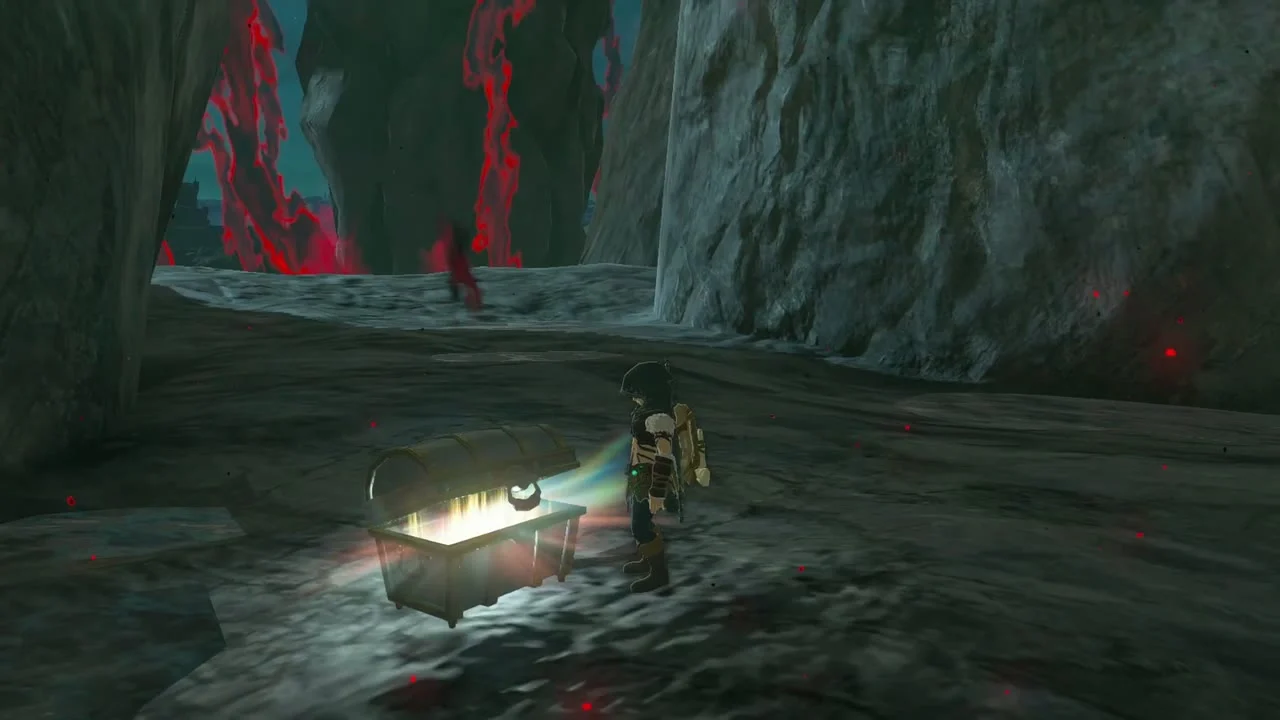
Miniboss: Wizzrobe. A yellow Wizzrobe floats through the ruin. Shoot it from range; it drops a Topaz Rod. A chest beside the cliff wall at the far end holds a Soldier’s Broadsword.


East Passage. A tunnel through the cliff, guarded by Keese and Bokoblin cannons. At the back, shoot the object hanging on a chain through a hole in the ceiling to release a Korok seed. Break the loose rock against the cliff face with a hammer or bomb: the chest behind it holds a Soldier’s Bow.
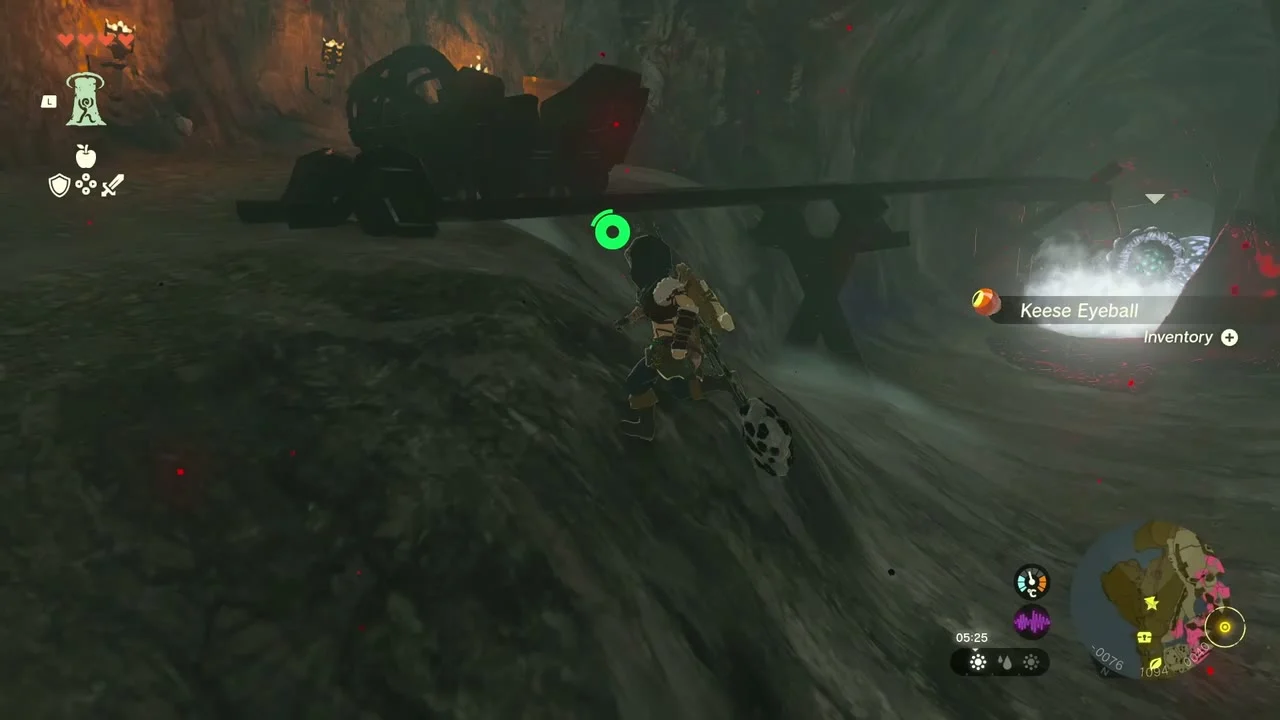
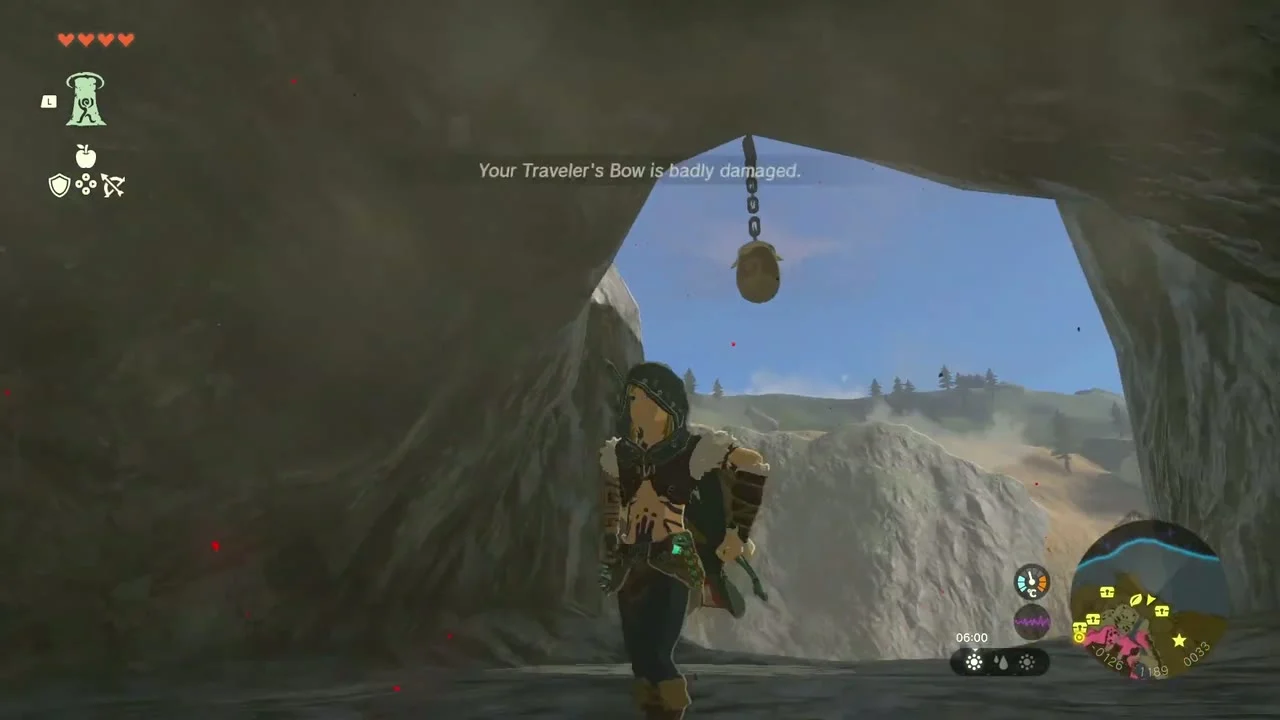
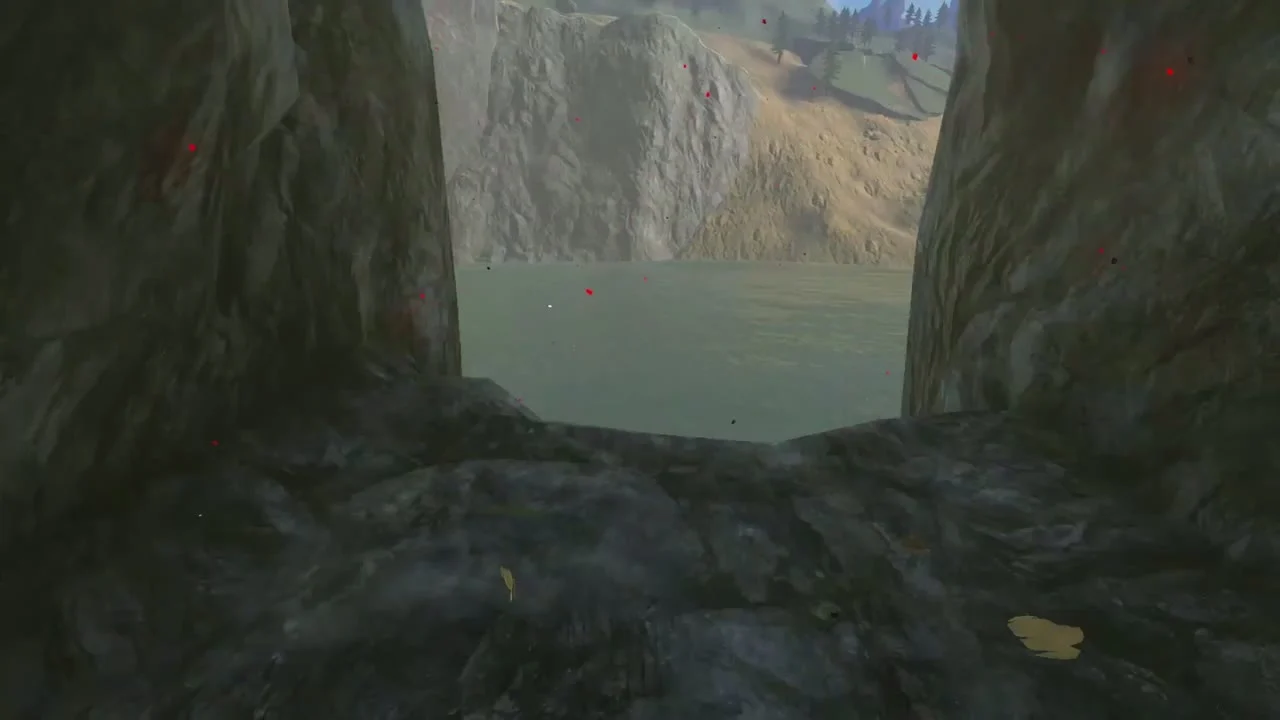
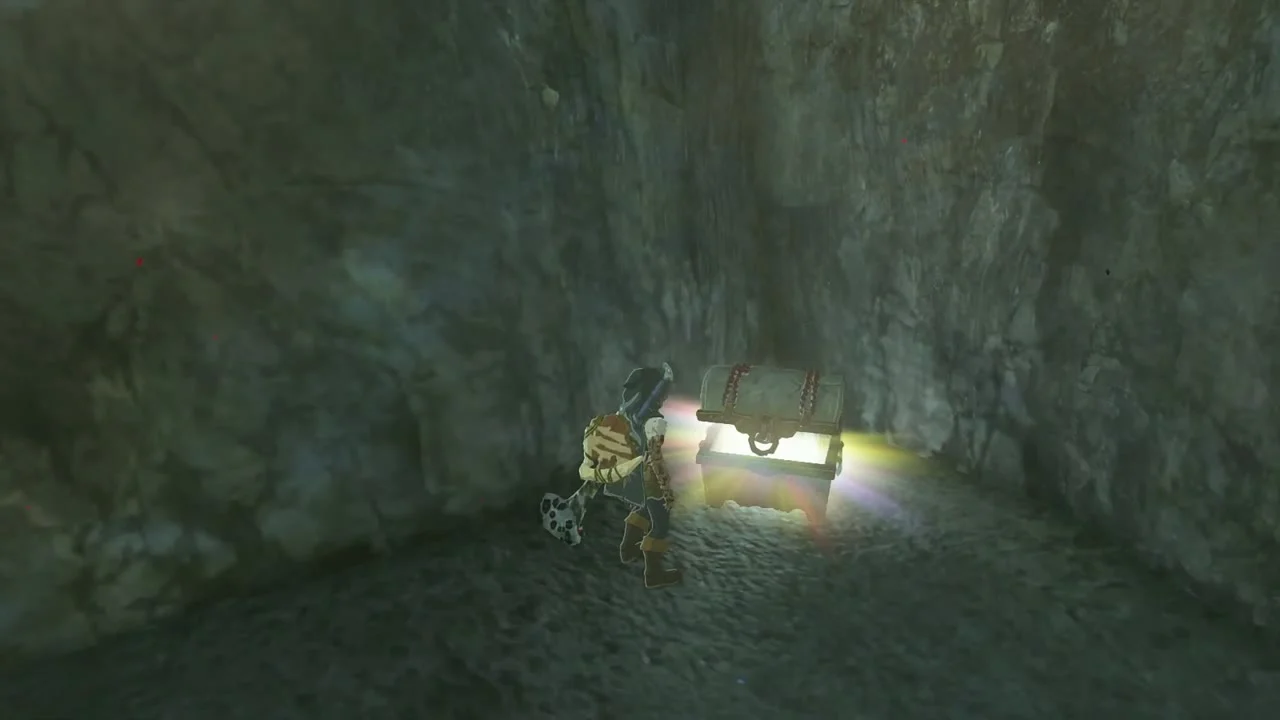
Chest (Knight’s Claymore (or Traveler’s Claymore, Soldier’s Claymore or Royal Claymore, depending on your progress)). Further along the wall, a chest on the ground beneath an overhang holds a Knight’s Claymore.


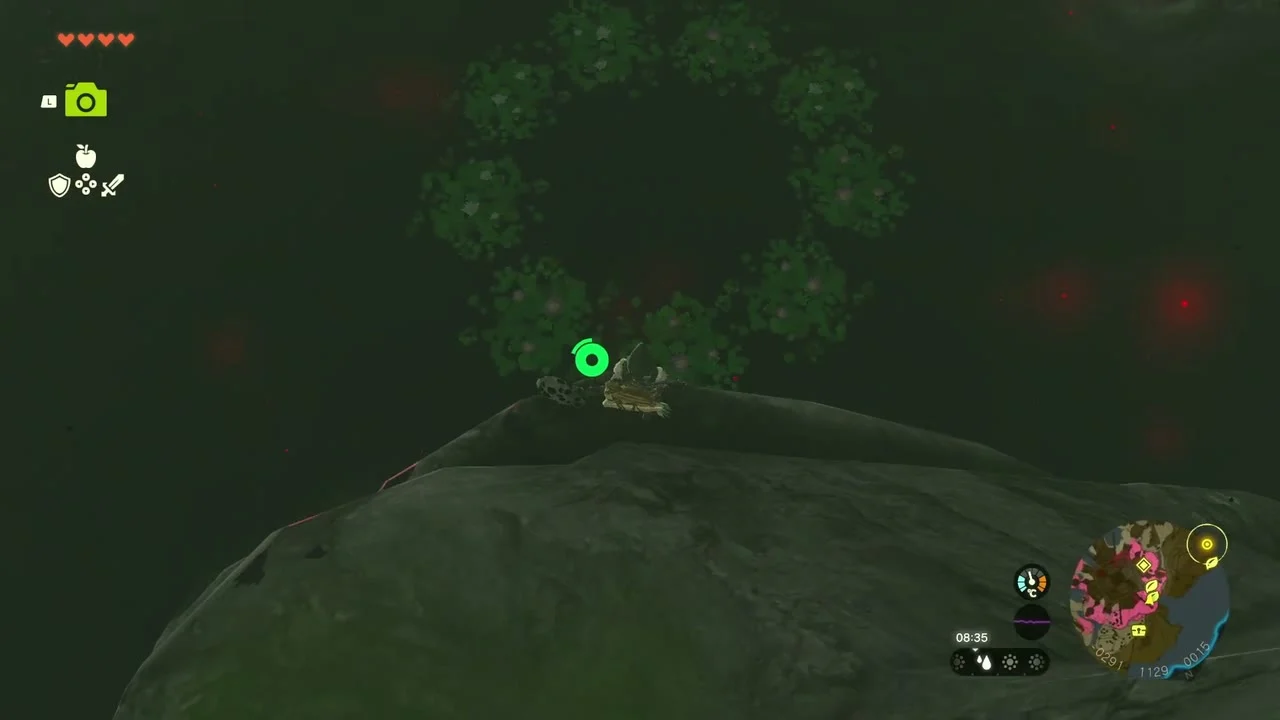
Korok seed (lily pad ring). In the sunken hollow below, a ring of lily pads floats on the dark water. Swim to the middle of the ring.

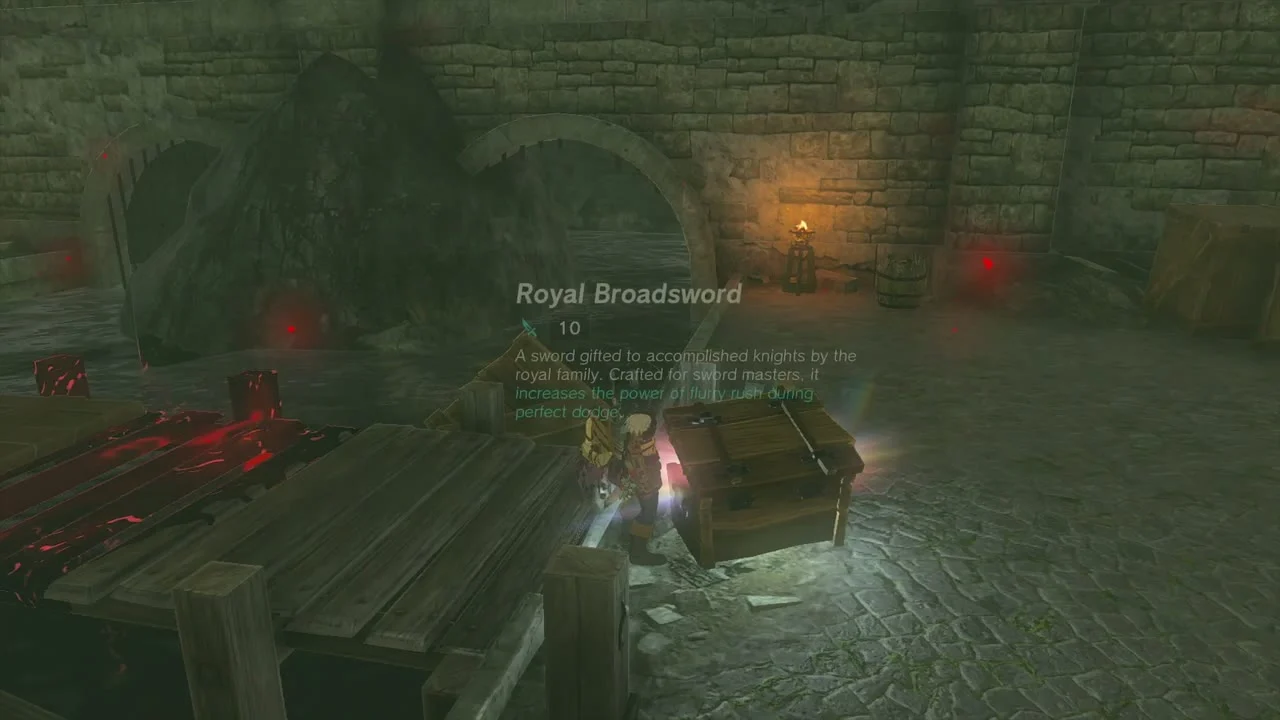
Docks. Follow the water to the Docks. A Traveler’s Claymore lies on a stand between two braziers at the head of the jetty. Drag the stacked wooden crates aside with Ultrahand and enter the cellar room: the chest holds a Royal Broadsword. Another chest at the bottom of the stairs, which may be stuck against the wall, holds Arrow x10.

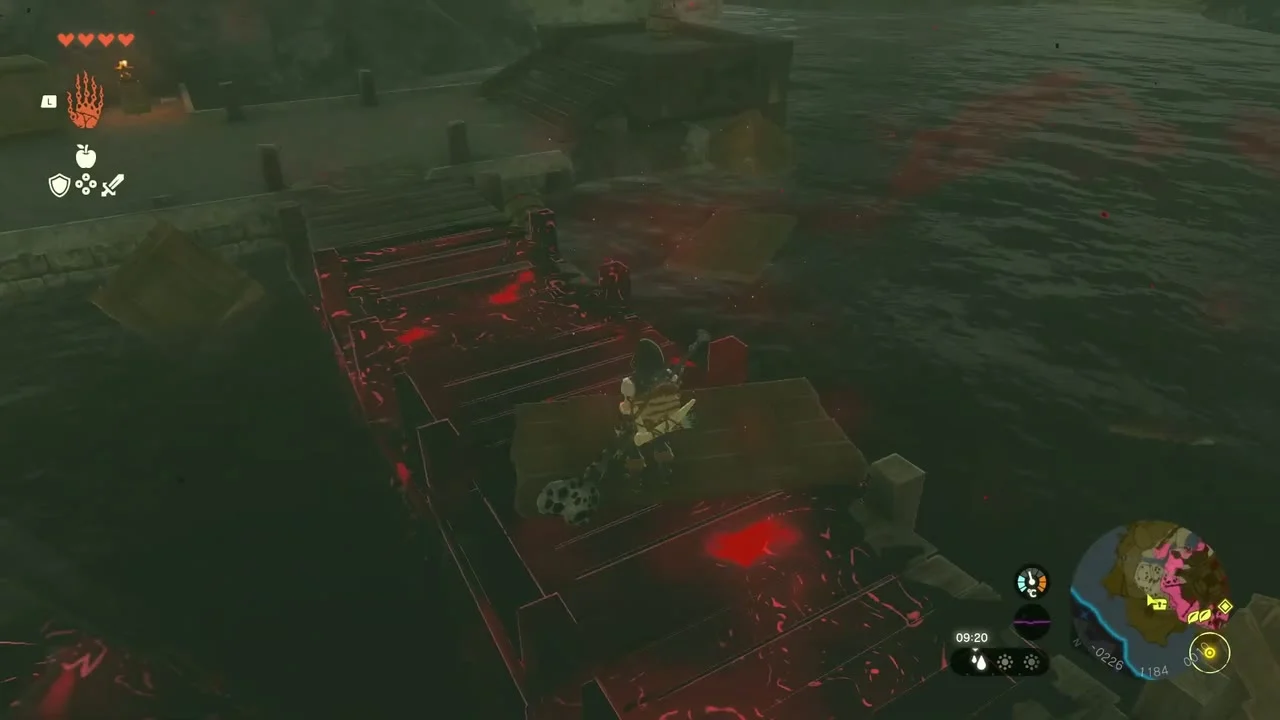

Chest (Hylian Shield). In the torch-lit chamber at the back, light the central brazier with a weapon fused with fire. The chest that appears holds the Hylian Shield.
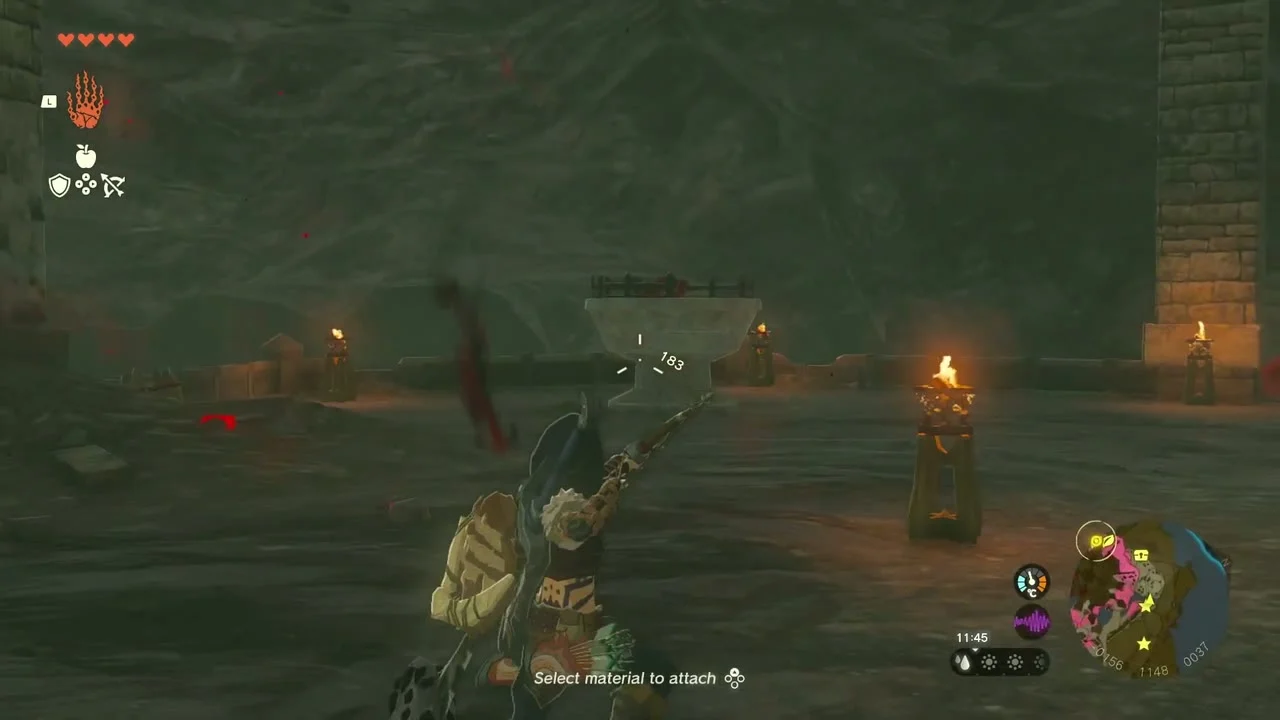
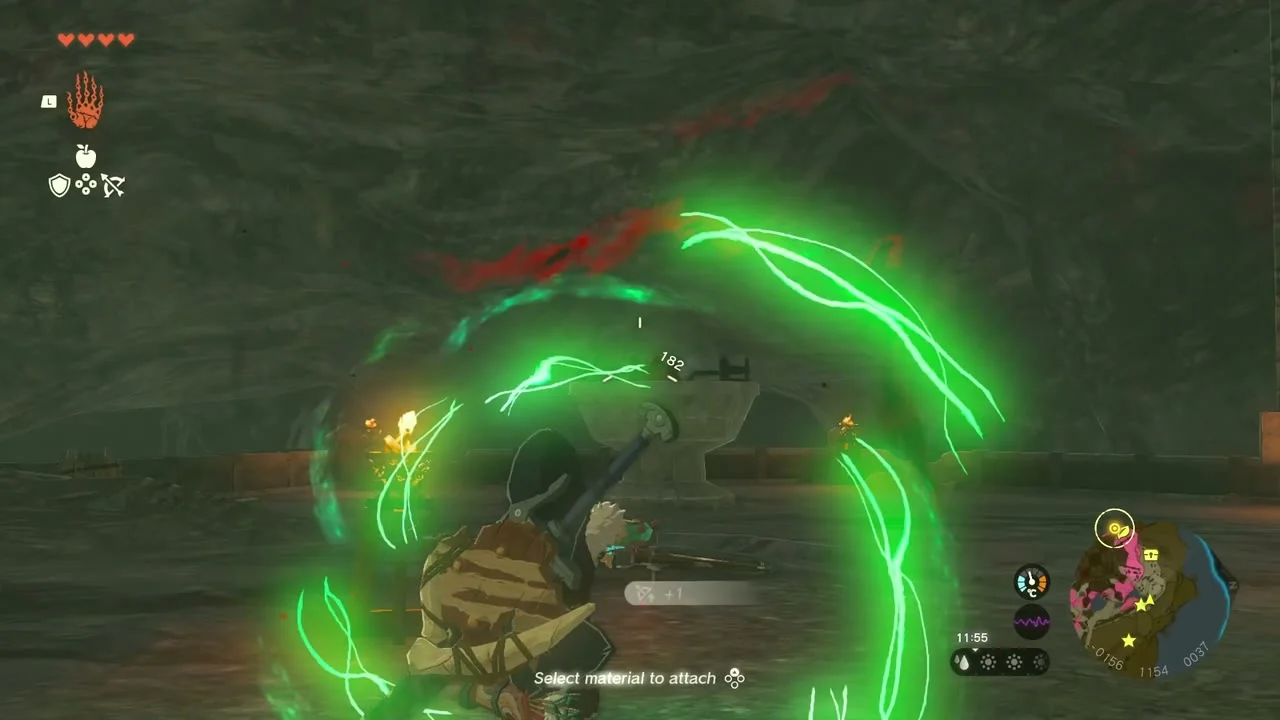
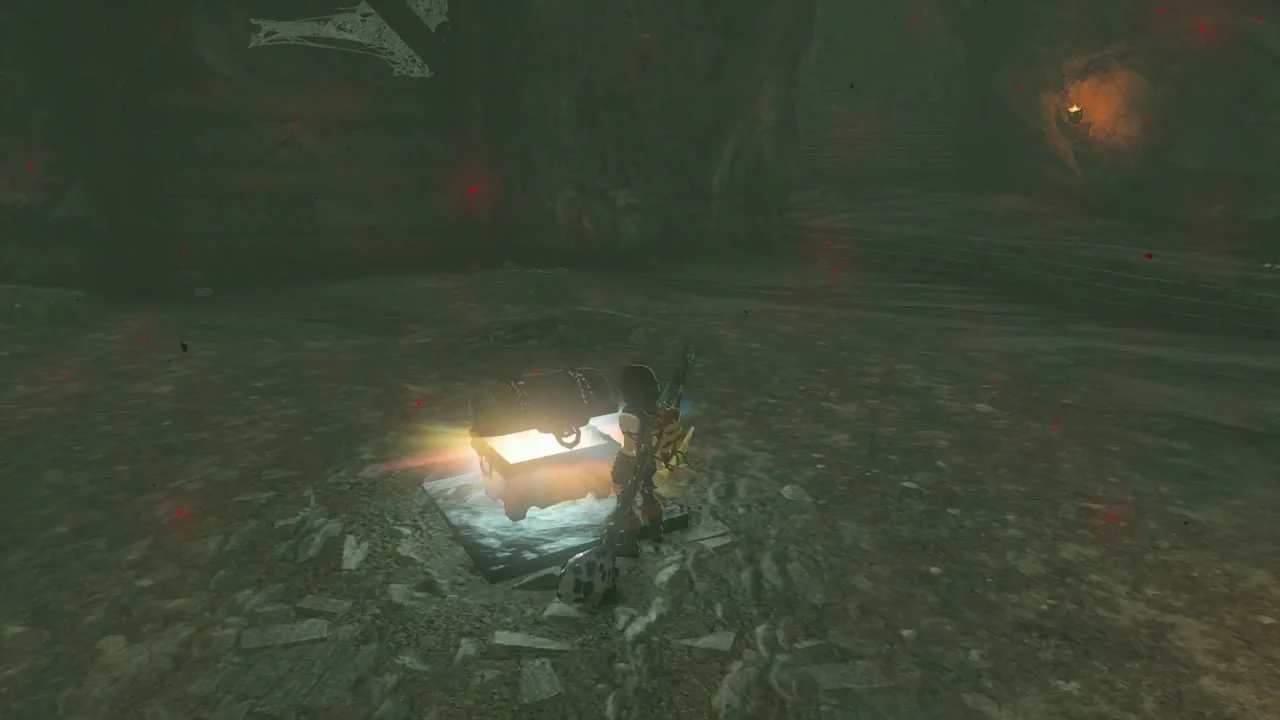
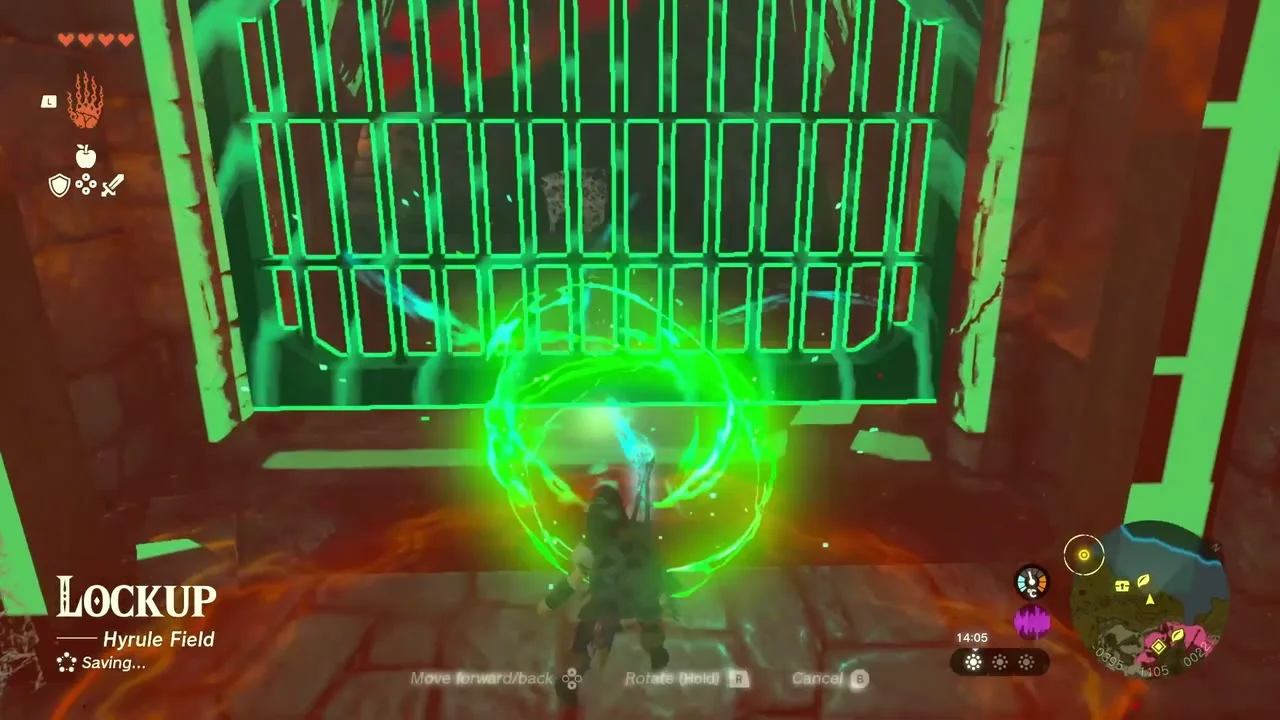
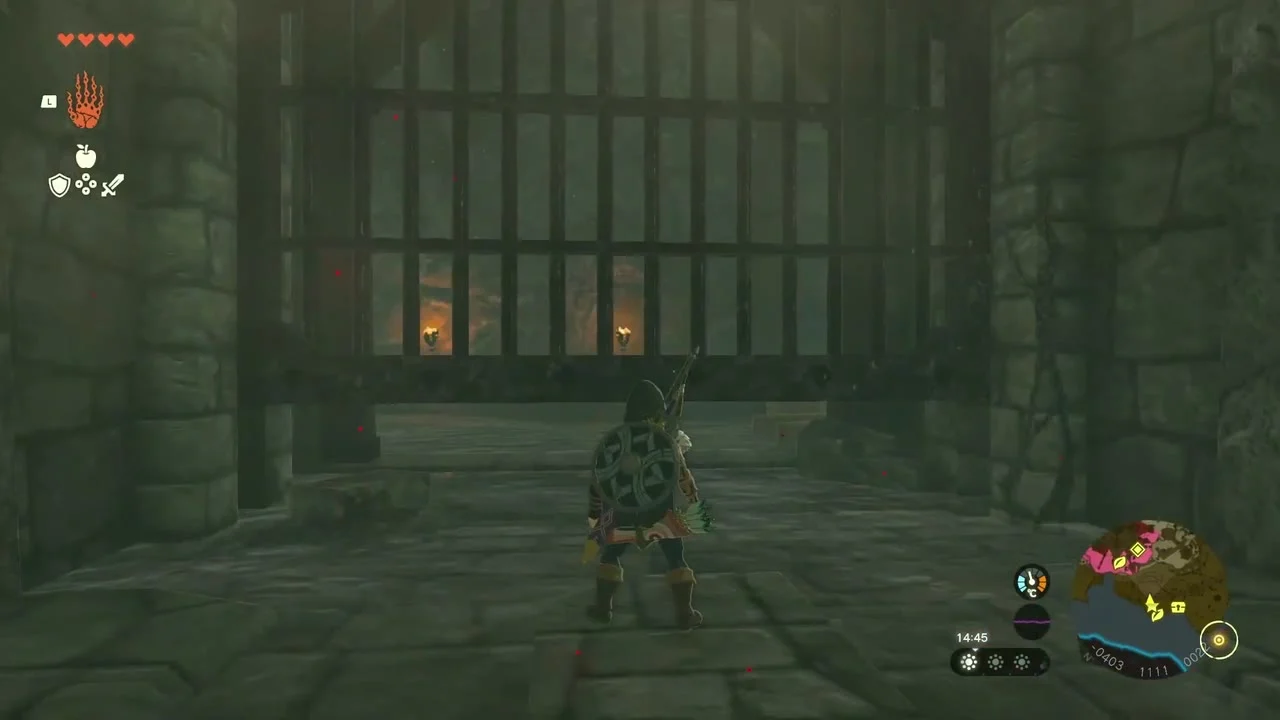
Lockup and the south wall. The Lockup is a cell block at the end of the Docks; lift each iron gate with Ultrahand and slide it aside to advance. Coming out onto the grass south of the castle, follow the cliff base: a chest against the rock holds a Soldier’s Spear.
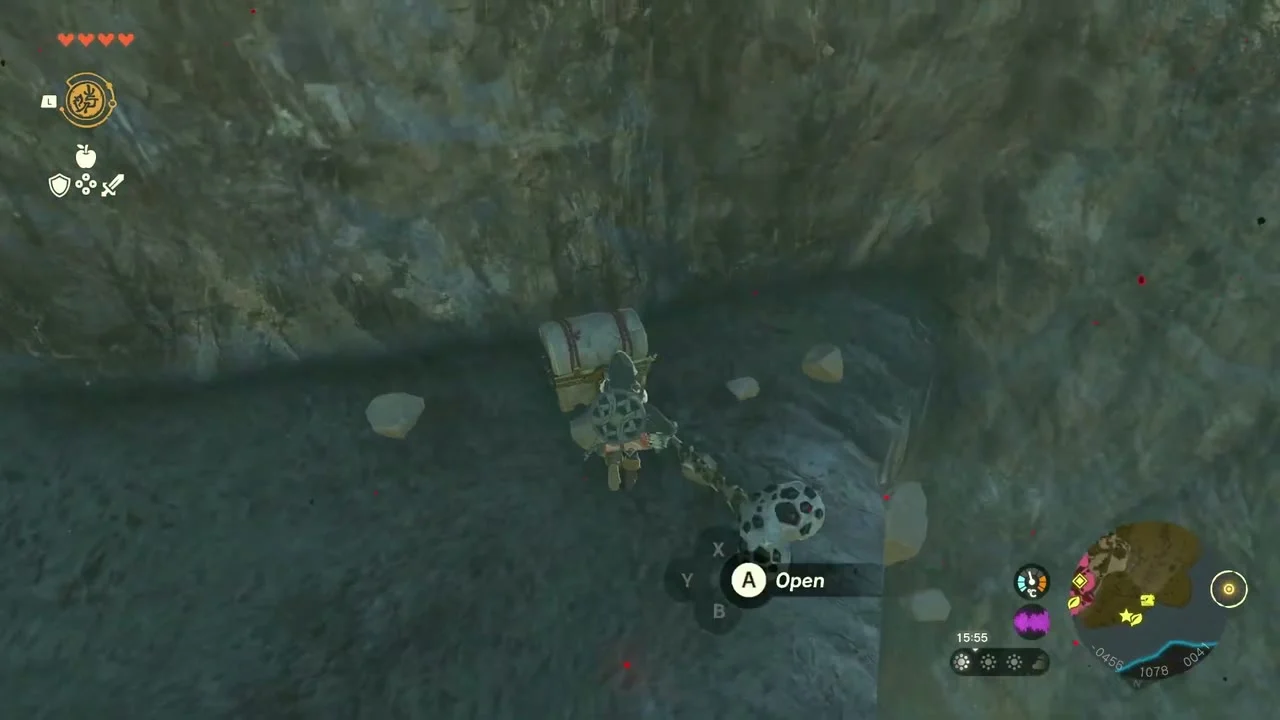
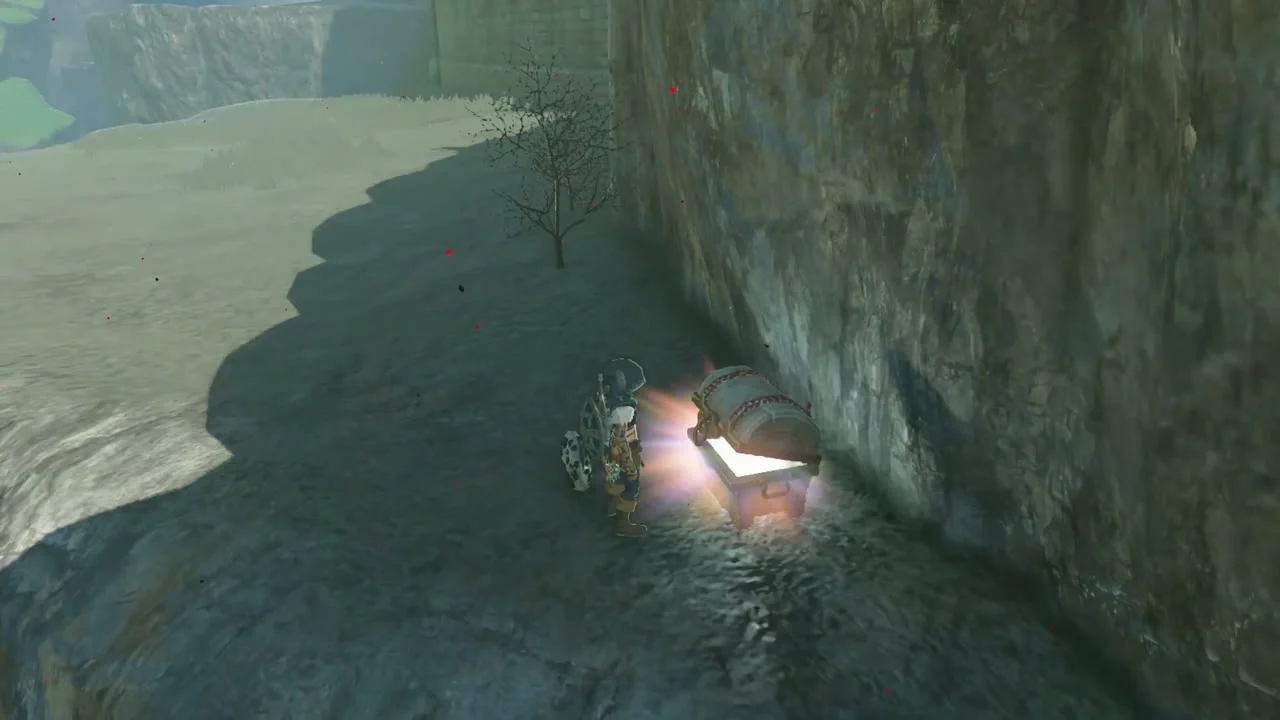
Korok seed (balloons). From the top of the wall, look down the cliff toward the water: a cluster of balloons floats there. Shoot them all with arrows.


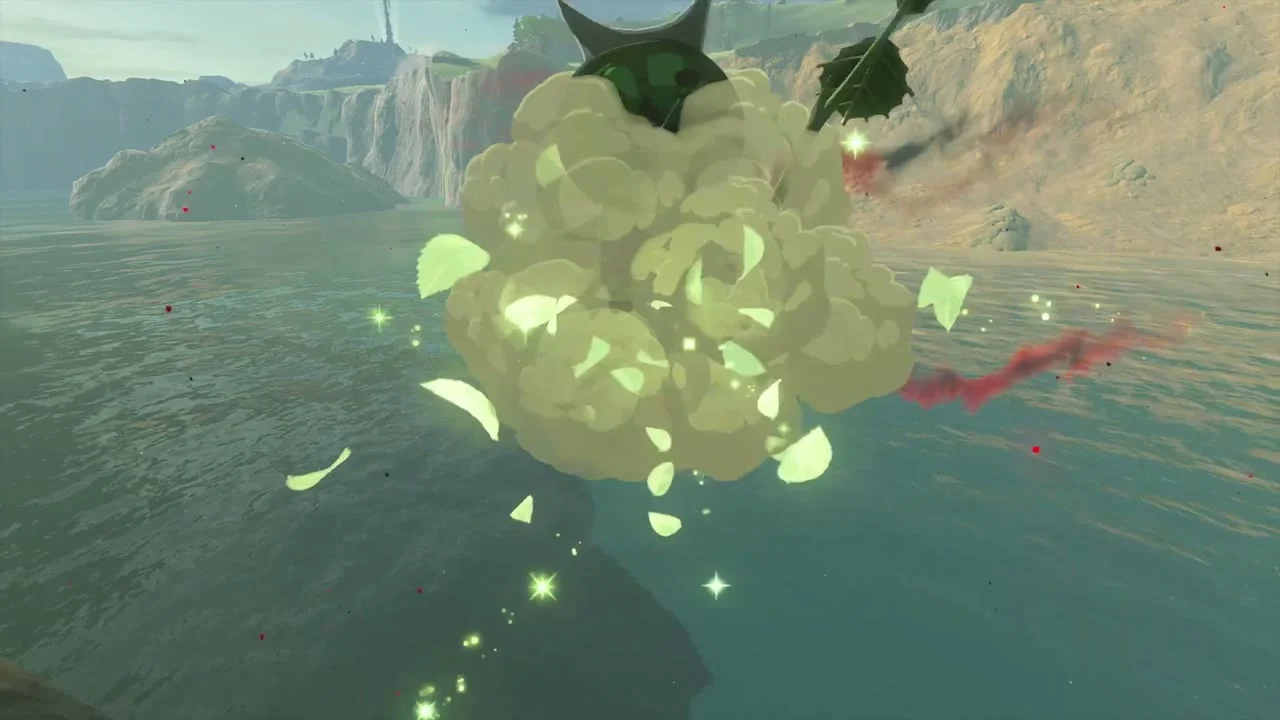
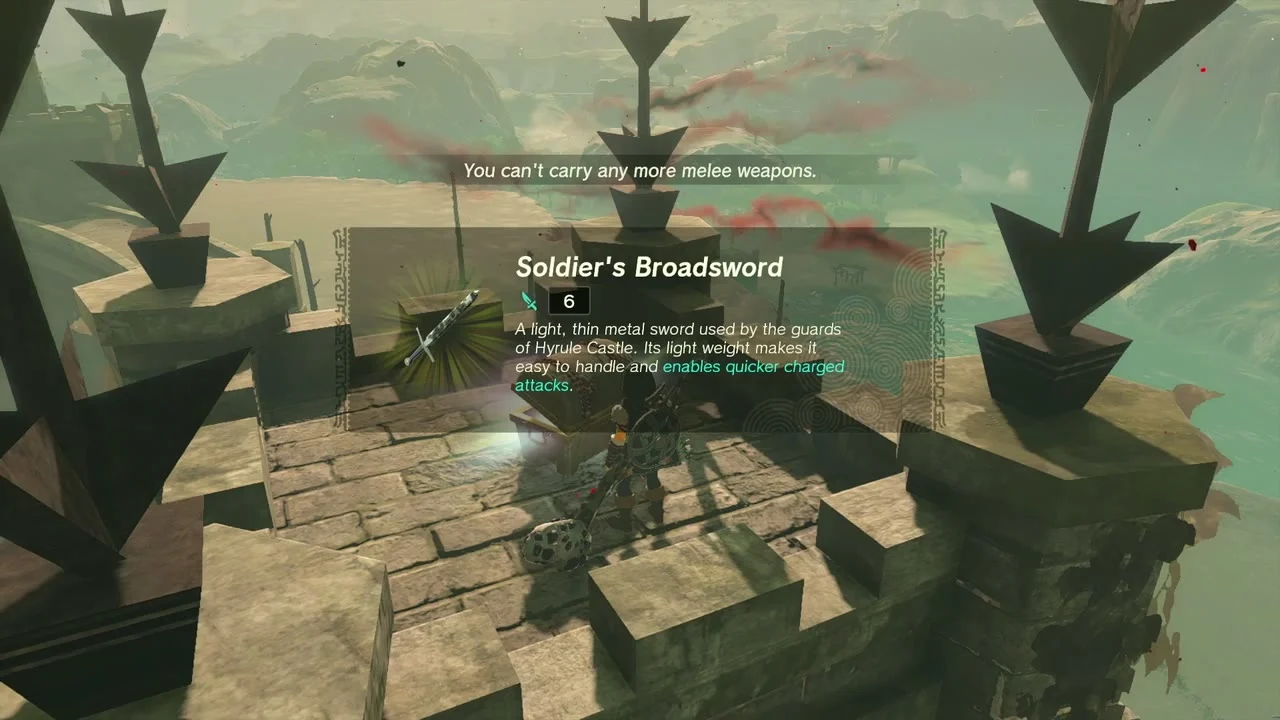
Chests (Soldier’s Broadsword and Soldier’s Spear). Climb the next tower and Ascend to its spiked top: the chest holds a Soldier’s Broadsword. A chest inside the wall below the tower holds a Soldier’s Spear; Ascend again to rise out through the ceiling.


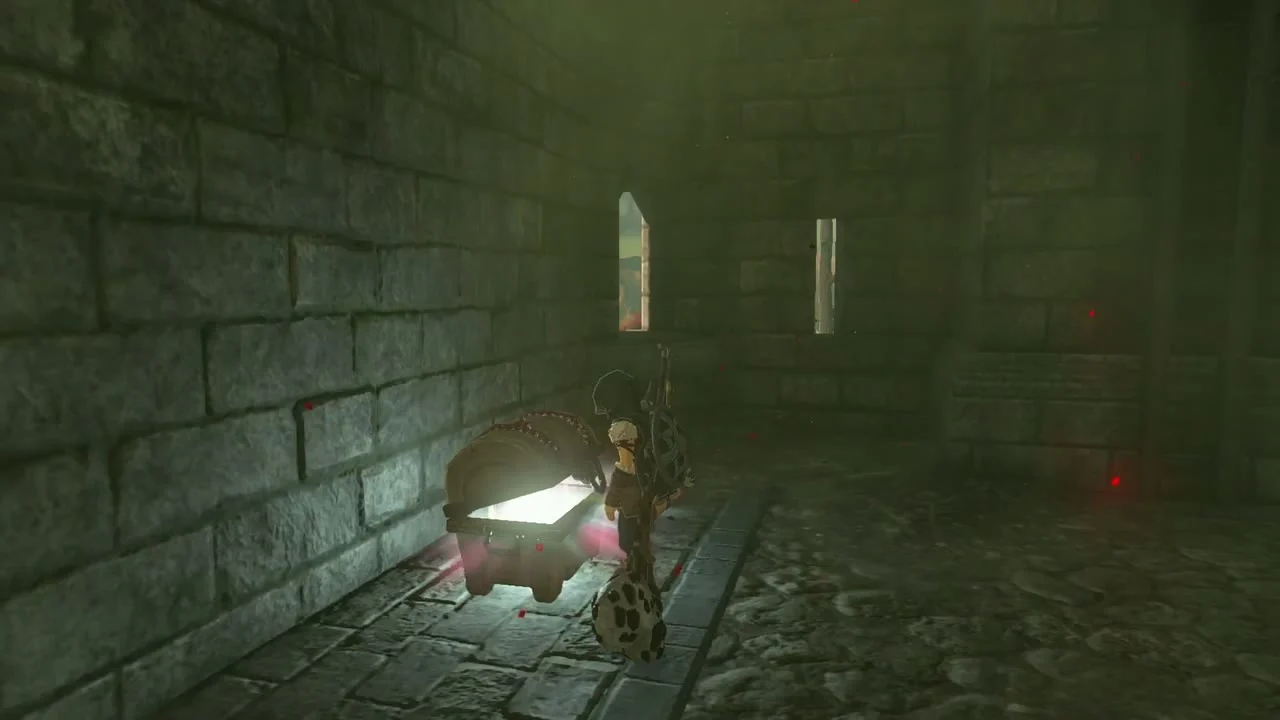
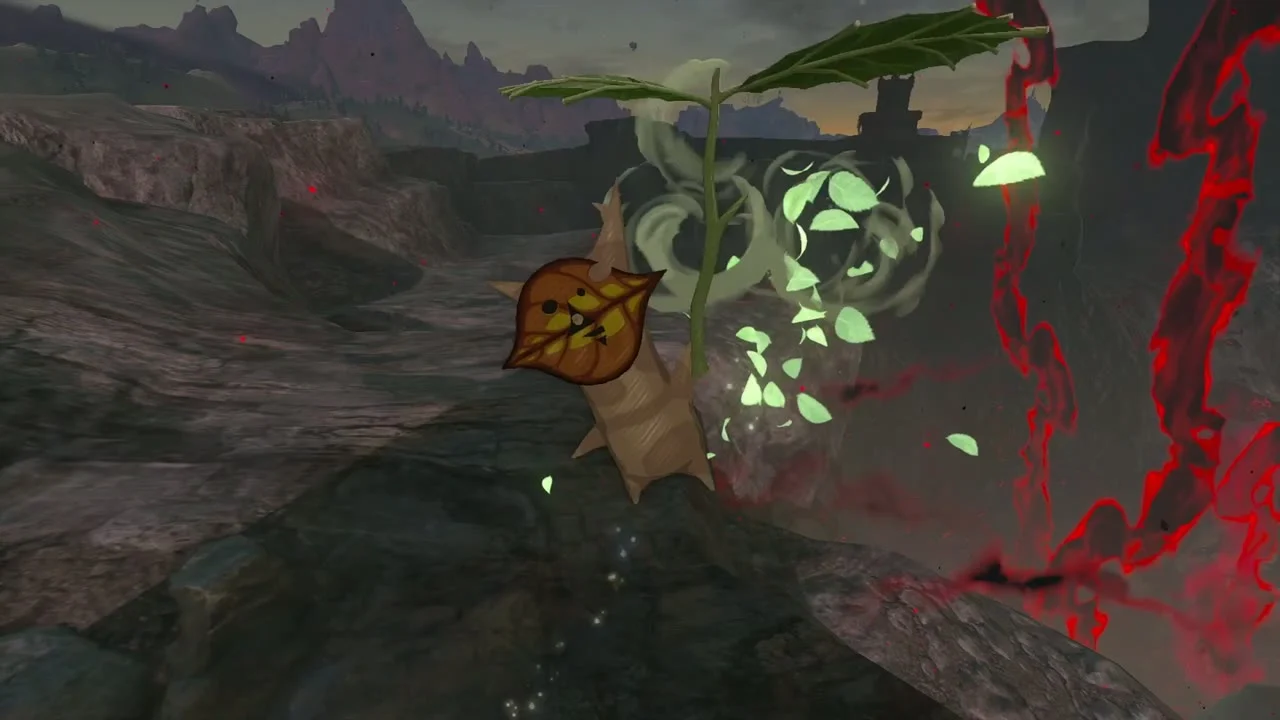
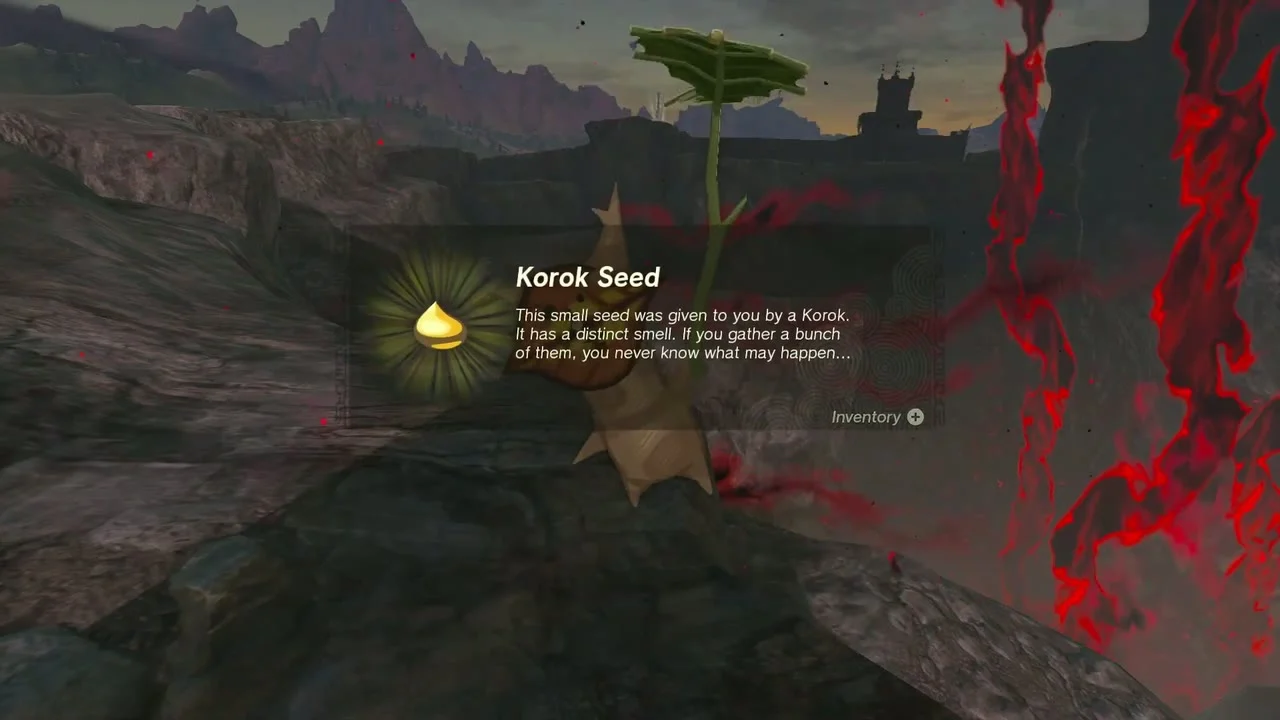
First Gatehouse and the last Korok. At the end of the wall, glide across the gap in the rampart to the First Gatehouse. On the broken stone road beyond it, walk down to the ring-shaped stone dais in the pit in the cliff for a Korok seed.
Collectibles in this chapter
- Shrines (3): Sepapa Shrine (Strong Construct Bow), Yamiyo Shrine (Bomb Flower x3), Tukarok Shrine (Strong Zonaite Sword).
- Caves (2): Crenel Hills Cave (Barbarian Armor, Bubbul Gem) and Rebonae Bridge Cave (Bubbul Gem).
- Wells (4): Hyrule Castle Town Ruins Well (Knight’s Halberd), Rebonae Bridge Well, Wetland Stable Well, Wetland Stable South Well.
- Armor (1): Barbarian Armor.
- Minibosses: 3 Battle Taluses (west of the castle, Romani Plains, Crenel Hills), Blue Boss Bokoblin, Like Like and 2 Wizzrobes.
- Key items: Stamina Vessel, Towing Harness.
Previous chapter: Hyrule Field. Next chapter: Central Hyrule Depths.
