
























Tears of the Kingdom 100% Completion Walkthrough43 chapters
Great Sky Island
- Great Sky Island4 shrines, 4 caves and Bubbul Gems, 17 Korok seeds
Hyrule Field and Hyrule Castle
- Lookout LandingParaglider, Crisis at Hyrule Castle, Jiosin and Kyononis shrines, 2 caves, 3 wells
- Hyrule FieldSusuyai and Ishodag shrines, the Hyrule Field Chasm, 2 caves, 13 Koroks
- Hyrule Castle Town RuinsSepapa, Yamiyo and Tukarok shrines, 2 caves, 4 wells, Koroks, chests and Battle Taluses in route order
- Central Hyrule Depthslight all 7 Lightroots, loot Daphnes and Gustaf Canyon Mines, find the Miner's Top
- Rest of Hyrule CastleRoyal Hidden Passage loot, 8 castle chests, Phantom Ganon, Energy Wells
- South Hyrule FieldShrines, Koroks & the Great Plateau
- South Hyrule Field DepthsGreat Abandoned Central Mine, Master Kohga, Autobuild, Majora's Mask
Tabantha and Hyrule Ridge
- Tabantha FrontierNew Serenne Stable, Hestu, Courage Island and the Glide Shirt, 3 shrines, 2 Korok seeds, Lindor's Brow Cave
- Forgotten TempleImpa and the Geoglyphs, Dragon's Tears, Kiuyoyou and Mayausiy shrines, Yiga Maritta Branch, 9 Koroks
- Tanagar Canyon & Hyrule RidgeRunakit and Iun-orok shrines, 2 caves, 12 Koroks, 20 chests, 8 minibosses and Dragon's Tear 6
- Thundra Plateau & Tabantha Bridgesolve the noon shadow puzzle, Tabantha Bridge Stable, Makurukis Shrine, 19 Korok seeds, 9 chests, 3 minibosses
- Lindor's Brow DepthsLightroots; Two Yiga camps (Bomb Bouquet, Flamethrower Balloon)
- Hyrule Ridge and Tabantha FrontierIkatak, Oromuwak, Ganos and Ga-ahisas shrines, 4 caves, a well, 26 Koroks and 3 minibosses
Hebra
- Rito VillageGatakis and Ijo-o shrines, Sikatag Lightroot, 9 Korok seeds, 14 chests
- Hebra MountainsShrines, Wind Temple & Koroks; Raspro Pass, Biron Snowshelf & Royal Hidden Passage
- Corvash Canyon MineTrousers of the Hero, Floodlights schematic, Sea-Breeze Boomerang, four Lightroots, Colgera
- Raspro Pass DepthsNupisoyuat and Sasag Lightroots, Colgera, Cap of Time, Tunic of the Wind, two Yiga camps and 13 minibosses
- Tabantha TundraTaninoud, Orochium, Oshozan-u, Mayaotaki, Nouda and Tenbez shrines, three Lightroots, caves and Bubbul Gems
- Pikida Stonegrove DepthsEvil Spirit Greaves, Ikatoayam, Muihcoro and Sikatag Lightroots, 3 Yiga schematics, Frox fights
Great Hyrule Forest
- Great Hyrule Forest7 shrines, 8 Lightroots, 2 caves, 2 wells, Korok Mask, Glide Tights
Eldin
- EldinEldin Canyon, Shrines, Caves & Goron City
- Eldin Canyon Depths10 Lightroots, Zant's Helmet, Trousers of the Wild, Biggoron's Sword, 3 Yiga schematics and Eldin's sky chests
Faron
- FaronHighland Stable, Lake Hylia & Popla Foothills
Necluda
- Kakariko VillageMakasura Shrine, Kakariko Village Well, 2 caves, Ring Ruins chests, 10 Korok seeds and village quests
- West Necluda and Lanayru WetlandsShrines, Koroks & Caves; Jonsau, Kurakat
- Hateno VillageZanmik and Mayahisik shrines, Shield of the Mind's Eye and Phrenic Bow wells, 7 Koroks
- East NecludaRabella Wetlands, Sifumim Shrine, Lurelin Village, 21 Korok seeds
- East Necluda DepthsKumamayn Shrine, 4 Lightroots, Midna's Helmet, Cap of the Hero, Trousers of the Wind and 18 Depths chests
Lanayru
- Lanayru Great SpringShrines, Koroks & Caves; Ralis Channel, 3 shrines, 8 caves
- Zora's DomainMogawak and Ihen-a shrines, Ploymus cave, Pristine Sanctum, Zora Armor, Sidon of the Zora and Clues to the Sky
- Wellspring IslandAncient Zora Waterworks chests, Igoshon Shrine, 2 Korok seeds, Water Temple's four wheels and Mucktorok
- Mount LanayruShrines, Koroks & Light Rings; Jikais and Anedamimik shrines
Gerudo
- Gerudo DesertShrines, Caves & Koroks; West and South Sands
- Gerudo TownGerudo Shelter shops and quests, Valley of Silent Statues, Lightning Temple and Queen Gibdo, Chichim Shrine
- Gerudo Desert DepthsGranajh and Daval mines, three Master Kohga fights, Queen Gibdo, Mucktorok, Sheik's Mask and 37 chests
- Gerudo HighlandsSkyview Tower, Rotsumamu and Suariwak shrines, Mayasiar Shrine, Yiga hideout
Akkala
- AkkalaTarrey Town quests, 4 shrines, Hinox, Battle Talus
- Akkala Sky Islands and DepthsGikaku and Natak shrines, Old Maps, Lomei Depths Labyrinth, Mucktorok, 5 Lightroots and 19 chests
Finale and completion
- Ancient Tablets, Gleeoks and Armor Upgradesall 13 stone tablets with coordinates, Frost and King Gleeok, Obsidian Frox, Cotera upgrades and farming
- Hyrule CastleRoyal gear chests, Korok seeds, Serutabomac Shrine
- Thunderhead IslesCharged armor, Joku-usin and Joku-u Shrines, Dragonhead Island's relic
- 100% Completion: Armor Upgrades & Korok BonusHestu's Gift, Ancient Hero's Aspect, Great Fairy Cotera upgrade costs and materials, then Destroy Ganondorf
This chapter is in 2 parts, in the order you reach them when going for 100%. Jump to a part:
Table of Contents
Part 1: Rabella Wetlands, Sifumim Shrine, Lurelin Village, 21 Korok seeds, a Dragon’s Tear
| Region | East Necluda surface: Rabella Wetlands, Meda Mountain, Blatchery Plain, Ash Swamp, Lurelin Village, Gogobi Shores and Soka Point |
|---|---|
| Shrines | Sifumim Shrine (Proving Grounds: Flow, 2825, -3270). See Sifumim Shrine. |
| Lightroots | Mimufis Lightroot beneath Sifumim Shrine (2825, -3269, -547). See all Lightroots. |
| Caves, wells, towers | Meda Mountain Chasm (2513, -2381), Lurelin Village Well (2940, -3378); Rabella Wetlands Skyview Tower is the nearest tower |
| Quests | Ruffian-Infested Village, Lurelin Village Restoration Project, Rattled Ralera, Dad’s Blue Shirt, two Hudson Construction signs for Addison, Dragon’s Tear memory Sonia Is Caught by Treachery |
| Koroks | 21 collected on the surface (one stump seed has no matching data entry) |
| Chests | Giant Boomerang, Cannon, Bomb Flower, Shield of the Mind’s Eye (x2), Savage Lynel Bow (or Lynel Bow or Mighty Lynel Bow, depending on your progress), Dragonbone Boko Bow, Phrenic Bow, Ancient Blade, Steel Lizal Shield, Captain Reaper (II to IV, depending on your progress), Fisherman’s Shield, Blue Rupee (x2), Island Lobster Shirt, Star Fragment |
| Minibosses | 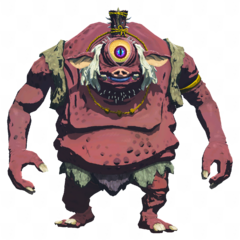 Hinox (Blatchery Plain), Stalnox (Hanu Pond), 2 Boss Bokoblins |
| Armor |  Island Lobster Shirt (Dad’s Blue Shirt) |
This chapter covers the grassy highlands west of Mount Lanayru and the coast around Lurelin Village: a run of Korok seeds and chests from Ash Swamp to Meda Mountain, two Addison signs, Sifumim Shrine, and the long Lurelin Village rebuild with its side quests, ending with a Dragon’s Tear at Gogobi Shores.
Quick route
Start in the Rabella Wetlands woods: take the flower Korok and the Giant Boomerang chest at the Bokoblin camp, climb the ruin steps for the Cannon chest, fix Addison’s sign at Ash Swamp, then collect the arrow, ring, dandelion and acorn Koroks around Blatchery Plain, beat the Hinox and open the Bomb Flower chest.
Work east to the lava-lit valley for the balloon Korok and the Shield of the Mind’s Eye chest, offer apples to the statues, lift the rock, and shoot the balloons above the lake before the Savage Lynel Bow chest, the Boss Bokoblin and the second Shield of the Mind’s Eye. Finish with the sparkling-spot Korok, the Dragonbone Boko Bow chest and Addison’s sign on Meda Mountain.
Next, open the Phrenic Bow and Ancient Blade chests, solve the cube puzzle, ring and plug Koroks, beat Stalnox, and head south to Sifumim Shrine and Lurelin Village.
In Lurelin Village, clear the monsters, restore the buildings with Bolson, cook curry for Ralera, find the blue shirt for Zuta, and finish at Soka Point with the Star Fragment chest, the palm tree Korok and the memory at Gogobi Shores.

Rabella Wetlands woods and Ash Swamp
Find the flower Korok in the forest
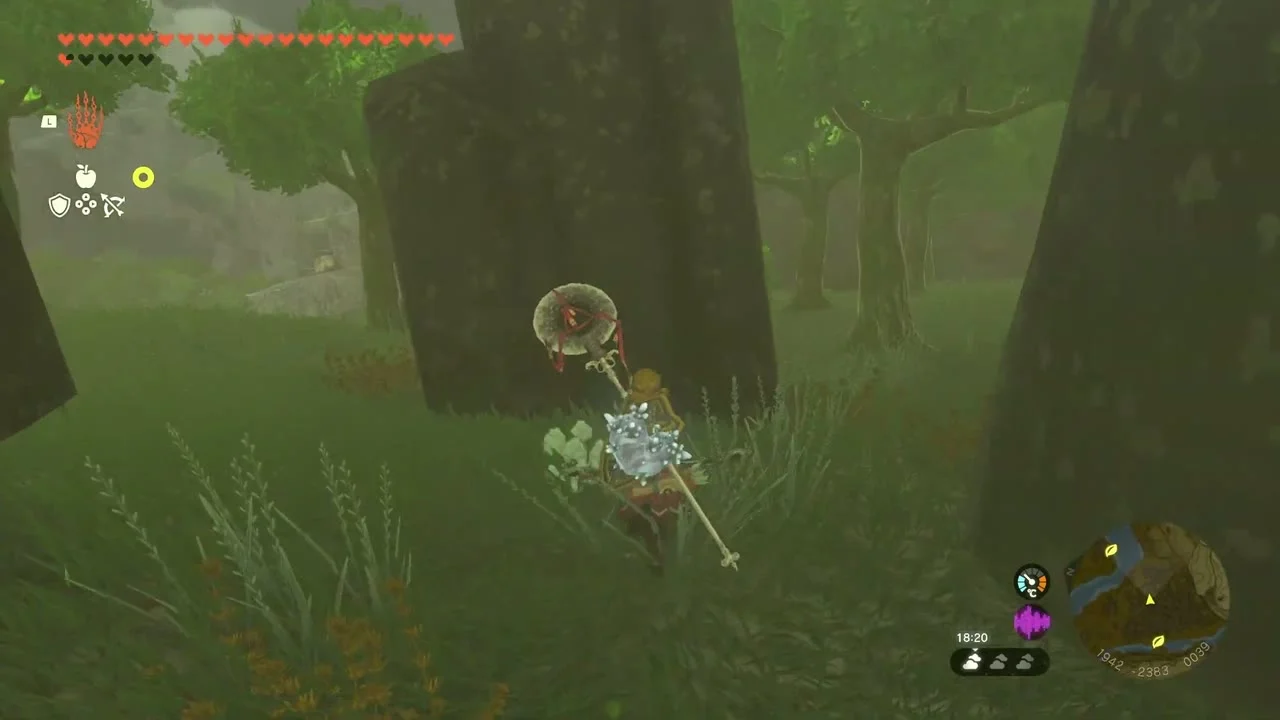
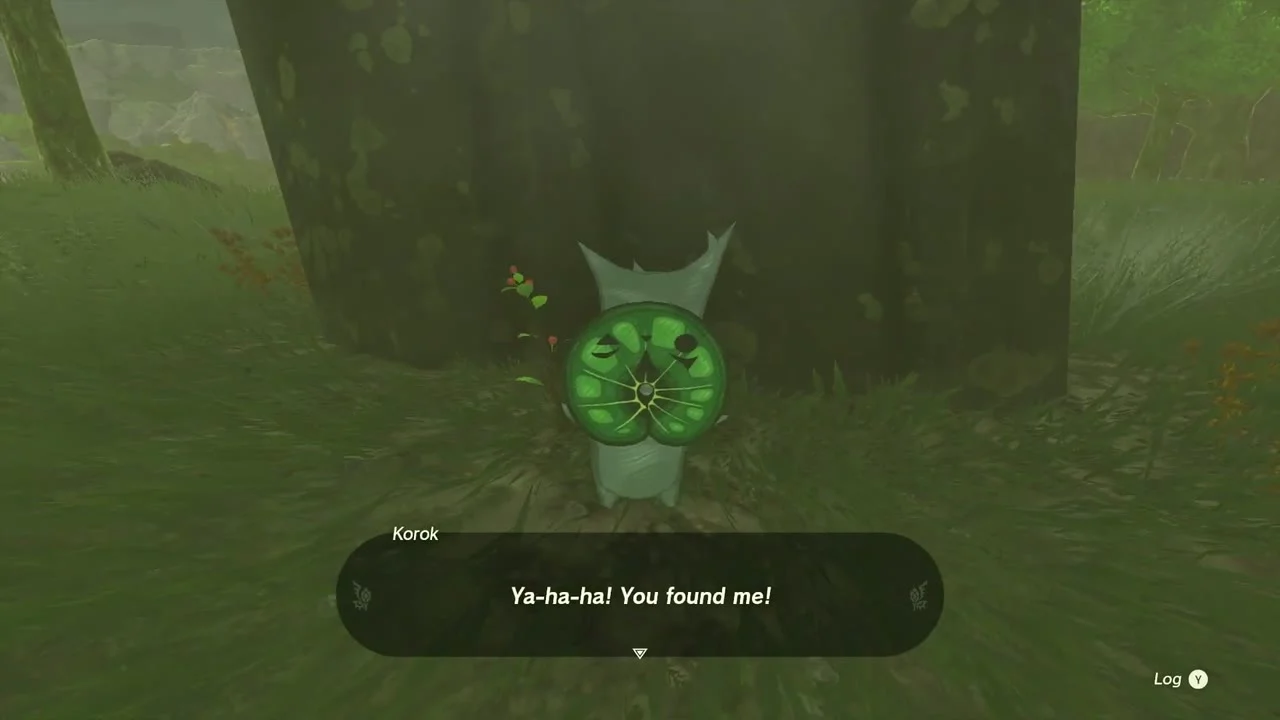
Korok seed (Follow the flower) at about (1946, -2381, 39), in the woods at the west end of the Rabella Wetlands. Walk through the trees toward the flower that blooms in a clearing and keep following the trail until it ends at the Korok.
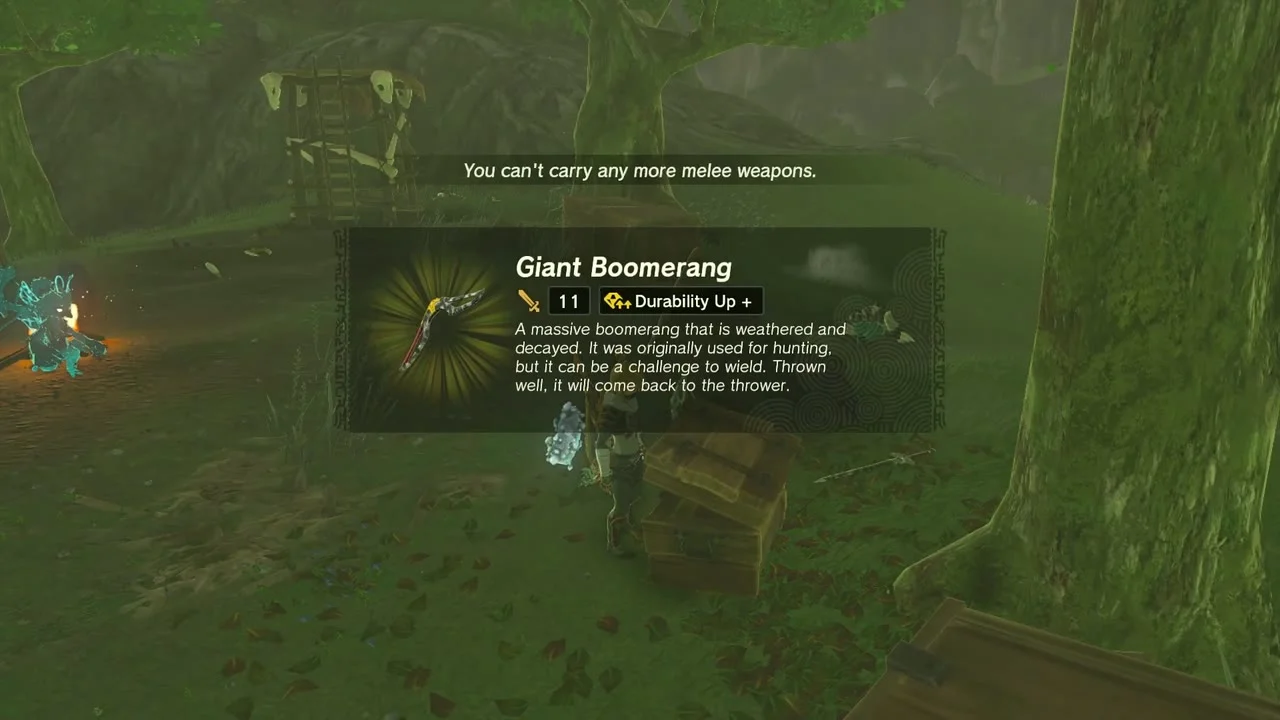
Open the Giant Boomerang chest
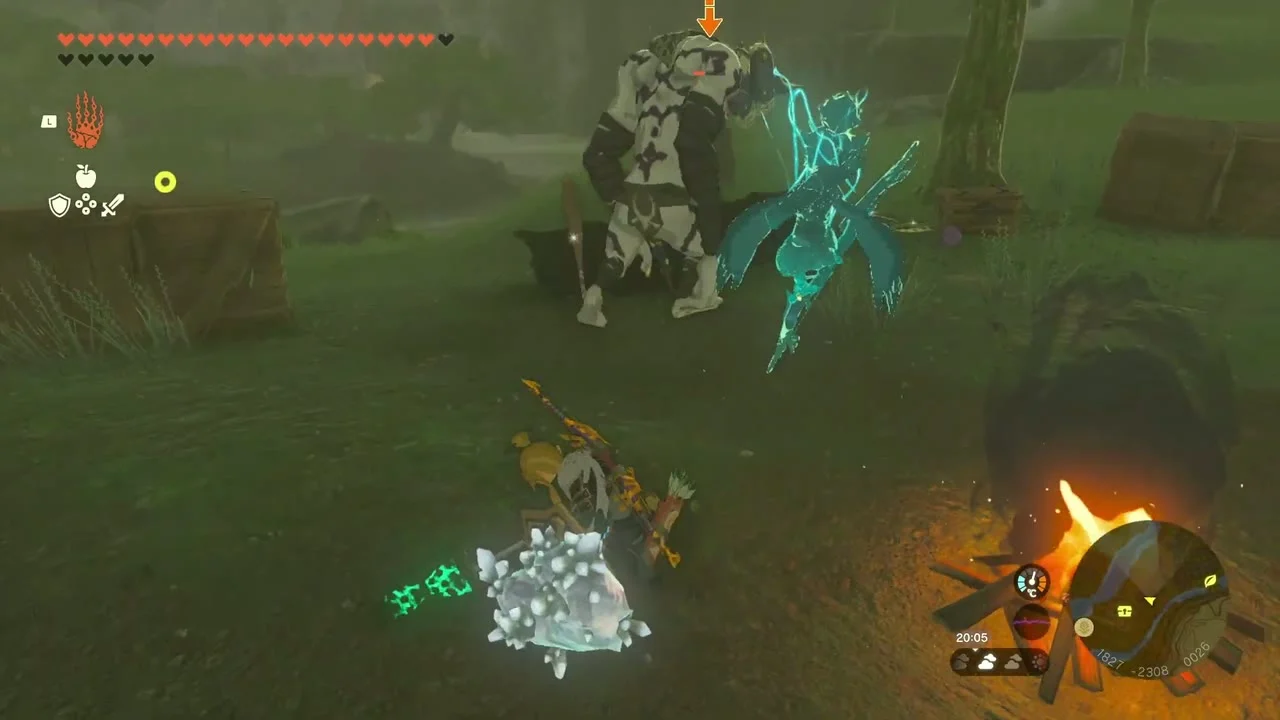
Chest: Giant Boomerang at (1827, -2308, 26), beside a Bokoblin campfire in the forest. Clear the Bokoblins and open the wooden chest by the tree for the Giant Boomerang, a heavy throwing weapon that returns to you.
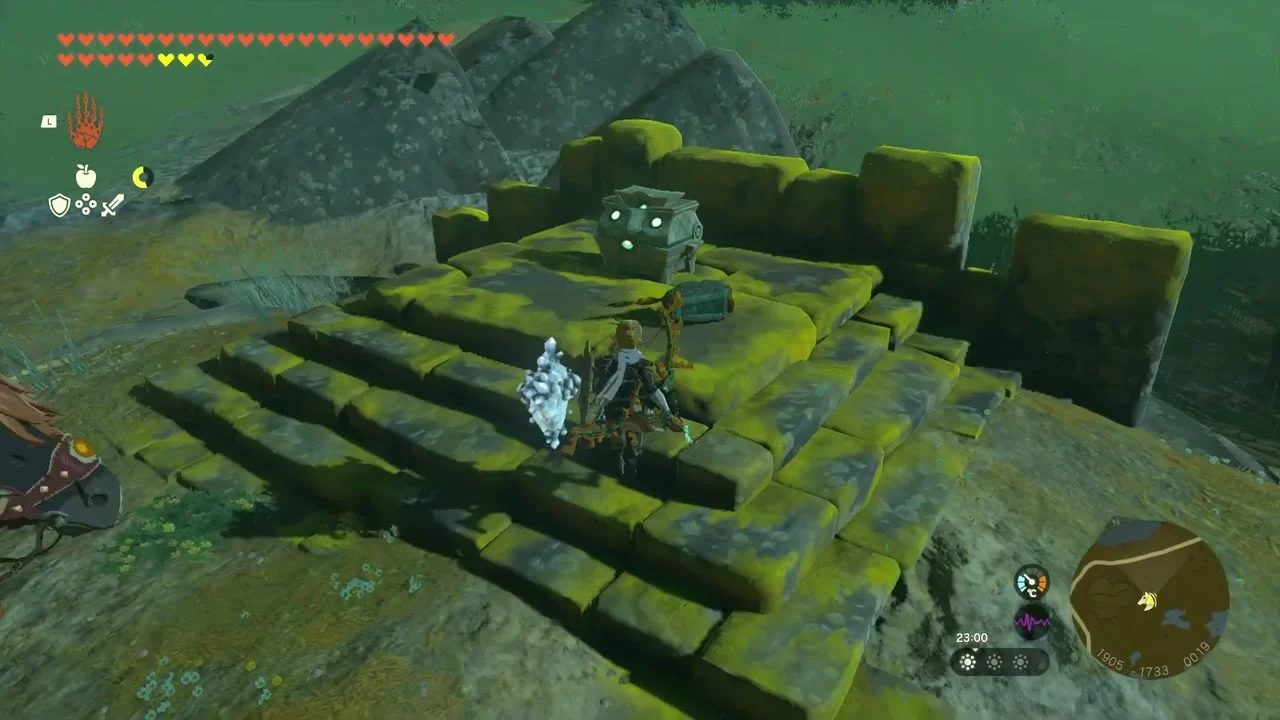
Climb the ruin steps for the Cannon chest
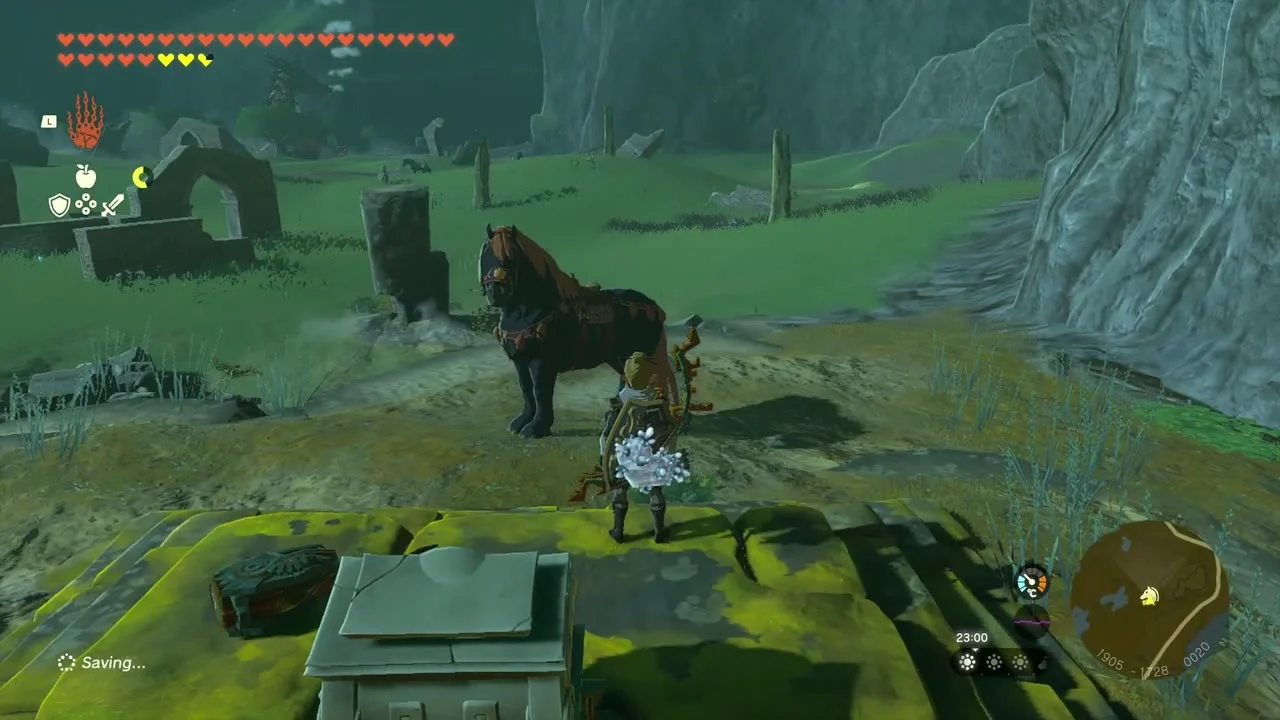
Chest: Cannon x3 at about (1905, -1733, 19), on top of the mossy stone steps of a ruin at Ash Swamp. Climb the steps and open the chest for Cannon x3, a Zonai device that fires explosive shots.
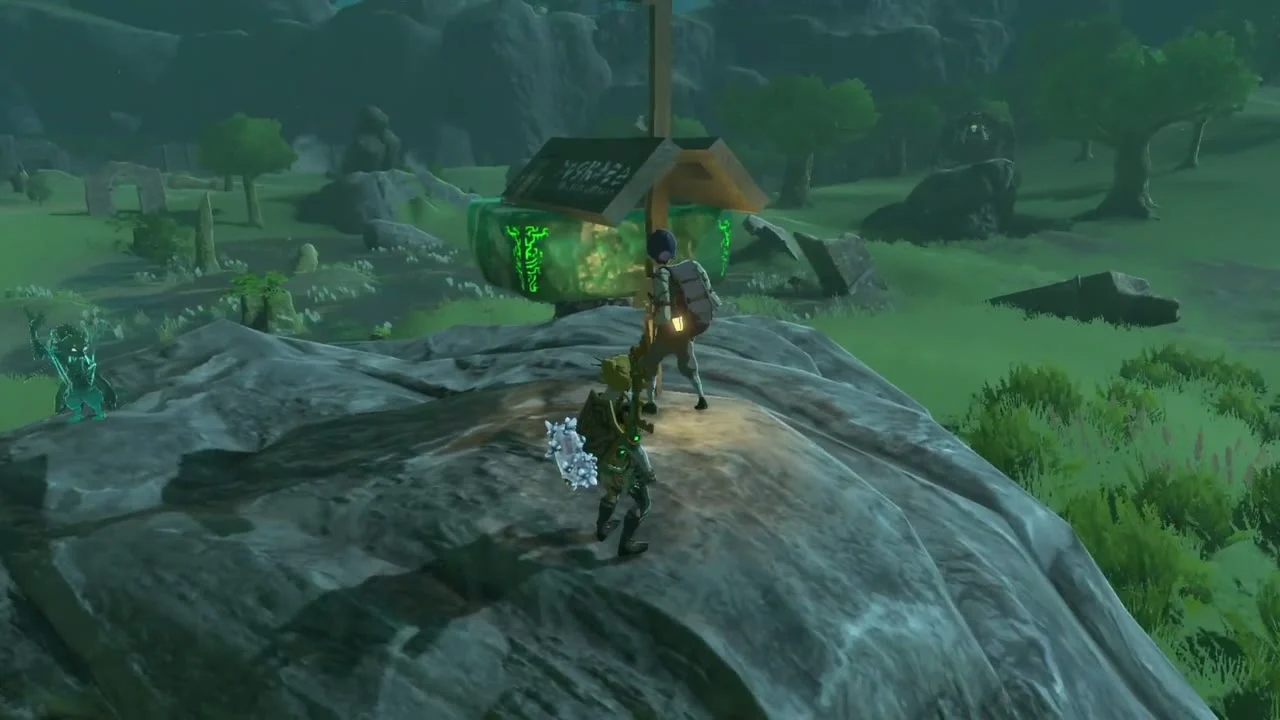
Repair Addison’s sign at Ash Swamp
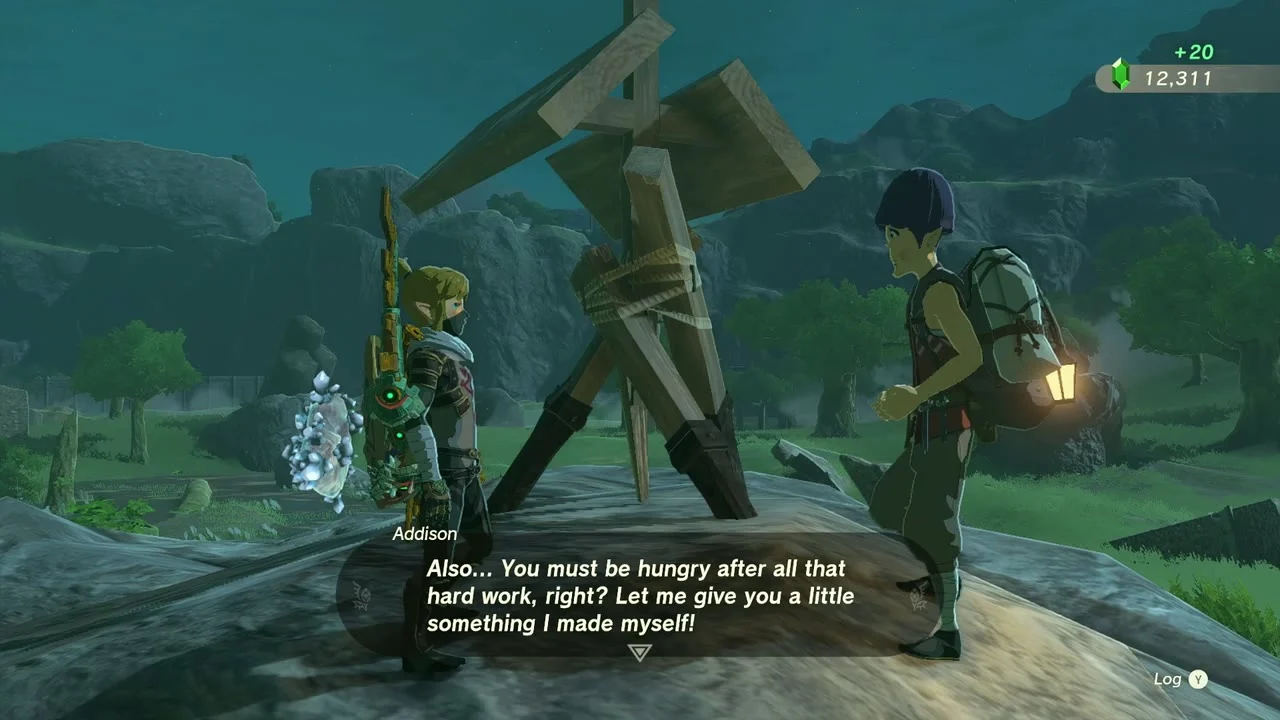
Hudson Construction sign: Ash Swamp at about (1975, -1896, 22), on a grey rock rise just east of the swamp. Cut a tree and prop the sign up with the logs, then talk to Addison; the sign gives a Red Rupee, a Bomb Flower and some food as thanks. Any sturdy support works: logs, planks or a pair of fused boulders.
Blatchery Plain
Look where the arrows point
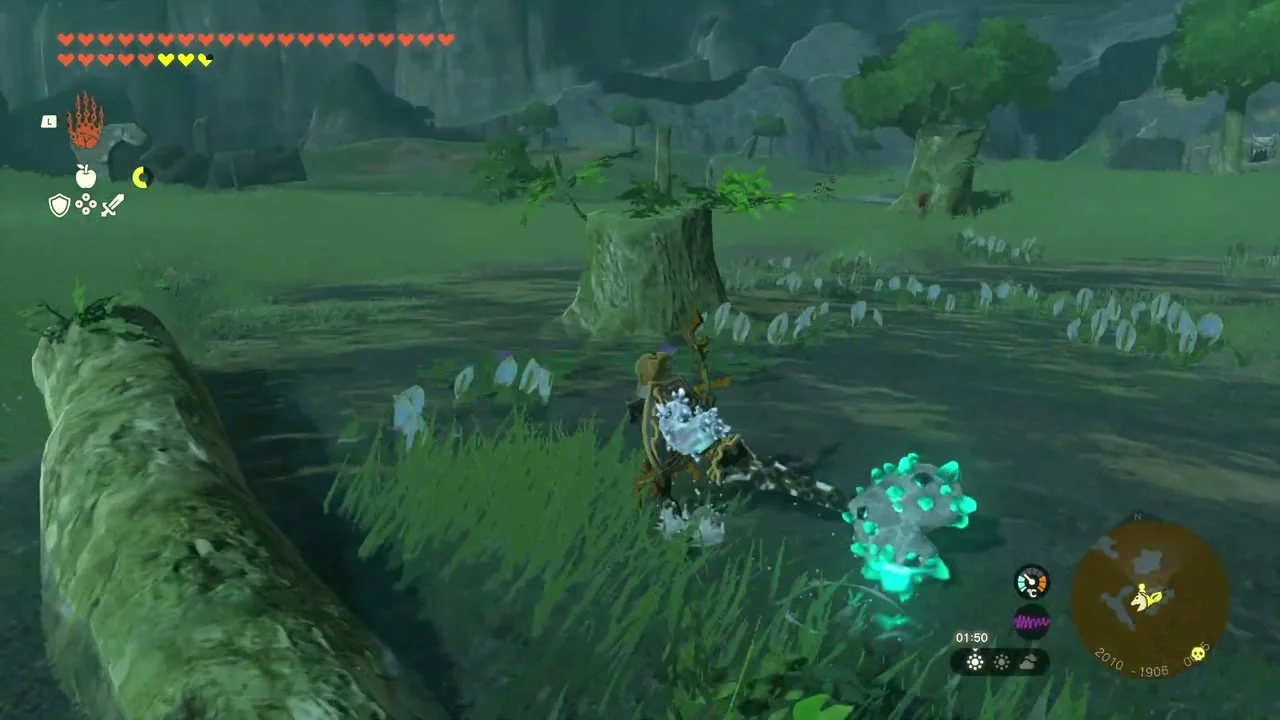
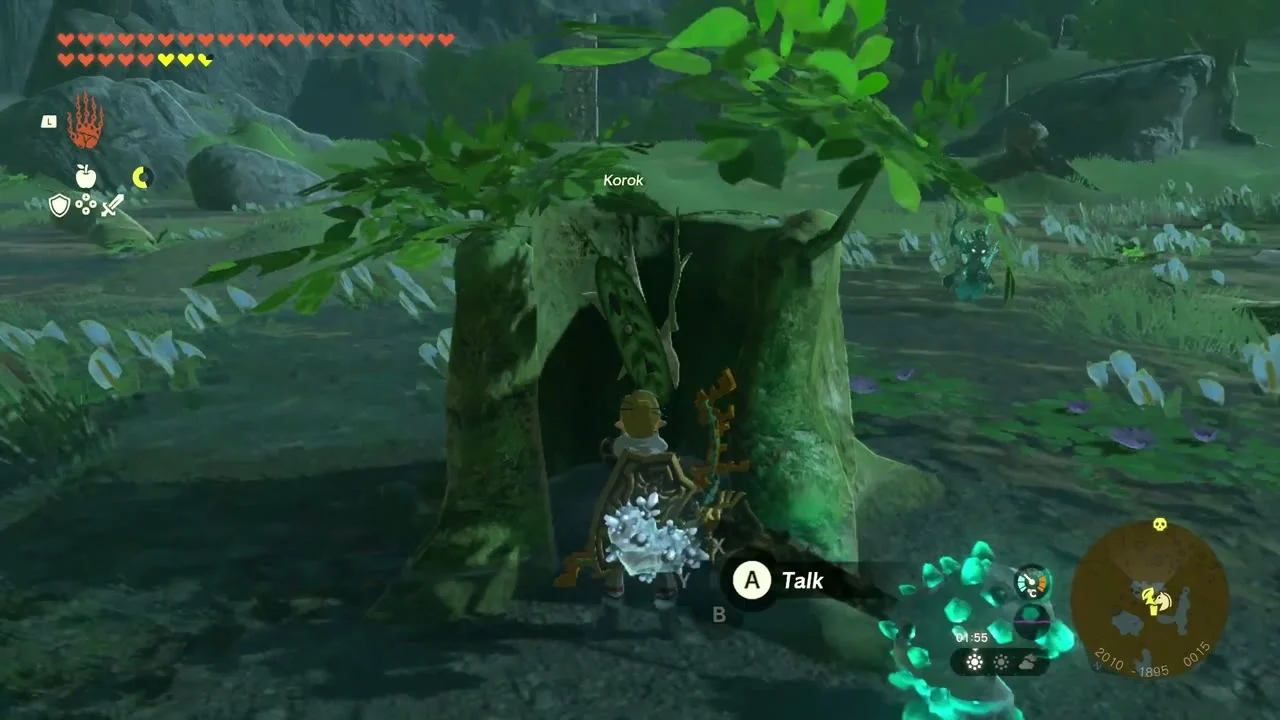
Korok seed (Examine where the arrows point to) at (2011, -1896, 16), by the road on the south side of Ash Swamp. A trail of arrows is stuck in the ground pointing to a hollow trunk; walk up and examine the trunk to get the seed.
Defeat the Hinox
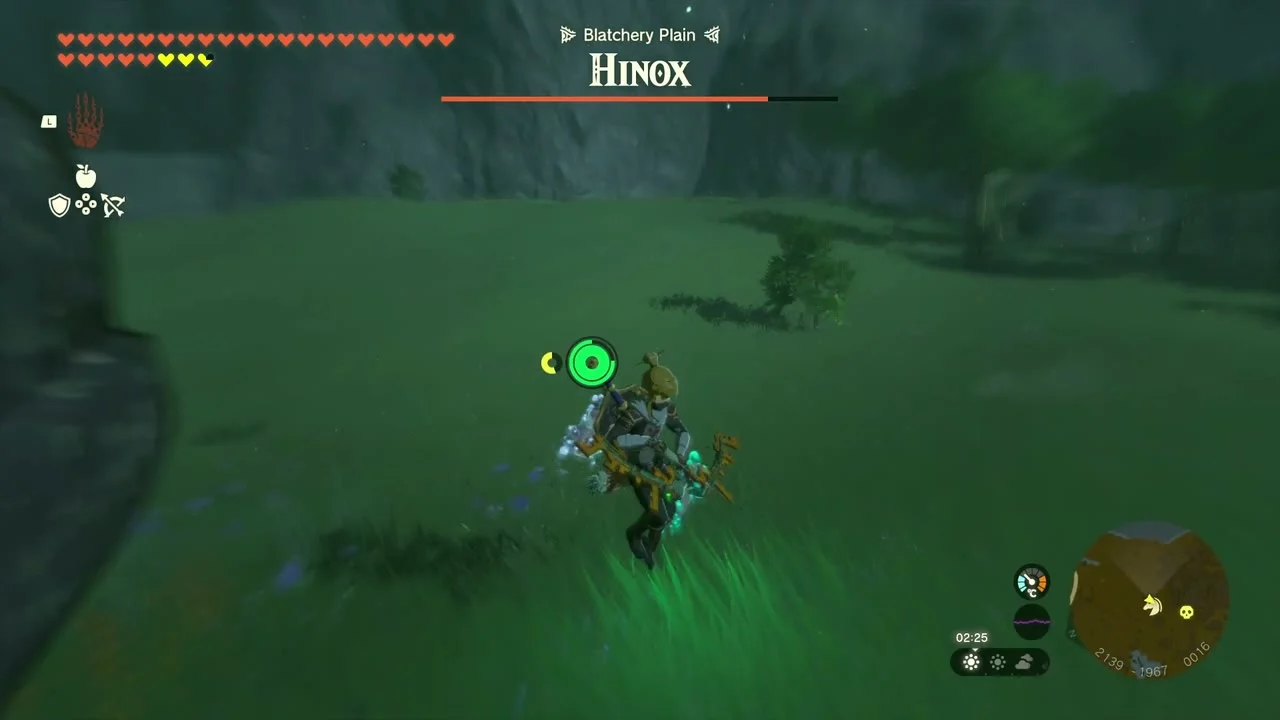
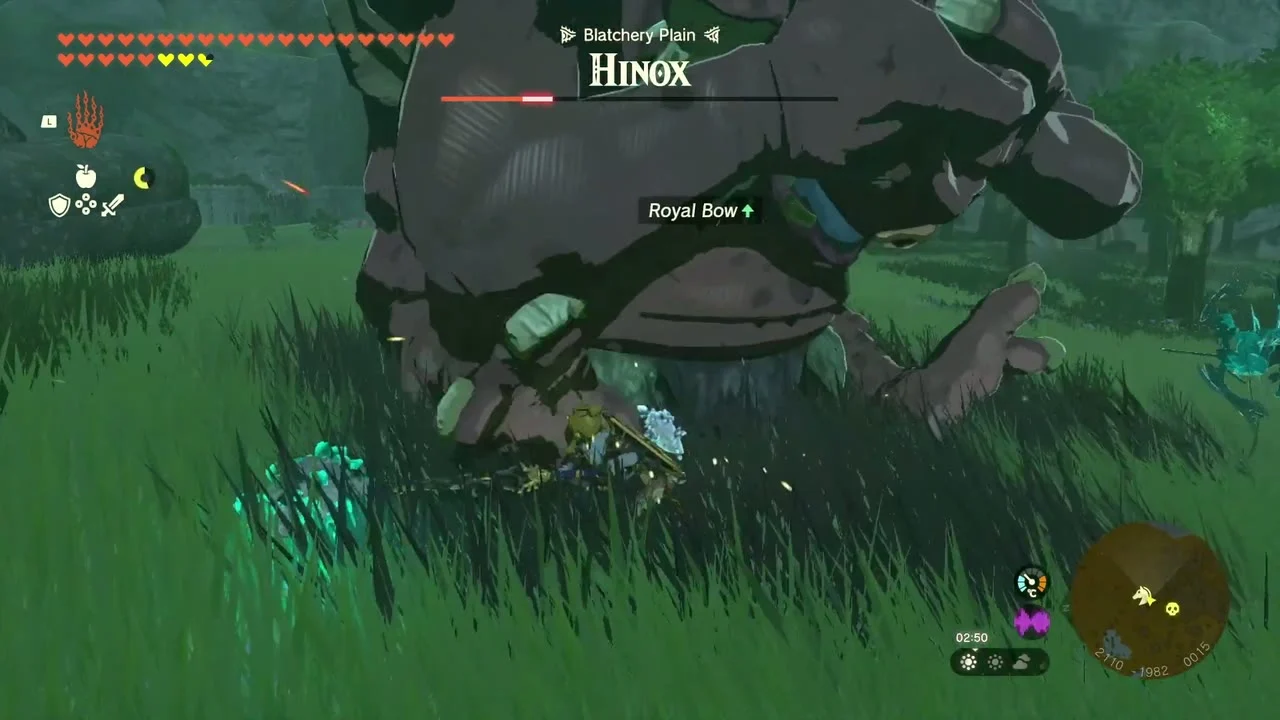
Miniboss: Hinox at about (2139, -1967, 16), on the open grass of Blatchery Plain. Shoot its eye to stun it, climb its body and strike the eye again, or lure it onto an explosive; its chests hold weapons for fusing.
Dive into the ring
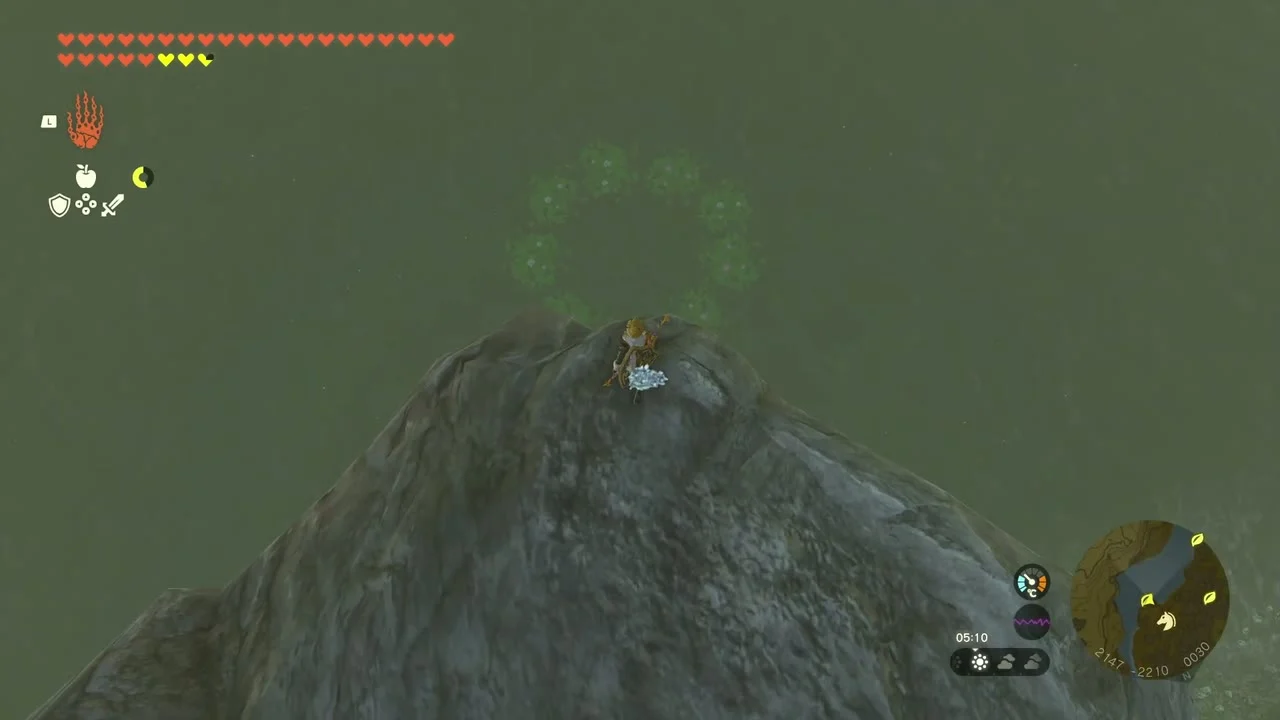
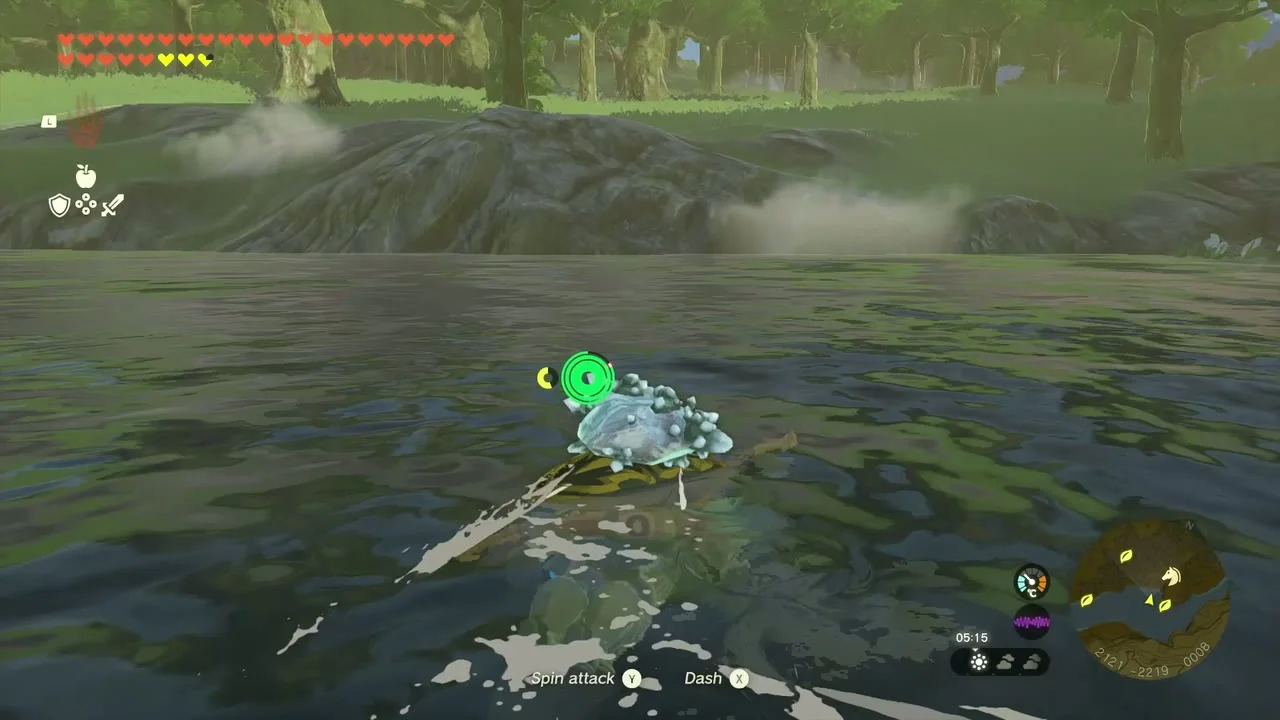
Korok seed (Dive into the ring) at (2141, -2223, 13), in the river south of the plain. Climb the boulder on the bank above the river, jump and dive through the floating ring above the water.
Catch the dandelion
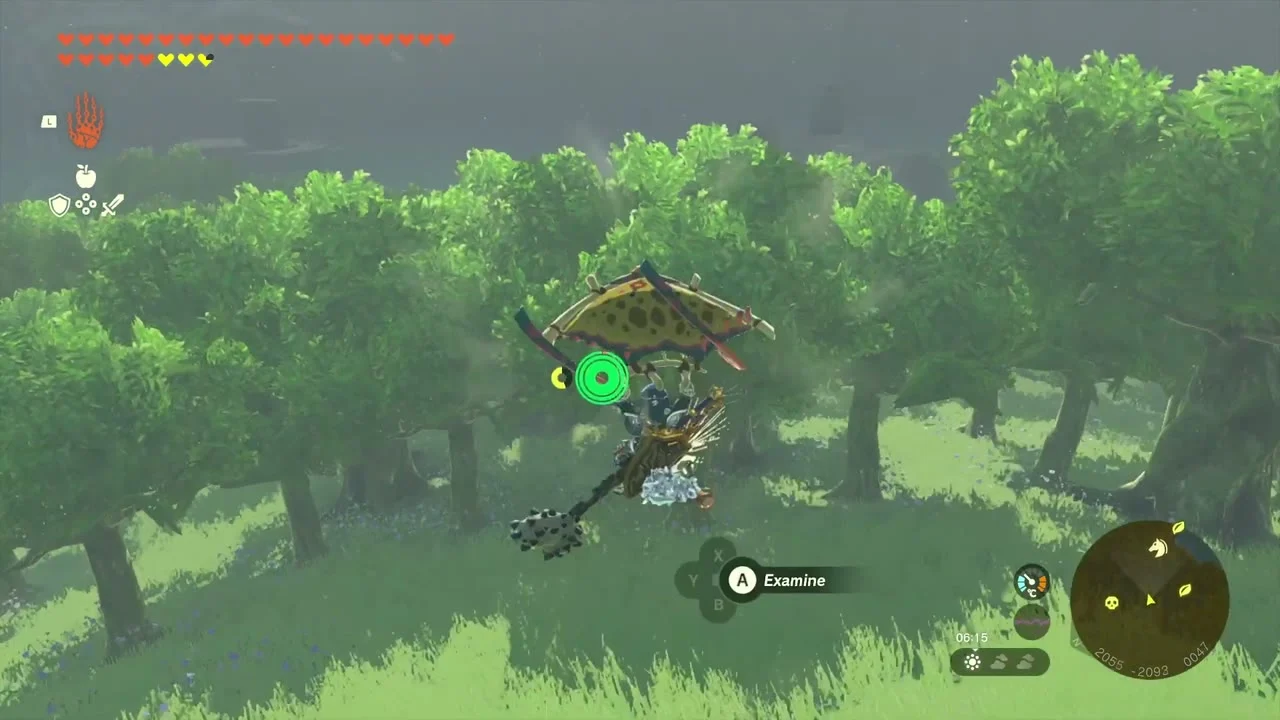
Korok seed (Attack and catch the dandelion) at (2052, -2092, 49), in the glade west of Meda Mountain. Strike the floating dandelion seed with a weapon, then catch it before it drifts away.
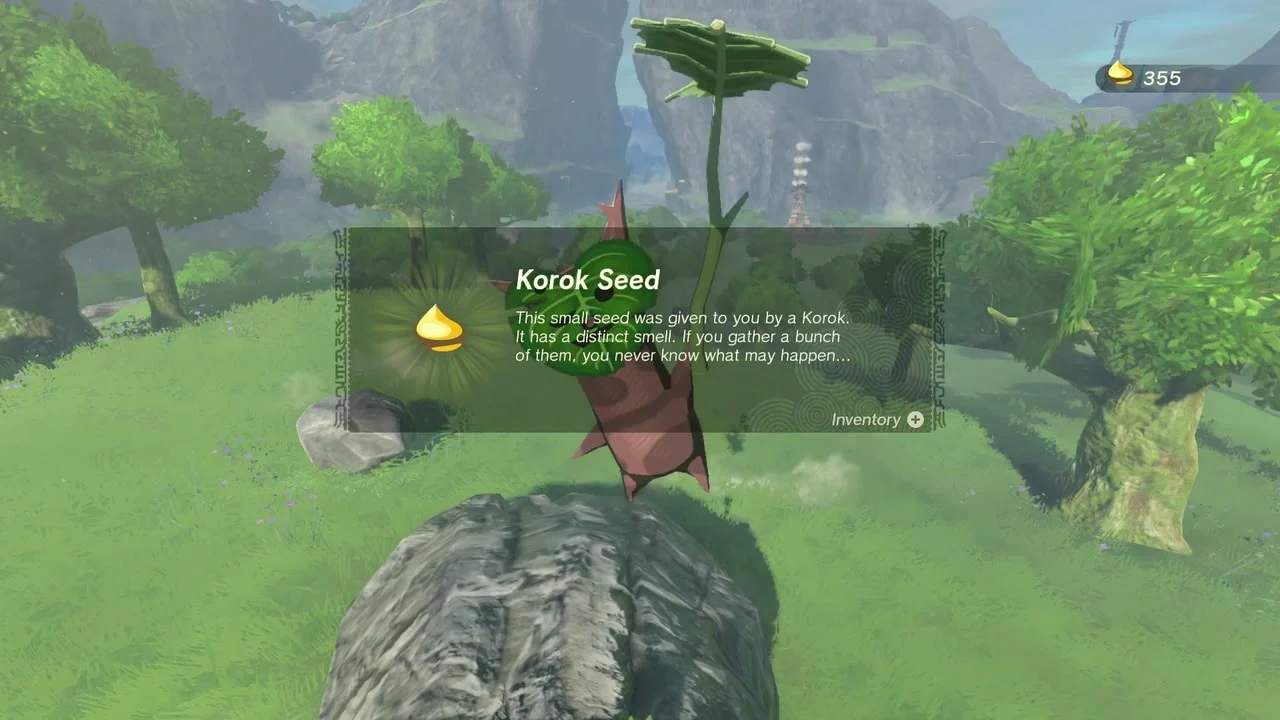
Break the hidden acorn pot
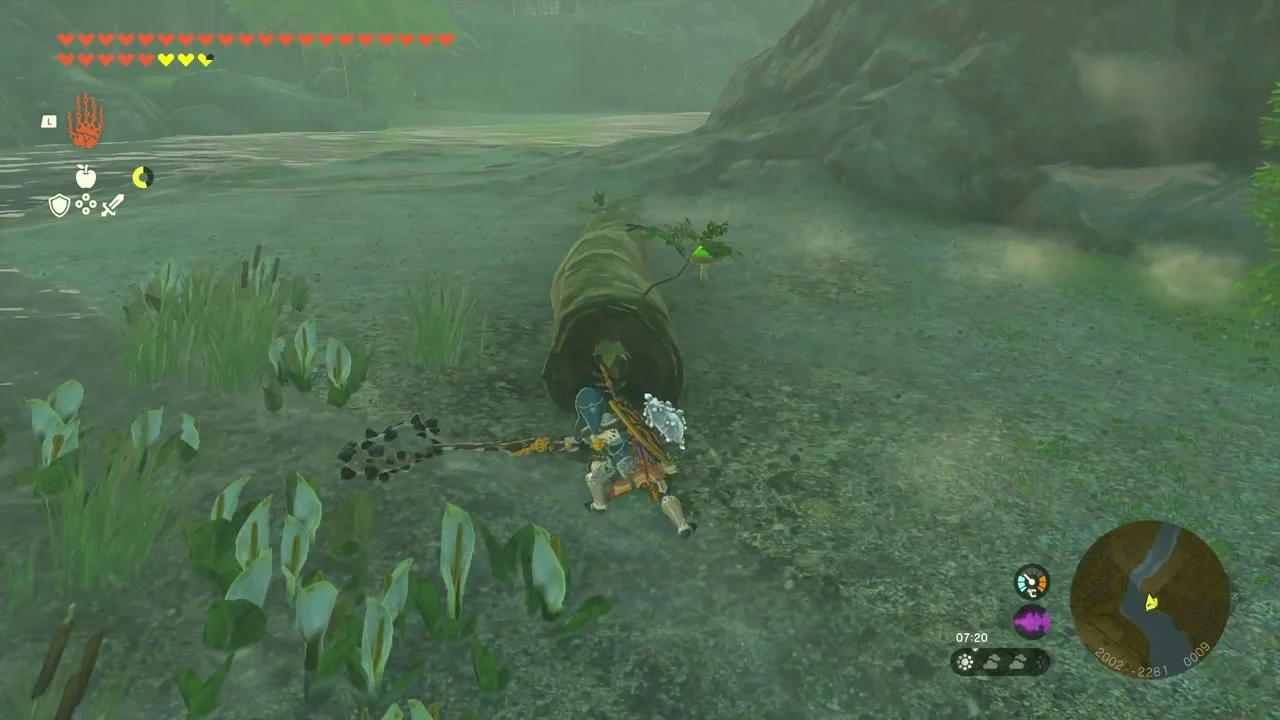
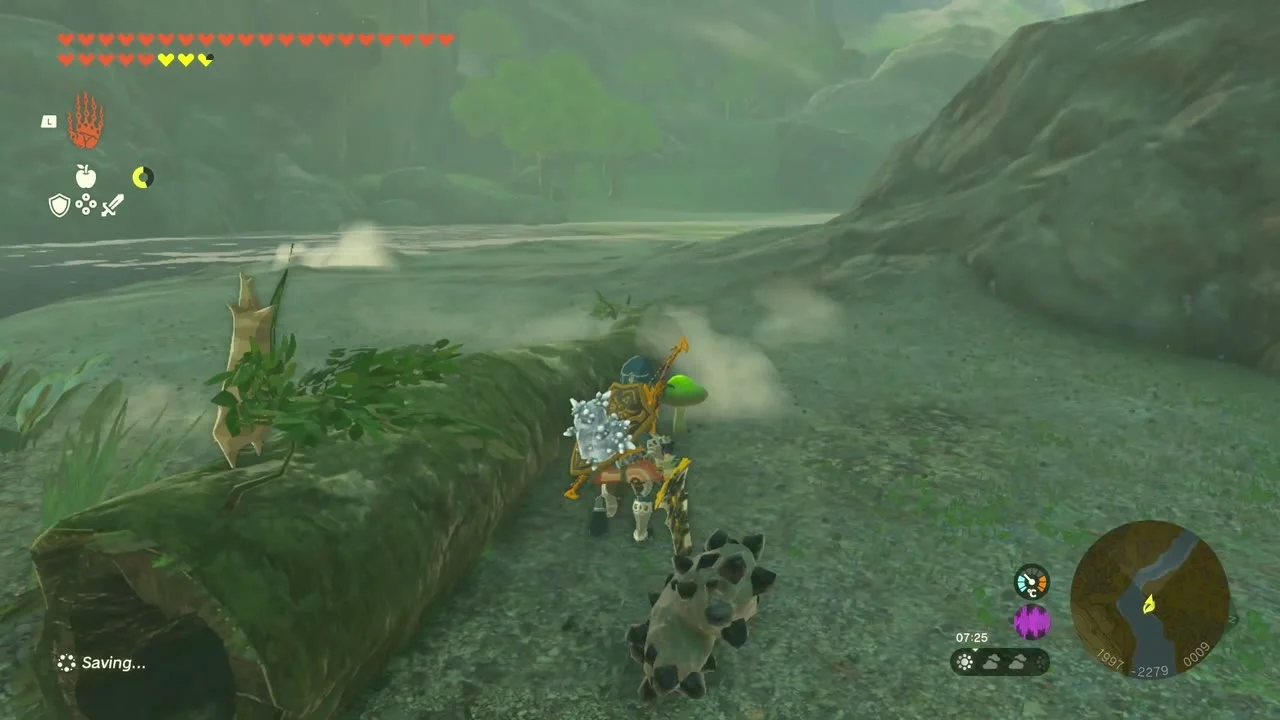
Korok seed (Break the hidden acorn pot) at (1999, -2281, 10), beside a fallen log at the edge of the river. Look under the log for the pot and smash it with a weapon to reveal the Korok.
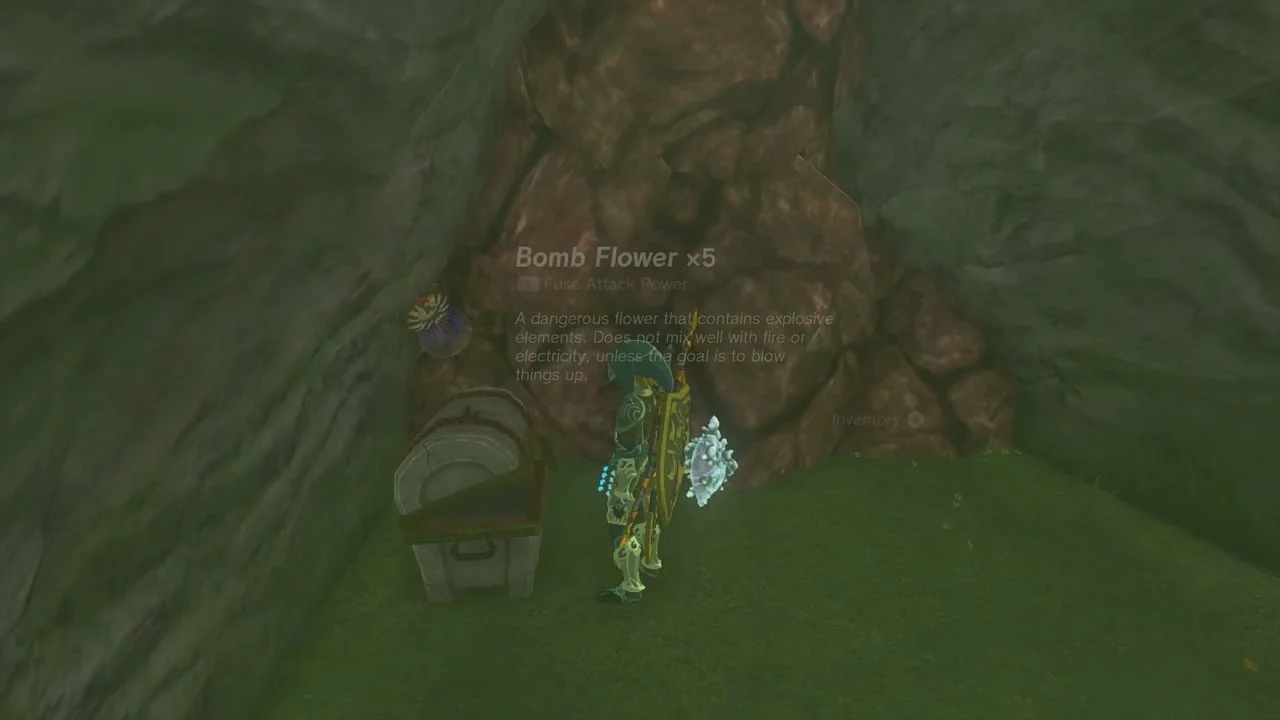
Open the Bomb Flower chest in the cave
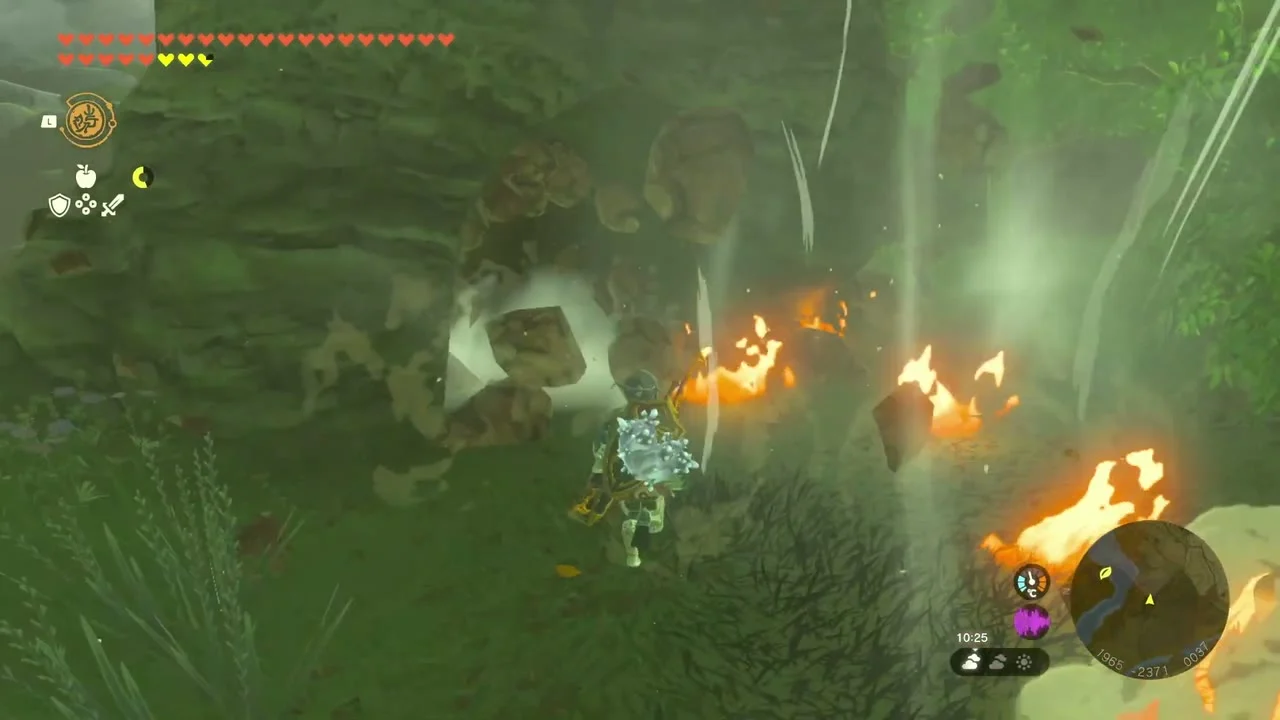
Chest: Bomb Flower at (1958, -2375, 38), at the back of a small cave in the forest. Open the chest in the cave for a stack of Bomb Flower.
Lava-lit valley and Meda Mountain foothills
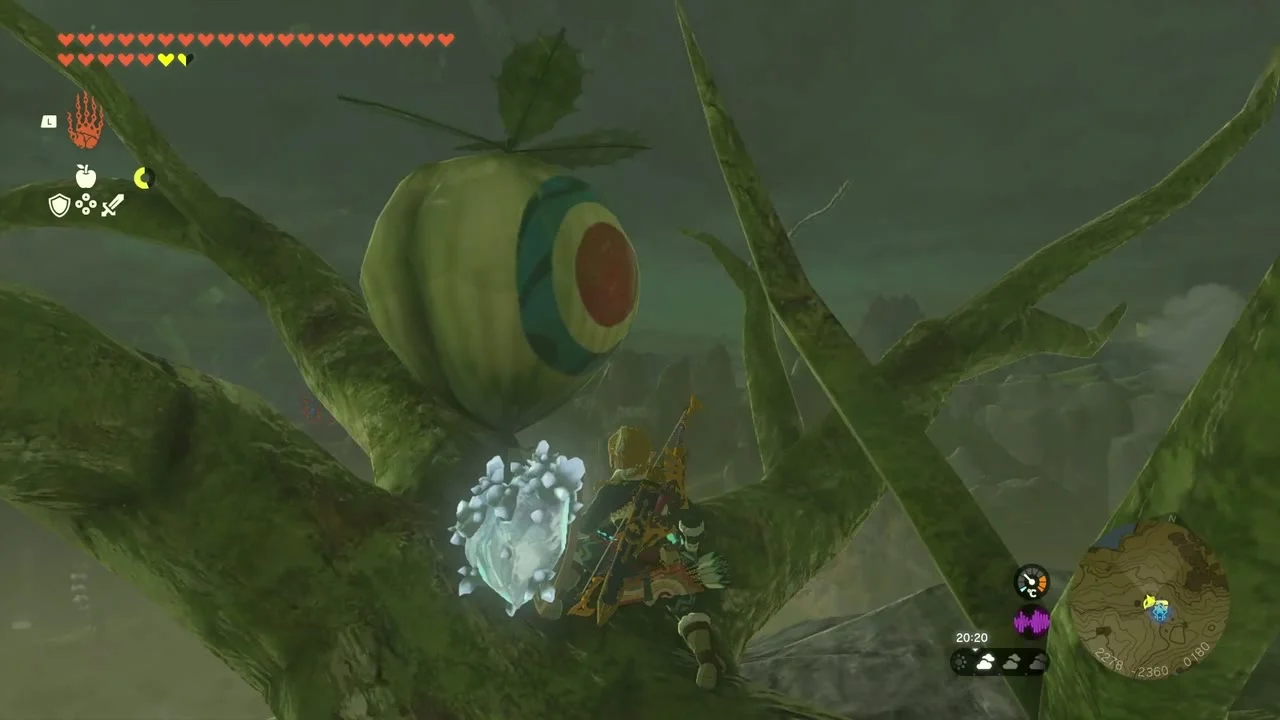
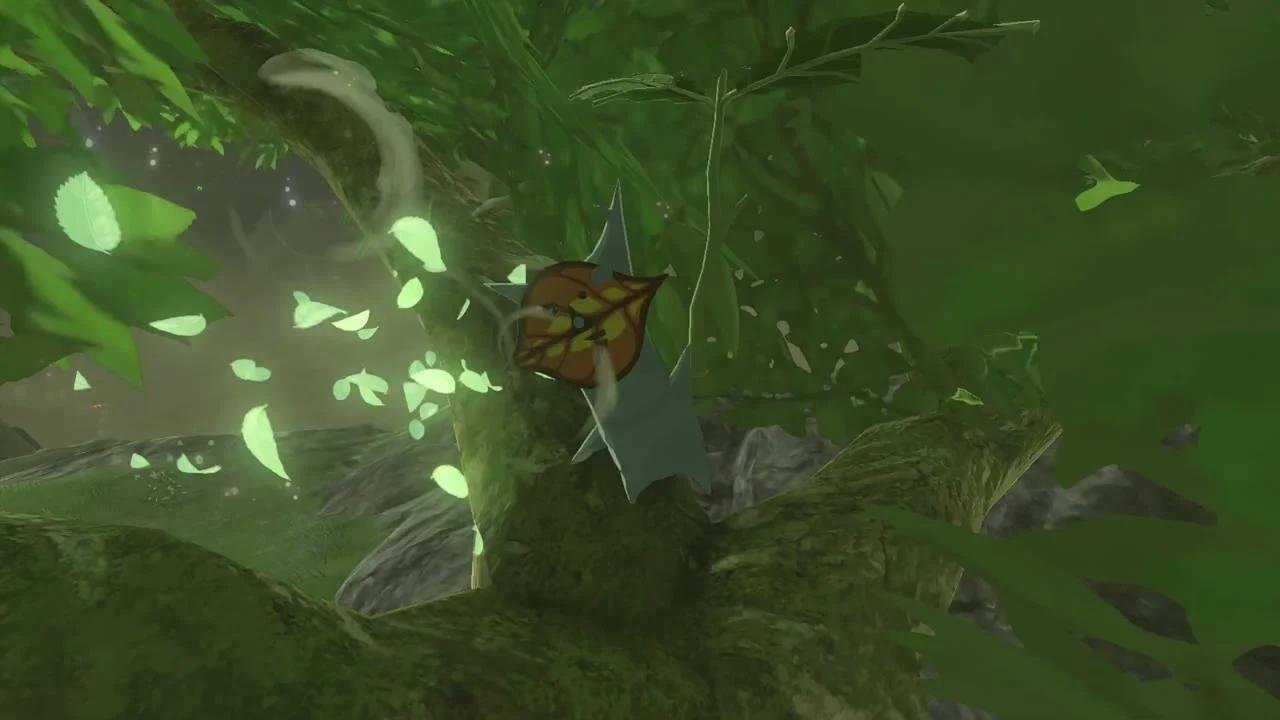
Pop the balloon fruit in the tree
Korok seed (Pop the hidden balloon) at (2277, -2360, 181), in a gnarled tree on the hillside. Shoot the round fruit hanging from the branch with an arrow to release the Korok.
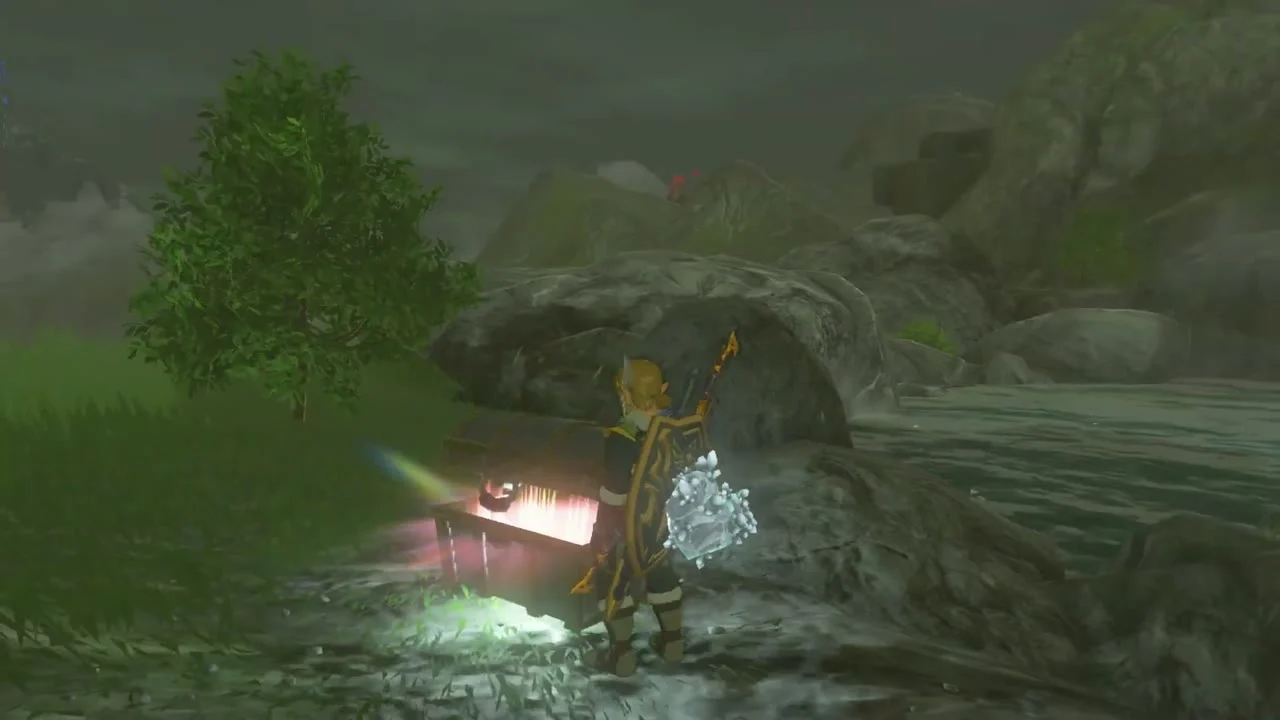
Open the Shield of the Mind’s Eye chest
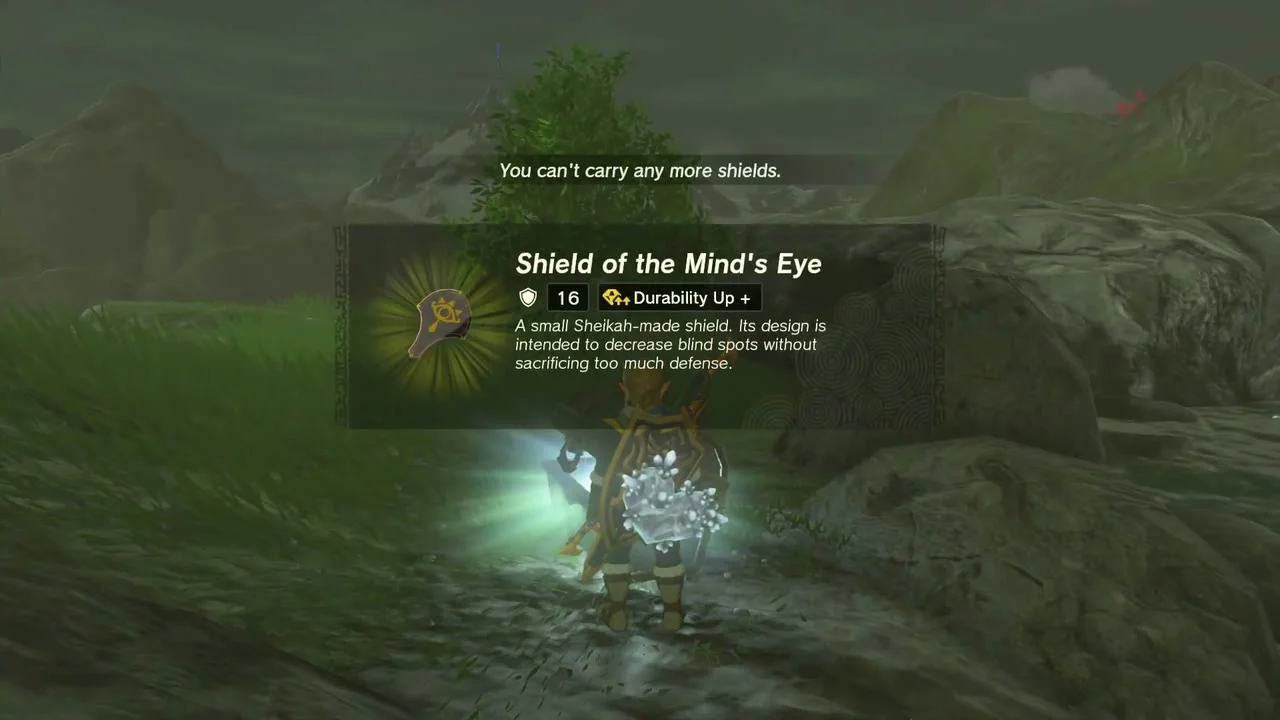
Chest: Shield of the Mind’s Eye at about (2289, -2365, 174), on the rocky riverbank below the balloon tree. Open it for the Shield of the Mind’s Eye, a Sheikah shield that shows enemy weak points more clearly.
Offer apples to the statues
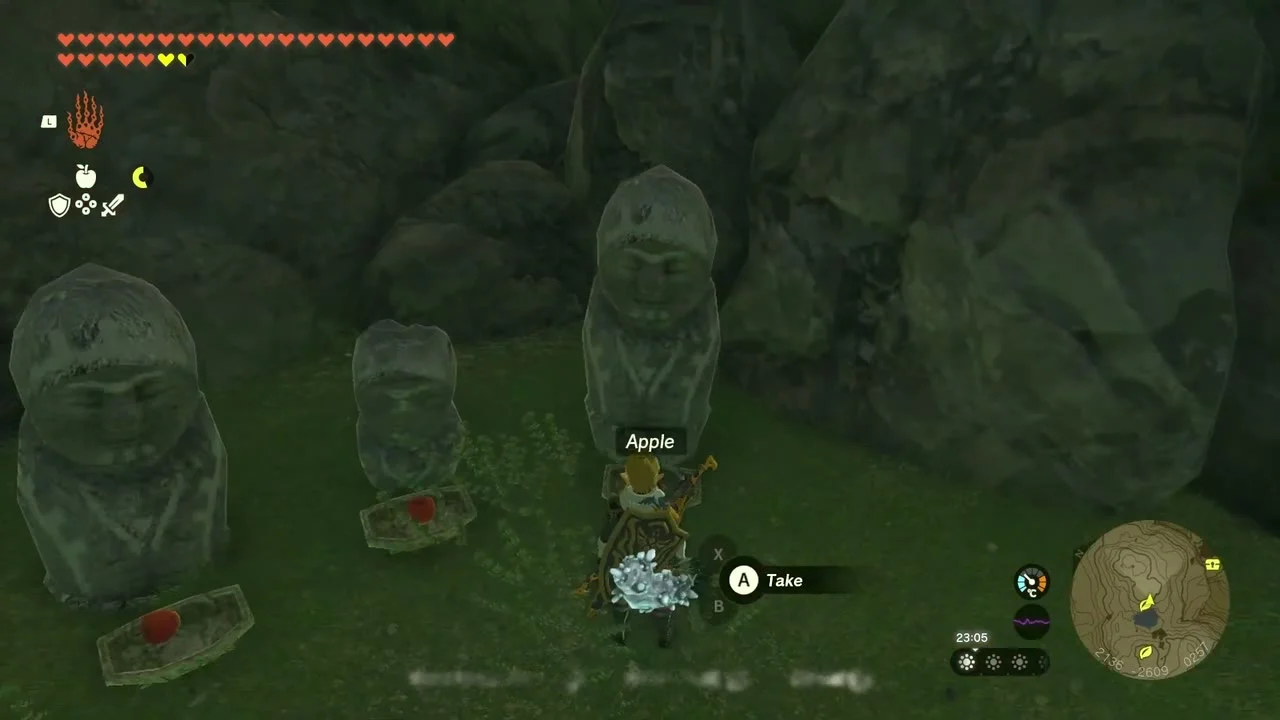
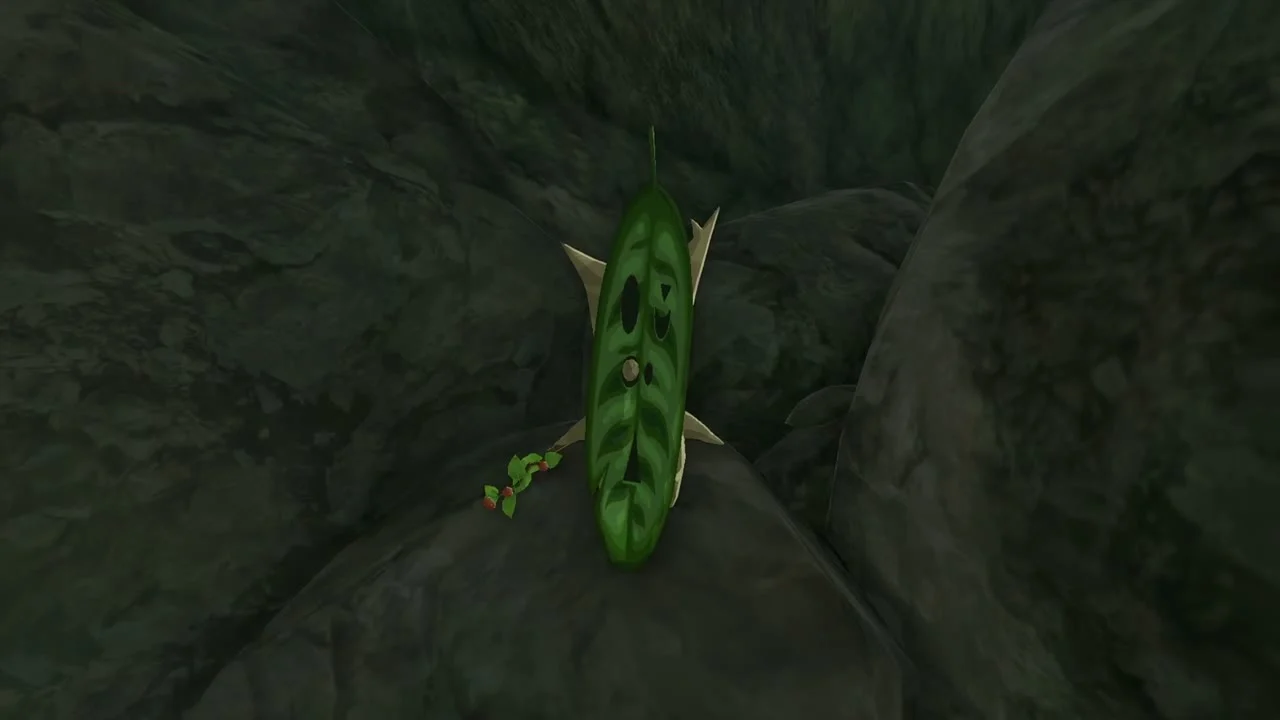
Korok seed (Offer apples to the statues) at (2142, -2603, 259), on a cliff-top clearing with three stone statues. Place an Apple on each statue’s dish; the Korok appears after the last one.
Lift the rock on the grass hill
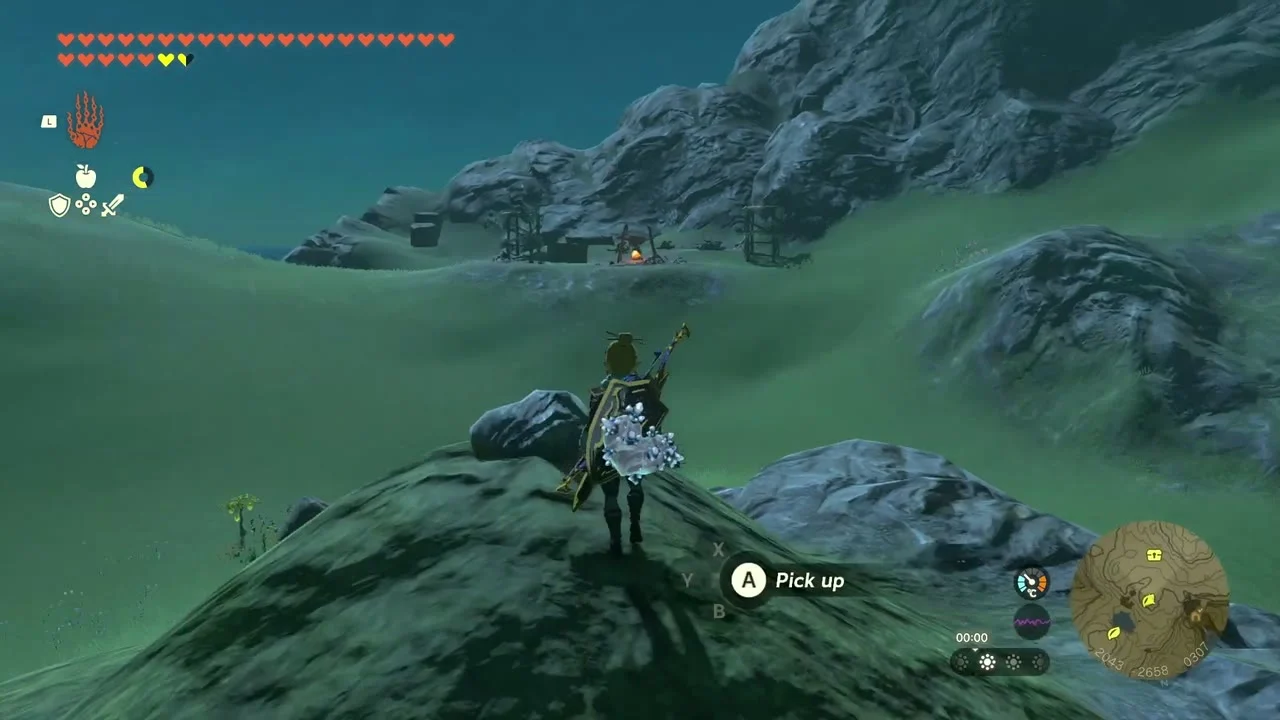
Korok seed (Lift the rock) at (2043, -2660, 307), on a round grassy summit. Lift the loose boulder at the top with Ultrahand and take the seed from the Korok underneath.
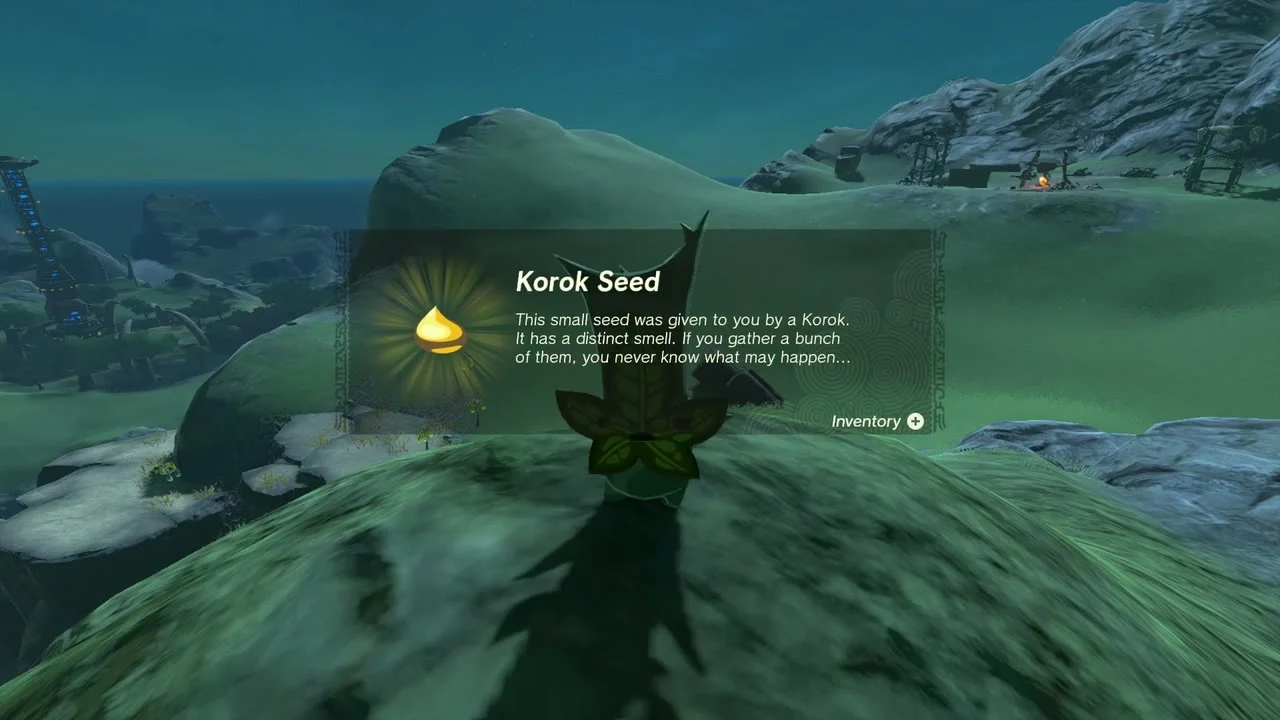
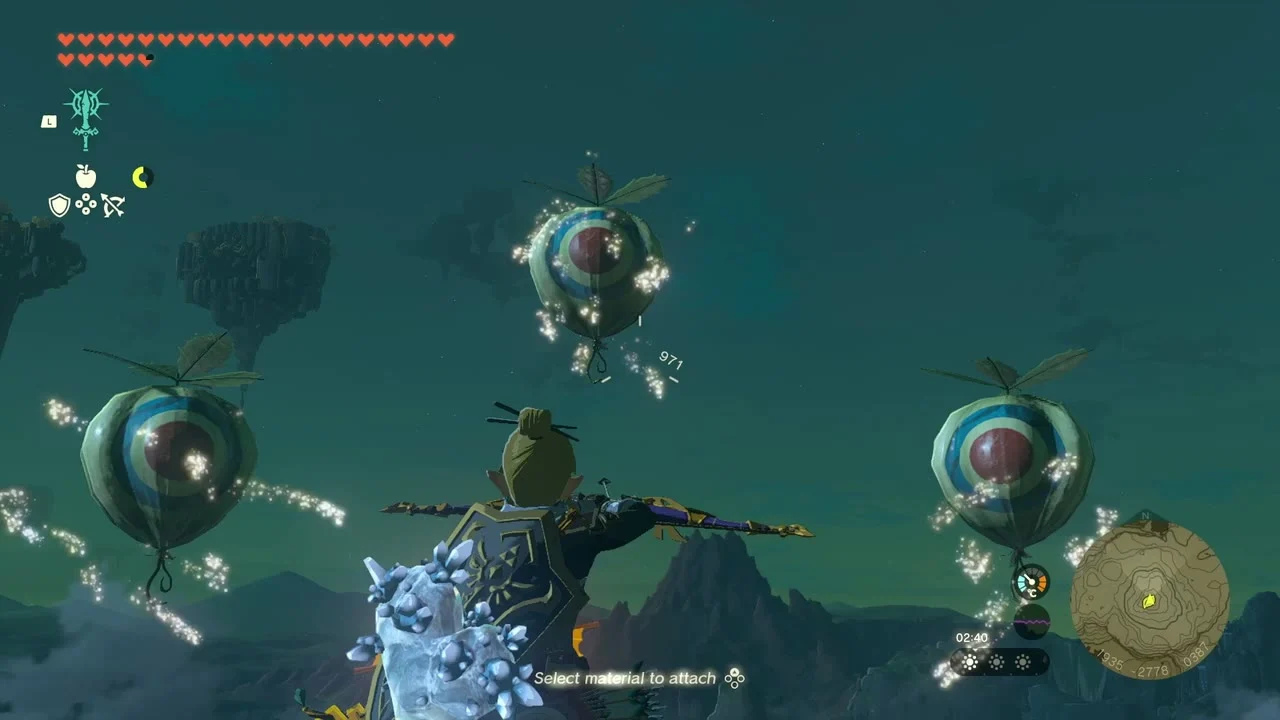
Shoot the balloons
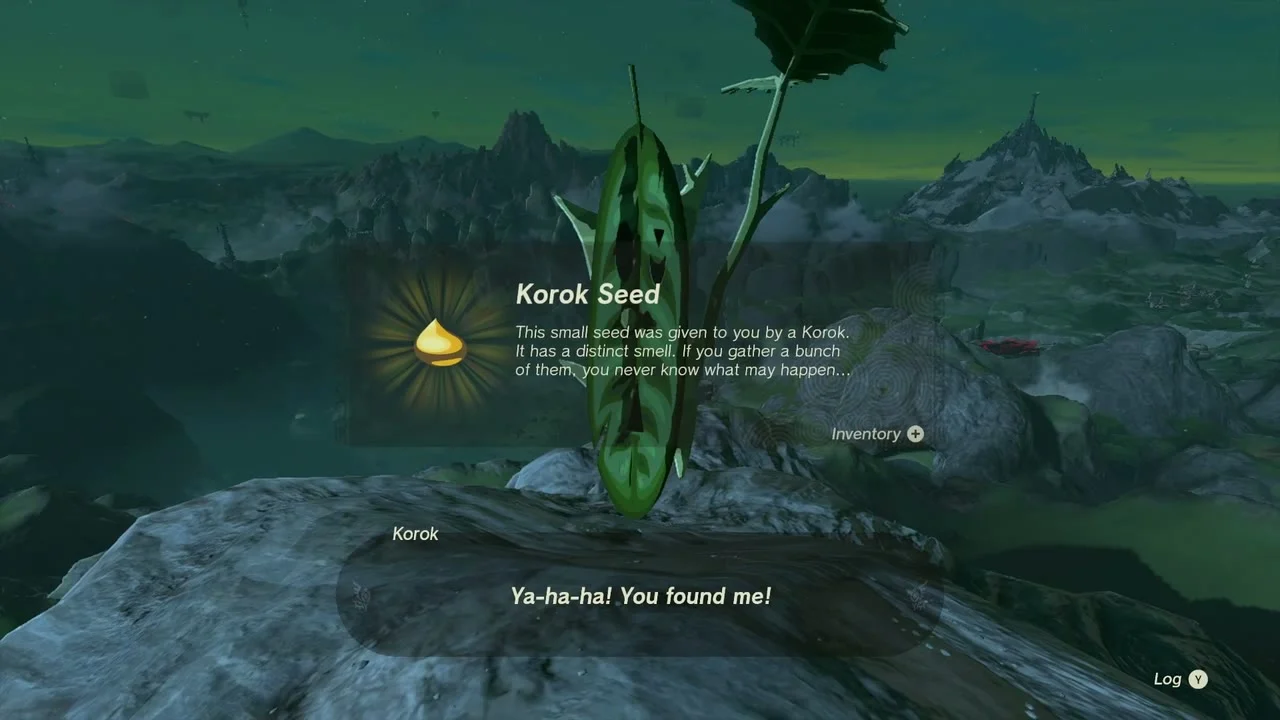
Korok seed (Shoot the balloon(s)) at (1936, -2777, 389), on a high rock. Glide off the summit while aiming a bow: three balloons float in a ring; shoot them all, then land on the rock for the seed.
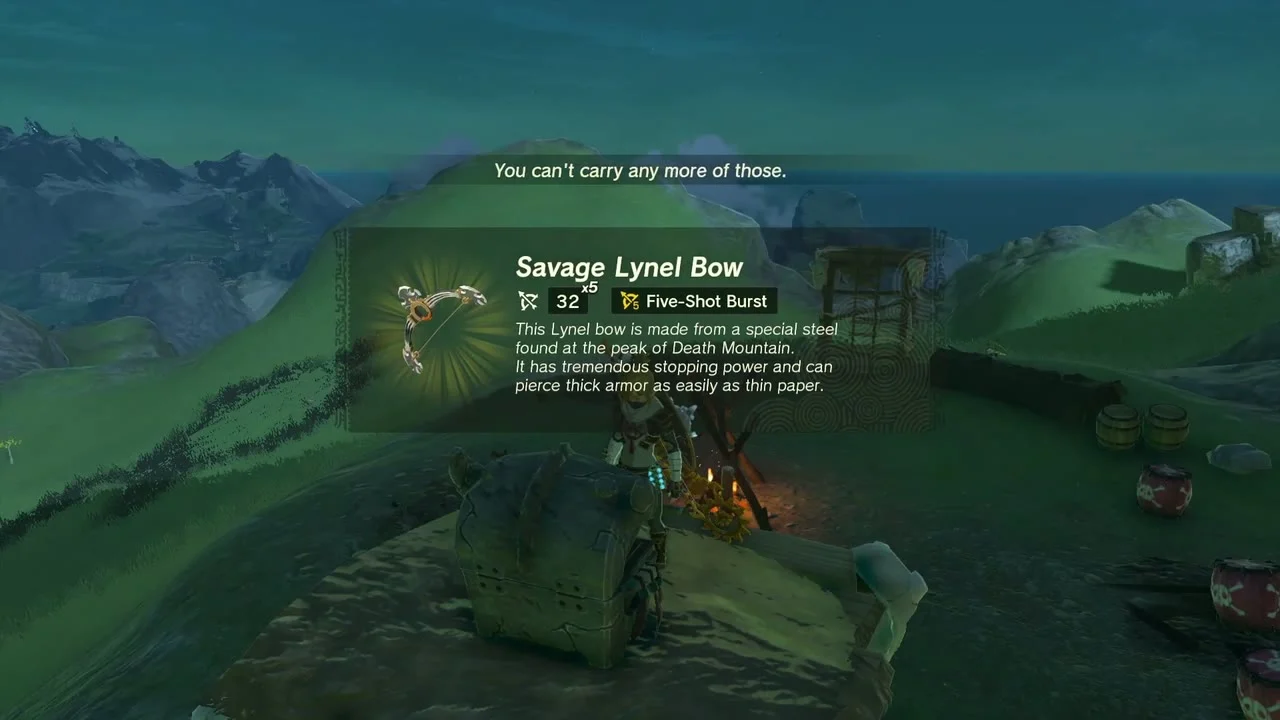
Open the Savage Lynel Bow chest
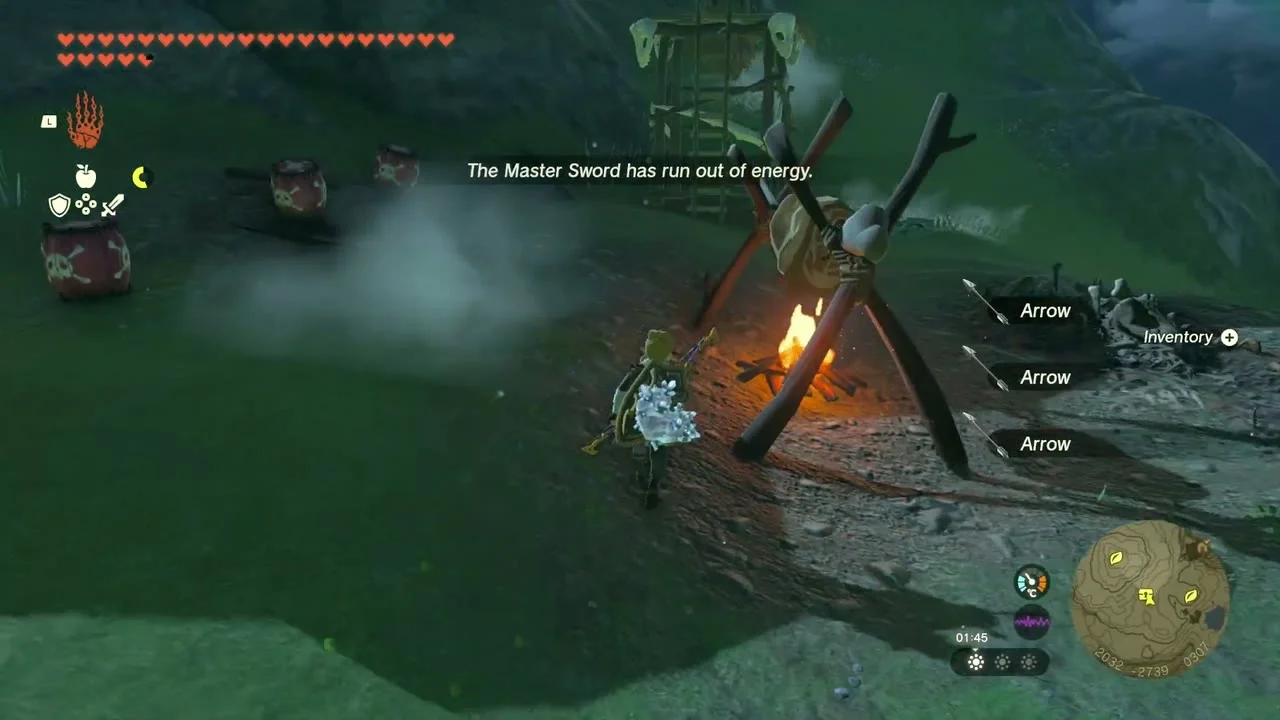
Chest: Savage Lynel Bow at about (2025, -2735, 300), on a rock ledge beside a Bokoblin lookout and camp on the hill. Clear the camp and open the chest for a Savage Lynel Bow.
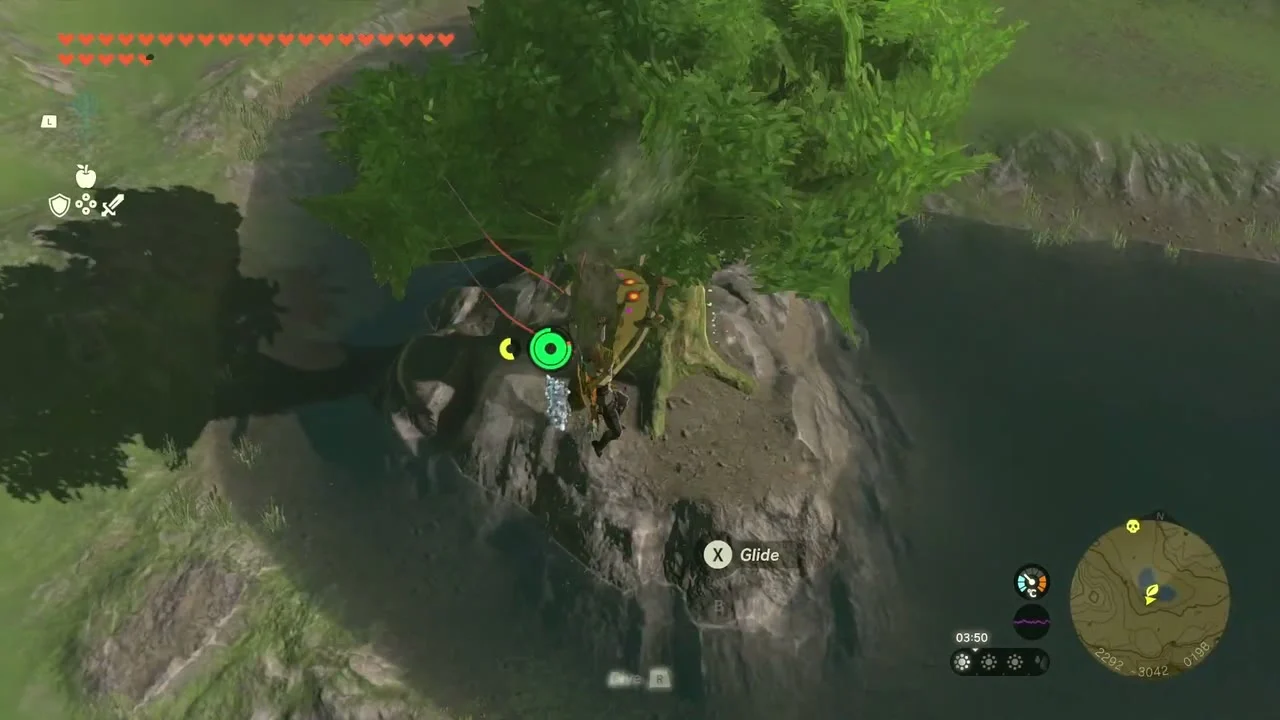
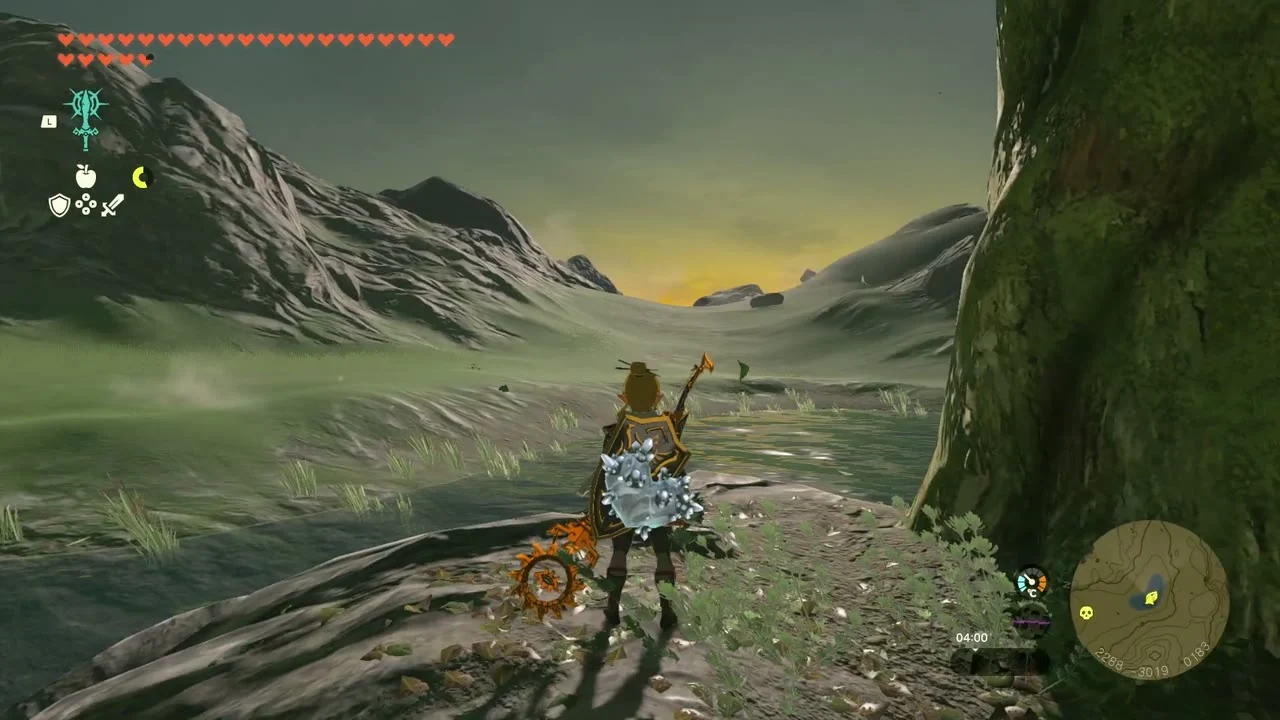
Catch the sparkling spot
Korok seed (Catch the sparkling spot) at (2294, -3020, 183), on a tree-topped rock above a lake in the south. Glide to the tree, then catch the glitter that darts around the branches.
Defeat the Boss Bokoblin
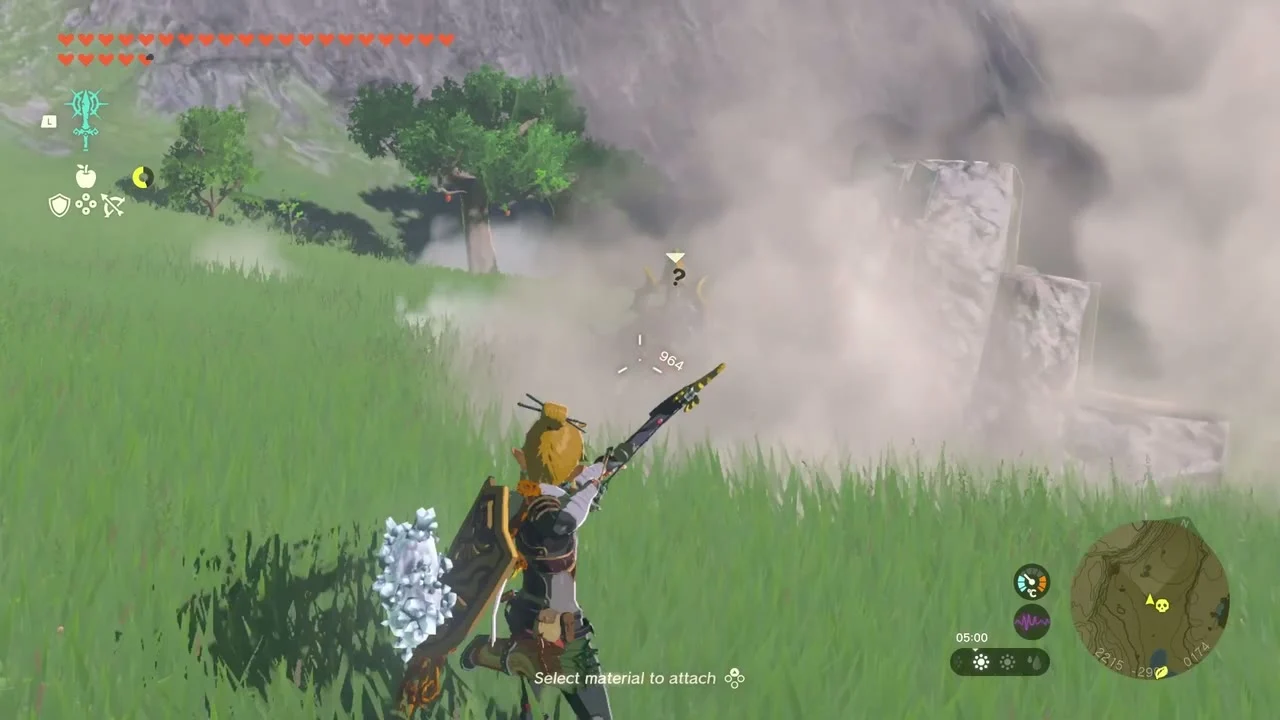
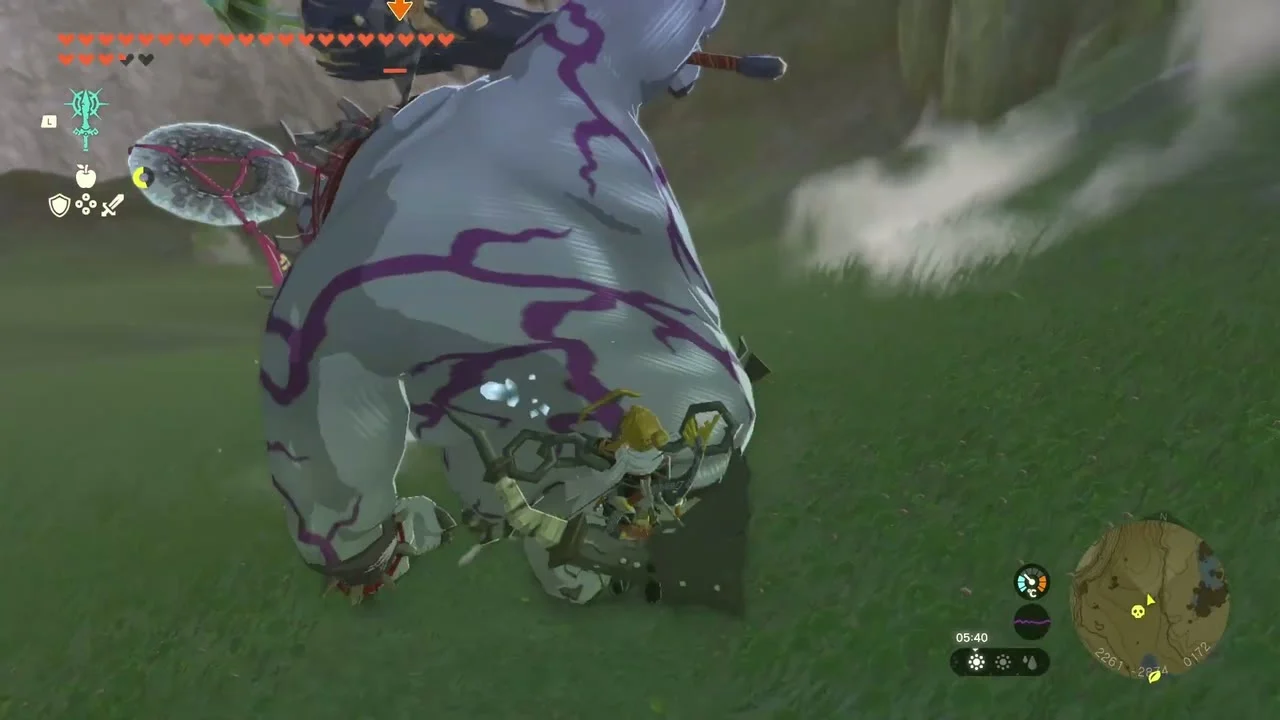
Miniboss: Boss Bokoblin at about (2247, -2828, 158), on the grass on the south side of the lake. Dodge its club swing, strike it after the swing and hit it with a strong weapon before its allies join.
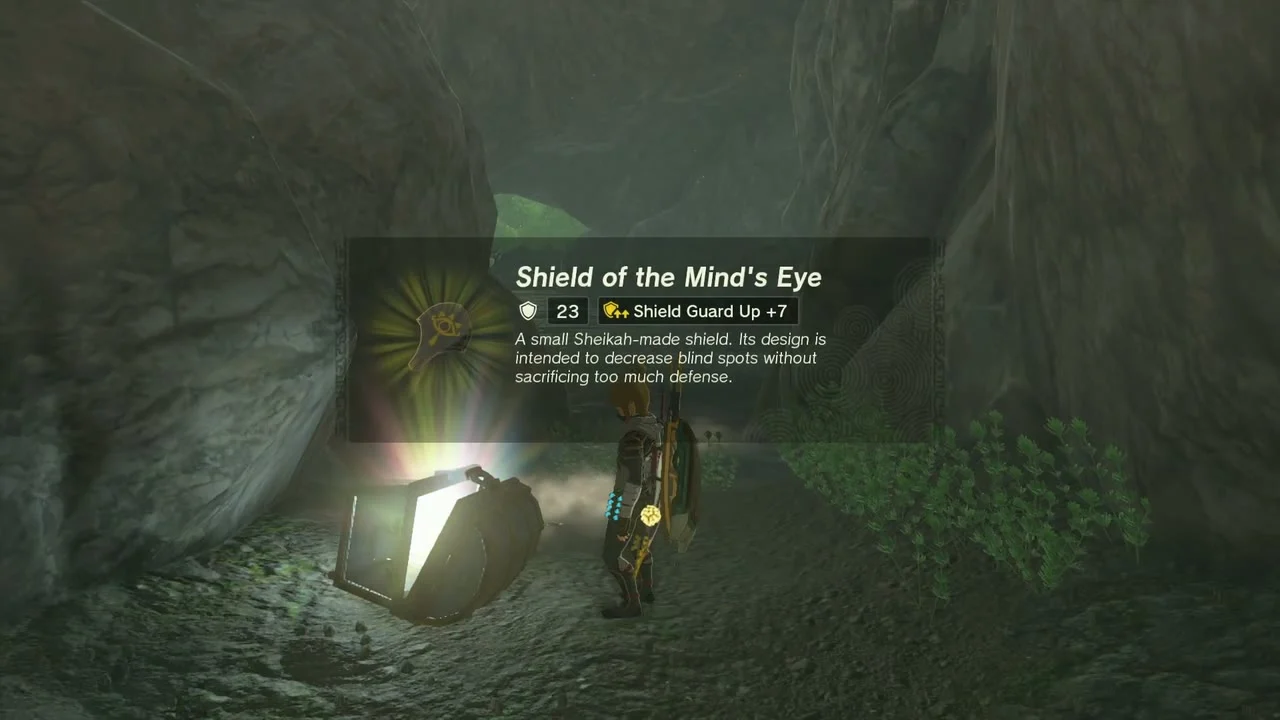
Take the second Shield of the Mind’s Eye and the balloon Korok
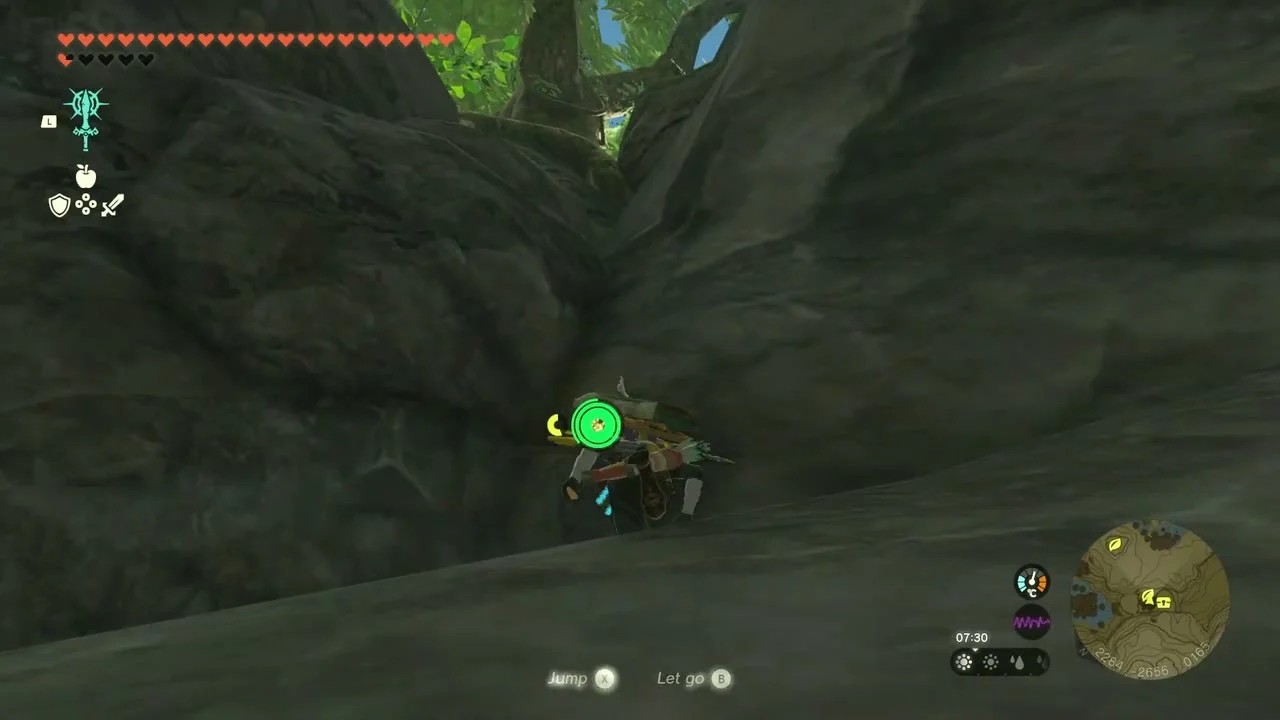
Chest and Korok seed at (2281, -2659, 181). Climb the tree above the chest and shoot the balloons for the Korok seed (Shoot the balloon(s)) at (2282, -2656, 183), then open the chest below the tree for another Shield of the Mind’s Eye.
Complete the stump Korok on the snowy peak
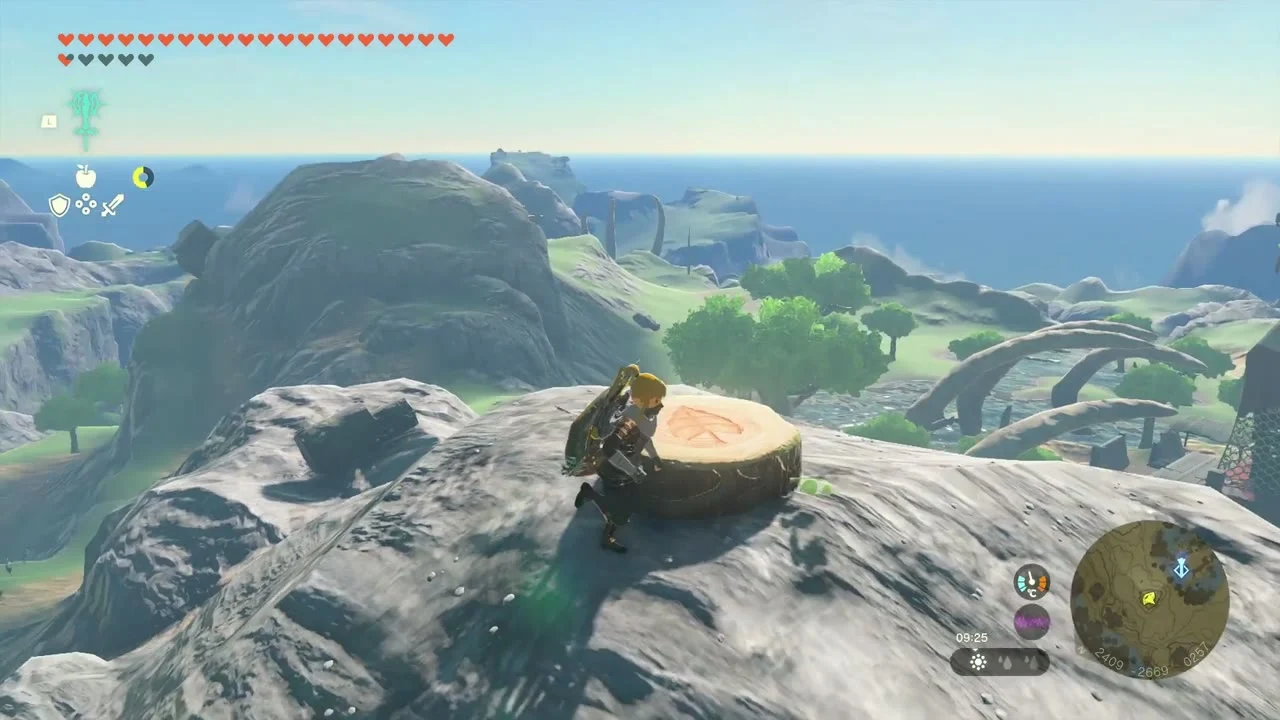
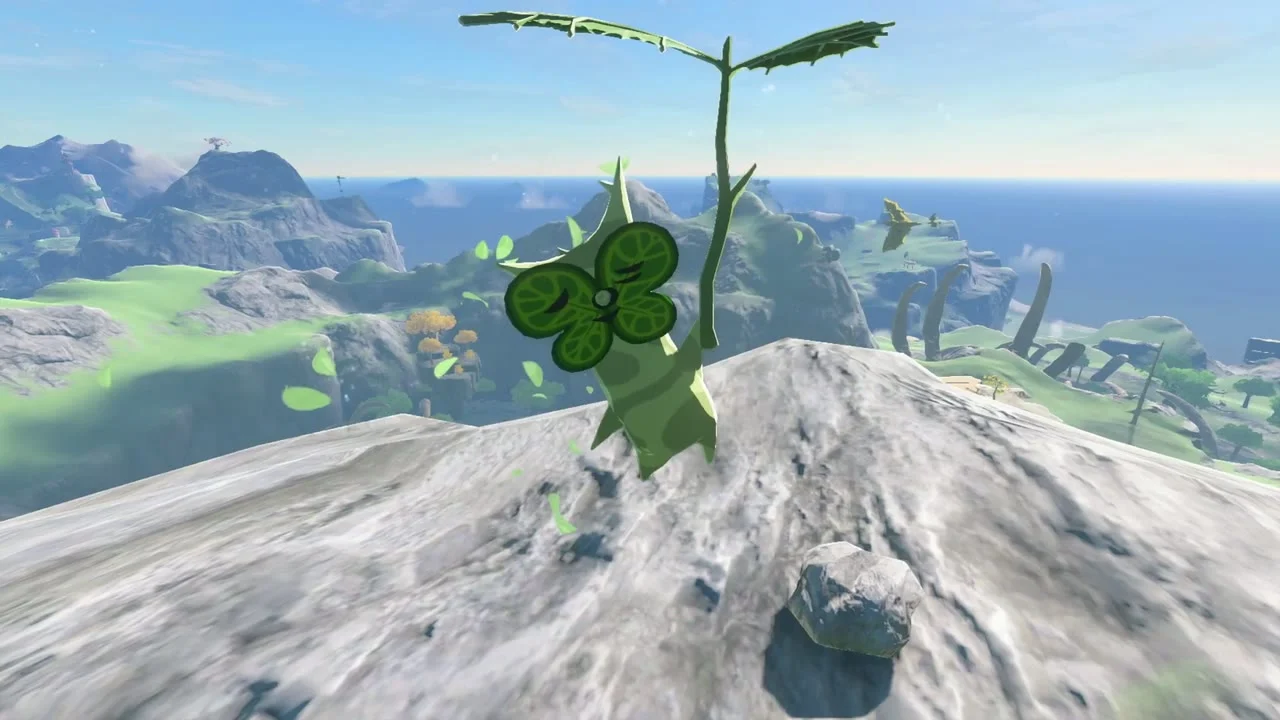
Korok seed (stump on the peak) at about (2409, -2669, 257), on the white summit above the chest. Climb to the top and the Korok waits behind the stump with a view over the sea. (No other Korok is at this exact position.)
Open the Dragonbone Boko Bow chest
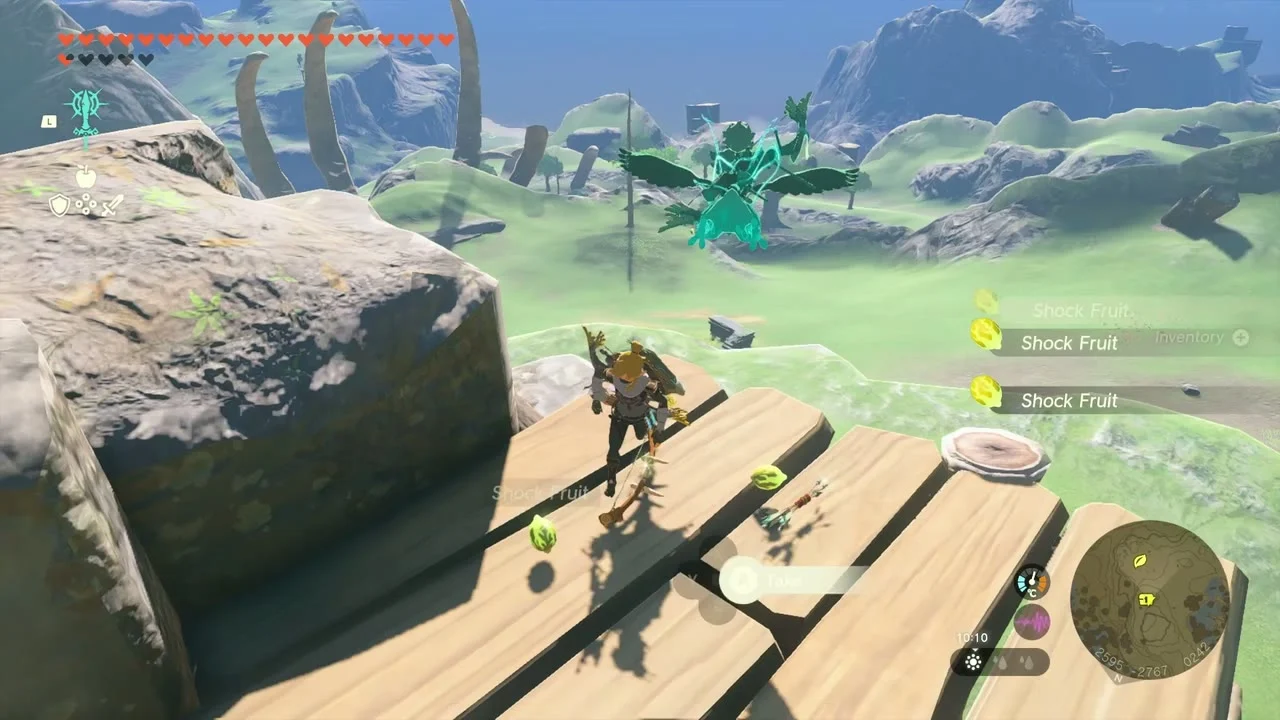
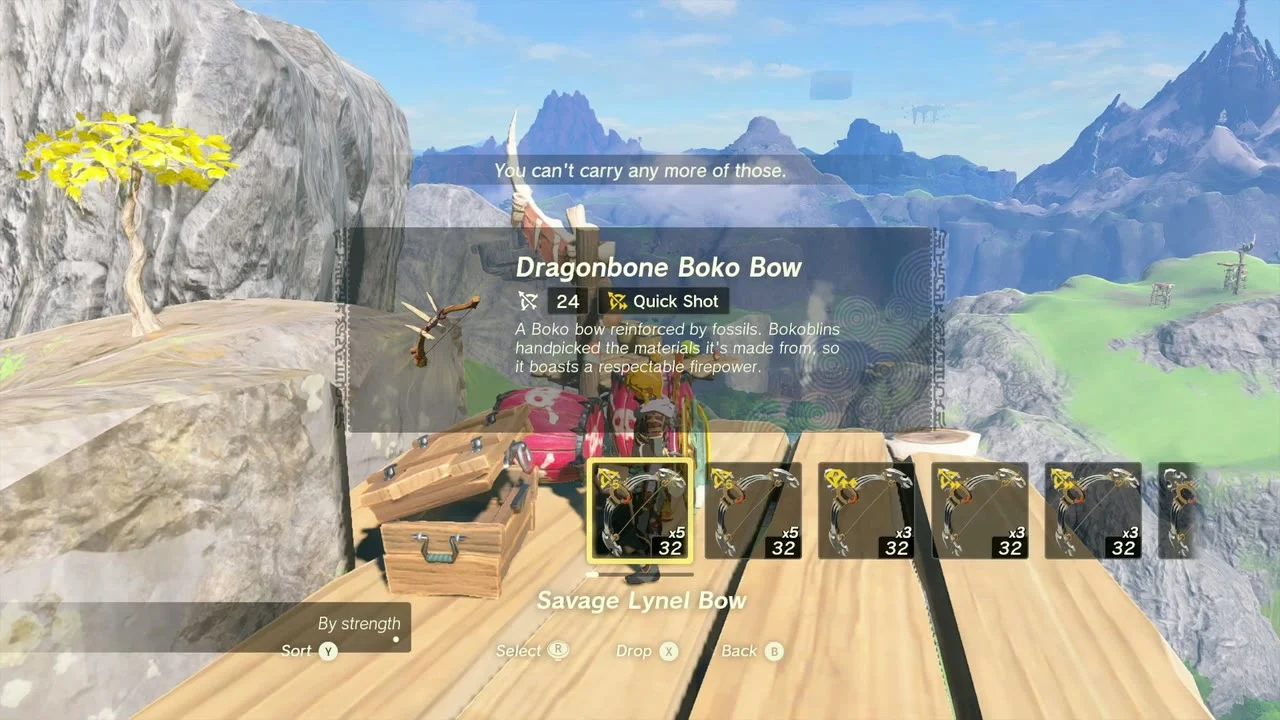
Chest: Dragonbone Boko Bow at (2603, -2764, 244), on a wooden platform on a cliff on the shore of Meda Mountain. Climb onto the platform and open the chest for a Dragonbone Boko Bow.
Repair Addison’s sign on Meda Mountain
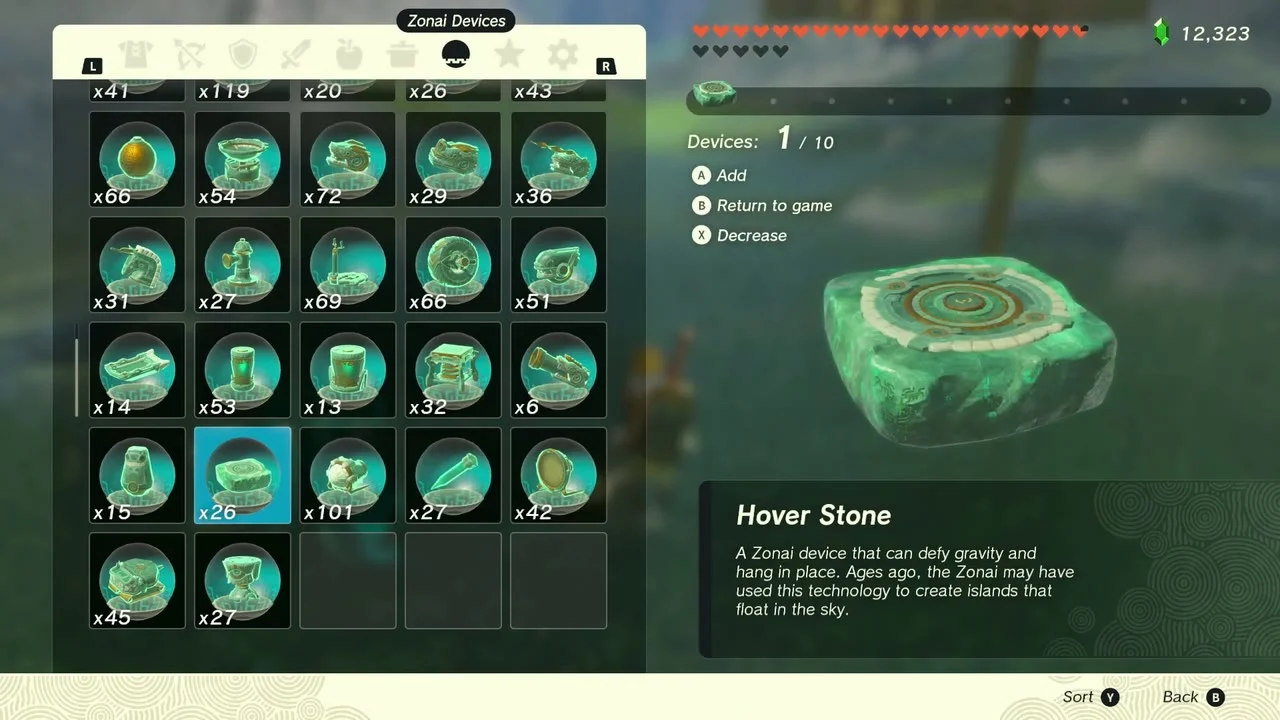
Hudson Construction sign: Meda Mountain at (2616, -2595, 154). Build a stand from three planks and a Hover Stone under the sign; the fix is finished when Addison thanks you.
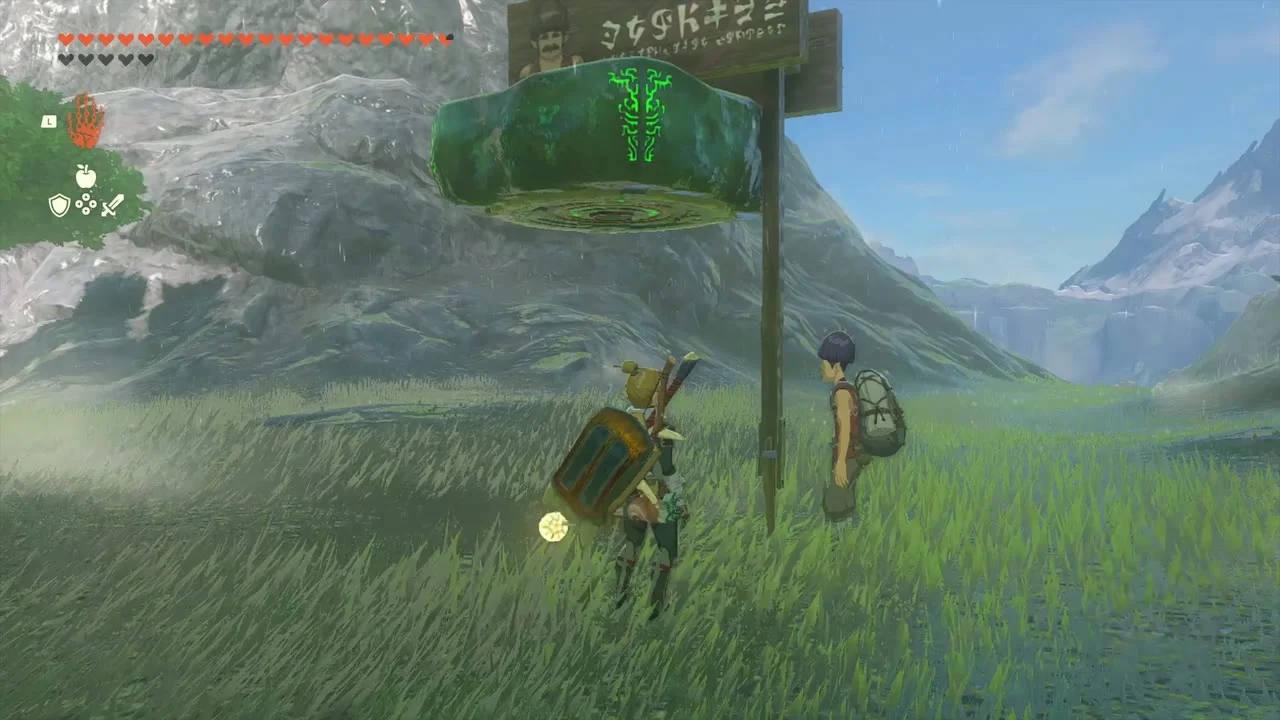

Meda Mountain, Hanu Pond and the south coast
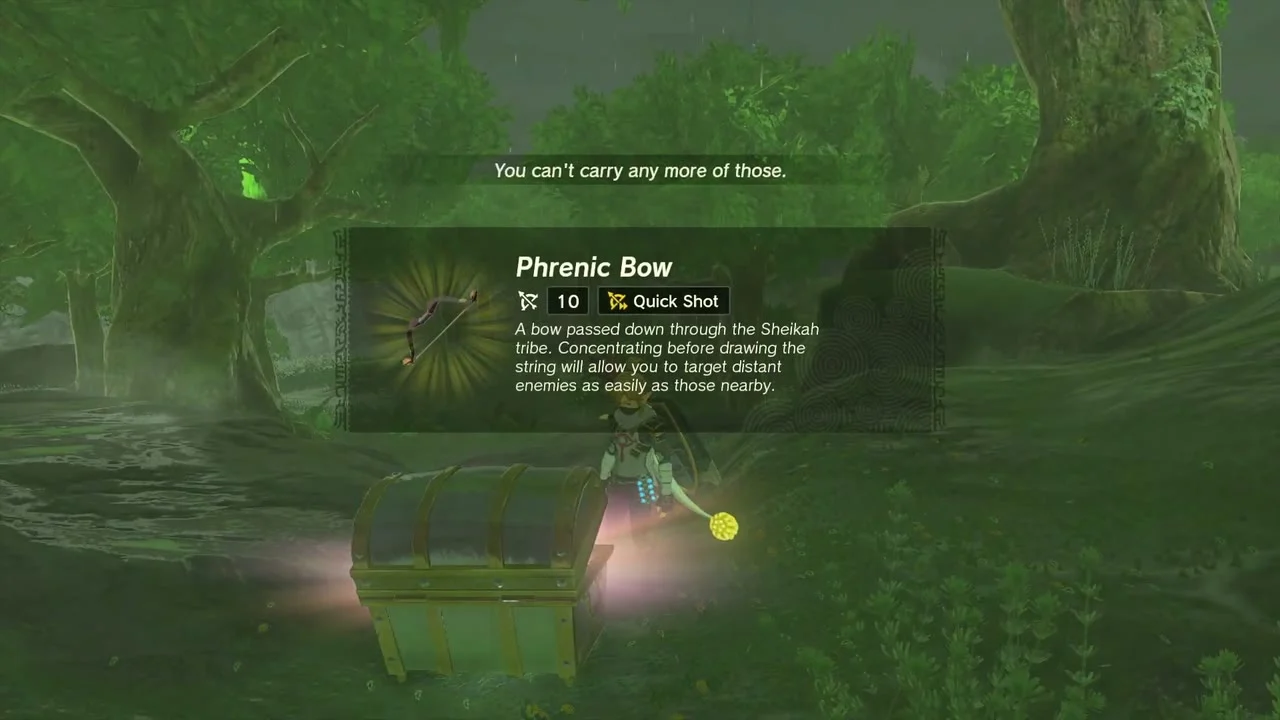
Open the Phrenic Bow chest
Chest: Phrenic Bow at about (2650, -2420, 122), in the dark undergrowth under the trees. Open the chest for a Phrenic Bow.
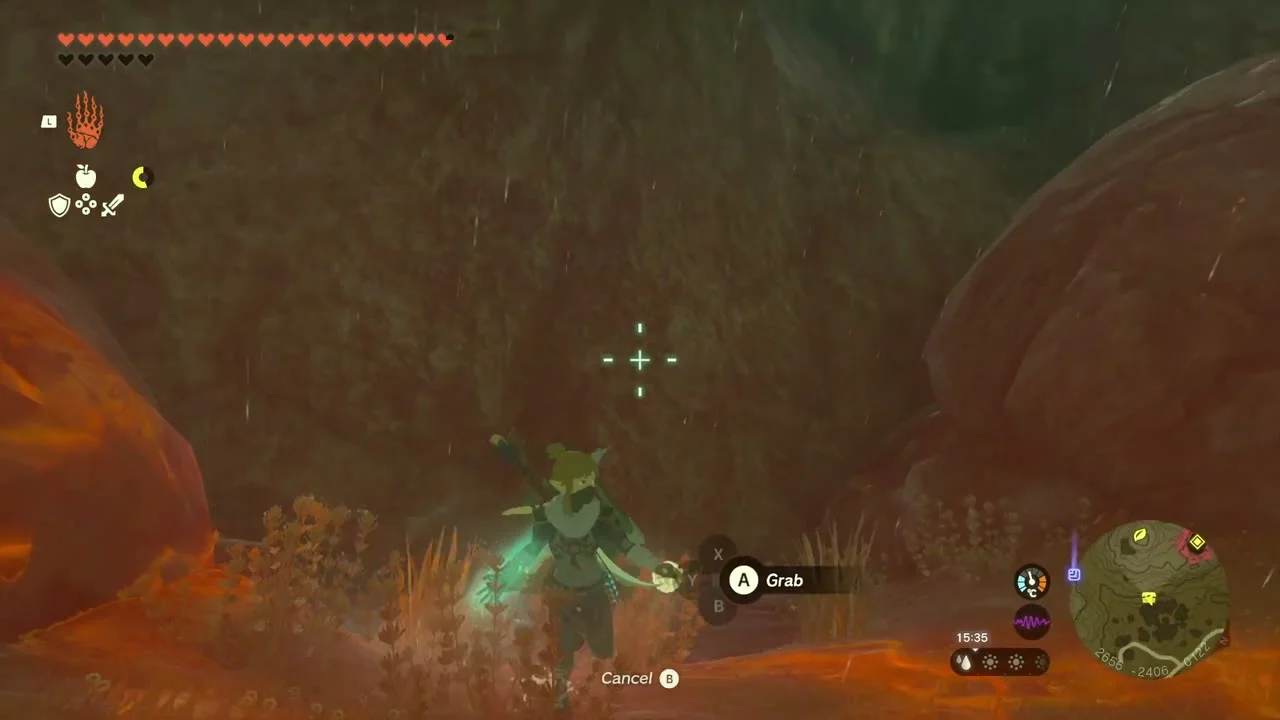
Stop at Meda Mountain Chasm
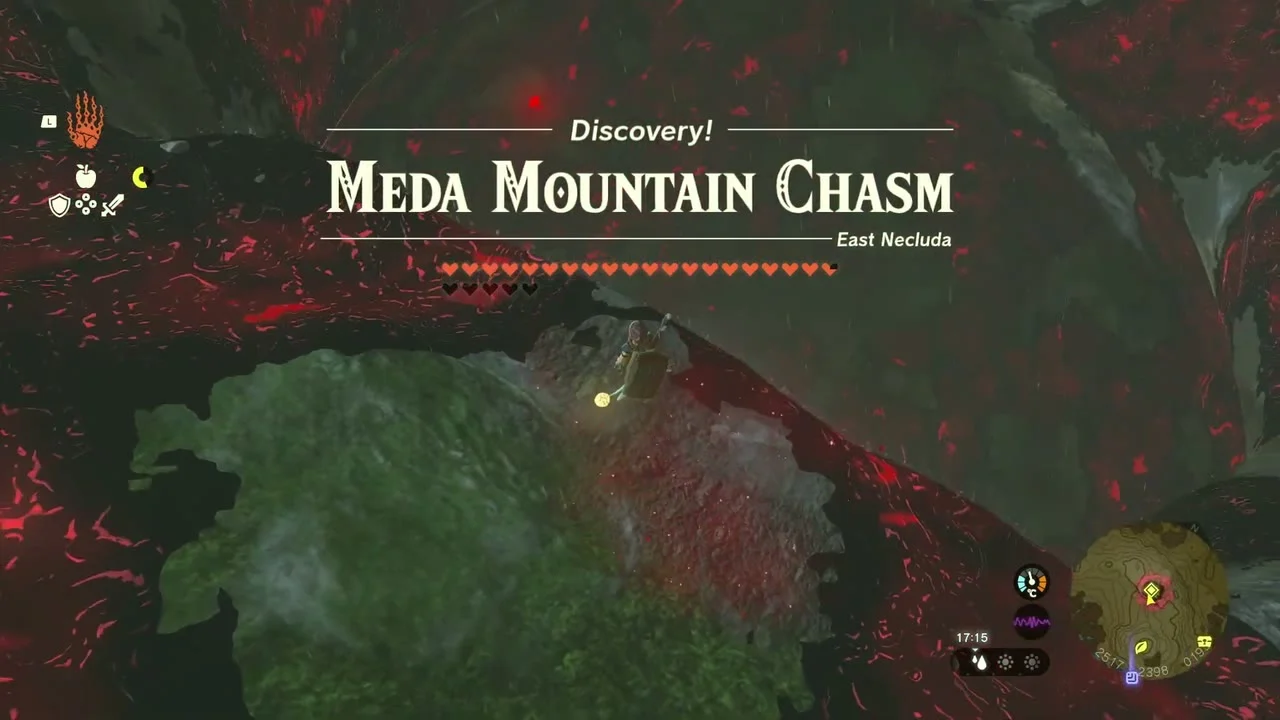
Meda Mountain Chasm at (2513, -2381, 130), a red-glowing chasm on Meda Mountain. It leads straight down to the Depths below Meda Canyon Mine; the discovery title appears as you glide past.
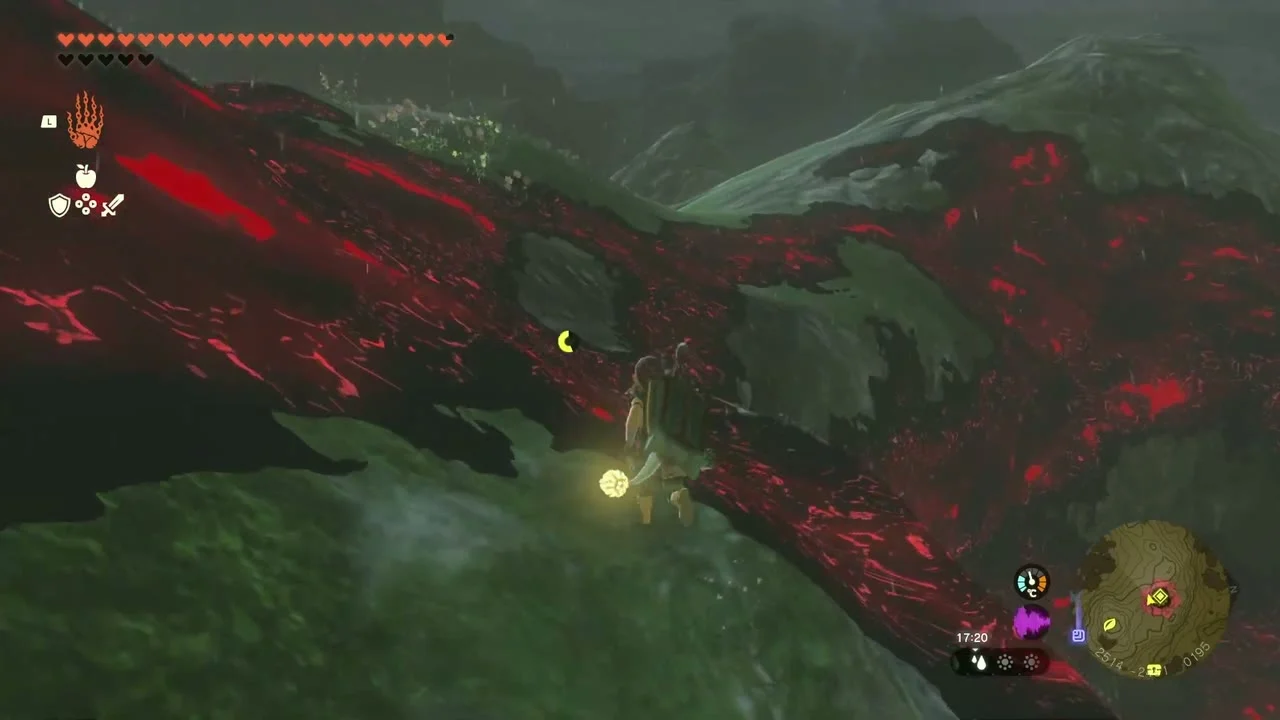
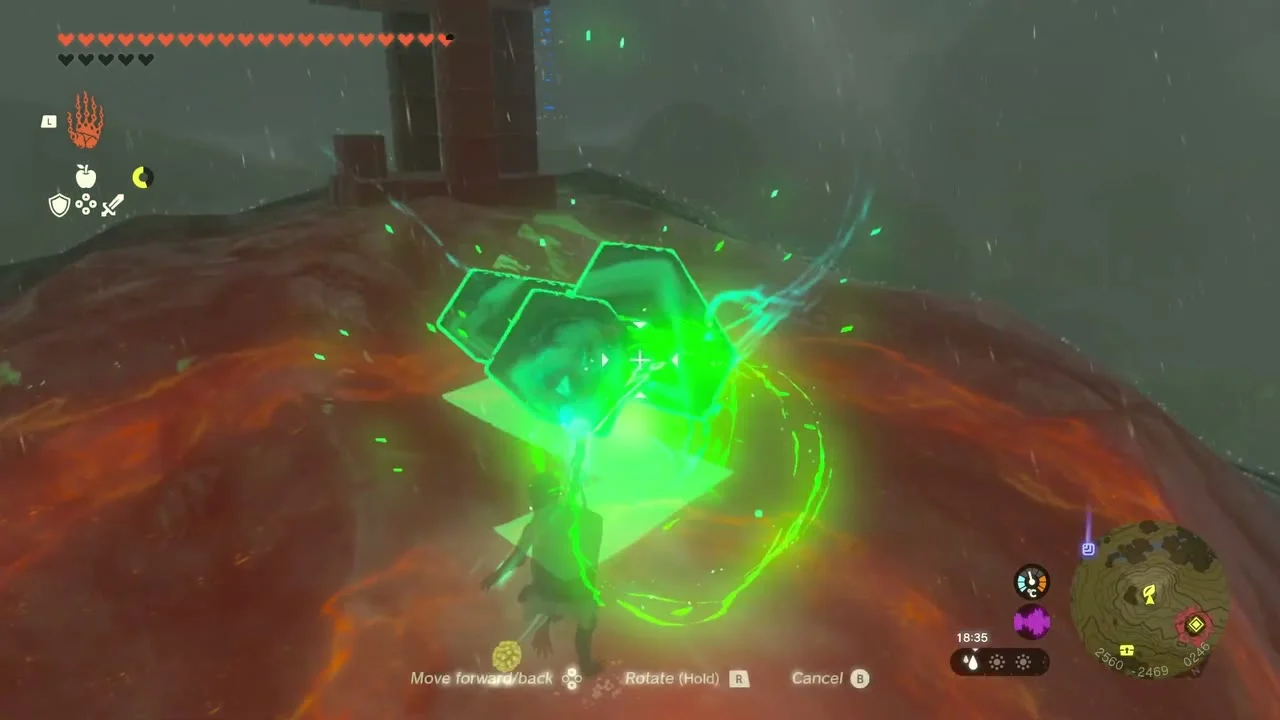
Solve the cube puzzle
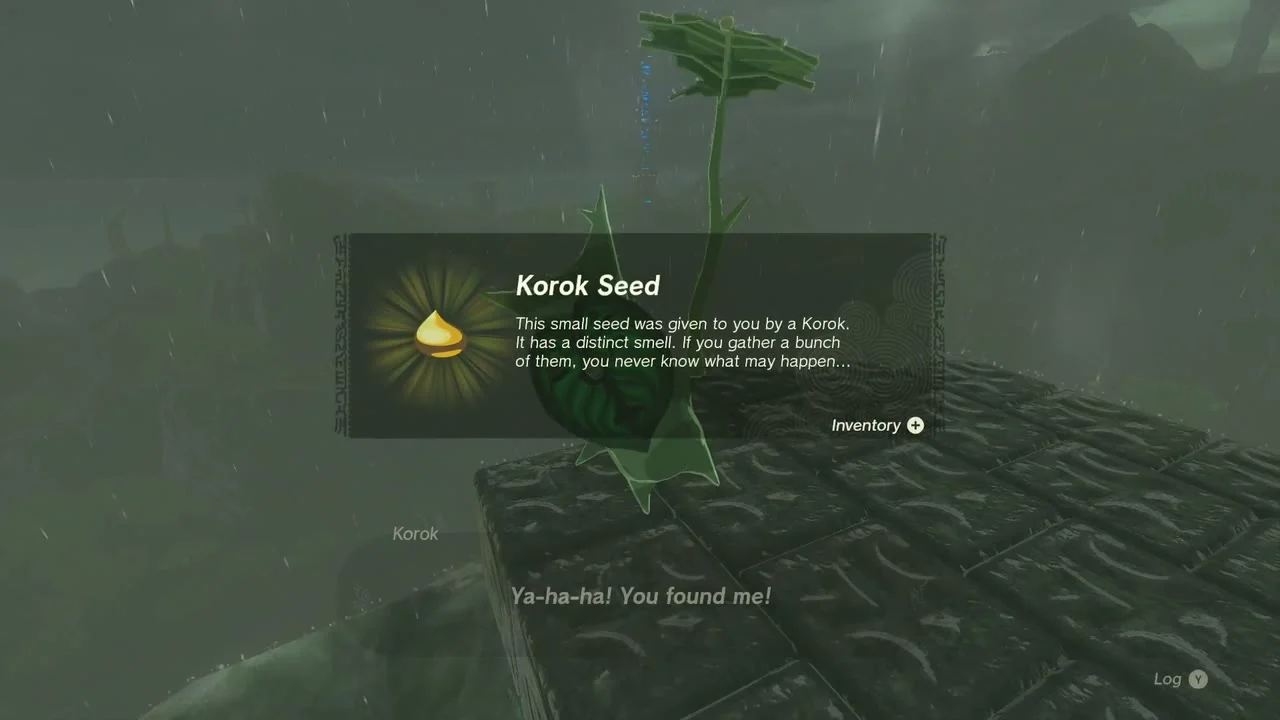
Korok seed (Complete the cube puzzle) at (2558, -2484, 255), on the lava-lit ledge next to the chasm. Use Ultrahand to line up the loose stone cubes with the markings on the ground slab until the Korok appears.
Open the Ancient Blade chest
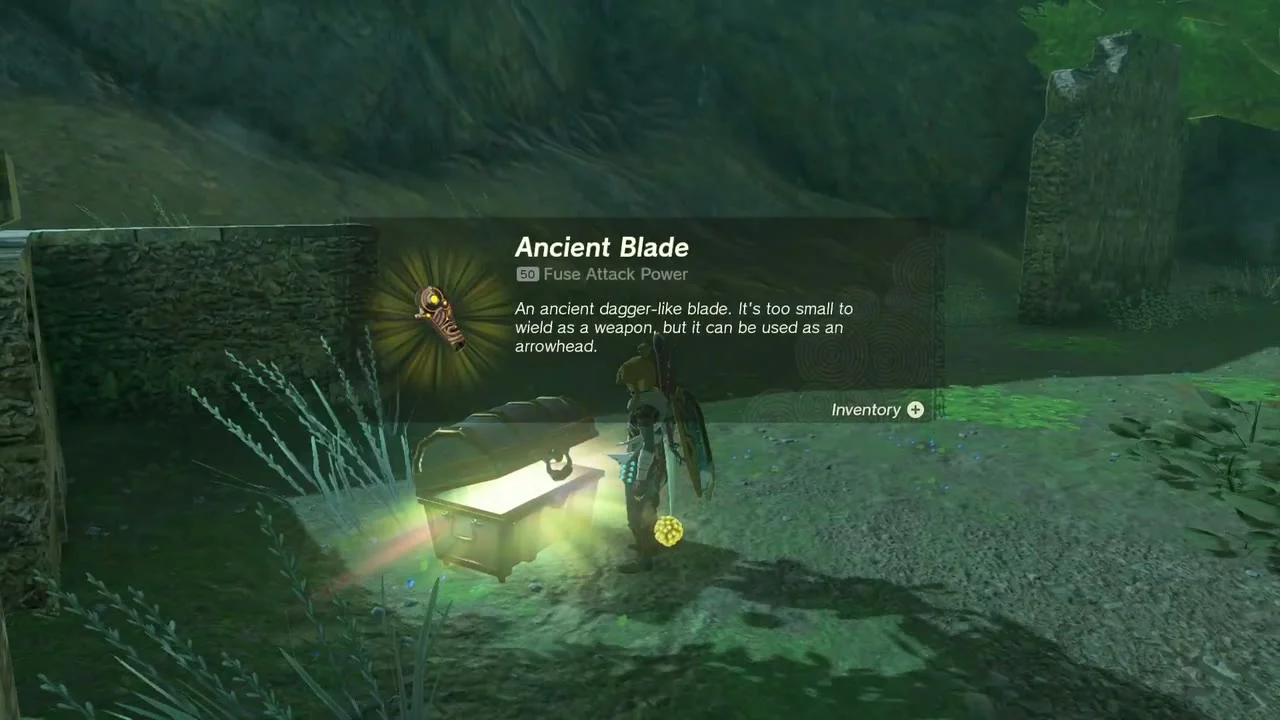
Chest: Ancient Blade at about (2950, -2510, 122), in a hollow beside an old stone wall. Open the chest for an Ancient Blade, a weak weapon that is useful for fusing.
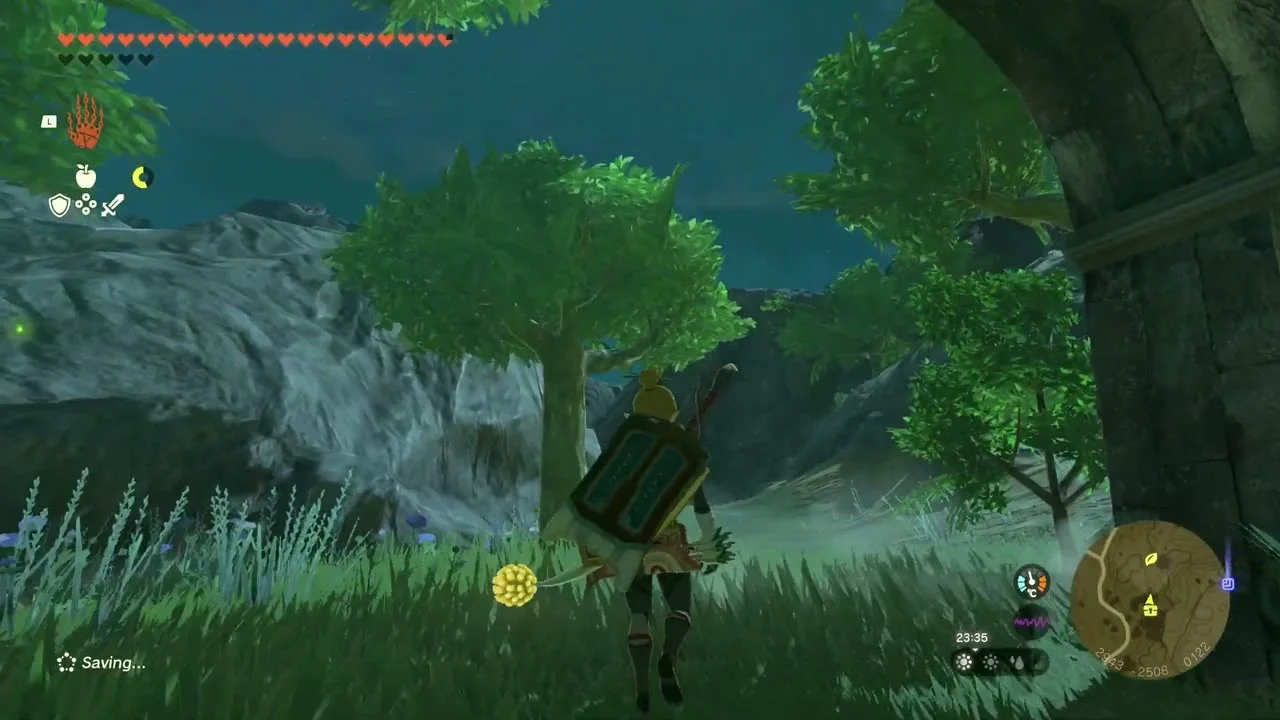
Dive into the ring at the lily pond
Korok seed (Dive into the ring) at (3013, -2537, 128), in the lily pond east of the wall. Jump from the cliff above the pond and dive through the ring in the water.
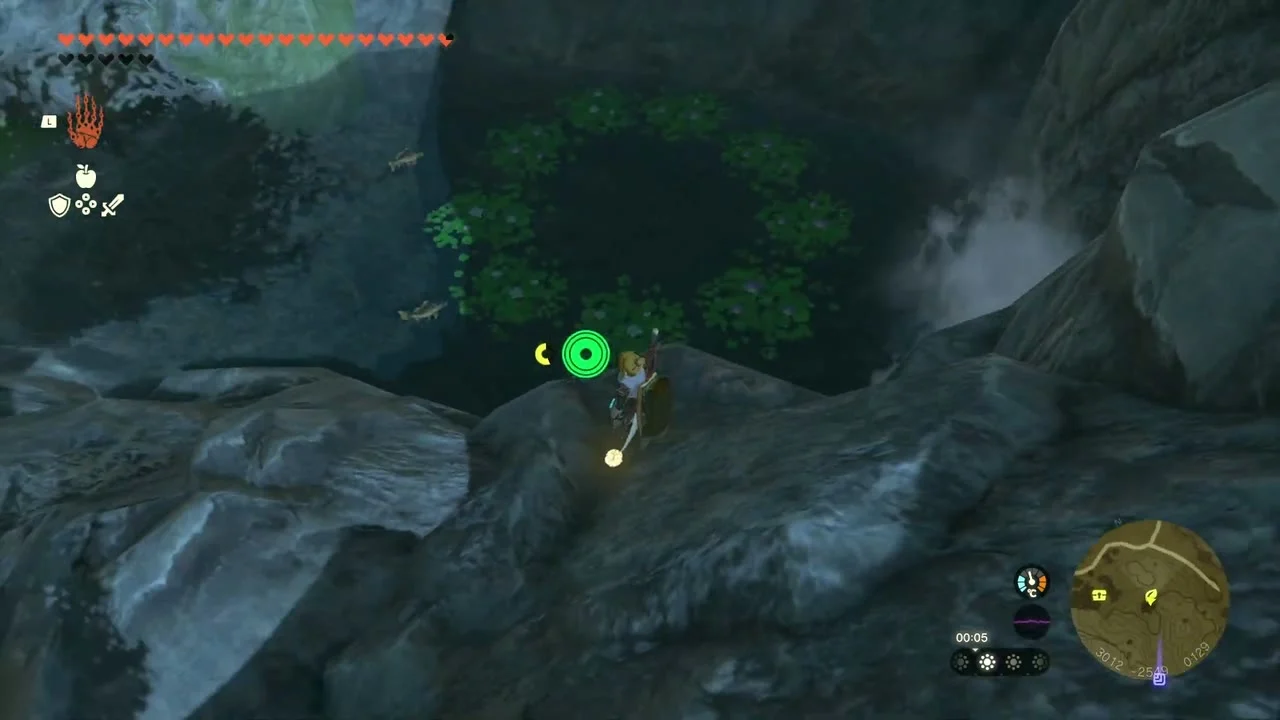
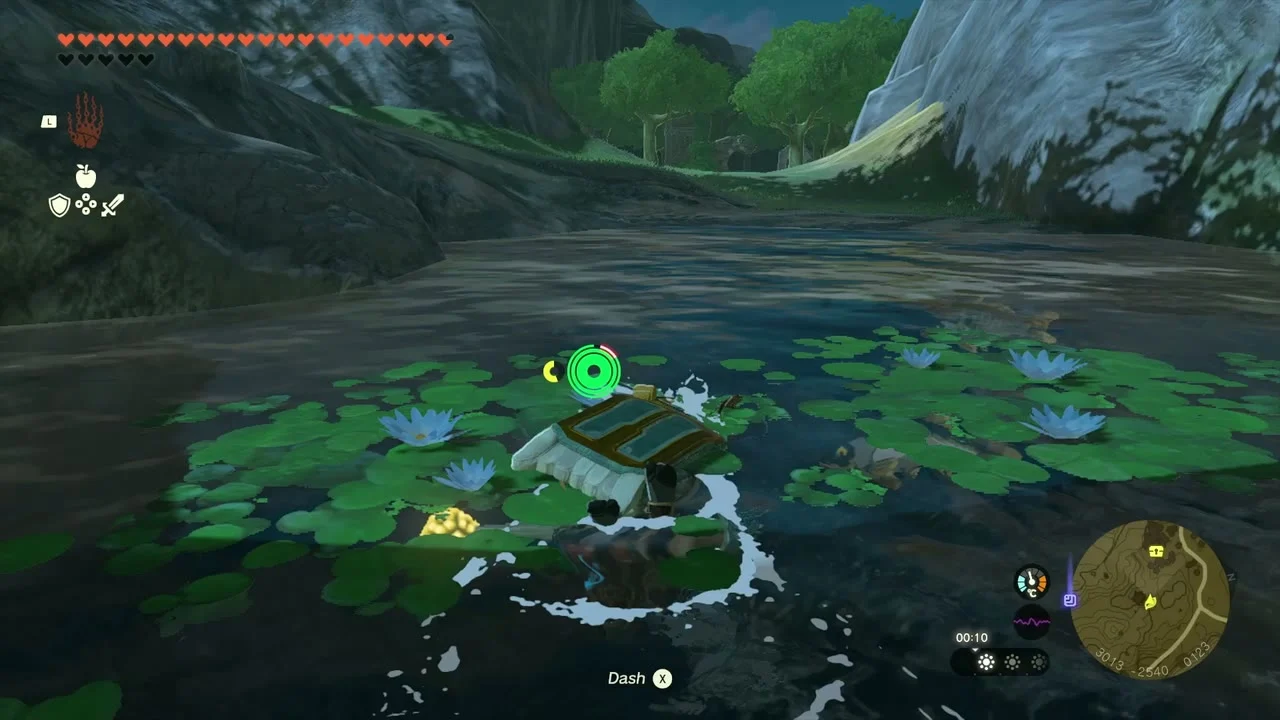
Open the Steel Lizal Shield chest and pull the plug
Chest: Steel Lizal Shield at about (2770, -2540, 216) on a wooden platform beside the hill, and Korok seed (Pull the plug) at (2877, -2685, 192) in the hollow below it. Open the chest for a Steel Lizal Shield, then drag the plug rock out of the Korok’s hole with Ultrahand.
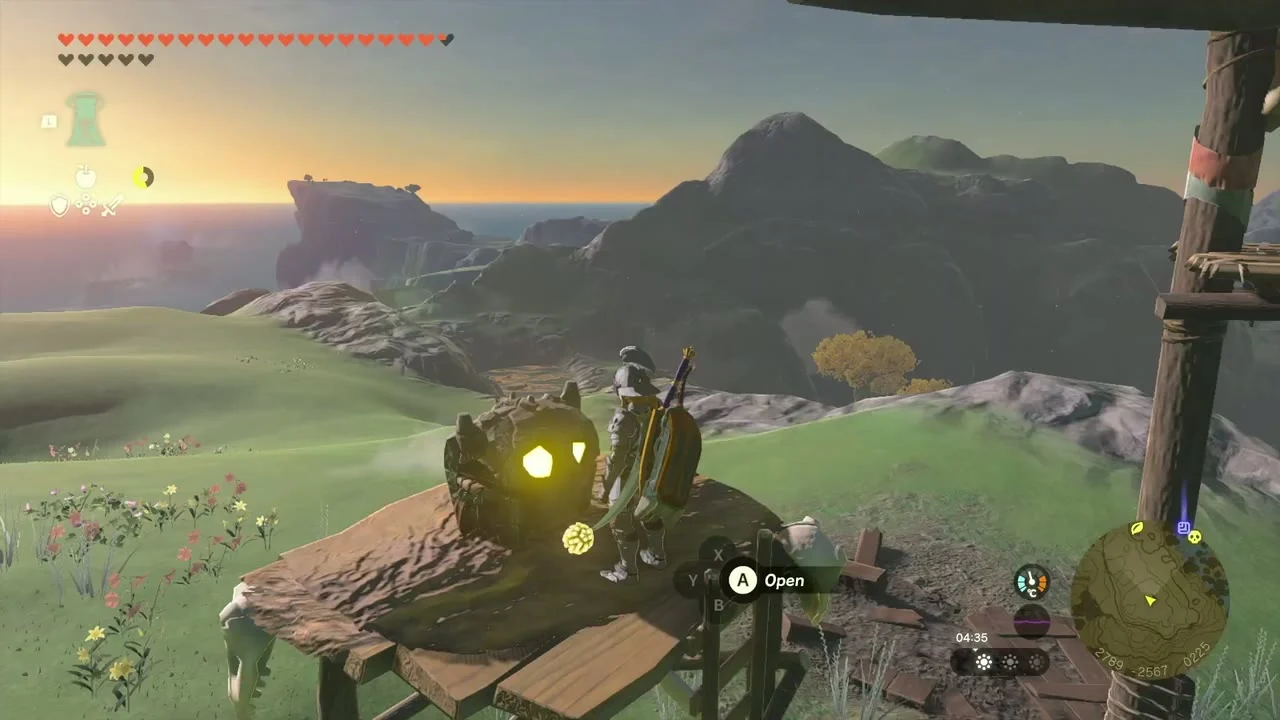
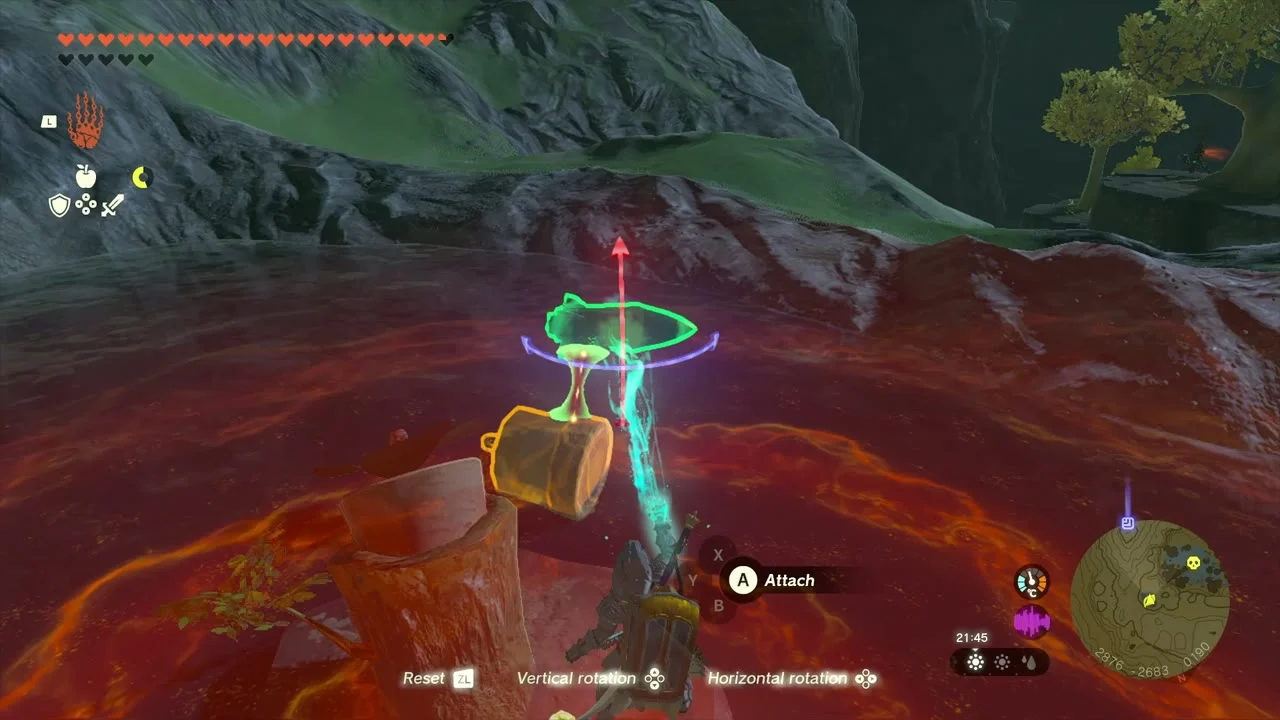
Defeat Stalnox at Hanu Pond
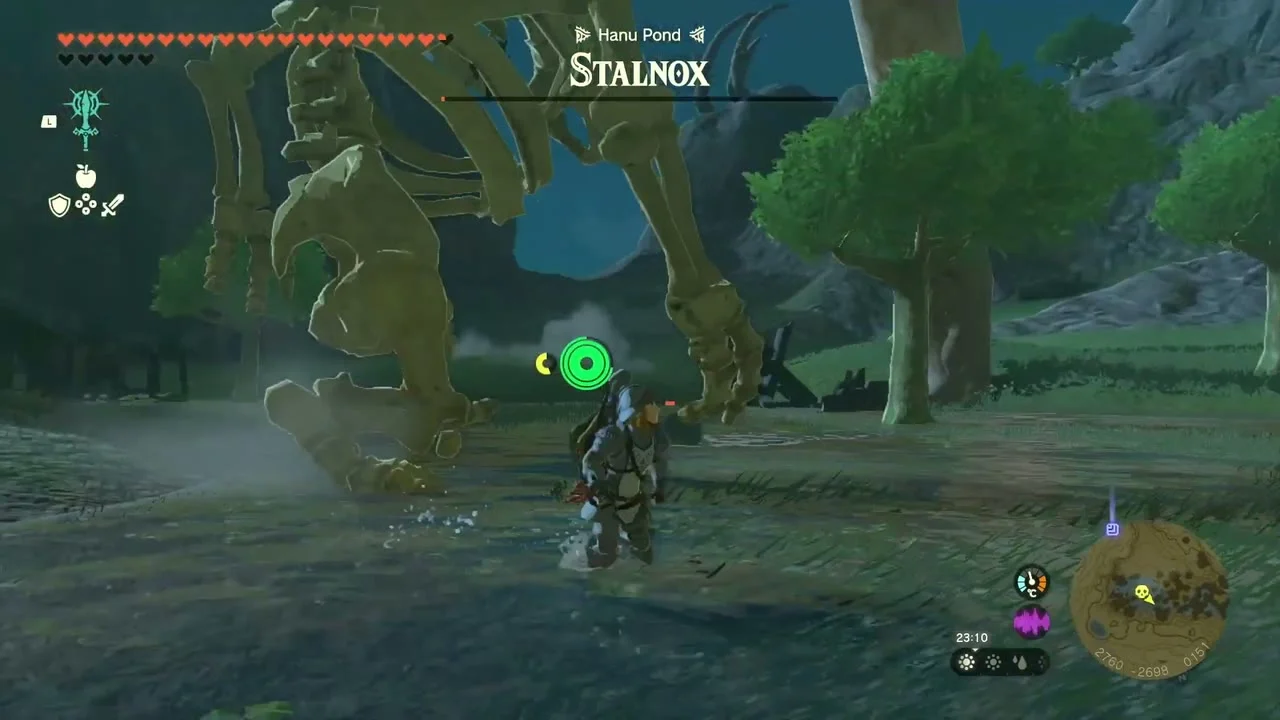
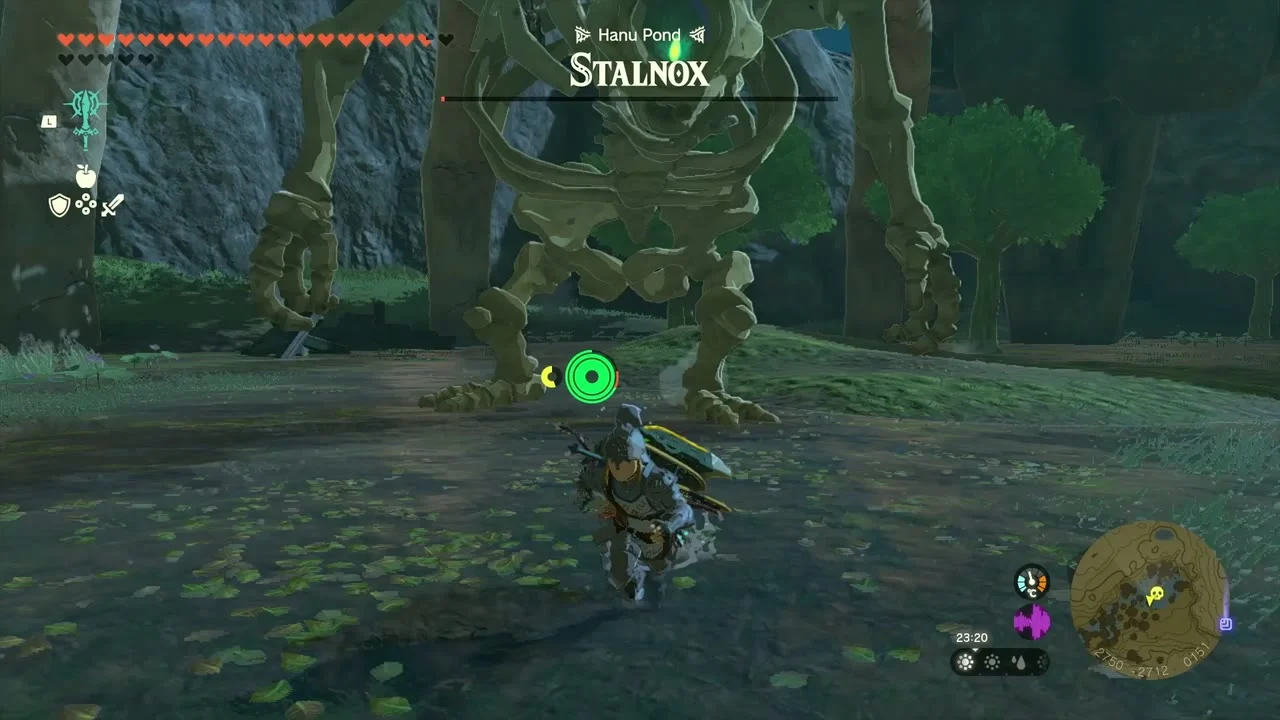
Miniboss: Stalnox at about (2750, -2712, 151), at Hanu Pond. Shoot its eye to knock it down, then attack the eye and the exposed spot on the head with your strongest weapon.
Climb the pole for the sparkling spot
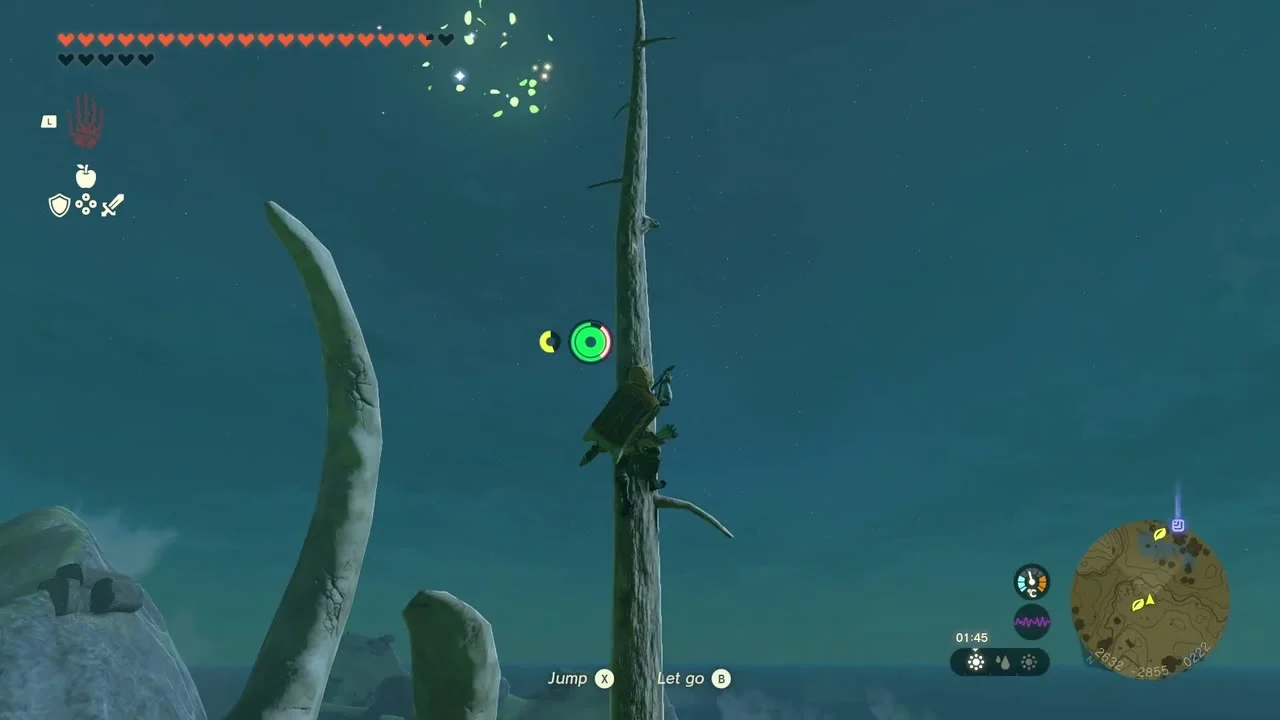
Korok seed (Go up to examine the sparkling spot) at (2635, -2854, 229), at the top of a tall bare pole near the cliff. Climb the pole and press the button at the glitter.
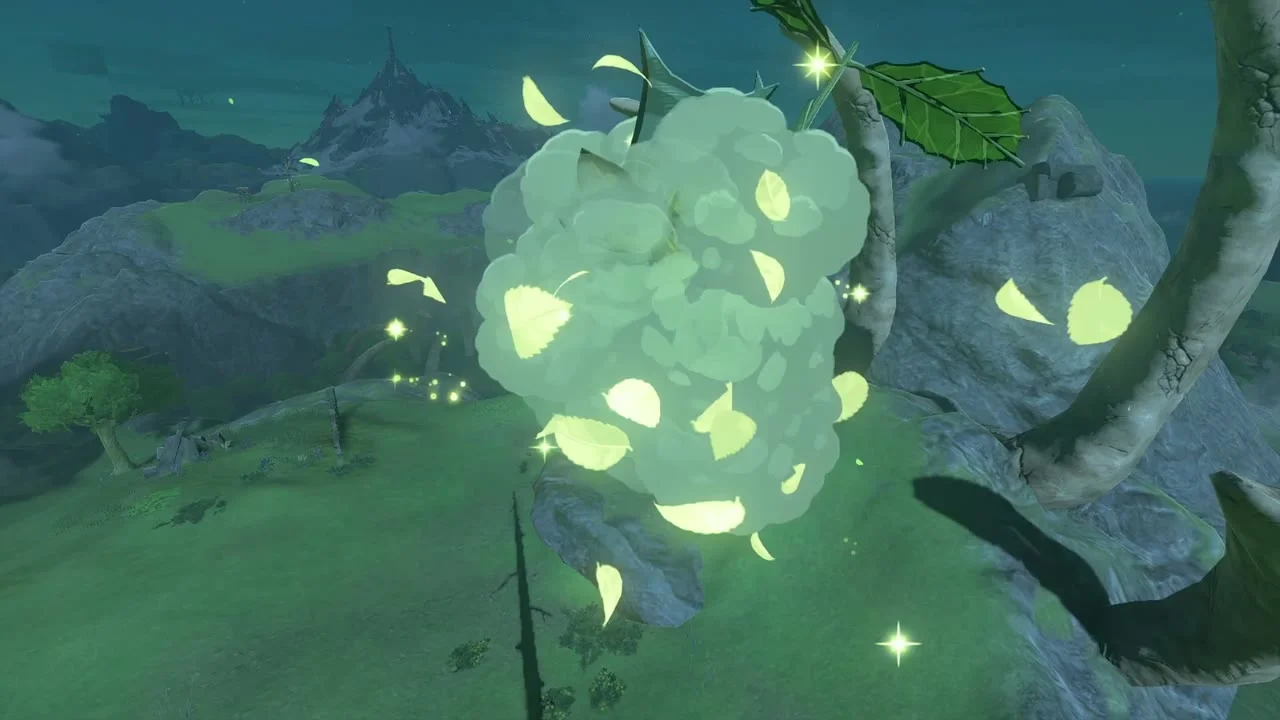
Follow the arrows
Korok seed (Examine where the arrows point to) at (2713, -2960, 191), on the rock ridge above the south lake. Follow the line of stuck arrows to the point where they converge and examine it.
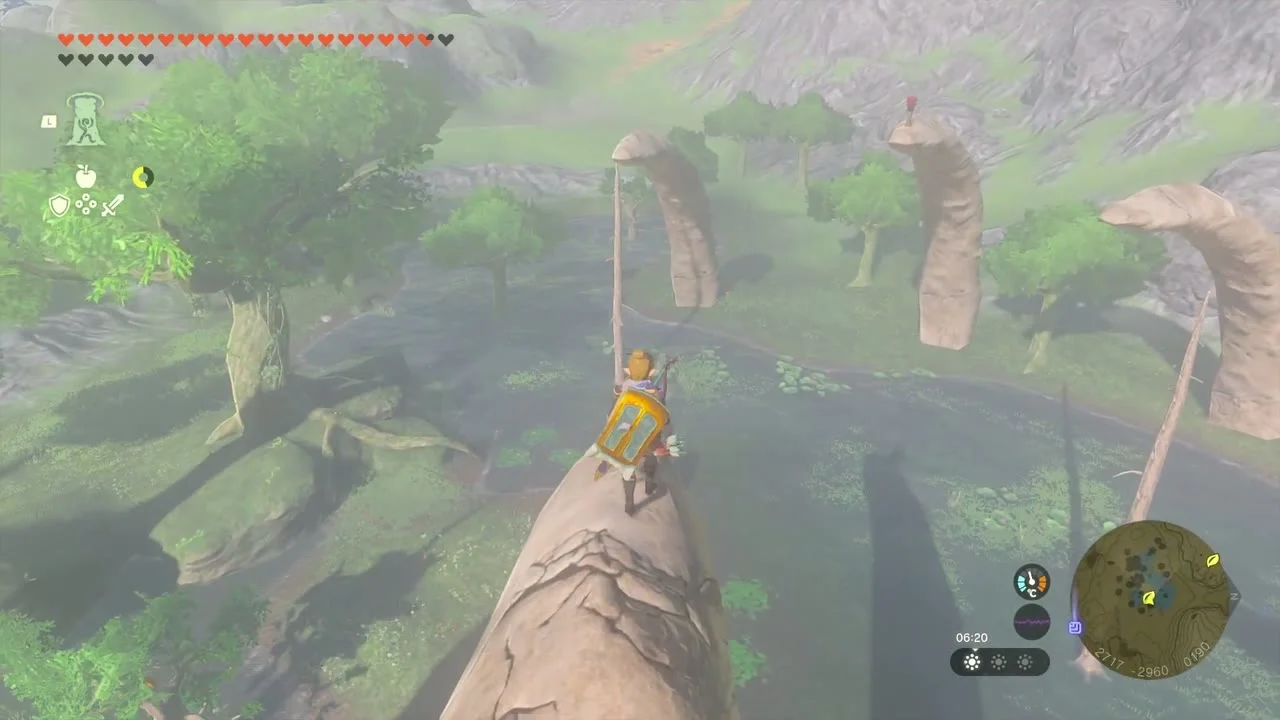
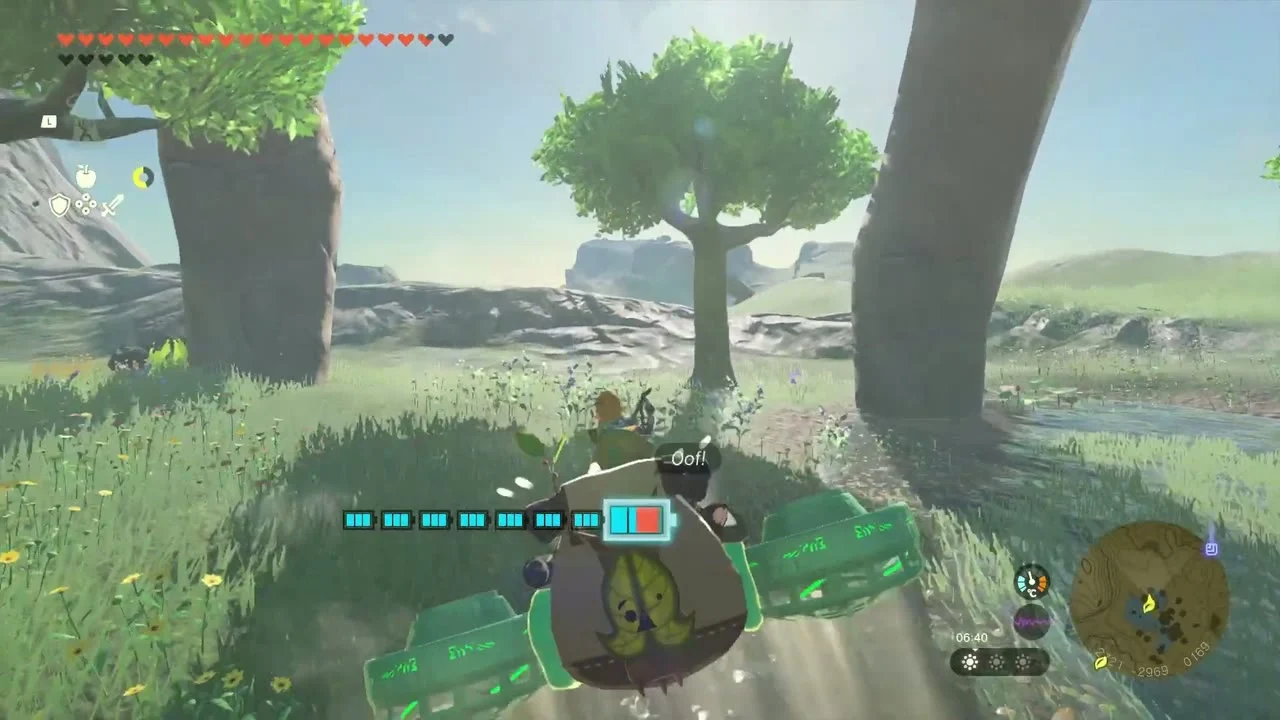
Carry the exhausted Korok
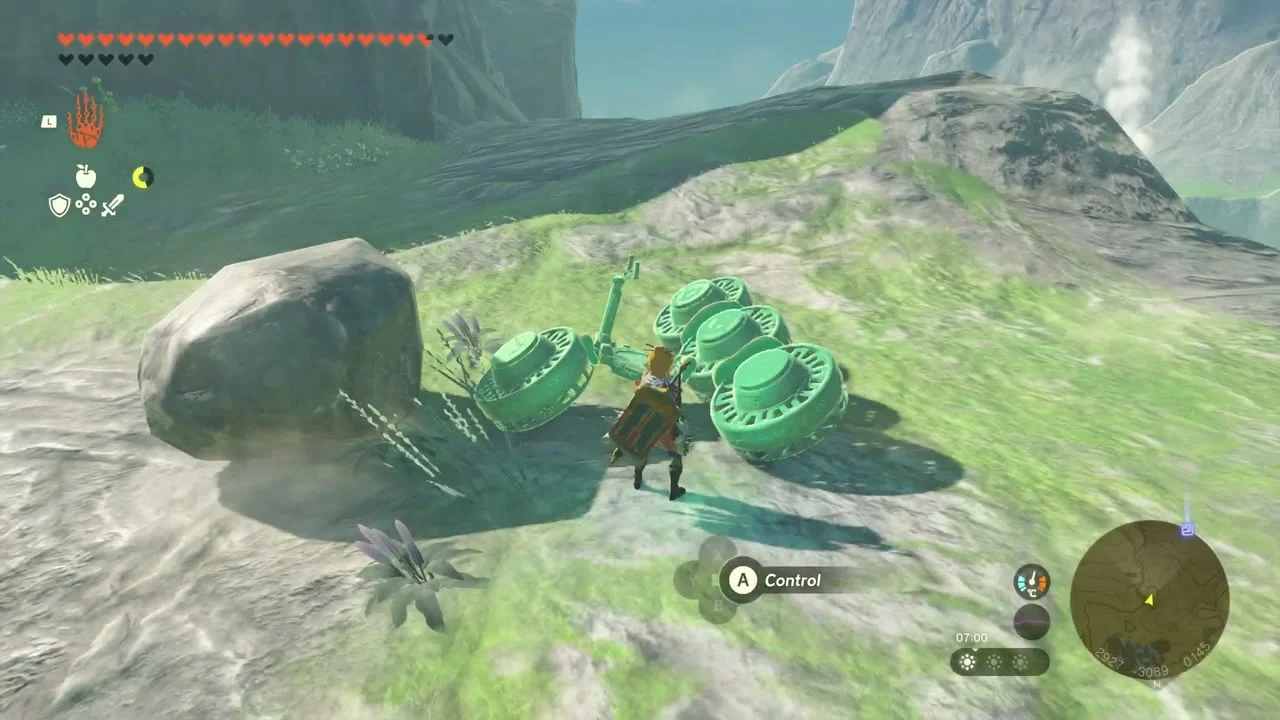
Korok seed (Bring the exhausted Korok to its friend) at (2919, -3083, 146). Put the tired Korok on a cart or in a Zonai device and push it to the Korok at the grove at the south edge of Mount Dunsel.
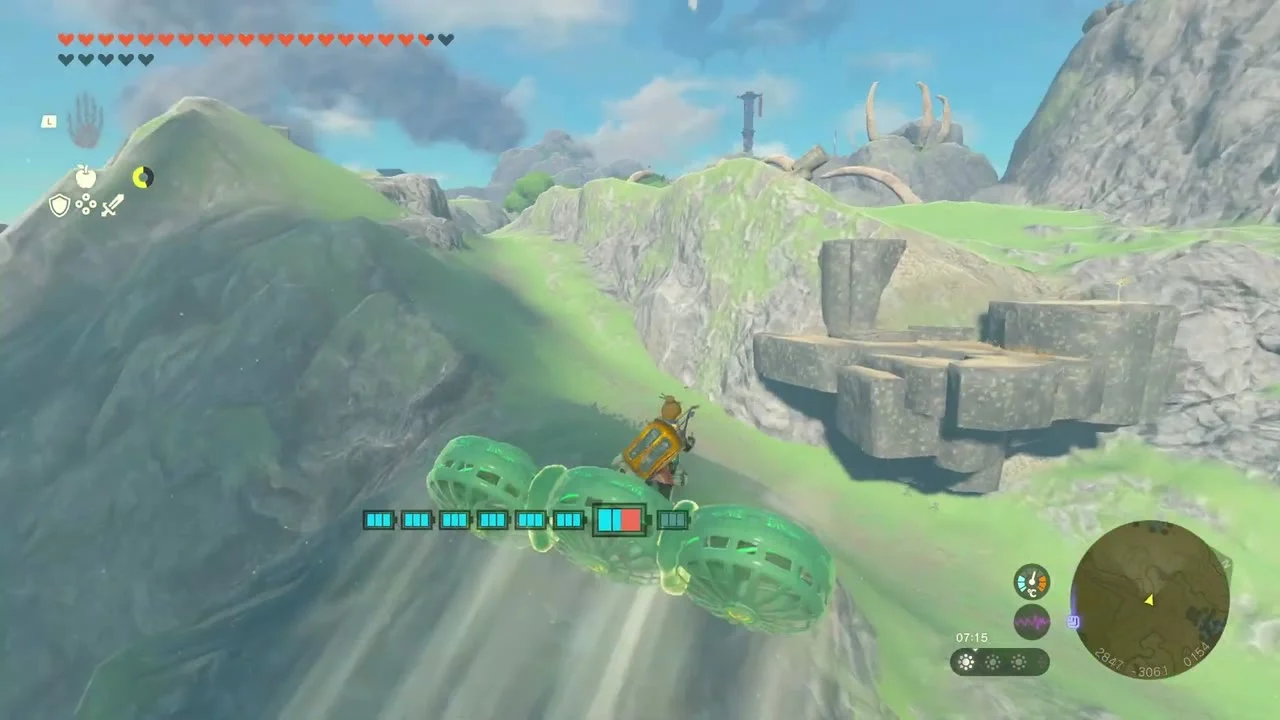
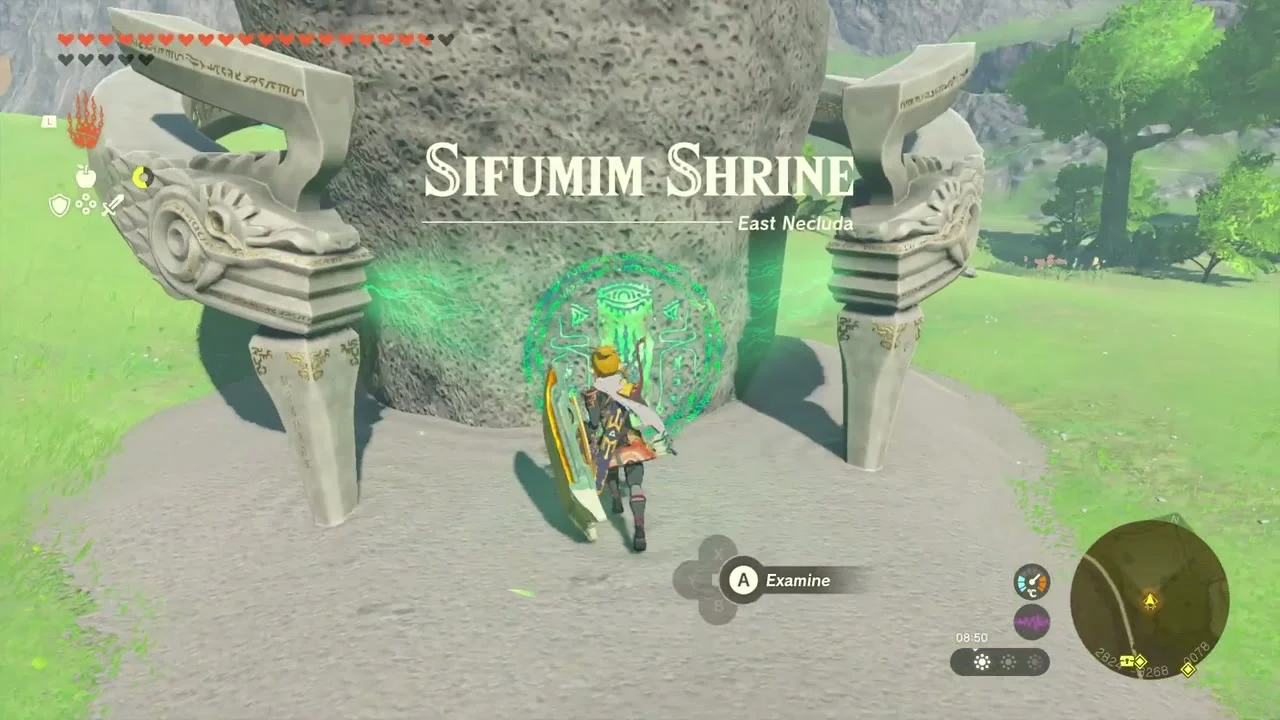
Sifumim Shrine
Find Sifumim Shrine near Lurelin Village
Sifumim Shrine (Proving Grounds: Flow) at (2825, -3270, 91), on the cliff north-west of Lurelin Village. Walk up from the Lurelin road to the shrine entrance; the Mimufis Lightroot is beneath it.
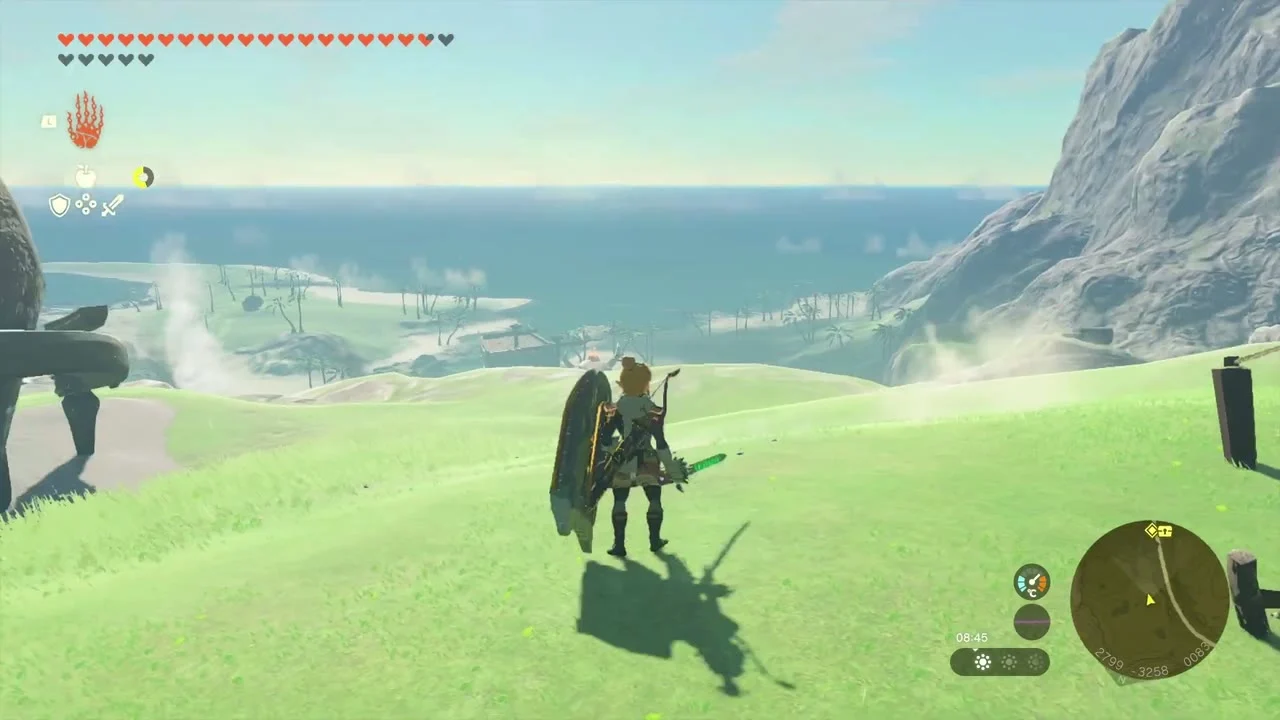
Clear the first deck
In this combat trial your gear is taken. Grab the weapons in the starting room, then use cover (the crates) to avoid the archers on the floating platforms. Ride the wooden boat with Ultrahand and shake it to drop any construct riding it in the water.
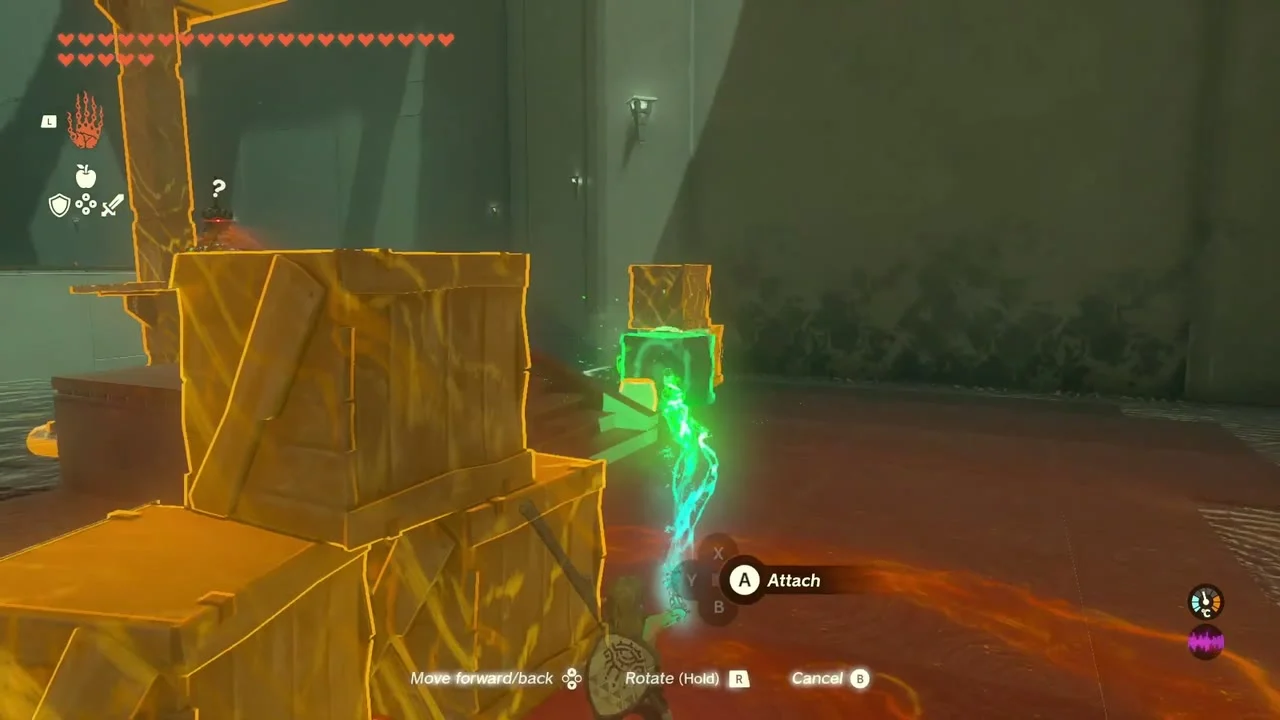
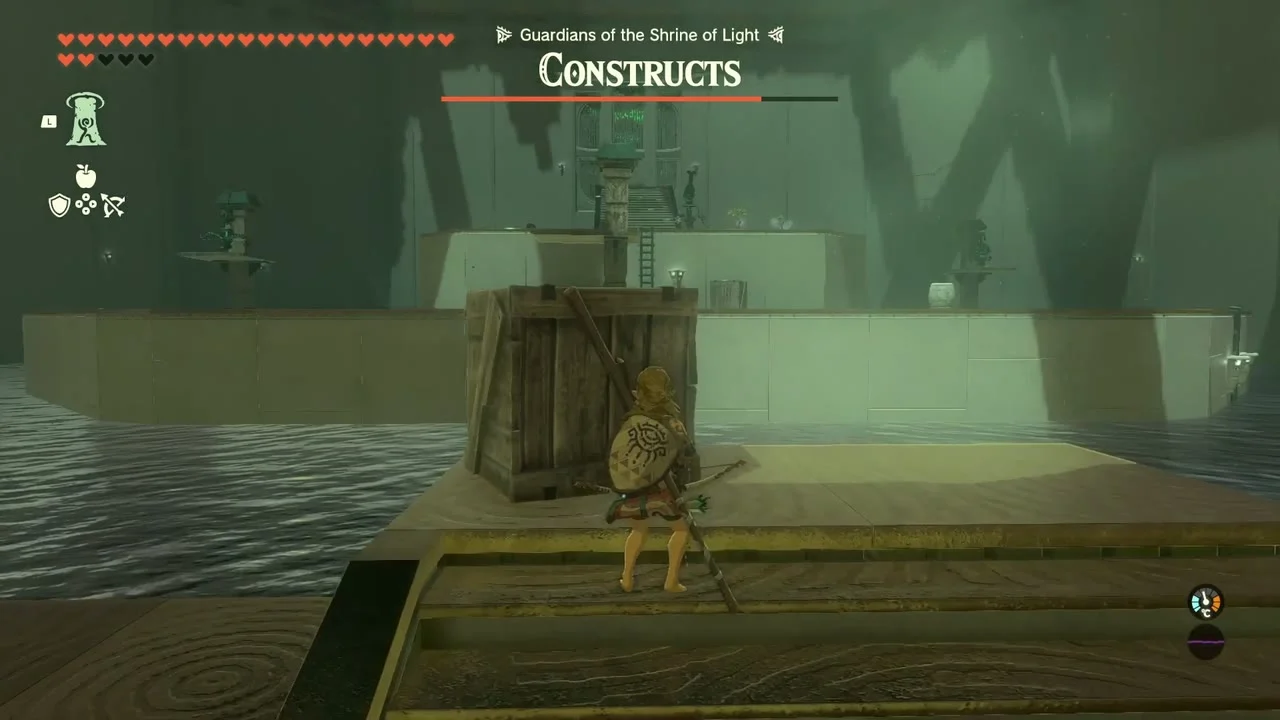
Fuse weapons with parts and fire
Fuse fire fruit or construct horns onto your sticks to boost their attack: Fire Fruit burns the constructs, and a Soldier Construct II Horn floating in the water can be fused to your weapon.
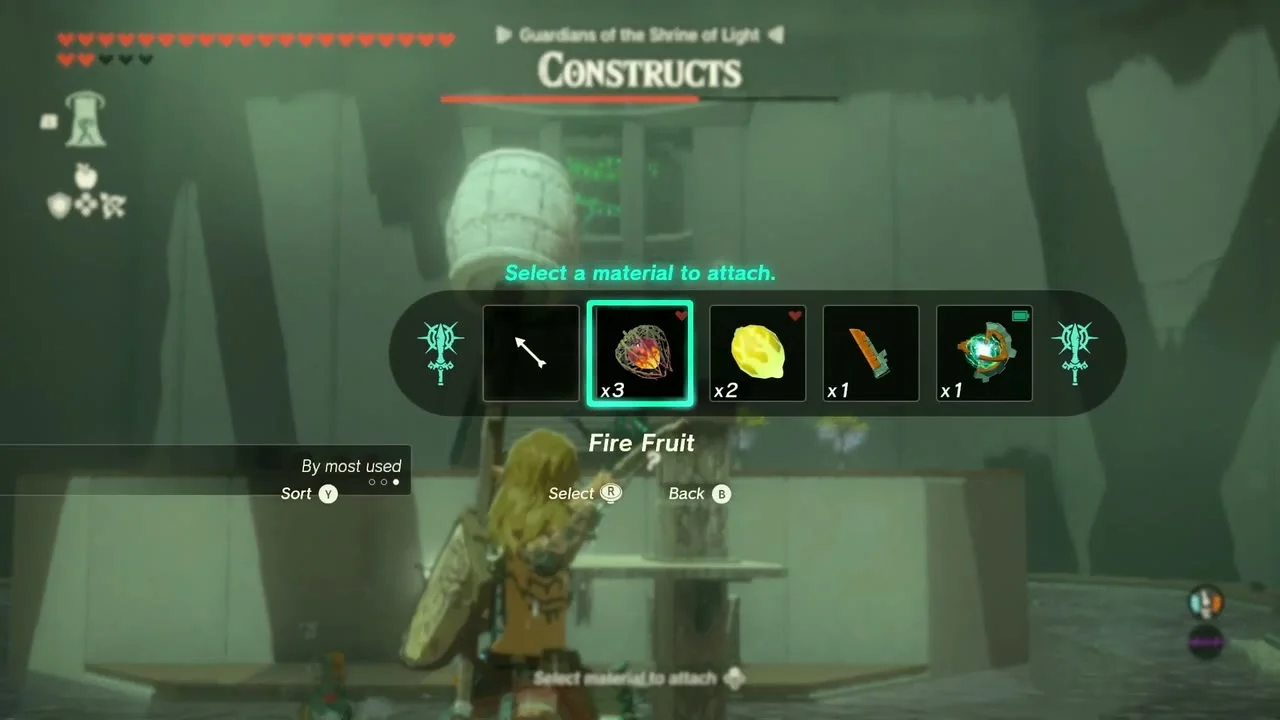
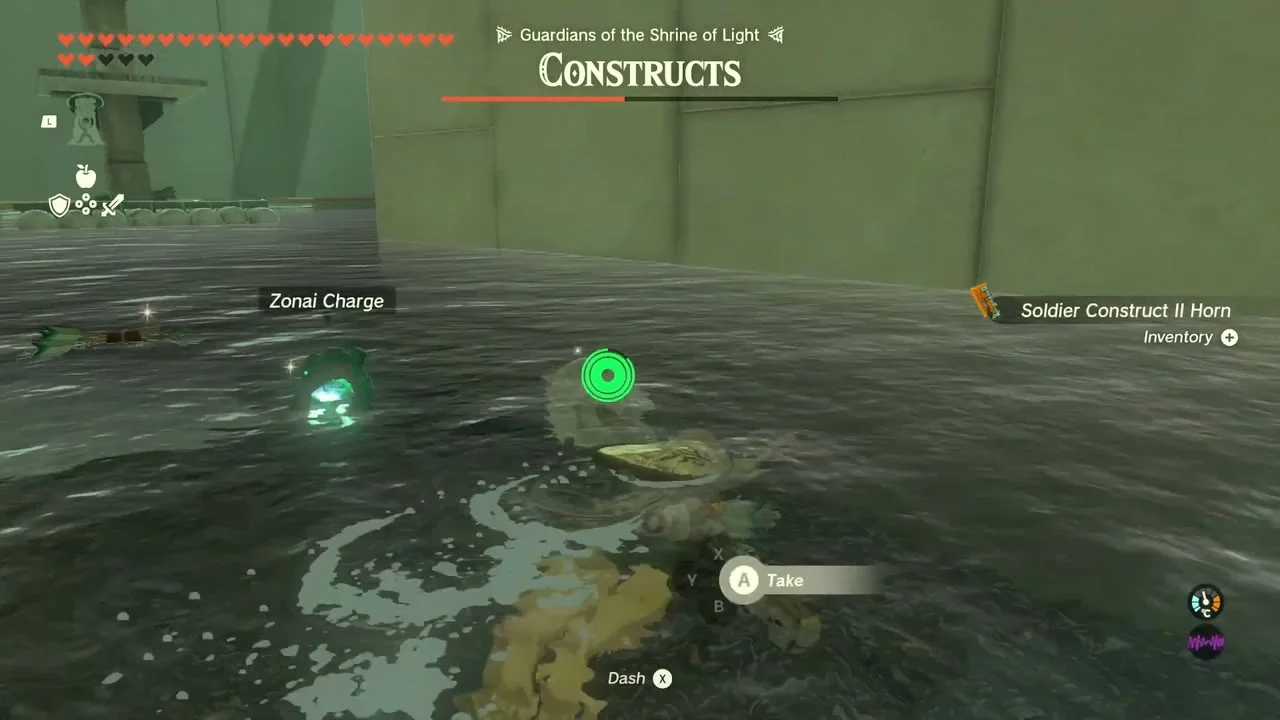
Reach the altar and open the chest
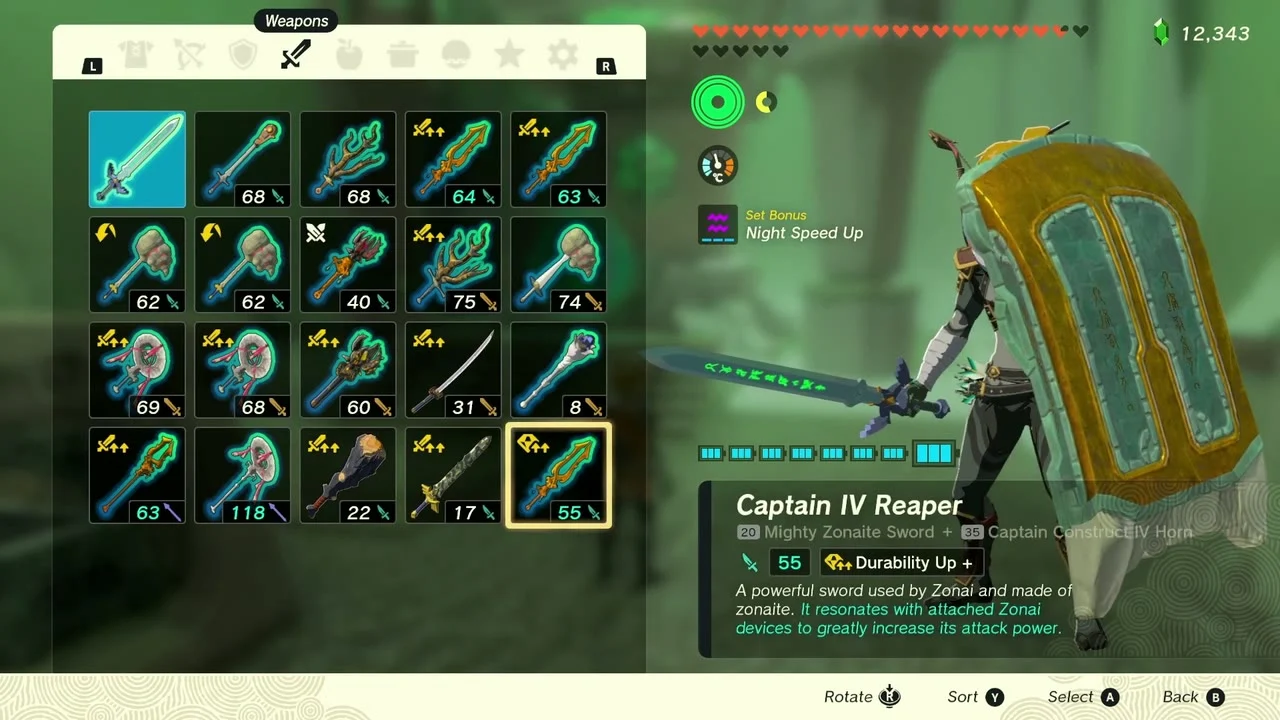
When every construct is defeated your gear returns and the inner door opens. Cross the platforms to the altar room, open the chest for the Captain Reaper (II to IV, depending on your progress) and take the Light of Blessing.
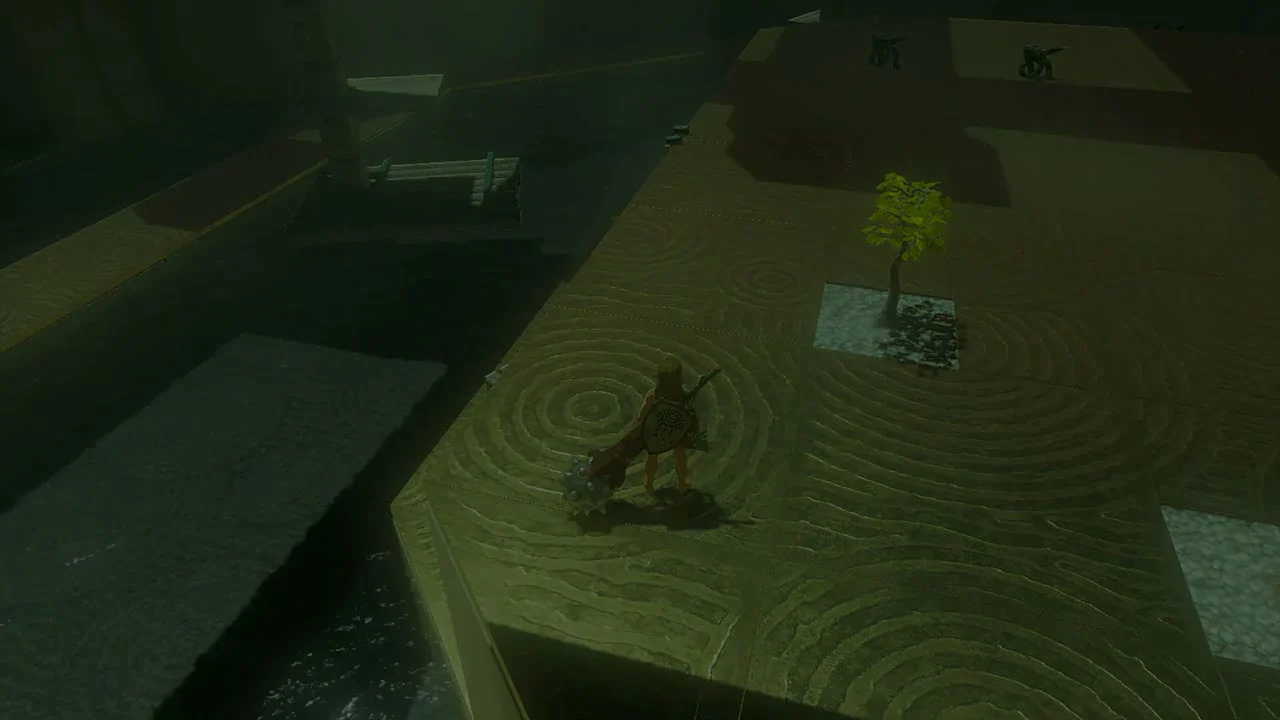
Lurelin Village
Start Ruffian-Infested Village and clear the monsters
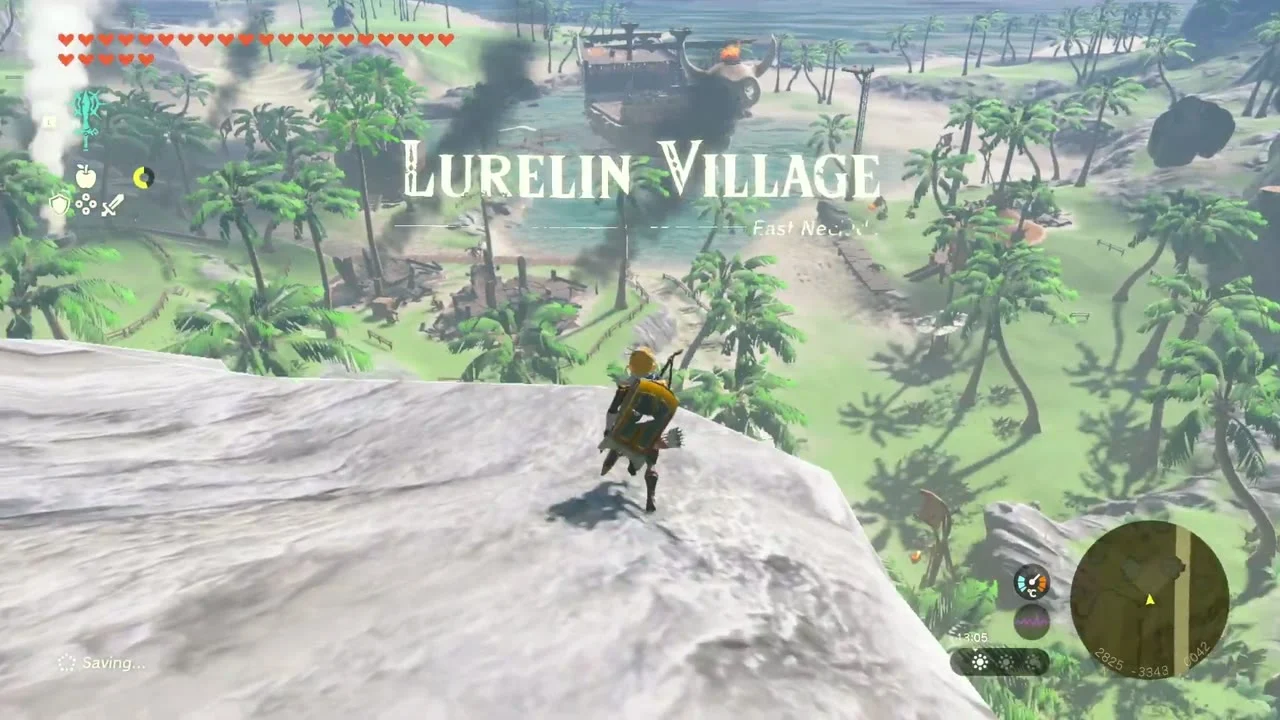
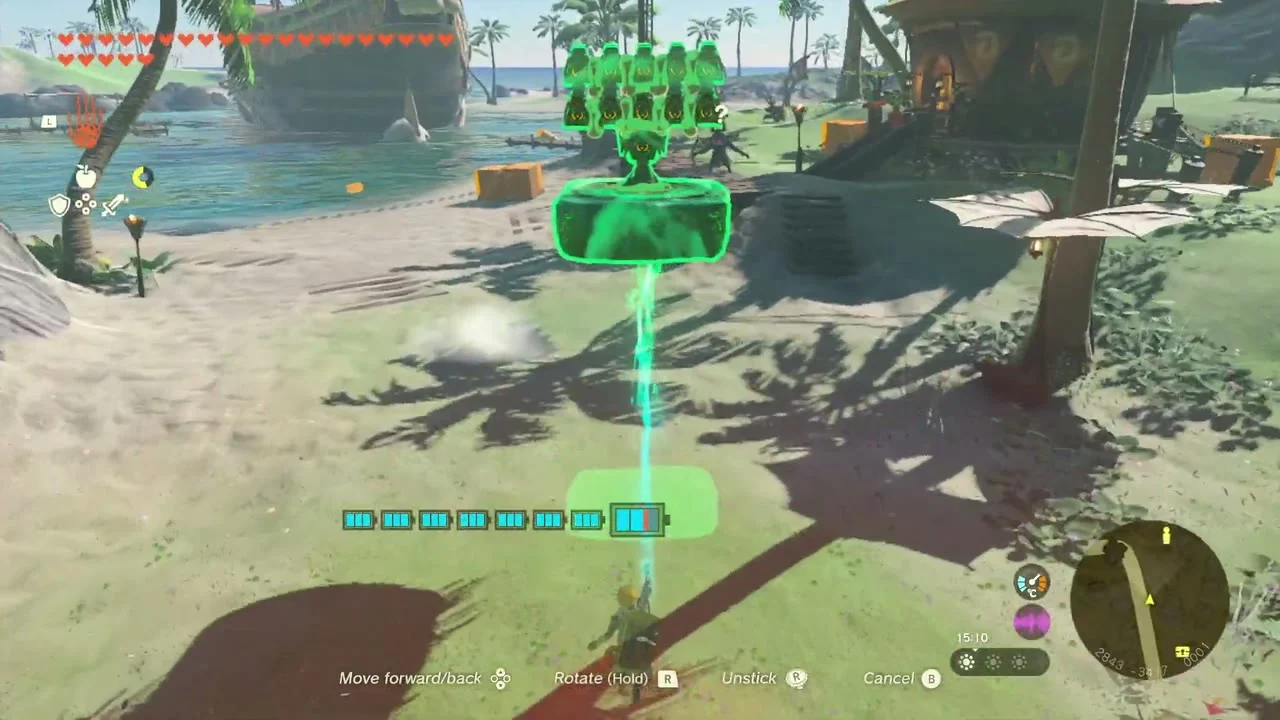
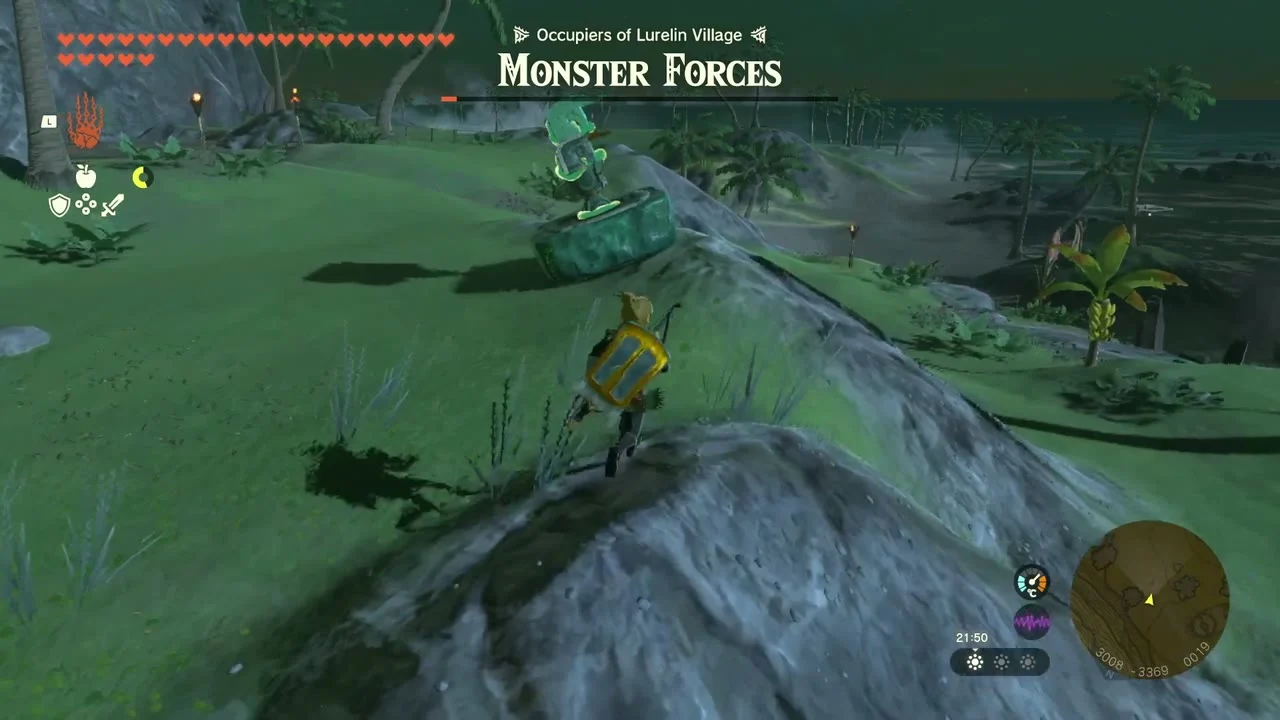
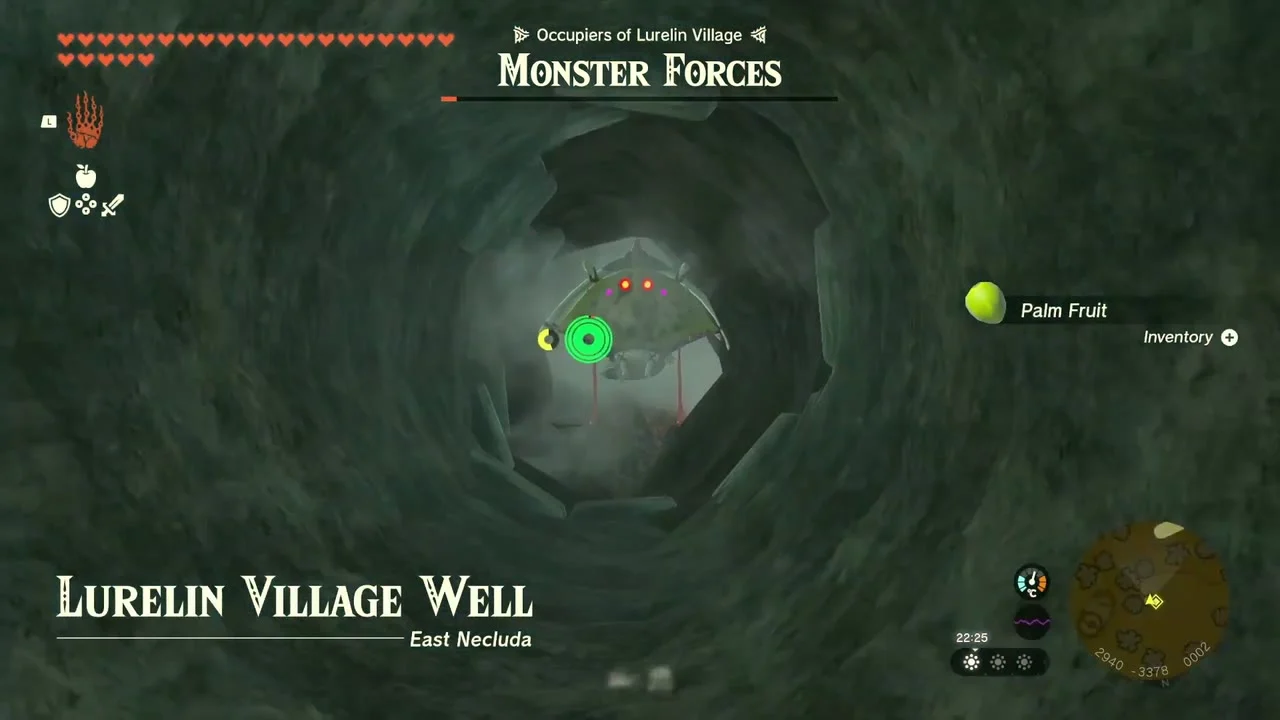
Quest: Ruffian-Infested Village from Rozel, the village head, south of Sifumim Shrine. Monsters hold Lurelin Village; defeat them all. Build a Zonai laser or cannon turret from Portable Pots and Beam Emitters to knock down the Bokoblins on the pier and the tower, and fight the rest by boat.
Take the well and open the village
Lurelin Village Well at (2940, -3378, -4), at the north-west edge of the village. The village is liberated when the last monster falls; then Bolson wants Hylian Rice and logs for the next quest.
Gather logs and rice for Bolson
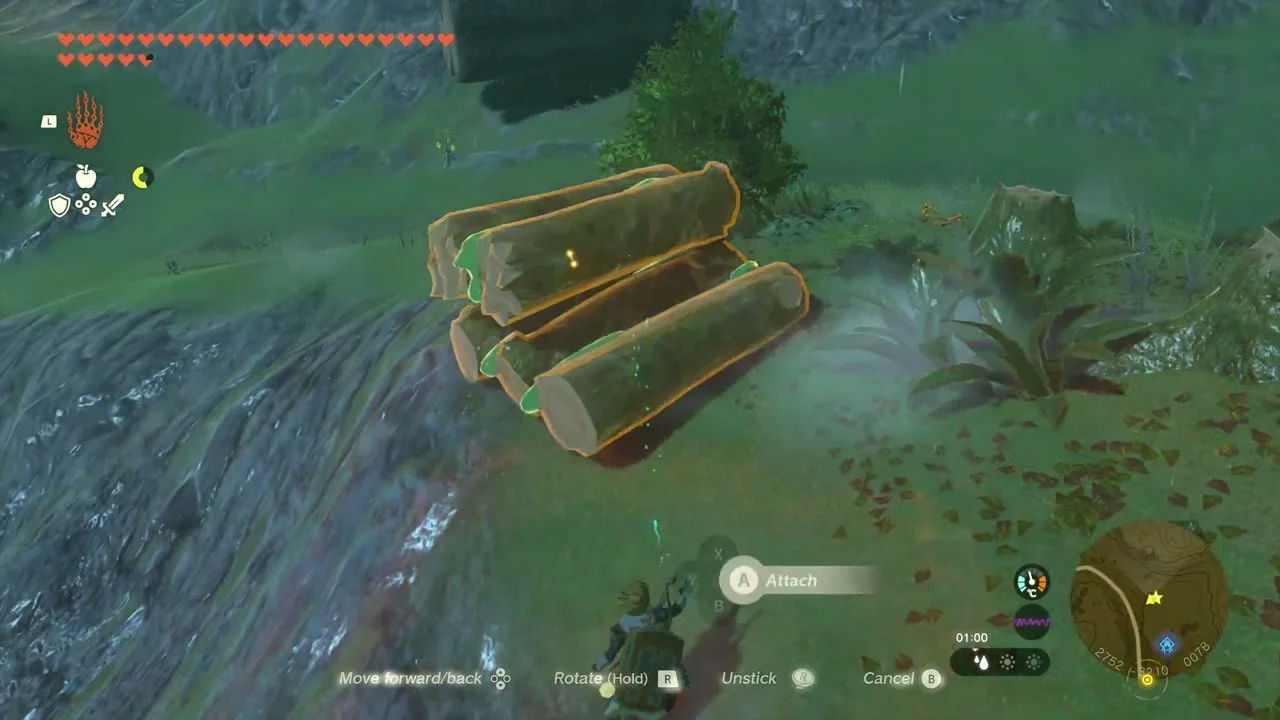
Quest: Lurelin Village Restoration Project from Bolson in Lurelin Village. Bring him 15 logs and 20 Hylian Rice: do not cut the palm trees in the village; fell other trees on the cliffs above it (the pine thicket north of Tuft Mountain in Atun Valley is a popular spot) and carry or push the logs down. Hylian Rice is sold in general stores such as Lookout Landing, Hateno Village, Zora’s Domain, Goron City and Korok Forest. Finish Ruffian-Infested Village first.
Restoring Lurelin Village
Rebuild the village buildings
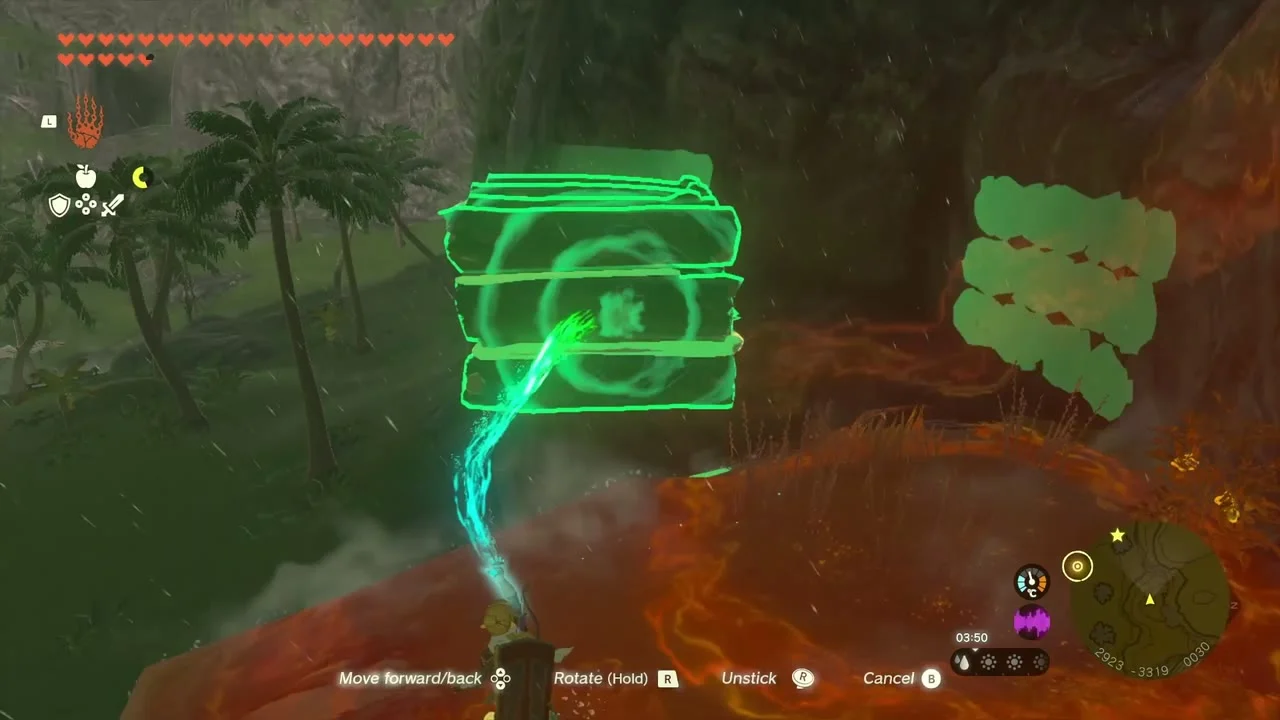
With Bolson, rebuild each house in turn: he places a green outline and you rebuild the shape from logs and planks with Ultrahand. Finish all of them to complete the project; the village then grants free access to its facilities.
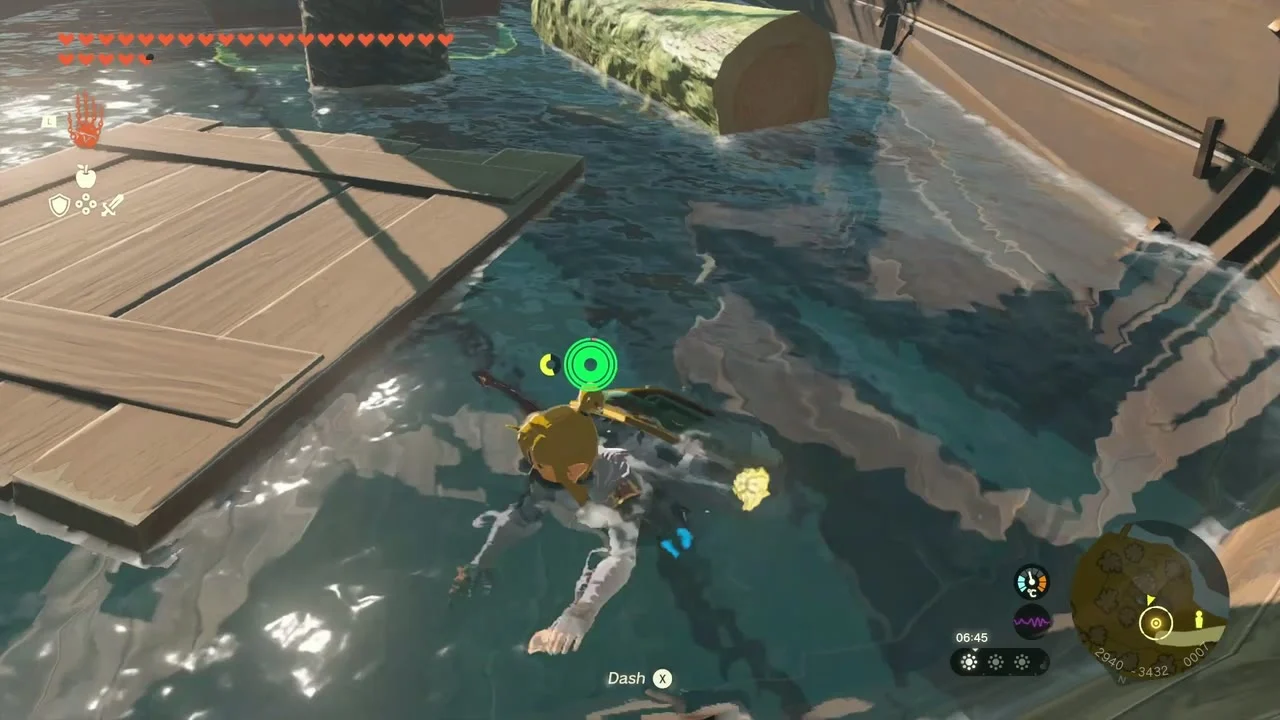
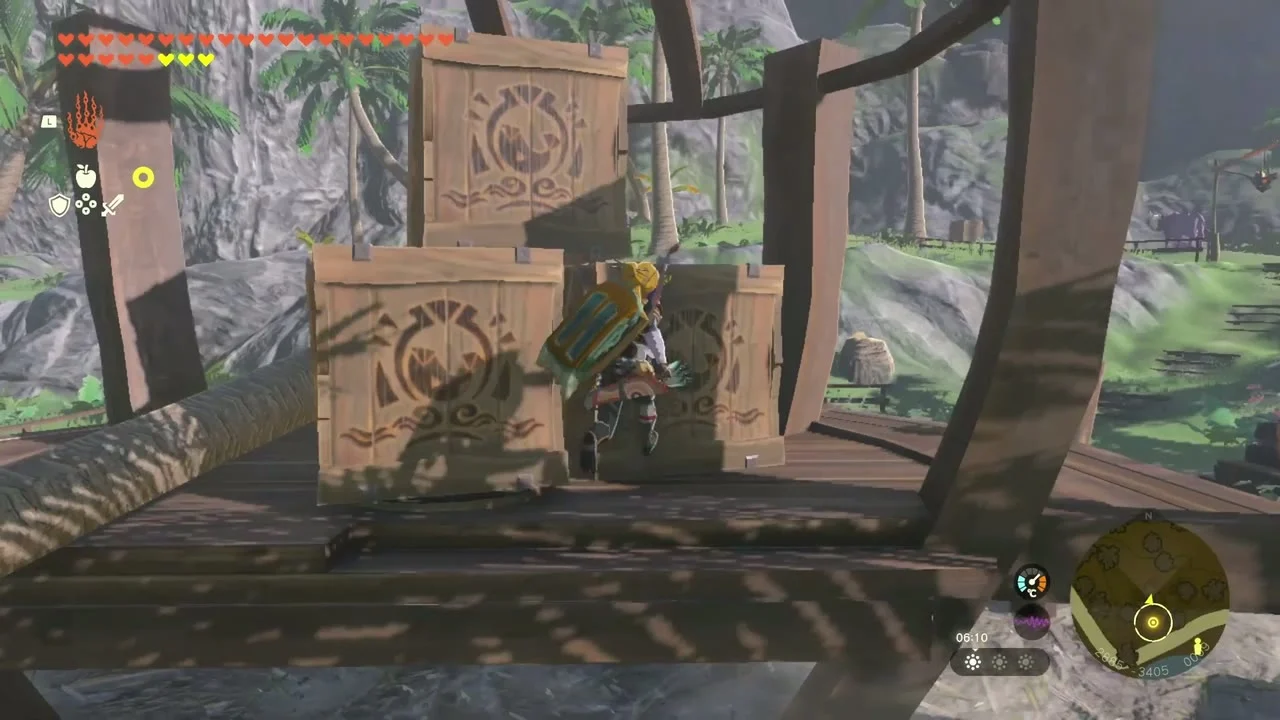
- Lucky Treasure Shop: slot a straight palm log through the hole in the top from higher ground; the reward is Bomb Flowers and access to the treasure chest game.
- Inn: pull the wreckage out of the water so Bolson can drain it; the reward is Voltfruit.
- Restaurant: move the boxes out of the way, then place the log; you get a Tough Seafood Rice and a free meal each day.
- Armes’ house: the fiddliest placement, so climb high or clear nearby trees; the reward is a Purple Rupee and chests with a Red Rupee and weapons.
- Chief’s house: move the crate on the roof, then place the log from above; the reward is Armored Porgy.
Afterwards the inn stay is free, the restaurant gives one free meal a day and the treasure chest game can be played once a day for free.
Open the Fisherman’s Shield chest
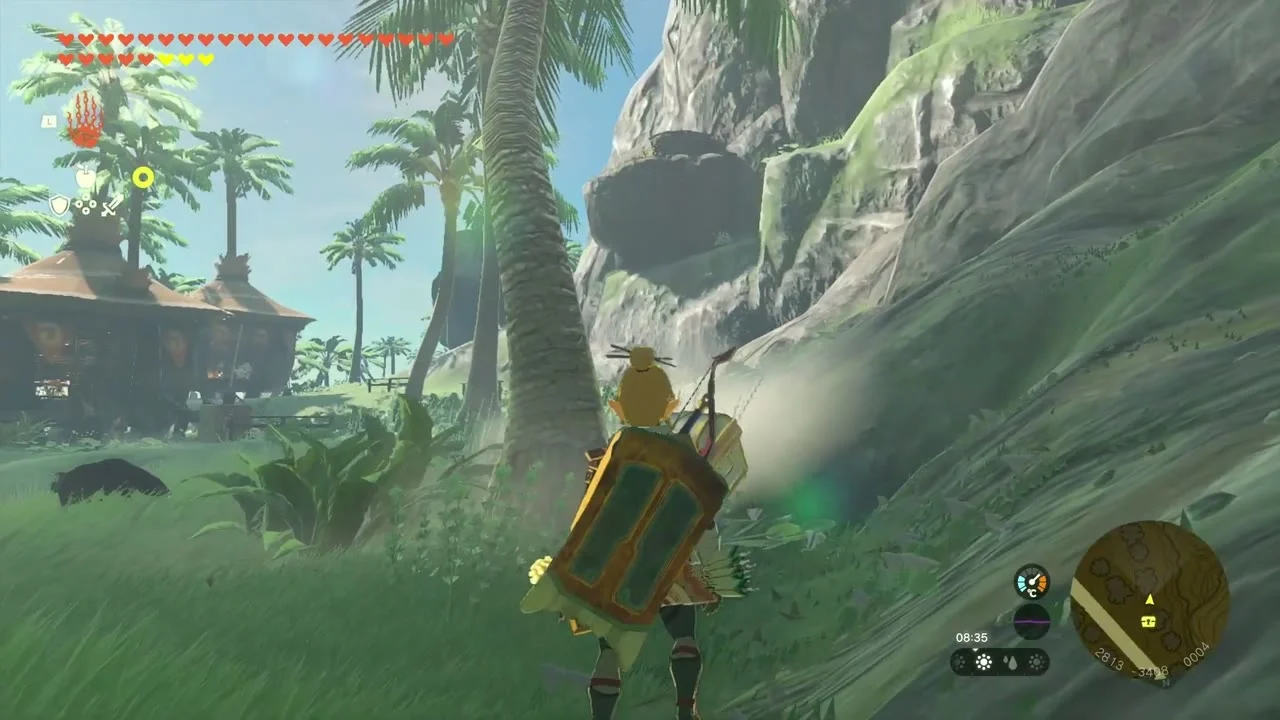
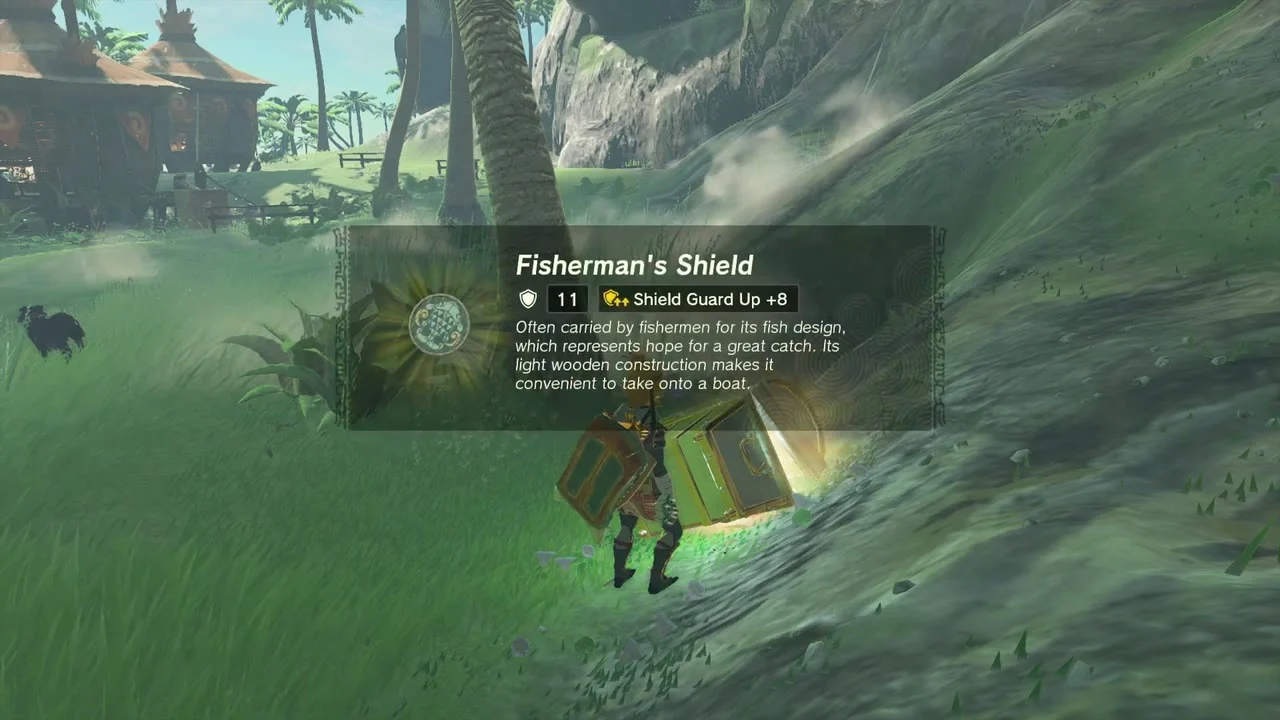
Chest: Fisherman’s Shield at about (2813, -3408, 4), in the grass on the cliff just north of the village beach. Open the chest for a Fisherman’s Shield.
Cook curry for Ralera and cool her down
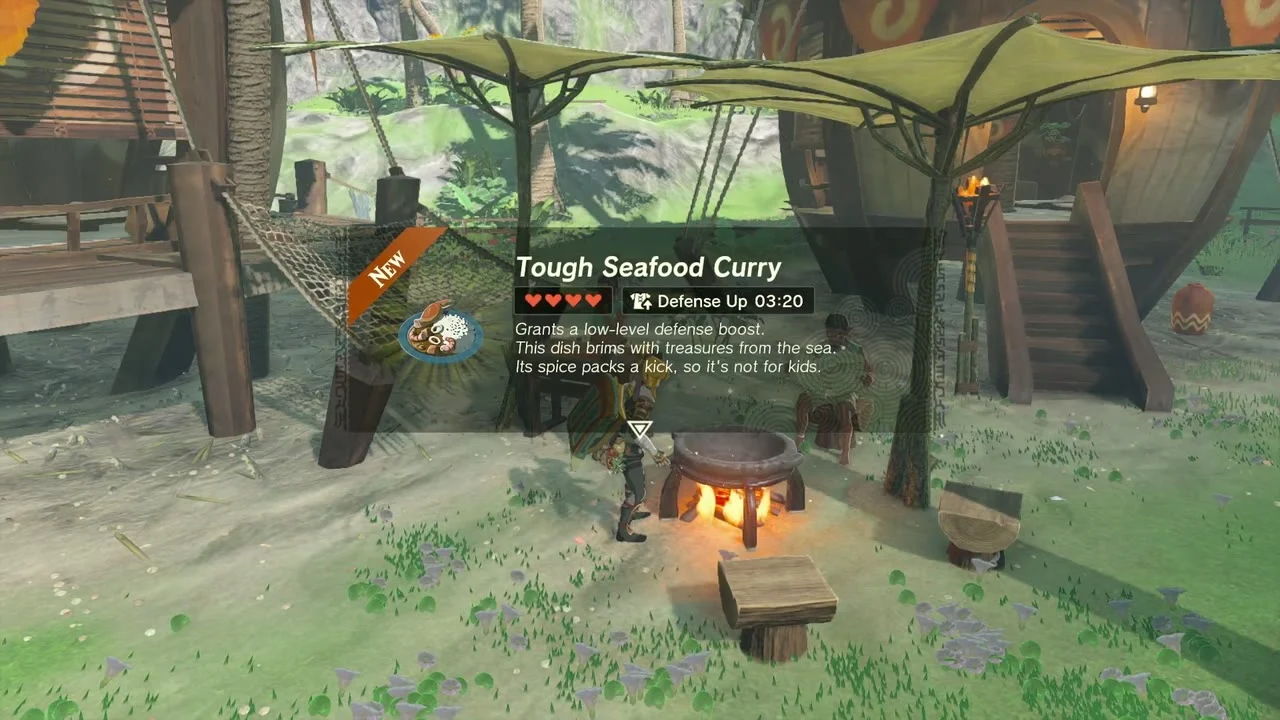
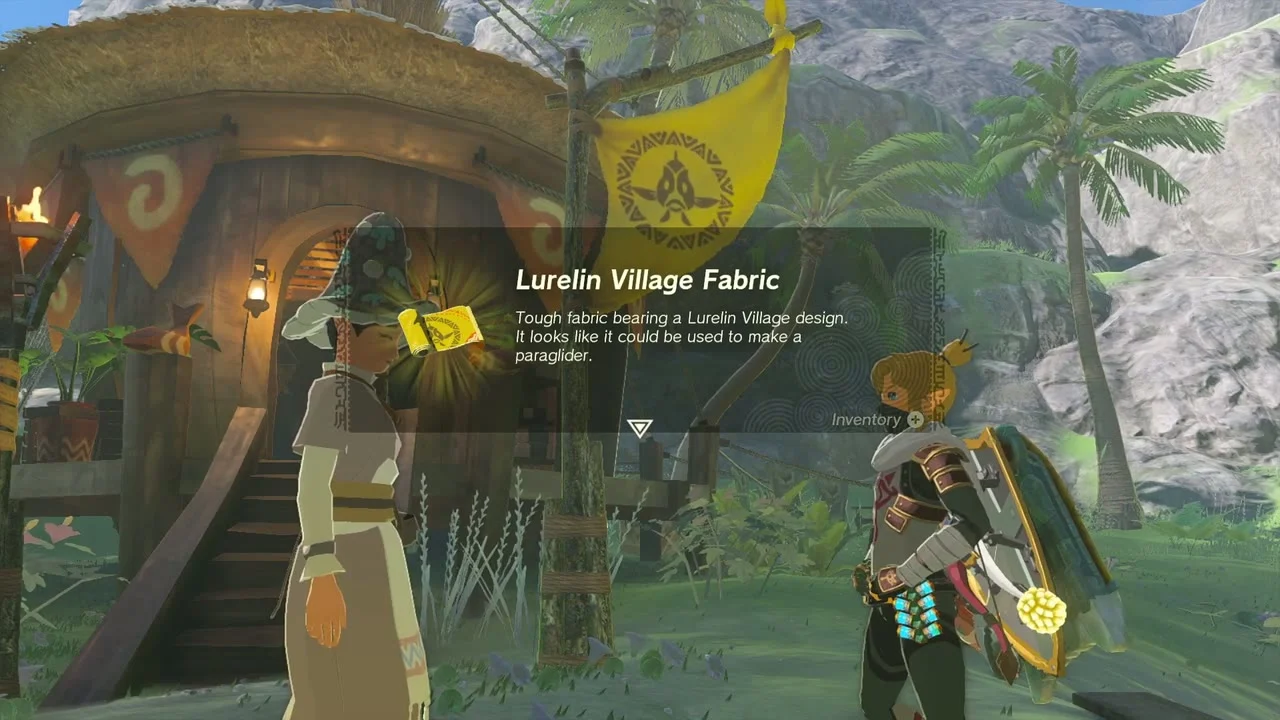
Quest: Rattled Ralera from Ralera in Lurelin Village. Cook a Tough Seafood Curry (a porgy such as a Mighty or Armored Porgy, Hylian Rice and Goron Spice), hand it over, then blow cool air on her with a fan device or a gusting weapon such as a Korok Frond fused to a stick. She gives you the Lurelin Village Fabric paraglider design.
Find the blue shirt for Zuta
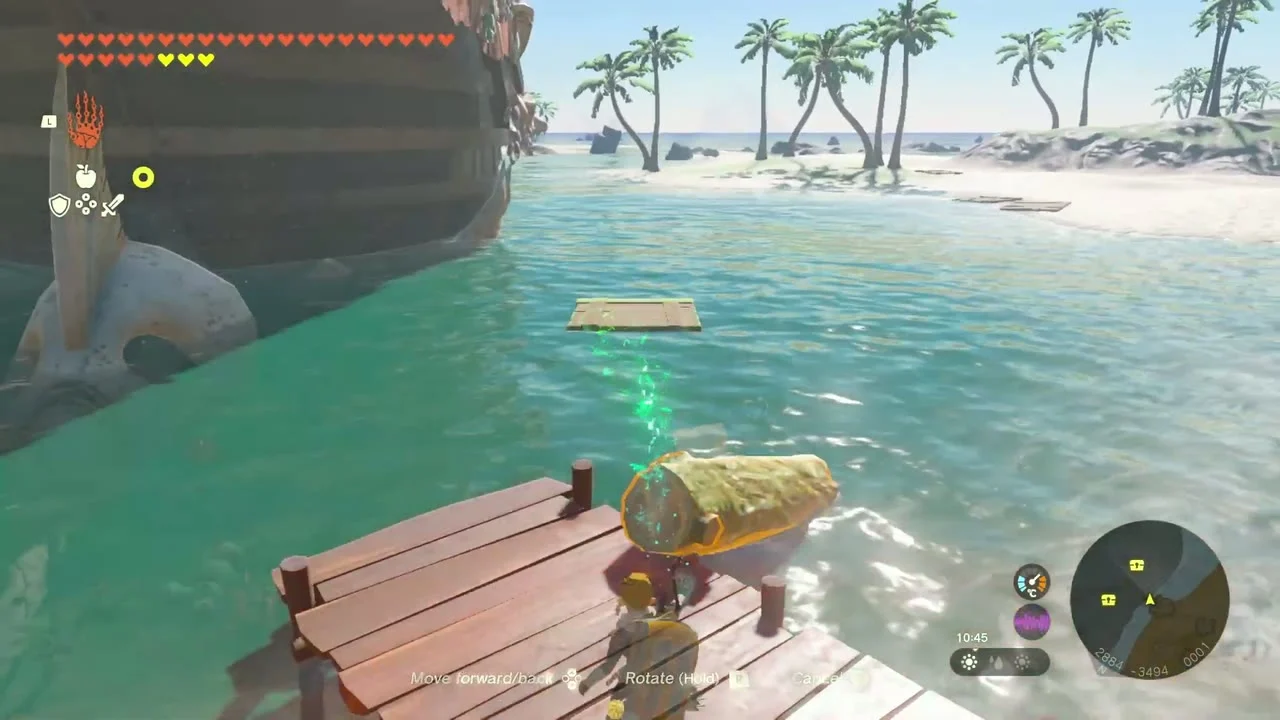
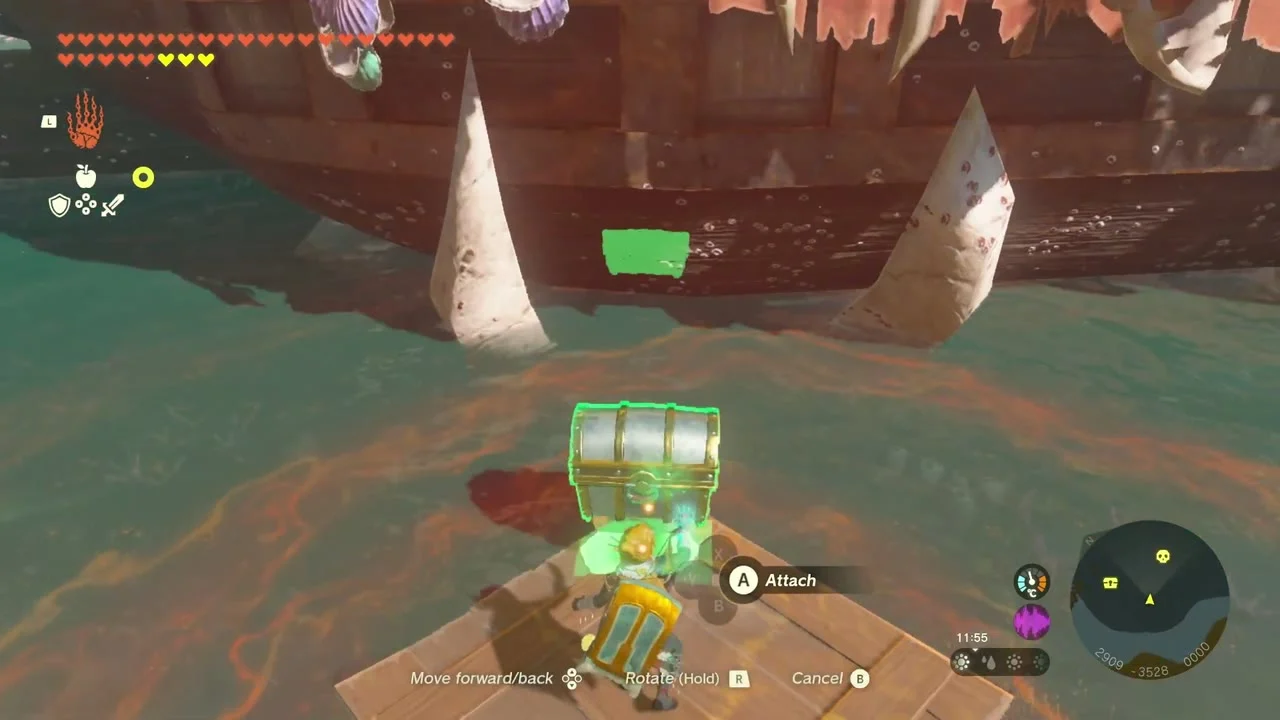
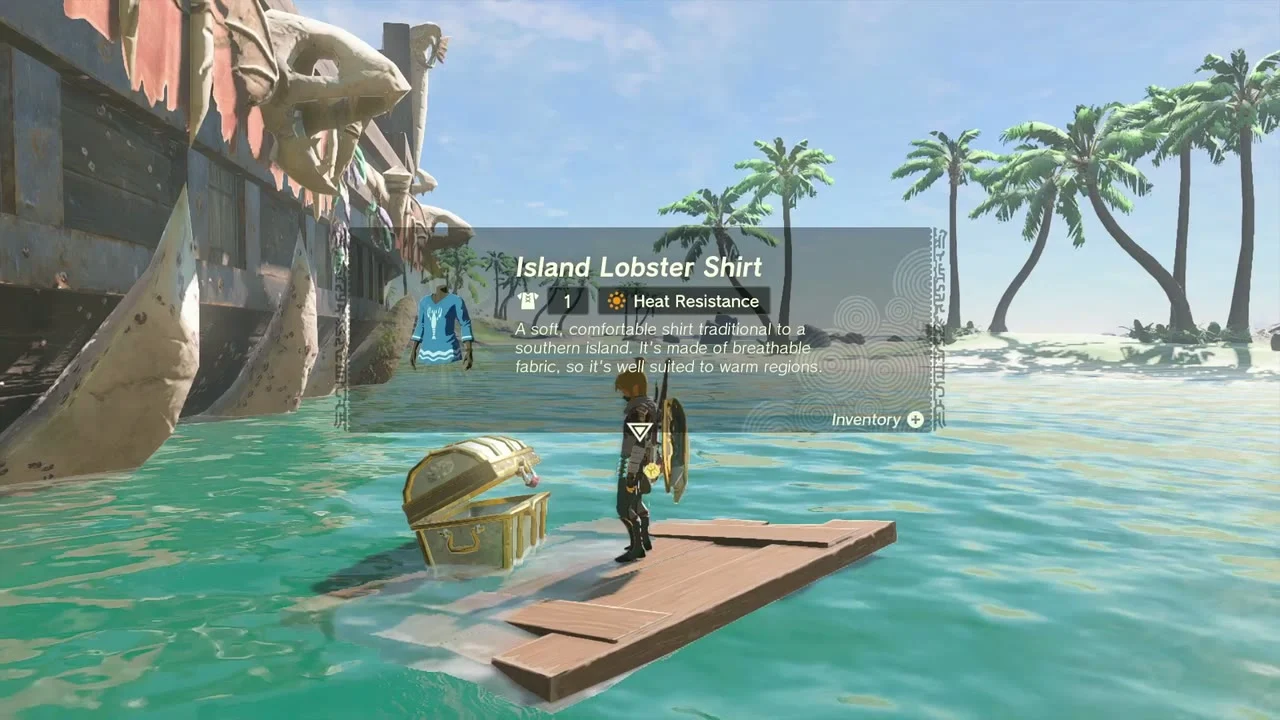
Quest: Dad’s Blue Shirt from Zuta, the boy on the pier. Ride a log raft over the bay; the right chest is the iron one lying in the bay beside the wrecked ship at about (2909, -3528). You cannot open it while swimming, so place a log beside it and raise it with Ultrahand, or lift it onto a raft. Two other chests on the way hold Blue Rupees; the third chest holds the Island Lobster Shirt, a cosmetic piece that cannot be upgraded. Zuta only appears once Ruffian-Infested Village and the Restoration Project are done.
Gogobi Shores and Soka Point
Reach the target ring
Korok seed (Reach the target ring within the time limit) at (3064, -3395, 20), on the beach east of the village. Run or ride through the ring and reach the far one before the timer ends; an engine-powered vehicle makes it easy.
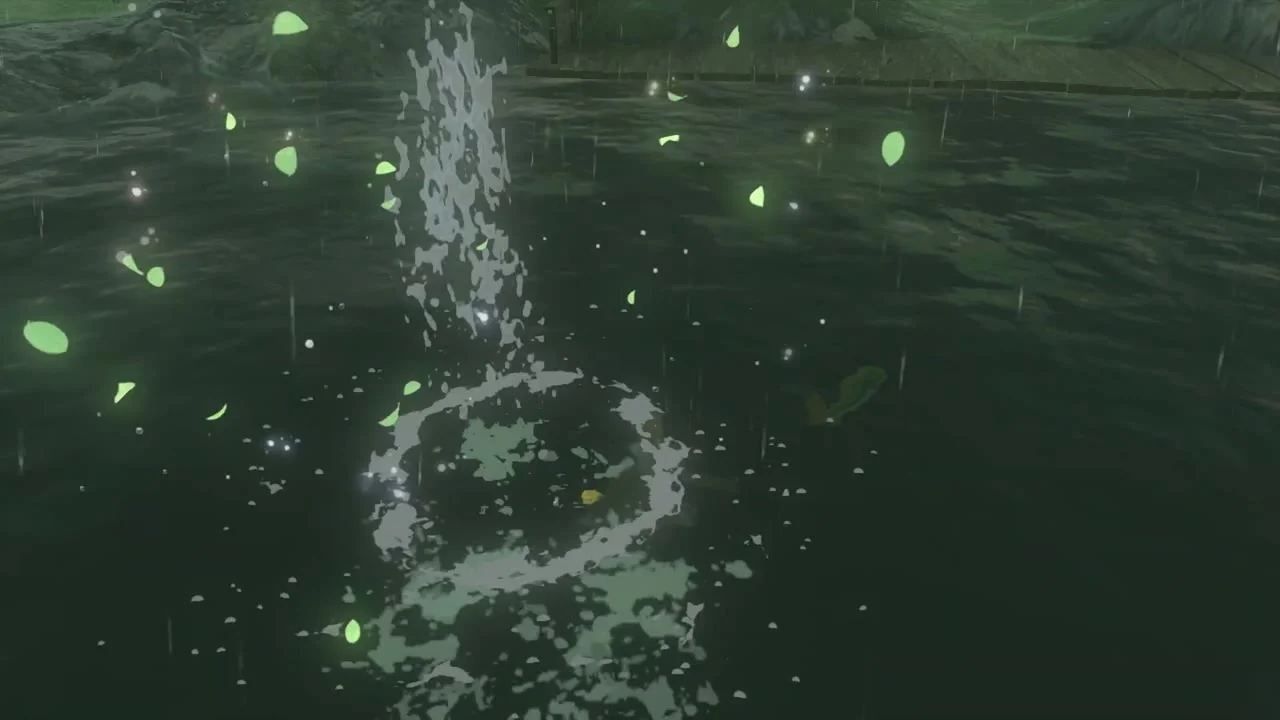
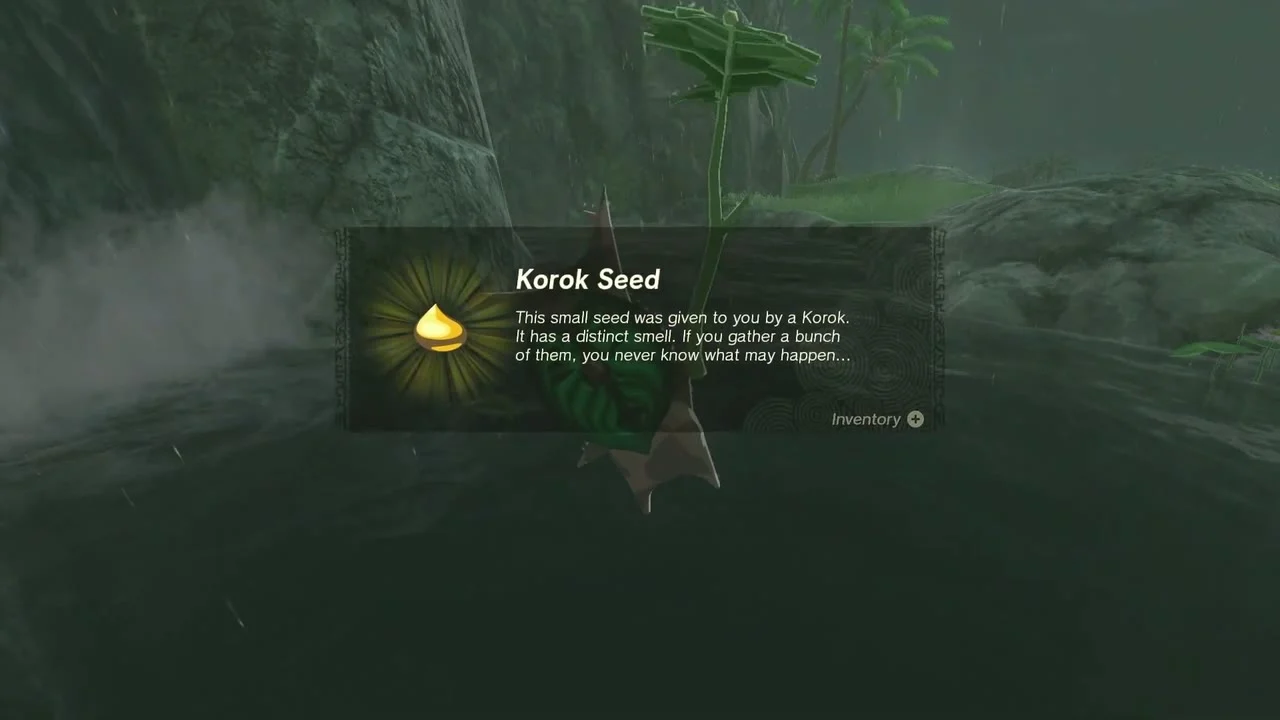
Burn the leaves and lift the rock
Korok seed (Burn the leaves and lift the rock) at (3118, -3719, 1), on the south beach. Burn the dry leaves piled around the stone with a torch or flame, then lift the rock with Ultrahand.
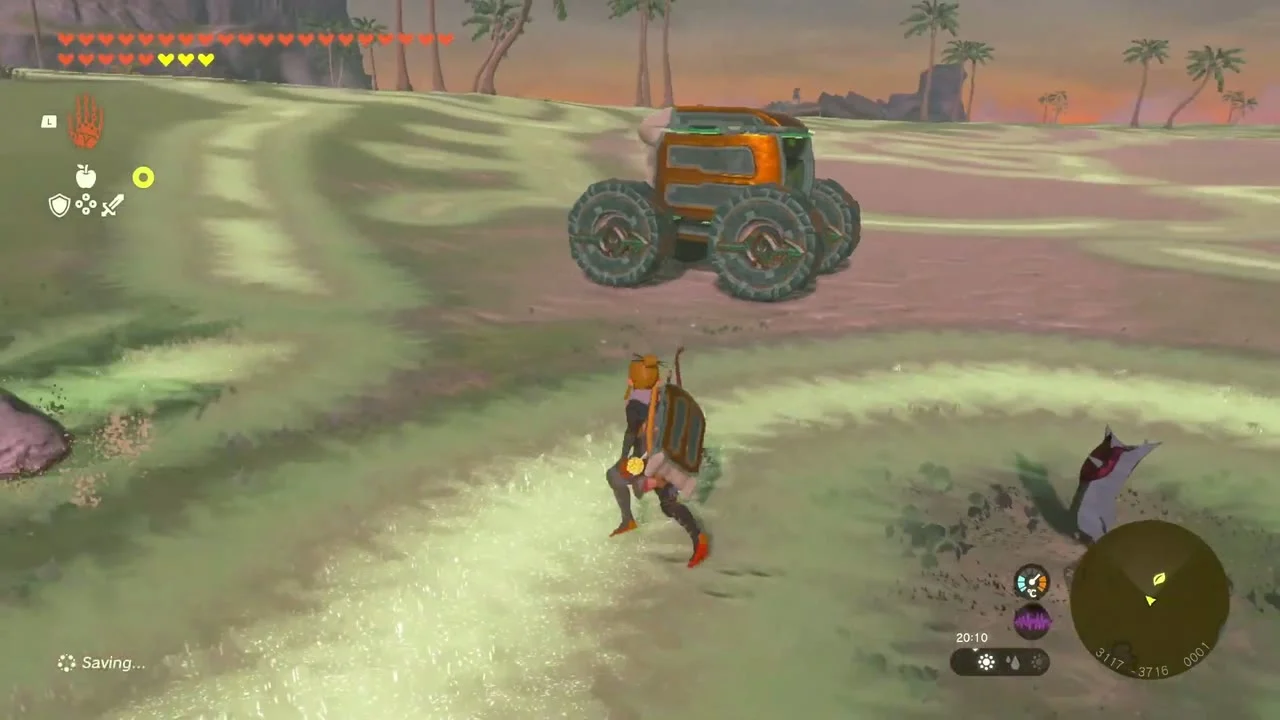
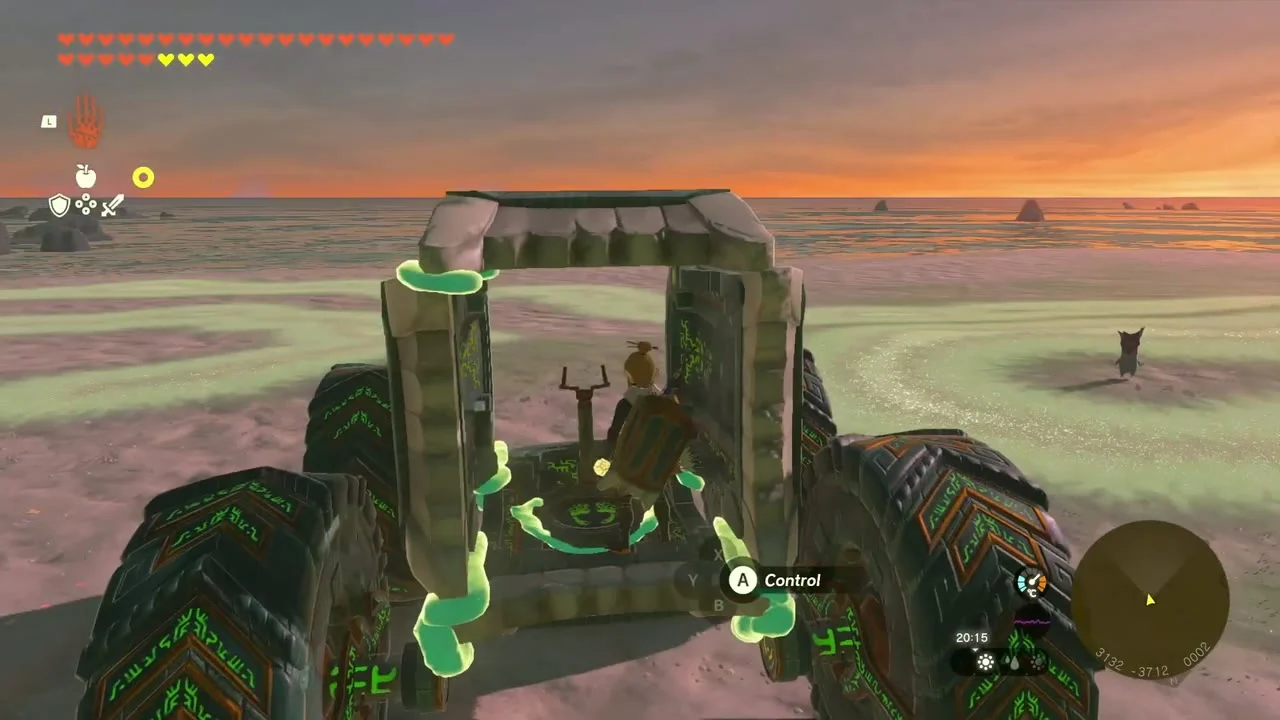
Defeat the Boss Bokoblin
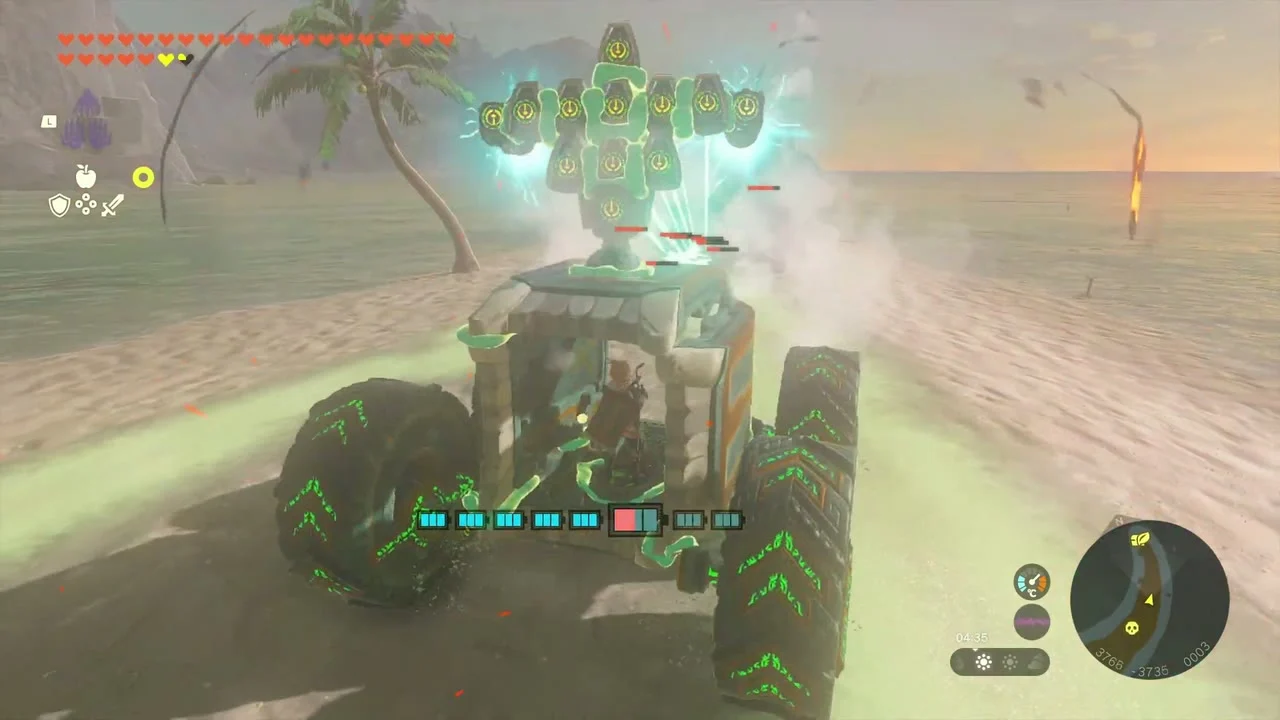
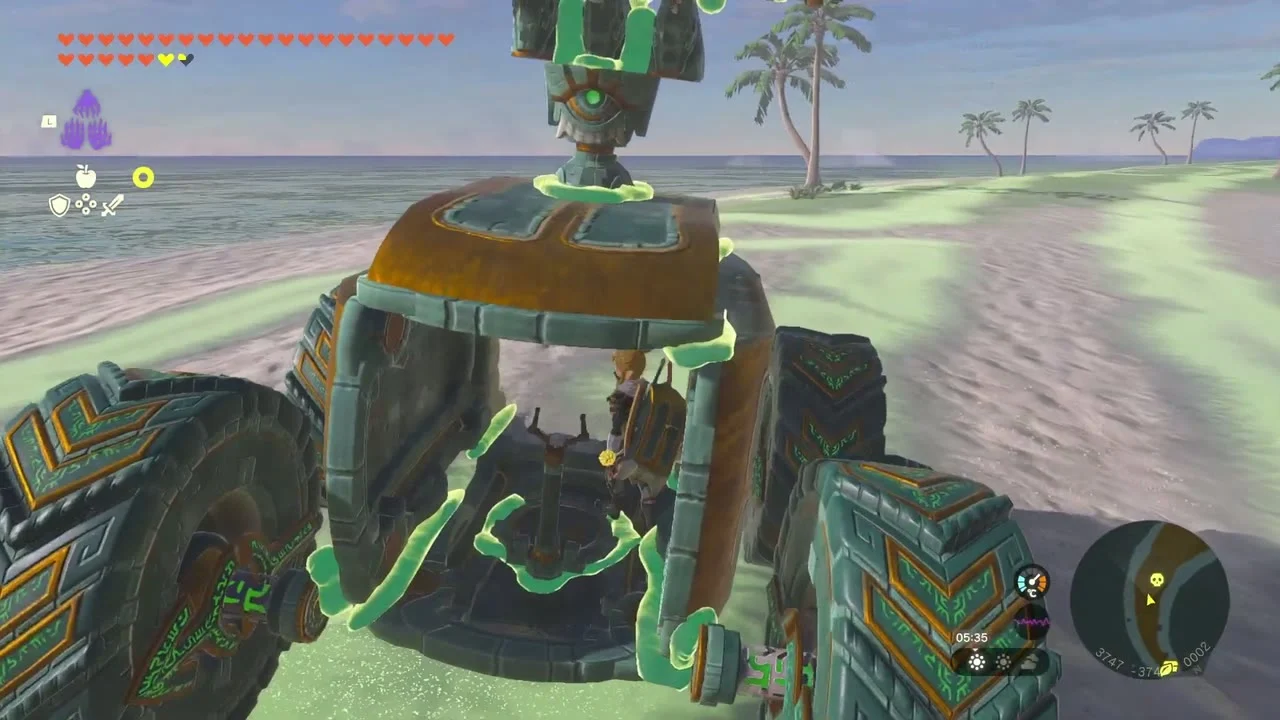
Miniboss: Boss Bokoblin on the beach on the way to Soka Point. Drive your Zonai buggy mounted with a Beam Emitter or cannon and clear it and its allies.
Open the Star Fragment chest and climb the palm tree
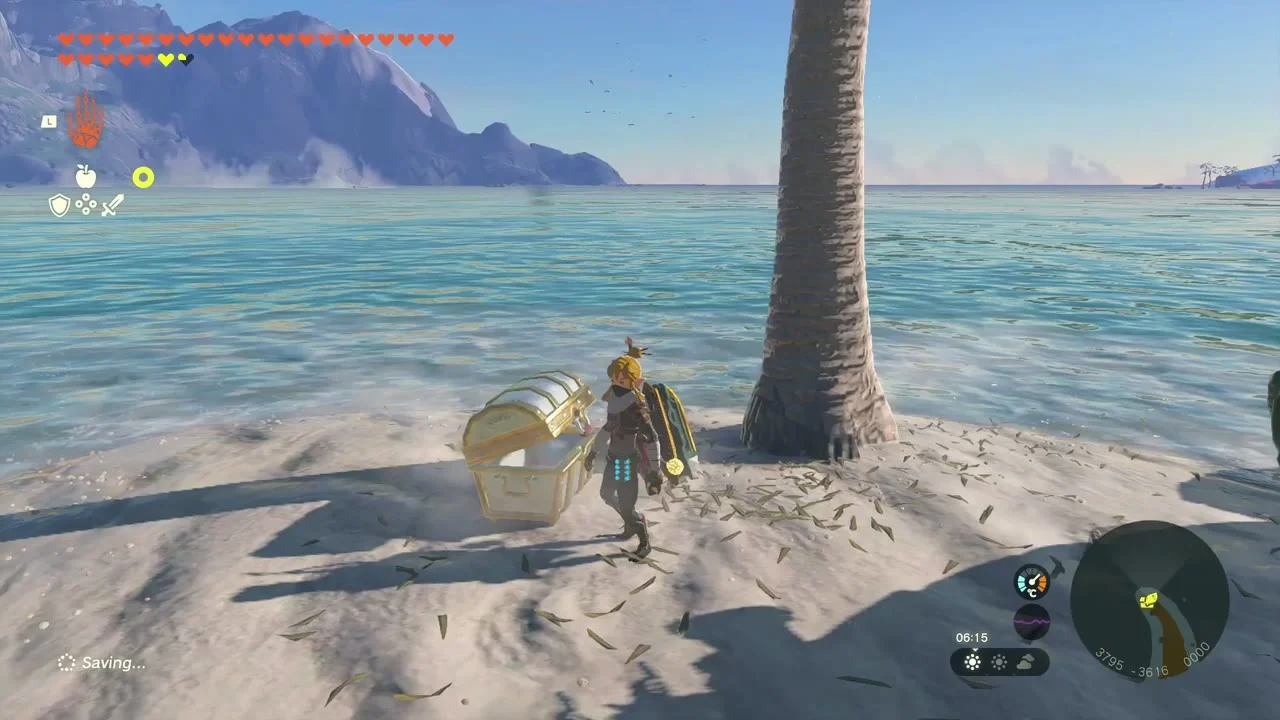
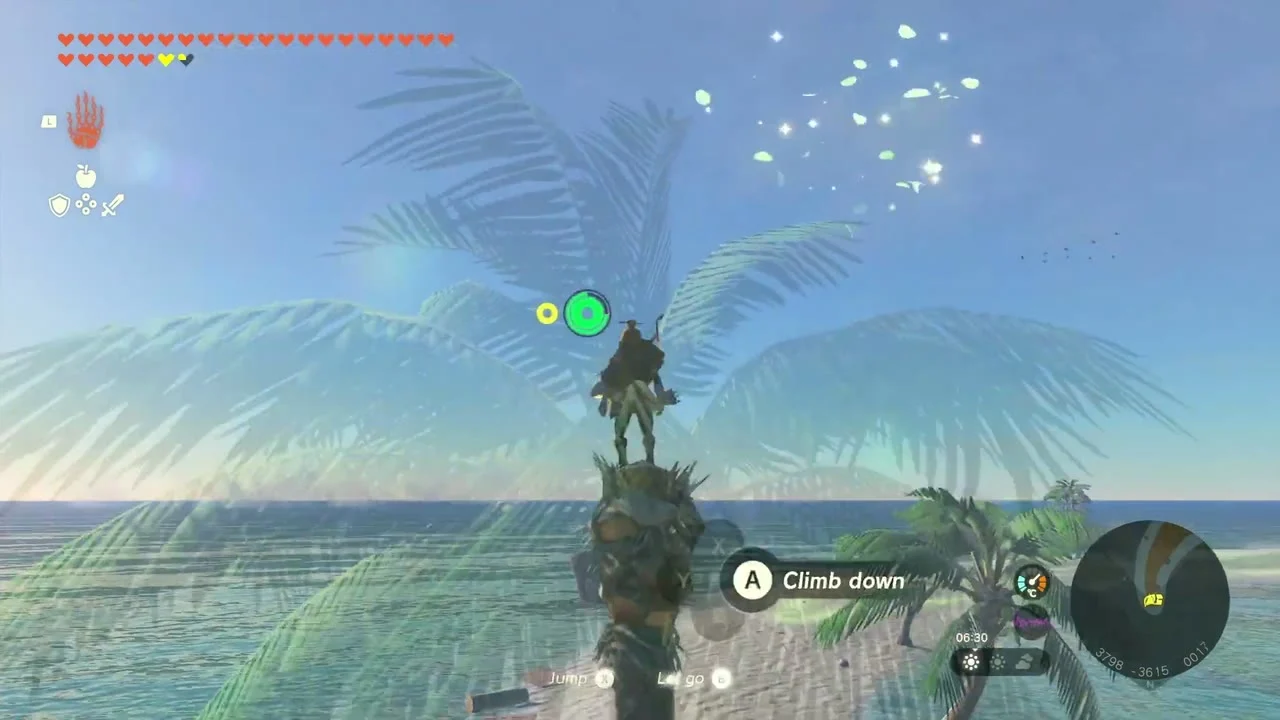
Chest: Star Fragment at (3795, -3616, 0), on the beach at Soka Point, and Korok seed (Go up to examine the sparkling spot) at (3796, -3614, 19) in the palm tree right above it. Open the chest, then climb the palm and press A at the glitter at its top.
View the Sonia Is Caught by Treachery memory
Dragon’s Tear: Sonia Is Caught by Treachery at (3326, -3566, 5), at Gogobi Shores. Walk to the glowing tear on the sand to trigger the memory; it is the seventh of the twelve Dragon’s Tears.
Also in this area
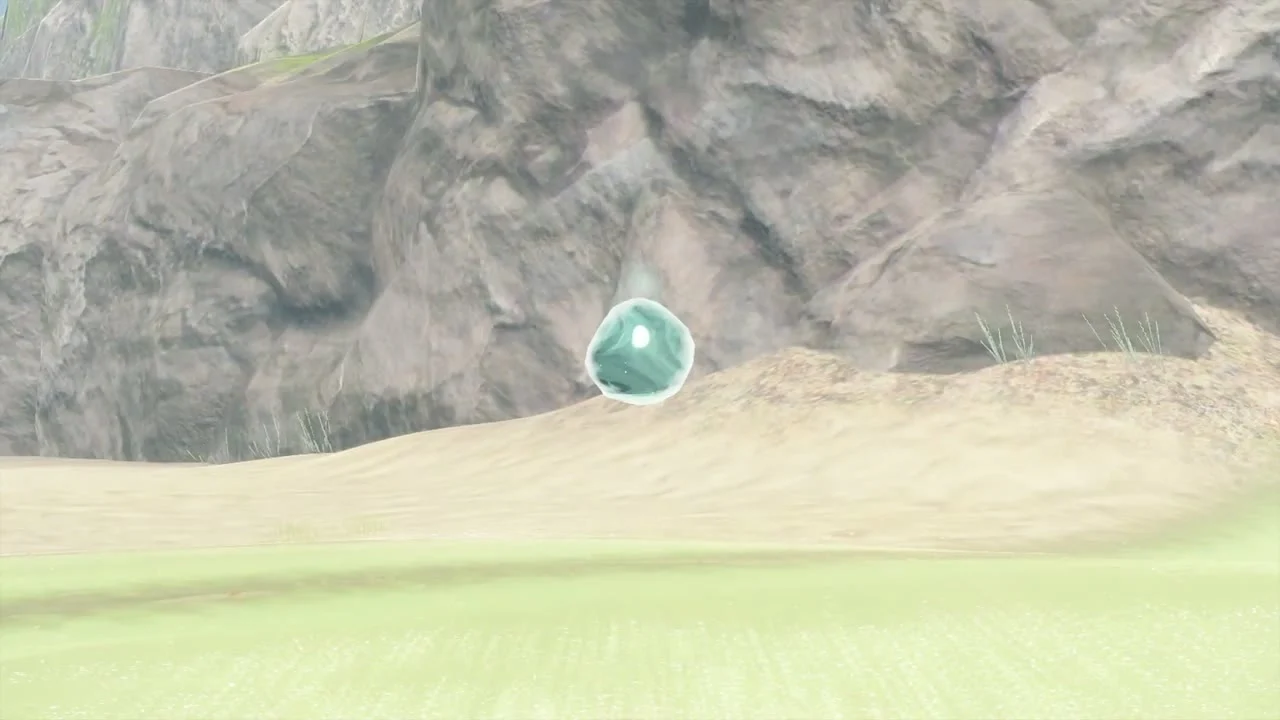
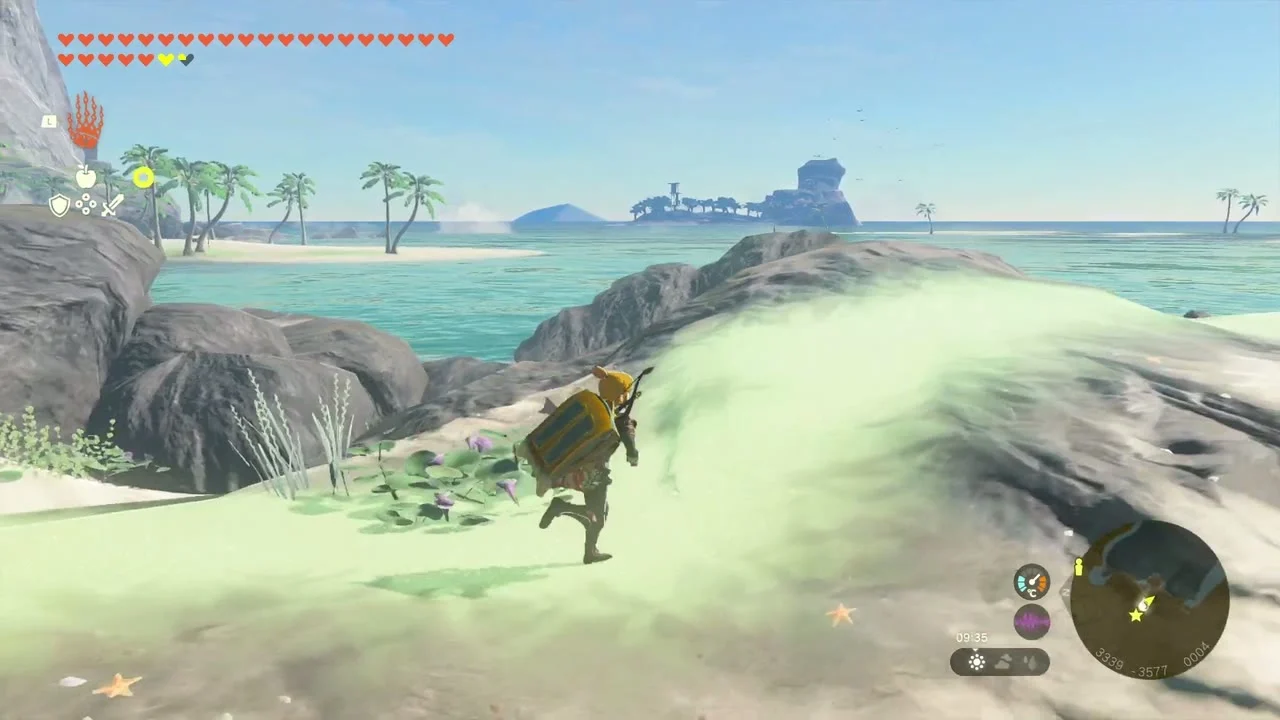
More seeds lie in the East Necluda box: Bring the exhausted Korok to its friend (2226, -3834) and (3599, -3780), Complete the rock pattern (2425, -3403), Use the paraglider to reach the goal (2540, -3291), Shoot the balloon(s) (2563, -3598), Reach the target ring within the time limit (2363, -3437), Examine where the arrows point to (3431, -3325), Break the hidden acorn pot (3495, -3311), Lift the rock (3665, -3277) and Complete the cube puzzle (3440, -2517).
East Necluda checklist
| Collectible | Count | Where |
|---|---|---|
| Shrines | 1 | Sifumim Shrine (Proving Grounds: Flow) |
| Koroks | 21 | 12 around Rabella Wetlands and Meda Mountain, 6 between Meda Mountain and Mount Dunsel, 3 on the south coast |
| Chests | 16 | Giant Boomerang, Cannon, Bomb Flower, Shield of the Mind’s Eye (x2), Savage Lynel Bow, Dragonbone Boko Bow, Phrenic Bow, Ancient Blade, Steel Lizal Shield, Captain Reaper (II to IV, depending on your progress), Fisherman’s Shield, Blue Rupee (x2), Island Lobster Shirt, Star Fragment |
| Addison signs | 2 | Ash Swamp, Meda Mountain |
| Minibosses | 4 | Hinox, Stalnox, 2 Boss Bokoblins |
| Quests | 4 | Ruffian-Infested Village, Restoration Project, Rattled Ralera, Dad’s Blue Shirt |
| Dragon’s Tears | 1 | Sonia Is Caught by Treachery |
Part 2: Mount Dunsel Cave, Bamitok and Marari-in shrines, the Eventide Island challenge, Cape
| Region | East Necluda surface and the Necluda Sea: Palmorae Ruins, Gama Cove, Mount Dunsel, Cape Cales, Eventide Island, Lurelin Village, Atun Valley, Clarnet Coast and Tuft Mountain |
|---|---|
| Shrines | 2: Bamitok Shrine (Rauru’s Blessing, 3093, -3209, inside Mount Dunsel Cave) and Marari-in Shrine (Rauru’s Blessing, 4631, -3712, Eventide Island Cave) |
| Lightroots | Kotimab Lightroot lies under Bamitok Shrine and Ni-iraram Lightroot under Marari-in Shrine; you light them from the Depths. See all Lightroots. |
| Caves | 4 caves with a Bubbul Gem each: Mount Dunsel Cave (3224, -3017 and 3291, -3296), Cape Cales Cliffbase Cave (3650, -3210), Eventide Island Cave (4752, -3781) and Atun Valley Cave (2454, -3193) |
| Quests | Seeking the Pirate Hideout, Misko’s Treasure: Pirate Manuscript, Lurelin Resort Project, A Way to Trade, Washed Away, A Picture for Dueling Peaks Stable and one Addison sign |
| Koroks | 21 collected: 4 around Mount Dunsel, 8 around Cape Cales and Eventide Island, 9 in the south-west corner |
| Minibosses | Battle Talus (Gama Cove), Stone Talus (Mount Dunsel Cave), 2 Boss Bokoblins, 3 monster strongholds on Eventide Island and the pirate hideout |
This chapter clears the southern half of East Necluda: the Mount Dunsel Cave and its Bamitok Shrine, the chests of Ebon Mountain’s foothills, Cape Cales and its pirate-ship cave, the whole Eventide Island challenge with Marari-in Shrine, and the beaches of the south-west corner down to Tuft Mountain. Coordinates are map units (X, Y, height); larger Y is further north.
Quick route
Start at Palmorae Ruins for the first Korok, ferry the exhausted Korok to its friend on the south shore, beat the Battle Talus and open the Topaz chest at Gama Cove, then dive into Mount Dunsel Cave for the Royal Bow (or Traveler’s Bow, Soldier’s Bow or Knight’s Bow, depending on your progress), Emblazoned Shield, Eightfold Longblade, the Bubbulfrog, Bamitok Shrine and the Sapphire chest.
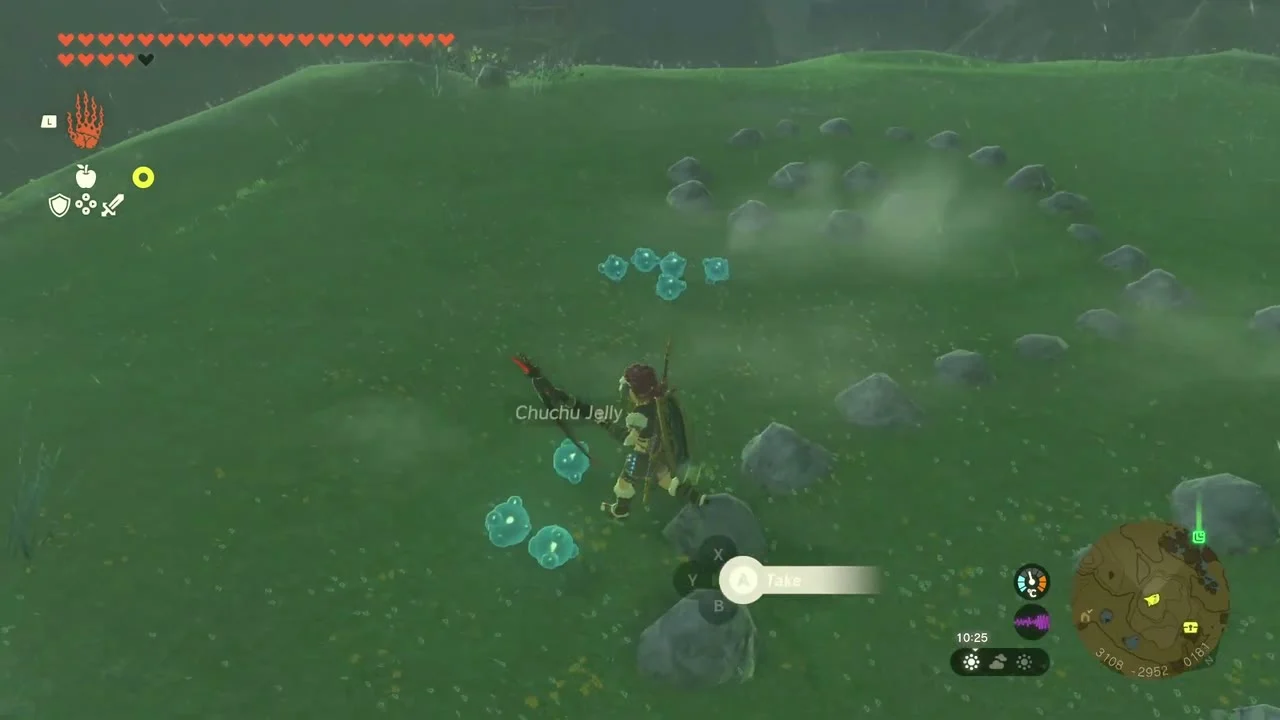
Fight the Stone Talus at the cave exit, then sweep north-east for the Boss Bokoblin chests, the Silver Boko Reaper lookout, the Royal Claymore (or Traveler’s Claymore, Soldier’s Claymore or Knight’s Claymore, depending on your progress) and the rock-pattern Korok.
Work the Cape Cales cliffs for the Royal Halberd (or Traveler’s Spear, Soldier’s Spear or Knight’s Halberd, depending on your progress) chest and two Koroks, loot the pirate ship in Cape Cales Cliffbase Cave, then cross to Eventide Island and clear the three strongholds, the hideout cave, Marari-in Shrine and the Koroks before reporting to Sesami.
Finish with the Lurelin Resort Project, then take the south-west beaches: Garini’s boat, Atun Valley Cave, the Clarnet Coast Koroks, the pirate-stronghold Cannon chest, Tuft Mountain’s balloon Korok and sunrise photo, and the Cotera upgrade.
Palmorae Ruins, Gama Cove and Mount Dunsel Cave
Take the Korok seed at Palmorae Ruins
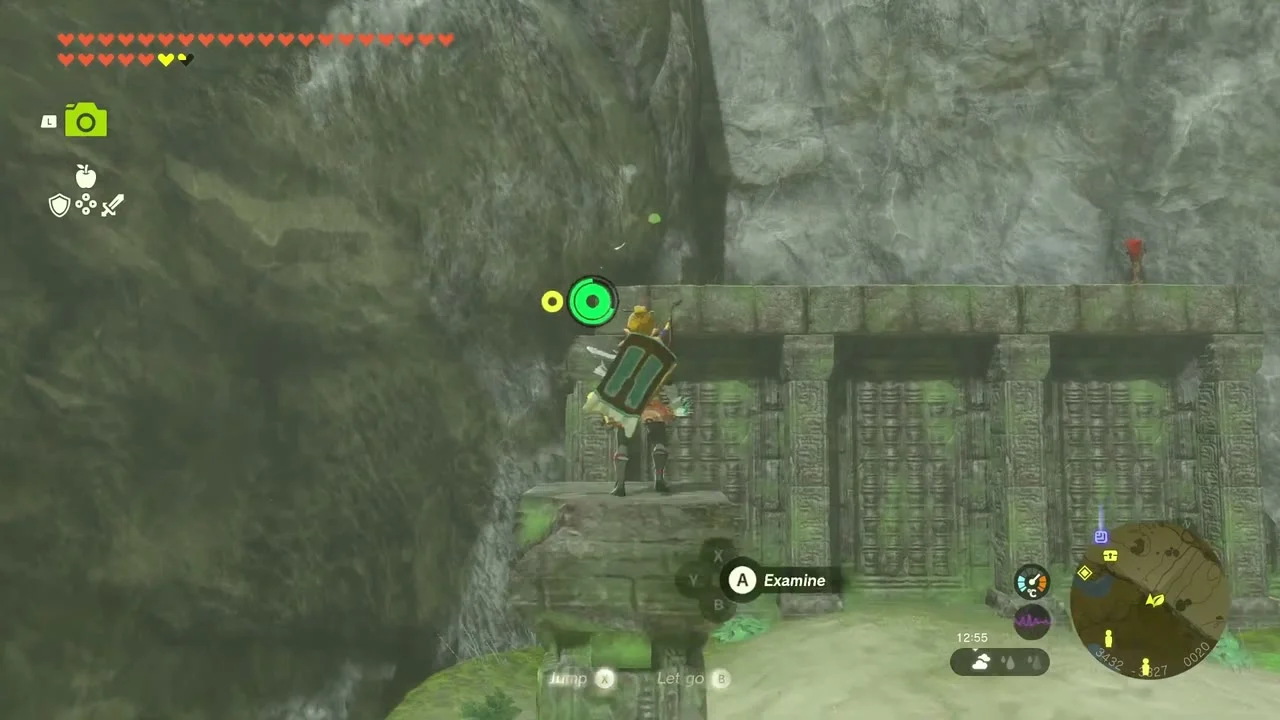
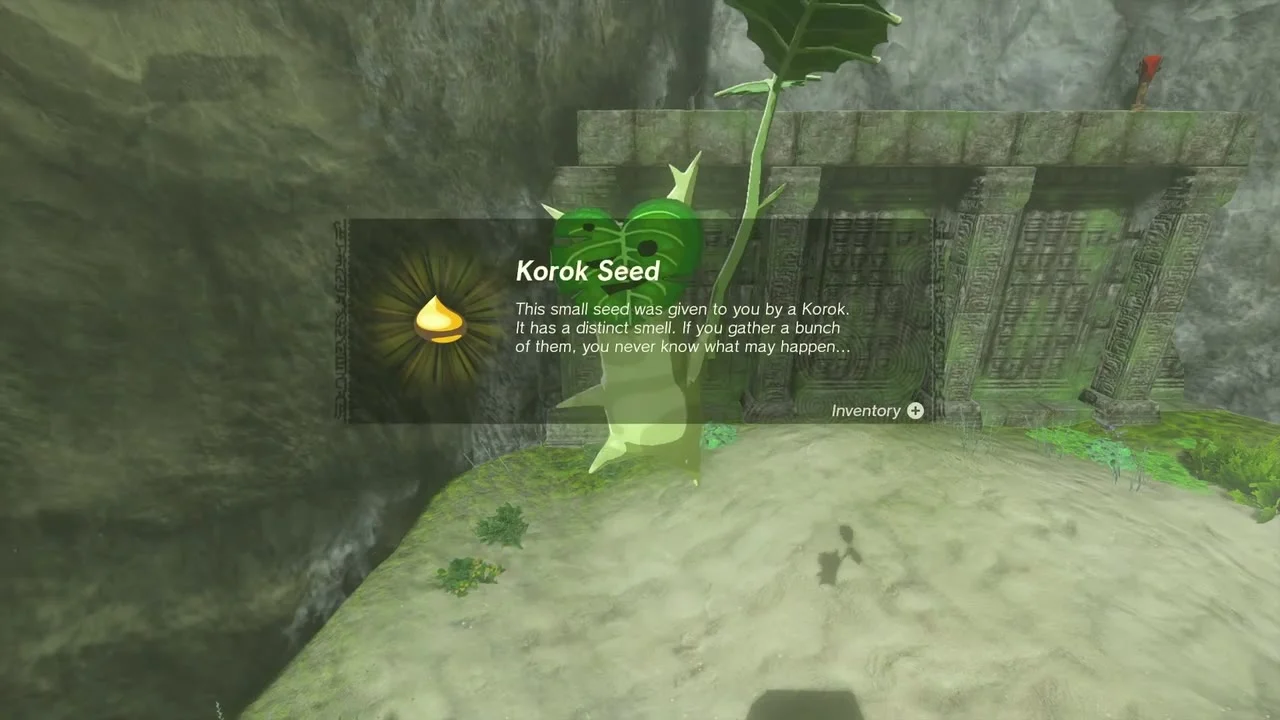
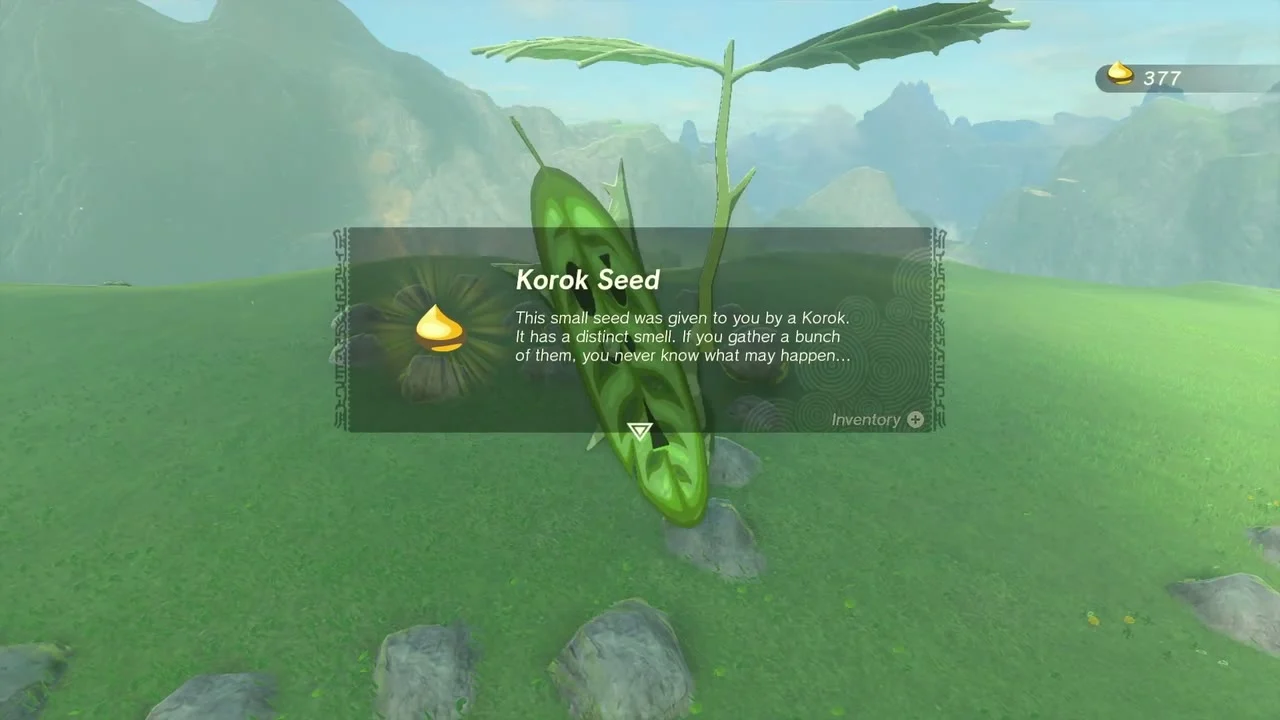
Korok seed (Examine where the arrows point to) at (3431, -3325, 22), among the ruined stone doors of Palmorae Ruins on the cliff-side beach. Follow the arrow carvings on the ruins to the marked spot at the foot of the wall and examine it to make the Korok appear.
Carry the exhausted Korok to its friend
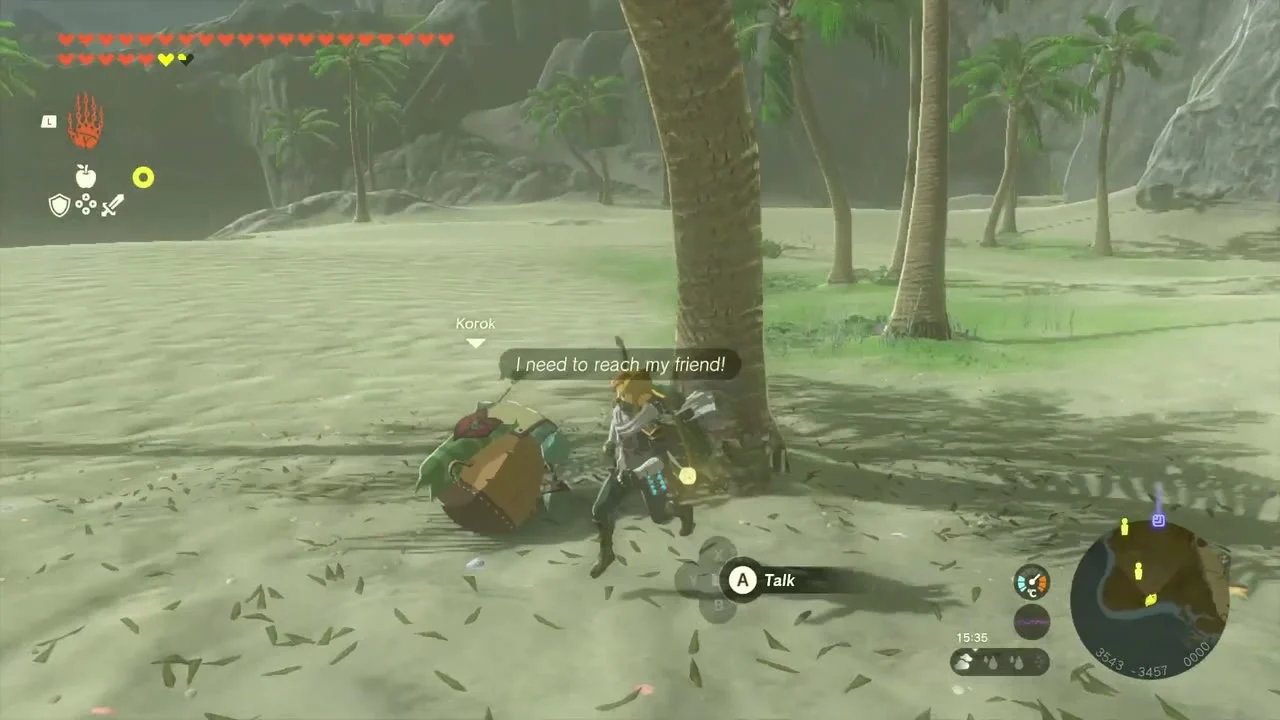
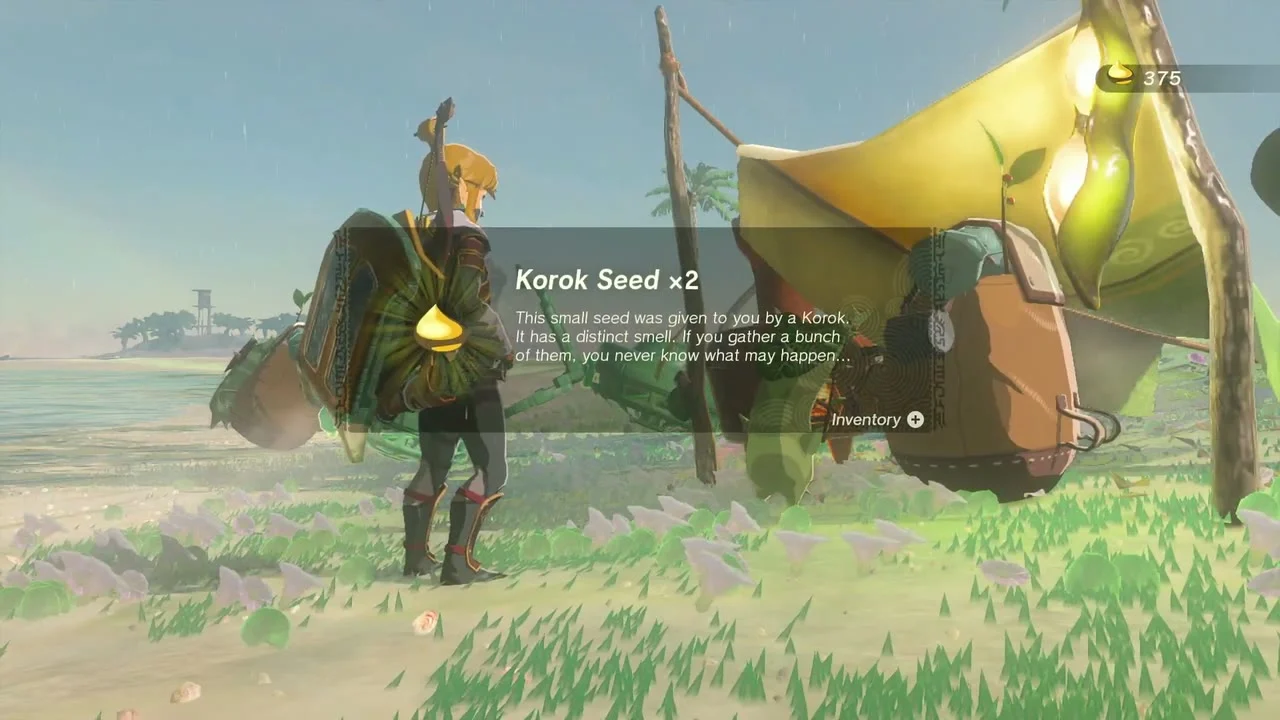
Korok seeds x2 (Carry friend, Korok Duo). The exhausted Korok sits at (3542, -3458) under a palm on Palmorae Beach and its friend waits at (3600, -3780) on the south shore of Cape Cresia. Pick the Korok up with Ultrahand, put it on a raft or hoverbike and sail it across; both Koroks reward a seed.
Defeat the Battle Talus at Gama Cove
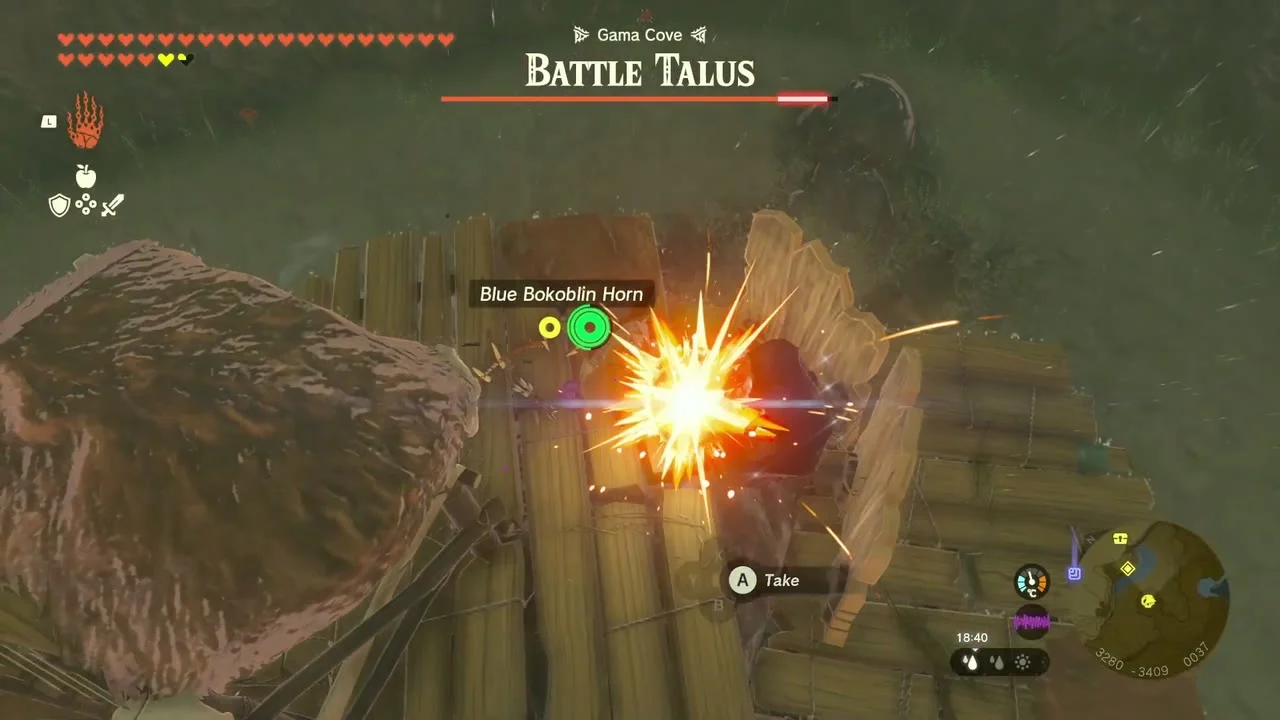
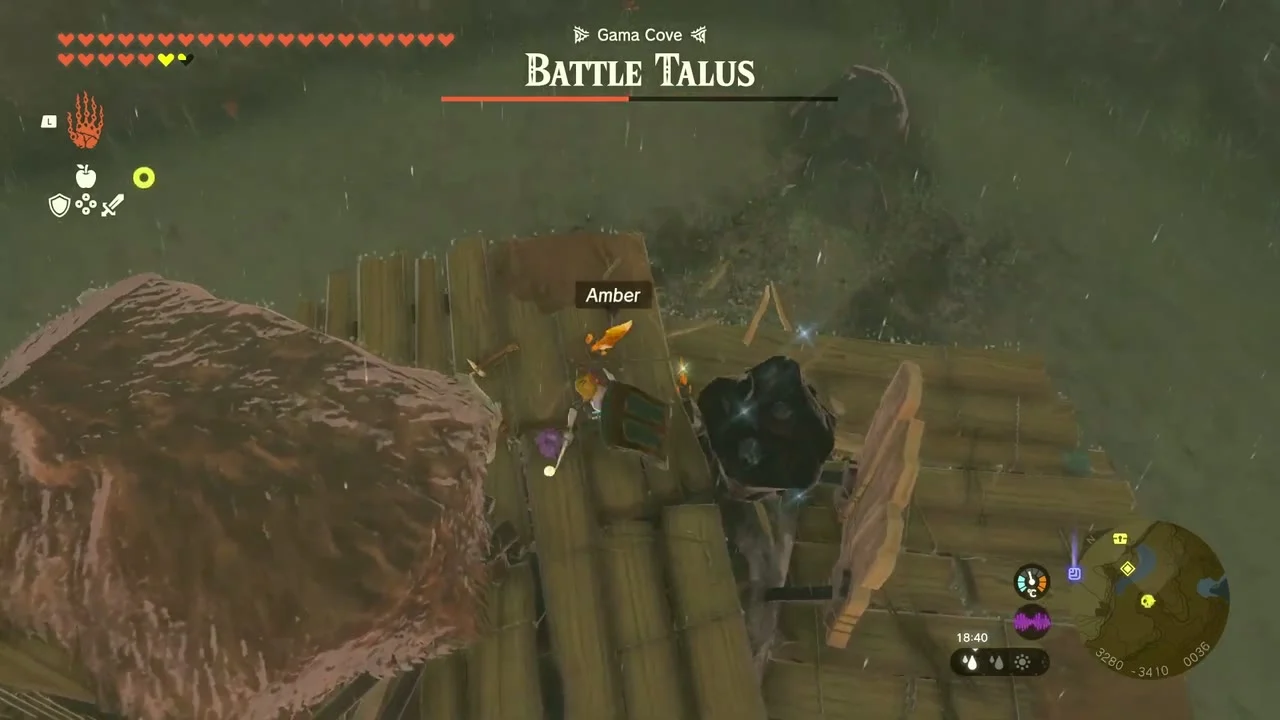
Miniboss: Battle Talus at about (3260, -3400) in Gama Cove. Use Ultrahand to throw its rock arms back at it or hit the ore deposit on its back with a strong weapon; stay clear of its stomping arms.
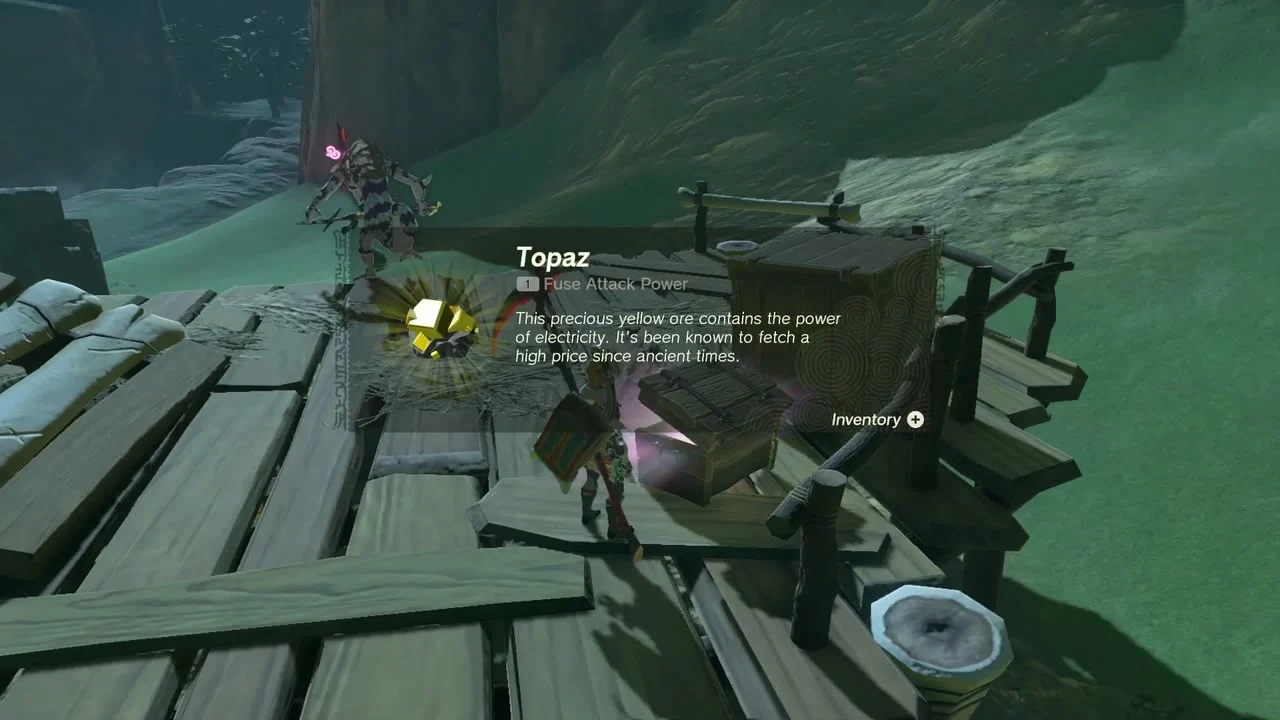
Open the Topaz chest at Gama Cove
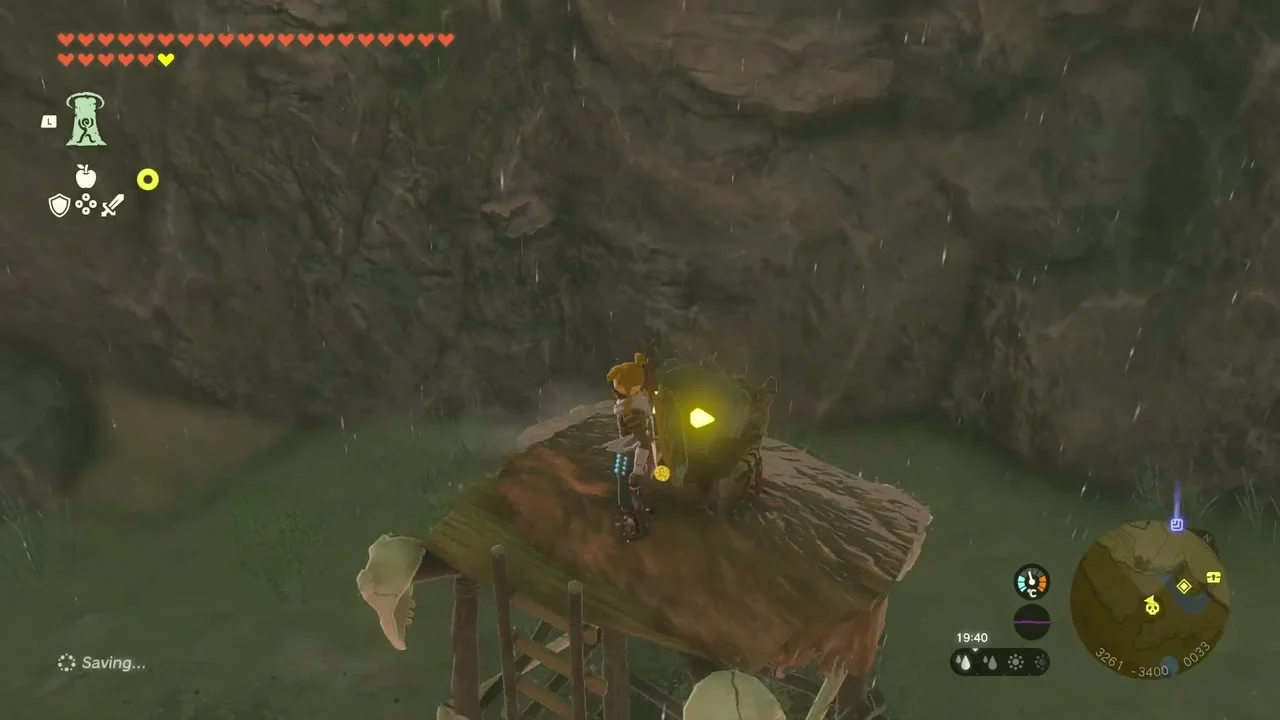
Chest: Topaz at about (3265, -3412), on a wooden lookout beside a lava pool at Gama Cove. Build a ramp or stack with Ultrahand to reach the platform and open the chest.
Find the entrance to Mount Dunsel Cave
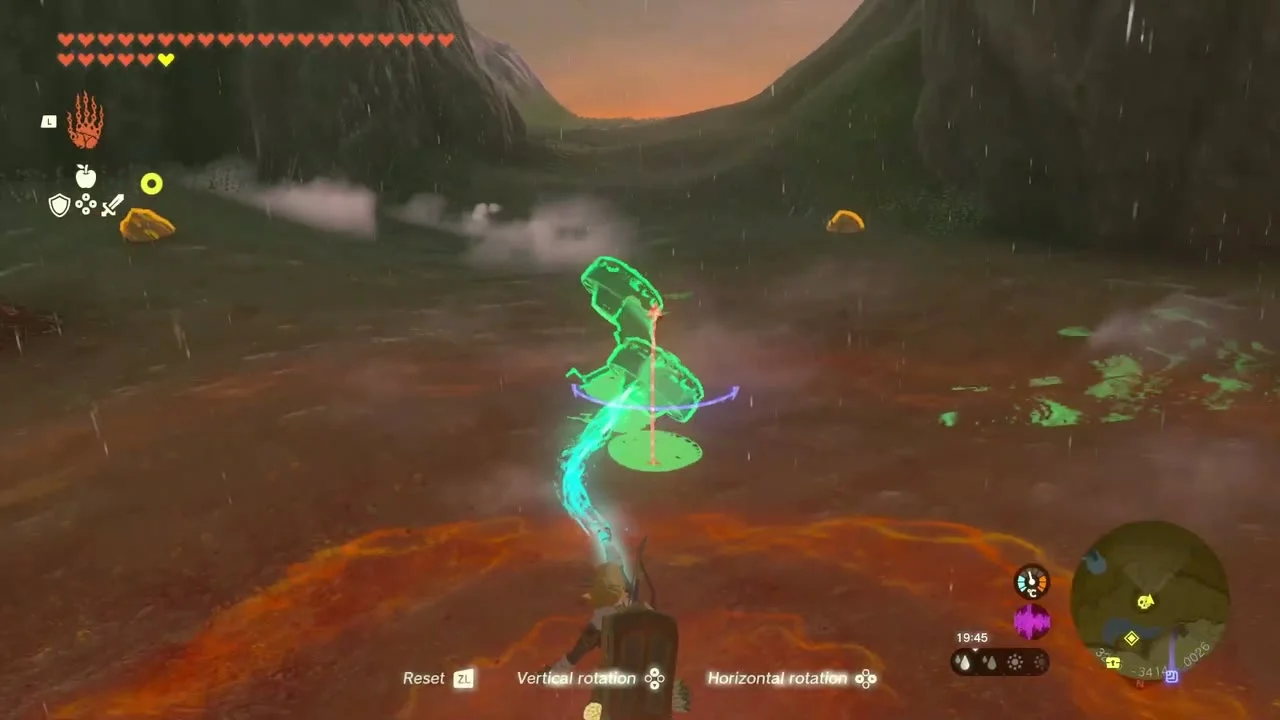
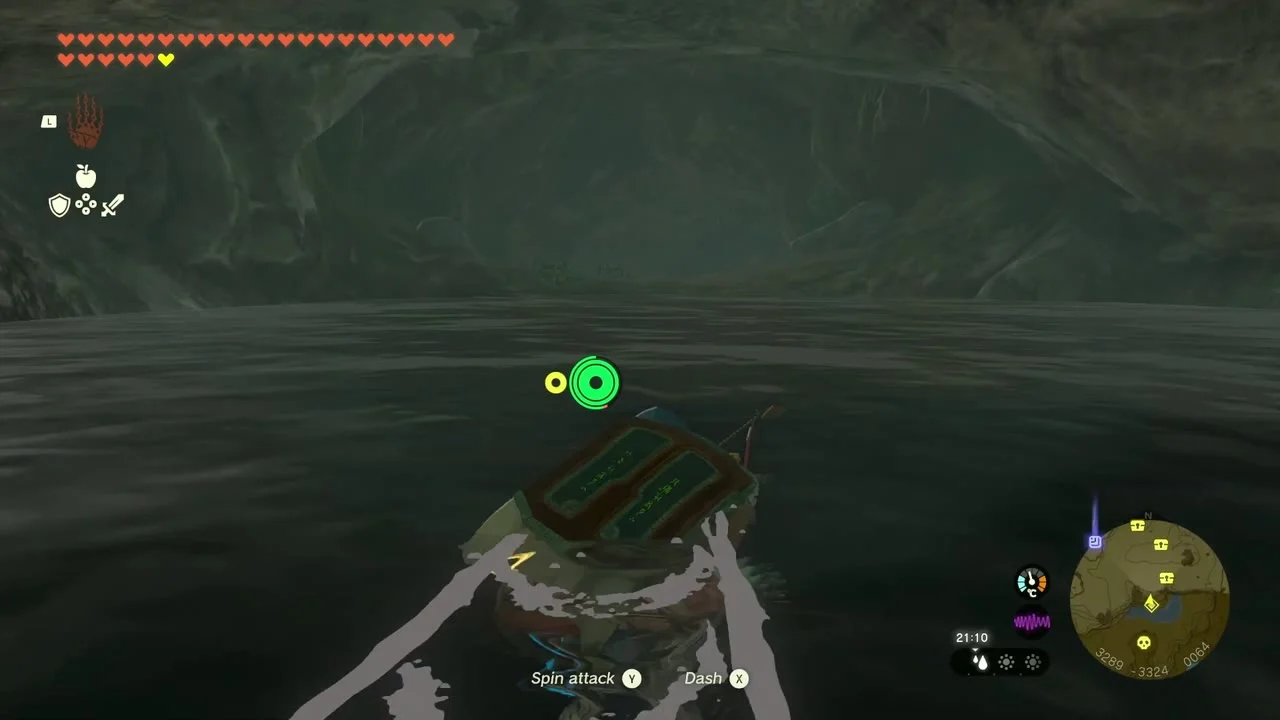
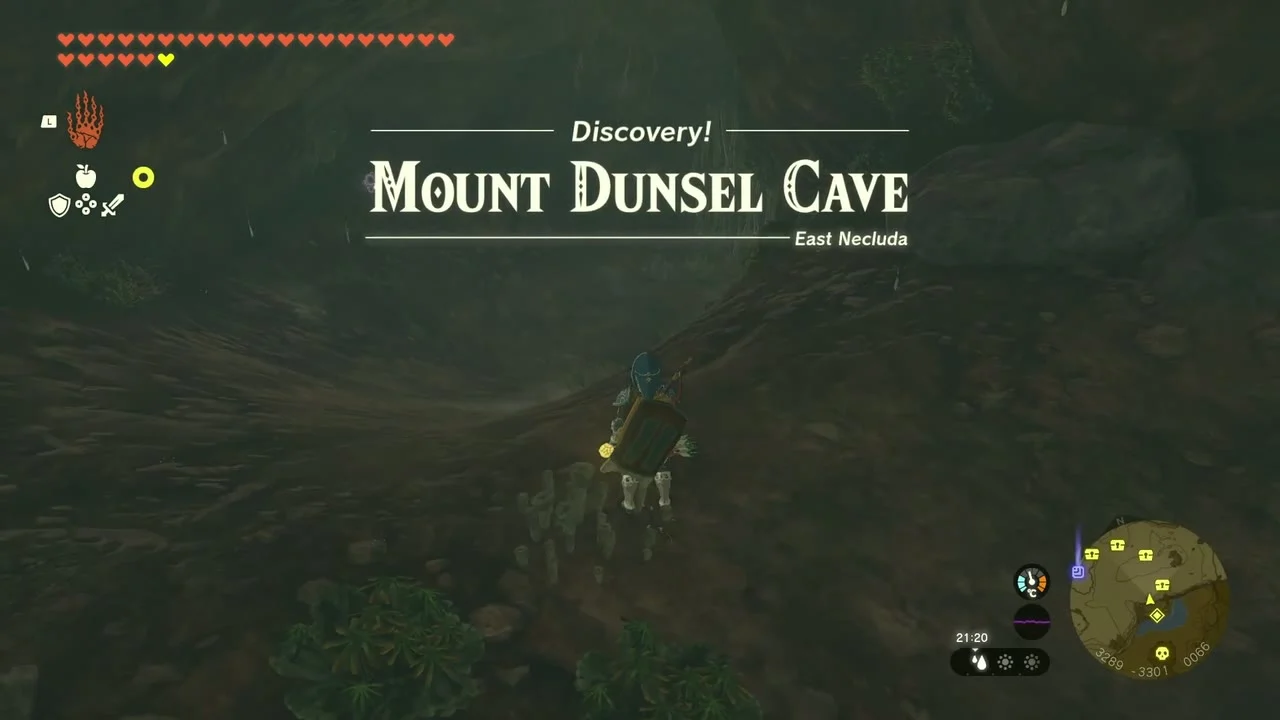
Mount Dunsel Cave has two entrances: the north mouth at (3224, -3017) reached from West Loshlo Harbor, and the south mouth at (3291, -3296) above the water of Gama Cove. Sail a raft into the south mouth, which discovers the cave.
Open the first three chests
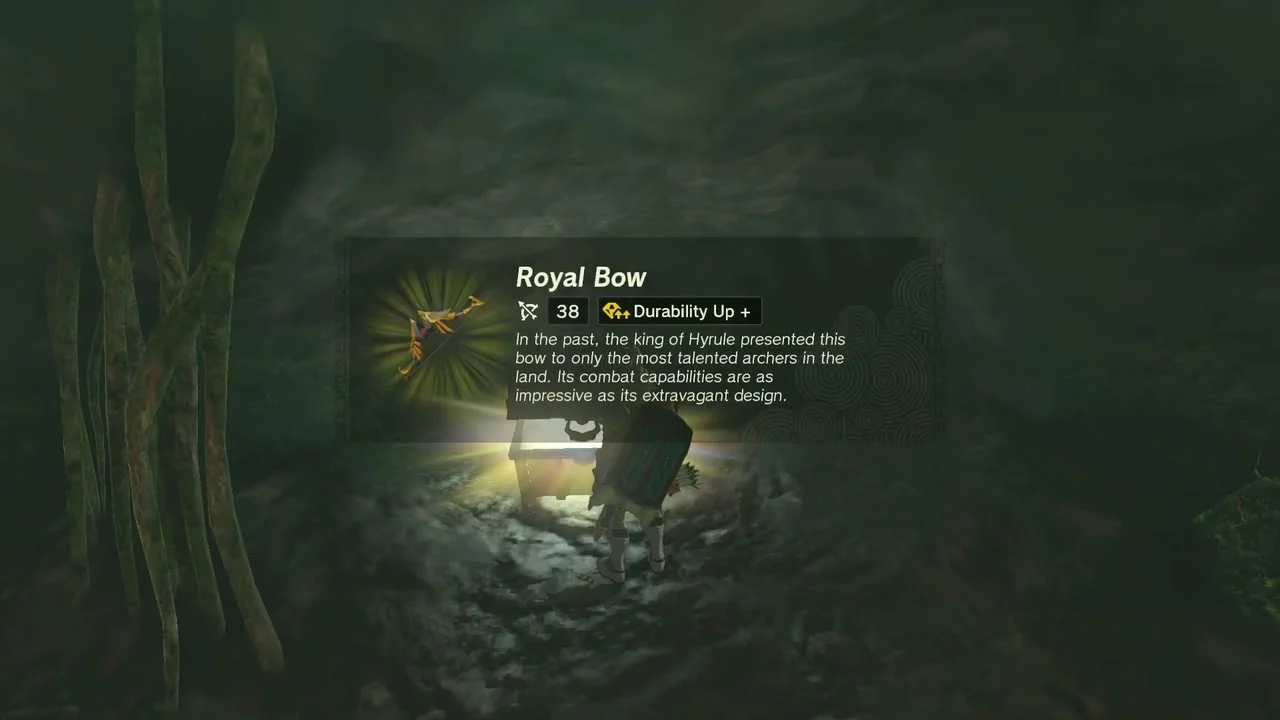
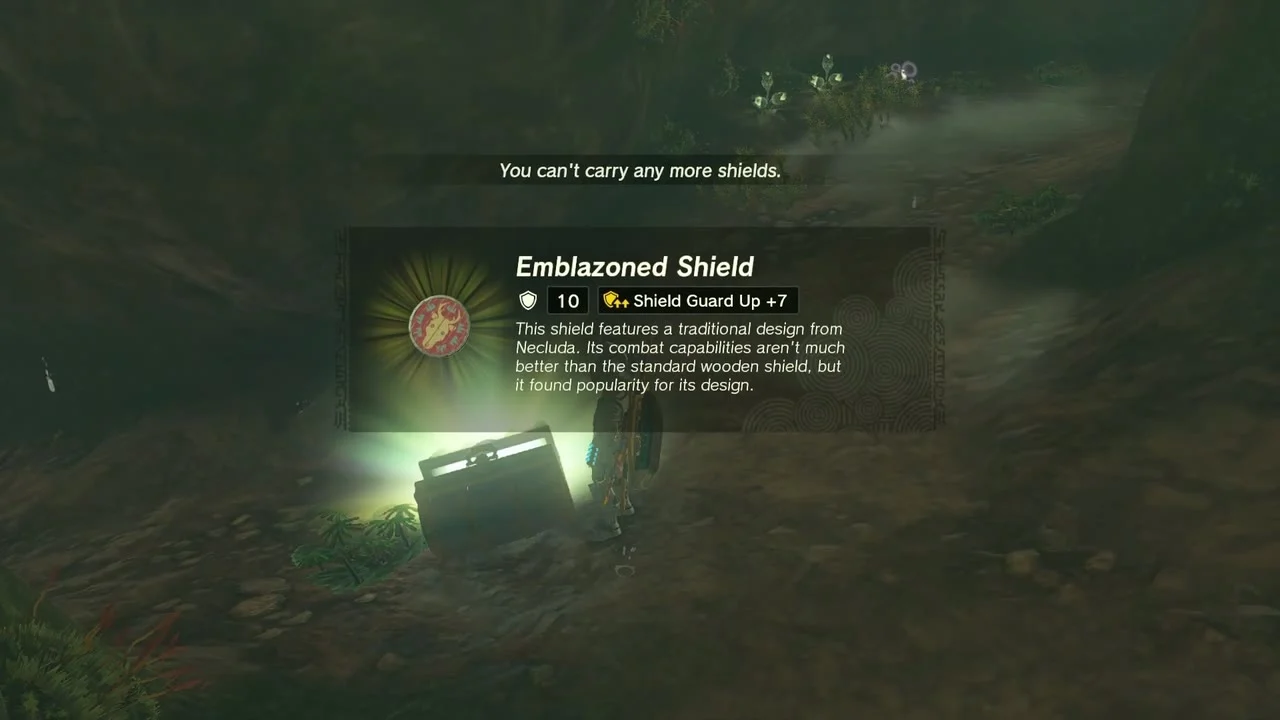
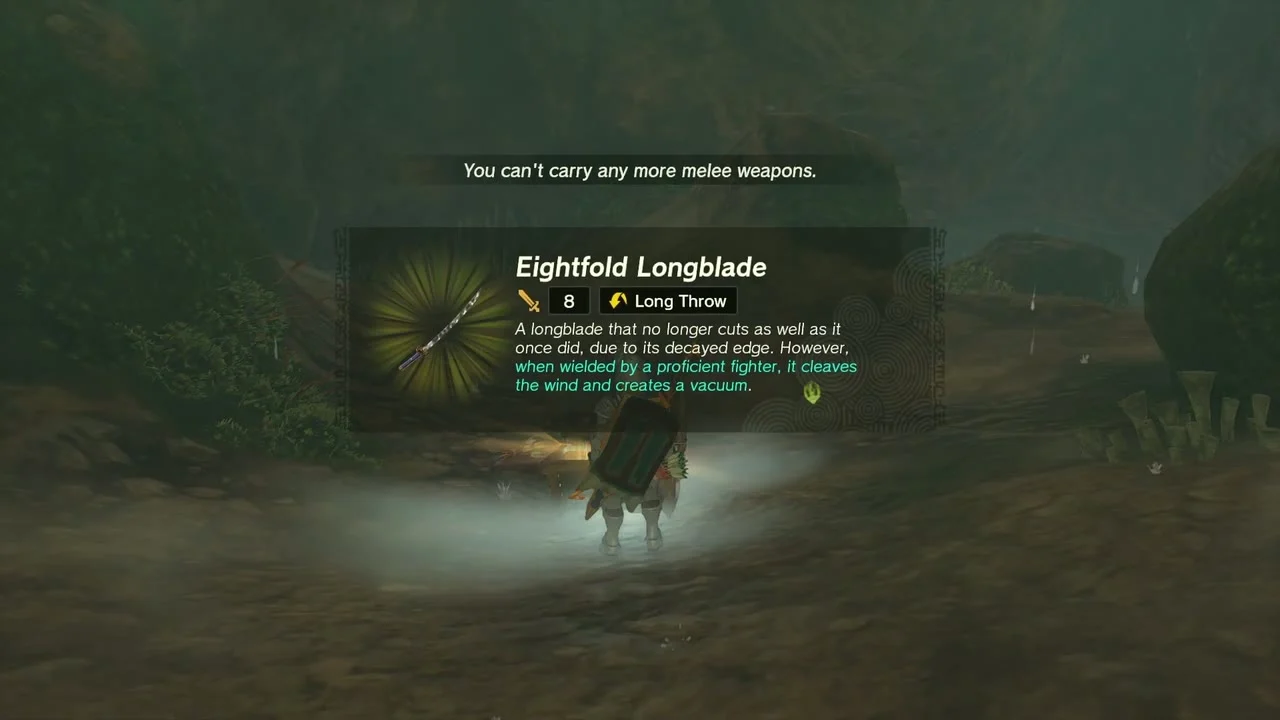
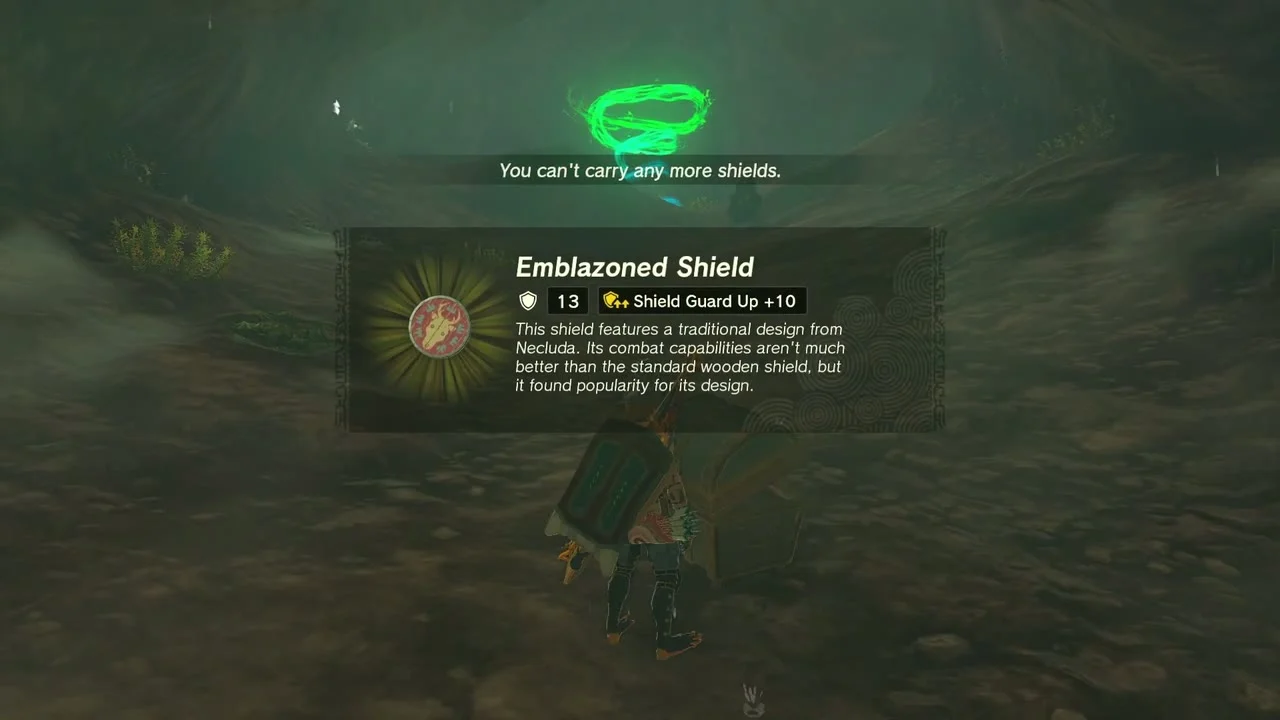
Chests: Royal Bow, Emblazoned Shield, Eightfold Longblade in the upper caverns. Cut the vines around the first ledge for the Royal Bow (a Soldier’s, Knight’s or Royal Bow, depending on your progress), defeat the Horriblins in the next room for the Emblazoned Shield, and take the Eightfold Longblade from the chest in the following chamber.
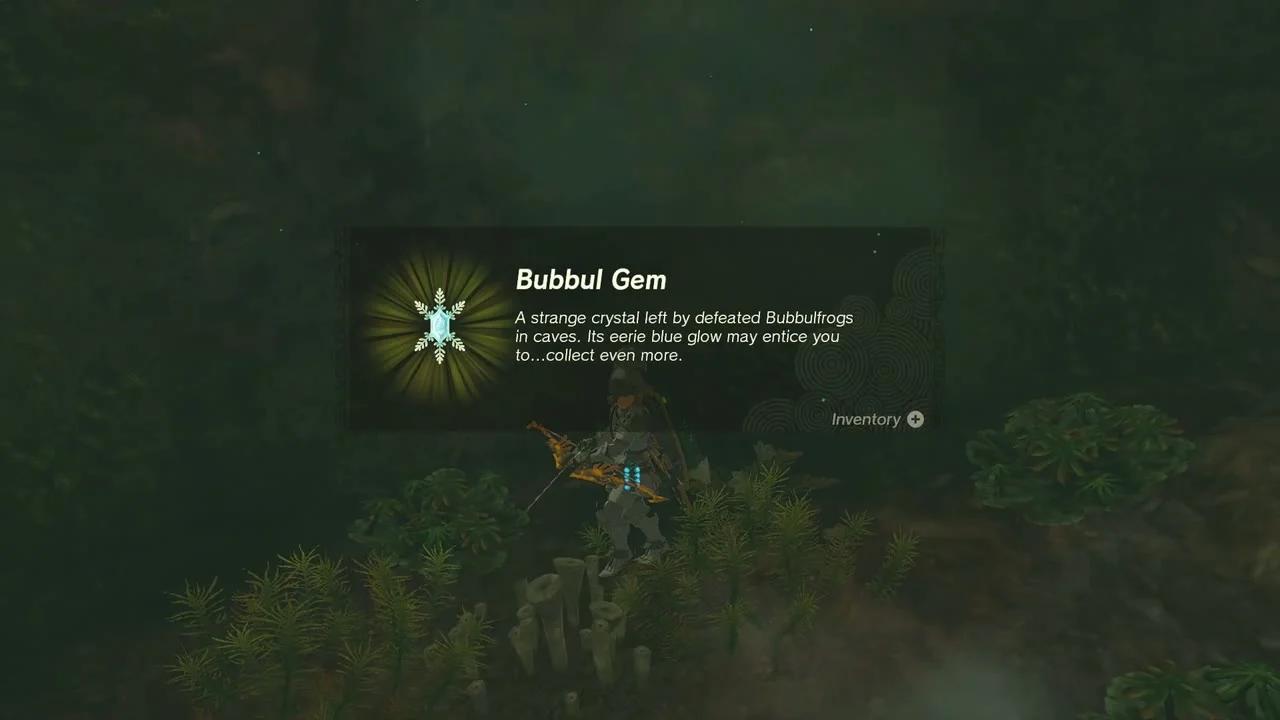
Break the vines for the Bubbulfrog
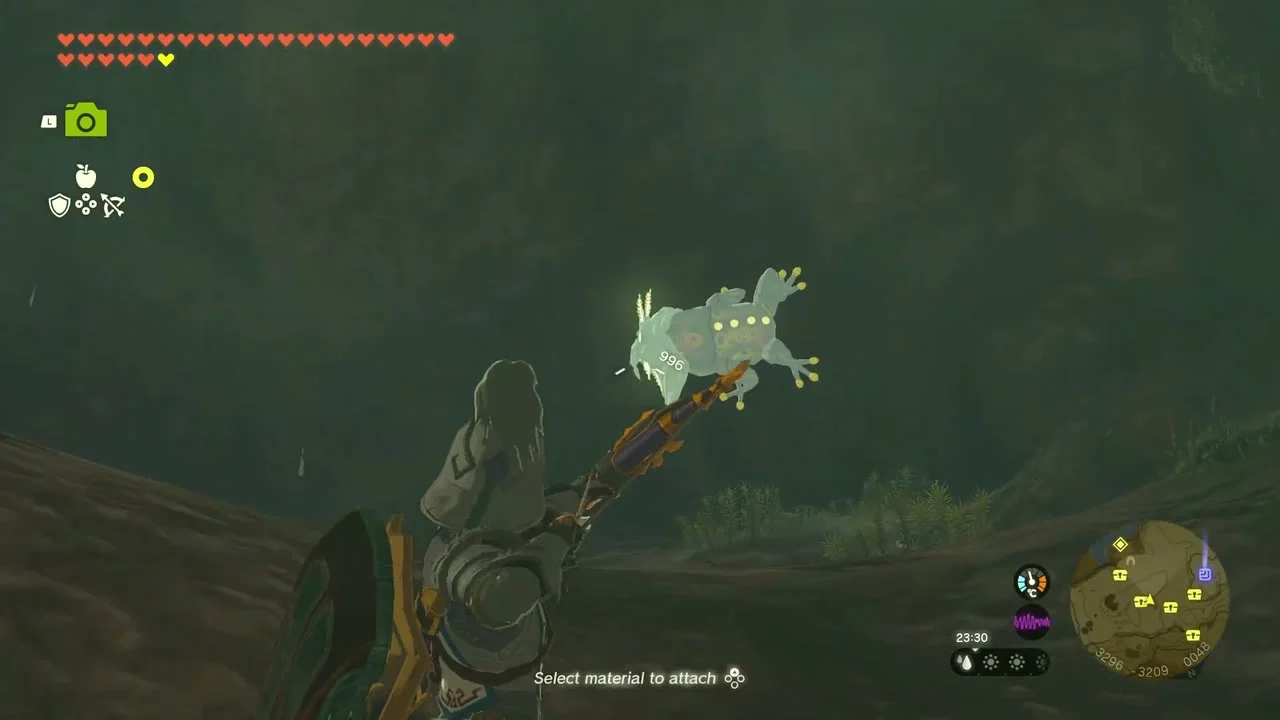
Bubbulfrog (Bubbul Gem) deeper in the cave. Cut the vines blocking the cavern with the large rock mounds, then bomb or bash the wall hiding the frog and defeat it to receive the Bubbul Gem.
Open the Shield of the Mind’s Eye chest
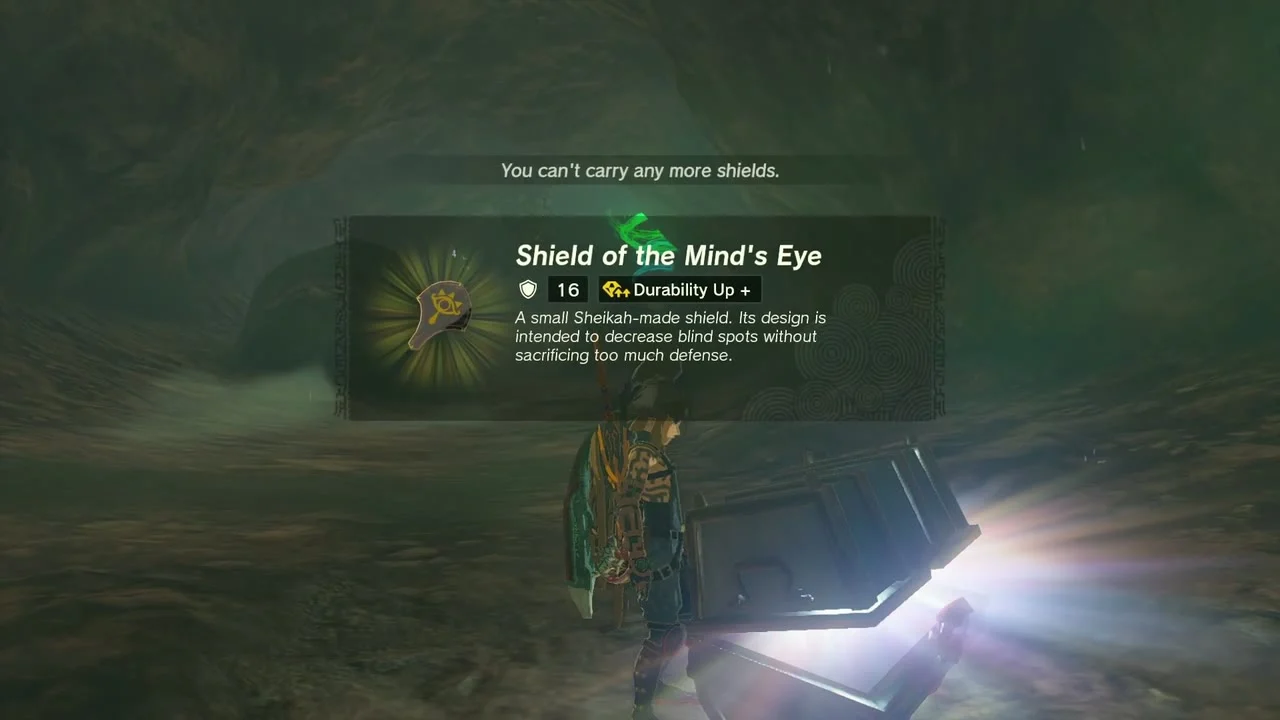
Chests: Shield of the Mind’s Eye, Emblazoned Shield in the lava chamber at the end of the lower route. Pass the lava, then open the chests for the Shield of the Mind’s Eye and a second Emblazoned Shield.
Clear Bamitok Shrine: Rauru’s Blessing
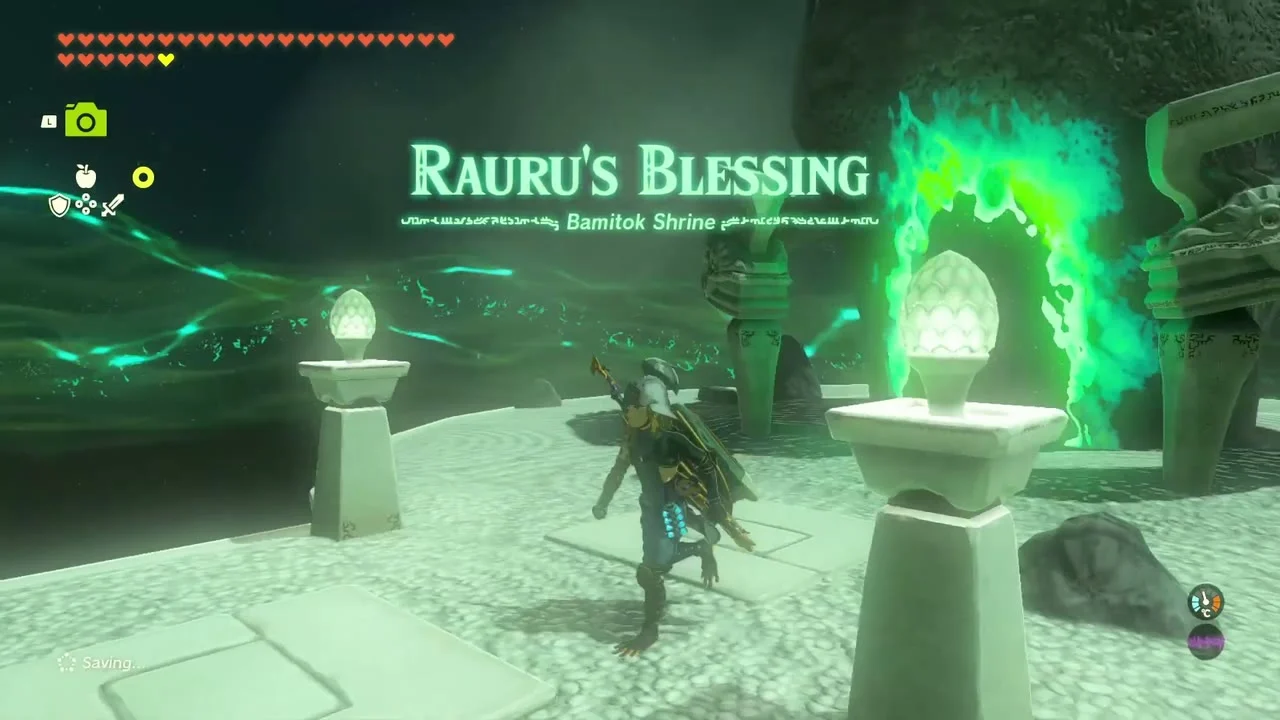
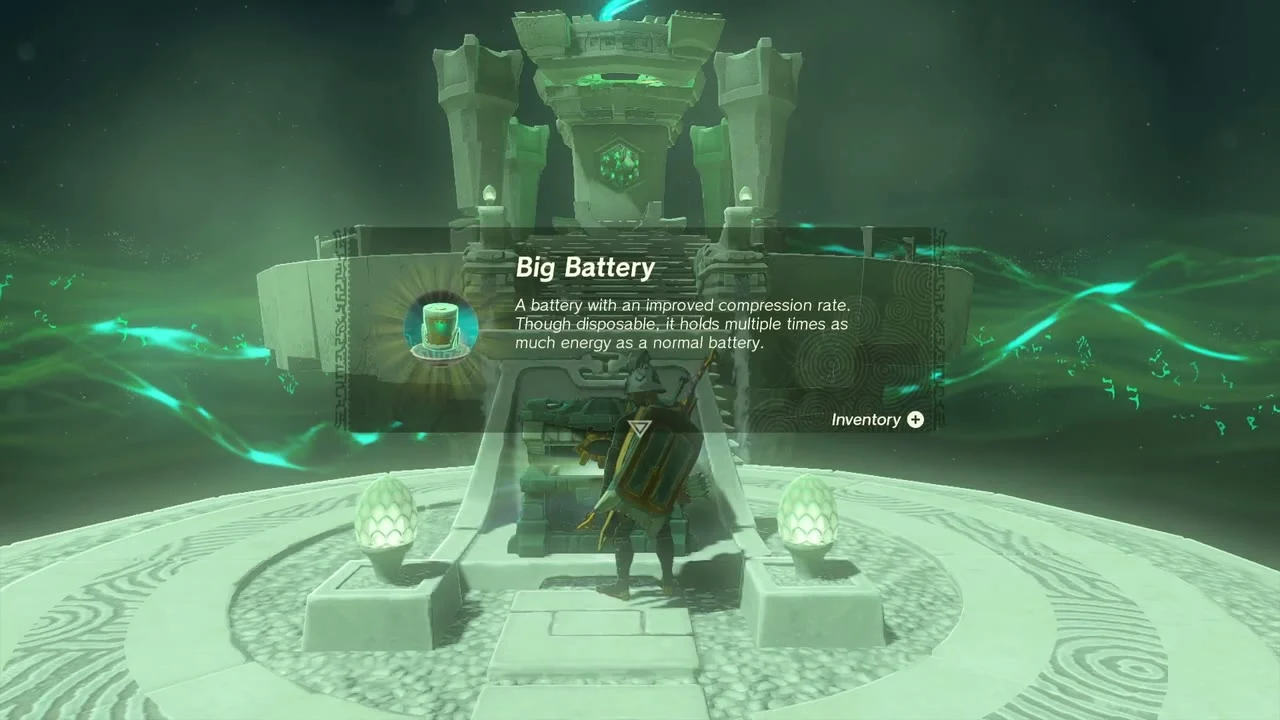
Bamitok Shrine (Rauru’s Blessing, no puzzle) at (3093, -3209, 95), at the back of the cave. Climb the stairs to open the chest for a Big Battery and take the Light of Blessing. The Kotimab Lightroot lies beneath it in the Depths.
Take the Sapphire from the floating chest
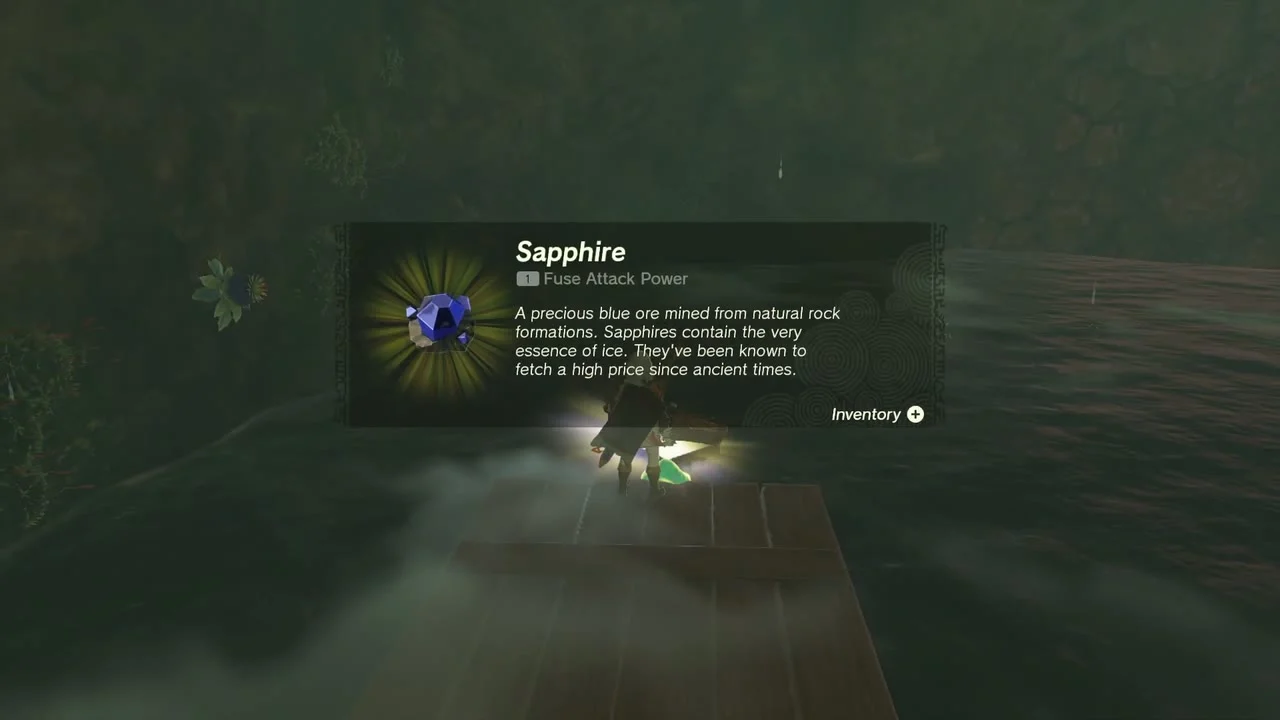
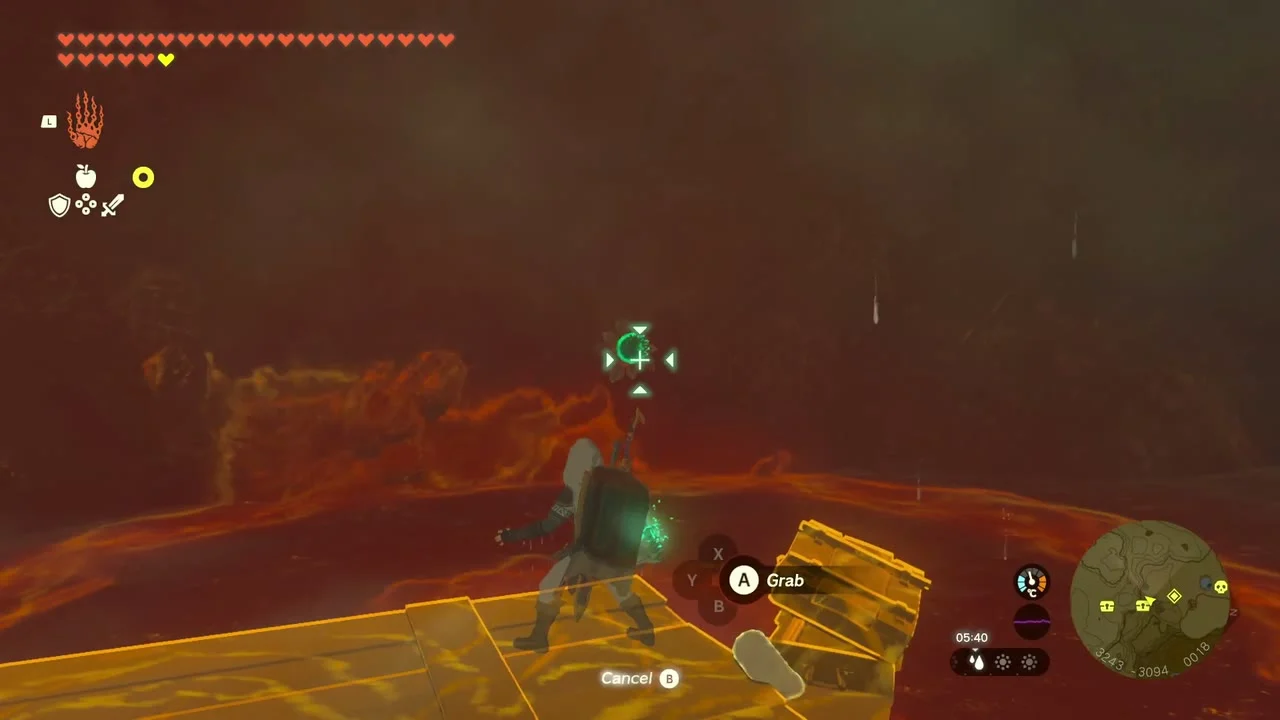
Chest: Sapphire at about (3243, -3094), in the dark water of the cave’s northern chamber. Build a platform with Ultrahand to reach it over the lava and open the chest for the Sapphire.
Defeat the Stone Talus at the cave exit
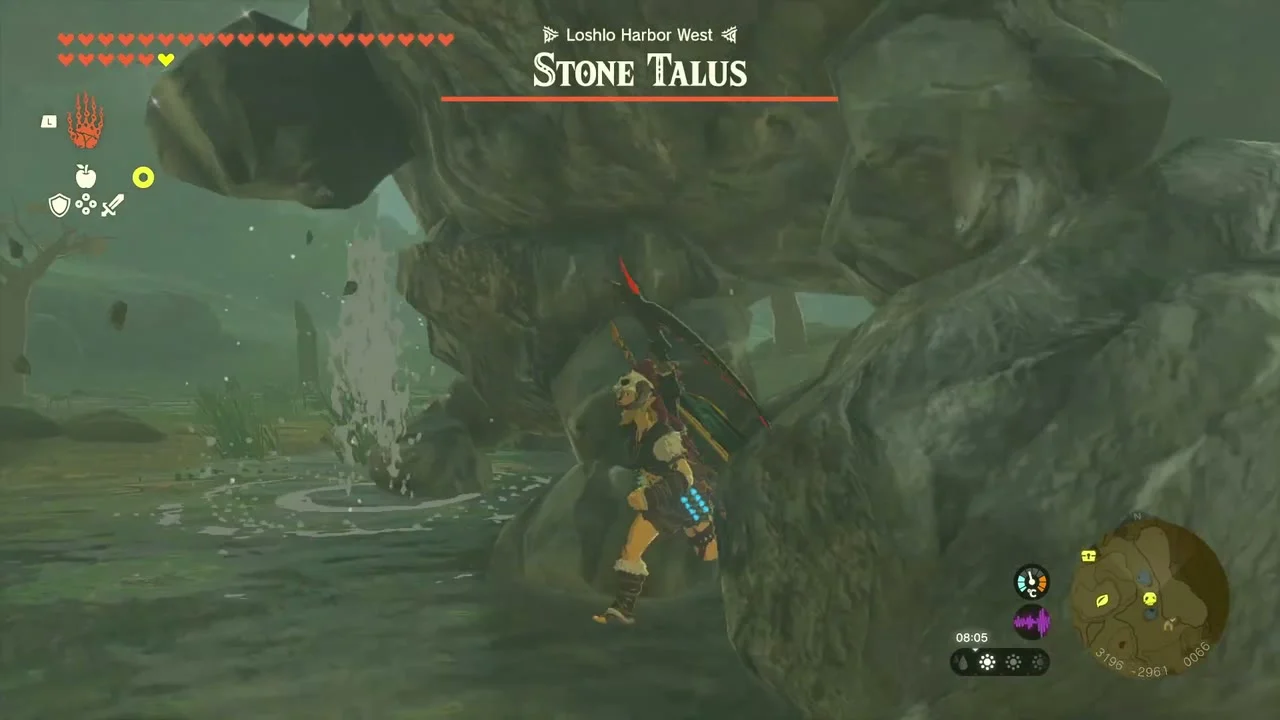
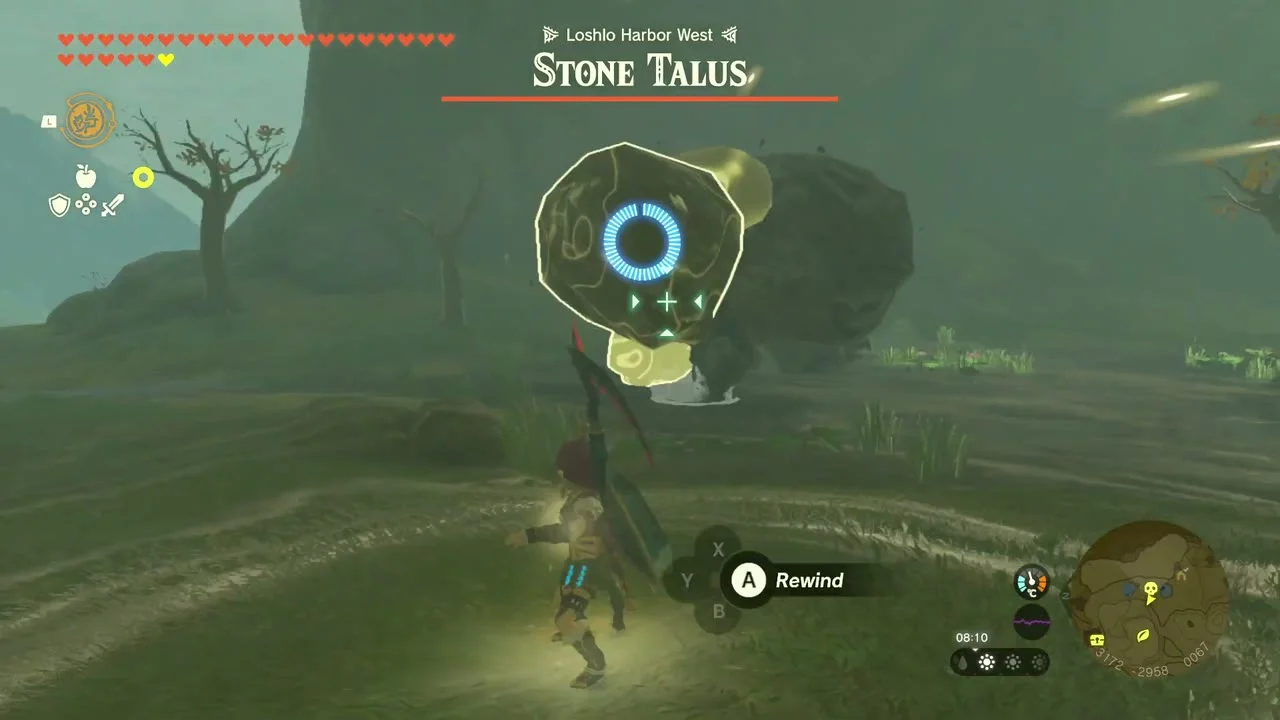
Miniboss: Stone Talus near the north mouth of the cave. Hit the glowing ore on its back, or grab its stone arms with Ultrahand when it winds up.
Ebon Mountain foothills
Defeat the Boss Bokoblin and open its chests
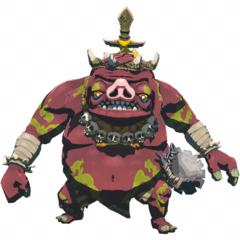
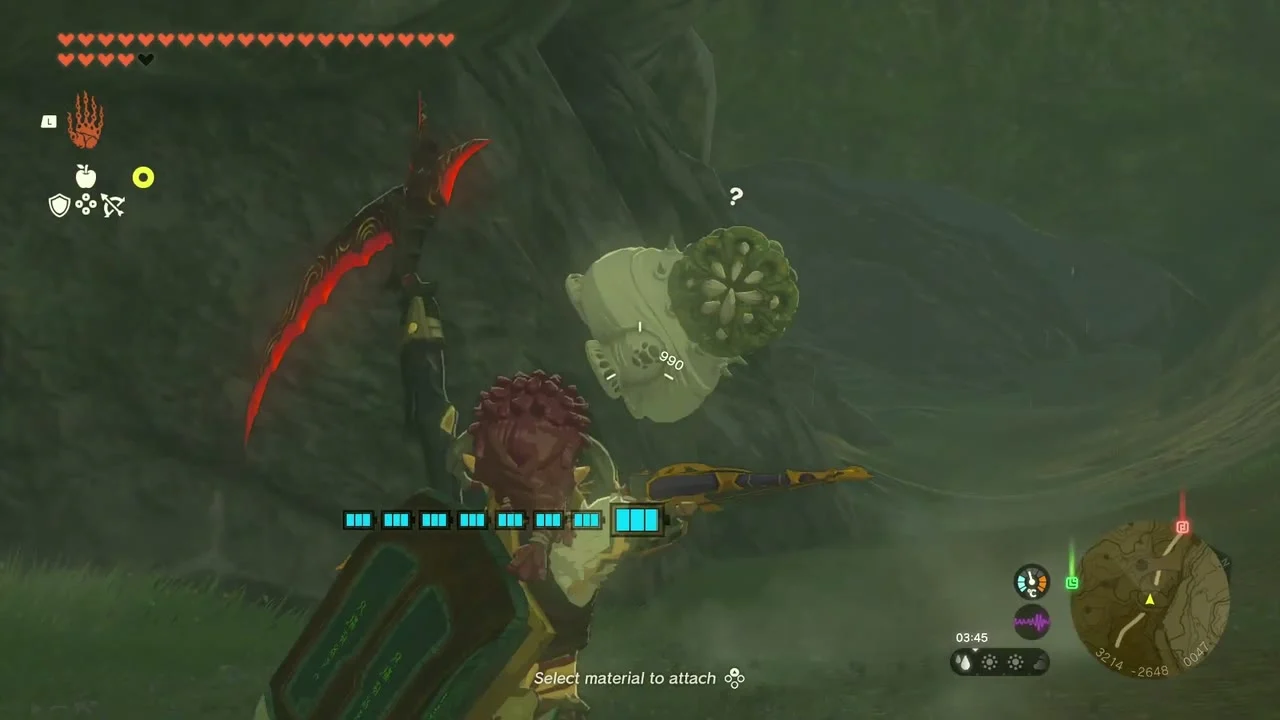
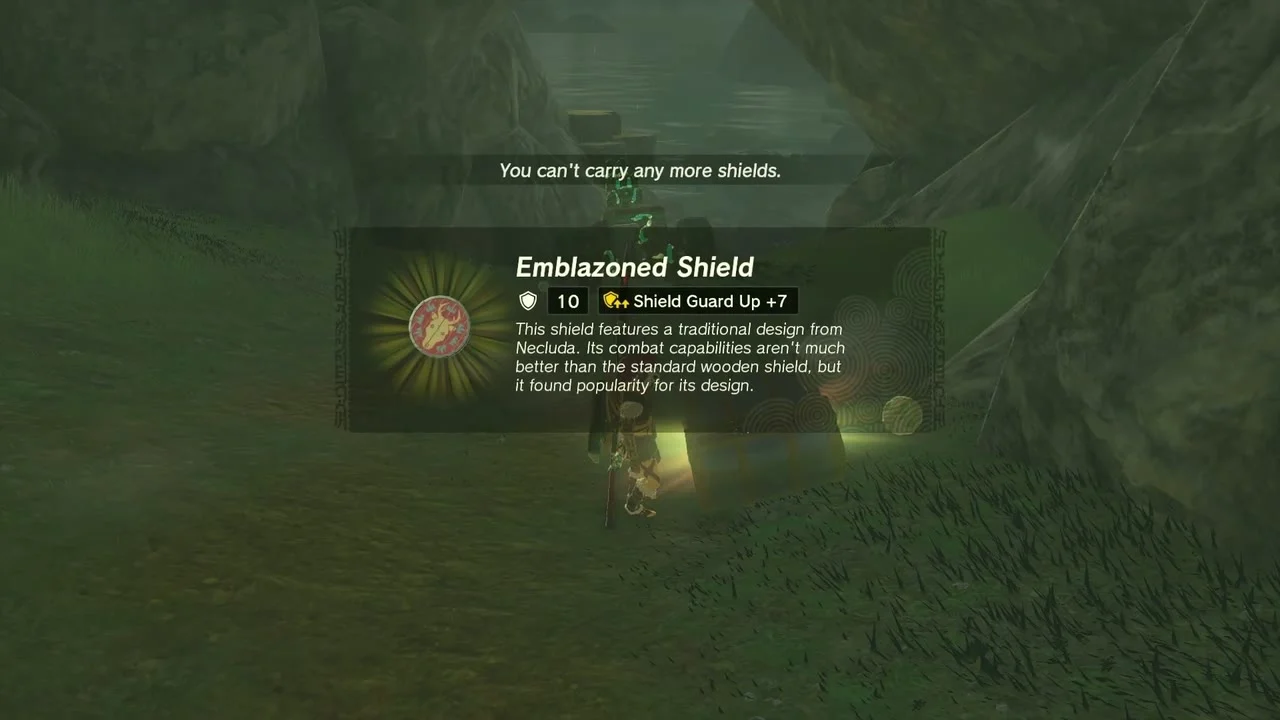
Miniboss: Boss Bokoblin at about (3322, -2954), on the grassland south-east of Ebon Mountain. After the fight, climb to (3214, -2642) and open the chests for an Emblazoned Shield and a Shield of the Mind’s Eye.
Take the Silver Boko Reaper from the lookout
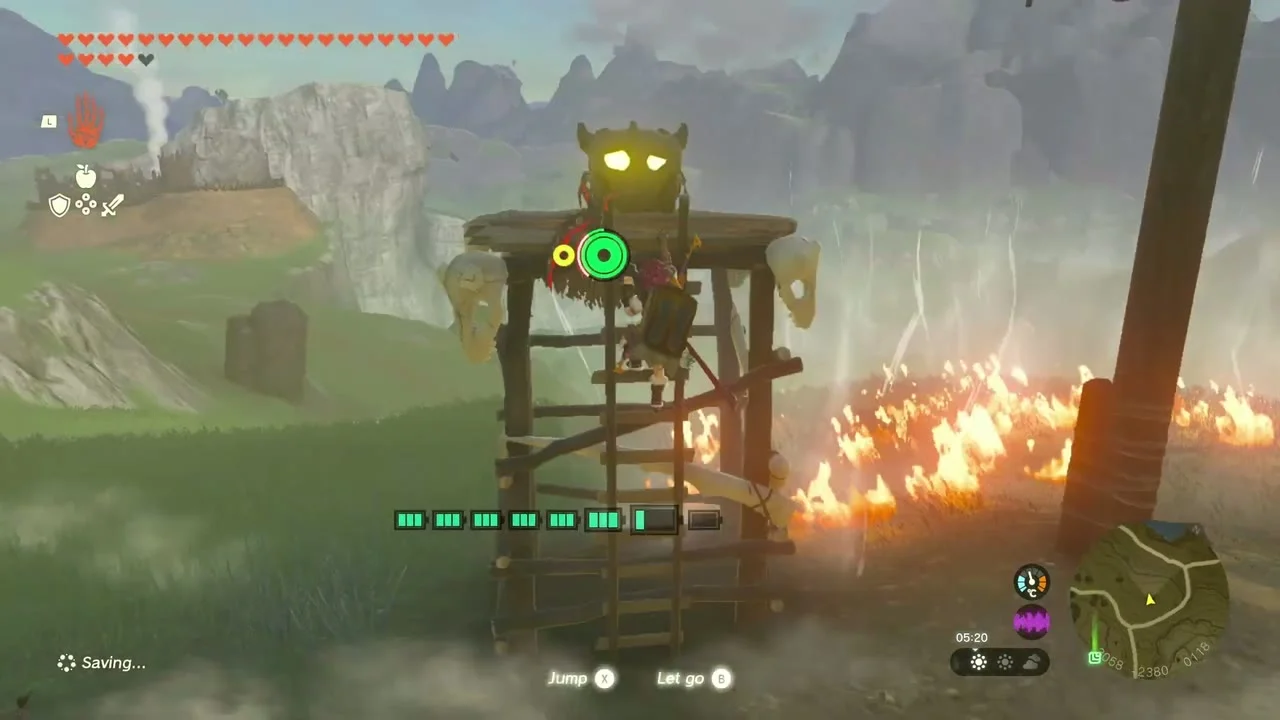
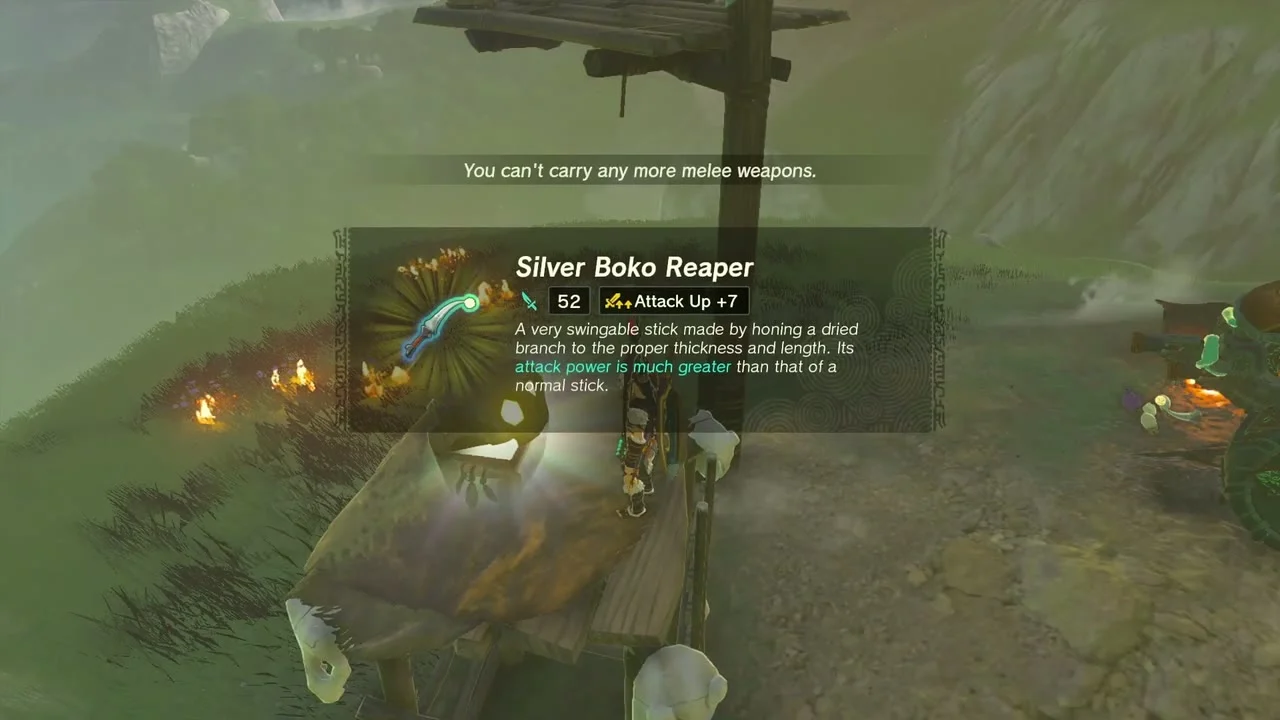
Chest: Silver Boko Reaper at about (3072, -2410), on a monster lookout. Burn or knock the lookout down to reach the chest and take the Silver Boko Reaper.
Open the Royal Claymore chest
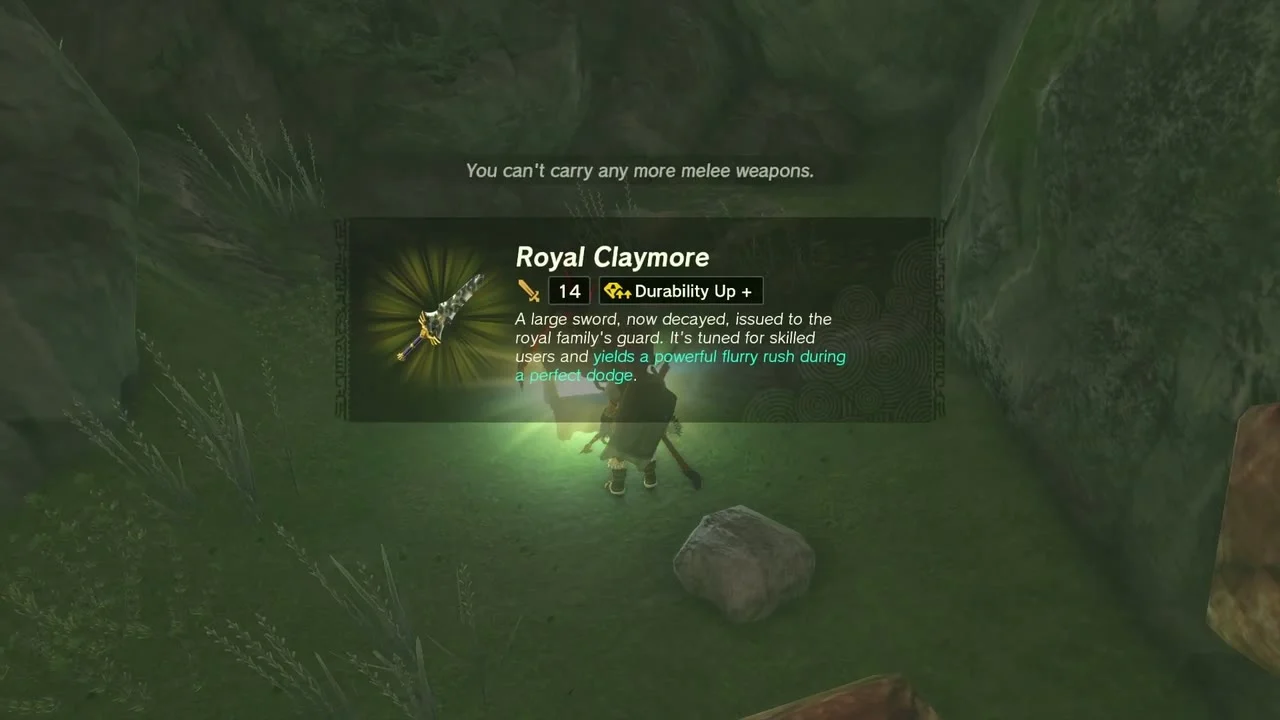
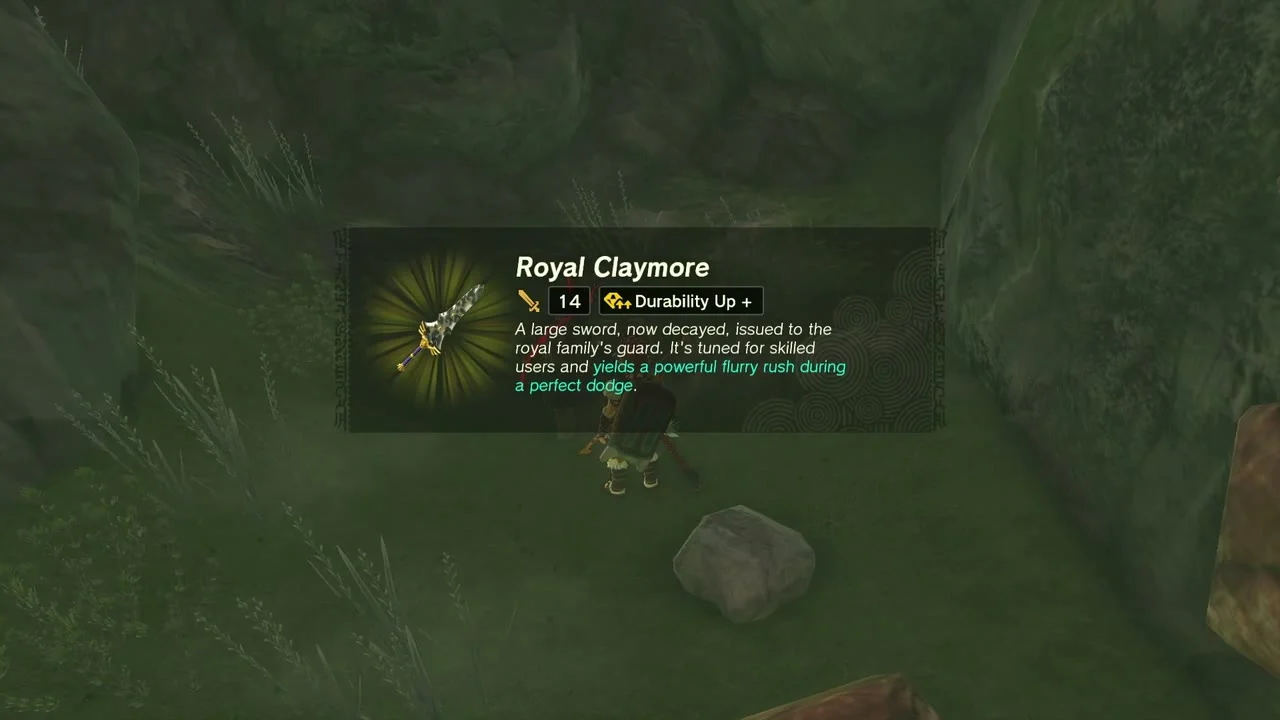
Chest: Royal Claymore at about (3082, -2878), north-east of Dunsel Plateau. Climb to the ledge and open the chest for the Royal Claymore (a Soldier’s, Knight’s or Royal Claymore, depending on your progress).
Complete the rock pattern
Korok seed (Complete the rock pattern) at (3099, -2951, 184), on the hillside north-east of Dunsel Plateau. Place the missing rock into the ring of stones to make the Korok appear.

Cape Cales and Cliffbase Cave
Open the Royal Halberd chest
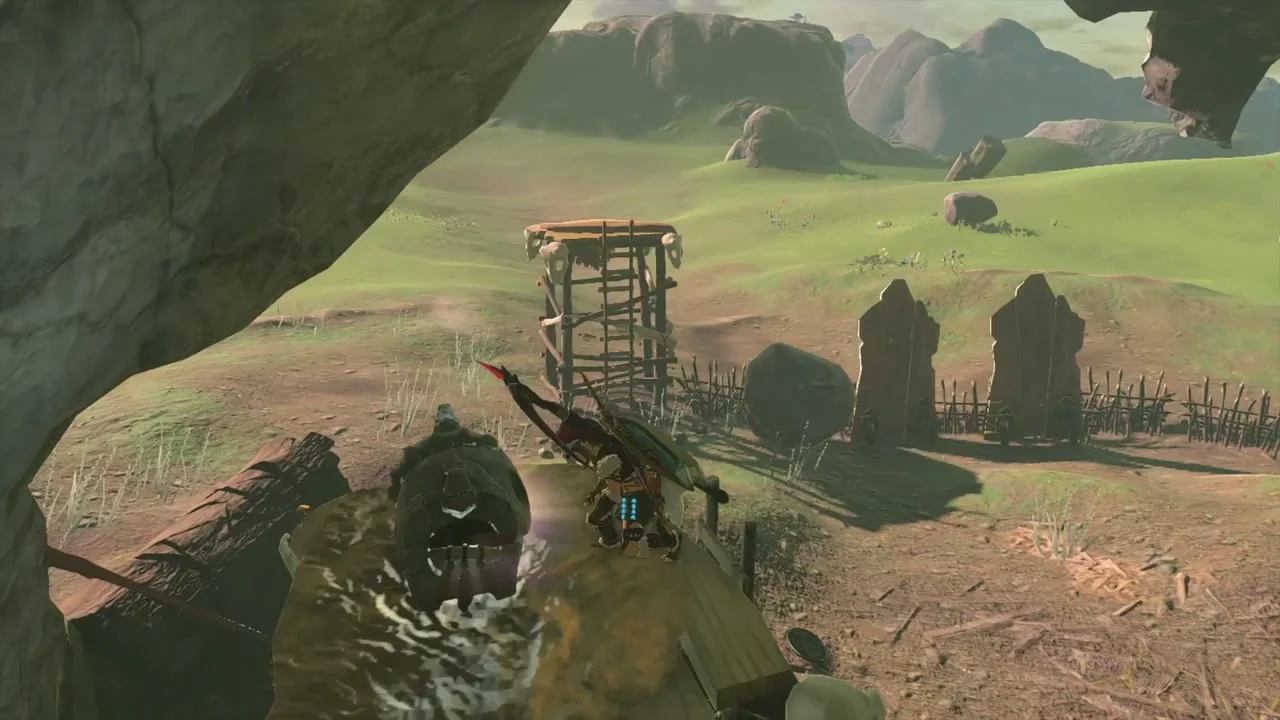
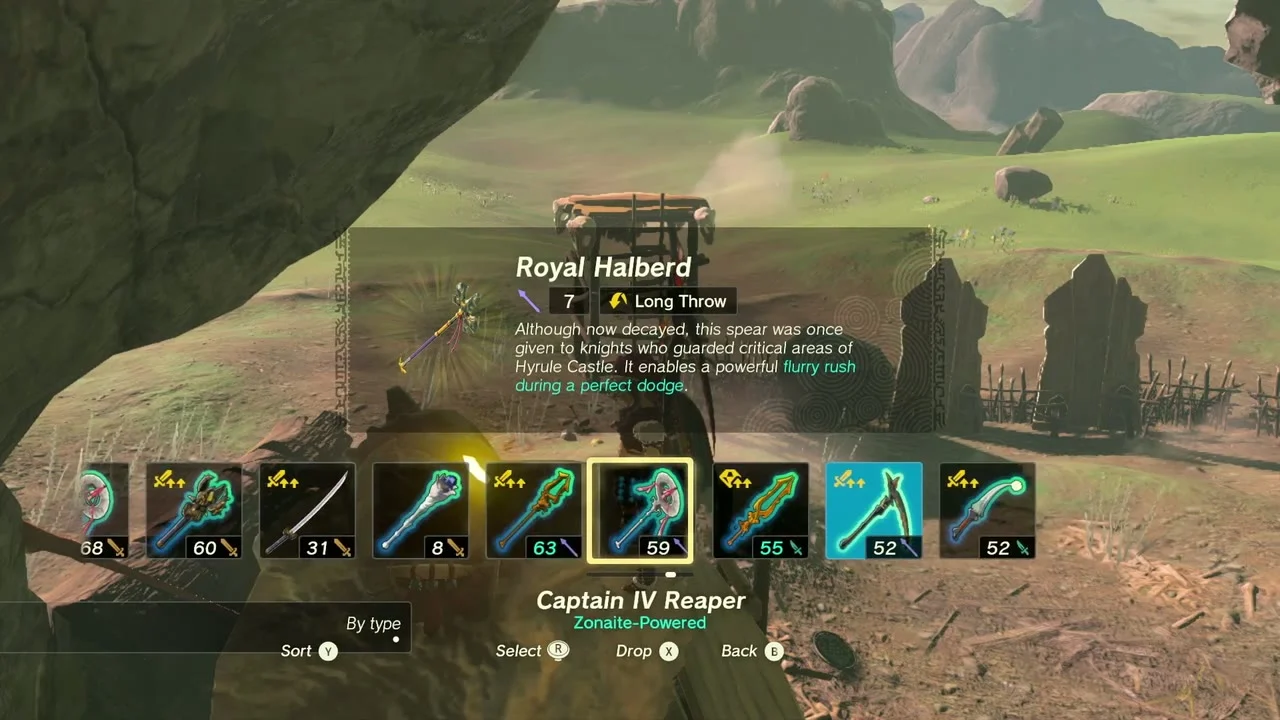
Chest: Royal Halberd at about (3351, -3251), on a scaffold in the Cape Cales cliffs. Use Ultrahand to lift the cage or climb the posts and open the chest for the Royal Halberd (a Soldier’s Spear, Knight’s Halberd or Royal Halberd, depending on your progress).
Break the acorn pot in the cliff tree
Korok seed (Break the hidden acorn pot) at (3496, -3311, 228), in a lone tree on the Cape Cales cliff edge. Shoot the pot hidden in the trunk to release the Korok.
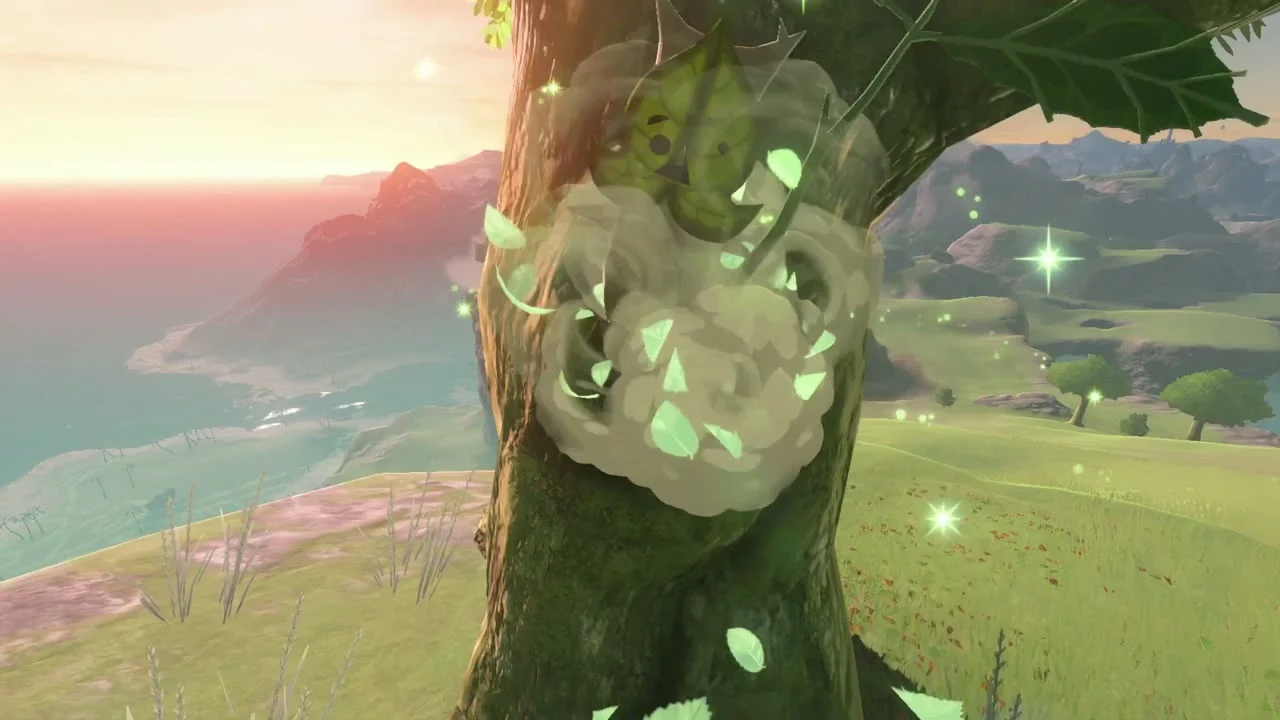
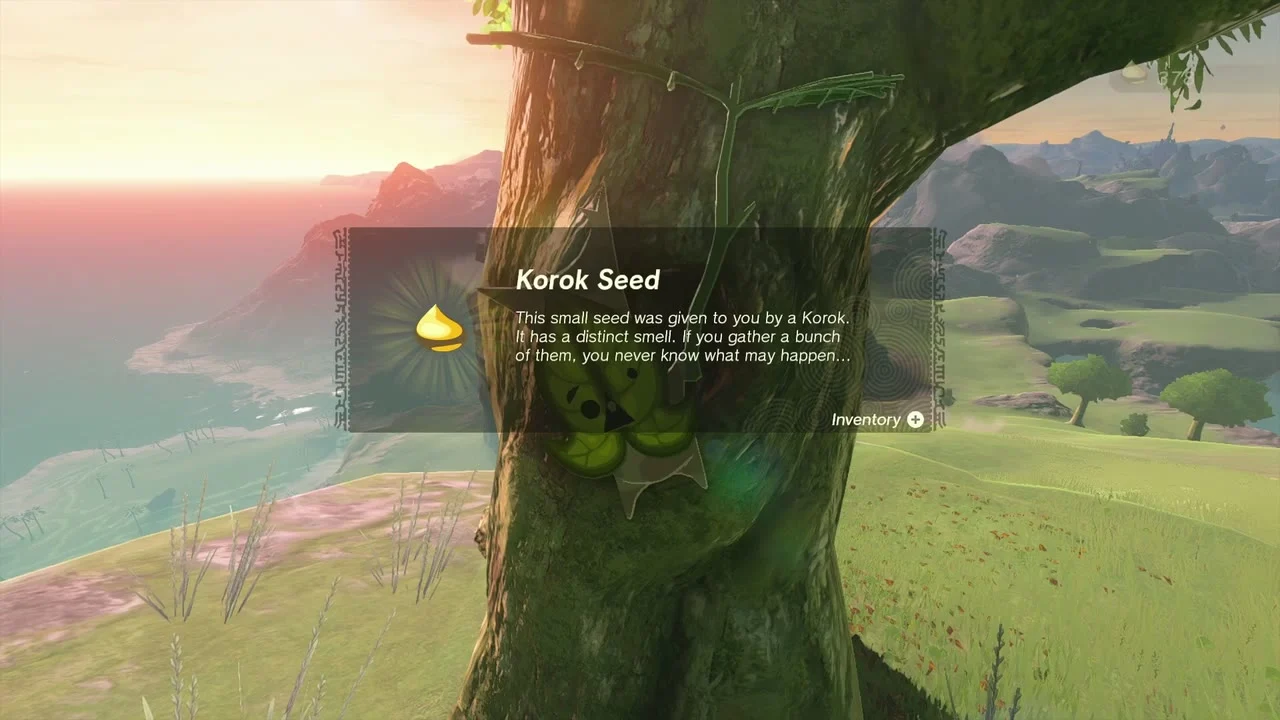
Escort the pair of Koroks across the strait
Korok seeds x2 (Carry friend, Korok Duo) between the cliff-top above Cape Cales (3687, -3318) and Toronbo Beach on Eventide Island (4497, -3616). Lift the Korok with Ultrahand, put it on a hoverbike and sail it to its friend; you get a seed from each Korok.
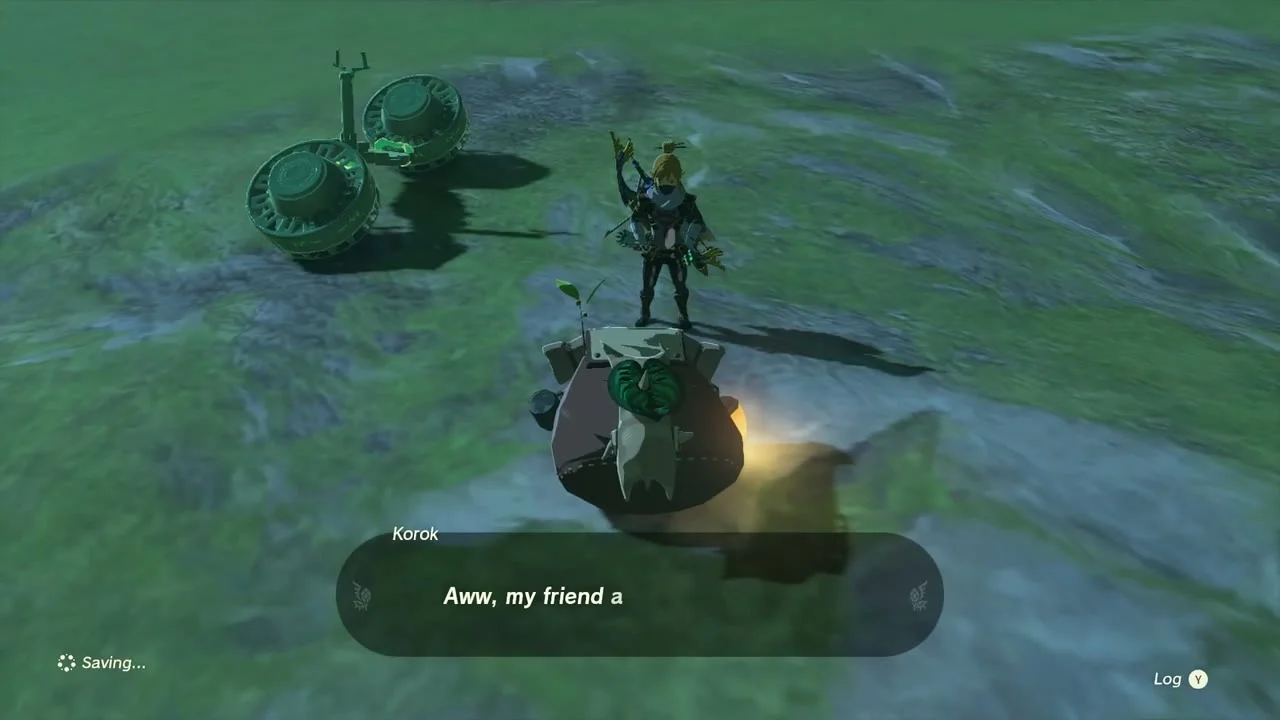
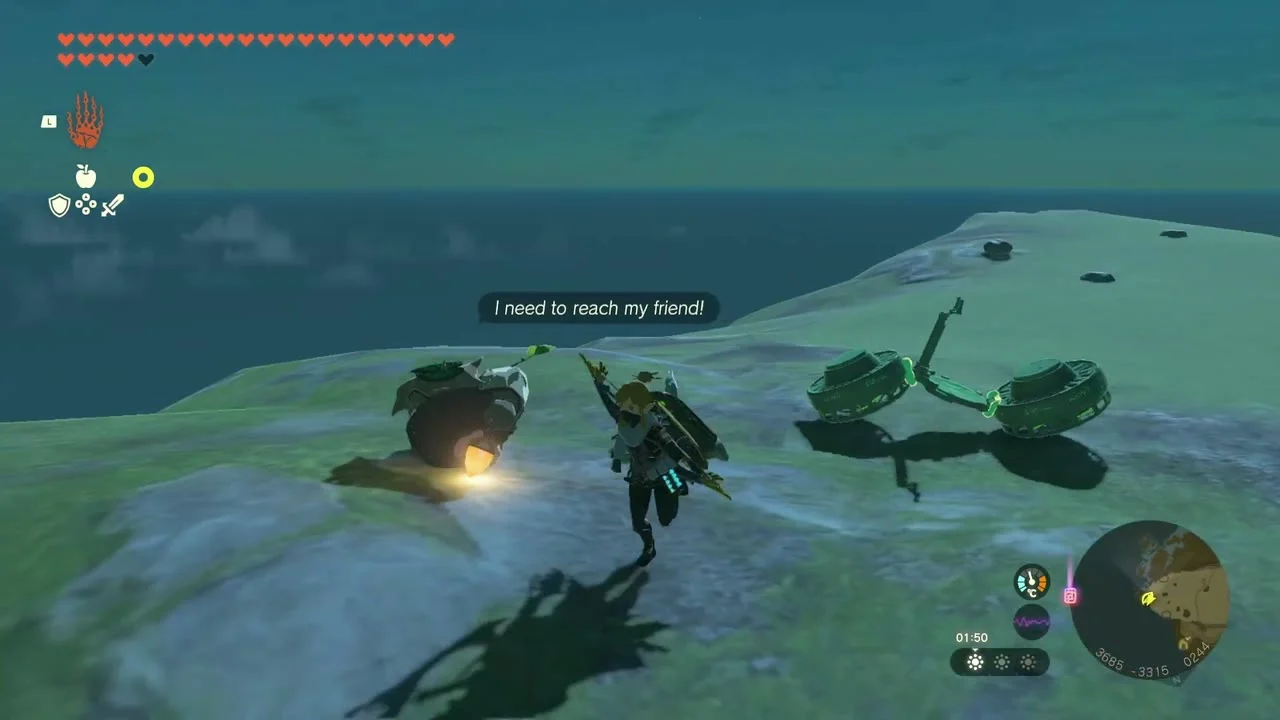
Loot the pirate ship in Cape Cales Cliffbase Cave
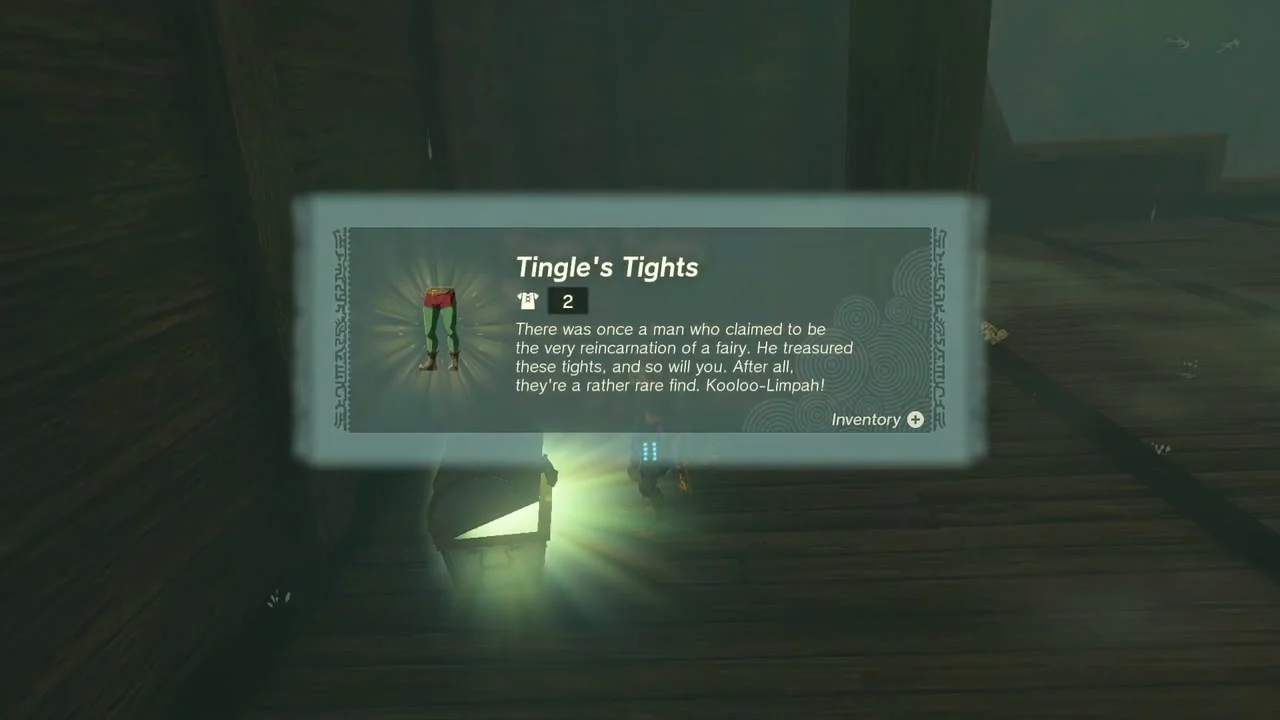
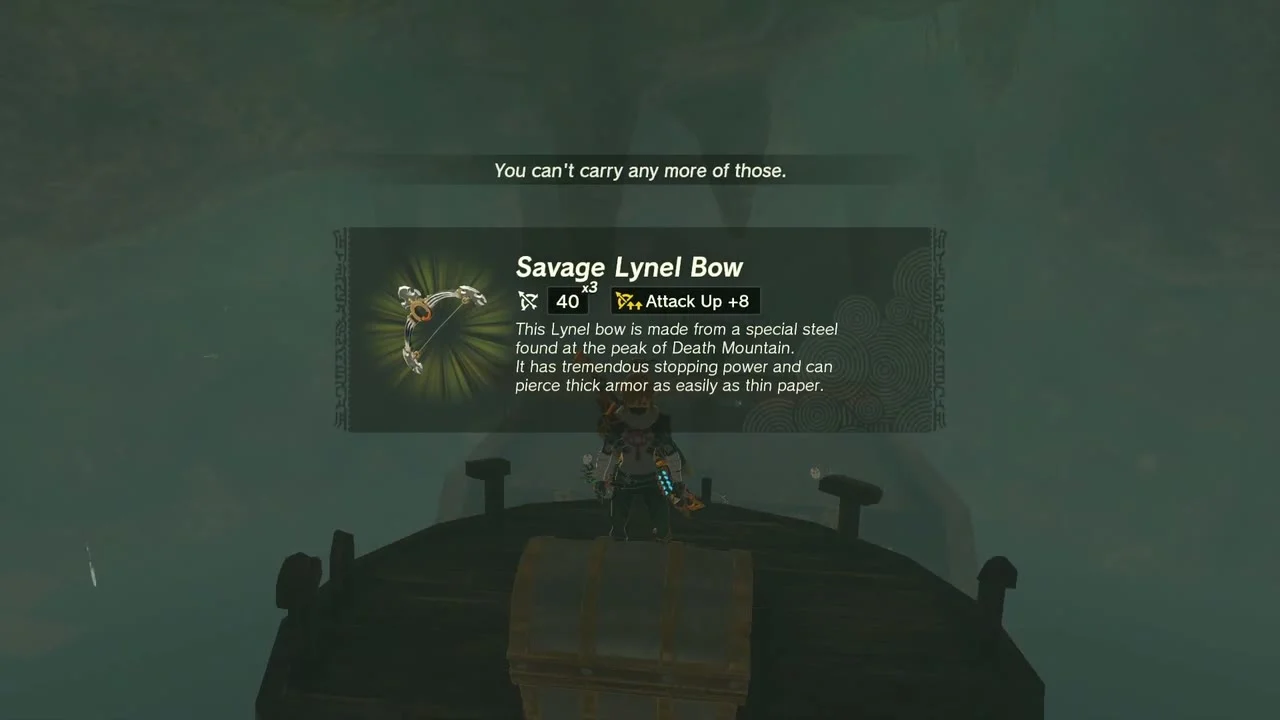
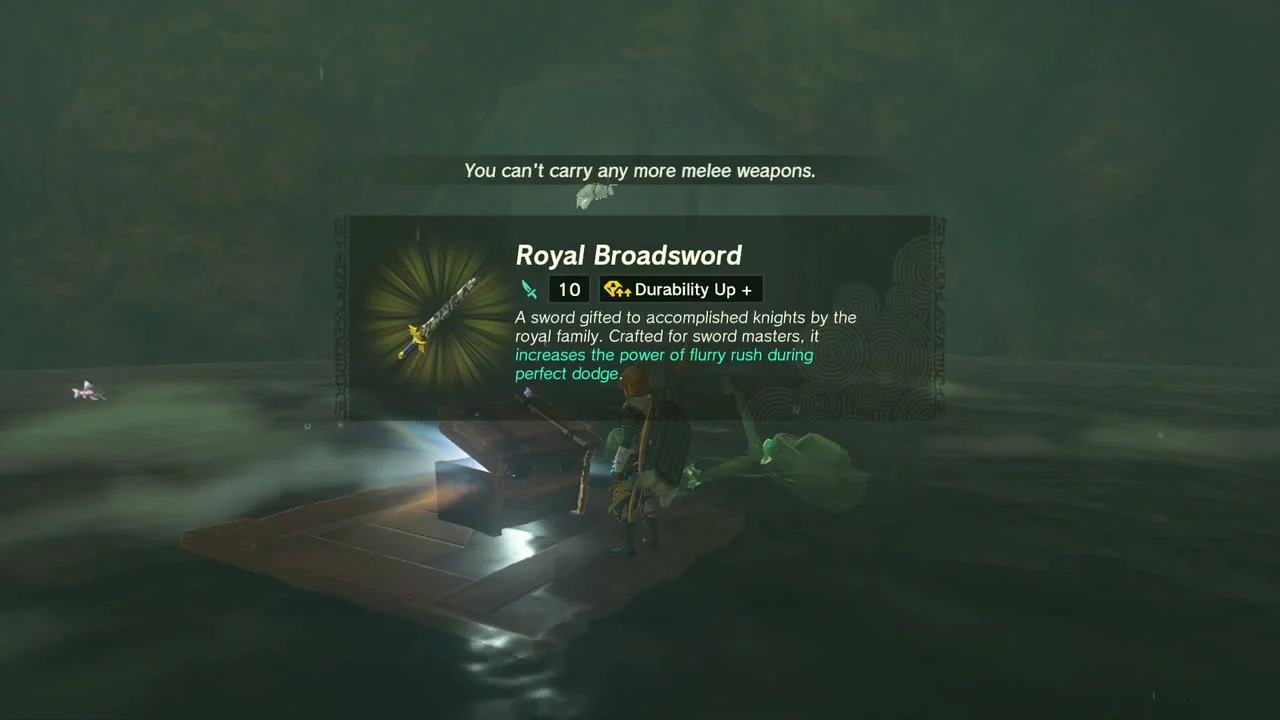
Cape Cales Cliffbase Cave at (3650, -3210), the destination of Misko’s Treasure: Pirate Manuscript. Stand on the floating plank under Cape Cales, face the wall and whistle to open the gate. On the pirate ship take Tingle’s Tights, the Savage Lynel Bow (or Lynel Bow or Mighty Lynel Bow, depending on your progress) from the mast chest and the Royal Broadsword (or Traveler’s Sword, Soldier’s Broadsword or Knight’s Broadsword, depending on your progress).
Bomb the wall for the Bubbulfrog
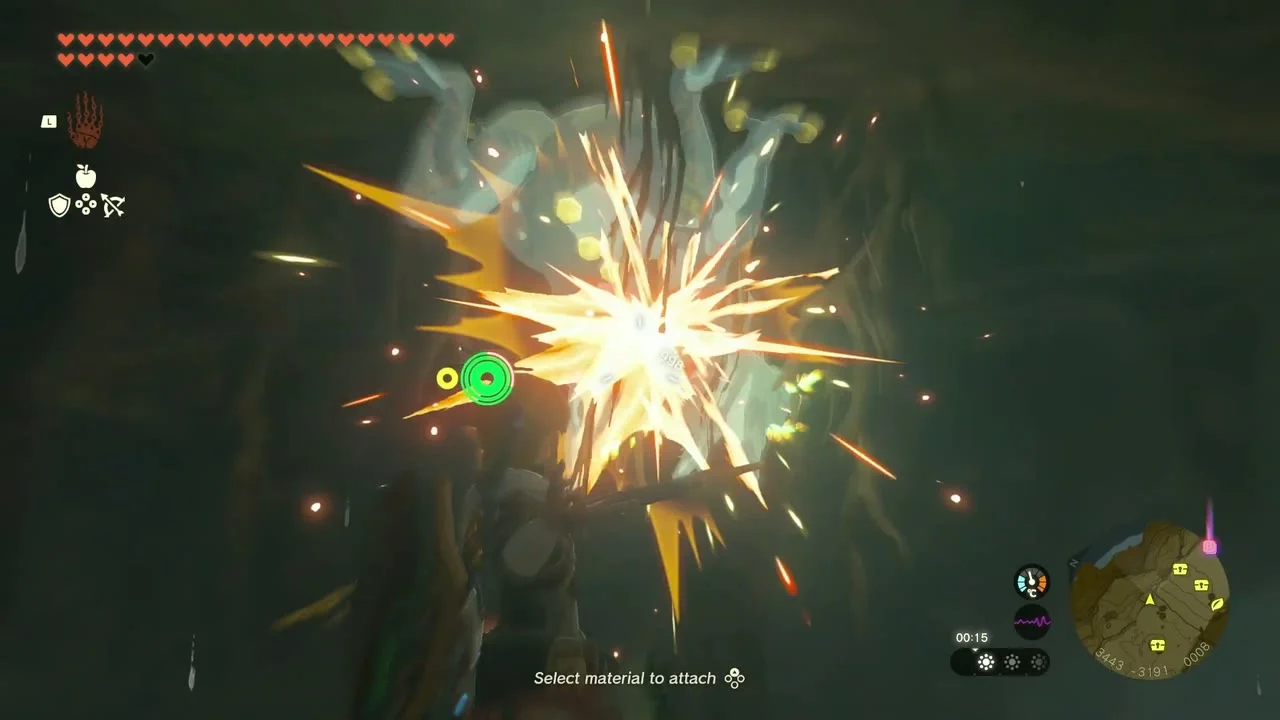
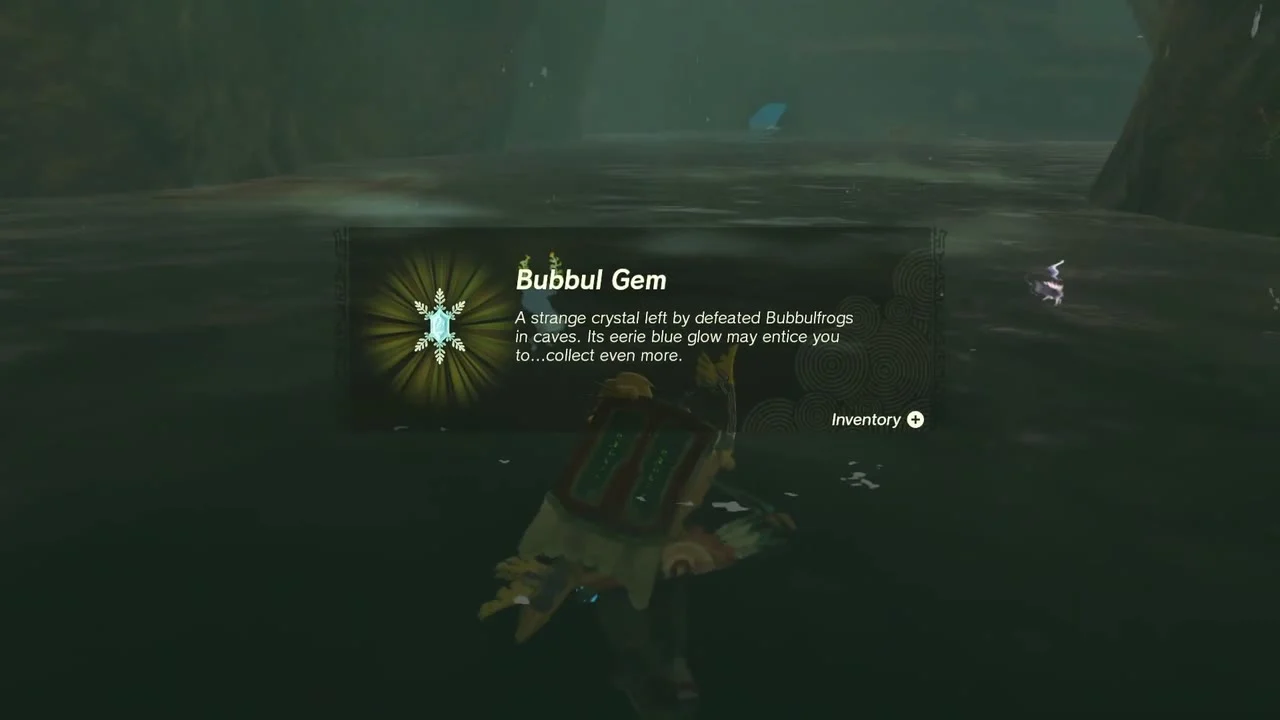
Bubbulfrog (Bubbul Gem) at the back of the cave. Blast the cracked wall behind the ship with a Bomb Flower and beat the frog for the Bubbul Gem.
Take the lone-rock seed on the cliff
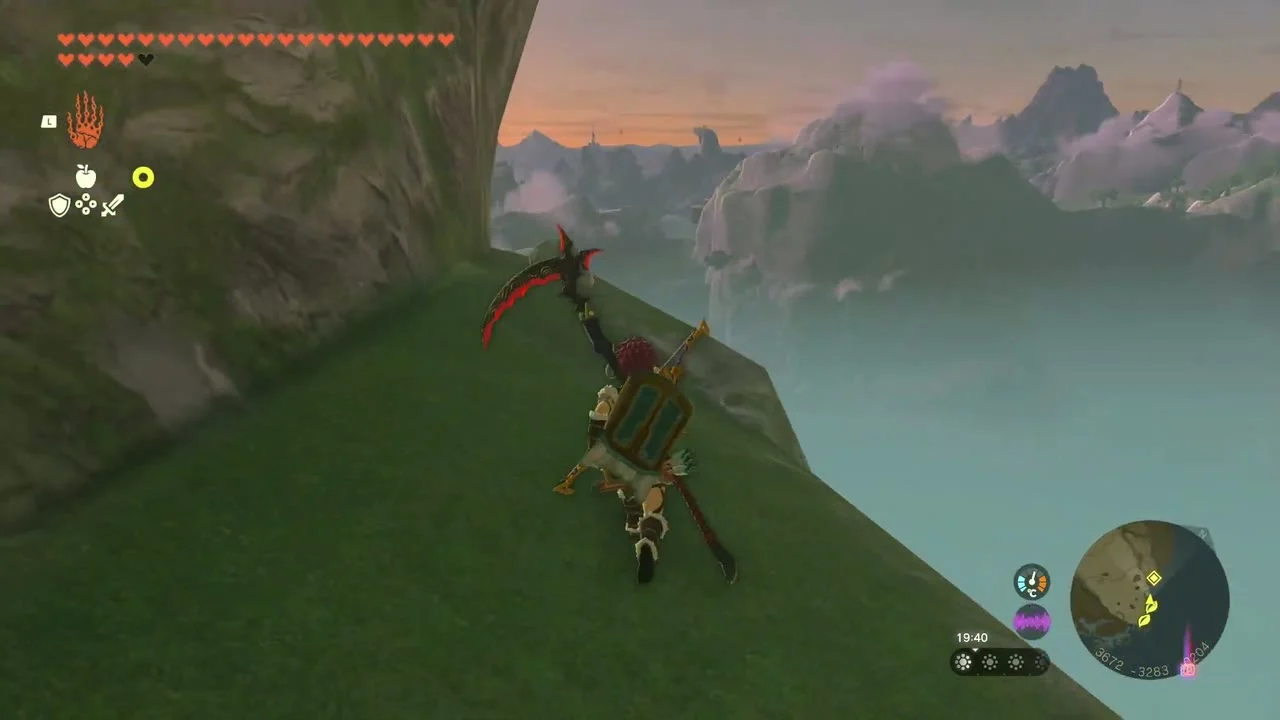
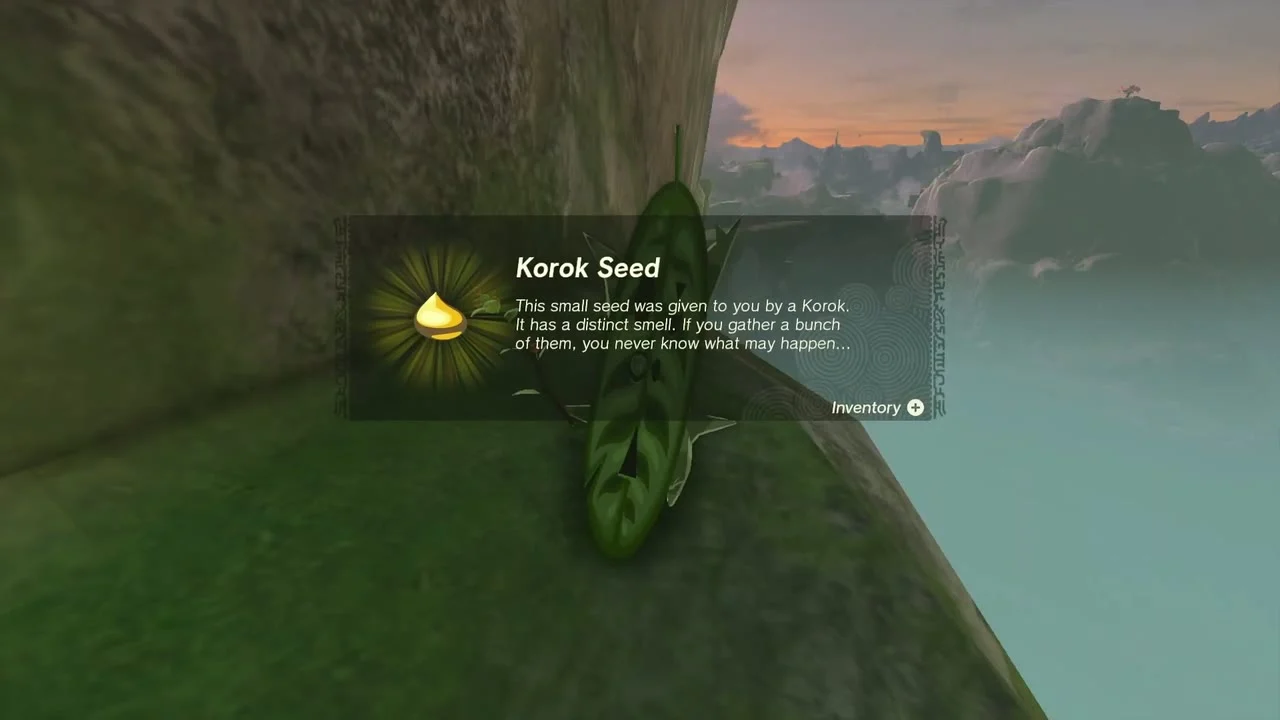
Korok seed (Lift the rock) at (3666, -3277, 207), on the cliff above the cave. Lift the single rock on the ledge to reveal the Korok.
Eventide Island challenge
Sesami of the monster-control crew stands on Toronbo Beach in the north-west of Eventide Island at about (4515, -3500). Three monster strongholds hold the island, and clearing them opens the pirate hideout and Marari-in Shrine. This is the Seeking the Pirate Hideout quest. You can tackle the three strongholds in any order, and Eventide Island holds Korok seeds in addition to the chests.
Sail to Eventide Island
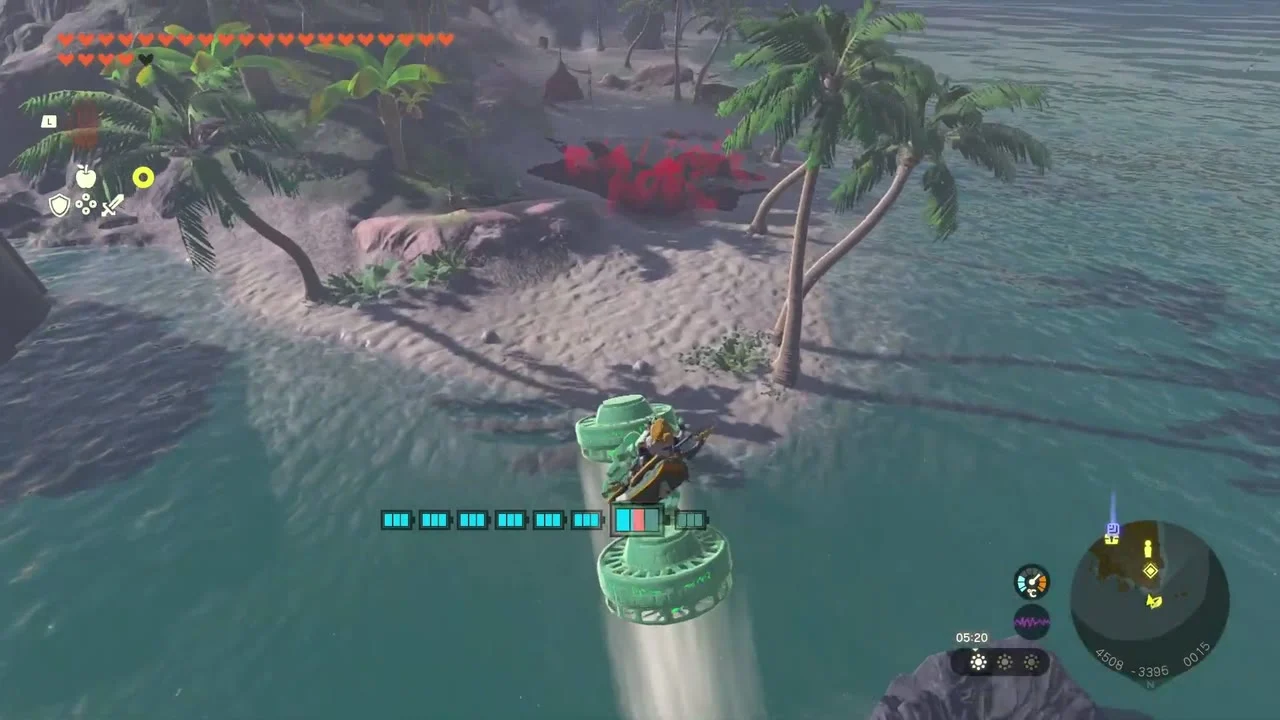
Eventide Island at (4586, -3630) in the Necluda Sea. Build a raft or hoverbike with fans, a steering stick and a board and head east from Cape Cales, or glide in from the Cape Cales cliffs; the island’s chasm entrance sits on its north tip at about (4507, -3461).
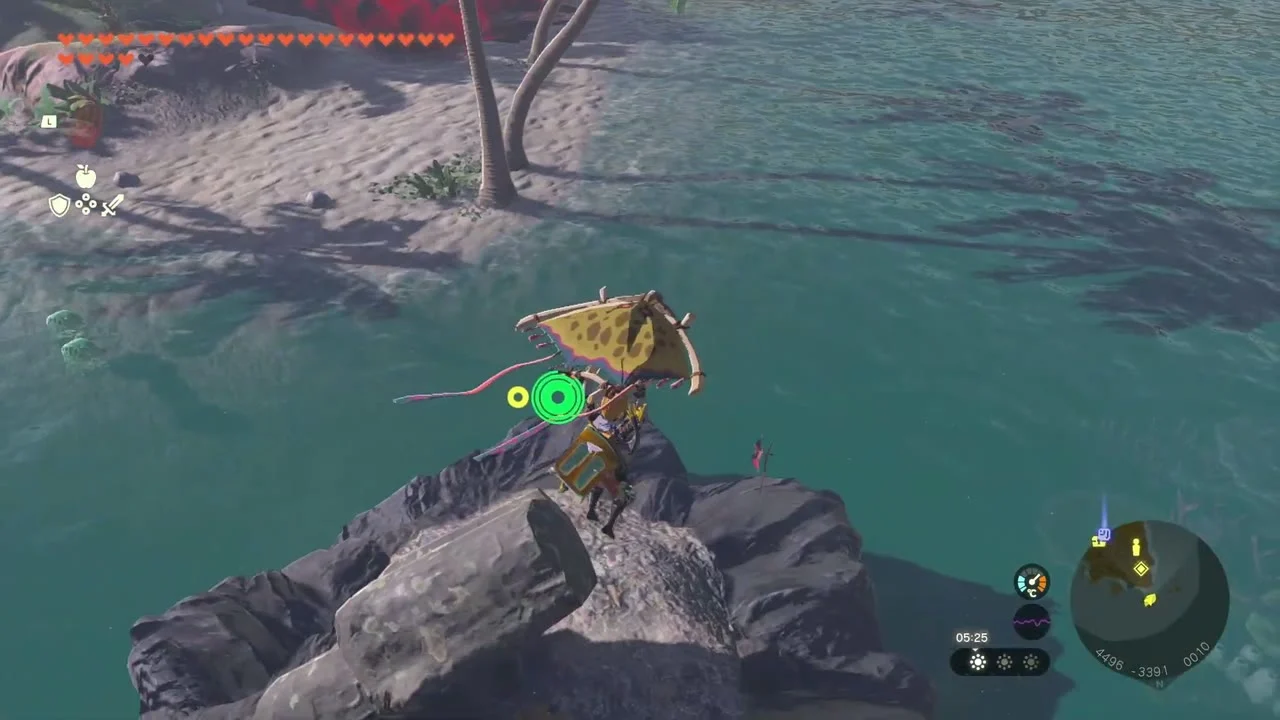
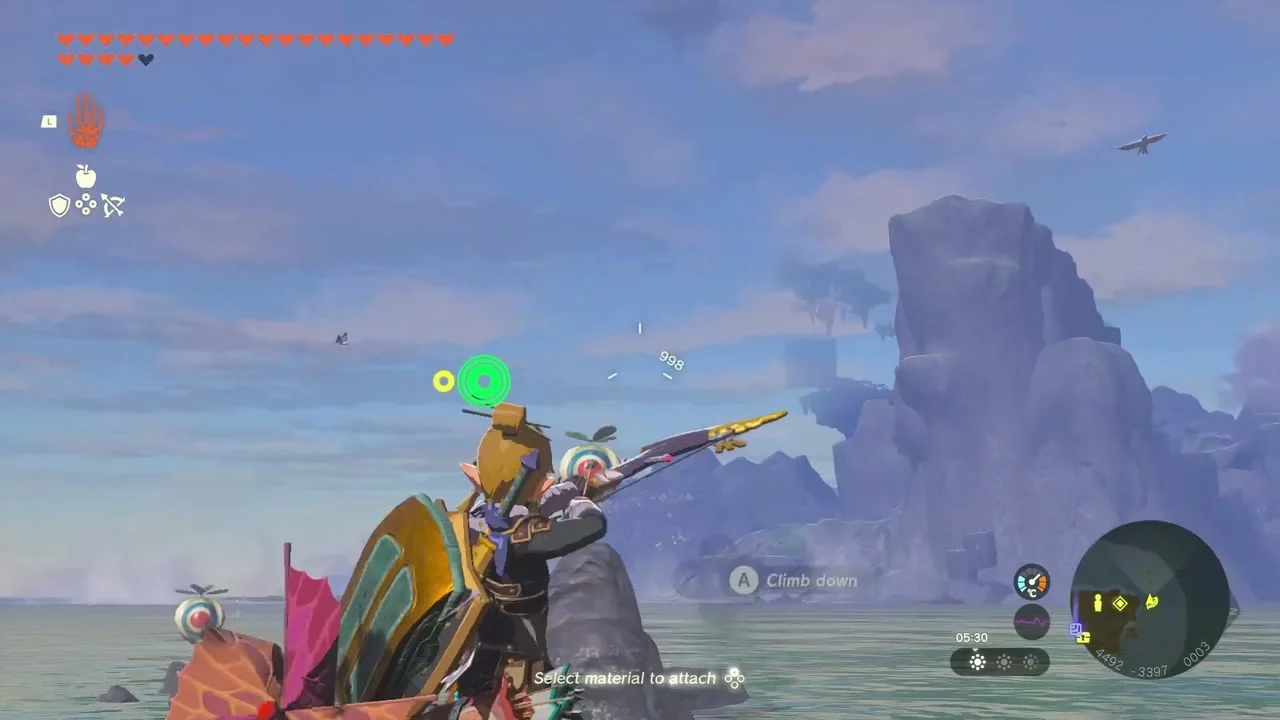
Shoot the balloons for the first Korok
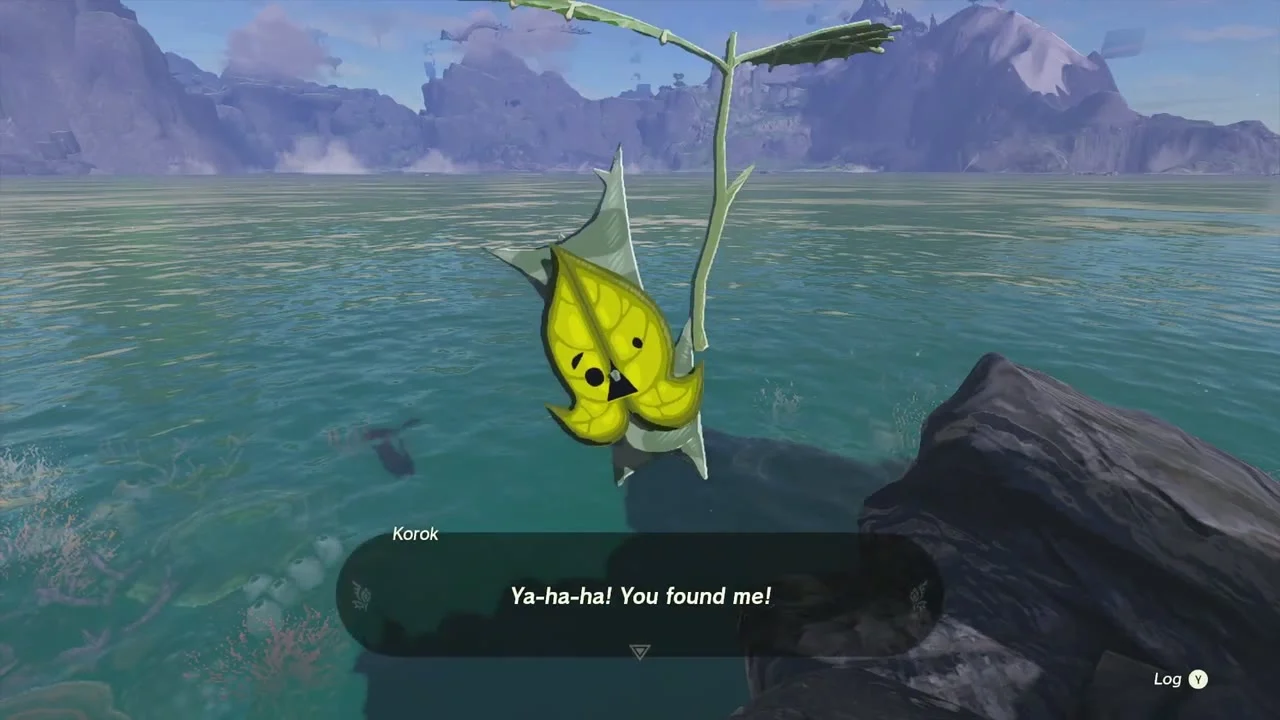
Korok seed (Shoot the balloons) at (4491, -3396), on the rocks north of the chasm. Shoot all the balloons around the stone to release the Korok.
Clear the first stronghold
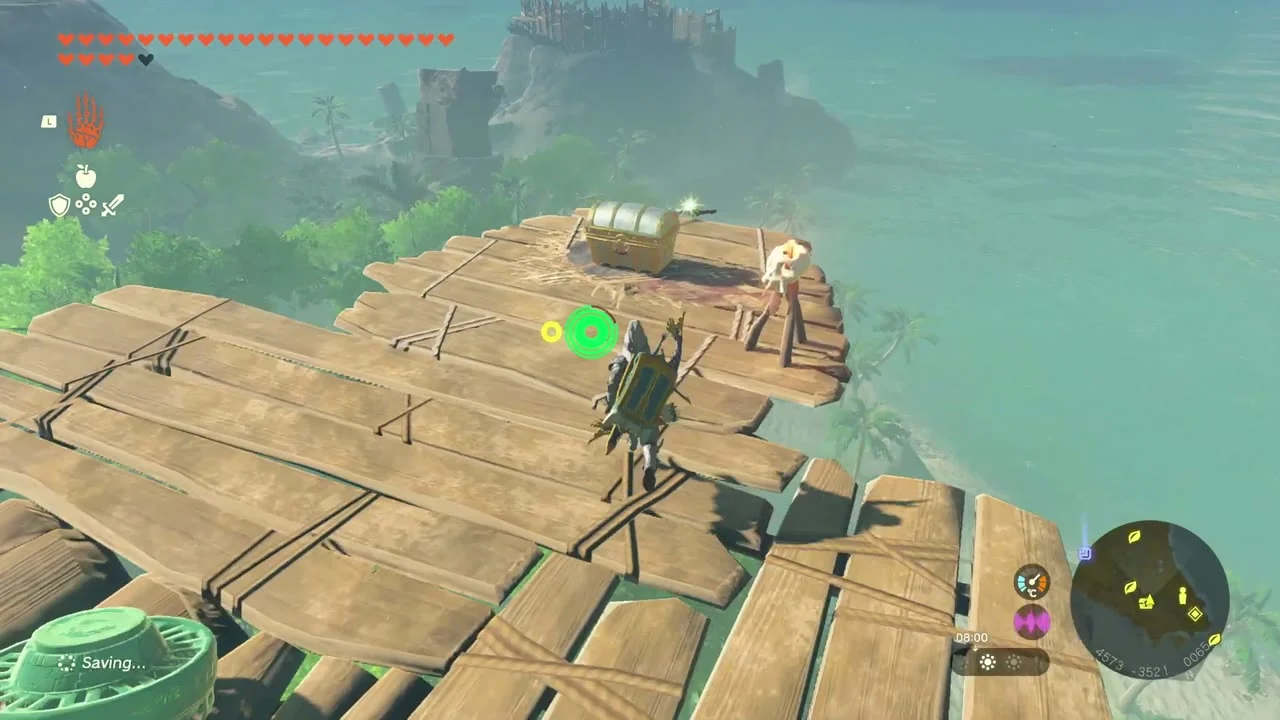
Stronghold (Monster Forces) on the north shore at about (4584, -3522). Shoot the archer on the bottom of the tower, then work upwards, taking out the Bokoblins on each floor. The chest on the platform holds Bomb Flower x10.
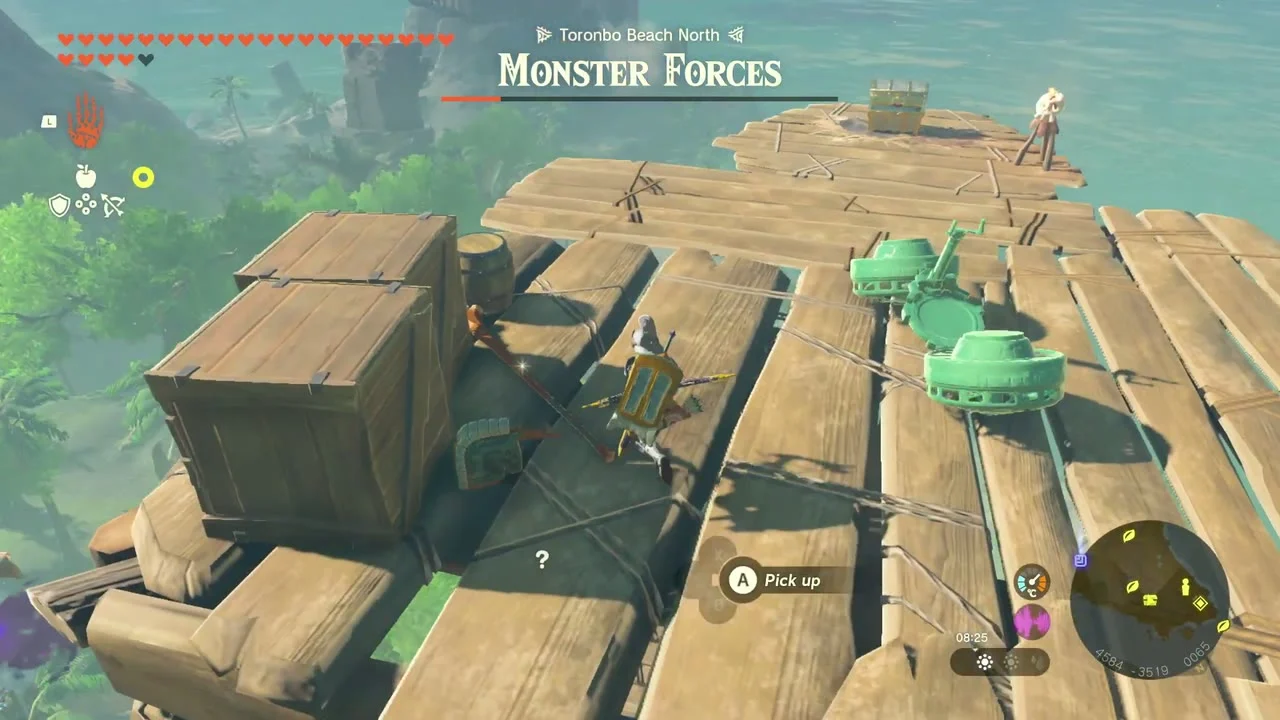
Clear the Toronbo Beach stronghold and take the seeds
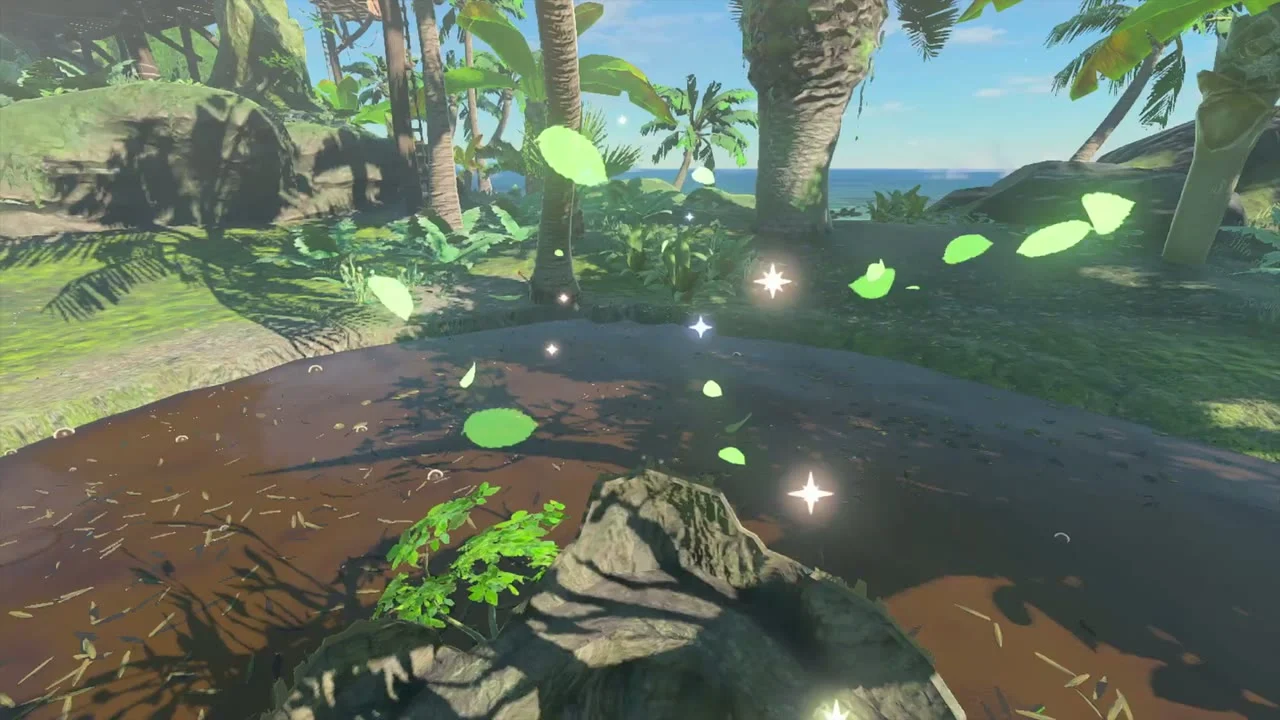
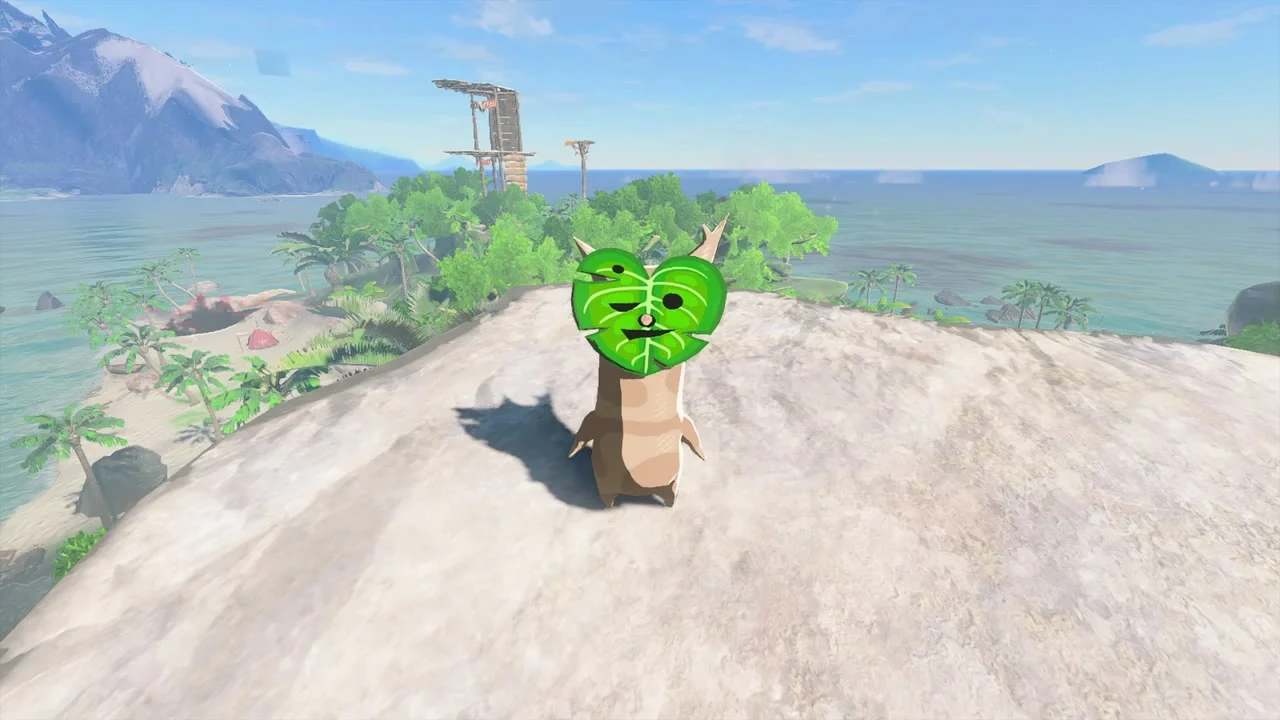
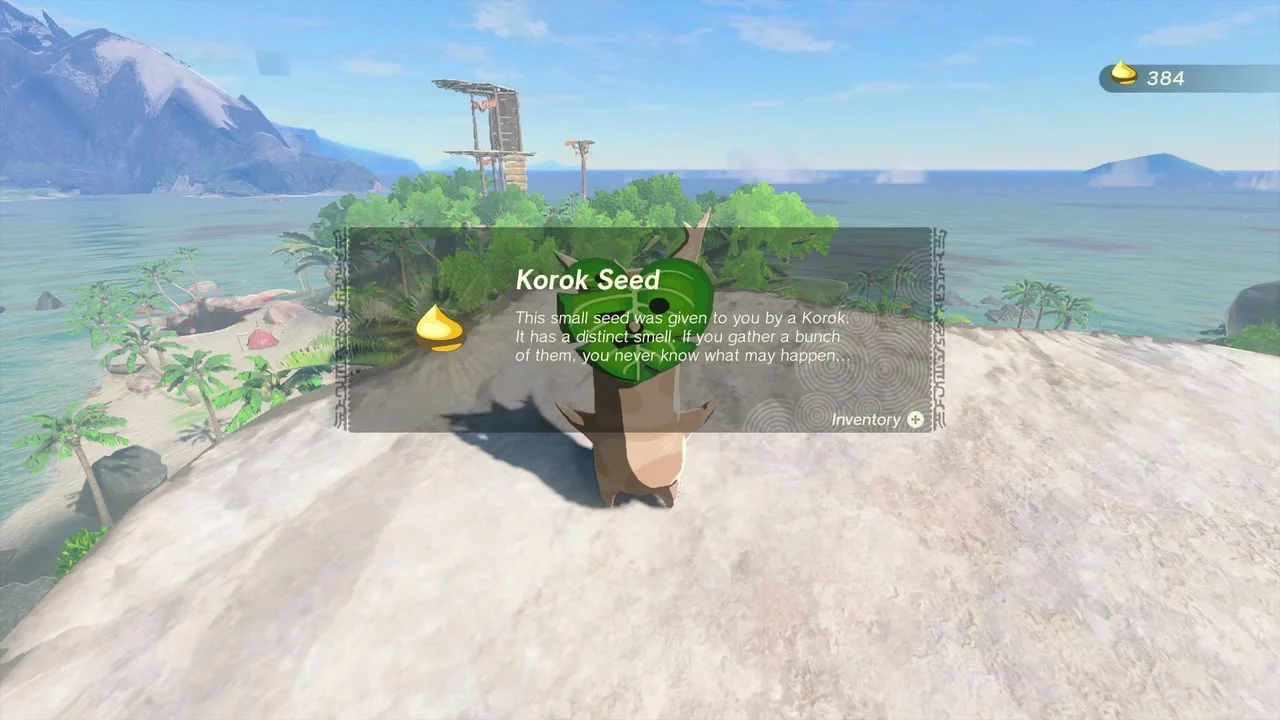
Korok seeds (Examine the sparkles, Lift the rock) at (4598, -3562, 22) and (4536, -3663, 46). Follow the sparkles on the mud to the first seed, then climb the hill to the lone rock and lift it for the second. A tower with scaffolding marks the second stronghold.
Clear Koholit Rock stronghold for the Soaring Boomerang
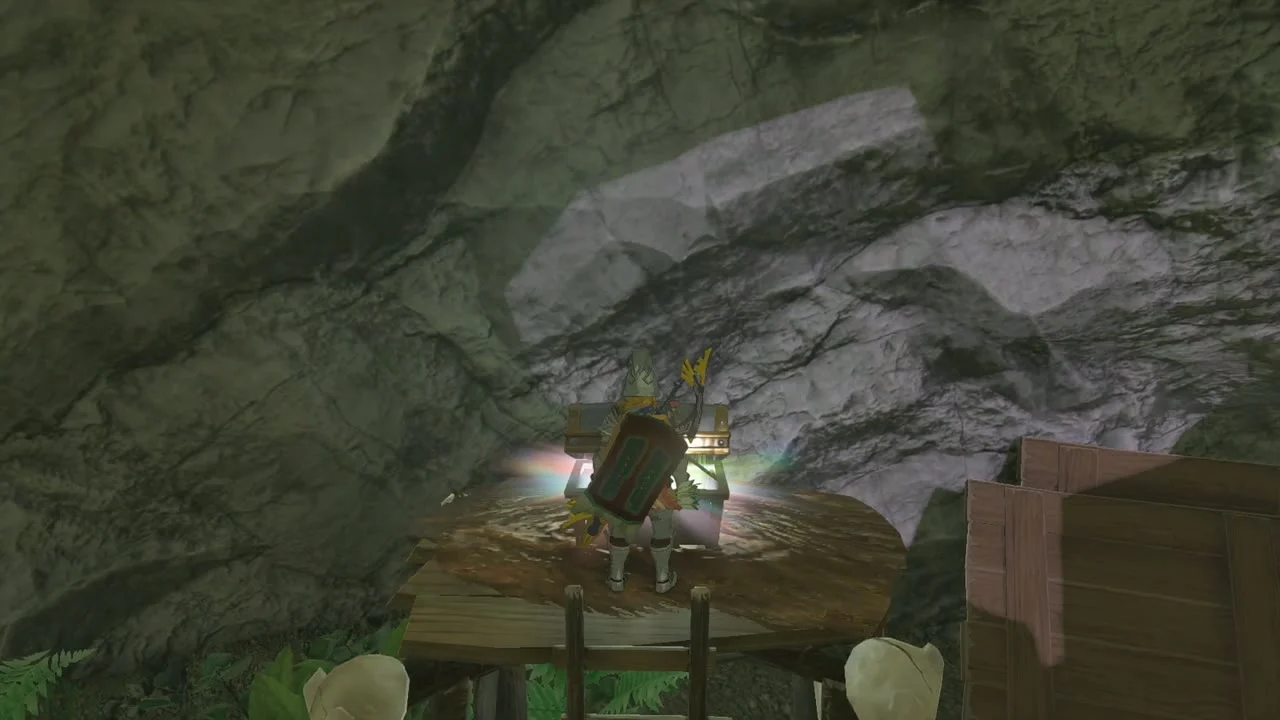
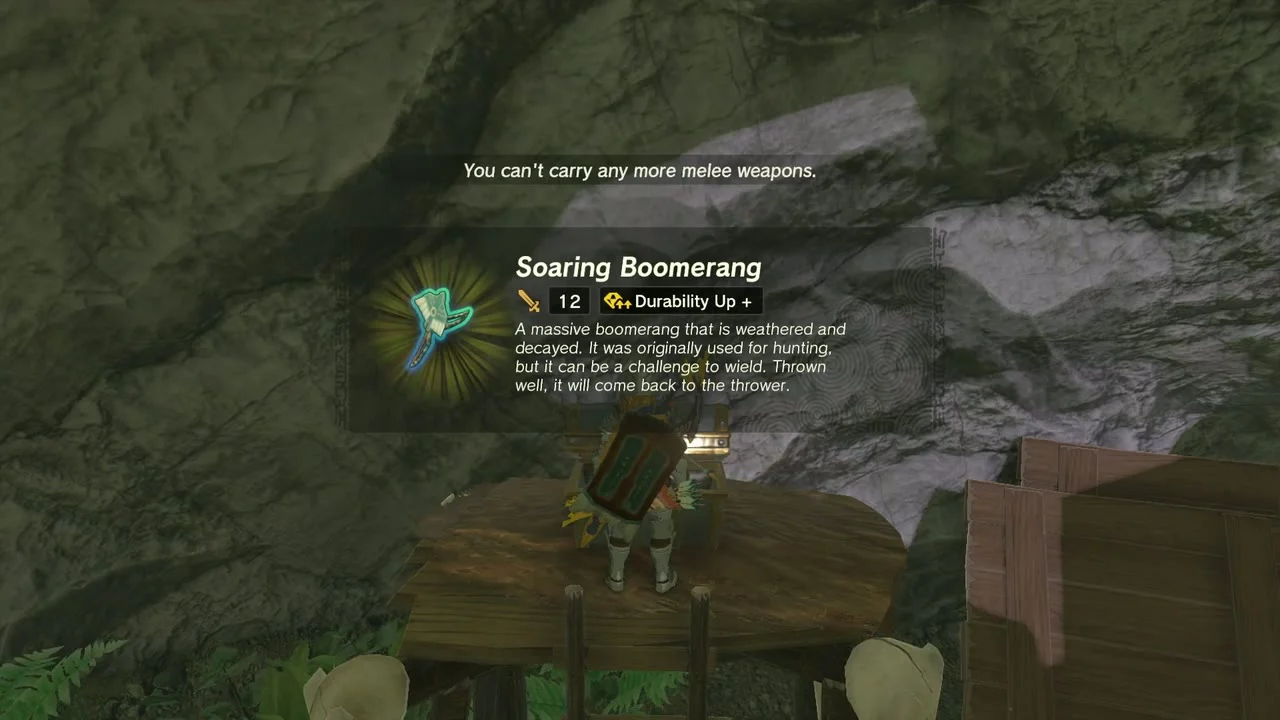
Chest: Soaring Boomerang at the monster stronghold on Koholit Rock (4654, -3743), the south-east end of the island. Beat the Bokoblins and Lizalfos, then open the chest for the Soaring Boomerang; Zonai devices around the camp help with the fight.
Enter Eventide Island Cave and take the Bubbul Gem
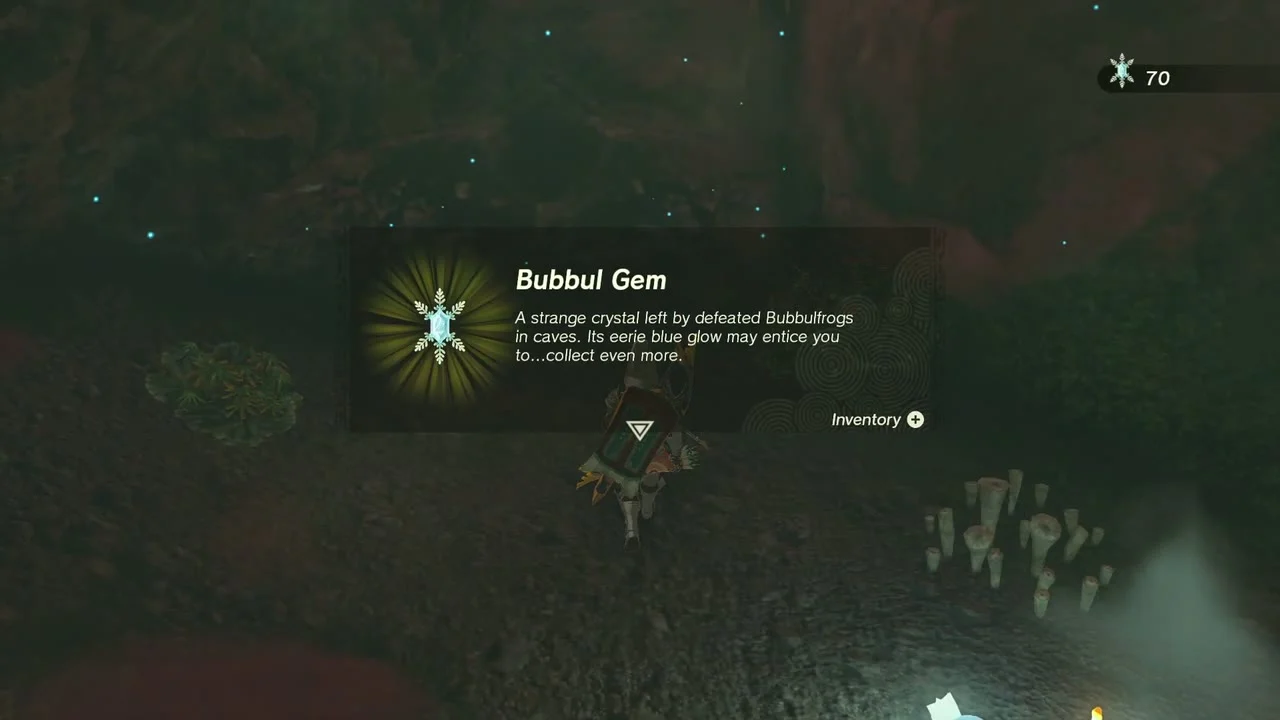
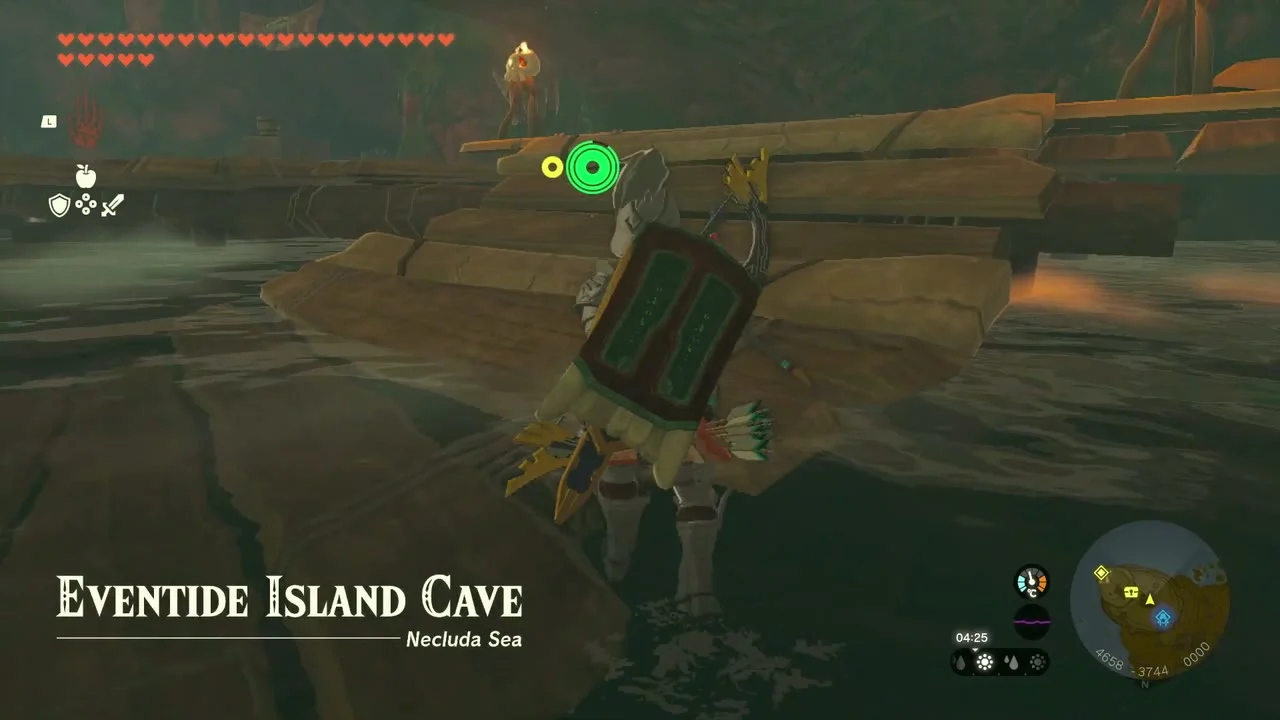
Eventide Island Cave at (4752, -3781), the pirate hideout on the back side of the island. After the three strongholds fall, glide or sail into the cave behind Koholit Rock, clear the pirates around the ship and defeat the Bubbulfrog at the back for the Bubbul Gem.
Open the chests outside Marari-in Shrine
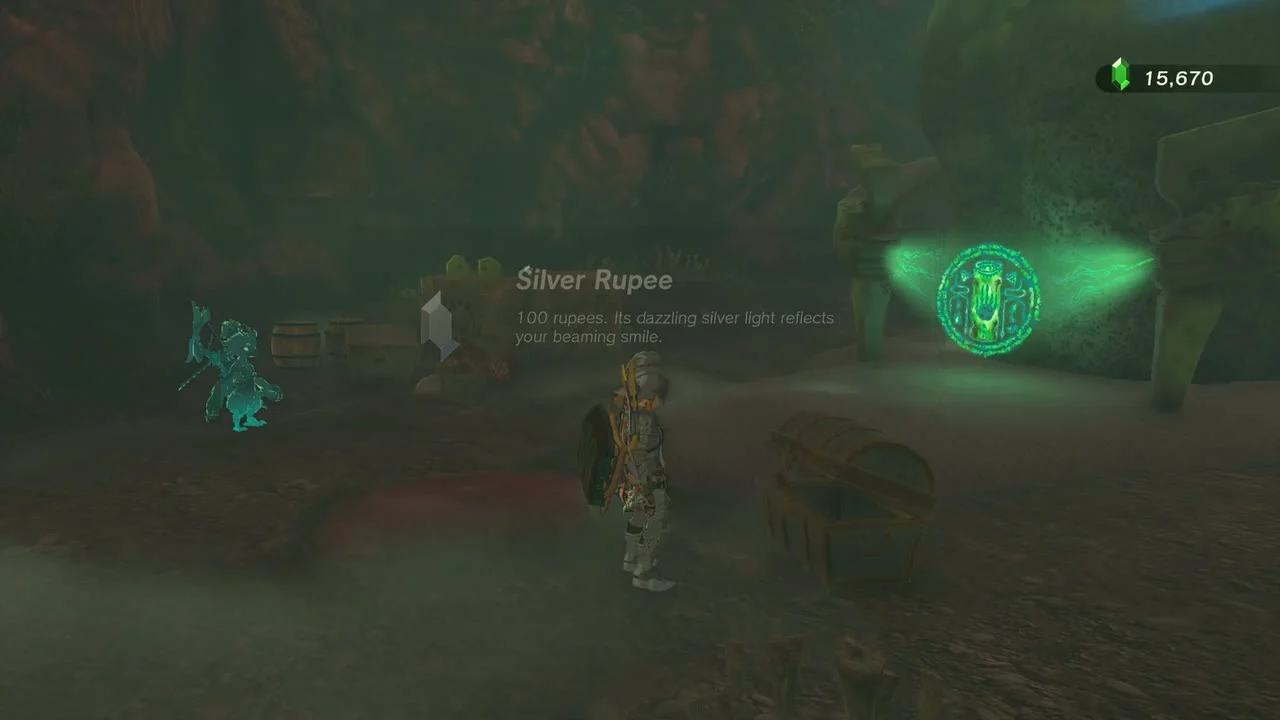
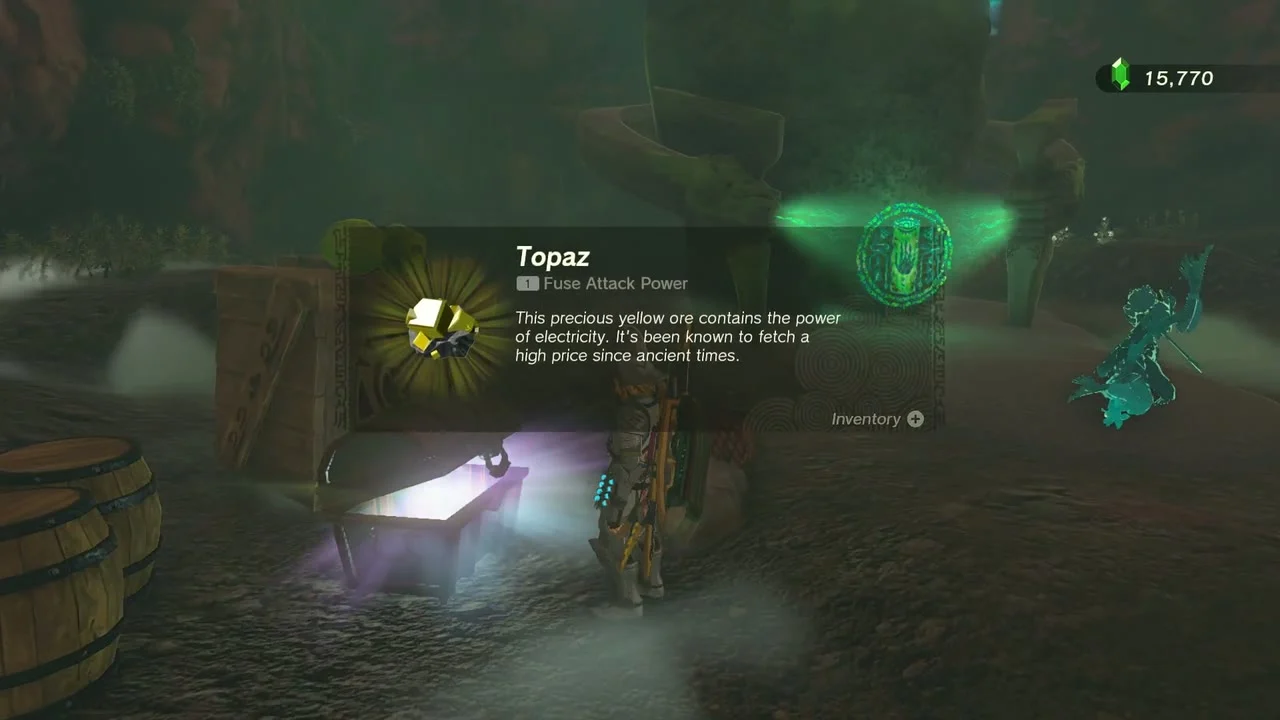
Chests: Silver Rupee, Topaz next to the shrine inside the cave. Build a bridge from the planks on the ship to the barred entrance, then open both chests, for a Silver Rupee and a Topaz.
Clear Marari-in Shrine: Rauru’s Blessing
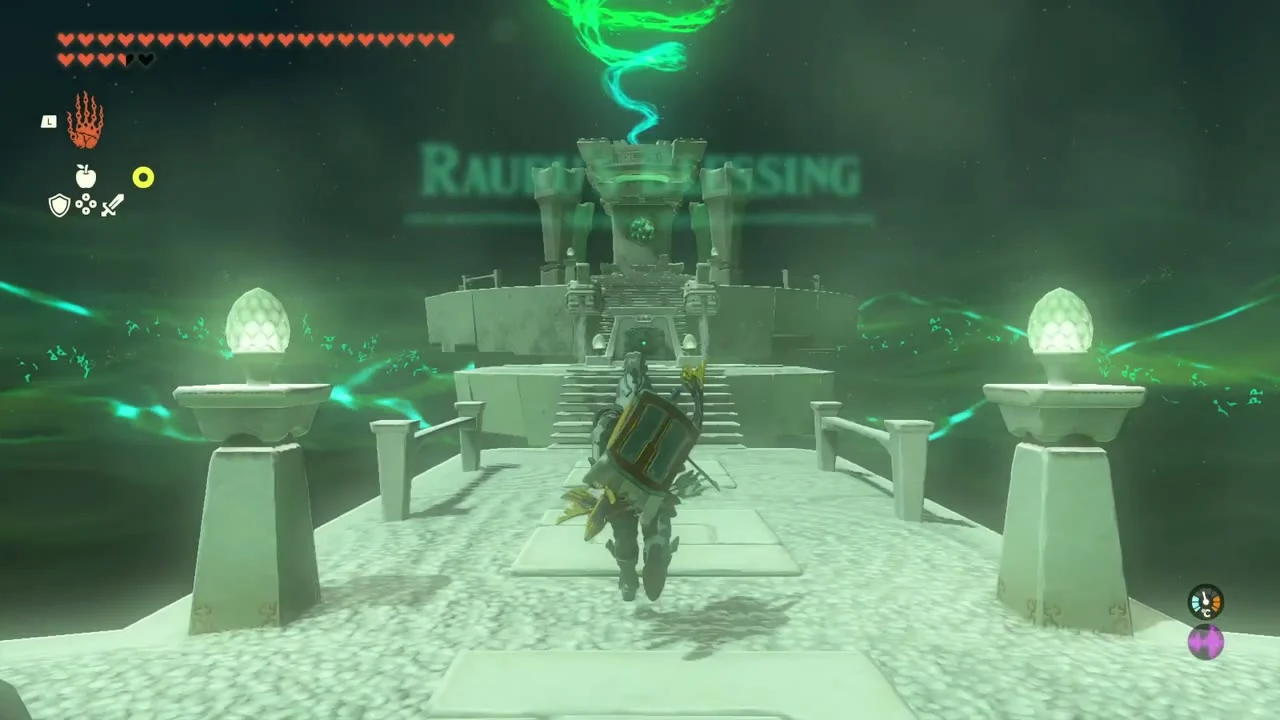
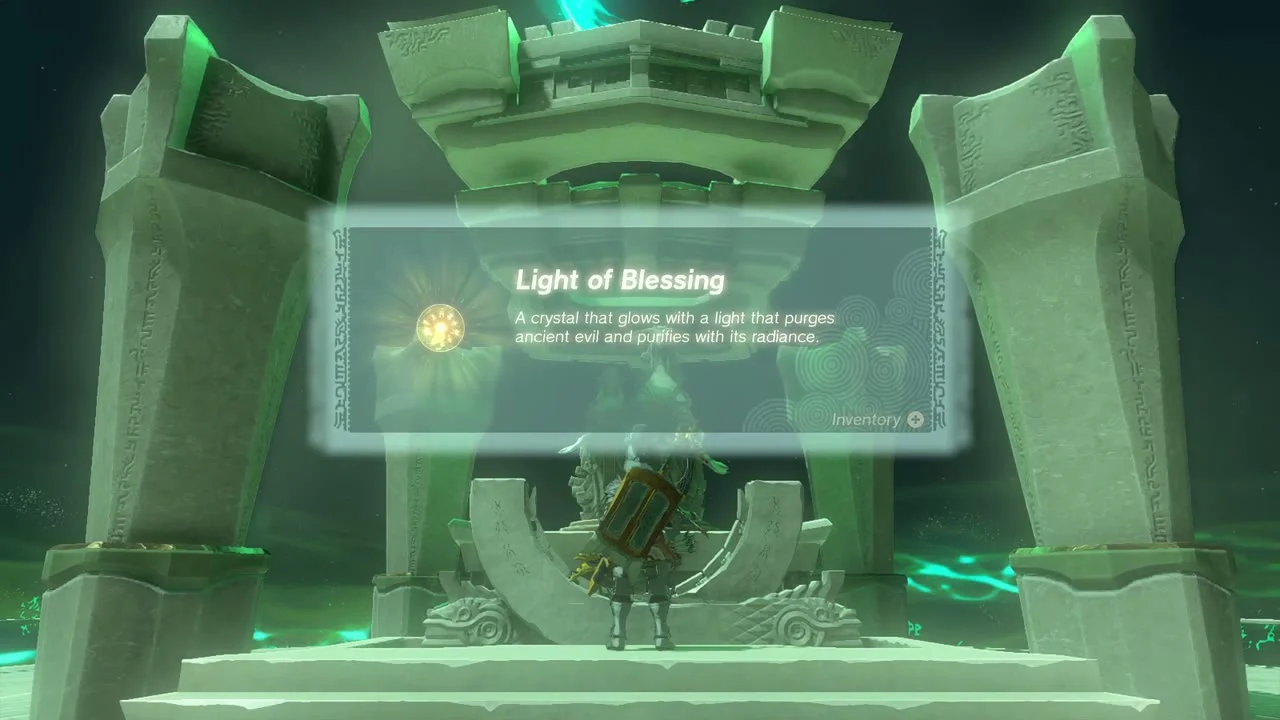
Marari-in Shrine (Rauru’s Blessing, no puzzle) at (4631, -3712, 31). Walk in, open the chest for a Ruby and take the Light of Blessing. The Ni-iraram Lightroot lies beneath it in the Depths.
Take the last Korok in the hideout cave
Korok seed (Chase the sparkles) at (4897, -3693, 3), on the sandy rocks at the east end of the cave. Follow the sparkles that flit between the rocks to the Korok.
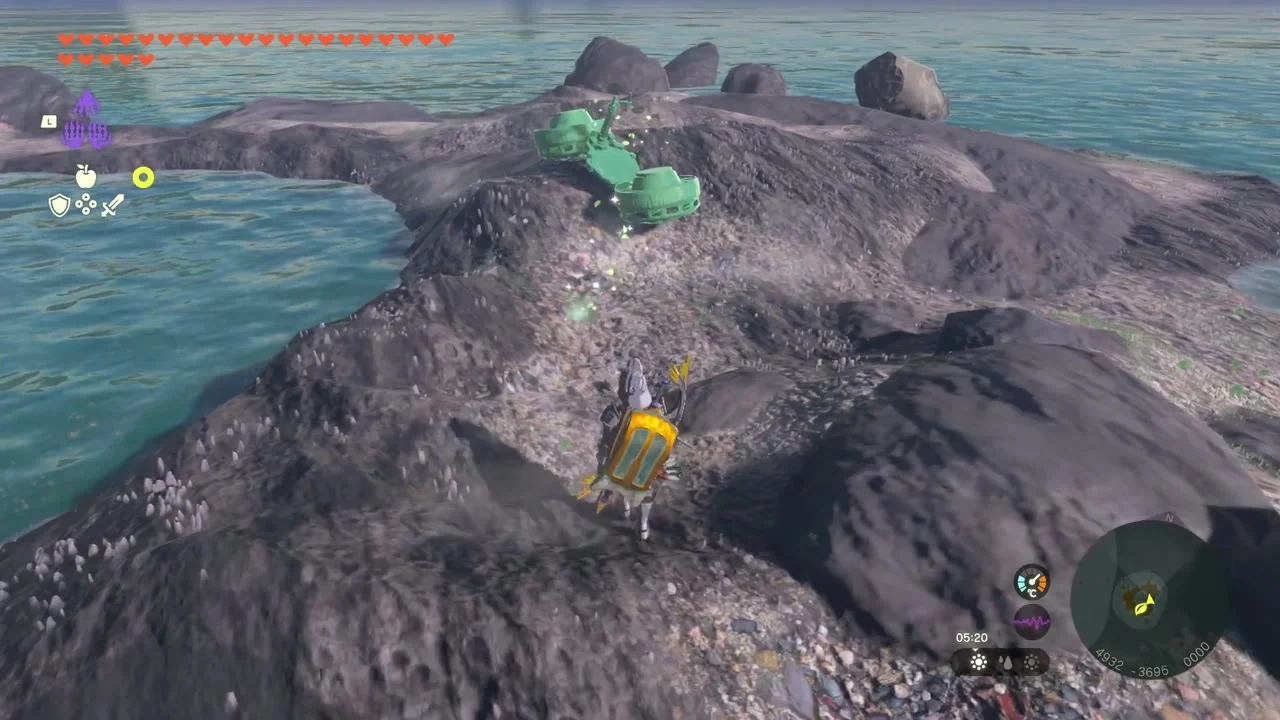
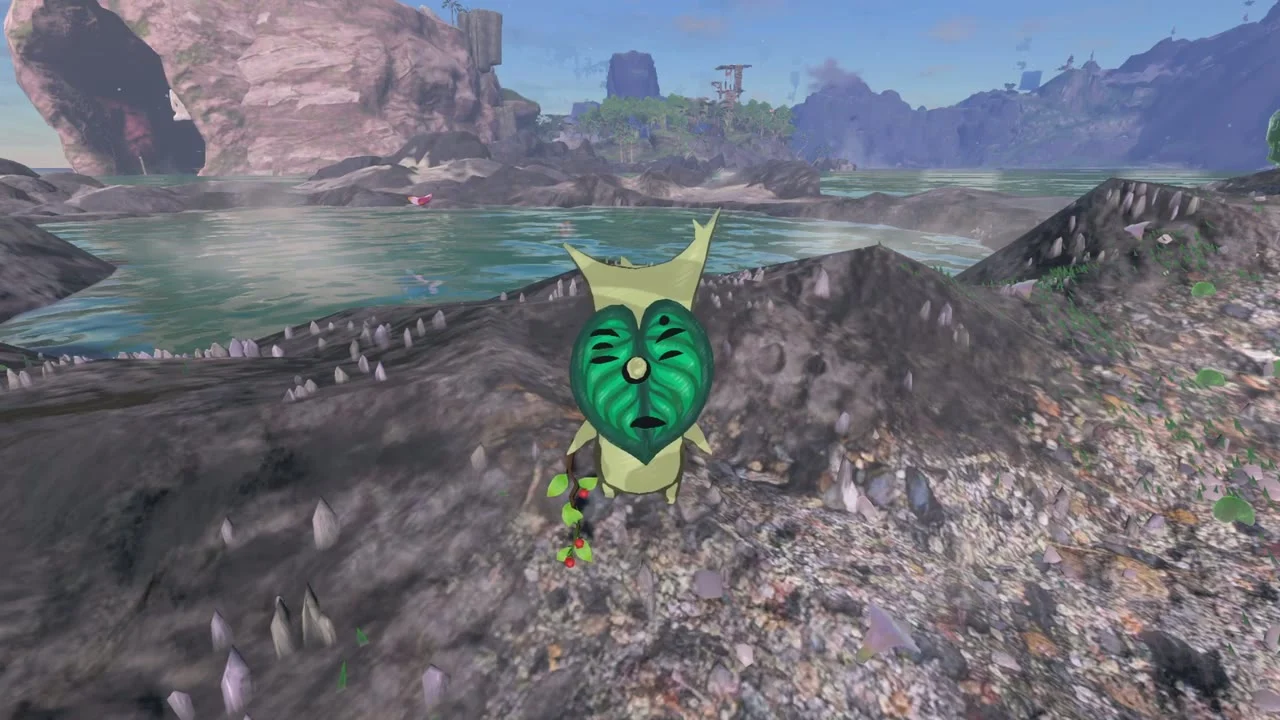
Report to Sesami
Return to Sesami on Toronbo Beach and tell him the hideout is cleared. He rewards you with a Blue-Maned Lynel Saber Horn and the quest ends.
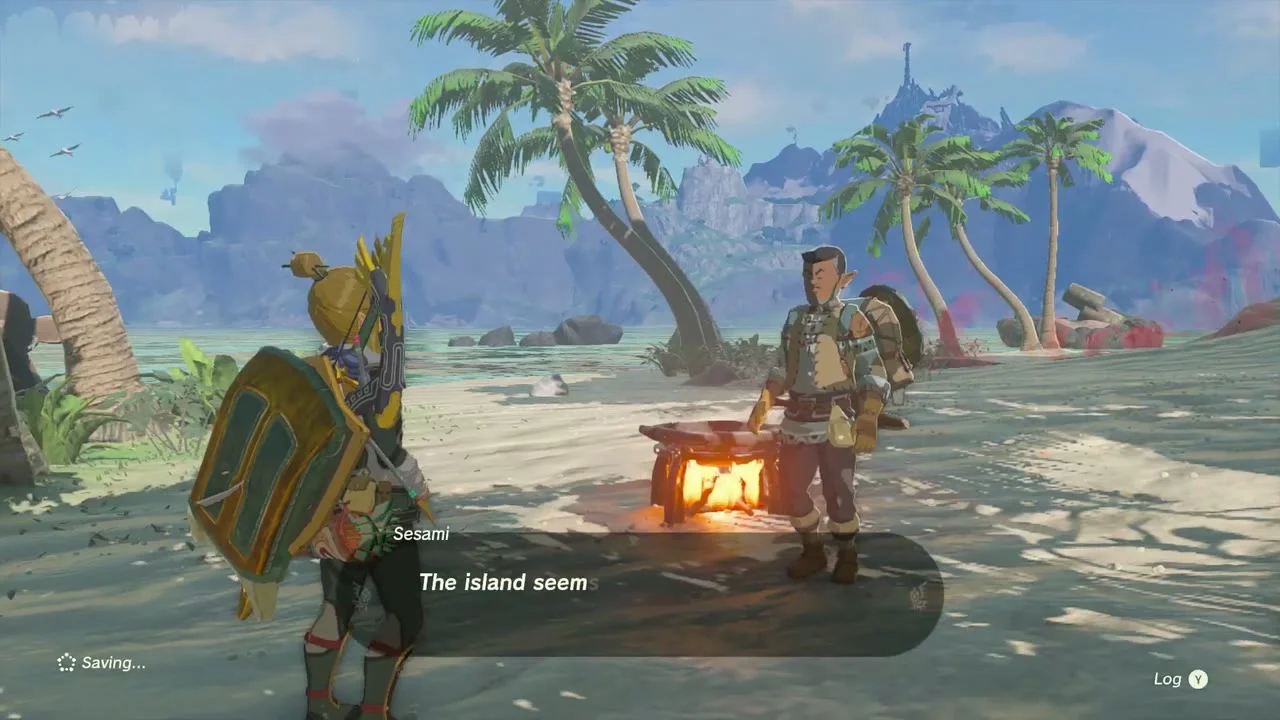
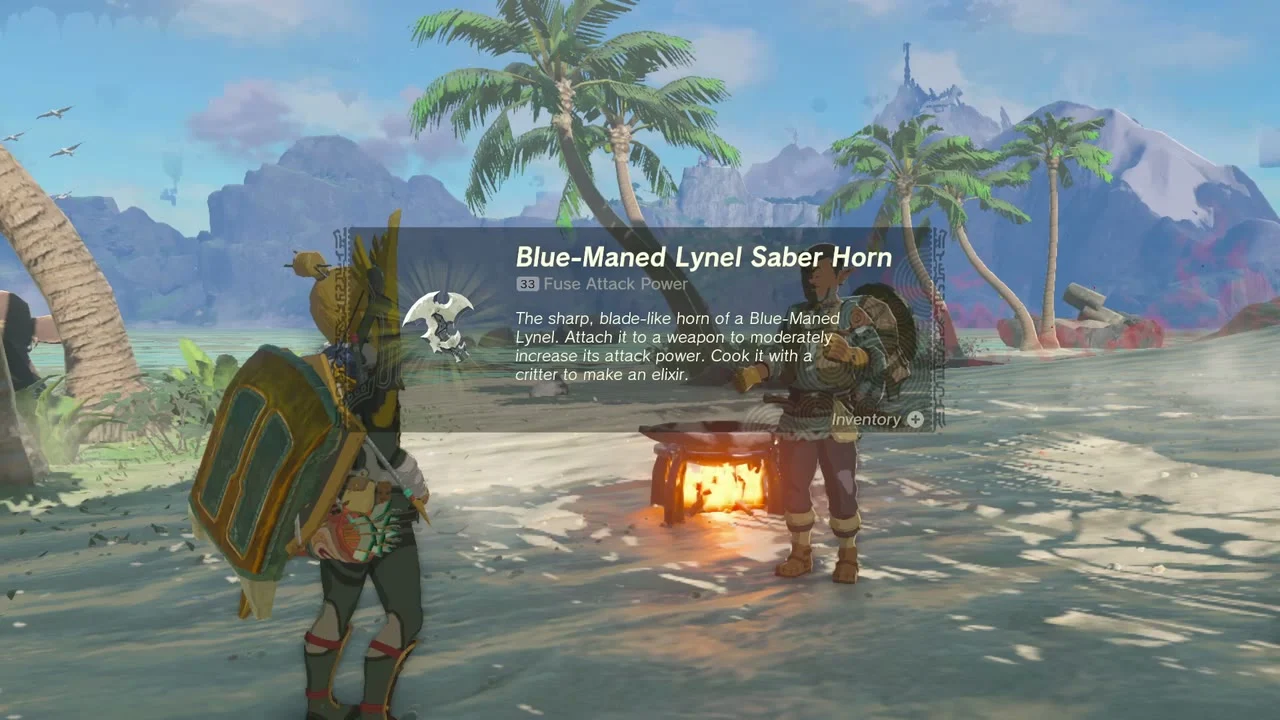
Tips for the hideout: Sesami reports a pirate ship disappearing around the south side of the island, so glide off the cliff there and look back at the mountain for the hole in the cliff. Inside, eight enemies hold the ship, including a Black Boss Bokoblin and several archers, one with electric arrows in the crow’s nest. Bomb arrows (from the chest in the first stronghold) make short work of the group on the deck.
Lurelin Village and the south-west corner
Start the Lurelin Resort Project
Lurelin Resort Project at Lurelin Village (2940, -3378). Talk to Bolson on the beach and answer that the village should host a water rally; Rozel and Bolson then ask you to invite Tali, Shabonne and Fernison from Tarrey Town.
Bring Garini a boat
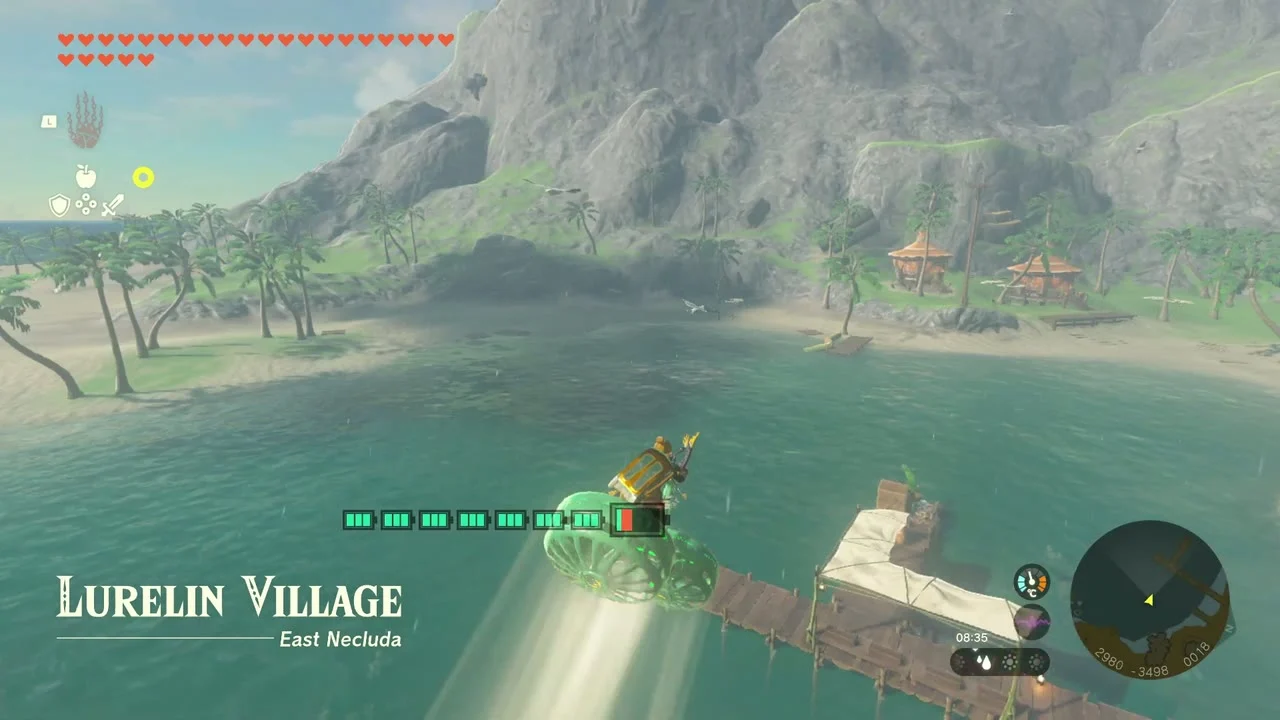
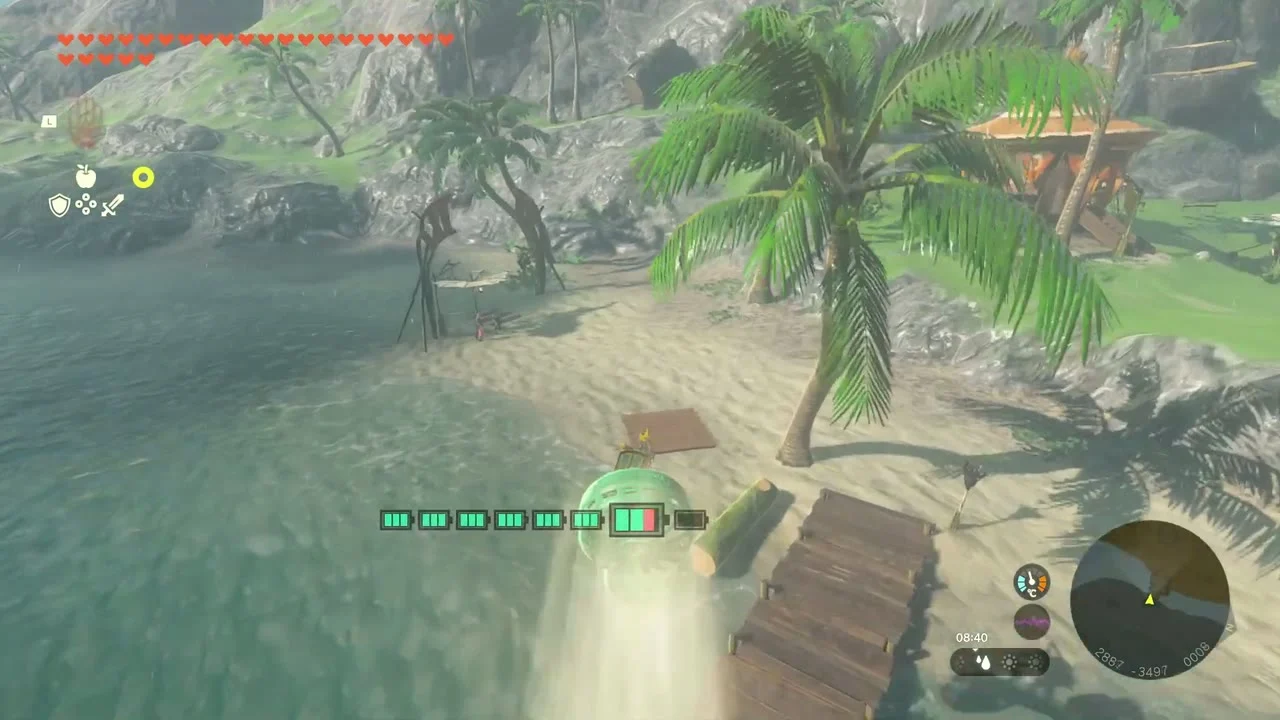
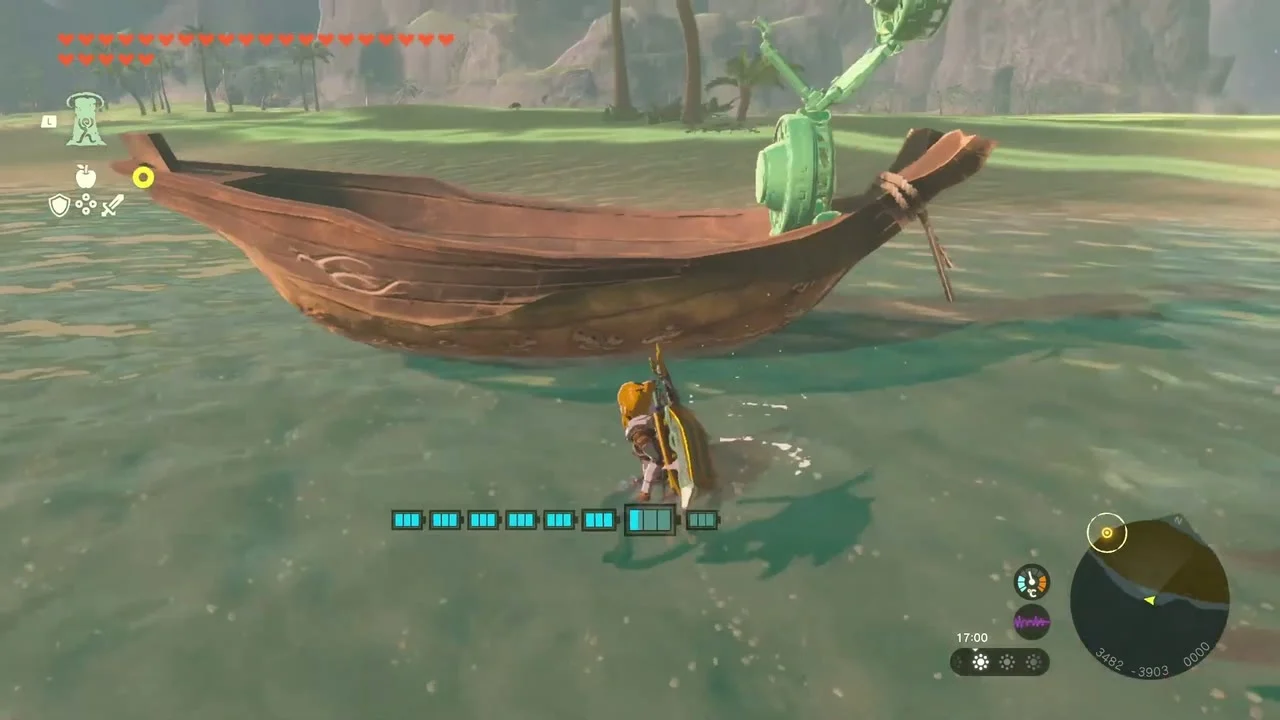
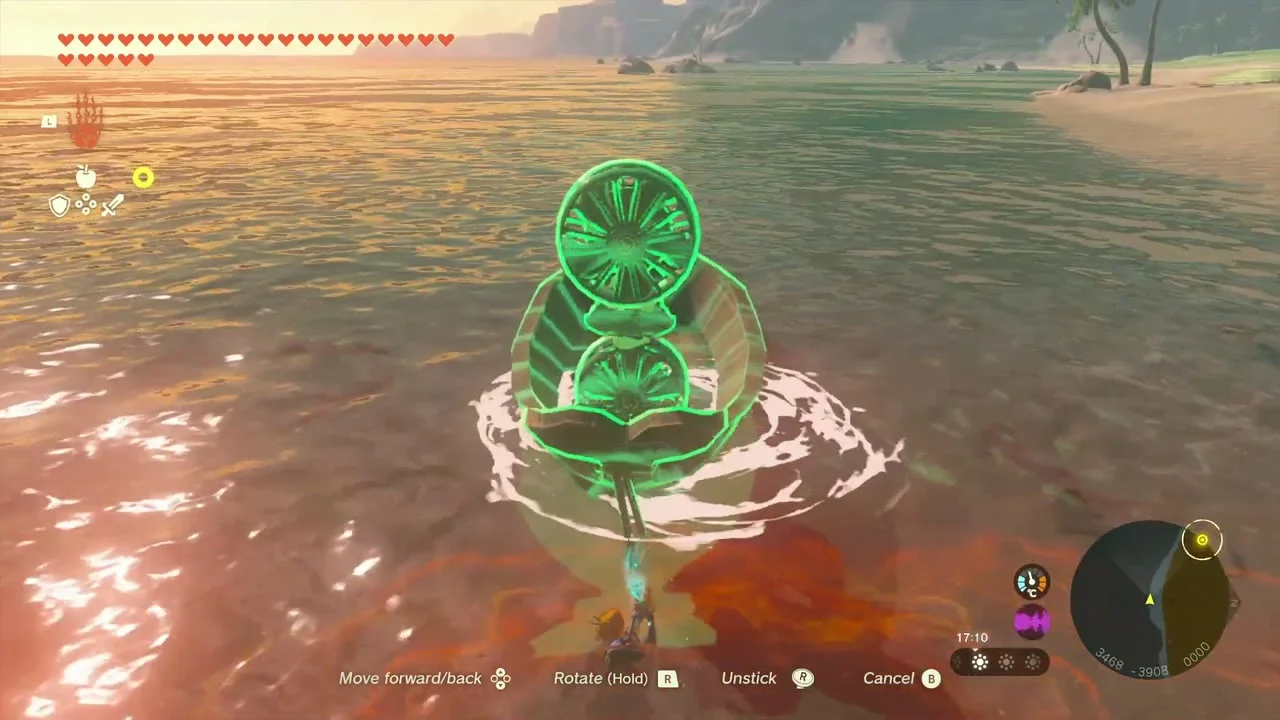
A Way to Trade, Washed Away with Garini at Lurelin Village. His old boat drifted to Tenoko Island (3996, -3009); fix one of the beached boats there with fans and a steering stick and steer it back to the Lurelin dock. Garini first asks for help after you speak to him at the shop in Lookout Landing, and you should finish Ruffian-Infested Village and the Restoration Project before this quest. Tenoko Island lies north-east of Lurelin: glide off Cape Cales or sail over, and add a Rocket or two for speed on the return. Steer the boat up to Garini on the dock; he reopens the Lurelin General Store and pays you a Star Fragment.
Take the Korok seed in Atun Valley
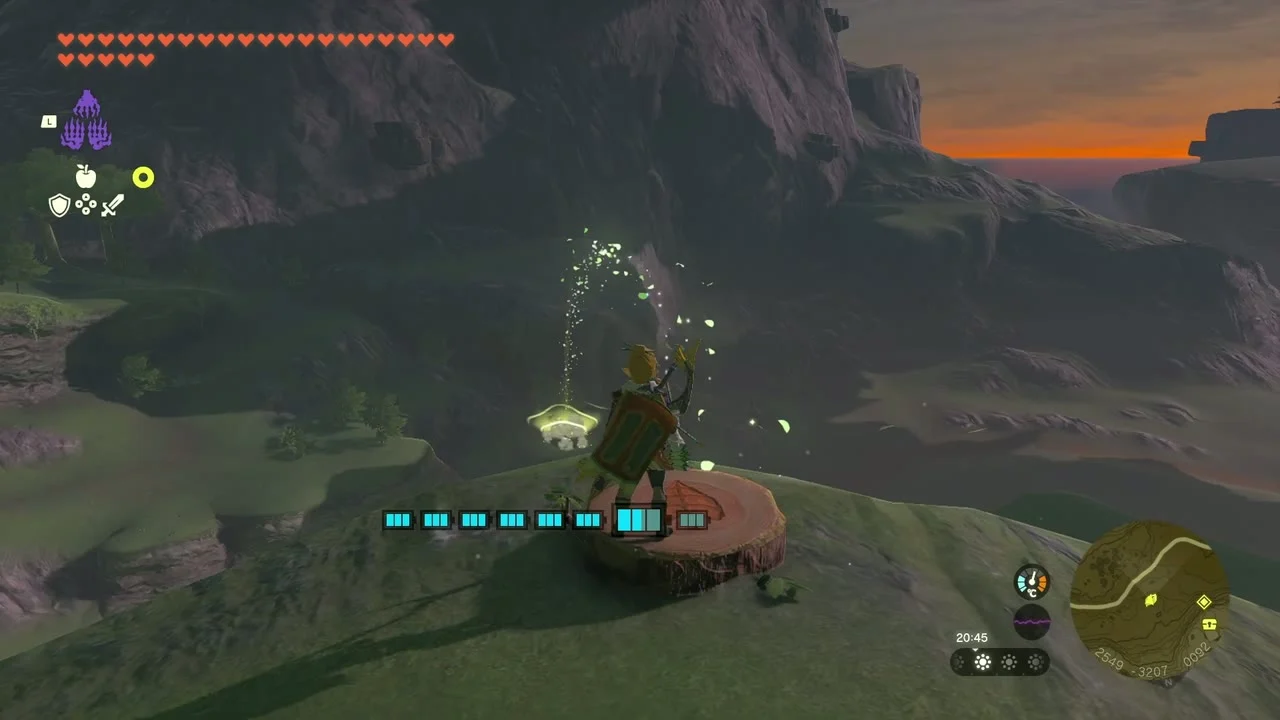
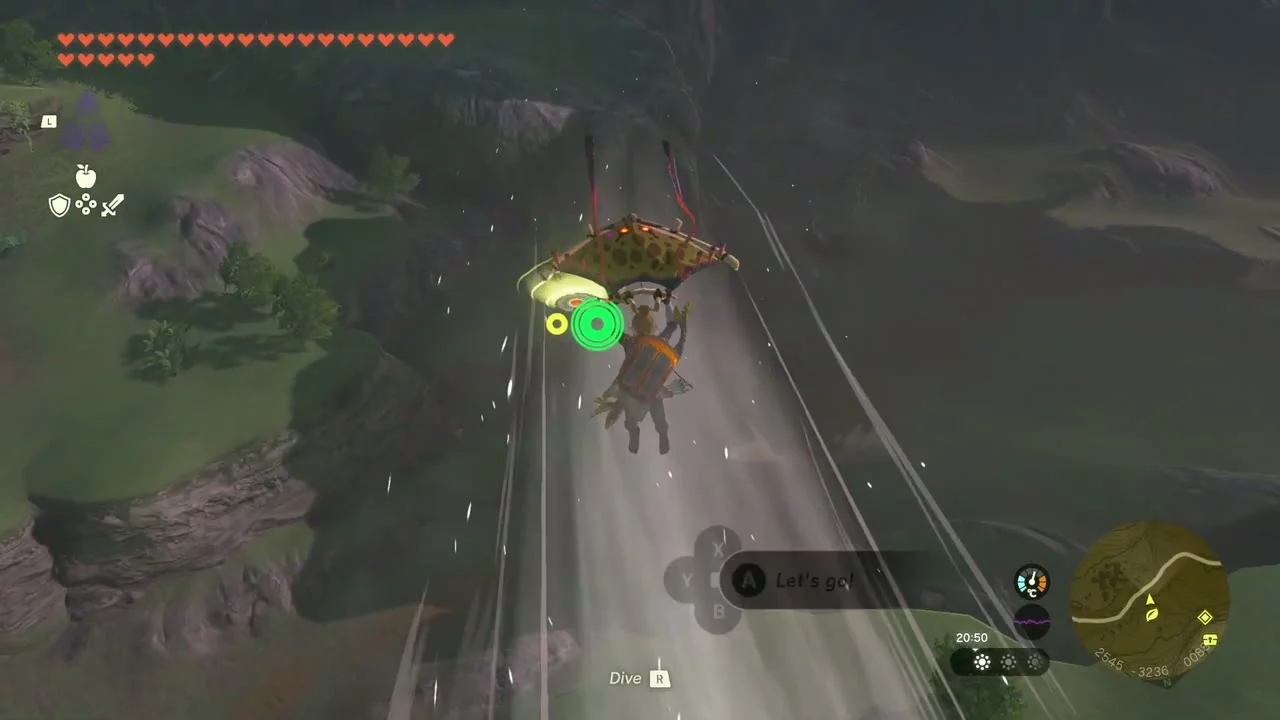
Korok seed (Reach the target ring) at (2540, -3291, 66), in Atun Valley. Start the ring at (2549, -3208) and dash across the valley before the timer ends.
Loot Atun Valley Cave
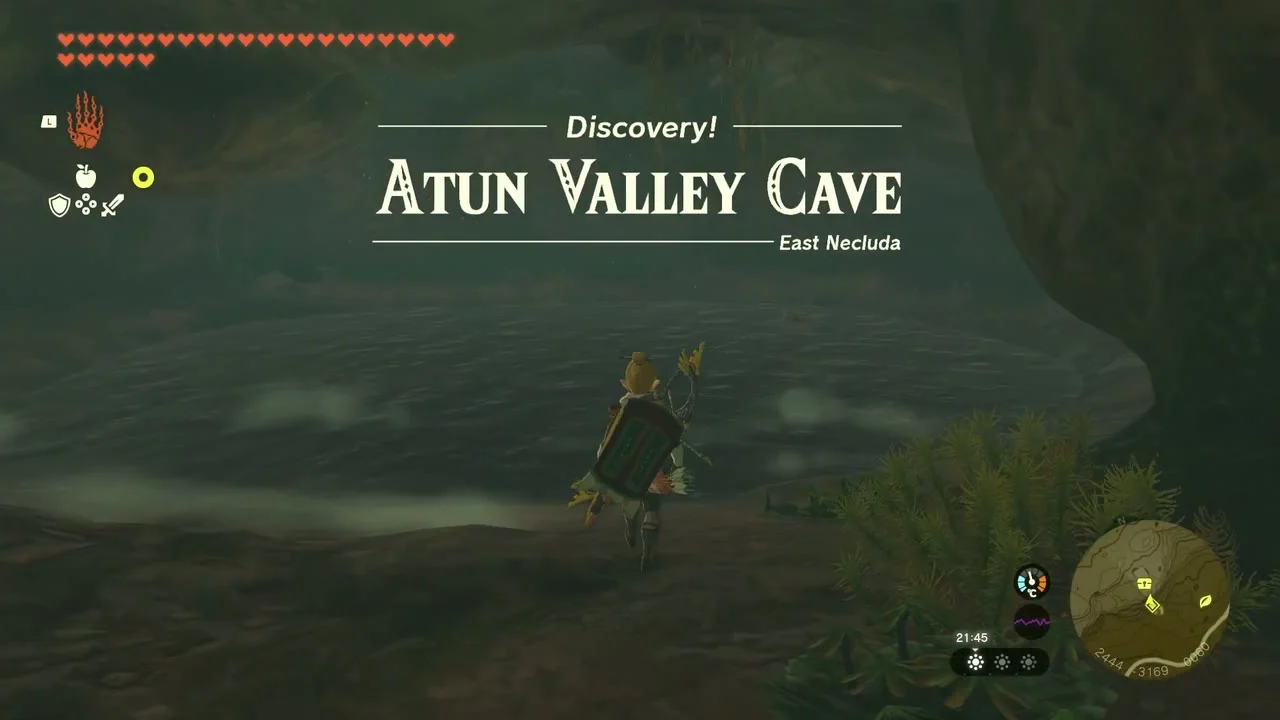
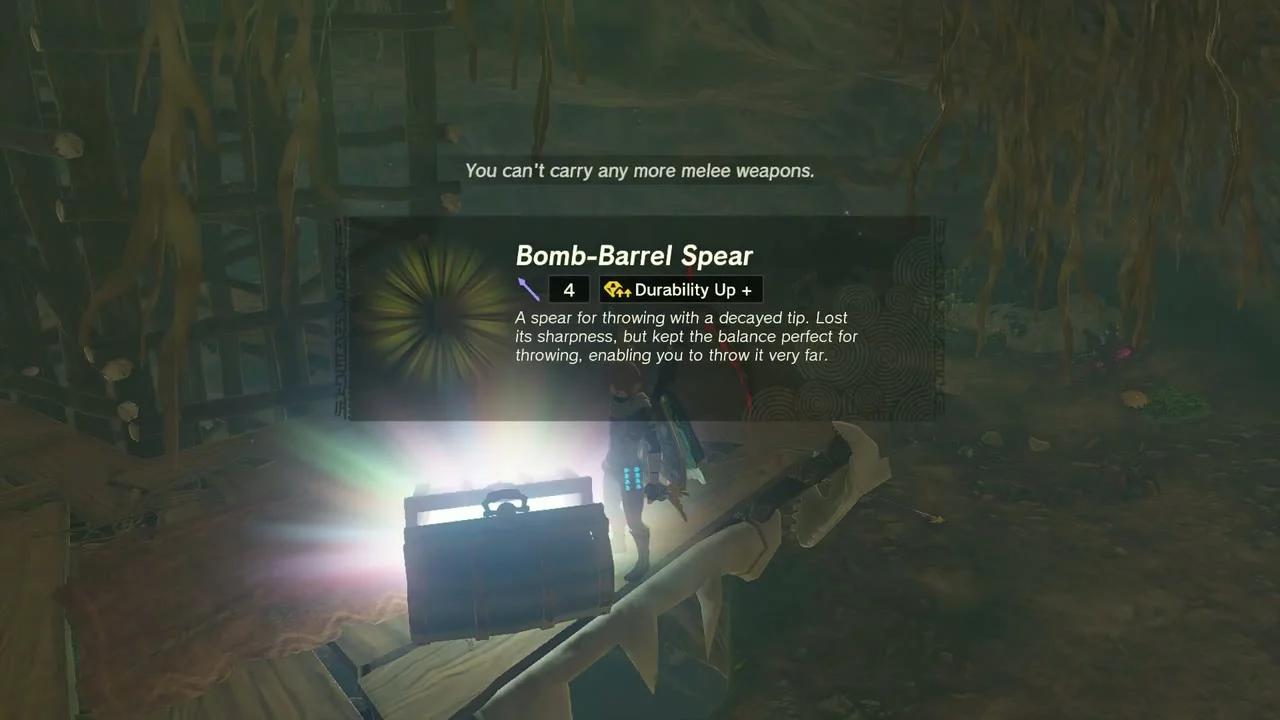
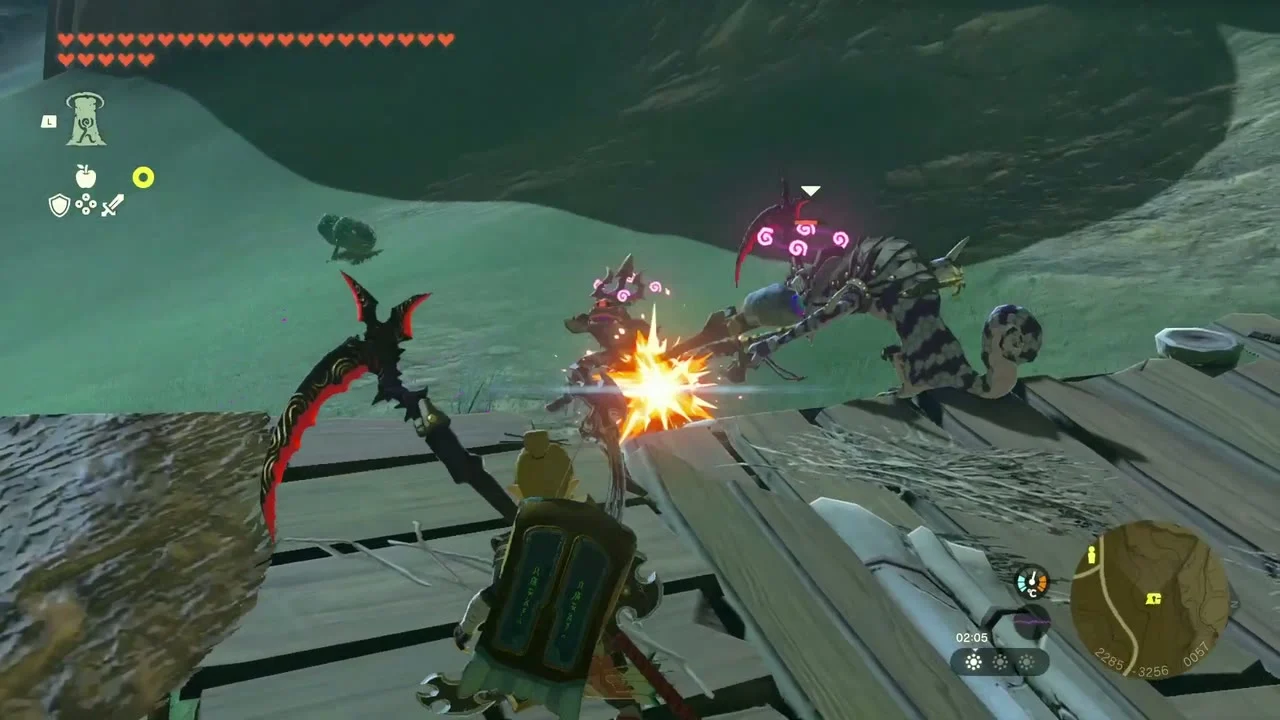
Atun Valley Cave at (2454, -3193), marked by a skull above the entrance. Climb to the enemy base with a Board to open the chests for the Bomb-Barrel Spear and the Knight’s-Broadsword Halberd; a Bubbulfrog sits behind the red sediment on the southern wall.
Break the stronghold for the Topaz chest
Chest: Topaz on a monster platform at about (2287, -3258) in the south-west cliffs. Clear the Bokoblins and Lizalfos from the platform and open the chest for a Topaz.
Complete the rock pattern on Temto Hill
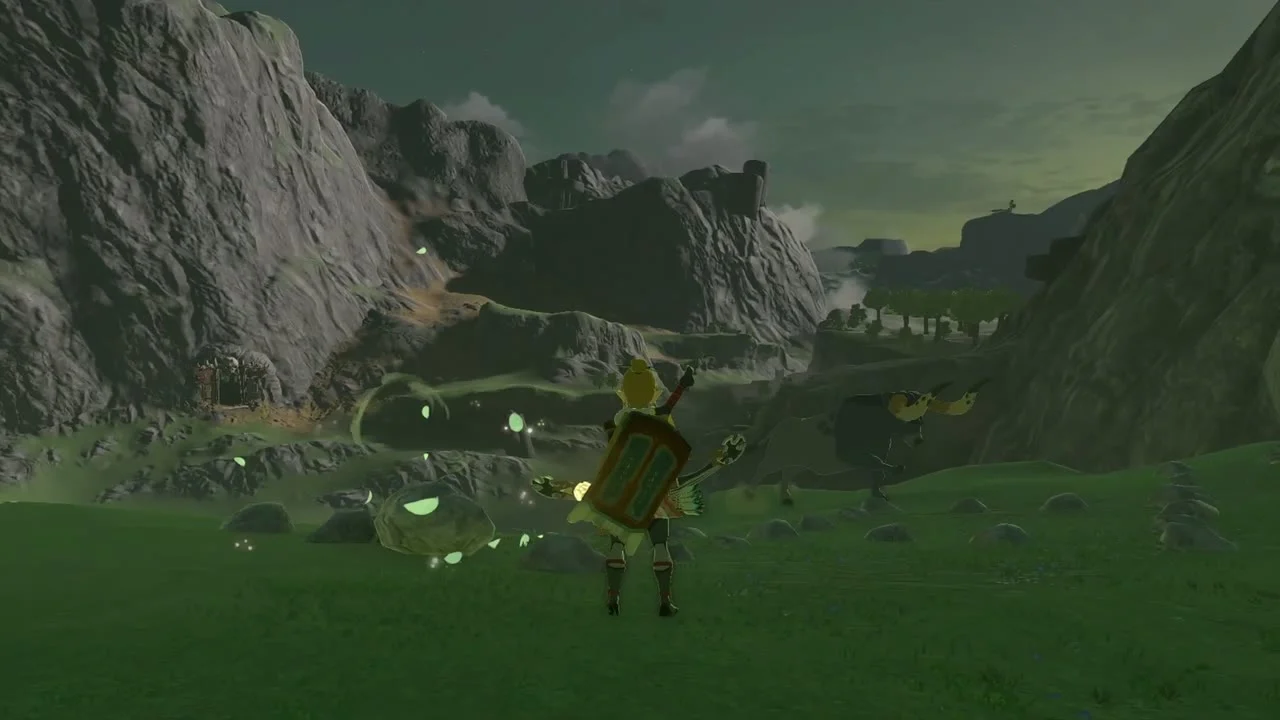
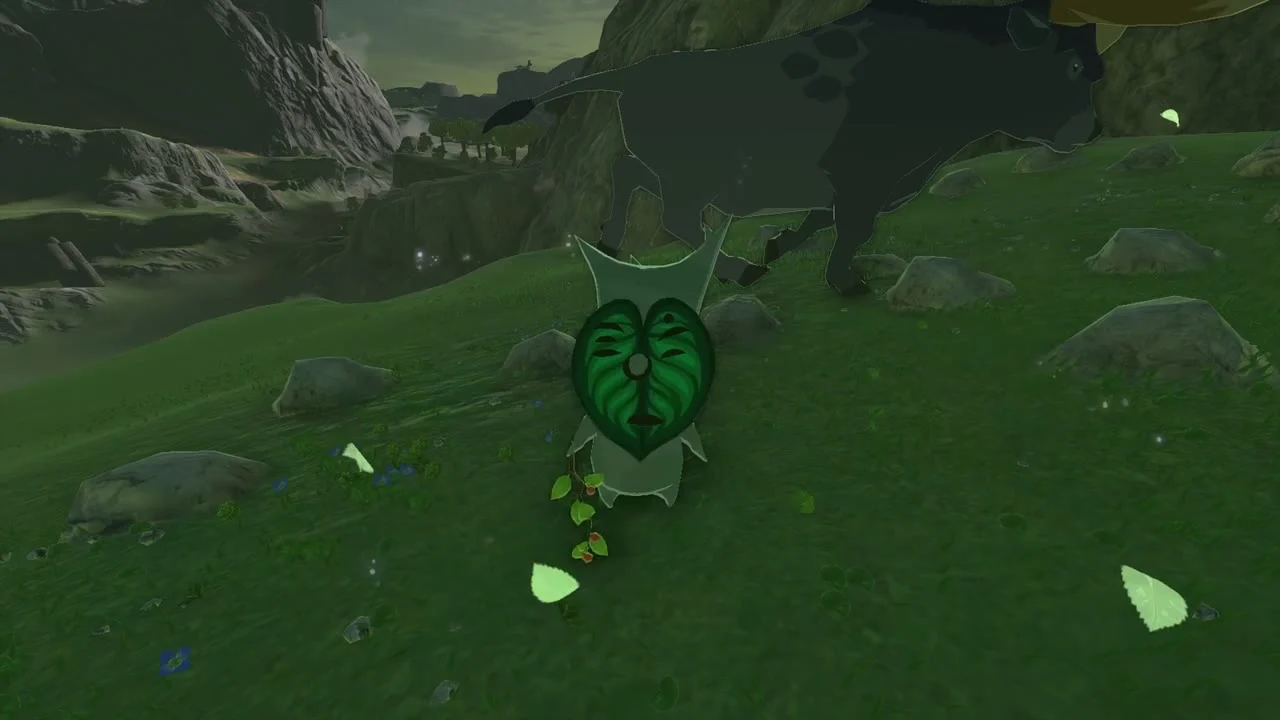
Korok seed (Complete the rock pattern) at (2425, -3403, 80), on Temto Hill. Set the missing stone into the ring of rocks to make the Korok appear.
Repair Addison’s sign on Temto Hill
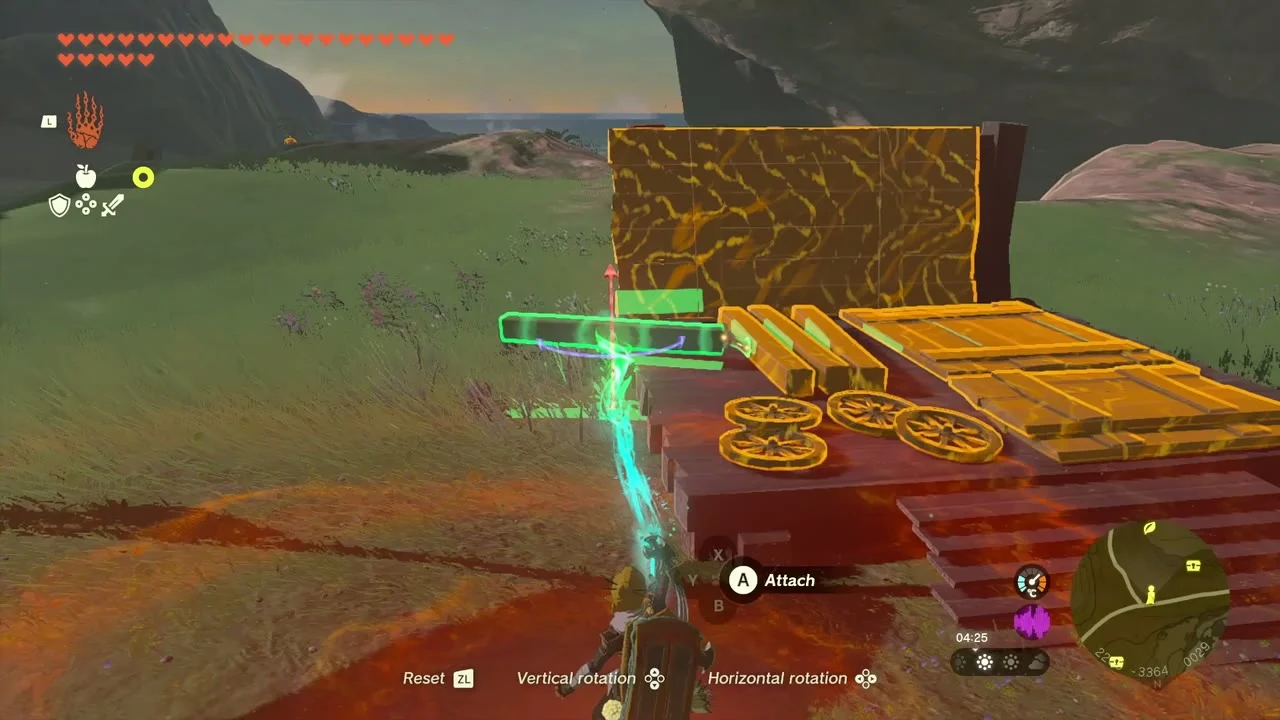
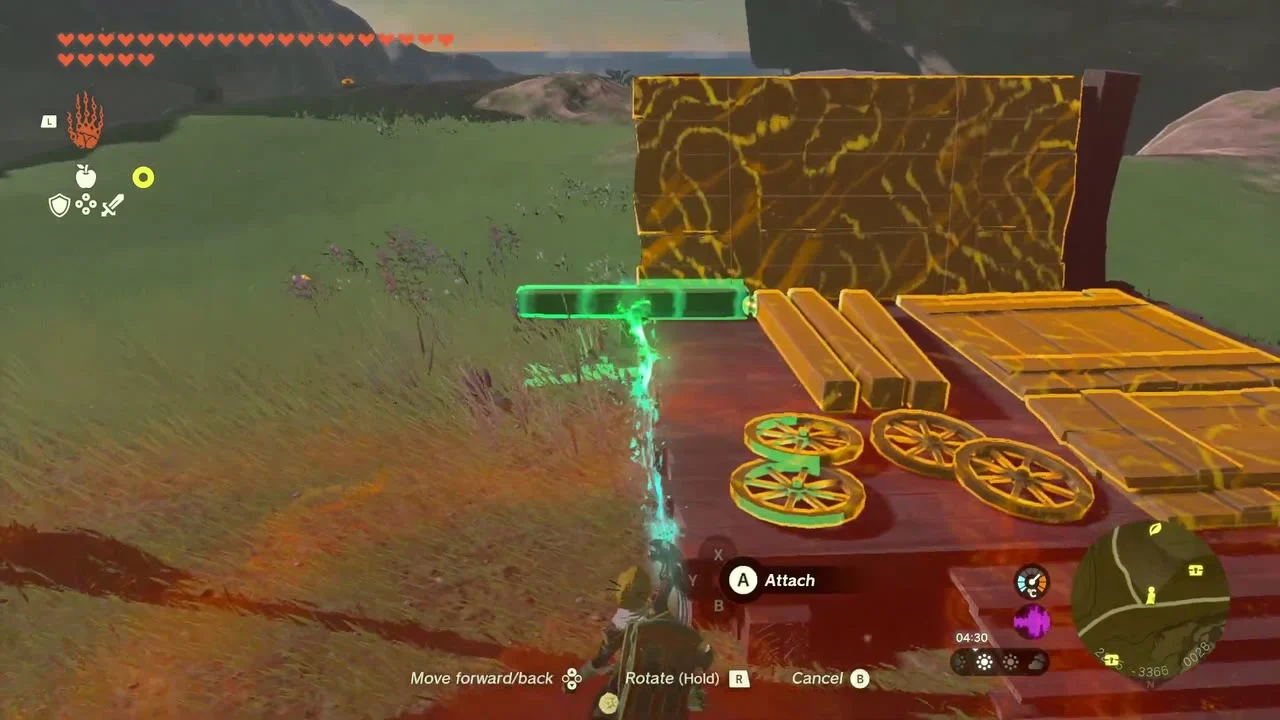
Addison’s sign at (2214, -3369, 30), on Temto Hill. Slot a plank or leg under the sign’s base with Ultrahand and hold it upright until it locks in place.
Reach the ring on Temto Hill
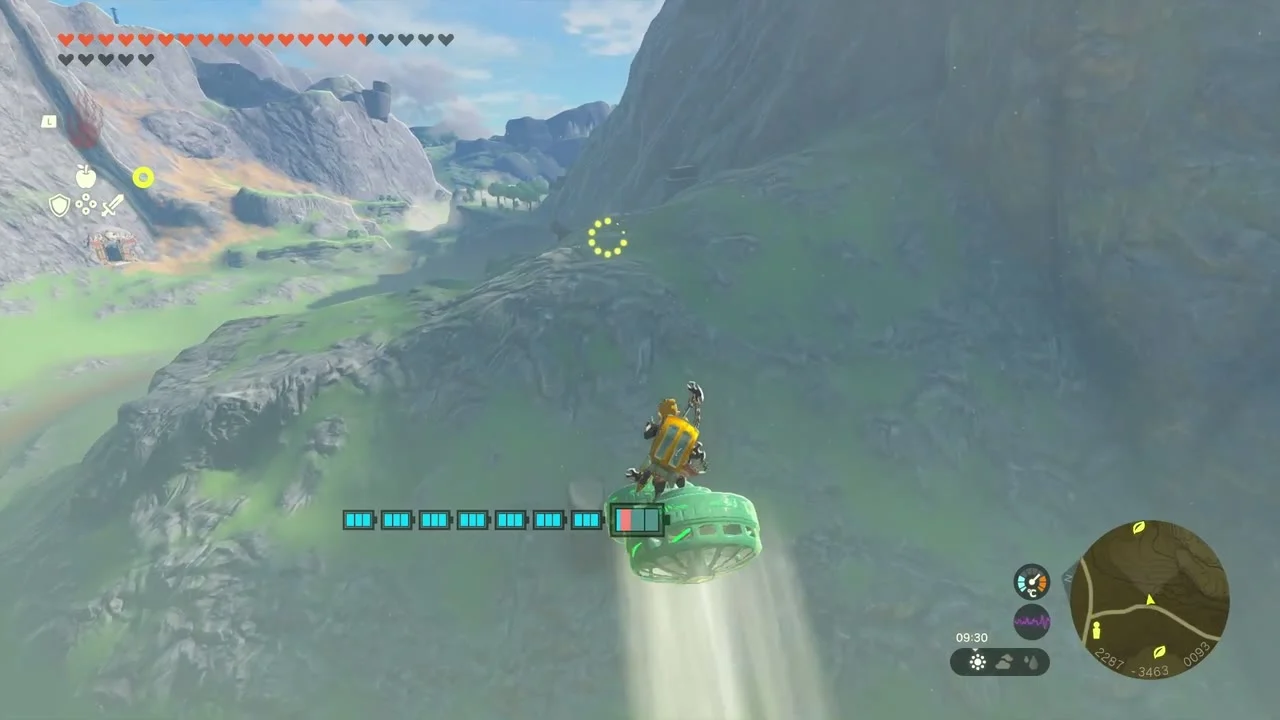
Korok seed (Reach the target ring) at (2363, -3438, 89). Start the ring at (2199, -3493) and race up the hill to the target.
Deliver the exhausted Korok on Clarnet Coast
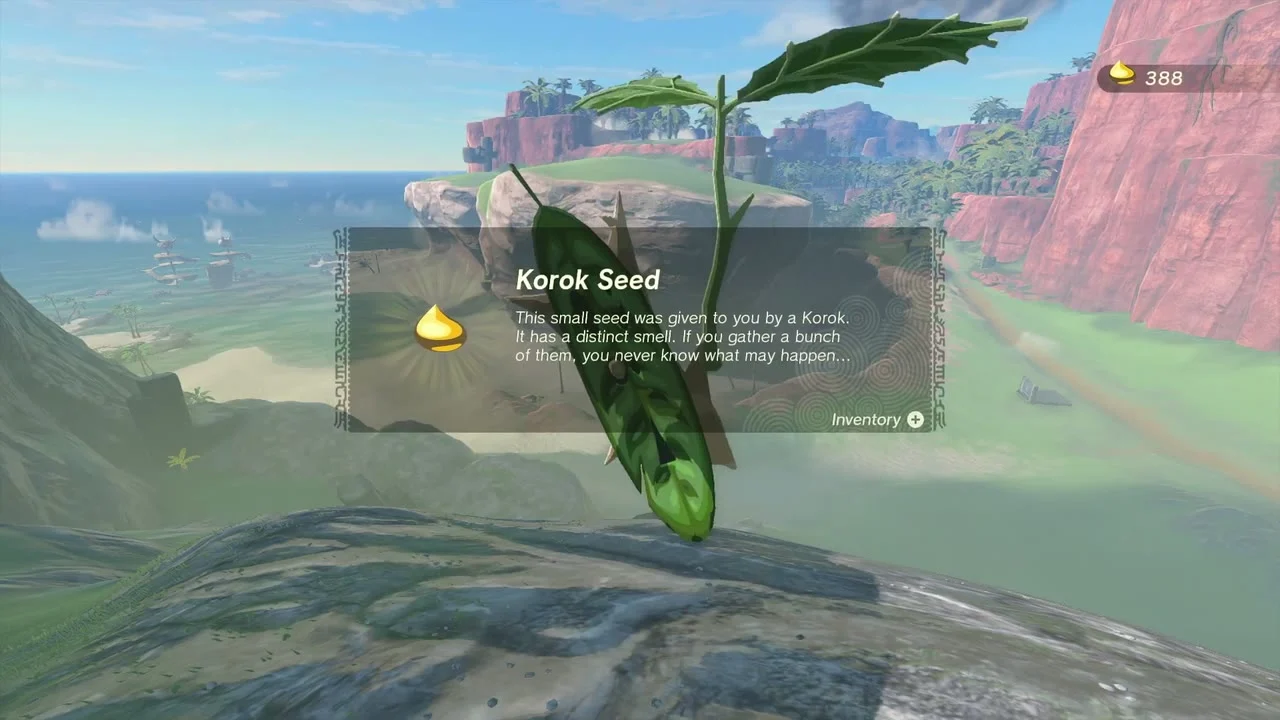
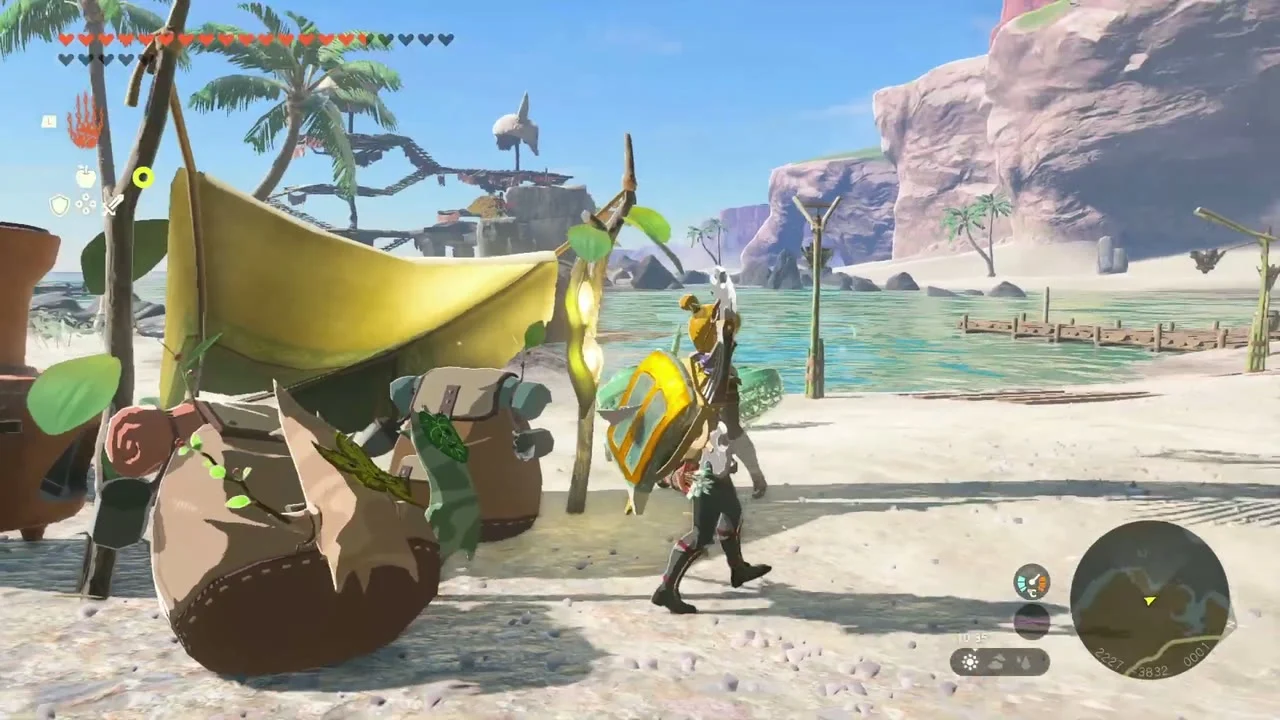
Korok seeds x2 (Carry friend, Korok Duo) between (2243, -3469) and its friend at (2227, -3834). Carry the exhausted Korok south down the beach by hoverbike to its tent.
Defeat the Boss Bokoblin
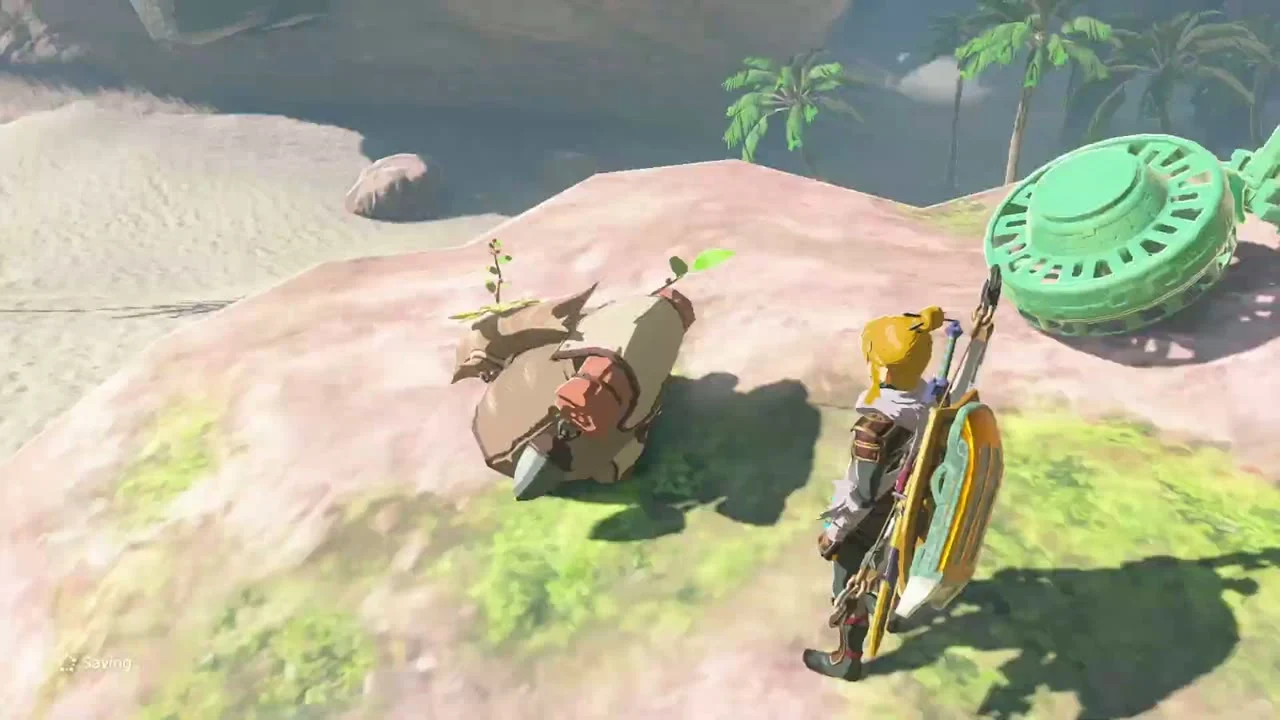
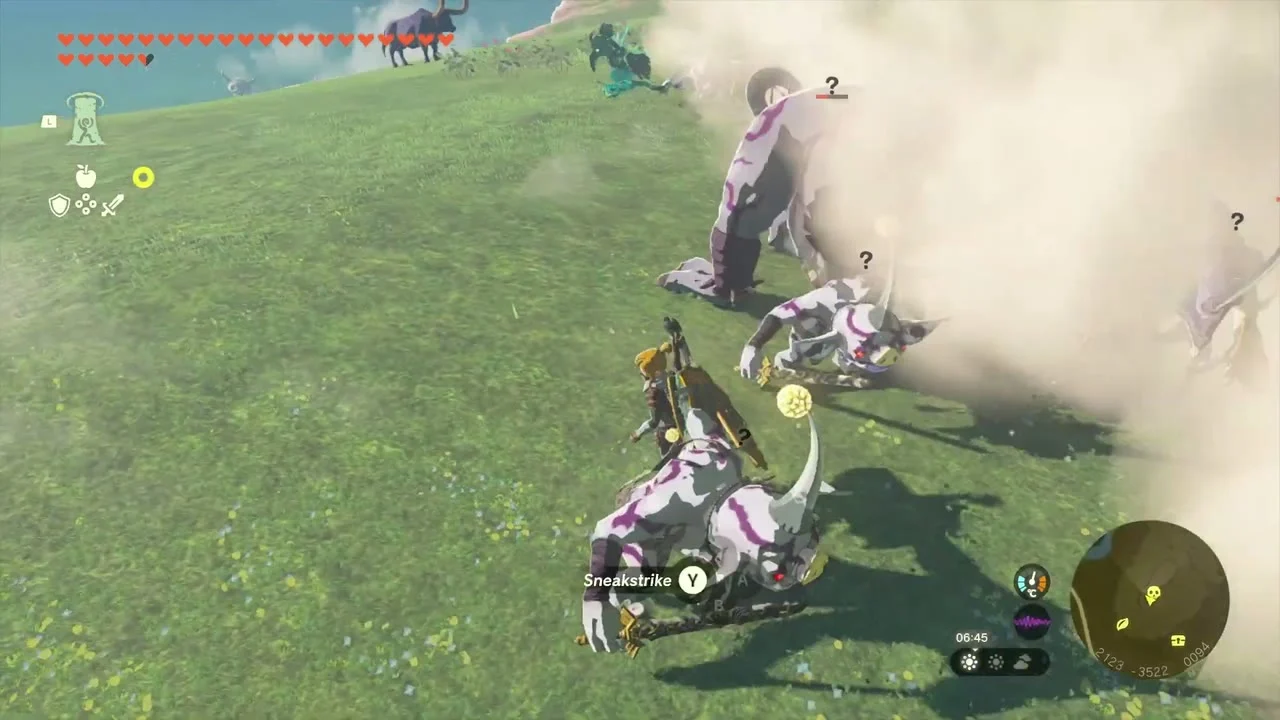
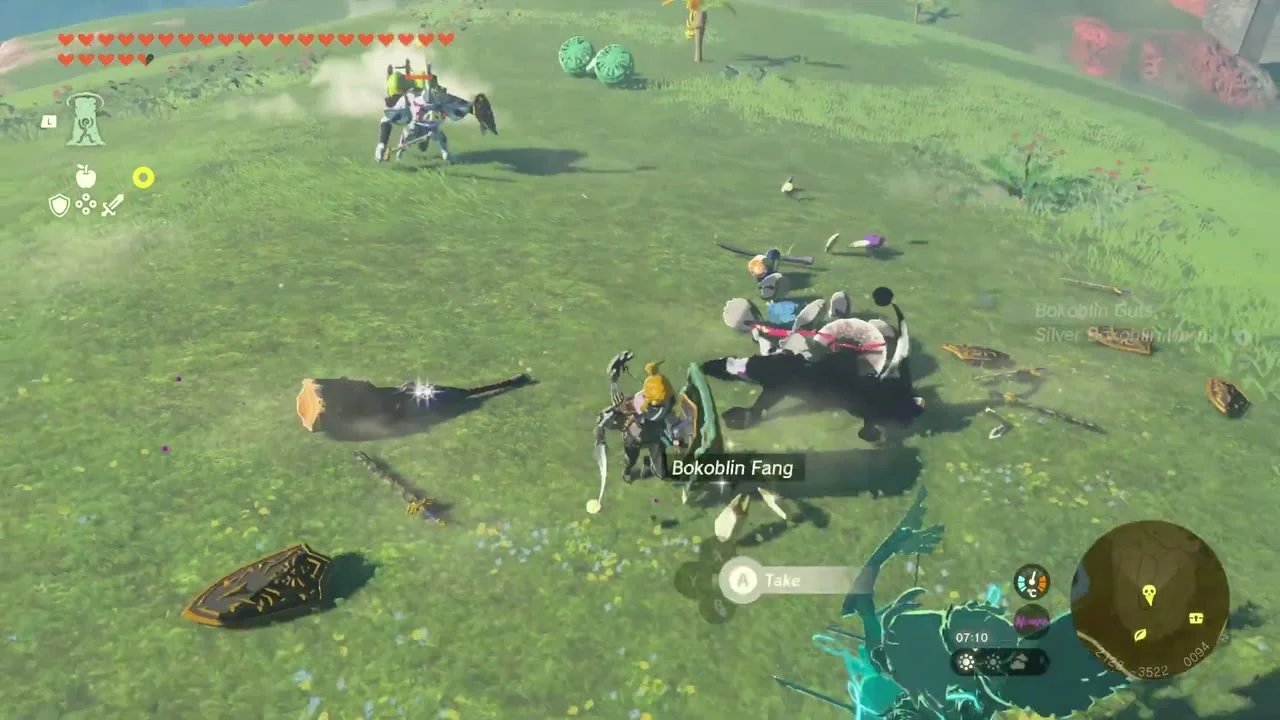
Miniboss: Boss Bokoblin at about (2120, -3522) on the south-west beach. Clear its Bokoblin guards, dodge the club and finish it with a strong weapon or bombs.
Open the Cannon x3 chest in the pirate stronghold
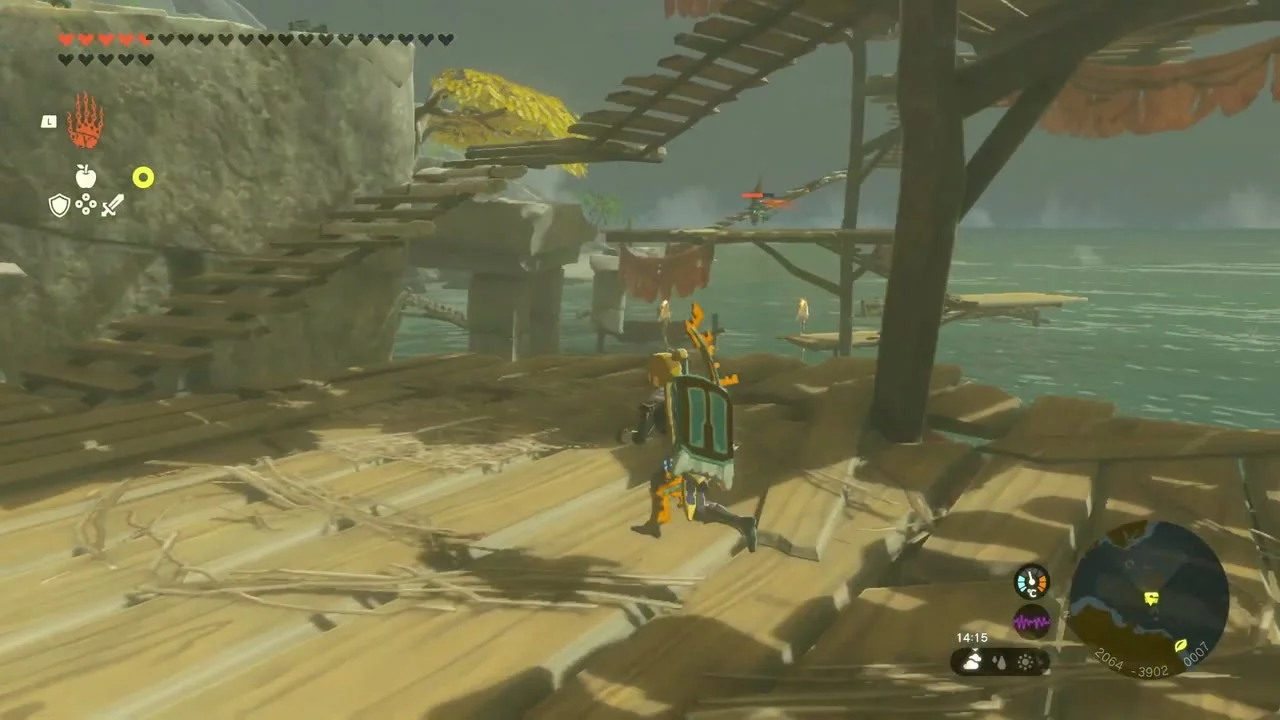
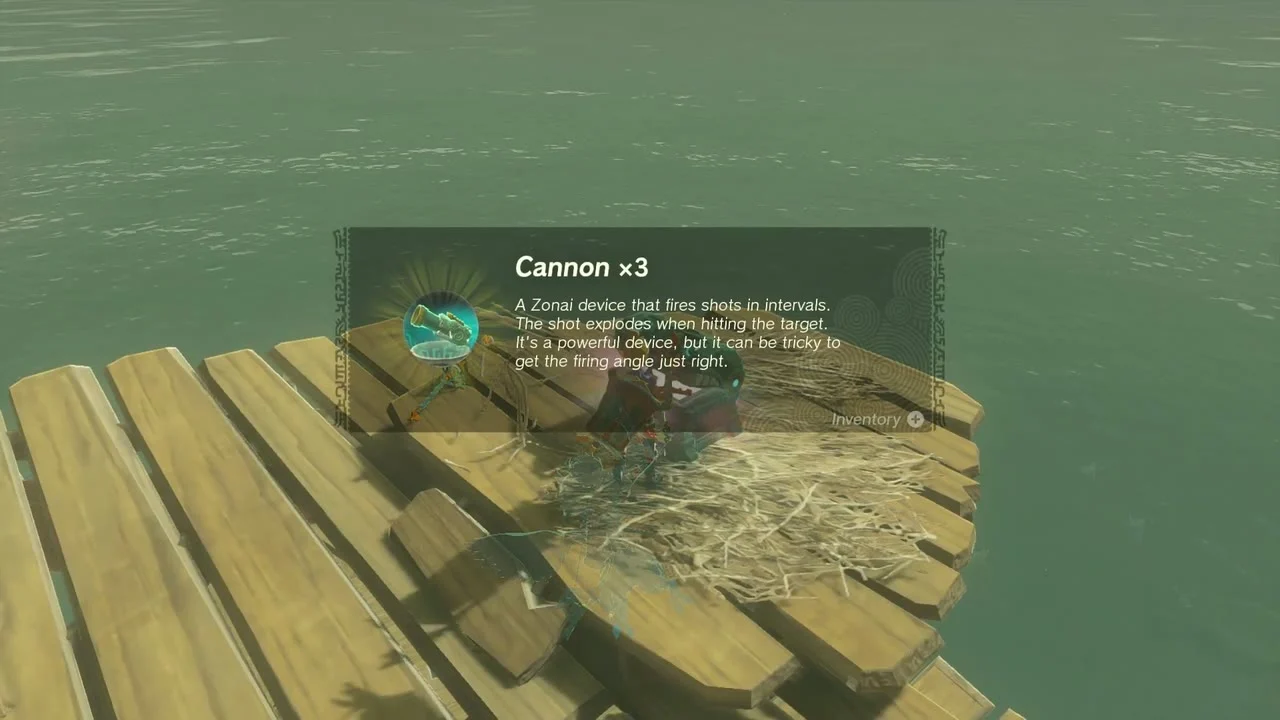
Chest: Cannon x3 at about (2064, -3902) on the pirate platform in the Aris Beach stronghold. Climb the wooden steps from the water and open the chest for Cannon x3.
Reach the target ring on Aris Beach
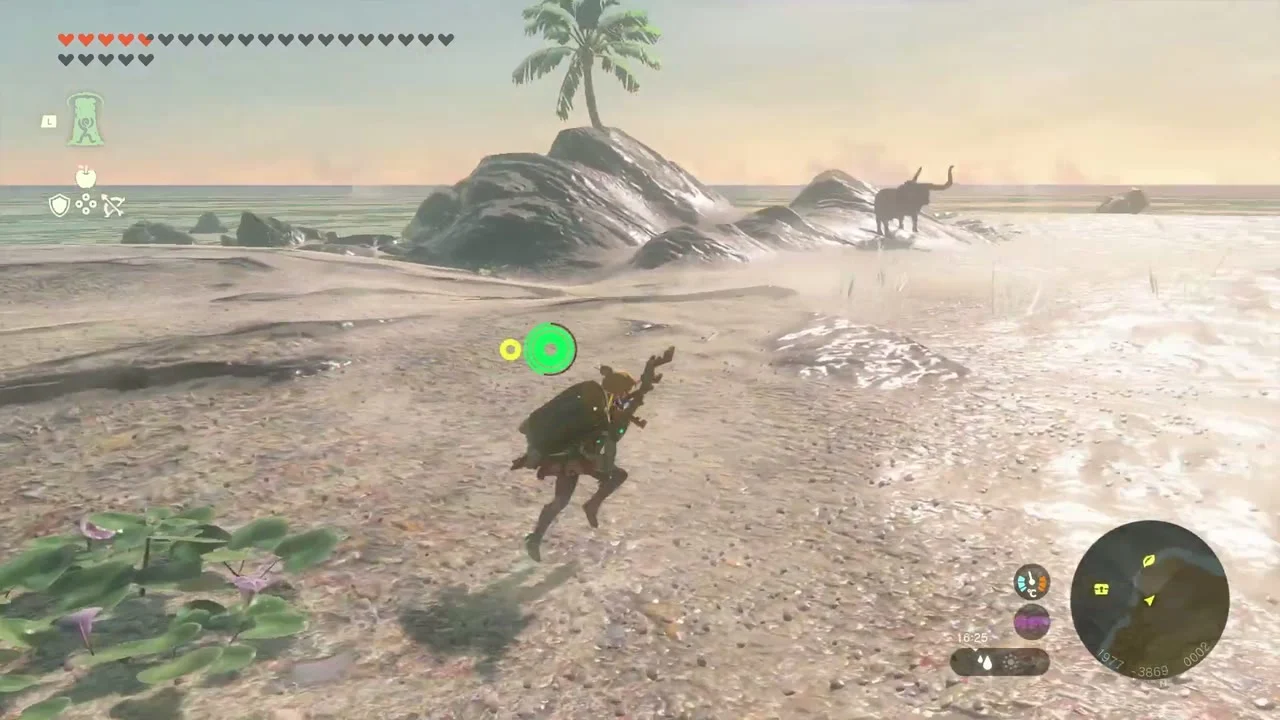
Korok seed (Reach the target ring) at (2011, -3957, 6). Start the ring at (1973, -3922) and sprint along the beach.
Photograph the sunrise from Tuft Mountain
Korok seed (Shoot the balloons) at (2563, -3598, 240) on the summit of Tuft Mountain. Shoot the balloons for the seed, then stay until 5:00 and take a picture of the sunrise for A Picture for Dueling Peaks Stable.
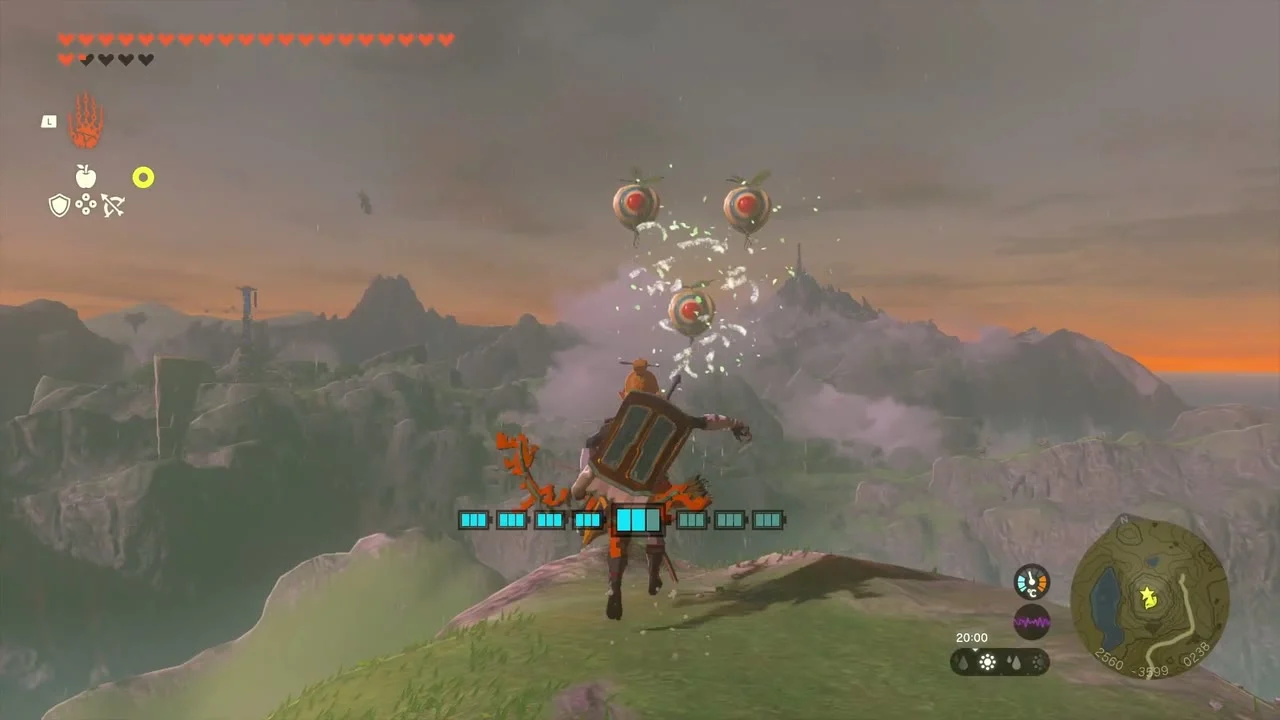
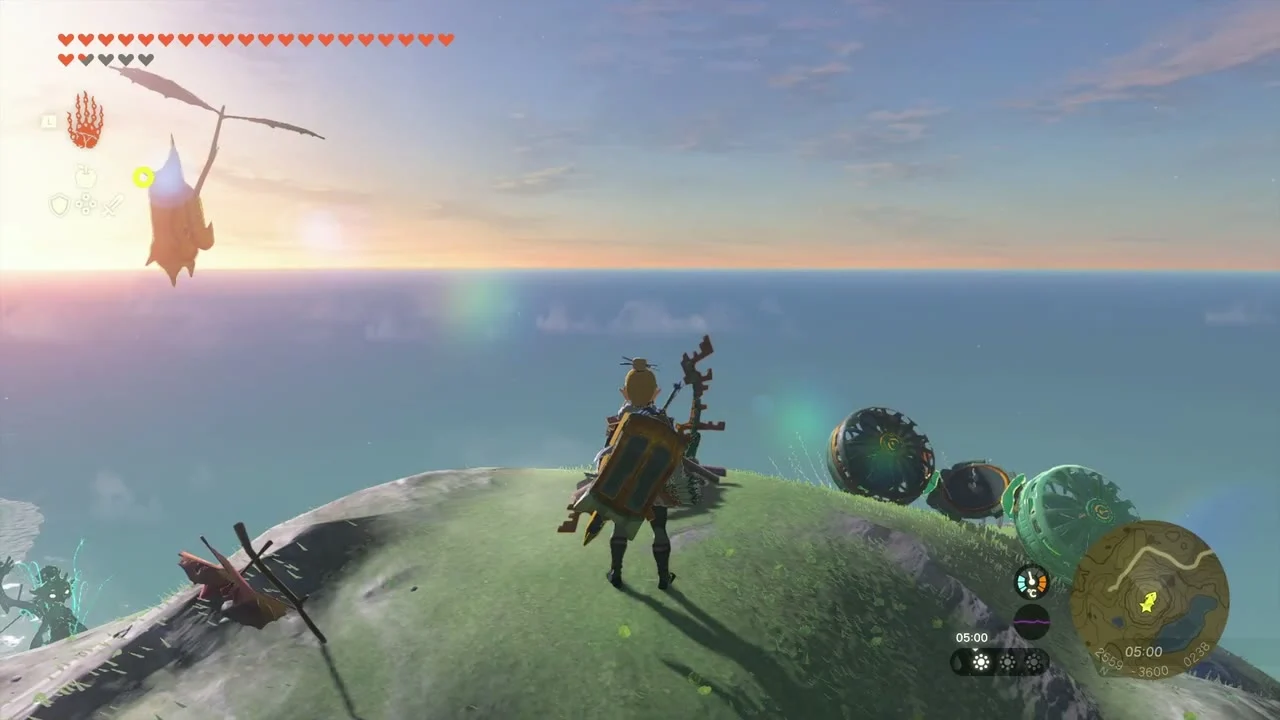
Deliver the second exhausted Korok on the Clarnet Coast
Korok seeds x2 (Carry friend, Korok Duo) between (2828, -3883) and (2428, -3945). Carry the Korok west along the beach to its friend to receive the two seeds.
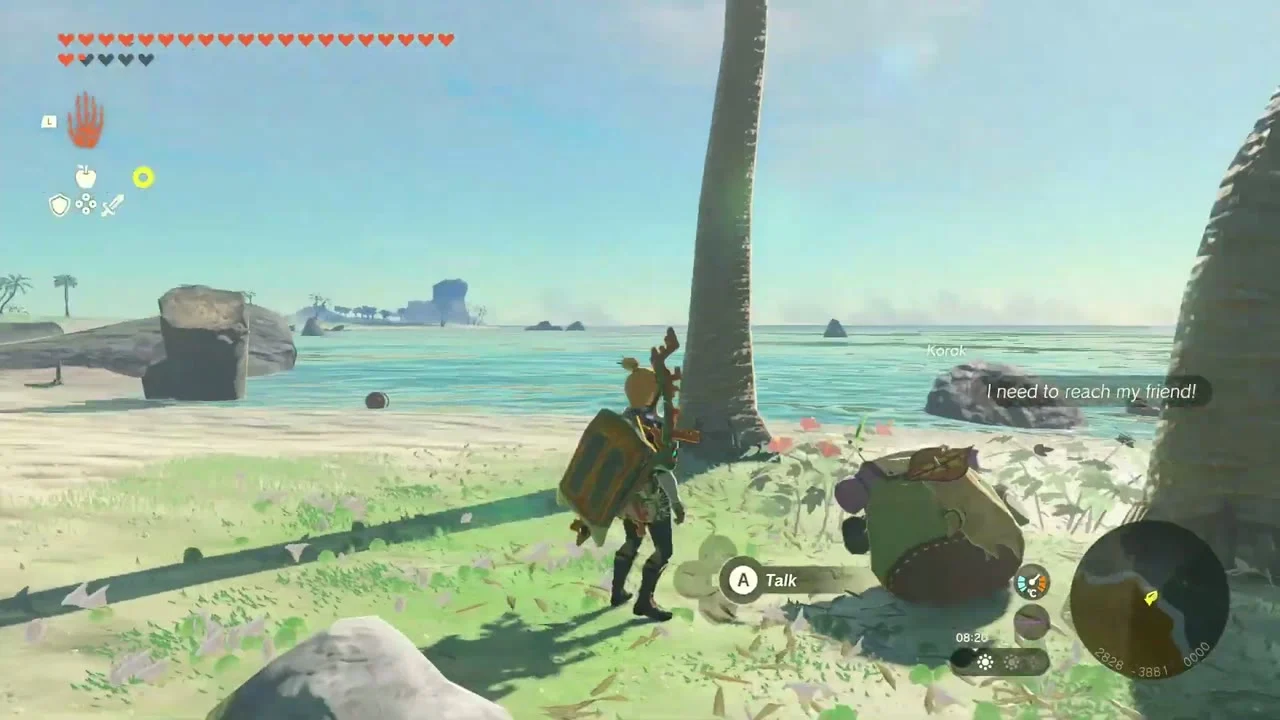
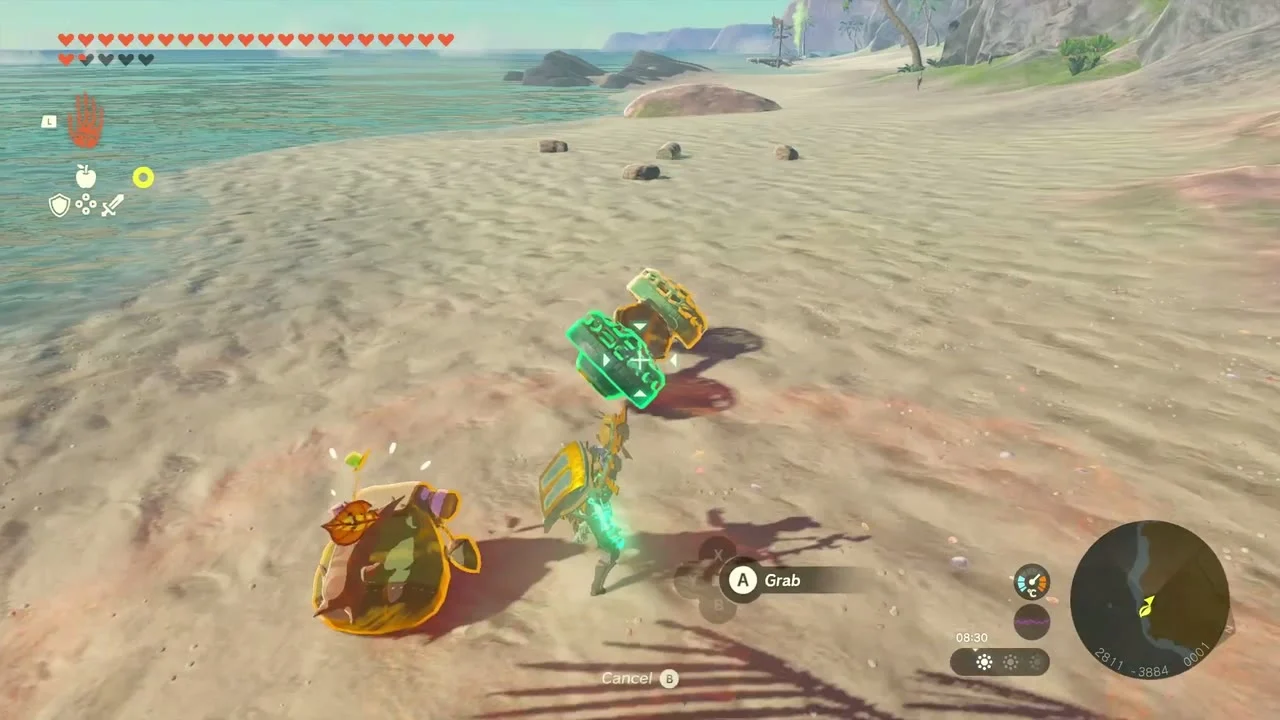
Show the photo to Tasseren
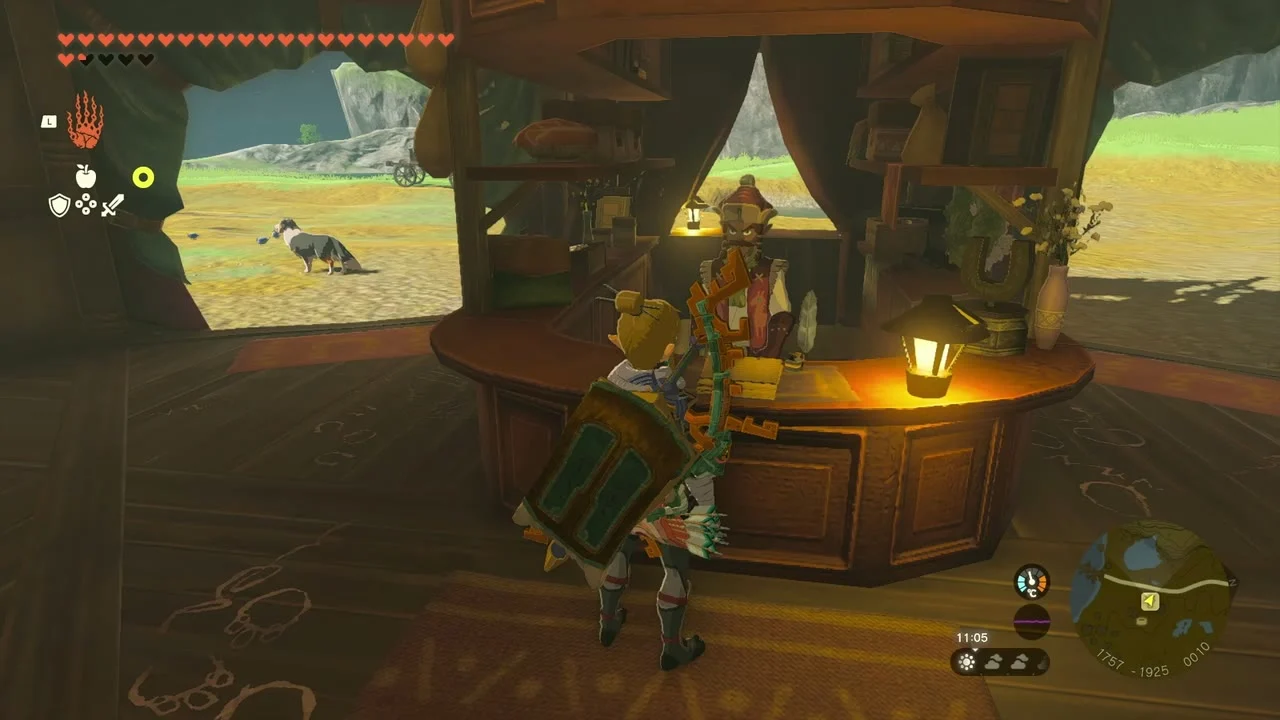
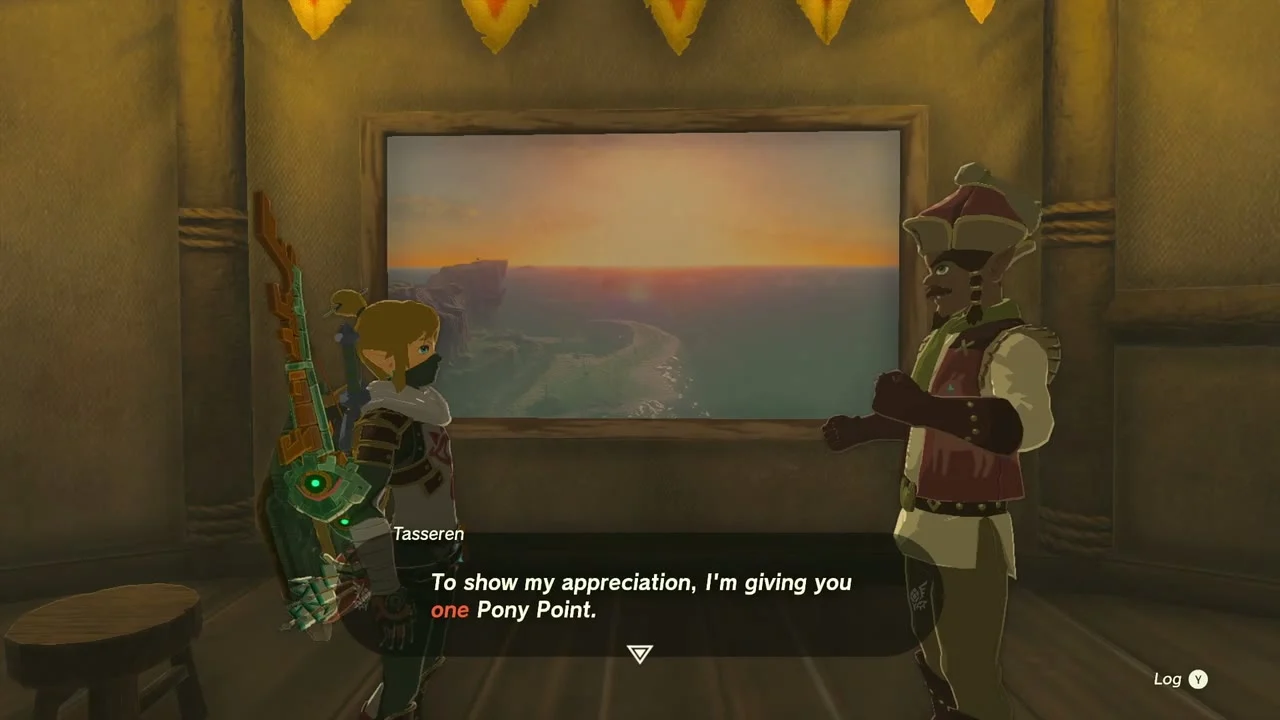
At Dueling Peaks Stable (1757, -1925) show Tasseren the sunrise picture; he pays you one Pony Point, and a Hasty Apple Pie if your inventory has room.
Upgrade armor at Great Fairy Cotera
Cotera’s Great Fairy Fountain lies south of Dueling Peaks Stable, past the Little Twin Bridge. Pay rupees and materials to raise your armor’s star level.
Also in this area
More Koroks lie near the route: the Dunsel Plateau duo (2919, -3083 and 2453, -2912), the Ebara Forest duo (1979, -3391 and 1612, -3493), Rimba Beach (3119, -3720, Burn the leaves and lift the rock), the Lurelin stump race (3064, -3395), Soka Point (3796, -3615) and Courage Steppe (2294, -3020).
Tips for this stretch
Bring spare shields and Zonai fans: most of the chests are shields and weapons you will break, but the Bubbul Gems, shrine lights and Korok seeds are permanent. Light the Kotimab and Ni-iraram Lightroots from below before you leave the area so the Depths map is clear on your return. Clear all three Eventide strongholds before you look for the hideout, because the cave entrance does not appear until the quest log updates.
East Necluda Part 2 checklist
| Collectible | Count | Where |
|---|---|---|
| Shrines | 2 | Bamitok (Mount Dunsel Cave), Marari-in (Eventide Island Cave) |
| Korok seeds | 21 | 4 Mount Dunsel, 8 Cape Cales and Eventide, 9 south-west corner |
| Bubbul Gems | 4 | Mount Dunsel, Cape Cales Cliffbase, Eventide Island, Atun Valley |
| Caves | 4 | Mount Dunsel, Cape Cales Cliffbase, Eventide Island, Atun Valley |
| Miniboss fights | 4 | Battle Talus, Stone Talus, two Boss Bokoblins (plus the three Eventide strongholds) |
| Chests (items listed) | 25 | 12 around Mount Dunsel and Ebon, 9 Cape Cales and Eventide, 4 south-west |
| Quests | 5 | Seeking the Pirate Hideout, Pirate Manuscript, Lurelin Resort Project, A Way to Trade, Picture for Dueling Peaks Stable |
