





















Tears of the Kingdom 100% Completion Walkthrough43 chapters
Great Sky Island
- Great Sky Island4 shrines, 4 caves and Bubbul Gems, 17 Korok seeds
Hyrule Field and Hyrule Castle
- Lookout LandingParaglider, Crisis at Hyrule Castle, Jiosin and Kyononis shrines, 2 caves, 3 wells
- Hyrule FieldSusuyai and Ishodag shrines, the Hyrule Field Chasm, 2 caves, 13 Koroks
- Hyrule Castle Town RuinsSepapa, Yamiyo and Tukarok shrines, 2 caves, 4 wells, Koroks, chests and Battle Taluses in route order
- Central Hyrule Depthslight all 7 Lightroots, loot Daphnes and Gustaf Canyon Mines, find the Miner's Top
- Rest of Hyrule CastleRoyal Hidden Passage loot, 8 castle chests, Phantom Ganon, Energy Wells
- South Hyrule FieldShrines, Koroks & the Great Plateau
- South Hyrule Field DepthsGreat Abandoned Central Mine, Master Kohga, Autobuild, Majora's Mask
Tabantha and Hyrule Ridge
- Tabantha FrontierNew Serenne Stable, Hestu, Courage Island and the Glide Shirt, 3 shrines, 2 Korok seeds, Lindor's Brow Cave
- Forgotten TempleImpa and the Geoglyphs, Dragon's Tears, Kiuyoyou and Mayausiy shrines, Yiga Maritta Branch, 9 Koroks
- Tanagar Canyon & Hyrule RidgeRunakit and Iun-orok shrines, 2 caves, 12 Koroks, 20 chests, 8 minibosses and Dragon's Tear 6
- Thundra Plateau & Tabantha Bridgesolve the noon shadow puzzle, Tabantha Bridge Stable, Makurukis Shrine, 19 Korok seeds, 9 chests, 3 minibosses
- Lindor's Brow DepthsLightroots; Two Yiga camps (Bomb Bouquet, Flamethrower Balloon)
- Hyrule Ridge and Tabantha FrontierIkatak, Oromuwak, Ganos and Ga-ahisas shrines, 4 caves, a well, 26 Koroks and 3 minibosses
Hebra
- Rito VillageGatakis and Ijo-o shrines, Sikatag Lightroot, 9 Korok seeds, 14 chests
- Hebra MountainsShrines, Wind Temple & Koroks; Raspro Pass, Biron Snowshelf & Royal Hidden Passage
- Corvash Canyon MineTrousers of the Hero, Floodlights schematic, Sea-Breeze Boomerang, four Lightroots, Colgera
- Raspro Pass DepthsNupisoyuat and Sasag Lightroots, Colgera, Cap of Time, Tunic of the Wind, two Yiga camps and 13 minibosses
- Tabantha TundraTaninoud, Orochium, Oshozan-u, Mayaotaki, Nouda and Tenbez shrines, three Lightroots, caves and Bubbul Gems
- Pikida Stonegrove DepthsEvil Spirit Greaves, Ikatoayam, Muihcoro and Sikatag Lightroots, 3 Yiga schematics, Frox fights
Great Hyrule Forest
- Great Hyrule Forest7 shrines, 8 Lightroots, 2 caves, 2 wells, Korok Mask, Glide Tights
Eldin
- EldinEldin Canyon, Shrines, Caves & Goron City
- Eldin Canyon Depths10 Lightroots, Zant's Helmet, Trousers of the Wild, Biggoron's Sword, 3 Yiga schematics and Eldin's sky chests
Faron
- FaronHighland Stable, Lake Hylia & Popla Foothills
Necluda
- Kakariko VillageMakasura Shrine, Kakariko Village Well, 2 caves, Ring Ruins chests, 10 Korok seeds and village quests
- West Necluda and Lanayru WetlandsShrines, Koroks & Caves; Jonsau, Kurakat
- Hateno VillageZanmik and Mayahisik shrines, Shield of the Mind's Eye and Phrenic Bow wells, 7 Koroks
- East NecludaRabella Wetlands, Sifumim Shrine, Lurelin Village, 21 Korok seeds
- East Necluda DepthsKumamayn Shrine, 4 Lightroots, Midna's Helmet, Cap of the Hero, Trousers of the Wind and 18 Depths chests
Lanayru
- Lanayru Great SpringShrines, Koroks & Caves; Ralis Channel, 3 shrines, 8 caves
- Zora's DomainMogawak and Ihen-a shrines, Ploymus cave, Pristine Sanctum, Zora Armor, Sidon of the Zora and Clues to the Sky
- Wellspring IslandAncient Zora Waterworks chests, Igoshon Shrine, 2 Korok seeds, Water Temple's four wheels and Mucktorok
- Mount LanayruShrines, Koroks & Light Rings; Jikais and Anedamimik shrines
Gerudo
- Gerudo DesertShrines, Caves & Koroks; West and South Sands
- Gerudo TownGerudo Shelter shops and quests, Valley of Silent Statues, Lightning Temple and Queen Gibdo, Chichim Shrine
- Gerudo Desert DepthsGranajh and Daval mines, three Master Kohga fights, Queen Gibdo, Mucktorok, Sheik's Mask and 37 chests
- Gerudo HighlandsSkyview Tower, Rotsumamu and Suariwak shrines, Mayasiar Shrine, Yiga hideout
Akkala
- AkkalaTarrey Town quests, 4 shrines, Hinox, Battle Talus
- Akkala Sky Islands and DepthsGikaku and Natak shrines, Old Maps, Lomei Depths Labyrinth, Mucktorok, 5 Lightroots and 19 chests
Finale and completion
- Ancient Tablets, Gleeoks and Armor Upgradesall 13 stone tablets with coordinates, Frost and King Gleeok, Obsidian Frox, Cotera upgrades and farming
- Hyrule CastleRoyal gear chests, Korok seeds, Serutabomac Shrine
- Thunderhead IslesCharged armor, Joku-usin and Joku-u Shrines, Dragonhead Island's relic
- 100% Completion: Armor Upgrades & Korok BonusHestu's Gift, Ancient Hero's Aspect, Great Fairy Cotera upgrade costs and materials, then Destroy Ganondorf
| Region | Gerudo Desert: Gerudo Town and its shelter (-3859, -2941), North Gerudo Ruins, Kara Kara Bazaar and the canyon country to the east |
|---|---|
| Main quest | Riju of Gerudo Town: Kara Kara Bazaar defence, Gibdo hives, the mural riddle, the Lightning Temple, Queen Gibdo (twice) and the Vow of Riju |
| Shrines | 1: Chichim Shrine (Rauru’s Blessing, -3211, -3006), Lightroot below: Mihcihc |
| Caves | 4: Valley of Silent Statues (Bubbul Gem), Gerudo Sanctuary (Bubbul Gem), Ancient Prison Ruins (Bubbul Gem) and Quicksand Lake Cave (Bubbul Gem). See all caves. |
| Side quests | The Missing Owner, The Heroines’ Secret, The Mysterious Eighth, To the Ruins!, Dalia’s Game, Lost in the Dunes, Treasure of the Gerudo Desert, The Iceless Icehouse |
| Armor | Ruby Circlet, Sapphire Circlet, Amber Earrings, Topaz Earrings, Opal Earrings, Diamond Circlet, Desert Voe Spaulder, Desert Voe Trousers, Snow Boots, Sand Boots |
| Heart Containers | 2: the Goddess statue in the shelter and the Queen Gibdo fight |
| Koroks | 8 seeds picked up in this stretch (1 in the shelter, 1 east of town, 1 at the North Gerudo Ruins, 5 in the desert canyons) |
| Previous / next | Gerudo Desert / the guide continues beyond Gerudo Town |
Gerudo Town is hidden under the sand shroud, so you shop and take quests in the underground Gerudo Shelter first, then follow Riju out to the North Gerudo Ruins, defend Kara Kara Bazaar and clear the Lightning Temple to make her the Sage of Lightning. With the sandstorm gone you finish the town’s side quests and sweep the canyons around Chichim Shrine.
Quick route
Enter the Gerudo Shelter, take Cara’s jewelry and The Missing Owner, buy armor, pray at the Goddess statue for a Heart Container and break into Greta’s secret shop for the Desert Voe set and the Snow and Sand Boots.
Cross the Valley of Silent Statues with a mirror and light beams, collect its chests and Bubbul Gem, then meet Riju at the North Gerudo Ruins and follow her to Kara Kara Bazaar.
Fight the Gibdos at the gates, solve the red pillar riddle to raise the Lightning Temple, climb it by powering four batteries and beat Queen Gibdo twice.
Back in town finish The Heroines’ Secret, The Mysterious Eighth, Dalia’s Game, To the Ruins! and Lost in the Dunes, then clear the Gerudo Sanctuary under the North Gerudo Ruins, the desert canyons, the Ancient Prison Ruins, Chichim Shrine and Quicksand Lake Cave.
Gerudo Shelter shops and quests
Start The Missing Owner at Cara’s jewelry stall
Quest: The Missing Owner (giver Cara, Gerudo Town). Cara runs the jewelry stall in the shelter and has not seen her boss Isha since she went out for gems. Talk to her to start the quest; Isha is stuck in a Molduga’s territory in the Toruma Dunes, so you defeat the Molduga to rescue her and are then asked to visit her shop in town.
Buy the circlets and earrings
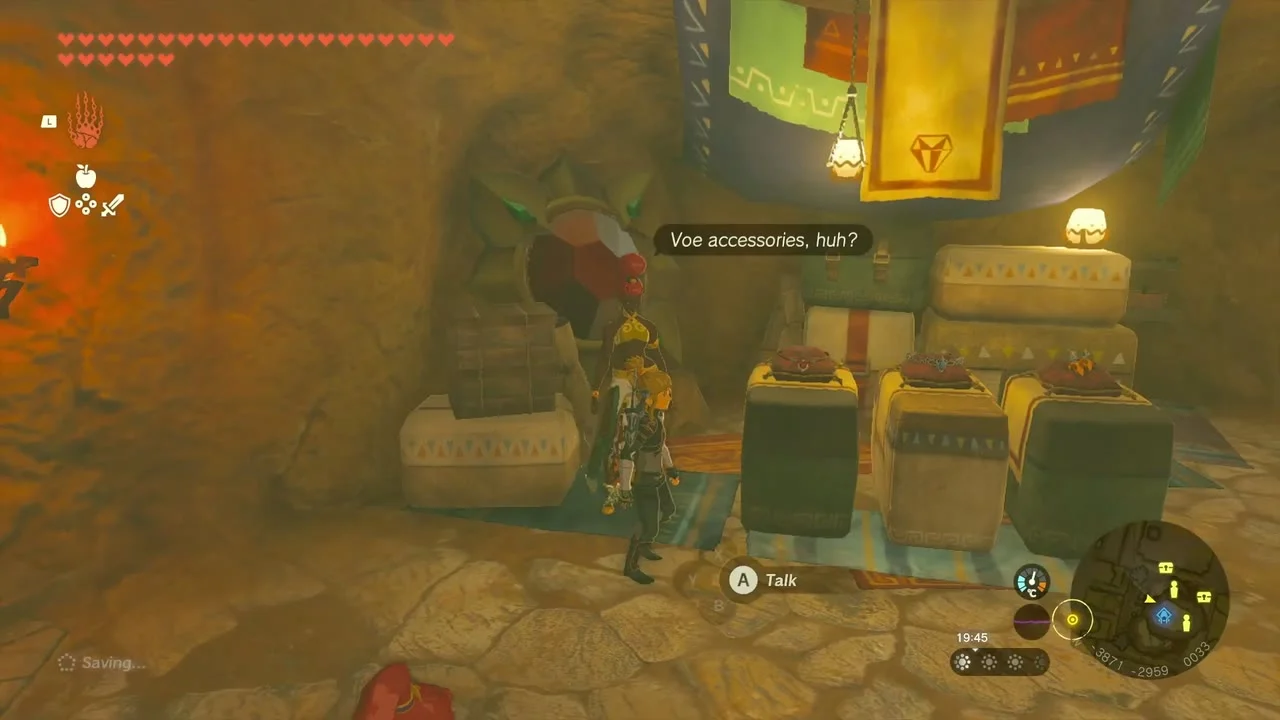
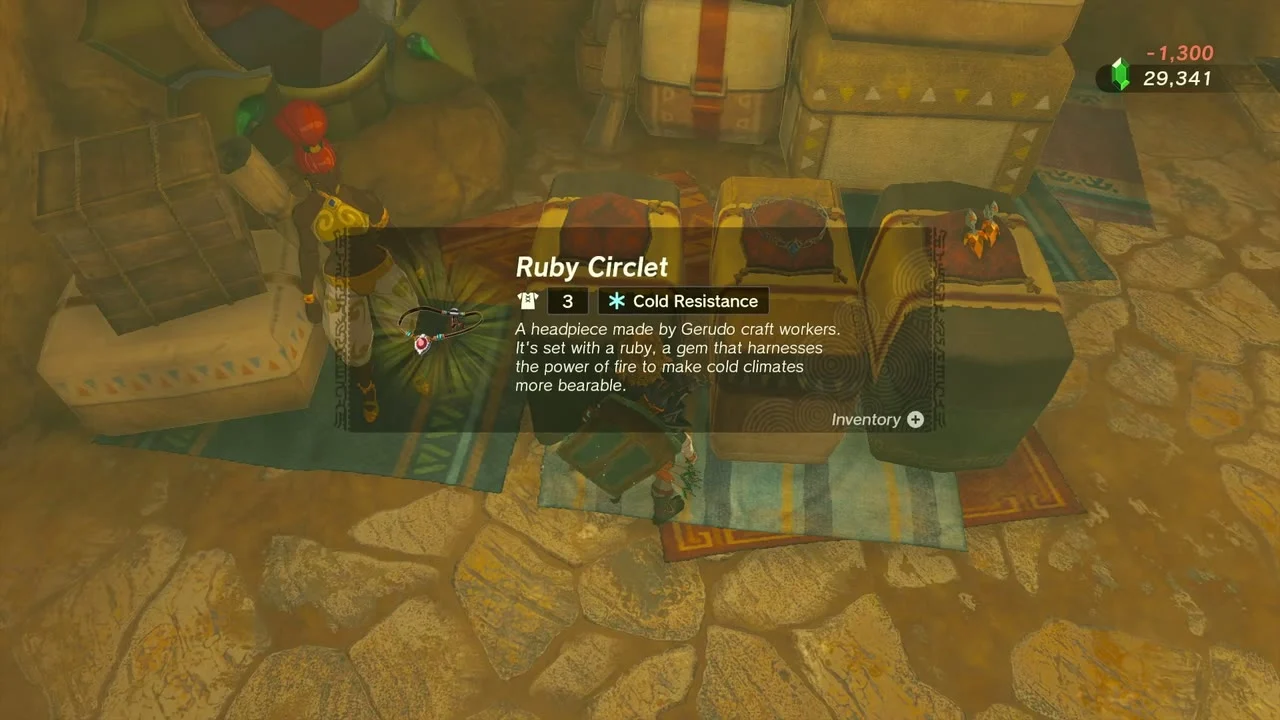
Armor: Ruby Circlet, Sapphire Circlet, Amber Earrings sold by Cara. The Ruby Circlet (1,300 rupees) gives Cold Resistance, the Sapphire Circlet (1,400) gives Heat Resistance and the Amber Earrings (400) add defense. Cara’s stall is called Starlight Memories, and the town’s shops only trade fully once the sand shroud is gone, so come back after the Lightning Temple if it is shut. The earrings and circlets can be upgraded later.


Pray at the Goddess statue for a Heart Container
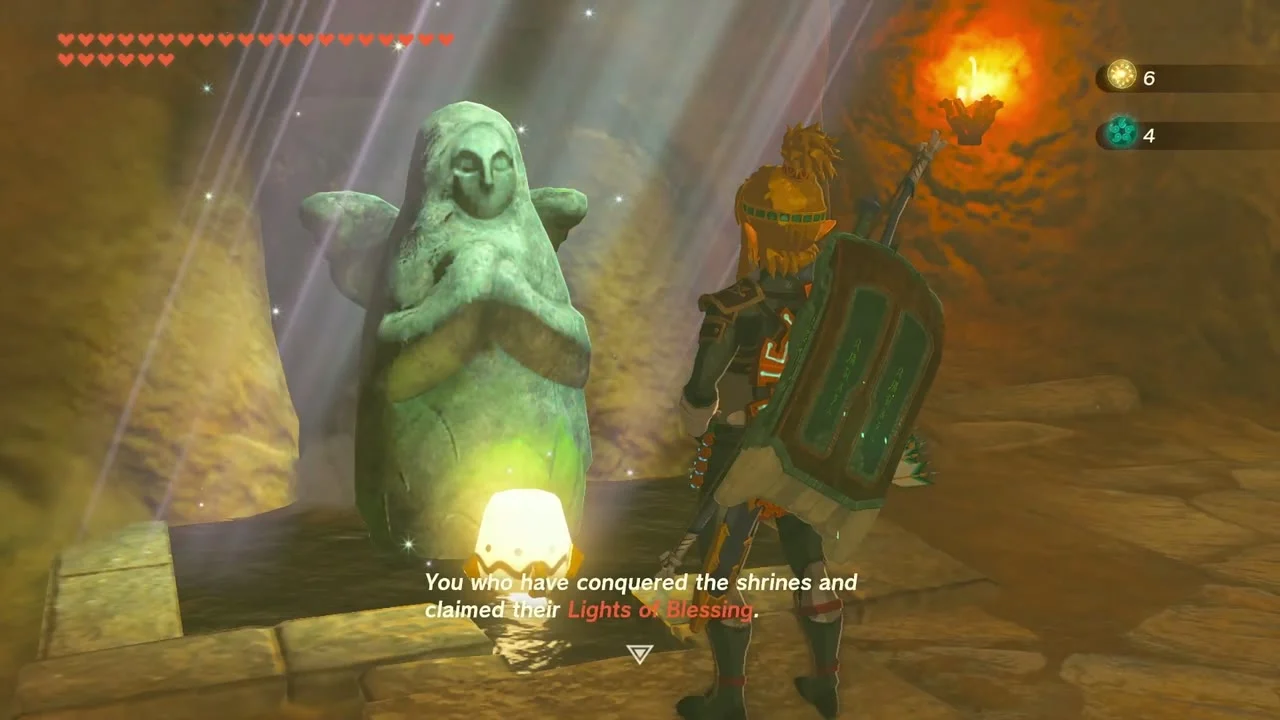
Heart Container at the Goddess statue in the shelter. Stand in front of the statue with four Lights of Blessing and pray to trade them for a Heart Container (or a Stamina Vessel if you prefer); you will have the Lights from the shrines you have already cleared.

Open the Purple Rupee chest and take the Ascend Korok
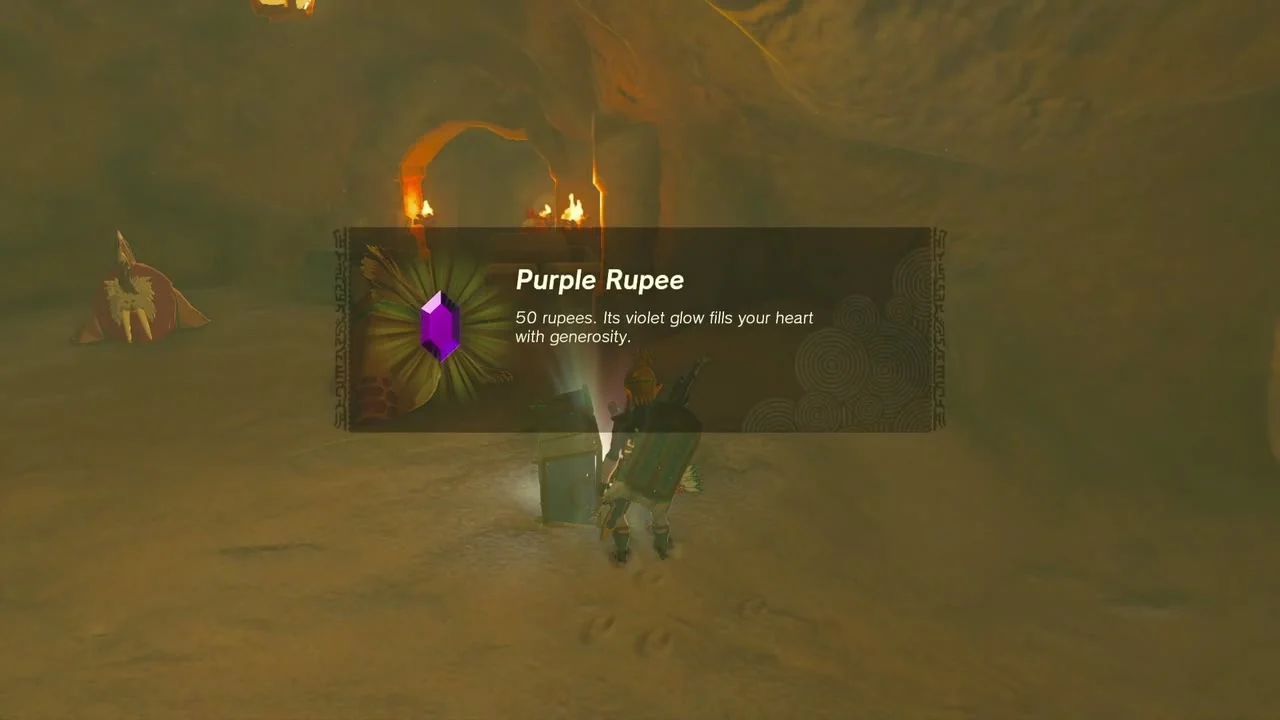
Chest: Purple Rupee in a side passage of the shelter. Korok seed (Use Ascend on the marker) at (-3827, -2859): look for the green marker on the ceiling of a lower tunnel, stand under it and use Ascend to pop out above the roof and reach the Korok.

Visit the Gerudo Secret Club shop
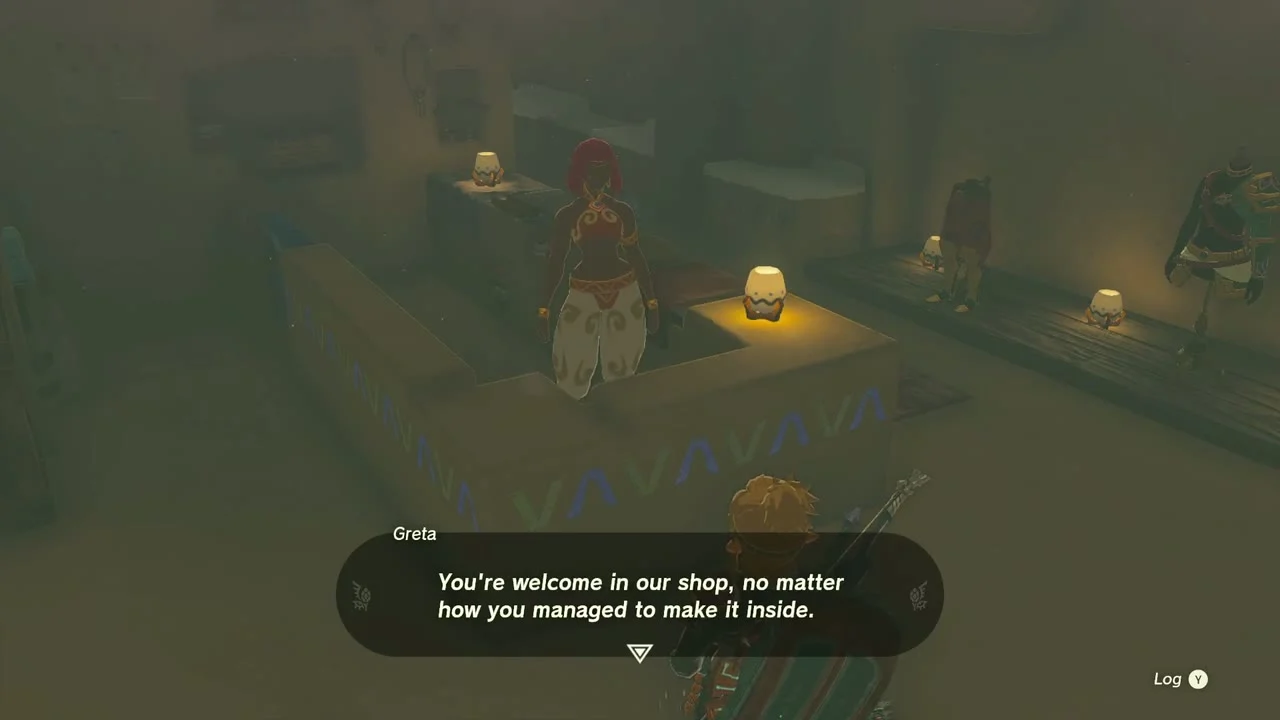
Armor: Desert Voe Spaulder, Desert Voe Trousers, Snow Boots, Sand Boots at the Gerudo Secret Club, a hidden shop run by Greta. Its door is blocked, so go in from below: jump into the water hole beside the shop, work through the rock barriers underground and use Ascend under the shop, or go left of the waterfall near the accessory shop and use Ultrahand on the block in front of the door. Most guides say it only opens once Gerudo Town is cleared after the Lightning Temple. The Desert Voe Spaulder costs 1,300 rupees, the Desert Voe Trousers 650, the Snow Boots 1,300 (Snow Speed Up) and the Sand Boots 1,200 (Sand Speed Up). Sand Boots are the pair to wear while crossing the dunes.


Valley of Silent Statues
Bounce the light beam onto the hexagon
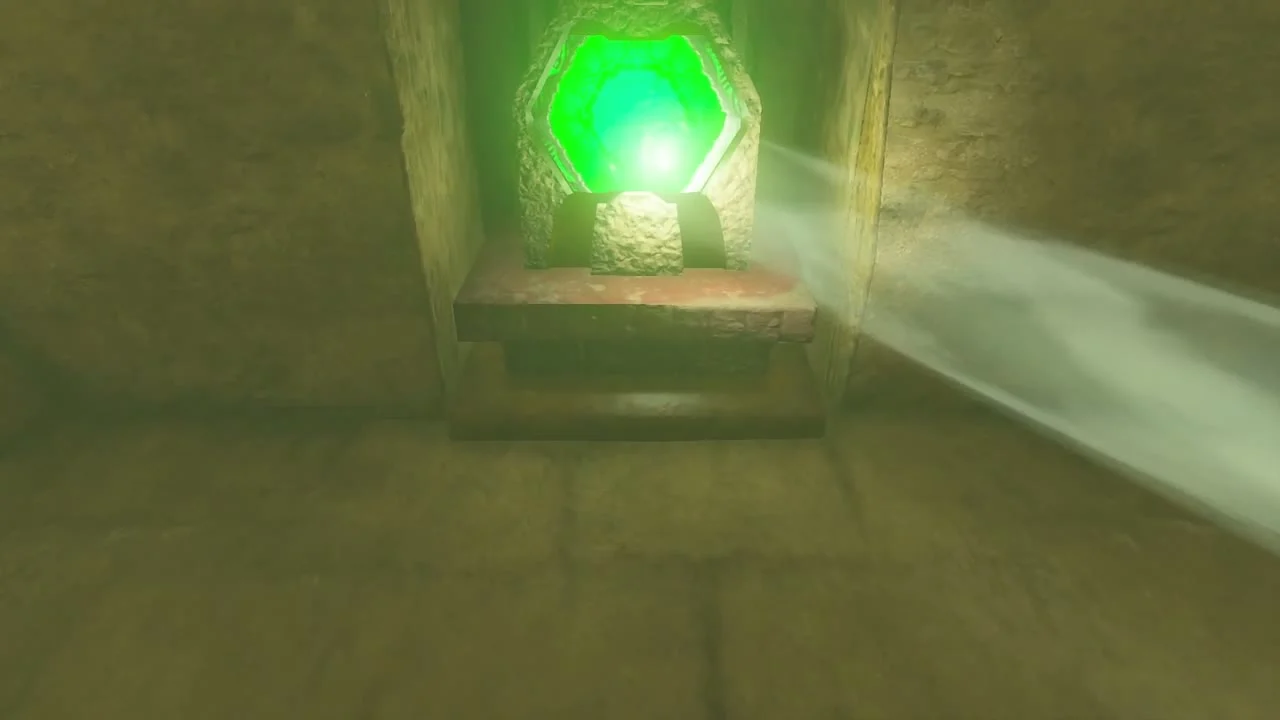
Cave: Valley of Silent Statues at (-3827, -2650), entered from the northeast corner of the underground hideout, near the sand seal stable, past a broken stairway you climb with Ultrahand. A bomb arrow breaks the cracked wall along the way, and a light beam shines through the ceiling; stand a mirror in it with Ultrahand and aim it at the glowing green hexagon in the wall. When the hexagon turns green the door beside it opens, and every further hexagon in the valley works the same way.


Open the chests along the valley
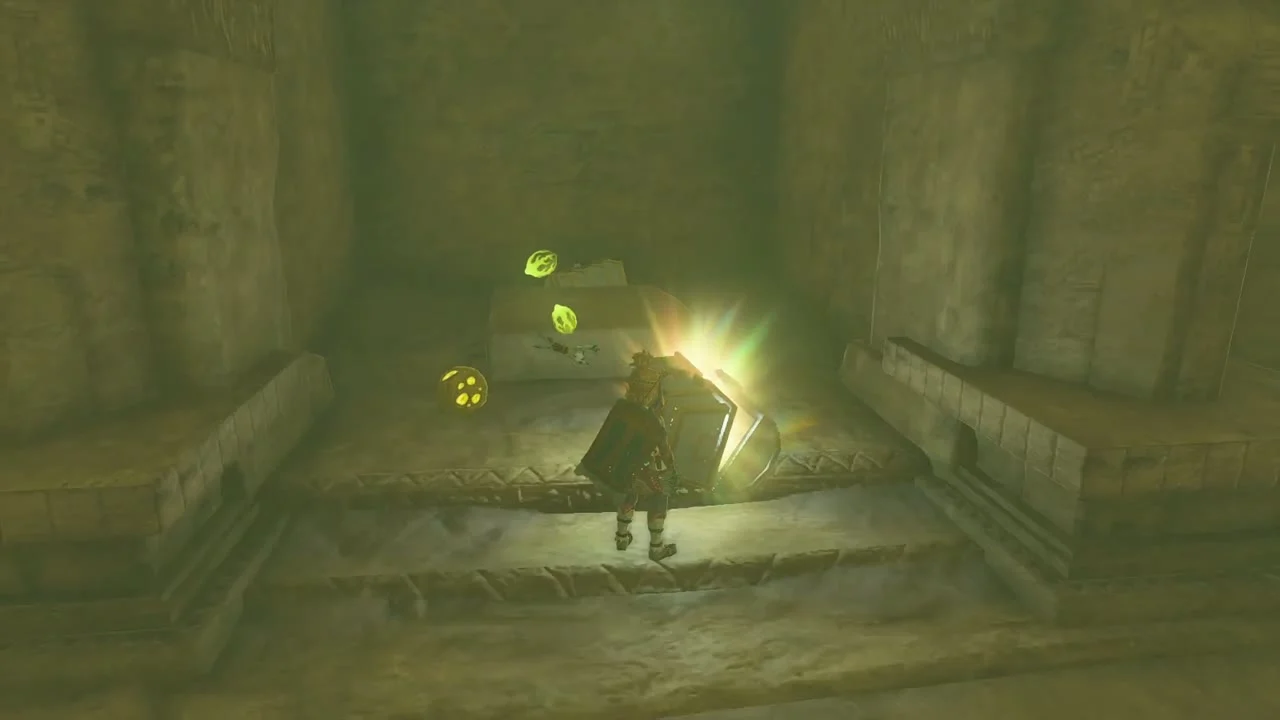
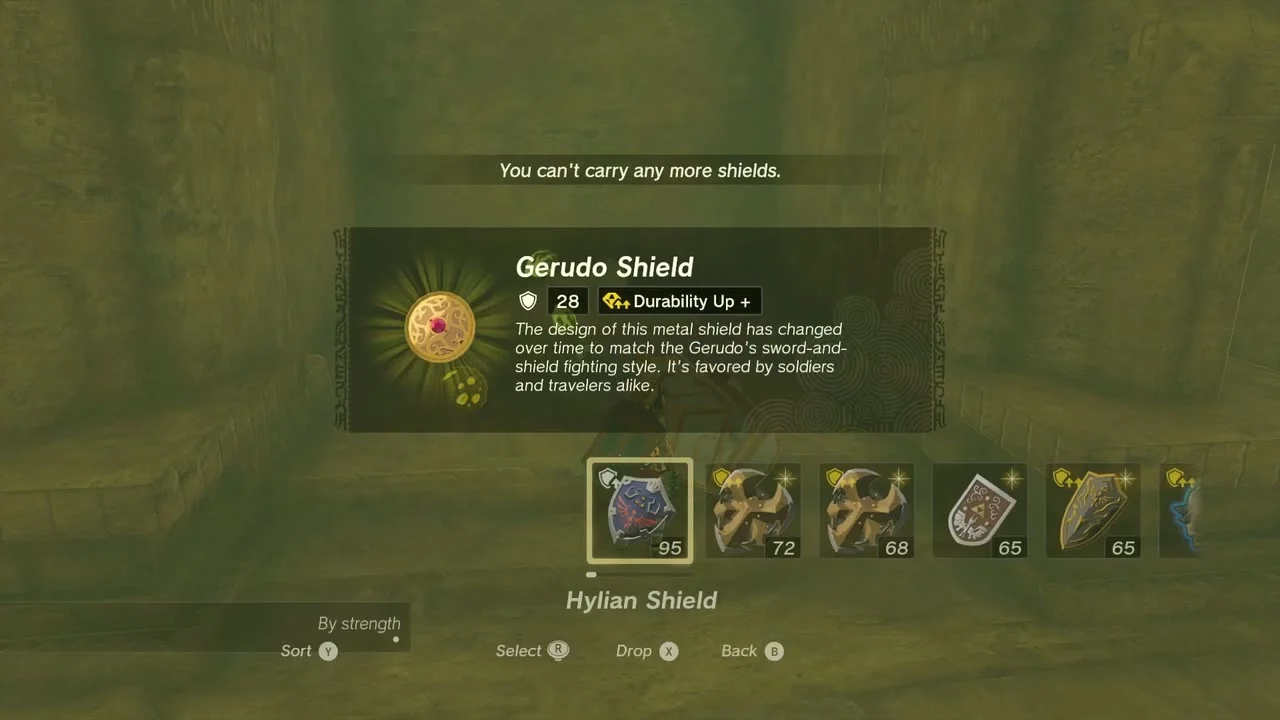
Chests: Gerudo Shield, Topaz. Past the first hexagon the valley splits into short side rooms; the chests sit in the dead ends. One holds a Gerudo Shield and another a Topaz. Break the pots on the way for arrows and Gibdo parts.
Catch the Bubbulfrog
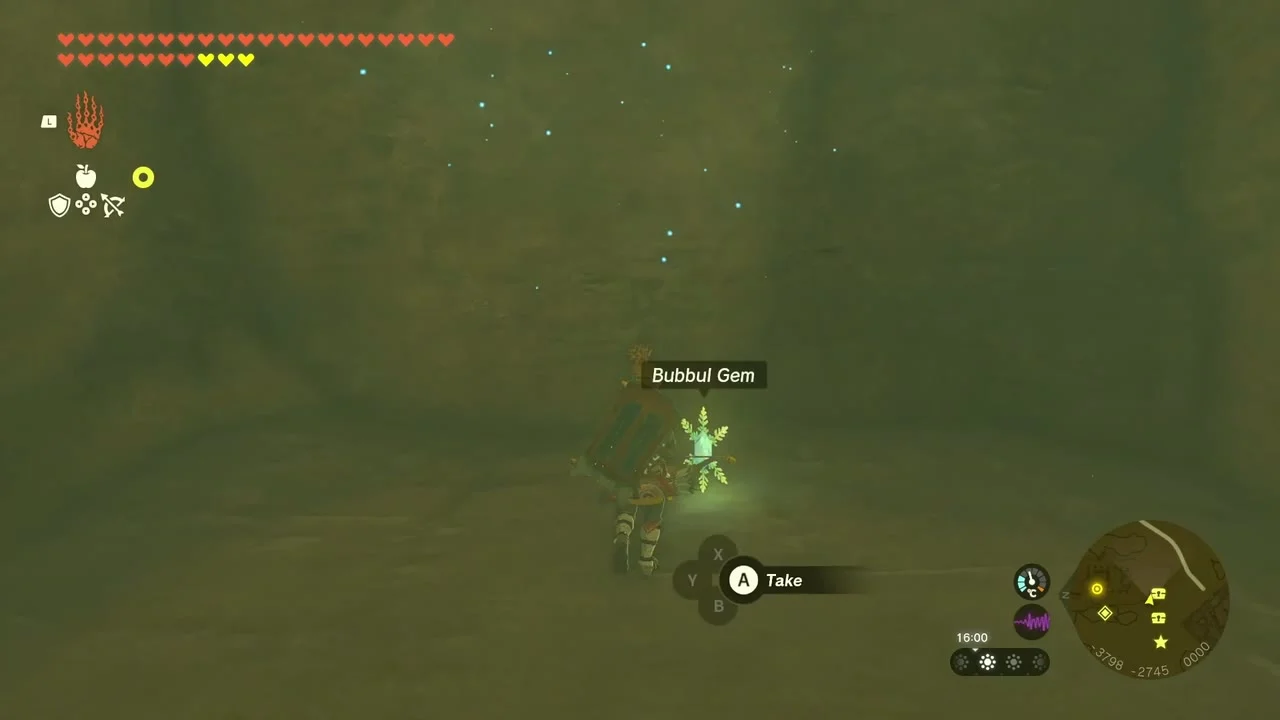
Bubbul Gem in the valley. A Bubbulfrog hops in the sand near the end of the first corridor; sneak up and grab it for a Bubbul Gem.

Take the Arrow chest and the Royal Bow
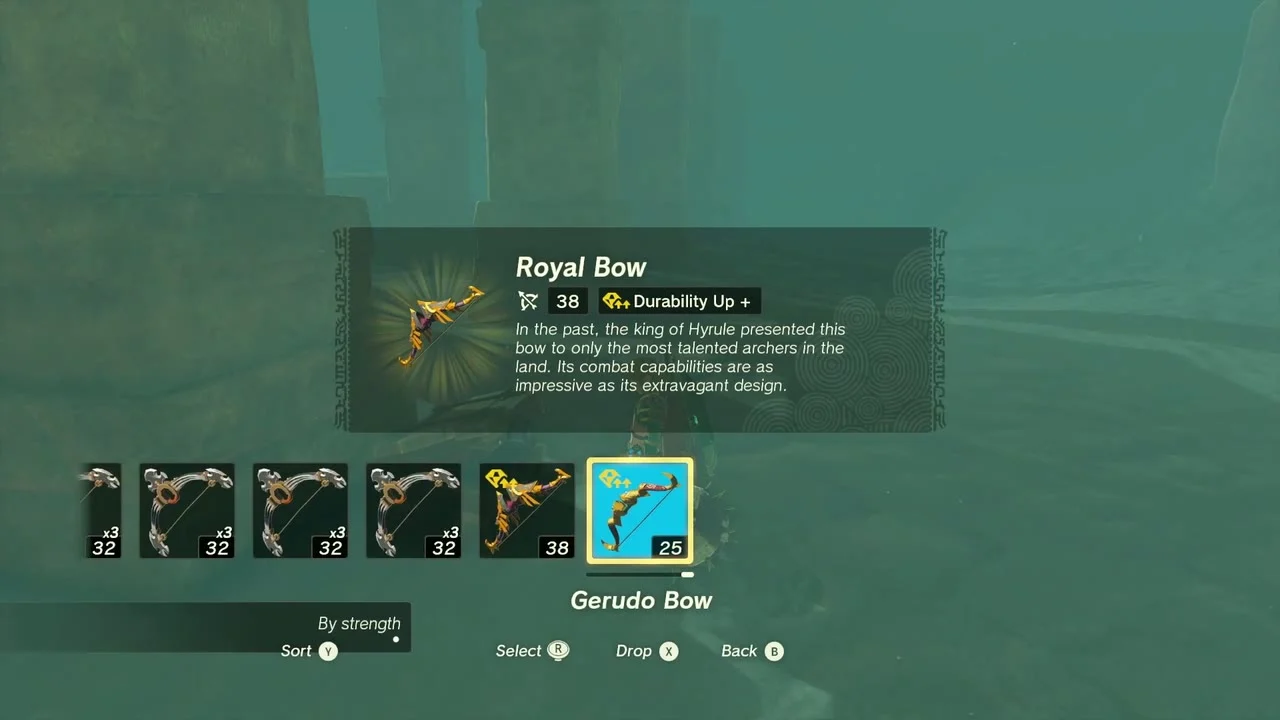
Chests: Arrow x10 and Royal Bow (or Traveler’s Bow, Soldier’s Bow or Knight’s Bow, depending on your progress). Set the fire-lit chest at the far end of the valley for Arrow x10. Further on, in the North Gerudo Ruins where the valley comes out, another chest holds the Royal Bow. Riju waits here to train.

Riju of Gerudo Town: Kara Kara Bazaar and the Gibdo hives
Defend Kara Kara Bazaar
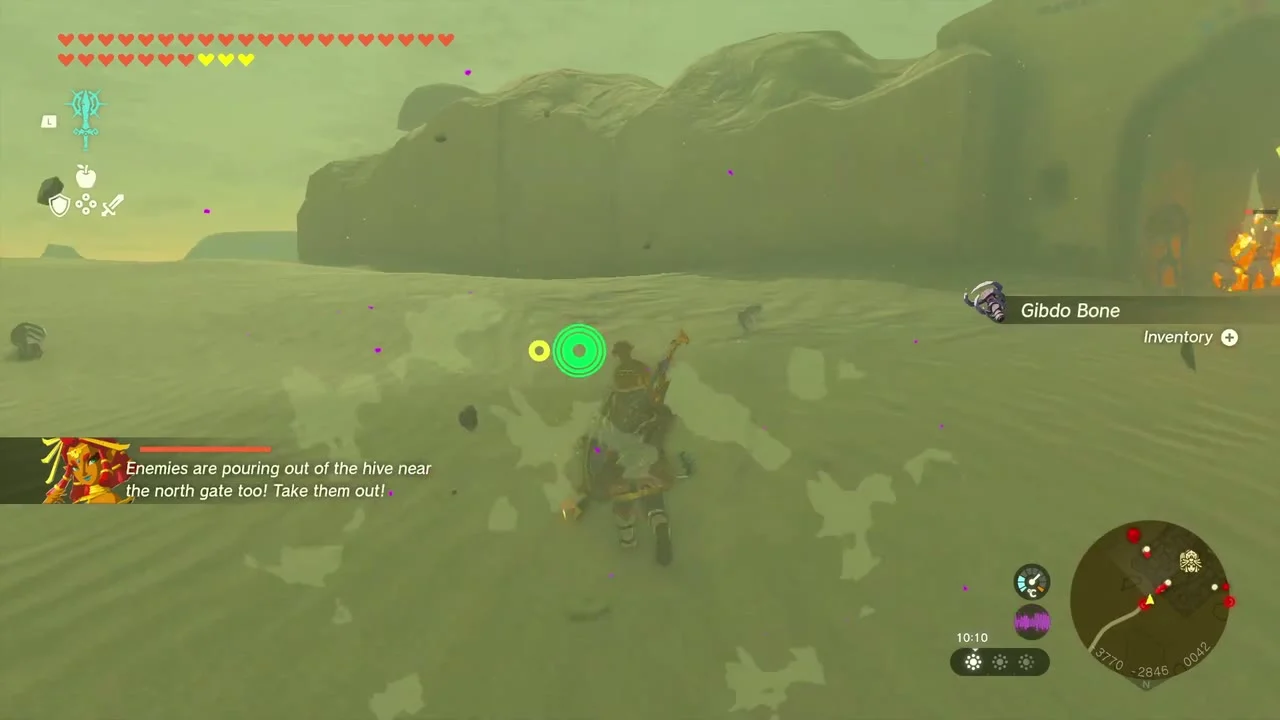
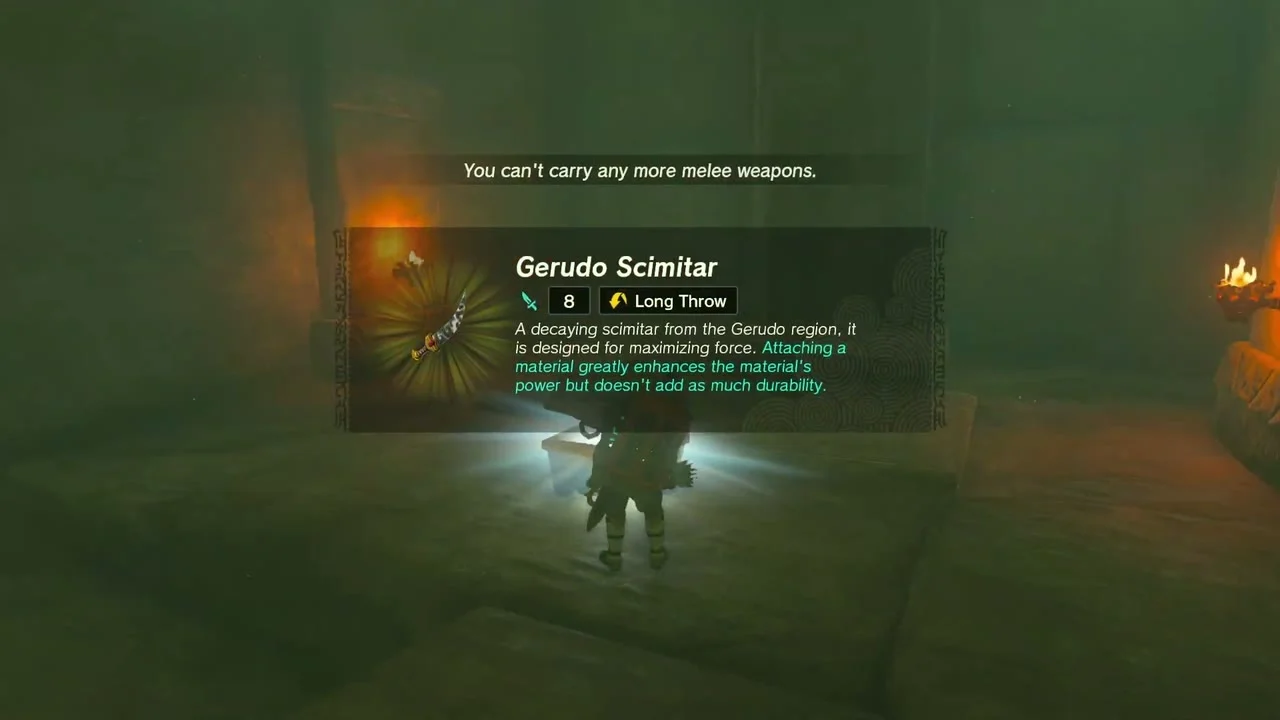
Quest: Riju of Gerudo Town (giver Riju). After the training, ride the Sand Seal to Kara Kara Bazaar and fight with Riju against the Gibdos; weapon racks at the gates hold a Gerudo Claymore and Gerudo Scimitar, and three chests nearby give a Silver Rupee, an Electric Lizalfos Horn and a Topaz. Lightning from Riju or a shock arrow strips Gibdos faster than a blade; at the bazaar, shoot them while they stand inside Riju’s lightning area and destroy the spawning nest once its core glows purple. Back at Gerudo Town, speak to Riju and Buliara in the throne room, then to the officers in the training yard and send one group to each of the north, east and west gates. Destroy the Gibdo Hives (nests) outside each gate. Hit each hive with a lightning or fire arrow while Riju covers you; the Gibdo Bone and Gibdo Guts they drop are used for armor upgrades.


Solve the mural riddle with the red pillars
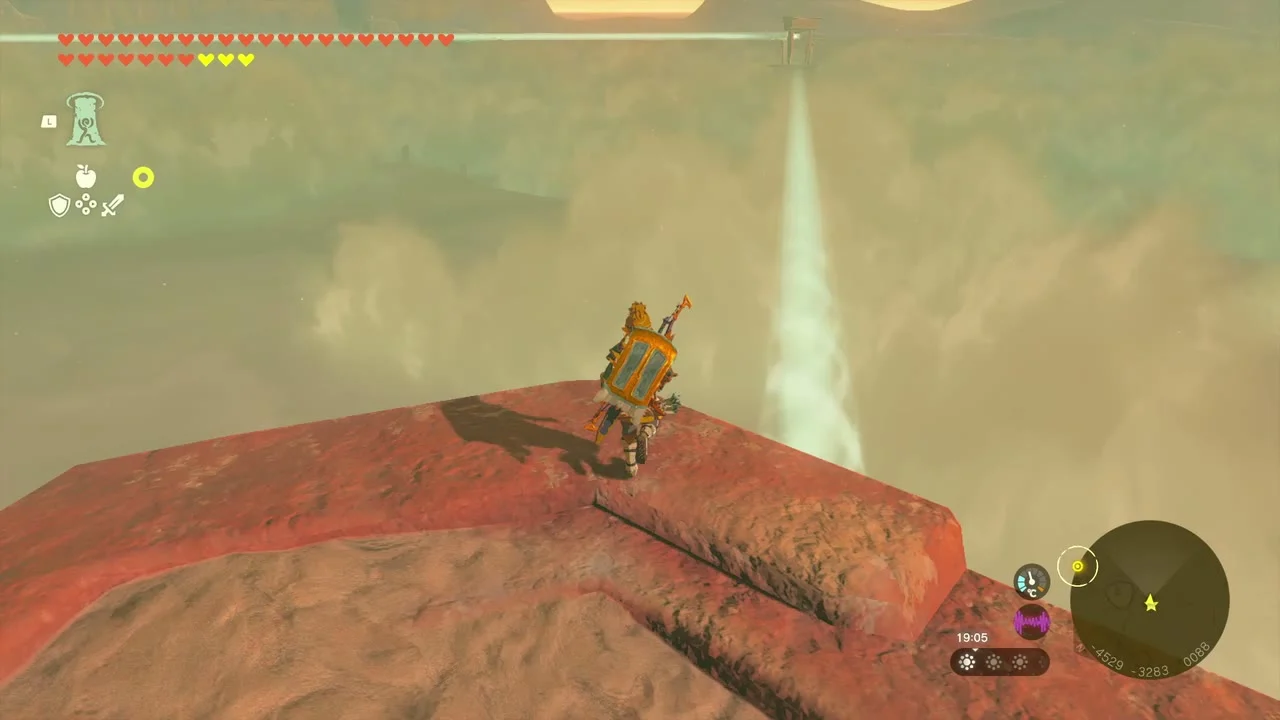
Solve the Mural Riddle. The mural in the shelter reads, in part, “Standing back-to-back with the throne, witness red pillars across a vast sea.” Stand behind the throne and mark the large red structure to the south with the Purah Pad. At the first pillar, break the cracked floor to release a beam of light that shines into the desert. At the second, turn the crank on the nearby building (counterclockwise) to raise the pillar’s mirror into the beam. At the third, repair the crank by fusing a weapon or stick to its gear and turn it so the mirror aligns. The beams form a triangle; glide from the third pillar to the relic in its centre and strike it with Riju’s lightning to raise the Lightning Temple.


Lightning Temple
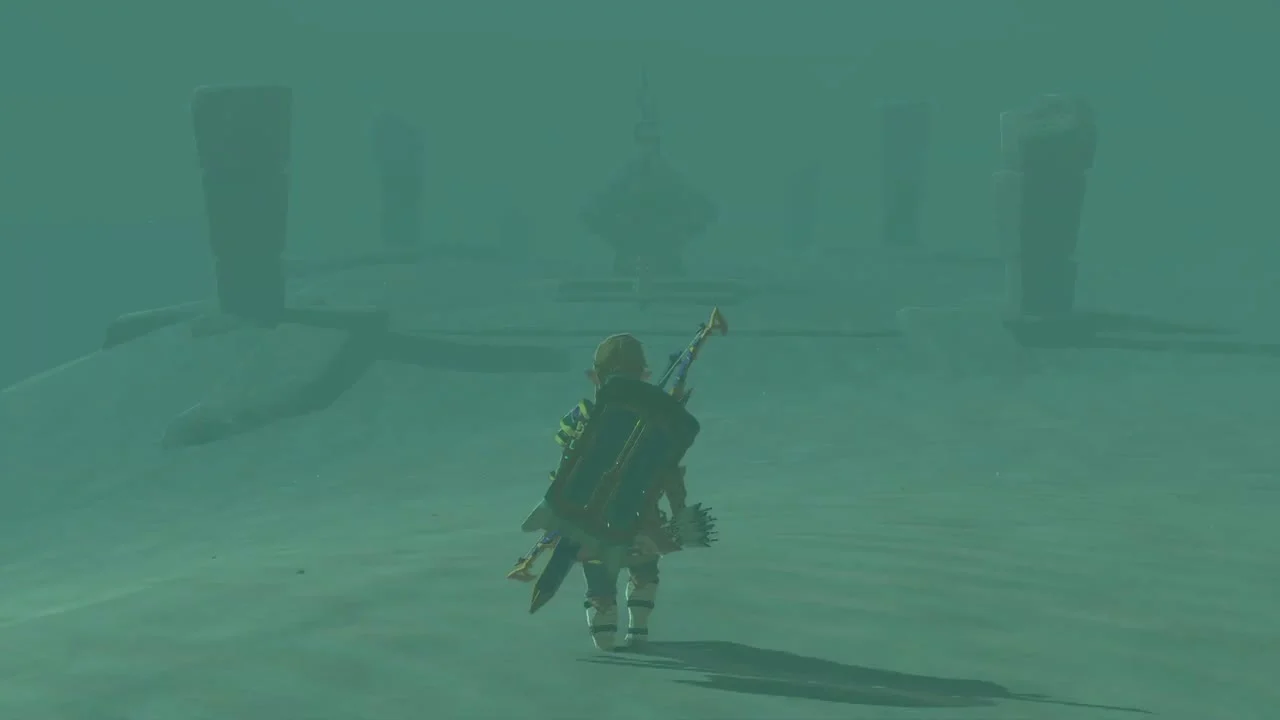
Break the hive on the door
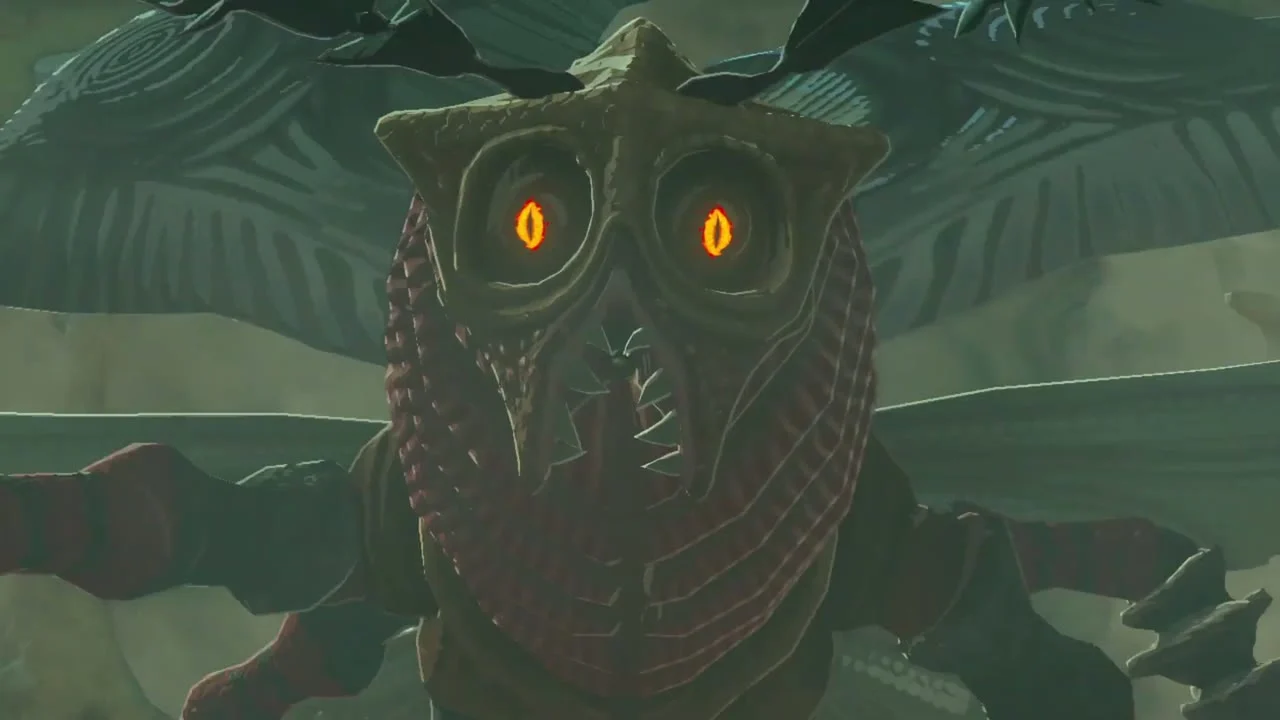
Boss: Queen Gibdo (first fight) outside the Lightning Temple. Hit her in her black form with Riju’s lightning to turn her white, then hit her again to make her retreat. Block her beams with a shield and dash around the tornado. Hit the hive over the entrance with lightning, then clear the sand from the doorway.
Collect the chests on B1 and the first floors
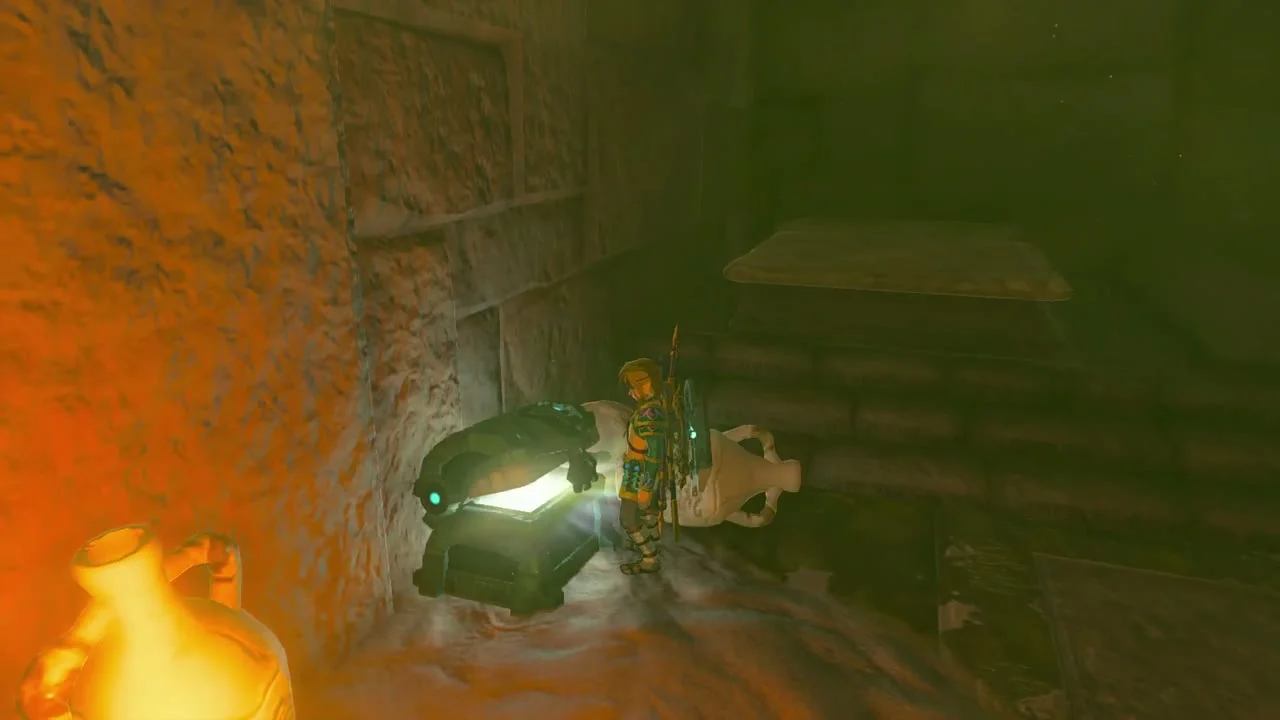
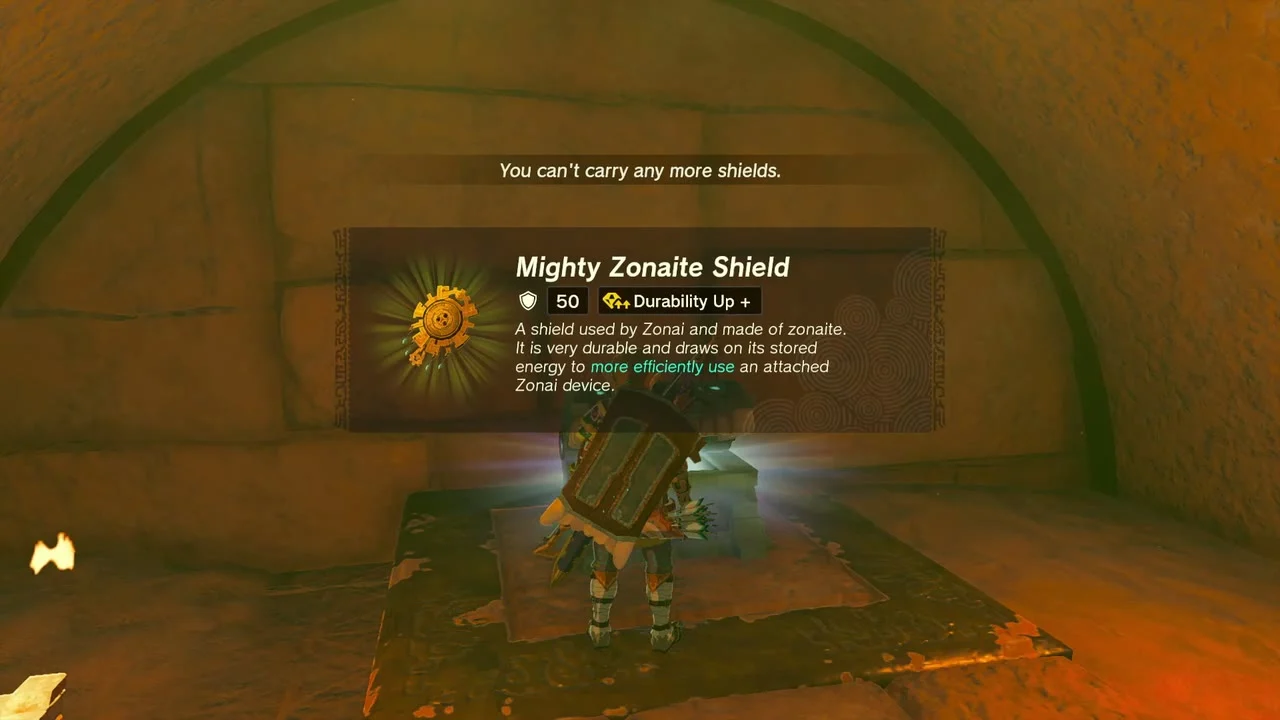
Chests: Flame Emitter, Large Zonai Charge, Topaz, Mighty Zonaite Shield (Strong or Mighty, depending on your progress), Mighty Construct Bow (Strong or Mighty, depending on your progress), Diamond, Mirror x3. The Flame Emitter is buried in the sand to the right of the pillars in the entrance room; dig it out with Ultrahand. On B1, fall left off the second bridge in the hall for a Large Zonai Charge; the Topaz is in a square room past the loose bricks, guarded by a Gibdo; the Mighty Zonaite Shield sits behind the rotating pie wheel in the large room’s lower area; and the Mighty Construct Bow is in the Room of Hopeful Light, on a tile that sinks to a lower floor. A Diamond waits in a small isolated room on the upper floors (Ascend near the entrance to the second-floor Bongko Room), and Mirror x3 are on the roof, reached with Ascend beside the altar in the boss room.

Power the four batteries
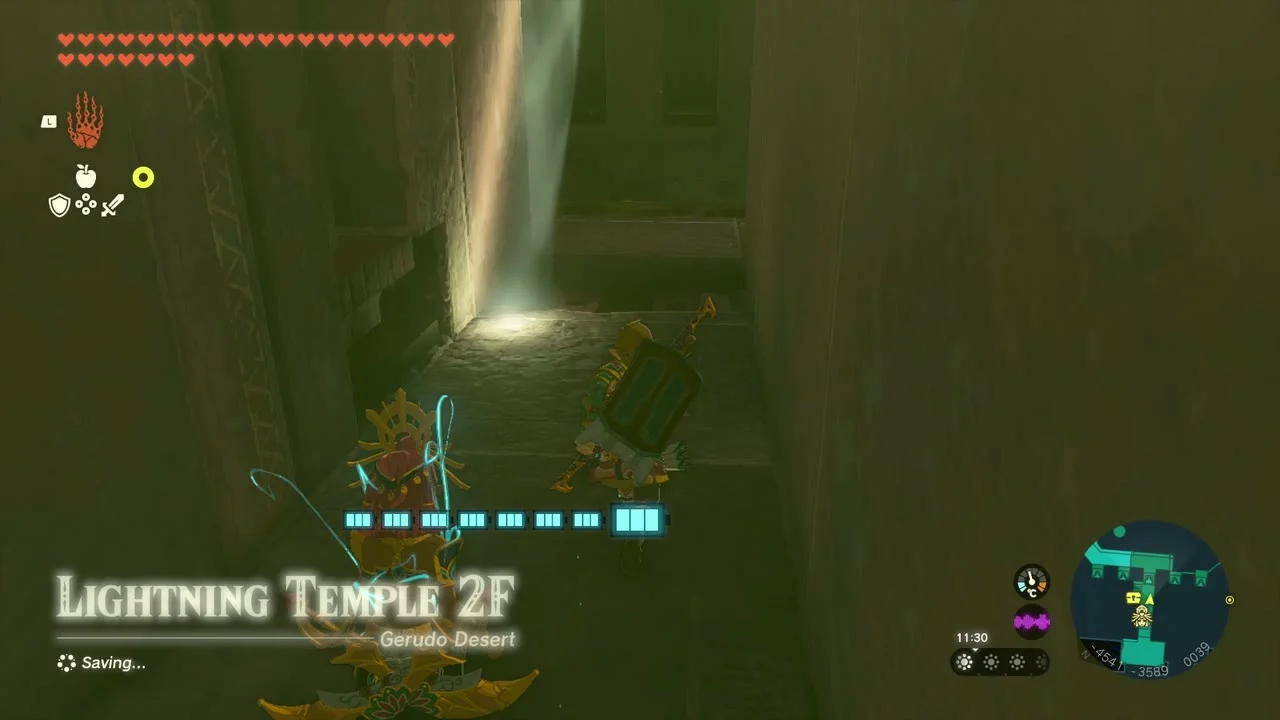
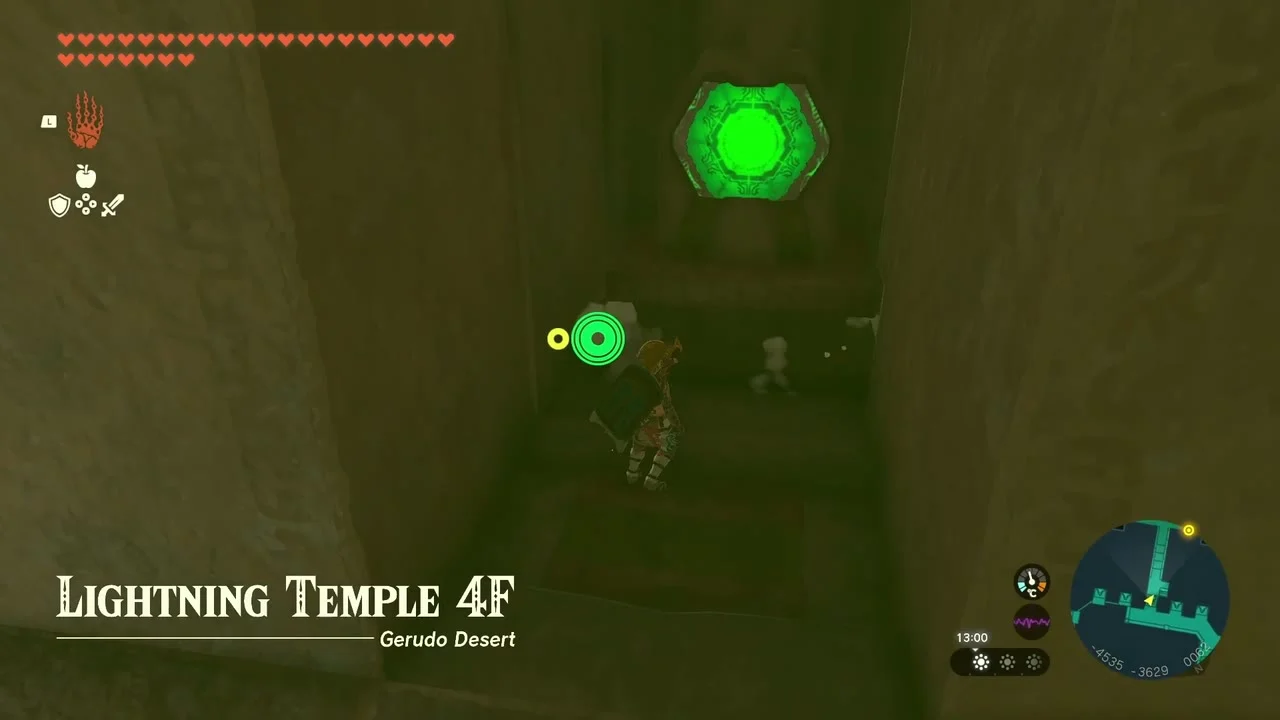
Navigate through the Lightning Temple. The goal is to charge four batteries with Riju’s lightning and then use the terminal in the Room of Ascension. Move mirrors and pillars so light beams reach each hexagon, use Recall on the rotating discs, and stop the spinning Room of Light and Shade with a Stake. Wait for Riju before any trap room, since she must follow you.
Beat Queen Gibdo in the Room of Glorious Light
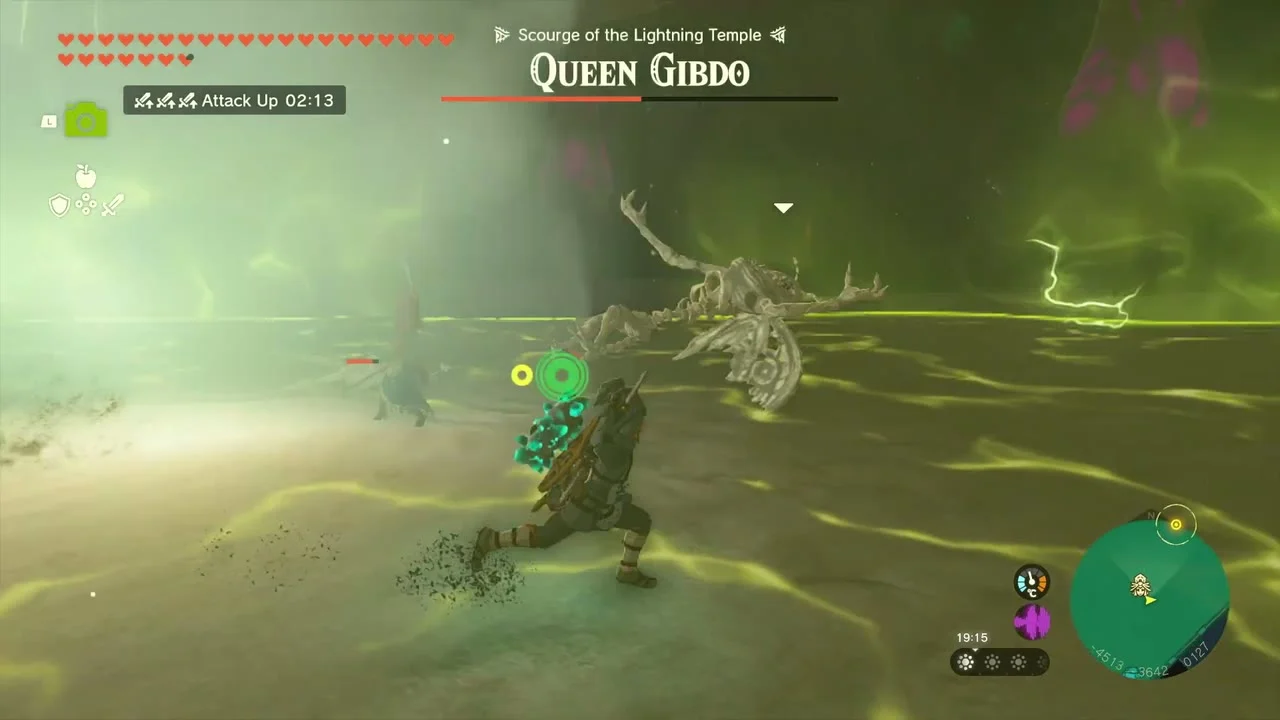
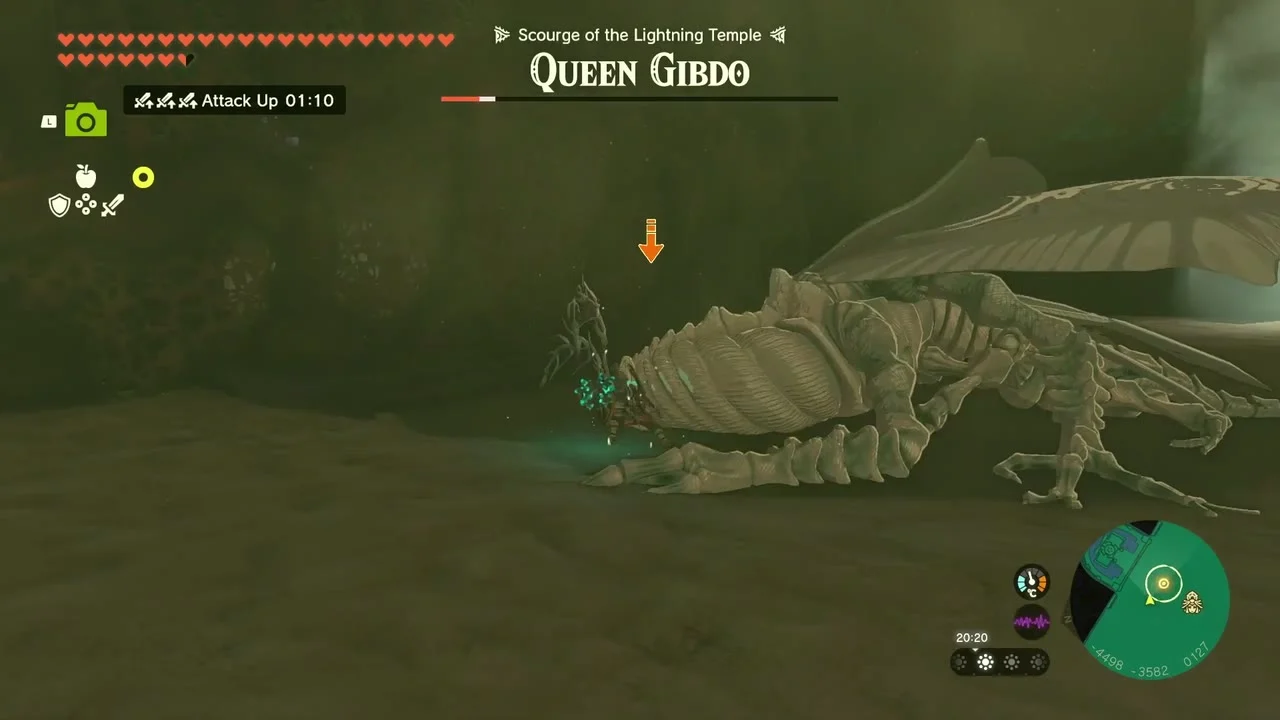
Boss: Queen Gibdo (second fight). Shock her with Riju’s lightning, then slash while her armor is gone; use cooked meals and keep moving to dodge her beams and sand whirlwinds. At half health she summons Gibdo nests (destroy them) and throws five tornadoes instead of three. Save before the elevator ride. When she falls you get a Heart Container and Riju awakens as the Sage of Lightning.
Receive the Vow of Riju
Ability: Vow of Riju, Sage of Lightning. Return to Gerudo Town and speak to Riju on the throne to complete the quest. You receive her Vow, a lightning strike she can call down on a target you aim at.
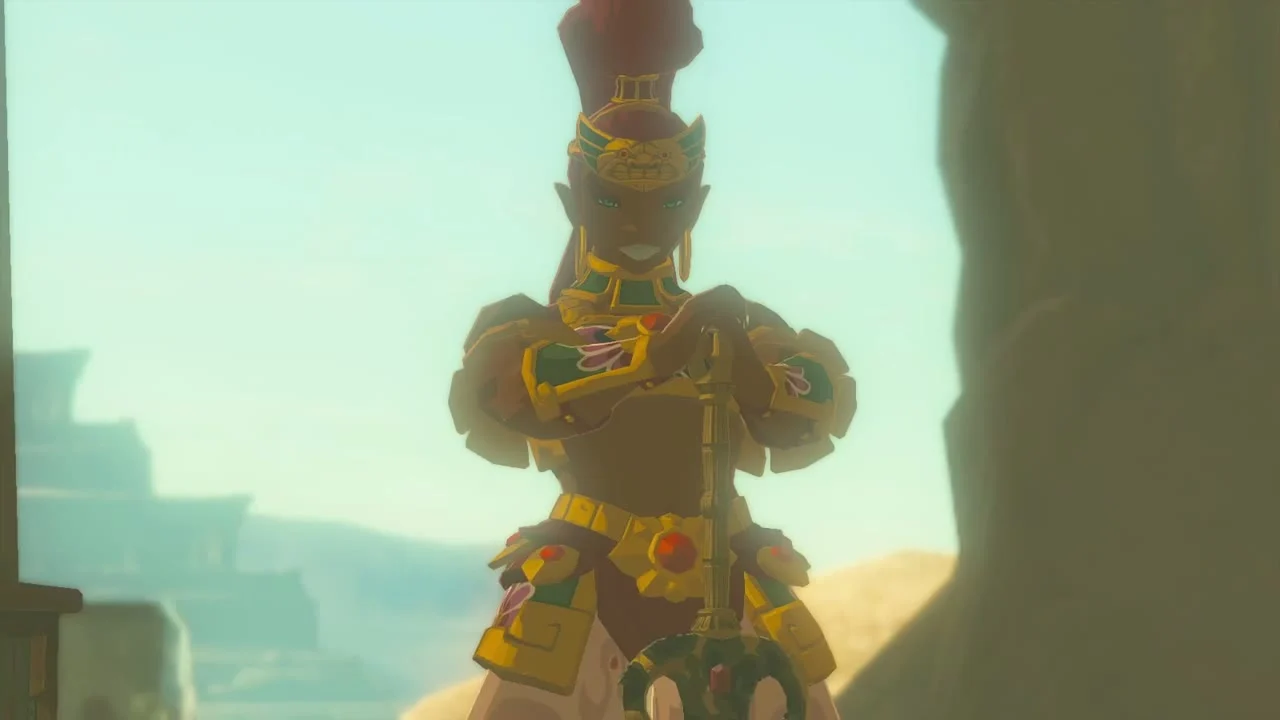
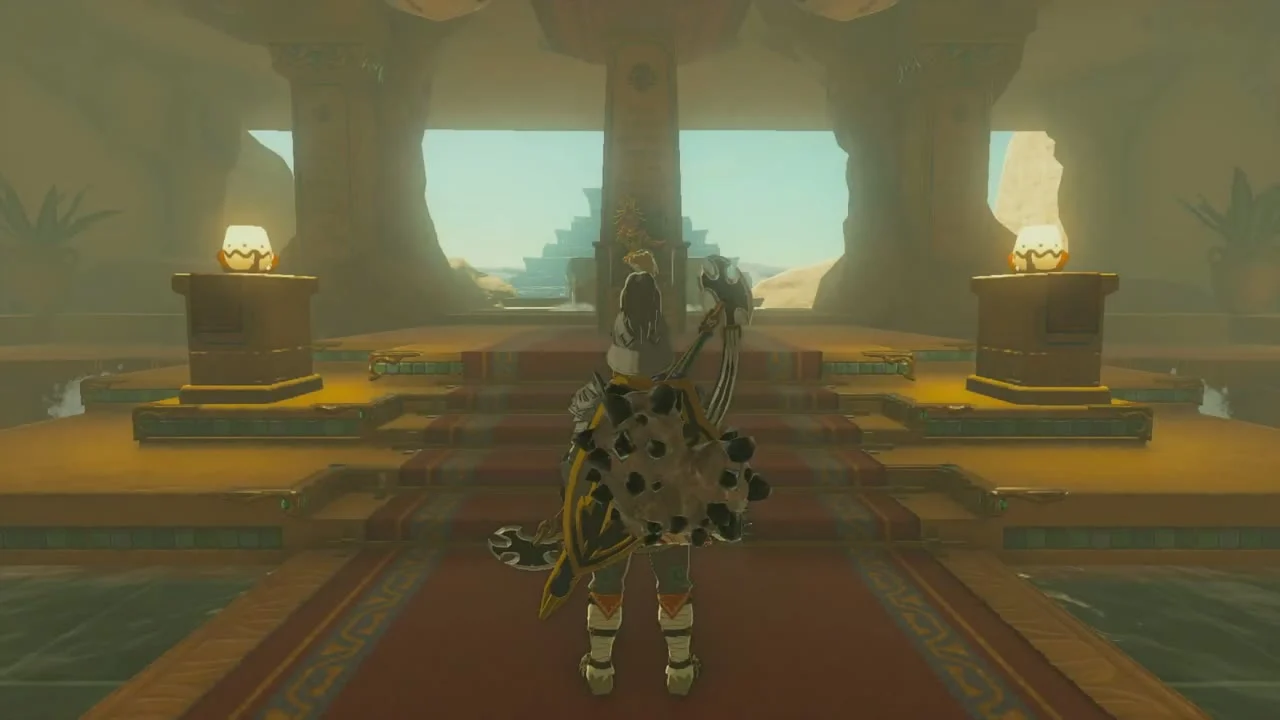
New armor and sand shroud-free town
Buy the new earrings and the Diamond Circlet
Armor: Topaz Earrings, Opal Earrings, Diamond Circlet. With the town open again, Cara’s stall at Starlight Memories has the rest of her stock: Opal Earrings (700 rupees, Swim Speed Up), Topaz Earrings (1,200, Shock Resistance) and the Diamond Circlet (2,400, the best of the circlets). The town’s general stores now sell food and cooking ingredients too, such as steaks, mushrooms, Voltfruit, Hydromelon, Palm Fruit, Rock Salt, Hylian Rice and Bomb Flowers.


Finish The Heroines’ Secret
Quest: The Heroines’ Secret (giver Rotana, Gerudo Shelter). Photograph the four stelae hidden in the shelter and show them to Rotana: one behind her room, one half-hidden on a column and wall, one in the sleeping quarters, and one in the corridor under a pile of sand. Rotana lets you keep her orb.
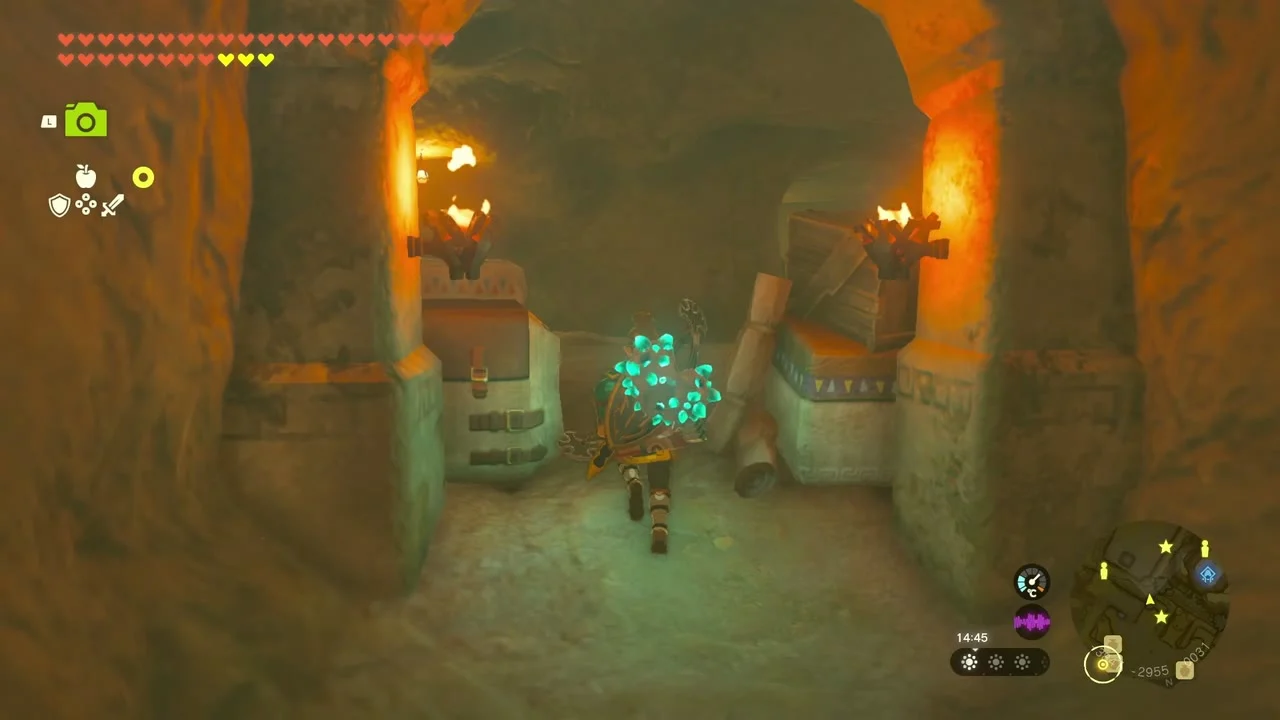
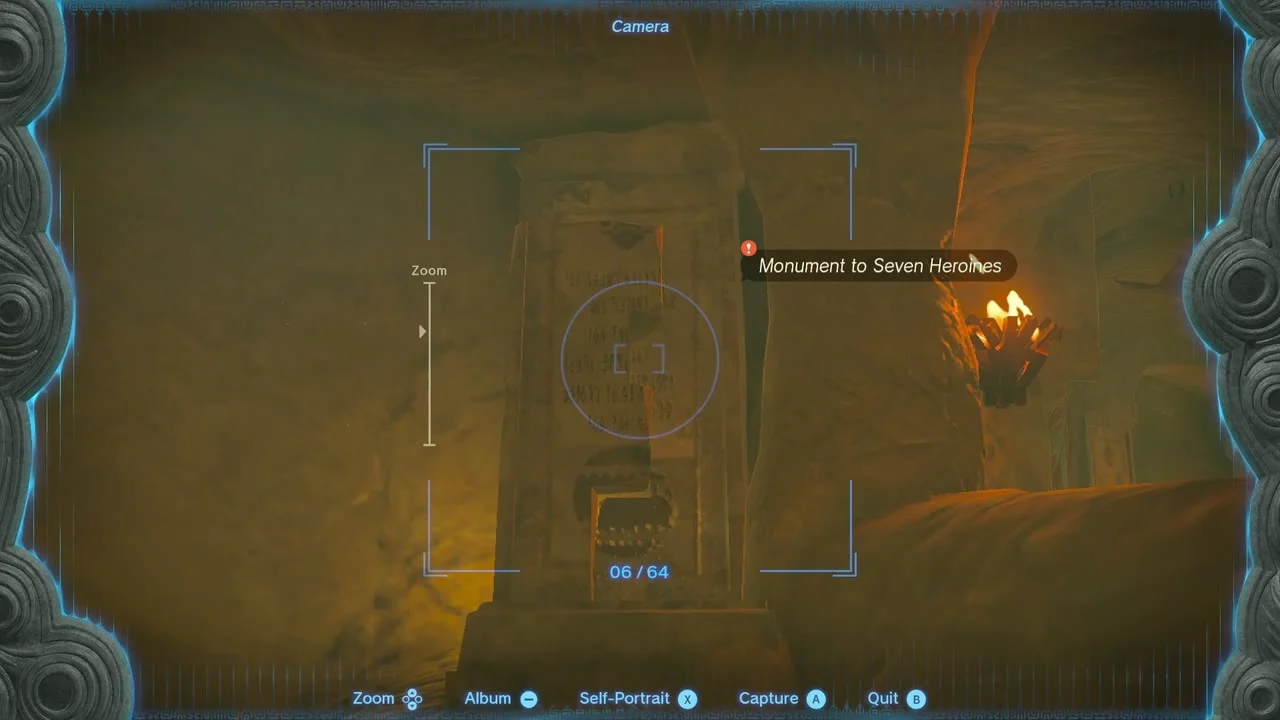
Win Dalia’s Game and help Ponthos
Quests: Dalia’s Game and Lost in the Dunes. Dalia lends you her orb if you find her stuffed Sand Seal hidden in the shelter before the clock runs out. Benja at Kara Kara Bazaar asks you to find Ponthos, who is stuck under a sinkhole west of the bazaar; smash the rocks to open a ladder and take his orb as the reward. Quest: To the Ruins! (giver Pokki, Gerudo Town). Pokki wants to see the ruins where giant statues face each other in the eastern desert. Carry her there on a Sand Seal; rewards are given on arrival.

The Mysterious Eighth and the Gerudo Sanctuary
Carry the seven orbs to the heroine statues
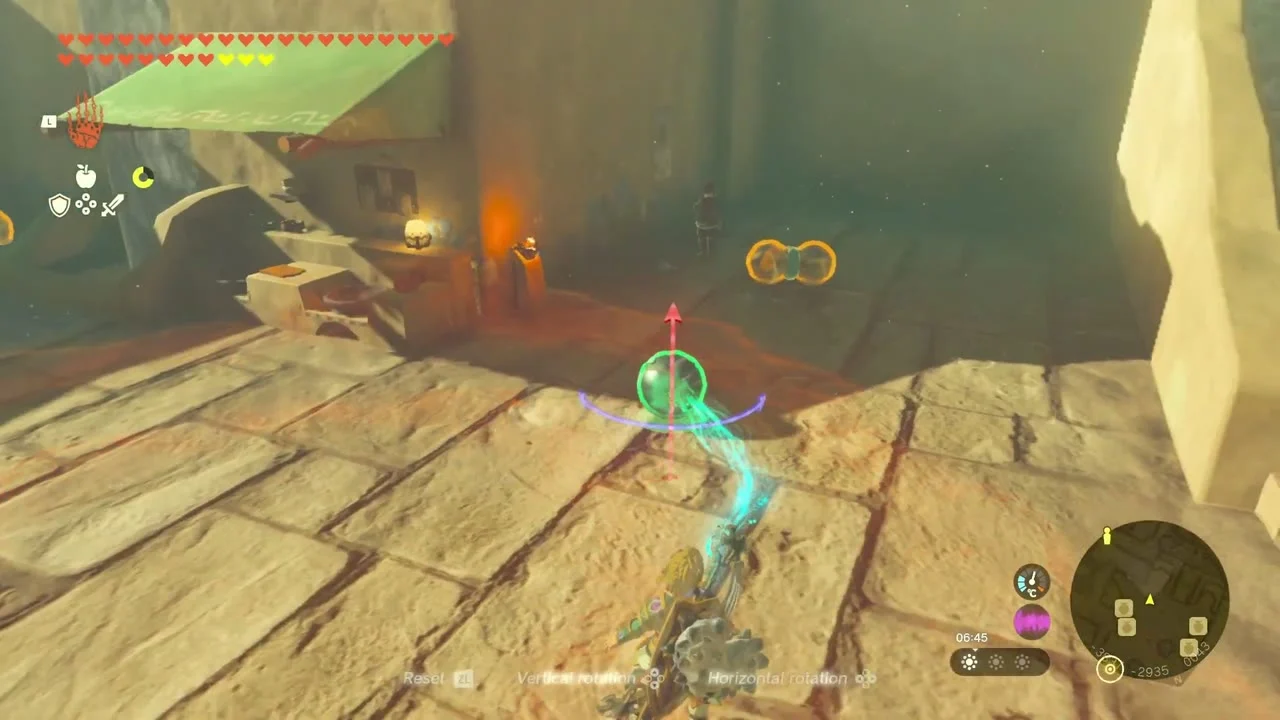
Quest: The Mysterious Eighth (giver Rotana). Bring the seven orbs to the statues of the seven heroines in the shelter: place each on its statue to open a hidden room. Rotana’s, Dalia’s and Ponthos’ orbs are three of the seven. The hidden room holds a giant orb. Haul it out of town with Zonai devices and set it into the hollow at the sanctuary entrance in the North Gerudo Ruins at about (-3763, -2420); the cave’s other end is at (-3763, -2698). Large Zonai Charges are scattered on the way.


Clear the Gerudo Sanctuary
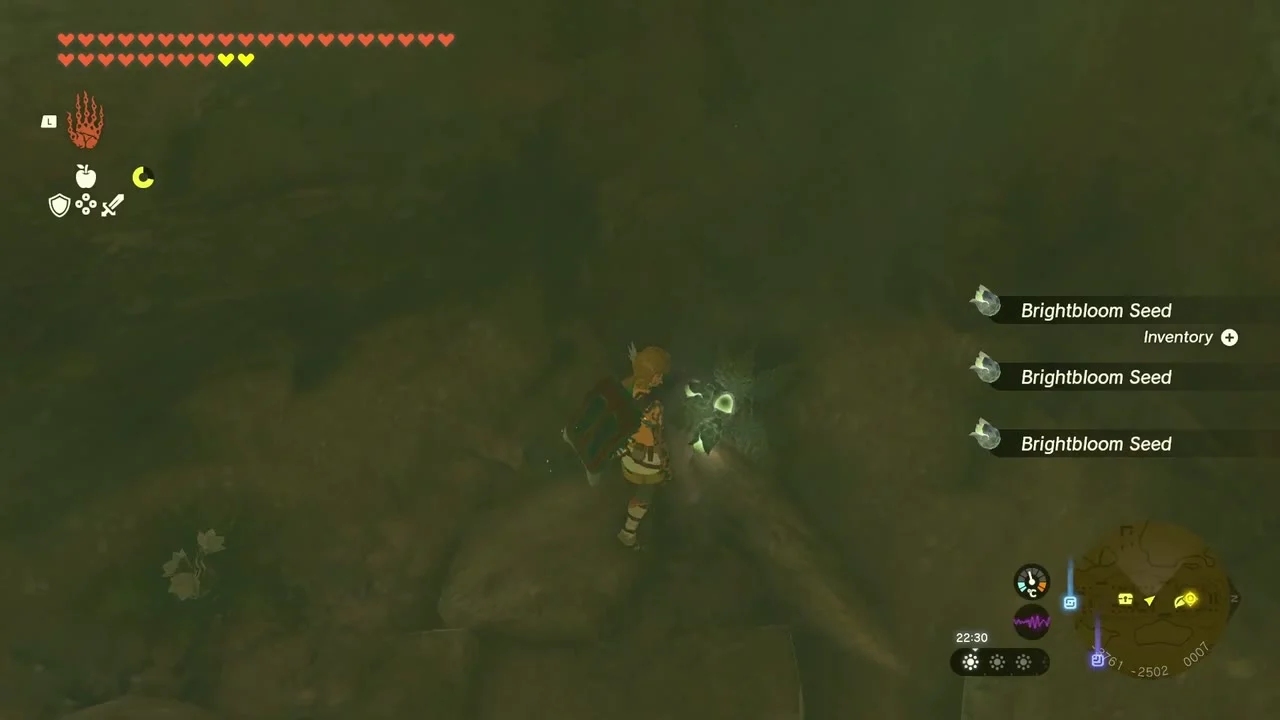
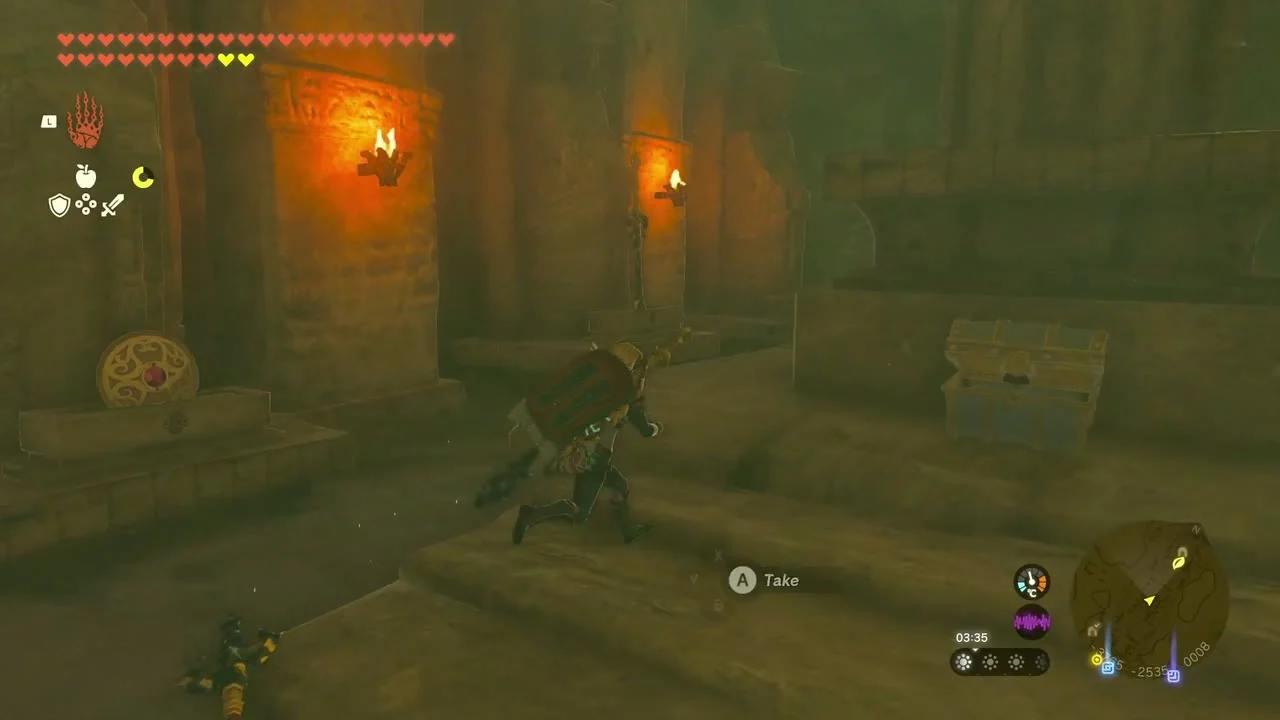
Cave: Gerudo Sanctuary at (-3763, -2699). Inside are Brightbloom Seeds for the dark rooms, a Gold Rupee chest, a Bubbul Gem and a chest with a Giant Brightbloom Seed. Read the stela at the end and report back to Rotana.

Take the North Gerudo Ruins Korok
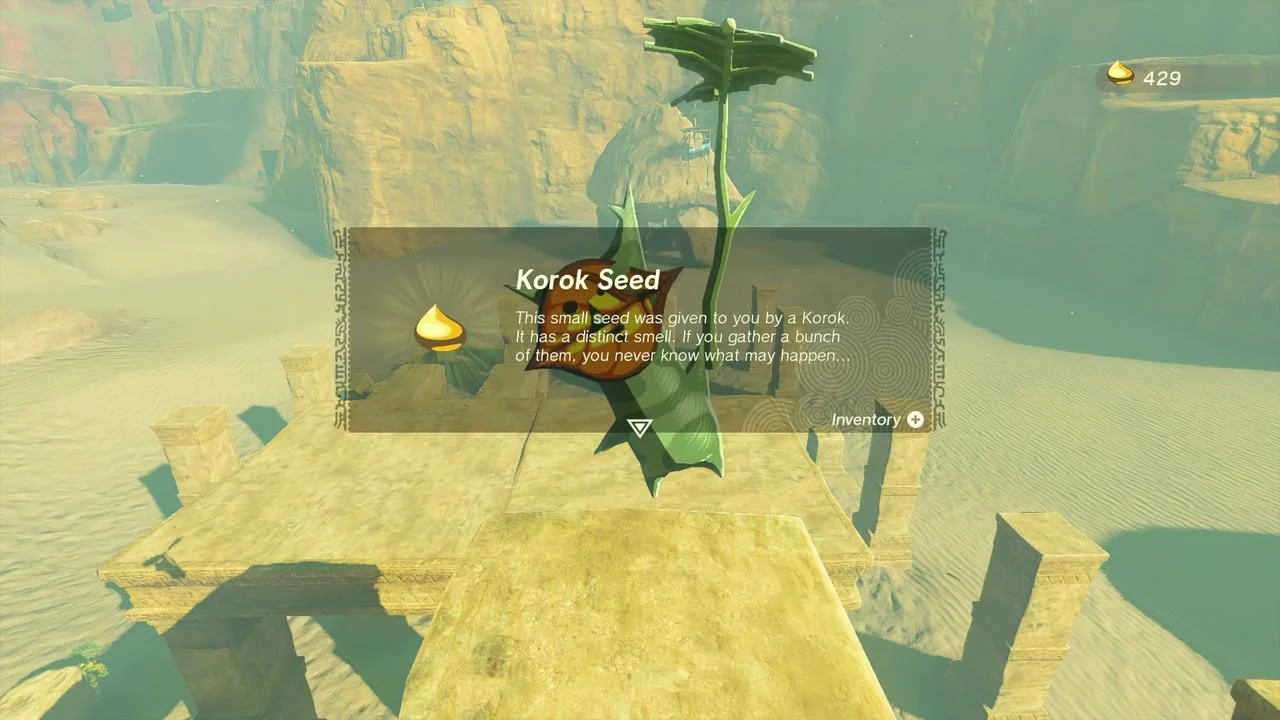
Korok seed (Use Ascend on the marker) at (-3757, -2442), on the north side of the North Gerudo Ruins. Find the marker on the underside of a sandstone beam, Ascend through it and take the seed from the stone platform above.

Desert canyons, Ancient Prison Ruins and Chichim Shrine
Take the canyon Koroks
Korok seeds in the Gerudo Canyon country east of town. One sits on a boulder in the open canyon; another is under a pole and tarp (the exhausted Korok pair around (-3316, -2461) and (-3078, -3044) gives Korok Seed when you carry the tired one to its friend). Others in this box: Follow the flower (-3588, -3029), Attack and catch the dandelion (-3610, -2843), Use the paraglider to reach the goal (-3430, -3128) and Go up to the sparking spot (-3267, -2609).


Collect the canyon chests
Chests: Royal Broadsword (or Traveler’s Sword, Soldier’s Broadsword or Knight’s Broadsword, depending on your progress), Gerudo Scimitar. A chest in the canyon holds a Royal Broadsword; the Ancient Prison Ruins at (-3099, -3064) hold a Gerudo Scimitar chest and a Bubbul Gem. Drop in through the whirling sinkhole in the sand east of town and fight the Gibdos with fire or lightning. Pull the first lever with Ultrahand, go left to the corner cell, follow the sword statue to the half-open gate and pull the second lever, drop through the gate, crouch under the crevice and follow the rubble ramp. Beyond a dropping floor you meet the Bubbulfrog and a second sword statue; Ascend in front of the dead-end cell gate to reach the chest room. Move the stone pallets behind the chest to uncover the lever that opens the doors to Chichim Shrine. Weapon inventory fills quickly, so drop the weakest spare first.

Enter Chichim Shrine
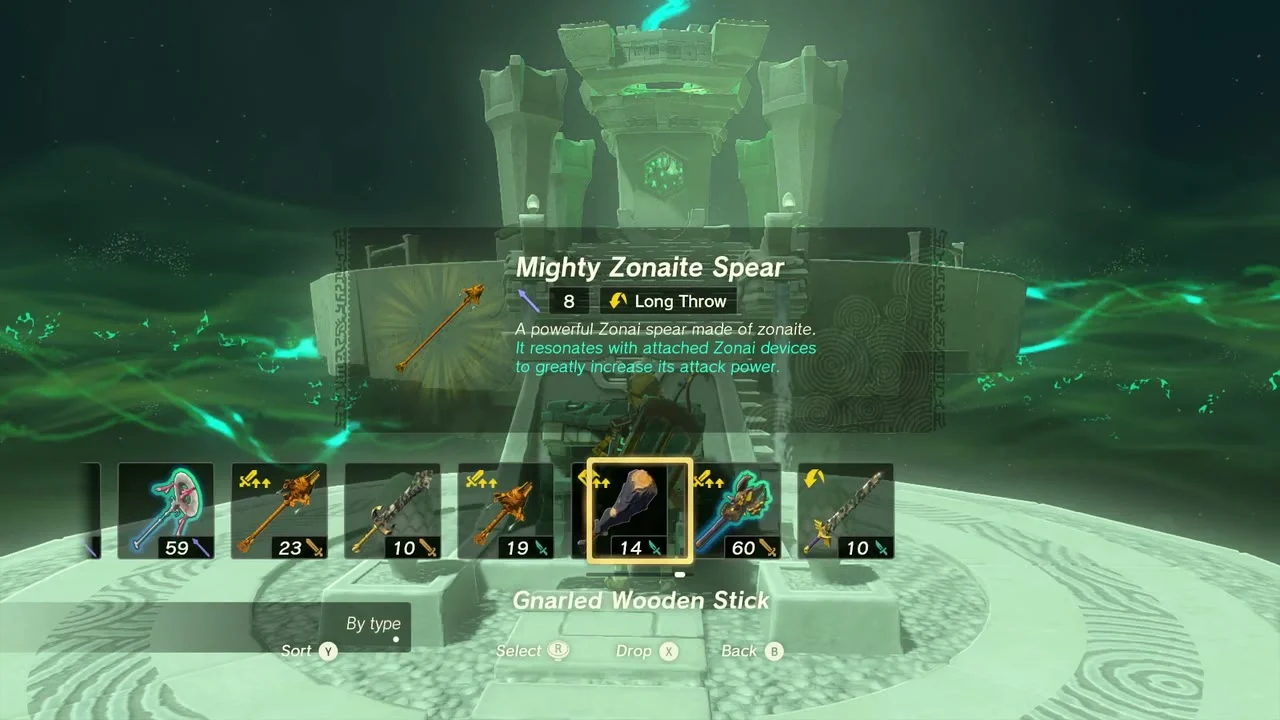
Shrine: Chichim Shrine (Rauru’s Blessing) at (-3211, -3006), Lightroot below: Mihcihc. You reach it through the Ancient Prison Ruins above. It is a blessing shrine with no puzzle: walk in, open the chest for a Mighty Zonaite Spear (Strong or Mighty, depending on your progress) and take the Light of Blessing.

Explore Quicksand Lake Cave
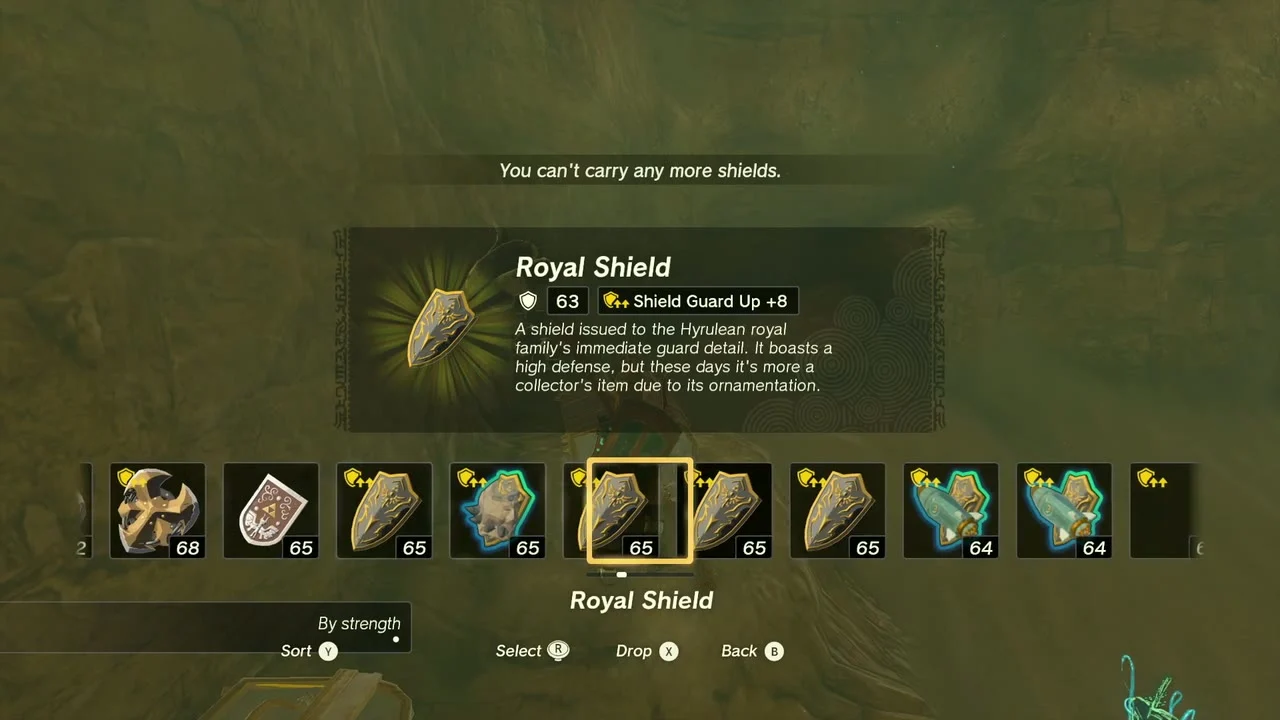
Cave: Quicksand Lake Cave at (-3239, -2940). Cross the pool of sand, catch the Bubbulfrog for a Bubbul Gem and open the two chests: a Gerudo Spear and a Royal Shield (or Traveler’s Shield, Soldier’s Shield or Knight’s Shield, depending on your progress).
Side quests started on the way
Treasure of the Gerudo Desert (giver Riju, Gerudo Town) starts when you read the shelter text about the swordswoman on the sand; it ends in an underground cave with the Vah Naboris Divine Helm. The Iceless Icehouse (giver Anche, Northern Icehouse at (-3749, -2291)) asks for ice cut to fit the alcove.
Collectibles in this chapter
- Shrines: 1 (Chichim Shrine)
- Lightroots: Mihcihc Lightroot lies beneath Chichim Shrine
- Caves: 4 with a Bubbul Gem each
- Heart Containers: 2
- Korok seeds: 8
- Main quest: Riju of Gerudo Town complete (Vow of Riju)
