





















Tears of the Kingdom 100% Completion Walkthrough43 chapters
Great Sky Island
- Great Sky Island4 shrines, 4 caves and Bubbul Gems, 17 Korok seeds
Hyrule Field and Hyrule Castle
- Lookout LandingParaglider, Crisis at Hyrule Castle, Jiosin and Kyononis shrines, 2 caves, 3 wells
- Hyrule FieldSusuyai and Ishodag shrines, the Hyrule Field Chasm, 2 caves, 13 Koroks
- Hyrule Castle Town RuinsSepapa, Yamiyo and Tukarok shrines, 2 caves, 4 wells, Koroks, chests and Battle Taluses in route order
- Central Hyrule Depthslight all 7 Lightroots, loot Daphnes and Gustaf Canyon Mines, find the Miner's Top
- Rest of Hyrule CastleRoyal Hidden Passage loot, 8 castle chests, Phantom Ganon, Energy Wells
- South Hyrule FieldShrines, Koroks & the Great Plateau
- South Hyrule Field DepthsGreat Abandoned Central Mine, Master Kohga, Autobuild, Majora's Mask
Tabantha and Hyrule Ridge
- Tabantha FrontierNew Serenne Stable, Hestu, Courage Island and the Glide Shirt, 3 shrines, 2 Korok seeds, Lindor's Brow Cave
- Forgotten TempleImpa and the Geoglyphs, Dragon's Tears, Kiuyoyou and Mayausiy shrines, Yiga Maritta Branch, 9 Koroks
- Tanagar Canyon & Hyrule RidgeRunakit and Iun-orok shrines, 2 caves, 12 Koroks, 20 chests, 8 minibosses and Dragon's Tear 6
- Thundra Plateau & Tabantha Bridgesolve the noon shadow puzzle, Tabantha Bridge Stable, Makurukis Shrine, 19 Korok seeds, 9 chests, 3 minibosses
- Lindor's Brow DepthsLightroots; Two Yiga camps (Bomb Bouquet, Flamethrower Balloon)
- Hyrule Ridge and Tabantha FrontierIkatak, Oromuwak, Ganos and Ga-ahisas shrines, 4 caves, a well, 26 Koroks and 3 minibosses
Hebra
- Rito VillageGatakis and Ijo-o shrines, Sikatag Lightroot, 9 Korok seeds, 14 chests
- Hebra MountainsShrines, Wind Temple & Koroks; Raspro Pass, Biron Snowshelf & Royal Hidden Passage
- Corvash Canyon MineTrousers of the Hero, Floodlights schematic, Sea-Breeze Boomerang, four Lightroots, Colgera
- Raspro Pass DepthsNupisoyuat and Sasag Lightroots, Colgera, Cap of Time, Tunic of the Wind, two Yiga camps and 13 minibosses
- Tabantha TundraTaninoud, Orochium, Oshozan-u, Mayaotaki, Nouda and Tenbez shrines, three Lightroots, caves and Bubbul Gems
- Pikida Stonegrove DepthsEvil Spirit Greaves, Ikatoayam, Muihcoro and Sikatag Lightroots, 3 Yiga schematics, Frox fights
Great Hyrule Forest
- Great Hyrule Forest7 shrines, 8 Lightroots, 2 caves, 2 wells, Korok Mask, Glide Tights
Eldin
- EldinEldin Canyon, Shrines, Caves & Goron City
- Eldin Canyon Depths10 Lightroots, Zant's Helmet, Trousers of the Wild, Biggoron's Sword, 3 Yiga schematics and Eldin's sky chests
Faron
- FaronHighland Stable, Lake Hylia & Popla Foothills
Necluda
- Kakariko VillageMakasura Shrine, Kakariko Village Well, 2 caves, Ring Ruins chests, 10 Korok seeds and village quests
- West Necluda and Lanayru WetlandsShrines, Koroks & Caves; Jonsau, Kurakat
- Hateno VillageZanmik and Mayahisik shrines, Shield of the Mind's Eye and Phrenic Bow wells, 7 Koroks
- East NecludaRabella Wetlands, Sifumim Shrine, Lurelin Village, 21 Korok seeds
- East Necluda DepthsKumamayn Shrine, 4 Lightroots, Midna's Helmet, Cap of the Hero, Trousers of the Wind and 18 Depths chests
Lanayru
- Lanayru Great SpringShrines, Koroks & Caves; Ralis Channel, 3 shrines, 8 caves
- Zora's DomainMogawak and Ihen-a shrines, Ploymus cave, Pristine Sanctum, Zora Armor, Sidon of the Zora and Clues to the Sky
- Wellspring IslandAncient Zora Waterworks chests, Igoshon Shrine, 2 Korok seeds, Water Temple's four wheels and Mucktorok
- Mount LanayruShrines, Koroks & Light Rings; Jikais and Anedamimik shrines
Gerudo
- Gerudo DesertShrines, Caves & Koroks; West and South Sands
- Gerudo TownGerudo Shelter shops and quests, Valley of Silent Statues, Lightning Temple and Queen Gibdo, Chichim Shrine
- Gerudo Desert DepthsGranajh and Daval mines, three Master Kohga fights, Queen Gibdo, Mucktorok, Sheik's Mask and 37 chests
- Gerudo HighlandsSkyview Tower, Rotsumamu and Suariwak shrines, Mayasiar Shrine, Yiga hideout
Akkala
- AkkalaTarrey Town quests, 4 shrines, Hinox, Battle Talus
- Akkala Sky Islands and DepthsGikaku and Natak shrines, Old Maps, Lomei Depths Labyrinth, Mucktorok, 5 Lightroots and 19 chests
Finale and completion
- Ancient Tablets, Gleeoks and Armor Upgradesall 13 stone tablets with coordinates, Frost and King Gleeok, Obsidian Frox, Cotera upgrades and farming
- Hyrule CastleRoyal gear chests, Korok seeds, Serutabomac Shrine
- Thunderhead IslesCharged armor, Joku-usin and Joku-u Shrines, Dragonhead Island's relic
- 100% Completion: Armor Upgrades & Korok BonusHestu's Gift, Ancient Hero's Aspect, Great Fairy Cotera upgrade costs and materials, then Destroy Ganondorf
| Region | Hyrule Castle, Hyrule Field: the Second Gatehouse, rooftops, Library, Princess Zelda’s Room and the Sanctum |
|---|---|
| Main quest | Crisis at Hyrule Castle (Explore Hyrule Castle, then the Phantom Ganon fight) |
| Shrine | Serutabomac Shrine, “The Way Up” (puzzle), X -178, Y 1170; Lightroot Camobatures below |
| Chests | Mostly Royal weapons, bows and shields, plus the Royal Guard Uniform, Cap and Boots and a Hylian Shield (guides do not agree on an exact total) |
| Korok seeds | 13 on the castle’s towers, walls and moat by the map data; some guides count 22 with the surrounding grounds |
| Boss | Phantom Ganon, in the Sanctum |
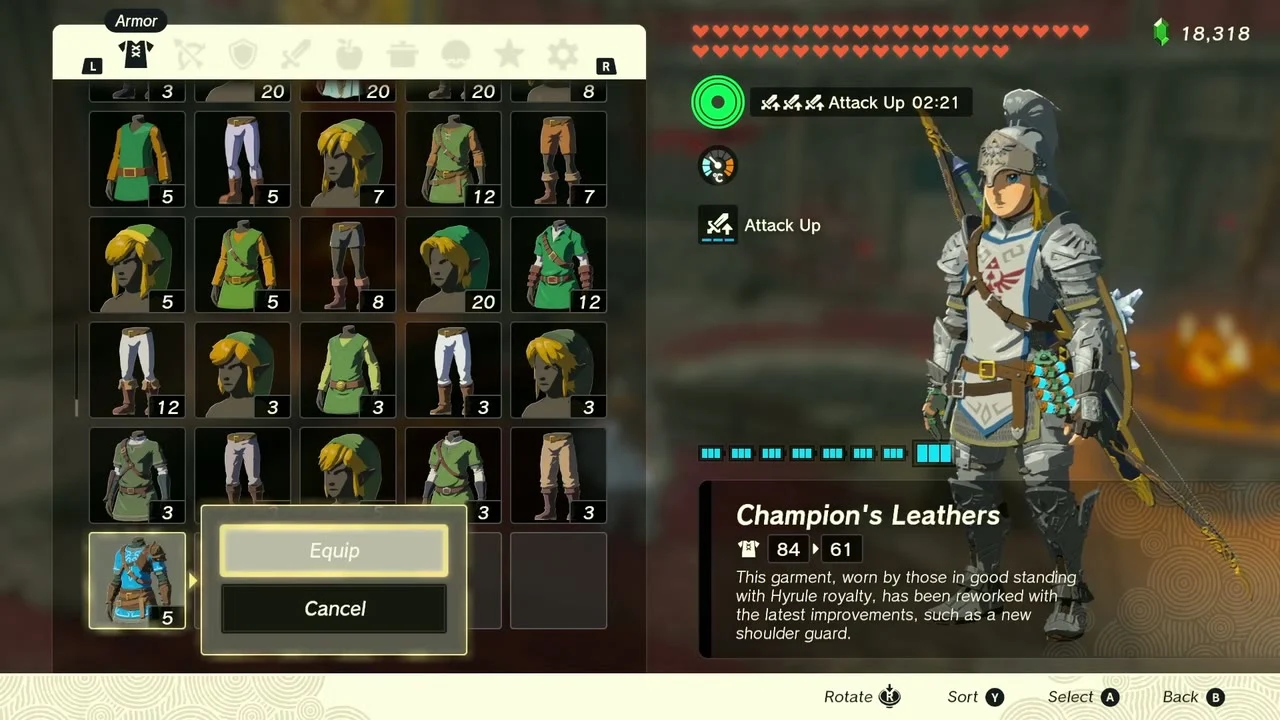
| Reward | Heart Container (Phantom Ganon), Light of Blessing (Serutabomac Shrine), Champion’s Leathers (side quest A New Champion’s Tunic, throne room) |
| Map units | X runs east, Y runs north; the third number is height |
The castle’s rooftops, towers and library hold a stack of Royal gear, a pile of Korok seeds and a shrine, and the climb ends in the Sanctum where Phantom Ganon waits. Clear your weapon, bow and shield slots first, because almost every chest holds a Royal weapon, and bring Zonai fans or a hover platform plus plenty of stamina food for the climb.
This part of Crisis at Hyrule Castle opens once you have finished Regional Phenomena and reported back to Purah. Glide to the castle from the Lookout Landing Skyview Tower. Zelda keeps appearing and vanishing in a flash of light, and each time Monster Forces spring up around you: the fights are at the Second Gatehouse, the Library, Princess Zelda’s Room, two spots on the lower levels (B3) and the Sanctum. Thunderclouds hang around the castle, so carry a non-metal weapon and shield, and pack food that clears Gloom damage, since the Gloom Hands and Phantom Ganon can cut your maximum hearts.
Quick route
Start at the Second Gatehouse for a Royal Halberd (or Traveler’s Spear, Soldier’s Spear or Knight’s Halberd, depending on your progress), then ride Zonai fans up to the rooftop for the Royal Claymore (or Traveler’s Claymore, Soldier’s Claymore or Knight’s Claymore, depending on your progress) and two Korok seeds.
Open the Bokoblin camp chests, solve Serutabomac Shrine for a Magic Rod, then drop into the Library for the Royal Guard Boots, a Shard of Dinraal’s Spike and a Gold Rupee.
Work up the west side for Royal Claymores, Bows and a Shield, loot the Princess Zelda’s Room area for the Royal Guard’s Sword and Cap, then cross the upper walls for the last chests and Koroks before the Sanctum.
Fight Phantom Ganon, return to Lookout Landing for Purah, and pick up Champion’s Leathers.
Second Gatehouse and rooftops
Open the Royal Halberd chest
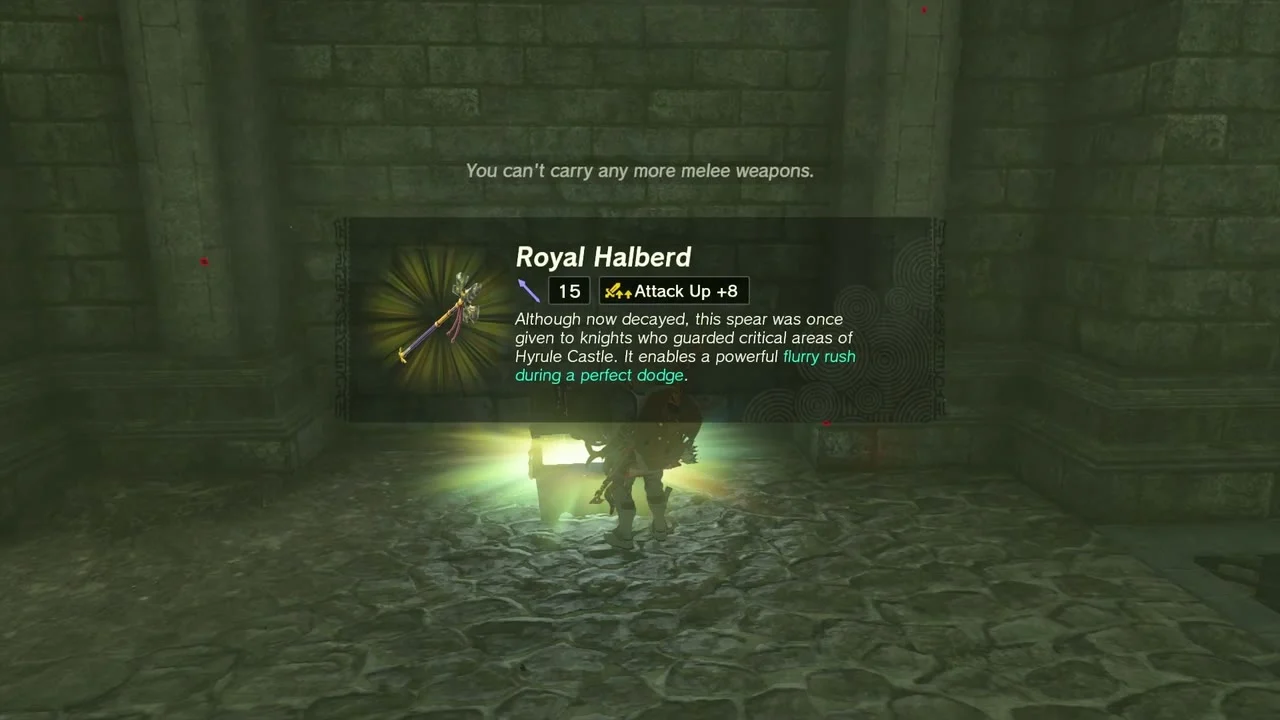
Inside the Second Gatehouse (X -159, Y 882, height 283), a chest by the stone wall holds a Royal Halberd (attack 15). Free a weapon slot first, or the game will refuse the pickup.

Take the Royal Claymore from the battlement
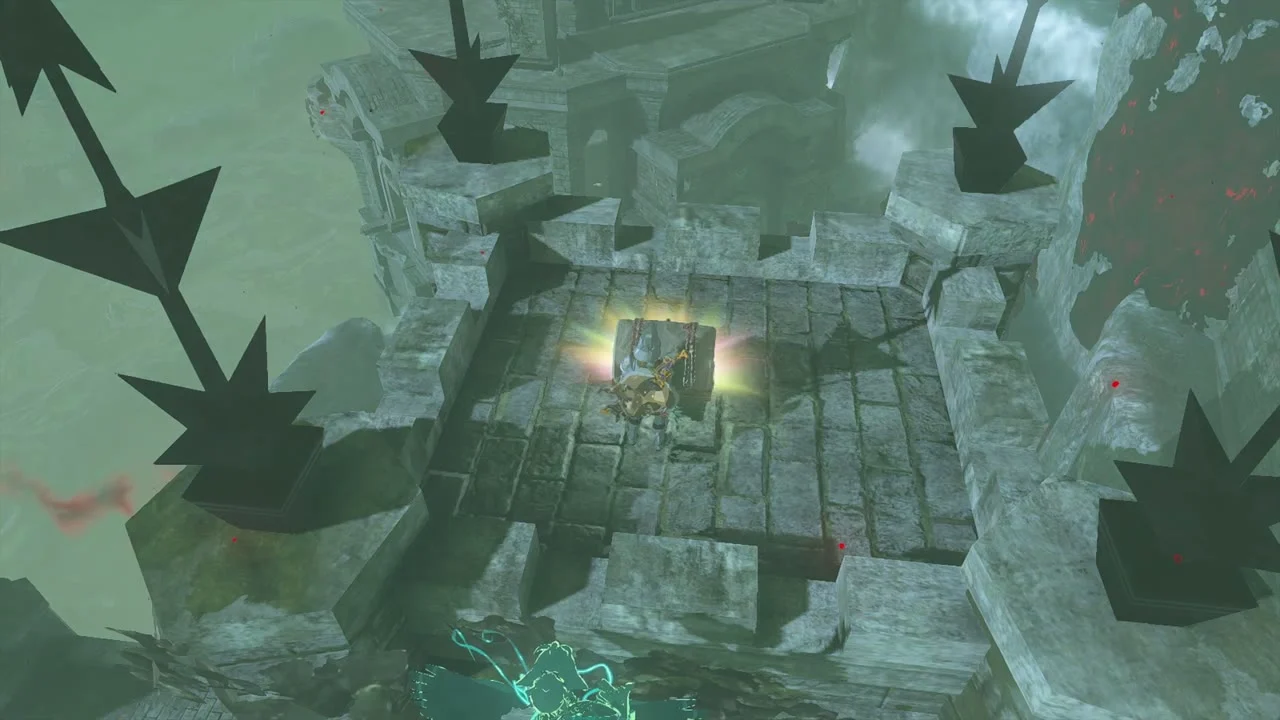
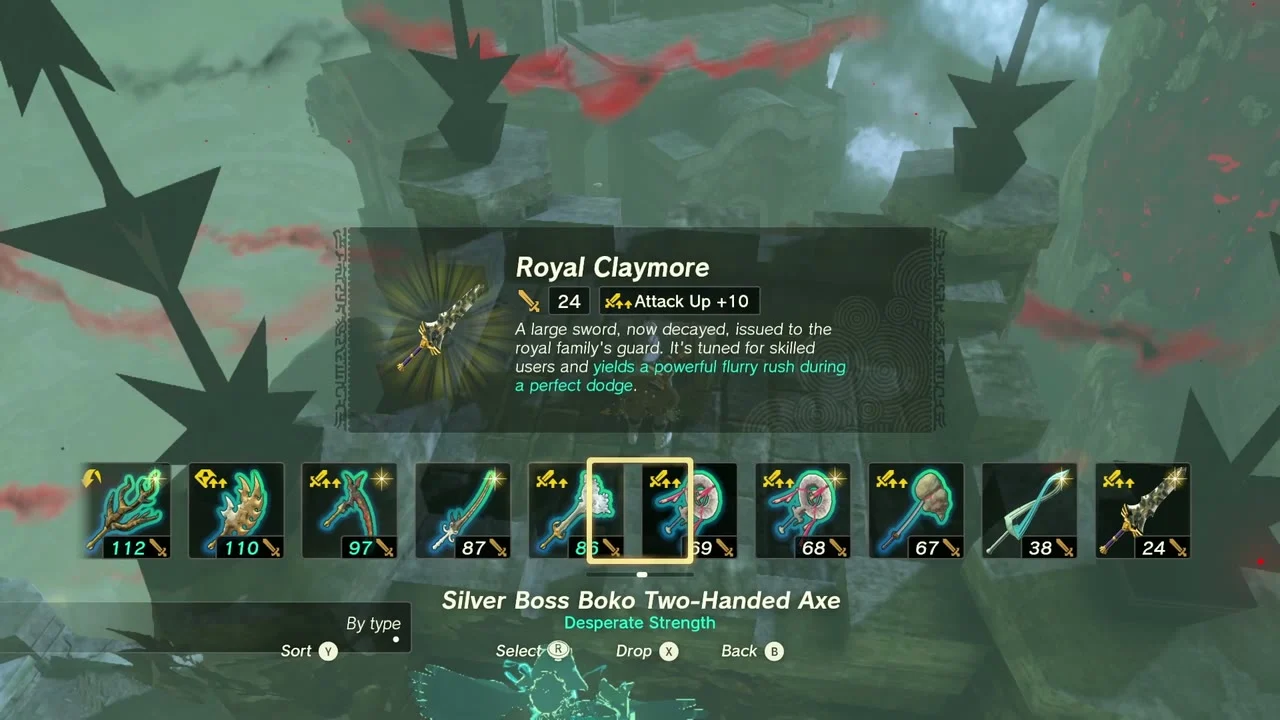
Fly or fan up to the tower roof at X -95, Y 933, height 326. A chest on the battlement holds a Royal Claymore (attack 24).
Collect the flagpole Korok
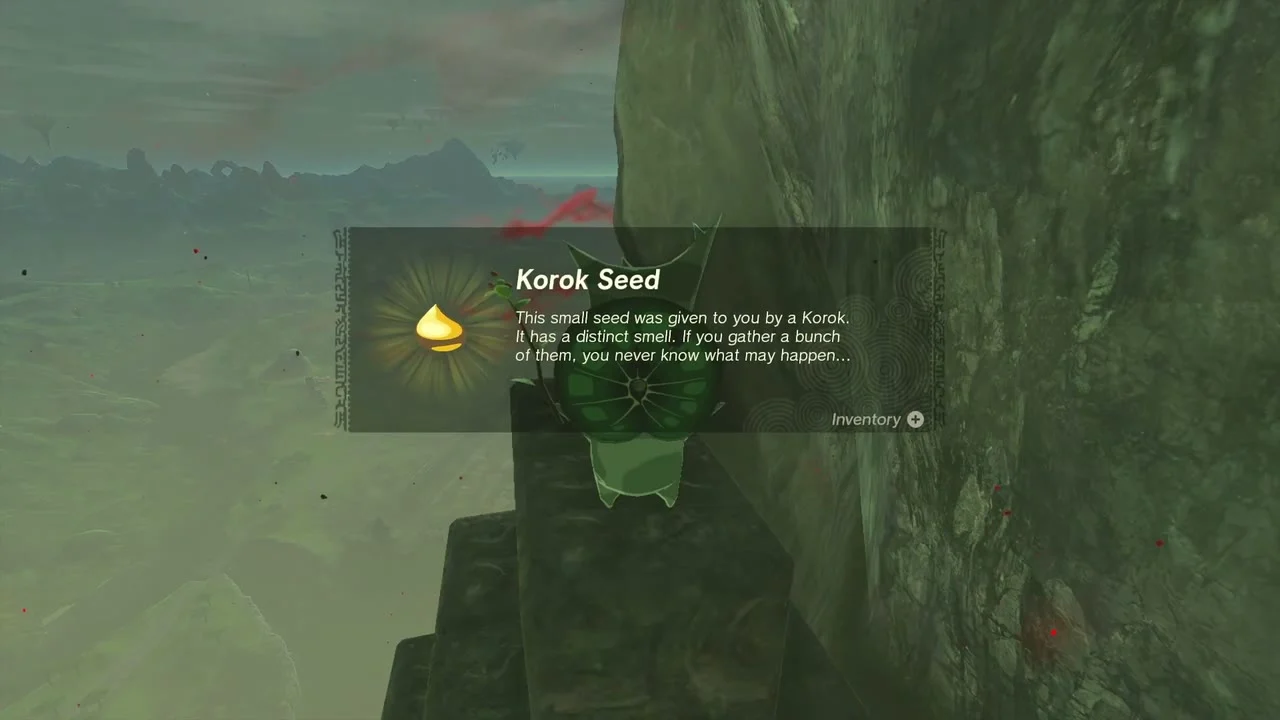
Climb the stone pedestal just beside it at X -96, Y 929. The flag on top hides a Korok seed (the hidden-balloon Korok near X -83, Y 906).

Stack the blocks for the cube Korok
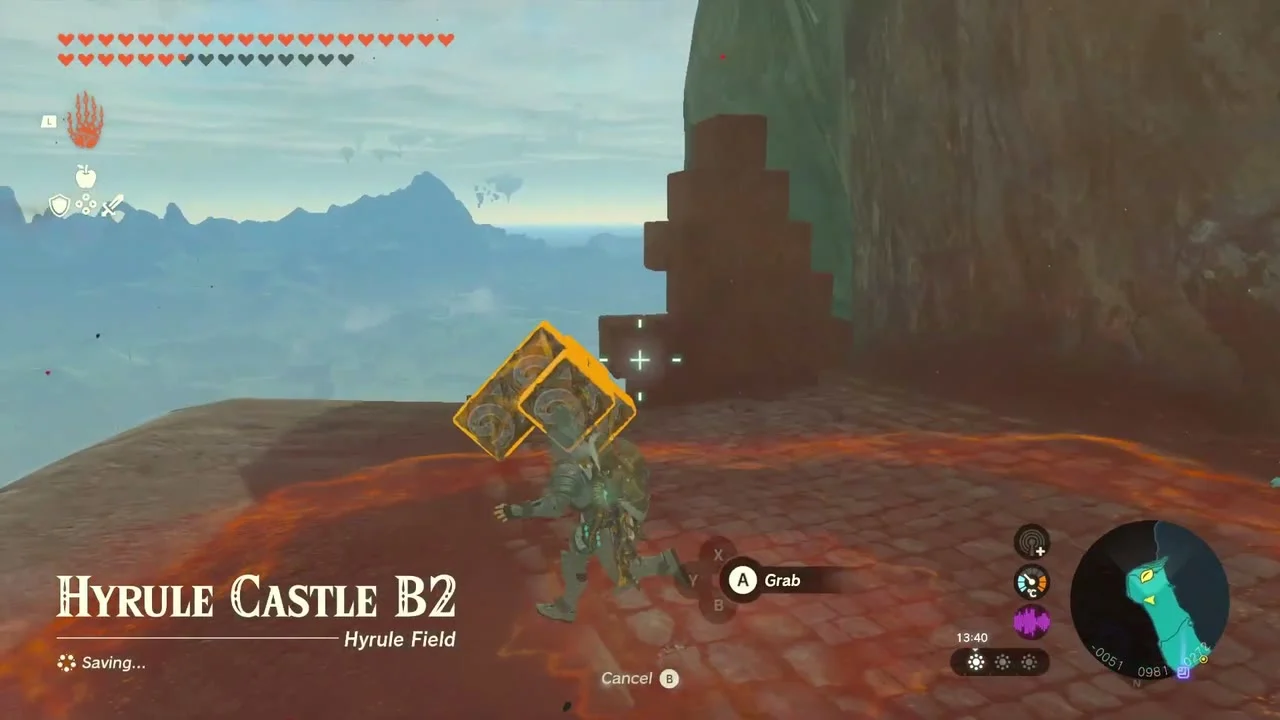
On the ledge at X -52, Y 981 (height 272), grab the loose stone cubes with Ultrahand and stack them against the wall to form a staircase. Climb it and the Korok drops a Korok seed.
Loot the Bokoblin camp
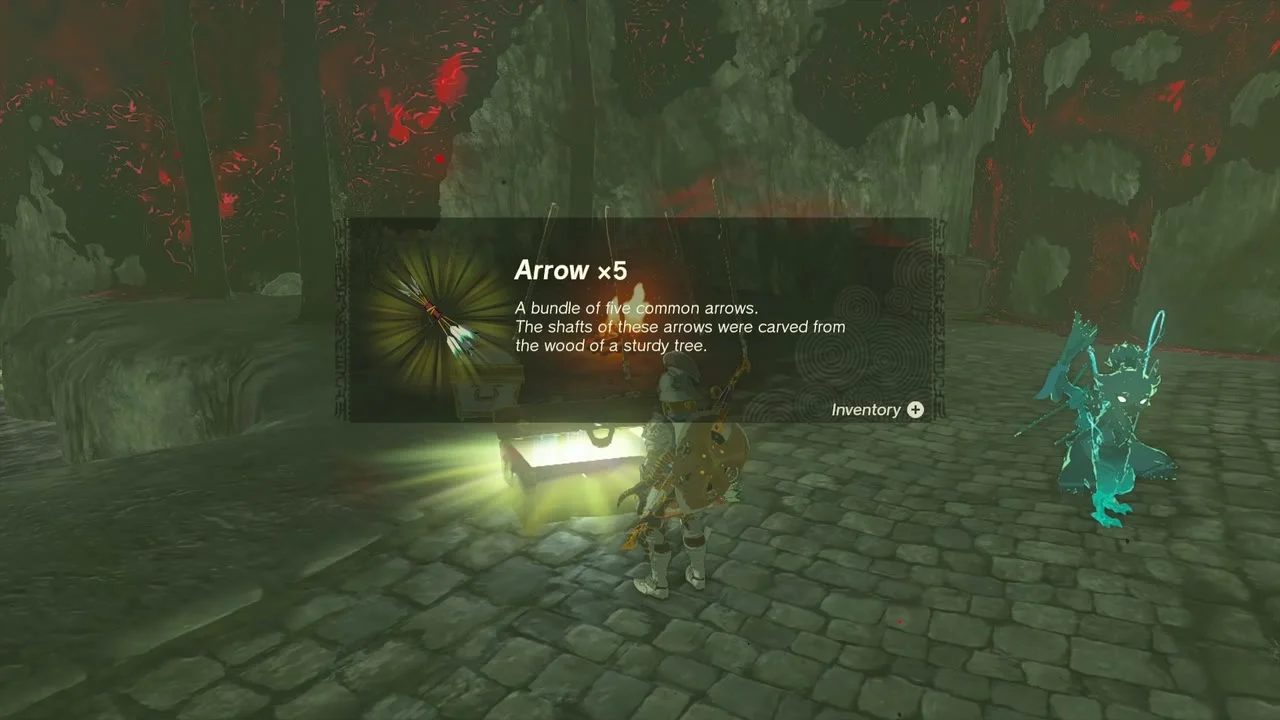
The camp on the rooftop at X -173, Y 1073, height 275 has two chests beside the campfire: Arrow x5 and a Royal Claymore. Clear the Bokoblins first or lure them away with a bomb. A chest in the highest room of the Second Gatehouse tower holds a Royal Bow (or Traveler’s Bow, Soldier’s Bow or Knight’s Bow, depending on your progress), and the chest at the castle entrance doorway (northwest of the gatehouse, up a small ledge) holds a Royal Shield (or Traveler’s Shield, Soldier’s Shield or Knight’s Shield, depending on your progress).

Serutabomac Shrine
Reach the shrine
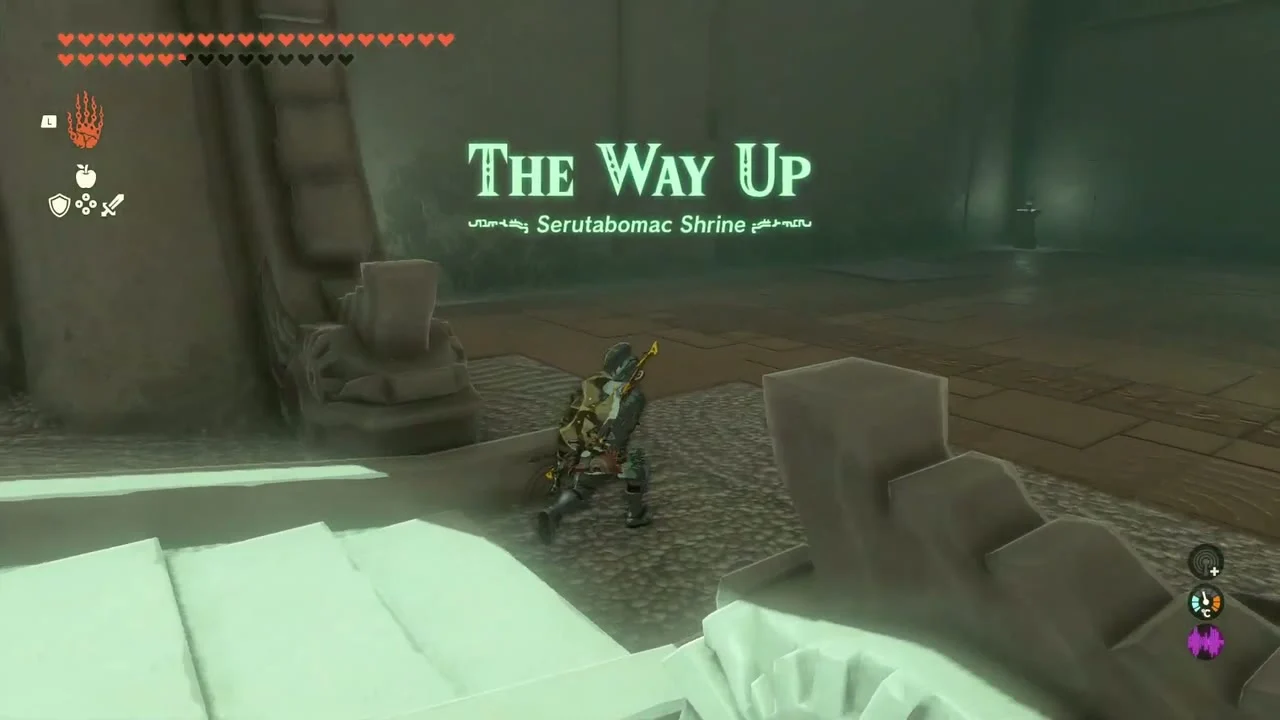
Serutabomac Shrine (X -178, Y 1170, height 293) sits on the rear roof of the castle above the Docks. Glide or ride a fan up to the platform and enter.

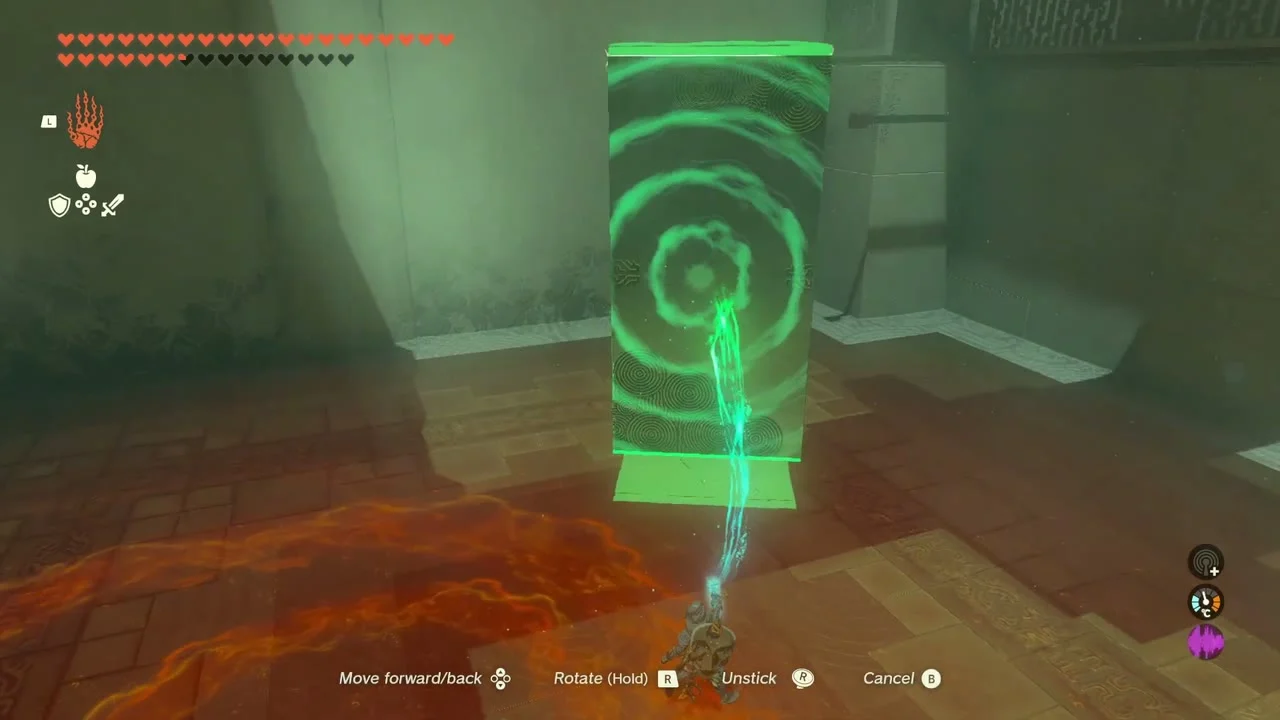
Bridge the first room with the stone slab
Pick up the large stone slab with Ultrahand and lay it across the prongs so it forms a platform. Stand under it and use Ascend to rise through it.

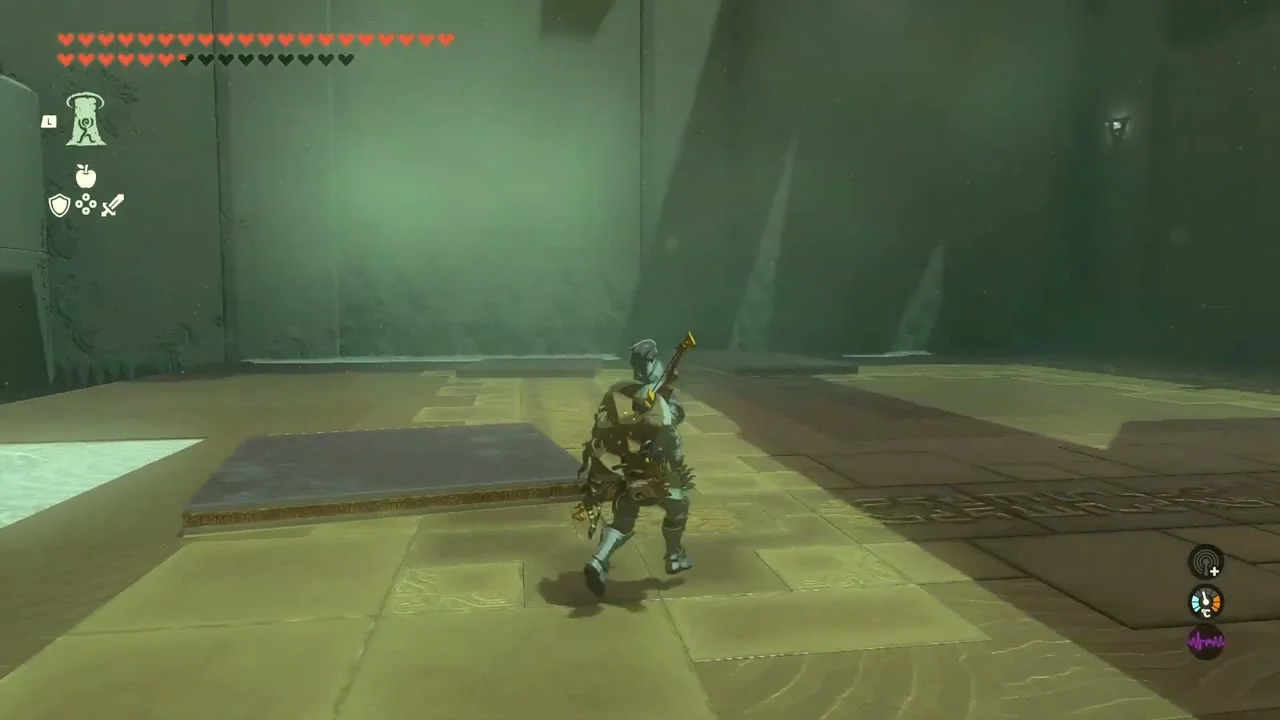
Build a ramp in the second room
Join the two slabs into an L shape, rotate it and set it on the single rod in the left corner. Ascend through the top of the structure to reach the next level.

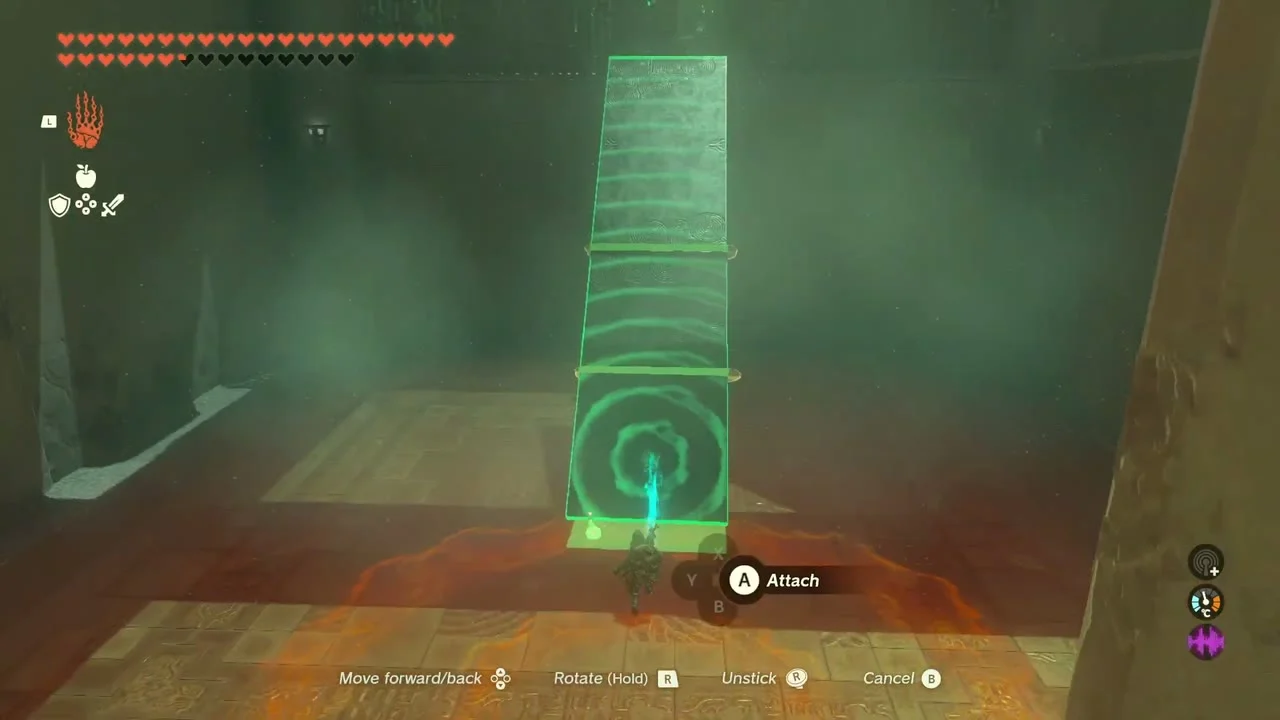
Raise the tall slab in the last room
Stand the long slab upright against the wall and attach shorter pieces so it makes a staircase or ladder, then Ascend through each level. Use the finished slab as a bridge toward the chest.

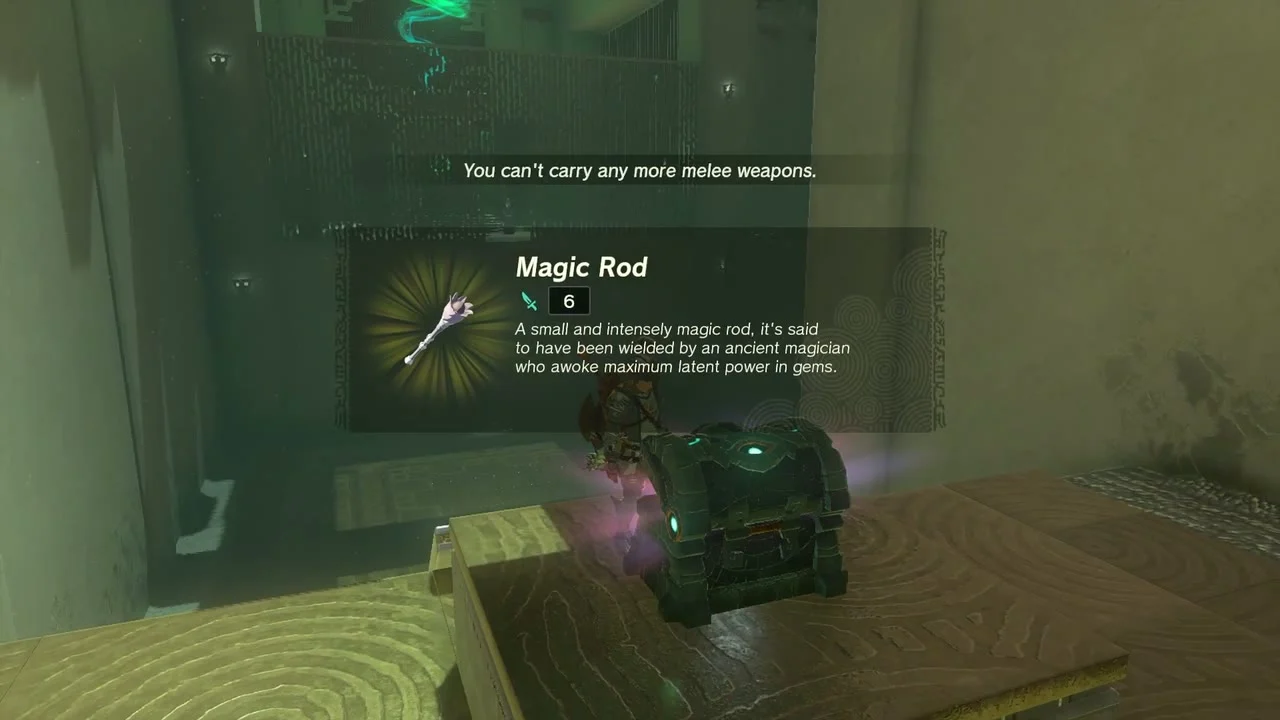
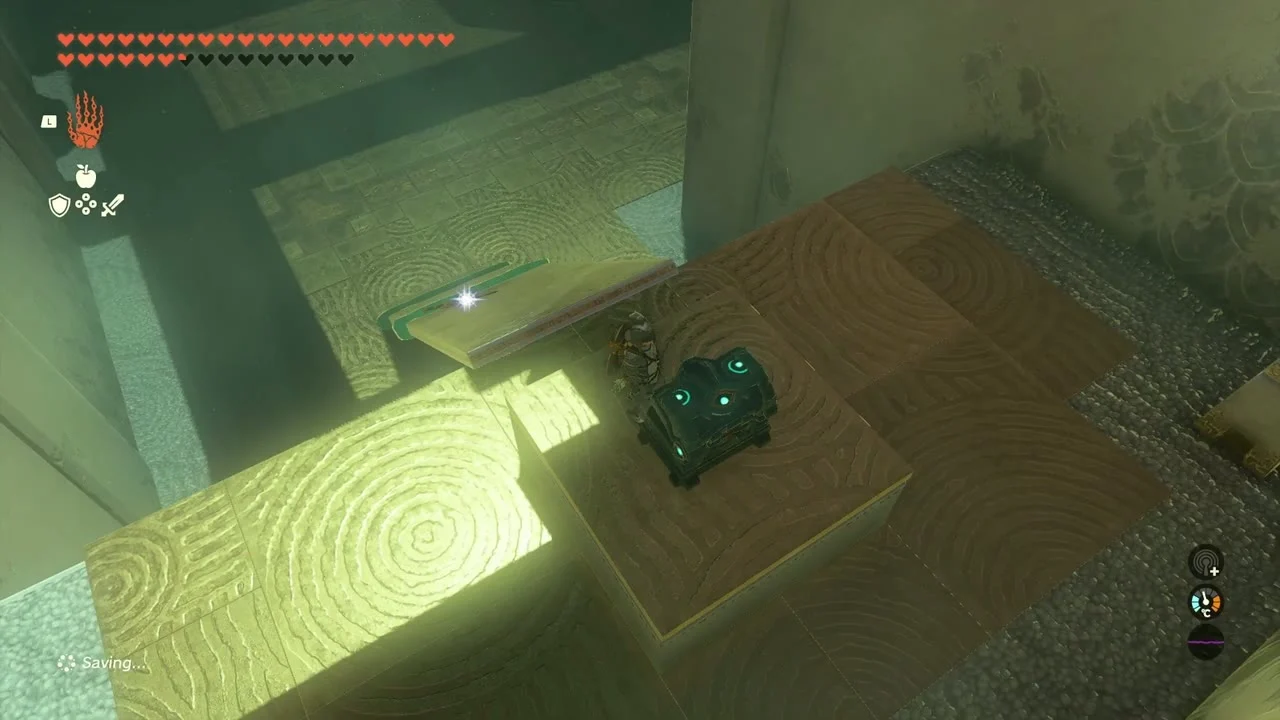
Open the Magic Rod chest
The chest in the upper alcove holds a Magic Rod. It is a weak melee weapon that shoots elemental bolts, so keep it only if you want its fuse.
Take the Light of Blessing
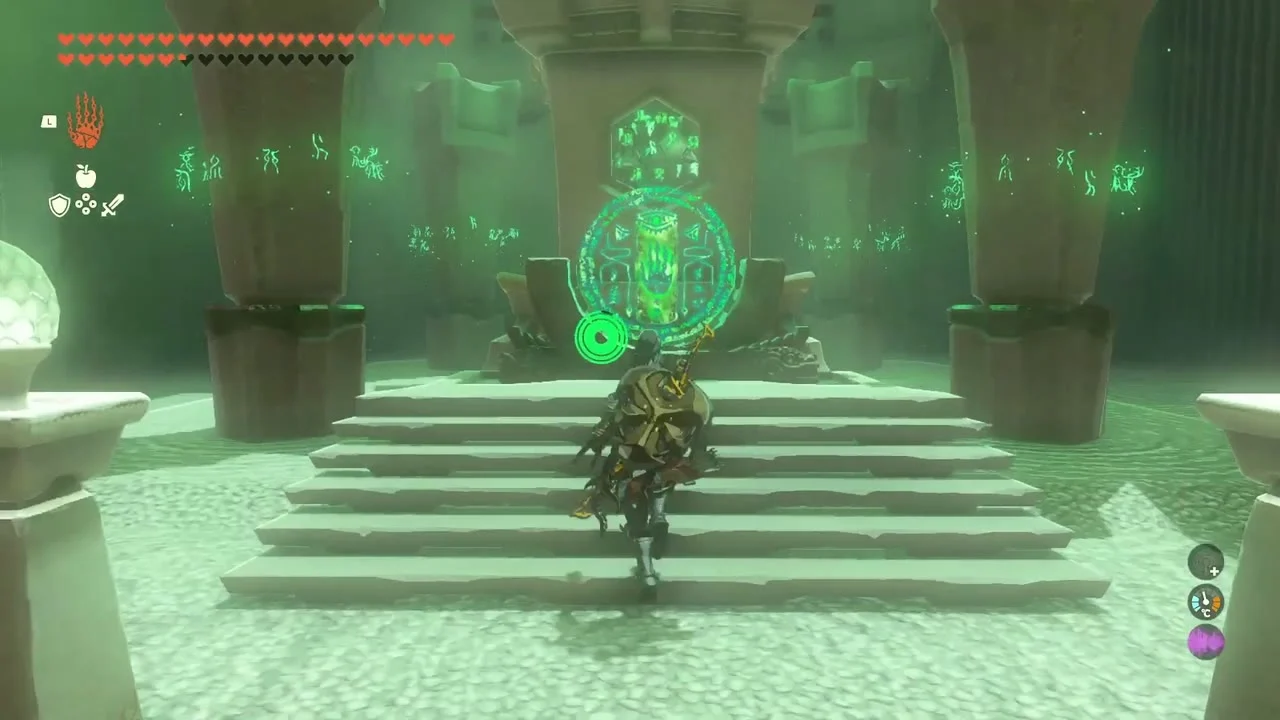
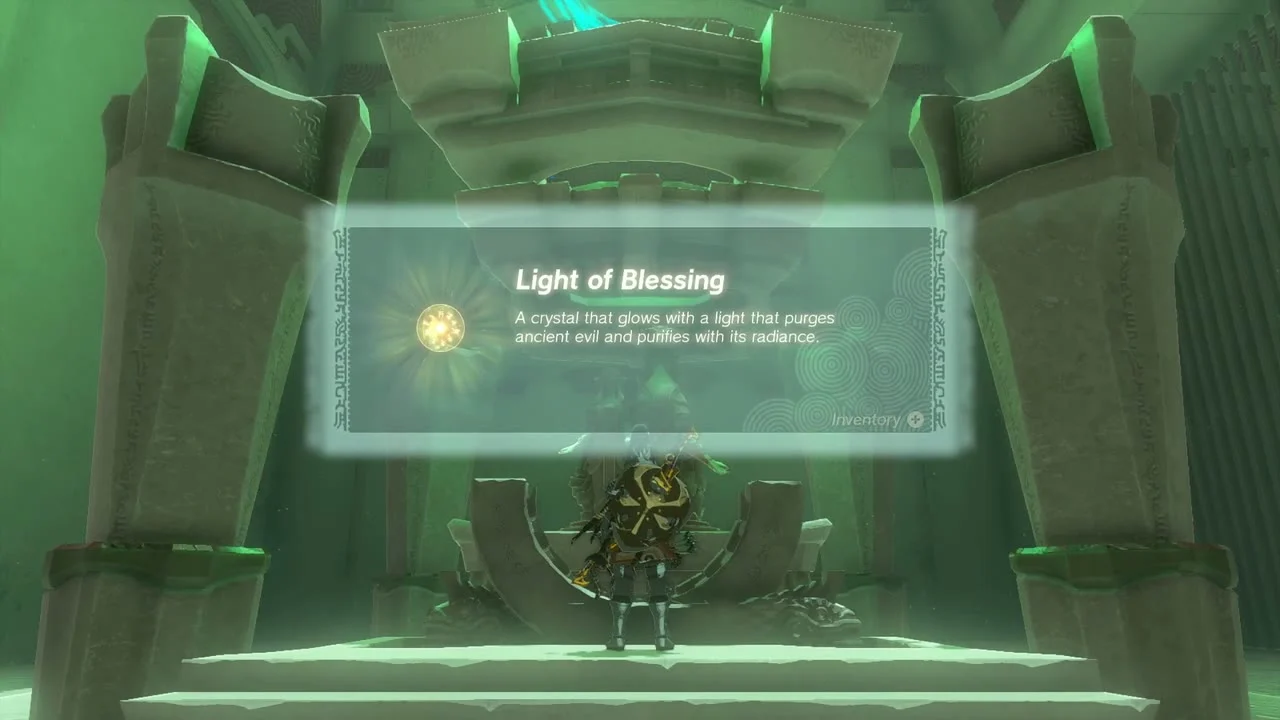
Climb the steps to the altar at the far end and examine it. This gives a Light of Blessing.
Library and the central castle
Search the Library for the Royal Guard Boots
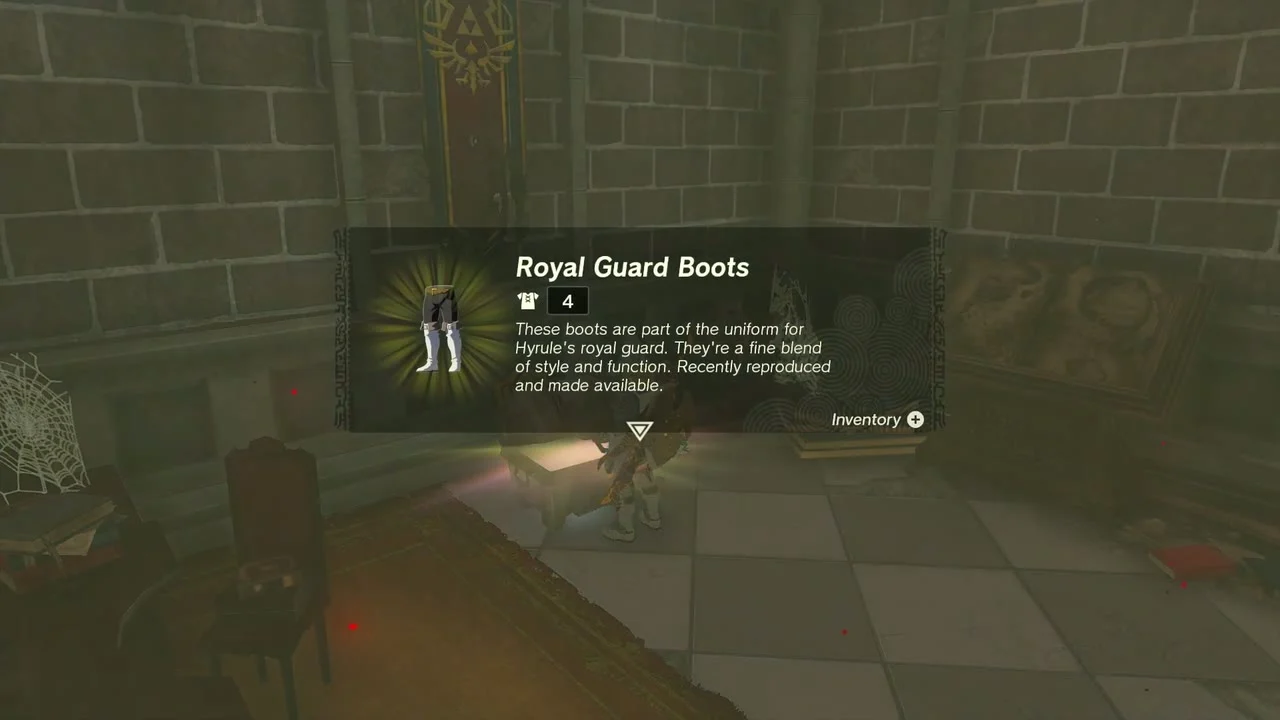
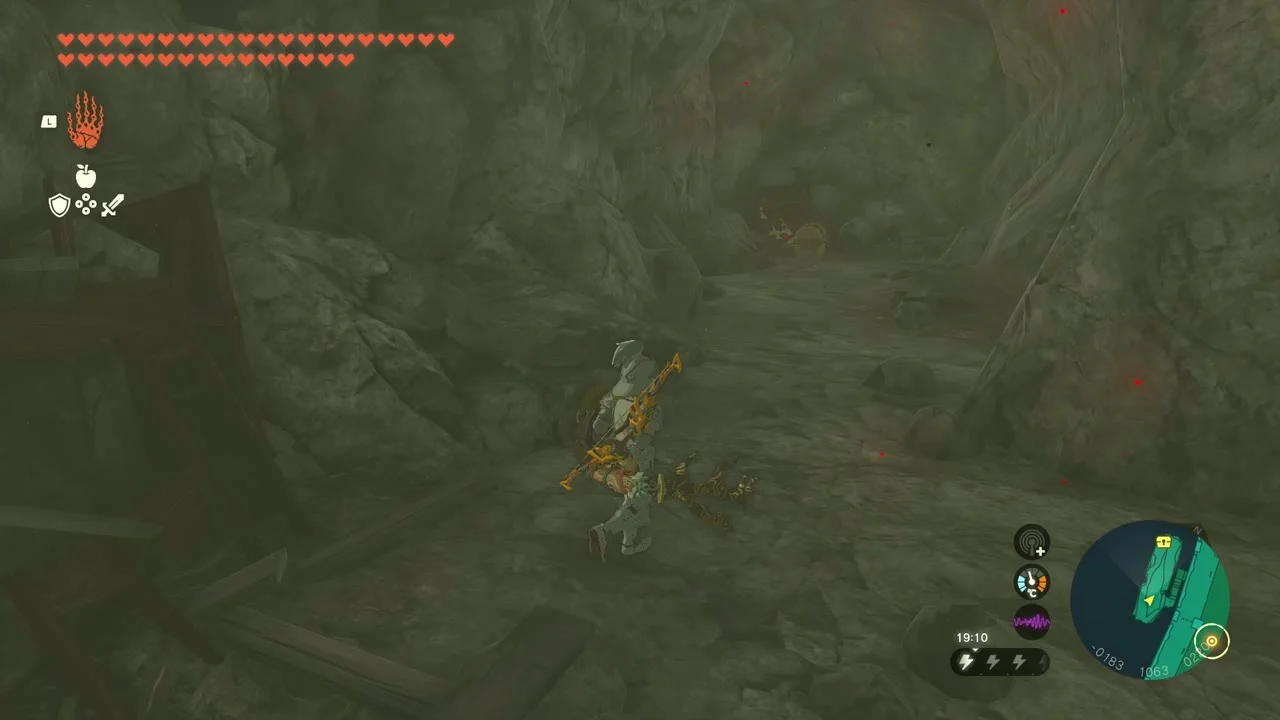
Drop into the Library (X -168, Y 1108, height 214). Slide the bookcases that act as doors with Ultrahand: one hides a side room and another leads to the King’s Study, where a chest holds the Royal Guard Boots, the leg piece of the Royal Guard set. A Hinox and elemental Chuchus fight you here; hit the Hinox in the eye to stun it.

Find the Shard of Dinraal’s Spike
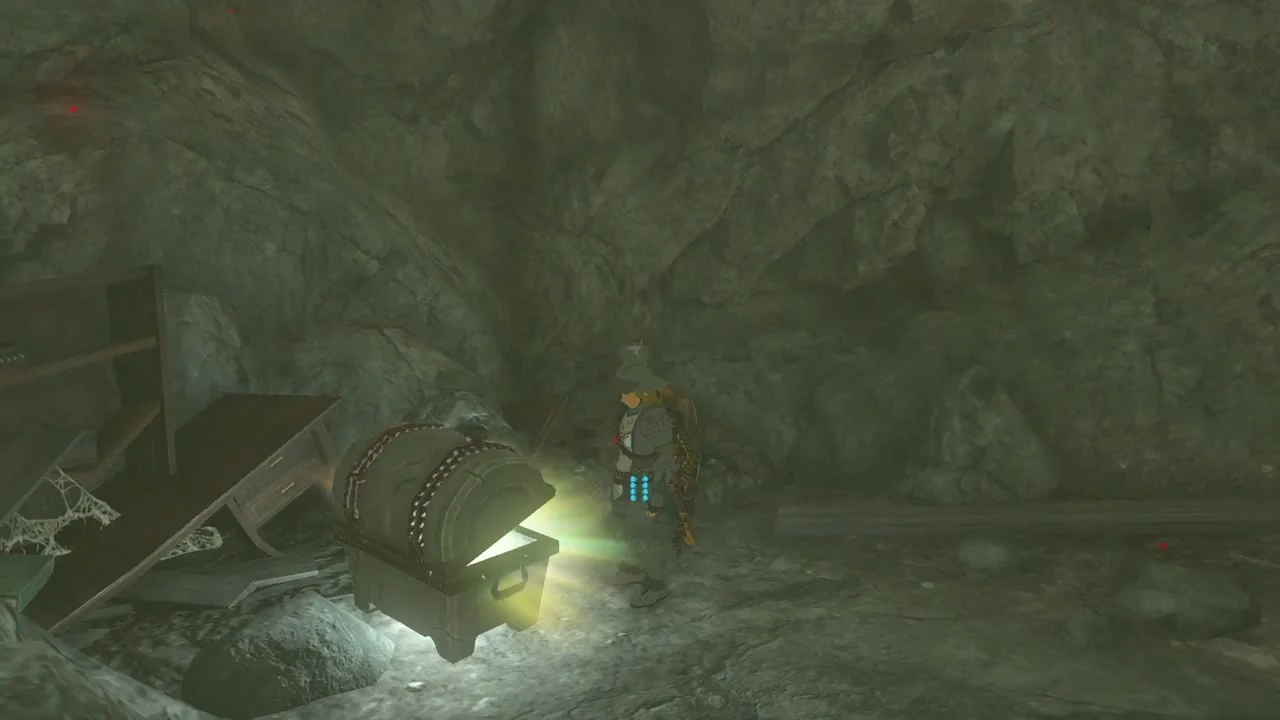
Behind another movable bookcase in the Library, a chest holds a Shard of Dinraal’s Spike, a dragon part that fuses for a strong boost.
Open the Gold Rupee chest
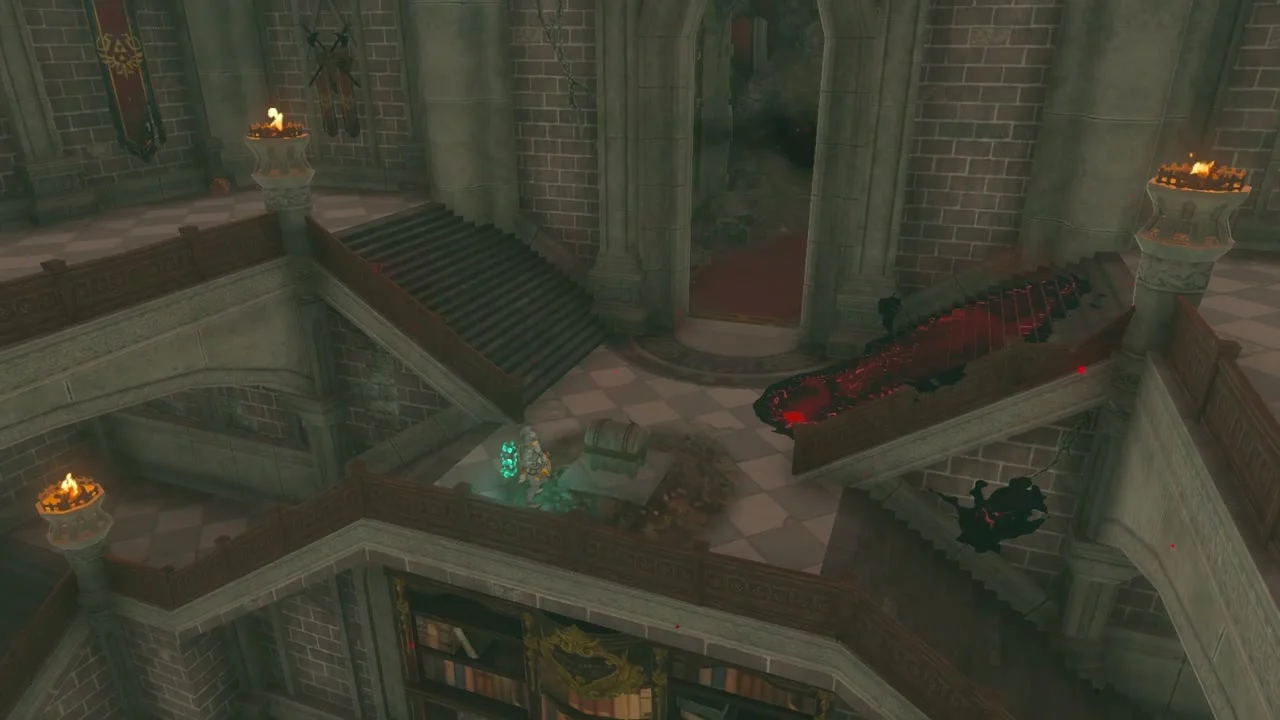
On the Library’s balcony stairs at about X -166, Y 1124, height 226, a chest holds a Gold Rupee (300 rupees).

West side: Claymore, Bow and Shield
Cross the western wall for a Royal Claymore
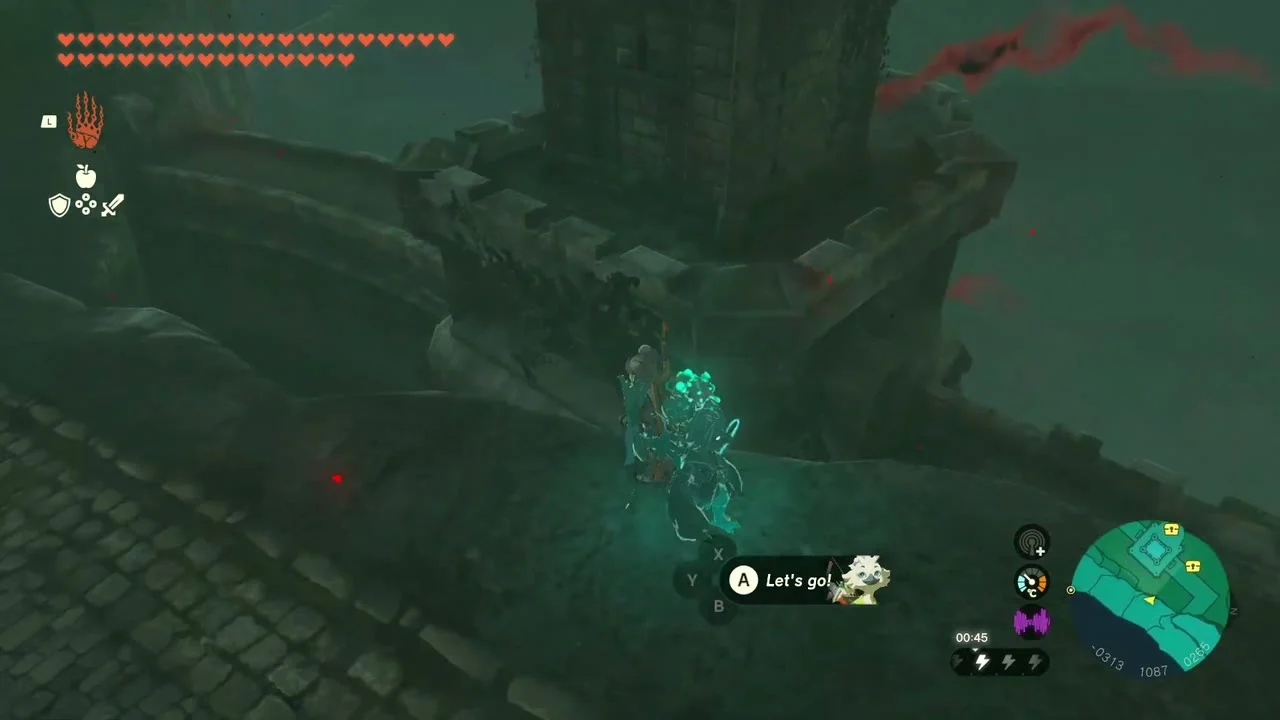
On the western ramparts at X -313, Y 1087, height 265, a chest holds a Royal Claymore.

Open the Royal Bow chest
Continue north-west along the wall to the dark passage at about X -329, Y 1111, where a chest holds a Royal Bow (attack 38).

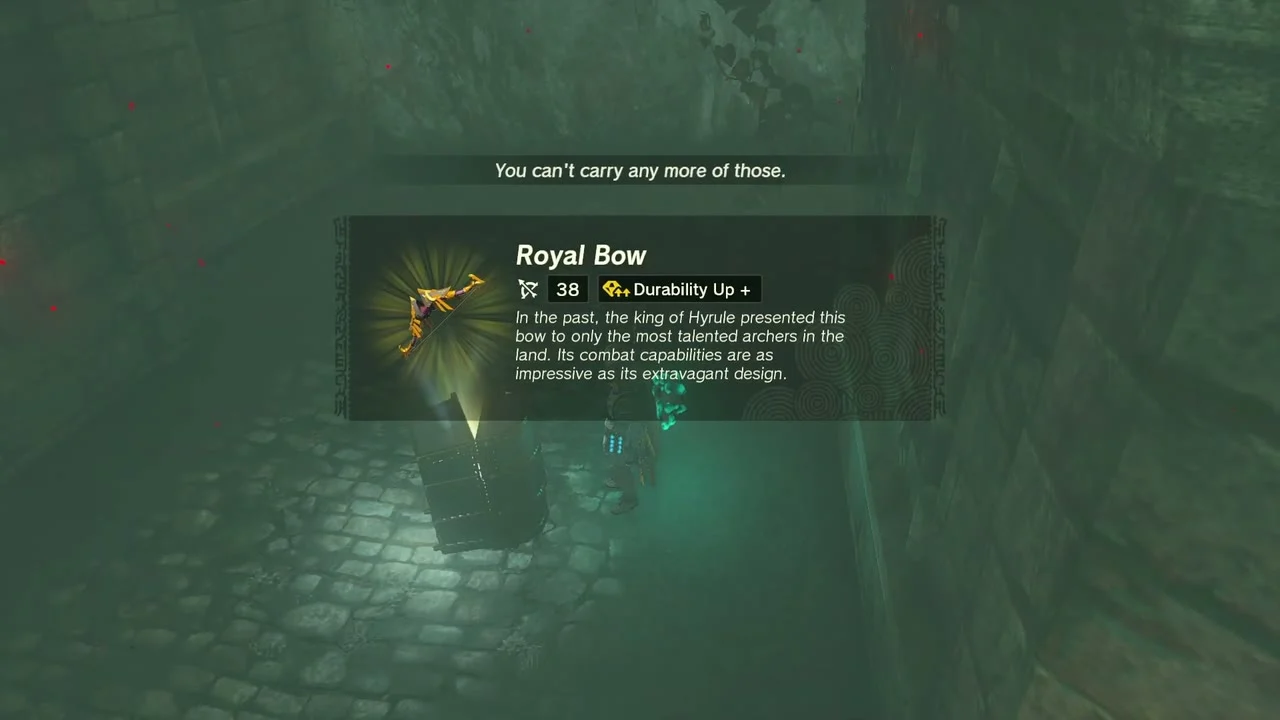
Take the Royal Shield
A corridor chest at X -345, Y 965, height 259 holds a Royal Shield.


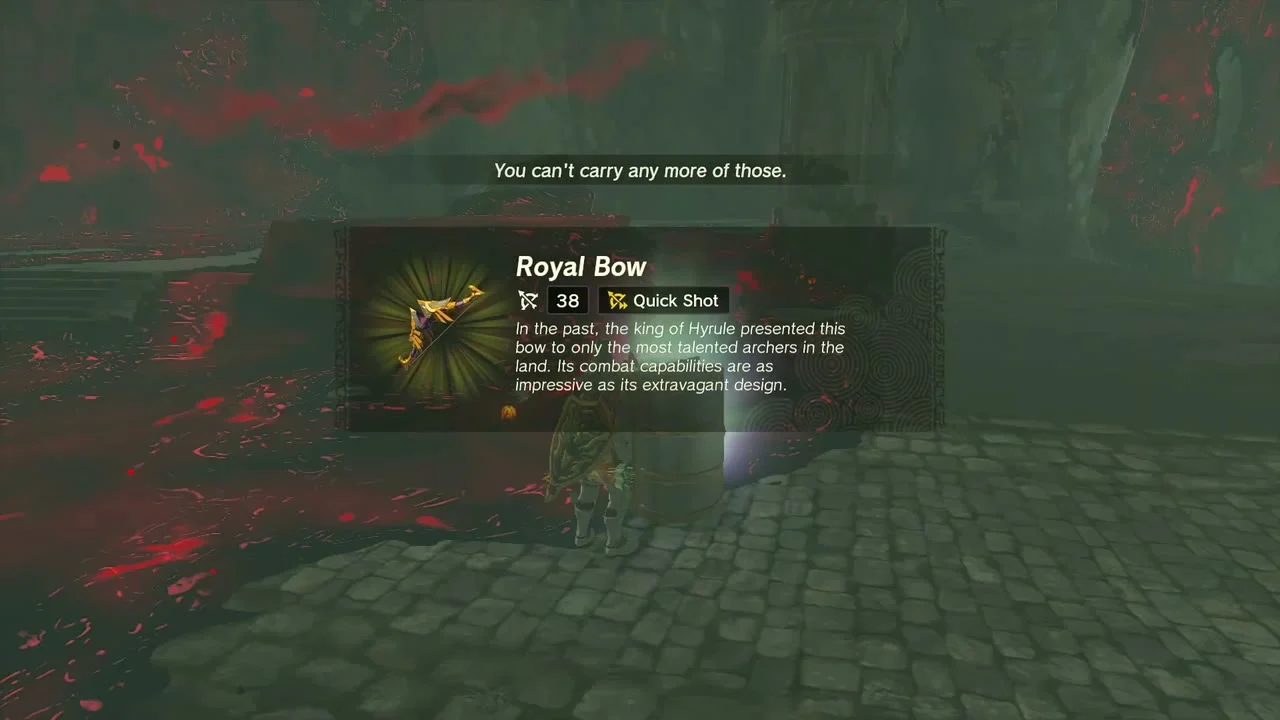
Take a second Royal Bow
A little further south, near X -327, Y 899, a chest in the dark hallway holds another Royal Bow.

Princess Zelda’s Room and the upper floors
Collect the Royal Guard’s Sword
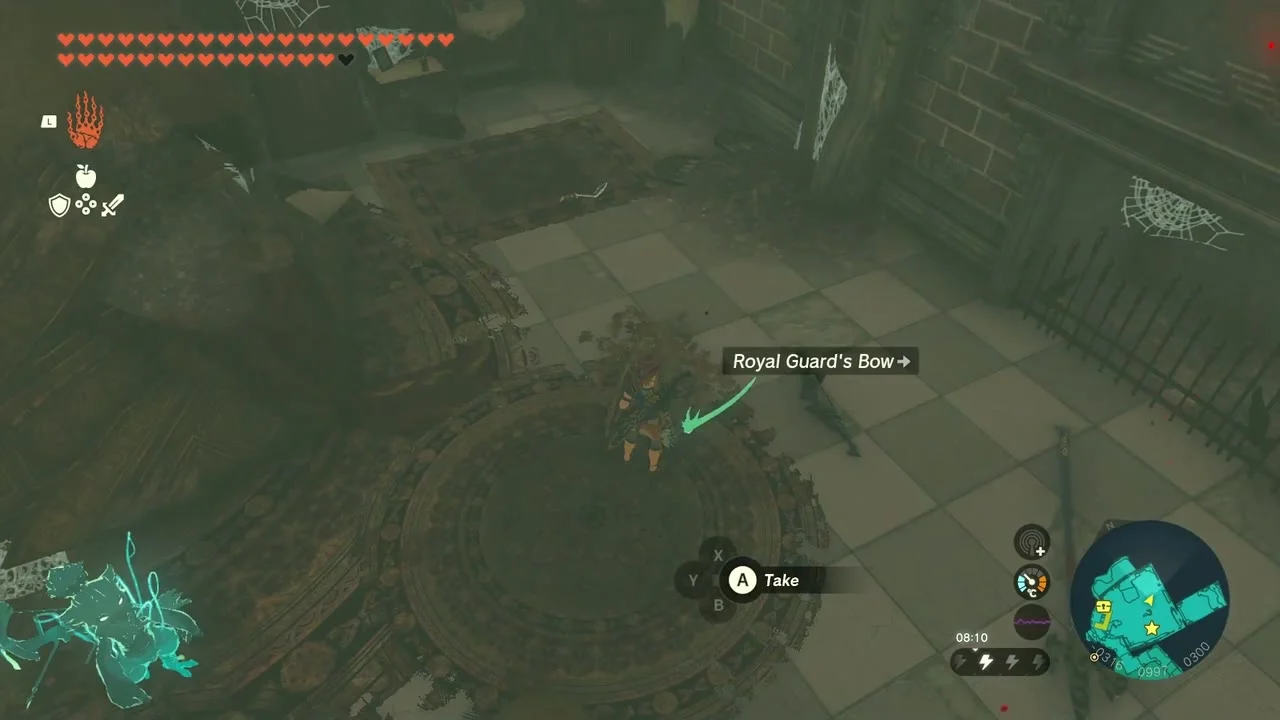
In the cluttered room at X -385, Y 996, height 314, a chest holds a Royal Guard’s Sword (attack 22).


Get the ledge Korok
Step out onto the stone ledge outside the tower for a Korok seed.
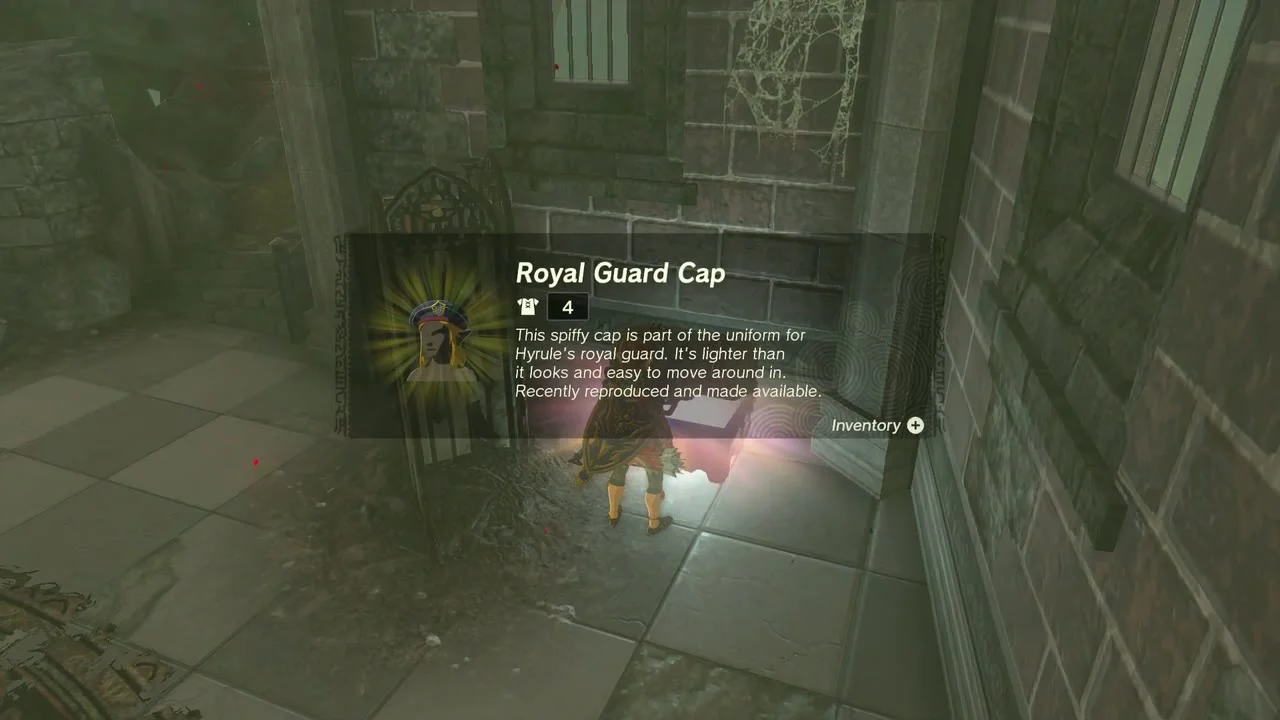
Take the Royal Guard Cap
In the checkered-floor room near X -316, Y 997, height 300, a chest holds the Royal Guard Cap, the helmet of the Royal Guard set.
Shoot the balloon Korok
Near X -359, Y 900, height 284, pop the balloon floating off the ledge with an arrow to receive a Korok seed.


Open the Royal Guard’s Claymore chest
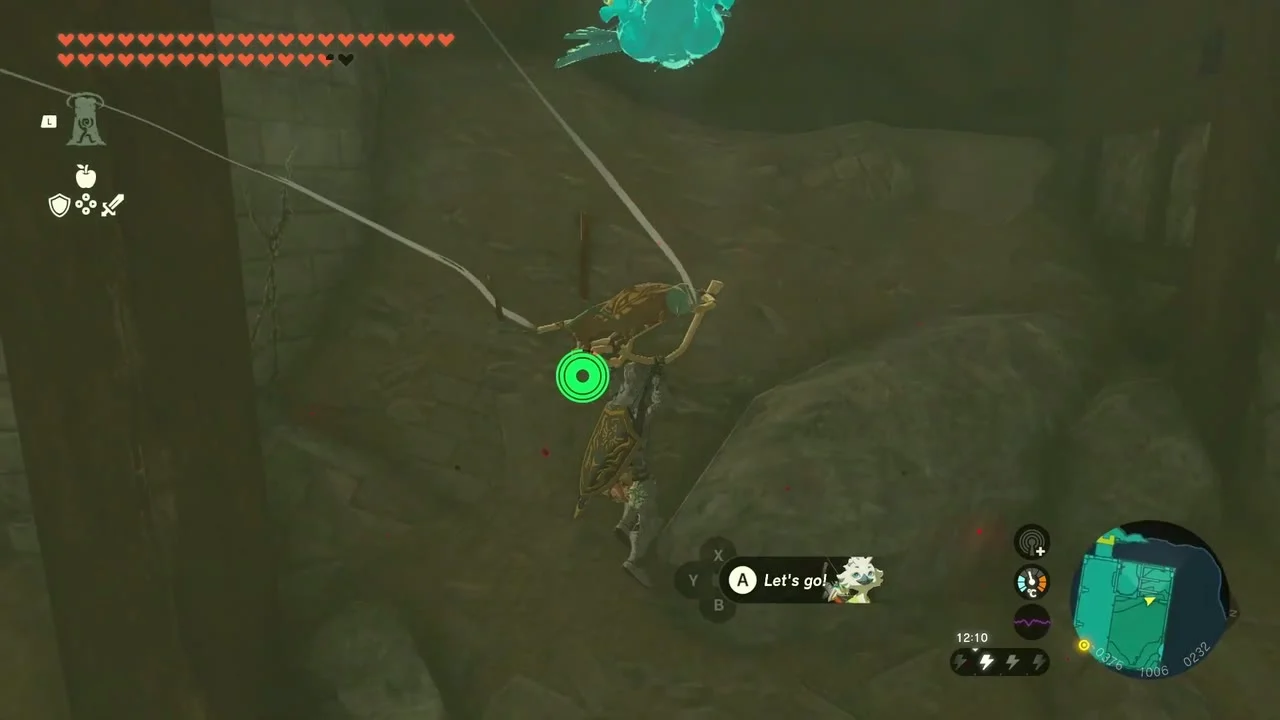
On the scaffold at X -386, Y 1007, height 235, a chest holds a Royal Guard’s Claymore.

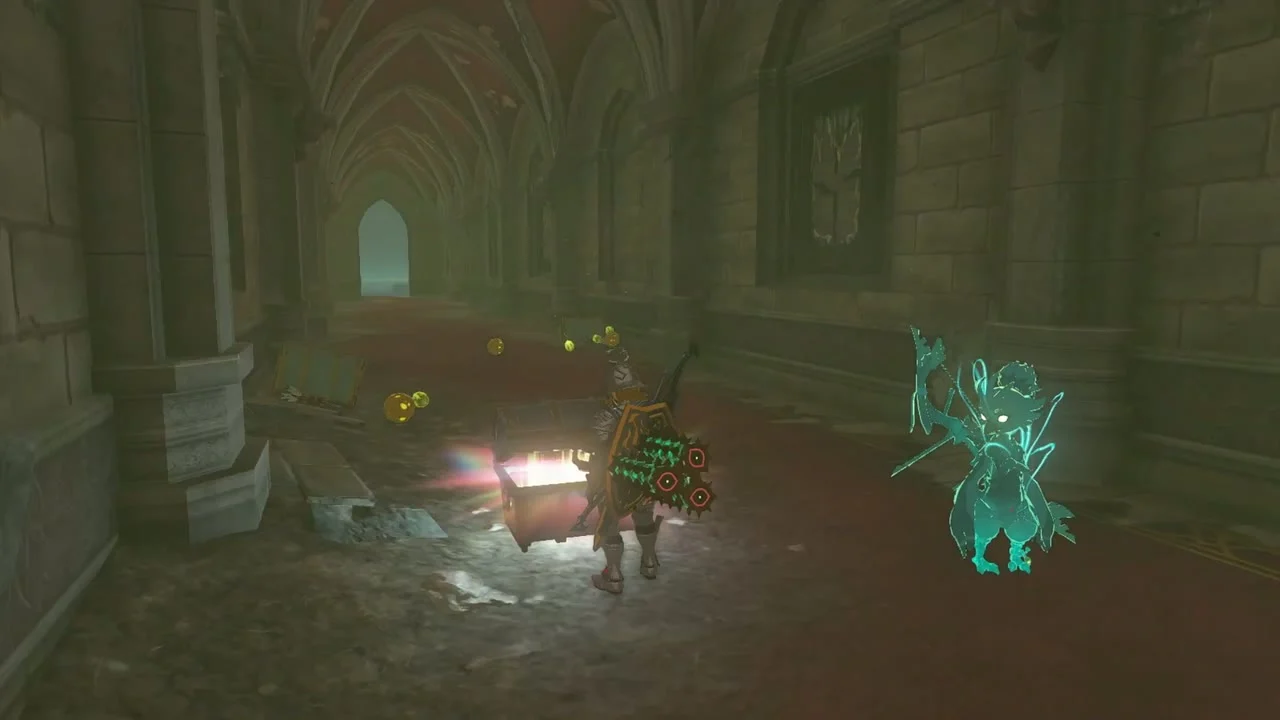
Loot the triple chest hall
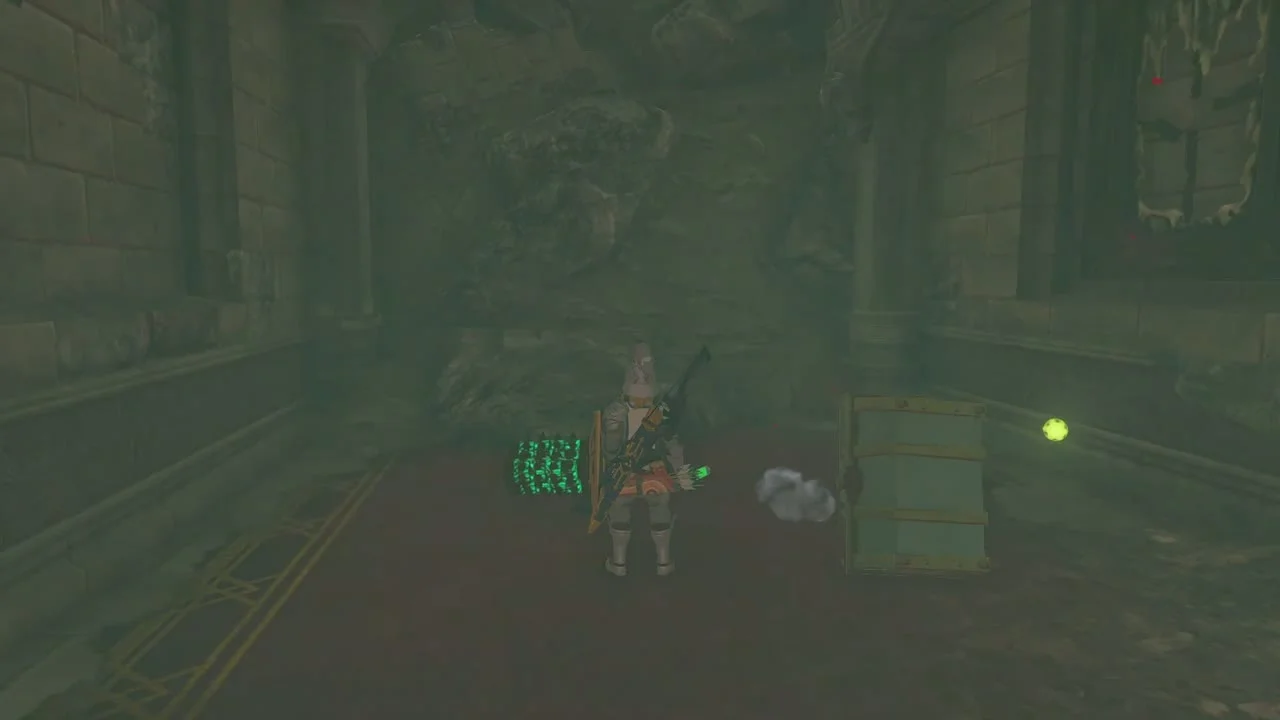
In the long red-carpeted hall, three chests hold Royal Bow x2 and a Royal Shield.
Upper walls to the Sanctum
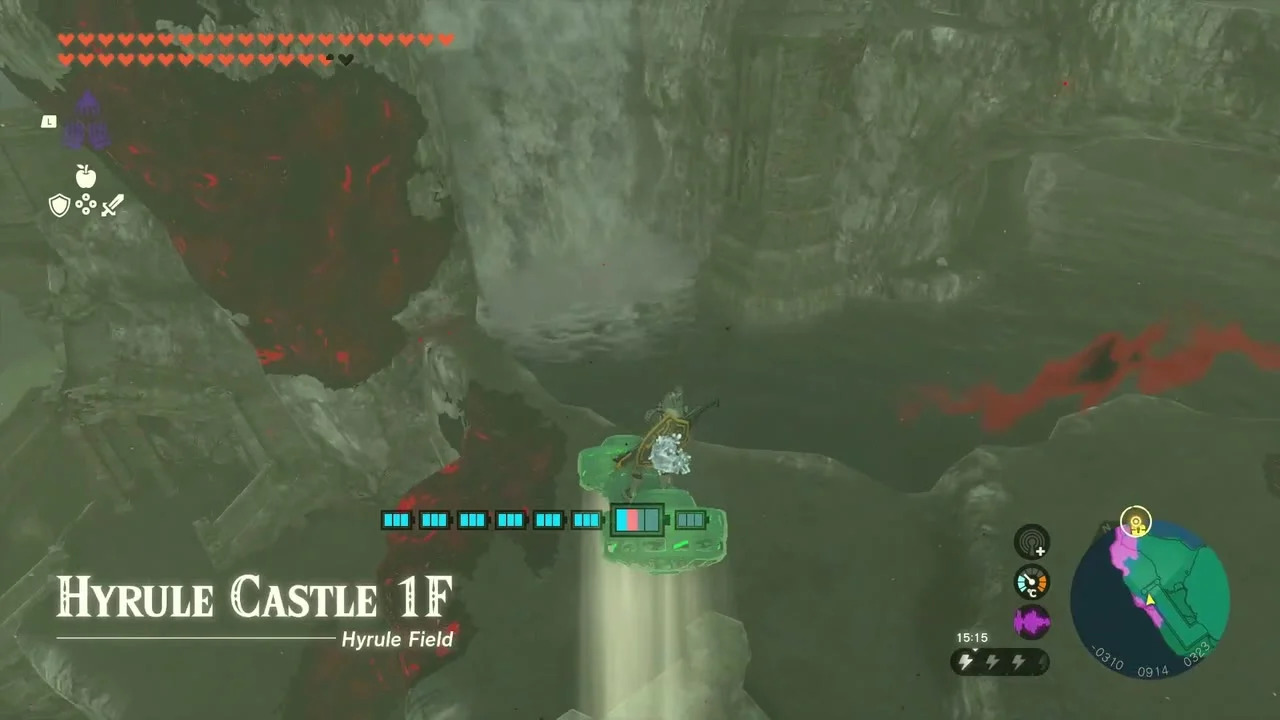
Open the ledge Royal Halberd chest
On the exposed ledge at X -310, Y 914, height 323, a chest holds a Royal Halberd.

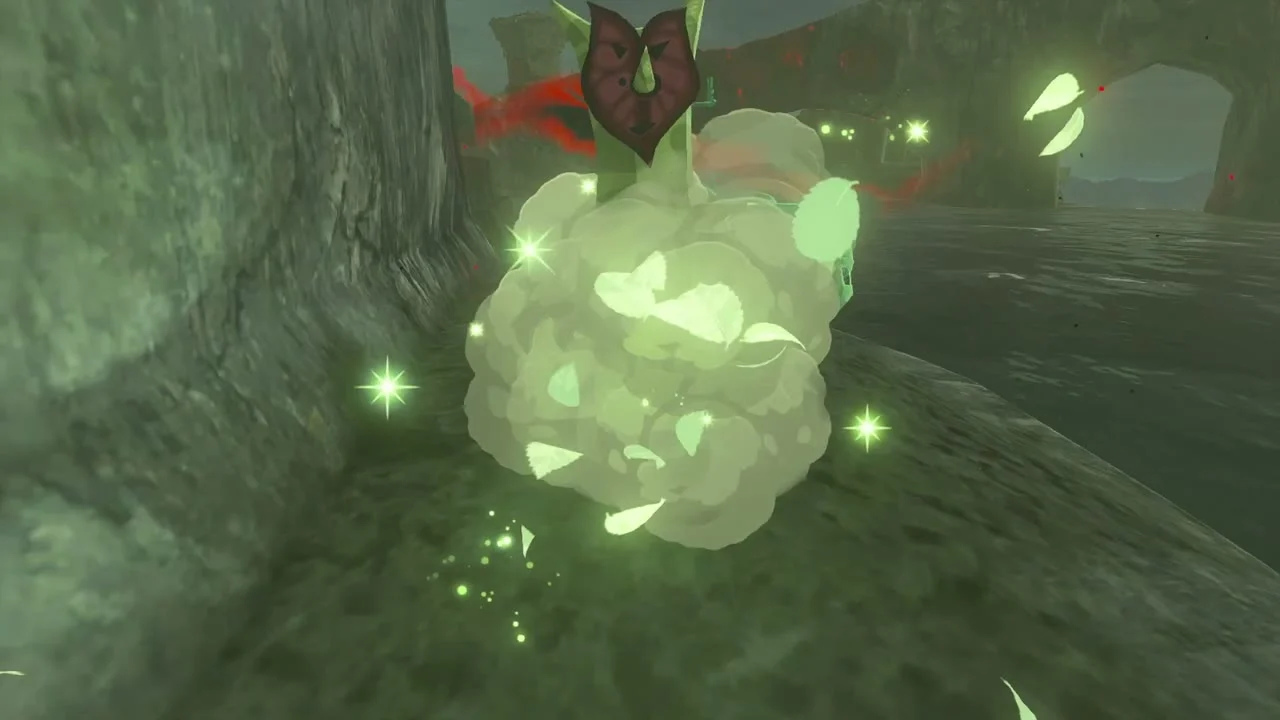
Reach the sparkling Korok
A Korok seed hides on the next rampart; step on the glowing ground to find it.
Grab the Red Rupee
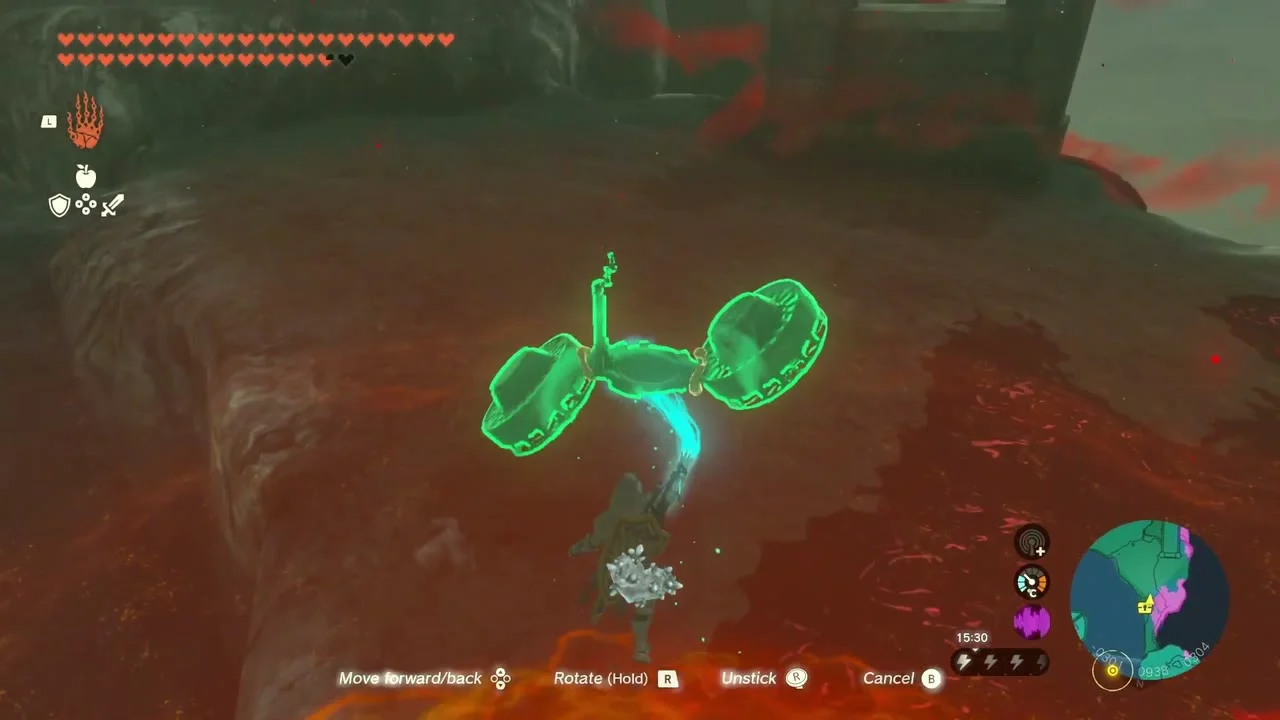
At about X -273, Y 979, height 361, a chest on a ledge holds a Red Rupee (20 rupees).

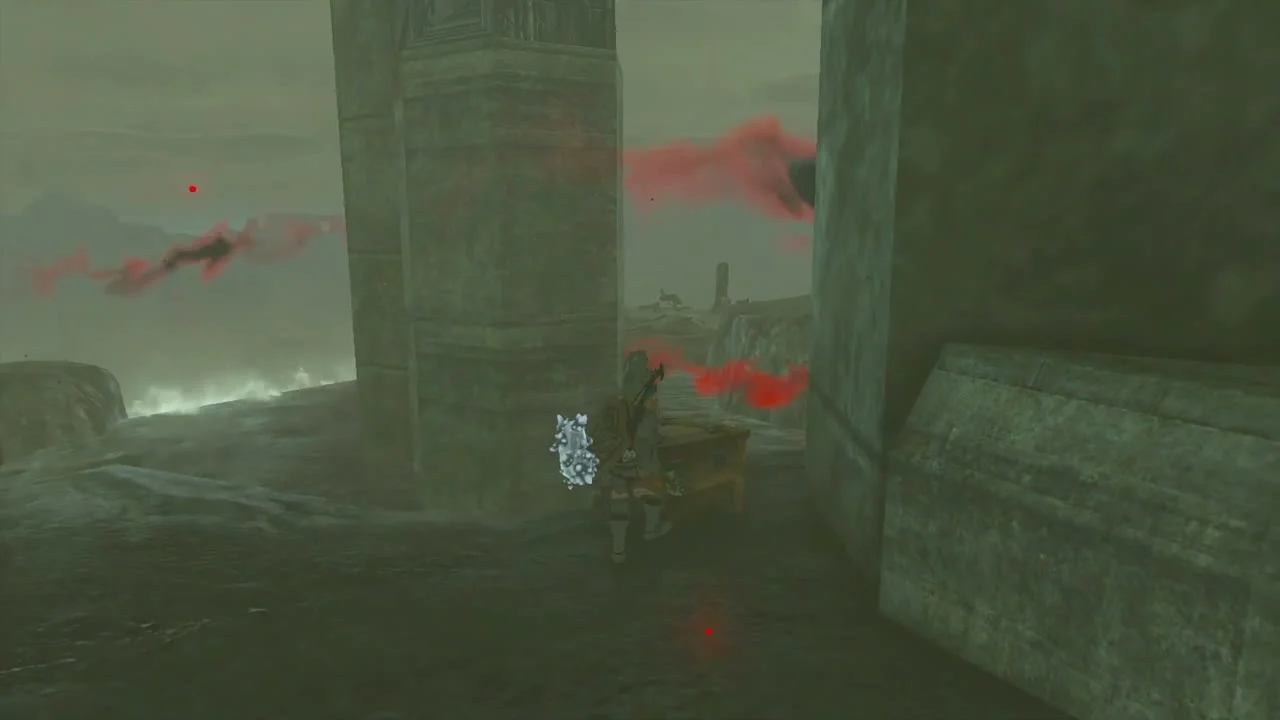
Reach the tower-top Korok
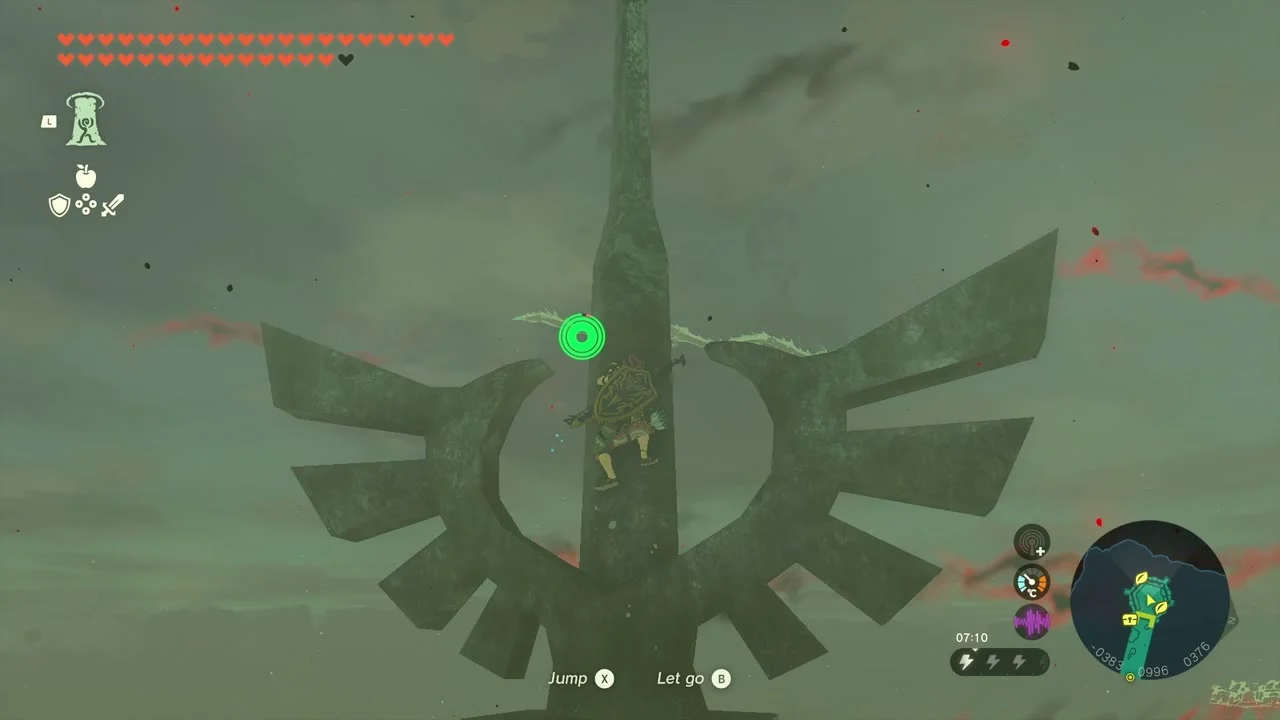
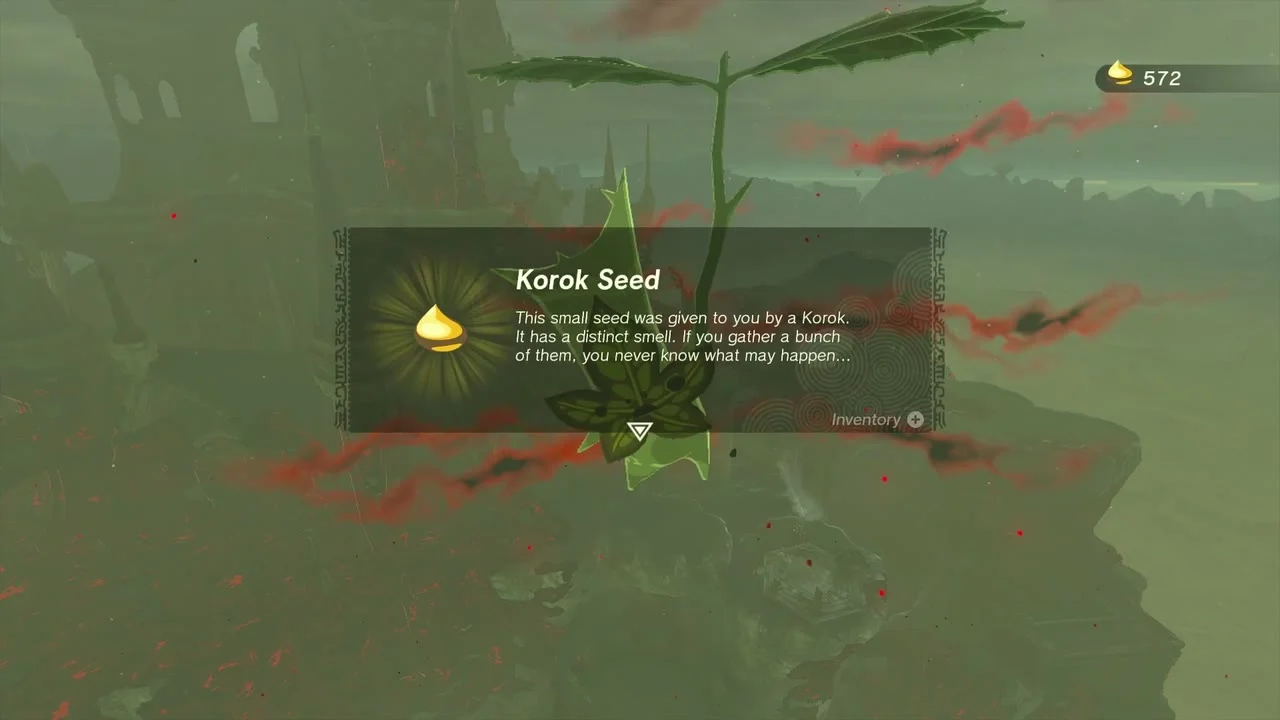
Ride a fan to the spire at about X -228, Y 1063; the Korok at the top gives a Korok seed.

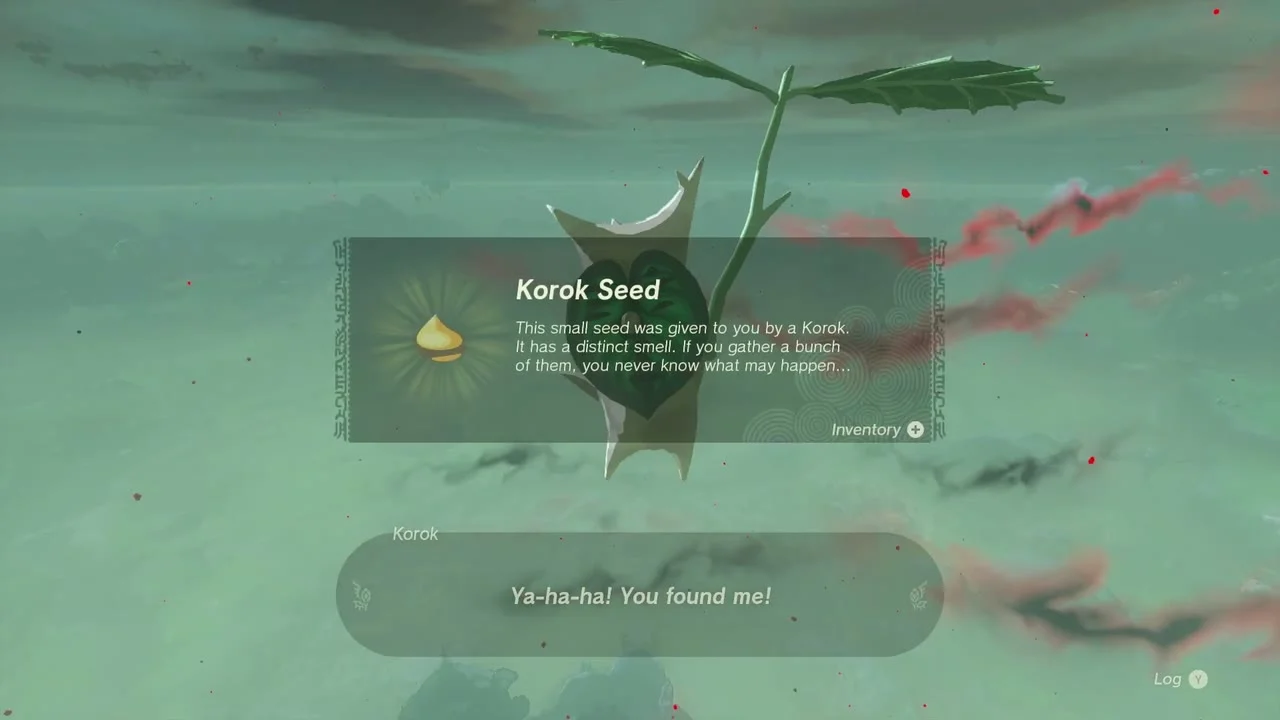
Open the Royal Guard’s Spear chest
A chest in the open tower room holds a Royal Guard’s Spear (attack 15) and a Sapphire.
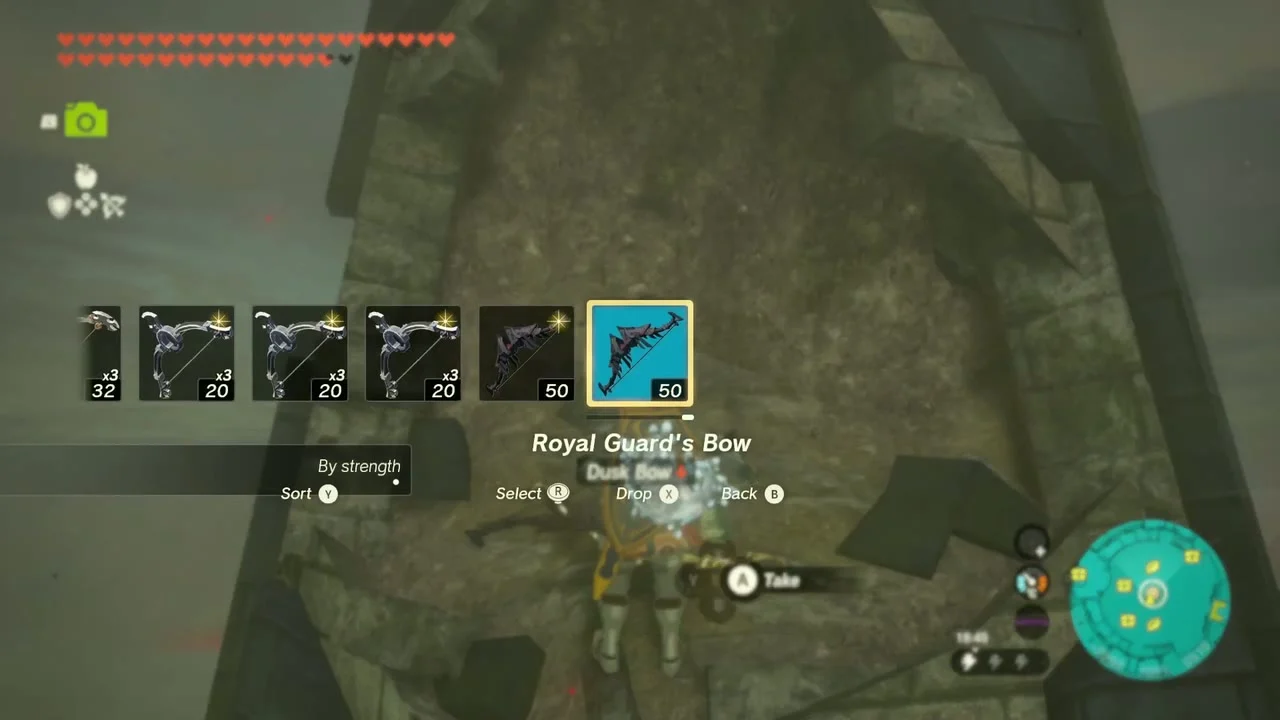

Find the final Gold Rupee
Just before the Sanctum, at about X -252, Y 1075, height 380, a chest on a chained platform holds a Gold Rupee.
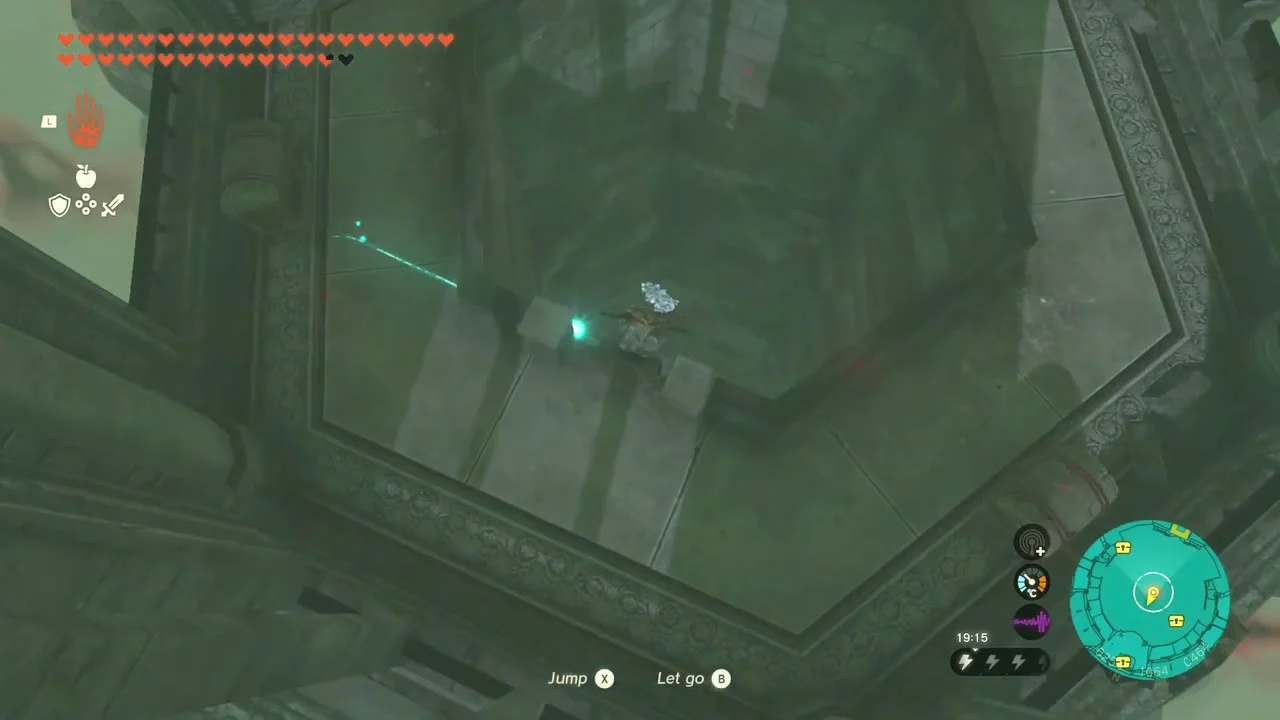

Phantom Ganon
Defeat Phantom Ganon in the Sanctum
A cutscene in the Sanctum (X -255, Y 1046, height 338) reveals that the ‘Zelda’ you have been chasing is a puppet of Ganondorf, who then raises Phantom Ganon. The fight has two phases. In the first, five Phantom Ganon appear and you fight them one at a time: dodge at the last moment for a Flurry Rush and counter, and call your Sages’ abilities to distract the others. In the second, four copies return and one of them stands still to spread Gloom across the floor; shoot it in the head with an arrow to interrupt it, then go back to the others. They change weapons from sword to club to spear as they weaken, so a spear helps against the last ones. Ranged attacks and headshots with arrows are the safest way to stagger them.

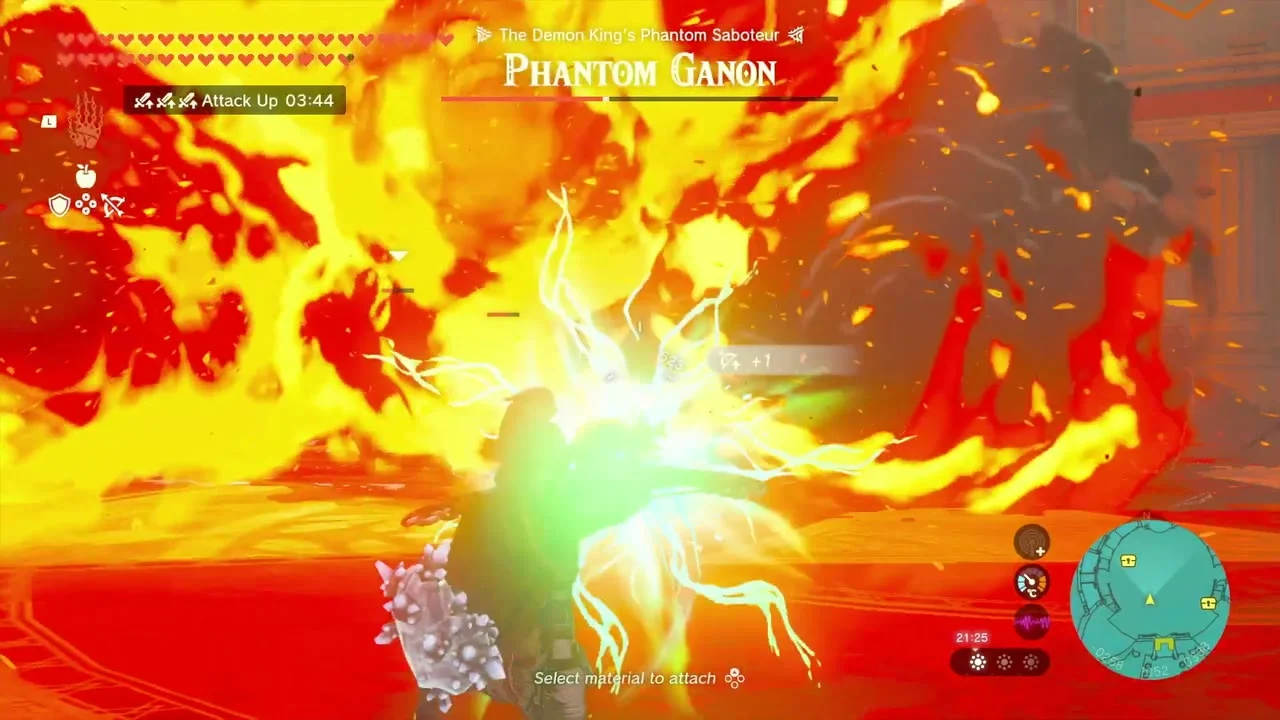
Pick up the Demon King’s Bow
Defeating the last Phantom Ganon rewards you with a Heart Container, and a cutscene of your friends rescuing you ends the chapter.
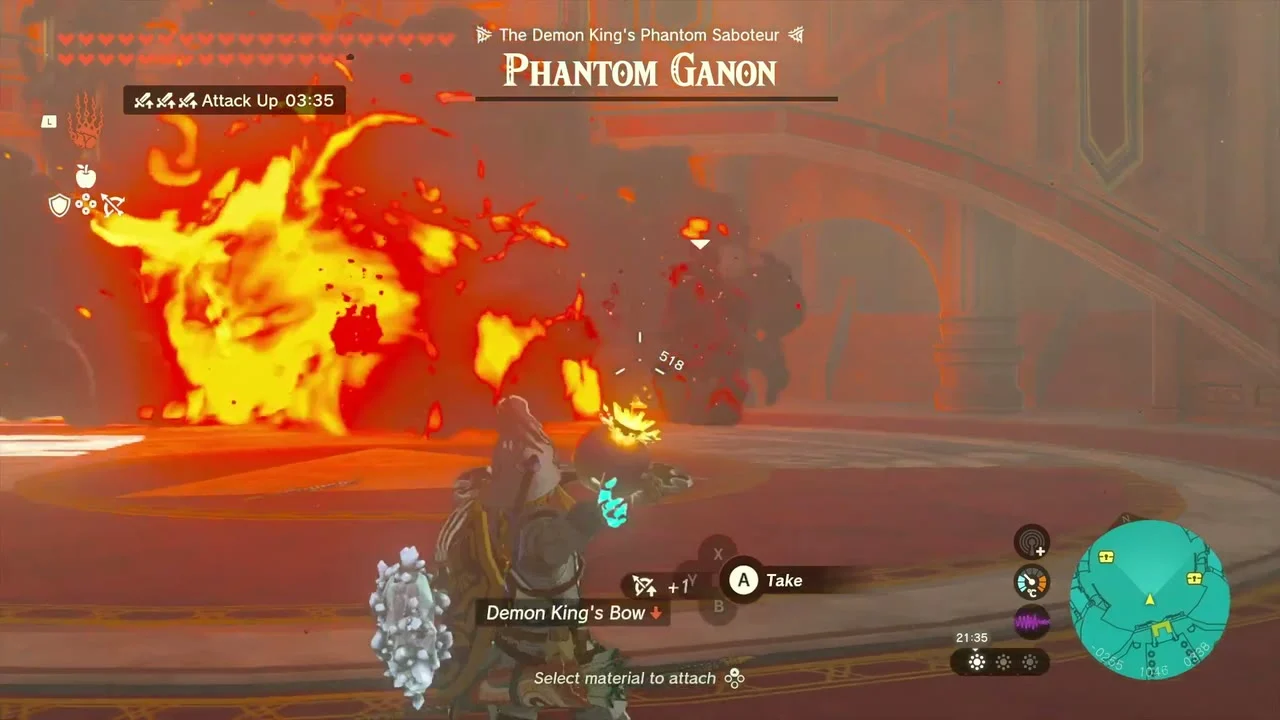

After the fight
Return to Purah
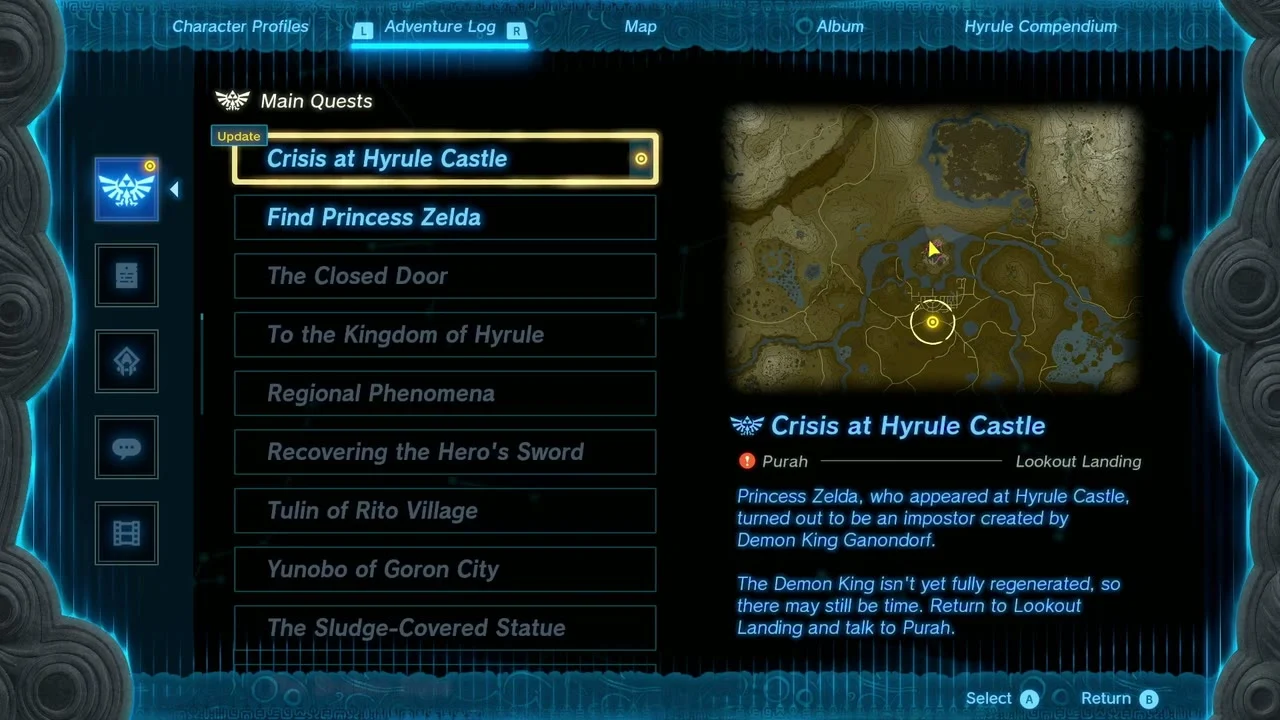
The quest updates: Crisis at Hyrule Castle now sends you to talk to Purah at Lookout Landing, who starts Find the Fifth Sage.
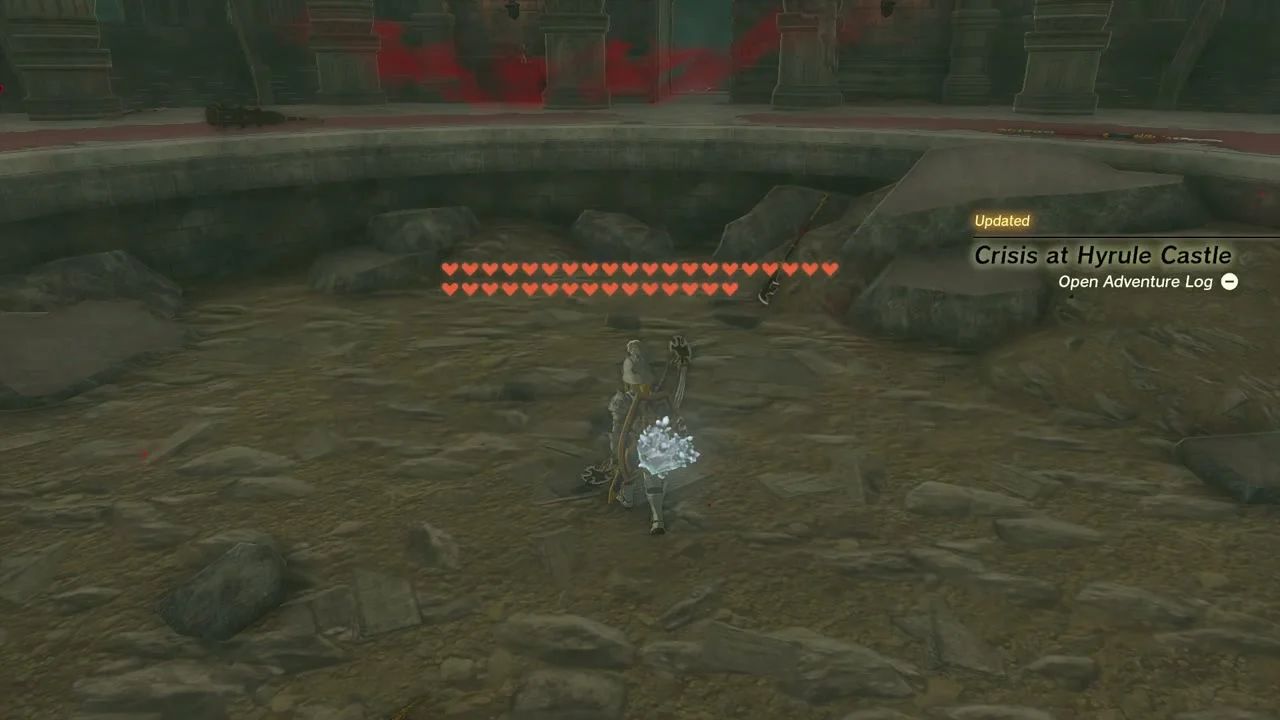
Collect Champion’s Leathers
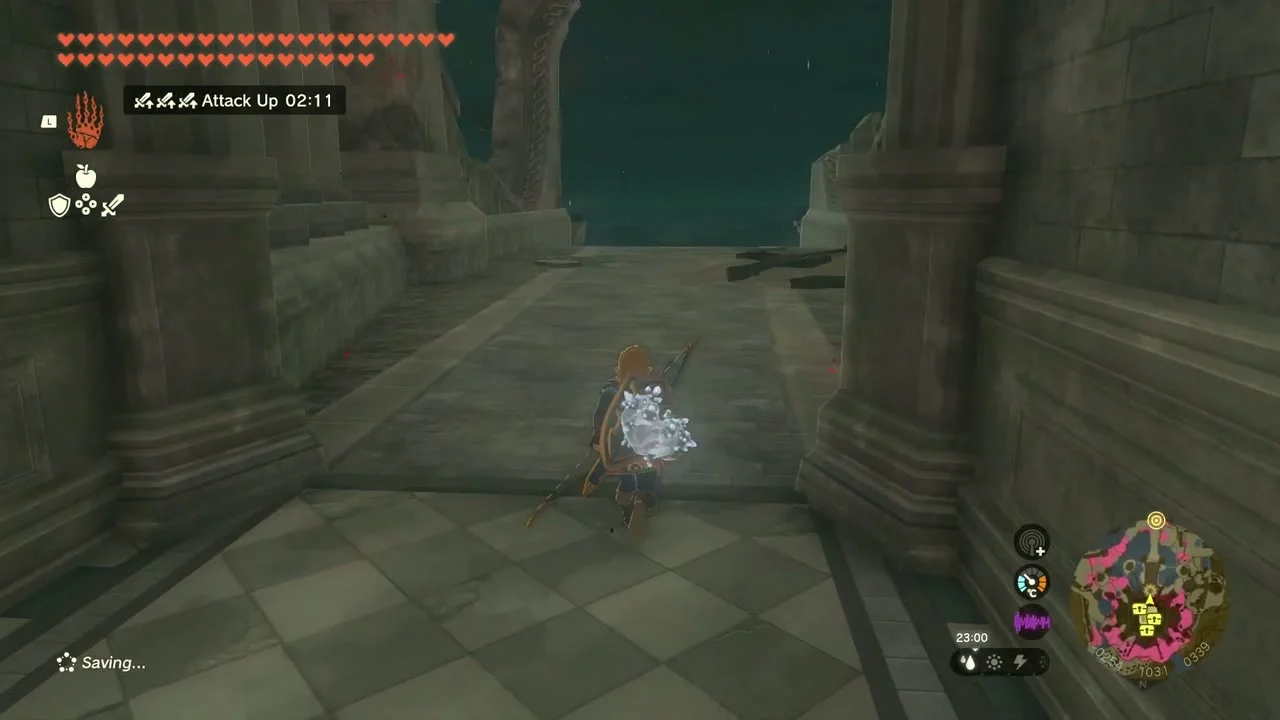
The Champion’s Leathers are hidden in the castle’s throne room, near the Sanctum at about X -254, Y 1031. The hint from Zelda’s diary in the Hateno Village well is “the torches are the key”: light both torches beside the throne (Fire Fruit on an arrow works) and the statue behind the throne slides aside to reveal a chest holding the Champion’s Leathers, completing A New Champion’s Tunic. They let you fire Master Sword beams at any health.
Other chests worth the detour
- Royal Guard Uniform: in a chest on a broken mezzanine in the northwest corner of the Guards’ Chamber beneath the First Gatehouse (doorway near X -321, Y 780). Ascend or build a bridge across the gap to reach it. You can also buy the uniform in Hateno Village after The Mayoral Election.
- Hylian Shield: in the docks beneath the castle, reached through the moat. Climb the stairs (an optional Gloom Hands fight sits on them; you can run past), light the large unlit brazier with a fire source and a chest rises on a platform.
- Shock Like corridor: the chests on the lower level after the Shock Likes hold two Royal Bows and a Royal Shield (one guide lists a Knight’s Shield instead of a bow).
- Royal Guard’s Claymore and Bow: a Royal Guard’s Claymore waits in a corridor after the fire-breathing monsters, and a Royal Guard’s Bow after the single large enemy.
Korok seeds around the castle
Most seeds are on the exterior towers and walls. The map data lists these (X, Y, height):
| Puzzle | Coordinates |
|---|---|
| Pop the hidden balloon (flagpole) | -83, 906, 319 |
| Complete the cube puzzle | -52, 971, 277 |
| Shoot the balloon | -360, 885, 278 |
| Follow the flower | -426, 890, 117 |
| Lift the rock | -254, 943, 305 |
| Examine the sparkling spot | -381, 995, 392 |
| Pop the hidden balloon | -394, 998, 321 |
| Examine the sparkling spot (spire top) | -254, 1058, 562 |
| Ring the bell with Ultrahand (central tower) | -254, 1061, 469 |
| Dive into the ring | -297, 1119, 13 |
| Shoot the balloon | -438, 1115, 26 |
| Glide to the goal stump | -282, 1125, 77 |
| Break the acorn pot | -124, 1192, 36 |
Collectibles in this chapter
| Collectible | Count | Where |
|---|---|---|
| Chests | see the lists above | Royal Halberd (x2), Royal Claymore (x3), Royal Bow (x4), Royal Shield (x2), Royal Guard’s Sword/Claymore/Spear, Royal Guard Cap, Royal Guard Boots, Gold Rupee (x2), Red Rupee, Arrow x5, Shard of Dinraal’s Spike, Sapphire, Champion’s Leathers |
| Korok seeds | 13 by map data | Towers, walls and moat; the table above lists each one |
| Shrine | 1 | Serutabomac Shrine (Magic Rod chest, Light of Blessing) |
| Boss | 1 | Phantom Ganon (Heart Container) |
