





















Tears of the Kingdom 100% Completion Walkthrough43 chapters
Great Sky Island
- Great Sky Island4 shrines, 4 caves and Bubbul Gems, 17 Korok seeds
Hyrule Field and Hyrule Castle
- Lookout LandingParaglider, Crisis at Hyrule Castle, Jiosin and Kyononis shrines, 2 caves, 3 wells
- Hyrule FieldSusuyai and Ishodag shrines, the Hyrule Field Chasm, 2 caves, 13 Koroks
- Hyrule Castle Town RuinsSepapa, Yamiyo and Tukarok shrines, 2 caves, 4 wells, Koroks, chests and Battle Taluses in route order
- Central Hyrule Depthslight all 7 Lightroots, loot Daphnes and Gustaf Canyon Mines, find the Miner's Top
- Rest of Hyrule CastleRoyal Hidden Passage loot, 8 castle chests, Phantom Ganon, Energy Wells
- South Hyrule FieldShrines, Koroks & the Great Plateau
- South Hyrule Field DepthsGreat Abandoned Central Mine, Master Kohga, Autobuild, Majora's Mask
Tabantha and Hyrule Ridge
- Tabantha FrontierNew Serenne Stable, Hestu, Courage Island and the Glide Shirt, 3 shrines, 2 Korok seeds, Lindor's Brow Cave
- Forgotten TempleImpa and the Geoglyphs, Dragon's Tears, Kiuyoyou and Mayausiy shrines, Yiga Maritta Branch, 9 Koroks
- Tanagar Canyon & Hyrule RidgeRunakit and Iun-orok shrines, 2 caves, 12 Koroks, 20 chests, 8 minibosses and Dragon's Tear 6
- Thundra Plateau & Tabantha Bridgesolve the noon shadow puzzle, Tabantha Bridge Stable, Makurukis Shrine, 19 Korok seeds, 9 chests, 3 minibosses
- Lindor's Brow DepthsLightroots; Two Yiga camps (Bomb Bouquet, Flamethrower Balloon)
- Hyrule Ridge and Tabantha FrontierIkatak, Oromuwak, Ganos and Ga-ahisas shrines, 4 caves, a well, 26 Koroks and 3 minibosses
Hebra
- Rito VillageGatakis and Ijo-o shrines, Sikatag Lightroot, 9 Korok seeds, 14 chests
- Hebra MountainsShrines, Wind Temple & Koroks; Raspro Pass, Biron Snowshelf & Royal Hidden Passage
- Corvash Canyon MineTrousers of the Hero, Floodlights schematic, Sea-Breeze Boomerang, four Lightroots, Colgera
- Raspro Pass DepthsNupisoyuat and Sasag Lightroots, Colgera, Cap of Time, Tunic of the Wind, two Yiga camps and 13 minibosses
- Tabantha TundraTaninoud, Orochium, Oshozan-u, Mayaotaki, Nouda and Tenbez shrines, three Lightroots, caves and Bubbul Gems
- Pikida Stonegrove DepthsEvil Spirit Greaves, Ikatoayam, Muihcoro and Sikatag Lightroots, 3 Yiga schematics, Frox fights
Great Hyrule Forest
- Great Hyrule Forest7 shrines, 8 Lightroots, 2 caves, 2 wells, Korok Mask, Glide Tights
Eldin
- EldinEldin Canyon, Shrines, Caves & Goron City
- Eldin Canyon Depths10 Lightroots, Zant's Helmet, Trousers of the Wild, Biggoron's Sword, 3 Yiga schematics and Eldin's sky chests
Faron
- FaronHighland Stable, Lake Hylia & Popla Foothills
Necluda
- Kakariko VillageMakasura Shrine, Kakariko Village Well, 2 caves, Ring Ruins chests, 10 Korok seeds and village quests
- West Necluda and Lanayru WetlandsShrines, Koroks & Caves; Jonsau, Kurakat
- Hateno VillageZanmik and Mayahisik shrines, Shield of the Mind's Eye and Phrenic Bow wells, 7 Koroks
- East NecludaRabella Wetlands, Sifumim Shrine, Lurelin Village, 21 Korok seeds
- East Necluda DepthsKumamayn Shrine, 4 Lightroots, Midna's Helmet, Cap of the Hero, Trousers of the Wind and 18 Depths chests
Lanayru
- Lanayru Great SpringShrines, Koroks & Caves; Ralis Channel, 3 shrines, 8 caves
- Zora's DomainMogawak and Ihen-a shrines, Ploymus cave, Pristine Sanctum, Zora Armor, Sidon of the Zora and Clues to the Sky
- Wellspring IslandAncient Zora Waterworks chests, Igoshon Shrine, 2 Korok seeds, Water Temple's four wheels and Mucktorok
- Mount LanayruShrines, Koroks & Light Rings; Jikais and Anedamimik shrines
Gerudo
- Gerudo DesertShrines, Caves & Koroks; West and South Sands
- Gerudo TownGerudo Shelter shops and quests, Valley of Silent Statues, Lightning Temple and Queen Gibdo, Chichim Shrine
- Gerudo Desert DepthsGranajh and Daval mines, three Master Kohga fights, Queen Gibdo, Mucktorok, Sheik's Mask and 37 chests
- Gerudo HighlandsSkyview Tower, Rotsumamu and Suariwak shrines, Mayasiar Shrine, Yiga hideout
Akkala
- AkkalaTarrey Town quests, 4 shrines, Hinox, Battle Talus
- Akkala Sky Islands and DepthsGikaku and Natak shrines, Old Maps, Lomei Depths Labyrinth, Mucktorok, 5 Lightroots and 19 chests
Finale and completion
- Ancient Tablets, Gleeoks and Armor Upgradesall 13 stone tablets with coordinates, Frost and King Gleeok, Obsidian Frox, Cotera upgrades and farming
- Hyrule CastleRoyal gear chests, Korok seeds, Serutabomac Shrine
- Thunderhead IslesCharged armor, Joku-usin and Joku-u Shrines, Dragonhead Island's relic
- 100% Completion: Armor Upgrades & Korok BonusHestu's Gift, Ancient Hero's Aspect, Great Fairy Cotera upgrade costs and materials, then Destroy Ganondorf
| Region | Tabantha Tundra and the Tabantha Frontier / Hebra Mountains snowfields around Pikida Stonegrove Skyview Tower, Snowfield Stable and the North Lomei Labyrinth, with the East Hebra and Hebra Mountains sky islands above and the Tabantha Frontier Depths below |
|---|---|
| Side quests and adventures | A Picture for Tabantha Bridge Stable, White Goats Gone Missing, Zelda’s Golden Horse, A Picture for Snowfield Stable, The Captured Tent, Who Finds the Haven?, Supply-Eyeing Fliers, The North Lomei Prophecy |
| Shrines | 6: Taninoud Shrine (Rauru’s Blessing), Orochium Shrine (Courage to Fall), Oshozan-u Shrine (Mallet Smash), Mayaotaki Shrine (Rauru’s Blessing), Nouda Shrine (Proving Grounds: Intermediate), Tenbez Shrine (Gravity and Velocity) |
| Lightroots | 3: Muihcoro, Aduon and U-nazohso (see all Lightroots) |
| Skyview Tower | Pikida Stonegrove Skyview Tower (see all towers) |
| Caves | 4: Pikida Stonegrove Northwest Cave, Mount Drena Foothill Cave, Hebra Headspring Cave, Kopeeki Drifts Cave (3 Bubbul Gems) |
| Well | Snowfield Stable Well |
| Korok seeds | 33 seeds collected along this route (see all Korok seeds) |
| Chests | 37 chests: 4 in the first sky run and cave, 4 on the north-western tundra, 3 around Oshozan-u, 12 in and around the North Lomei Labyrinth on the surface, 7 across the Hebra snowfields, and 7 in the labyrinth sky layer |
| Armor | Frostbite Trousers (Hebra Headspring Cave); Royal Bridle and Royal Saddle (Zelda’s Golden Horse) |
| Minibosses | Flame Gleeok, Frost Talus, Frost Gleeok, Phantom Ganon (labyrinth), Silver Lynel, Hinox |
This chapter covers the cold north-east of Hebra: the stable and sky route above Pikida Stonegrove, the snowfield around Snowfield Stable, and the whole North Lomei Labyrinth from its surface maze to the sky layer and the Depths below. Bring cold resistance, Zonai batteries and plenty of arrows. Coordinates are map units (X, Y, height); larger Y is further north.
Quick route
Start at Tabantha Bridge Stable: photograph the Ancient Columns for Dabi, find Chork’s white goats, and defeat the Flame Gleeok over the ruined columns.
Head north-east, melt the Frost Talus near Pikida Stonegrove, clear Pikida Stonegrove Northwest Cave and activate Pikida Stonegrove Skyview Tower. Launch to the East Hebra sky islands for two Koroks, a dispenser, an Old Map chest and Taninoud Shrine.
Land on the tundra and work east: Orochium Shrine, the Frost Gleeok, Snowfield Stable with its well, the golden horse and the tent quest, then Mount Drena Foothill Cave for a Bubbul Gem.
Take Oshozan-u Shrine, then the whole North Lomei Labyrinth with Mayaotaki Shrine. Finish the Hebra snowfields (Marauders of Hebra, Silver Lynel, Hebra Headspring Cave, Kopeeki Drifts Cave and Nouda Shrine), then climb to the labyrinth’s sky layer with Tenbez Shrine and drop to the Depths for three Lightroots.
Tabantha Bridge Stable and the Ancient Columns
The Tabantha Bridge Stable sits at about (-2928, 547). Two small jobs for Penn’s paper start here.
Photograph the Ancient Columns for Dabi
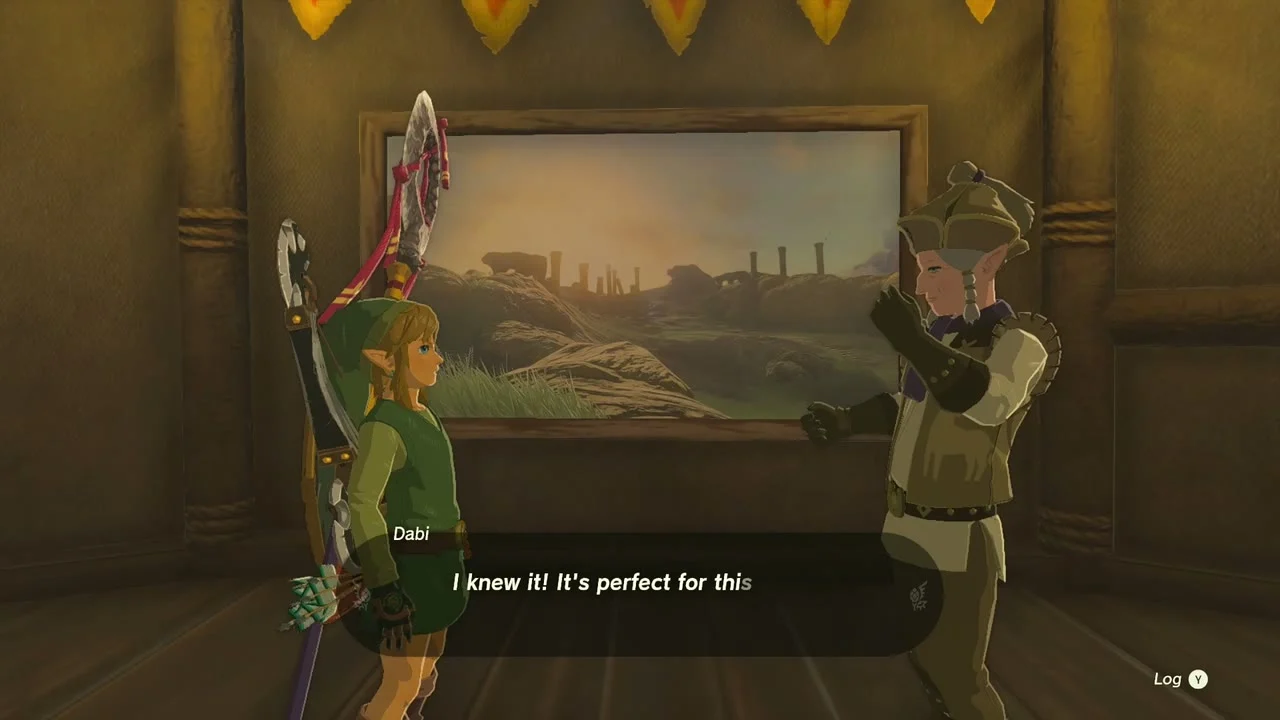
Quest: A Picture for Tabantha Bridge Stable. Talk to Dabi, the stable owner (quest page). Walk to the Ancient Columns north-west of the stable, open the Camera from the Purah Pad and take a picture of the ruined columns; the sunrise hour gives the best result. Bring the photo back and Dabi hangs it above his counter and pays you a Hasty Elixir.

Find the white goats
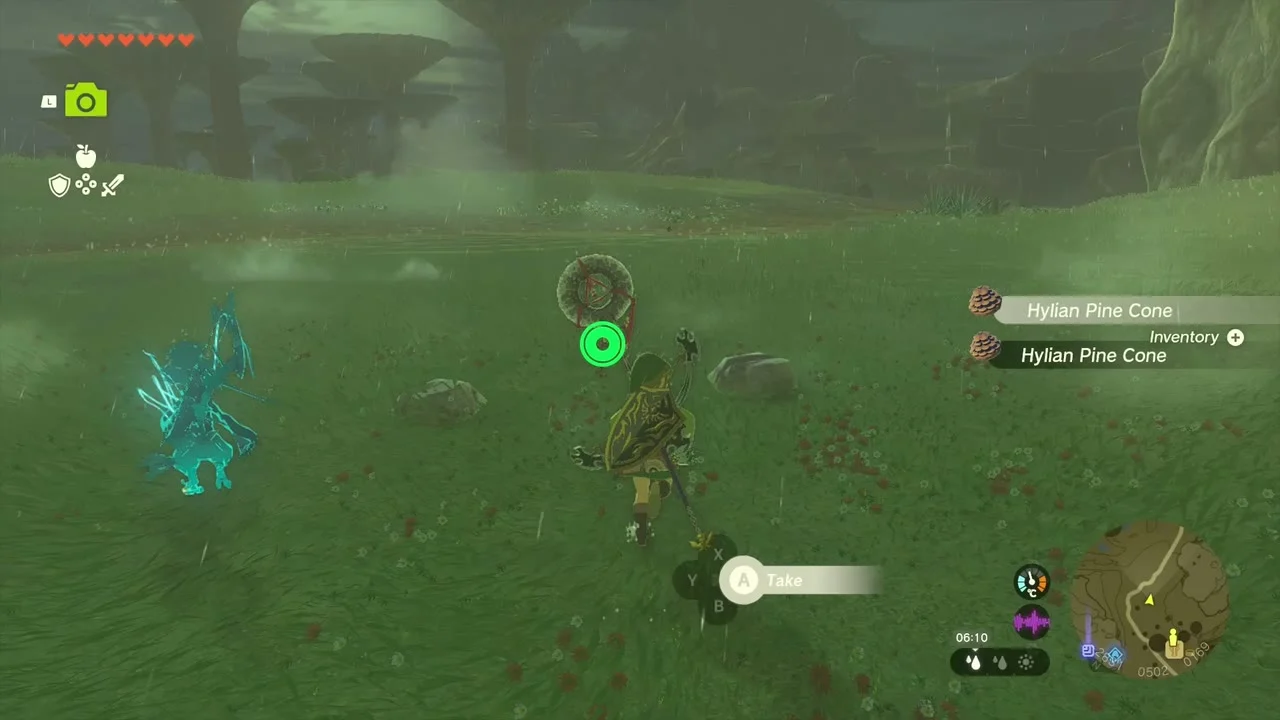
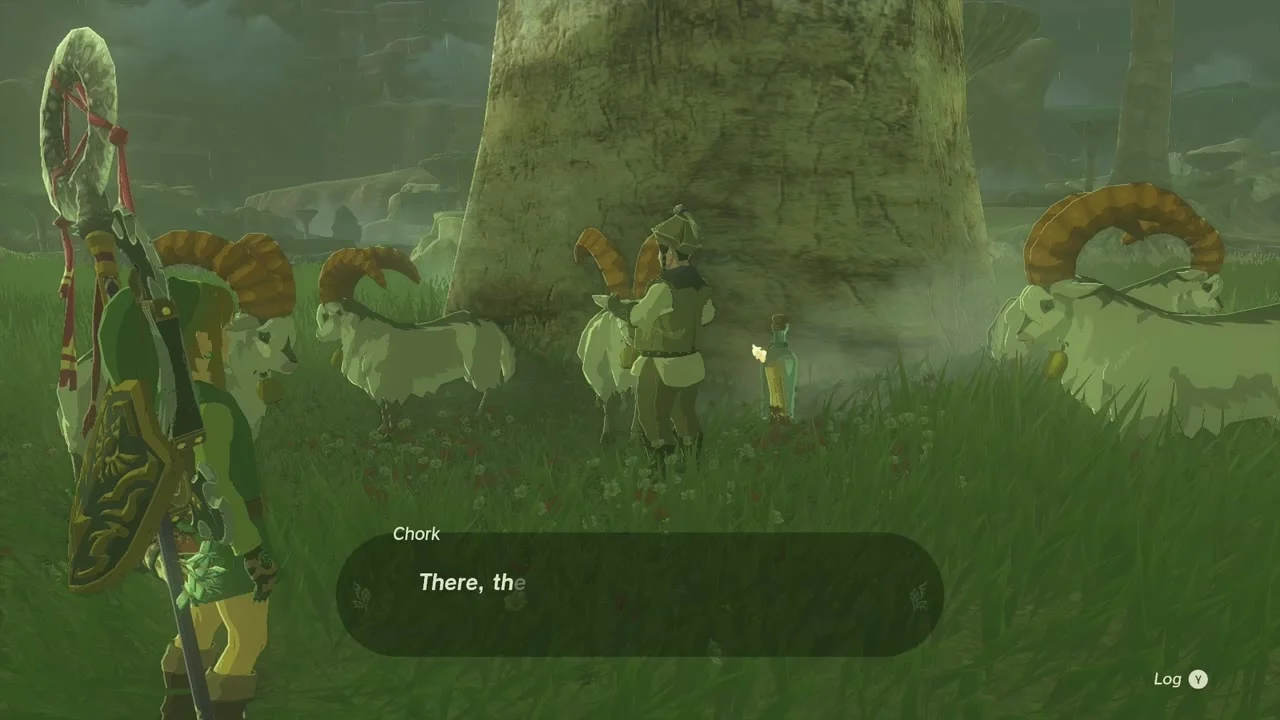
Quest: White Goats Gone Missing. Penn, outside the stable, sends you to Chork, who is standing under a big tree next to the stable at about (-2909, 523). Pick up the Hylian Pine Cones lying in the grass nearby, then follow the goats’ tracks round the tree and talk to Chork again. Report back to Penn for the quest reward.
Defeat the Flame Gleeok
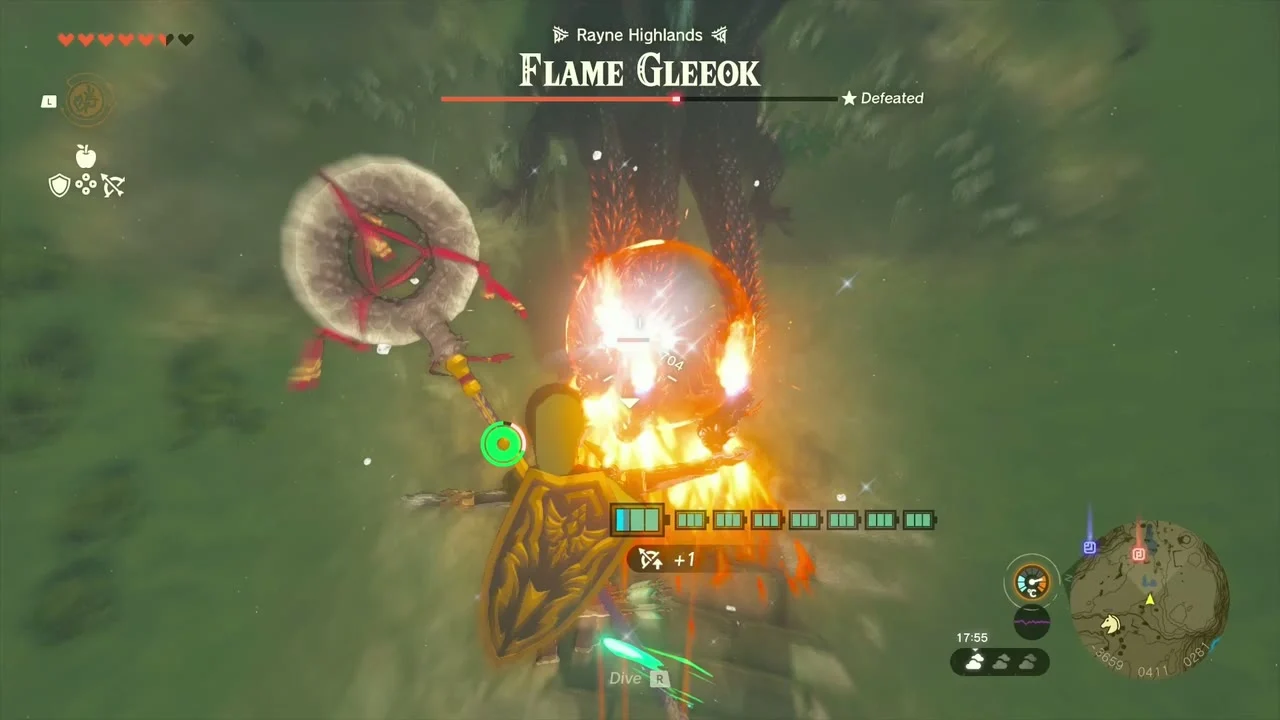
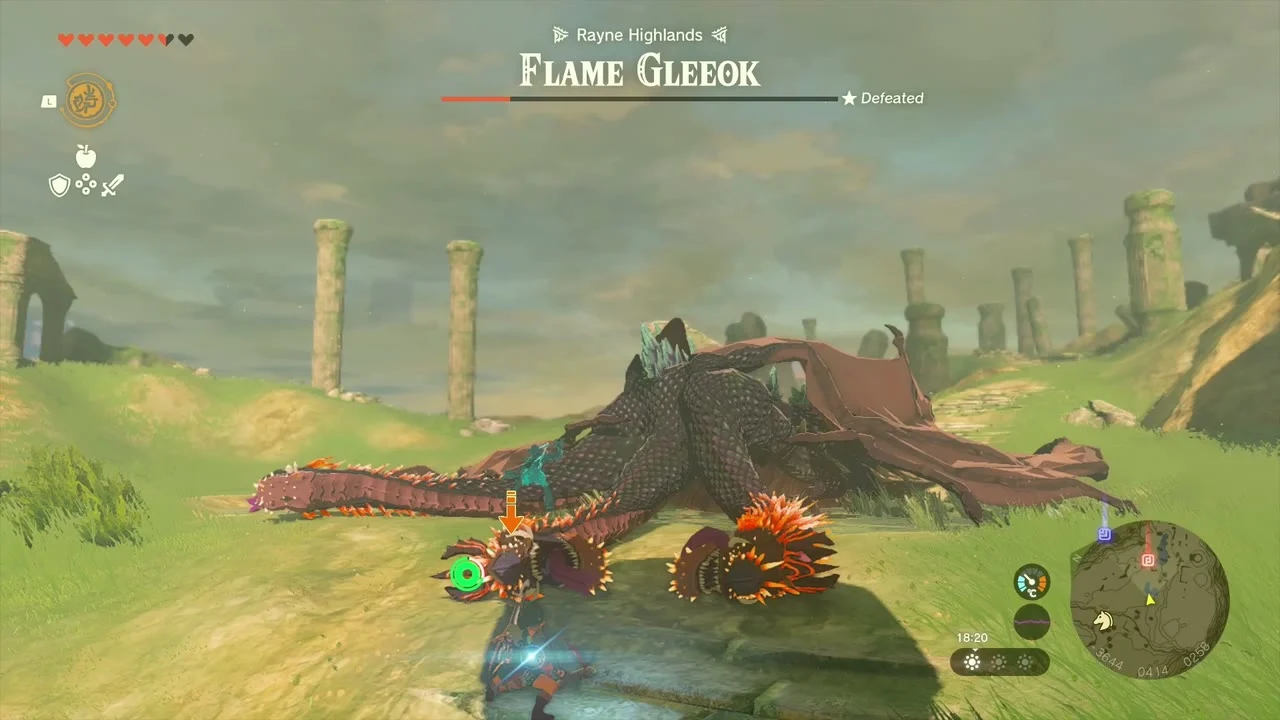
Miniboss: Flame Gleeok (Rayne Highlands). The Flame Gleeok circles the Ancient Columns around (-3644, 414). Shoot its three heads with fire-resistant arrows (Ice Fruit or Chuchu Jelly arrows work well) while keeping the columns between you and its fireballs; it drops Flame Gleeok horns, wing and fangs.
Frost Talus and Pikida Stonegrove Northwest Cave
Melt the Frost Talus
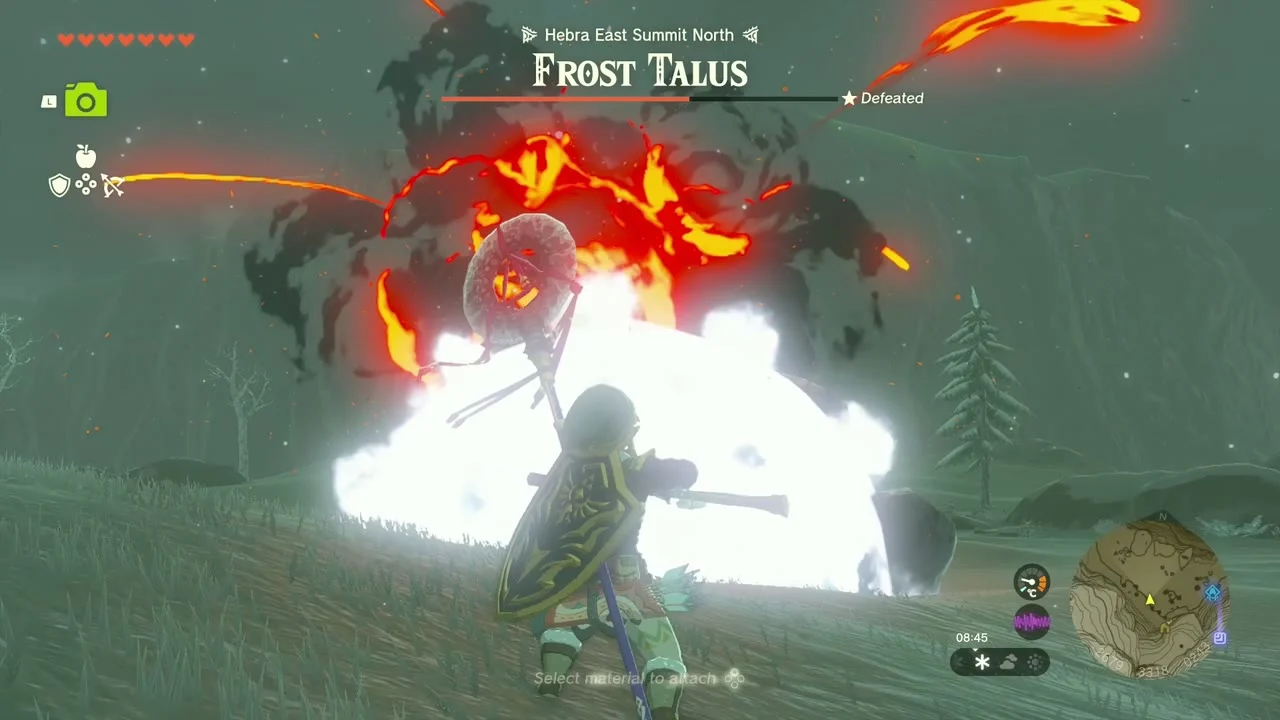
Miniboss: Frost Talus (Hebra East Summit North). This Frost Talus stands on the slopes around (-2669, 3327), a short walk from Sisuran Shrine. Burn off its ice armor with fire arrows or a Flame Emitter, then hit the ore deposit on its back with a Bomb Flower arrow. It drops ore and gems and can break your weapons, so bring spares.

Clear the Bokoblins inside the cave
Pikida Stonegrove Northwest Cave. The north-west entrance is at (-2642, 3268, 249) and the south-east one at (-2414, 3136, 372). A Bokoblin camp holds the chests: open the first for a Feathered Spear, then climb the wooden platform at the end for a Soldier’s-Spear Stick.


Pikida Stonegrove Skyview Tower
Climb the tower and launch
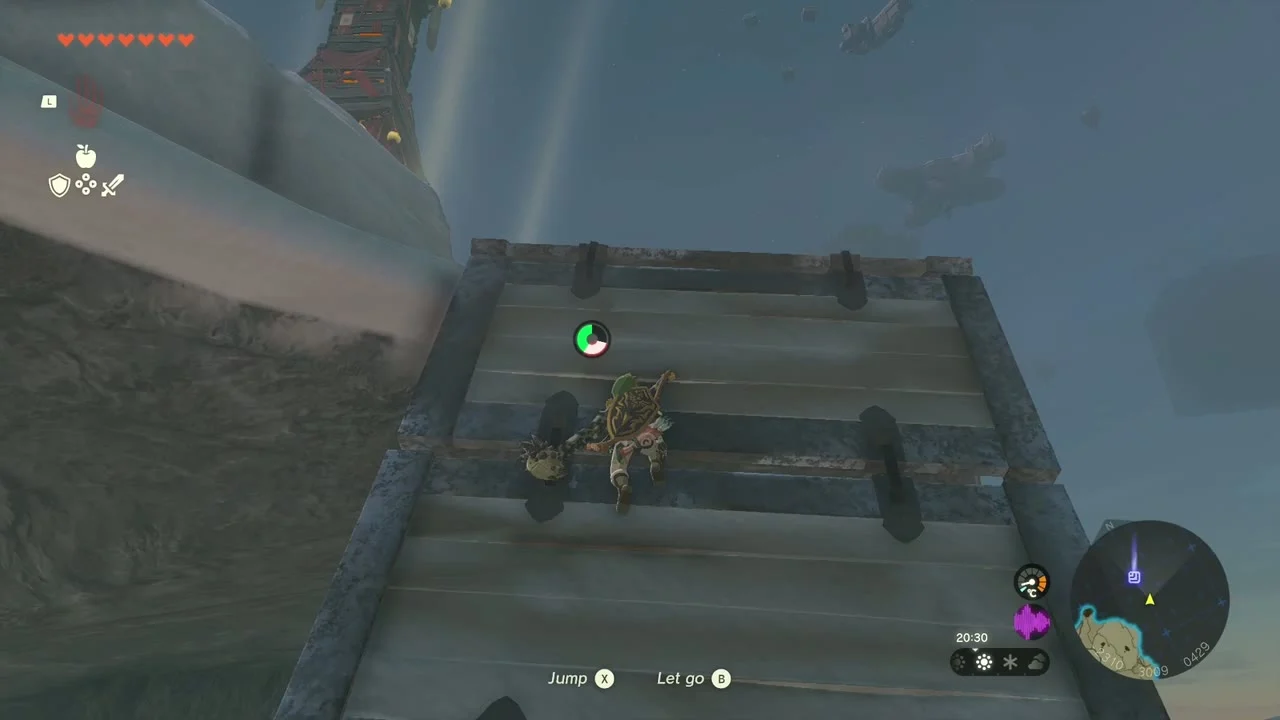
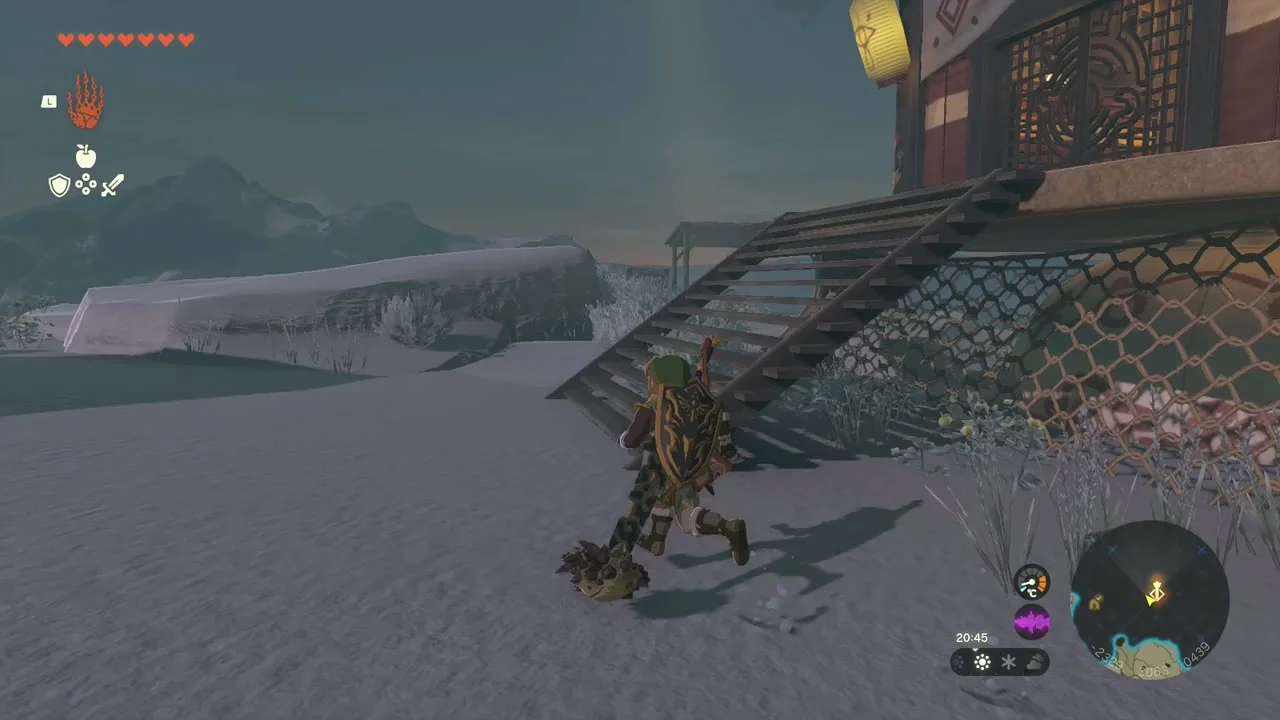
The tower stands at (-2311, 3062, 436). Climb the wooden ramp up its side, step on the terminal at the top to unlock the map for Pikida Stonegrove, then press A to launch into the sky above Tabantha Tundra. Steer north-east towards the sky islands.
East Hebra Sky Archipelago
The islands above Pikida Stonegrove hold two Koroks, a Zonai dispenser, an Old Map chest and Taninoud Shrine. Pack Fire Fruit and a few Zonai batteries.
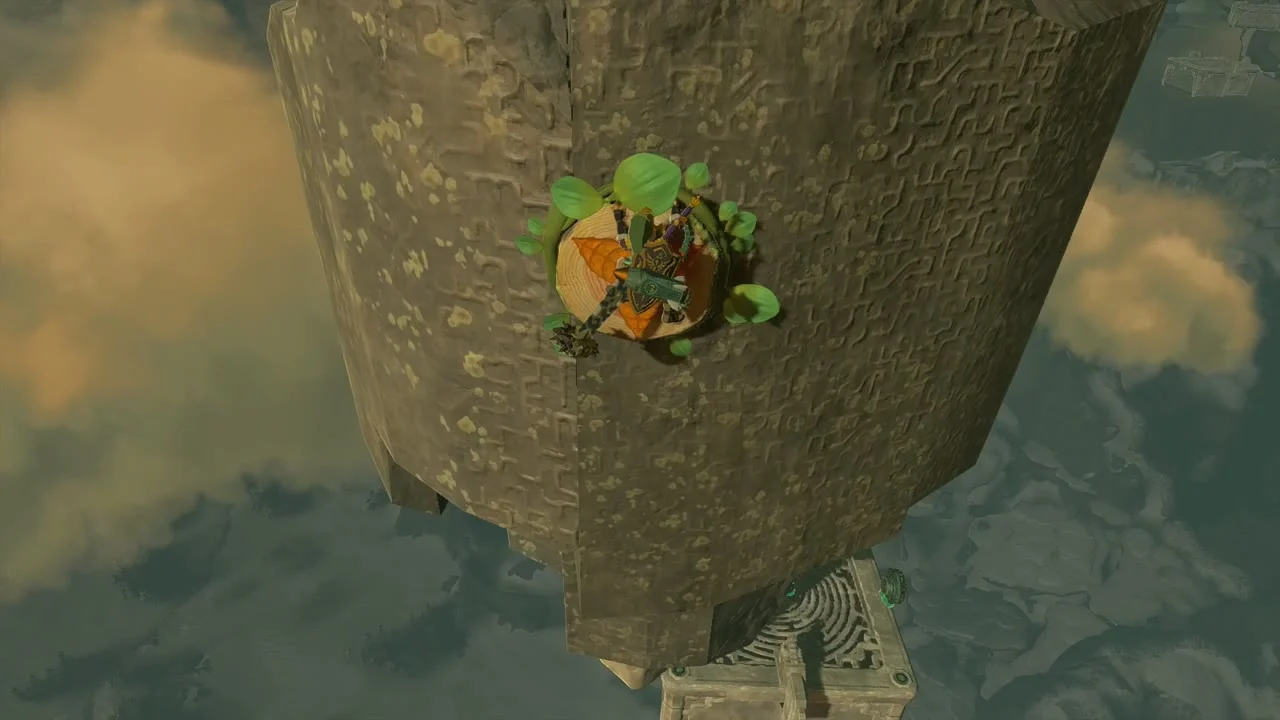
Korok seed: climb the pillar wall
Korok seed (Climb on the wall). On the underside of a large floating pillar around (-1662, 3285, 976), a glowing marker sits on the wall. Climb up the side of the pillar and touch it; the Korok gives you its seed.

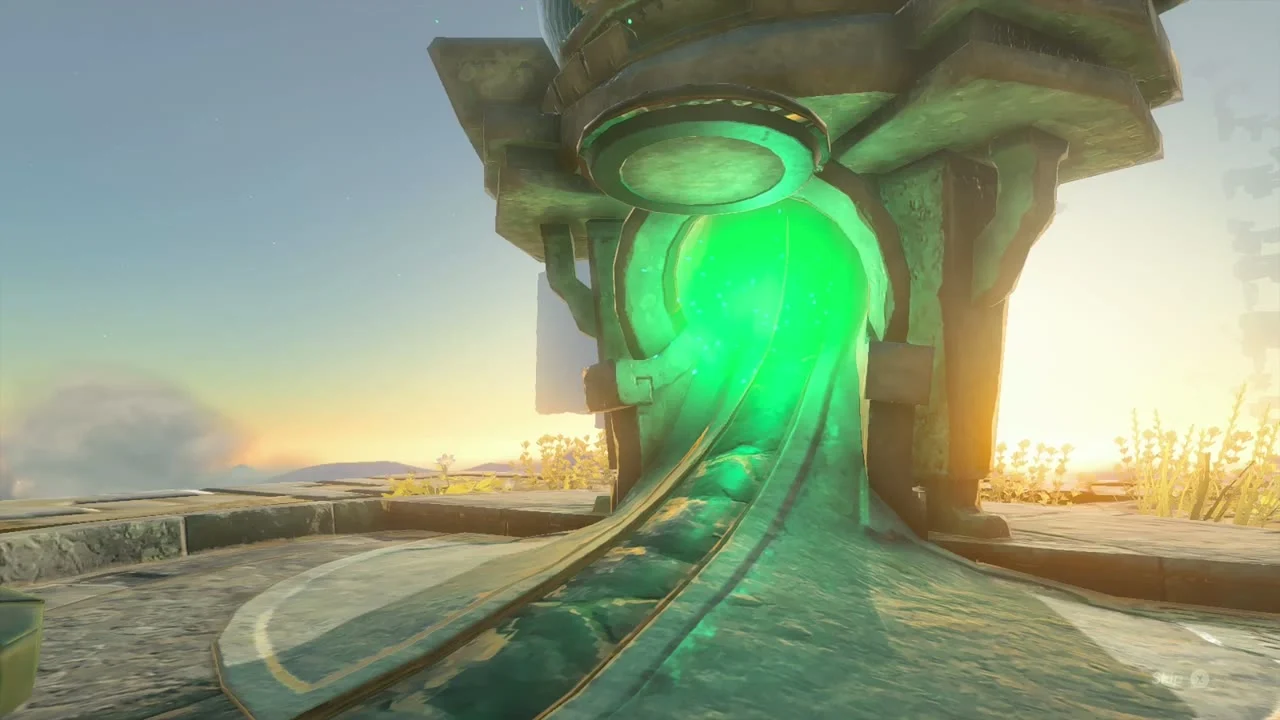
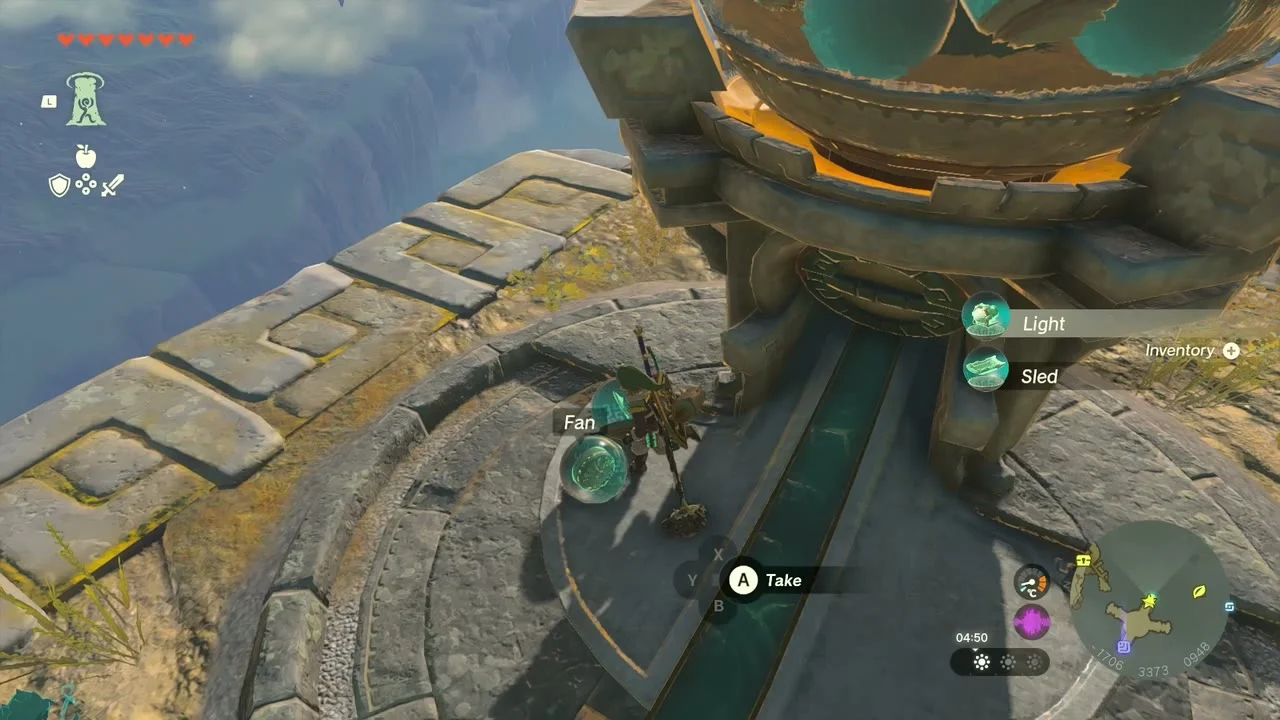
Zonai device dispenser
Device dispenser. A dispenser on one of the stone platforms hands out Fans, Sleds and Lights for Zonai Charges. Take a few Fans and a Sled for the glides ahead.
Korok seed: follow the flower
Korok seed (Follow the flower). Near (-1683, 3572, 986) a floating flower leads you across the islands. Follow it all the way to the end and the Korok waits there with its seed.
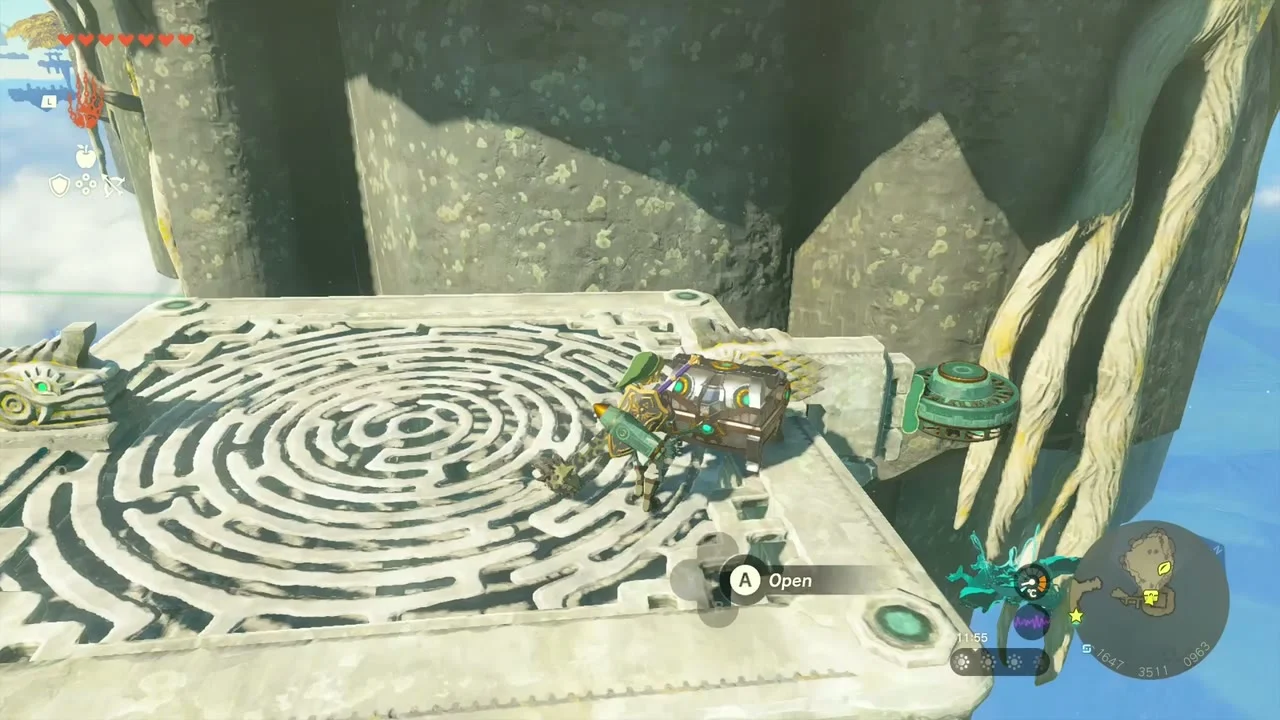
Open the Old Map chest
Chest (Old Map). On the maze-patterned block north of the dispenser, a chest holds an Old Map. Reading it marks a treasure spot in the Depths on your map.

Taninoud Shrine (Rauru’s Blessing)
Taninoud Shrine stands at (-1802, 3406, 962) in the Hebra Mountains sky. It is a Rauru’s Blessing shrine with no Lightroot and no puzzle: you only have to bring it its crystal (shrine quest “The East Hebra Sky Crystal”).
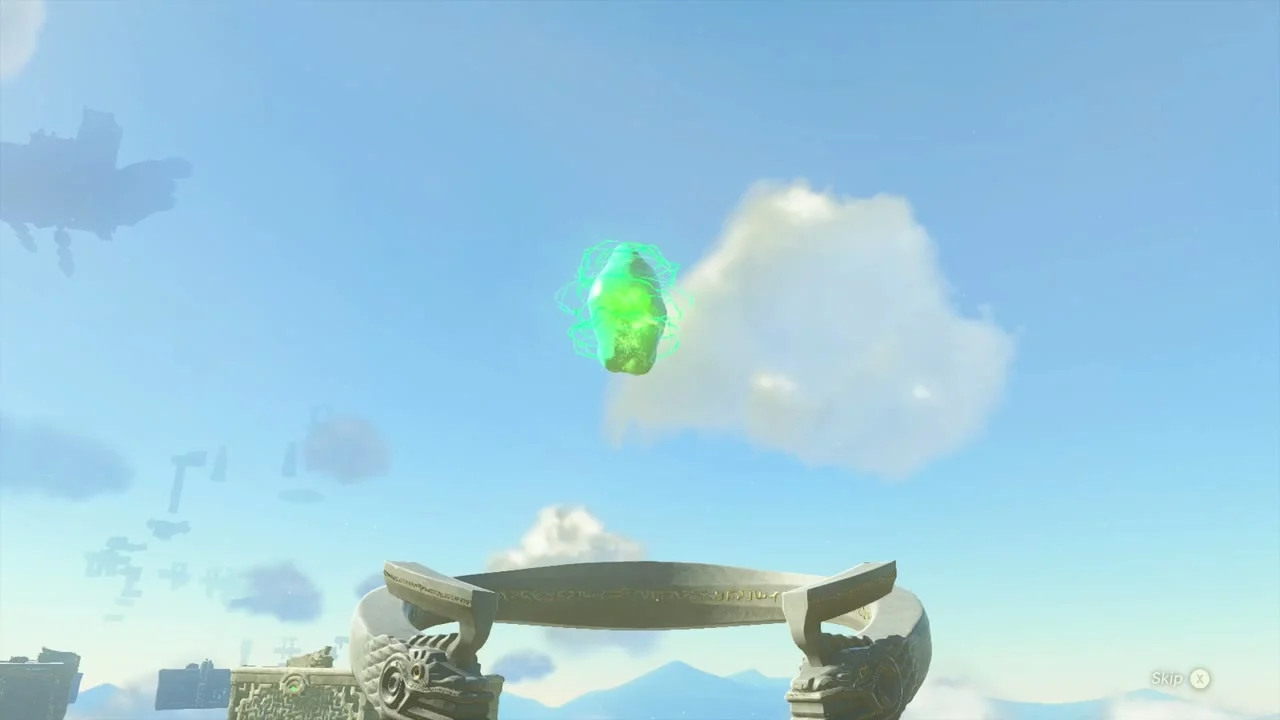

Fetch the crystal
Take the green crystal from the stone pedestal on the bigger island to the north. Burn the vines tied to it with Fire Fruit or a flame, then lift the crystal with Ultrahand.
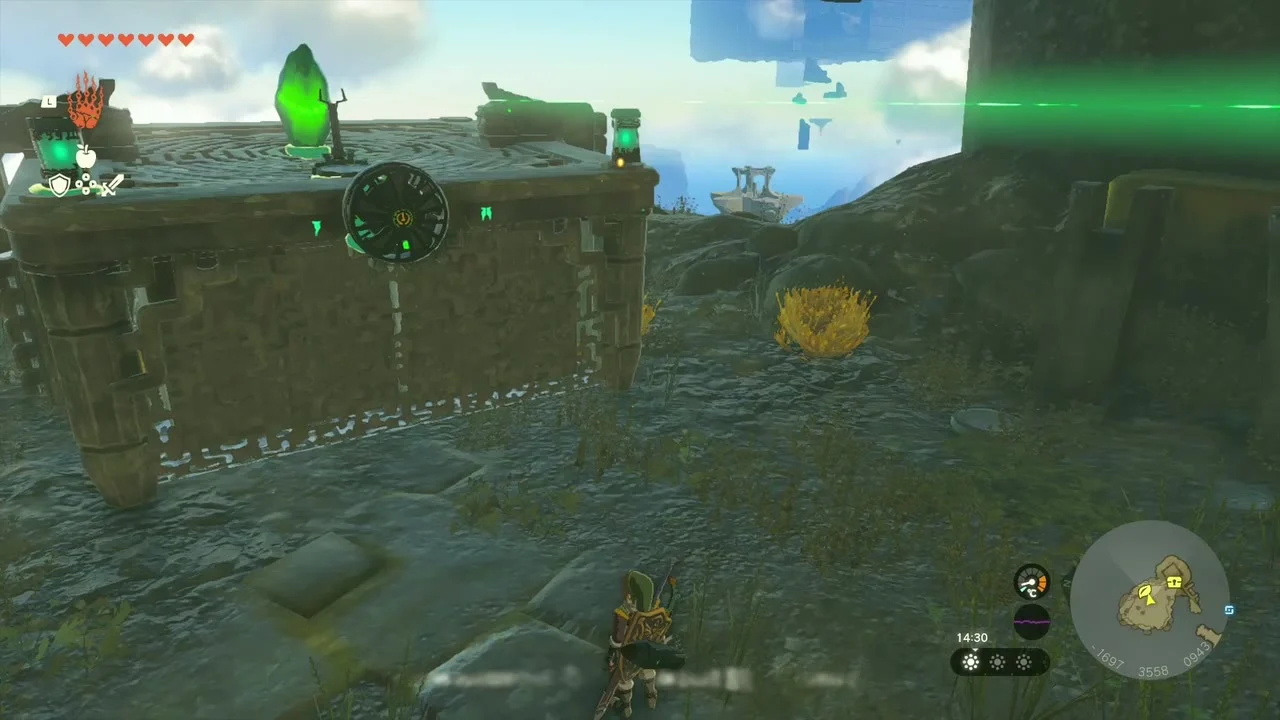
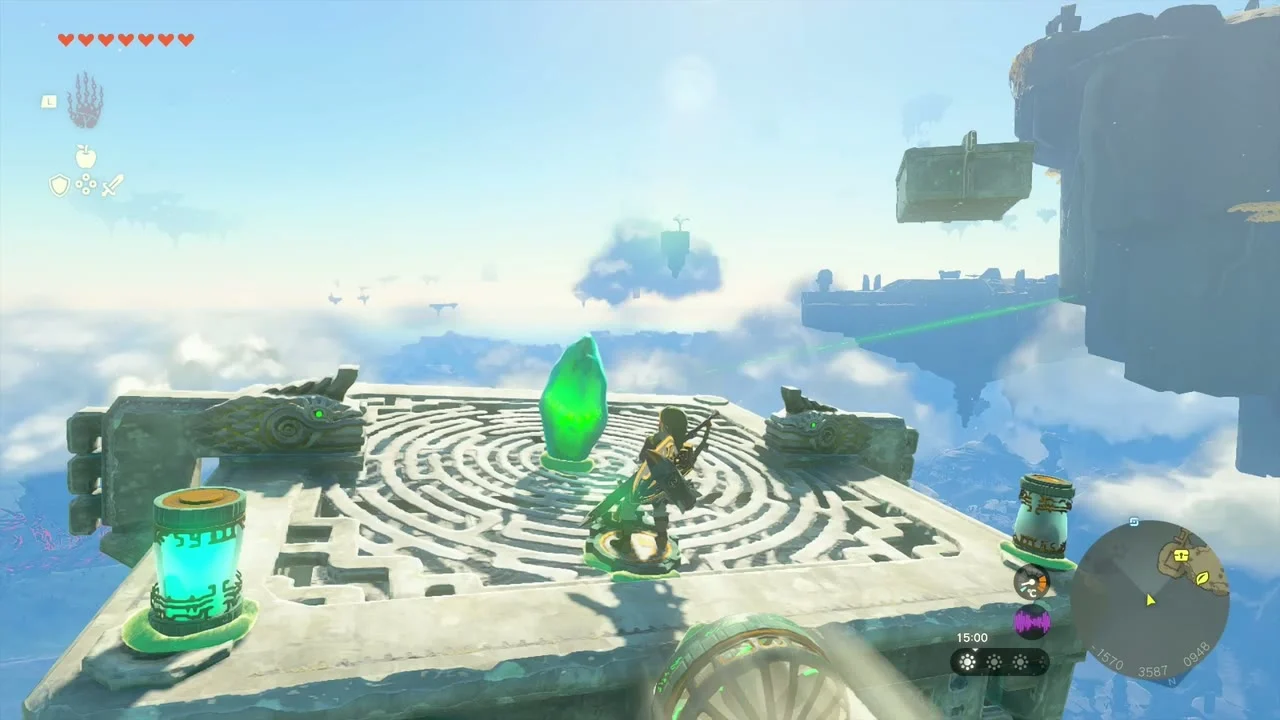
Carry it to the shrine
Carry the crystal on a Fan-powered platform or glide with it hanging from Ultrahand to the ring in front of the shrine and set it in the stand. The door opens.
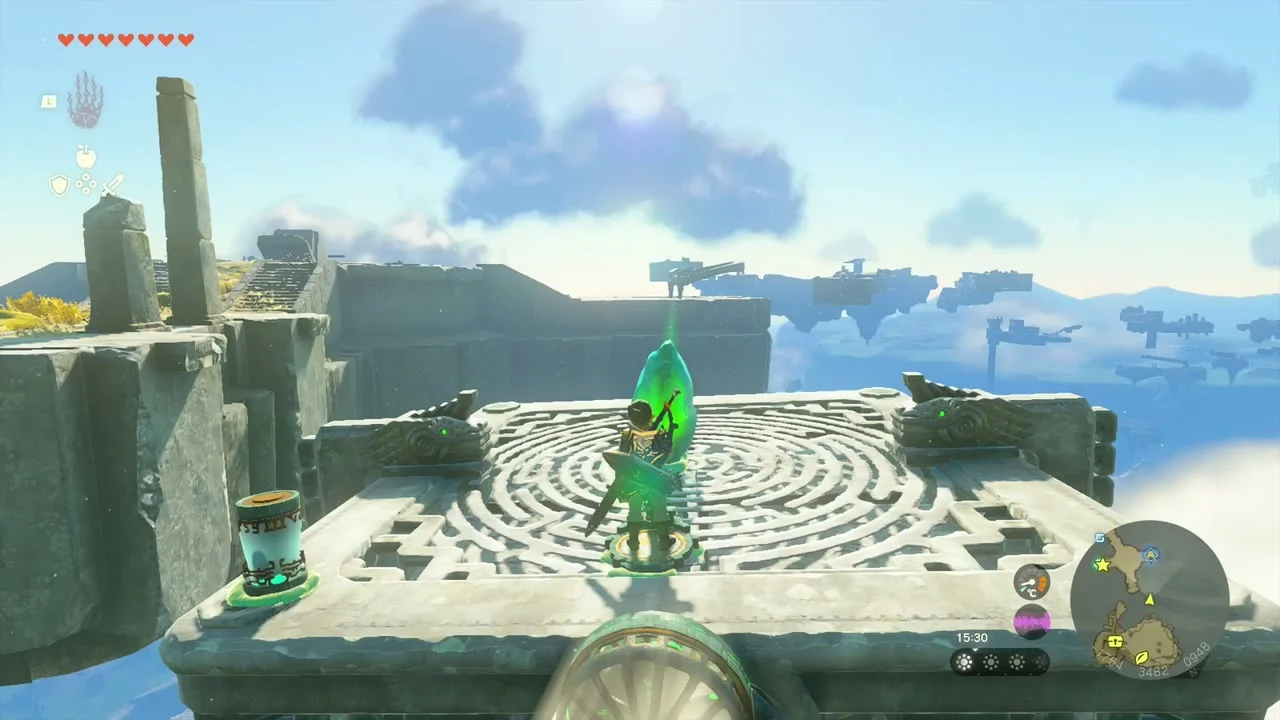

Open the chest and take the blessing
Inside, open the chest for a Topaz and step on the altar for the Light of Blessing.

North-western tundra: first chests, Koroks and Orochium Shrine
Chest: Zonai Charge
Chest (Zonai Charge). On the snow ledge just under the tower’s north-west face, a chest sits against a dark rock wall at about (-2436, 3118). Climb up beside it and open it for a Zonai Charge.


Korok seed: balloon hop (the exhausted Korok)
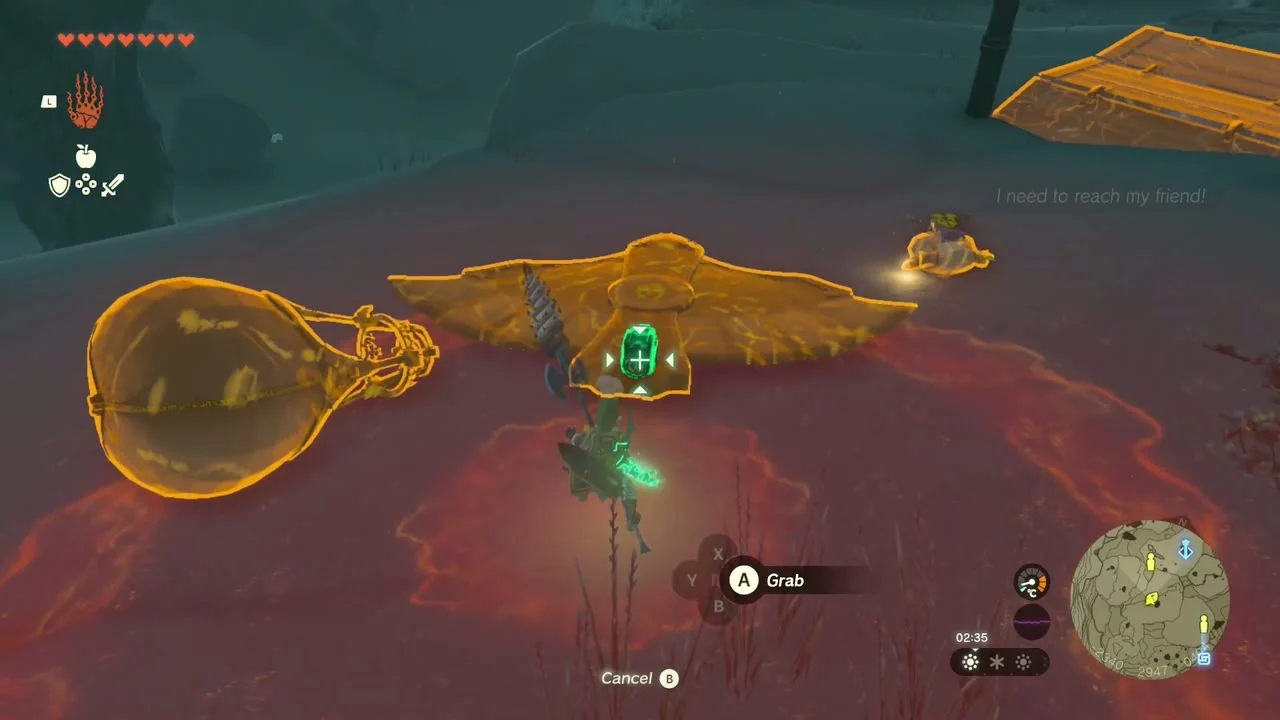
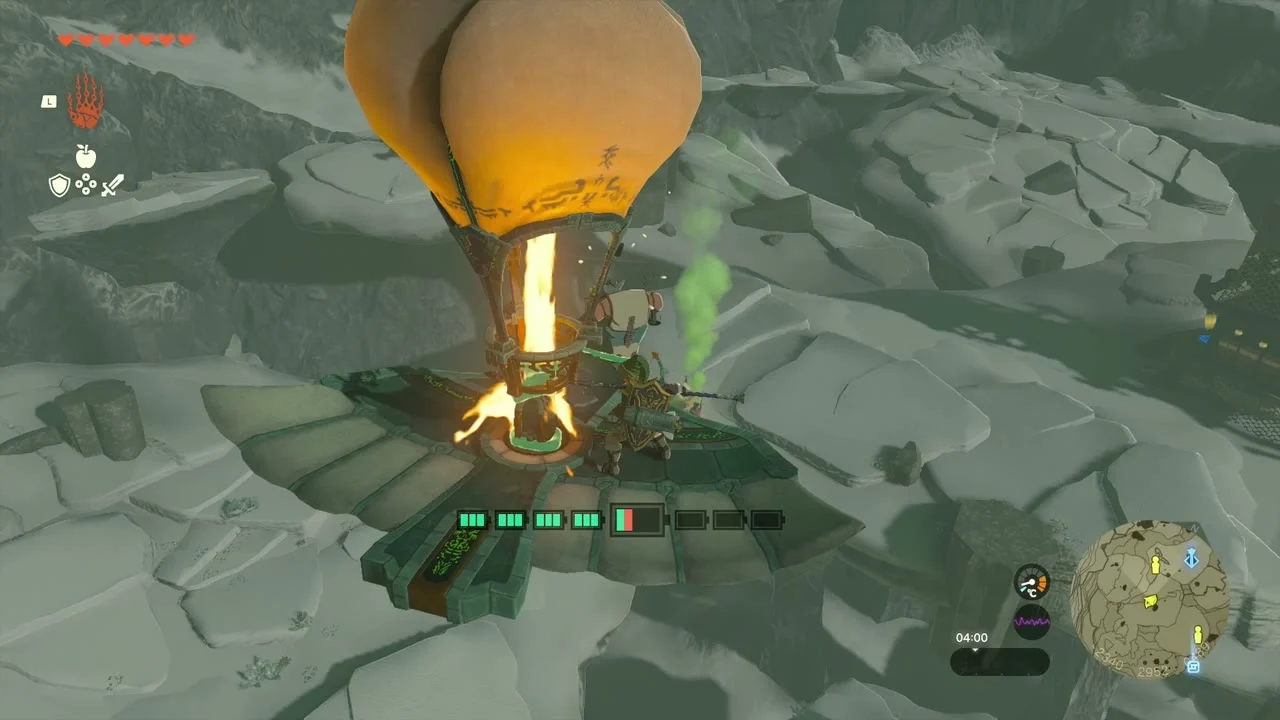
Korok seeds (carry the exhausted Korok). West of the stable, an exhausted Korok asks to be carried to its friend. Build a hot-air balloon from a Balloon, a Fan, a Flame Emitter and a platform and fly it across the gap; the friend and its seed wait on the far side. A second Korok nearby is reached the same way.
Korok seed: paraglide to the goal
Korok seed (Use the paraglider to reach the goal). On a snow-capped peak around (-1969, 3113, 353) a Korok target hovers at the top. Jump from a higher ledge and glide onto the ring.


Frost Gleeok
Miniboss: Frost Gleeok. A Frost Gleeok circles the ruins north of Snowfield Stable. Fire arrows or a flame-emitter-fused arrow take out its heads in the usual order; it leaves a Frost Gleeok Horn and Wing.
Great Fairy fountain
Great Fairy. A Great Fairy fountain lies in the ruins east of the Frost Gleeok. It cannot be woken yet; it is unlocked by the Serenade to Mija adventure, which you start by talking to Mastro at Snowfield Stable once you have finished Serenade to a Great Fairy and The Hornist’s Dramatic Escape. Fix the band’s wagon (it needs a roof, which you fit with Ultrahand and a wooden slat), guide the band up the mountain to the fountain and Mija appears. The reward is 100 rupees and Mija as an armor upgrader.
Chest: Arrow x5 and cart ride
Chest (Arrow x5). A chest on the snow beneath a rocky overhang near (-1493, 2843, 246) holds Arrow x5. A Zonai cart and a boulder next to it can carry you quickly up the slope.
Orochium Shrine
Orochium Shrine (Courage to Fall, a puzzle trial) stands at (-1636, 2641, 252), north of Snowfield Stable; the Muihcoro Lightroot lies below it at (-1637, 2642, -706). It has one chest (Arrow x5).

Pass the laser doors
Beat the Soldier Construct, then use Ascend from the back wall to reach the upper platform. Climb the ladder and use Ultrahand on the double doors to expose the laser beams; take a hit on purpose to open the trapdoor that drops you to the floor below.

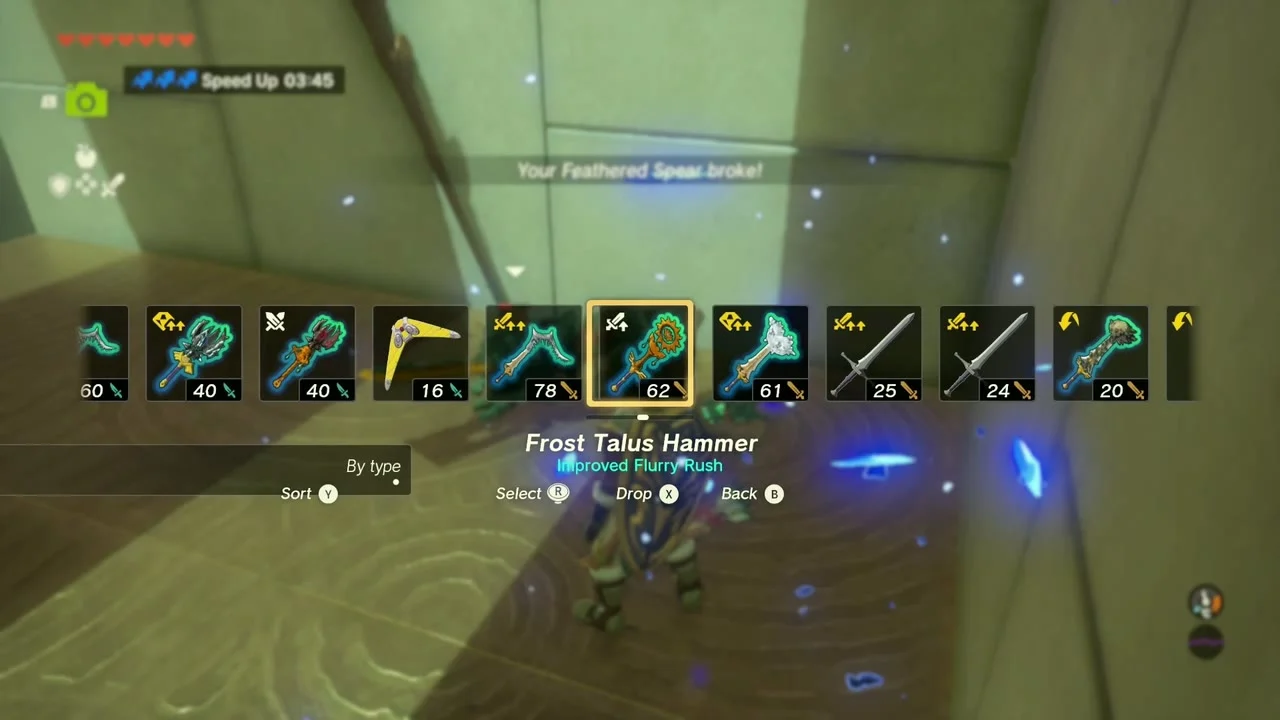
Take the small key and the chest
Below, follow the passage past the lasers and Ascend up to the chest holding the Small Key. Ascend back up, unlock the door and take the ball to the switch; the exit opens. Open the shrine chest for Arrow x5.
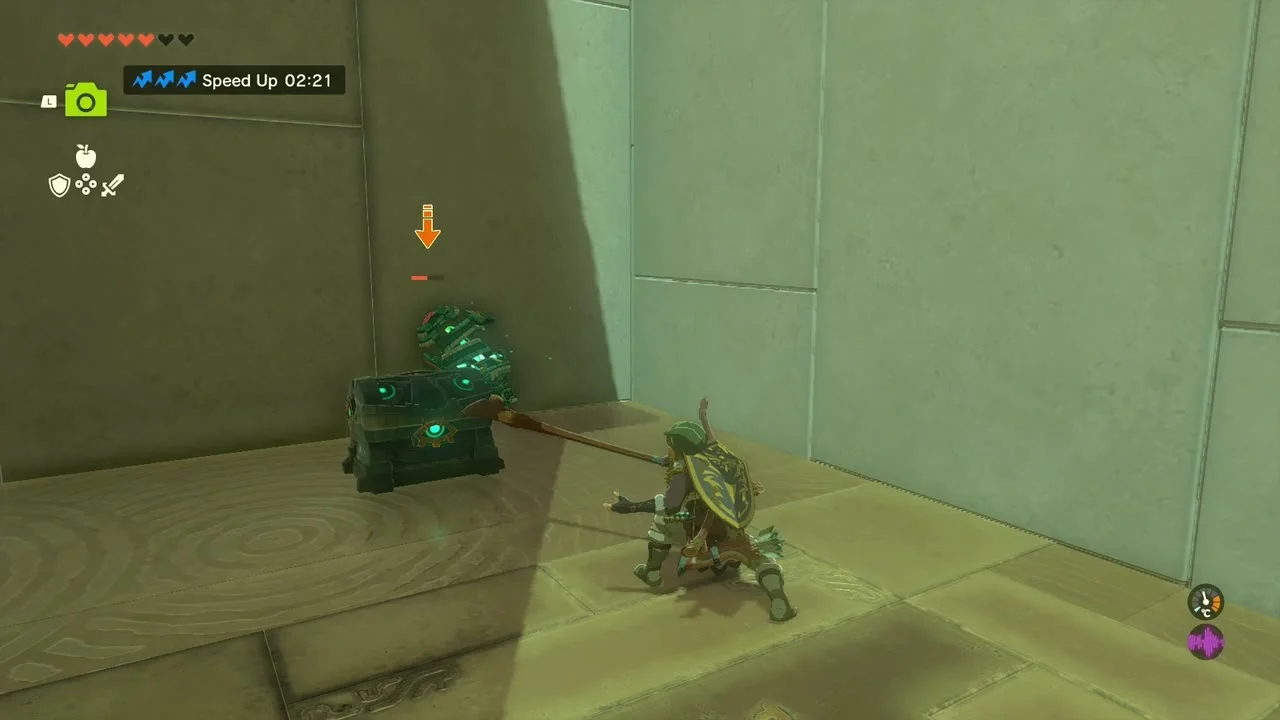
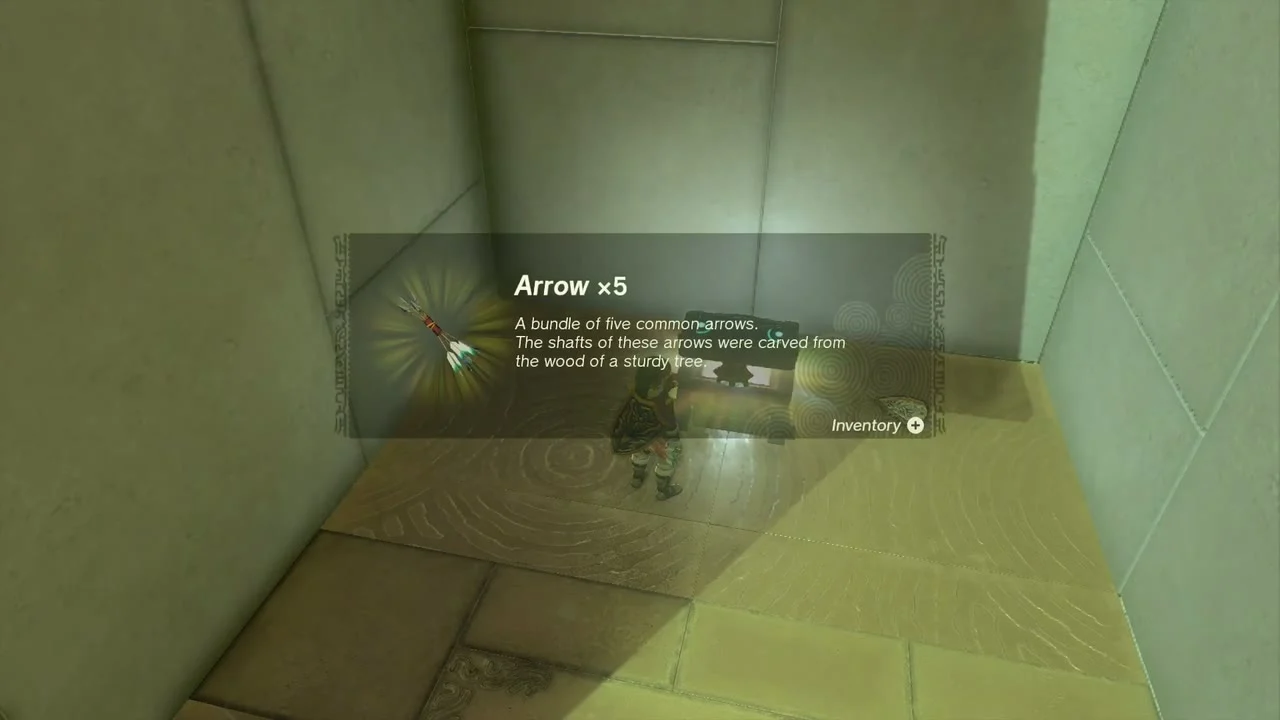
Take the Light of Blessing
Walk through the exit and step on the altar for the Light of Blessing.
Snowfield Stable
Snowfield Stable is at about (-1629, 2564). Everything below is within a short ride of it.
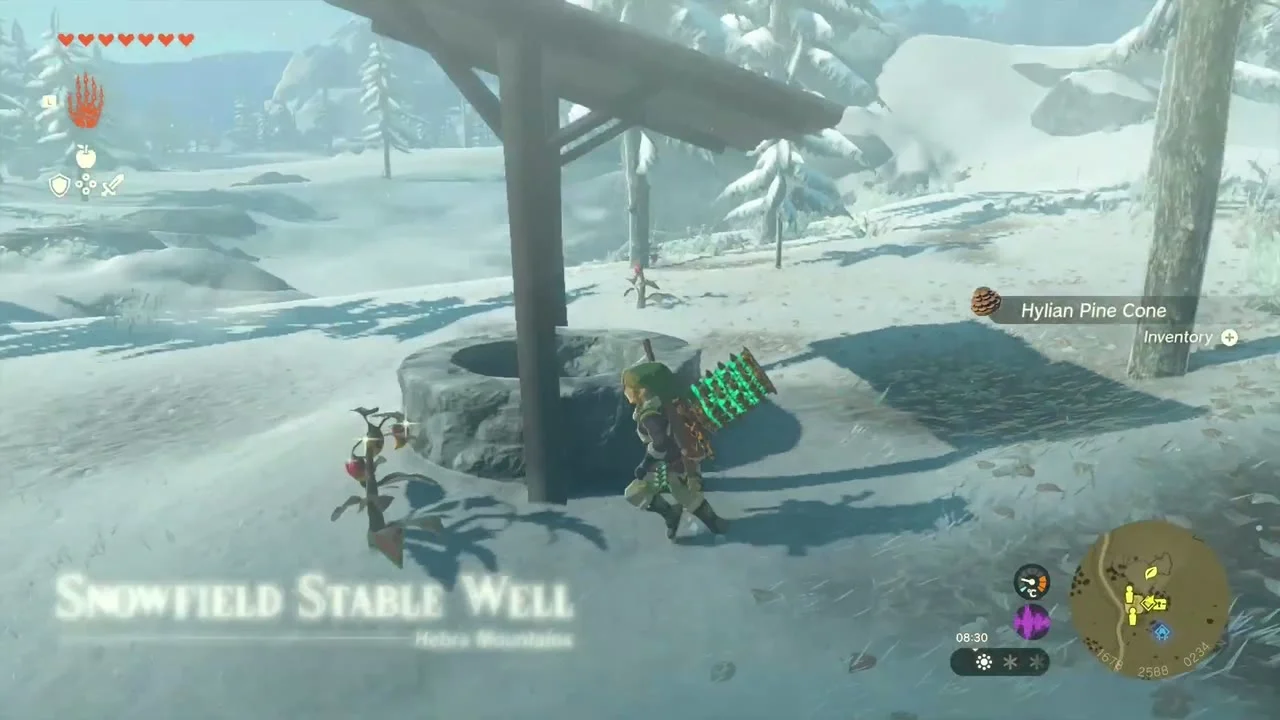
Snowfield Stable Well
Snowfield Stable Well. A well covered by a wooden roof stands just west of the stable at (-1680, 2586, 220). Drop in to light the Well on the map. It needs at least one level of cold resistance, and the pool at the bottom is ringed by four ore deposits and one rare ore deposit; it is part of the Wells and Where Are the Wells? quest chain.
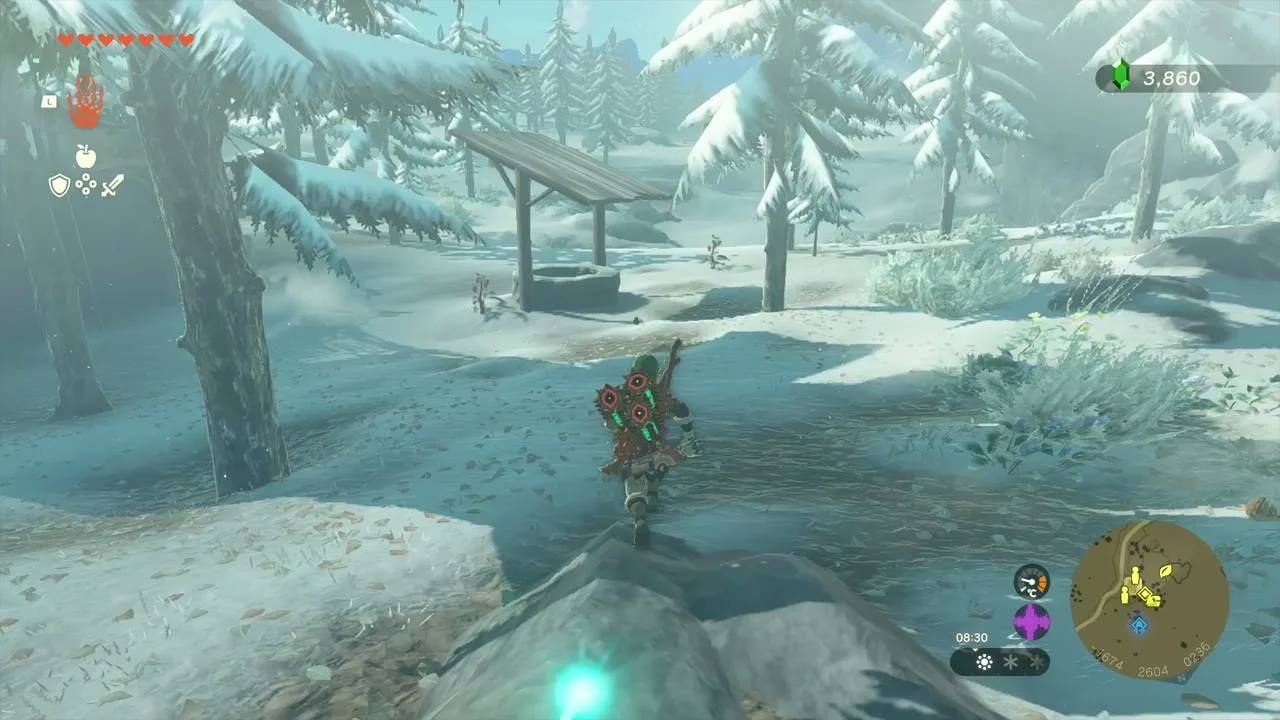
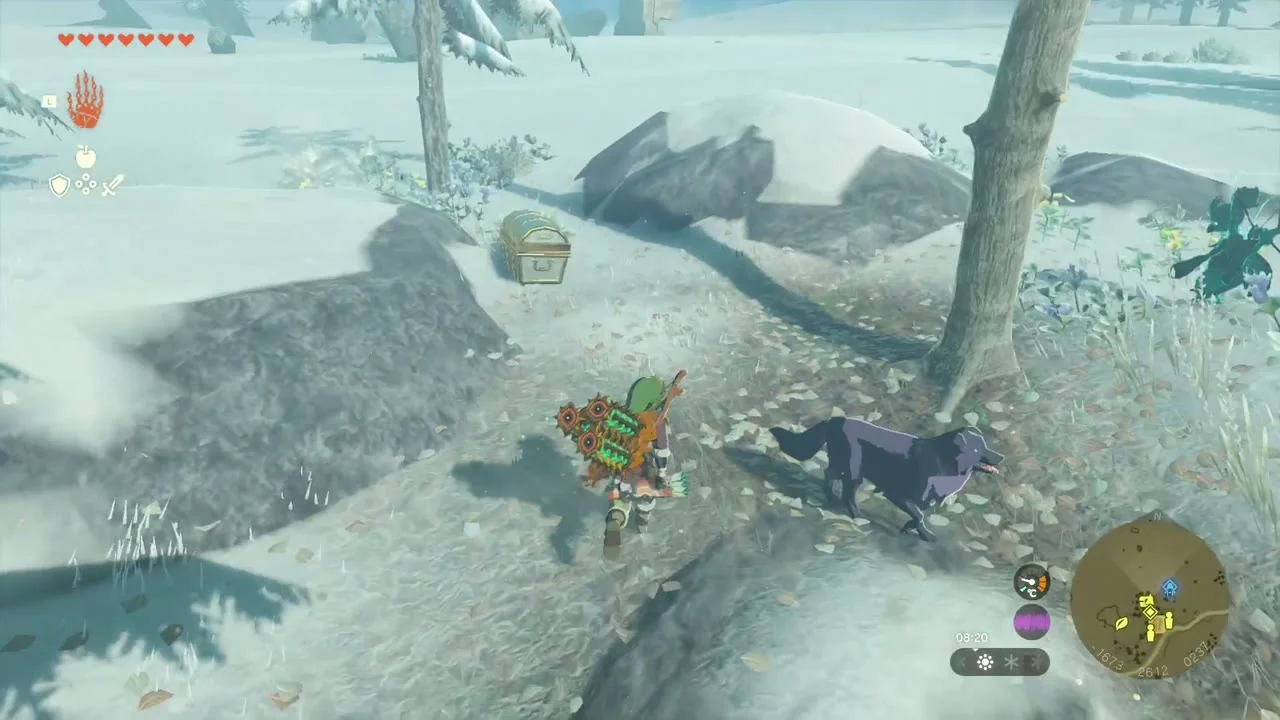
Chest: Purple Rupee
Chest (Purple Rupee). Next to the well, a chest half-buried in the snow at about (-1674, 2614, 237) holds a Purple Rupee.

Zelda’s Golden Horse
Adventure: Zelda’s Golden Horse. Penn at the stable reports that Princess Zelda’s horse ran off. Harlow, the stable keeper, is upset; head north to the North Tabantha Snowfield and take the photo of the golden horse for Penn. Sneak up from behind, feed it and soothe it, then ride it back to Harlow. She gives you the Royal Bridle and Royal Saddle, plus the Traveler’s tack to swap in. Register the horse at the stable counter and give it a name.
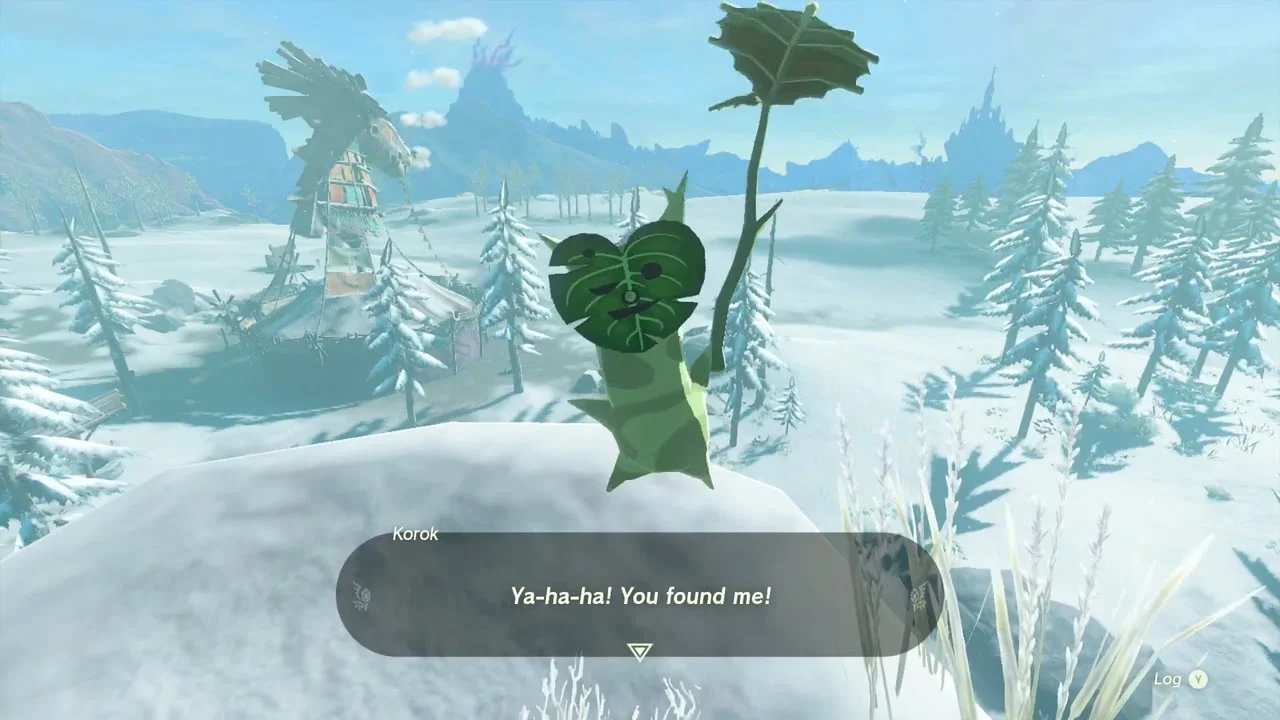
Korok seed: snow mound
Korok seed (Use Ascend on the marker). North-east of the stable at about (-1720, 2556, 242), a snow mound hides a Korok. Ascend through the overhanging rock directly above it and walk to the top.

Buy supplies from Beedle
Beedle. Beedle is camped next to the stable. He sells Arrow x5, Ice Fruit, Summerwing Butterflies, Warm Darners and Tireless Frogs; buy cold-weather food here.
Photograph the giant bird
Quest: A Picture for Snowfield Stable. Varke, the stable owner, wants a picture of the giant bird with outstretched wings in the Hebra Mountains. Take the photo with the Camera from the ridge north-east of the stable and show it to him (quest page).
The Captured Tent and Mount Drena Foothill Cave
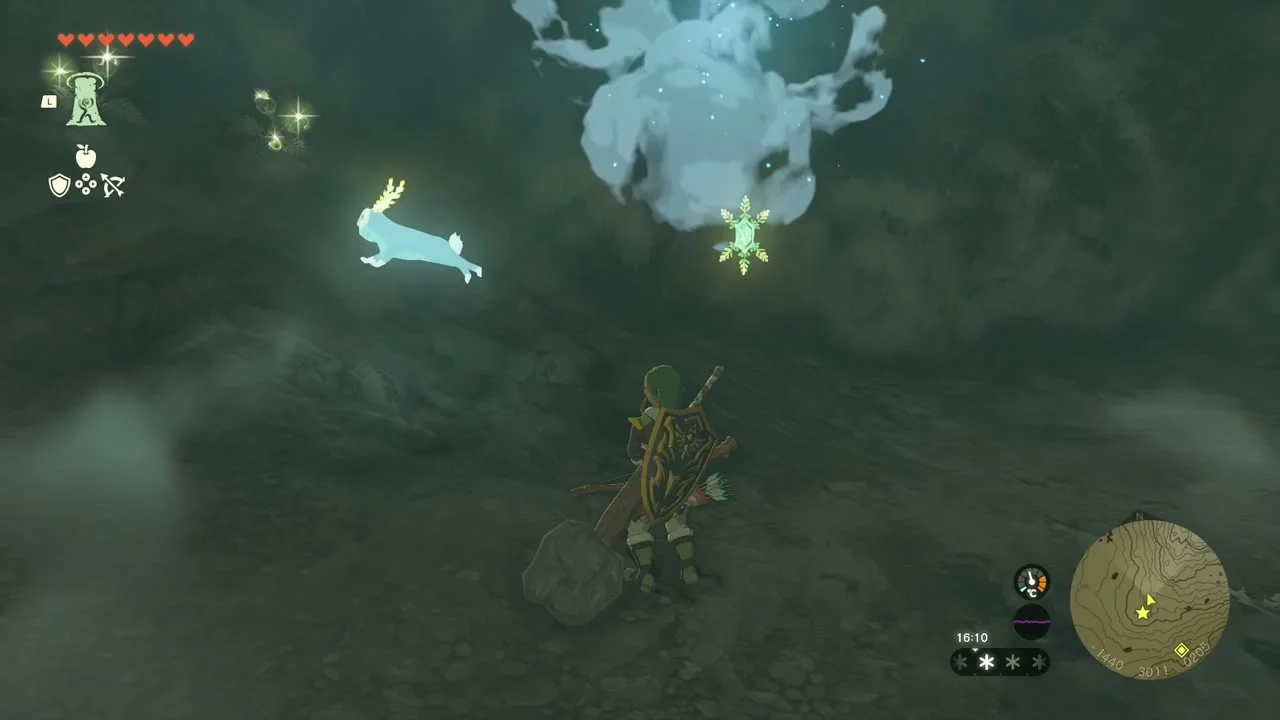
Quest: The Captured Tent
Quest: The Captured Tent. Nat and Meghyn, standing near the stable, say monsters have taken their tent (quest page). You need to have finished Cave Mushrooms That Glow first. Ride north to Mount Drena Foothill Cave and clear the Bokoblins and the Moblin standing around the campfire. Report back for a Spicy Steamed Mushroom, which leads to Who Finds the Haven?.
Find the cave
Mount Drena Foothill Cave. The entrance lies at (-1372, 2861, 197), below the northern flank of Mount Drena and just east of the road; a Bokoblin camp sits right at the mouth. Drop in and follow the cavern to the campfire.


Bubbul Gem
Bubbul Gem (Mount Drena Foothill Cave). Climb the cliff beside the tent, blast the weak rock with a Bomb Flower arrow and shoot the Bubbulfrog on the wall of the small room behind it. It drops a Bubbul Gem.

Quest: Who Finds the Haven?
Oshozan-u Shrine and the snowfield Koroks
Photo of the bird for Varke
Finish A Picture for Snowfield Stable. Return to Varke with your new photograph; he hangs it in the stable and pays out.
Buy Zonai Charges and batteries
Supplies. Hestu’s shop in Lookout Landing and the Great Sky Island Steward Construct are the best places to spend spare Crystallized Charges and rupees before the labyrinth, along with two Energy Wells for your battery.
Korok seeds in the snowfield
Korok seeds. Several snowfield Koroks lie on the way to Oshozan-u. One sits on a bare snow rise in the middle of the flat snowfield; walk up to it. Another waits under a rock pile on the slope (lift the rock). Others are the exhausted Korok near the road and the cube puzzle beside the shrine at (-1210, 3601, 195).

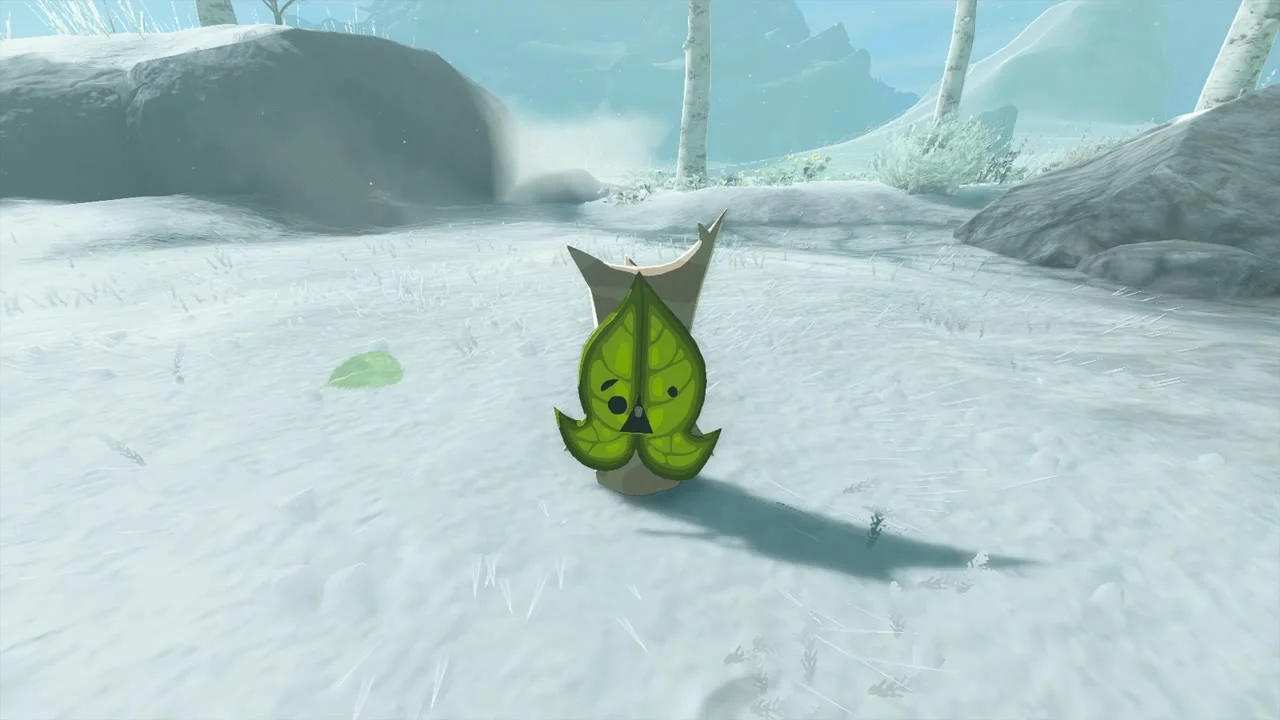
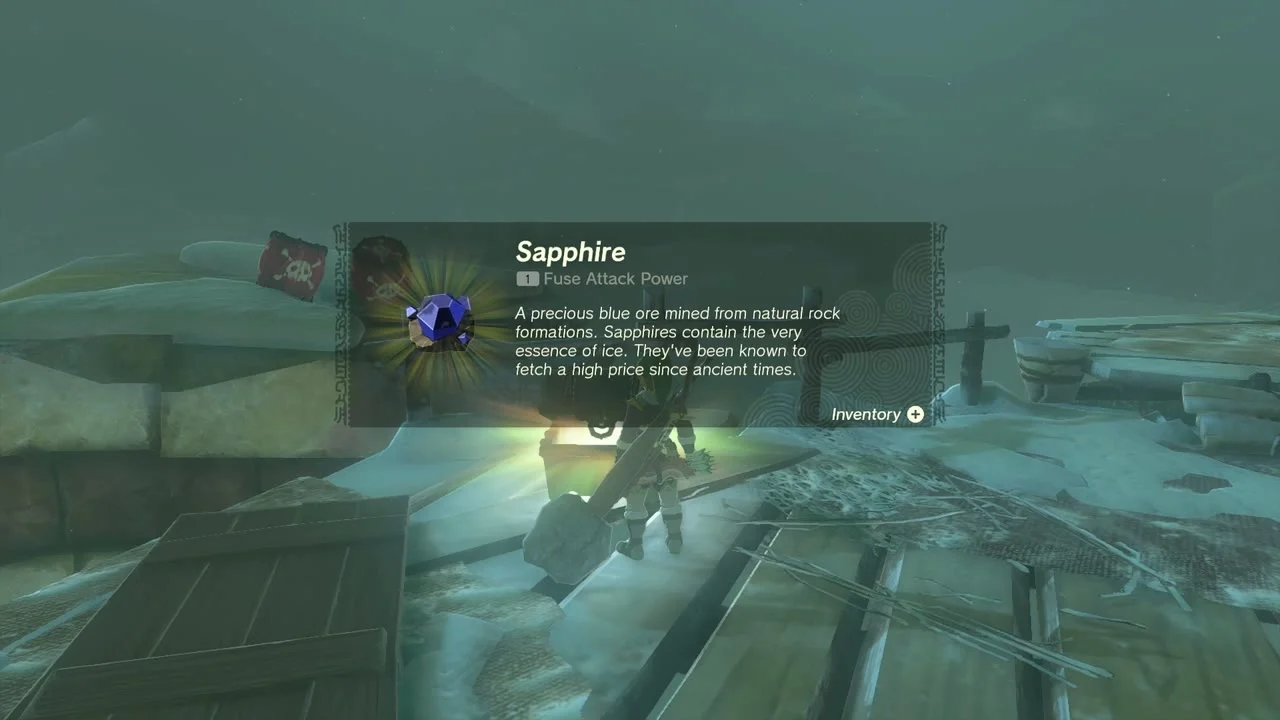
Chest: Sapphire and Mighty Zonai Shield
Chests (Sapphire, Mighty Zonai Shield). On the plateau before the shrine, the wrecked wooden platform at about (-1371, 3676, 259) holds a chest with a Sapphire, and a second chest on the slope above holds a Mighty Zonai Shield.

Oshozan-u Shrine (Mallet Smash)
Oshozan-u Shrine (Mallet Smash, a puzzle trial) stands at (-1404, 3677, 301) on an ice pillar in the north-east of the North Tabantha Snowfield; the U-nazohso Lightroot is below it at (-1403, 3678, -733). Light a Hylian Pine Cone to ride the updraft up to it, or glide from Mount Drena with Tulin’s Gust. One chest (Zonaite Bow).
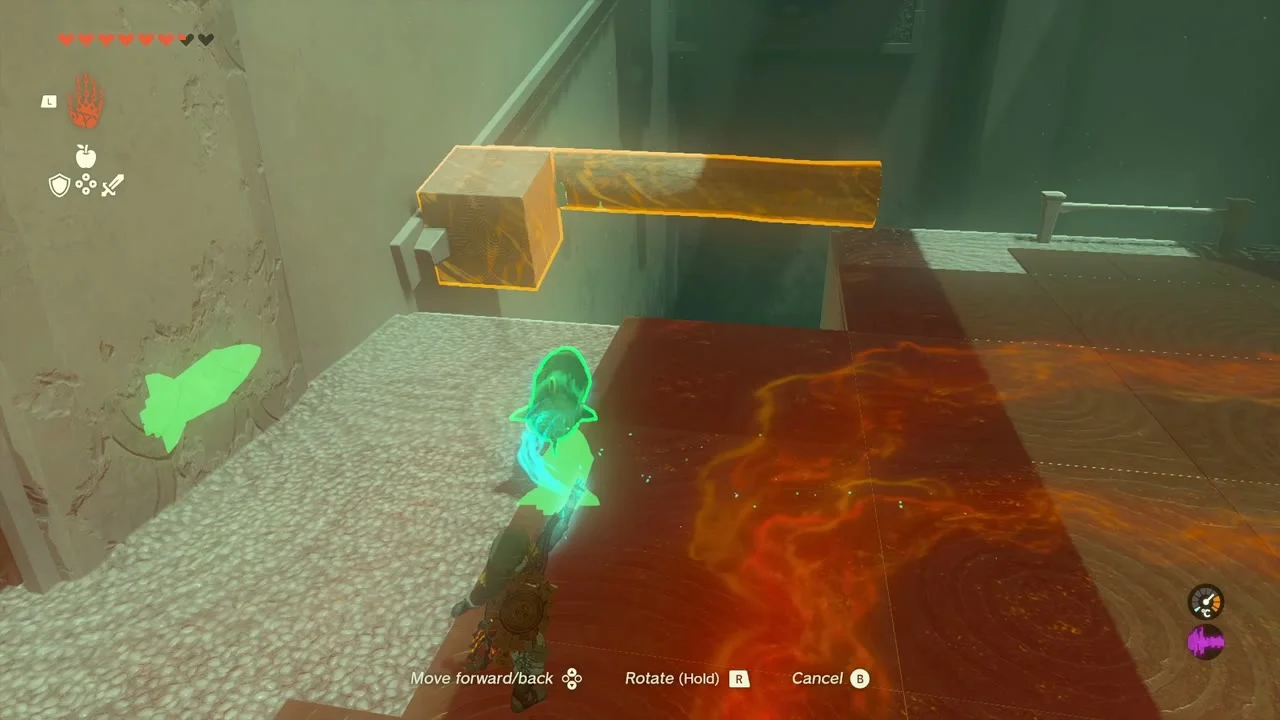
Hit the target with a rocket log
Fuse the long log to the square block on the far wall, then fuse a Rocket to the block and fire it at the target. The gate beyond opens.


Reach the Zonaite Bow chest
Past the gate, fuse a Rocket to a log, stand on it and fire the rocket to shoot yourself up to the chest ledge on the left. Open it for a Zonaite Bow.
Spin the cog to smash the target
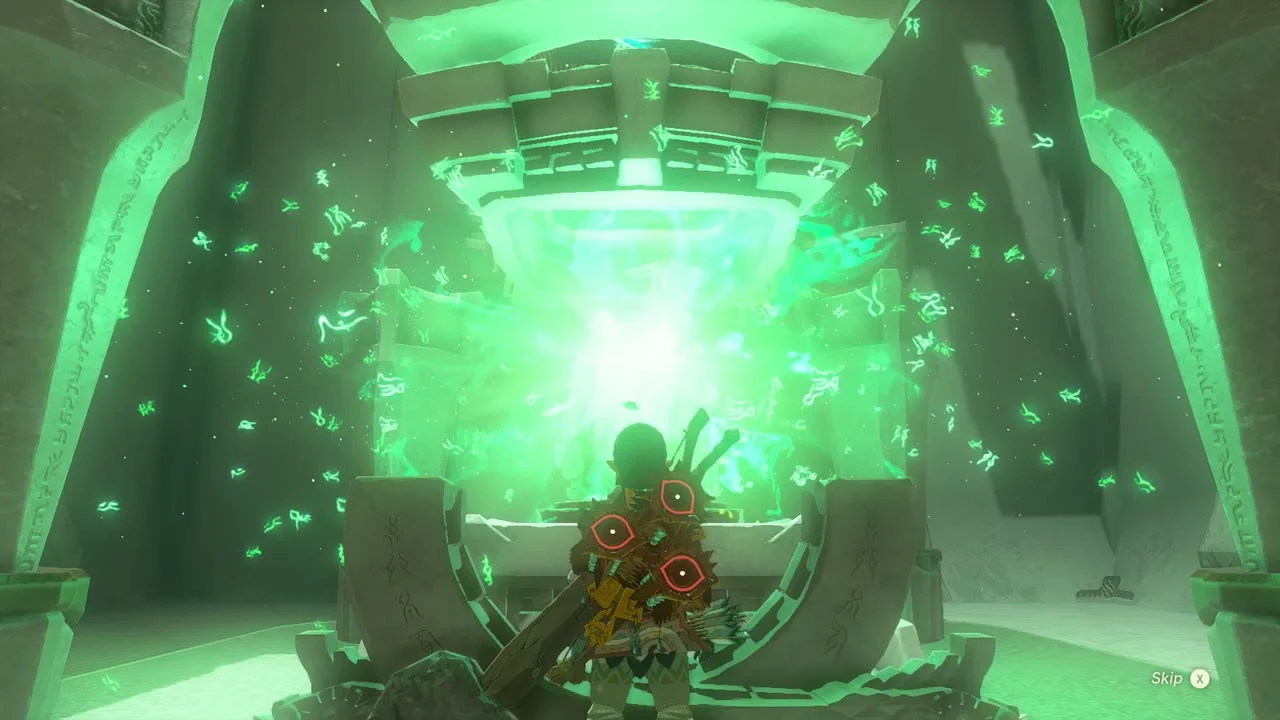
Back in the target room, fuse a long log to the cog facing the chest, a second to the cog’s centre, a small log to the end, and attach a Rocket to the side. Fire an arrow at the rocket; the swinging log hits the target and opens the exit. Step on the altar for the Light of Blessing.
North Lomei Labyrinth (surface)
The labyrinth sits at (-824, 3407) in the north-east corner of the snowfield, with a chasm leading into the Depths at (-814, 3535, 219). The quest The North Lomei Prophecy asks you to clear the surface, the sky layer and the Depths layer. The surface maze is trapped with Gloom-spawn and Phantom Ganon.
Defeat Gloom Spawn and Phantom Ganon
Miniboss: Gloom Spawn and Phantom Ganon. Shortly after the entrance, a Gloom Spawn and a Phantom Ganon attack together. Strike the Phantom Ganon with Zonai or strong weapons; it drops Ganon’s horn.
Chests along the maze walls
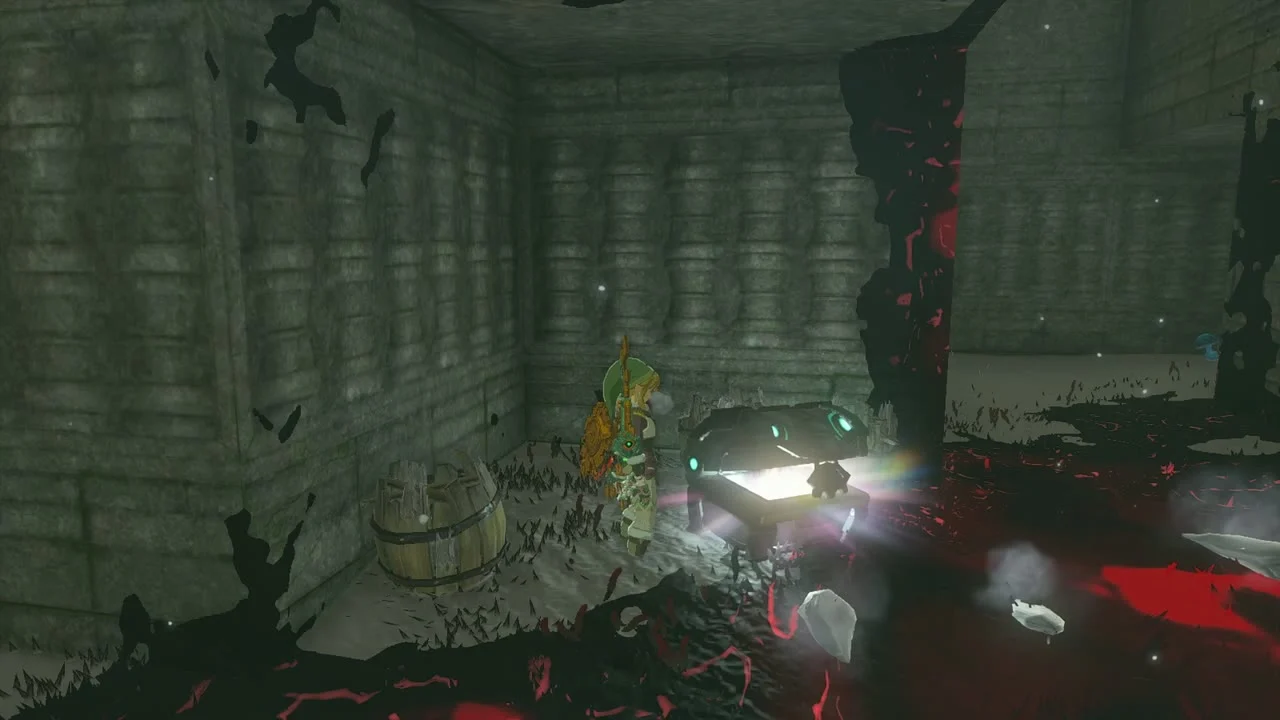
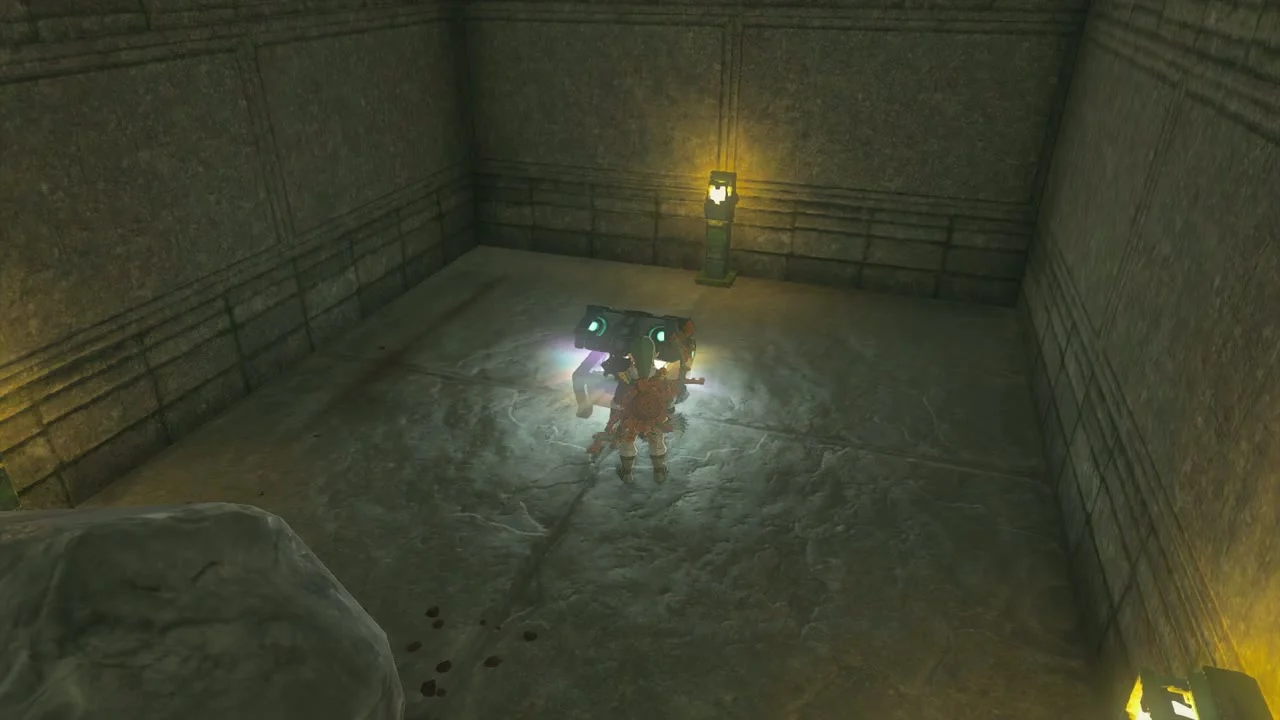
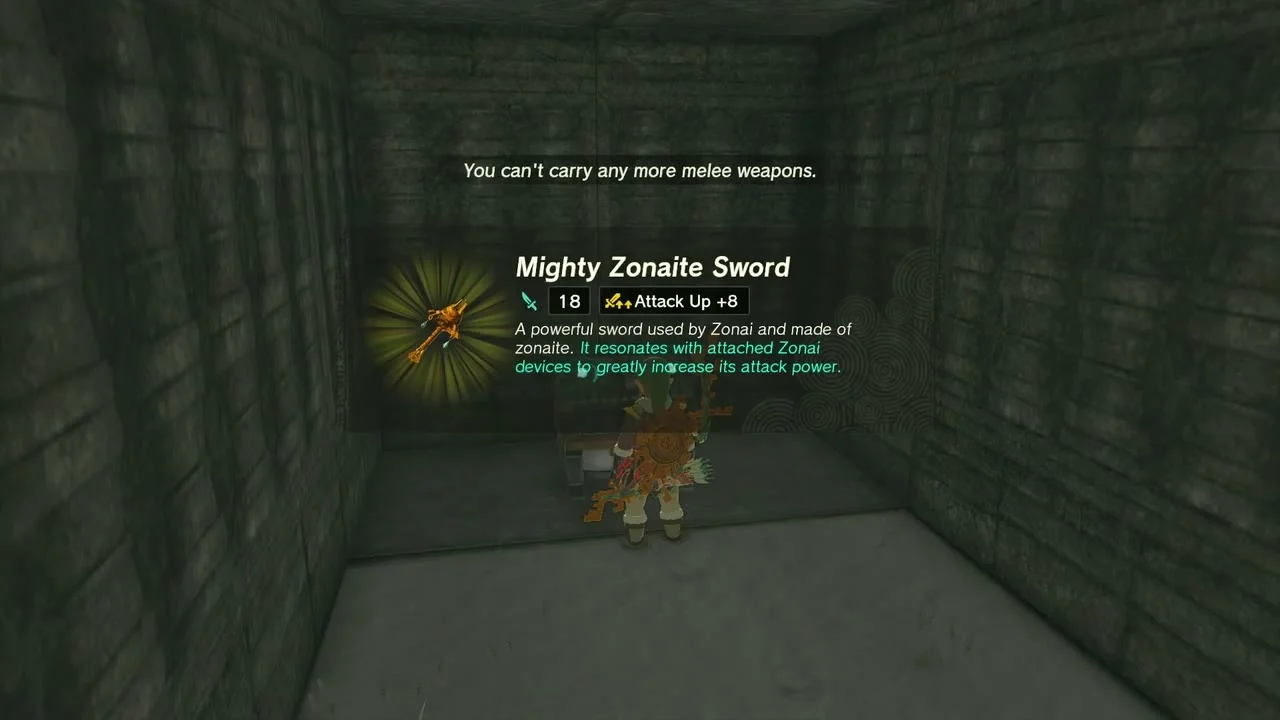
Chests (surface). Open the maze chests in route order: Mighty Zonaite Spear (Strong or Mighty, depending on your progress) behind the first wall; Mighty Zonaite Shield (Strong or Mighty, depending on your progress) in the next room; Zonaite Bow after you break the rock pile; Mighty Zonaite Longsword (Strong or Mighty, depending on your progress) after the bigger rock pile; and Mighty Zonaite Sword (Strong or Mighty, depending on your progress) near the centre. A Big Battery chest sits just beyond the green door.


Korok seed in the maze
Korok seed. A Korok hides on a ledge near the centre of the maze, reached by a ladder; shoot the leaf or walk up to it.
Dragon ring and chasm
Use the green dragon ring in the middle of the labyrinth to open the sky layer for the quest. Hylian Pine Cones left along the trail by an earlier explorer light the campfires that give updrafts over the Gloom patches; two Construct Bows lie loose (not in chests) on the surface, one in a side passage beside a campfire right of the first Gloom patch and another in a Gloom patch later on. Large icicles hide a Zonaite Sword and a Zonaite Shield: melt them with a flame. The North Lomei Chasm lies at (-814, 3535); you can drop into the Depths later.
Mayaotaki Shrine
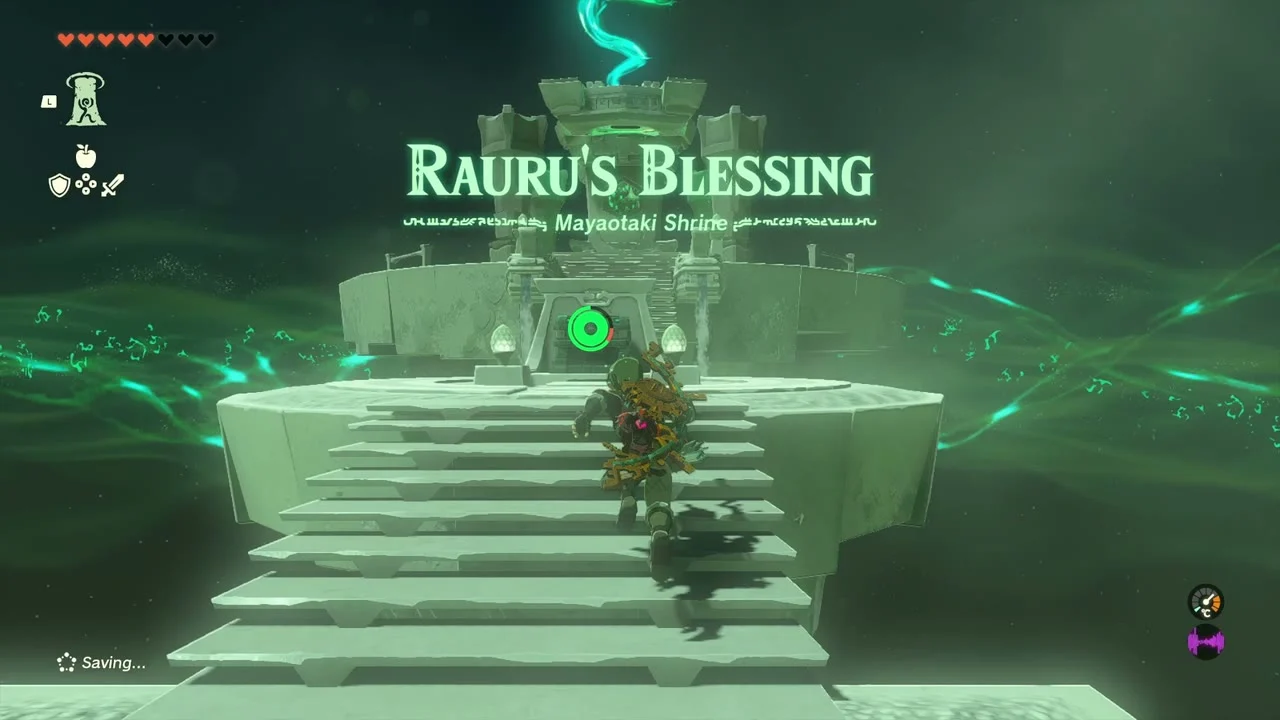
Mayaotaki Shrine (Rauru’s Blessing) stands at (-824, 3535, 248) at the end of the surface labyrinth; the Ikatoayam Lightroot is below it at (-849, 3534, -637). Melt the ice in front of the entrance with a flame, go in and open the chest for a Diamond, then step on the altar for the Light of Blessing.
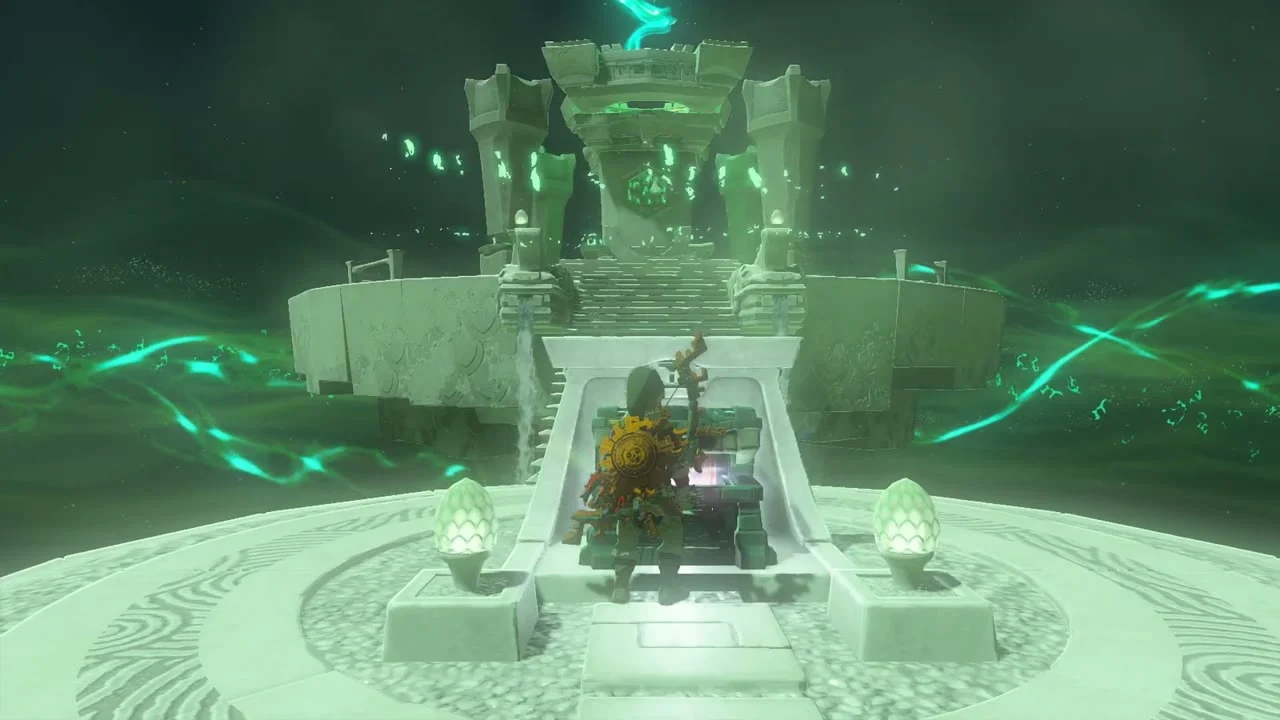
Around the labyrinth
Chests across the snow
Chests (outskirts). Ride the golden horse out of the maze and open the chests scattered on the outskirts: Large Zonai Charge, Zonaite x5 (inside a pile of boulders), Flame Emitter and Zonaite x3. Each sits beside a rock cluster; break the rocks with a Bomb Flower arrow.
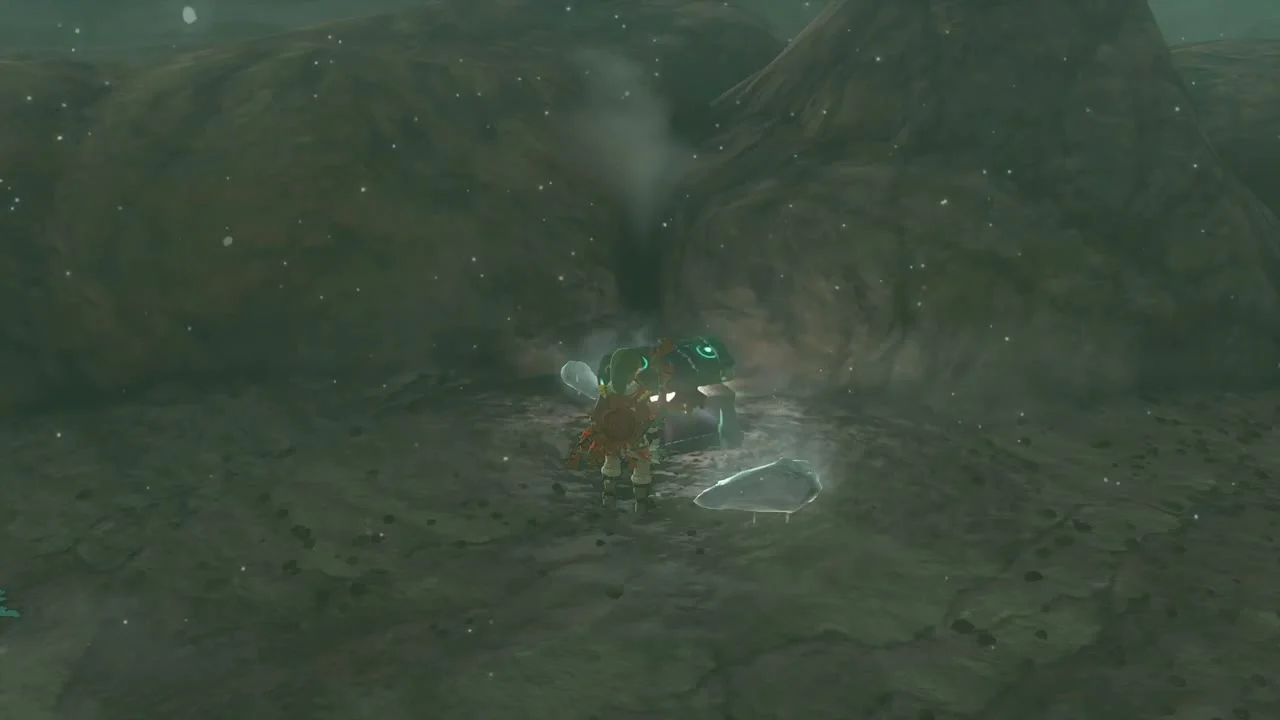


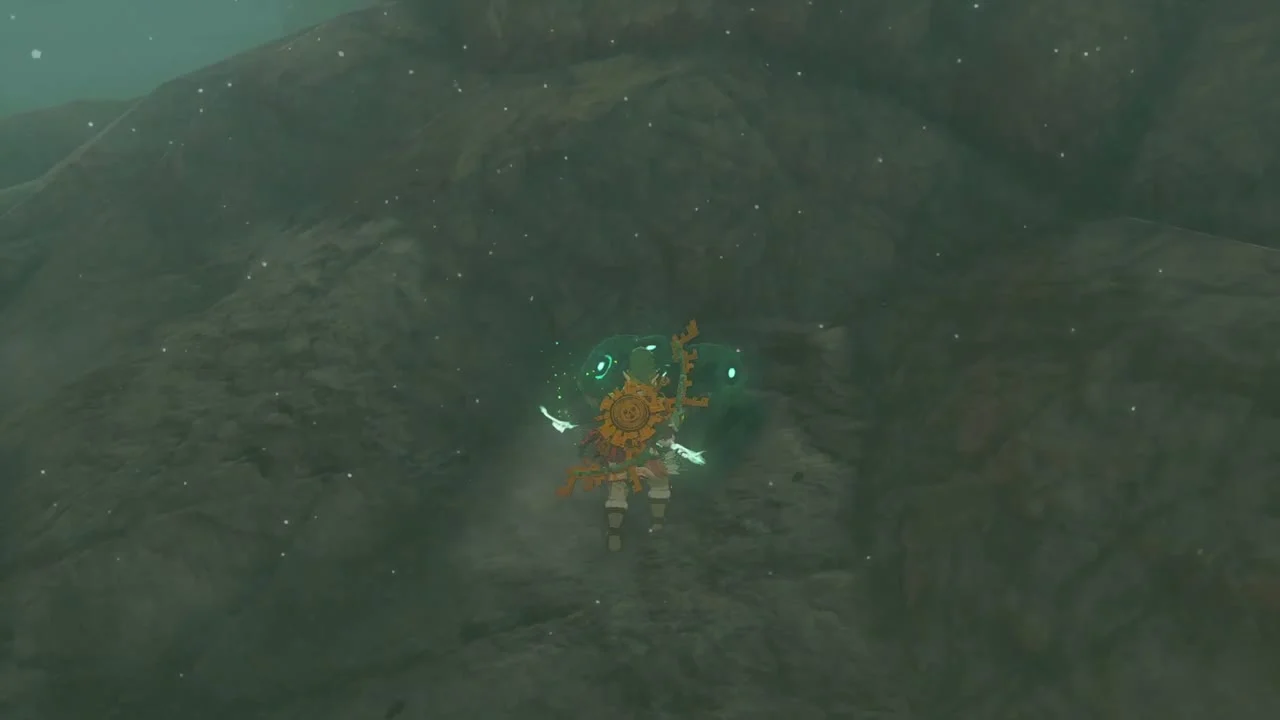
Chest: Dragonbone Boko Bow
Chest (Dragonbone Boko Bow (or Boko Bow or Spiked Boko Bow, depending on your progress)). A Bokoblin watchtower on the cliff edge holds a chest. Climb the ladder and open it for a Dragonbone Boko Bow.

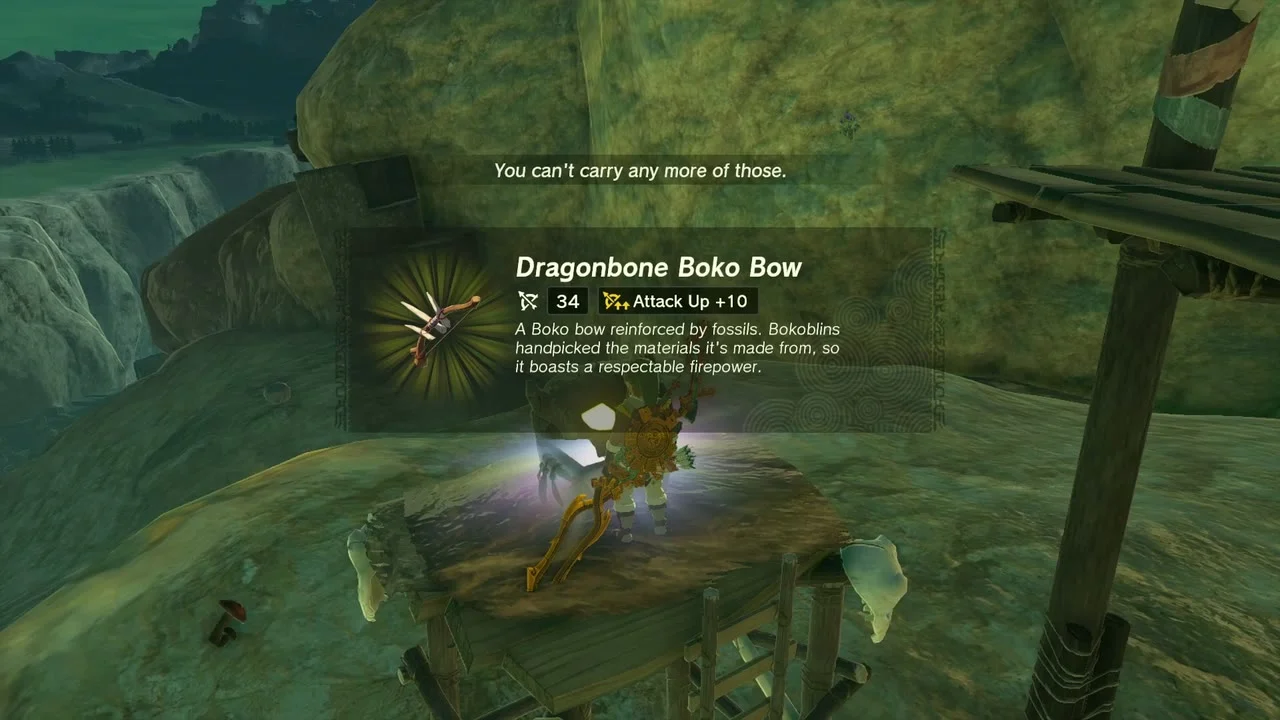
Korok seeds on the outskirts
Korok seeds. Seeds around here include a Korok under a tree beside the watchtower, one at a stone circle in the snow, and one on a ledge above the chests; the Koroks in the table below list the coordinates for each type.
Addison’s signs
Addison’s sign. Three of Addison’s roadside signs along the road need rebuilding. Lift the sign with Ultrahand, rotate it upright and set it in the marked outline; each pays a small rupee reward.
Hebra snowfields: Marauders of Hebra, Hinox and caves
Marauders of Hebra
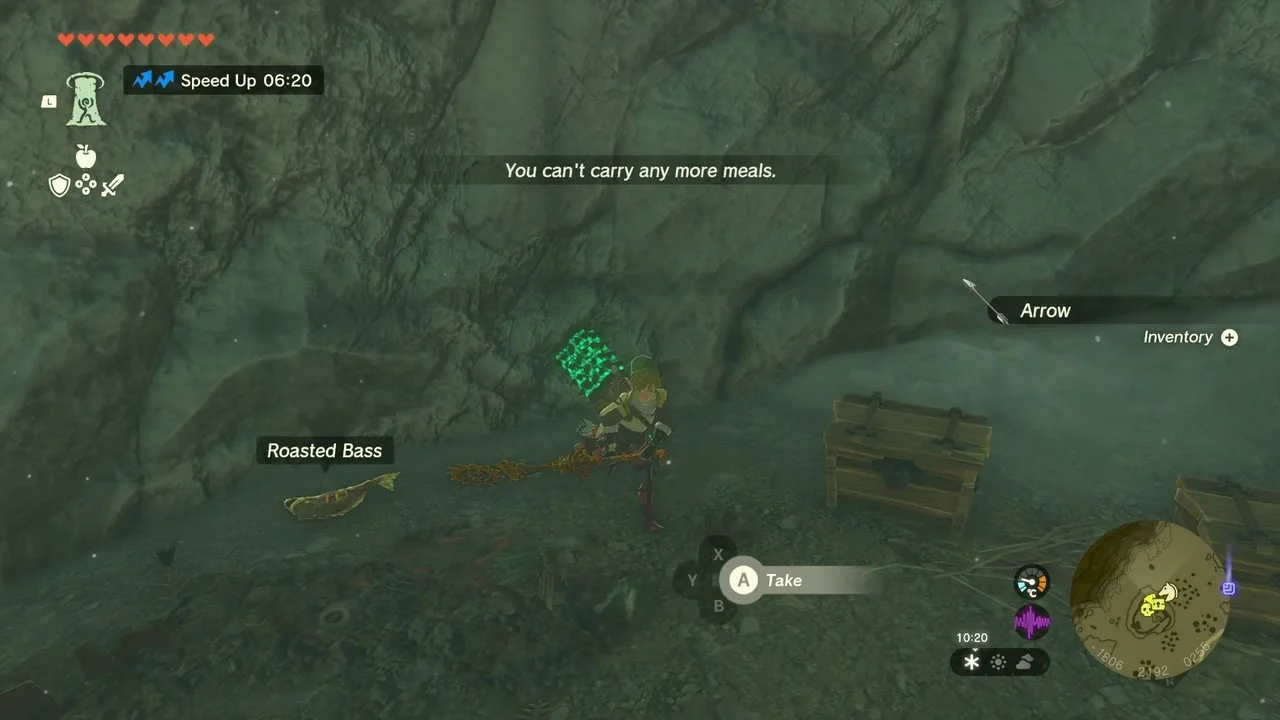
Monster camp. A Bokoblin camp on the snow road is part of the Marauders of Hebra group. Defeat everyone in it and open the chest for an Opal.
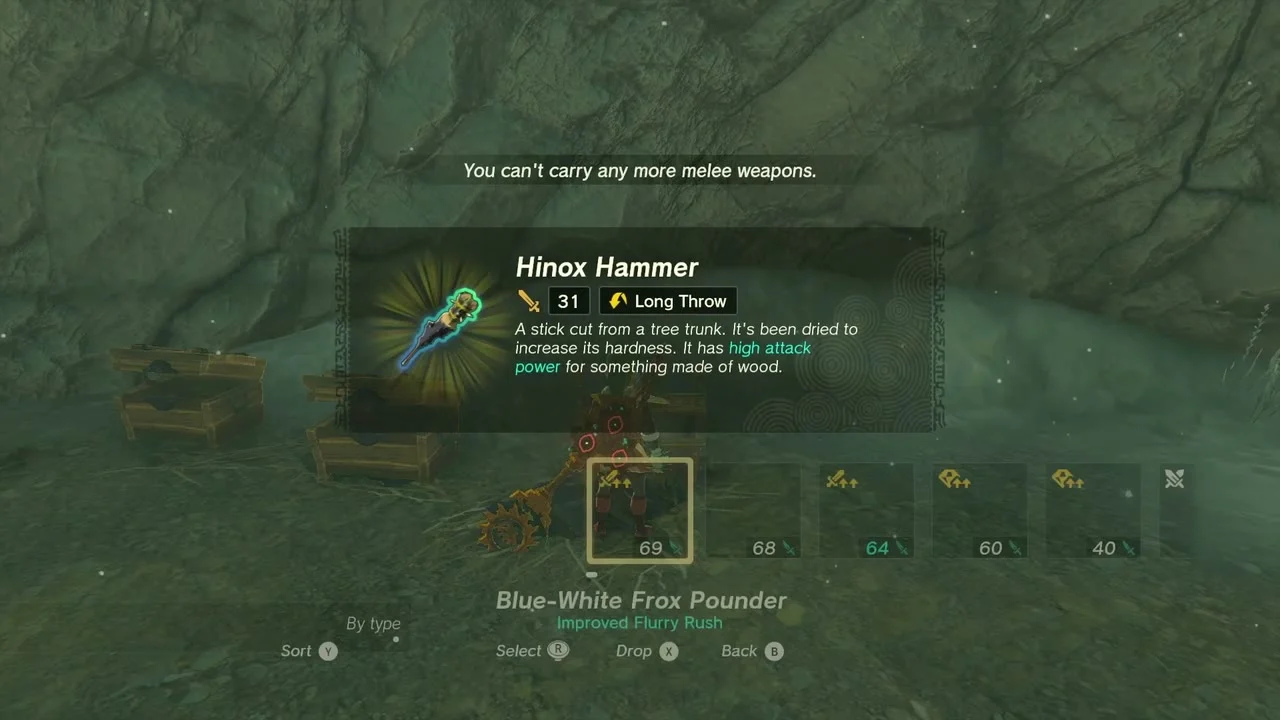
Chest: Amber, Arrow x5 and Hinox Hammer
Chests. Three adjacent chests beside the camp hold Amber, Arrow x5 and a Hinox Hammer.
Supply-Eyeing Fliers
Quest: Supply-Eyeing Fliers. Huck at the donation crate asks you to shoot down the Aurocudas circling over the road (quest page). Shoot them down with arrows and report back for a Purple Rupee.
Silver Lynel
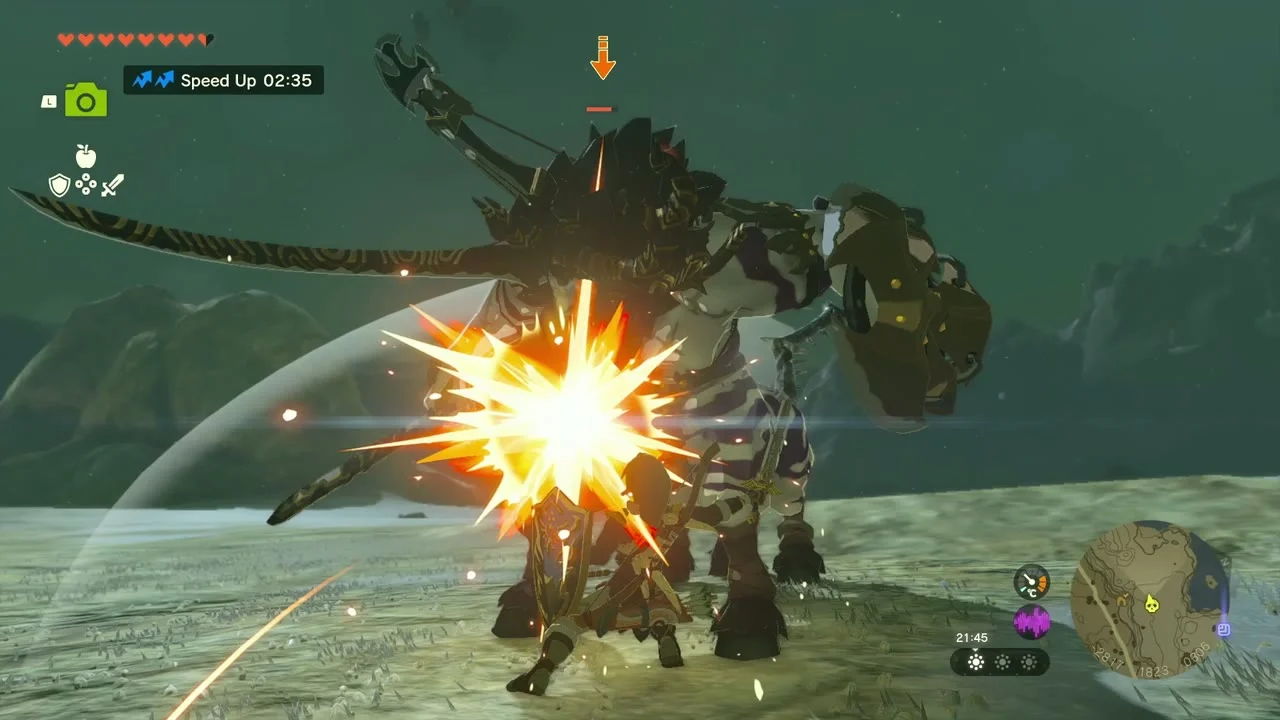
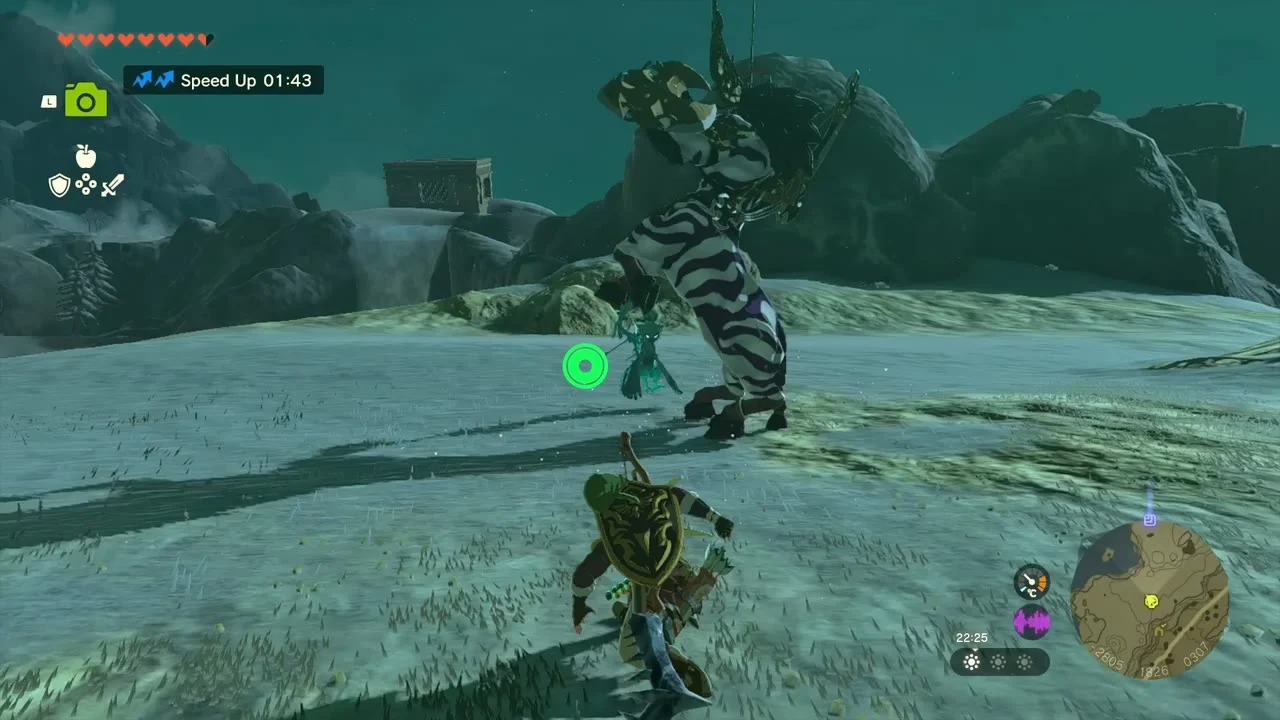
Miniboss: Silver Lynel. A Silver Lynel patrols the open snowfield. Dodge its charge, flurry-rush it with a Zonai shield bash and use arrows from range; shoot it when it leaps. It leaves a Silver Lynel Mace Horn.
Chest: Silver Lizal Reaper
Chest (Silver Lizal Reaper). A skull-faced chest on a wooden watchtower on the east side of the snowfield holds a Silver Lizal Reaper. Climb the ladder and open it.


Hinox
Miniboss: Hinox. A Hinox sleeps in the snow beyond the watchtower. Sneak up, shoot its eye and hit the weak spot; it drops a Hinox Toenail.
Hebra Headspring Cave
Reach the chest
Hebra Headspring Cave. The entrance is at (-2900, 2510, 387) at the north end of Hebra Headspring. Defeat the Ice Keese in the first room and jump across the icy wall on the north-east side. Open the chest for the Frostbite Trousers, which give cold resistance.
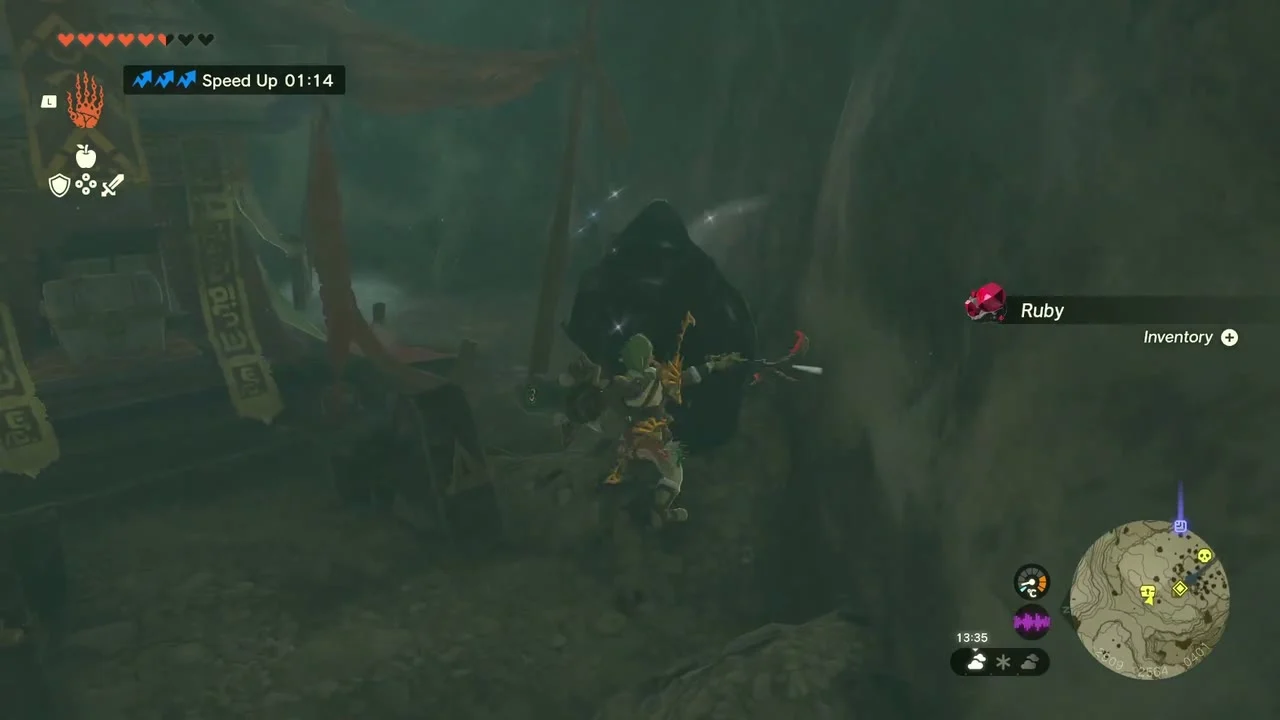
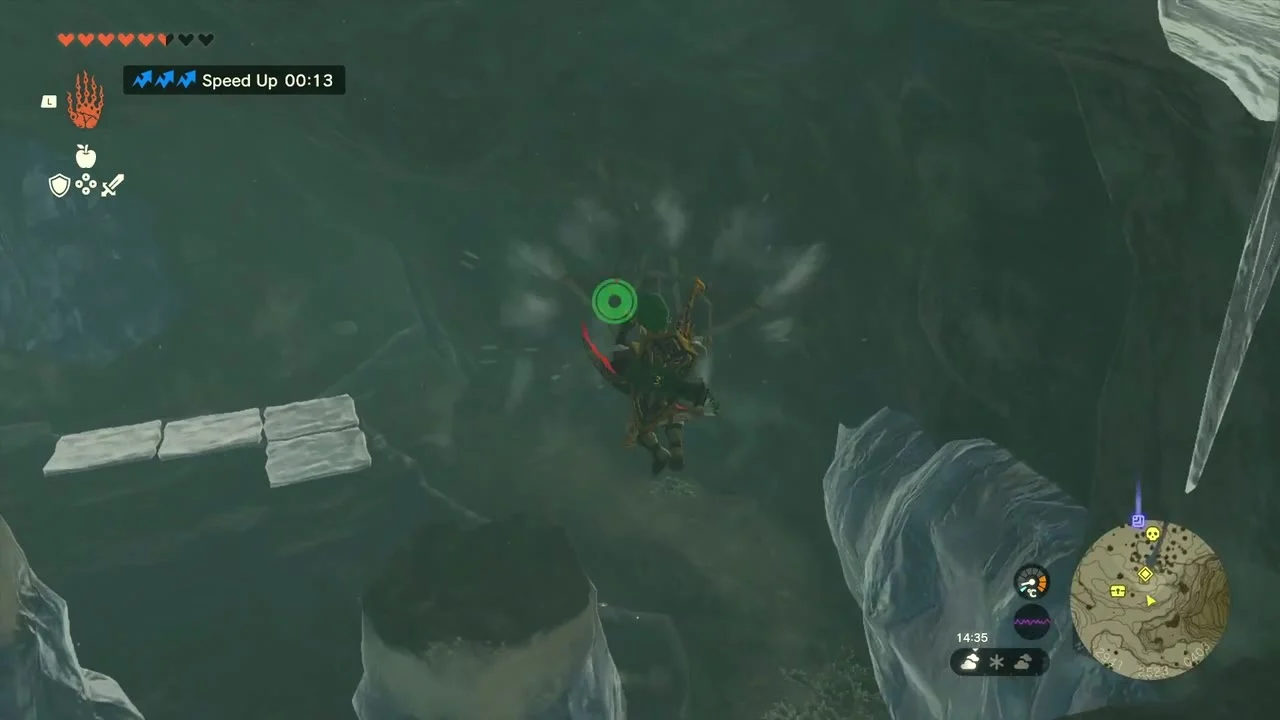
Bubbul Gem
Bubbul Gem (Hebra Headspring Cave). The Bubbulfrog is at the top of the next climb. Shoot it for a Bubbul Gem.
Kopeeki Drifts Cave and Nouda Shrine
Find the cave
Kopeeki Drifts Cave. The entrance is at (-2395, 2276, 169) in the southern part of Kopeeki Drifts, at the bottom of the slope, south-west of Snowfield Stable. Wear cold resistance.
Chest (Feathered Spear). In the first big room, a chest on the left holds a Feathered Spear. High on the left side, a small side cave holds the Bubbulfrog.
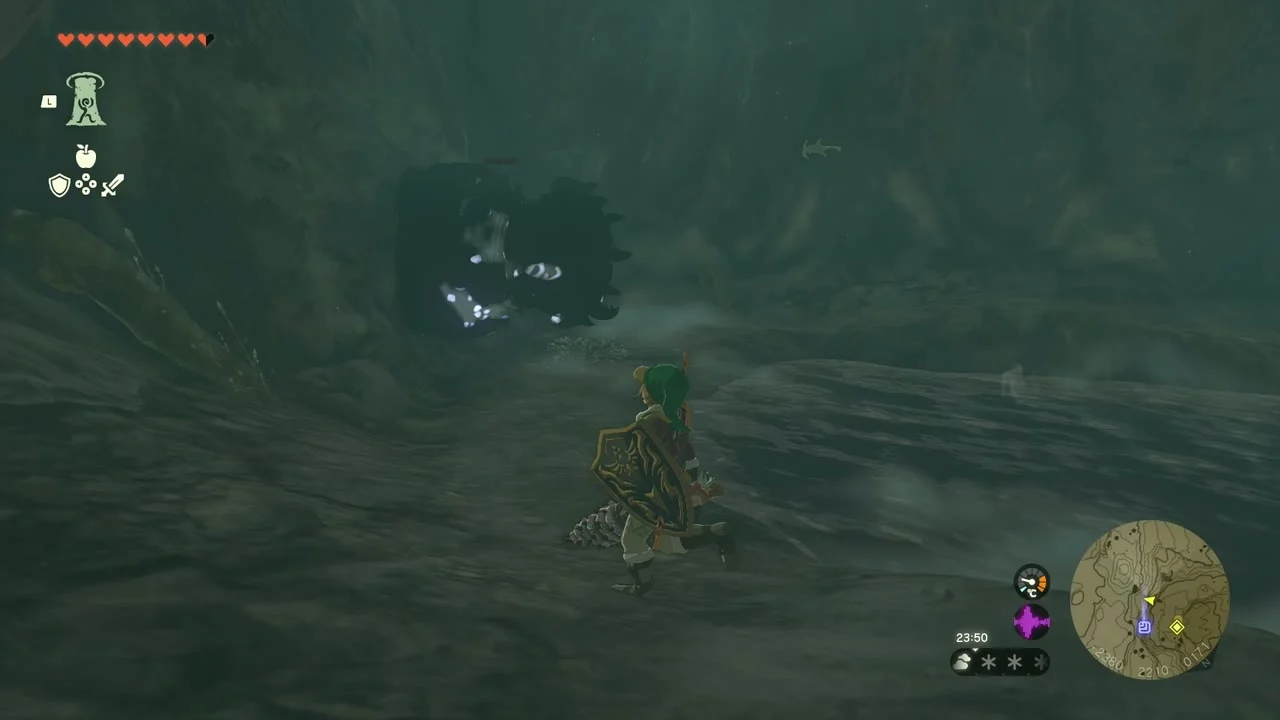

Bubbul Gem
Bubbul Gem (Kopeeki Drifts Cave). Shoot the Bubbulfrog on the ceiling of the left side cave for a Bubbul Gem.
Cross the freezing water
Deeper in, water blocks the way to the shrine. Shoot Ice Fruit arrows at it to make platforms, or lure the Ice Like to breathe frost on it, or build a Hylian Pine Cone updraft to glide across.
Nouda Shrine (Proving Grounds: Intermediate)
Nouda Shrine (Proving Grounds: Intermediate) stands at (-2318, 2201, 187) inside Kopeeki Drifts Cave; the Aduon Lightroot is below it at (-2317, 2200, -801). All your gear is taken away: pick up the weapons in the hall to the right, then fight the Constructs in the main arena, starting with the bottom platform. Defeat everyone and open the door for the chest with a Hearty Elixir, then take the Light of Blessing.

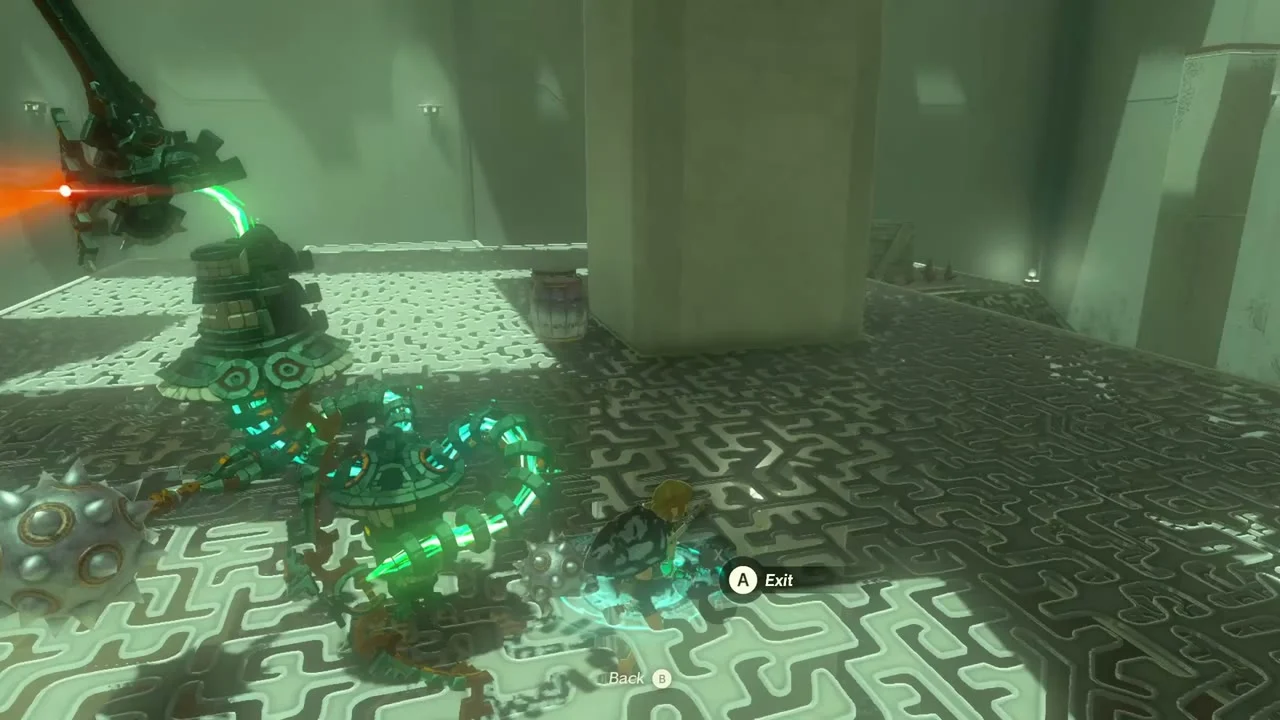
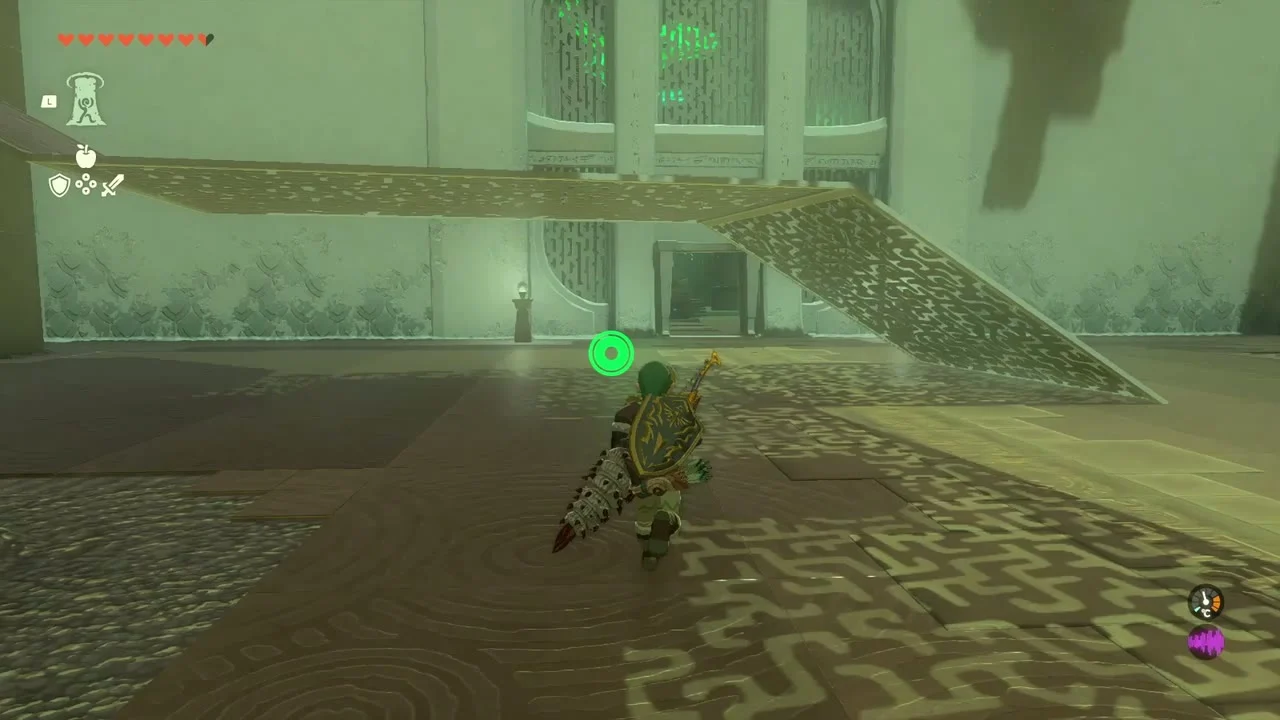

Chest: Mighty Zonaite Sword and Mighty Construct Bow
Chests. A wooden shelter on the way back holds two chests: Mighty Zonaite Sword and a Mighty Construct Bow (Strong or Mighty, depending on your progress).

North Lomei Labyrinth (sky)
Tenbez Shrine (Gravity and Velocity)
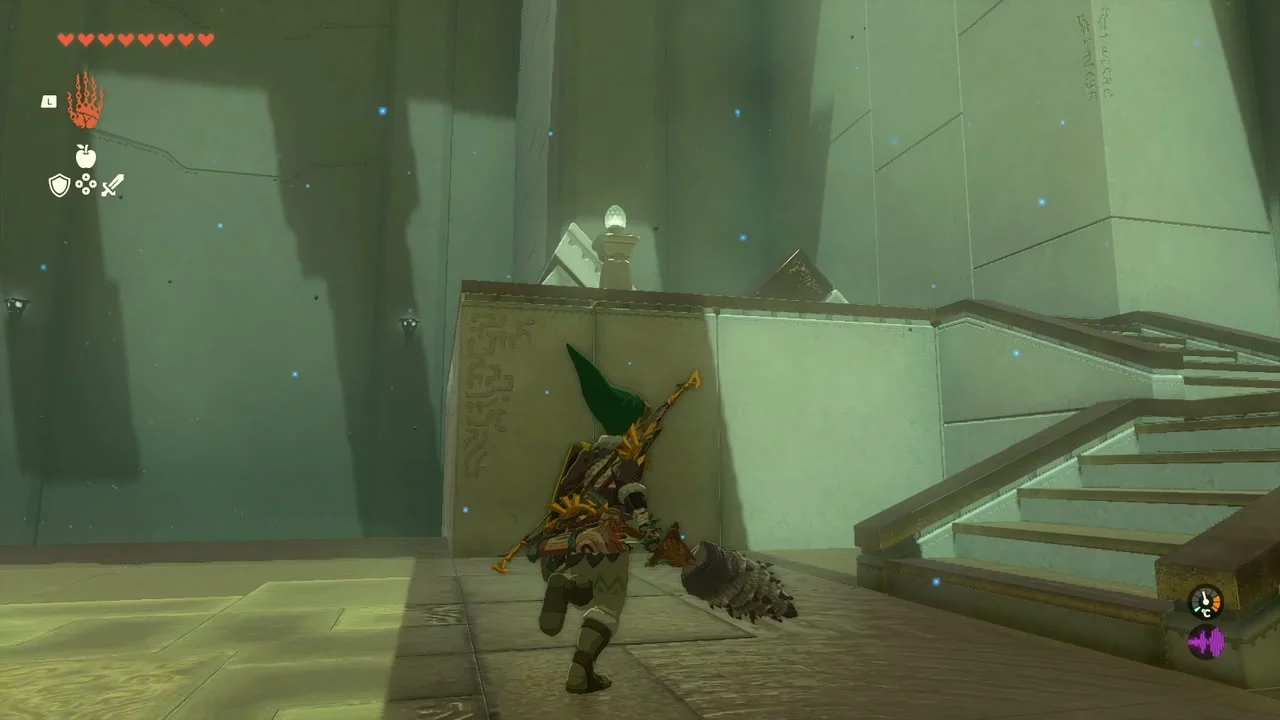
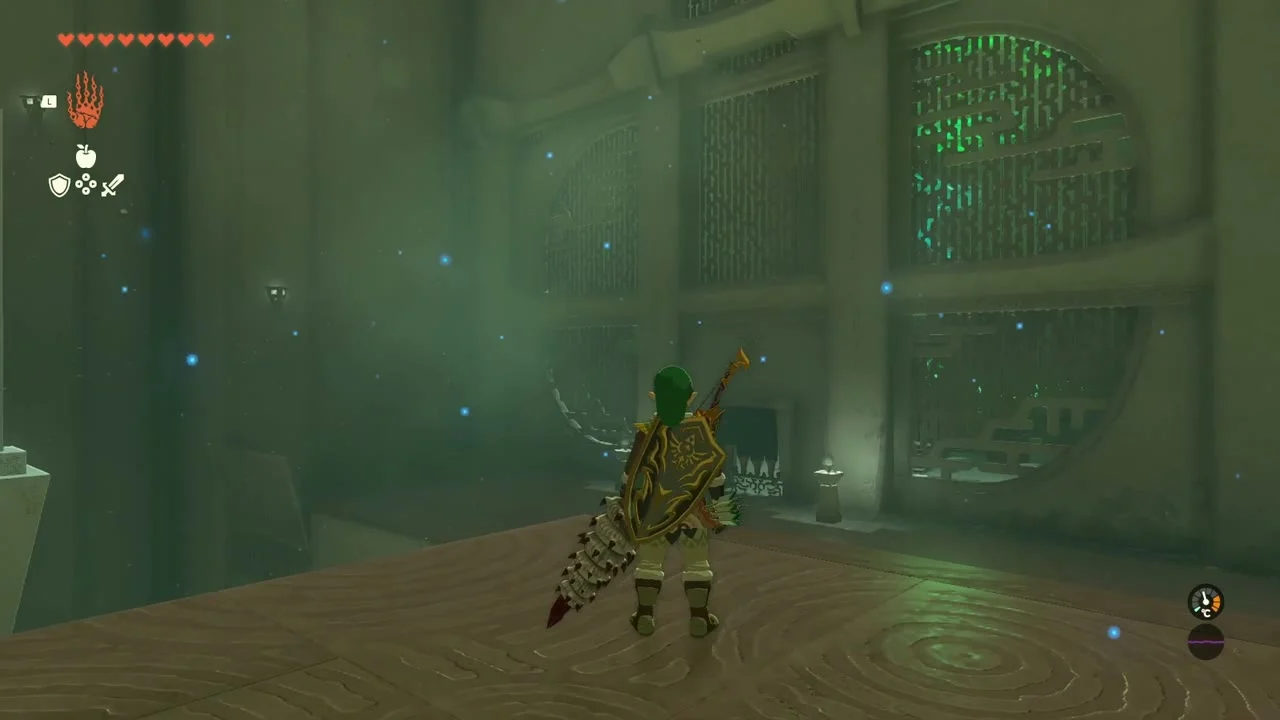
Tenbez Shrine (Gravity and Velocity, a puzzle trial) is at (-970, 3535, 1025) in the Hebra Mountains Sky, on the western side of the sky labyrinth. It has no Lightroot and one chest (Large Zonai Charge).
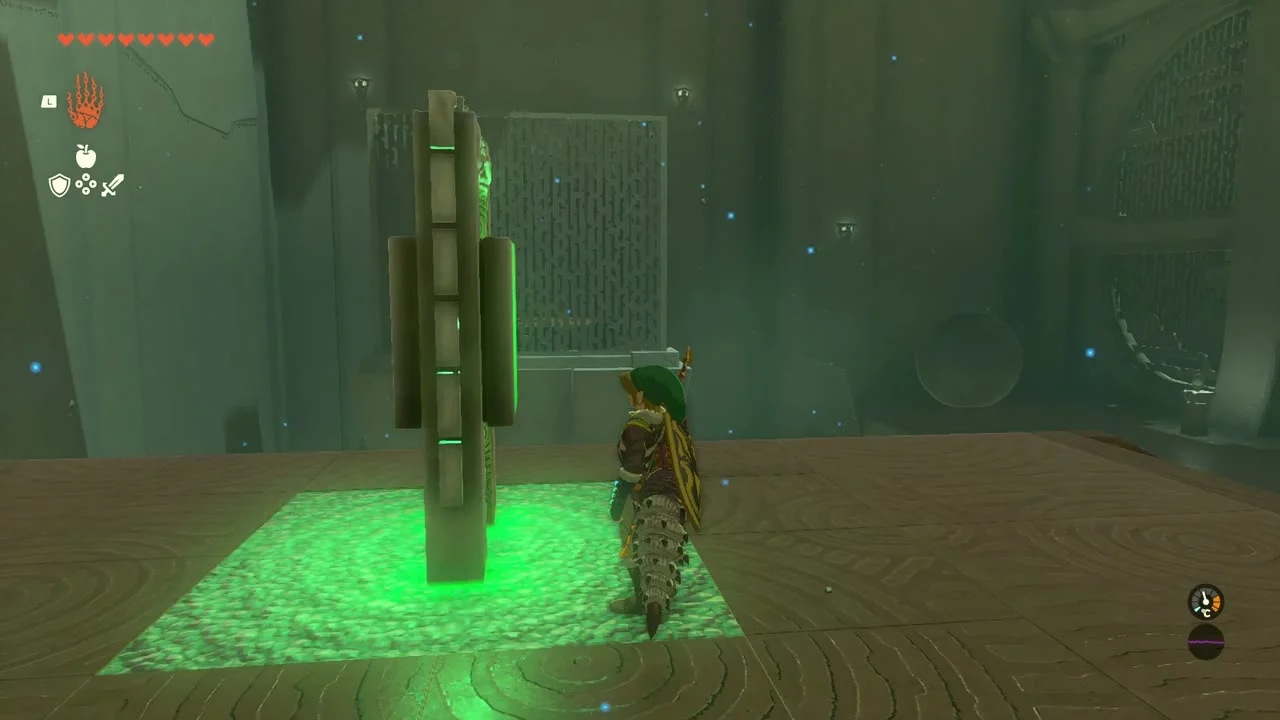
Lower gravity to launch the sphere
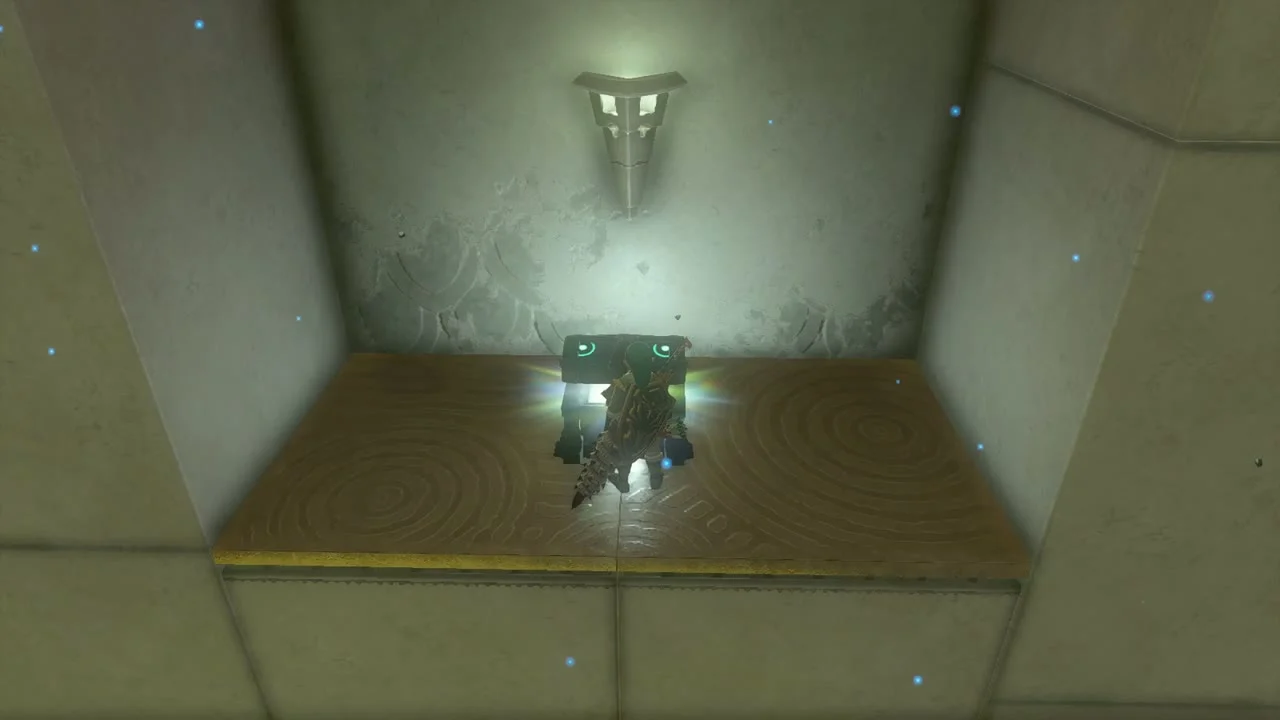
Strike the grey-and-orange device in the centre of the first room to switch to low gravity. When the sphere sits on the right launcher, hit it again and let the sphere fly into the target to open the gate. Stand on the launcher to ride the sphere to the Large Zonai Charge chest.
Switch gravity back for the drop
In the second room, keep gravity low until the sphere has been flipped over the corner. As it floats above the gate, hit the device once to restore gravity and drop the sphere on the target. Take the Light of Blessing.
Sky labyrinth terminals and chests
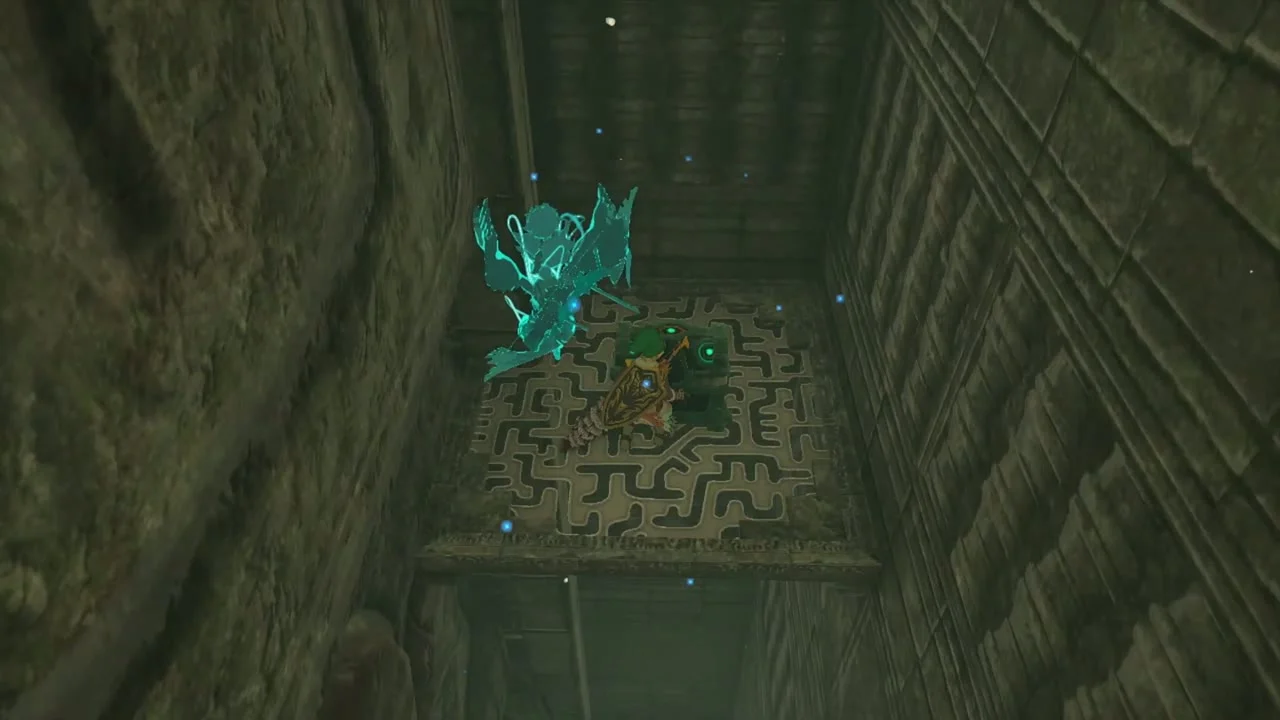
Chests (sky). The sky labyrinth is a wind-driven maze in low gravity. Four terminals must be activated, all at height 1064: the centre one at (-823, 3535), the northern one at (-824, 3649), the eastern one at (-712, 3534) on top of a tall barrier (ride the central updraft, glide east, then south) and the southern one at (-825, 3419) in the southern corner. Chests you find along the way hold: Big Battery, Mighty Zonaite Spear, Mighty Zonaite Longsword, Mighty Zonaite Shield and Mighty Zonaite Sword. Once all four are active a Dragon Ring appears at the top of the labyrinth; interact with it to open the grate down to the North Lomei Depths Labyrinth.



Chest and Korok seed on top
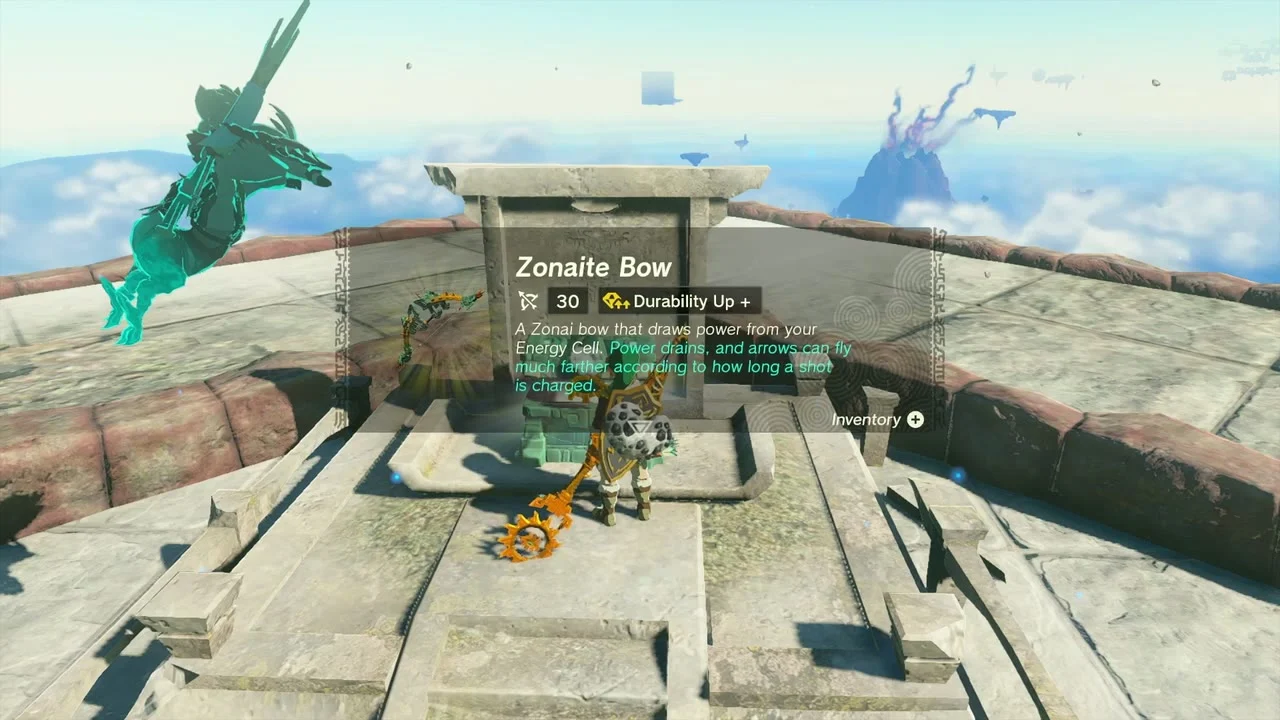
Chest (Zonaite Bow) and Korok seed. On the roof of the labyrinth, a chest holds a Zonaite Bow. Nearby a Korok hides on the side of the block; shoot the lantern and the seed drops. A third Korok falls from the top of North Lomei Castle at (-681, 3534, 1186) if you catch its falling light.
Depths: Lightroots
Muihcoro Lightroot
Muihcoro Lightroot. Dive from the sky labyrinth into the chasm at (-814, 3535). Gliding south-west brings you to the Muihcoro Lightroot at (-1637, 2642, -706), directly under Orochium Shrine.


Aduon Lightroot
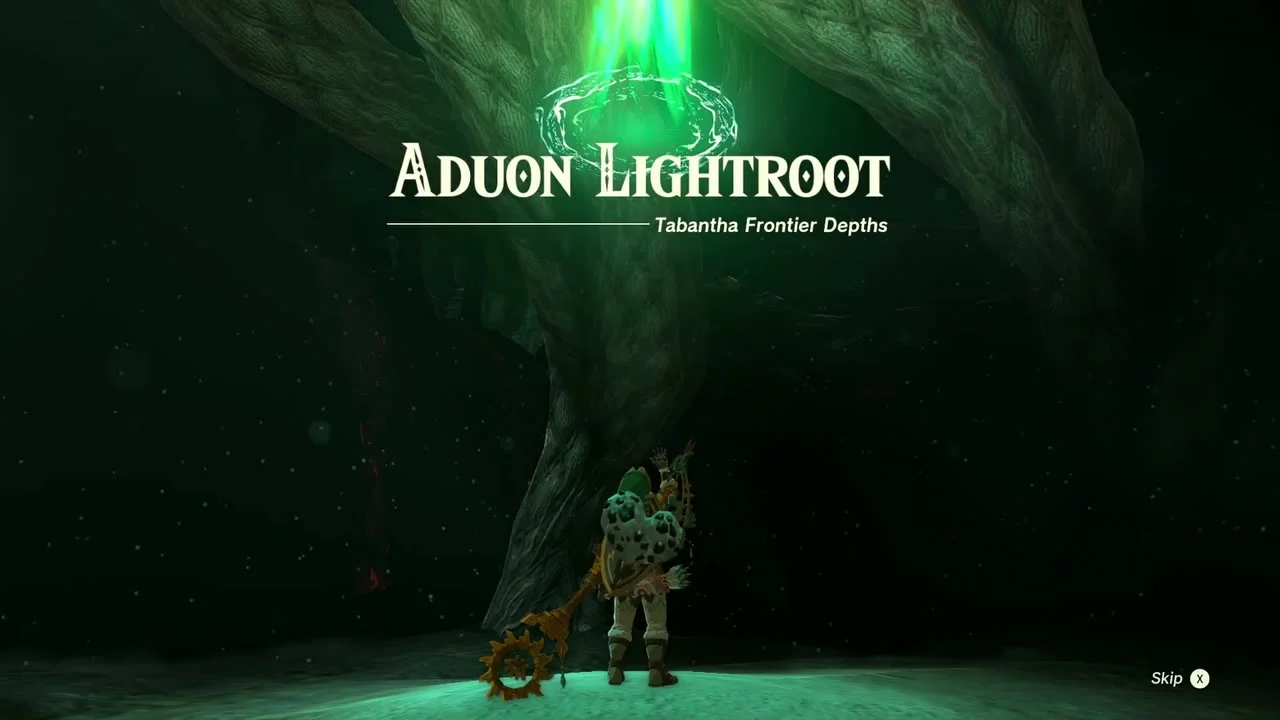
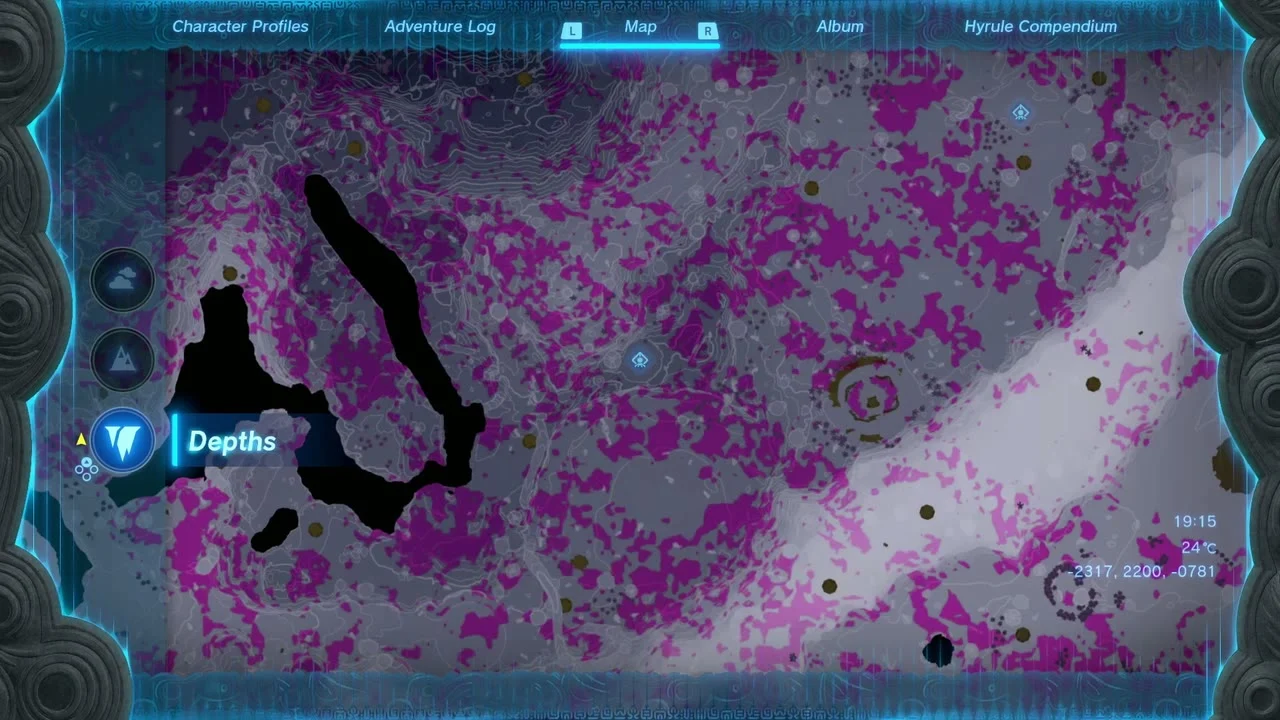
Aduon Lightroot. Aduon Lightroot (Tabantha Frontier Depths) is at (-2317, 2200, -801), below Nouda Shrine. Walk up to the roots to light it.
U-nazohso Lightroot
U-nazohso Lightroot. The U-nazohso Lightroot (Hebra Mountains Depths) is at (-1403, 3678, -712), under Oshozan-u Shrine. After lighting it, the North Lomei Depths Labyrinth lies to the east; the depths terminal finishes the prophecy quest.

Korok seeds in this area
The Korok list for this stretch, with coordinates from the map data. Seeds already gathered along the route are the ones described above; the rest are still in the same map box.
- (-1662, 3285, 976) Climb on the wall; (-1683, 3572, 986) Follow the flower; (-681, 3534, 1186) Catch the falling light; (-1969, 3113, 353) Paraglide to the goal; (-1720, 2556, 242) Use Ascend on the marker; (-1210, 3601, 195) Complete the cube puzzle.
- Also in this area, not confirmed: (-1032, 3517, 230) exhausted Korok; (-1052, 2617, 35) cube puzzle; (-1093, 3402, 307) rock pattern; (-1145, 3086, 351) boulder on the tree stand; (-1147, 2534, -33) lift the rock; (-1185, 2481, -100) lift the rock; (-1226, 1577, 152) examine where the arrows point; (-1347, 2791, 203) exhausted Korok; (-1461, 2365, 145) boulder on the tree stand; (-1580, 2133, -35) shoot the balloons; (-1652, 2437, 240) offer fruits to the statues; (-1670, 3759, 239) catch the sparkling spot; (-1762, 3554, 234) lift the rock; (-1810, 2198, 273) lift the rock; (-1972, 3796, 313) lift the rock; (-2074, 2077, 289) break the acorn pot; (-2077, 2589, 301) rock pattern; (-2207, 2091, 324) build a roof for the statues; (-2221, 1580, 170) lift the rock; (-2268, 2283, 331) boulder on the tree stand; (-2298, 1908, 297) hidden acorn pot; (-2359, 3678, 276) shoot the balloons; (-2372, 3018, 441) exhausted Korok; (-2384, 2137, 394) shoot the balloons; (-2477, 2748, 515) cube puzzle; (-2530, 1854, 303) acorn pot; (-2603, 3236, 388) rock pattern; (-2635, 2055, 344) cube puzzle; (-2687, 1662, 269) examine the sparkling spot; (-669, 1966, 133) offer fruits; (-680, 3534, 287) shoot the balloons; (-873, 3313, 227) hidden acorn pot; (-981, 2239, 120) exhausted Korok; (-997, 3083, 202) Use Ascend on the marker.
Also in this area
Great Fairy. The Great Fairy fountain near Snowfield Stable stays closed until you finish Serenade to Mija.
Memory. The Birth of the Demon King memory (Memory 10) triggers at a glowing memory spot in the snowfield near Snowfield Stable.
Tabantha Tundra checklist
| Collectible | Count | Where |
|---|---|---|
| Shrines | 6 | Taninoud (sky), Orochium, Oshozan-u, Mayaotaki (labyrinth), Nouda (Kopeeki Drifts Cave), Tenbez (sky) |
| Lightroots | 3 | Muihcoro, Aduon, U-nazohso |
| Skyview Towers | 1 | Pikida Stonegrove |
| Caves | 4 | Pikida Stonegrove Northwest, Mount Drena Foothill, Hebra Headspring, Kopeeki Drifts |
| Bubbul Gems | 3 | Mount Drena Foothill, Hebra Headspring, Kopeeki Drifts |
| Wells | 1 | Snowfield Stable Well |
| Chests | 37 | Feathered Spear, Soldier’s-Spear Stick, Old Map, Topaz, Zonai Charge, Arrow x5 (2), Purple Rupee, Sapphire, Mighty Zonai Shield, Zonaite Bow (Oshozan-u), labyrinth surface x12, Opal, Amber and Hinox Hammer, Silver Lizal Reaper, Frostbite Trousers, Mighty Zonaite Sword and Mighty Construct Bow, Feathered Spear, Hearty Elixir, sky x7 |
| Minibosses | 6 | Flame Gleeok, Frost Talus, Frost Gleeok, Phantom Ganon, Silver Lynel, Hinox |
| Quests | 8 | Picture for Tabantha Bridge Stable, White Goats Gone Missing, Zelda’s Golden Horse, Picture for Snowfield Stable, The Captured Tent, Who Finds the Haven?, Supply-Eyeing Fliers, The North Lomei Prophecy |
