





















Tears of the Kingdom 100% Completion Walkthrough43 chapters
Great Sky Island
- Great Sky Island4 shrines, 4 caves and Bubbul Gems, 17 Korok seeds
Hyrule Field and Hyrule Castle
- Lookout LandingParaglider, Crisis at Hyrule Castle, Jiosin and Kyononis shrines, 2 caves, 3 wells
- Hyrule FieldSusuyai and Ishodag shrines, the Hyrule Field Chasm, 2 caves, 13 Koroks
- Hyrule Castle Town RuinsSepapa, Yamiyo and Tukarok shrines, 2 caves, 4 wells, Koroks, chests and Battle Taluses in route order
- Central Hyrule Depthslight all 7 Lightroots, loot Daphnes and Gustaf Canyon Mines, find the Miner's Top
- Rest of Hyrule CastleRoyal Hidden Passage loot, 8 castle chests, Phantom Ganon, Energy Wells
- South Hyrule FieldShrines, Koroks & the Great Plateau
- South Hyrule Field DepthsGreat Abandoned Central Mine, Master Kohga, Autobuild, Majora's Mask
Tabantha and Hyrule Ridge
- Tabantha FrontierNew Serenne Stable, Hestu, Courage Island and the Glide Shirt, 3 shrines, 2 Korok seeds, Lindor's Brow Cave
- Forgotten TempleImpa and the Geoglyphs, Dragon's Tears, Kiuyoyou and Mayausiy shrines, Yiga Maritta Branch, 9 Koroks
- Tanagar Canyon & Hyrule RidgeRunakit and Iun-orok shrines, 2 caves, 12 Koroks, 20 chests, 8 minibosses and Dragon's Tear 6
- Thundra Plateau & Tabantha Bridgesolve the noon shadow puzzle, Tabantha Bridge Stable, Makurukis Shrine, 19 Korok seeds, 9 chests, 3 minibosses
- Lindor's Brow DepthsLightroots; Two Yiga camps (Bomb Bouquet, Flamethrower Balloon)
- Hyrule Ridge and Tabantha FrontierIkatak, Oromuwak, Ganos and Ga-ahisas shrines, 4 caves, a well, 26 Koroks and 3 minibosses
Hebra
- Rito VillageGatakis and Ijo-o shrines, Sikatag Lightroot, 9 Korok seeds, 14 chests
- Hebra MountainsShrines, Wind Temple & Koroks; Raspro Pass, Biron Snowshelf & Royal Hidden Passage
- Corvash Canyon MineTrousers of the Hero, Floodlights schematic, Sea-Breeze Boomerang, four Lightroots, Colgera
- Raspro Pass DepthsNupisoyuat and Sasag Lightroots, Colgera, Cap of Time, Tunic of the Wind, two Yiga camps and 13 minibosses
- Tabantha TundraTaninoud, Orochium, Oshozan-u, Mayaotaki, Nouda and Tenbez shrines, three Lightroots, caves and Bubbul Gems
- Pikida Stonegrove DepthsEvil Spirit Greaves, Ikatoayam, Muihcoro and Sikatag Lightroots, 3 Yiga schematics, Frox fights
Great Hyrule Forest
- Great Hyrule Forest7 shrines, 8 Lightroots, 2 caves, 2 wells, Korok Mask, Glide Tights
Eldin
- EldinEldin Canyon, Shrines, Caves & Goron City
- Eldin Canyon Depths10 Lightroots, Zant's Helmet, Trousers of the Wild, Biggoron's Sword, 3 Yiga schematics and Eldin's sky chests
Faron
- FaronHighland Stable, Lake Hylia & Popla Foothills
Necluda
- Kakariko VillageMakasura Shrine, Kakariko Village Well, 2 caves, Ring Ruins chests, 10 Korok seeds and village quests
- West Necluda and Lanayru WetlandsShrines, Koroks & Caves; Jonsau, Kurakat
- Hateno VillageZanmik and Mayahisik shrines, Shield of the Mind's Eye and Phrenic Bow wells, 7 Koroks
- East NecludaRabella Wetlands, Sifumim Shrine, Lurelin Village, 21 Korok seeds
- East Necluda DepthsKumamayn Shrine, 4 Lightroots, Midna's Helmet, Cap of the Hero, Trousers of the Wind and 18 Depths chests
Lanayru
- Lanayru Great SpringShrines, Koroks & Caves; Ralis Channel, 3 shrines, 8 caves
- Zora's DomainMogawak and Ihen-a shrines, Ploymus cave, Pristine Sanctum, Zora Armor, Sidon of the Zora and Clues to the Sky
- Wellspring IslandAncient Zora Waterworks chests, Igoshon Shrine, 2 Korok seeds, Water Temple's four wheels and Mucktorok
- Mount LanayruShrines, Koroks & Light Rings; Jikais and Anedamimik shrines
Gerudo
- Gerudo DesertShrines, Caves & Koroks; West and South Sands
- Gerudo TownGerudo Shelter shops and quests, Valley of Silent Statues, Lightning Temple and Queen Gibdo, Chichim Shrine
- Gerudo Desert DepthsGranajh and Daval mines, three Master Kohga fights, Queen Gibdo, Mucktorok, Sheik's Mask and 37 chests
- Gerudo HighlandsSkyview Tower, Rotsumamu and Suariwak shrines, Mayasiar Shrine, Yiga hideout
Akkala
- AkkalaTarrey Town quests, 4 shrines, Hinox, Battle Talus
- Akkala Sky Islands and DepthsGikaku and Natak shrines, Old Maps, Lomei Depths Labyrinth, Mucktorok, 5 Lightroots and 19 chests
Finale and completion
- Ancient Tablets, Gleeoks and Armor Upgradesall 13 stone tablets with coordinates, Frost and King Gleeok, Obsidian Frox, Cotera upgrades and farming
- Hyrule CastleRoyal gear chests, Korok seeds, Serutabomac Shrine
- Thunderhead IslesCharged armor, Joku-usin and Joku-u Shrines, Dragonhead Island's relic
- 100% Completion: Armor Upgrades & Korok BonusHestu's Gift, Ancient Hero's Aspect, Great Fairy Cotera upgrade costs and materials, then Destroy Ganondorf
| Region | East Necluda: Hateno Village, its four wells, Retsam Forest and the Hateno Ancient Tech Lab (Surface) |
|---|---|
| Shrines | Zanmik Shrine (Scoop It Out, Puzzle, 3469, -2180) and Mayahisik Shrine (Rauru’s Blessing, 3729, -2058) |
| Lightroots | Kimnaz Lightroot under Zanmik Shrine and Kisihayam Lightroot under Mayahisik Shrine. See all Lightroots. |
| Caves, wells | Hateno Village South, West, East and North Wells; Retsam Forest Cave (Bubbul Gem, Mayahisik Shrine) |
| Quests | Team Cece or Team Reede?, Cece’s Secret, Reede’s Secret, Manny’s Beloved, Teach Me a Lesson I and II, A Letter to Koyin, Dantz’s Prize Cows, A New Signature Food, Photographing a Chuchu, Uma’s Garden, Hateno Village Research Lab and four Presenting quests from Robbie |
| Koroks | 7 collected (the Korok carry pair counts as two); 10 are listed for the village box |
| Chests | Shield of the Mind’s Eye, Phrenic Bow, Royal Bow, Zonaite Longsword (Strong or Mighty, depending on your progress) (Zanmik), Magic Scepter (Mayahisik) |
| Other | Goddess Statue (Heart Container), Kochi Dye Shop, Hateno School, Hateno Pasture |
| Previous / next | Mount Lanayru / Mount Lanayru, part 2 |
Hateno Village sits on a hillside in the south-east of East Necluda, and almost everything in this chapter is within a few minutes’ walk of its plaza. Clear the Korok seeds around it, take the two well chests, finish the mayoral-election side adventures, then climb to the Hateno Ancient Tech Lab for Robbie’s upgrades and the Mayahisik Shrine in Retsam Forest Cave.
Quick route
Arrive from the north and carry the exhausted Korok to its friend at the camp above the village, then take the islet Korok and the sparkling-spot Korok on the way down.
Climb into the South Well and work through the connected cave for the Shield of the Mind’s Eye and Phrenic Bow chests, then leave by the West Well with a handful of Hot-Footed Frogs.
Spend the day on the village quests: Cece and Reede’s rivalry, Manny’s frogs, the school lessons, the pond bottle for Koyin and Dantz’s acorns, plus the school-bell Korok and the riverbank Korok.
Take the Royal Bow chest at the east edge, clear Zanmik Shrine, find the East and North Wells, trade at the Goddess Statue, and follow Cece and Reede’s secrets in the evening.
Finish with the tree Korok, Robbie’s lab, Mayahisik Shrine in Retsam Forest Cave and its Bubbul Gem, Robbie’s four upgrade requests, the lab-roof Korok and Uma’s garden.
North of the village: Koroks
Carry the exhausted Korok to its friend
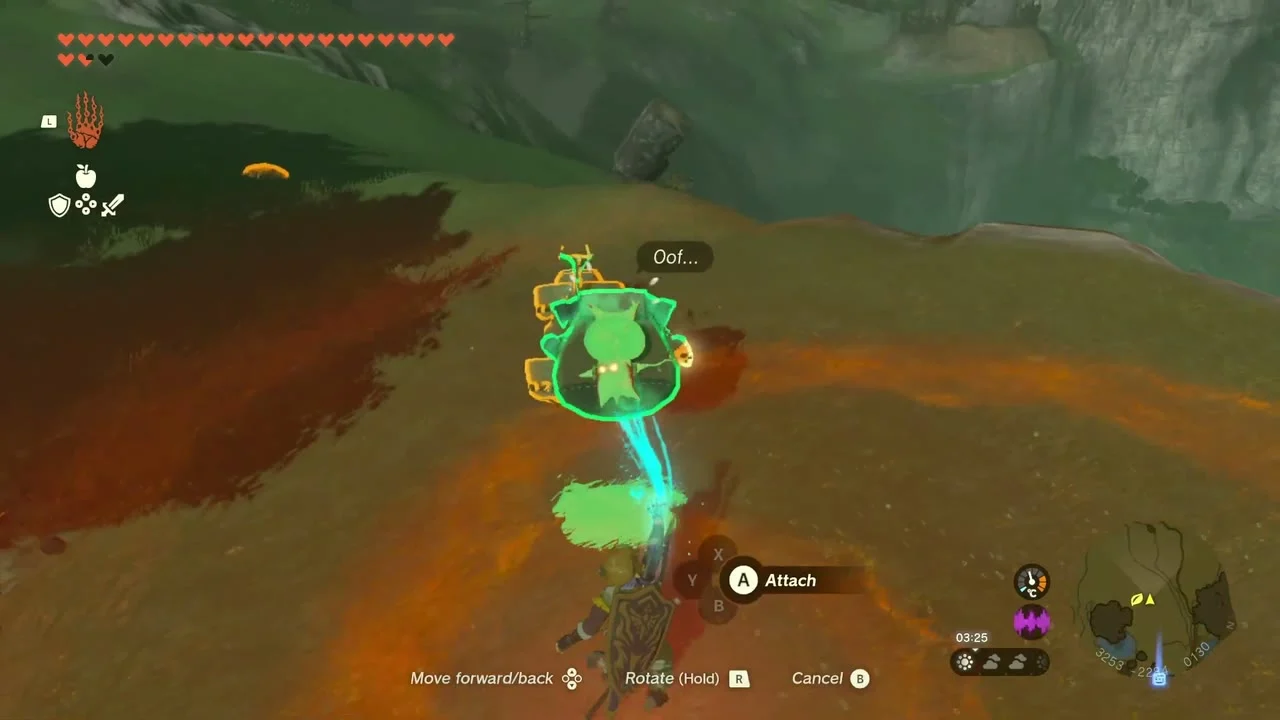
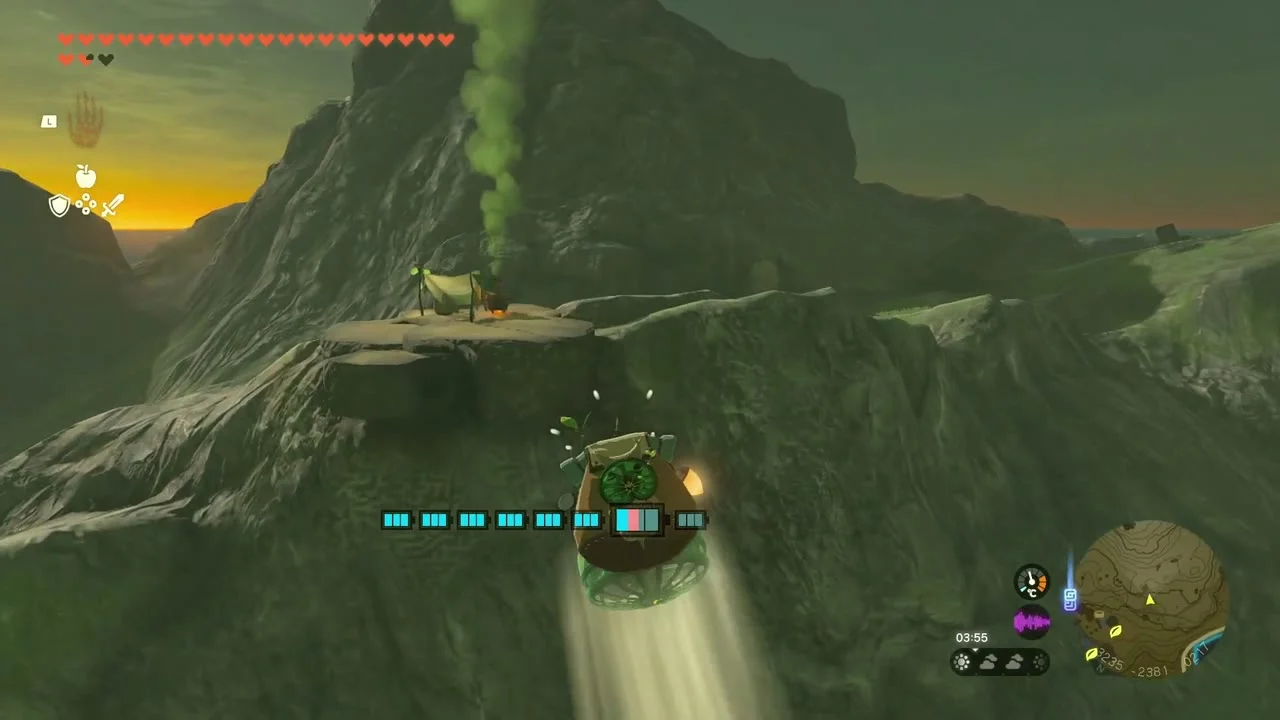
Korok seed x2 (Bring the exhausted Korok to its friend) at (3251, -2114) and (3260, -2396), on the hills north of Hateno Village. An exhausted Korok on the road says it needs to reach its friend, who waits at a small camp with a lantern and a smoke signal on a cliff to the south. Pick the Korok up with Ultrahand, attach it to a vehicle or balloon so you can cross the gaps, and set it down next to the camp to get the seeds.

Lift the rock on the islet
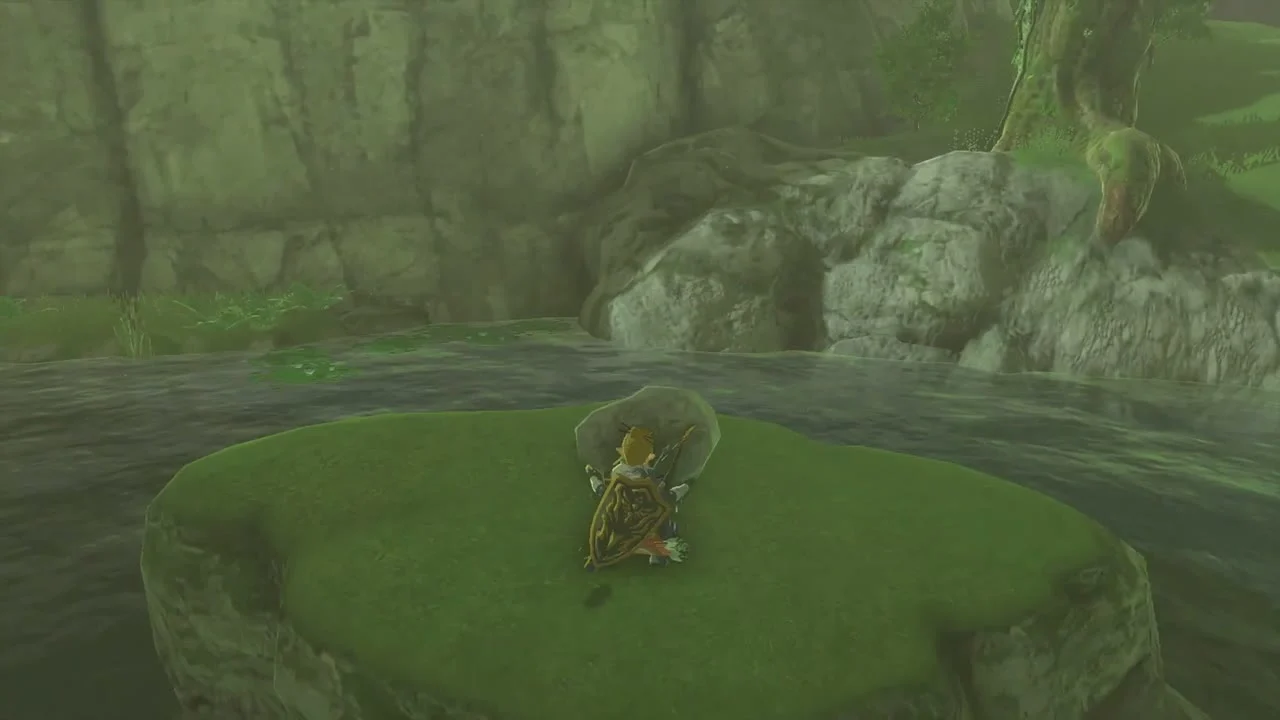
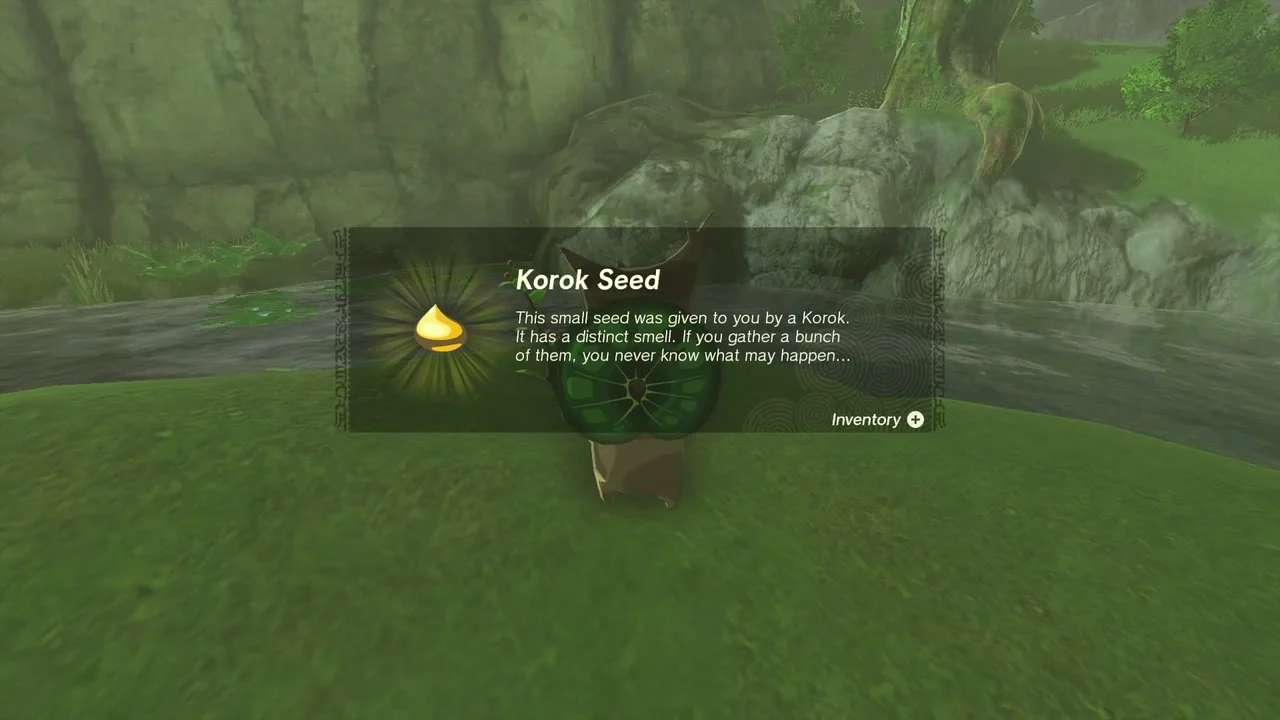
Korok seed (Lift the rock) at (3264, -2225), on a small grassy islet in the stream just north-west of the village. Move the rock lying on the islet with Ultrahand to reveal the Korok.
Examine the sparkling spot
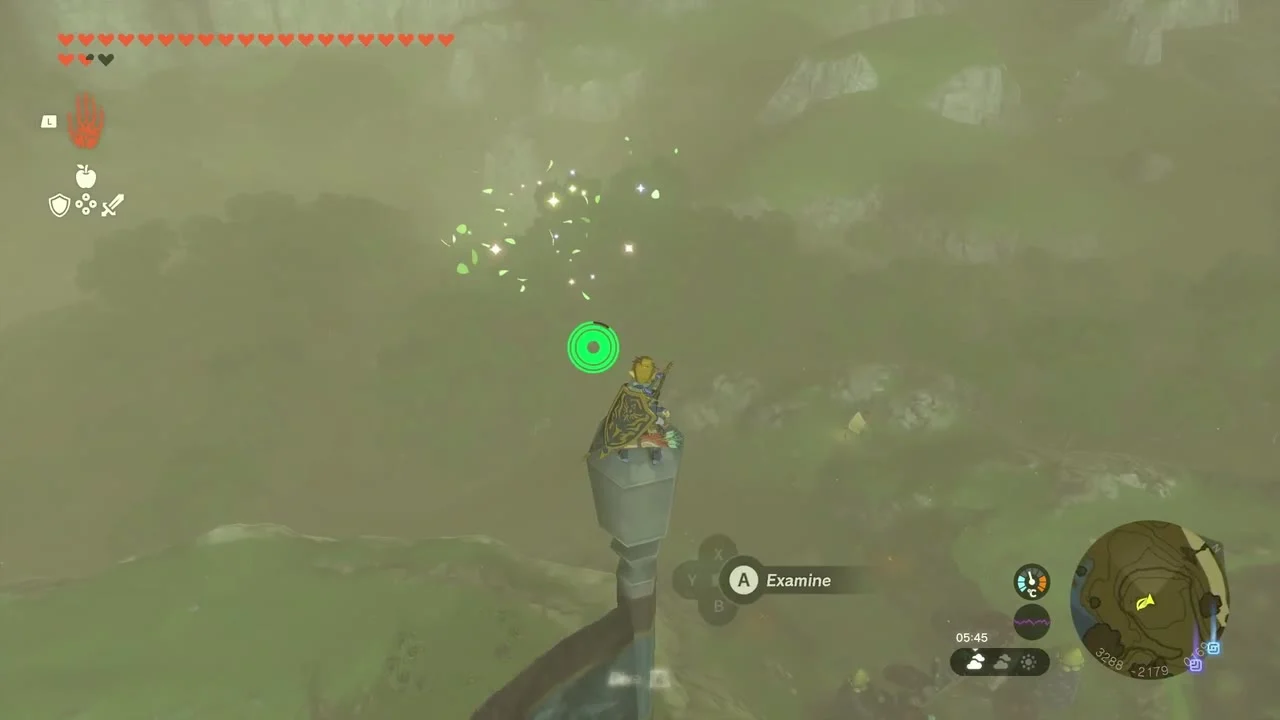
Korok seed (Go up to examine the sparkling spot) at (3286, -2179), on the slope above the western houses. Walk up to the glittering patch of ground and press A to examine it; the Korok pops out and hands over the seed.

Hateno Village Wells
Climb down the South Well
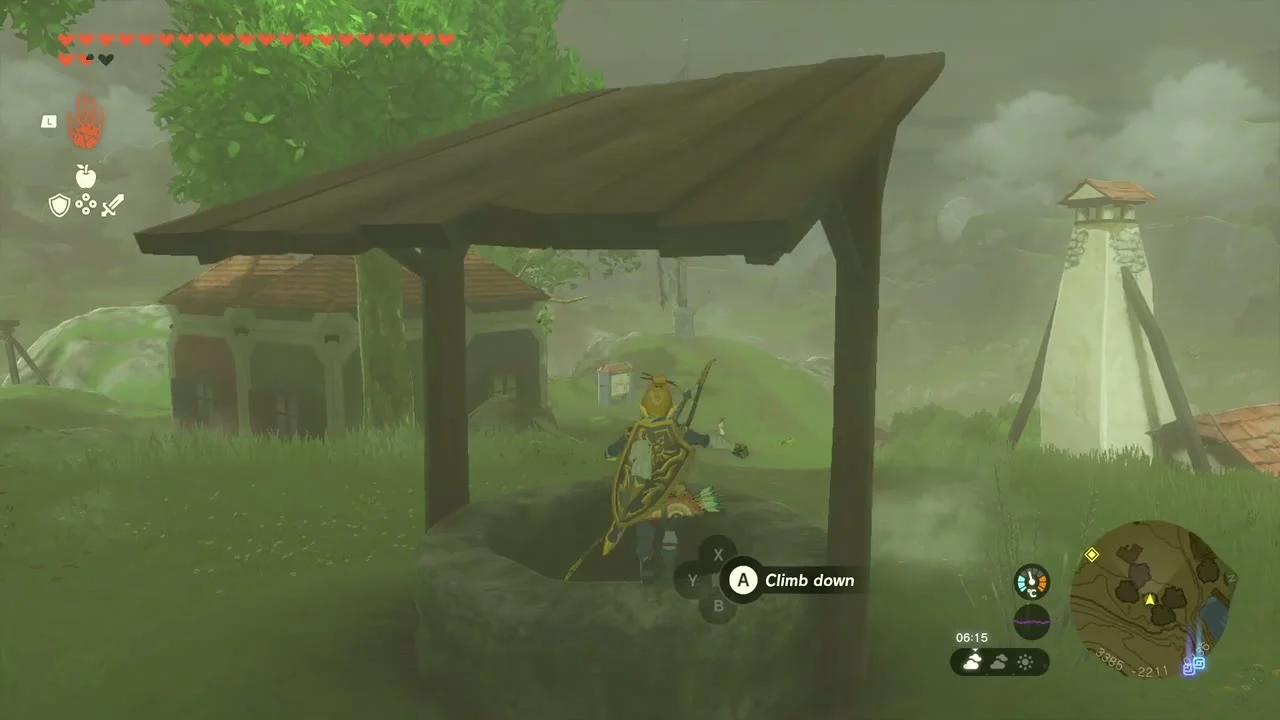
Hateno Village South Well at (3384, -2211), next to the houses on the village’s south side. Climb down for a dark cave system of water, glowing Brightcaps and Hot-Footed Frogs; bring Brightbloom Seeds, because the cave is unlit. The cave connects the South Well to the West Well.

Ride an ice slab to the Shield of the Mind’s Eye
Chest: Shield of the Mind’s Eye at about (3402, -2144), reached from the West Well. Head south in the cave until two breakable boulder walls block the way; smash them with bomb arrows, Bomb Flowers or a hammer to reach a pond guarded by Keese. The chest lies sunken in the pond: build a plank bridge or raft with Ultrahand beside it, then lift the chest out of the water and open it for the Shield of the Mind’s Eye.


Open the Phrenic Bow chest
Chest: Phrenic Bow at about (3450, -2096), in a dry side chamber of the cave. Blast the rubble in the way with a Bomb Flower, then open the chest for the Phrenic Bow.


Catch frogs and exit through the West Well
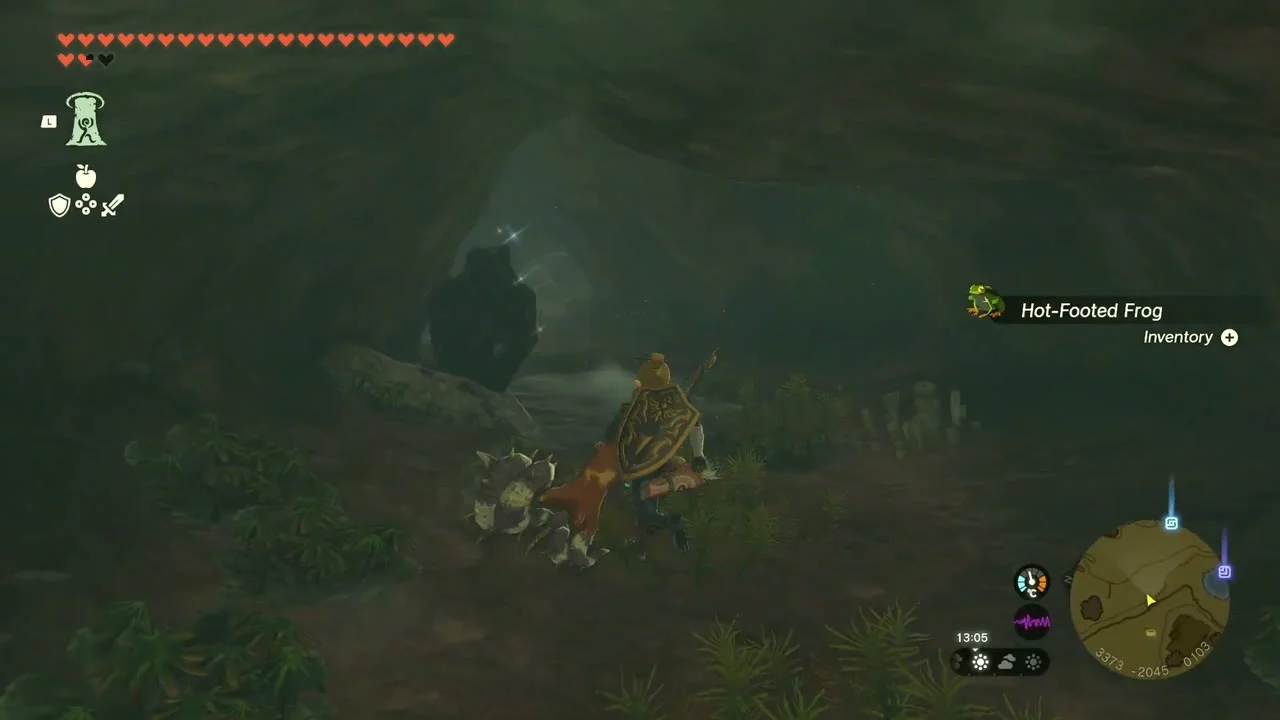
Hateno Village West Well at (3356, -2050). Collect Hot-Footed Frogs along the way, since Manny wants ten of them, and climb out through the West Well on the village’s north-west side.

Village quests
Team Cece or Team Reede?
Side adventure. Giver Sophie, in front of Ventest Clothing (Cece’s shop) near the village entrance at about (3355, -2127), Hateno Village. Take the Hylian Shrooms and give one to each of eight villagers: Dantz (Hateno Pasture), Koyin (Lake Sumac dock, north-east of the village), Leop (main road between the General Store and the Dye Shop), Medda (tending crops near Hateno School), Tamana (south of the West Well), Tokk (at the Hateno Ancient Tech Lab), Uma (school field or village centre) and Worten (the Inn). Some are busy at certain hours, so come back at another time of day; talk to Cece afterwards to finish.


Cece’s Secret
Side adventure. Giver Sophie, outside Ventest Clothing, Hateno Village. Sophie wants to know where Cece sneaks off to every night, so wait until nightfall (after about 10 pm; sleep at the Inn to skip ahead) and follow Cece without being seen. The second half of the quest is below in the evening section.

Manny’s Beloved
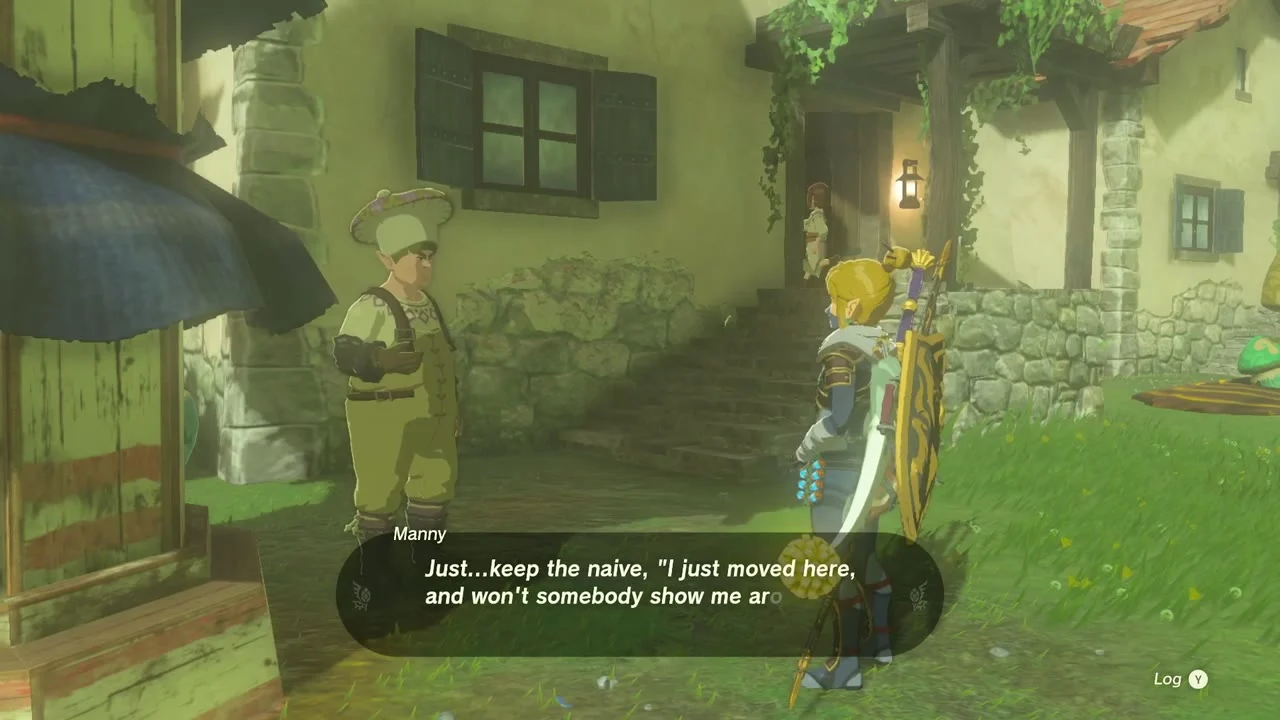
Side quest. Giver Manny, on the village’s main street, Hateno Village. Talk to Ivee, the greeter at the general store, then return to Manny; he asks for ten Hot-Footed Frogs, which you can catch in wells and caves, so use the ones from the South Well cave and hand them over for his reward.
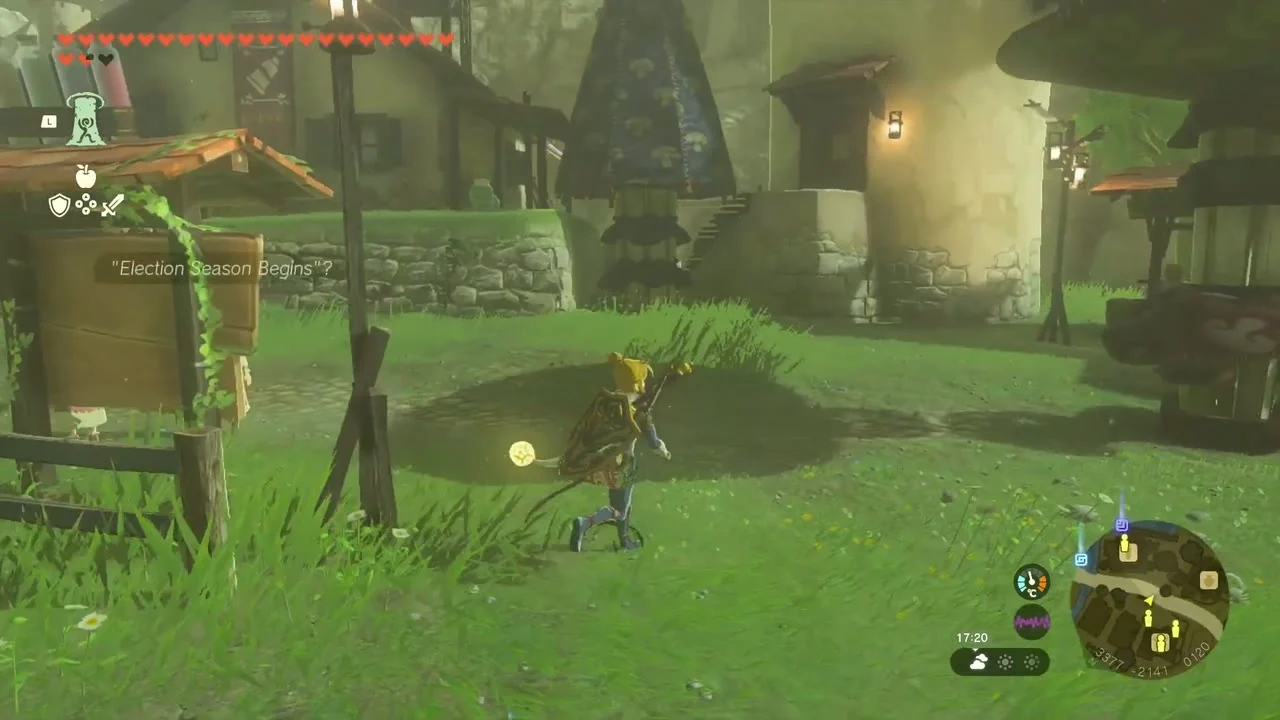
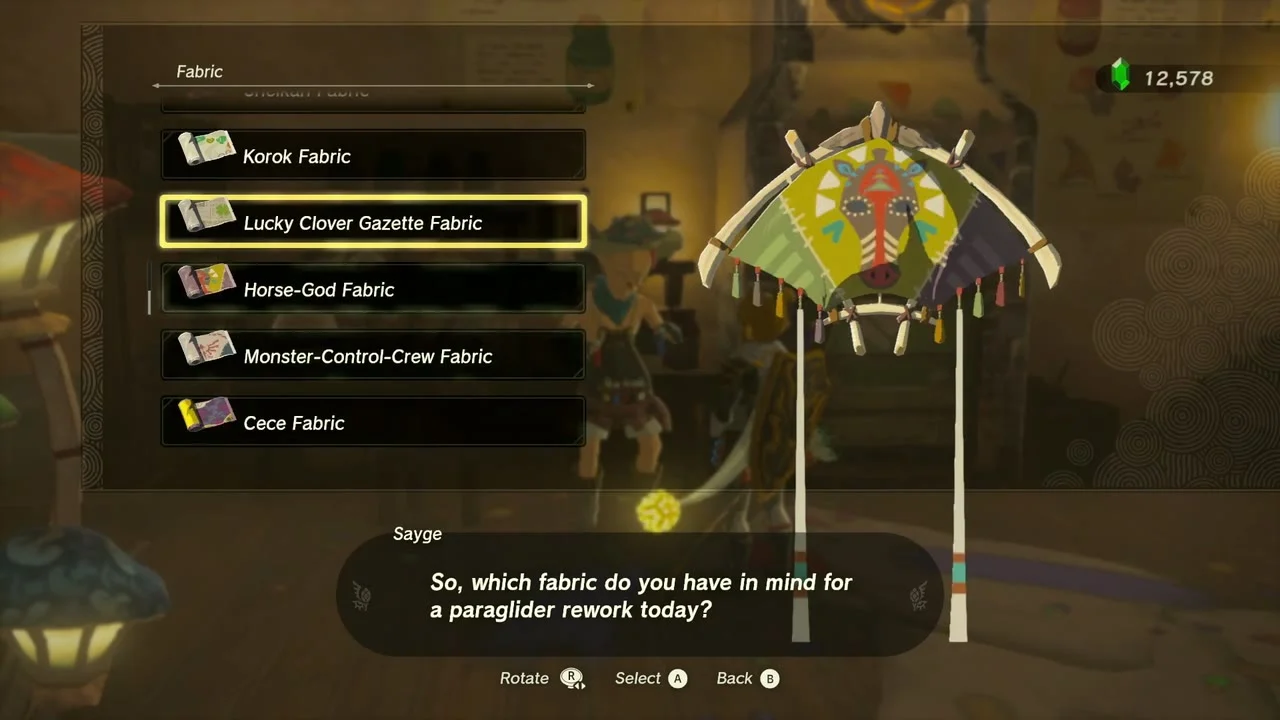
Cece Fabric at Kochi Dye Shop
Equipment: Cece Fabric at Kochi Dye Shop (3404, -2152), Hateno Village. Talk to the owner Sayge and take the Cece Fabric he offers for your paraglider; the shop also dyes armor and swaps paraglider fabrics.
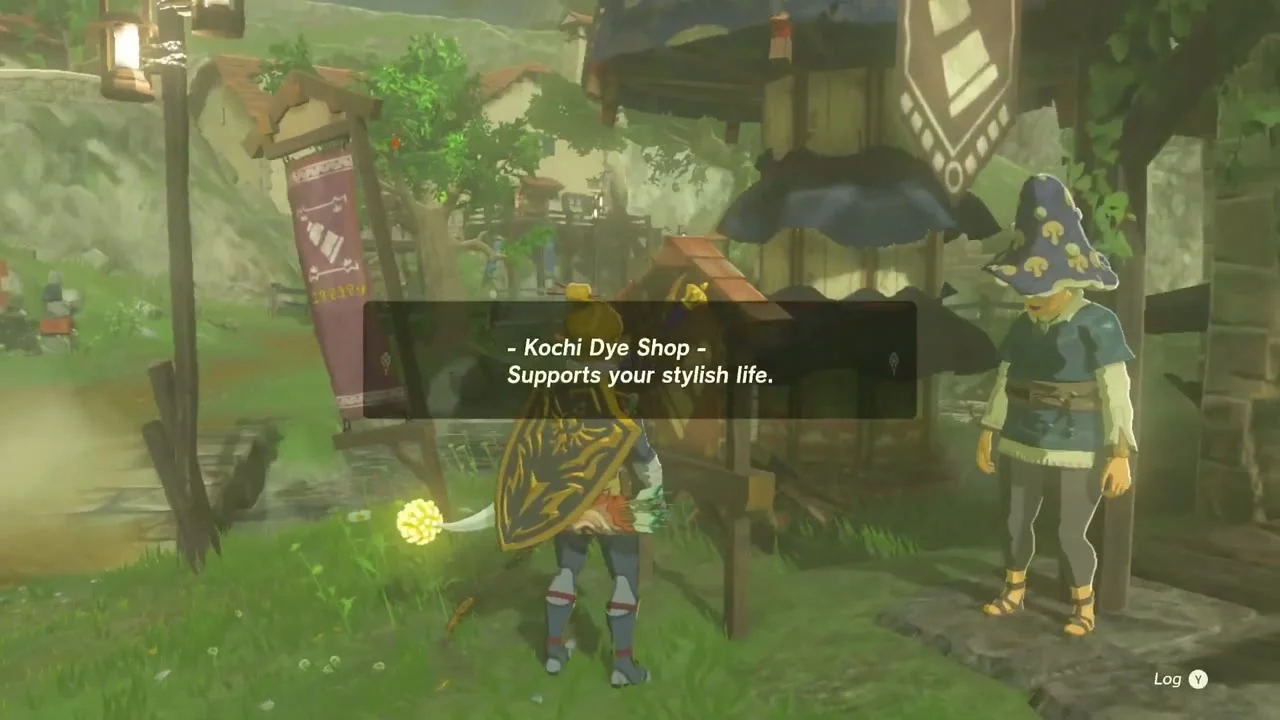

Dye your outfit and swap the paraglider fabric
At Kochi Dye Shop, pay with five ingredients of the same colour family to dye an outfit, and use the shop’s fabric menu to change your paraglider canopy. Monster parts such as horns work as dye ingredients.
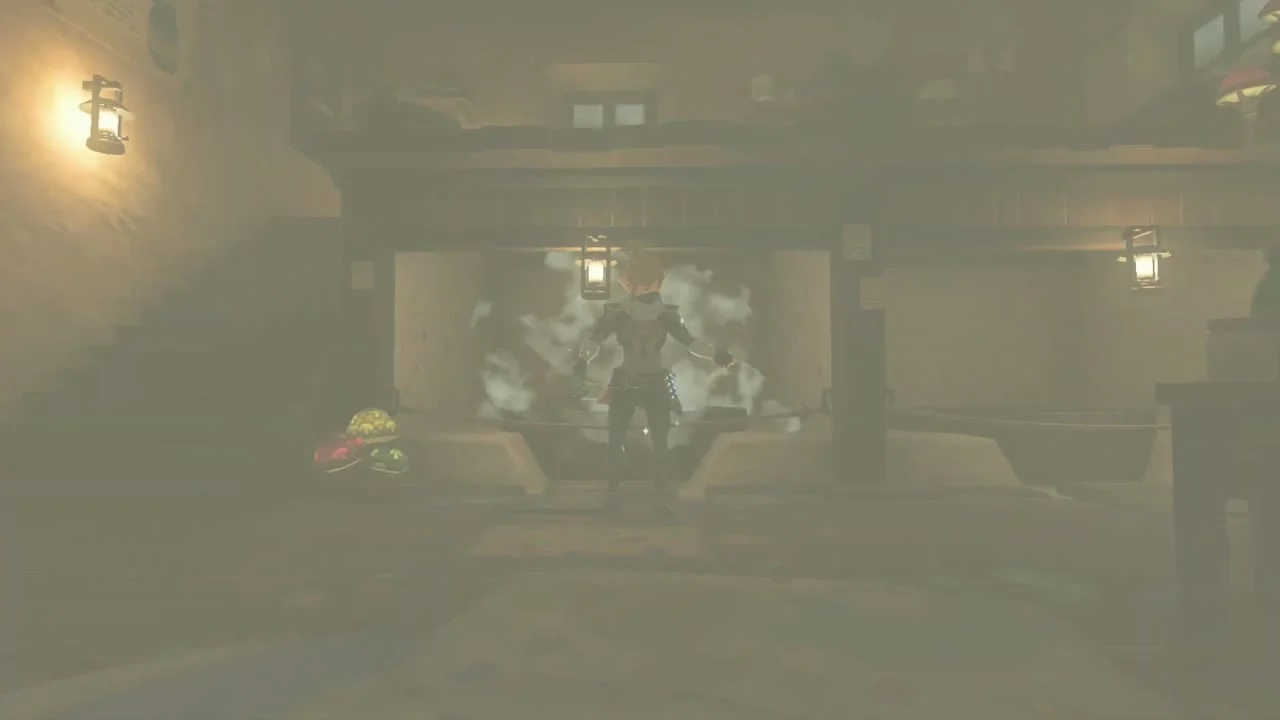
Ring the school bell
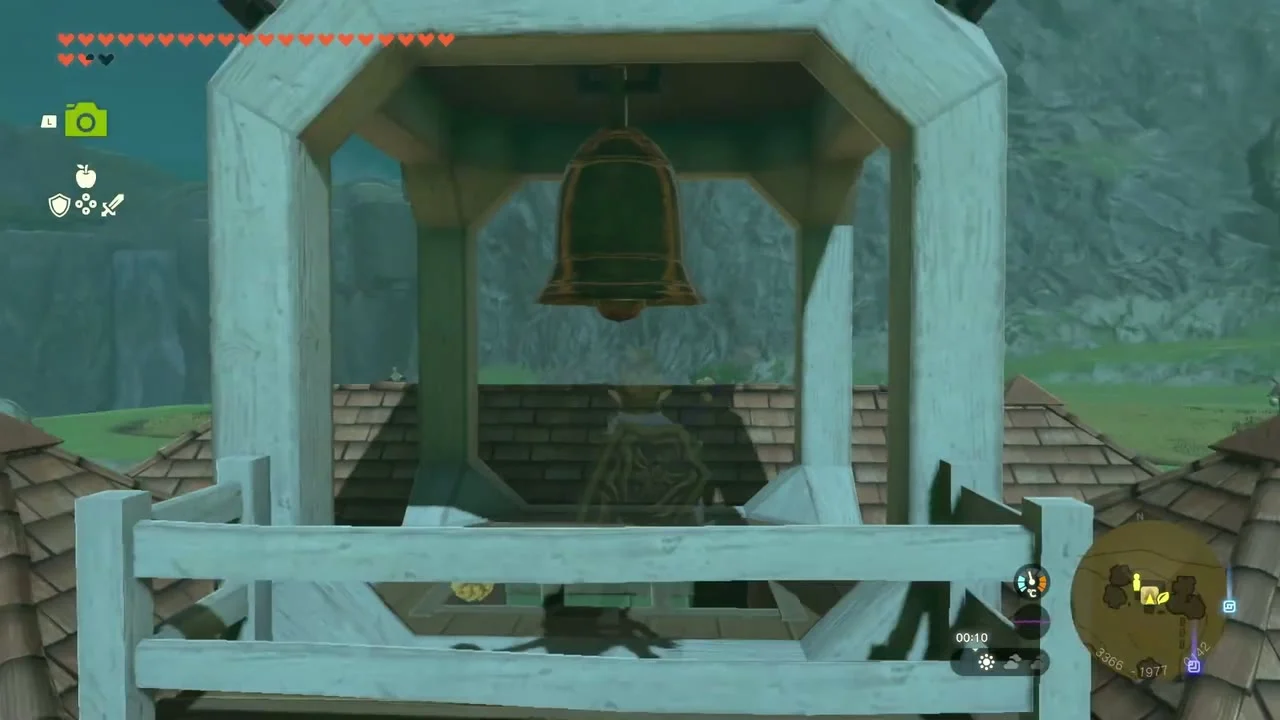
Korok seed (Ring the bell) at (3365, -1979), on top of the Hateno School roof at the north end of the village. Climb the roof to the small belfry and ring the bell to make the Korok appear.

Teach Me a Lesson I: photograph the Calamity screen
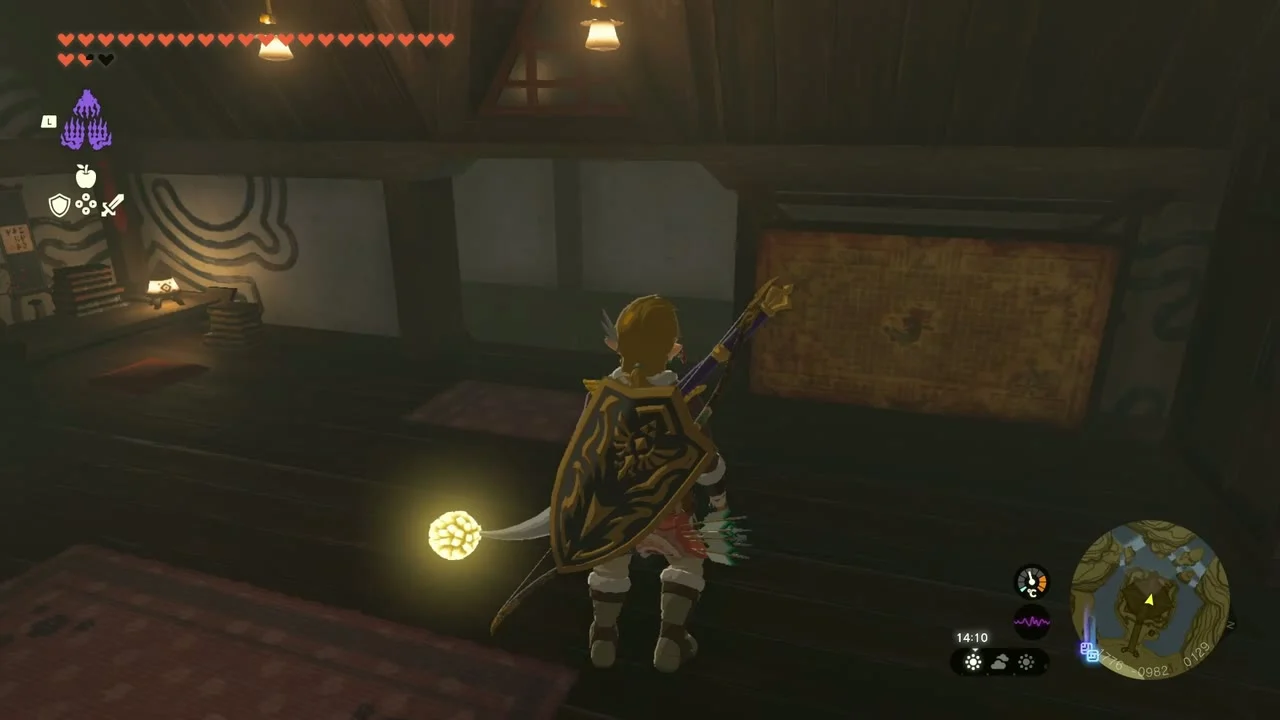
Side quest. Giver Symin, Hateno School (3367, -1975). Symin wants a picture of the screen that depicts the Calamity, which is displayed in Paya’s Hall in Kakariko Village. Travel to the hall (go upstairs in the house there), take a photo of the screen with your Purah Pad camera and show it to Symin. This is only available from 9 AM to 2 PM in game, and you need to have started the main quest Regional Phenomena; the reward is 10 Hylian Rice.

Teach Me a Lesson II: cook Monster Curry
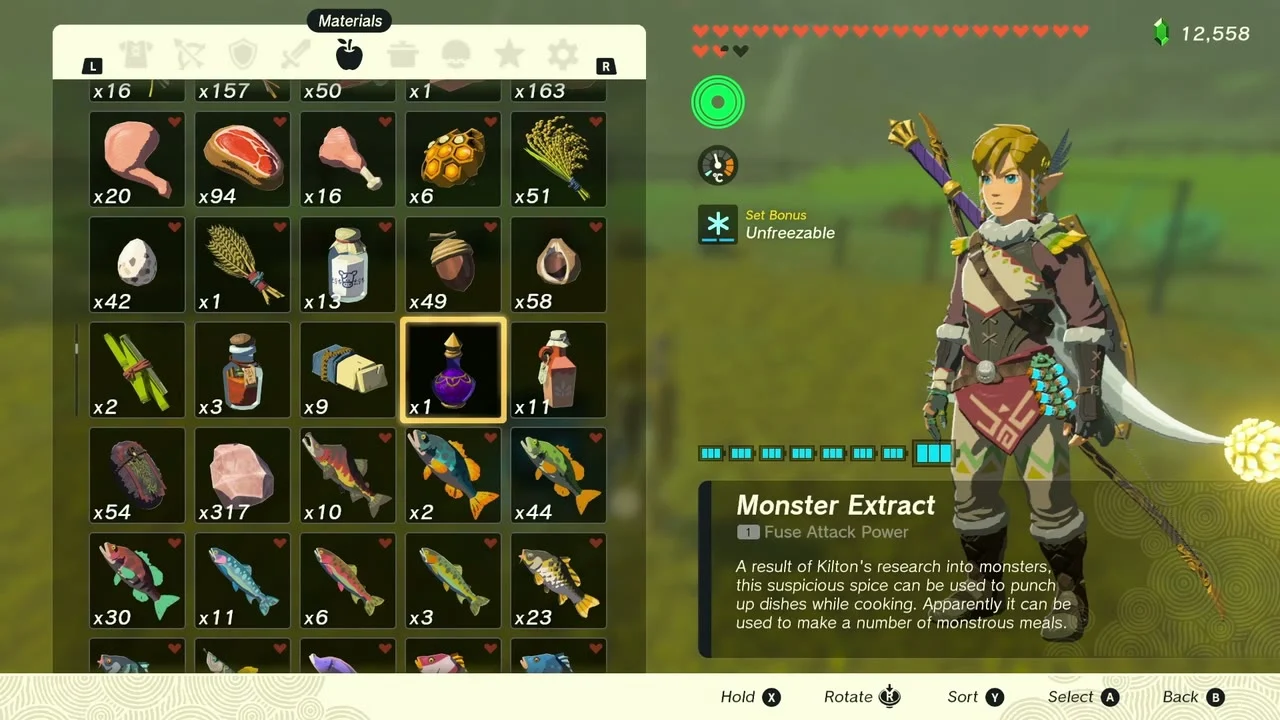
Side quest. Giver Symin, Hateno School. Cook a dish containing Goron Spice (sold at the Goron City general store), Hylian Rice (the Lesson I reward works) and Monster Extract (sold at the Tarrey Town general store). Show the finished Monster Curry to Symin between 9 AM and 2 PM; there is no item reward, but it unlocks Uma’s Garden.
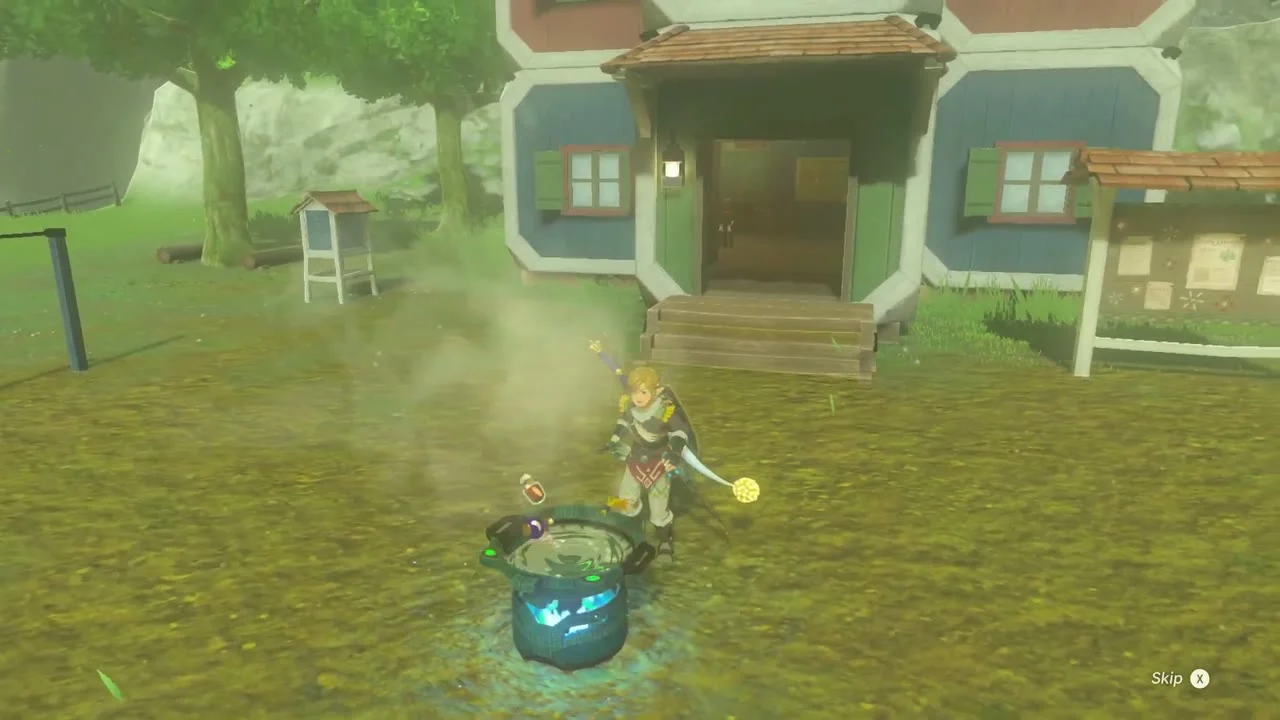
Catch the sparkling spot by the river
Korok seed (Catch the sparkling spot) at (3715, -1949), on the stony bank of the river north-east of Hateno Pasture. Walk up to the glittering water at the shore and examine it to catch the Korok.
A Letter to Koyin
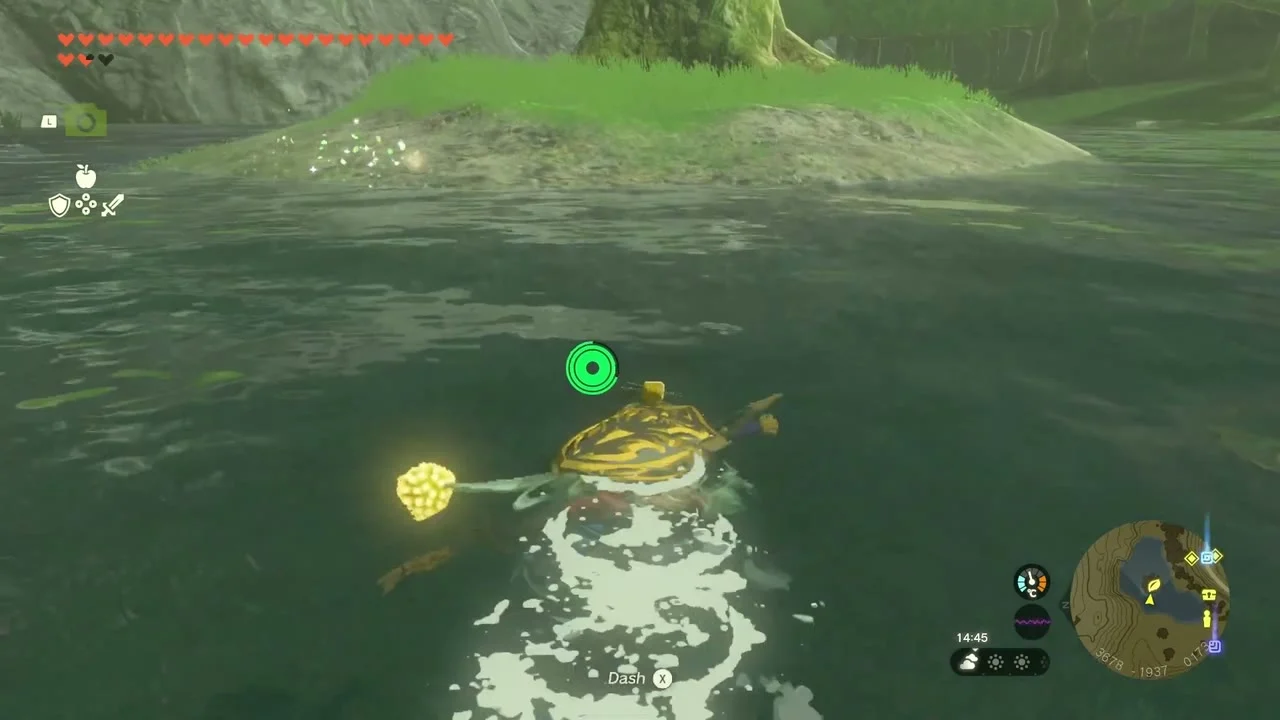
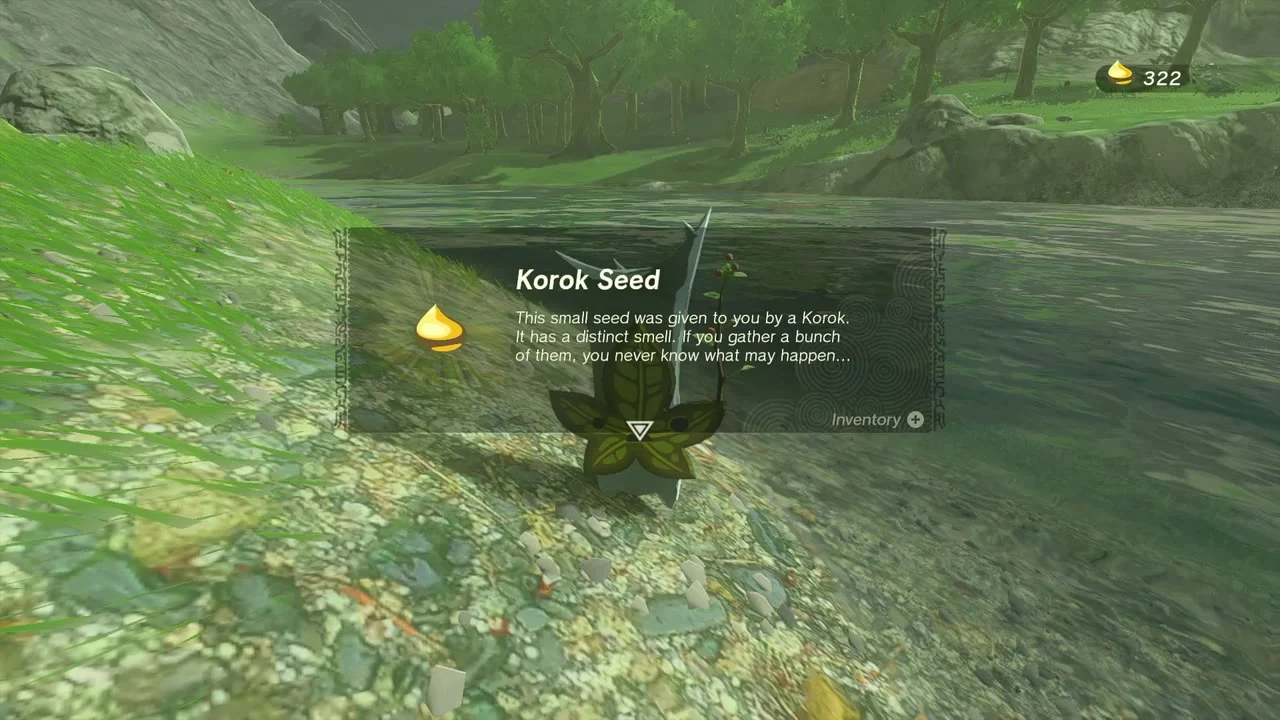
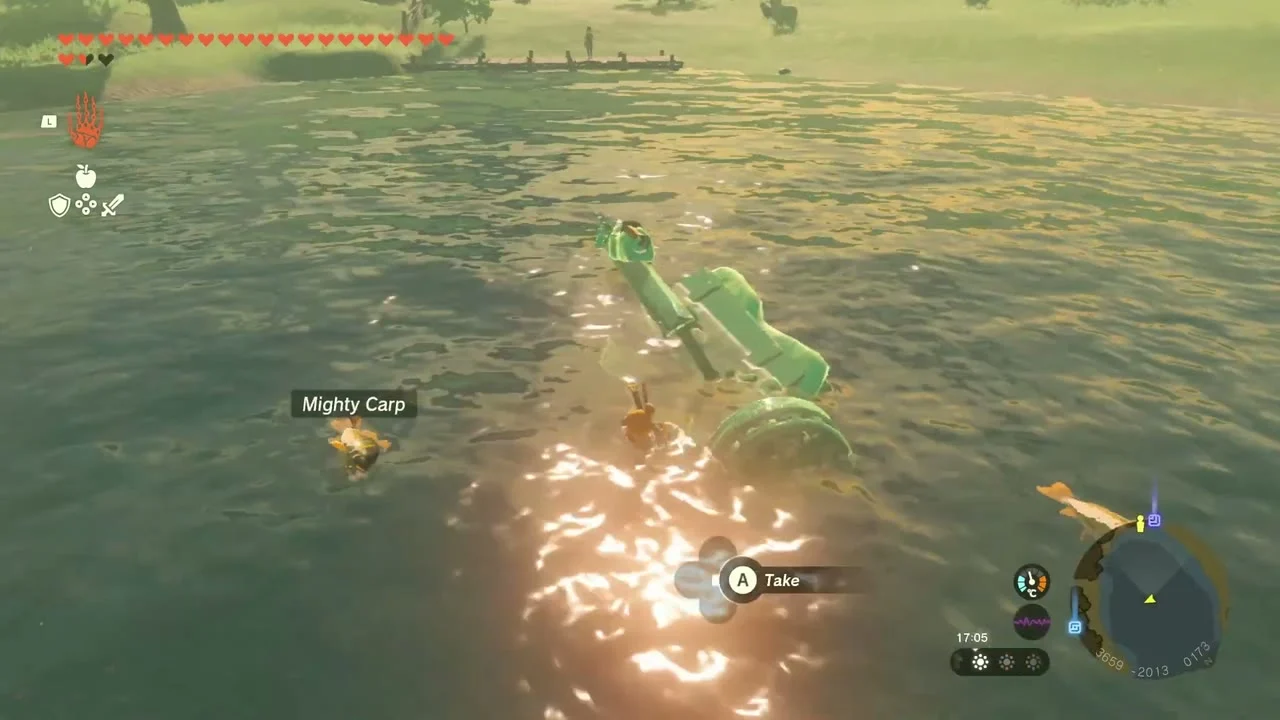
Side adventure. Giver Koyin, a farmer at Hateno Pasture (3619, -2095). Give her a Hylian Shroom (from Team Cece or Team Reede?) to start it. Her great-grandfather’s message bottle has floated into the water beside the Lake Sumac dock at about (3659, -2013); put a log in the water with Ultrahand, stand on it and use Ultrahand to fish the bottle out, then bring it back to her.

Dantz’s Prize Cows
Side quest. Giver Dantz, Hateno Pasture. Give Dantz three acorns, which you can pick up under trees nearby, and he trades them for a bottle of Fresh Milk; he repeats the trade for three more acorns.
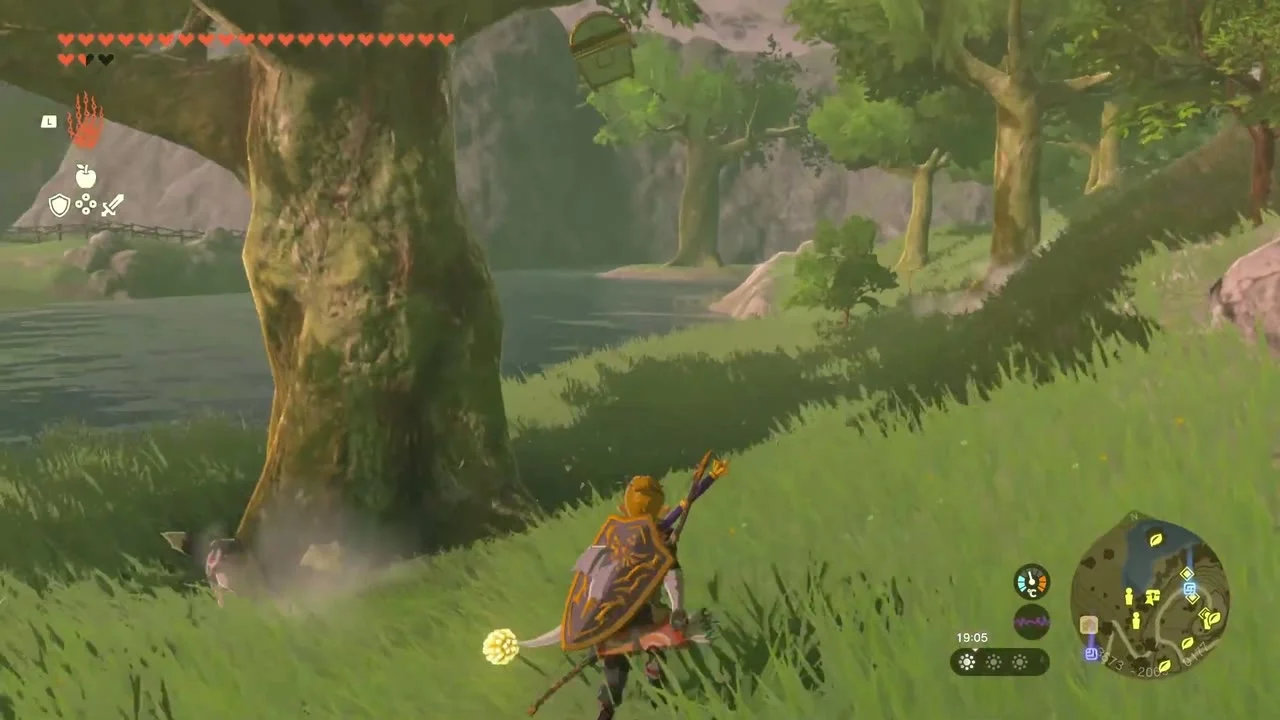
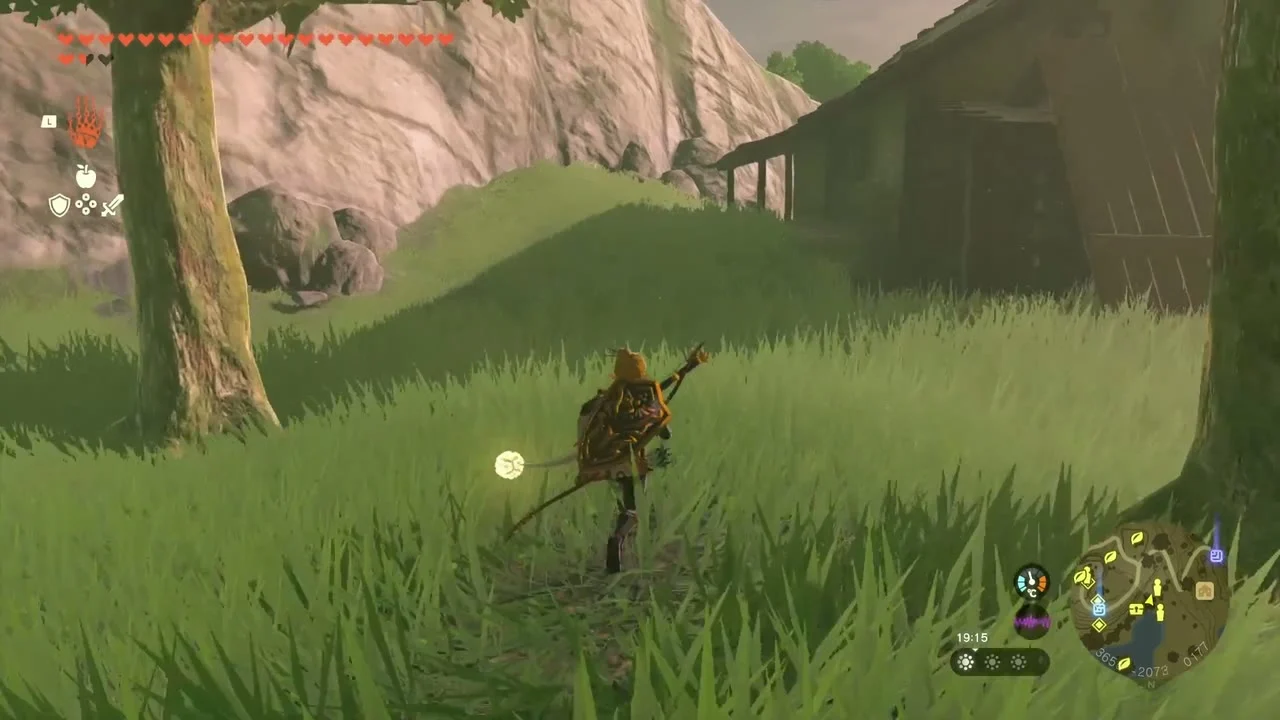
Collect Koyin’s Hateno cheese
Reward: Hateno Cheese from Koyin’s cellar at Hateno Pasture. After the letter, talk to Koyin again; from now on she gives you Hateno Cheese in exchange for Fresh Milk.
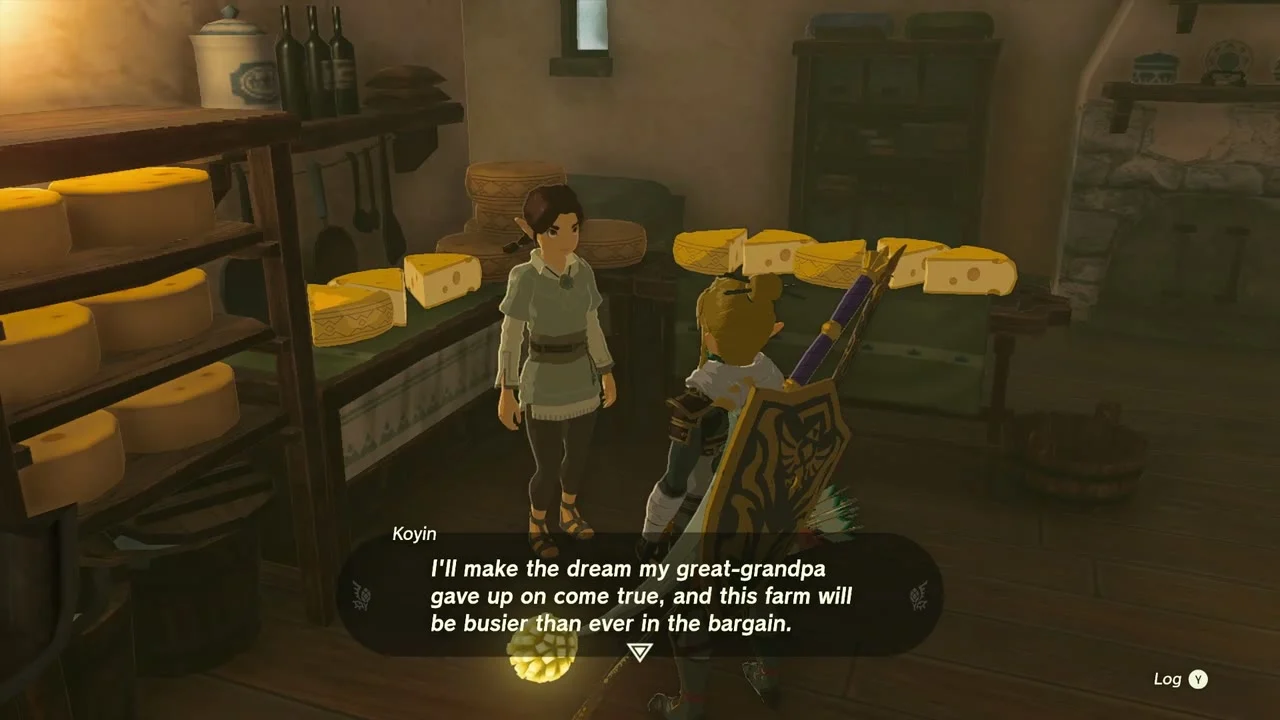
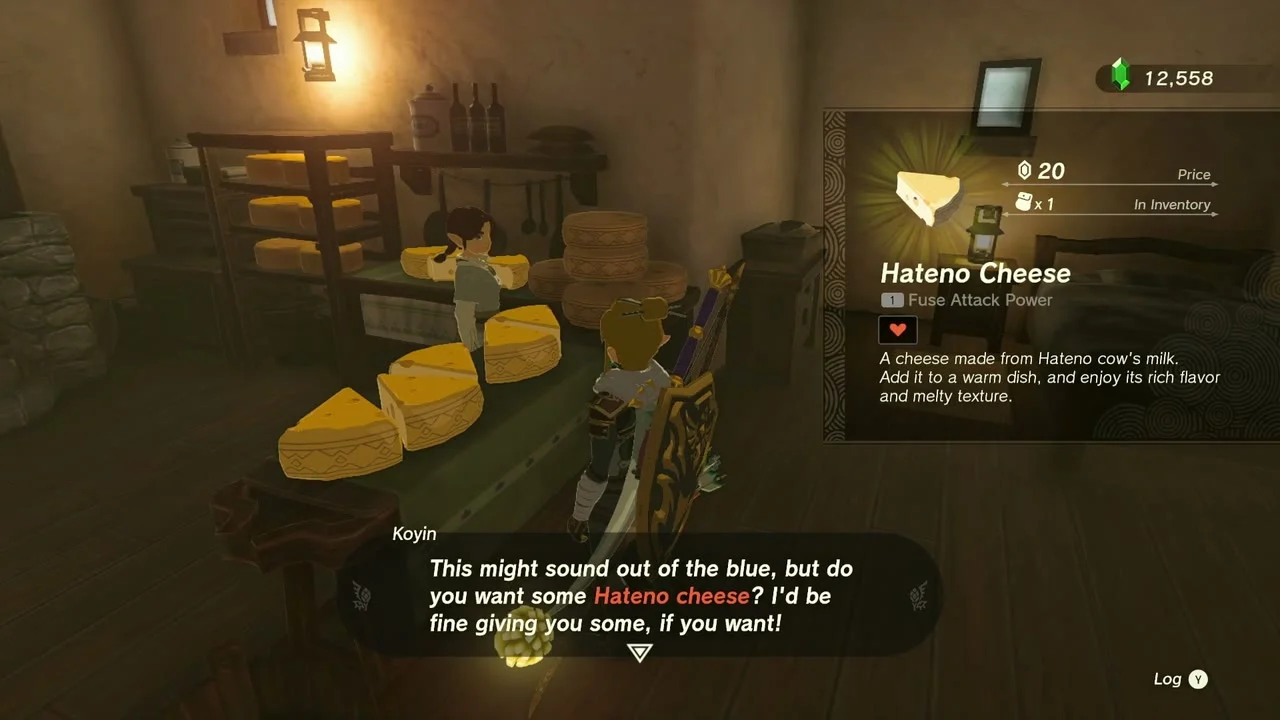
East side and Zanmik Shrine
Open the Royal Bow chest
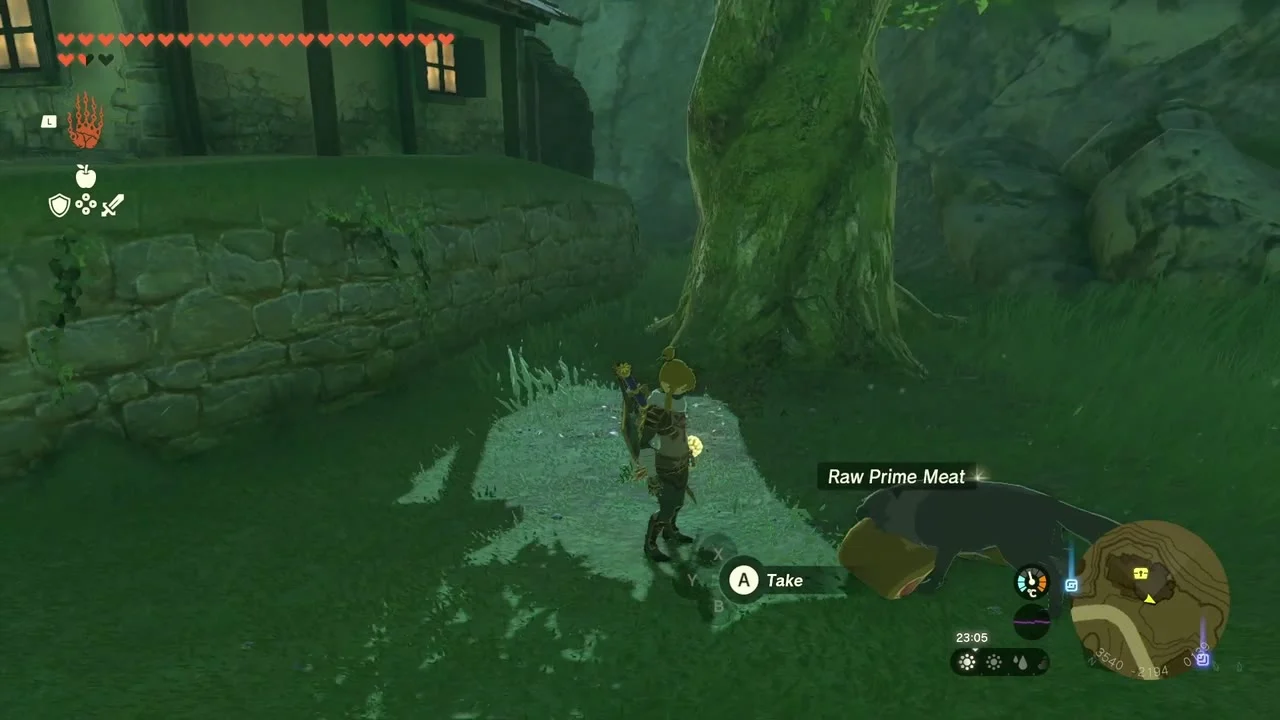
Chest: Royal Bow at about (3540, -2194), on the grass east of the village houses just above the south road. Open the chest for the Royal Bow (a Knight’s Bow early on, Royal Bow depending on your progress).

Reach Zanmik Shrine
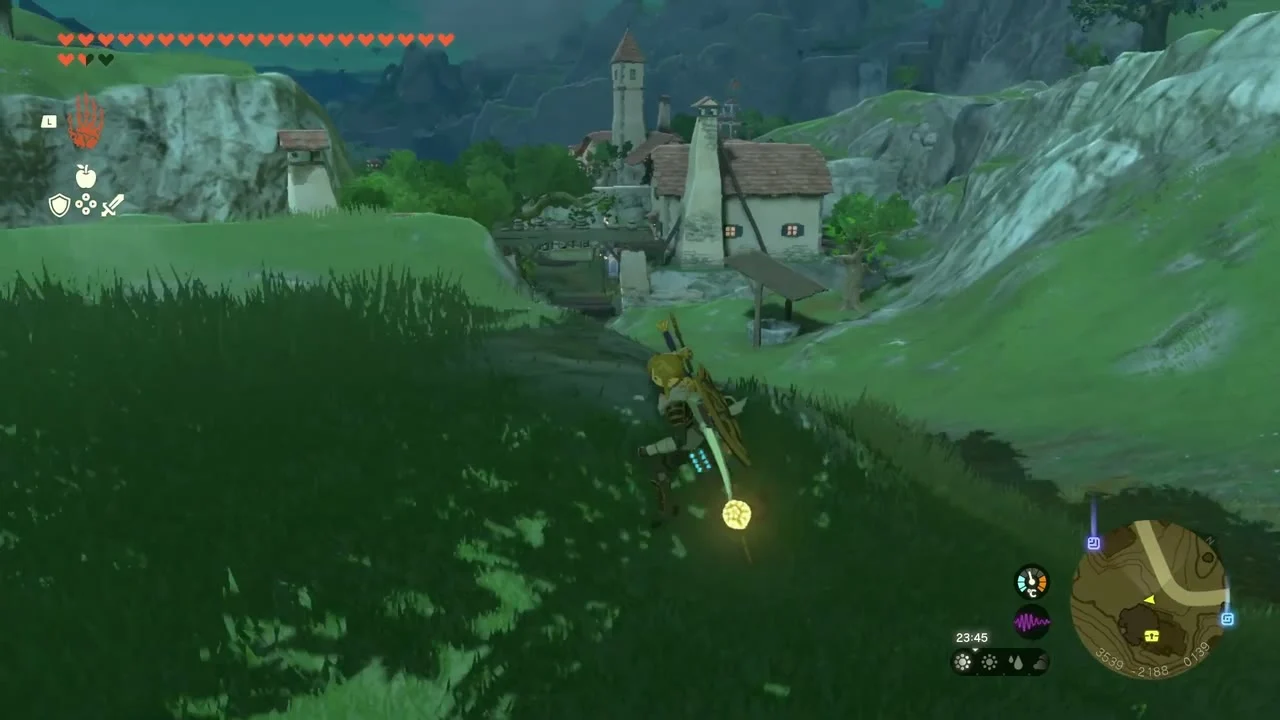
Zanmik Shrine at (3469, -2180, 161), on the hillside just above the east side of Hateno Village. Trial: Scoop It Out (Puzzle); Kimnaz Lightroot is beneath it. Walk up the slope from the village’s east road to the shrine’s door and go in.

Power the wheel
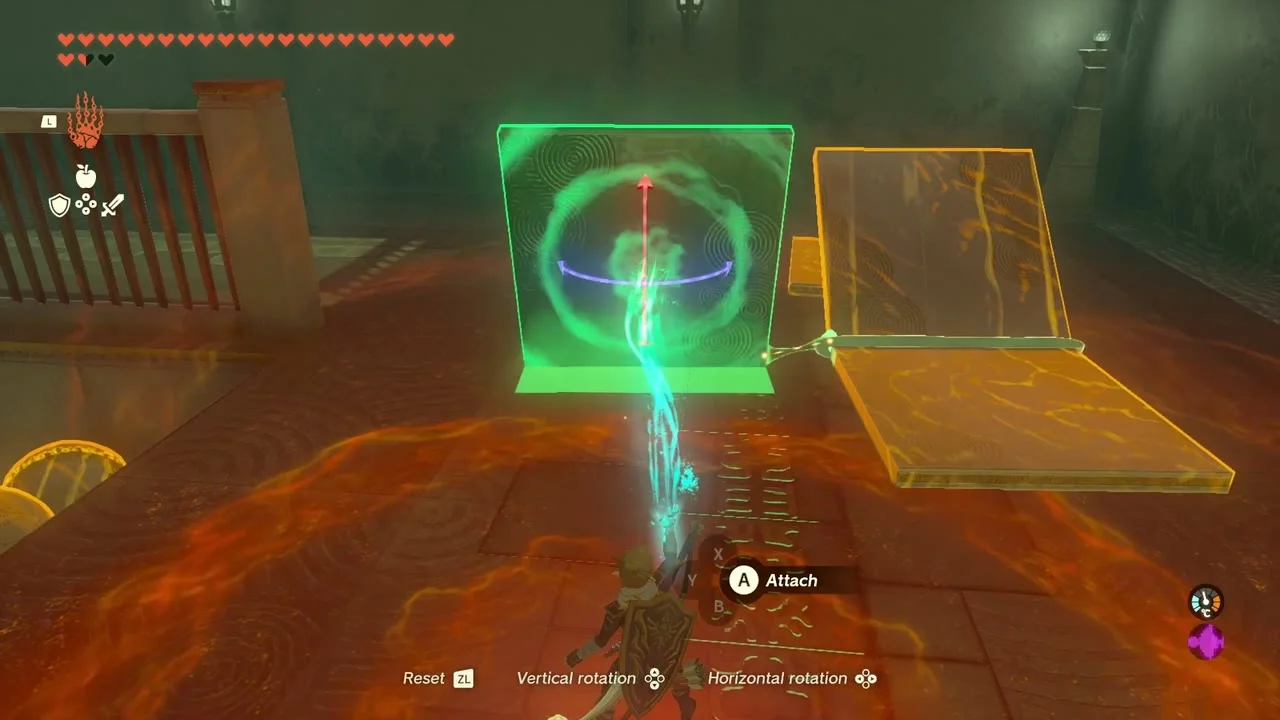
The room’s lava floor and balls are lit by a yellow wire. Lift a square plate with Ultrahand and set it across the gap in the glowing line so current flows through and spins the large wheel at the far end.
Build the scoop
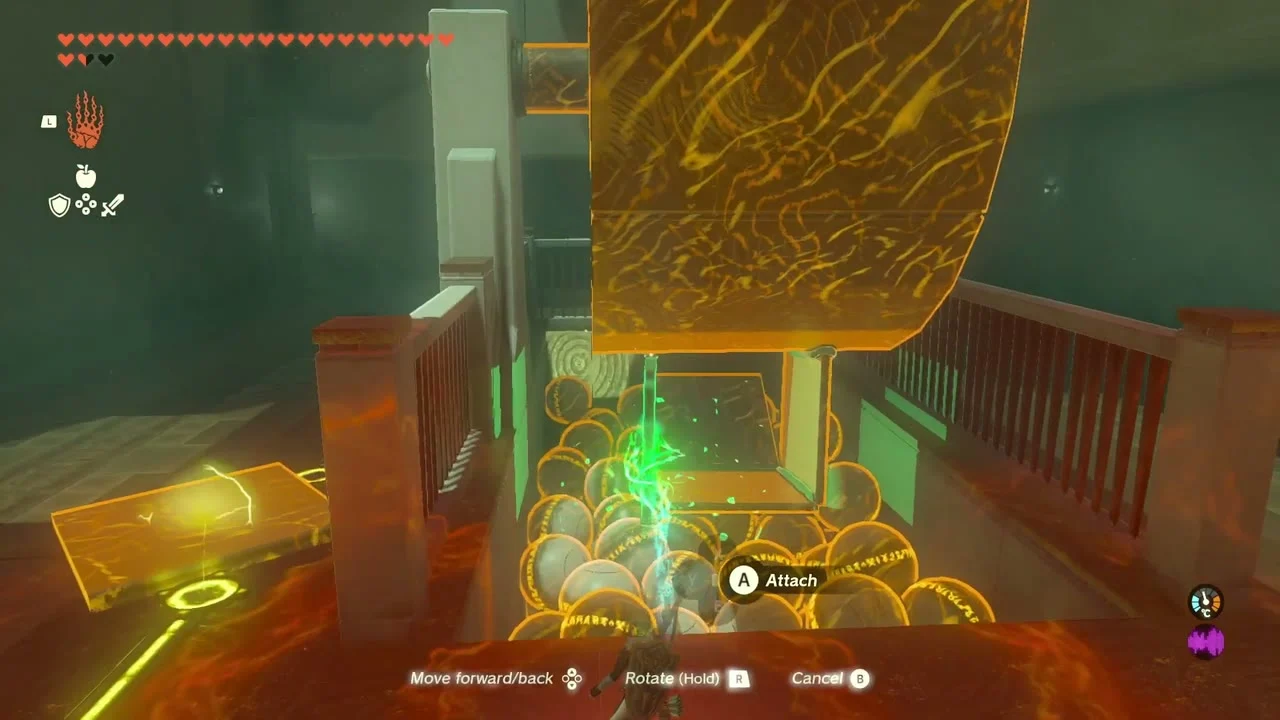
Fit four plates together into an open box with Ultrahand: one flat base and three walls, so that it holds balls the way a bucket would.
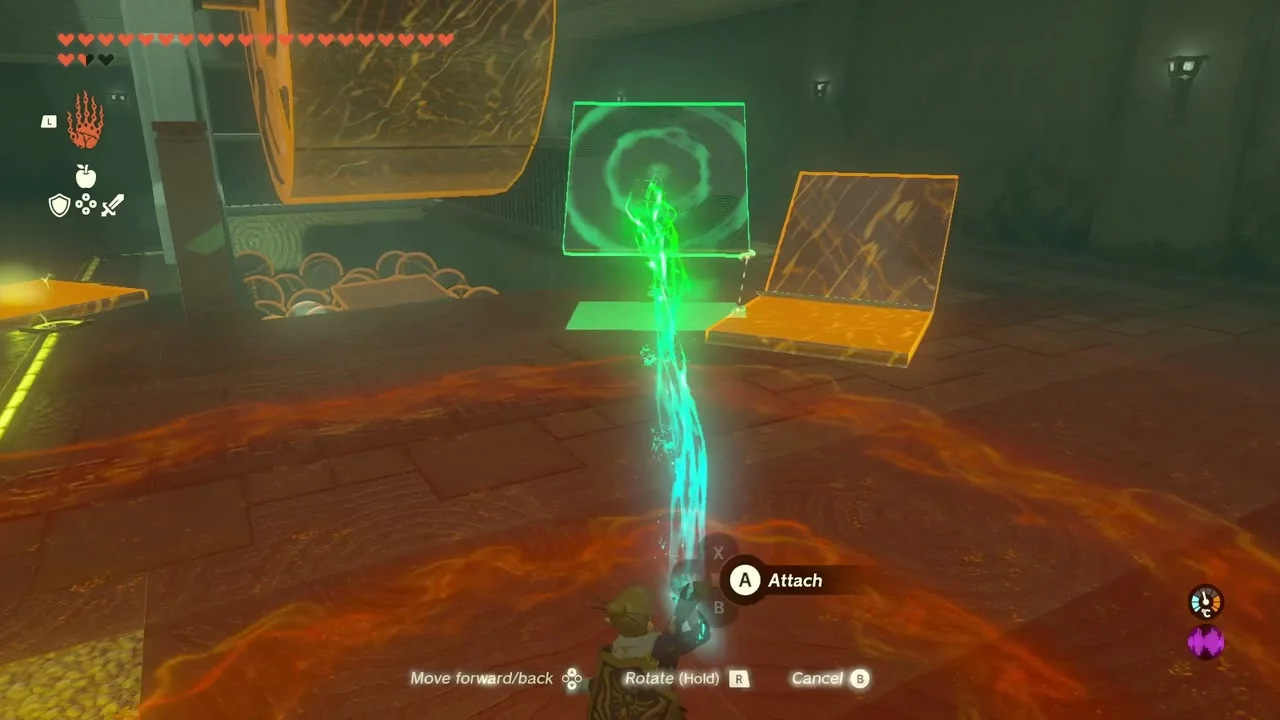

Attach the scoop to the wheel
Stick the box onto the rim of the spinning wheel with its opening facing the ball pit. Each turn the box picks up a ball and carries it up to the high ledge.

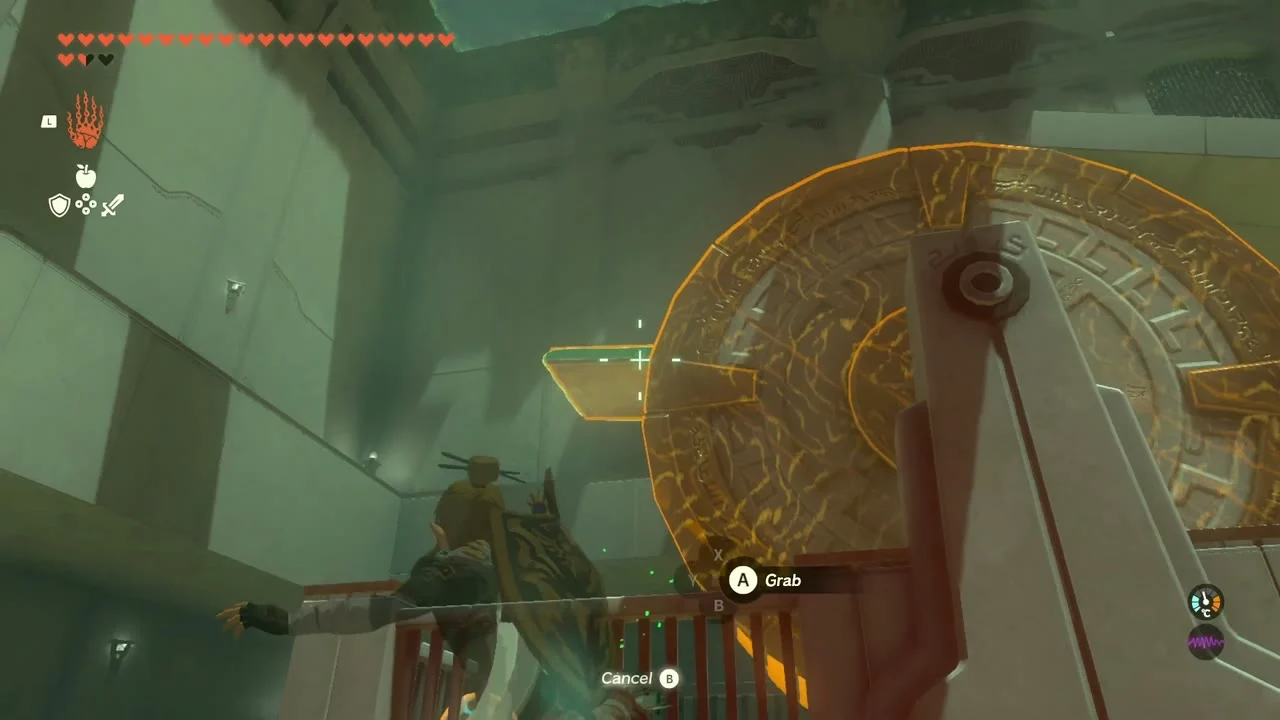
Take the chest from the ball pit
Chest: Zonaite Longsword. A chest is buried in the pile of balls at the foot of the wheel, by the wiring on the floor. Scoop or move the balls out of the way with Ultrahand and open it for the Zonaite Longsword (Strong or Mighty, depending on your progress).

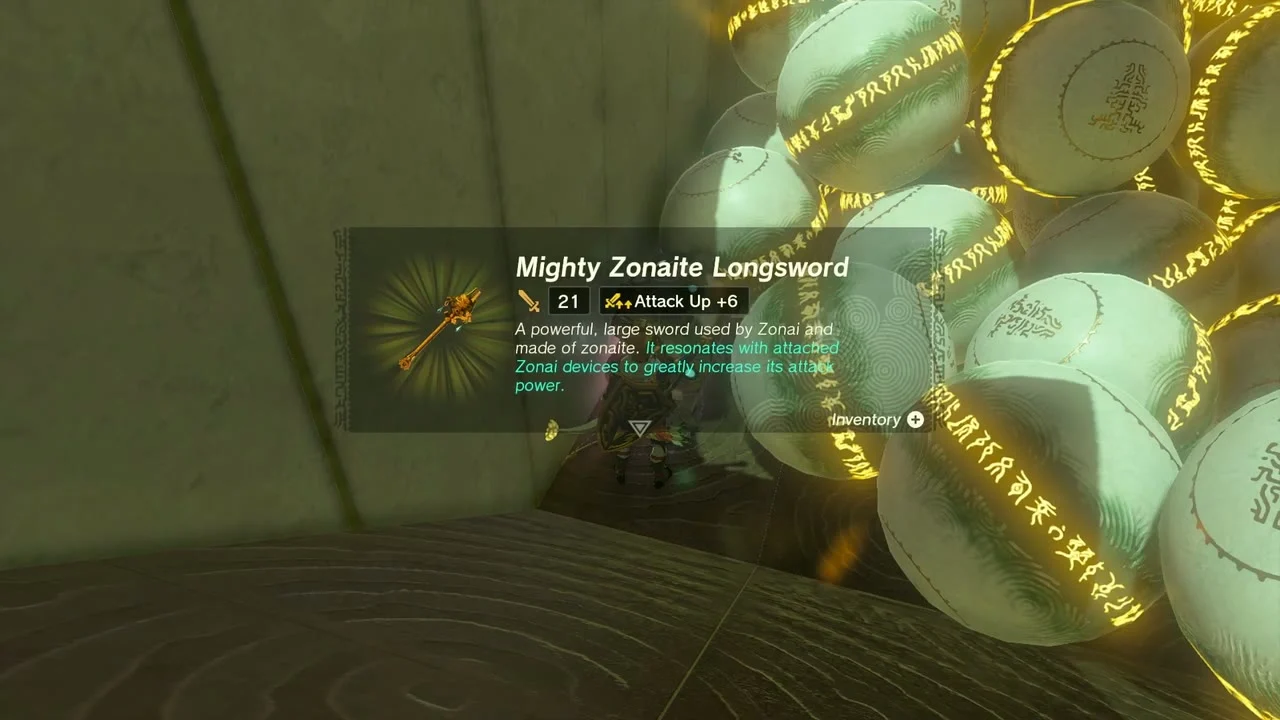
Deliver the ball and leave
Wait for the ball to roll down the slope into the dish at the top, which opens the exit gate. Walk to the altar for a Light of Blessing.

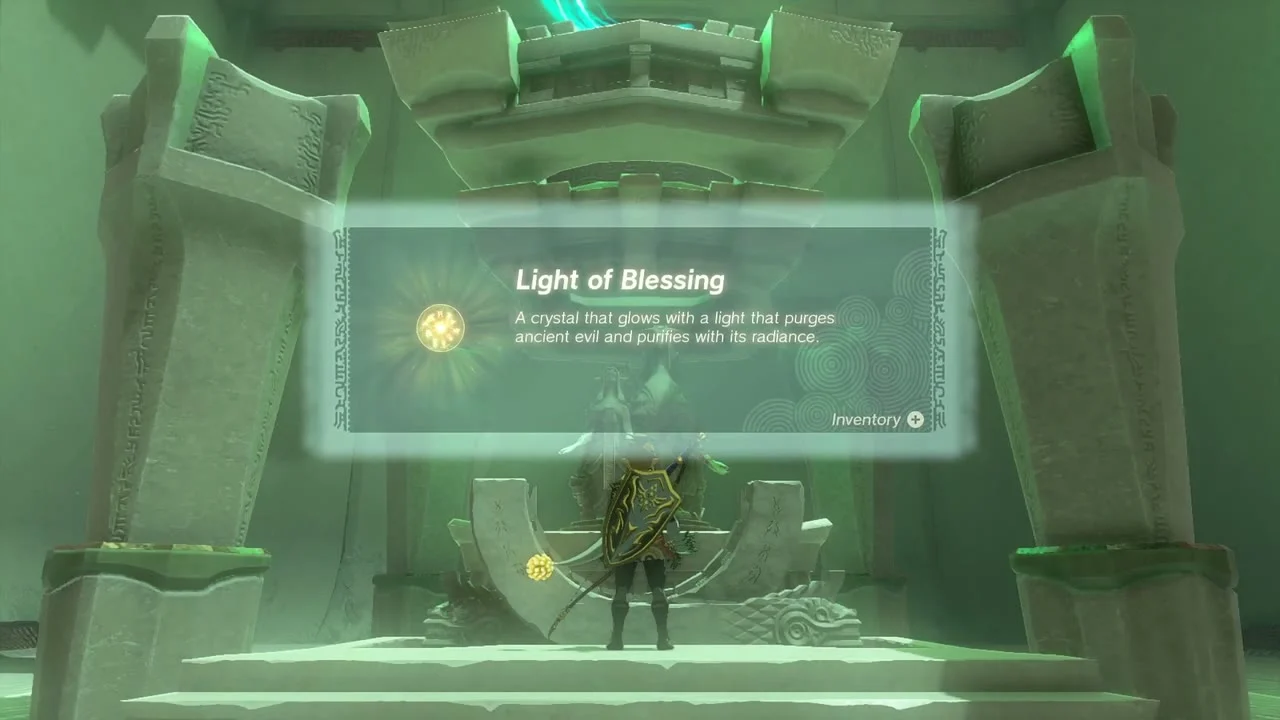
Wells, statue and evening quests
Find the East Well
Hateno Village East Well at (3514, -2152), on a wooded rise at the east edge of the village below the wooden walkway. Walk up to it to register the well; Hot-Footed Frogs are inside.


Trade a Light of Blessing at the Goddess Statue
Goddess Statue at about (3430, -2102), in the stone niche at the north-east corner of Hateno Village. Offer four Lights of Blessing to receive a Heart Container.
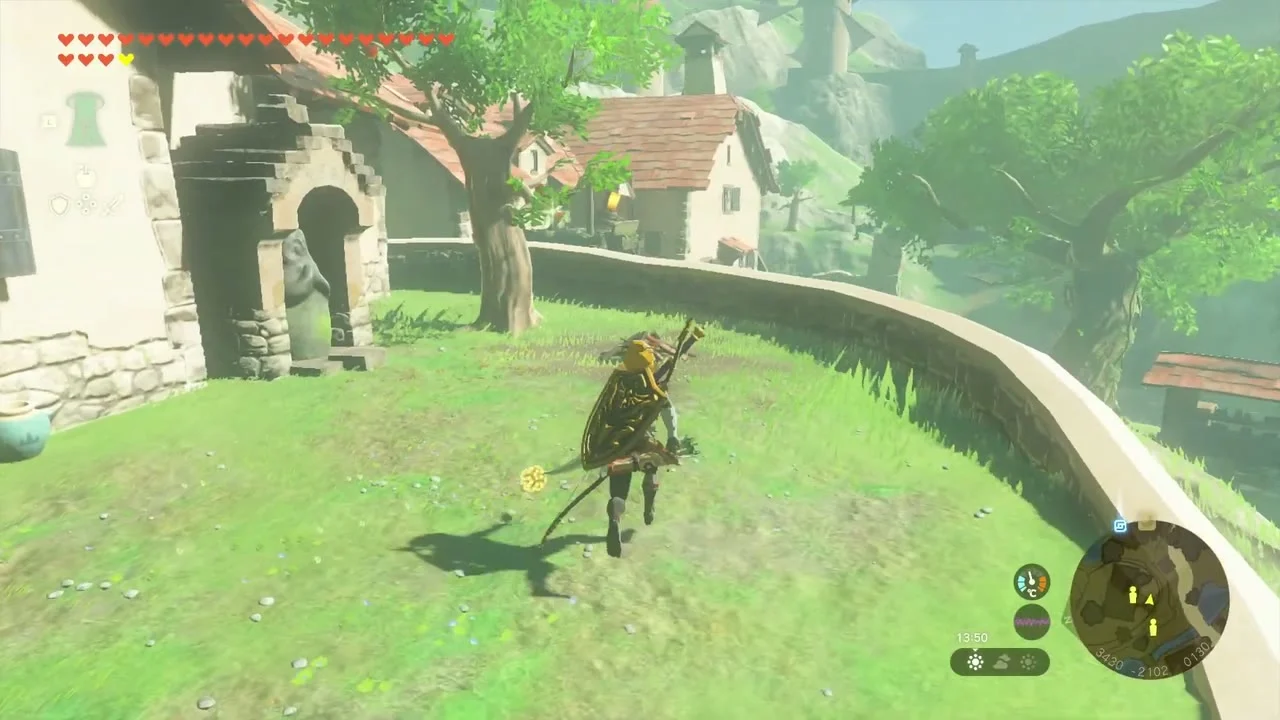

Find the North Well
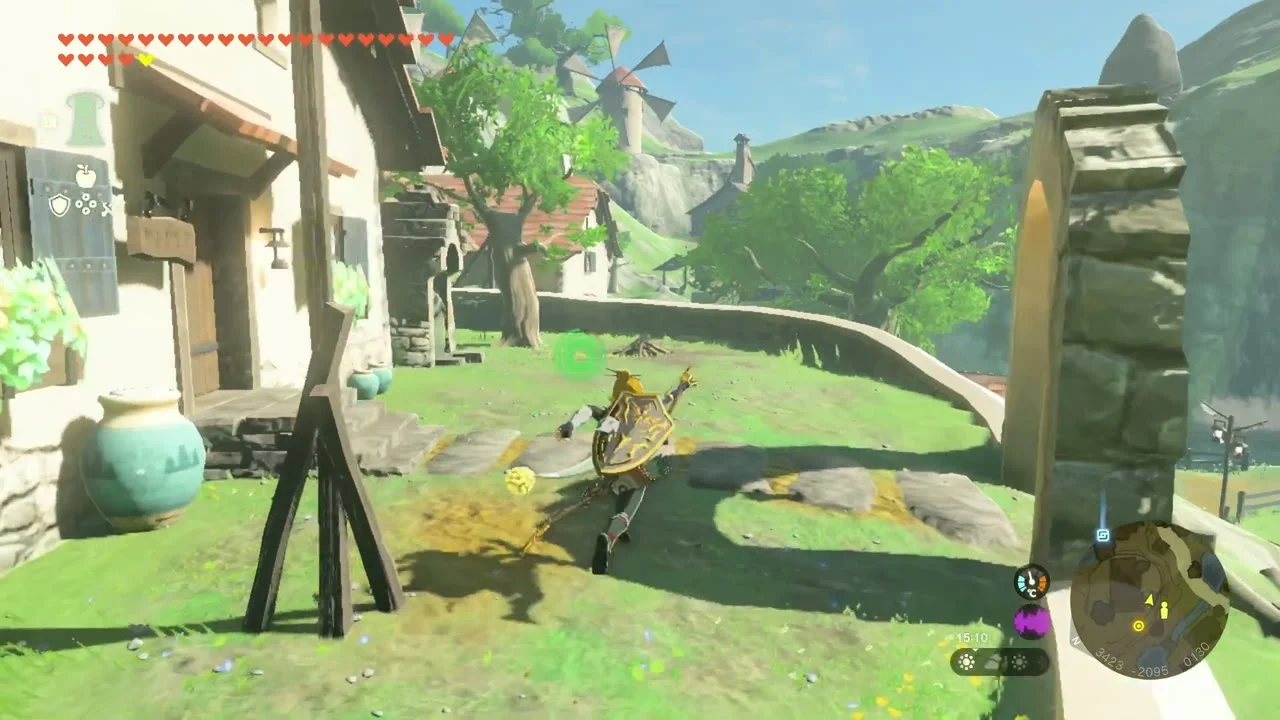
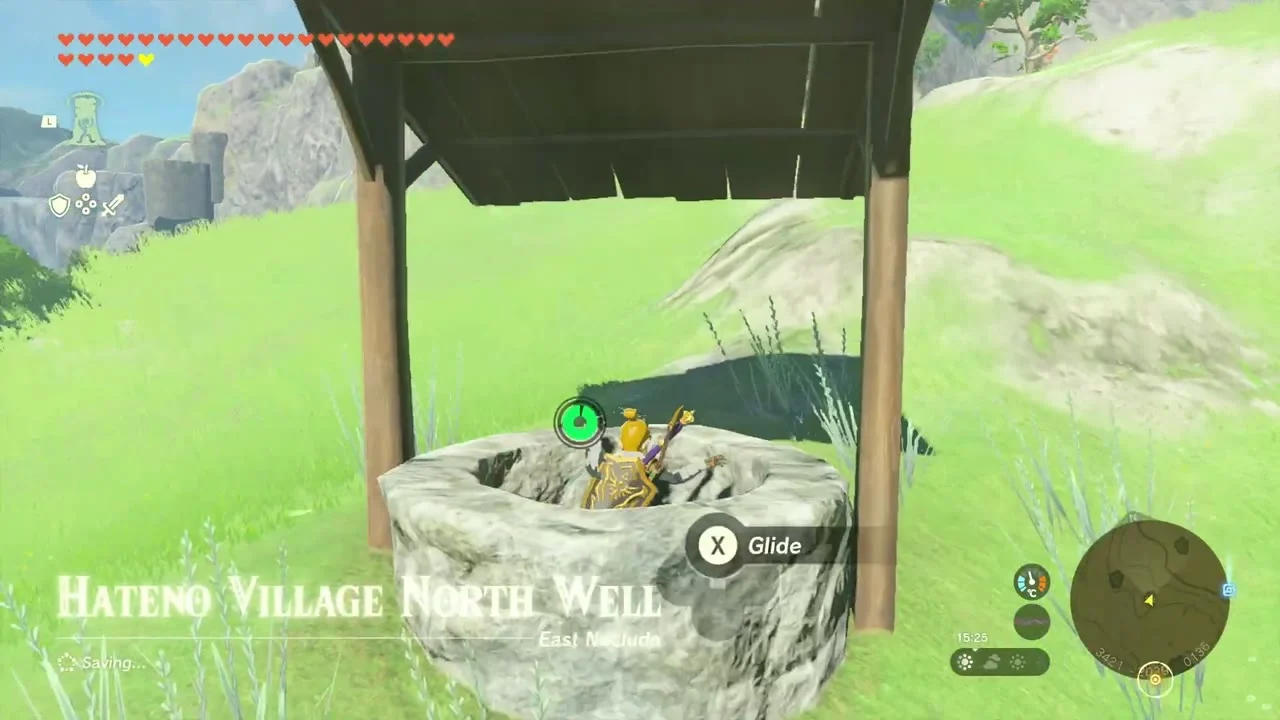
Hateno Village North Well at (3421, -2029), on the grass at the north of the village. Drop down it to register it.
A New Signature Food
Side adventure. Giver Reede, his house at about (3441, -2090), Hateno Village. Reede wants to bring back his grandfather’s pungent dish: take him Hateno Cheese so he can smell it, and he decides to market it. Afterwards Hateno Cheese is sold at the general store and by roadside merchants.


Reede’s Secret
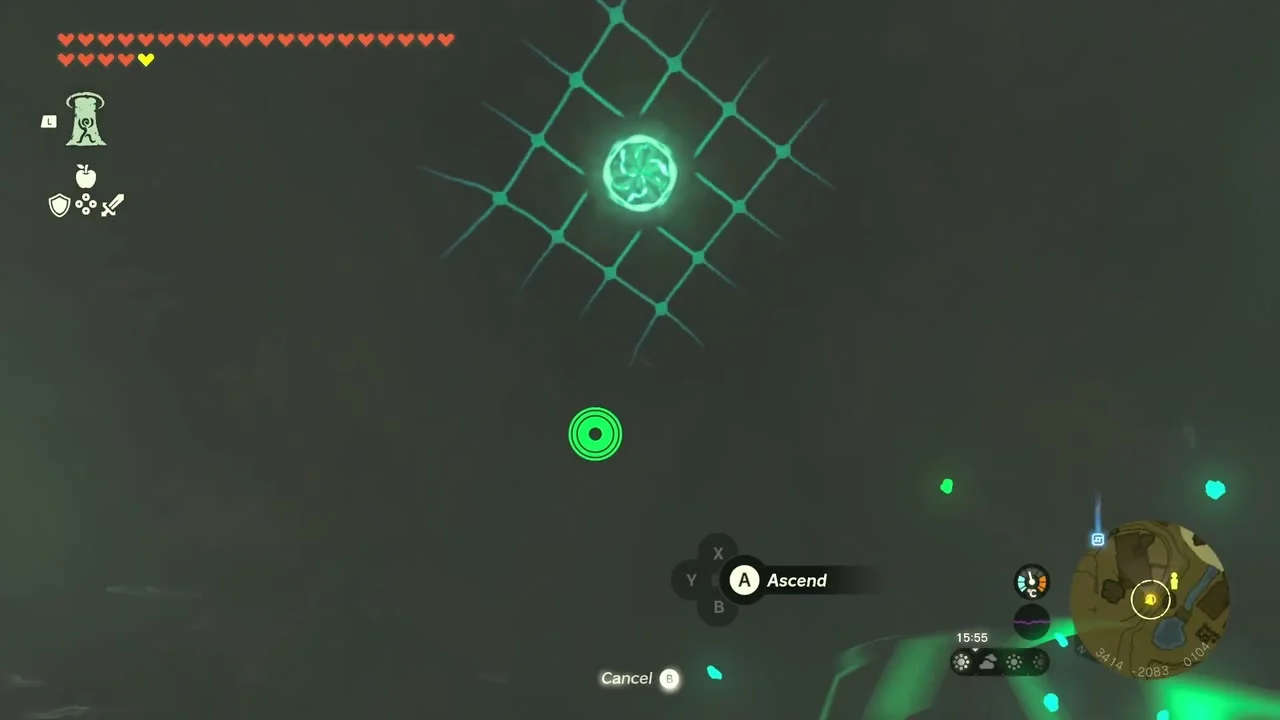
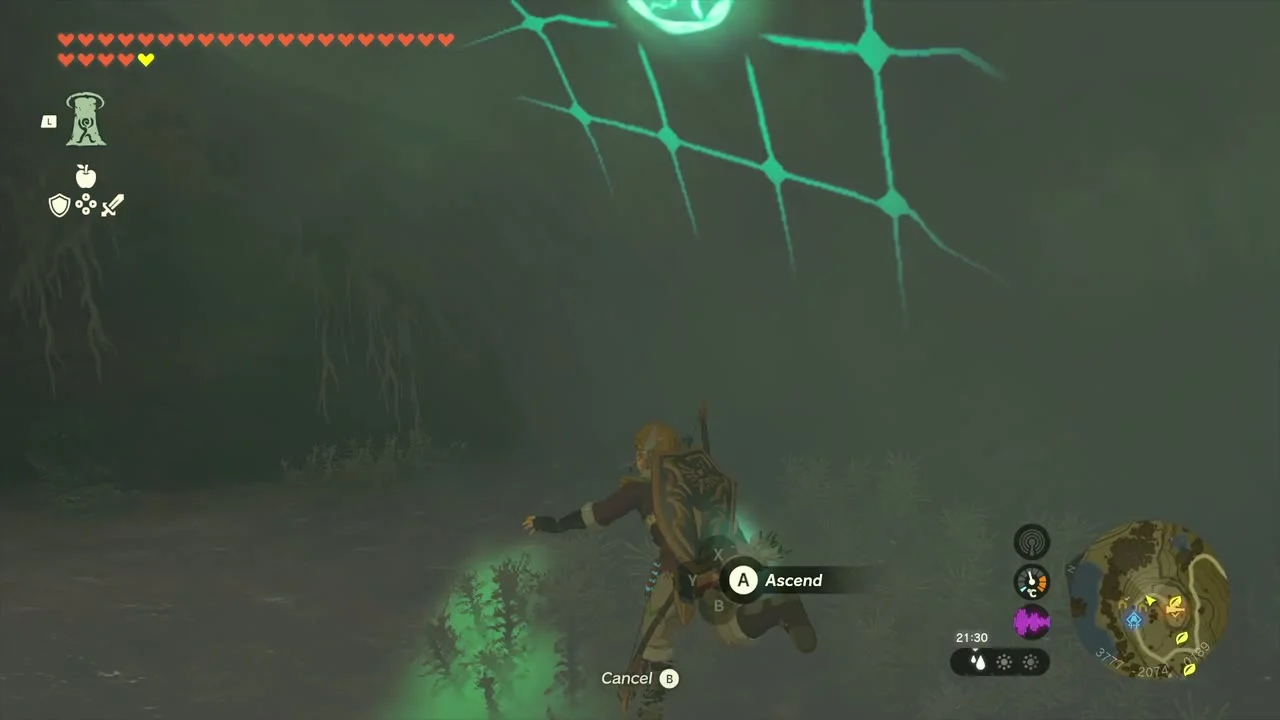
Side adventure. Giver Clavia, Reede’s wife, near her house in Hateno Village. Jump down the Hateno Village West Well, follow the quest marker and use Ascend through the ceiling to reach Reede’s hidden room, then read his journal. Report back to Clavia.
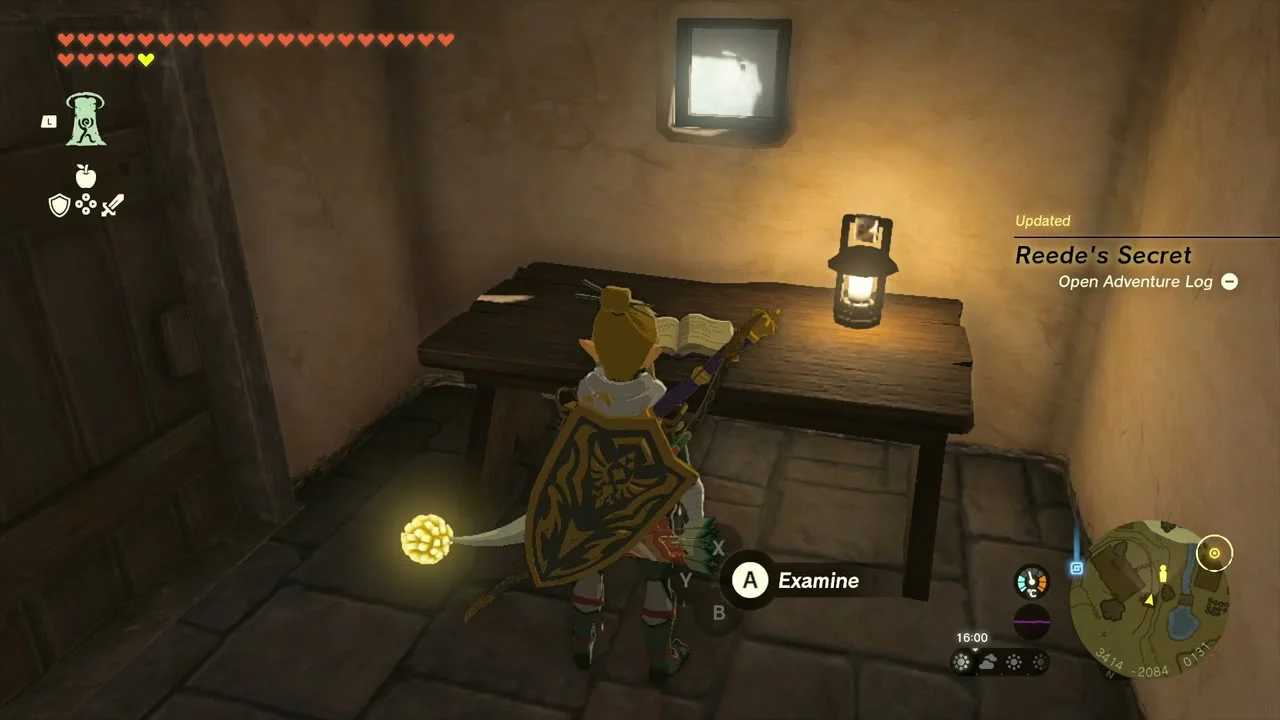
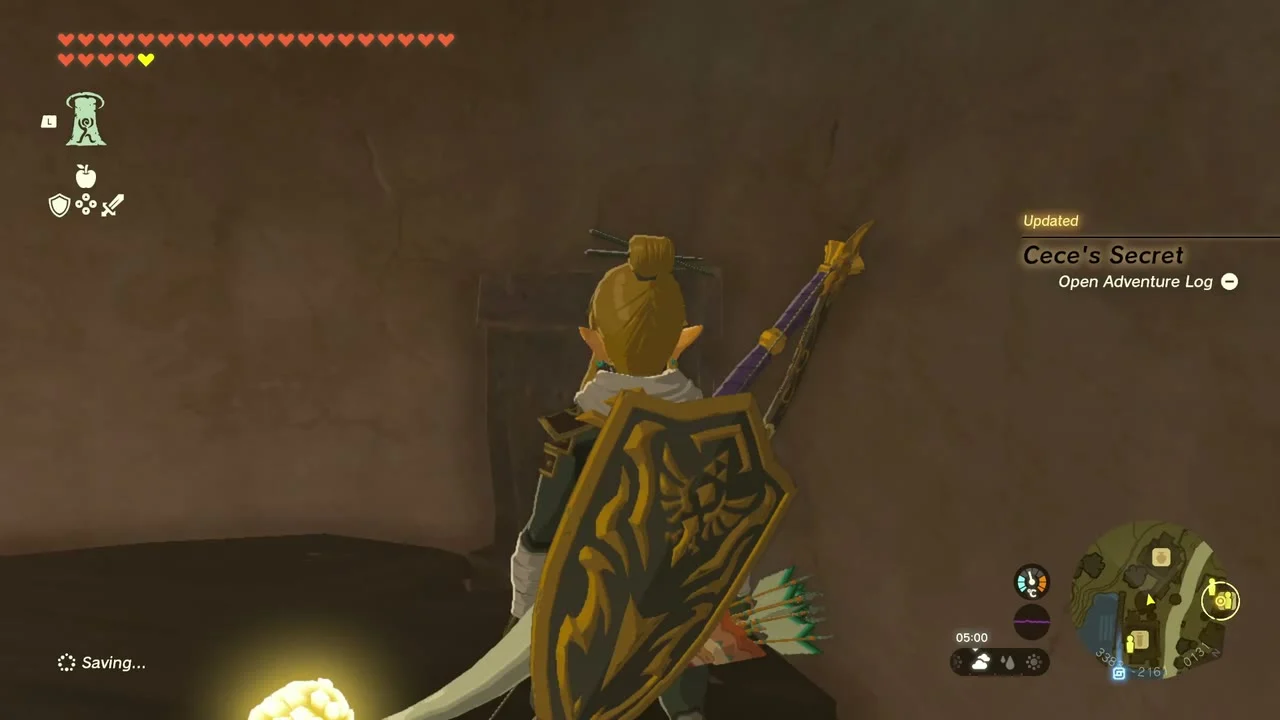
Cece’s Secret: follow Cece at night
At night, wait near Cece’s shop, then stay out of sight and follow her through the village to the silo across the road, where she eats vegetables alone; climb the silo and look in through the small window. Talk to Sophie afterwards to finish the quest (ten Ironshrooms are reported as the reward).
Retsam Forest, the lab and Mayahisik Shrine
Carry the rock up the tree
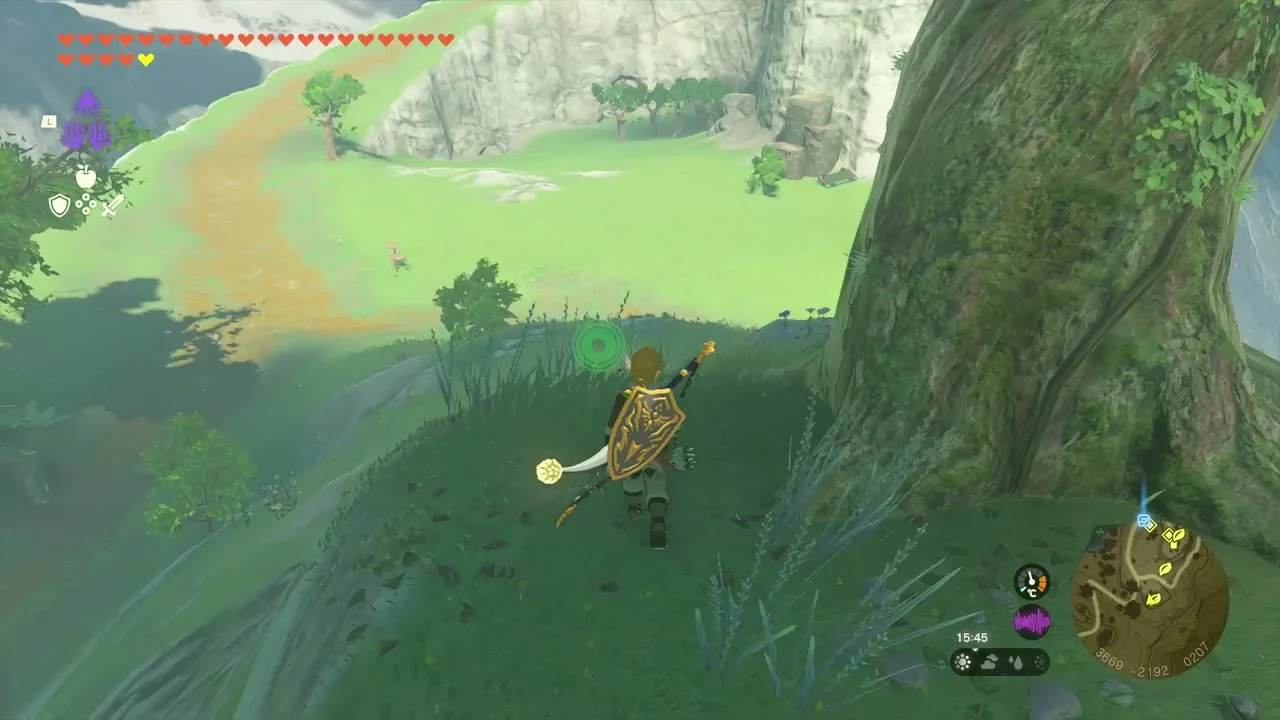
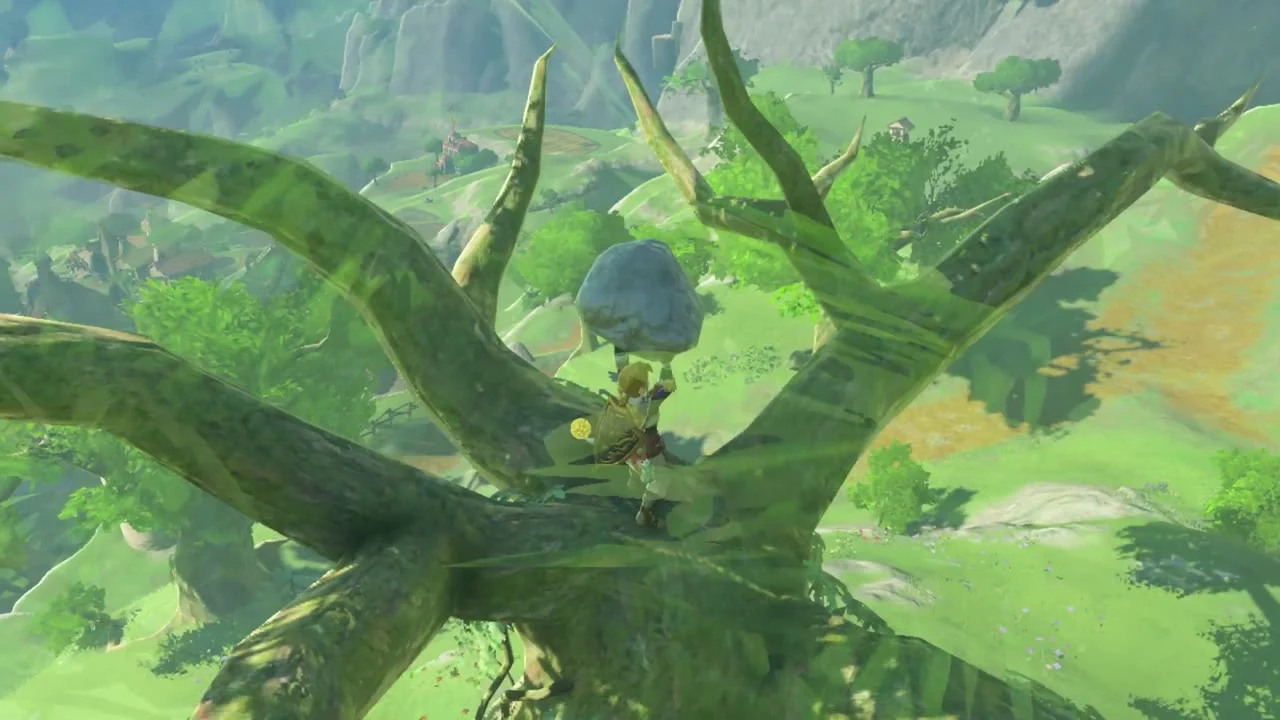
Korok seed (Lift the rock) at (3675, -2193), on a hillside east of Hateno Village. A rock rests on the ground below a large tree; carry it up with Ultrahand and set it on the branch fork where the Korok waits.
Visit the Hateno Ancient Tech Lab
Hateno Ancient Tech Lab at (3778, -2127, 230), in the hills east of Hateno Village on the edge of Retsam Forest. Robbie lives here and runs the Hateno Village Research Lab chain. Talk to him, take the sensor and walk down the slope outside the door so it can lead you to a nearby shrine.


Clear Mayahisik Shrine in Retsam Forest Cave
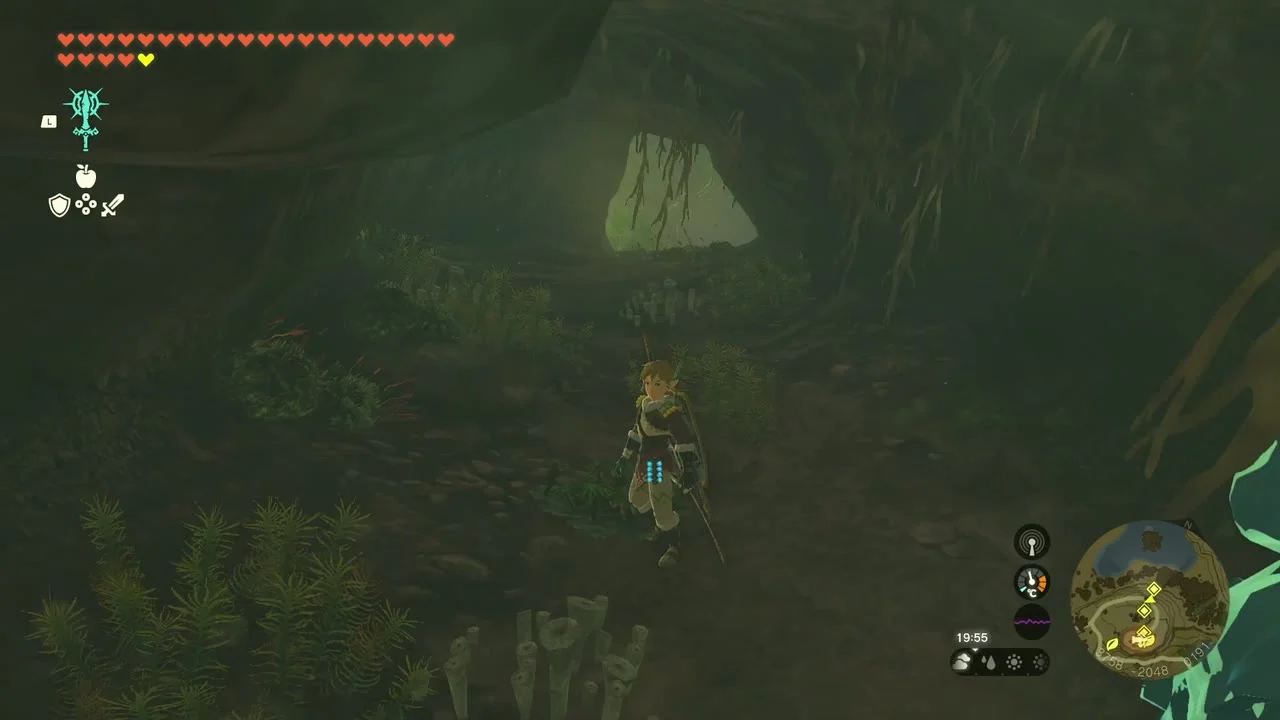
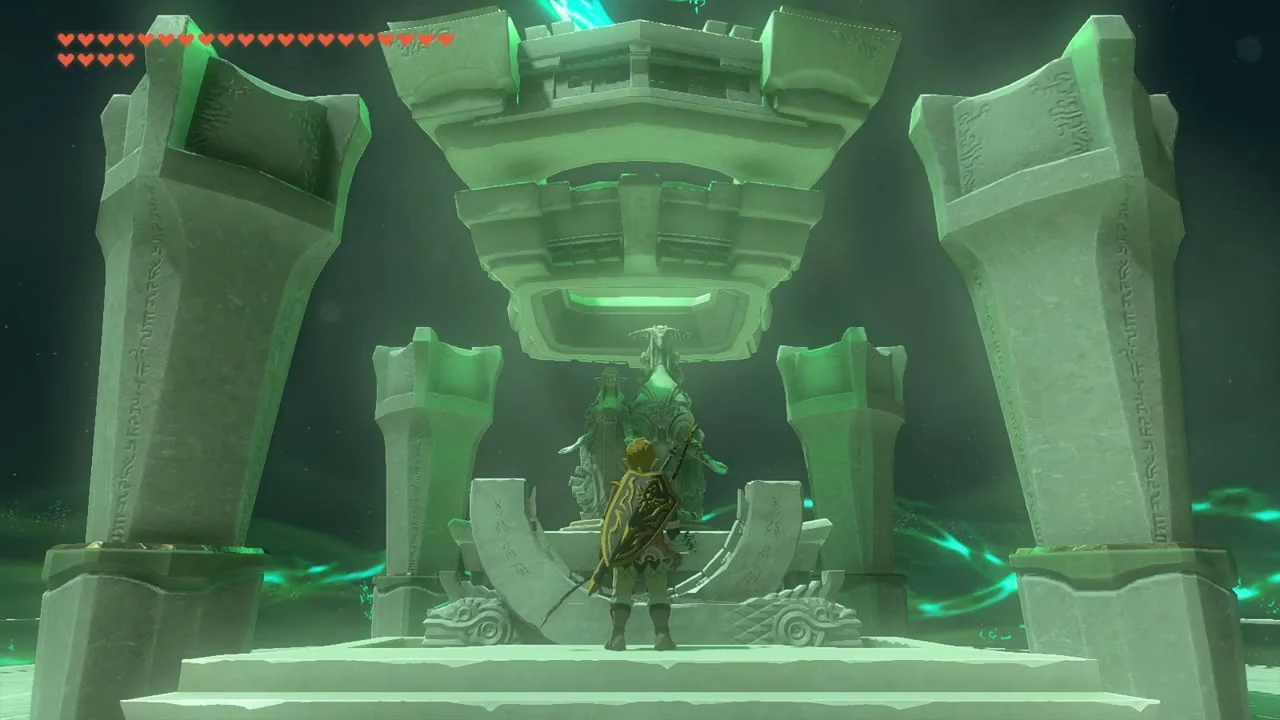
Mayahisik Shrine at (3729, -2058, 202), trial Rauru’s Blessing (type Rauru’s Blessing), inside Retsam Forest Cave at (3772, -2060). Break the rock that blocks the entrance, follow the passage and walk up the central stairs to the Blessing; the chest at the top holds the Magic Scepter. Kisihayam Lightroot is below.

Find the Bubbul Gem
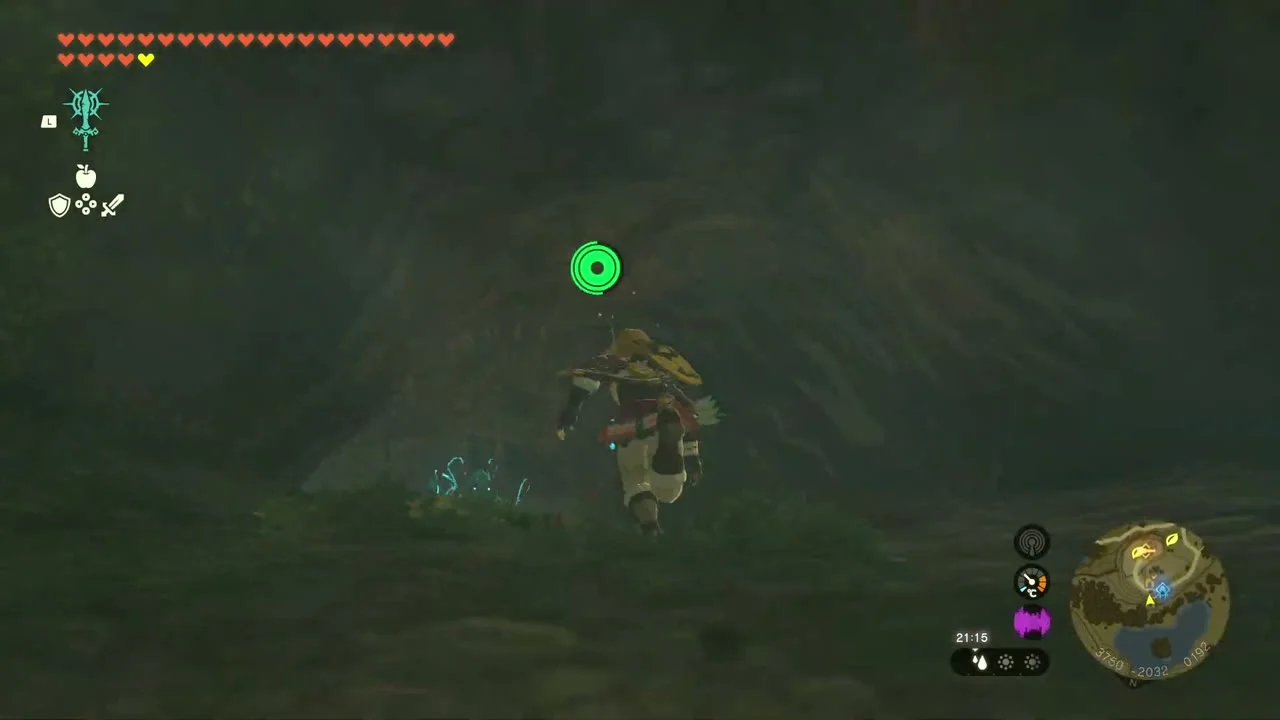
Bubbul Gem in Retsam Forest Cave at about (3770, -2078). The Bubbulfrog is in the cave: Ascend through the ceiling near (3770, -2074) to reach it and take the Bubbul Gem.
Finish Robbie’s upgrades
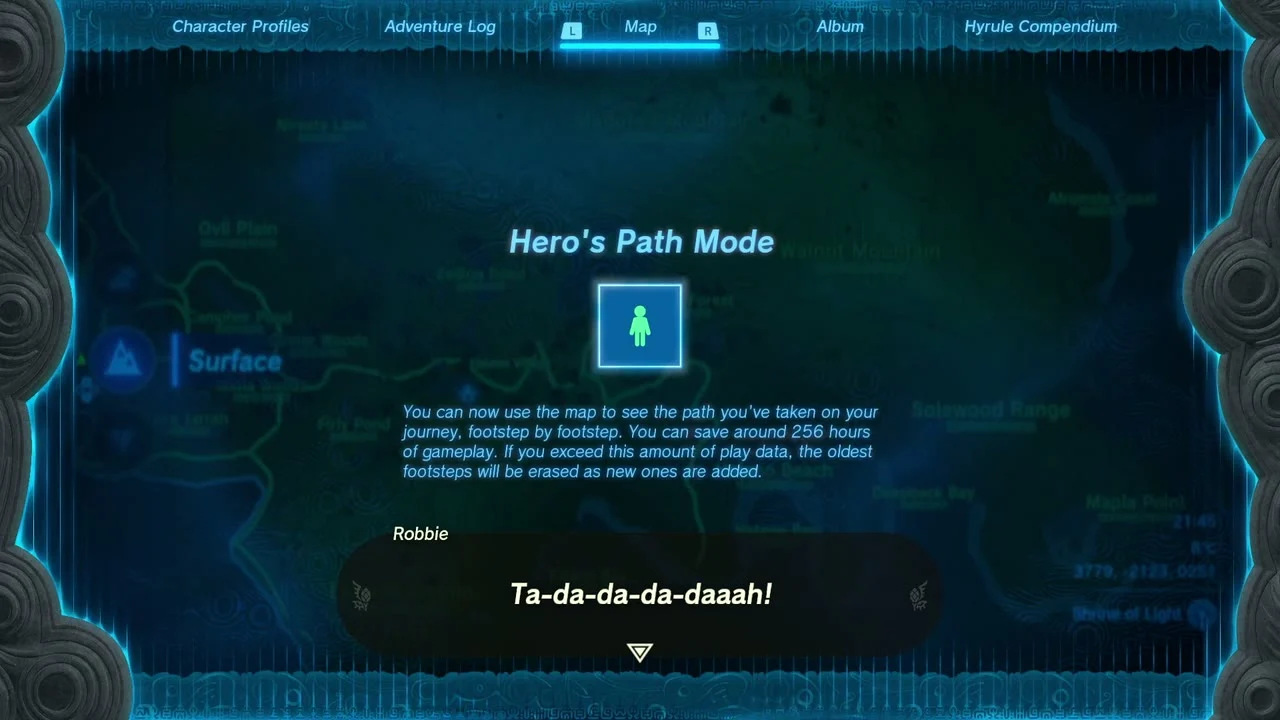
Back at the lab, Robbie unlocks the Purah Pad upgrades: Sensor + (five monsters registered in the Hyrule Compendium), Hero’s Path Mode (15 shrines visited) and Filling Out the Compendium (buy photos for a fee). Presenting: The Travel Medallion starts here but needs a prototype from the Akkala Ancient Tech Lab.

Take the lab-roof Korok
Korok seed (Go up to examine the sparkling spot) at (3782, -2122), on the hilltop just above the lab. Climb up from the lab and examine the glitter to get the seed.


Uma’s Garden
Side quest. Giver Uma, the school garden north of Hateno Village at about (3362, -2046). After Teach Me a Lesson II, talk to Uma and choose a crop to plant (pumpkin, carrot, radish, tomato, wildberry, wheat, rice or hydromelon); talk to her later to swap the crop.


Robbie’s quests at a glance
Hateno Village Research Lab (side adventure). Giver Robbie, started at Lookout Landing and finished at the Hateno Ancient Tech Lab (3778, -2127). He fits a sensor to your Purah Pad that detects shrines; follow its sound down the slope outside the lab to Mayahisik Shrine, then report back.
Presenting: Sensor + (side adventure). Giver Robbie. Register at least five different monsters in your Hyrule Compendium, then talk to Robbie to upgrade the sensor so it can track anything you have photographed.
Presenting: Hero’s Path Mode (side adventure). Giver Robbie. Visit at least 15 shrines and return to the lab; the map then records the route you have walked.
Presenting: The Travel Medallion (side adventure). Giver Robbie. The prototype was left at the Akkala Ancient Tech Lab, which is overrun with intruders; bring it back to Robbie to set up your first travel medallion.
Filling Out the Compendium (side adventure). Giver Robbie. Once unlocked, you can buy Compendium photos you have not taken yourself from Robbie’s own Hyrule Compendium.
Tips for this stretch
Plan the village in daylight and the evening: the mayoral election chain is Team Cece or Team Reede?, Cece’s Secret, A New Signature Food, A Letter to Koyin and Reede’s Secret, after which Sophie starts the election in the daytime (clear or cloudy sky), and some steps only work at night. Teach Me a Lesson I and II only run from 9 AM to 2 PM. Use the Inn bed to skip time. Keep Hylian Shrooms, Brightbloom Seeds and a few acorns in your pack, and carry spare Zonai charges for the vehicles you will use on the Korok carry. The Hateno Village area also has an Armor Shop (3357, -2128), General Store (3361, -2172) and Inn (3473, -2111) you can use between quests.
Also in this area
The data lists these Koroks in the village box (X 3150 to 3950, Y -2450 to -1850) that this stretch did not pick up: Bring the exhausted Korok to its friend (3251, -2114) and (3260, -2396) are the pair above; Shoot the balloon(s) at (3415, -2381) and (3913, -2100); and Lift the rock at (3264, -2225) and (3675, -2193) are collected above. The two Shoot-the-balloon Koroks were not collected in this stretch.
Hateno Village checklist
| Collectible | Count | Where |
|---|---|---|
| Shrines | 2 | Zanmik, Mayahisik |
| Lightroots | 2 | Kimnaz, Kisihayam (below the shrines) |
| Korok seeds | 7 | Carry pair x2, islet, sparkling spot, school bell, riverbank, tree rock, lab roof |
| Chests | 5 | Shield of the Mind’s Eye, Phrenic Bow, Royal Bow, Zonaite Longsword, Magic Scepter |
| Wells | 4 | South, West, East, North |
| Caves | 1 | Retsam Forest Cave |
| Bubbul Gems | 1 | Retsam Forest Cave |
| Heart Container | 1 | Goddess Statue |
