





















Tears of the Kingdom 100% Completion Walkthrough43 chapters
Great Sky Island
- Great Sky Island4 shrines, 4 caves and Bubbul Gems, 17 Korok seeds
Hyrule Field and Hyrule Castle
- Lookout LandingParaglider, Crisis at Hyrule Castle, Jiosin and Kyononis shrines, 2 caves, 3 wells
- Hyrule FieldSusuyai and Ishodag shrines, the Hyrule Field Chasm, 2 caves, 13 Koroks
- Hyrule Castle Town RuinsSepapa, Yamiyo and Tukarok shrines, 2 caves, 4 wells, Koroks, chests and Battle Taluses in route order
- Central Hyrule Depthslight all 7 Lightroots, loot Daphnes and Gustaf Canyon Mines, find the Miner's Top
- Rest of Hyrule CastleRoyal Hidden Passage loot, 8 castle chests, Phantom Ganon, Energy Wells
- South Hyrule FieldShrines, Koroks & the Great Plateau
- South Hyrule Field DepthsGreat Abandoned Central Mine, Master Kohga, Autobuild, Majora's Mask
Tabantha and Hyrule Ridge
- Tabantha FrontierNew Serenne Stable, Hestu, Courage Island and the Glide Shirt, 3 shrines, 2 Korok seeds, Lindor's Brow Cave
- Forgotten TempleImpa and the Geoglyphs, Dragon's Tears, Kiuyoyou and Mayausiy shrines, Yiga Maritta Branch, 9 Koroks
- Tanagar Canyon & Hyrule RidgeRunakit and Iun-orok shrines, 2 caves, 12 Koroks, 20 chests, 8 minibosses and Dragon's Tear 6
- Thundra Plateau & Tabantha Bridgesolve the noon shadow puzzle, Tabantha Bridge Stable, Makurukis Shrine, 19 Korok seeds, 9 chests, 3 minibosses
- Lindor's Brow DepthsLightroots; Two Yiga camps (Bomb Bouquet, Flamethrower Balloon)
- Hyrule Ridge and Tabantha FrontierIkatak, Oromuwak, Ganos and Ga-ahisas shrines, 4 caves, a well, 26 Koroks and 3 minibosses
Hebra
- Rito VillageGatakis and Ijo-o shrines, Sikatag Lightroot, 9 Korok seeds, 14 chests
- Hebra MountainsShrines, Wind Temple & Koroks; Raspro Pass, Biron Snowshelf & Royal Hidden Passage
- Corvash Canyon MineTrousers of the Hero, Floodlights schematic, Sea-Breeze Boomerang, four Lightroots, Colgera
- Raspro Pass DepthsNupisoyuat and Sasag Lightroots, Colgera, Cap of Time, Tunic of the Wind, two Yiga camps and 13 minibosses
- Tabantha TundraTaninoud, Orochium, Oshozan-u, Mayaotaki, Nouda and Tenbez shrines, three Lightroots, caves and Bubbul Gems
- Pikida Stonegrove DepthsEvil Spirit Greaves, Ikatoayam, Muihcoro and Sikatag Lightroots, 3 Yiga schematics, Frox fights
Great Hyrule Forest
- Great Hyrule Forest7 shrines, 8 Lightroots, 2 caves, 2 wells, Korok Mask, Glide Tights
Eldin
- EldinEldin Canyon, Shrines, Caves & Goron City
- Eldin Canyon Depths10 Lightroots, Zant's Helmet, Trousers of the Wild, Biggoron's Sword, 3 Yiga schematics and Eldin's sky chests
Faron
- FaronHighland Stable, Lake Hylia & Popla Foothills
Necluda
- Kakariko VillageMakasura Shrine, Kakariko Village Well, 2 caves, Ring Ruins chests, 10 Korok seeds and village quests
- West Necluda and Lanayru WetlandsShrines, Koroks & Caves; Jonsau, Kurakat
- Hateno VillageZanmik and Mayahisik shrines, Shield of the Mind's Eye and Phrenic Bow wells, 7 Koroks
- East NecludaRabella Wetlands, Sifumim Shrine, Lurelin Village, 21 Korok seeds
- East Necluda DepthsKumamayn Shrine, 4 Lightroots, Midna's Helmet, Cap of the Hero, Trousers of the Wind and 18 Depths chests
Lanayru
- Lanayru Great SpringShrines, Koroks & Caves; Ralis Channel, 3 shrines, 8 caves
- Zora's DomainMogawak and Ihen-a shrines, Ploymus cave, Pristine Sanctum, Zora Armor, Sidon of the Zora and Clues to the Sky
- Wellspring IslandAncient Zora Waterworks chests, Igoshon Shrine, 2 Korok seeds, Water Temple's four wheels and Mucktorok
- Mount LanayruShrines, Koroks & Light Rings; Jikais and Anedamimik shrines
Gerudo
- Gerudo DesertShrines, Caves & Koroks; West and South Sands
- Gerudo TownGerudo Shelter shops and quests, Valley of Silent Statues, Lightning Temple and Queen Gibdo, Chichim Shrine
- Gerudo Desert DepthsGranajh and Daval mines, three Master Kohga fights, Queen Gibdo, Mucktorok, Sheik's Mask and 37 chests
- Gerudo HighlandsSkyview Tower, Rotsumamu and Suariwak shrines, Mayasiar Shrine, Yiga hideout
Akkala
- AkkalaTarrey Town quests, 4 shrines, Hinox, Battle Talus
- Akkala Sky Islands and DepthsGikaku and Natak shrines, Old Maps, Lomei Depths Labyrinth, Mucktorok, 5 Lightroots and 19 chests
Finale and completion
- Ancient Tablets, Gleeoks and Armor Upgradesall 13 stone tablets with coordinates, Frost and King Gleeok, Obsidian Frox, Cotera upgrades and farming
- Hyrule CastleRoyal gear chests, Korok seeds, Serutabomac Shrine
- Thunderhead IslesCharged armor, Joku-usin and Joku-u Shrines, Dragonhead Island's relic
- 100% Completion: Armor Upgrades & Korok BonusHestu's Gift, Ancient Hero's Aspect, Great Fairy Cotera upgrade costs and materials, then Destroy Ganondorf
| Region | North Hyrule Plain, Rowan Plain and the Great Hyrule Forest, ending in the Forgotten Temple canyon on the Tabantha Frontier |
|---|---|
| Main quests | Impa and the Geoglyphs (completed), The Dragon’s Tears (started, geoglyph hunt unlocked) |
| Shrines | Kiuyoyou Shrine (Fire and Ice), Mayausiy Shrine (Building Blocks) |
| Lightroot | Uoyoyuik Lightroot below Rowan Plain Well (see all Lightroots) |
| Cave | Yiga Clan Maritta Branch (Bubbul Gem, Yiga Tights) |
| Wells | Irch Plain Well, Rowan Plain Well |
| Minibosses | Battle Talus, Boss Bokoblin, Hinox |
| Gear and upgrades | Yiga Tights, Stamina Vessel, Knight’s Bow (or Traveler’s Bow, Soldier’s Bow or Royal Bow, depending on your progress) |
| Previous / next | Tabantha Frontier / Tanagar Canyon |
This chapter ties off Impa’s balloon flight to the first geoglyph, then sweeps the plains toward Rowan Plain before you drop into the canyon of the Forgotten Temple. You collect 9 Korok puzzles, 18 chests, three minibosses and two shrines, and finish in the geoglyph map room that sets up the rest of The Dragon’s Tears.
Quick route
Repair Impa’s balloon beside New Serenne Stable, fly up, glide to the Dragon’s Tear and watch the memory.
Sweep North Hyrule Plain: Battle Talus, three chests, two Korok puzzles, then the Royal Ancient Lab Ruins and its Boss Bokoblin.
Work east through the plains: Irch Plain Well, three more chests and a Hinox, then Kiuyoyou Shrine.
Enter the Yiga Clan Maritta Branch for the Bubbul Gem and Yiga Tights, then light the Uoyoyuik Lightroot under Rowan Plain Well.
Glide into the Forgotten Temple canyon, meet Cado, loot the temple, clear Mayausiy Shrine and finish in the geoglyph map room.
Impa and the Geoglyphs
Impa’s balloon. Find Impa on the stone platform in the grass beside New Serenne Stable, where the ground is carved with giant glyph lines. The broken balloon envelope lies below the platform: pick it up with Ultrahand and lift it onto the basket.
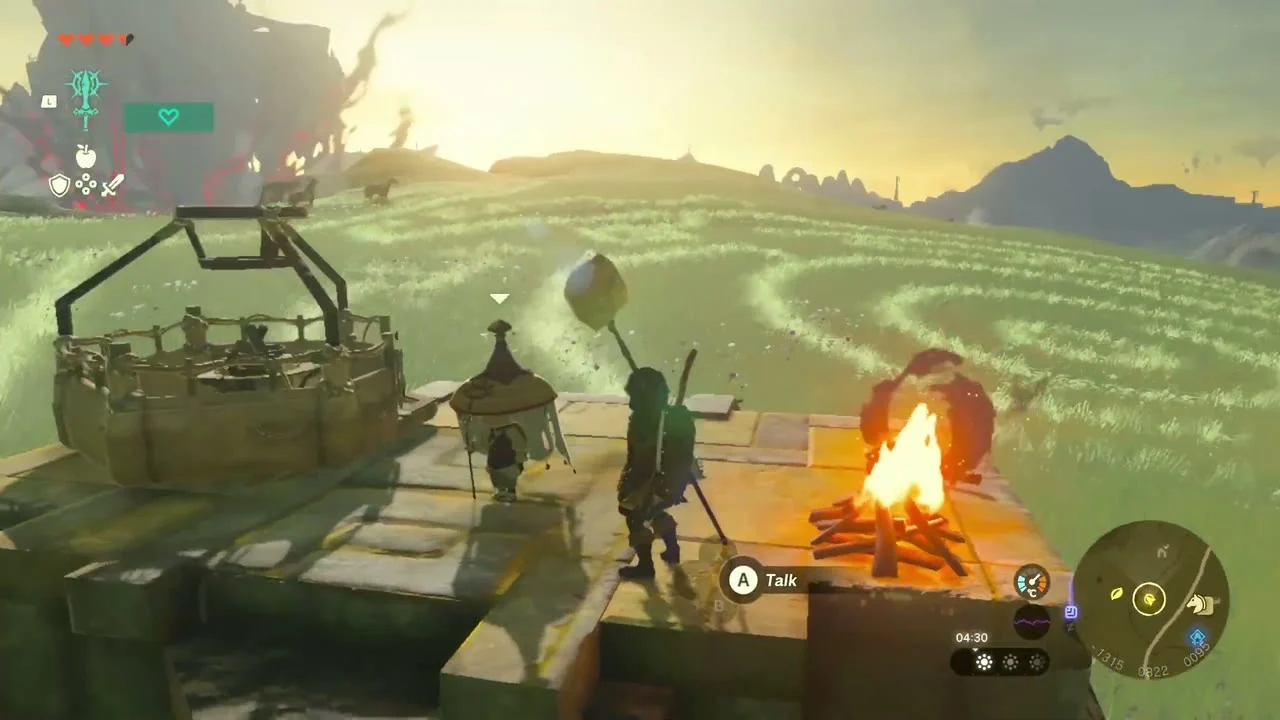
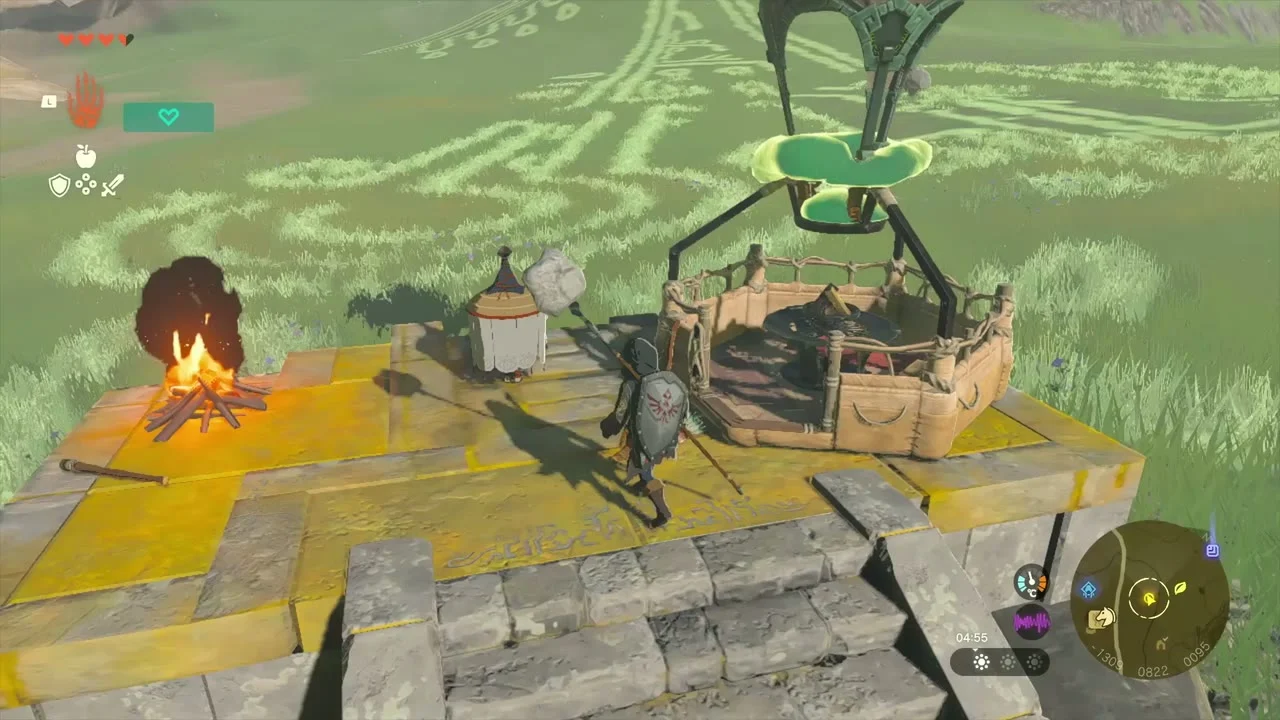
Light the burner. Take a torch or any flammable weapon, light it in the campfire on the platform and touch it to the burner in the basket. The balloon fills and floats up above the glyph lines.
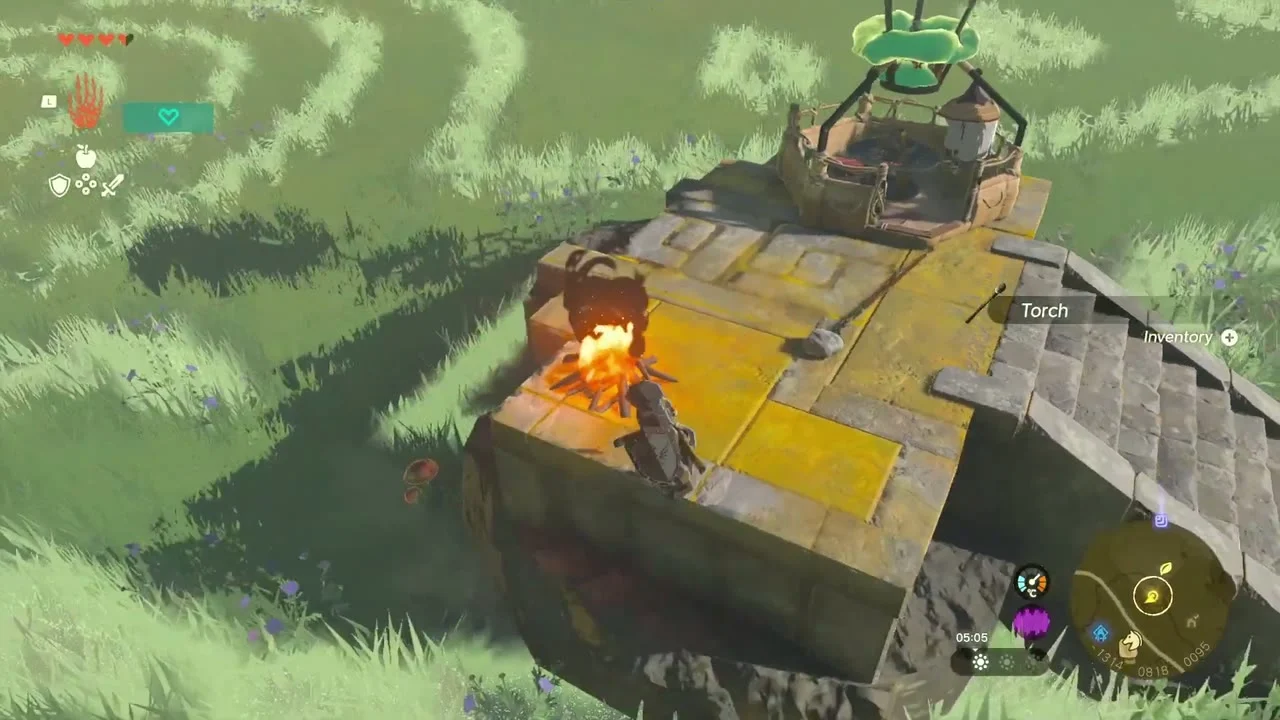
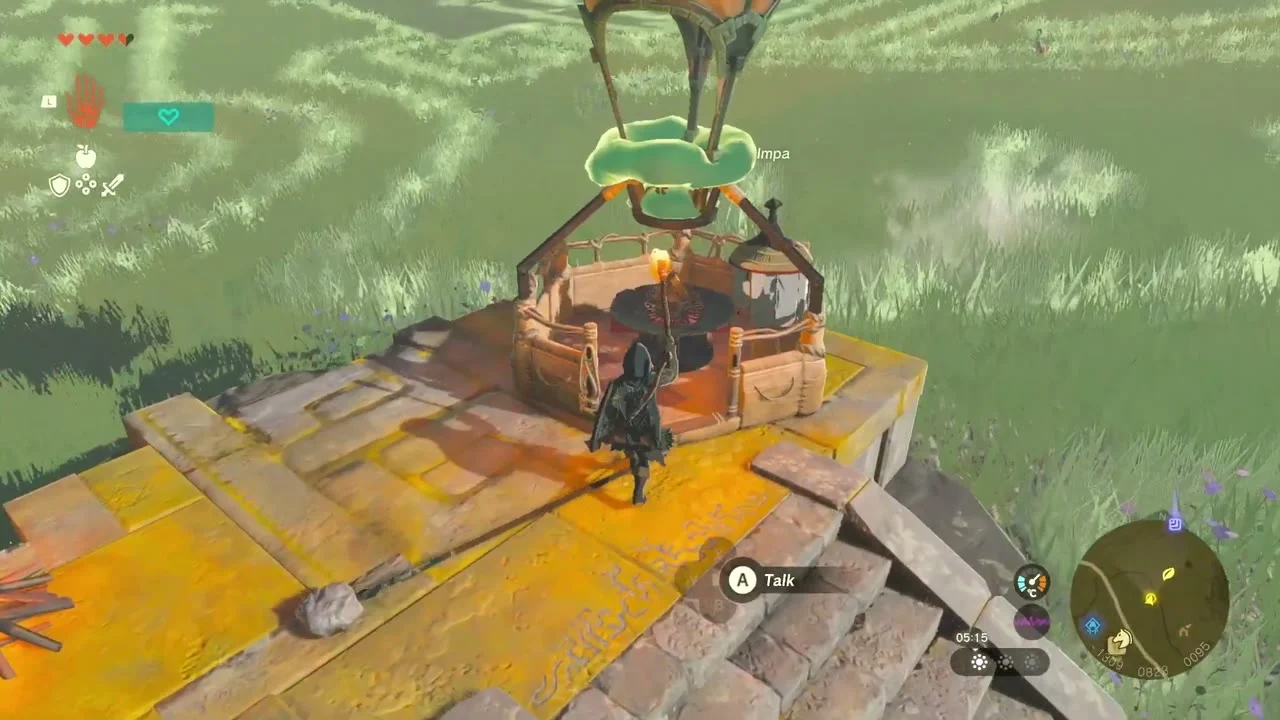
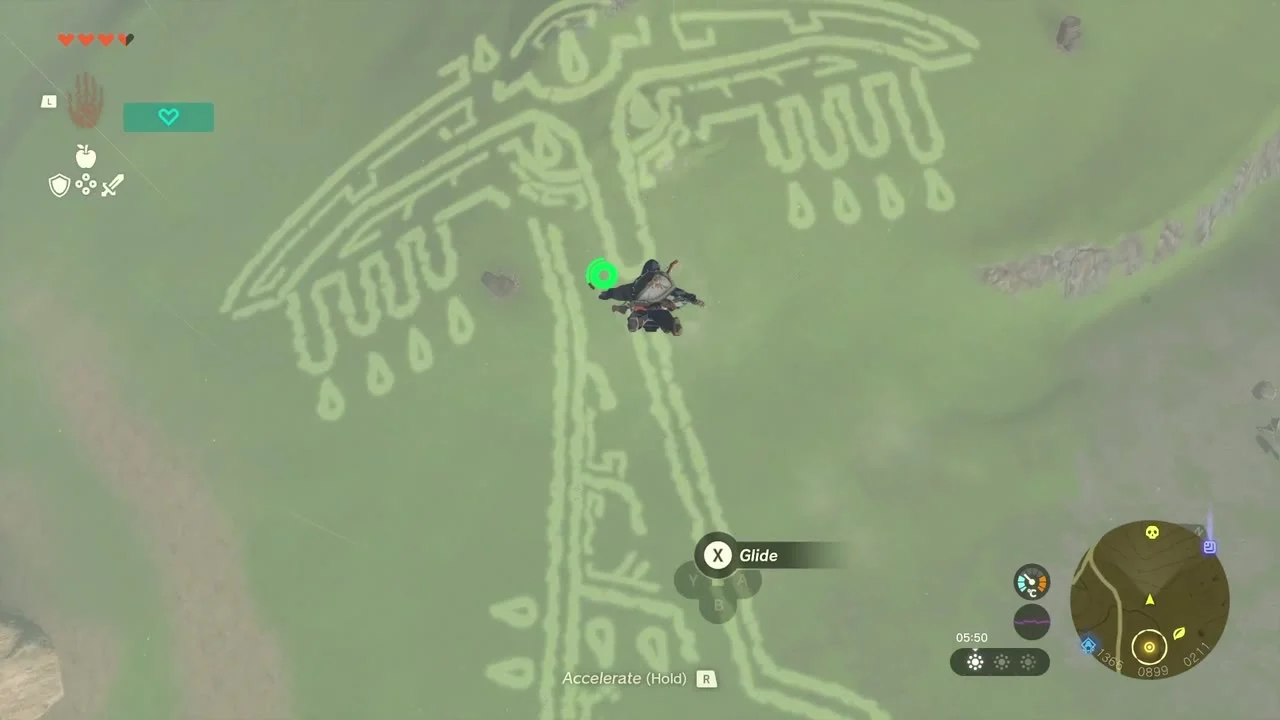
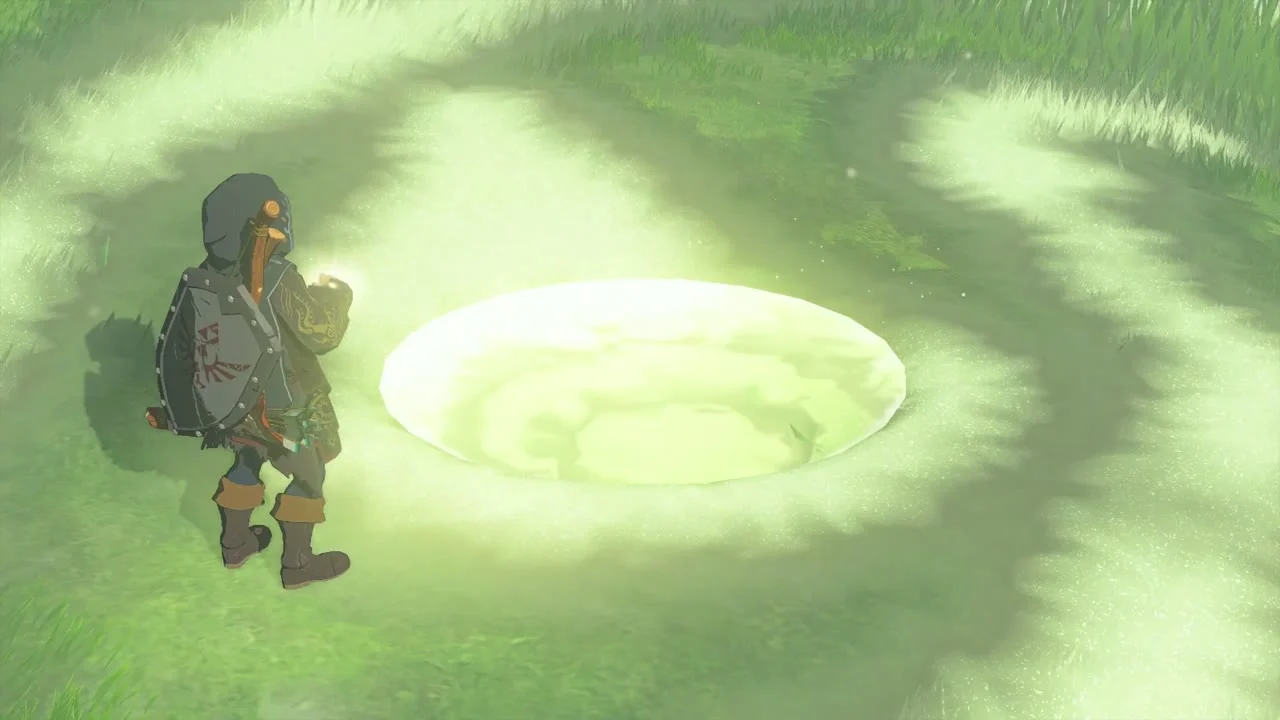
Glide to the Dragon’s Tear. Step off the basket and paraglide over the bird-shaped glyph to the glowing pool at its centre. Walk up to the tear to start the memory, Where Am I?. Impa then points you to the Forgotten Temple, which starts The Dragon’s Tears.
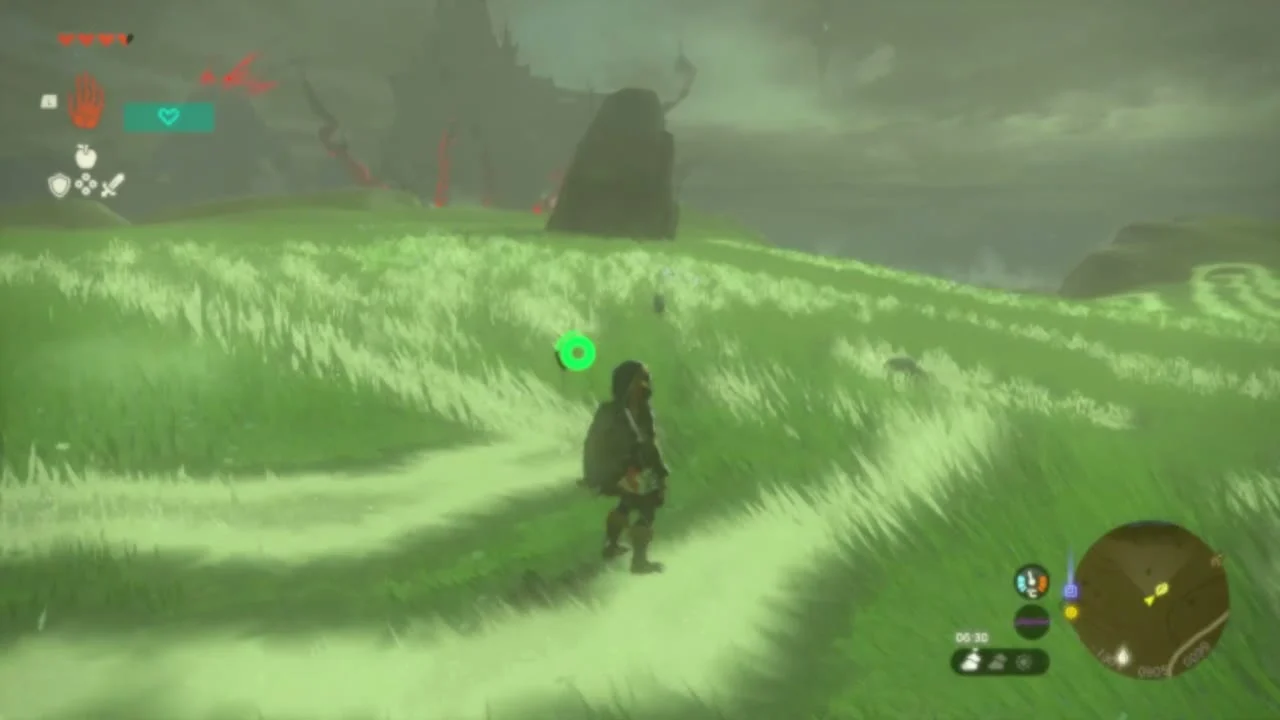
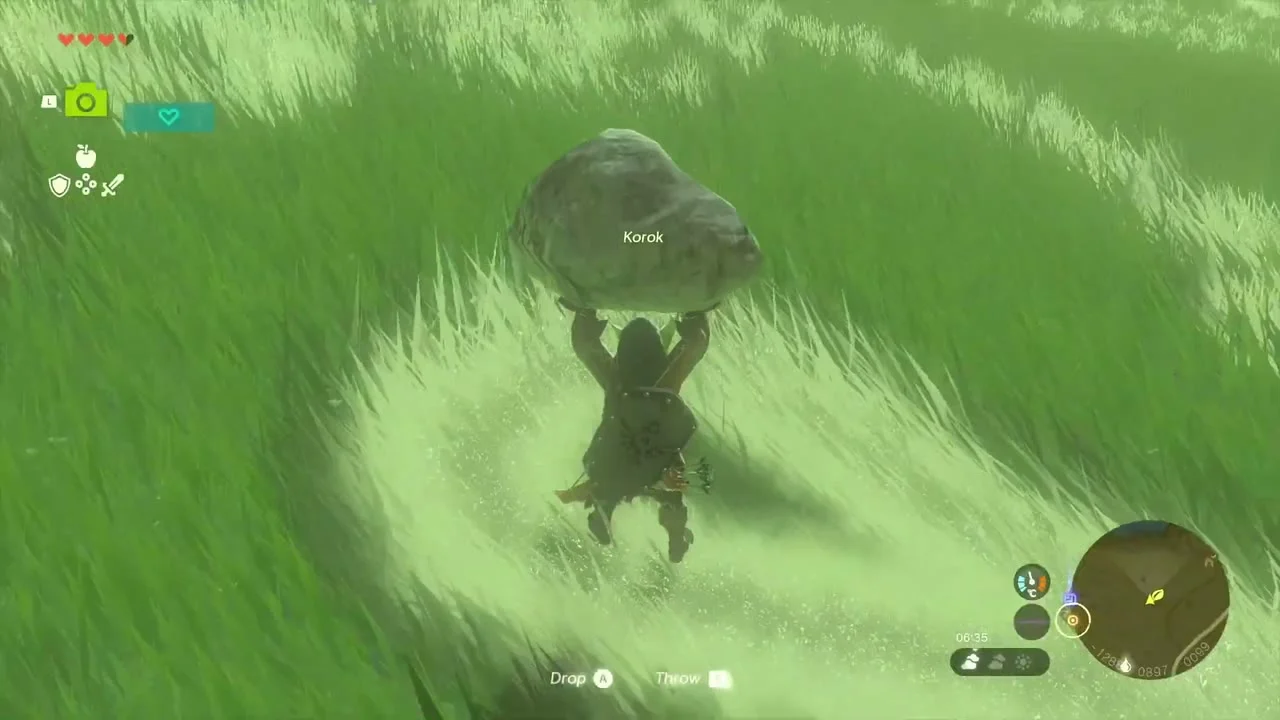
Korok seed (glyph lines). Right after the memory, follow the flattened grass trails of the glyph on foot until they end in a small circle with a loose rock. Lift the rock and set it down on the circle; the Korok pops out and gives you a seed.

North Hyrule Plain
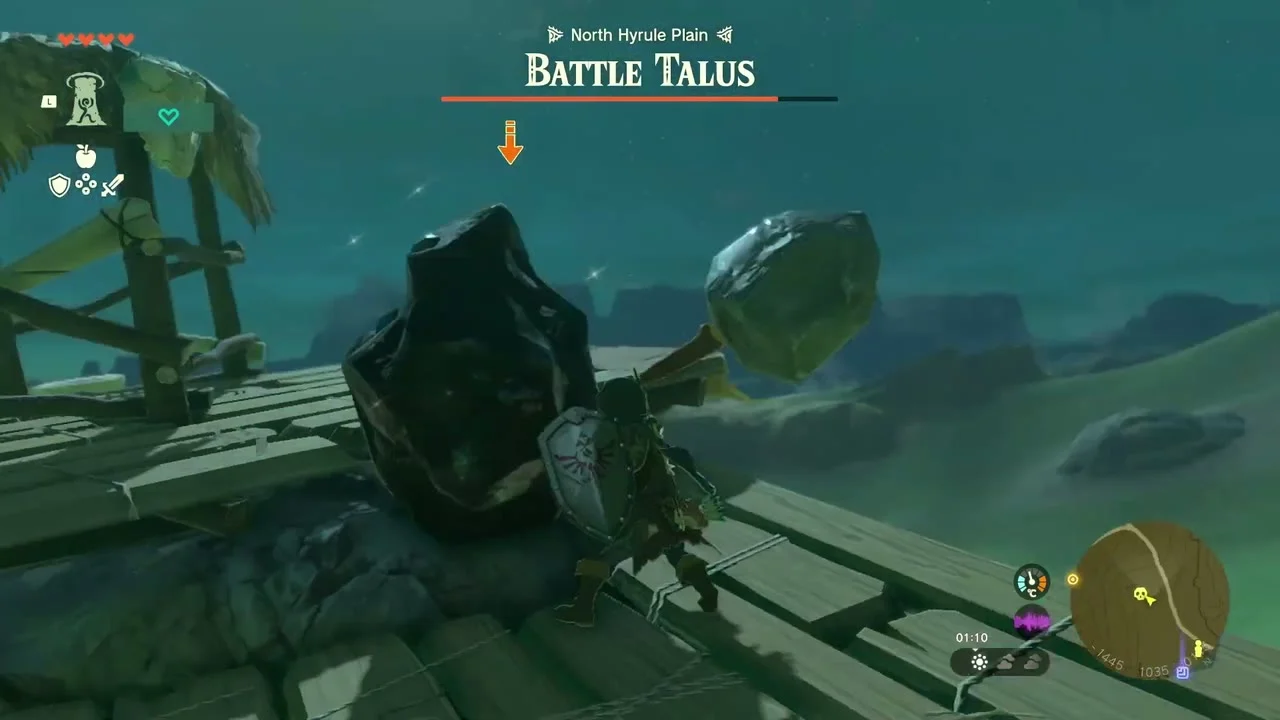
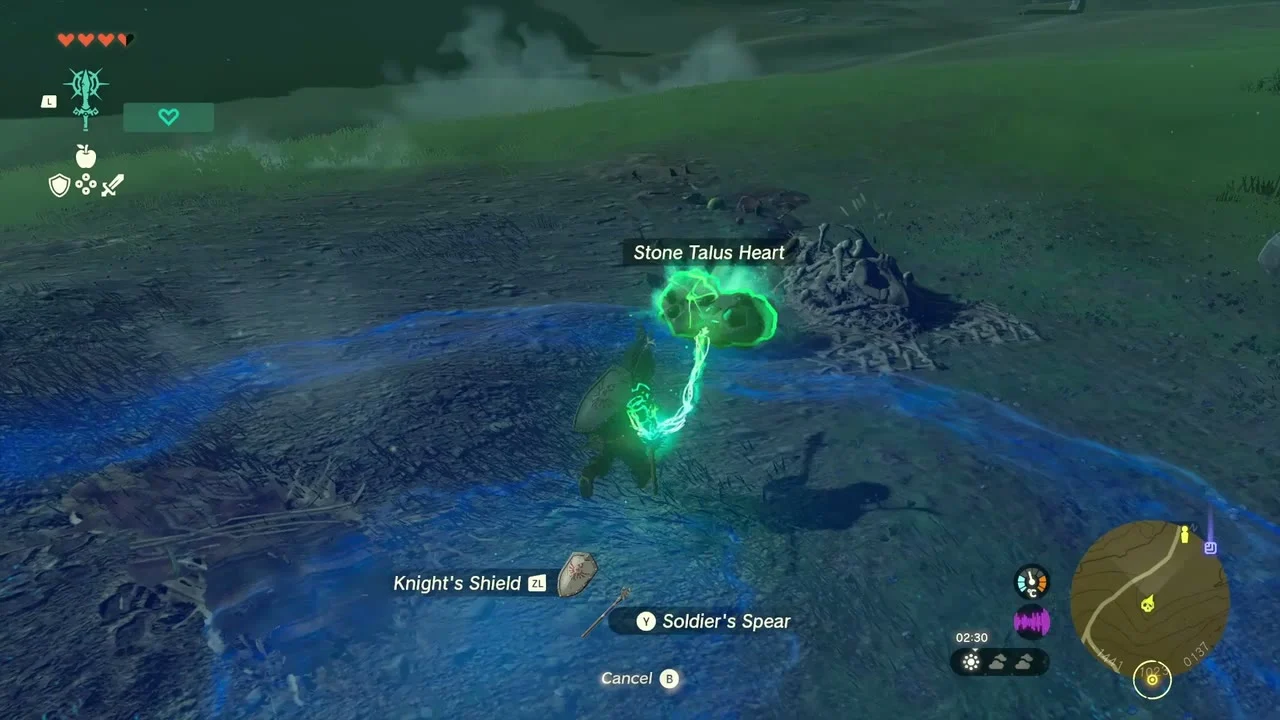
Miniboss: Battle Talus. On the plain a Talus carries a wooden lookout platform on its back. Burn the planks with a fire fruit or flame, climb its body and keep hitting it until it falls. It drops a Stone Talus Heart, a Knight’s Shield (or Traveler’s Shield, Soldier’s Shield or Royal Shield, depending on your progress) and a Soldier’s Spear (or Traveler’s Spear, Knight’s Halberd or Royal Halberd, depending on your progress).

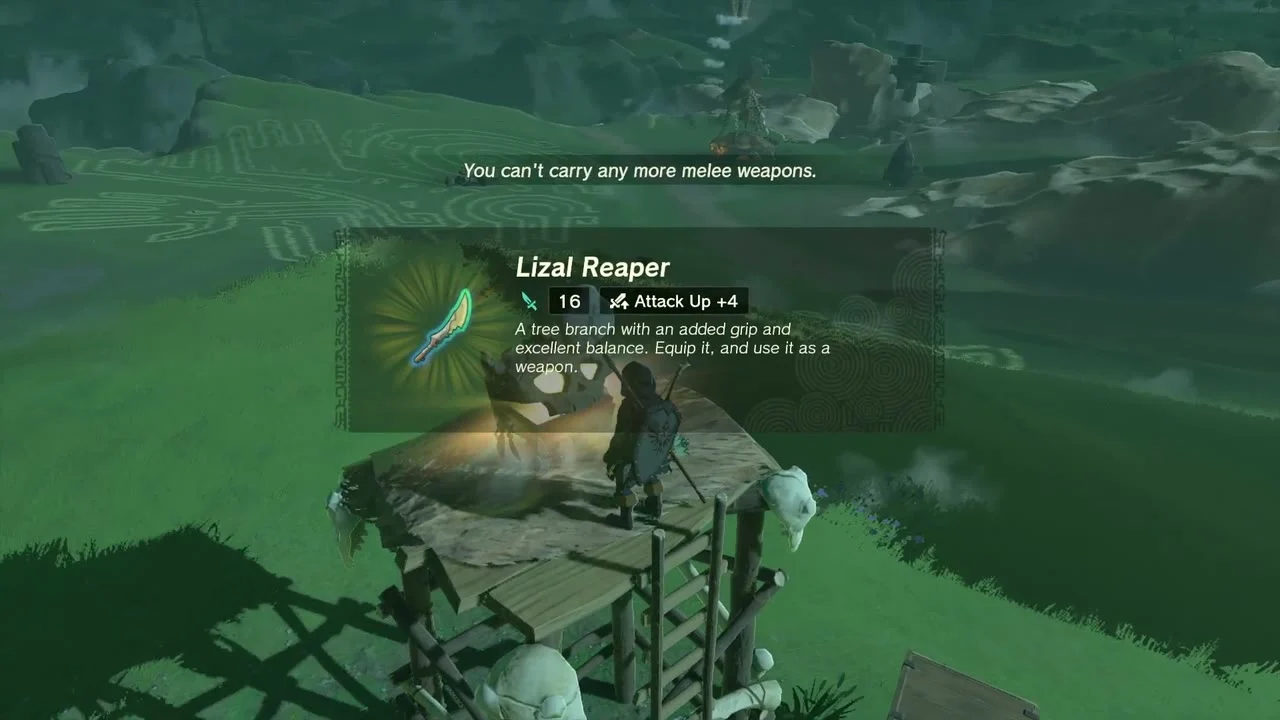
Chest (Lizal Reaper). A Bokoblin watchtower of lashed planks and skulls stands on the grass nearby. Clear the Bokoblins, climb the ladder and open the chest on top for a Lizal Reaper.

Addison’s sign. On the road Addison has a toppled signboard. Grab the loose boards from the red-stained ground with Ultrahand and brace the sign upright. He pays 20 rupees and Energizing Mushroom Rice Balls.


Chest (Zonaite x3). A huge square stone slab sits on the plain. Stand under it and use Ascend to rise through it, then open the chest in the mossy hollow on top for Zonaite x3.
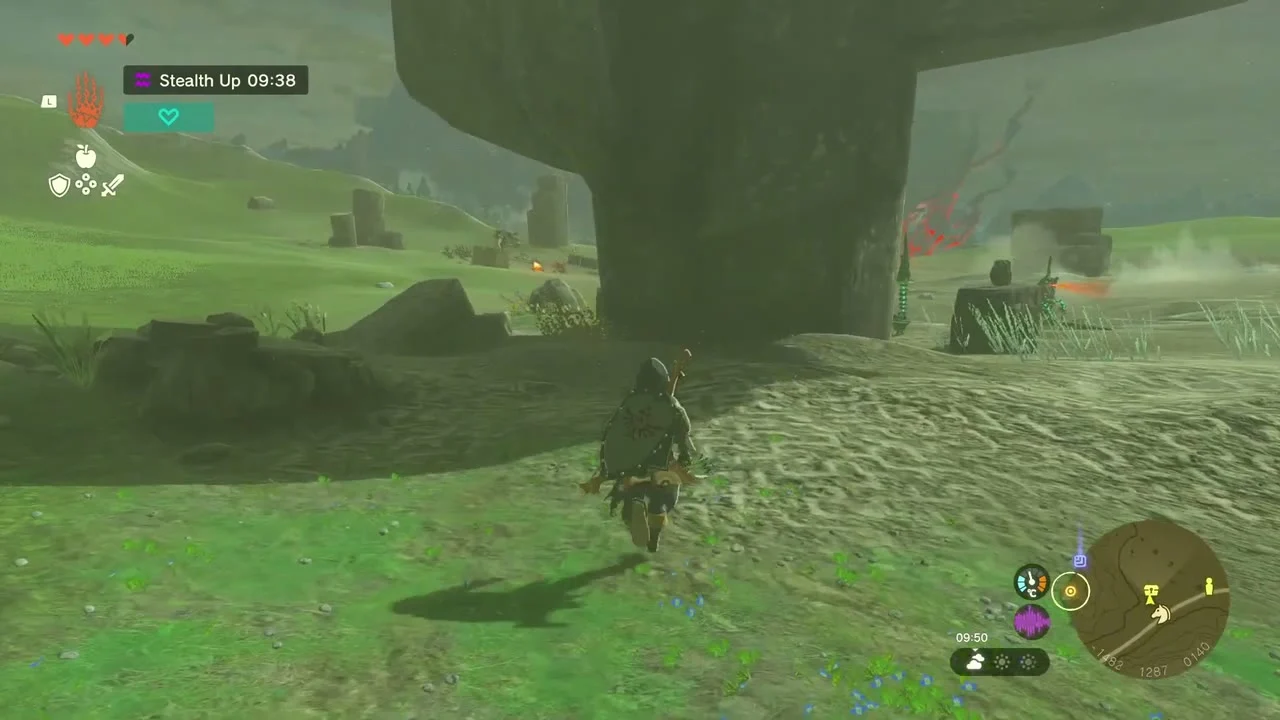

Chest (Throwing Spear). On a rocky ledge looking over the mountains stands another skull-and-ladder watchtower. Climb it and open the chest on the wooden ledge for a Throwing Spear.
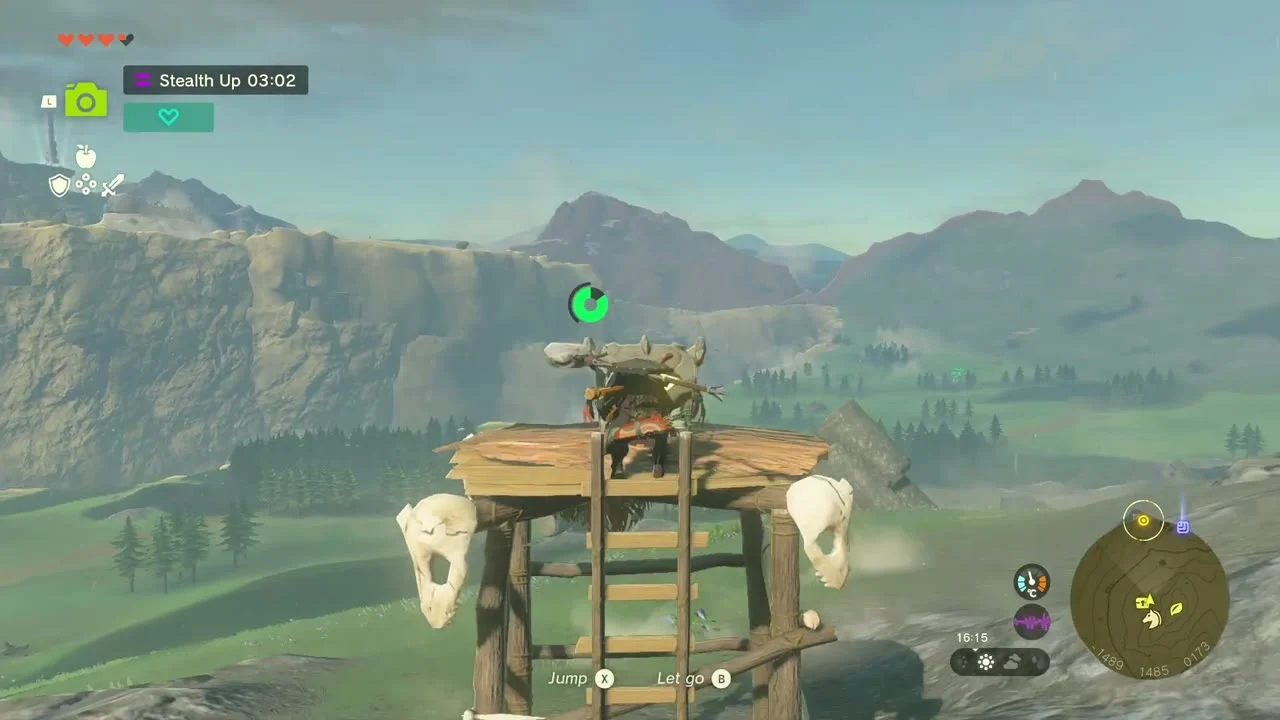

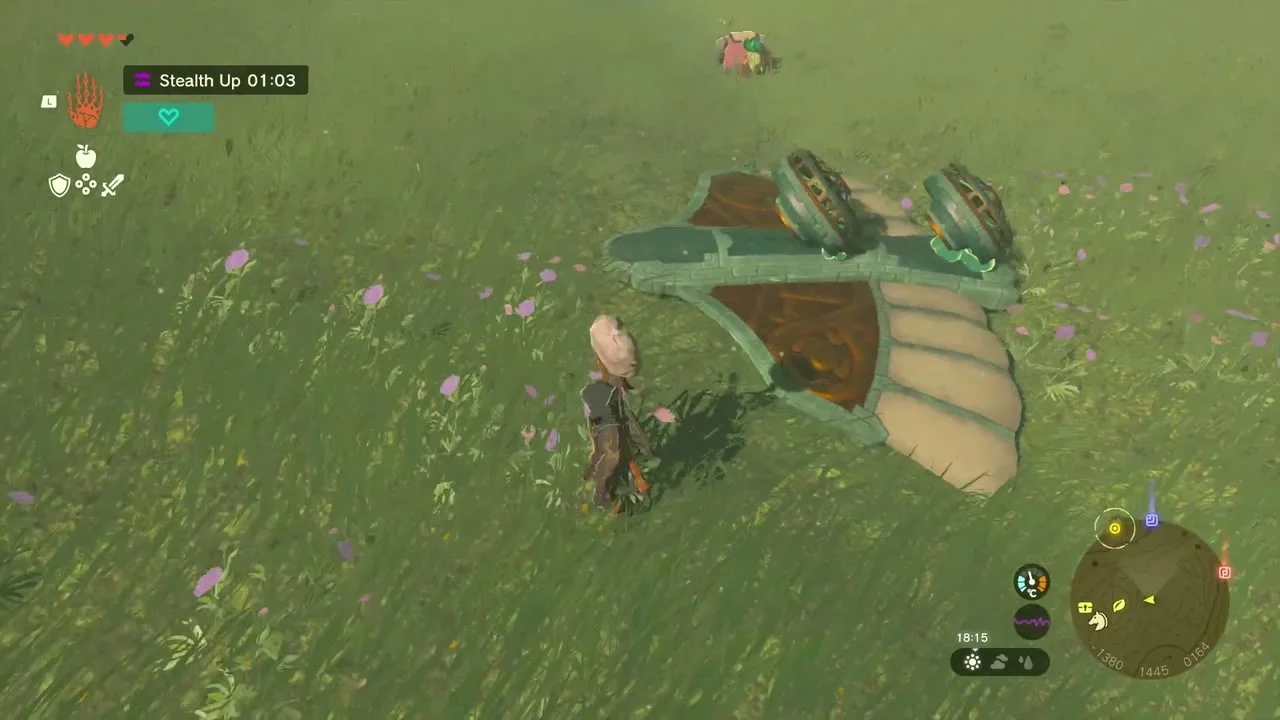
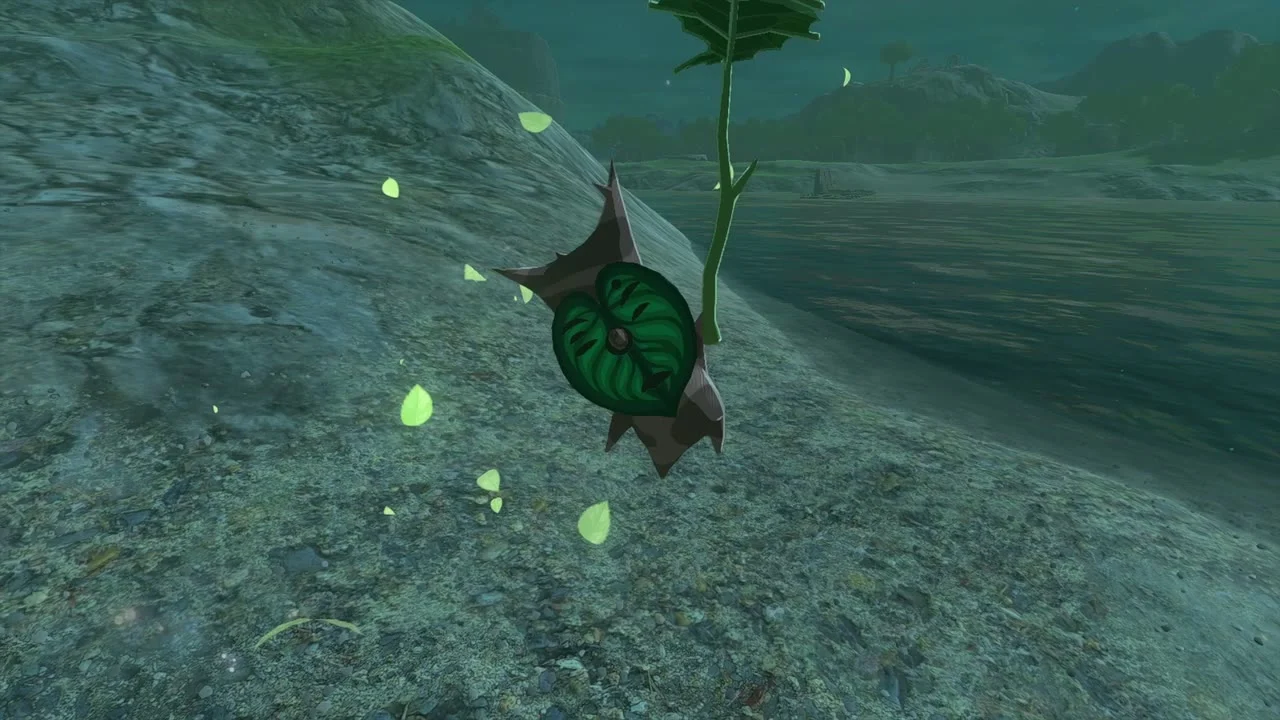
Korok seeds x2 (carry the Korok). A Korok sits on a hilltop and cannot reach his friend, whose camp is marked by green smoke across the valley. Use Ultrahand to build a glider with a Zonai fan, wings and a steering stick, put the Korok on it and fly him across. The friend gives you Korok Seed x2.
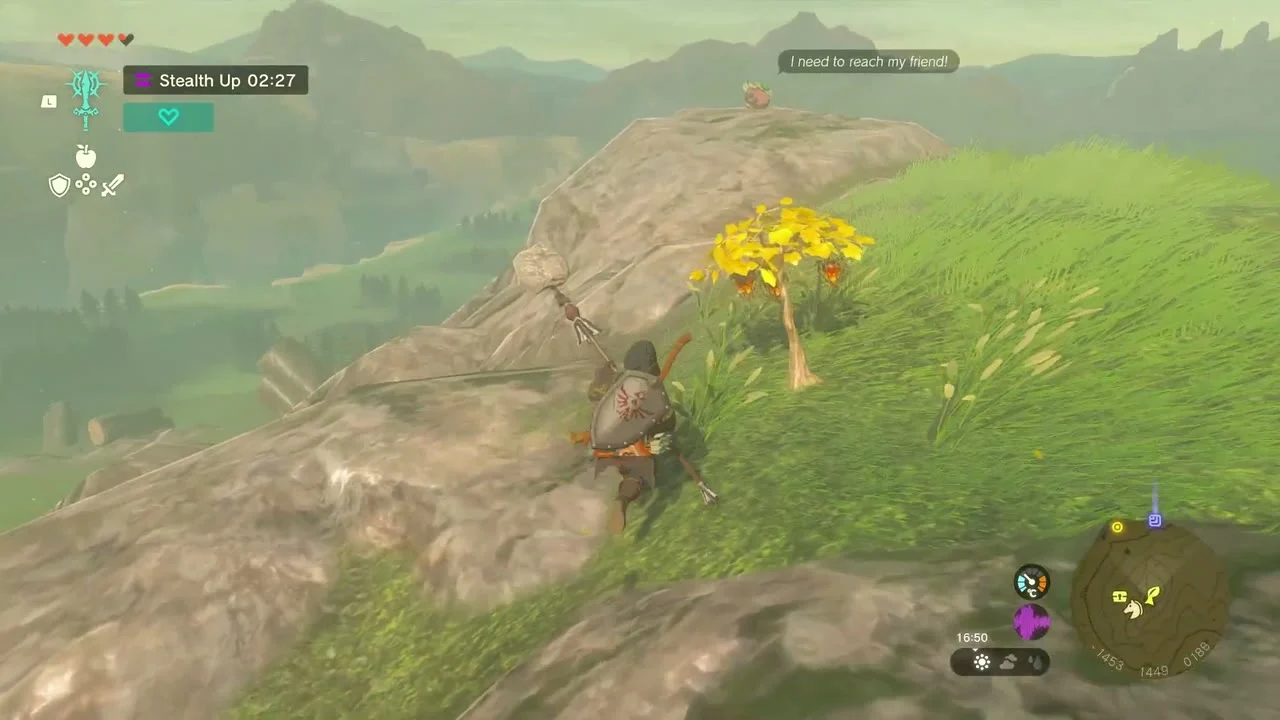


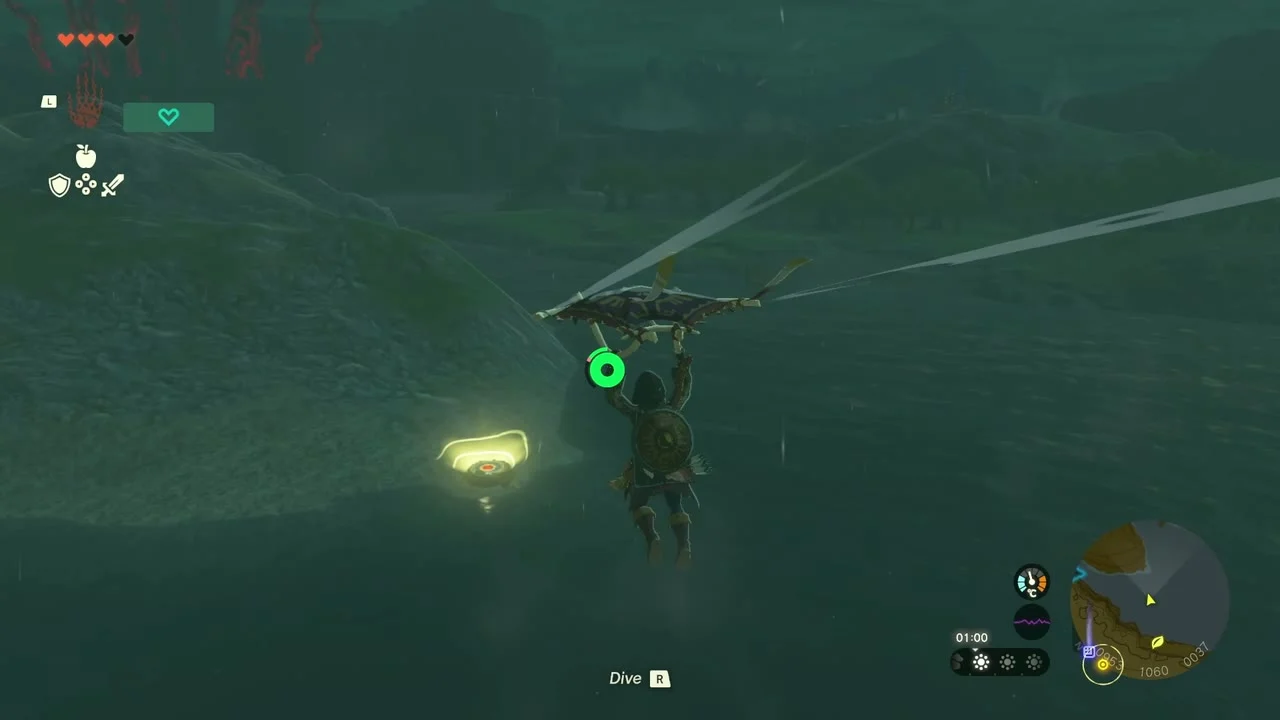
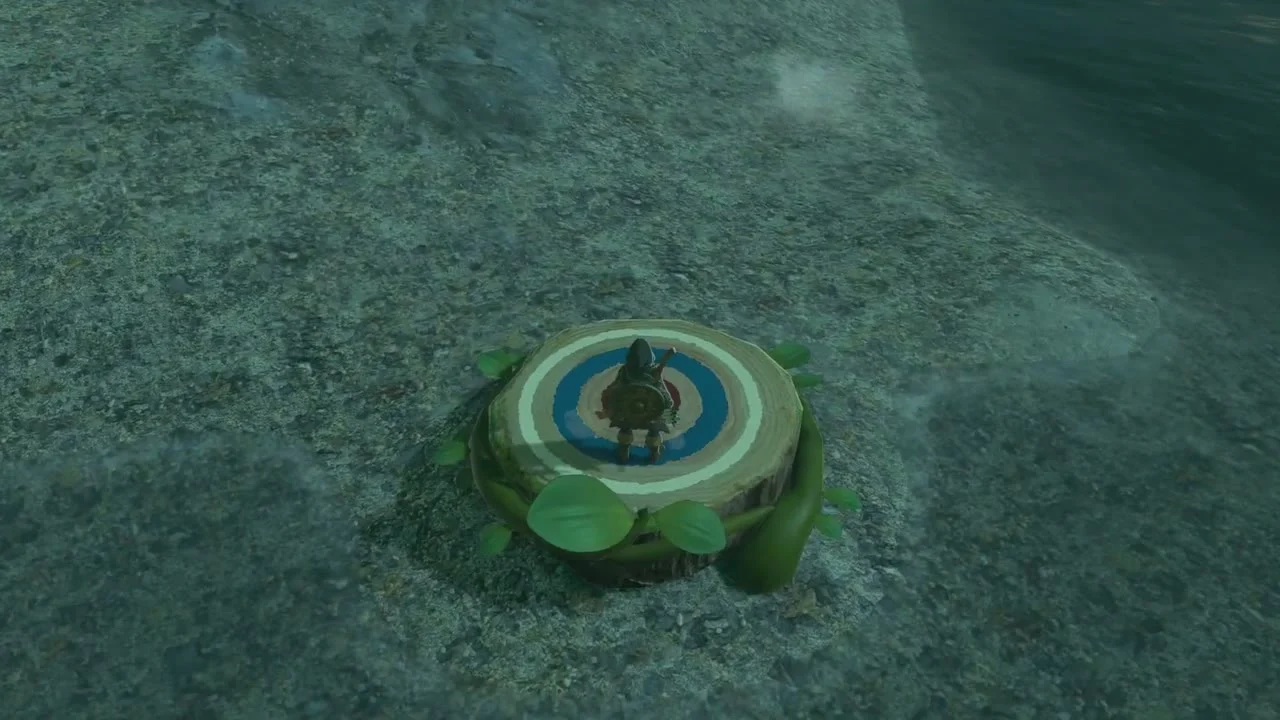
Korok seed (stump rings). Climb to the leaf-marked stump on a rocky ridge. Jump off and glide through the glowing rings down to the round bullseye stump at the bottom; land on it and the Korok appears.

Royal Ancient Lab Ruins
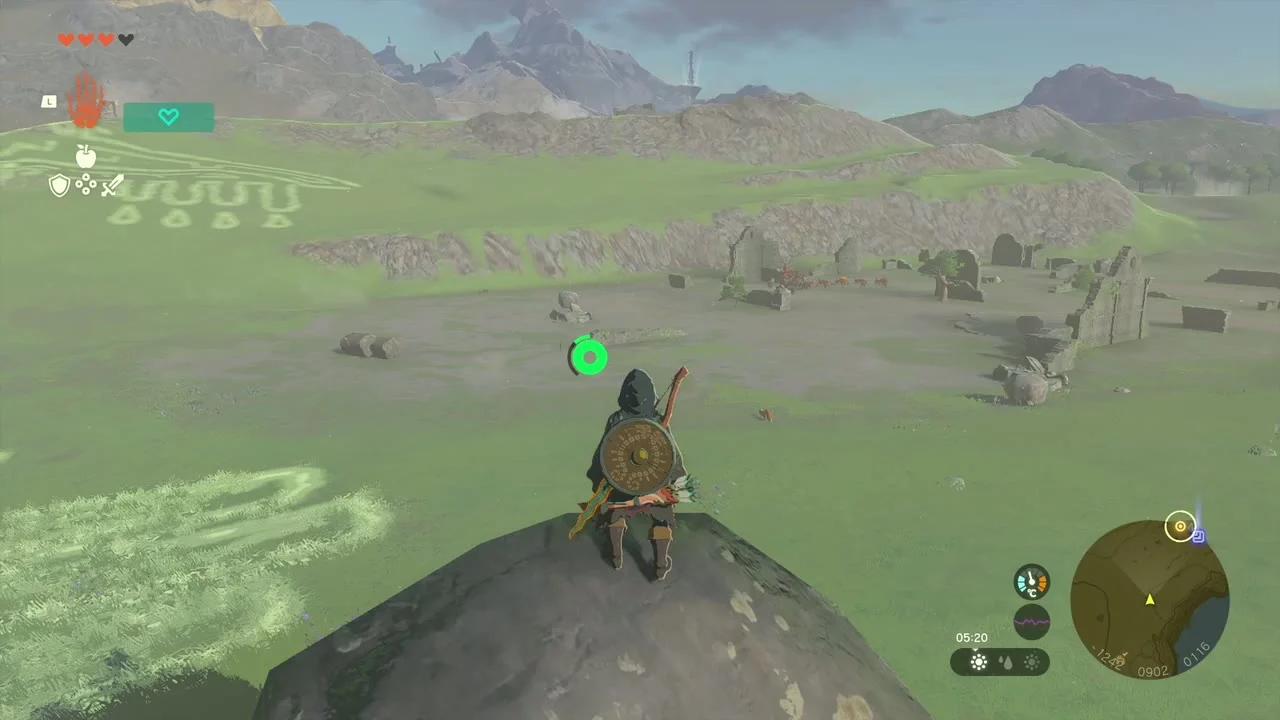
Miniboss: Boss Bokoblin. The ruined paved courtyard of the Royal Ancient Lab Ruins is held by Bokoblins around a Boss Bokoblin. Take out the small ones with arrows, then fight the boss in the open with a fused weapon. It drops a Boss Bokoblin Fang and a Boss Bokoblin Horn.


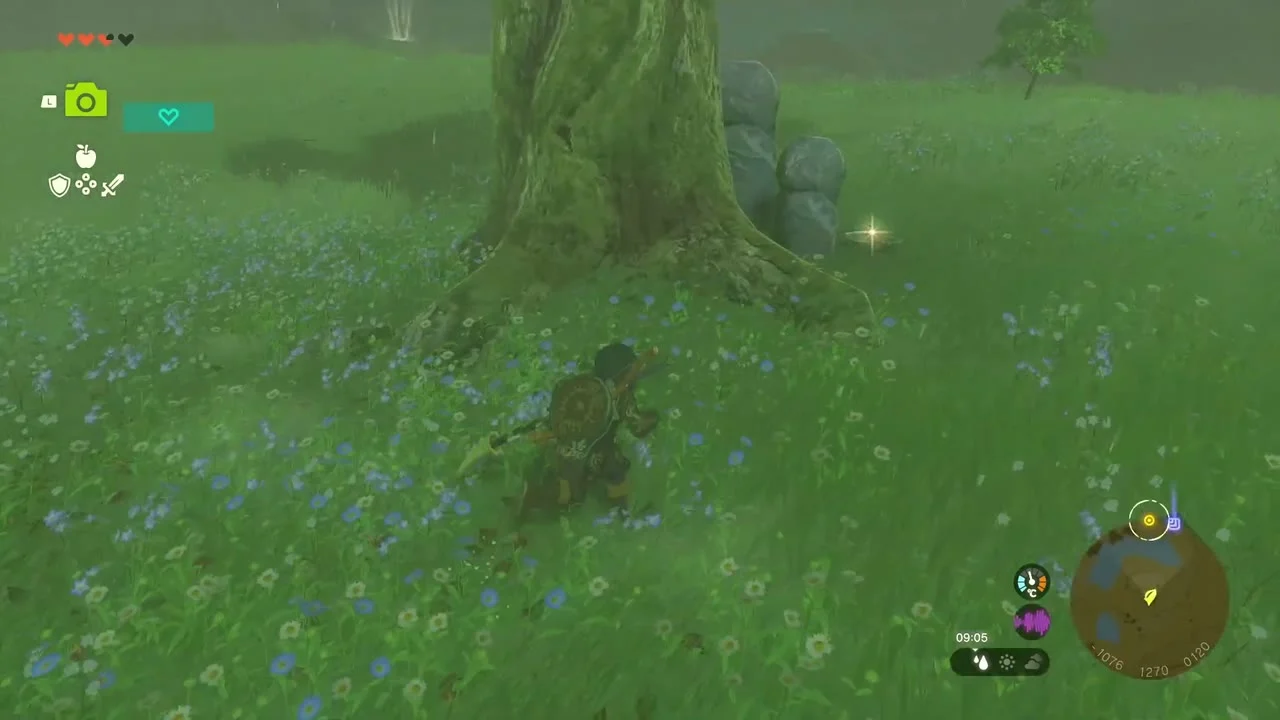
Korok seed (apple offering). A huge tree with two stone statues at its roots stands in the grass. Take an Apple from your inventory and drop it at the foot of the tree, between the statues; the Korok comes out with a seed.


Plains toward Irch Plain
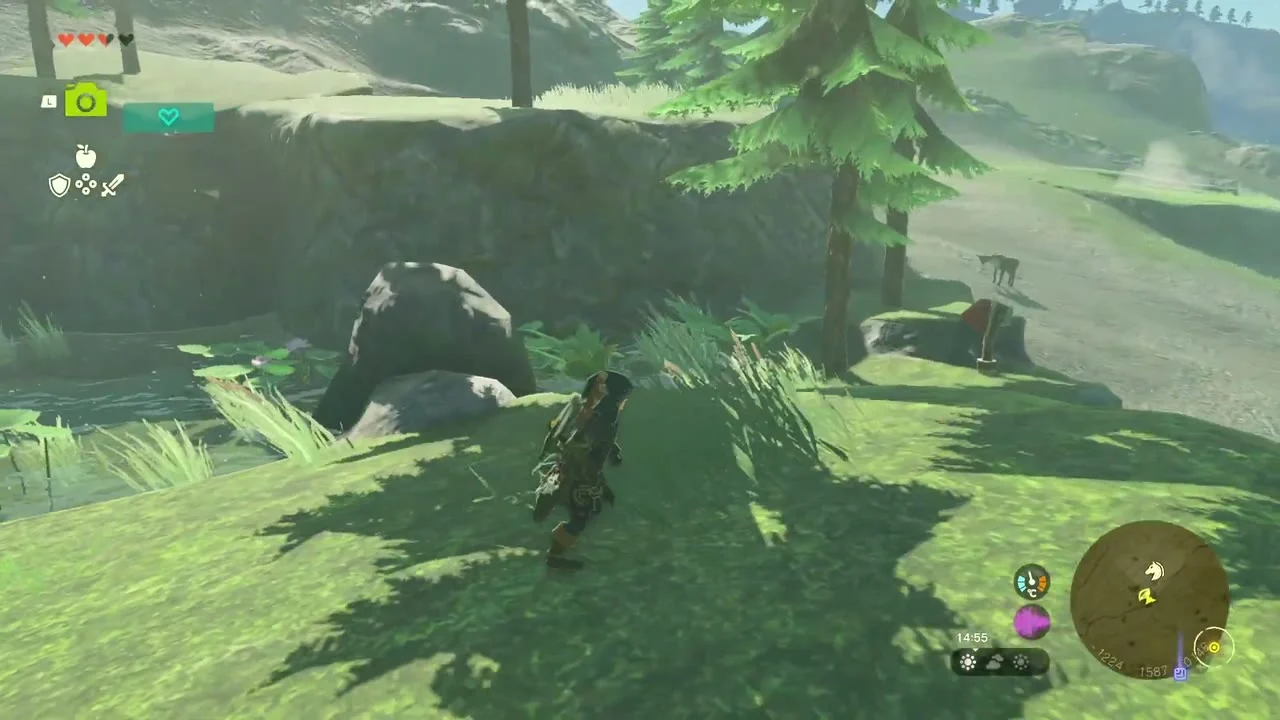
Korok seed (pond). In a wooded pond hollow, climb onto the mossy boulder at the water’s edge and use Examine on the sparkles in the cleft above it. The Korok appears with its seed.


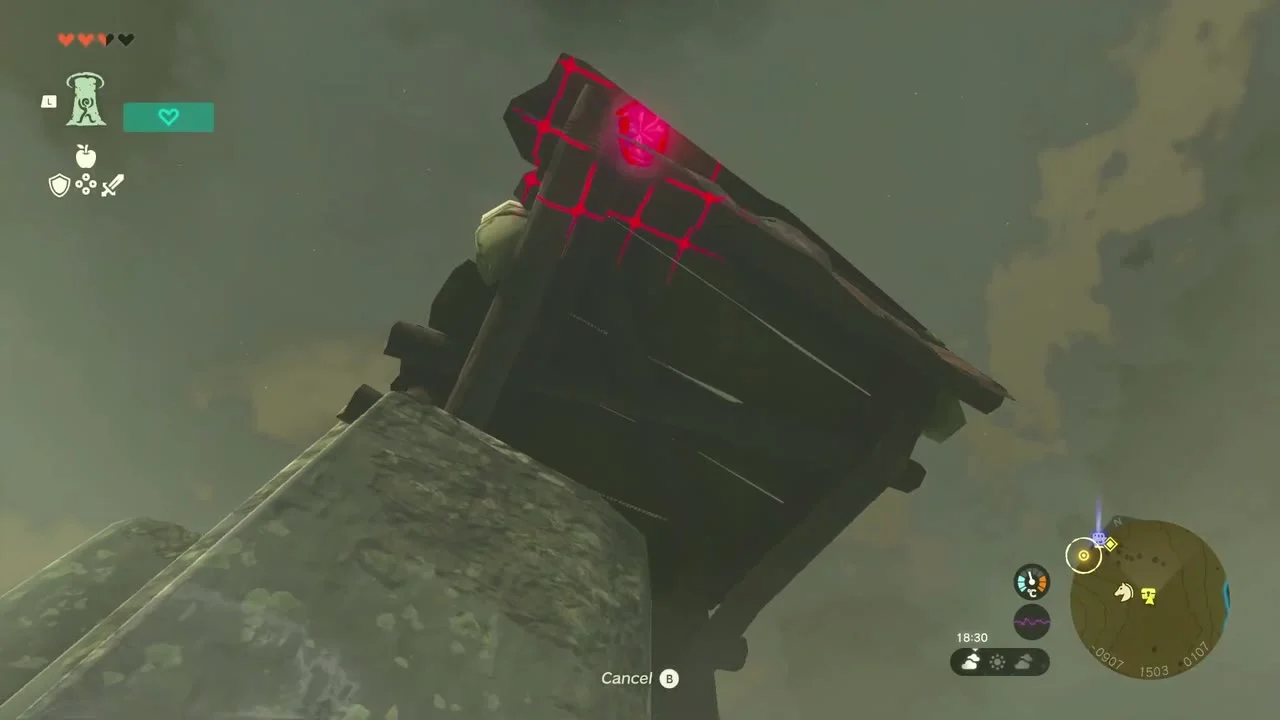
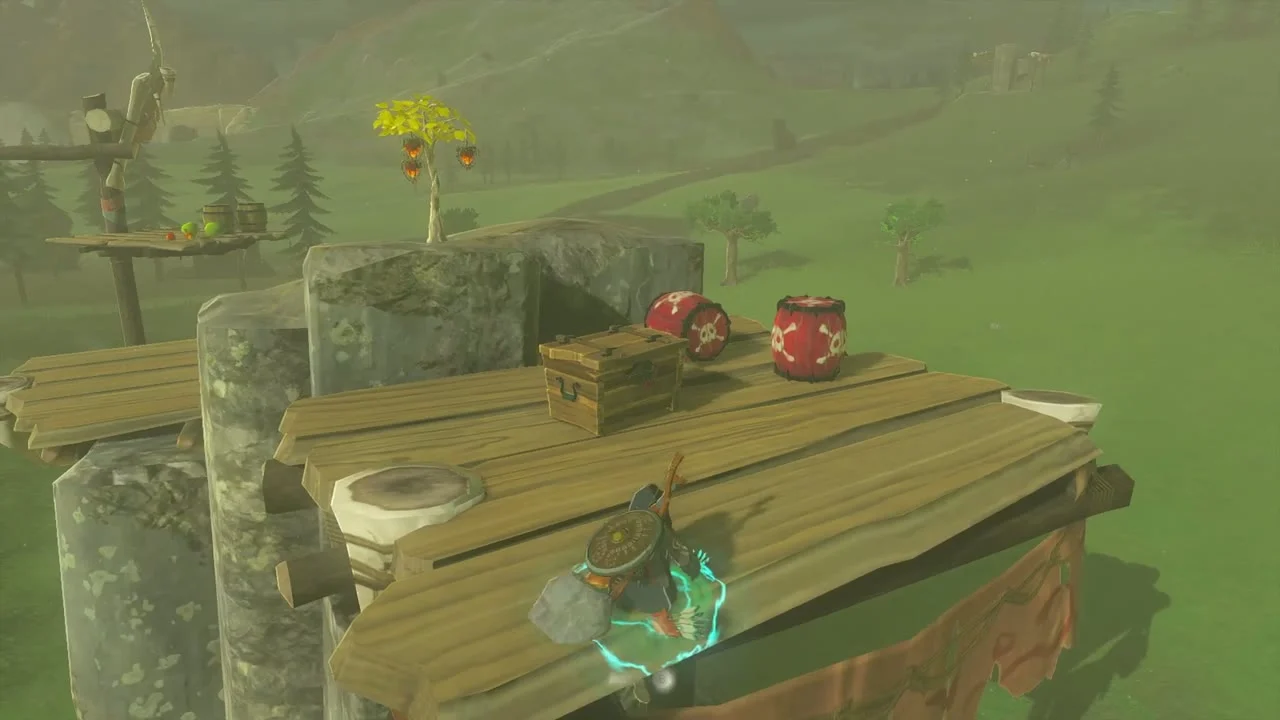
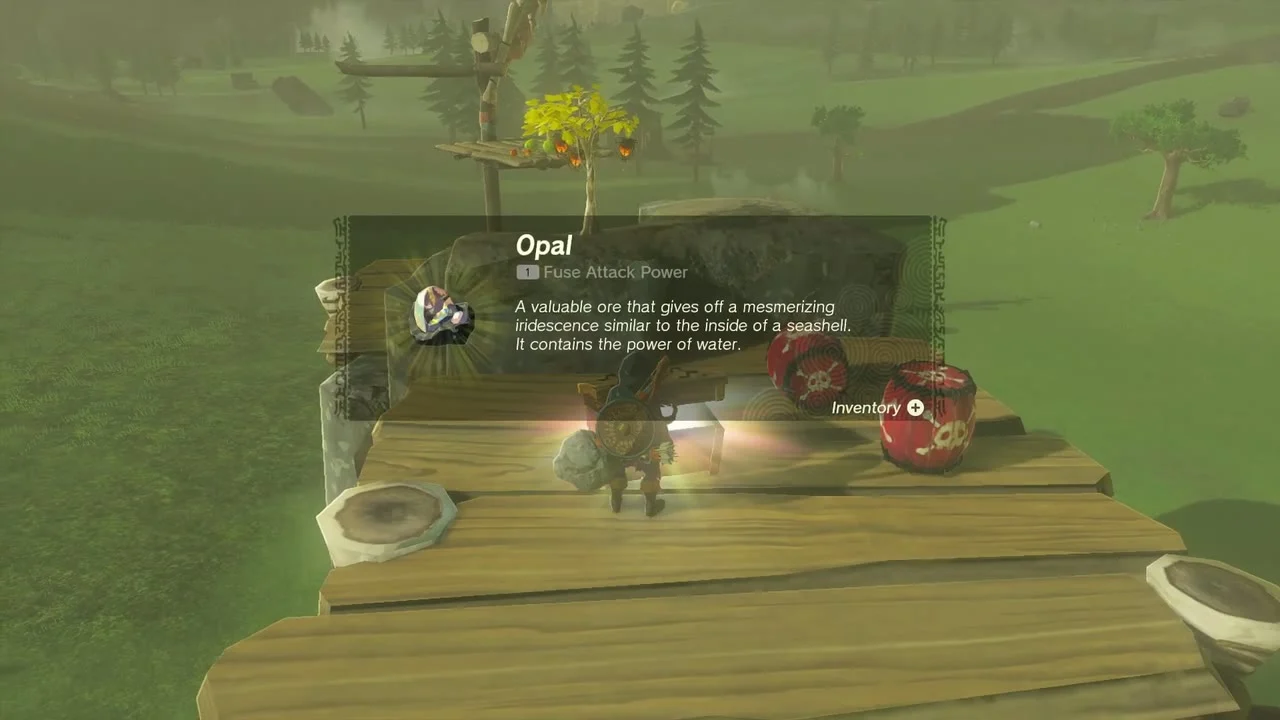
Chest (Opal). A Bokoblin platform of planks on stone pillars carries red barrels and a chest on top. Stand beneath it and use Ascend to come up through the planks, then open the chest for an Opal.
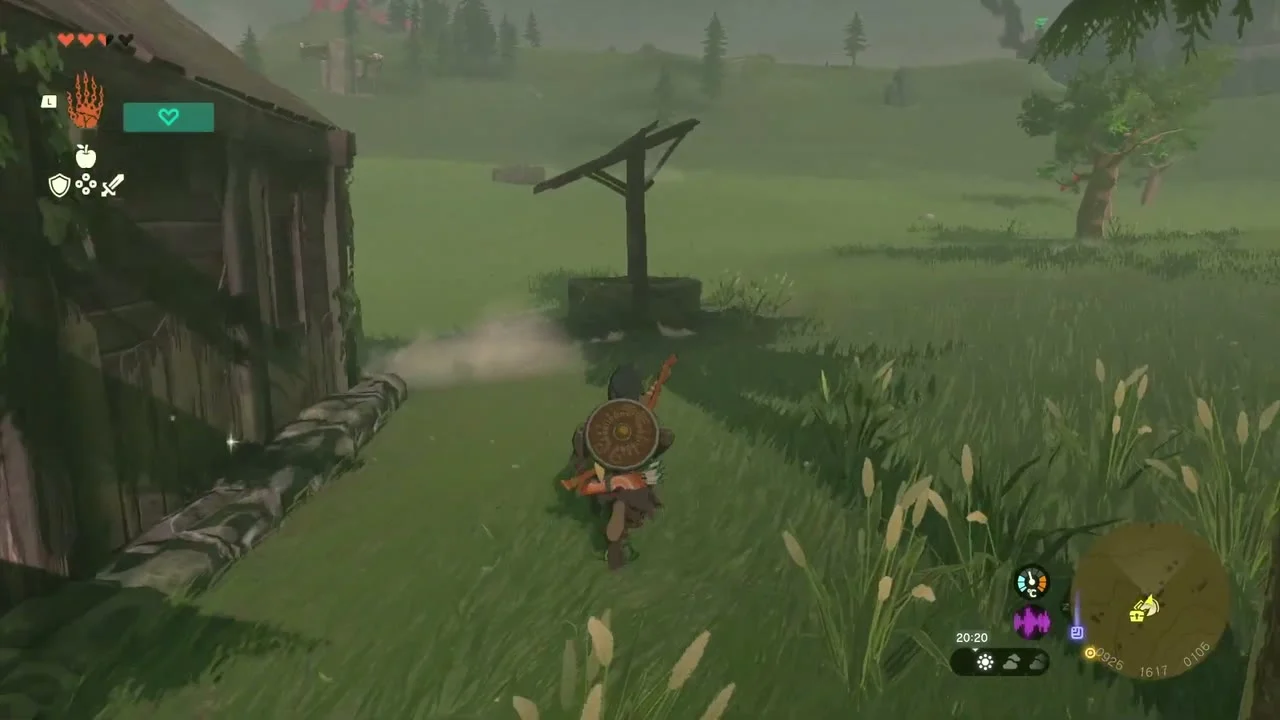
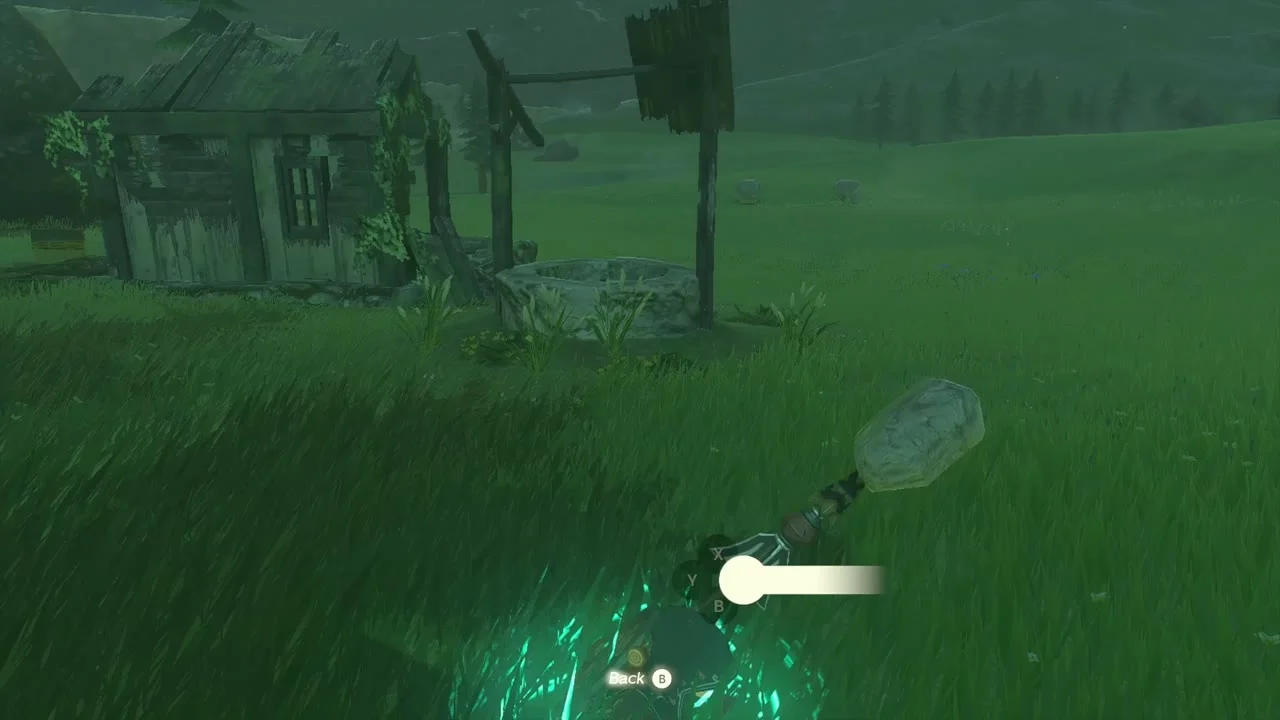
Chest (Soldier’s Shield). Beside a ruined shack and a low stone wall, a chest sits half-hidden in the grass. Open it for a Soldier’s Shield.


Irch Plain Well. The well stands under a wooden roof next to a ruined shack. Drop in and follow the tunnel with a light; two chests sit on wooden platforms, with a Soldier’s-Broadsword Spear first and a Bomb-Barrel Spear past it. Ascend through the ceiling to leave.
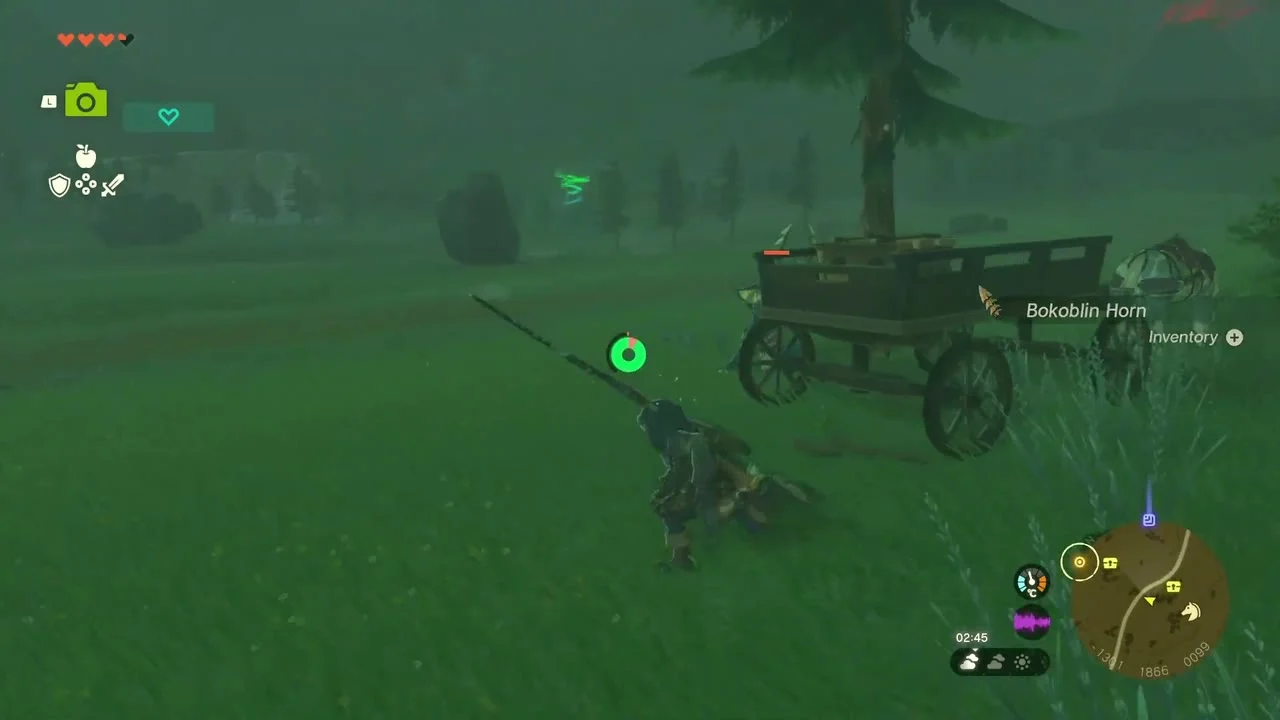
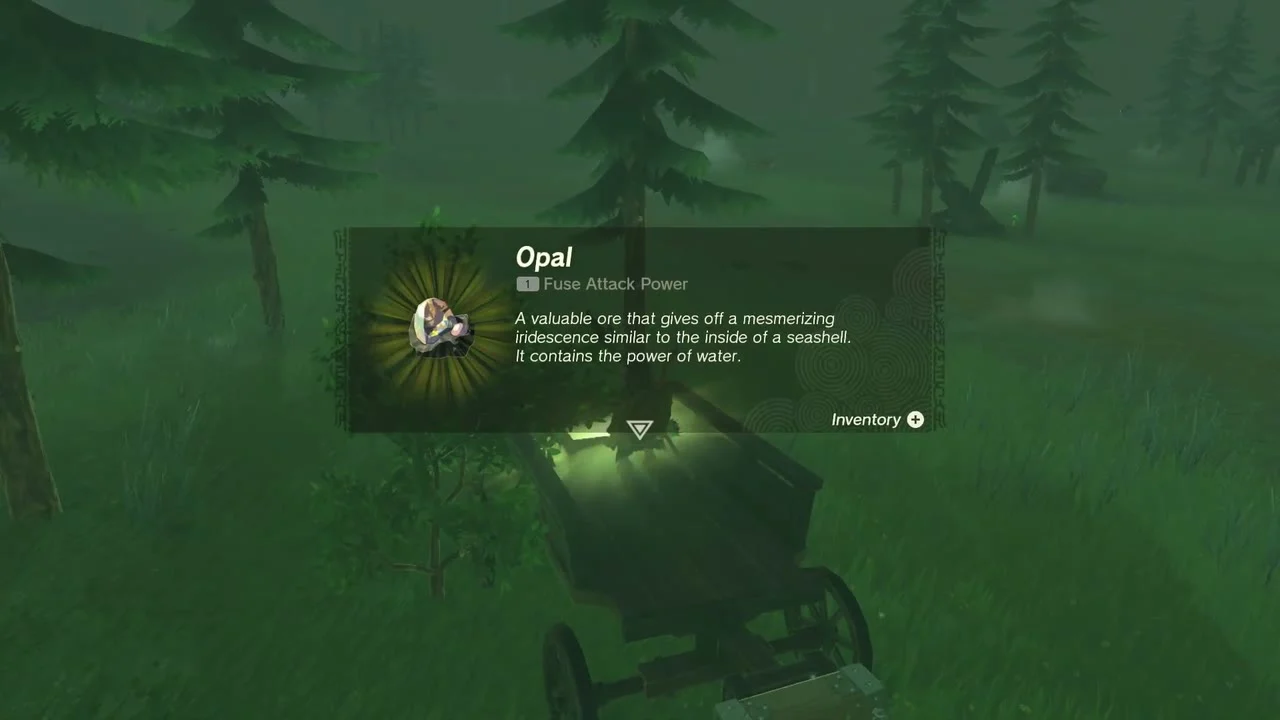
Chest (Opal). Under pines, a broken covered wagon lies on its side. Defeat the Bokoblins around it, climb in and open the chest for an Opal.

Chest (Soldier’s Spear). Next to a ruined hut, a stone slab lies over a mound of mud. Lift it with Ultrahand and open the chest underneath for a Soldier’s Spear.


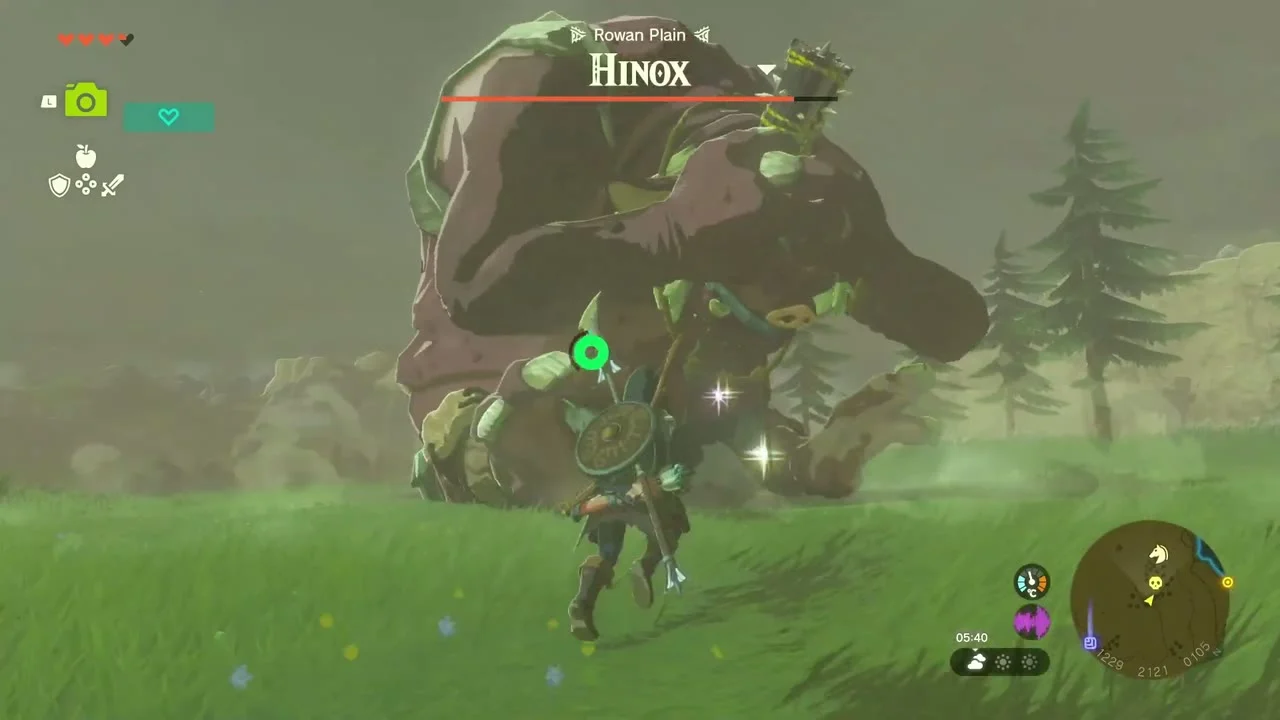
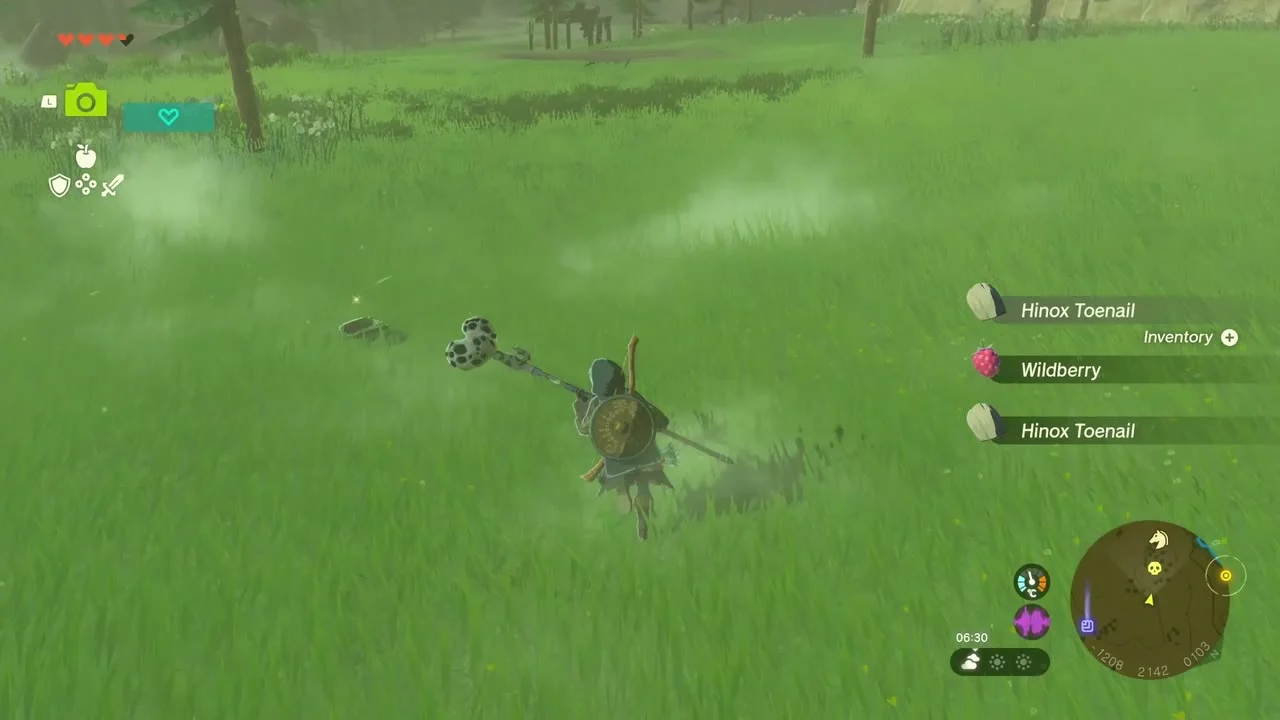
Miniboss: Hinox. A Hinox roams Rowan Plain. Shoot its eye with arrows or Bomb Flowers when it turns toward you, then climb onto its body and strike. It drops Hinox Toenails.

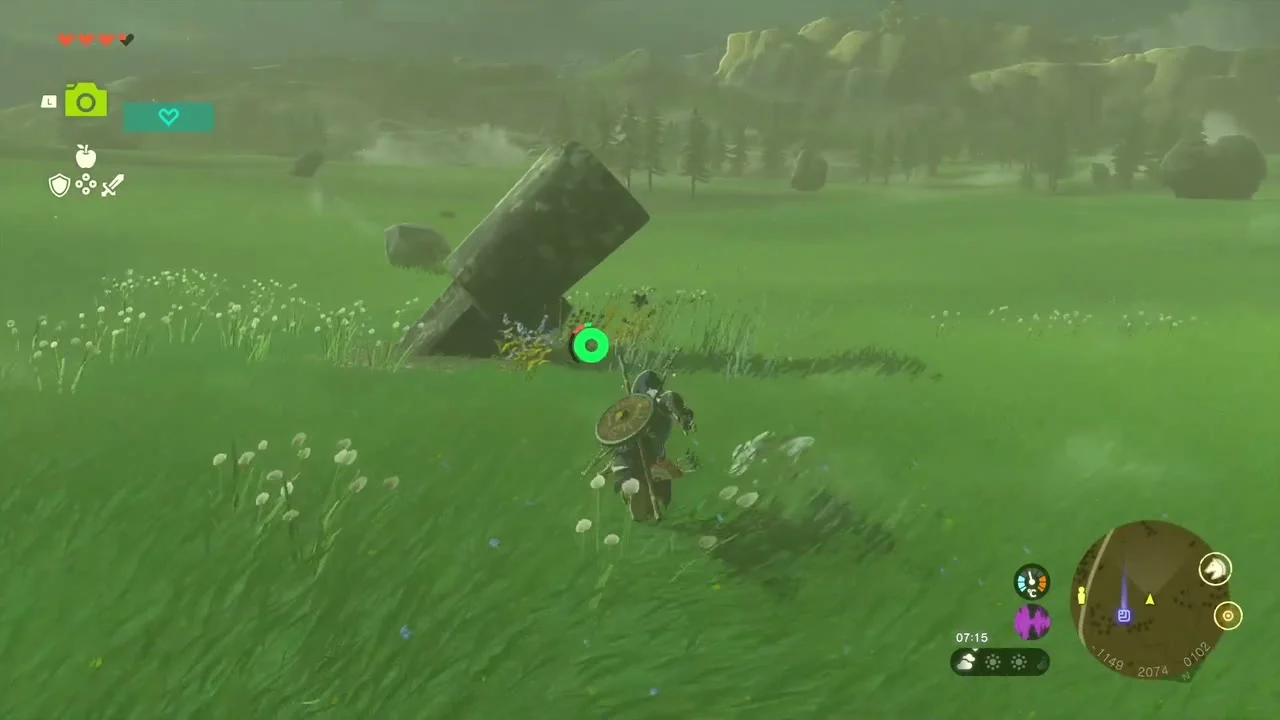
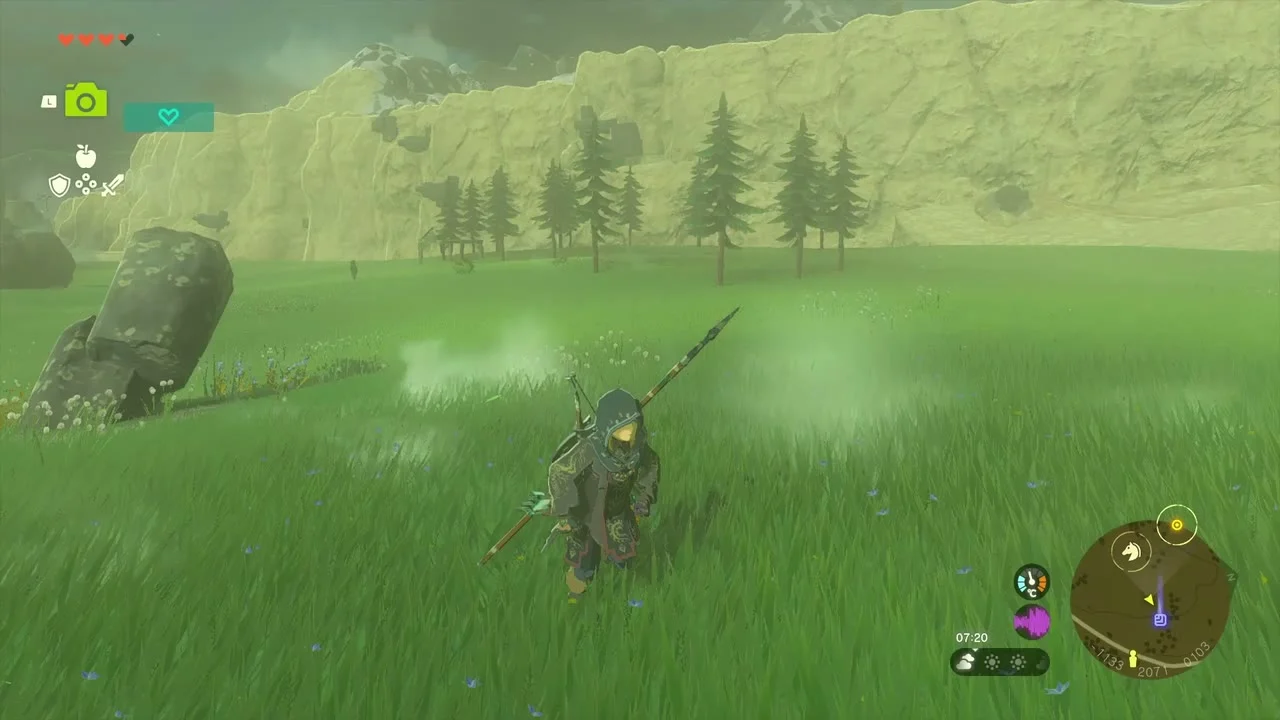
Kiuyoyou Shrine (Fire and Ice) stands in a boulder beside a fallen stone column on a low hill in Rowan Plain. Its chest holds a Zonaite Spear and the Uoyoyuik Lightroot lies below it. The shrine page has the full solution.
Great Sky Island leftovers
Two chests. If you skipped them, fast travel to the Great Sky Island. A Large Zonai Charge chest sits among the golden grass beside the pond, and a Zonaite x3 chest waits in a ruined stone doorway stacked with crates.
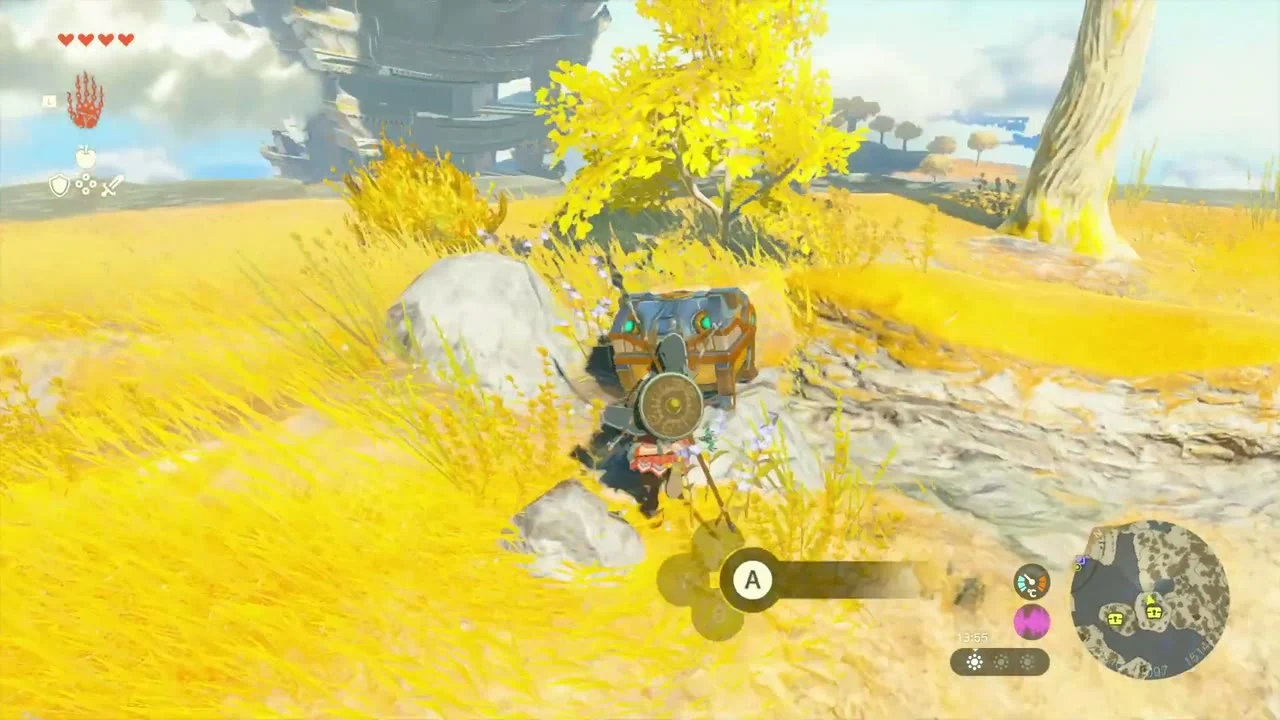


Rowan Plain and the Yiga hideout
Addison’s second sign. On the grass road, a wooden signboard needs bracing. Set the boards under it with Ultrahand and Addison rewards you with 20 rupees and a gift from his premium collection.
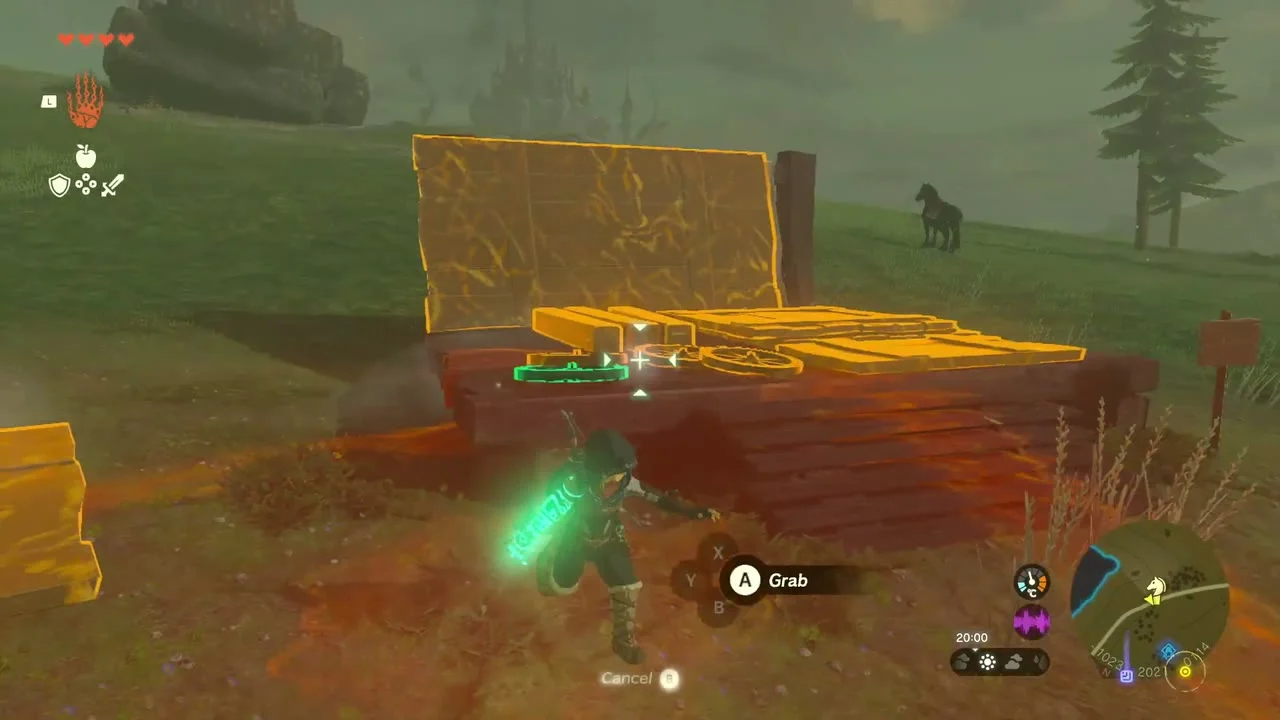

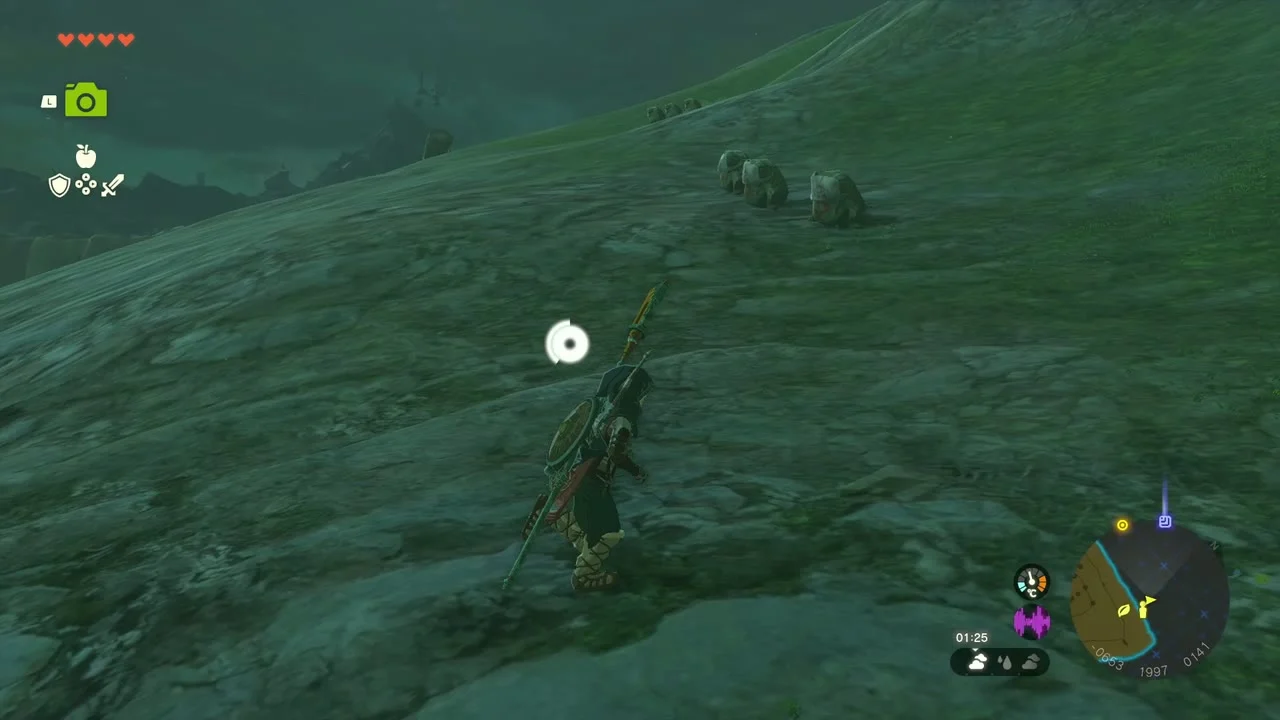
Yiga Clan Maritta Branch. The cave mouth opens in a rocky slope on the grassland east of Rowan Plain. Inside, beat the Yiga Blademaster and his Footsoldiers, find the Bubbulfrog for a Bubbul Gem, and free Aliza in her hidden room for the Yiga Tights. See the cave page for the route.

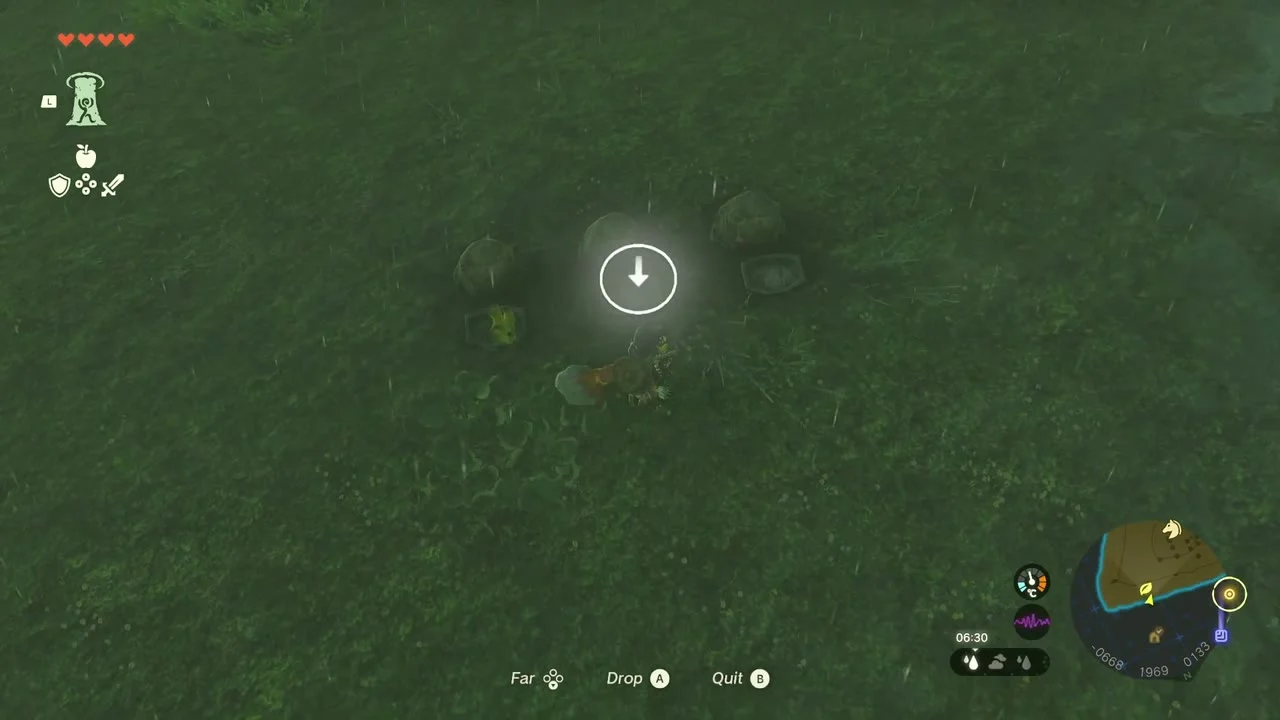
Korok seed (fruit offering). Not far from the cave, a Korok patch with yellow flowers sits in the open grass. Drop Mighty Bananas (found in the cave) onto the patch and the Korok gives you a seed.
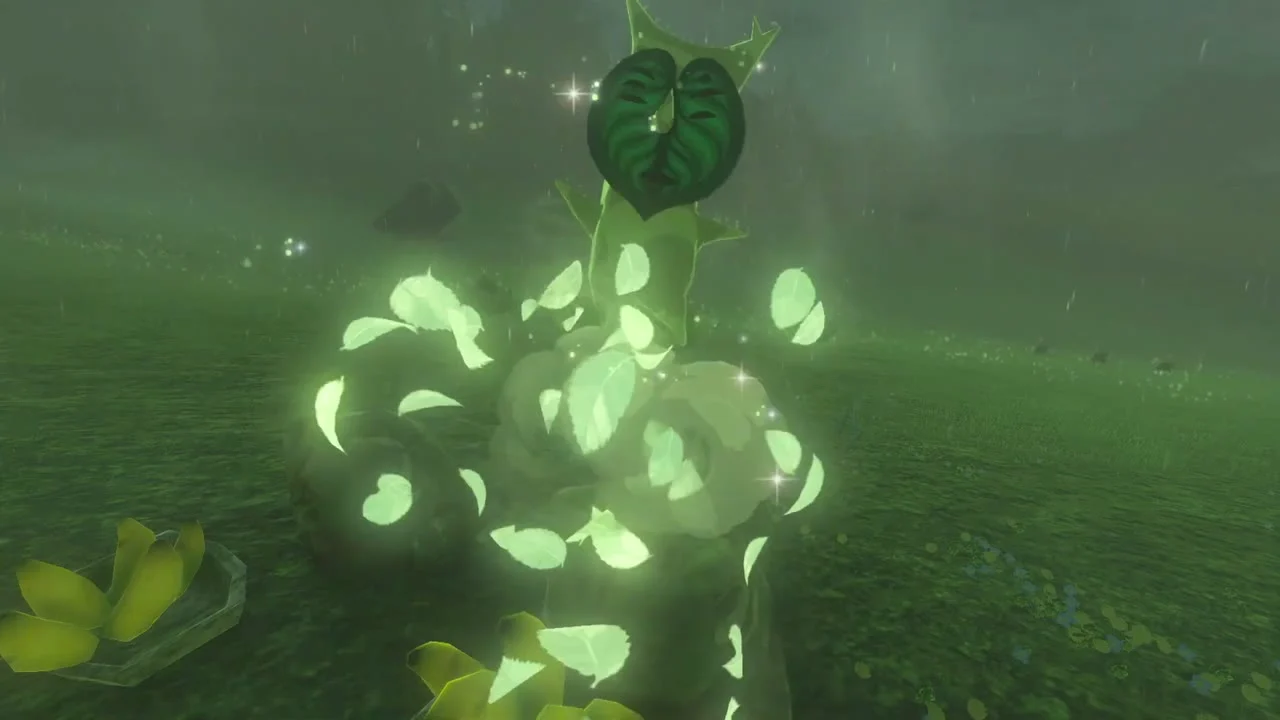
Rowan Plain Well. A well with a wooden roof stands beside a hut. A chasm opens inside it that drops straight into the Depths; glide down and land on the ground below.

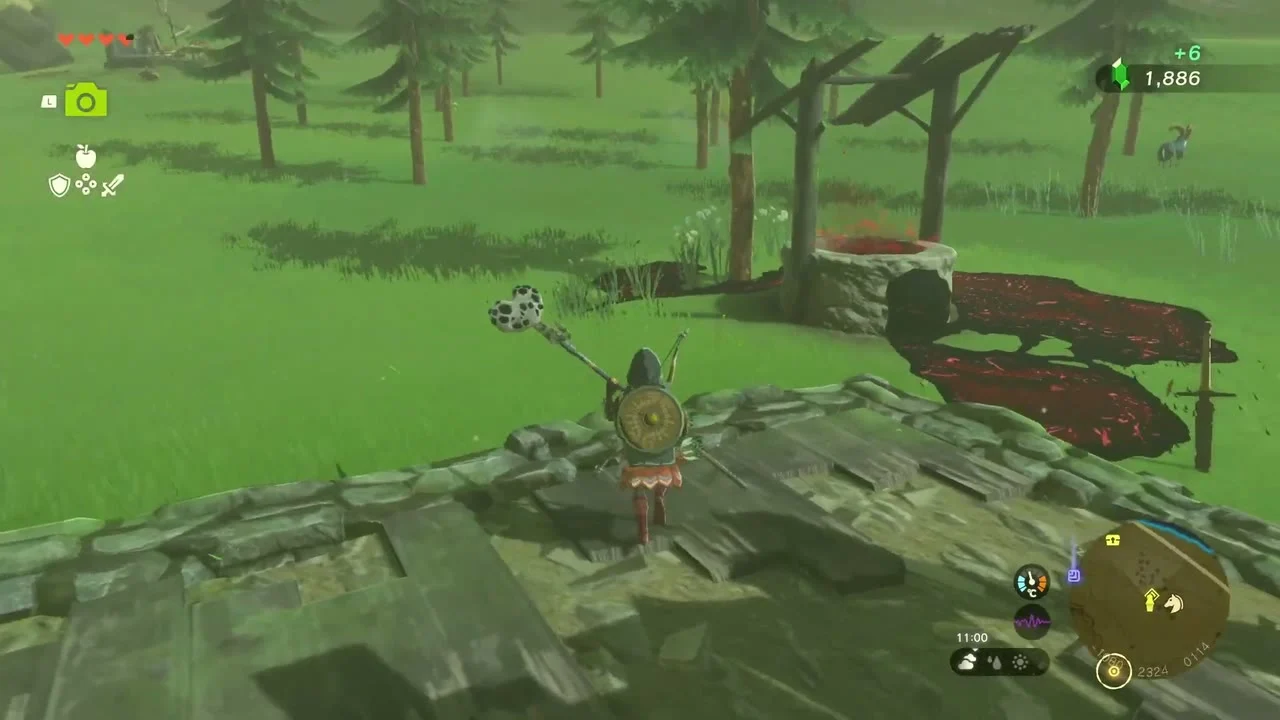
Uoyoyuik Lightroot. In the dark below the well, a huge lit root stands a short walk away. Walk under it and interact to light the area and add a travel point.


Chest (Amber). Back on the surface, a Bokoblin lookout with a blue banner stands on the plain. Climb its wooden stairs to the platform and open the chest for Amber.
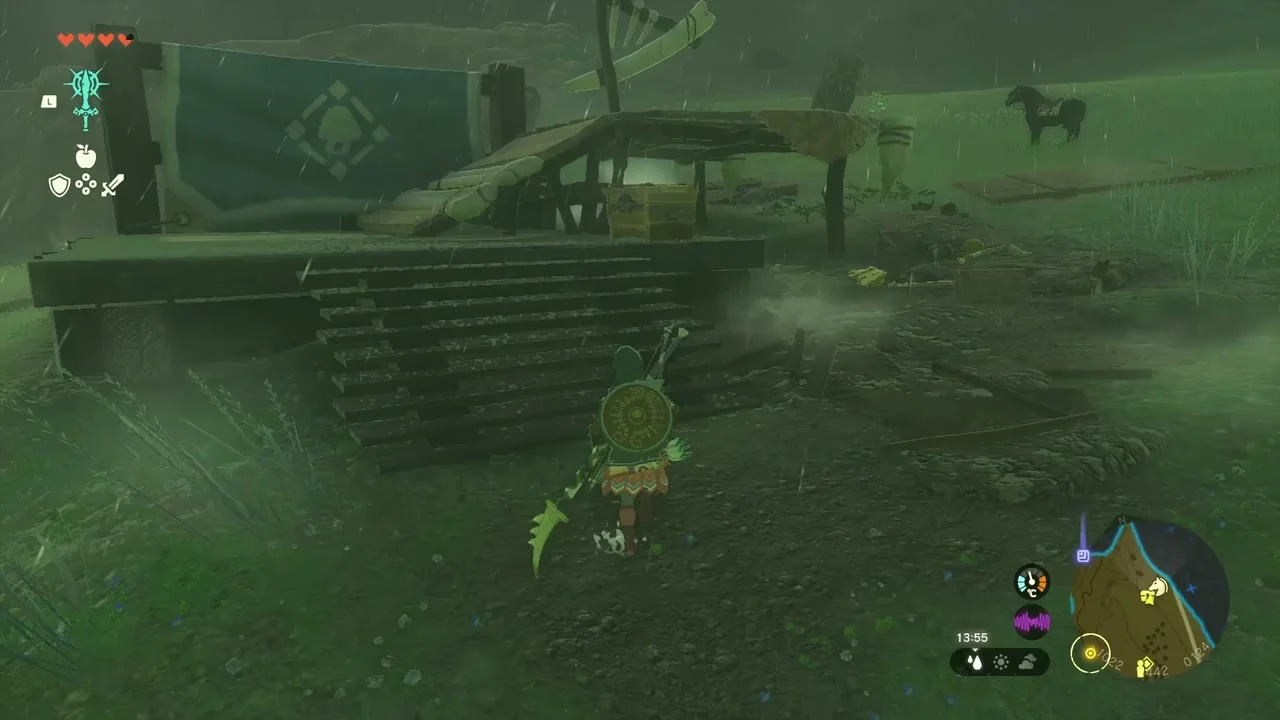
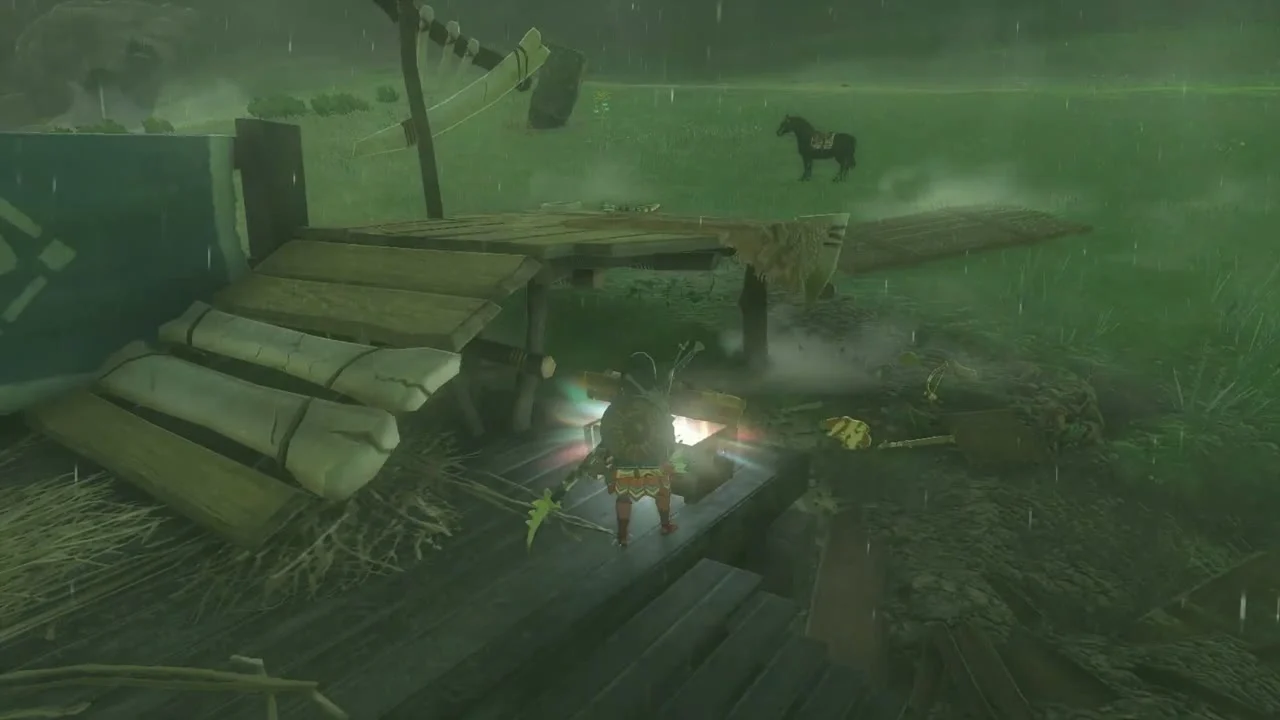
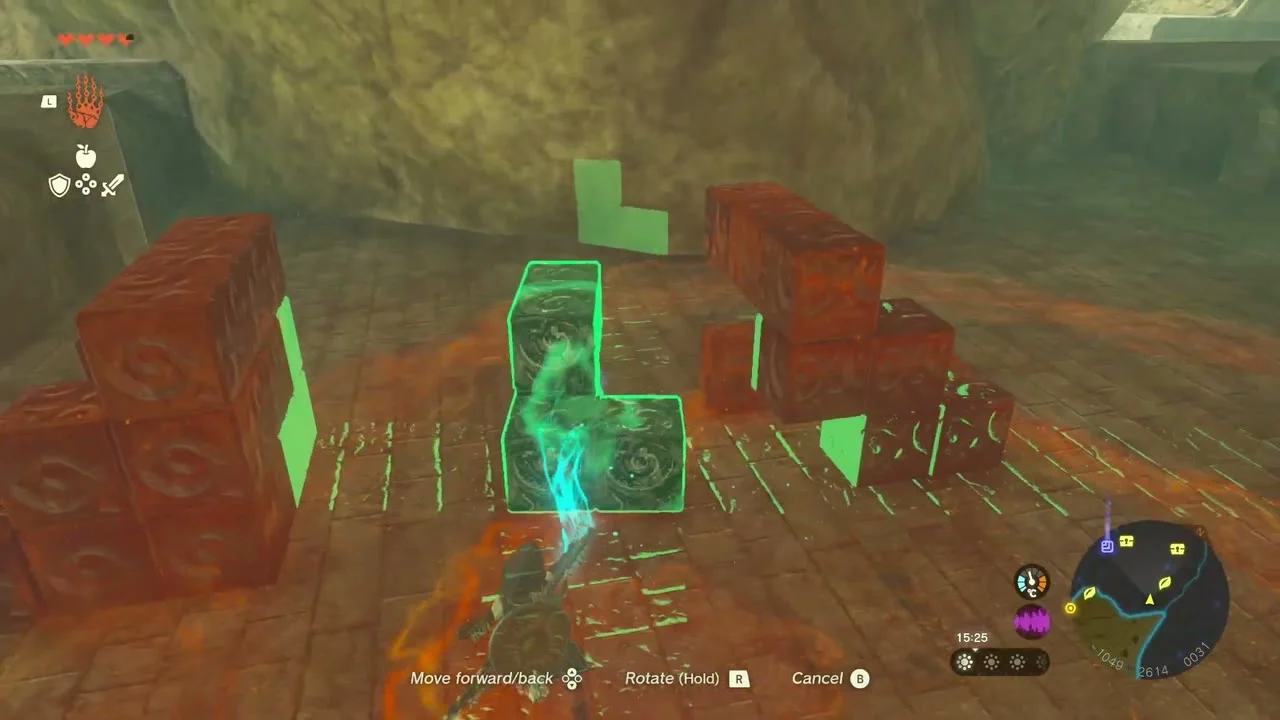
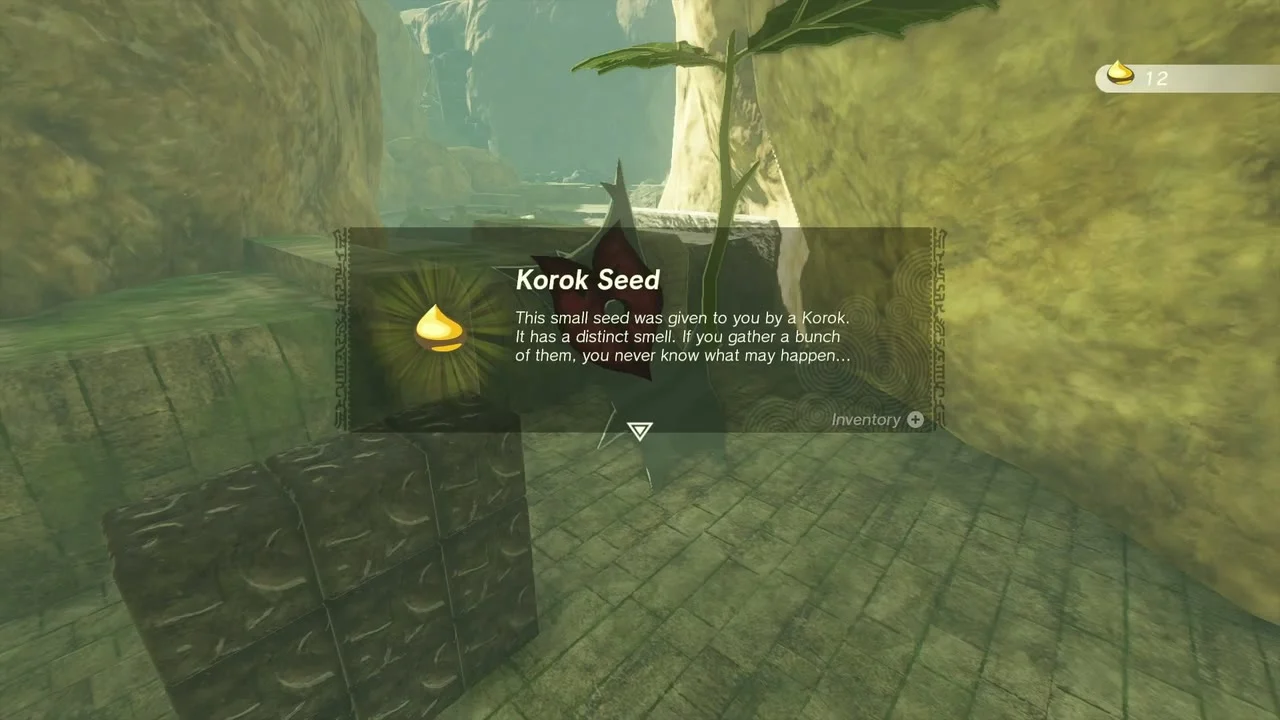
Korok seed (block puzzle). Glide into the canyon on the way to the temple. A pile of dark stone blocks stands inside a red outline. Use Ultrahand to lift each block into the matching green shape; when the last one fits the Korok appears.

The Forgotten Temple
Meet Cado. Glide down the canyon and land on the ledge at the temple entrance. Cado waits beside his pack; talk to him to learn Impa has gone deep inside alone, then head in.

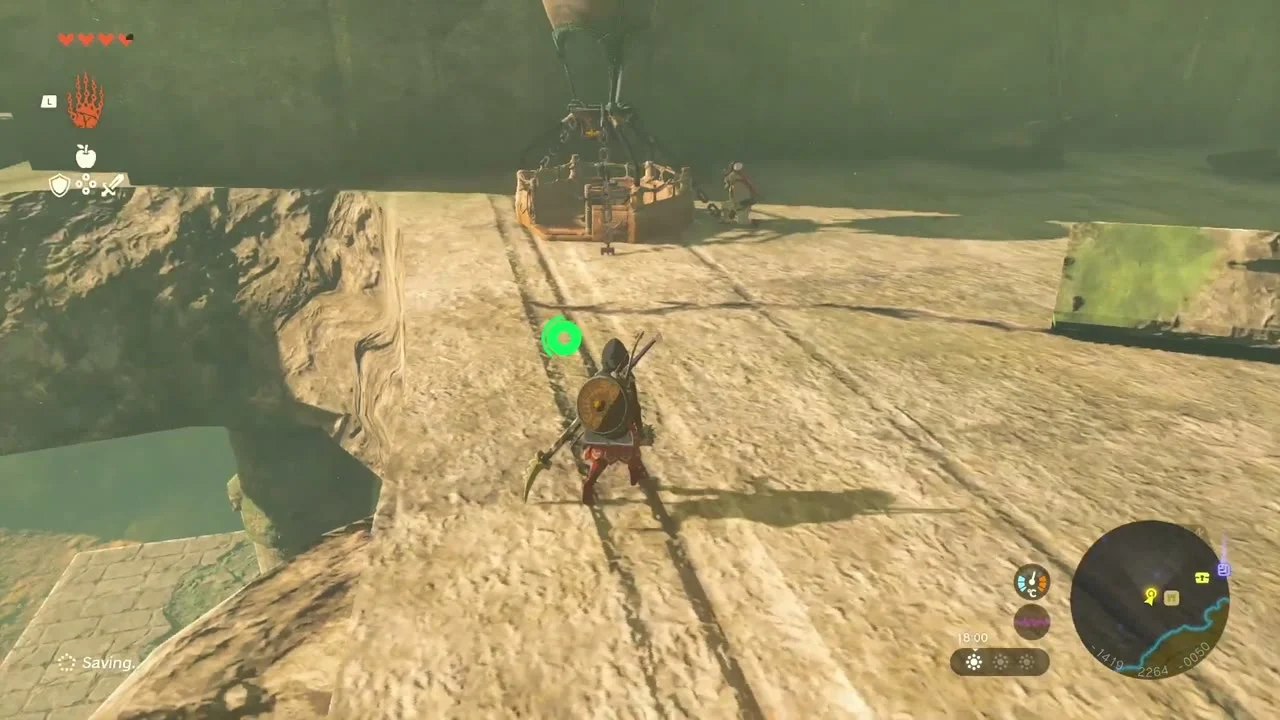
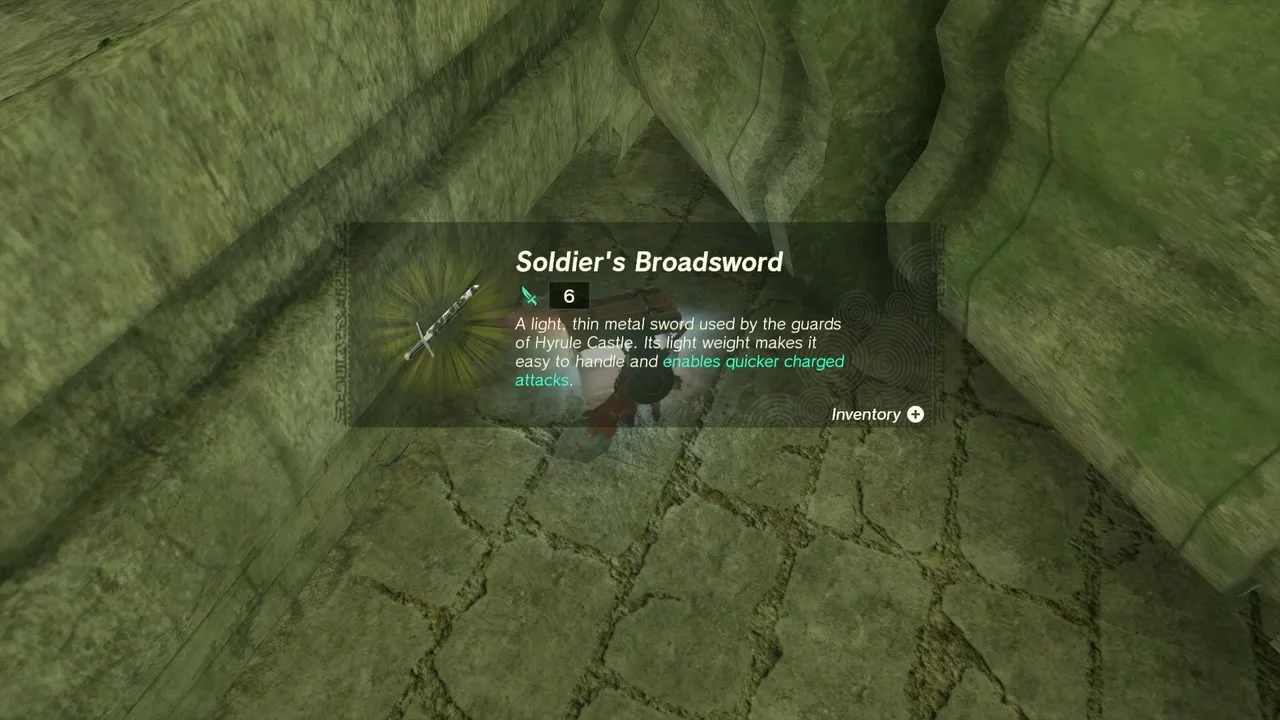
Chest (Soldier’s Broadsword (or Traveler’s Sword, Knight’s Broadsword or Royal Broadsword, depending on your progress)). Past the first Bokoblin camp, a chest sits in a dim corner of a triangular wall. Open it for a Soldier’s Broadsword.
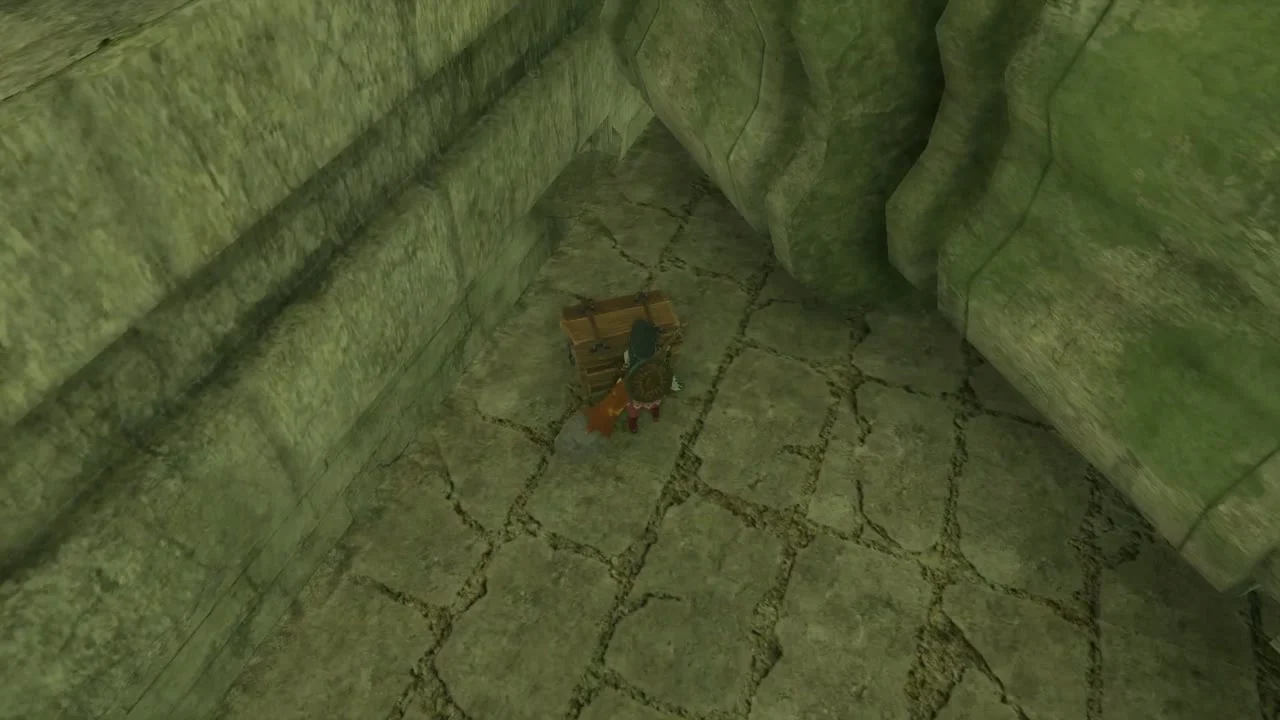
Chest (Arrow x10). At the end of a long, narrow stone corridor a chest holds Arrow x10.


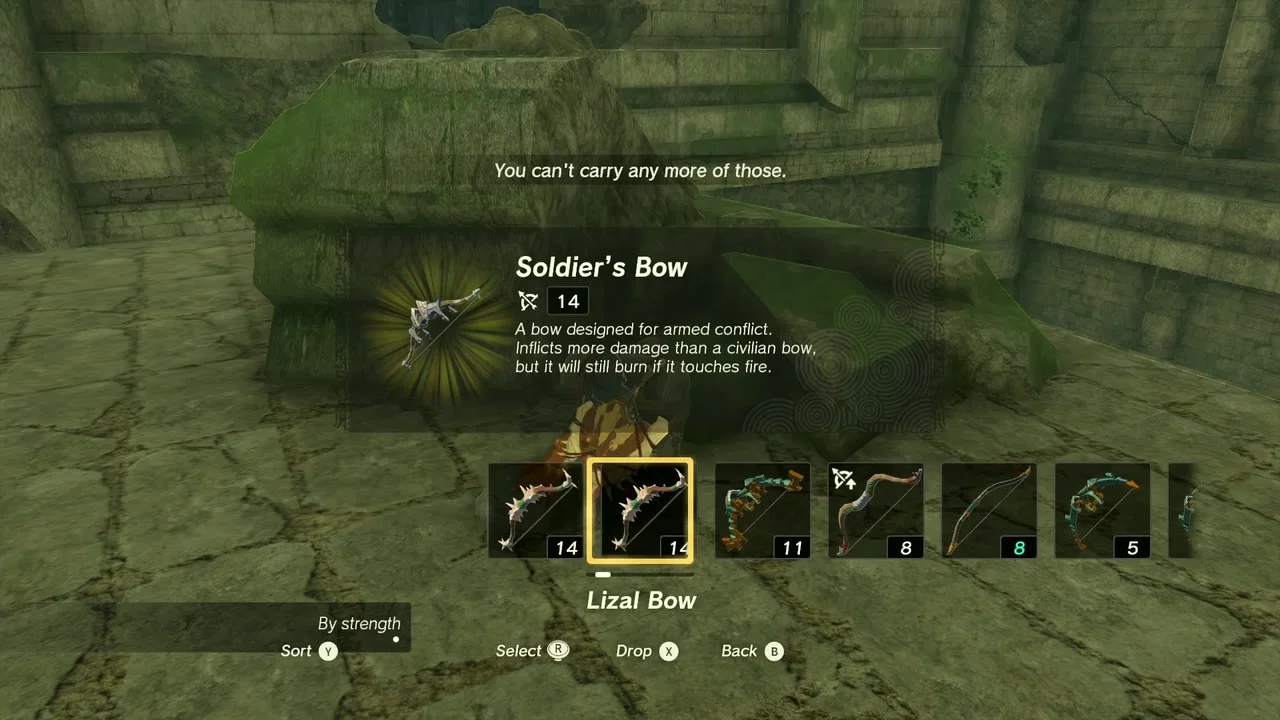
Chest (Soldier’s Bow). Beside a fallen stone slab in a ruined chamber, the chest holds a Soldier’s Bow. Free a weapon slot first.
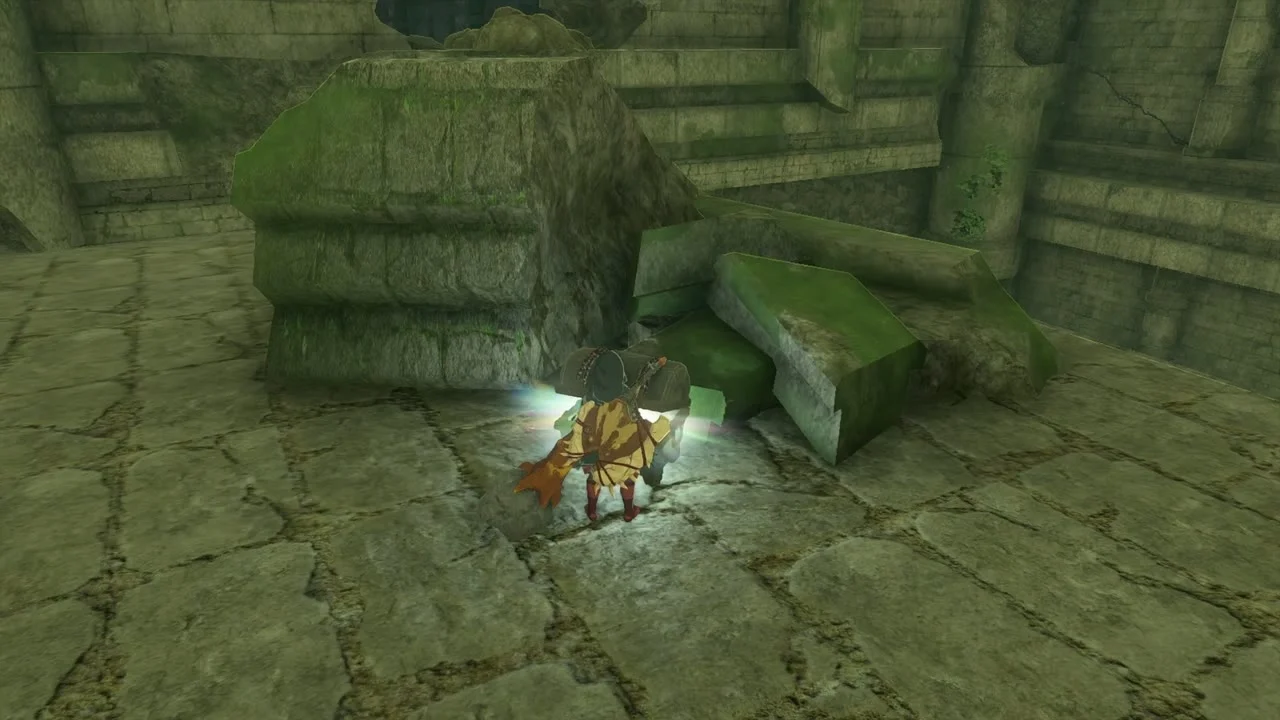
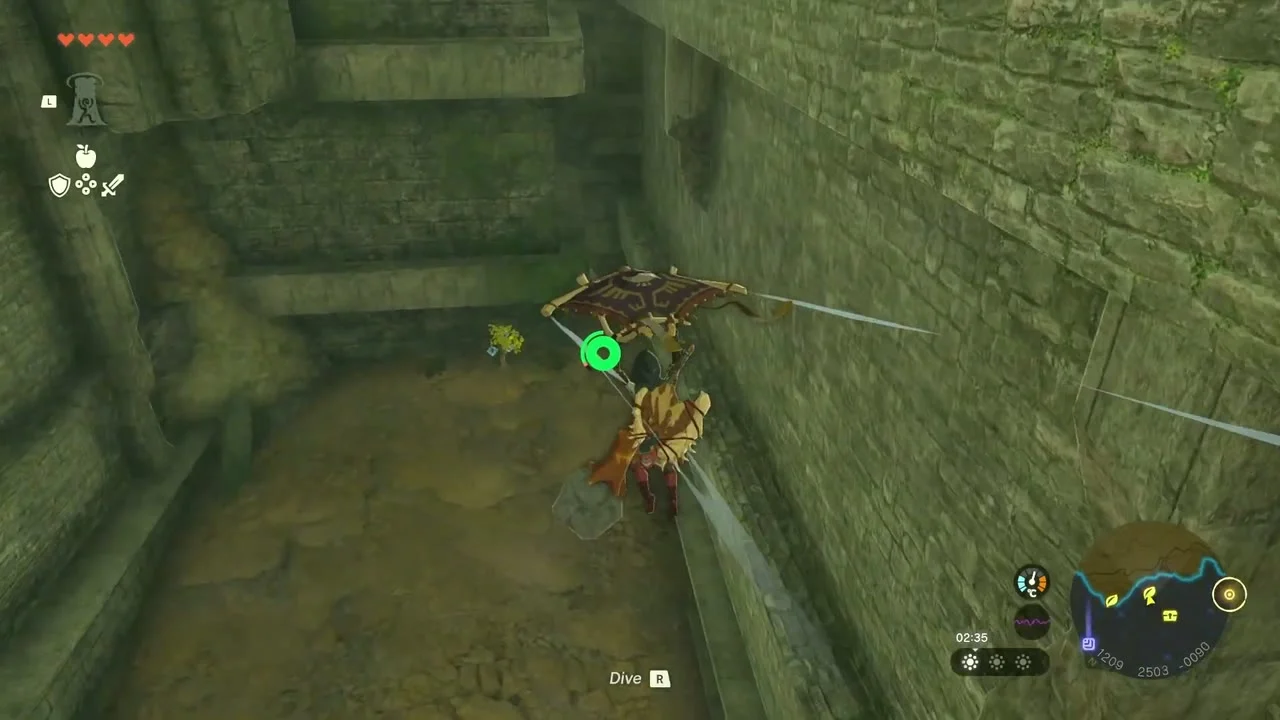
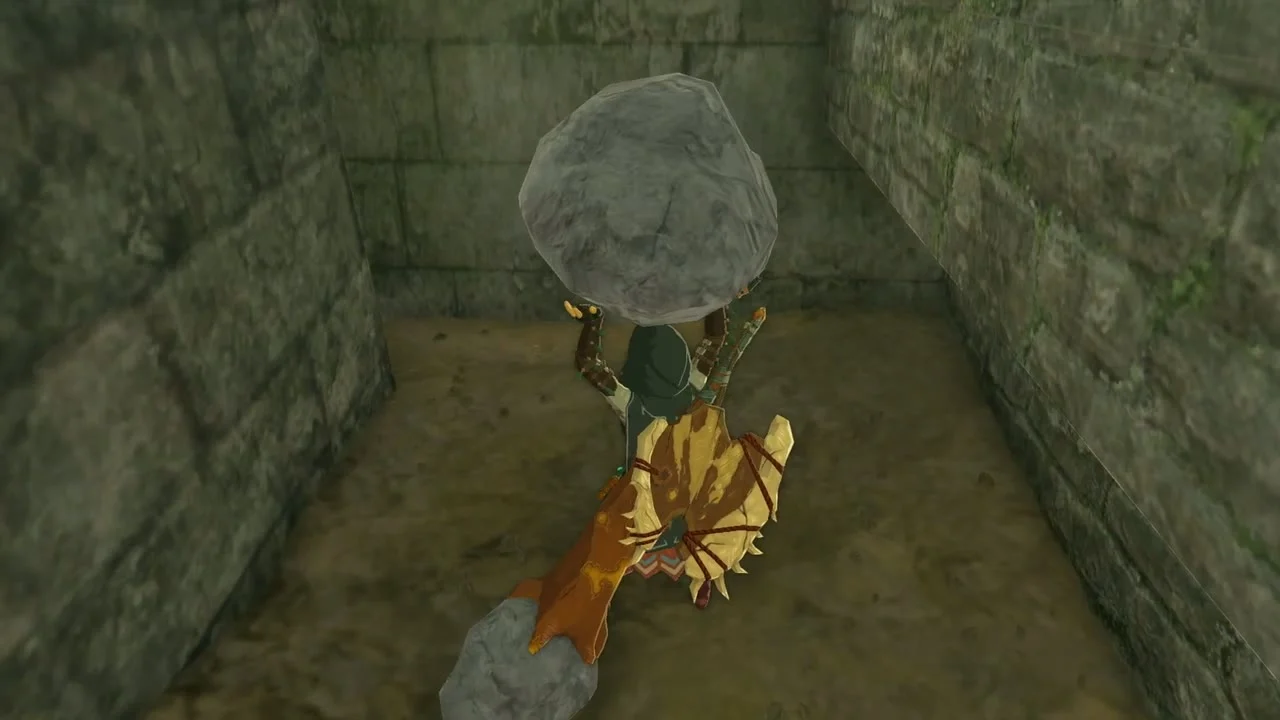
Korok seed (lone rock). Glide down into the dirt-floored stone trench. A big rock sits against the wall; pick it up and set it back down on the dirt for the Korok and its seed.

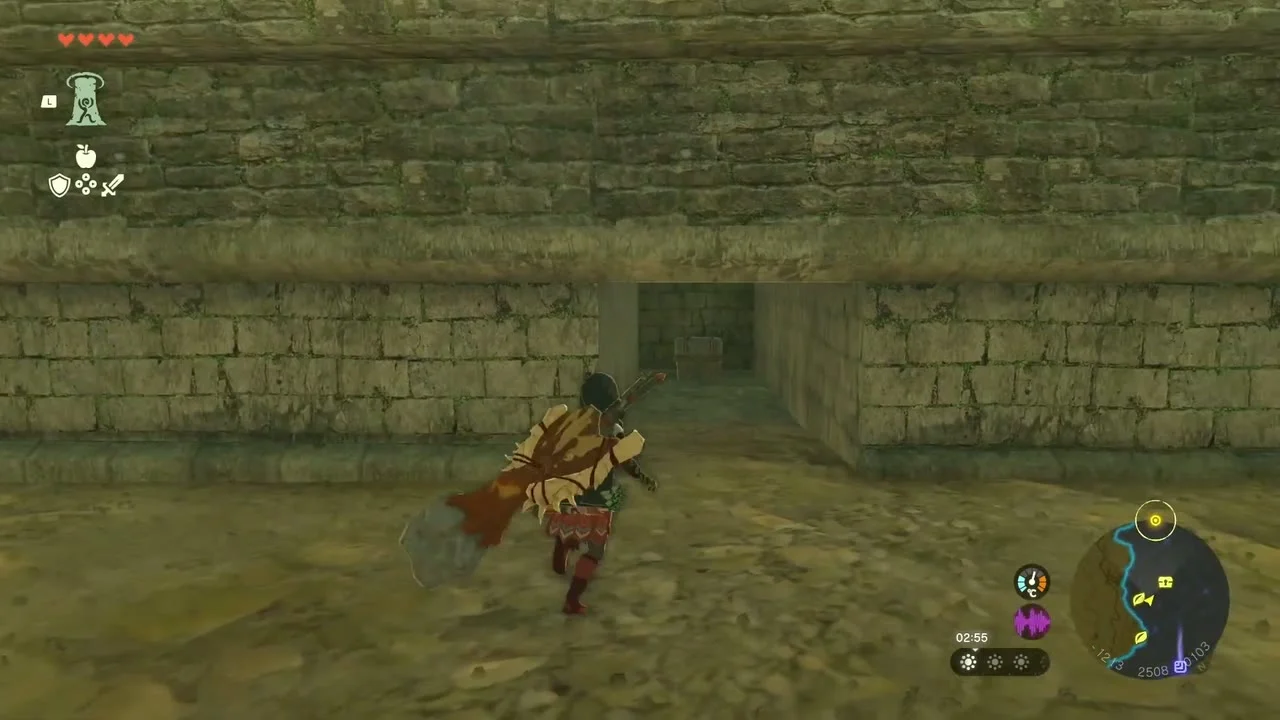
Chest (Knight’s Halberd). In a narrow corridor a little further along, open the chest for a Knight’s Halberd.

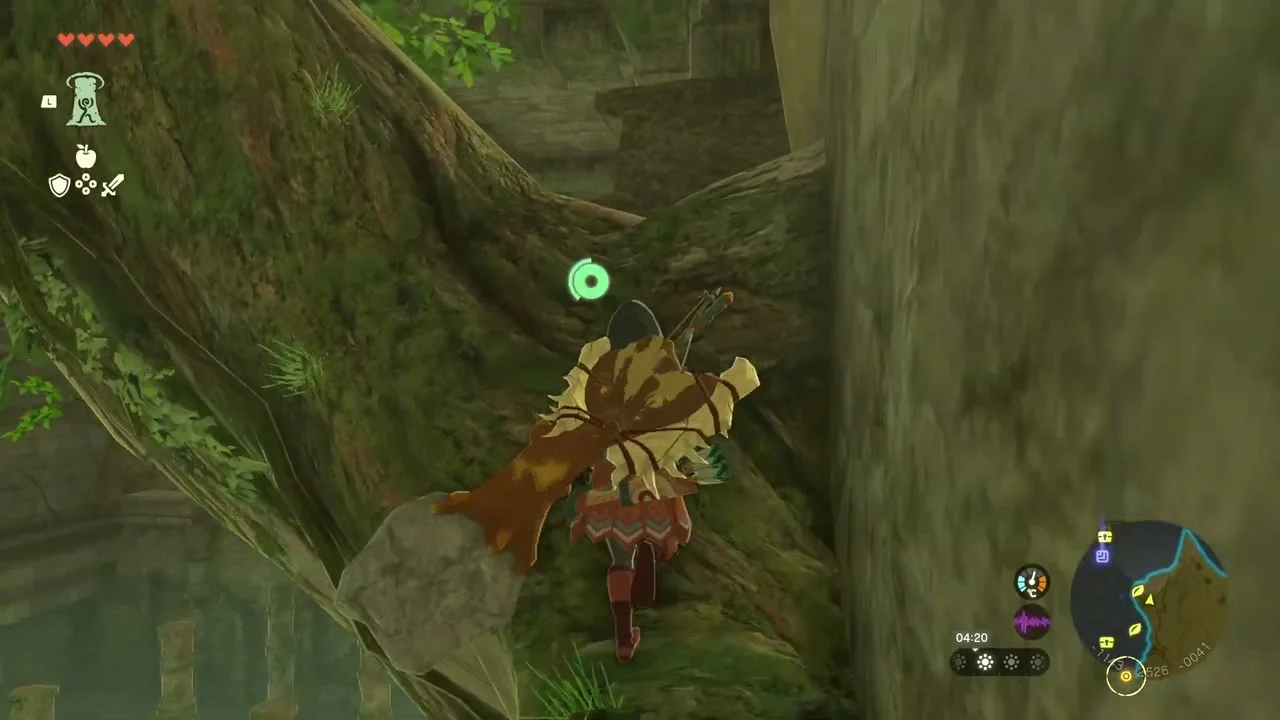
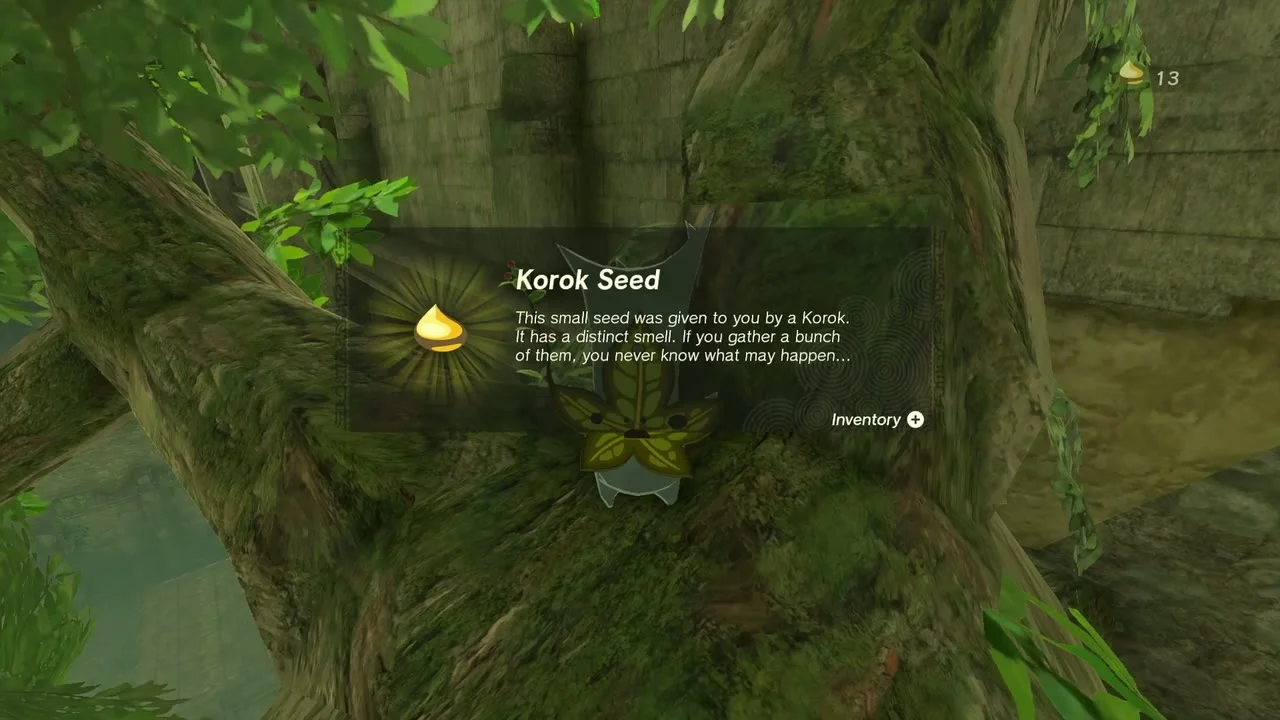
Korok seed (tree roots). Climb the vine and roots of the tree growing through the temple. In the crook of a branch, pick up the loose rock and set it down; the Korok pops out.

Mayausiy Shrine (Building Blocks) is in the hall past the broken back wall, with its glowing door at the foot of a big boulder among the pillars. Its chest holds a Large Zonai Charge. Impa is searching the chambers beyond it.
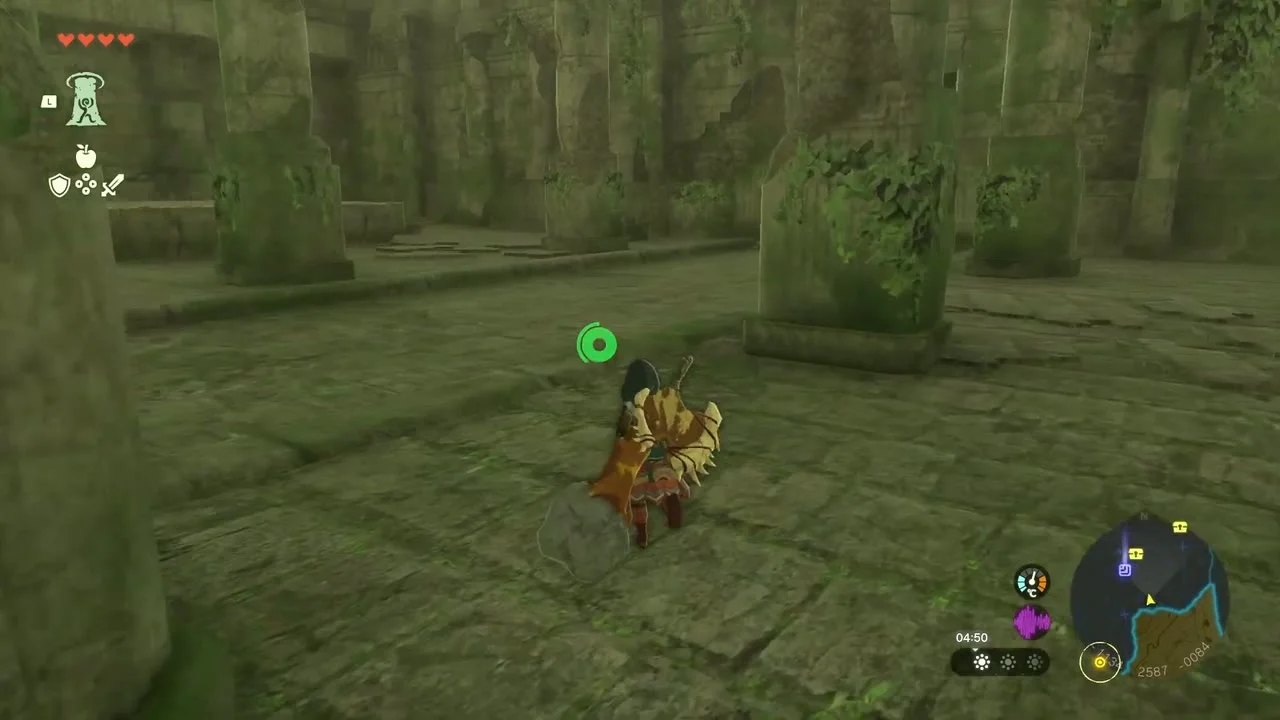
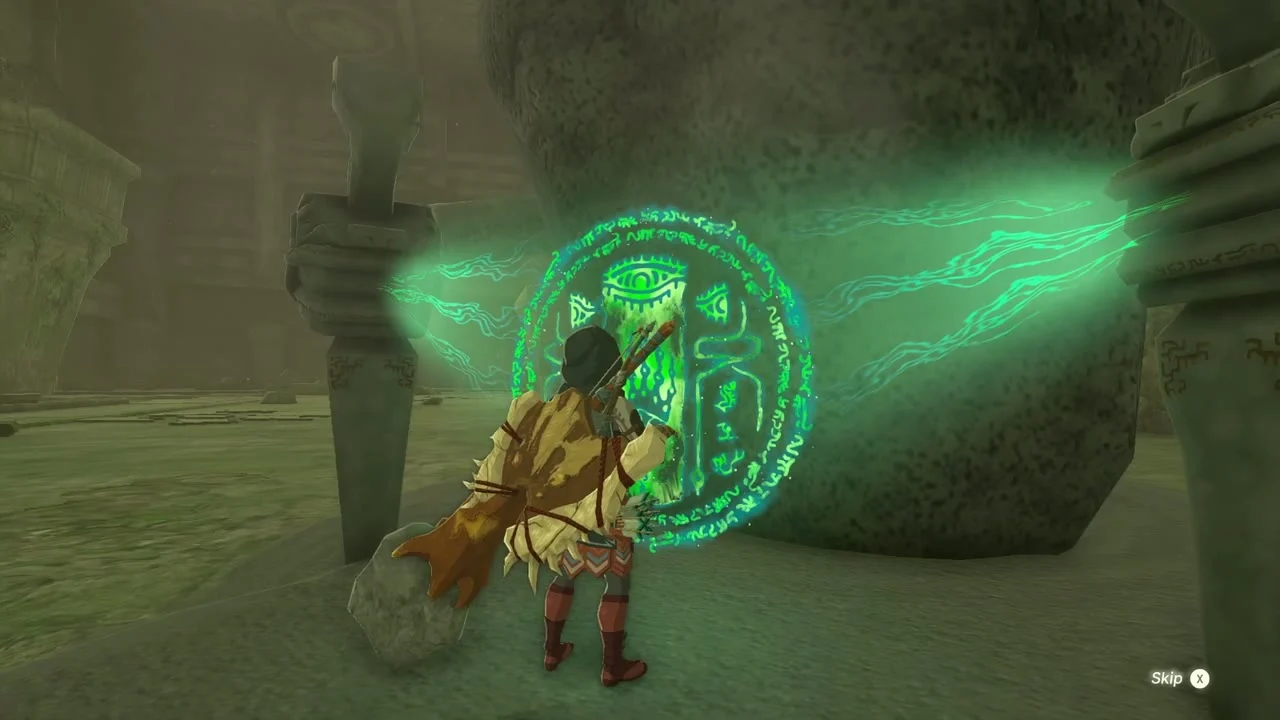
Stamina Vessel. With four Lights of Blessing from your shrines, fast travel to the Emergency Shelter statue at Lookout Landing and choose Stamina Vessel.


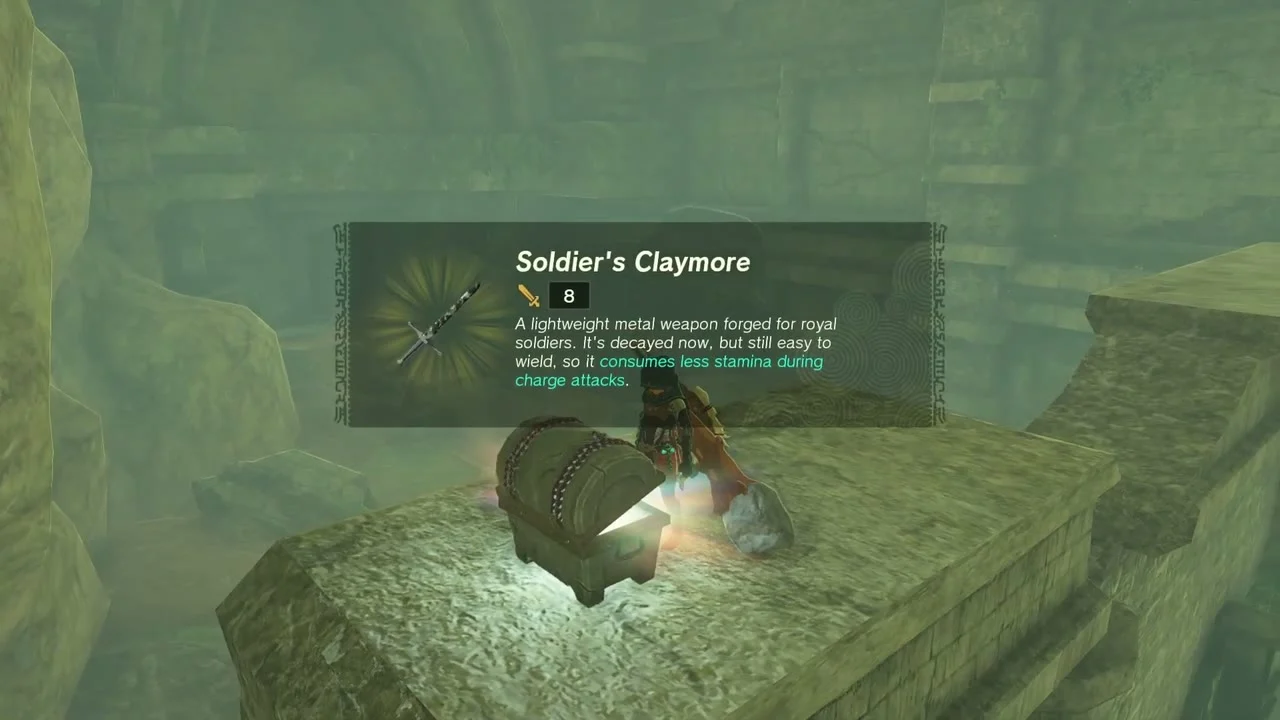
Chest (Soldier’s Claymore (or Traveler’s Claymore, Knight’s Claymore or Royal Claymore, depending on your progress)). Back in the temple, climb a ruined stone pillar and open the chest on its top for a Soldier’s Claymore.
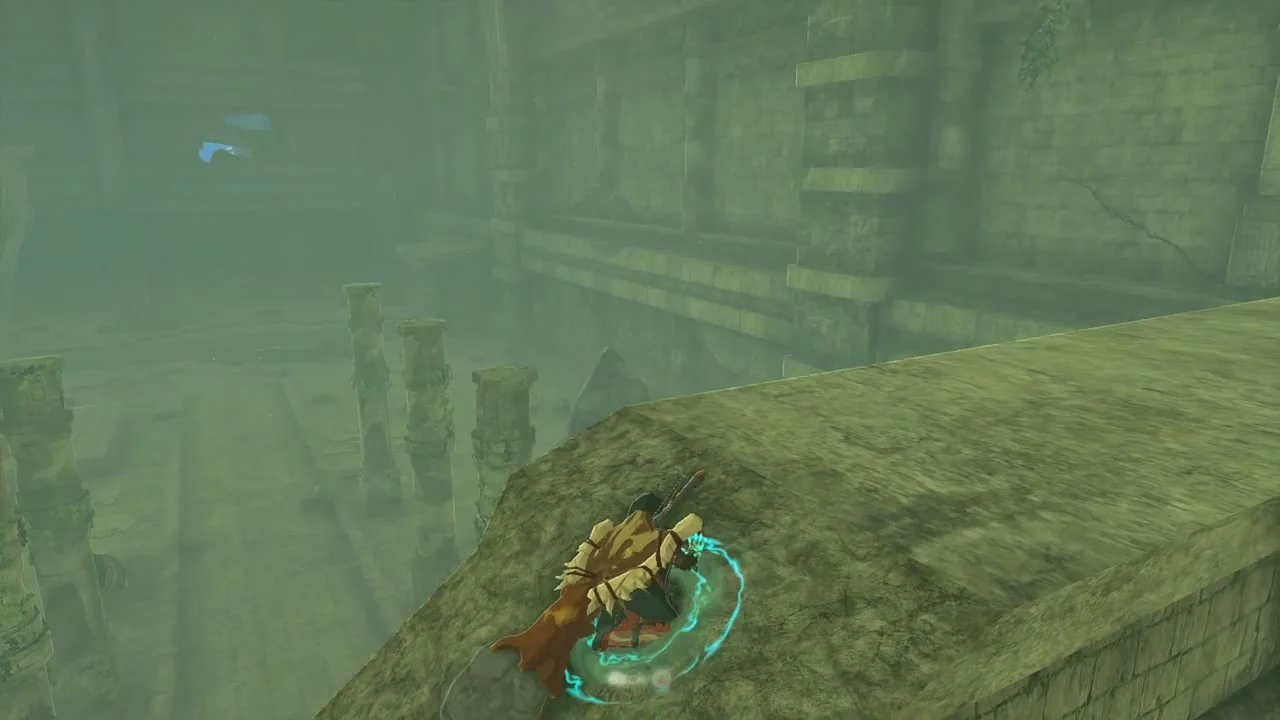
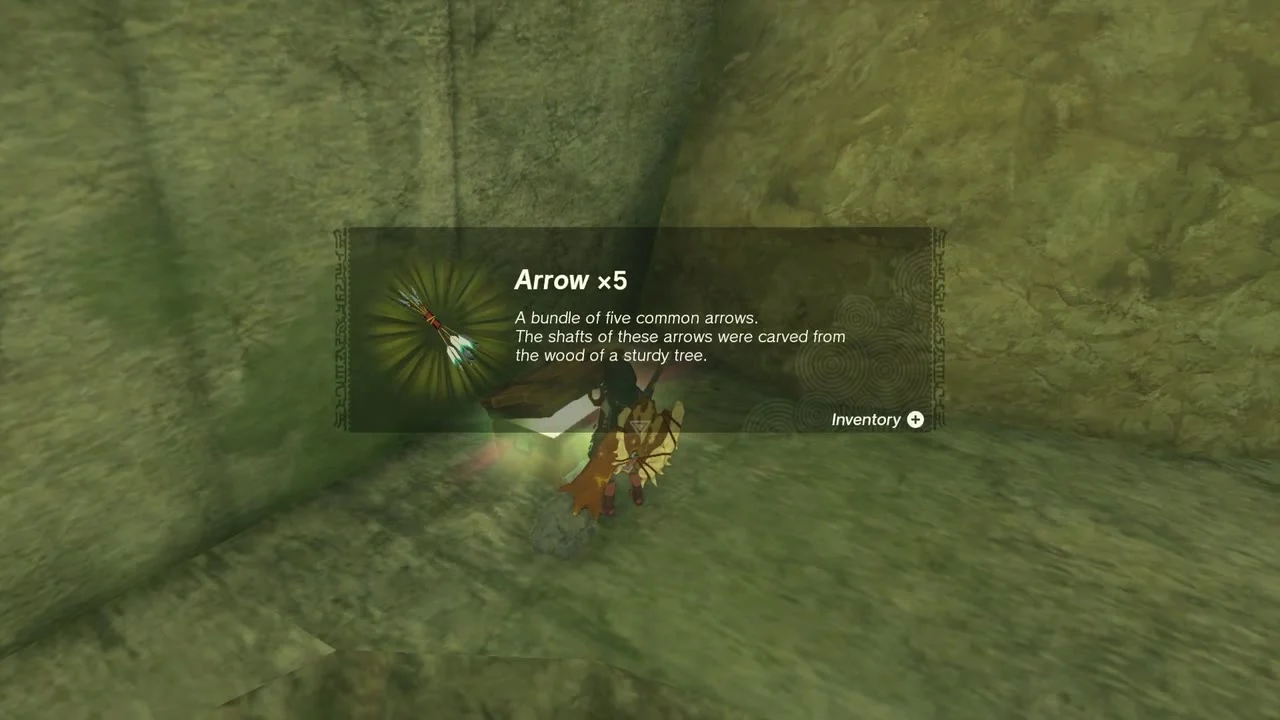
Chest (Arrow x5). Ascend through a low ceiling and crawl into the corner of the chamber above. Open the chest there for Arrow x5.

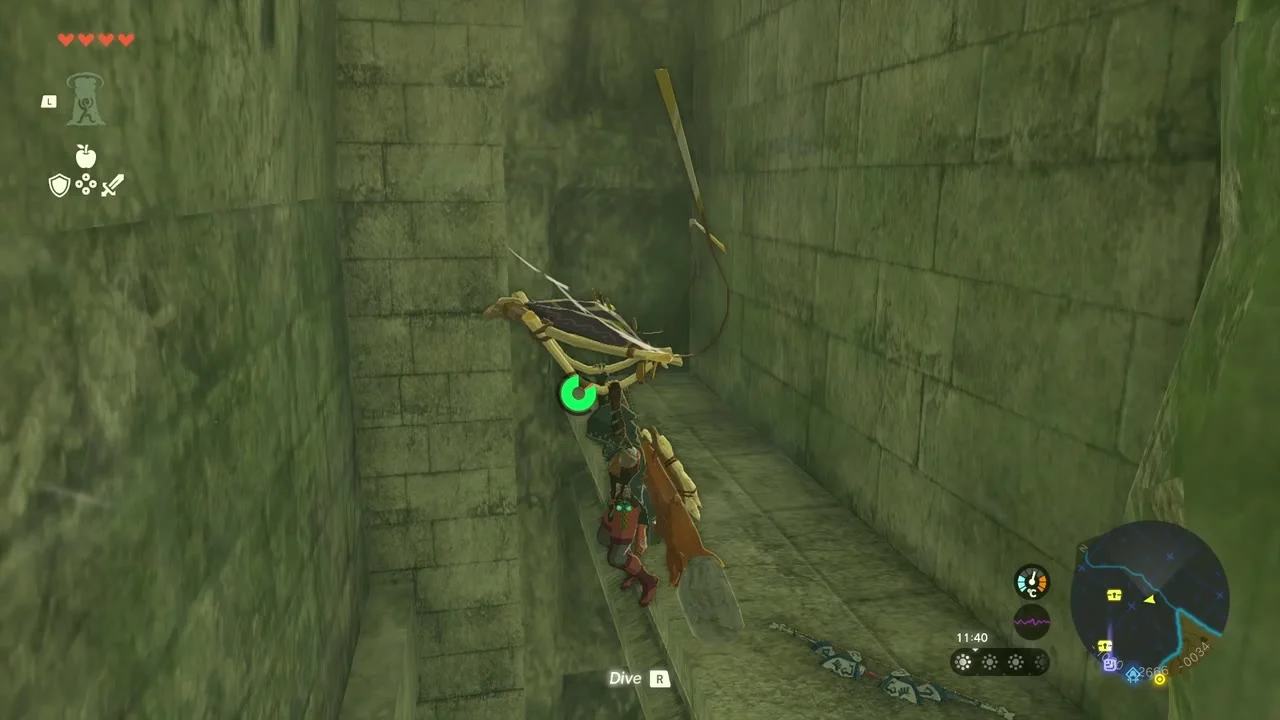
Knight’s Bow. In a narrow stone shaft a Knight’s Bow lies on the ground. Climb down and pick it up.

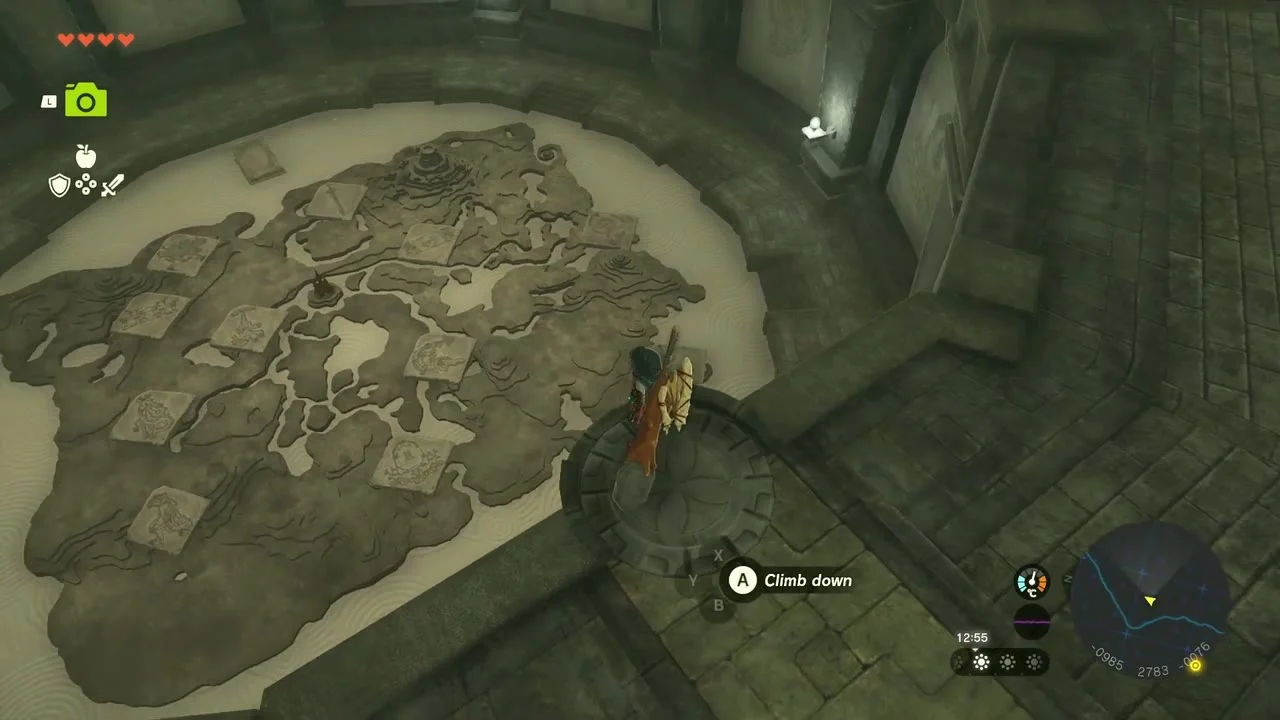
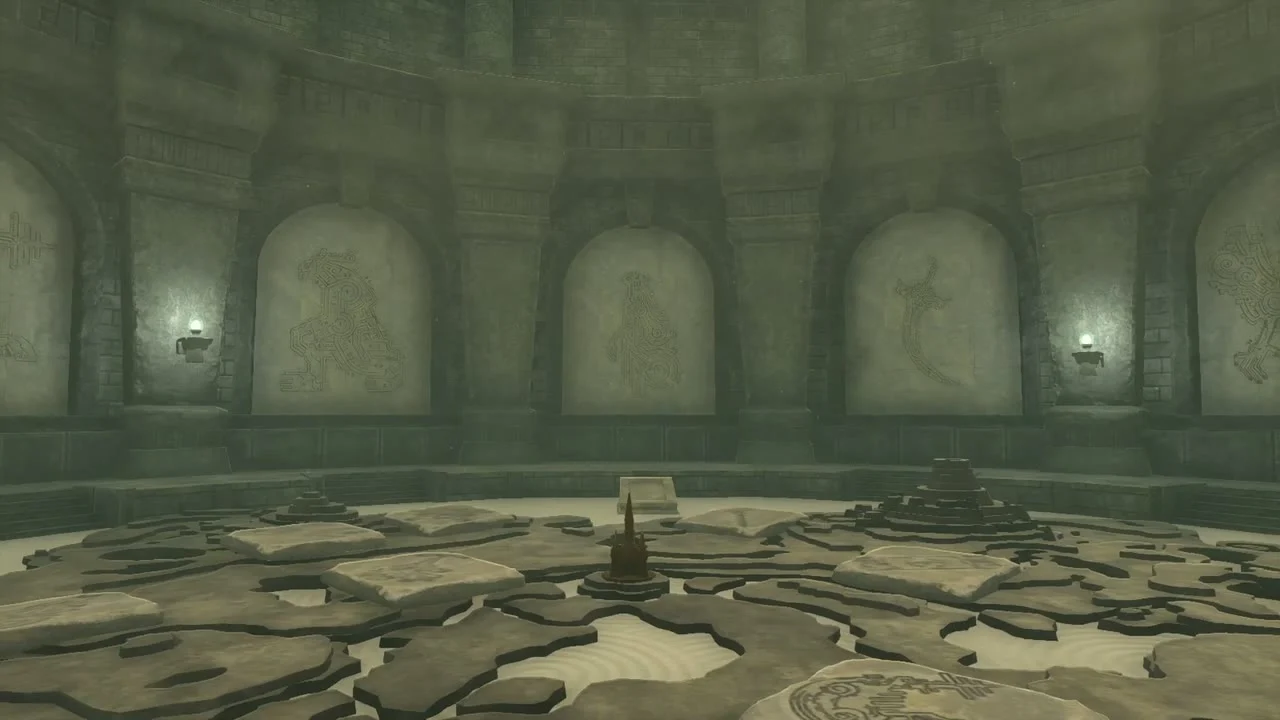
Geoglyph map room. Climb out to the deepest hall, where a huge map of Hyrule is laid on the floor and eleven stone murals line the walls. Impa and Cado meet you there. Ten geoglyphs remain; the Dragon’s Tears quest sends you to find each one.

Tips
- Stock Brightbloom Seeds and Hearty ingredients before the Yiga cave and Rowan Plain Well; both are dark, and the Depths below the well are full of gloom.
- Bring a good bow for the Battle Talus, Boss Bokoblin and Hinox; Bomb Flowers and fire fruit make each fight shorter.
- The temple is a maze of broken walls. Glide between the ledges rather than walking the long way round, and use Ascend through low ceilings to reach the upper chambers.
- The geoglyph map in the temple marks the remaining Dragon’s Tear sites, and you can visit them in any order.
- Leave the Stamina Vessel trade until you have four Lights of Blessing; the shrines in this chapter will bring you most of the way there.
Forgotten Temple checklist
| Collectible | Count | Where |
|---|---|---|
| Shrines | 2 | Kiuyoyou, Mayausiy |
| Lightroot | 1 | Uoyoyuik (see Lightroots) |
| Korok seeds | 10 | 9 Koroks, one of them a carry pair (2 seeds) |
| Chests outside shrines | 18 | Lizal Reaper, Zonaite x3 x2, Throwing Spear, Opal x2, Soldier’s Shield, Soldier’s-Broadsword Spear, Bomb-Barrel Spear, Soldier’s Spear, Amber, Large Zonai Charge, Soldier’s Broadsword, Arrow x10, Soldier’s Bow, Knight’s Halberd, Soldier’s Claymore, Arrow x5 |
| Other pickups | 1 | Knight’s Bow |
| Cave | 1 | Yiga Clan Maritta Branch |
| Bubbul Gem | 1 | Yiga Clan Maritta Branch |
| Wells | 2 | Irch Plain Well, Rowan Plain Well |
| Armor | 1 | Yiga Tights |
| Stamina Vessel | 1 | Emergency Shelter statue, Lookout Landing |
| Minibosses | 3 | Battle Talus, Boss Bokoblin, Hinox |
| Quests | 2 | Impa and the Geoglyphs, The Dragon’s Tears |
