





















Tears of the Kingdom 100% Completion Walkthrough43 chapters
Great Sky Island
- Great Sky Island4 shrines, 4 caves and Bubbul Gems, 17 Korok seeds
Hyrule Field and Hyrule Castle
- Lookout LandingParaglider, Crisis at Hyrule Castle, Jiosin and Kyononis shrines, 2 caves, 3 wells
- Hyrule FieldSusuyai and Ishodag shrines, the Hyrule Field Chasm, 2 caves, 13 Koroks
- Hyrule Castle Town RuinsSepapa, Yamiyo and Tukarok shrines, 2 caves, 4 wells, Koroks, chests and Battle Taluses in route order
- Central Hyrule Depthslight all 7 Lightroots, loot Daphnes and Gustaf Canyon Mines, find the Miner's Top
- Rest of Hyrule CastleRoyal Hidden Passage loot, 8 castle chests, Phantom Ganon, Energy Wells
- South Hyrule FieldShrines, Koroks & the Great Plateau
- South Hyrule Field DepthsGreat Abandoned Central Mine, Master Kohga, Autobuild, Majora's Mask
Tabantha and Hyrule Ridge
- Tabantha FrontierNew Serenne Stable, Hestu, Courage Island and the Glide Shirt, 3 shrines, 2 Korok seeds, Lindor's Brow Cave
- Forgotten TempleImpa and the Geoglyphs, Dragon's Tears, Kiuyoyou and Mayausiy shrines, Yiga Maritta Branch, 9 Koroks
- Tanagar Canyon & Hyrule RidgeRunakit and Iun-orok shrines, 2 caves, 12 Koroks, 20 chests, 8 minibosses and Dragon's Tear 6
- Thundra Plateau & Tabantha Bridgesolve the noon shadow puzzle, Tabantha Bridge Stable, Makurukis Shrine, 19 Korok seeds, 9 chests, 3 minibosses
- Lindor's Brow DepthsLightroots; Two Yiga camps (Bomb Bouquet, Flamethrower Balloon)
- Hyrule Ridge and Tabantha FrontierIkatak, Oromuwak, Ganos and Ga-ahisas shrines, 4 caves, a well, 26 Koroks and 3 minibosses
Hebra
- Rito VillageGatakis and Ijo-o shrines, Sikatag Lightroot, 9 Korok seeds, 14 chests
- Hebra MountainsShrines, Wind Temple & Koroks; Raspro Pass, Biron Snowshelf & Royal Hidden Passage
- Corvash Canyon MineTrousers of the Hero, Floodlights schematic, Sea-Breeze Boomerang, four Lightroots, Colgera
- Raspro Pass DepthsNupisoyuat and Sasag Lightroots, Colgera, Cap of Time, Tunic of the Wind, two Yiga camps and 13 minibosses
- Tabantha TundraTaninoud, Orochium, Oshozan-u, Mayaotaki, Nouda and Tenbez shrines, three Lightroots, caves and Bubbul Gems
- Pikida Stonegrove DepthsEvil Spirit Greaves, Ikatoayam, Muihcoro and Sikatag Lightroots, 3 Yiga schematics, Frox fights
Great Hyrule Forest
- Great Hyrule Forest7 shrines, 8 Lightroots, 2 caves, 2 wells, Korok Mask, Glide Tights
Eldin
- EldinEldin Canyon, Shrines, Caves & Goron City
- Eldin Canyon Depths10 Lightroots, Zant's Helmet, Trousers of the Wild, Biggoron's Sword, 3 Yiga schematics and Eldin's sky chests
Faron
- FaronHighland Stable, Lake Hylia & Popla Foothills
Necluda
- Kakariko VillageMakasura Shrine, Kakariko Village Well, 2 caves, Ring Ruins chests, 10 Korok seeds and village quests
- West Necluda and Lanayru WetlandsShrines, Koroks & Caves; Jonsau, Kurakat
- Hateno VillageZanmik and Mayahisik shrines, Shield of the Mind's Eye and Phrenic Bow wells, 7 Koroks
- East NecludaRabella Wetlands, Sifumim Shrine, Lurelin Village, 21 Korok seeds
- East Necluda DepthsKumamayn Shrine, 4 Lightroots, Midna's Helmet, Cap of the Hero, Trousers of the Wind and 18 Depths chests
Lanayru
- Lanayru Great SpringShrines, Koroks & Caves; Ralis Channel, 3 shrines, 8 caves
- Zora's DomainMogawak and Ihen-a shrines, Ploymus cave, Pristine Sanctum, Zora Armor, Sidon of the Zora and Clues to the Sky
- Wellspring IslandAncient Zora Waterworks chests, Igoshon Shrine, 2 Korok seeds, Water Temple's four wheels and Mucktorok
- Mount LanayruShrines, Koroks & Light Rings; Jikais and Anedamimik shrines
Gerudo
- Gerudo DesertShrines, Caves & Koroks; West and South Sands
- Gerudo TownGerudo Shelter shops and quests, Valley of Silent Statues, Lightning Temple and Queen Gibdo, Chichim Shrine
- Gerudo Desert DepthsGranajh and Daval mines, three Master Kohga fights, Queen Gibdo, Mucktorok, Sheik's Mask and 37 chests
- Gerudo HighlandsSkyview Tower, Rotsumamu and Suariwak shrines, Mayasiar Shrine, Yiga hideout
Akkala
- AkkalaTarrey Town quests, 4 shrines, Hinox, Battle Talus
- Akkala Sky Islands and DepthsGikaku and Natak shrines, Old Maps, Lomei Depths Labyrinth, Mucktorok, 5 Lightroots and 19 chests
Finale and completion
- Ancient Tablets, Gleeoks and Armor Upgradesall 13 stone tablets with coordinates, Frost and King Gleeok, Obsidian Frox, Cotera upgrades and farming
- Hyrule CastleRoyal gear chests, Korok seeds, Serutabomac Shrine
- Thunderhead IslesCharged armor, Joku-usin and Joku-u Shrines, Dragonhead Island's relic
- 100% Completion: Armor Upgrades & Korok BonusHestu's Gift, Ancient Hero's Aspect, Great Fairy Cotera upgrade costs and materials, then Destroy Ganondorf
| Region | Akkala: the Lomei Depths Labyrinth under the Akkala Sea, the sky islands over Ulri Mountain, the Sky Mine and the Sokkala Sky Archipelago, then the Depths of the Akkala Highlands and Deep Akkala |
|---|---|
| Shrines | 2, both Rauru’s Blessing and both unlocked by shrine quests: Gikaku Shrine (Sky Mine, 4505, 2166, 1168) and Natak Shrine (Sokkala Sky Archipelago, 3670, 1483, 1171) |
| Lightroots | 5: Kuhsagi (4654, 3732), Kimimeg (4512, 2115), Akinatanis (3840, 2300), Ui-ihcoj (4346, 2877) and Kawisar (4663, 3264). See all Lightroots. |
| Chests | 6 in the Lomei Depths Labyrinth, 7 on the sky islands, and the Depths chests listed under Depths of the Akkala Highlands |
| Koroks | 3 Korok Seeds in the Akkala sky: 1 above Lomei Labyrinth Island and 2 over the Sokkala Sky Archipelago and Sky Mine. See all Korok seeds. |
| Boss and minibosses | Mucktorok (Depths), Flux Construct III, Flux Construct II, Black Hinox, Obsidian Frox, Armored Blue-Maned Lynel, Armored Silver-Maned Lynel, Stone Talus and a Depths Flux Construct. See all bosses. |
| Gear and key items | Evil Spirit Armor (Lomei Depths Labyrinth), Zonaite Shin Guards, Tunic of Twilight, Tunic of Memories (400 Poes at the Bargainer Statue), Schema Stone, three Old Maps, Sage’s Will, a Heart Container from the Goddess Statue in Tarrey Town |
| Quests | The Sky Mine Crystal, The Sokkala Sky Crystal |
| Previous | Akkala Part 2 |
This is the vertical clean-up of Akkala: the Depths labyrinth under Lomei Labyrinth Island, the sky islands above Ulri Mountain with their two crystal shrines, and the long Depths sweep beneath the Akkala Highlands that ends at Kawisar Lightroot. Every Lightroot here is already tied to a surface shrine, so lighting them also fills in the Depths map. Coordinates are map units (X, Y, height); larger Y is further north.
Quick route
Drop into the Lomei Depths Labyrinth, light Kuhsagi Lightroot, open its five side chests (Zonaite Bow, a Construct spear, a Soldier blade, Large Zonaite and a Soldier Reaper) and beat Flux Construct III in the central chamber for the Evil Spirit Armor.
Fly up to the sky islands north of Ulri Mountain: beat Flux Construct III for an Old Map, take the second Old Map, the Korok Seeds and the Device Dispenser, then carry the Sky Mine crystal to Gikaku Shrine and the Sokkala crystal to Natak Shrine. Finish with Sage’s Will, Flux Construct II and the Heart Container at the Tarrey Town Goddess Statue.
Go back down to Kimimeg Lightroot and work west to east through Rist Mine, the Abandoned Tarrey Mine, Ulri Canyon Mine, the Mucktorok arena, the Bargainer Statue at the Wellspring of Power, Rok Grove and Ui-ihcoj, then close with Kawisar Lightroot and the last Yiga hideout.
Lomei Depths Labyrinth
Light Kuhsagi Lightroot
The Lomei Depths Labyrinth (4662, 3565, -401) lies under the Akkala Sea, below Lomei Labyrinth Island. Land in the labyrinth’s central chamber and touch the Kuhsagi Lightroot at (4654, 3732, -400) to light it; it belongs to Igashuk Shrine directly above. This is the only Depths area with no Gloom. The Lightroot sits on the labyrinth’s roof, so Ascend up onto the structure from outside; if you arrive by diving from the sky labyrinth, adjust your fall and bring Brightbloom Seeds. The halls are near-identical, so drop map stamps on each chest as you find it.

Open the Zonaite Bow chest
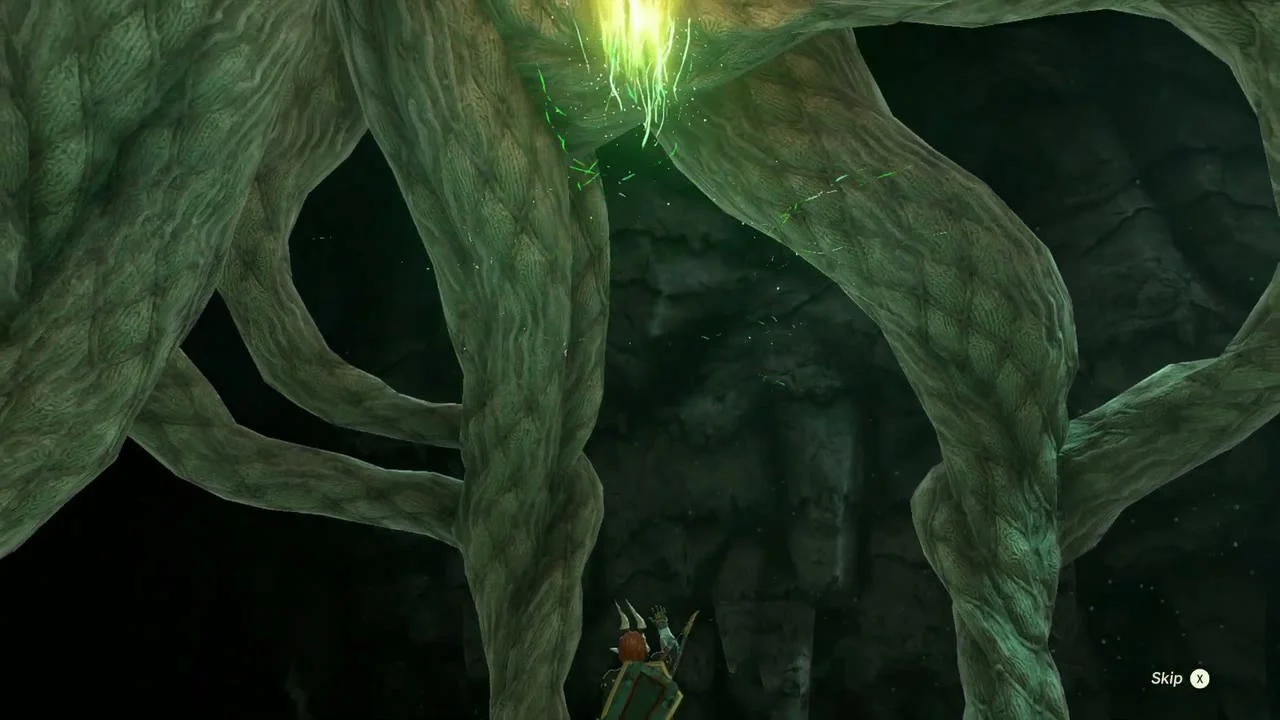
A chest on the eastern side of the labyrinth’s exterior, at water level, holds a Zonaite Bow. Break down the Construct nearby first, and make room in your bow inventory if it is full.

Open the Soldier IV Spear chest
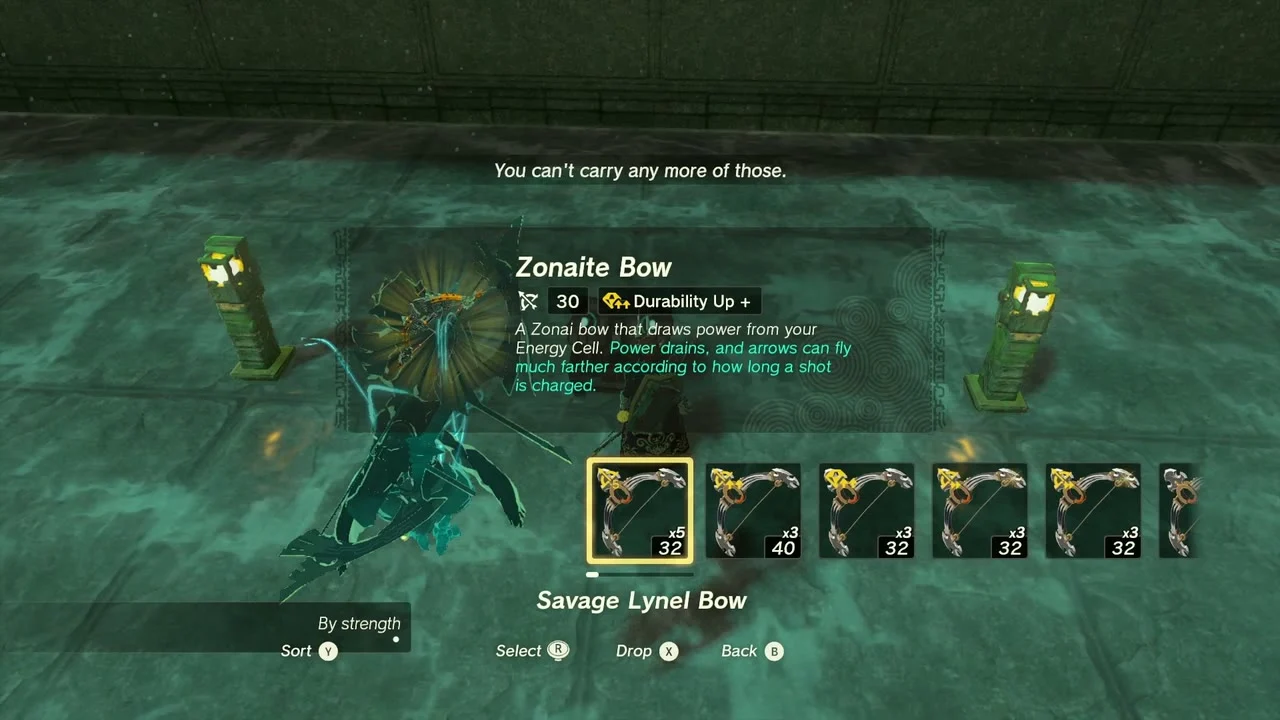
On the western side of the exterior, at water level, a second chest holds a Construct spear (most guides list it as a Captain’s Spear; its tier, II to IV, depends on your progress).

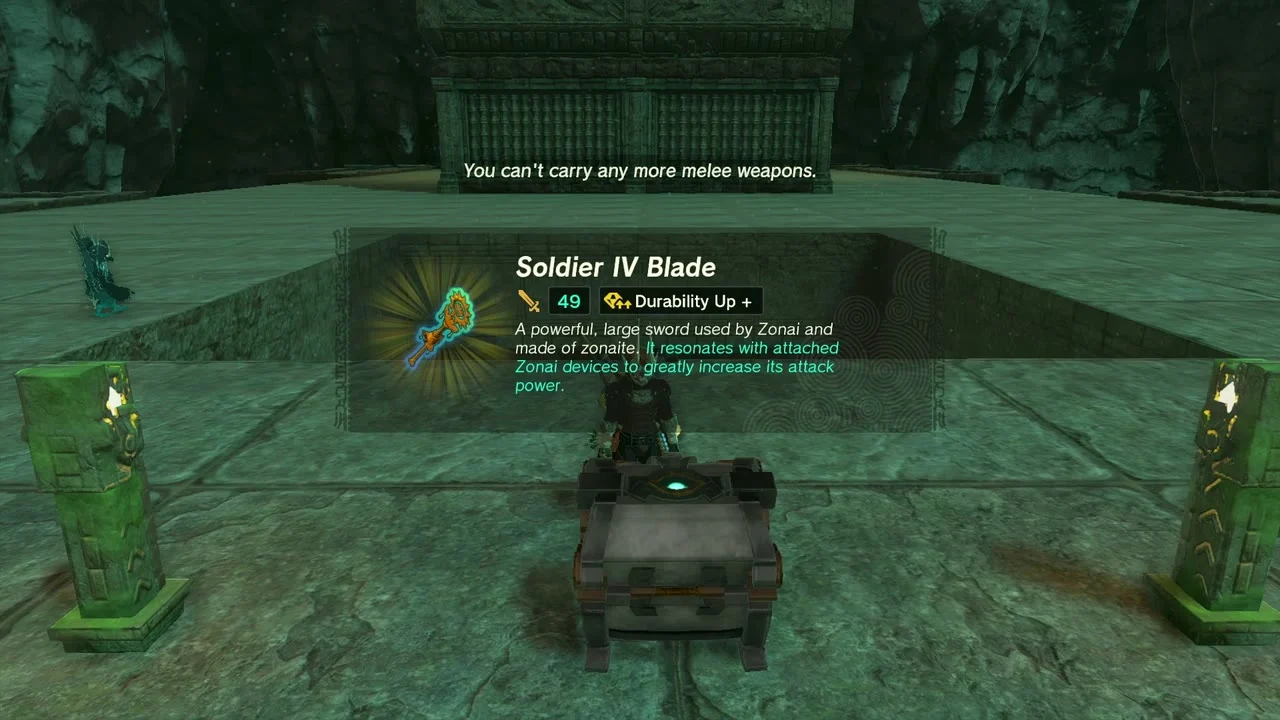
Open the Soldier IV Blade chest
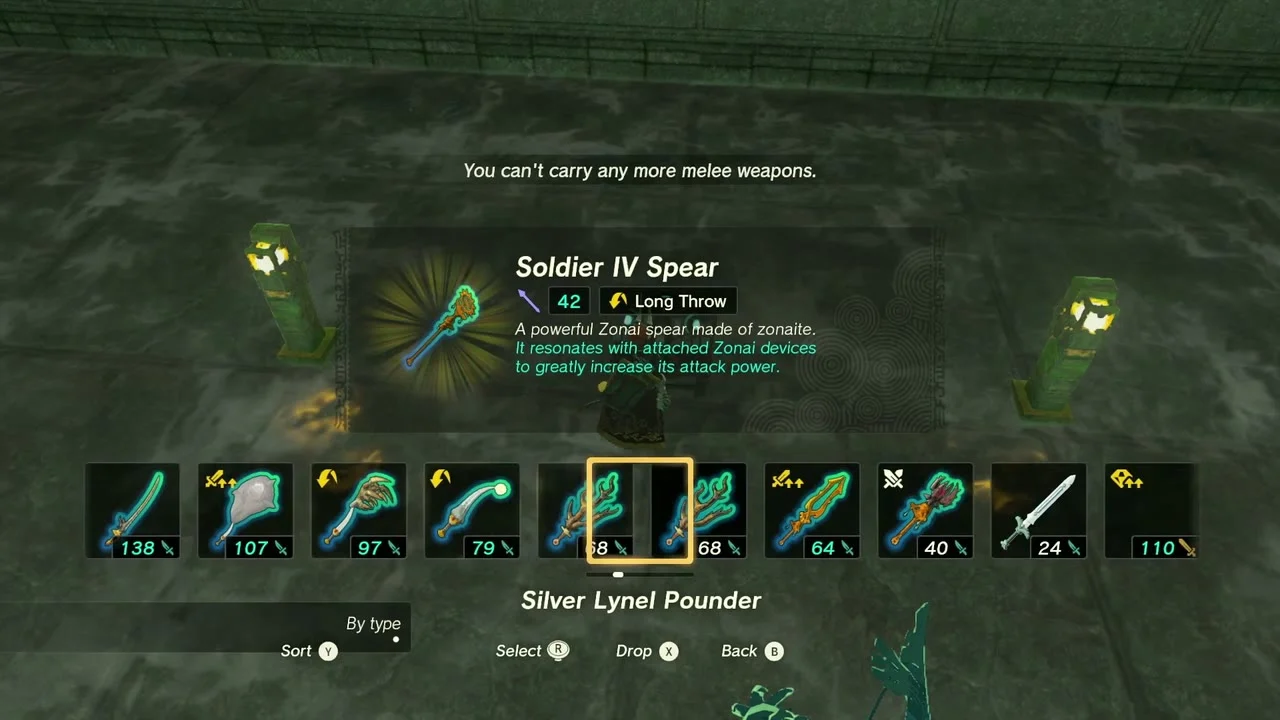
A chest on the southern part of the labyrinth’s roof gives a Soldier’s Blade (Soldier II to IV, depending on your progress). Most chests in this labyrinth hold weapons, so free up weapon slots before you start.
Collect the Large Zonaite
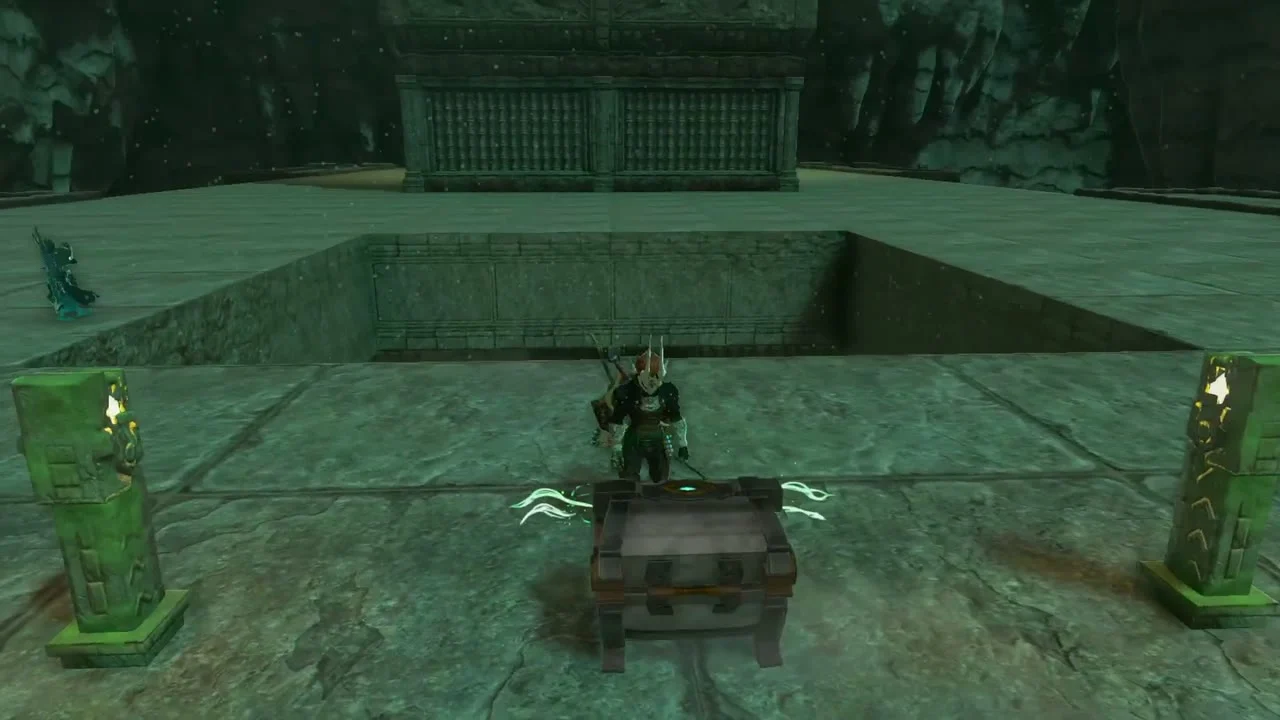
In a long corridor behind the ladders at the southern entrance, a chest holds a Large Zonaite, a high-value fusing material.


Open the Soldier IV Reaper chest
A chest in a small chamber reached through a gap in the floor at the base of the first stairway holds a Soldier Reaper (Soldier II to IV, depending on your progress), a Construct-made two-handed weapon.

Flux Construct III and the Evil Spirit Armor
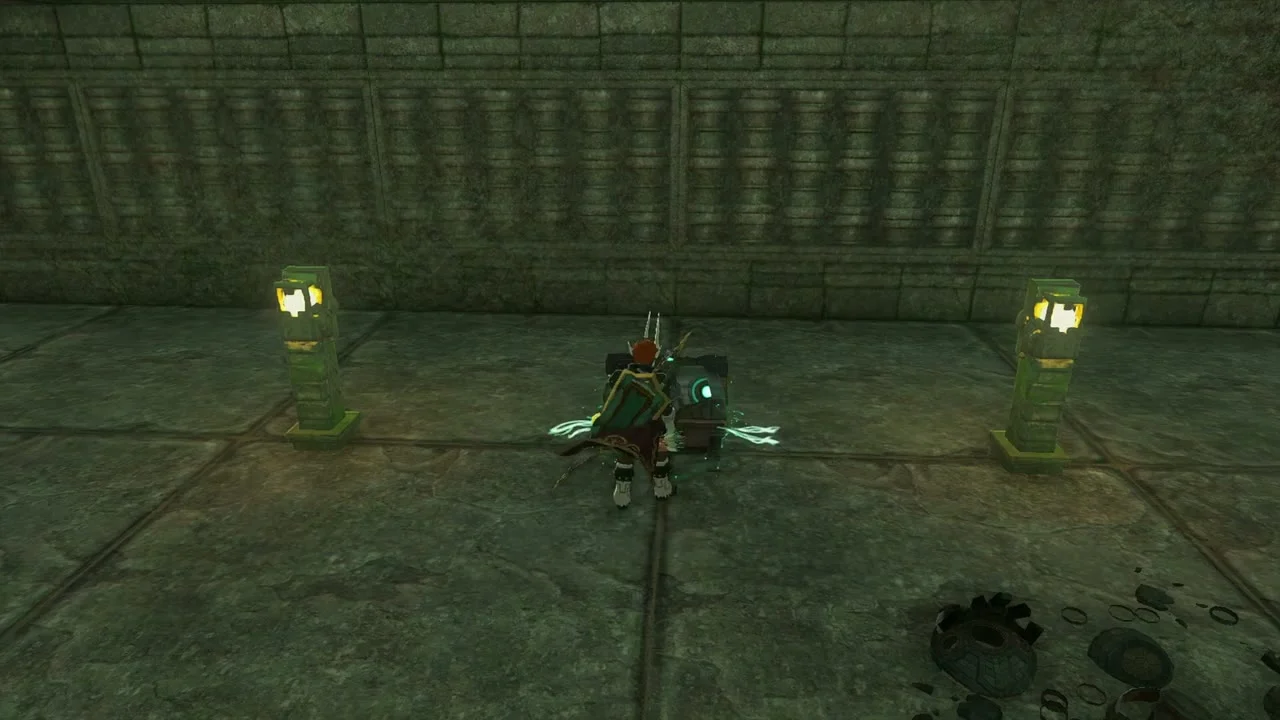
The central chamber is guarded by Flux Construct III. Grab its weak point with Ultrahand and keep pulling until it comes apart, then strike the exposed core in the short window before it reforms. When it falls, touch the dragon gate to finish the fight; a platform rises with a chest holding the Evil Spirit Armor, the body piece of the set (the Mask and Greaves come from the South and North Lomei Labyrinths). This completes the Depths part of The Lomei Labyrinth Island Prophecy.
Akkala sky islands
Defeat Flux Construct III
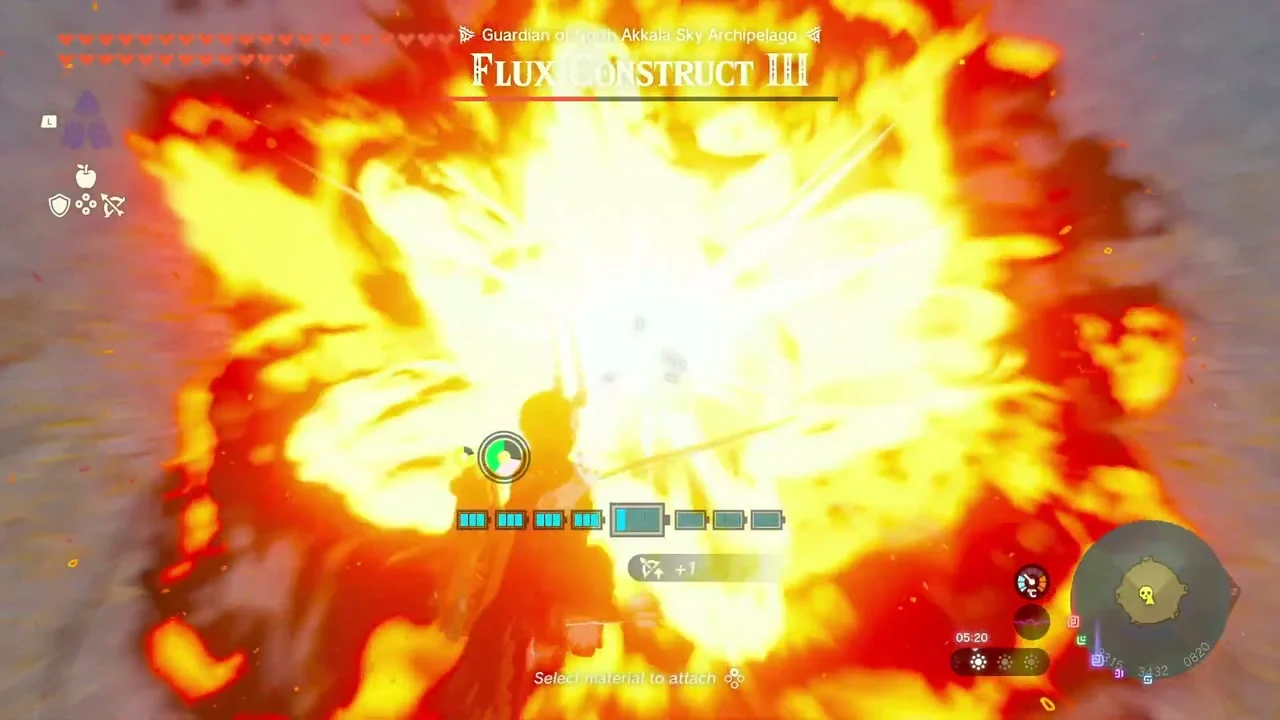
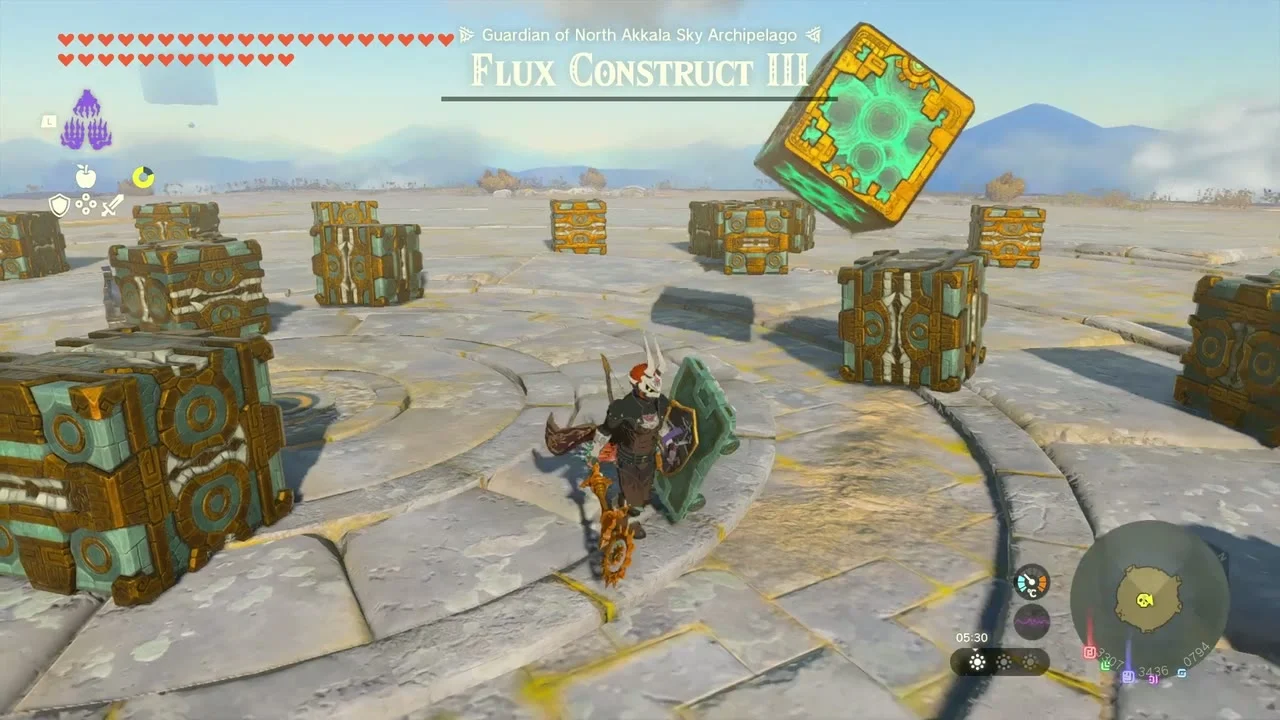
Miniboss: Flux Construct III, the guardian of the North Akkala Sky Archipelago, waits on a circular platform piled with stone crates. Keep moving while it throws and drops crates, and hit the floating core when it is exposed; Bomb Flowers and fused weapons both work. Zonai Charges and Zonaite drop when it is destroyed.
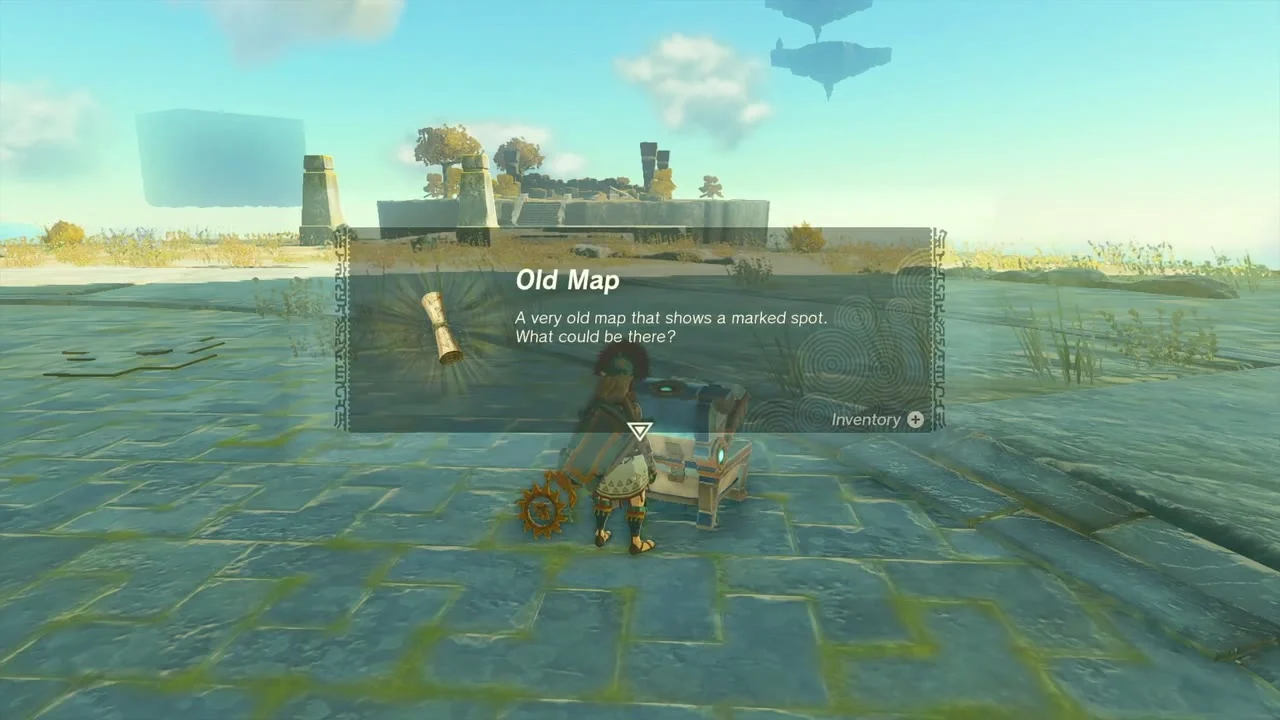
Open the first Old Map chest
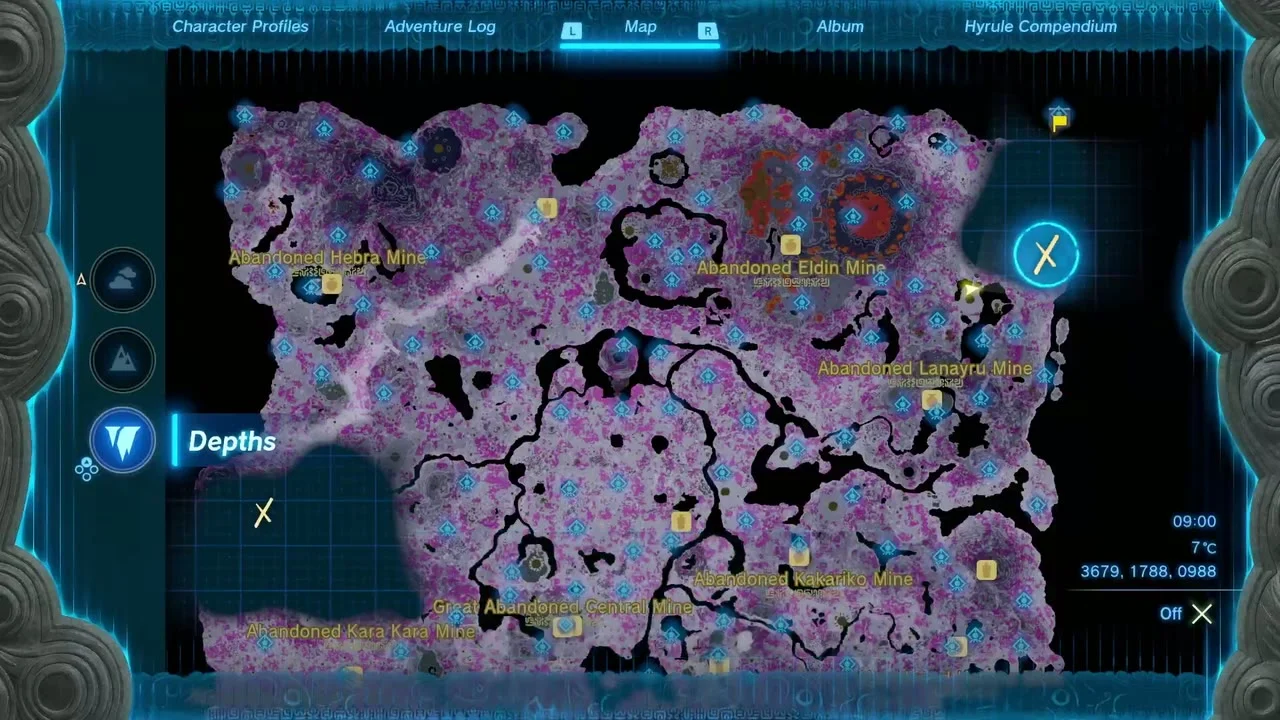
Once the construct falls, a chest on the same platform opens to an Old Map. Open it from your inventory to see its marked spot on the Depths map; this one points to the Gleeok Den in the Depths, near (263, 3124, -623). The chest itself sits near (3301, 3431, 800).
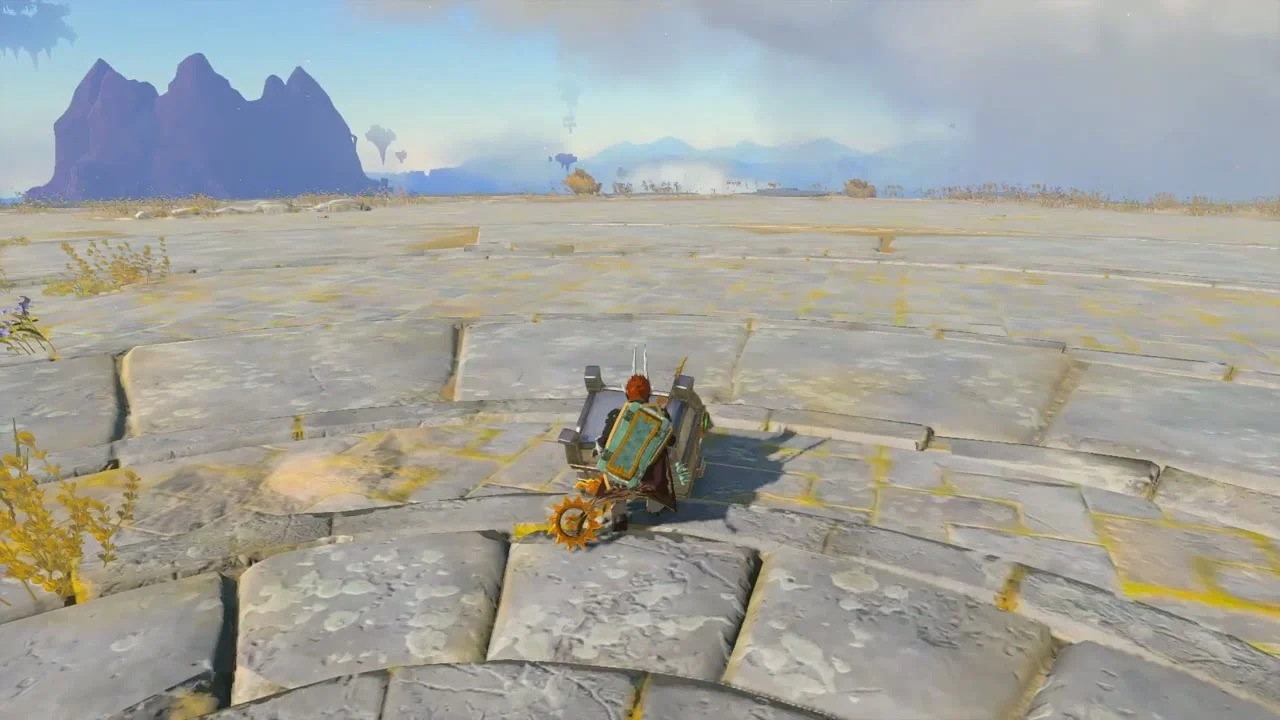

Take the second Old Map
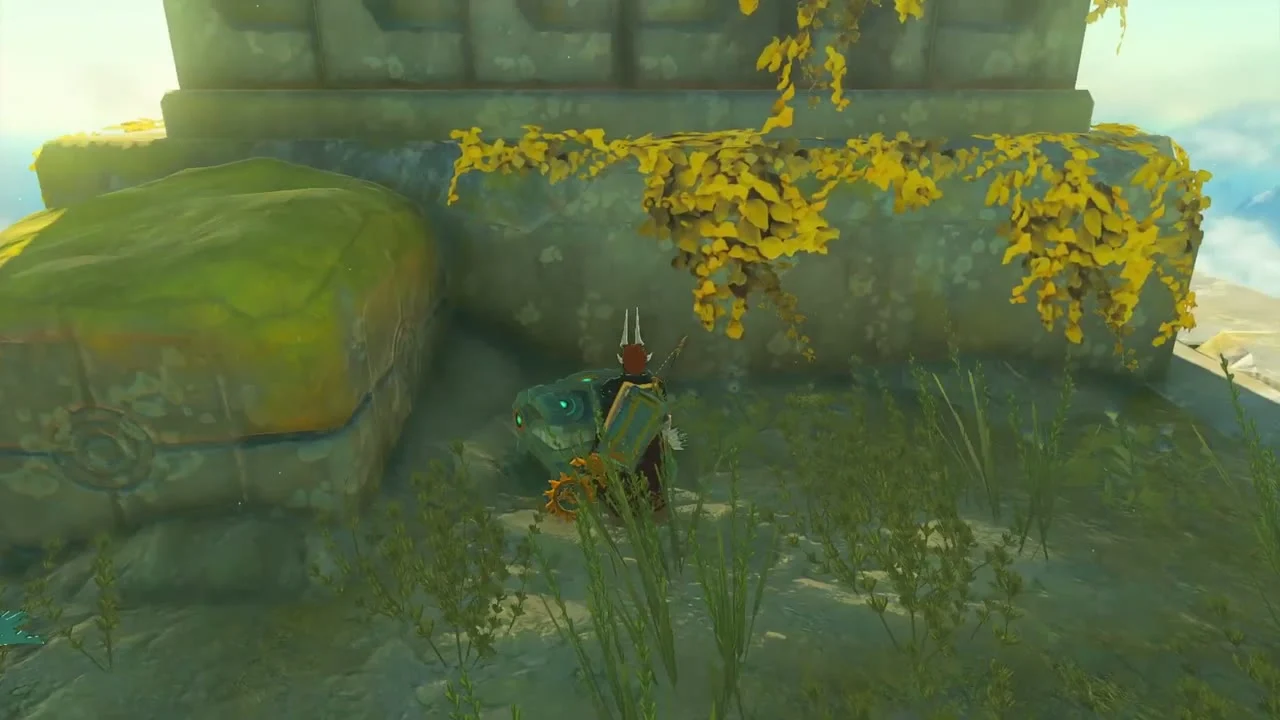
A second Old Map chest sits beneath the tower on the eastern island with the spring, near (4269, 3107, 785). Glide or fly across from the Flux Construct platform. This map leads to the Ancient Underground Fortress in the Depths, near (3319, 1507, -855).

Collect the Korok Seed on the leaf platform
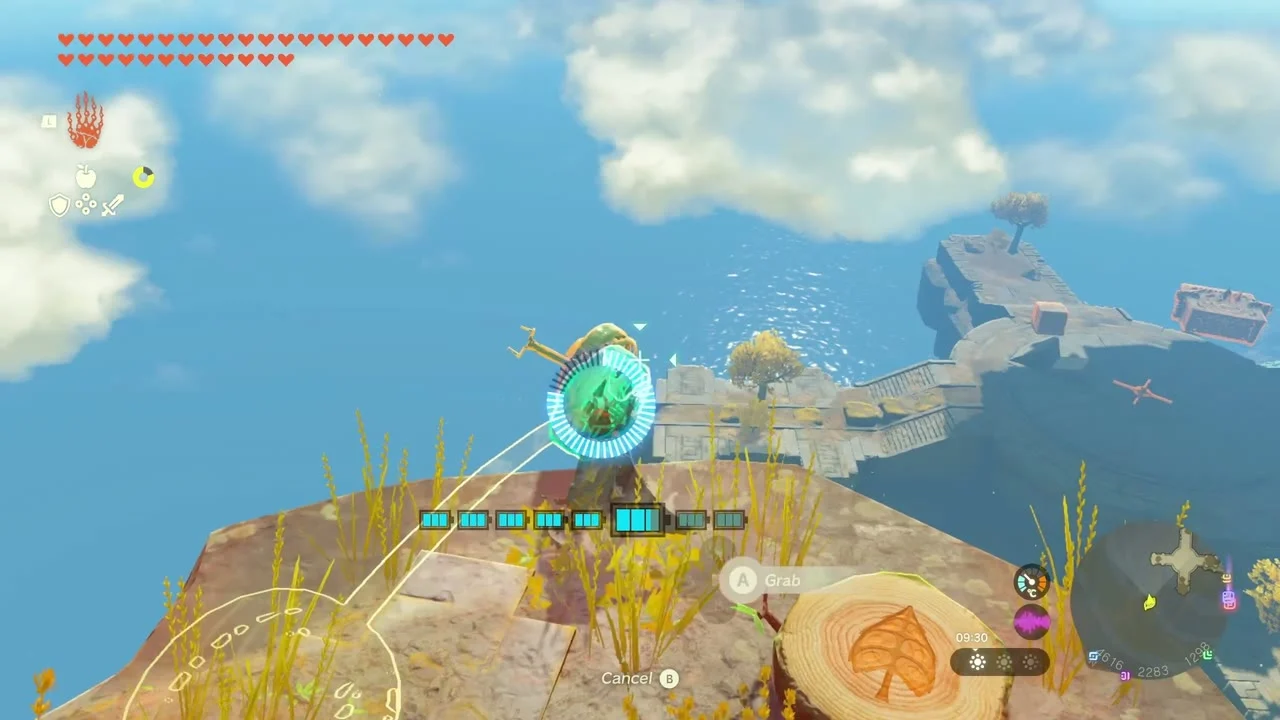
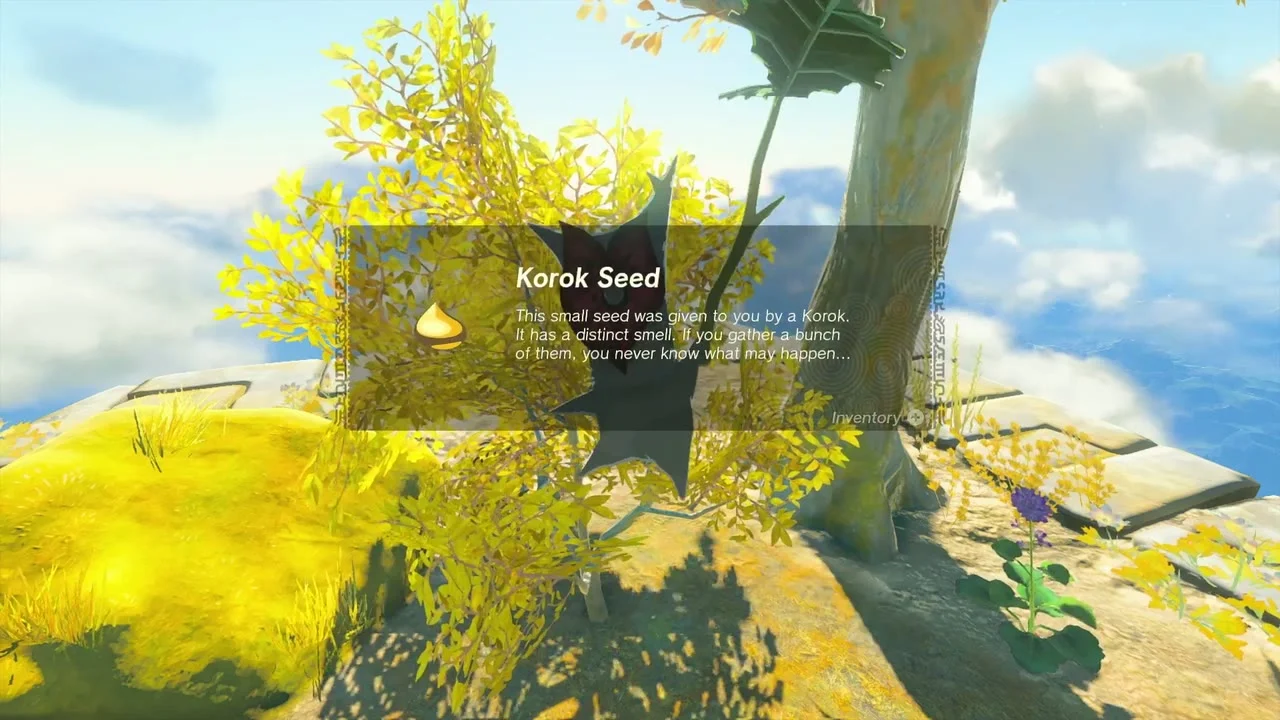
On a small island further out, a leaf-pad Korok puzzle sits on a tree stump. Grab the leaf and finish the puzzle to earn a Korok Seed. Two more sky Koroks are nearby: a falling-light skydive over the Sokkala archipelago (about 3662, 1408, 1168) and a paraglide-to-the-goal puzzle over the Sky Mine (about 4653, 2137, 1239). A third skydive Korok waits above Lomei Labyrinth Island (about 4795, 3755, 1185).
Charge the Device Dispenser
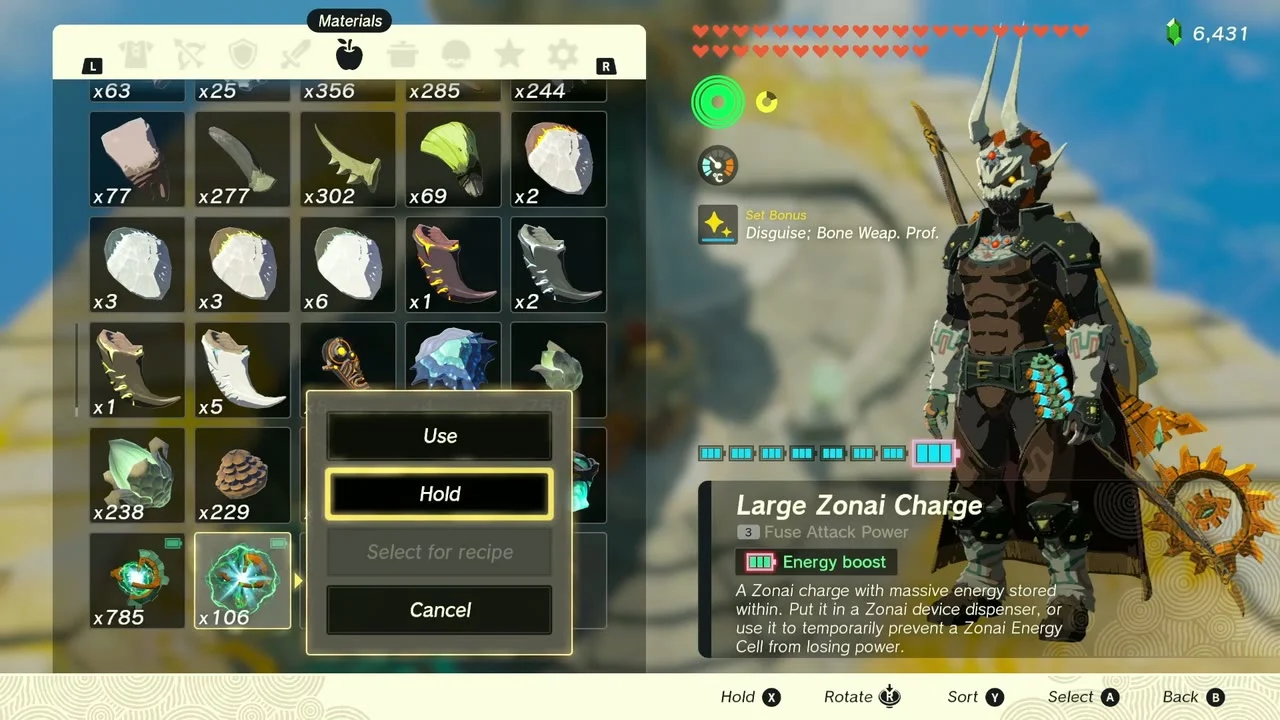
A ruined island holds a Device Dispenser. Feed it Zonai Charges, such as a Large Zonai Charge from your inventory, then pick the Zonai devices you want.


Follow the beam to the Sky Mine crystal
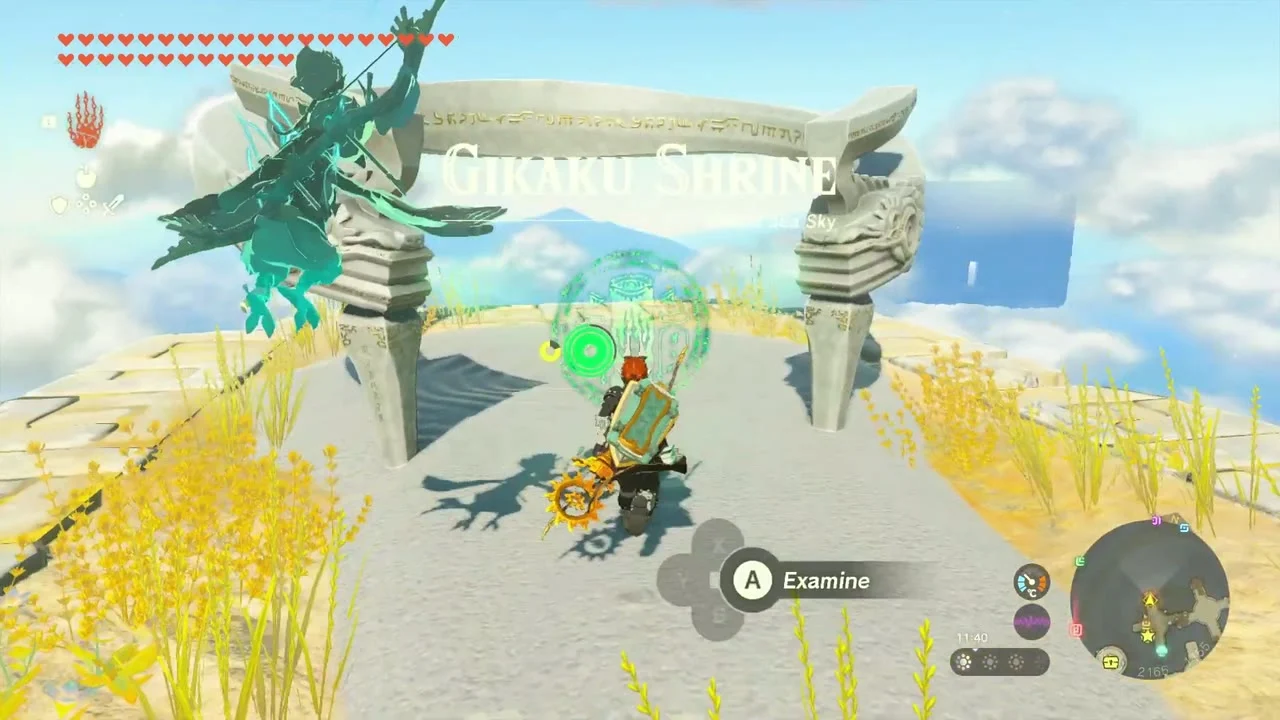
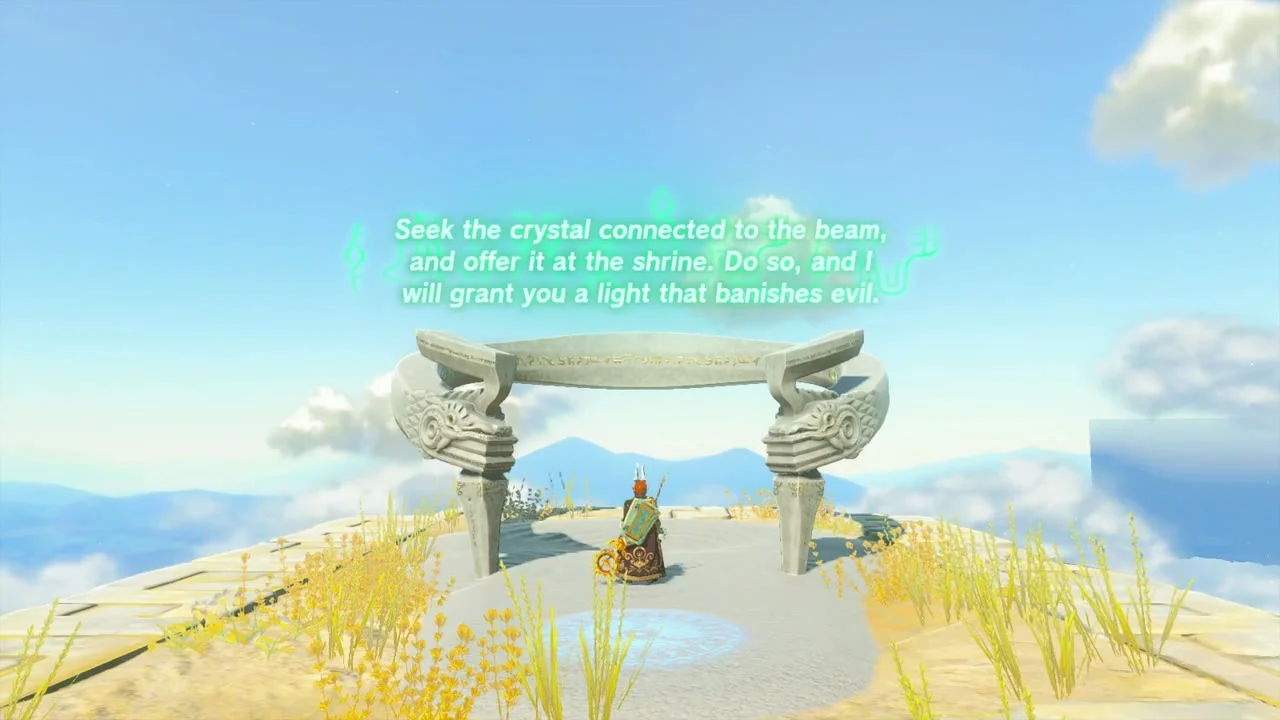
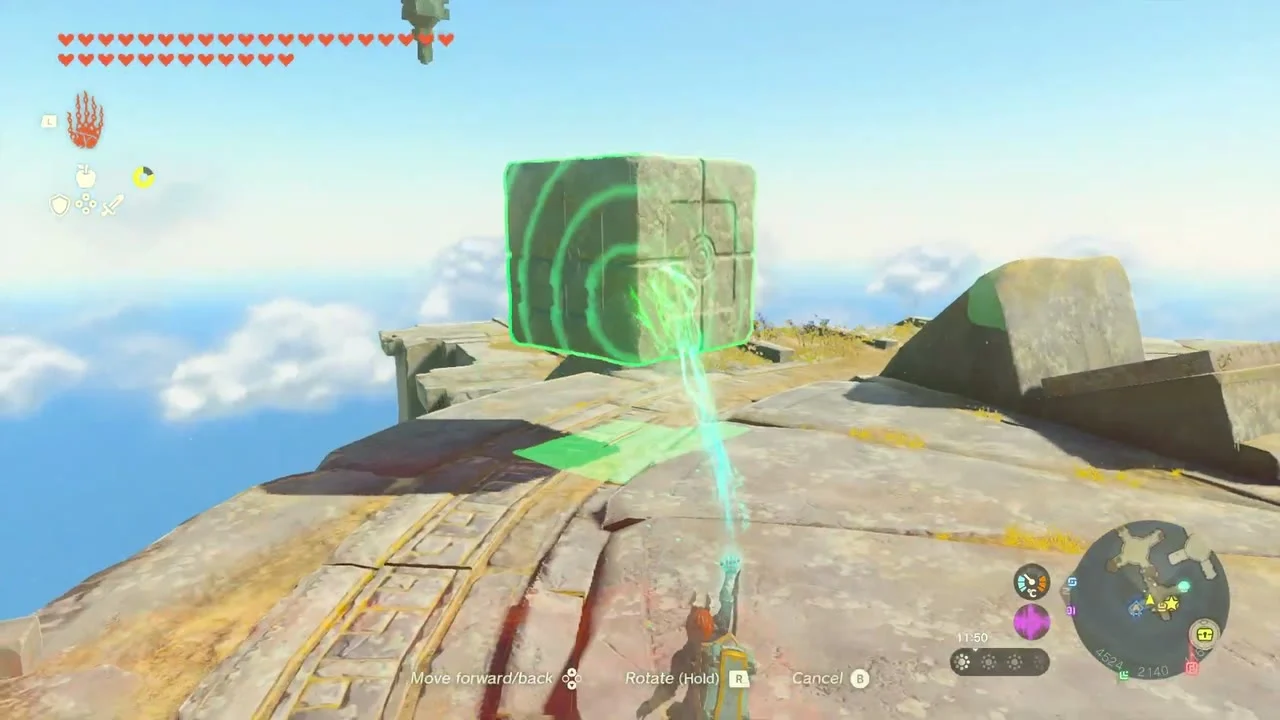
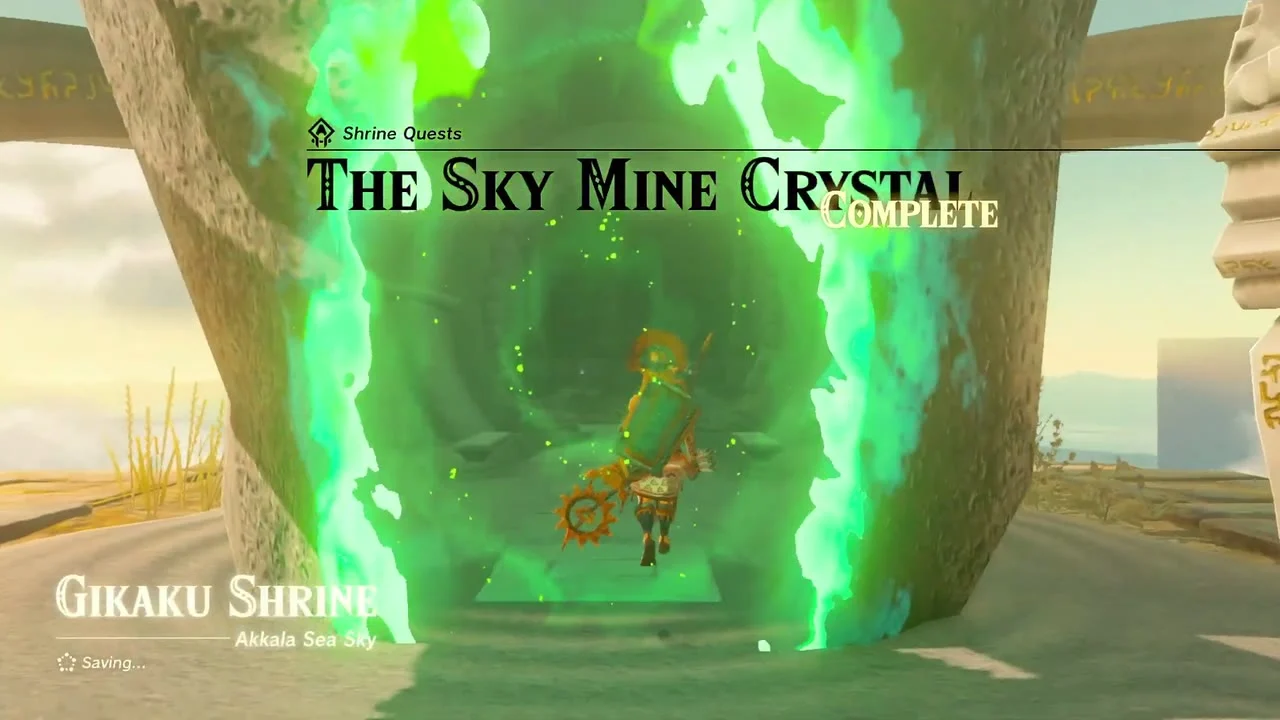
At the Sky Mine (4603, 2129, 1302) a stone shrine gate stands on the island but will not open without a crystal. Examine the runes to start The Sky Mine Crystal, then follow the beam of light to the crystal on a higher island to the northwest. Most guides route you up a chain of launchers: activate the gate to power the first launcher, ride it, and turn the central wheel on each island to aim the next launch. Take the crystal with Ultrahand, release it over the shrine and chase it down so it does not roll away, then bring it to the entrance.
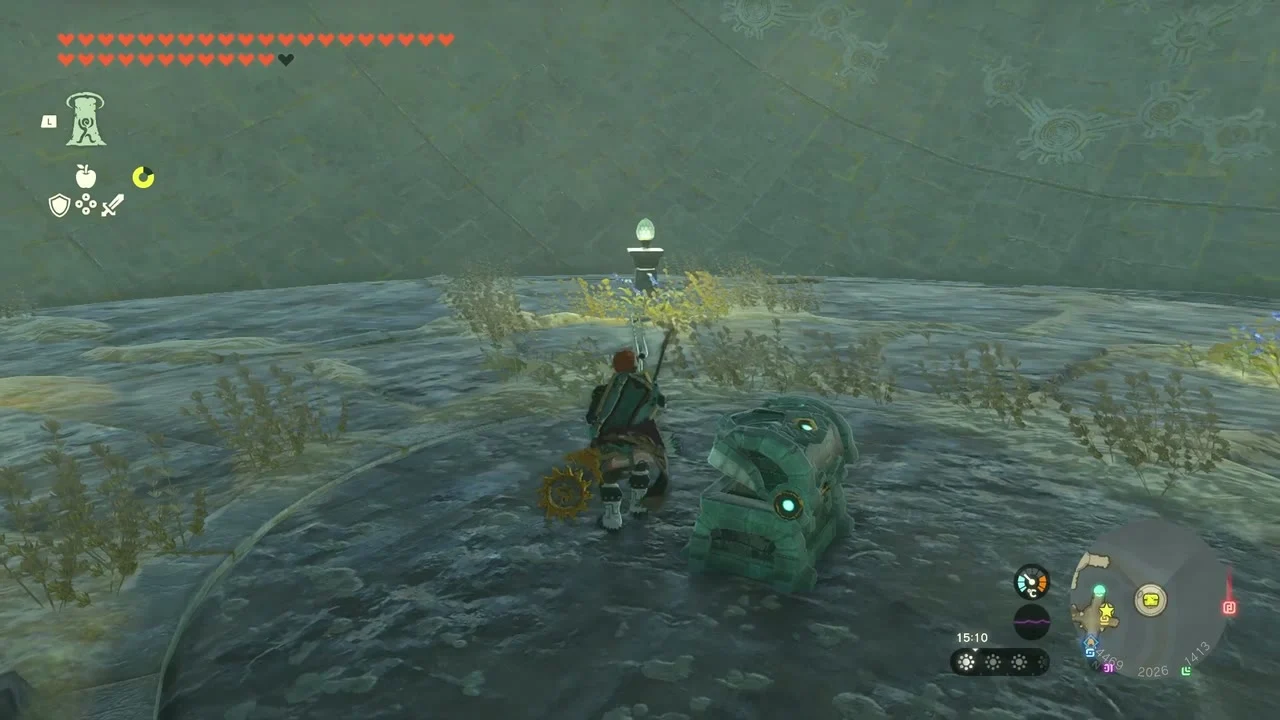
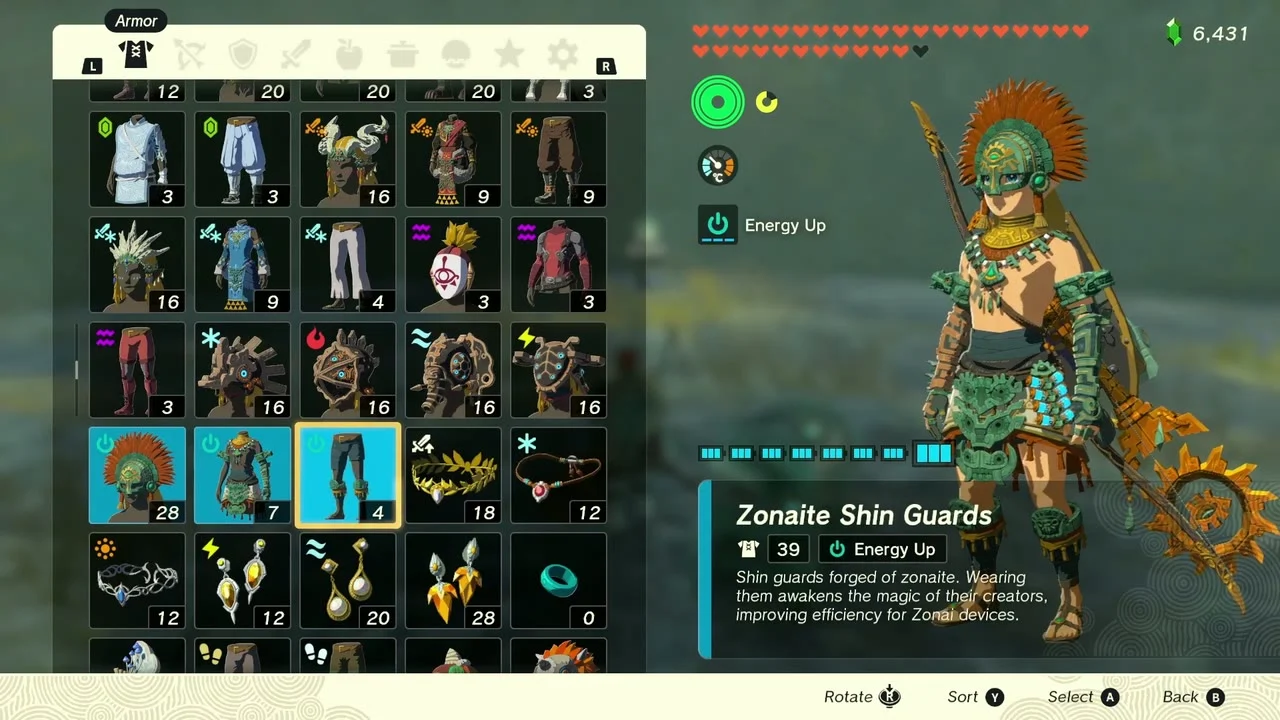
Open the Zonaite Shin Guards chest
Inside the mine, a chest on a round, flooded floor holds Zonaite Shin Guards, part of a set that gives Energy Up for Zonai devices.
Enter Gikaku Shrine
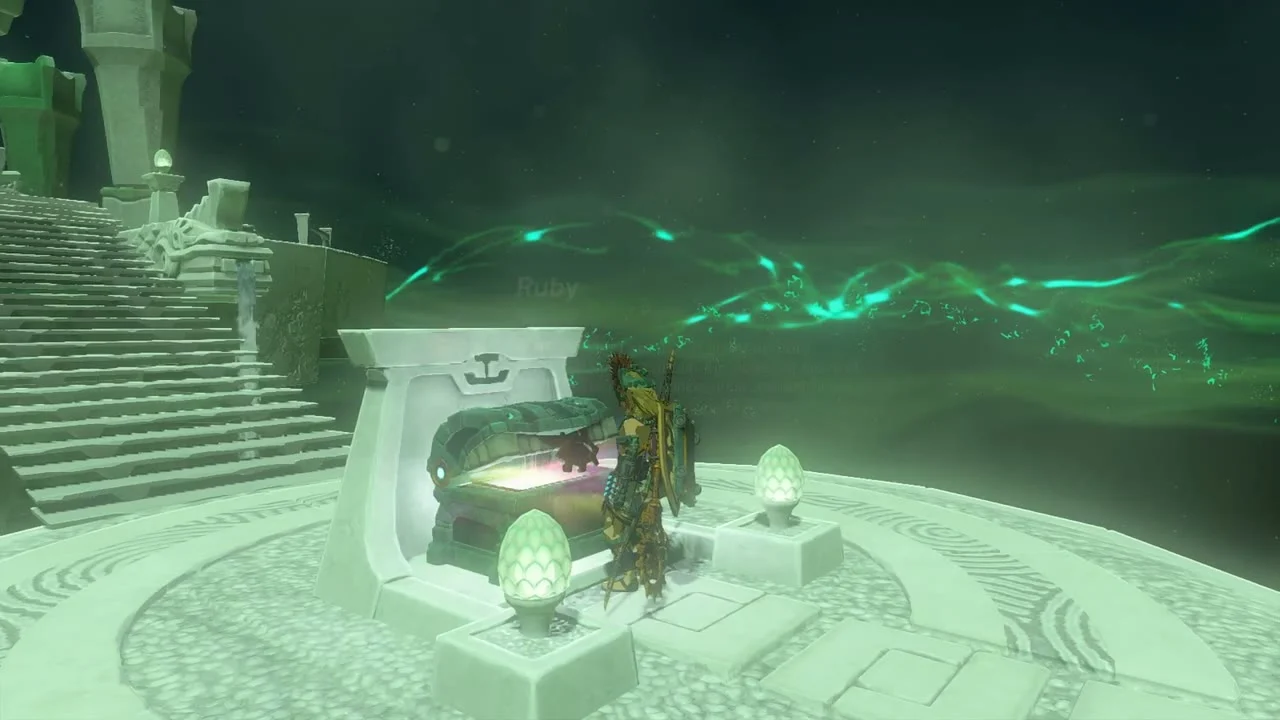
Gikaku Shrine at (4505, 2166, 1168). Trial Rauru’s Blessing; there is no puzzle. Open the chest inside the entrance for a Ruby, then take the Light of Blessing from the altar. There is no Lightroot under a sky shrine.
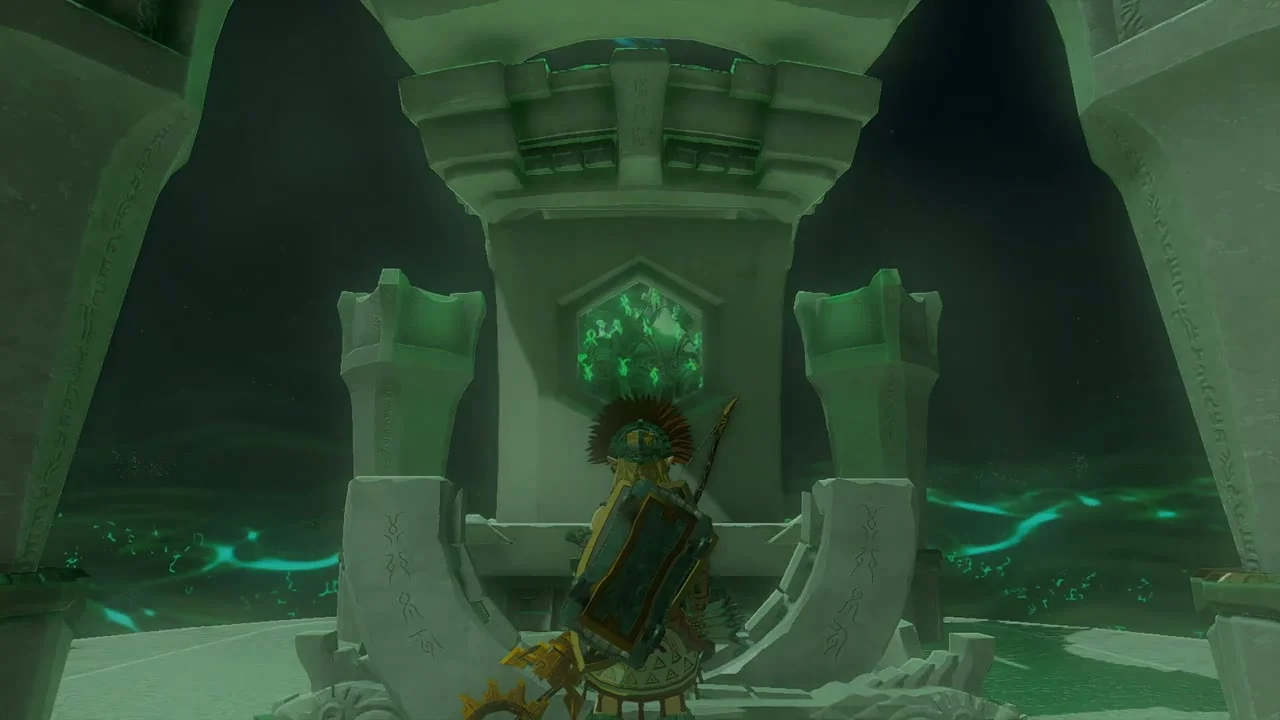
Find Sage’s Will
A chest beside a pedestal on a circular ruin platform in the sky holds Sage’s Will. Offer four of these at a Goddess Statue to deepen your connection with the Sages.
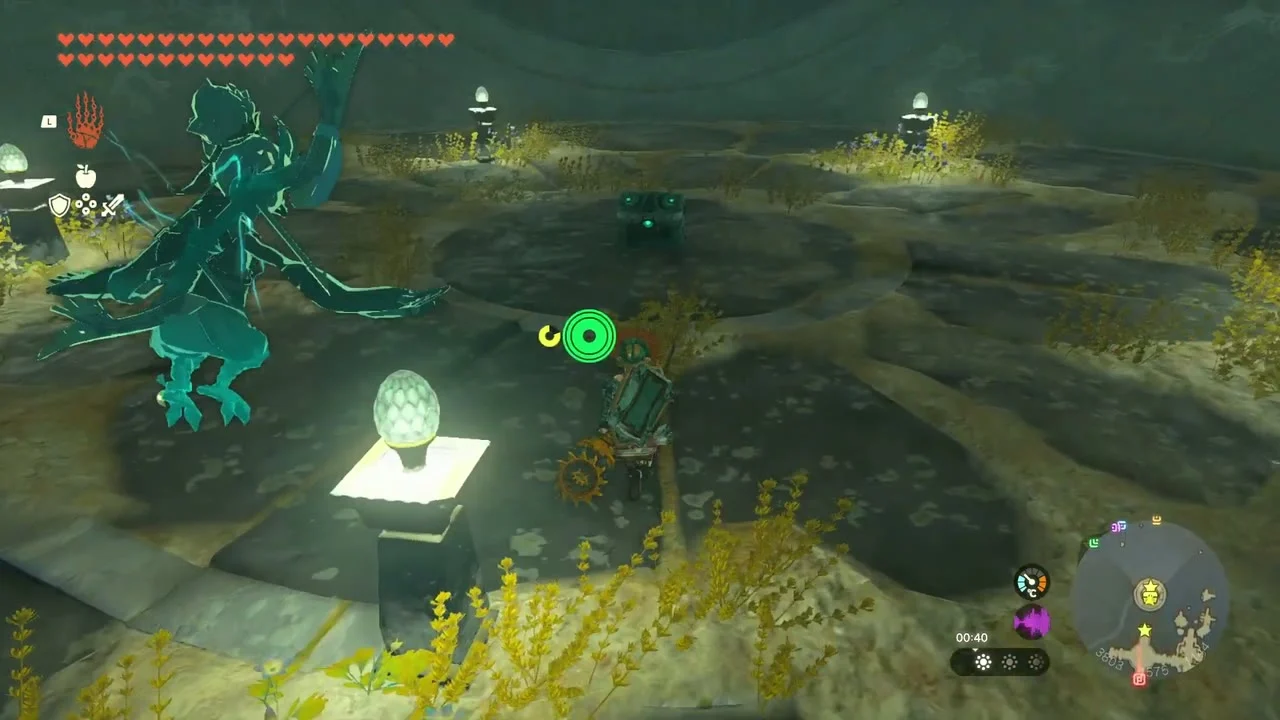

Carry the Sokkala crystal to Natak Shrine
In the Sokkala Sky Archipelago (3739, 1689, 1895), step on the stone arch to begin The Sokkala Sky Crystal. Follow the green beam to the crystal block, free it with Ultrahand and carry it to the stone altar in the shrine’s ring; the beam marks the way.
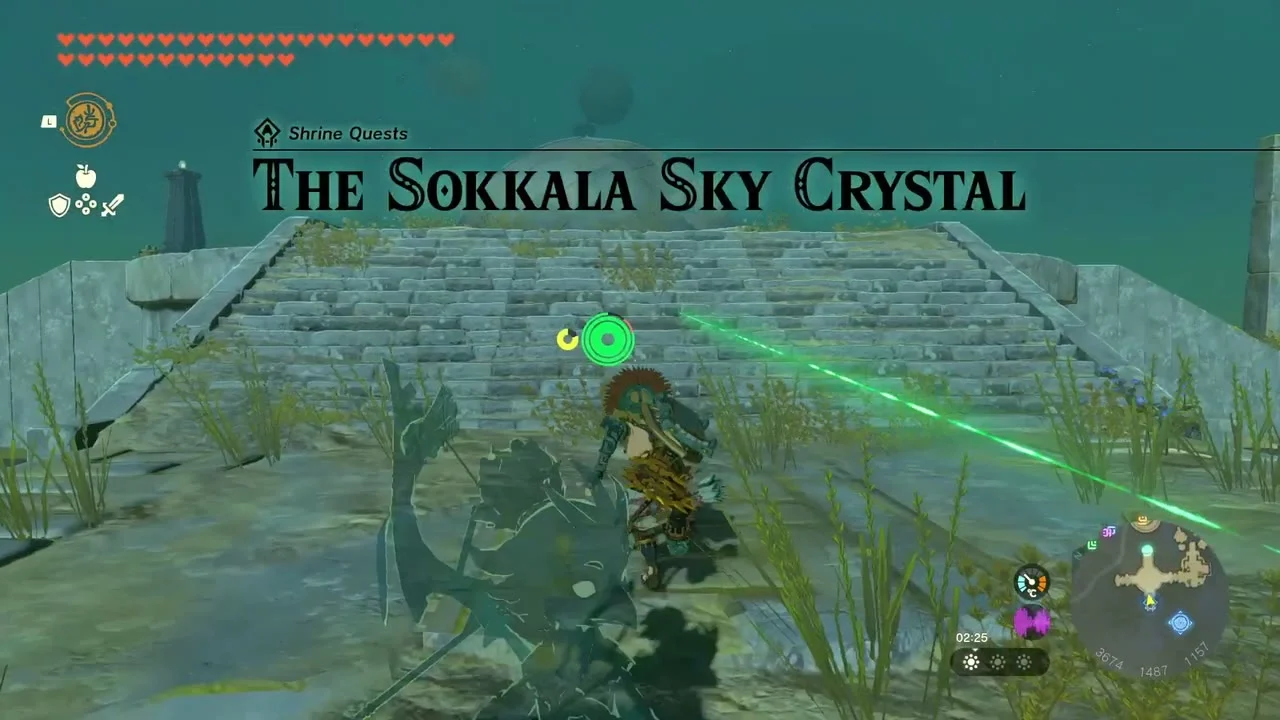
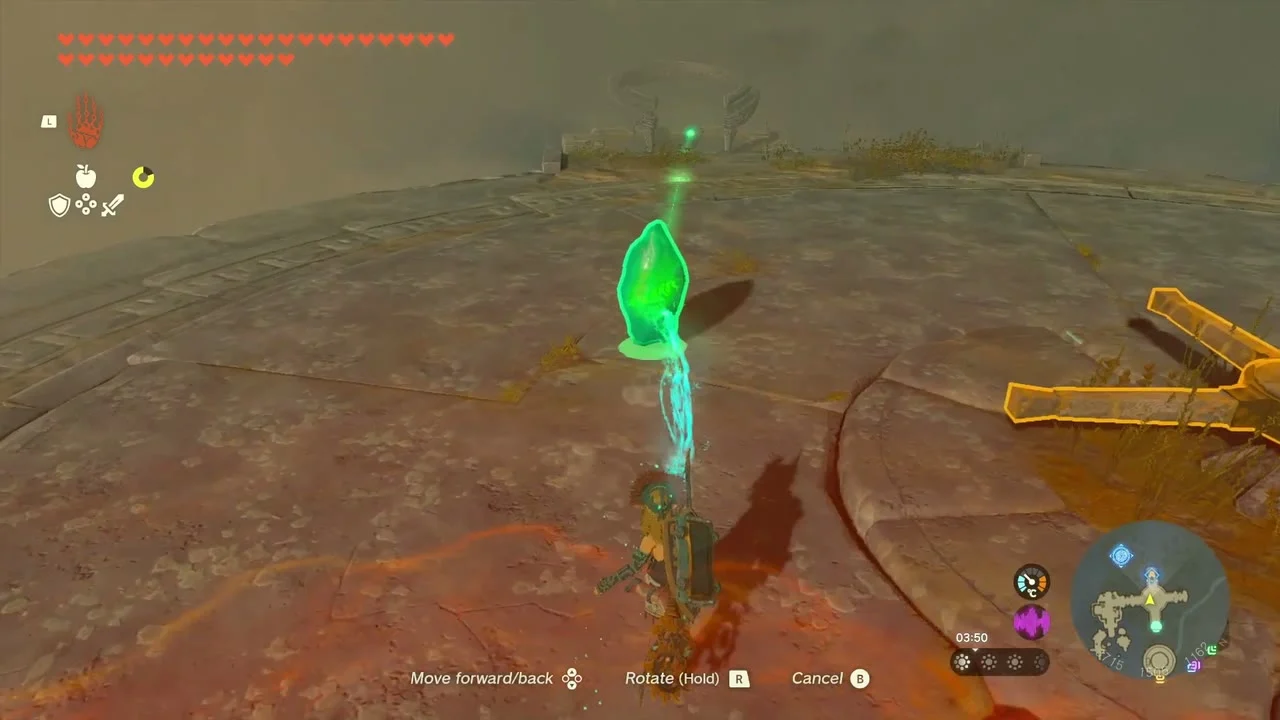
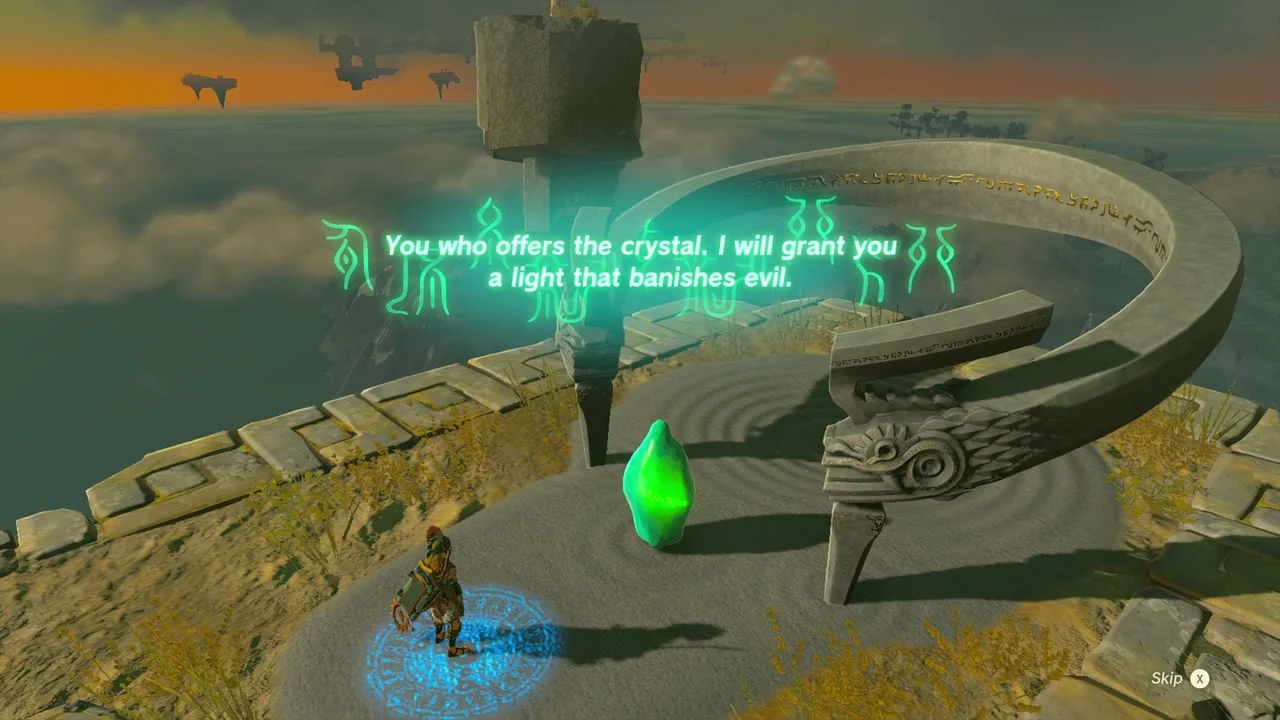
Enter Natak Shrine
Natak Shrine at (3670, 1483, 1171). Trial Rauru’s Blessing. Open the chest inside for an Enduring Elixir, then take the Light of Blessing at the altar.
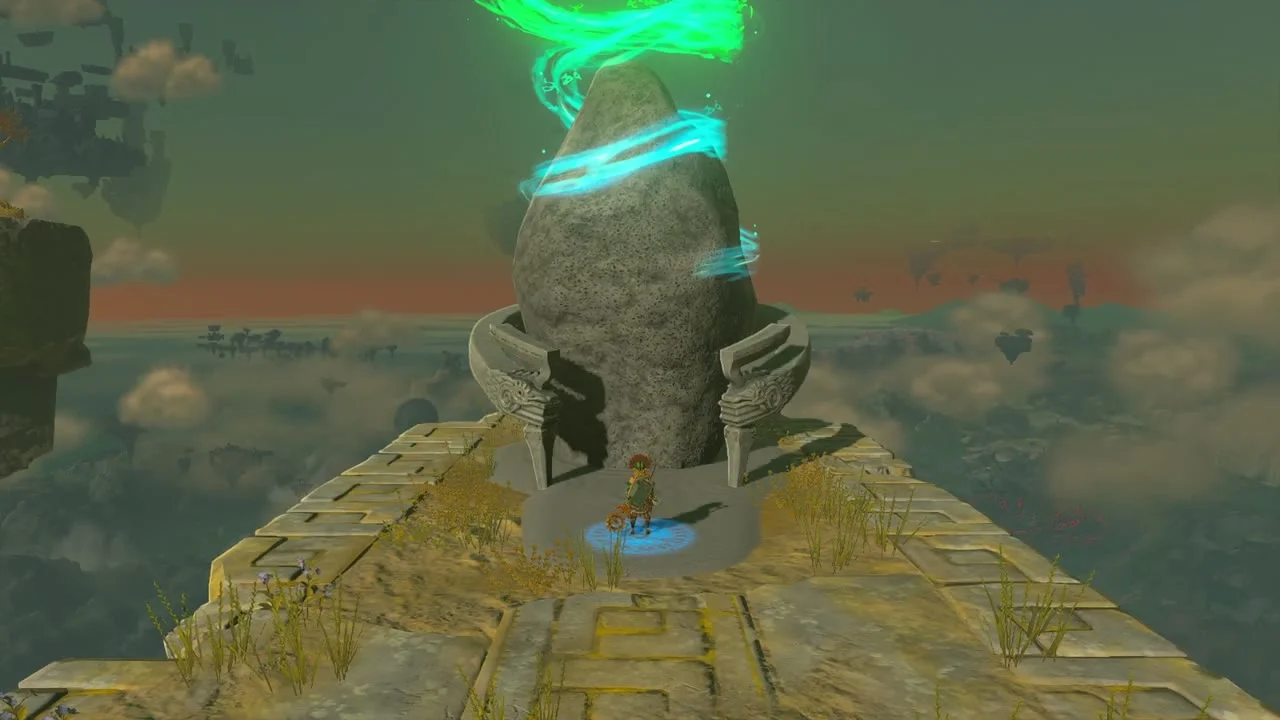
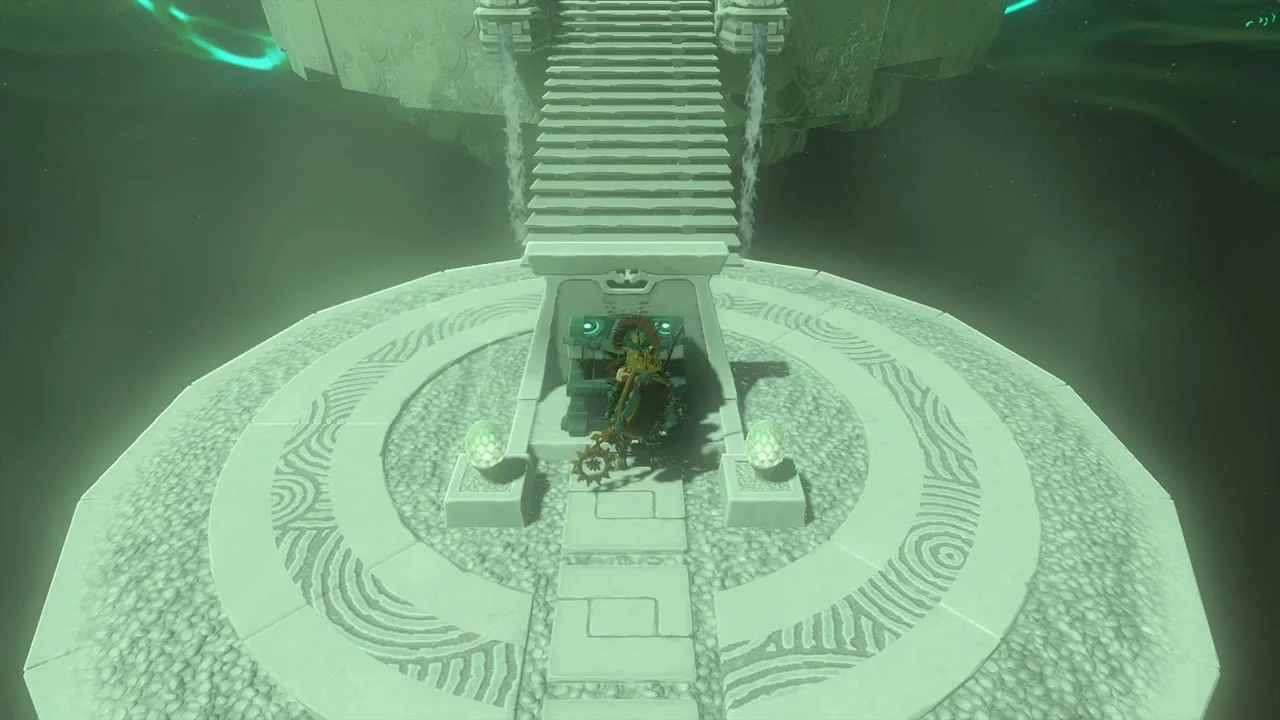

Defeat Flux Construct II
Miniboss: Flux Construct II, the guardian of its own archipelago, appears on another stone platform covered in crates. The fight follows the same pattern as the first: strike its core between crate throws. Zonai Charges drop afterwards.


Open the third Old Map chest
A chest on the platform gives the third Old Map. The chest sits atop the platform near (3661, 1800, 988), and the map leads to Rist Mine in the Depths, near (4516, 2170, -453), the first stretch you walk next.
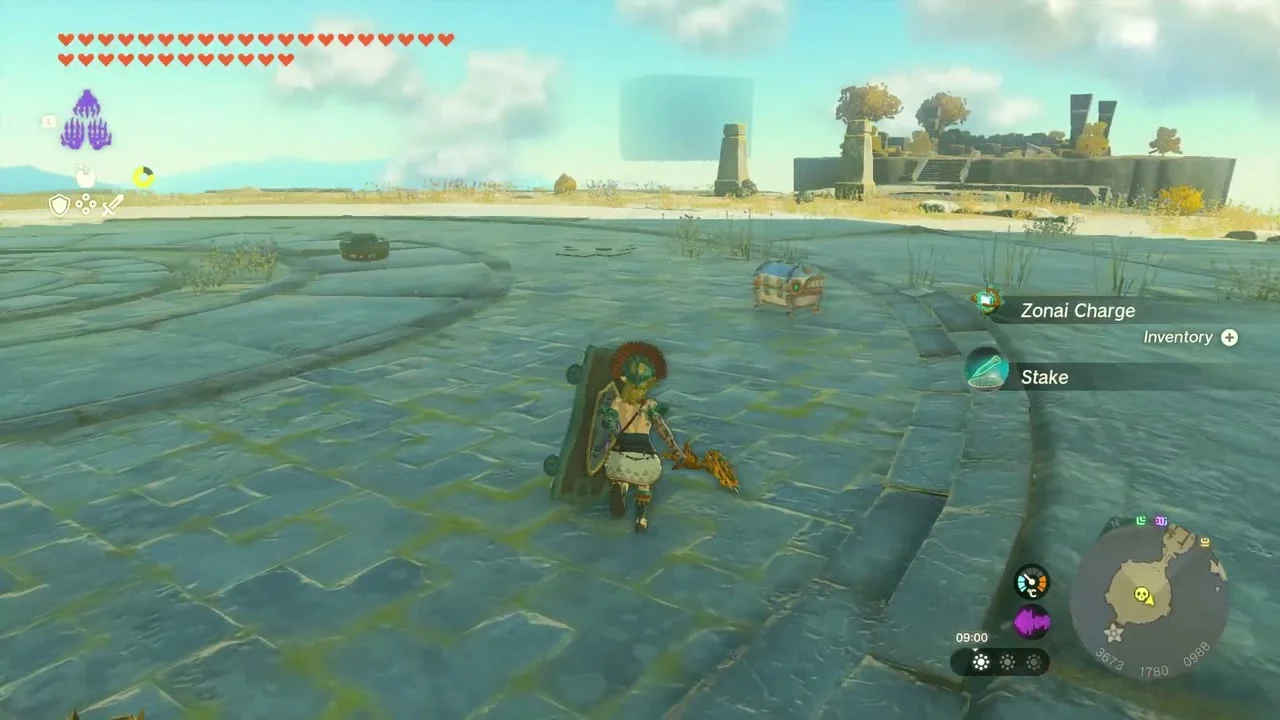
Trade for the Heart Container in Tarrey Town
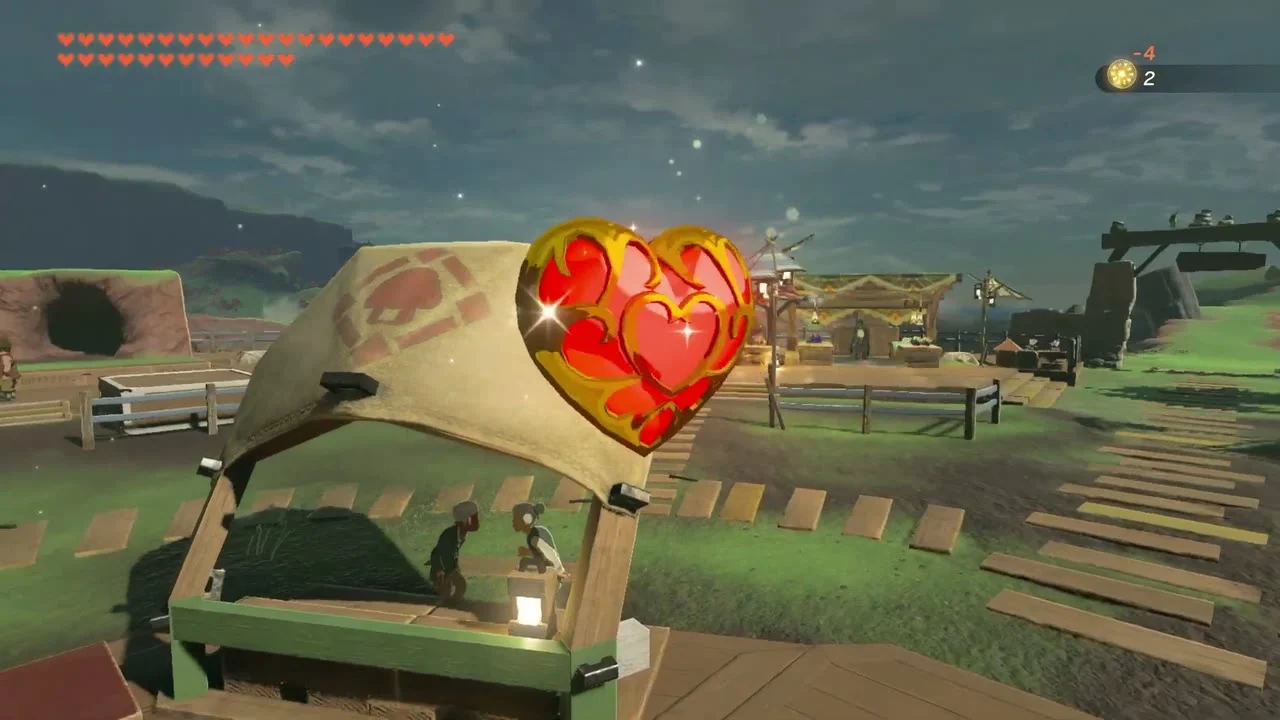
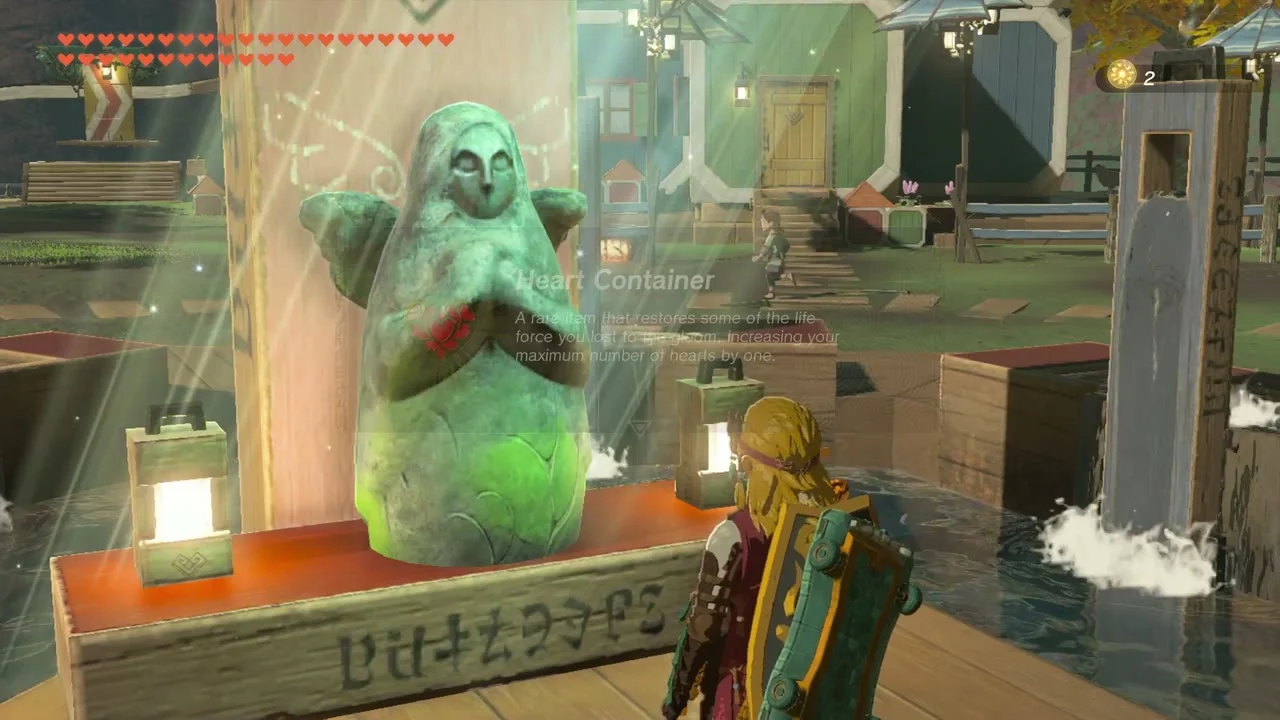
The Goddess Statue in Tarrey Town trades Lights of Blessing for Heart Containers. Offer four Lights of Blessing at the statue and take the Heart Container.

Depths of the Akkala Highlands
Light Kimimeg Lightroot
Kimimeg Lightroot (4512, 2115, -474) sits in the Akkala Highlands Depths under Gemimik Shrine. Drop in from the nearest chasm and light it to anchor the sweep. Bring Brightbloom Seeds and a Zonai vehicle with batteries.

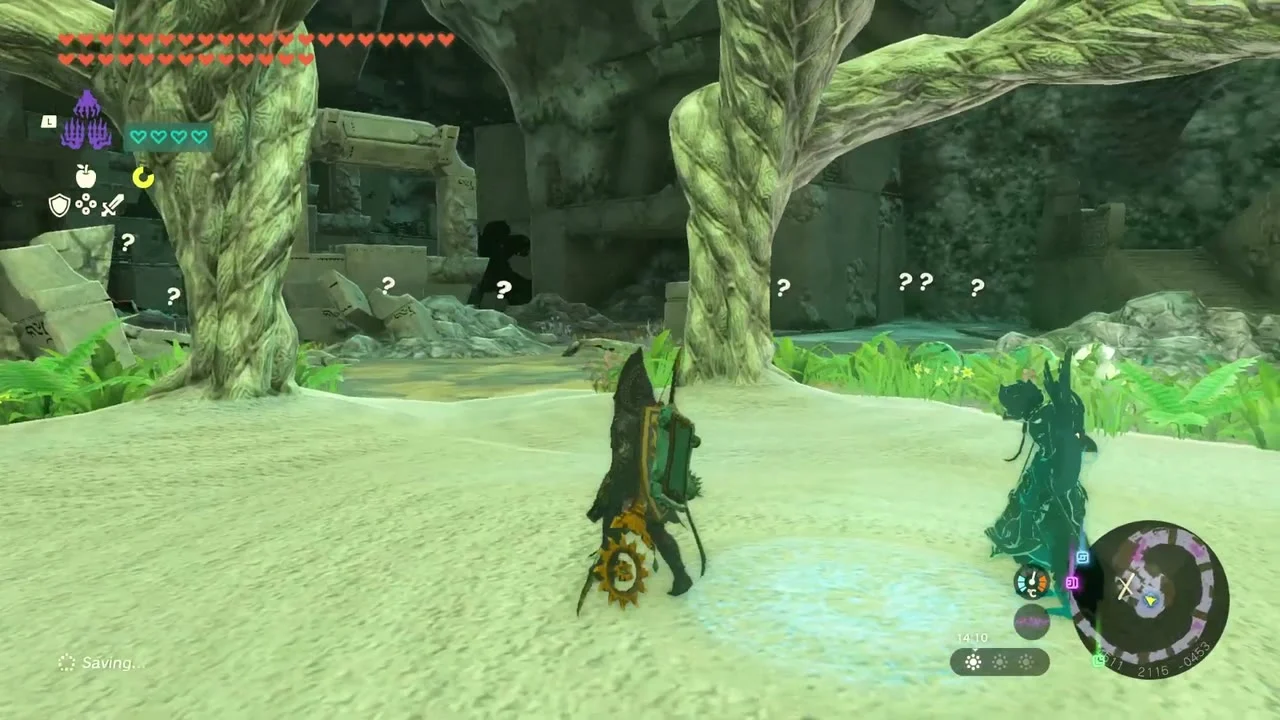
Collect the Tunic of Twilight at Rist Mine
The chest at Rist Mine holds the Tunic of Twilight, a body armor piece modelled on Link’s outfit from Twilight Princess.


Defeat the Black Hinox
Miniboss: Black Hinox. Shoot its eye to stagger it, then climb on and attack its head. Bomb Flowers and fused arrows make this faster.

Enter the Abandoned Tarrey Mine
The Abandoned Tarrey Mine (3969, 1715, -305) lies directly under Tarrey Town. The entrance leads into a stone hall with a Forge Construct, which processes Zonaite you bring it into other materials.


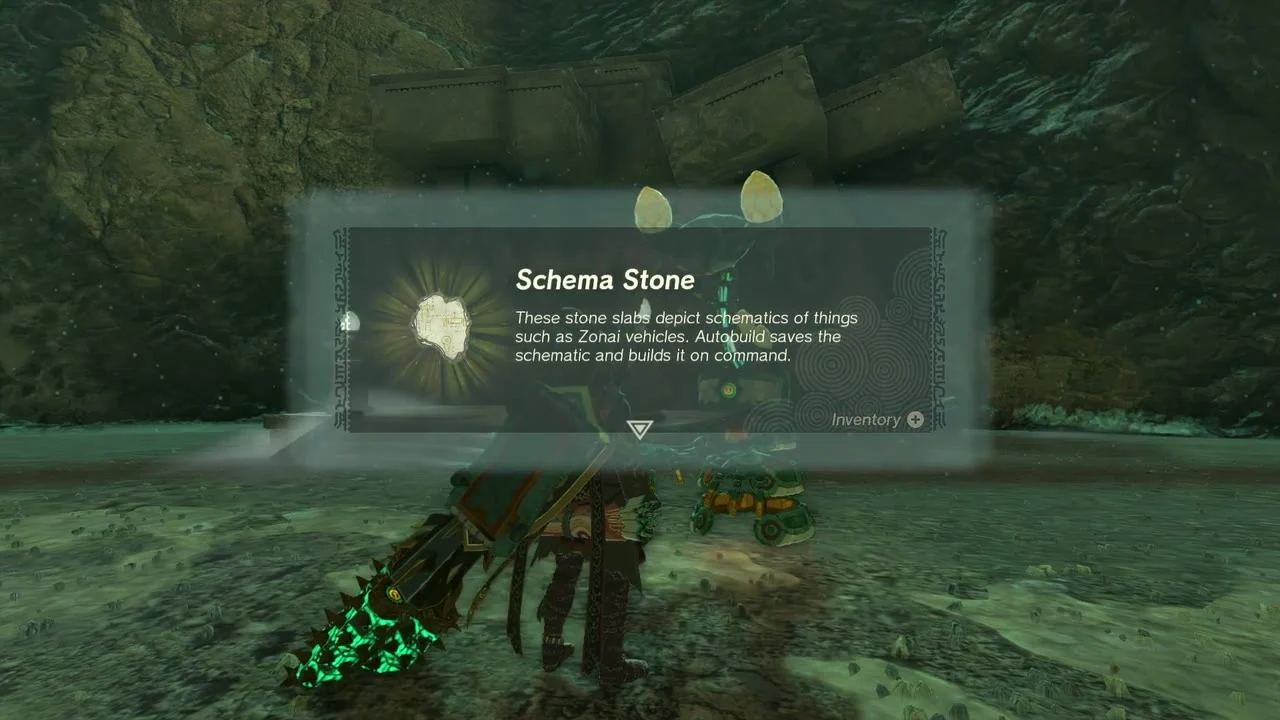
Take the Schema Stone
Speak to the Steward Construct inside the mine and take a Schema Stone, which lets Autobuild save and rebuild Zonai vehicle designs.

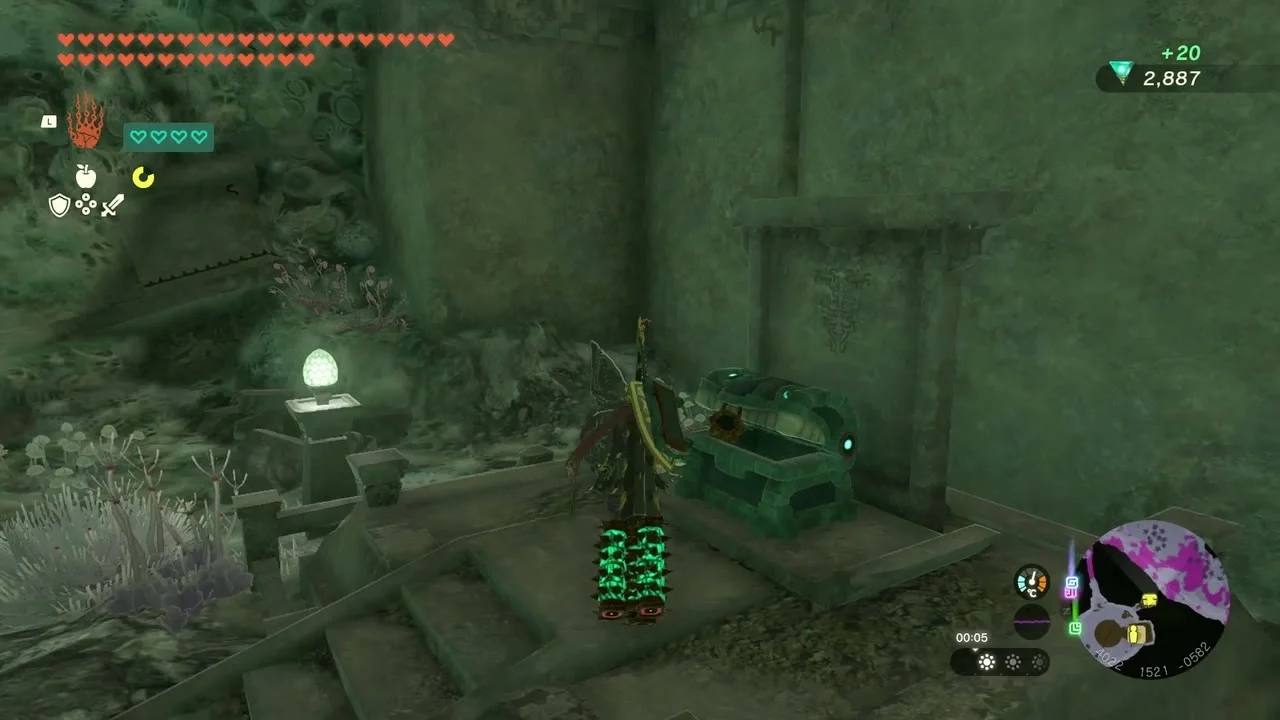
Open the Large Crystallized Charge chest
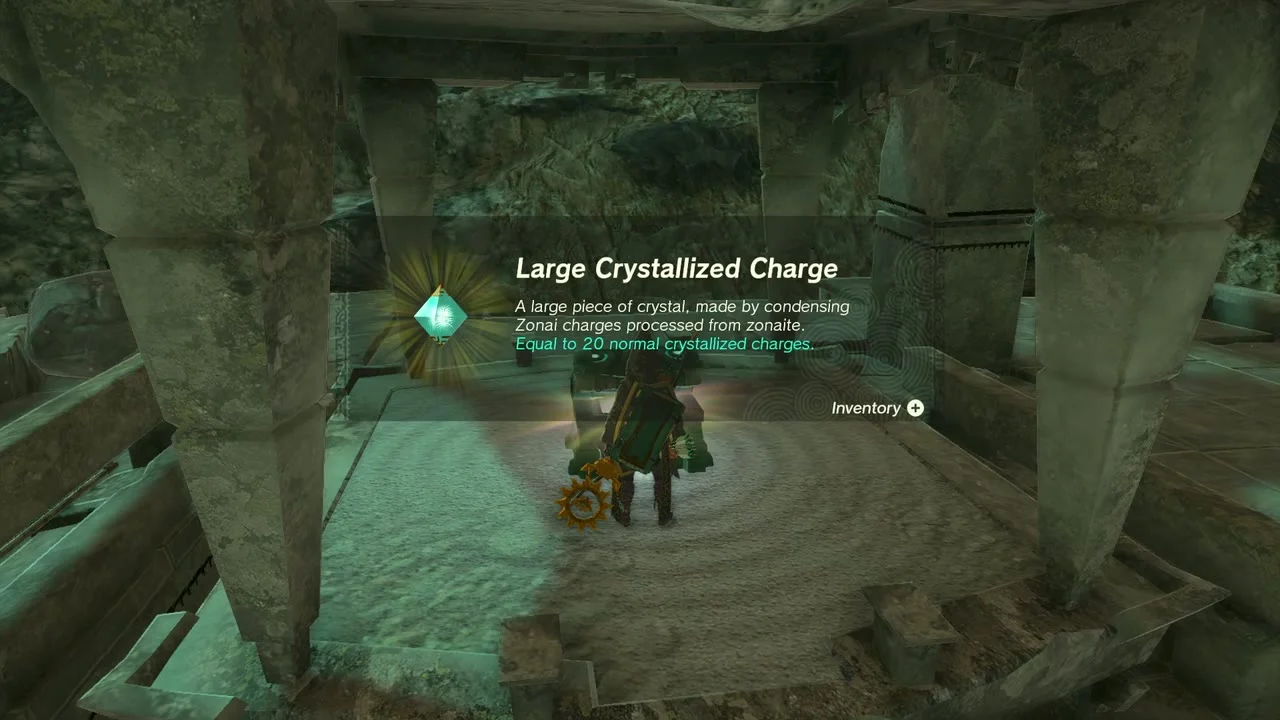
A short walk further through the mine, a chest beside a stone stair gives a Large Crystallized Charge, worth 20 normal Crystallized Charges.

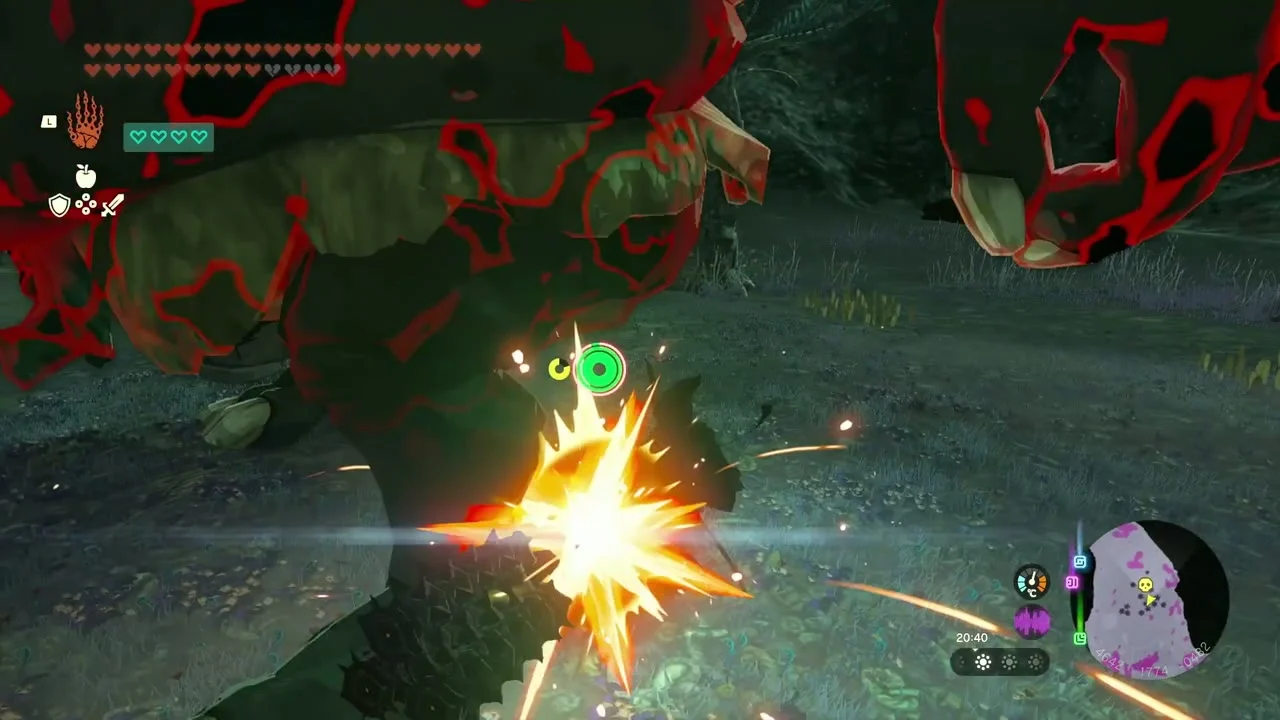
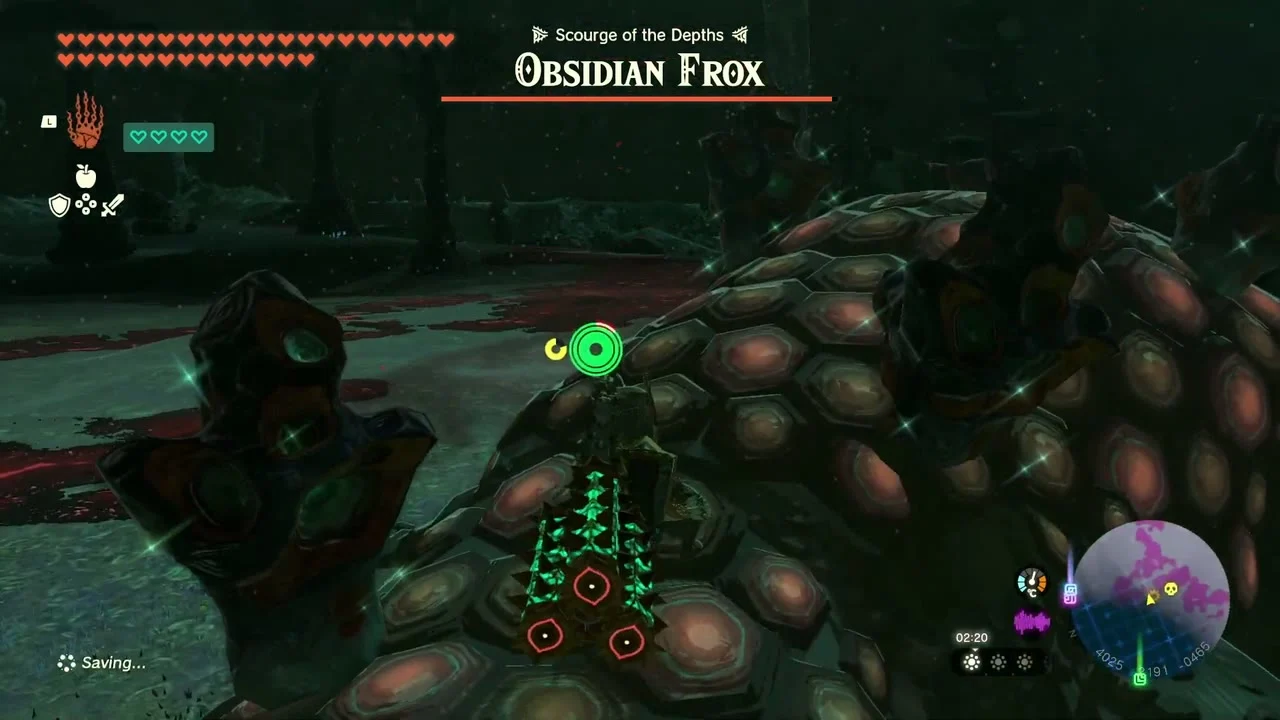
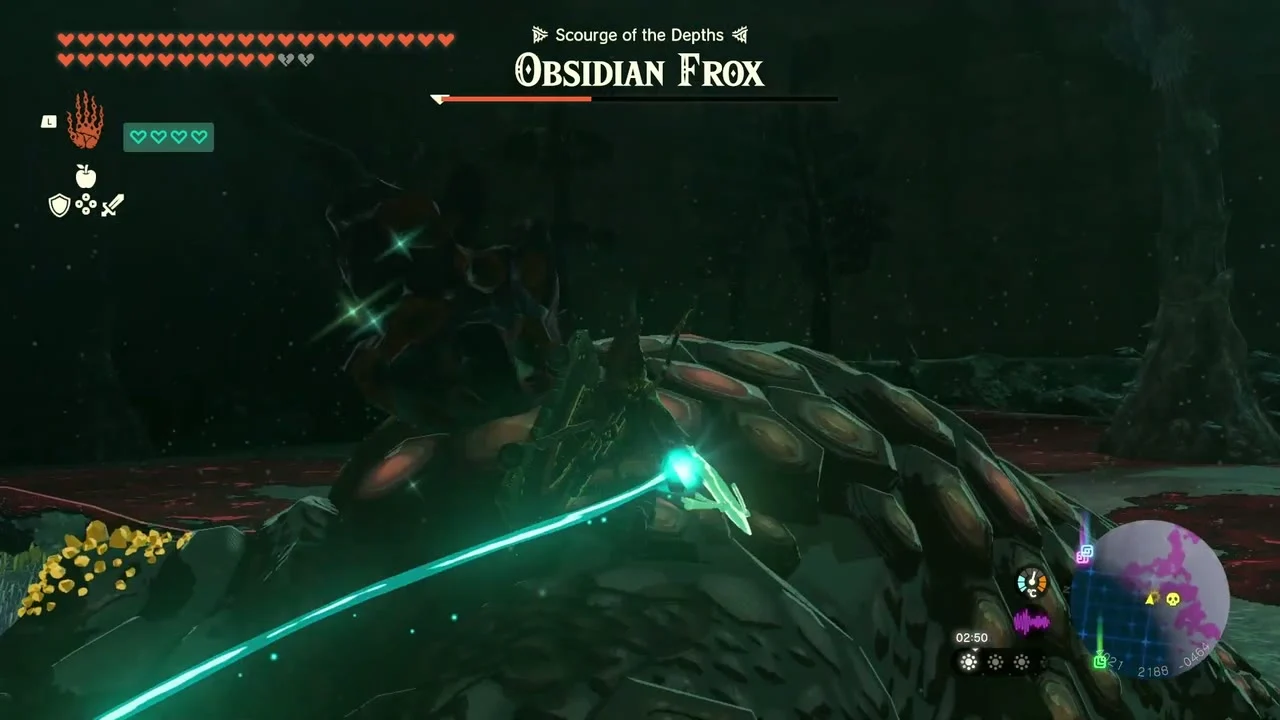
Defeat the Obsidian Frox
Miniboss: Obsidian Frox. Stay clear of its stomps, hit its eye and fuse Ice Fruit or Shock Fruit to arrows to slow it. It drops Zonaite.

Light Akinatanis Lightroot
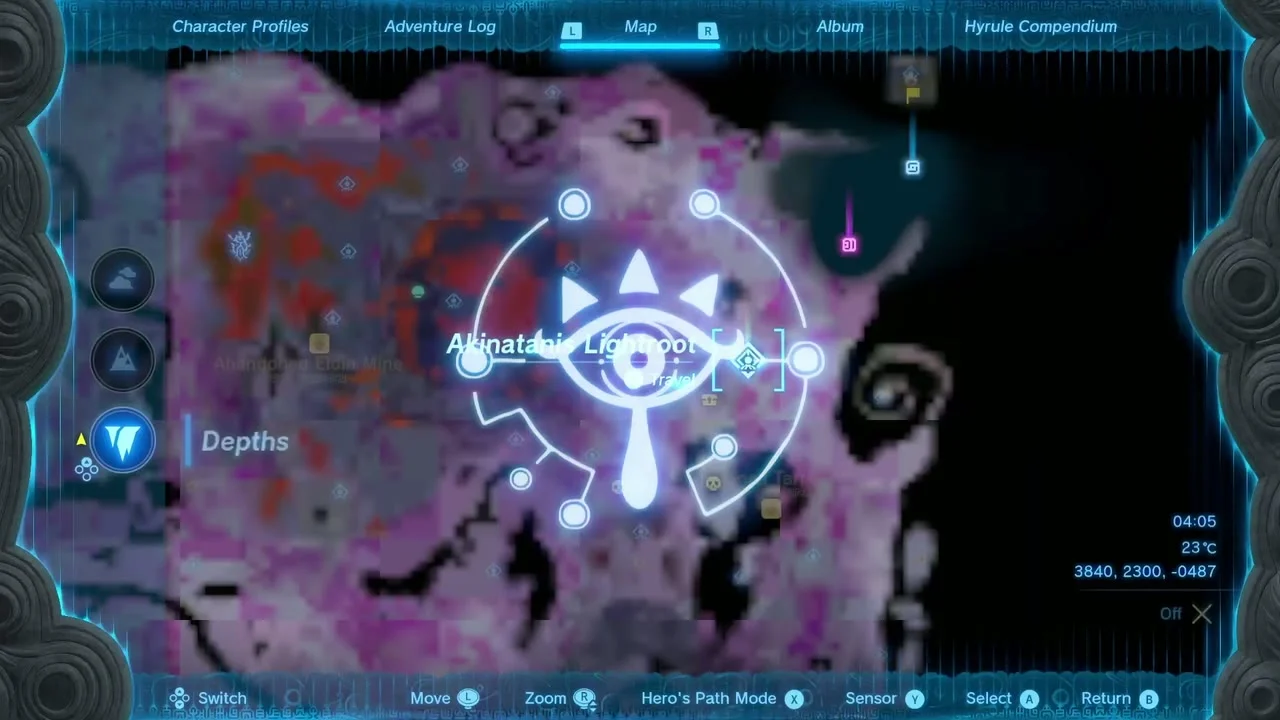
Akinatanis Lightroot at (3840, 2300, -508) lies past the Frox arena. It belongs to Sinatanika Shrine above.
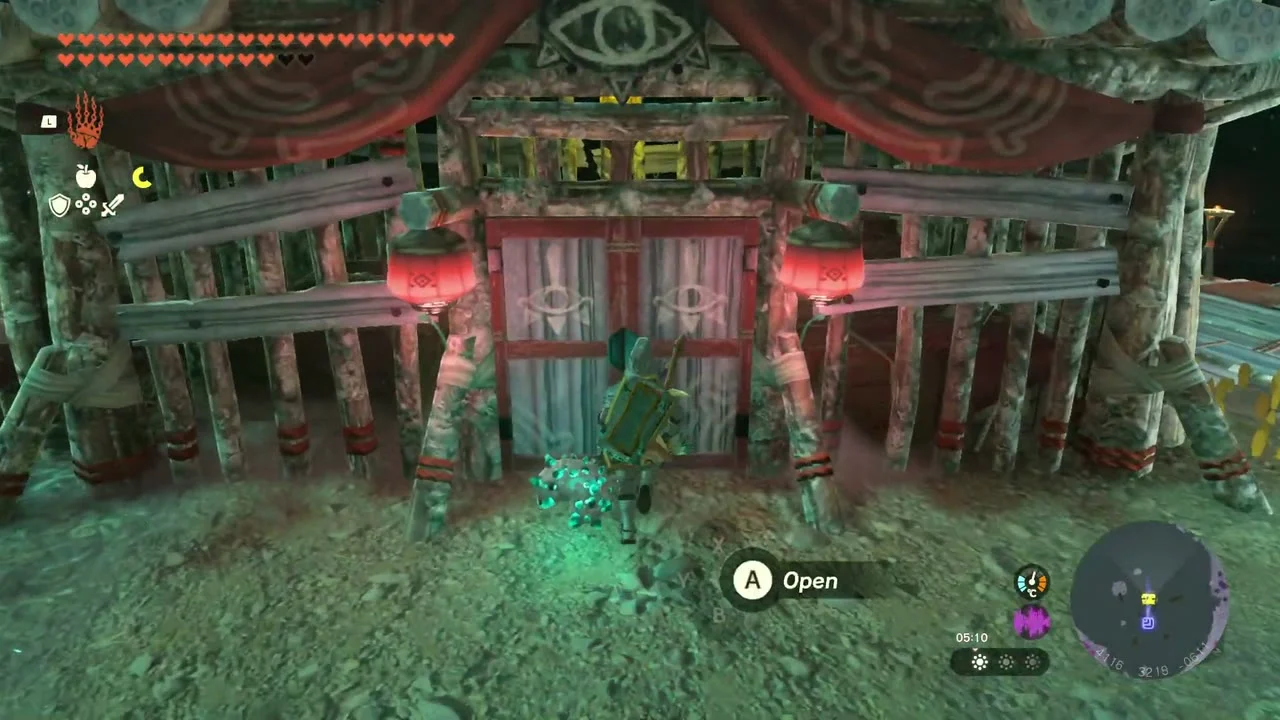
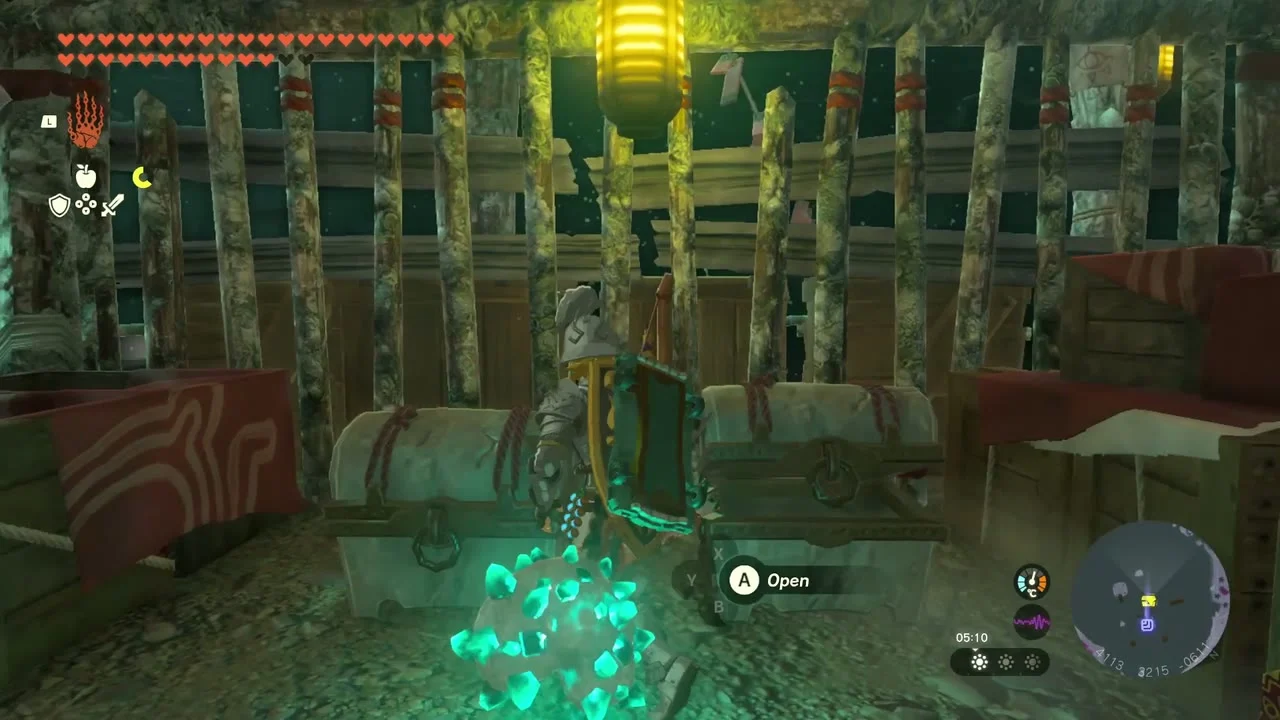
Raid the first Yiga hideout
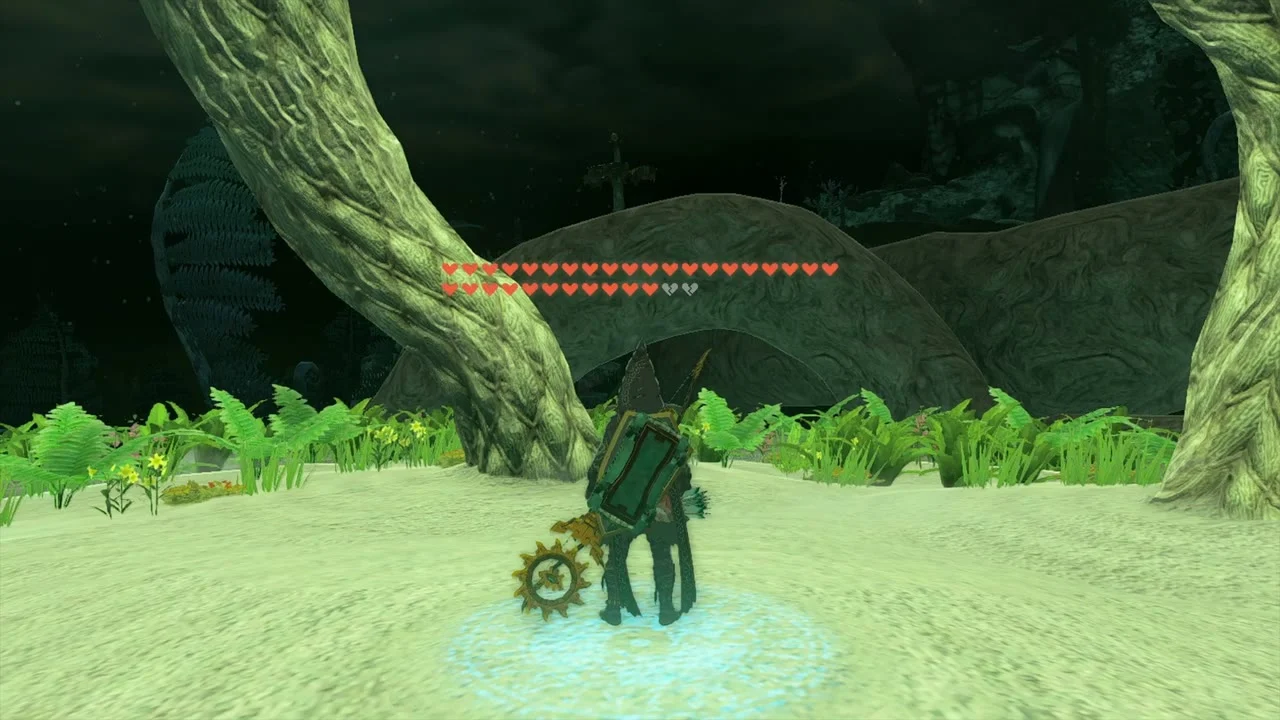
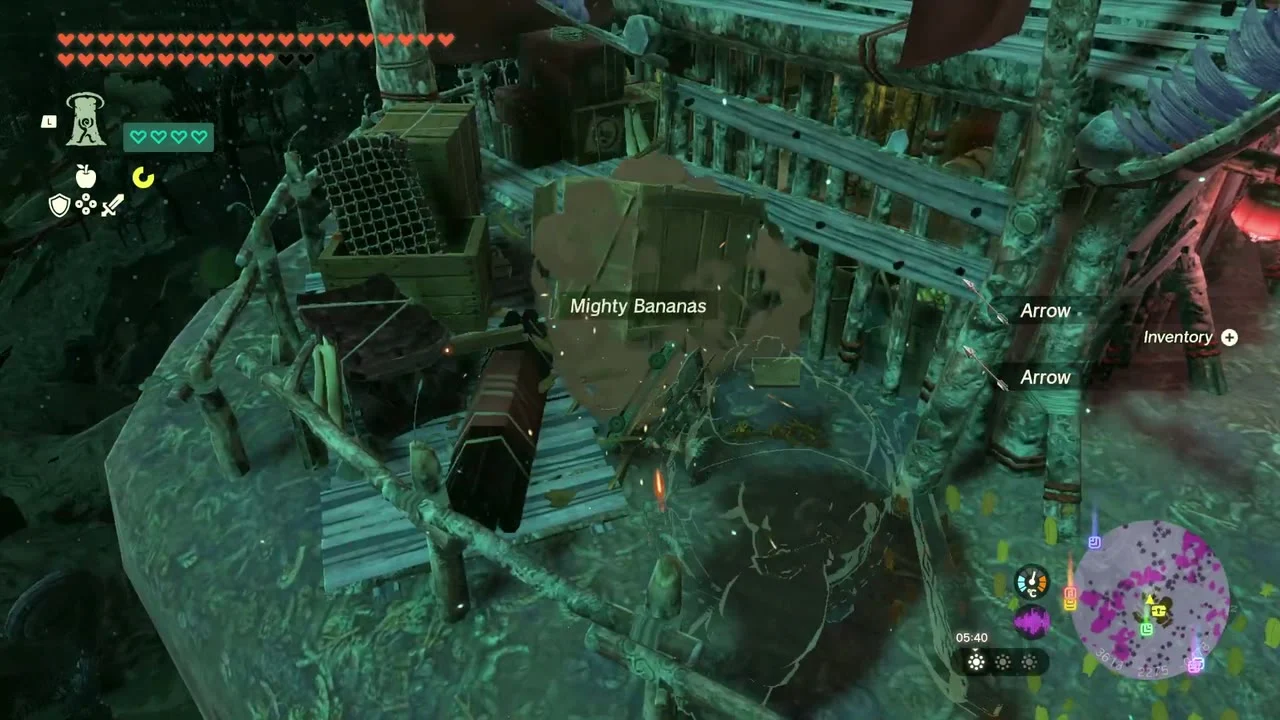
A wooden Yiga hideout lies beyond the Lightroot. Fight past the Yiga guards and open the chests in the main tent for a Large Crystallized Charge and a Yiga Schematic, which adds a vehicle design to Autobuild.


Open the chest at Ulri Canyon Mine
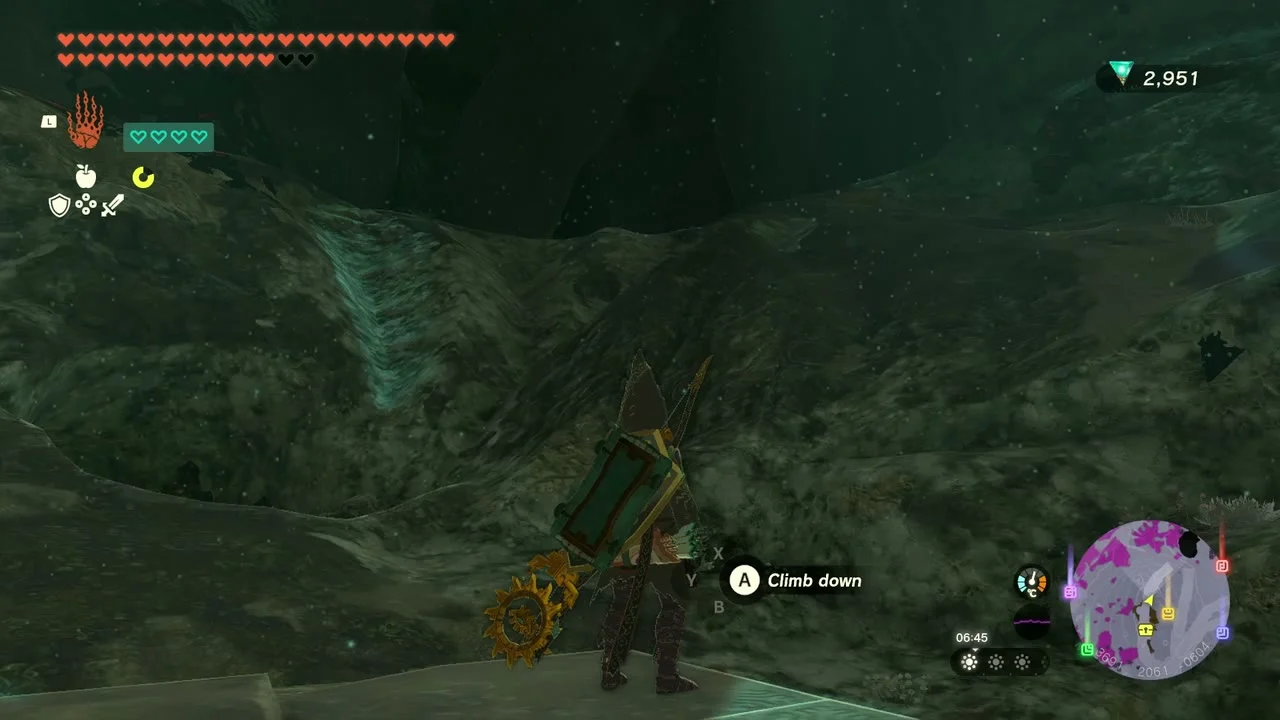
Ulri Canyon Mine (3683, 2044, -660) lies under Ulri Mountain. Open the chest in the stone chamber for another Large Crystallized Charge.
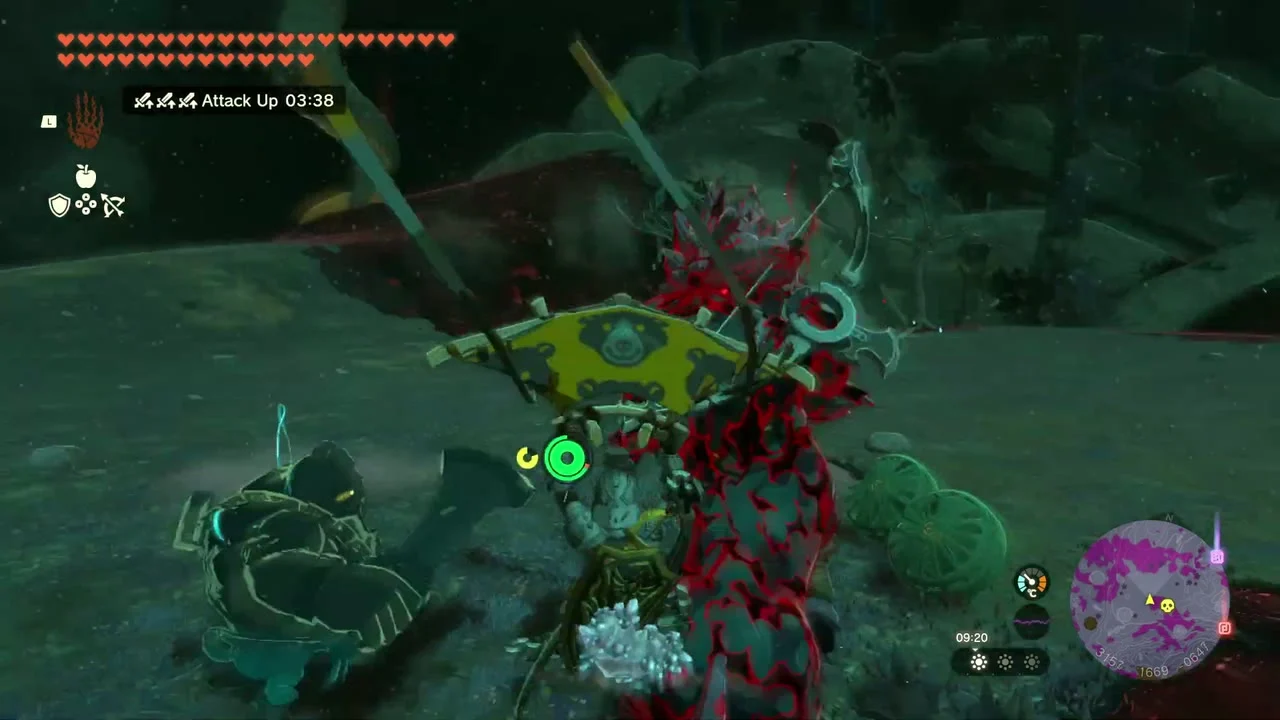
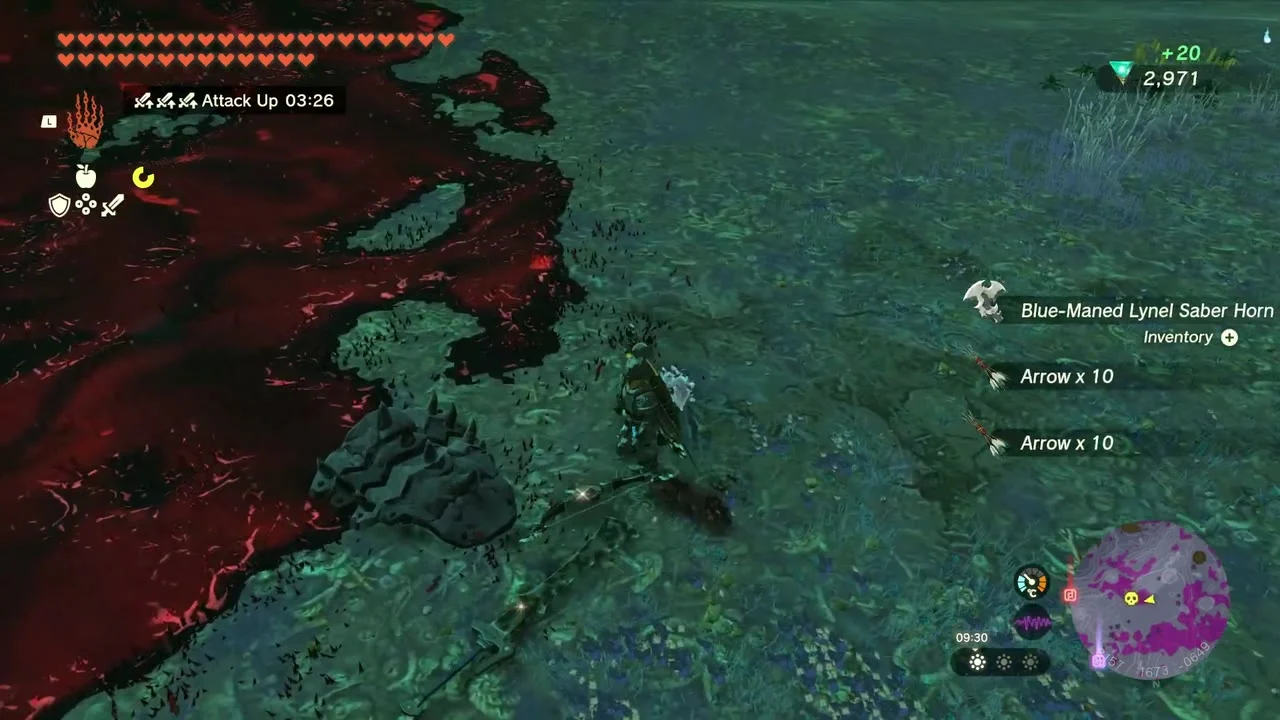
Defeat the Armored Blue-Maned Lynel
Miniboss: Armored Blue-Maned Lynel. Fuse a sturdy shield, dodge its charge and counter after it attacks. It drops a Blue-Maned Lynel Saber Horn and Arrow x10 twice.
Defeat Mucktorok
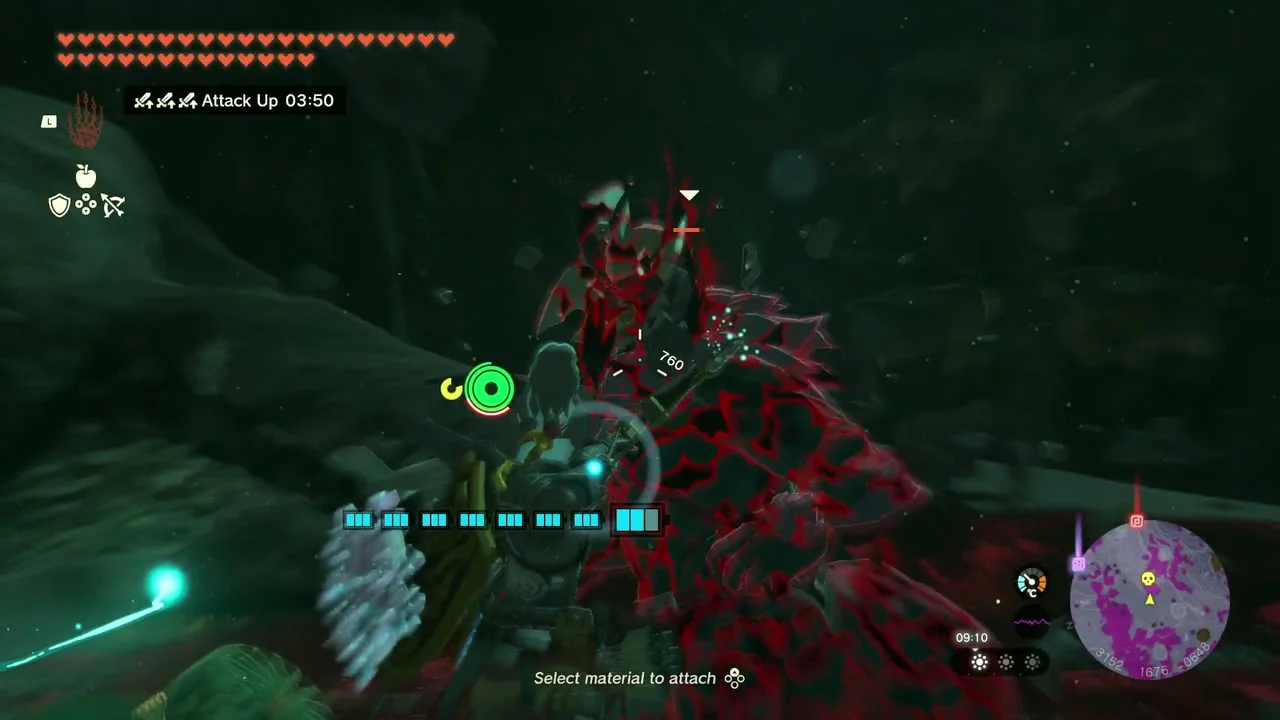
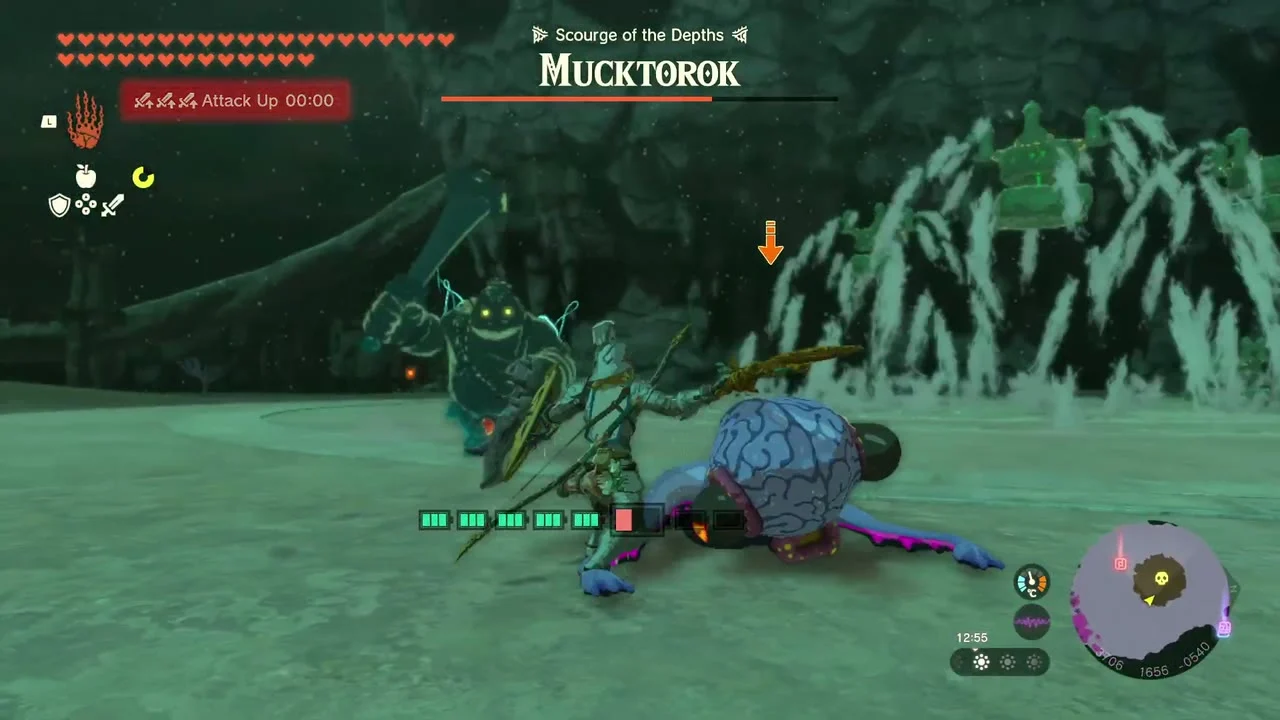
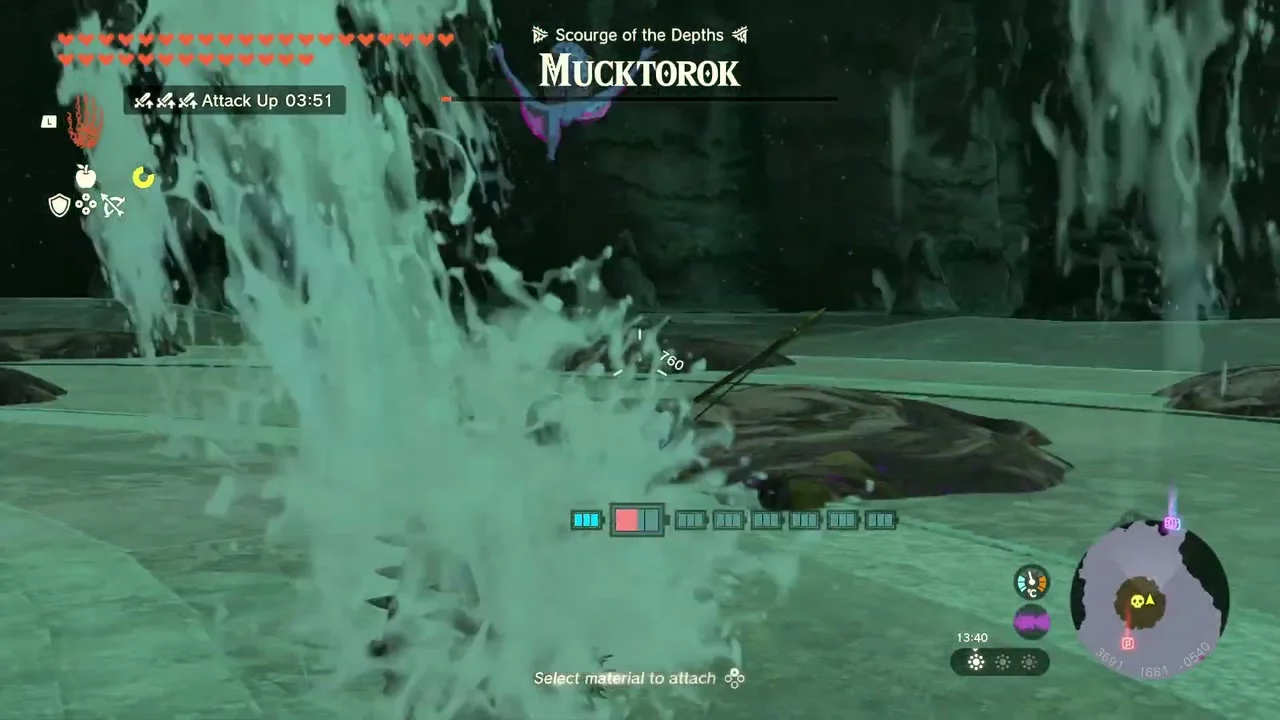
Boss: Mucktorok (Depths). Keep moving to avoid the water geysers that erupt across the arena, and strike or shoot its exposed body when it surfaces. It drops Octorok Eyeball, Octorok Tentacle and Octo Balloon.


Open the Huge Crystallized Charge chest
After the fight, a chest on a stone pedestal in the arena holds a Huge Crystallized Charge, worth 100 normal Crystallized Charges.


Buy the Tunic of Memories at the Bargainer Statue
At the Wellspring of Power (3733, 2563, -352), the Depths counterpart of the Spring of Power and a short trip north of Akinatanis Lightroot, a Bargainer Statue trades equipment for Poes. The Tunic of Memories costs 400 Poes and appears once you have fed all six Depths Bargainer Statues; collect Poes from Depths ghosts, then offer them to the statue.
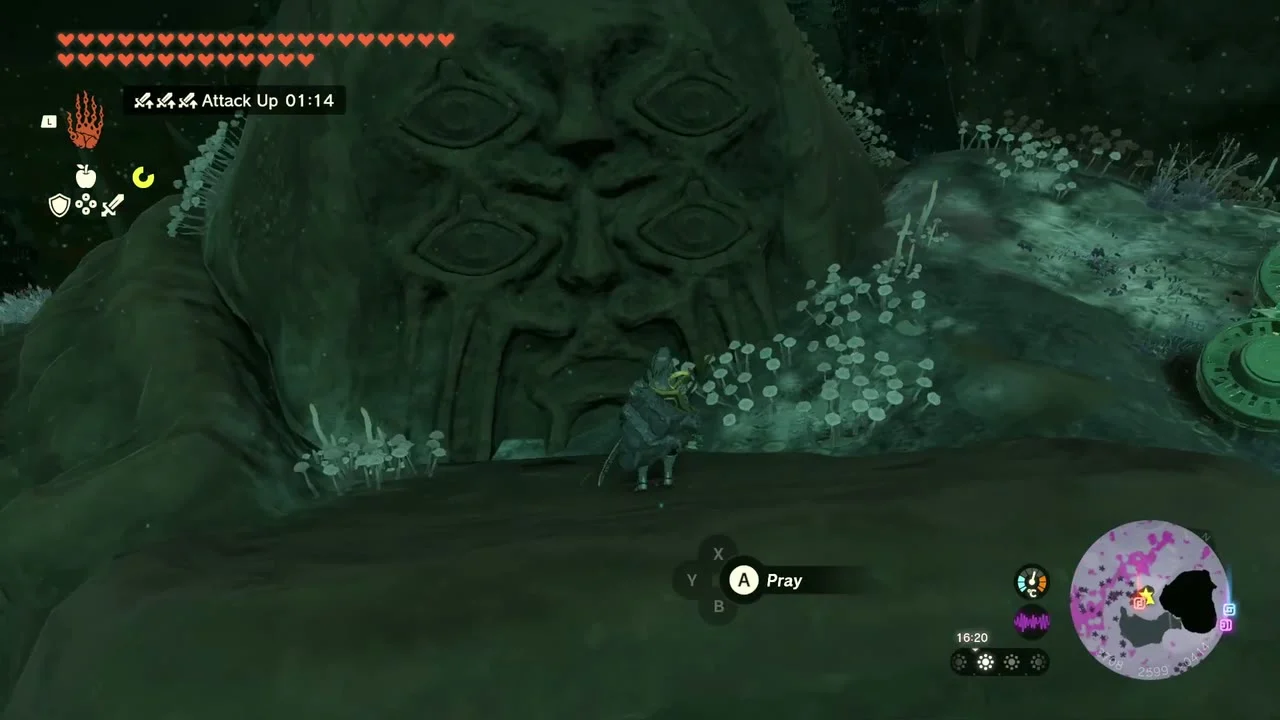

Open the chest at Rok Grove
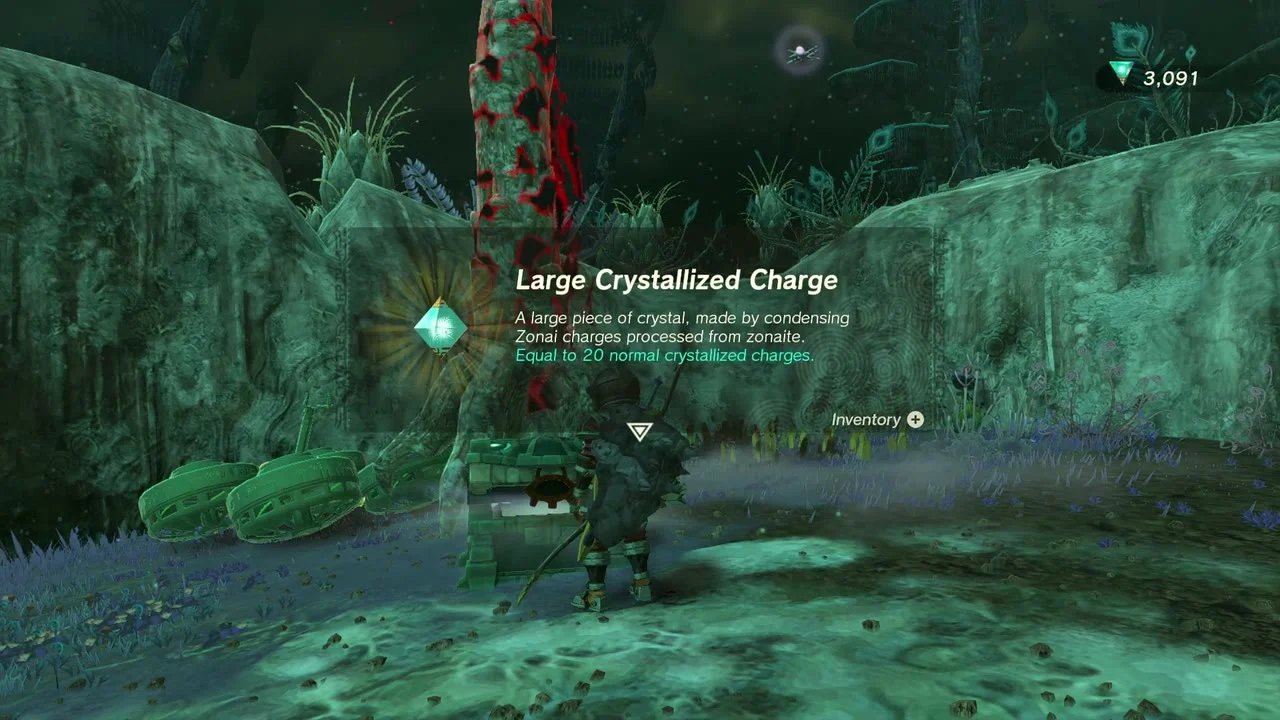
Rok Grove (3359, 3079, -605) holds a chest with a Large Crystallized Charge. The chest is guarded by an Evermean, so clear it first.

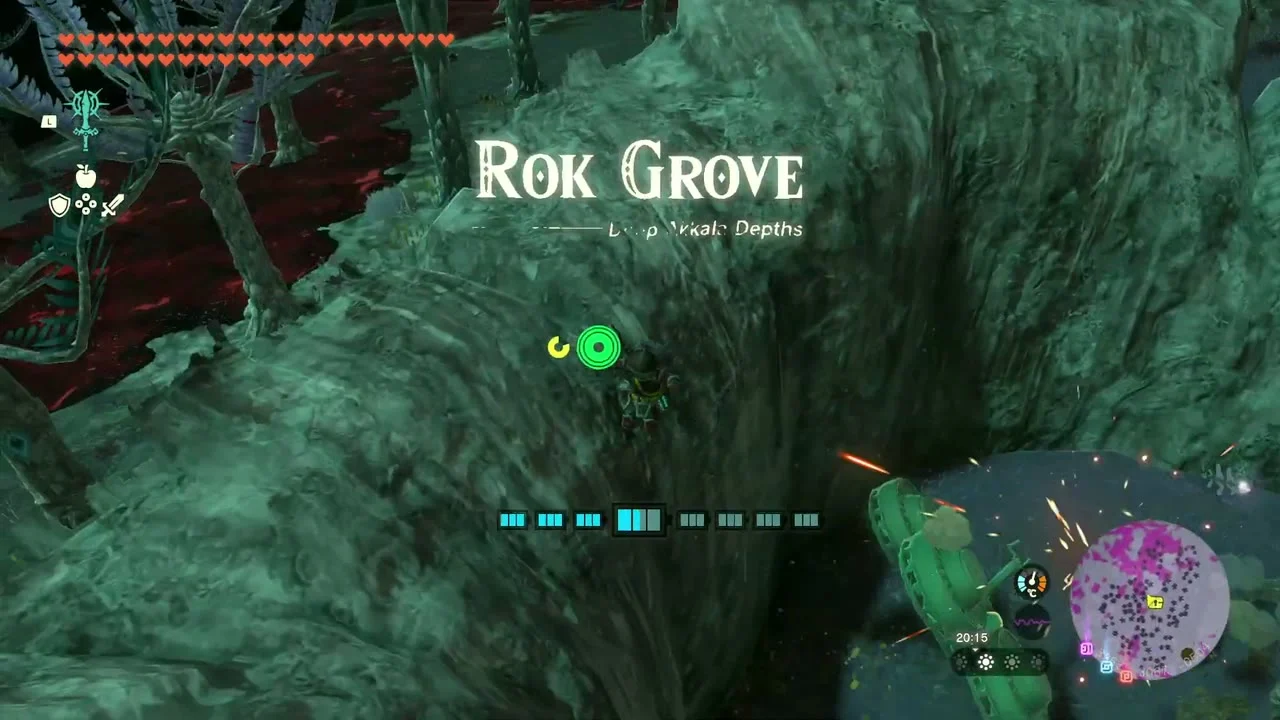
Light Ui-ihcoj Lightroot
Ui-ihcoj Lightroot (4346, 2877, -629) sits in Deep Akkala. It belongs to Jochi-iu Shrine.


Defeat the Armored Silver-Maned Lynel
Miniboss: Armored Silver-Maned Lynel. Block its attacks with a sturdy shield and strike after each charge. It leaves Silver-Maned Lynel parts and weapons.


Light Kawisar Lightroot
Kawisar Lightroot (4663, 3264, -474) in Deep Akkala belongs to Rasiwak Shrine.
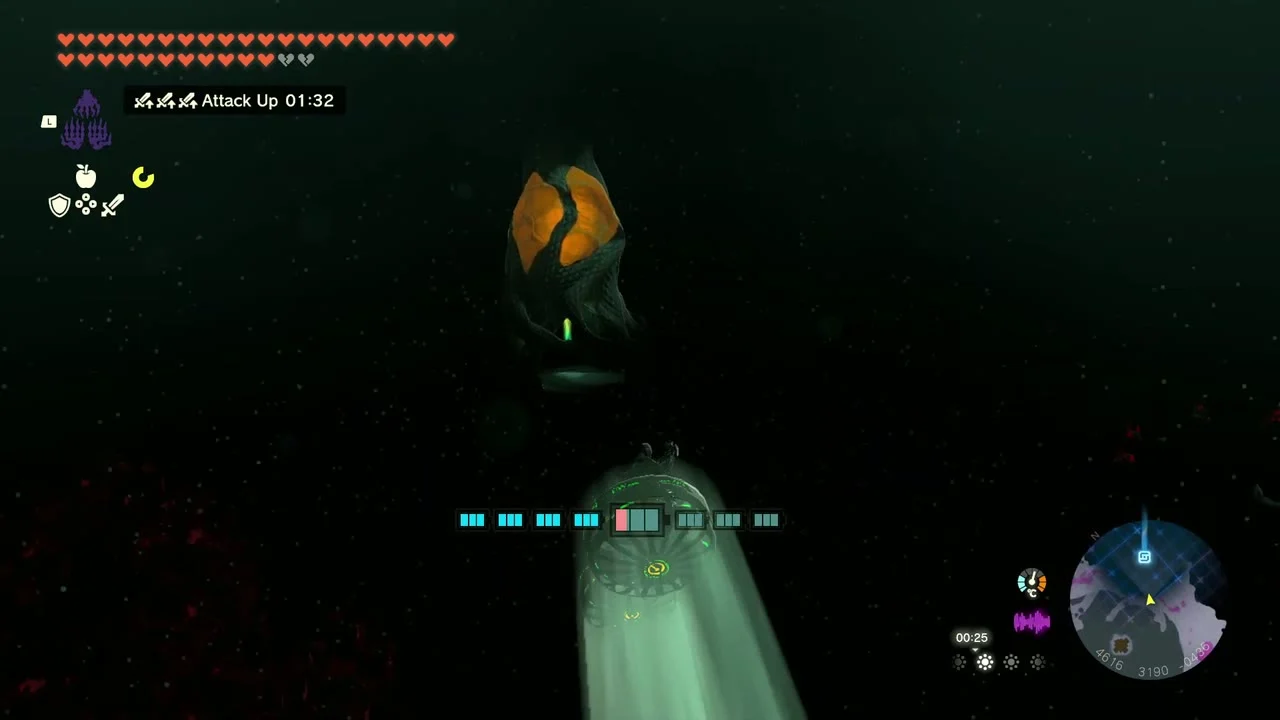

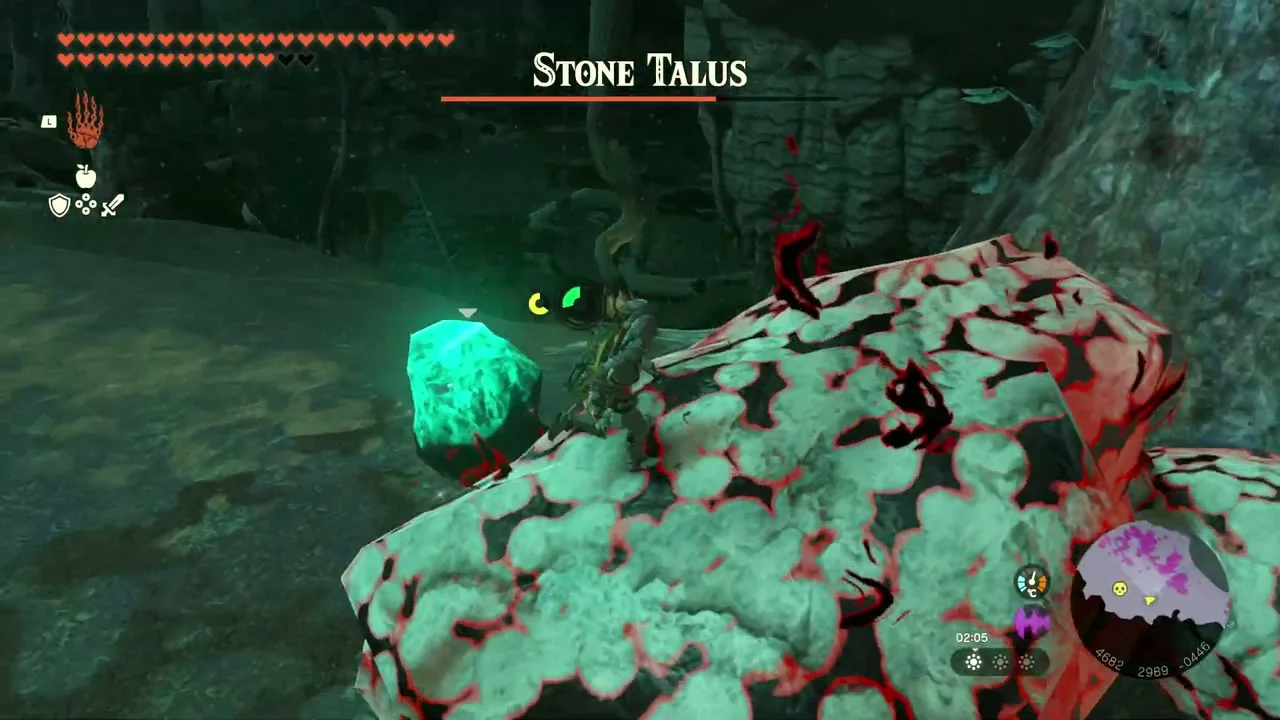
Defeat the Stone Talus
Miniboss: Stone Talus. Stand clear of its fists and strike the glowing ore on its body. It drops Opal, Amber and Topaz.

Loot the last Yiga hideout
A second Yiga hideout of wooden platforms near the end of the sweep holds chests with a Large Crystallized Charge and a Yiga Schematic.

Collectibles in this chapter
- Lightroots (5): Kuhsagi, Kimimeg, Akinatanis, Ui-ihcoj, Kawisar.
- Shrines (2): Gikaku and Natak (sky).
- Korok Seeds (3): one above Lomei Labyrinth Island and two over the Sokkala Sky Archipelago and Sky Mine.
- Chests: Zonaite Bow, Construct spear, Soldier’s Blade, Large Zonaite, Soldier Reaper, Evil Spirit Armor, three Old Maps, Zonaite Shin Guards, Ruby, Sage’s Will, Enduring Elixir, Tunic of Twilight, Large Crystallized Charge x4, Yiga Schematic and Huge Crystallized Charge.
- Key items: Schema Stone, Heart Container.
