





















Tears of the Kingdom 100% Completion Walkthrough43 chapters
Great Sky Island
- Great Sky Island4 shrines, 4 caves and Bubbul Gems, 17 Korok seeds
Hyrule Field and Hyrule Castle
- Lookout LandingParaglider, Crisis at Hyrule Castle, Jiosin and Kyononis shrines, 2 caves, 3 wells
- Hyrule FieldSusuyai and Ishodag shrines, the Hyrule Field Chasm, 2 caves, 13 Koroks
- Hyrule Castle Town RuinsSepapa, Yamiyo and Tukarok shrines, 2 caves, 4 wells, Koroks, chests and Battle Taluses in route order
- Central Hyrule Depthslight all 7 Lightroots, loot Daphnes and Gustaf Canyon Mines, find the Miner's Top
- Rest of Hyrule CastleRoyal Hidden Passage loot, 8 castle chests, Phantom Ganon, Energy Wells
- South Hyrule FieldShrines, Koroks & the Great Plateau
- South Hyrule Field DepthsGreat Abandoned Central Mine, Master Kohga, Autobuild, Majora's Mask
Tabantha and Hyrule Ridge
- Tabantha FrontierNew Serenne Stable, Hestu, Courage Island and the Glide Shirt, 3 shrines, 2 Korok seeds, Lindor's Brow Cave
- Forgotten TempleImpa and the Geoglyphs, Dragon's Tears, Kiuyoyou and Mayausiy shrines, Yiga Maritta Branch, 9 Koroks
- Tanagar Canyon & Hyrule RidgeRunakit and Iun-orok shrines, 2 caves, 12 Koroks, 20 chests, 8 minibosses and Dragon's Tear 6
- Thundra Plateau & Tabantha Bridgesolve the noon shadow puzzle, Tabantha Bridge Stable, Makurukis Shrine, 19 Korok seeds, 9 chests, 3 minibosses
- Lindor's Brow DepthsLightroots; Two Yiga camps (Bomb Bouquet, Flamethrower Balloon)
- Hyrule Ridge and Tabantha FrontierIkatak, Oromuwak, Ganos and Ga-ahisas shrines, 4 caves, a well, 26 Koroks and 3 minibosses
Hebra
- Rito VillageGatakis and Ijo-o shrines, Sikatag Lightroot, 9 Korok seeds, 14 chests
- Hebra MountainsShrines, Wind Temple & Koroks; Raspro Pass, Biron Snowshelf & Royal Hidden Passage
- Corvash Canyon MineTrousers of the Hero, Floodlights schematic, Sea-Breeze Boomerang, four Lightroots, Colgera
- Raspro Pass DepthsNupisoyuat and Sasag Lightroots, Colgera, Cap of Time, Tunic of the Wind, two Yiga camps and 13 minibosses
- Tabantha TundraTaninoud, Orochium, Oshozan-u, Mayaotaki, Nouda and Tenbez shrines, three Lightroots, caves and Bubbul Gems
- Pikida Stonegrove DepthsEvil Spirit Greaves, Ikatoayam, Muihcoro and Sikatag Lightroots, 3 Yiga schematics, Frox fights
Great Hyrule Forest
- Great Hyrule Forest7 shrines, 8 Lightroots, 2 caves, 2 wells, Korok Mask, Glide Tights
Eldin
- EldinEldin Canyon, Shrines, Caves & Goron City
- Eldin Canyon Depths10 Lightroots, Zant's Helmet, Trousers of the Wild, Biggoron's Sword, 3 Yiga schematics and Eldin's sky chests
Faron
- FaronHighland Stable, Lake Hylia & Popla Foothills
Necluda
- Kakariko VillageMakasura Shrine, Kakariko Village Well, 2 caves, Ring Ruins chests, 10 Korok seeds and village quests
- West Necluda and Lanayru WetlandsShrines, Koroks & Caves; Jonsau, Kurakat
- Hateno VillageZanmik and Mayahisik shrines, Shield of the Mind's Eye and Phrenic Bow wells, 7 Koroks
- East NecludaRabella Wetlands, Sifumim Shrine, Lurelin Village, 21 Korok seeds
- East Necluda DepthsKumamayn Shrine, 4 Lightroots, Midna's Helmet, Cap of the Hero, Trousers of the Wind and 18 Depths chests
Lanayru
- Lanayru Great SpringShrines, Koroks & Caves; Ralis Channel, 3 shrines, 8 caves
- Zora's DomainMogawak and Ihen-a shrines, Ploymus cave, Pristine Sanctum, Zora Armor, Sidon of the Zora and Clues to the Sky
- Wellspring IslandAncient Zora Waterworks chests, Igoshon Shrine, 2 Korok seeds, Water Temple's four wheels and Mucktorok
- Mount LanayruShrines, Koroks & Light Rings; Jikais and Anedamimik shrines
Gerudo
- Gerudo DesertShrines, Caves & Koroks; West and South Sands
- Gerudo TownGerudo Shelter shops and quests, Valley of Silent Statues, Lightning Temple and Queen Gibdo, Chichim Shrine
- Gerudo Desert DepthsGranajh and Daval mines, three Master Kohga fights, Queen Gibdo, Mucktorok, Sheik's Mask and 37 chests
- Gerudo HighlandsSkyview Tower, Rotsumamu and Suariwak shrines, Mayasiar Shrine, Yiga hideout
Akkala
- AkkalaTarrey Town quests, 4 shrines, Hinox, Battle Talus
- Akkala Sky Islands and DepthsGikaku and Natak shrines, Old Maps, Lomei Depths Labyrinth, Mucktorok, 5 Lightroots and 19 chests
Finale and completion
- Ancient Tablets, Gleeoks and Armor Upgradesall 13 stone tablets with coordinates, Frost and King Gleeok, Obsidian Frox, Cotera upgrades and farming
- Hyrule CastleRoyal gear chests, Korok seeds, Serutabomac Shrine
- Thunderhead IslesCharged armor, Joku-usin and Joku-u Shrines, Dragonhead Island's relic
- 100% Completion: Armor Upgrades & Korok BonusHestu's Gift, Ancient Hero's Aspect, Great Fairy Cotera upgrade costs and materials, then Destroy Ganondorf
This chapter is in 2 parts, in the order a 100% run reaches them. Jump to a part:
Part 1: Shrines, Koroks & Caves
| Region | West Necluda from Lake Siela and Dueling Peaks Stable to the Byroad to Lanayru Wetlands, then north through the Lanayru Wetlands to Crenel Peak |
|---|---|
| Side quests | A Picture for Dueling Peaks Stable, A Picture for Wetland Stable, The Ultimate Dish?, Misko’s Treasure: Twins Manuscript |
| Side adventures | Honey, Bee Mine (Beetz), Princess Zelda Kidnapped?! (Penn), Serenade to Cotera, The Missing Farm Tools |
| Shrines | 4: Eshos (Combat Training: Shields), Morok (A Bouncy Device), Ren-iz (Jump the Gaps), Jojon (Proving Grounds: Rotation) |
| Caves and wells | 4 caves (Dueling Peaks North Cave, Dueling Peaks South Cave, Byroad to Lanayru Wetlands, Crenel Peak Cave) and 5 wells (Dueling Peaks Stable Well, Rikoka Hills Well, Moor Garrison Ruins Well, Lanayru Wetlands Well, Goponga Village Ruins Well) |
| Lightroots | 4 below the shrines: Sohse, Korom, Zi-ner and Nojoj (see all Lightroots) |
| Korok seeds | 42 |
| Bubbul Gems | 4: Dueling Peaks North Cave, Dueling Peaks South Cave, Byroad to Lanayru Wetlands, Crenel Peak Cave |
| Minibosses | Hinox x2, Talus, Gloom Spawn with Phantom Ganon, Phantom Ganon, Boss Bokoblin |
| Armor | Tingle’s Shirt (after the Dueling Peaks twin-cave riddle) |
This stretch runs from Lake Siela and Dueling Peaks Stable through the twin caves of the Dueling Peaks, up the Byroad to Lanayru Wetlands, and then north through the marshes to Wetland Stable, the north-east corner of Hyrule Field and Crenel Peak. Every shrine, cave, well, chest and Korok seed is listed in route order. Coordinates are map units (X, Y, height): larger Y is further north, and the minimap rim prints the same numbers, so you can match any entry against your own position.
Quick route
Work west from Lake Siela along the Dueling Peaks road: the rock-pattern Korok, the Savage Lynel Bow (or Lynel Bow or Mighty Lynel Bow, depending on your progress) chest, the lift-rock Koroks, Beetz’s honey quest, the Spring and Phrenic Bow chests, and the carried Koroks that lead down to Dueling Peaks Stable.
At the stable, take the Eightfold Longblade chest, finish Penn’s story and the Stable Trotters’ request, drop into the well, and upgrade your gear at Great Fairy Cotera.
Clear Eshos Shrine, then the Dueling Peaks North and South caves for two Bubbul Gems and the twin-cave riddle, and sweep the hillside Koroks and the two Hinox between them.
Swim the Byroad to Lanayru Wetlands, take Rikoka Hills Well and Moza’s restaurant, solve Morok Shrine, and cross Eagus Bridge towards Floret Sandbar.
Finish at Wetland Stable, Ren-iz Shrine, Crenel Peak Cave with Jojon Shrine, and the three wetland wells.
Lake Siela to Dueling Peaks Stable
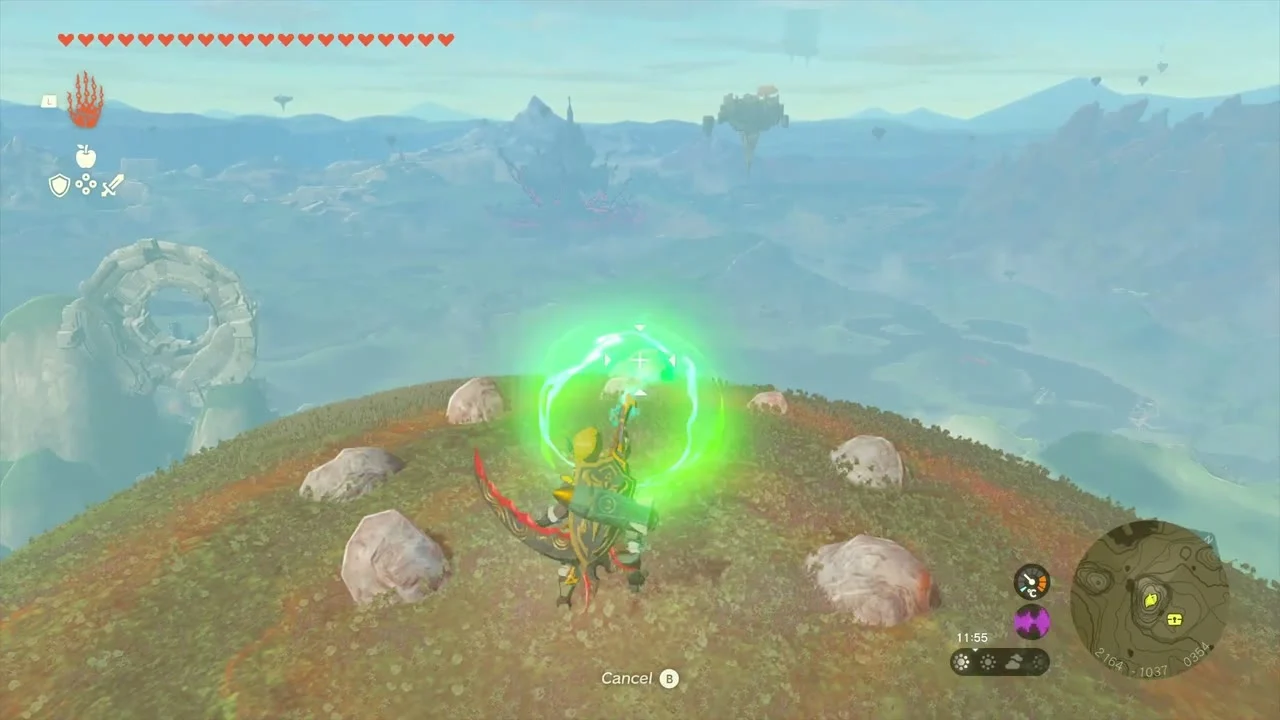
Korok seed (complete the rock pattern, 2162, -1035, 354). On the grassy hilltop above the road, a ring of loose boulders sits in the grass. Pick them up and set each one back into the ring pattern marked on the ground to make the Korok appear.


Chest (Savage Lynel Bow). In a rocky hollow just below the hilltop at about (2223, -1034, 275), a chest holds a Savage Lynel Bow, a strong bow with a Quick Shot bonus.
Korok seed (lift the rock, 2029, -1166, 160). On the cliff ledge to the south-west, a boulder sits on a narrow shelf. Lift it with Ultrahand and the Korok underneath hands over its seed.
Side adventure (Honey, Bee Mine). Beetz is camped by a tent beside the road below the hilltop. He is at about (2165, -1381, 110), near the waterfall on the east side of Lake Siela, and asks for three Courser Bee Honey; the hives are in the trees around the East Hill Chasm by Kakariko Village. Hand over the honey for a Silver Rupee. You need to finish this before Serenade to Cotera.
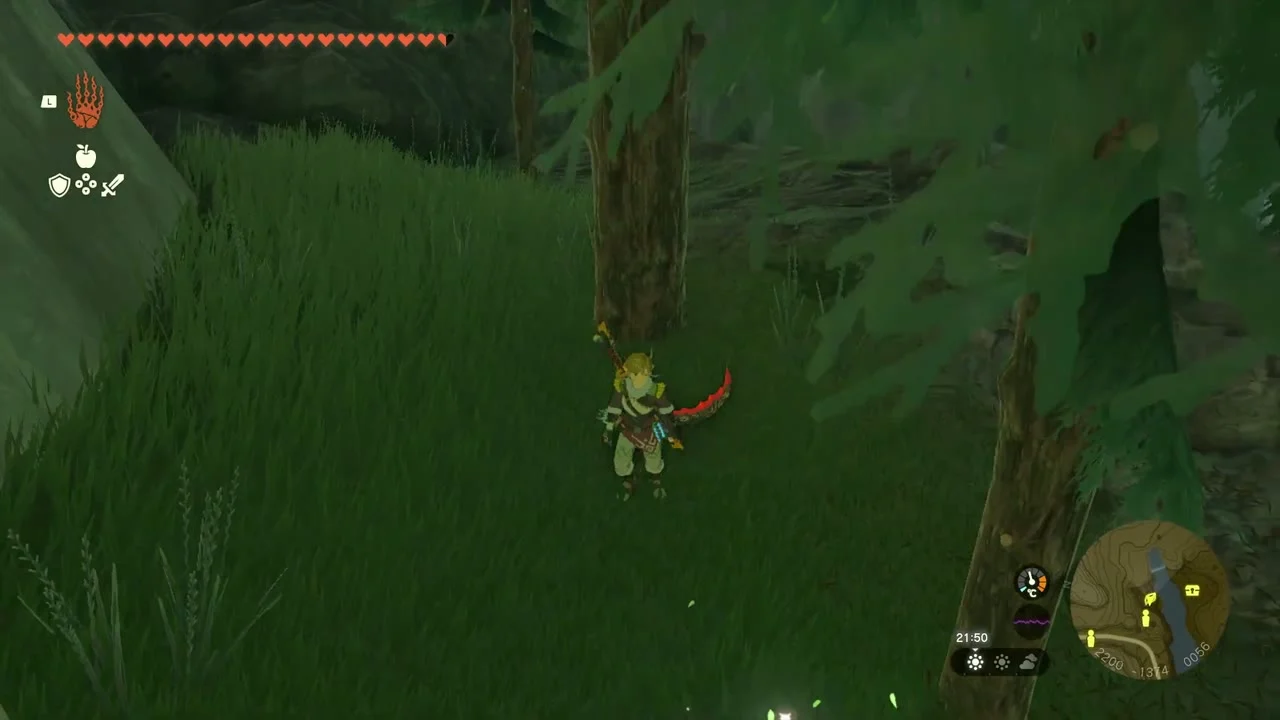


Korok seed (sparkling spot, 2200, -1373, 56). A sparkle drifts in the long grass beside the tree at the roadside. Walk into it and the Korok springs out with its seed.
Chest (Spring x3). On the Lake Siela shore near (2256, -1434, 26), a chest holds three Springs, a bouncy Zonai device.
Korok seed (lift the rock, 1925, -1489, 81). On the grassy rise west of the lake, a single boulder sits on top of the hill. Lift it with Ultrahand to find the Korok under it.
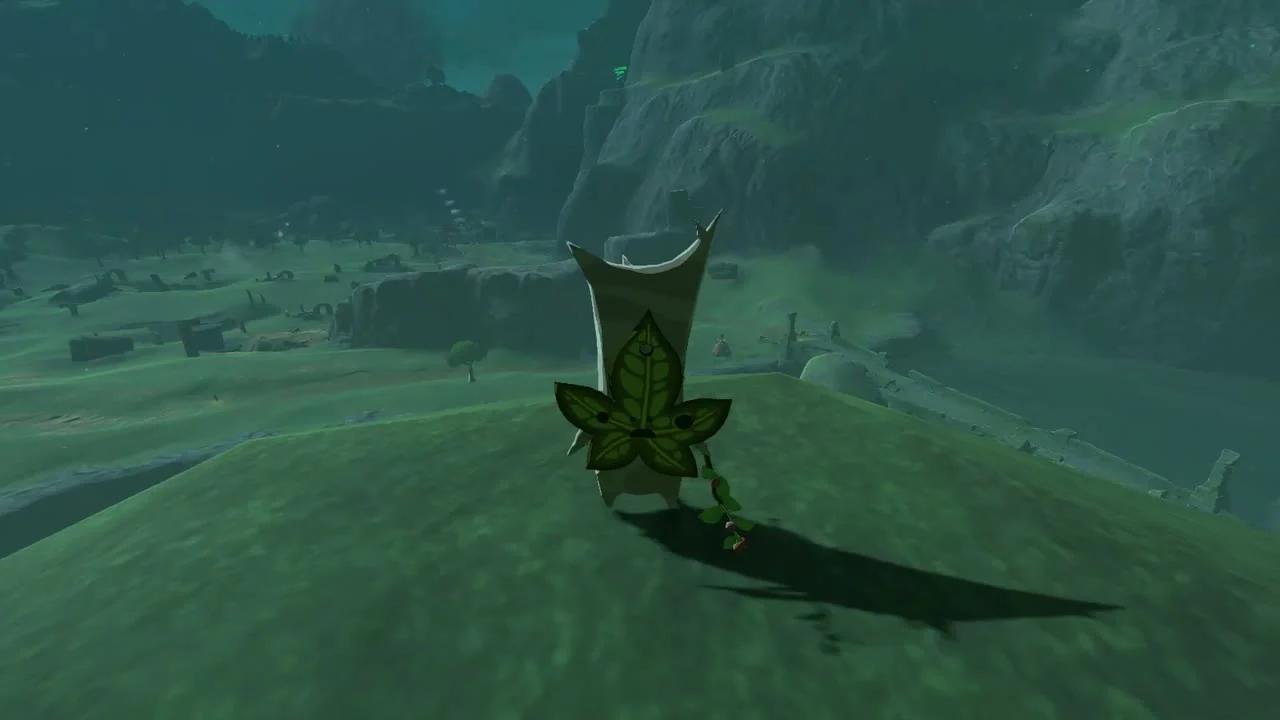


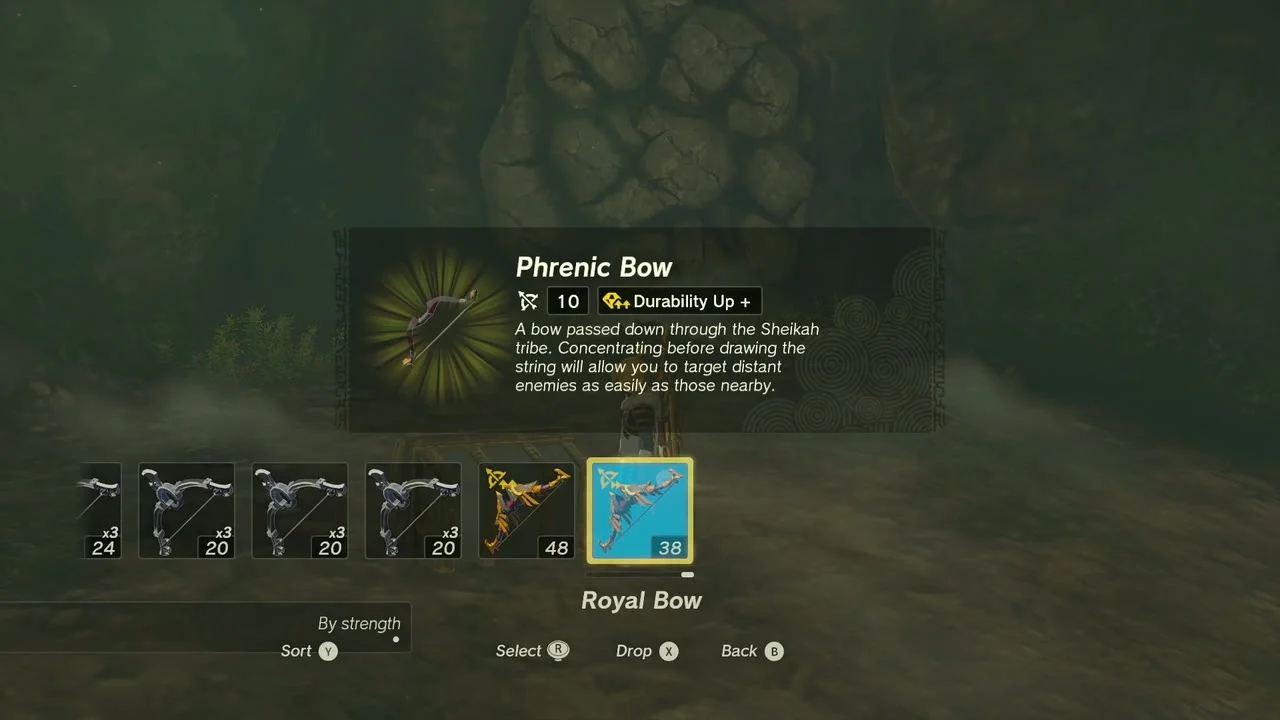
Chest (Phrenic Bow). A chest at the foot of the next hill at (1775, -1540, 9) holds a Phrenic Bow, a Sheikah bow that lets you aim at distant enemies.
Korok seed (burn the leaves and lift the rock, 1786, -1551, 10). A pile of dry leaves covers a boulder beside the chest. Burn the leaves with a fire arrow or flame, then lift the stone for the seed.
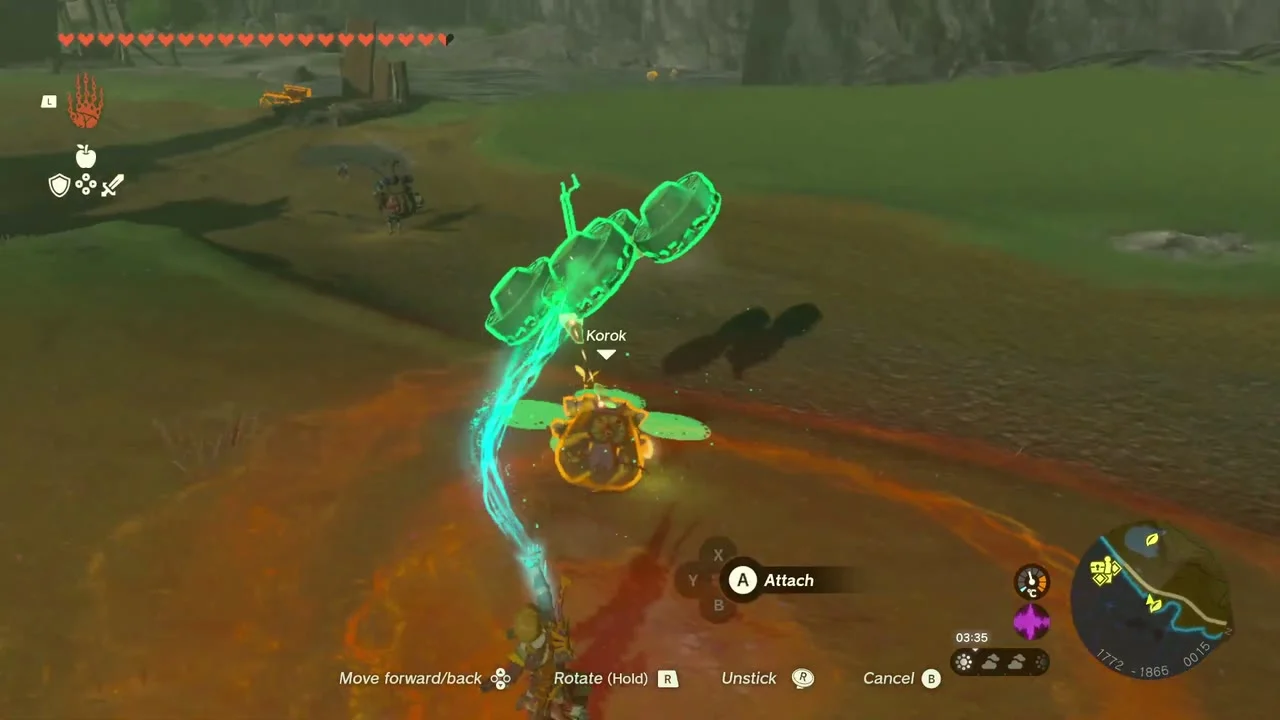
Korok seeds x2 (carry the exhausted Korok). An exhausted Korok sits on the grassland west of Dueling Peaks Stable at about (1772, -1866, 15). Attach it to a Zonai Wing with fans and fly it east to its friend at (2190, -1701, 23). Both Koroks give a seed.
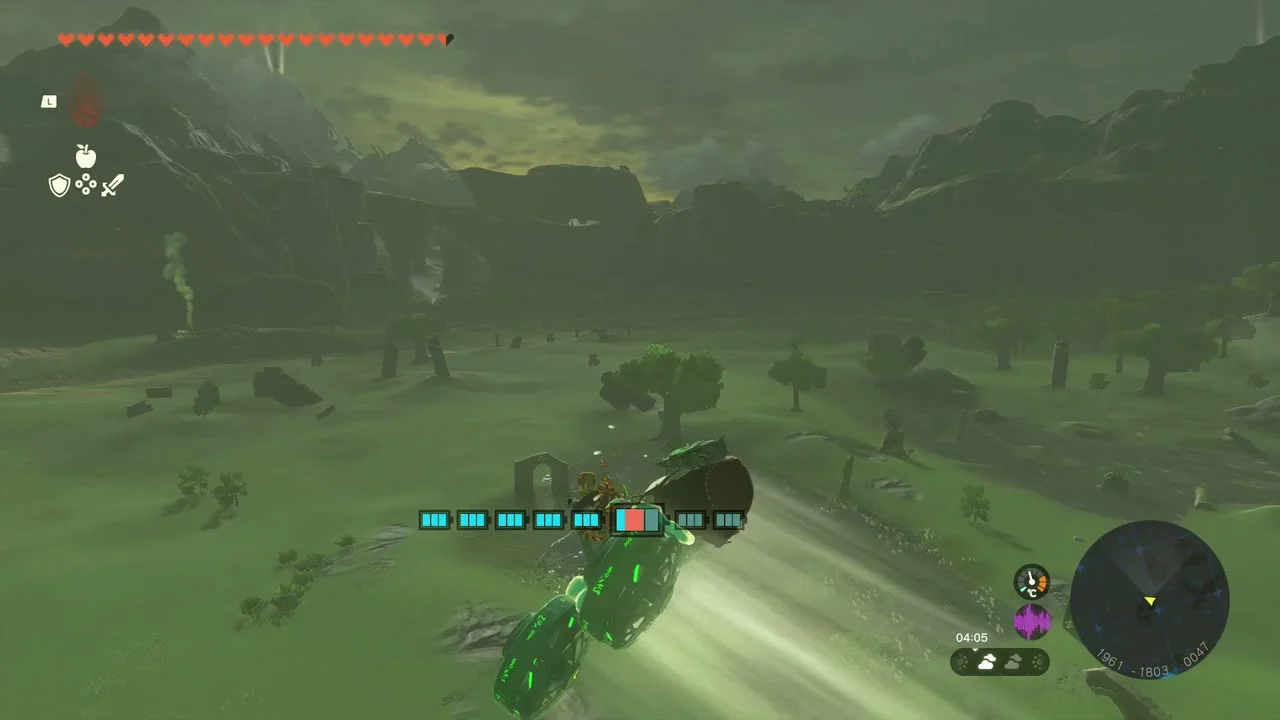
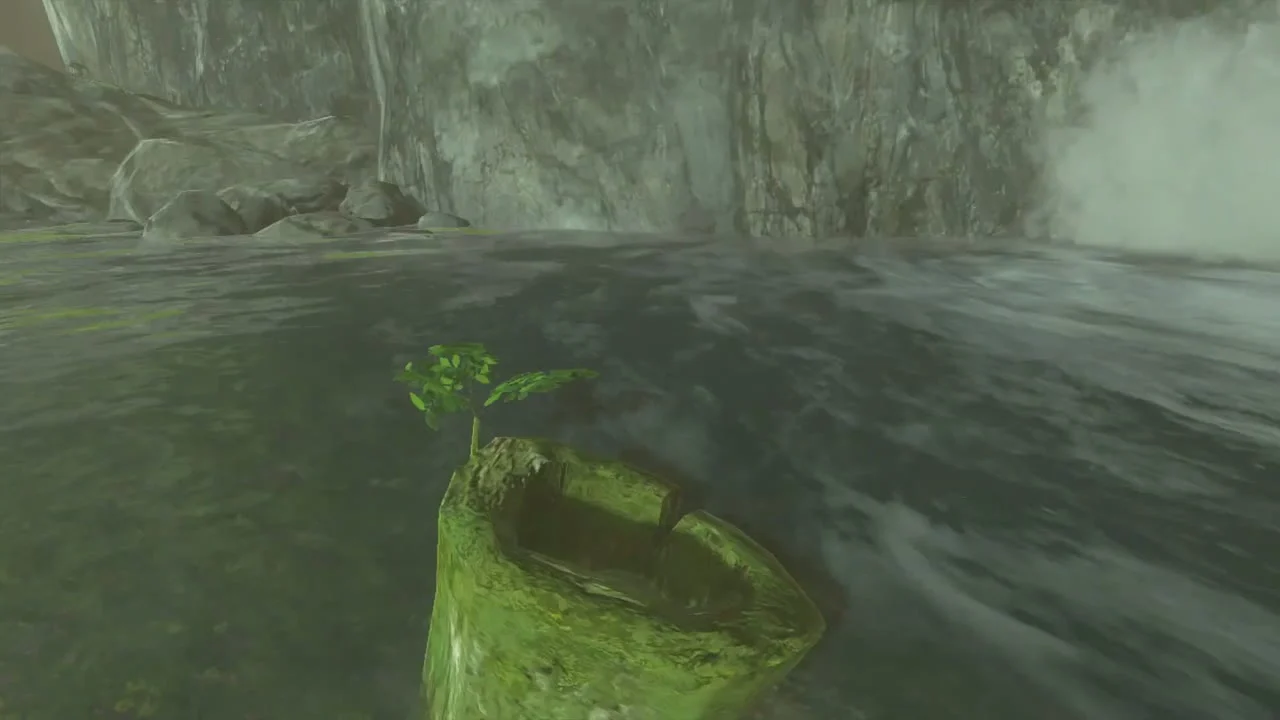
Korok seed (pull the plug, 1651, -1907, 10). A hollow stump stands in the river west of the stable. Pull the plug at its base to drain it and the Korok pops out.
Dueling Peaks Stable
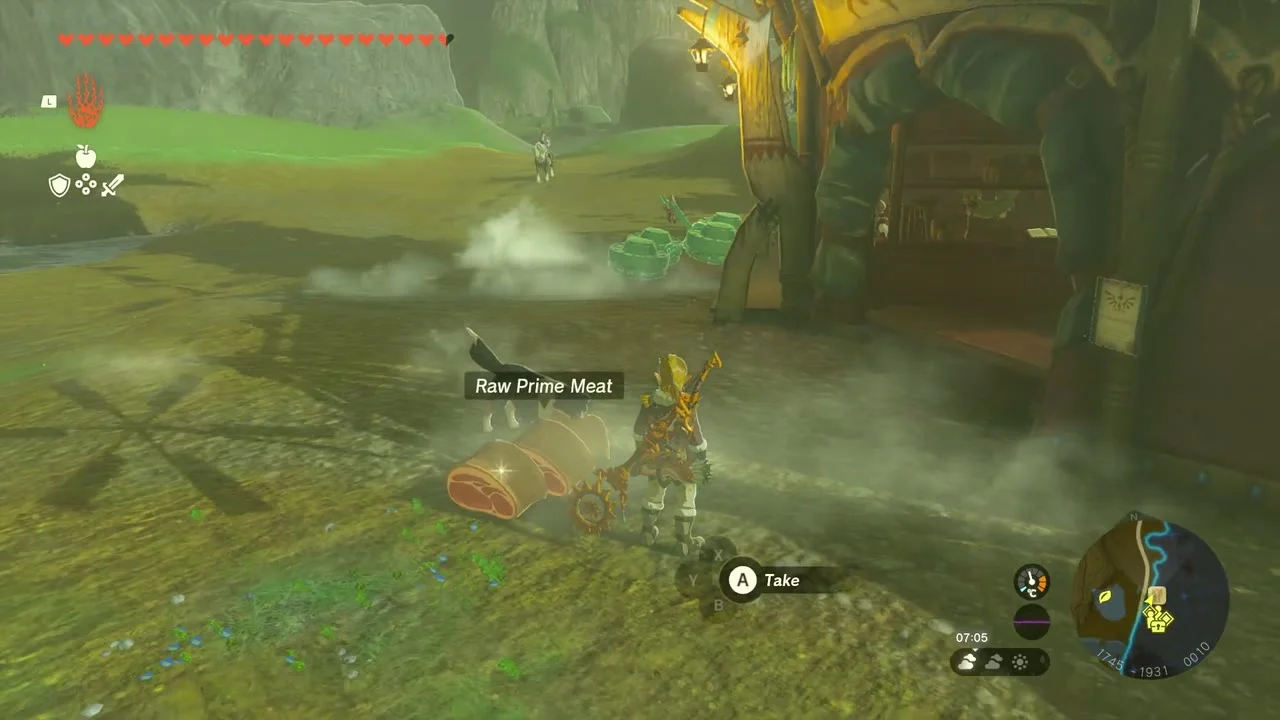
Dueling Peaks Stable. The stable stands at (1756, -1924, 53) on the road between the twin bridges. Check the empty picture frame on the wall inside the stable to start A Picture for Dueling Peaks Stable: it asks for the sunrise seen from the summit of Tuft Mountain, far to the south-east below Rabella Wetlands. Light a campfire and sit until morning if you arrive in daylight, aim the camera east, take the picture and return to the frame for a Pony Point and a Hasty Apple Pie. A chest beside the stable at about (1745, -1931, 10) holds an Eightfold Longblade. It is buried: feed the stable’s dog several times in a row and it digs the chest up beside a tree south-east of the stable.
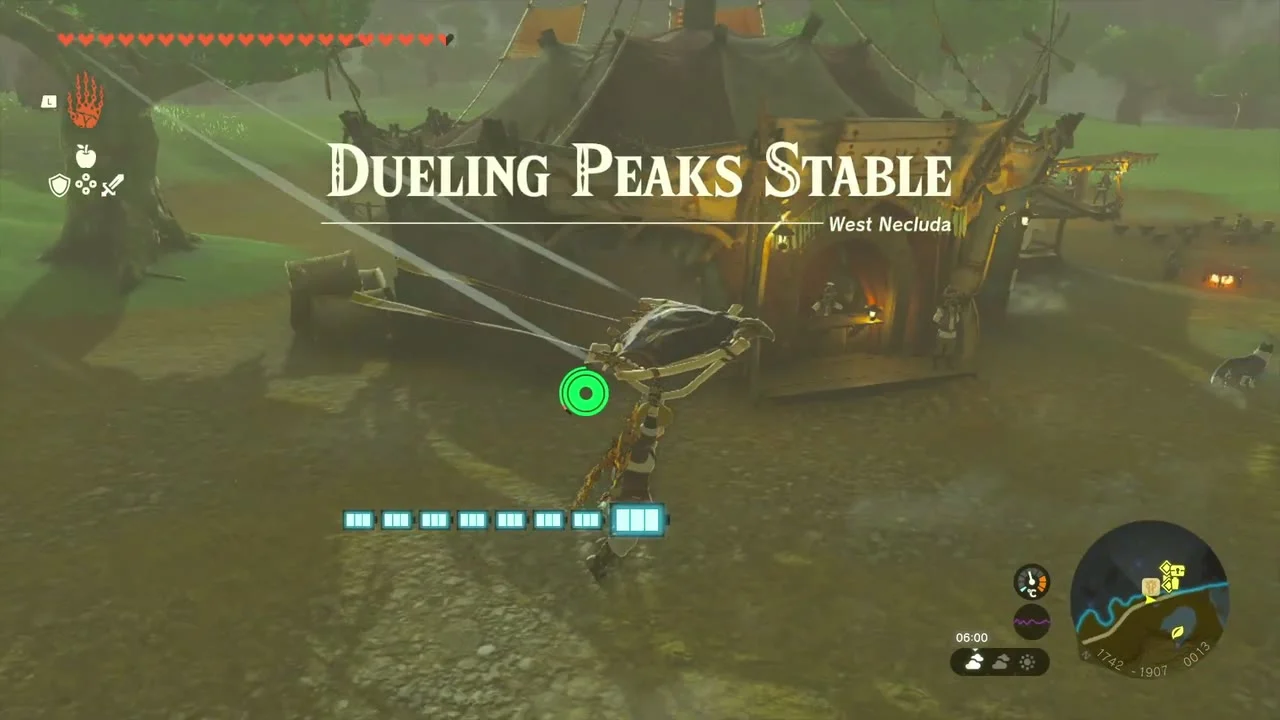
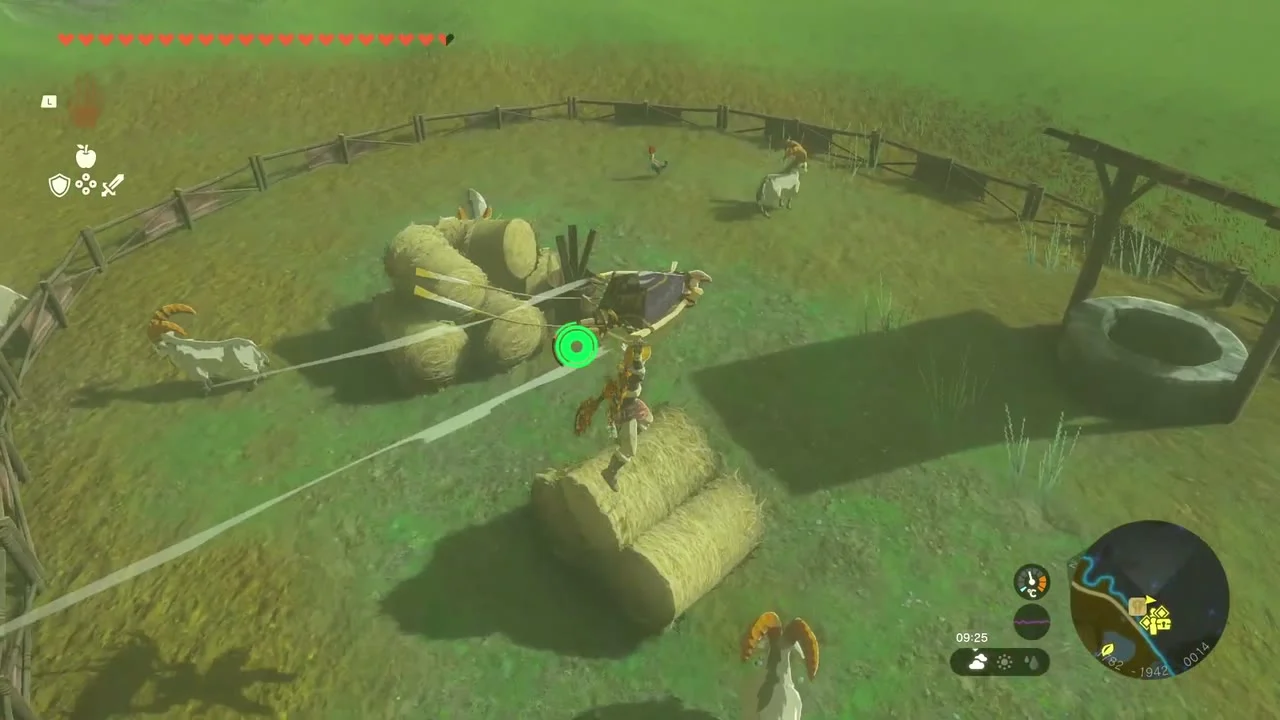
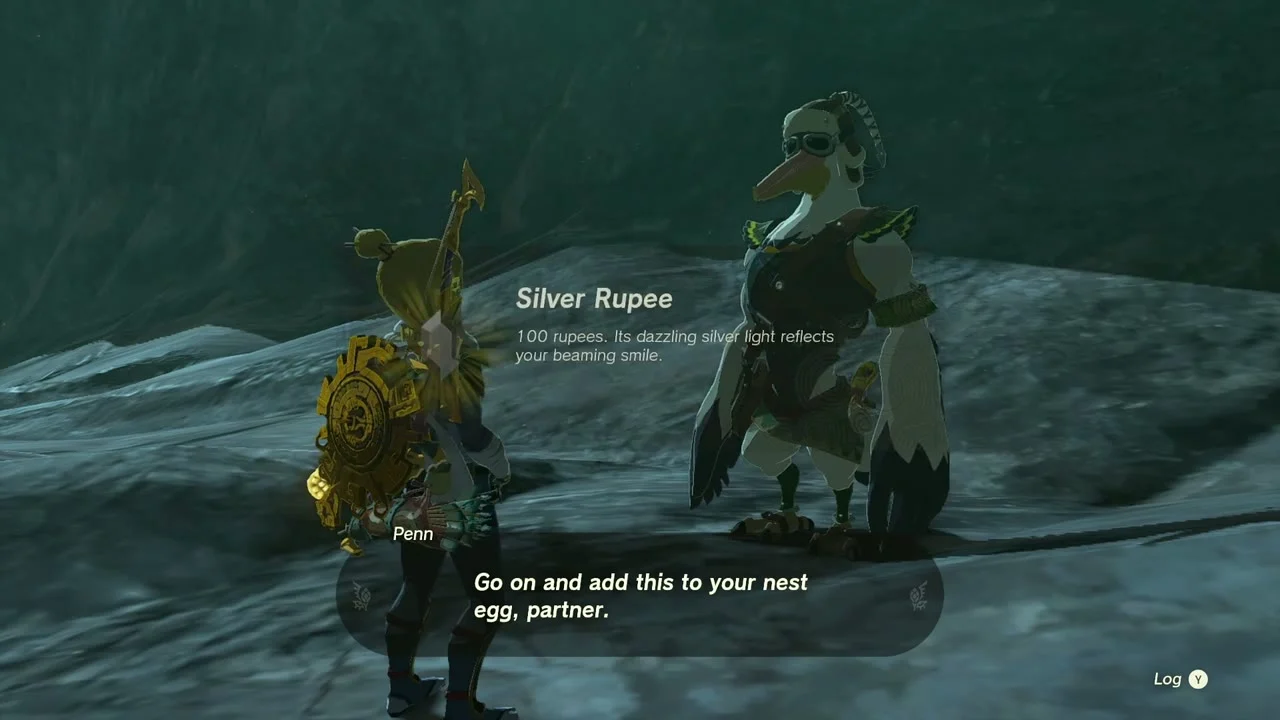
Side adventure (Princess Zelda Kidnapped?!). Penn sits on the stable’s roof (Ascend through the roof, then Ascend again under the stable’s head) and tells you Zelda has been taken to “the carved-out heart of the towering twins”. This only appears once you have started Potential Princess Sightings with Penn outside the Lucky Clover Gazette in Hebra. Glide to the southern Dueling Peak, where the “Zelda” is caged; lift the cage with Ultrahand and the captive turns out to be a Yiga Clan assassin who calls in more Yiga Footsoldiers. Defeat them and Penn thanks you with Rupees.
Dueling Peaks Stable Well. The well is at (1795, -1950, -4) behind the stable, beside the hay bales. Jump in to explore the shaft.
Side adventure (Serenade to Cotera) and Great Fairy Cotera. Mastro and the Stable Trotters want their drummer Beetz found so they can perform for the Great Fairy. You need to have finished Serenade to a Great Fairy (to wake Tera) and Honey, Bee Mine first. Build a boat from a plank, a control panel and two fans, put the wagon on it, tell Mastro “Hop in” and sail a short way south-east down the river to Great Fairy Cotera near the Twin Bridge at about (1673, -2033, -22). Once the troupe plays for her she comes out of her bud and you can upgrade armor with her; the quest pays 100 Rupees.
Eshos Shrine
Eshos Shrine (Combat Training: Shields, a Combat Training trial) stands at (1565, -1944, 171) on the hill west of the Dueling Peaks road. The Sohse Lightroot lies below it at (1563, -1944, -485).
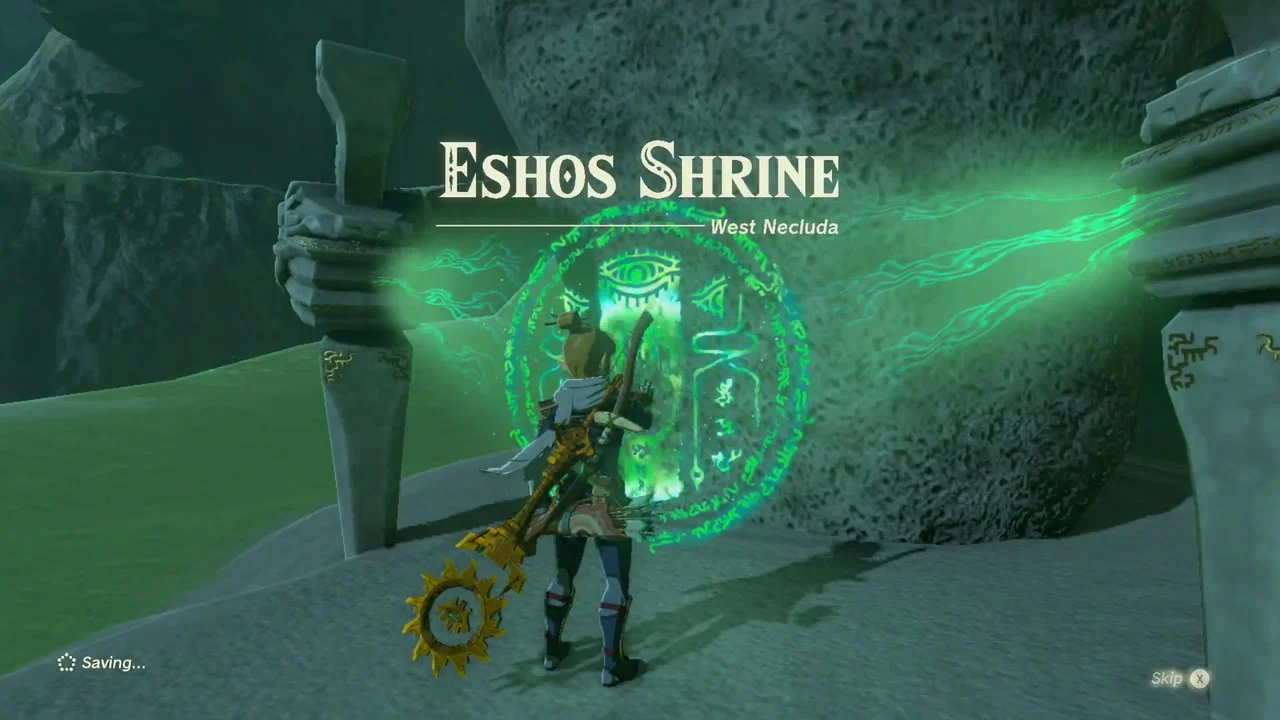
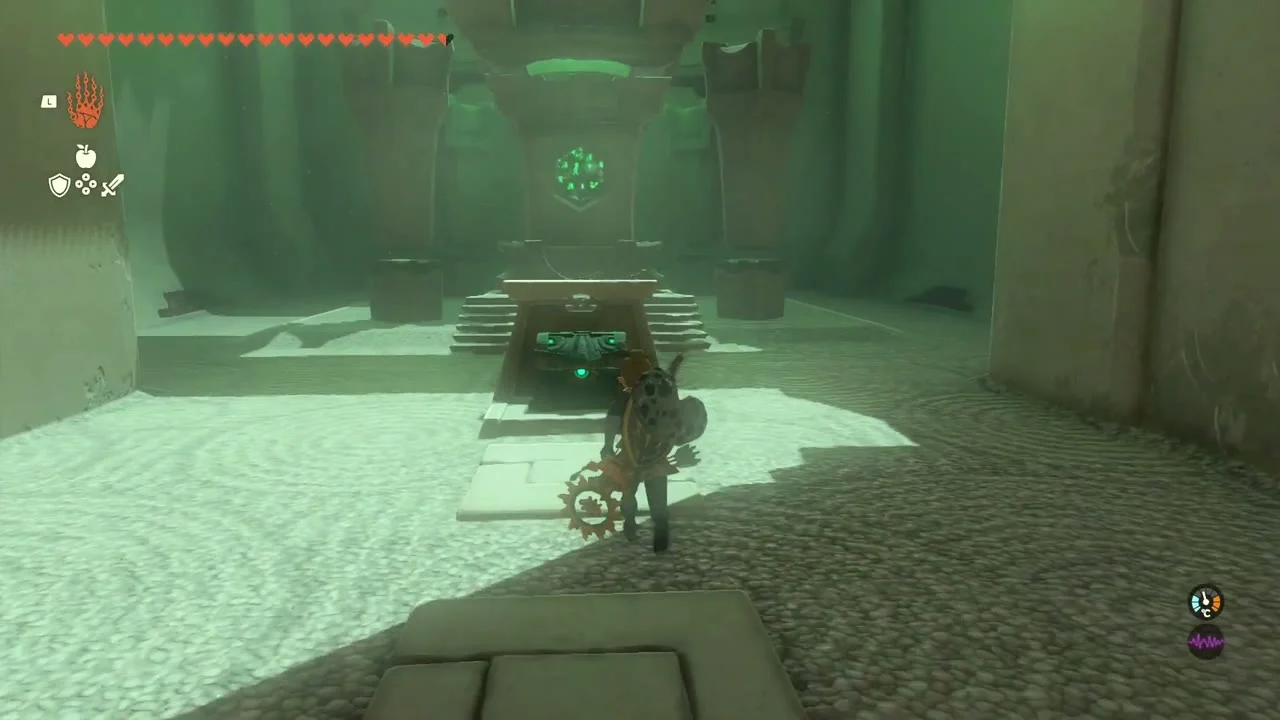
Parry the projectiles, then take the chest
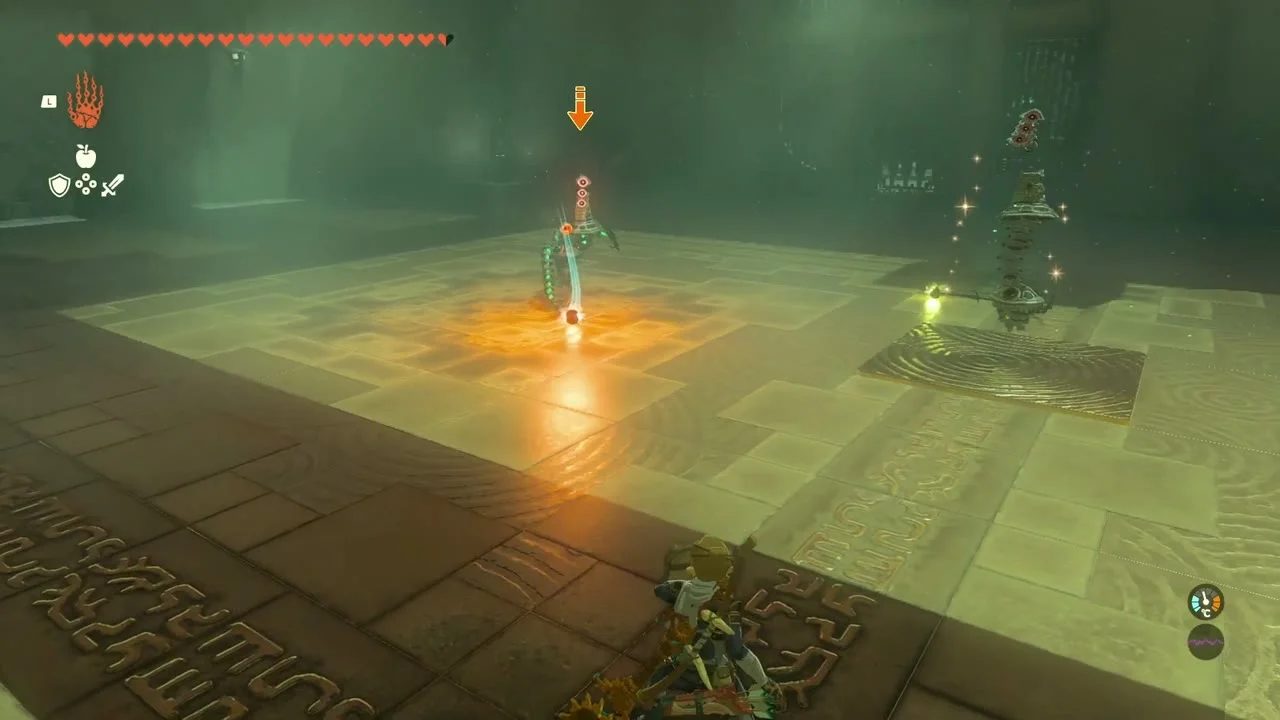
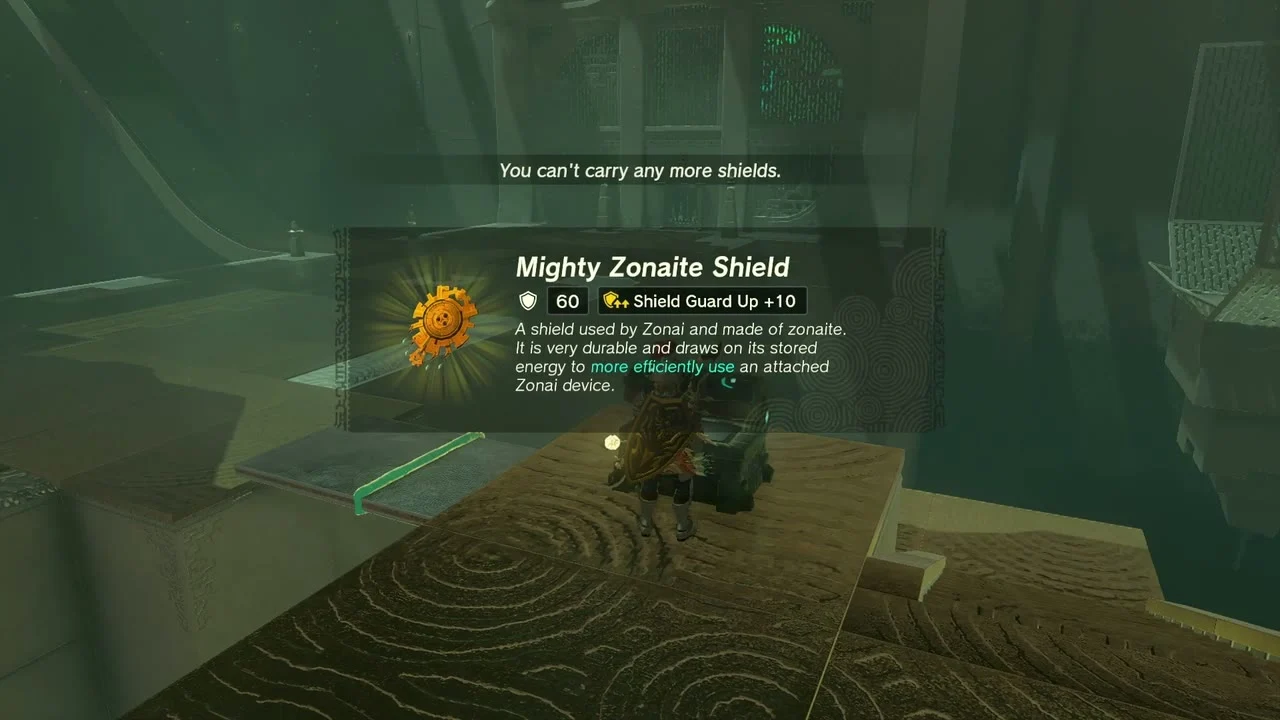
Hold ZL to lock on to each Construct and tap A just before its projectile lands to parry it back. The later fight fires fire and lightning, so carry a spare shield: a wooden shield burns when it parries fire and a metal shield shocks you when it parries lightning. Open the chest at the end for a Mighty Zonaite Shield (Strong or Mighty, depending on your progress) and take the Light of Blessing.


Dueling Peaks caves and the hillside Koroks
Chest (Arrow). A chest on a log platform at (1632, -2055, 21), south-west of the stable, holds a single Arrow.

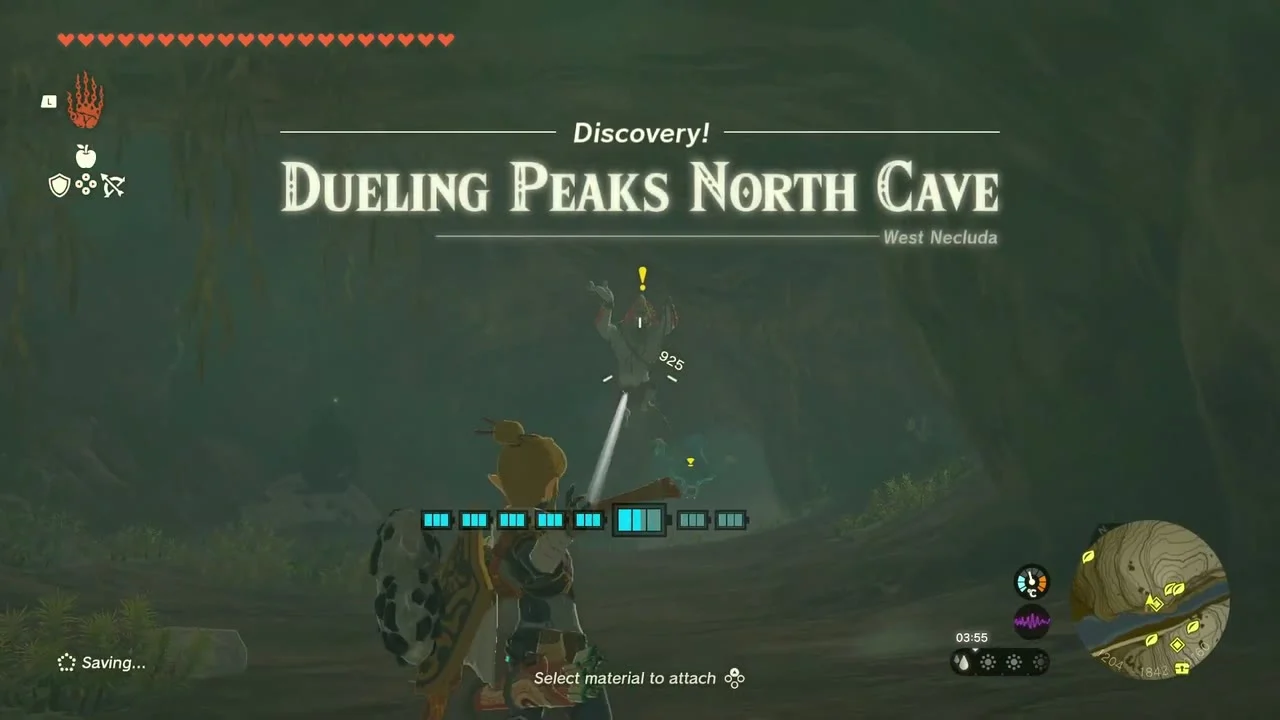
Dueling Peaks North Cave. The entrance is a hole in the north peak’s cliff at (1194, -1854, 158). Deal with the Horriblins inside, then work through the passages; a Bubbulfrog sits deep inside near (1185, -1782, 171) for a Bubbul Gem. This cave is the “little twin” half of Misko’s riddle: look up at the ceiling for a chalk-like triangle of circles, some filled and some empty, and photograph it with the camera so you can copy it in the South Cave.
Korok seeds x2 (carry the exhausted Korok). On the hillside below the north peak, an exhausted Korok asks to be taken to its friend at (1196, -1842, 11). Ferry it over with a Zonai device; both Koroks give a seed.
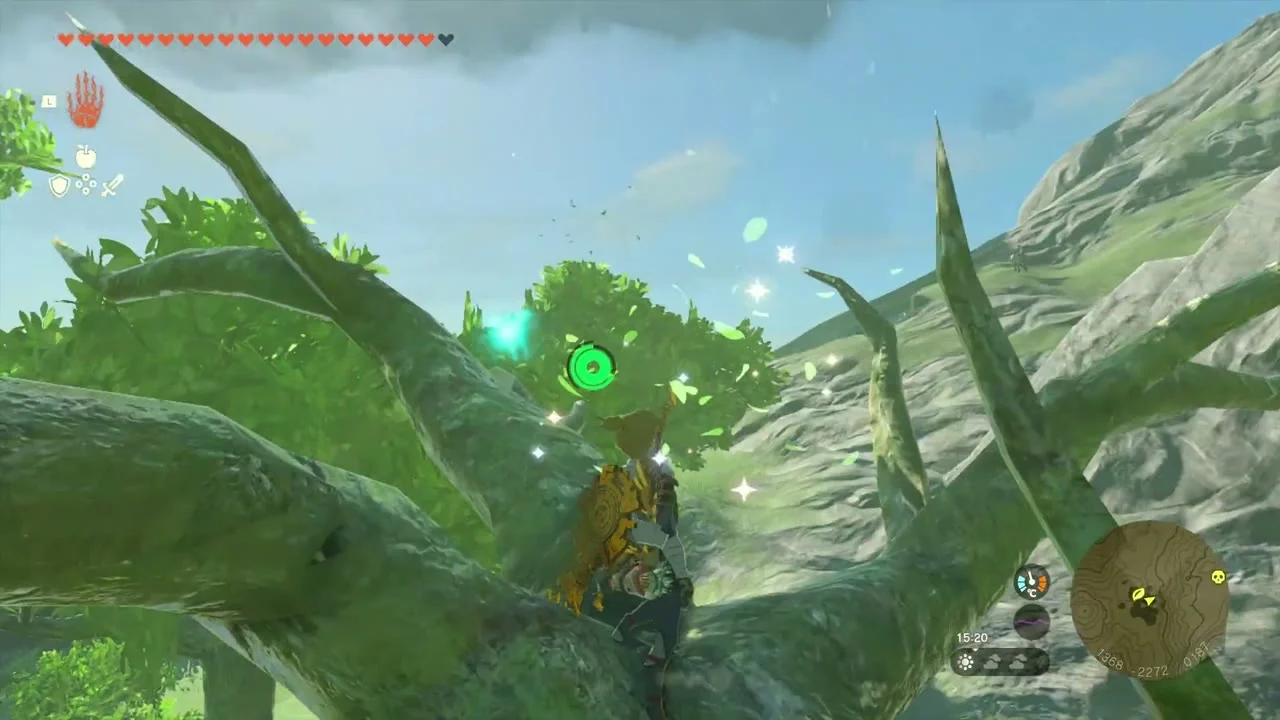
Korok seed (examine where the arrows point, 1367, -2272, 188). At the south edge of the slope, painted arrows on the ground point to a tree. Follow them up the tree and examine the spot they mark for the seed.
Miniboss (Hinox). A Hinox sleeps on the lakeshore at about (1269, -2185, 248). Hit its eye with arrows and attack the toes while it is staggered.
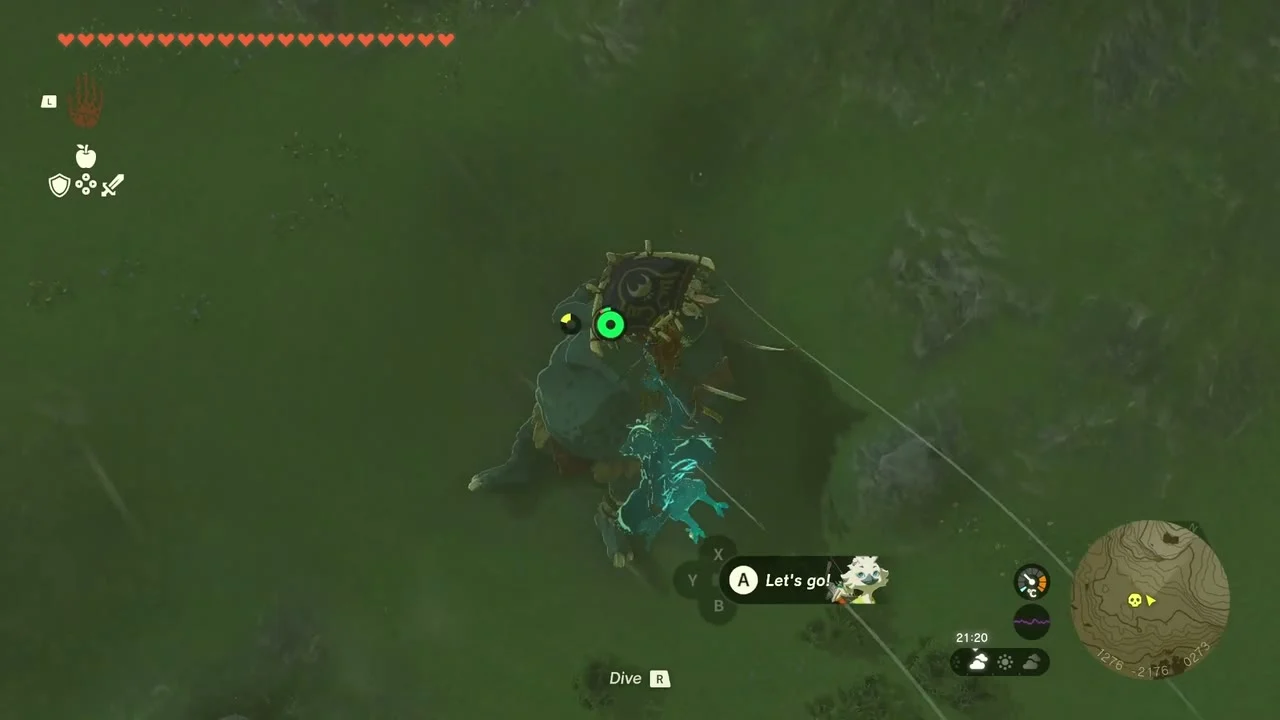

Korok seed (paraglider goal, 1279, -1962, 420). A ring hangs on the mountainside above the lakeshore. Glide from the cliff top through the ring to make the Korok appear.
Dueling Peaks South Cave. The entrance is at (1183, -1947, 245) on the south peak. A Like Like waits at the entrance, and just past the breakable boulders on the right a Bubbulfrog hangs from the ceiling for a Bubbul Gem. The cave also finishes Misko’s Treasure: Twins Manuscript (bought for 100 rupees from Domidak at Cephla Lake Cave after Misko’s Cave of Chests). Climb the wall by the Like Like to a room of pressure plates in four rows and set rocks on them to match the ceiling pattern: nothing on the top row, one rock on the left plate of the second row, one on the middle plate of the third, and rocks on the second-from-left and far-right plates of the bottom row. The wall slides away and the chest holds Tingle’s Shirt.
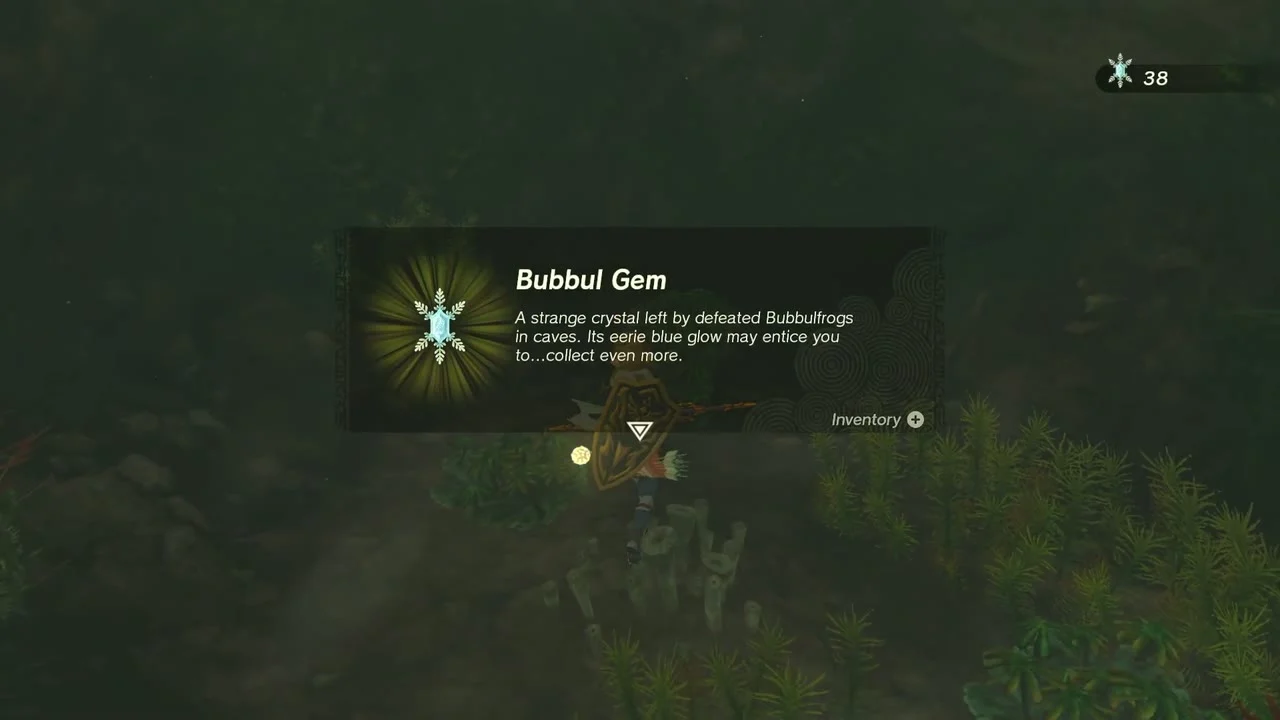
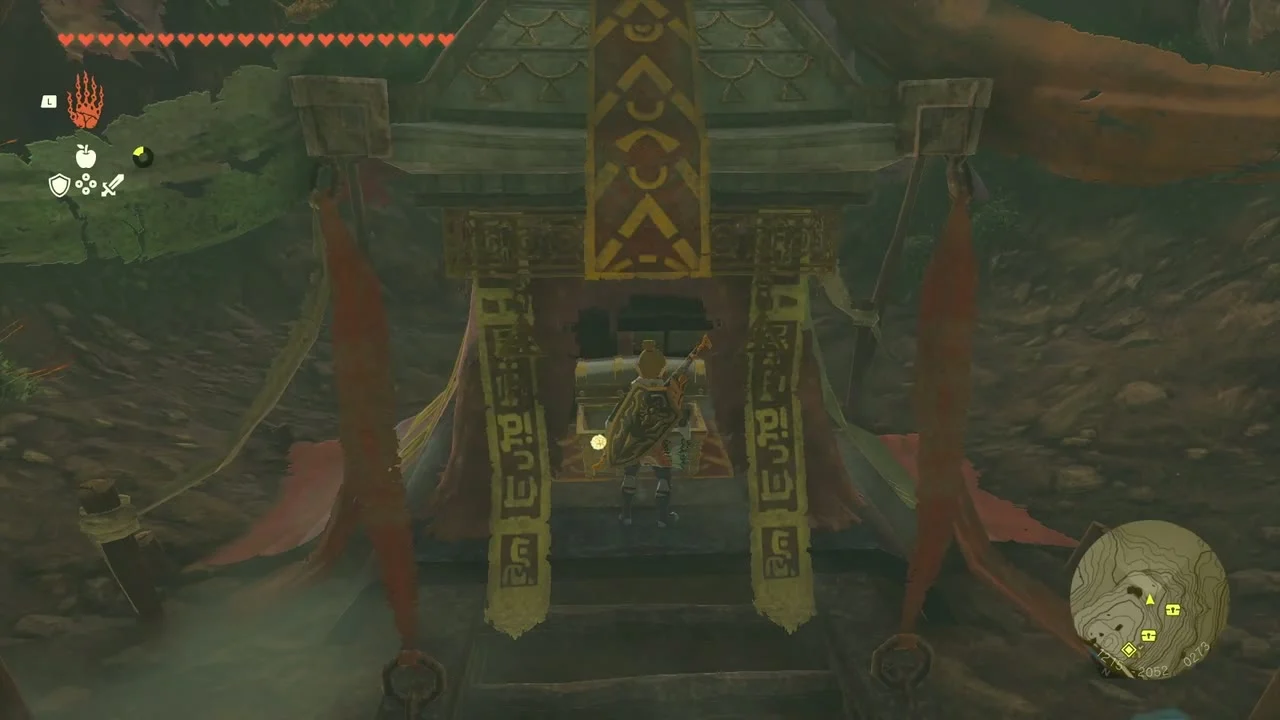
Korok seeds (cube puzzle, 1241, -1850, 340; shoot the balloon, 1251, -1856, 388). Two Koroks sit on the crags above the cave pair. Rearrange the loose cubes into the cube pattern for the first, and pop the hidden balloon with an arrow for the second.
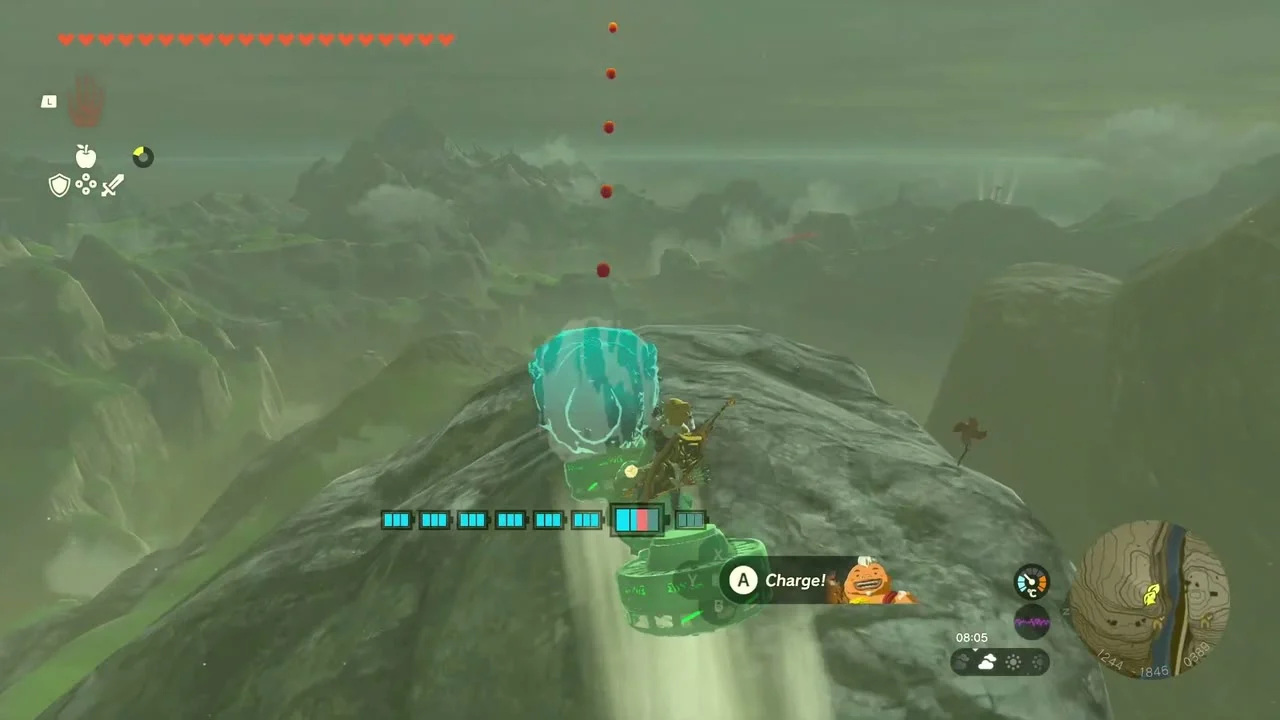
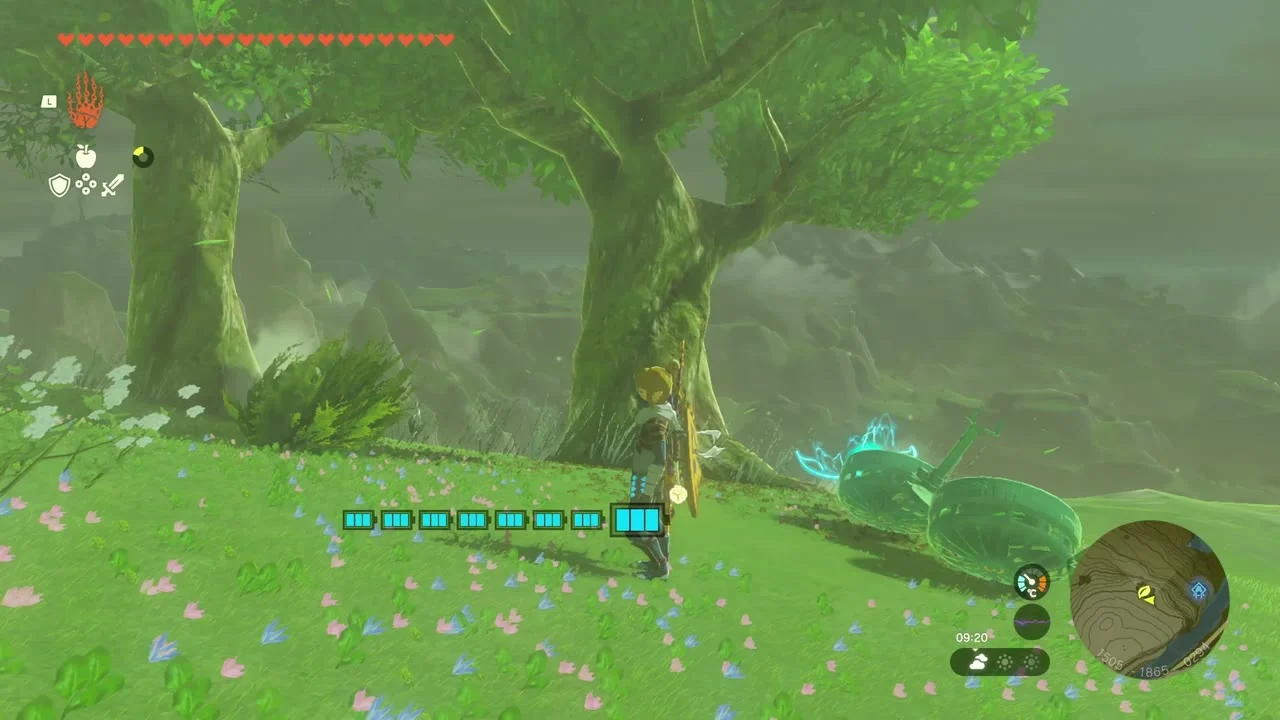

Korok seeds (shoot the balloon, 1521, -1844, 291; dandelion, 1373, -1679, 231). Further east, pop the balloon floating over the cliff for one seed, then hit the dandelion puff on the ridge for another.
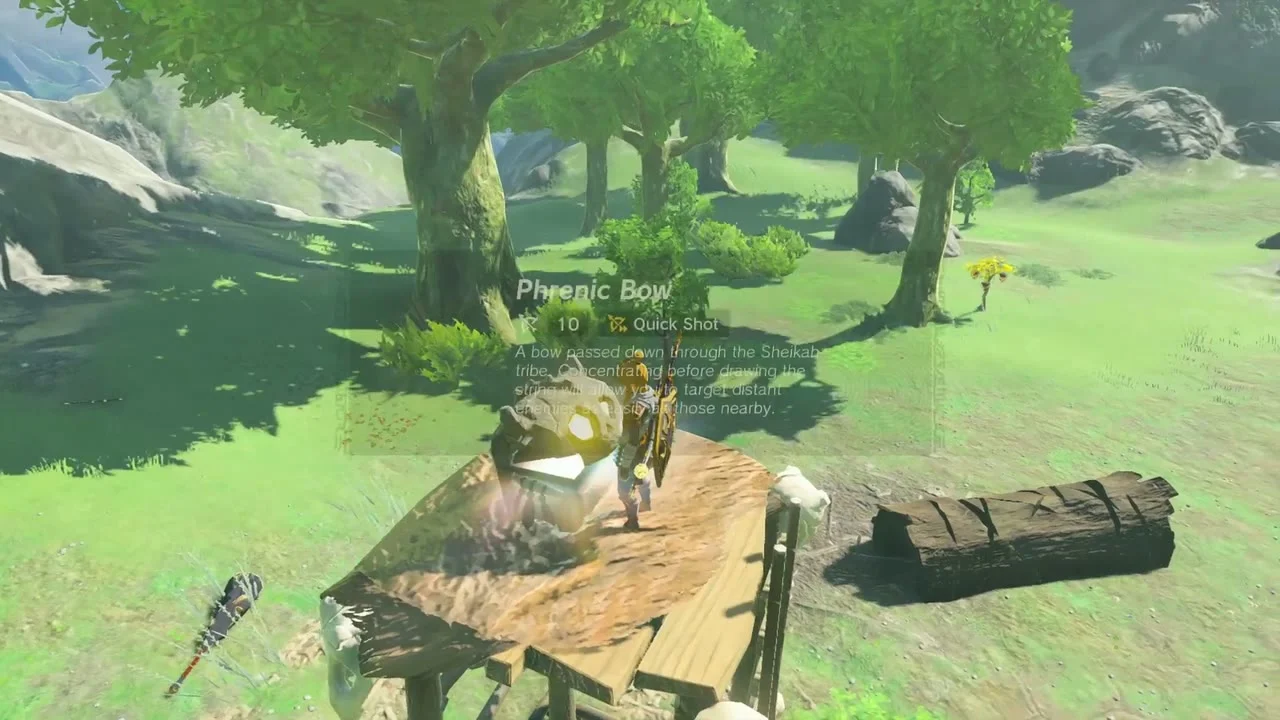
Chest (Phrenic Bow) and Korok seed (pop the hidden balloon, 1153, -1703, 158). A wooden platform in the meadow below holds a chest with another Phrenic Bow. A hidden balloon in the tree line at (1153, -1703, 158) pops with a single arrow to release the next Korok.
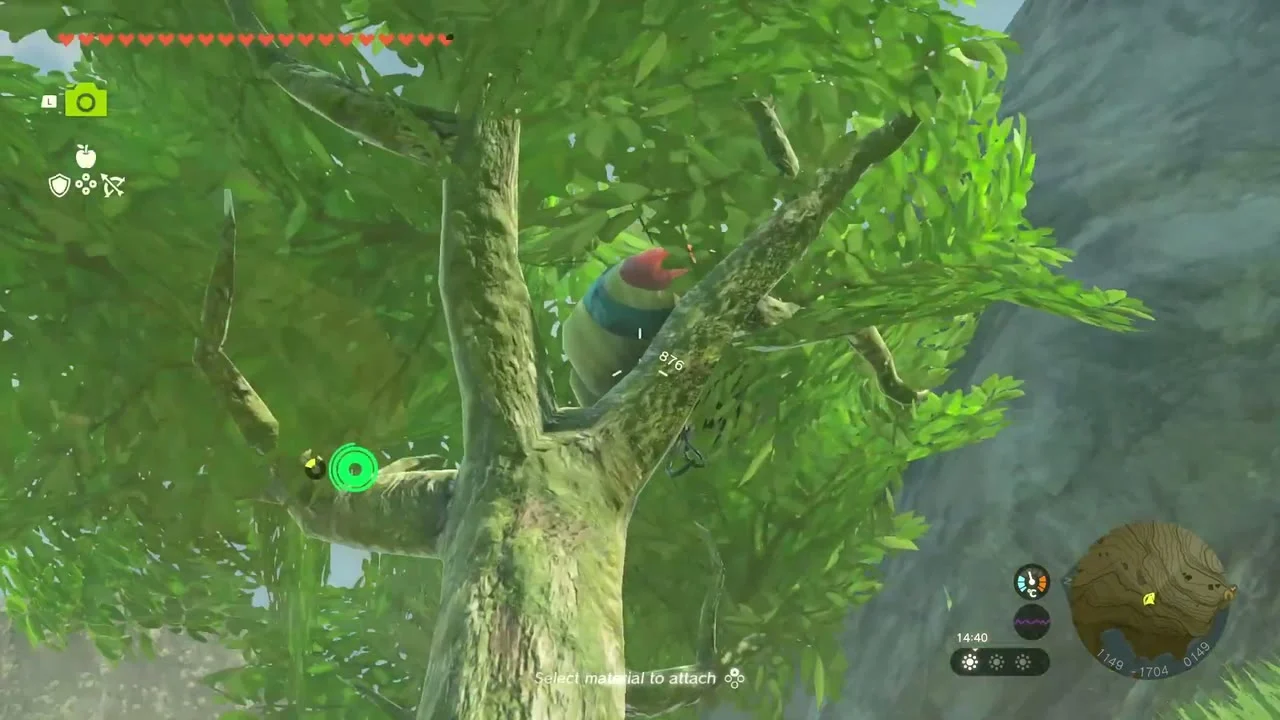
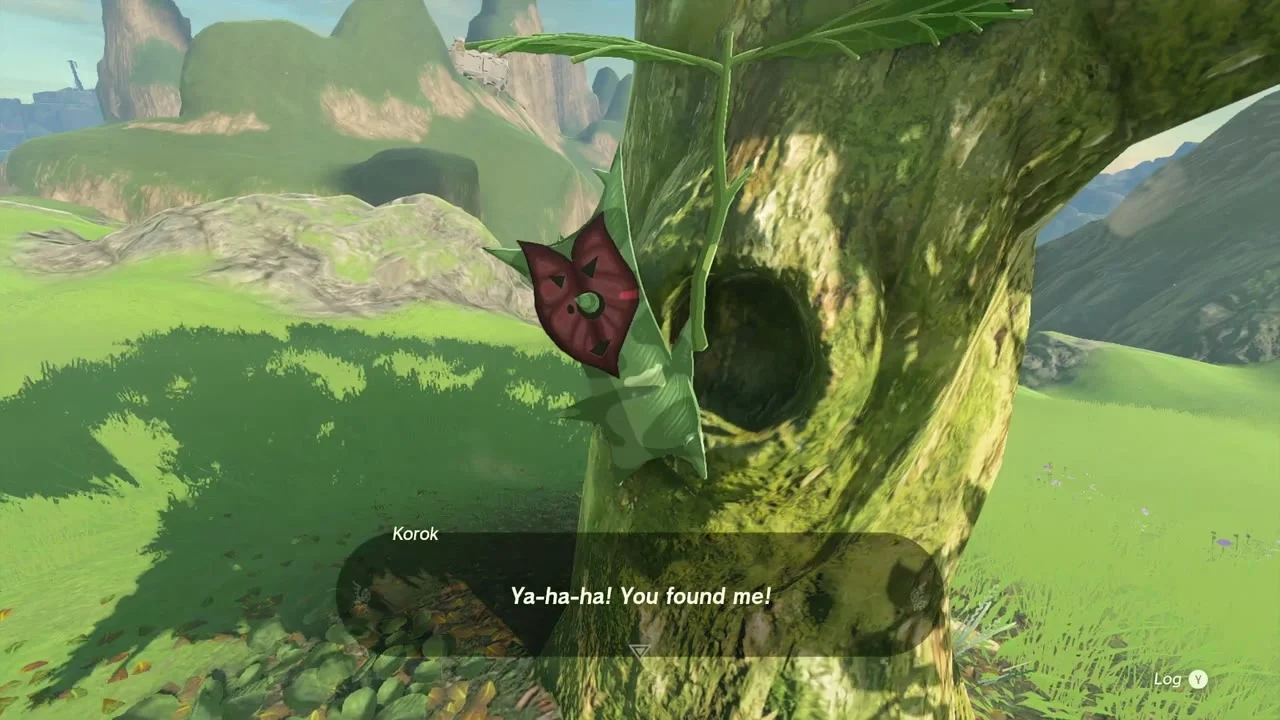

Korok seed (hide and seek). A Korok hides in a hollow tree trunk on the grassy slope. Walk up to the trunk and it calls out, “You found me!”.
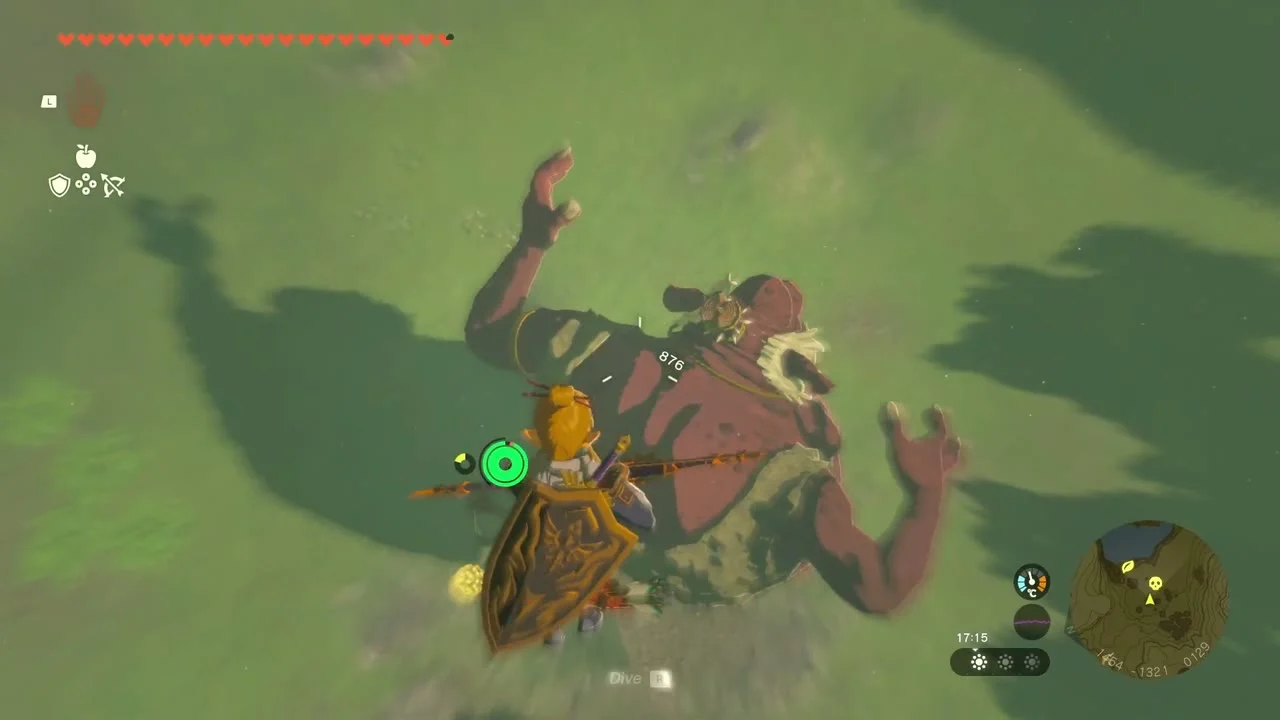
Miniboss (Hinox) and Korok seeds (lift the rock, 1537, -1301, 62; follow the flower, 1597, -1394, 25). A Hinox lies on the hill at about (1454, -1321, 129). Beyond it, lift the boulder at (1537, -1301, 62) for one seed and follow the trail of flowers at (1597, -1394, 25) for the last.
Byroad to Lanayru Wetlands and Morok Shrine
Byroad to Lanayru Wetlands. The south entrance is a flooded cleft at (1617, -1260, 7); the north exit is at (1587, -812). Cross the water on a raft of Zonai fans. A chest near the Horriblin camp at about (1620, -1057, 14) holds an Eightfold-Blade Spear, and a Luminous Stone Talus waits along the route, weak to hits on the ore on its back.

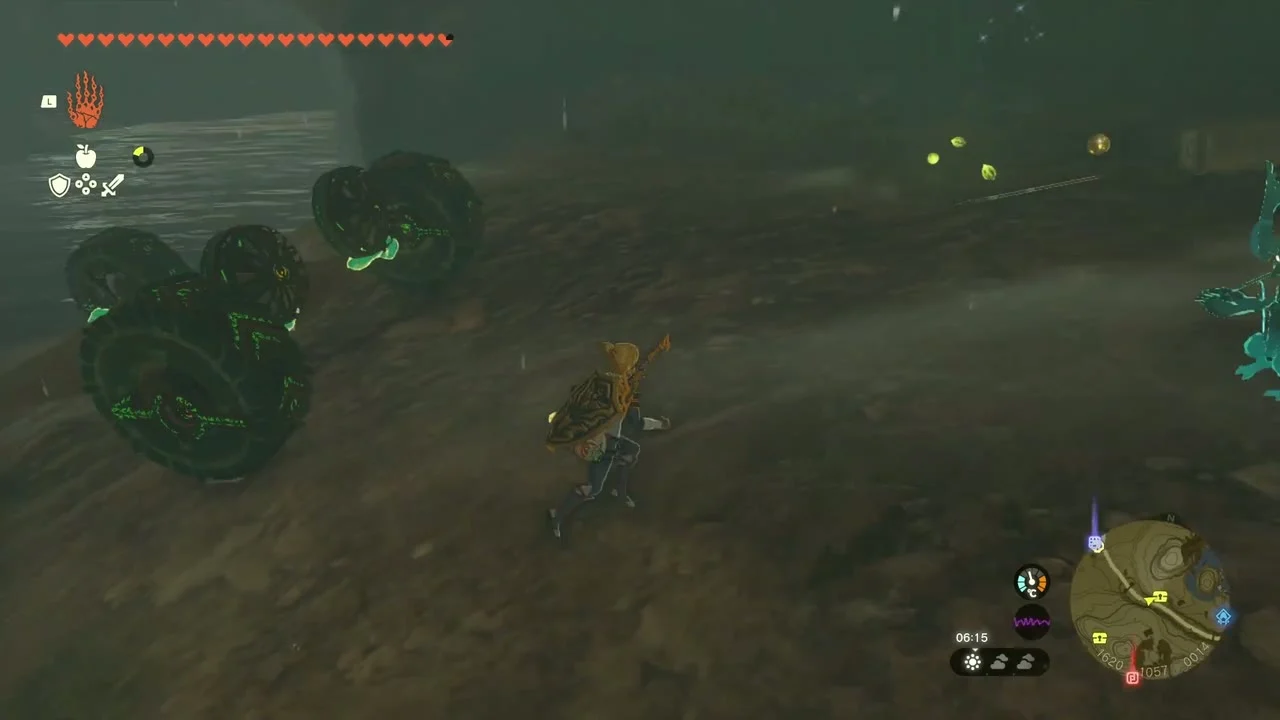
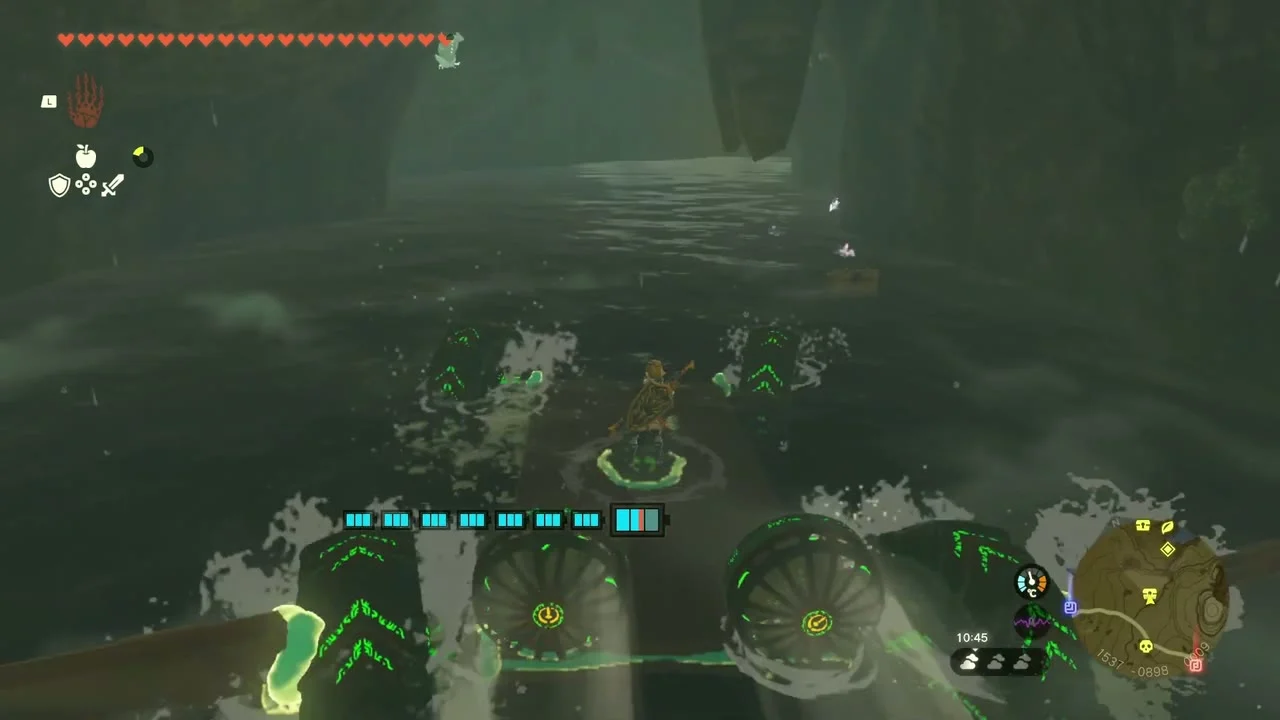

Chest (Arrow x5) and Bubbul Gem. Another chest on the water route at about (1537, -898, 9) holds Arrow x5, and the Bubbulfrog nearby gives a Bubbul Gem.
Korok seed (lift the rock, 1626, -781, 39). North-east of the cave exit, a boulder sits on a grassy rise; lift it for the seed.
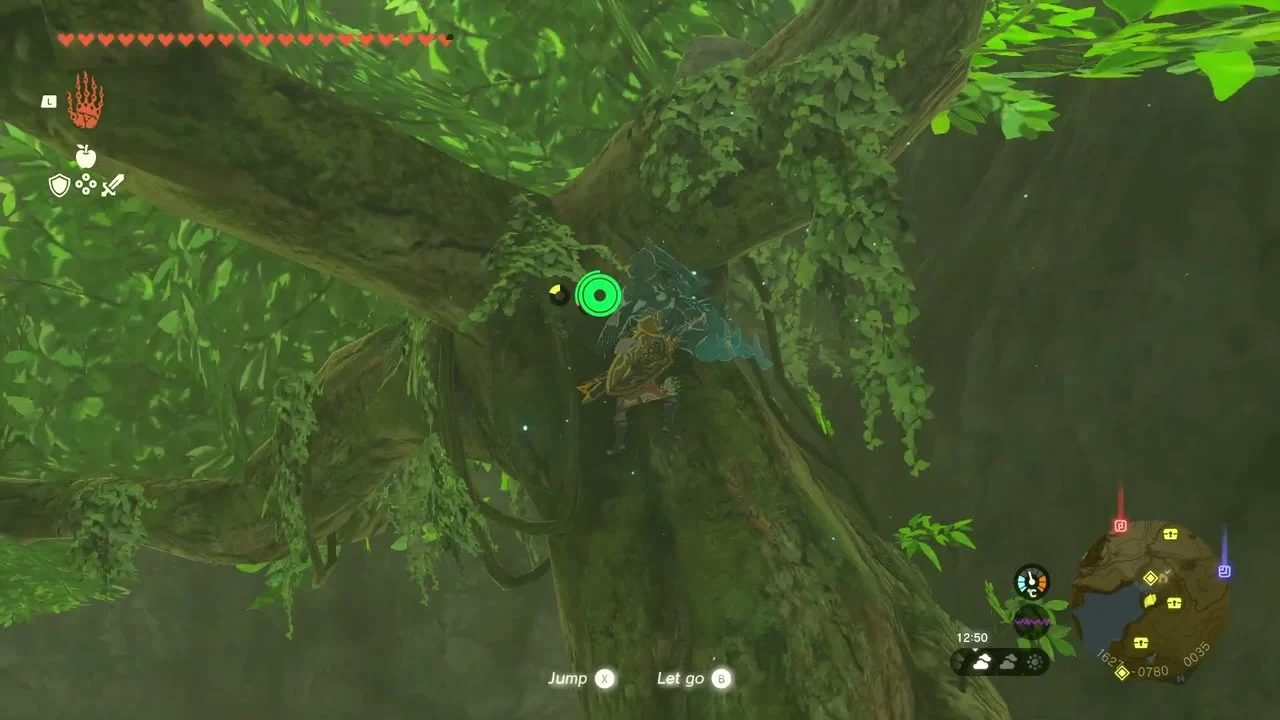
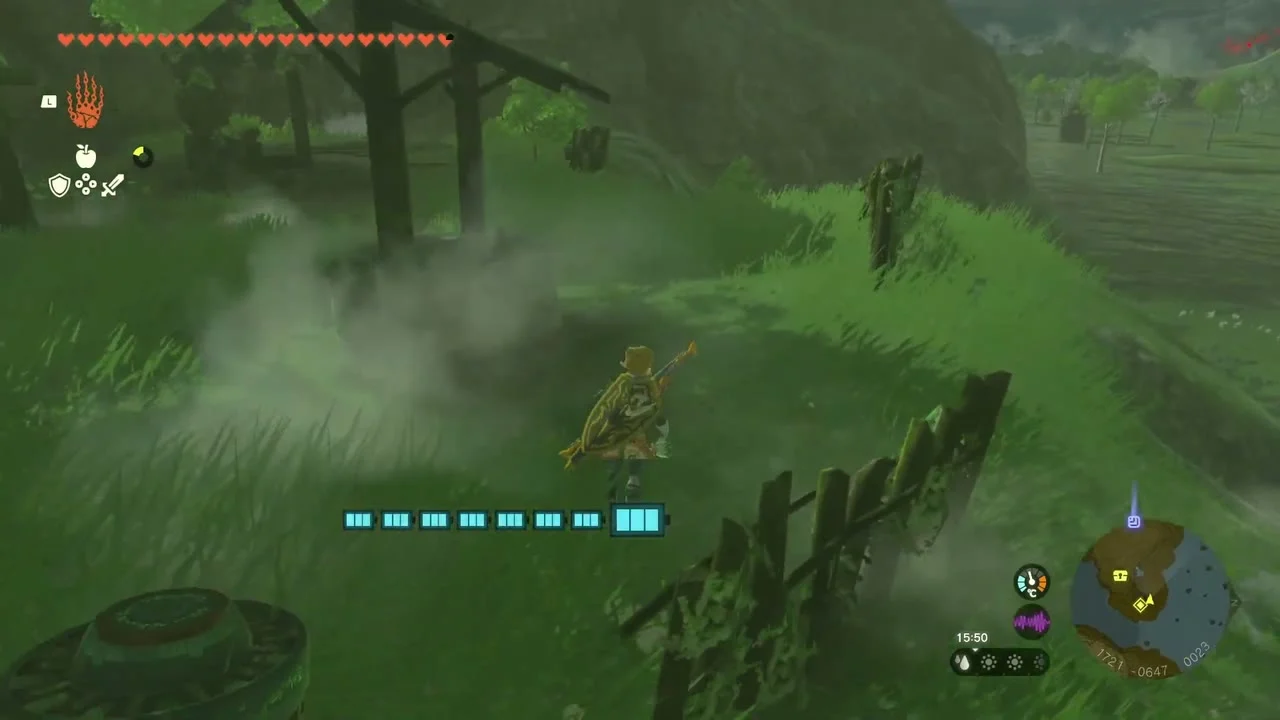
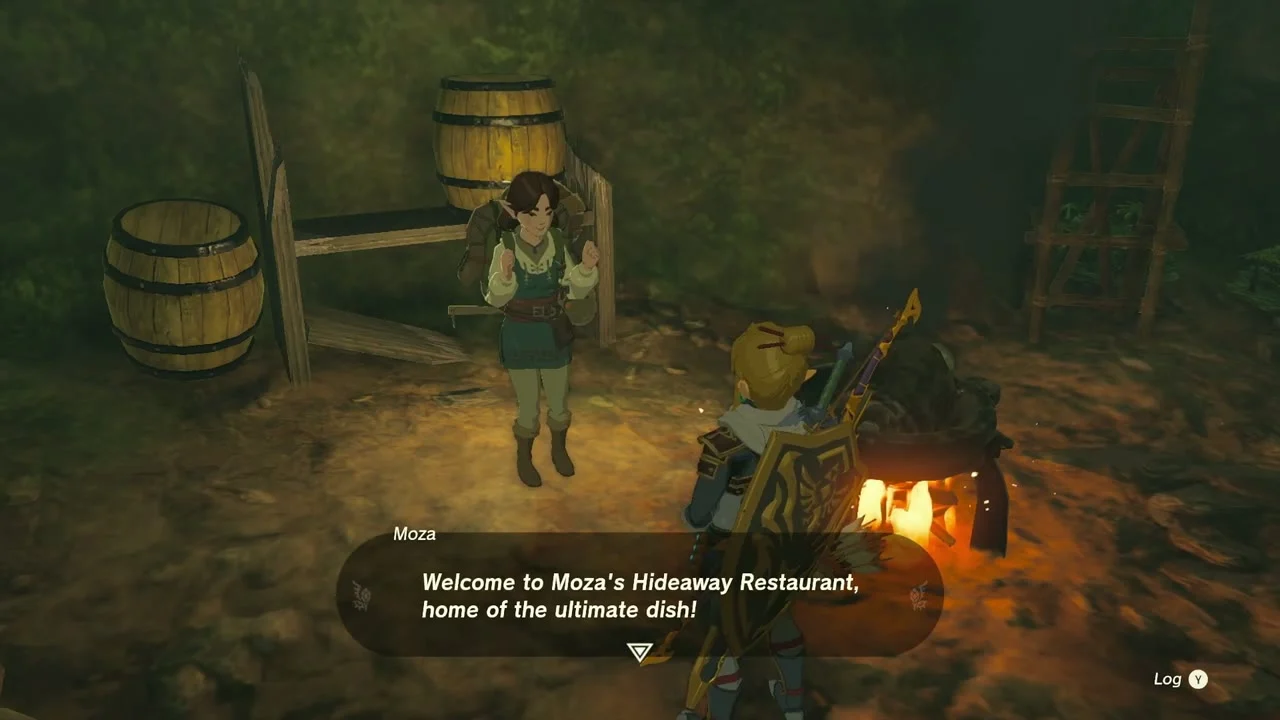
Rikoka Hills Well and side quest (The Ultimate Dish?). The well at (1716, -651, 8) hides Moza, who cooks over failed dishes for a small fee (the first time costs only a few rupees). Bring her dubious or rock-hard food to finish The Ultimate Dish?.
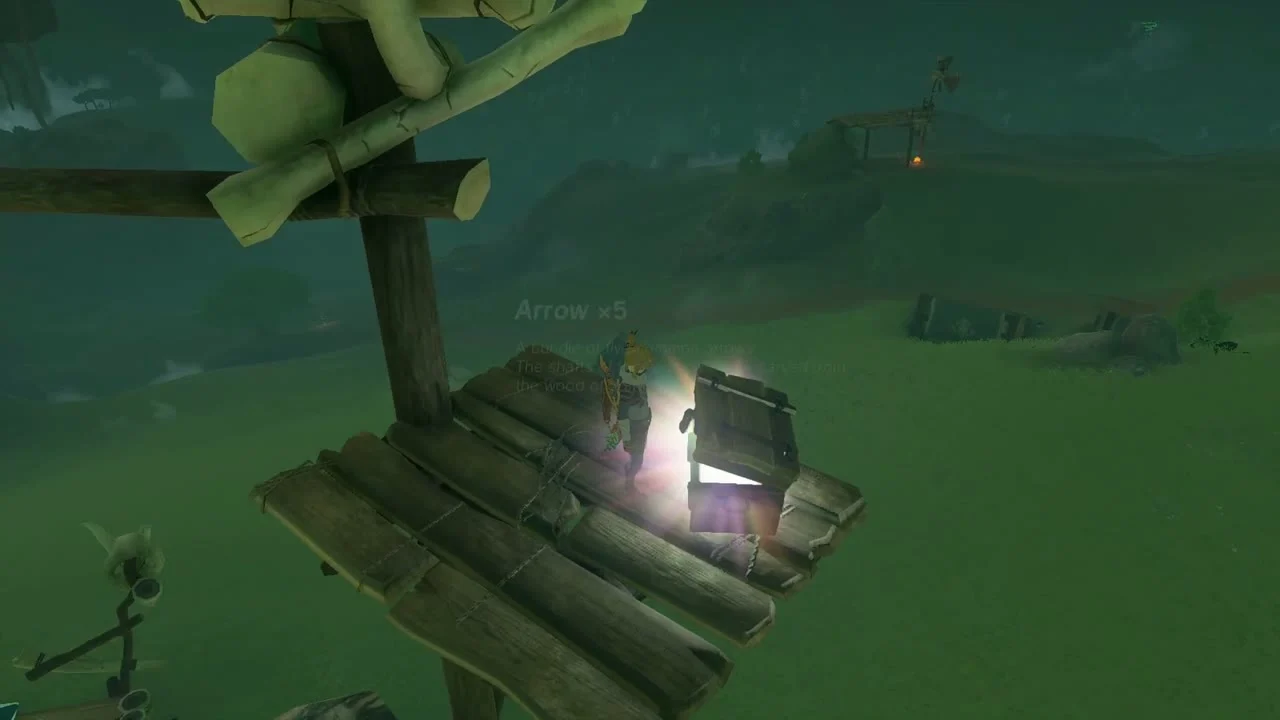
Chests (Opal, Red Rupee, Arrow x5). A chest on a lookout platform at (1674, -693, 77) holds an Opal. A Red Rupee chest sits on the scorched hillside beyond it, and a chest on a tower platform holds Arrow x5.
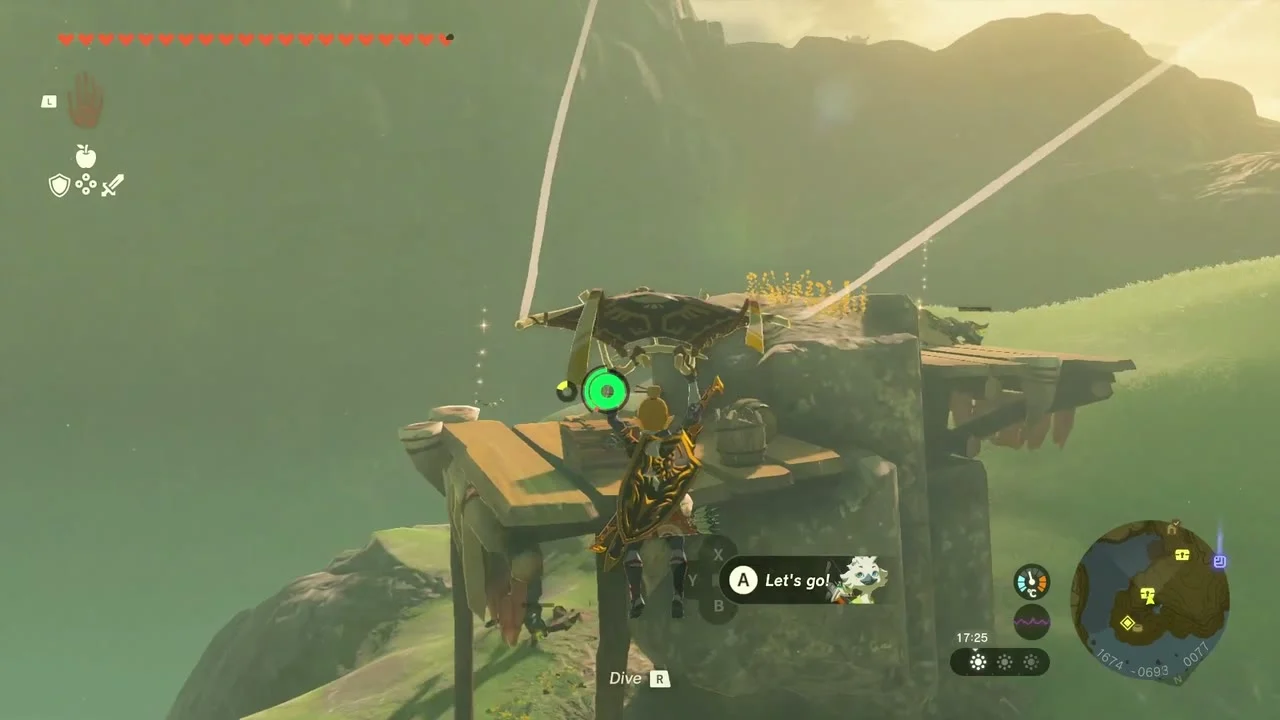
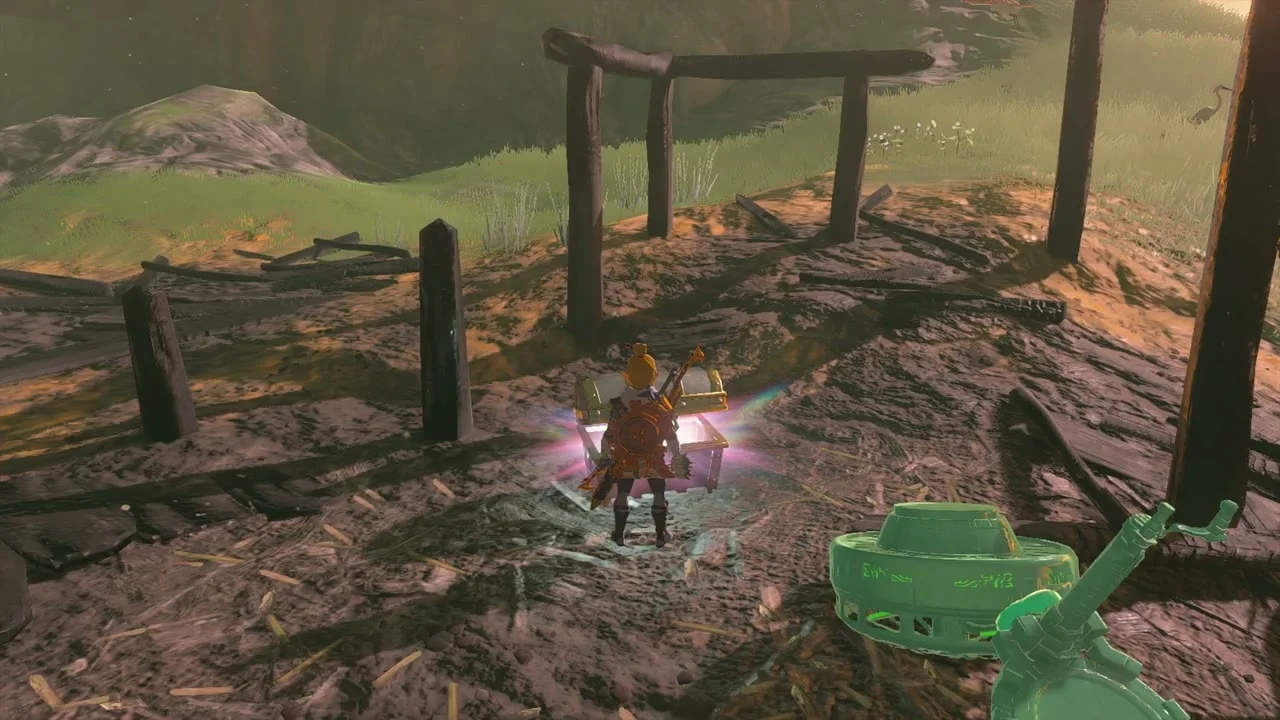
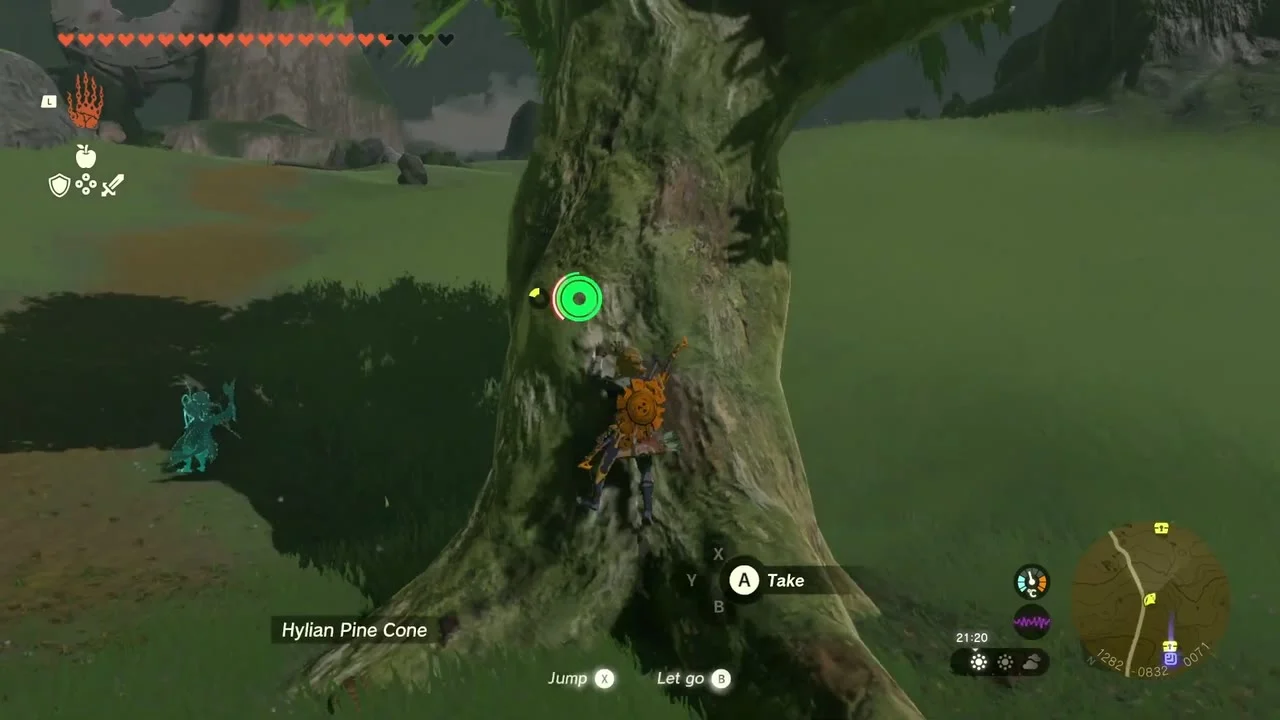
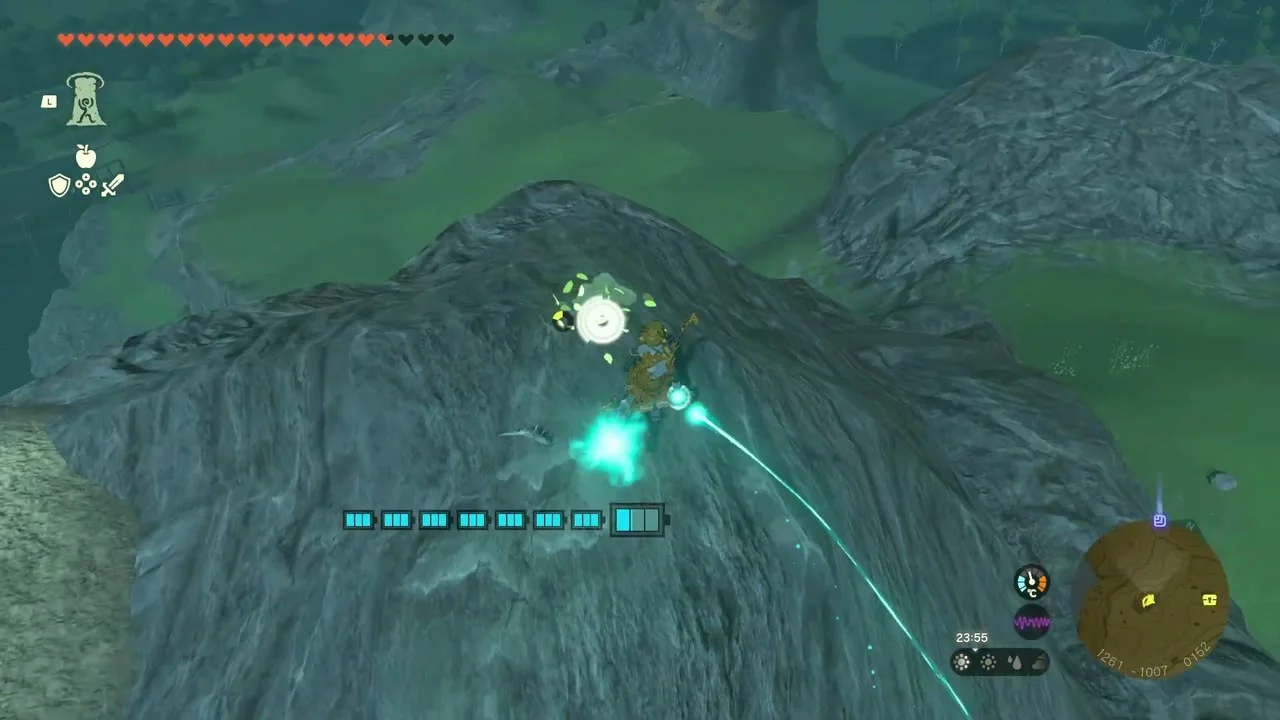
Korok seed (lift the rock, 1282, -834, 77). On the tree-lined slope at the Sahasra Slope edge, climb to the boulder at (1282, -834, 77) and lift it.
Korok seed (follow the flower, 1245, -1037, 145). Glide along the ridge to the flower trail at (1245, -1037, 145) and follow it to the Korok at its end.
Morok Shrine
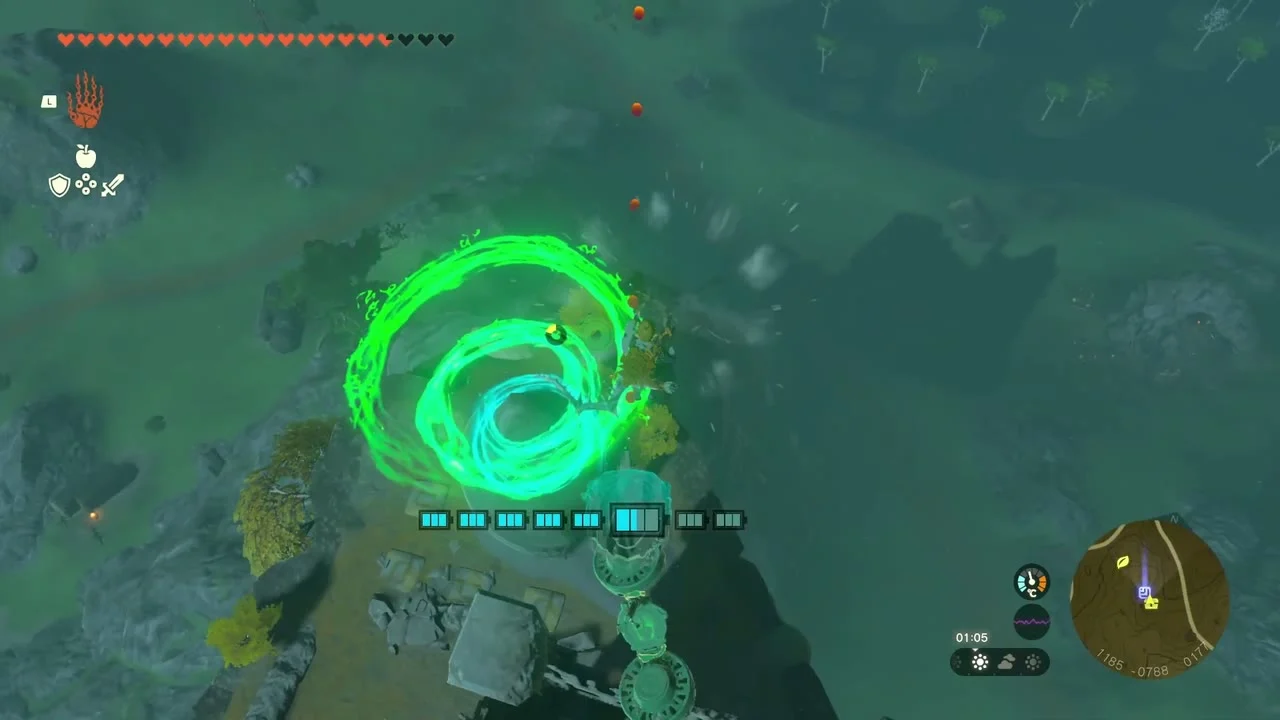
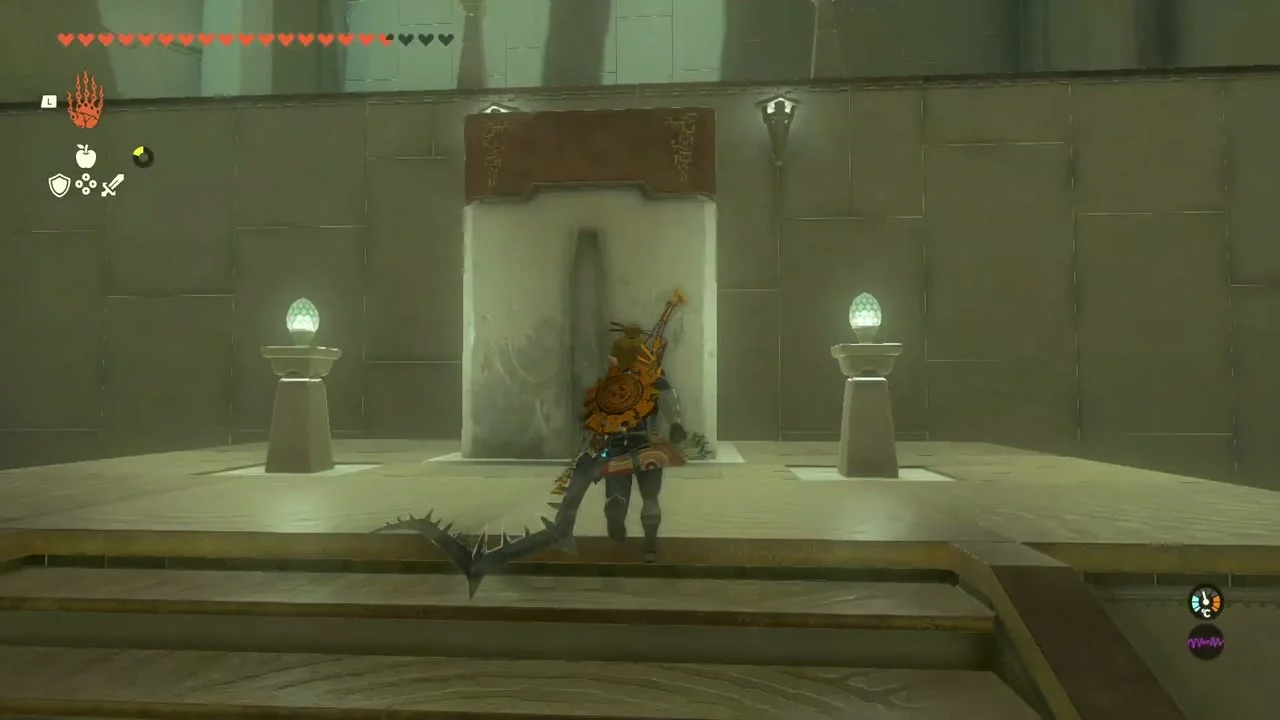
Morok Shrine (A Bouncy Device, a Puzzle trial) stands at (1181, -779, 147) in the Lanayru Wetlands. A Large Zonai Charge chest sits beside it at (1185, -788, 177). The Korom Lightroot lies below at (1180, -778, -521).
Launch off the spring to the next ledge
Step onto the launch platform and strike the spring with a weapon to be thrown to the ledge above, then glide to the right.

Bounce the ball into the pit and stack the springs
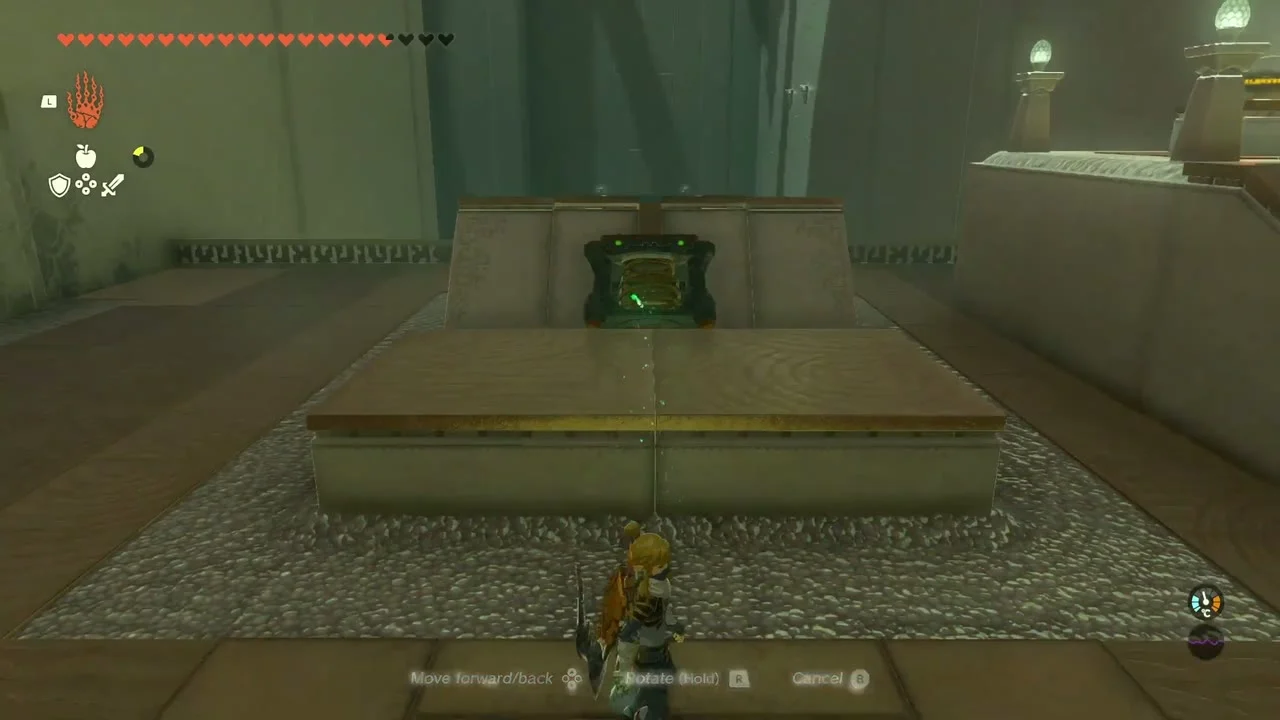
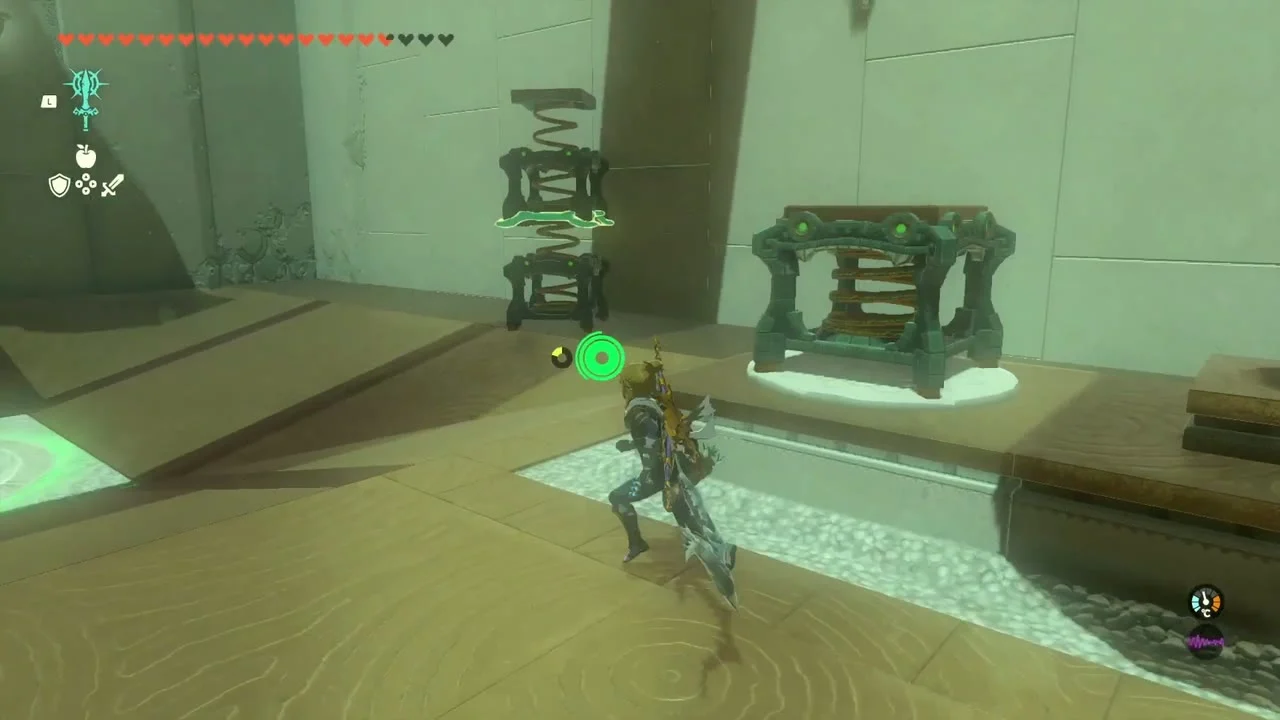
Angle the spring between the slanted slabs, set the ball on top, and hit the spring so the ball flies across the gap into the pit; a hole in one opens the gate. Take the chest for a Sneaky Elixir, then stack the two springs into a tall launcher, ride it to the top and take the Light of Blessing.


Eagus Bridge and Floret Sandbar
Chest (Lizal Boomerang). On a skull-decorated bokoblin platform near the road, a chest holds a Lizal Boomerang.



Minibosses (Gloom Spawn and Phantom Ganon). A Gloom Spawn and a Phantom Ganon attack together on the plain beside the road. Fuse a strong weapon before you engage.
Eagus Bridge and chest (Dragonbone Boko Shield (or Boko Shield or Spiked Boko Shield, depending on your progress)). Eagus Bridge at (970, -943, -6) leads towards Floret Sandbar. A chest in the bokoblin camp near the bridge holds a Dragonbone Boko Shield.
Wetland Stable, Ren-iz Shrine and Crenel Peak
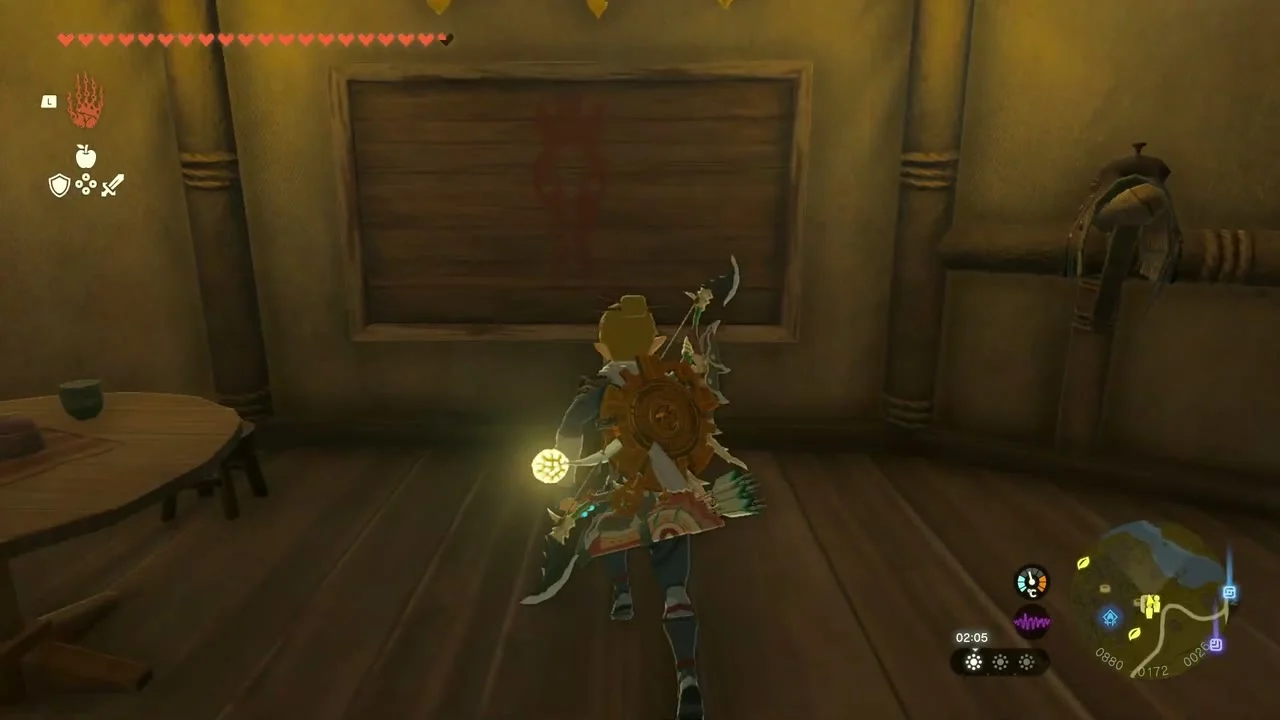
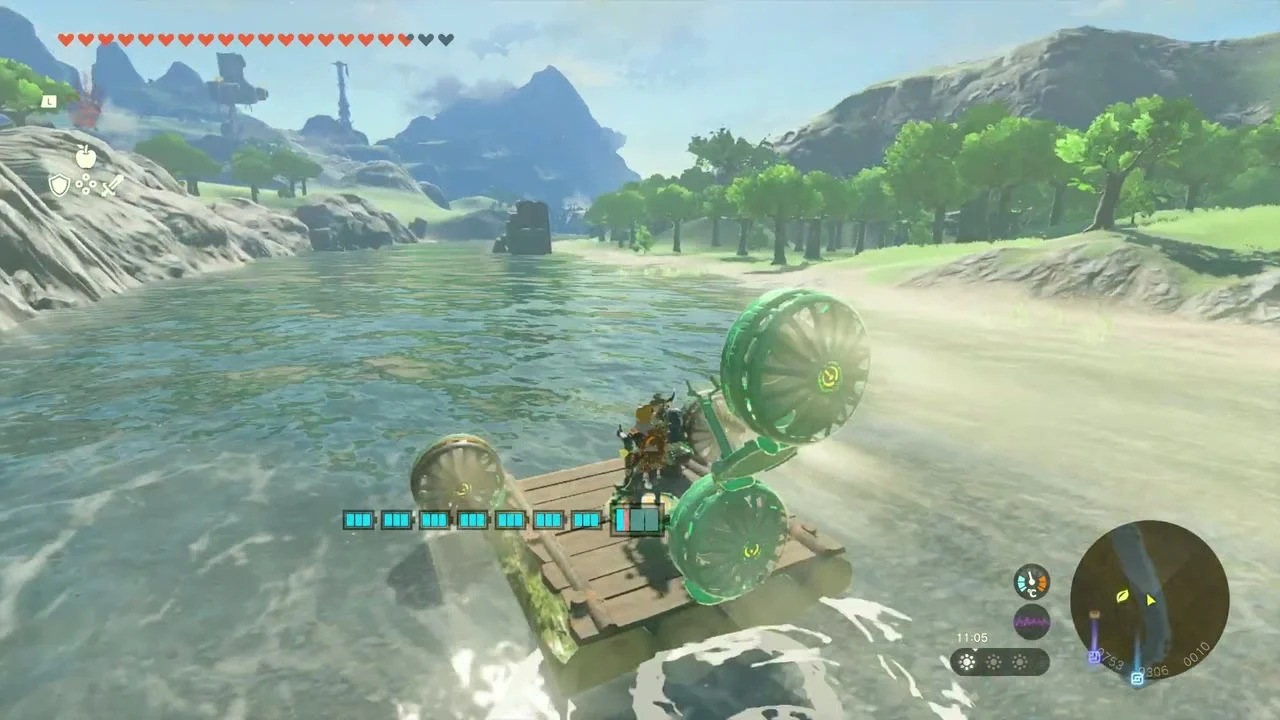
Wetland Stable. The stable sits at (888, -174, 70). Check the empty frame in the stable to start it: Lawdon wants a clear photograph of the biggest Ring Ruin at Kakariko Village, above Lantern Lake behind the Chief’s house, with the whole ring in frame. Return to the frame with the picture for a Pony Point and an Electro Elixir. The Missing Farm Tools starts here too: It requires Potential Princess Sightings to have been started with Penn in Hebra. Izra waits at the pier by the Hylia River just down the hill; the raft there is incomplete, so use Ultrahand to take the fan, steering stick and battery from the rock opposite the pier, attach them, cut the rope, offer him a ride and steer to Floret Sandbar, where Magda explains that Zelda borrowed the tools. The reward is 70 to 100 Rupees depending on your Sightings progress.

Korok seeds (complete the rock pattern, 928, -365, 40; examine where the arrows point, 821, -330, 32). North of the stable, Ultrahand the boulders on the ridge into the ring pattern at (928, -365, 40), then follow the painted arrows to the seed at (821, -330, 32).
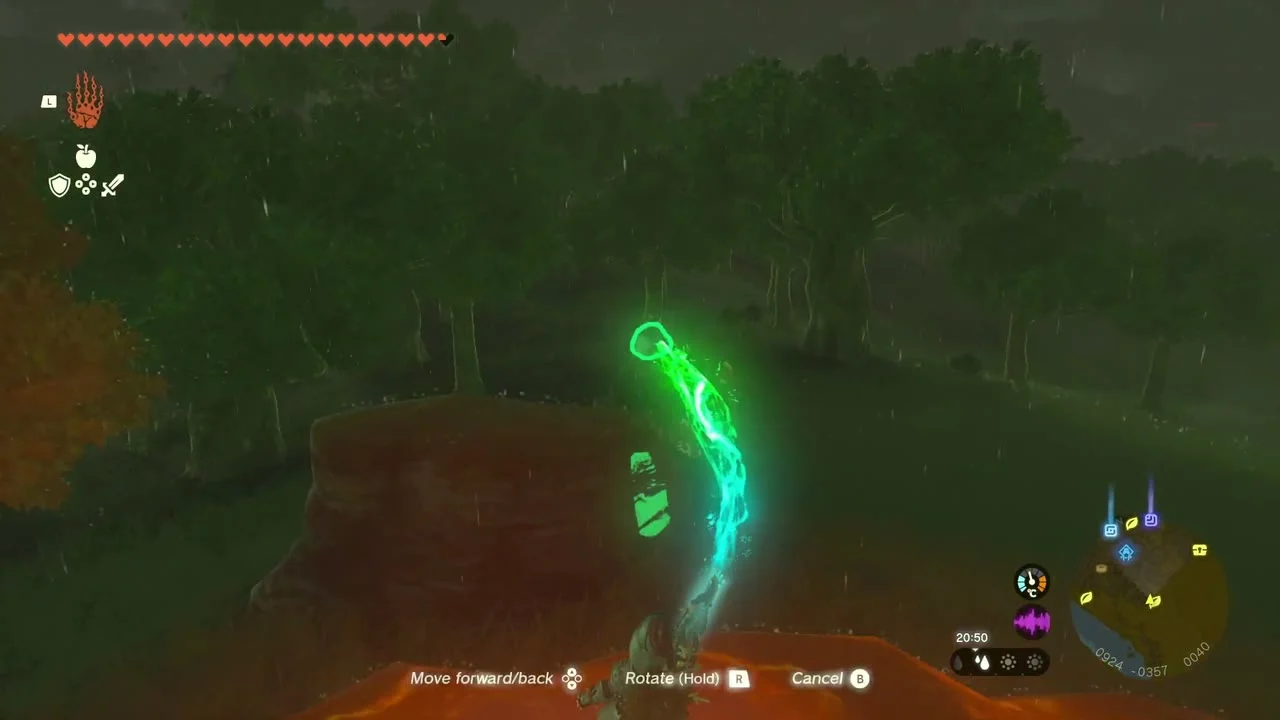
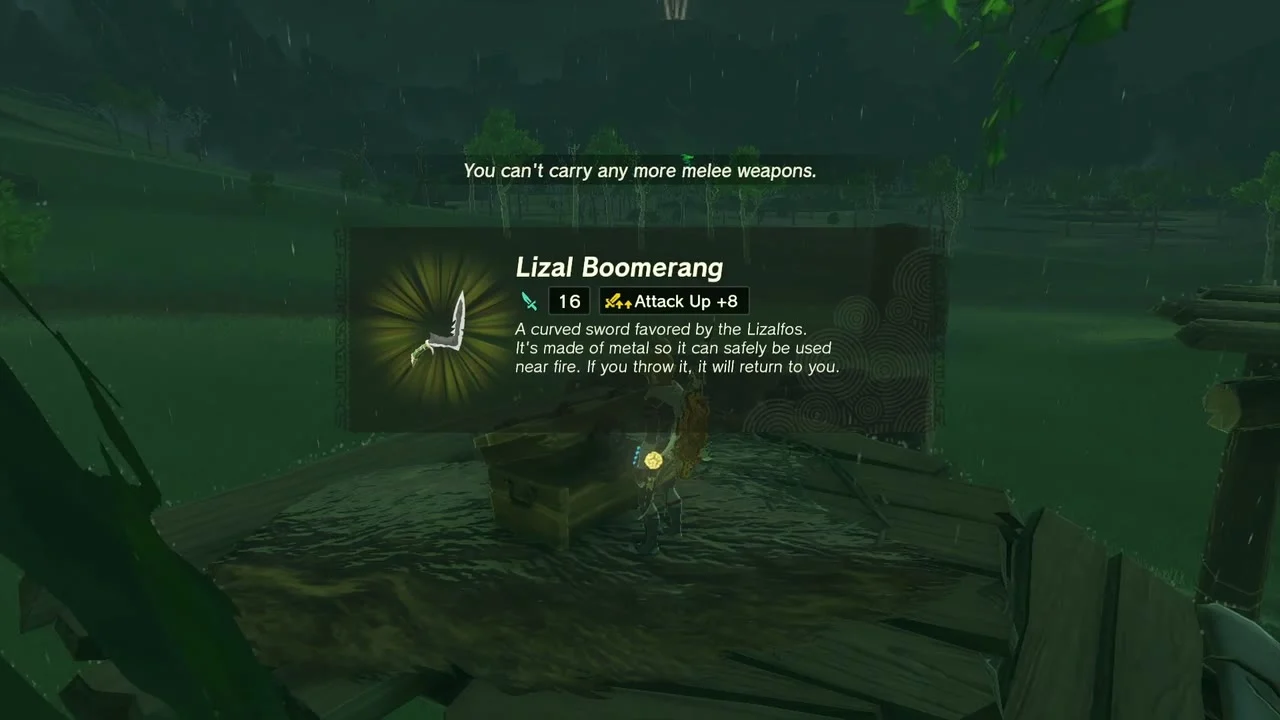
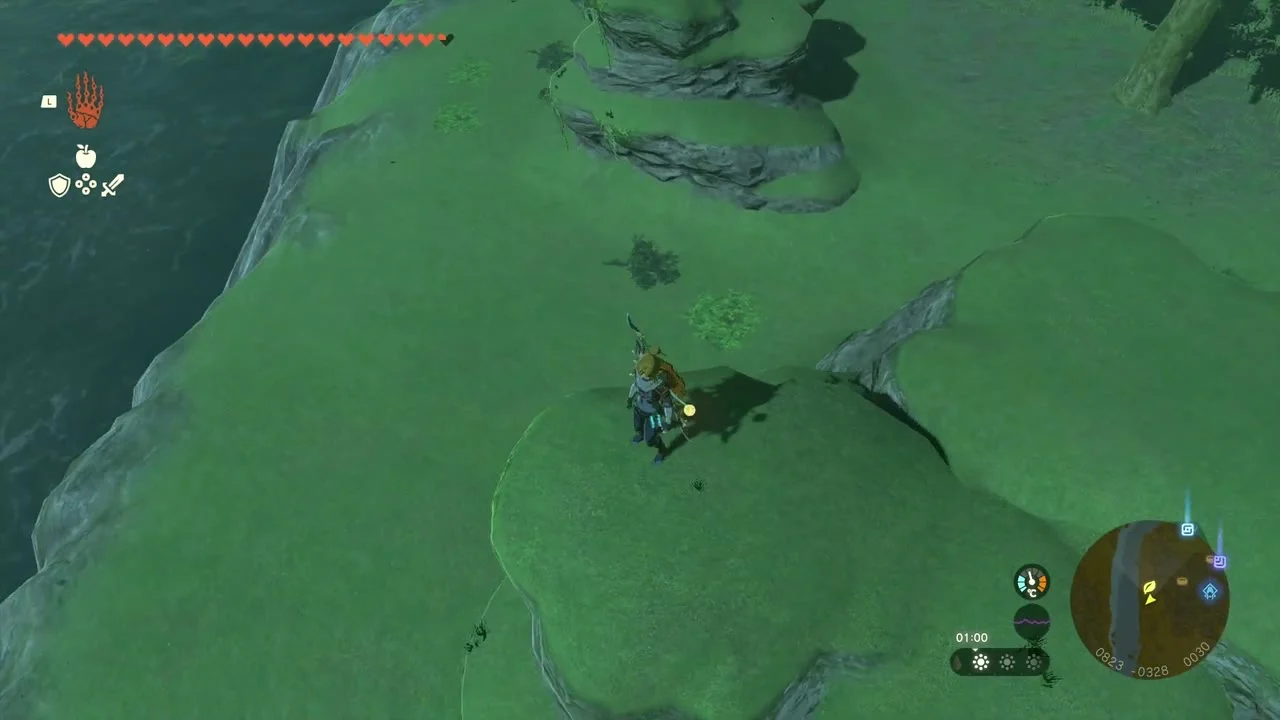
Chest (Lizal Boomerang). A chest on a wooden platform in the marsh holds a Lizal Boomerang.
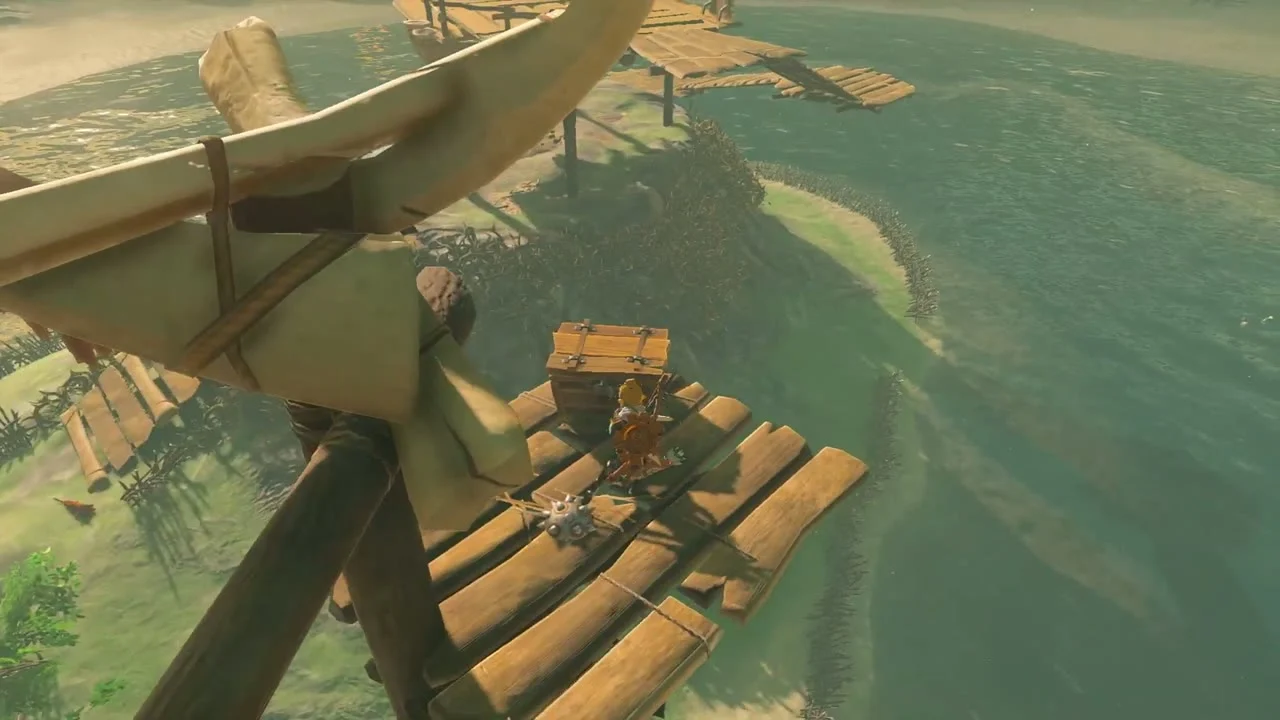
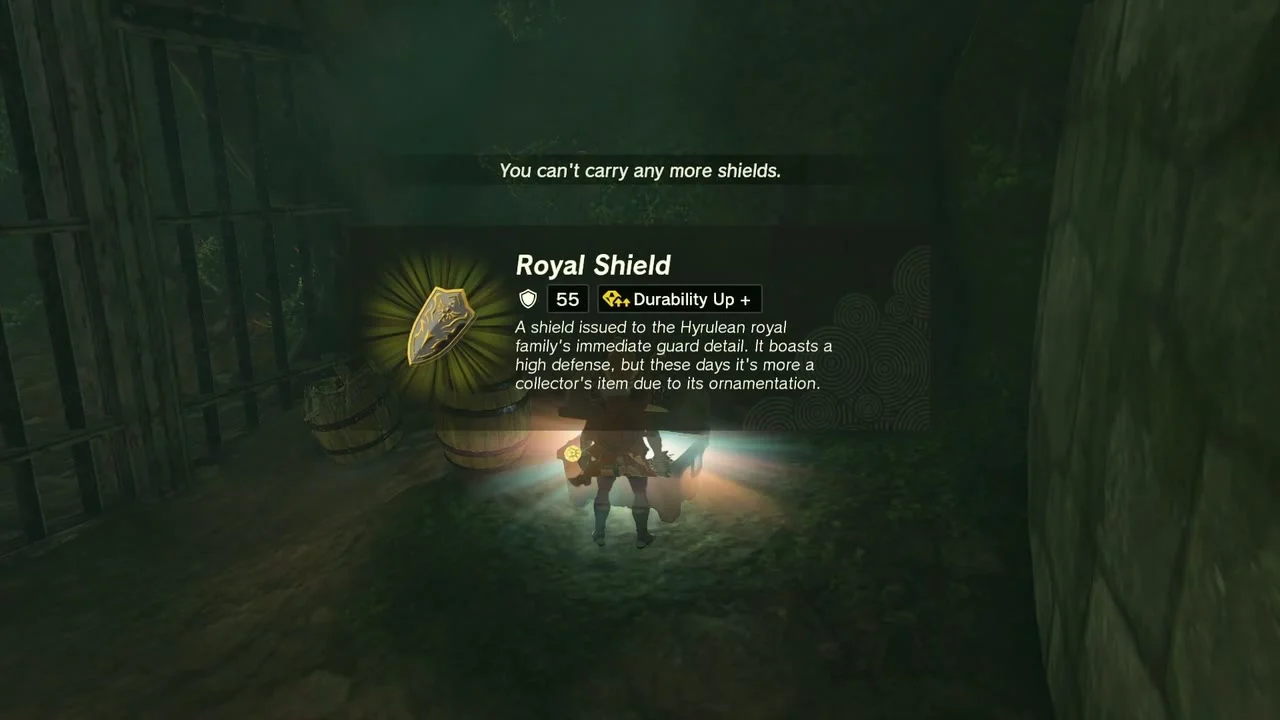
Chests (Rock Salt, Bomb Flower x3, Arrow, Royal Shield (or Traveler’s Shield, Soldier’s Shield or Knight’s Shield, depending on your progress), Arrow x5). The north-east road is lined with chests: a Rock Salt chest and a Bomb Flower x3 chest along the marsh road, an Arrow chest on a wooden plank at (666, 876, 99), a Royal Shield chest in the ferns at the roadside, and an Arrow x5 chest at the foot of a tree at (750, 754, 75).
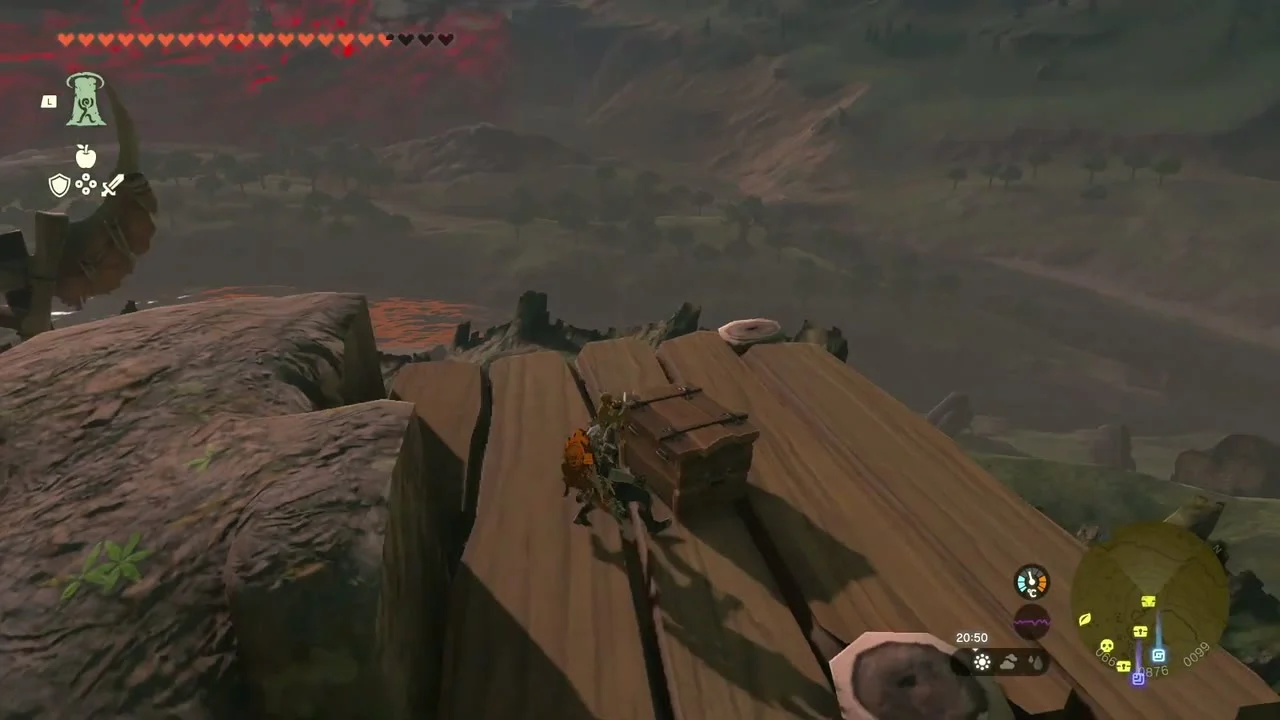
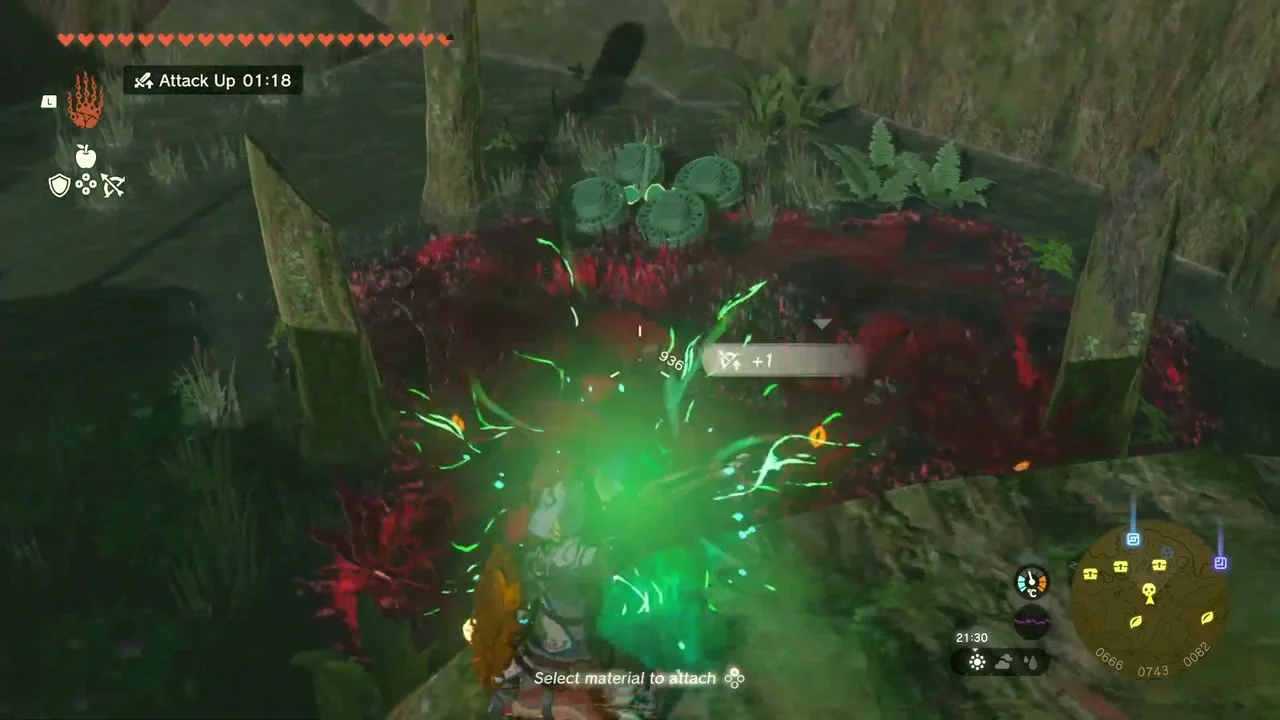
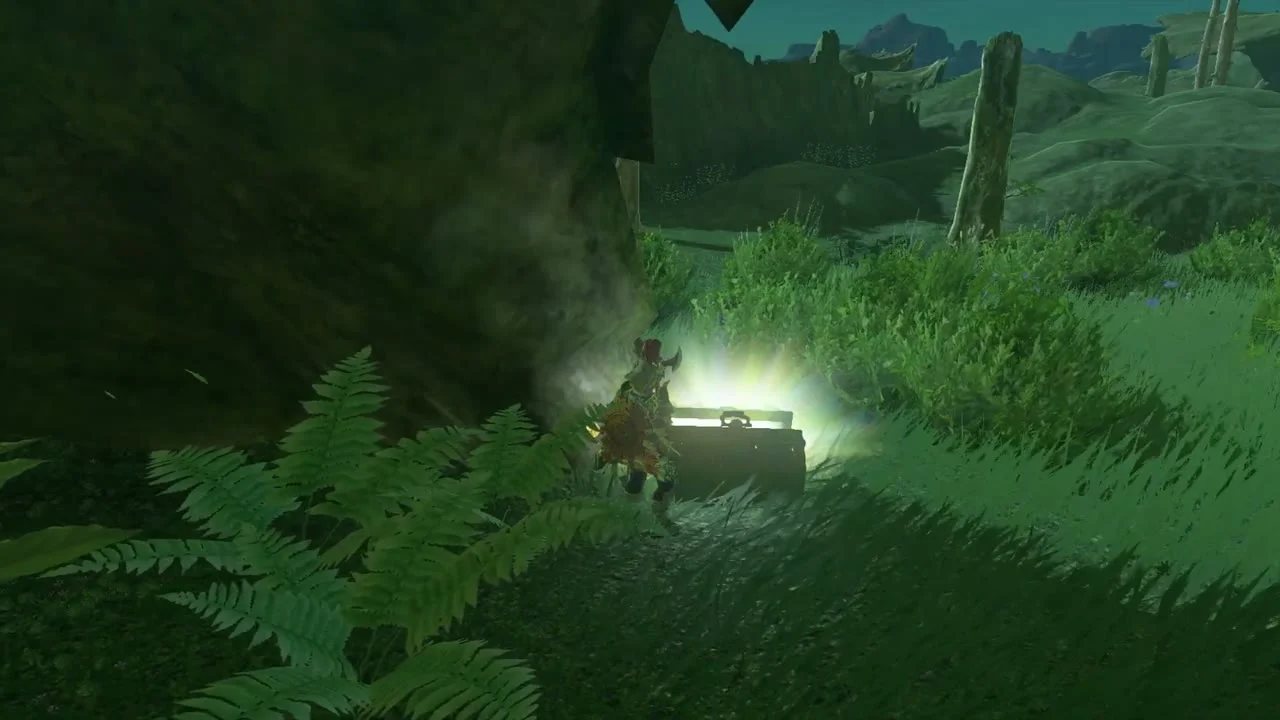

Miniboss (Phantom Ganon). A Phantom Ganon patrols the field near (666, 743, 82). Sidestep its swings and counter-attack.
Ren-iz Shrine (Jump the Gaps, a Puzzle trial) stands at (756, 823, 95) in the north of Hyrule Field. The Zi-ner Lightroot lies below it at (757, 823, -552).
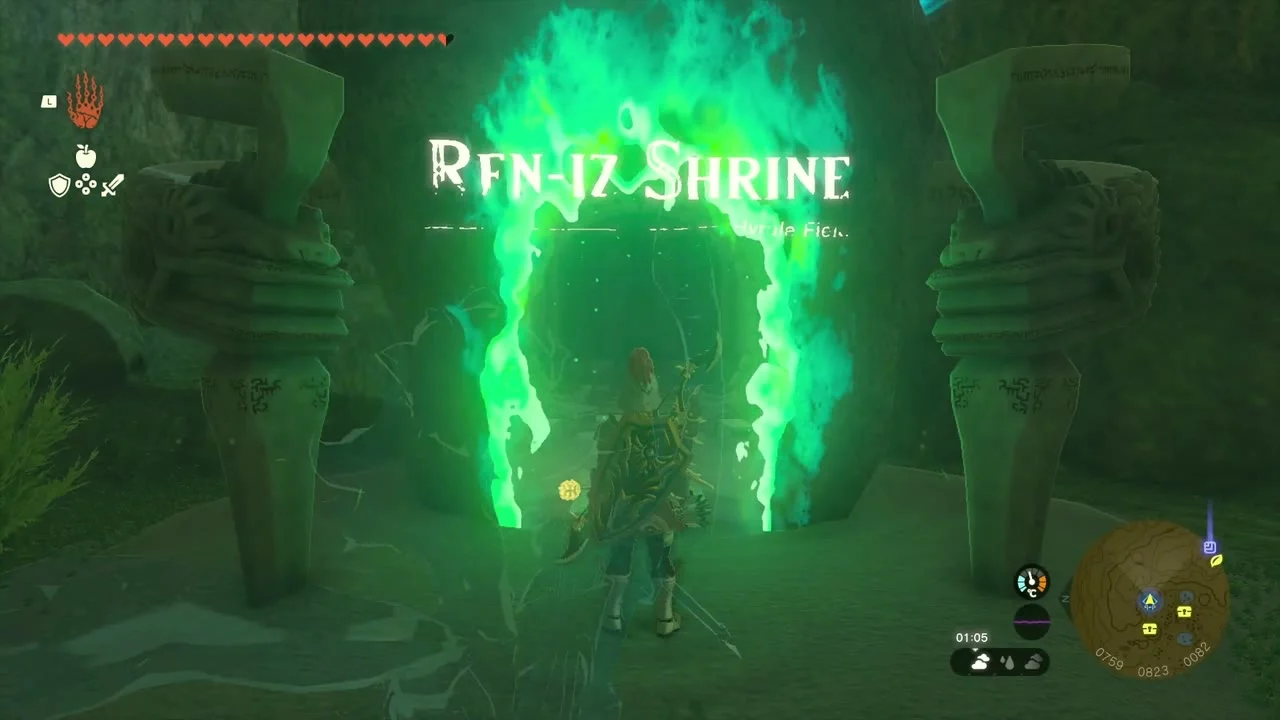

Ramp the plate and strike the pillar
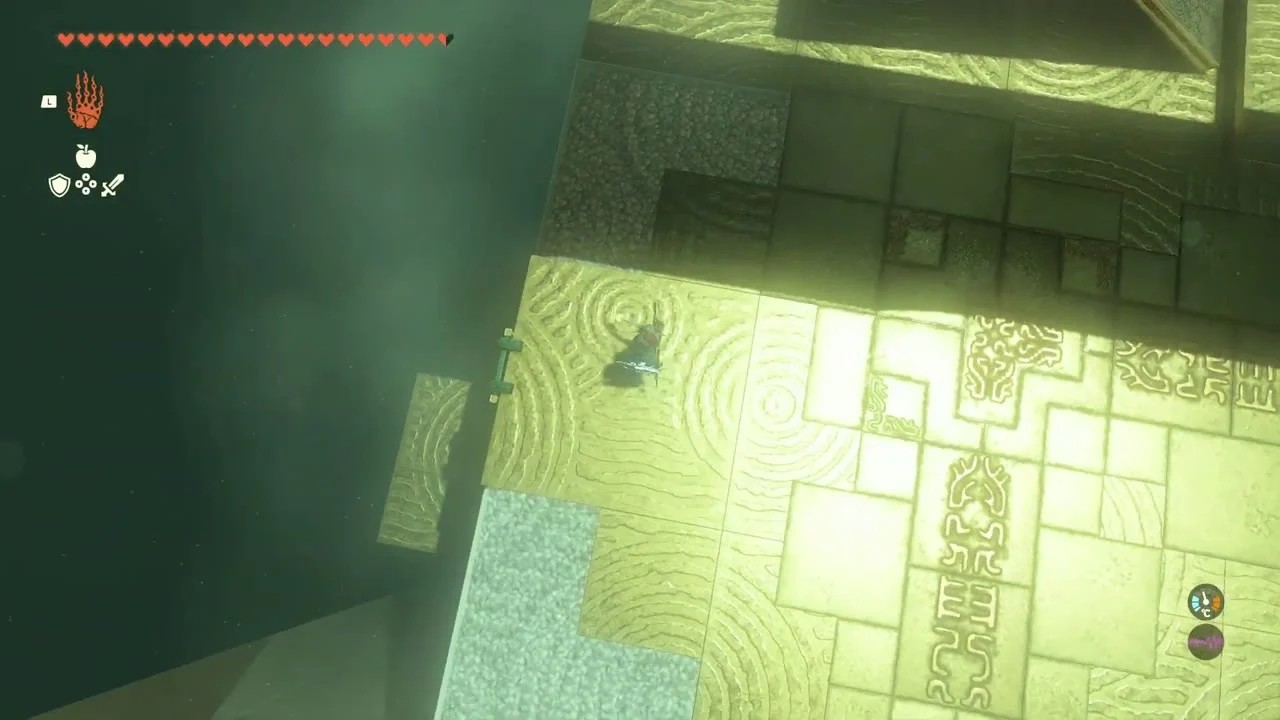
Use Ultrahand to set the ground plate as a ramp, then strike the yellow pillar so the orb rolls up it, across the gap and into the hole.
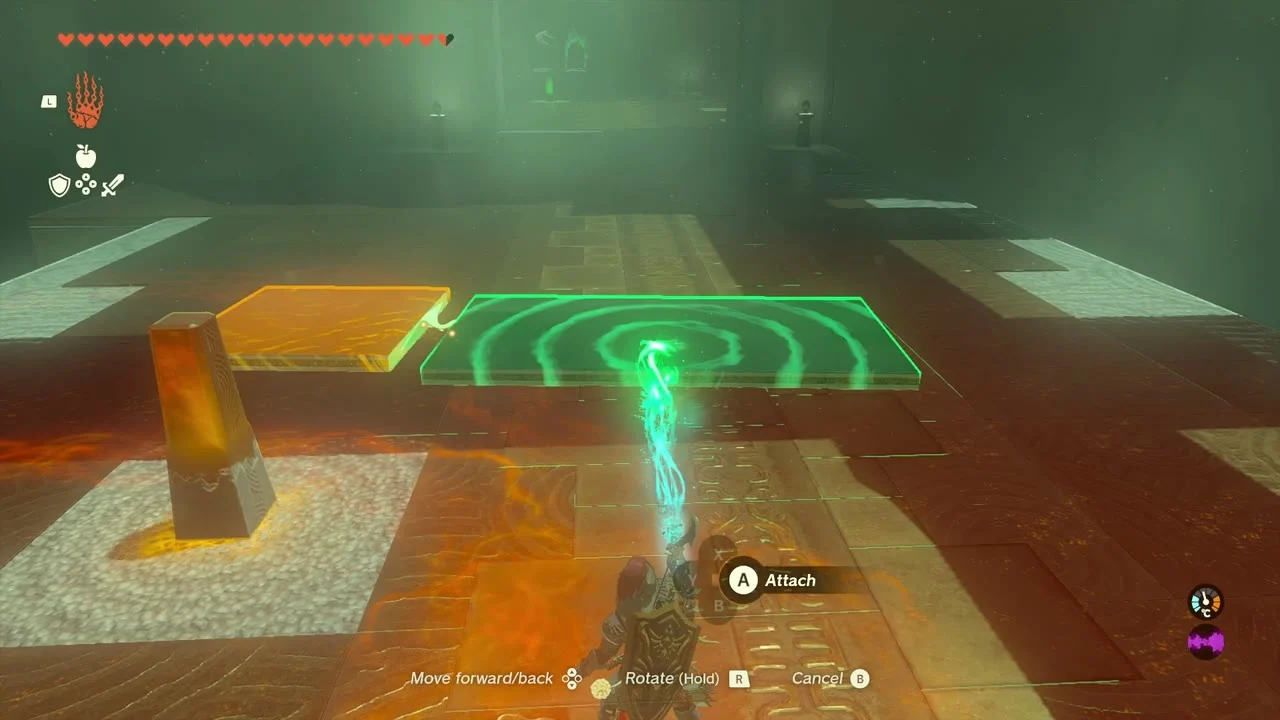

Bridge to the chest and finish the L-ramp
In the second room, join the square and long platforms into a bridge to the chest, which holds a Zonaite Shield (Strong or Mighty, depending on your progress). In the last room, join the pieces into an L-shaped ramp, balance the long plate on the column and hit the pillar again so the ball lands in the far basket. Take the Light of Blessing.

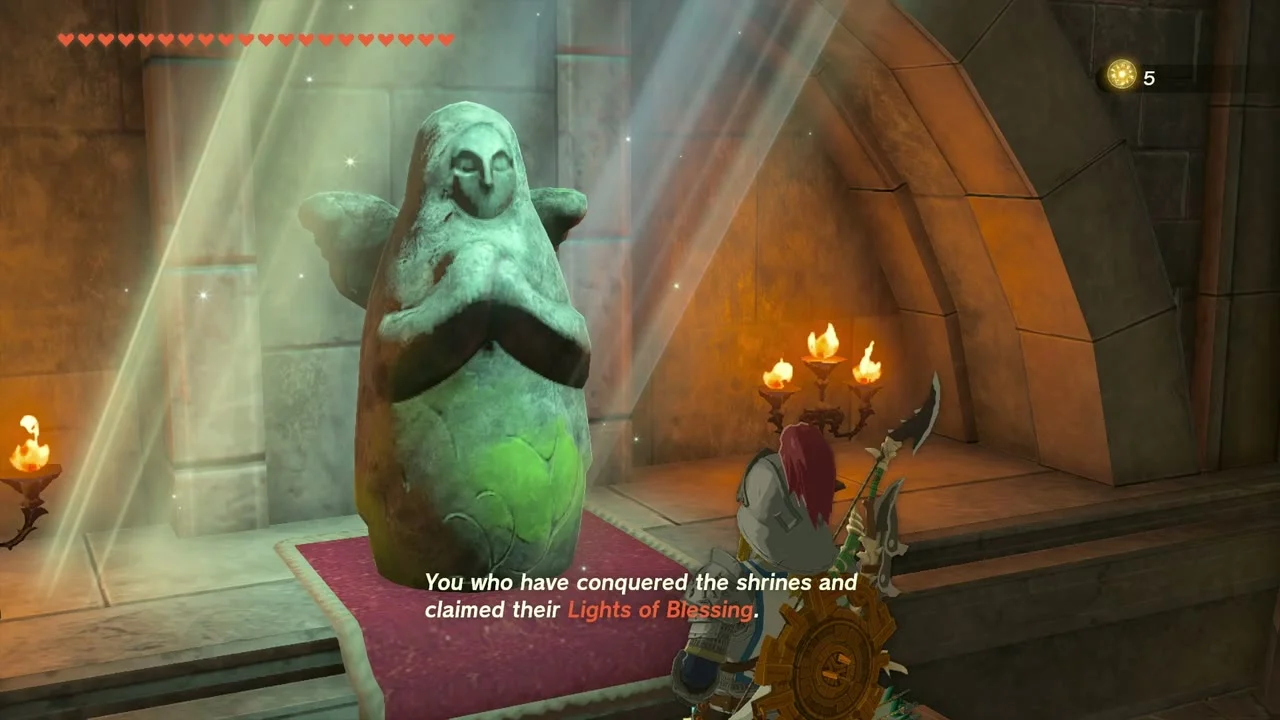
Goddess Statue (Stamina Vessel). Spend four Lights of Blessing at a Goddess Statue to raise your stamina wheel.
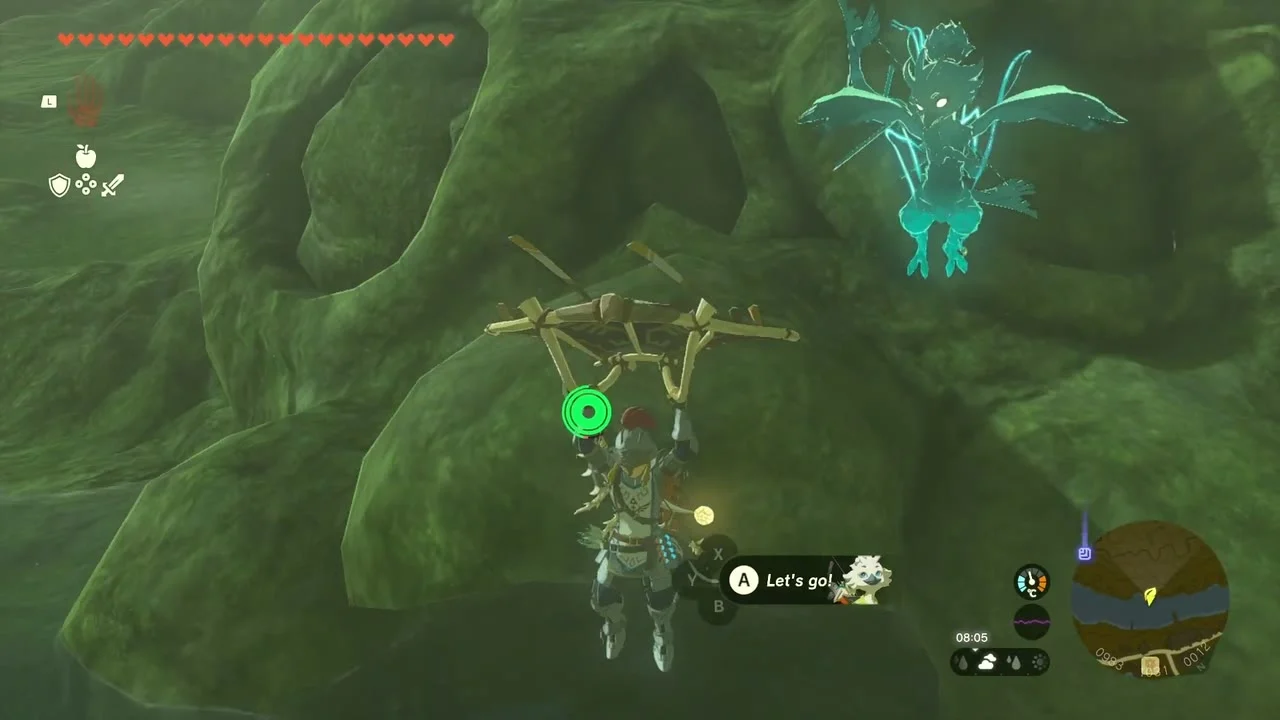

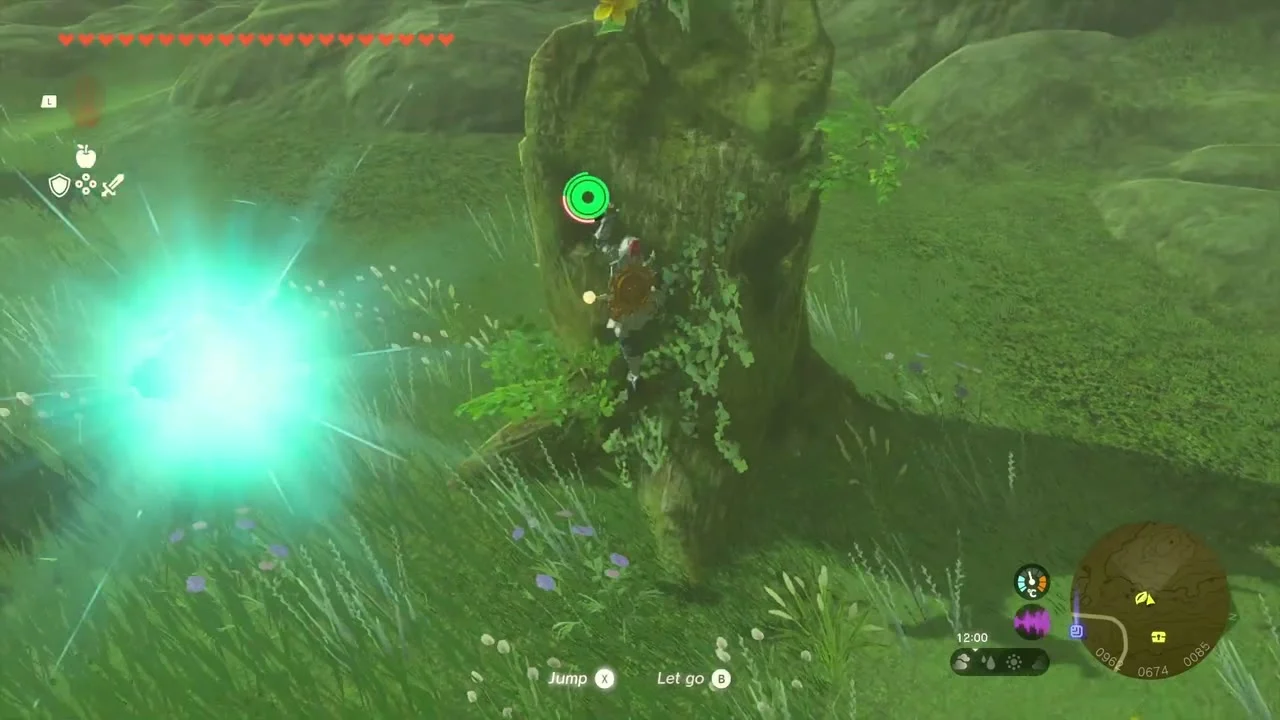
Korok seeds (follow the flower, 966, 627, 88; lift the rock, 966, 1027, 10). North of the shrine, follow the flower trail at (966, 627, 88) to its Korok, and lift the boulder at (966, 1027, 10) for another.
Chest (Luminous Stone and Arrow x5). A chest further along holds Luminous Stone and Arrow x5.
Crenel Peak Cave, Jojon Shrine and the wetland wells
Chest (Bomb Flower) and Korok seed (dandelion, 1118, 229, 77). On a wooden platform on the cliff, a chest holds Bomb Flower for the cave walls. Climb the rock face above to hit the dandelion puff at (1118, 229, 77) for a seed.
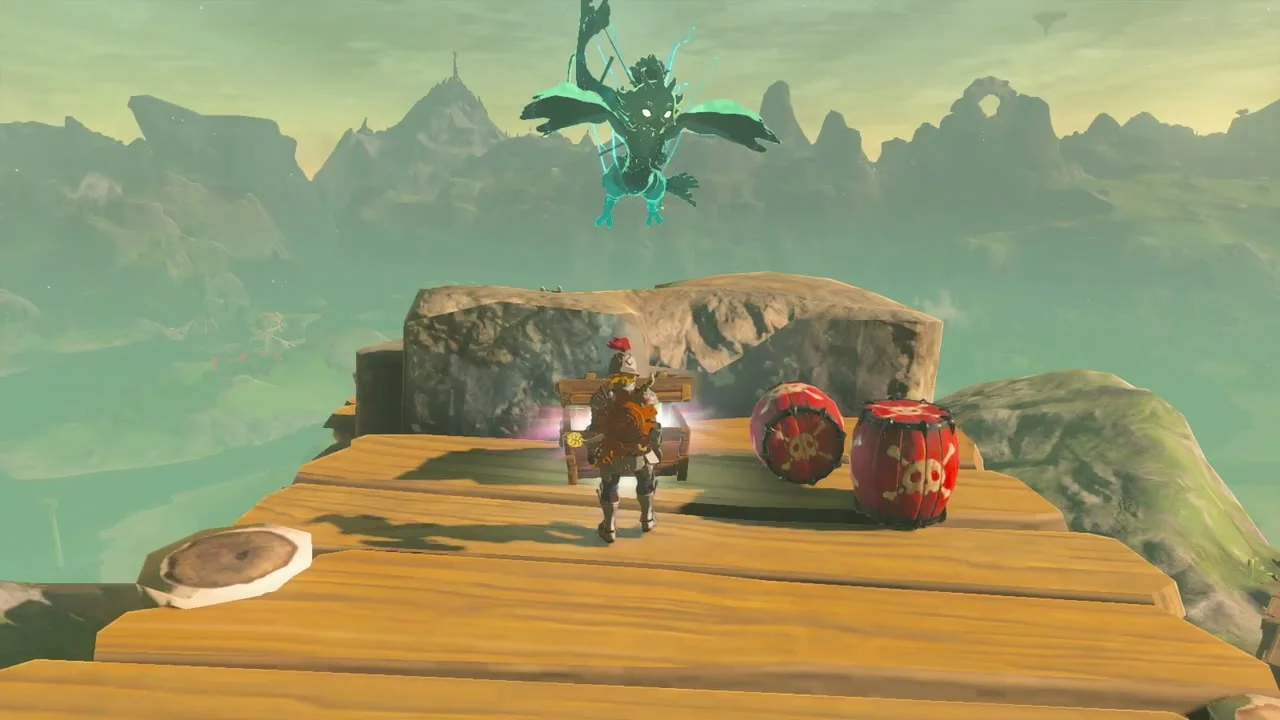
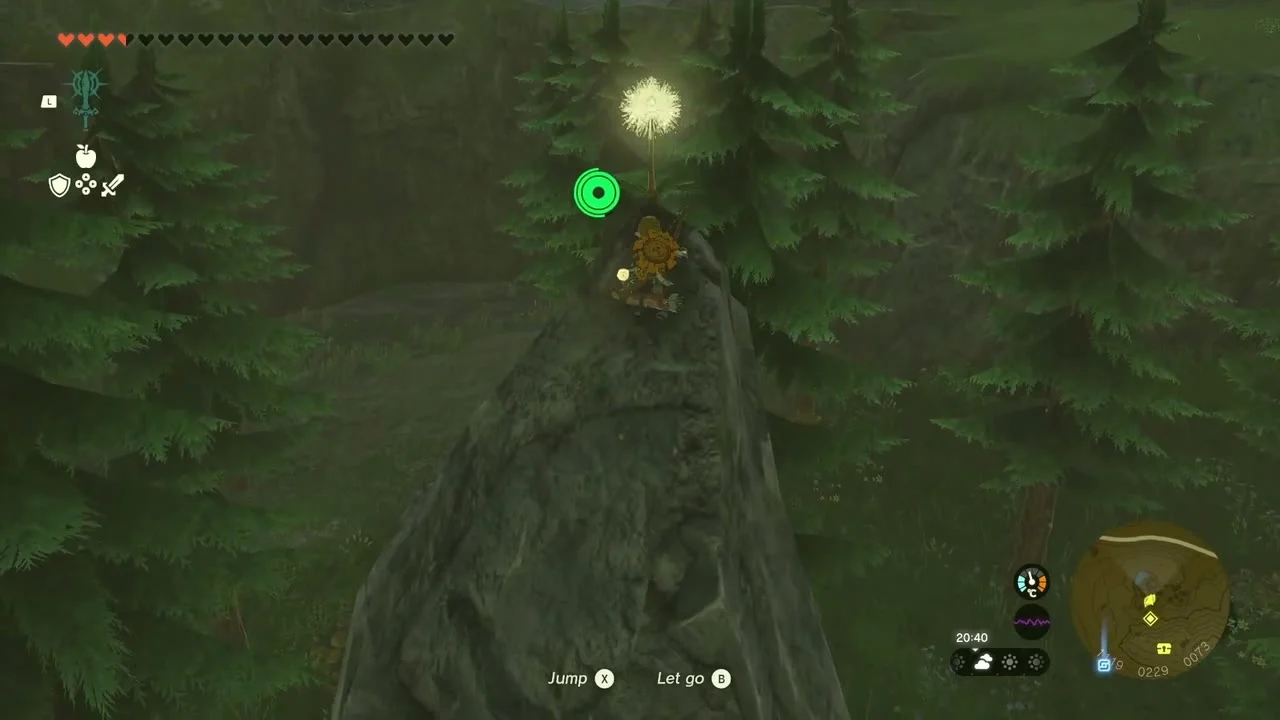
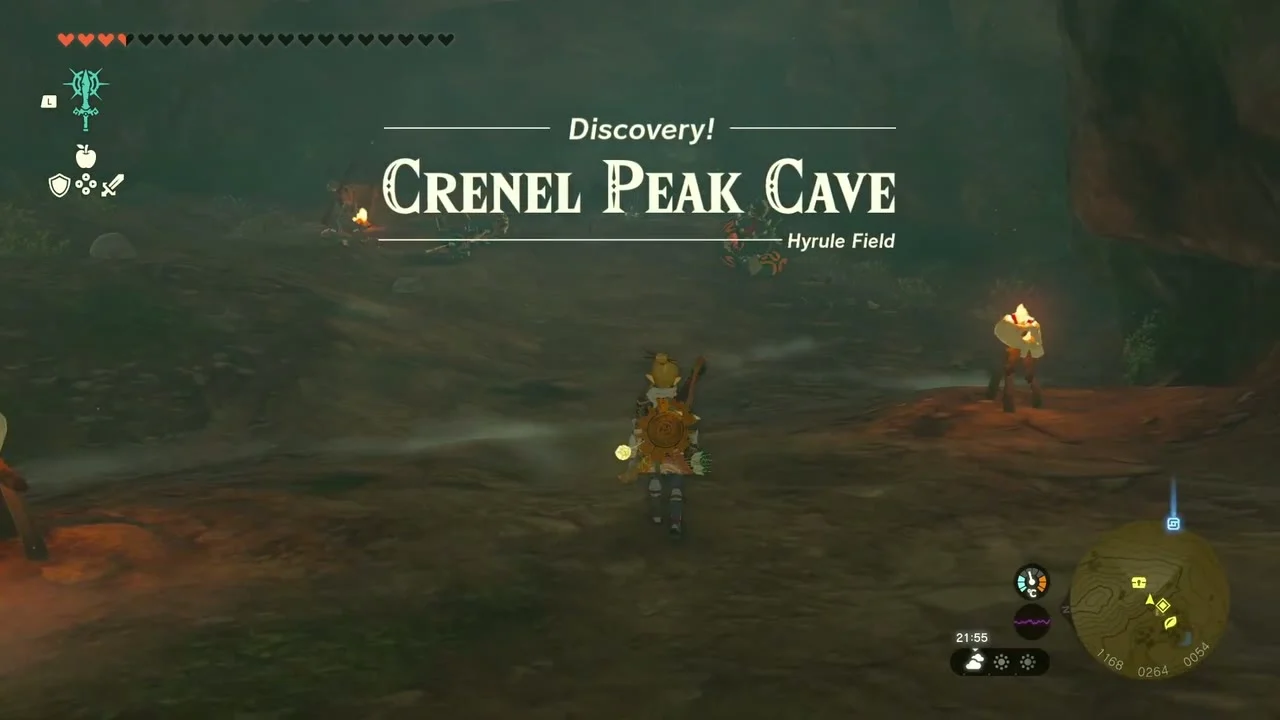
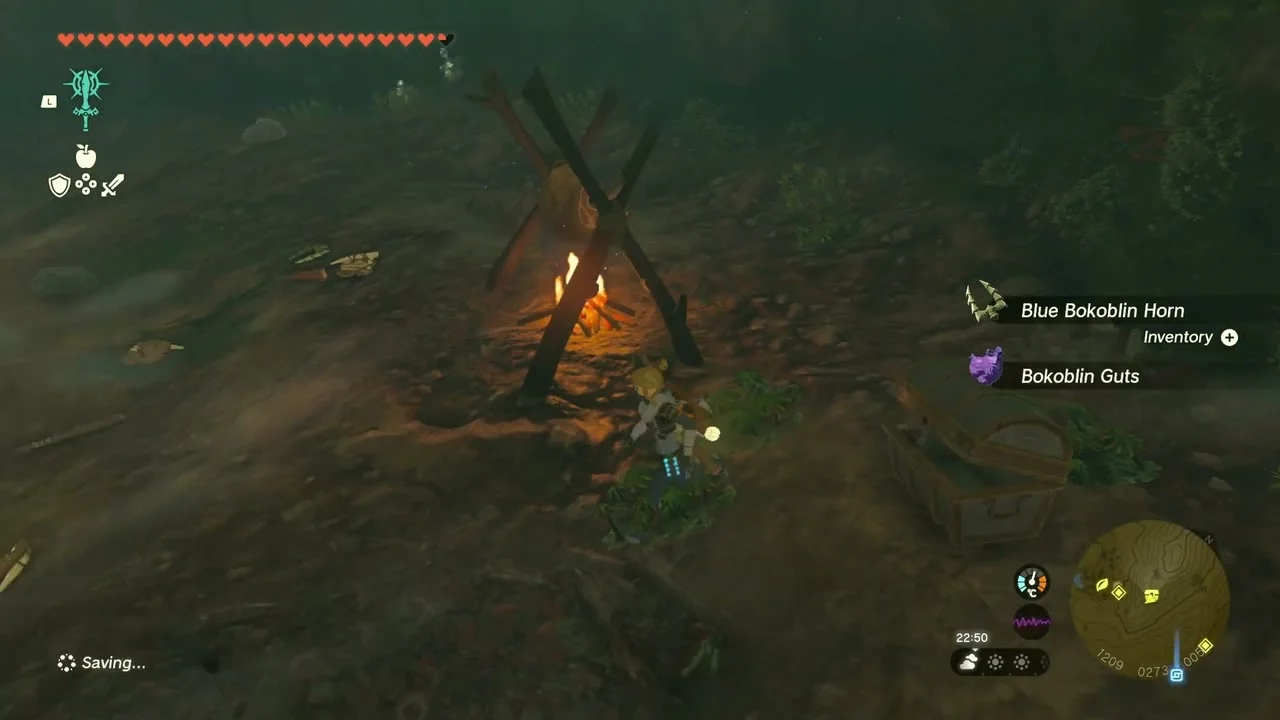
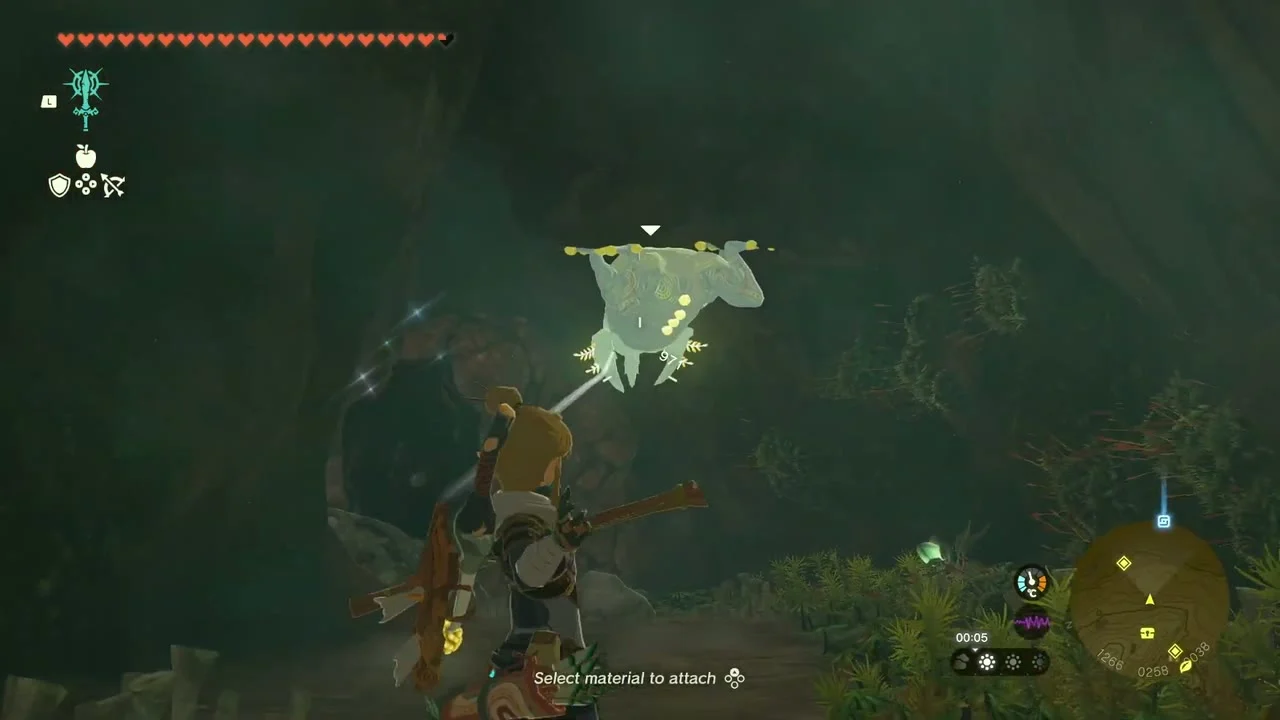
Crenel Peak Cave. The cave has two entrances, (1144, 247, 58) and (1349, 296). A Blue Boss Bokoblin and several Blue Bokoblins guard the first cavern, and a chest there holds Bomb Flowers and some Seared Steak. Burn the roots and break the cracked boulder walls with Bomb Flowers or a rock-fused weapon, and take the right-hand branch at each split; a Bubbulfrog sits on a ledge near (1266, 258, 38) for a Bubbul Gem.
Jojon Shrine (Proving Grounds: Rotation, a Proving Grounds trial) stands at (1202, 329, 40), inside the cave. The Nojoj Lightroot lies below at (1201, 330, -595). Your gear is taken at the door.
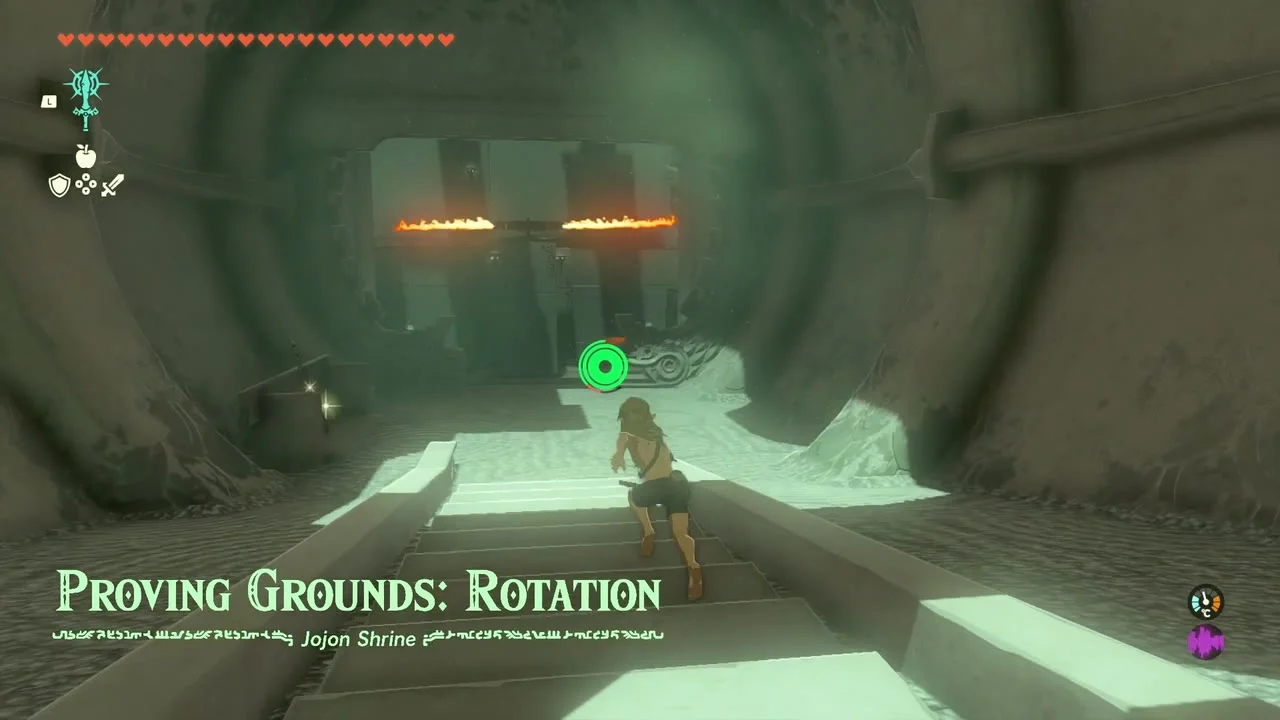

Arm yourself and defeat every Construct
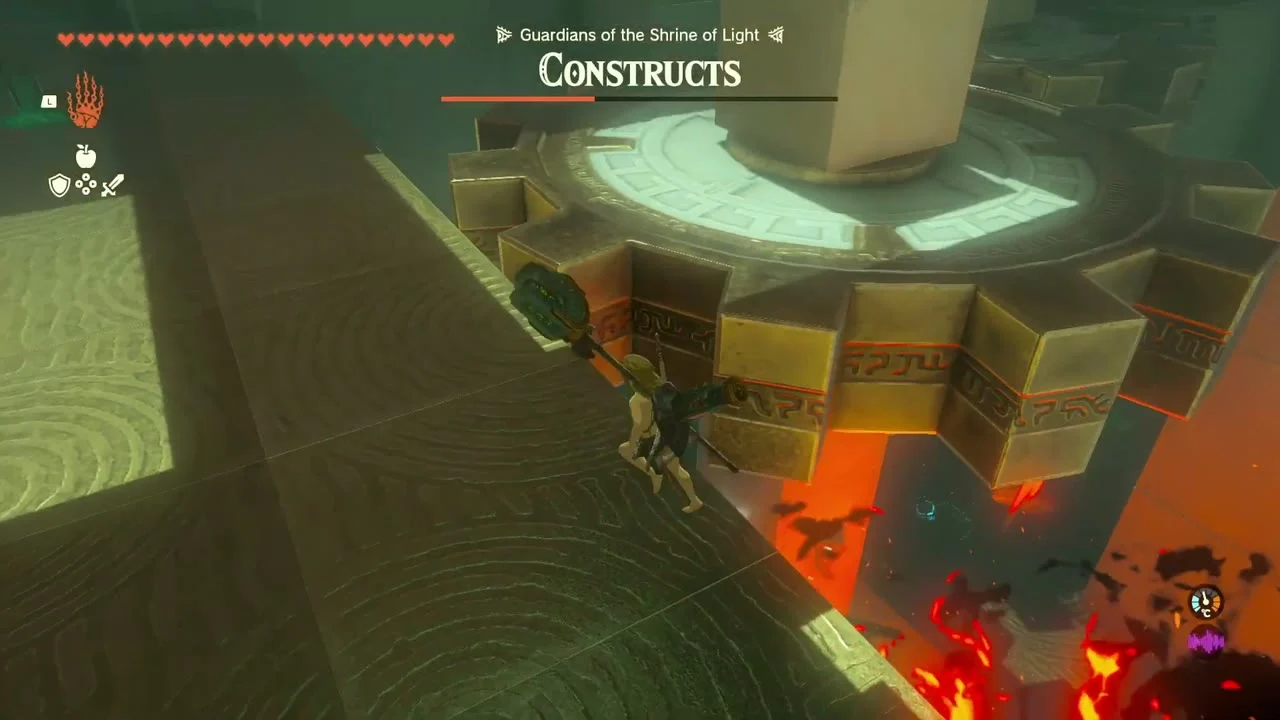
Pick up the Old Wooden Shield, Thick Stick and Wooden Stick (or Sturdy Wooden Stick or Gnarled Wooden Stick, depending on your progress) on the left, defeat all the Constructs, and open the chest for a Magic Rod. Take the Light of Blessing.


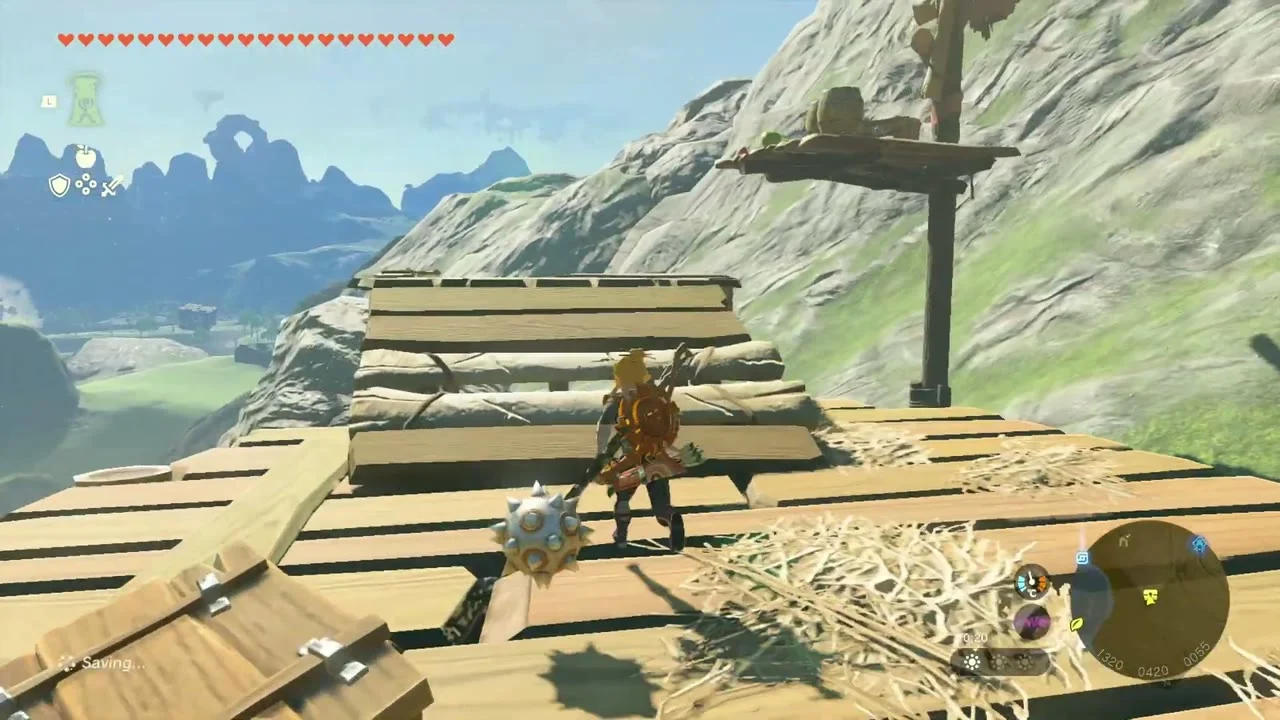
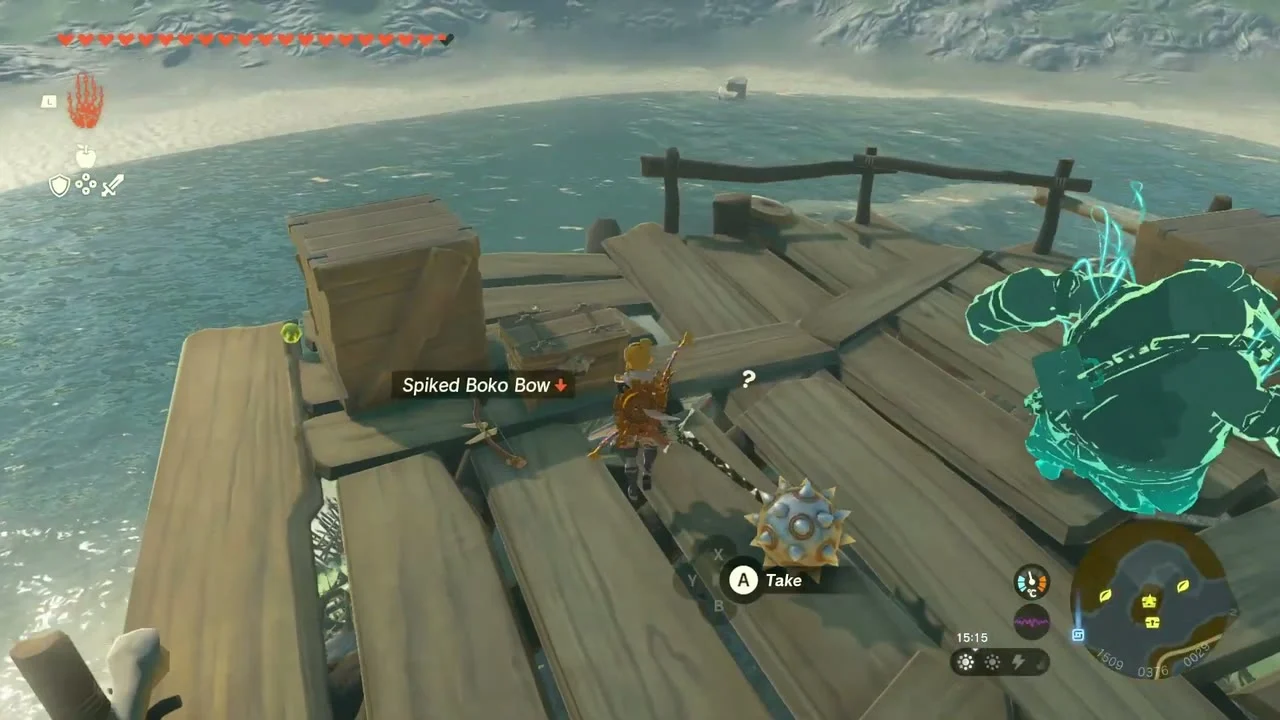
Chests (Arrow x5, Opal, Dragonbone Boko Bow (or Boko Bow or Spiked Boko Bow, depending on your progress), Arrow x5). The wooden lookout platforms on the slope above the cave each hold a chest: Arrow x5 at (1320, 420, 55) and an Opal at (1312, 407, 60), a Dragonbone Boko Bow on the coastal pier at (1509, 376, 29), and Arrow x5 on the next tower platform.

Moor Garrison Ruins Well and Soldier’s Shield. The well is at (1544, 170, -7). A Like Like lurks inside, and a chest behind a cracked wall (break it with a rock-fused weapon or a Bomb Flower) holds a Soldier’s Shield.
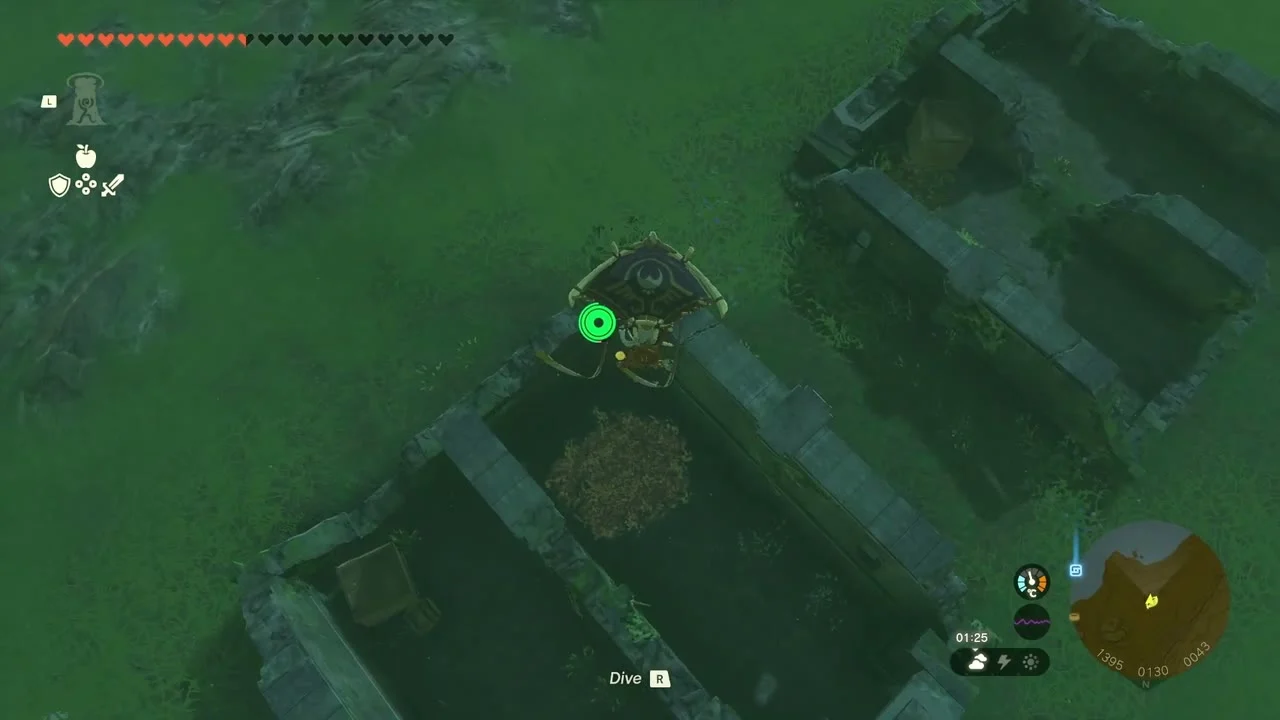

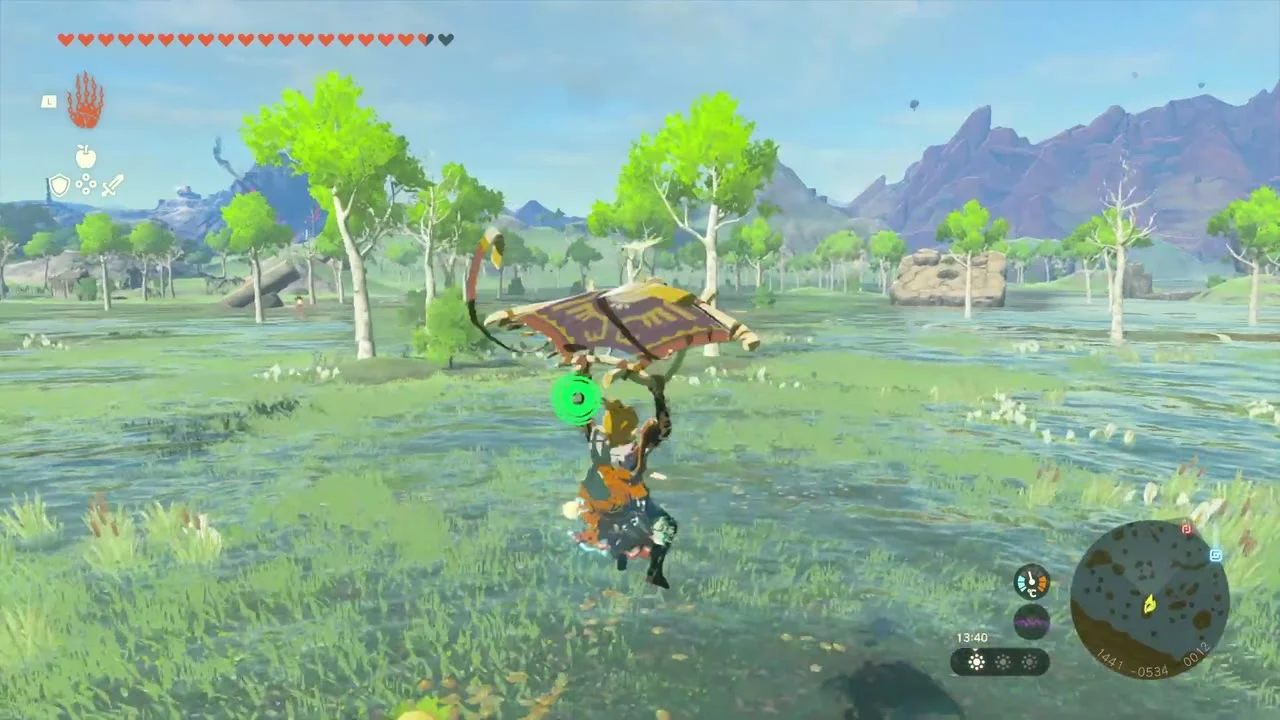

Korok seeds (burn the leaves and lift the rock, 1396, 127, 26; dive into the ring, 1308, -177, 13). Burn the leaf pile over the boulder at (1396, 127, 26) and lift the stone, then dive through the leaf ring floating in the marsh at (1308, -177, 13).
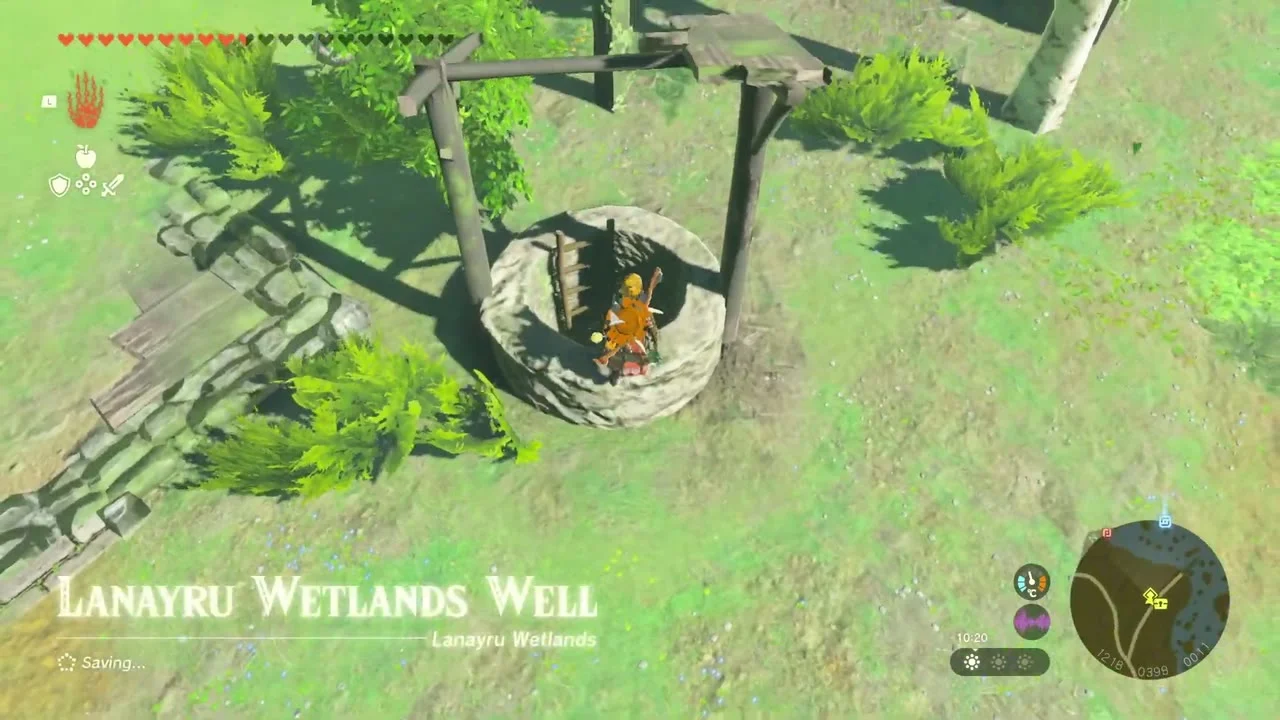
Lanayru Wetlands Well and Goponga Village Ruins Well. The Lanayru Wetlands Well is at (1219, -397, -5) and holds a chest with a Rupee. Goponga Village Ruins Well is at (1529, -327, -6); it is stocked with Brightcaps, Sticky Frogs and Lizards, Hylian Shrooms, apples and a Cooking Pot, and a chest there holds Hydrant x3.
Korok seed (dandelion, 1441, -537, 15). Paraglide over the marsh and hit the dandelion at (1441, -537, 15) for the last seed of this stretch.
Collectibles in this chapter
- Shrines: 4 (Eshos, Morok, Ren-iz, Jojon); Lightroots: 4 below them
- Caves: 4; Wells: 5; Bubbul Gems: 4
- Korok seeds: 42
- Chests: 35
- Minibosses: 6 (Hinox x2, Talus, Gloom Spawn with Phantom Ganon, Phantom Ganon, Boss Bokoblin)
- Armor: Tingle’s Shirt
- Quests and adventures: Honey, Bee Mine; A Picture for Dueling Peaks Stable; Princess Zelda Kidnapped?!; Serenade to Cotera; Misko’s Treasure: Twins Manuscript; The Ultimate Dish?; A Picture for Wetland Stable; The Missing Farm Tools
Also in this area
Datamined Korok seeds near this route that were not collected: the acorn pots at (1115, -731, 66) and (1482, 443, 11), and the rock lifts at (754, -450, 30), (625, -753, 21) and (1824, -459, 12).
Part 2: Jonsau, Kurakat, O-ogim and Jogou shrines, four caves, Fort Hateno and nine Depths
| Region | The Lanayru Wetlands east of Zauz Island, the Lanayru Road across East Necluda to Fort Hateno, then the West Necluda, Lanayru and East Necluda Depths beneath them |
|---|---|
| Shrines | 4: Jonsau (Deep Force, Puzzle), Kurakat (Rauru’s Blessing, Shrine Quest: Dyeing to Find It), O-ogim (Rauru’s Blessing, Shrine Quest: The Lanayru Road Crystal), Jogou (Rauru’s Blessing) |
| Caves and wells | 4 caves (Lanayru Road South Cave, Lanayru Road East Cave, Robred Dropoff Cave, Fort Hateno Cave) and Zauz Island Well |
| Surface Lightroots | Below the shrines: Uasnoj (Jonsau), Takaruk (Kurakat), Migo-o (O-ogim), Uogoj (Jogou); see all Lightroots |
| Depths Lightroots lit | 9: Arusakam, Korom, Korakut, Nojoj, Zi-ner, Sohse, Takaruk, Migo-o and Uogoj |
| Bubbul Gems | 4: Lanayru Road South Cave, Lanayru Road East Cave, Robred Dropoff Cave, Fort Hateno Cave |
| Mines and bosses | Crenel Canyon Mine, Dueling Canyons Mine and Abandoned Kakariko Mine in the Depths; boss Marbled Gohma |
| Armor | Trousers of the Sky, Tunic of the Hero, Ravio’s Hood, Barbarian Helm |
| Quests | Shrine quests Dyeing to Find It and The Lanayru Road Crystal; side adventure Bring Peace to Necluda! (Hoz) |
This second pass clears the rest of the Lanayru Wetlands, cuts east along the Lanayru Road to four more shrines and Fort Hateno, then drops into the Depths to light nine Lightroots, three mines and the Marbled Gohma arena. Coordinates are map units (X, Y, height): larger Y is further north, and the minimap rim prints the same numbers.
Quick route
Start at Zauz Island Well in the wetlands, finish the Korok carry nearby, solve Jonsau Shrine and sweep the water chests of the Lanayru Wetlands.
Ride east to Kurakat Shrine for the sunrise shadow puzzle, then follow the Lanayru Road into the South Cave and on to O-ogim Shrine.
Take the East Cave and Jogou Shrine, drop through Robred Dropoff Cave, and finish the surface at Fort Hateno with Hoz’s request and the Fort Hateno Cave.
In the Depths, light Arusakam, Korom, Korakut, Nojoj and Zi-ner, then work the Yiga camps and minibosses around Crenel Canyon, Dueling Canyons and Bubinga Grove, and finish with the three eastern Lightroots and Marbled Gohma.
Zauz Island Well and the wetlands Koroks
Clear Zauz Island Well
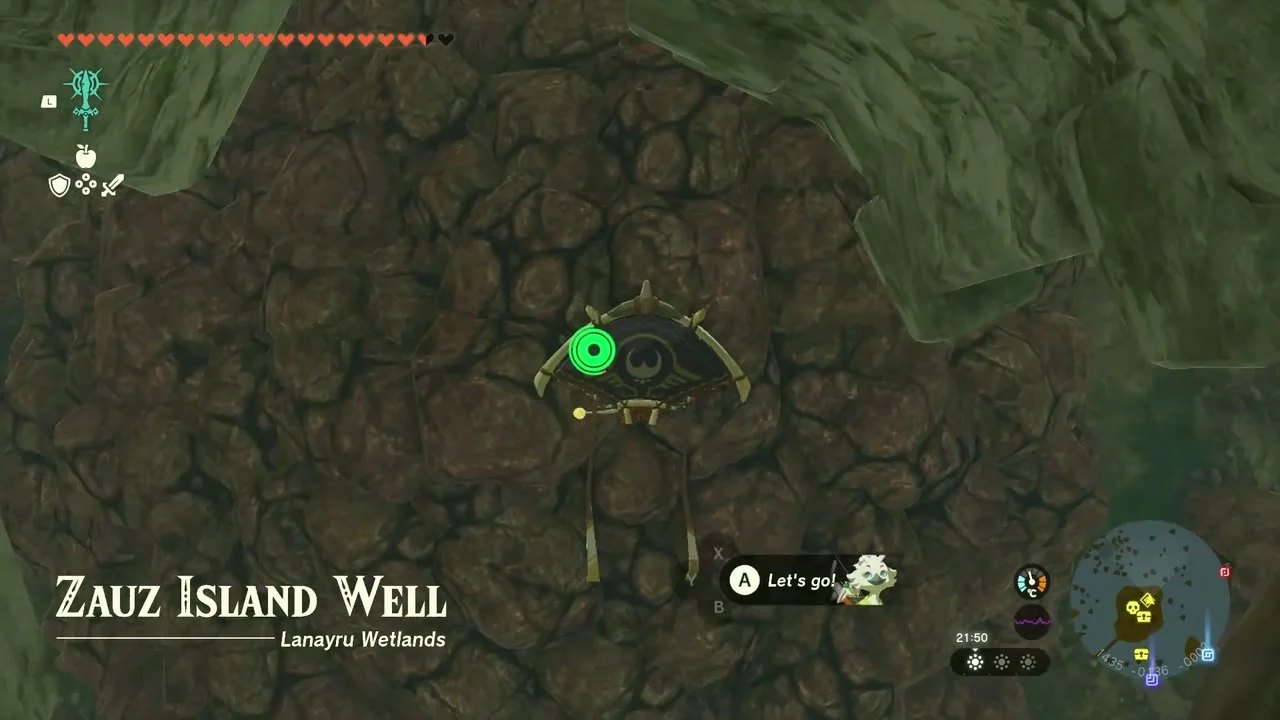
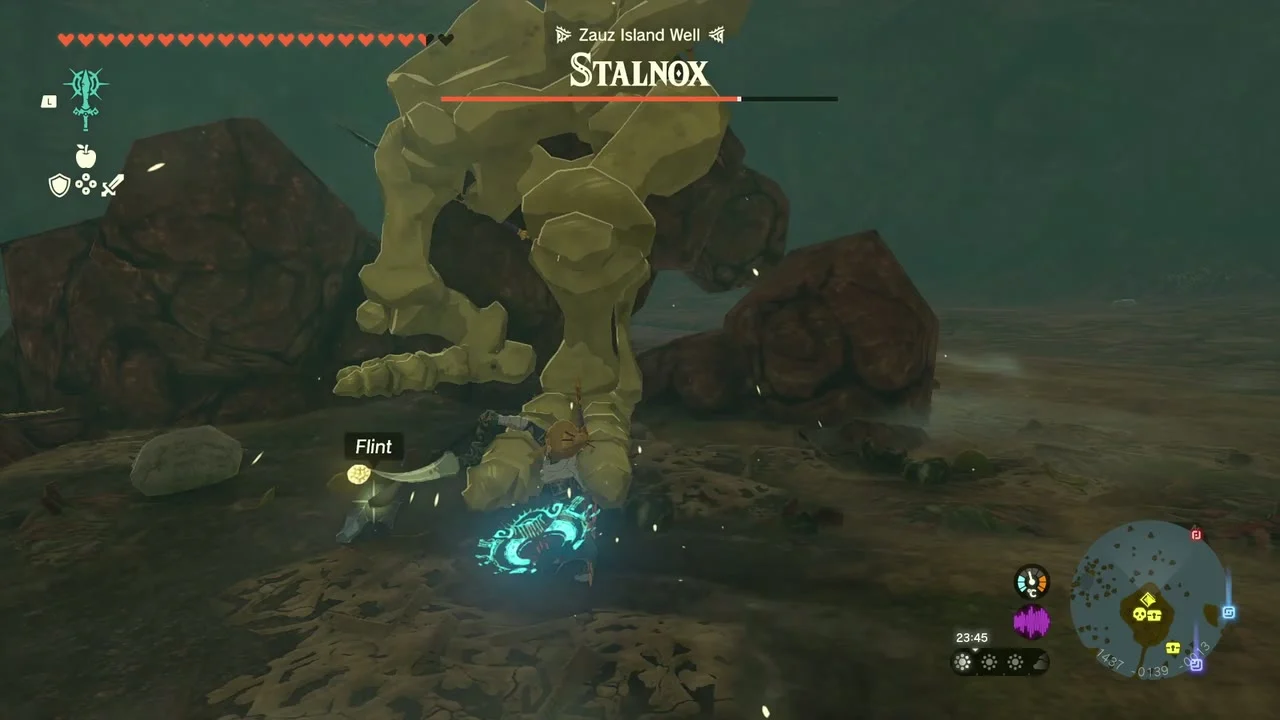
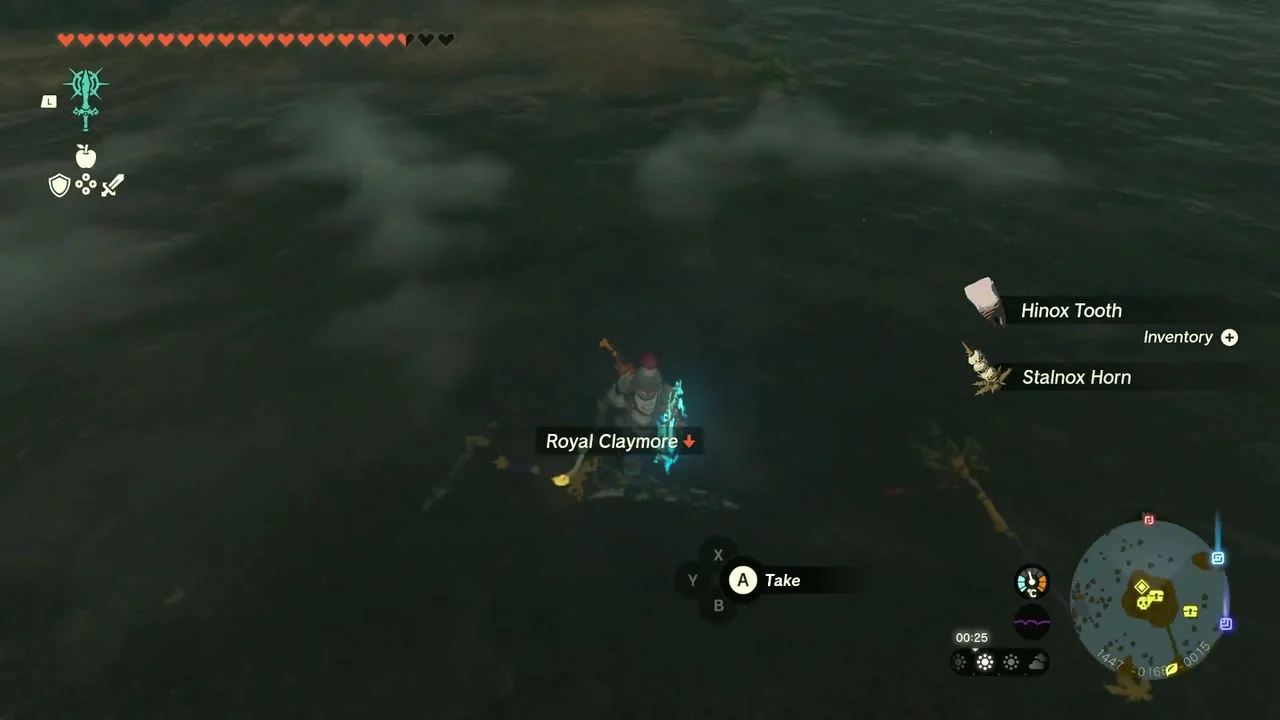
Zauz Island Well sits at (1435, -136, -6) on Zauz Island in the Lanayru Wetlands. A Stalnox guards the chamber: shoot the glowing eye in its ribcage, then attack the exposed core while it is stunned. The well’s central chamber is sealed by hard sediment, so break it open with a rock-fused weapon or a Bomb Flower to release the Stalnox (about 1,000 HP). It drops Hinox Teeth and a Stalnox Horn, and the chamber also holds Rock Salt, Brightcaps, Brightbloom Seeds and Bomb Flowers.
Take the Rocket chest and carry the Korok
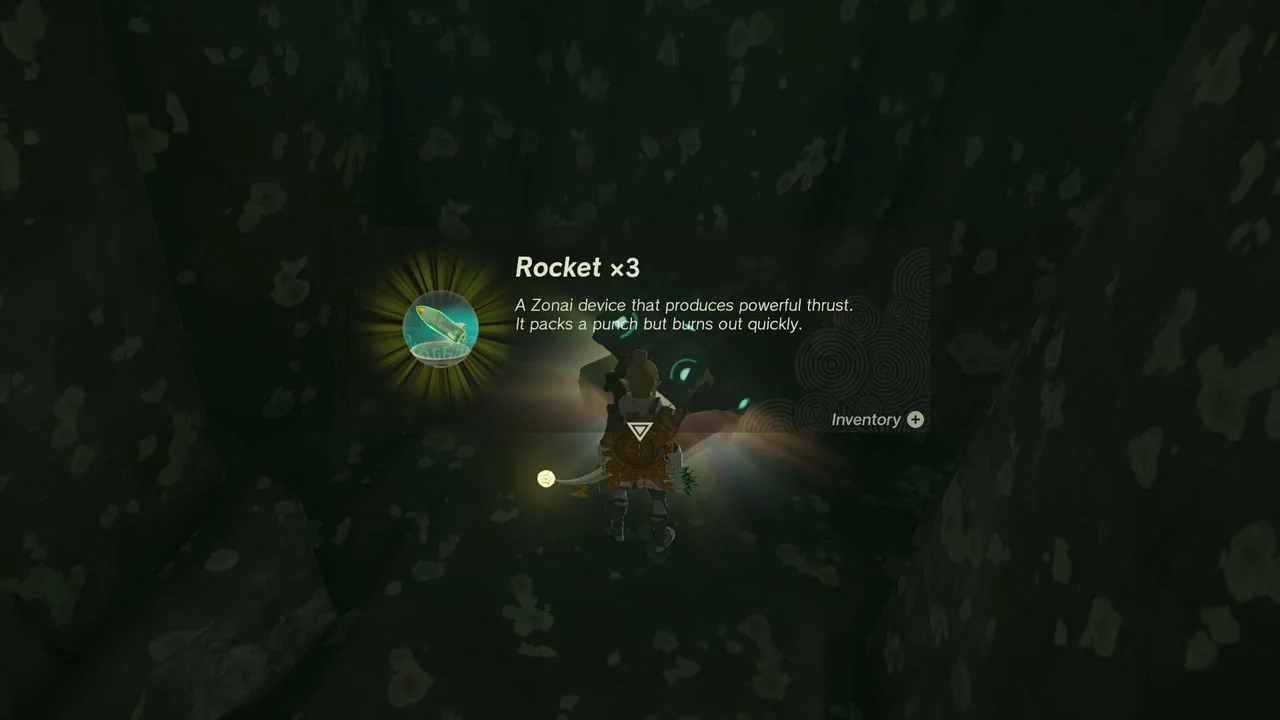
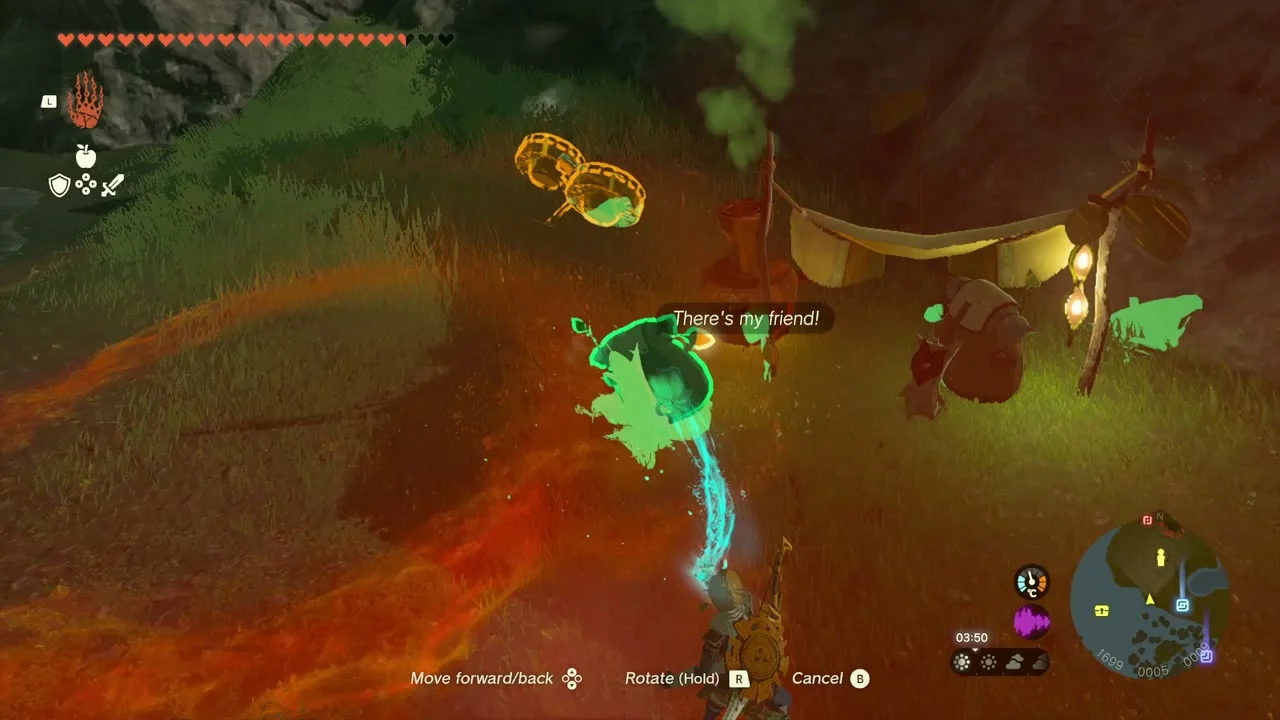
A chest nearby holds Rocket x3. Further east, an exhausted Korok on the grassy slope near (1499, -332) asks to be carried to its friend, who waits under a tent at (1701, 9, 10). Attach it to a Zonai device and fly or raft it across; both Koroks give a Korok Seed.

Open the Beam Emitter chest
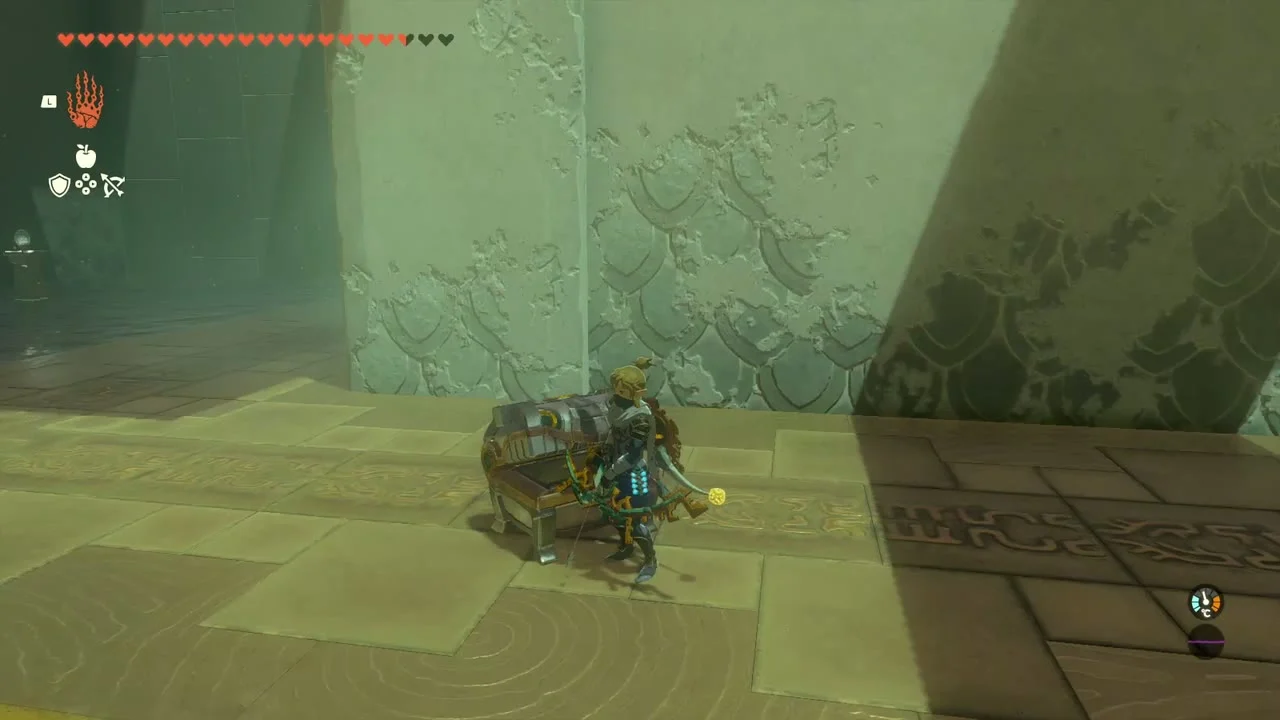
In the ruined stone building at about (1602, -33, 22), a chest holds Beam Emitter x3. Jonsau Shrine is a short climb from here.

Jonsau Shrine
Reach the shrine and drop the ball
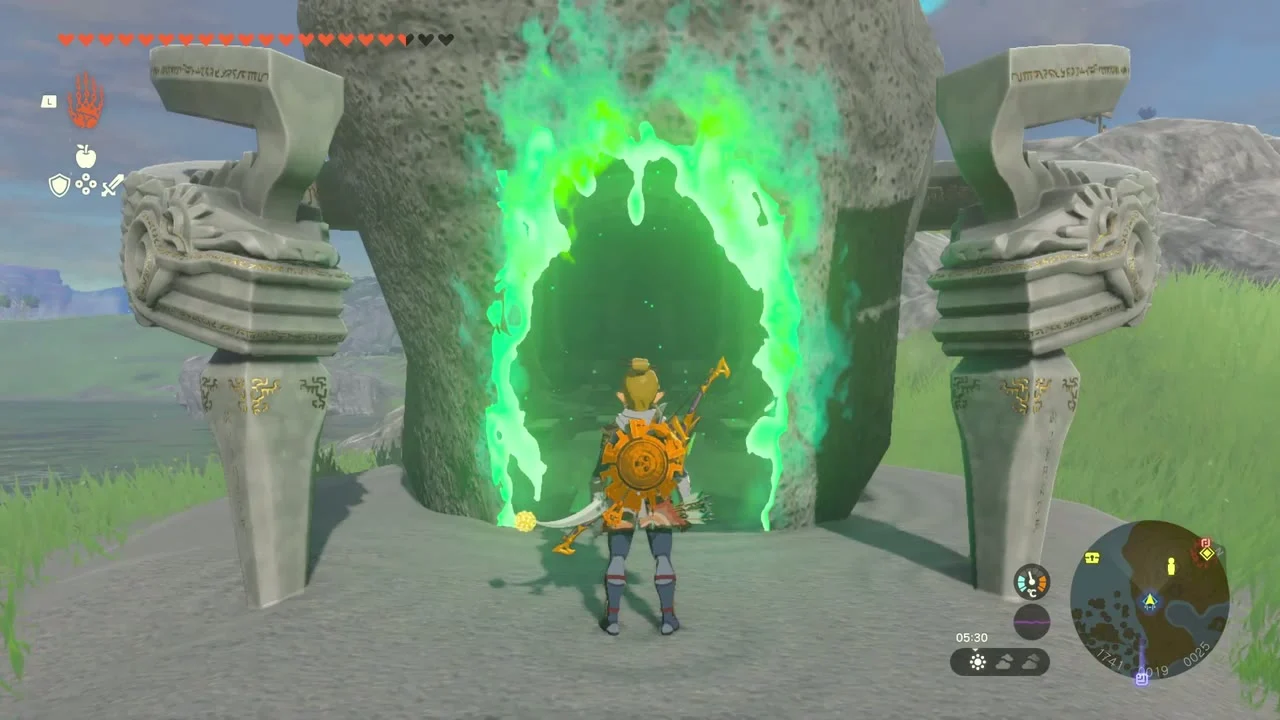
Jonsau Shrine (Deep Force, a Puzzle trial) stands on Mercay Island at (1743, 17, 38), by the Lanayru Wetlands Chasm; the Uasnoj Lightroot lies below at (1742, 18, -480). The trial flows in four rooms. In each, grab the floating ball with Ultrahand, pull it to the bottom of the water and release it so it shoots up into the target. Fish the chest out of the water in the second room (a Mighty Construct Bow (Strong or Mighty, depending on your progress)), move the yellow platform under the button in the third, and in the last room pop the ball up from under the water near the centre so the wooden pallet flies off and the lift drops into the water, then stand on the lift and use Recall to rise to the altar for the Light of Blessing. Ultrahand does not work while you are swimming, so work from the edge of the pool.

Wetlands chests and Addison’s signs
Swim the lake for four chests
Raft or fly across the open water south-east of Zauz Island. An Arrow x10 chest sits on an ice slab near (1924, 193, 9); a Steel Lizal Bow (or Lizal Bow or Strengthened Lizal Bow, depending on your progress) chest is on a wrecked platform at (1972, 116, 13); a Large Zonai Charge is on a rocky ledge at (1936, 63, 19); and a Royal Bow (or Traveler’s Bow, Soldier’s Bow or Knight’s Bow, depending on your progress) chest floats near (1934, 11, 8). A raft of Zonai fans or a Zonai wing gets you to each one.
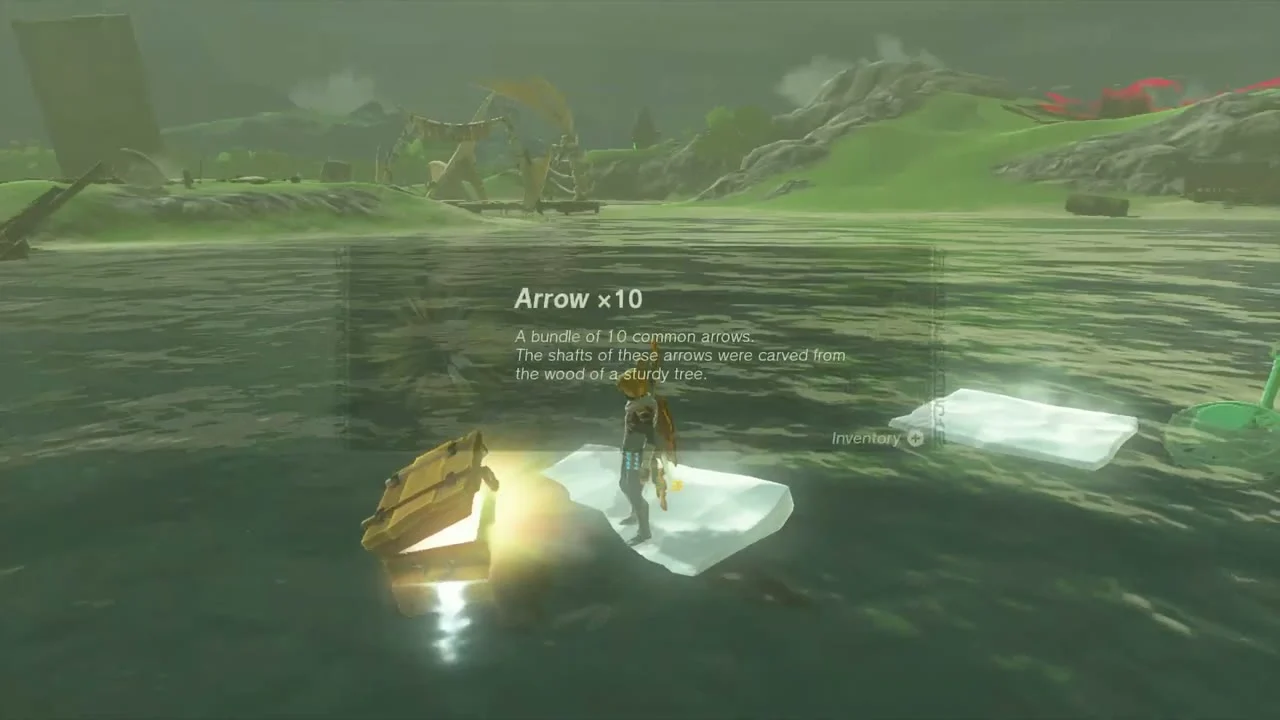


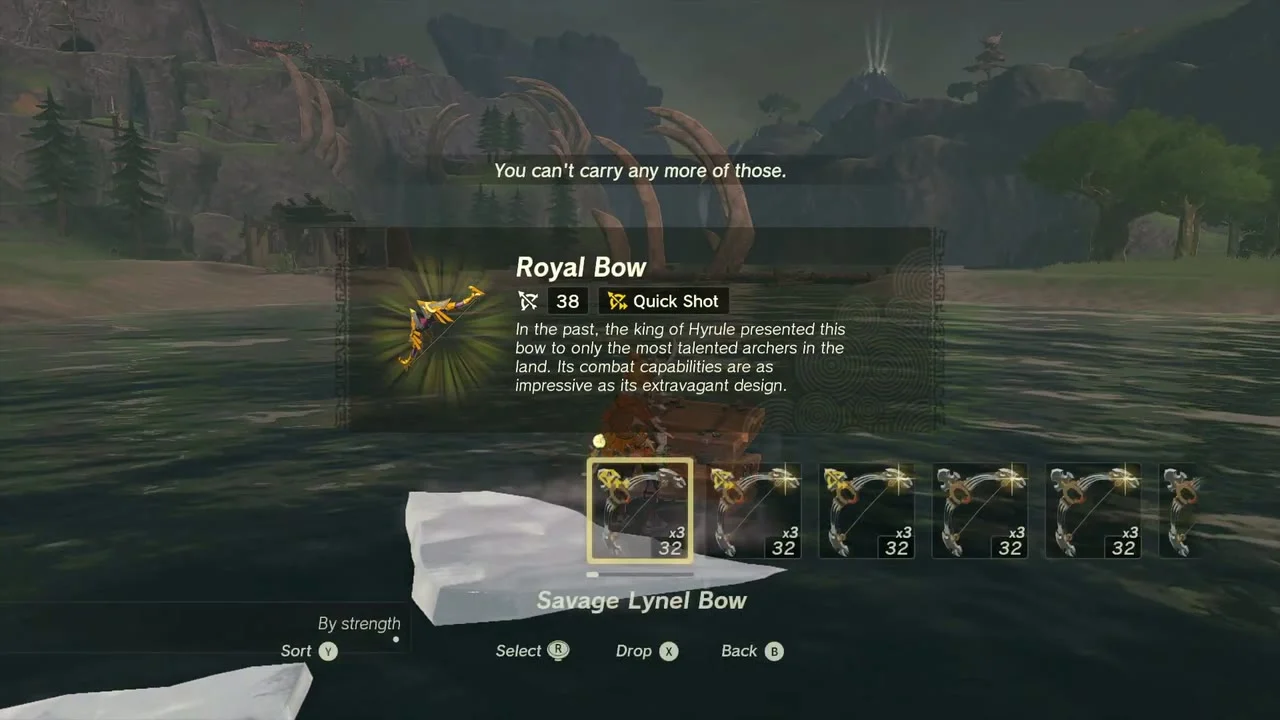
Collect the shield and sword on the south bank
On a wooden lookout platform at (1595, -461, 17), guarded by Lizalfos, a chest holds a Steel Lizal Shield (or Lizal Shield or Reinforced Lizal Shield, depending on your progress). A stone pillar rising from the marsh at (1676, -357, 36) carries a chest with a Royal Broadsword (or Traveler’s Sword, Soldier’s Broadsword or Knight’s Broadsword, depending on your progress); build a lift or glide onto it.


Help Addison with his signs
Addison, the signpost builder, waits beside a wooden signpost on the ridge at about (1711, 92, 47). Fuse or stack two boulders from the ridge under the sign to hold it up; he thanks you with a Red Rupee, Seafood Rice Balls and a Bomb Flower, and moves on to put up more signs.
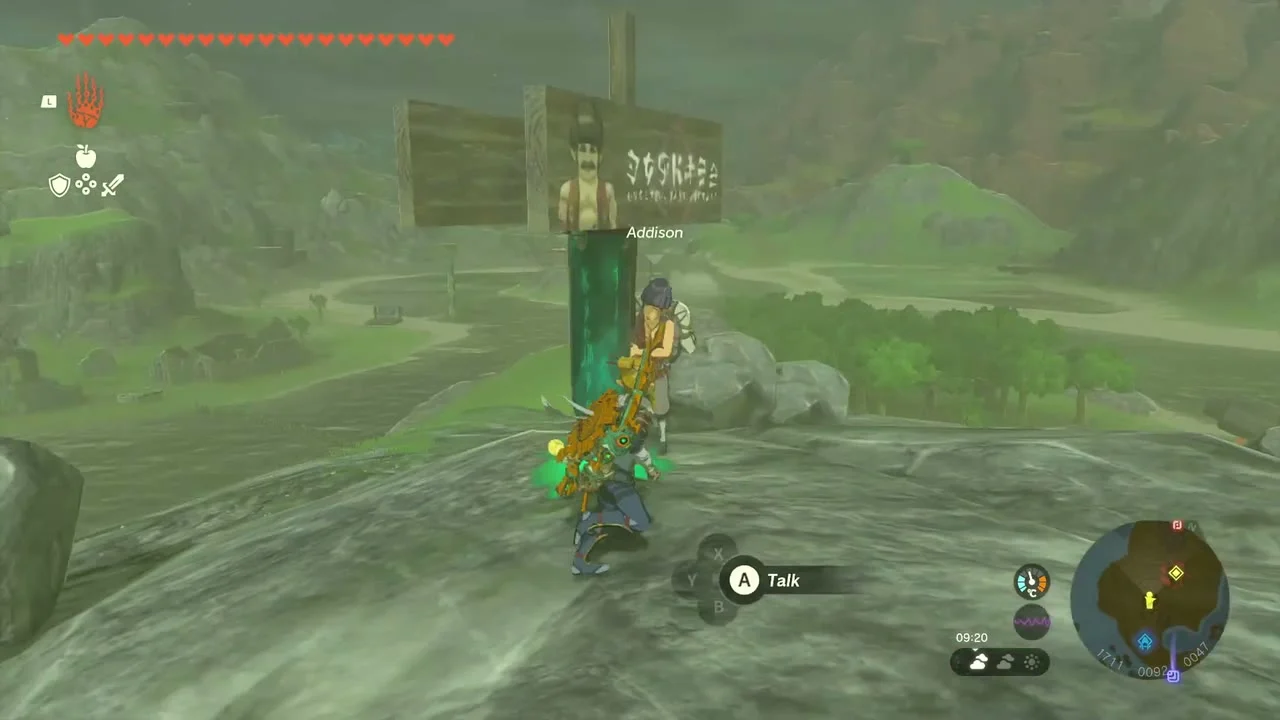
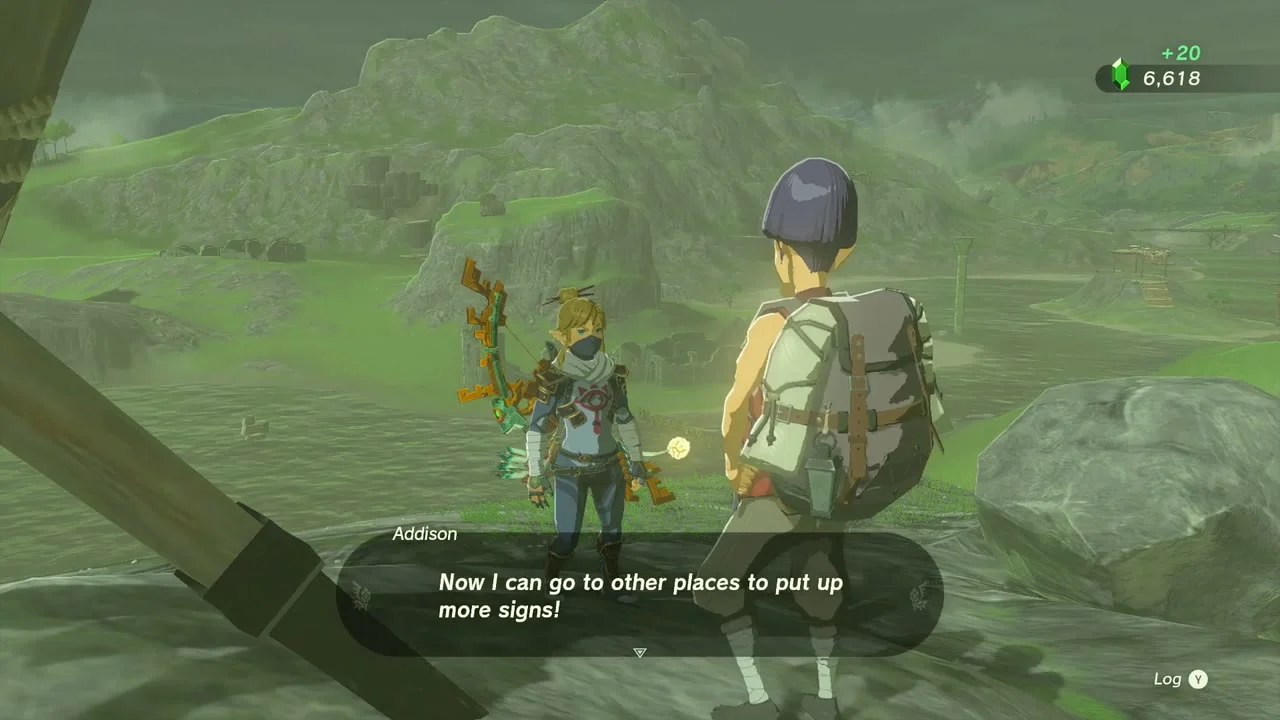
Kurakat Shrine and the Lanayru Road
The Lanayru Road runs east from the wetlands through East Necluda toward Lanayru Promenade. Kurakat Shrine sits on the high ground north of the road, so approach it from the wetlands side and save the South Cave and O-ogim Shrine for the stretch where the road reaches Lanayru Promenade.
Line up the shadow
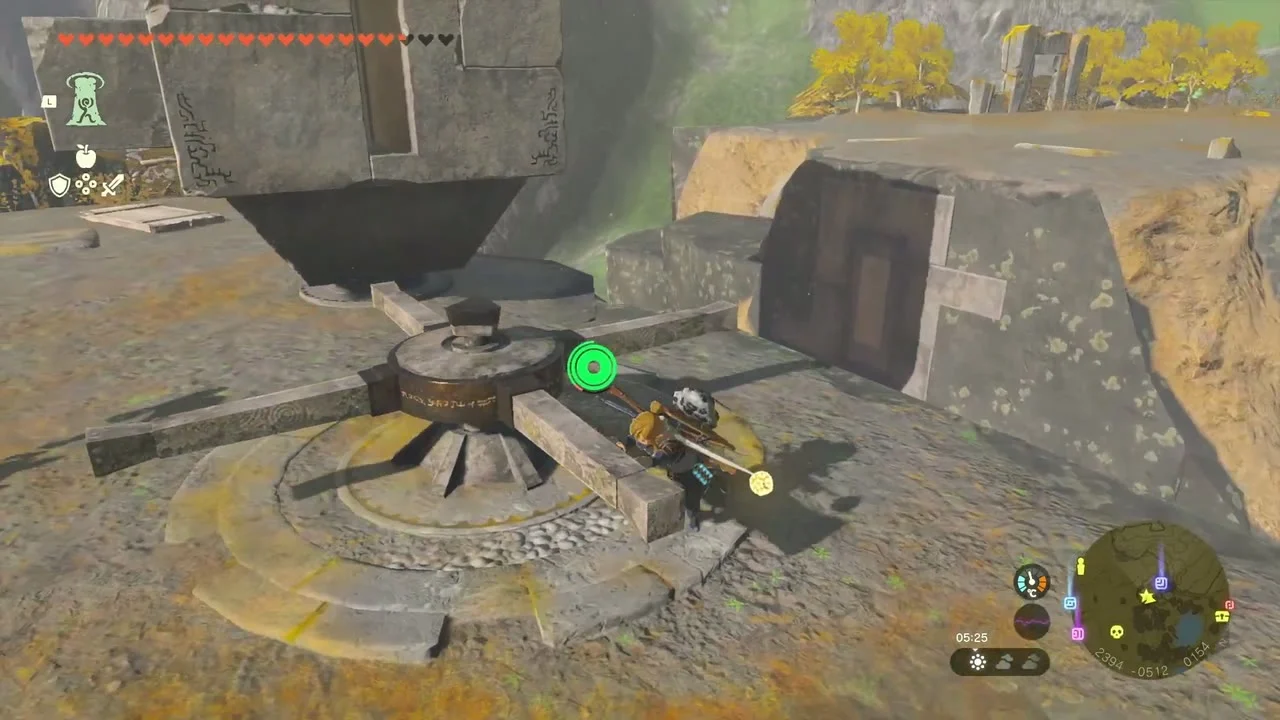
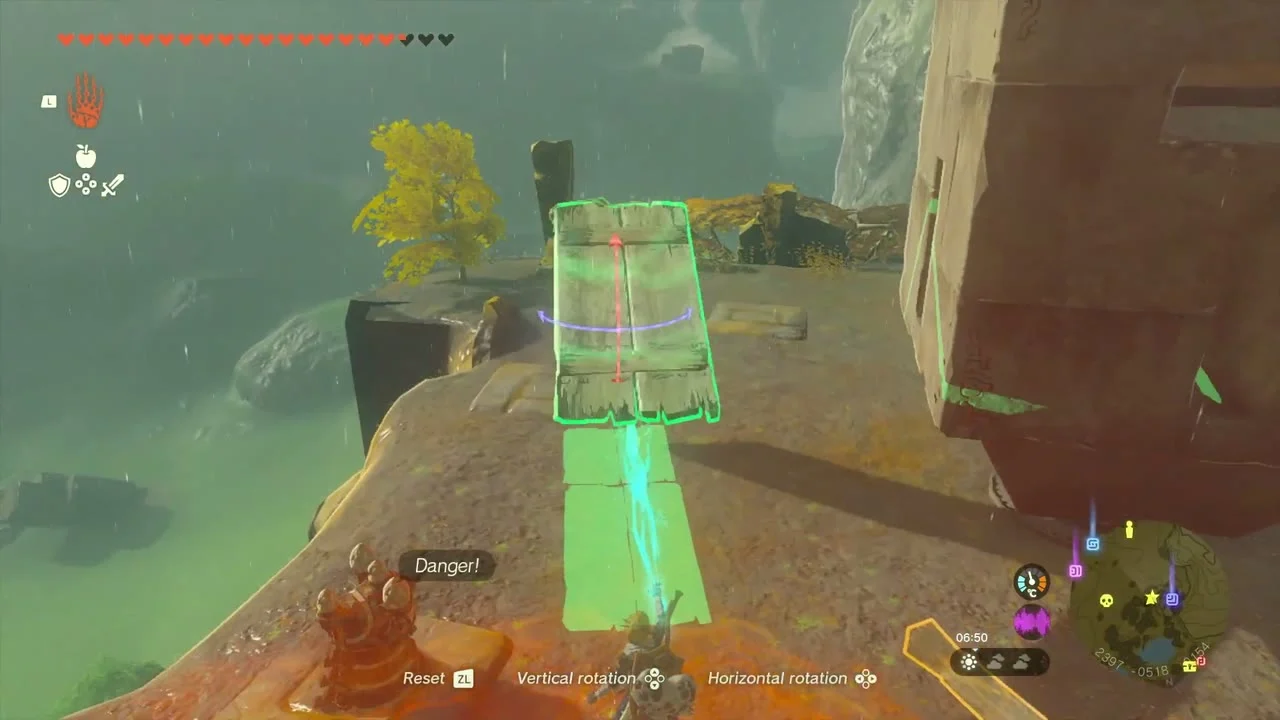
Kurakat Shrine (Rauru’s Blessing, the shrine quest Dyeing to Find It) is on a ruined hilltop at (2361, -510, 169), just east of Quatta’s Shelf; the Takaruk Lightroot lies below at (2360, -510, -610). Talk to the Steward Construct, then turn the crank to rotate the stone mechanism until the big T-shaped piece faces away from the wall, and use Ultrahand to set a wooden board in the slot on its left. Light a campfire and wait for sunrise (around 6 AM): the shadow must fully cover the white S-shaped symbol on the wall, so stay by the crank for fine adjustments, and the shrine rises. Inside, the chest holds a Magic Scepter, and the shrine gives a Light of Blessing.

Place the boulder on the tree stand
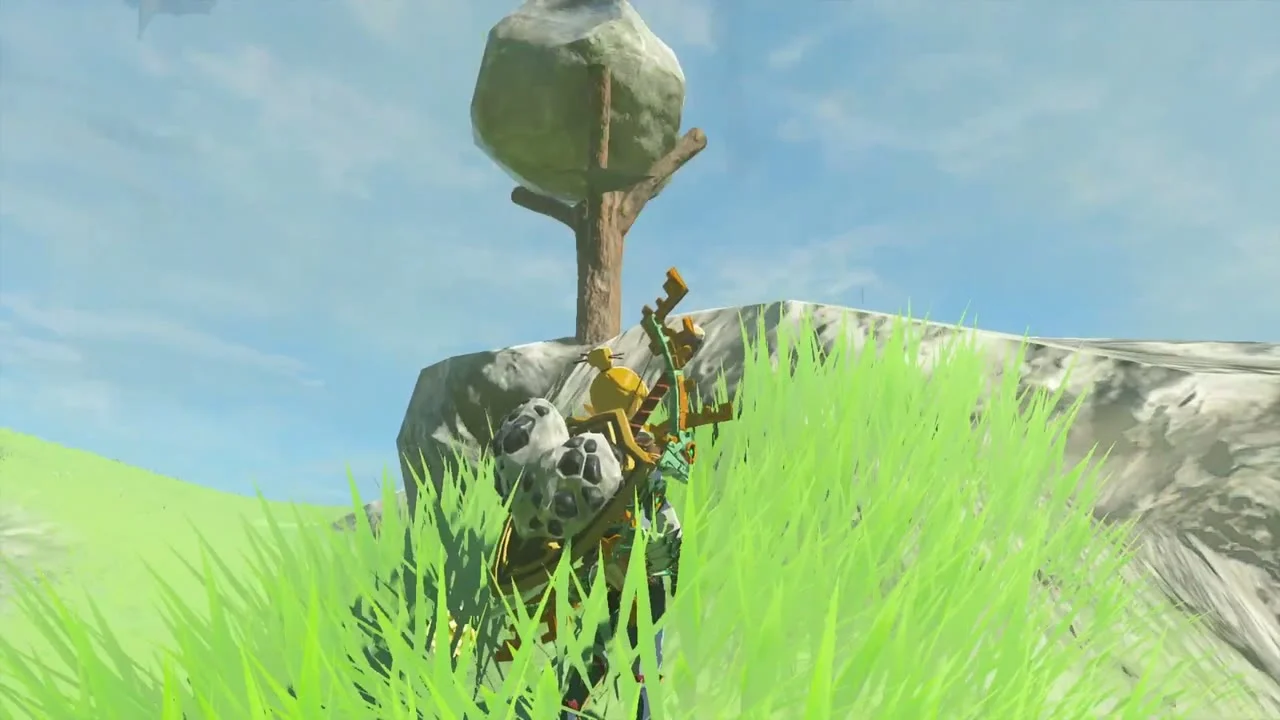
Korok seed (place the boulder on the tree stand, 2495, -892, 203). On the grassy hill, use Ultrahand to pick up the loose boulder and set it on top of the wooden stump stand.
Search the Lanayru Road South Cave
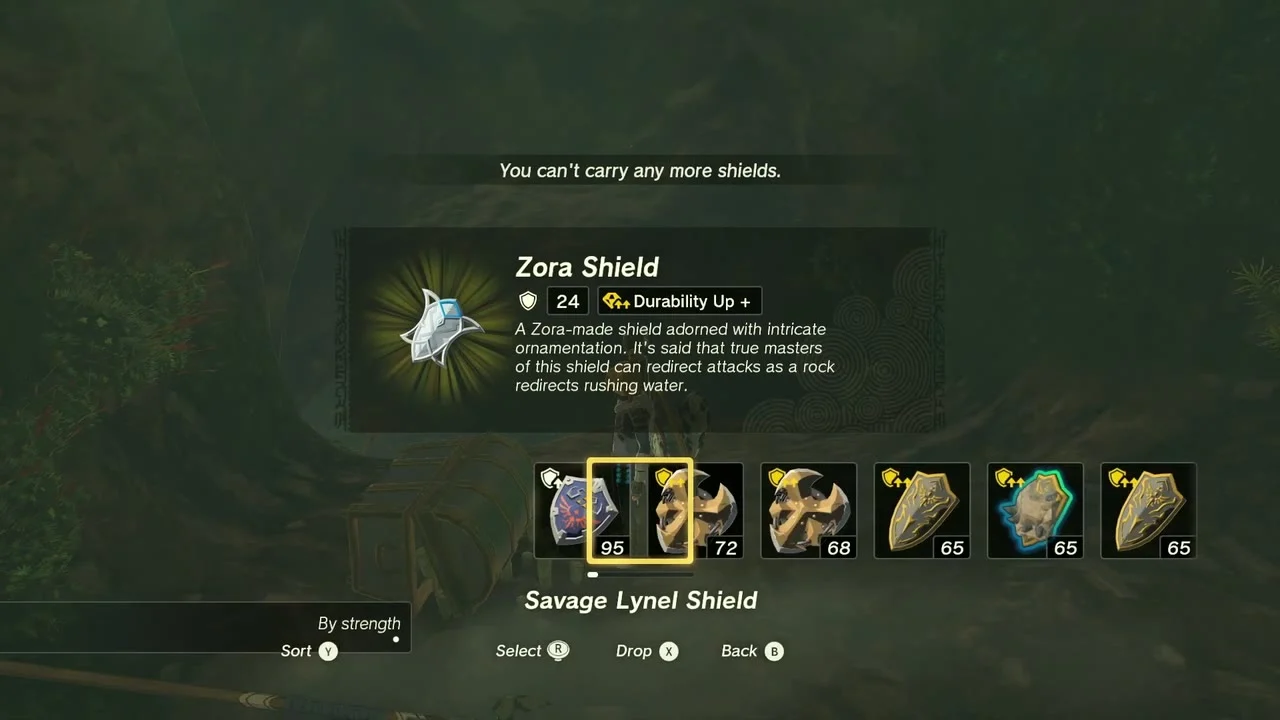
Lanayru Road South Cave opens at (2698, -1314, 111). Lava-lit passages and a Bokoblin camp lead to a chest holding a Zora Shield at about (2691, -1411, 120); a Bubbulfrog hides further in for a Bubbul Gem. The crystal in this cave is the one you carry to O-ogim Shrine: it sits behind the waterfall on the south wall of Lanayru Promenade, so clear the rocks the beam shoots through (a Bomb Arrow or a rock-fused weapon), fix a Rocket to the crystal and fire it out through the waterfall, then ferry it over the rubble with Ultrahand.

Bring the crystal to O-ogim Shrine
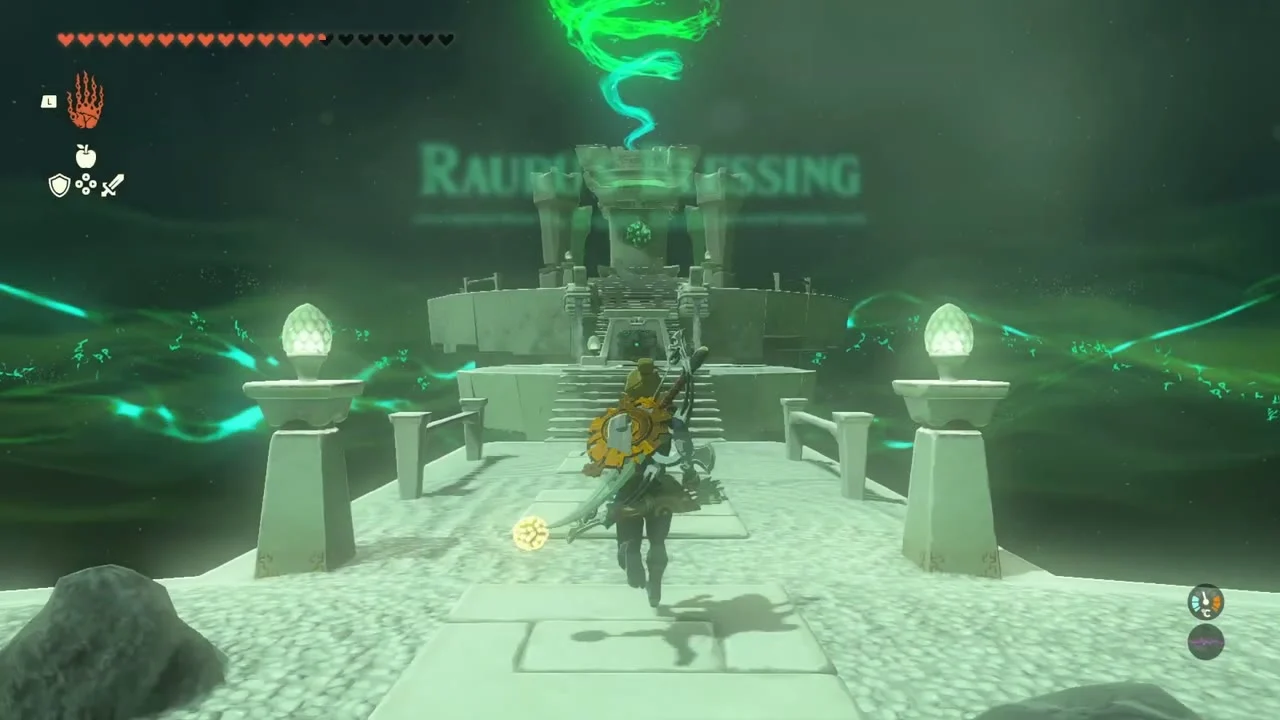
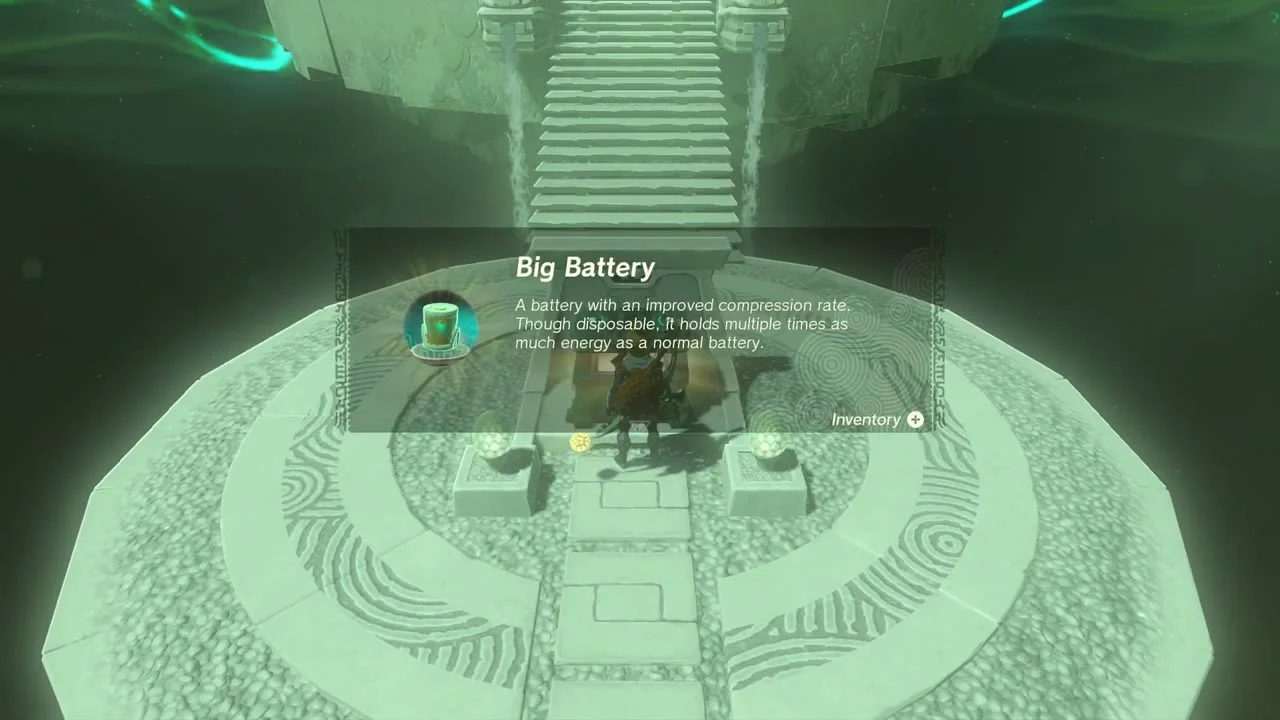
O-ogim Shrine (Rauru’s Blessing, the shrine quest The Lanayru Road Crystal) stands at (2755, -1089, 113) beside Lanayru Promenade. Set the crystal down in front of the shrine, pick it up again and place it on the shrine’s base to open the shrine, then enter. The chest holds a Big Battery. The Migo-o Lightroot lies below at (2755, -1088, -570).
Lanayru Road East Cave and Jogou Shrine
The East Cave is a long, dark tunnel. Use Brightbloom Seeds to light the side passages and keep your shield up for the Bokoblin patrols; a Boss Bokoblin waits in the central cavern. Jogou Shrine is a Rauru’s Blessing shrine, so there is no puzzle: walk in, take the chest and pick up the Light of Blessing.
Work through the East Cave
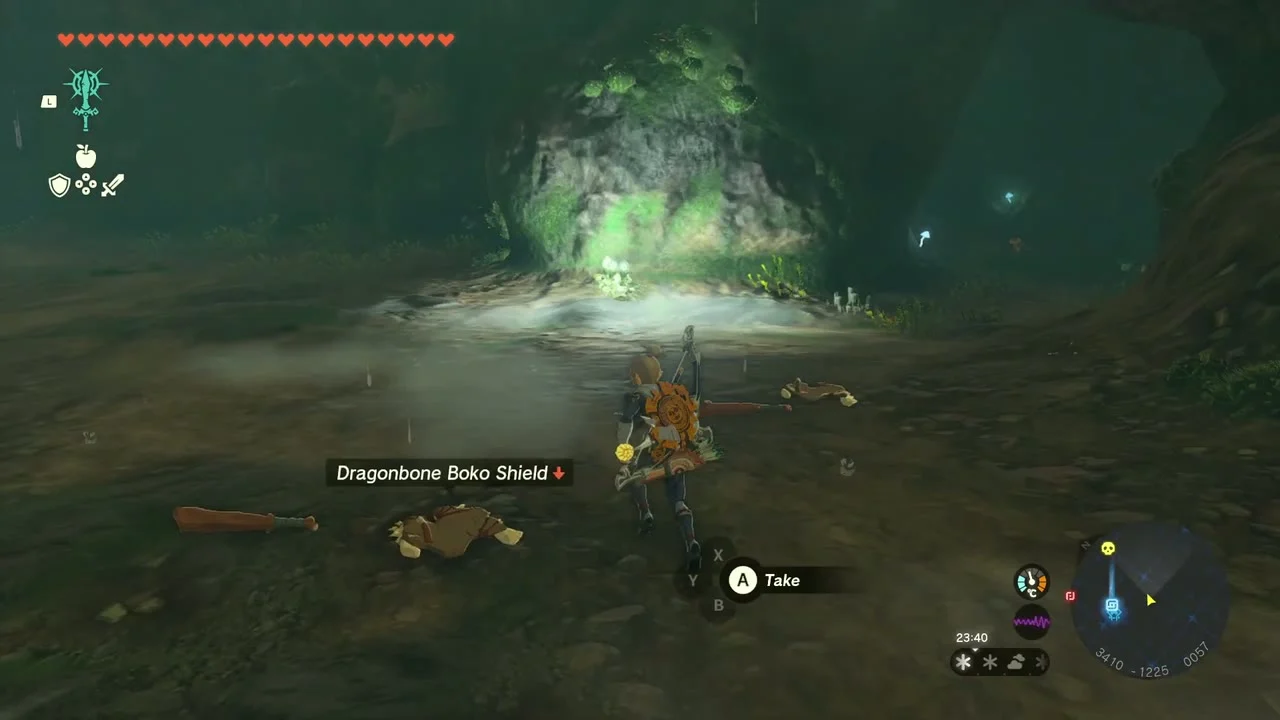
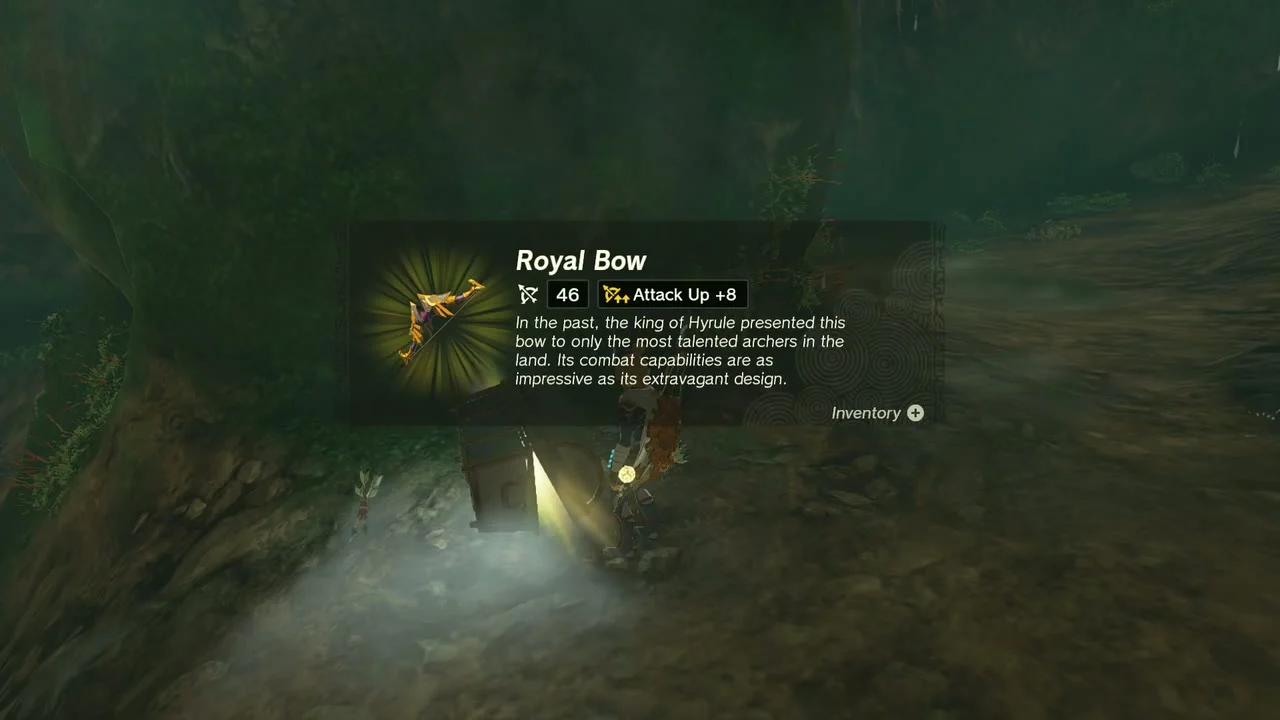
Lanayru Road East Cave has two entrances, (3073, -1137, 91) and (3476, -968, -8). Chests hold a Steel Lizal Shield, a Knight’s Claymore Spear (a Halberd, depending on your progress) on a ledge near the start and a Royal Bow deeper in at about (3437, -1105, 55); a Dragonbone Boko Shield (or Boko Shield or Spiked Boko Shield, depending on your progress) lies on the cave floor. A Black Boss Bokoblin with Blue and Black Bokoblins guards the big round central room, and a Bubbulfrog in a small room to the south-east gives a Bubbul Gem.
Light Jogou Shrine
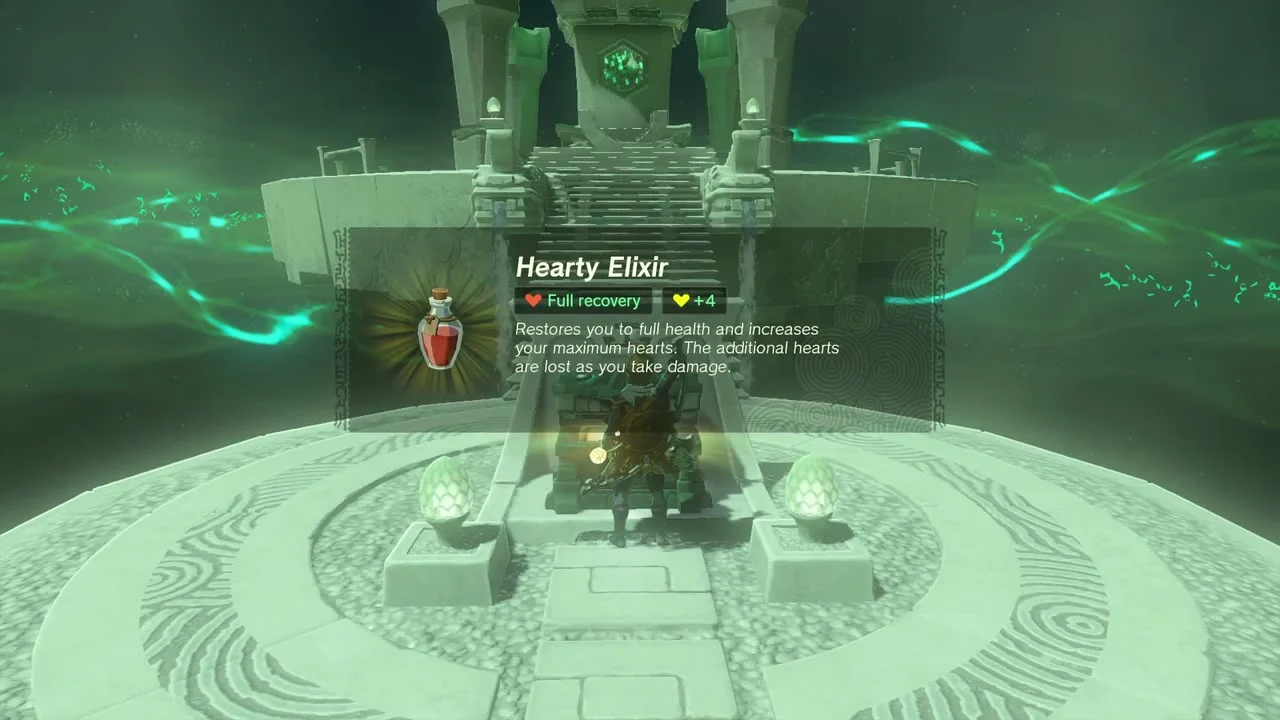
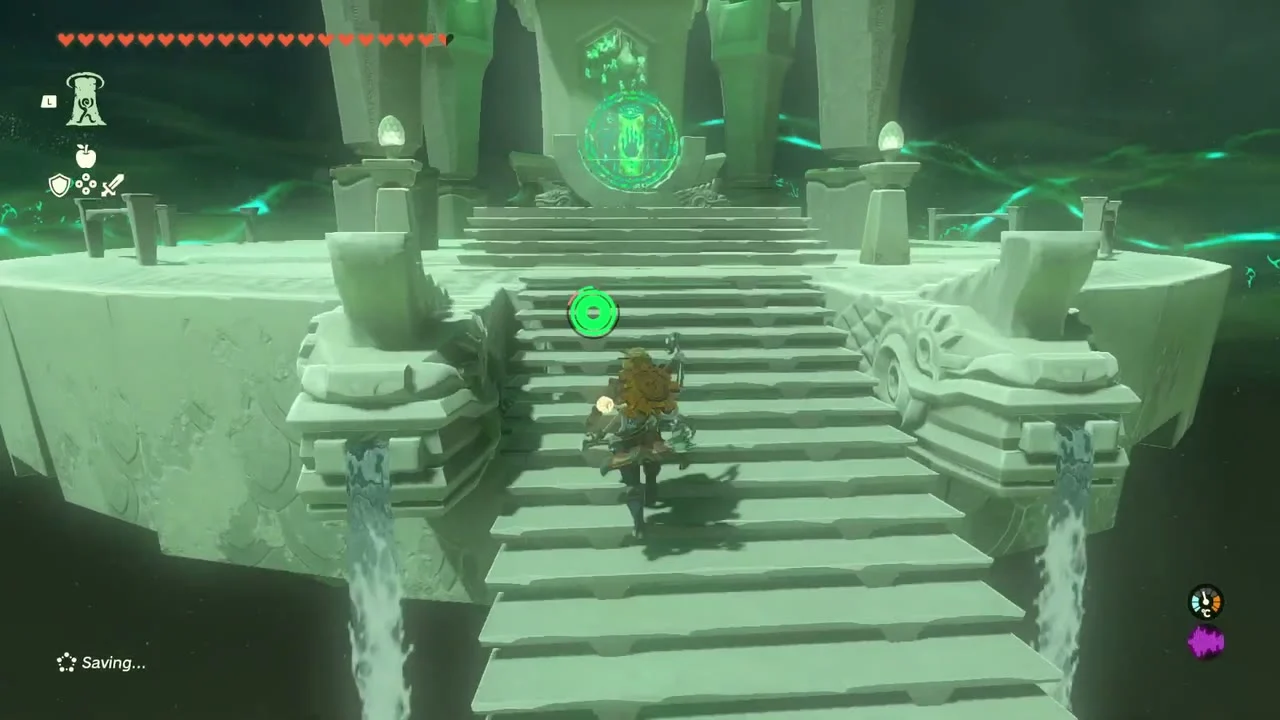
Jogou Shrine (Rauru’s Blessing) is inside the cave at (3346, -1186, 71). The shrine’s walls are slippery, so bring slip resistance (gear or an elixir) or break the boulders on the south side with a Bomb Flower; the chest holds a Hearty Elixir. The Uogoj Lightroot lies below at (3346, -1185, -631).
East Necluda and Fort Hateno
Take the Topaz Shield and Stalnox
On a wooden lookout at (2379, -1332, 158), a chest holds a Topaz Shield. A Stalnox roams the plains around (2414, -1093) and (2437, -1167): shoot the eye in its chest and finish it when it falls.


Drop into Robred Dropoff Cave
Robred Dropoff Cave opens at (2492, -1477, 12). Brightbloom Seeds light the dark passage; a Bubbulfrog floats near (2538, -1519, -11) and a chest holds a Barbarian Helm. A statue at the entrance reads “Treasure sleeps beyond the path shown by the stone statues”: at the forks follow the statues, use Ascend in front of the group of three for the Barbarian Helm chest, and Ascend beside the single statue for the room with the Bubbulfrog.

Clear Fort Hateno for Hoz
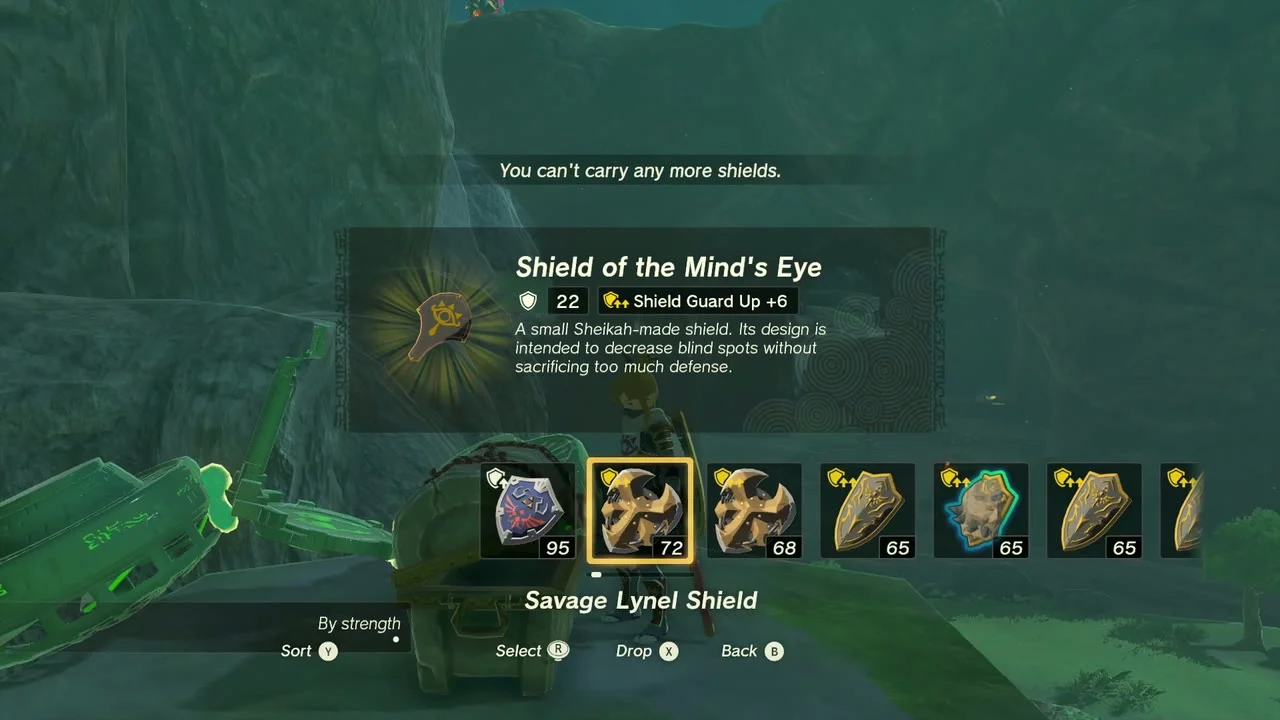
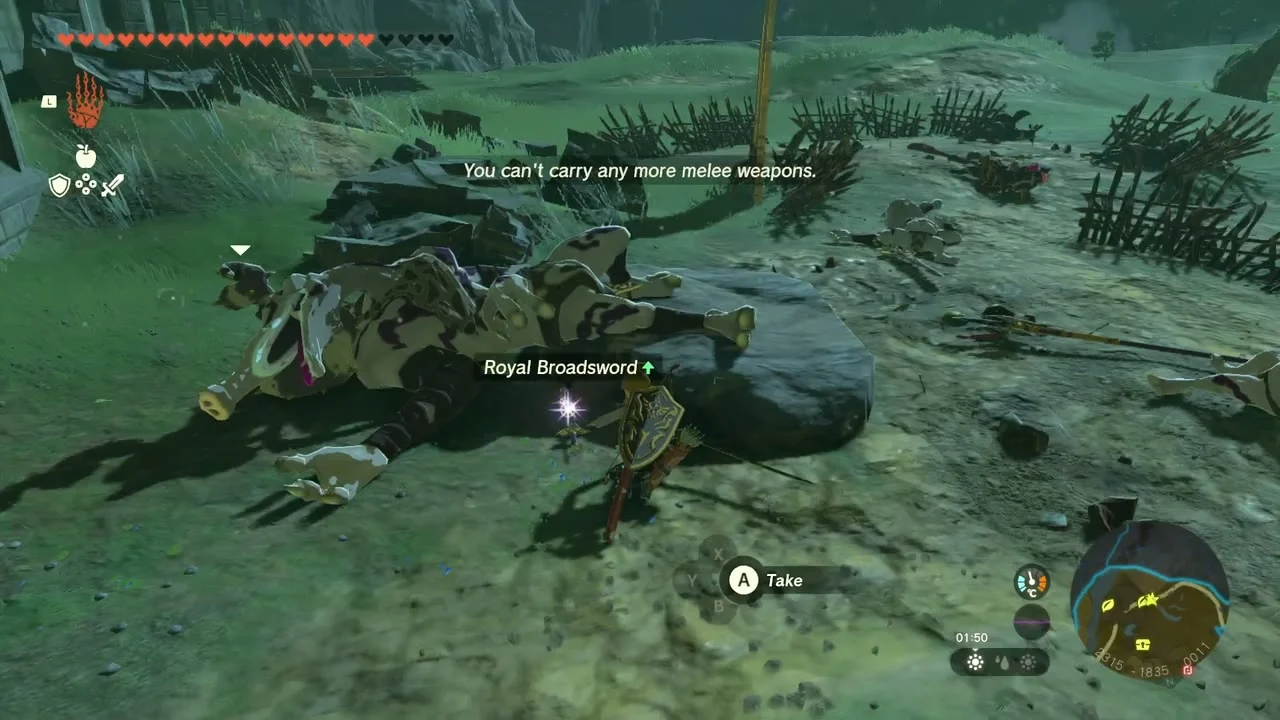
Fort Hateno (2324, -1837) is the stop for Bring Peace to Necluda!, Hoz’s second request, which unlocks after Bring Peace to Hyrule Field. Hoz’s squad gathers near Kakariko Bridge, where Suzuna hands you a Tough Elixir; the assault on the fort is harder than the first, with stronger Blue and Black Bokoblins and a Blue Moblin, so bring fused weapons and healing food. Defeating the monsters earns a Silver Rupee. A chest on the hill at (2349, -1751, 39) holds a Shield of the Mind’s Eye, and a Royal Broadsword lies among the wrecked stakes outside.

Search Fort Hateno Cave
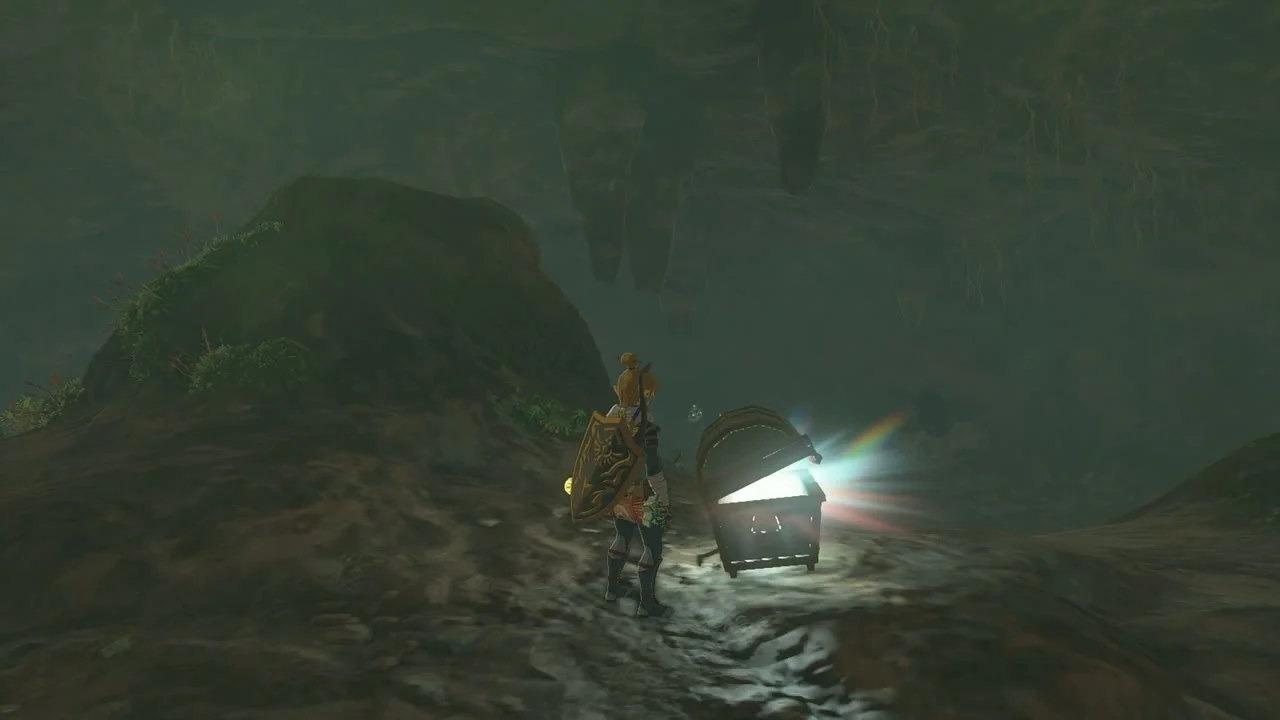
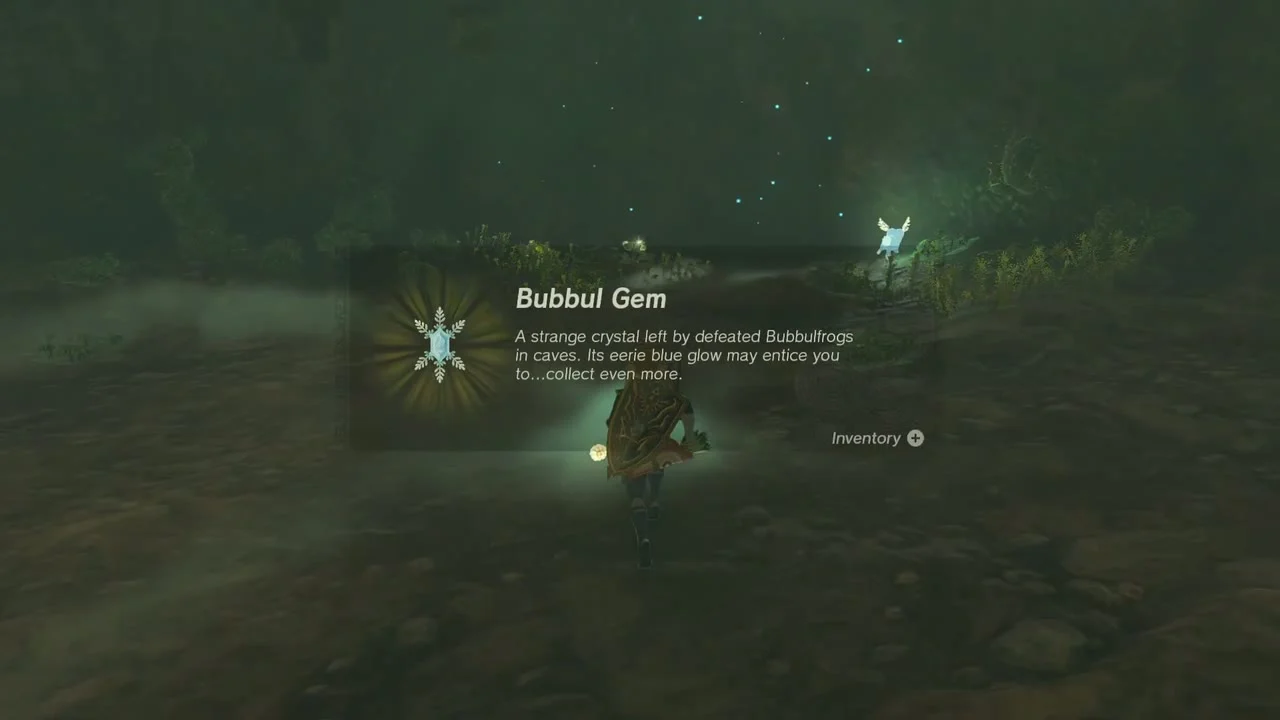
Fort Hateno Cave opens at (2243, -1690, 24). The entrance is marked by a large skull structure. Chests inside hold another Shield of the Mind’s Eye and an Eightfold-Blade Halberd, which unlocks once the enemies are defeated; break the boulders at the bottom of the central cavern to reach a lower chamber where a Bubbulfrog gives the last Bubbul Gem. Return to Great Fairy Cotera afterwards to upgrade armor.
Depths: Lanayru Wetlands Lightroots
The Depths under this stretch are a single wide cavern system. Every surface shrine in the region has a Lightroot directly below it, so the fastest way to light one is to drop through a chasm near the shrine position on your map, then glide toward the glowing roots you can see on the minimap rim. Lighting a Lightroot brightens a large circle of the map and gives you a fast-travel point to return to between fights. Gloom on the floor drains hearts, so eat Sundelion dishes or elixirs before wading through it.
Light four Lightroots west of the wetlands
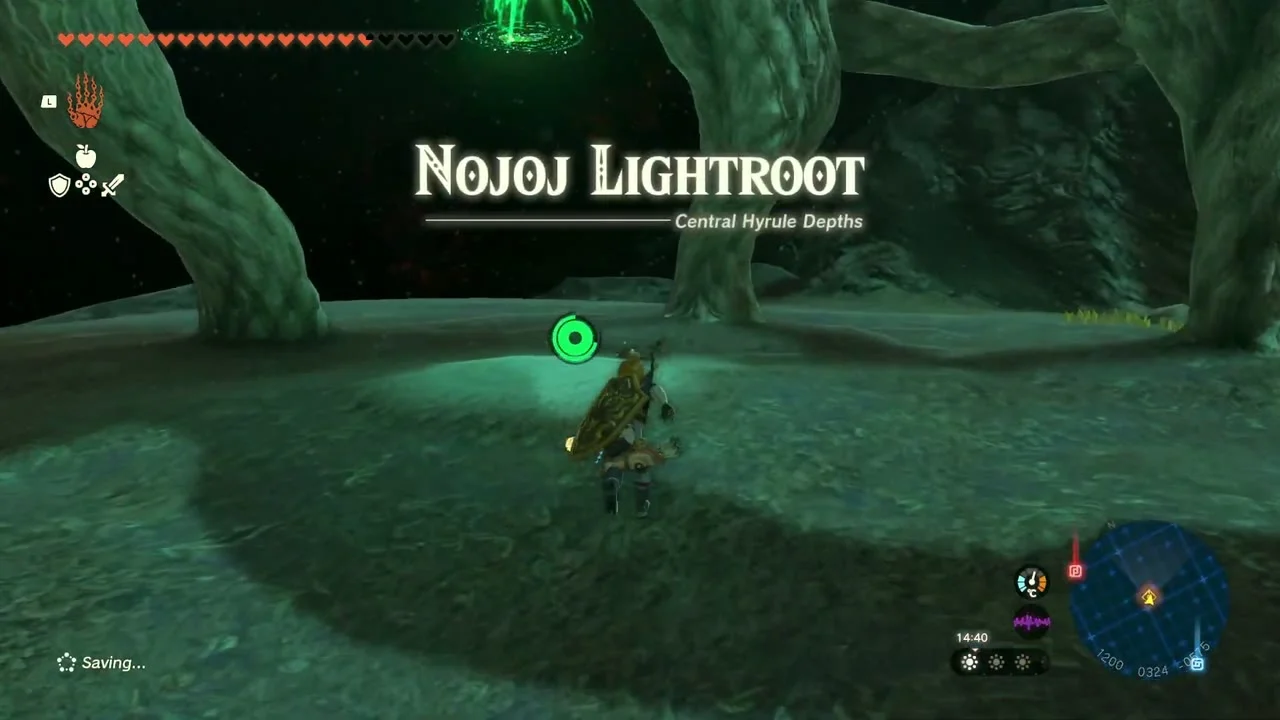
Drop into the Depths and glide north-west to Arusakam Lightroot (1769, -1052, -629), below Makasura Shrine. Then reach Korom (1180, -778, -521) under Morok Shrine, Korakut (915, -251, -502) under Tukarok Shrine and Nojoj (1201, 330, -595) under Jojon Shrine. Use Zonai fans or wings across the dark plains and bring Brightbloom Seeds.


Pass Crenel Canyon Mine and light Zi-ner
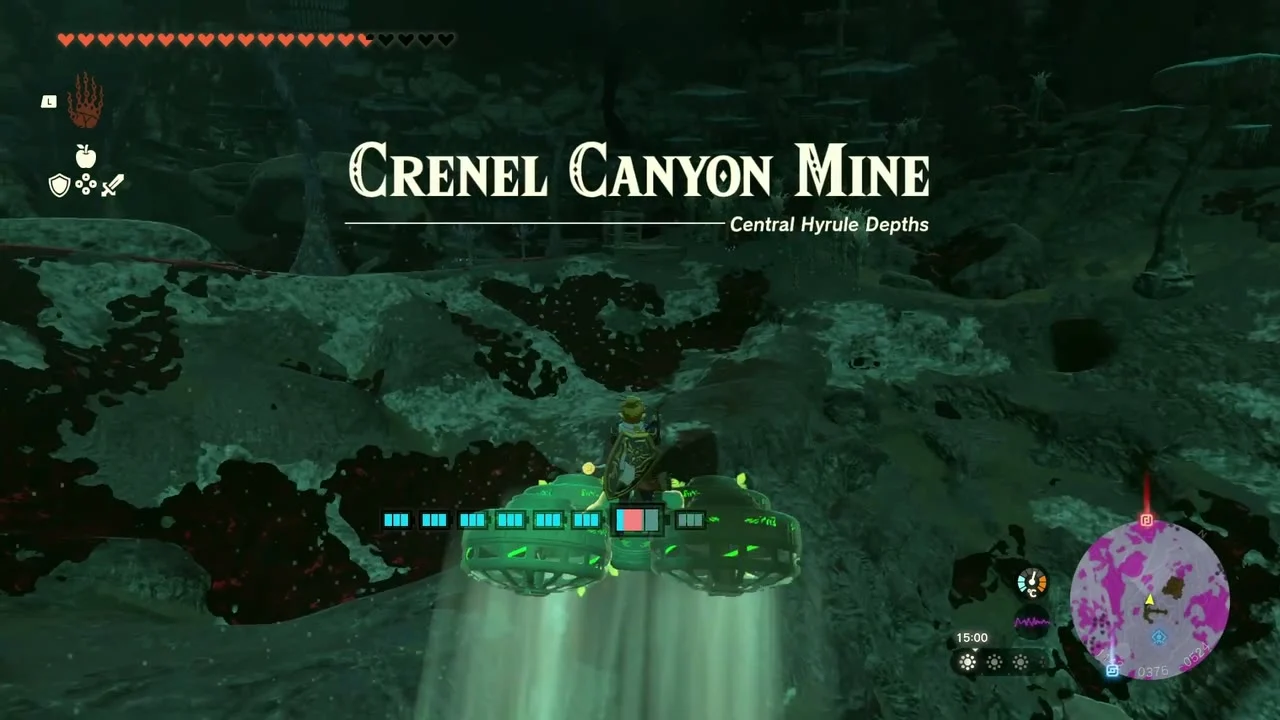
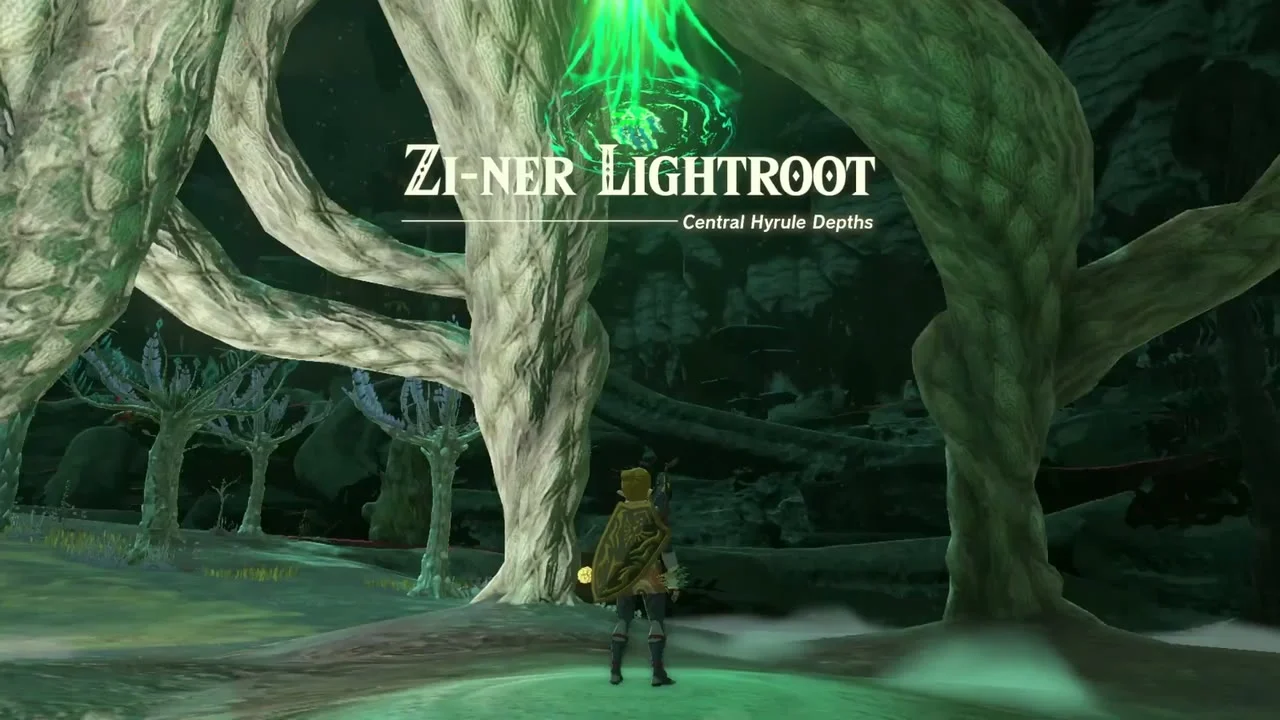
Beyond Nojoj, the path passes Crenel Canyon Mine at (1154, 381, -523). Fly north to Zi-ner Lightroot at (757, 823, -552), below Ren-iz Shrine,.
Depths: Yiga camps, Frox and Talus
The central Depths between Crenel Canyon Mine and the Lanayru Wetlands Lightroots are crowded with Yiga camps, plank platforms and minibosses. Each camp holds locked red doors, crates of arrows and Brightbloom Seeds, and usually a chest with a schematic or a Large Crystallized Charge. Keep a Zonai fan build in your pouch to cross the wide gloom lakes.
Grab the Sundelion and the Yiga camp
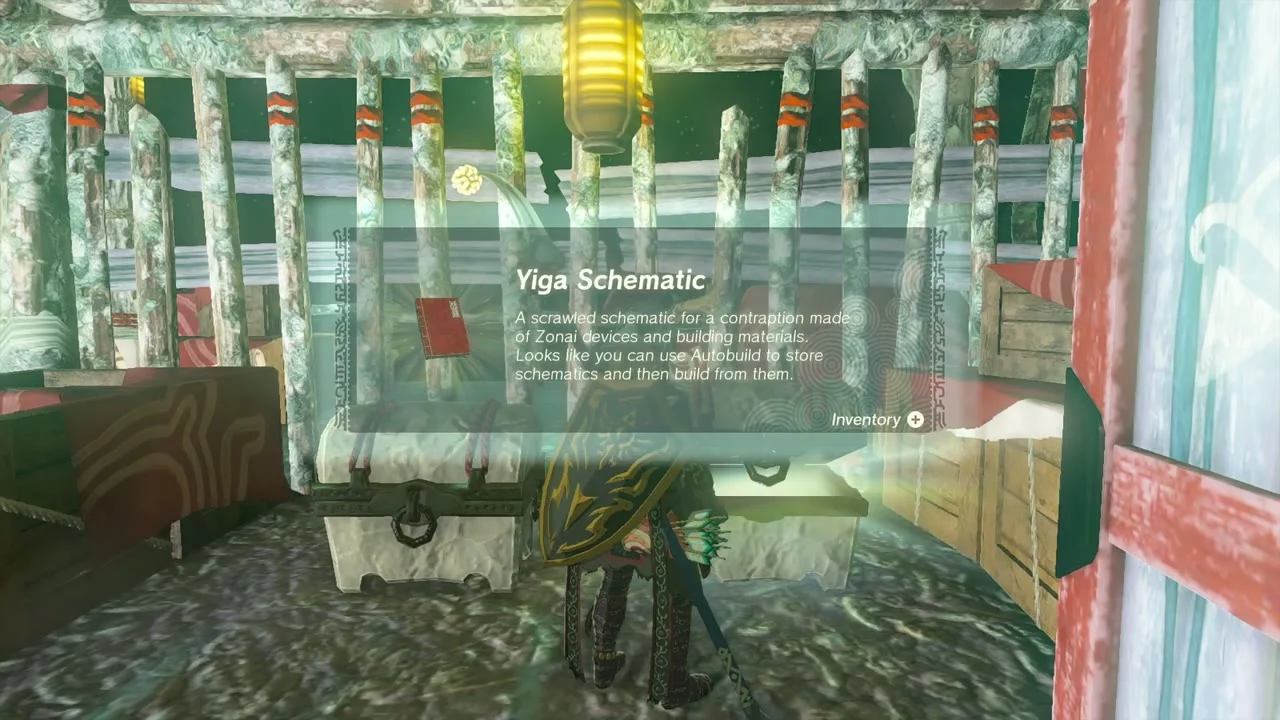
A plank camp at (758, 1021, -492) holds a Sundelion, which restores gloom-damaged hearts. Further east, climb into the Yiga camp at (1169, 600, -408); the two chests hold a Yiga Schematic and a Large Crystallized Charge.


Defeat the Flux Construct and Stone Talus
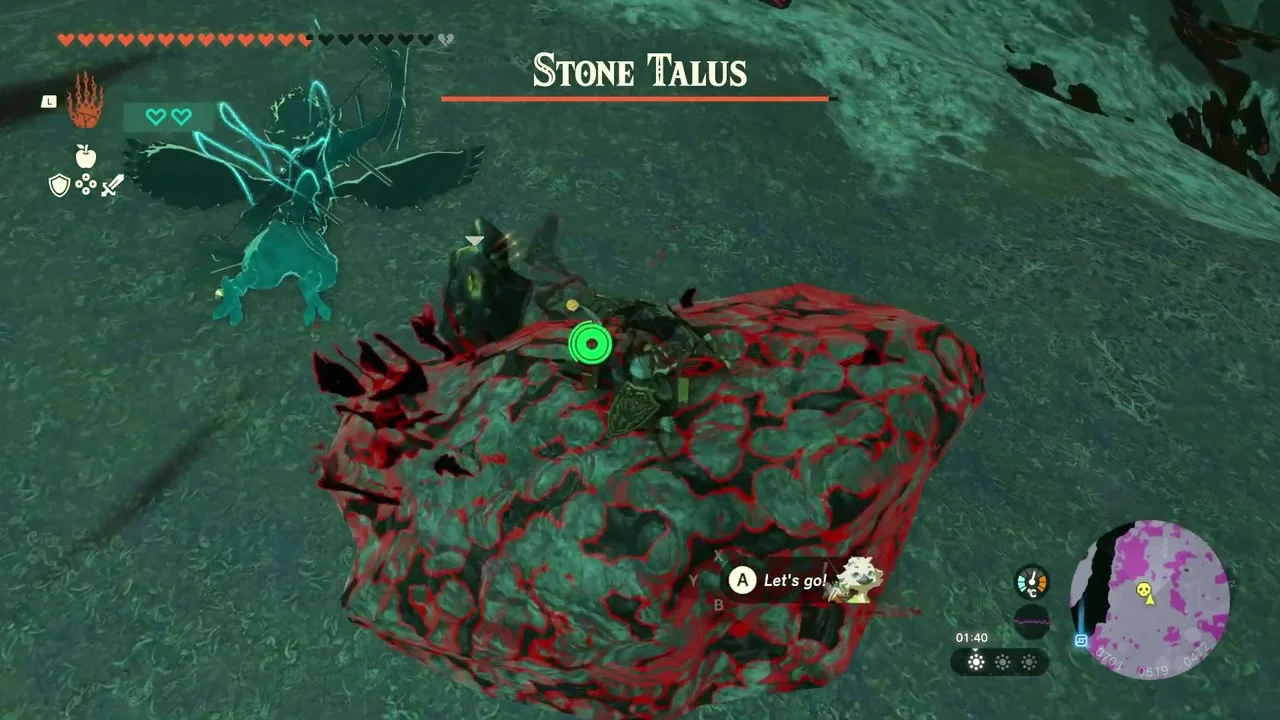
A Flux Construct sits on the stone arena at about (860, 688, -523): avoid its crate throws and attack the glowing core. A Stone Talus wanders at about (760, 497, -460); hit the ore on its back and the core when it falls.

Open the Trousers of the Sky chest
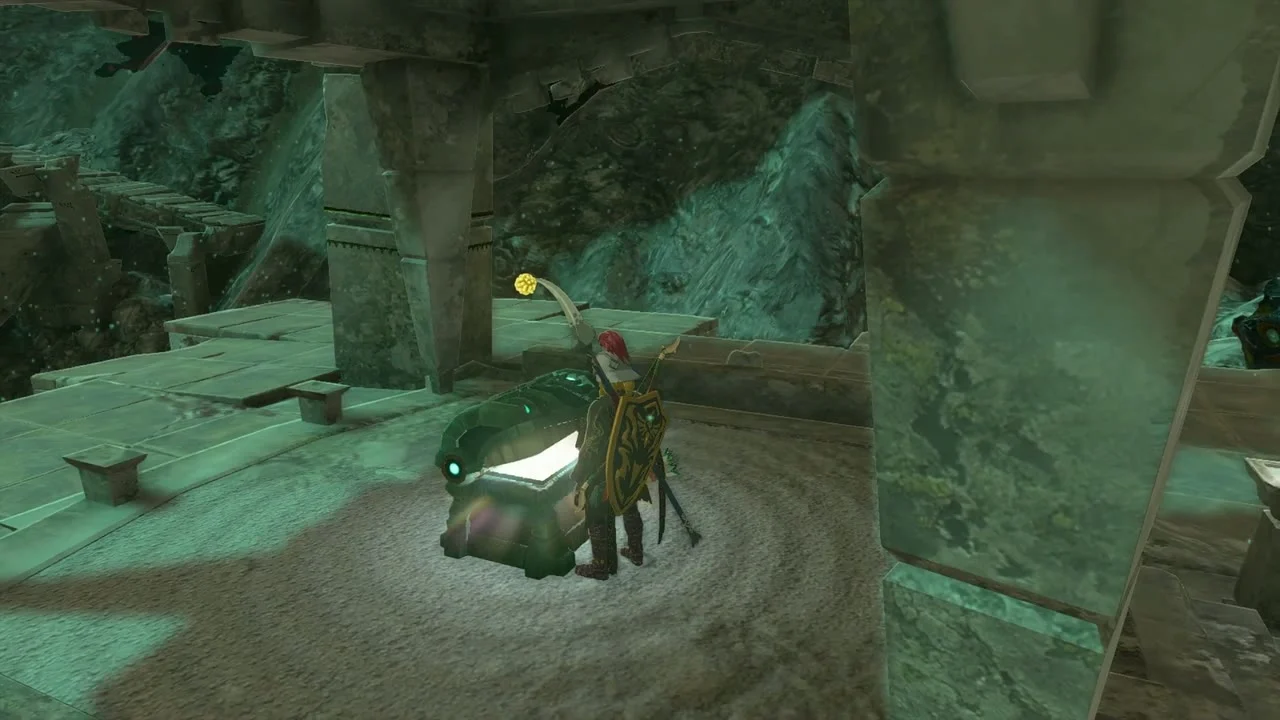
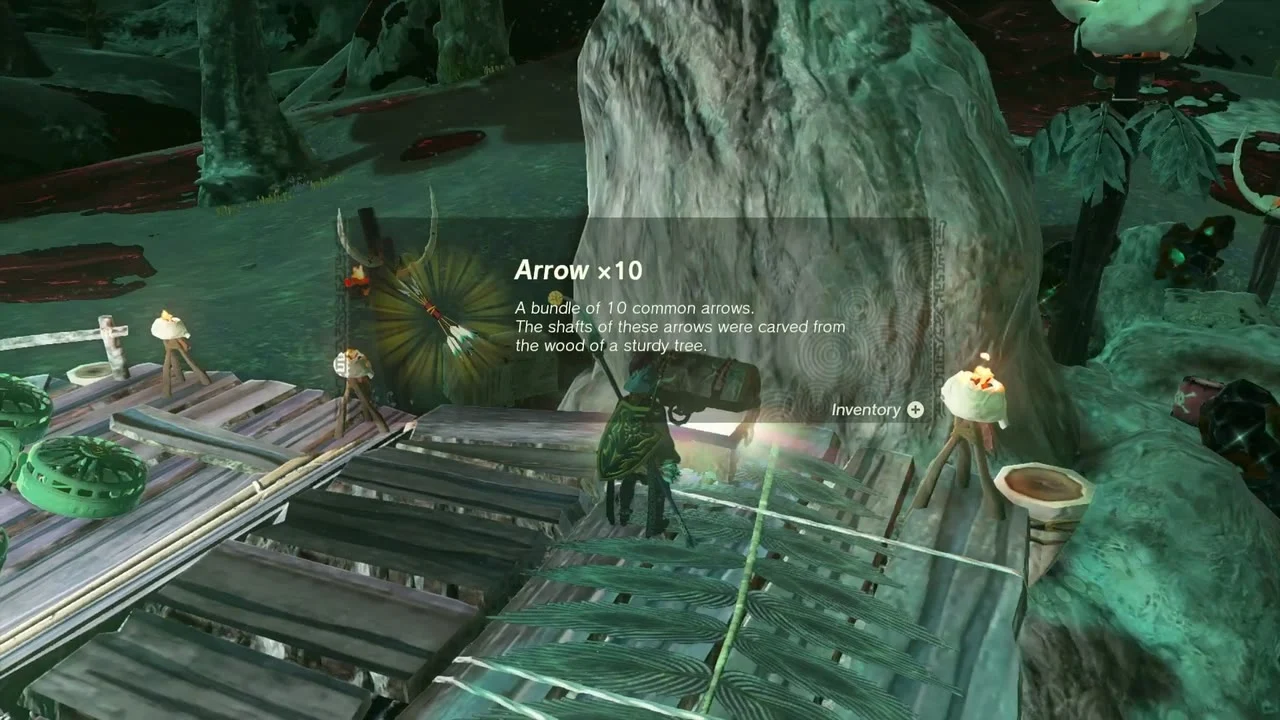
A chest at about (1164, 426, -580), between stone pillars under a ruined arch, holds the Trousers of the Sky. A plank platform at (977, 235, -491) has an Arrow x10 chest.
Take the second Sundelion and the Blue-White Frox
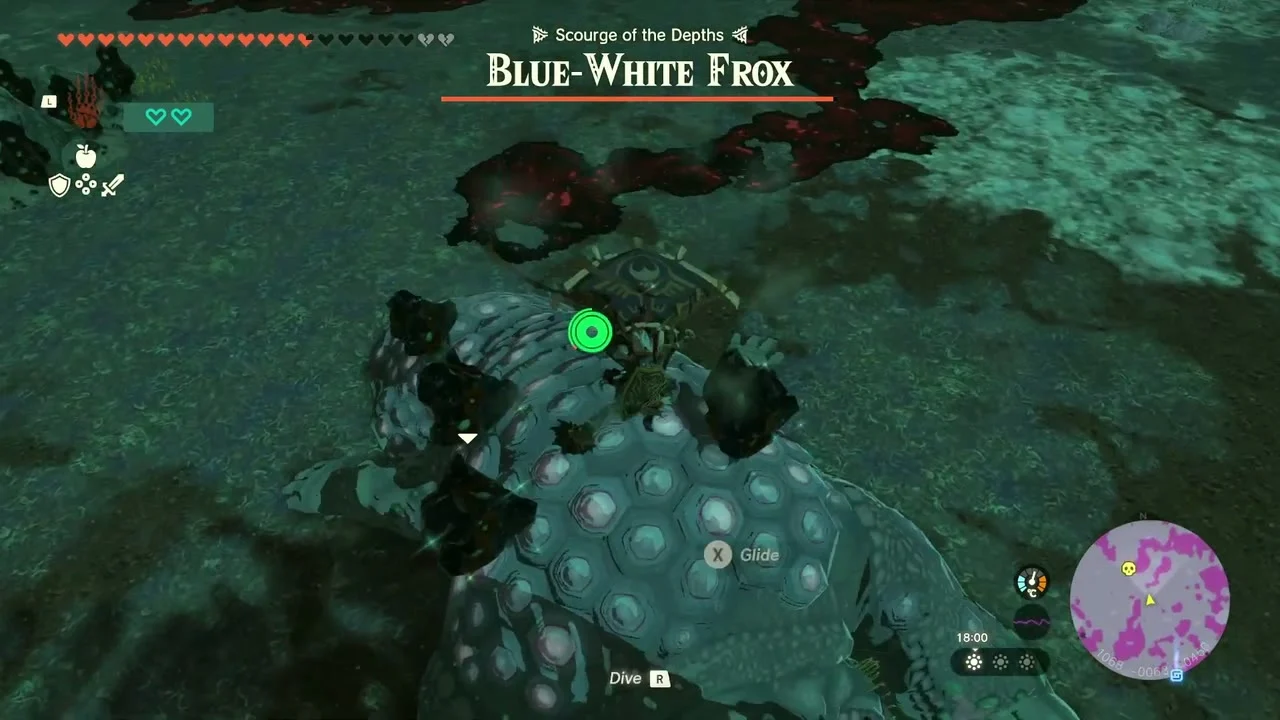
A plank-floor camp at (1352, 105, -478) has another Sundelion. A Blue-White Frox waits at about (1068, -59, -459): drop onto its back and shoot the eye.

Fight the Armored Silver-Maned Lynel
An Armored Silver-Maned Lynel prowls around (1054, -280, -467). Block its charge and use strong fused weapons. Later, a third Sundelion sits near (1082, -503, -464) and a second Stone Talus waits at (1489, -956, -598).
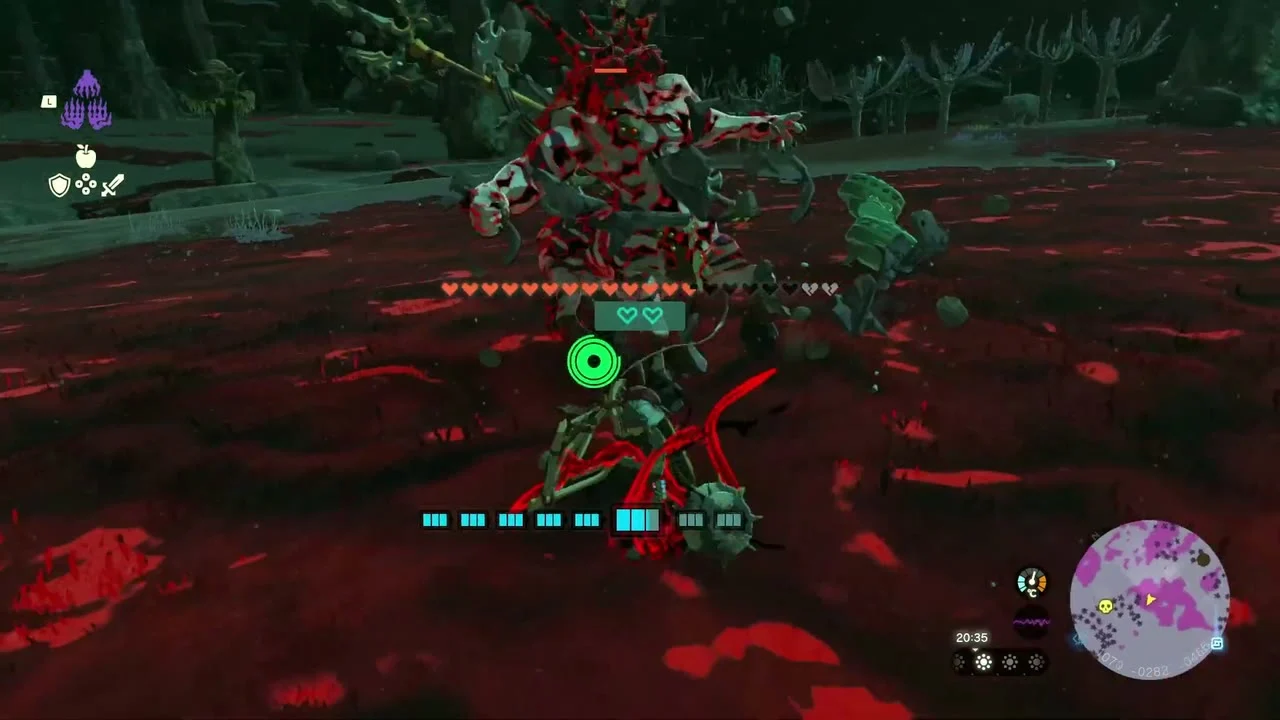

Depths: Dueling Canyons and Bubinga Grove
The south-west Depths under the Dueling Peaks hold two mines and a ring of Hinox and Lynel arenas. Work from Dueling Canyons Mine toward Sohse Lightroot first, then travel east through Bubinga Grove, where pale ground makes fights easier to read than the red-gloom plains around it.
Beat the Black Hinox
A Black Hinox stalks at about (1475, -1330, -549). Hit its eye and attack its toes. West of there, a plank walkway at about (370, -1376, -461) carries a chest of Giant Brightbloom Seed x5.

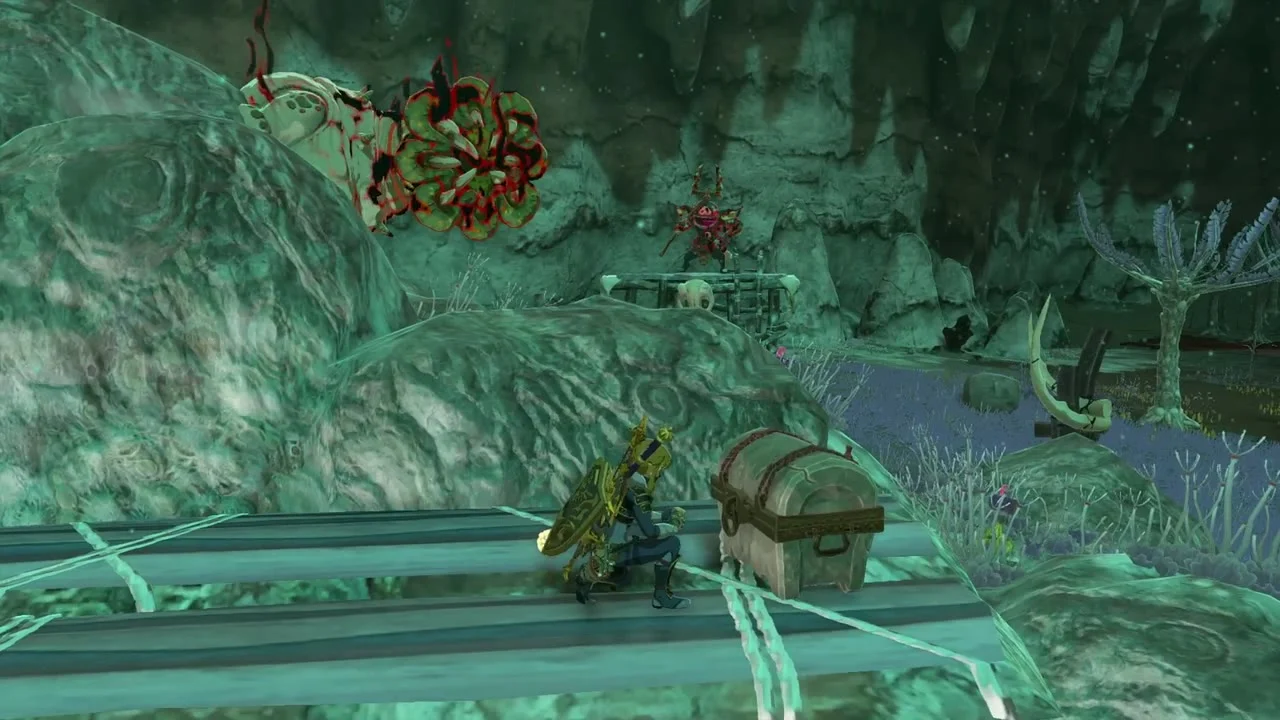
Loot Dueling Canyons Mine
Dueling Canyons Mine is at (1294, -1850, -686). In the stone chamber at (1284, -1810, -778), a chest holds the Tunic of the Hero.


Light Sohse Lightroot
Sohse Lightroot at (1563, -1944, -485) lies below Eshos Shrine and finishes the West Necluda Depths.

Clear Bubinga Grove
Dive through Bubinga Grove at (2020, -2102, -601). An Armored White-Maned Lynel patrols at about (1745, -1930, -456). At (2153, -2175, -479), a chest holds a Large Crystallized Charge.
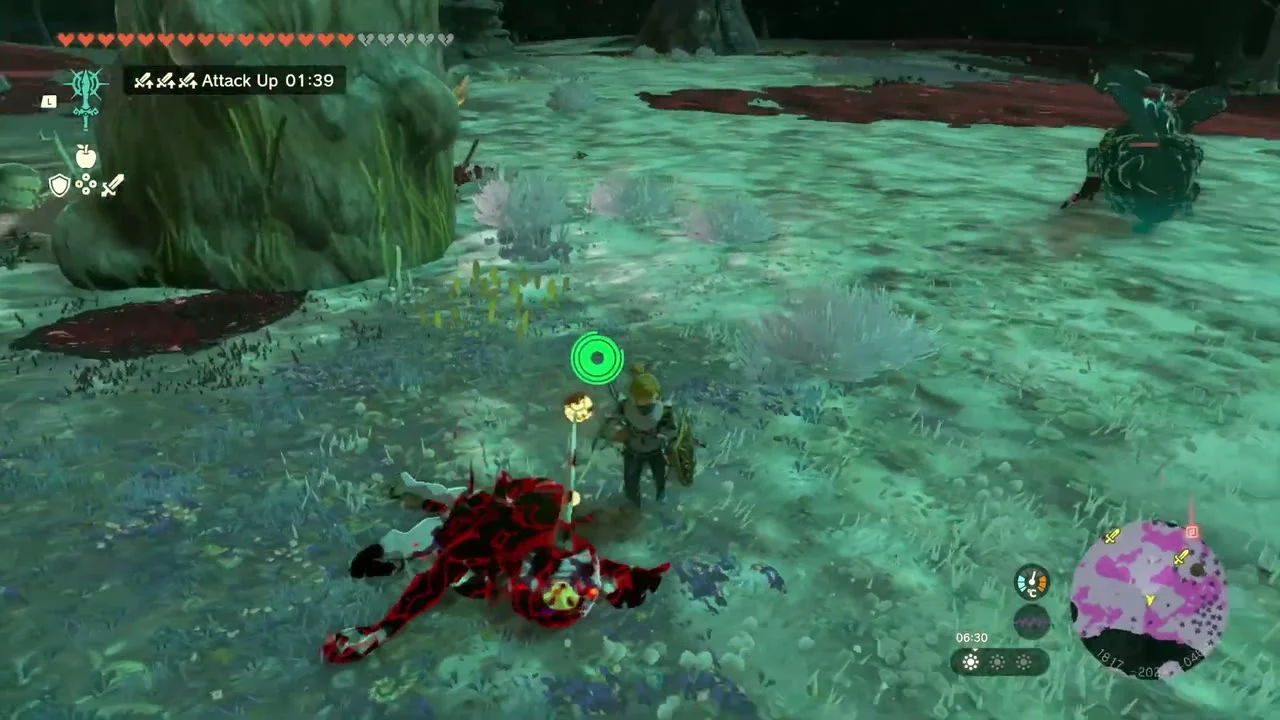
Defeat Black Hinox and loot Secluded Coliseum
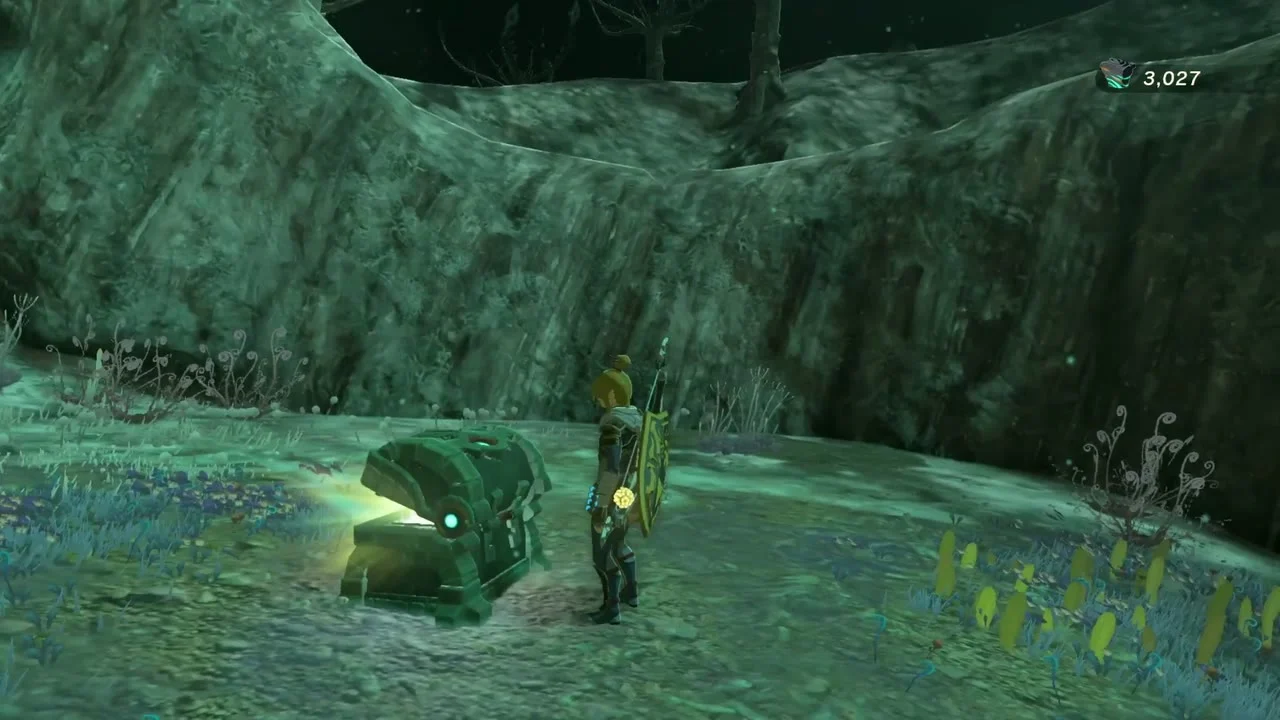
A second Black Hinox stalks at (2050, -2000, -472). Secluded Coliseum (2242, -1878, -345) holds a chest with Ravio’s Hood at its pedestal.


Depths: Abandoned Kakariko Mine and the east
The last stretch runs from Abandoned Kakariko Mine east toward the Lanayru Great Spring Depths. Three Lightroots lie along the way, and the chain of minibosses ends in the Marbled Gohma arena. Light Takaruk, Migo-o and Uogoj before you start the boss so you can fast travel back if you fall.
Take the Eightfold Blade and the east Yiga camp
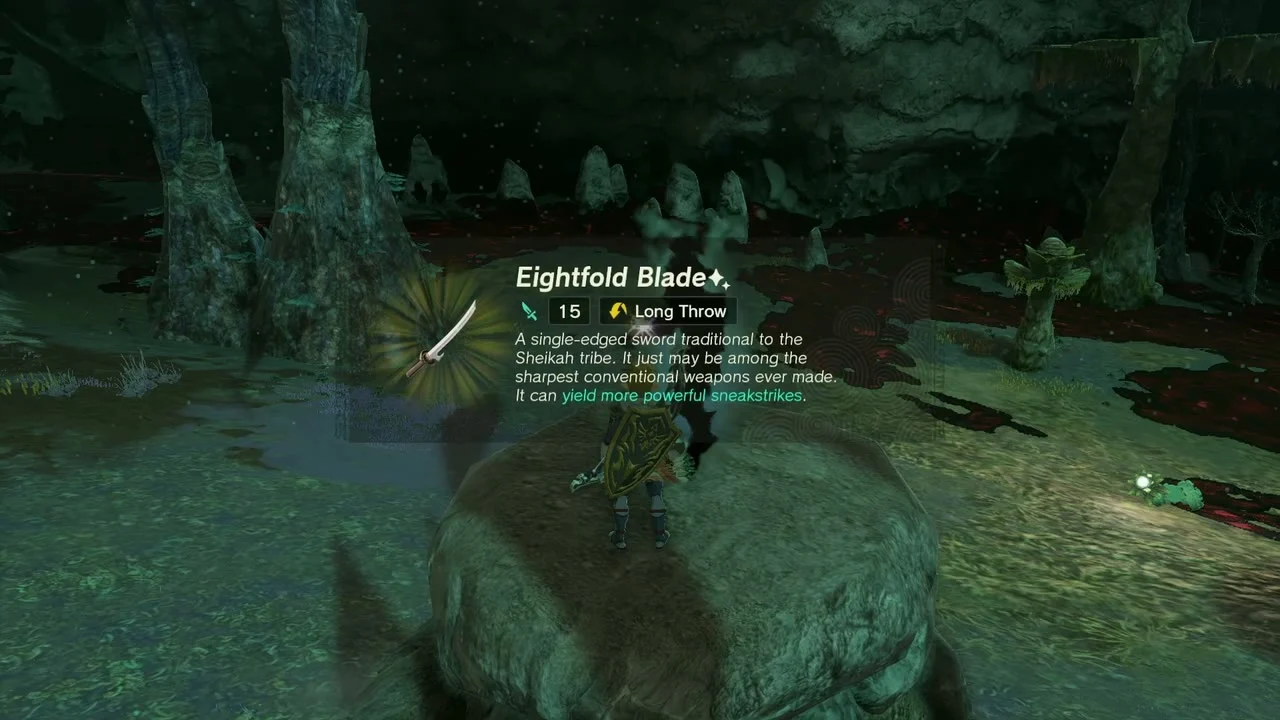
A chest at about (1936, -1714, -465) holds the Eightfold Blade+. East of it, climb into the Yiga camp at (2087, -1601, -465) for a Yiga Schematic and a Large Crystallized Charge.


Search Abandoned Kakariko Mine
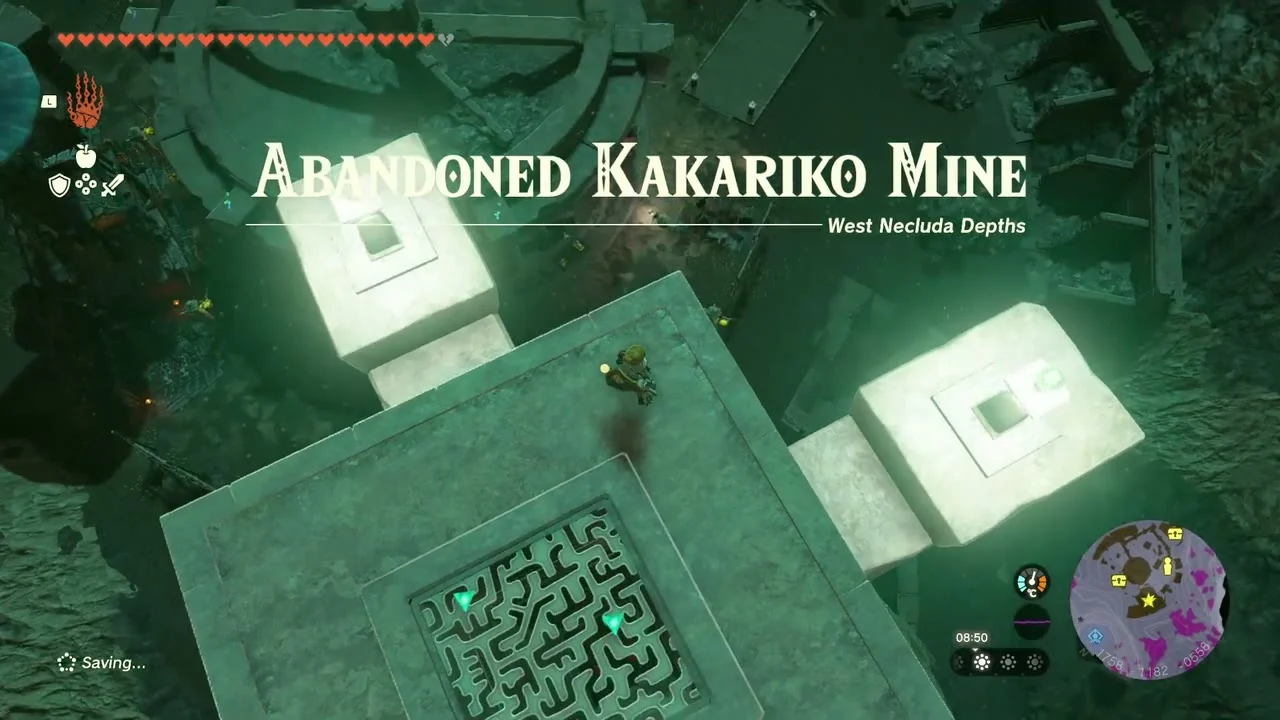
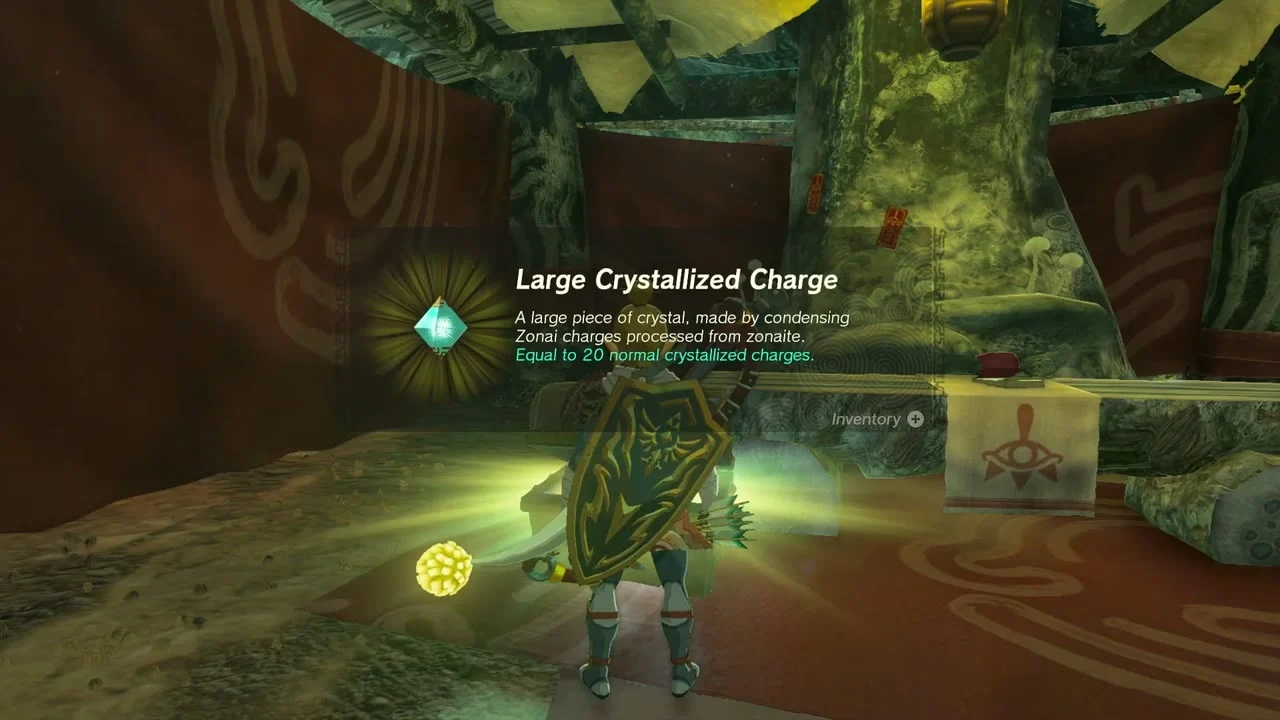
Abandoned Kakariko Mine at (1819, -1299, -566) holds a Launch Pad schema stone and two chests of Large Crystallized Charge at about (1823, -1156, -629) and (1830, -1304, -600). Mine the crystals for more Charges.
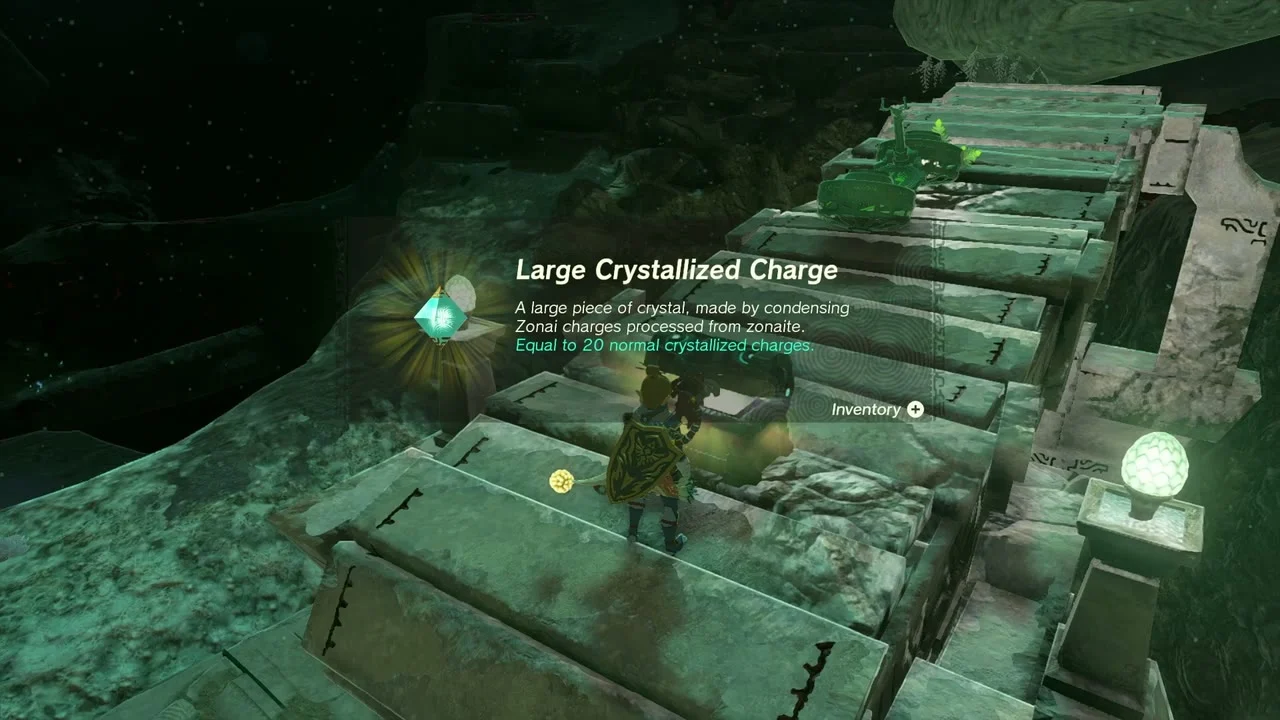
Light the three eastern Lightroots
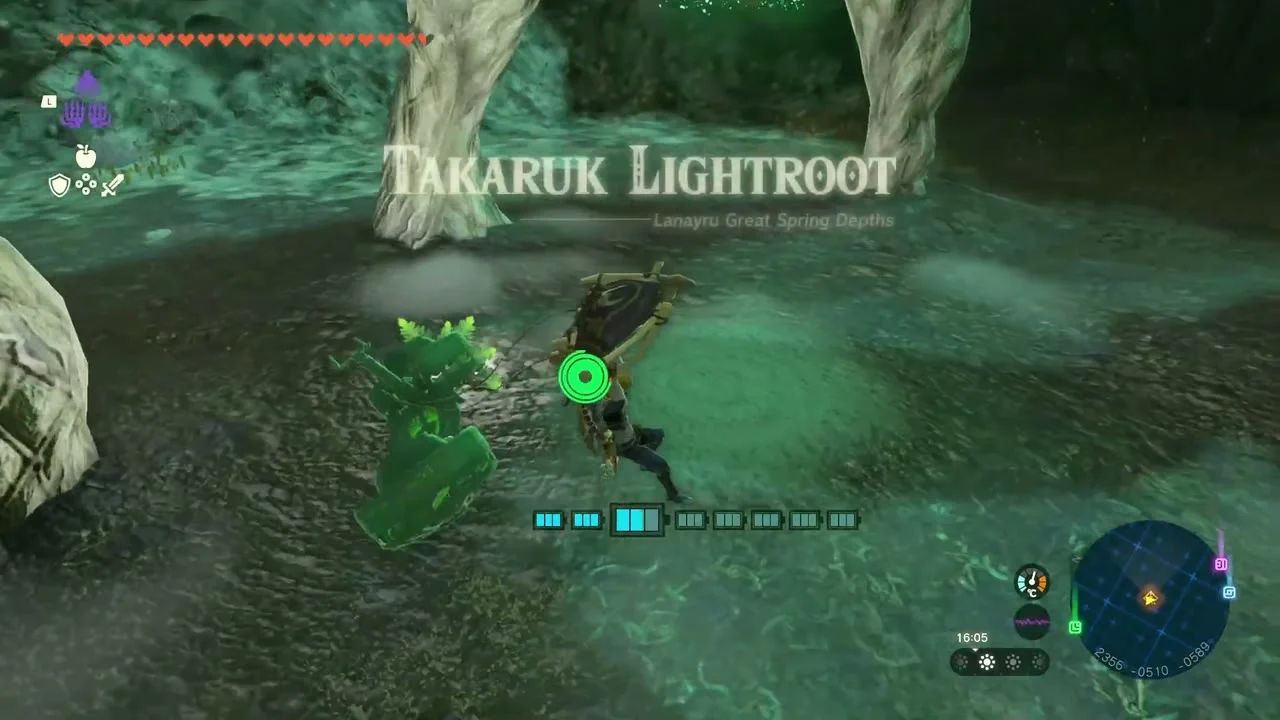
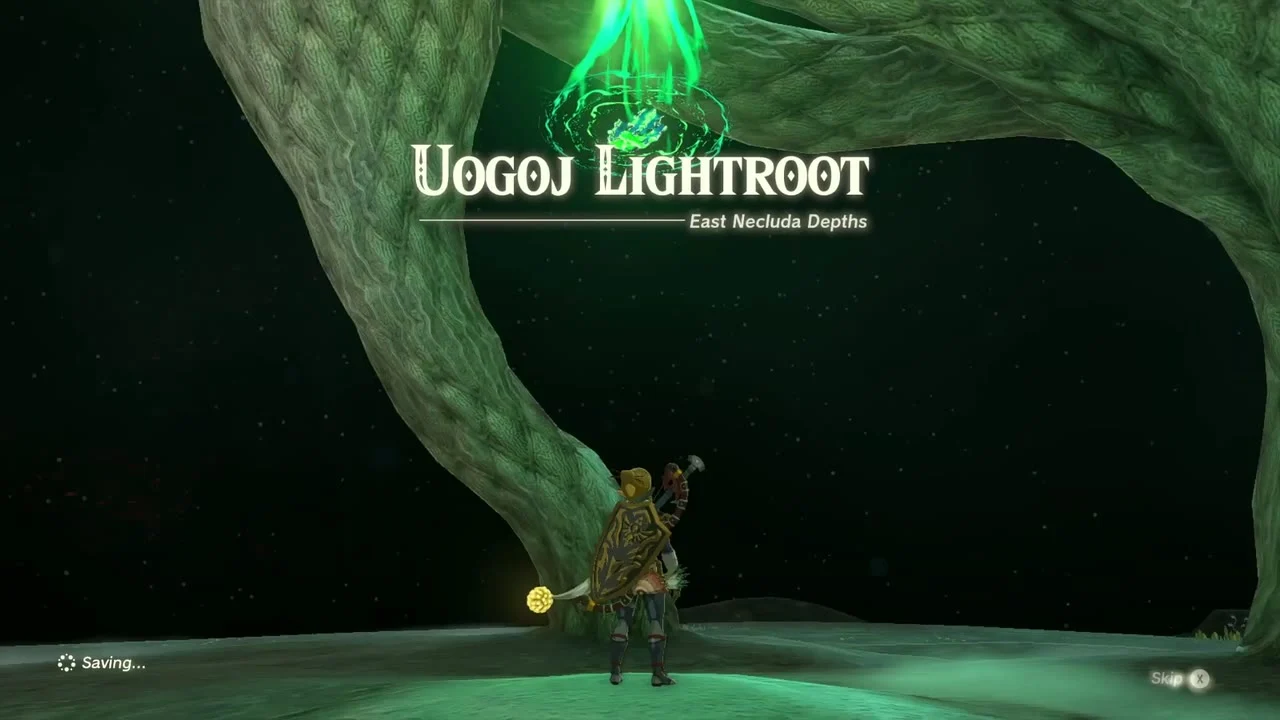
Light Takaruk (2360, -510, -610), Migo-o (2755, -1088, -570) and Uogoj (3346, -1185, -631), each beneath its surface shrine.

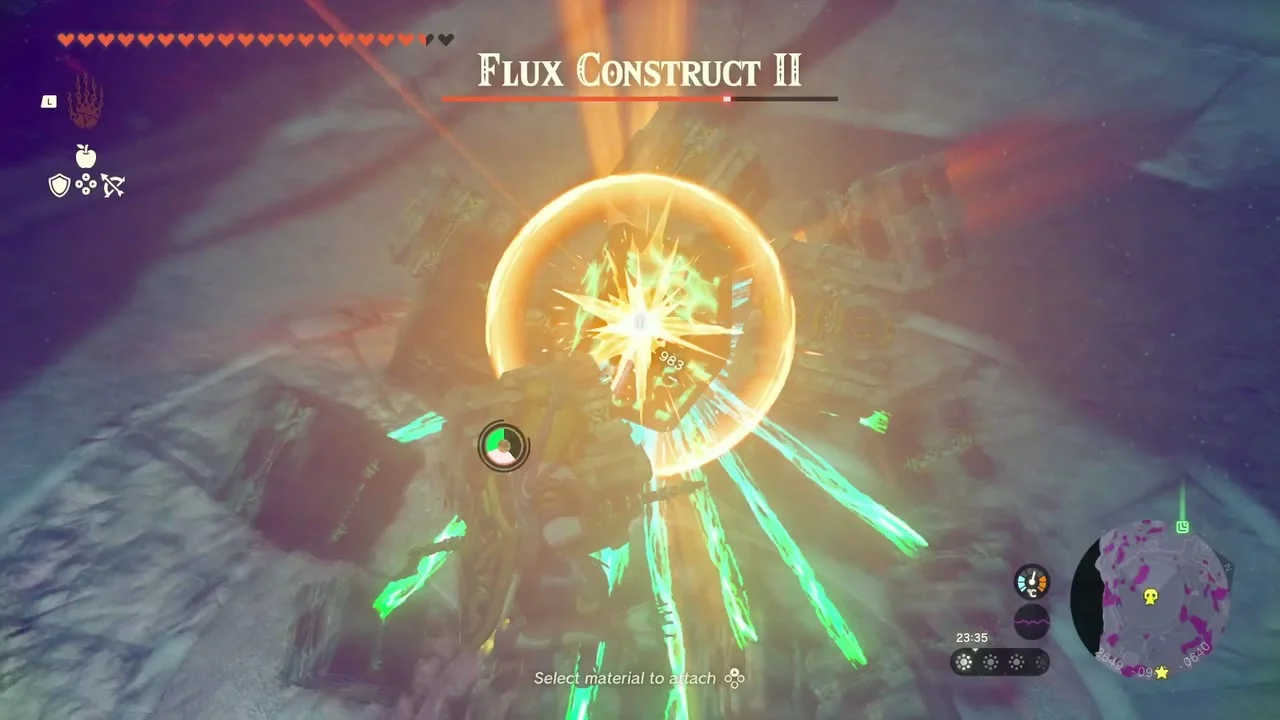
Beat the Obsidian Frox and Flux Construct II
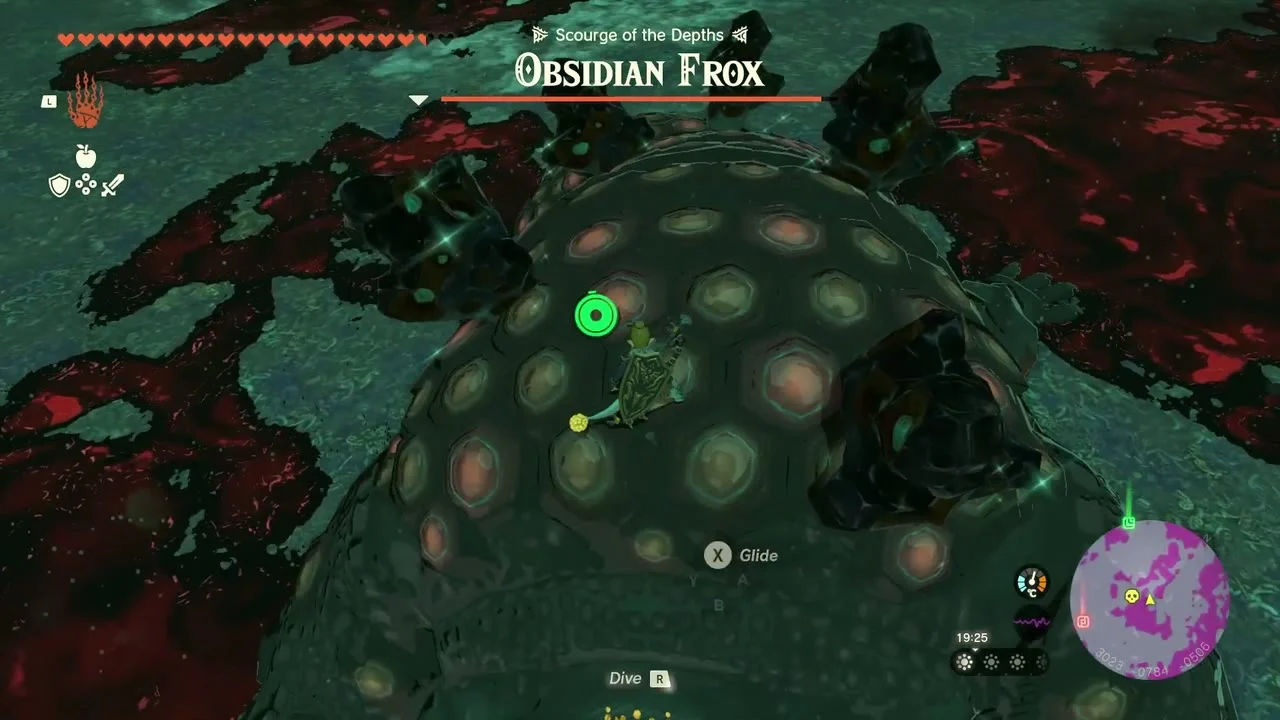
An Obsidian Frox waits at about (3047, -805, -472), and Flux Construct II guards an arena at (2648, -940, -636). Dodge slams and strike the core.
Take the Giant Brightbloom and the last Yiga camp
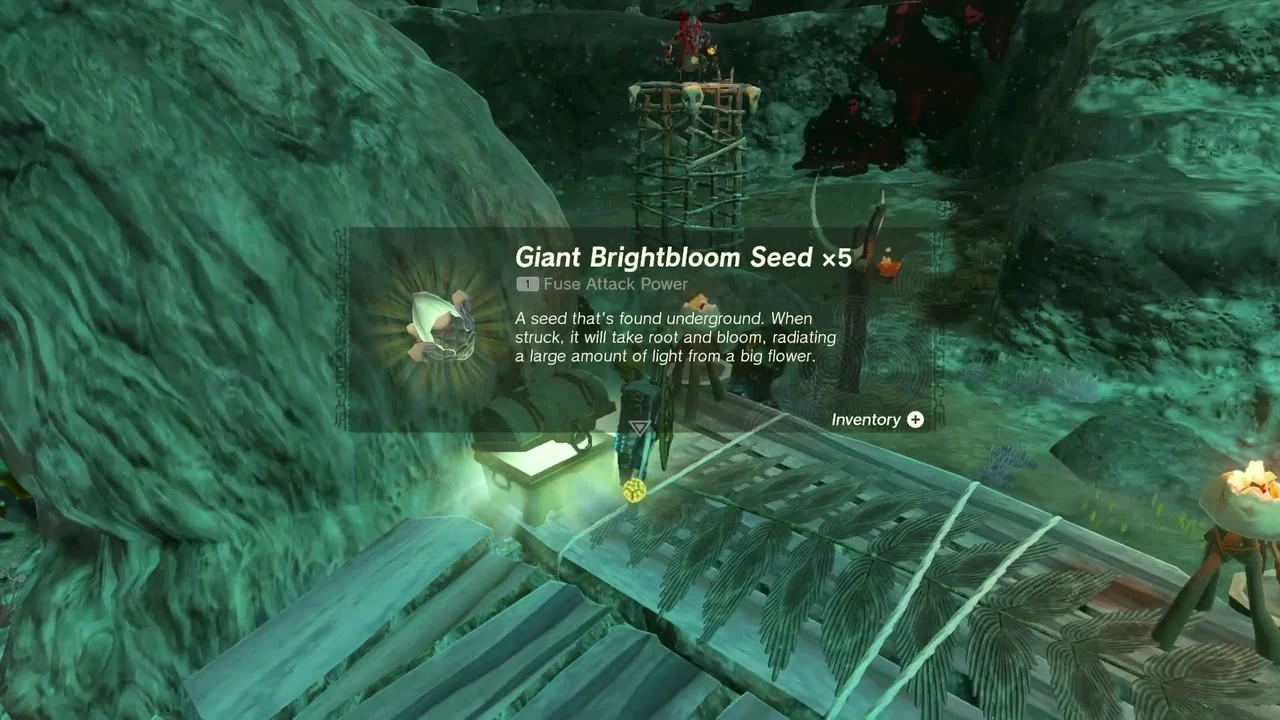
A plank platform at (2778, -624, -575) holds Giant Brightbloom Seed x5. A Yiga camp at (2541, -534, -476) gives a Yiga Schematic and a Large Crystallized Charge.

Defeat Marbled Gohma
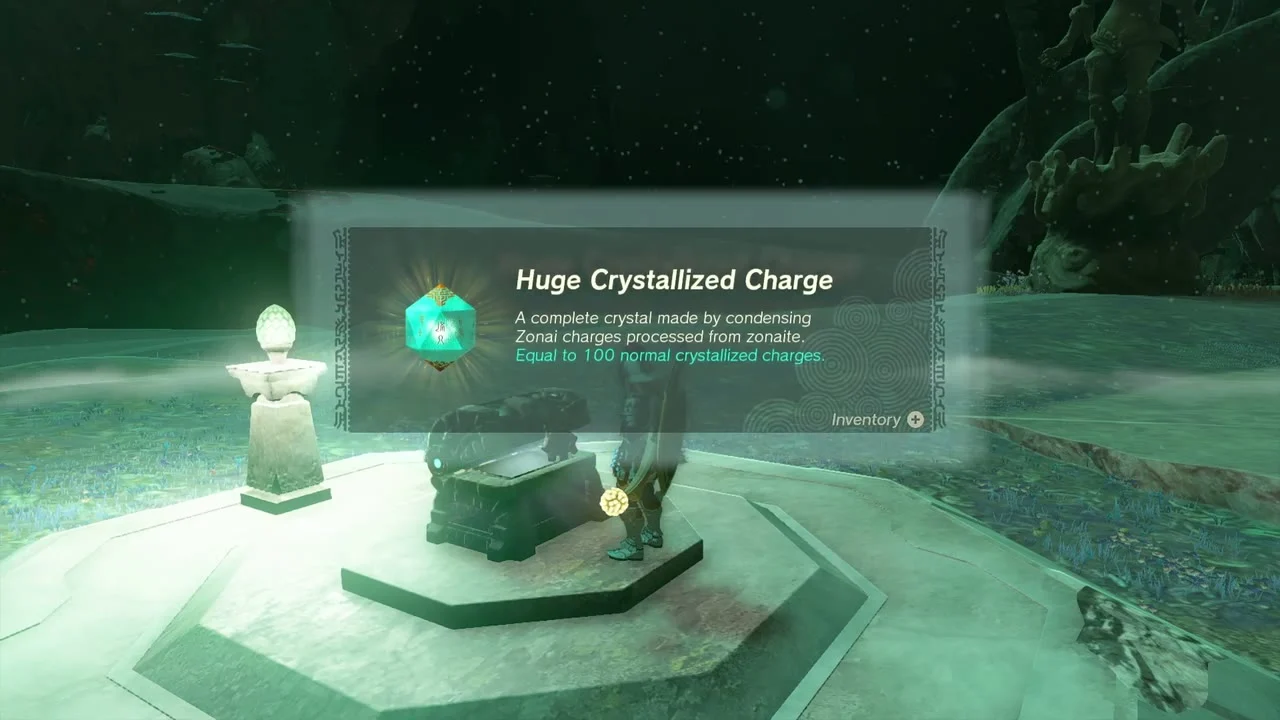
The arena at (2170, -640, -583) holds Marbled Gohma. The Depths version has 2,000 HP: stay on the move, deflect or Recall the rocks it throws, and shoot or strike the eye whenever it is exposed. It drops a Marbled Gohma Leg, and the chest opens on a Huge Crystallized Charge.

Collectibles in this chapter
- Shrines: 4 (Jonsau, Kurakat, O-ogim, Jogou); surface Lightroots below them: 4
- Depths Lightroots lit: 9
- Caves: 4; well: 1; Bubbul Gems: 4
- Mines: 3 (Crenel Canyon, Dueling Canyons, Abandoned Kakariko)
- Boss: Marbled Gohma
- Armor: Trousers of the Sky, Tunic of the Hero, Ravio’s Hood, Barbarian Helm
- Quests: Dyeing to Find It, The Lanayru Road Crystal, Bring Peace to Necluda!
Also in this area
These datamined Korok seeds lie along the surface route between Zauz Island and Fort Hateno. Check them off as you pass: rock lift at (1892, -151, 9); carried Korok pair ending at (1701, 9, 10) and another pair ending at (2201, 158, 34); cube puzzle at (2211, 49, 52); rock pattern at (2460, -40, 79); dive into the ring at (2306, 14, 56); acorn pot at (2307, 132, 104); rock lift at (2471, 150, 79); balloon shot at (2334, 273, 27); hidden balloon at (1981, -448, 70); rock lift at (1824, -459, 12); sparkling spot at (1776, -984, 120); acorn pots at (1791, -852, 118) and (1997, -958, 176); dandelion at (1574, -1044, 154); rock lift at (1694, -929, 310); follow the flower at (2704, -1164, 97); rock lift at (2833, -1118, 102); pull the plug at (2920, -1392, 380); hidden balloon at (2300, -1357, 119); sparkling spot at (2200, -1373, 56); acorn pot at (2545, -1077, 111); rock lift at (2546, -584, 120); and the fruit statues at (2239, -726, 232) and (3203, -661, 0).
Surface and Depths minibosses
On the surface, expect four Boss Bokoblins, two Stalnox, two Blue-Maned Lynels and a Silver-Maned Lynel between Zauz Island and Fort Hateno. Stalnox is weakest to arrows through its glowing ribcage; Lynels reward a parry or a well-timed bomb arrow. In the Depths, the fights are two Flux Constructs, two Stone Talus, a Blue-White Frox and an Obsidian Frox, an Armored Silver-Maned Lynel, an Armored White-Maned Lynel and two Black Hinox, all before Marbled Gohma. Rewards for these fights vary, so fuse the drops you want for Zonai charges and strong weapon parts before you move on.
Route tips
Bring a Zonai wing or fan build for the wetlands: nearly every chest between Zauz Island and Jonsau Shrine sits on water, ice or a stone pillar. For the Depths, carry Brightbloom Seeds, Sundelion-friendly food for gloom damage and a sturdy fused weapon for the Frox, Hinox and Lynels. Each Depths Lightroot you light lets you fast-travel back, so do the minibosses in a loop that ends at a Lightroot.
