





















Tears of the Kingdom 100% Completion Walkthrough43 chapters
Great Sky Island
- Great Sky Island4 shrines, 4 caves and Bubbul Gems, 17 Korok seeds
Hyrule Field and Hyrule Castle
- Lookout LandingParaglider, Crisis at Hyrule Castle, Jiosin and Kyononis shrines, 2 caves, 3 wells
- Hyrule FieldSusuyai and Ishodag shrines, the Hyrule Field Chasm, 2 caves, 13 Koroks
- Hyrule Castle Town RuinsSepapa, Yamiyo and Tukarok shrines, 2 caves, 4 wells, Koroks, chests and Battle Taluses in route order
- Central Hyrule Depthslight all 7 Lightroots, loot Daphnes and Gustaf Canyon Mines, find the Miner's Top
- Rest of Hyrule CastleRoyal Hidden Passage loot, 8 castle chests, Phantom Ganon, Energy Wells
- South Hyrule FieldShrines, Koroks & the Great Plateau
- South Hyrule Field DepthsGreat Abandoned Central Mine, Master Kohga, Autobuild, Majora's Mask
Tabantha and Hyrule Ridge
- Tabantha FrontierNew Serenne Stable, Hestu, Courage Island and the Glide Shirt, 3 shrines, 2 Korok seeds, Lindor's Brow Cave
- Forgotten TempleImpa and the Geoglyphs, Dragon's Tears, Kiuyoyou and Mayausiy shrines, Yiga Maritta Branch, 9 Koroks
- Tanagar Canyon & Hyrule RidgeRunakit and Iun-orok shrines, 2 caves, 12 Koroks, 20 chests, 8 minibosses and Dragon's Tear 6
- Thundra Plateau & Tabantha Bridgesolve the noon shadow puzzle, Tabantha Bridge Stable, Makurukis Shrine, 19 Korok seeds, 9 chests, 3 minibosses
- Lindor's Brow DepthsLightroots; Two Yiga camps (Bomb Bouquet, Flamethrower Balloon)
- Hyrule Ridge and Tabantha FrontierIkatak, Oromuwak, Ganos and Ga-ahisas shrines, 4 caves, a well, 26 Koroks and 3 minibosses
Hebra
- Rito VillageGatakis and Ijo-o shrines, Sikatag Lightroot, 9 Korok seeds, 14 chests
- Hebra MountainsShrines, Wind Temple & Koroks; Raspro Pass, Biron Snowshelf & Royal Hidden Passage
- Corvash Canyon MineTrousers of the Hero, Floodlights schematic, Sea-Breeze Boomerang, four Lightroots, Colgera
- Raspro Pass DepthsNupisoyuat and Sasag Lightroots, Colgera, Cap of Time, Tunic of the Wind, two Yiga camps and 13 minibosses
- Tabantha TundraTaninoud, Orochium, Oshozan-u, Mayaotaki, Nouda and Tenbez shrines, three Lightroots, caves and Bubbul Gems
- Pikida Stonegrove DepthsEvil Spirit Greaves, Ikatoayam, Muihcoro and Sikatag Lightroots, 3 Yiga schematics, Frox fights
Great Hyrule Forest
- Great Hyrule Forest7 shrines, 8 Lightroots, 2 caves, 2 wells, Korok Mask, Glide Tights
Eldin
- EldinEldin Canyon, Shrines, Caves & Goron City
- Eldin Canyon Depths10 Lightroots, Zant's Helmet, Trousers of the Wild, Biggoron's Sword, 3 Yiga schematics and Eldin's sky chests
Faron
- FaronHighland Stable, Lake Hylia & Popla Foothills
Necluda
- Kakariko VillageMakasura Shrine, Kakariko Village Well, 2 caves, Ring Ruins chests, 10 Korok seeds and village quests
- West Necluda and Lanayru WetlandsShrines, Koroks & Caves; Jonsau, Kurakat
- Hateno VillageZanmik and Mayahisik shrines, Shield of the Mind's Eye and Phrenic Bow wells, 7 Koroks
- East NecludaRabella Wetlands, Sifumim Shrine, Lurelin Village, 21 Korok seeds
- East Necluda DepthsKumamayn Shrine, 4 Lightroots, Midna's Helmet, Cap of the Hero, Trousers of the Wind and 18 Depths chests
Lanayru
- Lanayru Great SpringShrines, Koroks & Caves; Ralis Channel, 3 shrines, 8 caves
- Zora's DomainMogawak and Ihen-a shrines, Ploymus cave, Pristine Sanctum, Zora Armor, Sidon of the Zora and Clues to the Sky
- Wellspring IslandAncient Zora Waterworks chests, Igoshon Shrine, 2 Korok seeds, Water Temple's four wheels and Mucktorok
- Mount LanayruShrines, Koroks & Light Rings; Jikais and Anedamimik shrines
Gerudo
- Gerudo DesertShrines, Caves & Koroks; West and South Sands
- Gerudo TownGerudo Shelter shops and quests, Valley of Silent Statues, Lightning Temple and Queen Gibdo, Chichim Shrine
- Gerudo Desert DepthsGranajh and Daval mines, three Master Kohga fights, Queen Gibdo, Mucktorok, Sheik's Mask and 37 chests
- Gerudo HighlandsSkyview Tower, Rotsumamu and Suariwak shrines, Mayasiar Shrine, Yiga hideout
Akkala
- AkkalaTarrey Town quests, 4 shrines, Hinox, Battle Talus
- Akkala Sky Islands and DepthsGikaku and Natak shrines, Old Maps, Lomei Depths Labyrinth, Mucktorok, 5 Lightroots and 19 chests
Finale and completion
- Ancient Tablets, Gleeoks and Armor Upgradesall 13 stone tablets with coordinates, Frost and King Gleeok, Obsidian Frox, Cotera upgrades and farming
- Hyrule CastleRoyal gear chests, Korok seeds, Serutabomac Shrine
- Thunderhead IslesCharged armor, Joku-usin and Joku-u Shrines, Dragonhead Island's relic
- 100% Completion: Armor Upgrades & Korok BonusHestu's Gift, Ancient Hero's Aspect, Great Fairy Cotera upgrade costs and materials, then Destroy Ganondorf
| Region | Central Hyrule: Hyrule Field from Bottomless Pond north to Lookout Landing, Hyrule Castle Town Ruins and the grounds below Hyrule Castle |
|---|---|
| Main quests | To the Kingdom of Hyrule, Crisis at Hyrule Castle, then Camera Work in the Depths begins |
| Side quest | Today’s Menu (Burmano, Emergency Shelter) |
| Shrines | Jiosin Shrine (Hasty Elixir), Kyononis Shrine (Zonaite Sword) |
| Caves | Ranch Ruins Cave and Passeri Greenbelt Cave, one Bubbul Gem each |
| Wells | Bottomless Pond Well (Boomerang), Mabe Village Ruins Well (ore only), Lookout Landing Well (Royal Claymore (or Traveler’s Claymore, Soldier’s Claymore or Knight’s Claymore, depending on your progress)) |
| Korok seeds | 20 seeds from 19 Koroks (18 single Koroks and 1 Korok pair) |
| Chests | 11 in the open, 1 in West Passage, 2 in wells, 2 in caves, 2 in shrines |
| Minibosses | 2 Blue-White Froxes in the Depths below the Hyrule Castle Moat |
| Armor | Hylian Hood, Hylian Trousers and Hylian Tunic from the Lookout Landing armor shop |
| Key item | Paraglider, from Purah at the Lookout Landing Skyview Tower |
| Previous / next | Great Sky Island / Hyrule Field |
Lookout Landing is the first town you reach after Great Sky Island: sweep the Bottomless Pond area on the way, reach Purah, scout the castle approach for Captain Hoz, then activate the Skyview Tower to get the Paraglider. This page lists every chest, Korok seed, well, cave, shrine and shop reward in route order, with links to the full shrine, cave and quest guides.
Quick route
Start at Bottomless Pond: pond-ledge Korok, Soldier’s Shield (or Traveler’s Shield, Knight’s Shield or Royal Shield, depending on your progress) chest, river-bank Korok, then Bottomless Pond Well (Boomerang).
Work along the field: Traveler’s Bow (or Soldier’s Bow, Knight’s Bow or Royal Bow, depending on your progress), the Korok pair, Rocket x3, Arrow x5, Opal and a Red Rupee, plus the log Korok.
Ranch Ruins Cave, Mabe Village Ruins (burn-the-leaves Korok), the Ascend Korok, Jiosin Shrine and Mabe Village Ruins Well.
Enter Lookout Landing: Purah, Aja’s Soldier’s Broadsword (or Traveler’s Sword, Knight’s Broadsword or Royal Broadsword, depending on your progress), the Emergency Shelter, Hylian armor and Lookout Landing Well.
Go north through Hyrule Castle Town Ruins: four Koroks, three buried chests, Addison’s sign, Kyononis Shrine.
Climb the castle approach: castle-approach Koroks, West Passage, First Gatehouse and Captain Hoz, then back to the Skyview Tower for the Paraglider.
Afterwards, the loose ends west of the castle: the Soldier’s Broadsword chest and the two Blue-White Froxes under the moat.
Bottomless Pond and the river
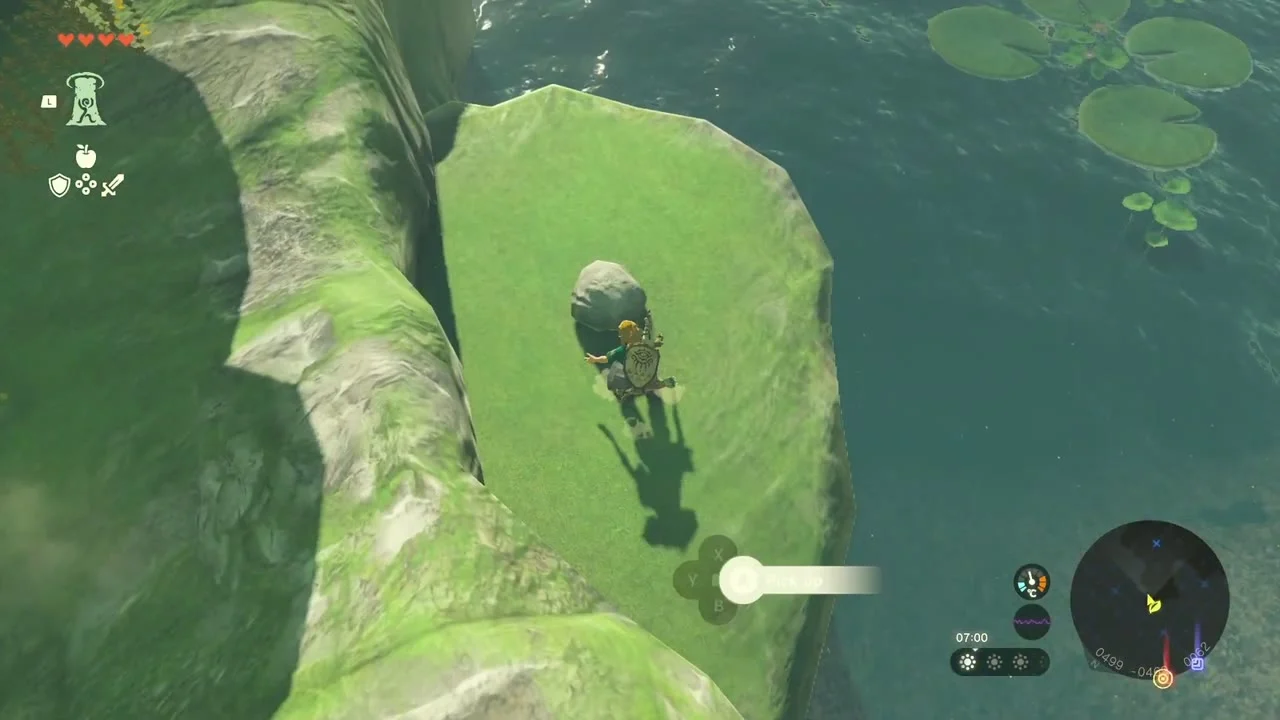
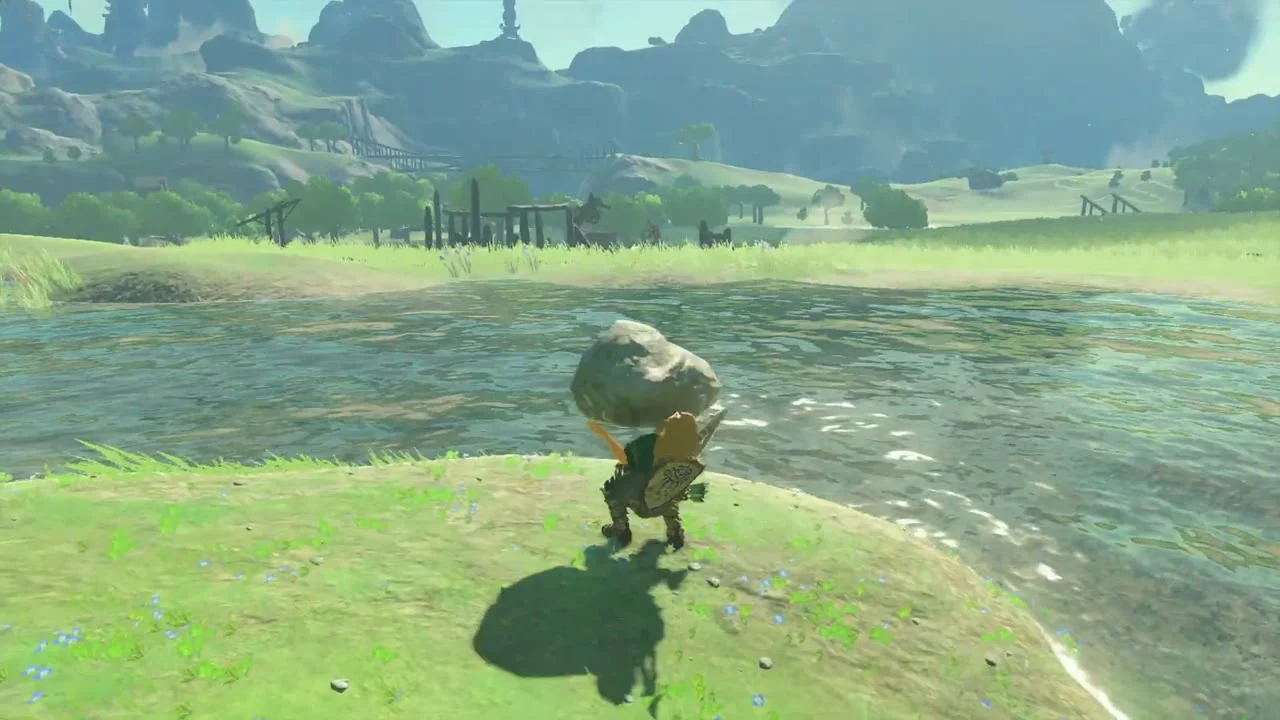
Korok seed (lone rock): on the grassy ledge at the water’s edge of the lily-pad Bottomless Pond, lift the lone rock with Ultrahand and a Korok pops out. Drop down to the ledge from the ridge above it.


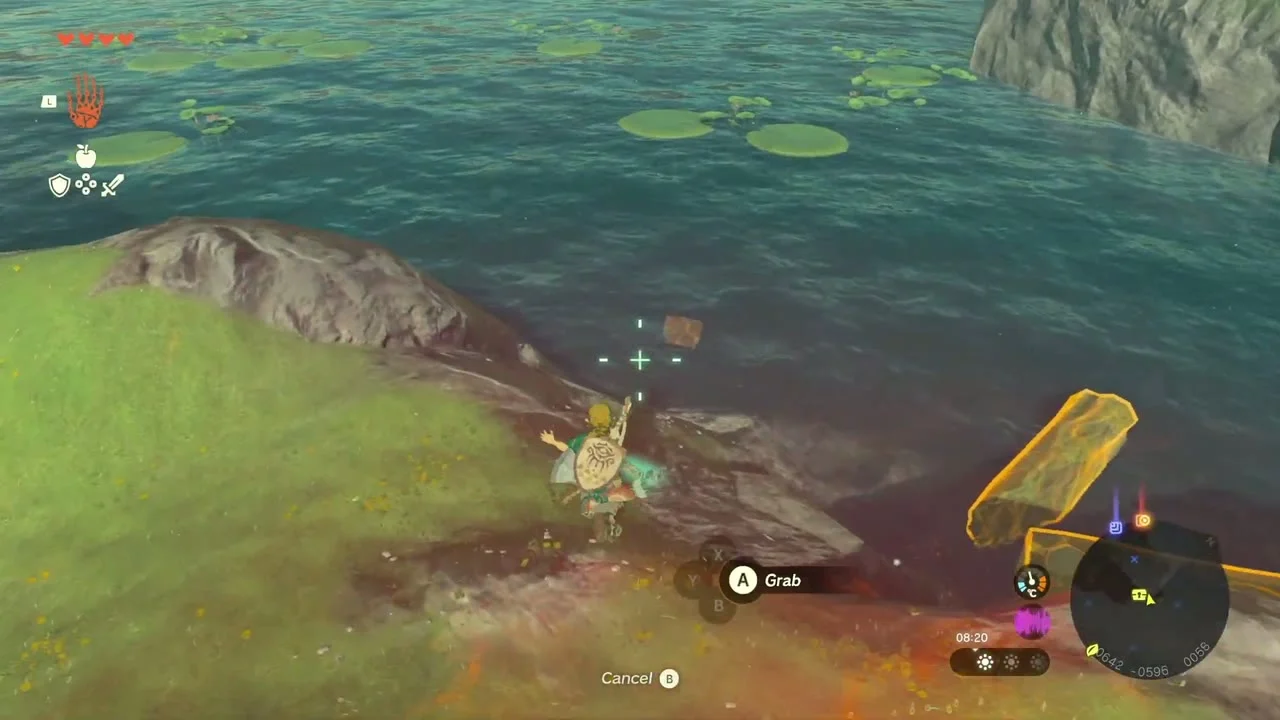
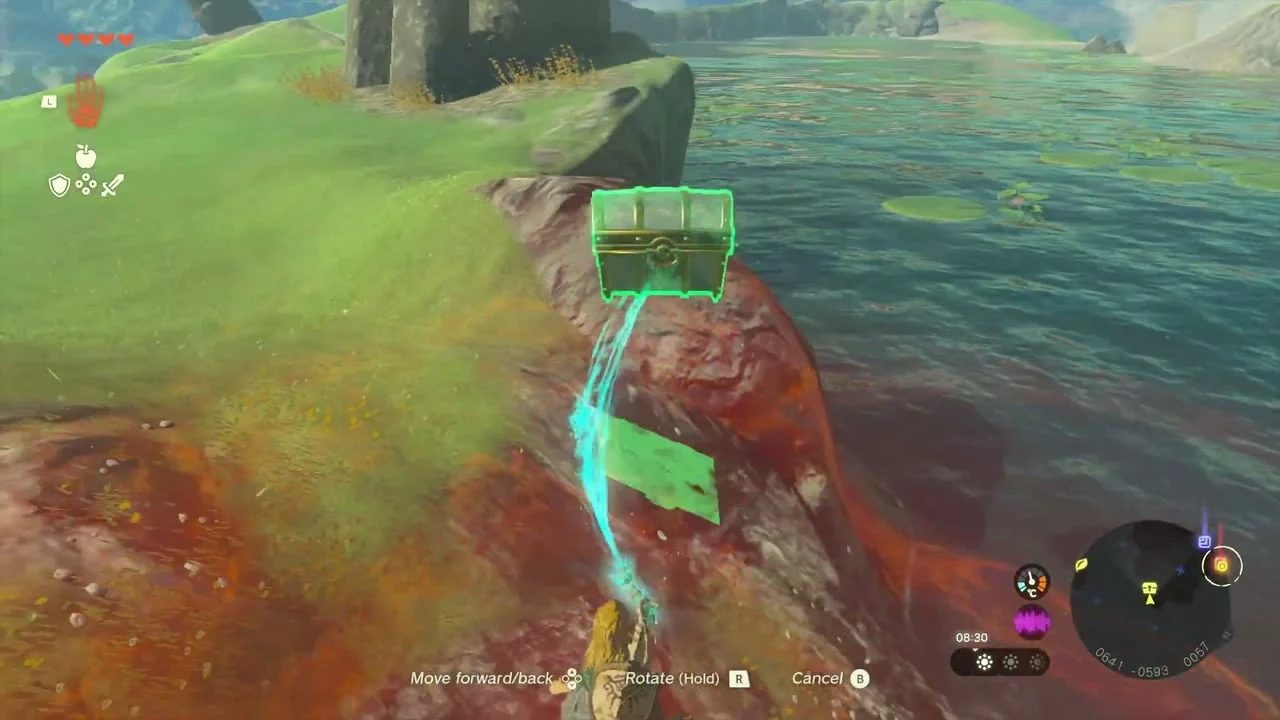
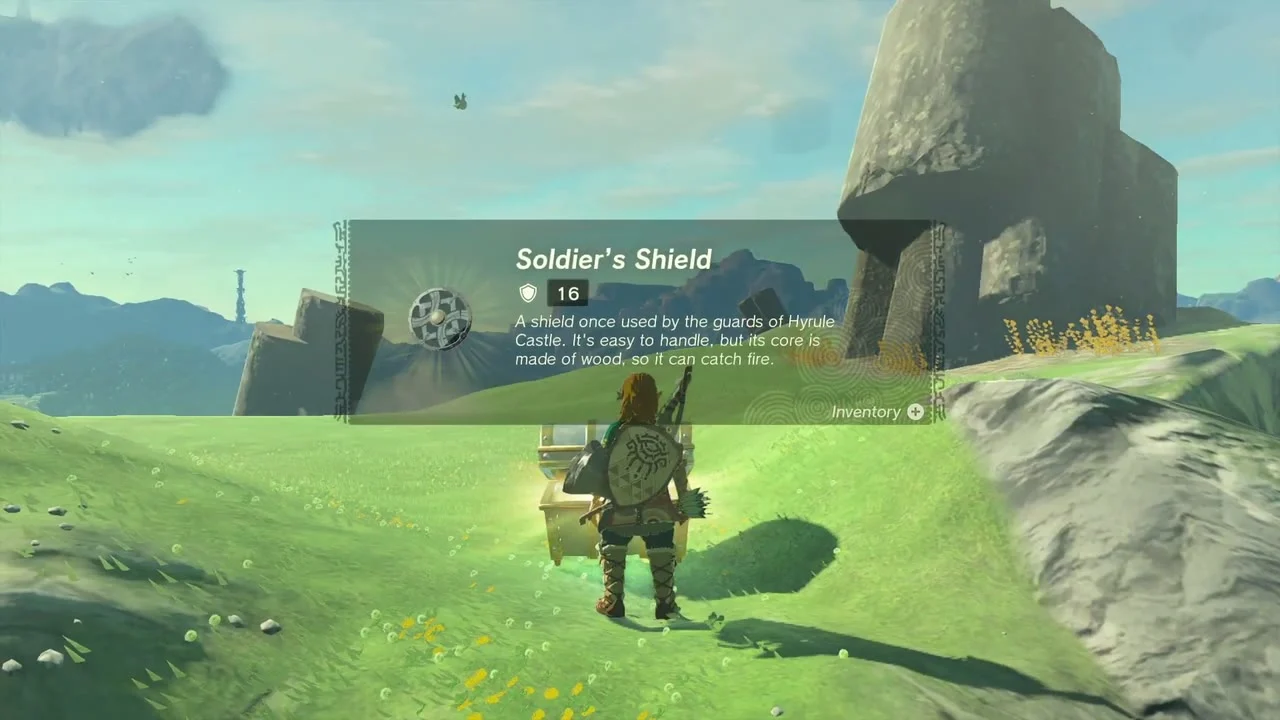
Chest: Soldier’s Shield. At the east end of Bottomless Pond a chest sits underwater next to the bank. Grab it with Ultrahand, lift it onto the grass and open it.
Korok seed (lone rock): in the shallow river just before Bottomless Pond Well, a round rock sits on a small grassy bank. Wade over, lift it with Ultrahand and the Korok appears.
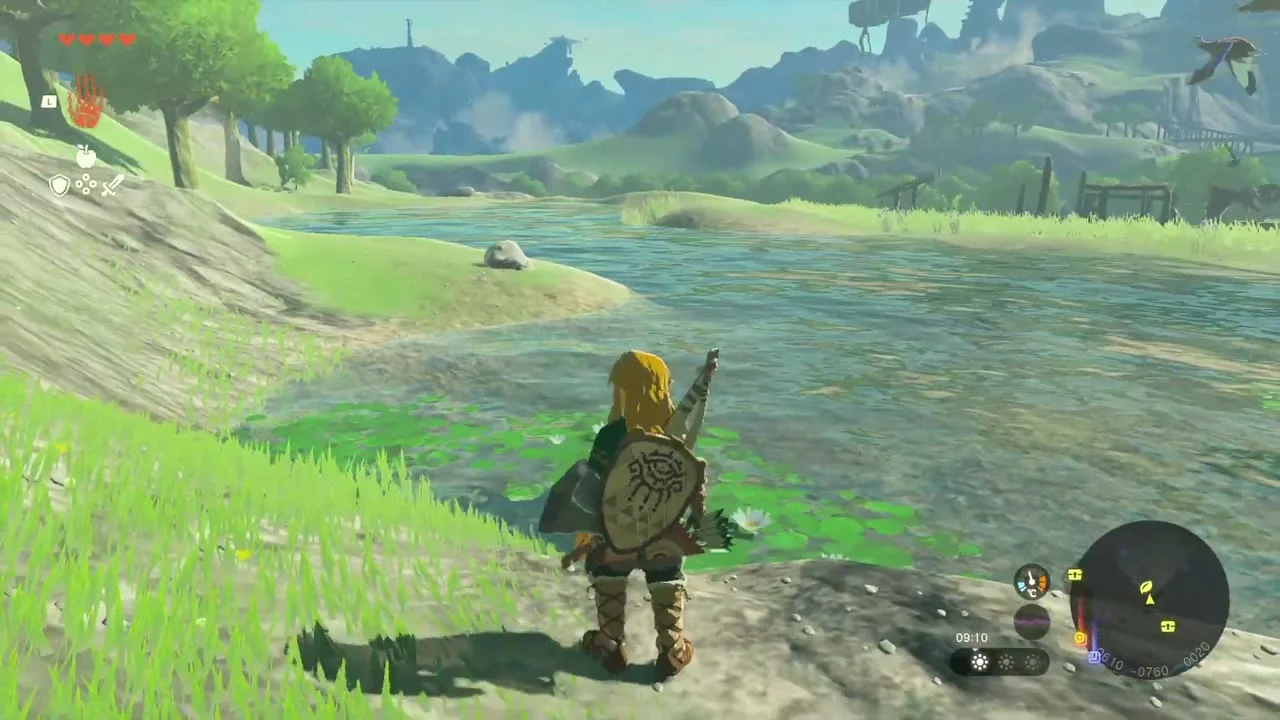

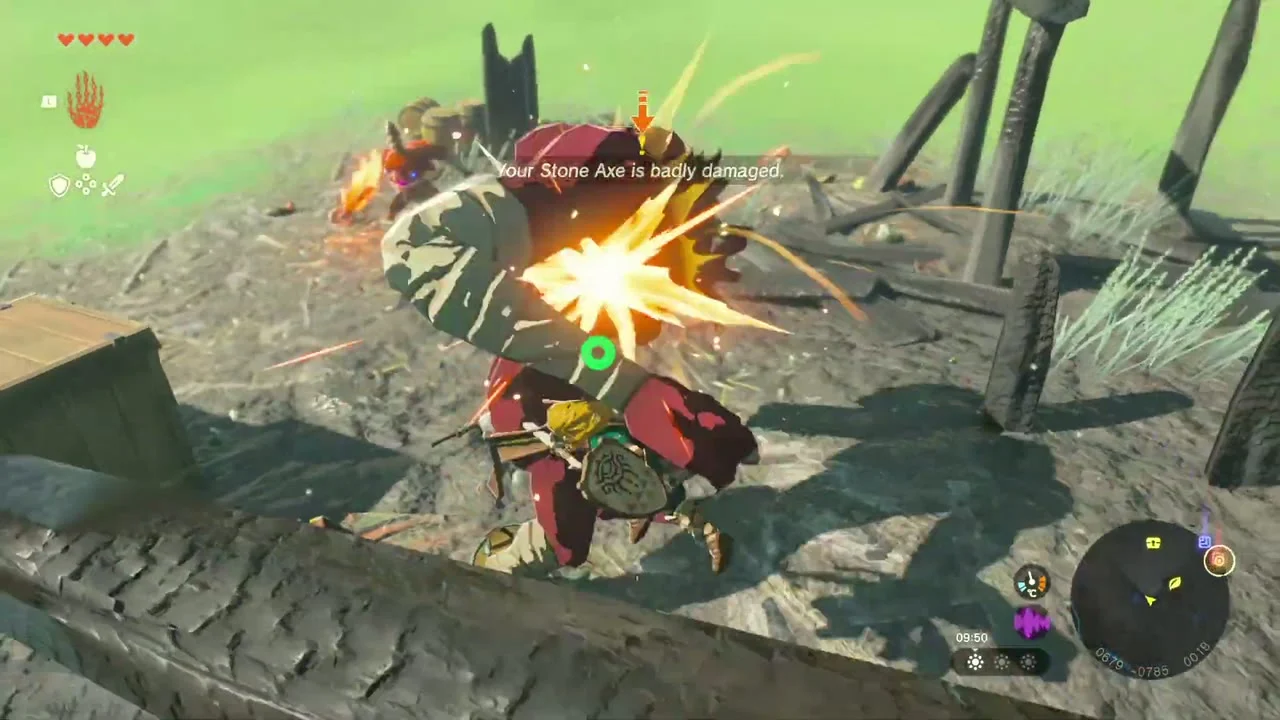
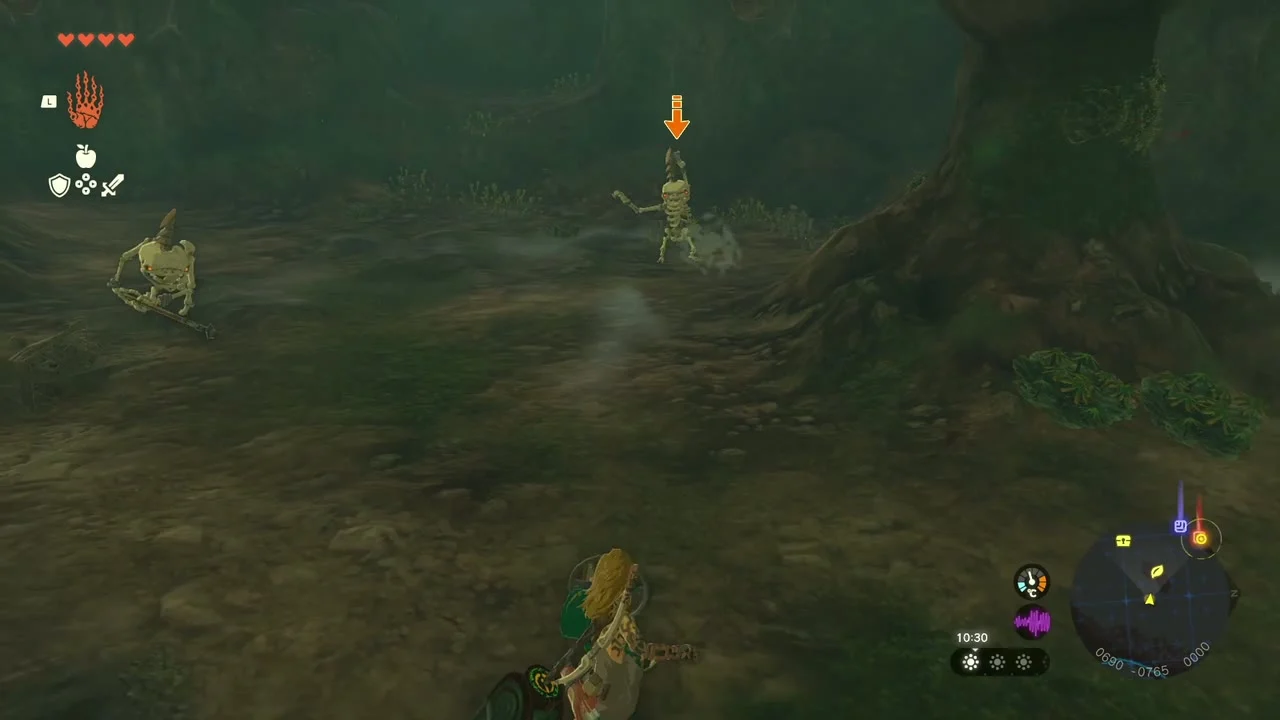
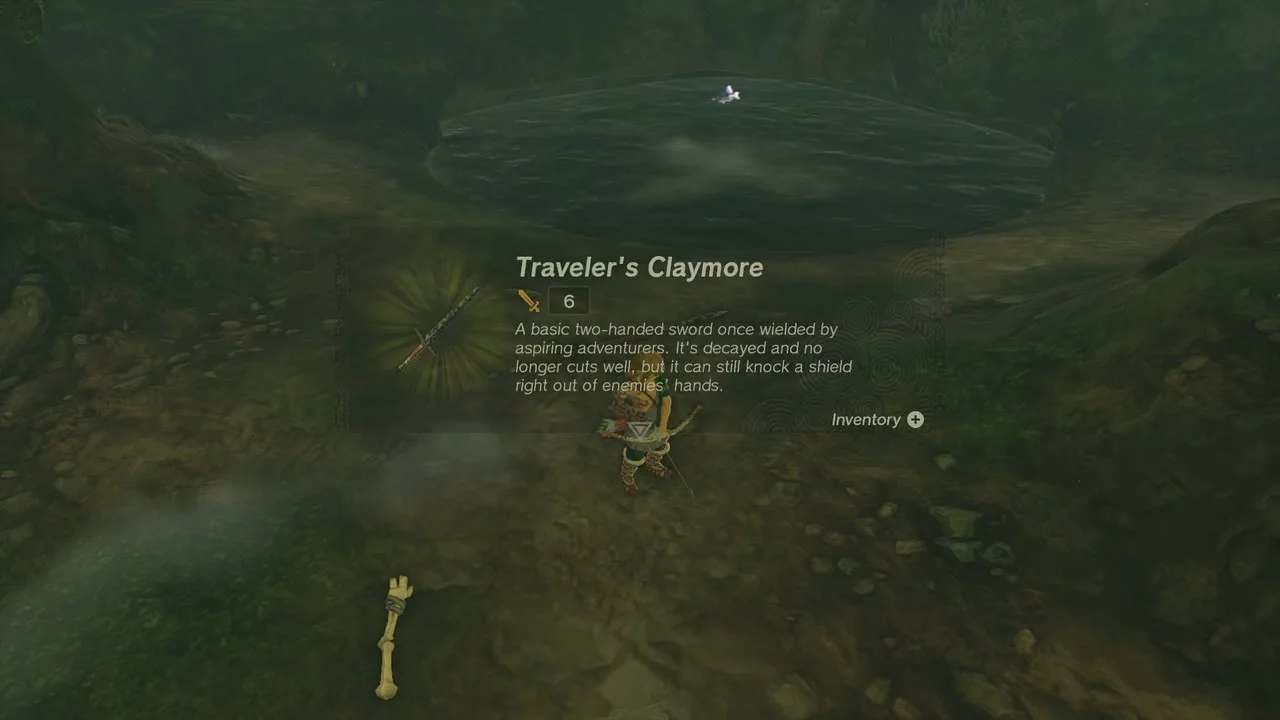
Bottomless Pond Well (chest: Boomerang). The well stands inside a Moblin and Bokoblin camp southeast of the pond; clear the camp for Moblin Fang and Moblin Horn, then drop in. Bring a light source, because Stalkoblins rise from the floor and the cave is dark. A Traveler’s Claymore lies on the cave floor. At the back, smash the rock pile with a weapon that breaks rocks, then pull the chest out of the ground with Ultrahand for the Boomerang. Ascend or climb out when finished.


Treehouse camps and the Korok pair
Chest: Traveler’s Bow. A short walk on from the well, Bokoblins have built a wooden platform around a large tree. Clear them, take the ramp up and open the chest on the top deck.

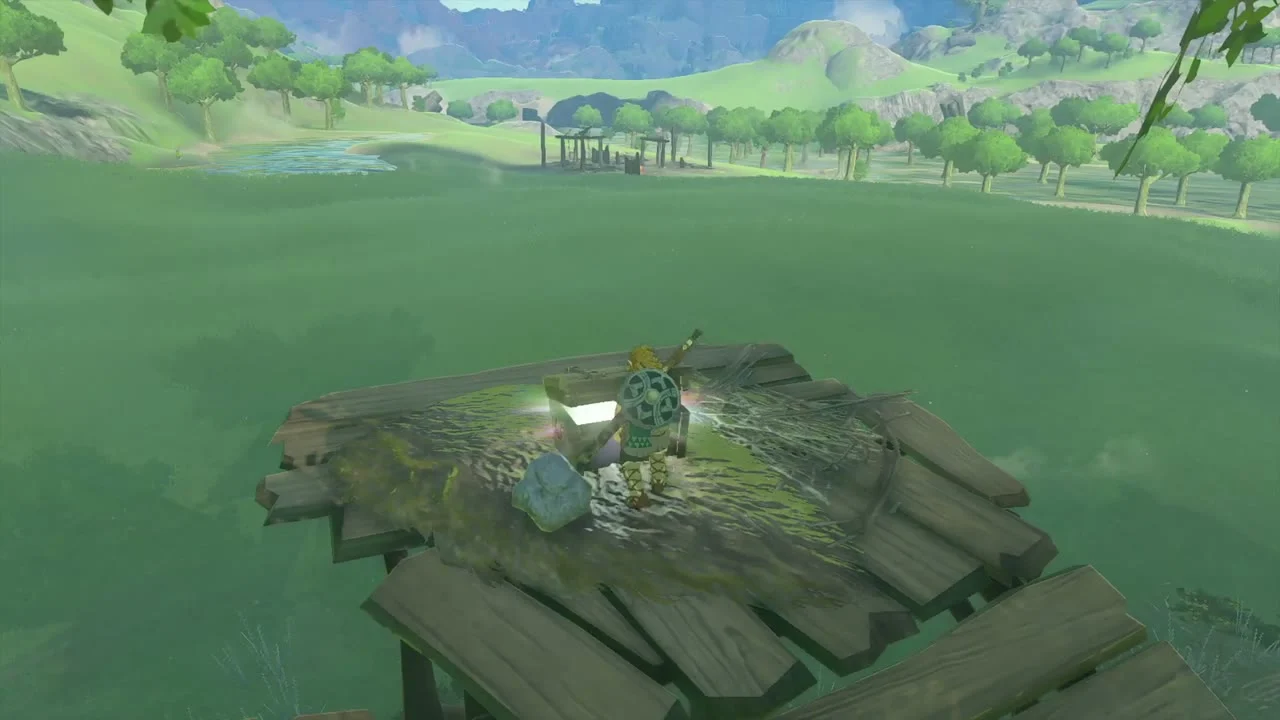

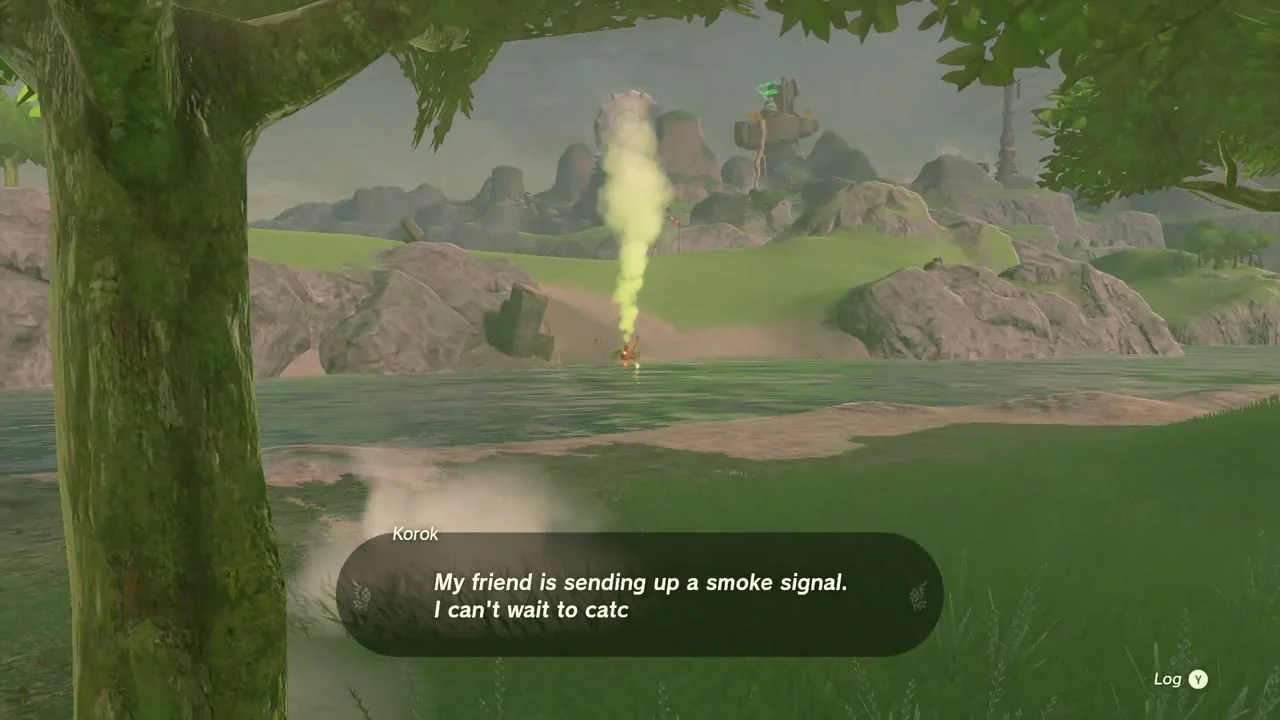
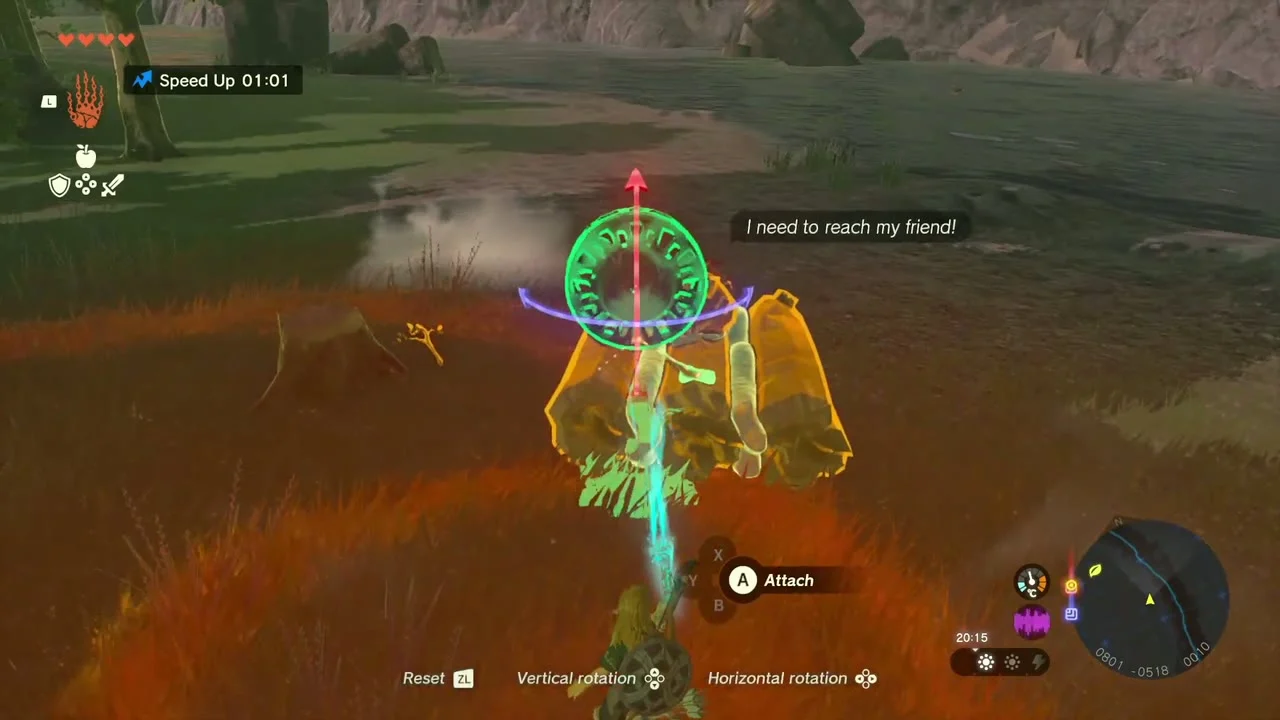
Korok seeds (Korok pair, 2 seeds): beside the Hylia River, a Korok with a backpack asks you to carry him to his friend, whose green smoke signal rises across a dark pond. Ultrahand two logs together, attach a Fan and stick the Korok on top, then ride or steer the raft across the pond with the Fan. Carry the raft up the far bank to the friend’s camp. You get two Korok seeds.
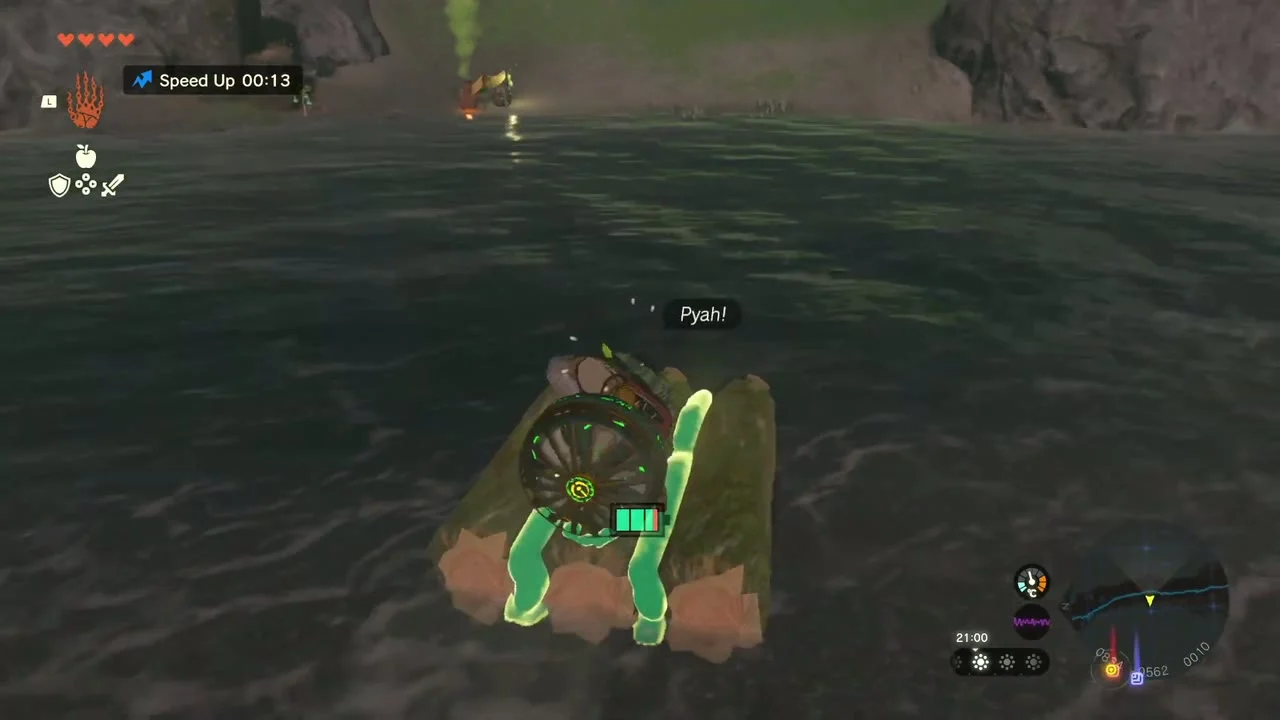
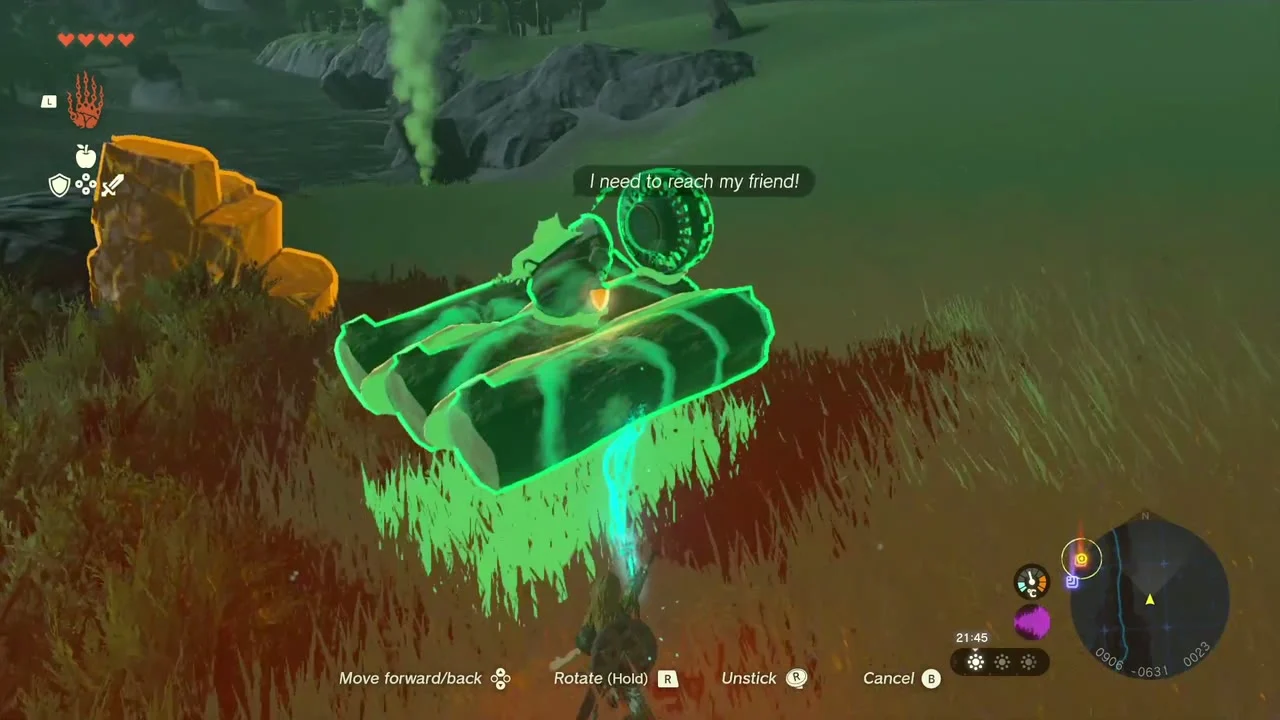
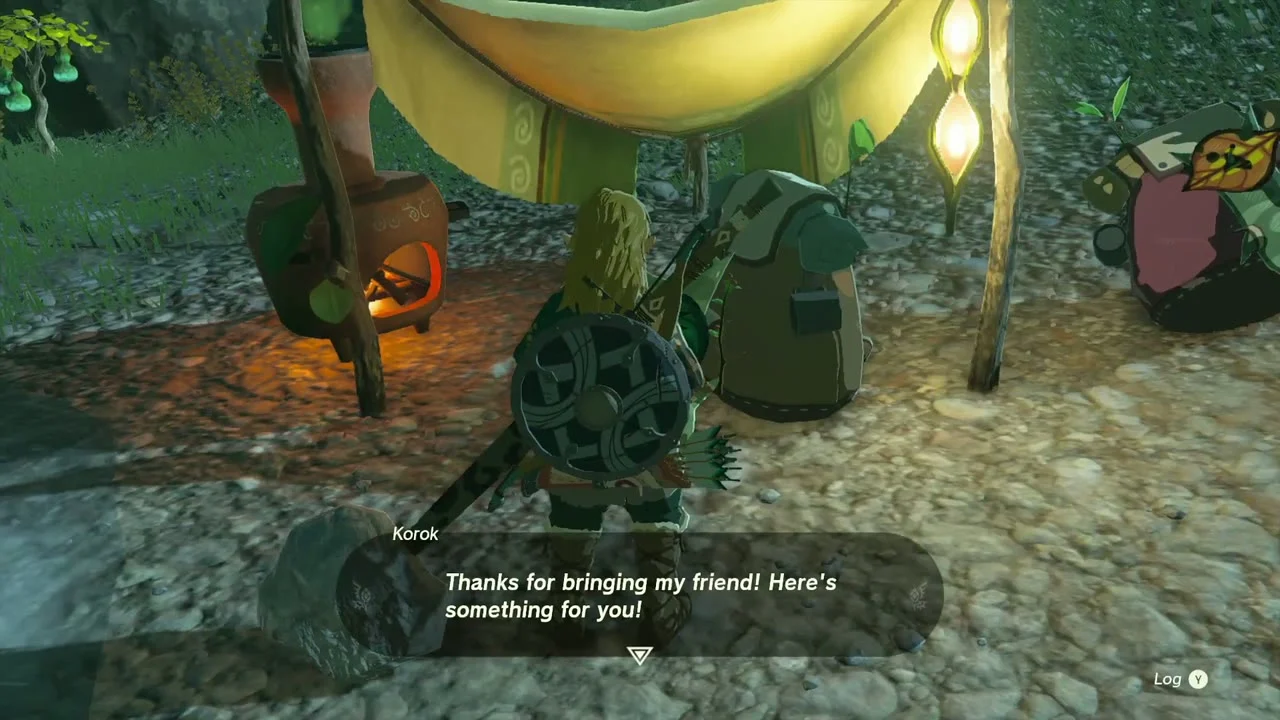
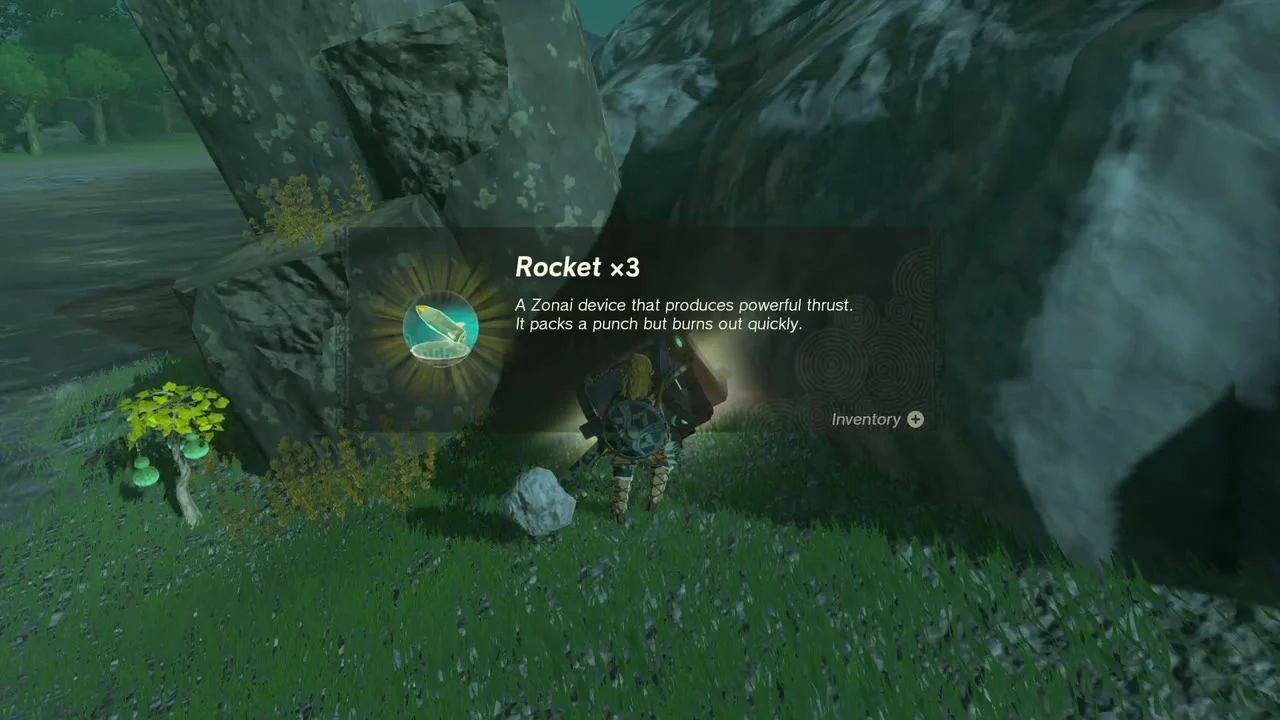
Chest: Rocket x3. At the foot of the large boulders on the shore near the Korok pair, next to a bush of yellow flowers, a chest holds three Rockets.
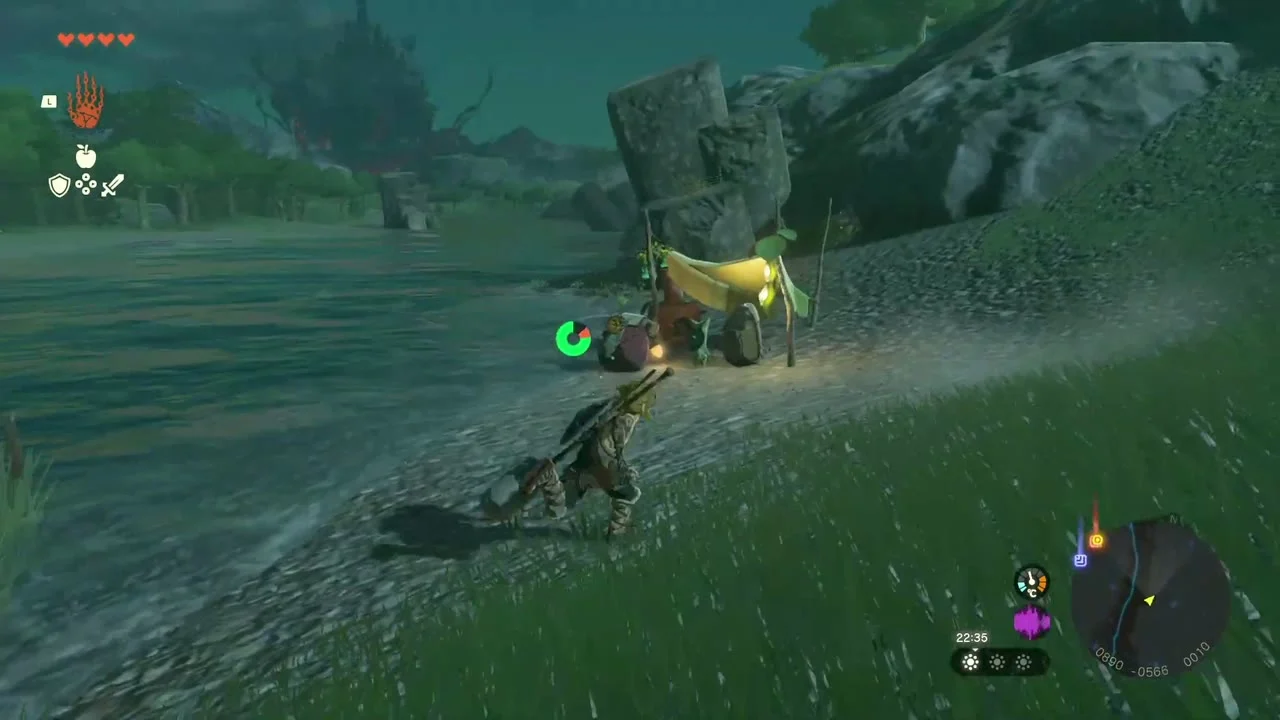
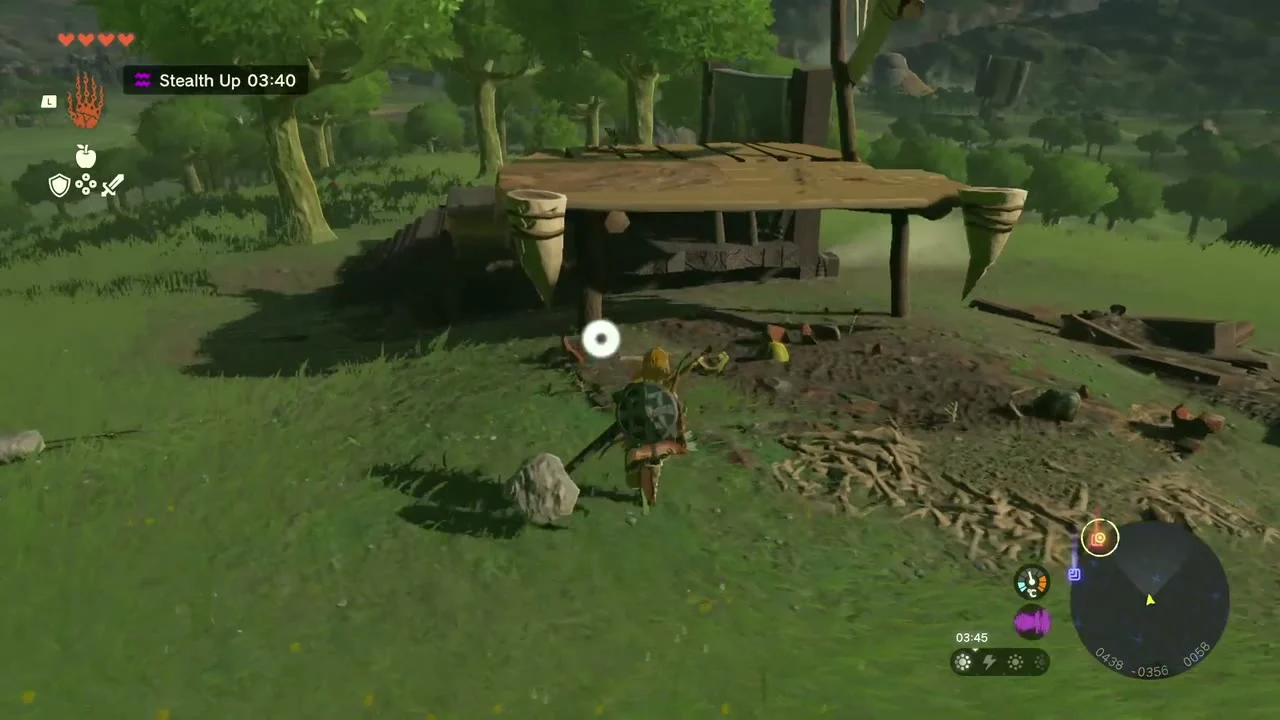
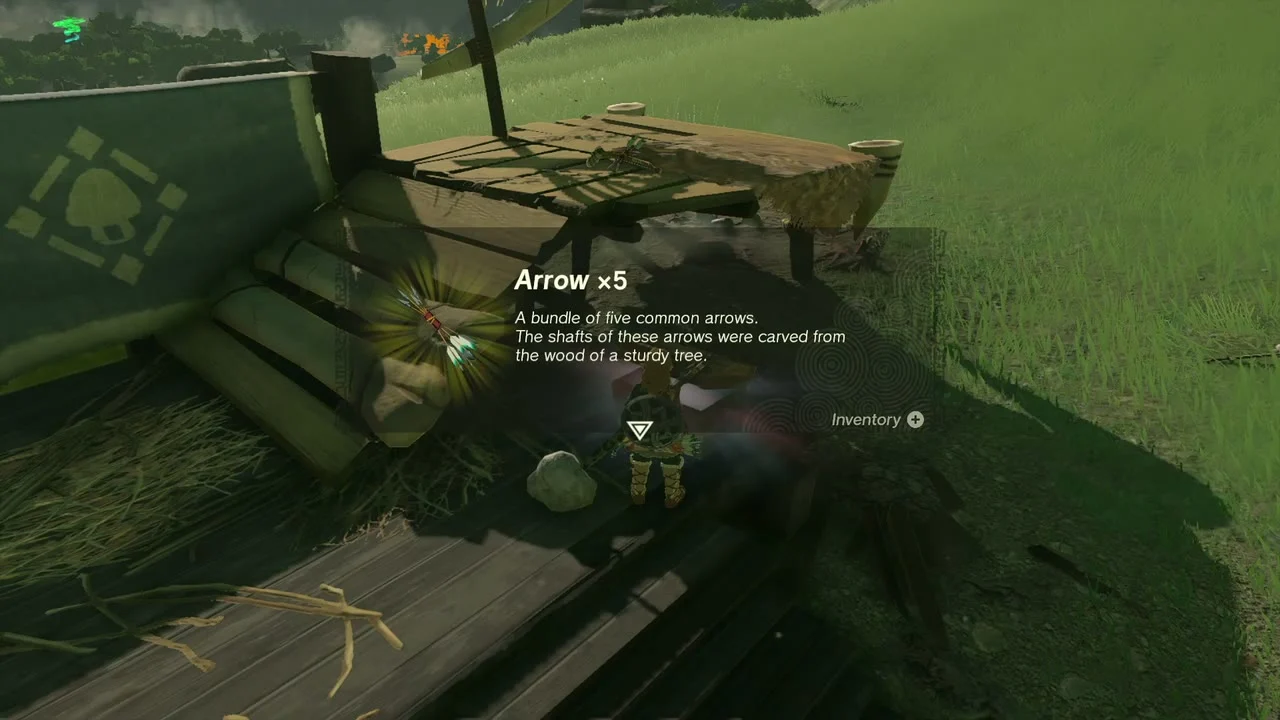
Chest: Arrow x5. In the grass to the north, a Bokoblin camp has a raised wooden lookout deck. Defeat the camp, climb onto the deck and open the chest on top.
Chest: Opal. A treehouse camp farther on is built into a large tree. Climb the planks past the Bokoblins to the top platform and open the chest for an Opal.


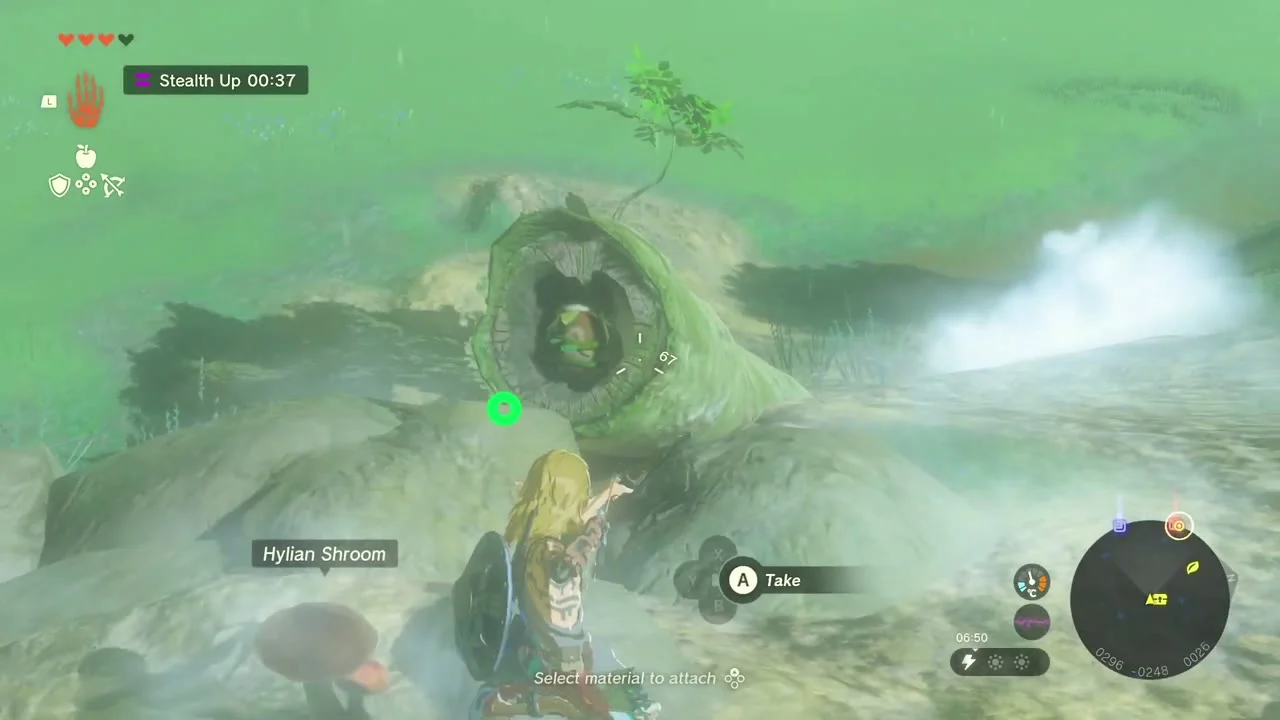
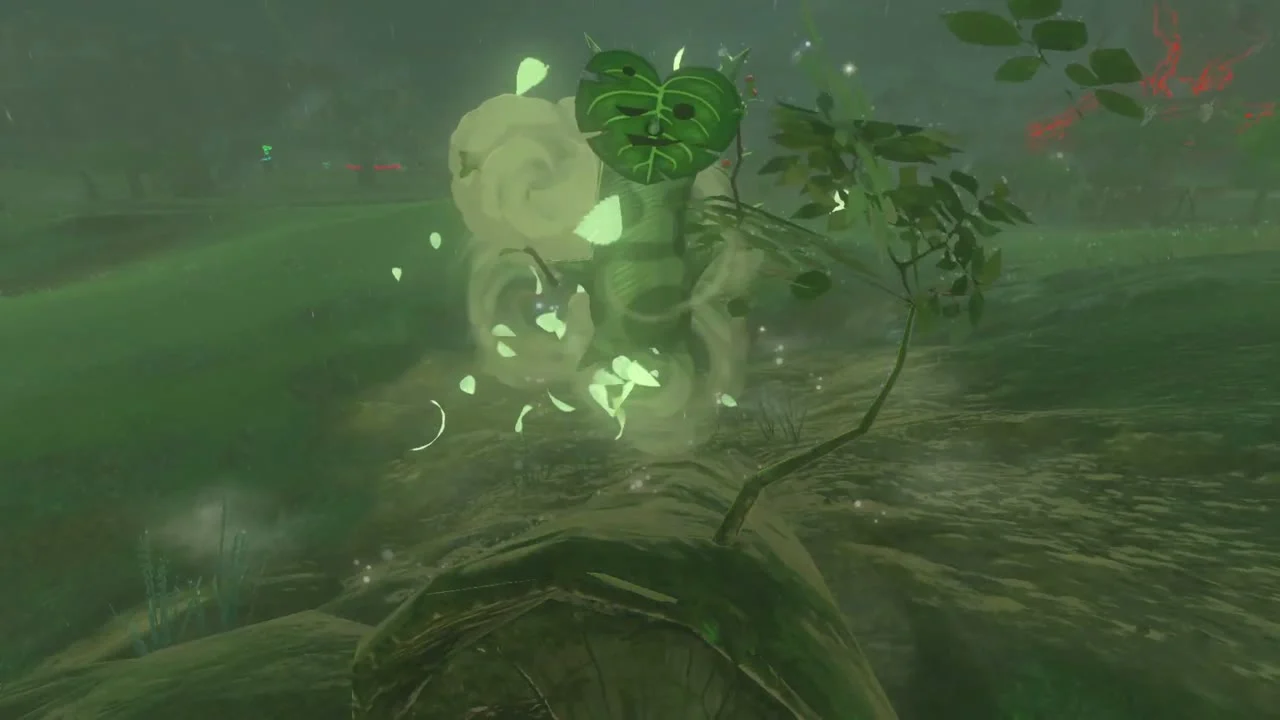
Korok seed (shoot the acorn): on the hillside nearby, a hollow fallen log with a sapling on top lies among the rocks. Shoot the acorn hanging in the hollow end with an arrow and the Korok appears on the log.

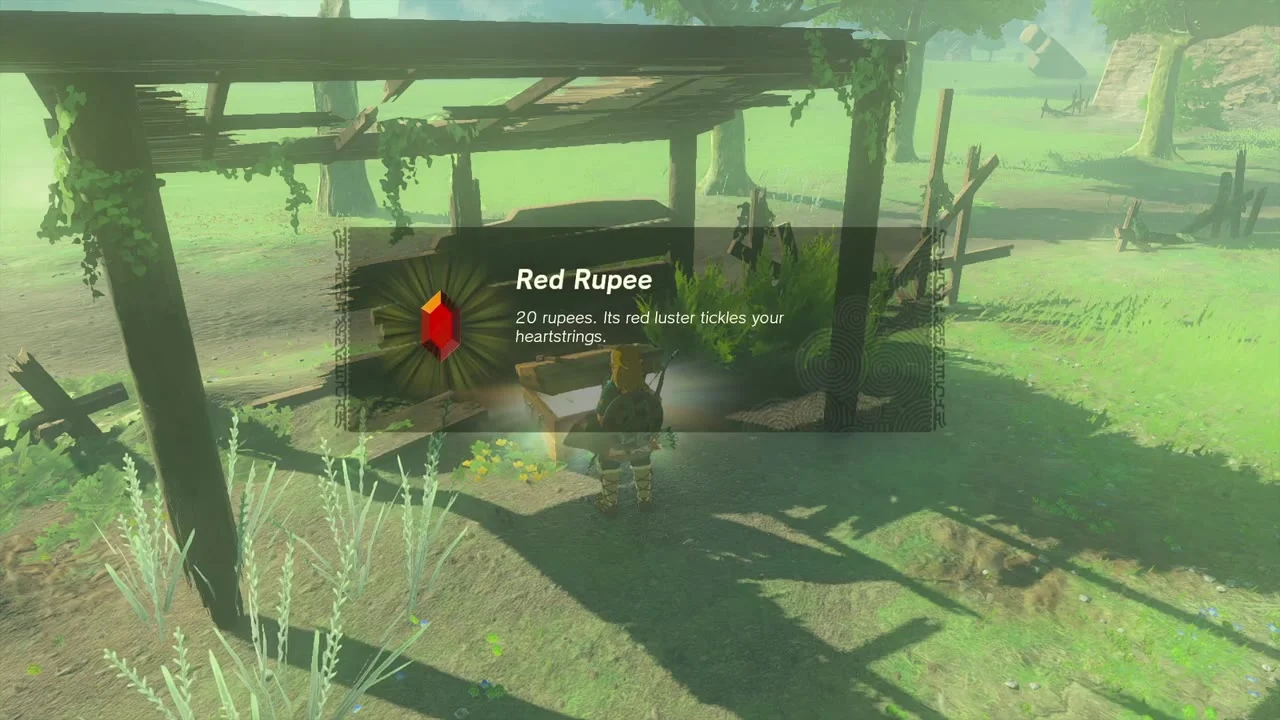
Chest: Red Rupee. Follow the dirt path toward the Ranch Ruins and look under the wooden shelter frame beside it; the chest sits among the broken planks.

Ranch Ruins, Mabe Village Ruins and Jiosin Shrine
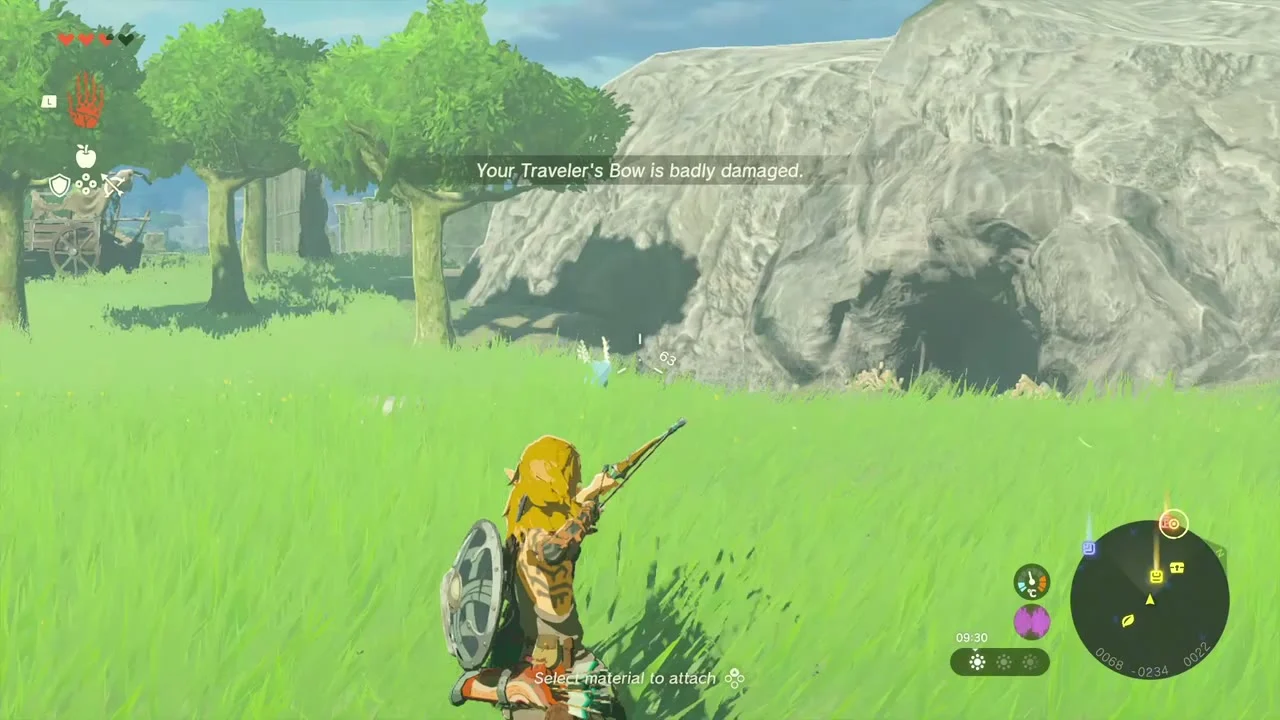
Ranch Ruins Cave. A pale rocky mound at the north-west end of the Ranch Ruins has a dark cave mouth, with Keese flying out as you approach. Inside are a Horriblin, a Bubbulfrog for a Bubbul Gem and a chest with a Traveler’s Sword. The route is on the Ranch Ruins Cave page.
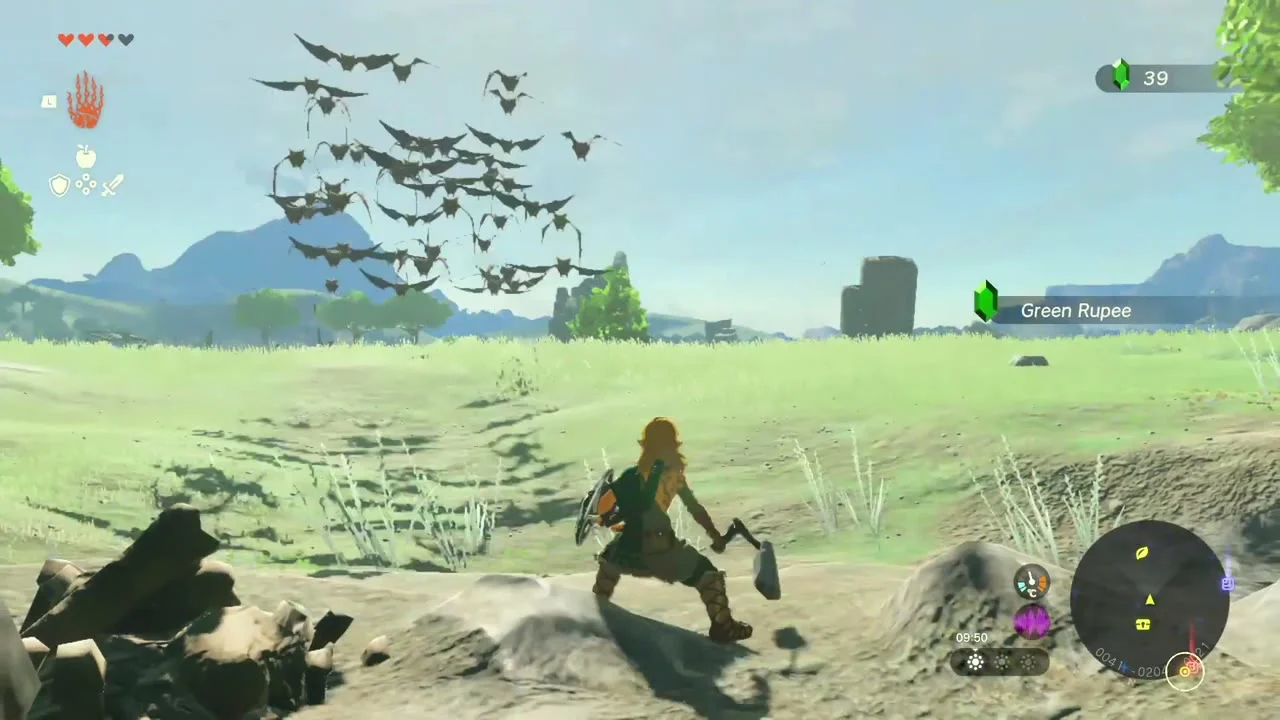
Korok seed (burn the leaves): in Mabe Village Ruins, climb the outer wall of the ruined stone house. A pile of dry leaves fills the room at the top; set it on fire (a Fire Fruit or flame weapon works) and the Korok appears where it burns away.
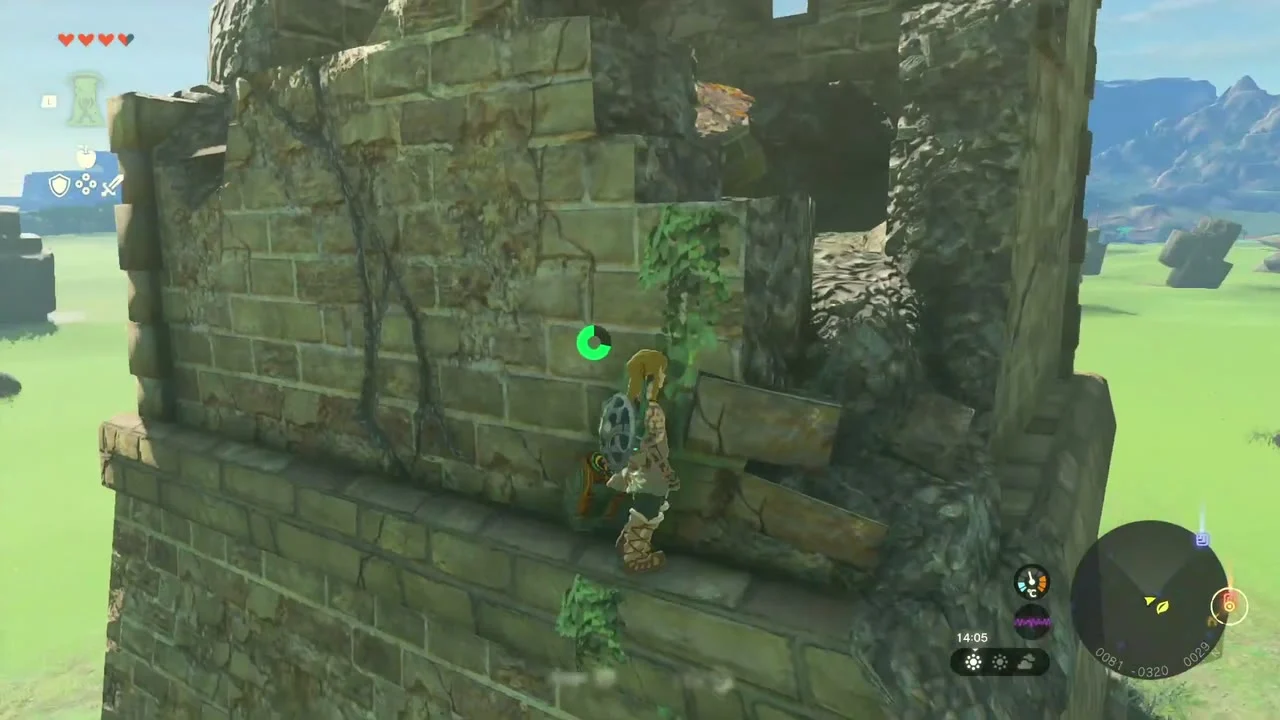
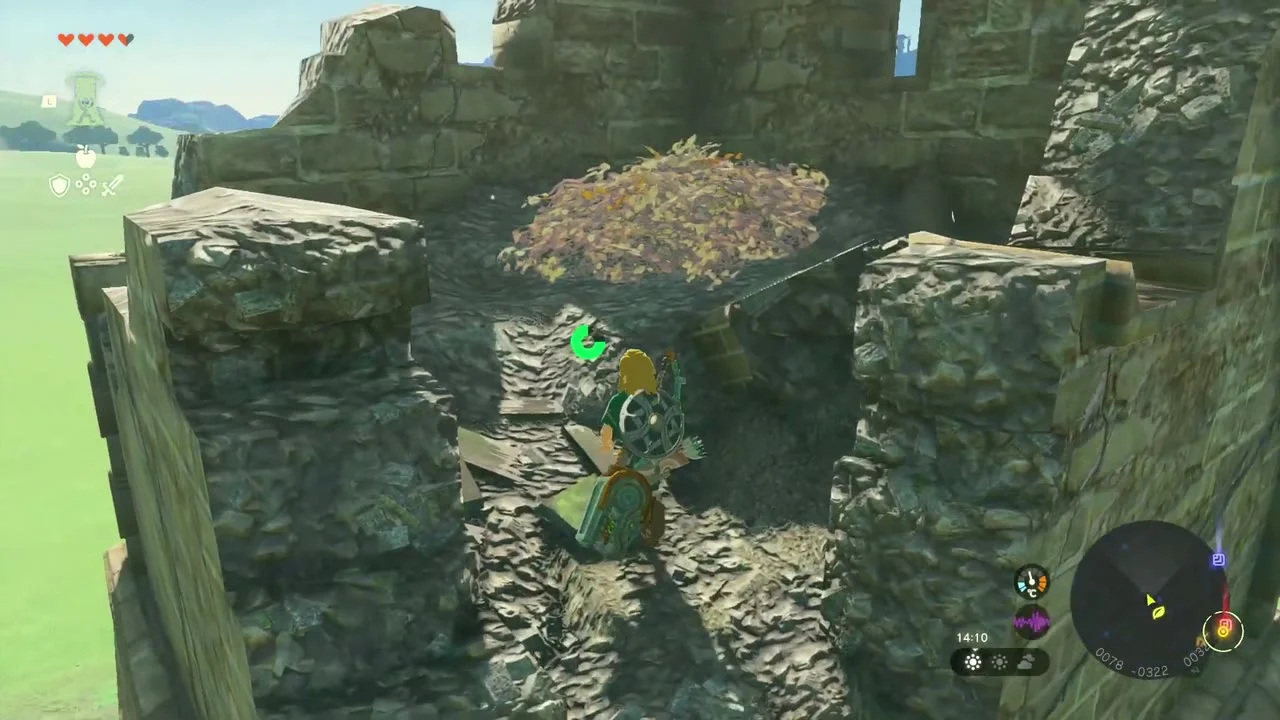
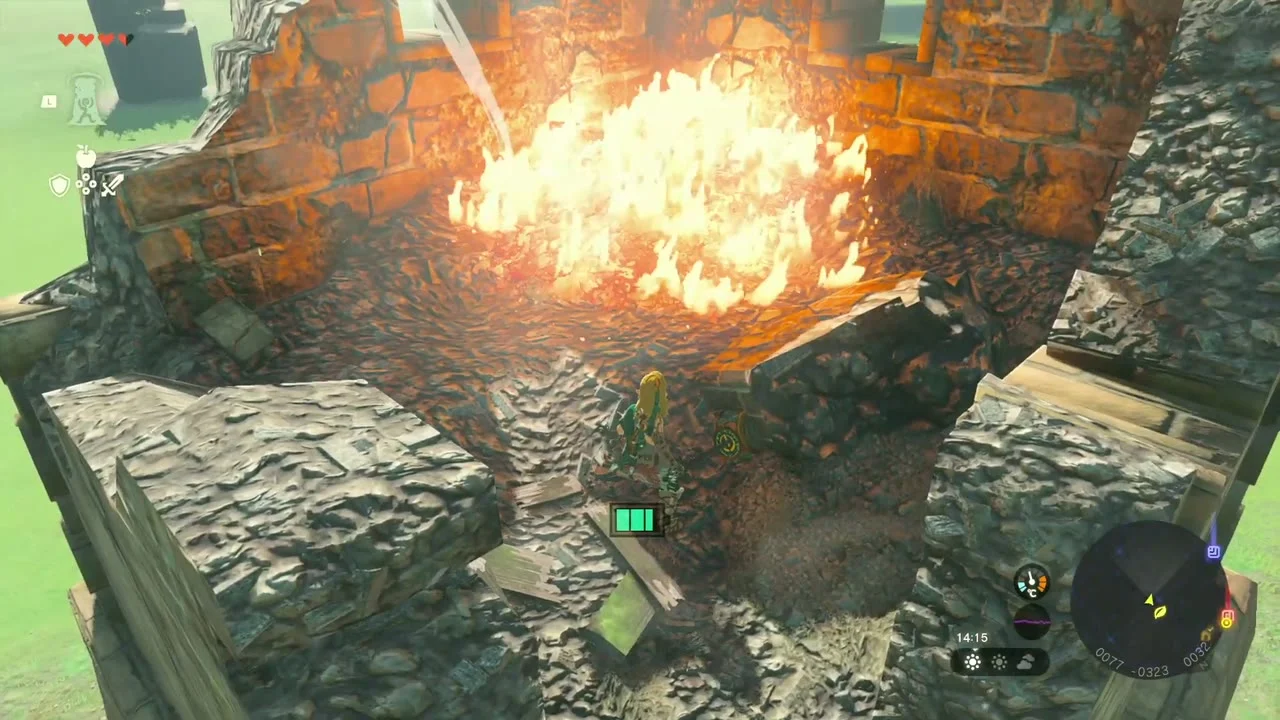
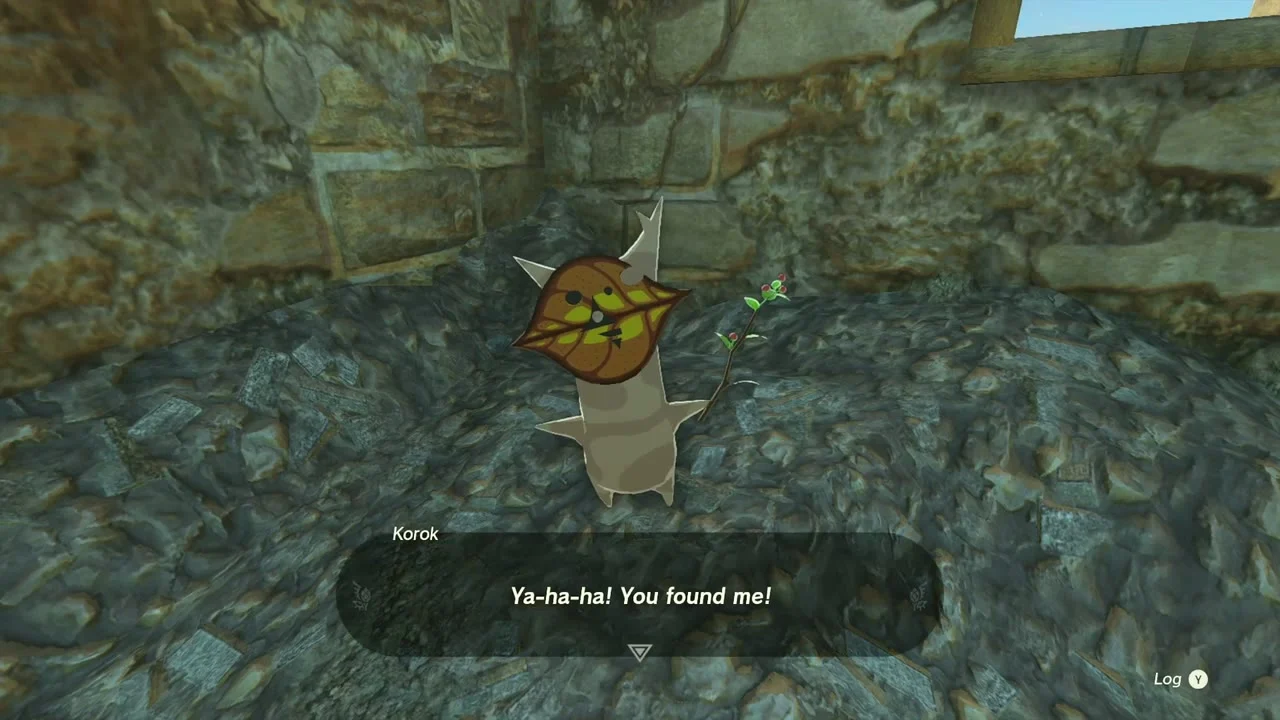
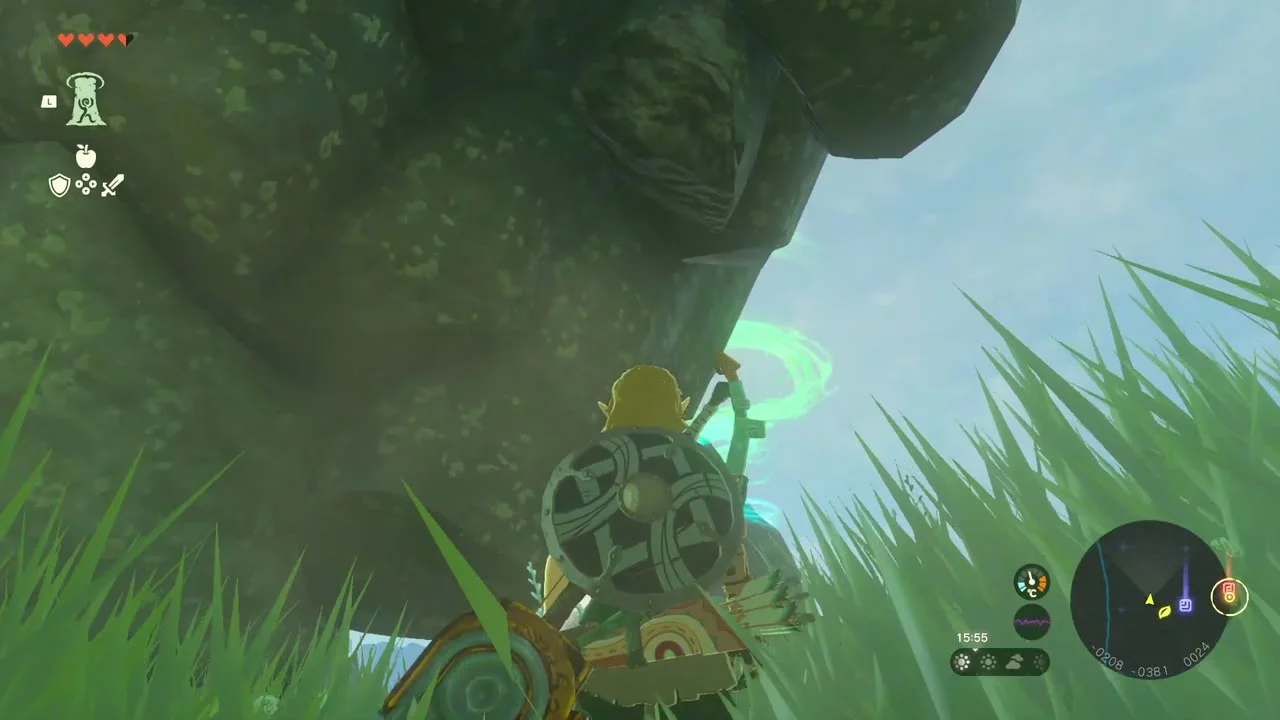
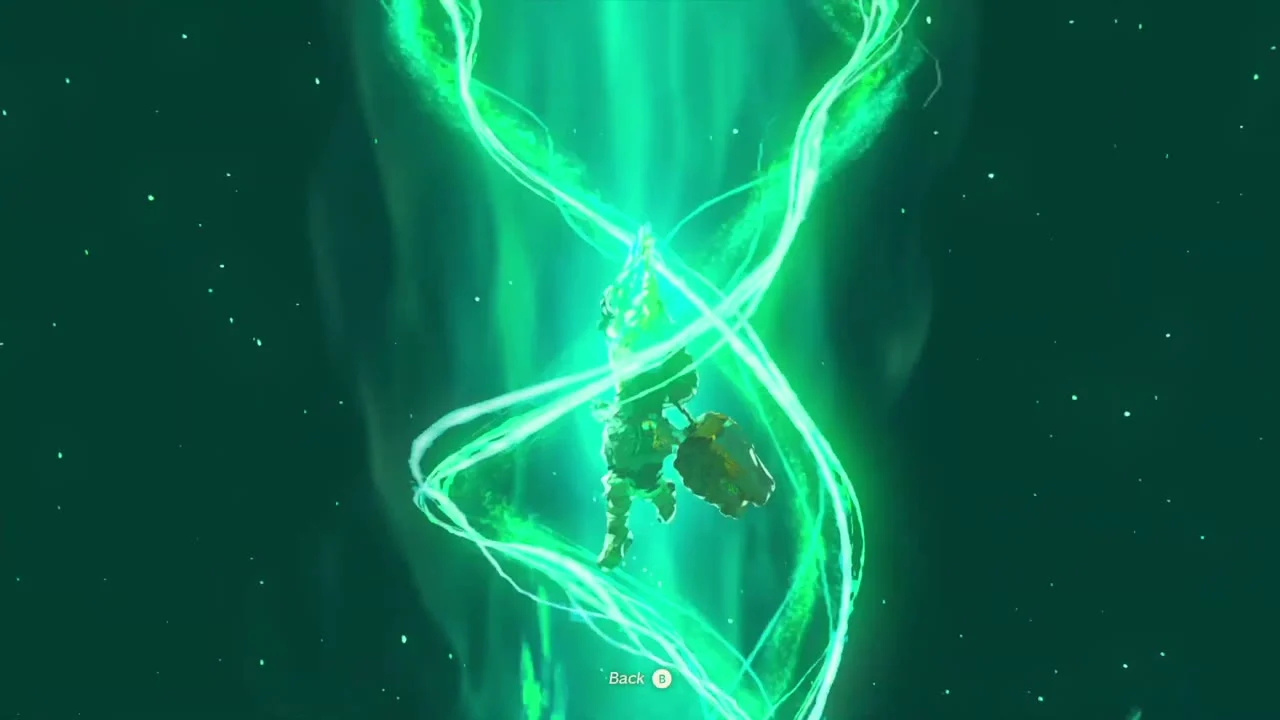
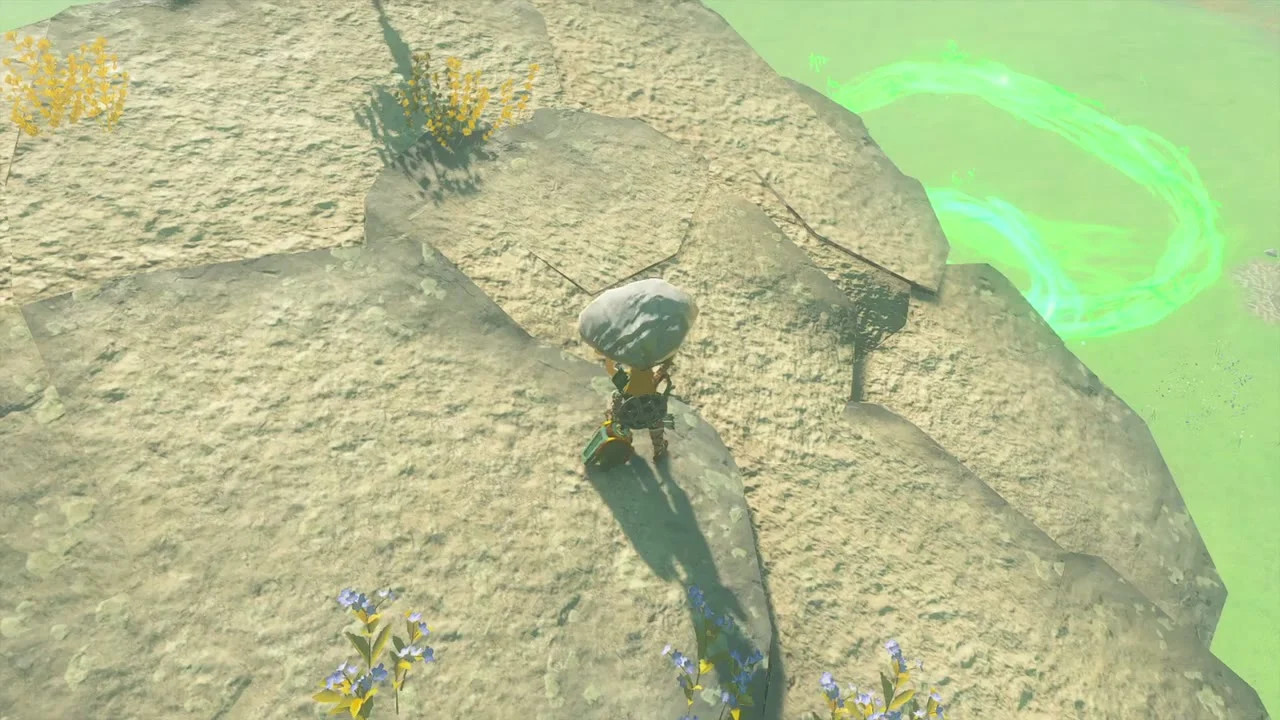
Korok seed (Ascend): east of the village, a pale stone outcrop rises from the field. Stand under its overhang, use Ascend to come up through it, then lift the small rock on top to reveal the Korok.

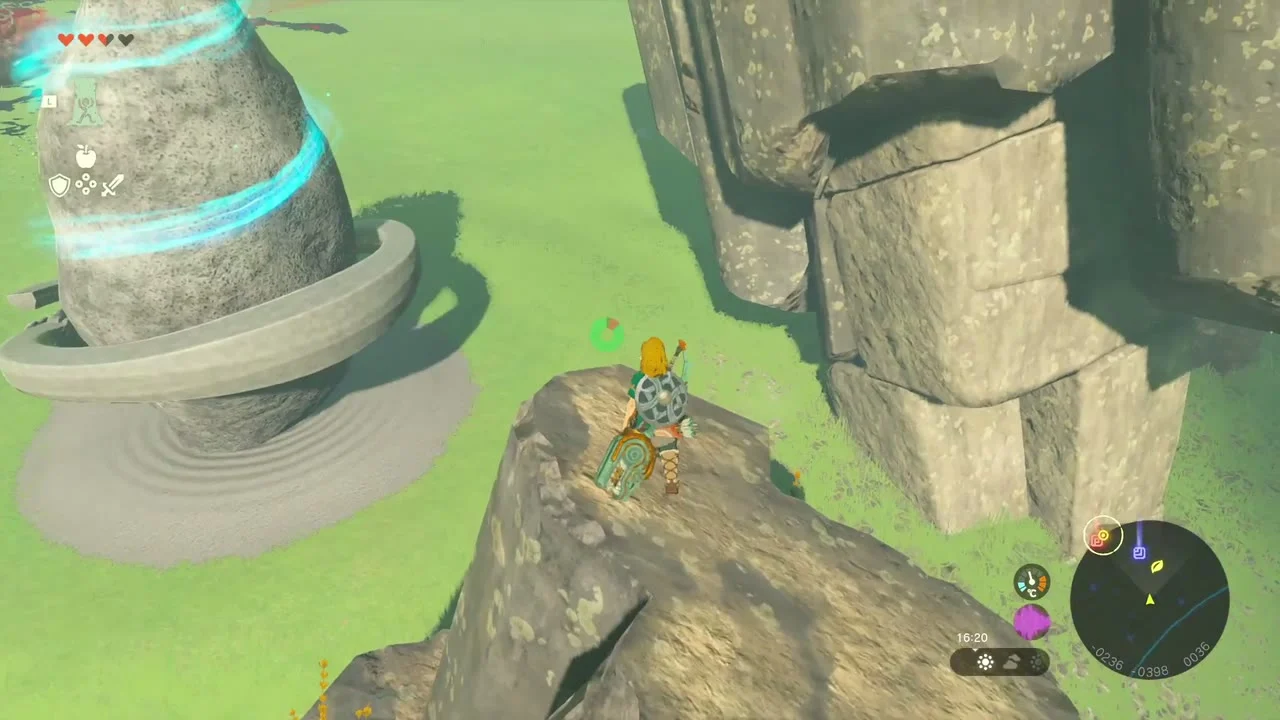
Jiosin Shrine (Shape Rotation). Just past the outcrop, among huge leaning stone slabs, is Jiosin Shrine. Its Ultrahand block puzzle has a chest with a Hasty Elixir and a Light of Blessing, and activating it gives you a travel point in this part of the field.
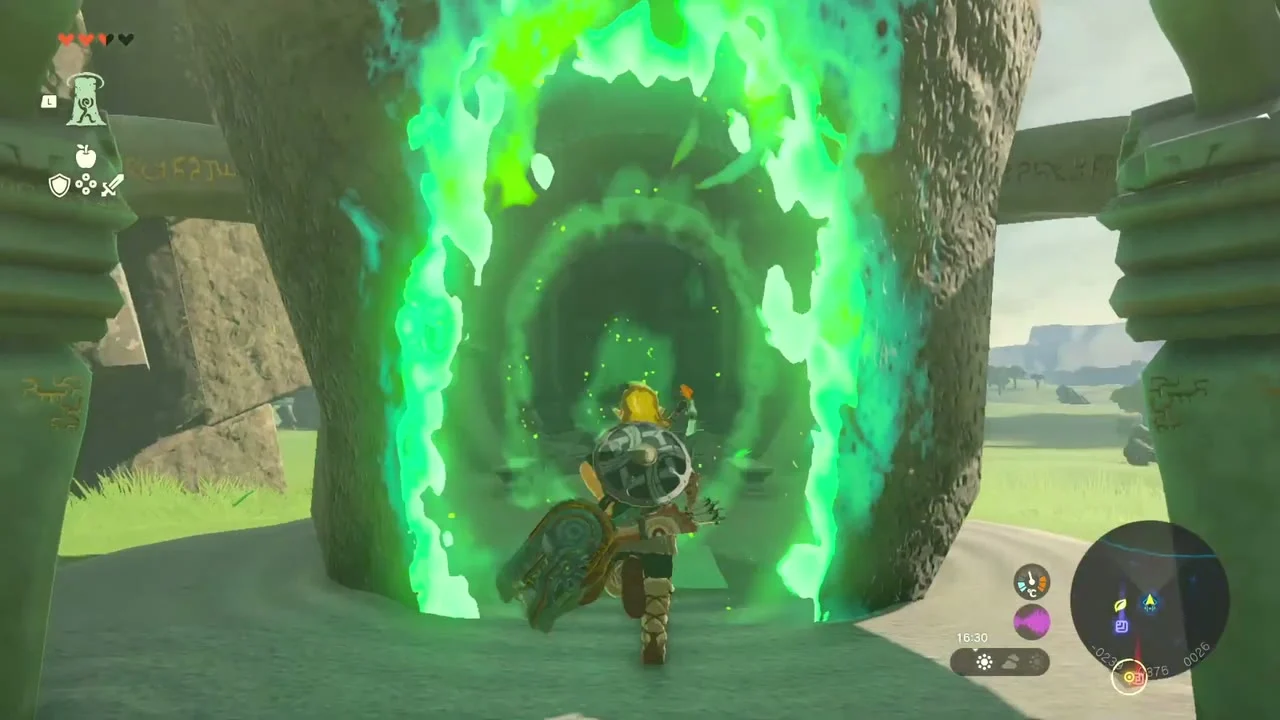
Mabe Village Ruins Well. The well stands in the ruins, with a pool and Glowing Cave Fish inside. There is no chest, but the ore deposits give Rock Salt and Amber; smash them with a hammer or rock-fused weapon.


Boss Bokoblin. In the grass between the ruins and Lookout Landing a Boss Bokoblin patrols with Bokoblins. Burn the grass under them or fight head-on for a Boss Bokoblin Fang and a Boss Bokoblin Horn, good early Fuse materials.


Lookout Landing
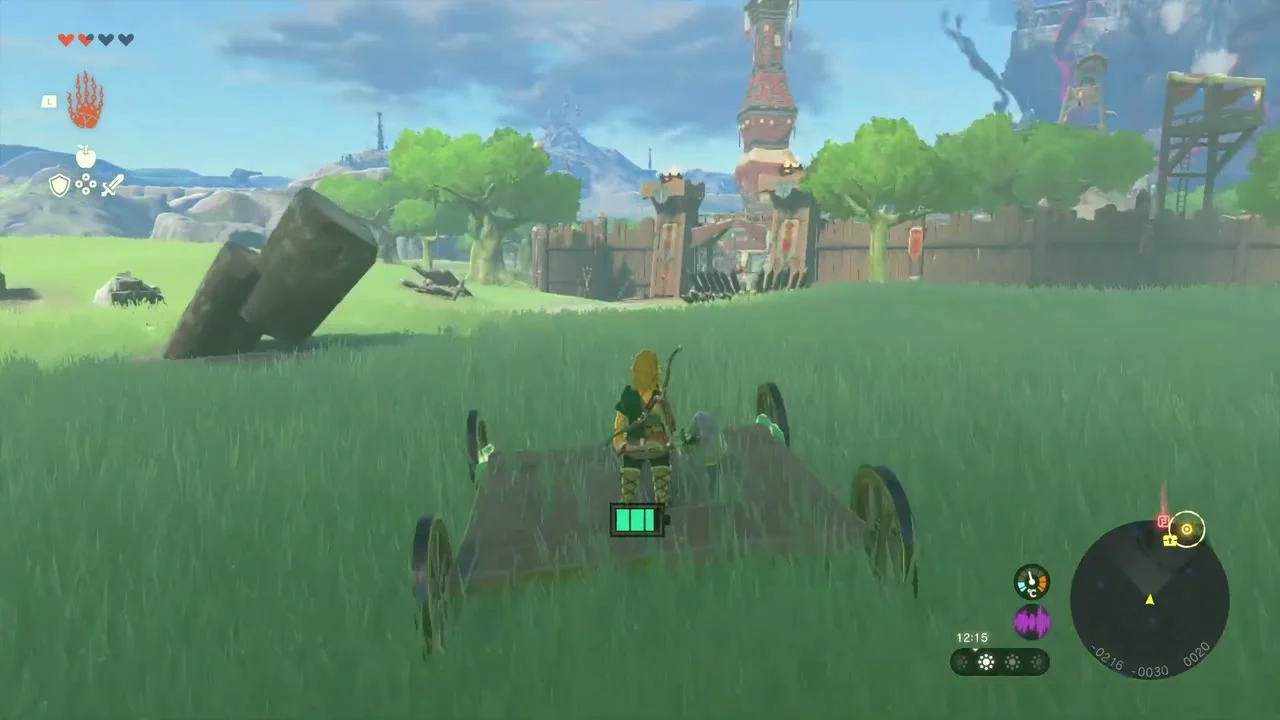
Reaching the gate. The main quest To the Kingdom of Hyrule sends you to the walled town with the tall tower. A wheeled wooden cart lies in the grass outside; Ultrahand it and ride it to the gate if you want the shortcut.

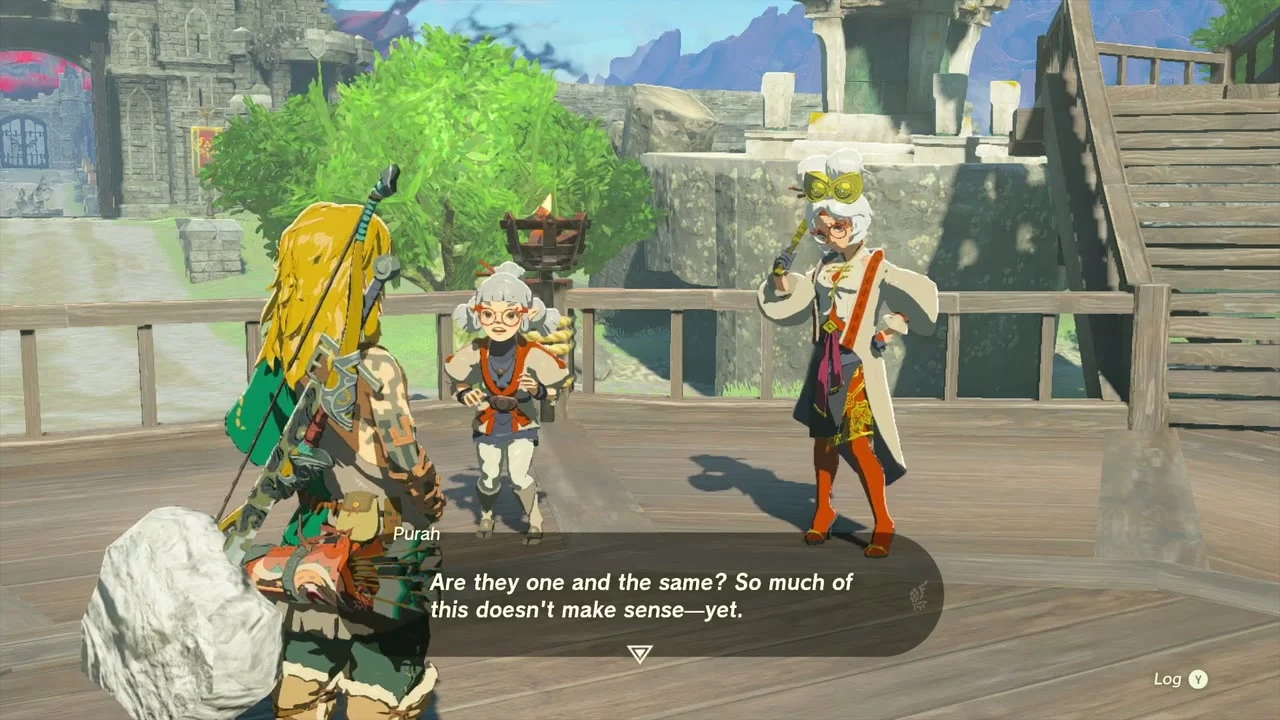
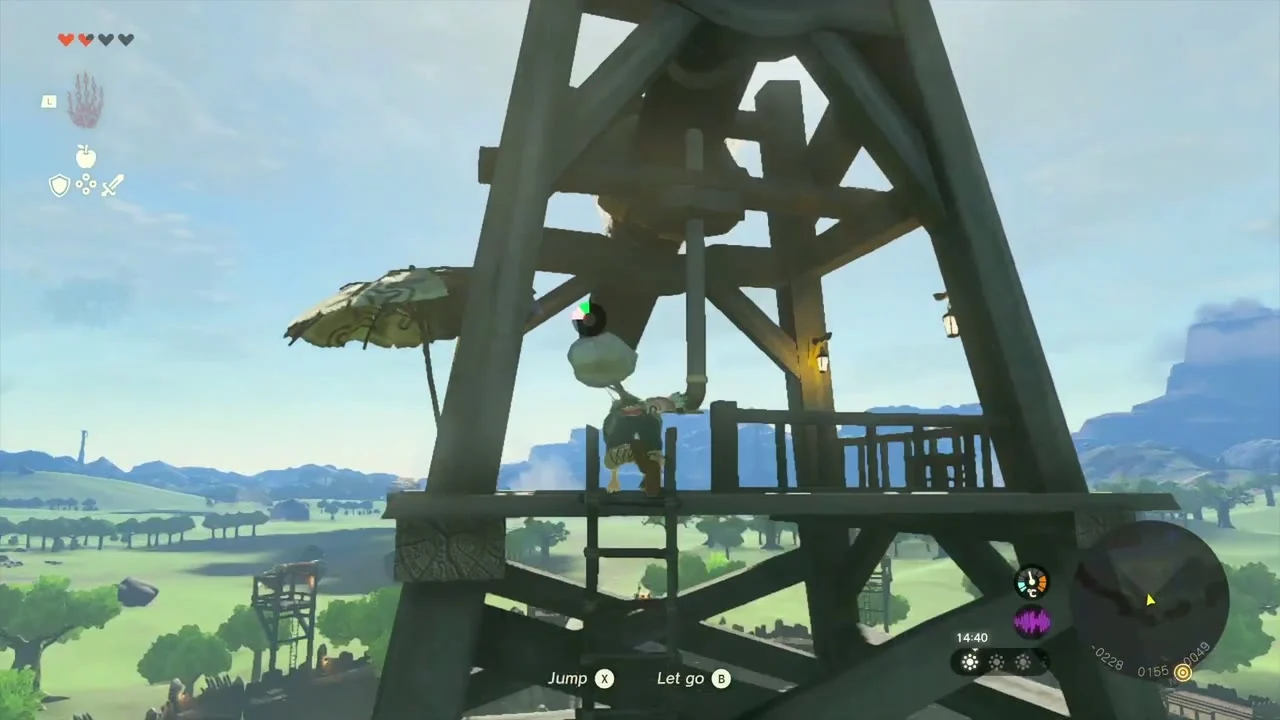
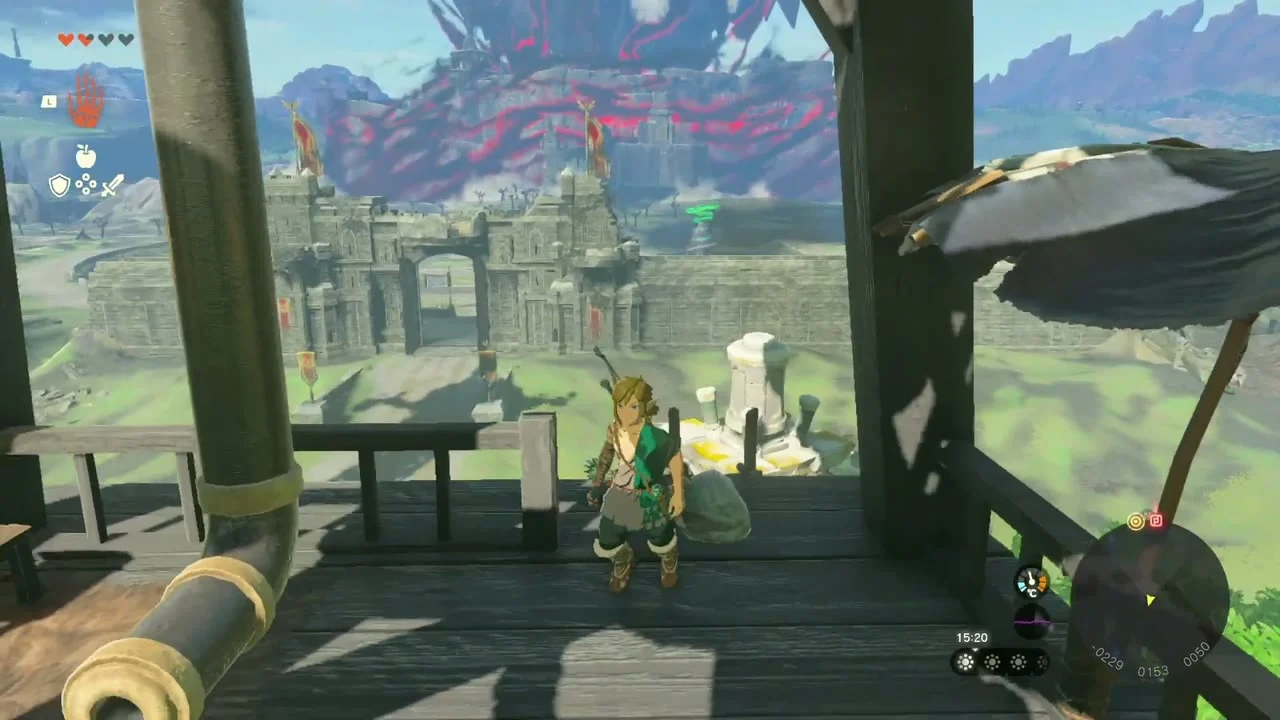
Purah and the telescope. Climb the stairs to the large building with the telescope; Purah and Robbie are on the deck, and talking to them starts Crisis at Hyrule Castle. Behind the house, climb the ladders of the wooden tower to its telescope platform to look over the castle approach.
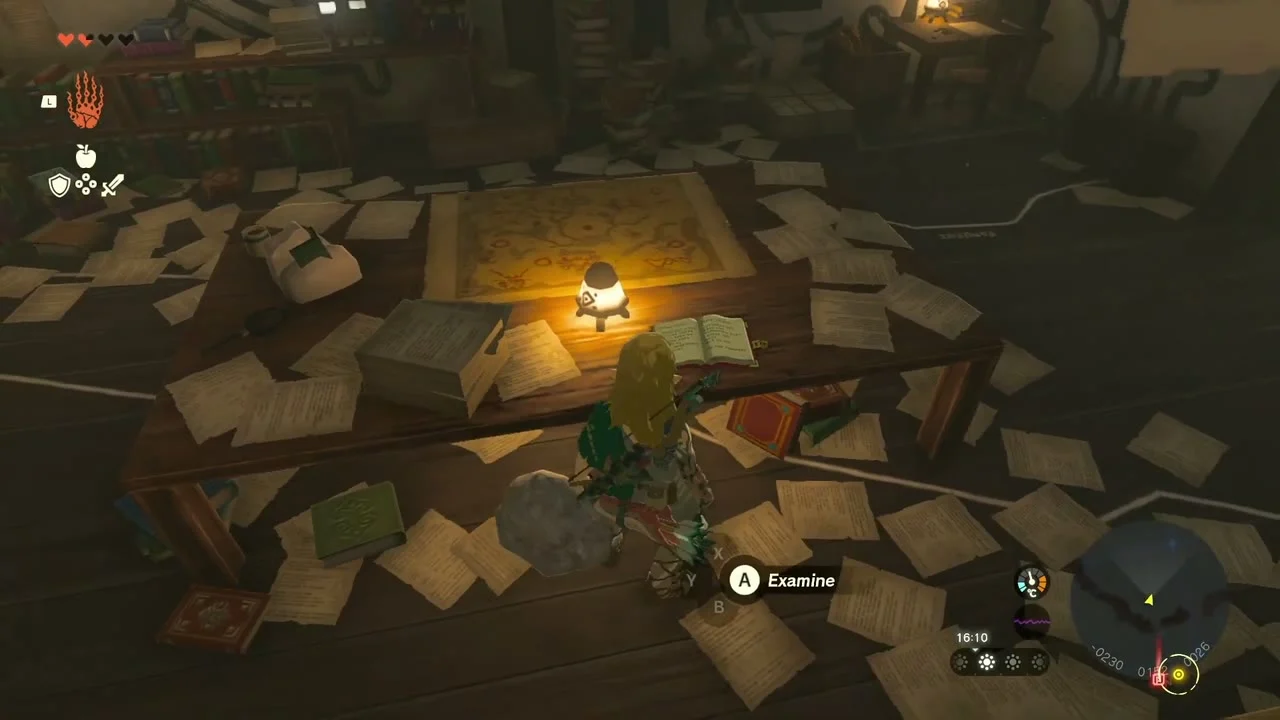
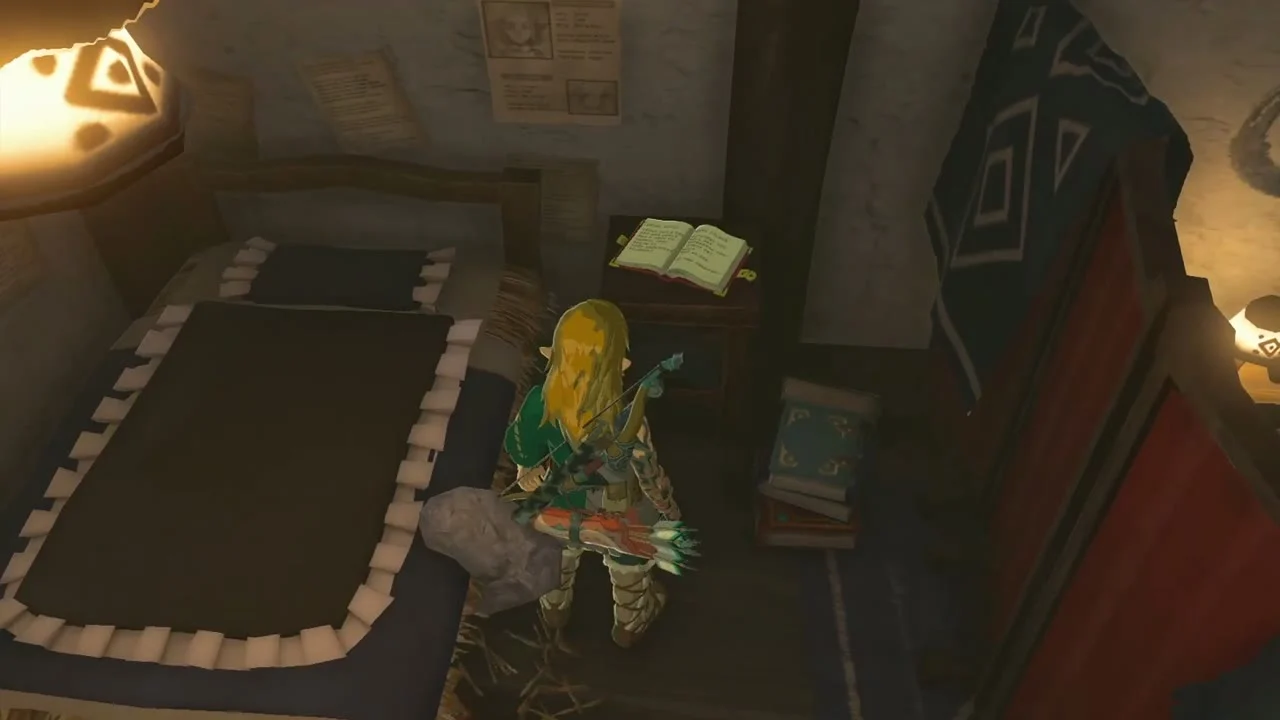
Purah’s house. The notes on the table downstairs and the diary on the bed upstairs are optional reading about the Upheaval.
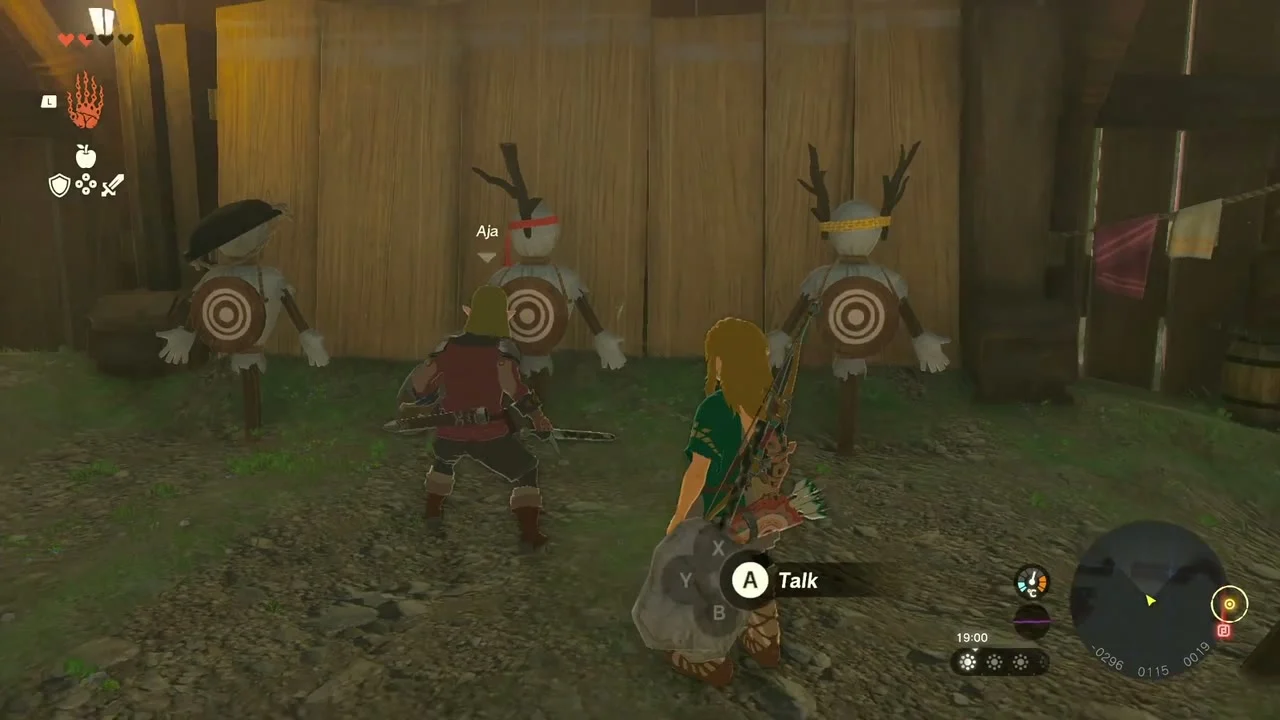
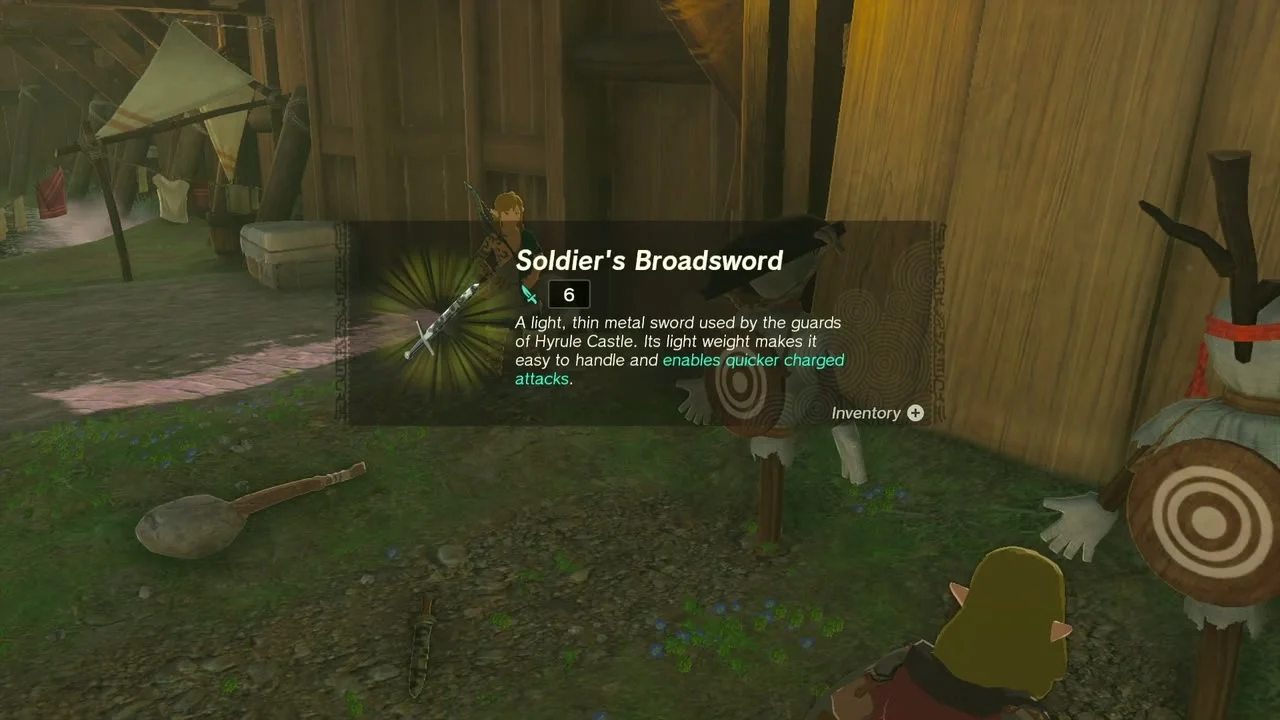
Soldier’s Broadsword (gift). Aja trains with the straw dummies at the north side of town. Talk to him and he gives you a Soldier’s Broadsword; make room in your weapon pouch first or he asks you to come back.
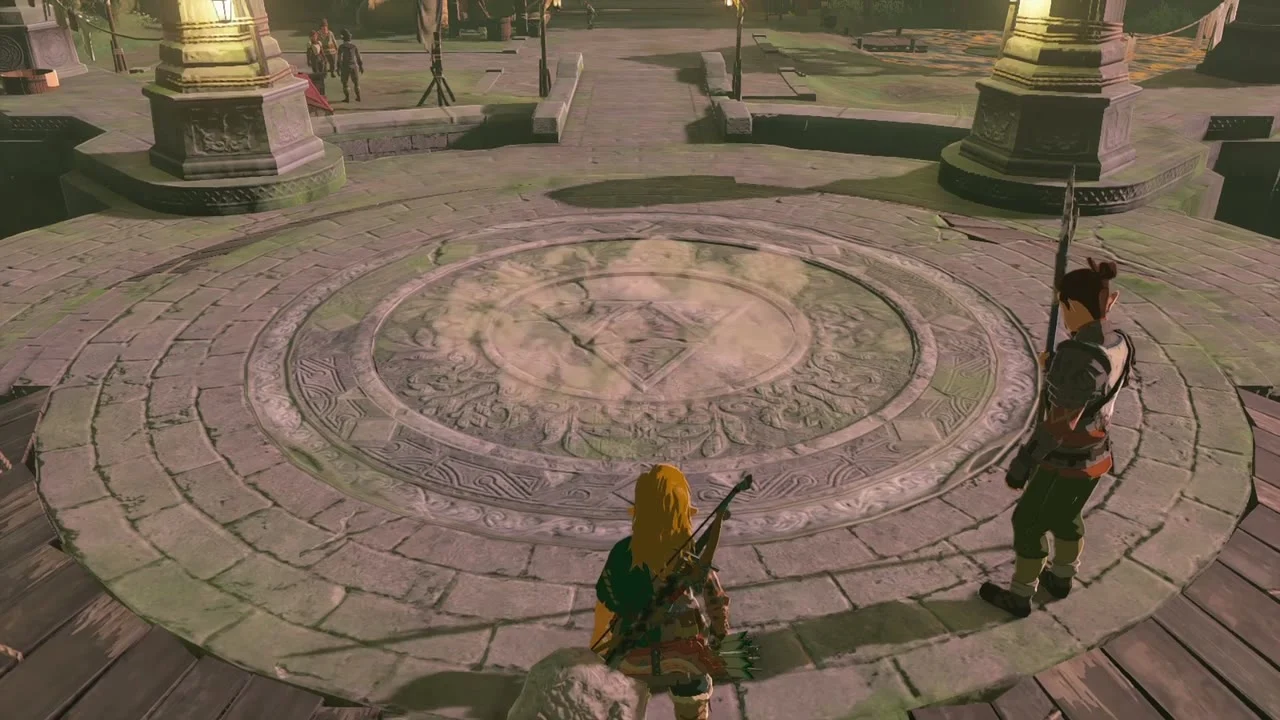
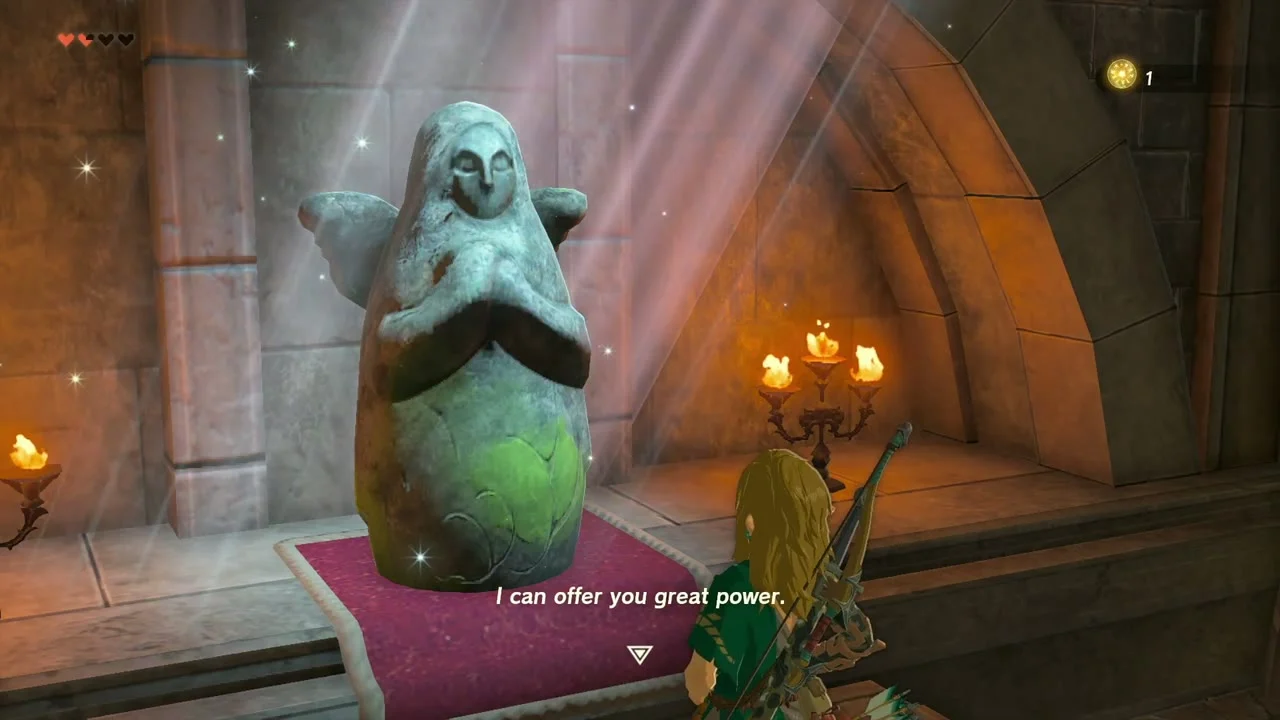
Emergency Shelter and Goddess Statue. Once Crisis at Hyrule Castle has started, the round hatch in the paved plaza is open. Burmano the cook wants one apple: hand it over to finish Today’s Menu. In the back room, the Goddess Statue trades four Lights of Blessing for a Heart Container or Stamina Vessel.

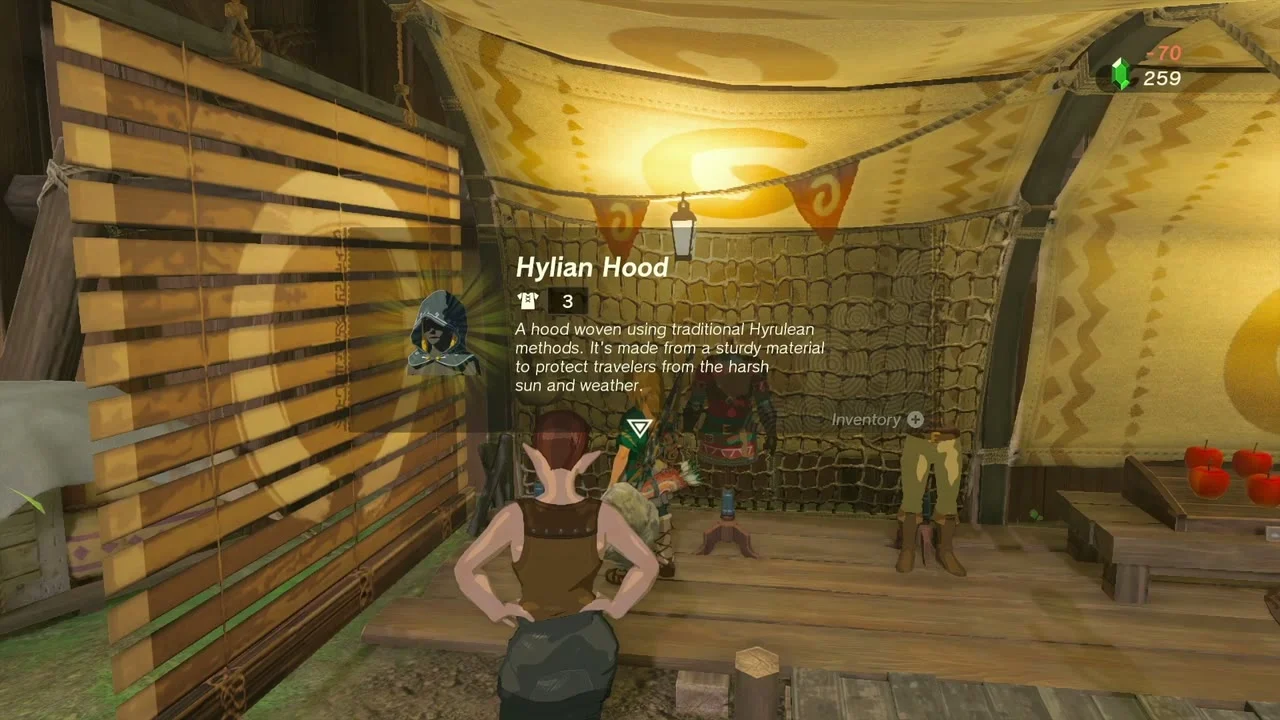
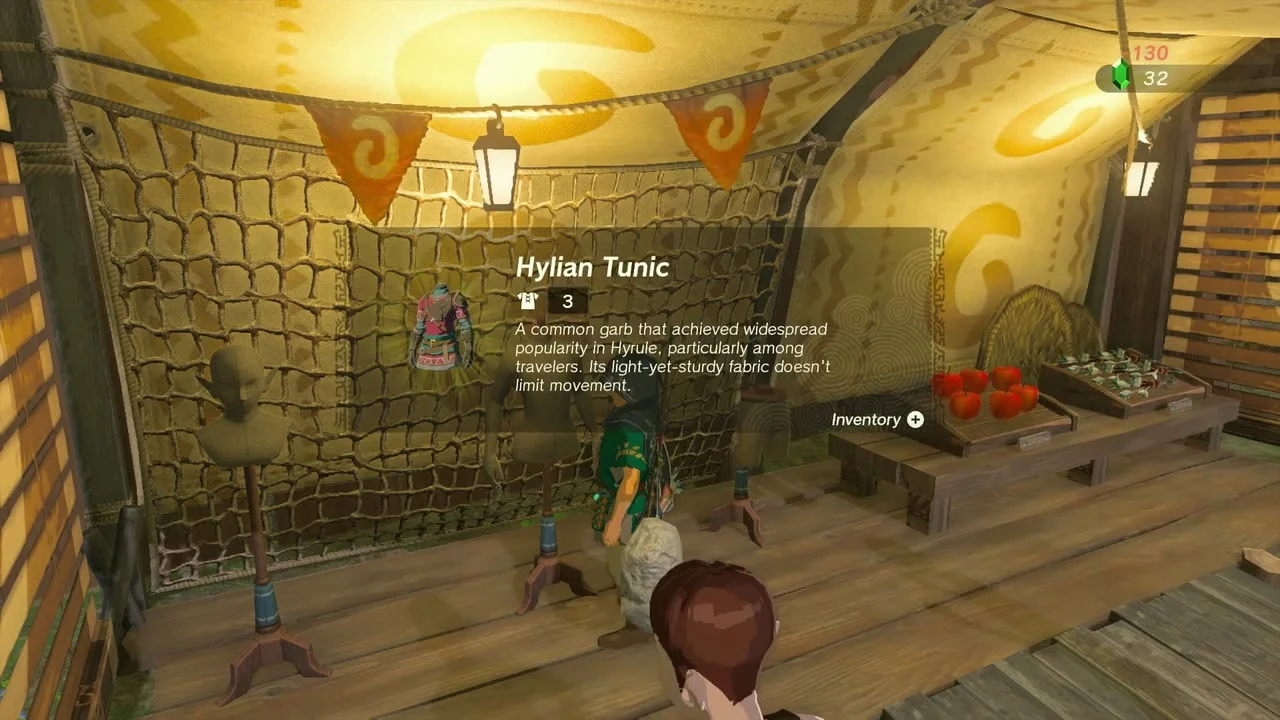
Armor: Hylian set. The Lookout Landing armor shop sells the Hylian Hood for 70 rupees, Hylian Trousers for 120 and Hylian Tunic for 130, each with 3 defense. It is also the place to sell spare materials.

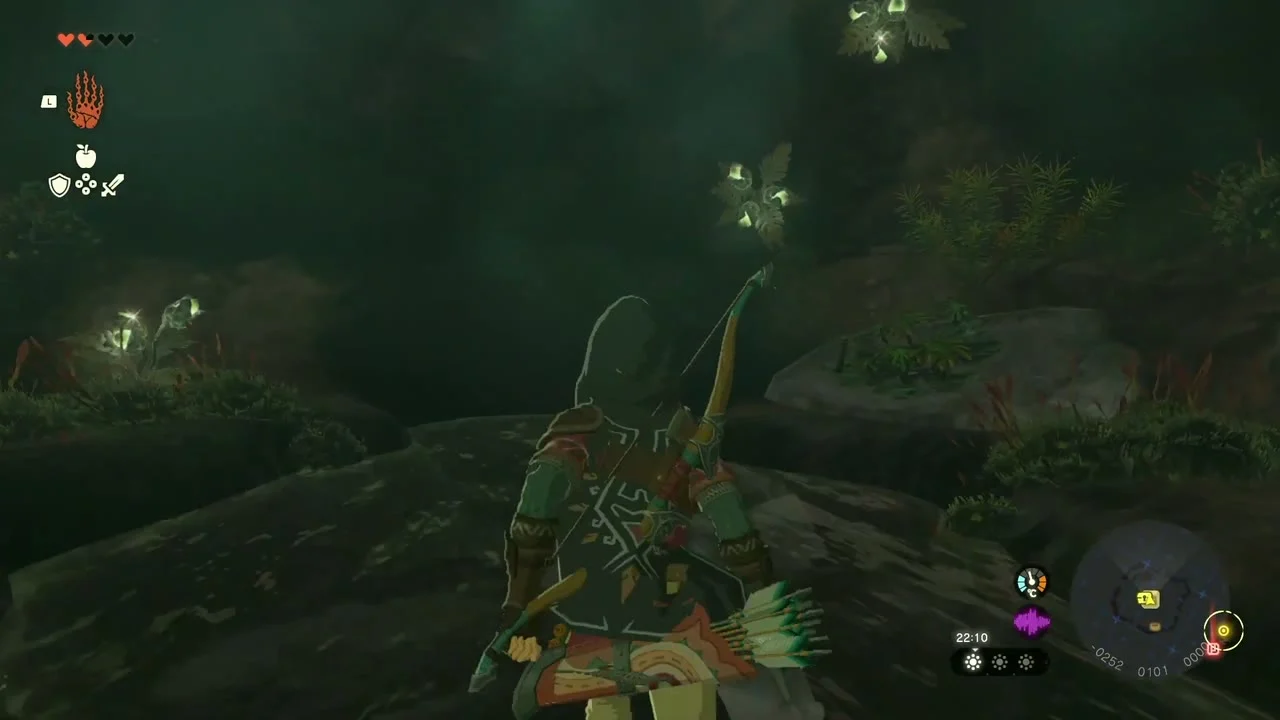
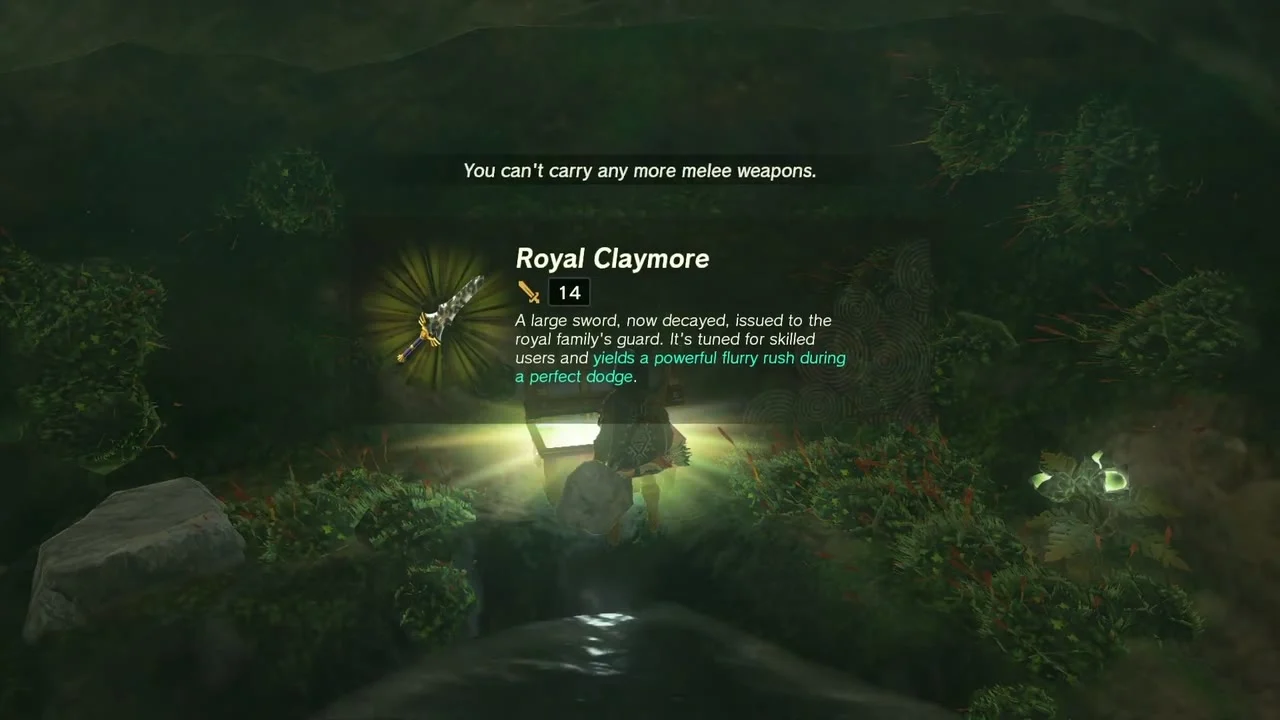
Lookout Landing Well (chest: Royal Claymore). The well is at the north-east edge of town. A worker says it is closed, but you can still climb down the ladder. At the bottom, smash the rocks blocking the cave with a heavy or rock-fused weapon, crouch through and open the chest for a Royal Claymore. Brightbloom Seeds grow along the way.

Hyrule Castle Town Ruins
Korok seed (lone rock): north of Lookout Landing, soldiers guard the road into the ruins. Enter the first ruined building on the left, climb the stairs inside to the top of the wall and lift the rock on the roof.
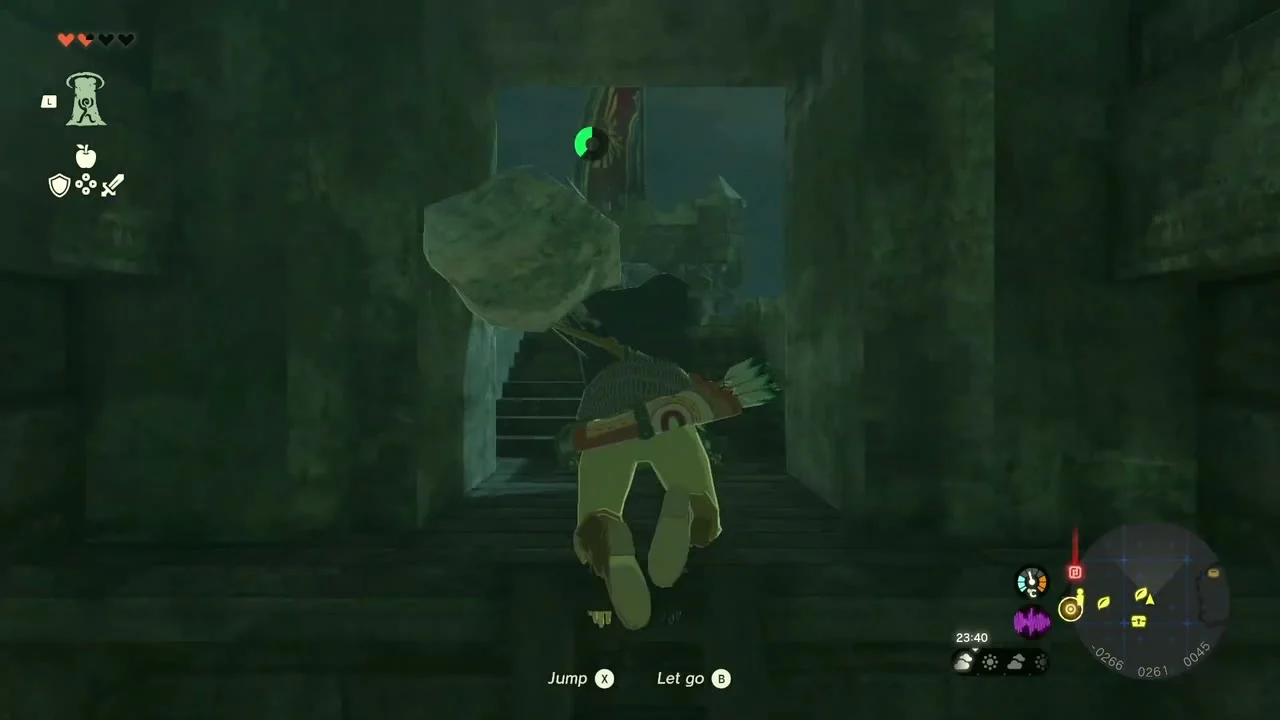
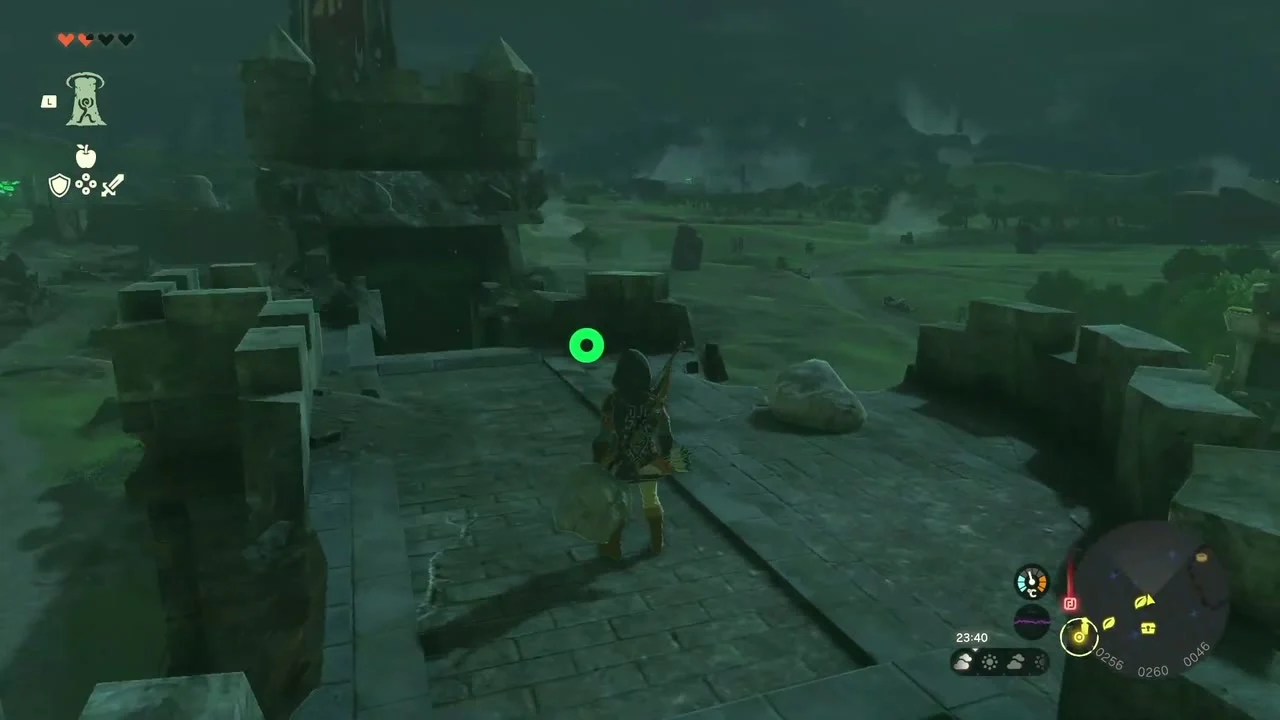

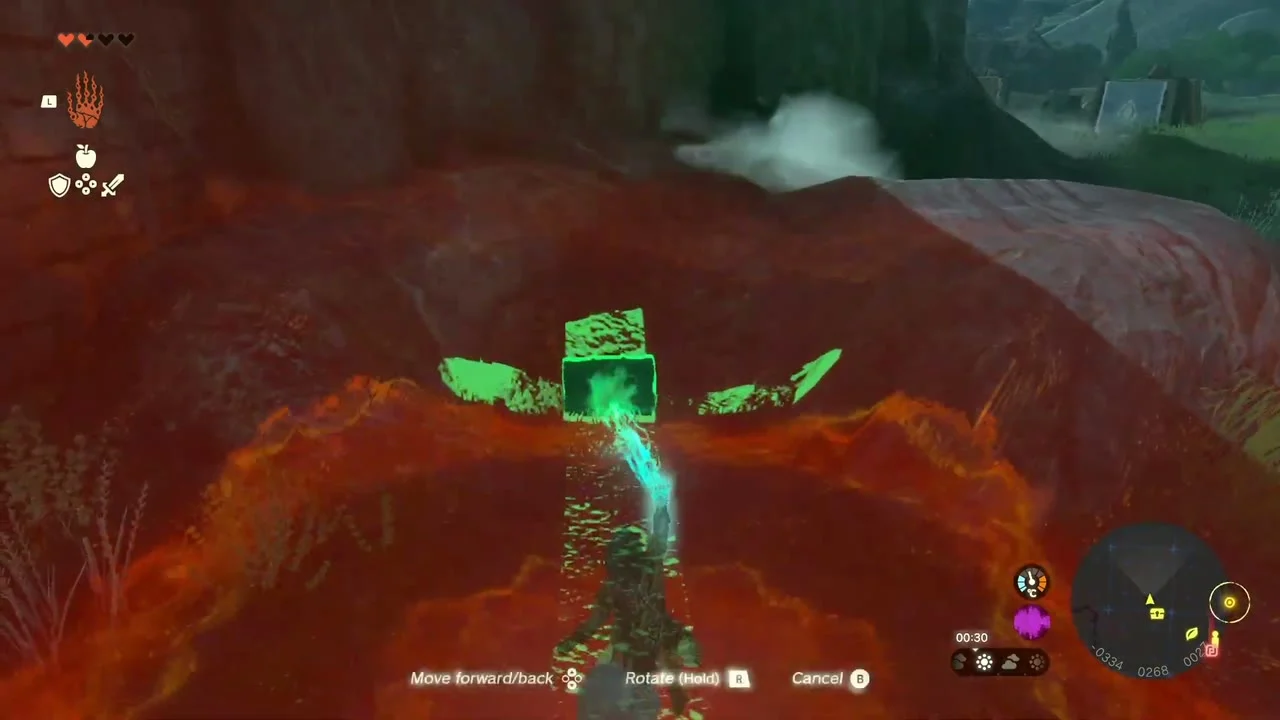
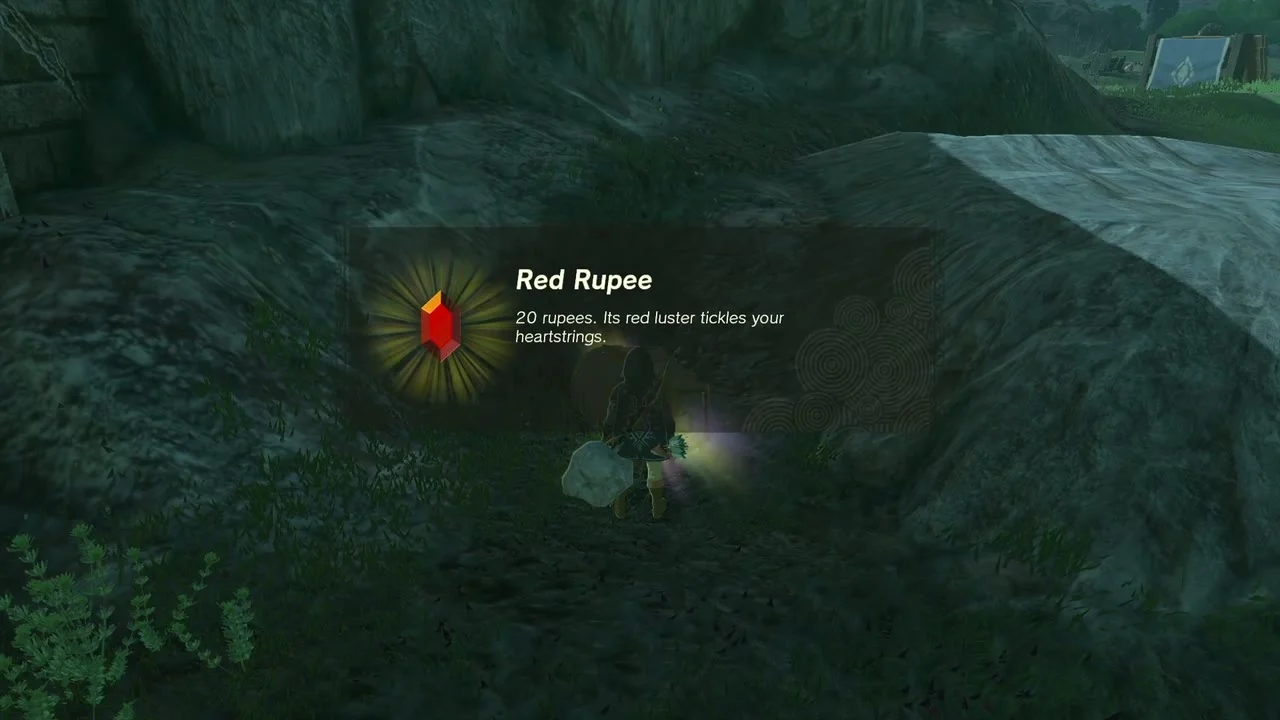
Chest: Red Rupee. Below the ruined walls, a chest is buried in the base of a rocky dirt mound. Pull it out of the ground with Ultrahand and open it.
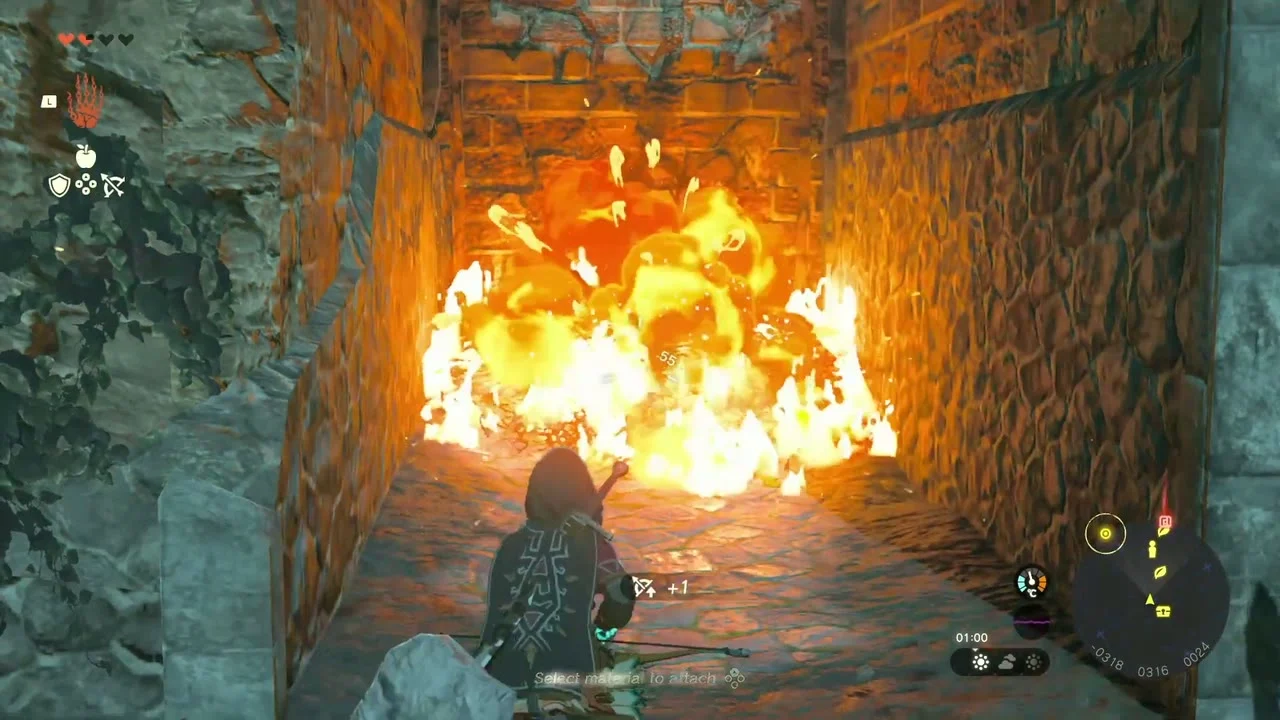
Korok seed (burn the leaves): in a narrow roofless room, a heap of dry leaves fills the corner. Burn it with a Fire Fruit, a fire arrow or a flame weapon and a Korok jumps out.


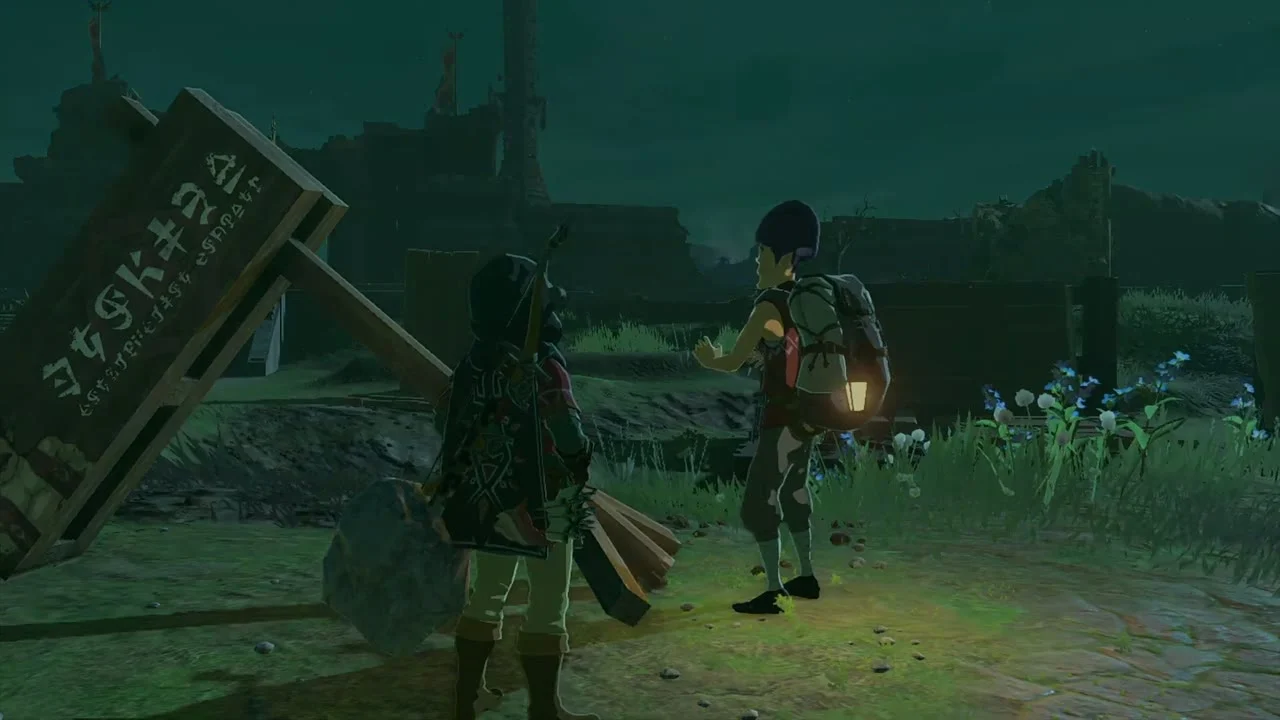
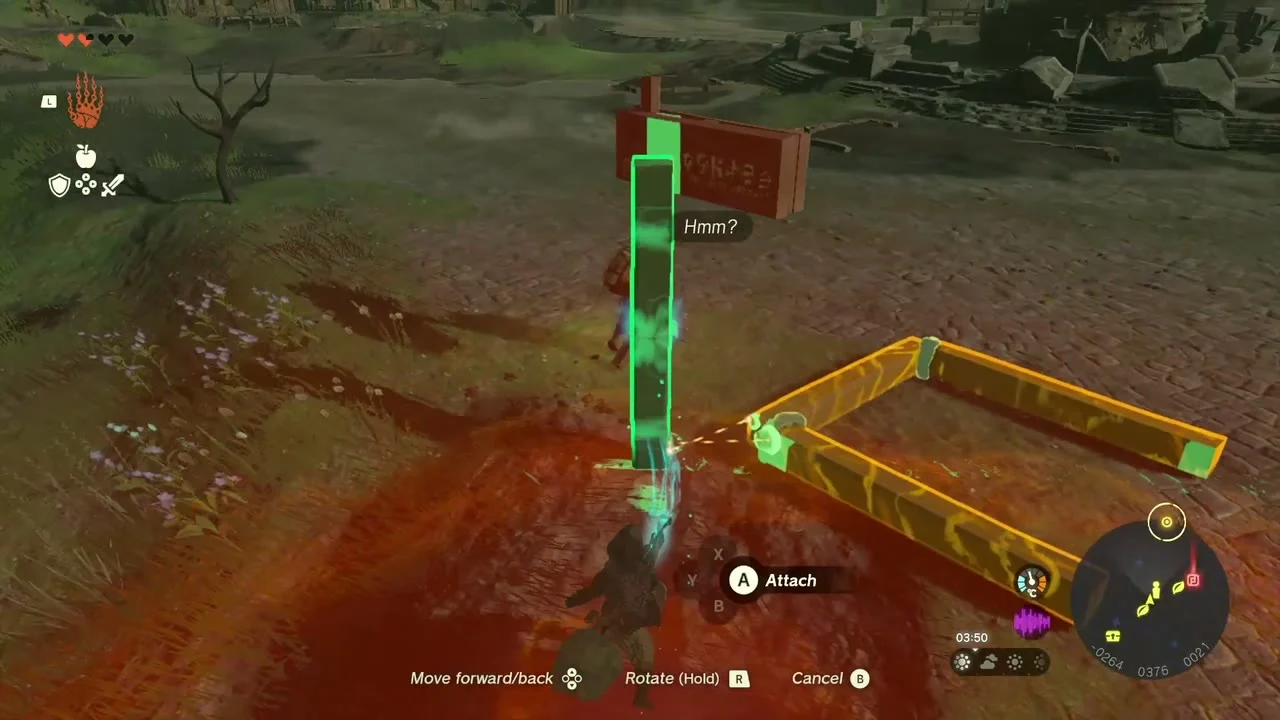
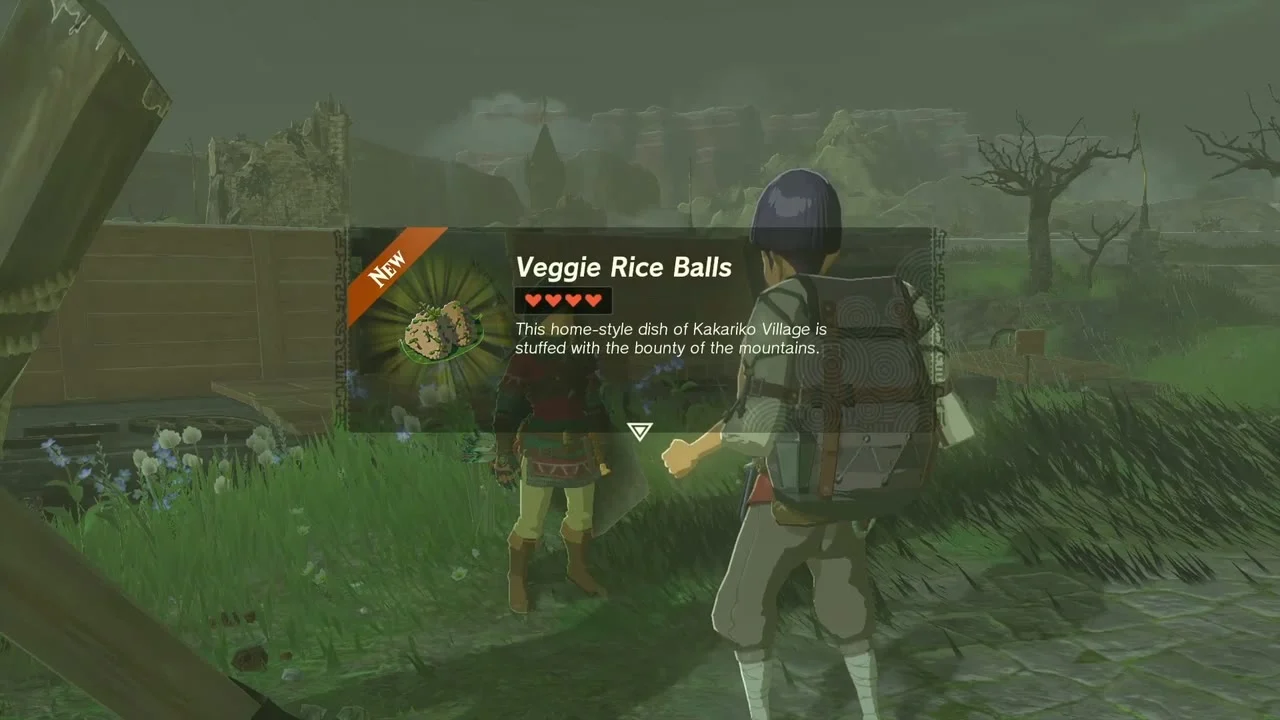
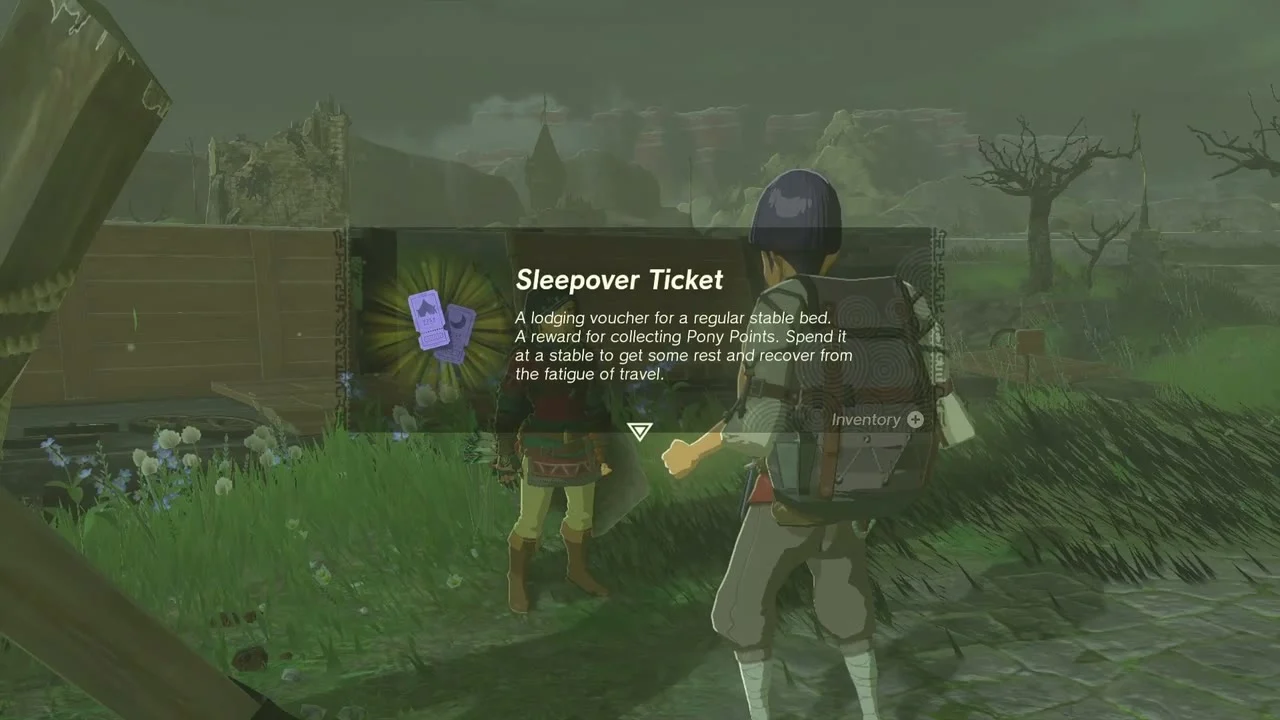
Addison’s sign (Red Rupee, Veggie Rice Balls, Sleepover Ticket). Just south of Central Square, Addison is struggling to hold up a Hudson Construction sign. Use Ultrahand to glue the loose planks into a brace that props the sign, then let go. He gives you a Red Rupee, Veggie Rice Balls and a Sleepover Ticket.
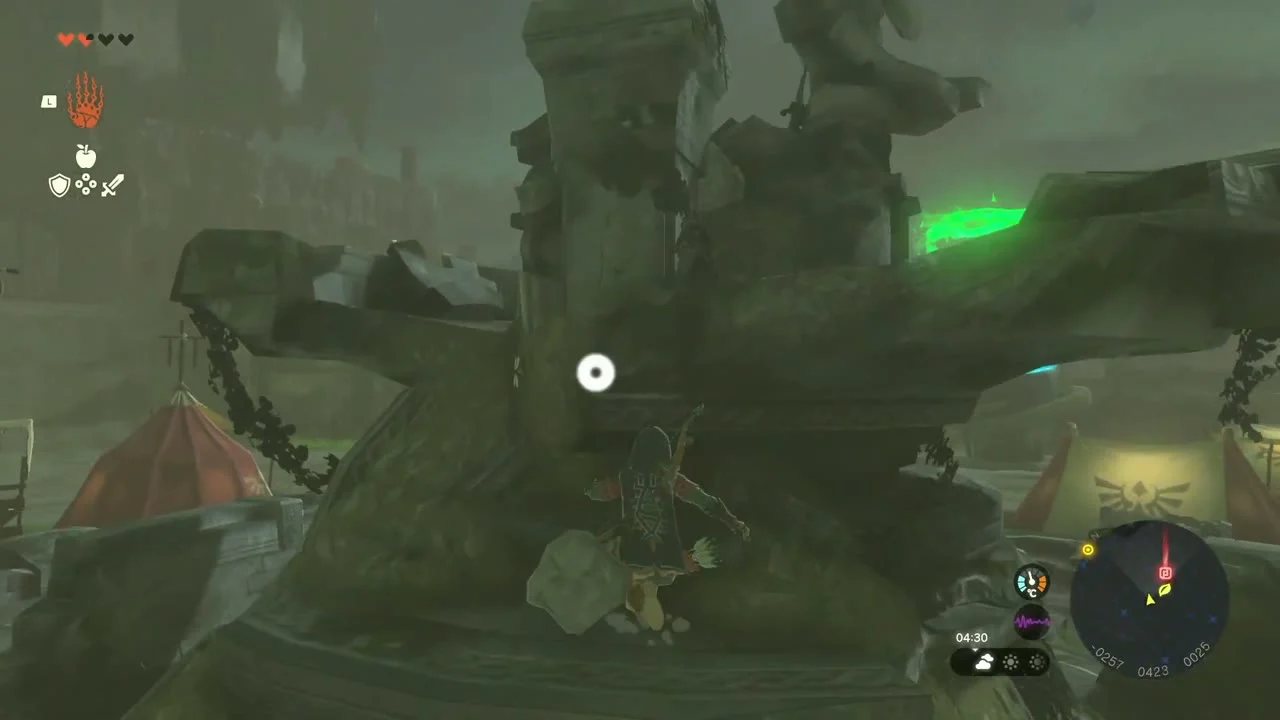
Korok seed (lone rock): in the middle of Central Square, climb the crumbled fountain to the top and lift the rock there.


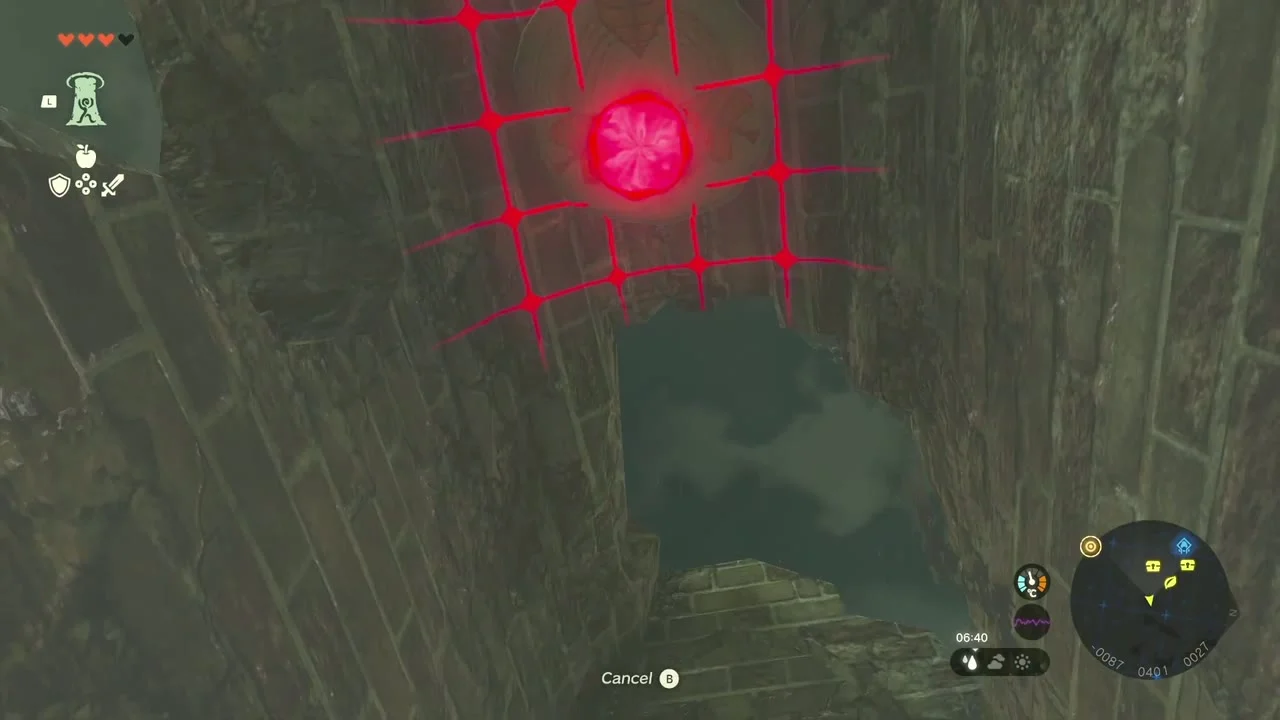
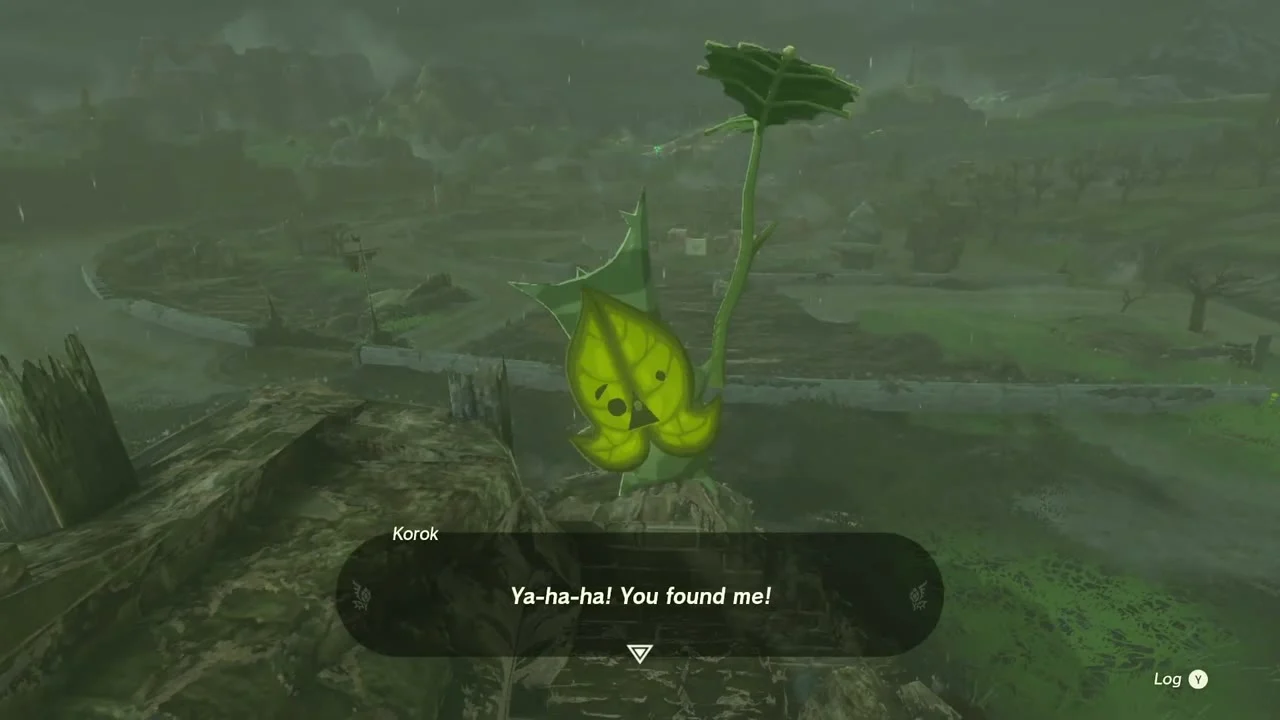
Korok seed (Ascend): east of Central Square, in East Castle Town, the shell of a ruined house has a low ceiling. Stand under it and use Ascend to reach the roof, where the Korok waits.
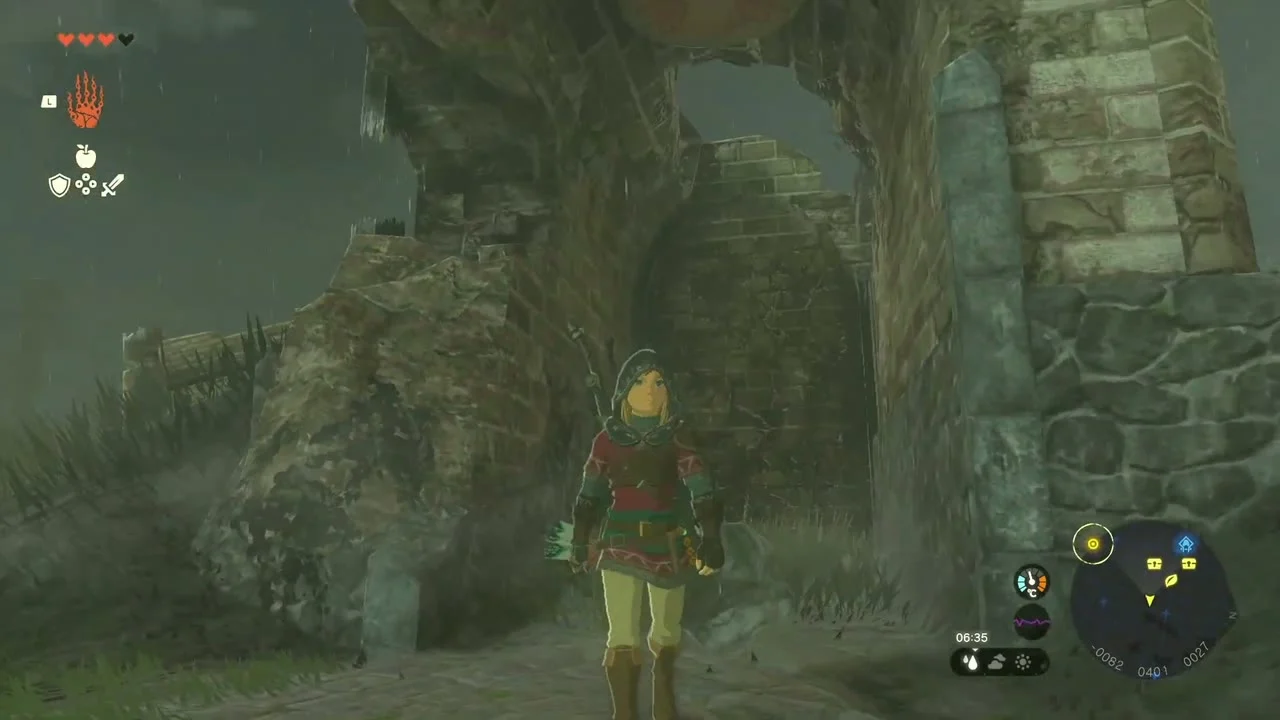
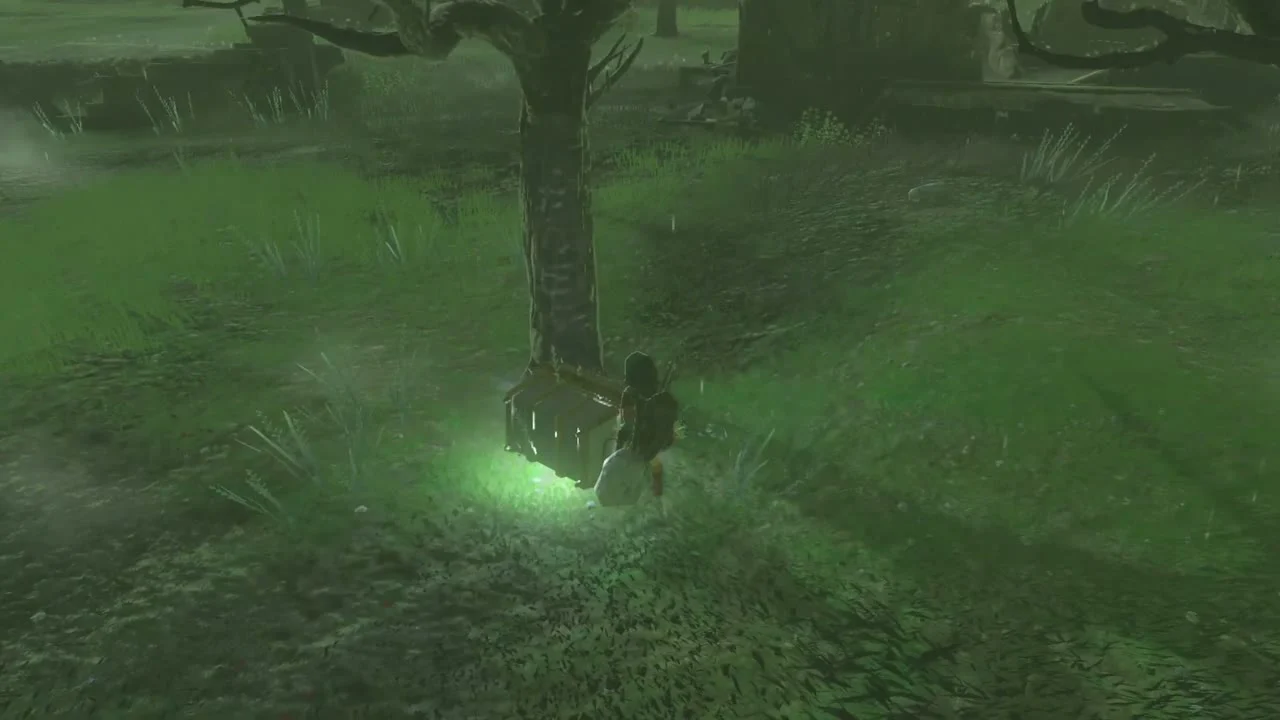
Chest: Blue Rupee. In the fields east of Kyononis Shrine, a chest is half-buried beneath a dead tree. Pull it out with Ultrahand for a Blue Rupee.
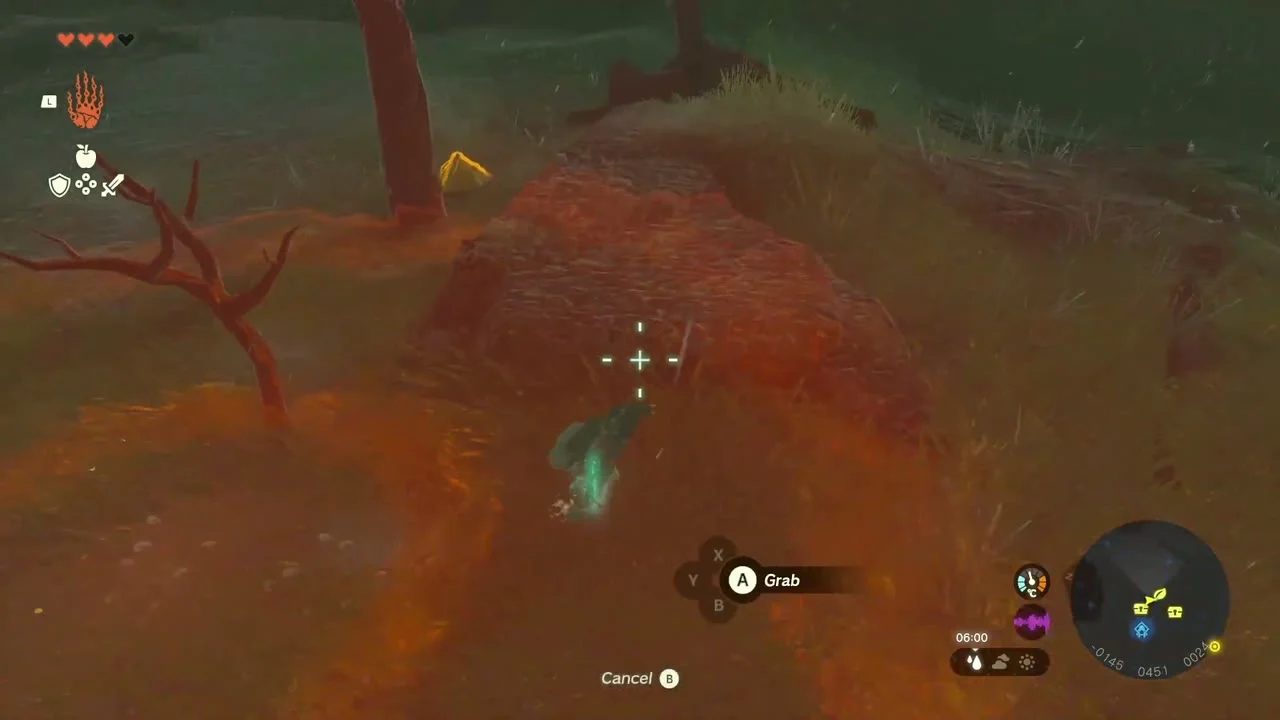
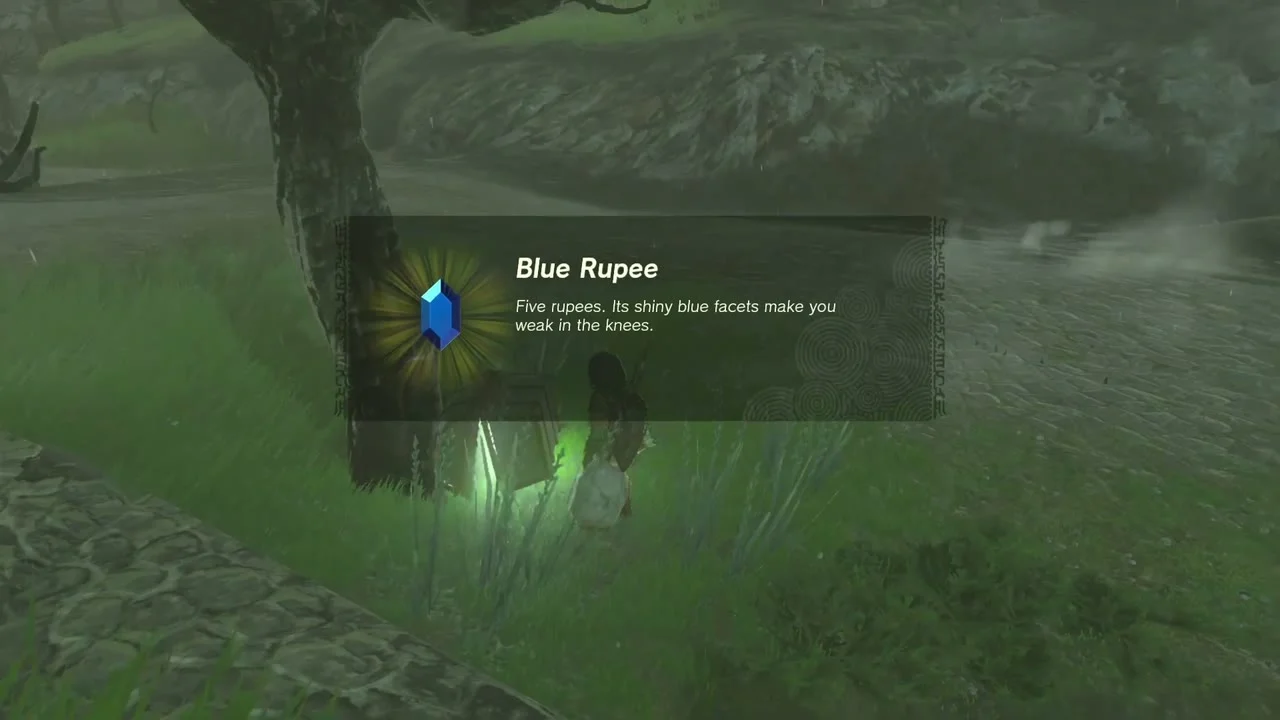
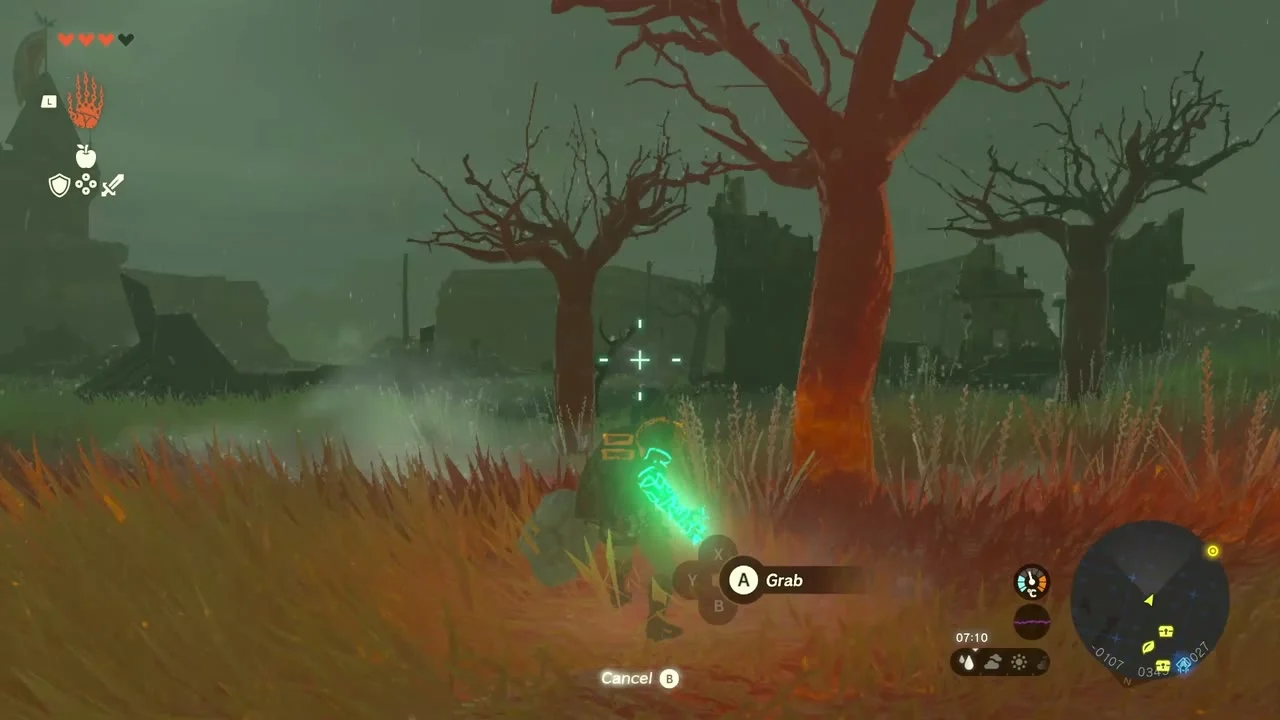
Chest: Red Rupee. Another chest is buried under a dead tree among the trees southeast of Central Square. Pull it out with Ultrahand and open it.
Kyononis Shrine (Combat Training). Beside the search party’s tents in the ruins, Kyononis Shrine teaches combat moves and holds a chest with a Zonaite Sword plus a Light of Blessing. See the shrine page for every lesson.
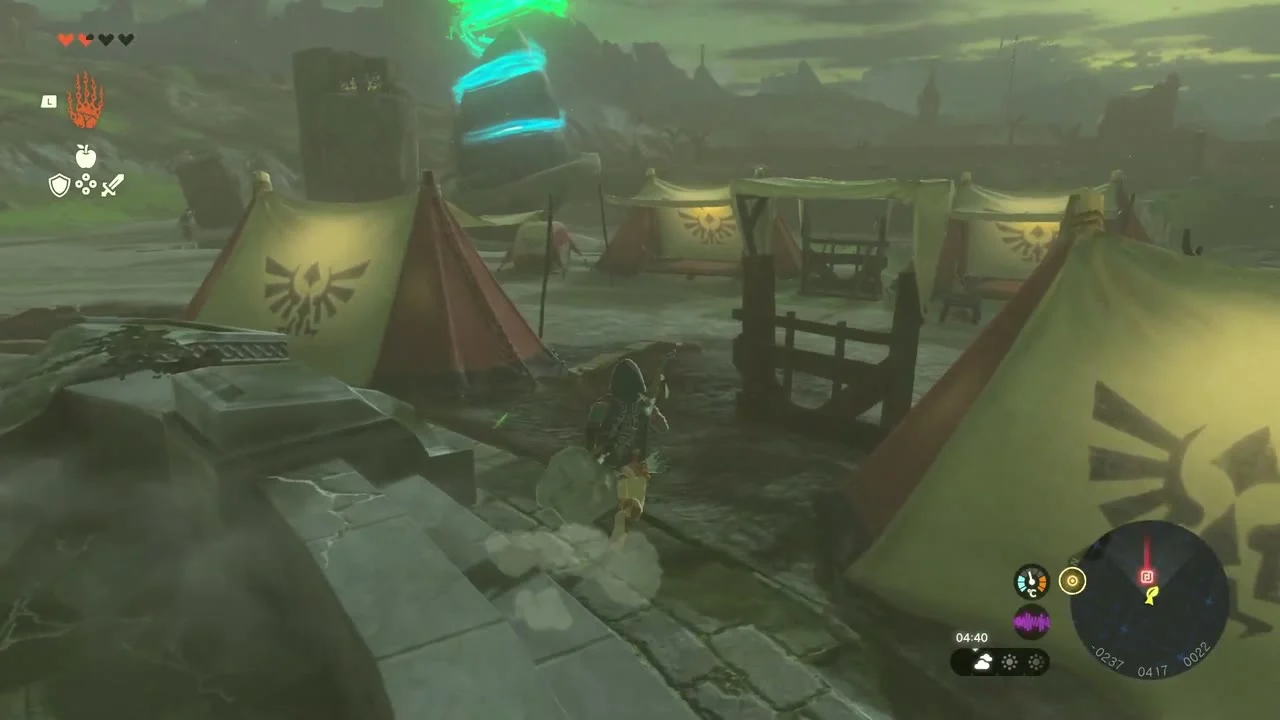

The castle approach and First Gatehouse
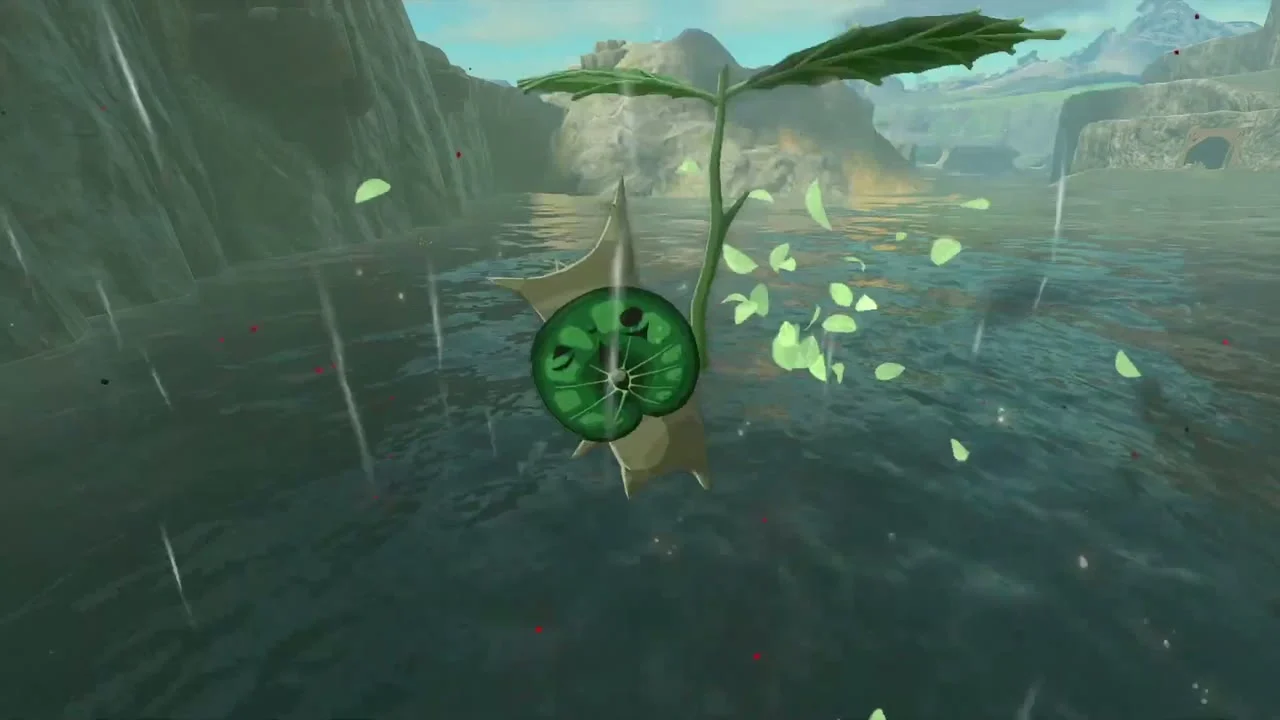
Korok seed (dive through the ring): follow the road north and walk out onto the stone rampart above the moat. Jump off and fall through the ring of leaves floating above the water; the Korok appears on a lily pad.
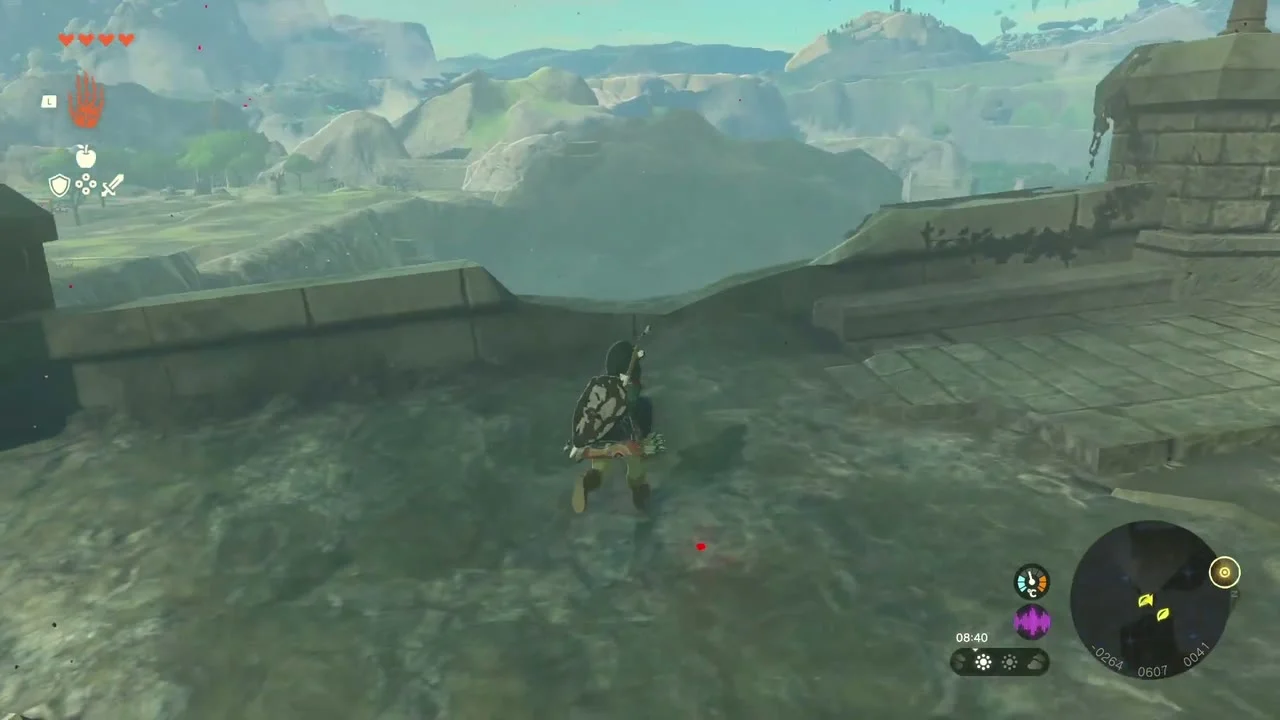

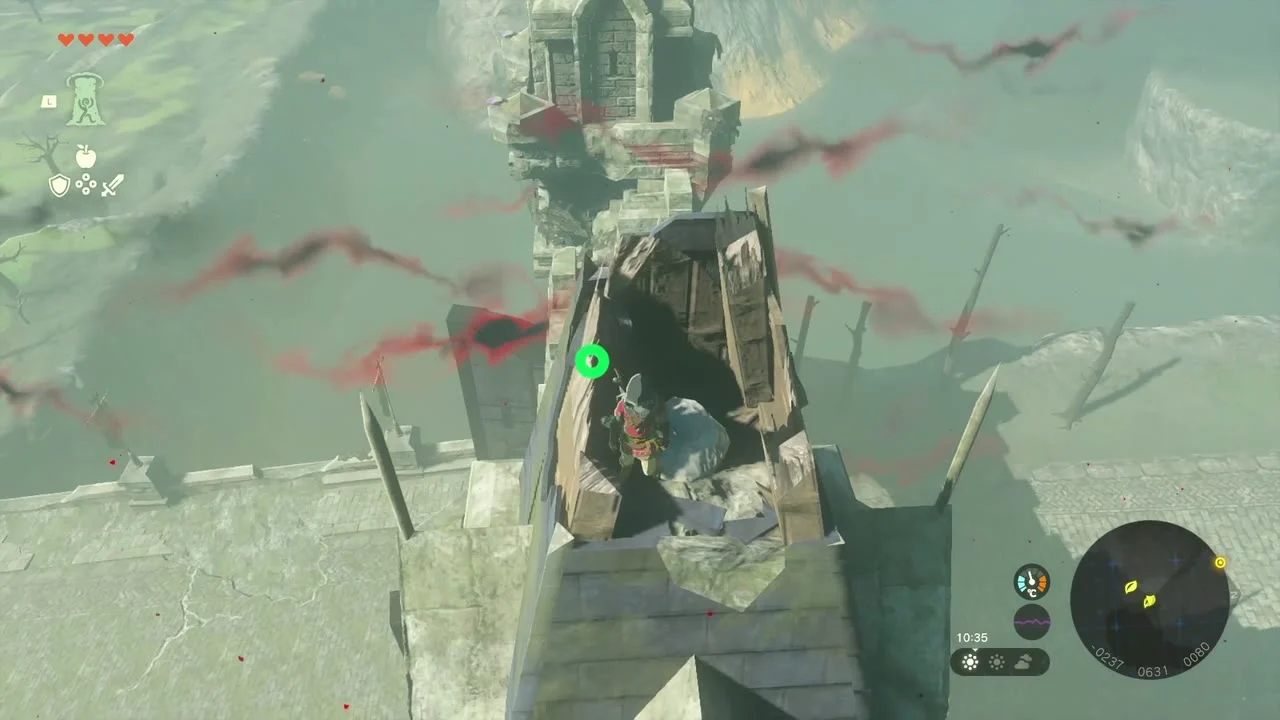
Korok seed (lone rock): near the castle gate, Ascend through the underside of the stone walkway, climb the small tower’s steep roof and lift the rock at its very tip.



Chest: Soldier’s Bow. Below the castle’s western cliffs, a chest sits in a shadowy alcove at the foot of the rock face beside the grassy slope.
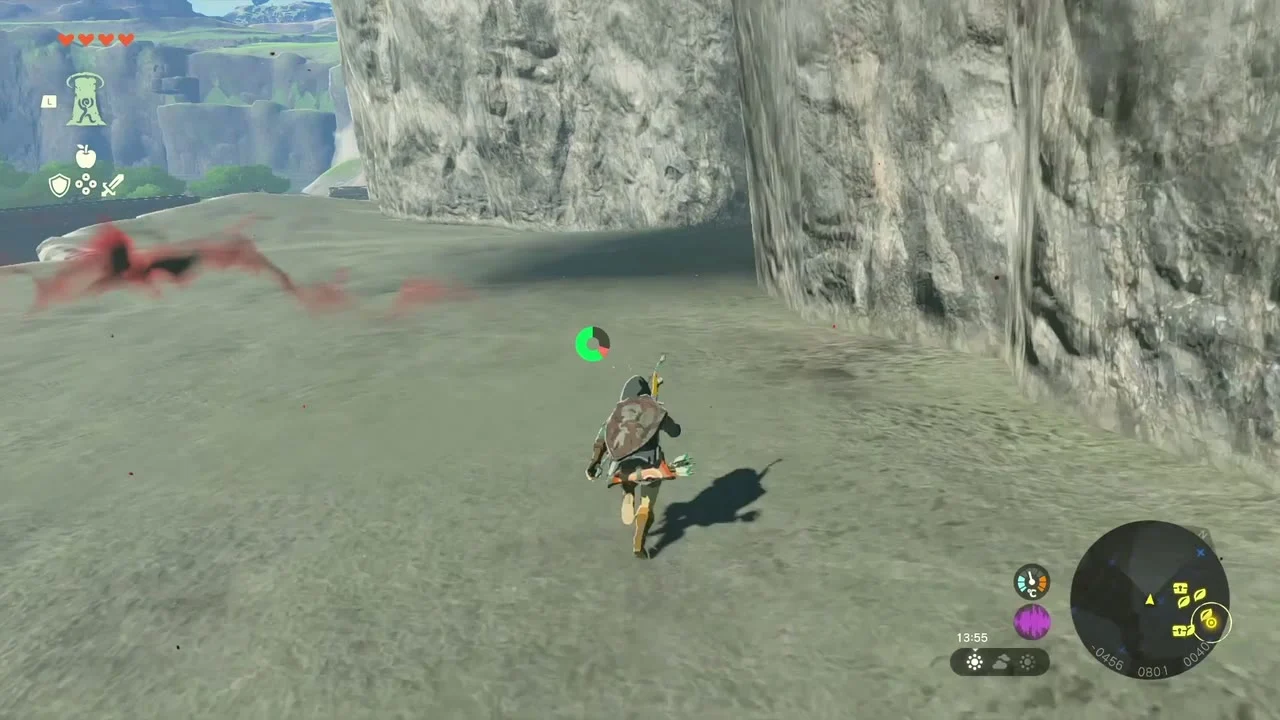
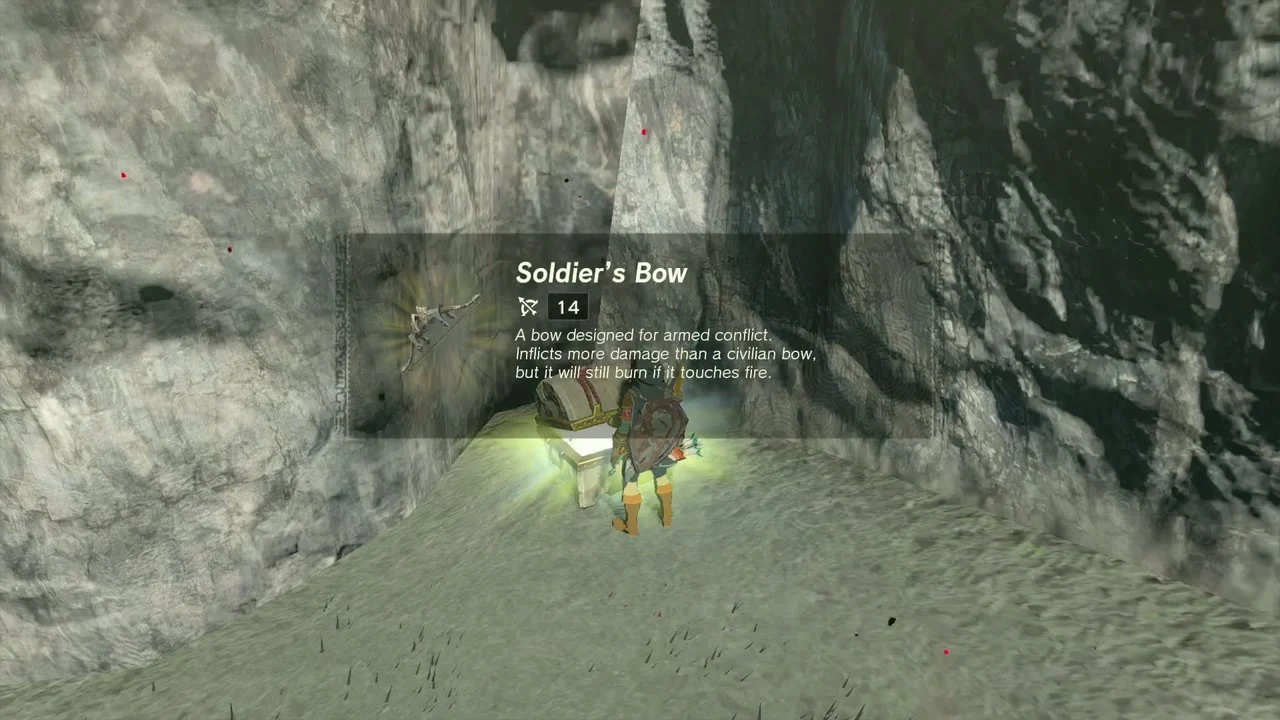
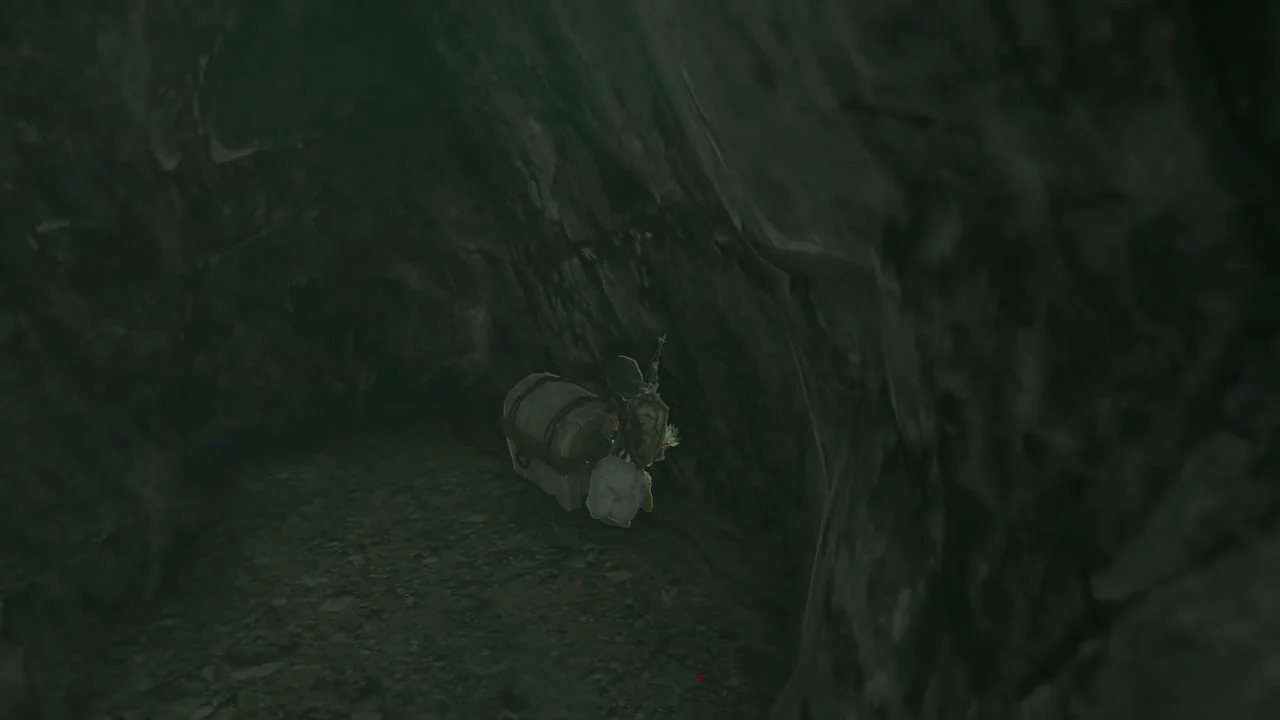
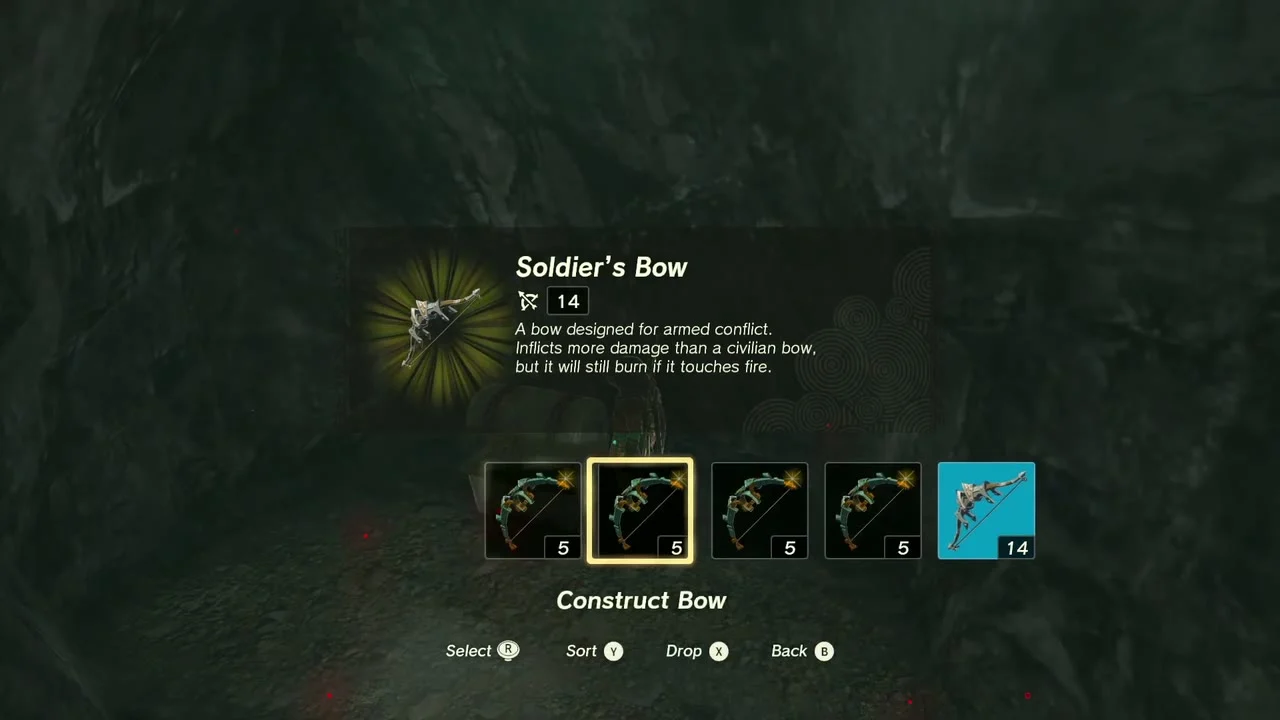
West Passage (chest: Soldier’s Bow). A tunnel through the cliff leads into West Passage. Smash the crates and barrels for Amber and arrows; a second chest is hidden behind them, holding another Soldier’s Bow. Leave by the far exit.

Korok seed (block puzzle): after scaling the pale cliff above the passage, a loose stone block stands beside a wall with matching gaps. Grab the block with Ultrahand, rotate it until it fits the outlined shape and the Korok appears.

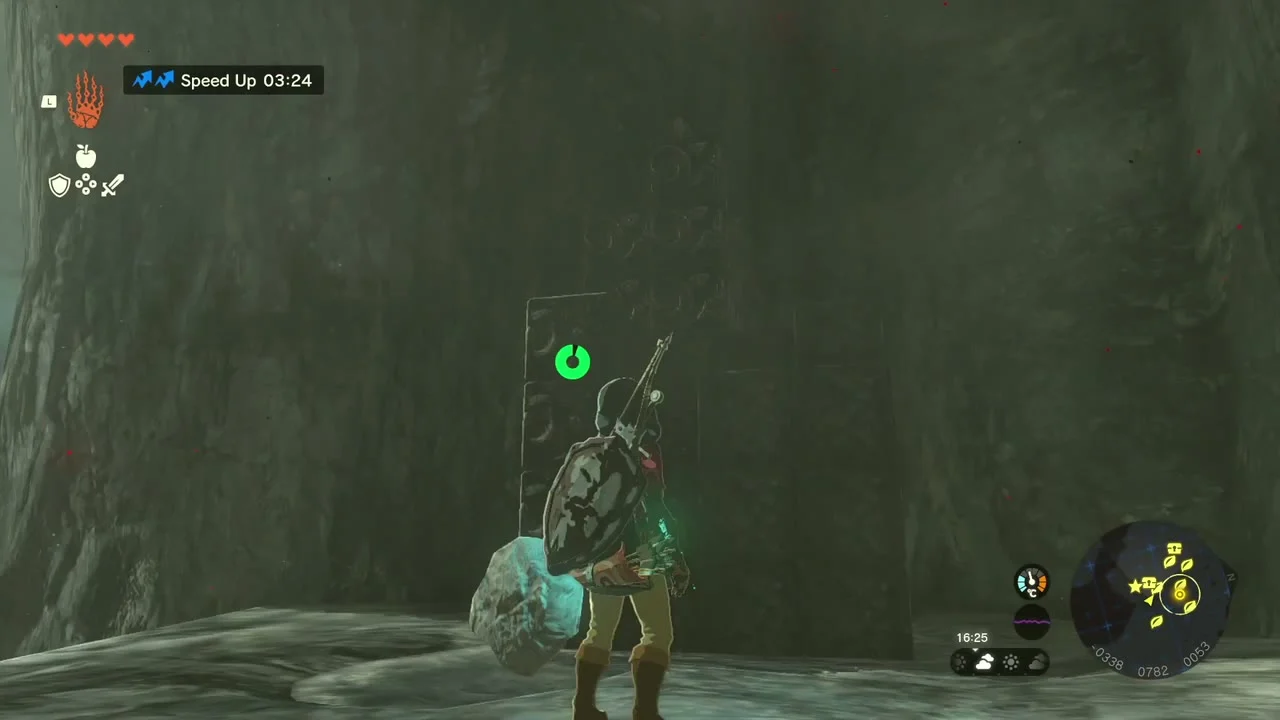


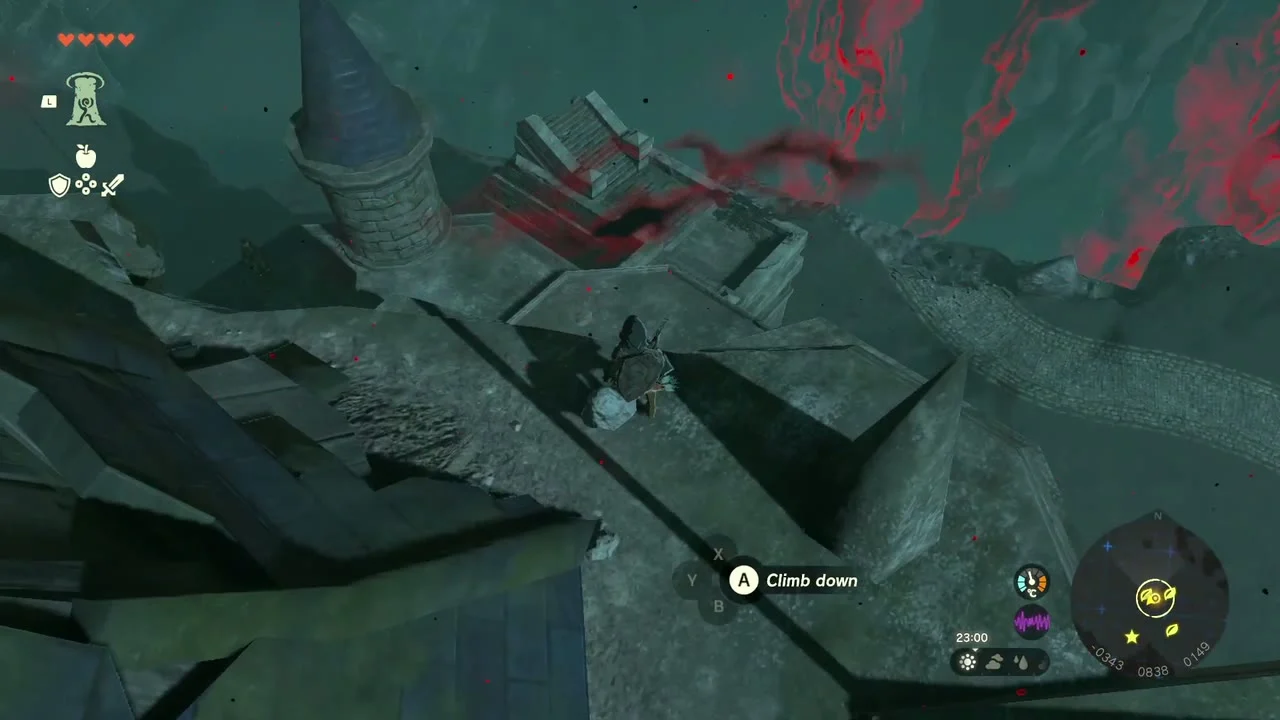
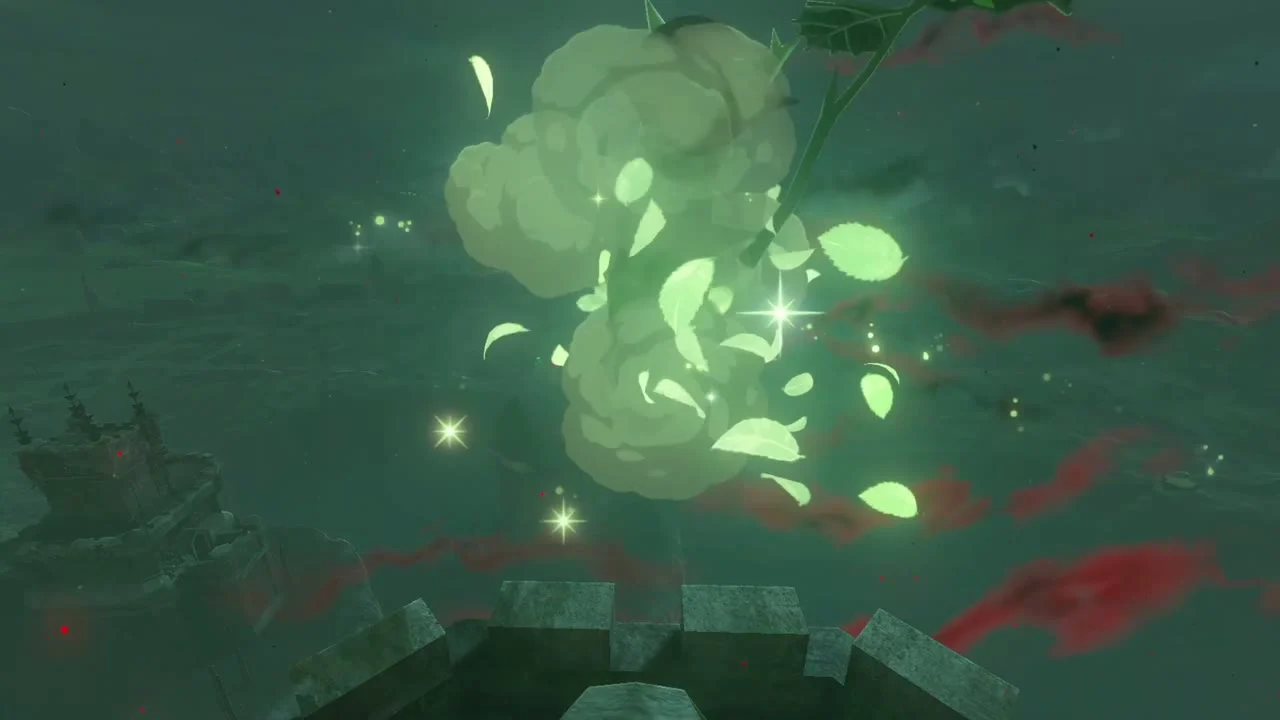
Korok seed (follow the sparkles): outside West Passage, climb the wall and follow the walkway along the gloom-streaked rampart; the Korok pops out at the end.
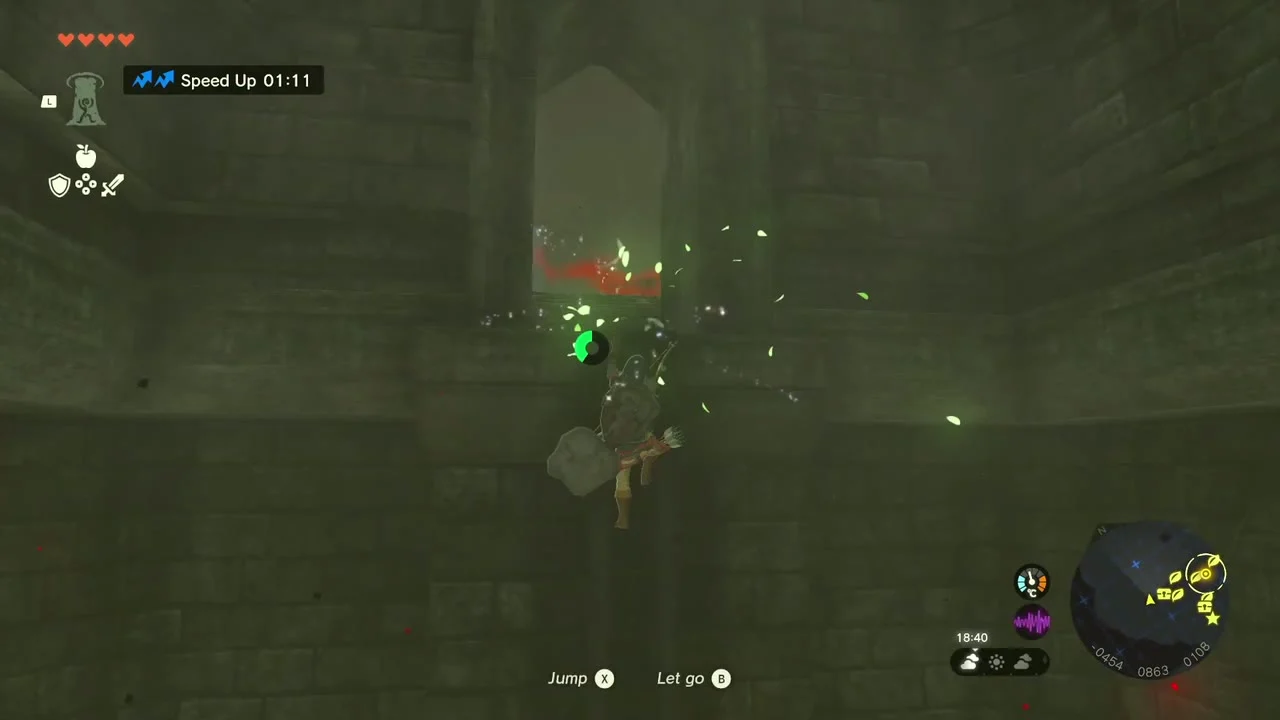

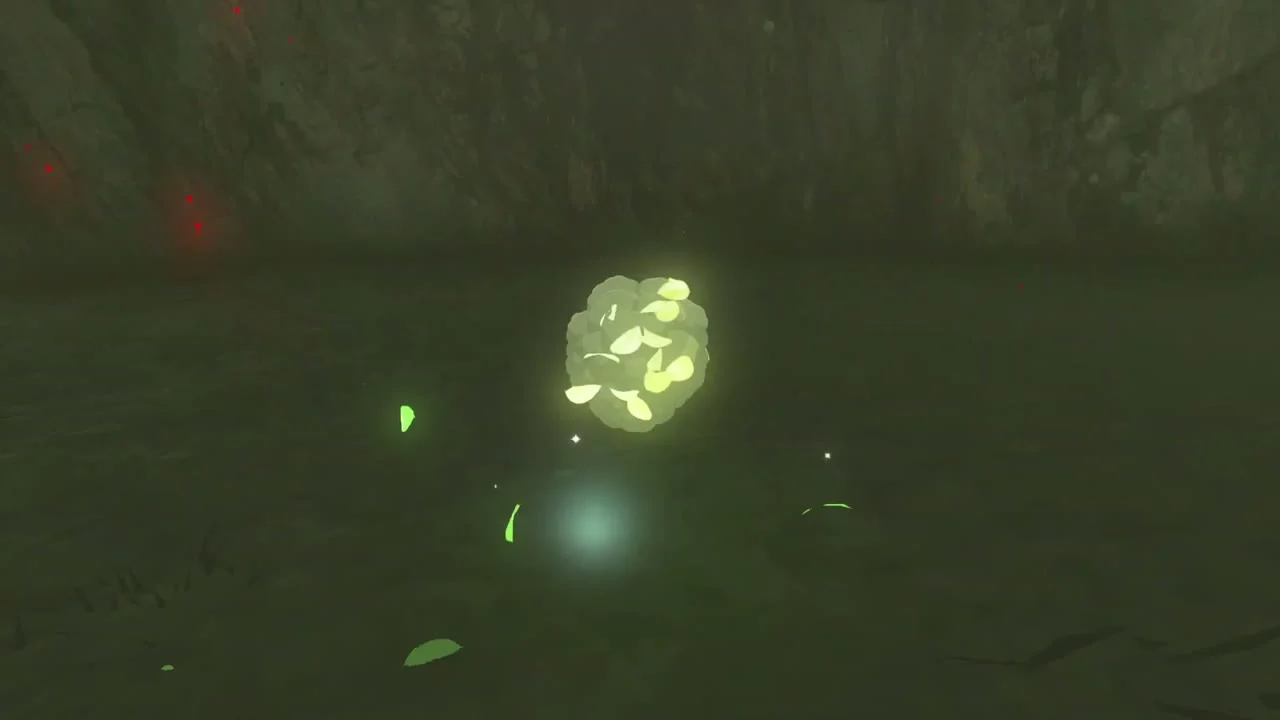
Korok seed (chase the sparkles): in the dark grass below the ramparts, a trail of green sparkles drifts low over the ground. Walk into it and a Korok appears.

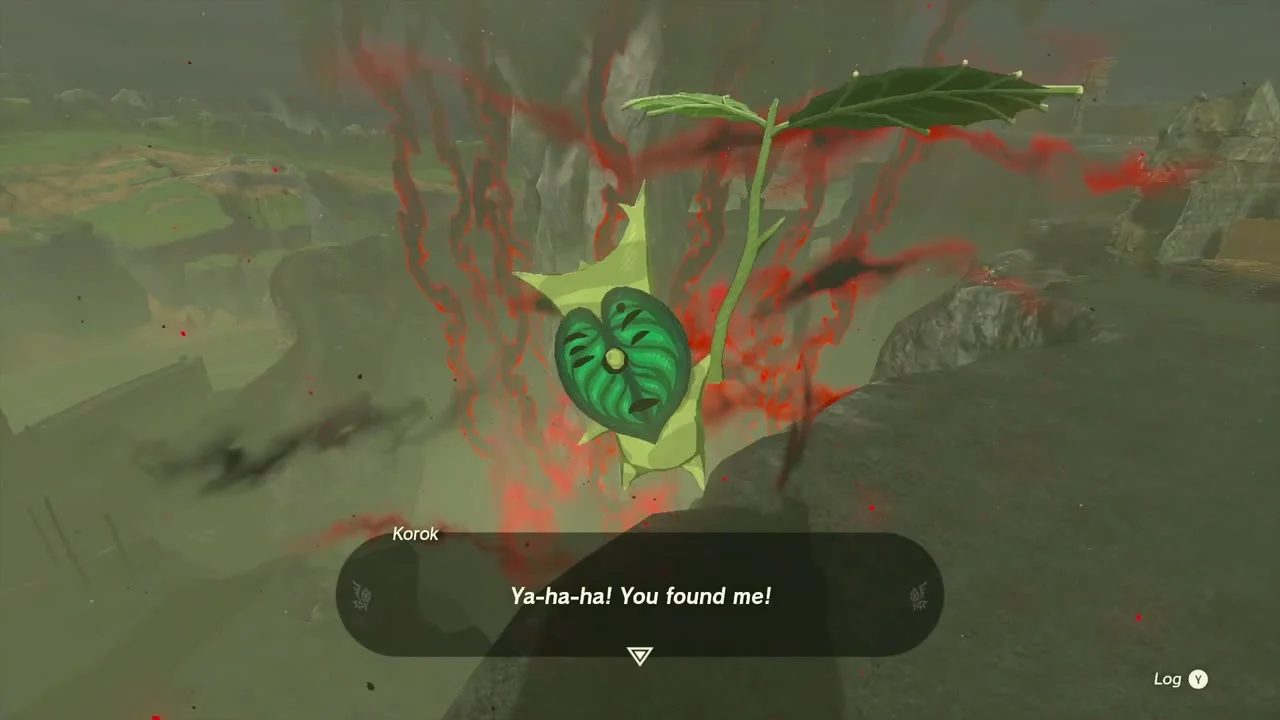
Korok seed (First Gatehouse spire): at the First Gatehouse, climb onto the roof, then up the tall pointed spire. Examine the very tip and the Korok appears.

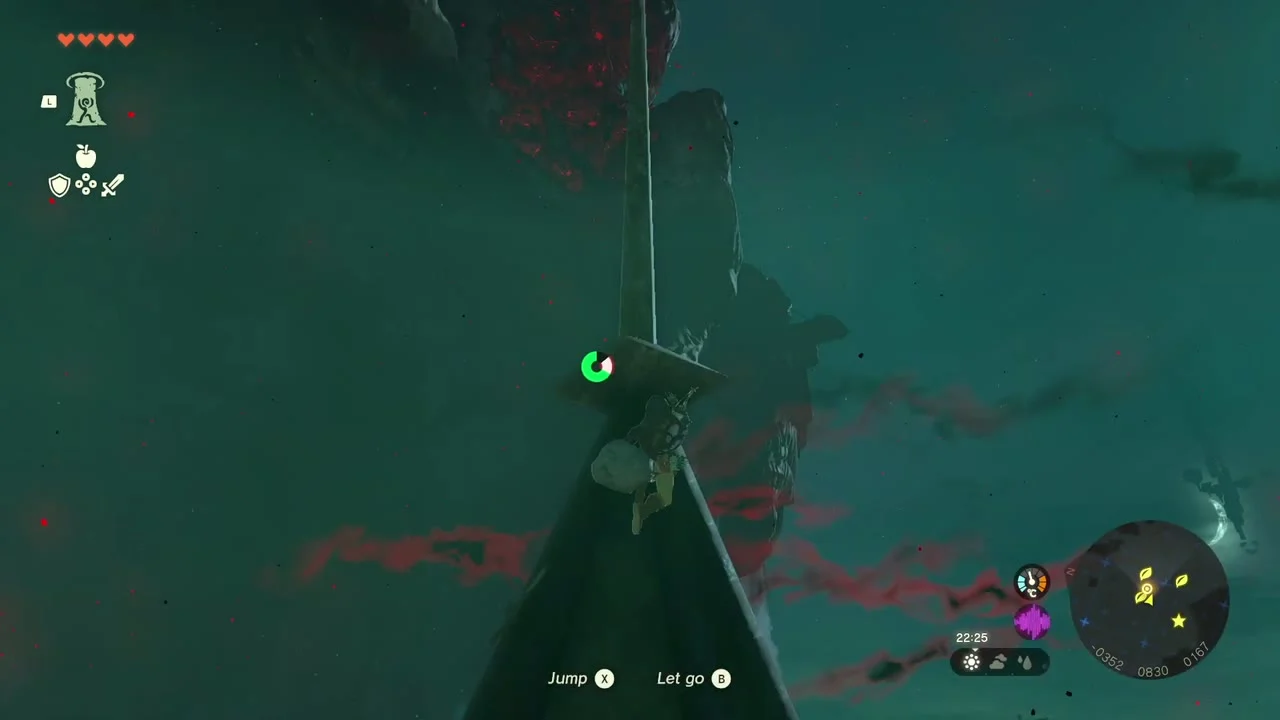
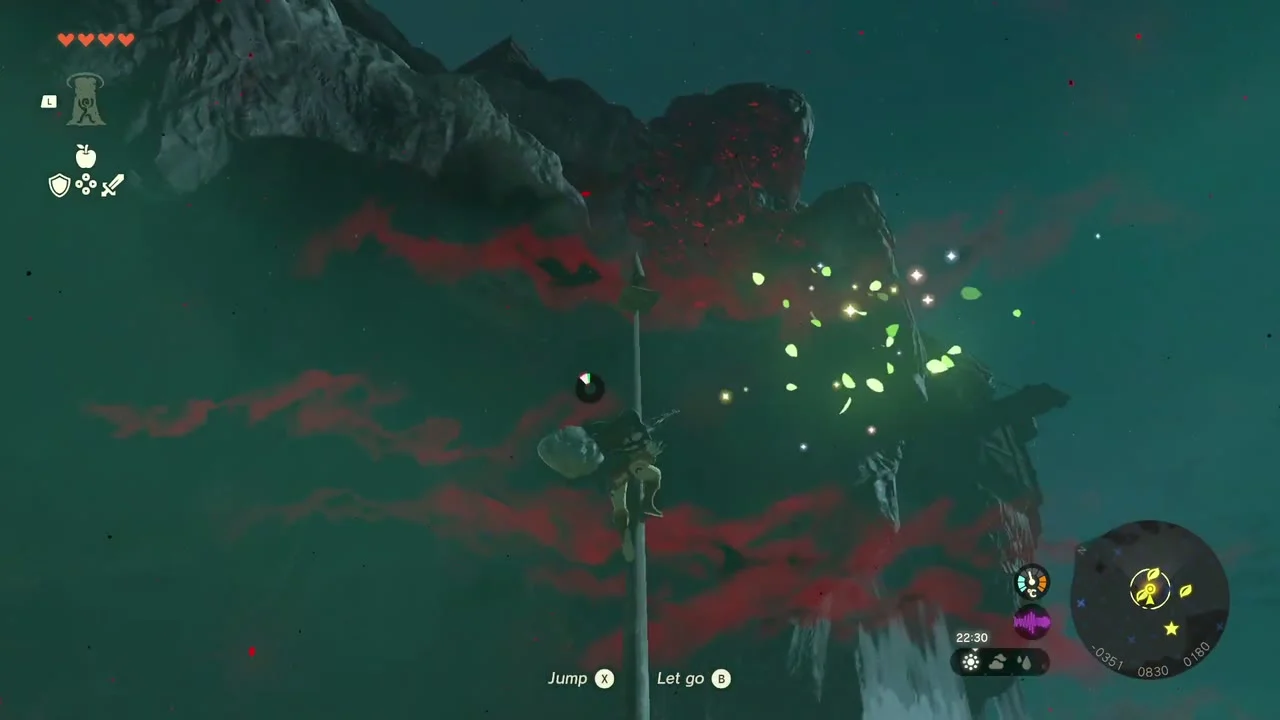

Captain Hoz. Climb the gatehouse to the top of the wall to find Captain Hoz. Hoz asks you to report back to Purah. The quest steps are on the Crisis at Hyrule Castle page.

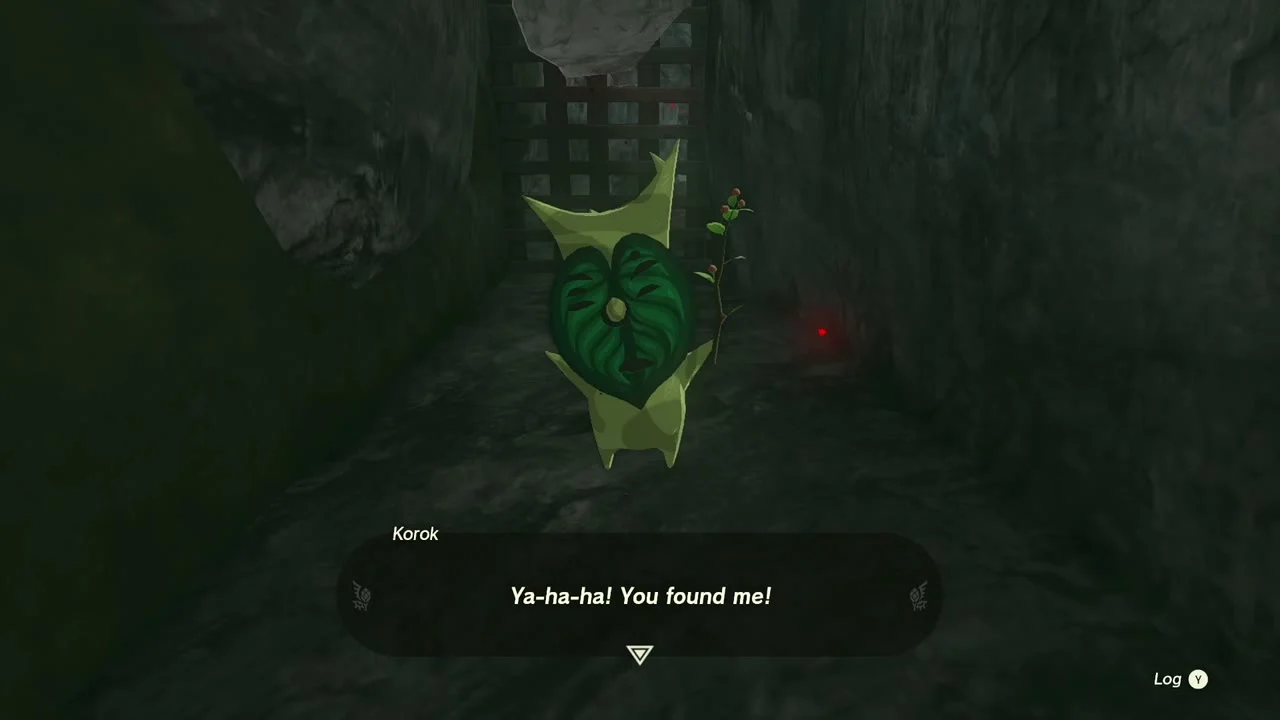
Korok seed (lone rock): on the way back, find the narrow alley that ends at an iron portcullis. Lift the rock at its end with Ultrahand.


Korok seed (shoot the acorn): on a stretch of rampart with a dead tree growing through the stonework, an acorn hangs in the branches. Shoot it with an arrow to make the Korok appear.


Skyview Tower and the Paraglider
Lookout Landing Skyview Tower. Report to Purah at her deck, then walk to the tower beside town. Activate the terminal with the Purah Pad; the tower becomes a travel point and maps the surrounding land.


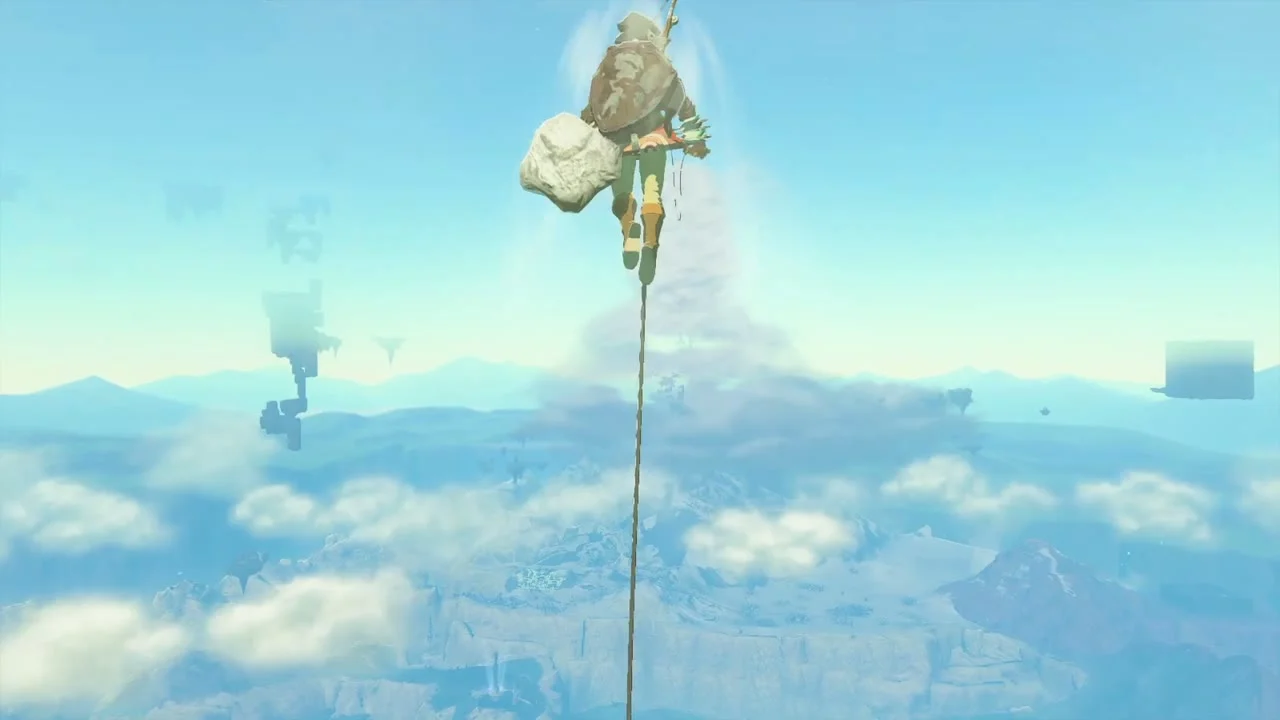
Paraglider (key item). Purah gives you the Paraglider in the tower. Stand on the round launch pad to be fired high into the sky, then open the Paraglider to glide down.

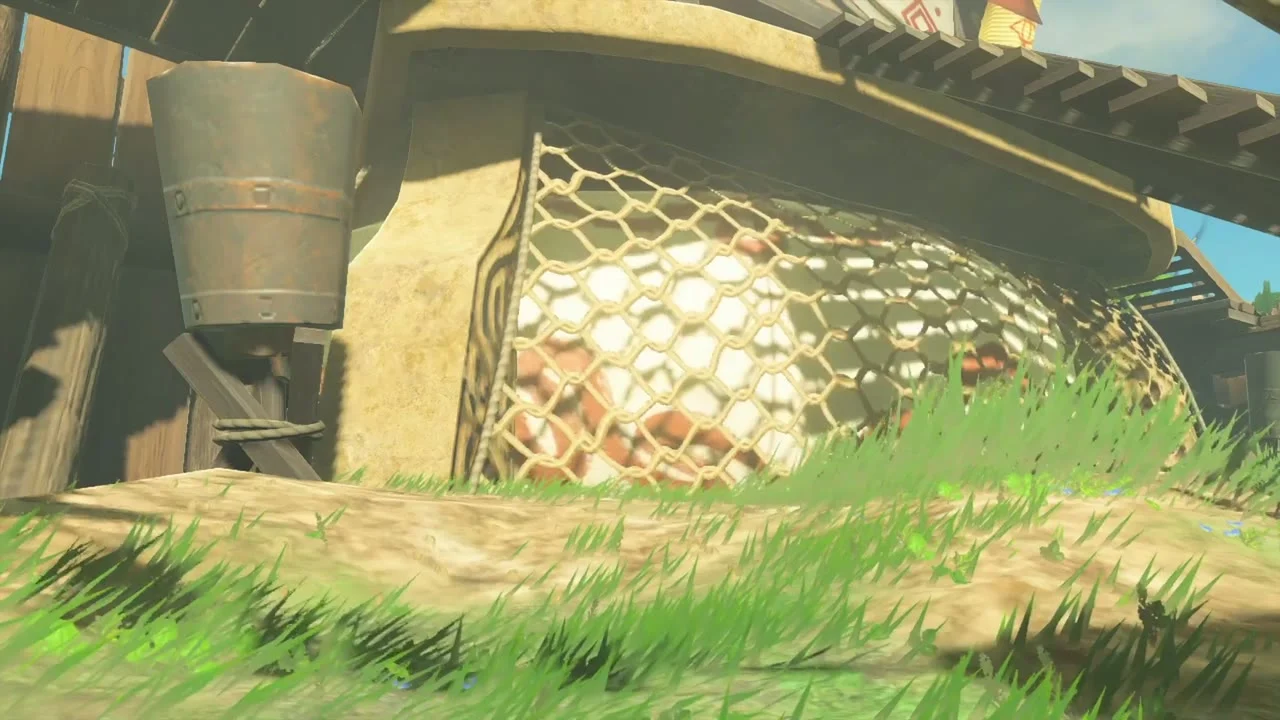
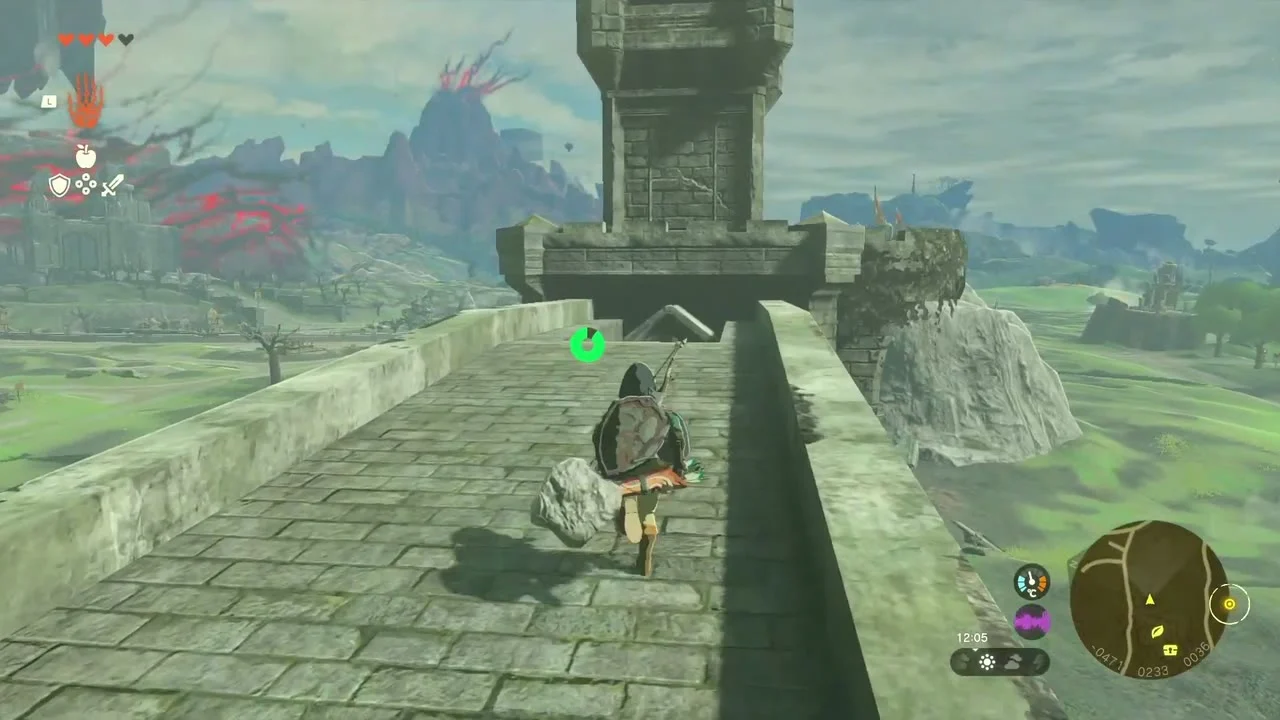
Korok seed (follow the flowers): glide west of town to a rocky hill with a trail of yellow flowers. Follow it over the ruined stone bridge, through the gatehouse tower and up its stairs to the rock arch, where the Korok appears.



Passeri Greenbelt Cave. West of Lookout Landing, just north of the road, a dark opening sits at the foot of a pale rock outcrop between two boulders. Inside are Horriblins, a chest with a Spiky Spear on their lookout tower and a Bubbulfrog for a Bubbul Gem.
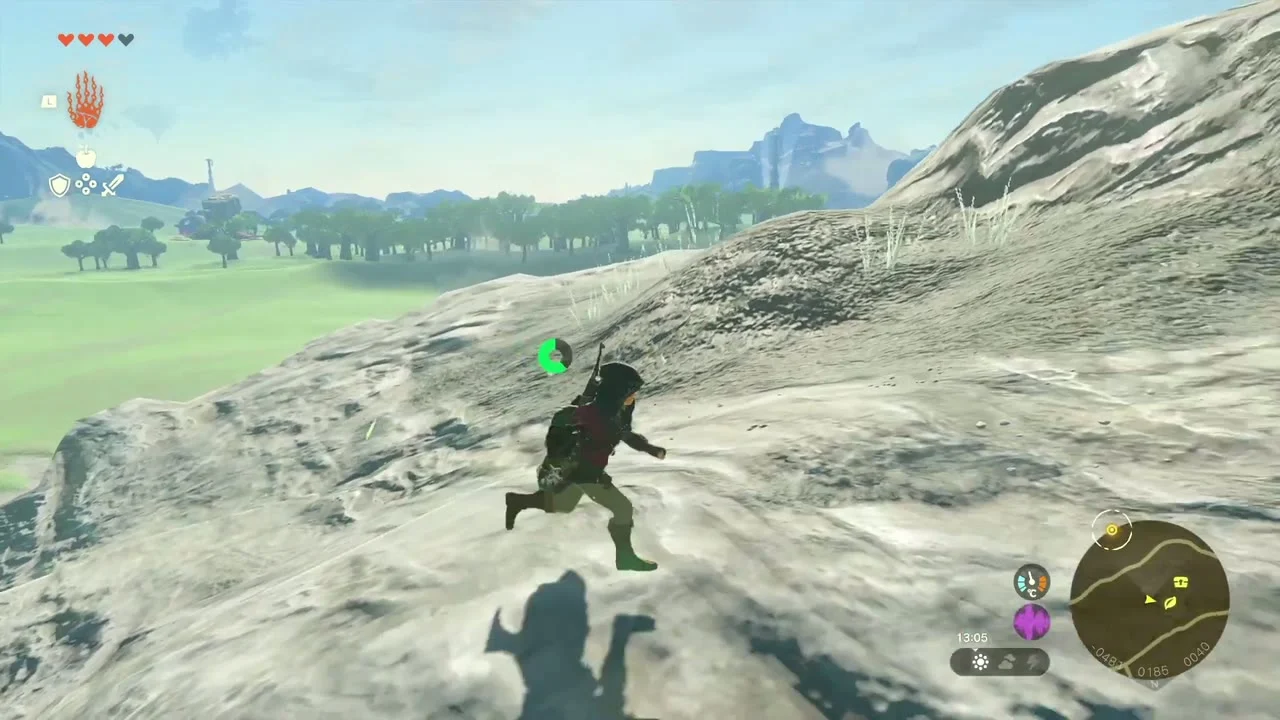

Leftovers west of the castle: a Broadsword chest and two Blue-White Froxes
Once you have the Paraglider, three loose ends are left west of Hyrule Castle: a boulder-covered chest on the hillside above the moat, and the two Blue-White Froxes in the Depths below the Hyrule Castle Moat.
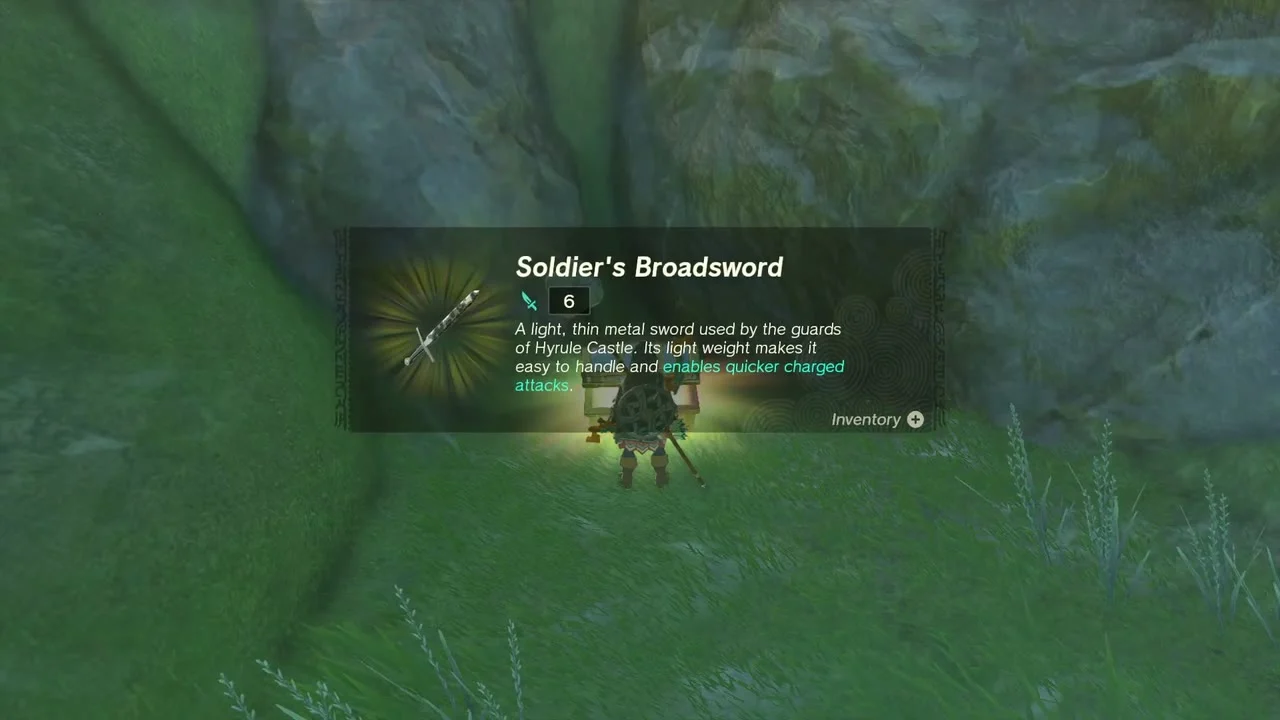
Chest: Soldier’s Broadsword (hillside west of the Water Reservoir). Climb the grassy hillside between the Quarry Ruins and the Hyrule Castle Moat West Chasm, west of the Water Reservoir (map coordinates about -747, 557). A stack of boulders is wedged against the rock face in a hollow near the top. Break it with a hammer, a rock-fused weapon or a bomb and the chest behind it holds a Soldier’s Broadsword. Free a weapon slot first.


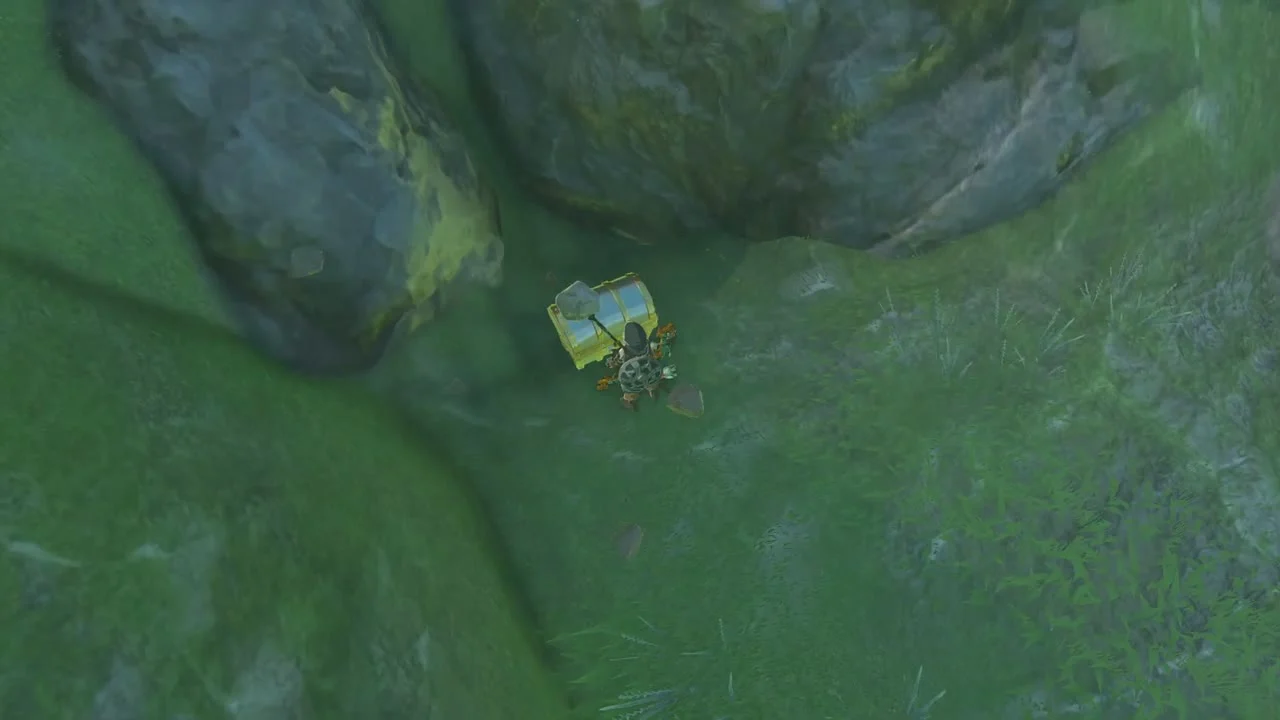
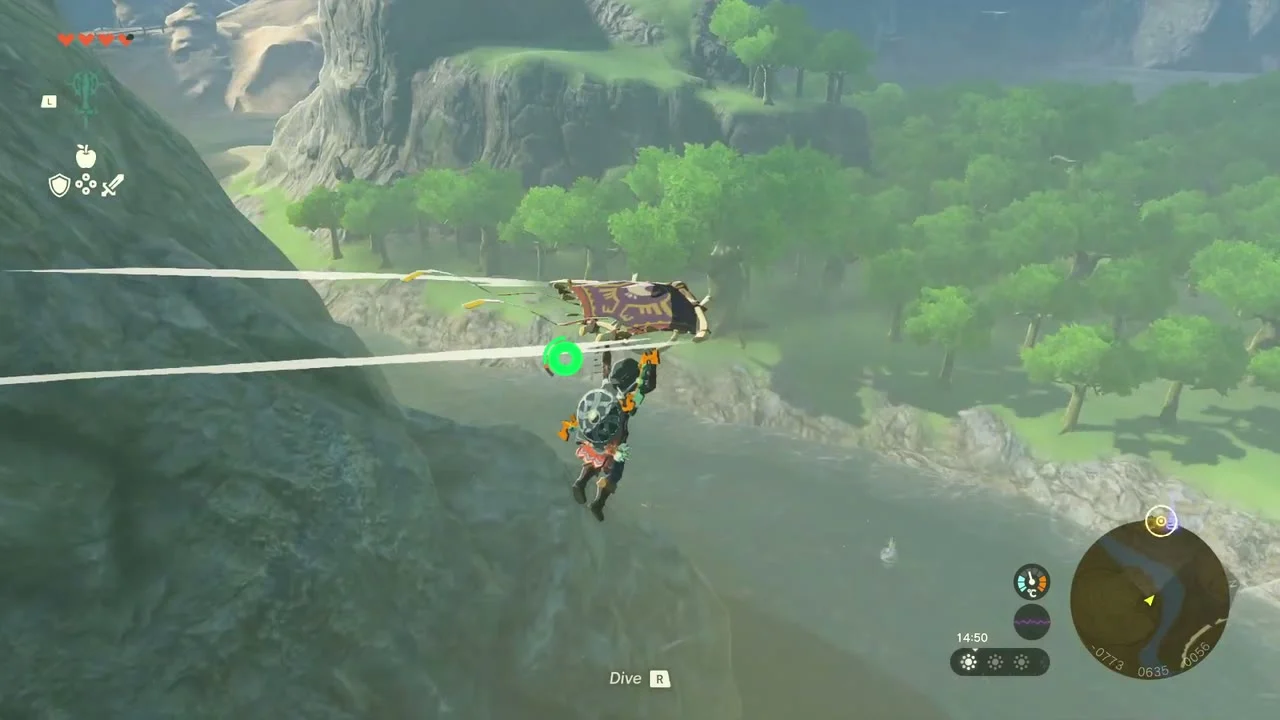
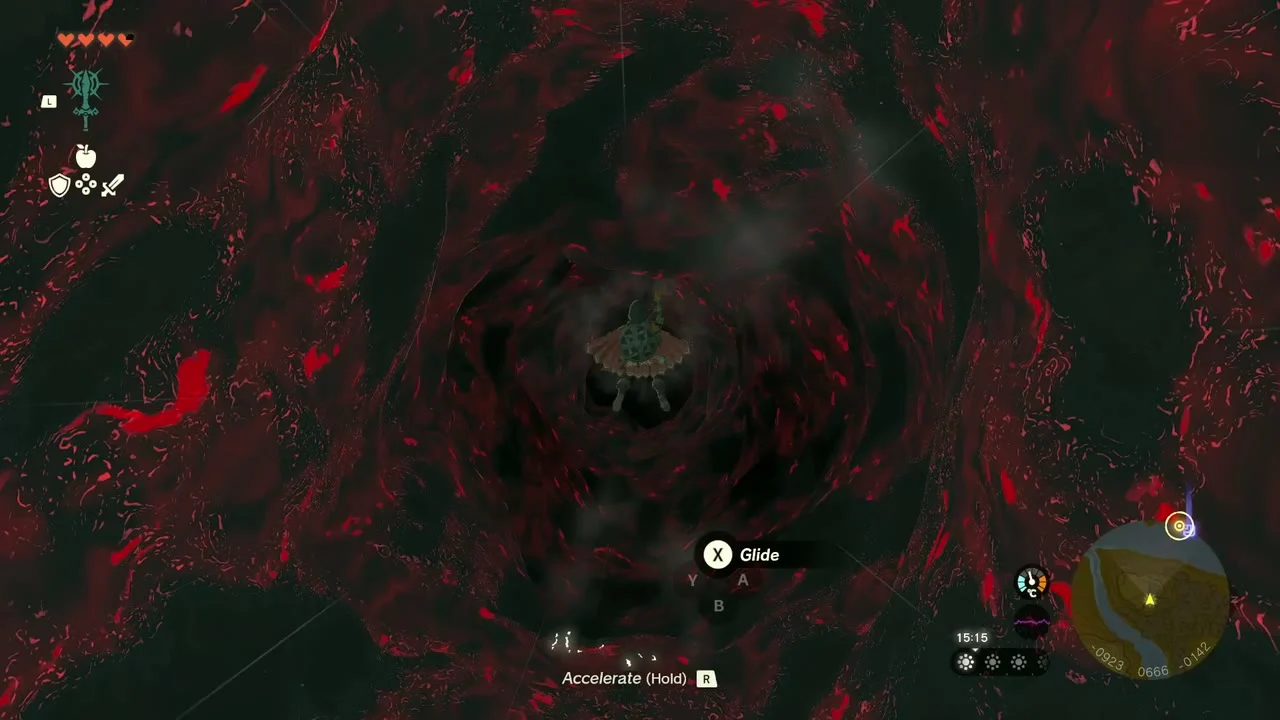
Hyrule Castle Moat West Chasm. From the chest, glide north-west down the river valley to the gloom-ringed hole of the Hyrule Castle Moat West Chasm and dive in. It drops you into an isolated part of the Depths below the moat’s leftmost island, in the dark and far from any Lightroot: carry Brightbloom Seeds and food that gives gloom resistance.
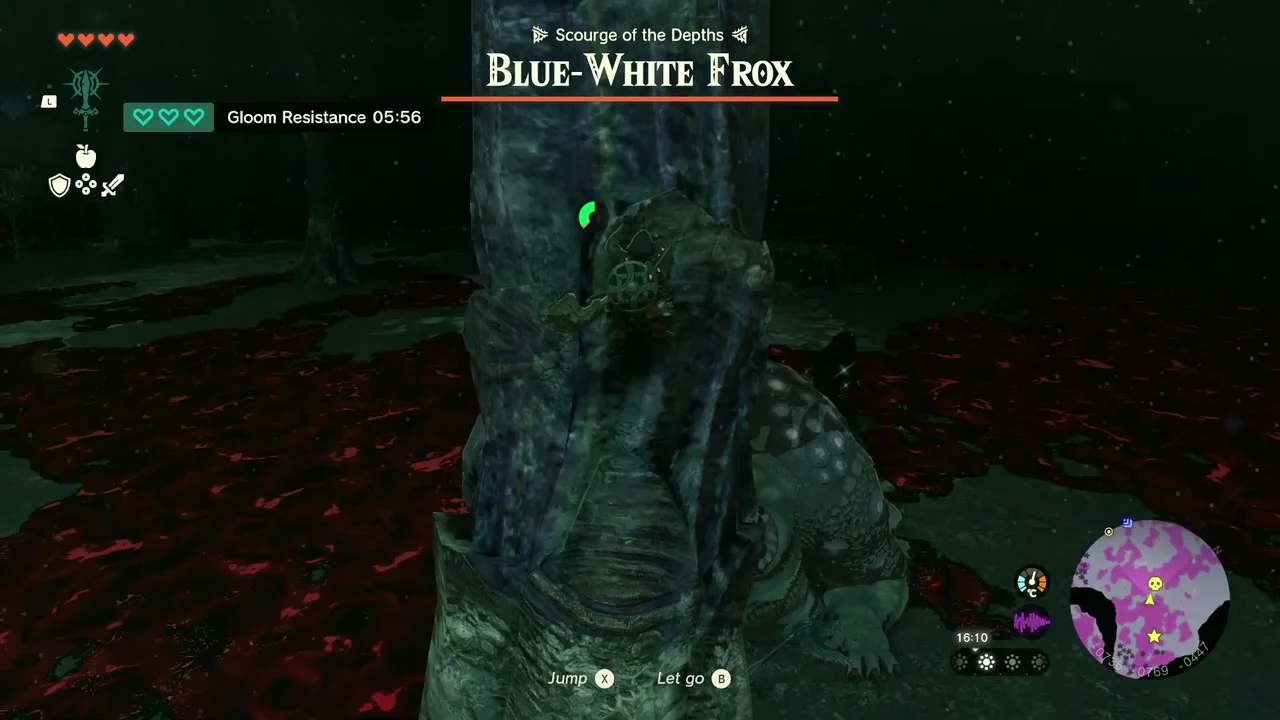
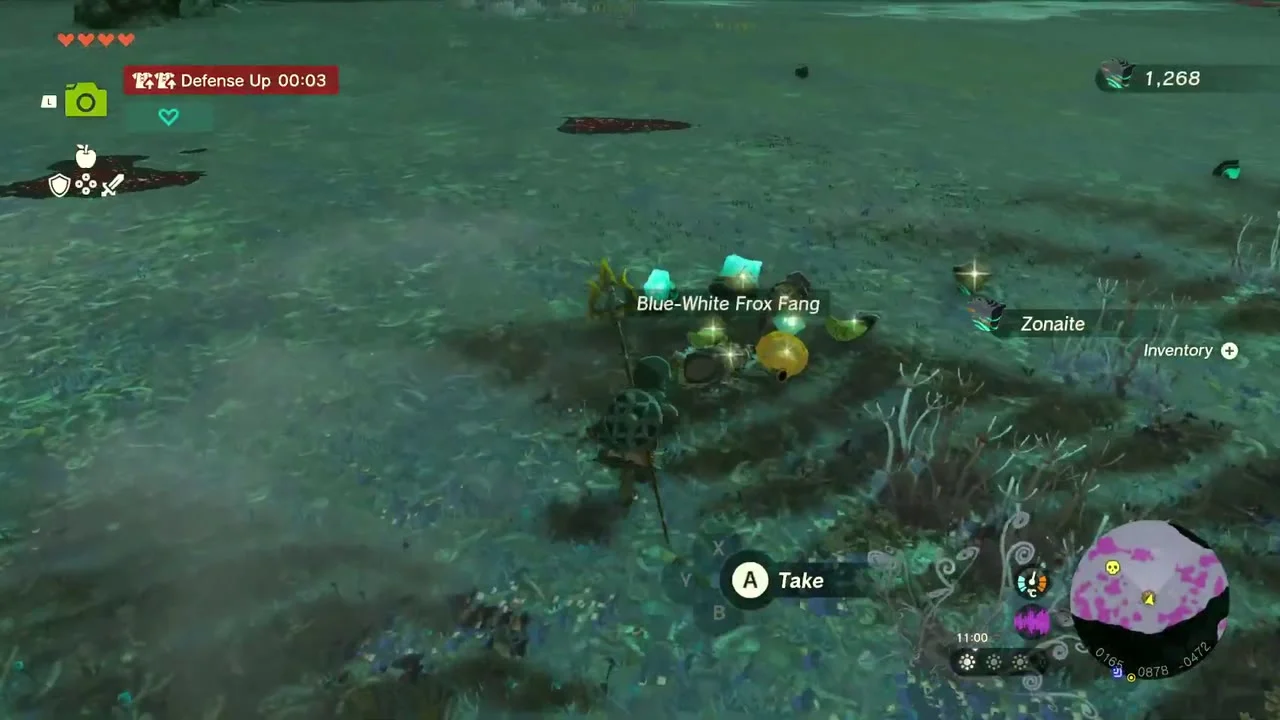
Miniboss: Blue-White Frox (below the moat’s leftmost island). The first Blue-White Frox lies in the gloom field on this island (map coordinates about -740, 790). Climb a tall mushroom-tree trunk beside it, stun it by shooting its eye or by firing a Bomb Flower arrow into its mouth as it inhales, then glide or run onto its back and smash the glowing ore with a hammer or other blunt weapon. When it throws you off, stun it again. Bring a spare strong weapon: breaking ore wears blunt weapons down fast.

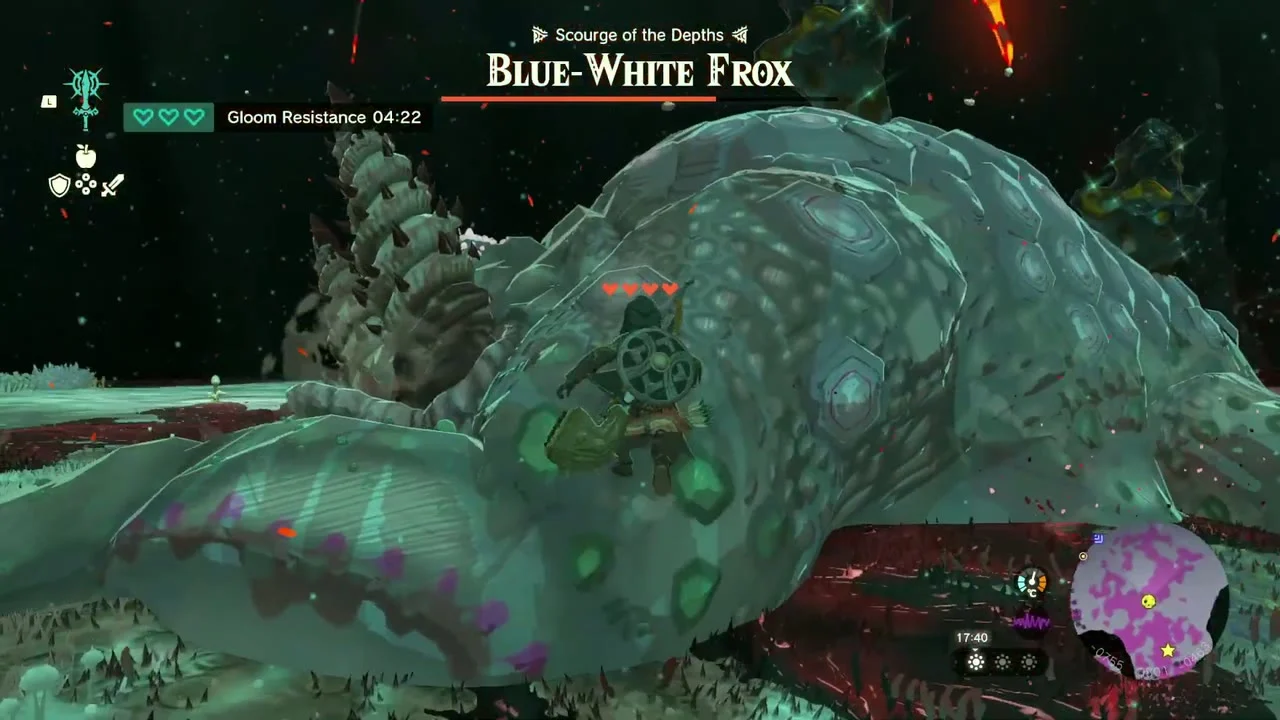
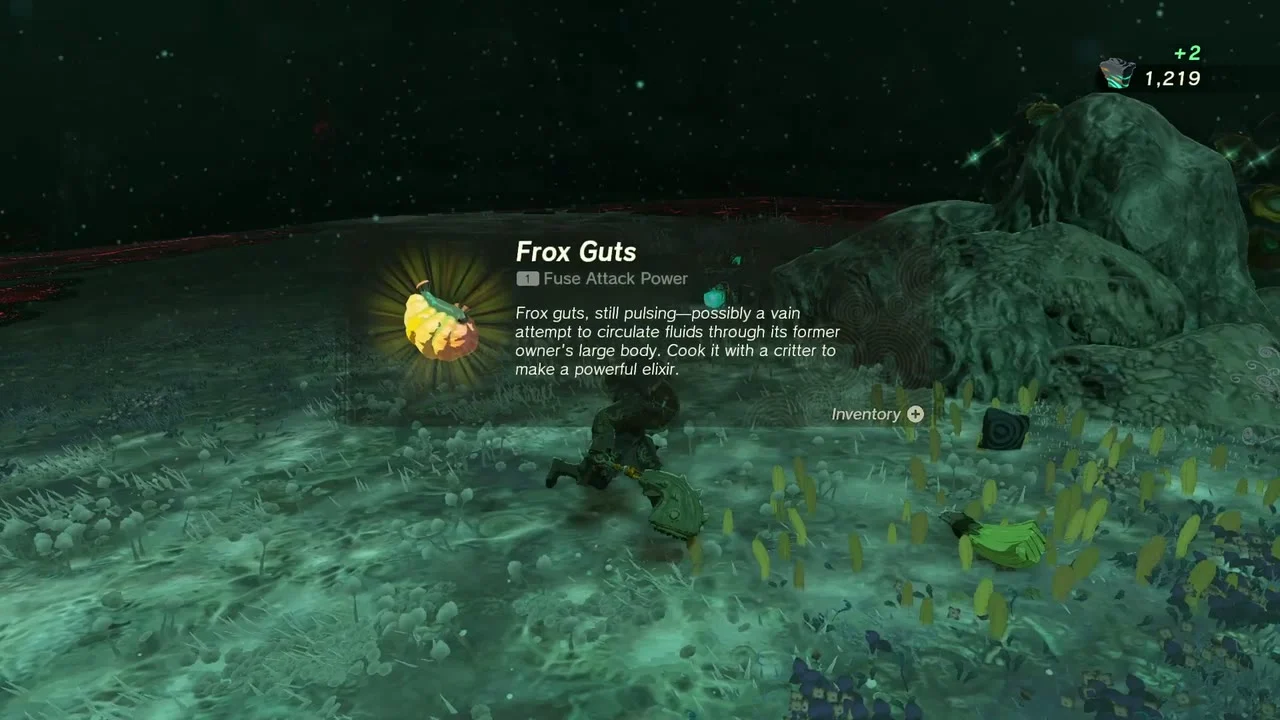
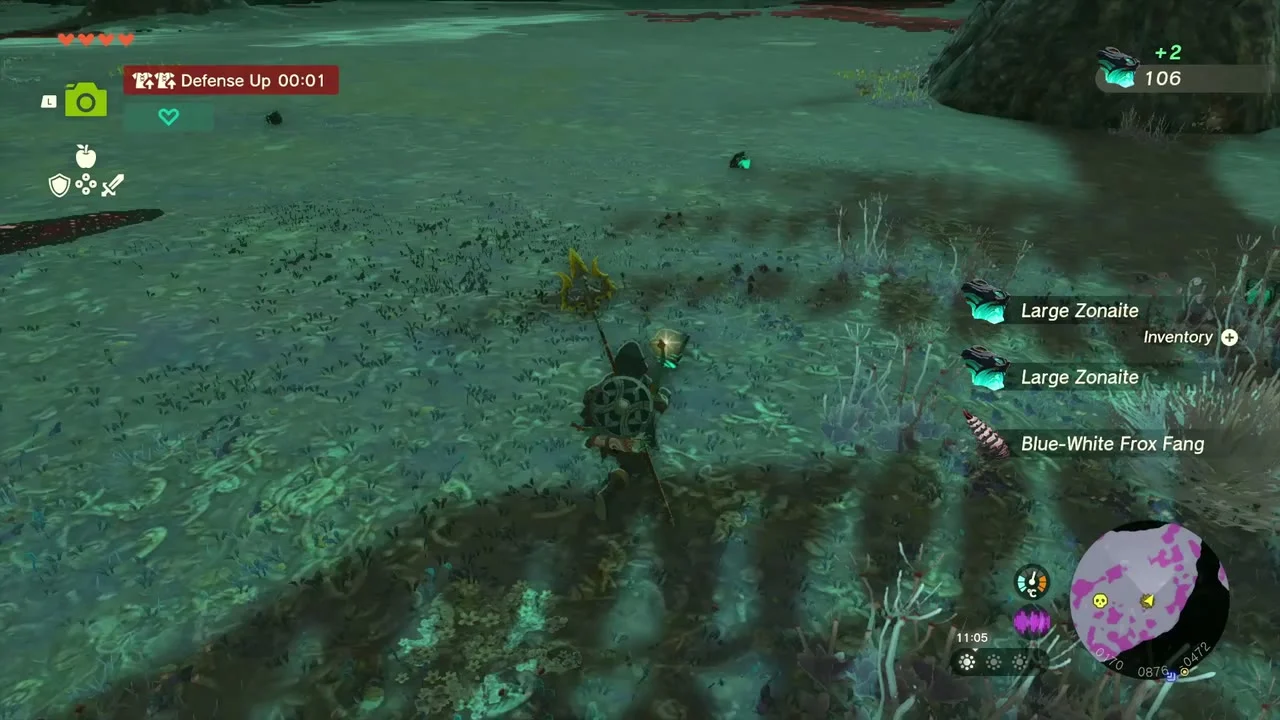
Drops (first Blue-White Frox). The fight pays out a Blue-White Frox Fang, Frox Guts and a Frox Fingernail, and the ore it leaves behind gives Large Zonaite and Zonaite.


Miniboss: Blue-White Frox (below the Moat East Chasm). The second one lies directly under the Hyrule Castle Moat East Chasm, south of the Apapes Lightroot (map coordinates about 175, 900).


Drops (second Blue-White Frox). It leaves a Blue-White Frox Fang and Large Zonaite x2 on the ground, with more Zonaite in the ore it leaves behind.
Completion tips
- Wells. Wells often hide their chest behind rock or in the dark: bring a hammer or rock-fused weapon and Brightbloom Seeds.
- Buried chests. Several chests in this chapter are half-buried; Ultrahand pulls them free.
- Blue-White Froxes. They are tough early on. Return once you have more hearts, spare strong weapons and gloom-resistant meals.
Collectibles in this chapter
| Collectible | Count | Where |
|---|---|---|
| Shrines | 2 | Jiosin Shrine, Kyononis Shrine |
| Korok seeds | 20 | 19 Koroks: 4 around Bottomless Pond and the field (one pair worth 2 seeds), 2 at Mabe Village Ruins and Jiosin, 4 in Hyrule Castle Town Ruins, 8 on the castle approach, 1 near Passeri Greenbelt Cave |
| Open-air chests | 11 | Soldier’s Shield, Traveler’s Bow, Rocket x3, Arrow x5, Opal, Soldier’s Bow, Soldier’s Broadsword, Blue Rupee, Red Rupee x3 |
| Minibosses | 2 | Blue-White Frox below the moat’s leftmost island; Blue-White Frox below the Moat East Chasm |
| West Passage chest | 1 | Soldier’s Bow |
| Wells | 3 | Bottomless Pond Well (Boomerang), Mabe Village Ruins Well (none), Lookout Landing Well (Royal Claymore) |
| Caves | 2 | Ranch Ruins Cave (Traveler’s Sword), Passeri Greenbelt Cave (Spiky Spear), one Bubbul Gem each |
| Armor pieces | 3 | Hylian Hood, Hylian Trousers, Hylian Tunic |
| Gifts and key items | 5 | Paraglider; Soldier’s Broadsword; Addison’s Red Rupee, Veggie Rice Balls and Sleepover Ticket |
