





















Tears of the Kingdom 100% Completion Walkthrough43 chapters
Great Sky Island
- Great Sky Island4 shrines, 4 caves and Bubbul Gems, 17 Korok seeds
Hyrule Field and Hyrule Castle
- Lookout LandingParaglider, Crisis at Hyrule Castle, Jiosin and Kyononis shrines, 2 caves, 3 wells
- Hyrule FieldSusuyai and Ishodag shrines, the Hyrule Field Chasm, 2 caves, 13 Koroks
- Hyrule Castle Town RuinsSepapa, Yamiyo and Tukarok shrines, 2 caves, 4 wells, Koroks, chests and Battle Taluses in route order
- Central Hyrule Depthslight all 7 Lightroots, loot Daphnes and Gustaf Canyon Mines, find the Miner's Top
- Rest of Hyrule CastleRoyal Hidden Passage loot, 8 castle chests, Phantom Ganon, Energy Wells
- South Hyrule FieldShrines, Koroks & the Great Plateau
- South Hyrule Field DepthsGreat Abandoned Central Mine, Master Kohga, Autobuild, Majora's Mask
Tabantha and Hyrule Ridge
- Tabantha FrontierNew Serenne Stable, Hestu, Courage Island and the Glide Shirt, 3 shrines, 2 Korok seeds, Lindor's Brow Cave
- Forgotten TempleImpa and the Geoglyphs, Dragon's Tears, Kiuyoyou and Mayausiy shrines, Yiga Maritta Branch, 9 Koroks
- Tanagar Canyon & Hyrule RidgeRunakit and Iun-orok shrines, 2 caves, 12 Koroks, 20 chests, 8 minibosses and Dragon's Tear 6
- Thundra Plateau & Tabantha Bridgesolve the noon shadow puzzle, Tabantha Bridge Stable, Makurukis Shrine, 19 Korok seeds, 9 chests, 3 minibosses
- Lindor's Brow DepthsLightroots; Two Yiga camps (Bomb Bouquet, Flamethrower Balloon)
- Hyrule Ridge and Tabantha FrontierIkatak, Oromuwak, Ganos and Ga-ahisas shrines, 4 caves, a well, 26 Koroks and 3 minibosses
Hebra
- Rito VillageGatakis and Ijo-o shrines, Sikatag Lightroot, 9 Korok seeds, 14 chests
- Hebra MountainsShrines, Wind Temple & Koroks; Raspro Pass, Biron Snowshelf & Royal Hidden Passage
- Corvash Canyon MineTrousers of the Hero, Floodlights schematic, Sea-Breeze Boomerang, four Lightroots, Colgera
- Raspro Pass DepthsNupisoyuat and Sasag Lightroots, Colgera, Cap of Time, Tunic of the Wind, two Yiga camps and 13 minibosses
- Tabantha TundraTaninoud, Orochium, Oshozan-u, Mayaotaki, Nouda and Tenbez shrines, three Lightroots, caves and Bubbul Gems
- Pikida Stonegrove DepthsEvil Spirit Greaves, Ikatoayam, Muihcoro and Sikatag Lightroots, 3 Yiga schematics, Frox fights
Great Hyrule Forest
- Great Hyrule Forest7 shrines, 8 Lightroots, 2 caves, 2 wells, Korok Mask, Glide Tights
Eldin
- EldinEldin Canyon, Shrines, Caves & Goron City
- Eldin Canyon Depths10 Lightroots, Zant's Helmet, Trousers of the Wild, Biggoron's Sword, 3 Yiga schematics and Eldin's sky chests
Faron
- FaronHighland Stable, Lake Hylia & Popla Foothills
Necluda
- Kakariko VillageMakasura Shrine, Kakariko Village Well, 2 caves, Ring Ruins chests, 10 Korok seeds and village quests
- West Necluda and Lanayru WetlandsShrines, Koroks & Caves; Jonsau, Kurakat
- Hateno VillageZanmik and Mayahisik shrines, Shield of the Mind's Eye and Phrenic Bow wells, 7 Koroks
- East NecludaRabella Wetlands, Sifumim Shrine, Lurelin Village, 21 Korok seeds
- East Necluda DepthsKumamayn Shrine, 4 Lightroots, Midna's Helmet, Cap of the Hero, Trousers of the Wind and 18 Depths chests
Lanayru
- Lanayru Great SpringShrines, Koroks & Caves; Ralis Channel, 3 shrines, 8 caves
- Zora's DomainMogawak and Ihen-a shrines, Ploymus cave, Pristine Sanctum, Zora Armor, Sidon of the Zora and Clues to the Sky
- Wellspring IslandAncient Zora Waterworks chests, Igoshon Shrine, 2 Korok seeds, Water Temple's four wheels and Mucktorok
- Mount LanayruShrines, Koroks & Light Rings; Jikais and Anedamimik shrines
Gerudo
- Gerudo DesertShrines, Caves & Koroks; West and South Sands
- Gerudo TownGerudo Shelter shops and quests, Valley of Silent Statues, Lightning Temple and Queen Gibdo, Chichim Shrine
- Gerudo Desert DepthsGranajh and Daval mines, three Master Kohga fights, Queen Gibdo, Mucktorok, Sheik's Mask and 37 chests
- Gerudo HighlandsSkyview Tower, Rotsumamu and Suariwak shrines, Mayasiar Shrine, Yiga hideout
Akkala
- AkkalaTarrey Town quests, 4 shrines, Hinox, Battle Talus
- Akkala Sky Islands and DepthsGikaku and Natak shrines, Old Maps, Lomei Depths Labyrinth, Mucktorok, 5 Lightroots and 19 chests
Finale and completion
- Ancient Tablets, Gleeoks and Armor Upgradesall 13 stone tablets with coordinates, Frost and King Gleeok, Obsidian Frox, Cotera upgrades and farming
- Hyrule CastleRoyal gear chests, Korok seeds, Serutabomac Shrine
- Thunderhead IslesCharged armor, Joku-usin and Joku-u Shrines, Dragonhead Island's relic
- 100% Completion: Armor Upgrades & Korok BonusHestu's Gift, Ancient Hero's Aspect, Great Fairy Cotera upgrade costs and materials, then Destroy Ganondorf
This chapter is in 4 parts, in the order a 100% run reaches them. Jump to a part:
Part 1: Eldin Canyon, Shrines, Caves & Goron City
| Region | Eldin Canyon: Woodland Stable and Pico Pond in the west, Bedrock Bistro and the Goronbi River in the middle, Goron City and YunoboCo HQ in the north-east |
|---|---|
| Main quests | Recovering the Hero’s Sword (finished), Yunobo of Goron City (started) |
| Side quests | Serenade to a Great Fairy, The Hunt for Bubbul Gems!, The Search for Koltin, A Picture for Woodland Stable, Meat for Meat, Cash In on Ripened Flint, Amber Dealer, The Ancient City Gorondia!, Simmerstone Springs |
| Shrines | Ekochiu Shrine (Rise and Fall), Timawak Shrine (Against the Flow), Marakuguc Shrine (Wheeled Wonders) |
| Lightroots | Uihcoke Lightroot in the Depths (see all Lightroots) |
| Skyview Tower | Eldin Canyon Skyview Tower (see all towers) |
| Caves and wells | Pico Pond Cave, West Restaurant Cave, Southern Mine, Goronbi River Cave, Woodland Stable Well (see all caves) |
| Bubbul Gems | 4: Pico Pond Cave, West Restaurant Cave, Southern Mine, Goronbi River Cave |
| Korok seeds | 23 (see all Korok seeds) |
| Armor | Bokoblin Mask (Koltin), Flamebreaker Helm, Armor and Boots (Goron City) |
| Miniboss | Flux Construct II (Depths), Igneo Talus (Eldin Canyon) |
This chapter finishes the Depths under Great Hyrule Forest, then opens Eldin Canyon: climb the tower, clear Ekochiu Shrine beside Woodland Stable, work through the lava-filled caves of the canyon floor, pull the Master Sword from the Light Dragon, and finish at Goron City with Marakuguc Shrine and the Yunobo quest. Coordinates are map units (X, Y, height); larger Y is further north. Fireproof gear matters from here on: bring Flame Guard elixirs or buy Flamebreaker armor in Goron City.
Before you start
Eldin Canyon is hot, so the first thing to plan is heat protection. Cook or buy Flame Guard elixirs, or plan to buy the Flamebreaker set in Goron City, and keep Ice Fruit and White Chuchu Jelly in your pouch for lava rafts. Stock up on arrows, fire-resistant food and Brightbloom Seeds, because the caves here are dark and several chests are only reachable across molten rock. If you arrive from the Depths, you can stay underground until the Uihcoke Lightroot and then ride the root’s beam up to the surface near Woodland Stable.
Quick route
Defeat Flux Construct II and light the Uihcoke Lightroot in the Depths, then surface and activate Eldin Canyon Skyview Tower.
Clear Ekochiu Shrine next to Woodland Stable, bring the musicians’ wagon to Great Fairy Tera, and drop into Woodland Stable Well. Give Koltin a Bubbul Gem from Pico Pond Cave for the Bokoblin Mask, then sweep the western canyon for ice-slab chests and four Korok seeds.
Pull the Master Sword from the Light Dragon, take the chests and Korok seeds across the canyon, defeat the Igneo Talus, clear Timawak Shrine and finish Meat for Meat at Bedrock Bistro.
Work through Southern Mine and Goronbi River Cave for their Bubbul Gems, then reach Goron City, buy Flamebreaker armor, clear Marakuguc Shrine, ride the mine cart for Dugby and start Yunobo of Goron City.
Finishing the Depths under Great Hyrule Forest
Miniboss (Flux Construct II) and Uihcoke Lightroot. The last stretch of the Depths below Great Hyrule Forest ends in a circular arena guarded by Flux Construct II. Break its glowing core with attached Bomb Flowers or any heavy weapon, grab the Zonai Charges and Flame Emitter it drops, and then walk to the root cluster at about (1063, 1281, -516). Touching the roots opens the Uihcoke Lightroot, which lights up the Depths below Ekochiu Shrine and gives you a fast route back up.


Eldin Canyon Skyview Tower and the first chest
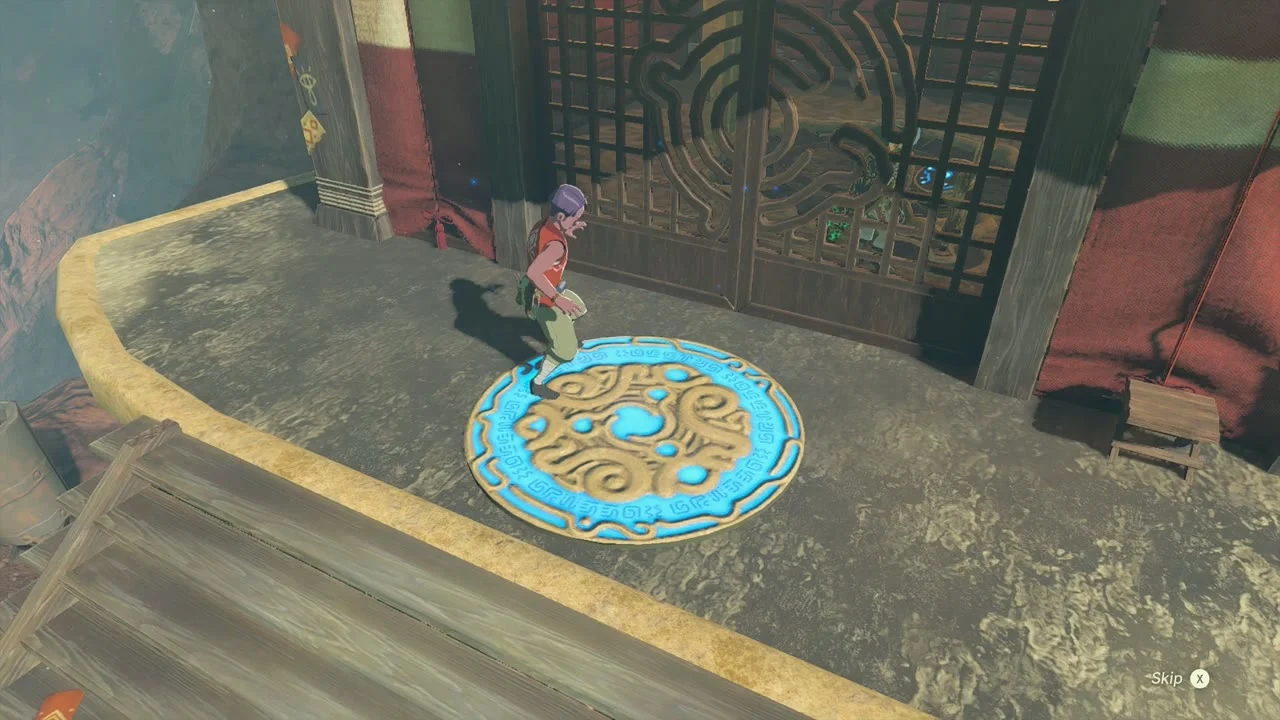
Skyview Tower. Eldin Canyon Skyview Tower stands at (1642, 1191, 219) on the western edge of the canyon, close to Woodland Stable. Slip through the lattice door, step on the terminal and launch; the map for the whole canyon fills in. The roof chest at the top of the tower holds a Large Zonai Charge.

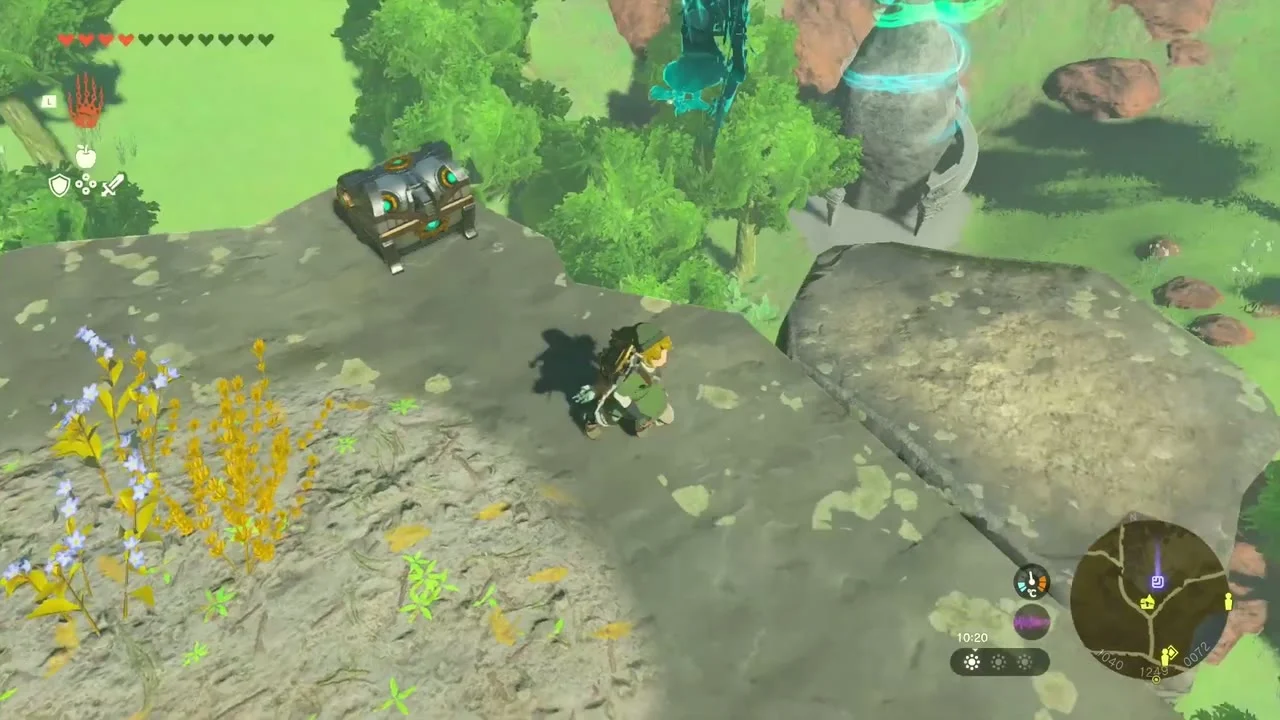
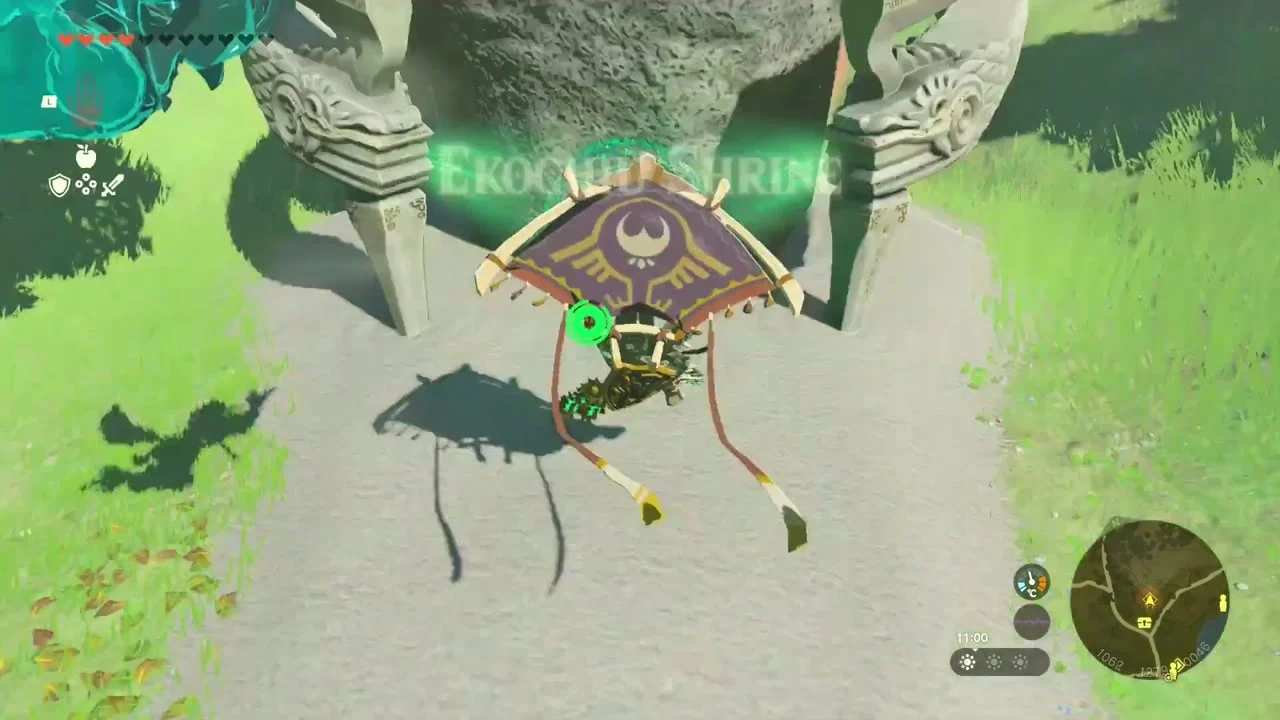
Chest (Rocket x3) and Ekochiu Shrine. Just north of the tower, a chest sits on a rocky ledge among the trees and holds a stack of Rockets. Follow the trail to the shrine on the road at (1062, 1280, 59); the Travel Gate in front unlocks fast travel to Woodland Stable.
Ekochiu Shrine
Ekochiu Shrine (Rise and Fall, a puzzle trial) stands just north of Woodland Stable at (1062, 1280, 59) with the Uihcoke Lightroot directly below it. The trial is three rooms built around Recall, with a chest of a Mighty Zonaite Shield (Strong or Mighty, depending on your progress) on the way.
Recall your way across three rooms
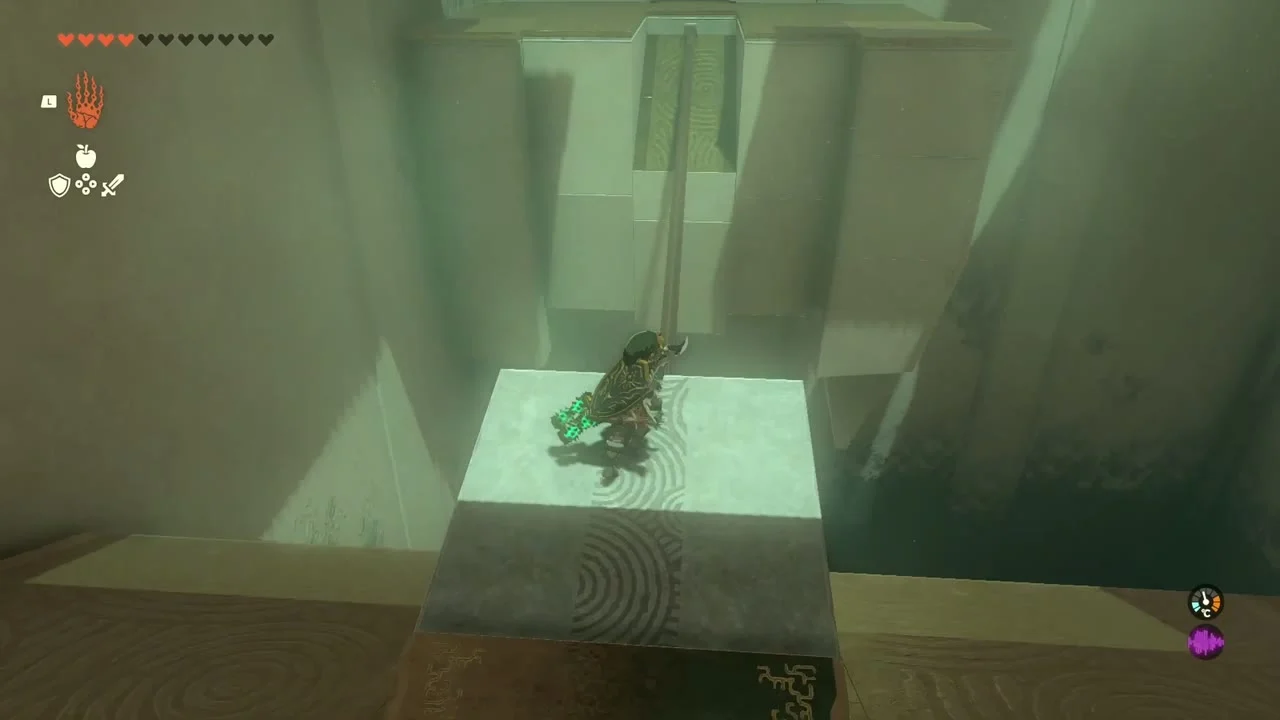
In the first room, step on the switch to launch the stone platform across the gap, ride it and Recall it to carry you over. In the next room, climb onto the floating crate, Recall it up the stream and glide to the left ledge for the chest: a Mighty Zonaite Shield. In the last room, use Ultrahand to place the blocks on the floor switches, Recall the crate to launch yourself up and glide to the green runes for the Light of Blessing.


Woodland Stable: Great Fairy Tera and the well
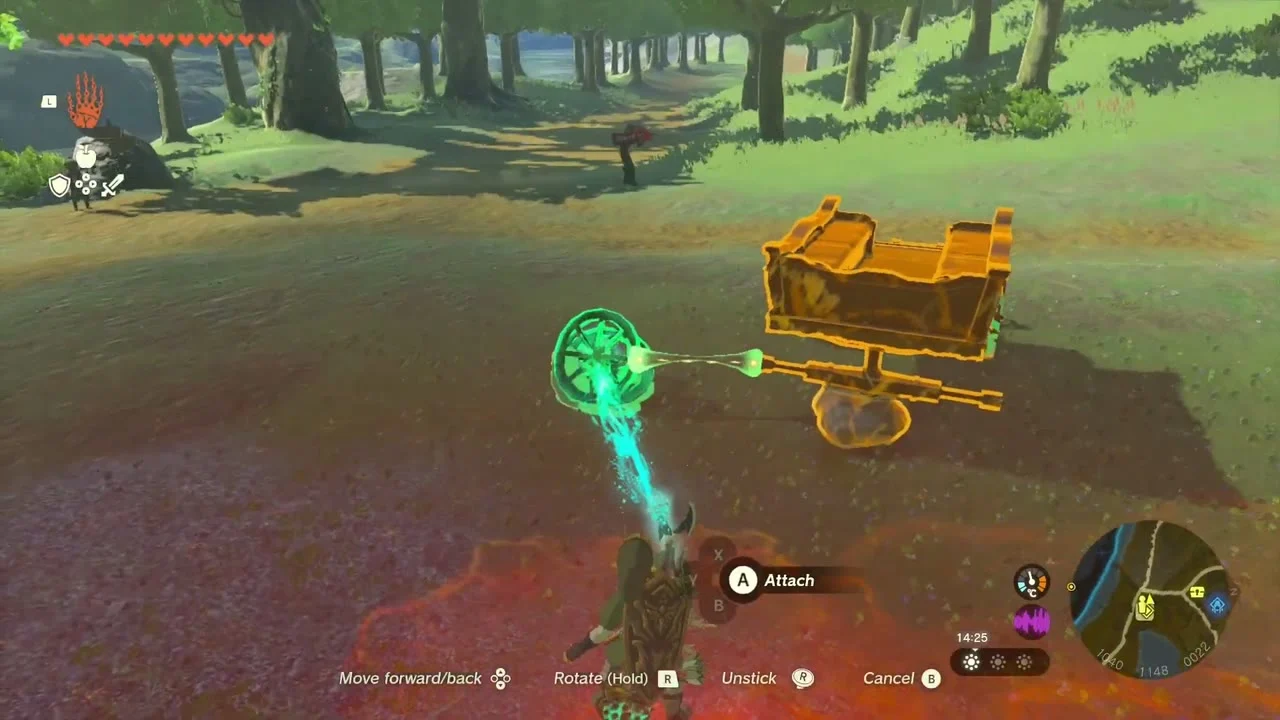
Quest: Serenade to a Great Fairy. Penn at Woodland Stable (quest page) is with the musicians who lost their route to the Great Fairy. Fix the wagon with two wheels from the shed using Ultrahand, hitch a horse that has a Towing Harness and pull the wagon north along the road to the giant plant. The fairy appears when the musician plays. Great Fairy Tera upgrades armor from here on.


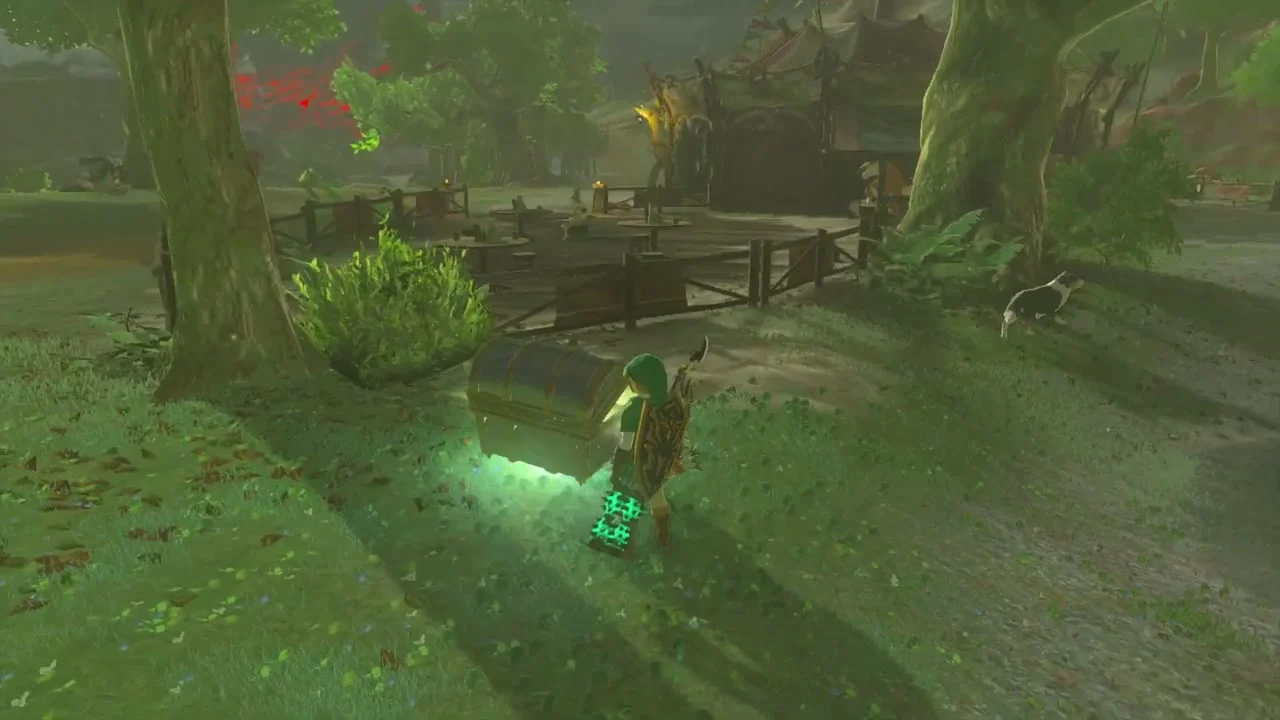
Woodland Stable Well and Giant Brightbloom Seeds. A chest beside the stable path gives Giant Brightbloom Seed x5. The Woodland Stable Well stands under the wooden awning next to the stable; climb down for a short, dark tunnel that you light with the seeds.

Quest: A Picture for Woodland Stable. Kish (quest page) wants a photo for the empty frame. Photograph a Goron bathing in the hot springs south of Goron City with the Camera, then bring the picture back.
Koltin, Pico Pond Cave and the western chests
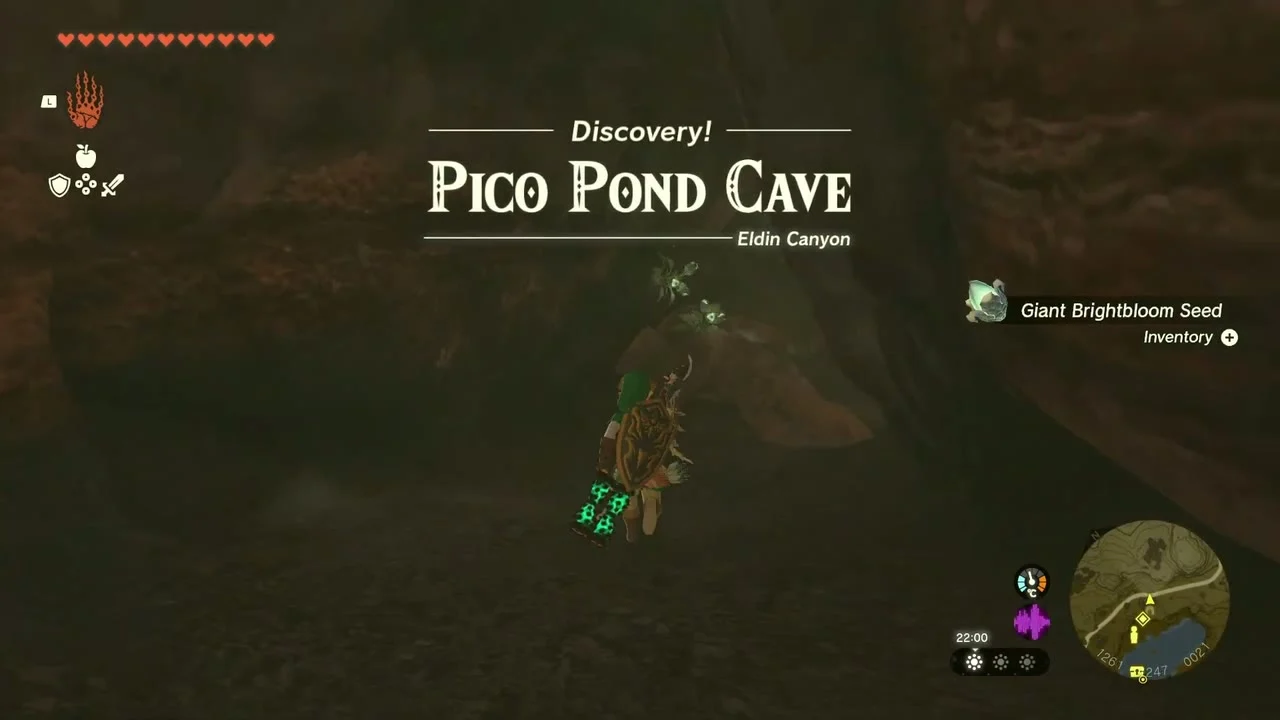
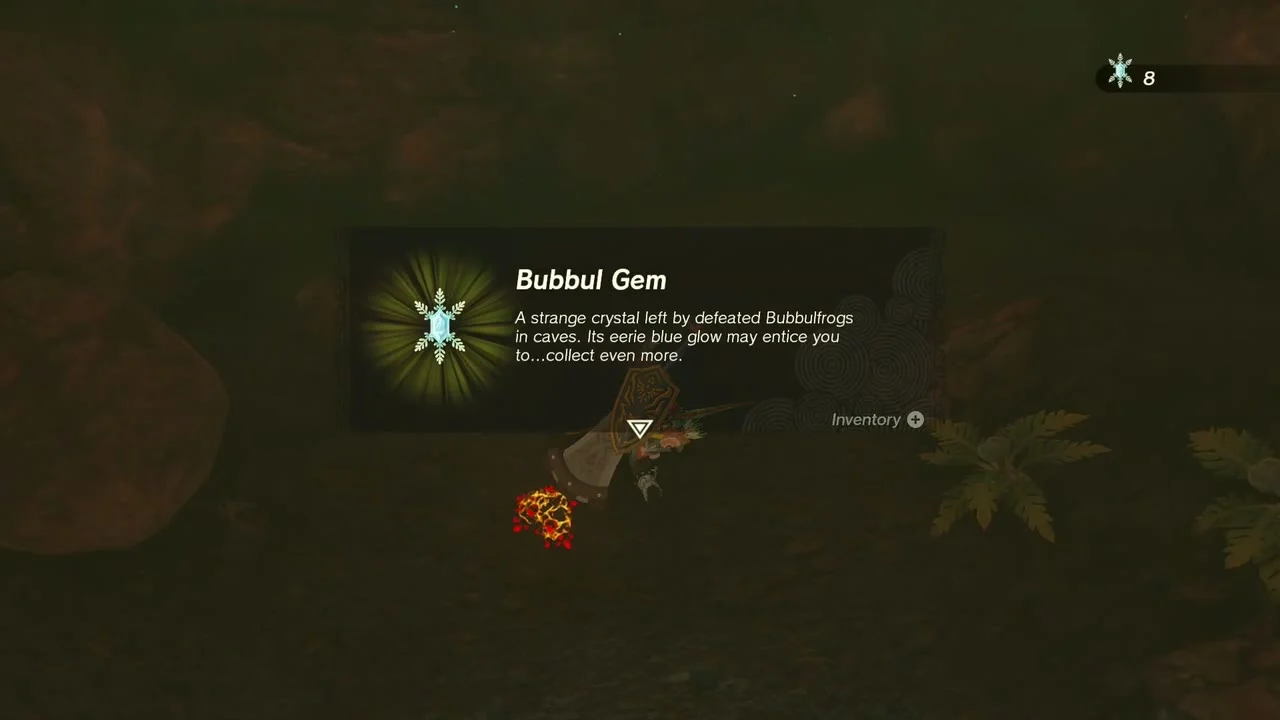
Quest: The Hunt for Bubbul Gems! Kilton’s brother Koltin (quest page) is outside Pico Pond Cave at (1247, 1231, 25). Enter the cave, break the Bubbulfrog and collect the Bubbul Gem, then hand it over to Koltin for the Bokoblin Mask. That starts The Search for Koltin, and the cave is now fully mapped.

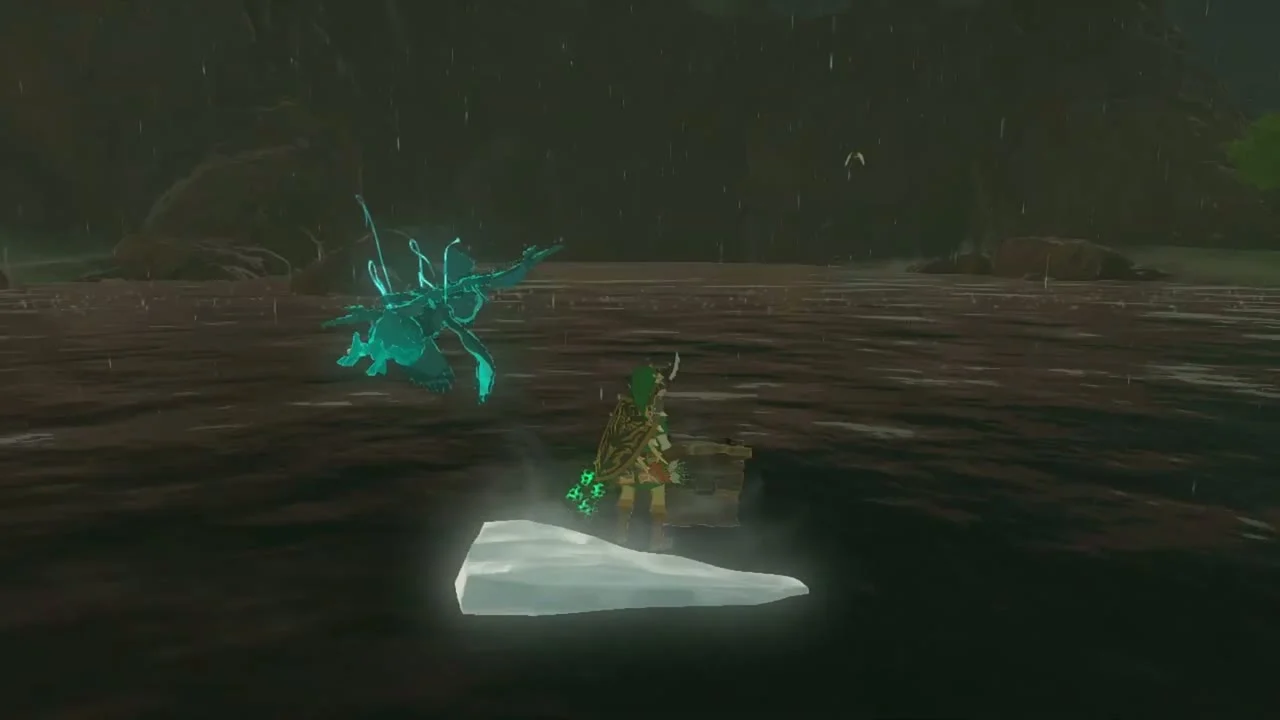
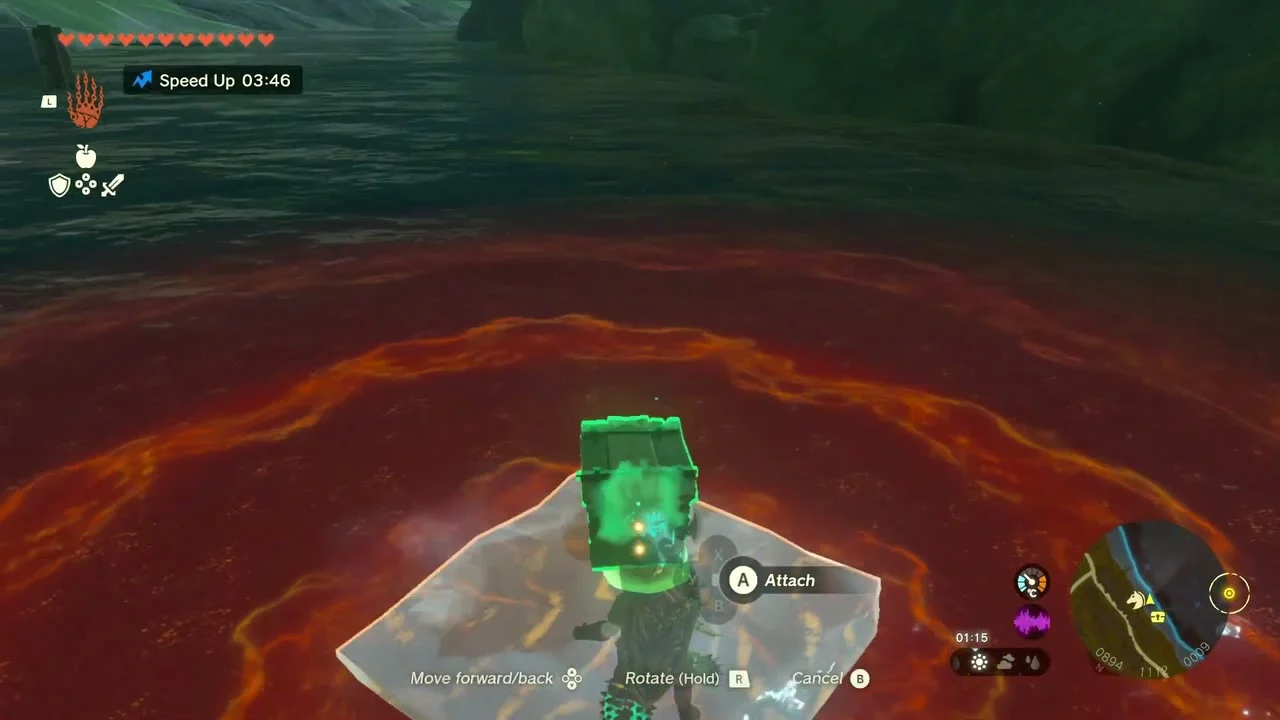
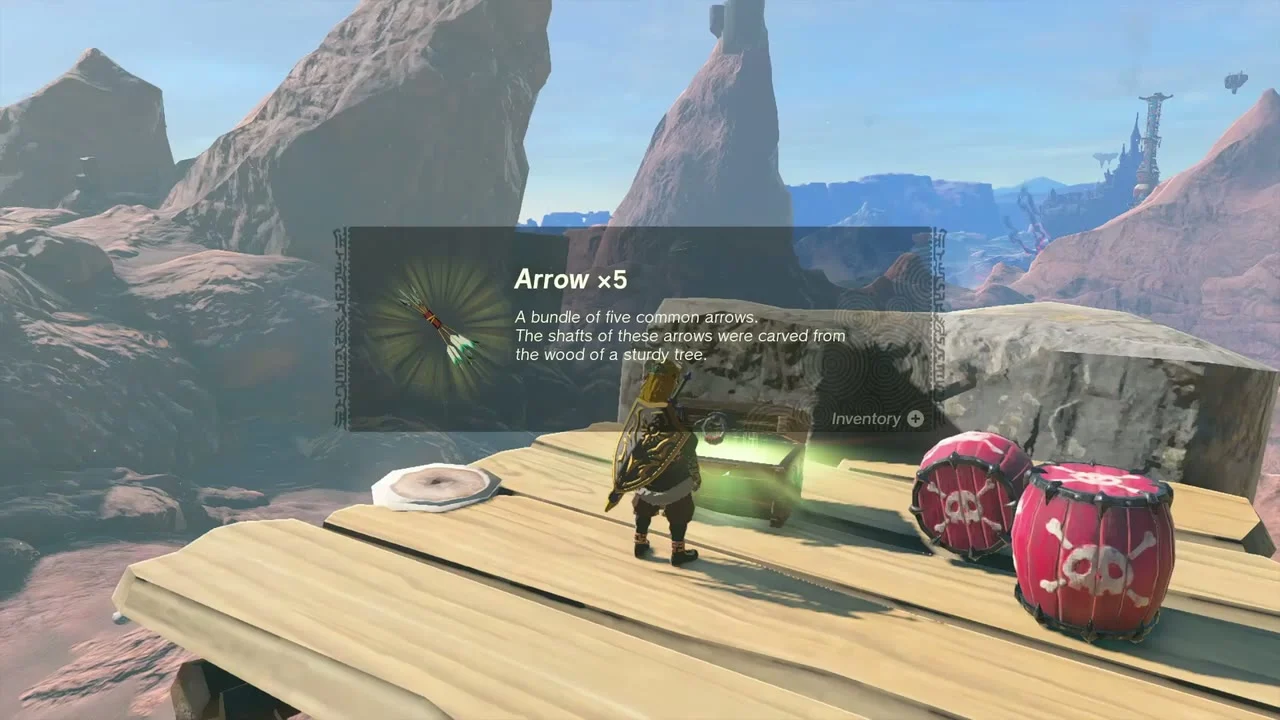
Ice-slab chests. Chests surrounded by lava in this stretch are reached on an ice slab: attach White Chuchu Jelly or an Ice Fruit to a Zonai board with Ultrahand, float it onto the lava and push it to the chest. This gets you the Amber chest at the first lava pool, the Arrow x5 chest on the river bank and a Royal Broadsword (or Traveler’s Sword, Soldier’s Broadsword or Knight’s Broadsword, depending on your progress) in a ruined wooden fence line. A Purple Rupee and a Royal Bow (or Traveler’s Bow, Soldier’s Bow or Knight’s Bow, depending on your progress) chest sit a little further along, and an Opal chest is on a wooden platform that rises out of the bog.

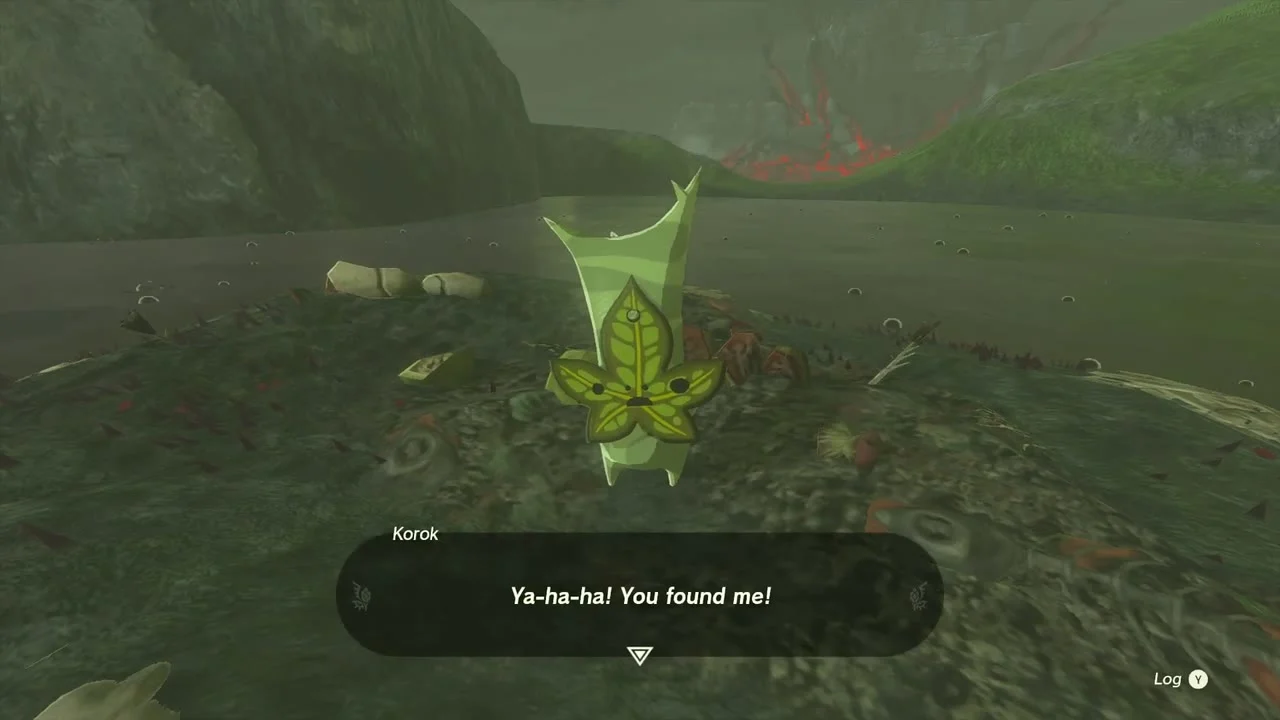
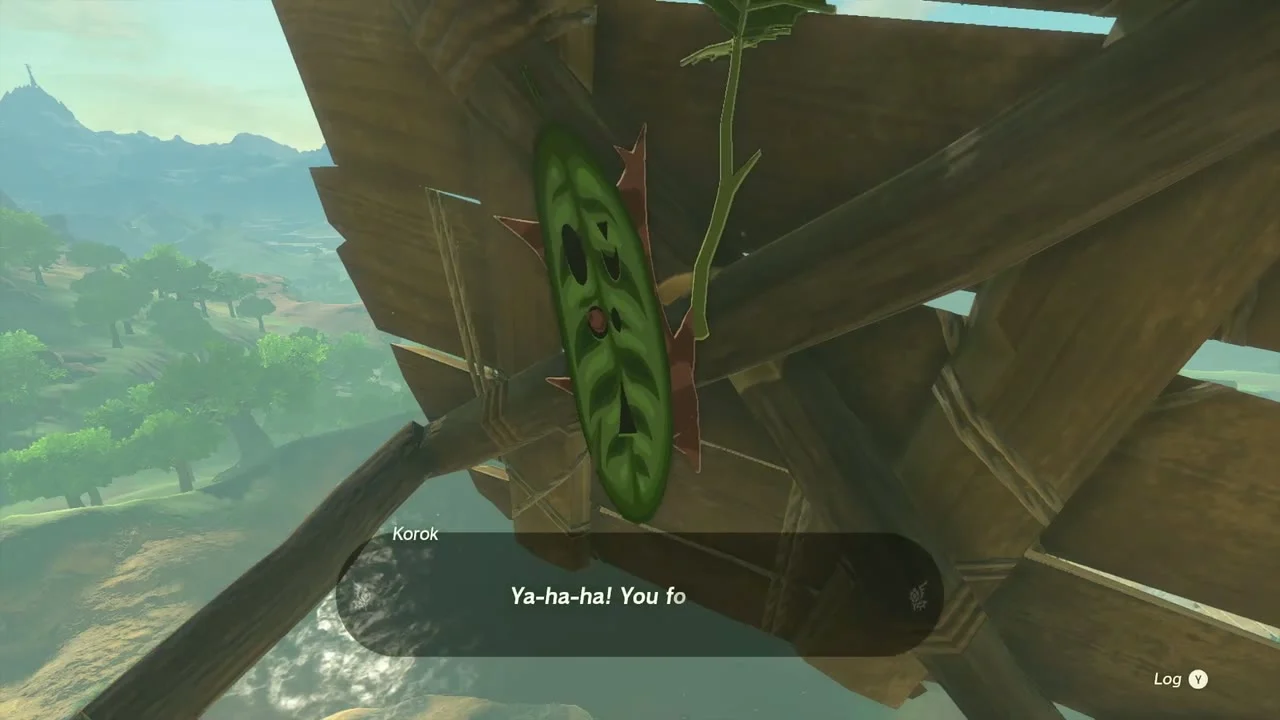
Korok seeds (west canyon). Four seeds sit in this stretch: one on a grassy mound beside a collapsed bridge, one on a raft in the pool further east, one under the span of the broken wooden bridge, and one behind hidden balloons in the forest. Look for the green sparks as you cross each area and use the matching trick (pick up the stone, pop the balloons or follow the arrow marks).


The Master Sword and the Light Dragon
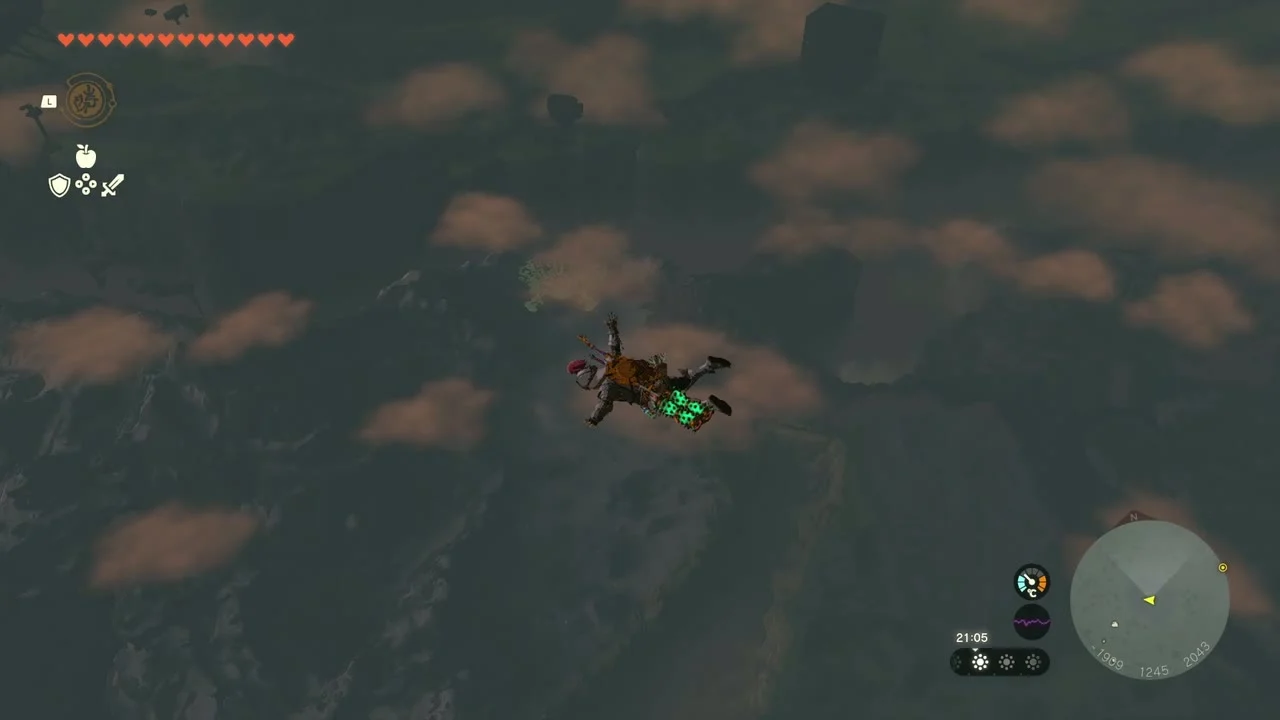
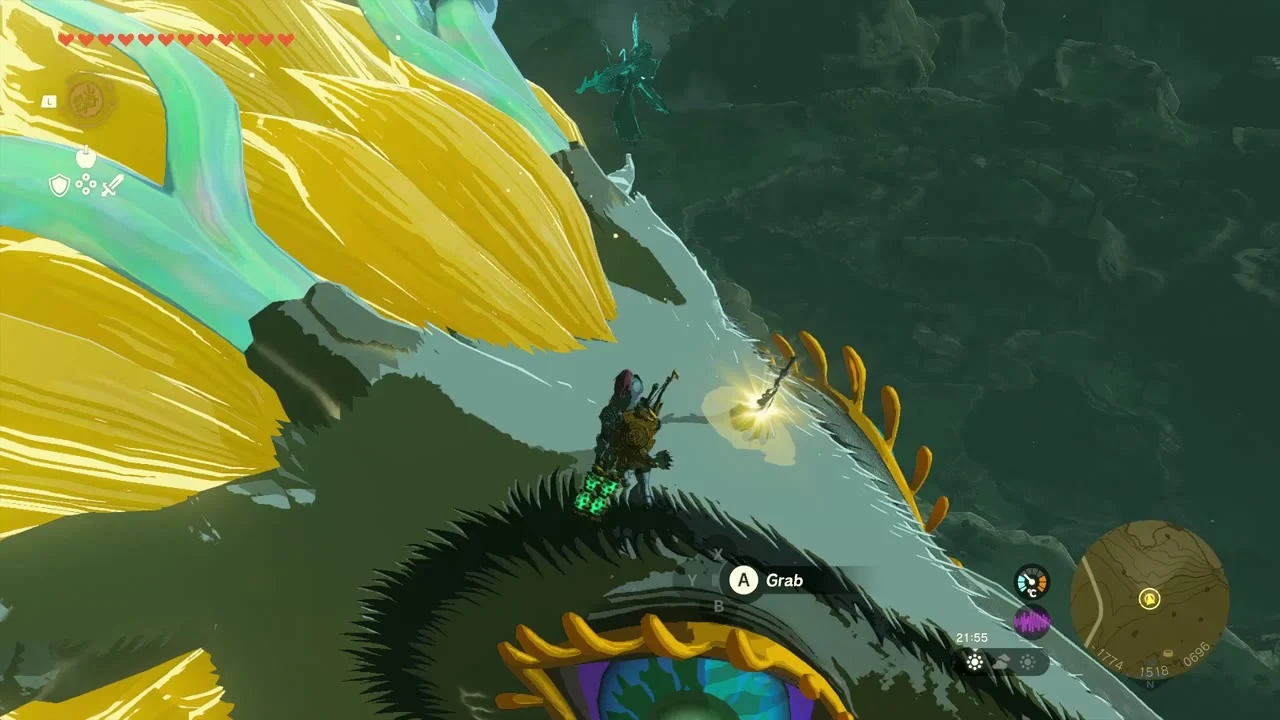
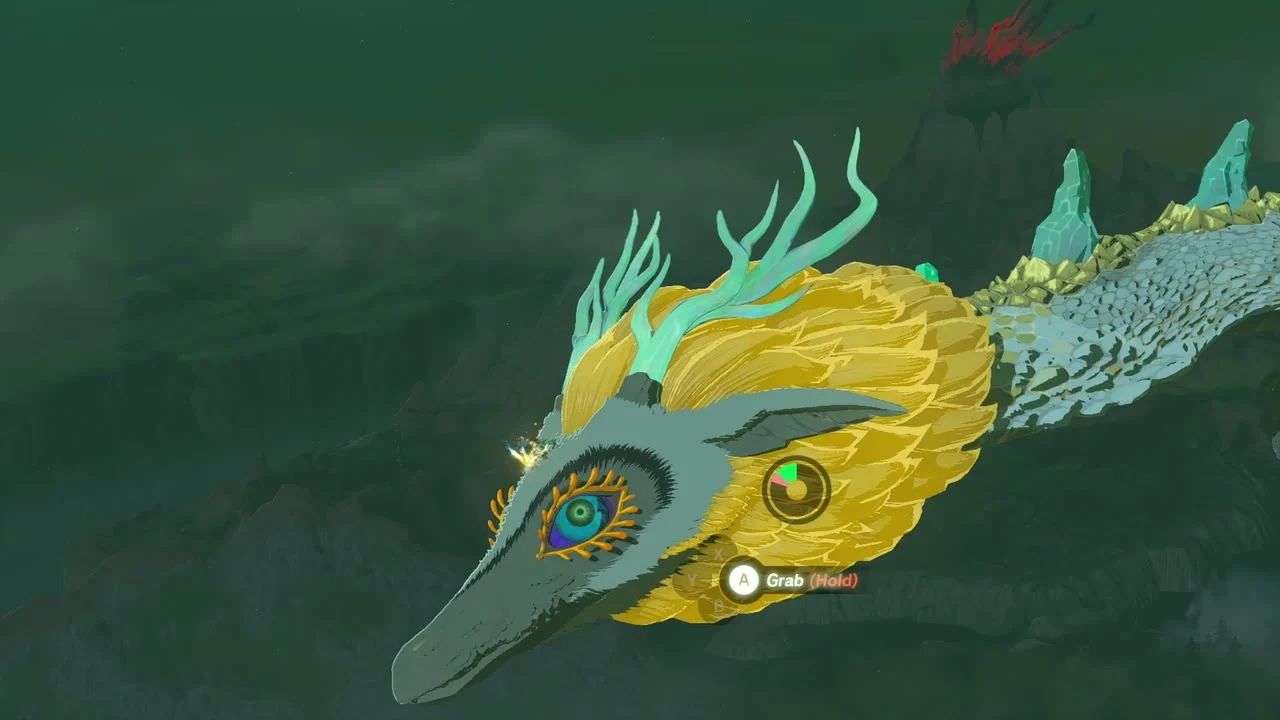
Main quest: Recovering the Hero’s Sword. The Light Dragon is circling over the canyon. Launch off a cliff, skydive and land on its head, walk along the neck and grab the Master Sword. You need two full stamina wheels; the temporary yellow stamina from food does not count, and the dragon shakes you off if you run out of stamina on the climb. This completes the quest and gives you the Master Sword. While you are on the dragon, you can also shear its scales, claws and horns for fusing.
Memory 18 (Zelda’s Wish). The memory plays right after you pull the sword; the scene is saved in your Album.
Central canyon: chests, Korok seeds and the Igneo Talus
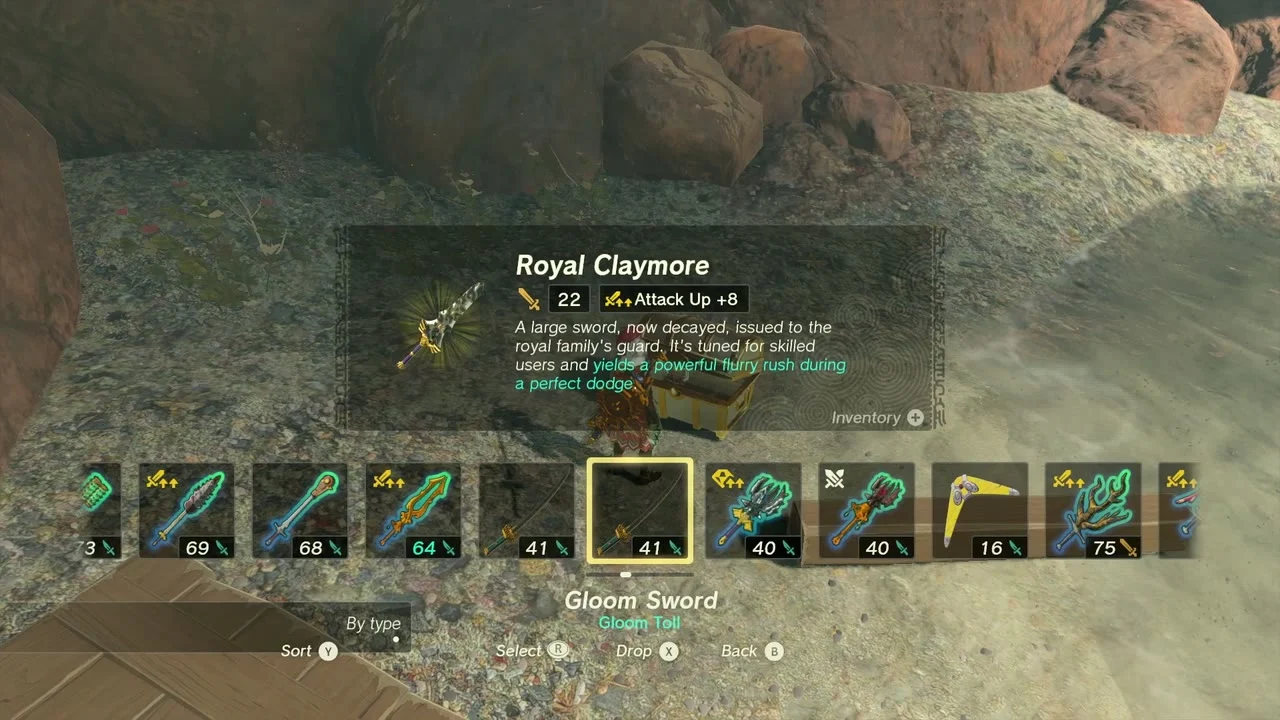
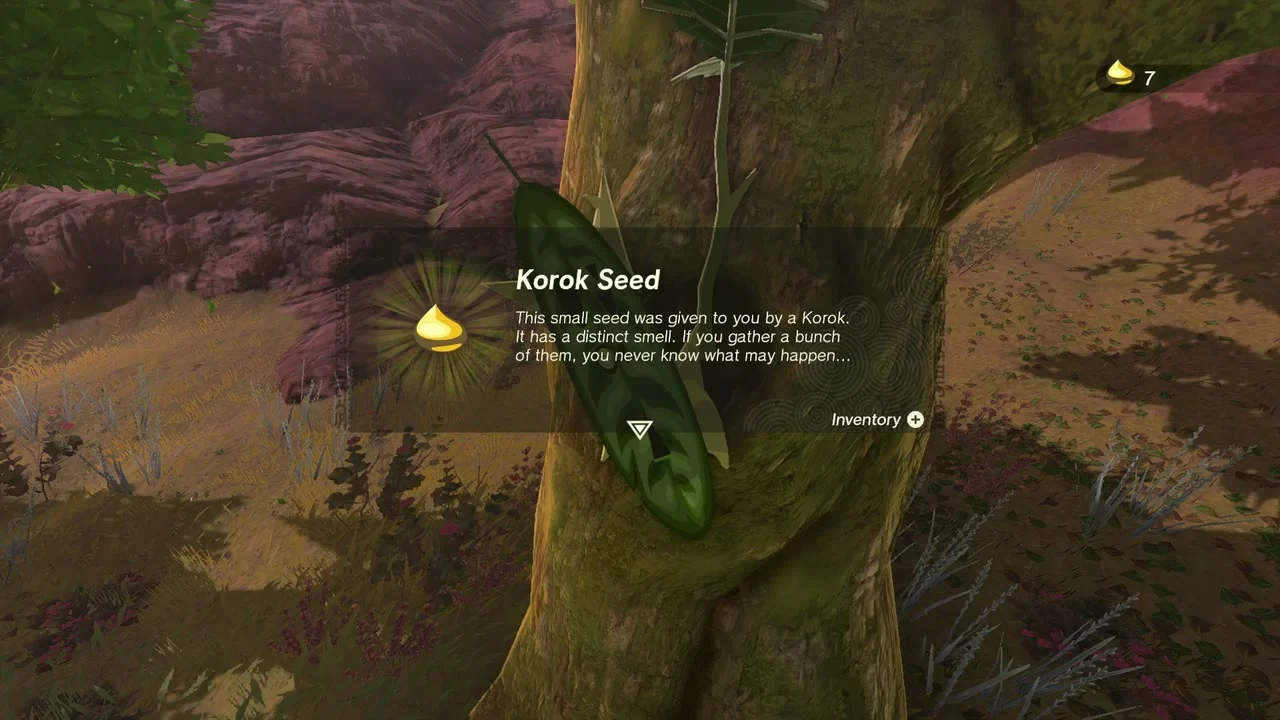
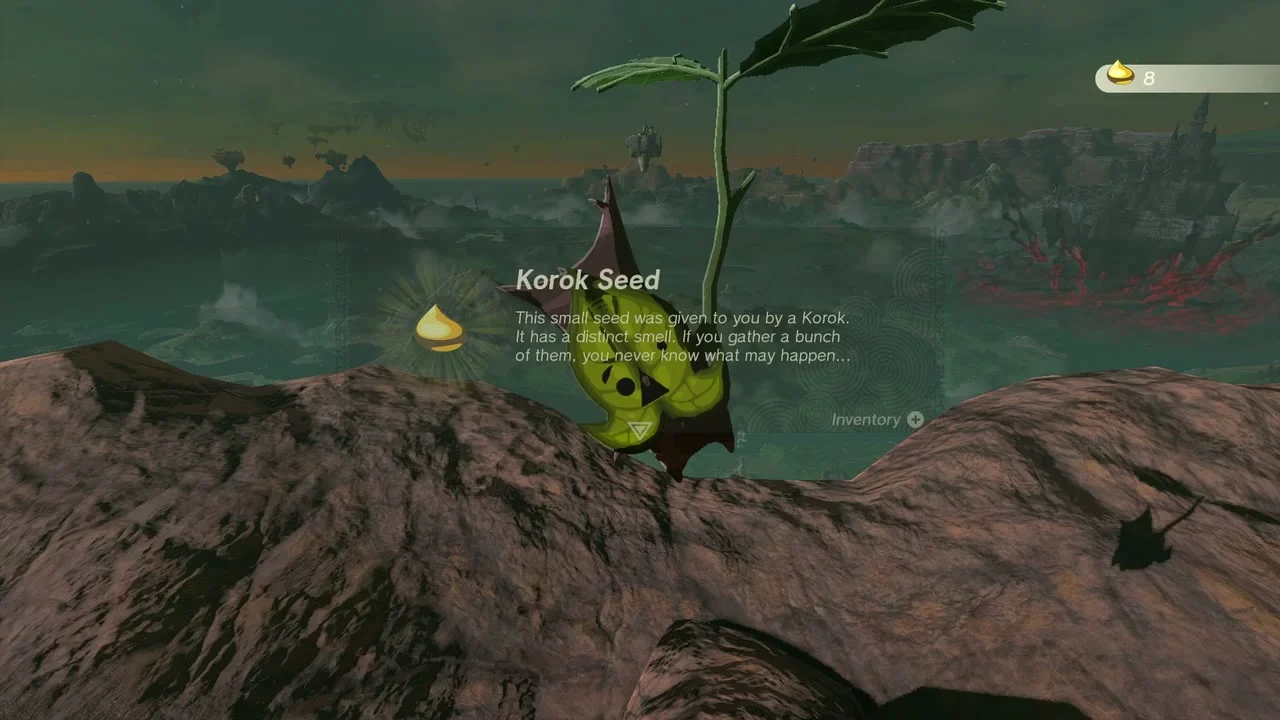
Chests and Korok seeds. After the dragon, a short loop through the canyon yields a Royal Claymore (or Traveler’s Claymore, Soldier’s Claymore or Knight’s Claymore, depending on your progress) in a chest on a grassy slope, an Opal chest at the hot rocks, a Silver Lizal Spear in the canyon and a Silver Lizal Blade a little further. Two Korok seeds are on this loop: one at a tree trunk and one on a bare ridge top. Addison’s sign puzzle sits on the road here; rotate the boards upright with Ultrahand for a Red Rupee.
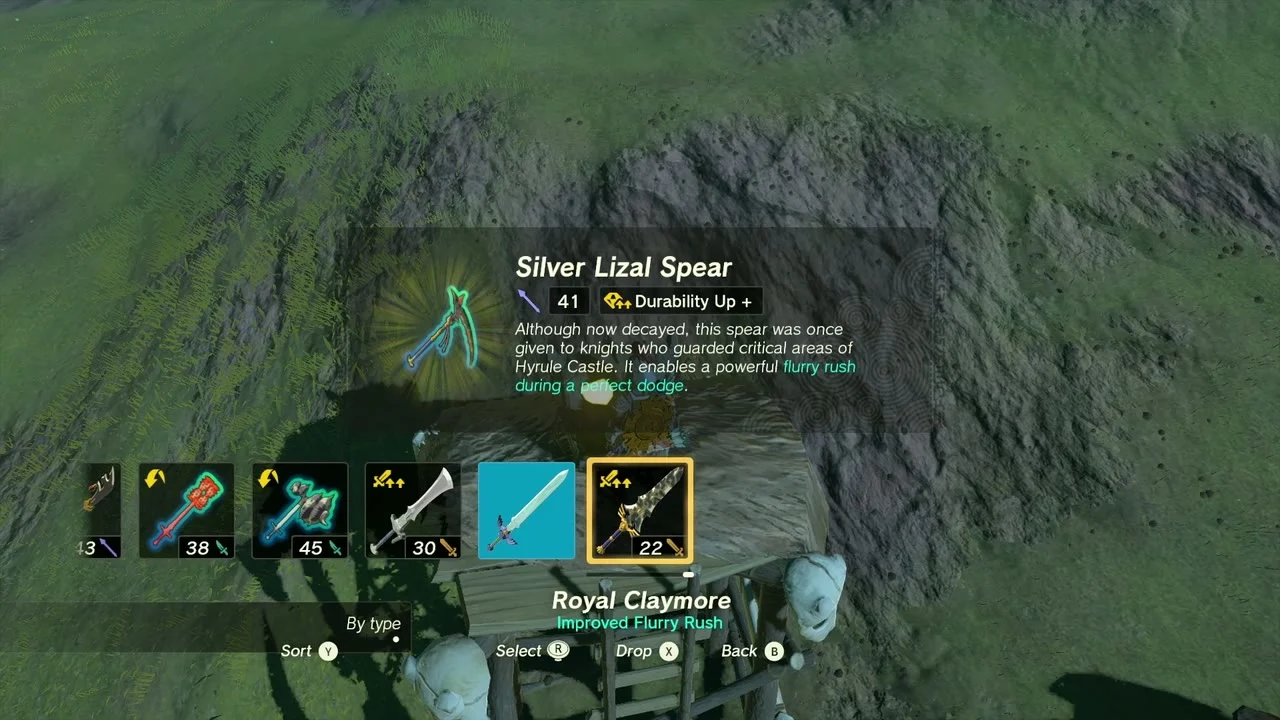
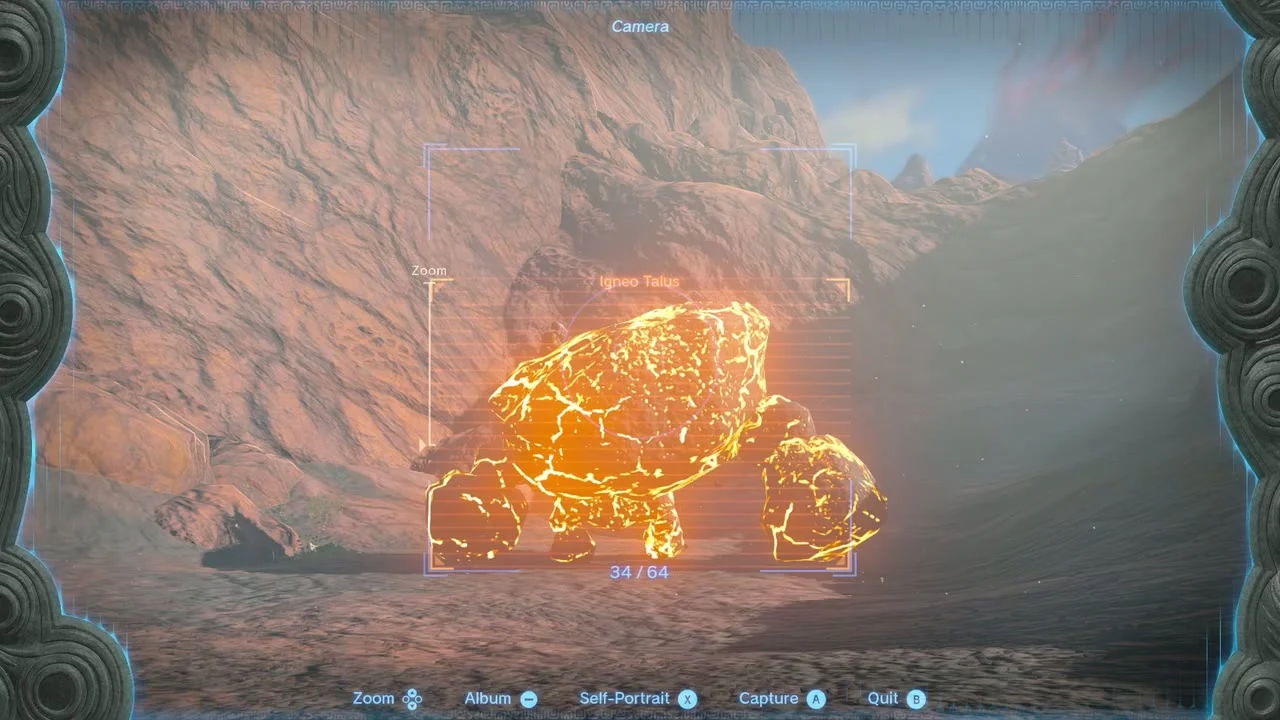
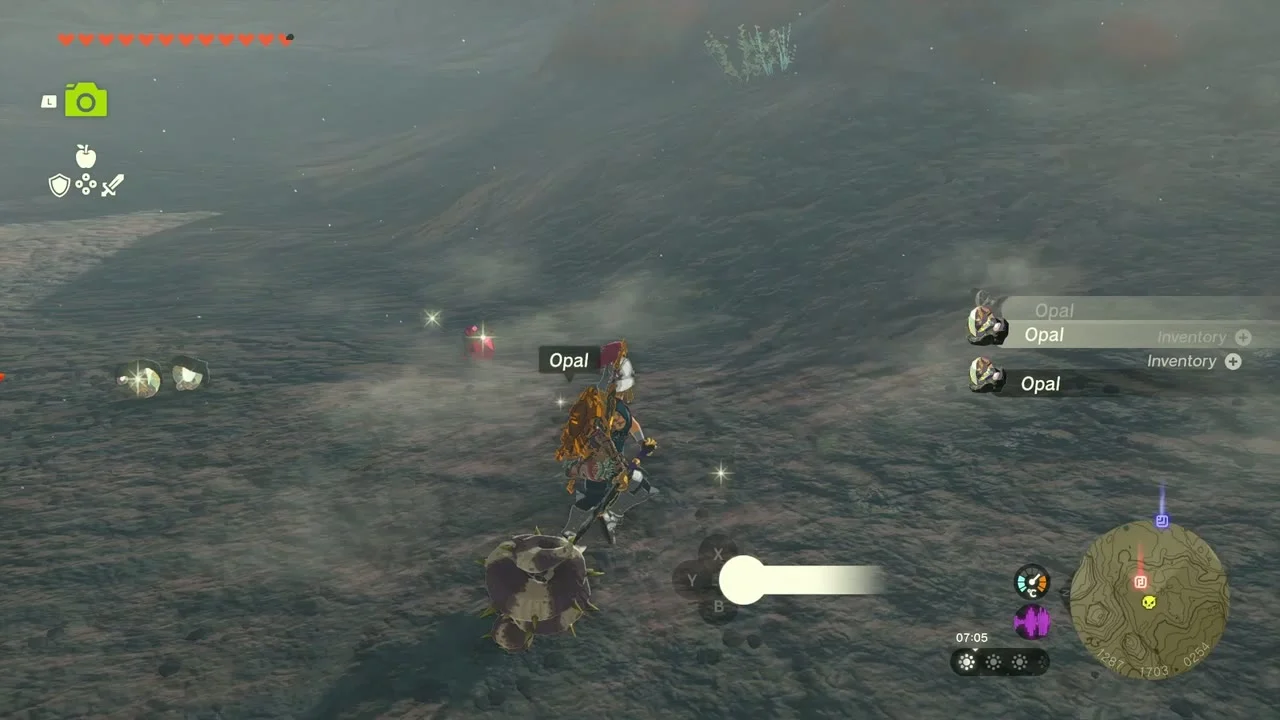
Miniboss: Igneo Talus. The Igneo Talus waits in a rocky arena on the north side of the canyon. Hit its glowing ore on the back and the pickaxes it carries with arrows, then finish it with hammers or Rock-Breaking charges. It drops Opal, Flint and a Igneo Talus Horn.
Korok seeds (x2). Two more seeds sit on the way to Timawak Shrine, both in the open canyon; one is a rock lift and the other a balloon.
Timawak Shrine
Timawak Shrine (Against the Flow, a puzzle trial) stands at (1799, 1639, 325) on the ridge above the Goronbi River, with the Kawamit Lightroot below it. Its rooms are lava rivers crossed with hydrants, floating slabs and Recall; the chest holds a Mighty Zonaite Shield.
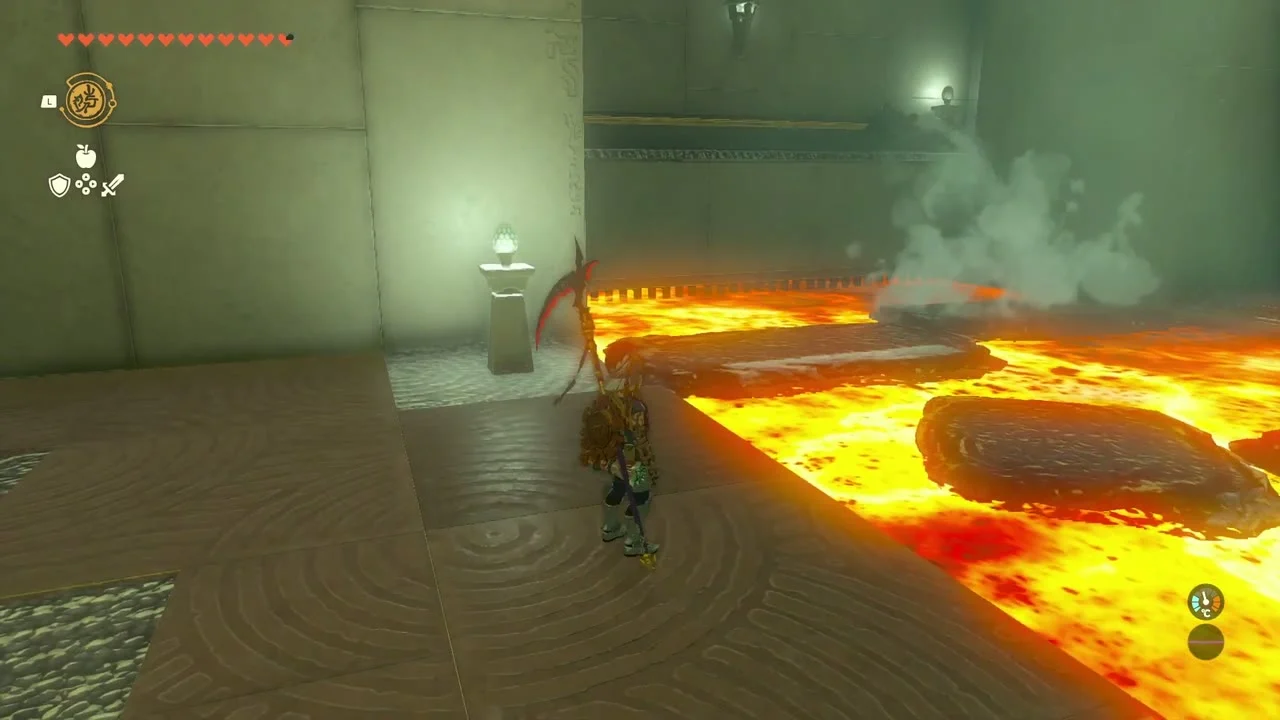
Cross the lava on stone slabs
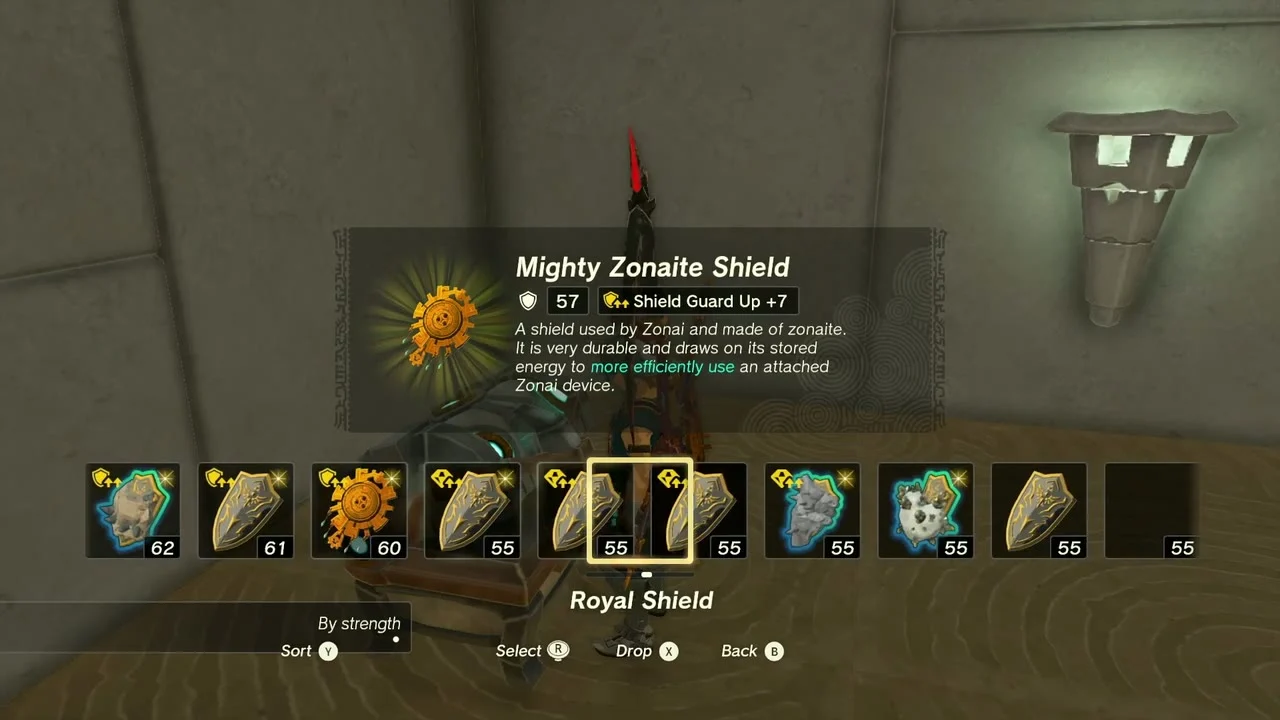
Use the hydrant to spray water onto the lava and make stone slabs, link them into a path and hop across. Recall the lava flow where it is moving the wrong way, then build a slab bridge past the landing platform to reach the chest with the Mighty Zonaite Shield.
Carry the ball to the gate and reach the altar
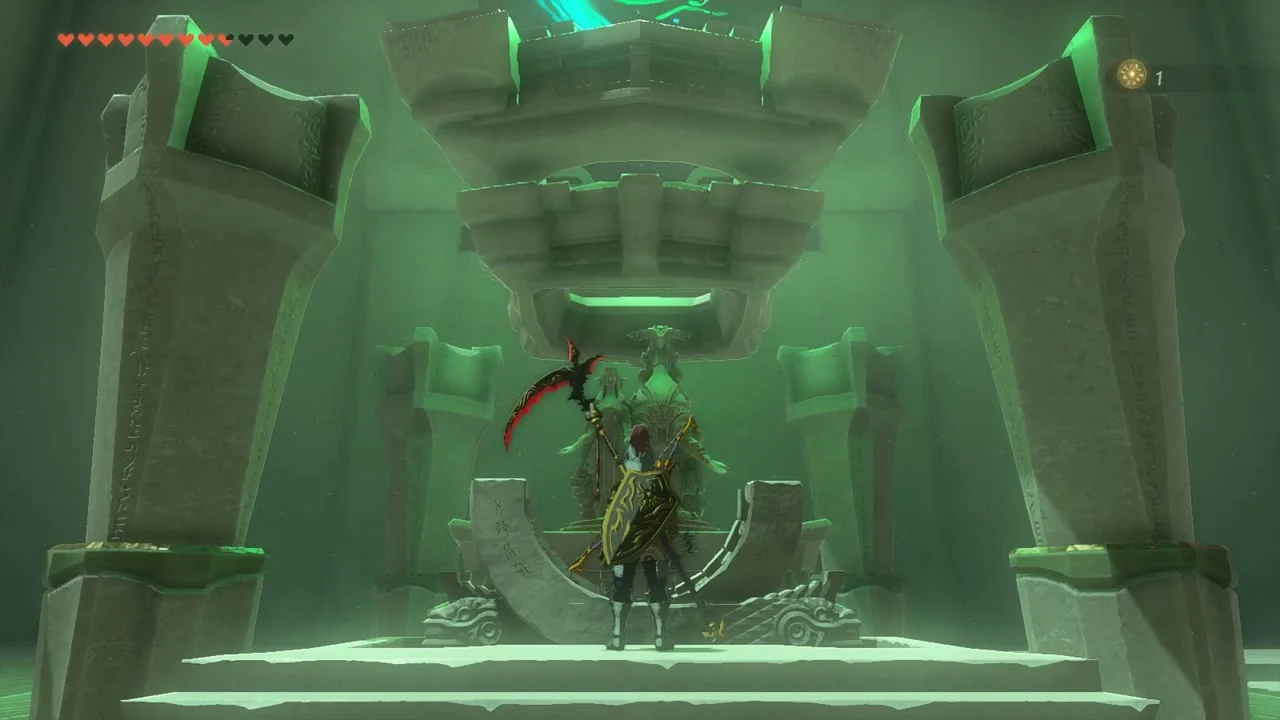
Pick up the ball with Ultrahand and take it across the slabs to the pedestal that opens the gate. In the last room, ride the fan up to the higher ledge and step on the altar for the Light of Blessing.

Bedrock Bistro: Meat for Meat and Gomo
Quest: Meat for Meat. Mezer at Bedrock Bistro (quest page) needs a Rock Roast from the West Restaurant Cave at (1642, 1729, 279). Wear Flame Guard gear, cross the lava on stone blocks you move with Ultrahand and pick up the roast. A chest at the hot spring outside holds a Purple Rupee, and a Bubbul Gem sits deeper in the cave. Carry the roast back to the Bistro; Mezer rewards you with a Large Zonai Charge.
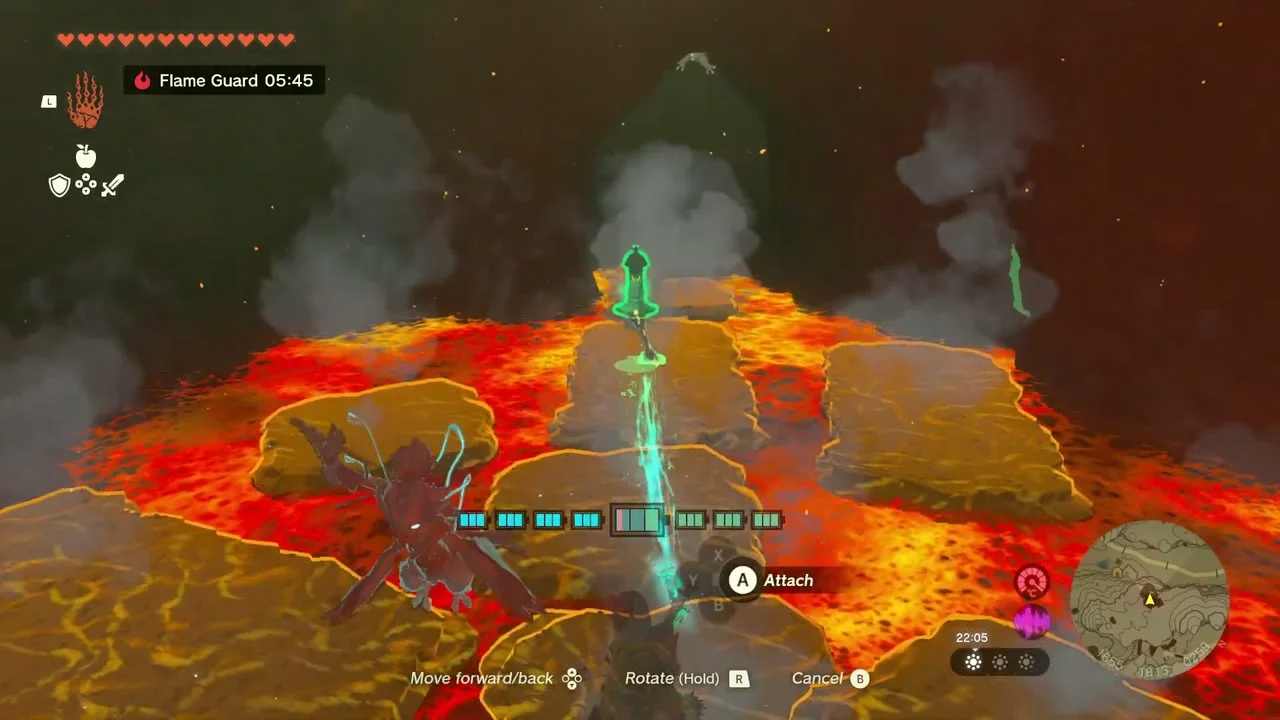
Quest: Cash In on Ripened Flint. Gomo sits beside the lava pool next to Bedrock Bistro (quest page). Hand him 20, 50 or 100 Flint; each batch might contain a Ripened Flint, which he buys for 1,000 rupees. Save before trying.


Southern Mine and Goronbi River Cave
Southern Mine (cave). The Southern Mine entrance is at (1800, 1983, 320) in the canyon floor. A Rusty Shield chest is near the entrance, a Cobble Crusher chest sits inside and a Bubbulfrog gives the Bubbul Gem at the back. Use a rocket-and-fan vehicle to cross the lava on the way out.


Chests and Korok seeds on the canyon floor. Between the caves you collect a Ruby, an Energizing Elixir, a Silver Lizal Reaper, Battery x3, Arrow x5, a Red Rupee, Royal Bow and Rusty Shield trio, Bomb Flower x5 and Arrow x10, plus six Korok seeds along the plateau edges.
Goronbi River Cave. The cave entrance is at (1423, 2102, 284) beside the river. A Ruby and a Rusty Shield chest wait outside; inside you collect a Fire-Breath Lizal Blade, an Ember Shirt and a Bubbul Gem near (1433, 2089, 286). Hop across the lava on the slabs the Zonai hydrant makes. The Ember Shirt is one of three Ember armor pieces: the Ember Headdress is in YunoboCo HQ South Cave and the Ember Trousers are in a chest in Cephla Lake Cave, so you can complete the set on later routes.


Goron City
Flamebreaker armor. Rogaro’s shop in Goron City (1657, 2440, 340) sells the Flamebreaker Helm (1,400 rupees), Flamebreaker Armor (700) and Flamebreaker Boots (1,200). Wear them for lava resistance in Death Mountain.
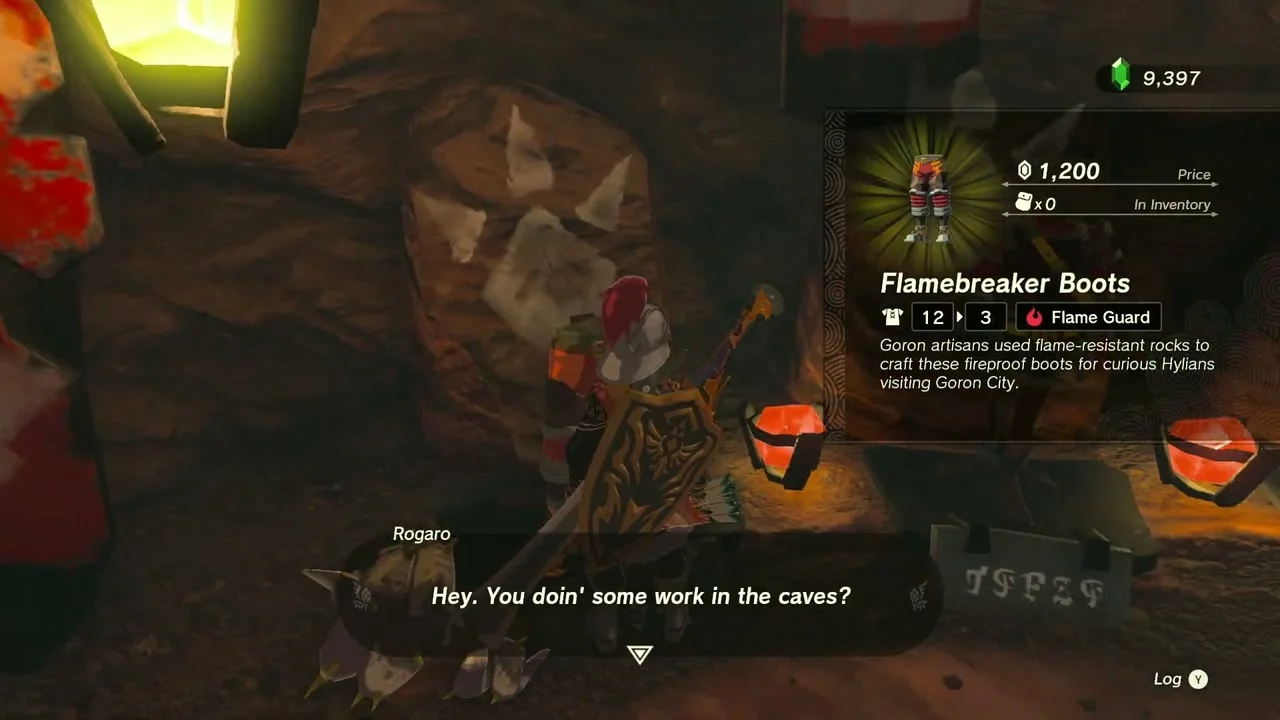
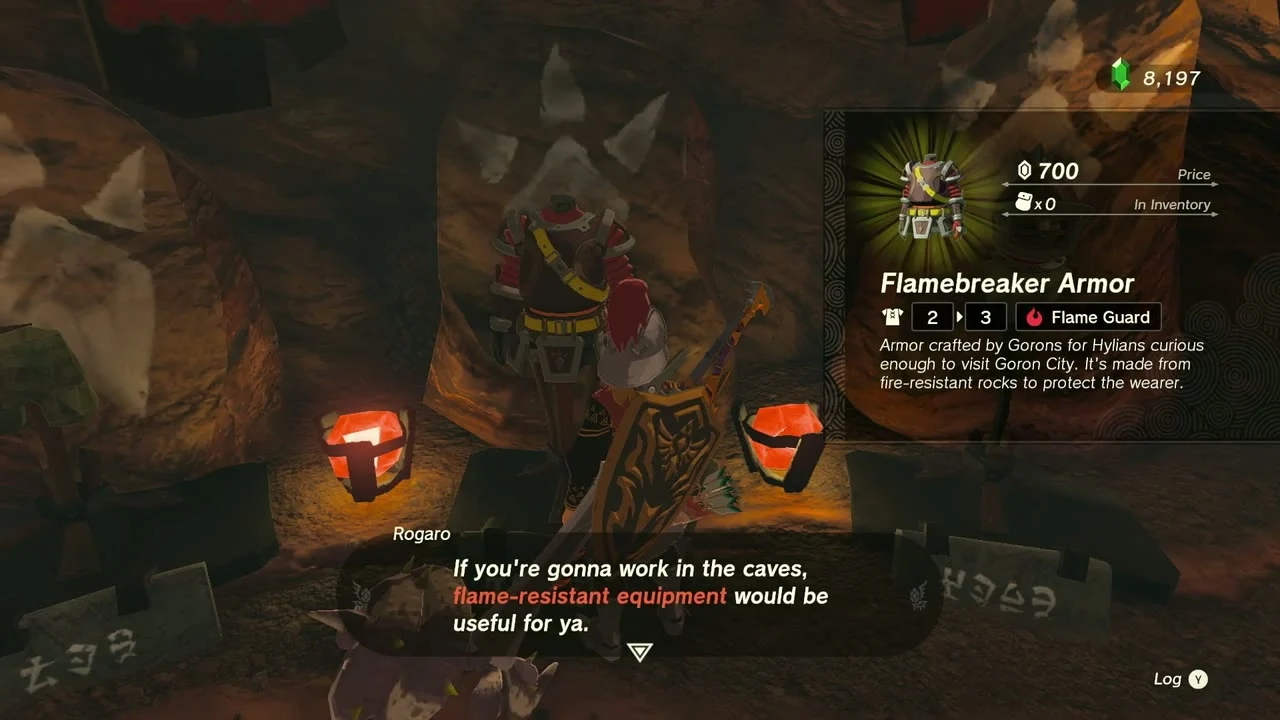
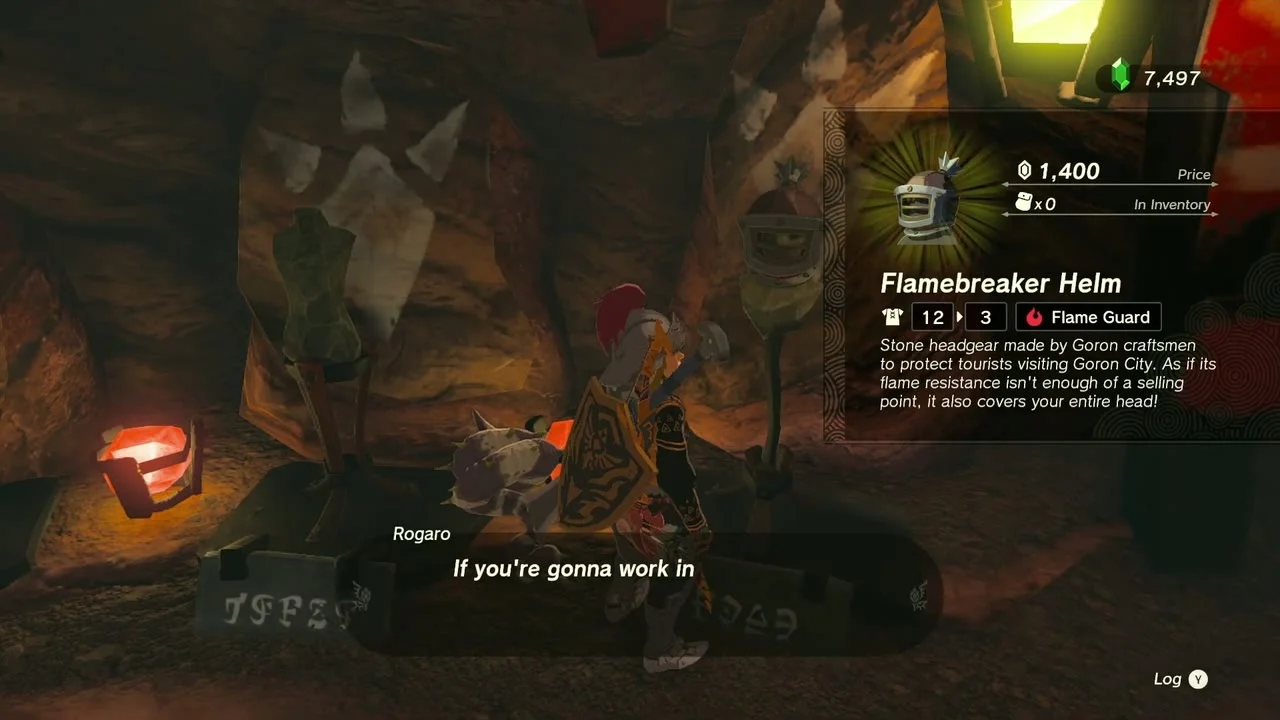
Quest: Amber Dealer. Ramella (quest page) pays 200 rupees for ten Amber; the chests you opened earlier supply the stack.
Quest: Simmerstone Springs. Kima (quest page) is on the bridge approaching the city and wants to find a secret hot spring.
Main quest: Yunobo of Goron City. Speak to Yunobo in YunoboCo HQ at (1602, 2832, 412) to start the quest. The Death Mountain chapters continue from here.
Marakuguc Shrine
Marakuguc Shrine (Wheeled Wonders, a puzzle trial) stands at (1762, 2509, 450) on the mountain above Goron City, with the Cugukaram Lightroot below it. It is all Ultrahand and wheeled vehicles; the chest holds a Mighty Construct Bow (Strong or Mighty, depending on your progress).
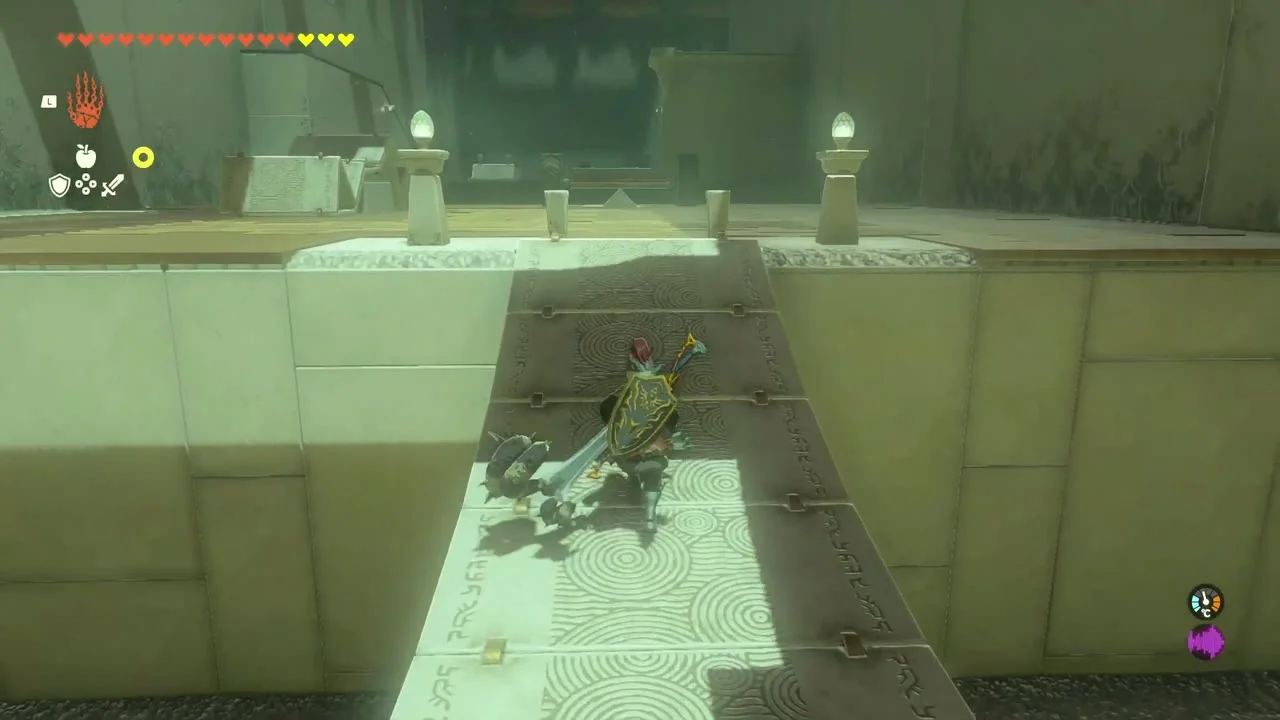
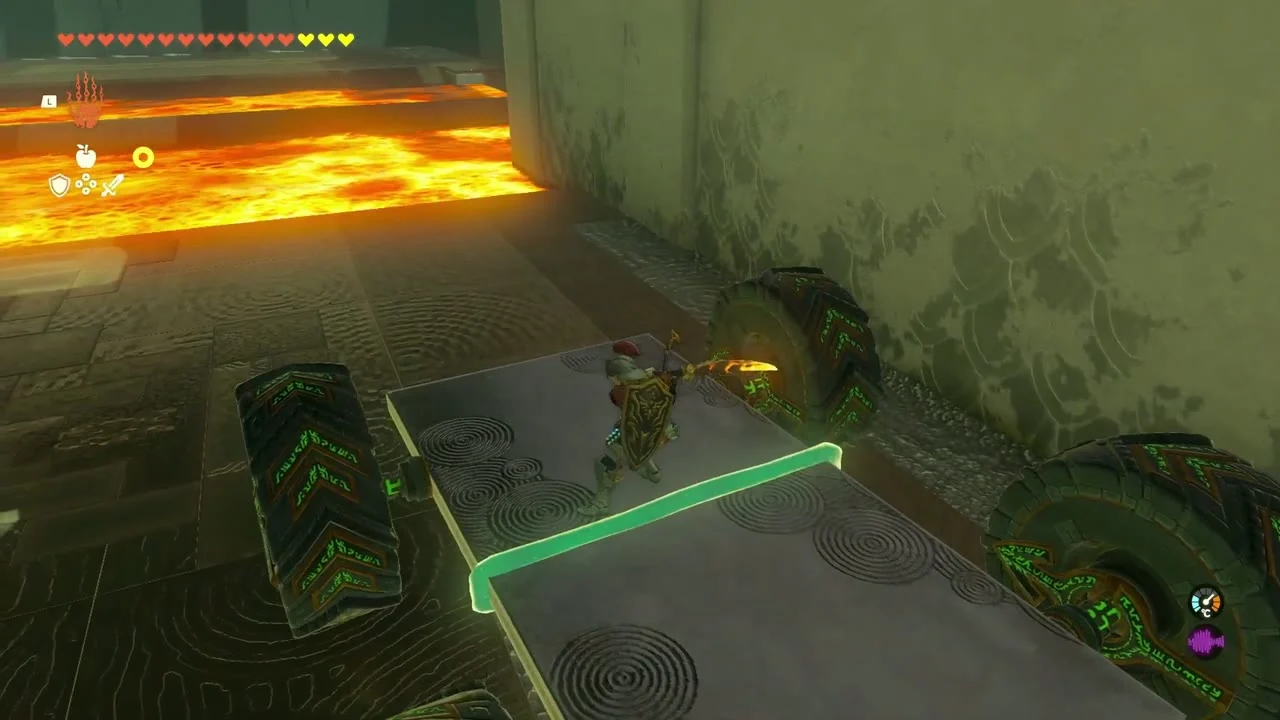
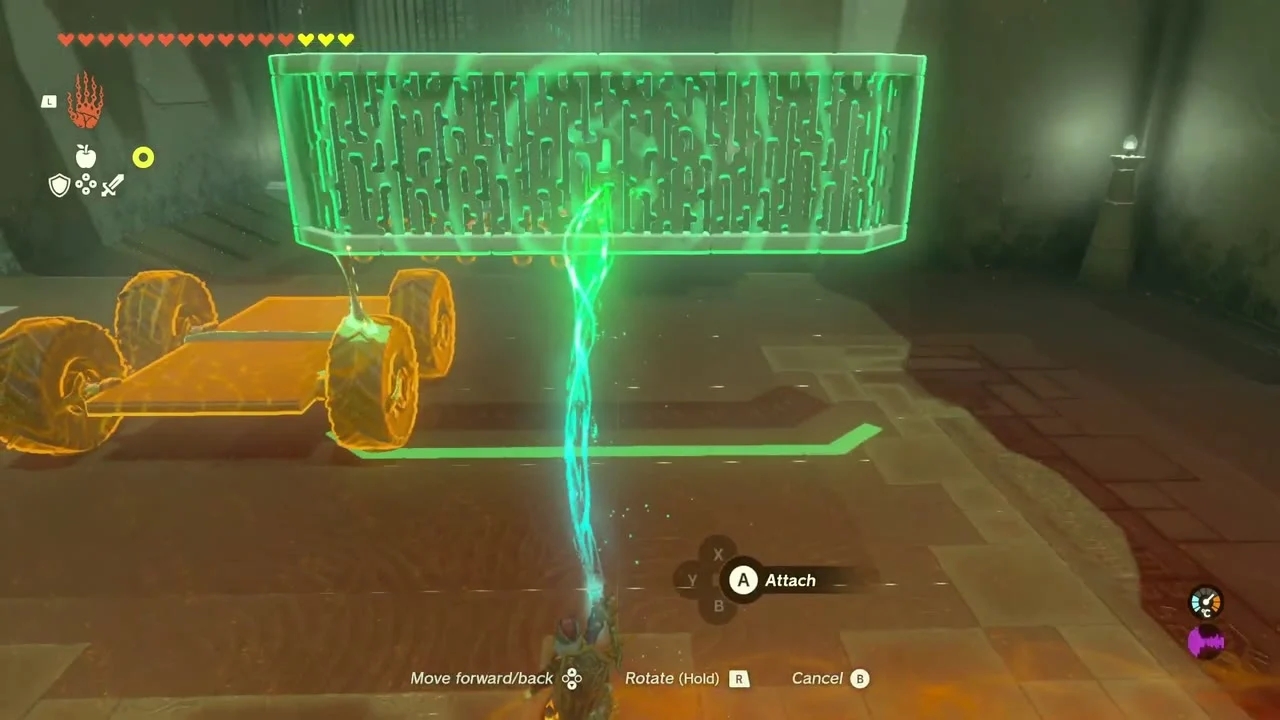
Bridge the lava gaps with carts
Join the broken bridge, then place the extendable bridge across the first lava gap. For the longer gaps, connect the two carts into a single four-wheeled slab and drive across.

Scoop the metal balls into the dish
Ascend to the top level, fuse the bracket to the vehicle to make a scoop and push every ball into the dish. The door below the dish opens to the Light of Blessing altar.
Dugby and YunoboCo HQ
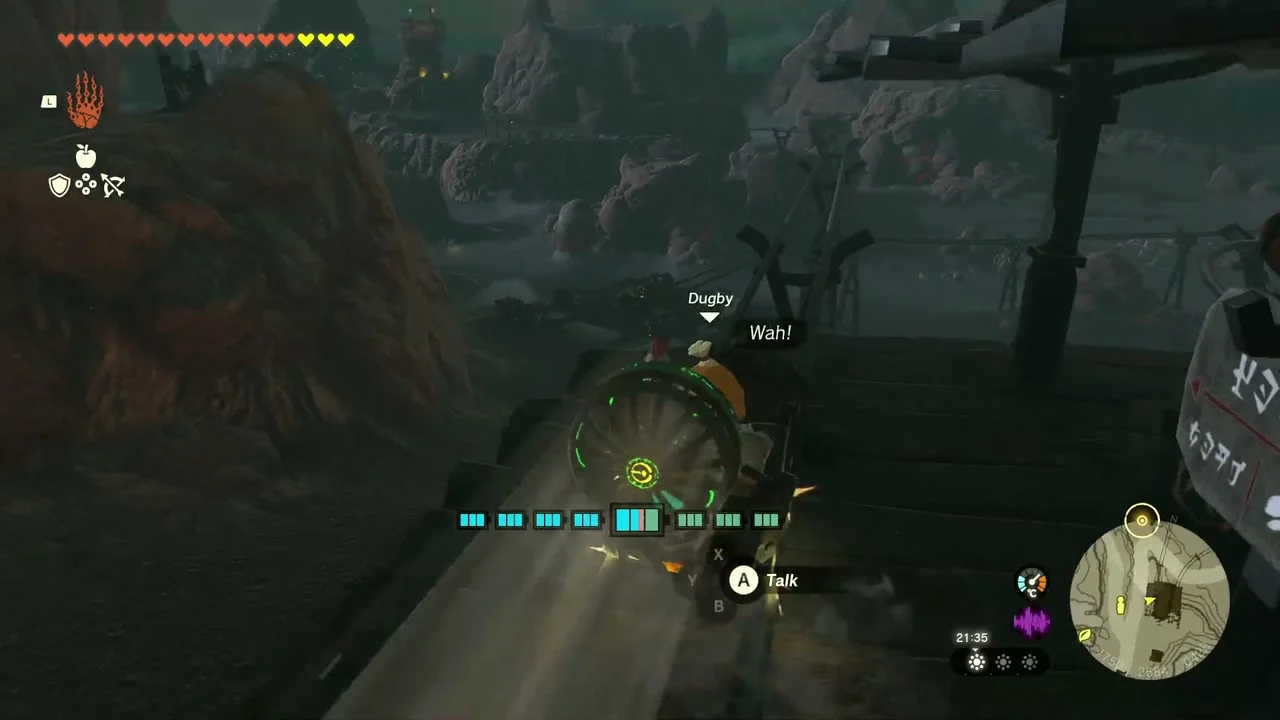
Quest: The Ancient City Gorondia! Dugby (quest page) cannot get his mine cart to move: put him on the cart, push the controls and send him down the tracks to YunoboCo HQ. Ride the cart along with him and the quest completes at the end of the line.

Korok seeds around Goron City
Korok seeds (lake and statues). A seed waits on a rock in the waterfall lake before the city, another in the city’s cave at the hot spring, and a third from the stone faces in the rock wall by offering them fruit (see (1806, 2530, 404) for the offering statues).

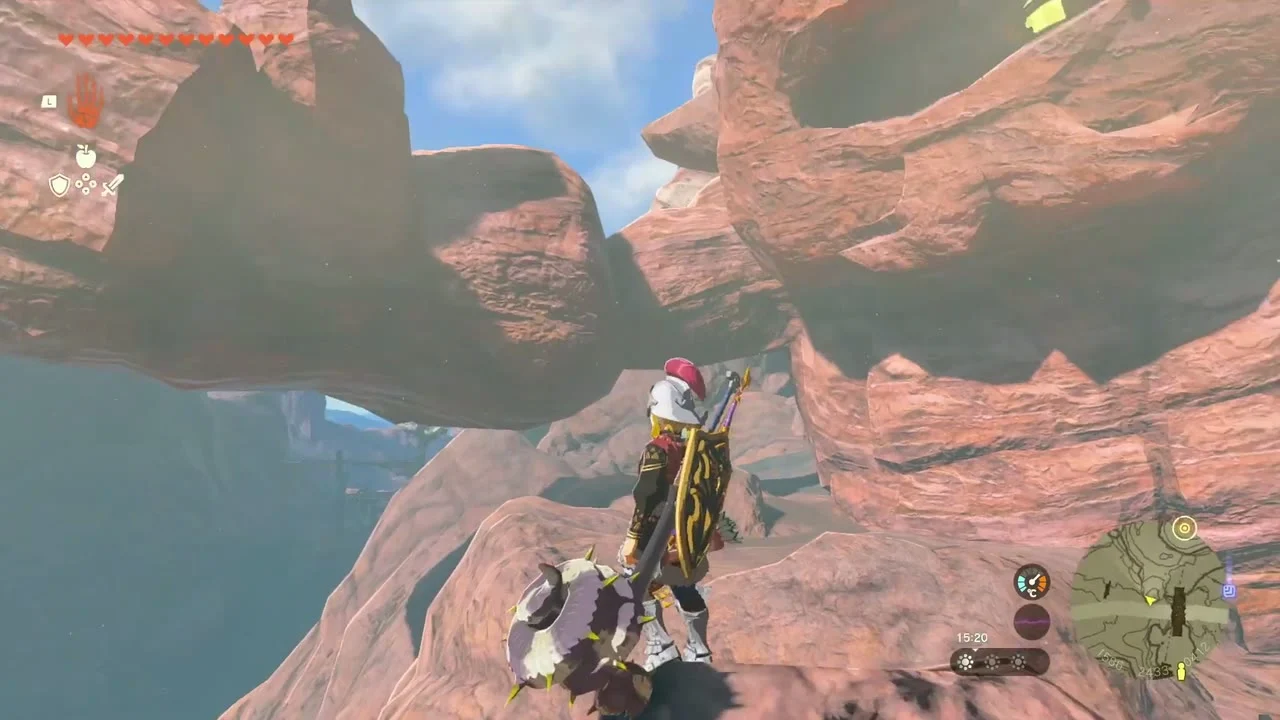
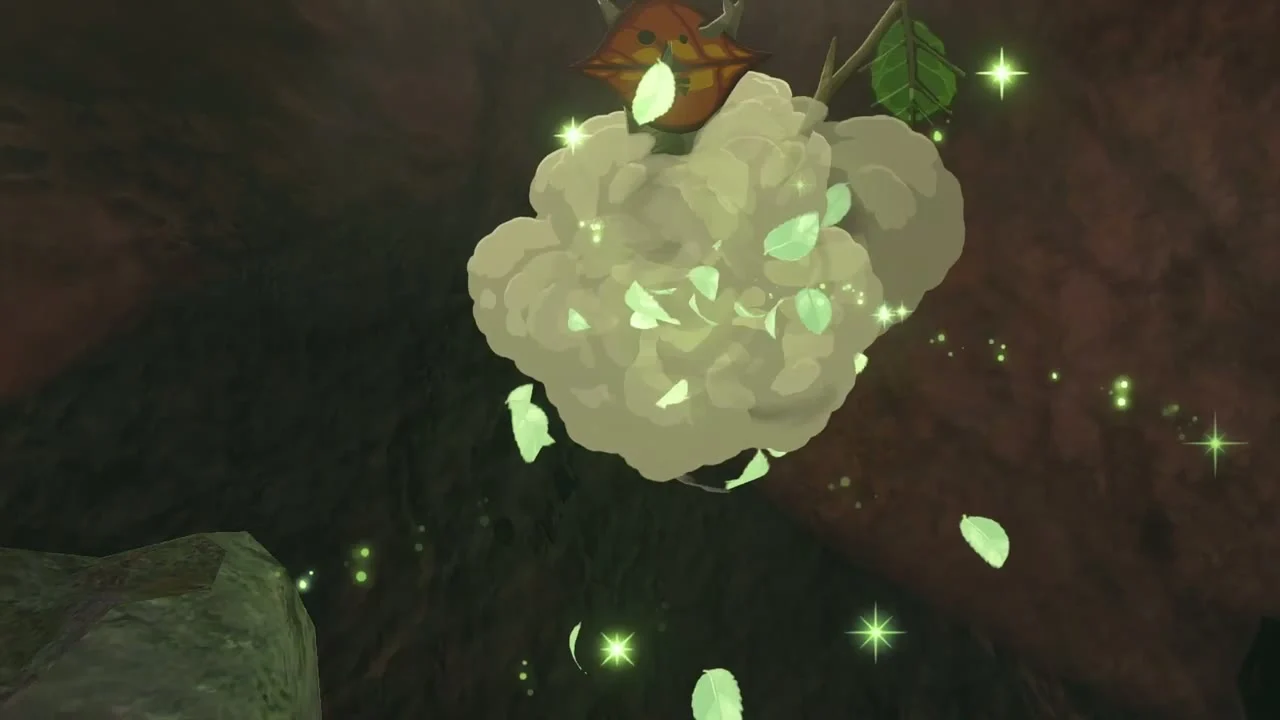
Korok seeds (Death Mountain approach). Three more seeds lie higher up: the cube puzzle at (1740, 2329, 425), a seed on a red rock peak and one on a lone rock spire in the shadows.

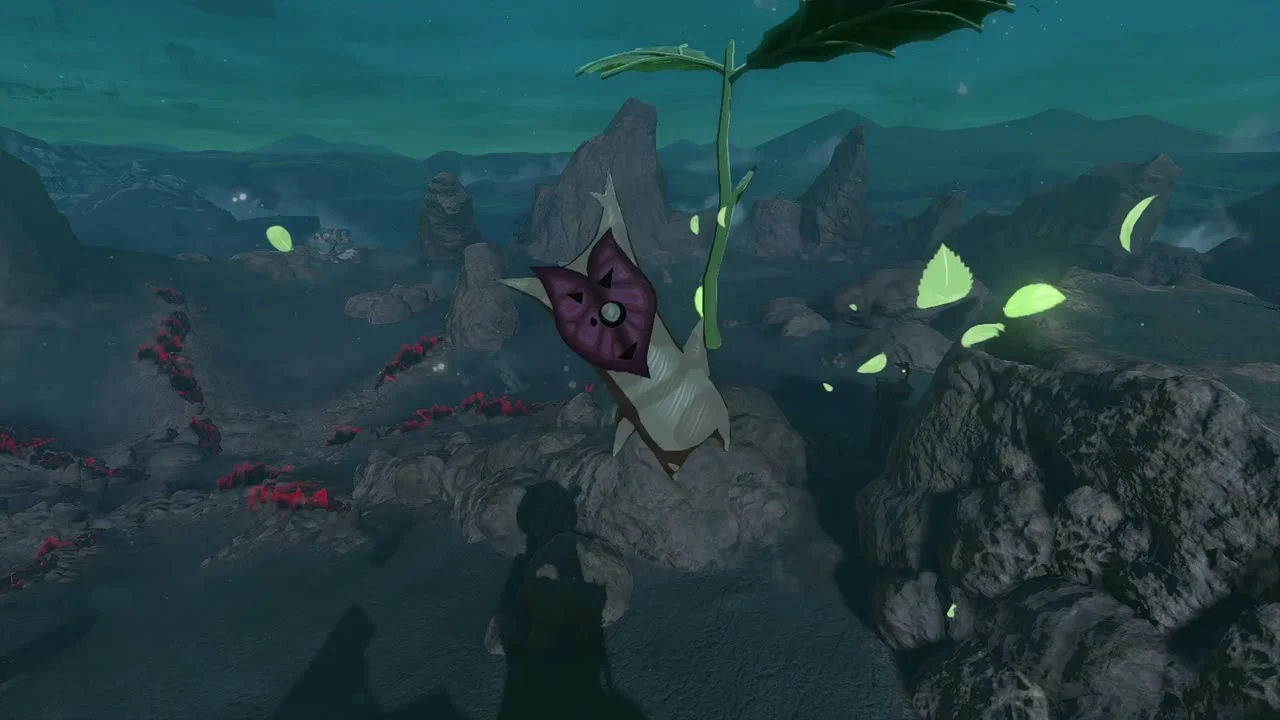
Detour: Great Fairy Mija at Snowfield Stable
Between the canyon chests you can take a trip to the Hebra side for the second Great Fairy. Mastro at Snowfield Stable (quest page) starts the Great Fairy Mija version of the quest: the wagon’s Breezer is broken, so repair it with Ultrahand, hitch a horse that wears a Towing Harness and tow the stable trotters up the mountain road to the fairy. Mija enhances armor just like Tera, so bring the ingredients for the upgrades you want before you go: Mighty Thistles, Hylian Shrooms and the monster parts named in the armor menu.
Also in this area: Korok seeds by coordinates
The map data places these Korok seeds inside the canyon; use them as a checklist against your own count. Each line gives the puzzle type and the map coordinates (X, Y, height).
- Break the acorn pot: (1690, 1199, 1154), (951, 1536, 160), (1567, 2946, 401), plus a hidden pot at (1334, 1317, 171)
- Lift the rock: (1941, 1207, 139), (1671, 1981, 341), (1724, 2554, 499)
- Climb the wall and touch the marker: (2049, 1201, 1290)
- Go up to the sparking spot: (1767, 1537, 311), (1602, 2827, 469)
- Examine where the arrows point: (1424, 1533, 365)
- Bring the exhausted Korok to its friend: (1876, 1629, 302), (1504, 1802, 309), (1832, 1904, 342), (1990, 2596, 457)
- Place the boulder on the tree stand: (1451, 1746, 318), (1700, 1755, 352), (1999, 2122, 473)
- Shoot the balloons: (985, 1804, 211)
- Use Ascend on the marker: (1433, 1952, 338)
- Dive into the ring: (1472, 2219, 300), (1719, 2422, 395)
- Use the paraglider to reach the goal: (1755, 2224, 484)
- Complete the rock pattern: (1250, 2292, 322), (1375, 2843, 361)
- Complete the cube puzzle: (1740, 2329, 425)
- Pop the hidden balloon: (1667, 2409, 452), (1593, 2474, 438)
- Offer fruits to the statues: (1806, 2530, 404)
Lightroots and the Depths below this chapter
Each shrine here sits above a Lightroot in the Depths: Ekochiu Shrine above the Uihcoke Lightroot at (1063, 1281), Timawak Shrine above the Kawamit Lightroot at (1799, 1640) and Marakuguc Shrine above the Cugukaram Lightroot at (1763, 2510). Only Uihcoke is lit in this stretch; the other two wait in the Eldin depths. Heat is the danger below: the Depths barrier for Eldin begins south-west of the canyon, so pack Flame Guard elixirs or the Flamebreaker set before dropping in.
Tips for Eldin Canyon
- Flame Guard elixirs (Fireproof Lizard plus four monster parts) are the cheapest way to survive the hot caves; cook a stack at the pot outside West Restaurant Cave.
- White Chuchu Jelly and Ice Fruit turn Ultrahand slabs into lava rafts. Carry a dozen.
- Bubbulfrogs in caves drop a Bubbul Gem; Koltin trades armor and monster parts for each one, so keep a spare.
- Giant Brightbloom Seeds are worth carrying into every dark cave and well in this chapter.
- Large Zonai Charges from the tower chest and Meat for Meat top up your Zonai devices for the mine-cart and shrine puzzles ahead.
Collectibles in this chapter
- Shrines: 3 (Ekochiu, Timawak, Marakuguc)
- Lightroots: 1 (Uihcoke)
- Caves: 4 (Pico Pond Cave, West Restaurant Cave, Southern Mine, Goronbi River Cave) and 1 well
- Bubbul Gems: 4
- Skyview Tower: 1
- Minibosses: 2 (Flux Construct II, Igneo Talus)
- Korok seeds: 23
- Armor: Bokoblin Mask, Flamebreaker Helm, Armor and Boots
Part 2: Shrines, Koltin’s Armor & the Fire Temple
| Region | Eldin Canyon and Death Mountain, then the Depths below Goron City (Abandoned Eldin Mine, Lost Gorondia and the Fire Temple) |
|---|---|
| Main quest | Yunobo of Goron City: Yunobo fight, Moragia, the Depths, the Fire Temple, Marbled Gohma; ends with Vow of Yunobo |
| Side quests | The Search for Koltin, The Abandoned Laborer, Soul of the Gorons, The Hidden Treasure at Lizard Lakes (started), Moon-Gazing Gorons (started), Village Attacked by Pirates (started) |
| Shrines | 3: Isisim Shrine (Proving Grounds: In Reverse), Jiotak Shrine (Rauru’s Blessing), Sitsum Shrine (A Controlling Device) |
| Lightroots | 3 in the Depths: Mustis, Cugukaram, Misisi (see all Lightroots) |
| Caves | 4: YunoboCo HQ South Cave, YunoboCo HQ East Cave, Isle of Rabac Gallery, Death Mountain Foothill Cave (see all caves) |
| Bubbul Gems | 4, one in each cave above |
| Korok seeds | 5 collected (see all Korok seeds) |
| Minibosses | Phantom Ganon and Gloom Spawn (Eldin Canyon), Igneo Talus (Gut Check area), Moragia (Death Mountain), Marbled Gohma (Fire Temple) |
| Armor | Ember Headdress (YunoboCo HQ South Cave); Moblin Mask, Mystic Robe, Lizalfos Mask, Mystic Trousers, Horriblin Mask and Lynel Mask (Koltin) |
This chapter picks up in Eldin Canyon with Yunobo’s first fight, then clears the caves and shrines around YunoboCo HQ and Goron City, climbs Death Mountain to Moragia, and drops into the Depths to open the Fire Temple. Coordinates are map units (X, Y, height); larger Y is further north. Carry Flame Guard food or armor for every cave in this stretch. Several shrines and caves here are written up in full later; each entry links the page.
Quick route
Beat Yunobo at YunoboCo HQ, then grab the acorn-pot Korok seed and meet Koltin the Bubbul Gem trader on the canyon road. Trade him Bubbul Gems for six armor pieces: Moblin Mask, Mystic Robe, Lizalfos Mask, Mystic Trousers, Horriblin Mask and Lynel Mask.
Clear the rock-pattern Korok and the Phantom Ganon fight, open the chests on the scaffolds to the north, then enter YunoboCo HQ South Cave for the Ember Headdress and a Bubbul Gem. Next take YunoboCo HQ East Cave for a gem, a weapon chest and Isisim Shrine.
Ride the minecart rails to Isle of Rabac Gallery for Jiotak Shrine and a gem, carry two exhausted Koroks home, fight Igneo Talus and finish in Death Mountain Foothill Cave. Free Mota in the West Tunnel, climb to Sitsum Shrine, pray for a heart and charge the Energy Well.
Defeat Moragia, dive into Death Mountain Chasm for Mustis Lightroot, work through the Depths to Lost Gorondia and open all five padlocks in the Fire Temple. Beat Marbled Gohma, take the Heart Container, collect Vow of Yunobo and start the three Goron City quests.
Yunobo and the canyon road
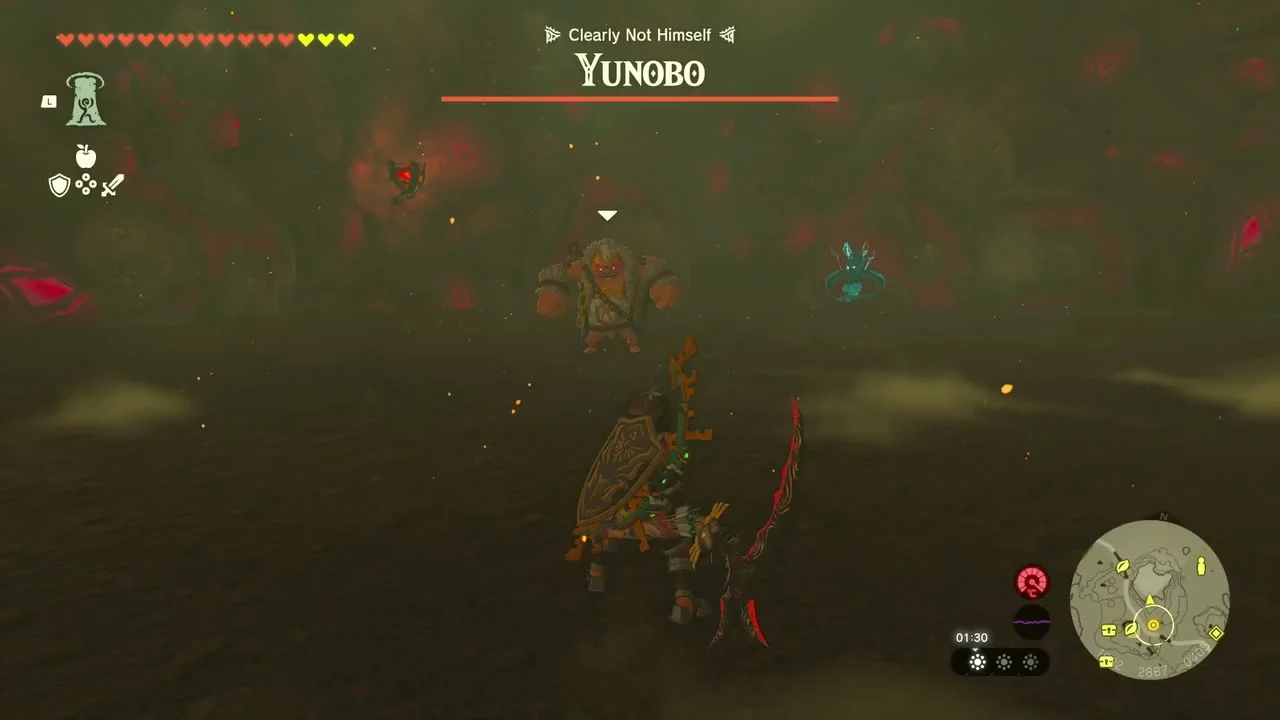
Main quest: Yunobo of Goron City. At YunoboCo HQ (1643, 2889, 405) the mine boss is Yunobo himself, shown as “Yunobo – Clearly Not Himself” and driven mad by marbled rock roast. Stay out of his rolling charge, dodge his fire-lit swings and hit him while he is dizzy until the health bar empties. Afterwards he comes to his senses, and the quest sends you up Death Mountain.

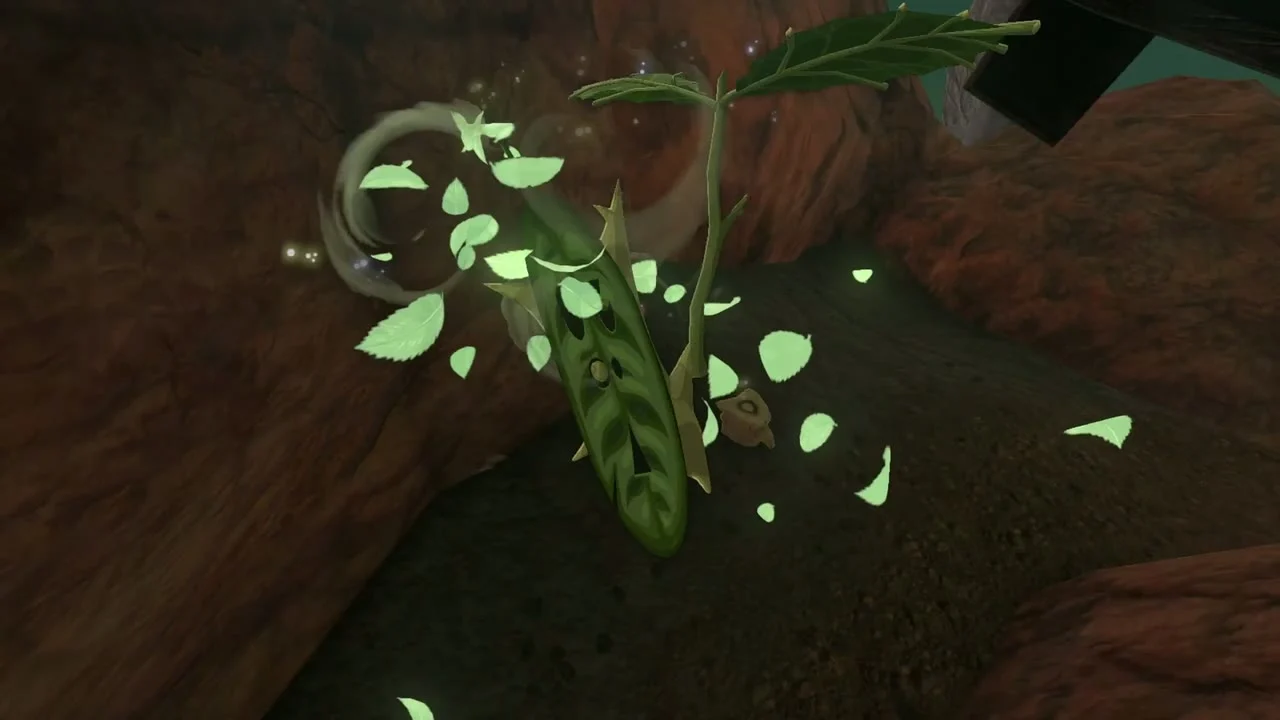
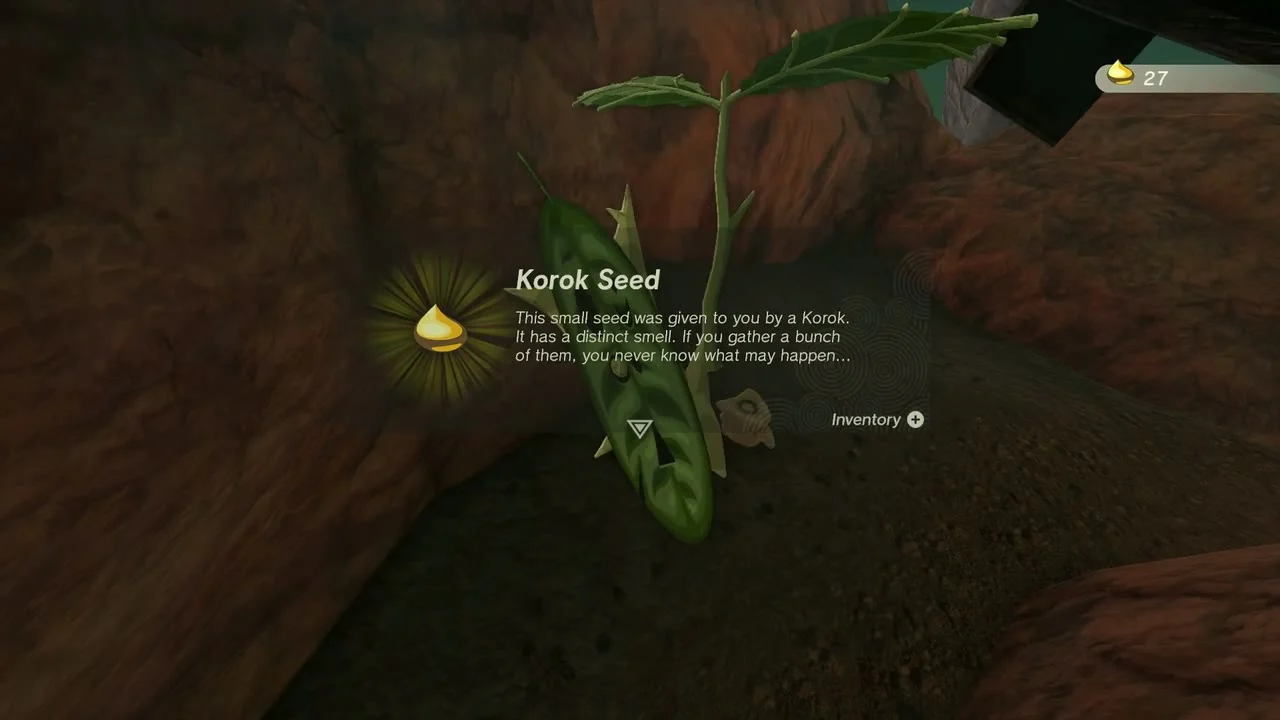
Korok seed (acorn pot). Near (1567, 2946, 401), one of the clay pots in the open is a Korok’s acorn. Hit the pot to knock the leaf-hidden Korok loose and take your seed.
Quest: The Search for Koltin. Koltin sets up his stall at night on the cliff road south of the canyon, near (1443, 3075). Talk to him and the quest is complete. He starts The Hunt for Bubbul Gems!: you trade him the crystals that Bubbulfrogs in caves drop.

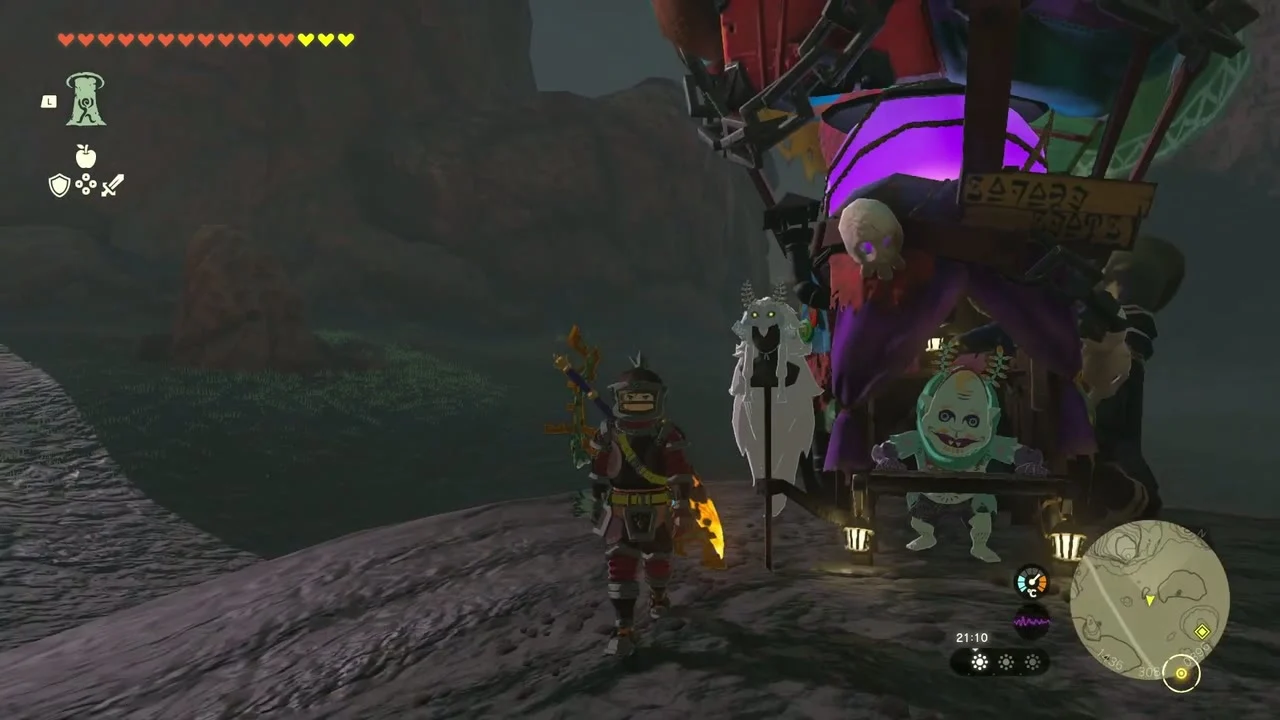
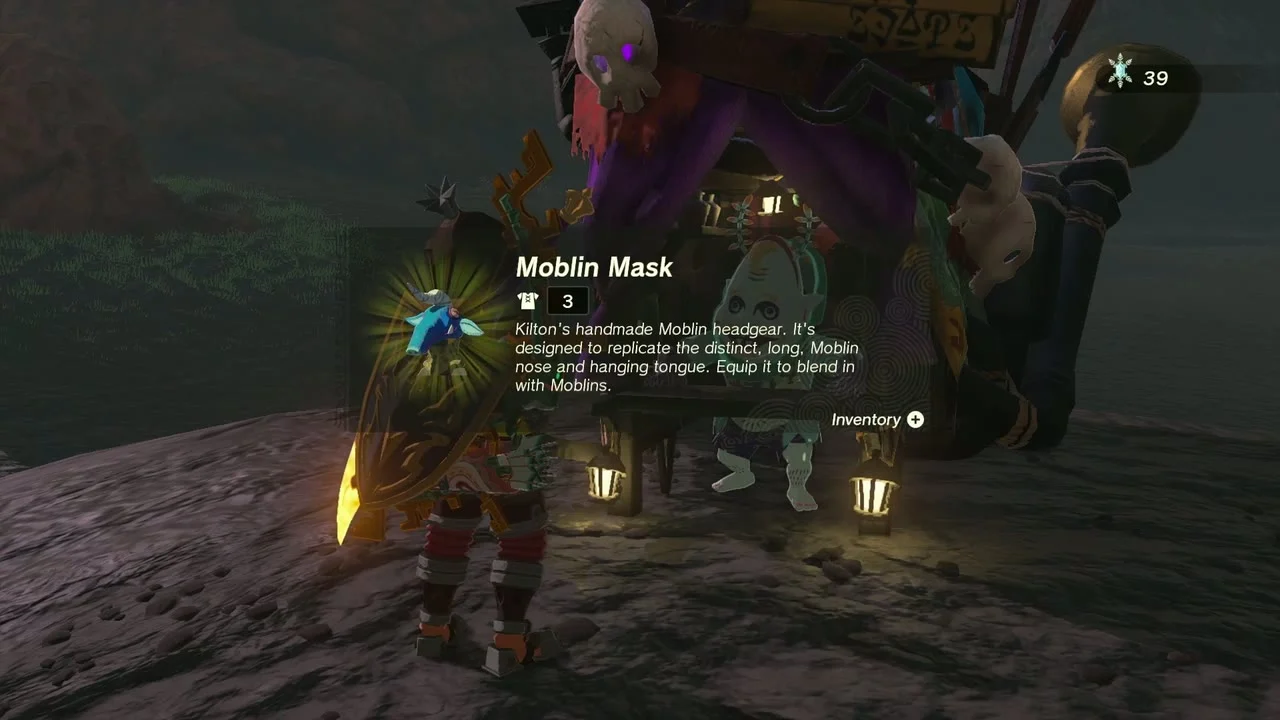
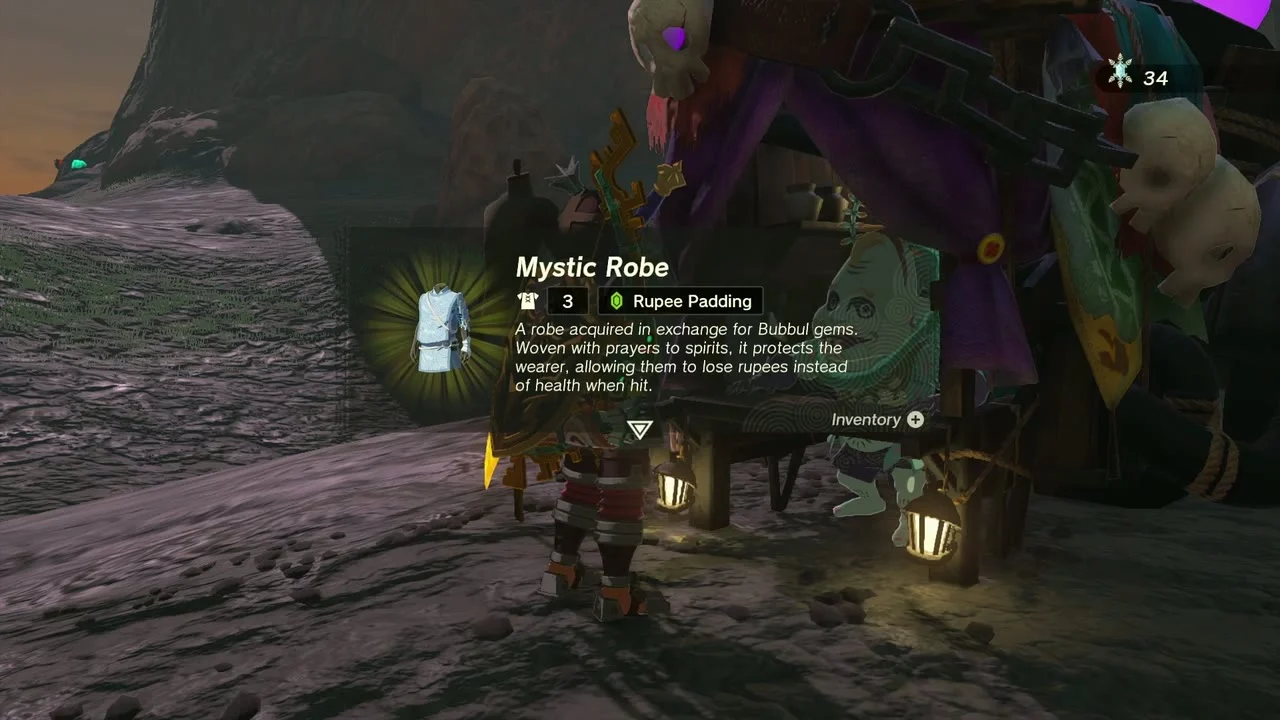
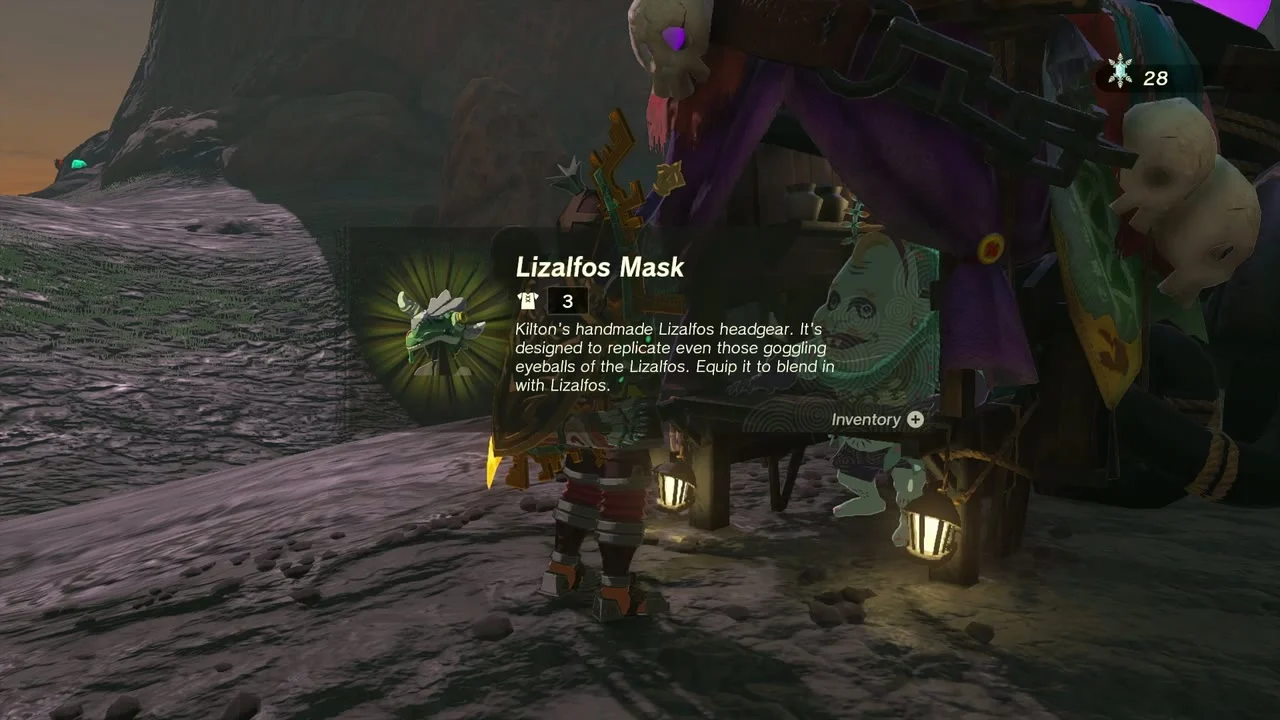
Koltin’s armor. Hand over Bubbul Gems and he rewards you at fixed running totals of 3, 9, 15, 22, 30 and 38 gems: Moblin Mask, Mystic Robe, Lizalfos Mask, Mystic Trousers, Horriblin Mask and Lynel Mask. Between those, you can swap gems for monster materials (Ice-Breath Lizalfos Tail x5, White-Maned Lynel Mace Horn, Gleeok Thunder Horn x3 and more). The masks hide you from their monsters; the Mystic set makes hits cost rupees instead of hearts.
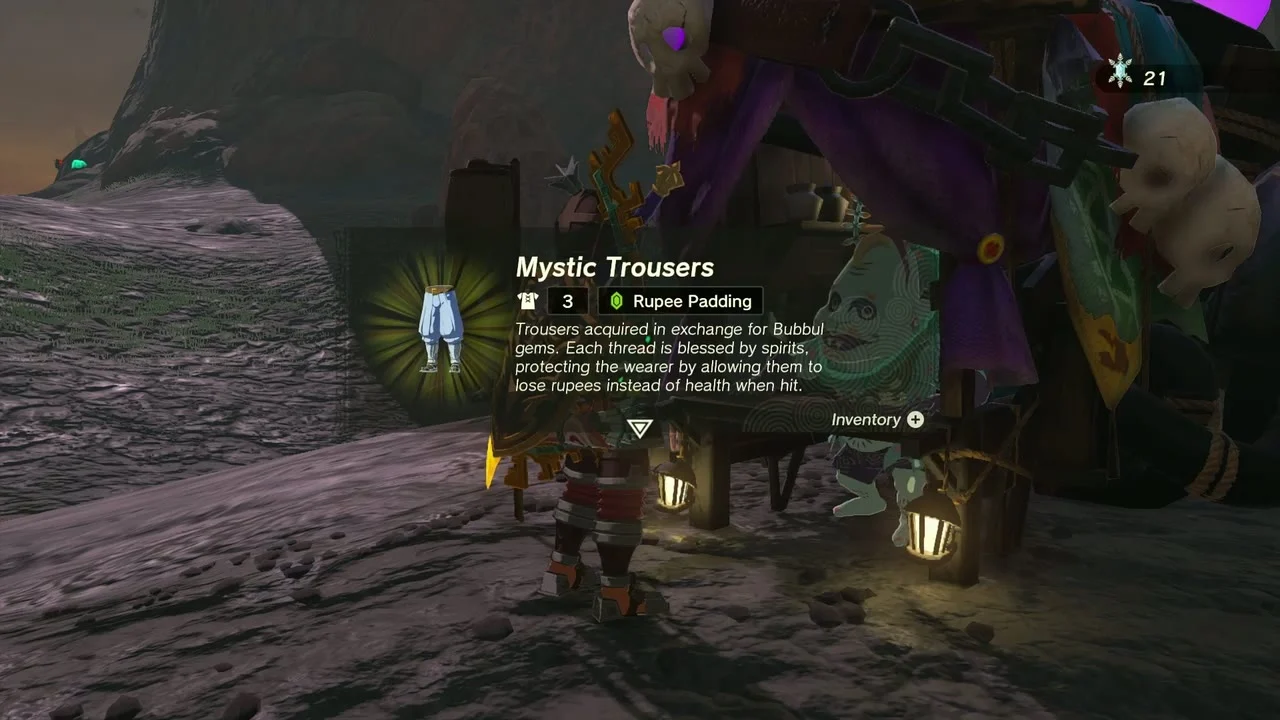
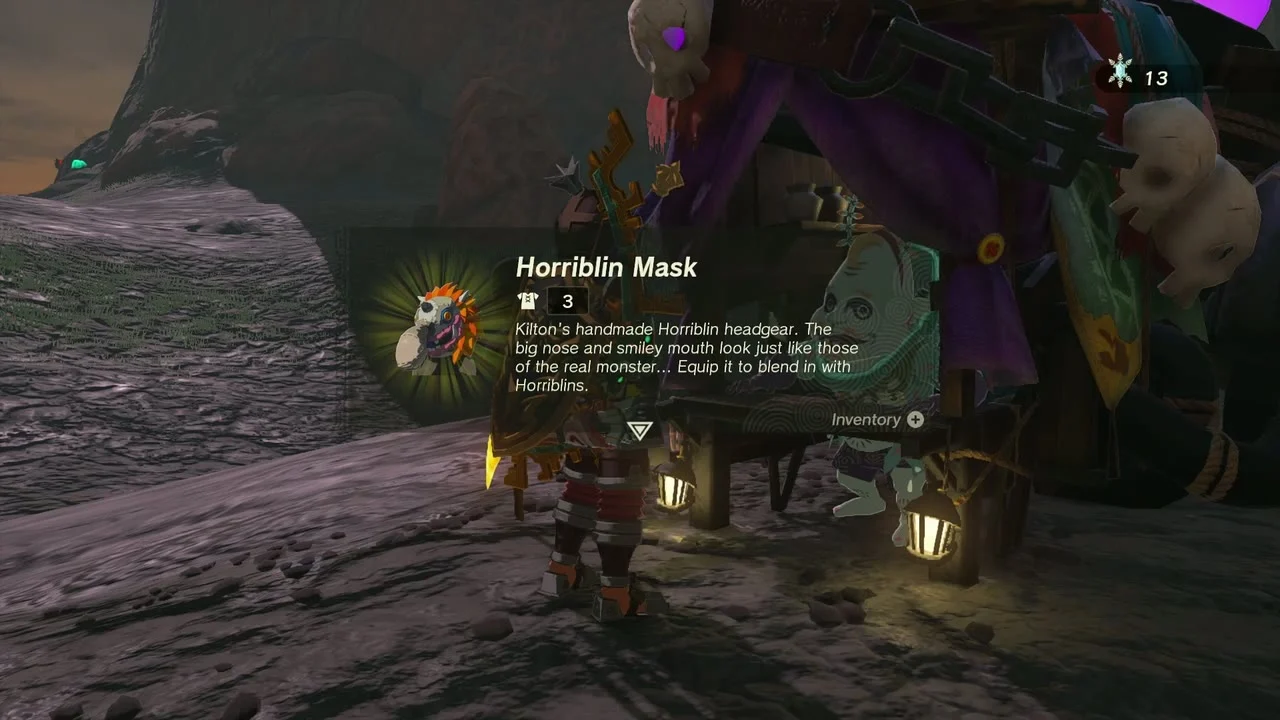
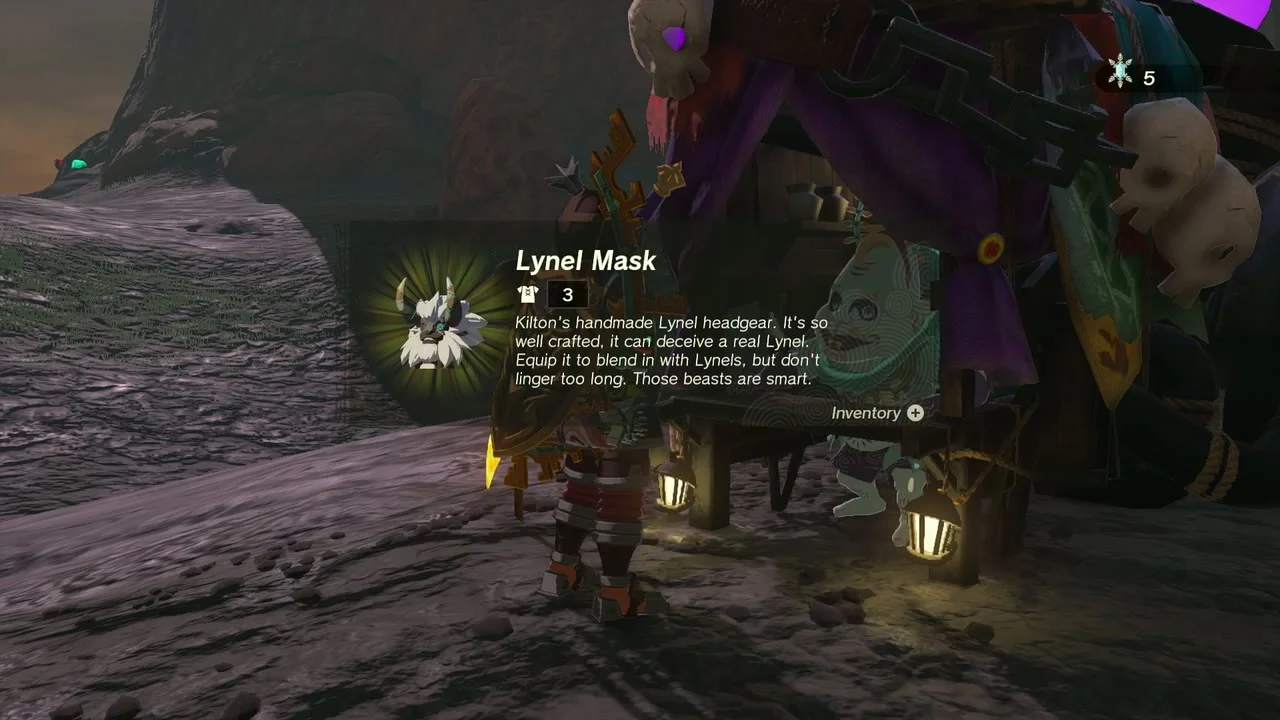
Korok seed (rock pattern). At (1375, 2843, 361) a half-finished circle of small rocks sits on the ground. Pick up the stray rock lying nearby and drop it into the gap to complete the ring; the Korok appears and pays out.

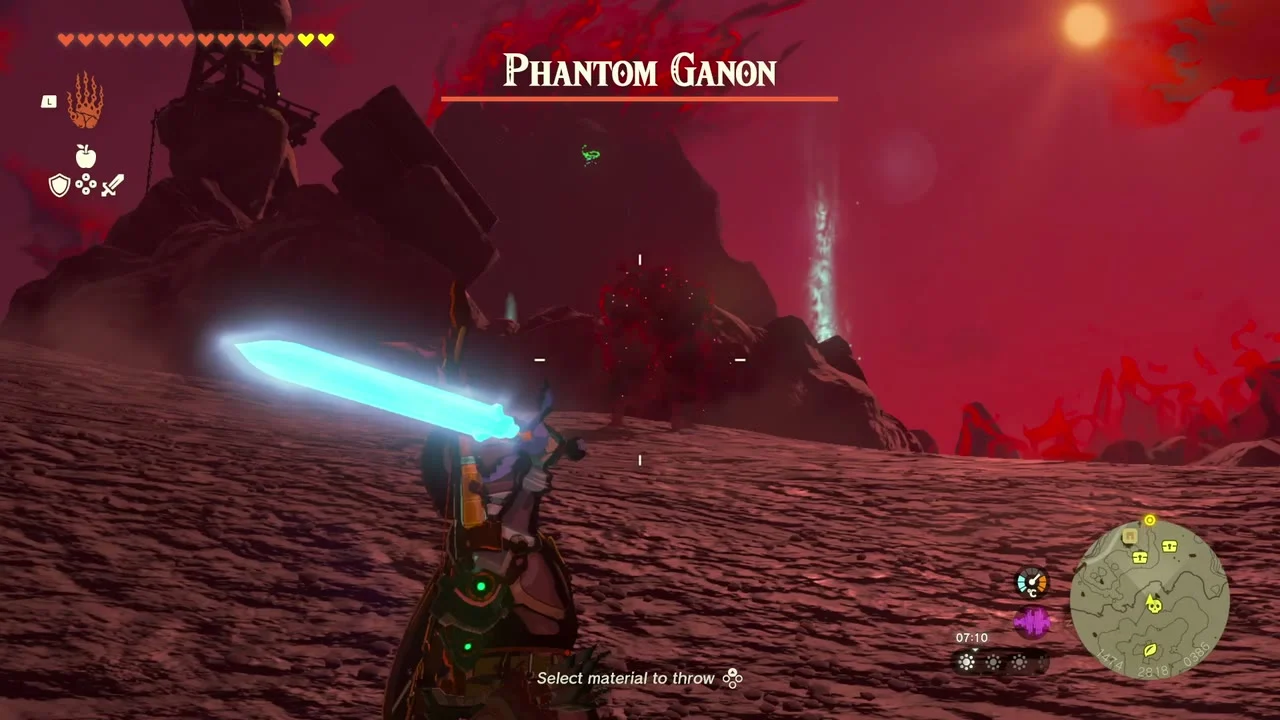
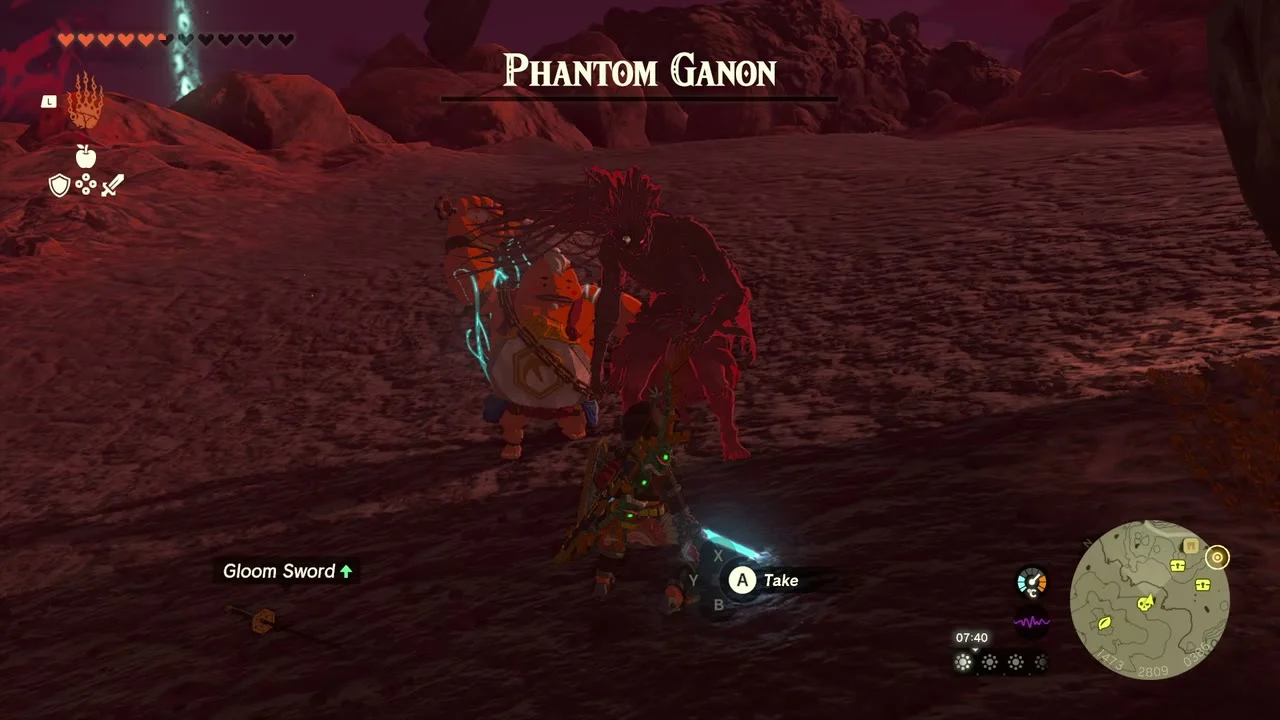
Miniboss: Phantom Ganon and Gloom Spawn. The skull marker near (1470, 2810, 386) is a gloom pit. Gloom Spawn rise from the gloom and Phantom Ganon attacks in the red haze. Fight with shield and bow, parry its sword swings and finish the Gloom Spawn when it surfaces. Phantom Ganon leaves a Gloom Sword and Dark Clump behind.
Scaffold chests and YunoboCo caves
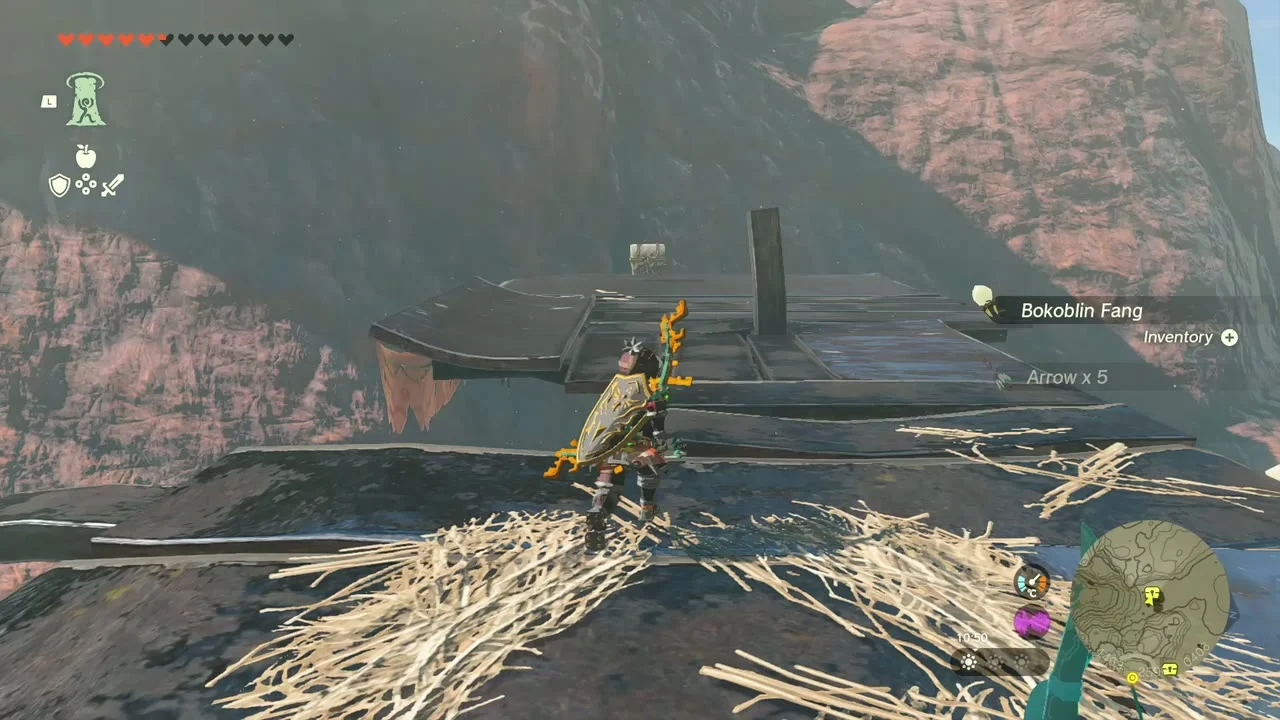
Chest (Arrow x5). A wooden scaffold platform high on the canyon wall at about (1481, 2611, 403) holds a chest and a Bokoblin camp. Climb the planks, clear the camp and open it for Arrow x5.
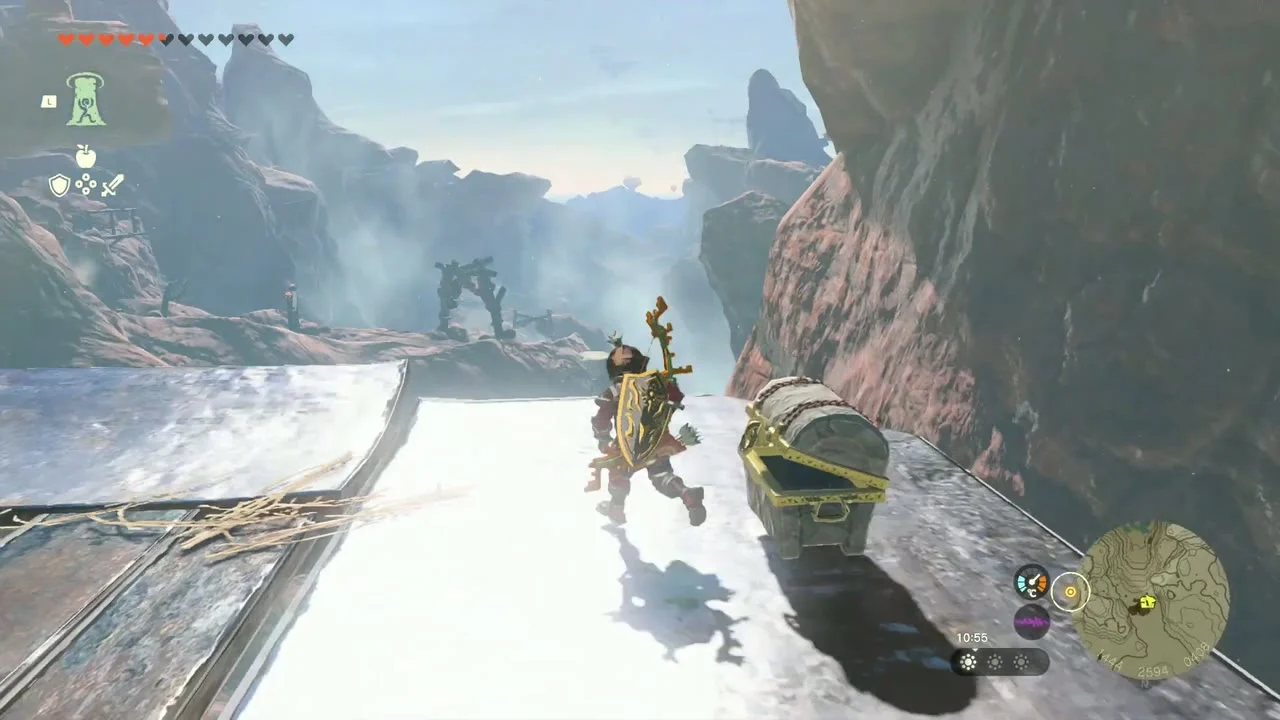
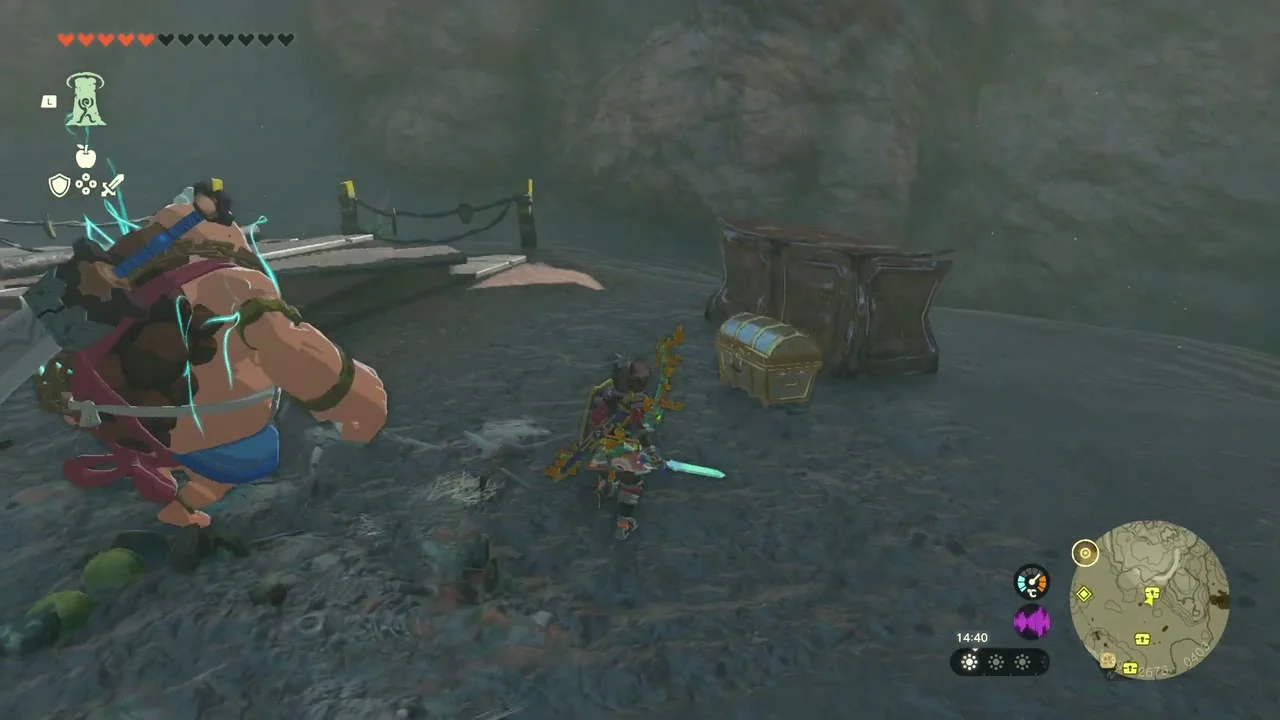
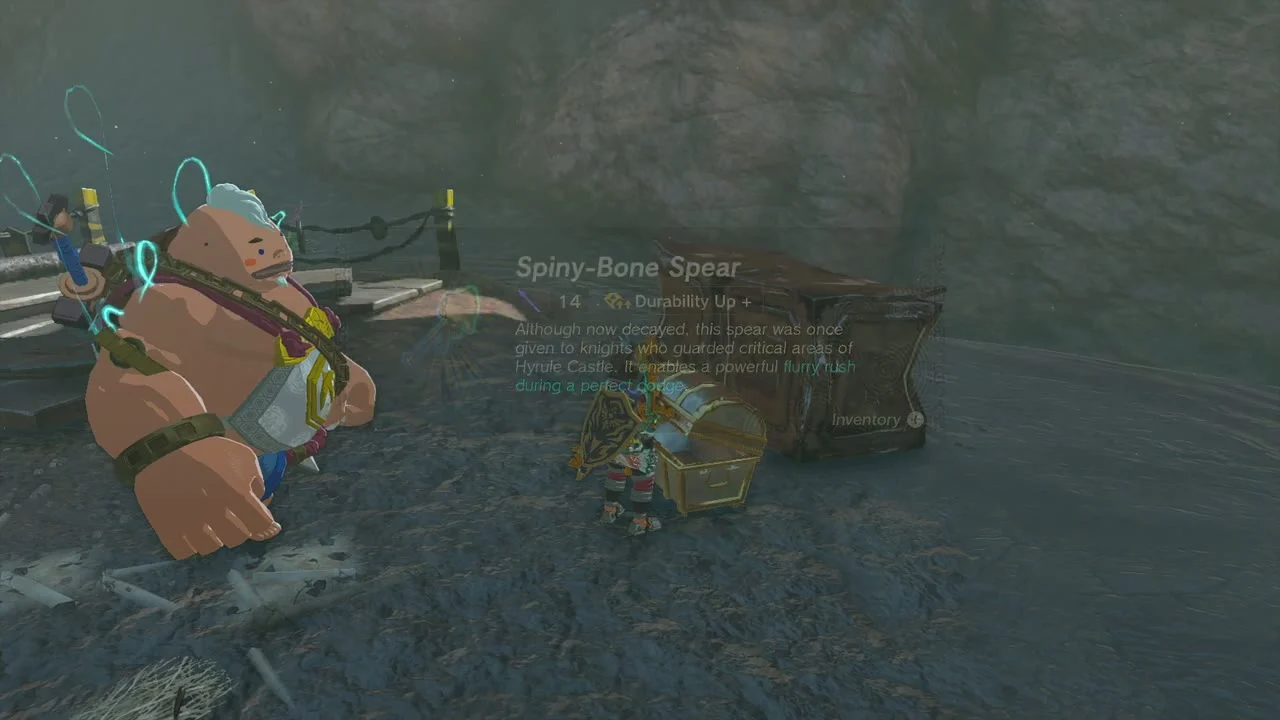
Chest (Spiny-Bone Spear). On a ledge near (1585, 2677, 405) a Moblin guards a chest. Defeat it and open the chest for a Spiny-Bone Spear.
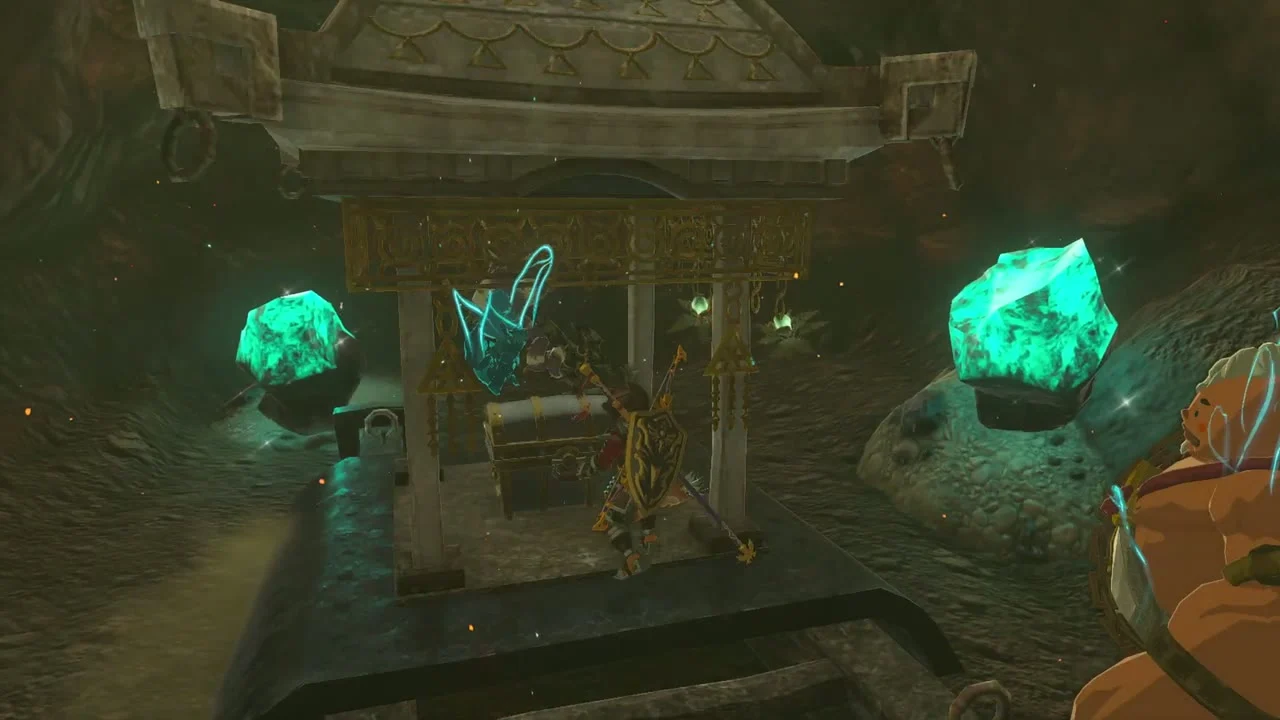
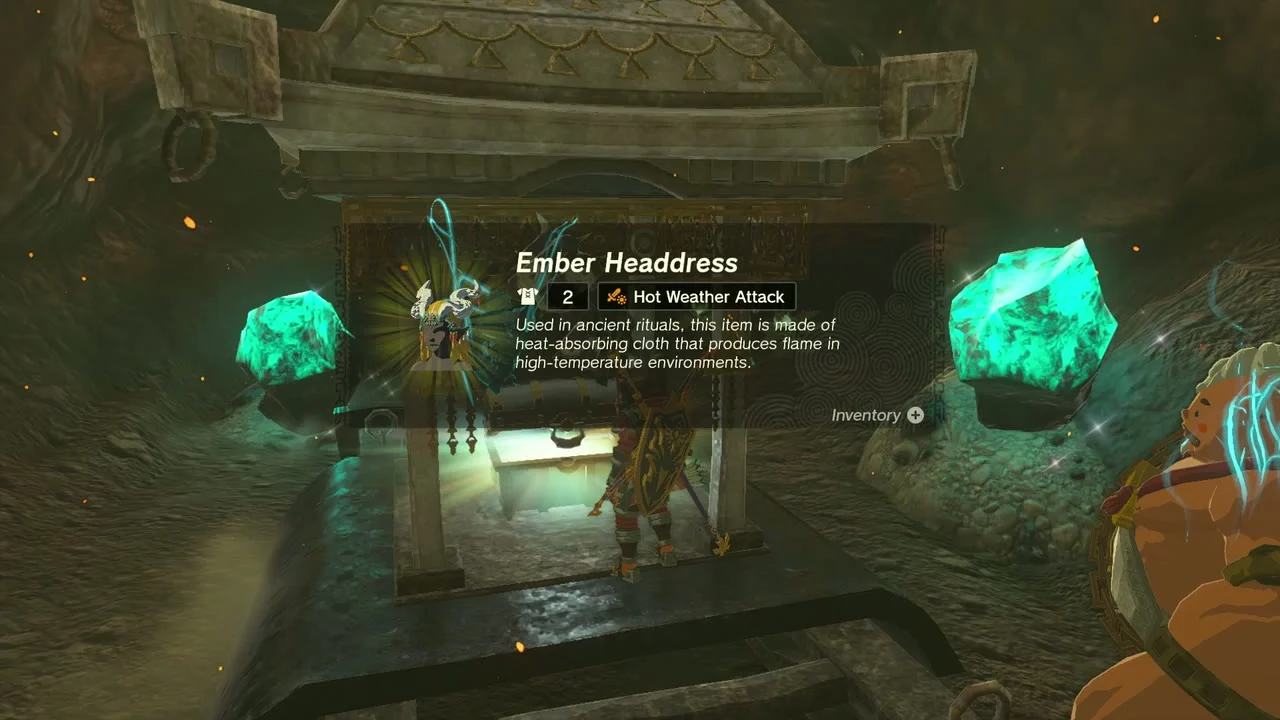
Cave: YunoboCo HQ South Cave (1713, 2718, 400), cave page. Heat is heavy, so wear Flame Guard. Cross the lava on vehicles, then step into the small shrine-like alcove lit by blue crystals. The chest there holds the Ember Headdress, a heat-resistant helm that sets off flame in high temperatures. A Bubbul Gem drops from the Bubbulfrog on the cave’s far side.
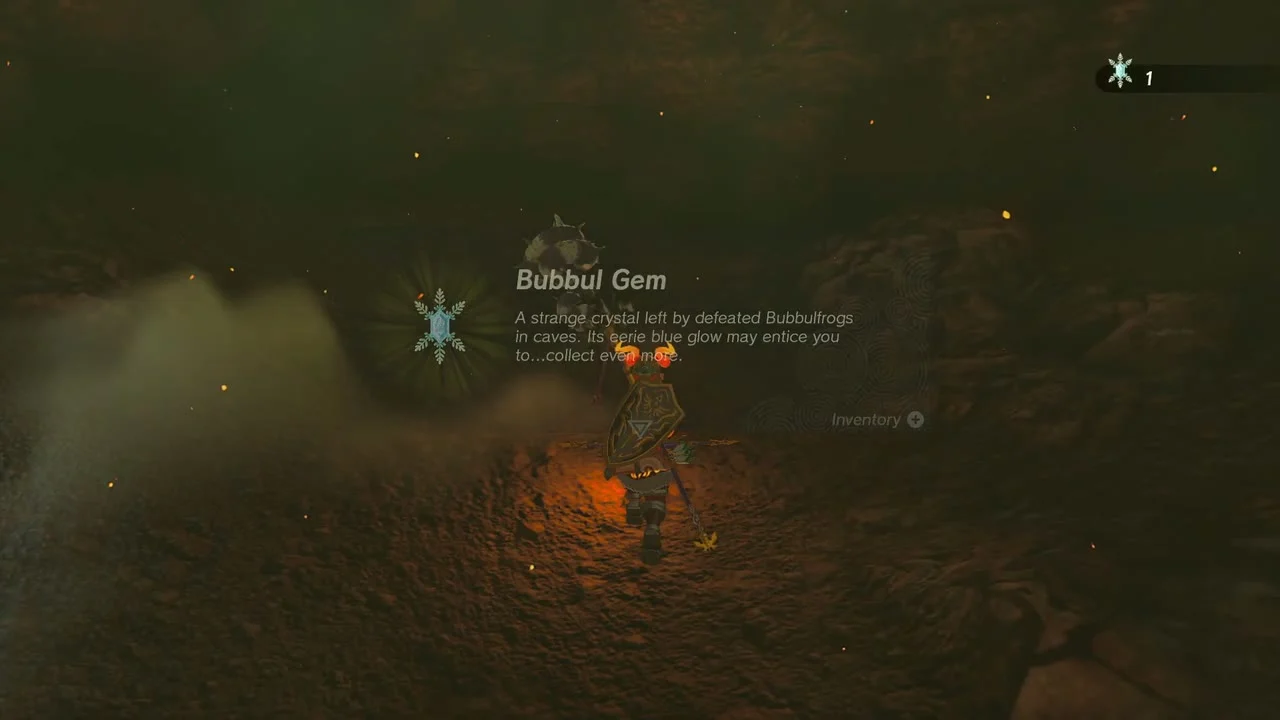
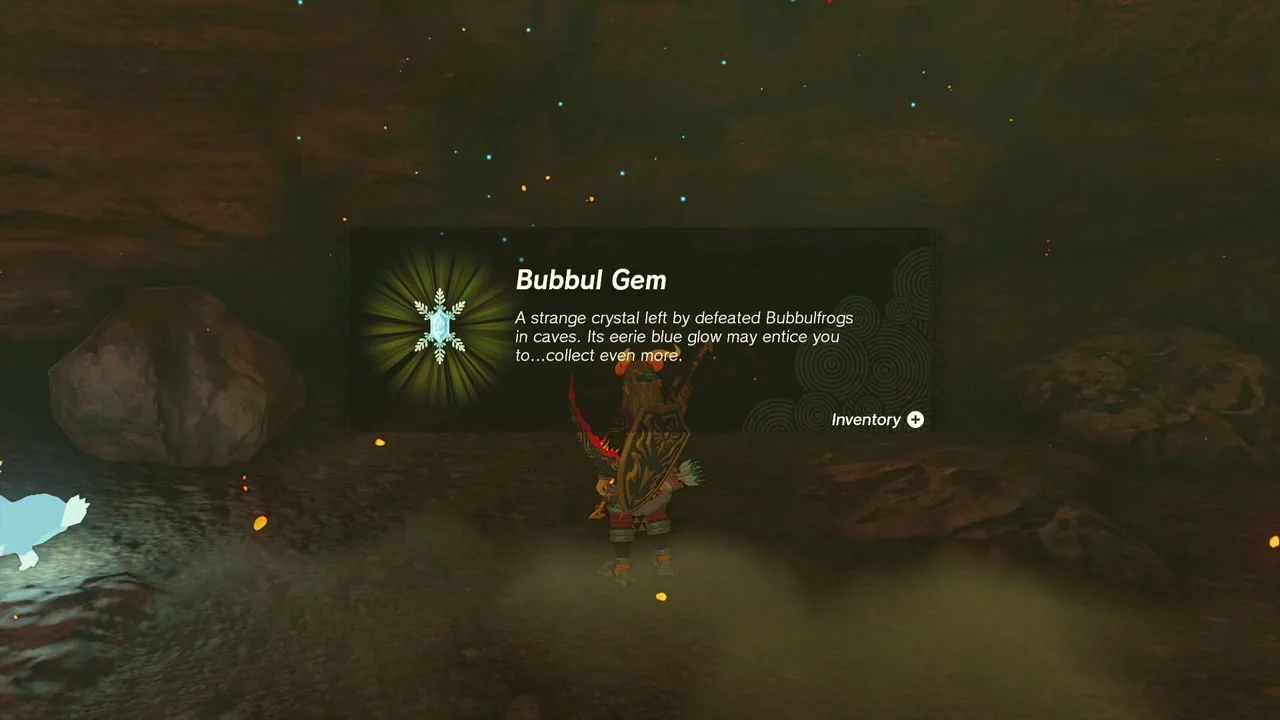
Cave: YunoboCo HQ East Cave (1764, 2837, 399), cave page. Defeat the Bubbulfrog inside for a Bubbul Gem, then open the chest near the shrine tunnel for a Cobble Crusher. The same tunnel continues on to Isisim Shrine.

Isisim Shrine
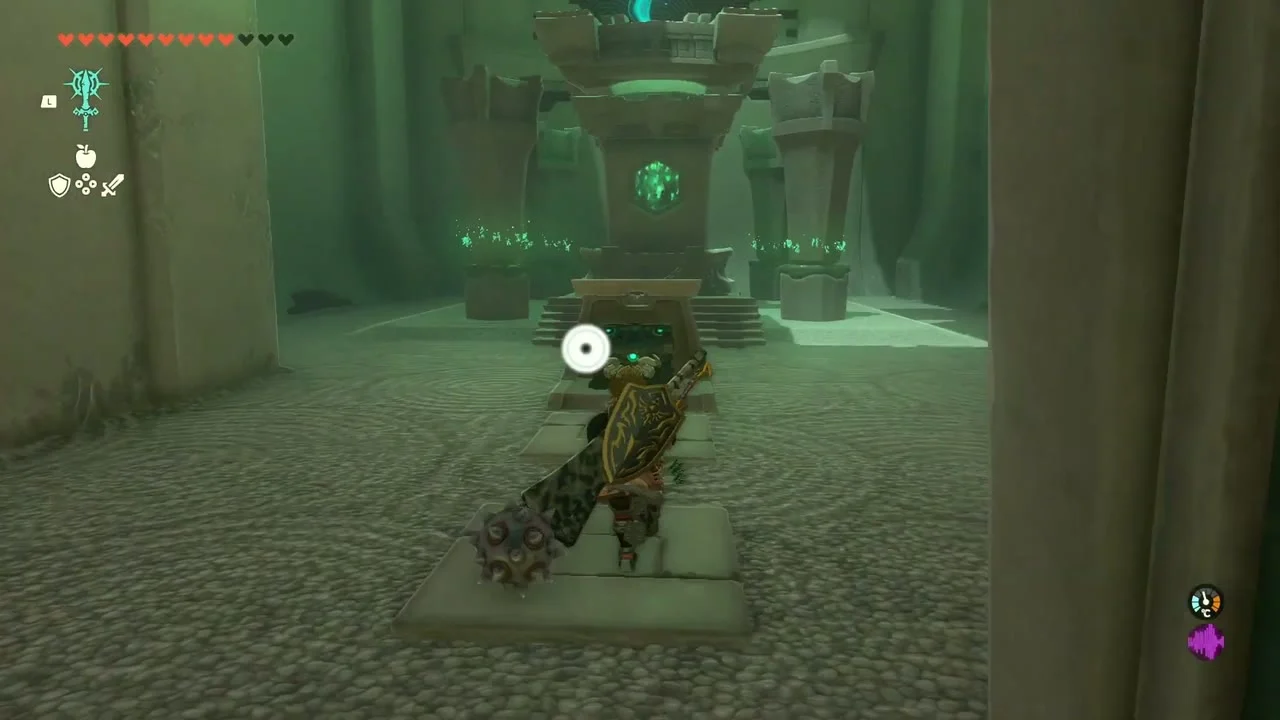
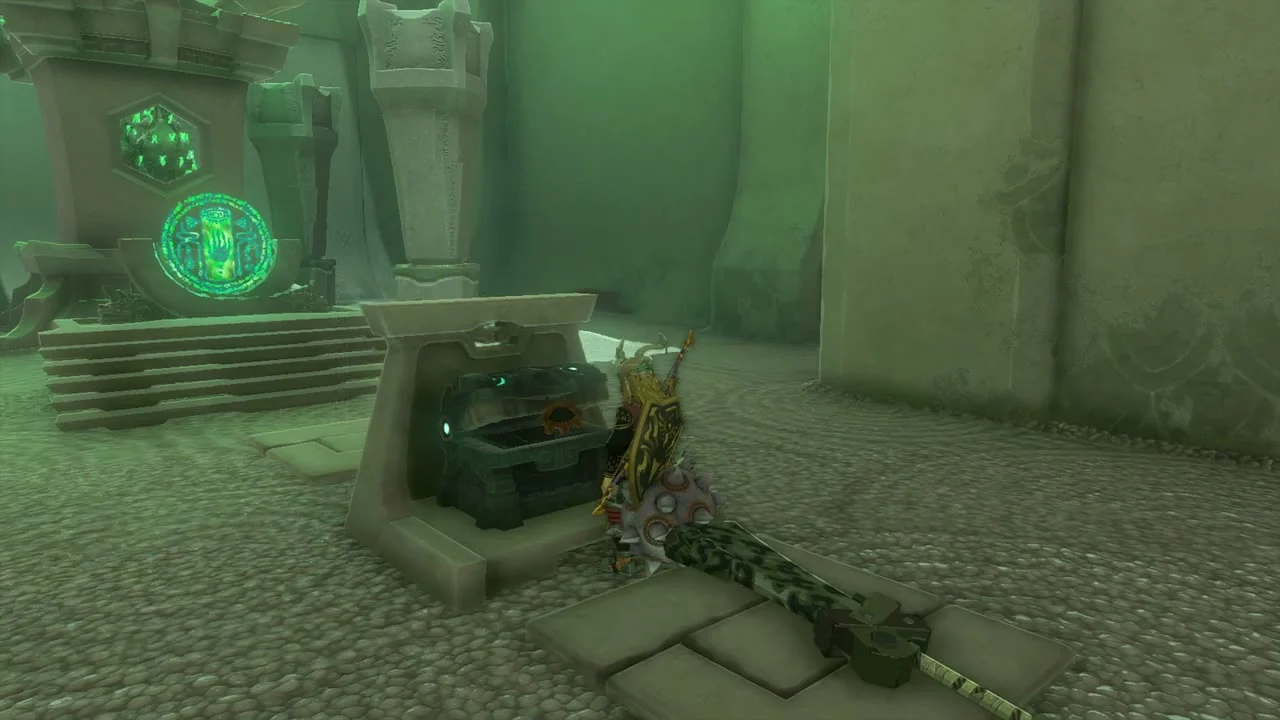
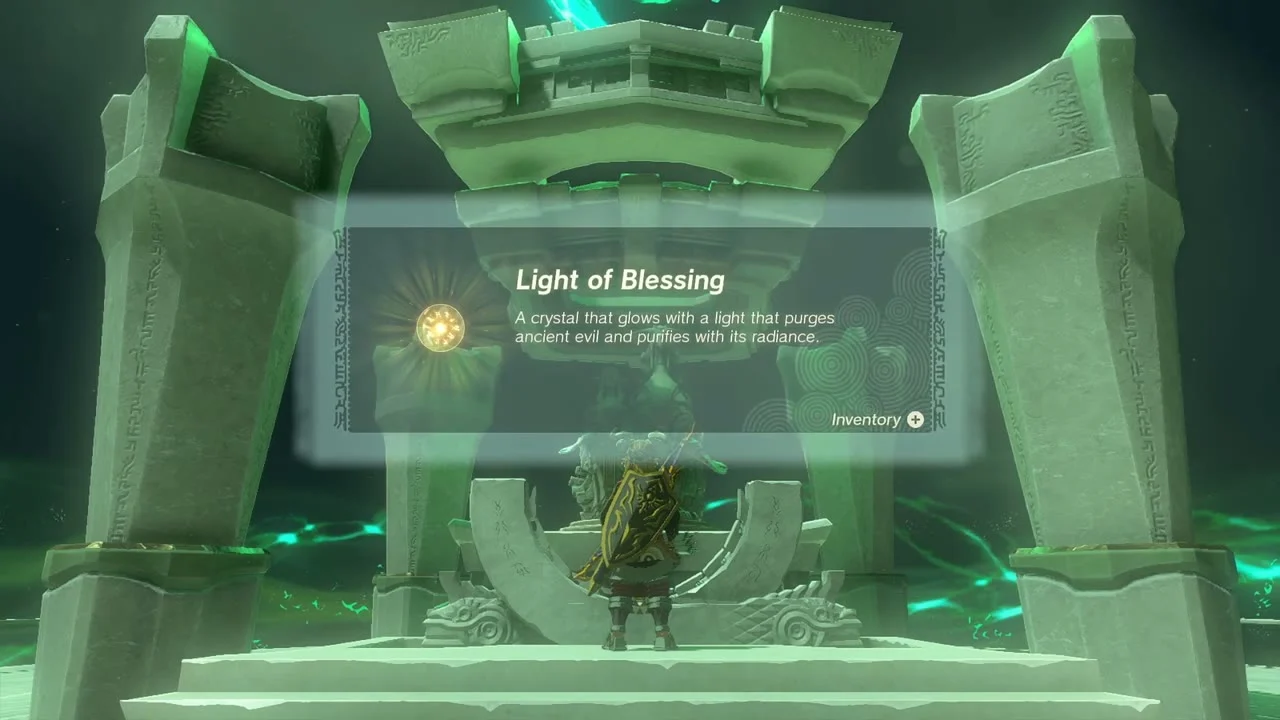
Isisim Shrine (Proving Grounds: In Reverse, Proving Grounds) is at (1842, 2842, 377) inside YunoboCo HQ East Cave, behind rubble you smash open. Misisi Lightroot lies below it. Your gear is taken away and you arm yourself with the sticks and shield on the rack near the entrance. Clear the Constructs, throwing their bombs back where possible, then open the chest behind the door for a Magic Rod and take the Light of Blessing.


Isle of Rabac and the Foothills
Korok seed (exhausted Korok, east). On the rocks near (1714, 3060, 393) an exhausted Korok asks to be carried to its friend, who sent up a smoke signal. Lift it with Ultrahand onto a cart or fan platform, carry it across the rail line and set it down at its friend’s hut by the red cliff. Both give you a Korok seed.
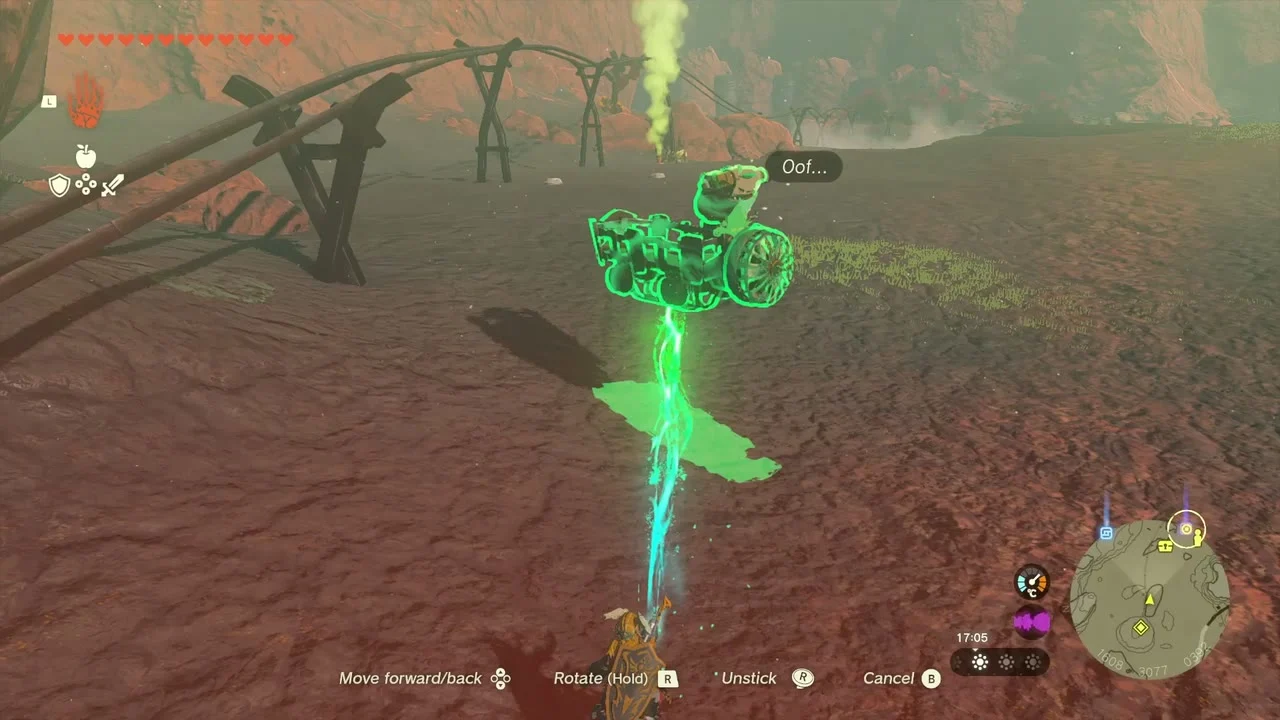

Cave: Isle of Rabac Gallery (1554, 3102, 392), cave page. The entrance is on the island north of Goron City, reached by riding the mine-cart rails. Inside, a cart with a fan attached circles a loop of rails; shoot the target on the wall to steer it toward the exits.

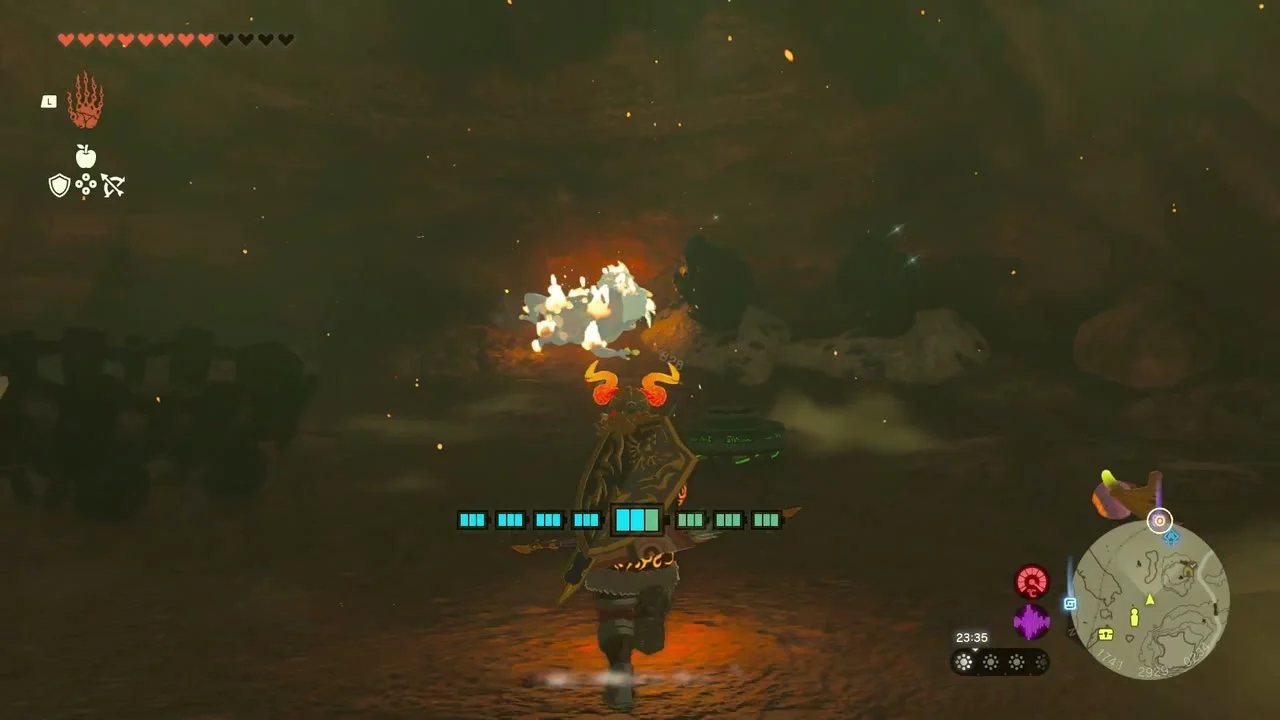
Chests (Royal Broadsword (or Traveler’s Sword, Soldier’s Broadsword or Knight’s Broadsword, depending on your progress) and Cobble Crusher). Pick up the Royal Broadsword from the cave floor in the early chambers and a Cobble Crusher from the chest nearby. Swap out a weapon you do not need if your inventory is full.
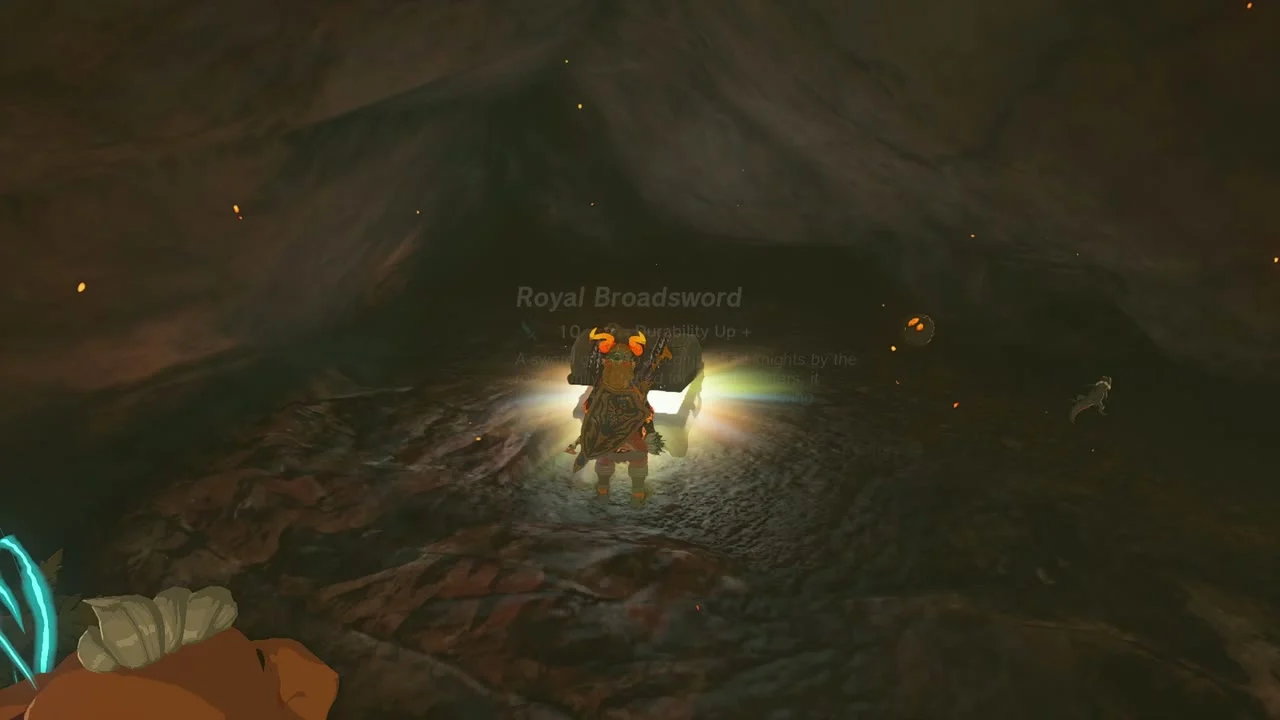
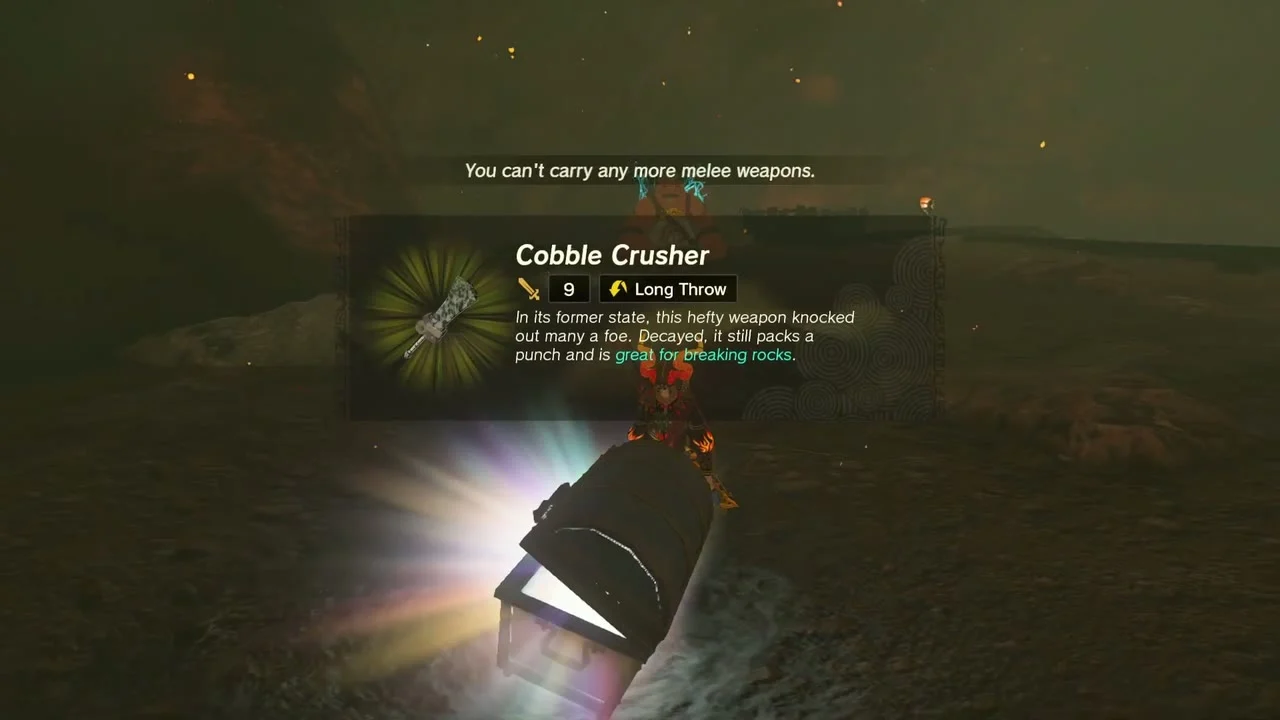
Bubbul Gem and chest (Ruby). Defeat the Bubbulfrog by the middle platform for a Bubbul Gem. Another chest on the cave floor holds a Ruby.
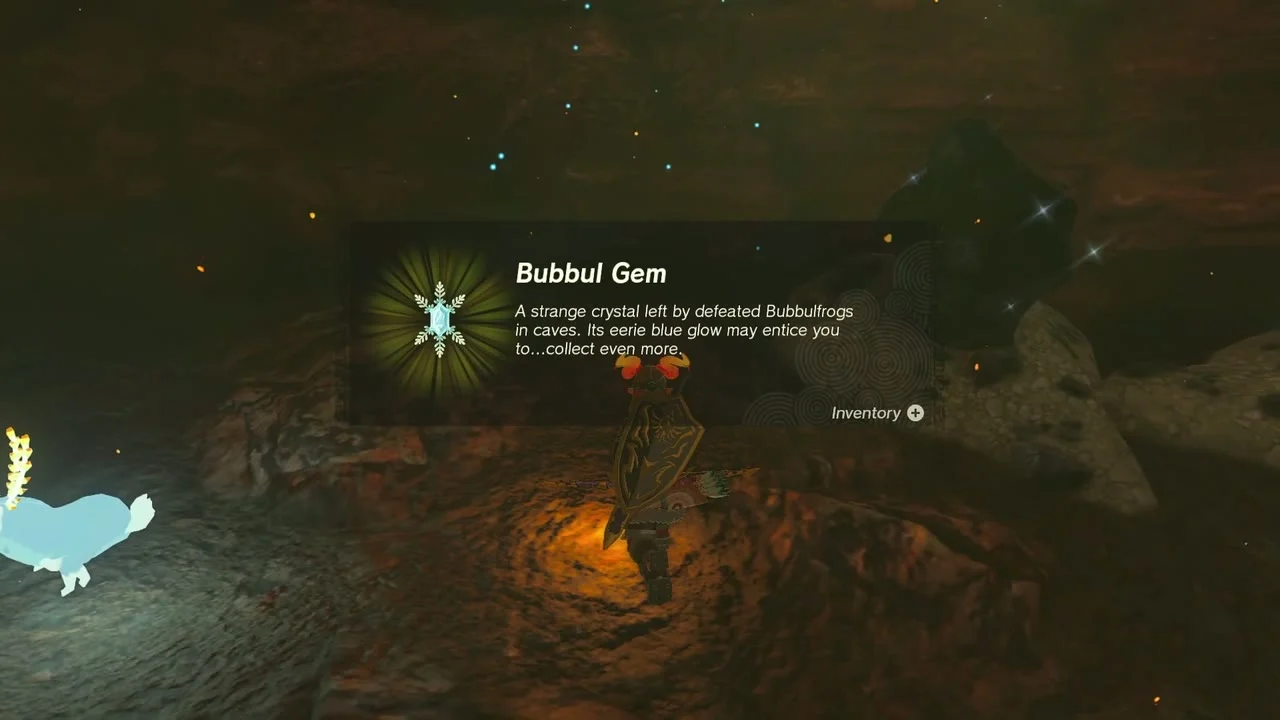

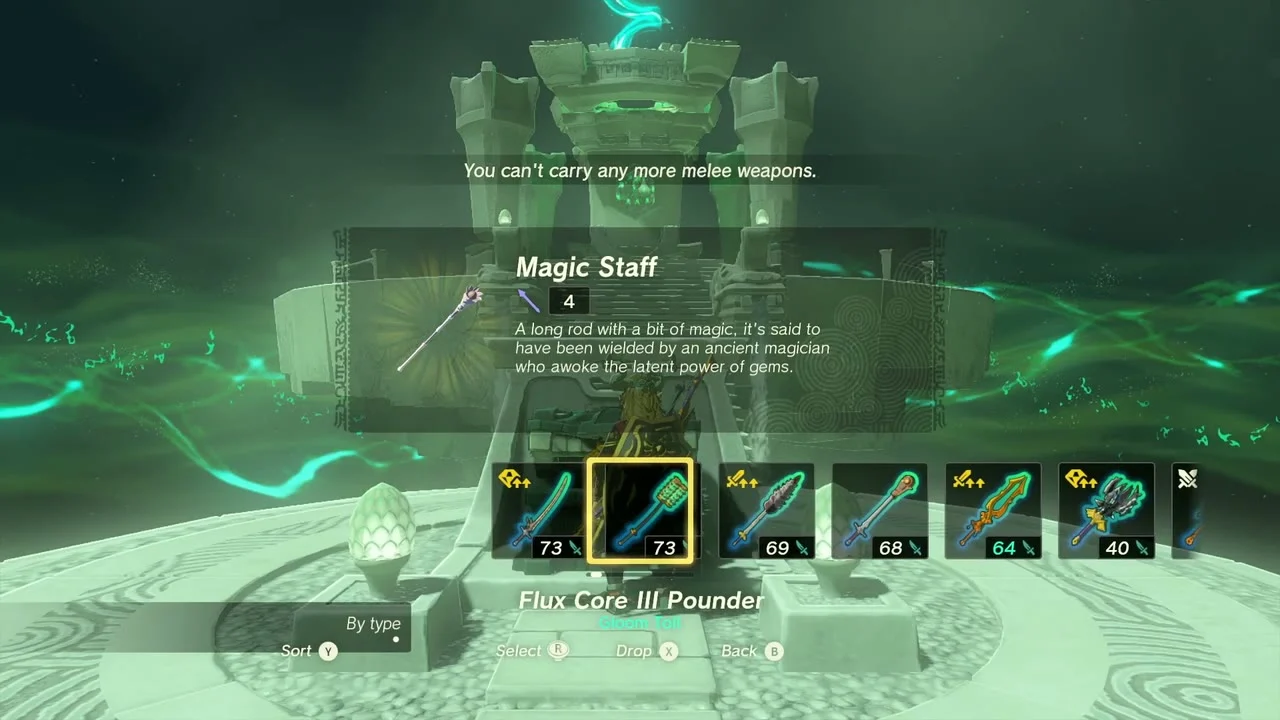
Jiotak Shrine (Rauru’s Blessing, a blessing with no puzzle) is at (1834, 3180, 271) at the end of the gallery. Katoij Lightroot lies below it. Glide across to its ledge, open the chest for a Magic Staff and take the Light of Blessing.
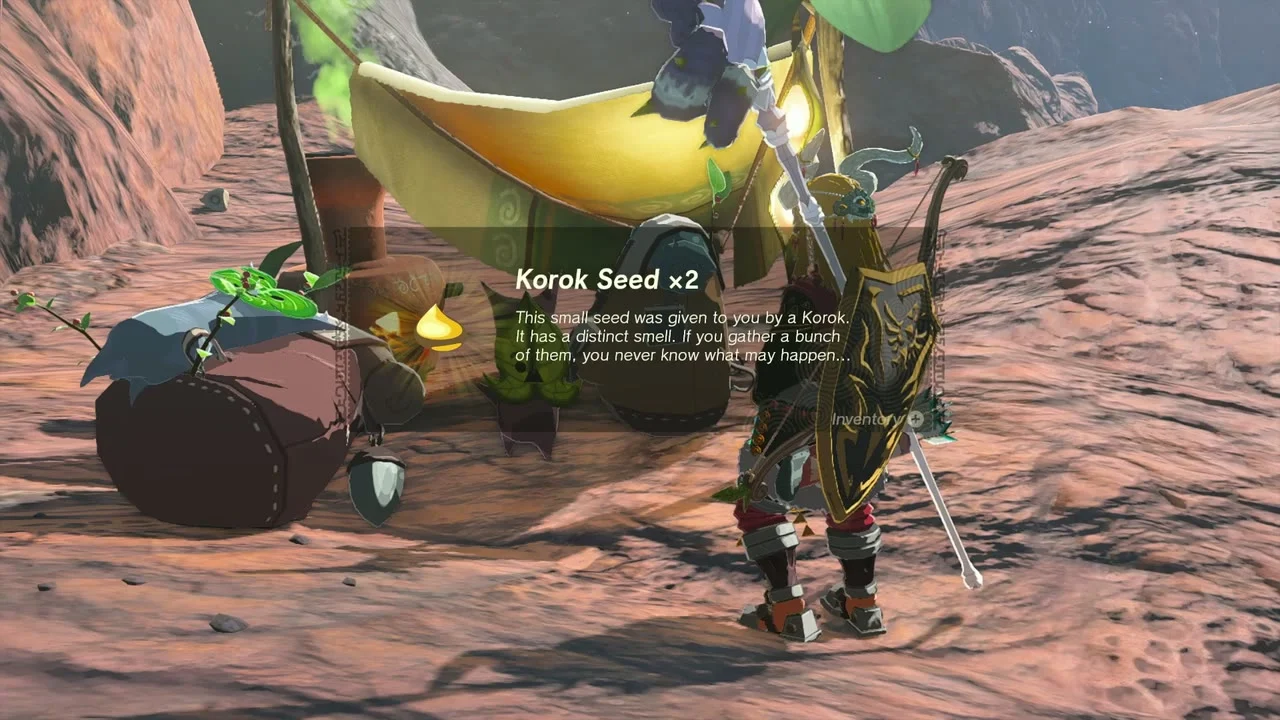
Korok seed (exhausted Korok, Death Mountain). The second exhausted Korok is near (1990, 2596, 457). Build a small wheeled cart with a fan, load the Korok on and drive it across the foothills to its friend; the pair reward you with Korok Seed x2.

Miniboss: Igneo Talus. The rock giant guards the slopes north of Goron City. Break off its glowing ore limbs and hit the exposed core; it drops an Opal and an Igneo Talus Hammer.

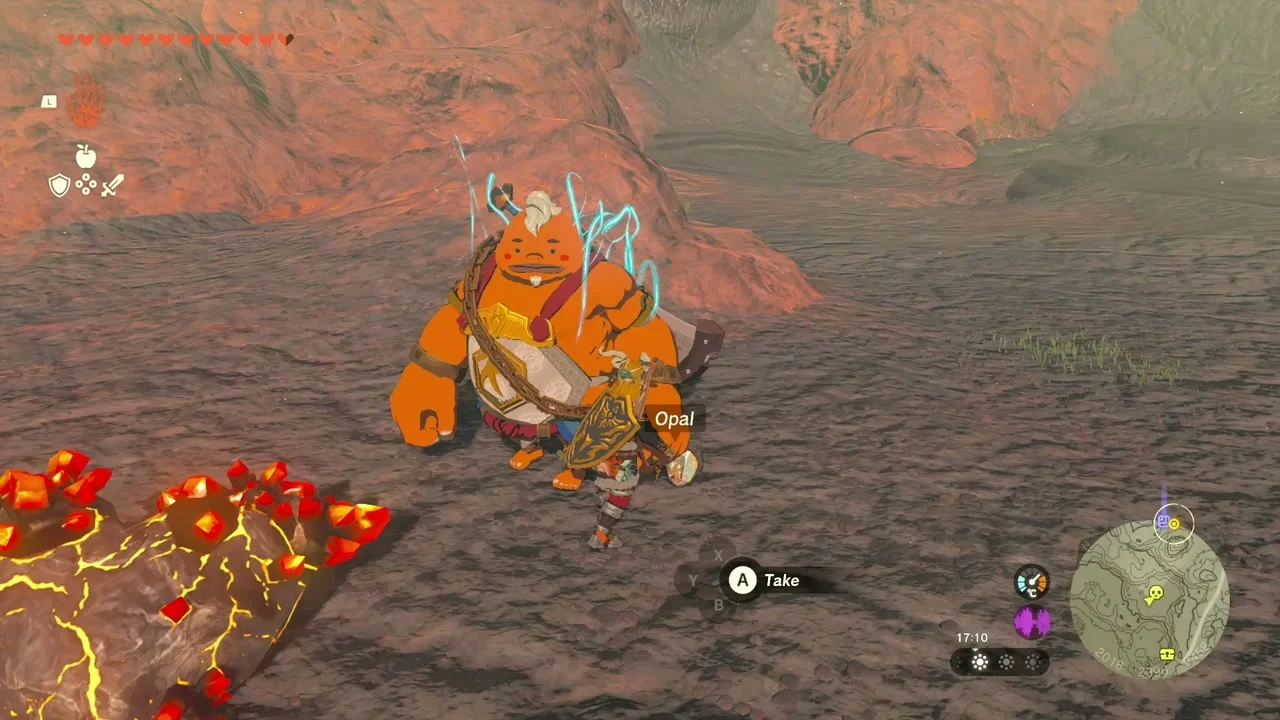
Chest (Bomb Flower x3). Glide to the small ledge just past the Talus arena and open the chest for Bomb Flower x3.


Cave: Death Mountain Foothill Cave (1949, 2687, 425), cave page. Brightbloom Seeds and loose weapons line the lava passages; the Bubbulfrog near the far end drops a Bubbul Gem. Bring Flame Guard gear and a few fire-resistant meals.


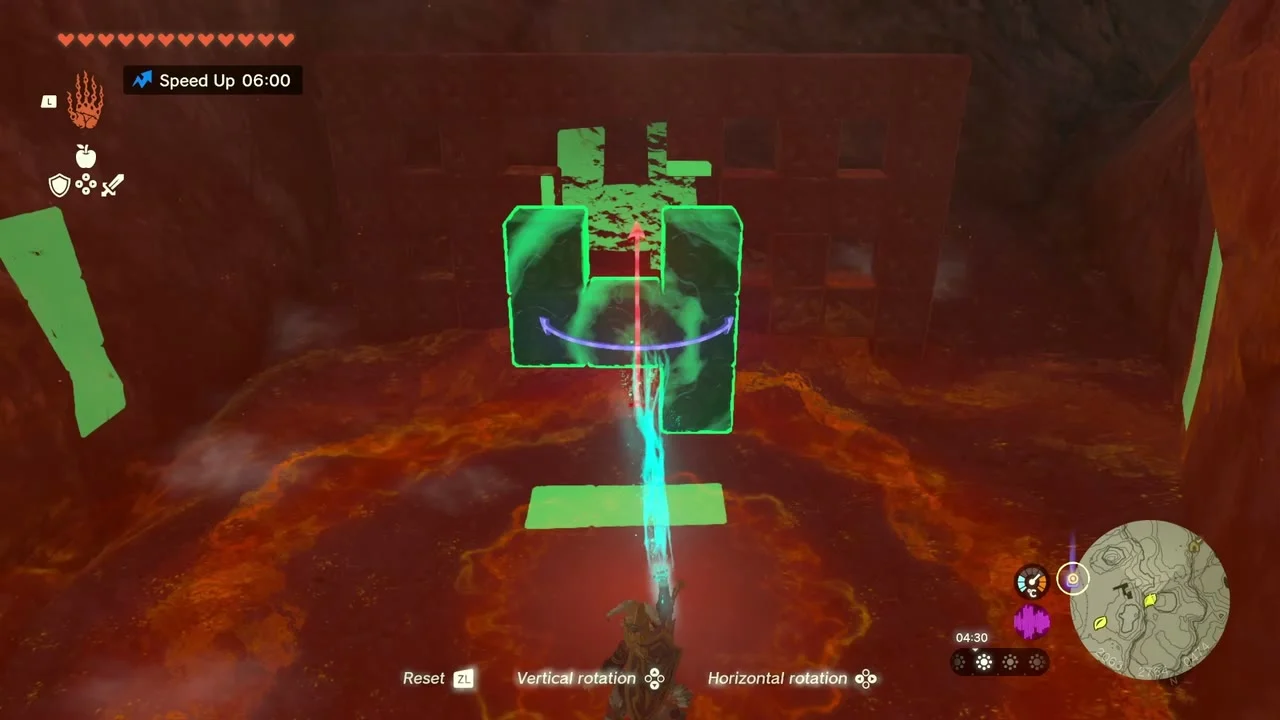
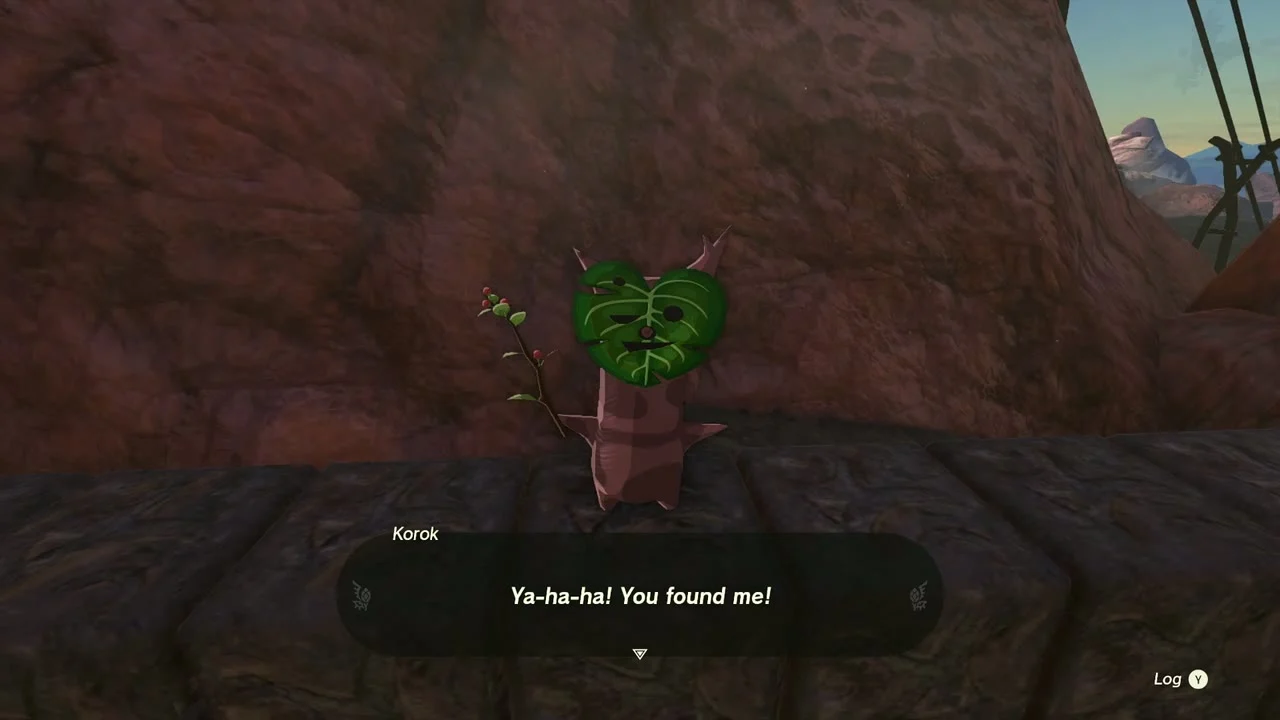
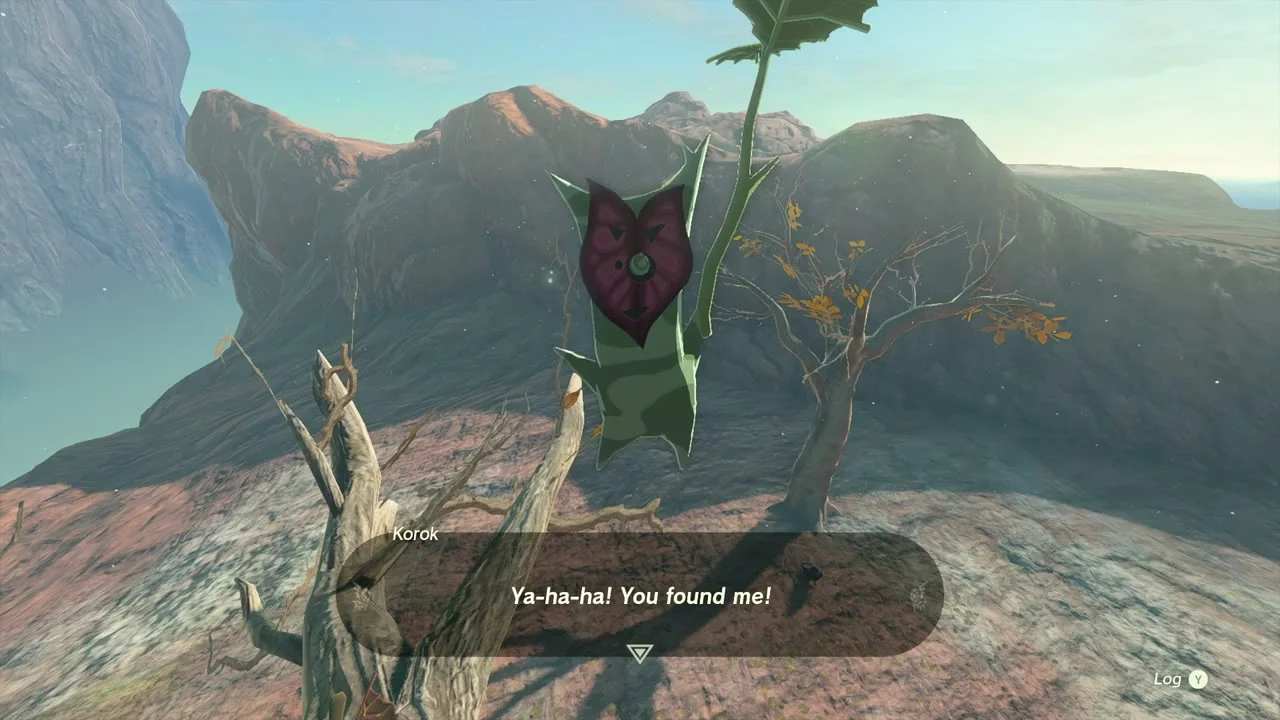
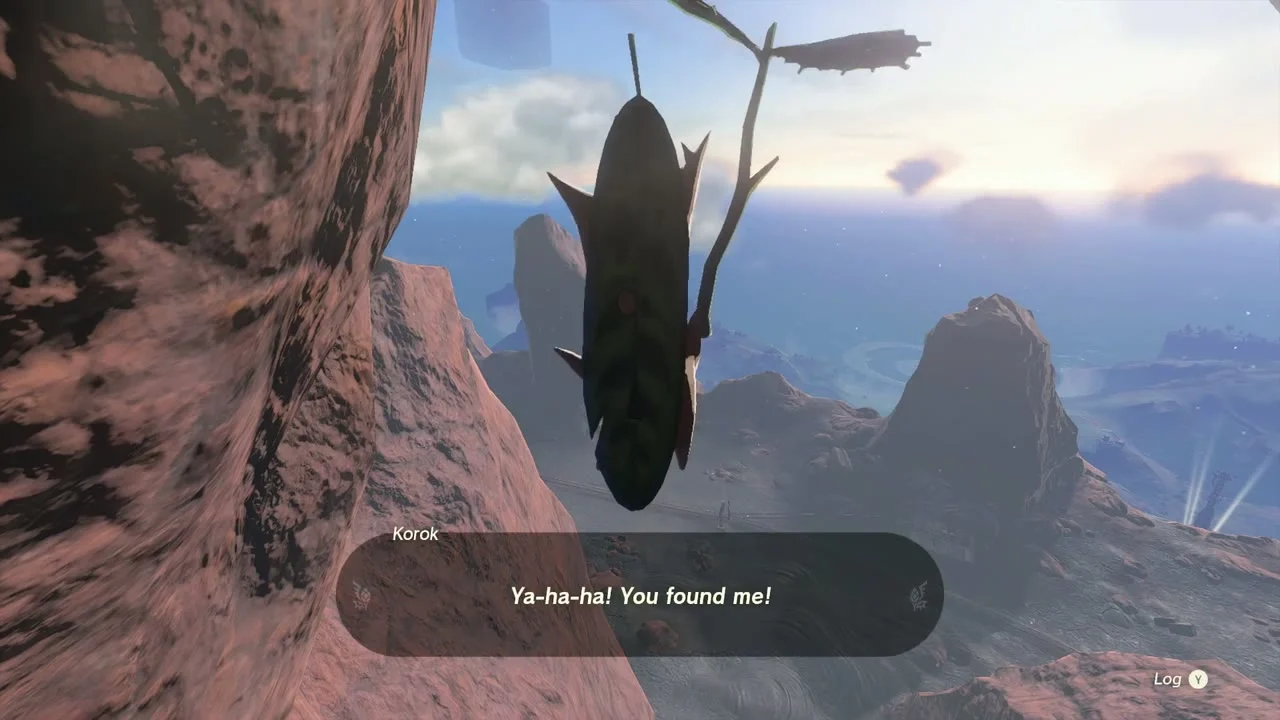
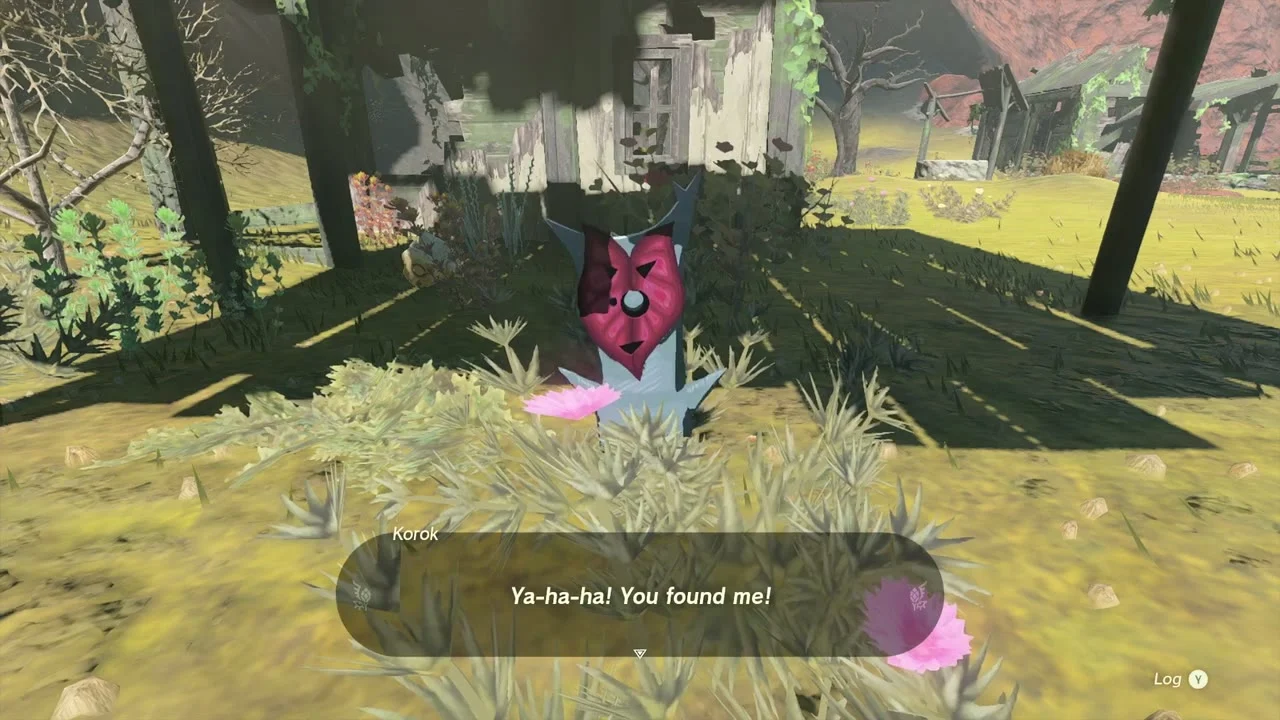
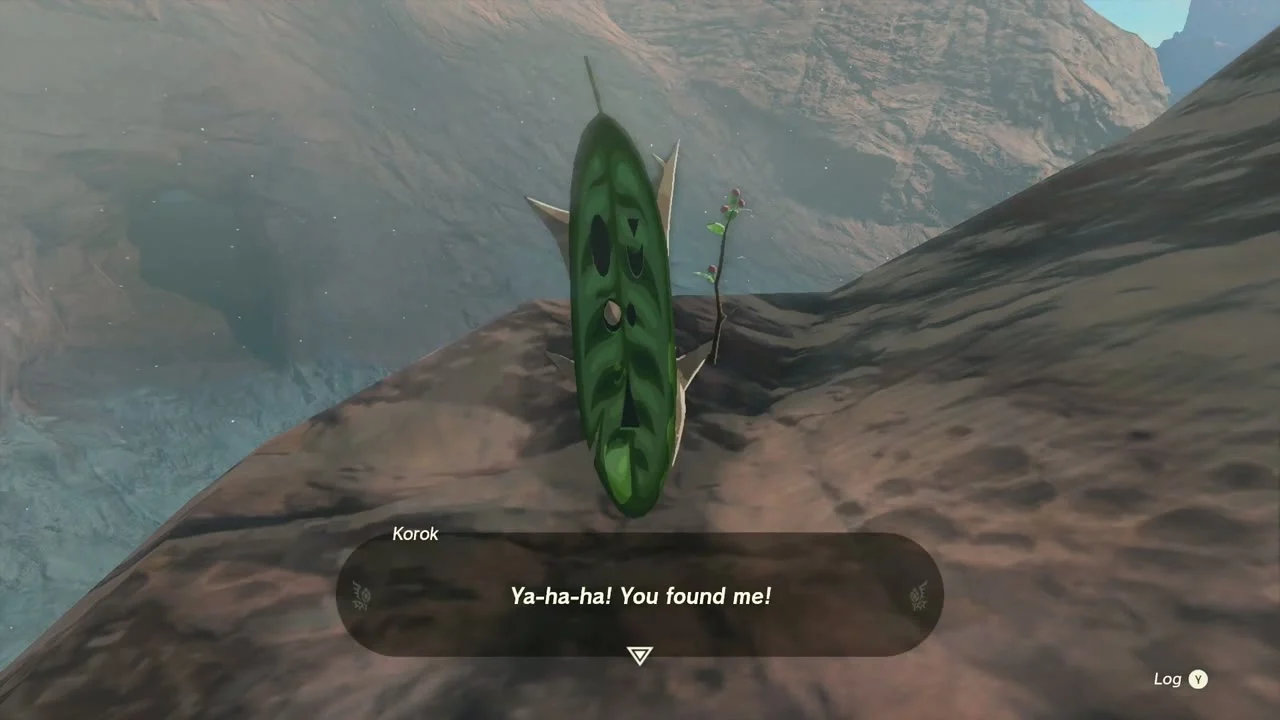
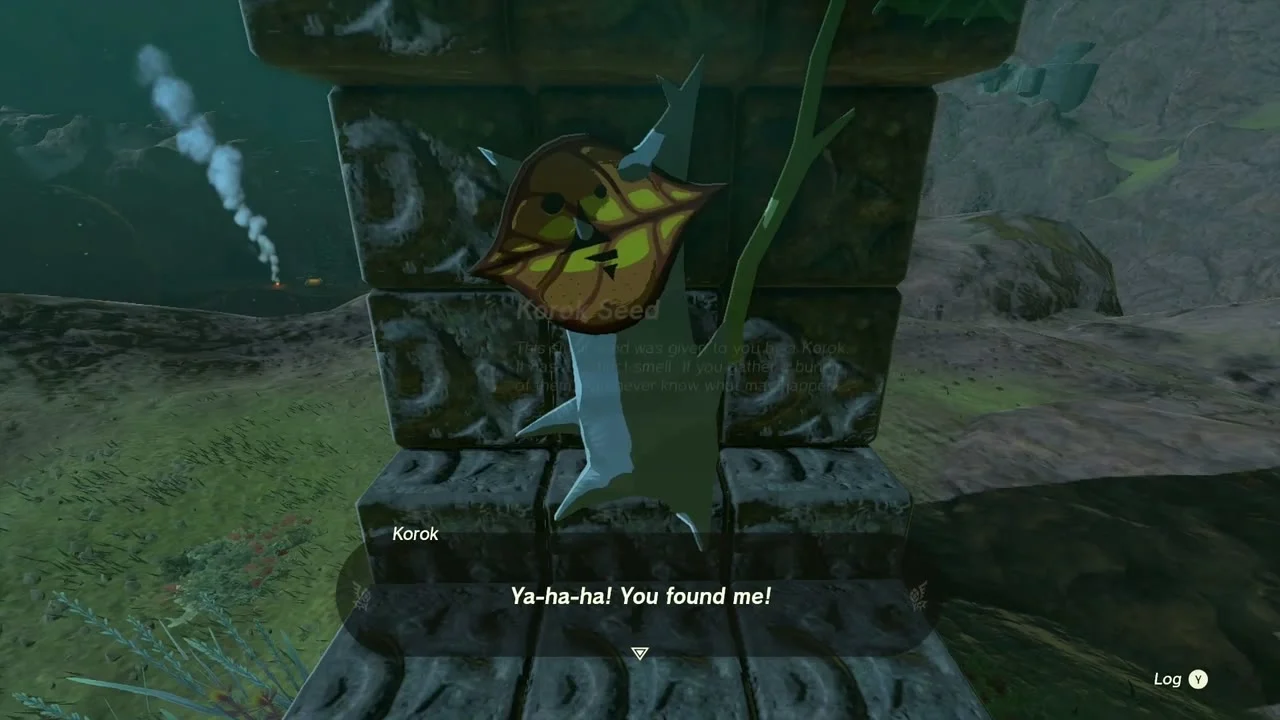
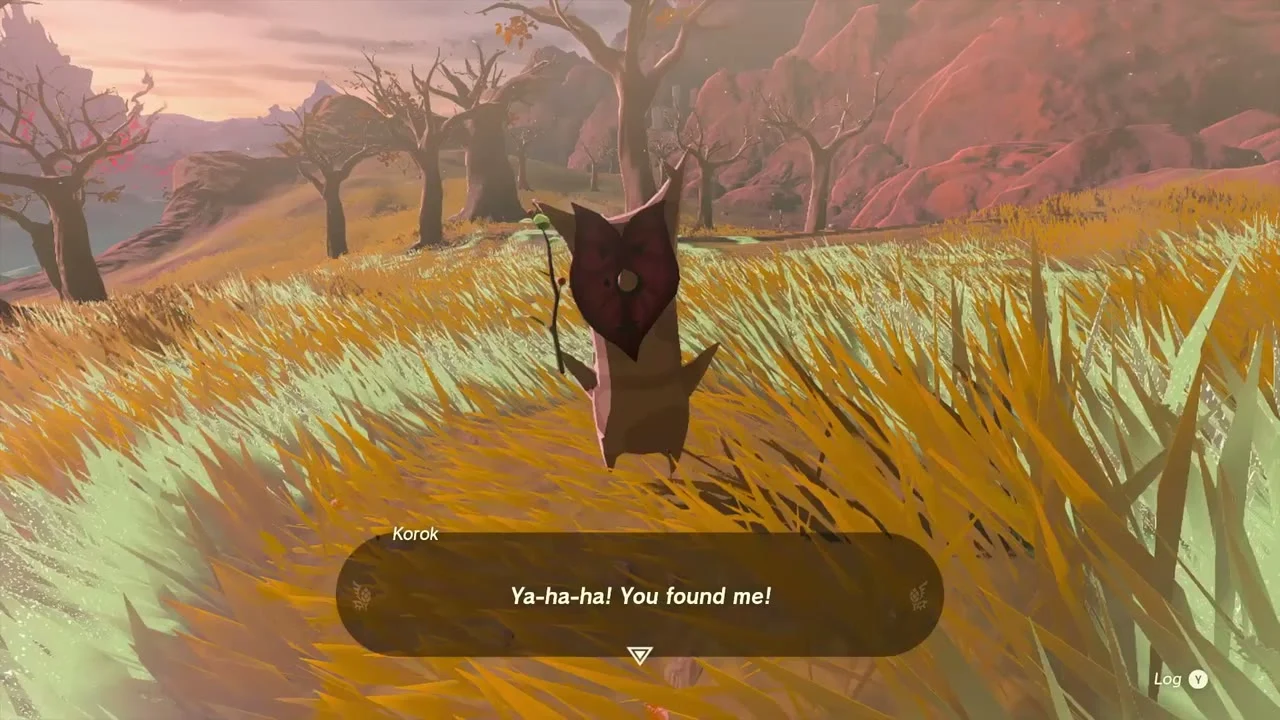
Korok seed (cube puzzle). At (2061, 2755, 481) a cube-shaped gate blocks a Korok. Spin the Zonai cube until its markings line up with the tiles; the Korok says “Ya-ha-ha! You found me!” and gives you a seed.
Death Mountain: Mota and Sitsum Shrine
Quest: The Abandoned Laborer. Mota is stranded in Death Mountain West Tunnel (2238, 2682, 520), cave page, because the track broke. Build a cart that rolls on the rail line, load Mota on, and send him out of the tunnel. Quest page.
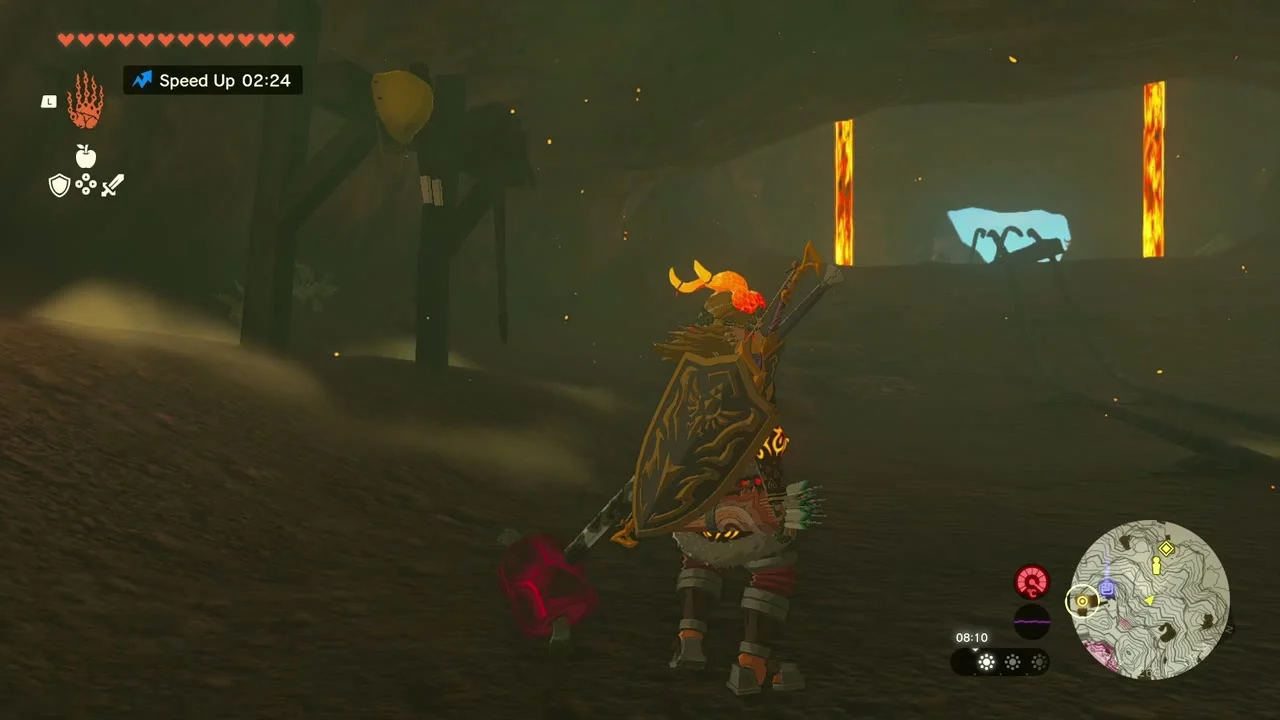
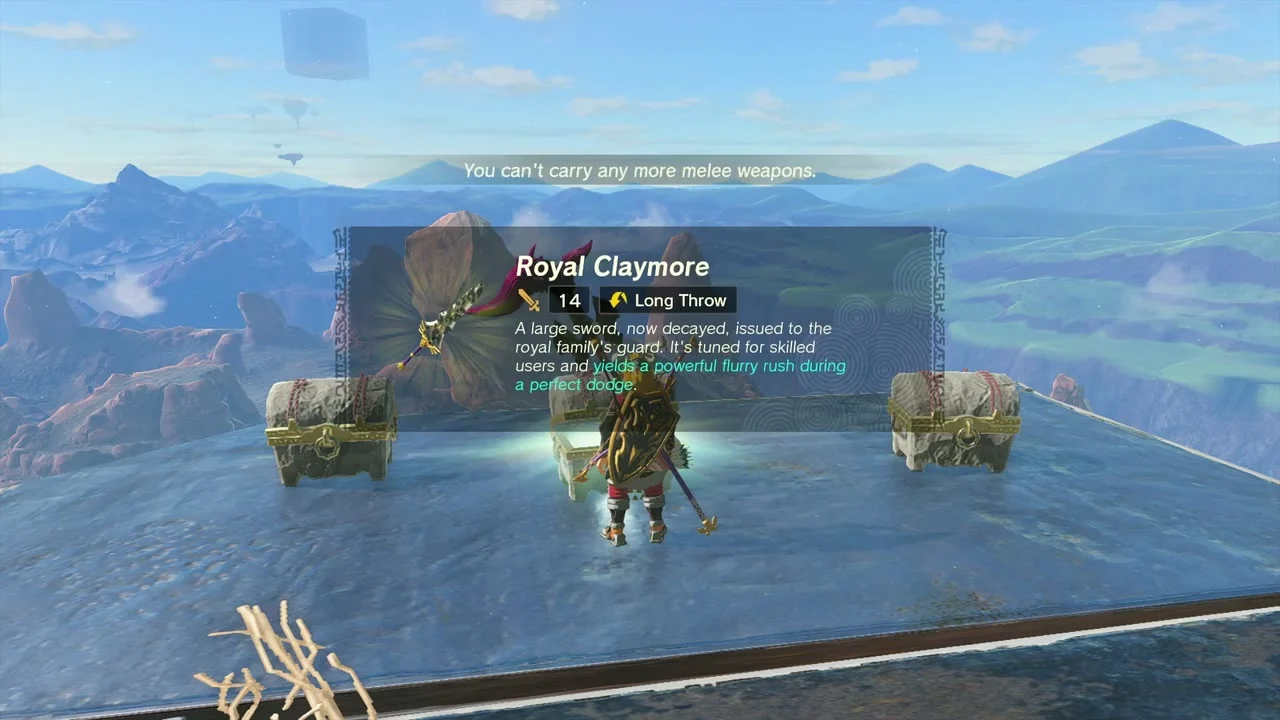
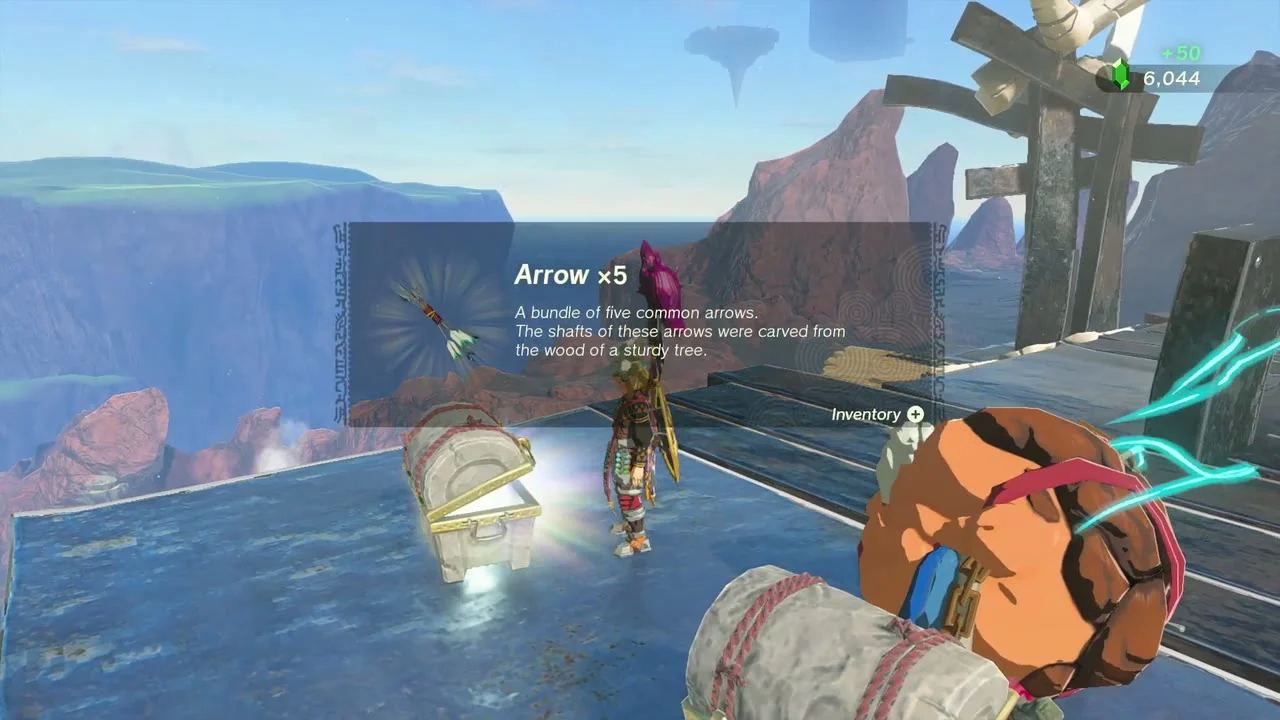
Chests (Royal Claymore (or Traveler’s Claymore, Soldier’s Claymore or Knight’s Claymore, depending on your progress), Purple Rupee, Arrow x5). On the sky platforms north of the tunnel you find a cluster of chests: a Royal Claymore, a Purple Rupee and Arrow x5.
Sitsum Shrine (A Controlling Device, puzzle) is at (2369, 2596, 803) high on Death Mountain; Mustis Lightroot lies below it. It teaches Zonai steering devices over lava, and the guides use a wheeled car plus a steering stick. Ride the car along the rail line to the lava room.


Build and drive the car
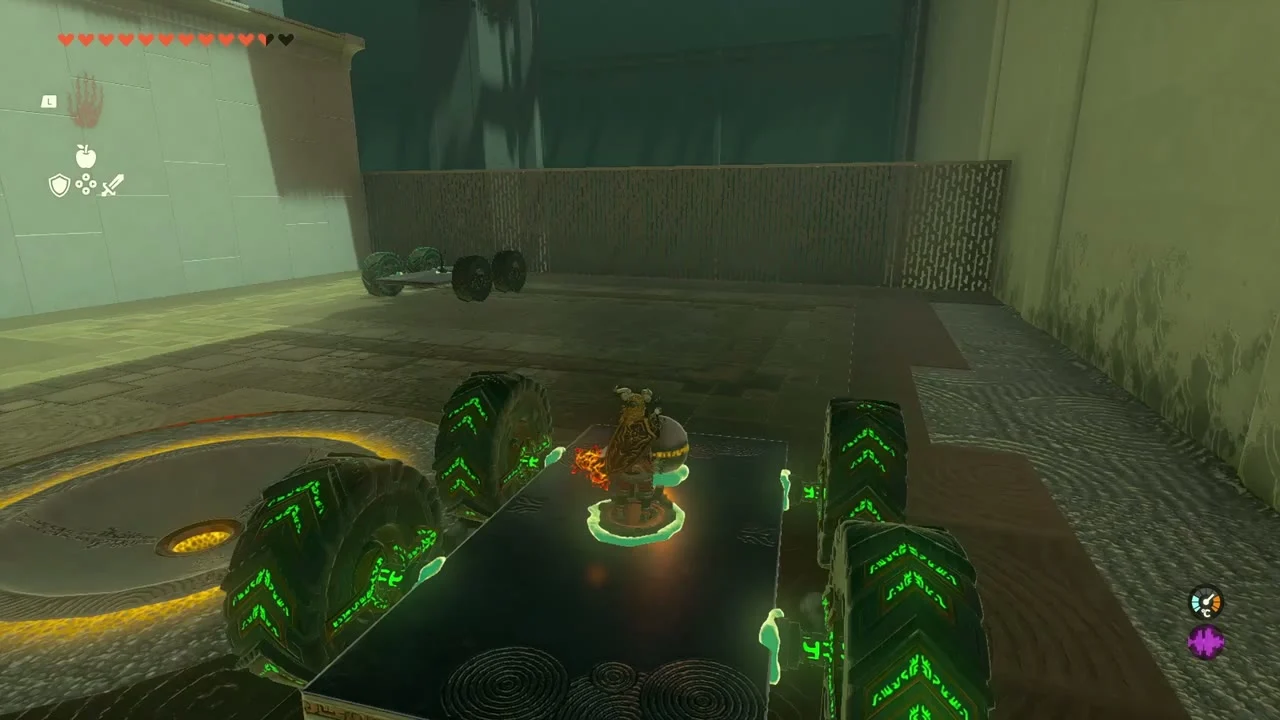
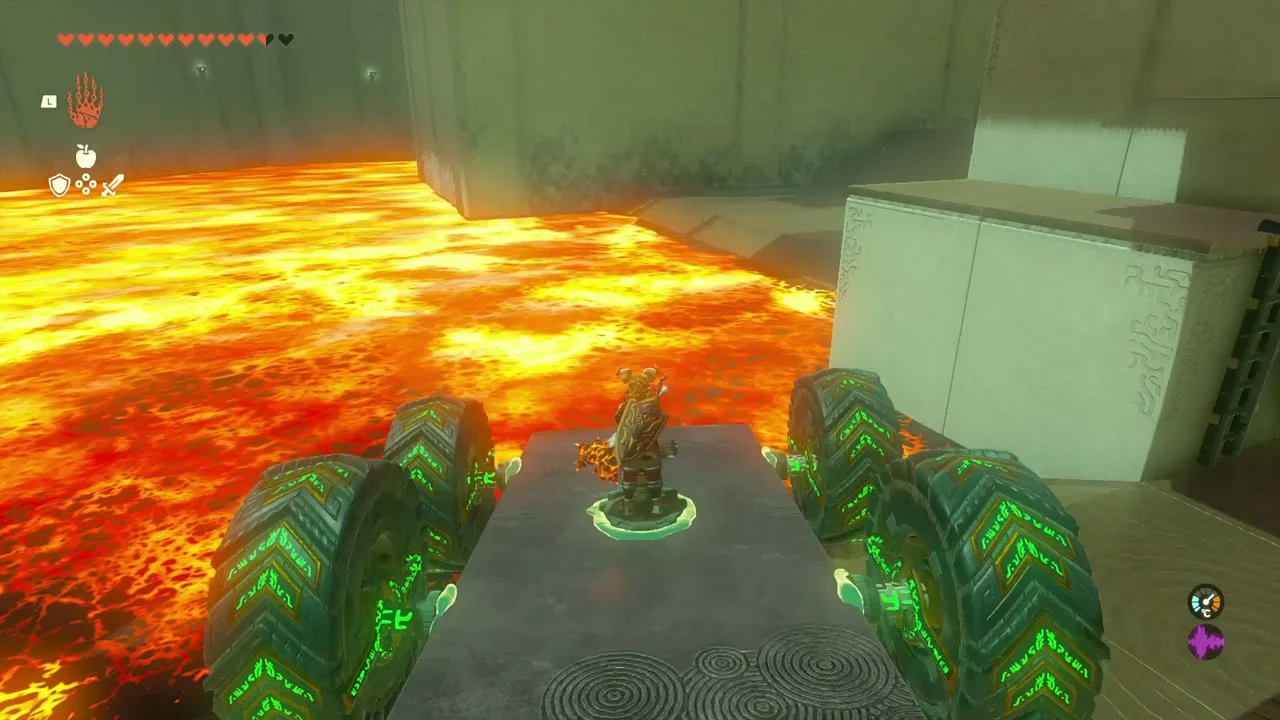
Take one of the wheeled cars at the start and drive it forward through the lava; park it beside the raised platform on the right.
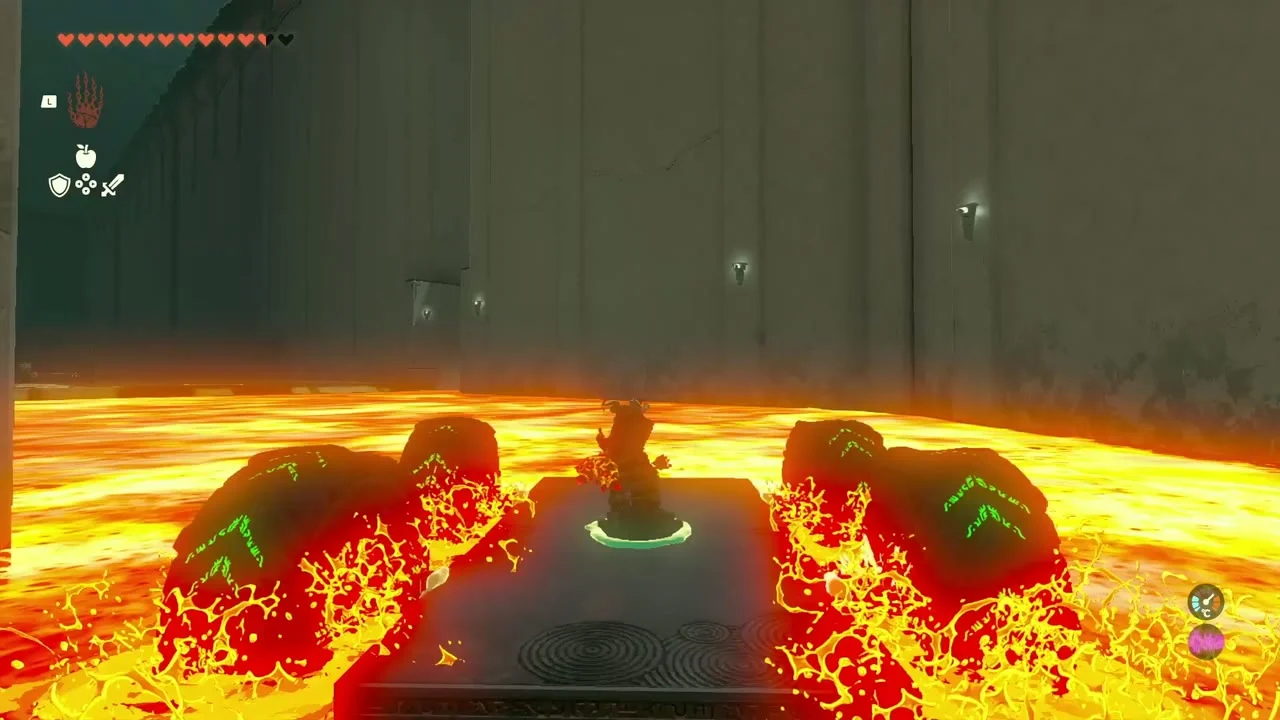

Collect the orb
Pull the orb off its platform with Ultrahand, stick it to the car and back the car to the crossing.
Open the chest and finish
Roll the orb into the well to raise the gate, open the chest for a Mighty Construct Bow (Strong or Mighty, depending on your progress) and ride the platform to the altar for a Light of Blessing.
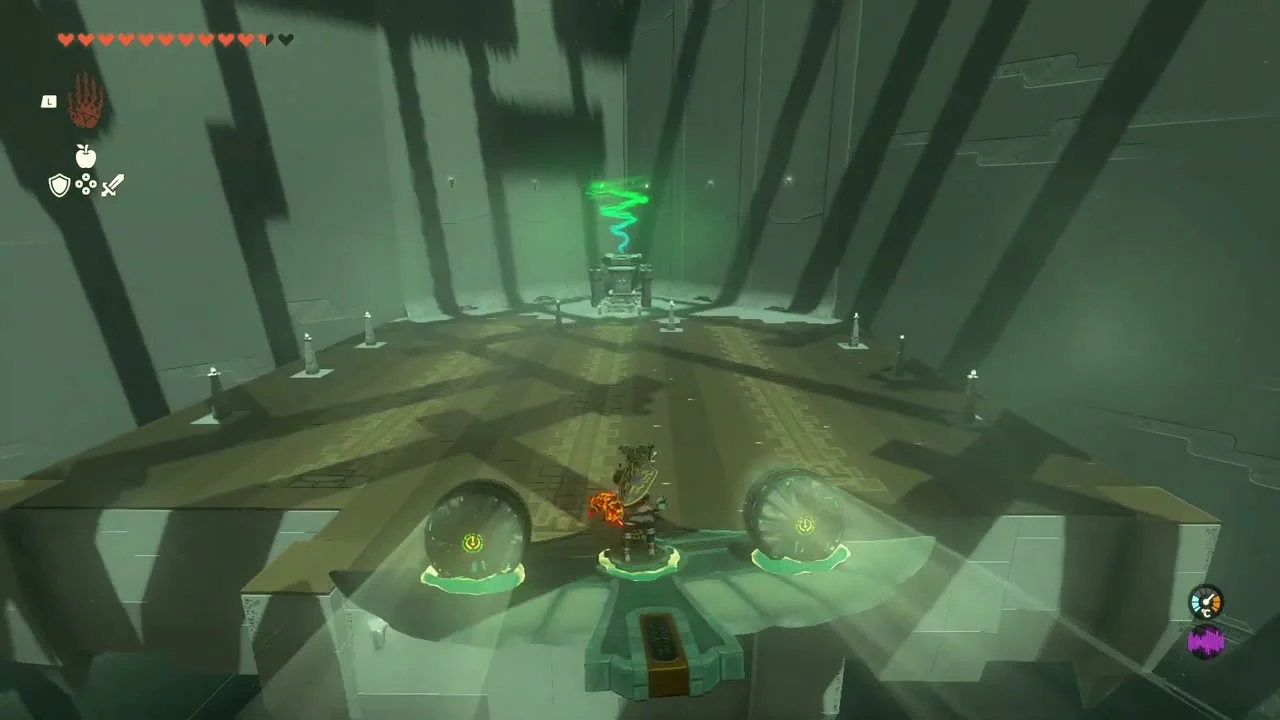
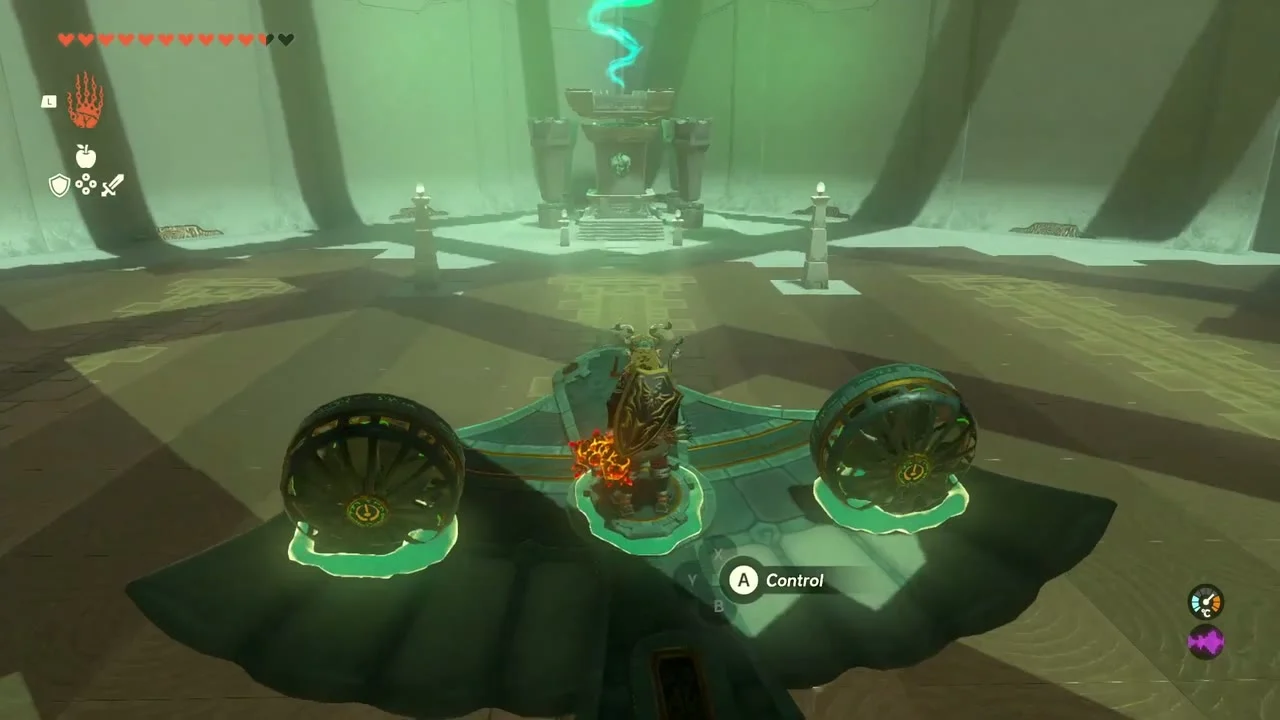
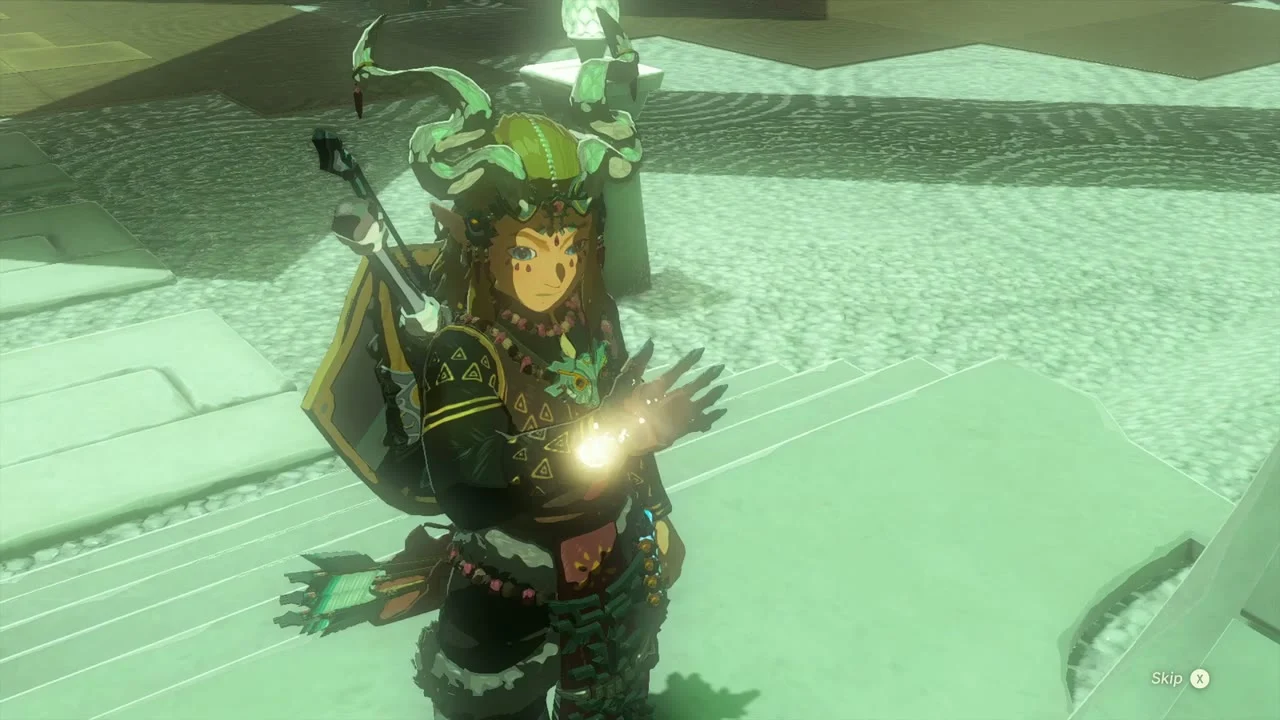
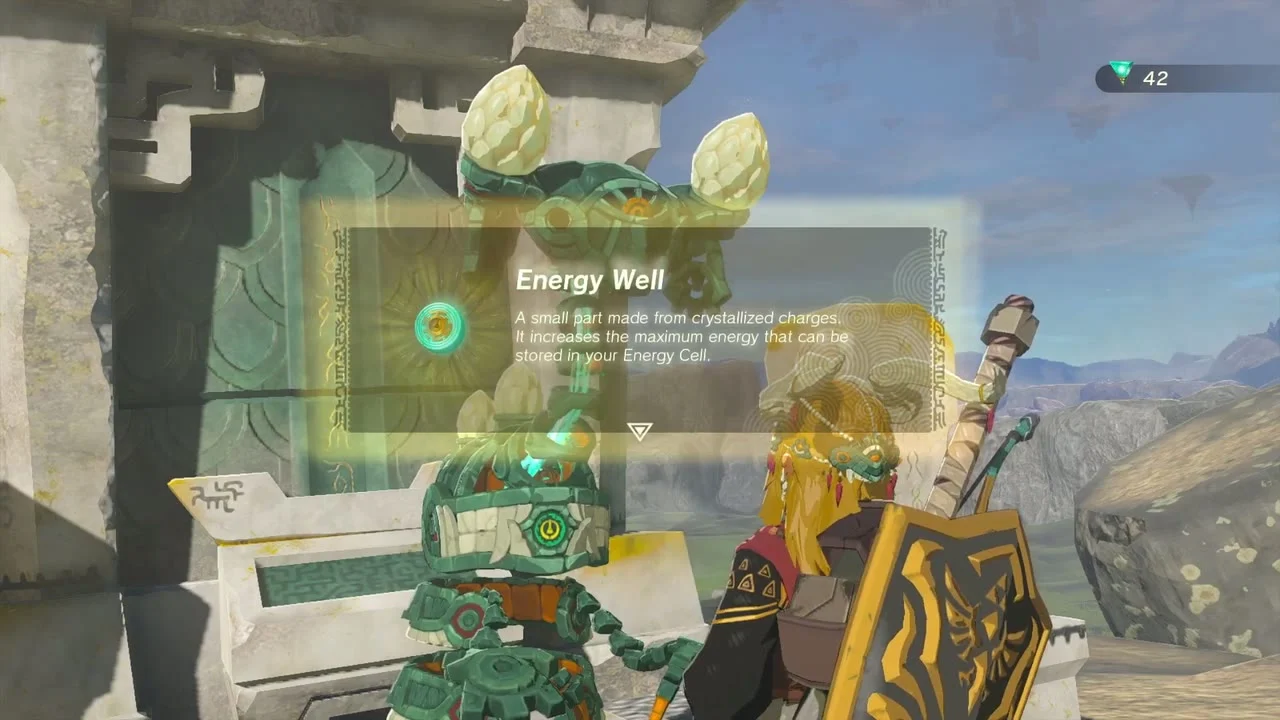
Heart Container and Energy Well. With four Lights of Blessing, pray at a Goddess Statue for a Heart Container. At Hyrule Castle Town Ruins the Energy Well takes Crystallized Charges to raise your Energy Cell capacity.

Moragia and the Depths
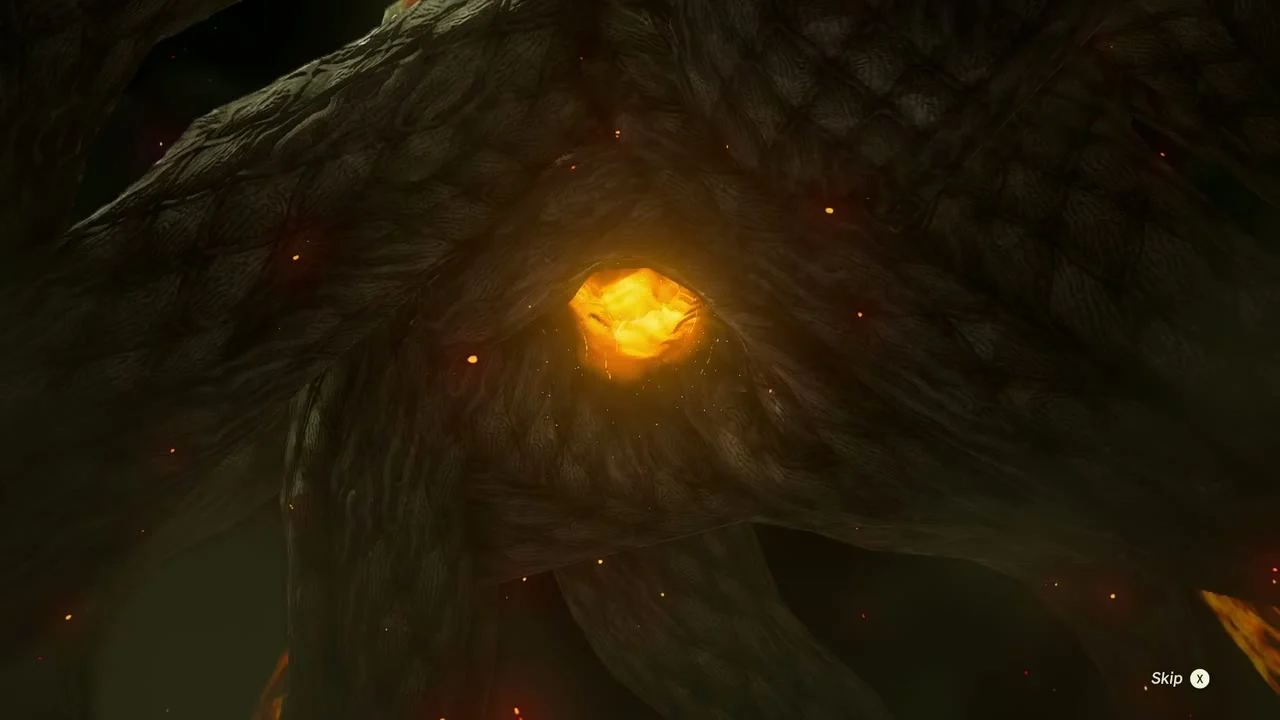
Main quest: Moragia. At the crater a gigantic stone head rises over Death Mountain. Build a flying machine with fans, rockets and steering, fly circles around Moragia and strike the glowing eyes and weak points while Yunobo covers you. When the health bar empties, the quest continues down the chasm.


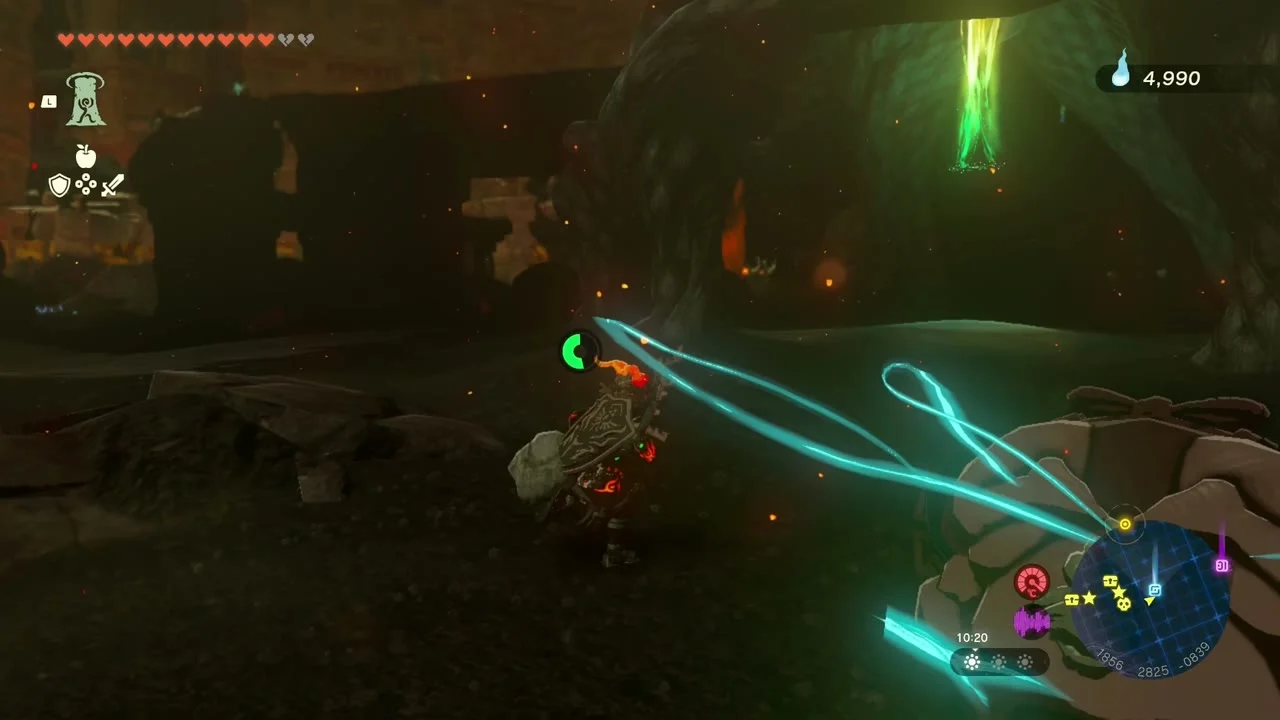
Lightroot: Mustis (2368, 2596, -969). Drop into Death Mountain Chasm (2534, 2602, 643) and land beside the huge root tree. Stand on its glowing roots to light the Mustis Lightroot above Sitsum Shrine.

Misisi Lightroot. Further along the Depths route, the Misisi Lightroot at (1842, 2843, -859) lies below Isisim Shrine. Reach it and light the root.
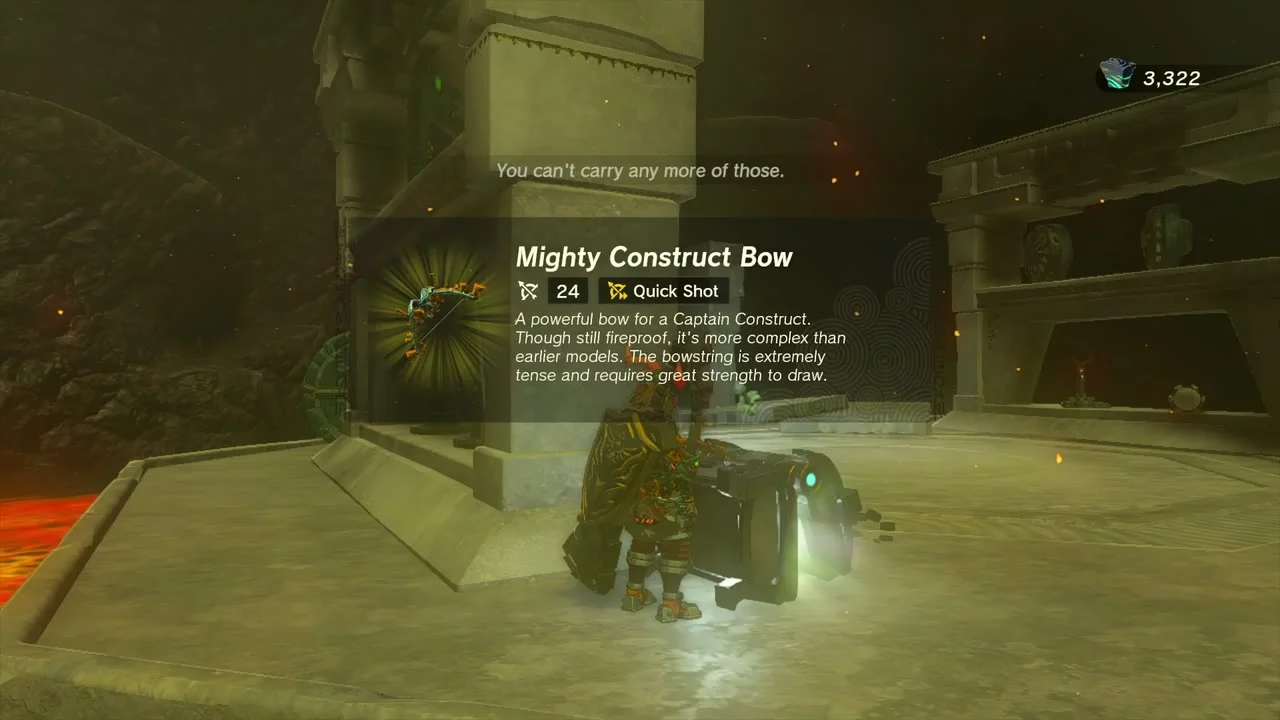
Depths chests. Along the path a chest near (1763, 2510, -719) holds a Mighty Construct Bow; Zonai Charge chests are scattered nearby.

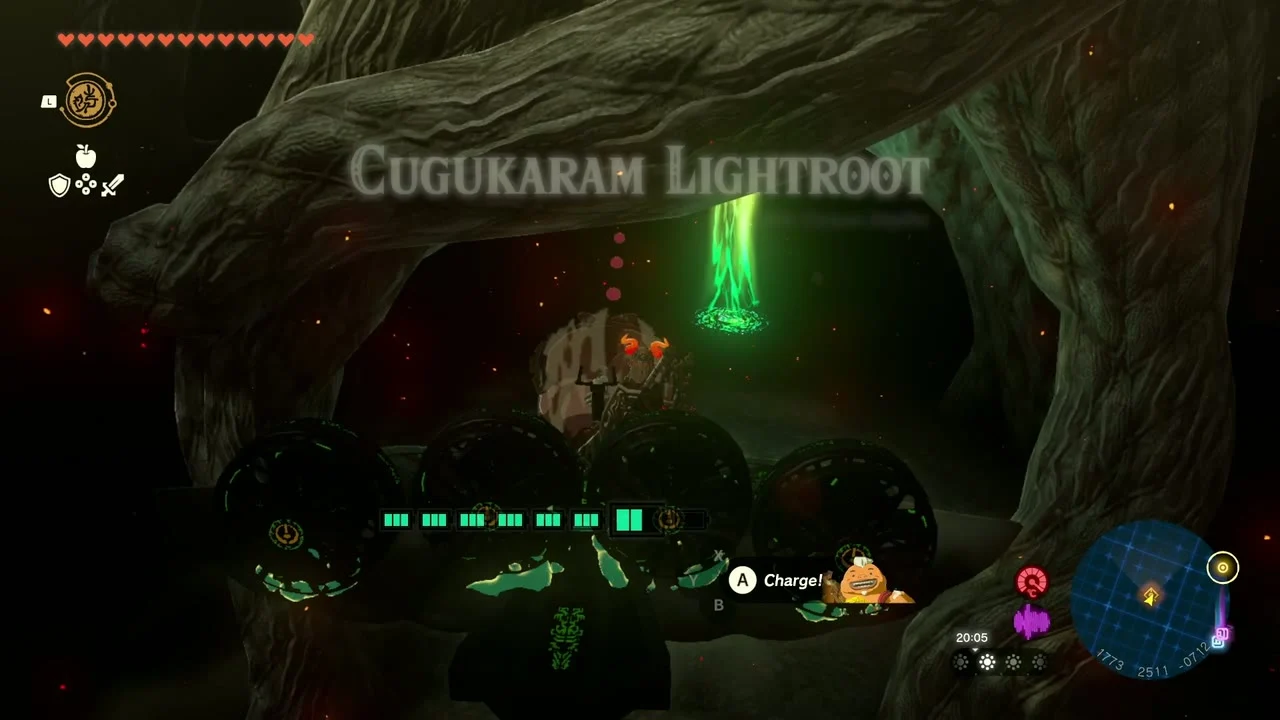
Lightroot: Cugukaram (below Marakuguc Shrine). Ride the Zonai platform car along the lava sea to the Cugukaram Lightroot, which lies below Marakuguc Shrine.

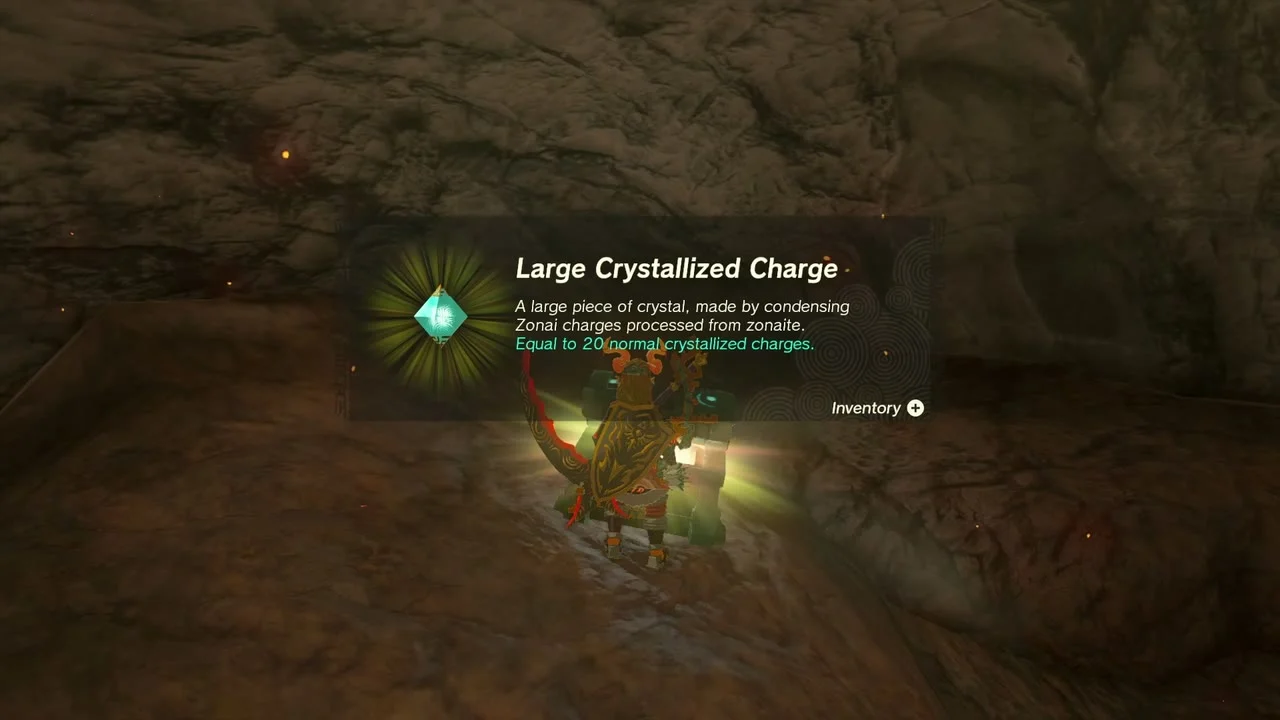
Abandoned Eldin Mine (1649, 2364, -749). Inside, a chest holds a Large Crystallized Charge, and a Forge Construct in the refinery swaps Zonaite for Crystallized Charges (30 for 90 Zonaite).

The Fire Temple
Reach Lost Gorondia. The Fire Temple stands in Lost Gorondia at (1457, 2847, -855). Chests on the way hold Mighty Construct Bows, a Royal Shield (or Traveler’s Shield, Soldier’s Shield or Knight’s Shield, depending on your progress) and Zonai Charges; Yunobo opens the temple gate with you.
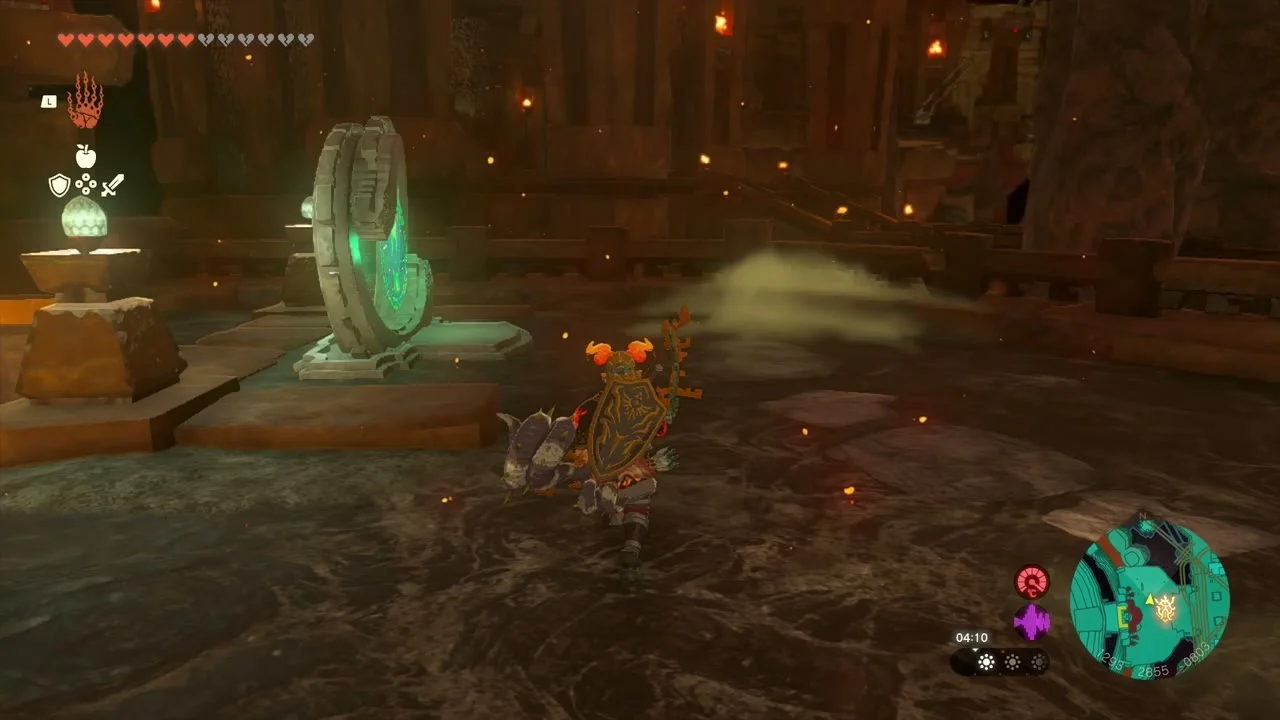
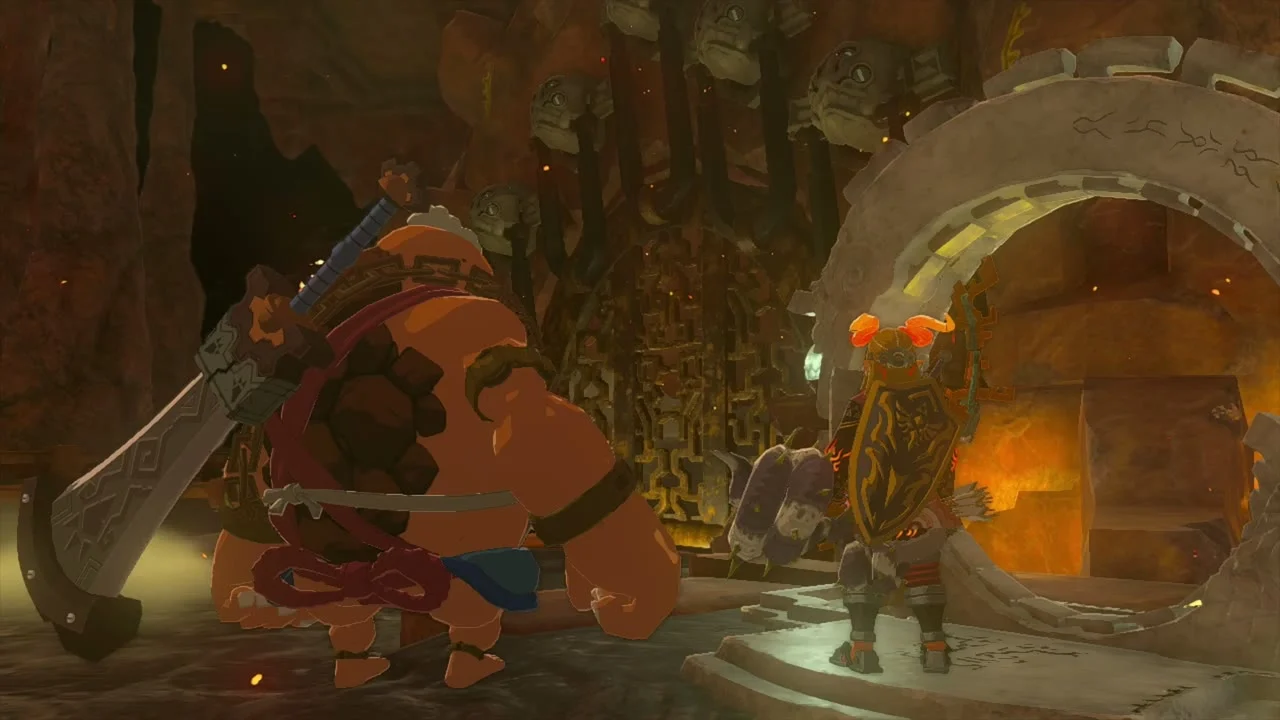
Open the padlocks. Yunobo lets the temple open once five padlocks are broken. Ride the rail carts, bridge lava with Ultrahand and release each lock one by one. The map screen shows the temple floors, so mark the locks you have opened.
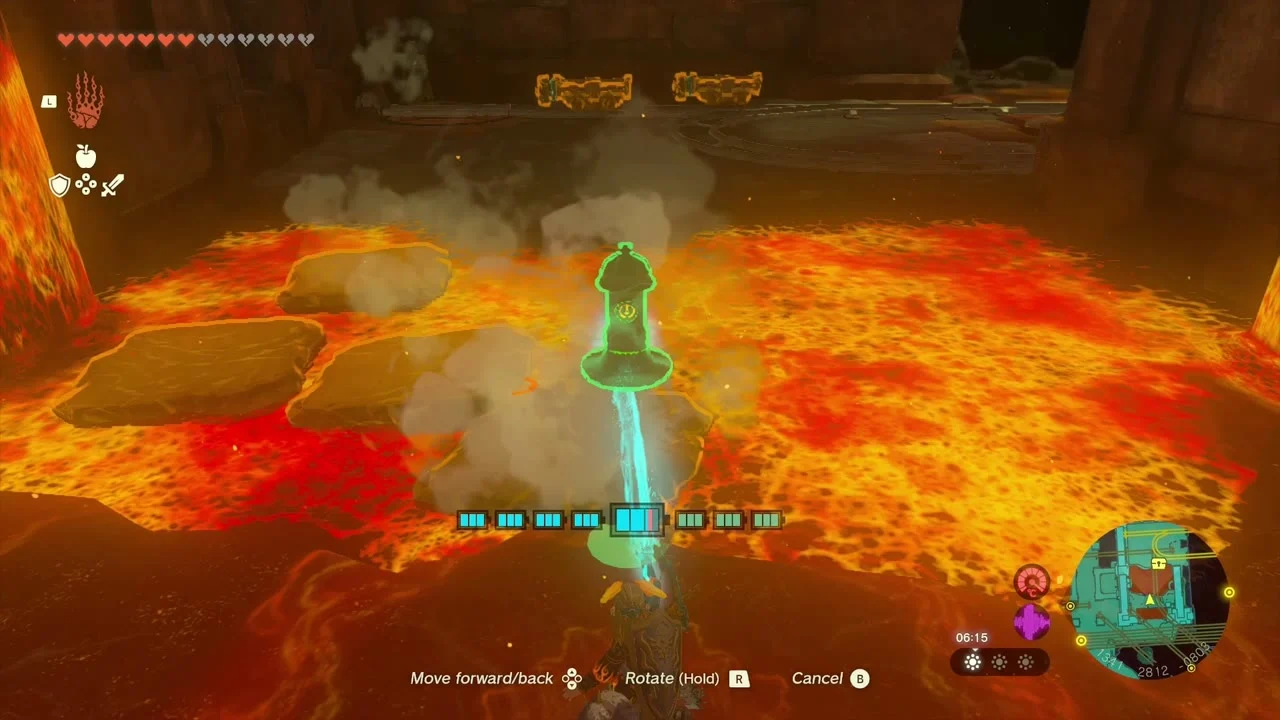
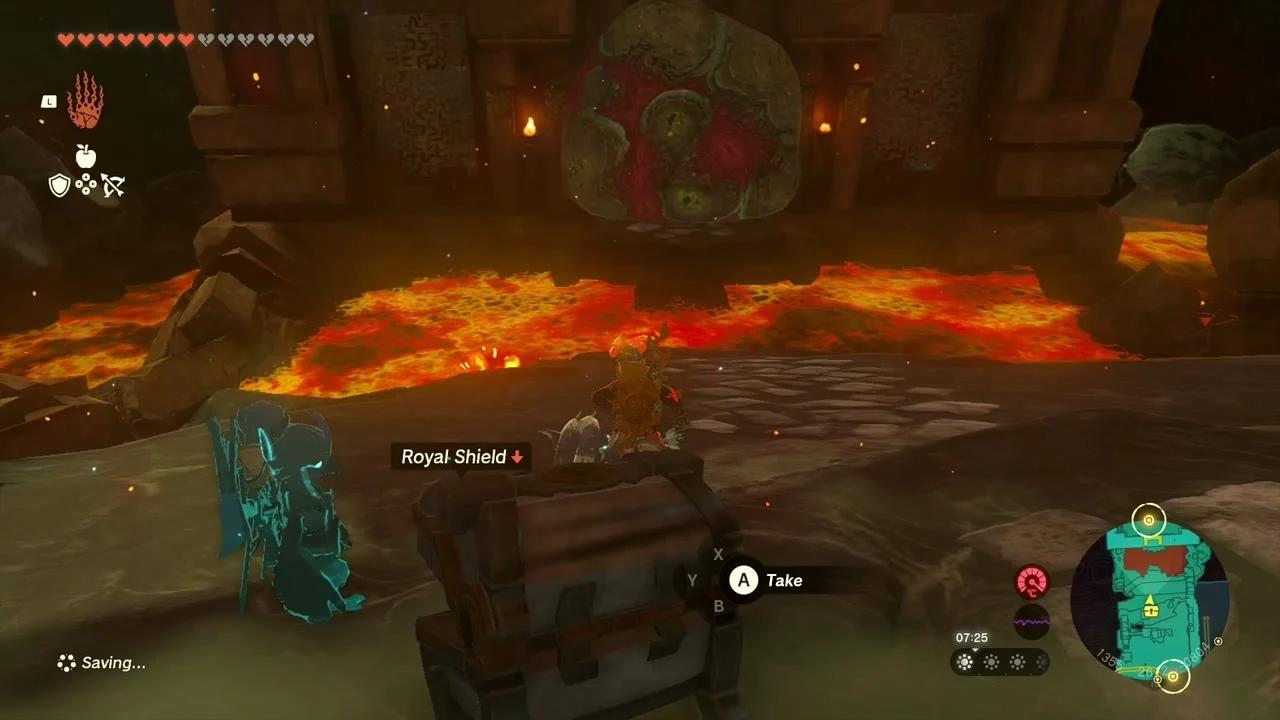
Fire Temple 2F to 3F. Locks three through five lie on the upper floors. The temple floors are labelled 1F to 3F. A Strong Construct Bow sits in a chest on 2F and a Mighty Zonaite Longsword (Strong or Mighty, depending on your progress) in a chest on 3F before the fifth lock.

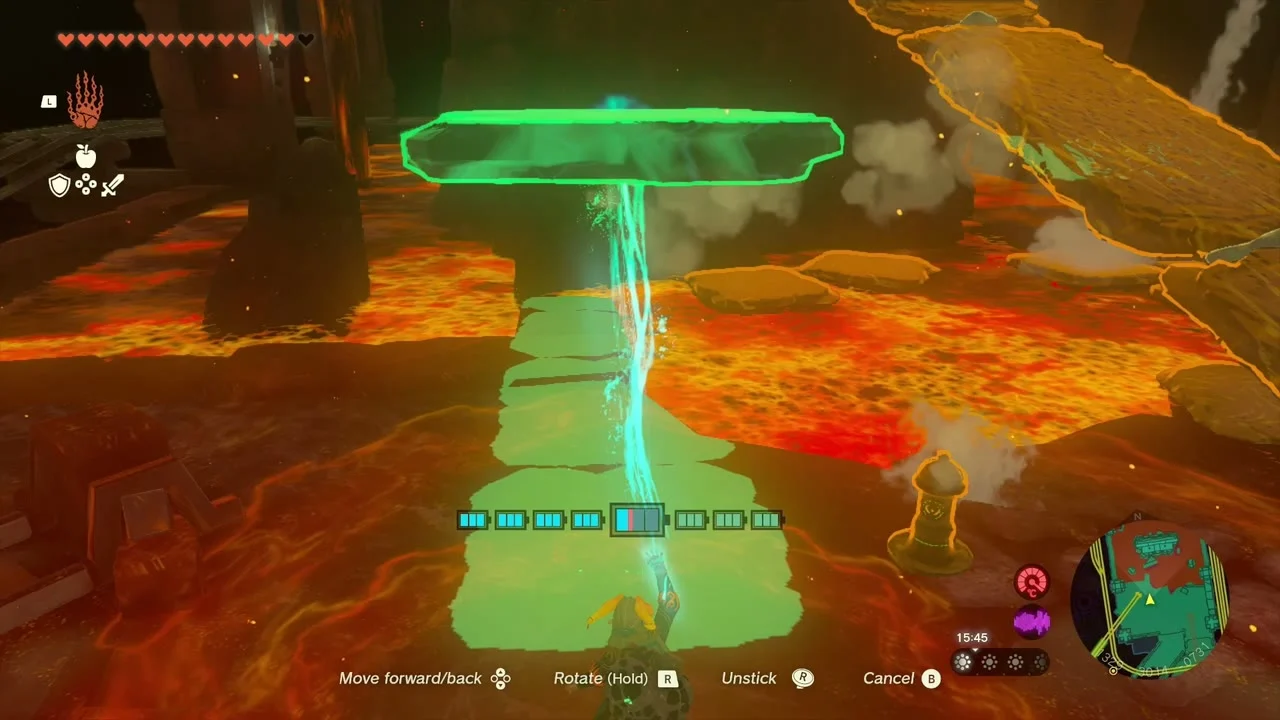

Boss: Marbled Gohma. The arena has a rocky giant. Its health bar reads Marbled Gohma. Dodge its slams, expose the weak point it shows and keep hitting it with arrows and your strongest weapon until it falls.

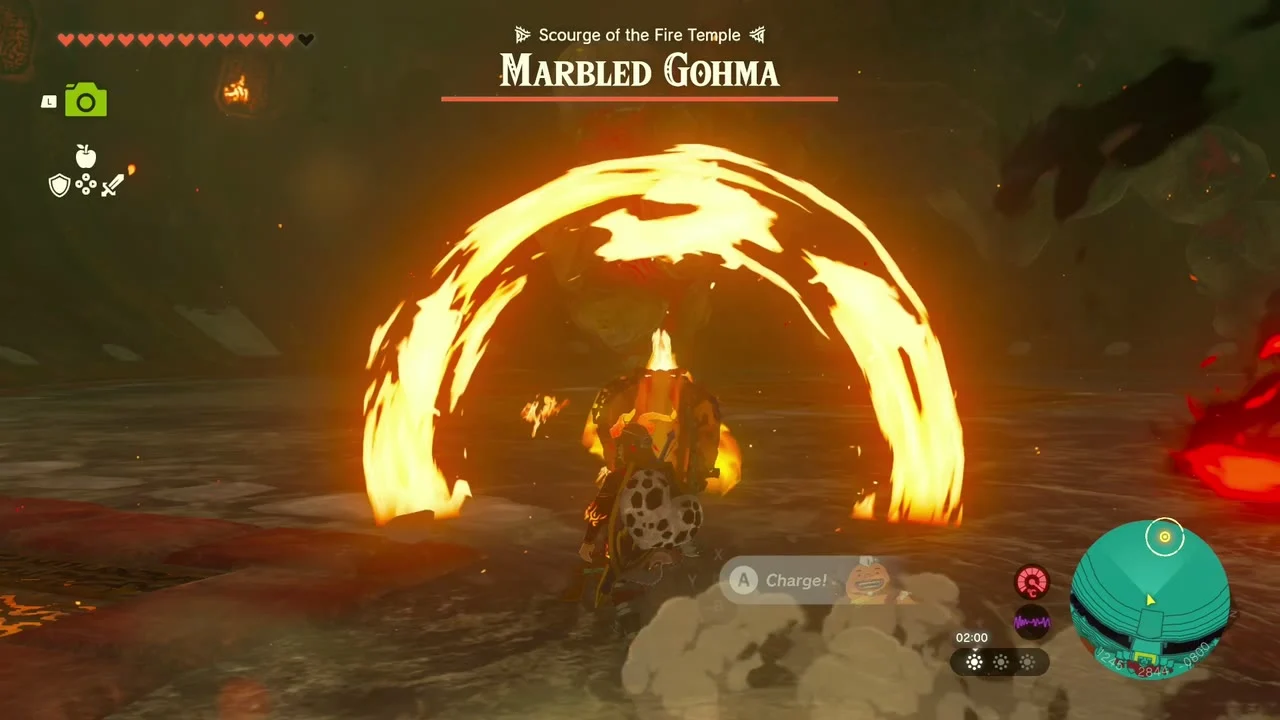
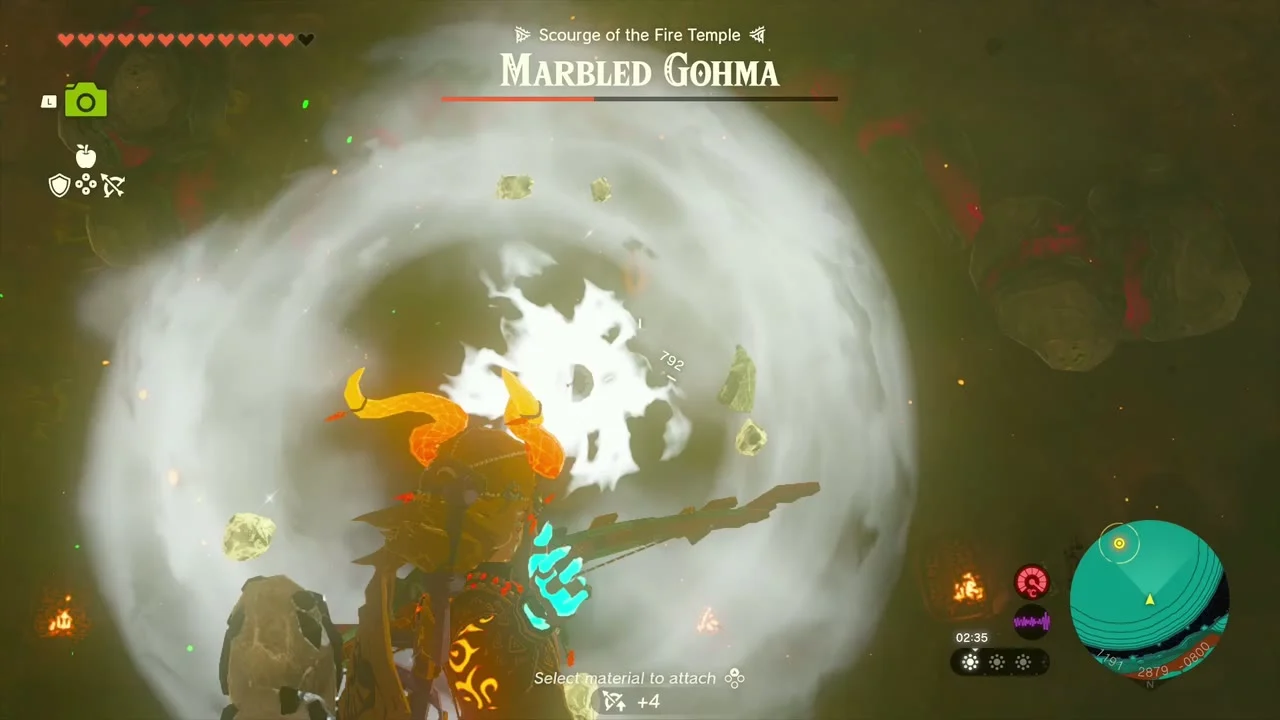
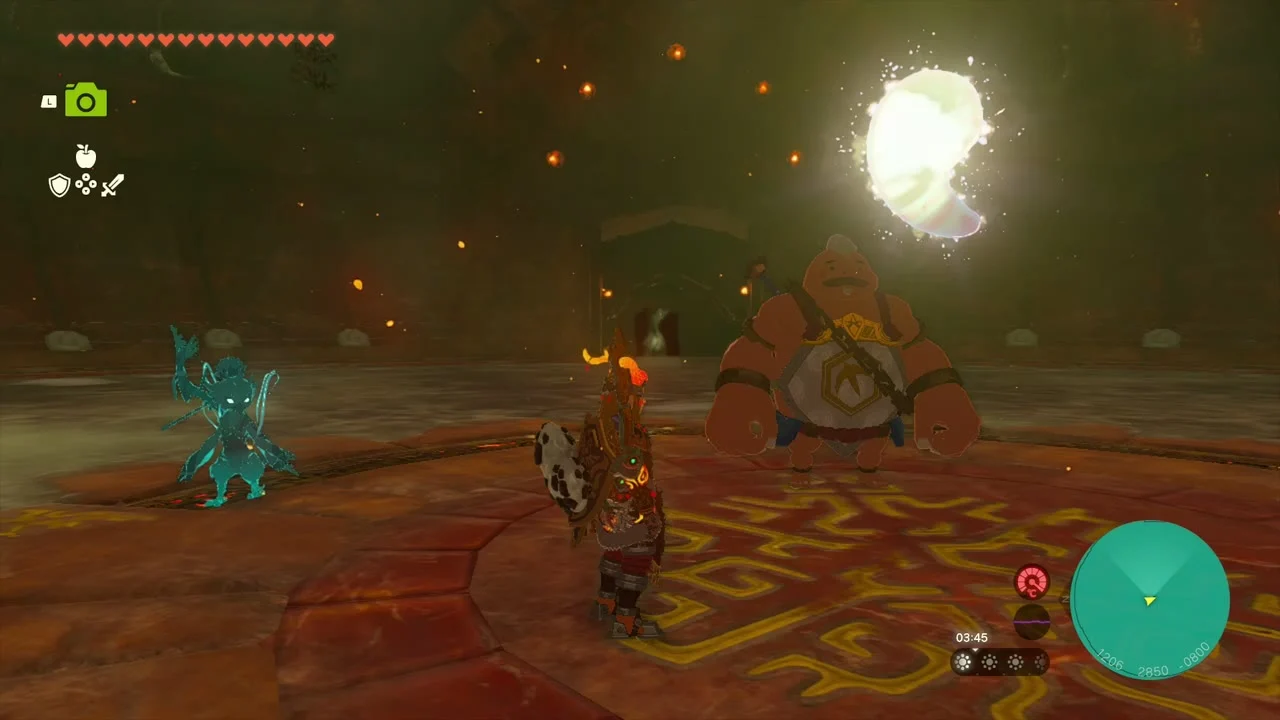
Heart Container and Vow of Yunobo. The Heart Container waits after the fight; after the cutscene you return to Goron City and receive Vow of Yunobo, which summons Yunobo as the Sage of Fire.
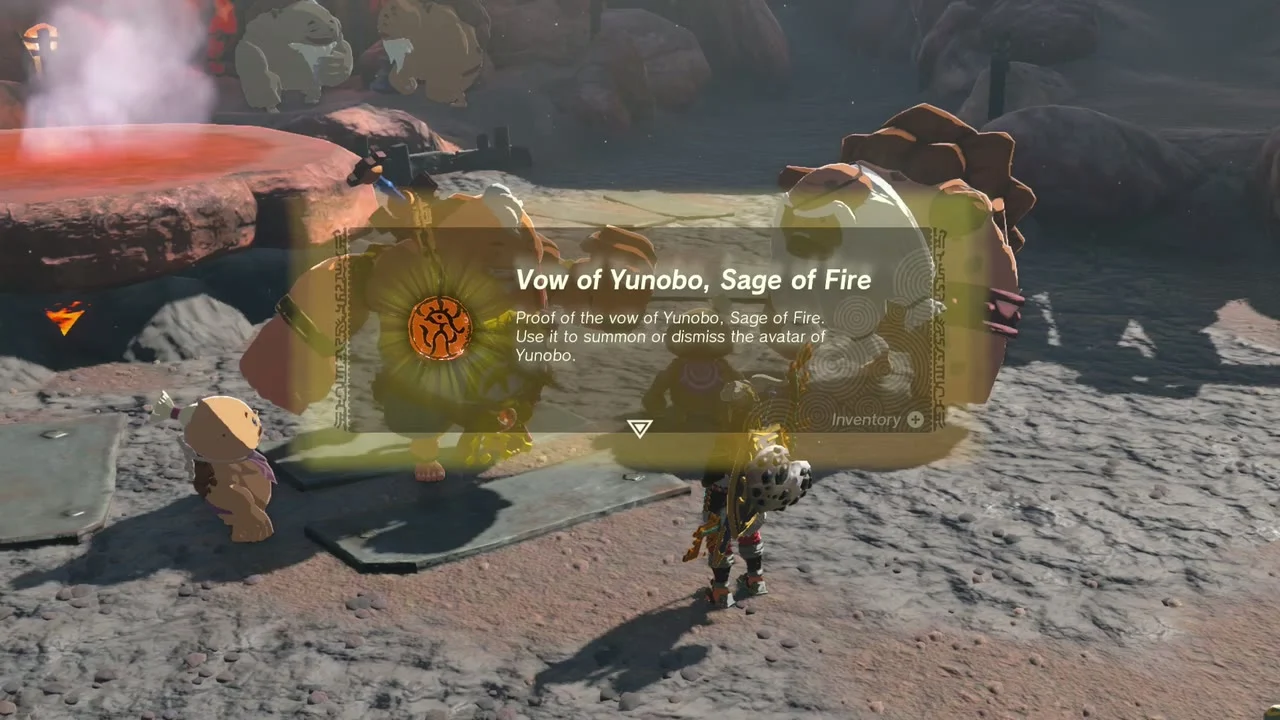
Back in Goron City: new side quests
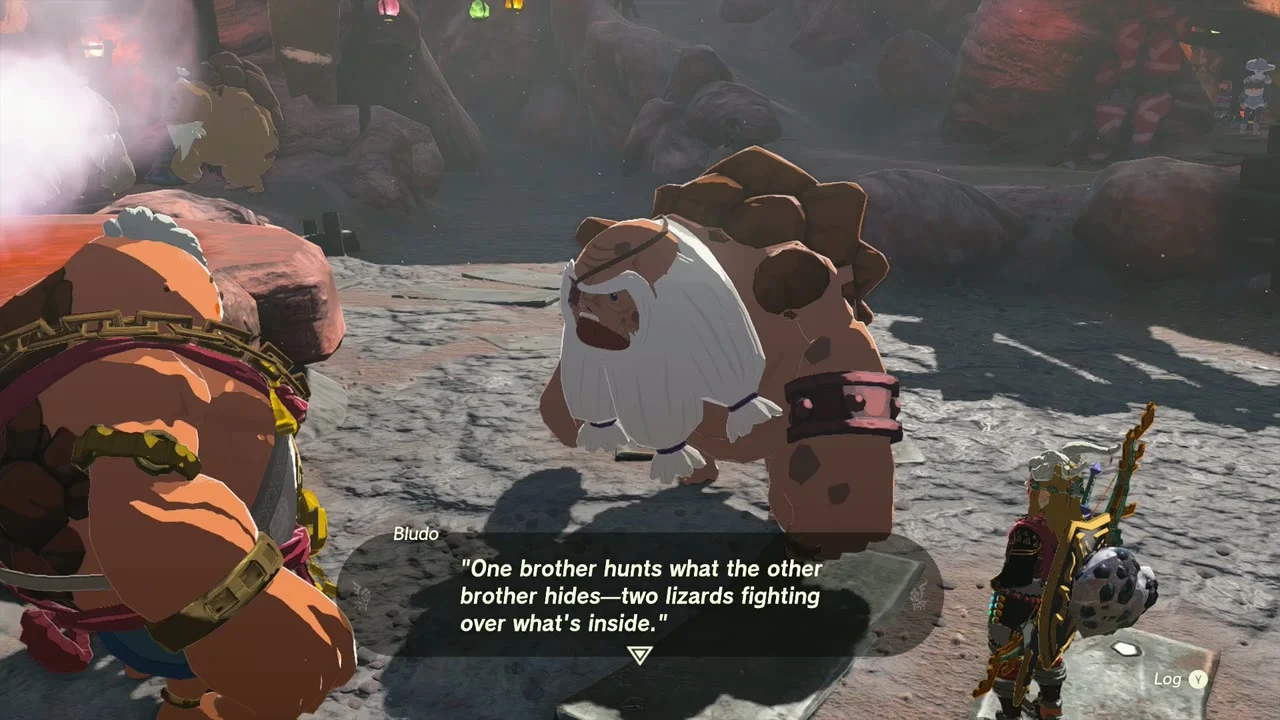
Quest: The Hidden Treasure at Lizard Lakes. Bludo gives a riddle: one brother hunts what the other hides, two lizards fighting over what’s inside. He thinks it is halfway up Death Mountain on the north side. Quest page.

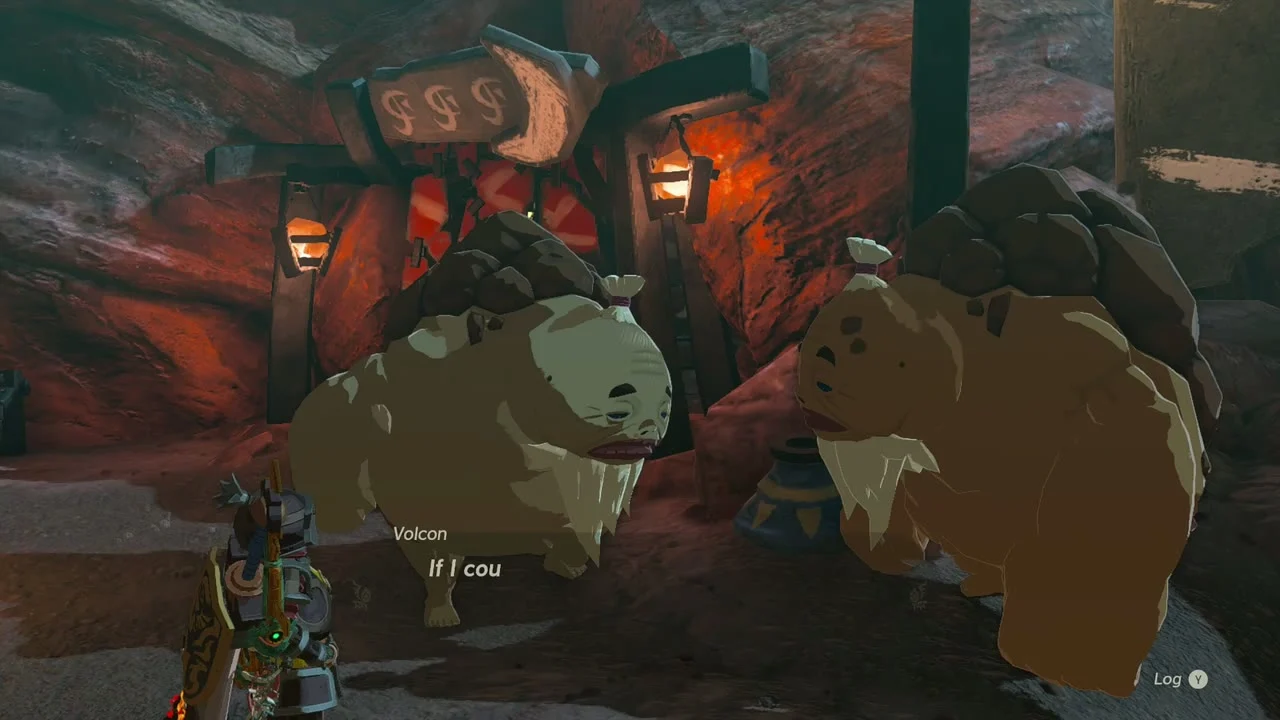
Quest: Moon-Gazing Gorons. Tray and Volcon want to see the full moon shining on the ground at midday at Lake Ferona. Take them a photo of that. Quest page.

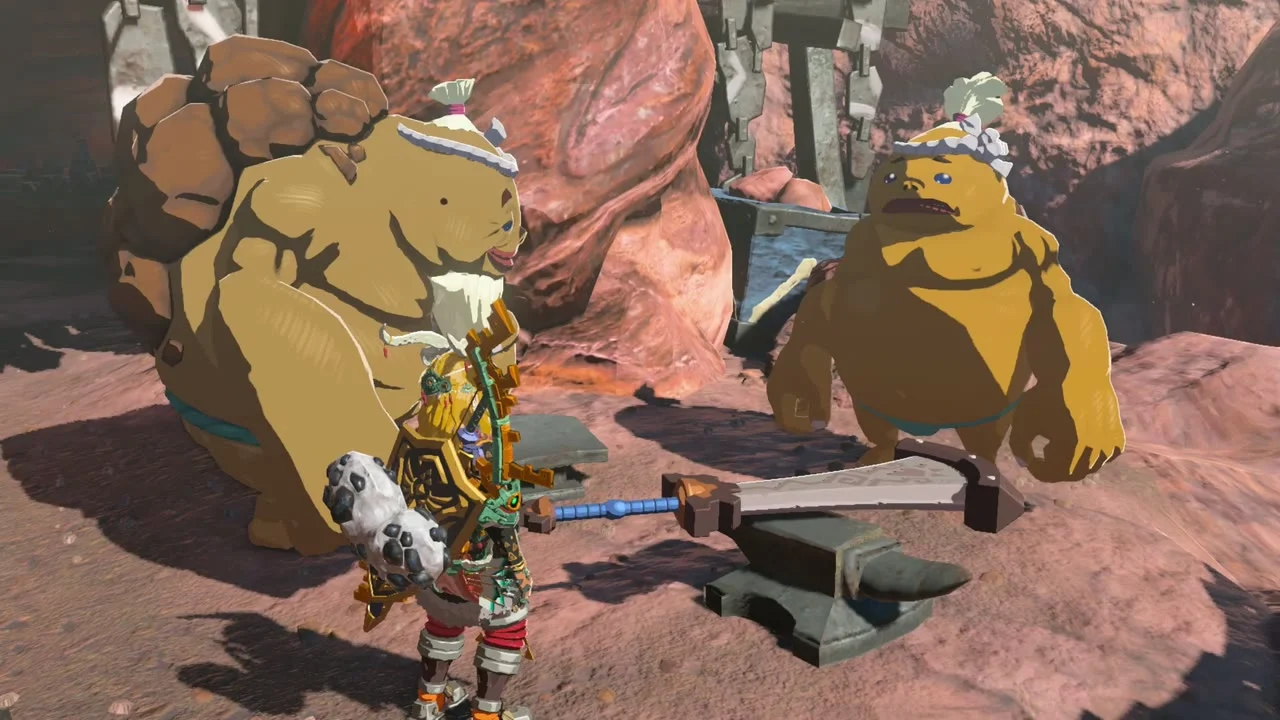
Quest: Soul of the Gorons. Fugo needs a Cobble Crusher, three Diamonds and five Flint to finish the Boulder Breaker. Hand them over and Fugo forges your Boulder Breaker; he repairs it if it breaks. Quest page.

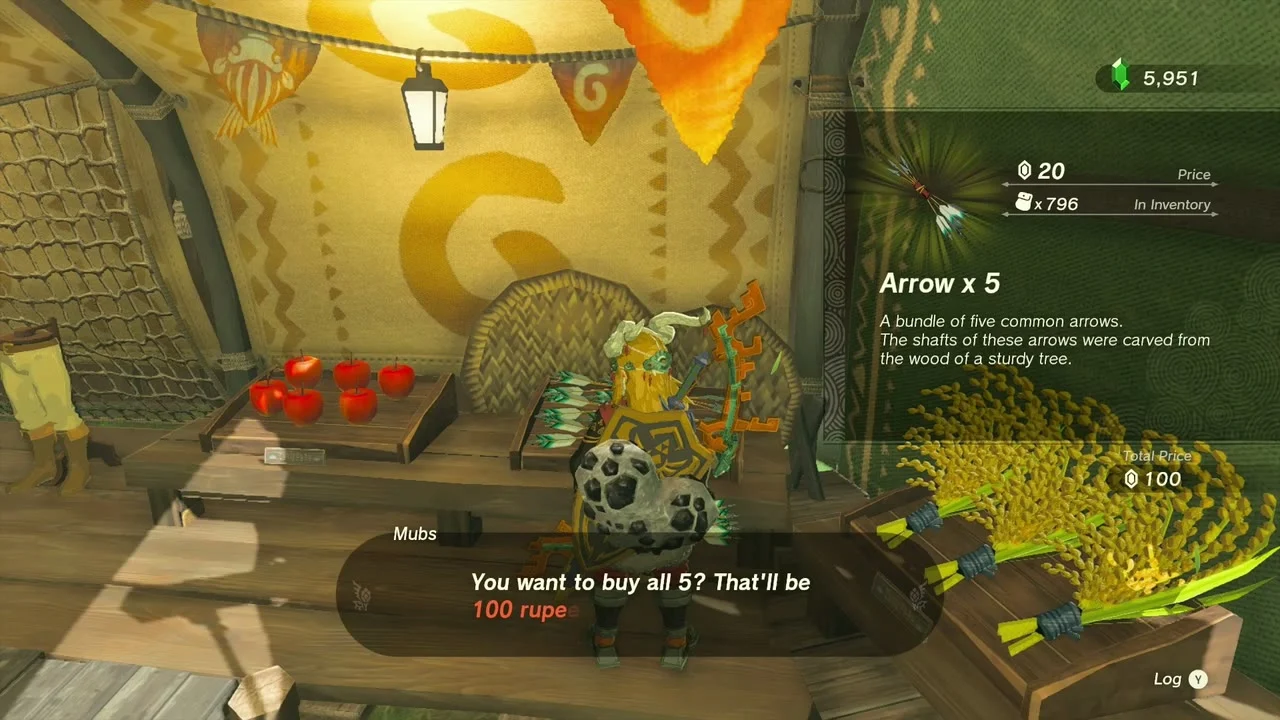
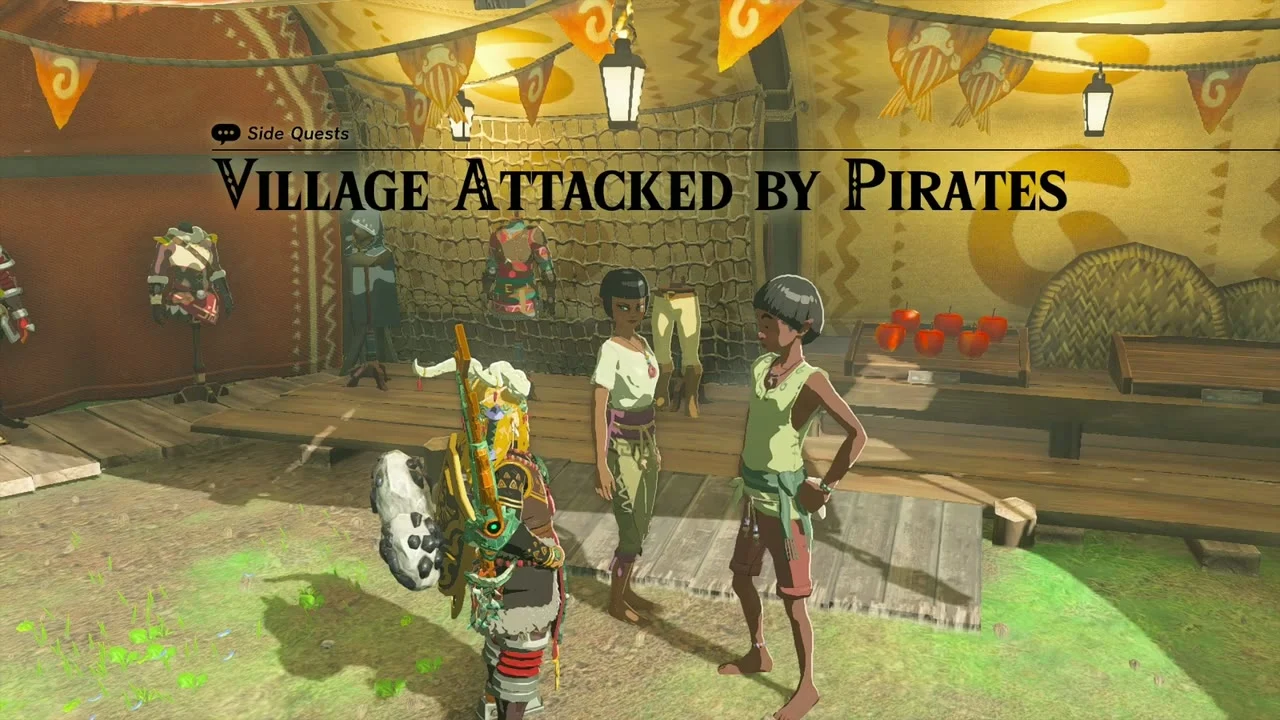
Quest: Village Attacked by Pirates. Garini and Mubs at Lookout Landing ask you to check Lurelin Village; Rozel there can tell you everyone is safe. Quest page.
Also in this area
Koroks not collected. Still waiting in this map box: a balloon Korok at (1593, 2474, 438), another at (1667, 2409, 452), a dive-into-the-ring Korok at (1719, 2422, 395), a lift-the-rock Korok at (1724, 2554, 499), a statue-offering Korok at (1806, 2530, 404), a sparking-spot Korok at (1602, 2827, 469), a timed target ring at (2155, 3055, 477), a dandelion Korok at (2172, 3036, 455), a second acorn pot at (2231, 3042, 446) and a balloon at (2779, 2524, 620).
Eldin Part 2 checklist
| Collectible | Count | Where |
|---|---|---|
| Shrines | 3 | Isisim, Jiotak, Sitsum |
| Lightroots | 3 | Mustis, Cugukaram, Misisi |
| Caves | 4 | YunoboCo HQ South, YunoboCo HQ East, Isle of Rabac Gallery, Death Mountain Foothill |
| Bubbul Gems | 4 | One in each cave |
| Korok seeds | 5 | Acorn pot, rock pattern, two exhausted Koroks, cube puzzle |
| Armor | 7 | Ember Headdress plus six from Koltin |
| Minibosses | 5 | Phantom Ganon, Igneo Talus, Moragia, Marbled Gohma, Gloom Spawn |
Part 3: Shrines, Koroks & Caves
| Region | Eldin Canyon: Goron City and the Southern Mine, Lake Darman and Death Caldera, Eldin Eastern Highlands, Shadow Hamlet Ruins, Gorko Tunnel, Lake Intenoch, Lake Ferona and Foothill Stable |
|---|---|
| Shrines | 5: Sibajitak (Alignment), Kimayat (Proving Grounds: Smash), Momosik (Rauru’s Blessing), Moshapin (Rauru’s Blessing), Kisinona (Wind Power) |
| Lightroots | 5, one below each shrine: Katijabis, Tayamik, Kisomom, Nipahsom and Anonisik (see all Lightroots) |
| Caves | 7: Lake Darman Monster Den (the Bring Peace to Eldin! stronghold), Lizard’s Burrow, Death Mountain East Tunnel, Gorko Tunnel, East Restaurant Cave, Lake Intenoch Cave, Lake Ferona Cave |
| Wells | 2: Shadow Hamlet Ruins Well and Foothill Stable Well (see all wells) |
| Korok seeds | 20 Koroks, 22 seeds (see all Korok seeds) |
| Chests | 36 on the route: about 37: 4 in the sky, 2 in the two wells, 13 in caves and 5 in shrines, the rest on the surface |
| Armor | Vah Rudania Divine Helm (Lizard’s Burrow) |
| Minibosses | Igneo Talus x5, Stone Talus, Stalnox, Boss Bokoblin, White Boss Bokoblin, Phantom Ganon |
| Side quests | The Ancient City Gorondia?, Rock Roast or Dust, Cash In on Ripened Flint, The Hidden Treasure at Lizard Lakes, A Picture for Woodland Stable, Simmerstone Springs, Mine-Cart Land (three courses), Moon Gazing Gorons, A Picture for Foothill Stable, For Our Princess!, Bring Peace to Eldin!, two shrine quests |
This chapter sweeps the rest of Eldin Canyon south of Death Mountain: five shrines, six caves, two wells and the Goron City quest line. Coordinates are map units (X, Y, height); larger Y is further north. Bring Flame Guard armor or Fireproof Elixirs for the lava caves, plus a few Zonai fans and a Frost Emitter for the cave puzzles.
Quick route
Finish the Goron City quests, fix Addison’s sign, and collect the three sky chests and two canyon chests above Eldin Canyon. Climb to Lizard’s Burrow for the Divine Helm and the lakeside Koroks, drop a Stalnox at Lake Darman and clear Sibajitak Shrine.
Work east across the Eldin Eastern Highlands for the Igneo Talus, the cube-puzzle Korok and Kimayat Shrine, then bring the crystal out of Death Mountain East Tunnel to Momosik Shrine.
Visit Shadow Hamlet Ruins Well and Goro Cove, take the Sage’s Will chest in the sky, then walk the Gorko Tunnel and the Mine-Cart Land courses. Finish with East Restaurant Cave, Lake Intenoch Cave and Moshapin Shrine, the Lake Ferona Cave and the lake Koroks, and Kisinona Shrine behind Foothill Stable.
Goron City: the Gorondia tracks and the kitchen quests
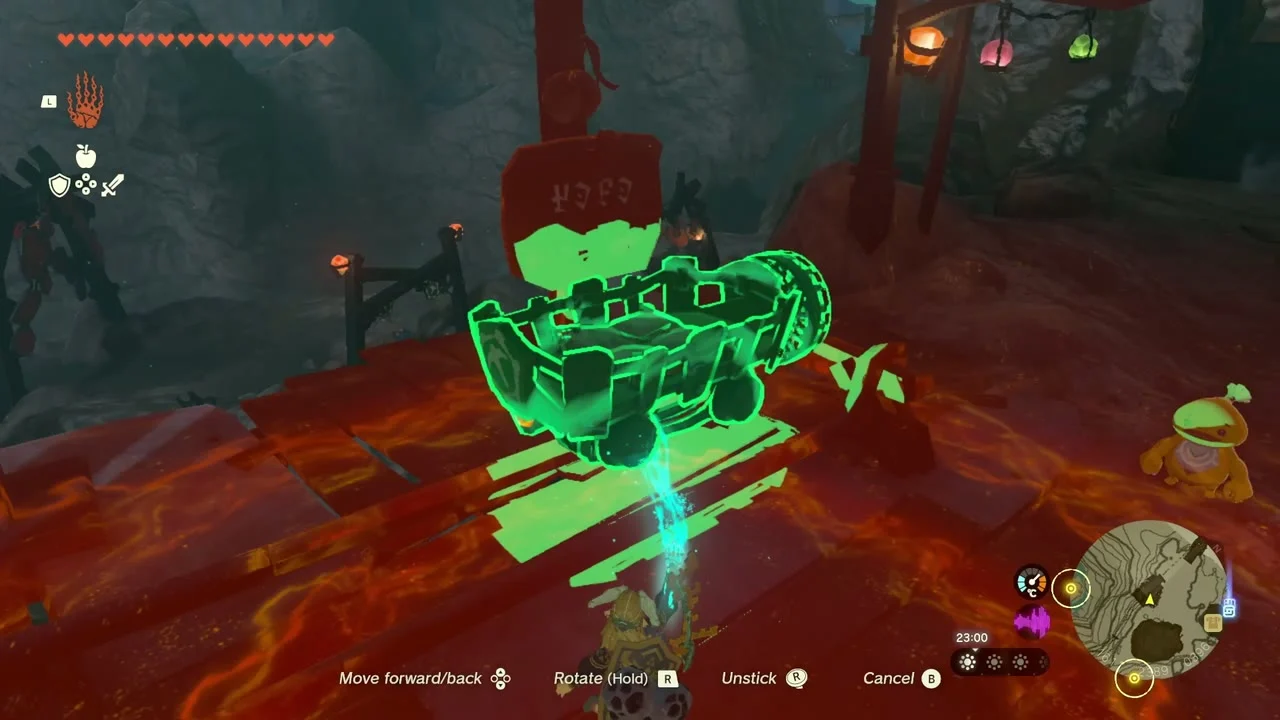
Quest: The Ancient City Gorondia? Dugby (Goron City) wants to ride the mine-cart tracks to Gorondia. Follow him to the track entrance, then use Ultrahand to lift the stalled mine cart onto the rails and clear the line so he can pass. The reward is a Zonai Charge.

Quest: Rock Roast or Dust. Chef Cooke at the Bedrock Bistro (Goron City) needs rock roast. Bring him one and he gives you a seared gourmet steak, and will buy more from you after that.
Quest: Cash In on Ripened Flint. Gomo, also at the Bedrock Bistro, pays 1,000 rupees for ripened flint. Bring him a handful of flint and he picks out the ripened piece by taste.
Quest: A Picture for Woodland Stable. Kish, the owner of Woodland Stable, wants a photo of a Goron soaking in the hot springs near Goron City. Take it with the Camera and show him; he accepts a replacement photo later if you hand him a new one.
Canyon ledges and sky chests
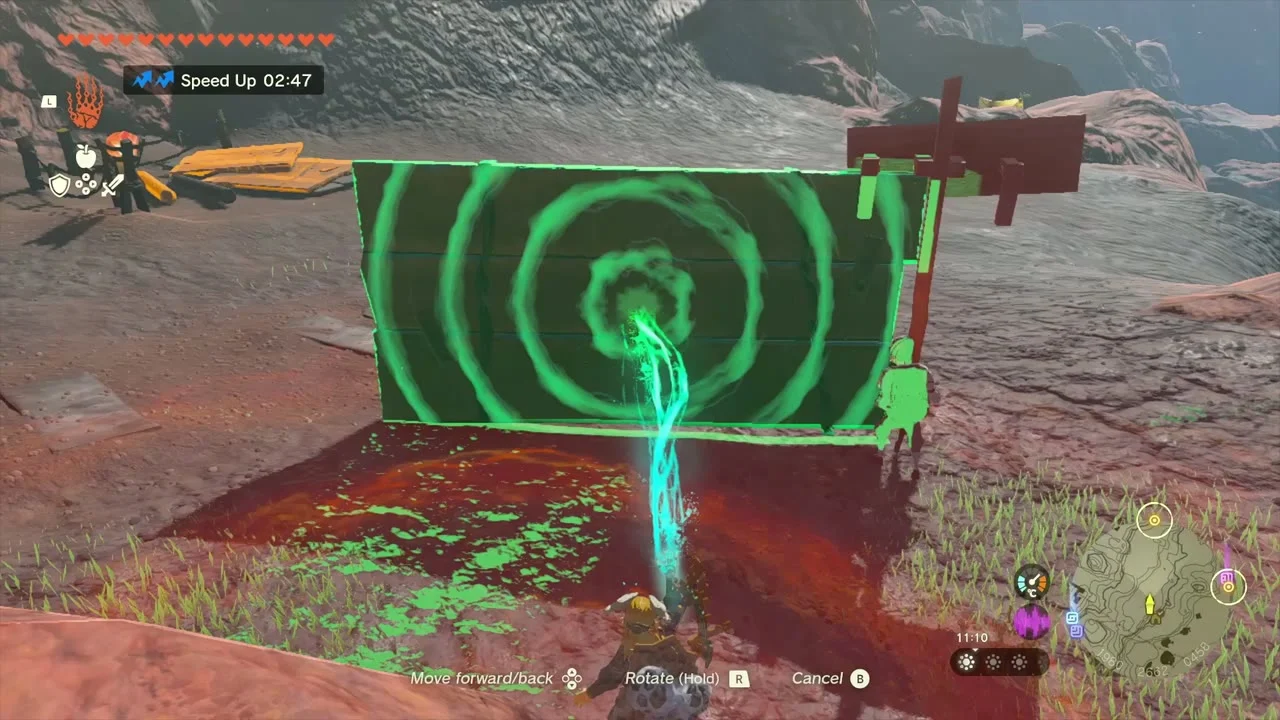
Addison’s sign (1980, 2662, 458). On the rocky ridge north of Goron City, a signboard lies flat. Lift it with Ultrahand, rotate it upright against its red post and let go. Addison pays you in rupees.

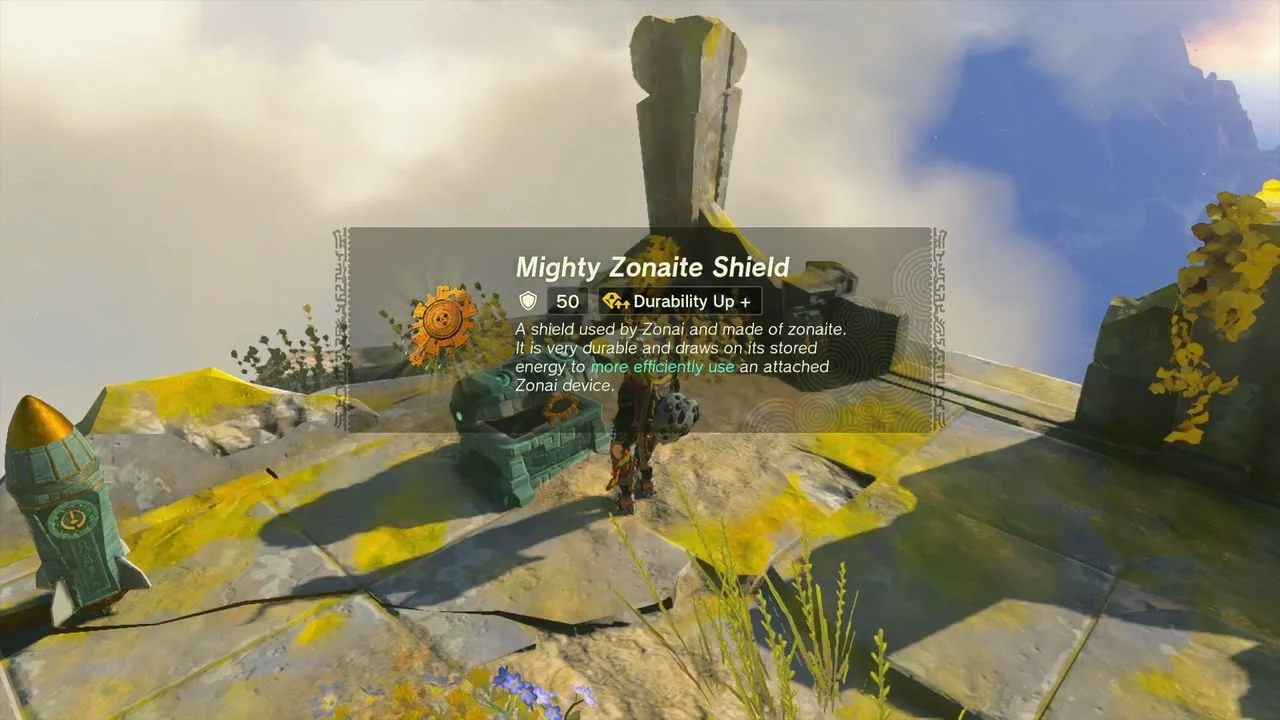
Sky chest (Mighty Zonaite Shield (Strong or Mighty, depending on your progress)). A chest sits on a small floating island above Eldin Canyon at about (1494, 2142, 678). Reach it by launching from a Skyview Tower or by building a balloon lift. It holds a Mighty Zonaite Shield.

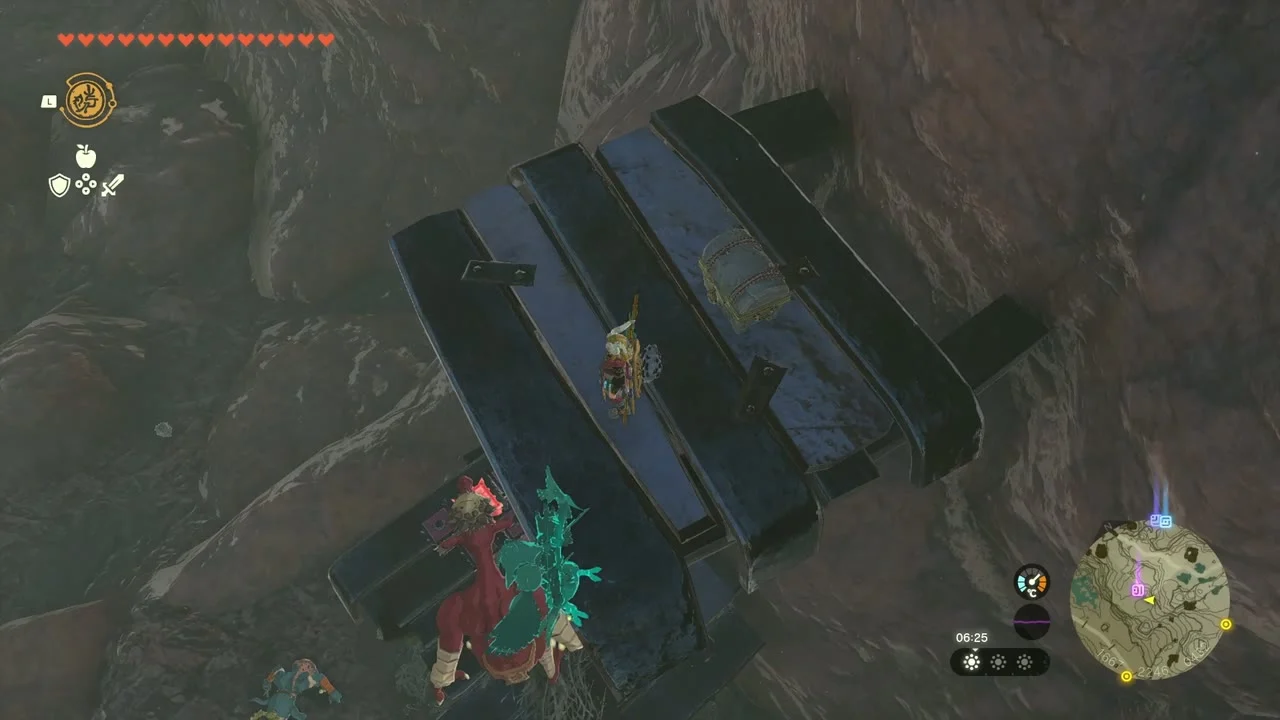
Chest (Cobble Crusher). On a ledge at (1667, 2246, 432), a chest is pinned under a stack of dark timber. Pull the planks away with Ultrahand and open the chest for a Cobble Crusher, a rock-breaking club.

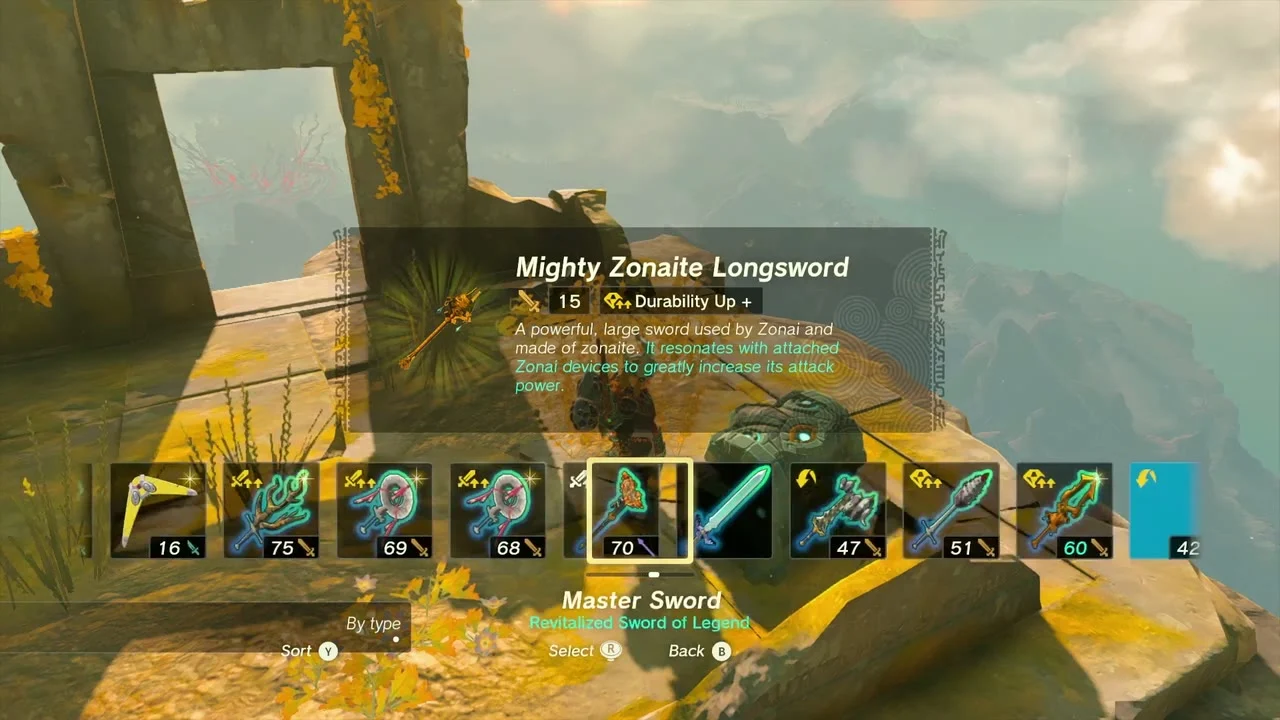
Sky chest (Mighty Zonaite Longsword (Strong or Mighty, depending on your progress)). A second floating ruin at (2096, 3115, 741), north of Lake Darman, holds a stone chest under an arch. Open it for a Mighty Zonaite Longsword.

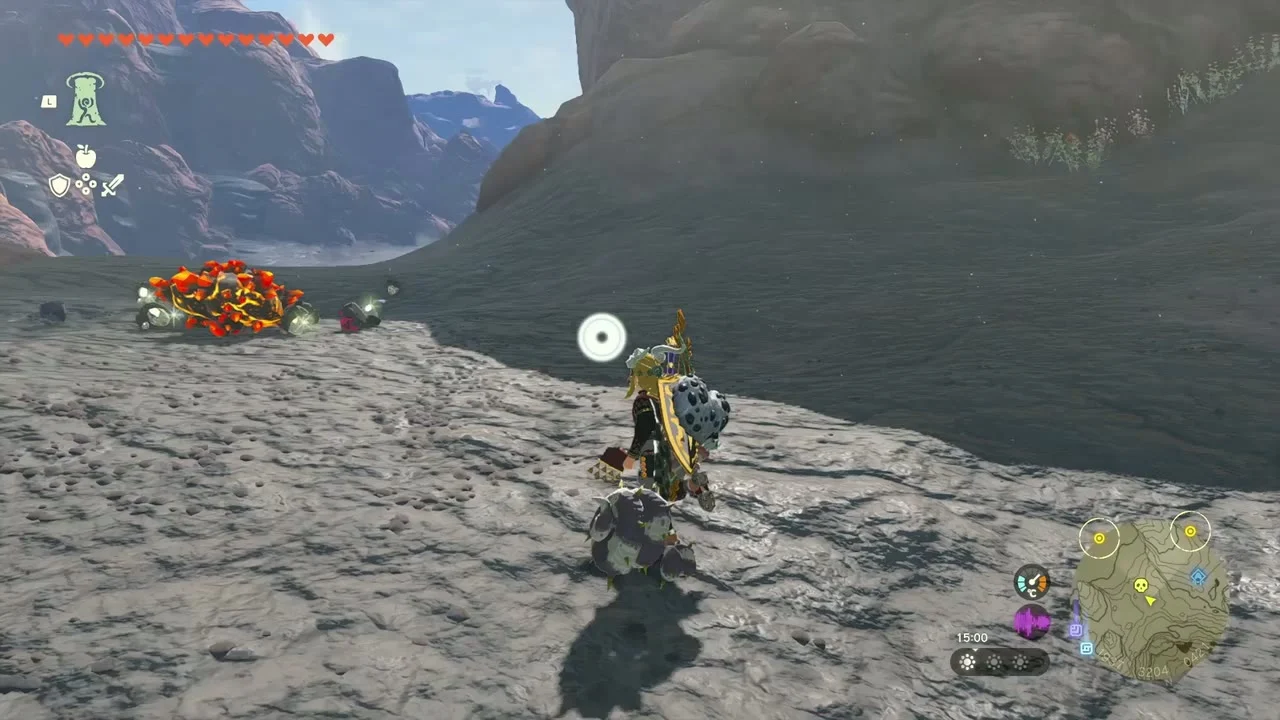
Igneo Talus at Goro Cove, Boss Bokoblin and Cobble Crusher
Miniboss: Igneo Talus (1937, 3204, 421). A lava-skinned Igneo Talus wanders the plateau at the top of the Goron cliffs. Cool it with Ice Fruit arrows or water, or blast it with a Bomb Flower arrow, then climb on and hit the glowing ore.
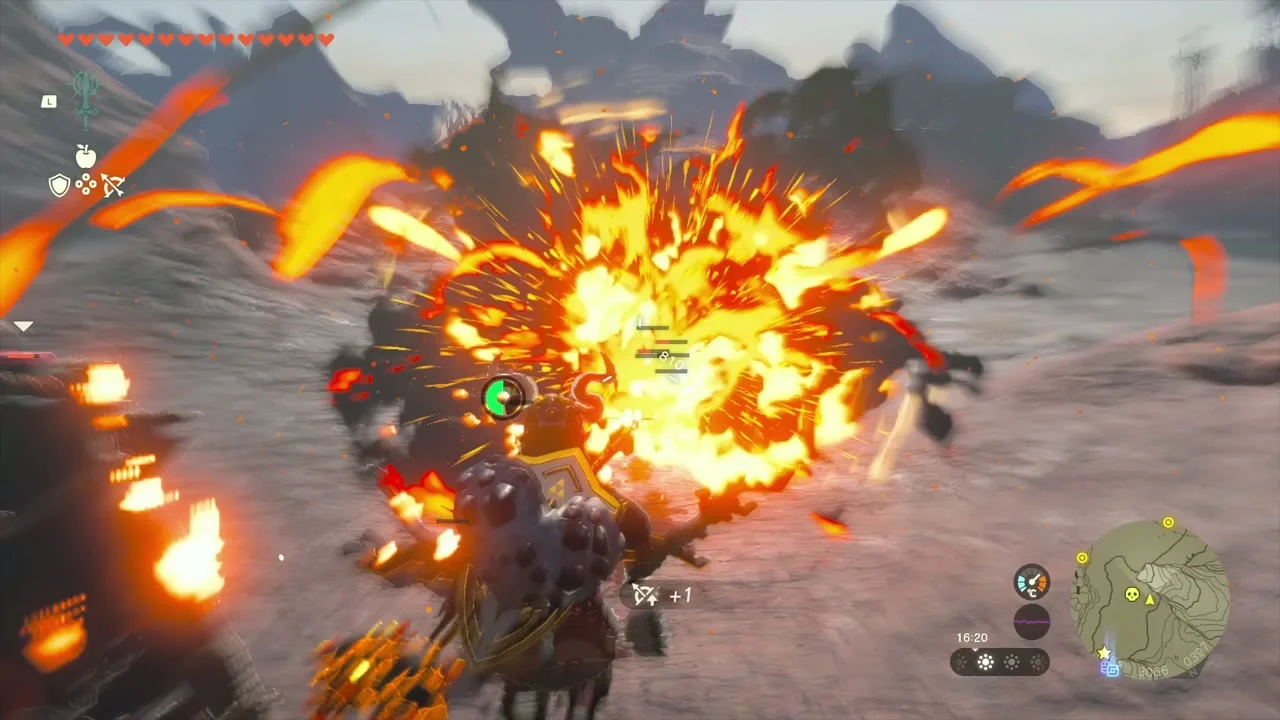

Miniboss: Boss Bokoblin (1950, 3039, 388). A Boss Bokoblin camp sits on the slope below the Talus. Defeat it for Boss Bokoblin Fangs and a Blue Boss Bokoblin Horn.
Lizard’s Burrow and Lake Darman
Cave: Lizard’s Burrow (2206, 3075, 405). The entrance is in the cliffs west of Lake Darman, near Scorching Coliseum. Wear Flame Guard armor or drink a Fireproof Elixir, because the inside is hot.
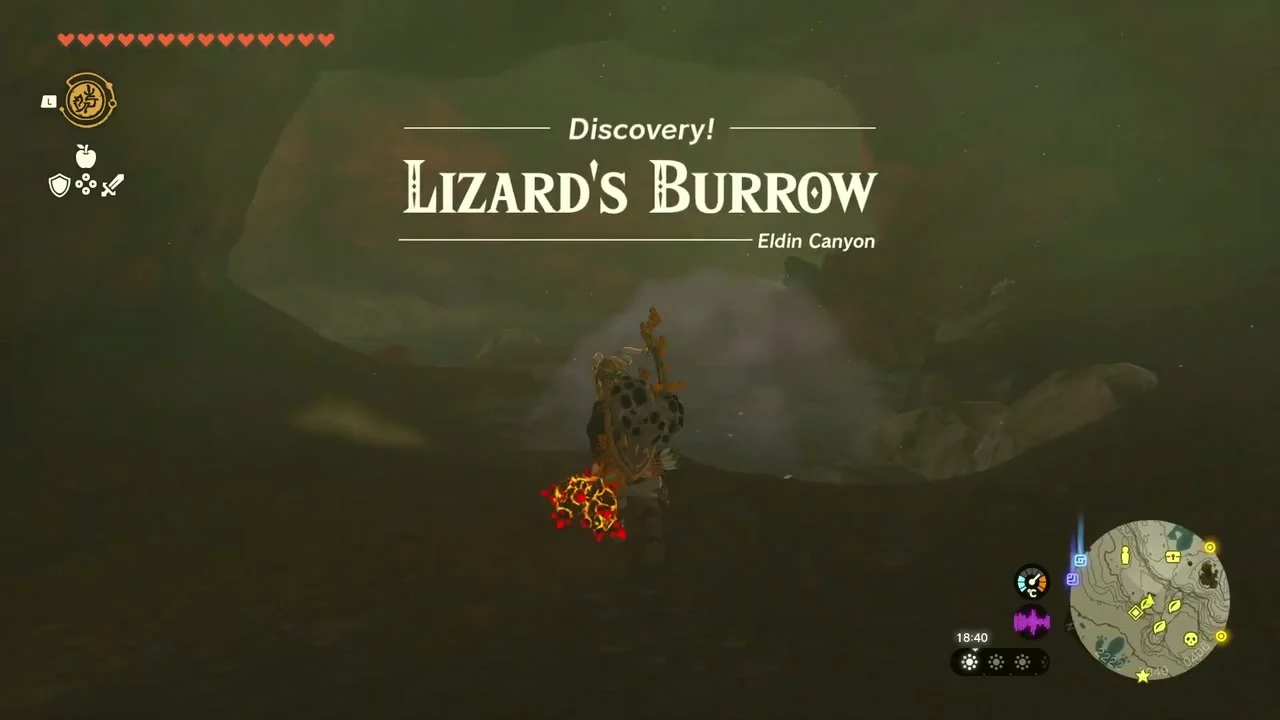
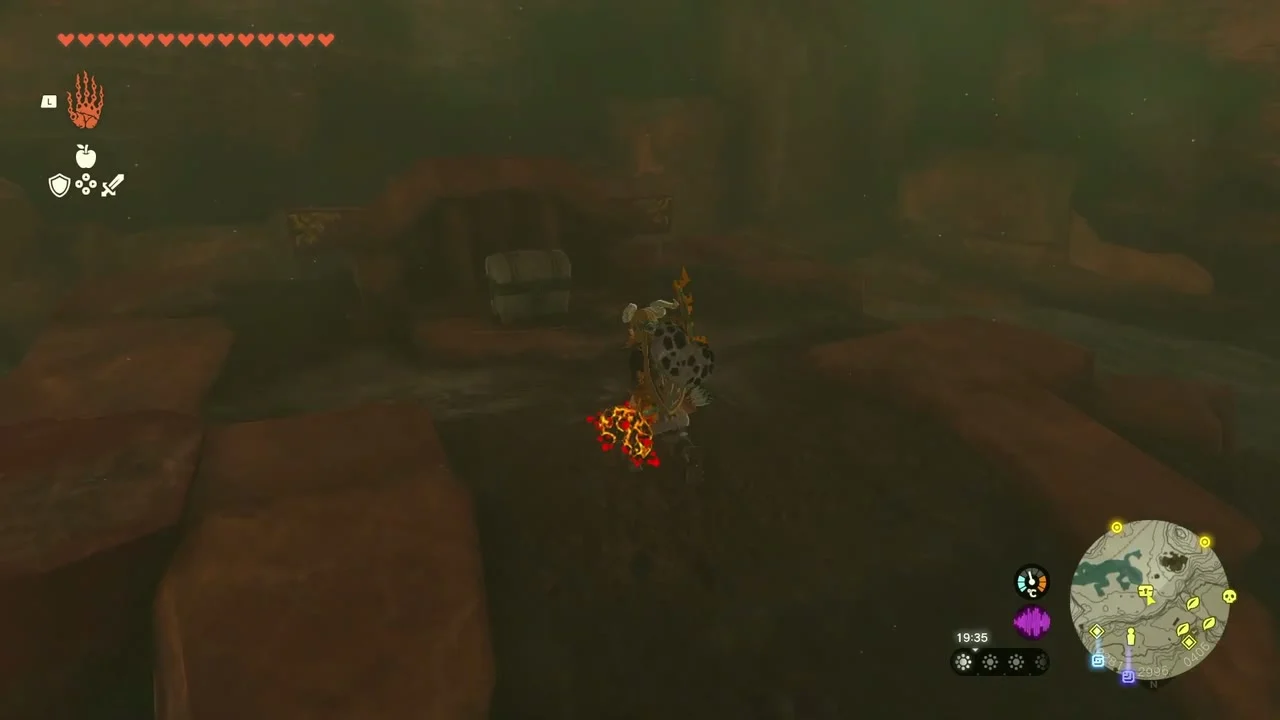
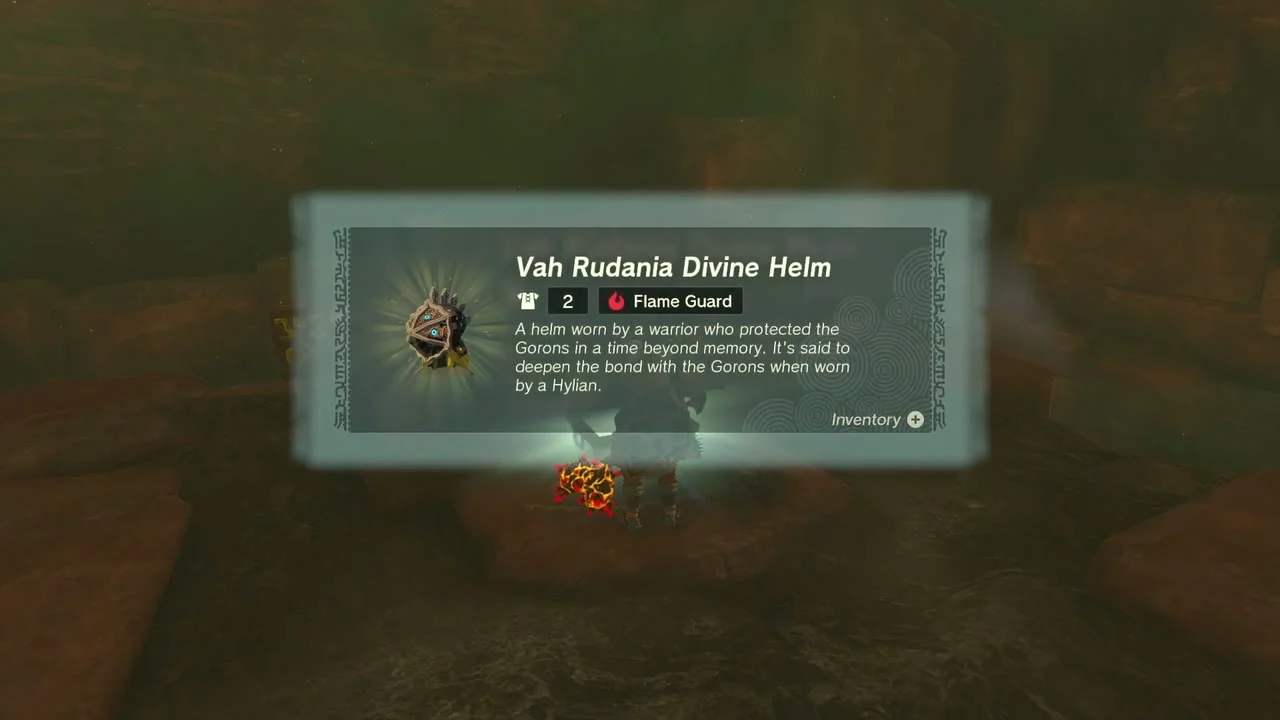
Chest (Vah Rudania Divine Helm). Deep in the cave at roughly (2281, 2996, 406), a chest sits on a dark rock ledge past the lava. It holds the Vah Rudania Divine Helm, an armor piece with Flame Guard.
Bubbul Gem. A Bubbulfrog hides at about (2249, 3074, 415) on the cave floor. Hit it with an attack and take the Bubbul Gem it leaves.

Quest: The Hidden Treasure at Lizard Lakes. Bludo in Goron City hints at “two lizards fighting over what’s inside.” Opening the chest in Lizard’s Burrow completes the quest.
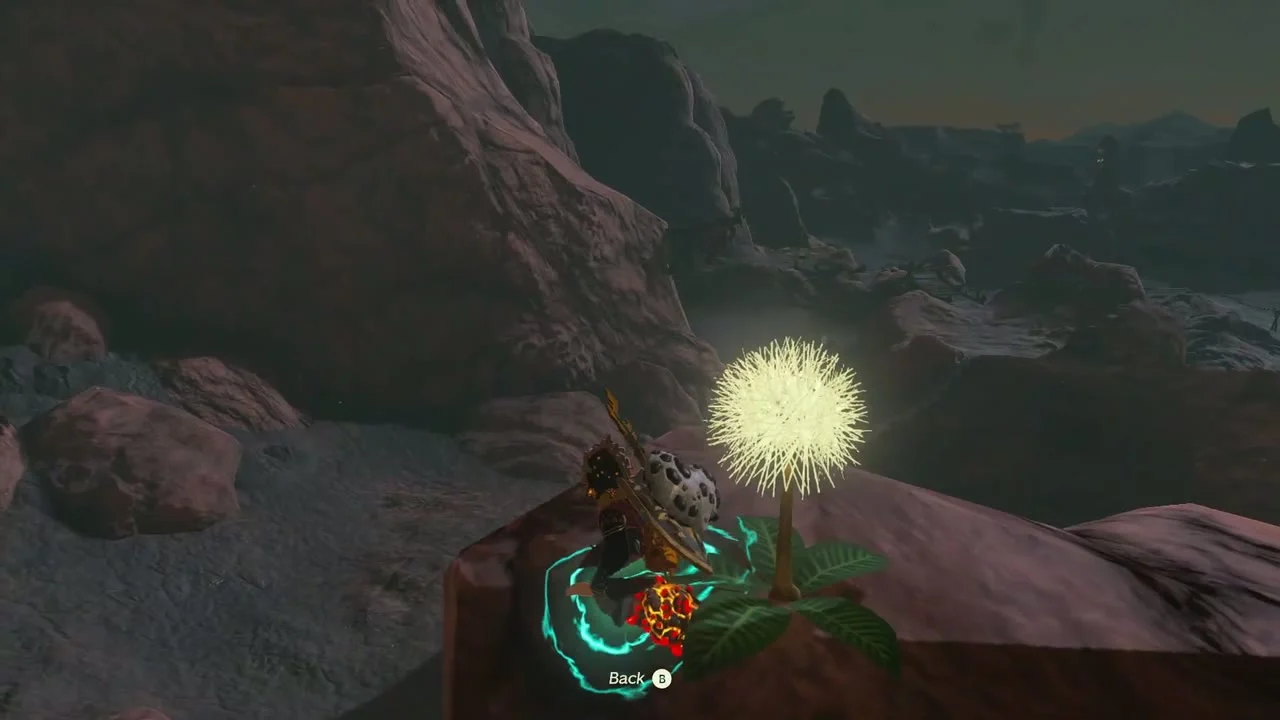
Korok seed (dandelion). On the grass at (2172, 3036, 455), A dandelion puff floats beside a ledge. Hit it with an attack so the seeds scatter, and the Korok gives you its seed.
Korok seed (target ring). At (2155, 3055, 477), a glowing ring sits above a ledge. Glide into it from the rock above within the time limit and the Korok appears.

Korok seed (acorn pot). A cave at (2231, 3042, 446) holds a pot with an acorn on it. Smash the pot and the Korok pops out.

Quest: Bring Peace to Eldin! Toren’s monster-control squad (Eldin Canyon) is attacking a Marauders of Eldin stronghold at roughly (2414, 2948, 456). Join the squad, defeat the monsters and the quest completes. The squad meets you outside Lake Darman Monster Den (2373, 3051, 445); clear the den with them and Toren pays you a Silver Rupee.


Lake Darman Monster Den. Inside the den a Bubbulfrog hides in the raised cavern at the back (reach it with Ascend), and the cave has no chest, only ore and Giant Brightbloom Seeds. Wear heat protection.
Bubbul Gem (cave beside the stronghold). A dark cave near the stronghold at about (2496, 2963, 466) hides a second Bubbulfrog. Hit it and take the Bubbul Gem.
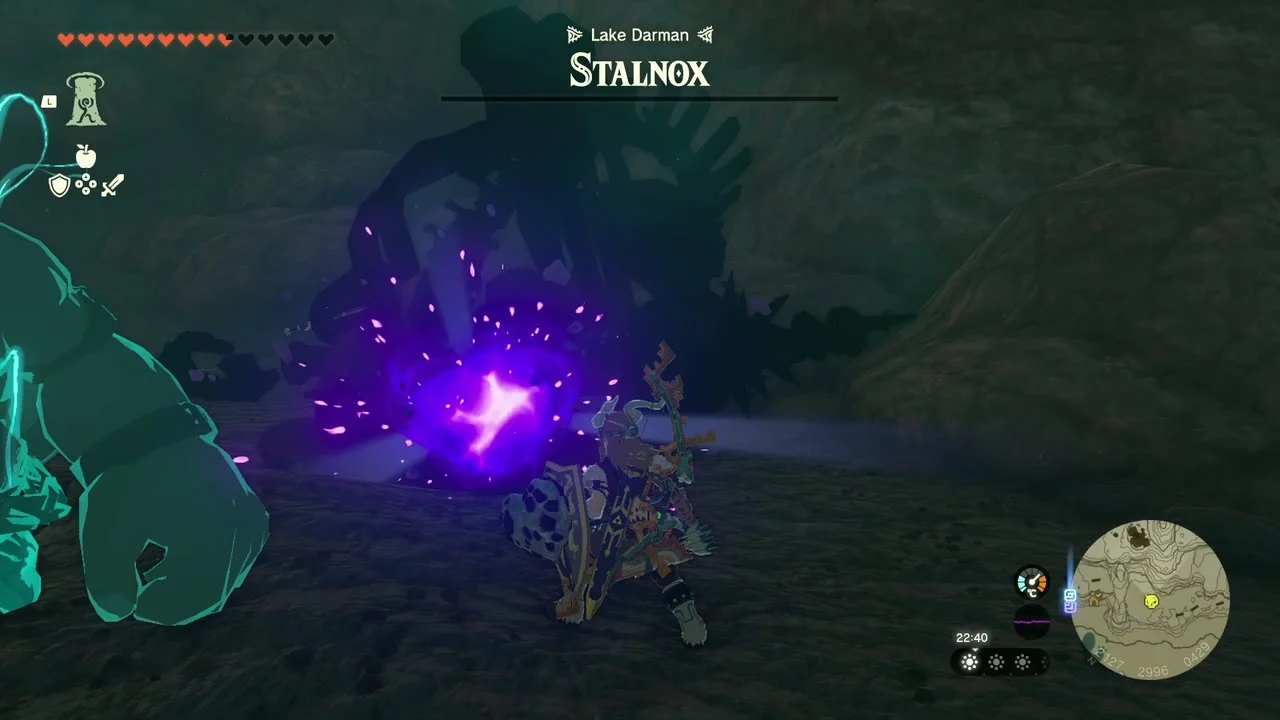
Miniboss: Stalnox (2127, 2996, 429). Stalnox rises from the ground around Lake Darman. Break its glowing core with arrows or a strong weapon.
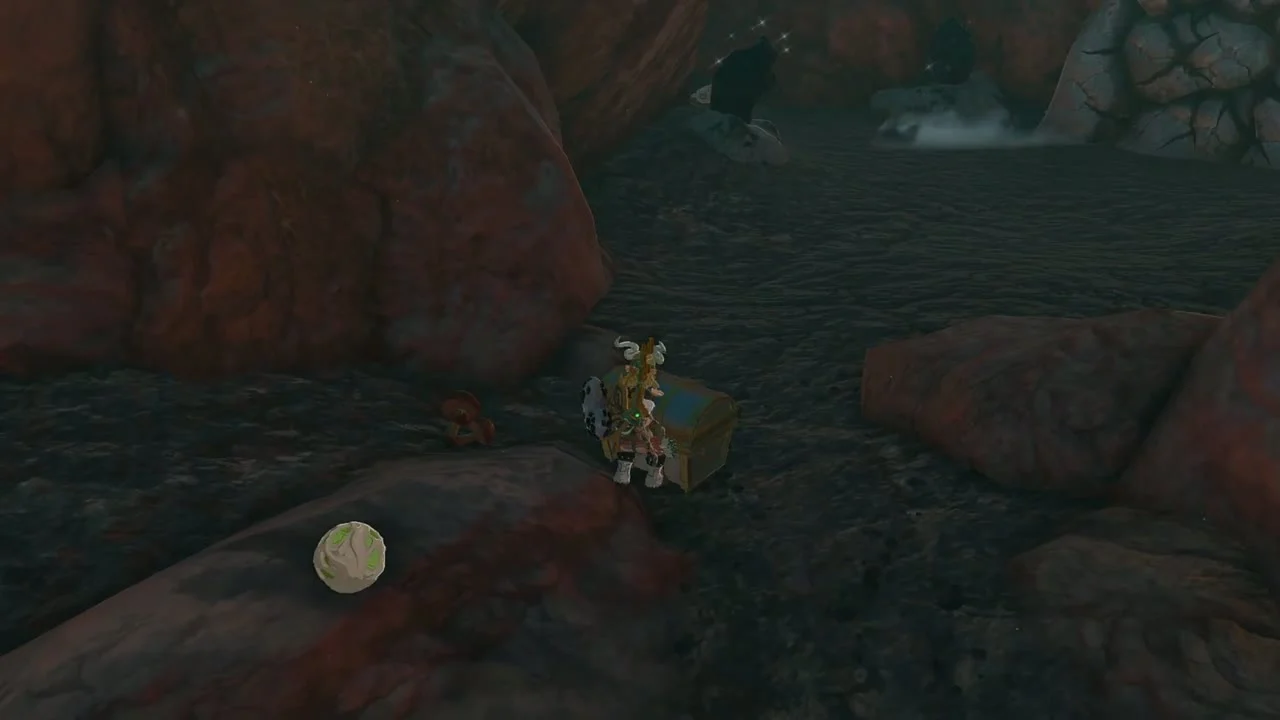
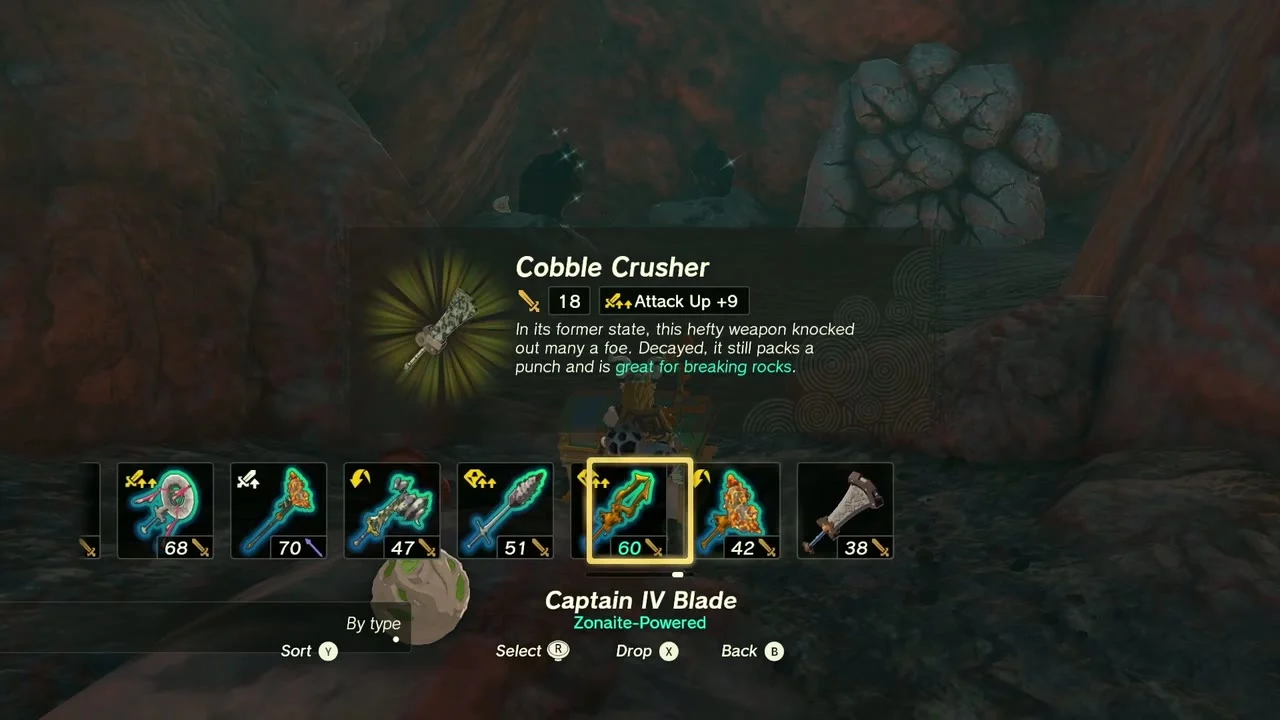
Chest (Cobble Crusher). In a rocky hollow near Lake Darman at (2435, 3184, 404), a chest holds another Cobble Crusher.
Sibajitak Shrine
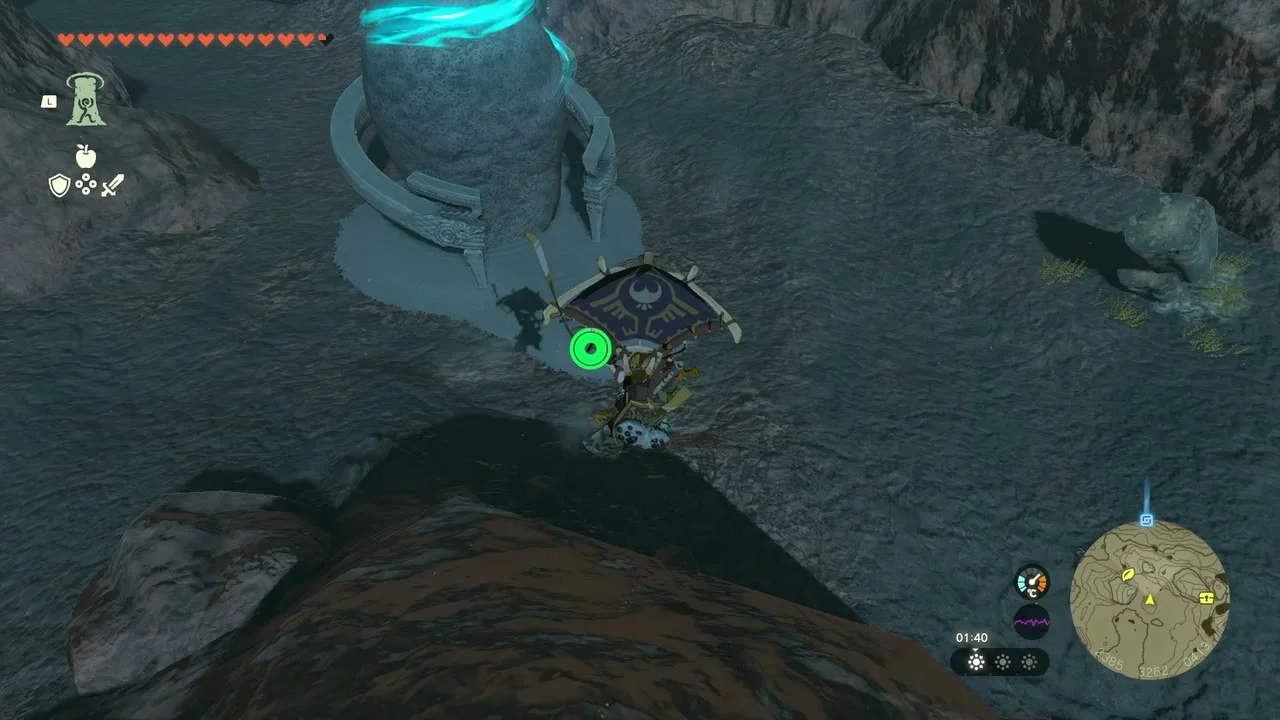
Sibajitak Shrine (Alignment, Puzzle) at (2400, 3275, 416). It sits on the eastern shore of the dried-up Lake Darman. The Katijabis Lightroot is below it at (2400, 3276, -865).

Solve the rotating rings
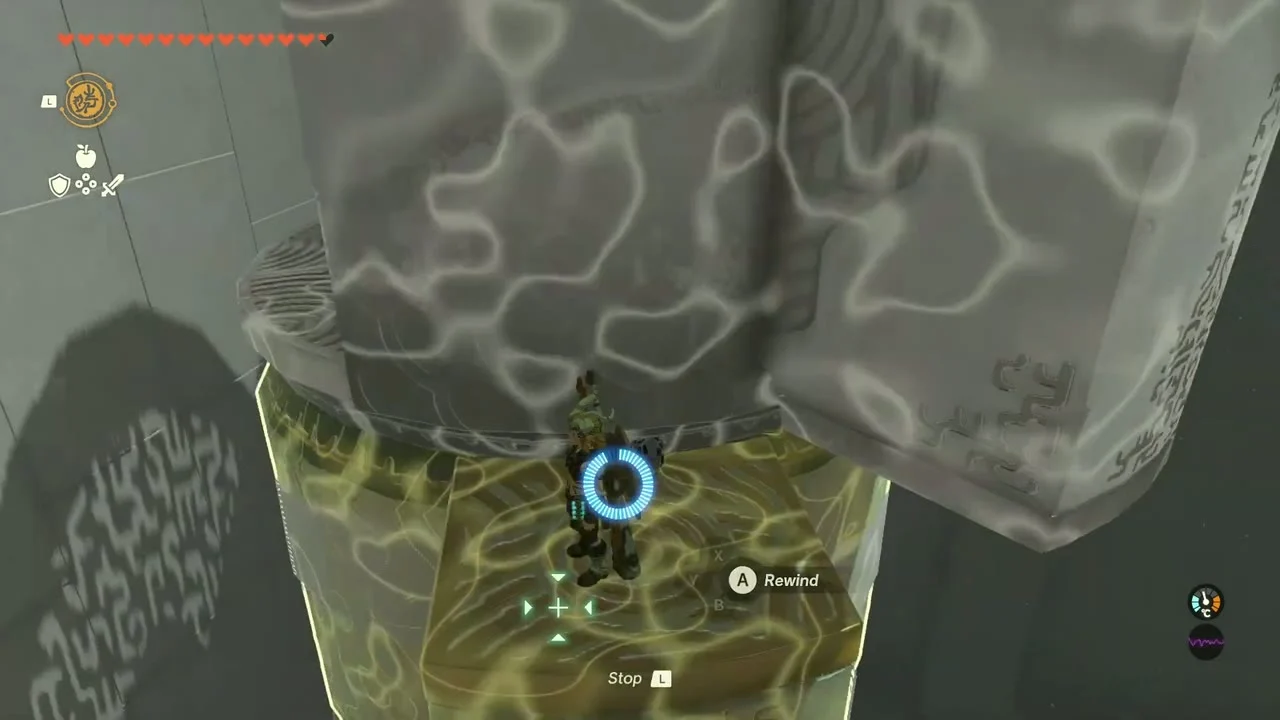
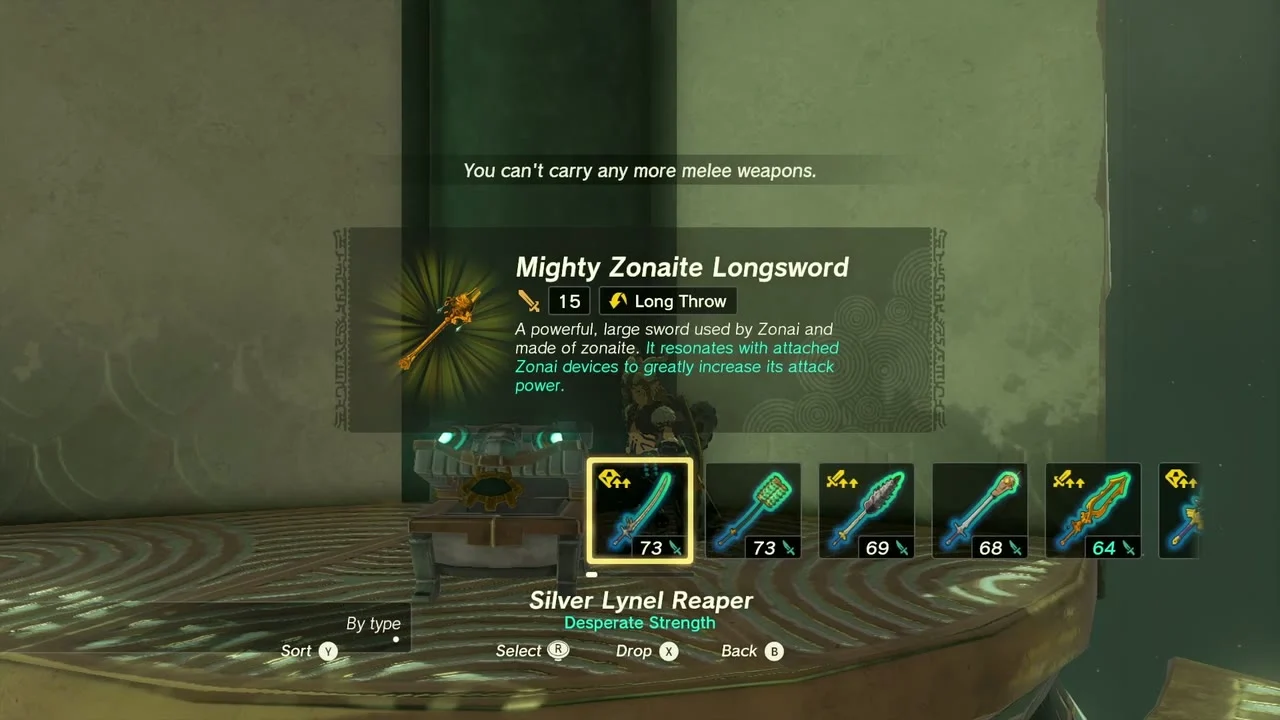
Target the lower ring with Recall while it turns and release when its gap lines up with the ring above. Ascend through the first two rings and open the chest for a Mighty Zonaite Longsword. Rewind the top section until its block matches the middle ring, drop down and line the bottom up once more, then Ascend to the exit and the Light of Blessing.
Eldin Eastern Highlands: Igneo Talus, Koroks and chests
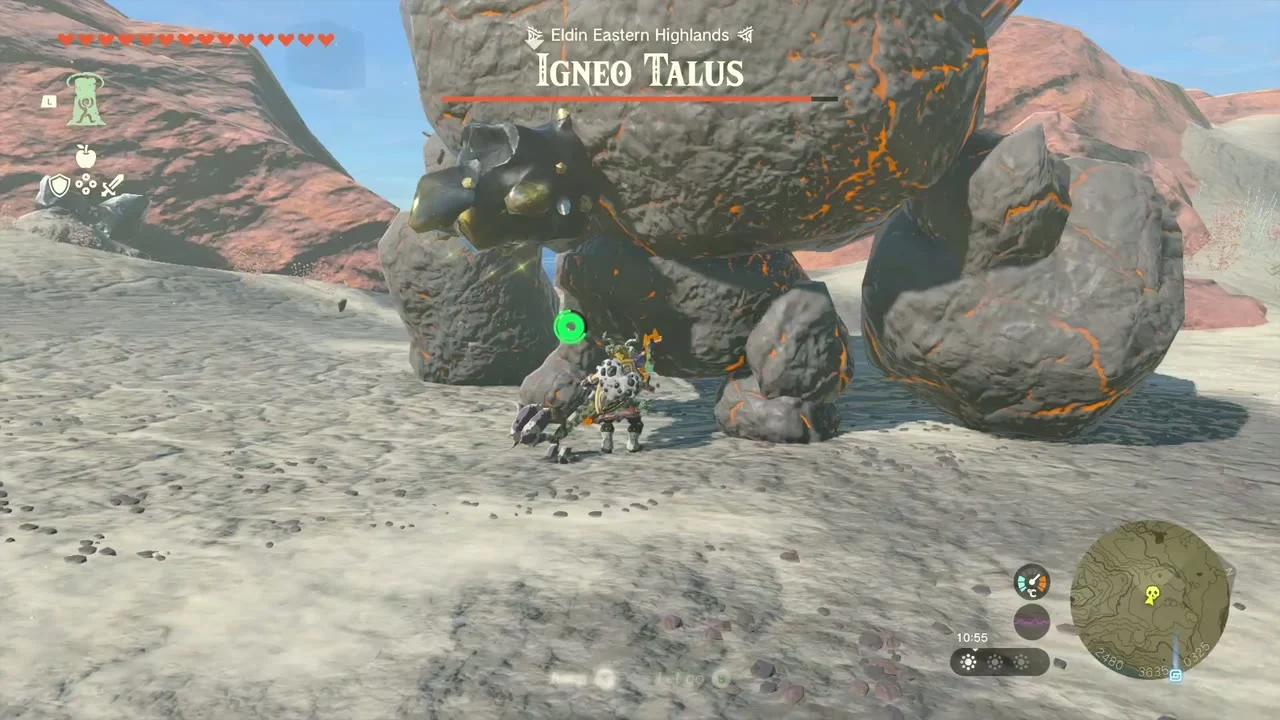
Miniboss: Igneo Talus (2480, 3635, 325). A second Igneo Talus guards the road in the Eldin Eastern Highlands. Fight it the same way: cool it, then break the ore on its back.

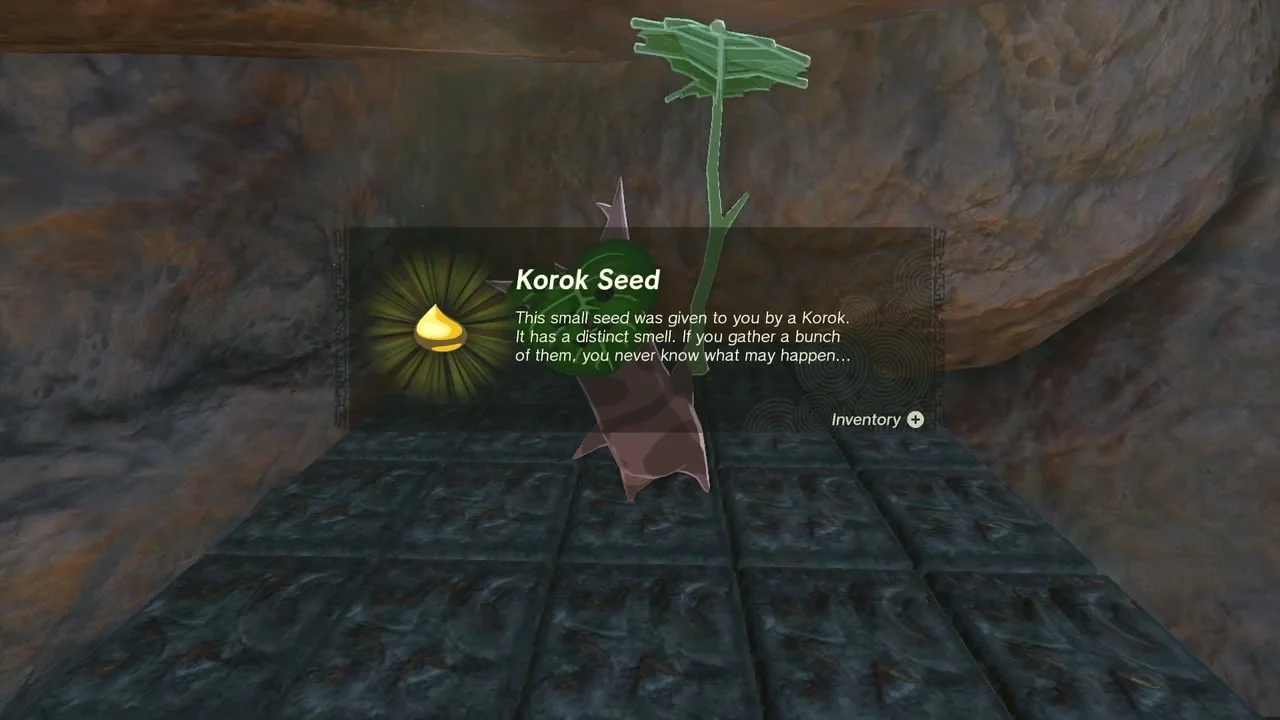
Korok seed (cube puzzle). A cave at (2227, 3691, 233) has a stone floor pattern. Use Ultrahand to carry the block to the glowing marker and the Korok appears.

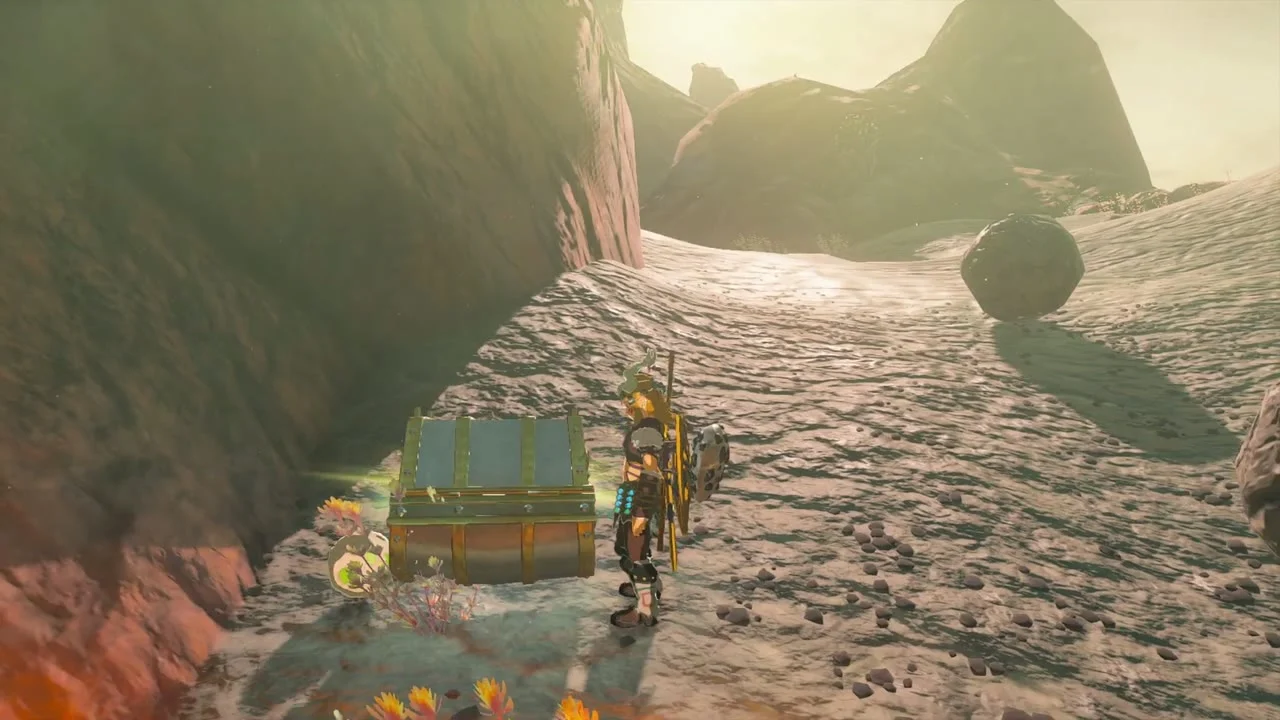
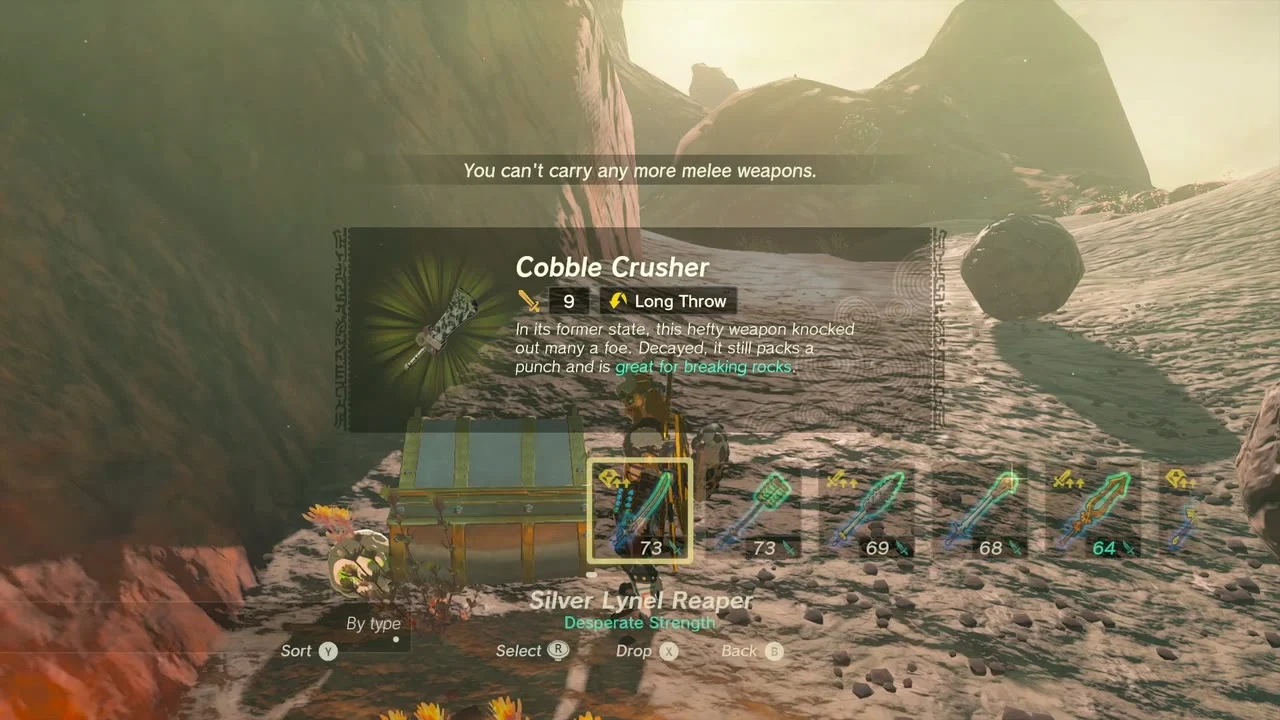
Chest (Cobble Crusher). A chest on a sandy ledge at (2296, 3557, 328) holds a Cobble Crusher.
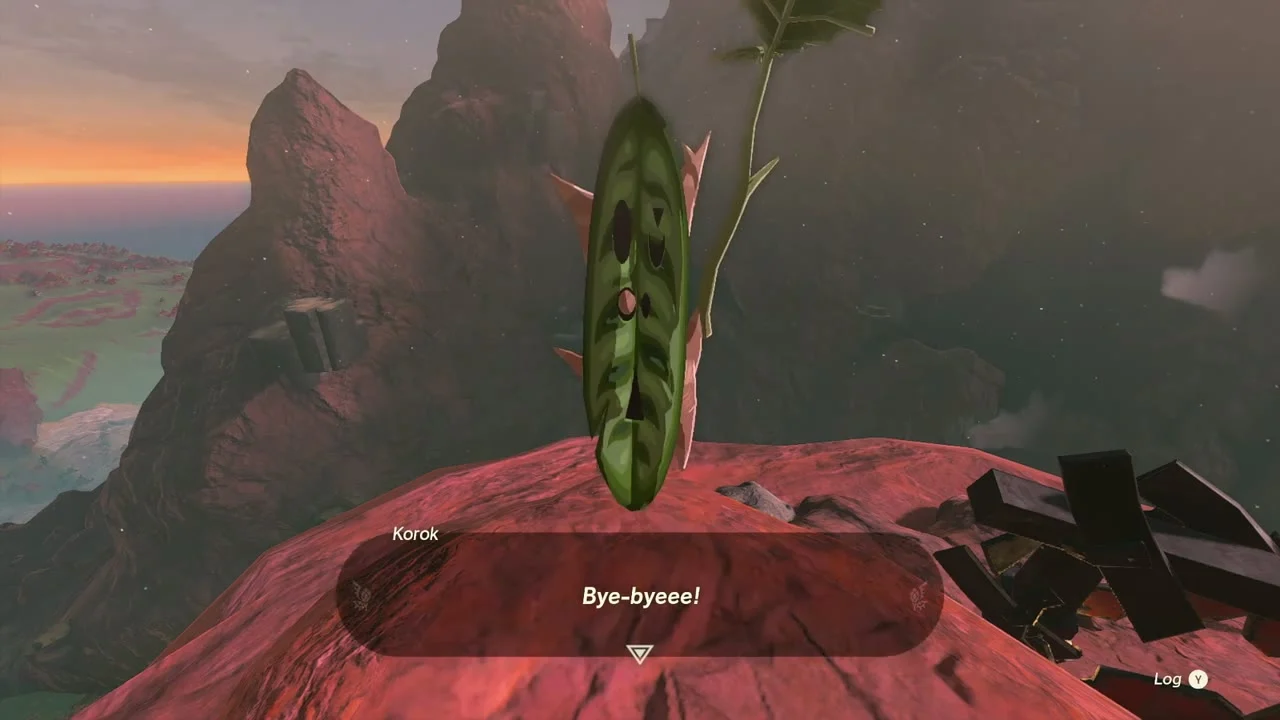
Korok seed (arrows point). At (2671, 3442, 376), stone posts point to a stack of boulders. Climb the rocks they point at and examine the sprout on top of the red pillar.
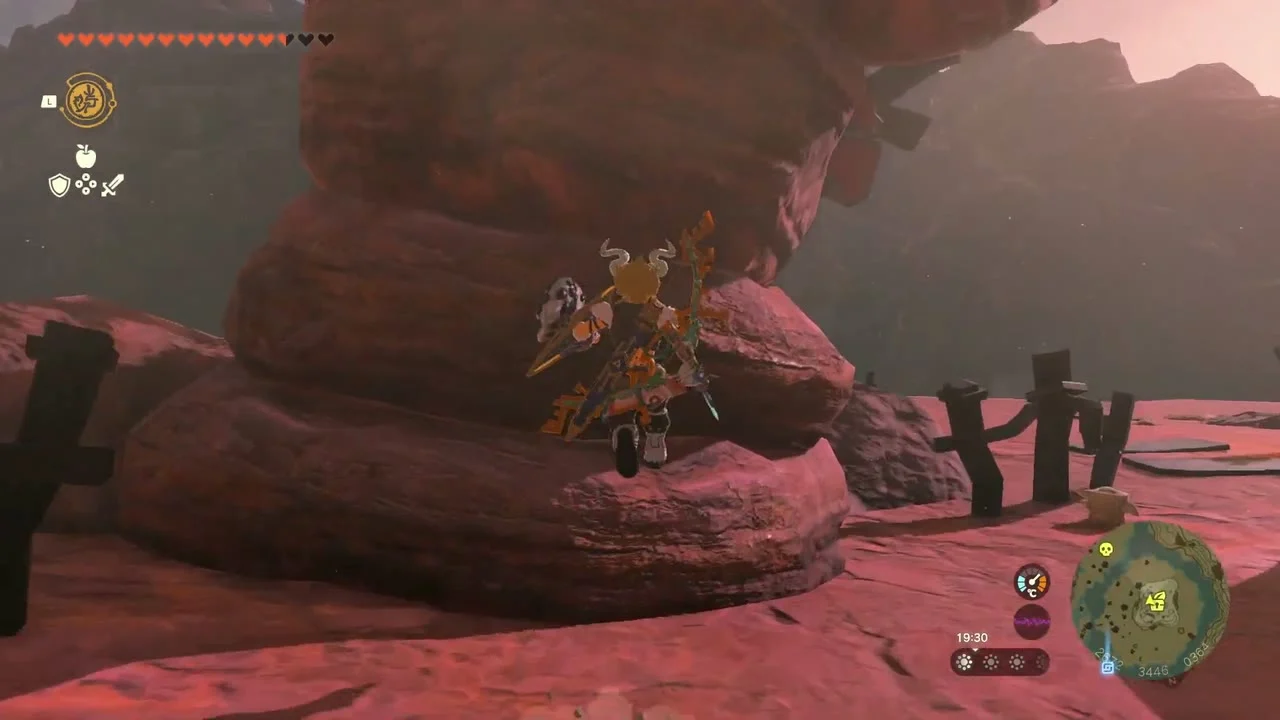
Chest (Cobble Crusher). About 40 units south of the previous one, at (2284, 3515, 342), a boulder-blocked chest holds another Cobble Crusher; blast the rocks with a Bomb Flower arrow.
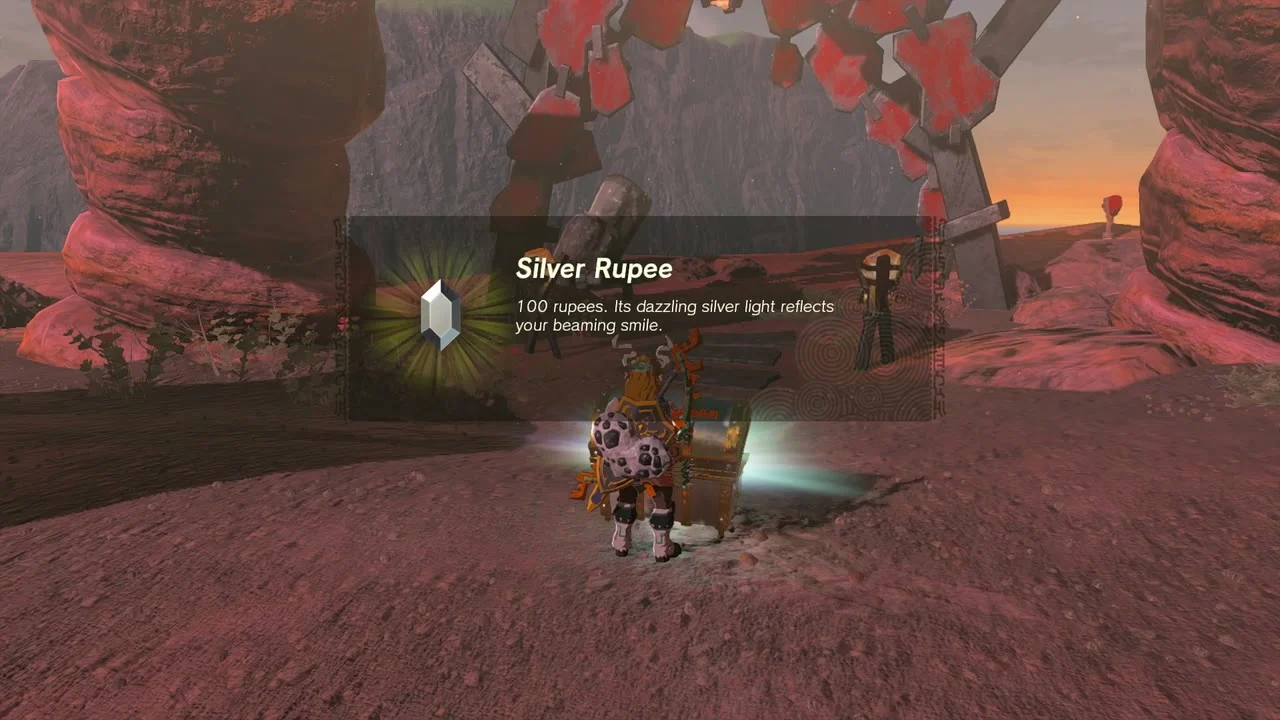
Chest (Silver Rupee). On a ledge at (2666, 3459, 364), a skull-faced chest holds a Silver Rupee, worth 100 rupees.

Miniboss: Stone Talus (2693, 3311, 239). A Stone Talus sleeps at Gut Check Rock. Climb its back and hit the glowing rock. Bring a Bomb Flower or a strong hammer.


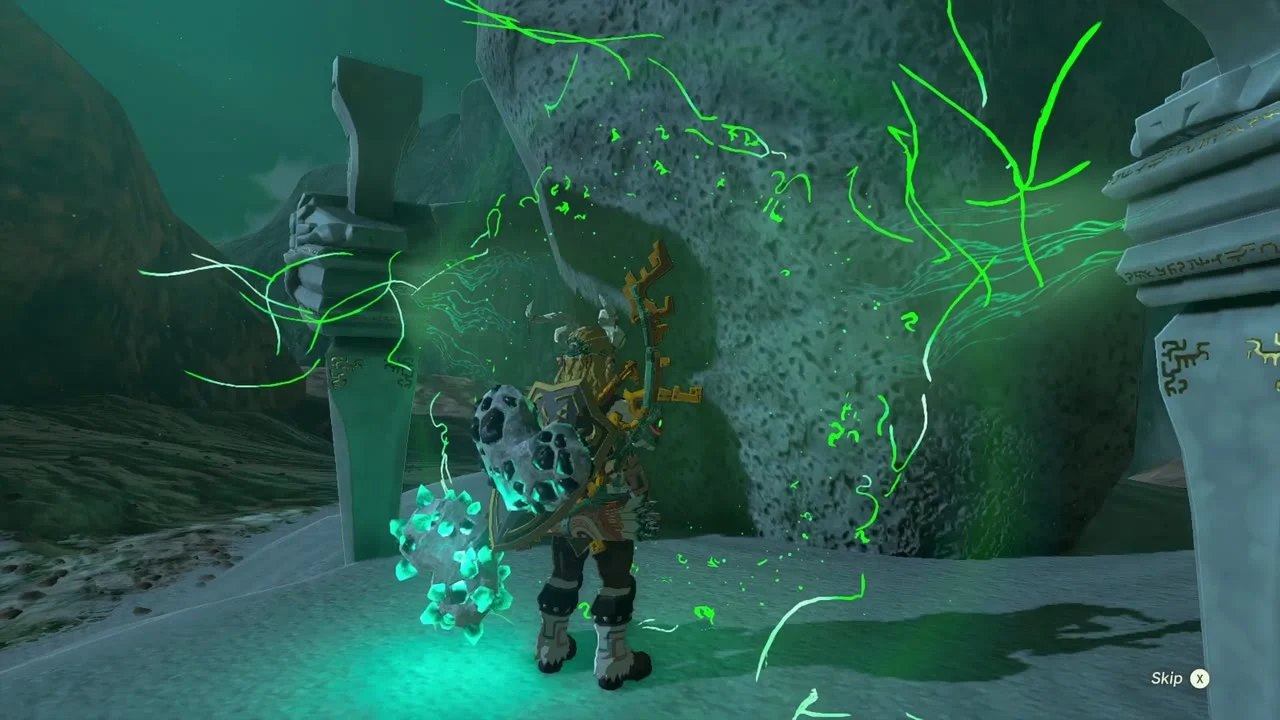
Kimayat Shrine (Proving Grounds: Smash, Proving Grounds) at (2864, 3638, 254). The shrine stands at Gut Check Rock. You enter stripped of gear: collect the club, bow and sticks at the entrance. The Tayamik Lightroot is below it at (2864, 3639, -706).

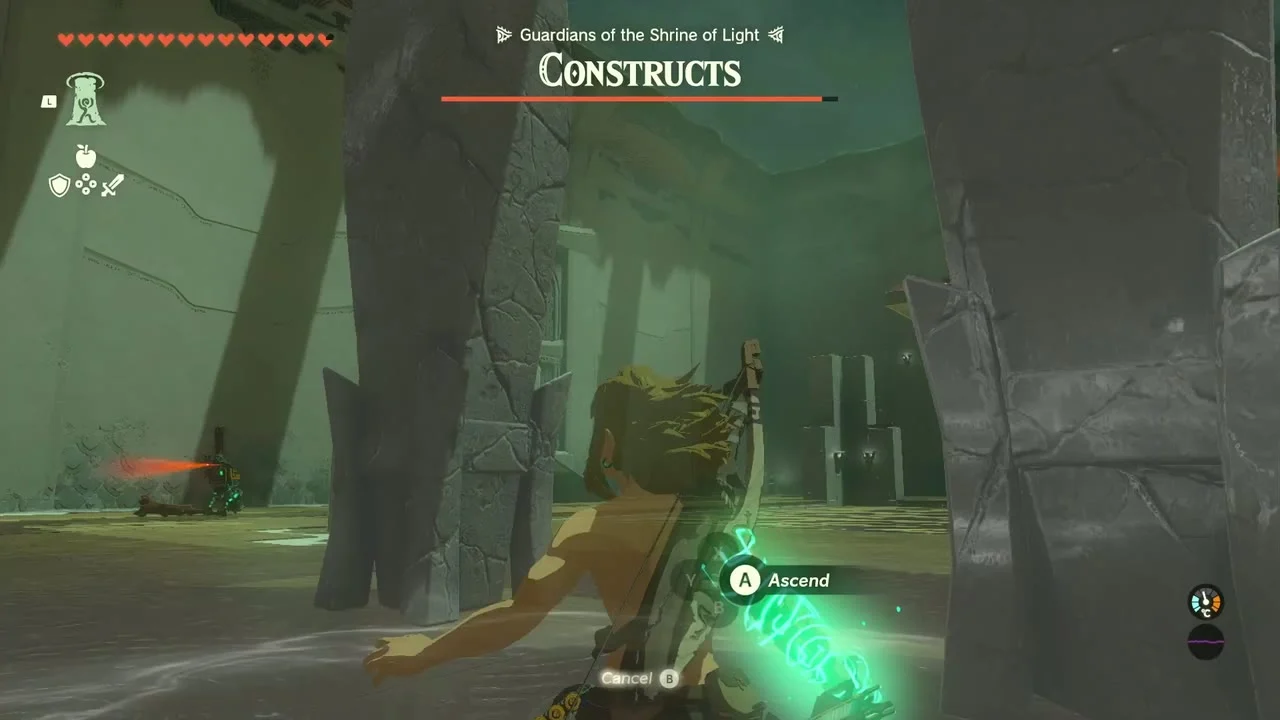
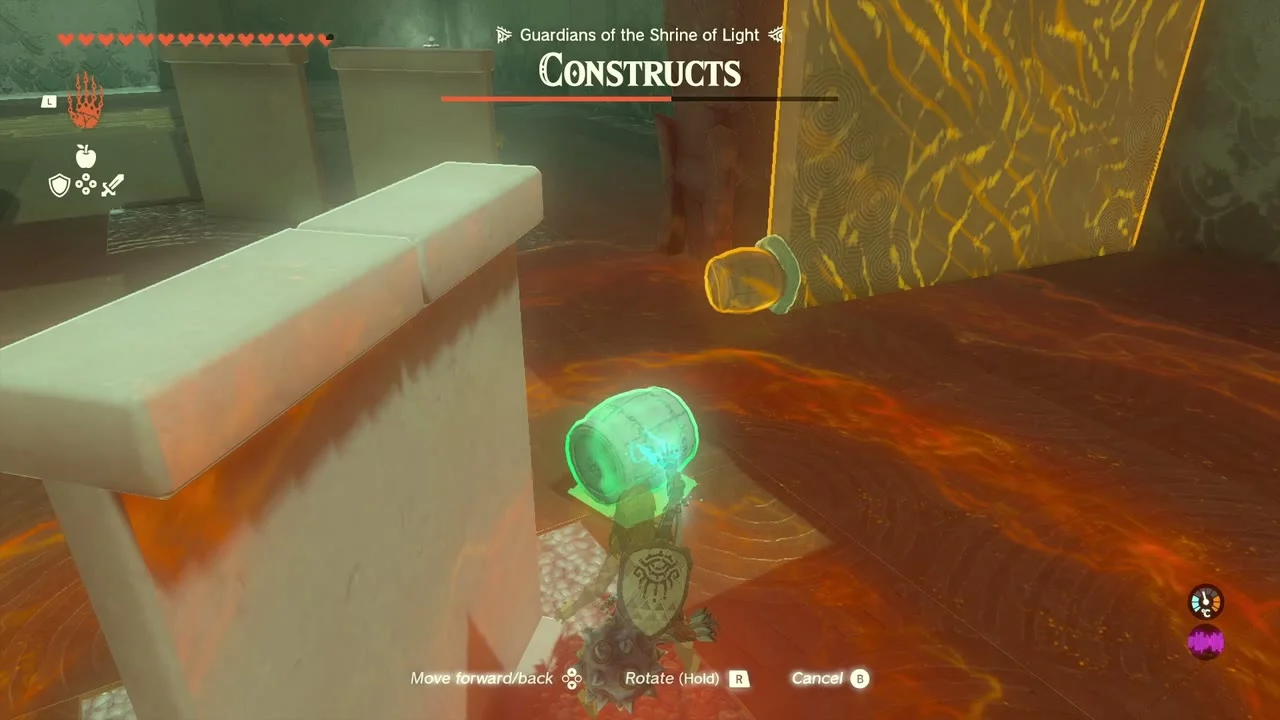

Beat the Constructs
Fuse a Soldier Construct Horn or similar part to your club and fight the Constructs. Use the Frost Emitter to freeze platforms on the water, then break the column holding up the Constructs’ ledge so they fall in. When all six are down, the chest by the exit holds a Captain Reaper (Captain II to IV, depending on your progress) and the altar gives the Light of Blessing.
Korok seed (shoot the balloon). Near the dead tree at (3078, 3682, 214), shoot the balloon with an arrow and take the seed.

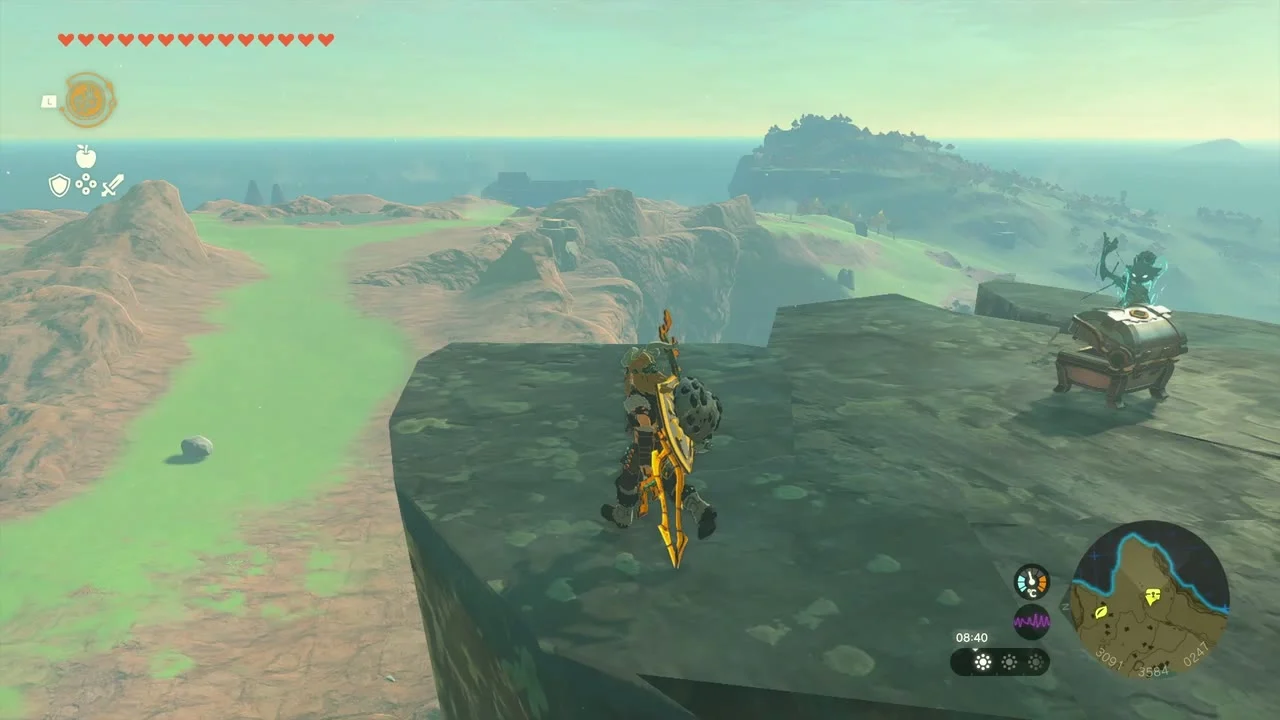
Chest (Steering Stick x5). On a flat grey plateau at (3096, 3584, 247), a chest holds Steering Stick x5.

Death Mountain East Tunnel and Momosik Shrine
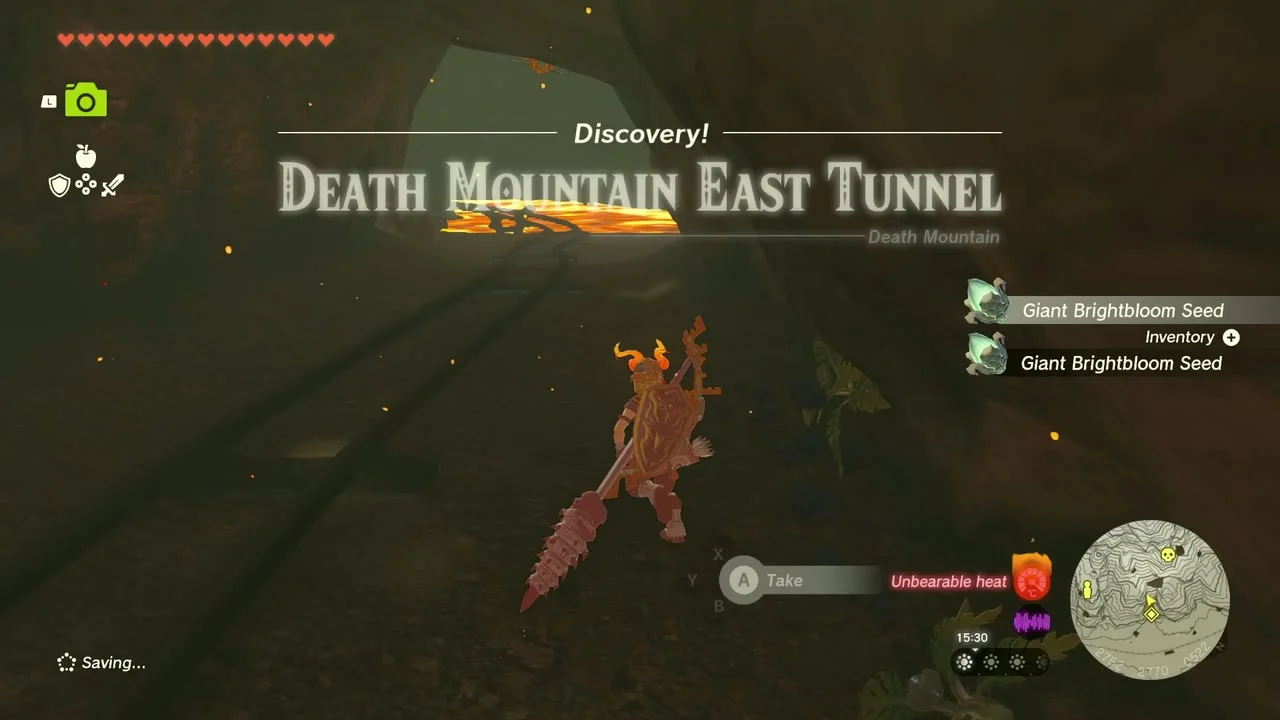
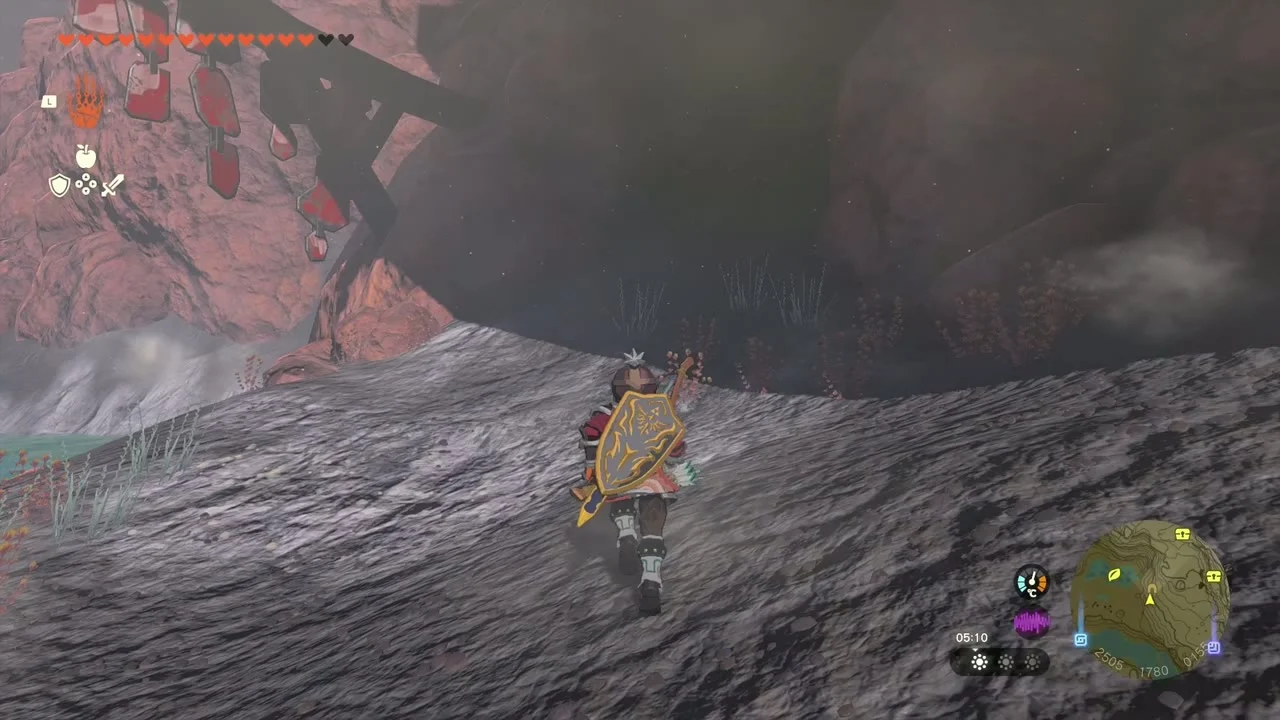
Cave: Death Mountain East Tunnel (2767, 2778, 521). Break the blue sediment blocking the entrance with a rock weapon, a Bomb Flower or Yunobo. The cave is hot, so wear Flame Guard. A Bubbulfrog hides inside for a Bubbul Gem.
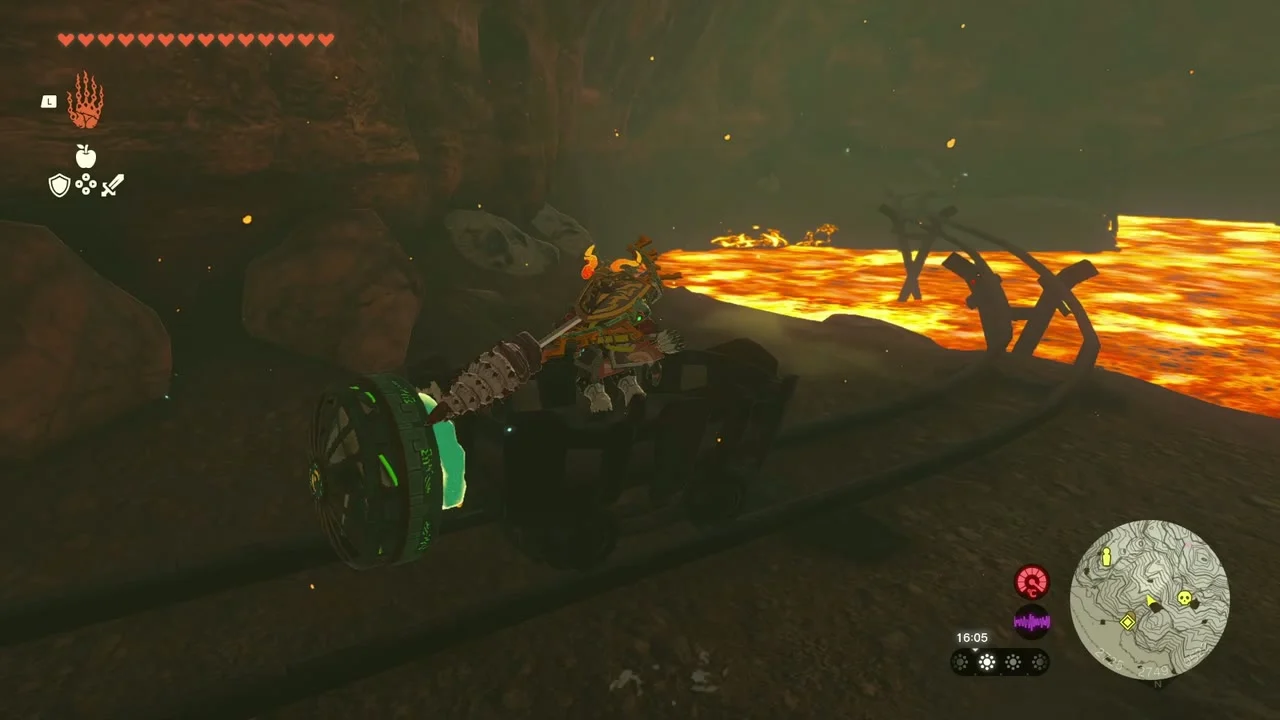
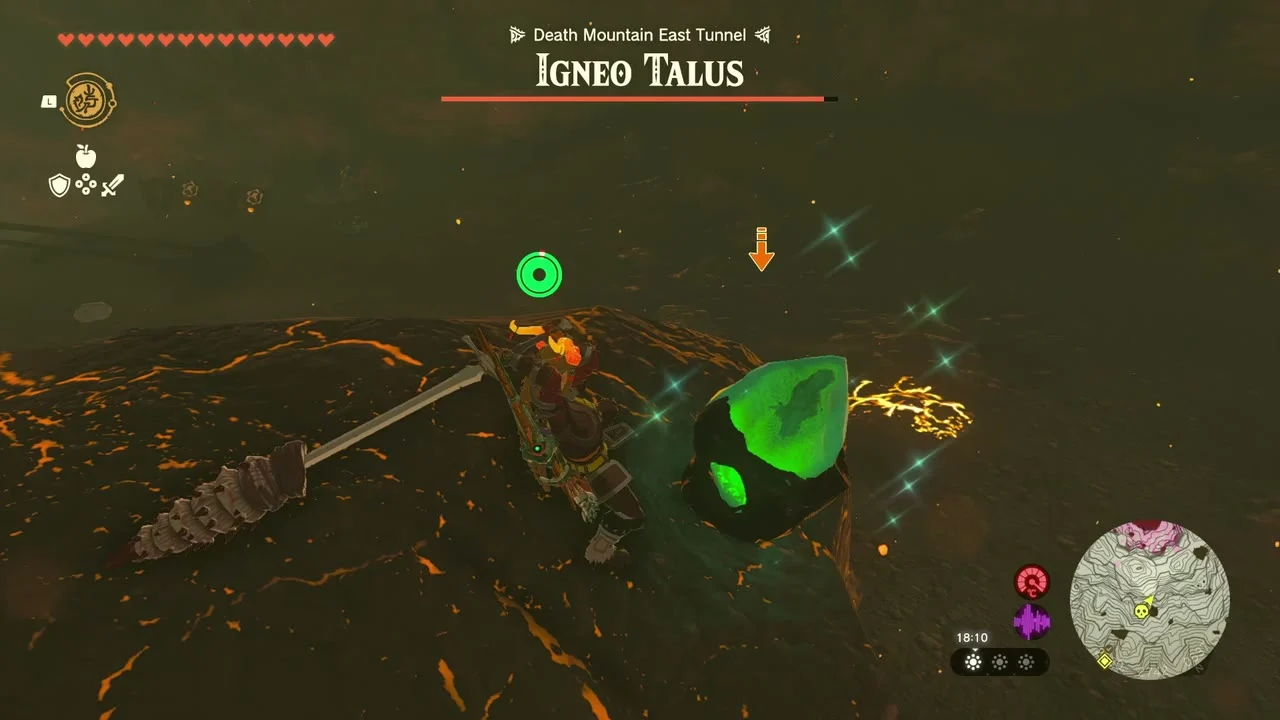
Miniboss: Igneo Talus with a crystal. At the far end of the rails, a green crystal is lodged in an Igneo Talus. Fuse a fan to the mine cart, ride the rails to the Talus, break the crystal off it and carry it out.

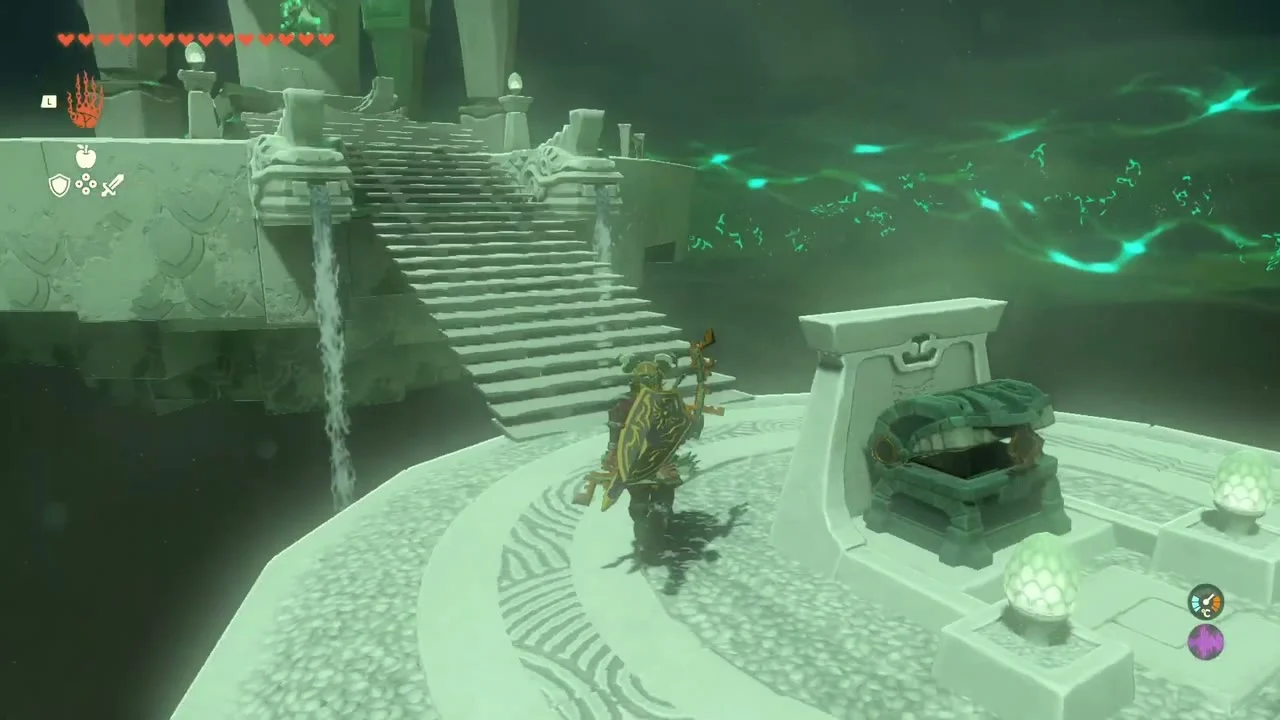
Momosik Shrine (Rauru’s Blessing) at (2960, 2758, 537). The shrine sits on the north-east side of Death Caldera. The Kisomom Lightroot is below it at (2961, 2758, -984). Carry the crystal from the tunnel to the shrine to start and finish The Death Caldera Crystal. Inside, the shrine has one chest with a Big Battery.

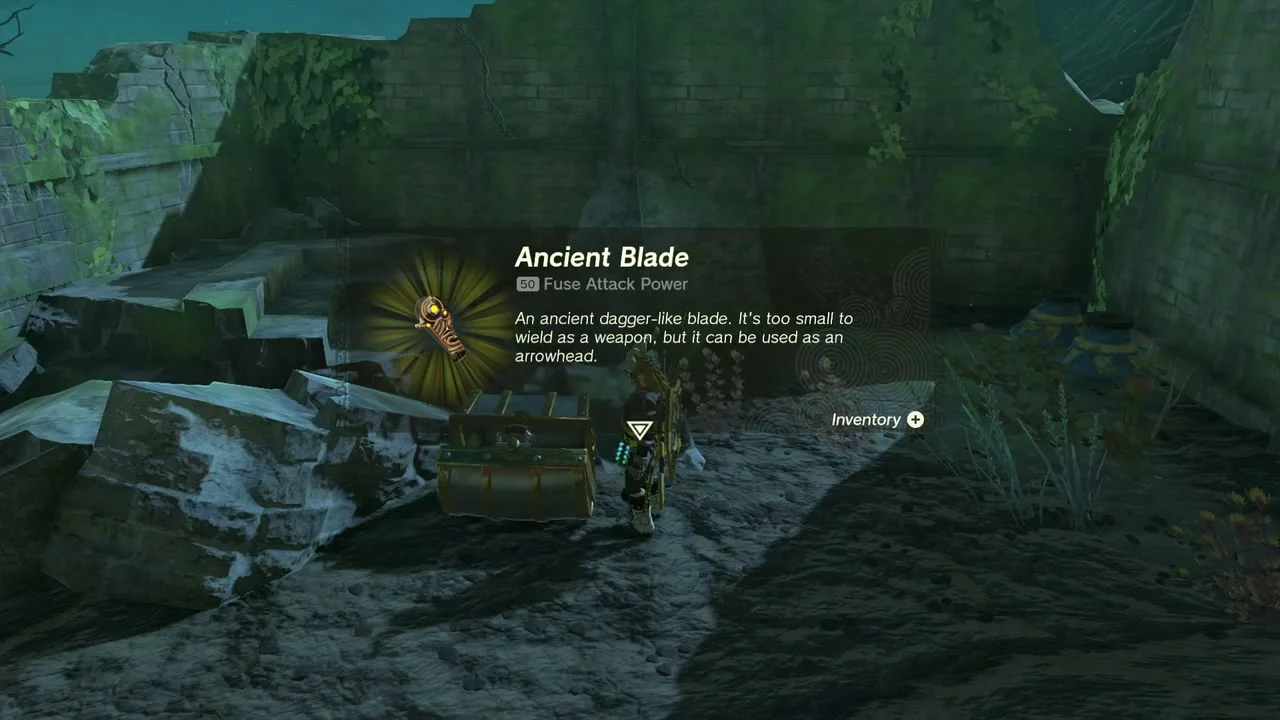
Chest (Ancient Blade). On a rock shelf at (3140, 2841, 340), a chest holds an Ancient Blade, an arrow-head weapon.

Chest (Fire-Breath Lizalfos Horn). On a wrecked wooden platform at (3287, 2787, 288), a chest holds a Fire-Breath Lizalfos Horn.


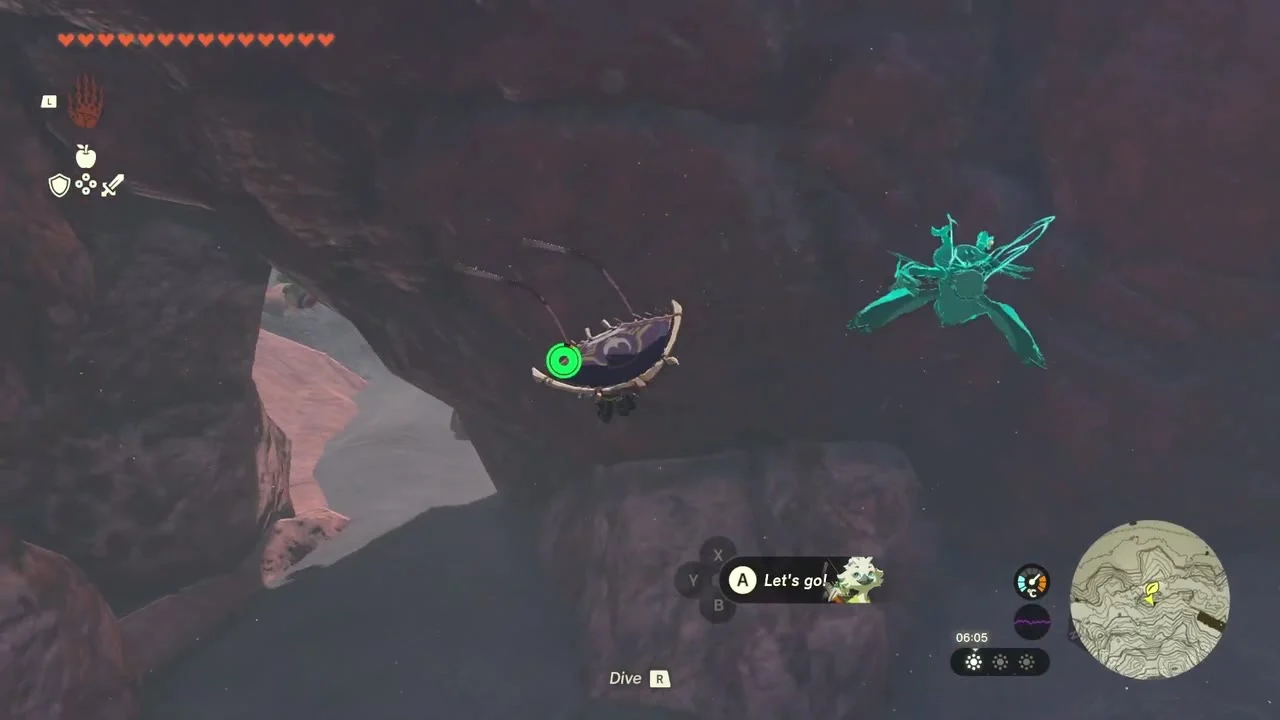
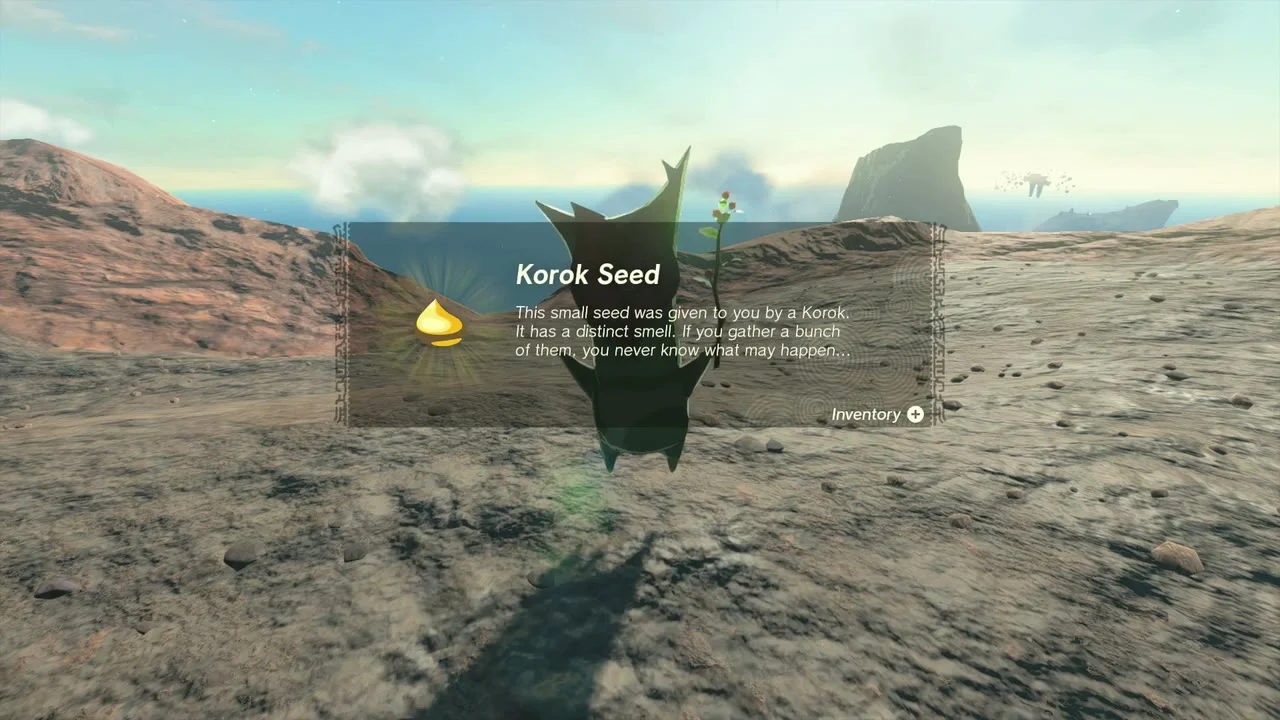
Korok seed (hidden balloon). Glide to the tall rock at (2779, 2524, 620); Glide to the arch below it and pop the hidden balloon with an arrow.
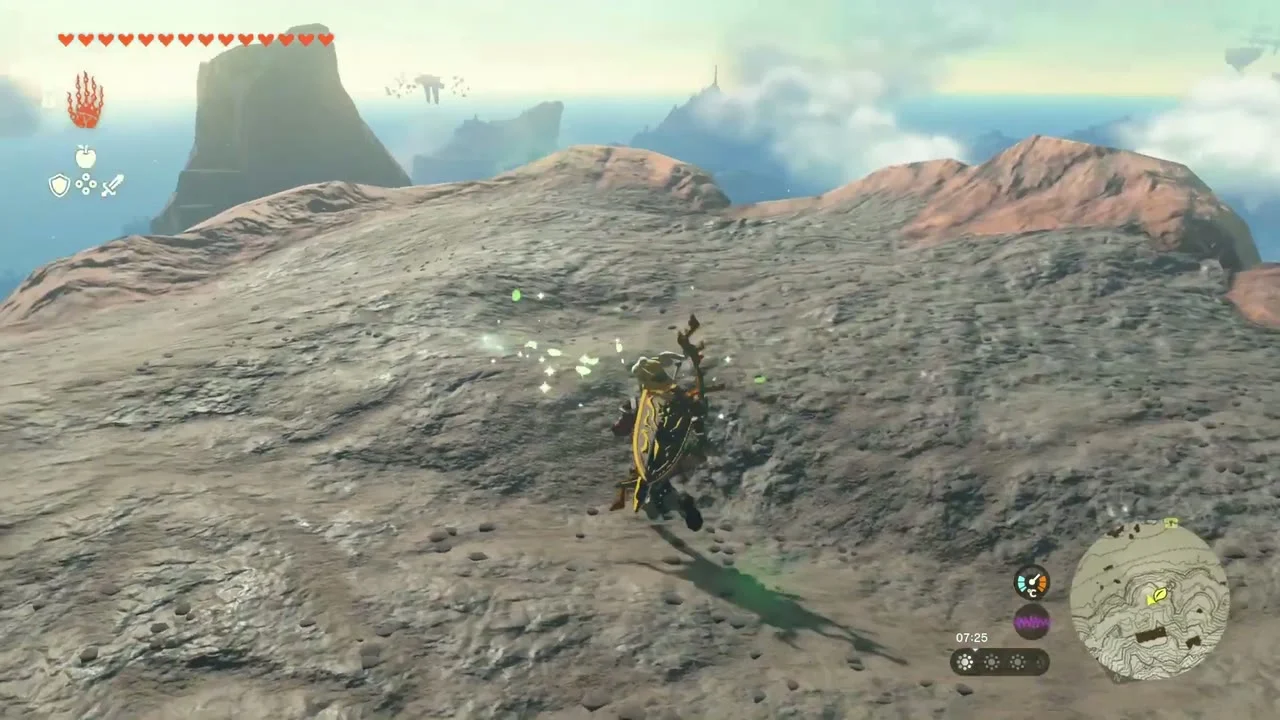
Korok seed (sparkling spot). On a barren slope at (2702, 2347, 620), walk up to the sparkling spot on the ground.
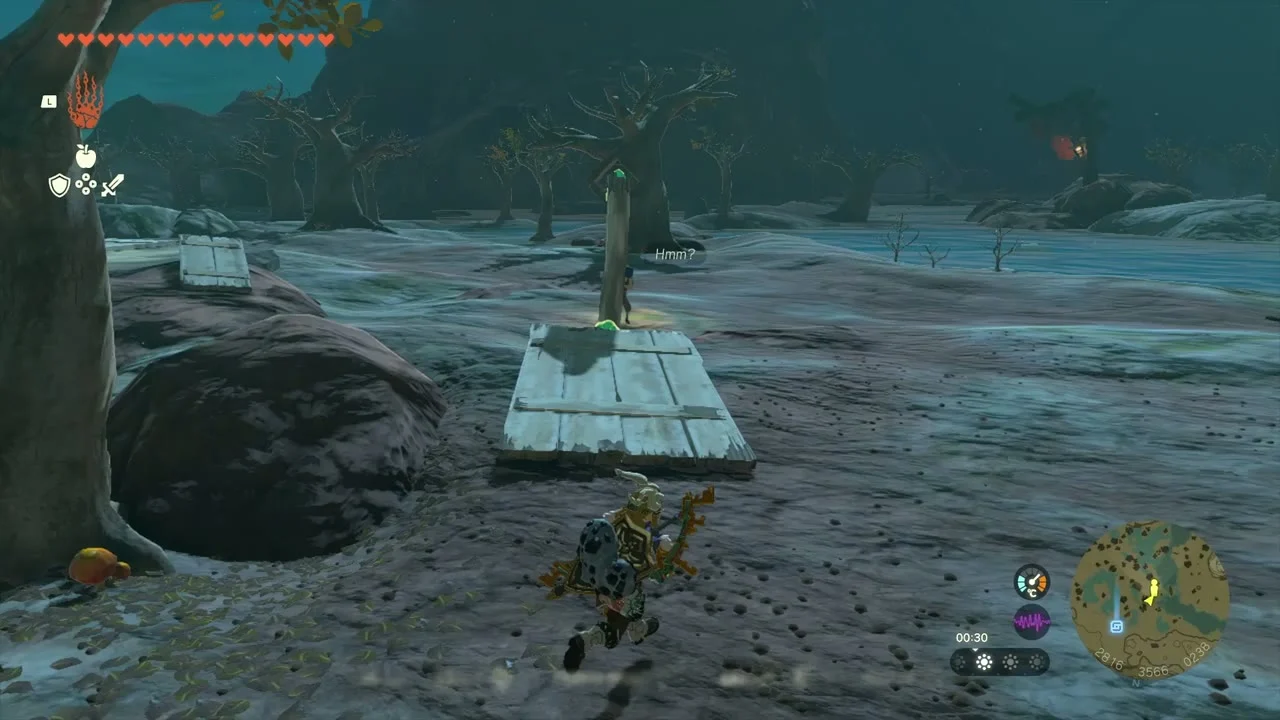
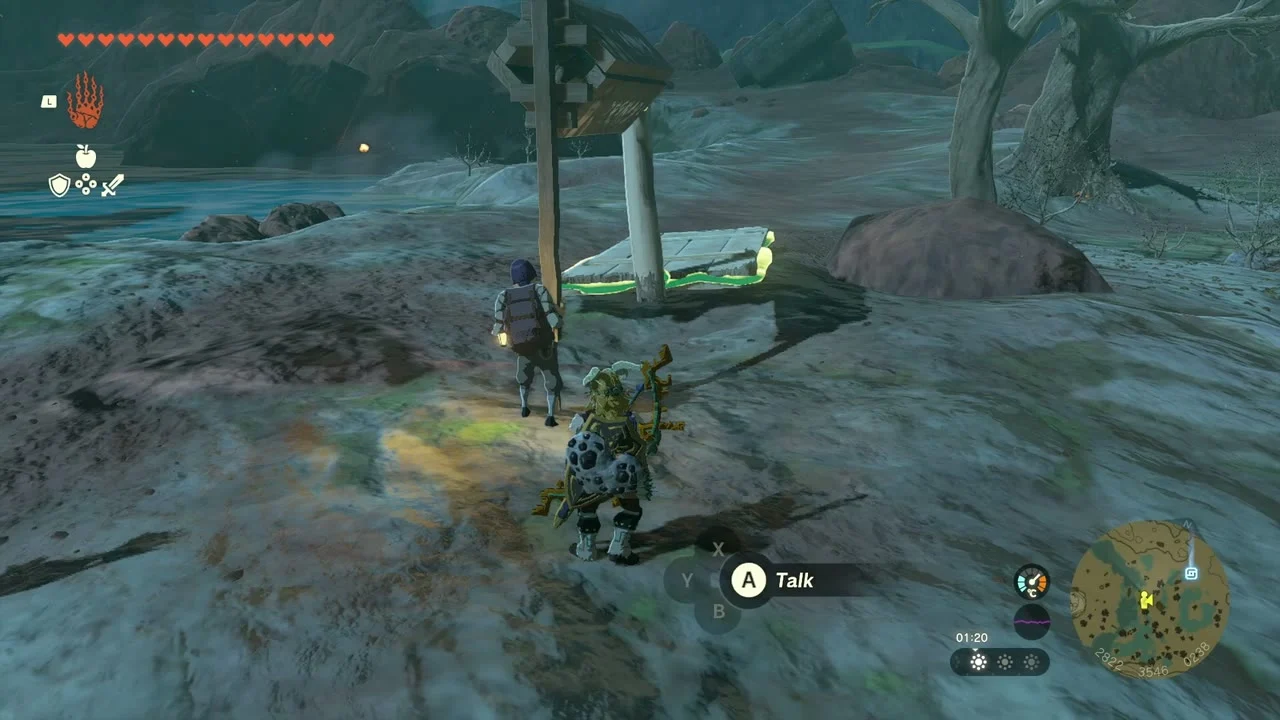
Addison’s sign (2822, 3546, 238). Another toppled signboard lies on the flats east of Gut Check Rock. Prop it up with Ultrahand and let go.
Shadow Hamlet Ruins and Goro Cove
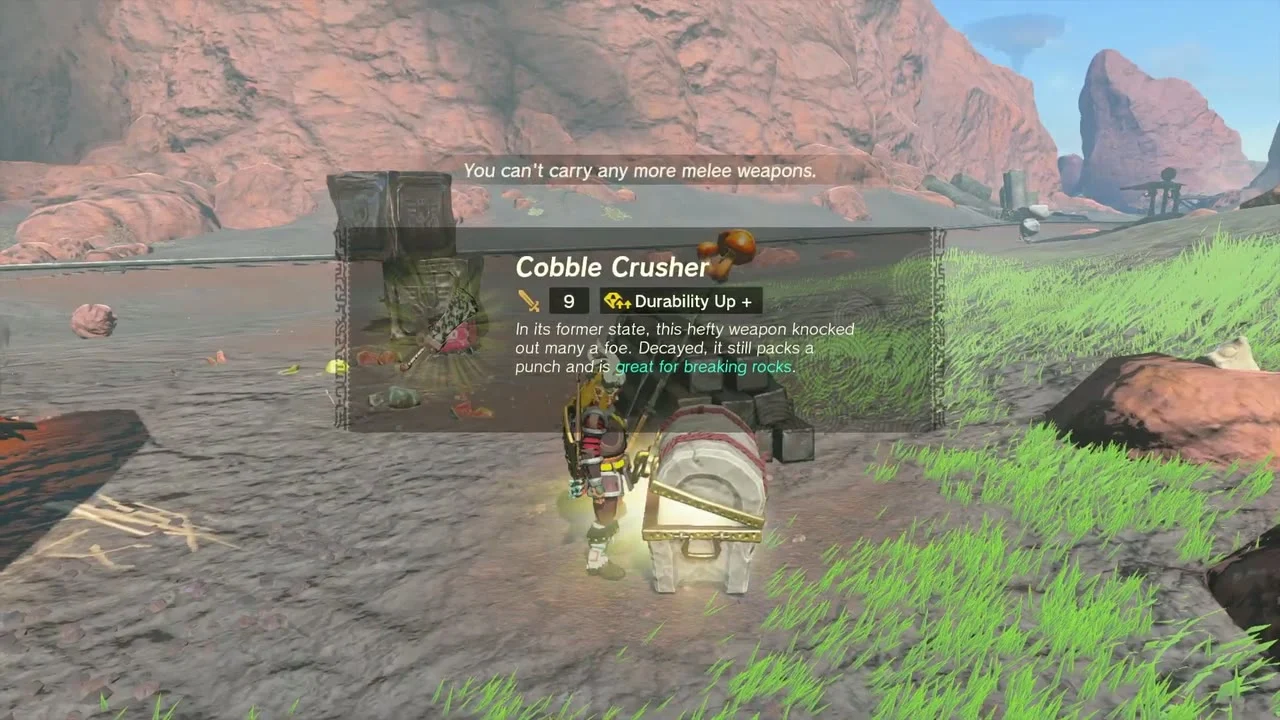
Chest (Cobble Crusher). At (2096, 2216, 521), a chest by a campfire at the foot of a cliff holds a Cobble Crusher.

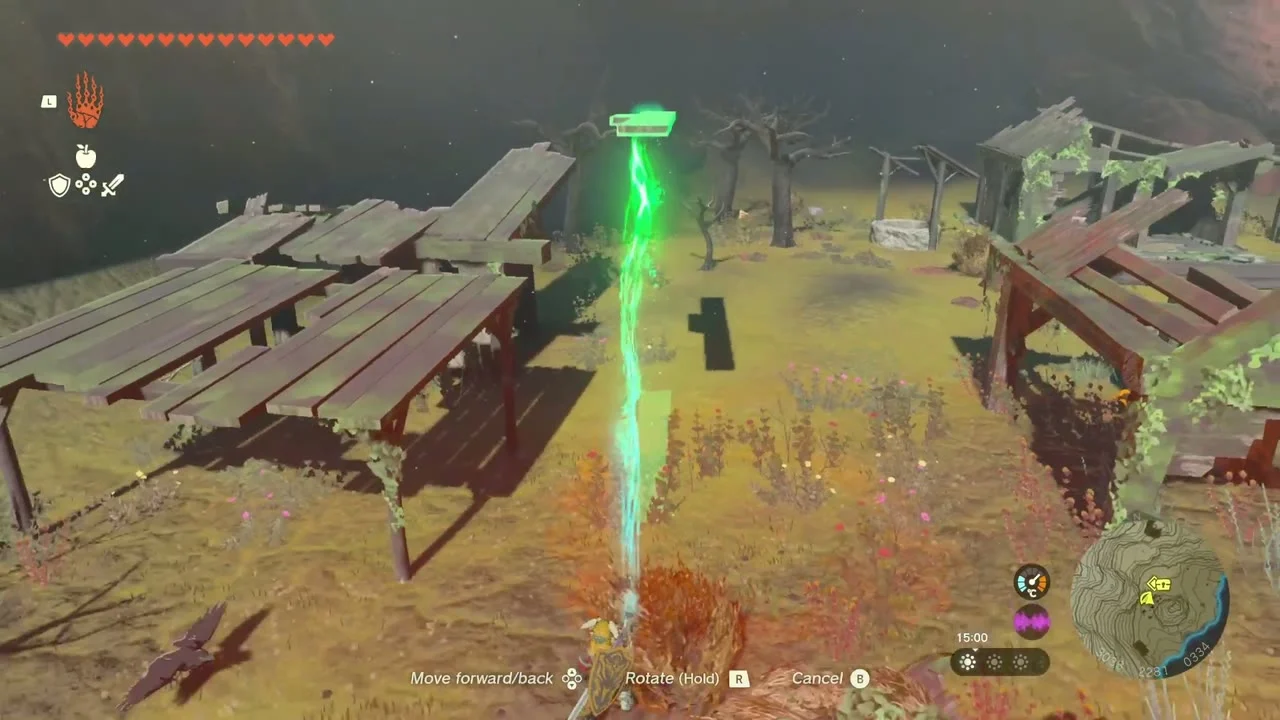
Korok seed (repair the roof). At Shadow Hamlet Ruins (3031, 2289, 333), a ruined house is missing its roof. Use Ultrahand to lift loose planks onto the open frame.
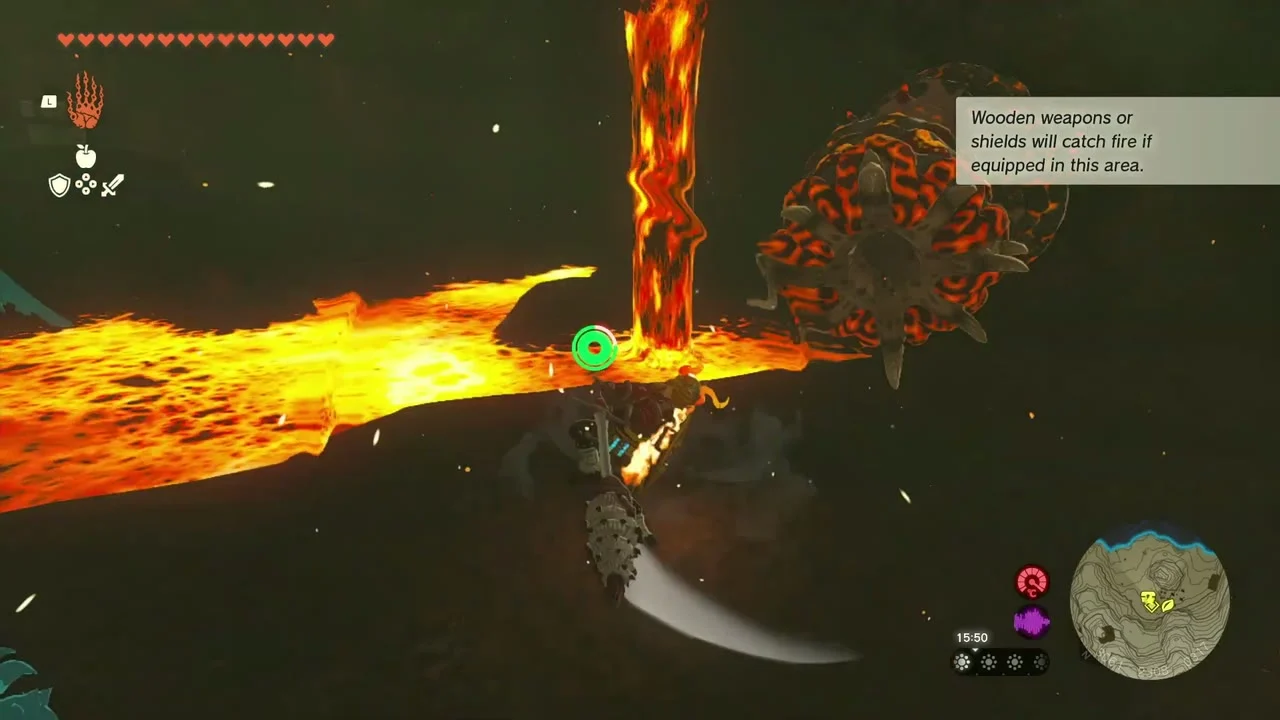
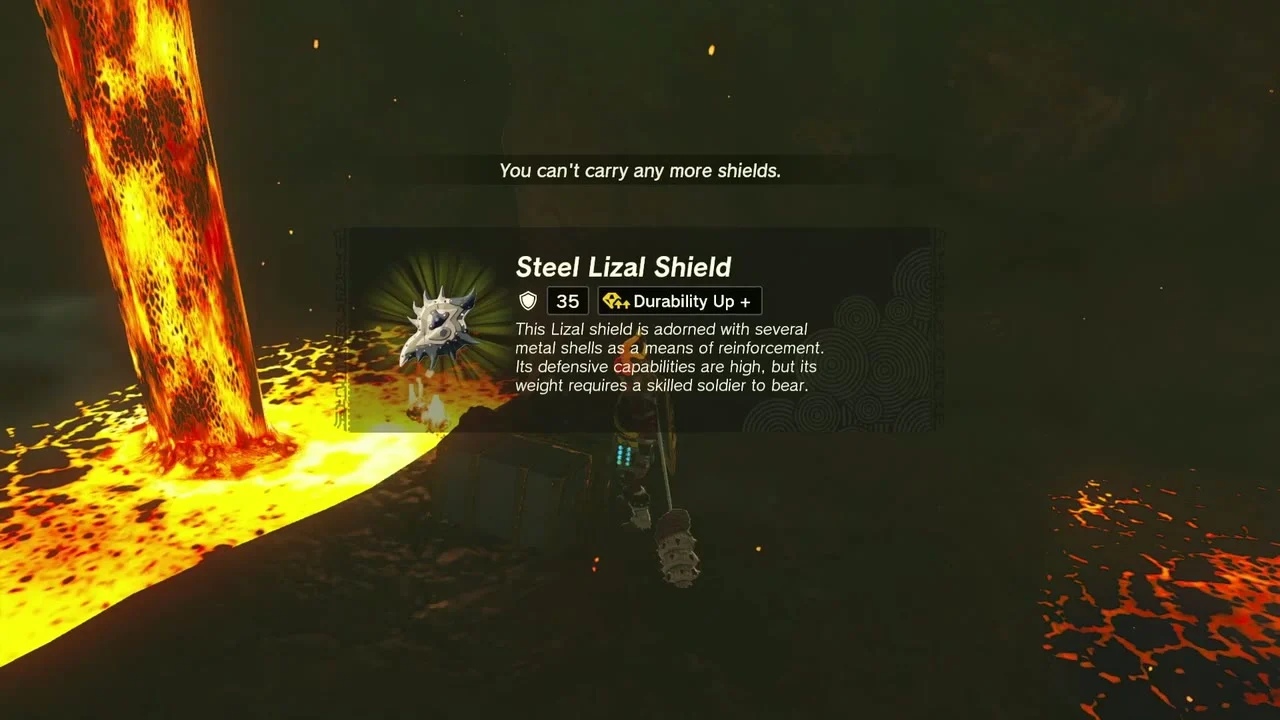
Well: Shadow Hamlet Ruins Well (3057, 2310). Drop in and cross the lava ledges with Flame Guard armor. A chest holds a Steel Lizal Shield (or Lizal Shield or Reinforced Lizal Shield, depending on your progress).
Chest (Ruby). A second chest across the lava at (3062, 2312, 317) in the same well holds a Ruby.
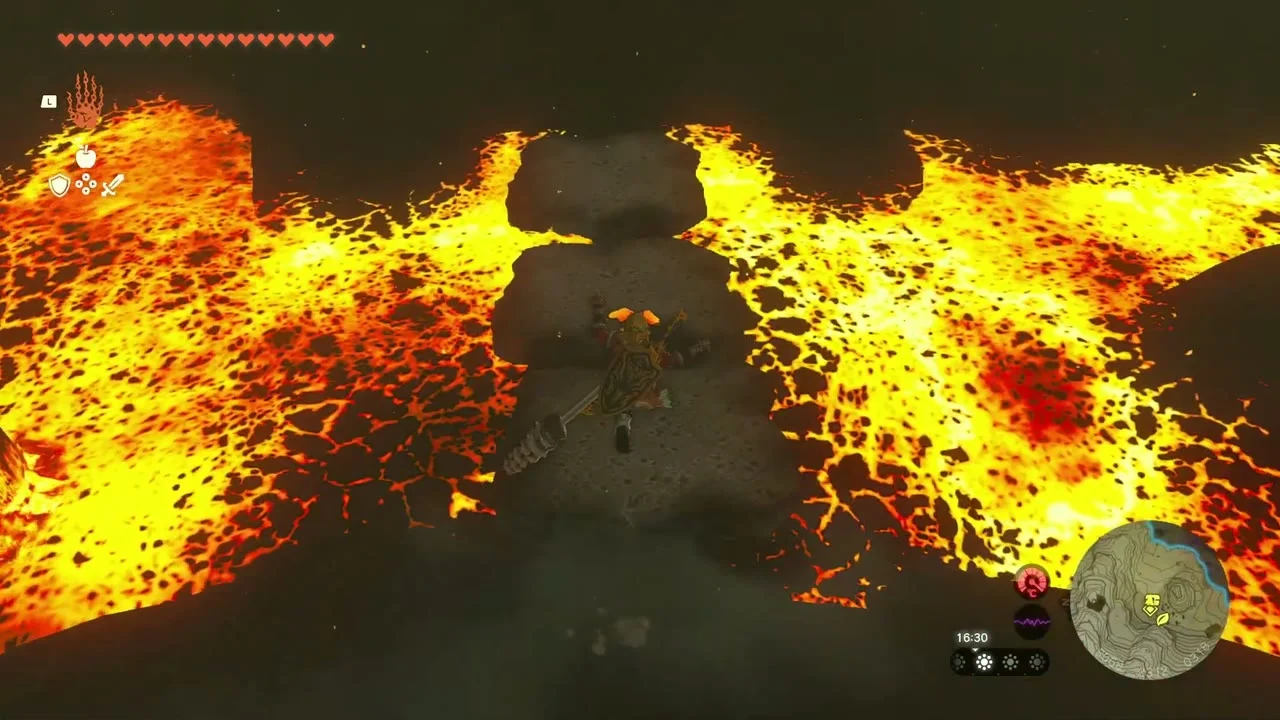

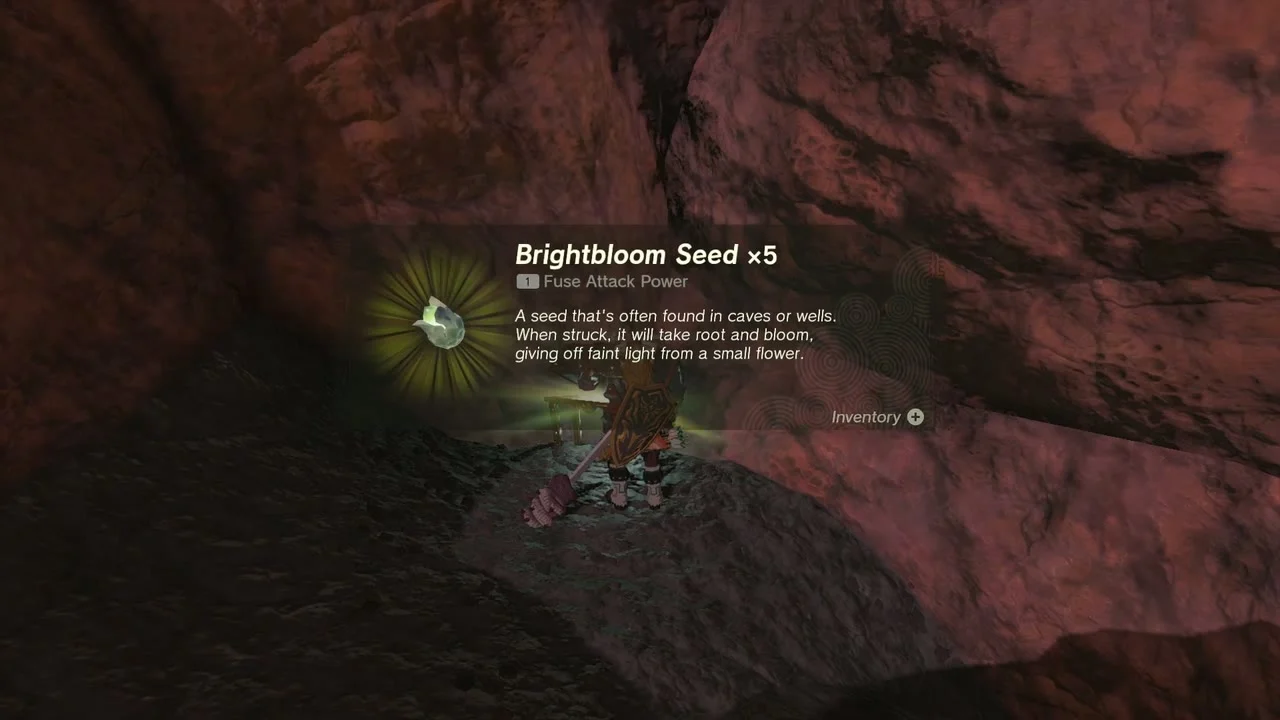
Chest (Brightbloom Seed x5). A chest in a red-rock cave at about (2465, 2289, 530) holds Brightbloom Seed x5.
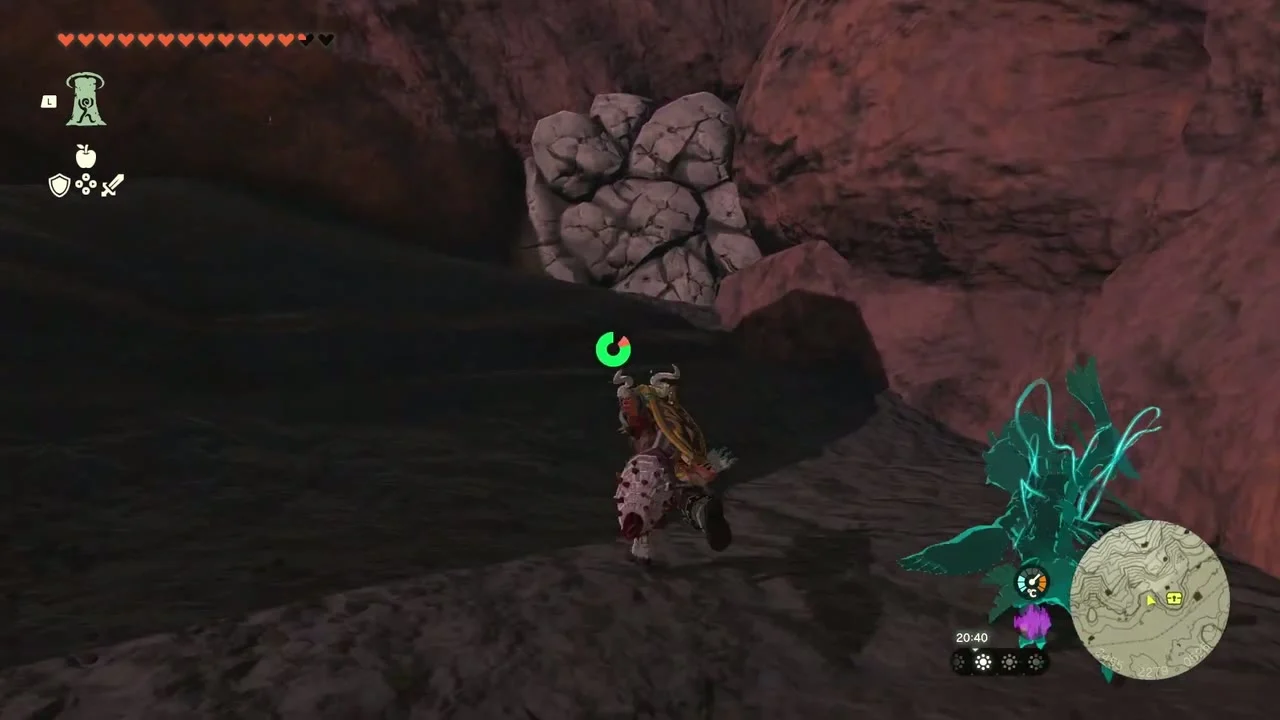
Chest (Bomb Flower x5). Another chest at about (2497, 2277, 566) holds Bomb Flower x5.
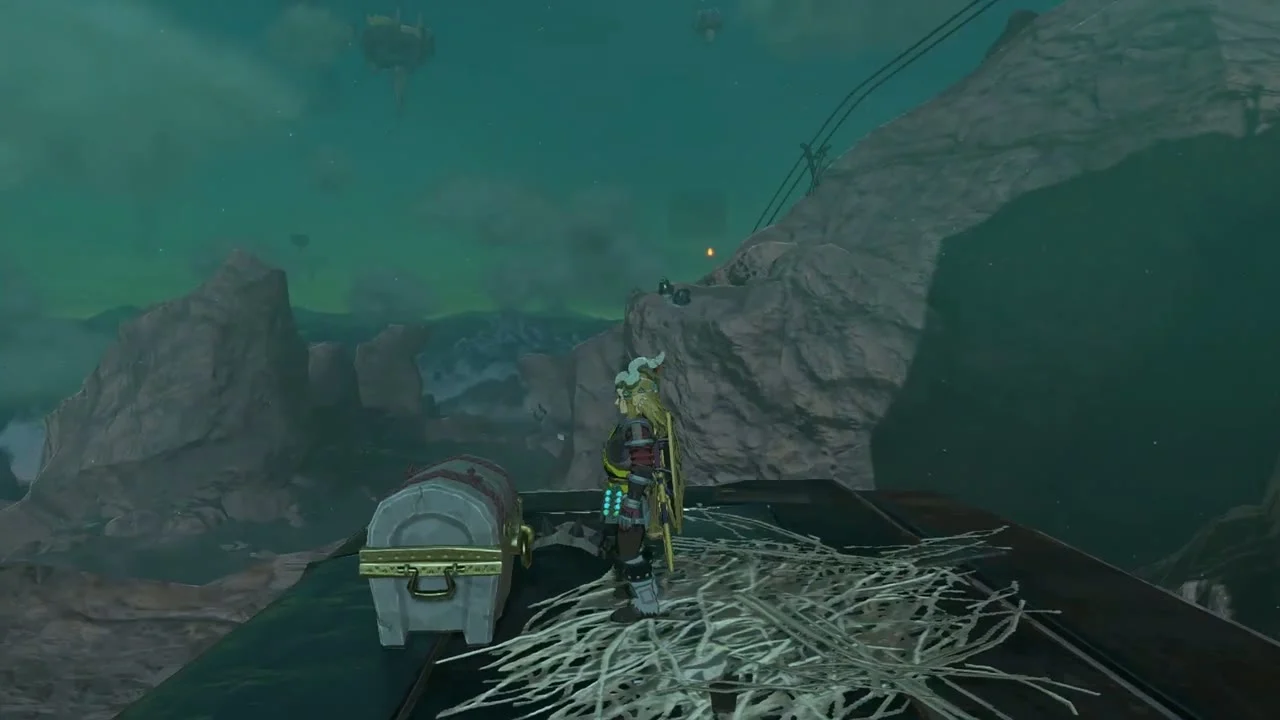
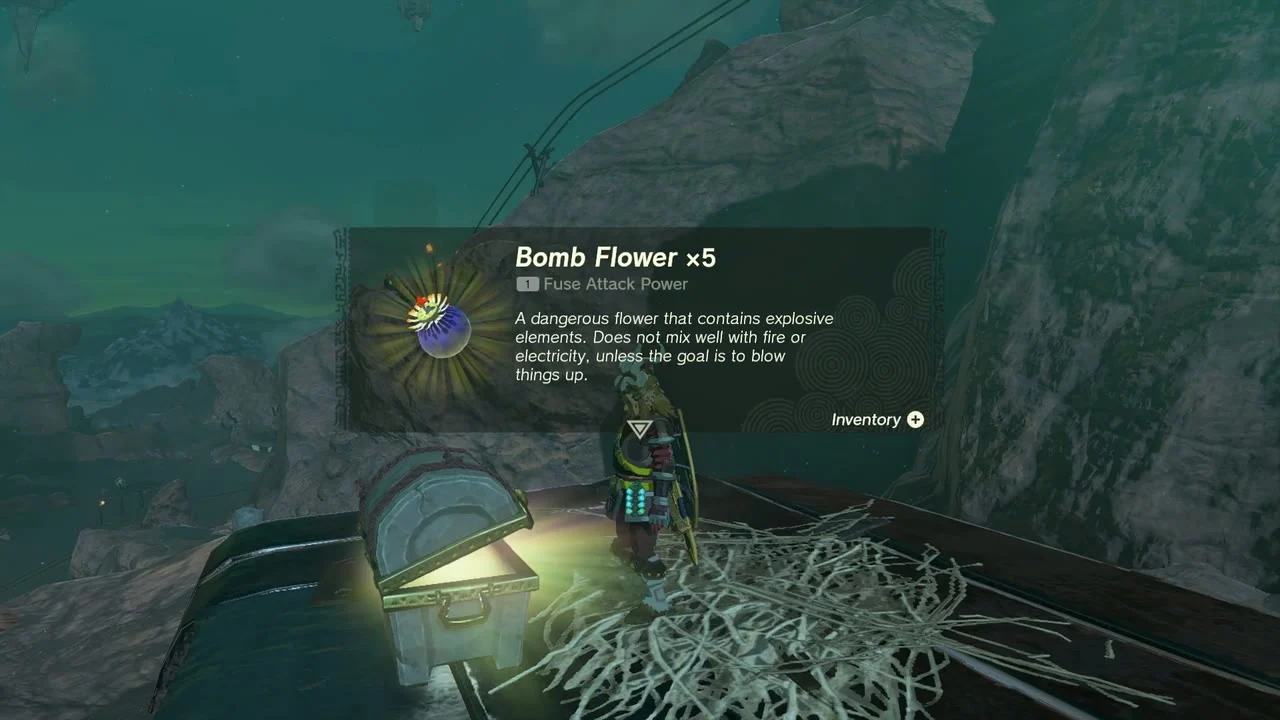
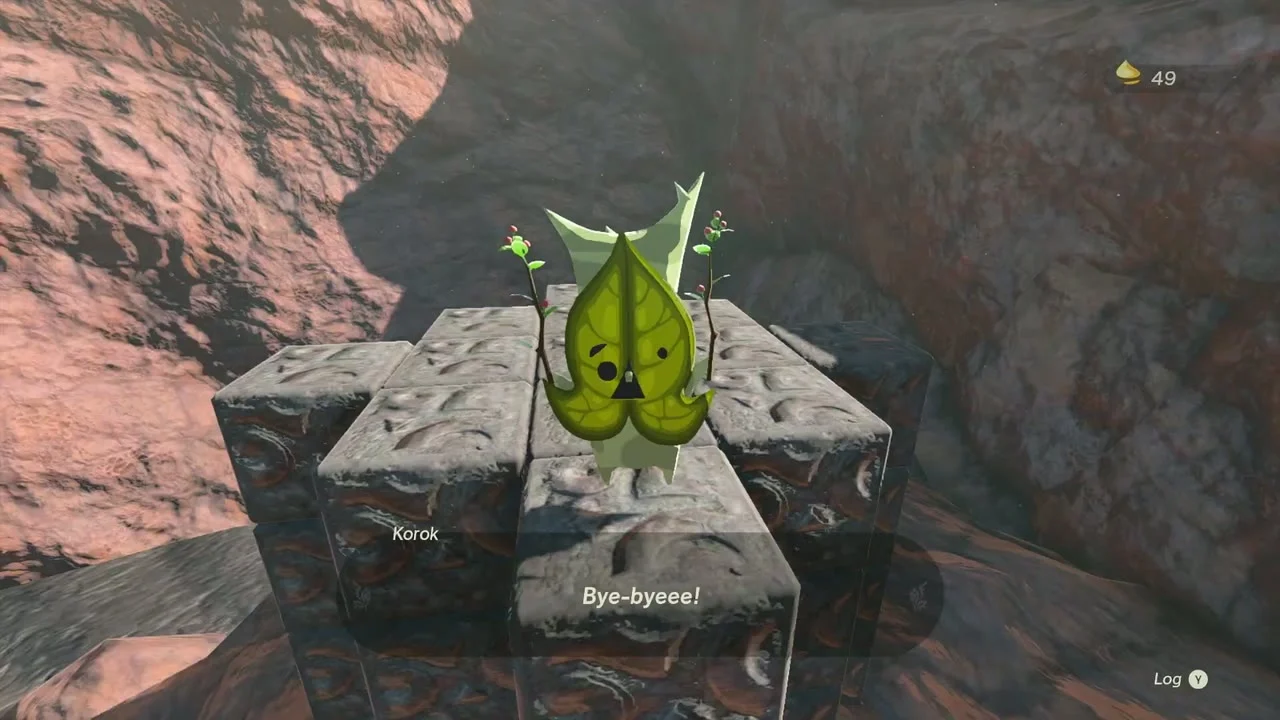
Korok seed (follow the flower). Near the Bridge of Eldin at (2238, 2363, 530), a flower marks the trail. Follow the flowers along the cliff to the Korok.


Korok seed (cube puzzle). At (2083, 2330, 502), above Goro Cove, assemble the stone blocks into the marked shape with Ultrahand.

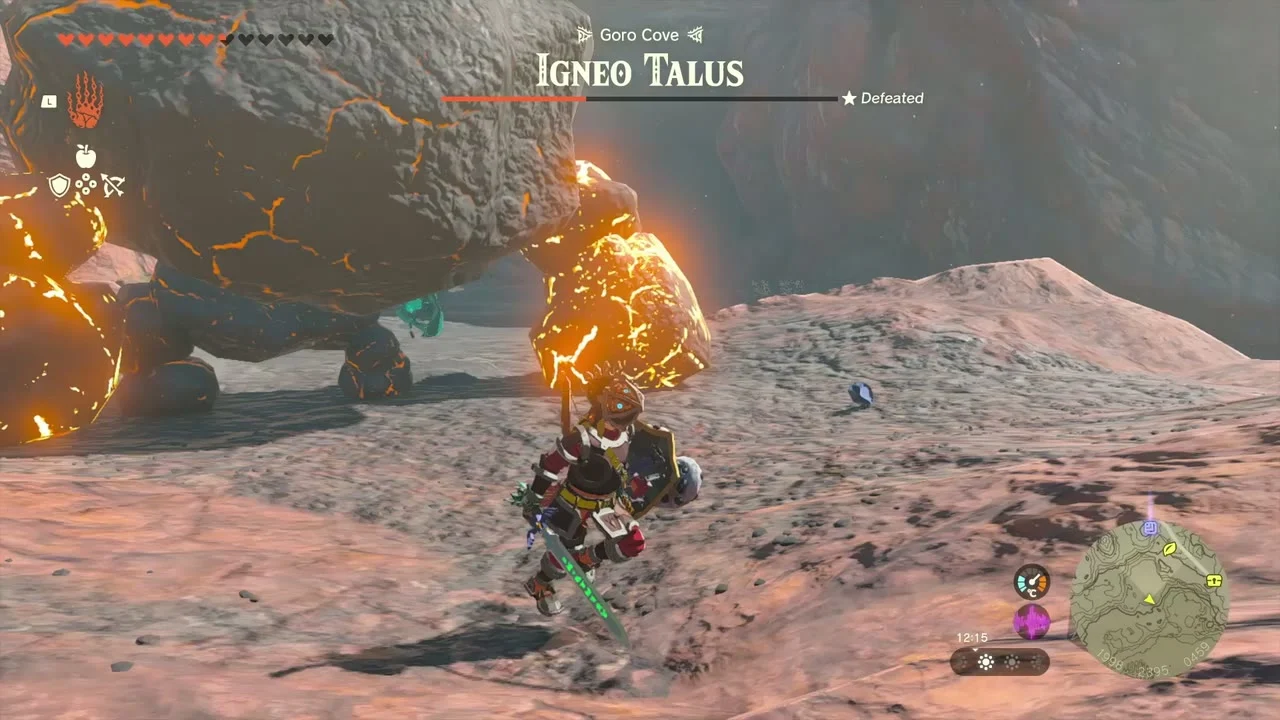
Miniboss: Igneo Talus (1998, 2395, 459). The third Igneo Talus lies at Goro Cove.
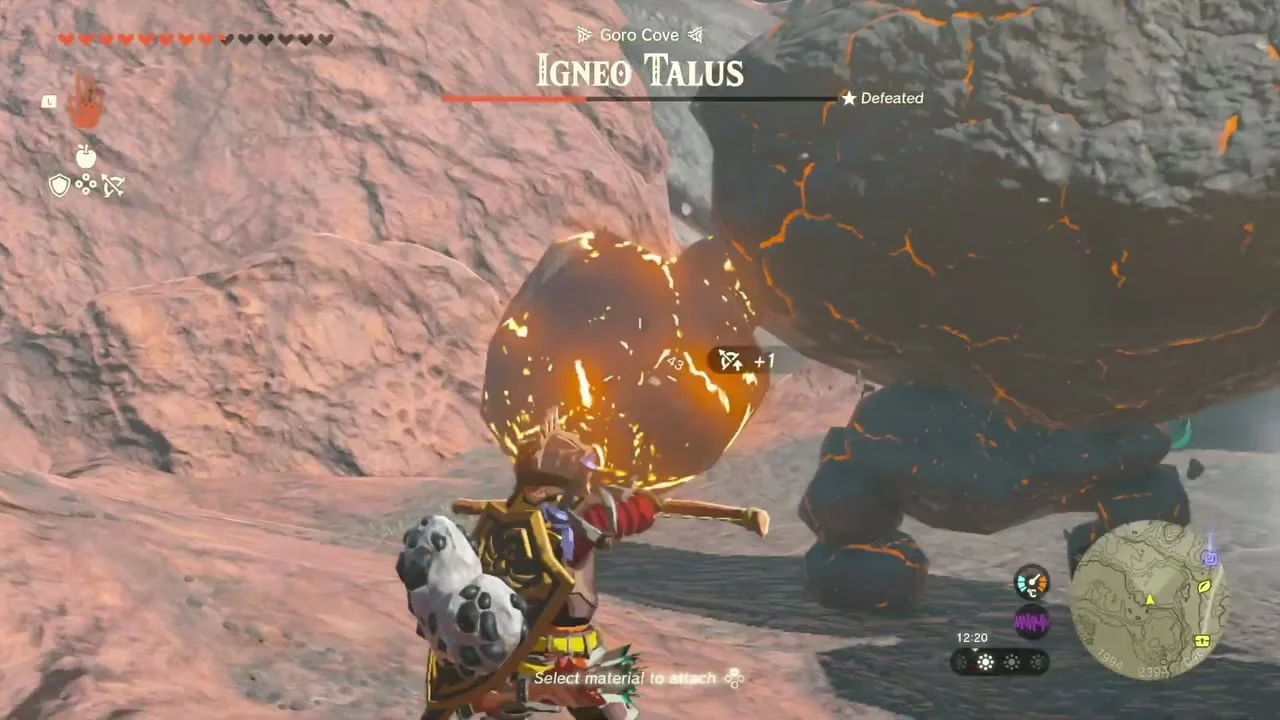
Chest (Cobble Crusher). In a rock hollow at (1962, 2265, 491), a chest holds a Cobble Crusher.
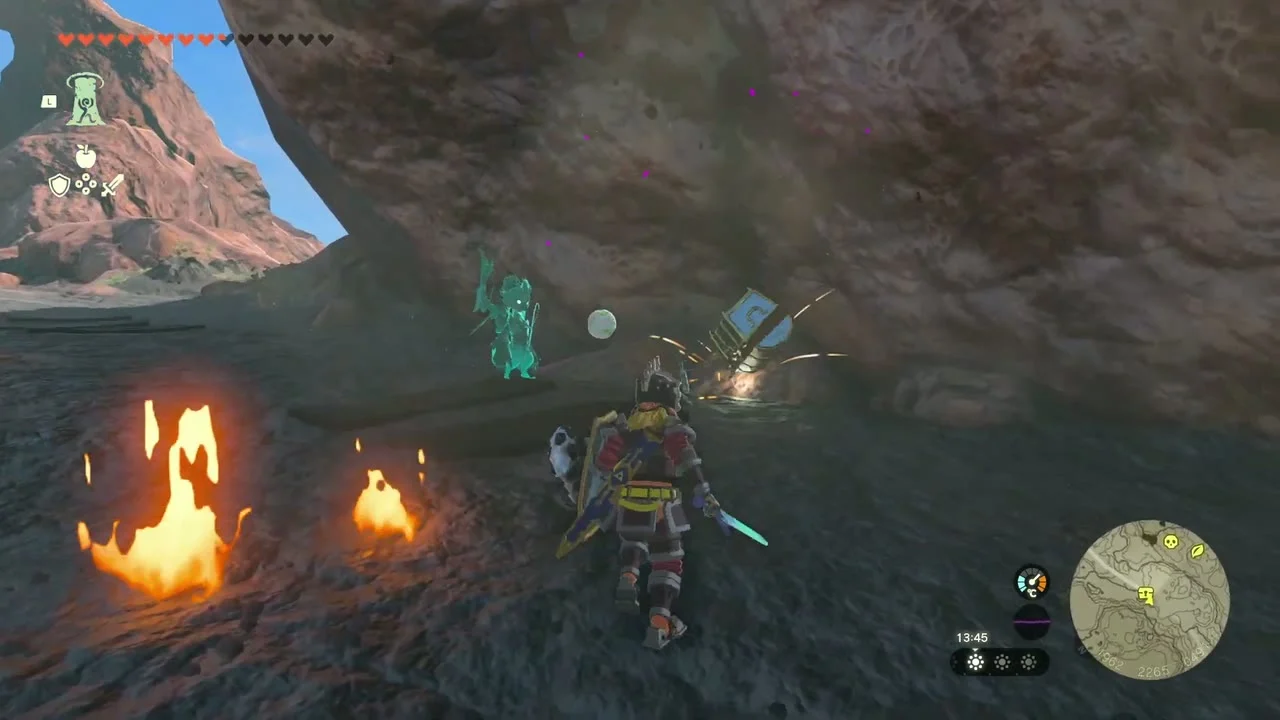
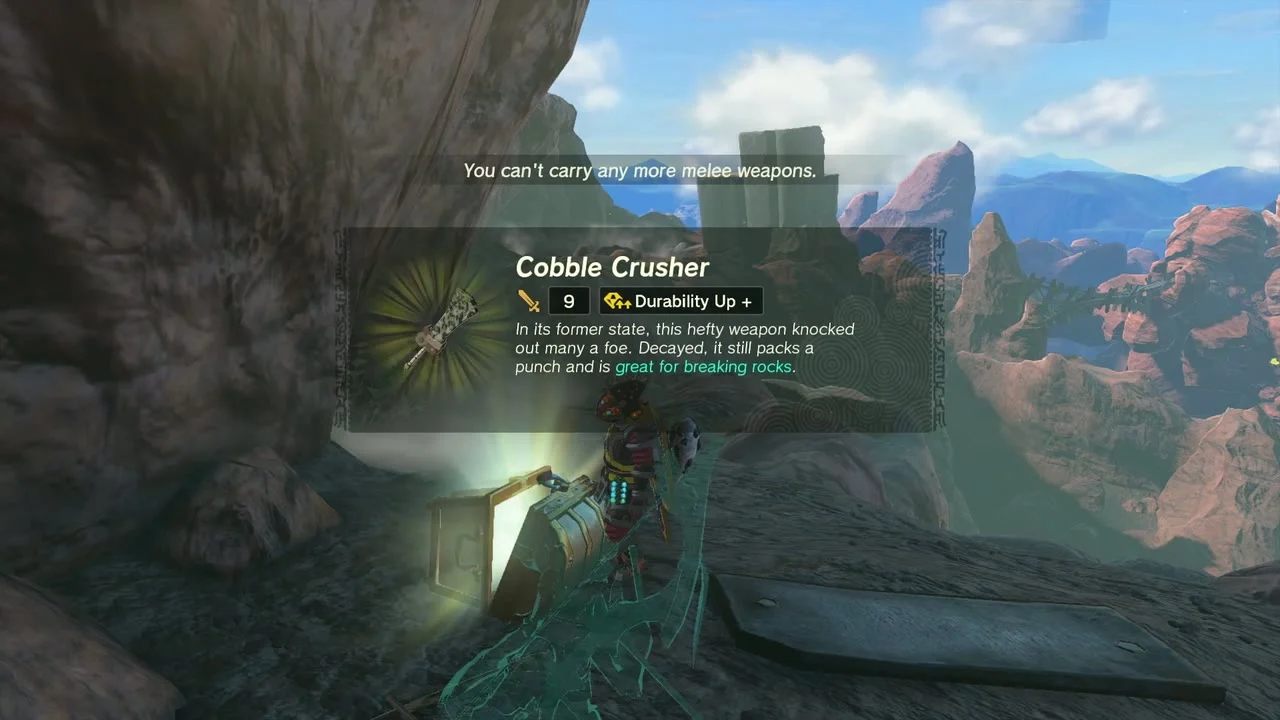
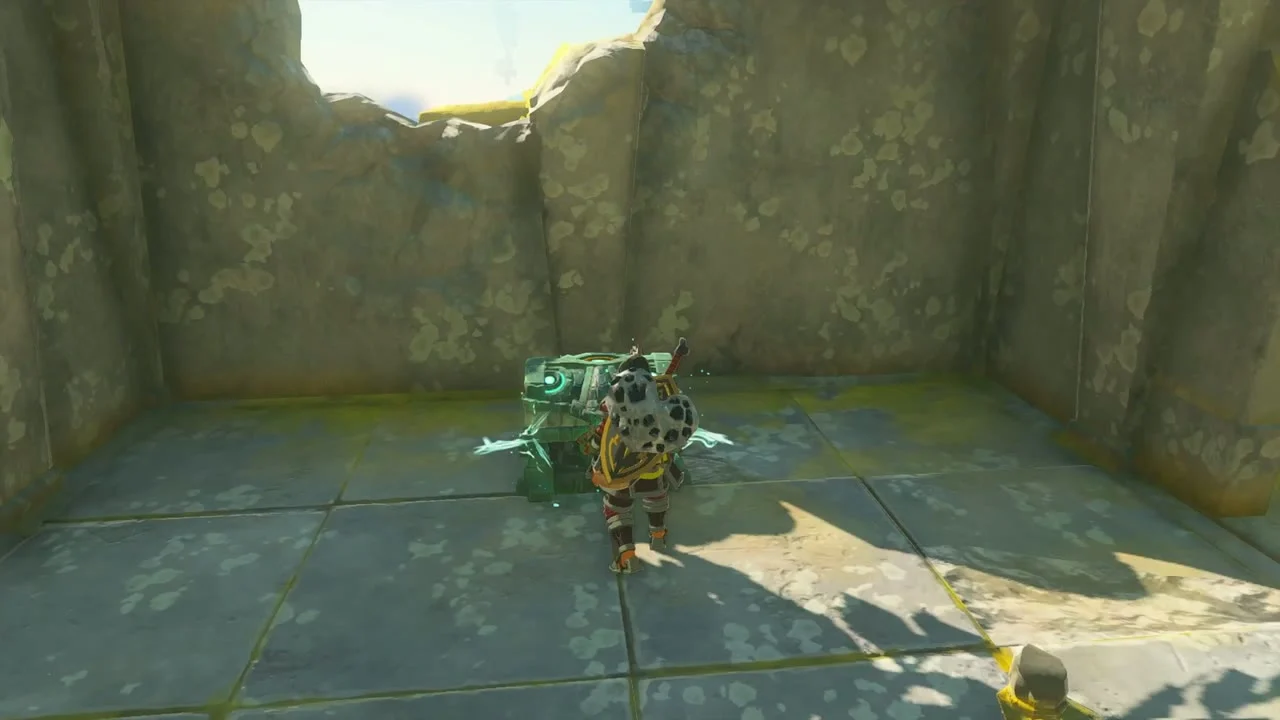
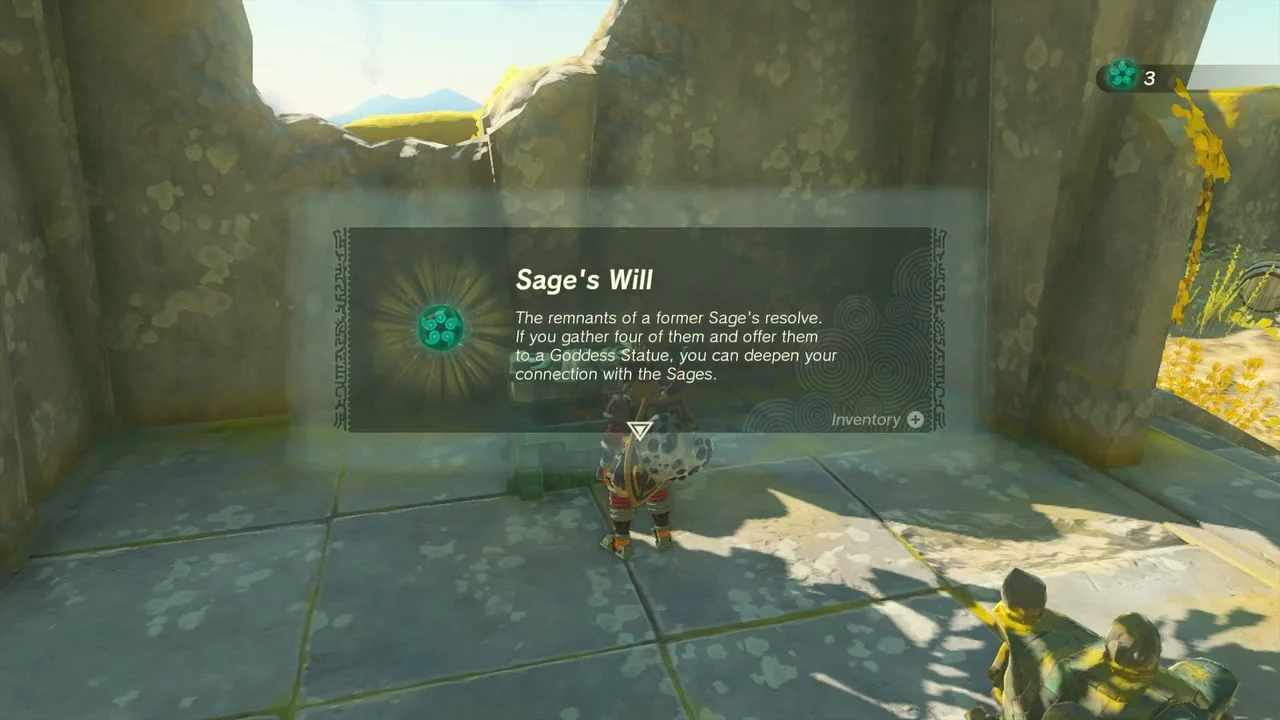
Sky chest (Sage’s Will). On a sky island at (1765, 2272, 827), a chest in a ruined room holds Sage’s Will.
Korok seed (paraglide goal). Glide from the cliff above to the goal at (1755, 2224, 484) without touching the ground.

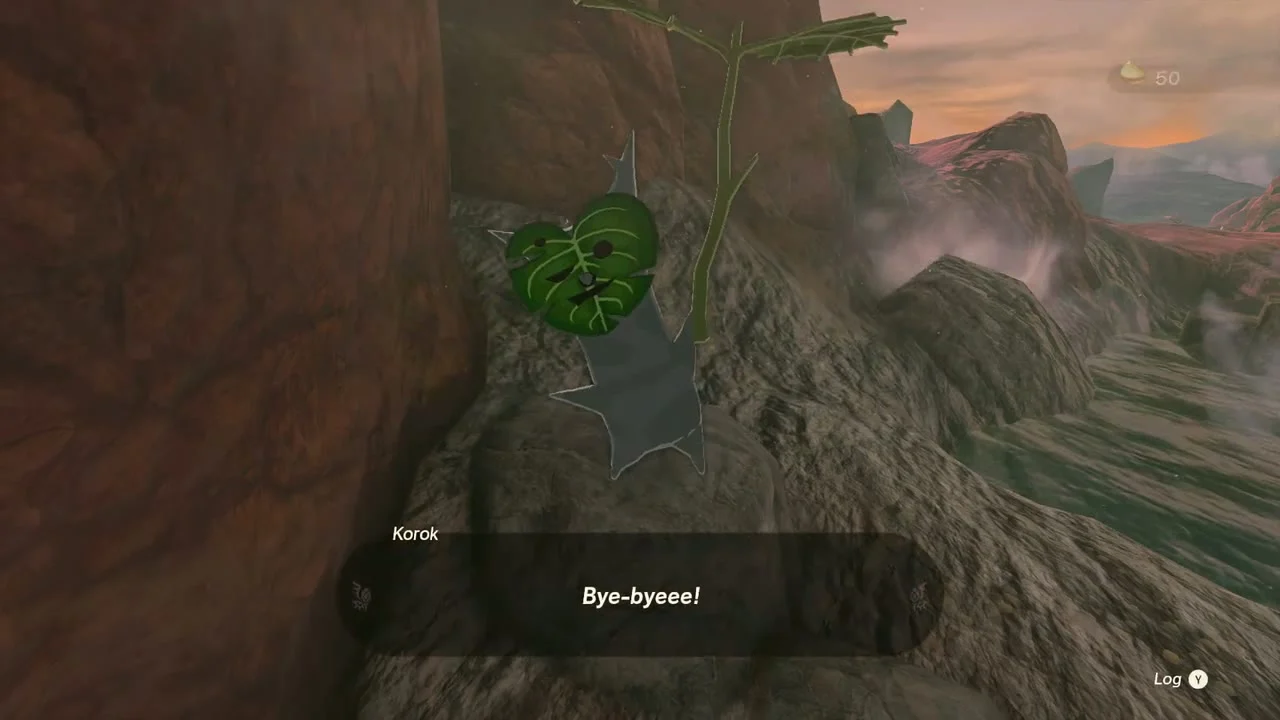
Korok seed (boulder on stand). At (1999, 2122, 473), carry the boulder with Ultrahand onto the empty tree stand.
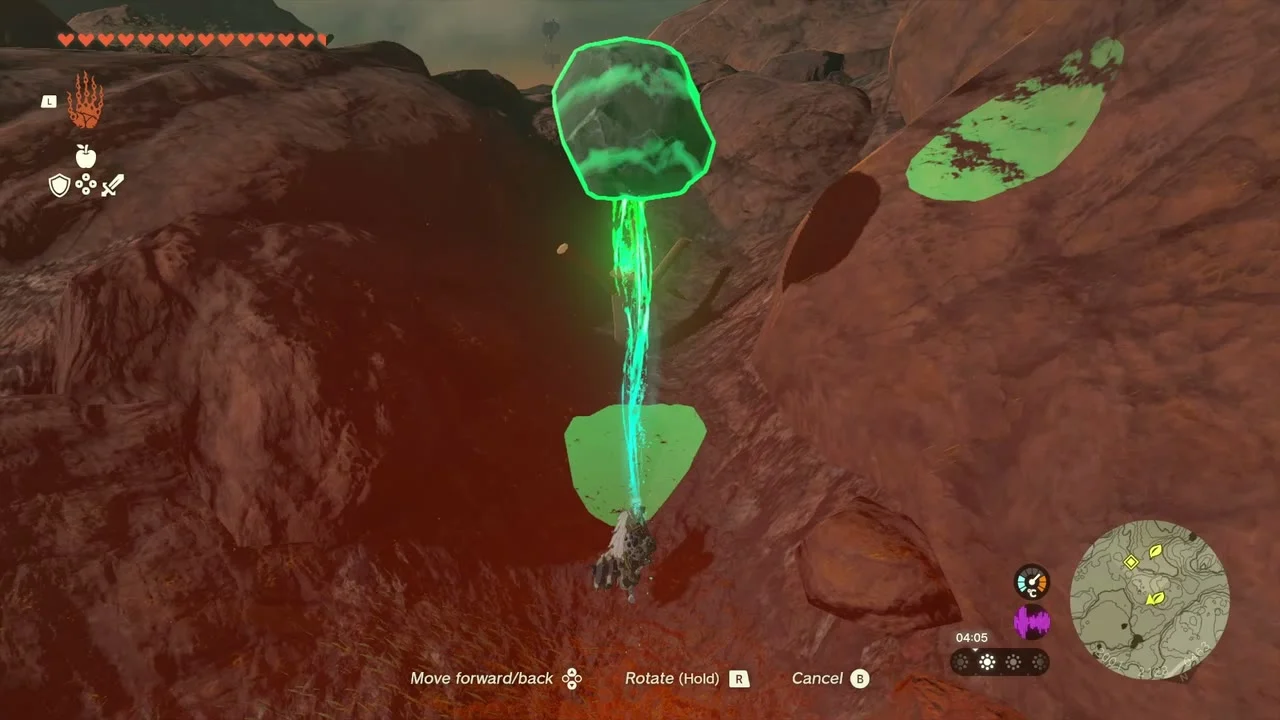
Miniboss: White Boss Bokoblin (2124, 2150, 429). A White Boss Bokoblin leads a camp here and drops a Silver Bokoblin Horn.
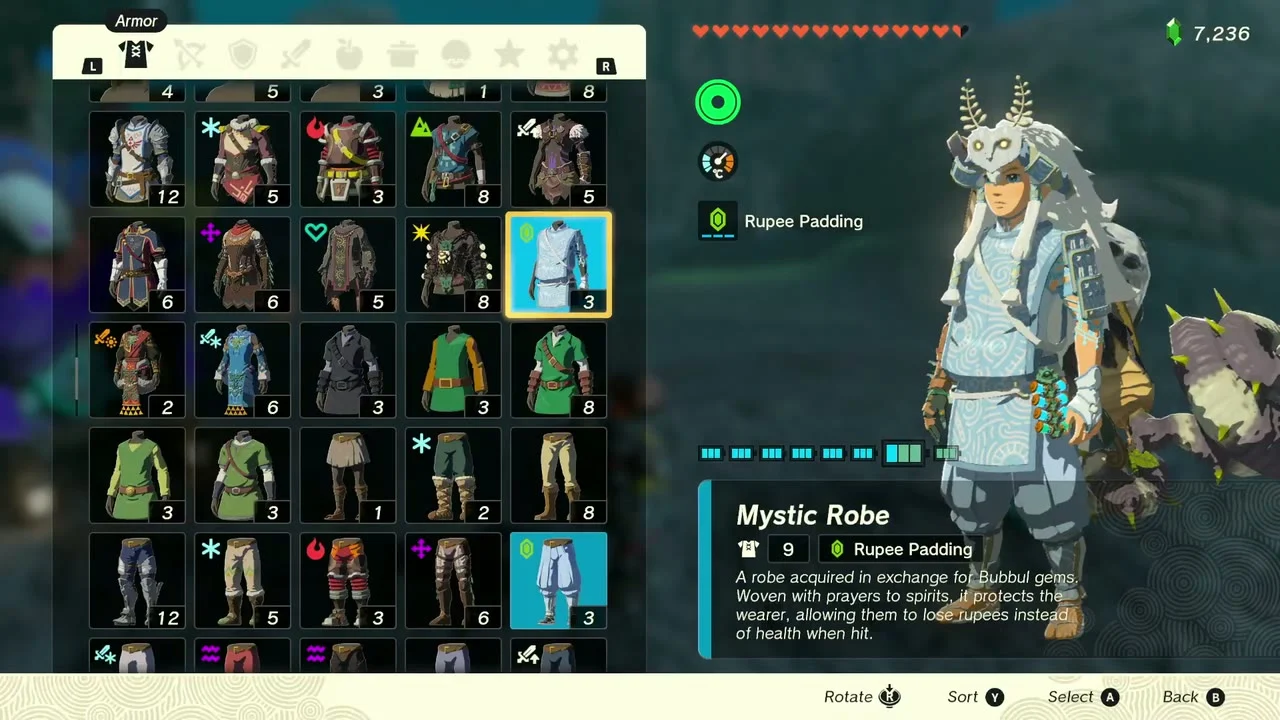

Koltin and the Bubbul Gems. Koltin camps at roughly (1593, 2996, 395). Trade him Bubbul Gems for Mystic Robe armor.
Gorko Tunnel, Mine-Cart Land and Hyrule Field
Cave: Gorko Tunnel (2016, 2039, 420). The entrance is on the cliff by Gorko Lake. Bring Flame Guard armor.
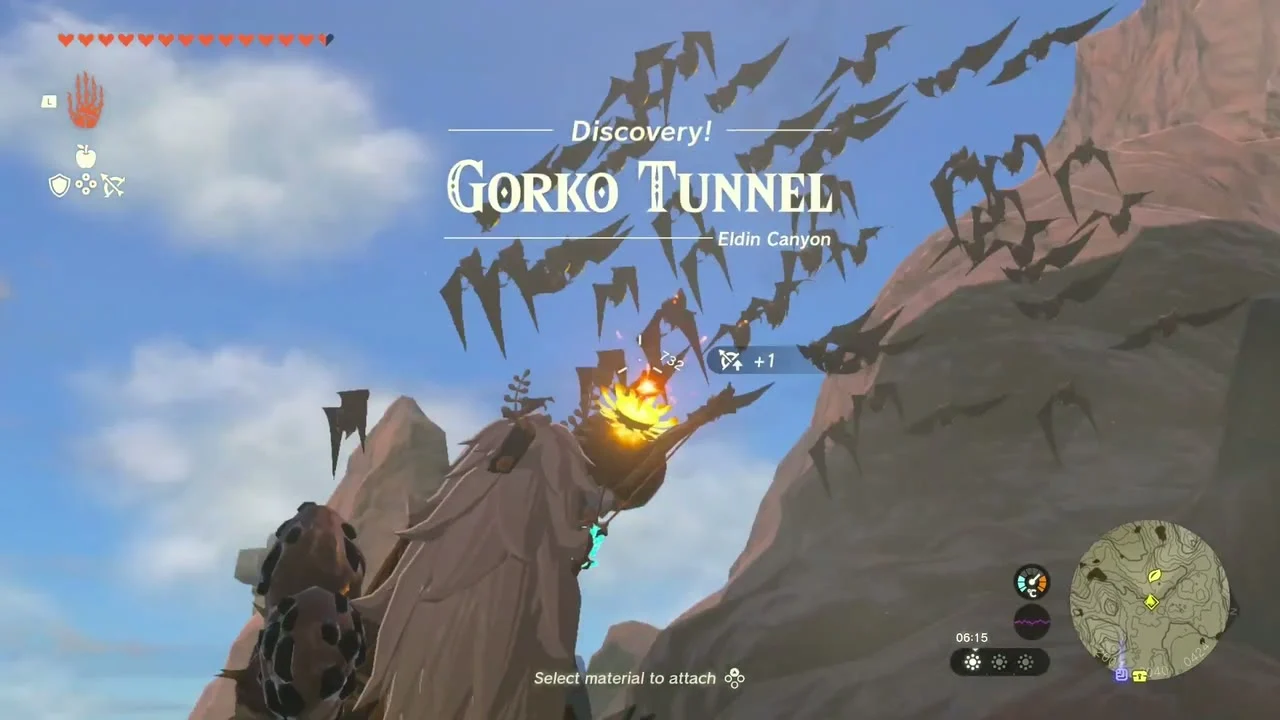
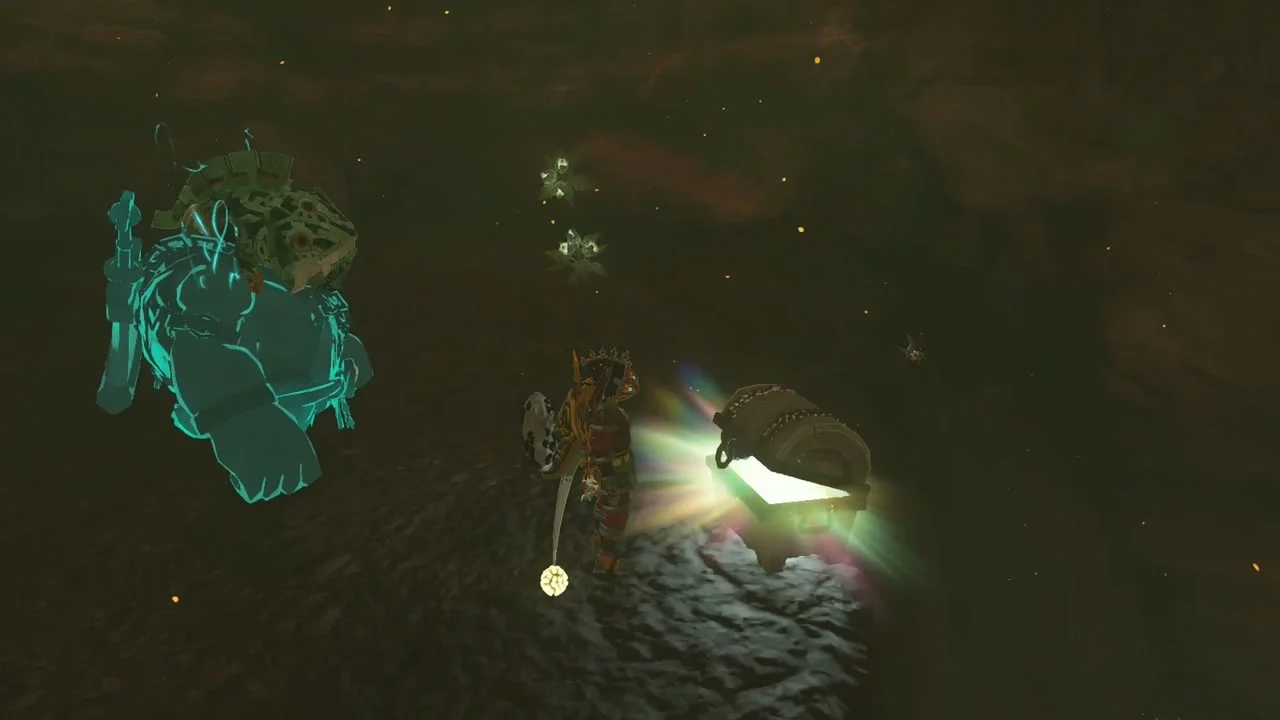
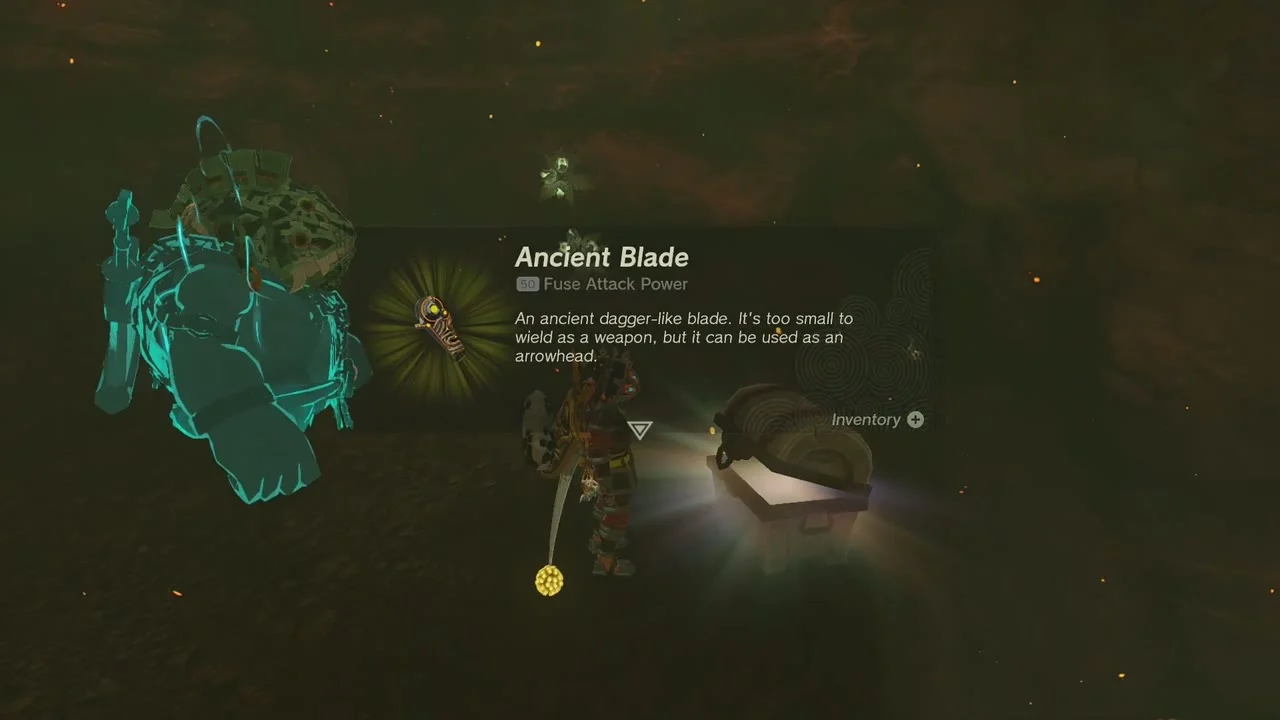

Chest (Ancient Blade). At (2167, 2033, 395), a chest holds an Ancient Blade.
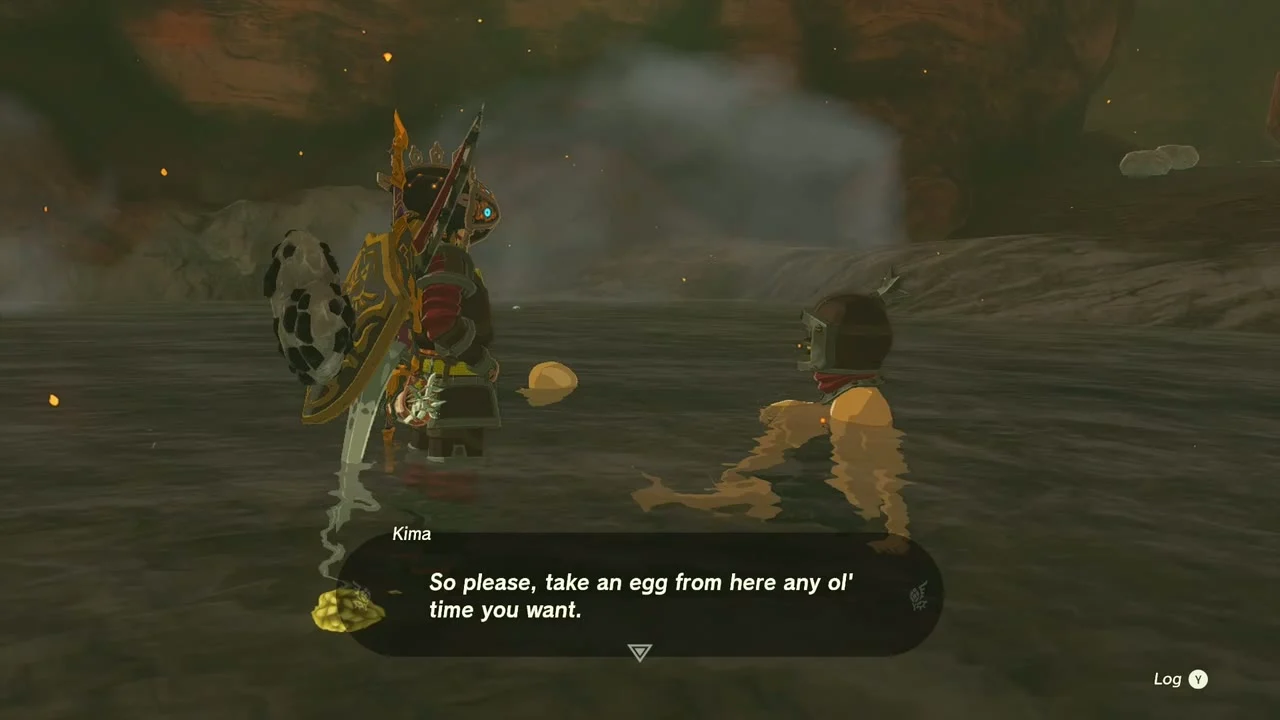
Quest: Simmerstone Springs. Kima (Goron City) is looking for a secret hot spring. Dig through the blocked tunnel at the back of the cave with a rock weapon to uncover Simmerstone Springs, then report back for a Silver Rupee.
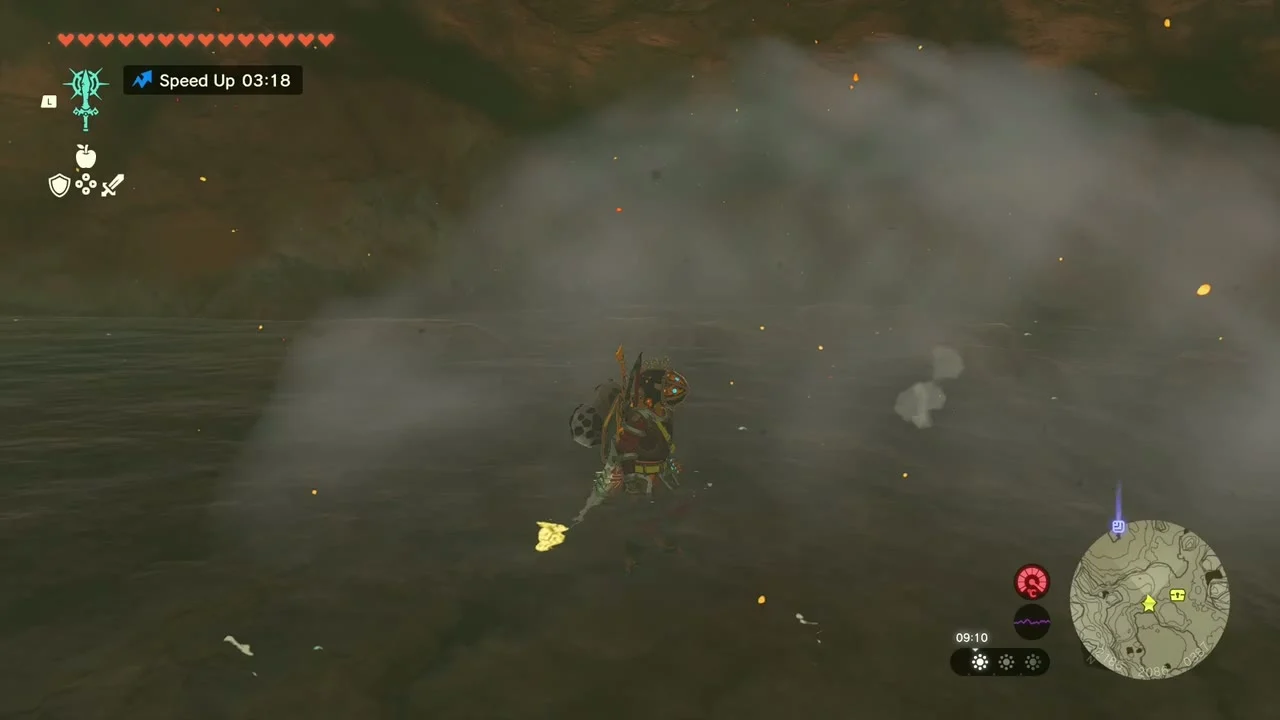
Bubbul Gem. A Bubbulfrog hides at about (2244, 2121, 393). Hit it and collect the Bubbul Gem.
Korok seed x2 (exhausted Korok). An exhausted Korok at (2001, 2041, 425) asks to be carried to its friend at (1832, 1904, 342). Pick it up and carry it there, and the friend gives you two seeds.
Quest: Mine-Cart Land: Open for Business! Bayge at the Southern Mine runs the beginner course. Ride the cart and hit the targets before time runs out for 100 rupees, which unlocks the next course.
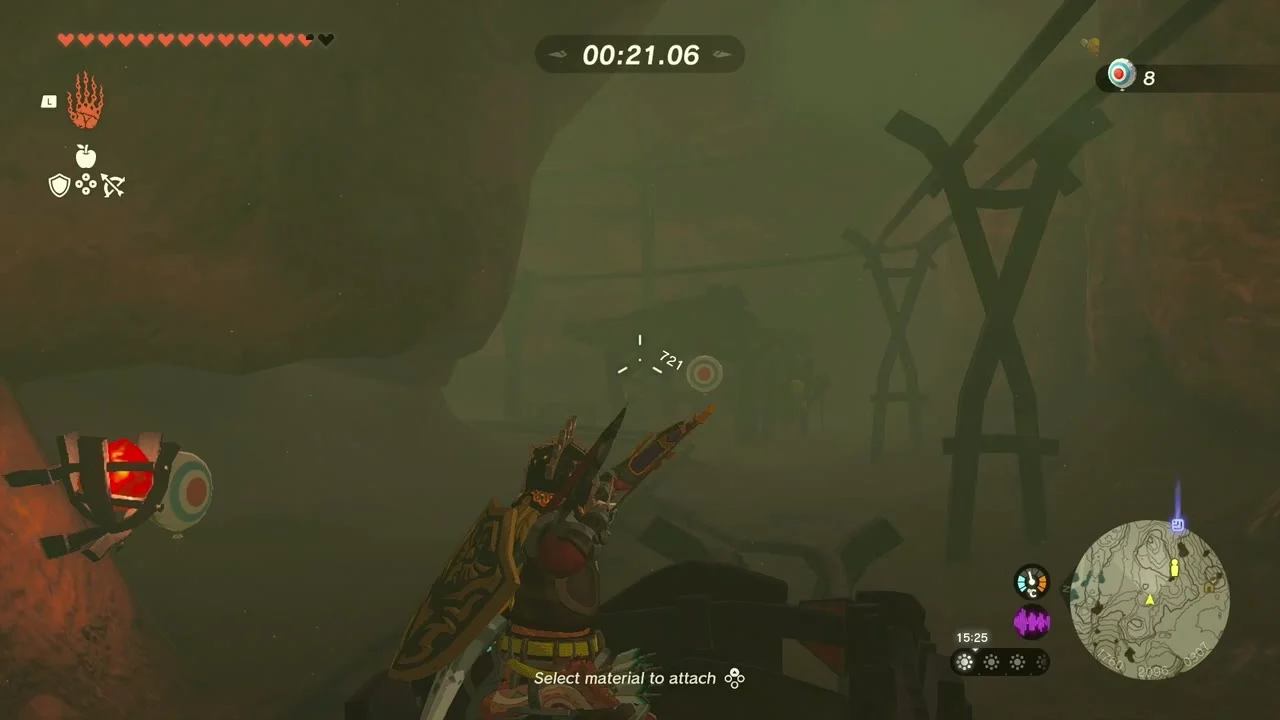
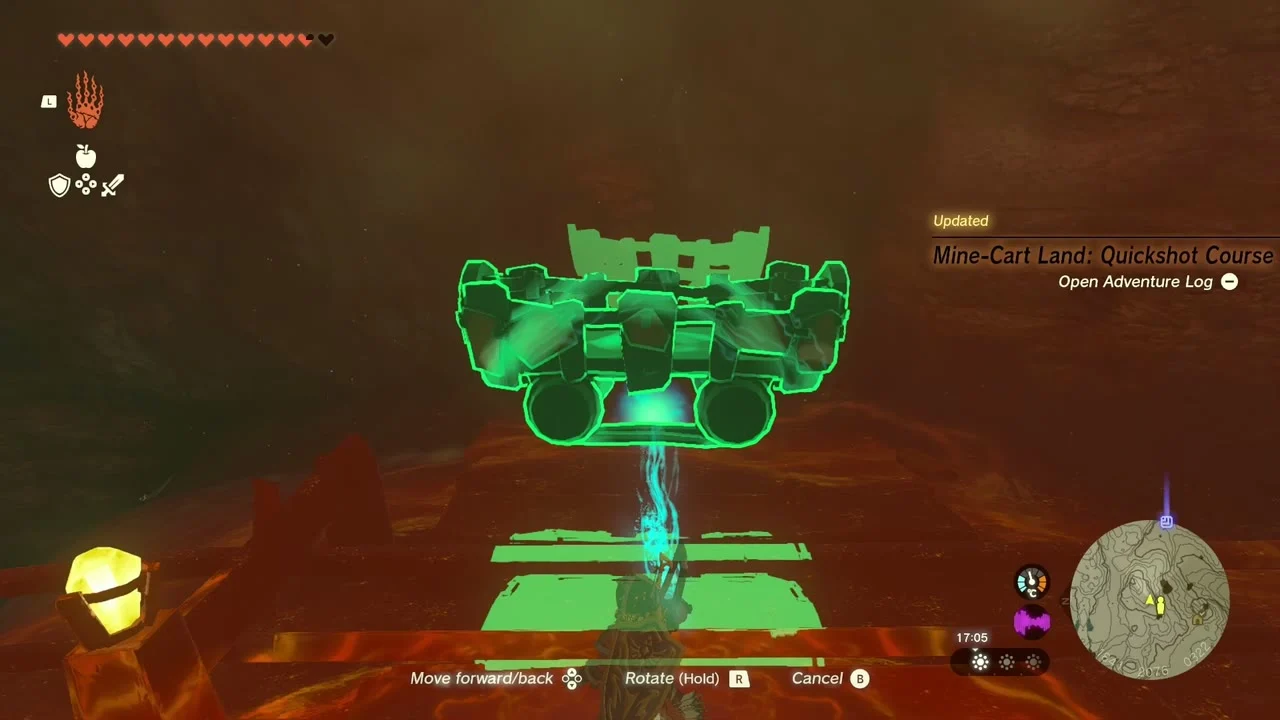
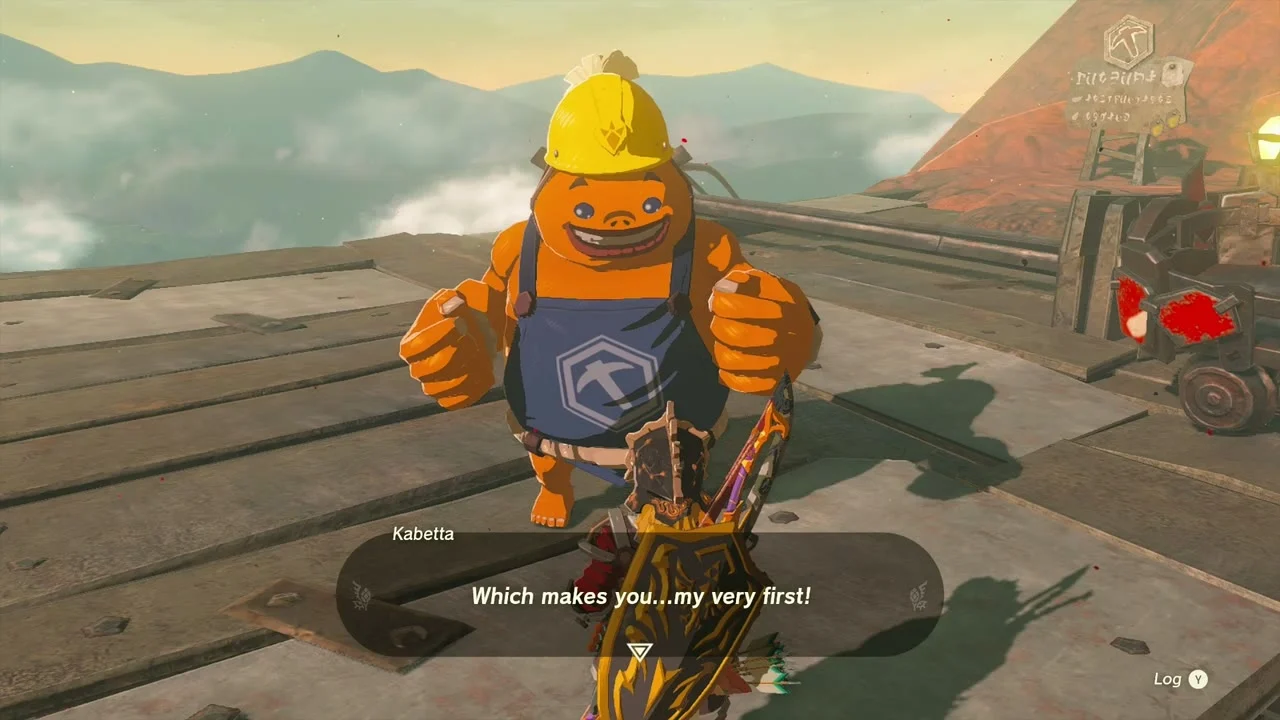
Quest: Mine-Cart Land: Quickshot Course. Heehl runs the intermediate course; the targets are farther and the time is shorter. Clear it for a Purple Rupee and the Death Mountain course.
Quest: Mine-Cart Land: Death Mountain. Kabetta waits at the summit of Death Mountain. Clear the high-difficulty course to receive Goron Fabric for the paraglider.
Goddess Statue (Emergency Shelter). Pray at the Goddess Statue in the Emergency Shelter in Hyrule Field at (-245, 89, 8) to receive a Heart Container.

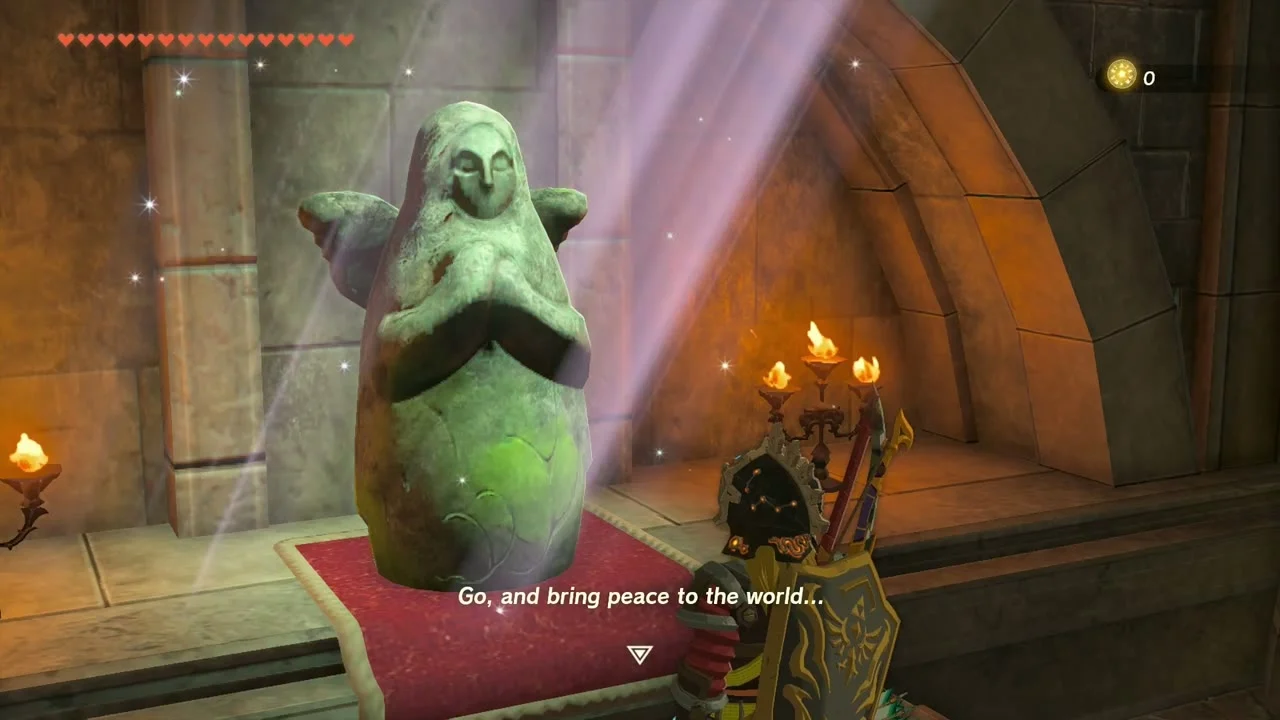
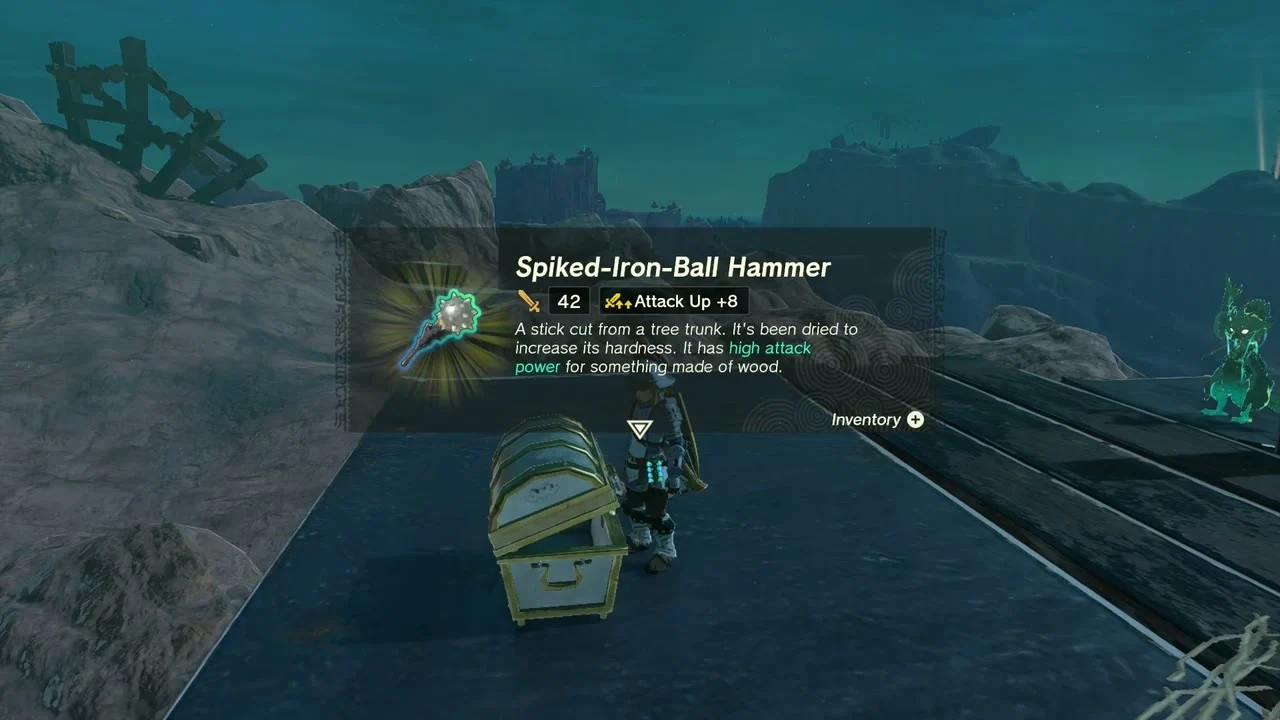
Chest (Spiked-Iron-Ball Hammer). On a wrecked wooden platform at (1996, 1563, 351), a chest holds a Spiked-Iron-Ball Hammer.

Cave: East Restaurant Cave (1867, 1731, 291). Bring Flame Guard armor and rock weapons.


Chest (Rocket). At about (1913, 1823, 286), a chest past the boulders holds a Rocket.
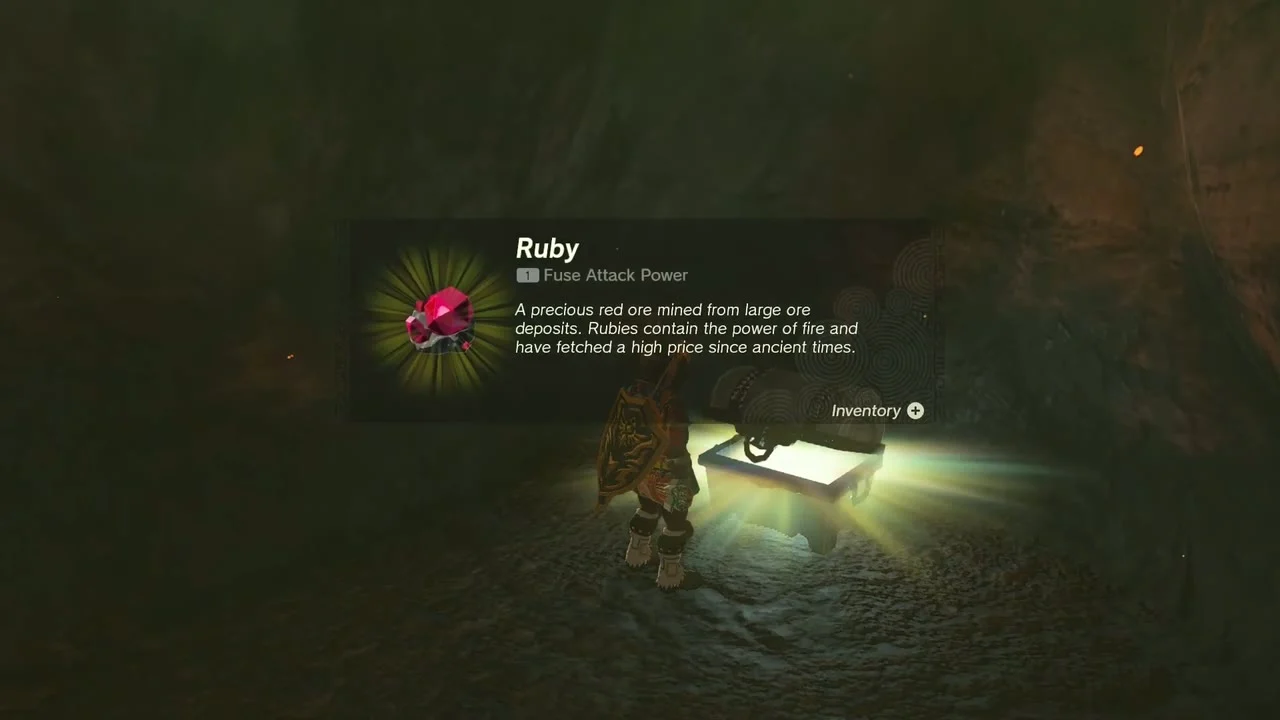
Chest (Ruby). At about (1913, 1791, 287) farther in, a chest holds a Ruby. A Bubbulfrog is also hidden in this cave.
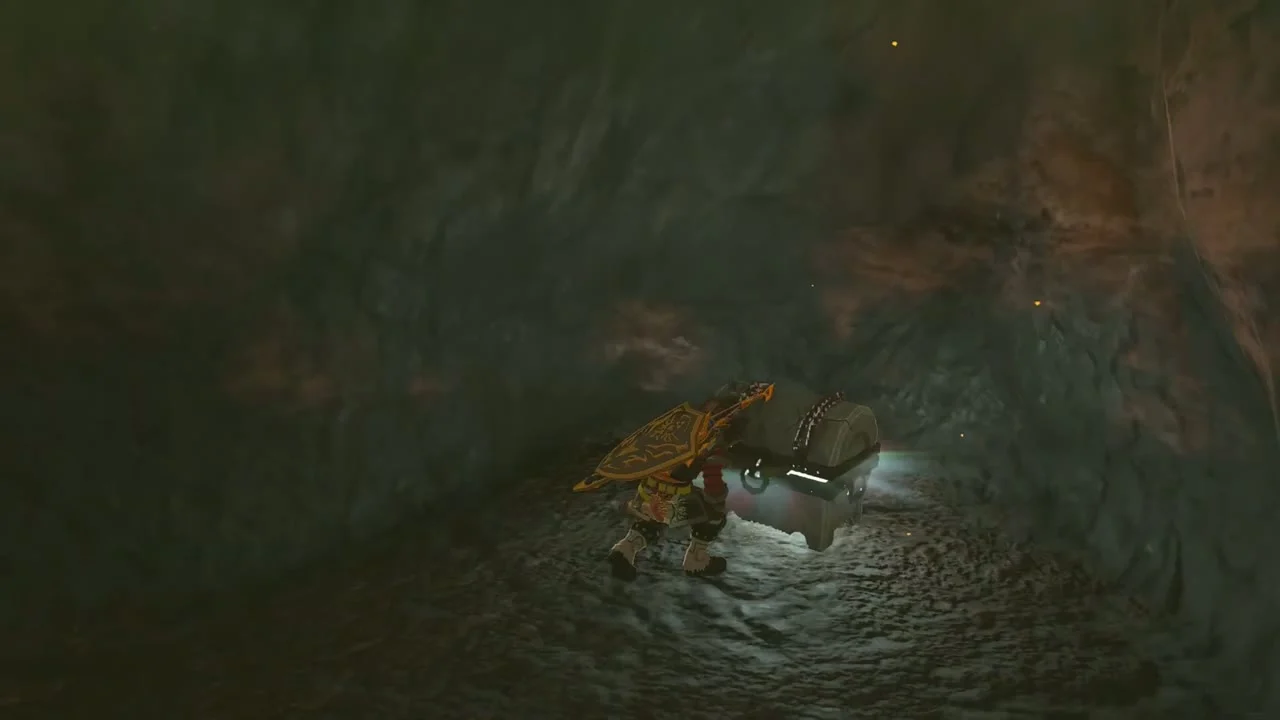
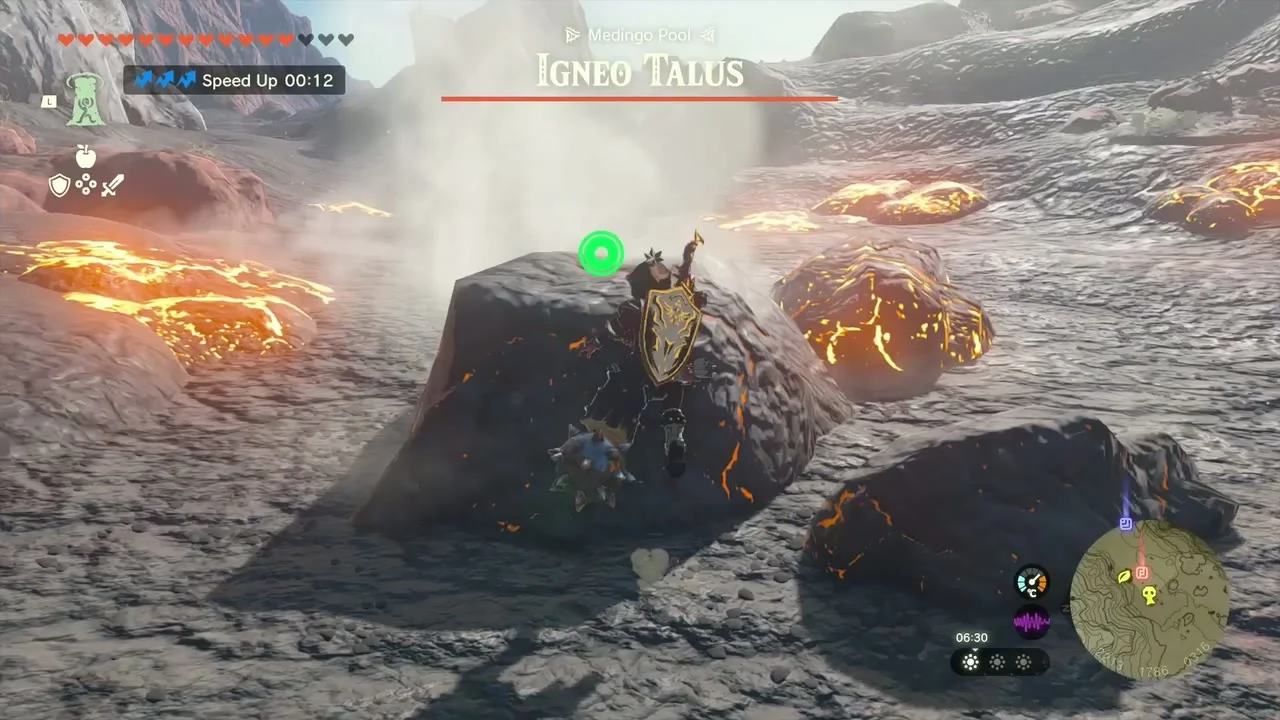
Miniboss: Igneo Talus (2213, 1786, 316). The fourth Igneo Talus fights on a hot slope near Medingo Pool.

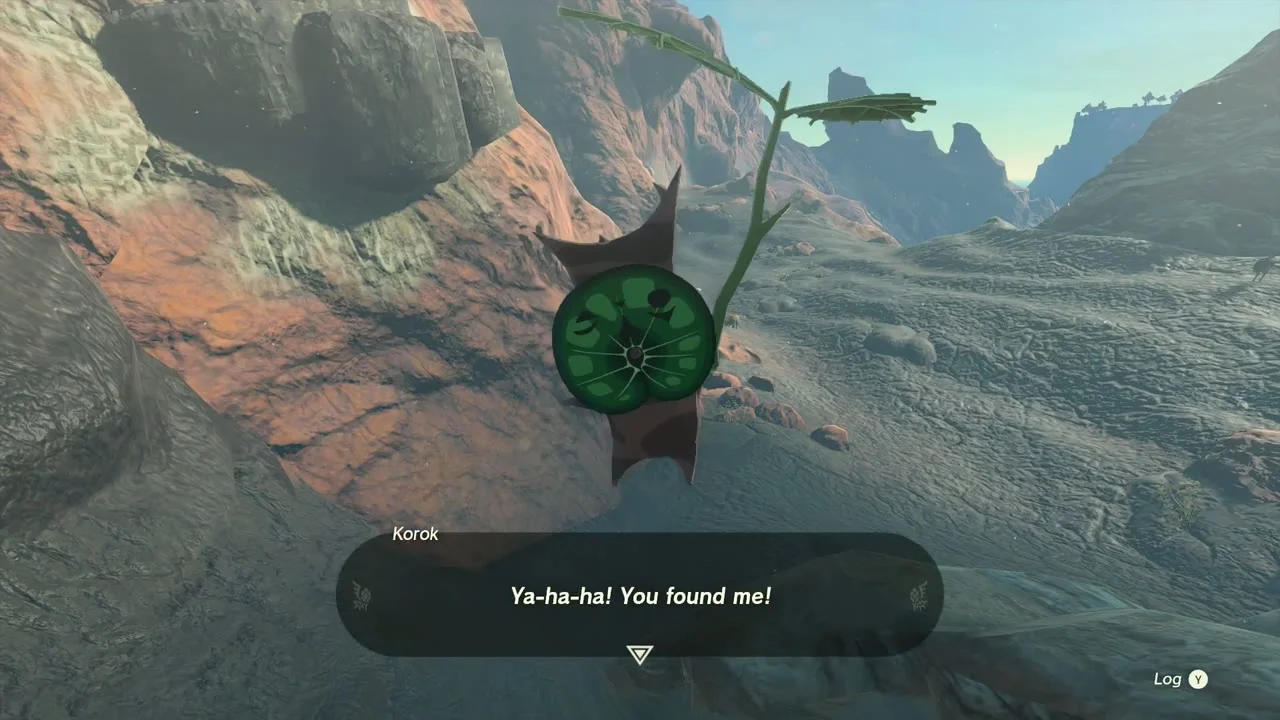
Korok seed (follow the flower). At (2268, 1837, 332), climb the cliff following the flower trail to the Korok.

Chests (Lizal Boomerang, Arrow x5, Brightbloom Seed x5). A wrecked wooden platform at (2609, 1970, 424) holds several chests, including one with a Lizal Boomerang; the others hold Arrow x5 and Brightbloom Seed x5.
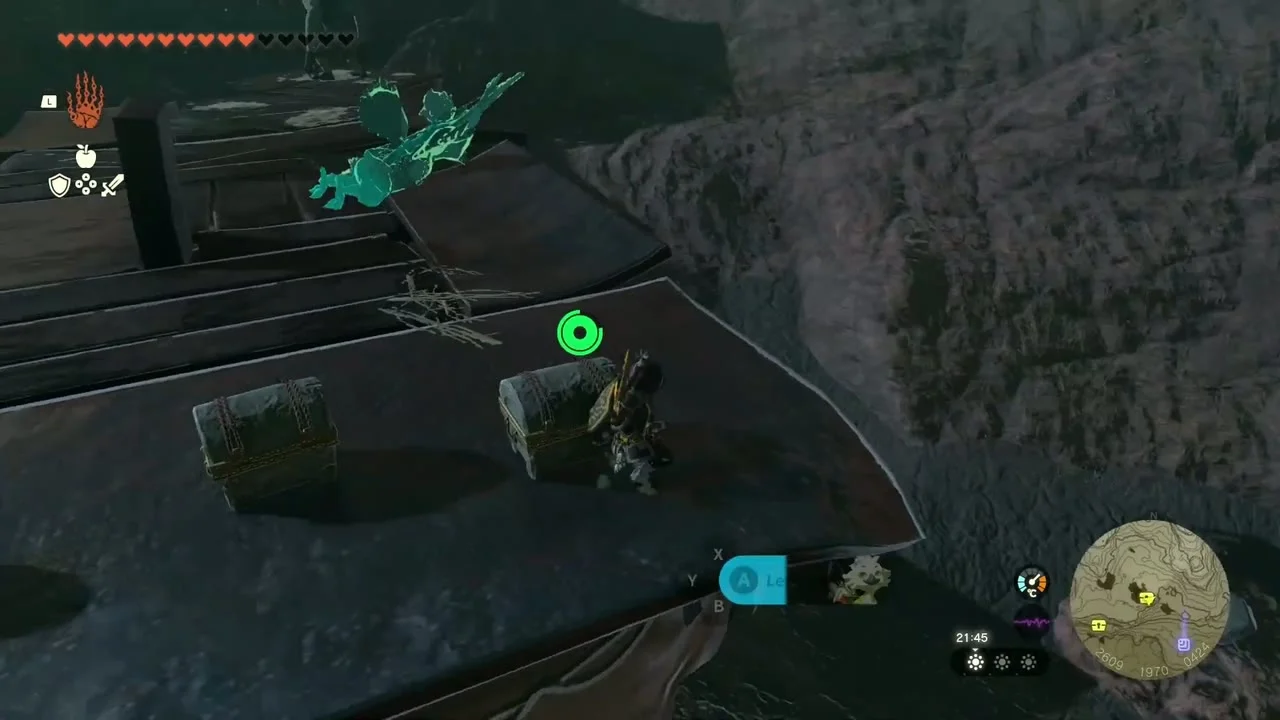
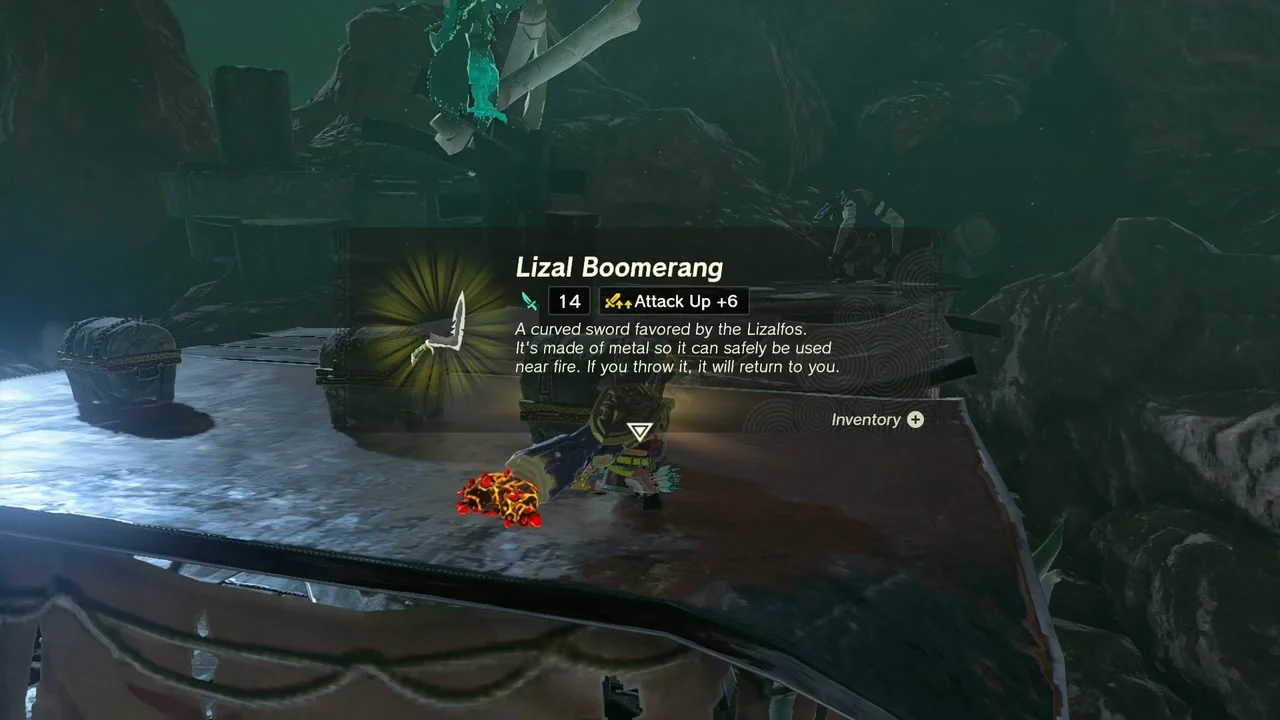
Chest (Rusty Shield). A chest at (2686, 1836, 227) in a dark gully holds a Rusty Shield.


Miniboss: Gloom Spawn and Phantom Ganon (2687, 1882, 238). Fight a Phantom Ganon with a Gloom Spawn nearby. Strike when it flashes solid.
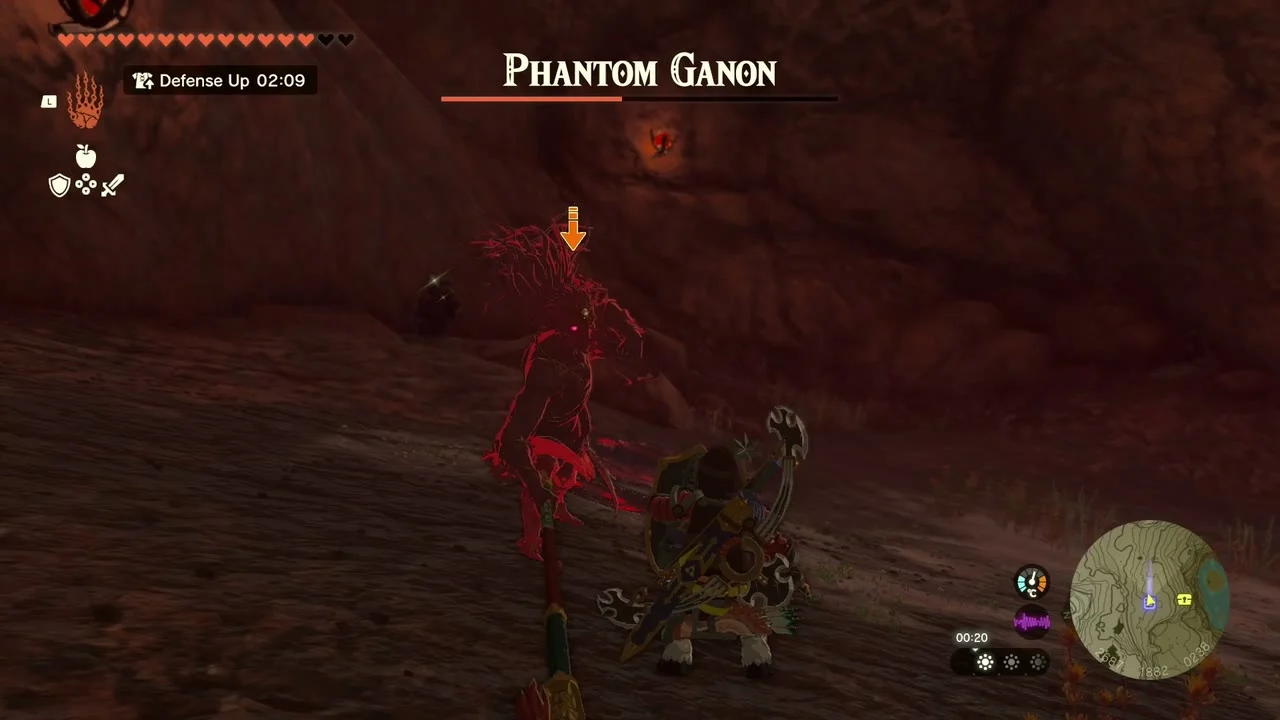
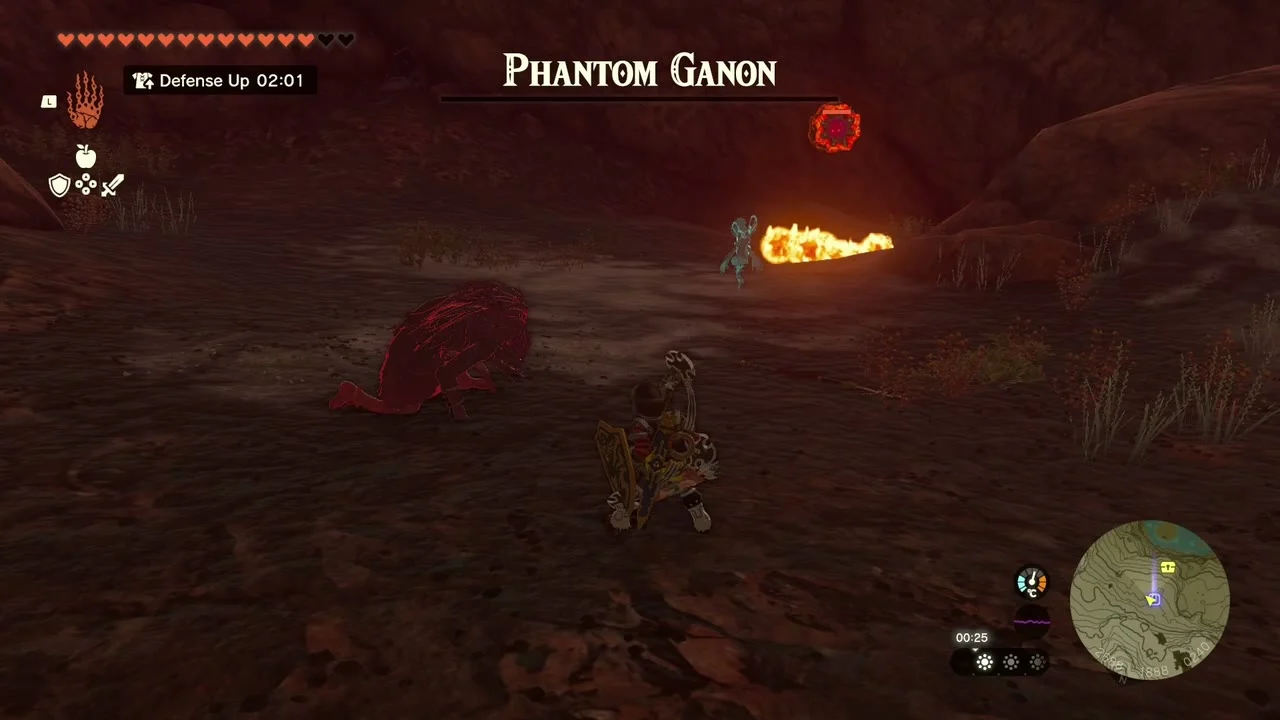
Lake Intenoch Cave and Moshapin Shrine
Cave: Lake Intenoch Cave (2485, 1793, 157). The entrance is on the cliff north-east of Gero Pond. Wear Flame Guard.
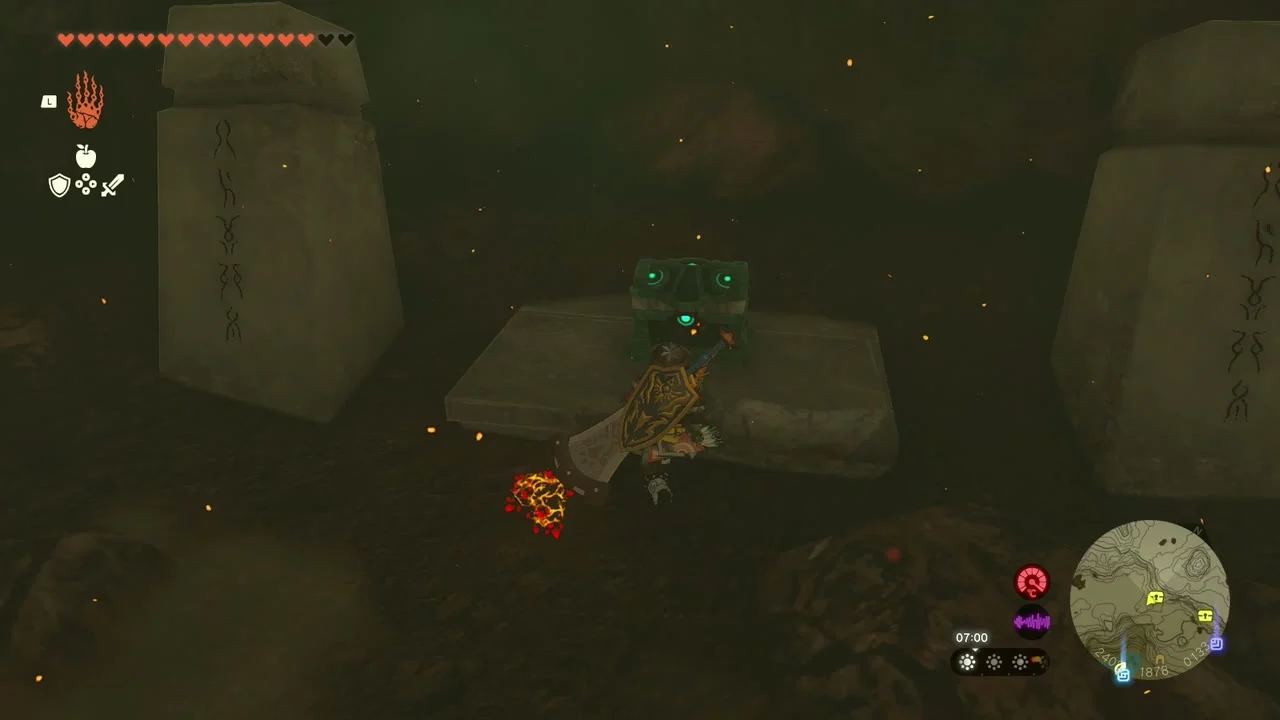
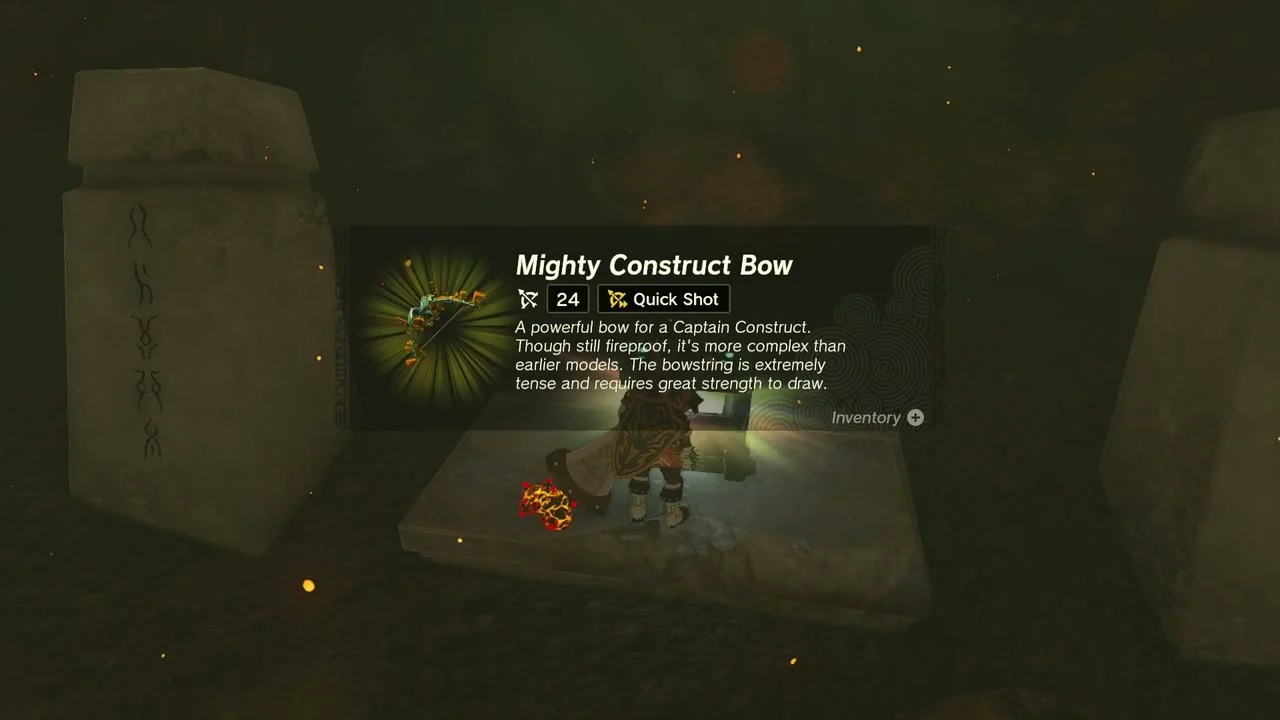
Chest (Mighty Construct Bow (Strong or Mighty, depending on your progress)). At (2402, 1877, 132), a chest sits on a stone dais between carved pillars, guarded by a Construct. It holds a Mighty Construct Bow.
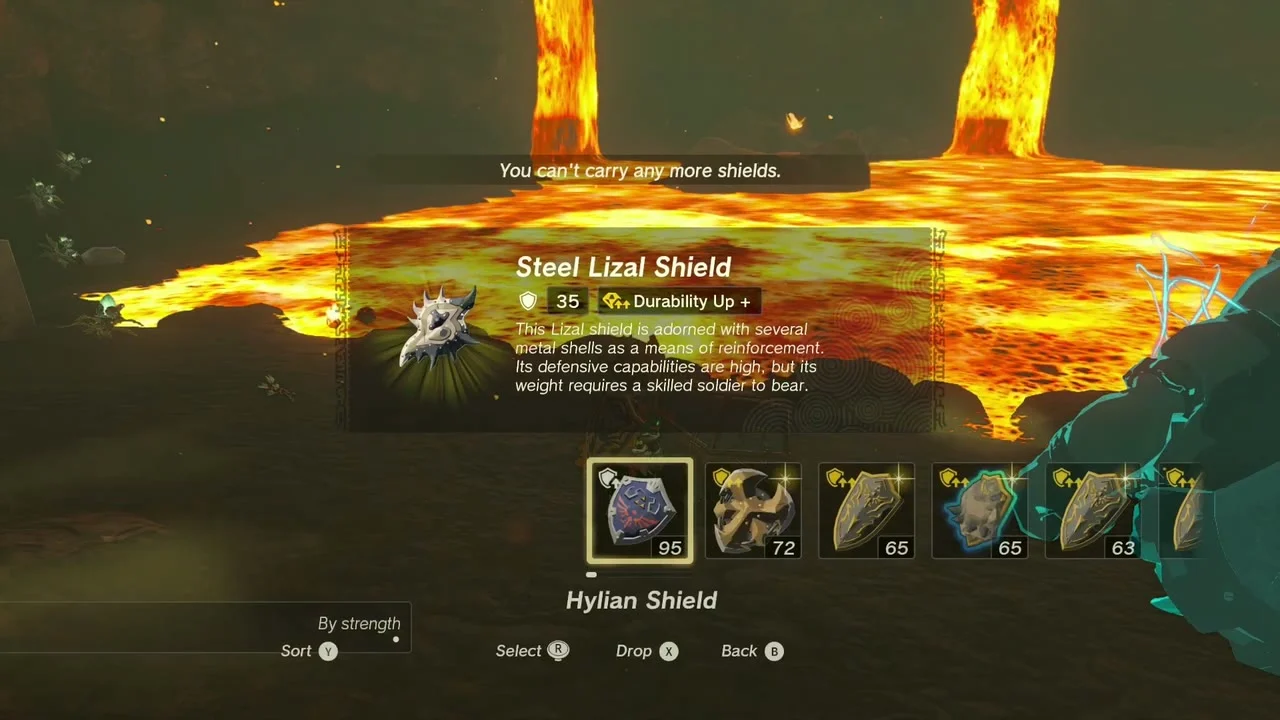
Chest (Steel Lizal Shield). A chest at (2509, 1880, 129) sits across a lava pool. Bridge the lava (hydrant platform or paraglider) and open it for a Steel Lizal Shield.

The crystal. The green crystal rests on an altar at (2490, 1853, 134). Pick it up, then attach it to a hydrant-fed platform with a fan and float it across the lava.
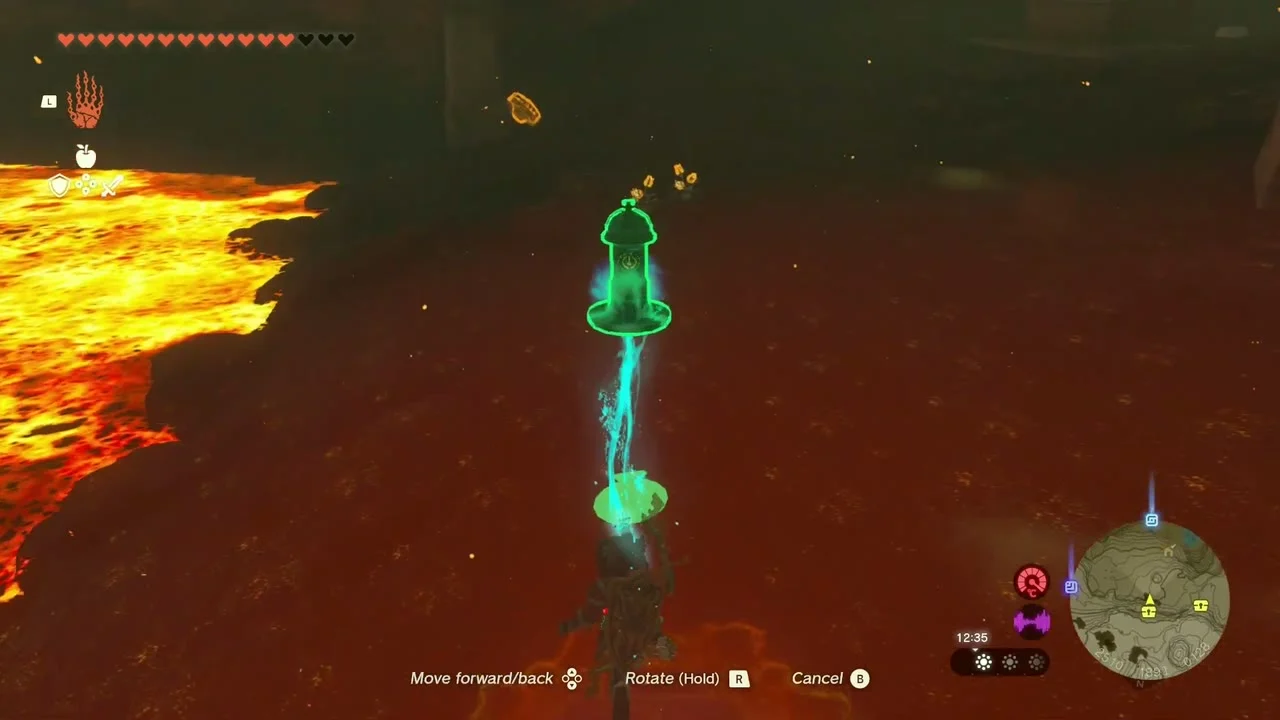
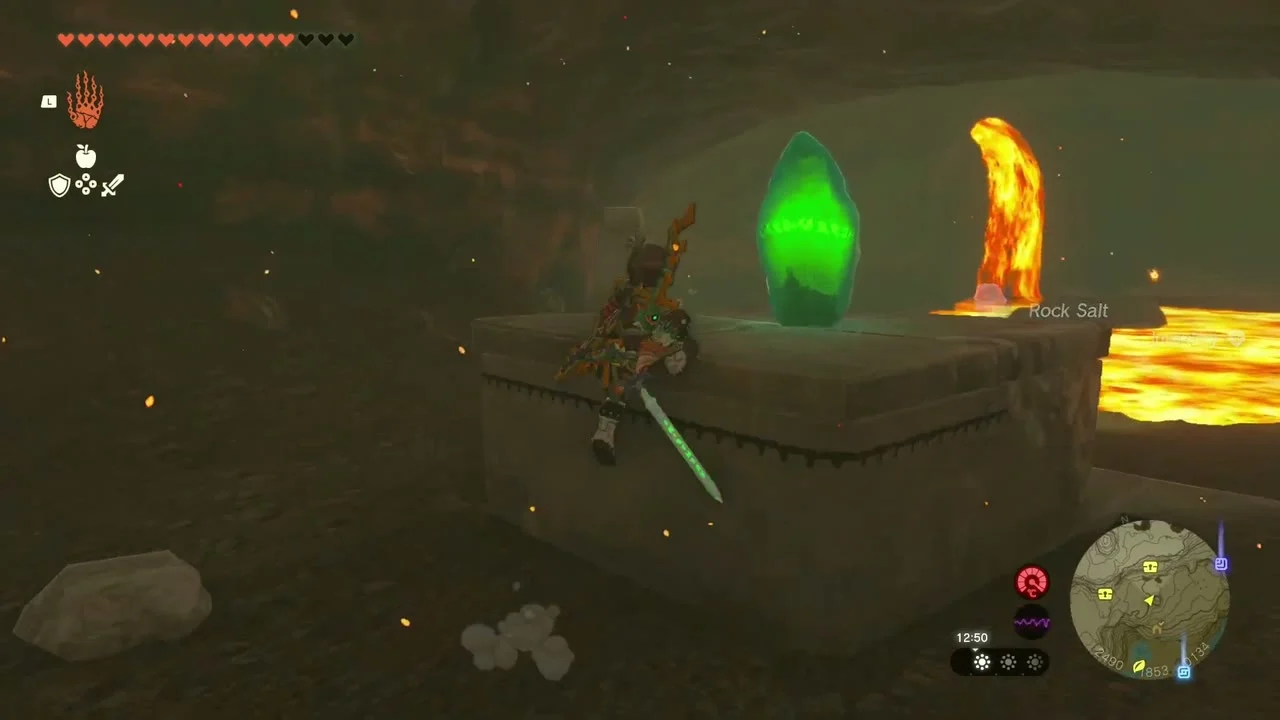
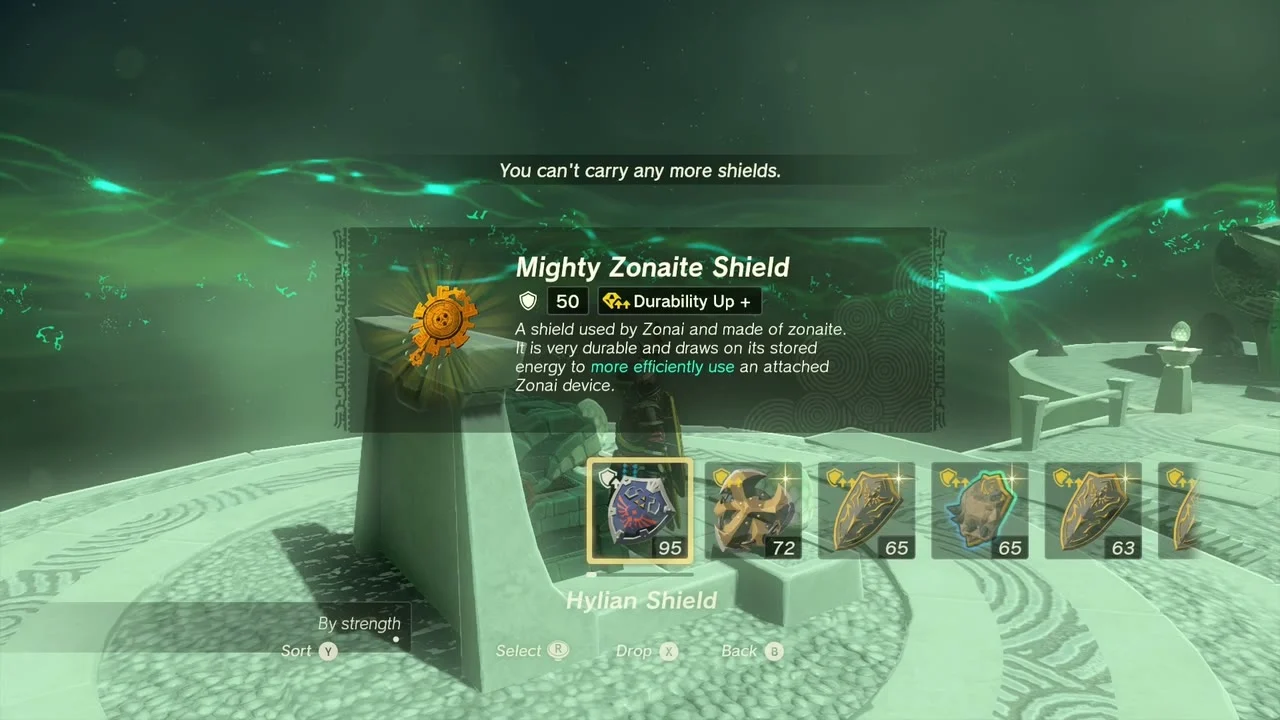
Moshapin Shrine (Rauru’s Blessing) at (2679, 1904, 144). Carry the crystal to the shrine to finish The Lake Intenoch Cave Crystal. The Nipahsom Lightroot is below at (2679, 1903, -709). The shrine’s chest holds a Mighty Zonaite Shield.

Lake Intenoch, Lake Ferona and Foothill Stable
Korok seed (rock pattern). On the grassy hill at (2699, 1748, 119), complete the rock pattern using the loose stones around it.

Korok seed (pull the plug). On Lake Intenoch at (2425, 1723, 147), a Korok sits on a rock island. Cross by raft and pull the plug in the rock.
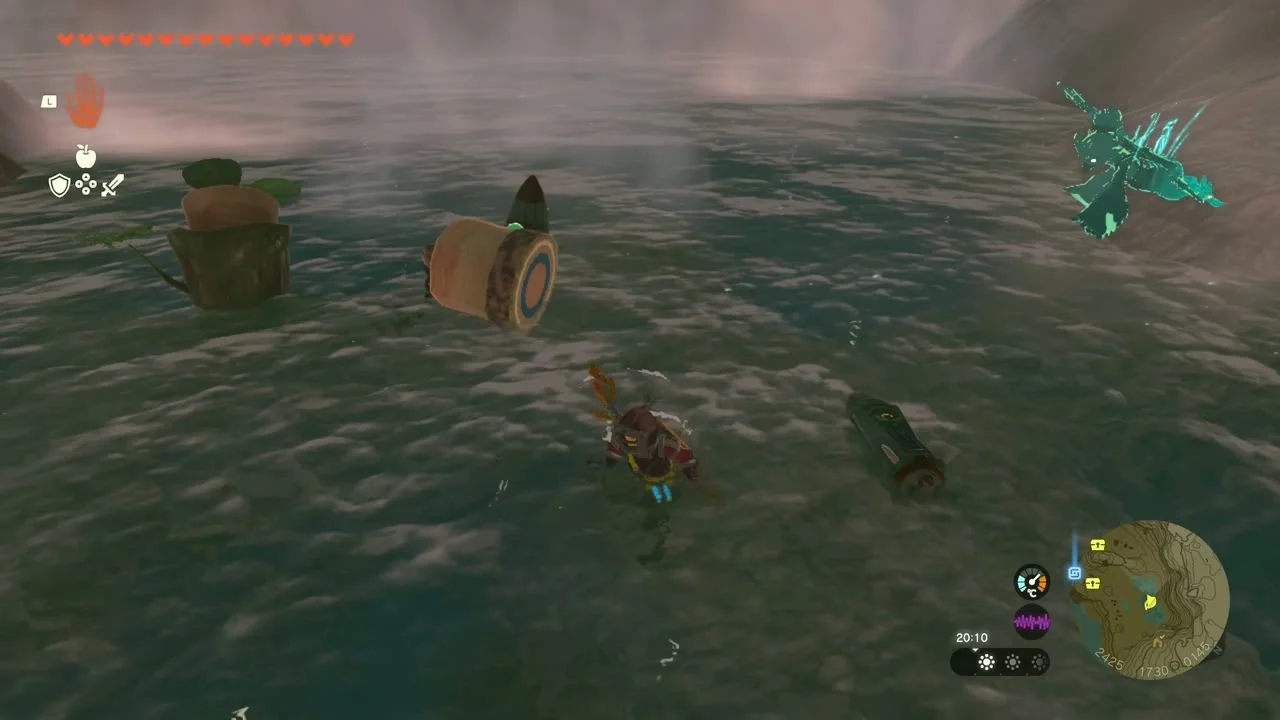
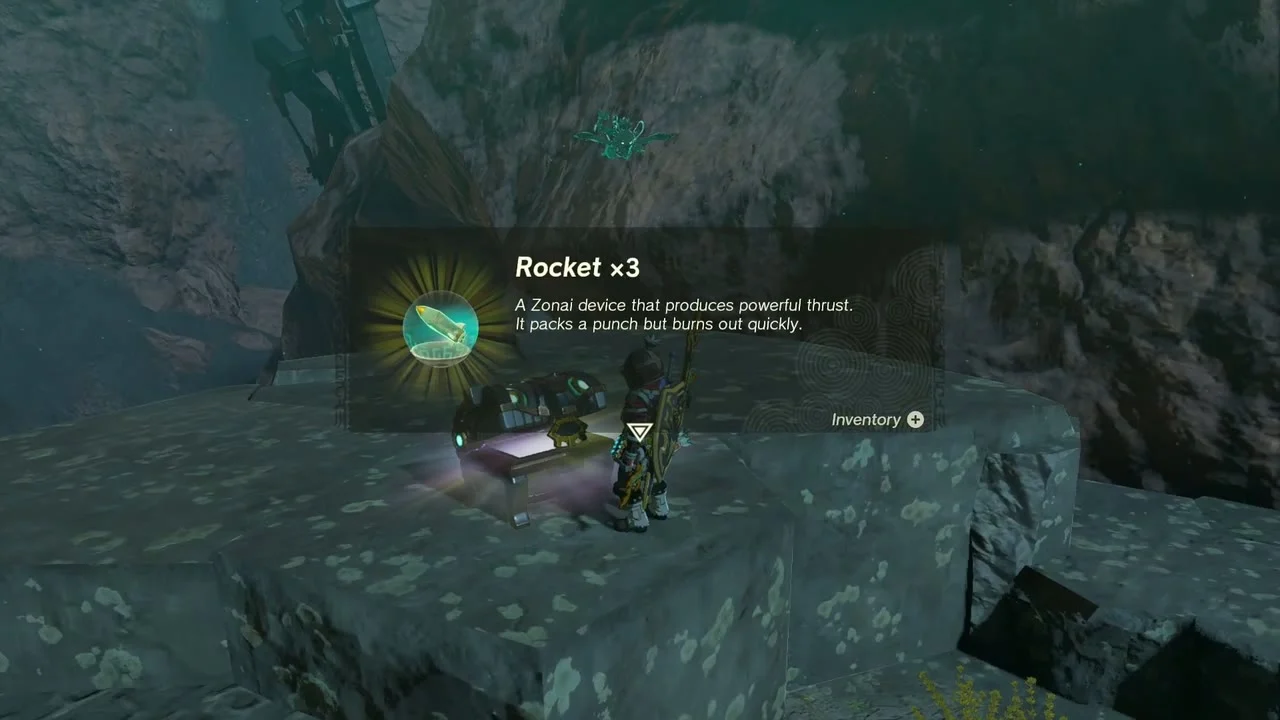
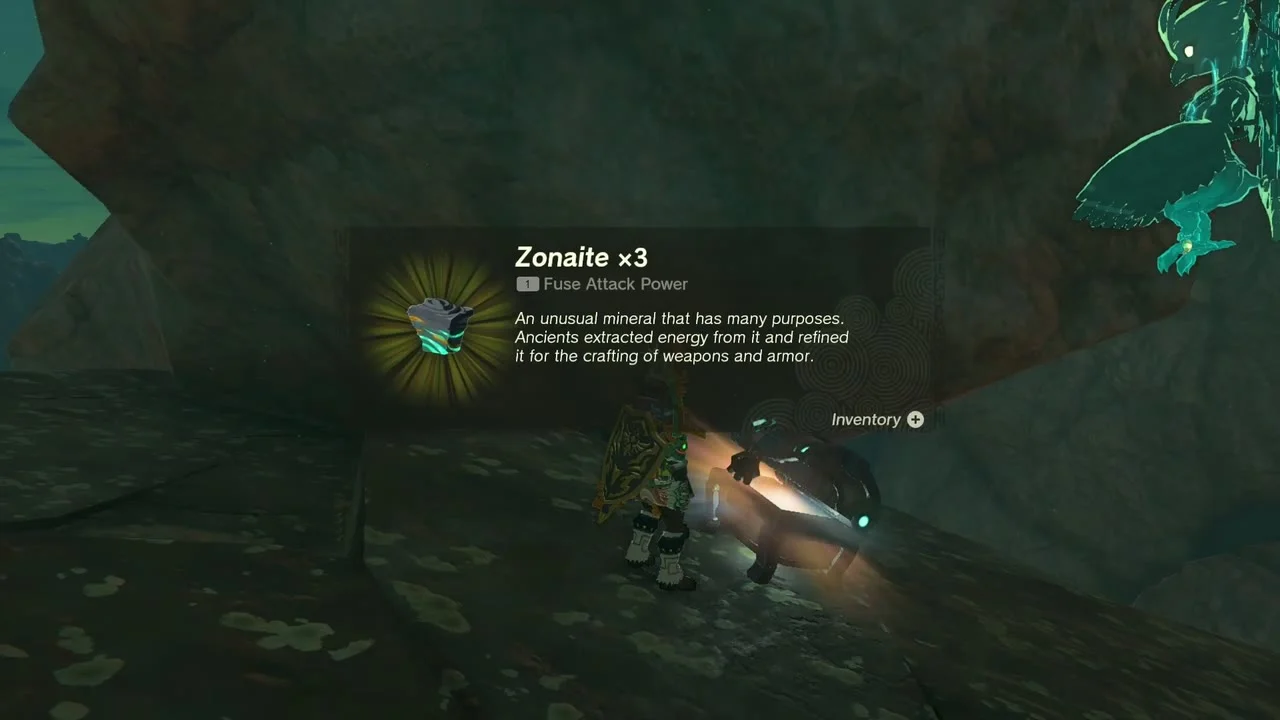
Chest (Arrow x5). On a wooden dock at (2463, 1618, 156), a chest holds Arrow x5. Another at (2400, 1581, 187) holds Rocket x3, and a third at (2333, 1479, 198) holds Zonaite x3.

Korok seed x2 (exhausted Korok). At the Maw of Death Mountain, carry the exhausted Korok on a raft with fans across the lake to its friend at (2129, 1083, 132); the friend gives two seeds.
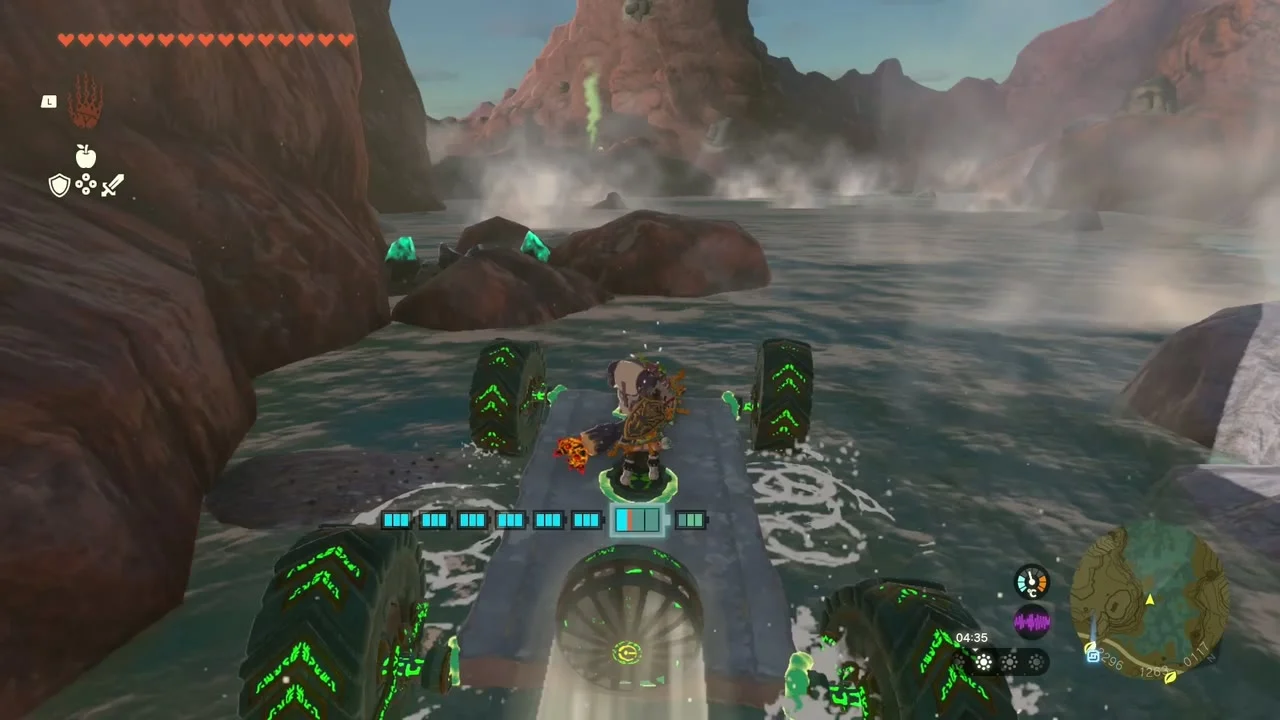

Korok seed (lift the rock). On the shore at (1941, 1207, 139), lift the boulder on the ledge to uncover the Korok.

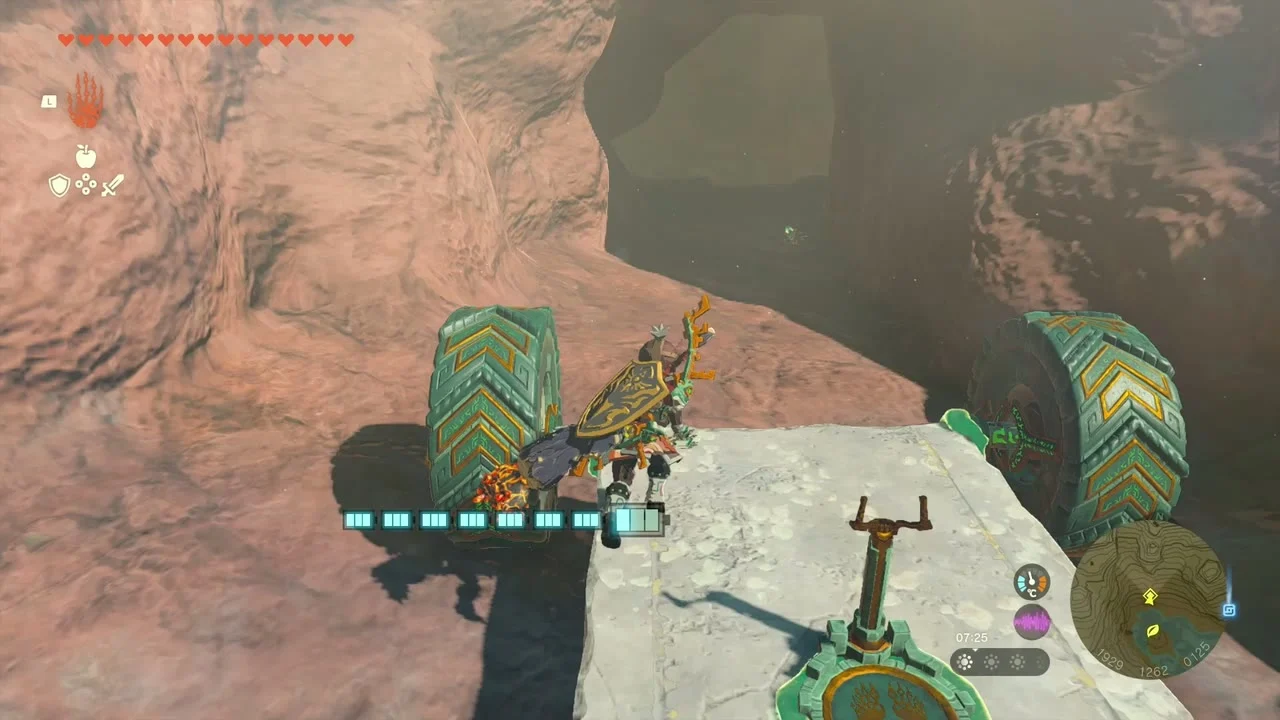
Cave: Lake Ferona Cave (1929, 1271, 121). A Bubbulfrog hides on a ledge inside the cave; hit it for a Bubbul Gem.

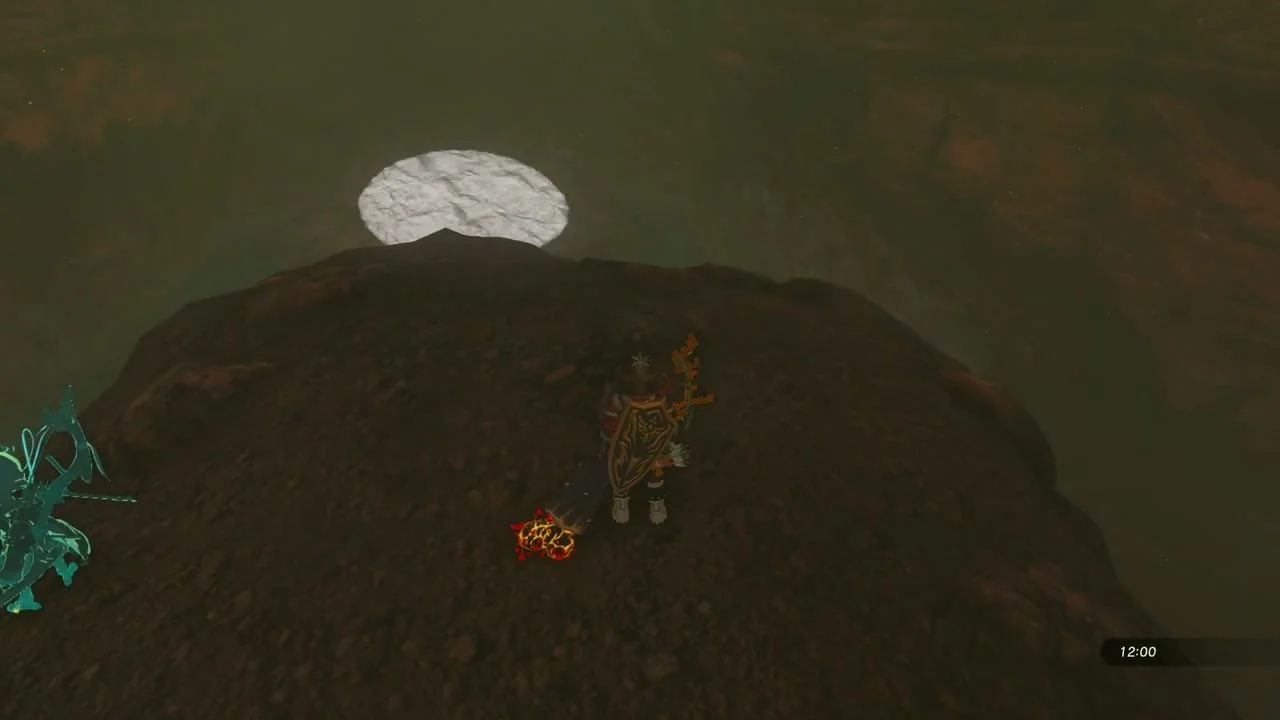
Quest: Moon Gazing Gorons. Wait until 12:00 inside the cave and photograph the light shining through the opening in the roof.
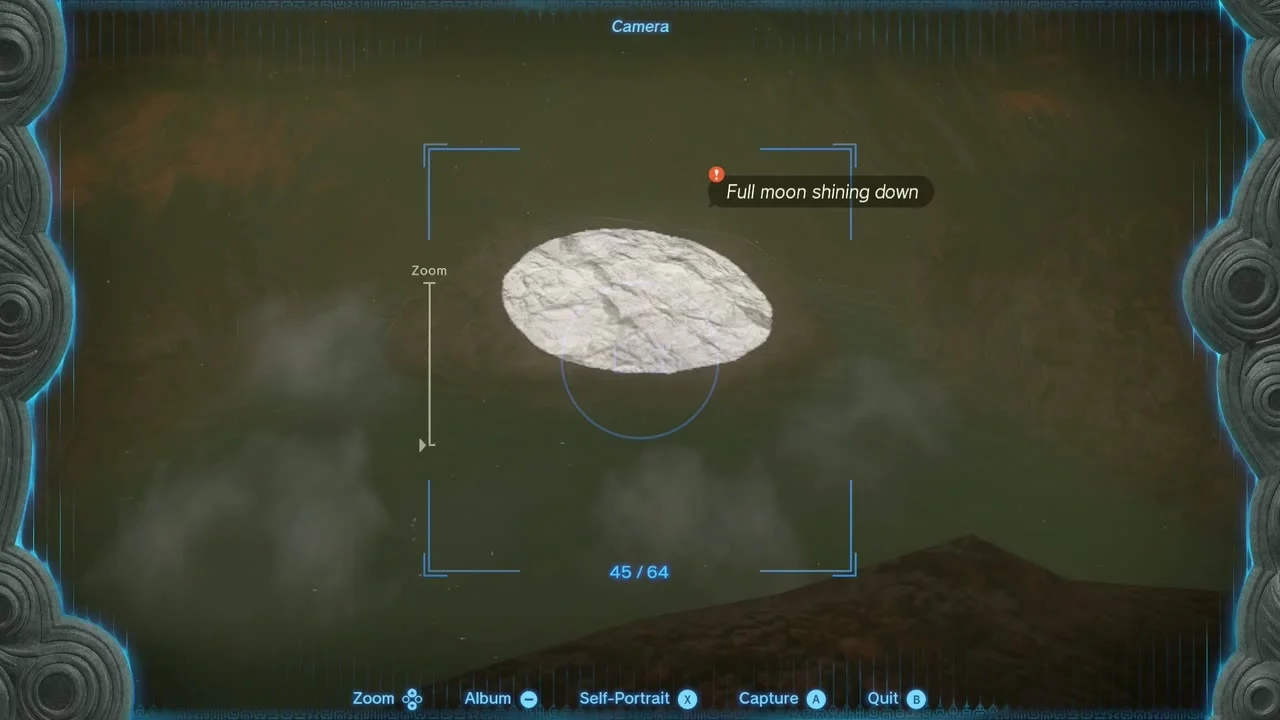
Korok seed (dandelion). At (2440, 1241, 154), hit the dandelion from the ledge and the Korok gives you its seed.

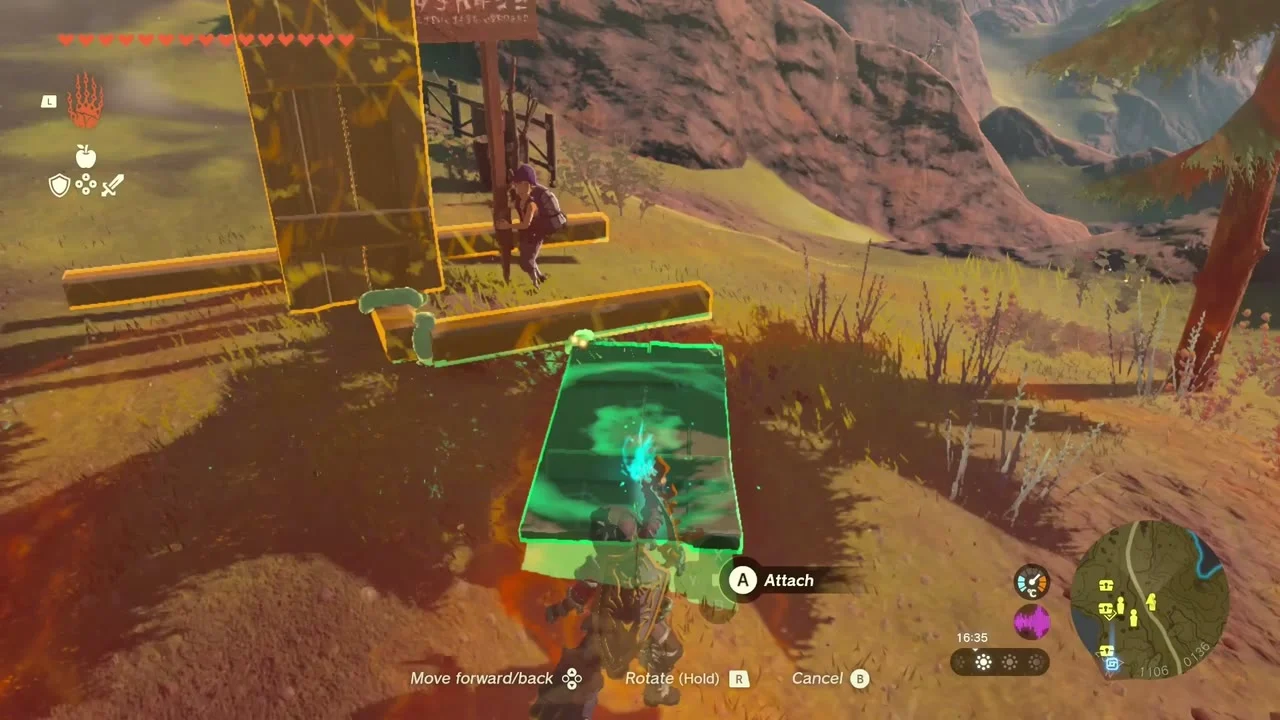
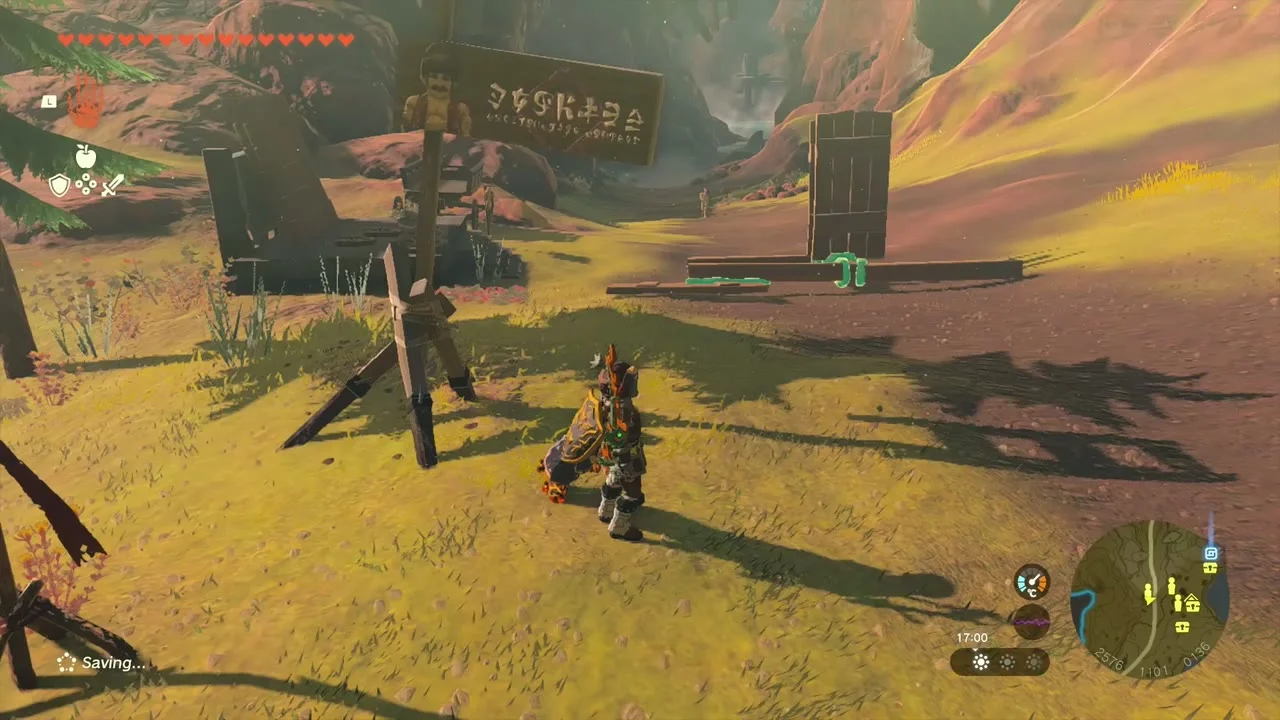
Addison’s sign at Foothill Stable (2577, 1108, 136). Stand the signboard up beside the road and attach it to its post.
Quest: A Picture for Foothill Stable. Ozunda wants a picture of the Daruk sculpture.
Quest: For Our Princess! Penn reports on the Zonai Survey Team at the stable.
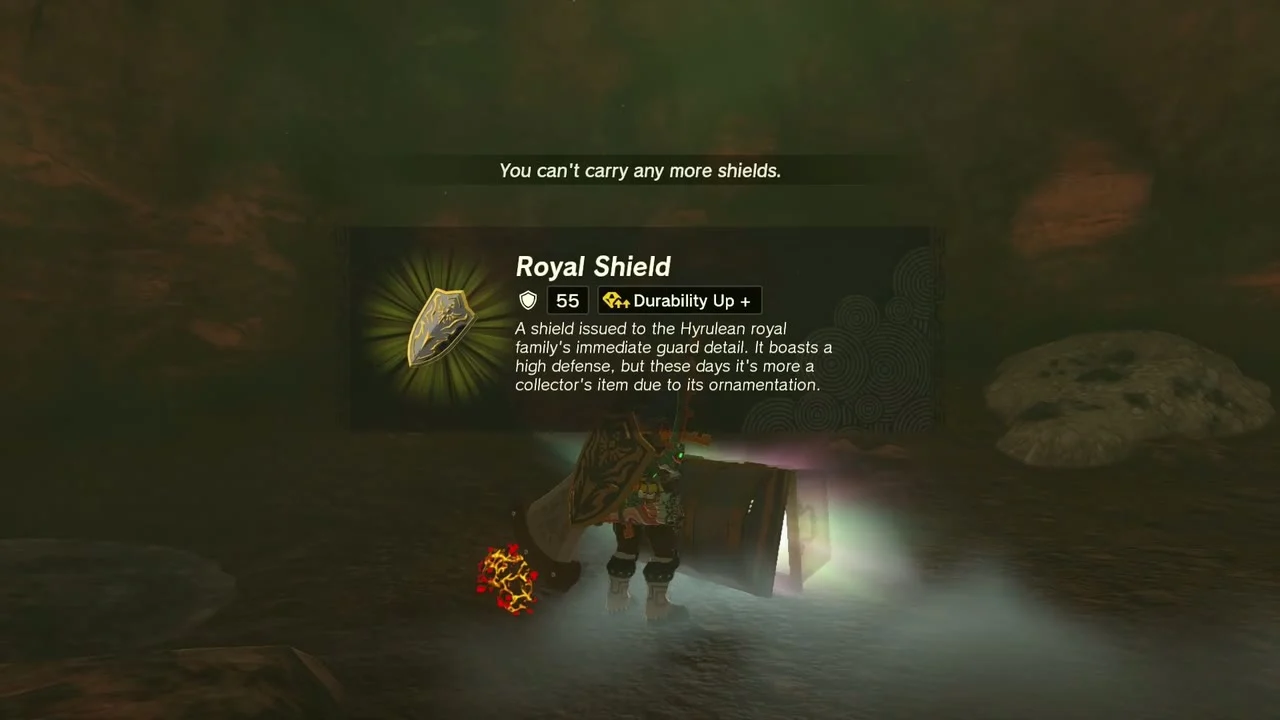
Well: Foothill Stable Well (2617, 1169). Cross the lava on Zonai platforms to two chests: one holds a Purple Rupee (2616, 1158, 127) and the other a Royal Shield (or Traveler’s Shield, Soldier’s Shield or Knight’s Shield, depending on your progress) (2622, 1175, 125).

Kisinona Shrine (Wind Power, Puzzle) at (2567, 1245, 186). It sits just north of Foothill Stable up a short rocky cliff. The Anonisik Lightroot is below at (2568, 1246, -621).


Take the chest, then spin the wheel
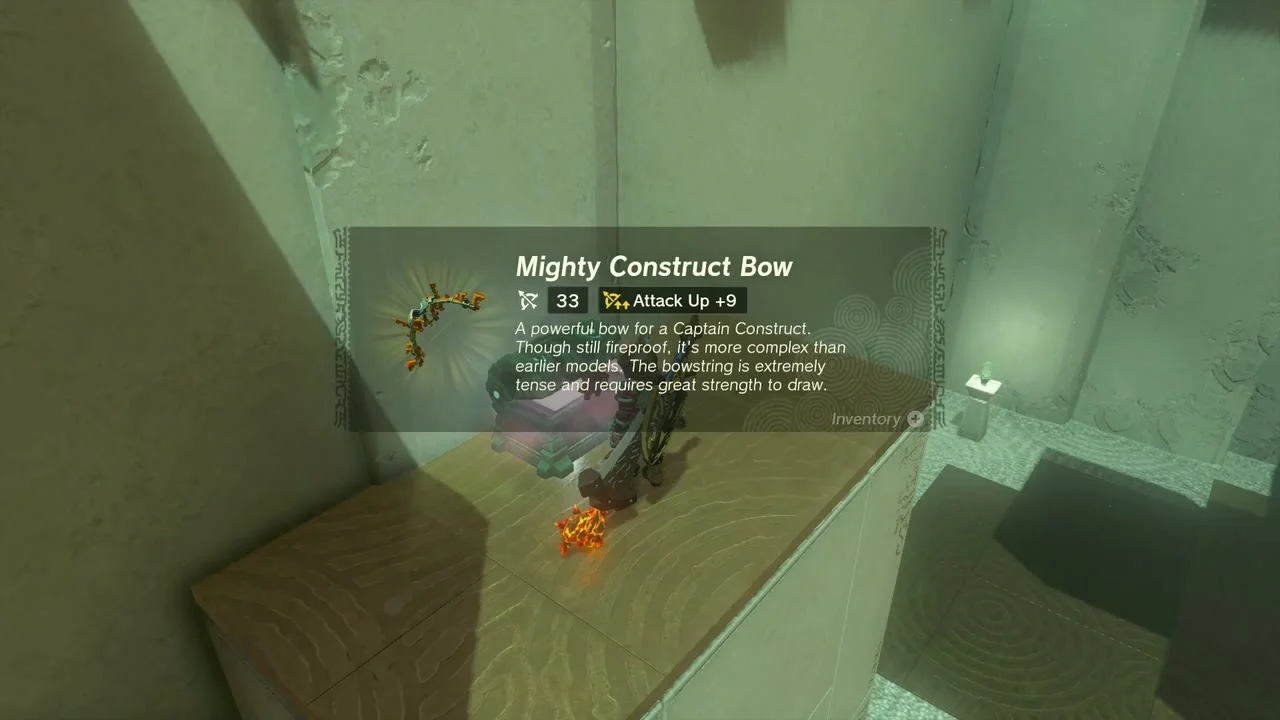
Lift one fan with Ultrahand and carry it to the left platform, then ride its updraft with the paraglider to the chest, which holds a Mighty Construct Bow. Attach both fans to opposite sides of the central wheel facing opposite directions and activate them; when the lights turn green the door opens to the altar.
Also in this area
Korok seeds not collected on the route. A catch-the-sparkle Korok at (2674, 1074, 156), a use-Ascend Korok at (2313, 1132, 189), a cube puzzle at (2720, 1163, 181), a time-limited target ring at (2751, 1373, 129), an exhausted Korok to carry from (1876, 1629, 302), a cube puzzle at (2061, 2755, 481) and (1740, 2329, 425), a dive-into-the-ring Korok at (1719, 2422, 395), lift-the-rock Koroks at (1724, 2554, 499), exhausted Koroks at (1990, 2596, 457), (2510, 2985, 523) and (1714, 3060, 393), a fruit-offering Korok at (1806, 2530, 404), a boulder-on-the-stand Korok at (1700, 1755, 352), a sparkle-hunter at (1767, 1537, 311), a use-Ascend Korok at (2405, 3327, 414), a wall-climb Korok at (2049, 1201, 1290) and an exhausted Korok at (2968, 3648, 224).
Eldin part 3 checklist
| Collectible | Count | Where |
|---|---|---|
| Shrines | 5 | Sibajitak, Kimayat, Momosik, Moshapin, Kisinona |
| Lightroots | 5 | Katijabis, Tayamik, Kisomom, Nipahsom, Anonisik |
| Caves | 7 | Lake Darman Monster Den, Lizard’s Burrow, Death Mountain East Tunnel, Gorko Tunnel, East Restaurant Cave, Lake Intenoch Cave, Lake Ferona Cave |
| Wells | 2 | Shadow Hamlet Ruins Well, Foothill Stable Well |
| Korok seeds | 22 | 20 Koroks, two of which pay two seeds |
| Chests | 37 | Mighty Zonaite Shield, Cobble Crusher x6, Mighty Zonaite Longsword x2, Vah Rudania Divine Helm, Mighty Construct Bow x2, and the others listed above |
| Armor | 1 | Vah Rudania Divine Helm |
| Minibosses | 9 | Igneo Talus x5, Stone Talus, Stalnox, Boss Bokoblin, White Boss Bokoblin, Phantom Ganon |
Part 4: Foothill Stable, Lake Cephla & Kadaunar Shrine
| Region | Eldin Canyon (Foothill Stable, Lake Cephla, Trilby Plain and Trilby Valley) and the Eldin Canyon Sky above it |
|---|---|
| Side quests | Moon-Gazing Gorons (Tray, Goron City), A Picture for Foothill Stable (Ozunda), Misko’s Cave of Chests (Domidak and Prissen), For Our Princess! (Penn), plus Addison’s Hudson sign near Trilby Plain |
| Misko’s Treasure quests started | 4: The Fierce Deity, Twins Manuscript, Pirate Manuscript, Heroines Manuscript |
| Shrines | 1: Kadaunar Shrine (Water Makes a Way, Puzzle) in the sky at (1881, 1202, 1264) |
| Caves | 2: Cephla Lake Cave (2593, 1330, 150) and Foothill Monster Den (2275, 1520, 157) |
| Bubbul Gems | 2, one in each cave |
| Korok seeds | 12 Koroks, 14 seeds (both exhausted-Korok carries pay two seeds) |
| Chests | Ember Trousers, Cobble Crusher, Opal, Arrow x5 (x3), Ruby, Royal Broadsword (or Traveler’s Sword, Soldier’s Broadsword or Knight’s Broadsword, depending on your progress), Royal Bow, Rocket x3, Time Bomb x3, Old Map, Sage’s Will, Mighty Construct Bow (Strong or Mighty, depending on your progress) |
| Memory | Memory 05: Mineru’s Counsel at Dragon Tear 3 (1828, 737, 89) |
| Miniboss | Hinox on Trilby Plain |
| Map tip | Coordinates are map units (X, Y, height). Larger Y is further north, so Kadaunar Shrine at Y 1202 is north of Foothill Stable at Y 1143 only by a little, but far above it in height. |
This part works through the east side of Eldin Canyon around Foothill Stable and Lake Cephla, then the green valleys of Trilby Plain to the west, and finishes in the sky with Kadaunar Shrine. Most of the loot here is optional treasure: a hidden Ember Trousers chest, three dog-dug chests beside the stable and a long string of Korok seeds. The route below is in the order that avoids backtracking.
Quick route
Start in Goron City to start Moon-Gazing Gorons, then glide to Foothill Stable to hand Ozunda a photo of the Daruk sculpture. Walk to Cephla Lake Cave, befriend the dog, open the Ember Trousers chest, grab the Bubbul Gem and talk to Domidak and Prissen at their campfire for four Misko’s Treasure quests.
Raft across Lake Cephla for the target-ring Korok and the Opal and Arrow chests, take the Cobble Crusher on the canyon shelf and pull the plug on the cliff for another Korok. Clear Foothill Monster Den for For Our Princess!, feed the stable dog Raw Prime Meat for three buried chests, and finish the Korok pocket east of the stable with the exhausted Korok carry.
Then head west: Arrow chest and Ascend Korok, the rock-pattern Korok, Memory 05 at Dragon Tear 3, the Zelo Pond chests and carry Korok, the Hinox, Addison’s sign, and finally the sky for the Old Map, Sage’s Will and Kadaunar Shrine.
Goron City and Foothill Stable
Start Moon-Gazing Gorons
Side quest: Moon-Gazing Gorons. Speak to Tray and Volcon in front of the Goron City inn. They remember a place where the full moon shines on the ground at midday, somewhere at Lake Ferona. A photo of that spot finishes the quest: stand on the ledge of Lake Ferona Cave (1929, 1271, 121) at midday with a fire lit and take a picture of the bright spot of light. Hand it over for 100 rupees.

Photograph the Daruk sculpture
Side quest: A Picture for Foothill Stable. Ozunda, owner of Foothill Stable (2613, 1143, 148), wants a painting of the Daruk sculpture that overlooks Goron City, north-west of the stable. Take a photo of the sculpture’s glowing ore-studded rock face from the cliffs above the city and show it to him at the counter; he hangs it on the stable wall.
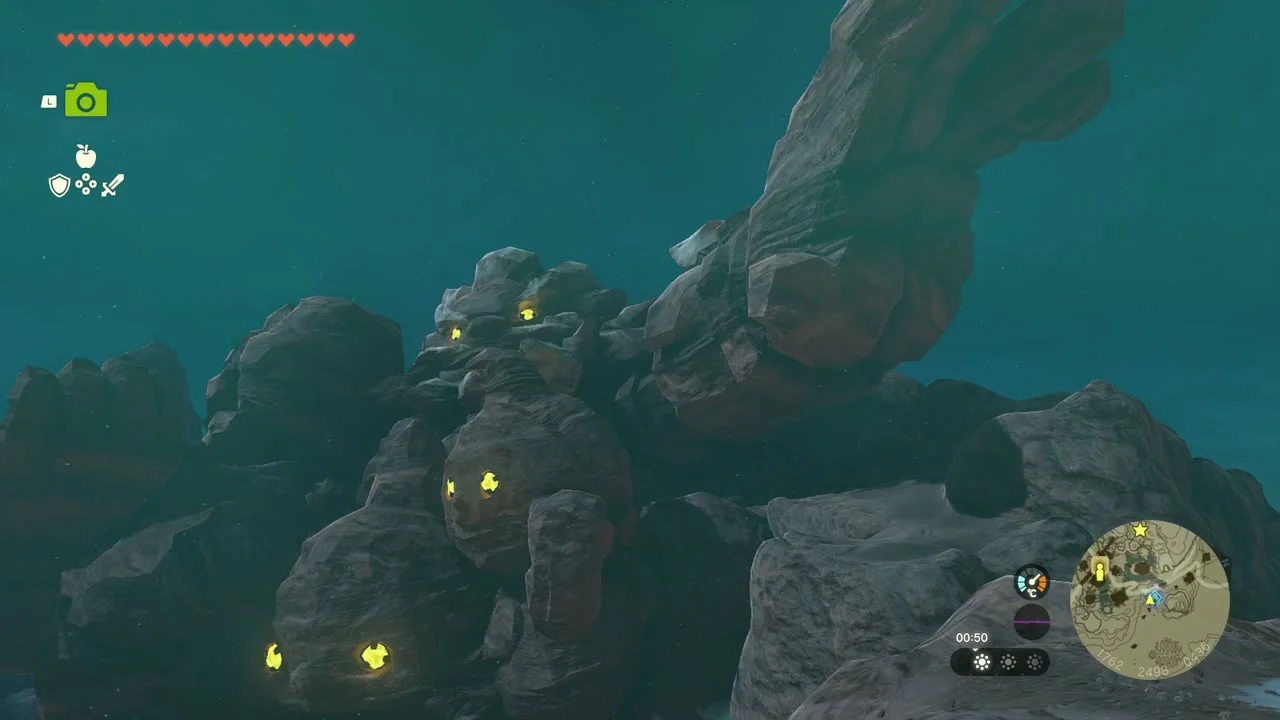
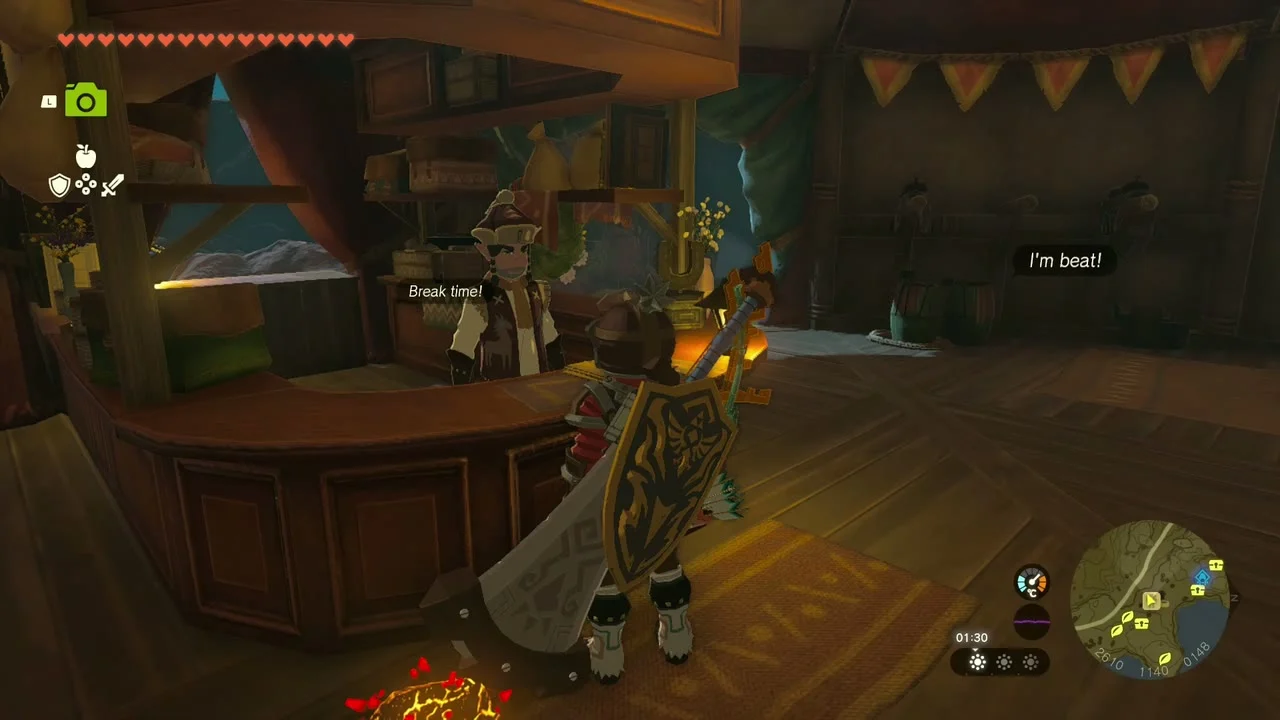
Cephla Lake Cave and Misko’s treasure
Find the dog outside Cephla Lake Cave
Side quest: Misko’s Cave of Chests. Cephla Lake Cave sits at (2593, 1330, 150) on the lake shore south-west of Lake Cephla. Domidak and Prissen stand outside it and give you the quest. A dog waits at the entrance; feed it meat and follow it inside, because the cave holds dozens of decoy chests.
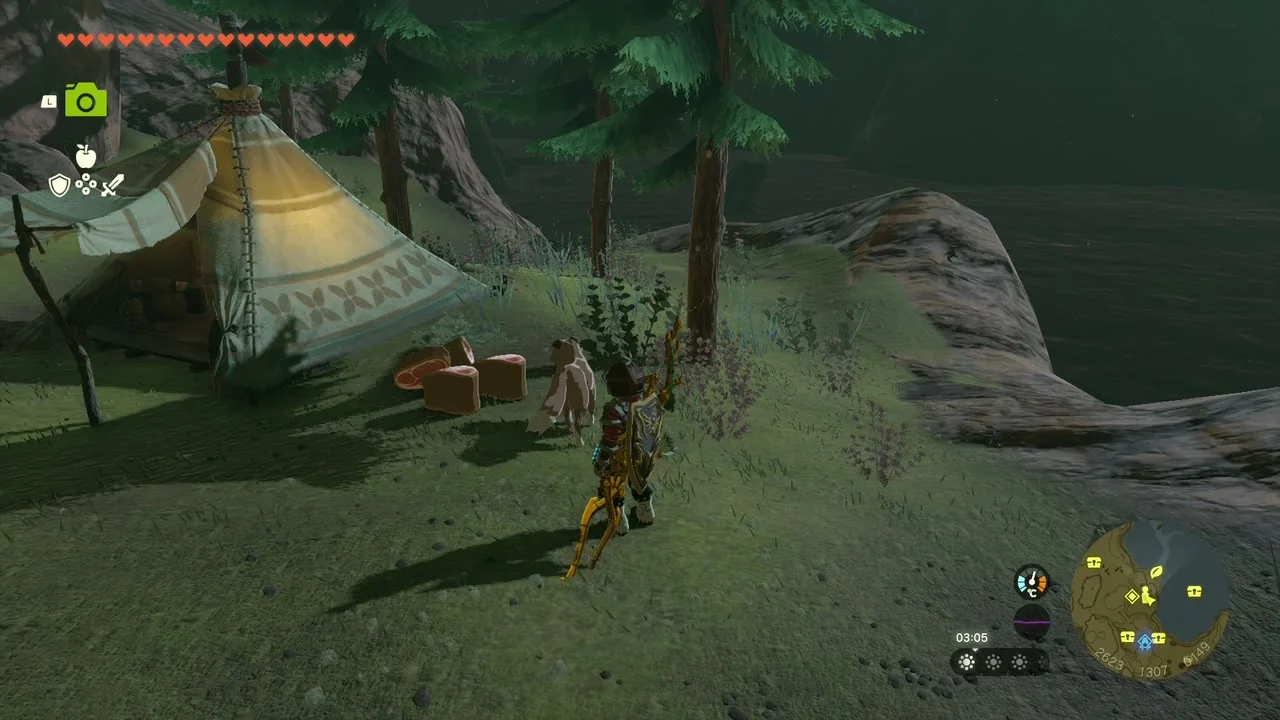

Open the dog’s chest for Ember Trousers
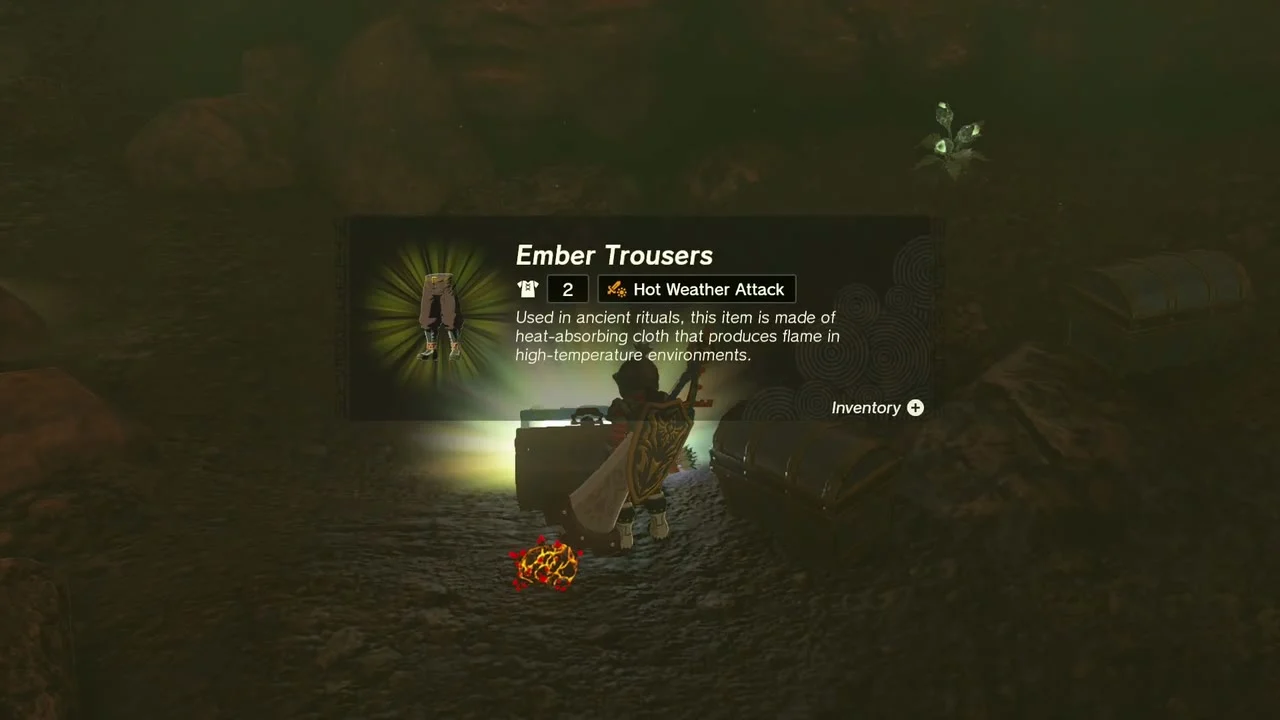
Chest: Ember Trousers. Let the dog lead you to the chest it lies down beside, pull the chest out of the dirt with Ultrahand if it is buried and open it for Ember Trousers (Defense 2, Hot Weather Attack), which finishes the quest. A bottle with Misko’s letter comes with it and starts Misko’s Treasure: The Fierce Deity. The cave’s Bubbul Gem is in the same cave; kill the pale-blue Bubbulfrog for it.
Collect Misko’s three manuscripts
Domidak and Prissen set up a campfire outside the entrance at about (2613, 1313). Talk to them three times to start Twins Manuscript, Pirate Manuscript and Heroines Manuscript. Their riddles point to Duel Peak in West Necluda, the pirate cavern at the foot of Cape Cales and the eighth heroine statue in Hemaar’s Descent; none of them can be solved in this area.
Lake Cephla
Hit the target ring for a Korok seed
Korok seed (reach the target ring). Roughly (2751, 1373, 129), on Lake Cephla. Build a raft with a Fan on the water, or glide down from the cliff, and pass through the dotted yellow ring before the timer runs out to earn the Korok Seed.

Collect the Cobble Crusher
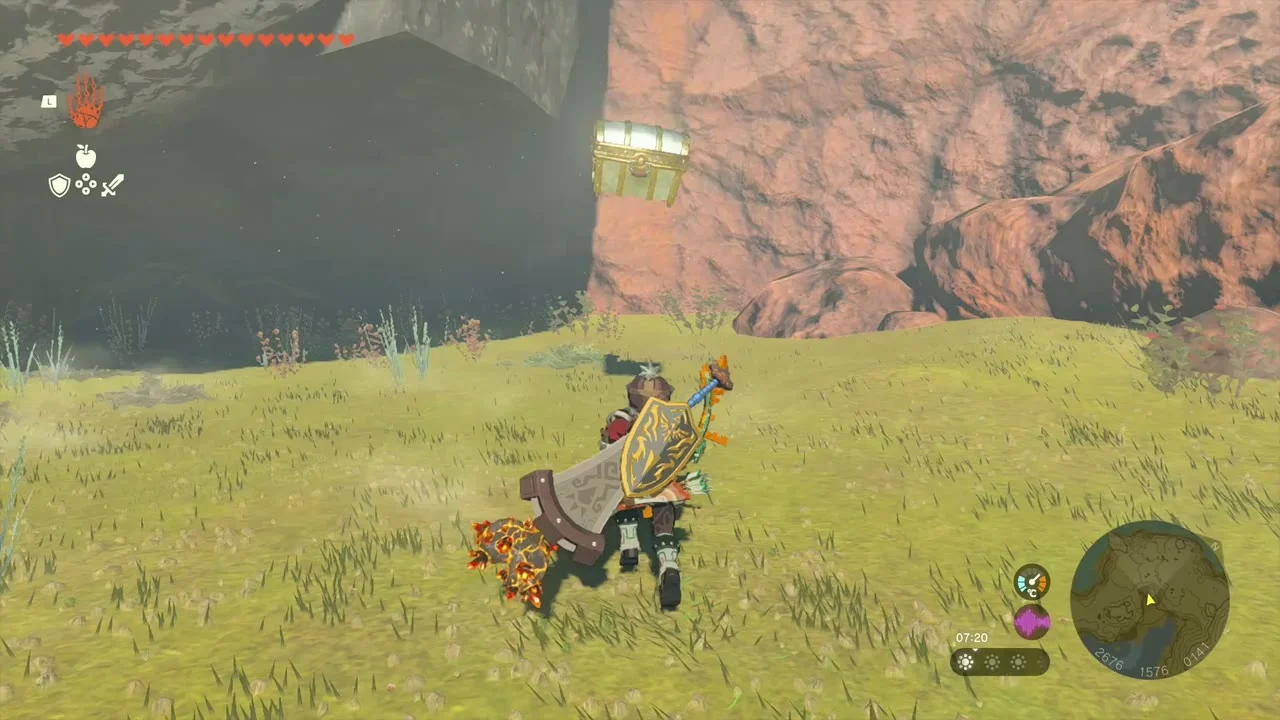
Chest: Cobble Crusher at about (2676, 1578), on a grass shelf in the red canyon wall on the east side of the lake. Climb up from the water, or park a raft against the shelf, and open the chest for a Cobble Crusher, a heavy rock-breaking club.

Lift the lake chests
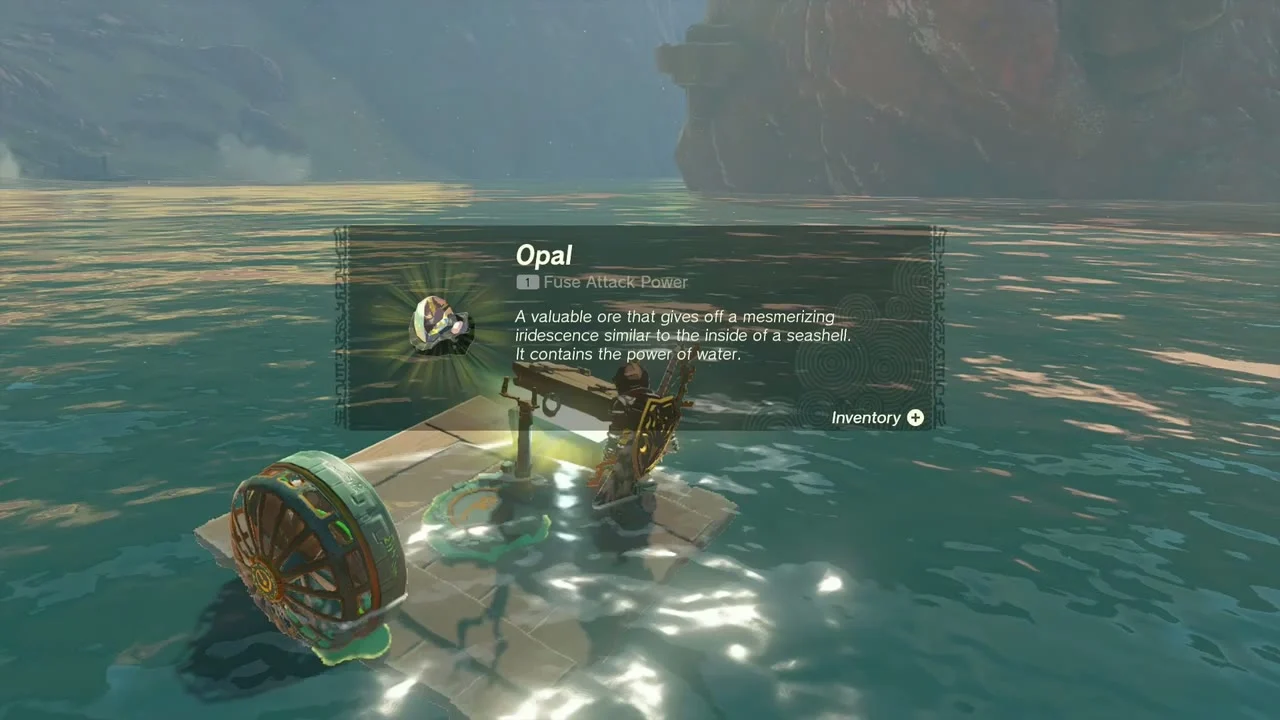
Chest: Opal at about (2723, 1291) and chest: Arrow x5 at about (2812, 1155), both floating on the water south of the Cobble Crusher shelf. Ride a Fan raft to each one and open it. The first holds an Opal, the second Arrow x5.

Pull the plug on the cliff
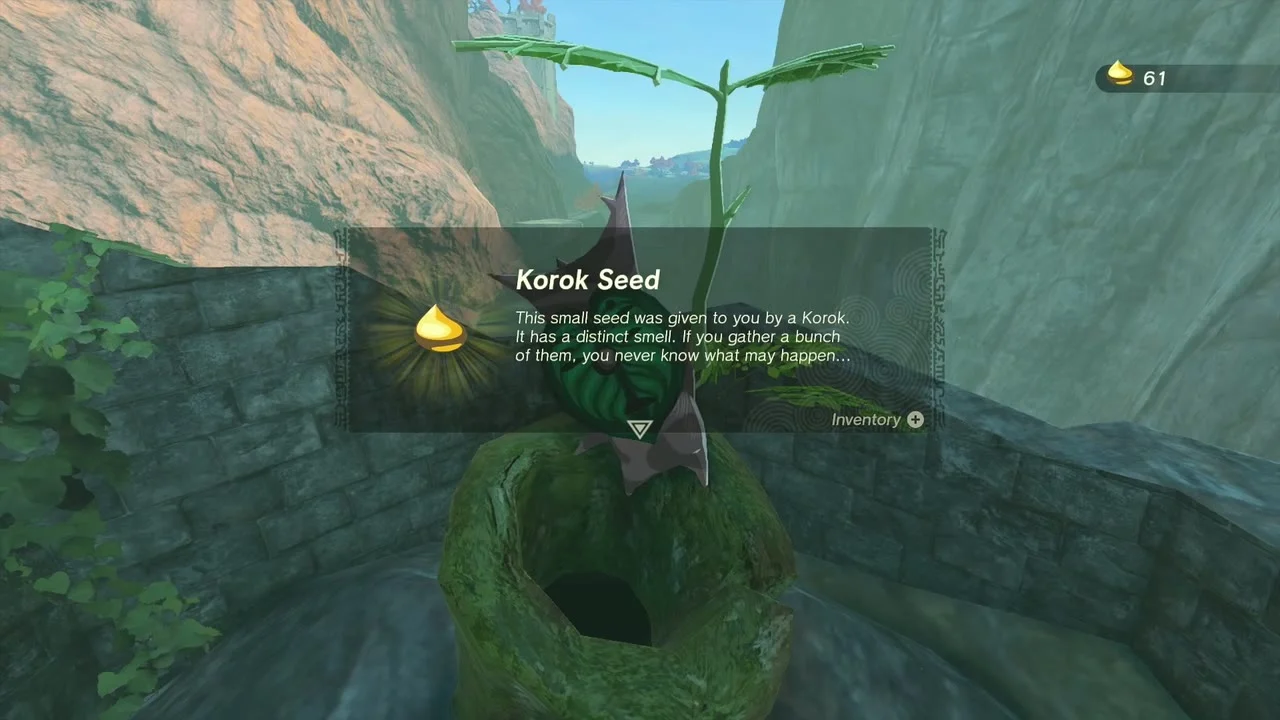
Korok seed (pull the plug). At (3011, 1203, 242) on the east side of the canyon, a large stone plug is jammed in the red cliff beside a ruined well. Grab the plug with Ultrahand and pull it out; the well opens and the Korok drops a Korok Seed.

Foothill Monster Den
Clear the den in your underwear
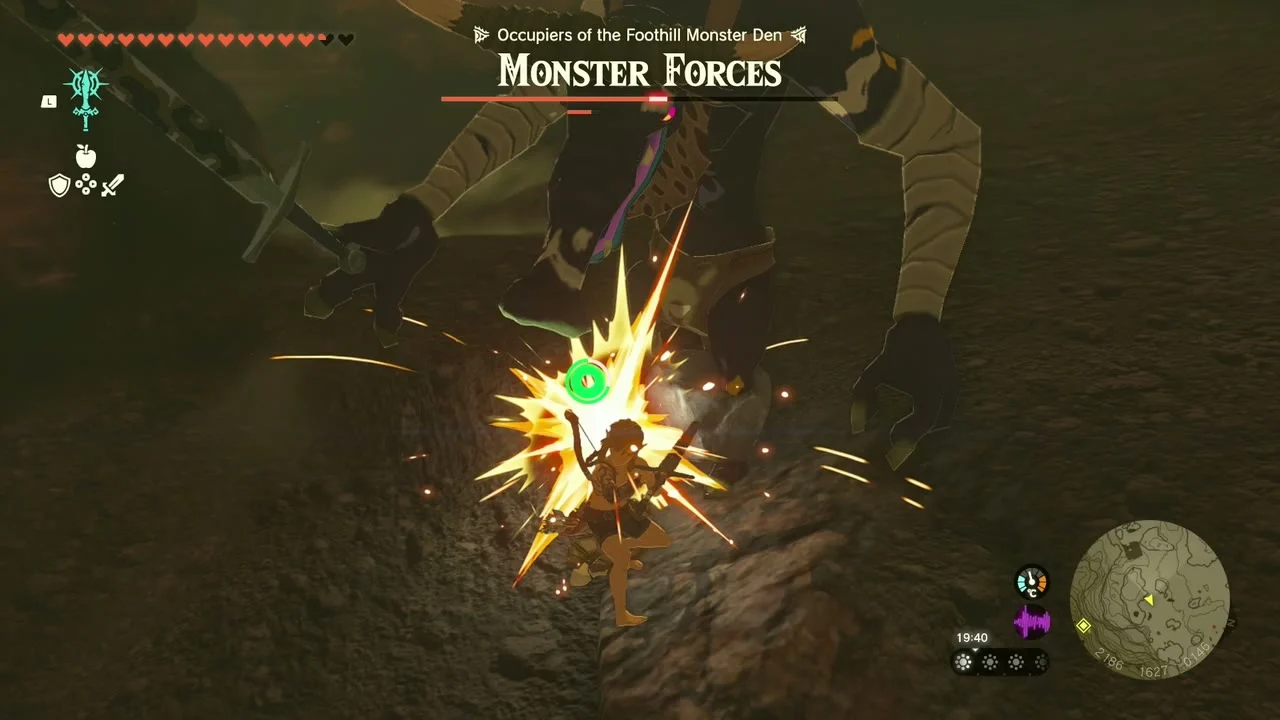
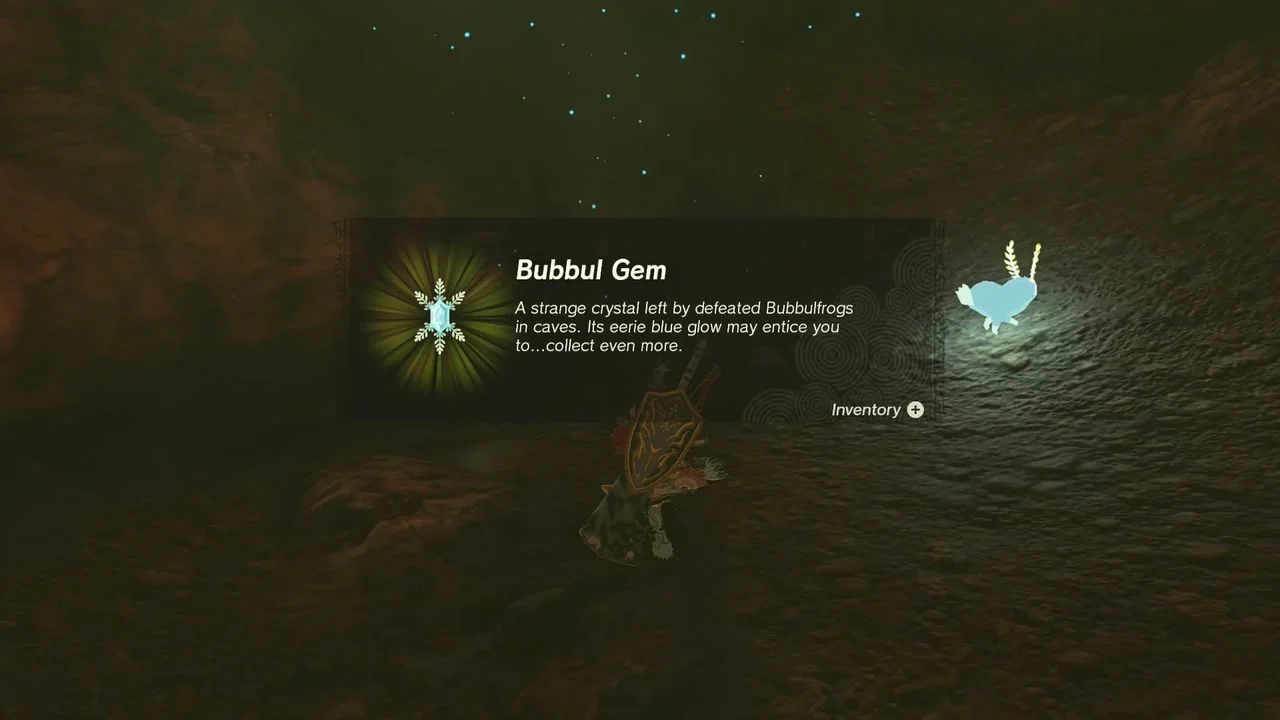
Side adventure: For Our Princess! (Penn, Foothill Stable). Members of the Zonai Survey Team wait outside Foothill Monster Den at (2275, 1520, 157), north of the Maw of Death Mountain, dressed in their underpants. Go in with no equipment, grab the clubs and bows lying on the right side, and beat every monster. A Bubbul Gem sits at the back of the den. Talk to the Survey Team outside and then to Penn at the stable for a Purple Rupee.
Foothill Stable dog chests
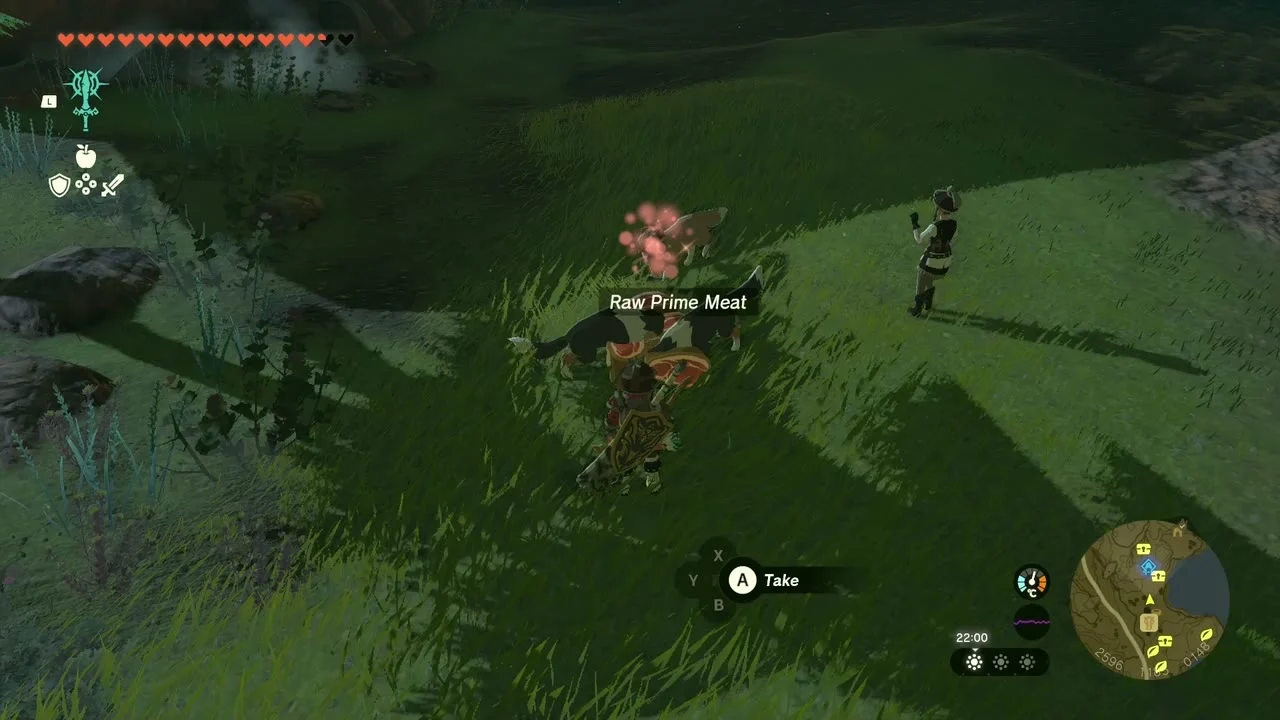
Feed the dog Raw Prime Meat
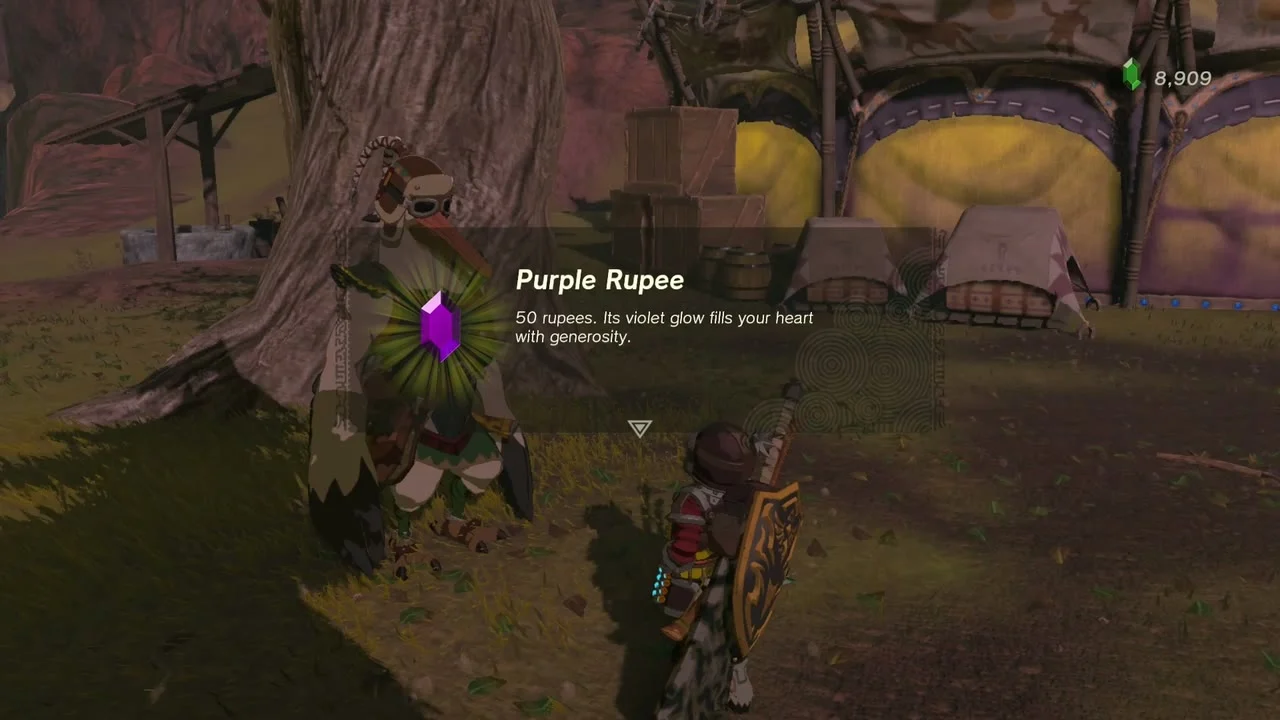
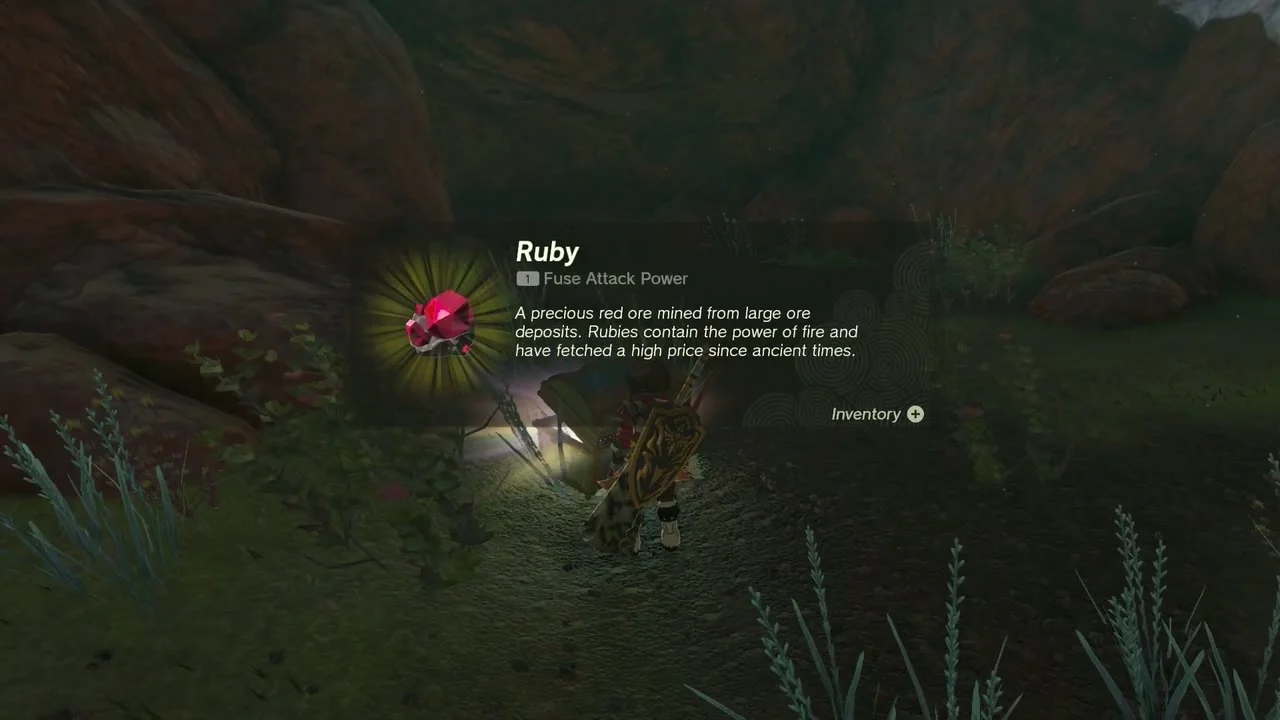
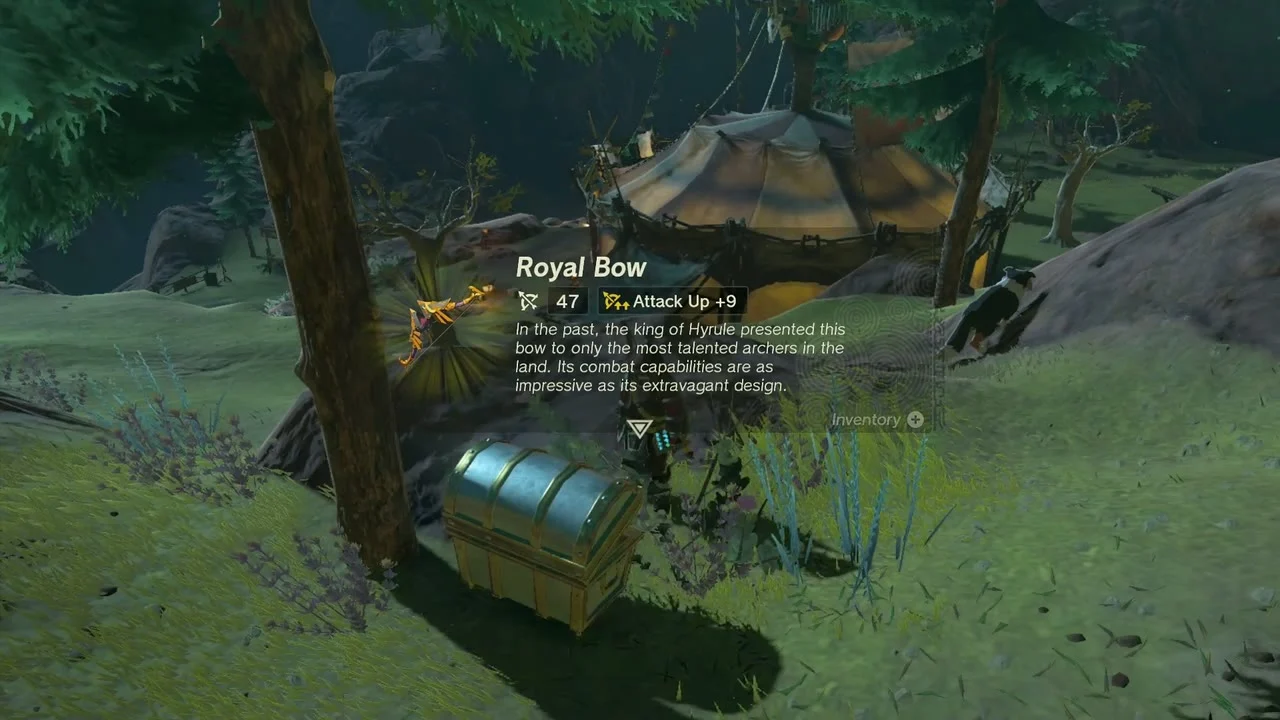
The Hylian Retriever at Foothill Stable leads you to buried chests when you feed it. Drop Raw Prime Meat near it, follow it to the spot where it stops and pull the chest free with Ultrahand. The three chests are a Ruby at about (2548, 1245) in the rocks west of the stable, a Royal Broadsword at about (2599, 1215) on the grass just below the stable, and a Royal Bow at about (2650, 1130) beside a pine tree and a lit tent.

Koroks east of the stable
Cube puzzle and sparkling spot
Korok seed (cube puzzle) at (2720, 1163, 181) on the ridge east of the stable: stack the stone cubes so the pattern matches the carved block. Then Korok seed (catch the sparkling spot) at (2674, 1074, 156): chase the glowing wisp in the yellow grass and strike it before it escapes.

Carry the exhausted Korok
Korok seed x2 (exhausted Korok). The tired Korok sits by the stable road in a camp with hanging banners. Carry it on your back, or build a Fan-and-wing glider to fly it, to its friend at (2760, 773, 199) to the south. The friend rewards you with two Korok seeds. At the destination a chest holds Rocket x3 at about (2769, 779).


Trilby Valley and Trilby Plain
Open the scaffold chest and Ascend Korok
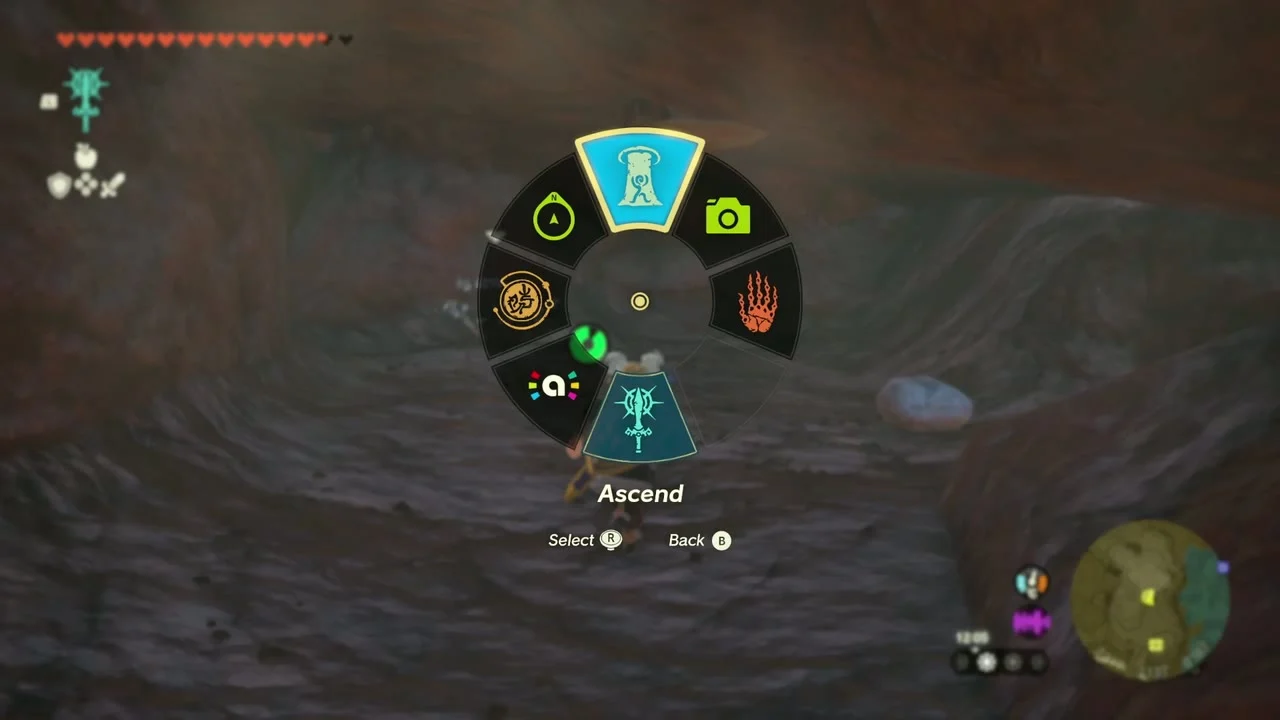
Chest: Arrow x5 at about (2340, 1170) on a wooden scaffold beside two skull barrels. Break the planks and open it for Arrow x5. Nearby, Korok seed (Ascend on the marker) at (2313, 1132, 189): the Korok’s leaf marker is on the ceiling of the rock overhang, so use Ascend to rise through it.
Complete the rock pattern
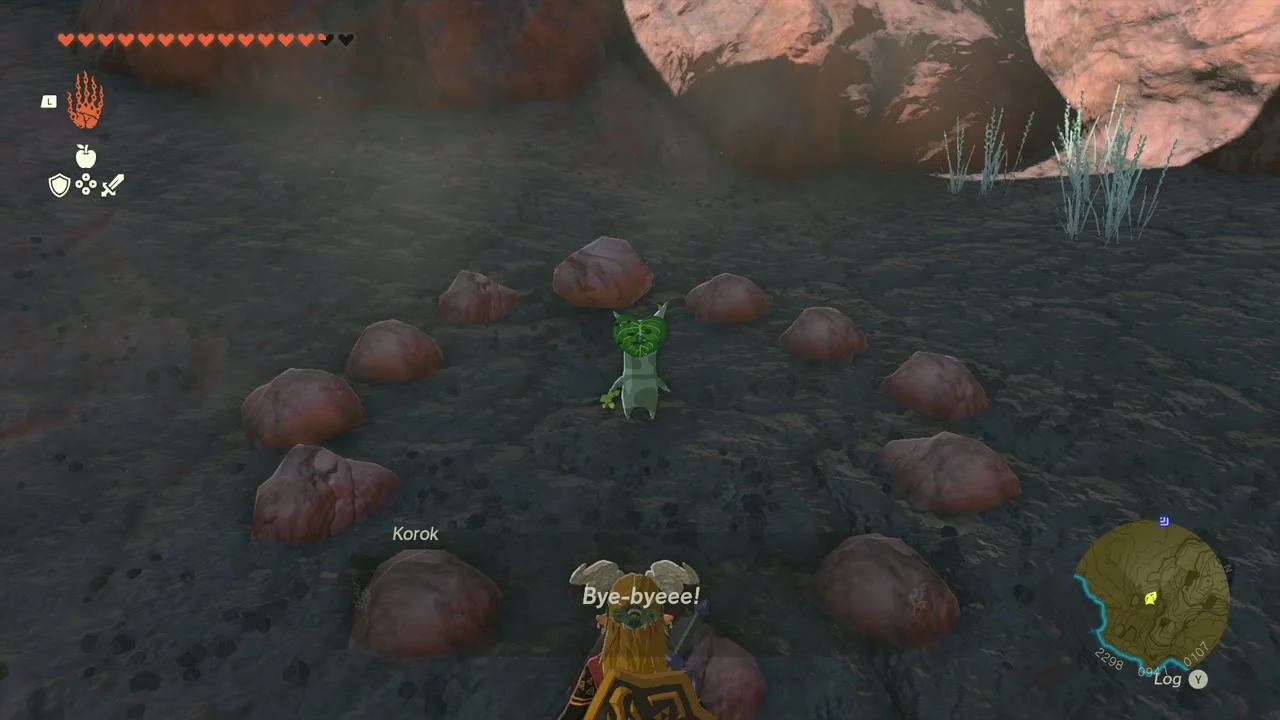
Korok seed (rock pattern) at (2293, 942, 109). A ring of red-brown rocks has one gap; pick up the loose rock lying nearby and fit it in the empty spot.

Memory 05: Mineru’s Counsel
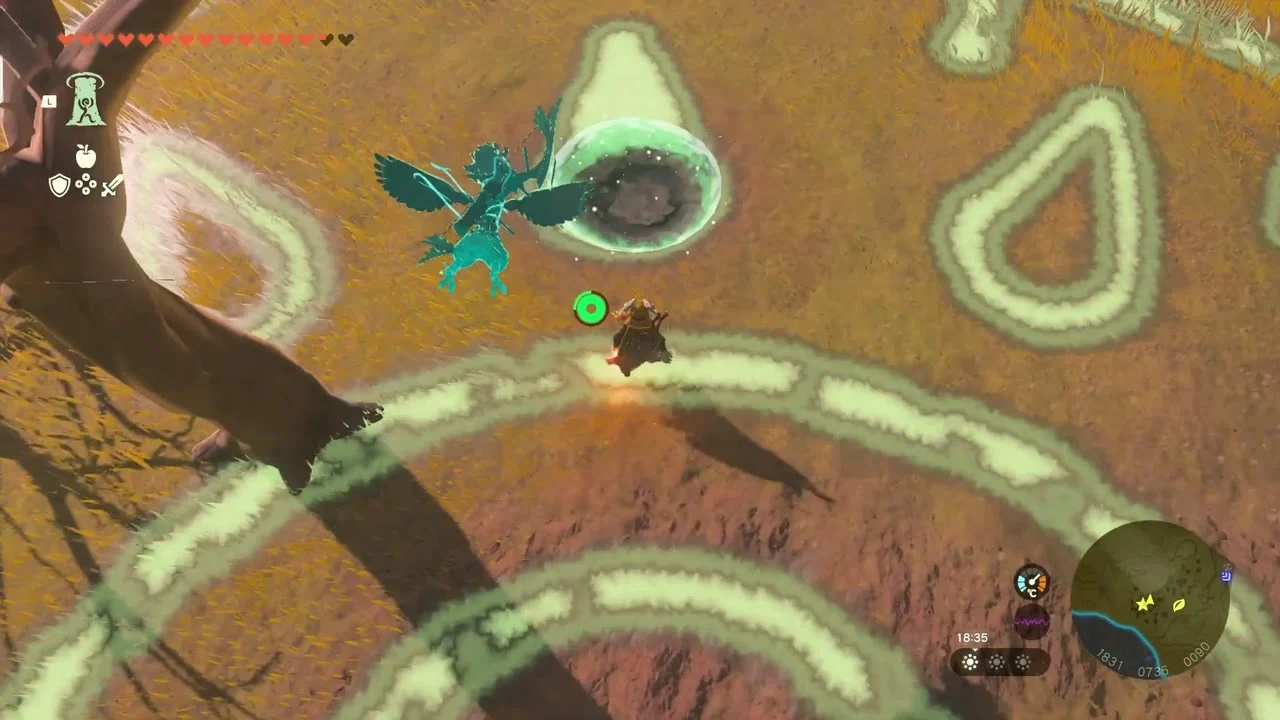
At Dragon Tear 3 (1828, 737, 89) in Trilby Valley, glide down onto the geoglyph and touch the glowing tear marker at its top to trigger Memory 05: Mineru’s Counsel. The Eldin Canyon Skyview Tower (1641, 1190) is the quickest launch point. This is part of The Dragon’s Tears.

Lift the rock in the grass spiral
Korok seed (lift the rock) at (1857, 786, 91), a short walk south of the geoglyph. A rock sits in a spiral of pale grass; lift it and the Korok in the middle of the swirl pops out with its Korok Seed.

Zelo Pond and Trilby Plain
Sail the flooded ruins
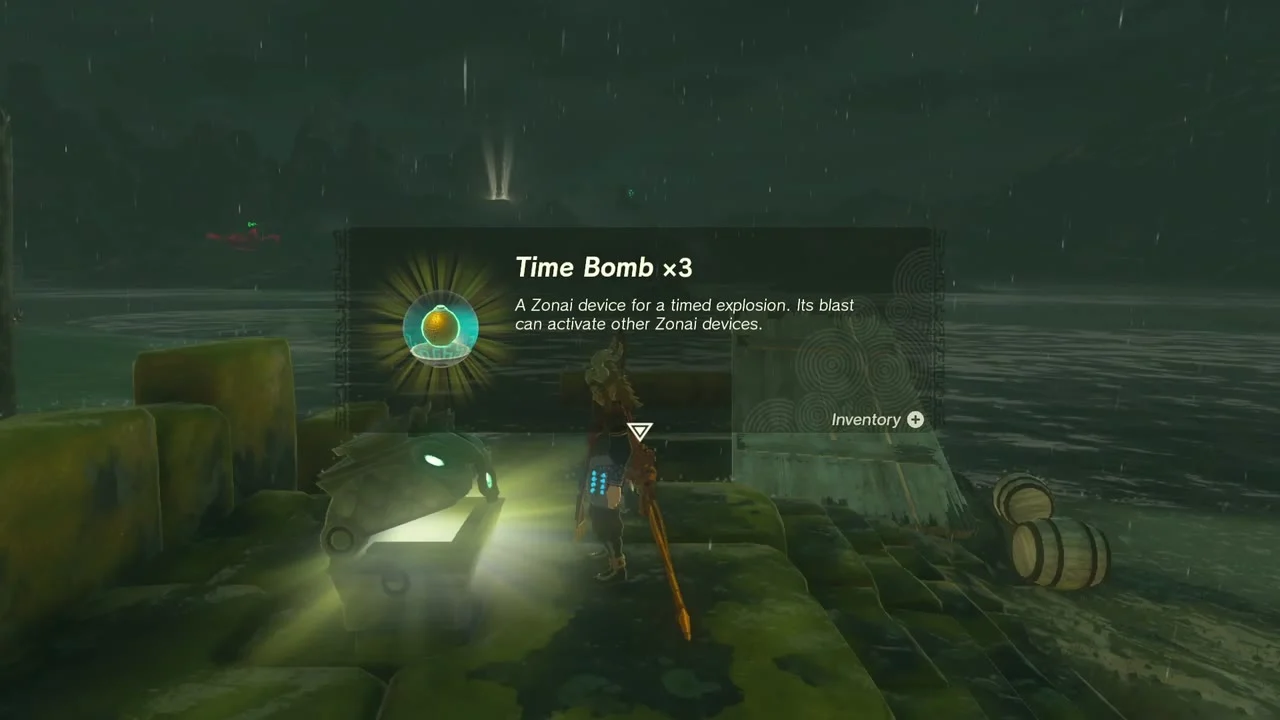
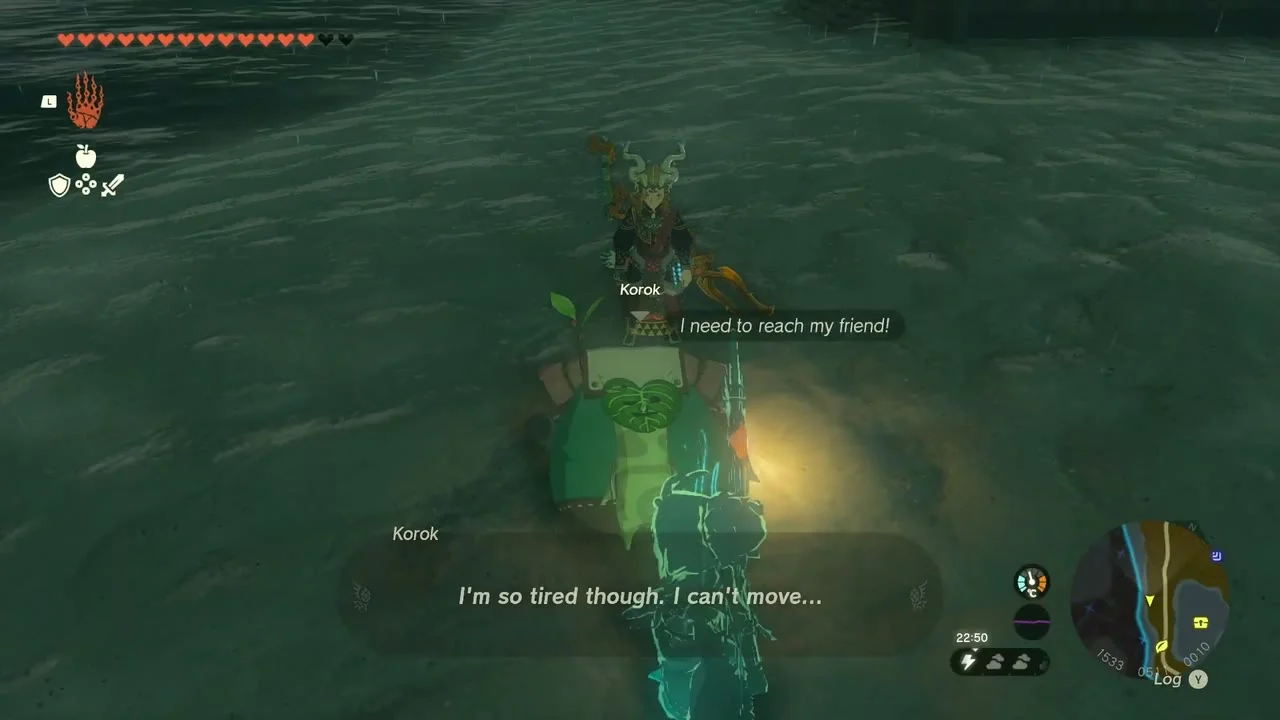
Chest: Time Bomb x3 at about (1686, 587), in ruins at the edge of Zelo Pond; open it for Time Bomb x3. A second chest with an Opal floats on the water at about (1665, 575), reached by a Fan raft. The exhausted Korok (two seeds) sits on a leaf on the flooded shore; carry it to its friend’s tent at (1686, 255, 16) on the other side of the road.

Break the hidden acorn pot
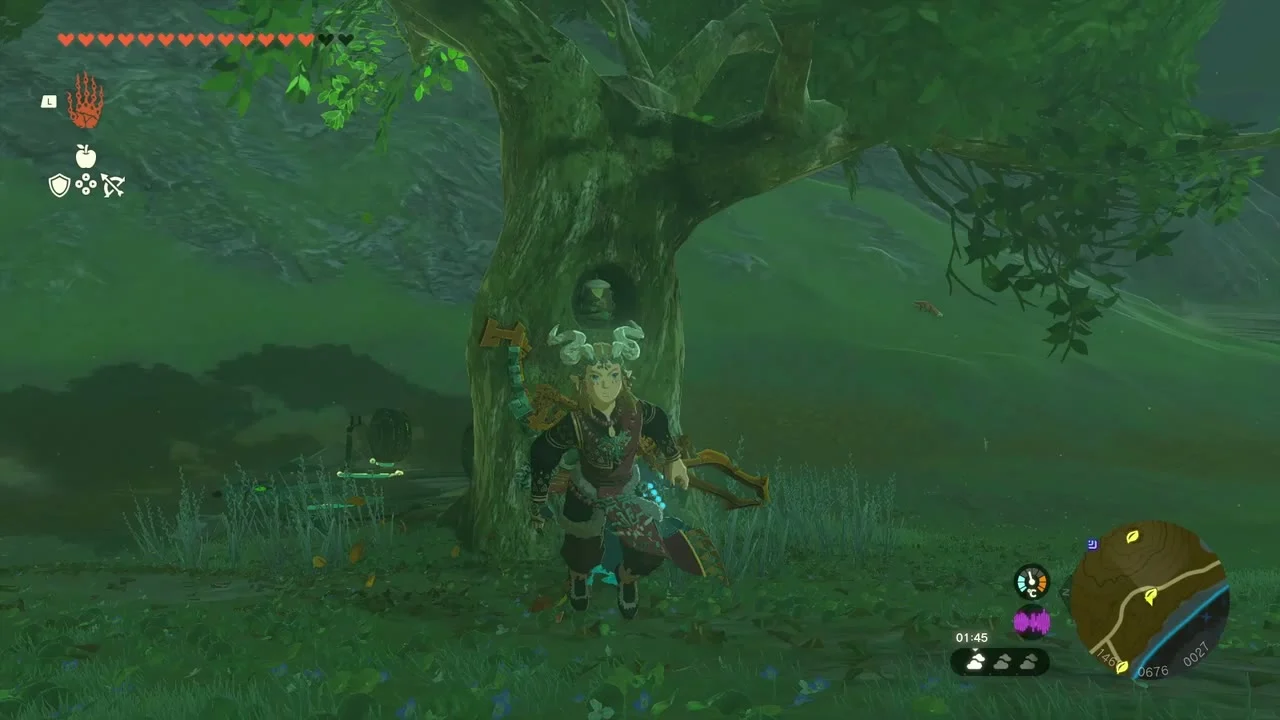
Korok seed (hidden acorn pot) at (1466, 677, 28), along the road. A tree trunk beside the route hides a pot; hit the pot and the Korok pops out of the trunk.

Beat the Trilby Plain Hinox
Miniboss: Hinox at about (1330, 907) on Trilby Plain, the target of WANTED: Hinox. Shoot its eye to stagger it, then hit it with your strongest melee weapon. It drops a Hinox Toenail and a Hinox Tooth, and its dropped sack spills Mighty Bananas, an Apple, a Voltfruit and a Royal Bow.


Prop up Addison’s Hudson sign
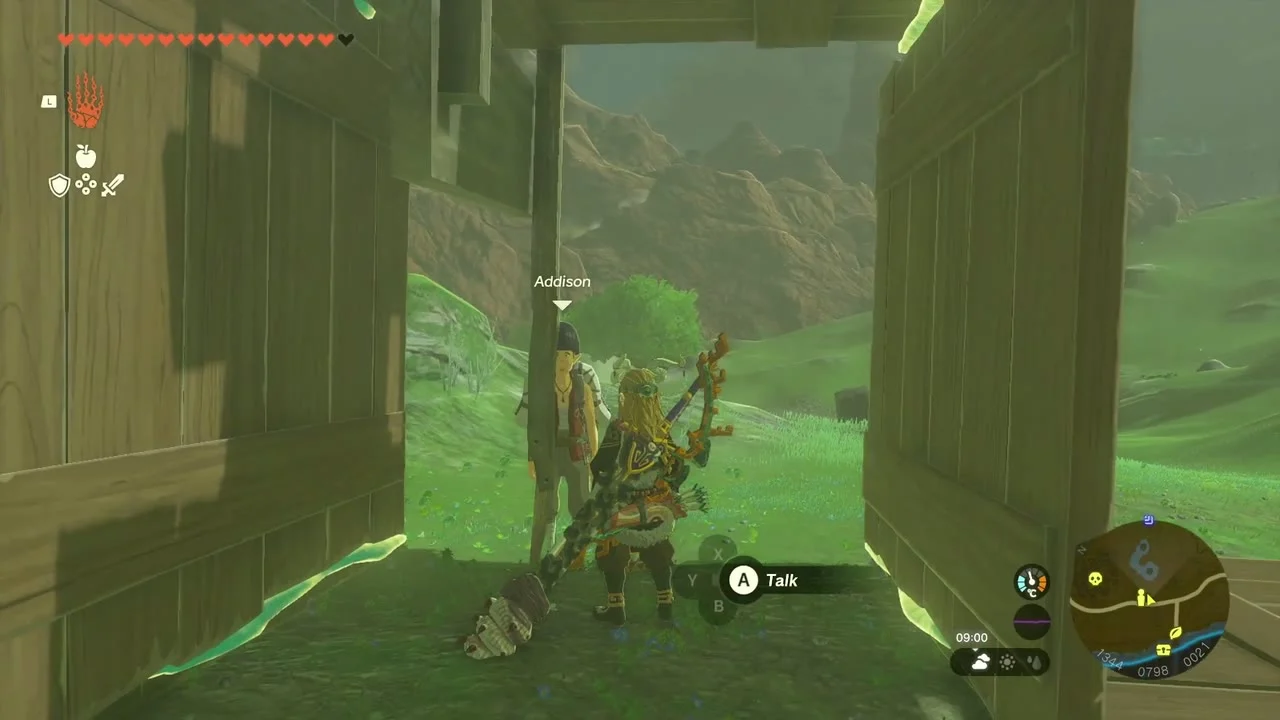
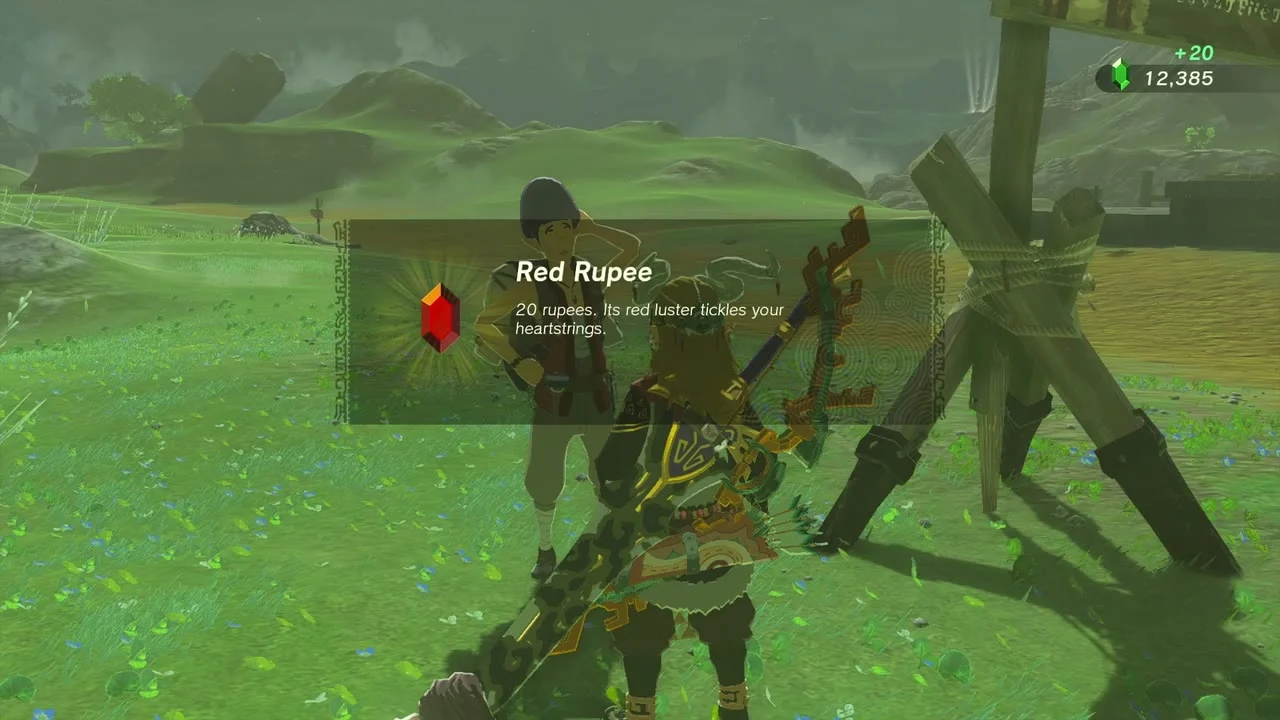
Addison’s sign at (1346, 783) beside the plain’s road. Prop the sign upright with Ultrahand and any wood or stone panels; it only has to stay up a few seconds before Addison builds the permanent frame. He pays a Red Rupee.
Lift the rock by the pier
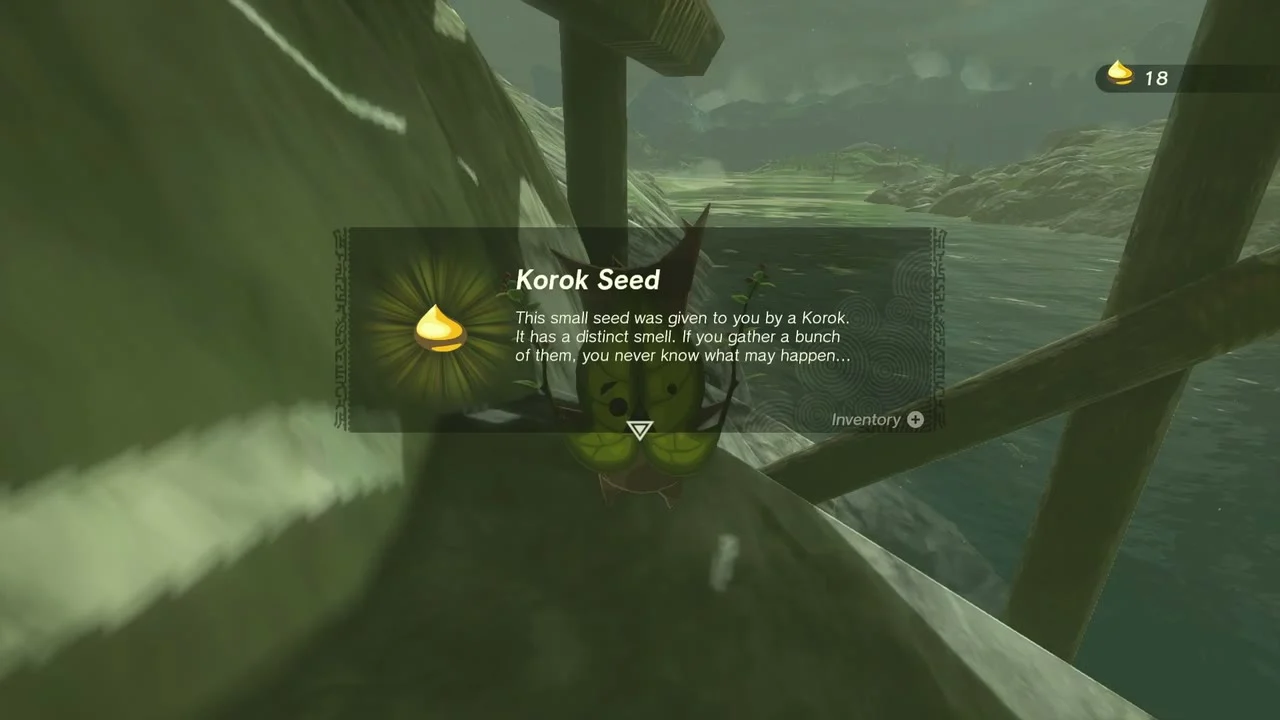
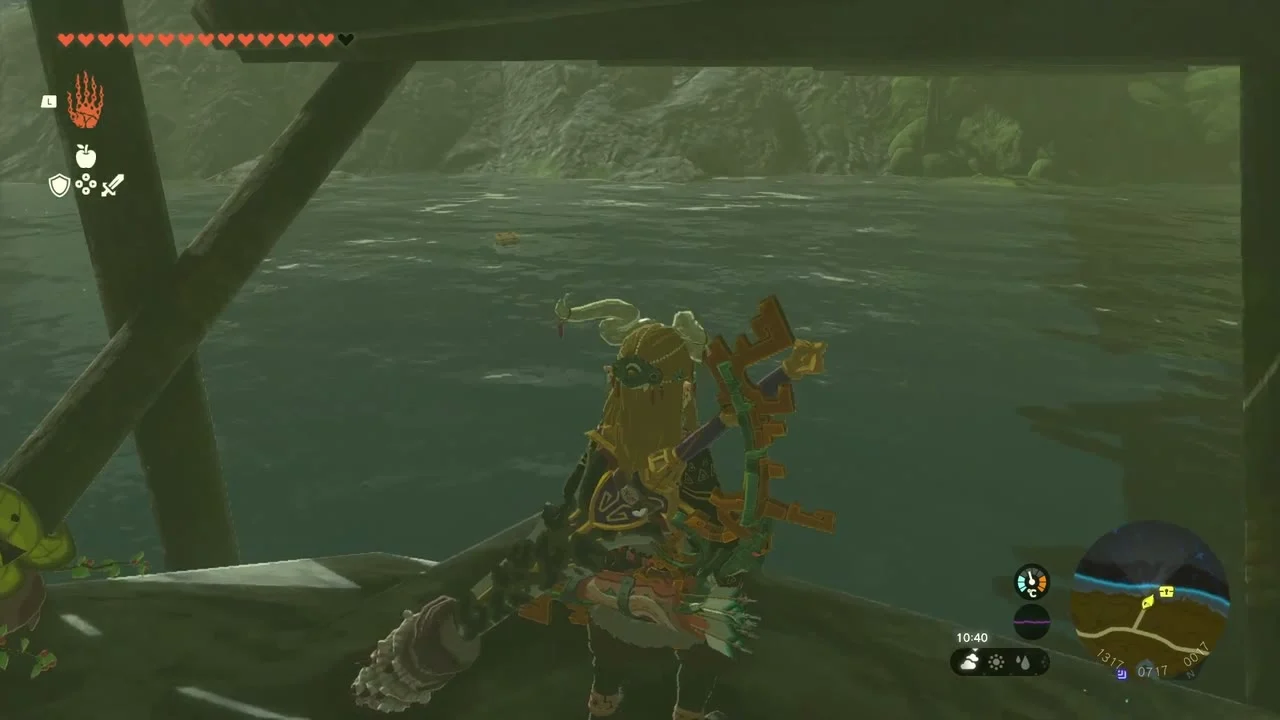
Korok seed (lift the rock) at (1320, 715, 17), under the wooden pier on the shore of the flooded lake. Lift the lone rock beside the pier and take the Korok Seed. A chest on an ice block in the lake holds Arrow x5 at about (1250, 705); freeze the water with Ice Fruit to step across.
Eldin Canyon Sky
Chests above the canyon
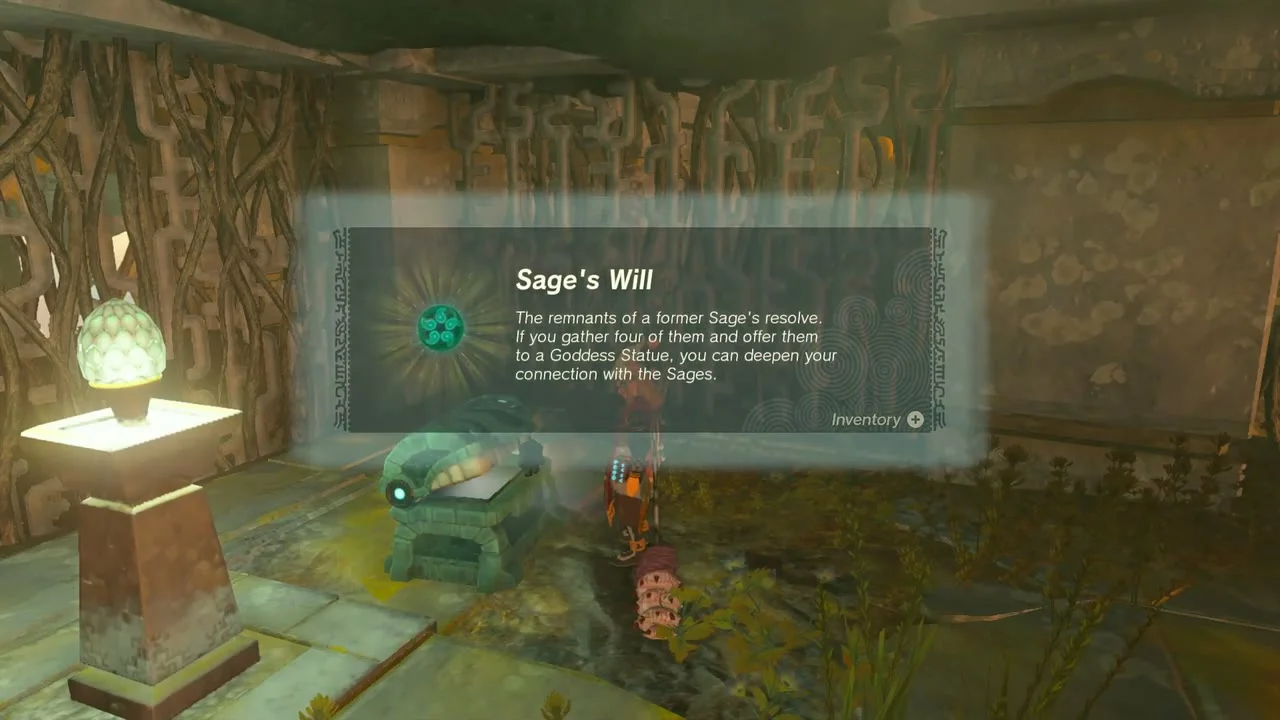
Launch from a Skyview Tower or ride a Zonai wing up. Korok seed (sky acorn pot) at (1690, 1199, 1154) floats on a leaf above the canyon. A chest on a grassy island at about (1801, 986) holds an Old Map, and a chest in the small ruin beside it, at about (1781, 980), holds Sage’s Will.
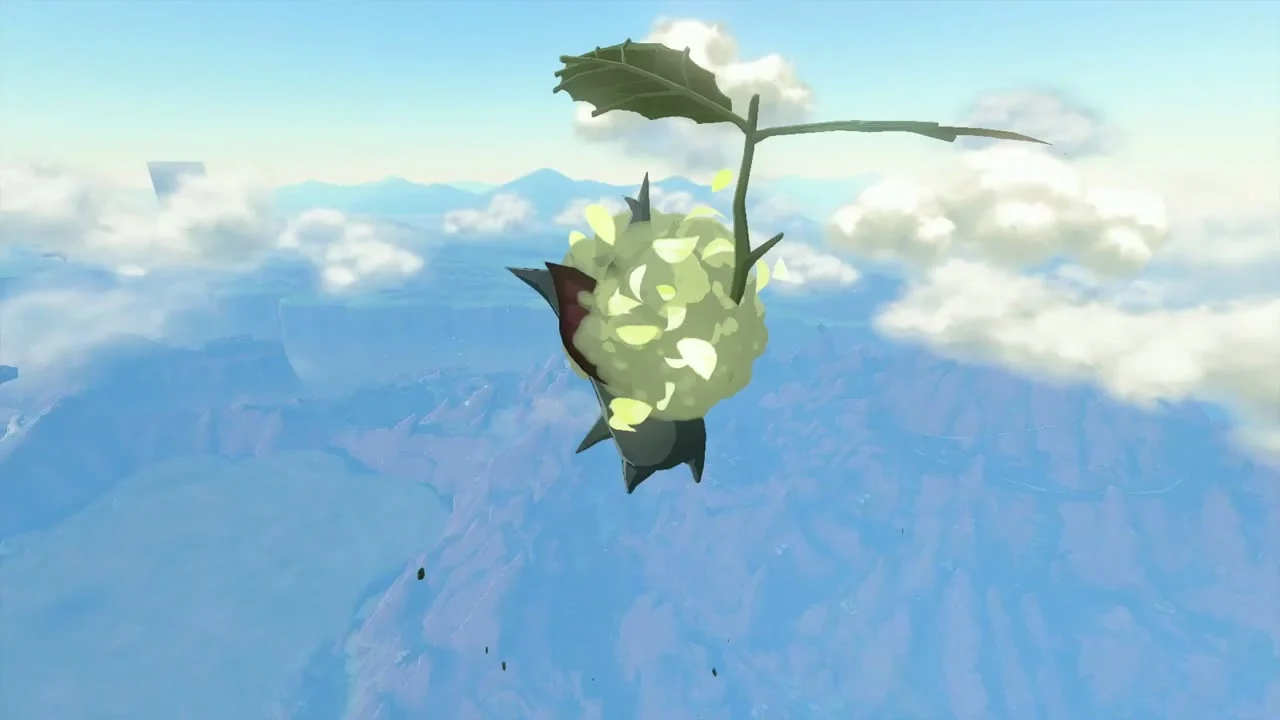
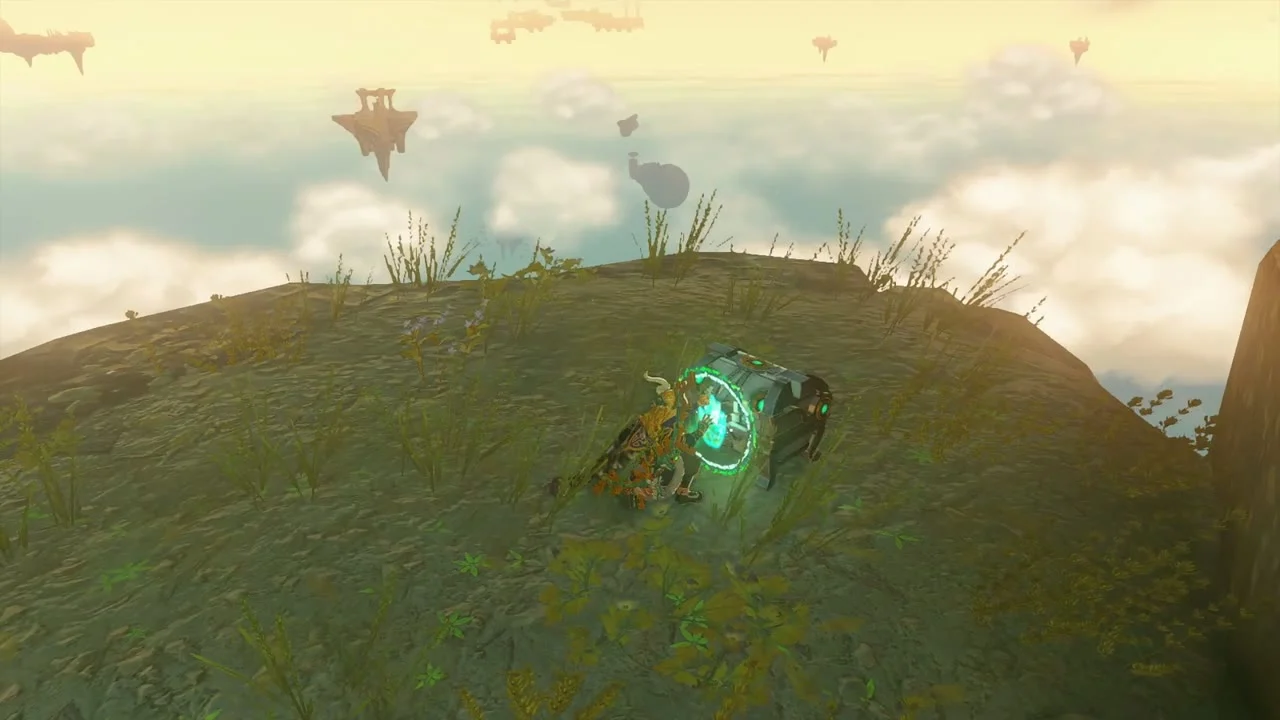
Reach Kadaunar Shrine
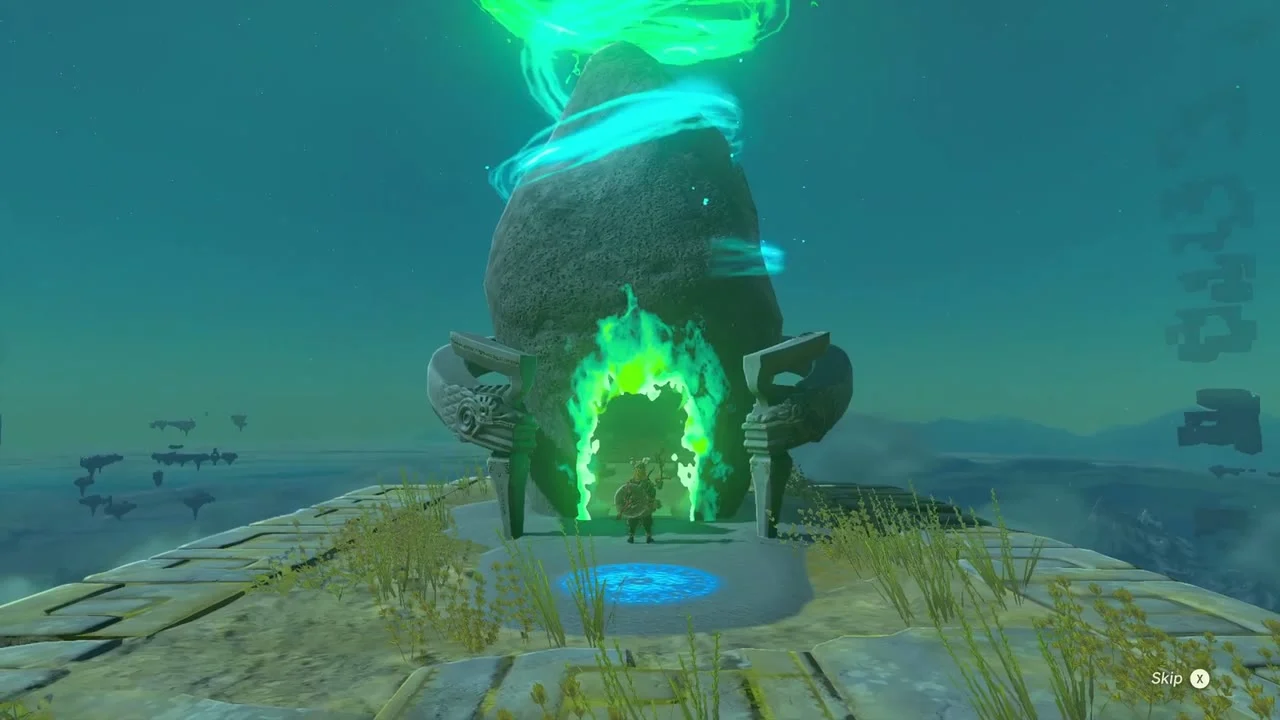
The trial is Water Makes a Way, a Puzzle shrine. Land on the pad in front of its door and walk in.
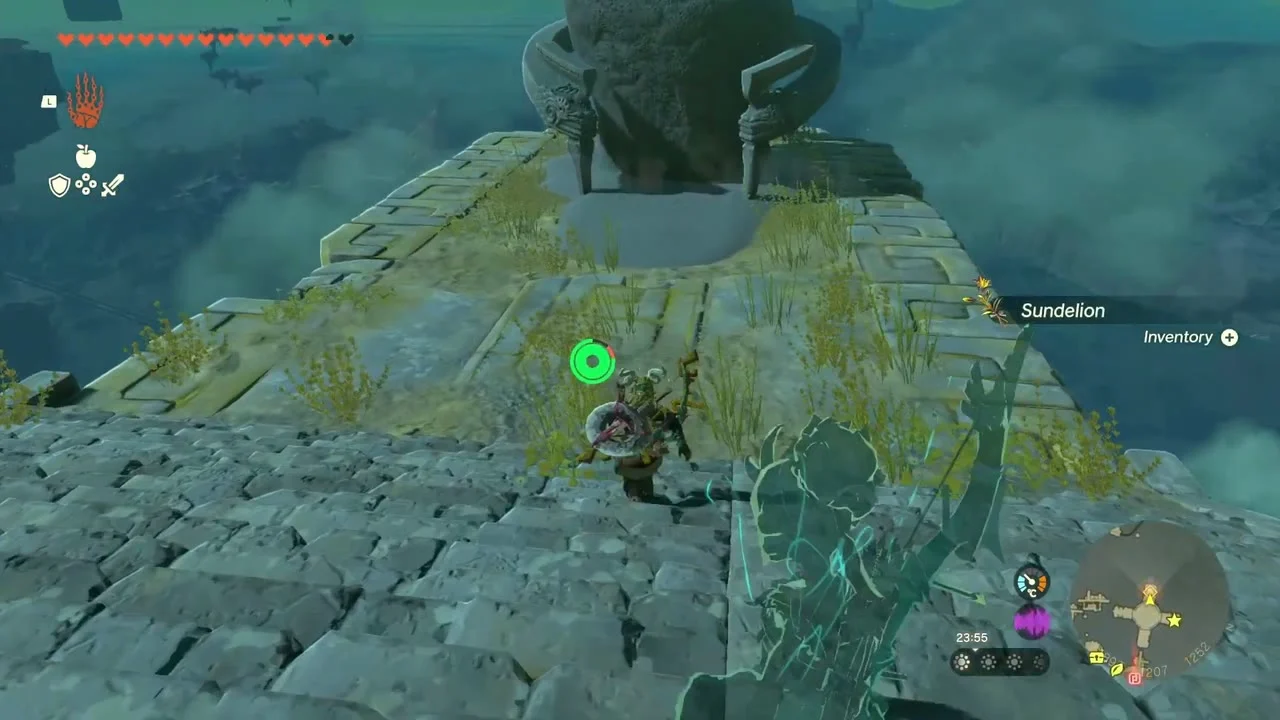
Cool the first lava pool
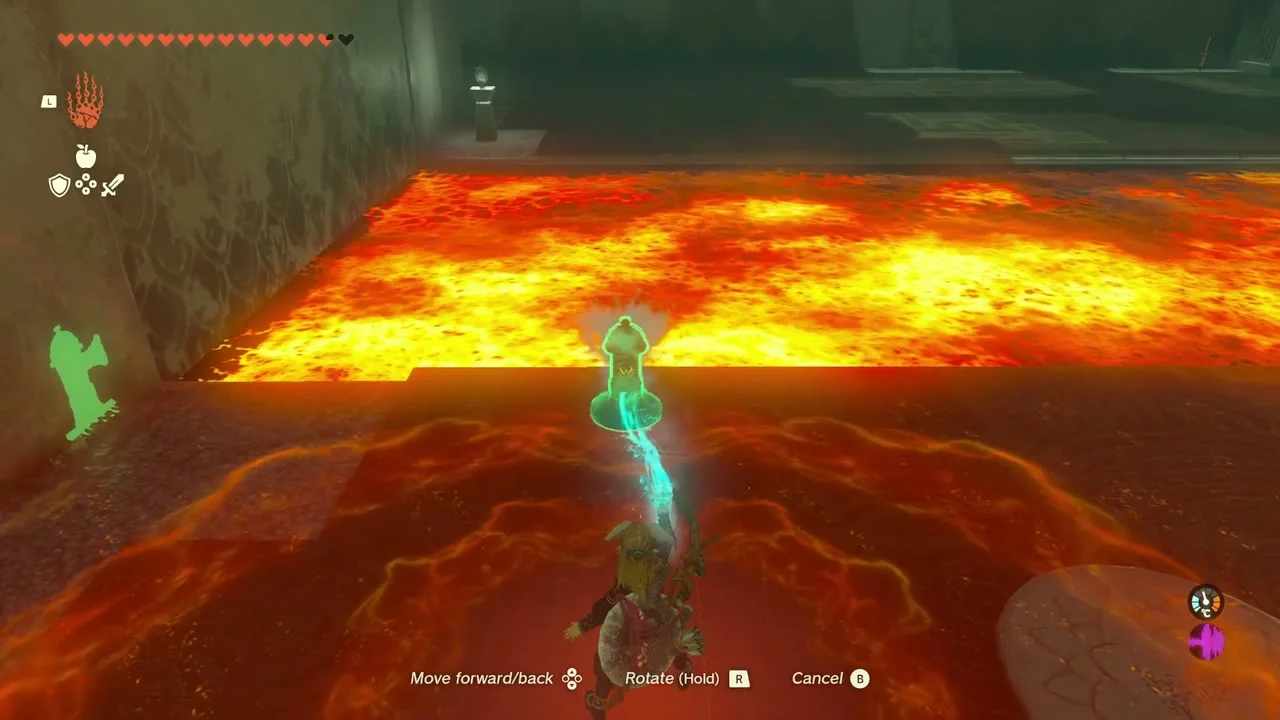
Find the water hydrant on the shrine floor, hit it to turn it on and carry it with Ultrahand to the edge of the lava. The water hardens the lava into stone slabs. Stack them into a bridge across the pool.
Open the chest and cross the last pool
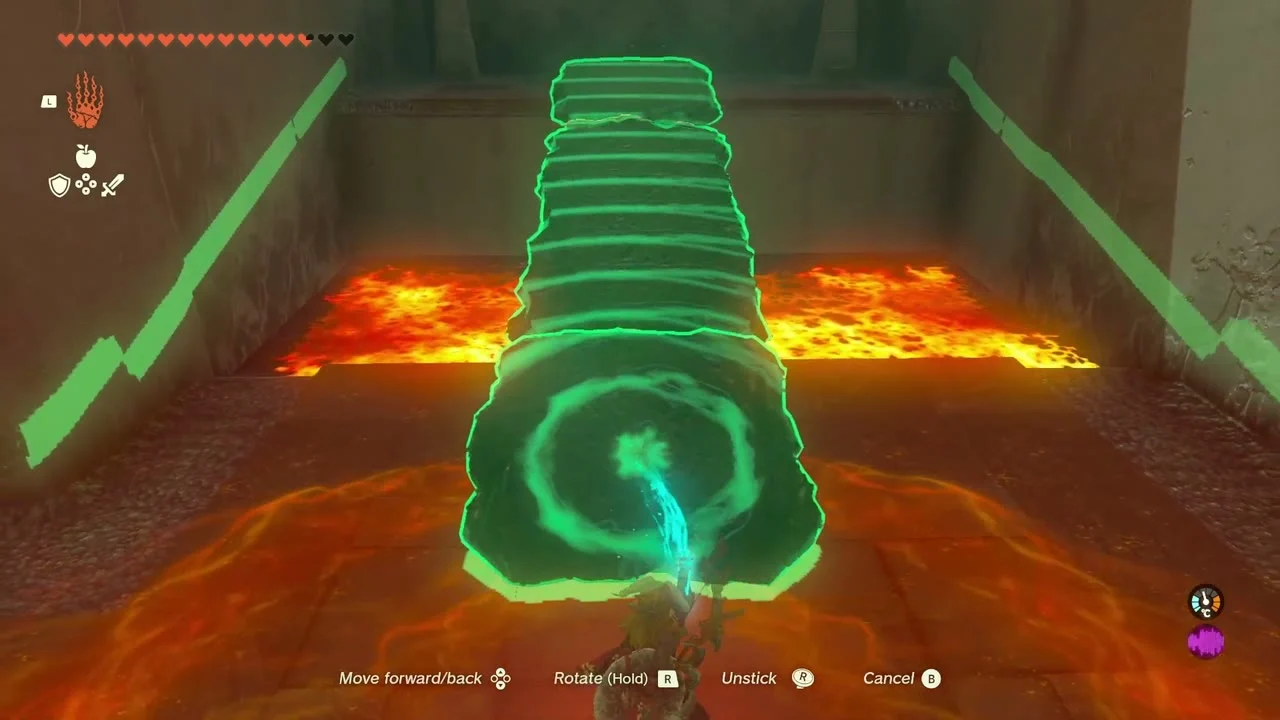
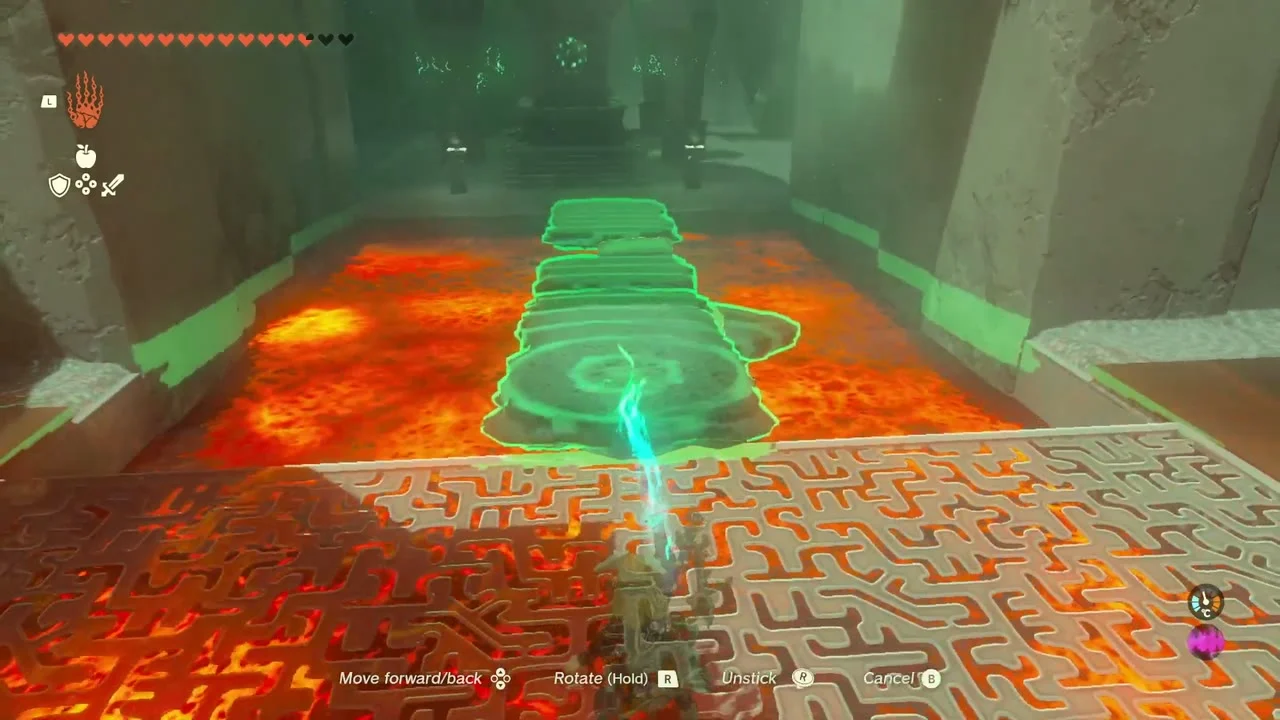
Use the hydrant on the lava to the left to build a ramp up to the ledge with the chest and open it for the Mighty Construct Bow. Take a hardened slab, fuse it to a weapon to break the cracked wall, then lay slabs across the final pool and touch the green gate for the Light of Blessing.

Tips for this stretch
Build a light raft with a Fan and a Steering Stick before you reach Lake Cephla; every lake chest and the target ring need one. Bring Raw Prime Meat for the stable dog. Large amounts of arrows come from the three Arrow x5 chests, so you can skip arrow farming.
Eldin 4 collectibles
| Collectible | Count | Where |
|---|---|---|
| Shrines | 1 | Kadaunar Shrine (sky) |
| Caves | 2 | Cephla Lake Cave, Foothill Monster Den |
| Bubbul Gems | 2 | One in each cave |
| Korok seeds | 14 | 12 Koroks; the two exhausted-Korok carries pay two each |
| Chests | 15 | Ember Trousers, Cobble Crusher, Opal x2, Arrow x5 x3, Ruby, Royal Broadsword, Royal Bow, Rocket x3, Time Bomb x3, Old Map, Sage’s Will, Mighty Construct Bow |
| Minibosses | 1 | Hinox (Trilby Plain) |
| Memories | 1 | Memory 05 at Dragon Tear 3 |
