





















Tears of the Kingdom 100% Completion Walkthrough43 chapters
Great Sky Island
- Great Sky Island4 shrines, 4 caves and Bubbul Gems, 17 Korok seeds
Hyrule Field and Hyrule Castle
- Lookout LandingParaglider, Crisis at Hyrule Castle, Jiosin and Kyononis shrines, 2 caves, 3 wells
- Hyrule FieldSusuyai and Ishodag shrines, the Hyrule Field Chasm, 2 caves, 13 Koroks
- Hyrule Castle Town RuinsSepapa, Yamiyo and Tukarok shrines, 2 caves, 4 wells, Koroks, chests and Battle Taluses in route order
- Central Hyrule Depthslight all 7 Lightroots, loot Daphnes and Gustaf Canyon Mines, find the Miner's Top
- Rest of Hyrule CastleRoyal Hidden Passage loot, 8 castle chests, Phantom Ganon, Energy Wells
- South Hyrule FieldShrines, Koroks & the Great Plateau
- South Hyrule Field DepthsGreat Abandoned Central Mine, Master Kohga, Autobuild, Majora's Mask
Tabantha and Hyrule Ridge
- Tabantha FrontierNew Serenne Stable, Hestu, Courage Island and the Glide Shirt, 3 shrines, 2 Korok seeds, Lindor's Brow Cave
- Forgotten TempleImpa and the Geoglyphs, Dragon's Tears, Kiuyoyou and Mayausiy shrines, Yiga Maritta Branch, 9 Koroks
- Tanagar Canyon & Hyrule RidgeRunakit and Iun-orok shrines, 2 caves, 12 Koroks, 20 chests, 8 minibosses and Dragon's Tear 6
- Thundra Plateau & Tabantha Bridgesolve the noon shadow puzzle, Tabantha Bridge Stable, Makurukis Shrine, 19 Korok seeds, 9 chests, 3 minibosses
- Lindor's Brow DepthsLightroots; Two Yiga camps (Bomb Bouquet, Flamethrower Balloon)
- Hyrule Ridge and Tabantha FrontierIkatak, Oromuwak, Ganos and Ga-ahisas shrines, 4 caves, a well, 26 Koroks and 3 minibosses
Hebra
- Rito VillageGatakis and Ijo-o shrines, Sikatag Lightroot, 9 Korok seeds, 14 chests
- Hebra MountainsShrines, Wind Temple & Koroks; Raspro Pass, Biron Snowshelf & Royal Hidden Passage
- Corvash Canyon MineTrousers of the Hero, Floodlights schematic, Sea-Breeze Boomerang, four Lightroots, Colgera
- Raspro Pass DepthsNupisoyuat and Sasag Lightroots, Colgera, Cap of Time, Tunic of the Wind, two Yiga camps and 13 minibosses
- Tabantha TundraTaninoud, Orochium, Oshozan-u, Mayaotaki, Nouda and Tenbez shrines, three Lightroots, caves and Bubbul Gems
- Pikida Stonegrove DepthsEvil Spirit Greaves, Ikatoayam, Muihcoro and Sikatag Lightroots, 3 Yiga schematics, Frox fights
Great Hyrule Forest
- Great Hyrule Forest7 shrines, 8 Lightroots, 2 caves, 2 wells, Korok Mask, Glide Tights
Eldin
- EldinEldin Canyon, Shrines, Caves & Goron City
- Eldin Canyon Depths10 Lightroots, Zant's Helmet, Trousers of the Wild, Biggoron's Sword, 3 Yiga schematics and Eldin's sky chests
Faron
- FaronHighland Stable, Lake Hylia & Popla Foothills
Necluda
- Kakariko VillageMakasura Shrine, Kakariko Village Well, 2 caves, Ring Ruins chests, 10 Korok seeds and village quests
- West Necluda and Lanayru WetlandsShrines, Koroks & Caves; Jonsau, Kurakat
- Hateno VillageZanmik and Mayahisik shrines, Shield of the Mind's Eye and Phrenic Bow wells, 7 Koroks
- East NecludaRabella Wetlands, Sifumim Shrine, Lurelin Village, 21 Korok seeds
- East Necluda DepthsKumamayn Shrine, 4 Lightroots, Midna's Helmet, Cap of the Hero, Trousers of the Wind and 18 Depths chests
Lanayru
- Lanayru Great SpringShrines, Koroks & Caves; Ralis Channel, 3 shrines, 8 caves
- Zora's DomainMogawak and Ihen-a shrines, Ploymus cave, Pristine Sanctum, Zora Armor, Sidon of the Zora and Clues to the Sky
- Wellspring IslandAncient Zora Waterworks chests, Igoshon Shrine, 2 Korok seeds, Water Temple's four wheels and Mucktorok
- Mount LanayruShrines, Koroks & Light Rings; Jikais and Anedamimik shrines
Gerudo
- Gerudo DesertShrines, Caves & Koroks; West and South Sands
- Gerudo TownGerudo Shelter shops and quests, Valley of Silent Statues, Lightning Temple and Queen Gibdo, Chichim Shrine
- Gerudo Desert DepthsGranajh and Daval mines, three Master Kohga fights, Queen Gibdo, Mucktorok, Sheik's Mask and 37 chests
- Gerudo HighlandsSkyview Tower, Rotsumamu and Suariwak shrines, Mayasiar Shrine, Yiga hideout
Akkala
- AkkalaTarrey Town quests, 4 shrines, Hinox, Battle Talus
- Akkala Sky Islands and DepthsGikaku and Natak shrines, Old Maps, Lomei Depths Labyrinth, Mucktorok, 5 Lightroots and 19 chests
Finale and completion
- Ancient Tablets, Gleeoks and Armor Upgradesall 13 stone tablets with coordinates, Frost and King Gleeok, Obsidian Frox, Cotera upgrades and farming
- Hyrule CastleRoyal gear chests, Korok seeds, Serutabomac Shrine
- Thunderhead IslesCharged armor, Joku-usin and Joku-u Shrines, Dragonhead Island's relic
- 100% Completion: Armor Upgrades & Korok BonusHestu's Gift, Ancient Hero's Aspect, Great Fairy Cotera upgrade costs and materials, then Destroy Ganondorf
| Region | West Necluda: the sky islands above Sahasra Slope, then Kakariko Village and the hills, Ring Ruins and East Hill around it |
|---|---|
| Main quest | Secret of the Ring Ruins (Tauro, Kakariko Village): the slab-reading steps |
| Side quests | Codgers’ Quarrel (Trissa), Out of the Inn (Dai), A Trip through History (Bugut), Follow the Cuccos (Trissa), Gloom-Borne Illness (Lasli) |
| Shrines | 2: Josiu Shrine (Rauru’s Blessing, sky island) and Makasura Shrine (An Upright Device, Puzzle) |
| Caves and wells | 2 caves (Kakariko Village Cave, Cucco Hideaway) and 1 well (Kakariko Village Well) |
| Lightroots | 1 below a shrine: Arusakam Lightroot, under Makasura Shrine (see all Lightroots) |
| Korok seeds | 9 in this stretch |
| Bubbul Gems | 2: Kakariko Village Cave and Cucco Hideaway |
| Chests | 13: Old Map x3, Large Zonai Charge, Big Battery, Amber, Eightfold Blade, Fairy Tonic, Large Zonaite, Silver Lizal Blade, Shield of the Mind’s Eye, Giant Brightbloom Seed x5, Zonaite Sword (Strong or Mighty, depending on your progress) |
| Armor | Stealth set and Radiant set, bought at the Kakariko armor shop |
Kakariko Village sits on the eastern edge of West Necluda, below a ring-shaped ruin that fell from the sky, with the Ring Ruins, East Hill Chasm and a pair of caves within a short walk. This chapter clears the village’s quests, shops and Koroks, the Makasura Shrine above it, and the caves and chests in the surrounding hills. Coordinates are map units (X, Y, height): larger Y is further north, and the minimap rim prints the same numbers, so you can match any entry against your own position. Quests are listed where you pick them up; their own pages cover every step.
Quick route
Everything here sits within a few minutes of the village square, so you can take the stops in any order; the order below keeps the climbs and glides to a minimum.
Start in the sky islands above Sahasra Slope: carry the crystal to Josiu Shrine, then open the Old Map chests and the Big Battery chest on the neighbouring islands, and glide down to the village.
In the village, take the Trissa and Dai quests, spend Lights of Blessing at the Goddess Statue, pick up the two sparkle Koroks above the wooden walkways, buy the Stealth and Radiant sets at the armor shop, and drop into Kakariko Village Well for the Eightfold Blade.
Climb to Makasura Shrine above the village, then work through the Ring Ruins and the hills: the Large Zonaite chest, the rock-lift Korok, the acorn-pot Korok, the carried Korok pair, and the Silver Lizal Blade chest on East Hill.
Finish with Kakariko Village Cave, Cucco Hideaway, and the Ring Ruin monster clear-out for Steen and Olkin, then return to Bugut and Trissa to hand in the quests.
Sky islands above Sahasra Slope
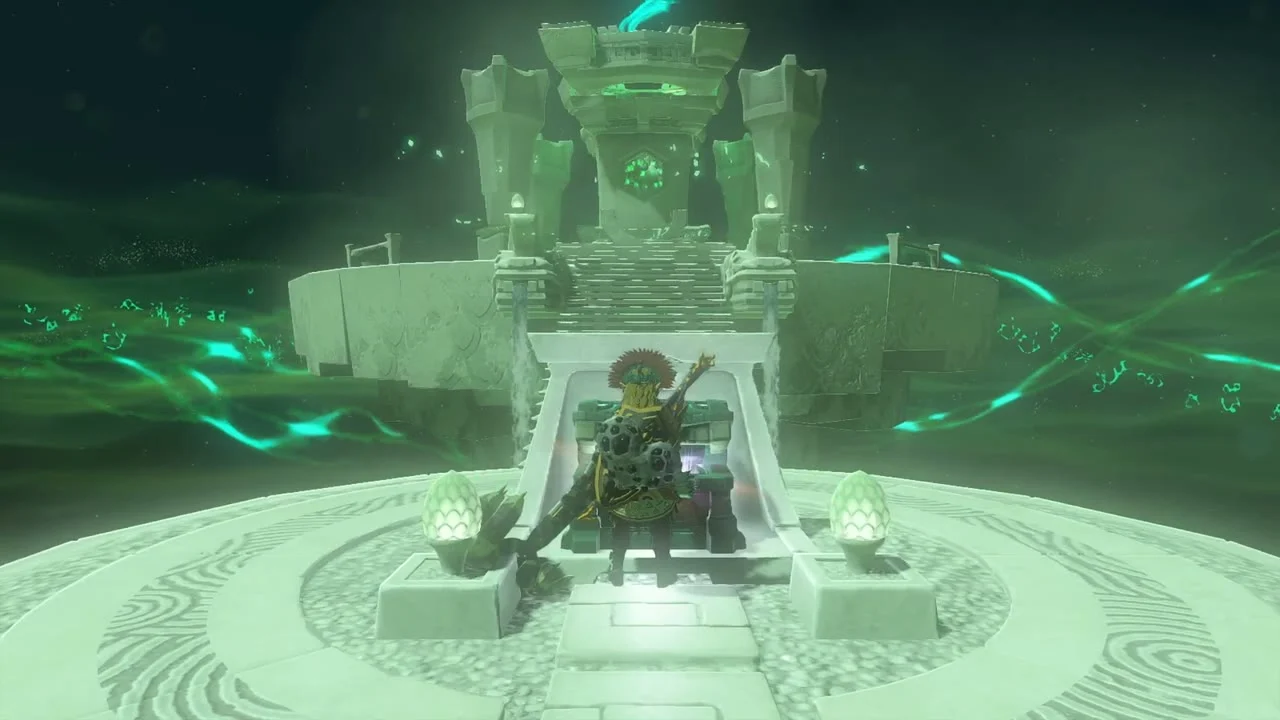
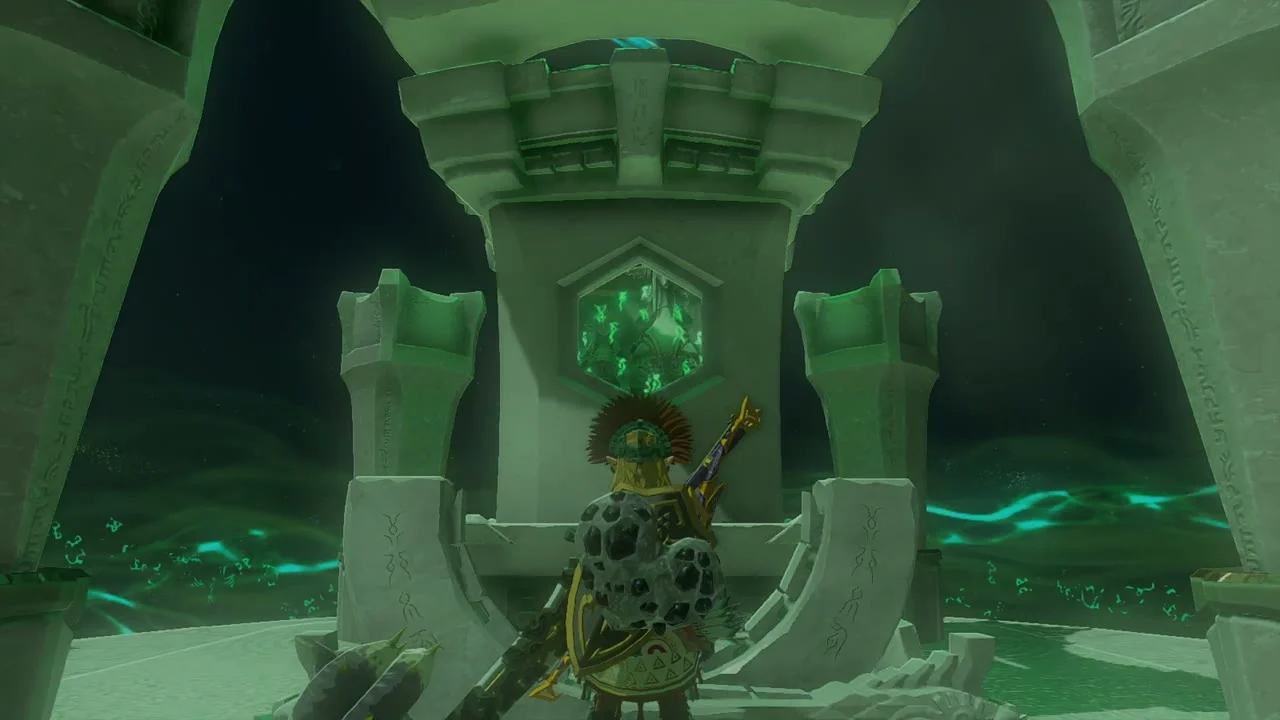
Josiu Shrine (Rauru’s Blessing). The shrine sits on a floating island at (1758, -1208, 937) in the sky above West Necluda, north-west of the village and far above it. It is listed under the West Necluda Sky, and its shrine quest is called The North Necluda Sky Crystal. The doors stay closed until you bring the crystal from the neighbouring island: pick the crystal up, carry it onto the glowing pad in front of the doors, and the quest completes. Inside there is no puzzle: open the chest on the main path for a Large Zonai Charge, climb the stairs and examine the altar for the Light of Blessing. A Lightroot is not attached to sky shrines.
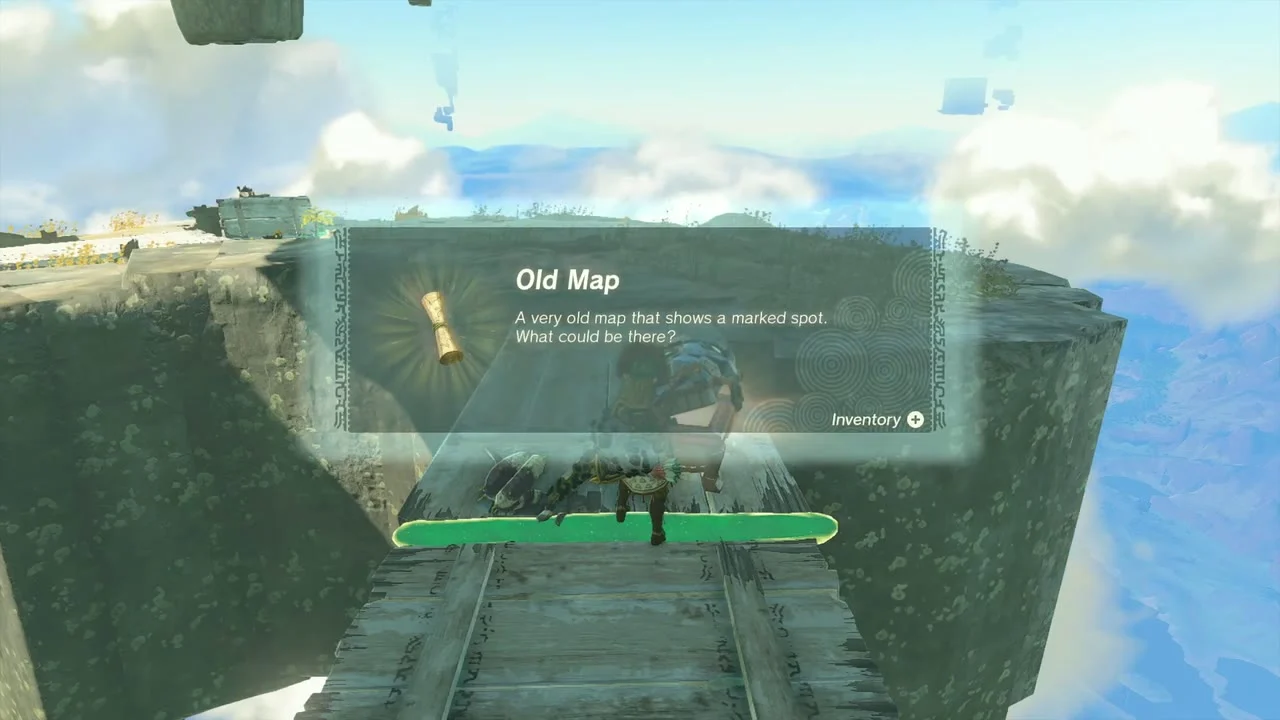
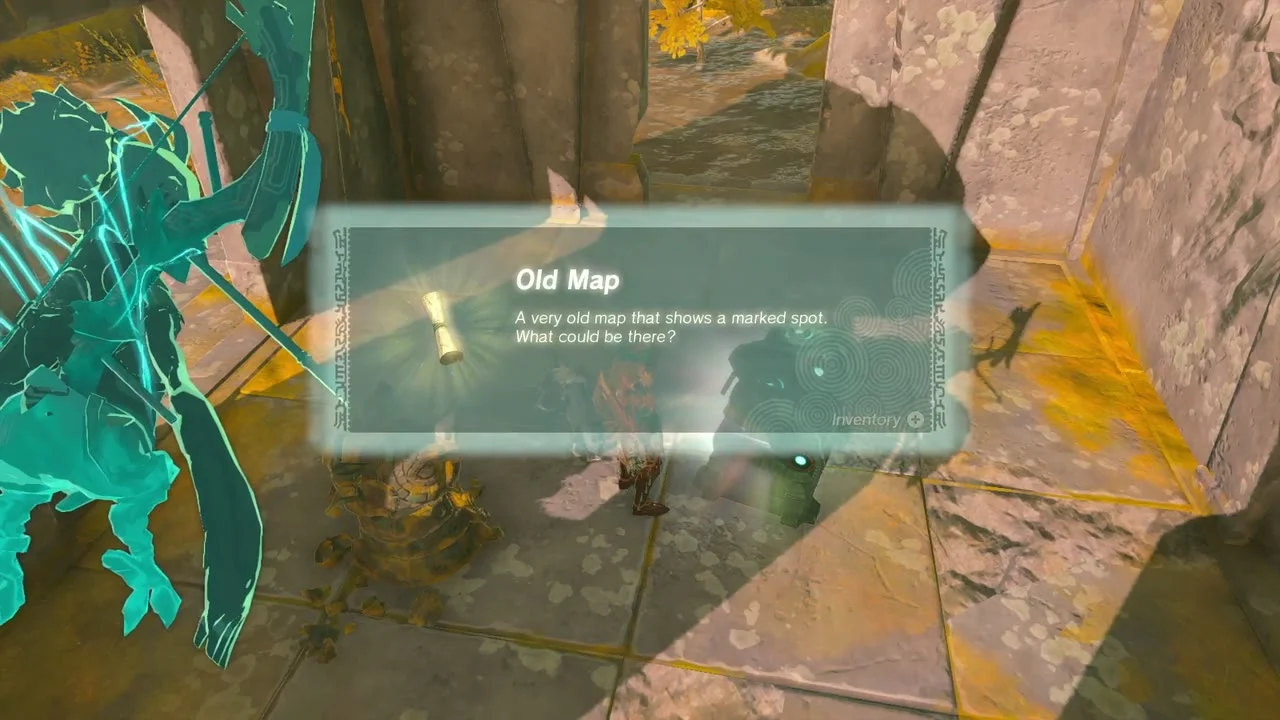
Chests (Old Map x3, Big Battery). Three chests on these islands each hold an Old Map: one on the Josiu Shrine island group near (1780, -1240, 930), one on a narrow plank bridge at about (1850, -1088, 927), and one in a ruined court at about (1650, -354, 405). A Big Battery chest sits on a Construct-guarded platform at about (1494, -260, 386). Build a Zonai Wing and Fan glider to hop between the islands.
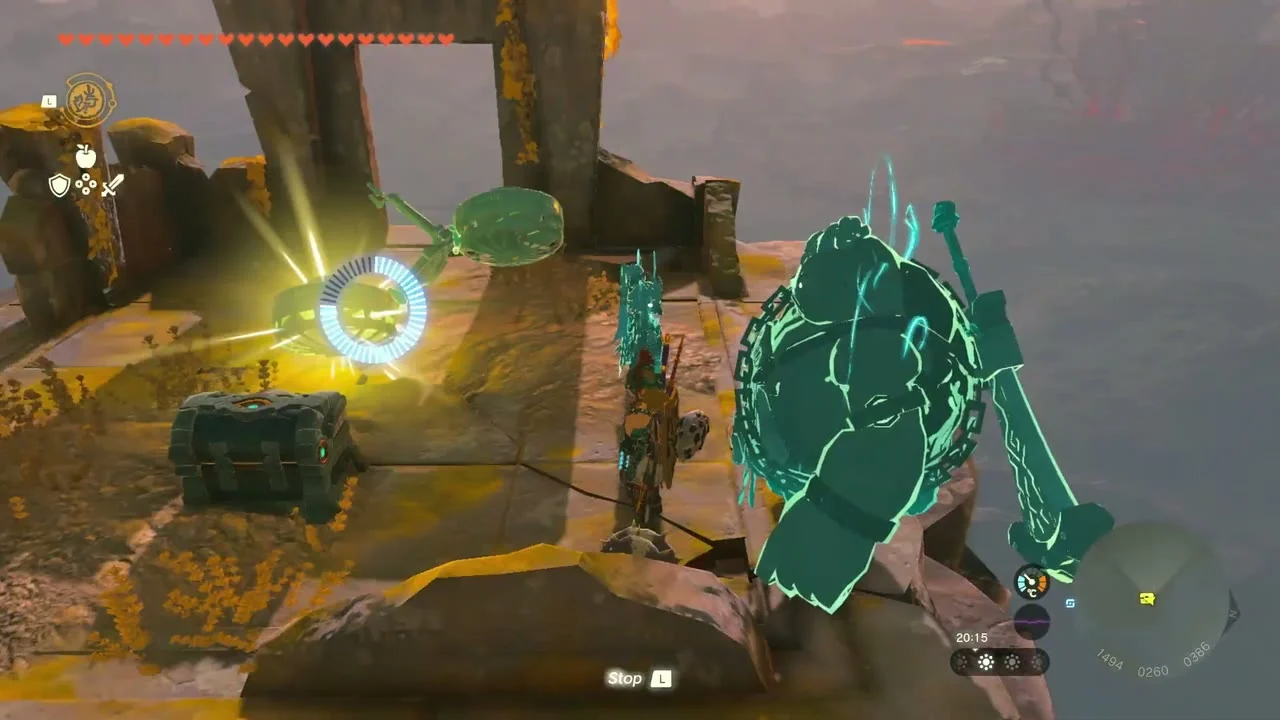
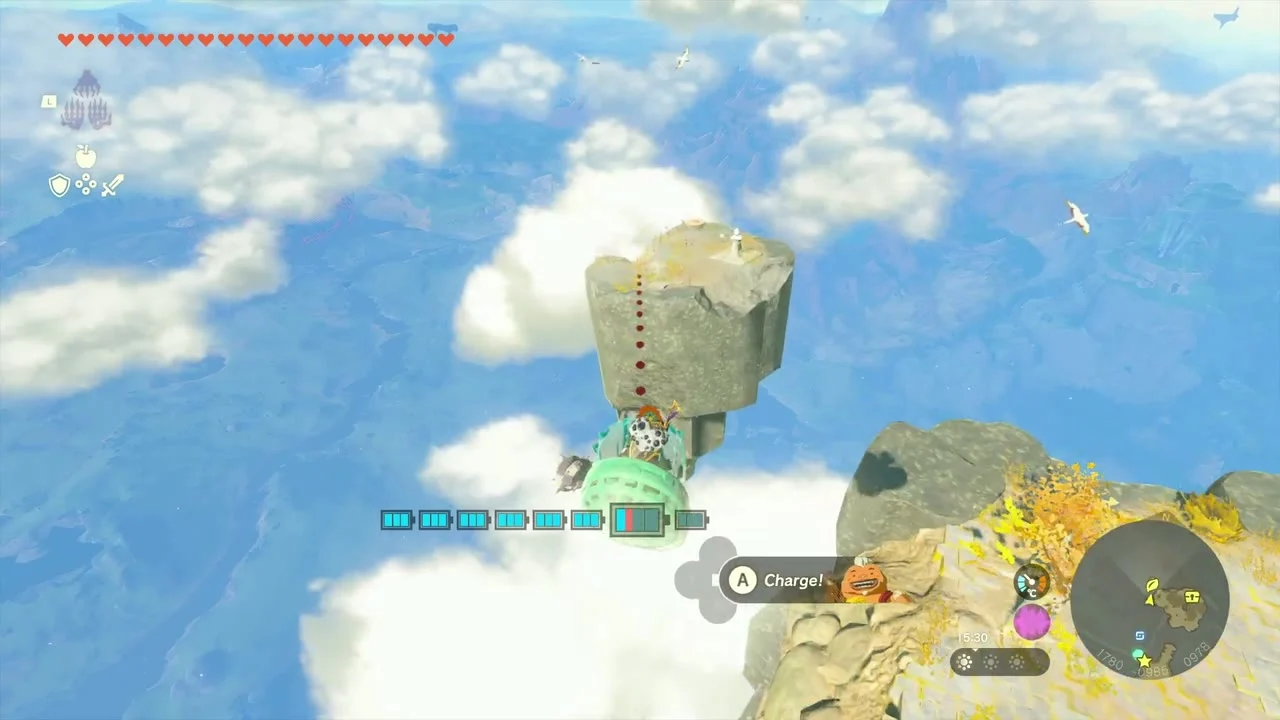
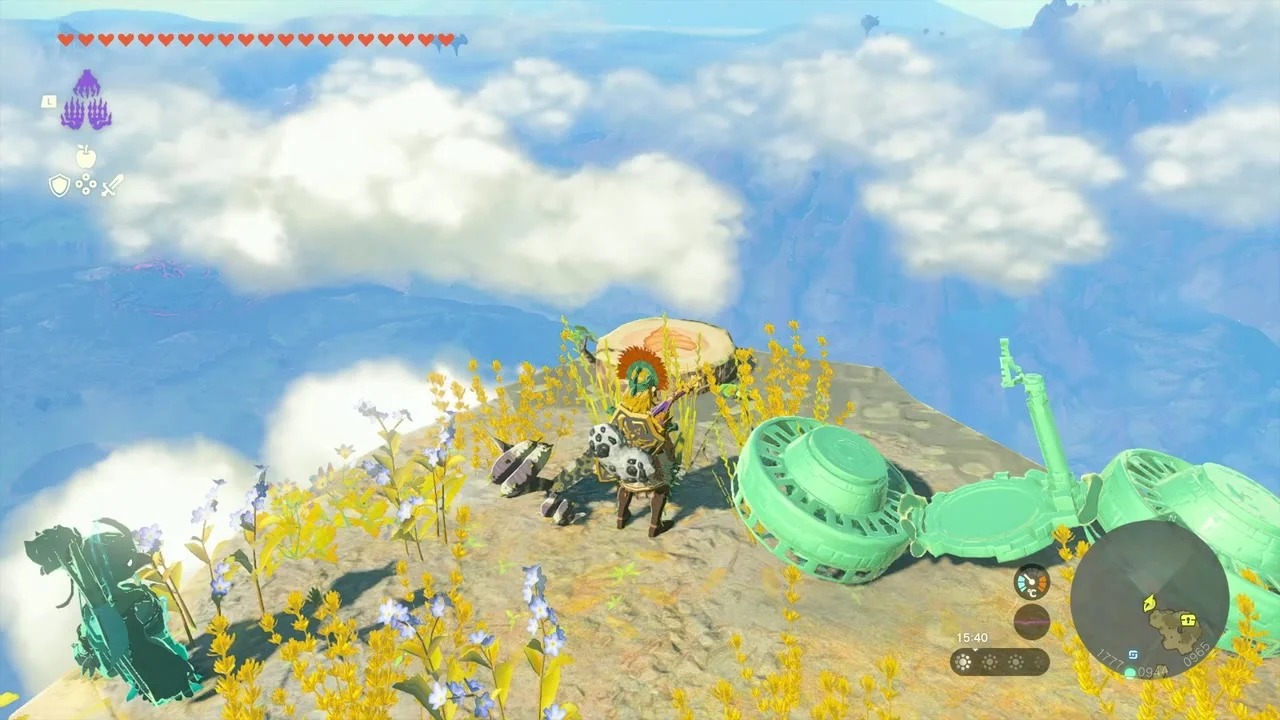
Korok seed (catch the falling light, 1776, -938, 966). On the island chain east of the shrine, a glowing light drifts down past the edge. Catch it before it falls out of reach and the Korok gives you its seed.
Sahasra Slope and the way into the village
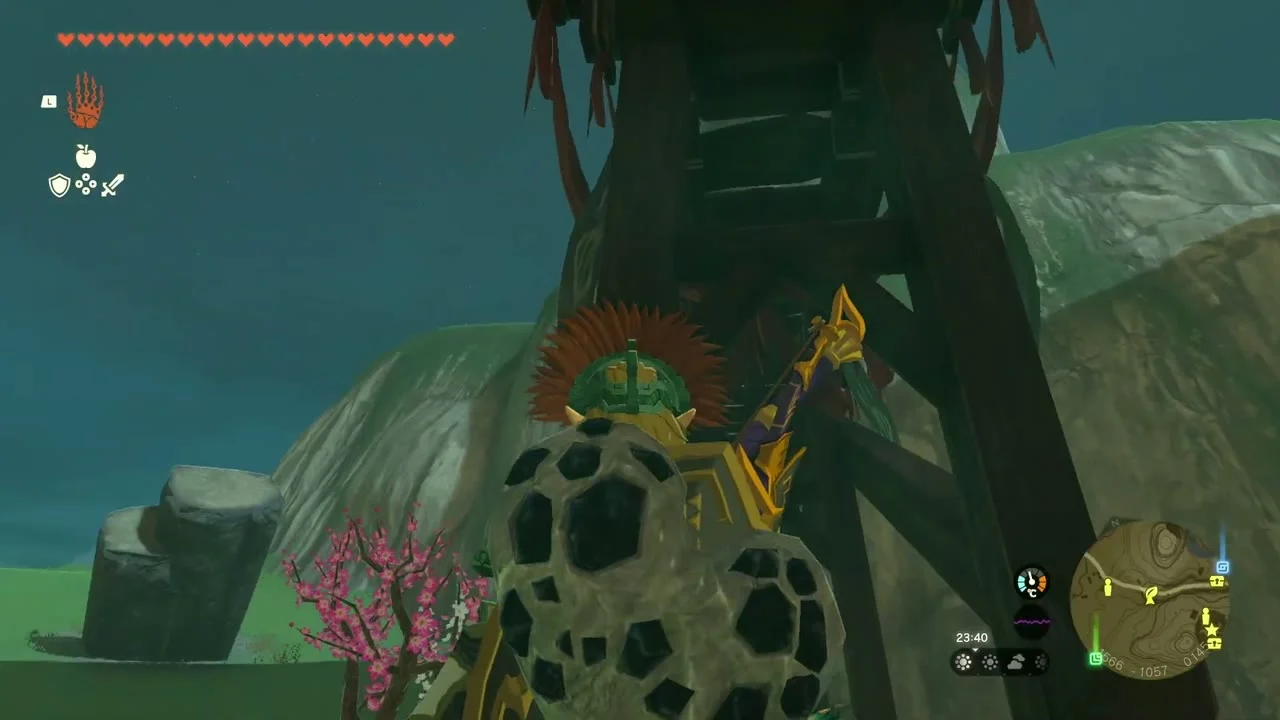
Korok seed (dandelion, 1574, -1044, 154) and chest (Amber). On the grassy slope north-west of the village, a dandelion puff drifts above the path at about (1574, -1044, 154); hit it with an arrow as it floats off and take the seed. A chest in the rocks nearby holds a piece of Amber.
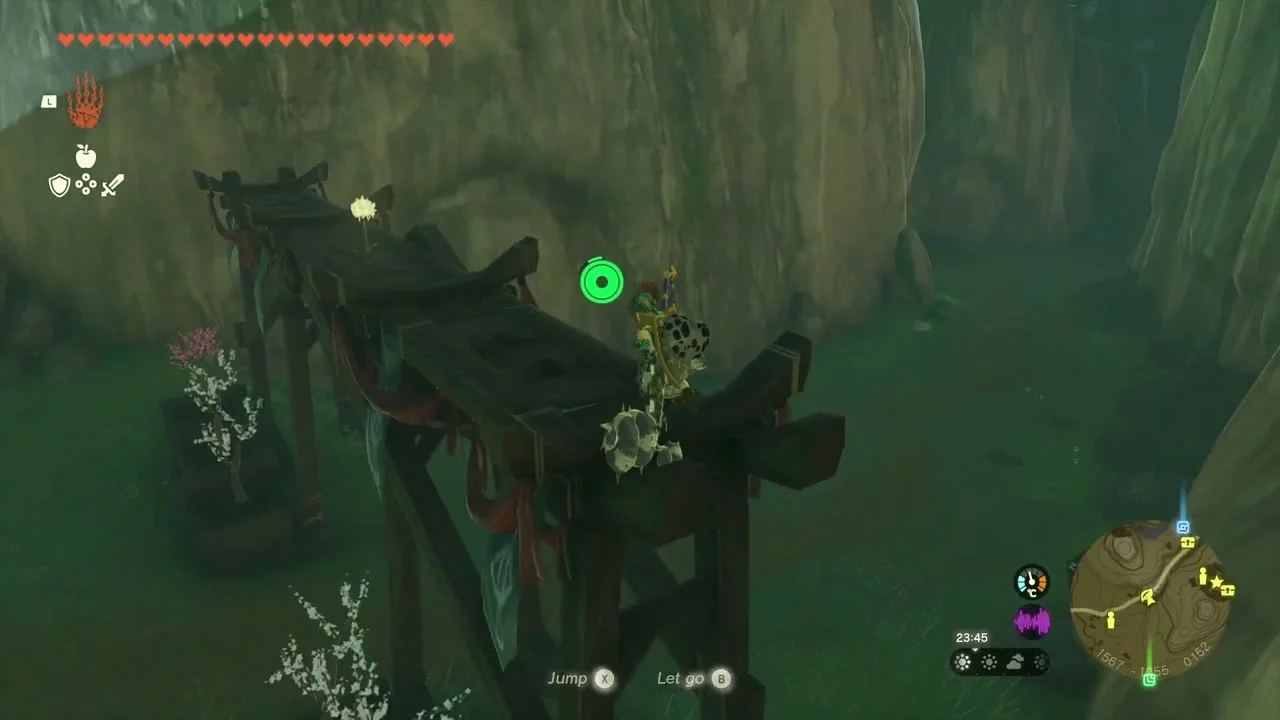
Arrival in Kakariko Village
Quest (Codgers’ Quarrel). Talk to Trissa in the General Store at (1826, -1041, 130). The two old men who restock the store have gone to drive monsters out of the Ring Ruin in the hills to the west. The quest ends when you clear the four Blue Bokoblins out of the ruin and report back; Trissa thanks you with an Endura Carrot, and Follow the Cuccos only unlocks after it. See the Ring Ruins section below and the Codgers’ Quarrel page.
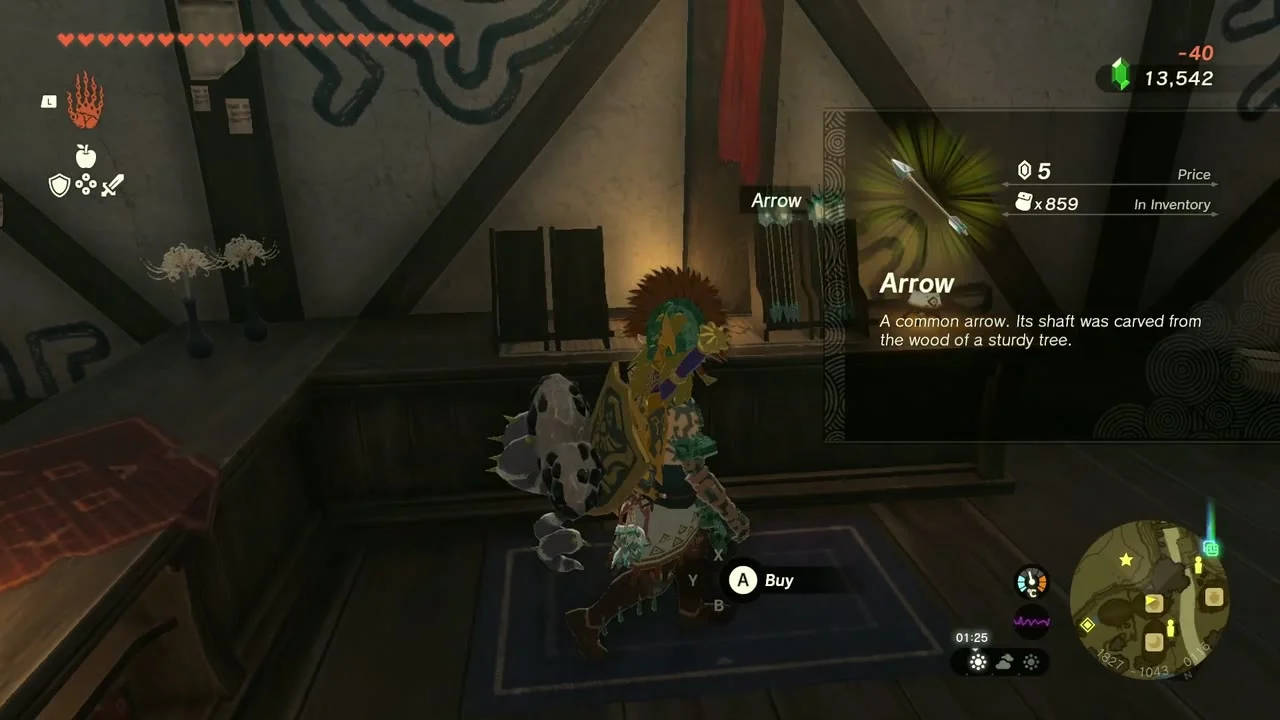
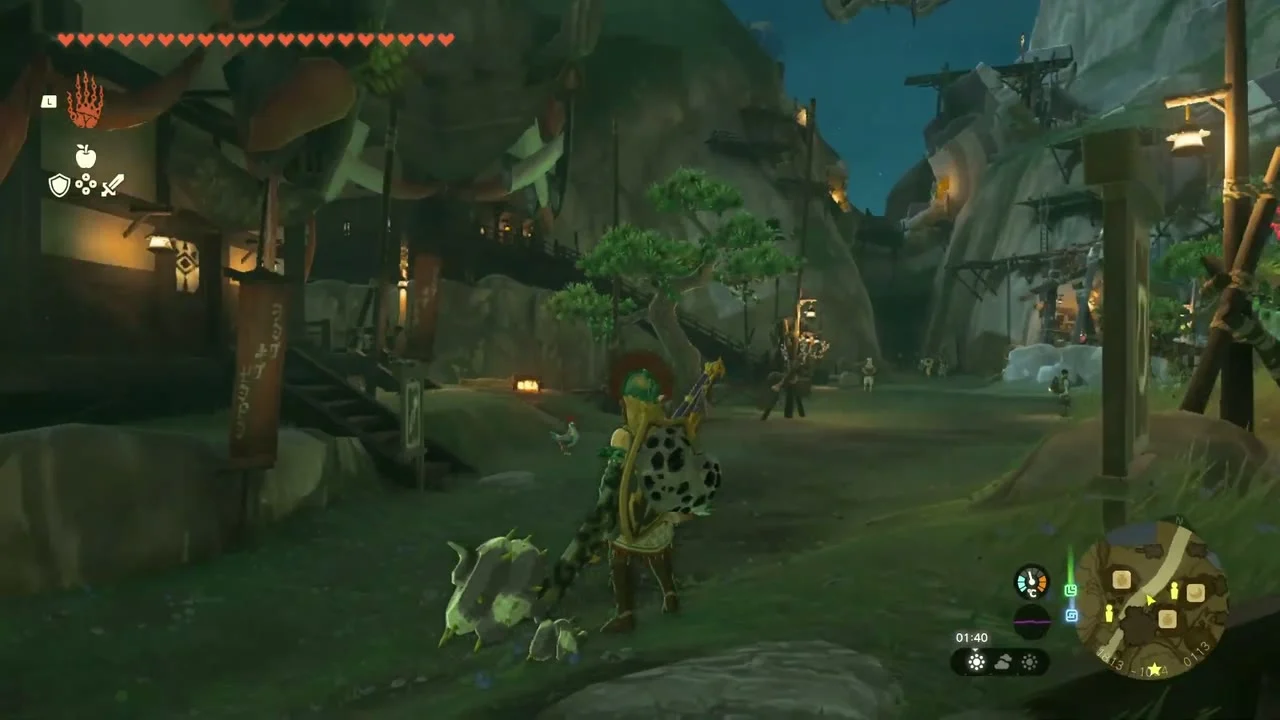
Quest (Out of the Inn). Dai is looking after the inn at (1836, -1022, 134) and asks you to find the owner, Ollie, who is asleep at a camp among the Ring Ruins behind Paya’s Hall and will only wake for a Hearty Truffle. Gordi at the camp points you to a waterfall nearby; climb or glide to it and crouch through the small opening at the top to find one (the Kakariko Village Cave below also has them). Hand it to Ollie and Dai rewards you with a Sticky Elixir.


Goddess Statue (Stamina Vessel). The statue stands among blue flowers by the stream in the village. Spend four Lights of Blessing and choose Stamina Vessel to raise your stamina wheel.
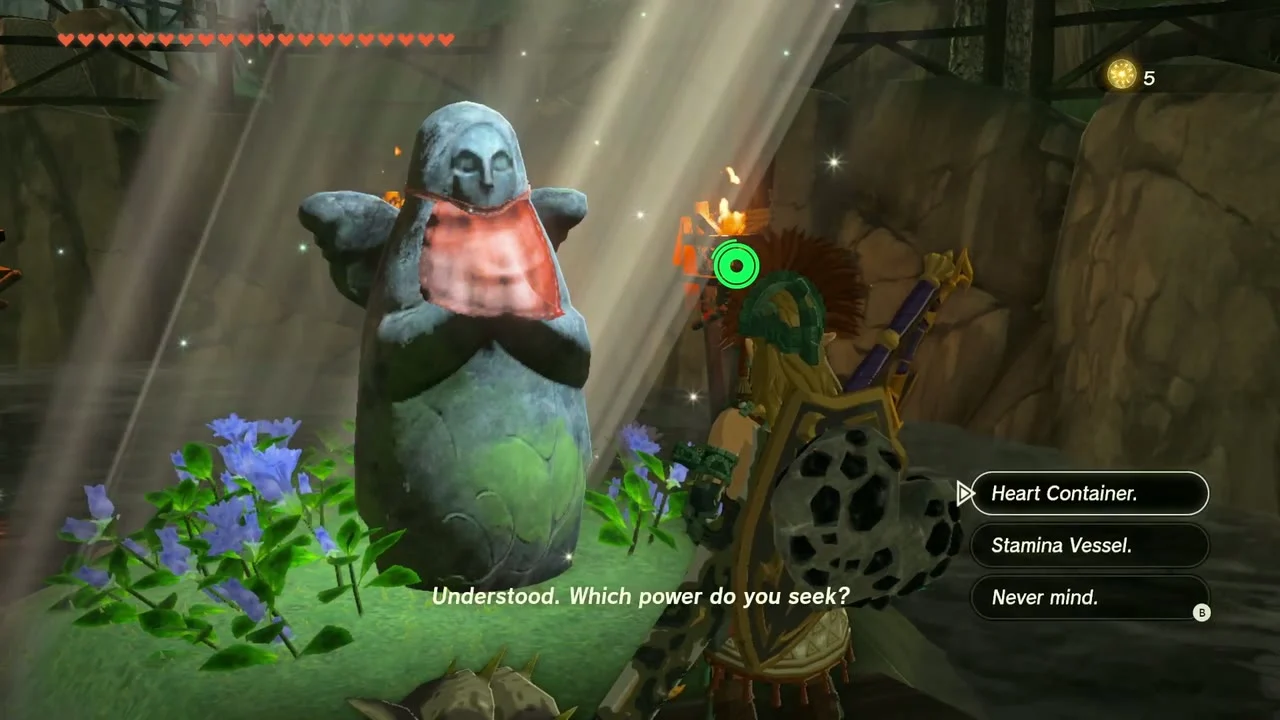
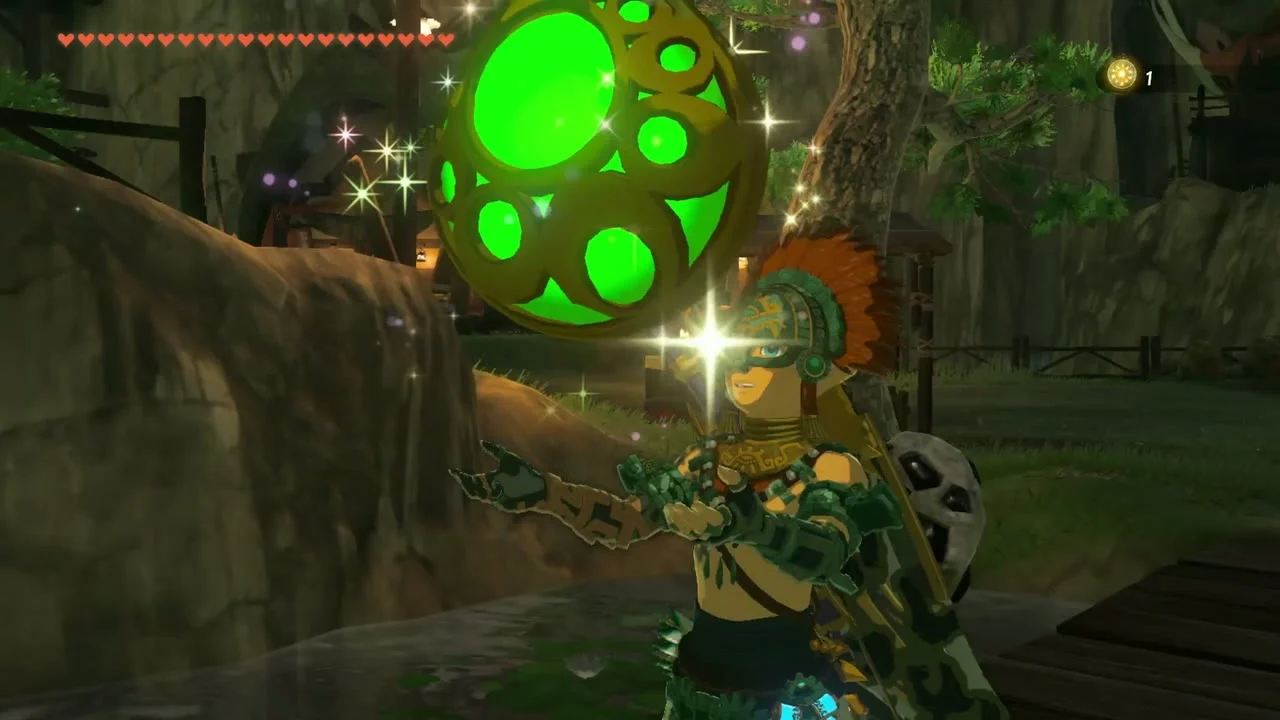
Korok seeds in the village
Korok seed (sparkling spot, 1776, -984, 120). A sparkle hovers above the grass beside the wooden walkway on the village’s east side. Walk into it and the Korok pops out with its seed.
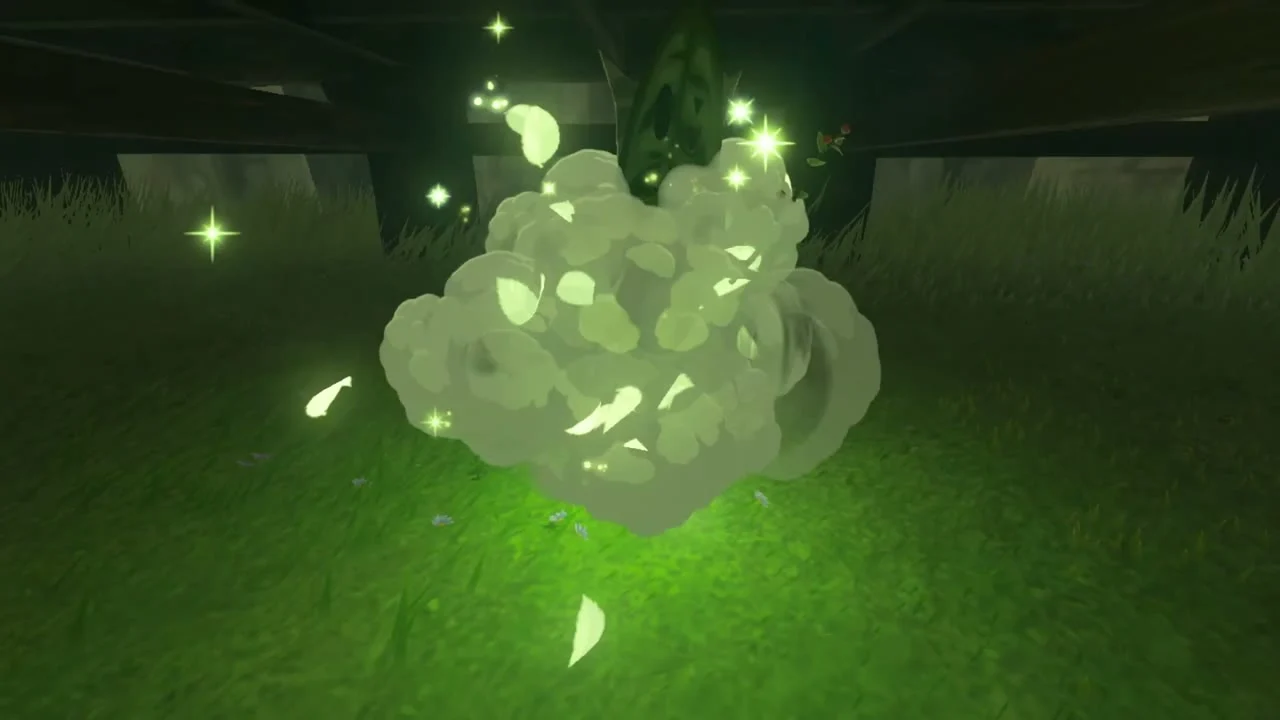

Korok seed (sparkling spot, 1757, -984, 142). A second sparkle sits on the ledge above the first, reached by climbing the walkway’s wooden brace. Examine it from the top of the post to flush out the Korok.
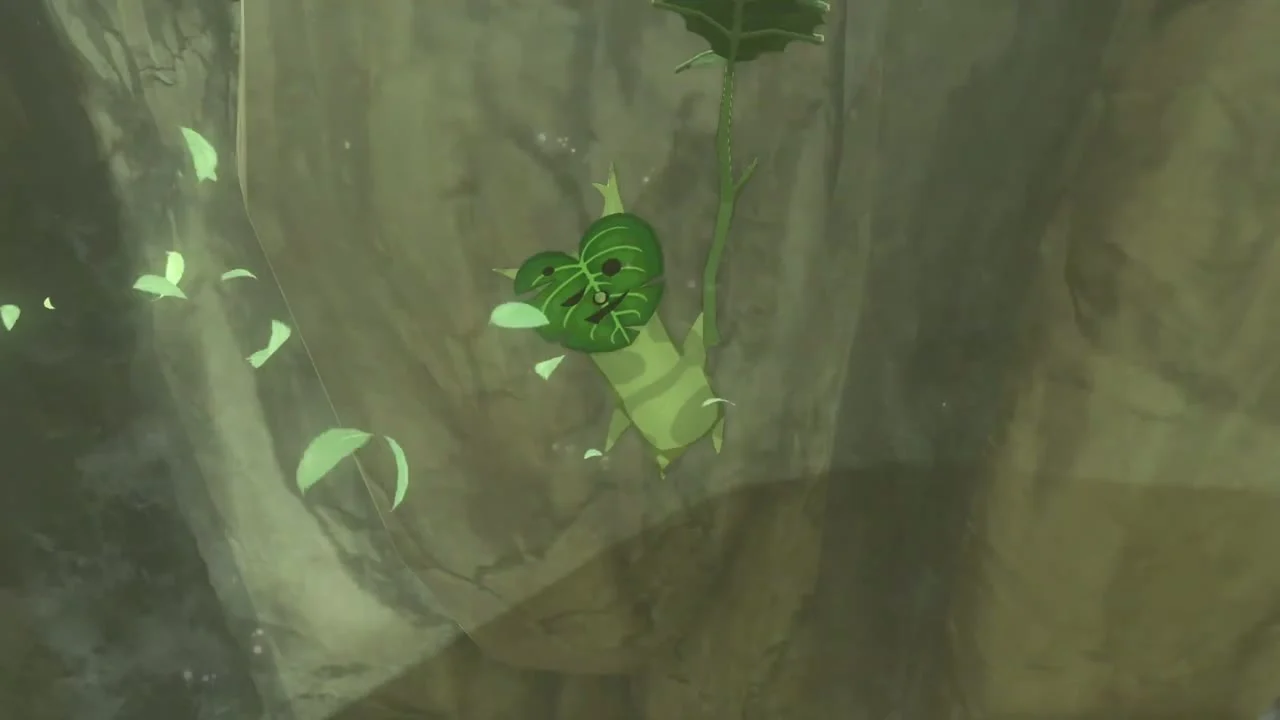

Armor shop and the quest slabs
Armor (Stealth set, Radiant set). Claree’s clothing shop at (1855, -981, 134) sells the Stealth Chest Guard, Stealth Mask and Stealth Tights (the Sheikah stealth set), and the Radiant Mask, Radiant Shirt and Radiant Tights (the glow-in-the-dark set that needs Luminous Stones to upgrade). Claree has raised every piece to 5,000 rupees to pay for her grandmother’s medicine; finish Gloom-Borne Illness below and the prices come down sharply (most guides give the Stealth pieces as roughly 500 to 700 rupees each).

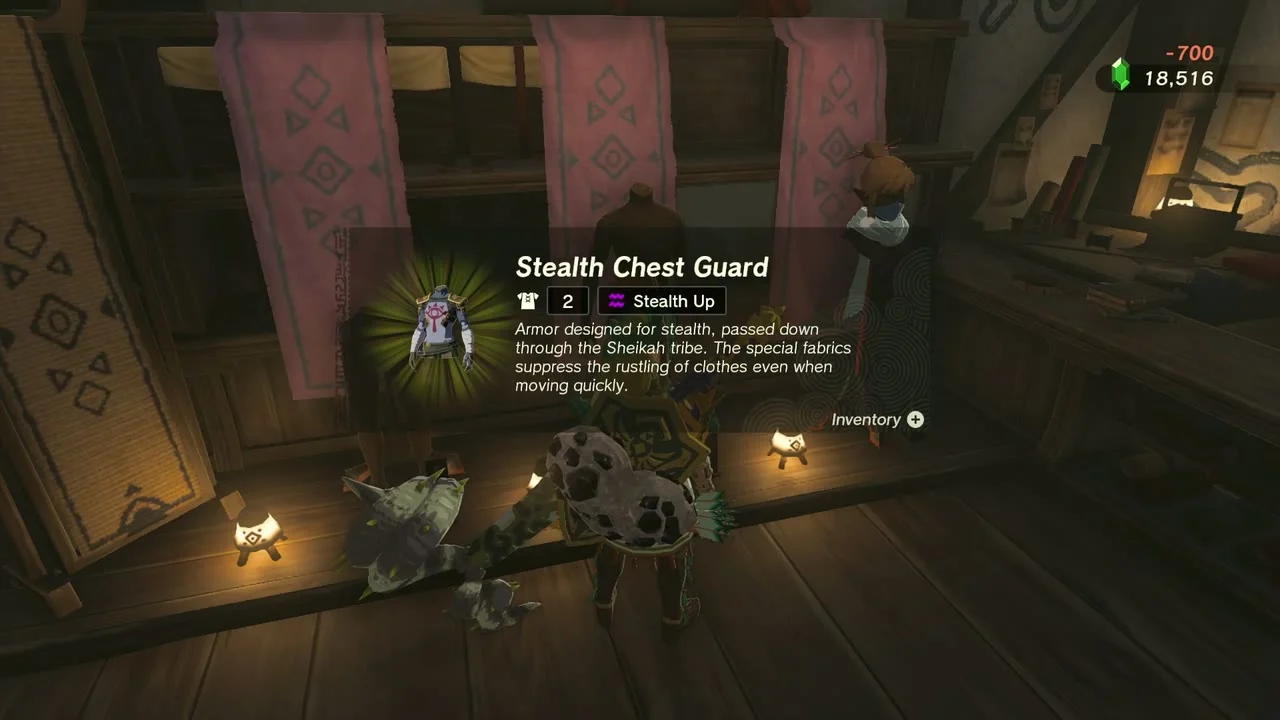

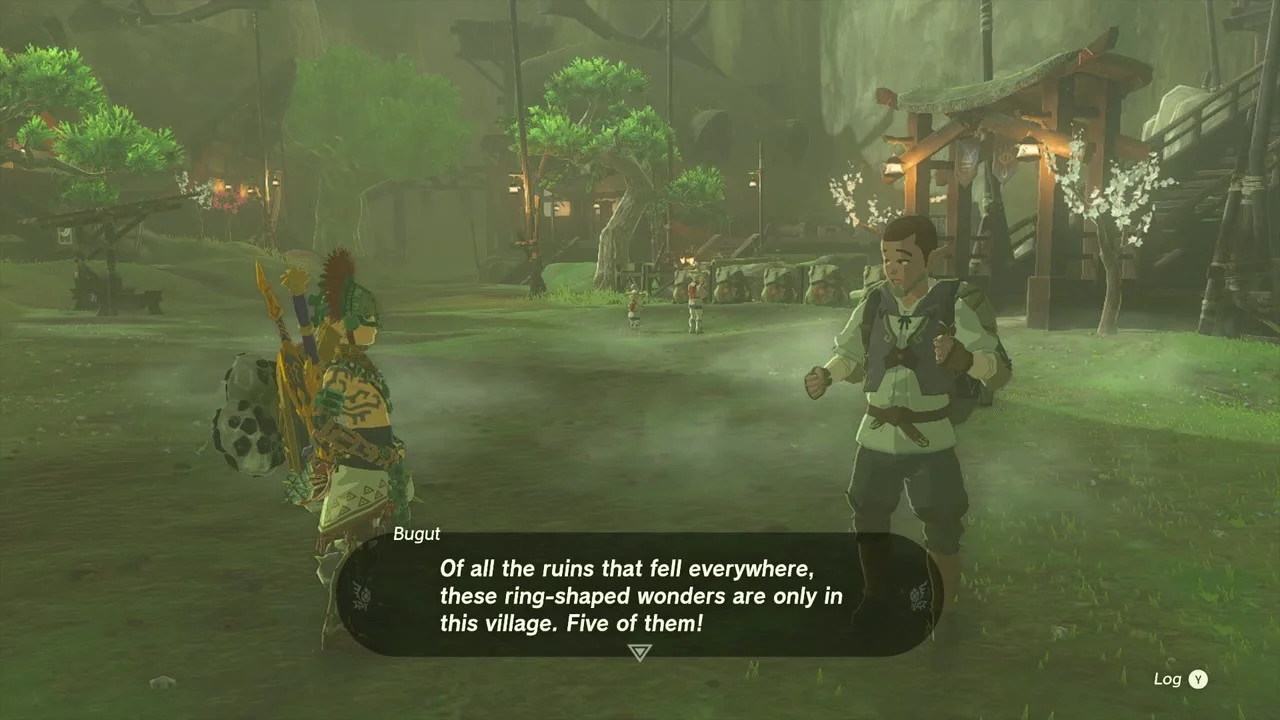
Quest (A Trip through History). Bugut at the village green wants the writing from the Ring Ruin slabs. Read the slabs (see below) and report back for three Thunderwing Butterflies. The journals sit in the Ring Ruins around the village (the first is in the south-west corner of a ruin held by Bokoblins); the quest page lists them. Quest (Gloom-Borne Illness). Lasli’s grandmother is sick from gloom. Cook Sunny Veggie Porridge (Hylian Rice, Fresh Milk and a Sundelion or Sun Pumpkin) and bring it to her; she gives it to her grandmother Nanna, thanks you with a bowl of Energizing Veggie Porridge, and the shop prices drop.

Kakariko Village Well
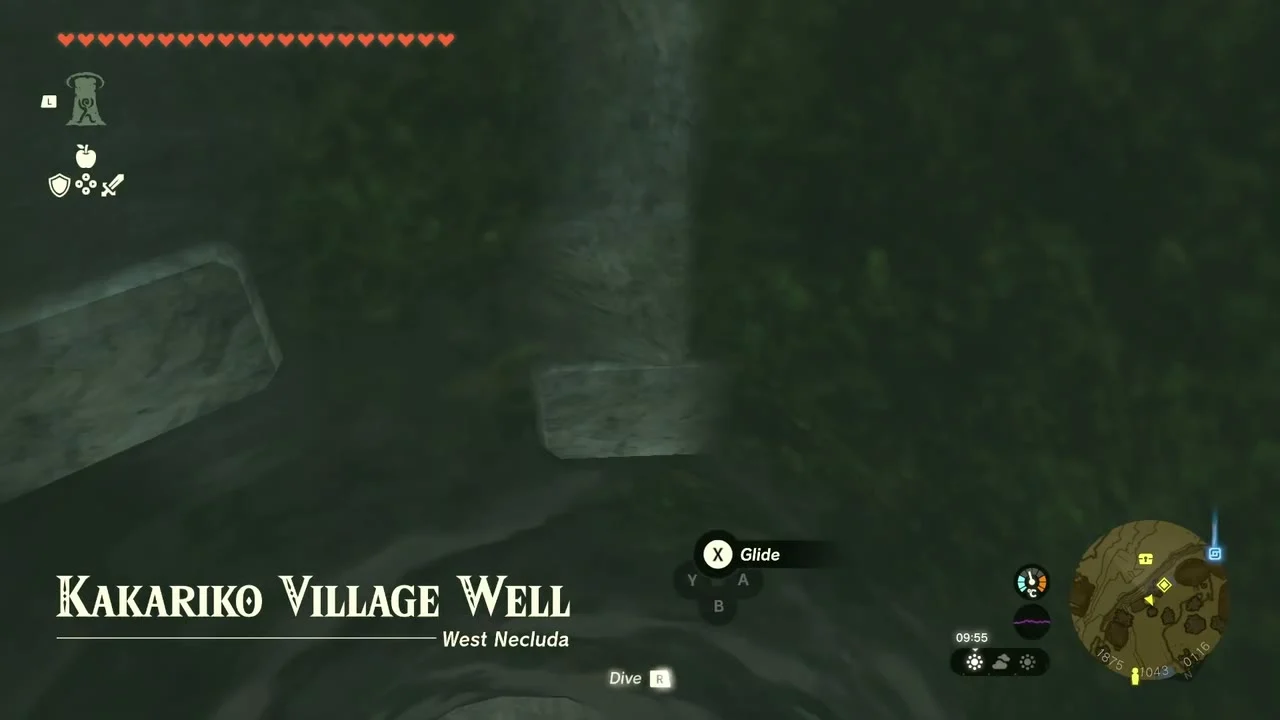
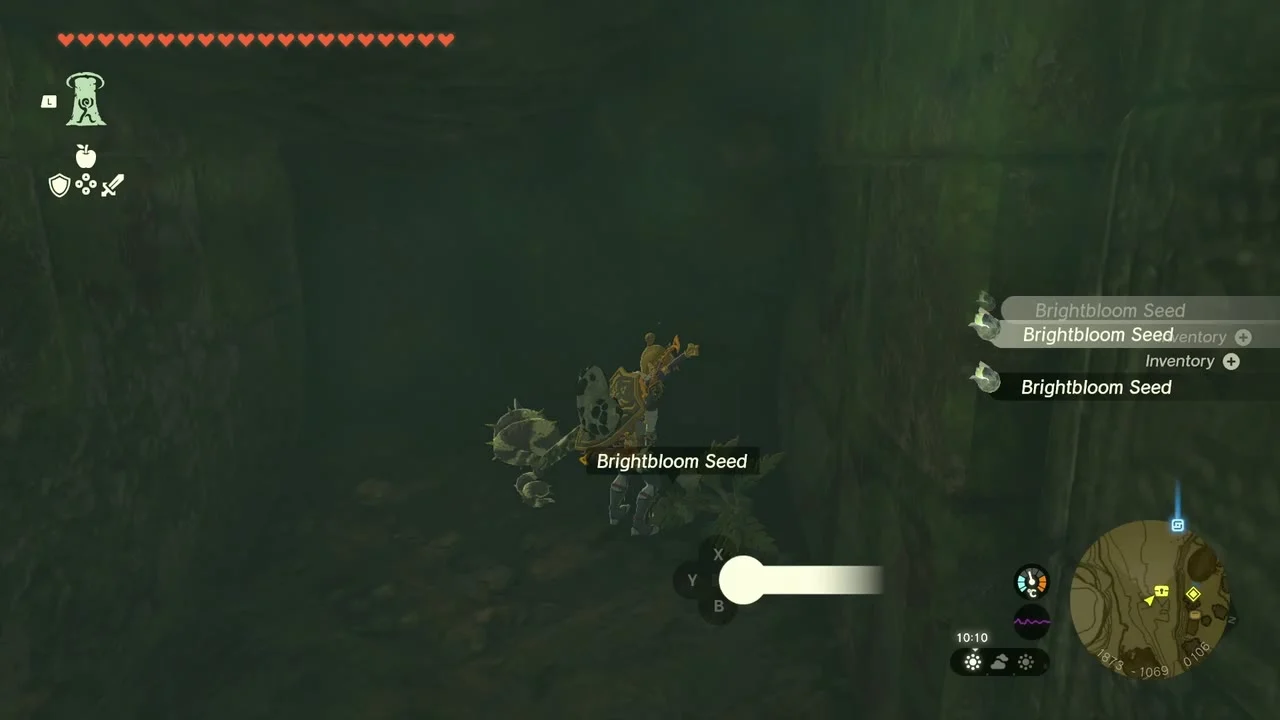
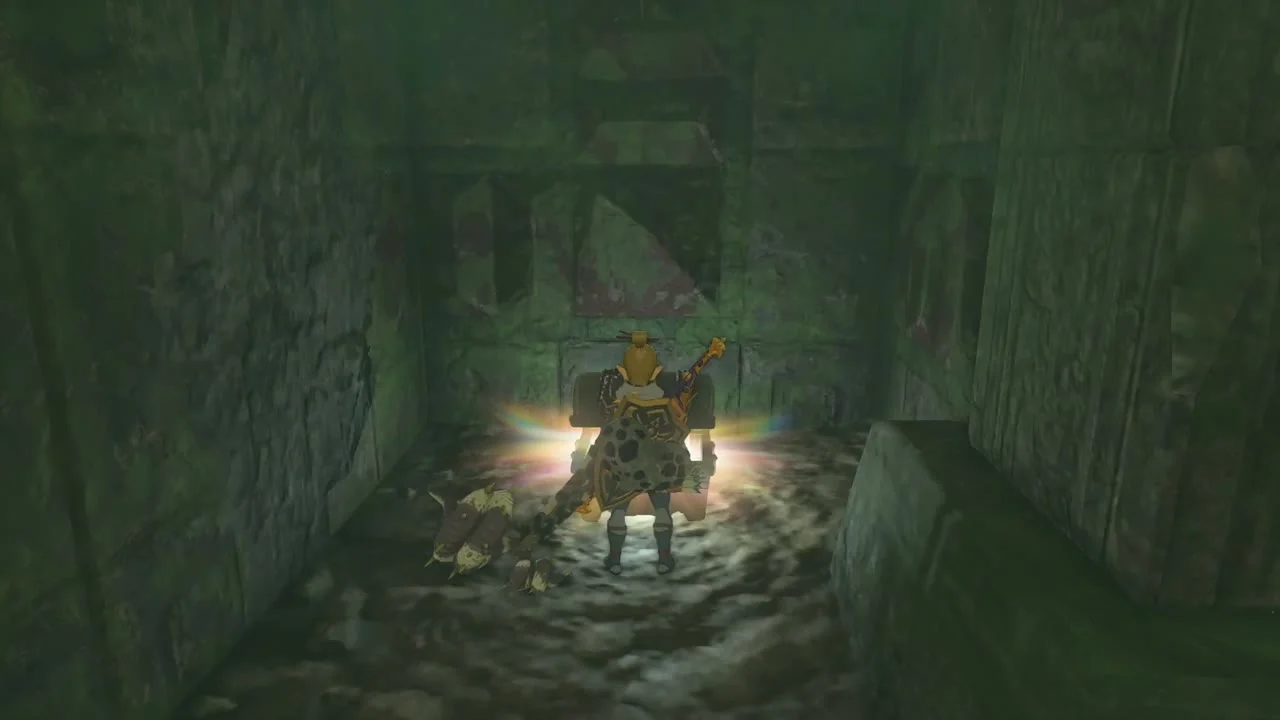
Kakariko Village Well and chest (Eightfold Blade). The well shaft opens at (1875, -1044, 109) on the south-east side of the village. Dive in, light the dark corridors with a Brightbloom Seed, and follow the maze-like Zonai ruins to the chest at the far end for an Eightfold Blade, a Sheikah sword that rewards sneak attacks. Parts of the maze are buried, so use Ascend or Ultrahand where a passage seems to dead-end.
Makasura Shrine
Makasura Shrine (An Upright Device, a Puzzle trial) stands on the cliff above the village at (1769, -1051, 179). Climb the wooden scaffolding by the village’s eastern entrance and use Ascend to reach the top. The Arusakam Lightroot lies below it at (1769, -1052, -629).


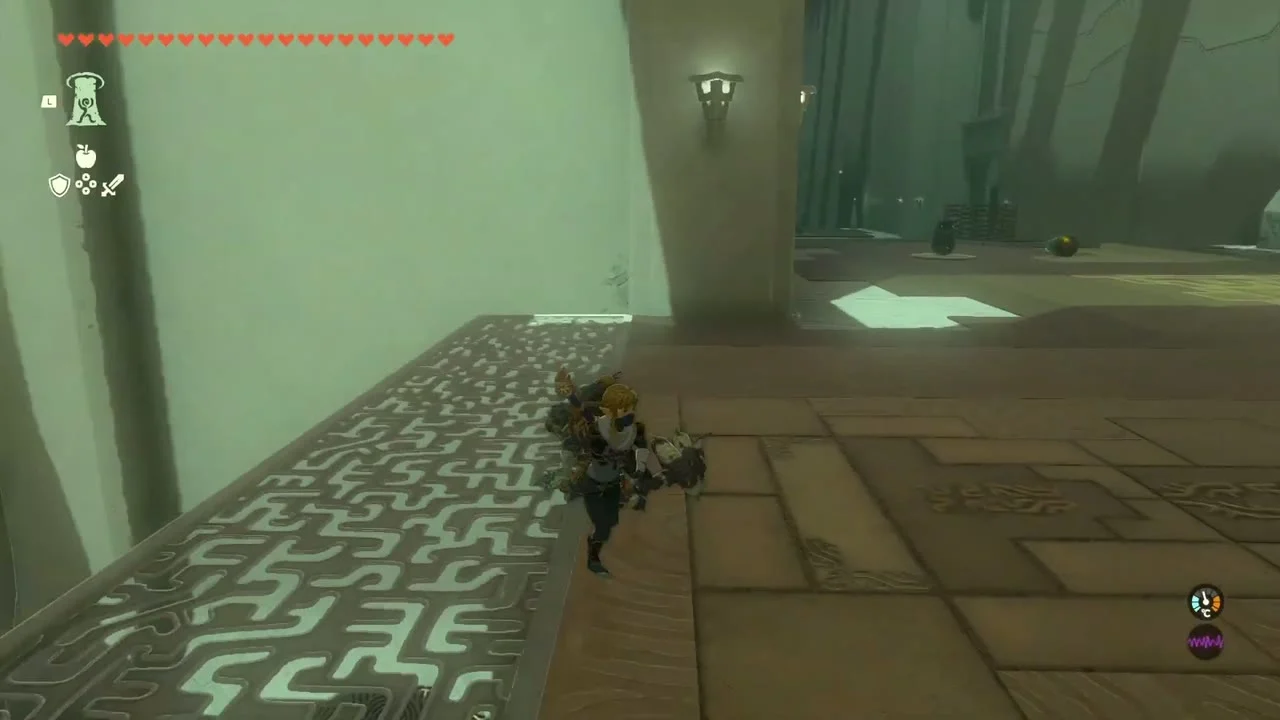
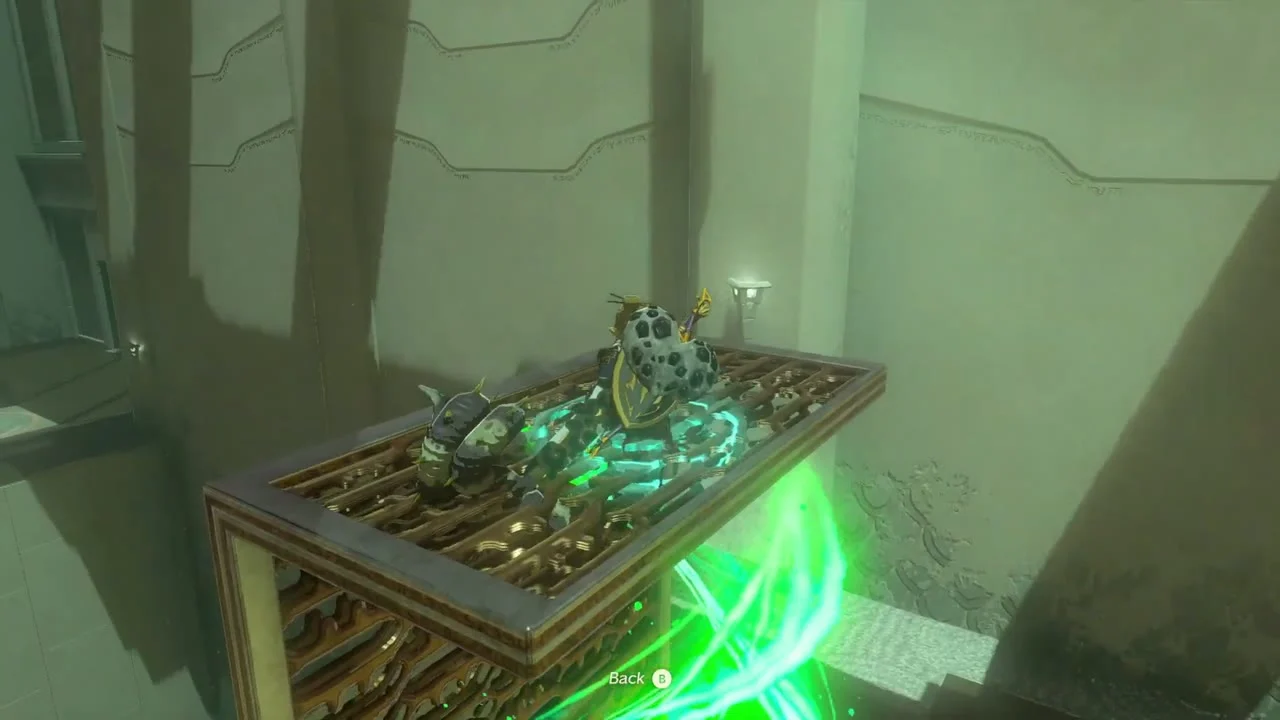
Rotate the Stabilizer across the first gap
Ascend the wall in the first room. Ultrahand the lattice frame fused to the Stabilizer so the Stabilizer faces down at the gap, stand on its far end and hit it with an arrow to be flung across.
Stand the plate up as a ramp
Rotate the long plate against the fence and activate its Stabilizer so it stands upright, then climb it. Another Stabilizer on a plank sends you to the ledge with the chest, which holds a Fairy Tonic.
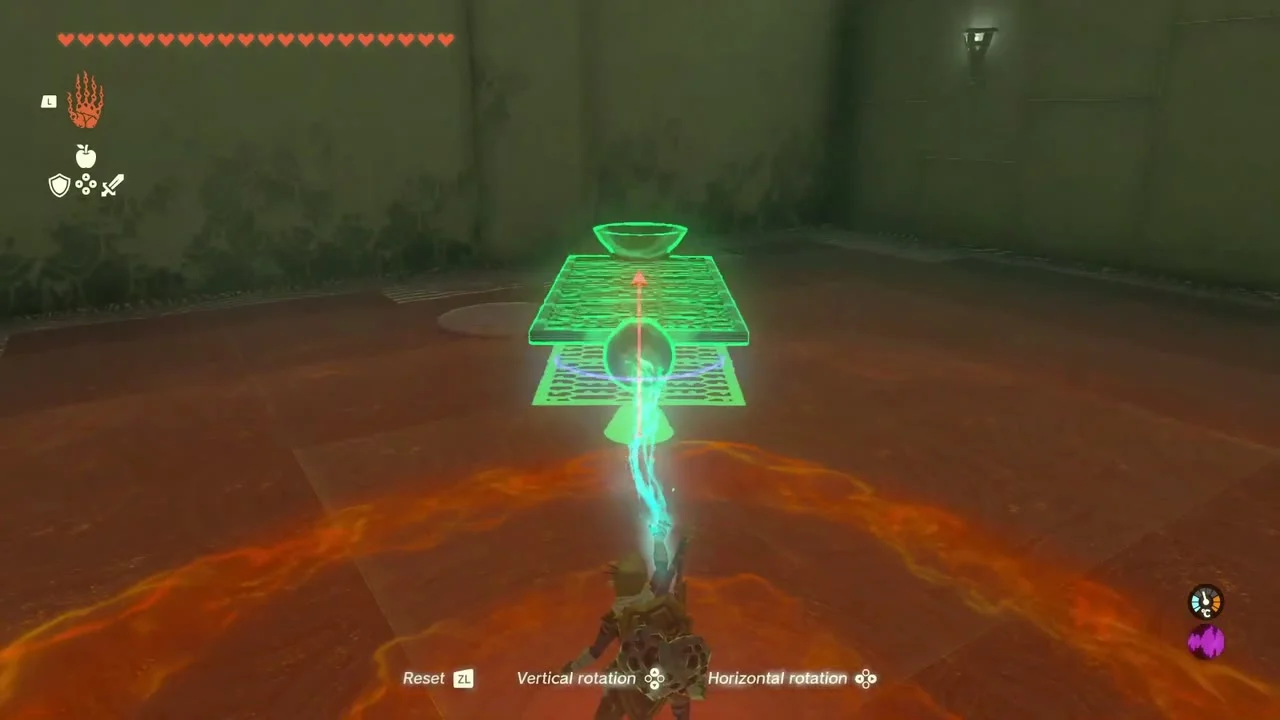


Launch the sphere and leave
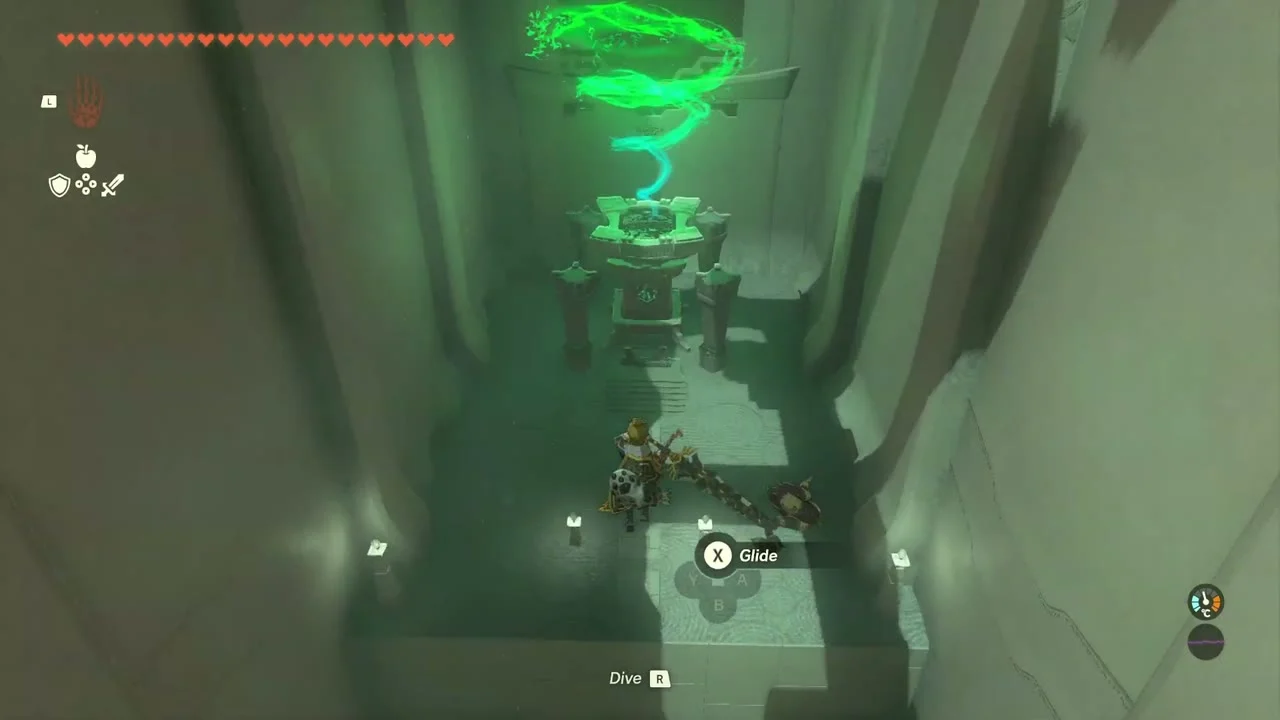
Place the Shrine Sphere in the bowl of the device, aim its Stabilizer at the fence and trigger it, then launch yourself over the same way. Set the sphere in the gate’s slot to open it and take the Light of Blessing.

Ring Ruins, East Hill and the carried Koroks
Chest (Large Zonaite). At the Ring Ruins west of the village, a chest sits inside the stone chamber at about (1674, -943, 268). It holds Large Zonaite. Read the Zonai slabs here for Bugut and the Secret of the Ring Ruins quest.

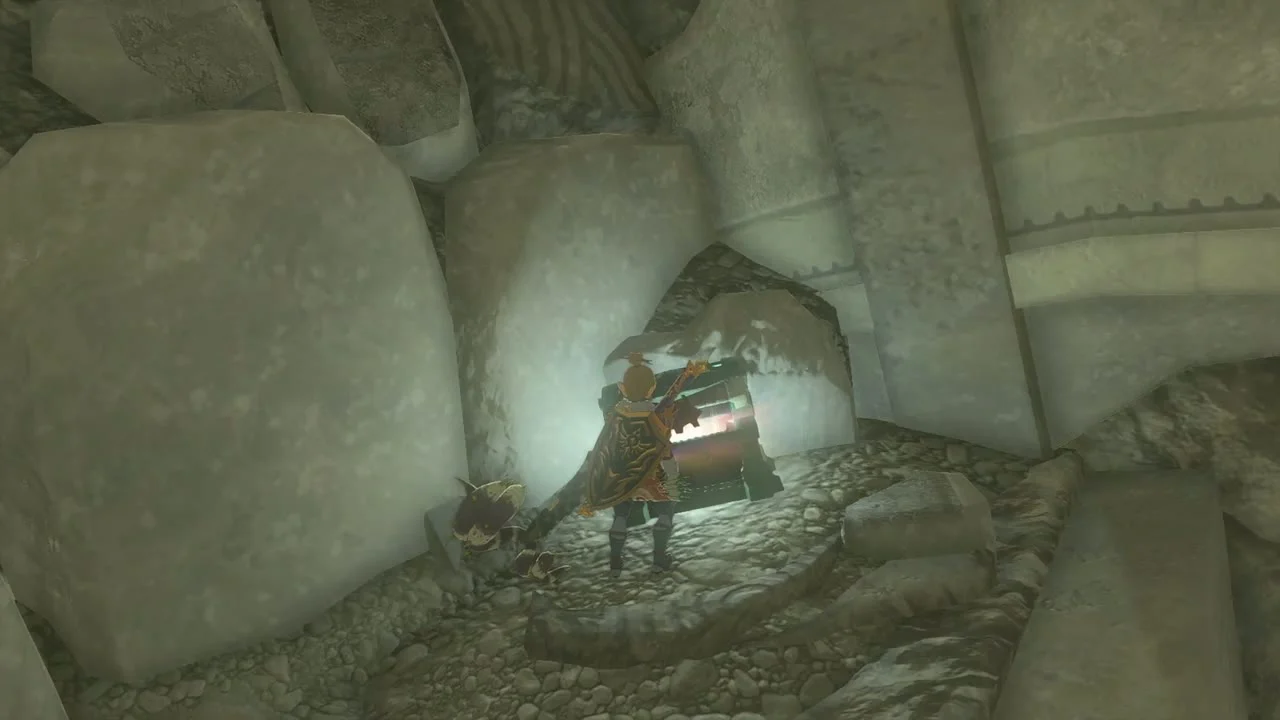
Korok seed (lift the rock, 1694, -929, 310). On the ridge above the ruin, lift the loose boulder with Ultrahand and the Korok underneath hands over its seed.

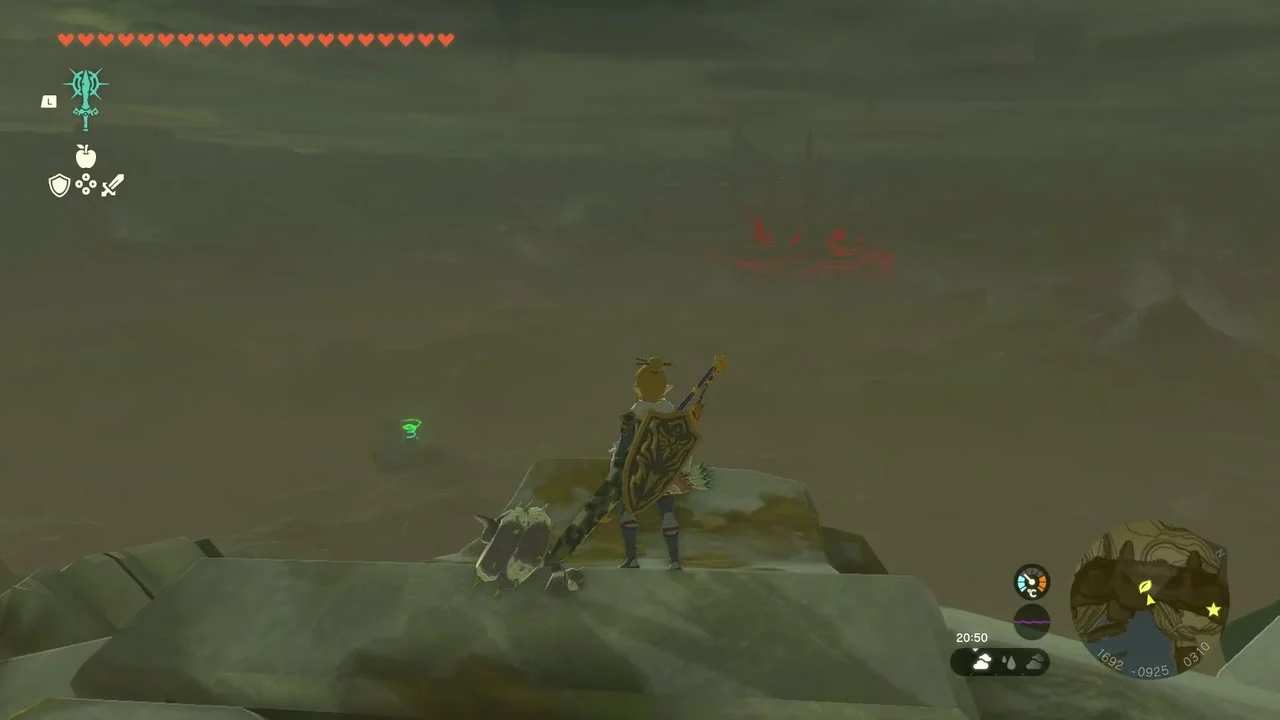
Korok seed (acorn pot, 1791, -852, 118). In the grass slope beneath the cliff at the north end of the village, an acorn pot is hidden in the grass. Break it for the seed.

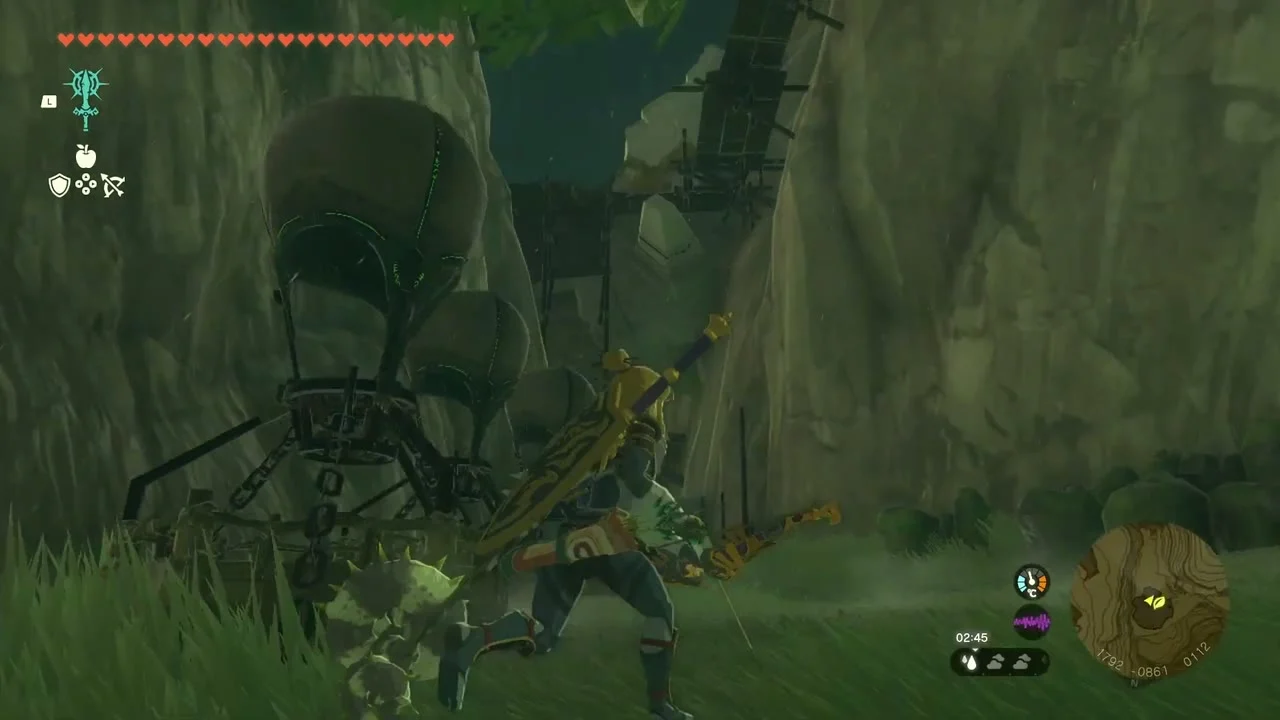
Korok seeds x2 (carry the exhausted Korok). An exhausted Korok on East Hill at about (1868, -804, 239) asks to reach its friend at (2174, -567, 211). Pick it up and glide it across on a Zonai Wing with a Fan; both Koroks give a seed.
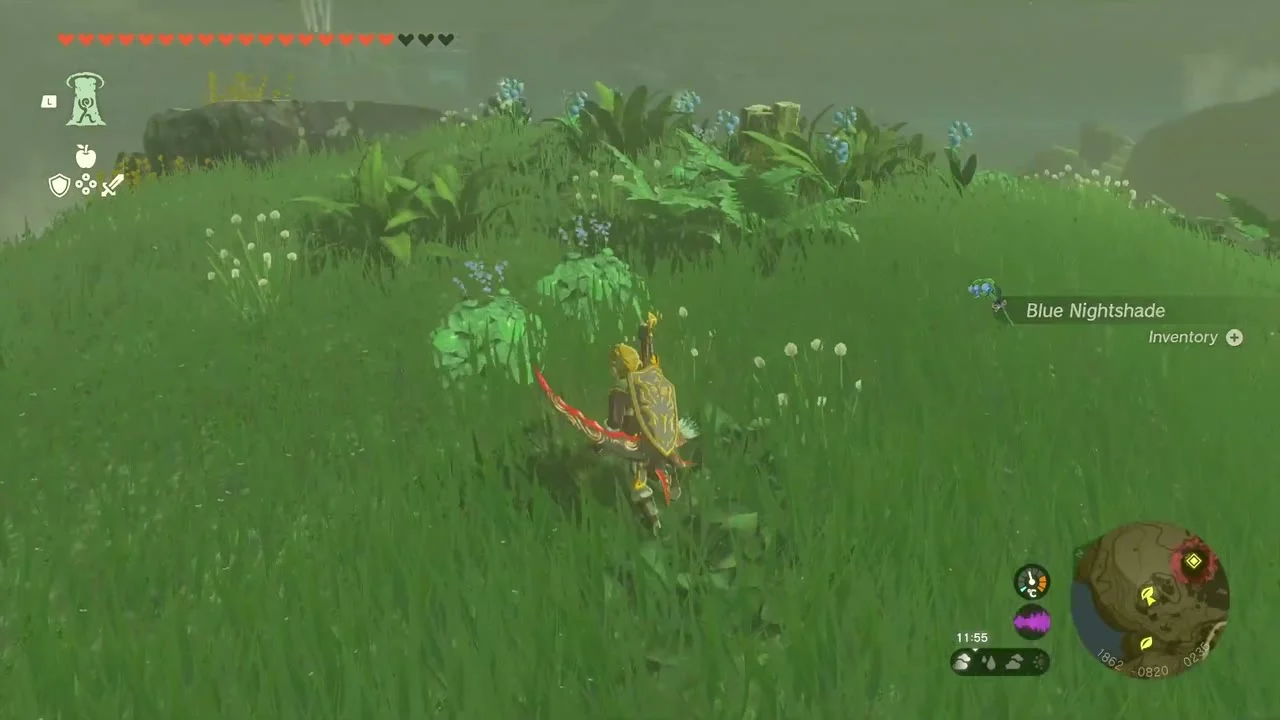

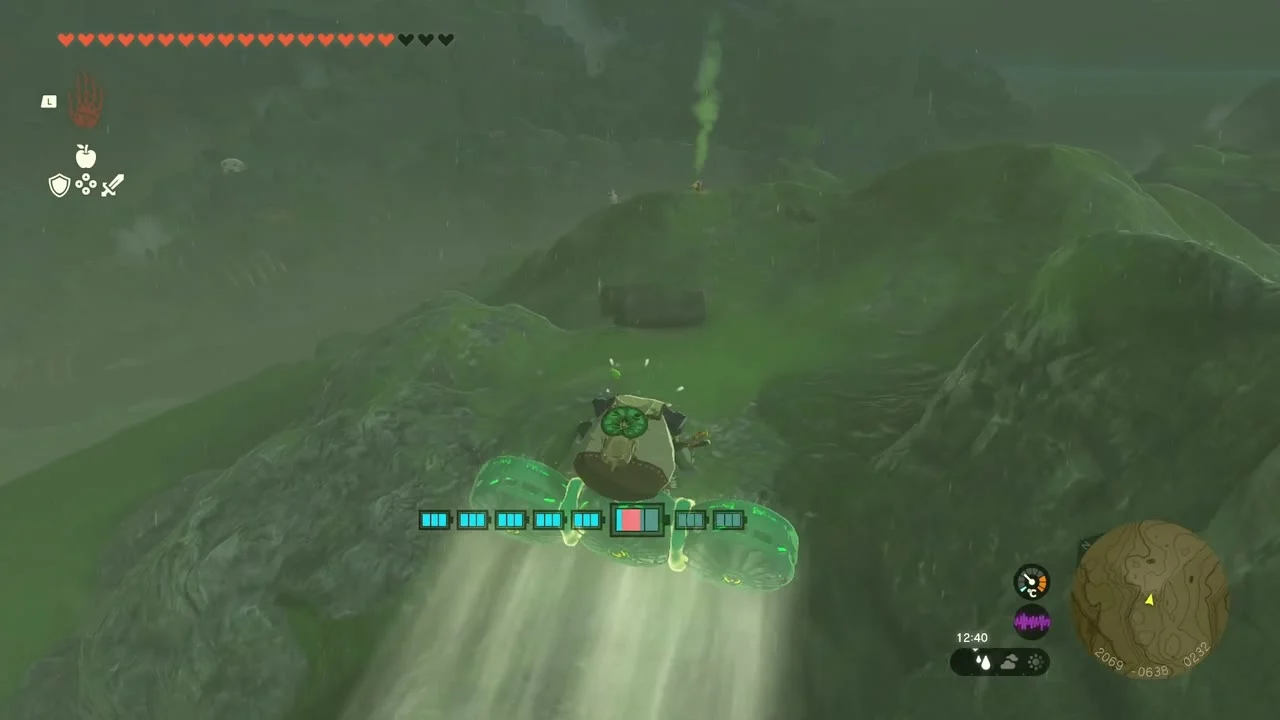
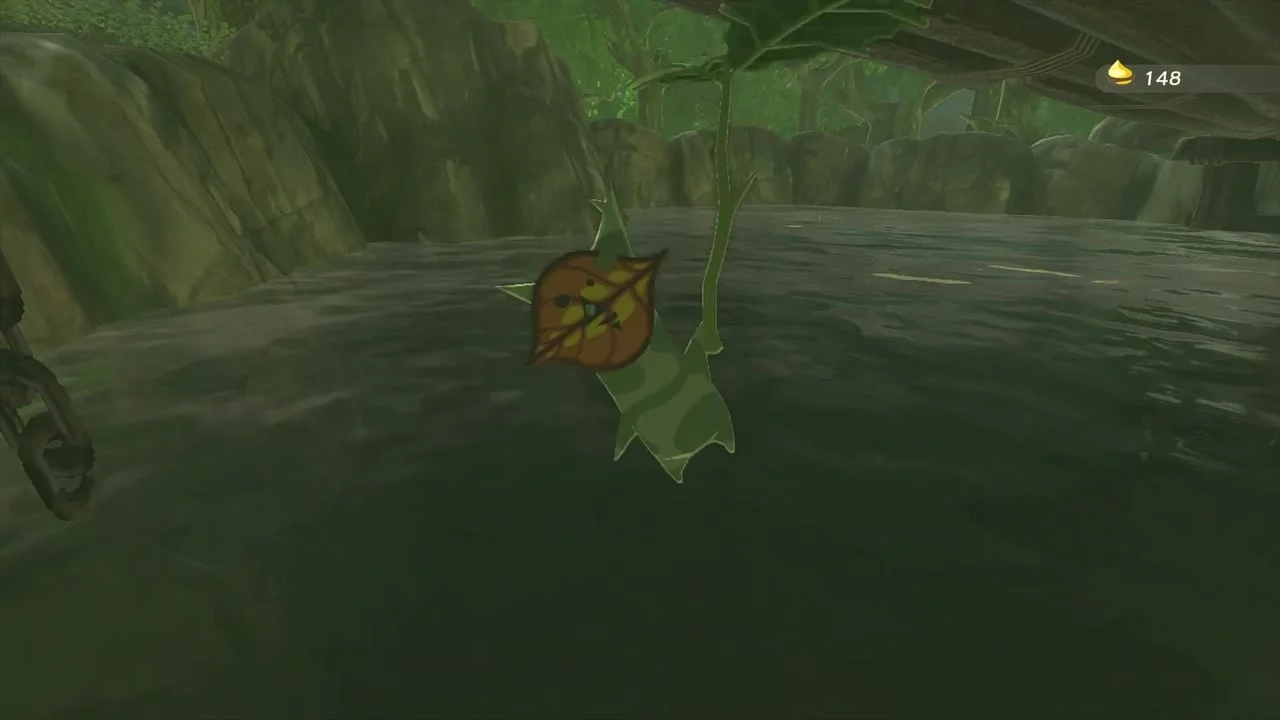
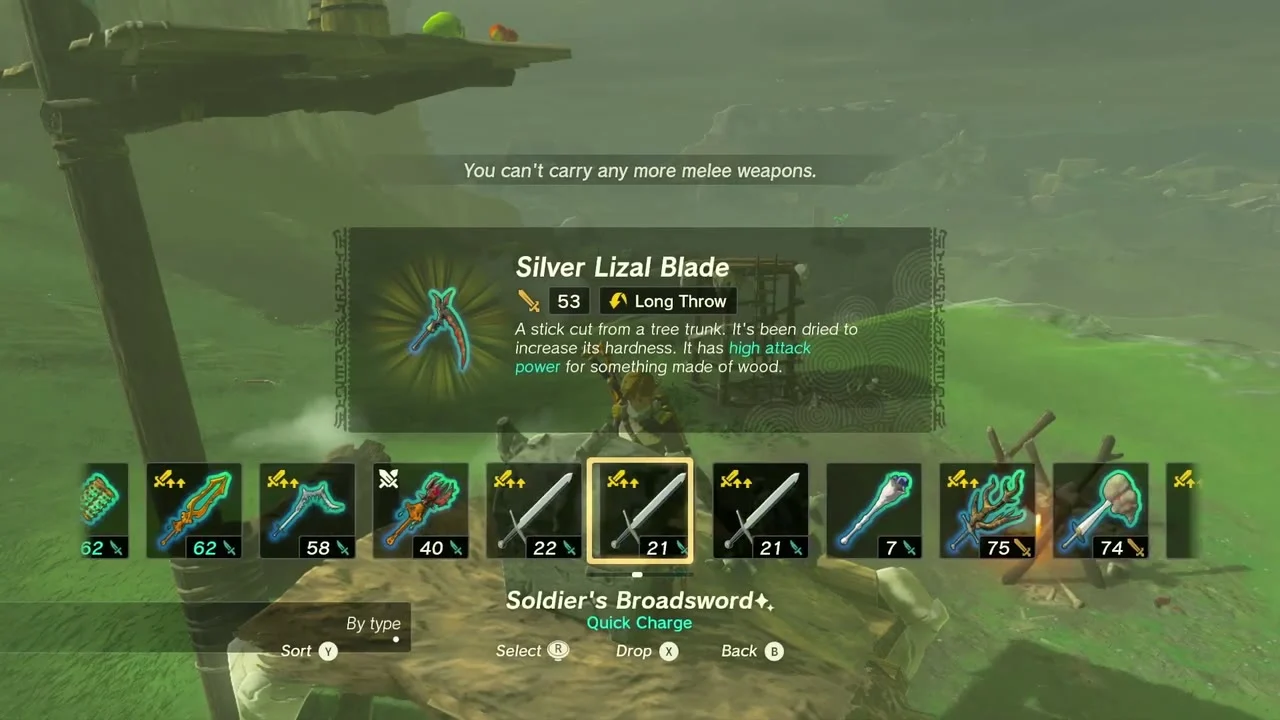
Chest (Silver Lizal Blade) and Korok seed (acorn pot, 1997, -958, 176). A chest on the grassy slope of East Hill at about (1925, -720, 181) holds a Silver Lizal Blade. Further south at (1997, -958, 176), an acorn pot hides another Korok seed.

Kakariko Village Cave and Cucco Hideaway
Kakariko Village Cave. The entrance is a hole in the rock face at (1947, -981, 157) south of East Hill Chasm. Inside, a Bubbulfrog sits in a side passage near (1995, -943, 138). Catch it for a Bubbul Gem.
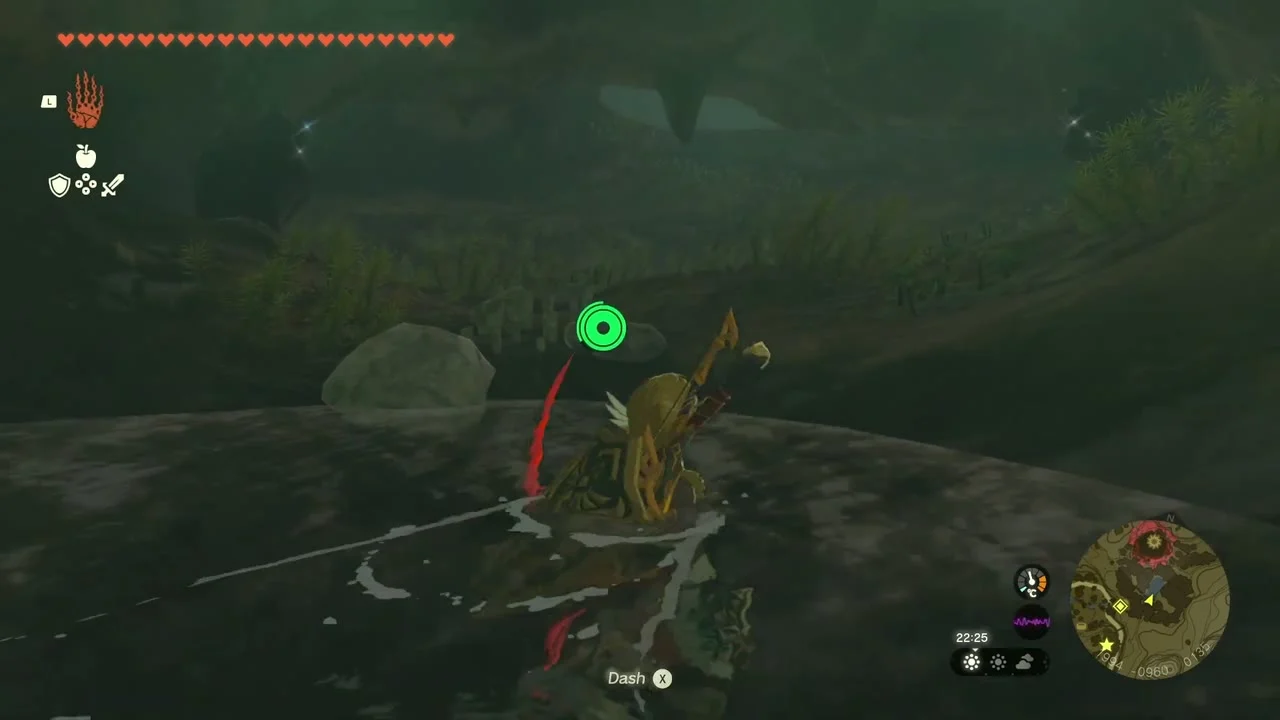
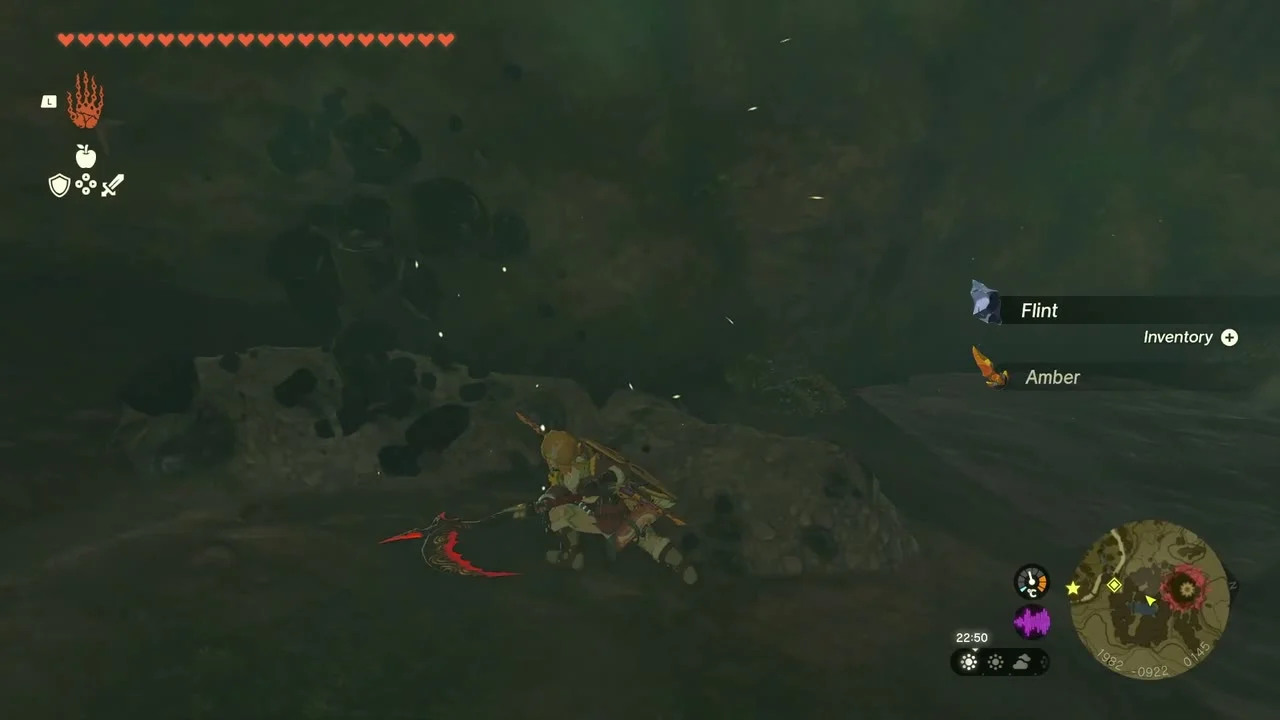
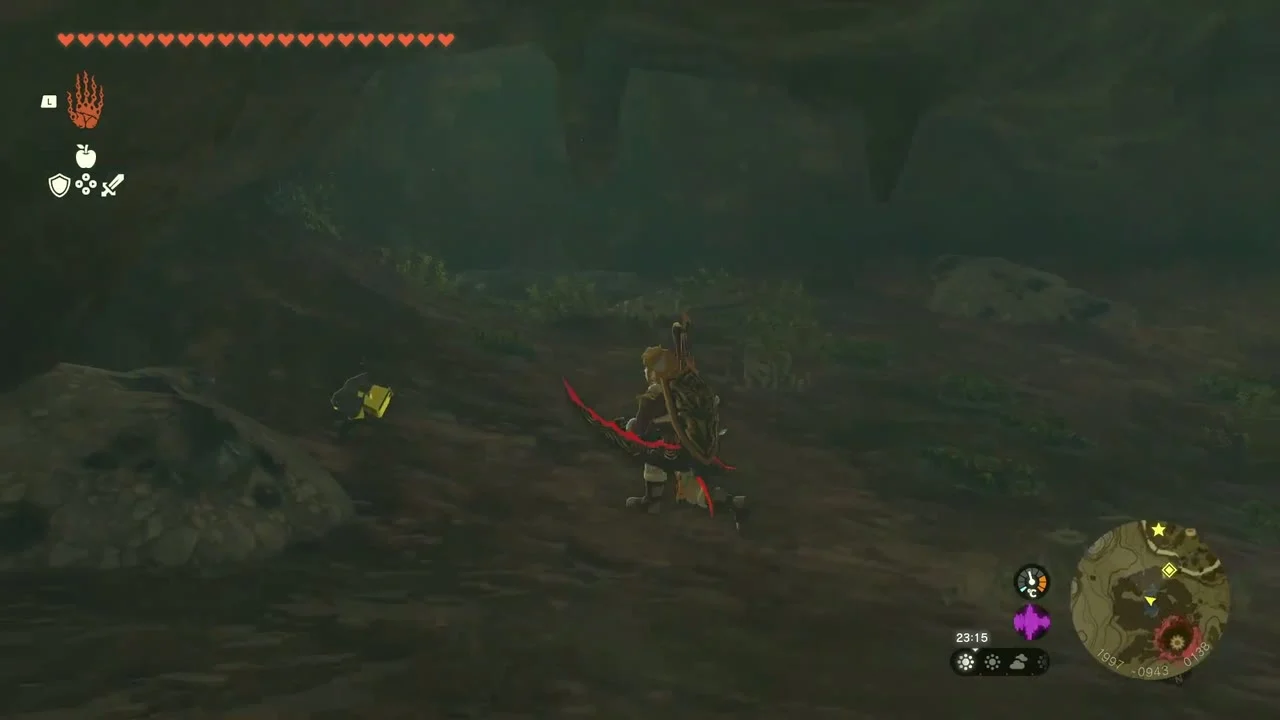
Cucco Hideaway. The cave mouth is at (1877, -1160, 198) in the hillside south of the village, under a leaning tree trunk. Take Flint or fire arrows for the dark passage. The chest holds a Shield of the Mind’s Eye (some guides place that shield in the Sahasra Slope Cave instead), and a Bubbulfrog sits further in for another Bubbul Gem. To finish Follow the Cuccos, talk to Trissa, wait outside until about 5 AM and follow the Cuccos here, take ten eggs from the nests and bring them back; most guides list a Purple Rupee as the reward.
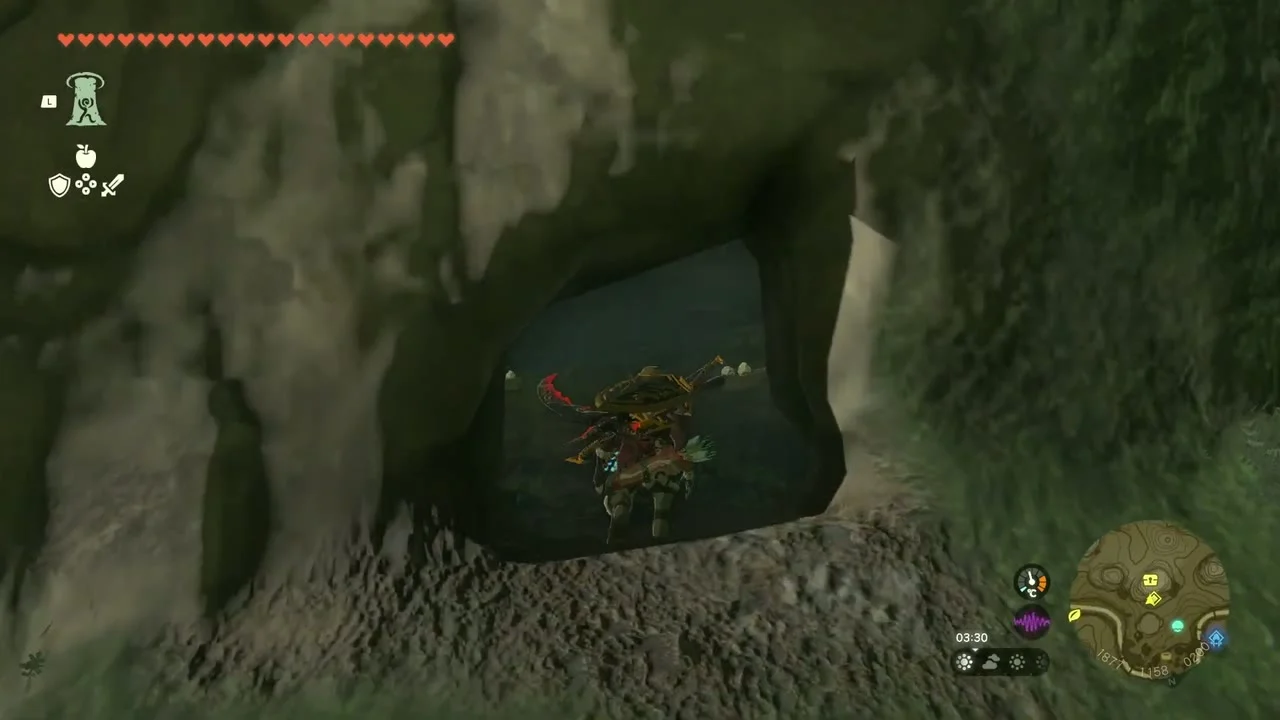
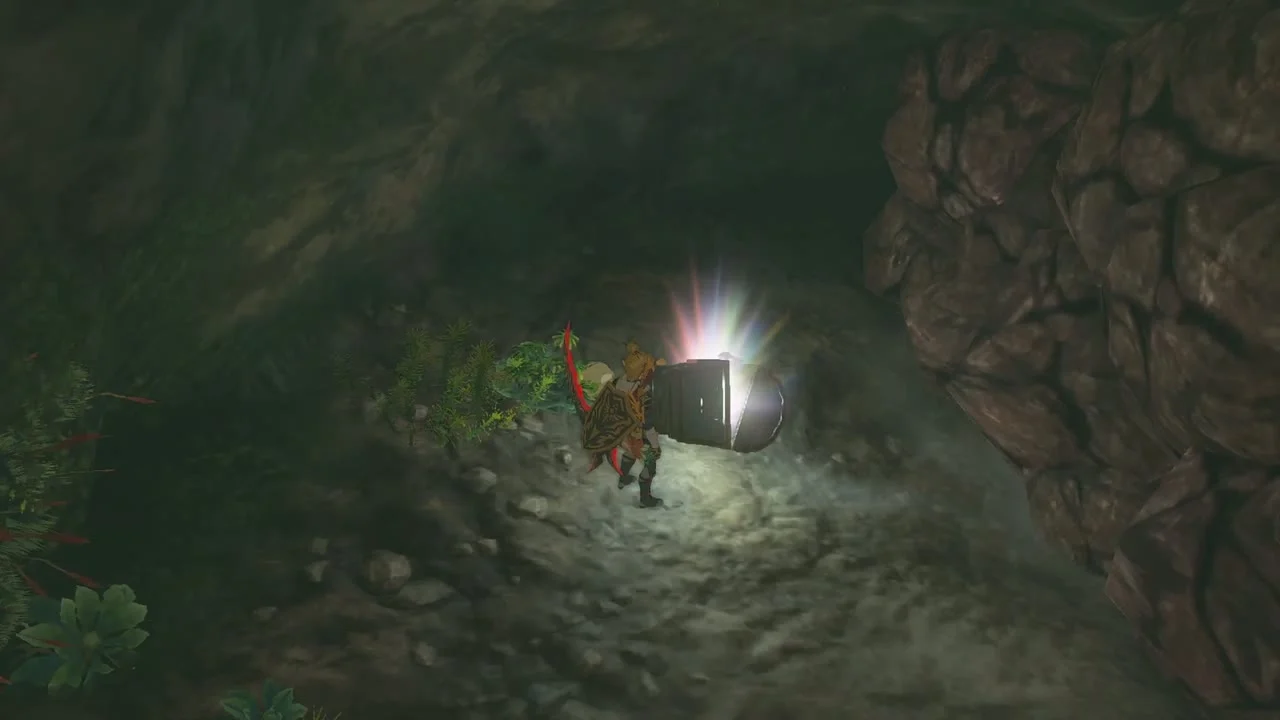

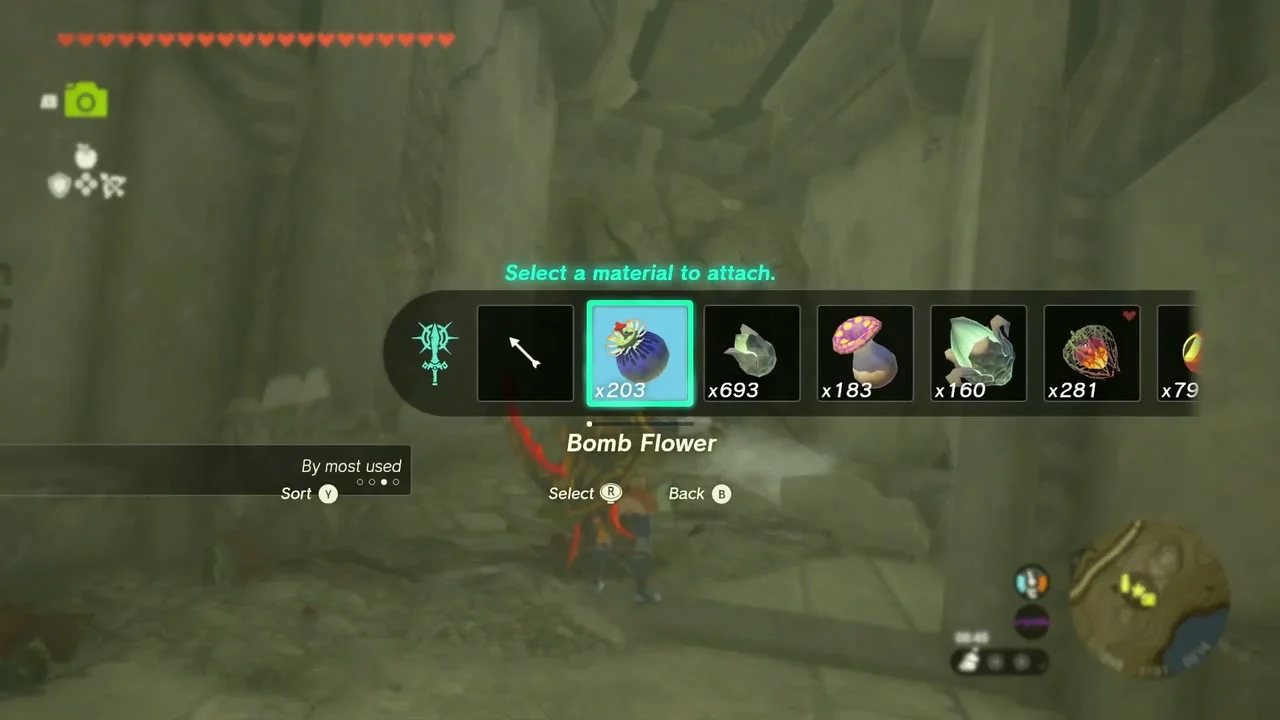
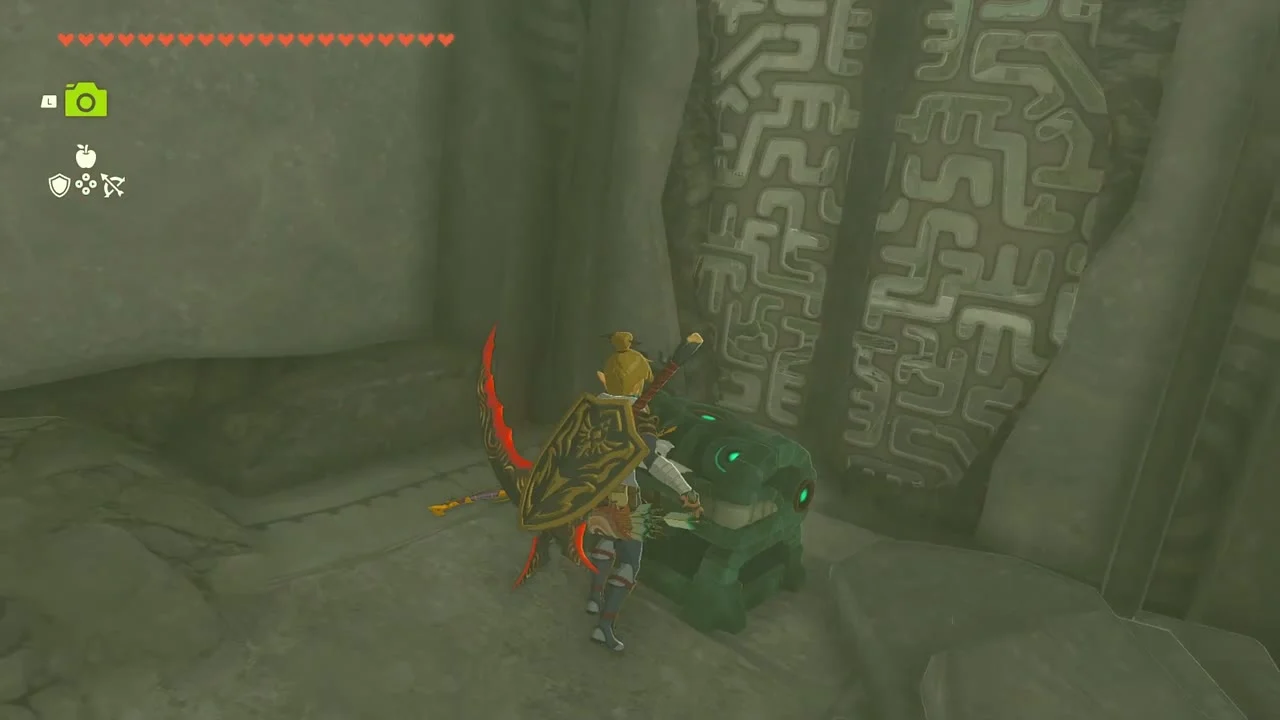
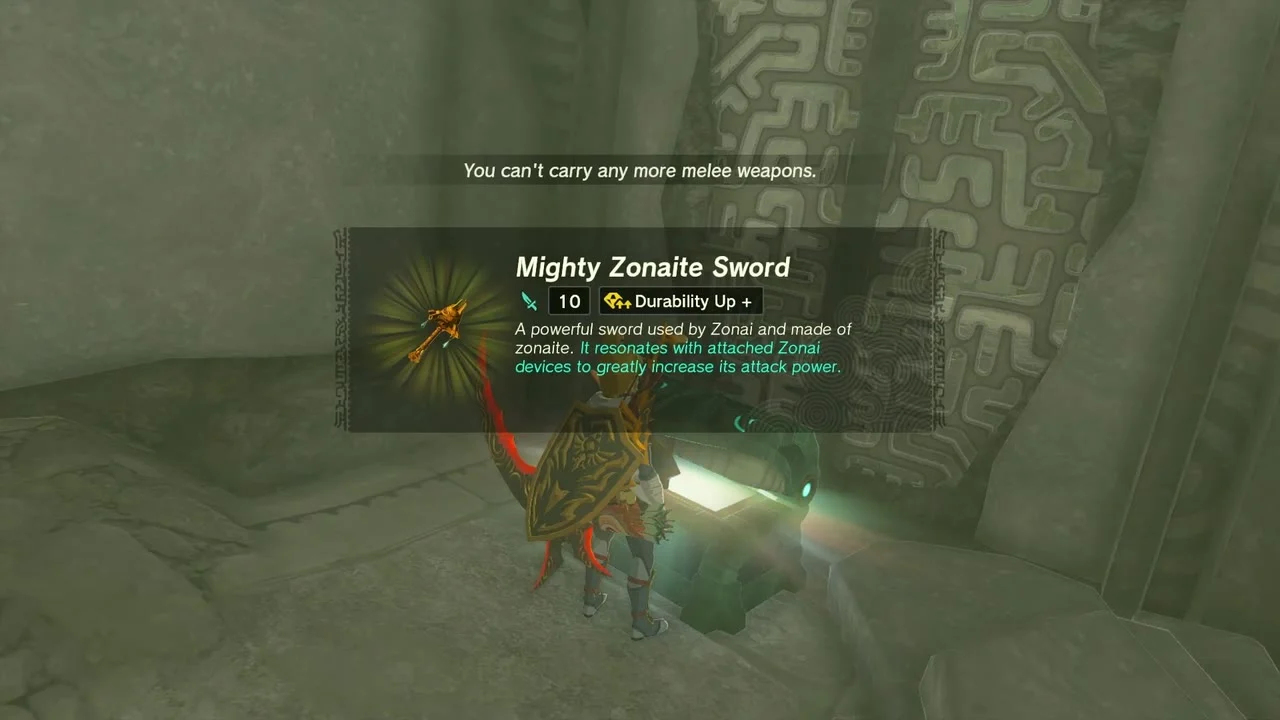
Quest finish (Codgers’ Quarrel) and chests. Back at the western Ring Ruin, Steen and Olkin are arguing over offence and defence while four Blue Bokoblins hold the ruin; clear them out. Inside the ruin, two chests hold Giant Brightbloom Seed x5 (on the base level) and a Zonaite Sword (Strong or Mighty, depending on your progress) behind a wall of boulders. Talk to Steen and Olkin, then to Trissa, to hand in Codgers’ Quarrel.
Collectibles in this chapter
- Shrines: 2 (Josiu, Makasura); Lightroots: 1 (Arusakam, below Makasura)
- Caves: 2 (Kakariko Village Cave, Cucco Hideaway); Wells: 1 (Kakariko Village Well)
- Korok seeds: 9 (falling light, dandelion, 2 sparkle spots, lift-the-rock, 2 acorn pots, 2 carried)
- Chests: 13 (listed in the table above)
- Bubbul Gems: 2
- Quests: Codgers’ Quarrel, Out of the Inn (found), A Trip through History, Follow the Cuccos, Gloom-Borne Illness, Secret of the Ring Ruins
Also in this area
Datamined Korok seeds just outside the village that this stretch did not collect: offer fruits to the statues at (2239, -726, 232), and pop the hidden balloon at (2300, -1357, 119).
