





















Tears of the Kingdom 100% Completion Walkthrough43 chapters
Great Sky Island
- Great Sky Island4 shrines, 4 caves and Bubbul Gems, 17 Korok seeds
Hyrule Field and Hyrule Castle
- Lookout LandingParaglider, Crisis at Hyrule Castle, Jiosin and Kyononis shrines, 2 caves, 3 wells
- Hyrule FieldSusuyai and Ishodag shrines, the Hyrule Field Chasm, 2 caves, 13 Koroks
- Hyrule Castle Town RuinsSepapa, Yamiyo and Tukarok shrines, 2 caves, 4 wells, Koroks, chests and Battle Taluses in route order
- Central Hyrule Depthslight all 7 Lightroots, loot Daphnes and Gustaf Canyon Mines, find the Miner's Top
- Rest of Hyrule CastleRoyal Hidden Passage loot, 8 castle chests, Phantom Ganon, Energy Wells
- South Hyrule FieldShrines, Koroks & the Great Plateau
- South Hyrule Field DepthsGreat Abandoned Central Mine, Master Kohga, Autobuild, Majora's Mask
Tabantha and Hyrule Ridge
- Tabantha FrontierNew Serenne Stable, Hestu, Courage Island and the Glide Shirt, 3 shrines, 2 Korok seeds, Lindor's Brow Cave
- Forgotten TempleImpa and the Geoglyphs, Dragon's Tears, Kiuyoyou and Mayausiy shrines, Yiga Maritta Branch, 9 Koroks
- Tanagar Canyon & Hyrule RidgeRunakit and Iun-orok shrines, 2 caves, 12 Koroks, 20 chests, 8 minibosses and Dragon's Tear 6
- Thundra Plateau & Tabantha Bridgesolve the noon shadow puzzle, Tabantha Bridge Stable, Makurukis Shrine, 19 Korok seeds, 9 chests, 3 minibosses
- Lindor's Brow DepthsLightroots; Two Yiga camps (Bomb Bouquet, Flamethrower Balloon)
- Hyrule Ridge and Tabantha FrontierIkatak, Oromuwak, Ganos and Ga-ahisas shrines, 4 caves, a well, 26 Koroks and 3 minibosses
Hebra
- Rito VillageGatakis and Ijo-o shrines, Sikatag Lightroot, 9 Korok seeds, 14 chests
- Hebra MountainsShrines, Wind Temple & Koroks; Raspro Pass, Biron Snowshelf & Royal Hidden Passage
- Corvash Canyon MineTrousers of the Hero, Floodlights schematic, Sea-Breeze Boomerang, four Lightroots, Colgera
- Raspro Pass DepthsNupisoyuat and Sasag Lightroots, Colgera, Cap of Time, Tunic of the Wind, two Yiga camps and 13 minibosses
- Tabantha TundraTaninoud, Orochium, Oshozan-u, Mayaotaki, Nouda and Tenbez shrines, three Lightroots, caves and Bubbul Gems
- Pikida Stonegrove DepthsEvil Spirit Greaves, Ikatoayam, Muihcoro and Sikatag Lightroots, 3 Yiga schematics, Frox fights
Great Hyrule Forest
- Great Hyrule Forest7 shrines, 8 Lightroots, 2 caves, 2 wells, Korok Mask, Glide Tights
Eldin
- EldinEldin Canyon, Shrines, Caves & Goron City
- Eldin Canyon Depths10 Lightroots, Zant's Helmet, Trousers of the Wild, Biggoron's Sword, 3 Yiga schematics and Eldin's sky chests
Faron
- FaronHighland Stable, Lake Hylia & Popla Foothills
Necluda
- Kakariko VillageMakasura Shrine, Kakariko Village Well, 2 caves, Ring Ruins chests, 10 Korok seeds and village quests
- West Necluda and Lanayru WetlandsShrines, Koroks & Caves; Jonsau, Kurakat
- Hateno VillageZanmik and Mayahisik shrines, Shield of the Mind's Eye and Phrenic Bow wells, 7 Koroks
- East NecludaRabella Wetlands, Sifumim Shrine, Lurelin Village, 21 Korok seeds
- East Necluda DepthsKumamayn Shrine, 4 Lightroots, Midna's Helmet, Cap of the Hero, Trousers of the Wind and 18 Depths chests
Lanayru
- Lanayru Great SpringShrines, Koroks & Caves; Ralis Channel, 3 shrines, 8 caves
- Zora's DomainMogawak and Ihen-a shrines, Ploymus cave, Pristine Sanctum, Zora Armor, Sidon of the Zora and Clues to the Sky
- Wellspring IslandAncient Zora Waterworks chests, Igoshon Shrine, 2 Korok seeds, Water Temple's four wheels and Mucktorok
- Mount LanayruShrines, Koroks & Light Rings; Jikais and Anedamimik shrines
Gerudo
- Gerudo DesertShrines, Caves & Koroks; West and South Sands
- Gerudo TownGerudo Shelter shops and quests, Valley of Silent Statues, Lightning Temple and Queen Gibdo, Chichim Shrine
- Gerudo Desert DepthsGranajh and Daval mines, three Master Kohga fights, Queen Gibdo, Mucktorok, Sheik's Mask and 37 chests
- Gerudo HighlandsSkyview Tower, Rotsumamu and Suariwak shrines, Mayasiar Shrine, Yiga hideout
Akkala
- AkkalaTarrey Town quests, 4 shrines, Hinox, Battle Talus
- Akkala Sky Islands and DepthsGikaku and Natak shrines, Old Maps, Lomei Depths Labyrinth, Mucktorok, 5 Lightroots and 19 chests
Finale and completion
- Ancient Tablets, Gleeoks and Armor Upgradesall 13 stone tablets with coordinates, Frost and King Gleeok, Obsidian Frox, Cotera upgrades and farming
- Hyrule CastleRoyal gear chests, Korok seeds, Serutabomac Shrine
- Thunderhead IslesCharged armor, Joku-usin and Joku-u Shrines, Dragonhead Island's relic
- 100% Completion: Armor Upgrades & Korok BonusHestu's Gift, Ancient Hero's Aspect, Great Fairy Cotera upgrade costs and materials, then Destroy Ganondorf
This chapter is in 2 parts, in the order a 100% run reaches them. Jump to a part:
Part 1: Lightroots
| Region | Lindor’s Brow Depths: the Depths under Hyrule Ridge, Hyrule Field and the southern Tabantha Frontier |
|---|---|
| Way down | The chasm on Hyrule Ridge just west of Runakit Shrine; the Lighthouse brings you back to the surface |
| Lightroots | 3: Nabahi-ikat (-1829, 1196, -0723), Kawakanis (-1415, 0756, -0538), Yisuayam (-1167, 2602, -0350); see all Lightroots |
| Shrines above | Taki-ihaban, Sinakawak, Mayausiy |
| Landmarks | Lindor Canyon Mine, the Lighthouse (surface shortcut), a Yiga Clan camp, Cliff Bargainer Statue |
| Depths chests | 8 |
| Minibosses | 7: White-Maned Lynel, Obsidian Frox x2, Flux Construct II, Stone Talus, Blue Hinox, Flux Construct III |
| Armor | Tunic of Time (chest), Dark Trousers (statue, 200 Poes); see all armor |
Three Lightroots light this corner of the Depths, and the prizes are the Tunic of Time in a chest at Lindor Canyon Mine and the Dark Trousers from the Cliff Bargainer Statue. Drop in beside Runakit Shrine, loot the west, light Nabahi-ikat and Kawakanis on the way east, then climb north to Yisuayam.
Quick route
Drop in
through the Hyrule Ridge chasm west of Runakit Shrine and glide east.
Western camp
Stone Talus, the Knight’s Bow (or Traveler’s Bow, Soldier’s Bow or Royal Bow, depending on your progress) chest in a small cave, the Rock Salt and Arrow x10 chests, Blue Hinox, Flux Construct III.
Lindor Canyon Mine
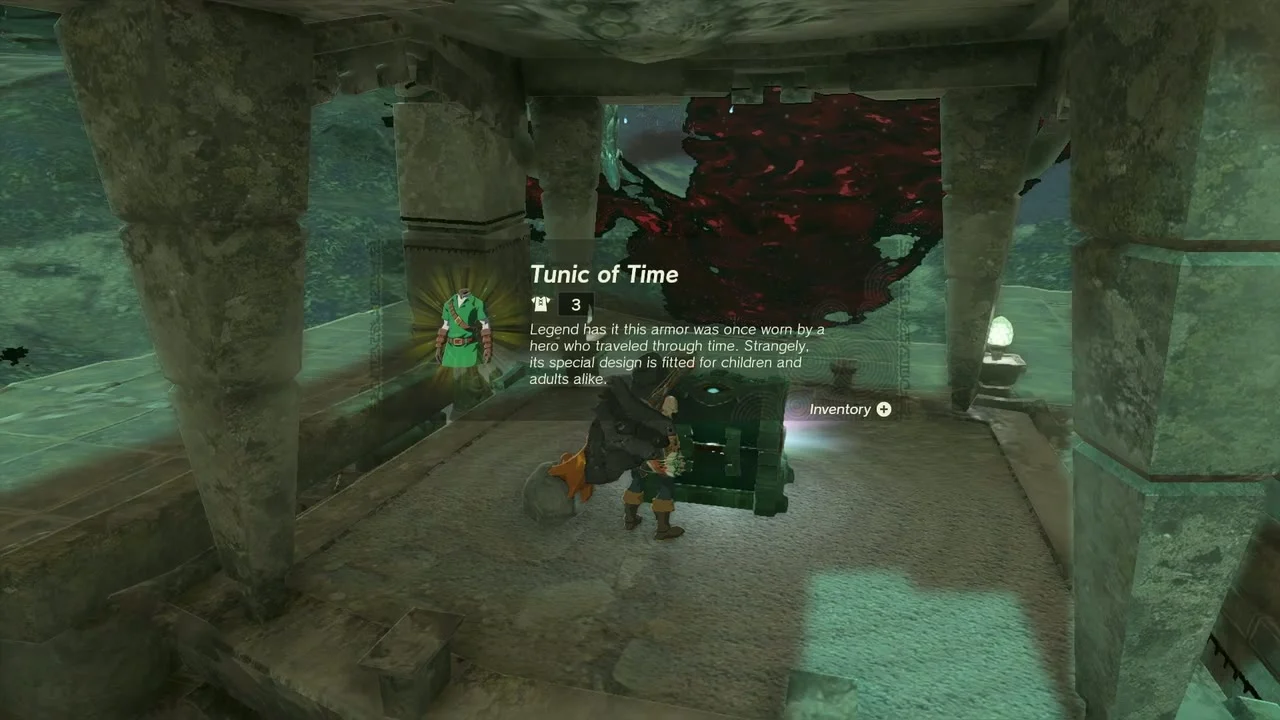
open the chest for the Tunic of Time.
Nabahi-ikat Lightroot
(below Taki-ihaban Shrine).
Kawakanis Lightroot
(below Sinakawak Shrine), the Lighthouse, the White-Maned Lynel and the first Obsidian Frox.
Sundelion chest
and Flux Construct II to the north-east.
Yiga Clan camp
Large Crystallized Charge and the Cargo Carrier schematic, then the second Obsidian Frox.
Arrow x10 and Giant Brightbloom Seed x5 chests
, then the long climb to Yisuayam Lightroot.
Cliff Bargainer Statue
Dark Trousers.
Getting in
Jump into the chasm on Hyrule Ridge just west of Runakit Shrine and glide east, away from the red gloom at the edge. Bring Brightbloom Seeds for dark ground, gloom-resistance food and spare weapons: most of this area is open plain with gloom pools and several large enemies. Every Lightroot you light becomes a fast-travel point, so light Nabahi-ikat first and warp back to it whenever you need to restock. Pick up the Poes that float around roots, rubble and ruins as you go: the Dark Trousers at the end cost 200 of them.
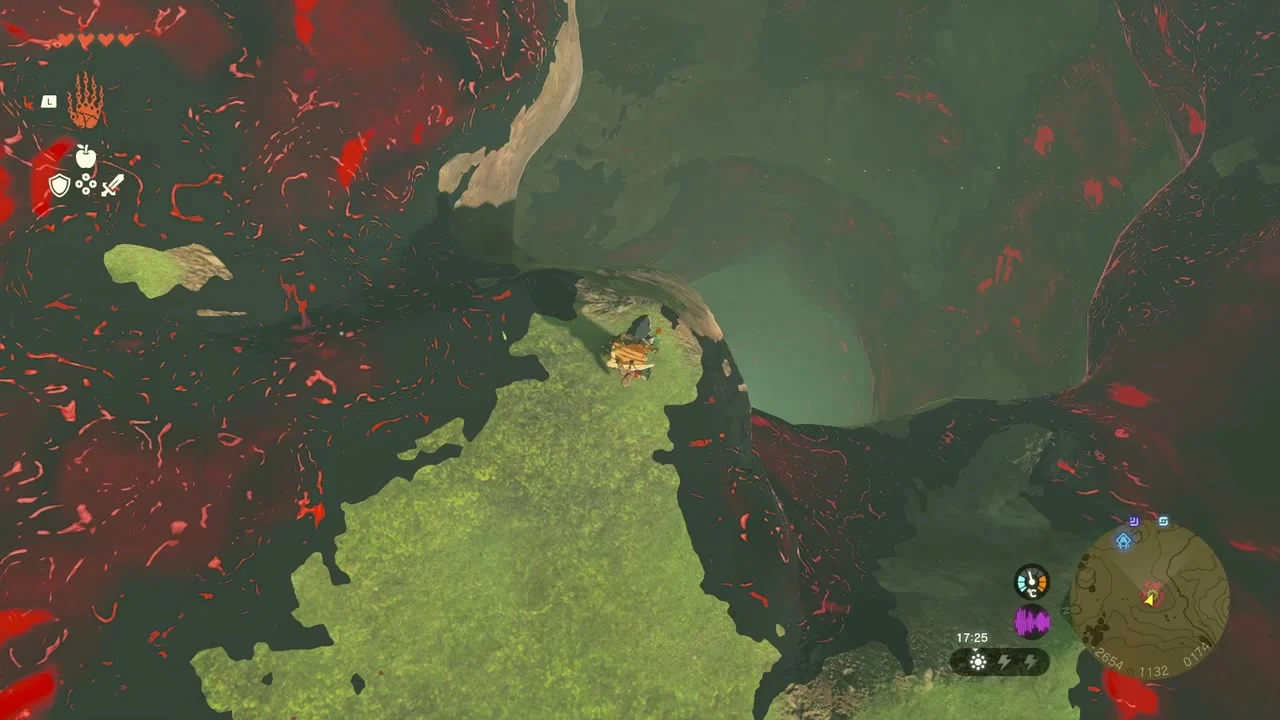
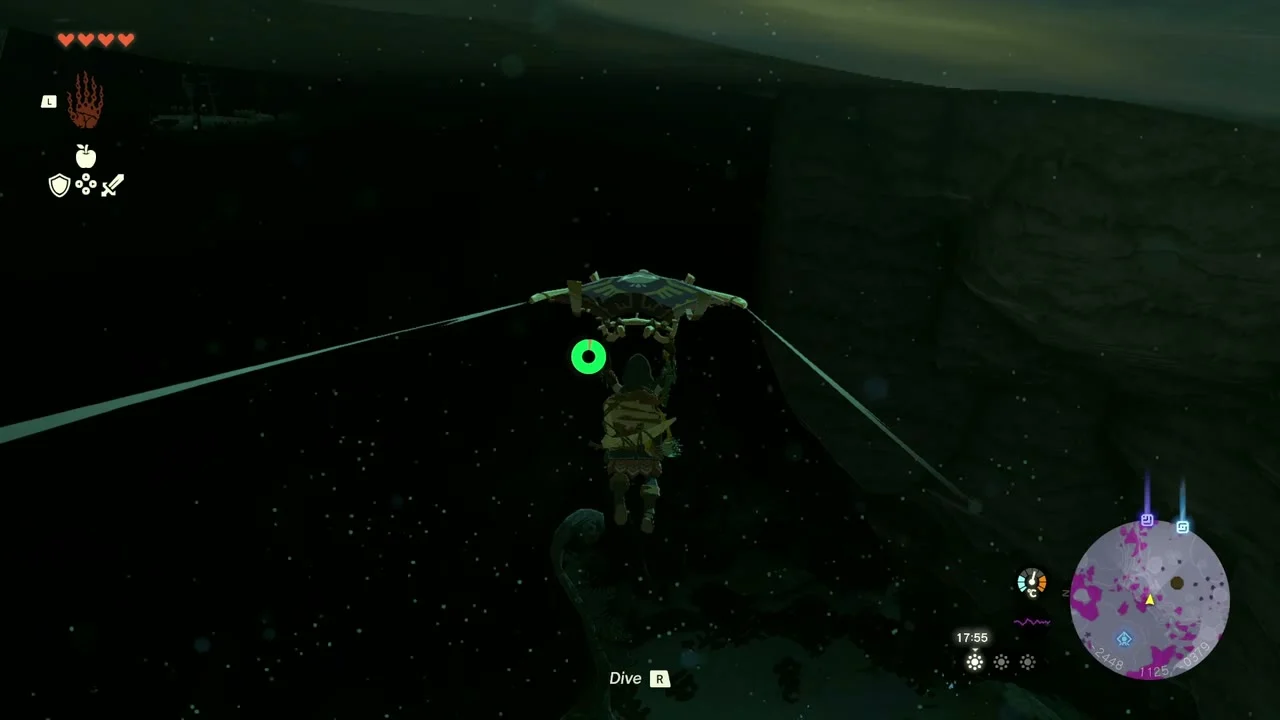
The western Depths
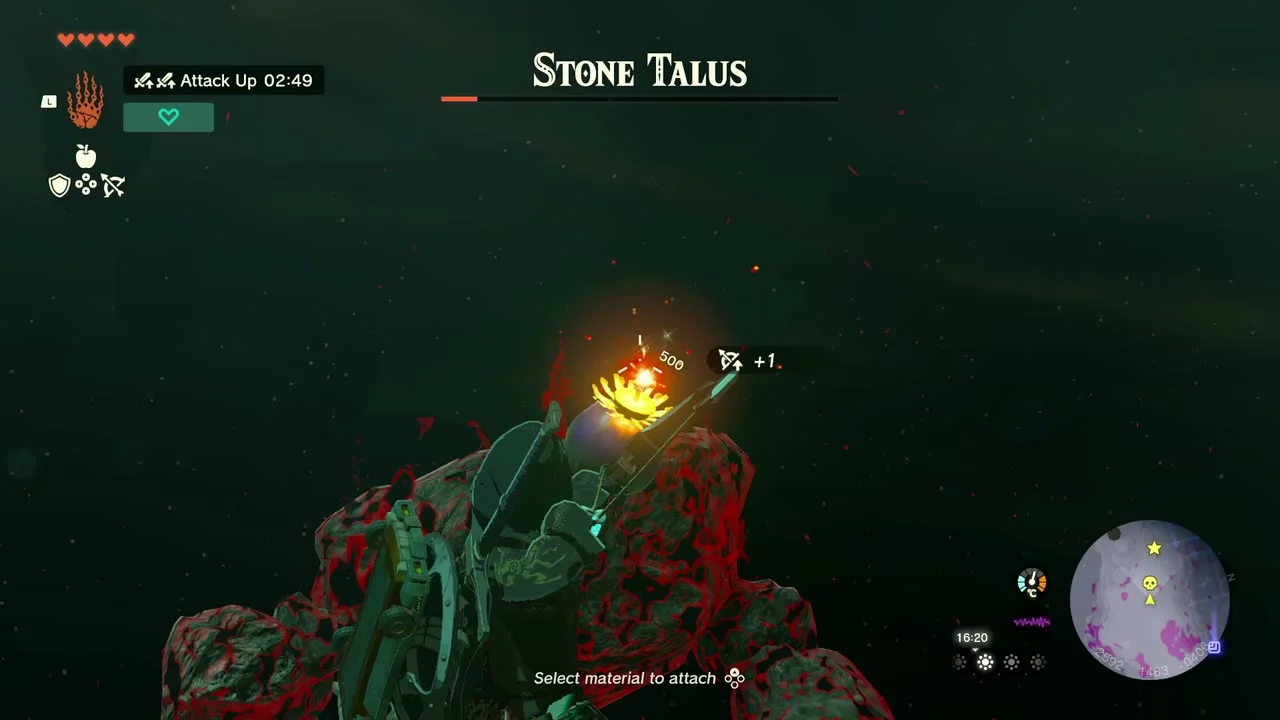
Miniboss: Stone Talus. A Stone Talus stands on open ground north of where you land. Blow up or hammer the ore on its body until it collapses. It drops Amber and Opal, and the dark ground around it is a good place to collect Zonaite from the broken ore. Use it as a warm-up: it is slow, and a Rock Hammer or a bomb arrow does most of the work.


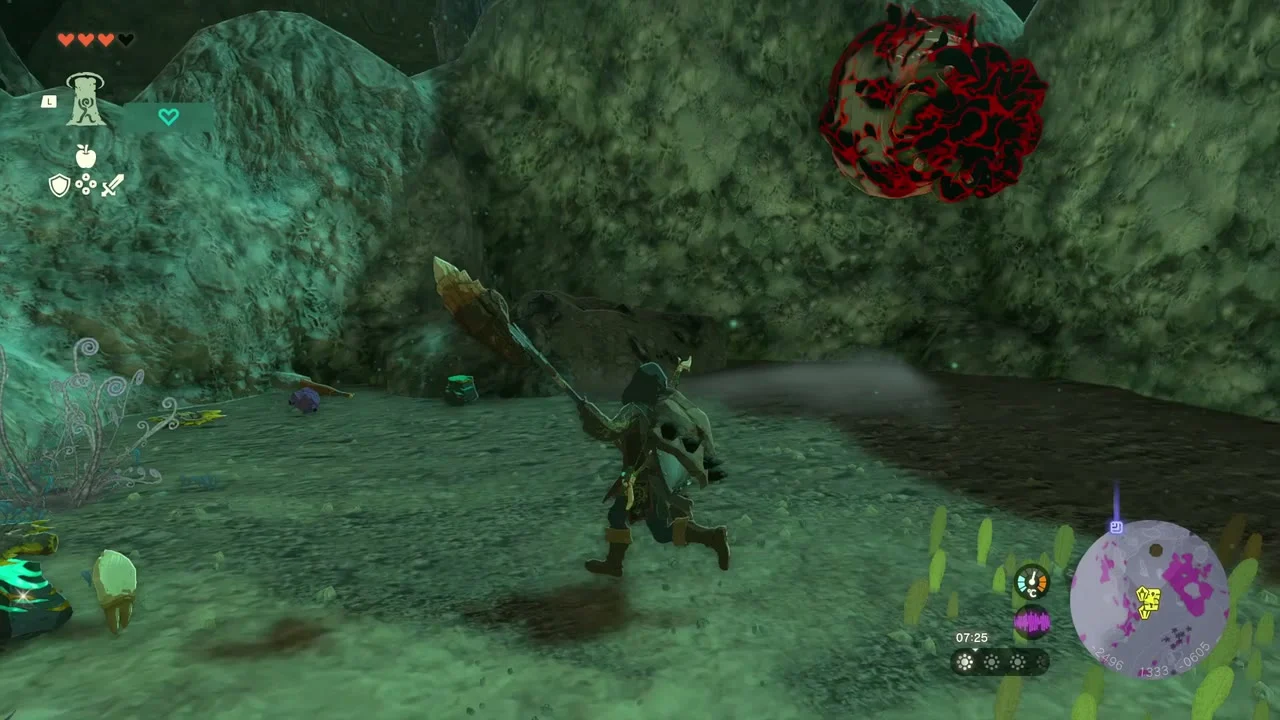
Chest: Knight’s Bow. South-east of the Stone Talus, a small earthen alcove in the rock wall hides a chest. Duck inside and open it for a Knight’s Bow. Free a bow slot first or the chest will not give it up. The alcove is easy to miss in the dark, so light the rock wall with a Brightbloom Seed and look for the chest at its foot.
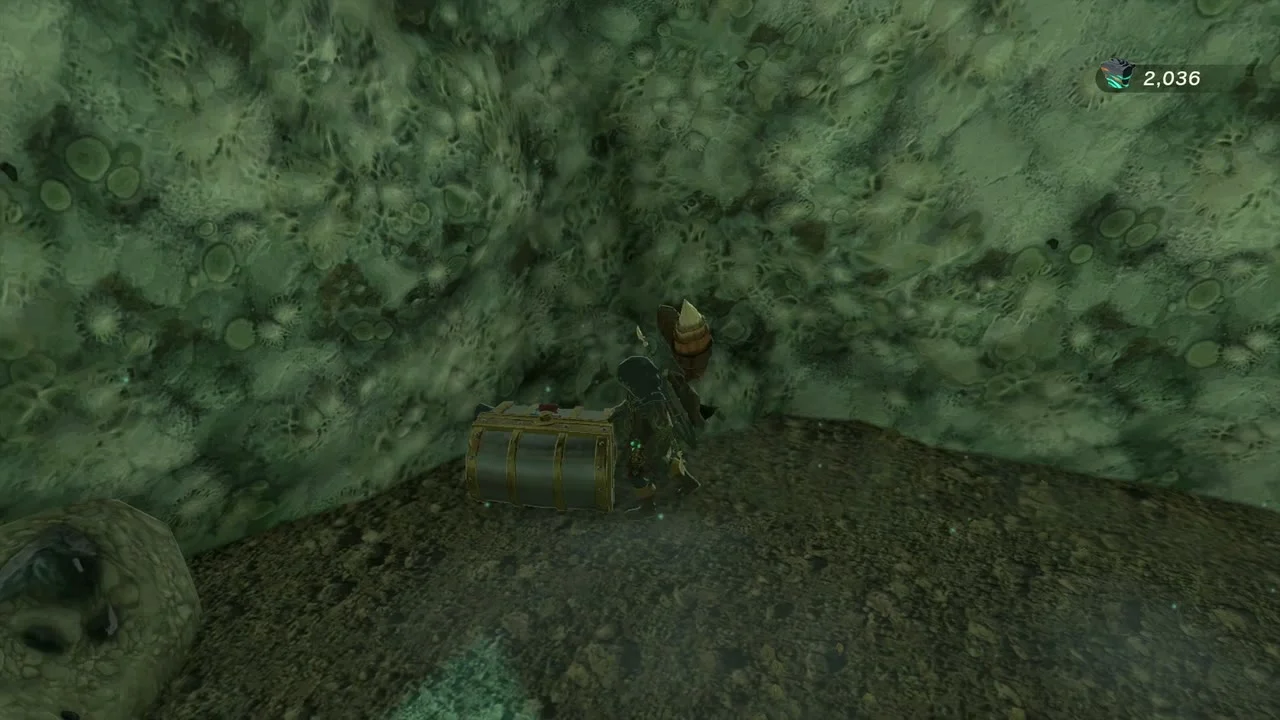

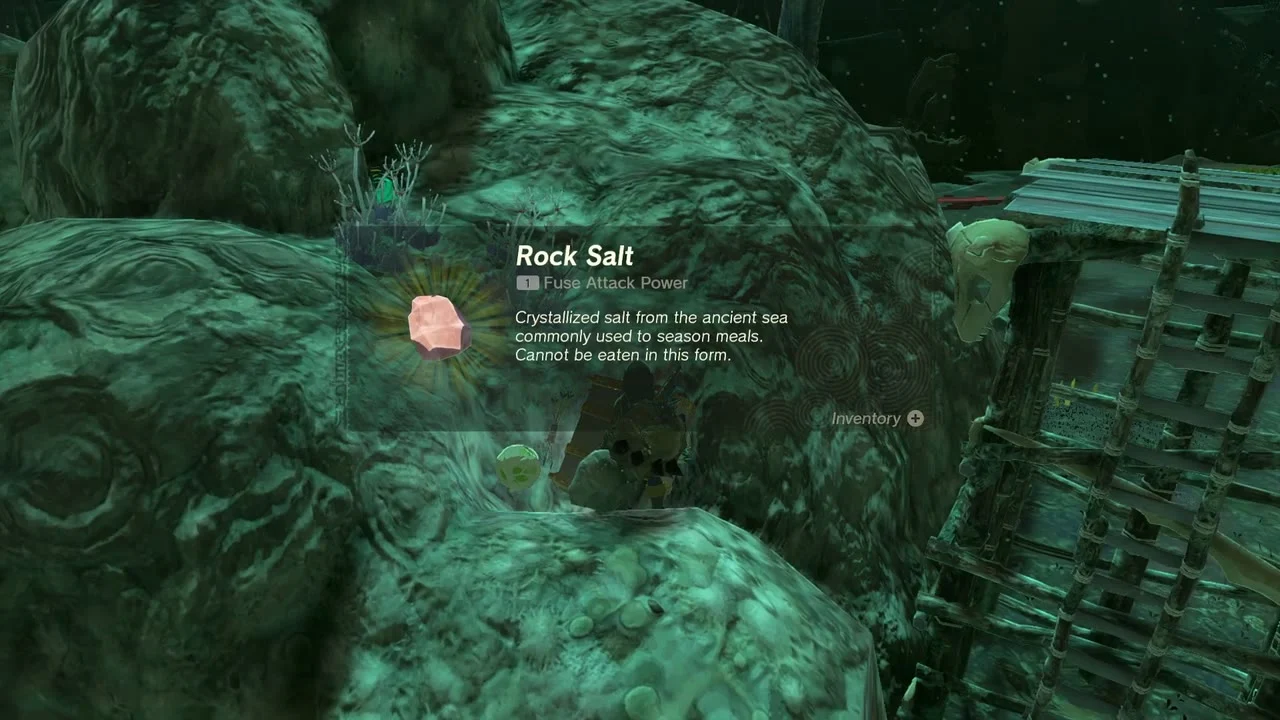
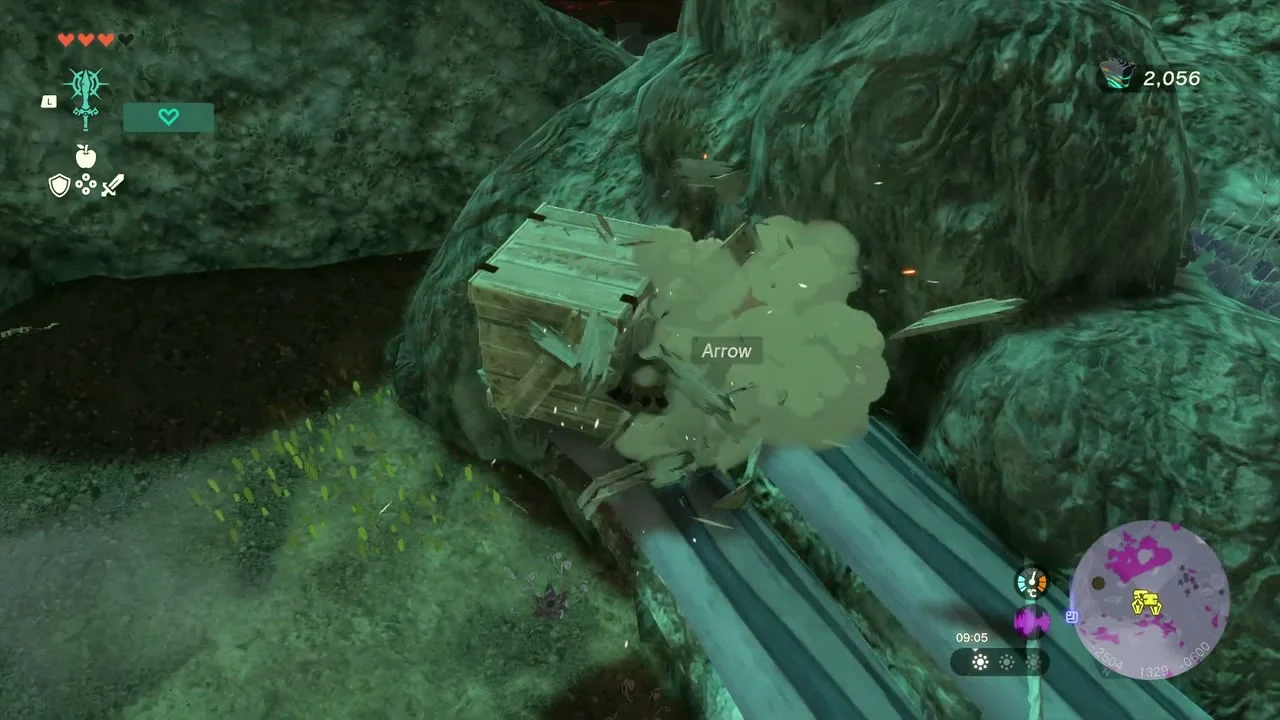
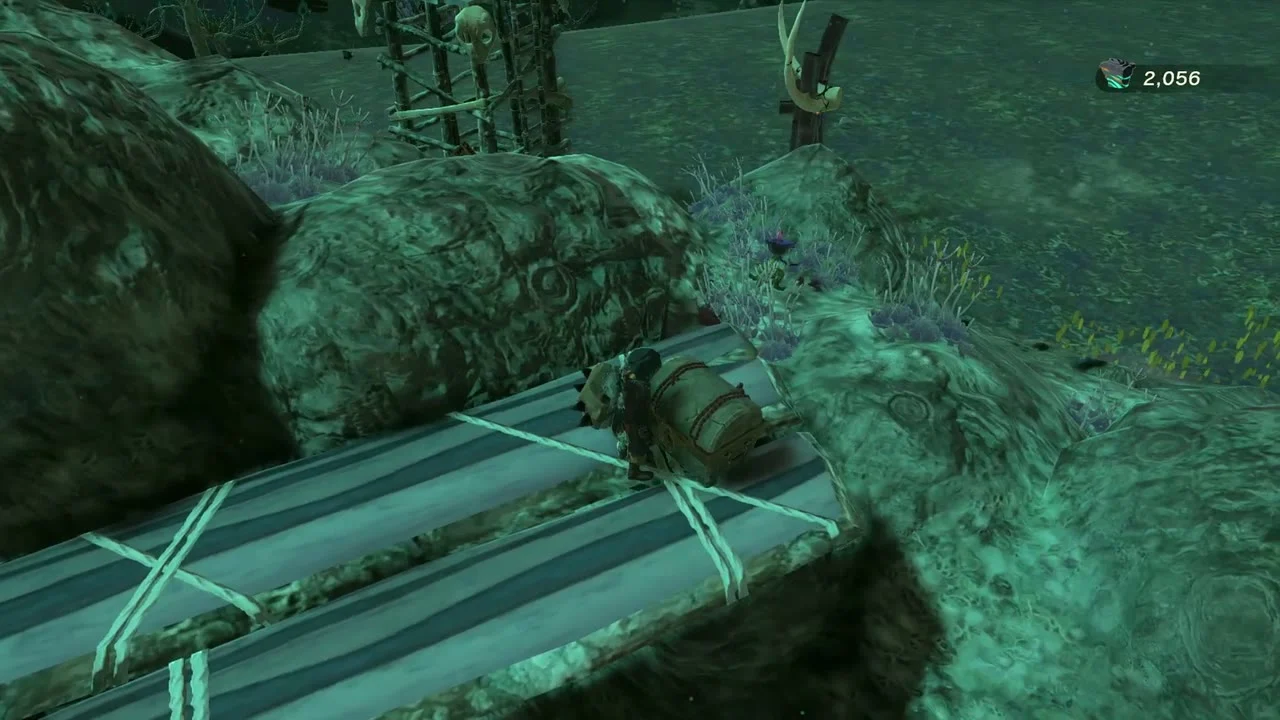
Chests: Rock Salt and Arrow x10. In the same area a camp of crates and wooden ramps stands against a field of boulders. One chest is wedged between two boulders beside a wooden ladder: open it for Rock Salt. Smash the crates stacked on the plank walkway behind it and follow the plank to a second chest holding Arrow x10.

Miniboss: Blue Hinox. A gloom-covered Blue Hinox waits west of that camp on a hillside of bare dark trees. Pick it off from range and shoot its eye when it bends down.


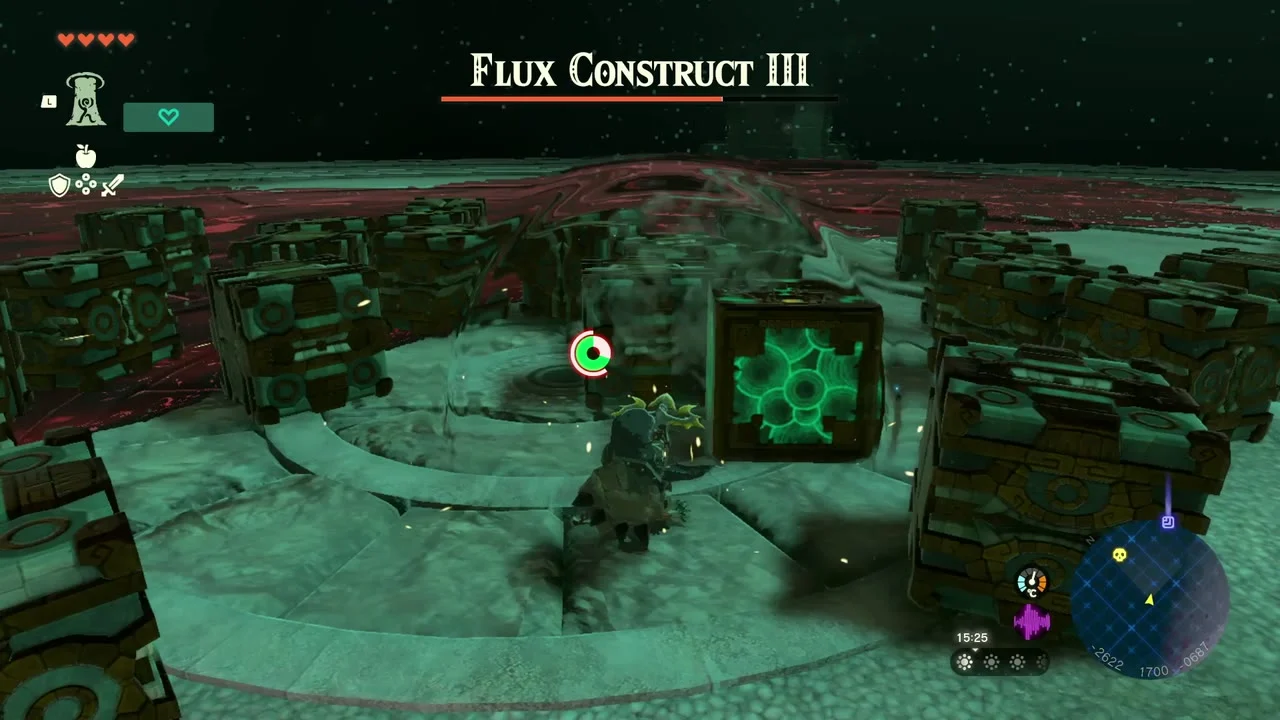
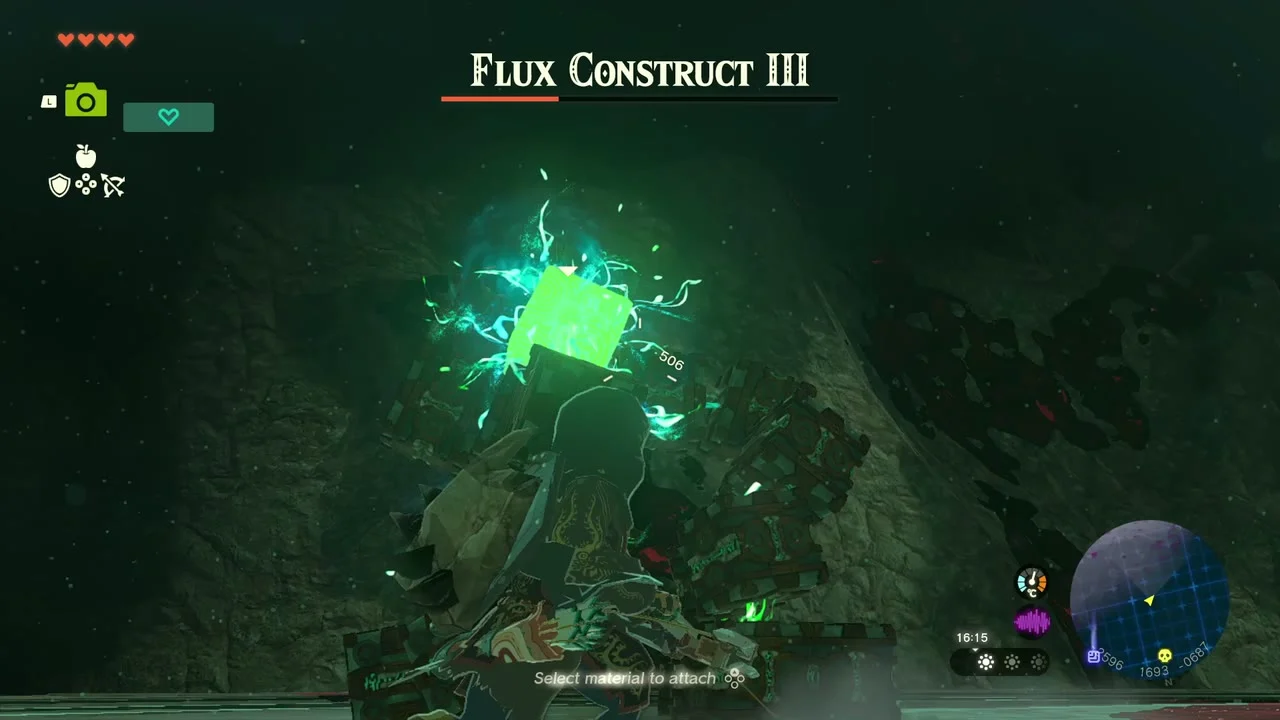
Miniboss: Flux Construct III. A round Zonai stone arena lies well to the north of the Hinox. Flux Construct III is built from loose Zonai cubes: break the cubes apart until the glowing core cube is exposed, then hit the core.

Lindor Canyon Mine and Nabahi-ikat Lightroot
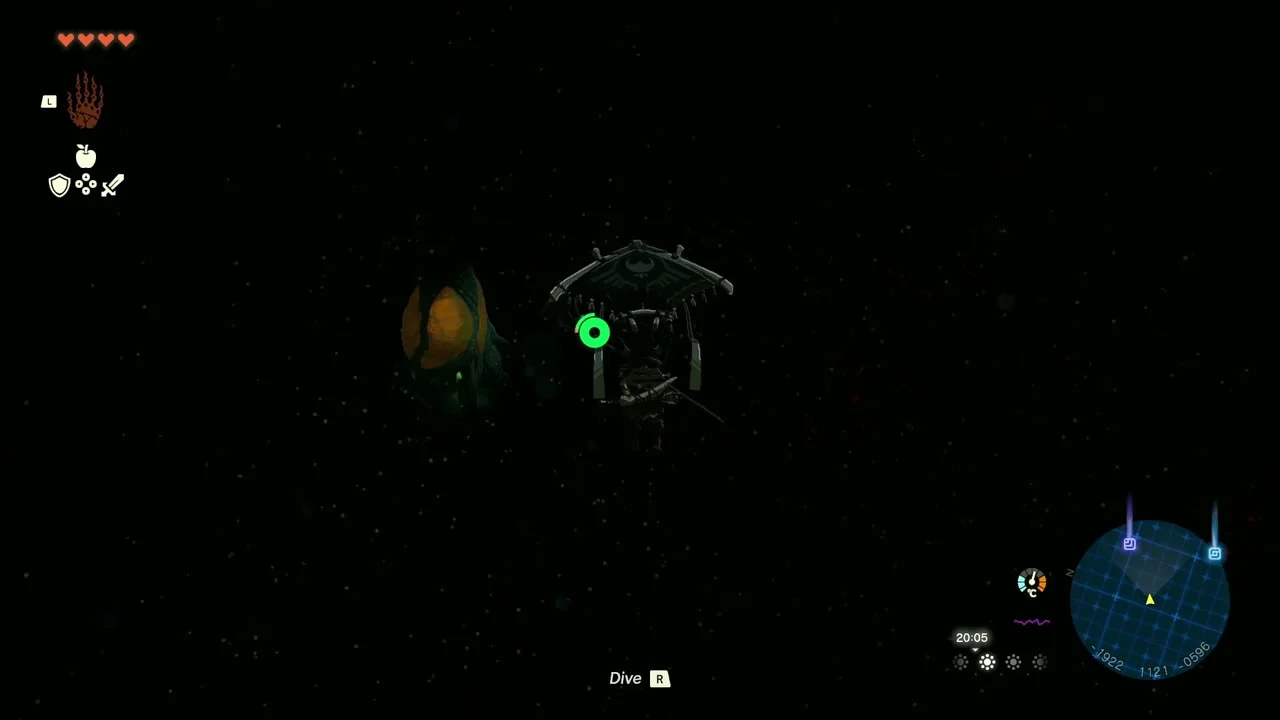
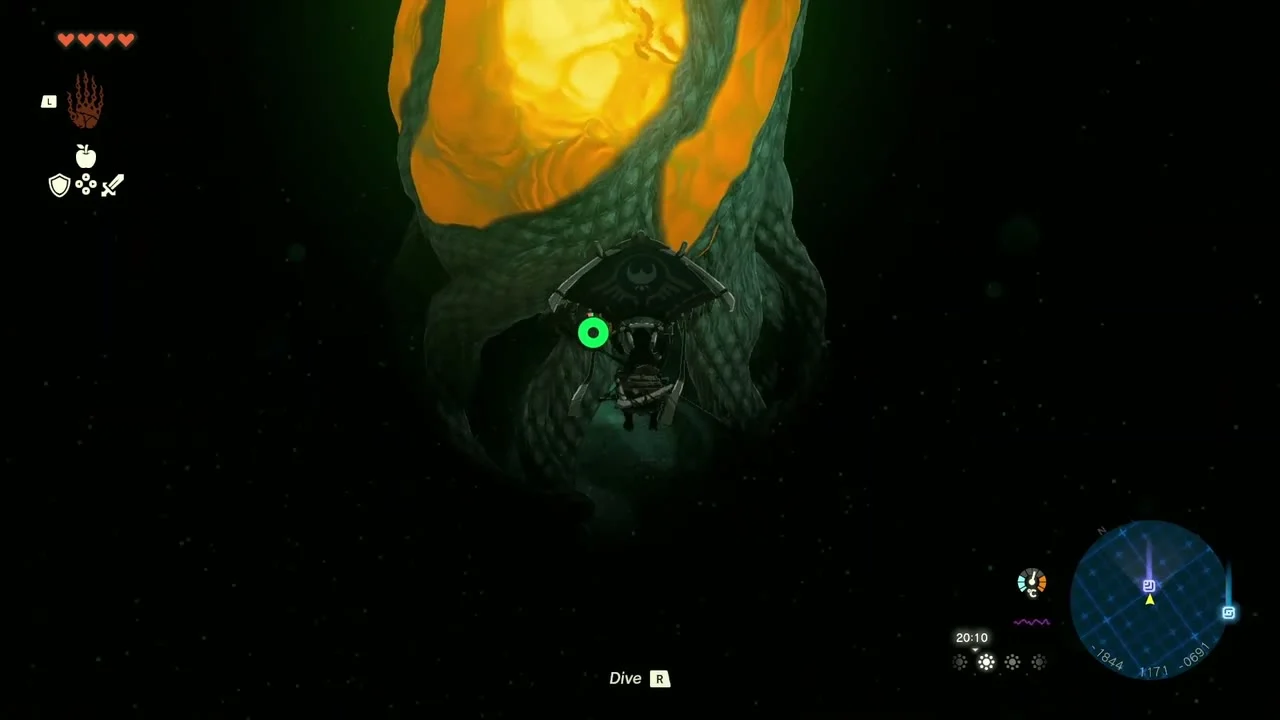
Nabahi-ikat Lightroot lies below Taki-ihaban Shrine at (-1829, 1196, -0723). Glide east across the ravine; the orange bulb comes into view from a long way off. Land at its roots and examine them. Once it is lit, the map around it clears, and the shrine above it, Taki-ihaban, is a Rauru’s Blessing shrine you can walk straight into from Lindor’s Brow Cave on the surface.
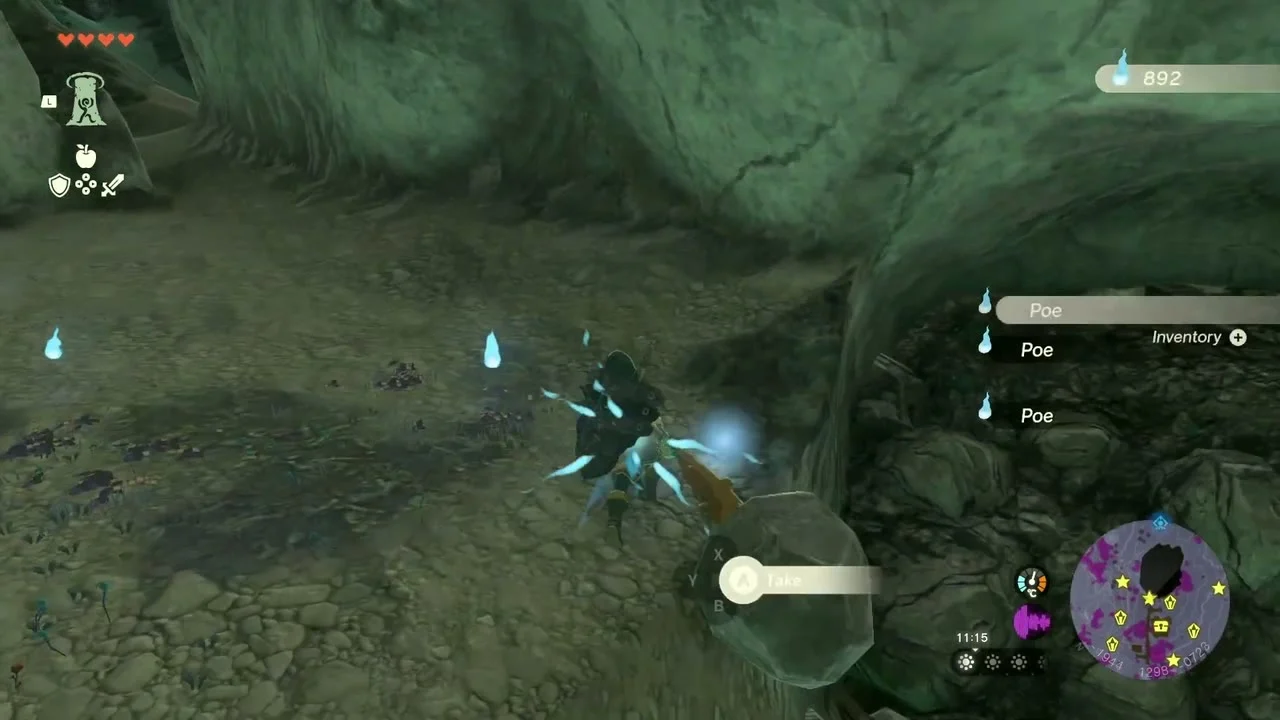
Lindor Canyon Mine is an abandoned Zonai mine just west and a little north of Nabahi-ikat, below Lindor’s Brow. Zonaite deposits line the canyon walls and Poes drift around the rubble. Climb the stairs of the central ruin; a loose boulder sits on the way up, so lift it aside with Ultrahand. The mine is a good place to stock up on Zonaite and Poes before you head east.

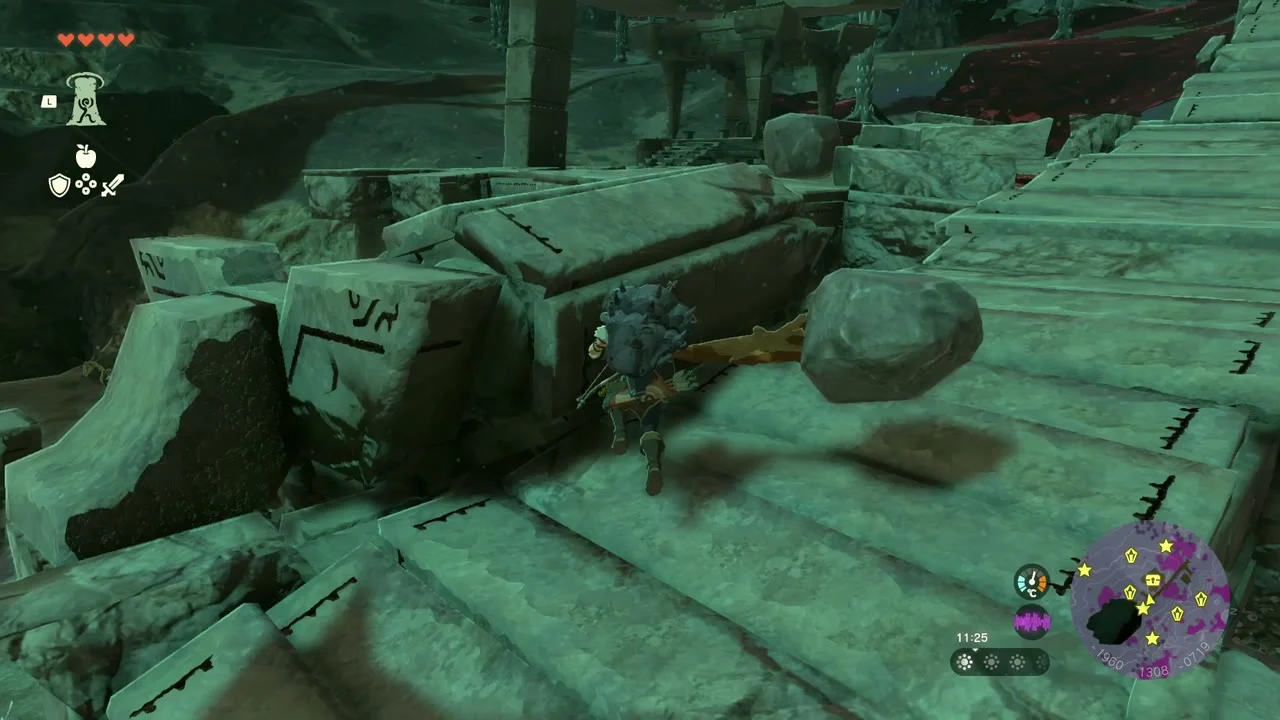
Chest: Tunic of Time (-2001, 1309, -0714).

Kawakanis Lightroot and the Lighthouse
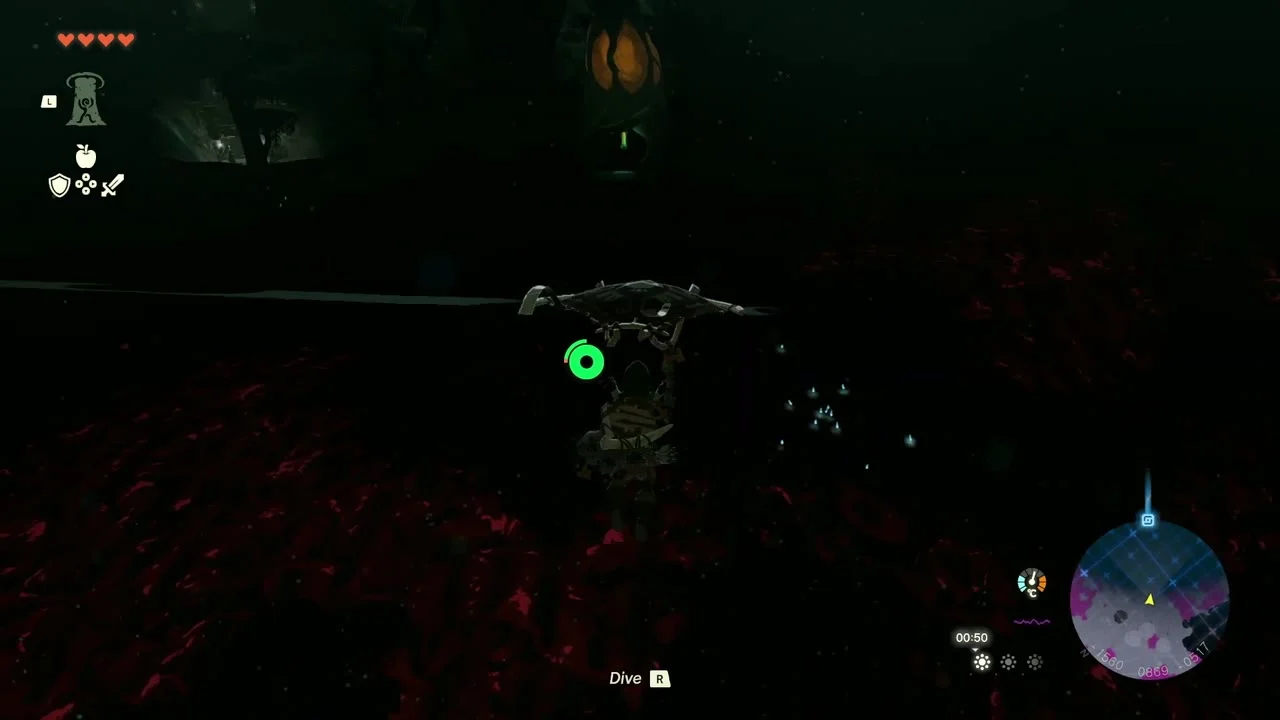
Kawakanis Lightroot lies below Sinakawak Shrine, east of Nabahi-ikat at (-1415, 0756, -0538). Look for the green glow above a rock arch, land in front of it and examine the roots.
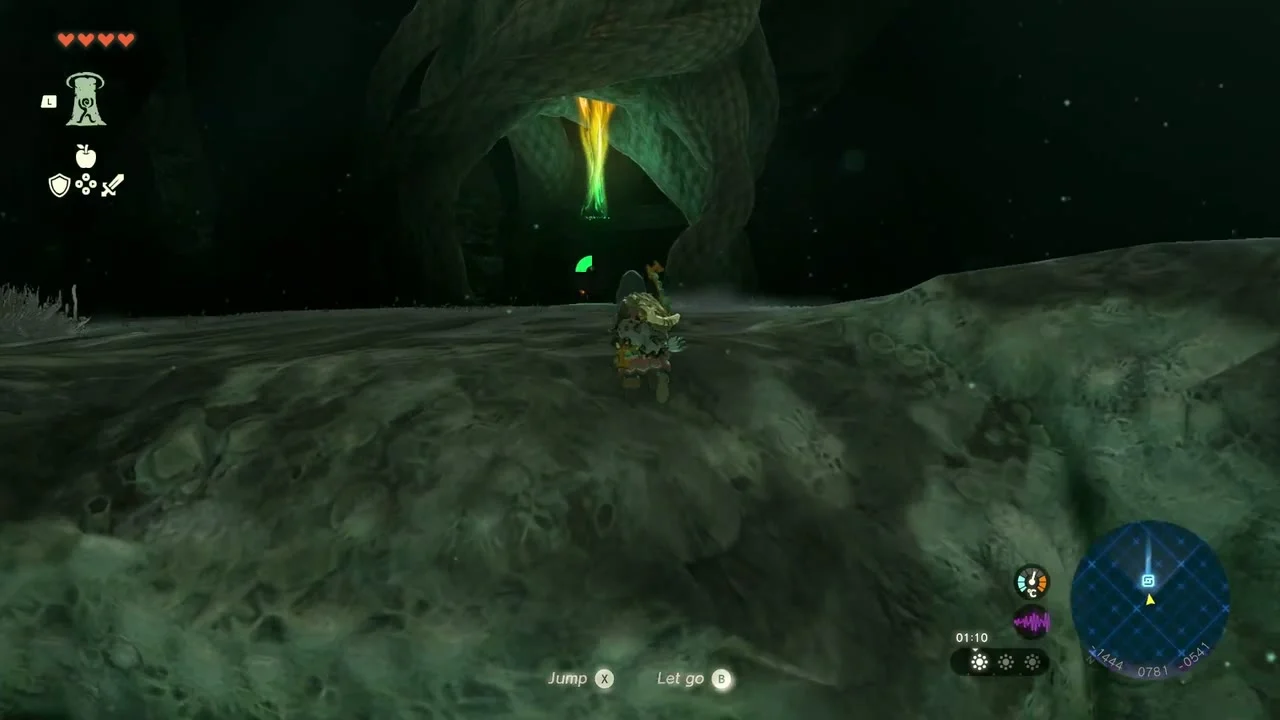

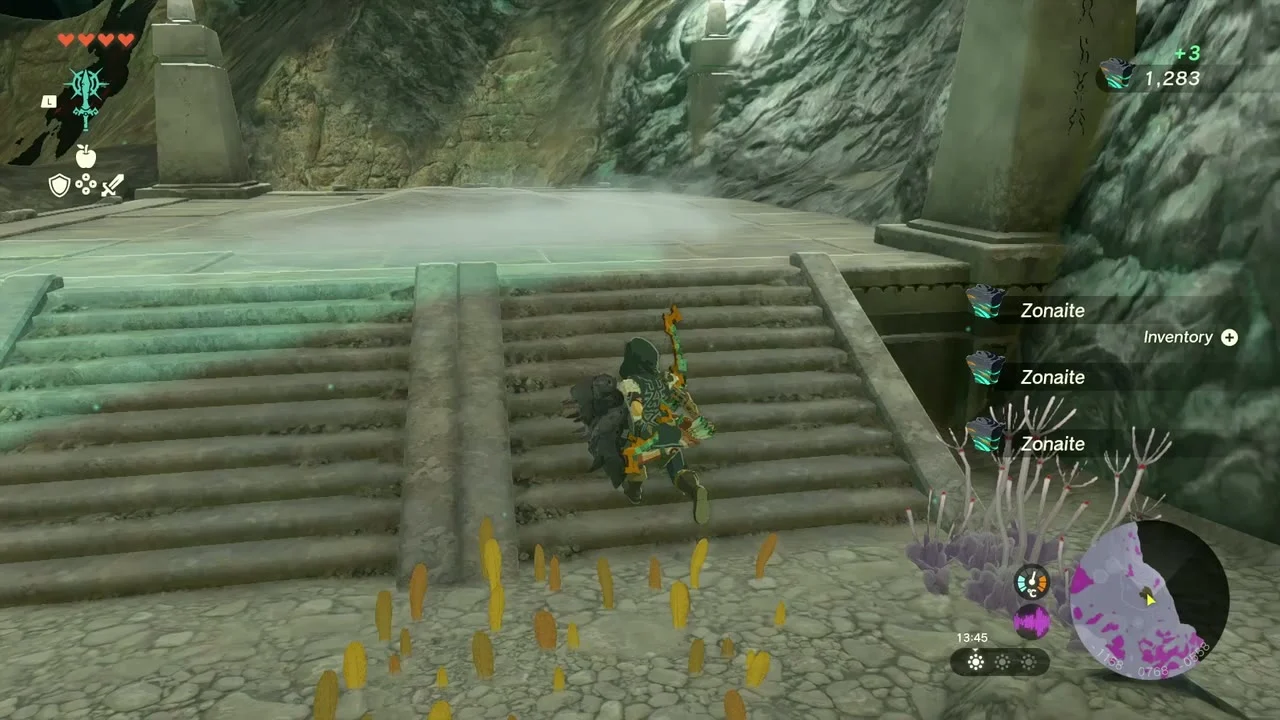
The Lighthouse (shortcut to the surface). A short glide east of Kawakanis, a ruined Zonai structure stands at the head of a wide staircase. Climb the steps into the round chamber, stand under the ringed disc in the ceiling and use Ascend. You come out on a hilltop in Hyrule Field, so you can leave and return without a long climb. A Stalhorse wanders the ground beside the stairs.



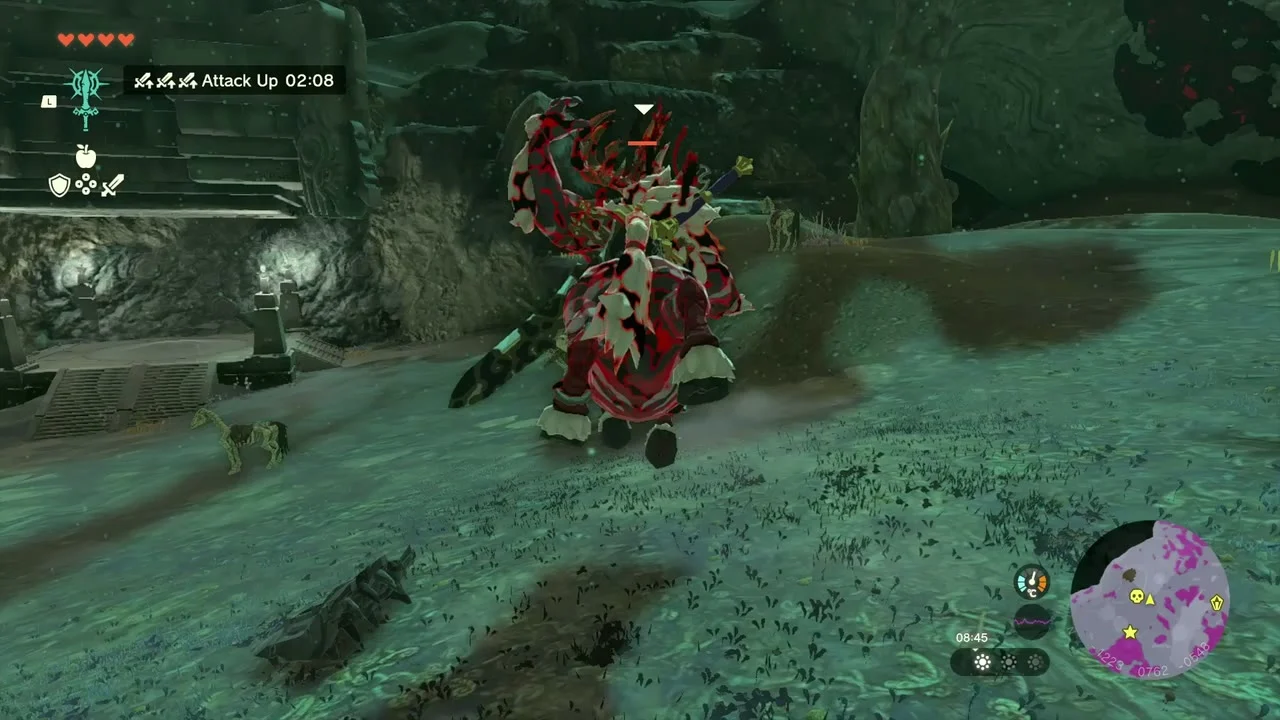
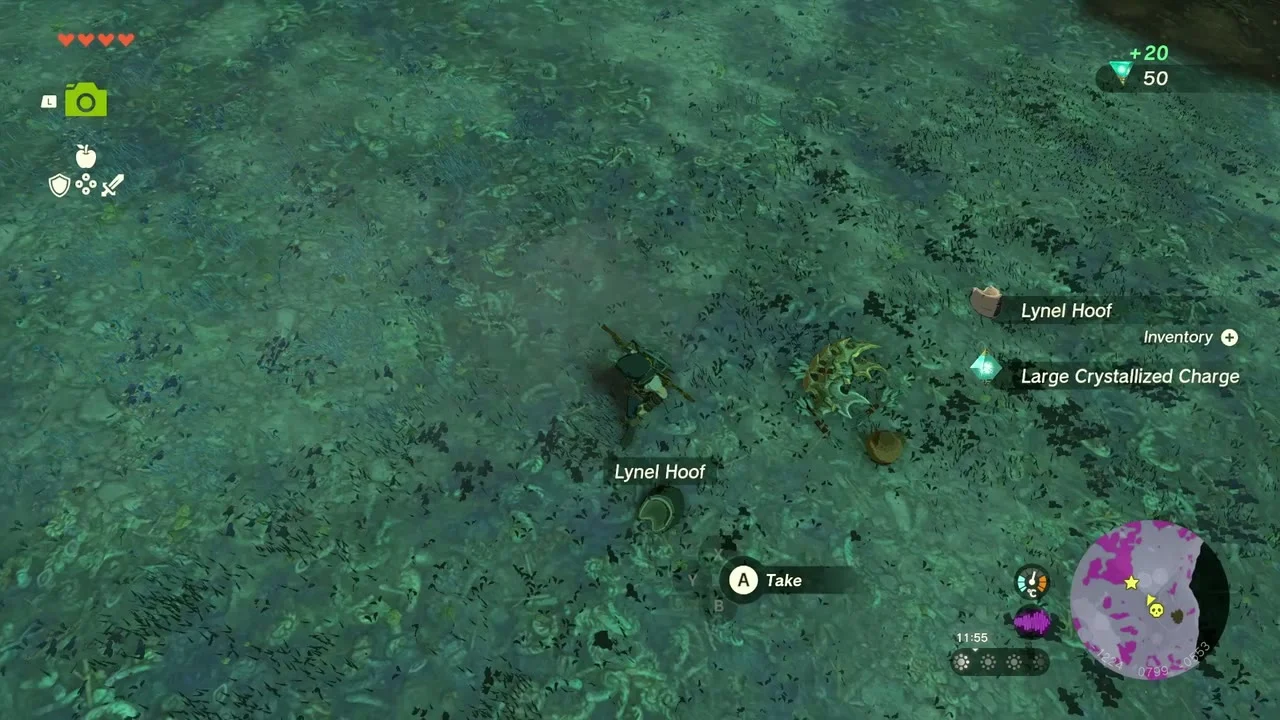
Miniboss: White-Maned Lynel. A gloom-marked White-Maned Lynel patrols the ground at the foot of the Lighthouse stairs and is the toughest enemy in this area. Eat an attack-up dish before you start and keep your distance, since it hits hard at close range. It drops Lynel Hoof, a Large Crystallized Charge and arrows.
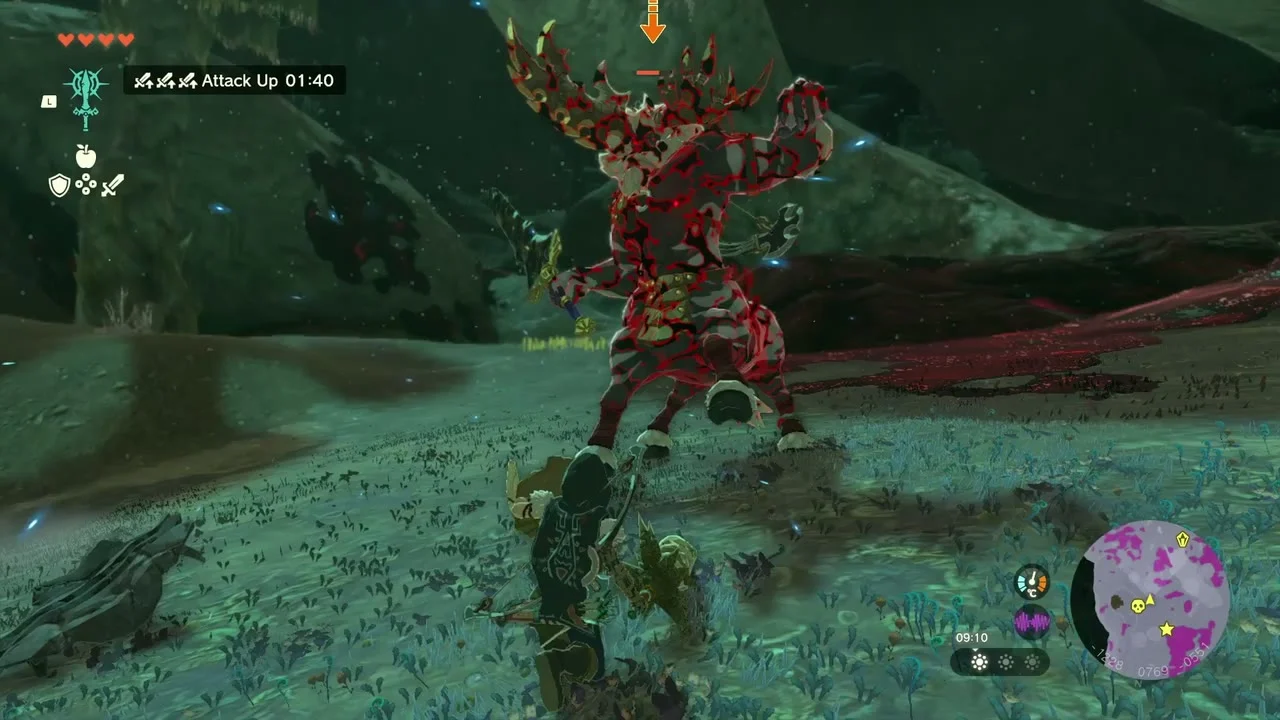
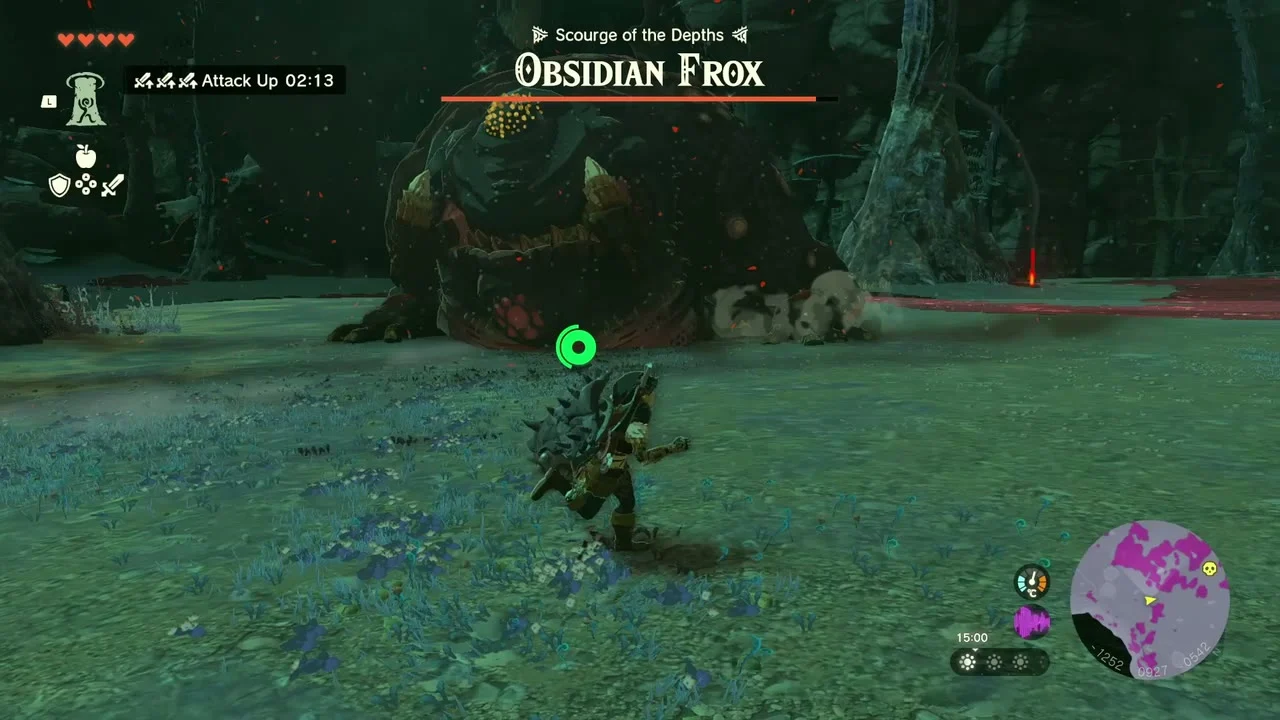
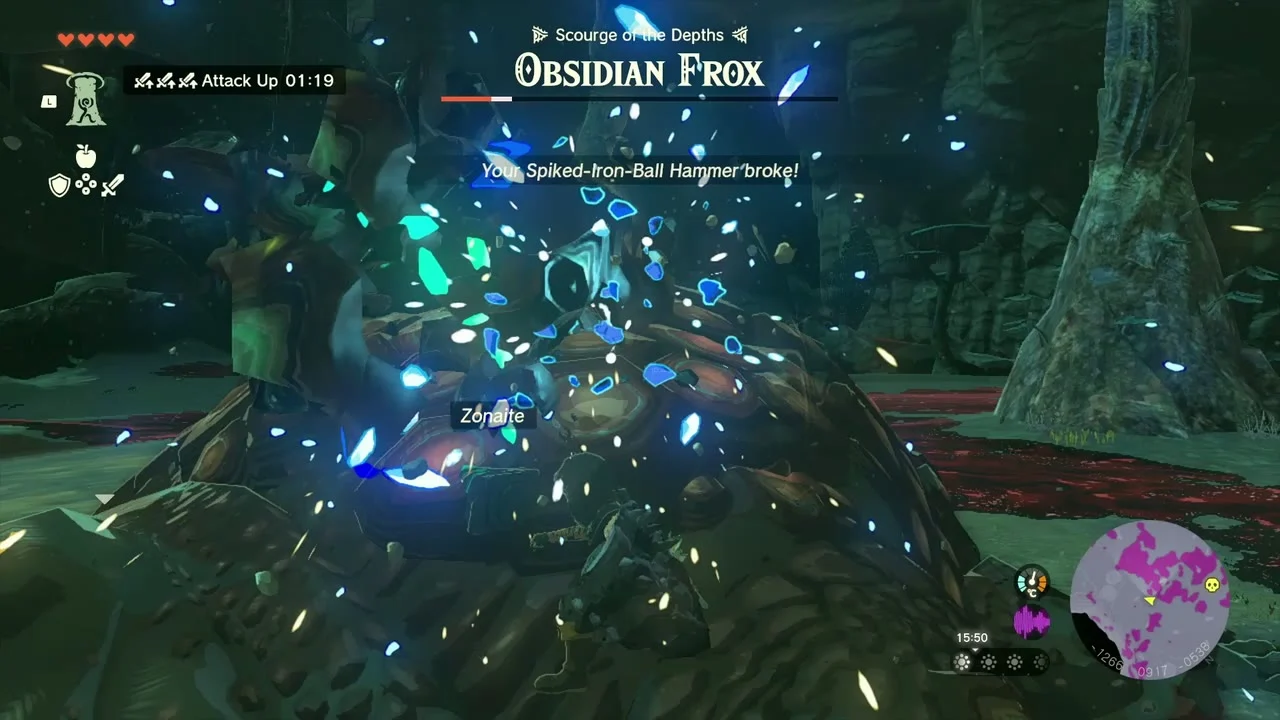
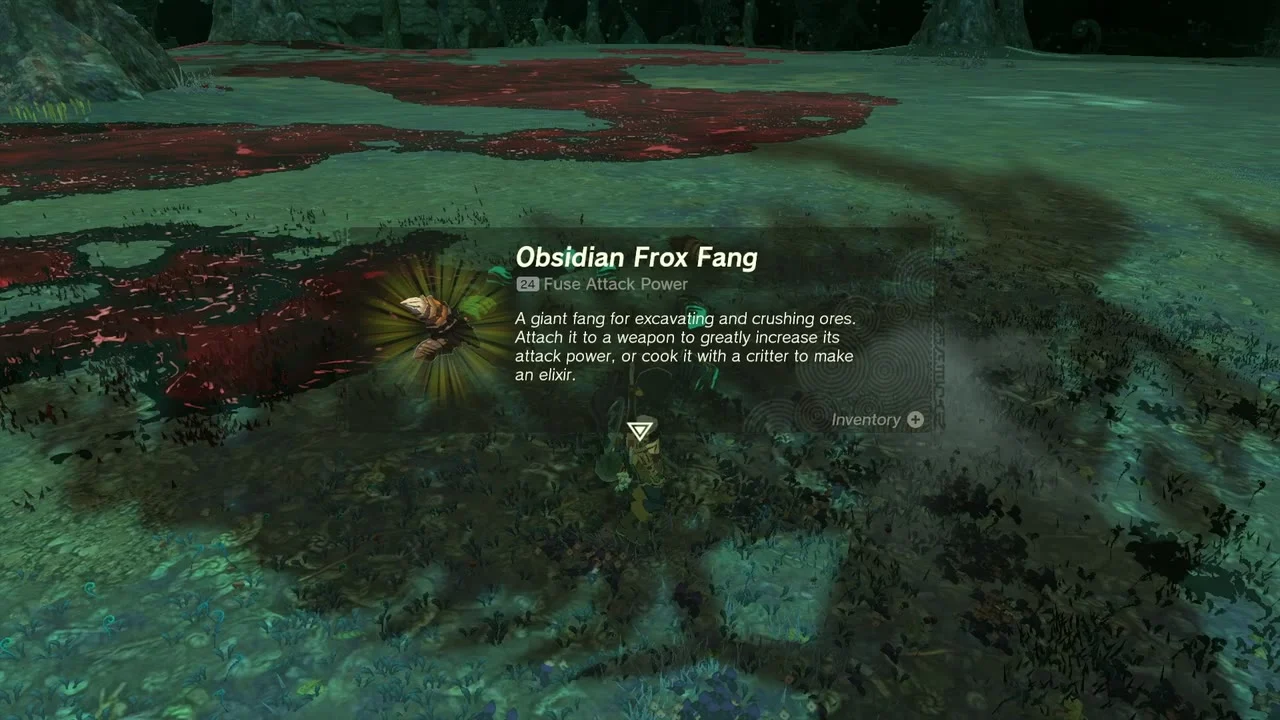
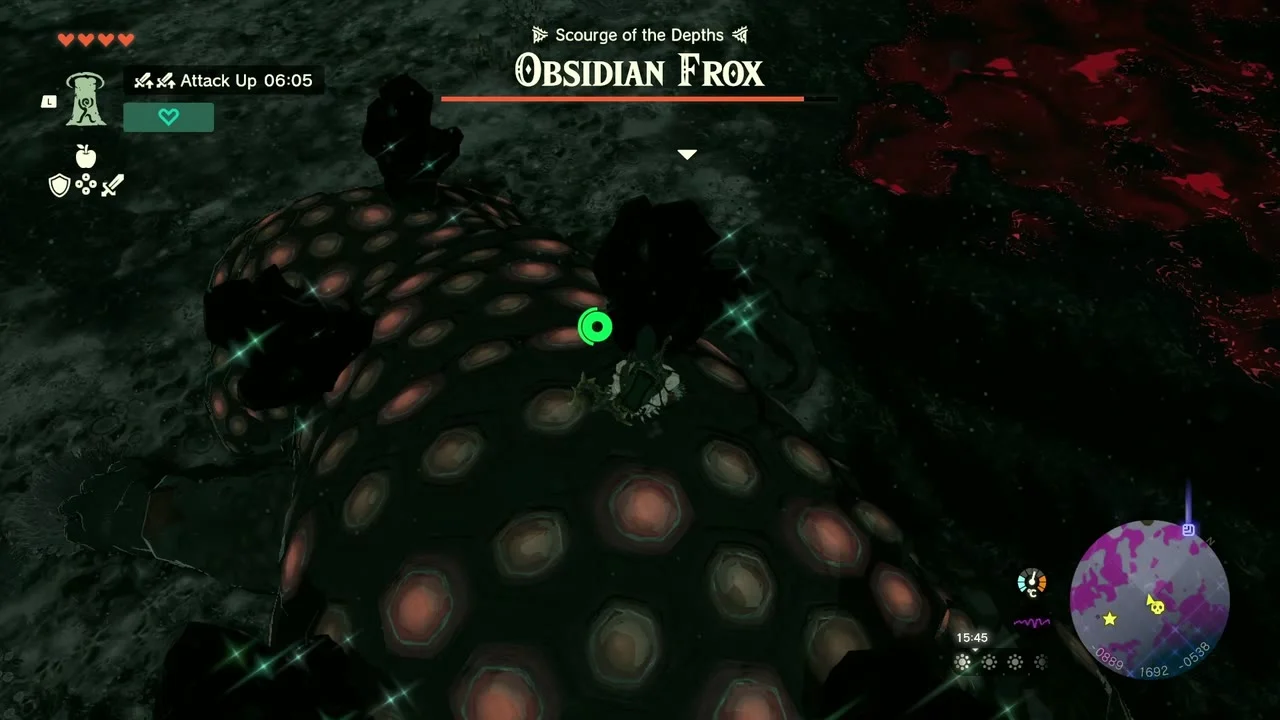
Miniboss: Obsidian Frox. North-east of the Lighthouse, in a field of red gloom, an Obsidian Frox rests with Zonaite on its shell. Shoot its eye, then hammer the shell while it is stunned. It drops an Obsidian Frox Fang, a strong fuse material for weapons. Break the Zonaite off its shell first.
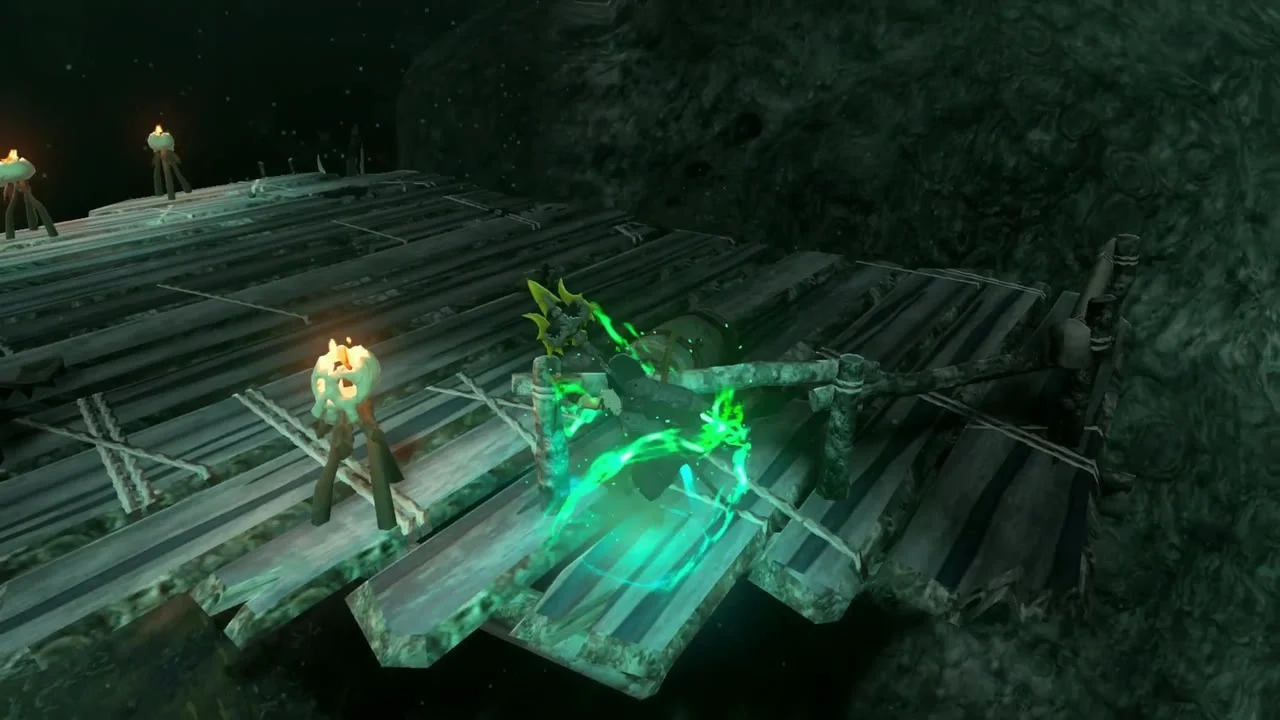
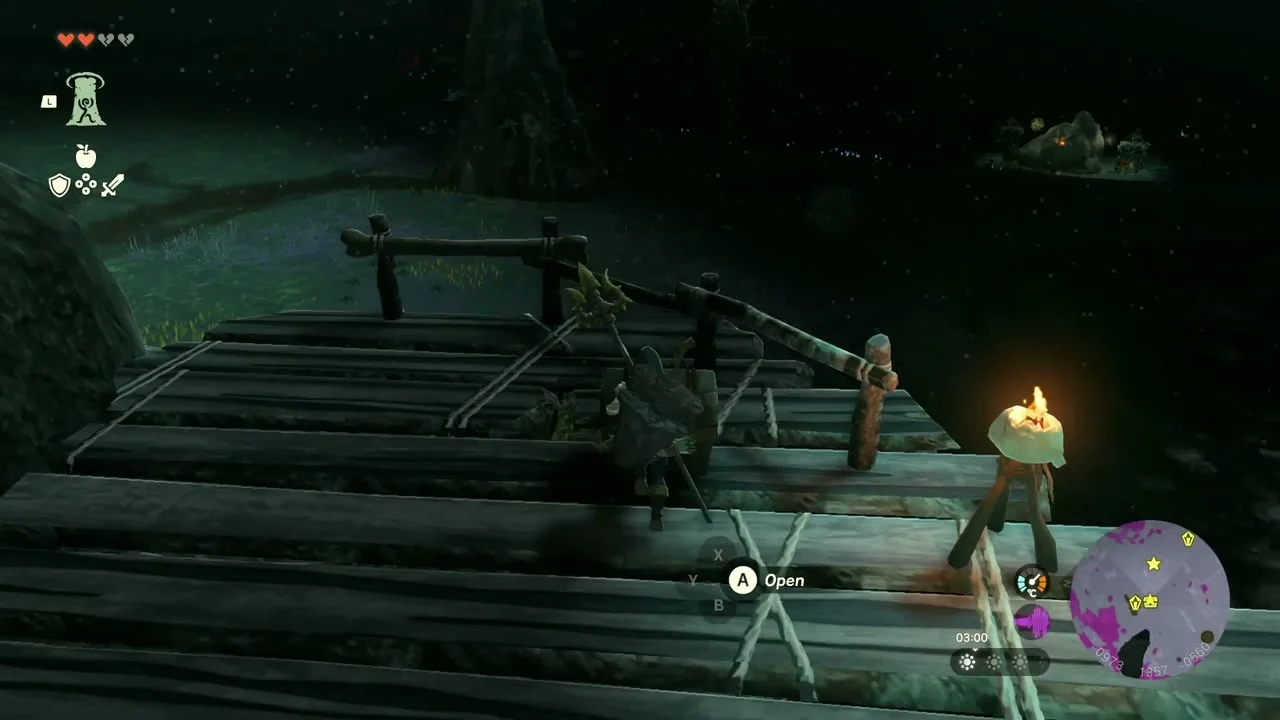
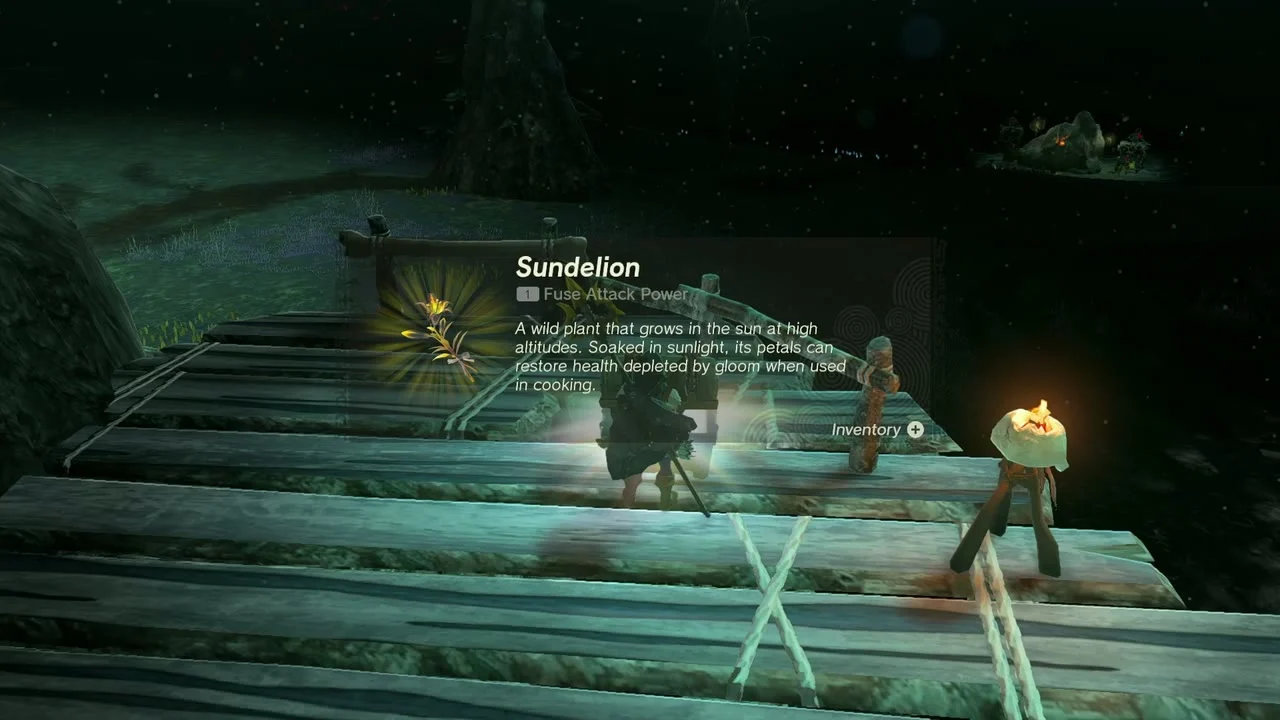
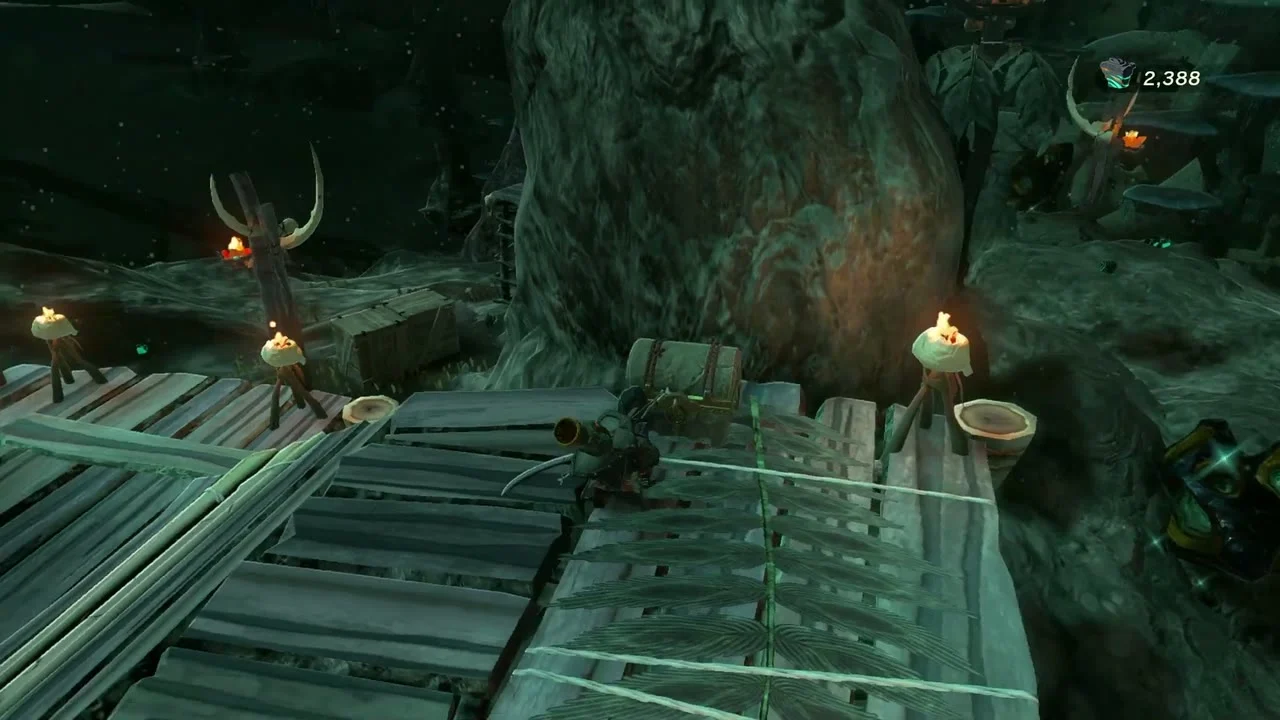
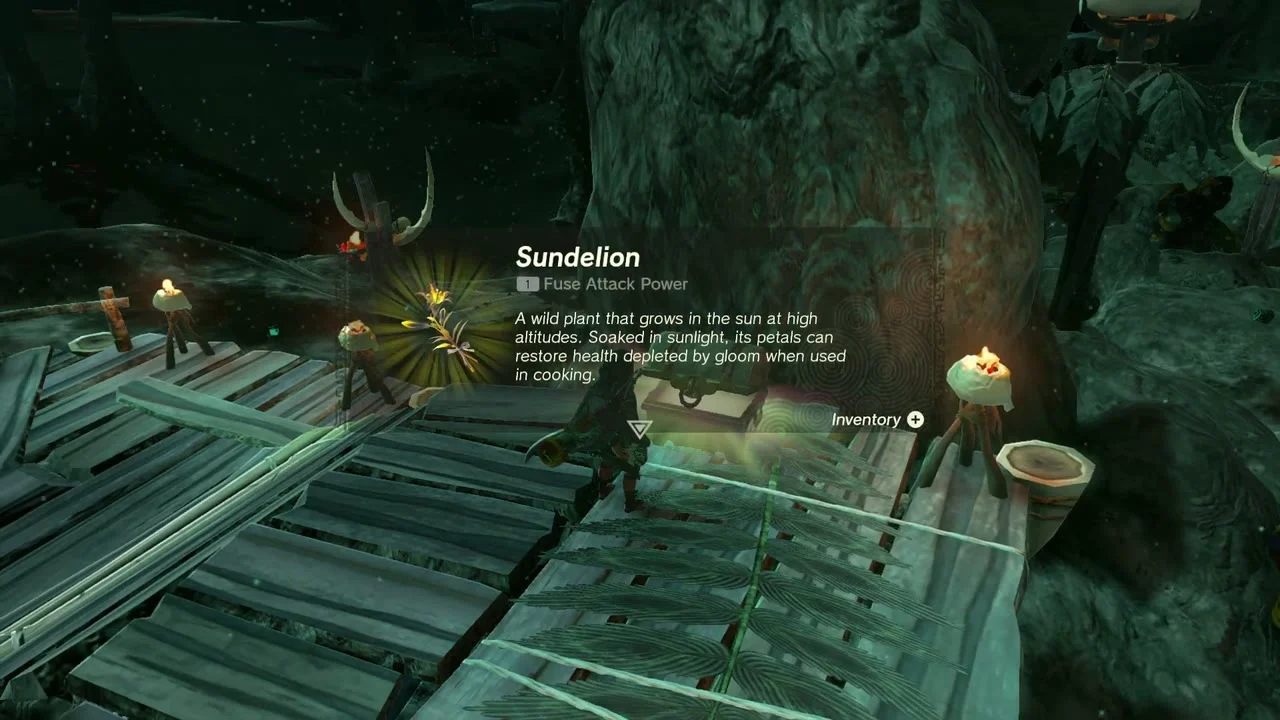
Chest: Sundelion. Further north-east, a wooden platform camp stands under a cliff, with torches along its edge. Ascend through the boards from below and open the chest for a Sundelion, which restores gloom-damaged hearts when cooked.
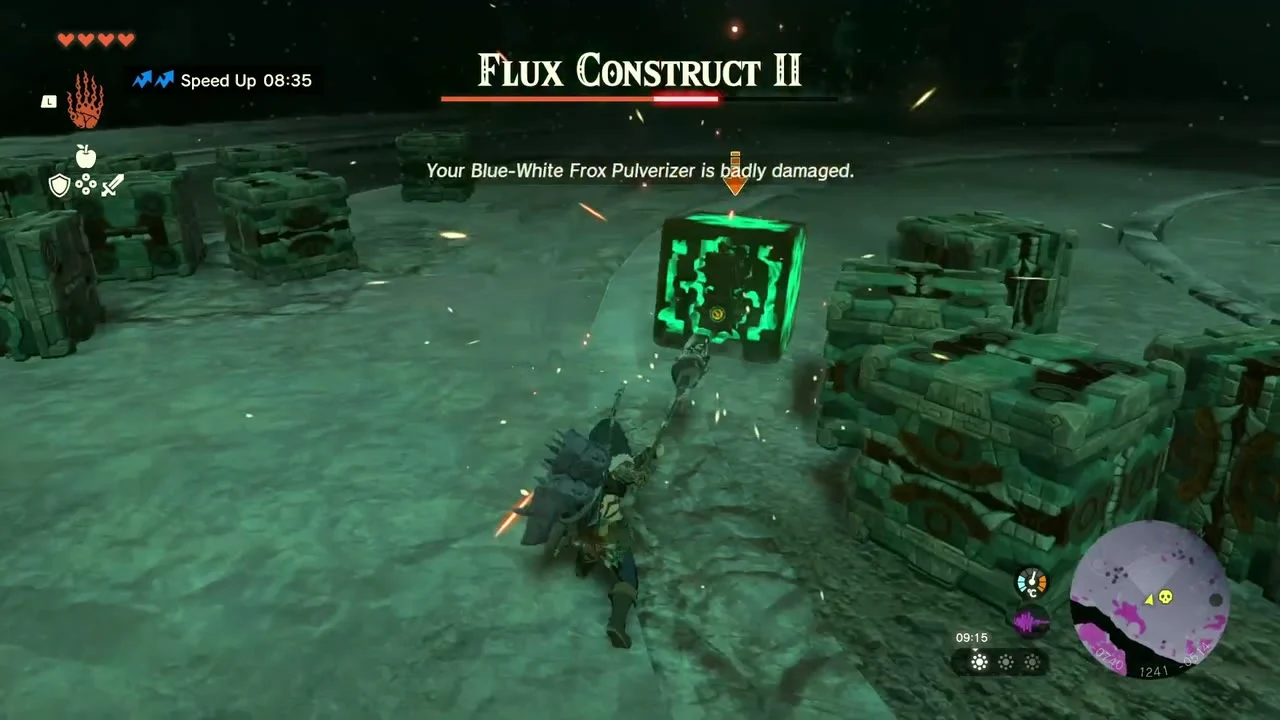
Miniboss: Flux Construct II. A circular arena of Zonai blocks lies north-east of the platform camp. Pull the blocks apart and hit the glowing core cube to finish it. Keep moving so the loose blocks do not box you in.

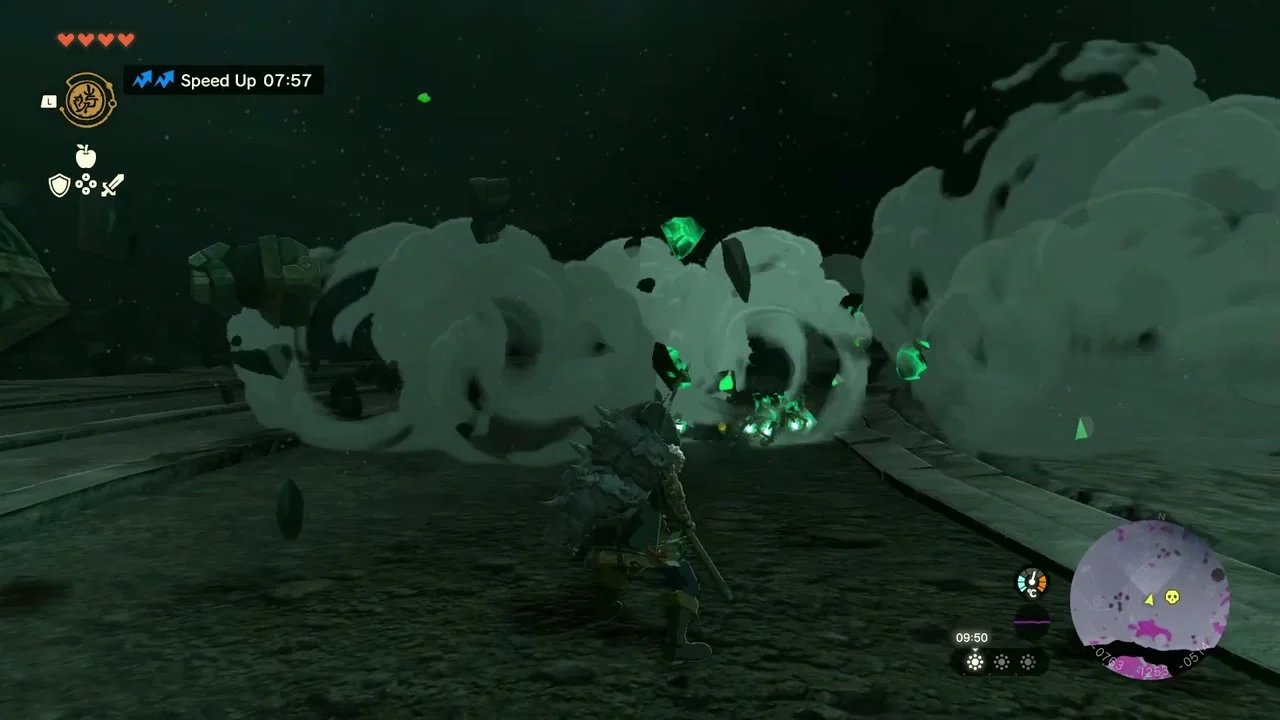
The Yiga Clan camp
Yiga Clan camp. North of Lindor Canyon Mine and Nabahi-ikat, a Yiga camp sits on a raised rock shelf with a plank bridge up to it. Cross the bridge and head for the barred wooden storeroom at the back of the camp.
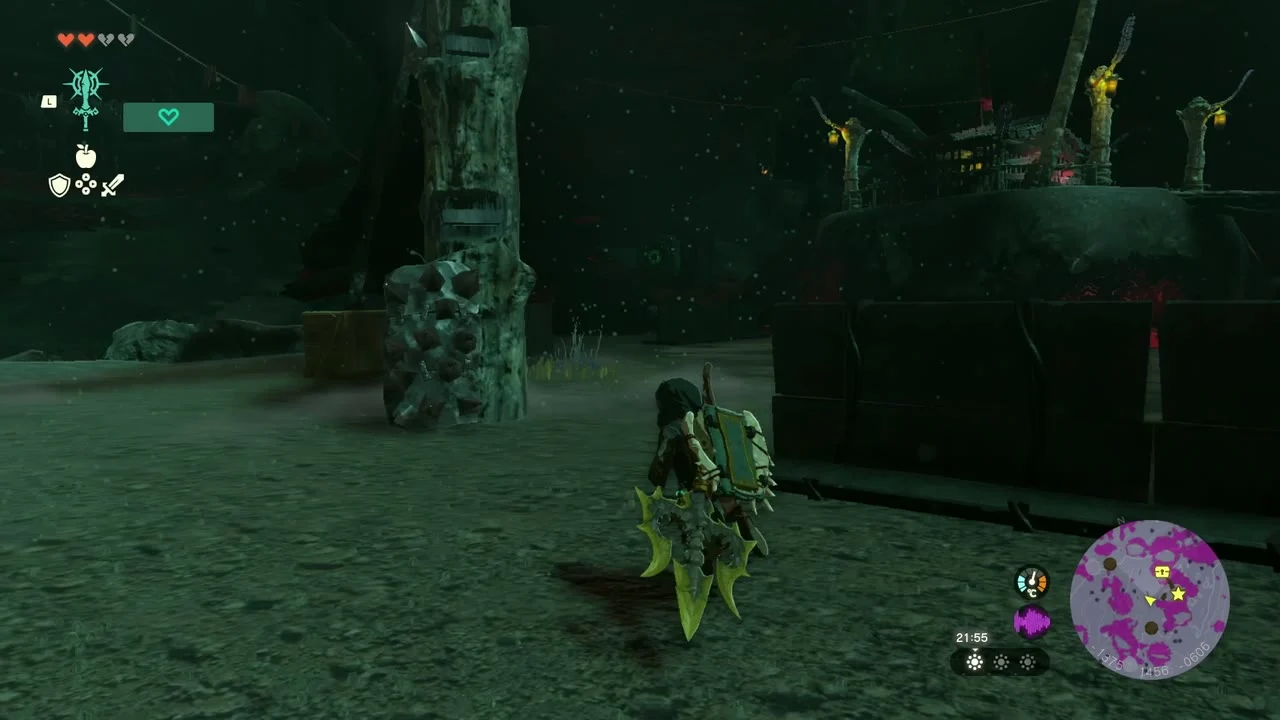

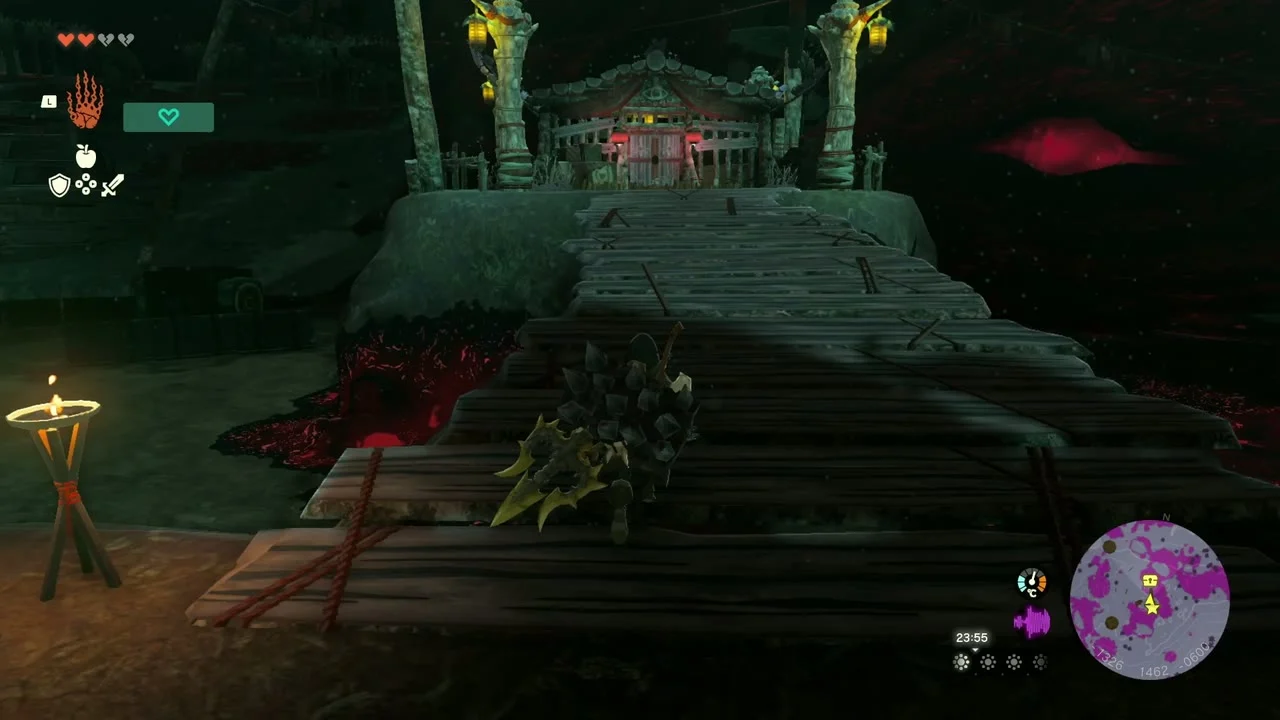
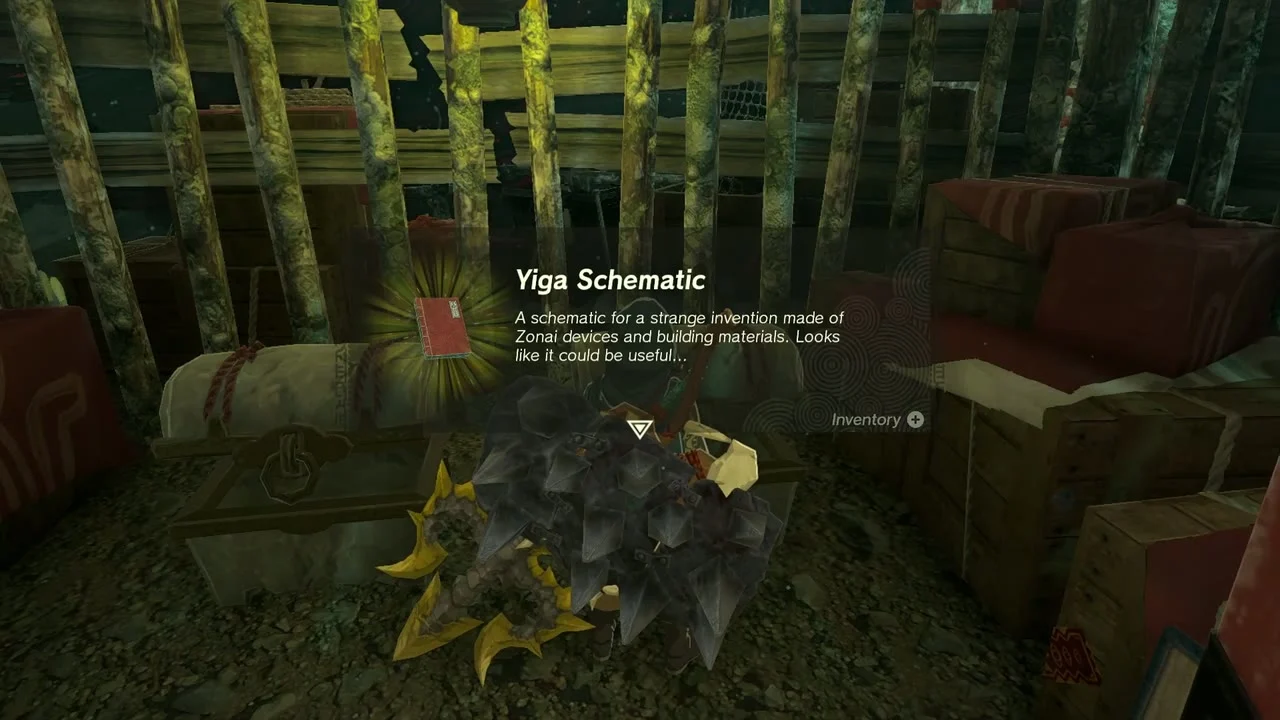
Chest: Large Crystallized Charge and Yiga Schematic. Open the chest in the storeroom for a Large Crystallized Charge and the Yiga Schematic for the Cargo Carrier vehicle.


North to Yisuayam
Miniboss: Obsidian Frox. A second Obsidian Frox lies north of the camp. Same plan as the first: eye shot, then hammer the stunned shell for another Obsidian Frox Fang. Both Frox are optional but their Fangs are worth the trip.


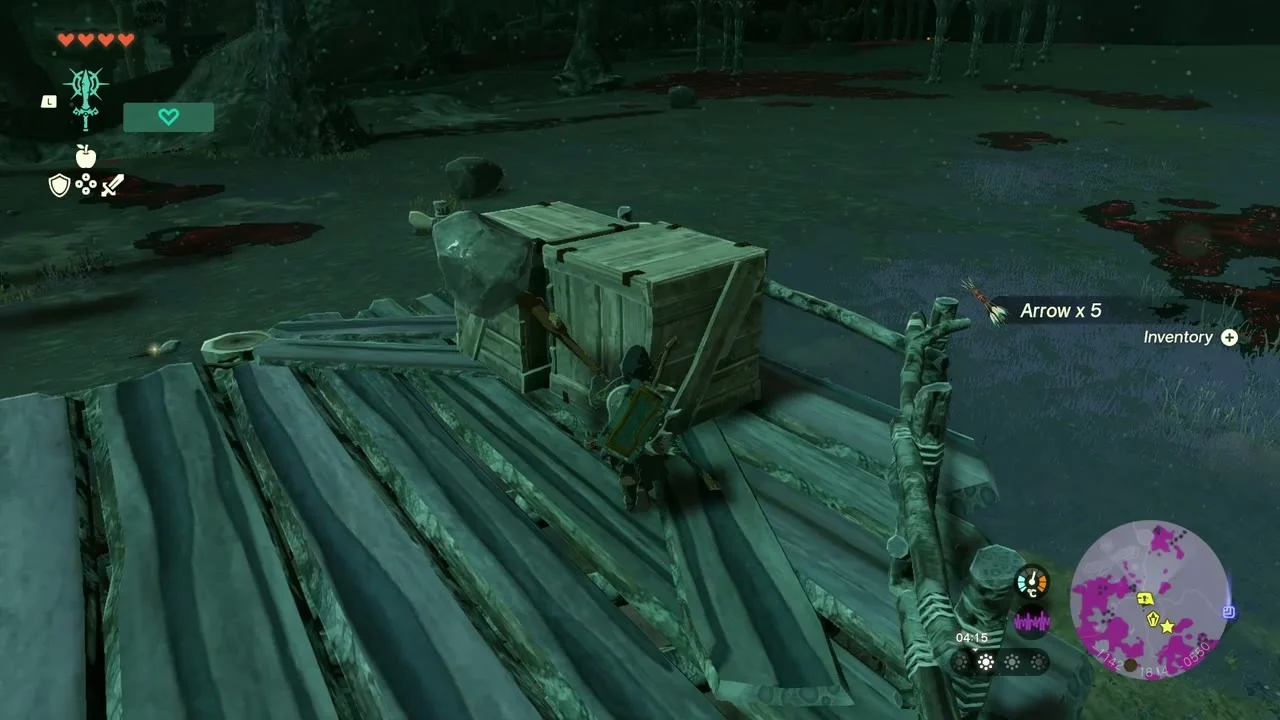
Chest: Arrow x10. A Bokoblin camp lies a short way north. The chest sits on a wooden pallet in front of stacked crates and holds Arrow x10.
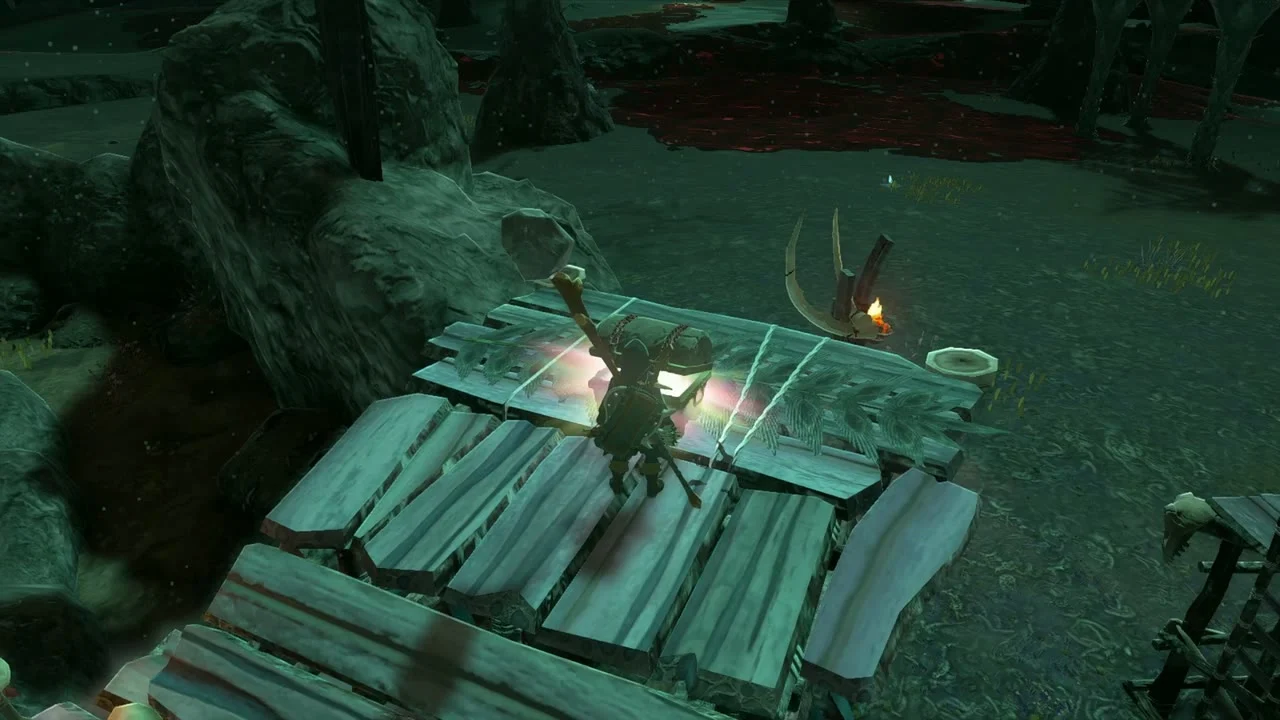

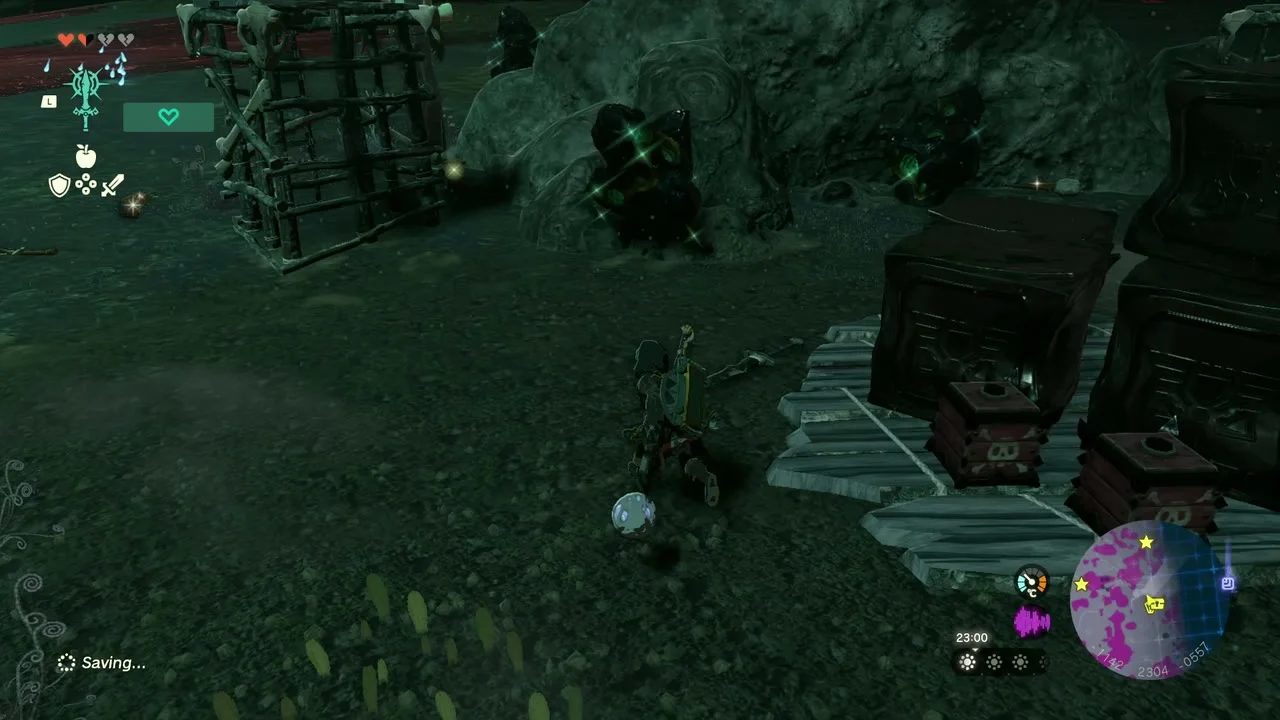
Chest: Giant Brightbloom Seed x5. Further north, at the foot of the climb to Yisuayam, a bone-and-wood fence camp is guarded by a gloom-covered brute. Clear it and open the chest beside the crates for Giant Brightbloom Seed x5.
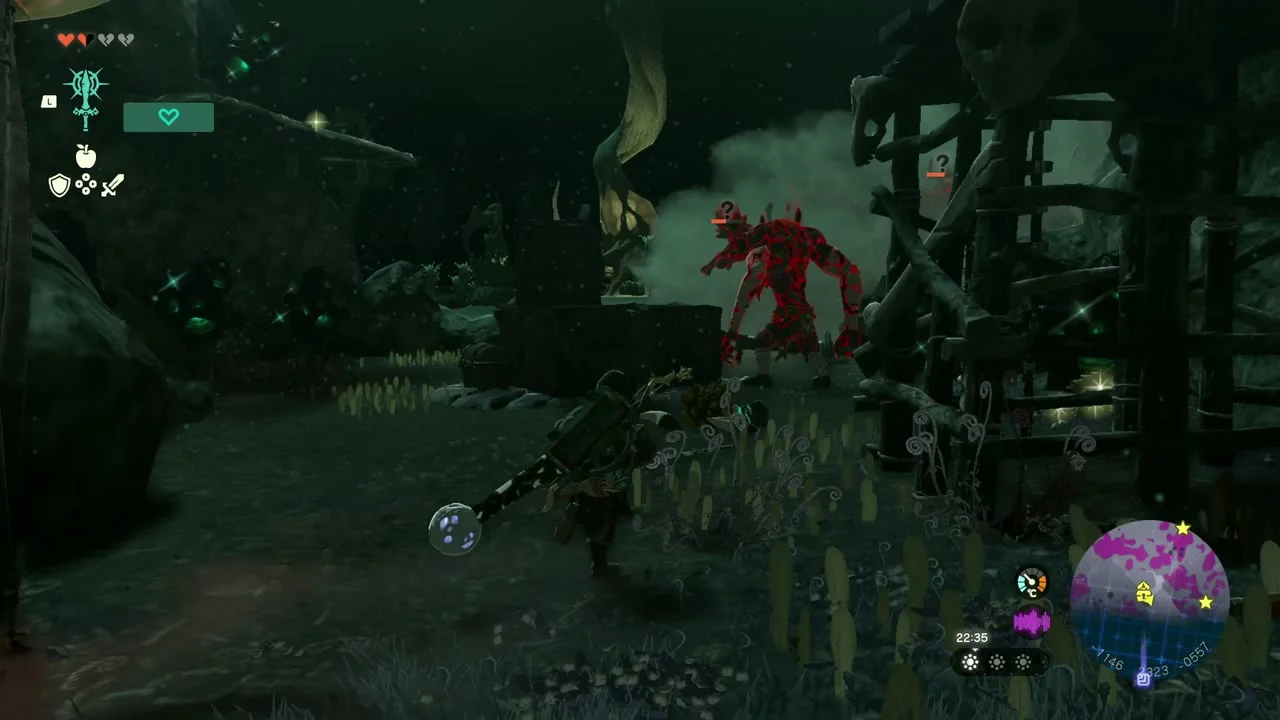

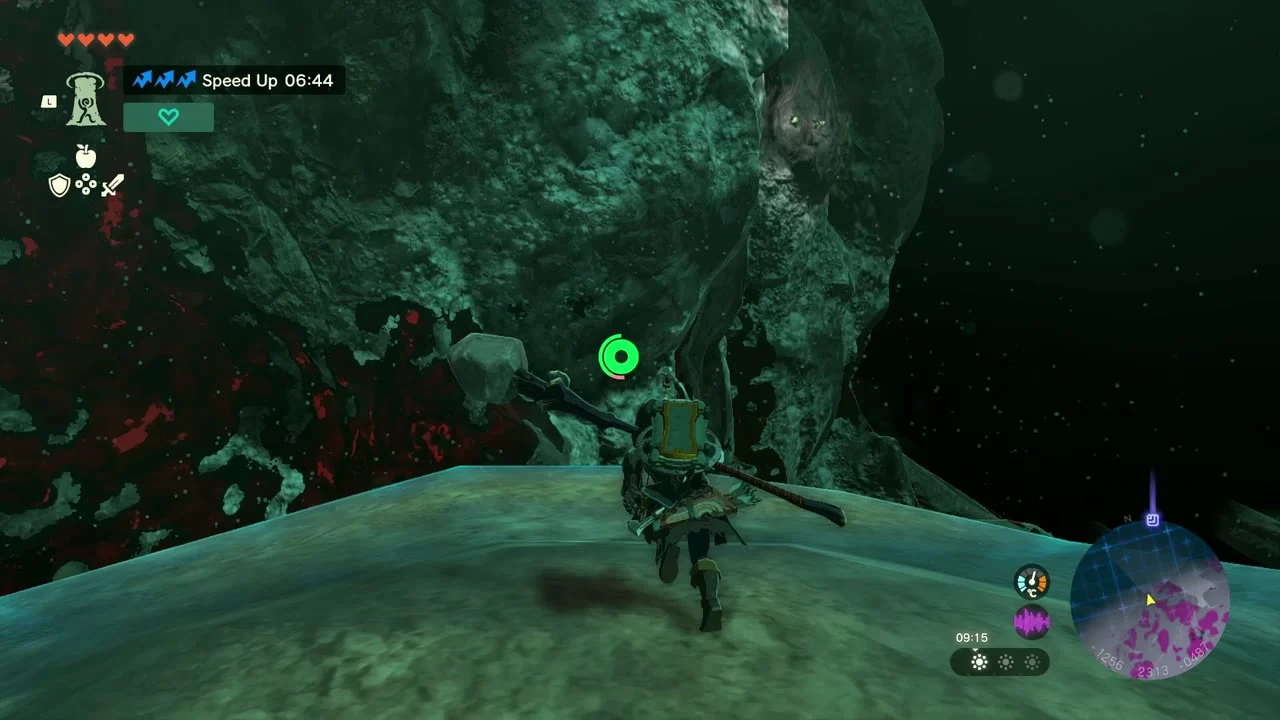
The climb. Yisuayam sits at the top of a long climb up rock pillars and mushroom caps. Eat a Speed Up dish (a Hasty Omelet works) and throw Brightbloom Seeds to light the handholds as you go.

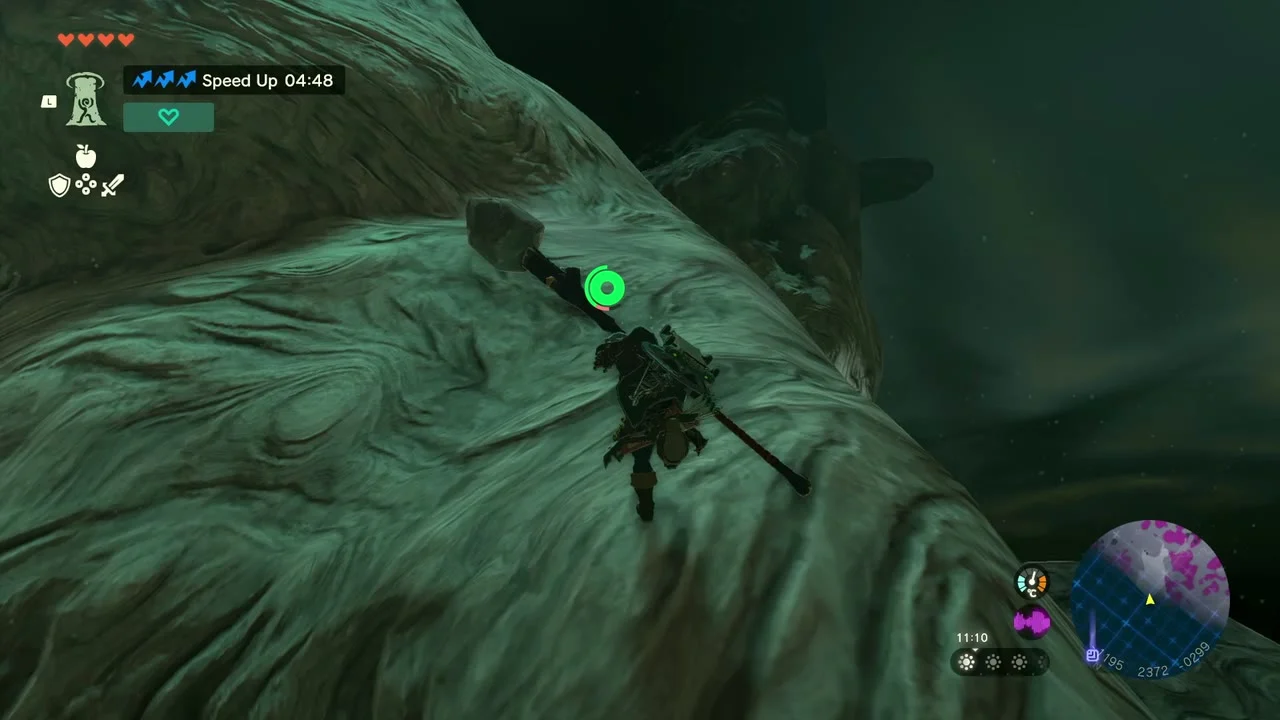

Yisuayam Lightroot lies below Mayausiy Shrine at (-1167, 2602, -0350). Its bulb hangs above a clearing at the top of the climb. Glide in and examine the roots. The Lightroot is a fast-travel point and brightens the clearing, so you can warp straight back here after the statue instead of climbing down.

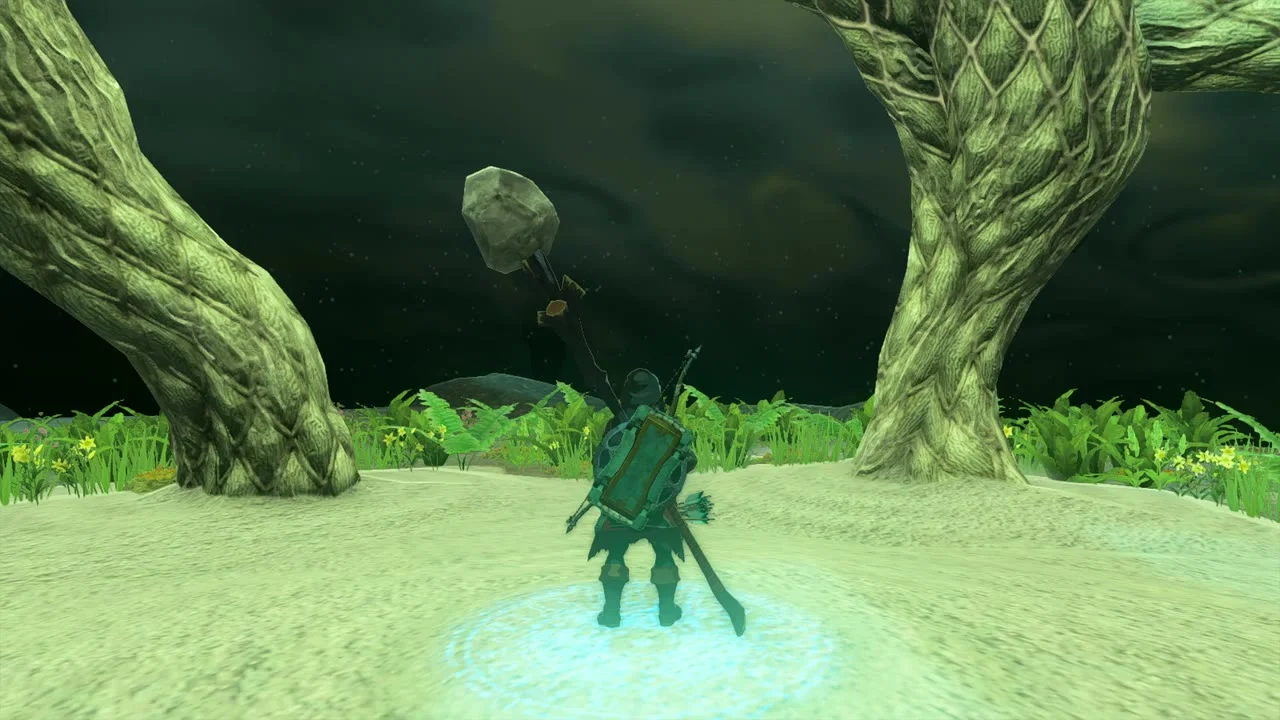
Cliff Bargainer Statue and the Dark Trousers
Zonaite. East of the Lightroot a small camp has Zonaite deposits within reach; break them for Zonaite on your way to the statue.
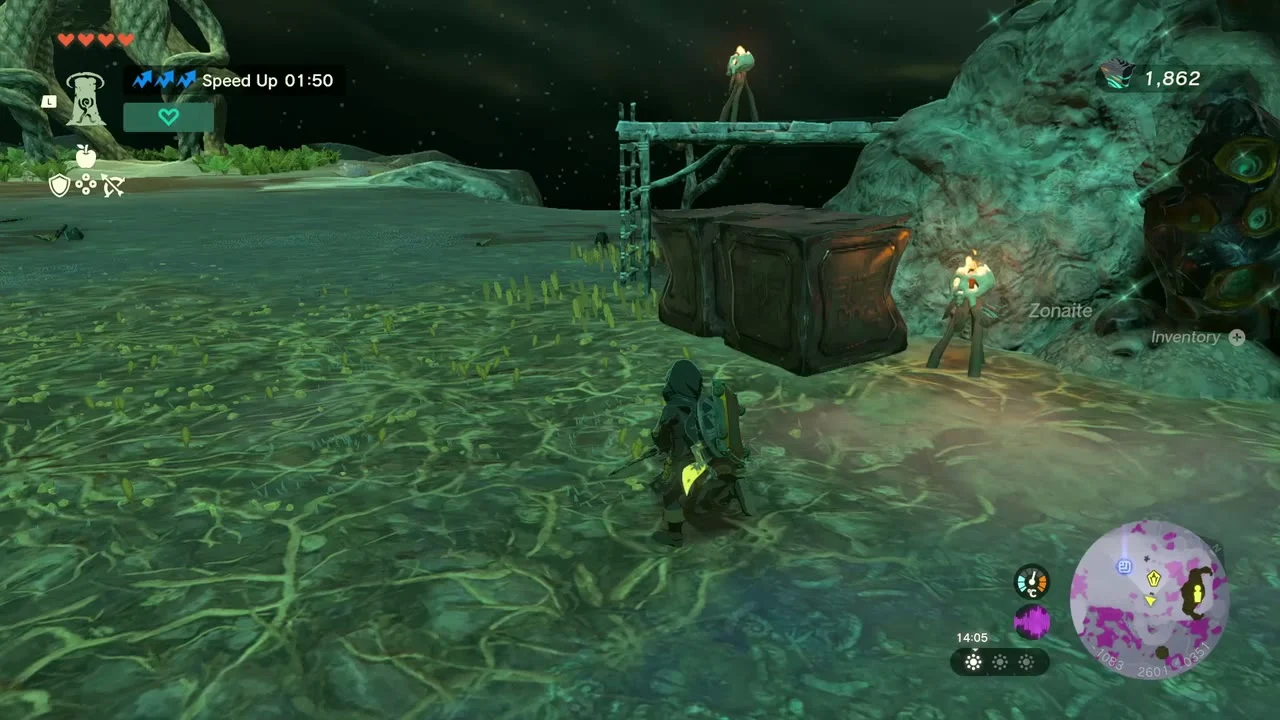
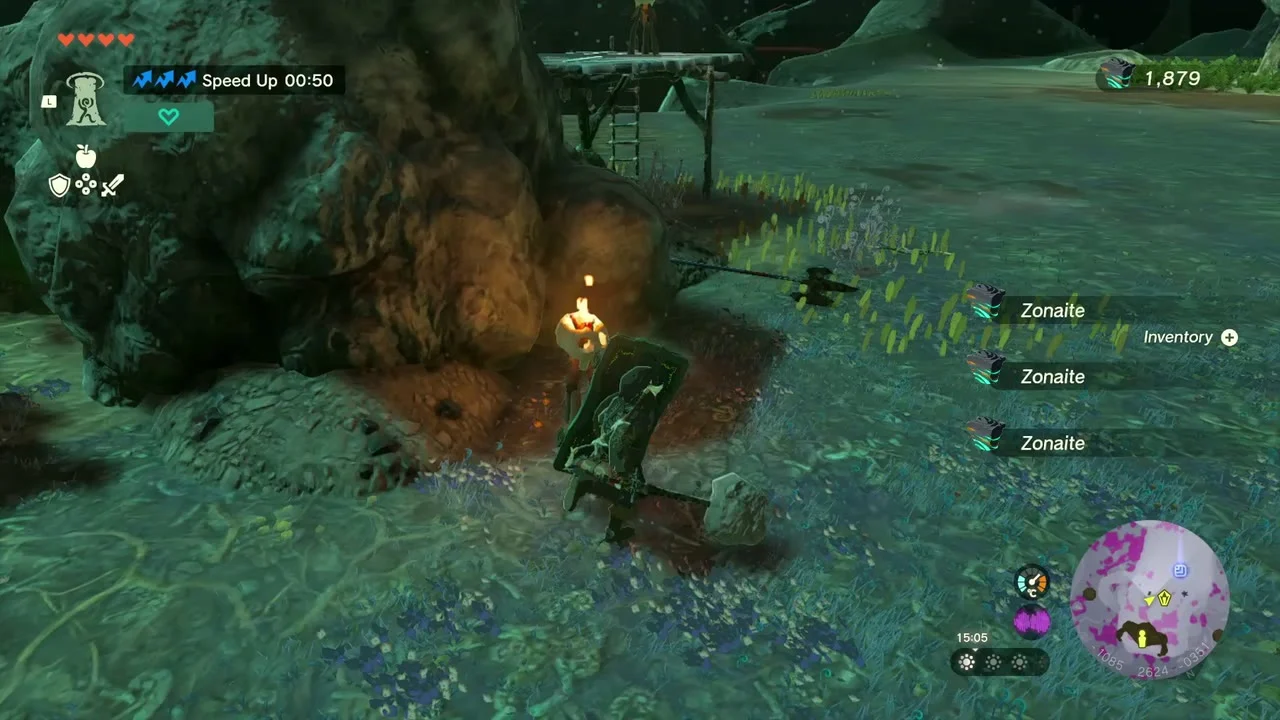
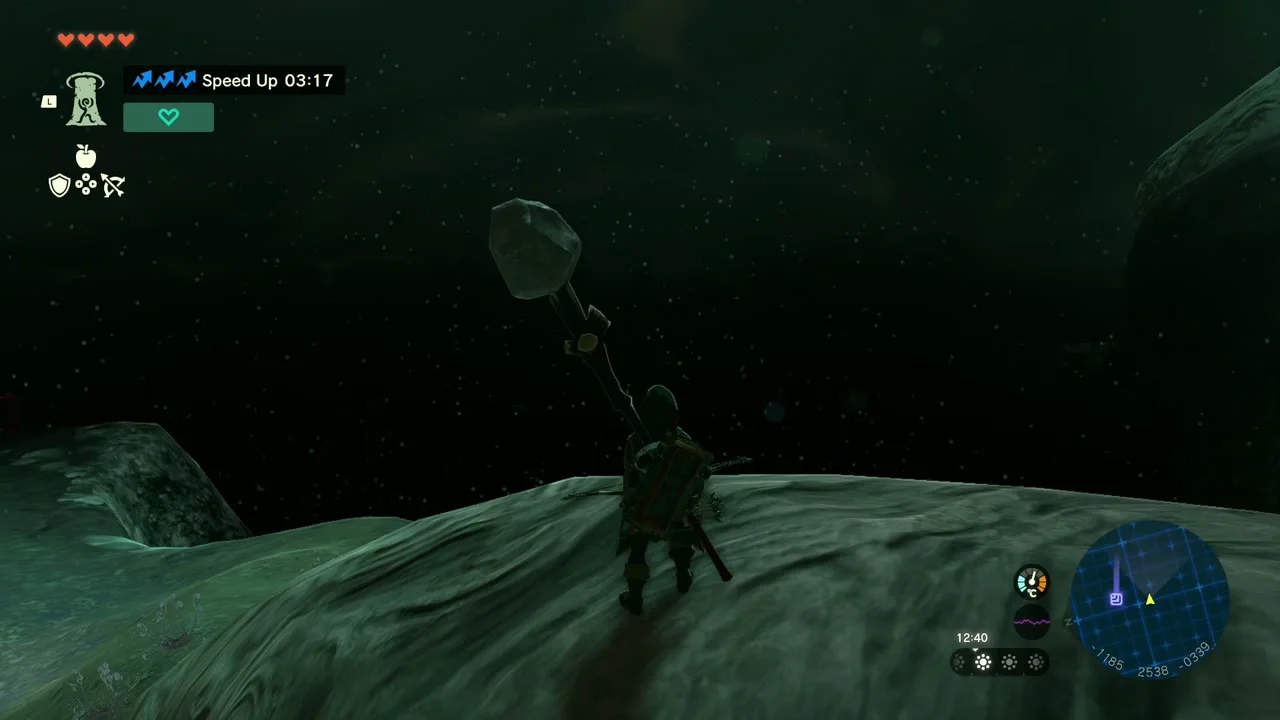
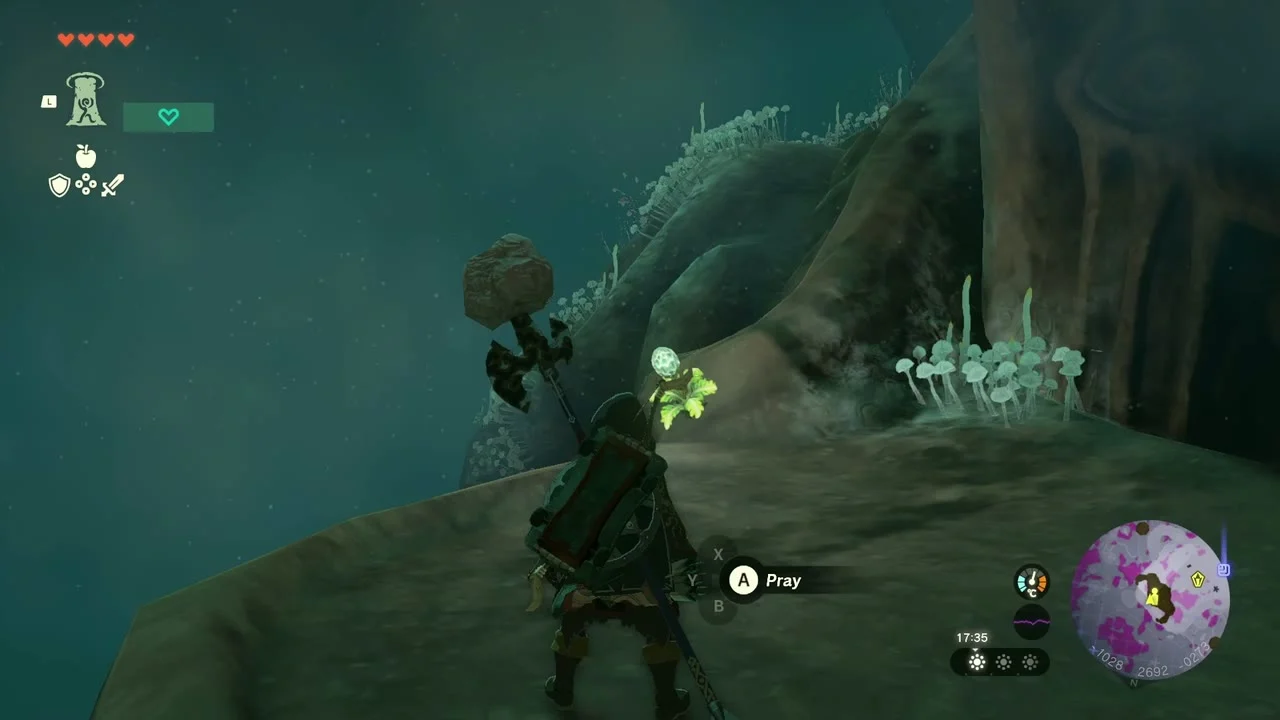
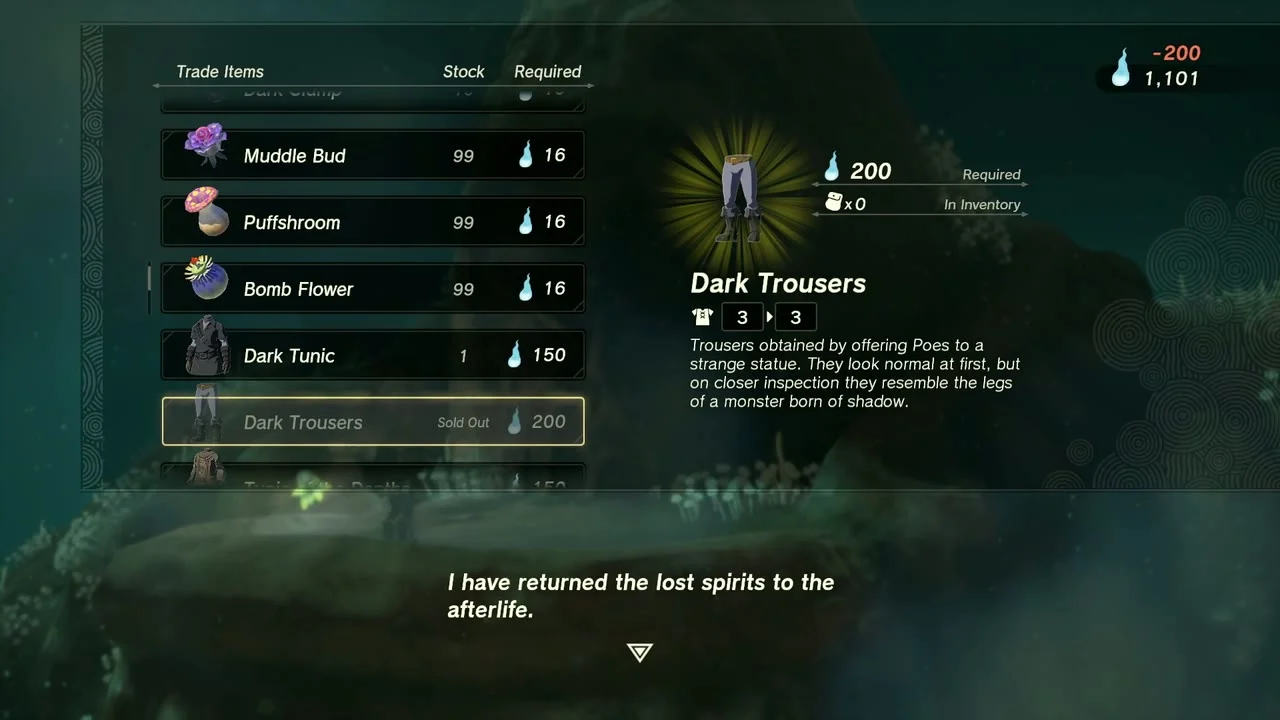
Cliff Bargainer Statue and Dark Trousers. North-east of the Lightroot the Cliff Bargainer Statue stands on a high shelf; climb the thick trunk beside it and then the mushroom-covered ridge. Offer Poes to buy the Dark Trousers for 200 Poes. The statue also sells the Dark Hood (300 Poes), the Dark Tunic (150 Poes), Dark Clumps (10 Poes) and Bomb Flowers, Puffshrooms and Muddle Buds (16 Poes each). Each armor piece is one-of-a-kind. Like every Bargainer Statue, it also stocks the Depths set (Hood of the Depths 300, Tunic of the Depths 150, Gaiters of the Depths 200) and legacy armor you have already found, such as the Tunic of Time at 400 Poes, so you can re-buy a piece you have lost.

Tips
Light Nabahi-ikat and Kawakanis before the long fights, so you can warp back to restock. Carry fire-friendly arrows (Fire Fruit works on the Blue Hinox) and keep a Speed Up dish for the Yisuayam climb. When you finish at the Cliff Bargainer Statue, the Yisuayam Lightroot is the closest fast-travel point; the shrine above it, Mayausiy Shrine, is on the Tabantha Frontier.
Lindor’s Brow Depths collectibles
| Collectible | Count | Where |
|---|---|---|
| Lightroots | 3 | Nabahi-ikat (Taki-ihaban), Kawakanis (Sinakawak), Yisuayam (Mayausiy); all Lightroots |
| Depths chests | 8 | Knight’s Bow; Rock Salt; Arrow x10 (x2); Tunic of Time; Sundelion; Large Crystallized Charge with Yiga Schematic; Giant Brightbloom Seed x5 |
| Minibosses | 7 | Stone Talus, Blue Hinox, Flux Construct III, White-Maned Lynel, Obsidian Frox x2, Flux Construct II |
| Mines | 1 | Lindor Canyon Mine (Tunic of Time) |
| Yiga Clan camps | 1 | Yiga Schematic: Cargo Carrier |
| Bargainer Statues | 1 | Cliff Bargainer Statue (Dark Trousers) |
| Armor | 2 | Tunic of Time, Dark Trousers (armor guide) |
Part 2: Two Yiga camps (Bomb Bouquet, Flamethrower Balloon), Obsidian Frox, Rhoam Canyon Mine
| Region | Lindor’s Brow Depths, west half: the Depths below Hyrule Field and Hyrule Ridge, between Kawakanis Lightroot and Sikurukam Lightroot |
|---|---|
| Continues | Lindor’s Brow Depths (part 1): Nabahi-ikat, Kawakanis and Yisuayam Lightroots, Lindor Canyon Mine |
| Lightroots used | Tikanur (-2529, 1170, -0644, below Runakit Shrine) and Sikurukam (-2846, 0630, -0642, below Makurukis Shrine); see all Lightroots |
| Landmarks | Two Yiga Clan camps, Rhoam Canyon Mine (-2687, 0785, -0783) |
| Depths chests | 8, including 2 Yiga Schematics and 3 Large Crystallized Charges |
| Minibosses | 1: Obsidian Frox |
| Schematics | Bomb Bouquet, Flamethrower Balloon (Autobuild) |
| Korok Seeds, Bubbul Gems, Bargainer Statues | None in this stretch |
| Map tip | The minimap bezel prints X, Y and height. Larger Y is further north, so a chest at Y 0319 is south of Tikanur at Y 1170. |
This stretch of the Depths holds two Yiga Clan camps with a Yiga Schematic each, one Obsidian Frox, a Large Crystallized Charge in Rhoam Canyon Mine and four loose chests. Work west from Kawakanis Lightroot and leave through Sikurukam Lightroot, which comes up beside Makurukis Shrine on Hyrule Ridge.
Quick route
Start south-east of Kawakanis Lightroot and open the raft chest for Giant Brightbloom Seed x5. Fly north-west to the Yiga camp south of Kawakanis for the Bomb Bouquet schematic and a Large Crystallized Charge. Head west to the Obsidian Frox, then to the torch-lit camp platform with the Sundelion chest. Climb to the second Yiga camp for the Flamethrower Balloon schematic, cross to Rhoam Canyon Mine for its Large Crystallized Charge, loop back south-east for the Arrow x10 chest and leave through Sikurukam Lightroot.
South of Kawakanis Lightroot
Open the raft chest
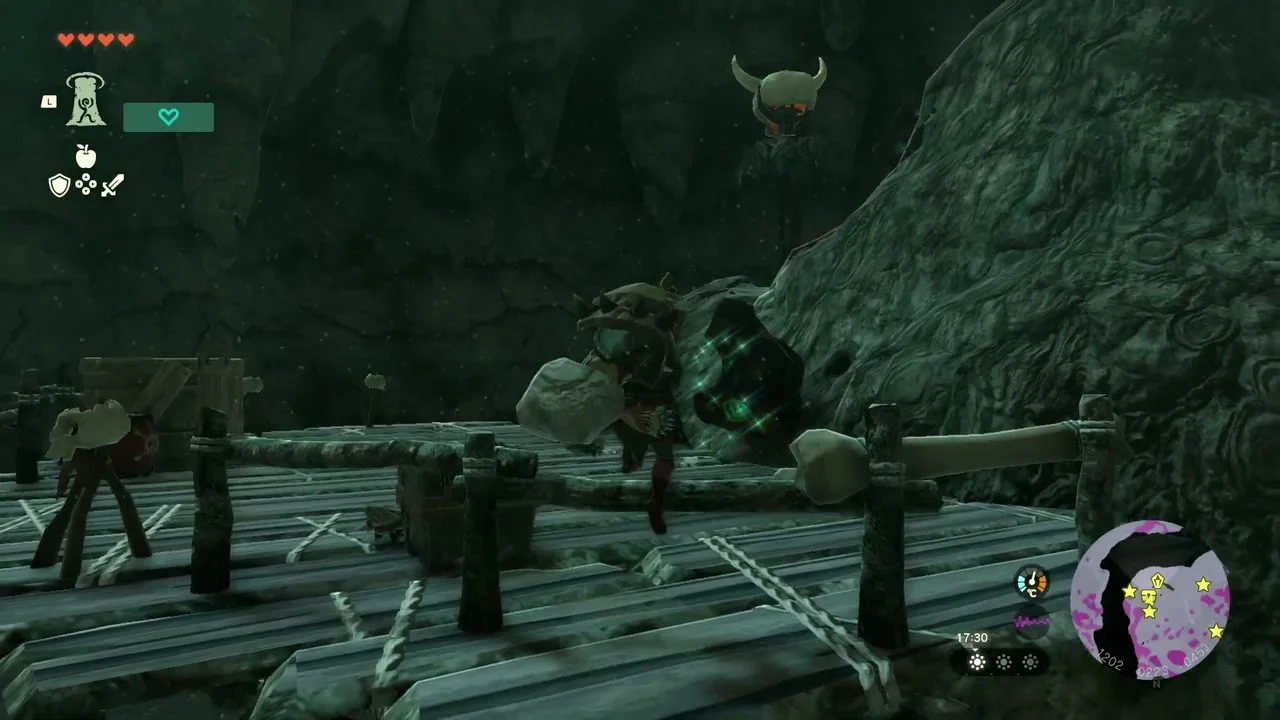
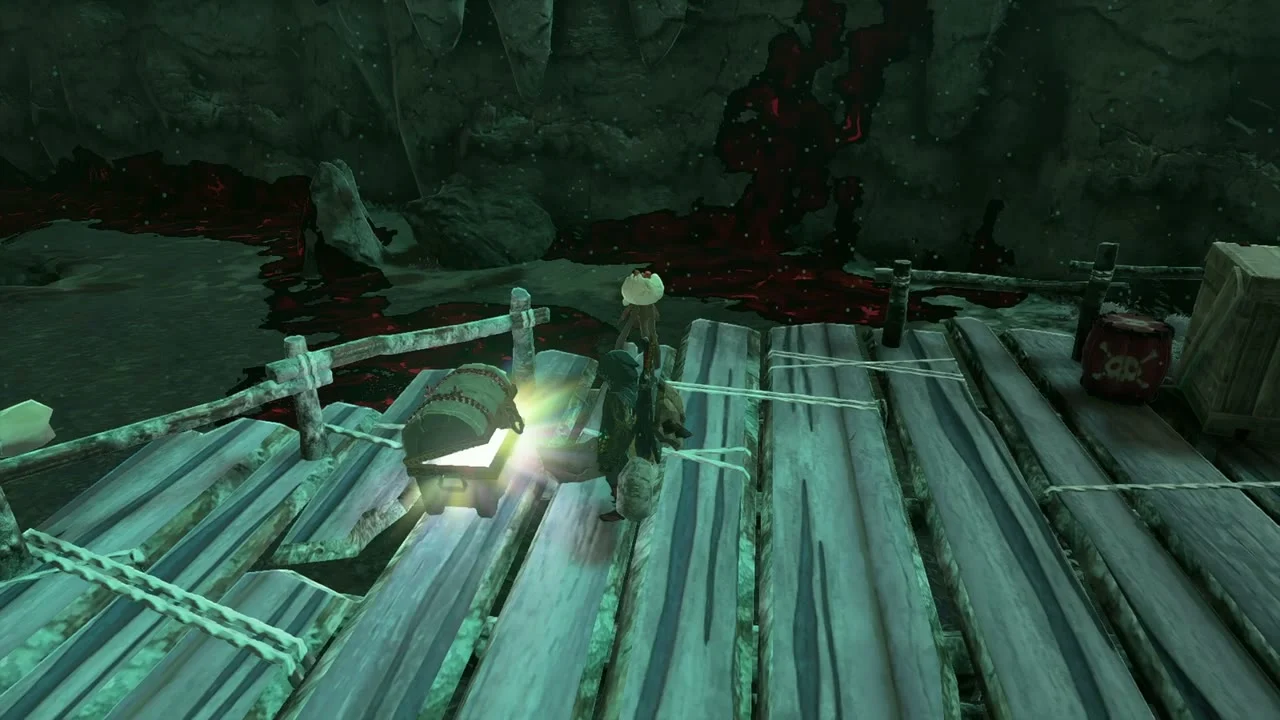
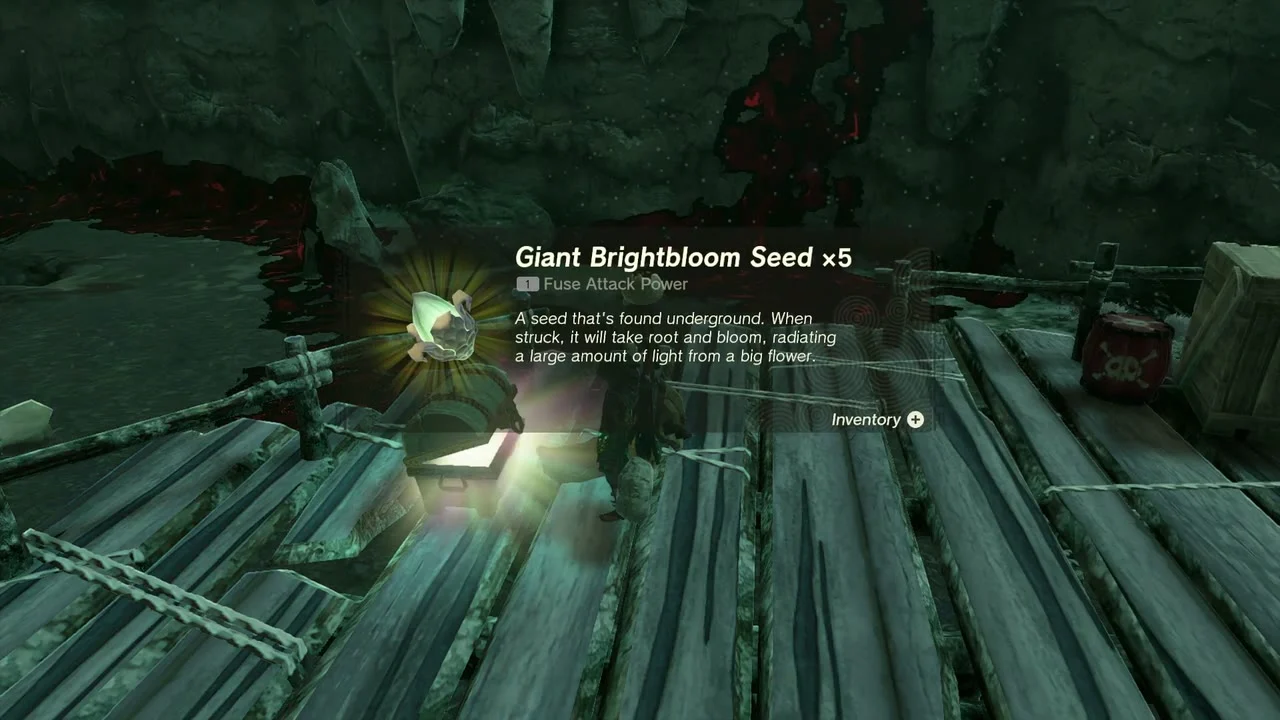
Chest: Giant Brightbloom Seed x5 at (-1202, 0223, -0451), south-east of Kawakanis Lightroot (-1415, 0756). A Bokoblin camp of crates and torches sits beside a gloom pool; the chest is on the wooden raft platform at the edge of it. Clear the camp and open the chest for Giant Brightbloom Seed x5, which lights a large area when thrown. Zonaite drops from the camp’s enemies, so loot the crates on the way out.
First Yiga Clan camp: Bomb Bouquet
Reach the camp
Yiga Clan camp at (-1604, 0243, -0478), south of Kawakanis Lightroot and well above the ground below. The camp stands on a raised ledge reached by a plank bridge, with Zonai rails around its edge, so build a flying vehicle (a balloon with a Flame Emitter works) from the ground to the ledge, or climb the mushroom caps and glide. A Yiga Clan member marked with a glowing target symbol guards the camp.

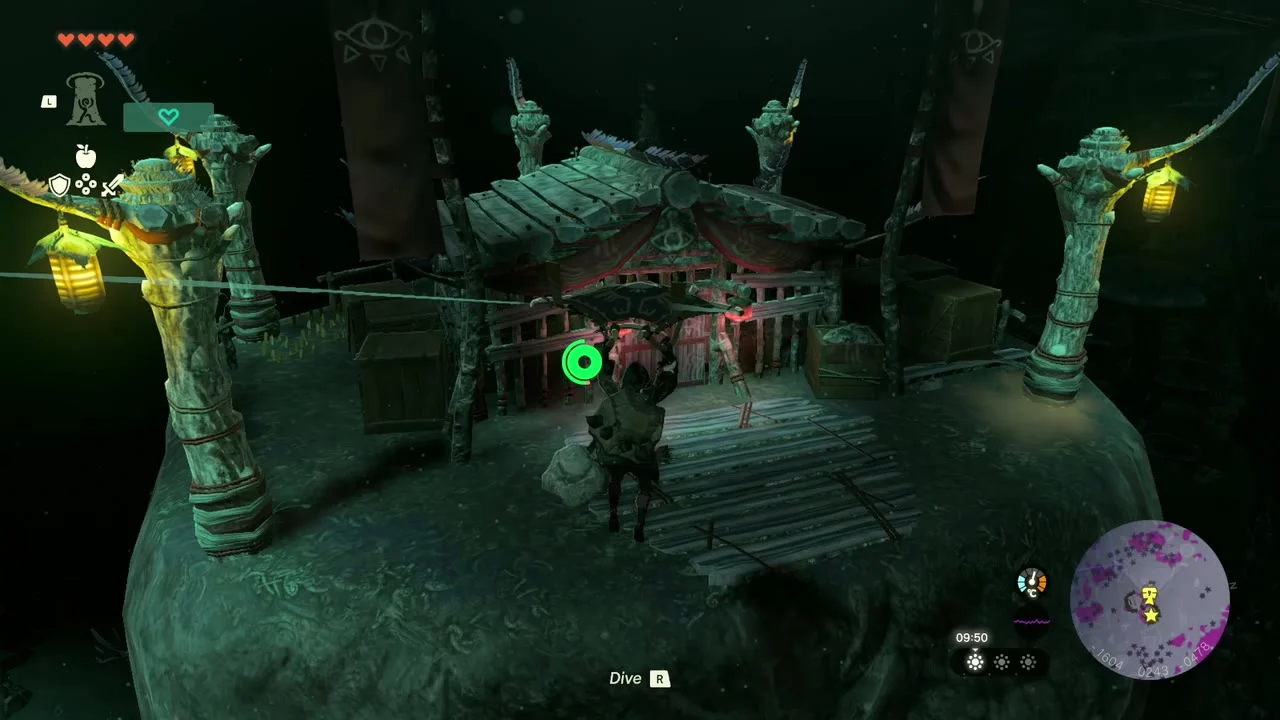
Loot the storeroom
Defeat the marked Yiga Clan member, then cross the bridge to the barred storeroom at the back. Two chests hold a Large Crystallized Charge (worth 20 normal charges) and the Yiga Schematic for the Bomb Bouquet, which teaches Autobuild a cluster of Bomb Flowers on a Zonai base. A Grand Poe floats nearby on the rocks; collect it and trade it at a Bargainer Statue.
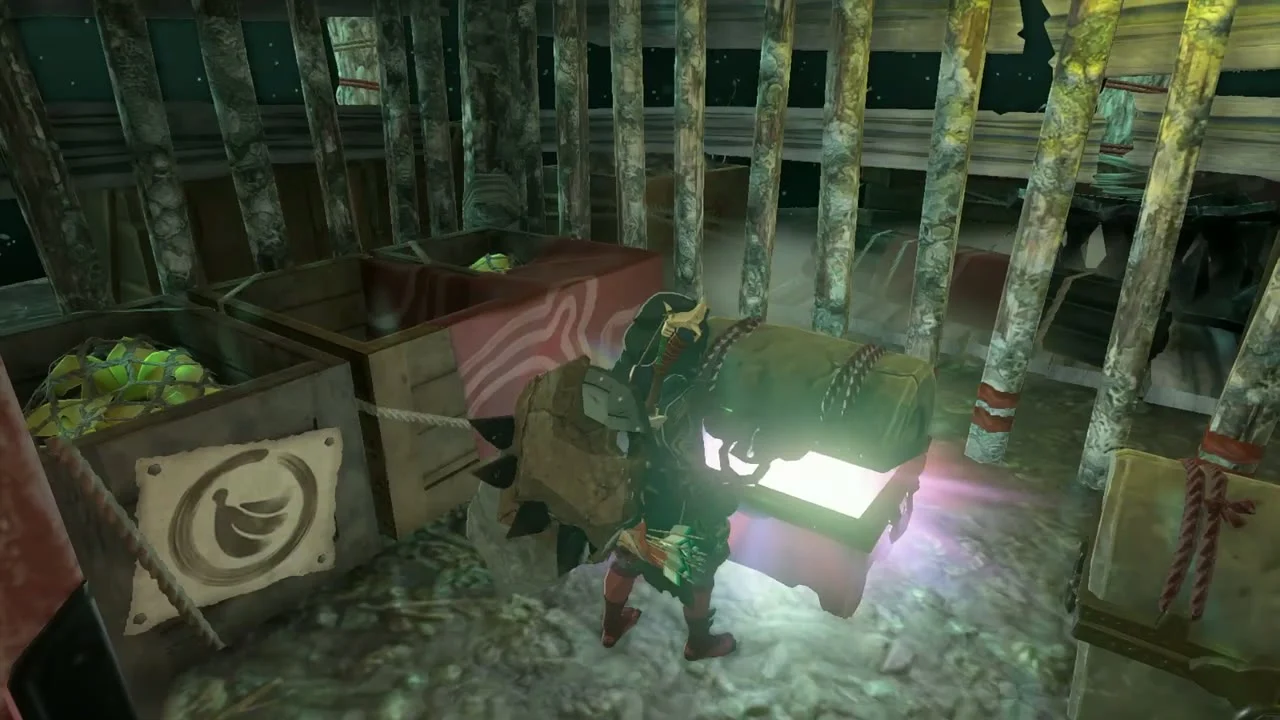
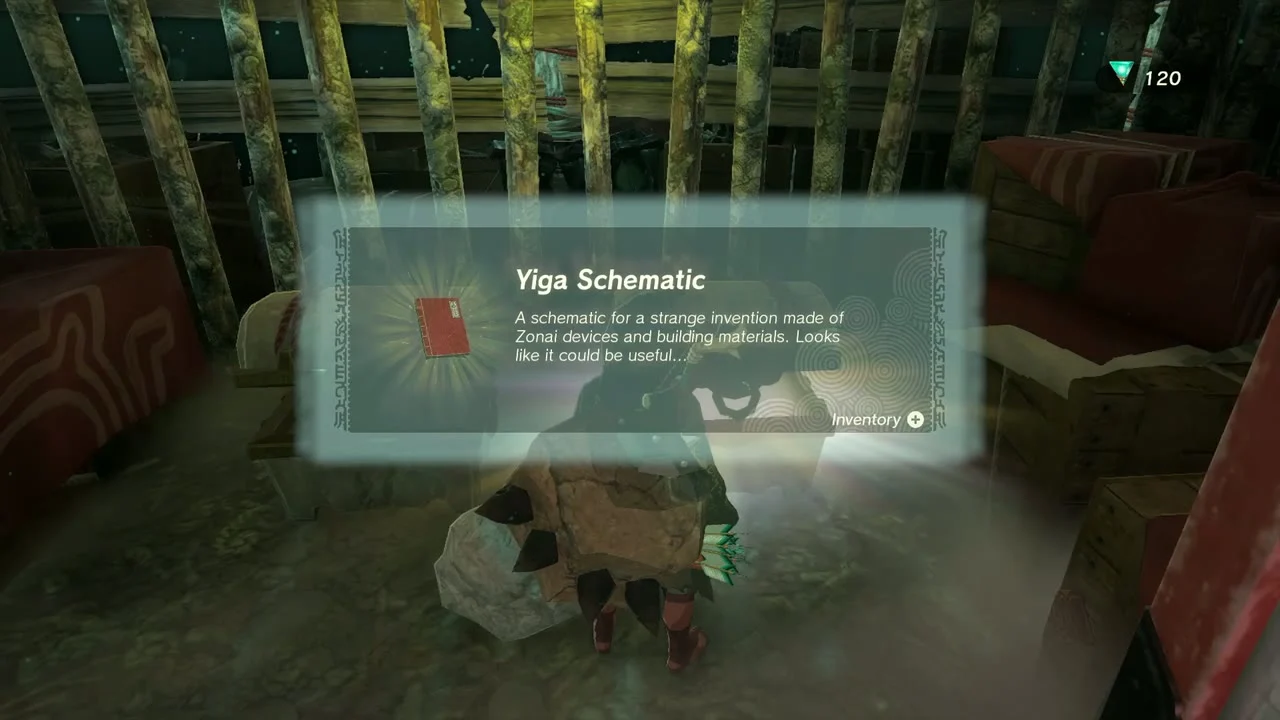
West to the Obsidian Frox
Defeat the Obsidian Frox
Miniboss: Obsidian Frox at about (-2214, 0502, -0528), on open ground in front of the western cliffs. Keep your distance, shoot its eye and bring it down with strong weapons or bombs; it throws gloom and boulders. It drops an Obsidian Frox Fang, a rare fuse material, plus Zonaite from its body. Fuse the Fang to a weapon for a large attack boost, and carry food that resists gloom so its hits do less lasting damage. The fight is optional but the plain around it is a good place to restock arrows and Zonaite.
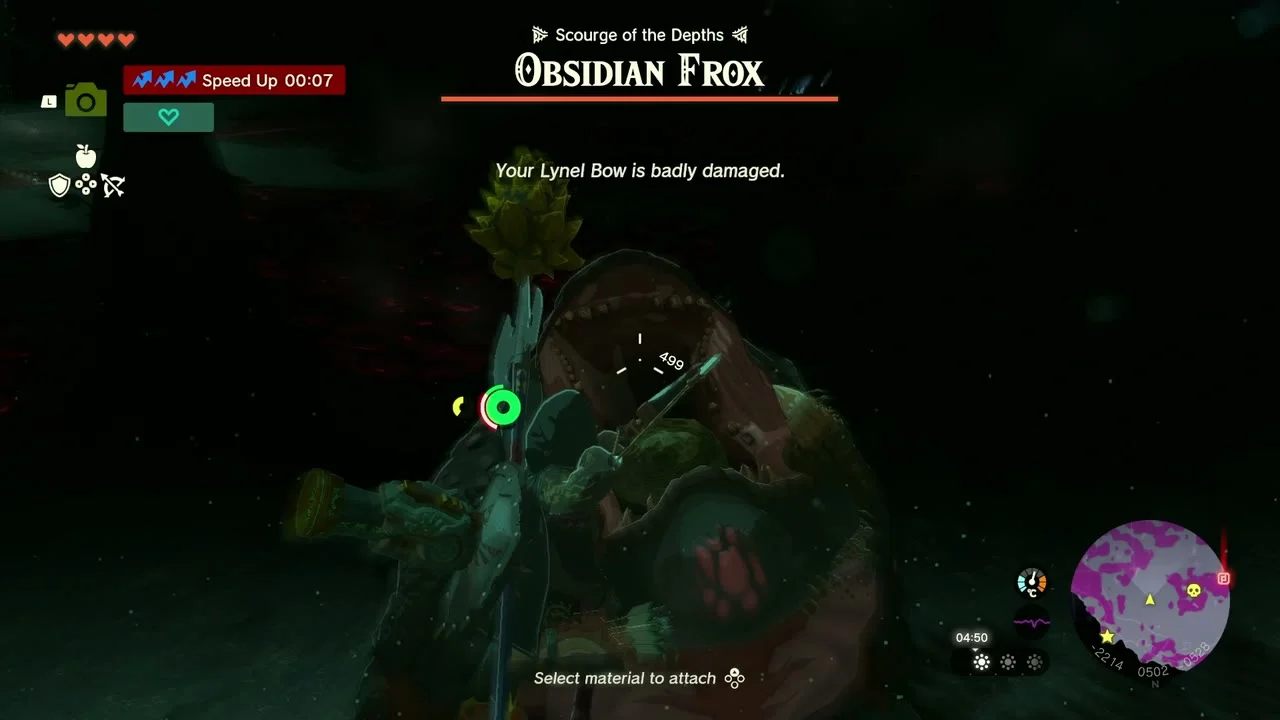

Torch-lit camp: Sundelion chest
Climb the platform camp
Chest: Sundelion at (-2370, 0691, -0549). A Bokoblin camp of wooden walkways and horn torches hangs under the cliff south-east of Tikanur Lightroot. Fight along the planks and open the chest at the top of the platform for a Sundelion, a plant that restores gloom-damaged hearts when cooked.

Second Yiga Clan camp: Flamethrower Balloon
Get into the storeroom
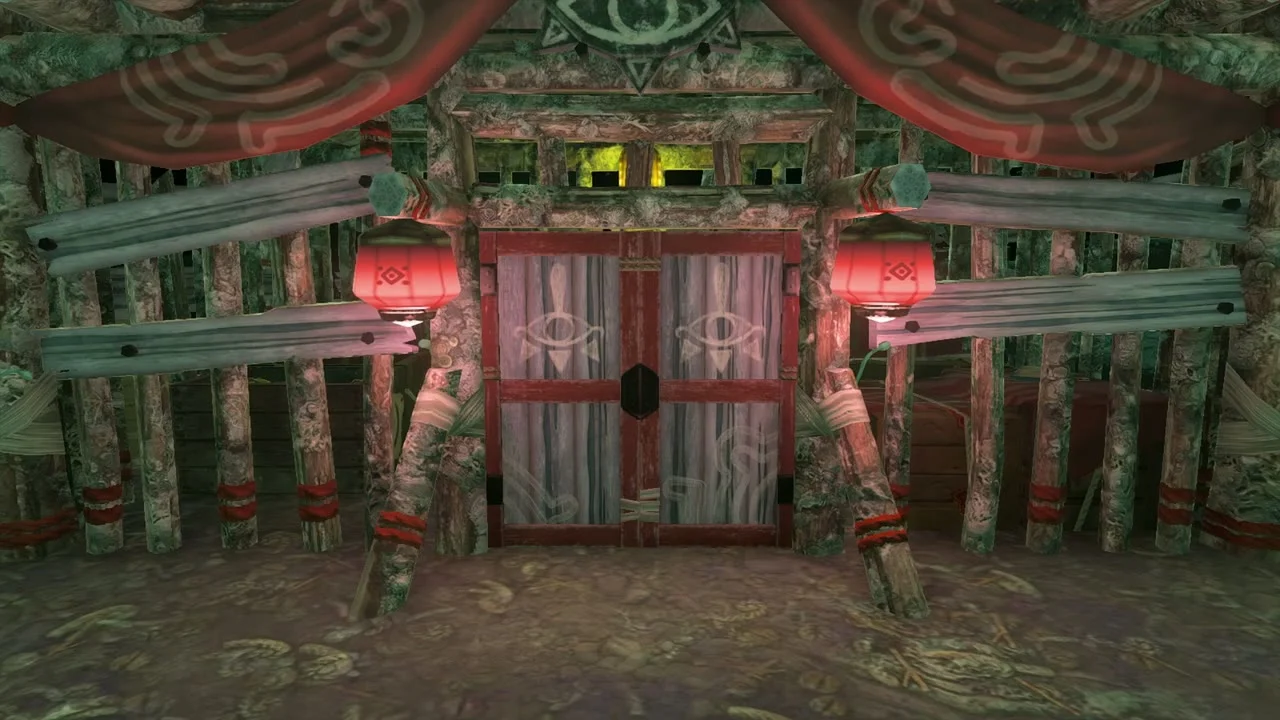
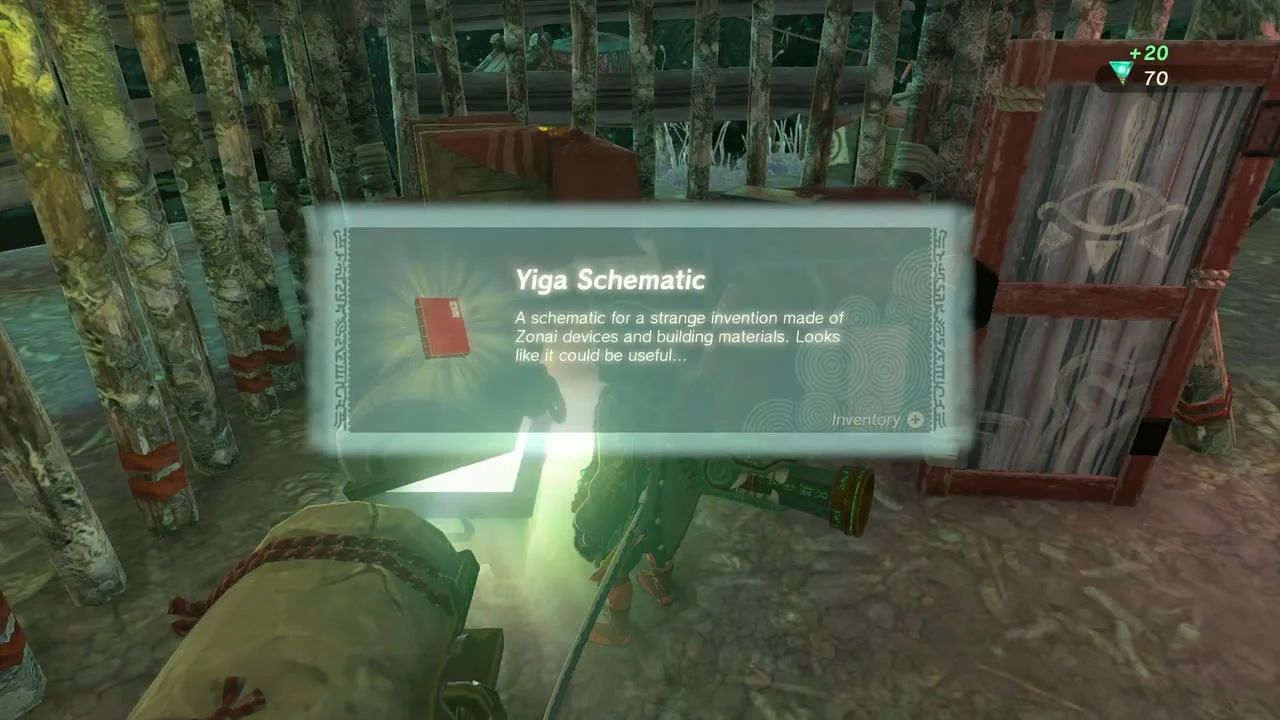
Yiga Clan camp at (-2822, 0902, -0565), north of Sikurukam Lightroot and west of Rhoam Canyon Mine. Climb the ladder to the camp, defeat the marked member and open the red-and-white double doors of the storeroom. Two chests hold a Large Crystallized Charge and the Yiga Schematic for the Flamethrower Balloon (a balloon fitted with a fire-breathing nozzle). Crates inside hold Brightbloom Seeds, Mighty Bananas and arrows.

Rhoam Canyon Mine
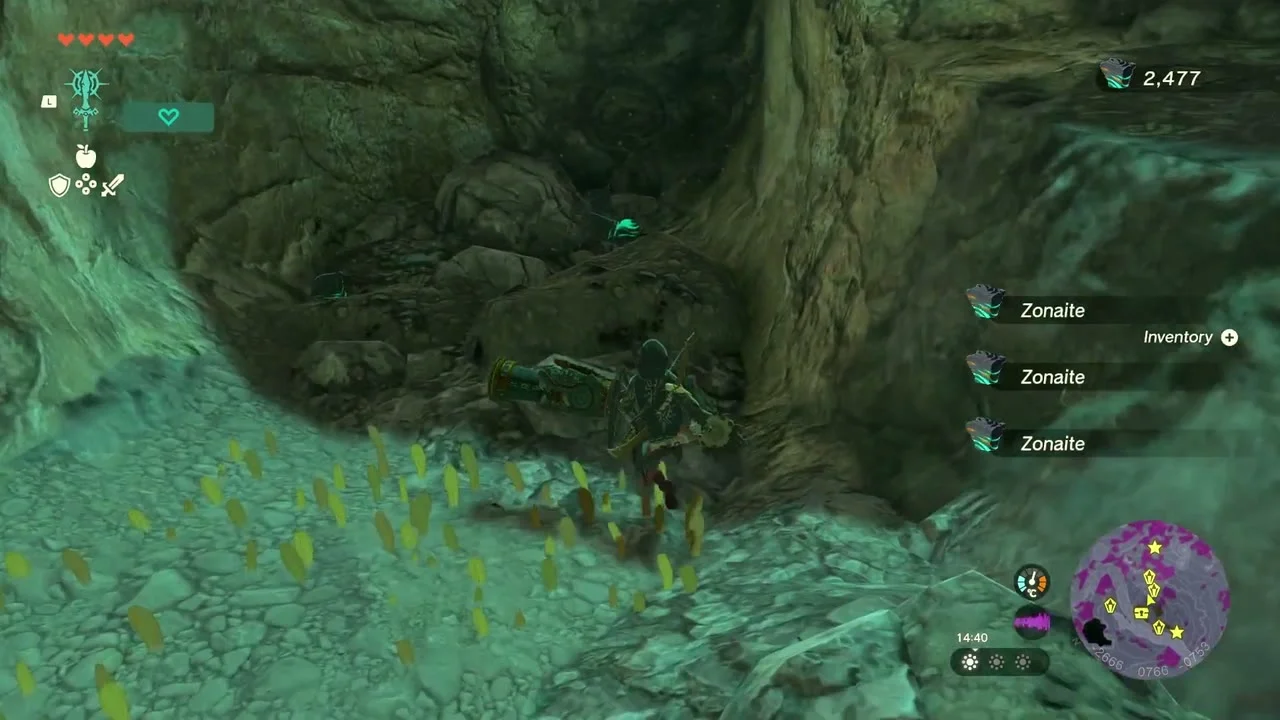
Mine the Zonaite
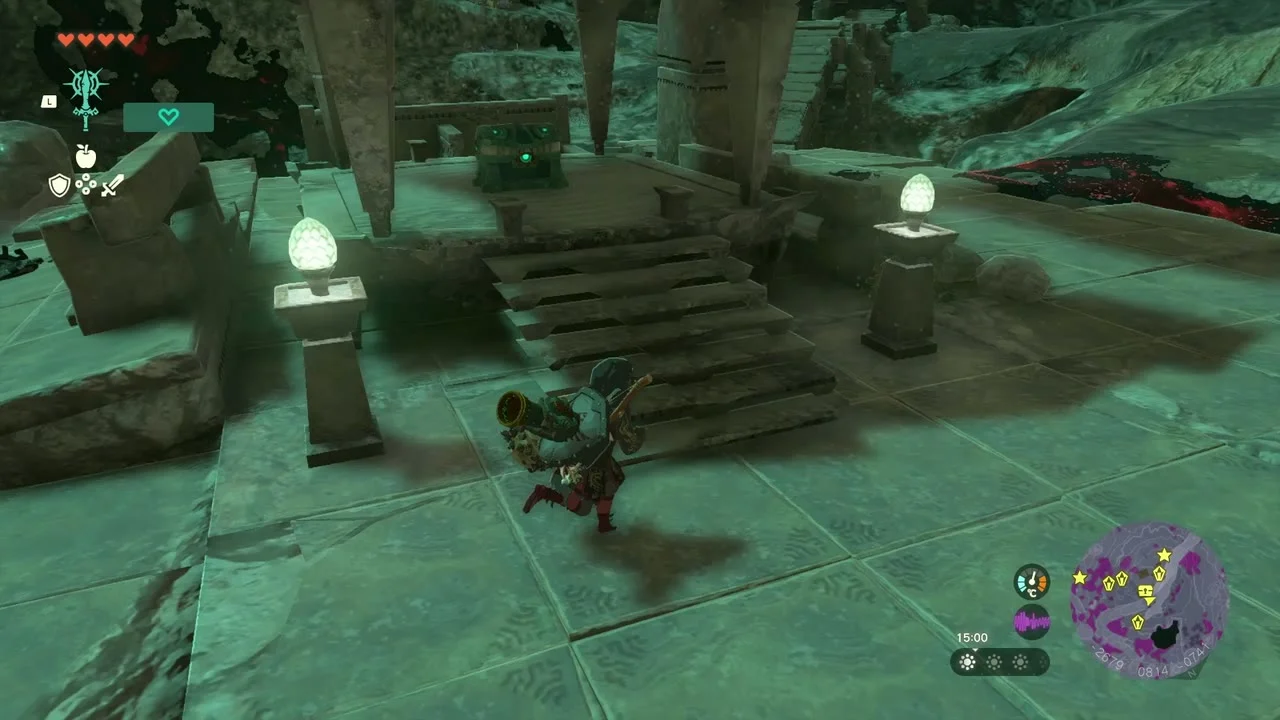
Rhoam Canyon Mine sits at (-2687, 0785, -0783), south-west of Tikanur Lightroot. Zonaite and Large Zonaite deposits line the canyon wall on the way up; break them with a hammer or a bomb. Poes drift over the rubble, so pick them up as you pass. The mine is the closest stop for refilling Zonaite before you cross to the south-eastern chest, and the ruin is easy to spot from the canyon floor by the glowing lamps beside its stairs.

Open the chest on the stairs
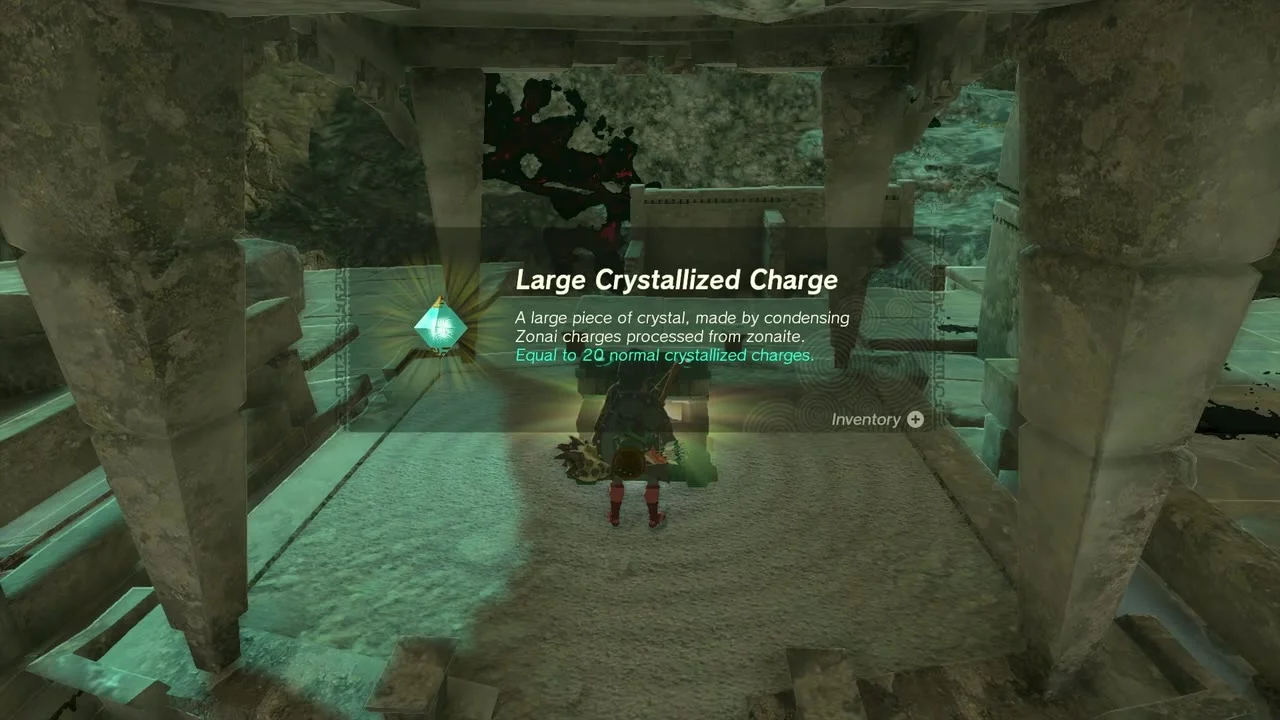
Chest: Large Crystallized Charge at (-2687, 0813, -0741). Climb the broad stairs of the central ruin to the pillared platform at the top and open the chest for a Large Crystallized Charge. A Rusty Broadsword lies on the steps below it.
South of Sikurukam Lightroot
Open the Arrow x10 chest
Chest: Arrow x10 at (-2575, 0319, -0601), south-east of Sikurukam Lightroot. A Bokoblin camp on open ground has a plank raft with a chest on it, next to a rock-roasting fire with a Rock Hammer. Defeat the camp’s enemies and open the chest for Arrow x10. The fire-lit rock beside the raft yields Zonaite.


Leaving the Depths
Take Sikurukam Lightroot to the surface
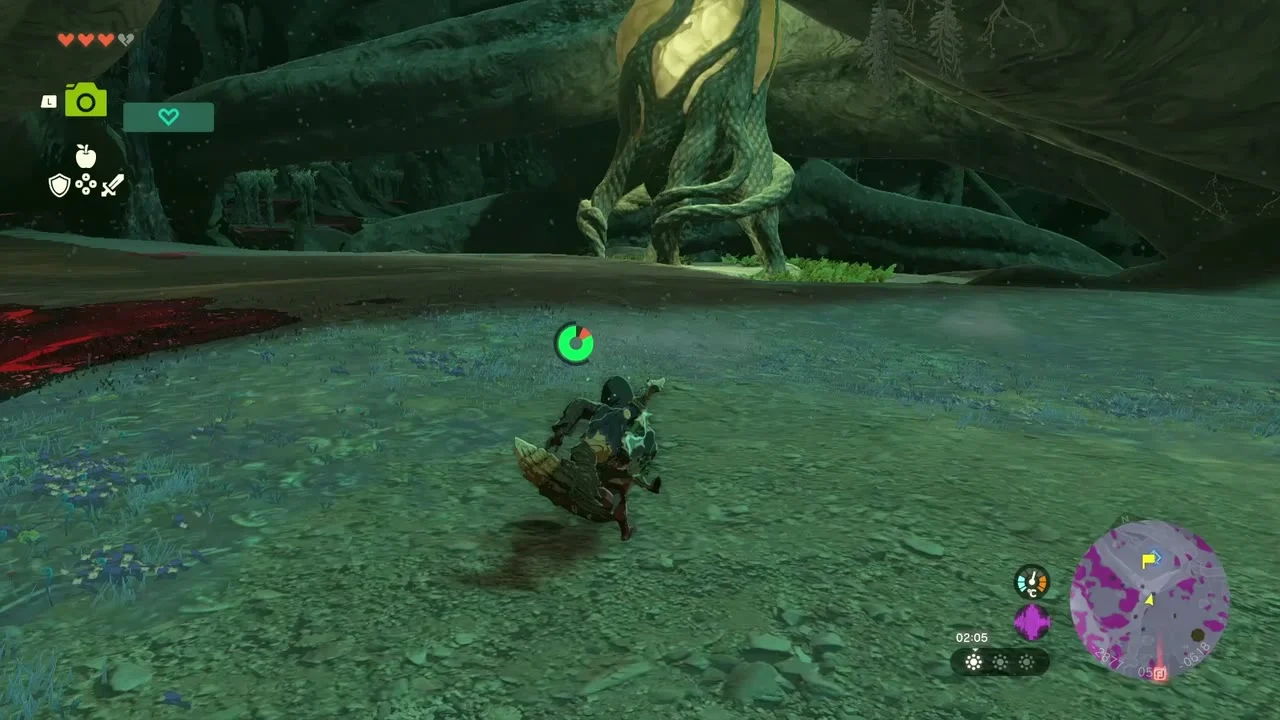
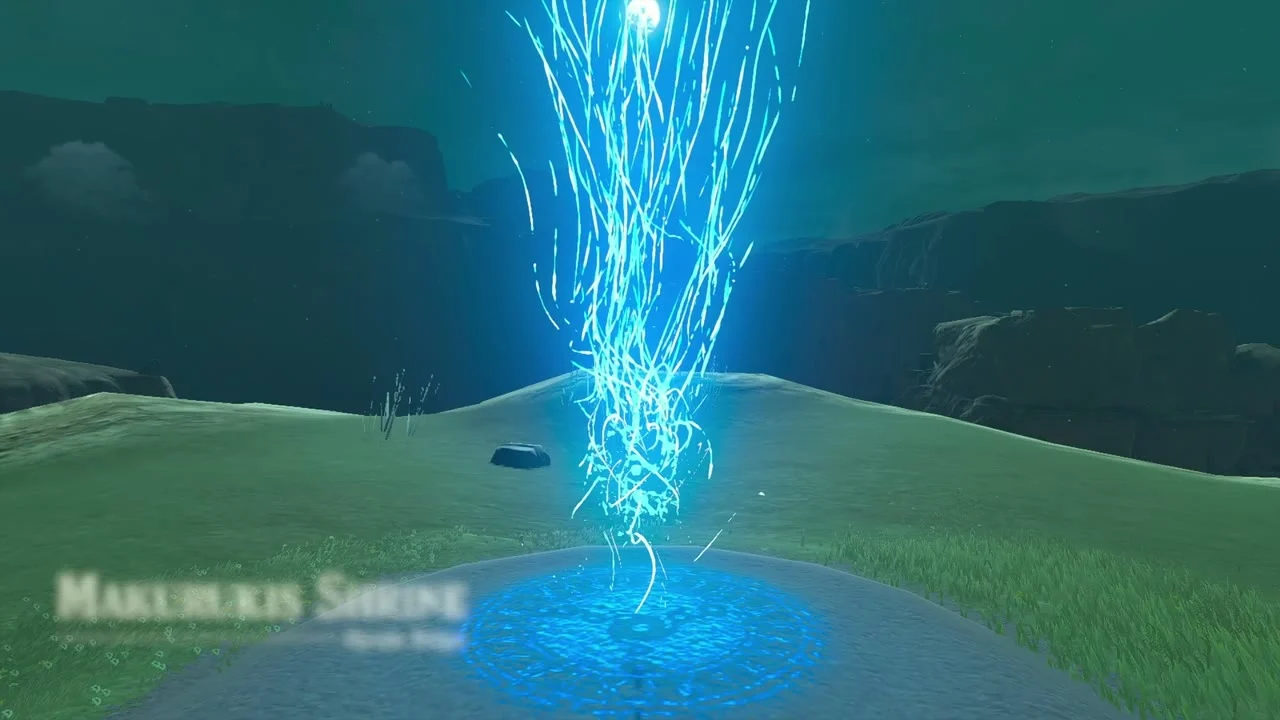
Sikurukam Lightroot at (-2846, 0630, -0642) lies below Makurukis Shrine on Hyrule Ridge. Walk up to its roots and use the light column to rise out of the Depths beside the shrine. The Korok Seeds, Stone Talus and Rito training on the surface above are covered in Hyrule Ridge and Tabantha Frontier.
Before you go
The Hyrule Ridge Chasm (-2644, 1126) is the usual way into this half of the Depths, and Tikanur Lightroot is the closest light to land beside. Light it first and use it as your fast-travel base for the Obsidian Frox, Rhoam Canyon Mine and the first Yiga camp. The two Yiga camps here are the only Yiga Schematic chests in this stretch, so clear both for a complete Autobuild list.
Tips for this stretch
Stock up on Brightbloom Seeds before you leave a Lightroot: the plains between the camps are pitch dark and the Giant Brightbloom Seeds from the first chest are best saved for the long ridge between the Frox and the second Yiga camp. Both camps have the same layout: a marked Yiga Clan member, a barred storeroom and two chests (one Large Crystallized Charge, one Yiga Schematic), so the same approach works at each. Large Crystallized Charges count as 20 Zonai Charges, which makes the three here a fast way to refill vehicles and Zonai devices.
Each Yiga Schematic adds one recipe to your Autobuild list: the Bomb Bouquet is a stack of Bomb Flowers on a Zonai base and the Flamethrower Balloon is a balloon fitted with a fire nozzle (twelve Zonaite parts if you build it from scratch). Pick up every Poe you pass; this stretch has no Bargainer Statue, so save them for the statue in the first half of this area.
Lindor’s Brow Depths part 2 collectibles
| Collectible | Count | Where |
|---|---|---|
| Depths chests | 8 | Giant Brightbloom Seed x5; Sundelion; Arrow x10; Large Crystallized Charge x3 (two Yiga camps, Rhoam Canyon Mine); Yiga Schematic x2 |
| Minibosses | 1 | Obsidian Frox |
| Yiga Clan camps | 2 | Bomb Bouquet (-1604, 0243); Flamethrower Balloon (-2822, 0902) |
| Mines | 1 | Rhoam Canyon Mine |
| Lightroots | 2 | Tikanur, Sikurukam (all Lightroots) |
