





















Link's Awakening 100% Completion Walkthrough9 chapters
- Toronbo Shores, Mabe Village and Tail Cave (Level 1)Link’s Awakening Switch walkthrough from the start: get the Sword, Shovel and Magic Powder, find the Tail Key, then.
- Mysterious Forest, Goponga Swamp and Bottle Grotto (Level 2)Rescue BowWow, collect three Heart Pieces and Secret Seashells, cross Goponga Swamp and clear Bottle Grotto (Level 2).
- Ukuku Prairie, Kanalet Castle and Key Cavern (Level 3)Link’s Awakening Switch walkthrough for Kanalet Castle Golden Leaves, the Slime Key, Key Cavern (Level 3), the Pegasus.
- Yarna Desert and Angler’s Tunnel (Level 4)Yarna Desert and Angler’s Tunnel walkthrough for Link’s Awakening: get the Angler Key, the Flippers and the Surf Harp.
- Martha’s Bay and Catfish’s Maw (Level 5)Martha’s Bay and Catfish’s Maw walkthrough for Link’s Awakening: learn Manbo’s Mambo, free the Ghost, win the Hookshot.
- Southern Face Shrine and Face Shrine (Level 6)Southern Face Shrine and Face Shrine (Level 6) walkthrough for Link’s Awakening: Magnifying Lens, Koholint Sword.
- Tal Tal Heights and Eagle’s Tower (Level 7)Tal Tal Heights and Eagle’s Tower walkthrough for Link’s Awakening: the Flying Rooster, Bird Key, Mirror Shield, Evil.
- Western Tal Tal Mountains and Turtle Rock (Level 8)Western Tal Tal Mountains and Turtle Rock (Level 8) walkthrough for Link’s Awakening: Secret Seashell 50, Magic Rod.
- The Wind Fish’s Egg and Final BossesThe Wind Fish’s Egg and final bosses walkthrough for Link’s Awakening: read the maze book, play the Ballad, beat all.
| Covers | Mysterious Forest and Mabe Village clean-up, Toronbo Shores, Ukuku Prairie, Seashell Mansion, Kanalet Castle, Richard’s Villa, Pothole Field, Tal Tal Heights |
|---|---|
| Dungeon | Key Cavern (Level 3): needs the Slime Key, bombs and Roc’s Feather; Pegasus Boots inside; boss Slime Eye; instrument Sea Lily’s Bell |
| Rewards | Magic Powder upgrade, Secret Medicine, Seashell Sensor, 5 Golden Leaves, Slime Key, Pegasus Boots, Compass, Dungeon Map, Nightmare Key, Heart Container, Sea Lily’s Bell, 5 Pieces of Heart, 13 Secret Seashells (count goes from 8 to 21) |
This chapter turns your first two dungeons into a proper kit. You tidy up the western side of Koholint, collect Secret Seashells and Pieces of Heart on the way, bring Richard his five Golden Leaves from Kanalet Castle, dig up the Slime Key and use it to open Key Cavern. Inside you find the Pegasus Boots, beat Slime Eye and leave with the Sea Lily’s Bell. Bring bombs, the Power Bracelet, the Shovel, Roc’s Feather and a stack of rupees.
Warp points and Tal Tal Heights
Light up the warp pads
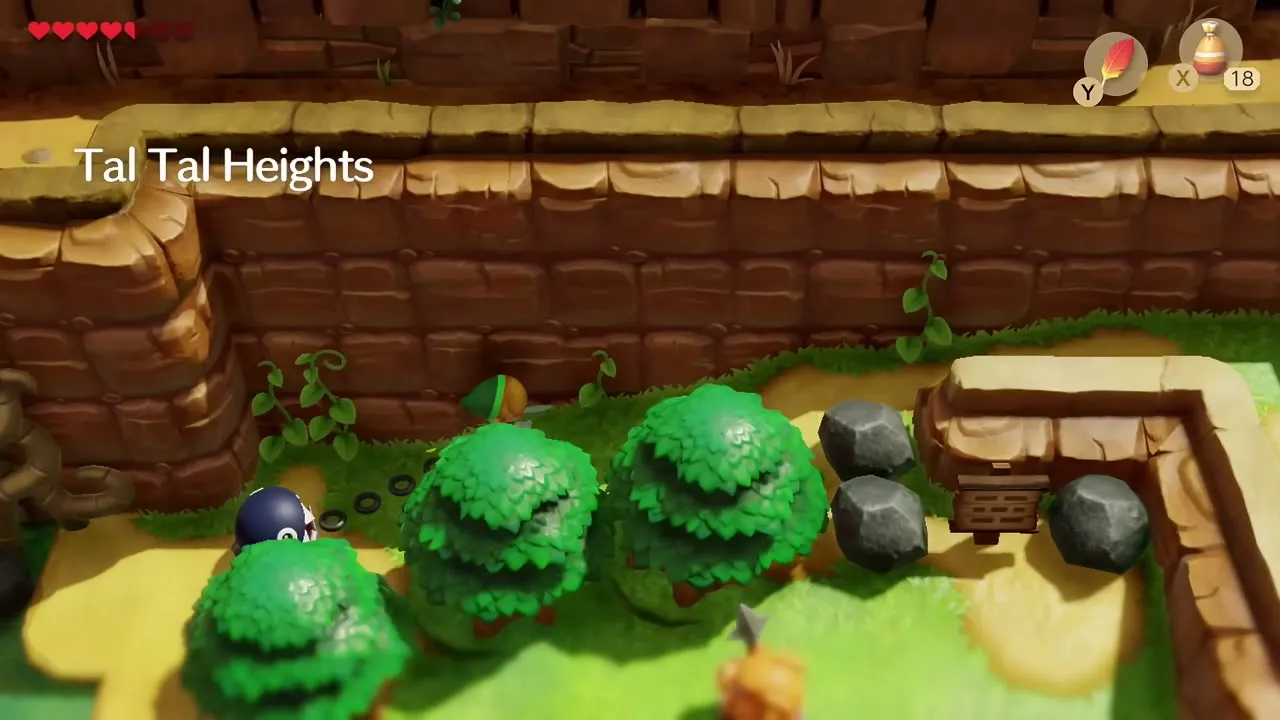
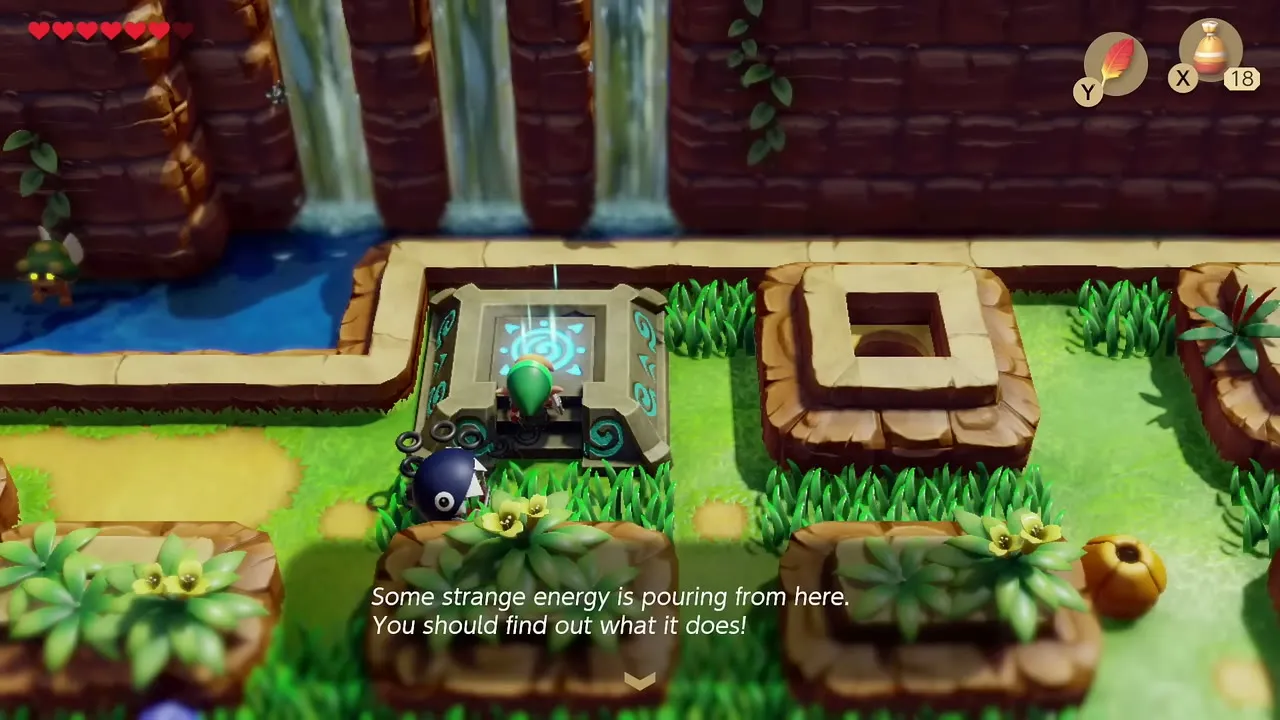
Before you clear out the loose ends, start activating warp pads so the rest of the chapter is quick to travel. Climb the cliff paths to Tal Tal Heights and step on the glowing pad on the waterfall ledge; the game tells you strange energy is coming from it. Open the map afterwards and pick Tal Tal Heights to confirm the warp works. The pad on the Ukuku Prairie side of the island does the same job and becomes your main shuttle between Mabe Village and Kanalet Castle.
Mysterious Forest caves and Li’l Devil
Toadstool and the 50 rupee chest
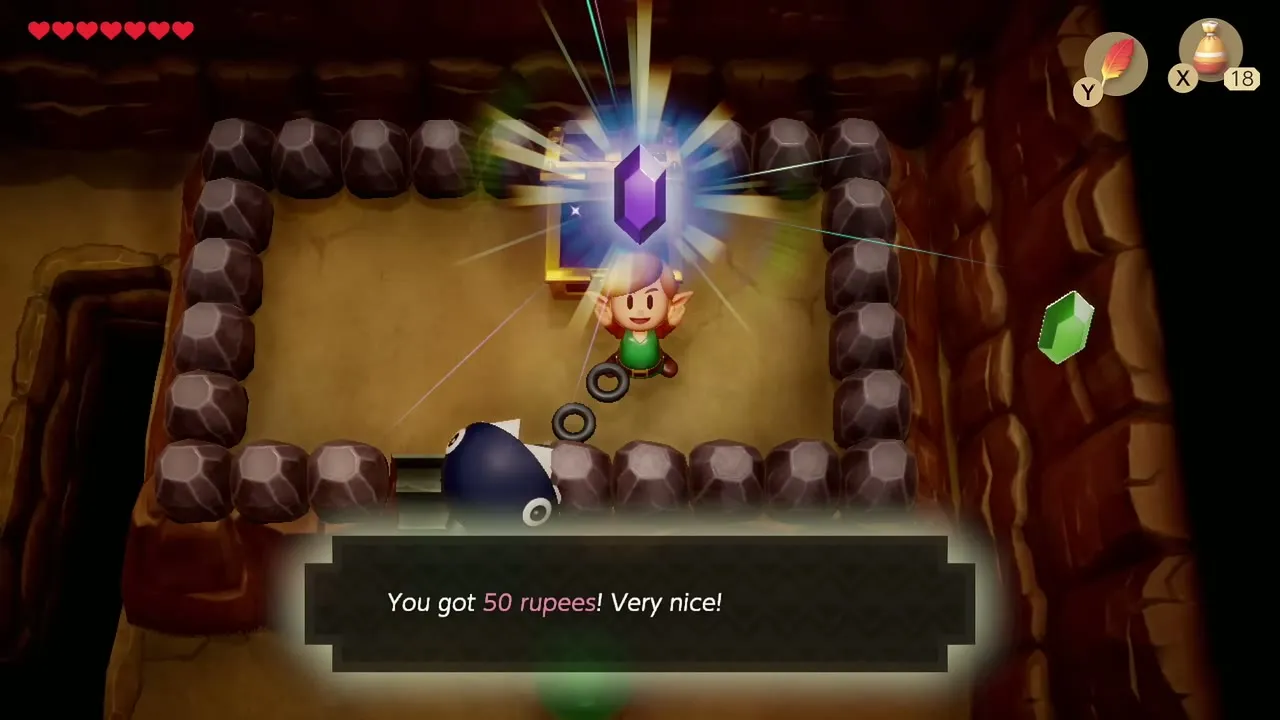
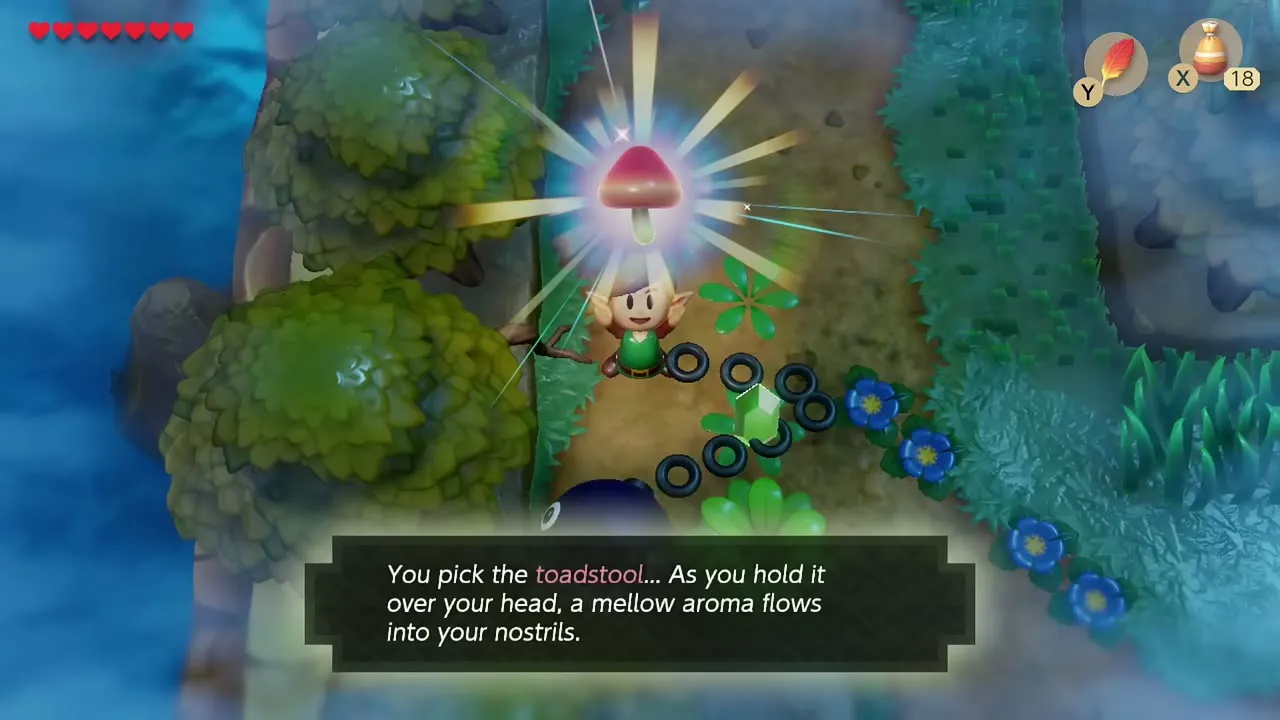
Back in the Mysterious Forest, enter the cave with the ring of dark blocks and open the chest for a 50 rupee purple rupee. Outside, in the dim forest clearing, pick the red Sleepy Toadstool growing on the path and add it to your inventory.
Heart Piece cave
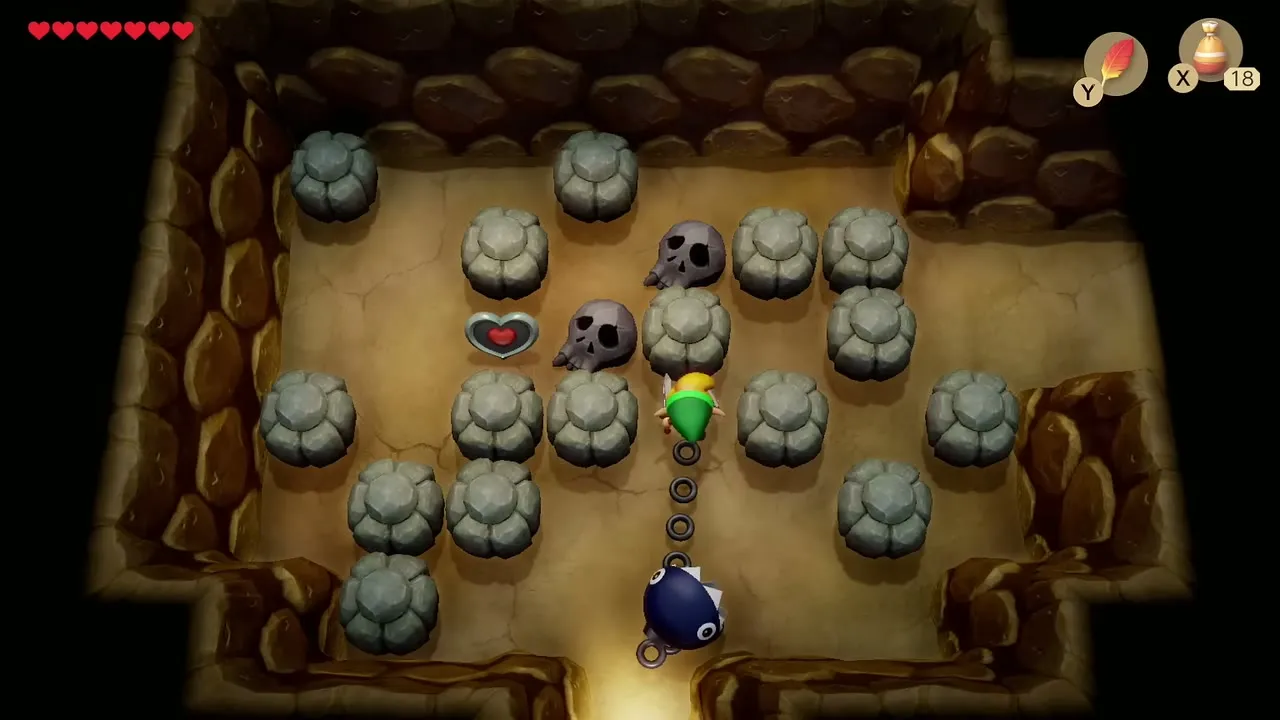
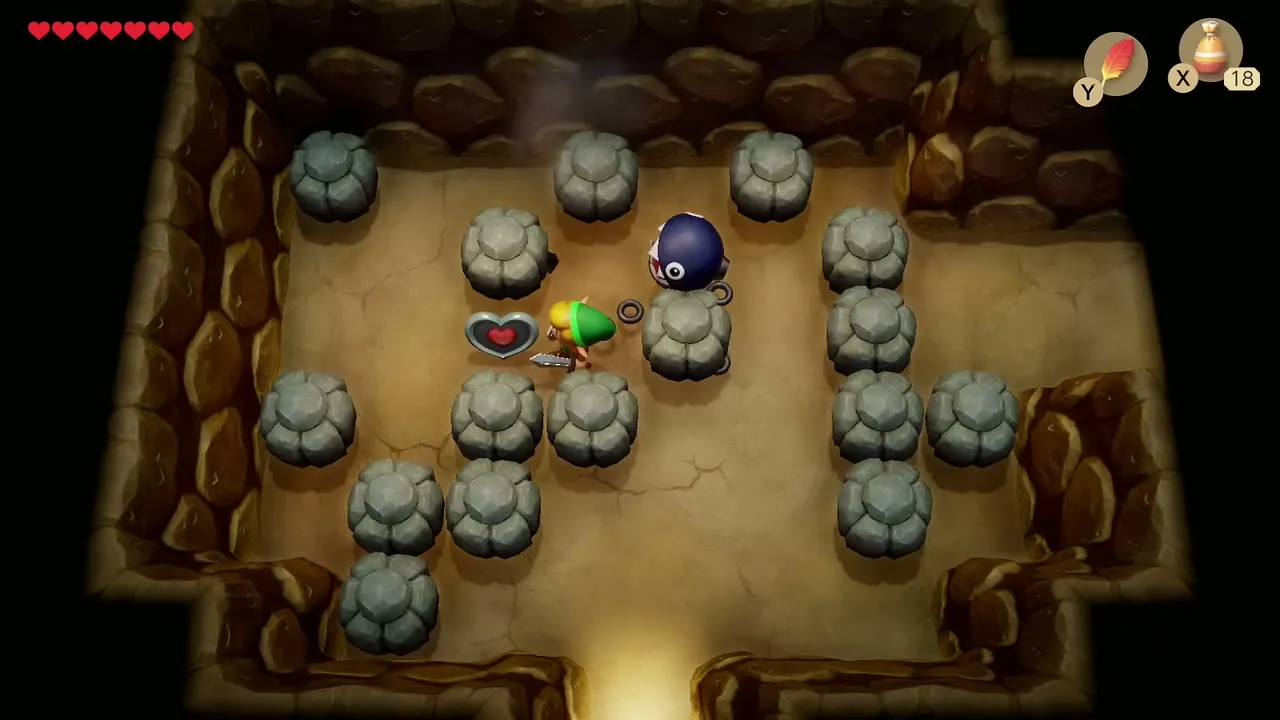
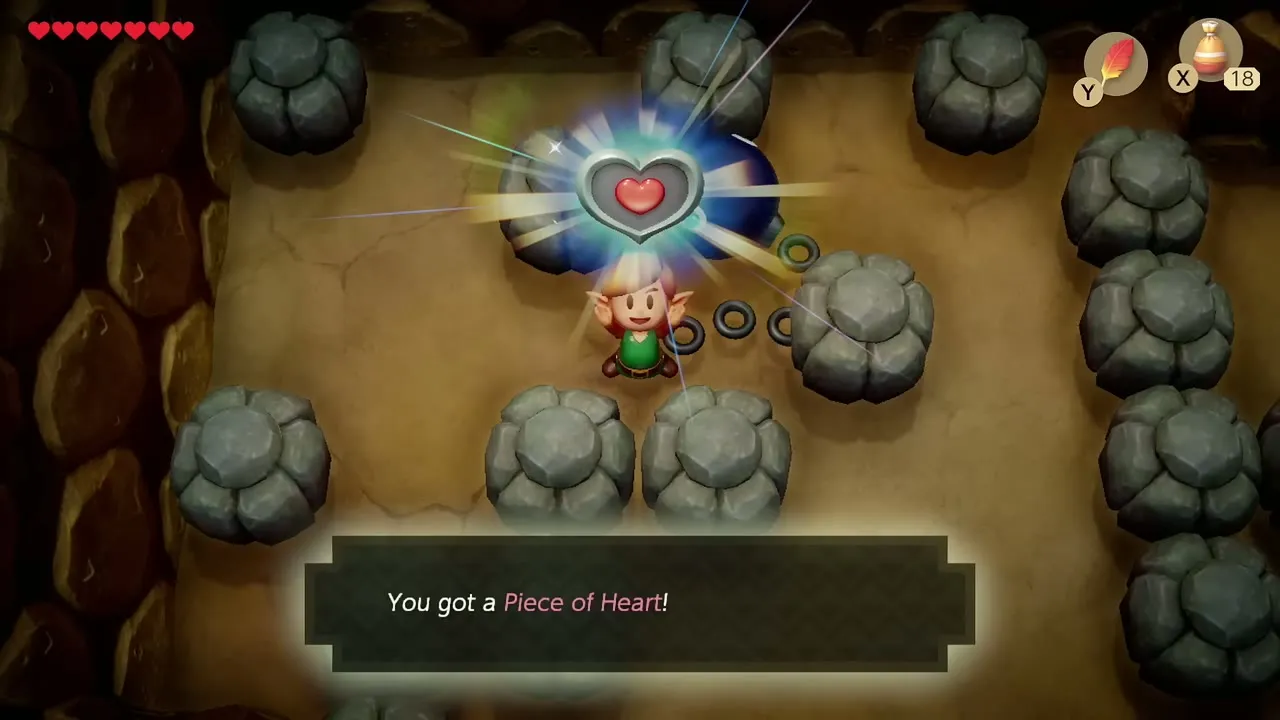
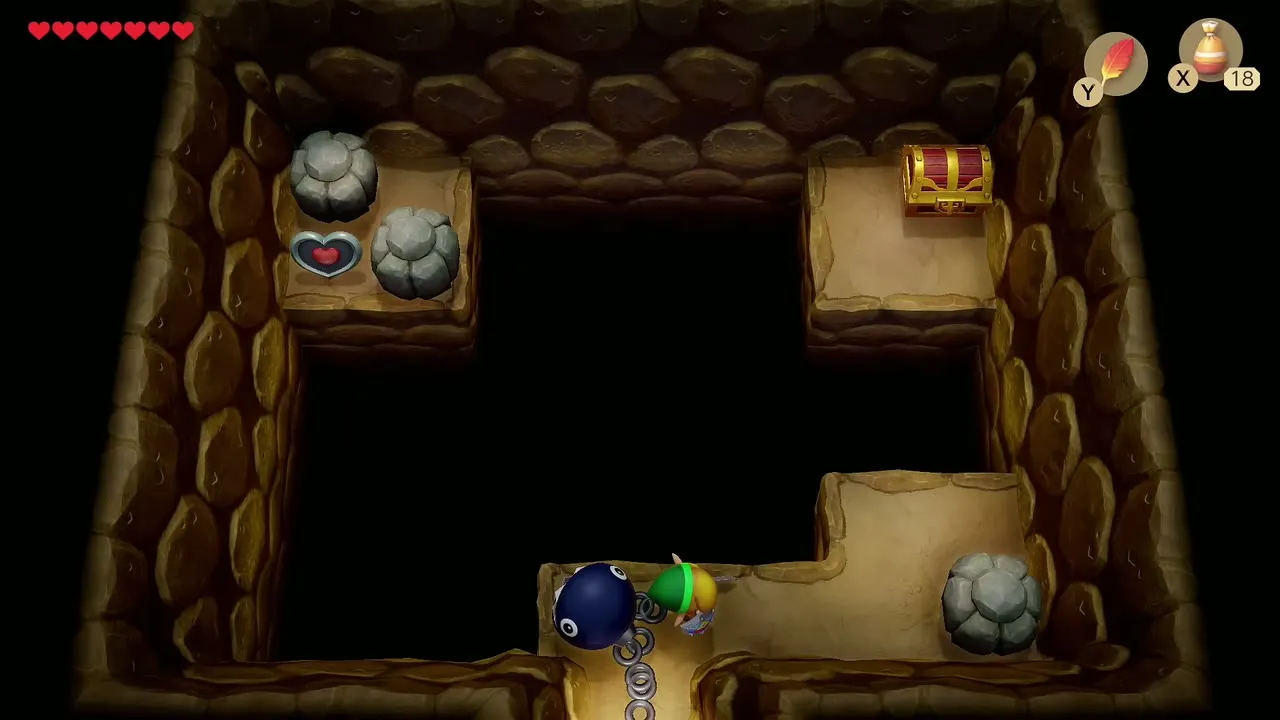
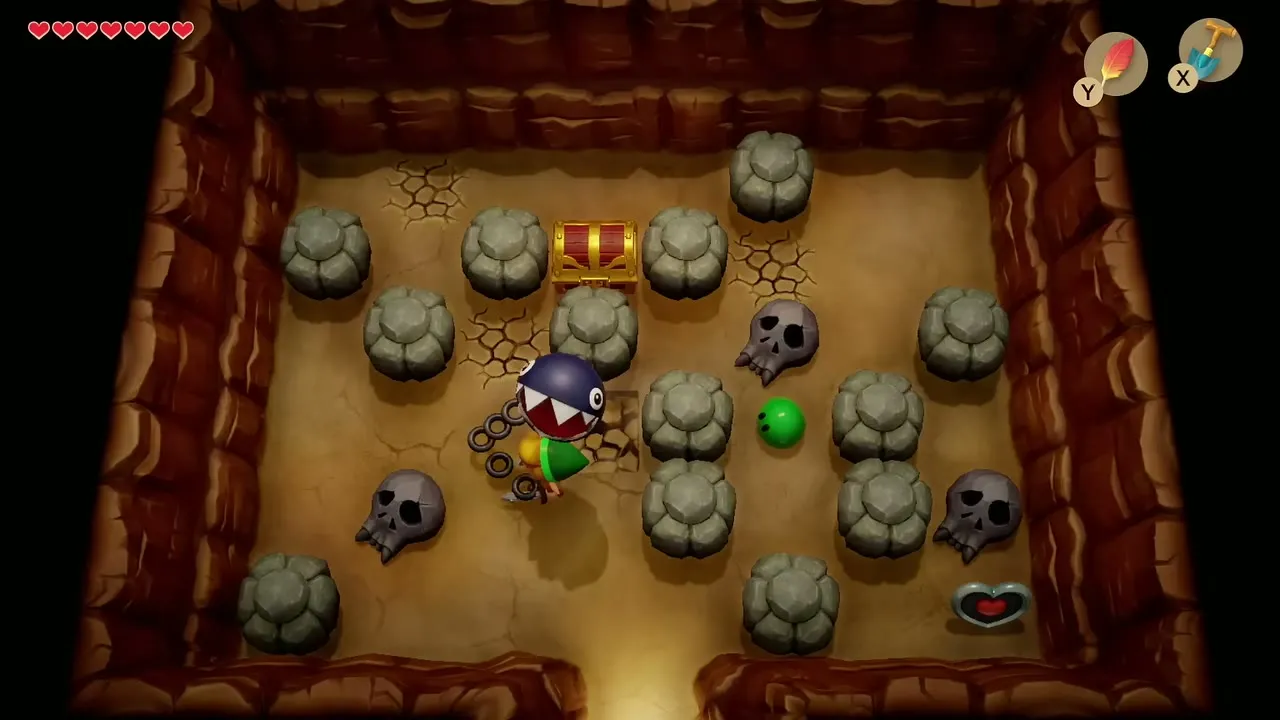
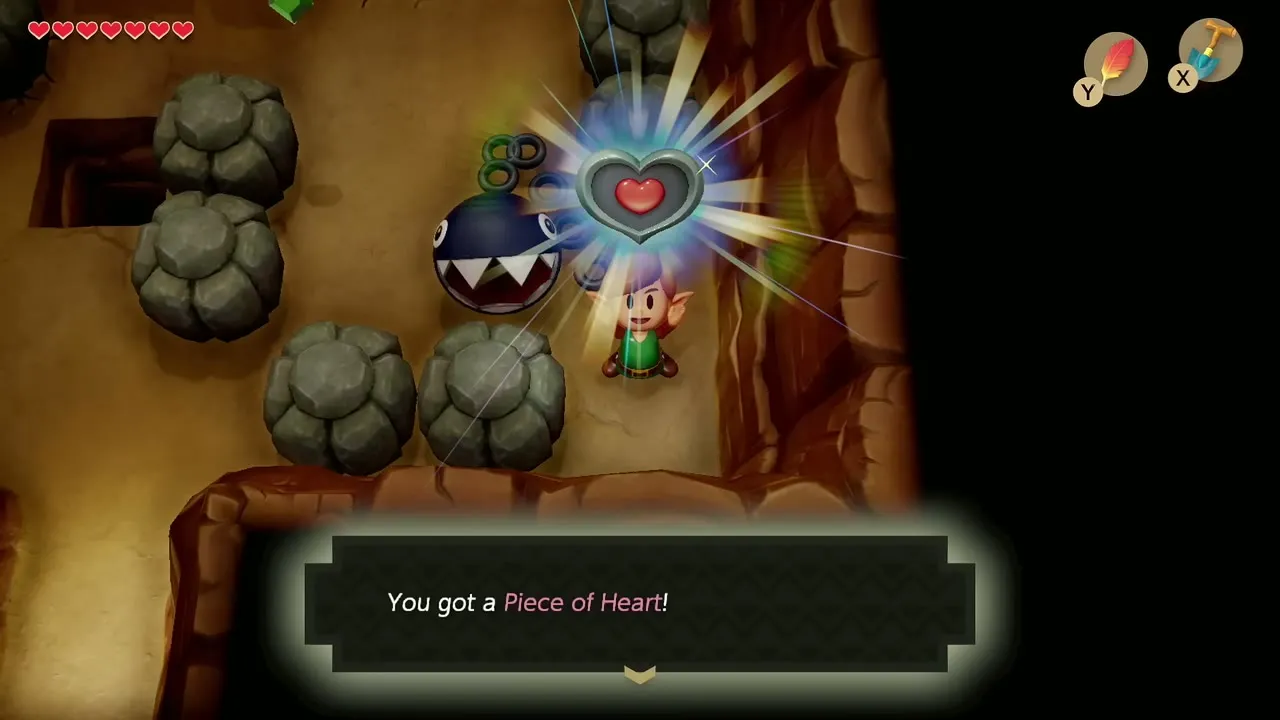
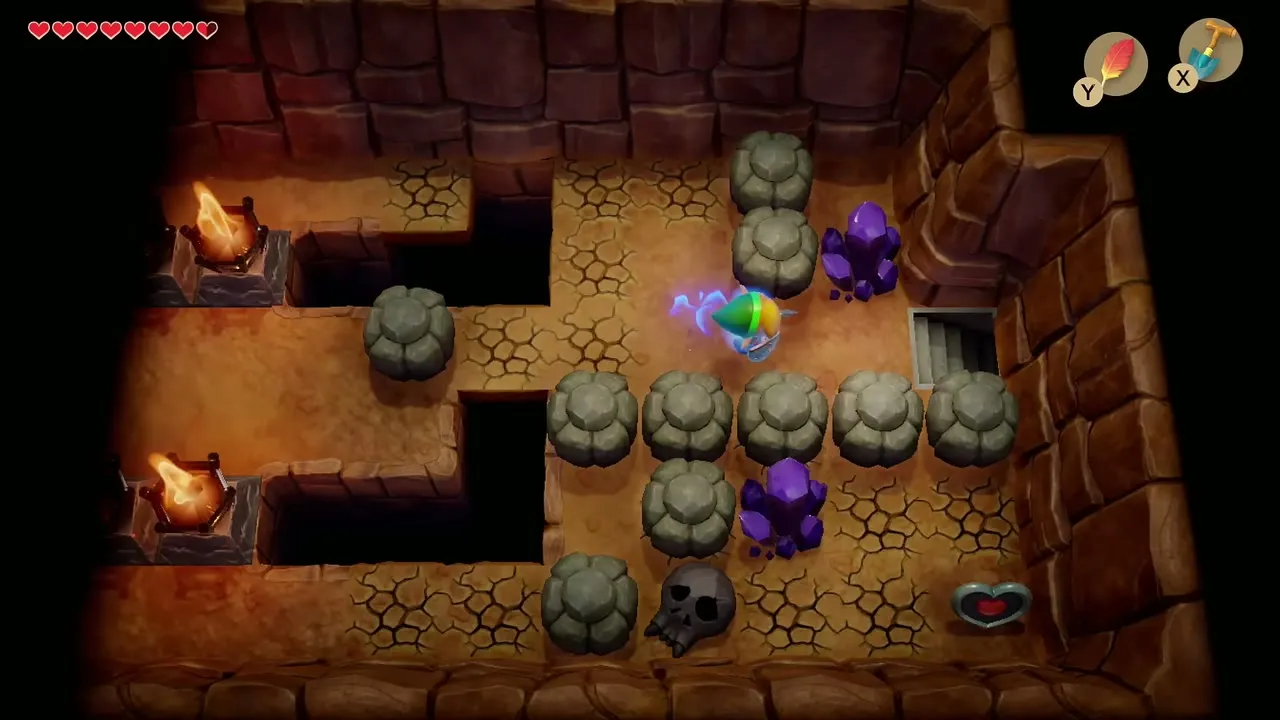
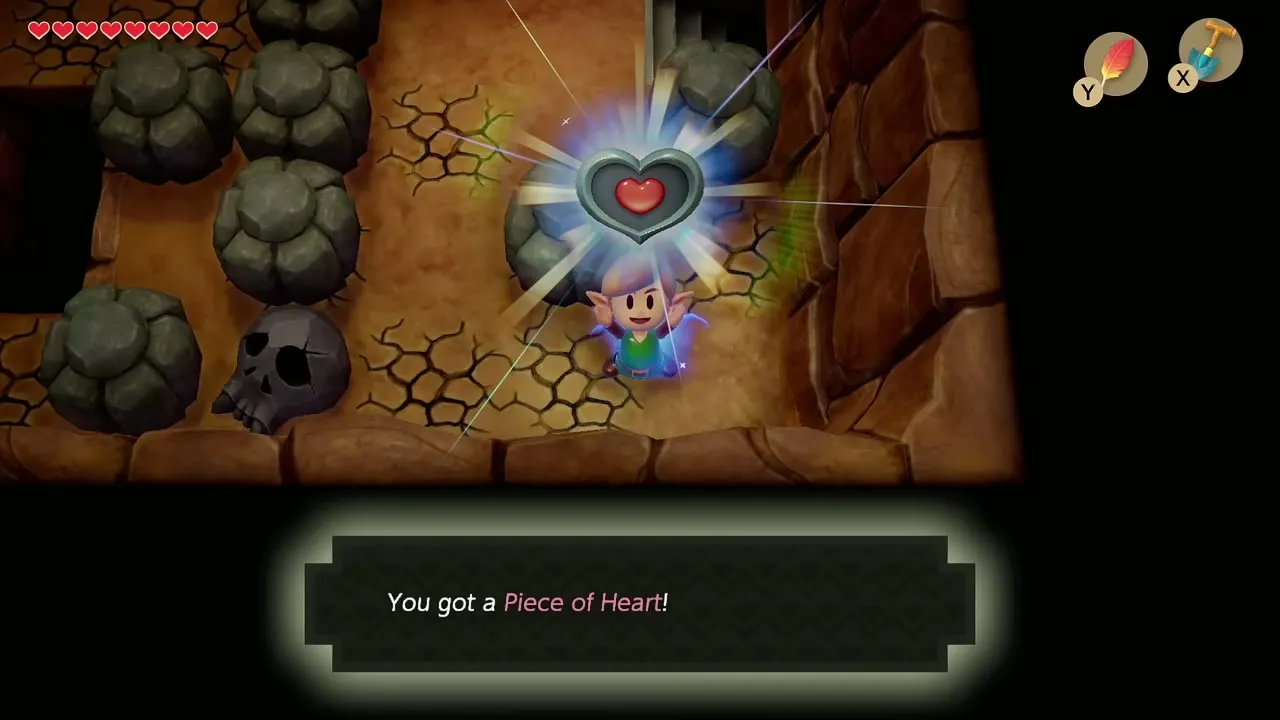
Go into the cave full of grey rocks and skull rocks. With the Power Bracelet, lift the rocks and skulls that block the way to the left side of the room and collect the Piece of Heart sitting on the floor there. The pit cave next to it holds a chest that you cannot reach yet, so leave it for later.
Seashells in the west of the forest
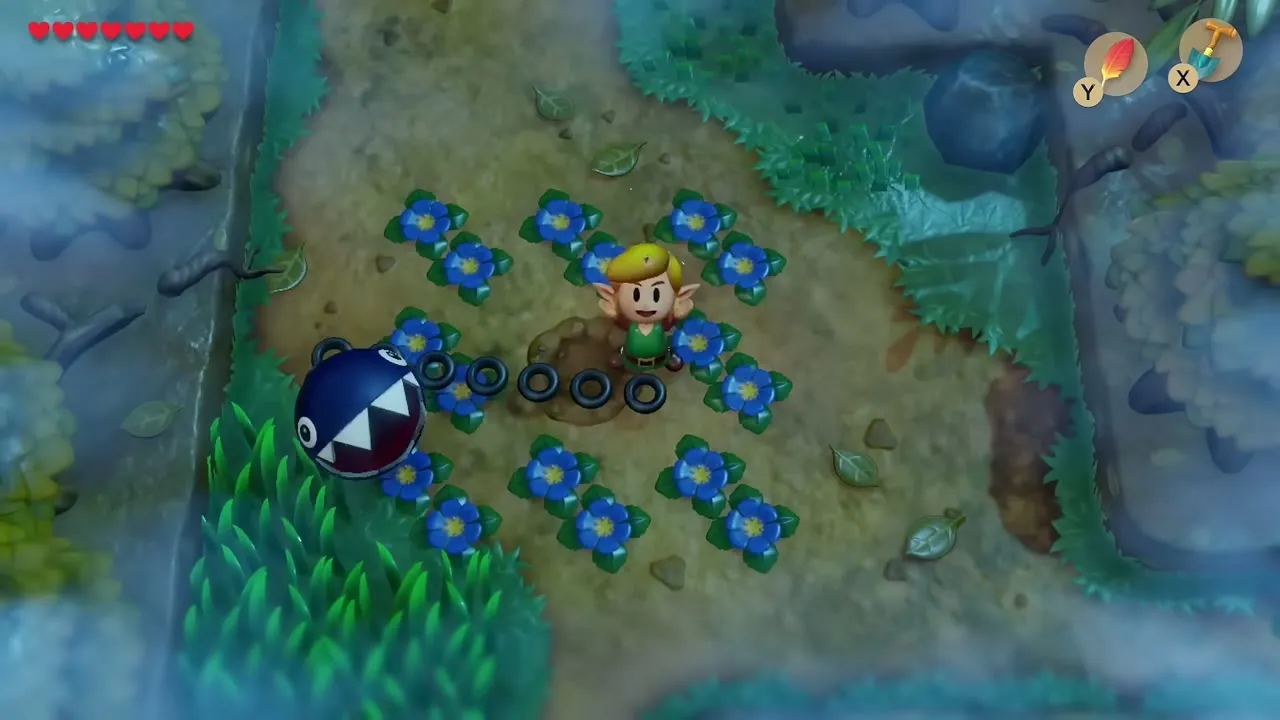
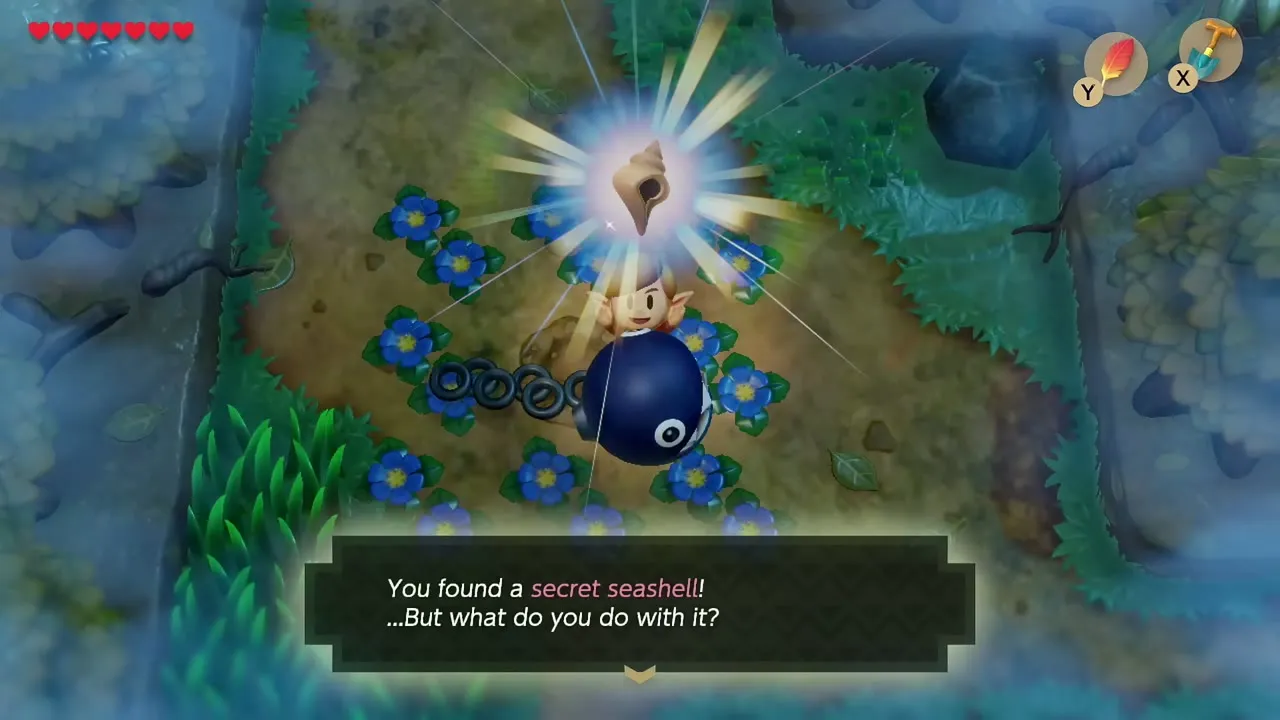
Now that you own the Power Bracelet, lift the big boulder in the west of the Mysterious Forest and open the chest behind it for a Secret Seashell. Then go to the Witch’s Hut, walk one screen left, lift the rock and go one screen down: cut the lone bush in the middle of the field and dig where it stood with the Shovel for a second shell. The ring of blue flowers is the previous chapter’s shell, so it does not count here.
How to get the Li’l Devil upgrade
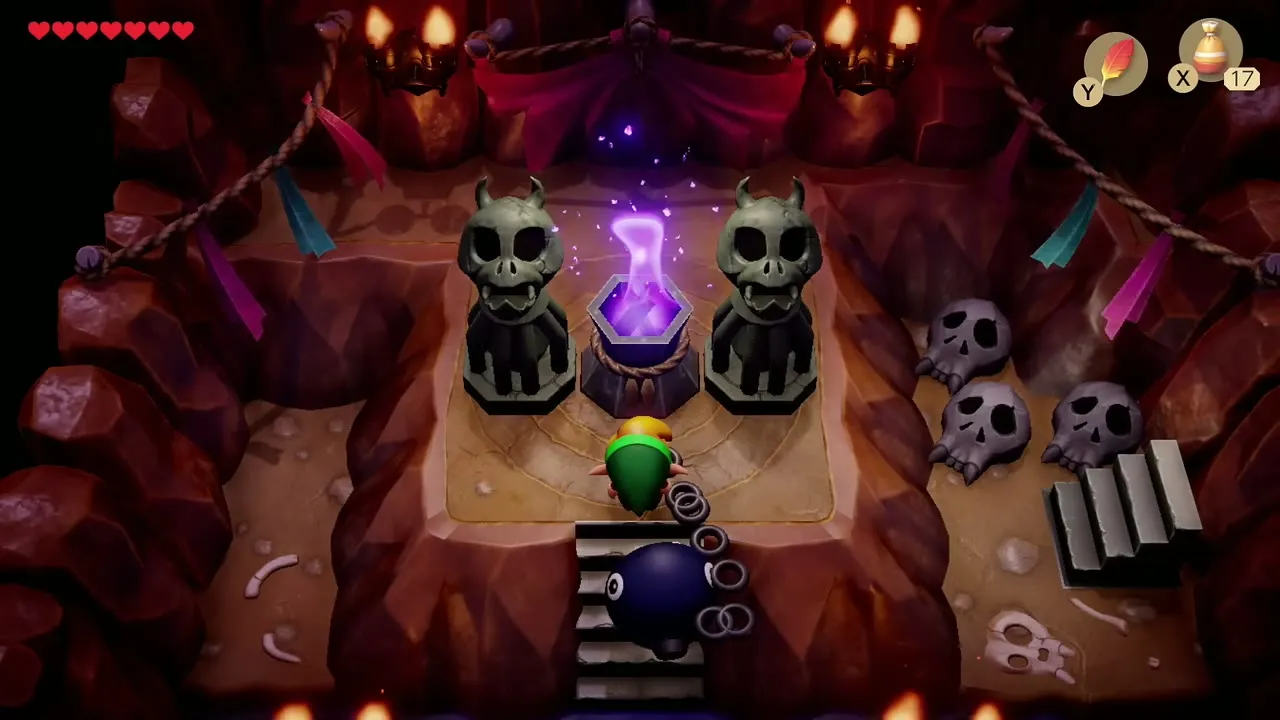
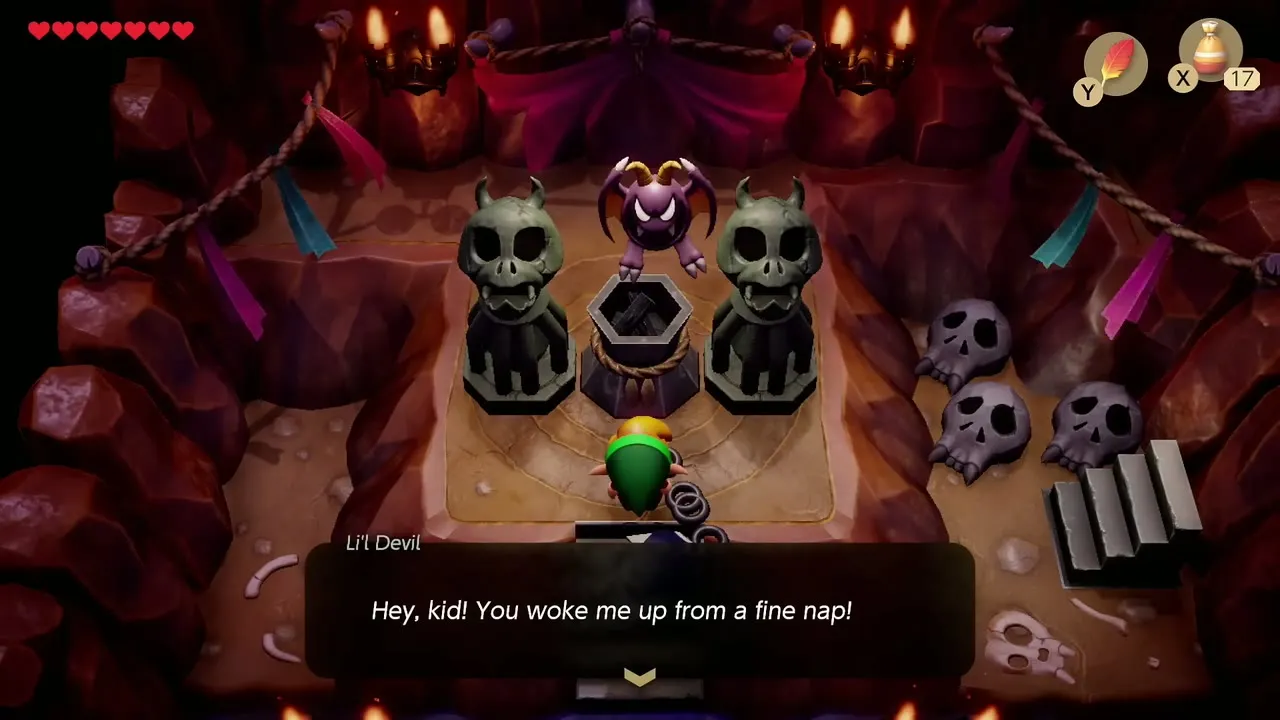
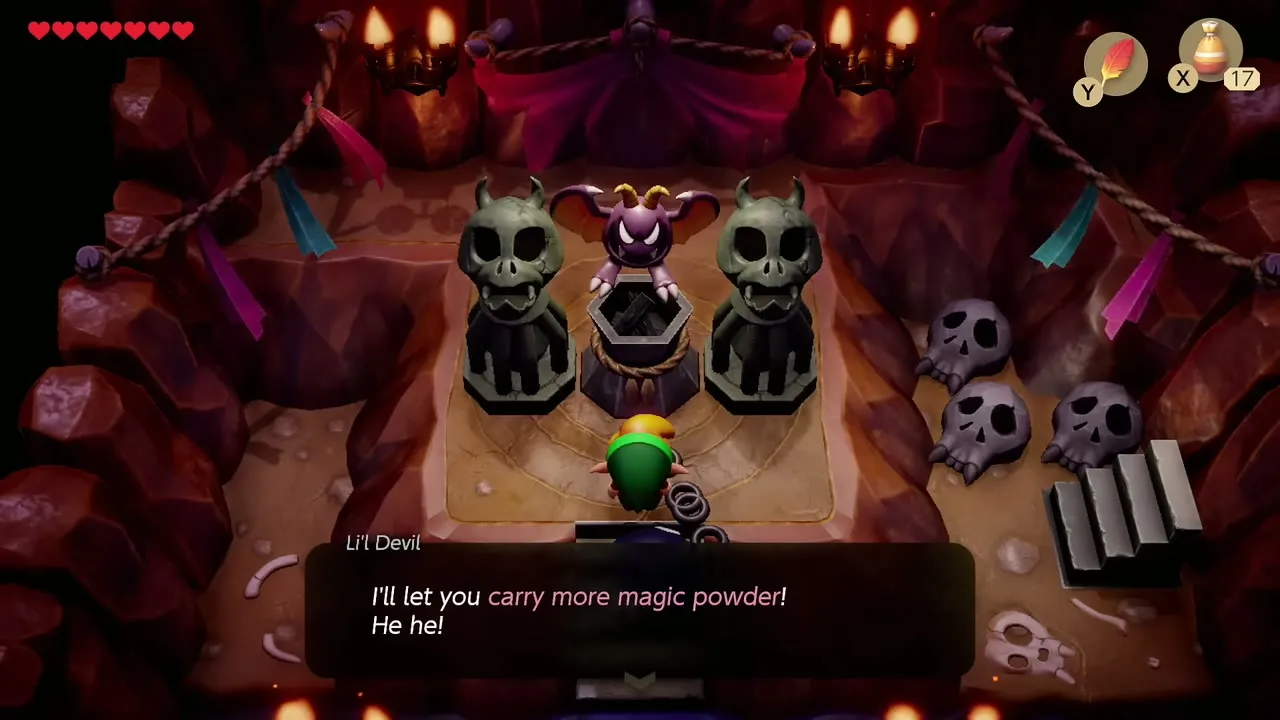
South of three rocks that sit in front of a log, lift the lone rock to reveal a staircase. Go down, then sprinkle Magic Powder into the bowl in the middle of the cave to wake Li’l Devil. Accept his offer and he raises the amount of Magic Powder you can carry. He appears in other spots later and offers more upgrades, so come back when you own more items.
Crazy Tracy, the graveyard warp and the Ukuku cave Heart Piece
Buy Secret Medicine
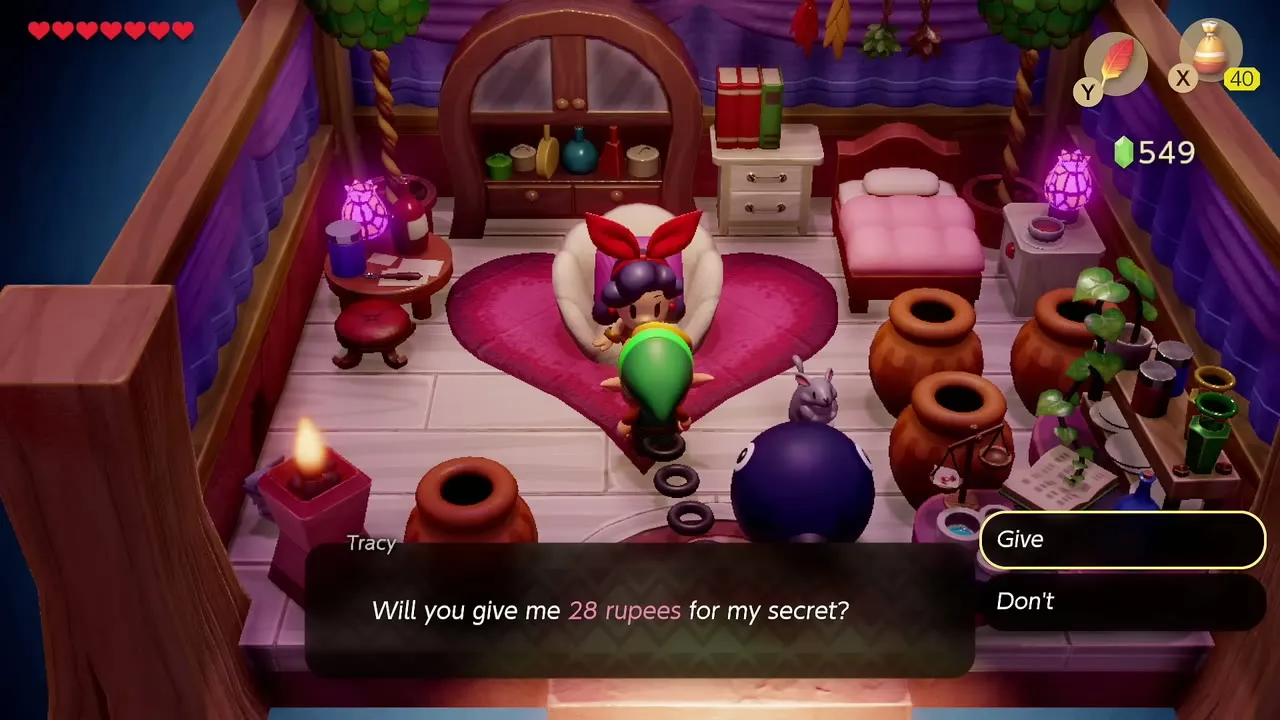
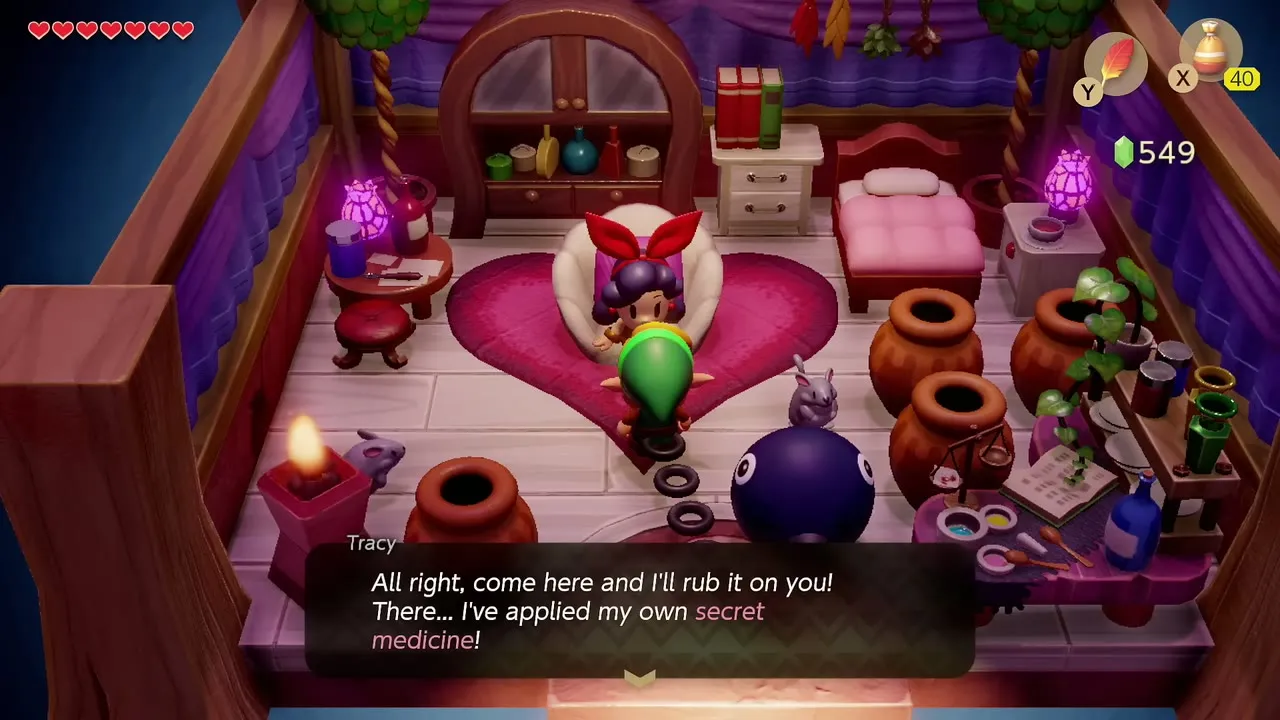
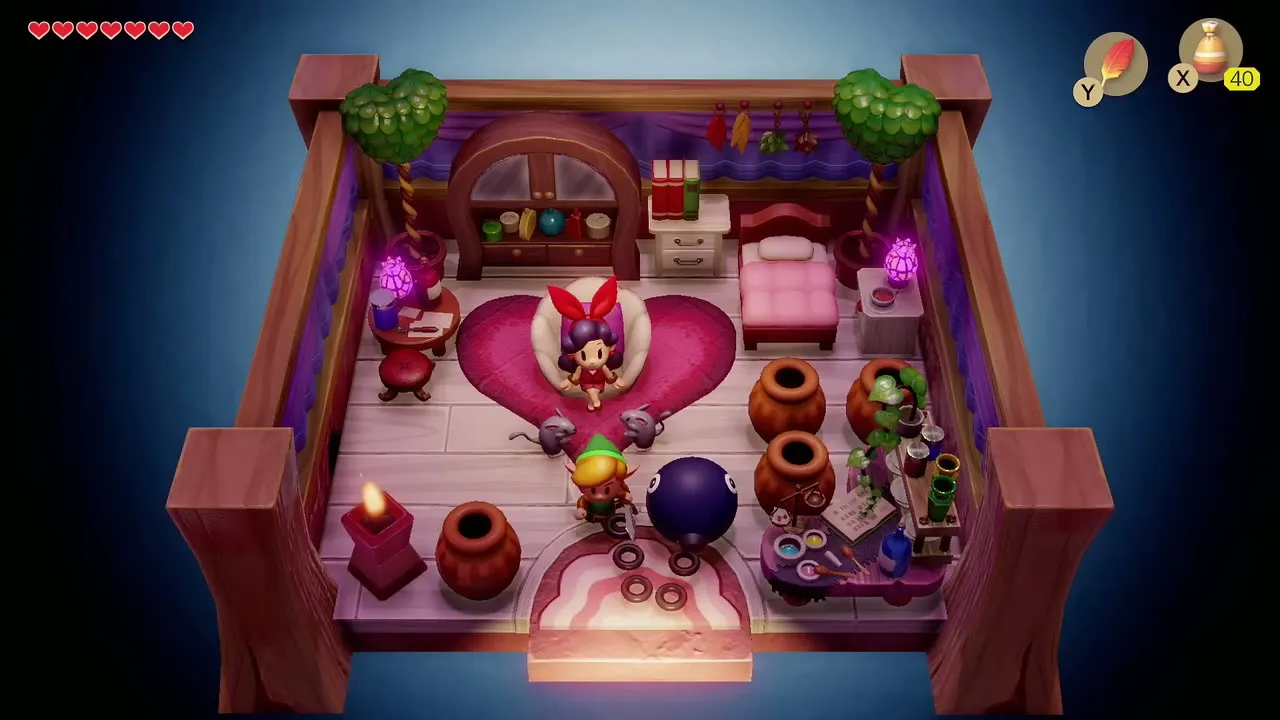
Visit Crazy Tracy’s Health Spa and buy the Secret Medicine. It cost 28 rupees on this route; the price swings between 28 and 42 rupees and you can only hold one dose. It sits in the inventory next to your other items and revives you on its own the moment your hearts reach zero, restoring them in full.
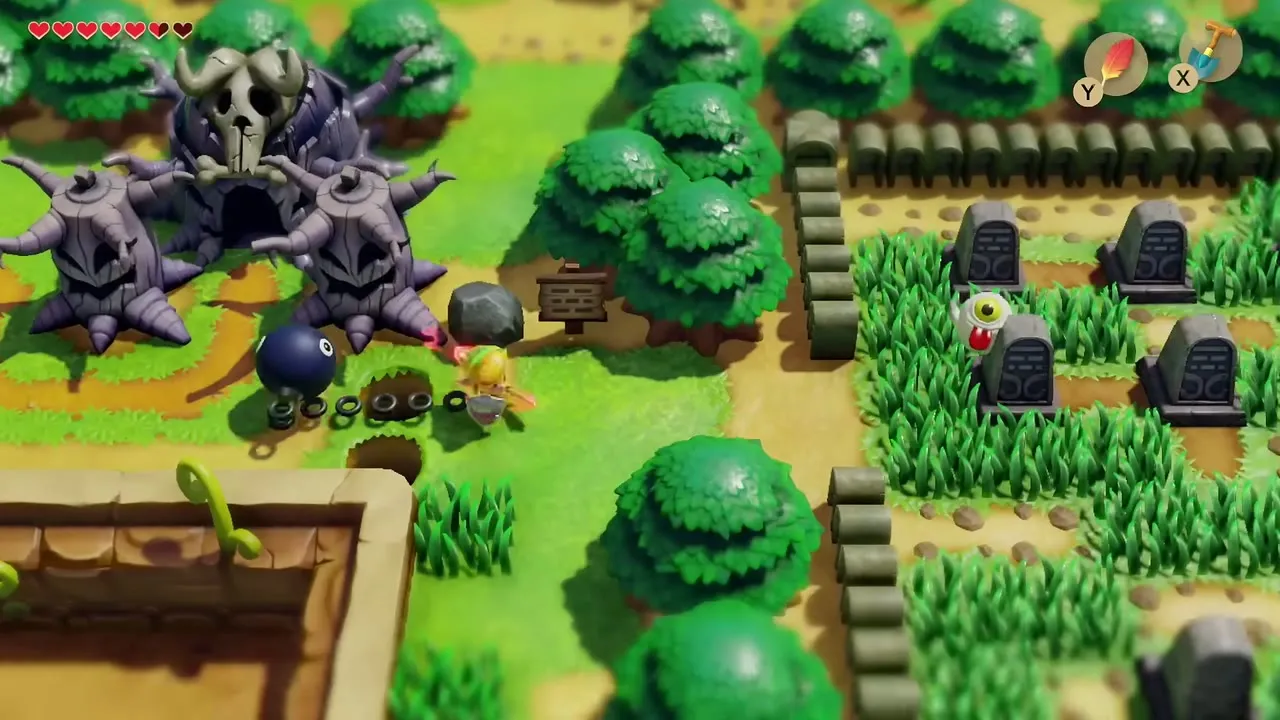
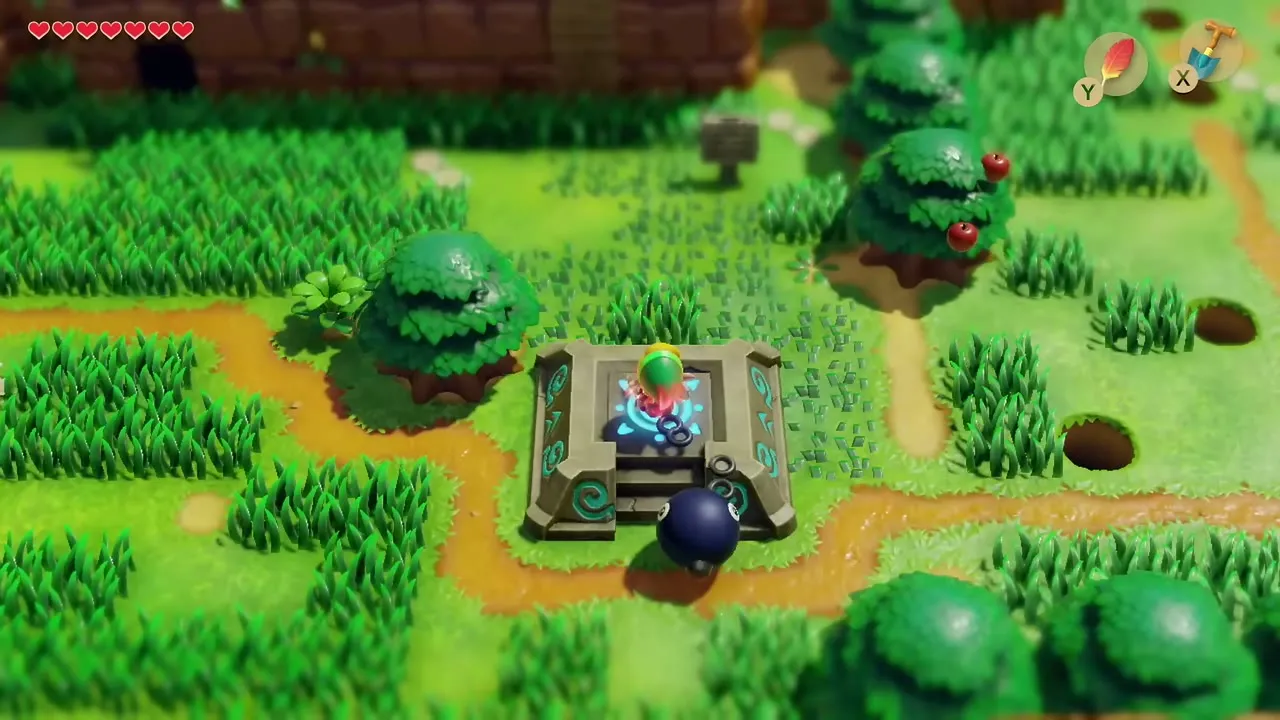
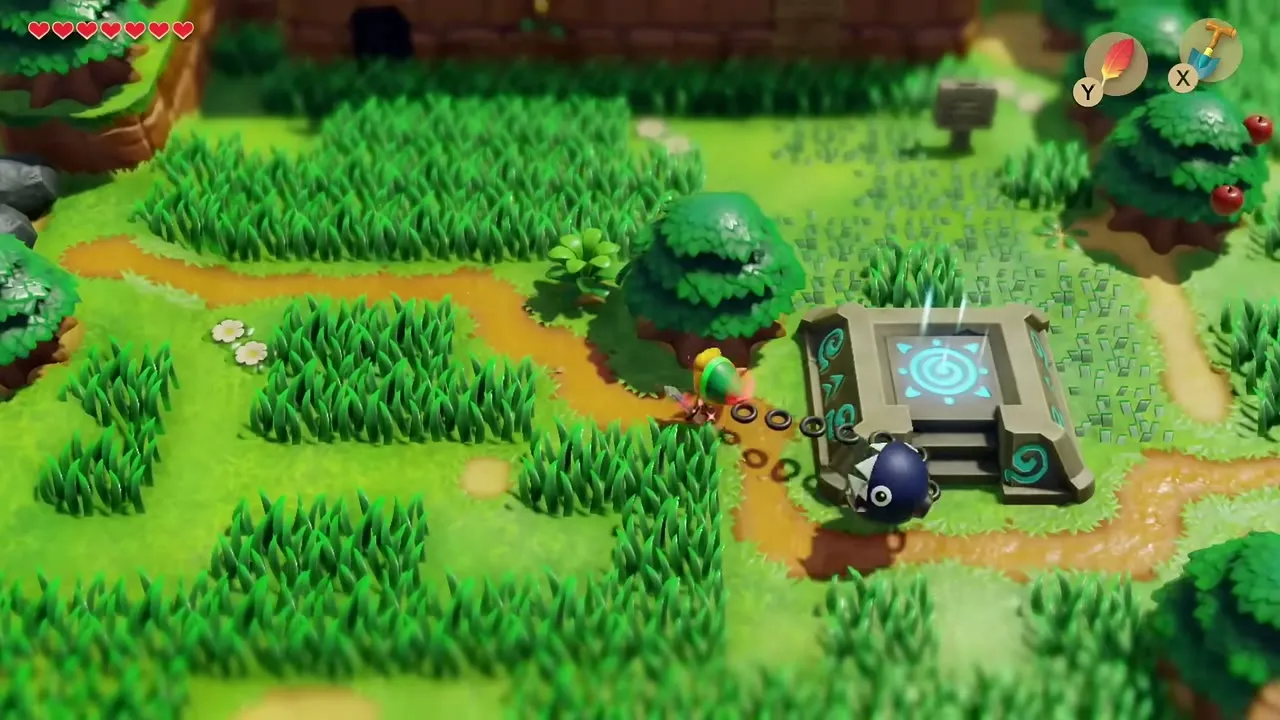
Graveyard warp pad
Walk up to the ledge above the cemetery, near the spiked skull tree, and step on the stone pad to activate another warp point. Pick Ukuku Prairie on the warp map whenever you want to jump back to this side of the island.
Ukuku Prairie cave Heart Piece
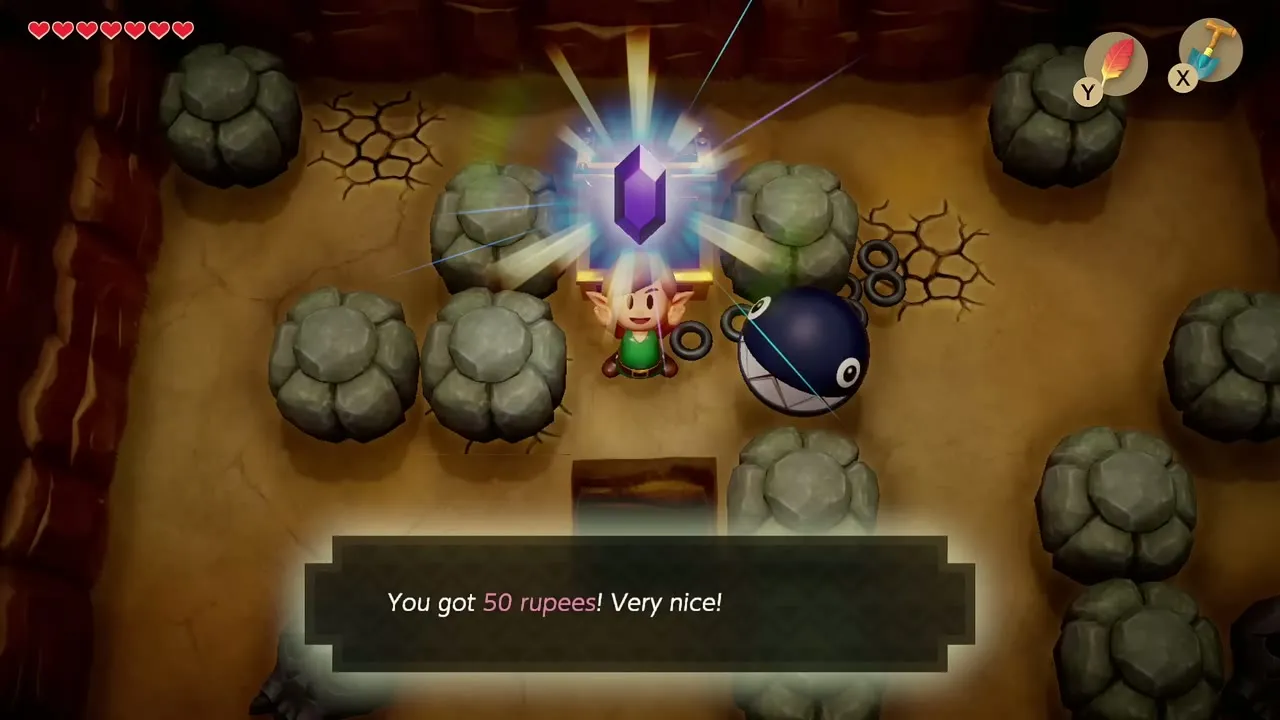
East of Mabe Village, enter the cave filled with rocks and skulls. Lift the skull rocks and push the blocks until you can reach the corner where a Piece of Heart waits, and open the chest in the same room for 50 rupees. The Heart Piece page lists every other piece you can collect before the late game.
Mabe Village: Town Tool Shop and Trendy Game
Restock bombs
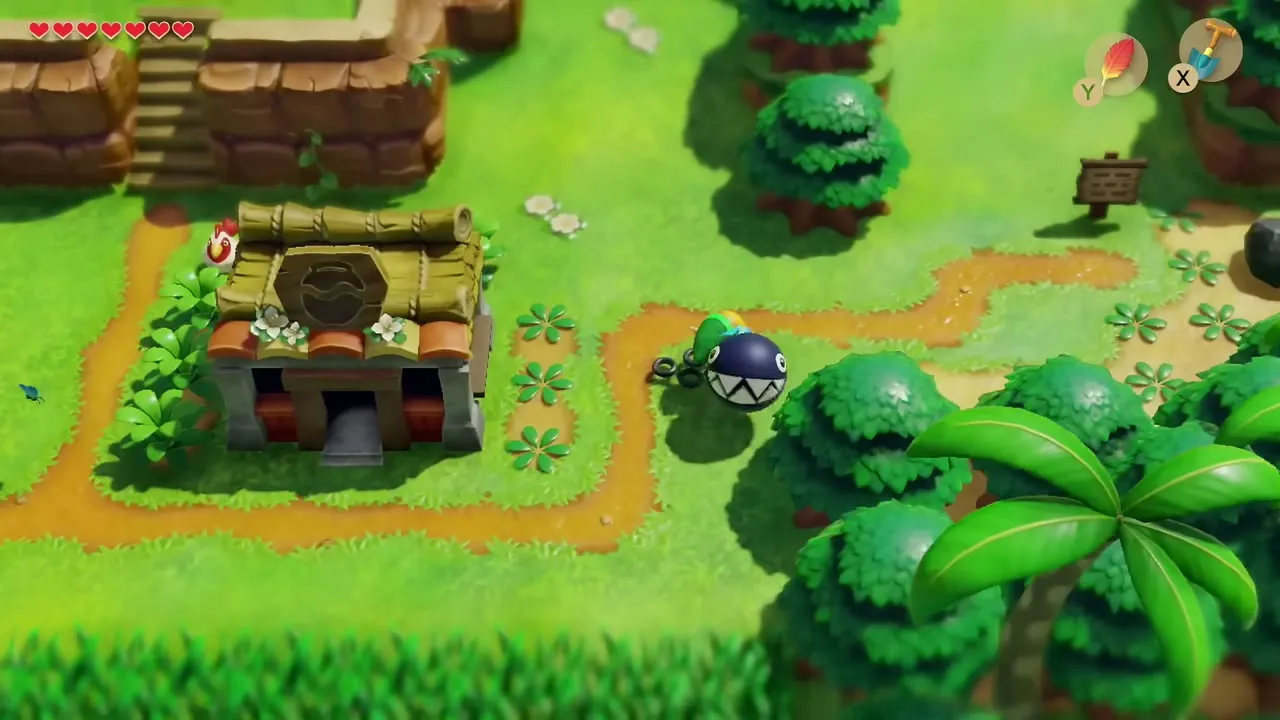
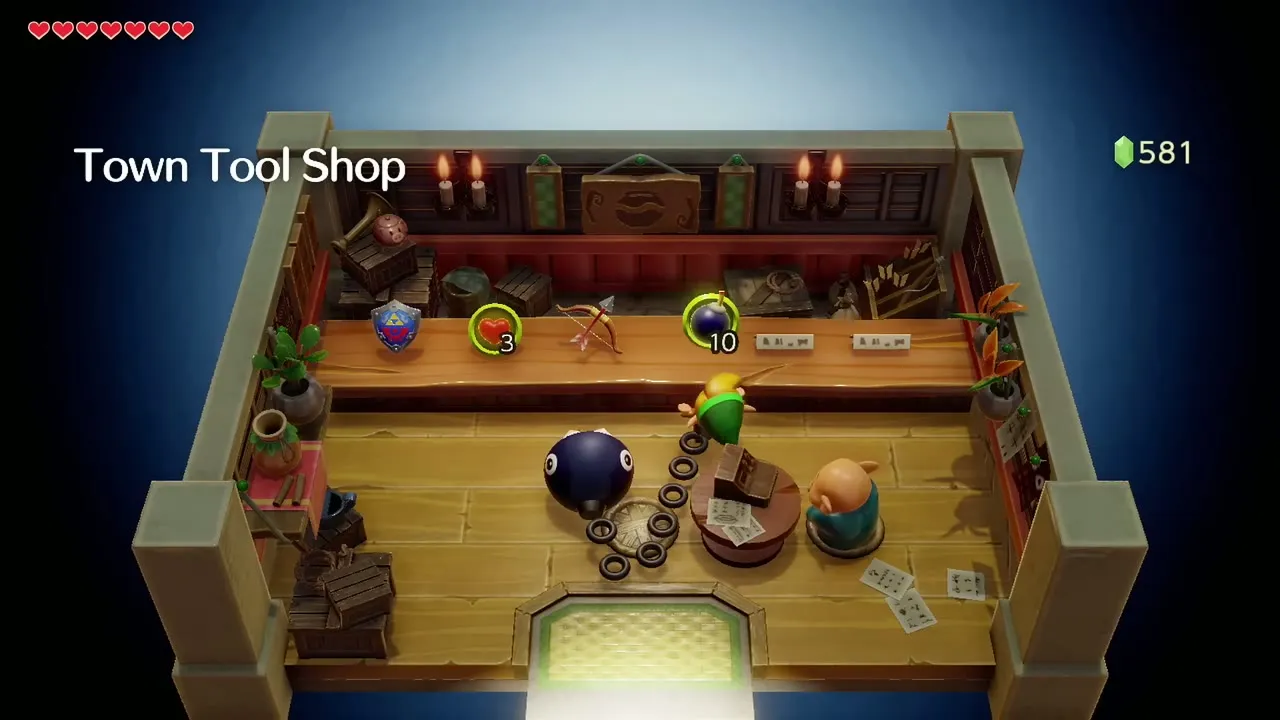
Stop at the Town Tool Shop and refill your bombs; Key Cavern burns through them, and its mini-boss eats several. The Bow and Arrow Set is on sale for 980 rupees, which is a good target for the rupees you pick up in this chapter.

Trendy Game
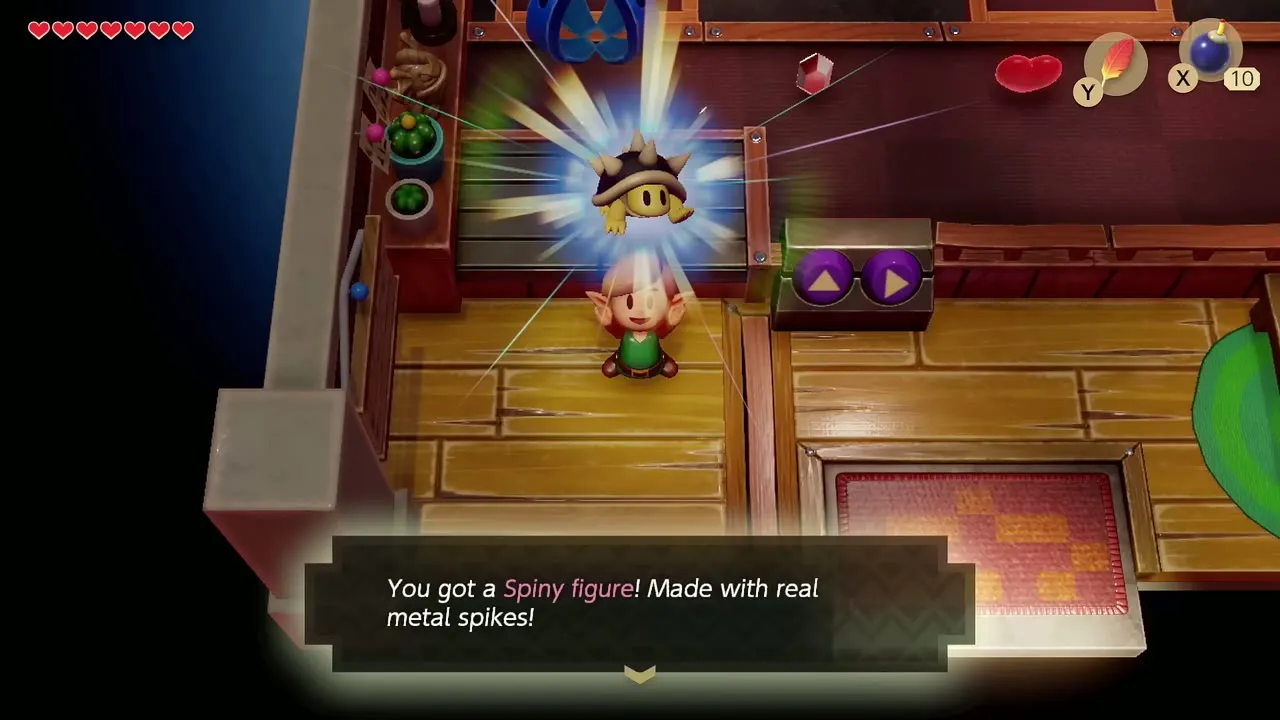
The crane in the Trendy Game costs 10 rupees a try and its prizes change as the story advances, so drop in again after each dungeon. Line the claw up on the heart or the shell, tap forward and right to move it, and expect several attempts per prize. The Spiny figure joins the prizes now that Bottle Grotto is cleared; win it and put it on the stand in Papahl’s house.


Tail Cave return trip
Bomb the cracked wall for a seashell
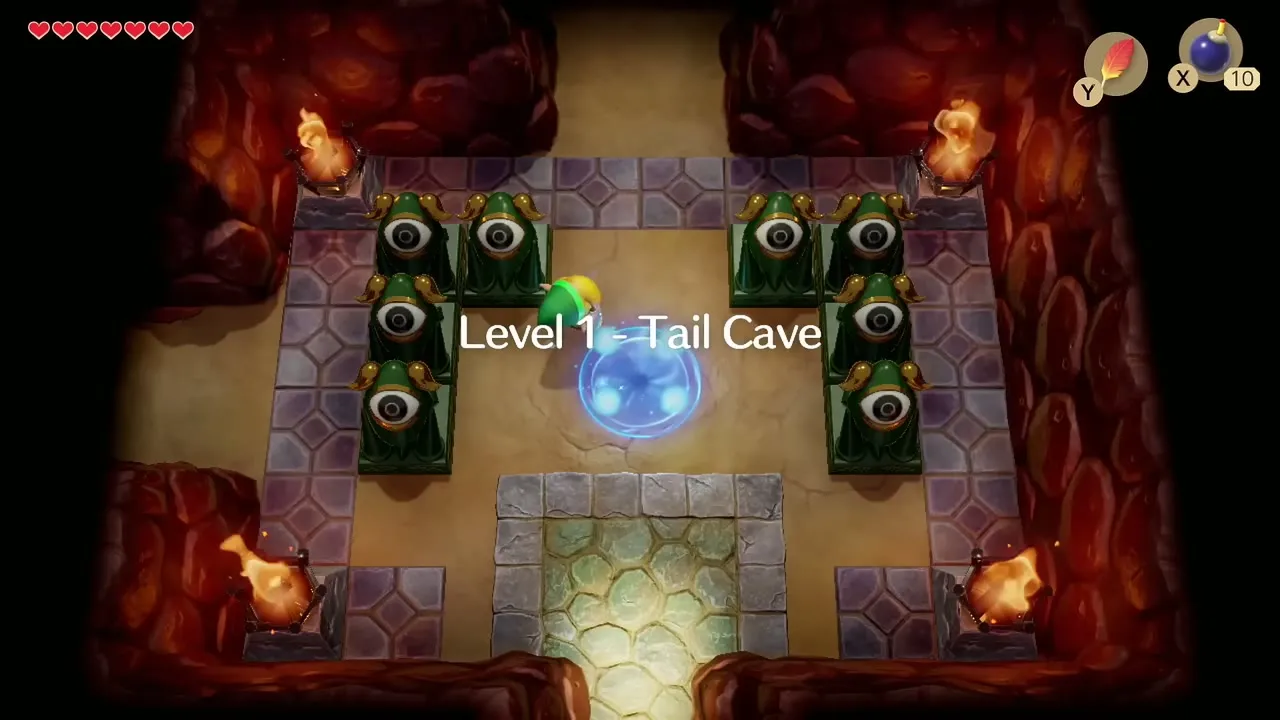
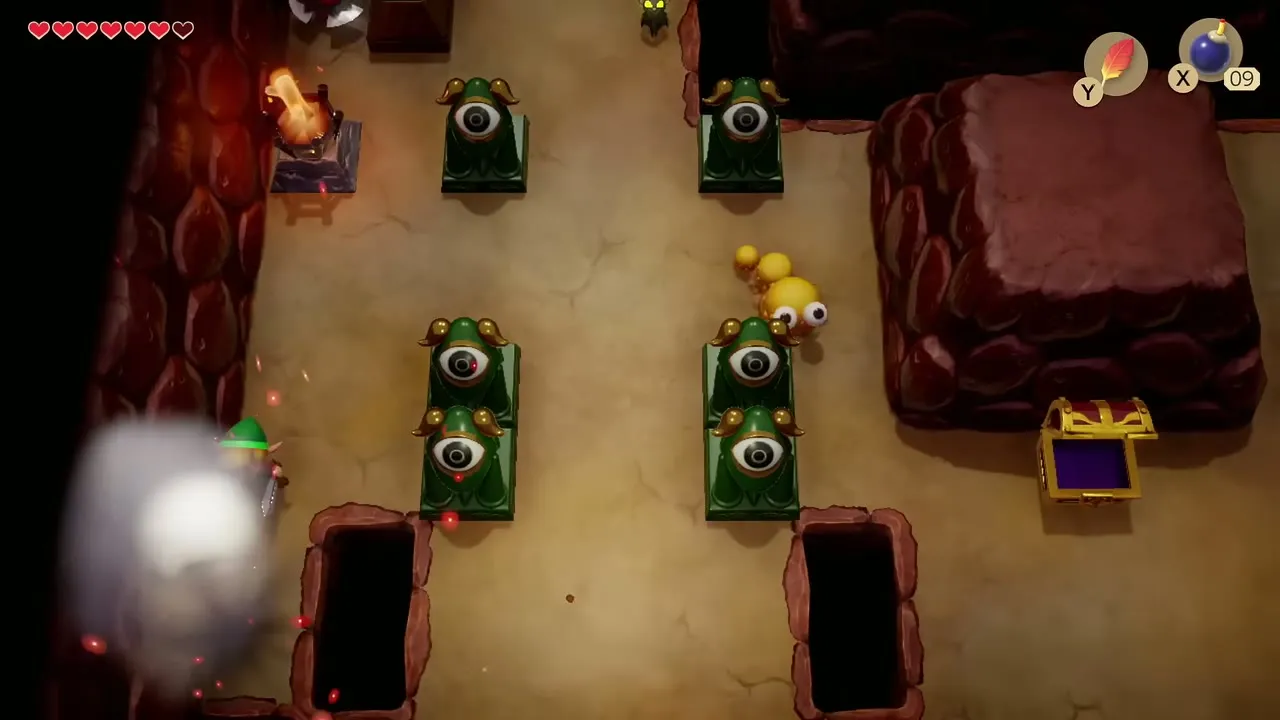
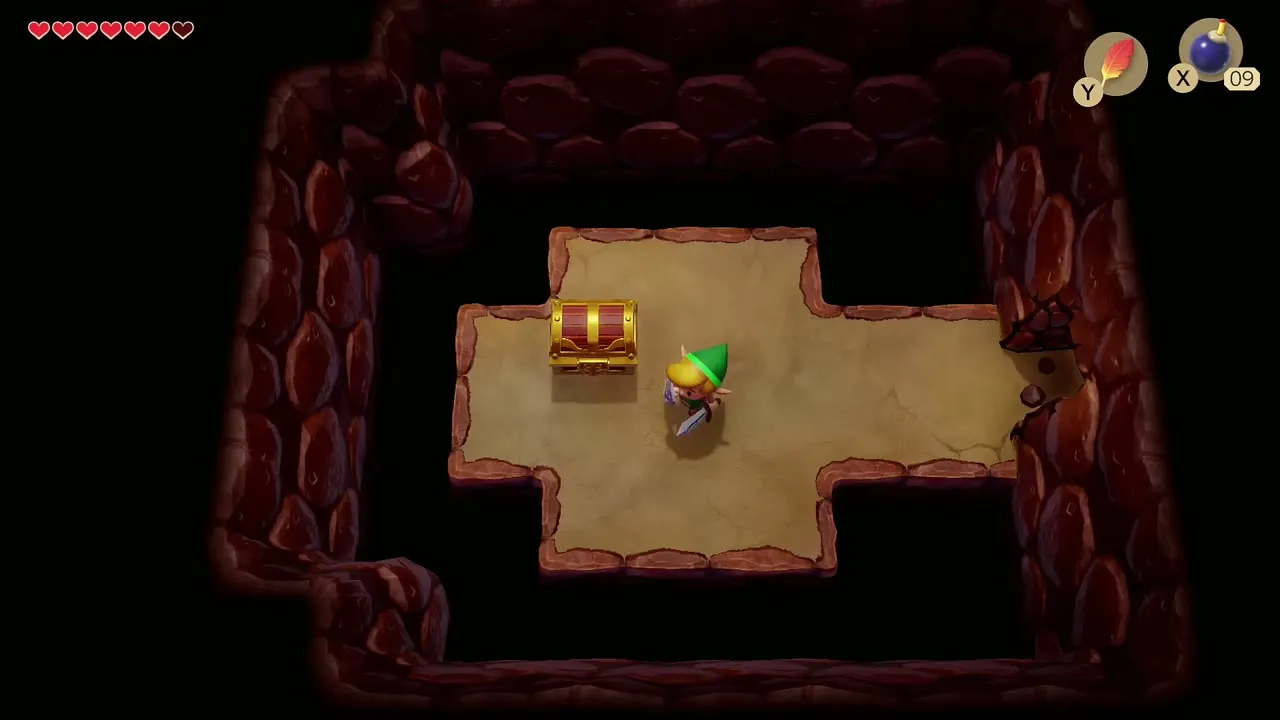
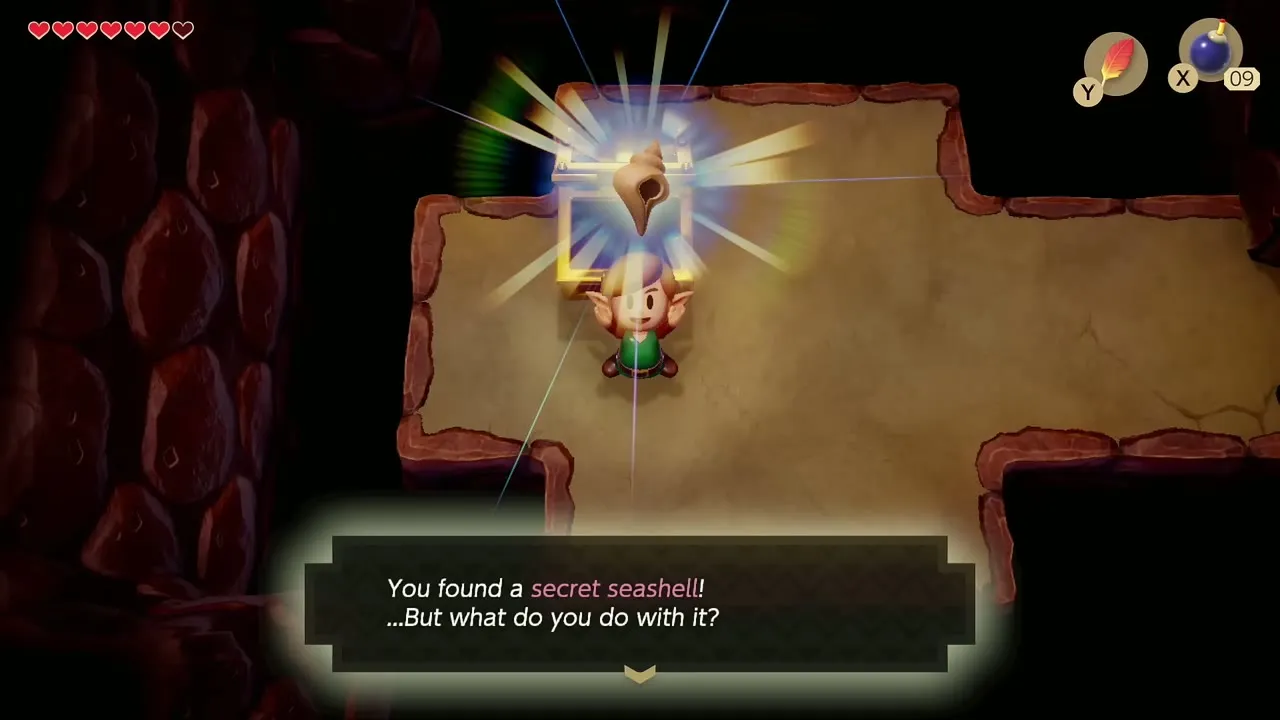
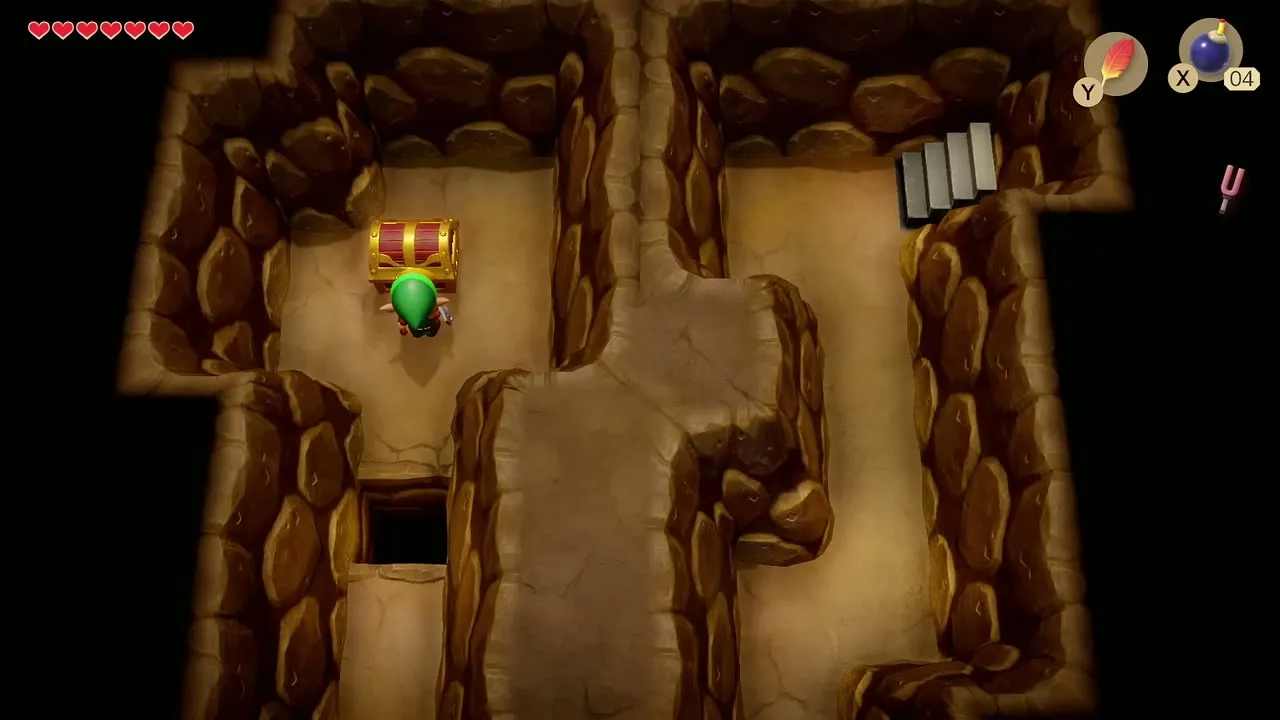
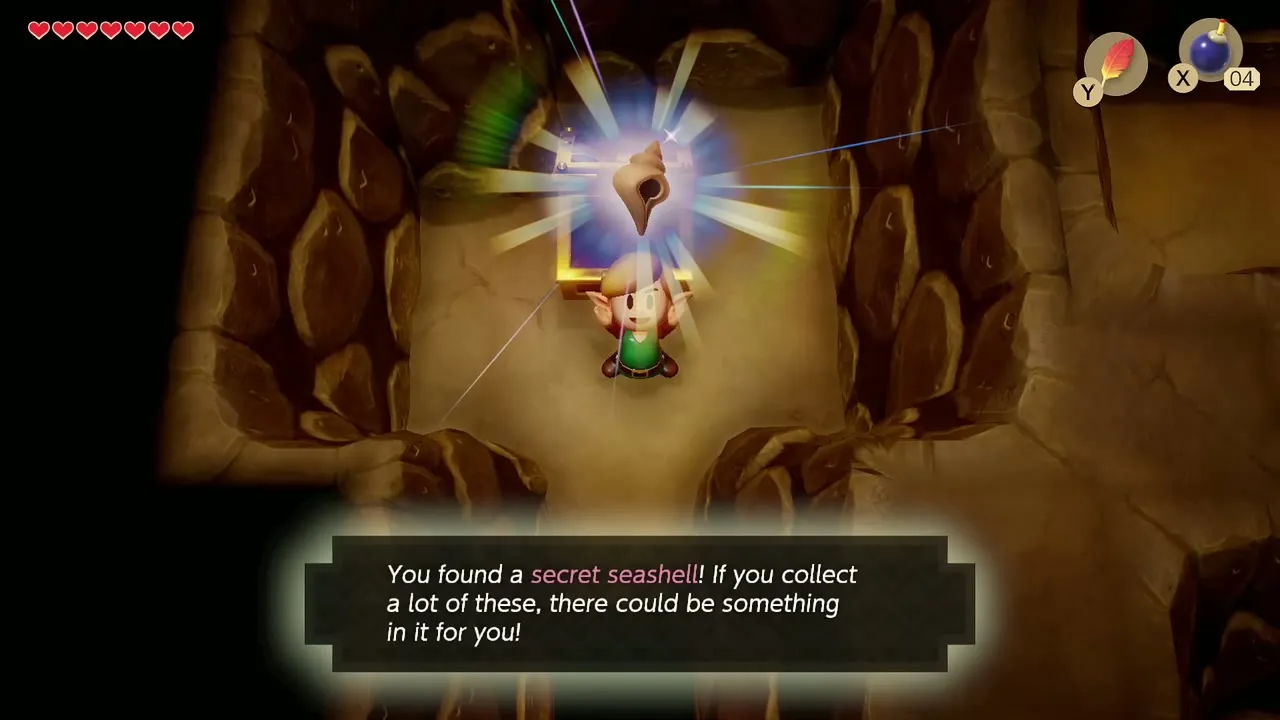
Re-enter Tail Cave (Level 1) now that you own bombs. In the long central room, bomb the cracked wall on the left side to open a hidden chamber, then open the chest inside for a Secret Seashell. This is the shell the first chapter told you to come back for.
Toronbo Shores
Beach chest and the abandoned house
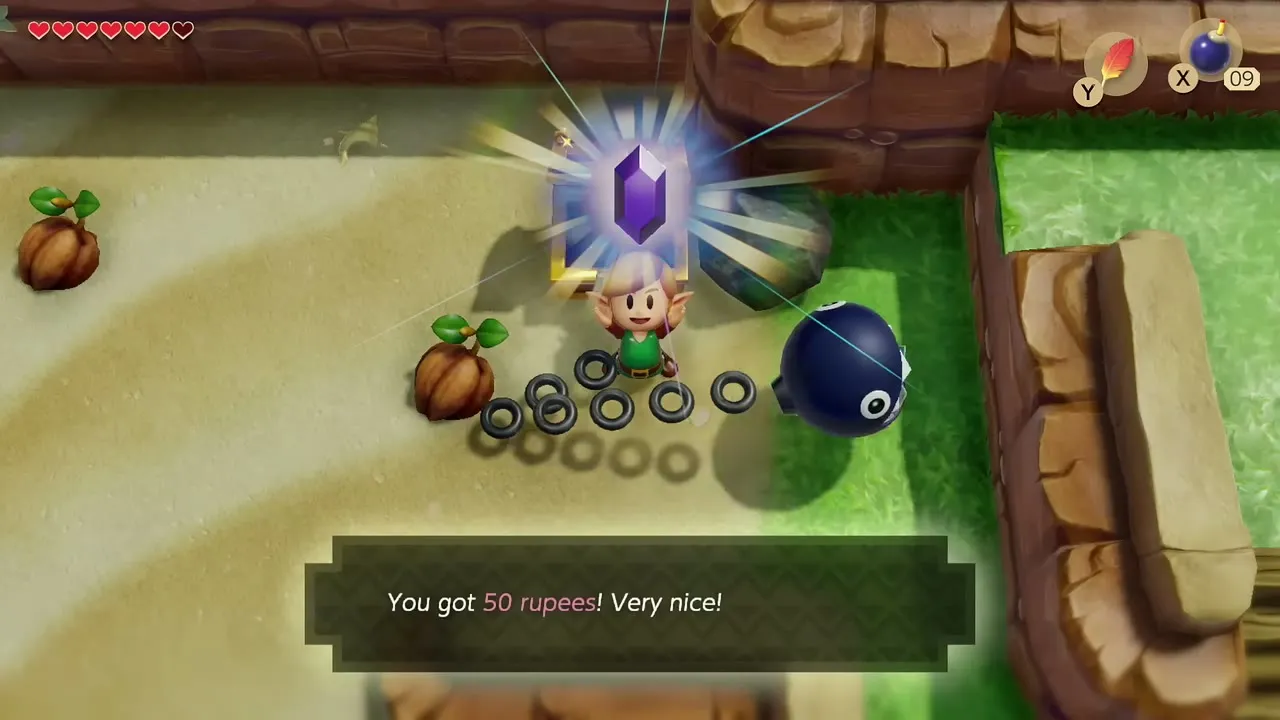
On the beach, open the chest next to the rocks at the top of the sand for 50 rupees. East of the beach where you found your sword, lift the boulders to reach the abandoned house. Its jars hide a Secret Seashell, but that is the Ghost’s House shell you take in the Martha’s Bay chapter while escorting the Ghost, so leave it for now.
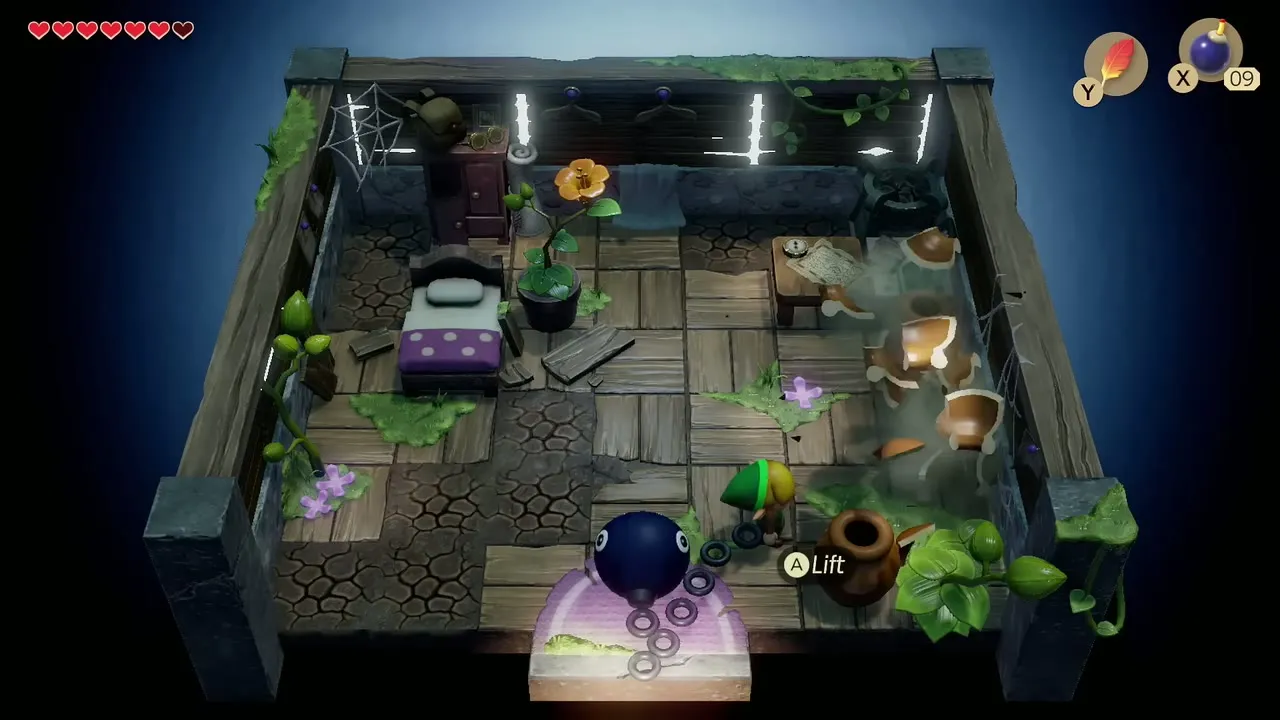
Ukuku Prairie: fairy fountain and Secret Seashells
Great Fairy Fountain
North of the Beehive Tree, bomb the cracked wall to open the Great Fairy Fountain. The fairy heals you, and small fairies float around the pool, which is useful for refilling an empty bottle. Read the Great Fairy Fountain page for the other fountains.
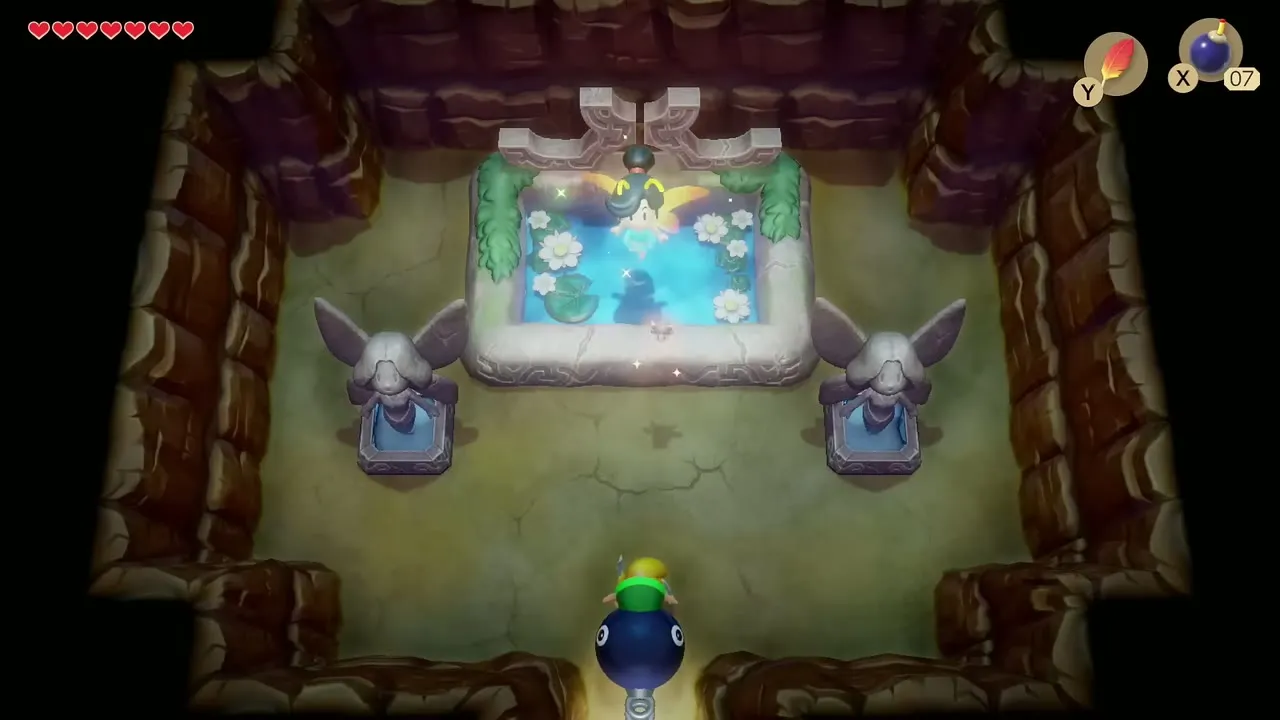
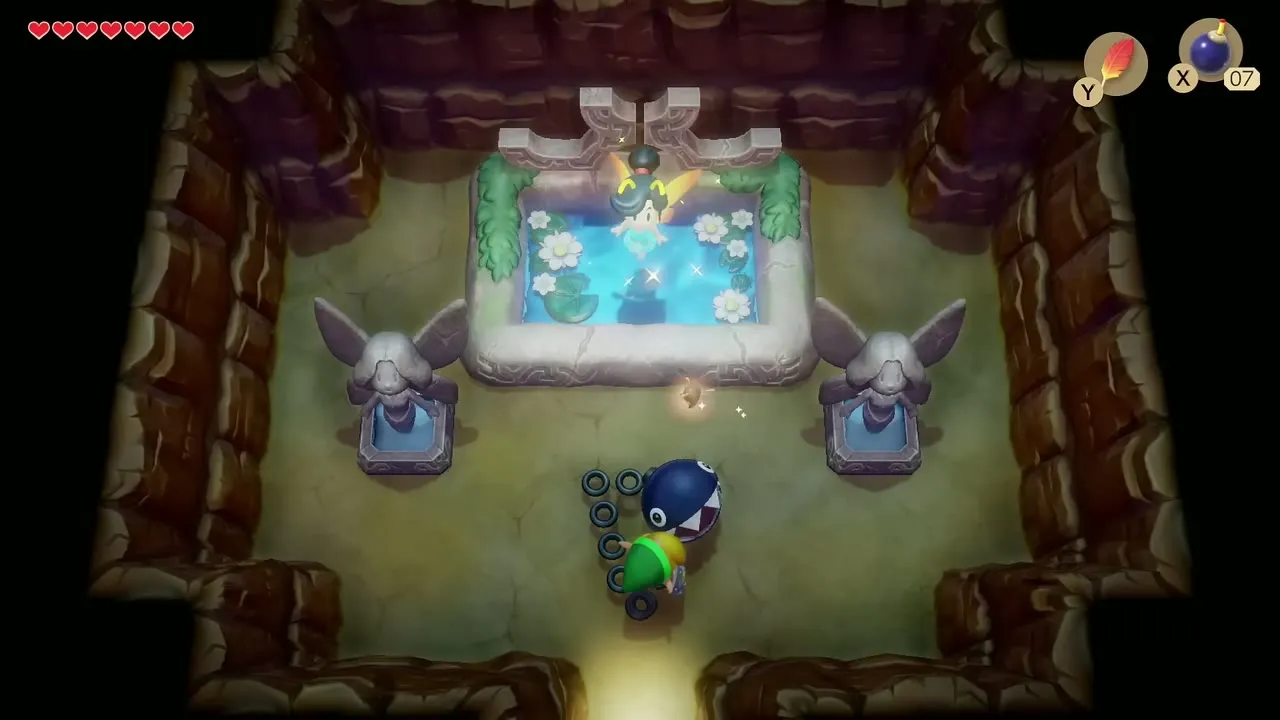
Seashell under the skull rock
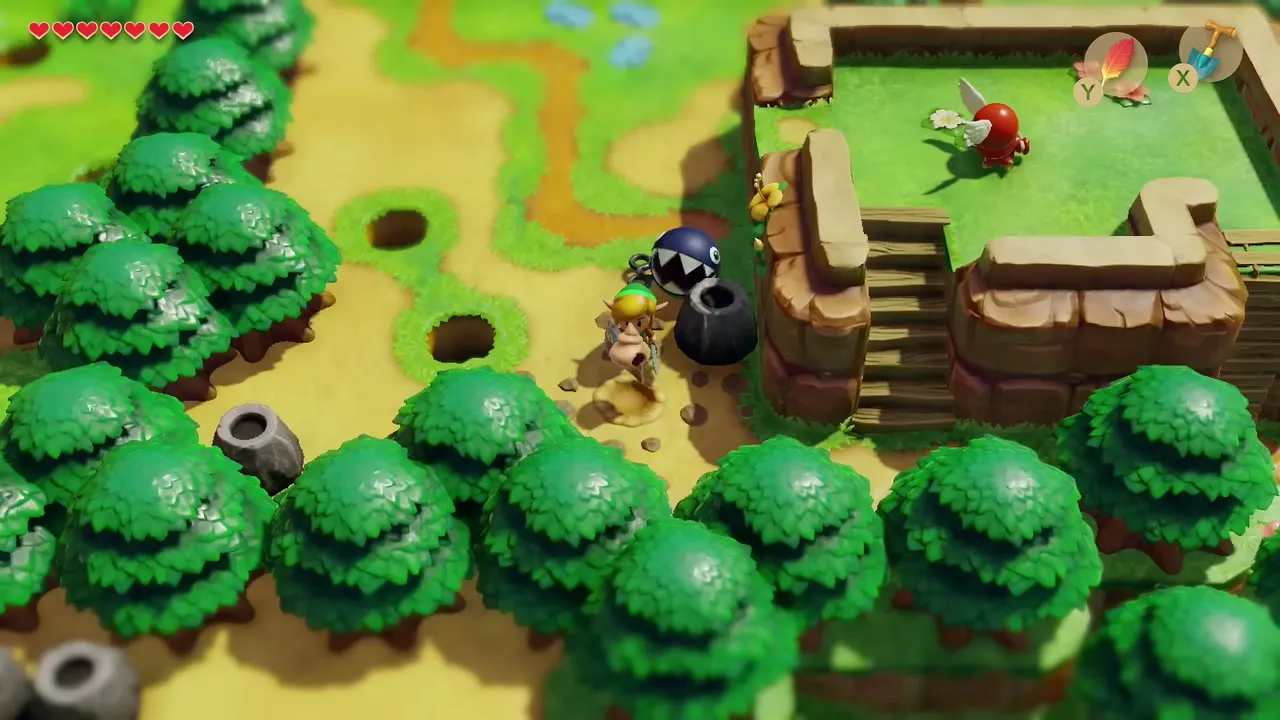
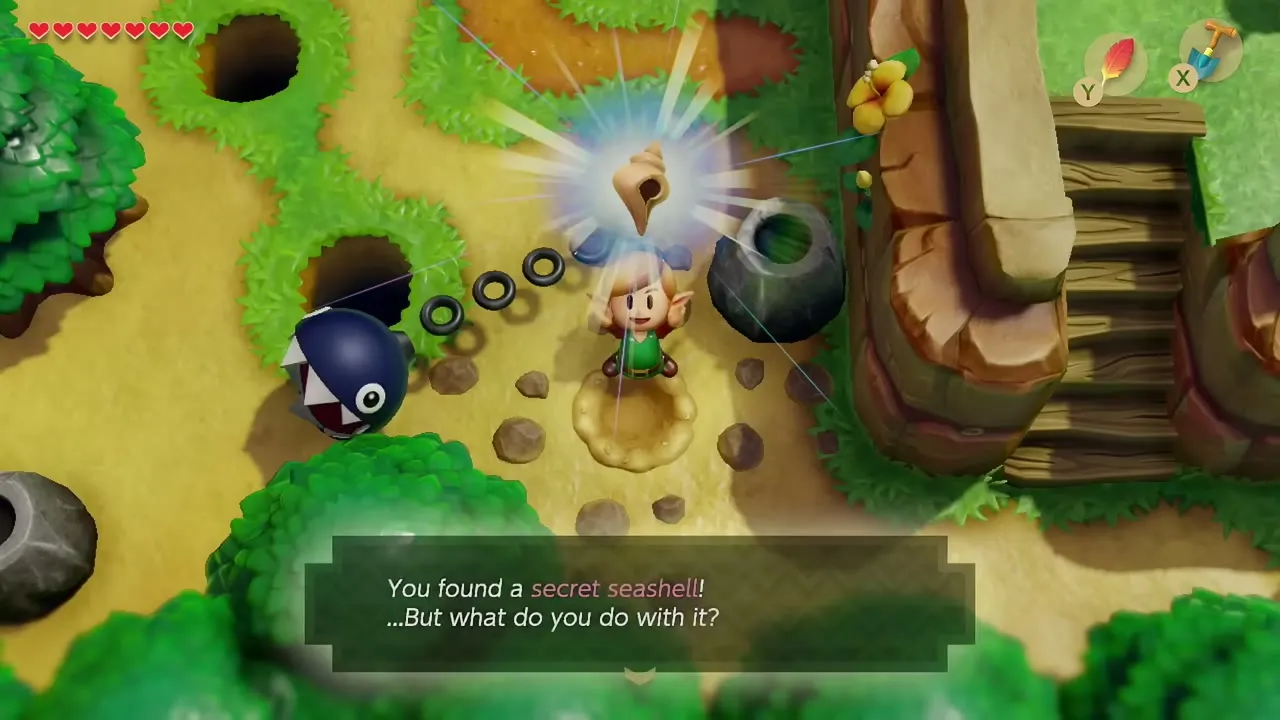
South of the tree with the bee’s nest, a large skull rock blocks the hill that leads to Kanalet Castle. Bomb it, equip the Shovel and dig diagonally down and to the left of the cone-shaped stone for a Secret Seashell.
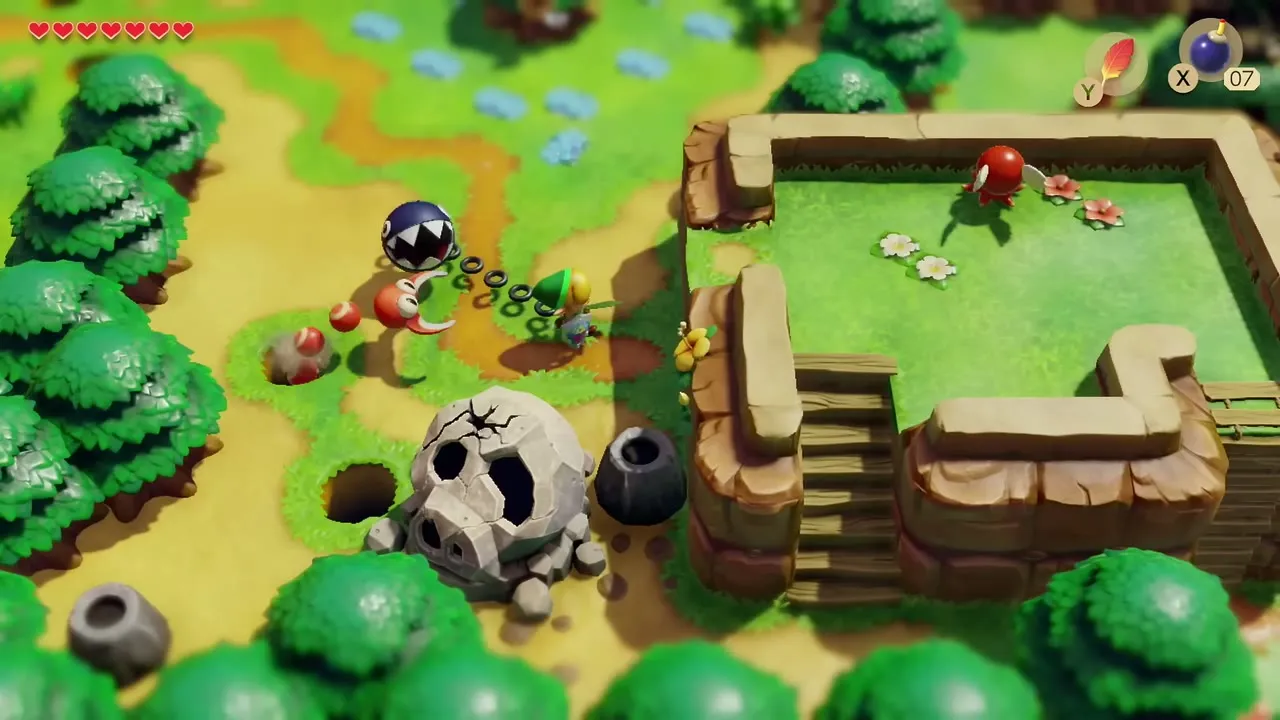
Seashell on the Seashell Mansion hill
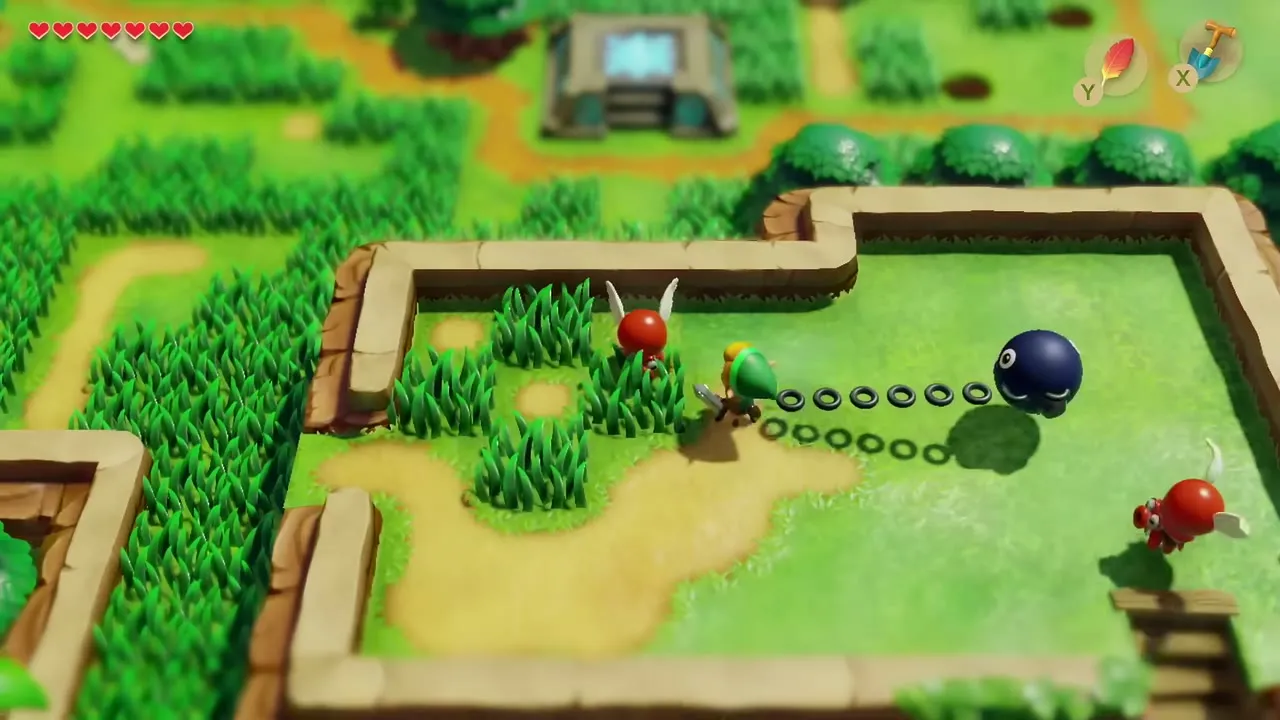
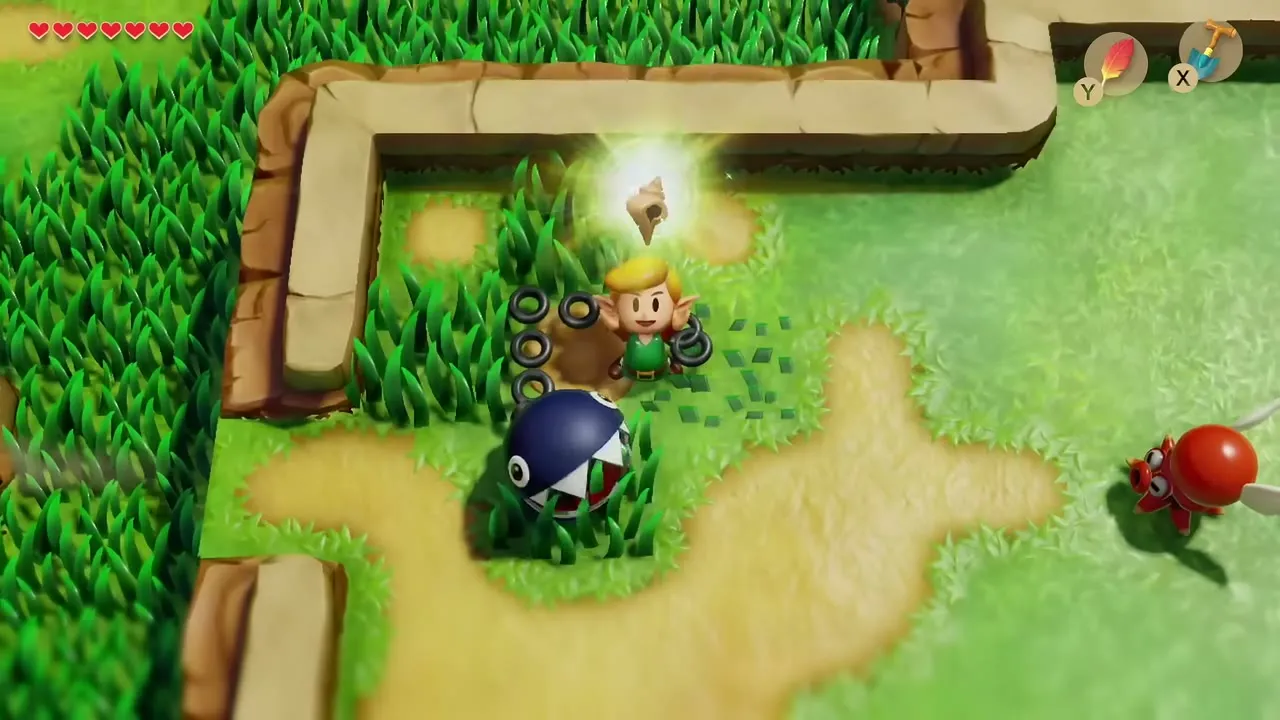
Continue to the grassy hill near the Seashell Mansion and throw the bushes in the northeast corner with the Power Bracelet to uncover another Secret Seashell. Back on the prairie, dig in the middle of the square of four grass patches north of the Key Cavern entrance for one more.
Seashell Mansion rewards
Trade in 15 seashells
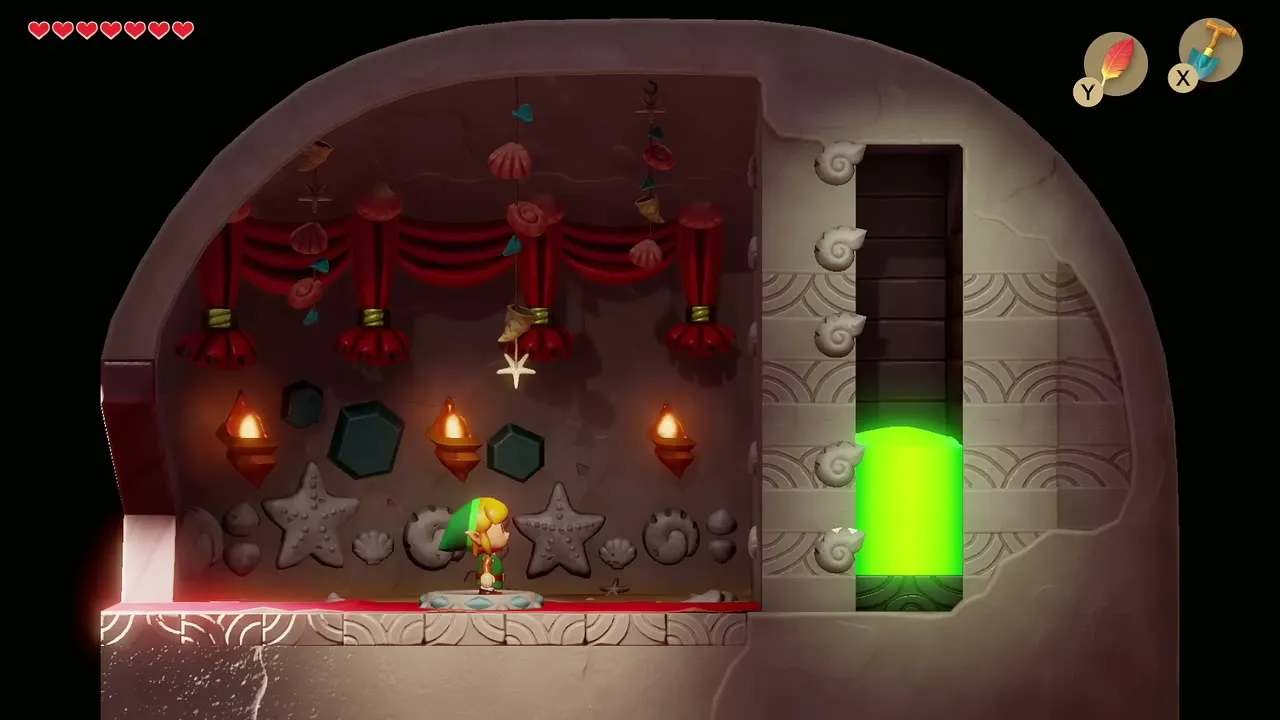
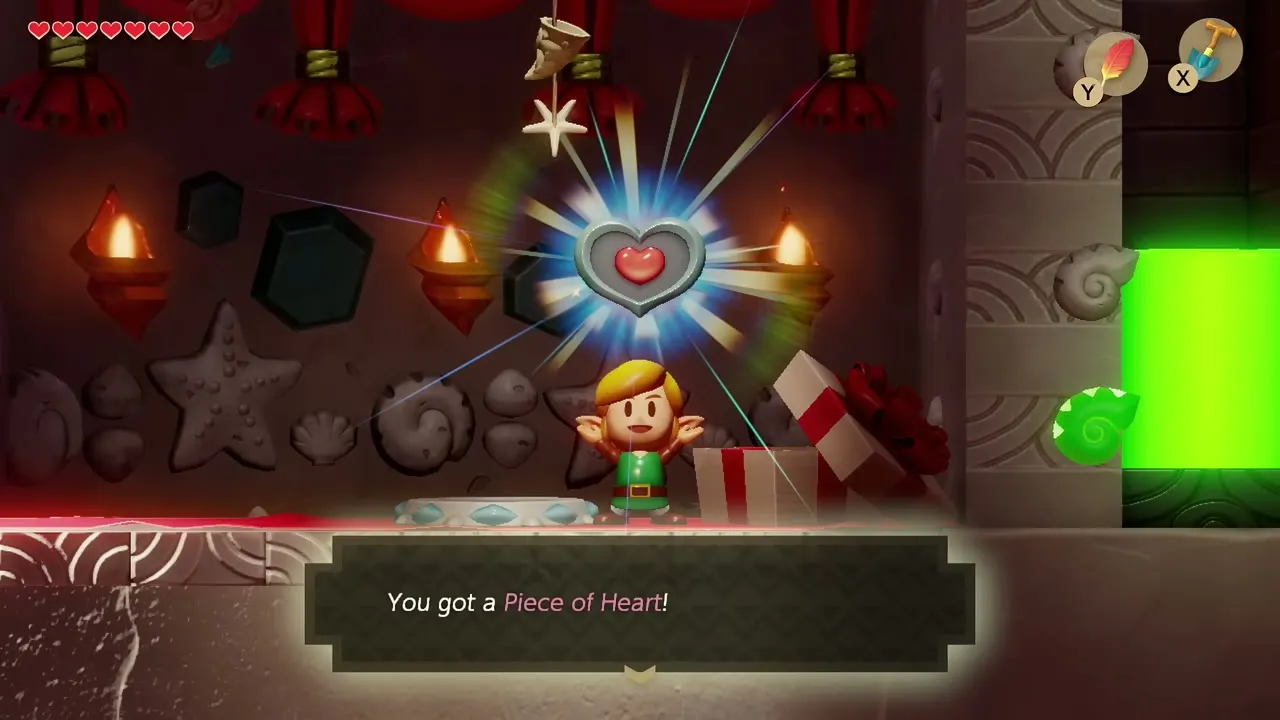
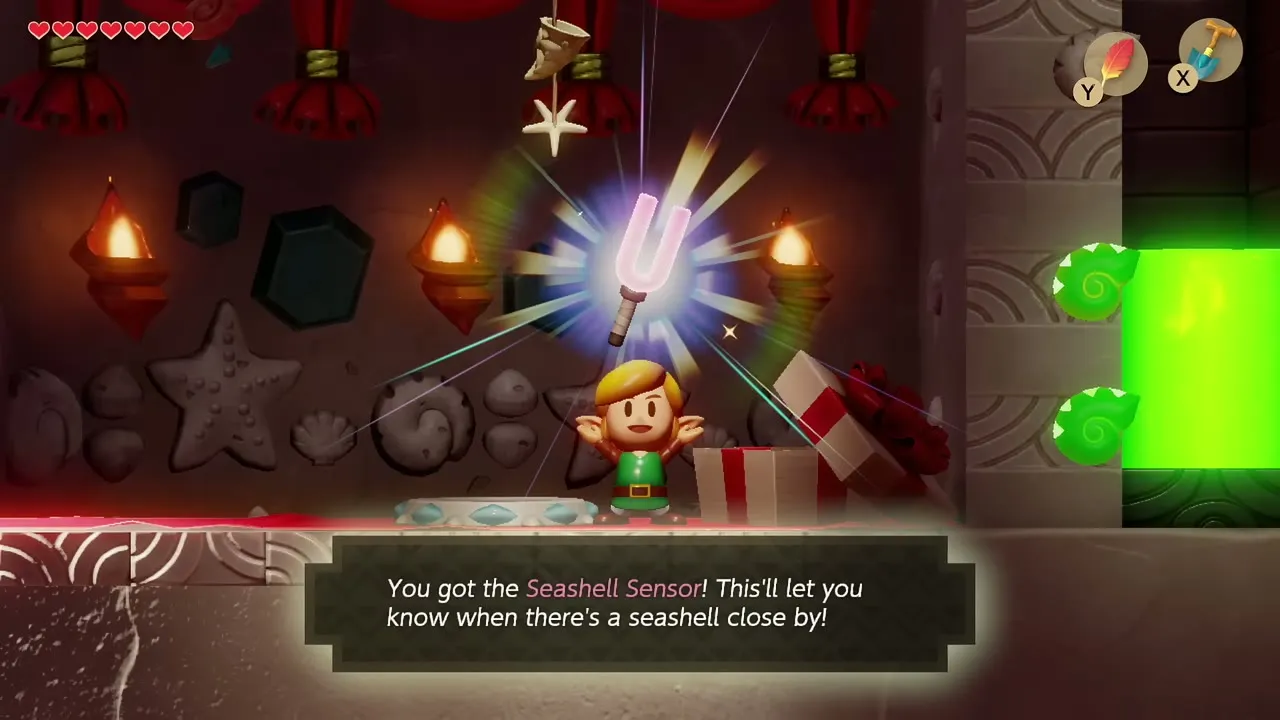
Enter the Seashell Mansion once the Memories screen shows 15 seashells; you hold 14 at this point, so take the dark stone field shell from the next section first and walk back in. Five seashells earn a Piece of Heart and 15 earn the Seashell Sensor; this route claims both at once. The sensor lives in your inventory, reacts to nearby Secret Seashells and can be turned on or off. The Secret Seashell page has every shell and the later mansion rewards at 30, 40 and 50.
Black pot field and the owl cave
Shell among the dark pots
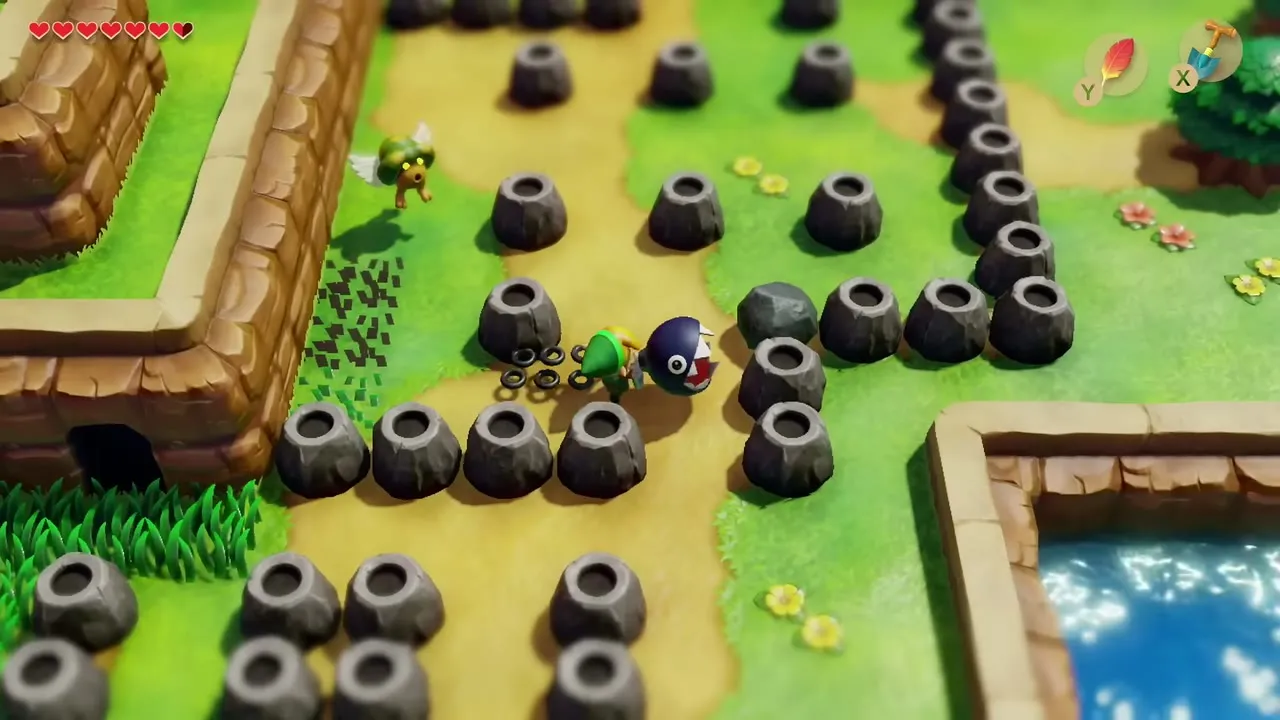
South of Kanalet Castle you will find a field of immovable dark cone-shaped stones. Lift the single loose boulder among them with the Power Bracelet to grab a Secret Seashell.
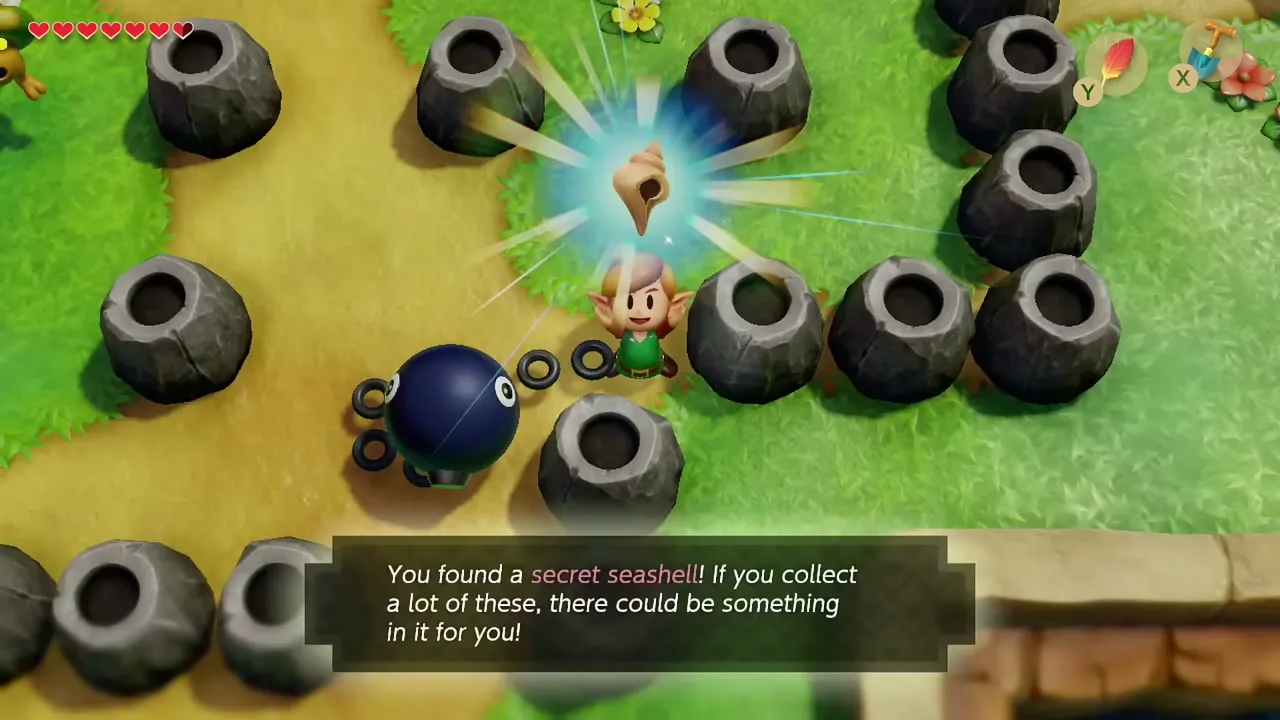
Shell behind the owl statue
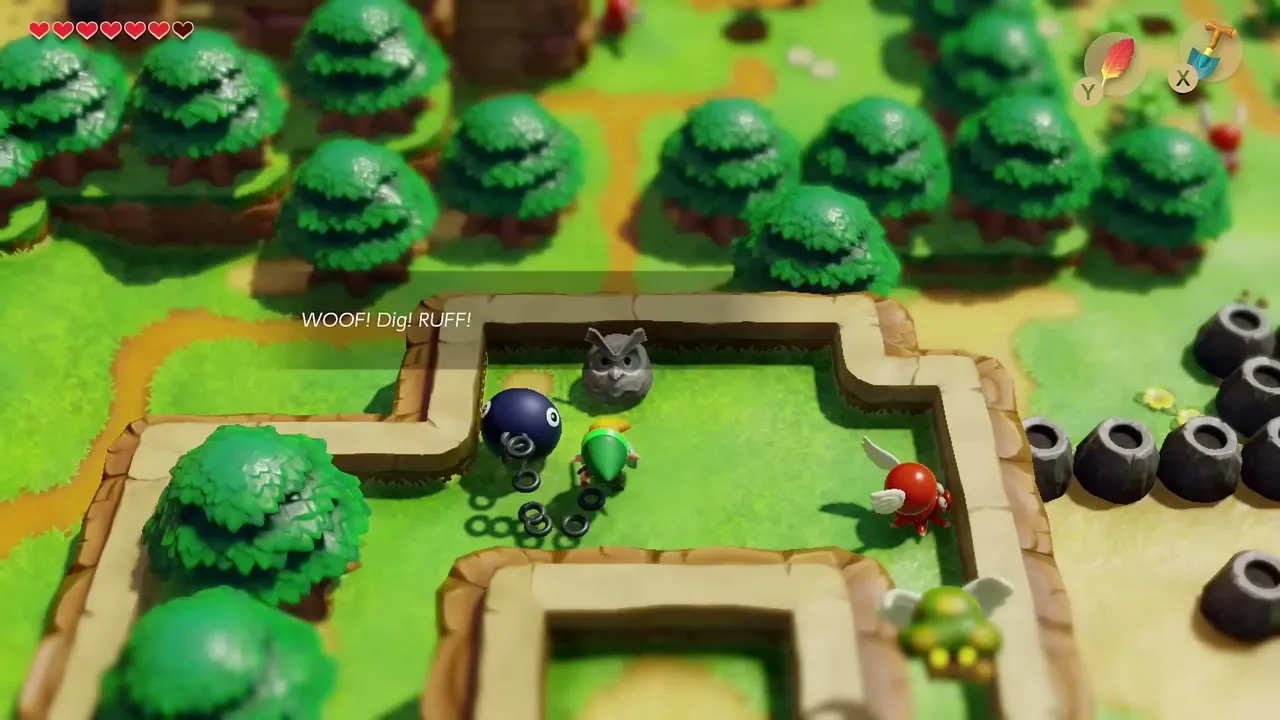
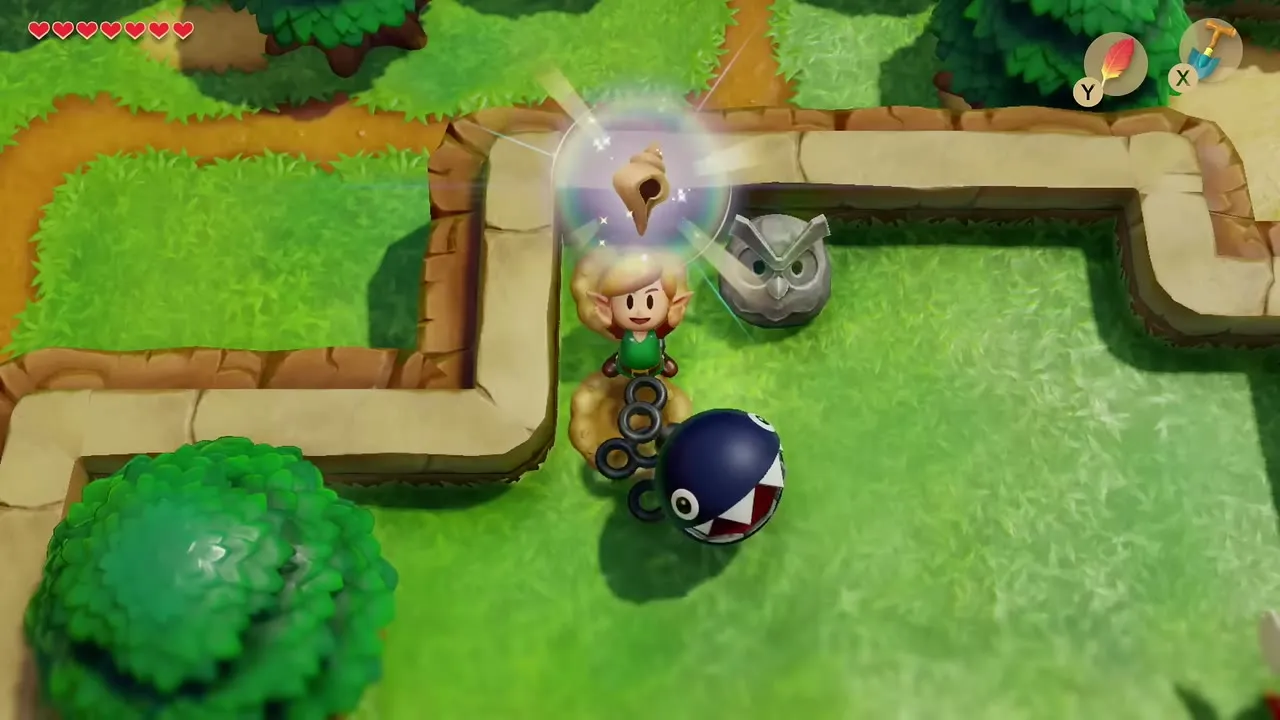
Enter the cave just west of that stone field. Bomb the cracked left wall, cross the gap, climb the stairs and push the stones aside to leave the cave. Talk to the Owl Statue outside, then dig to its left for another Secret Seashell.
Bow-Wow and Madam MeowMeow
Return to Mabe Village
Take the Tal Tal Heights or Ukuku Prairie warp back to Mabe Village and visit Madam MeowMeow’s house with Bow-Wow in tow. She thanks you for rescuing him. Your count of seashells should now read 16 and your Piece of Heart count 11. Keep the Bananas you carry; you need them in the next section.


Kanalet Castle: bridge and Golden Leaves
Give Bananas to Kiki
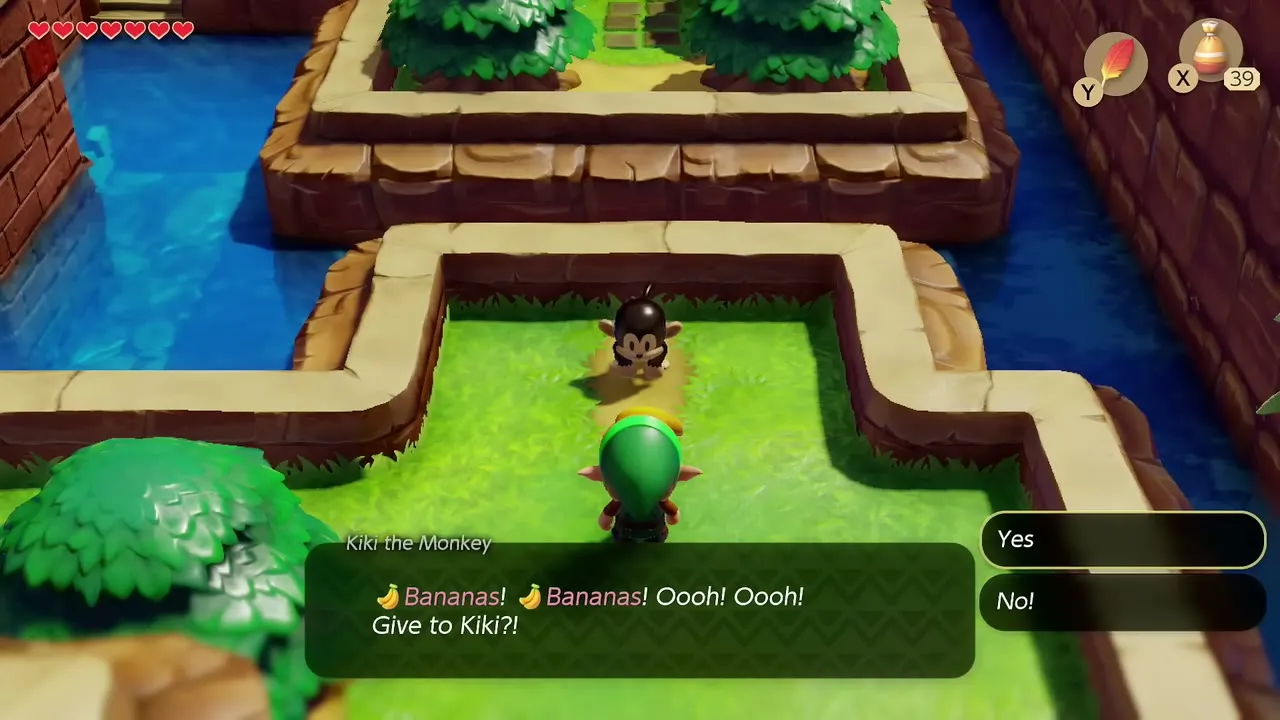
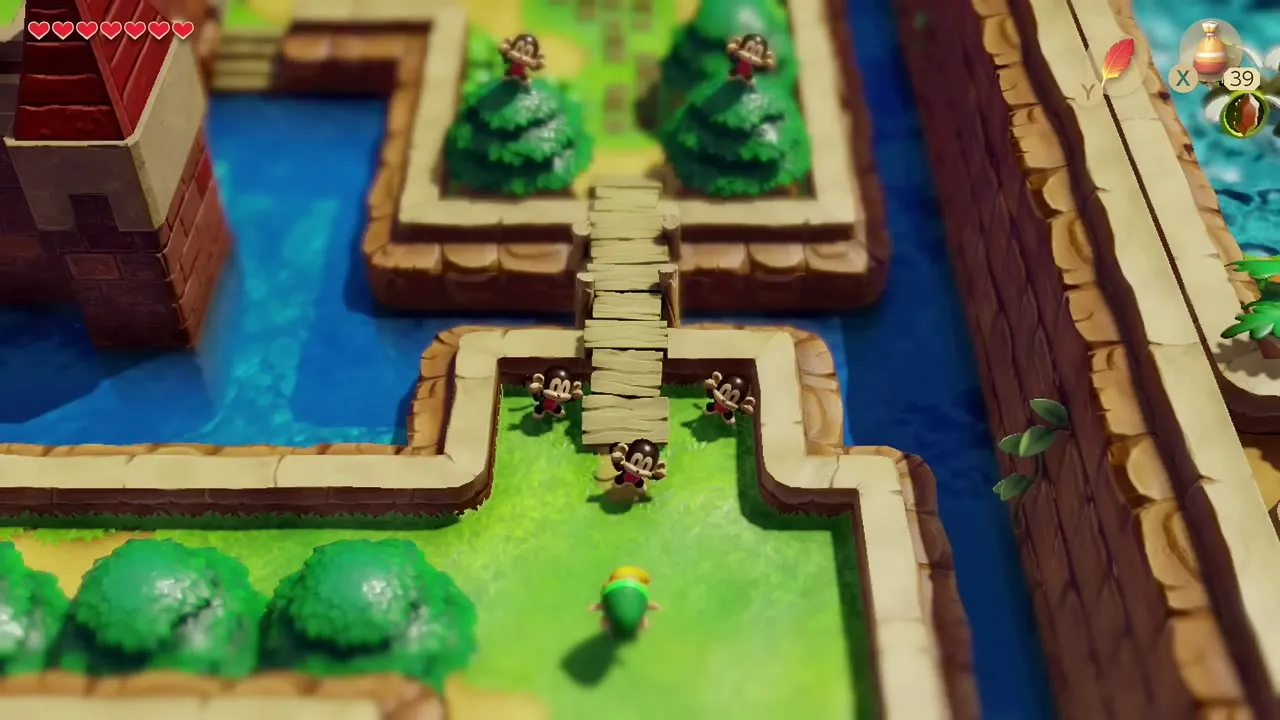
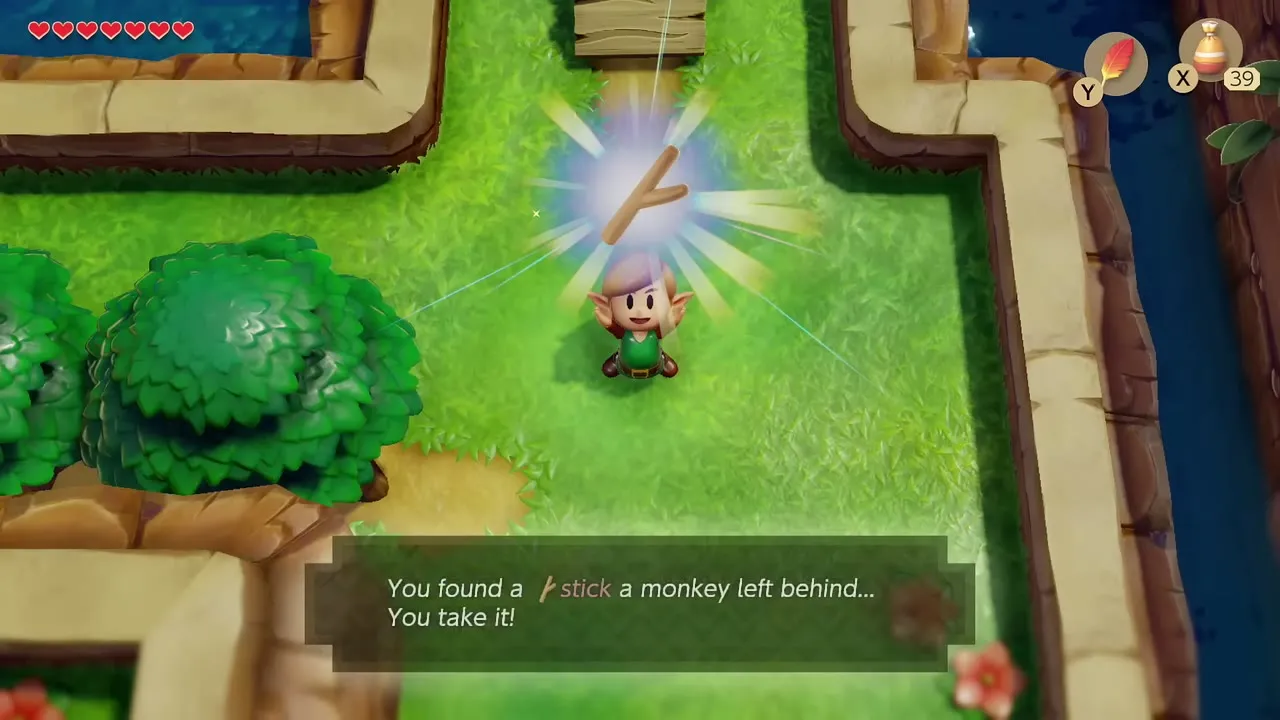
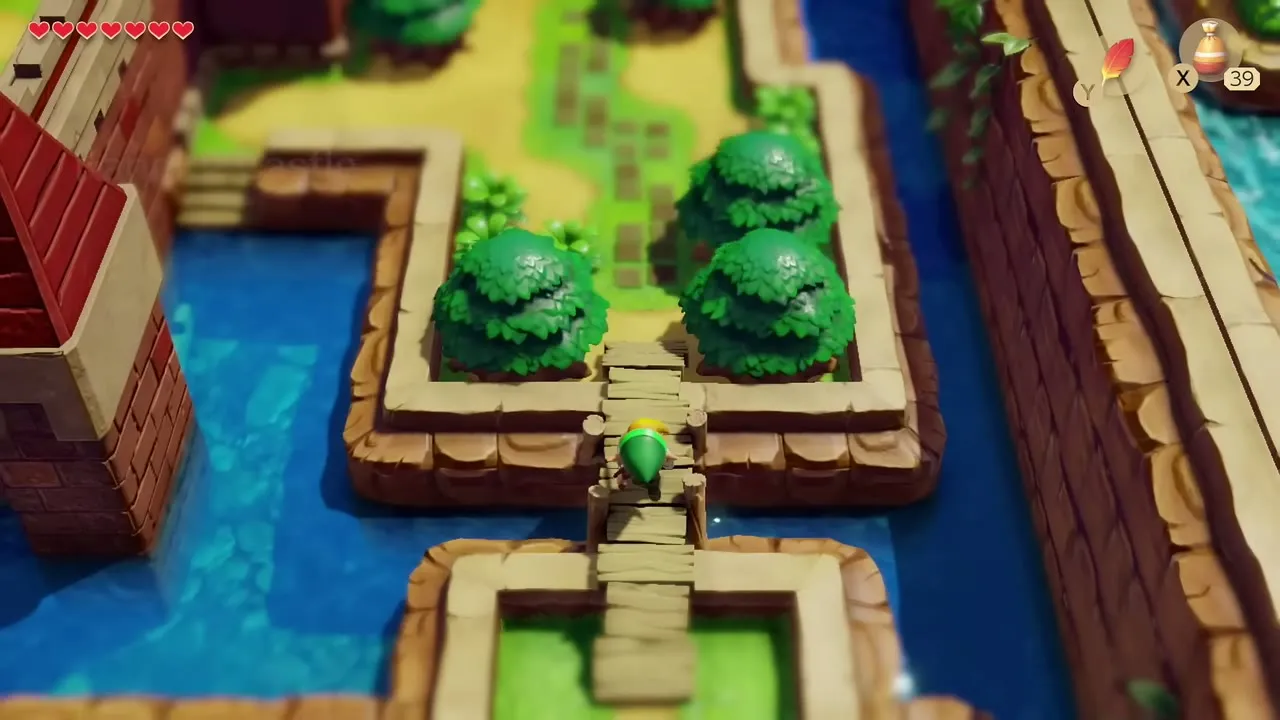
Go to the moat east of Kanalet Castle’s front gate and hand the Bananas to Kiki the Monkey. His monkey friends build a bridge across the moat, and Kiki leaves a Stick behind. Pick it up; it is the next item of the trading sequence.
Find the tunnel behind the castle
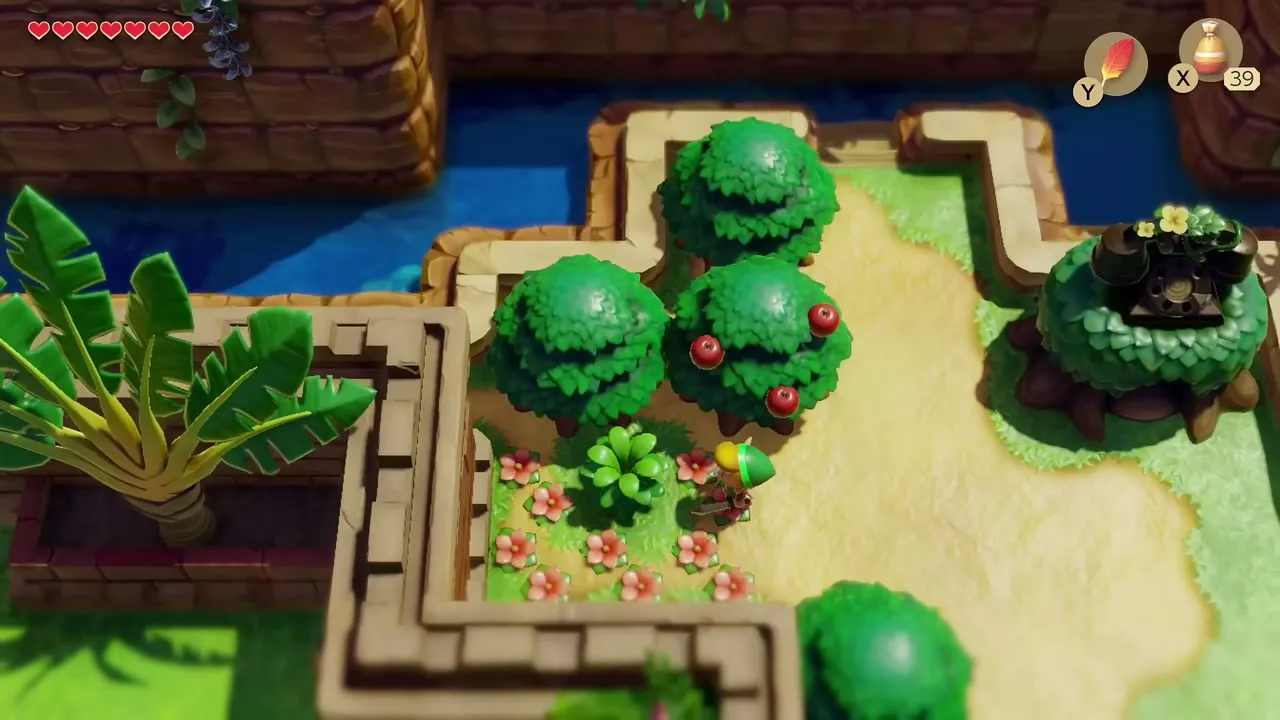
Cross the bridge, go north and turn left at the phone booth. Cut the bush in front of the two apple trees to uncover stairs, then use Roc’s Feather to hop through the tunnel to the back of the castle walls. Guards patrol the lawns, so stay away from their sight lines.


Golden Leaf 1: the Crow
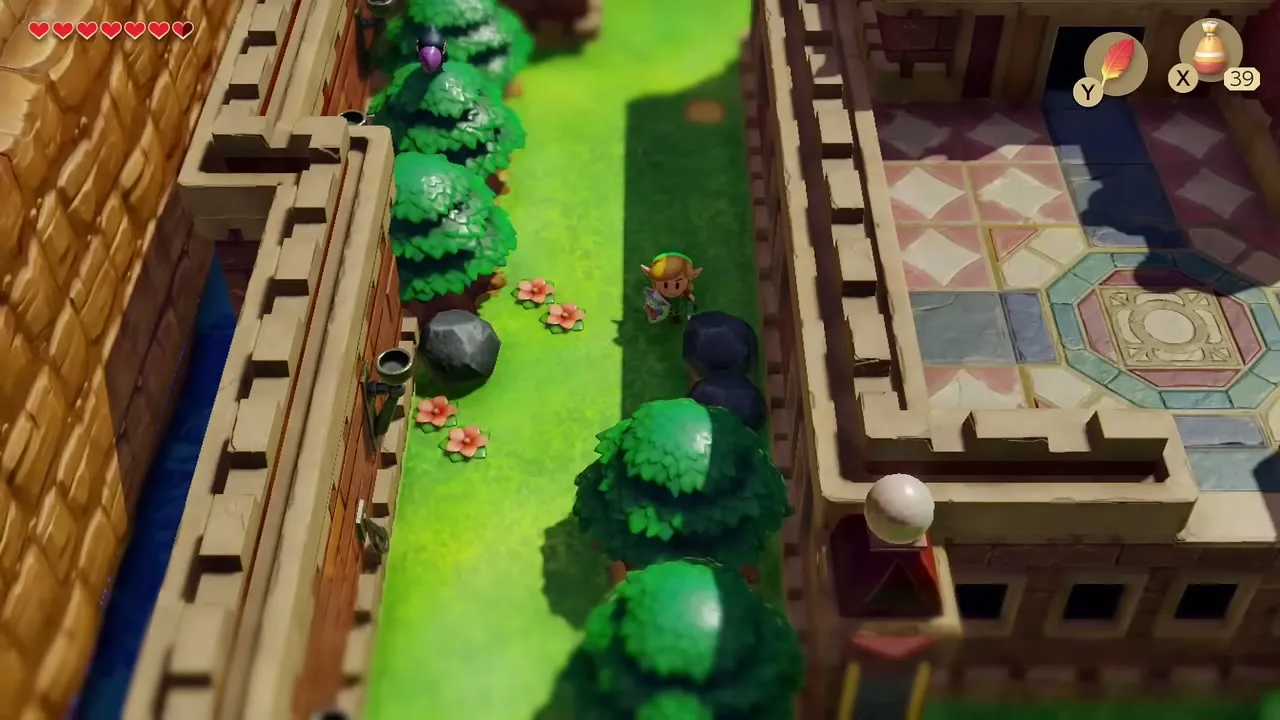
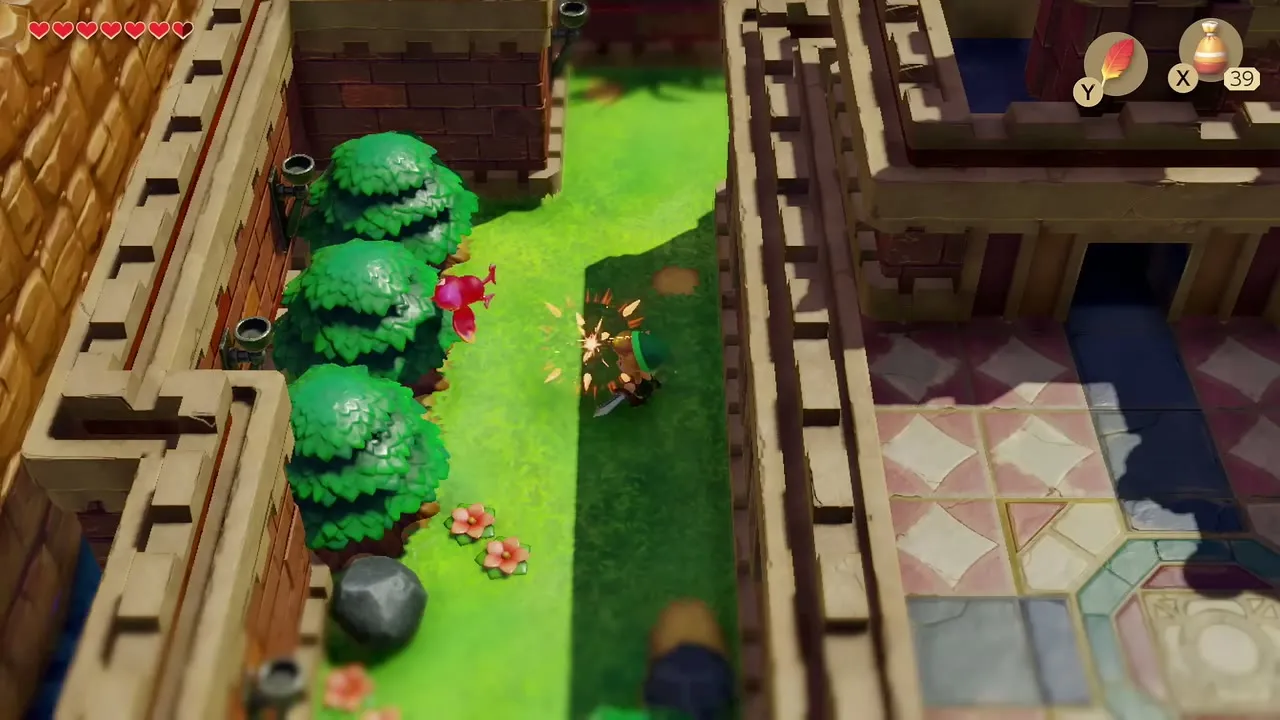
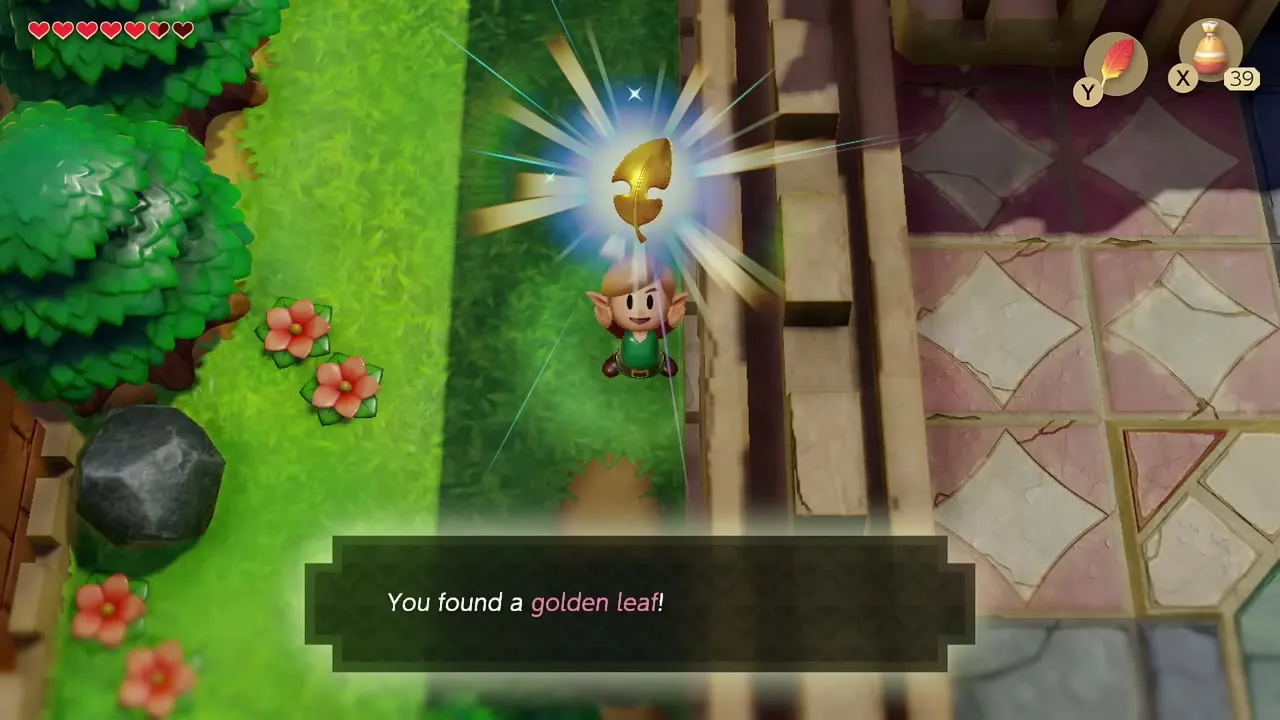
Work along the castle’s west wall and defeat the knights. In a tree near the north end a crow guards the first leaf; pick up a rock and throw it at the crow to draw it out, then strike it with the sword to drop a Golden Leaf.
Golden Leaf 2: the Mad Bomber
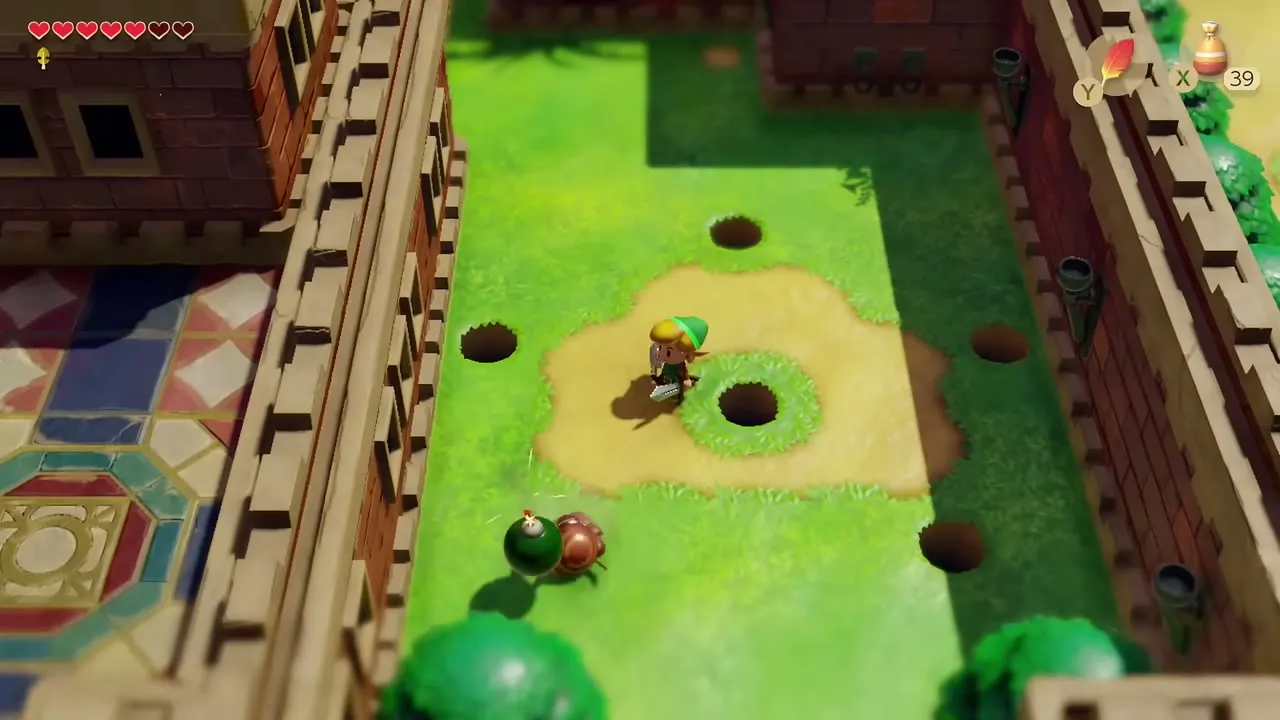
In the courtyard on the east side, a Mad Bomber pops out of one of five holes and tosses bombs. Hit him each time he appears until he is beaten, and a Golden Leaf drops.
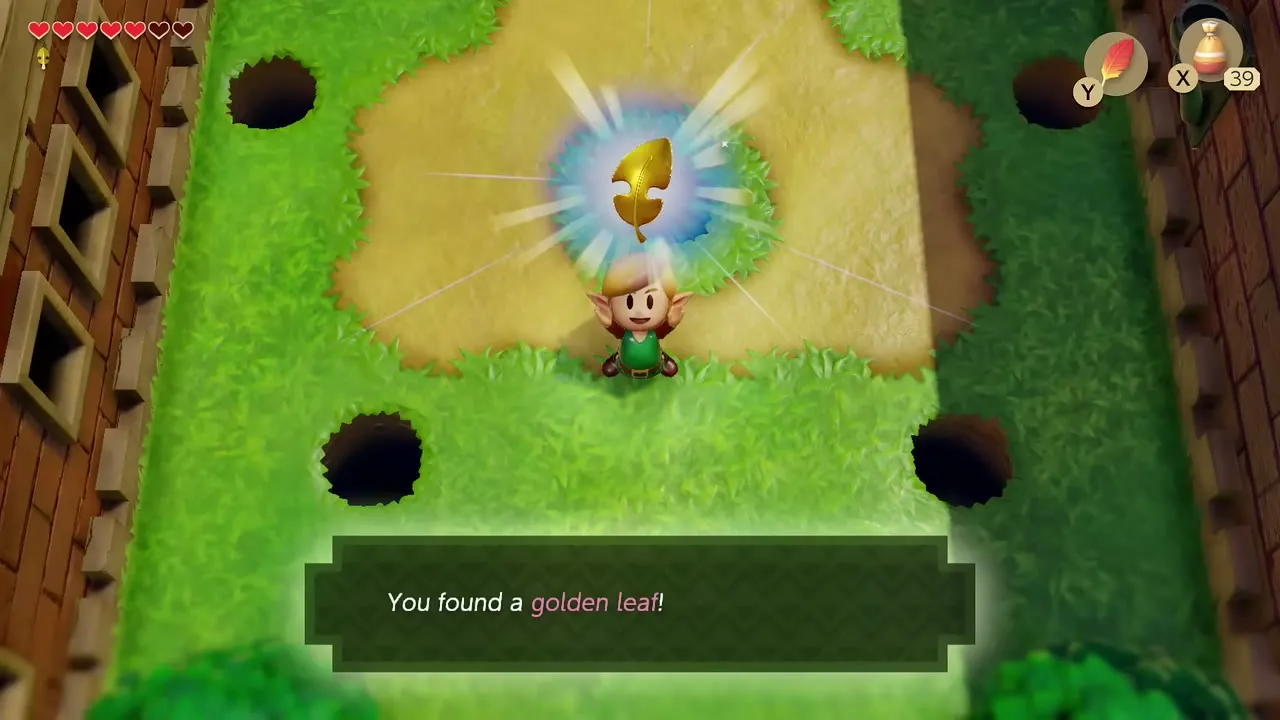
Golden Leaf 3: first castle room
Enter the castle gate and fight the knights in the blue carpeted hall; a Golden Leaf appears when they fall. Block the Anti-Fairy with your shield if it bounces towards you.

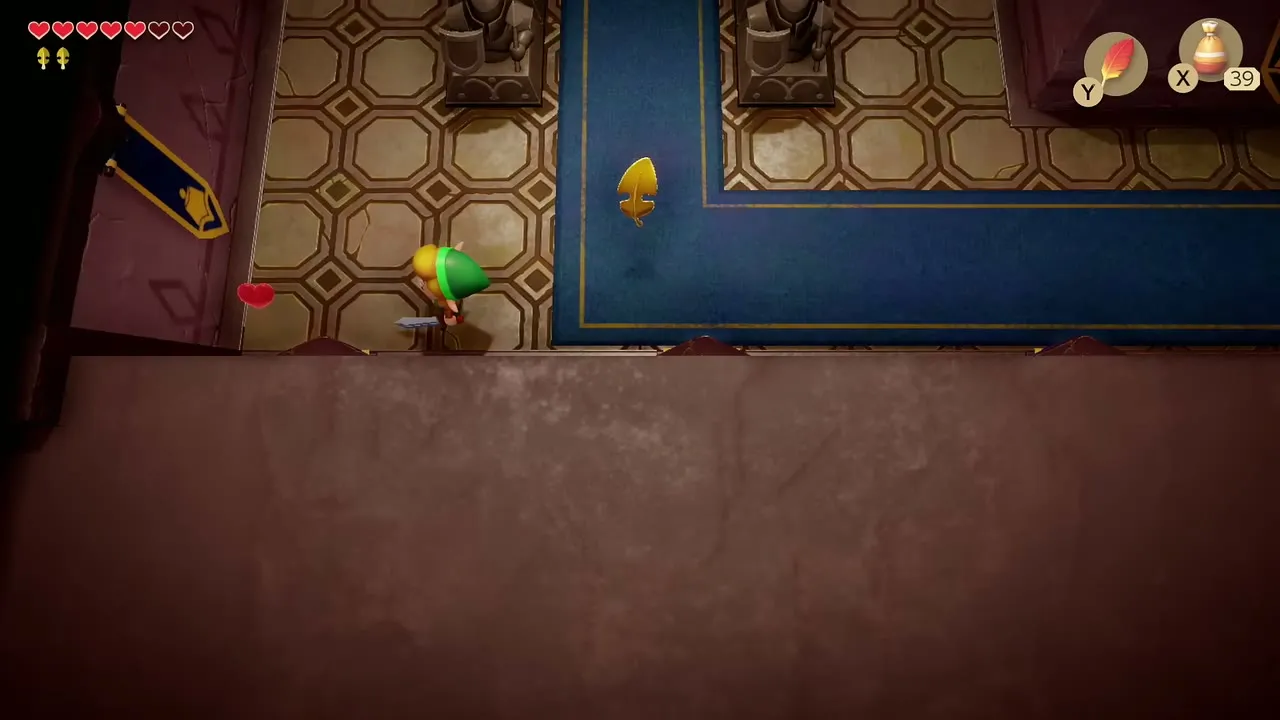
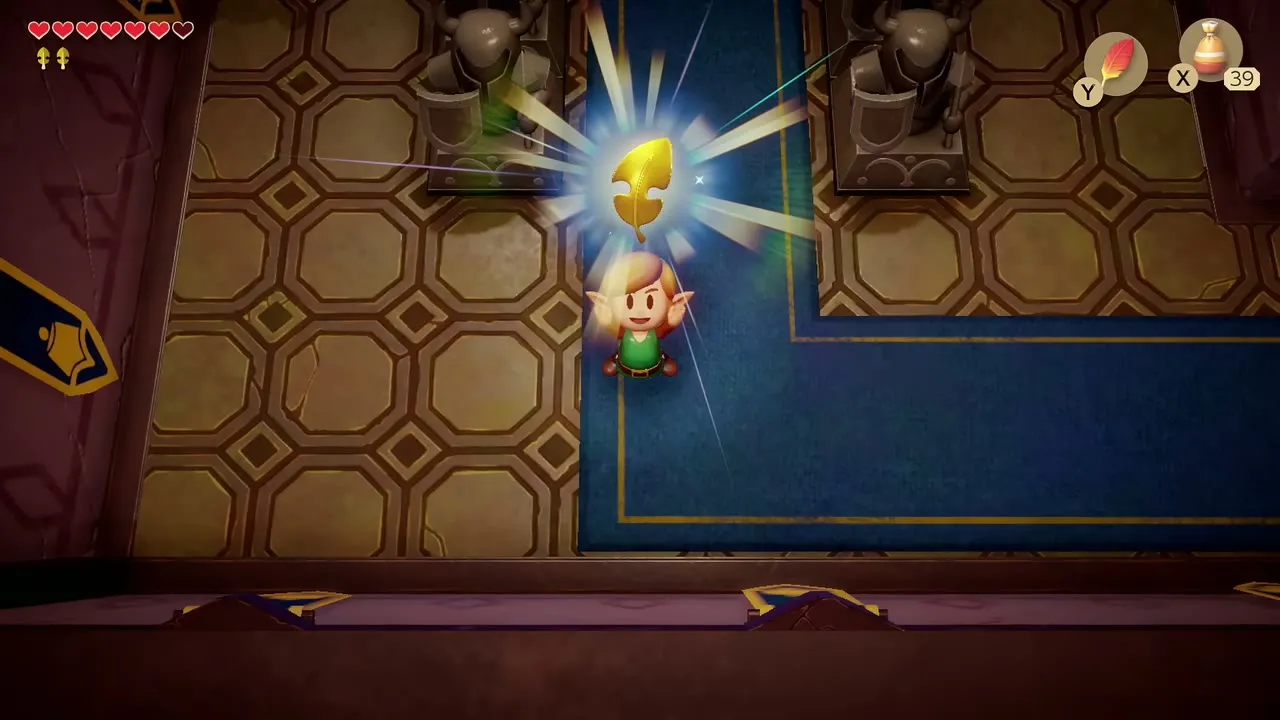
Golden Leaf 4: bombed wall
Climb the stairs and enter the room with torches. Avoid the Spark and bomb the two cracked wall patches beside the stairs to summon armoured knights. Beat both to receive the fourth leaf. A switch in the corner of the castle opens the outside gates and gives you an easy way back to Richard.


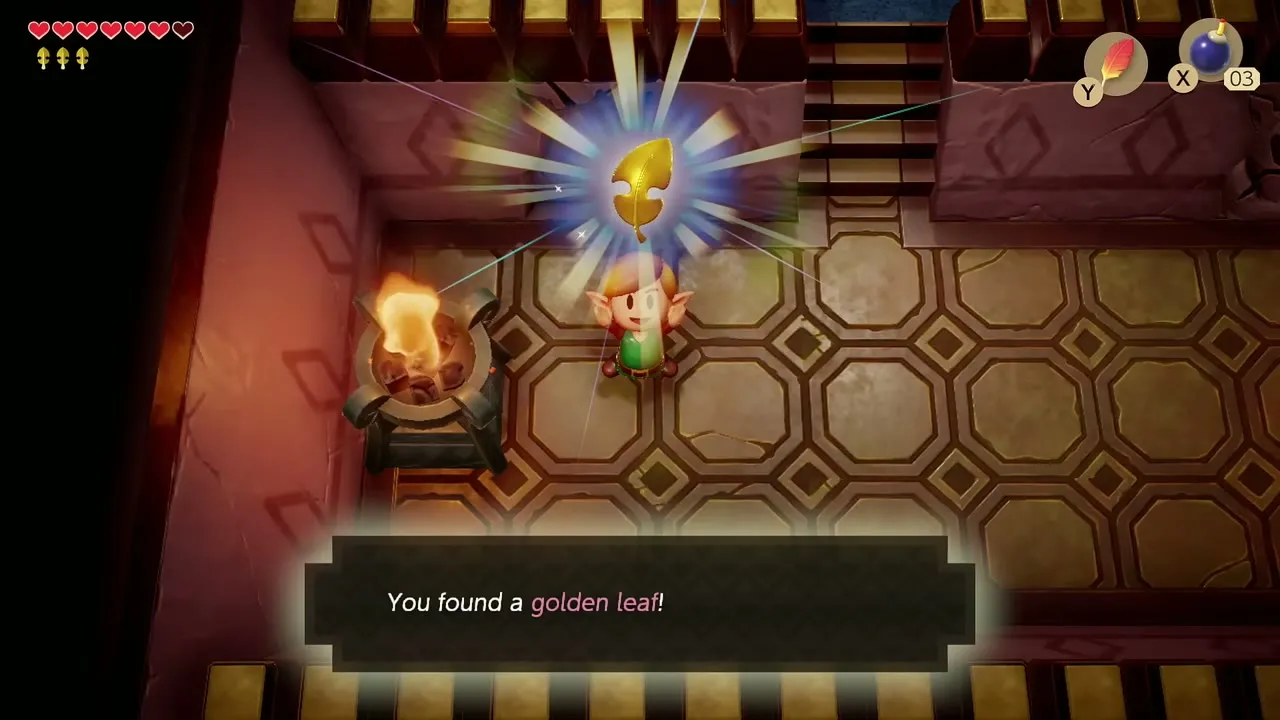
Golden Leaf 5: Ball and Chain Soldier
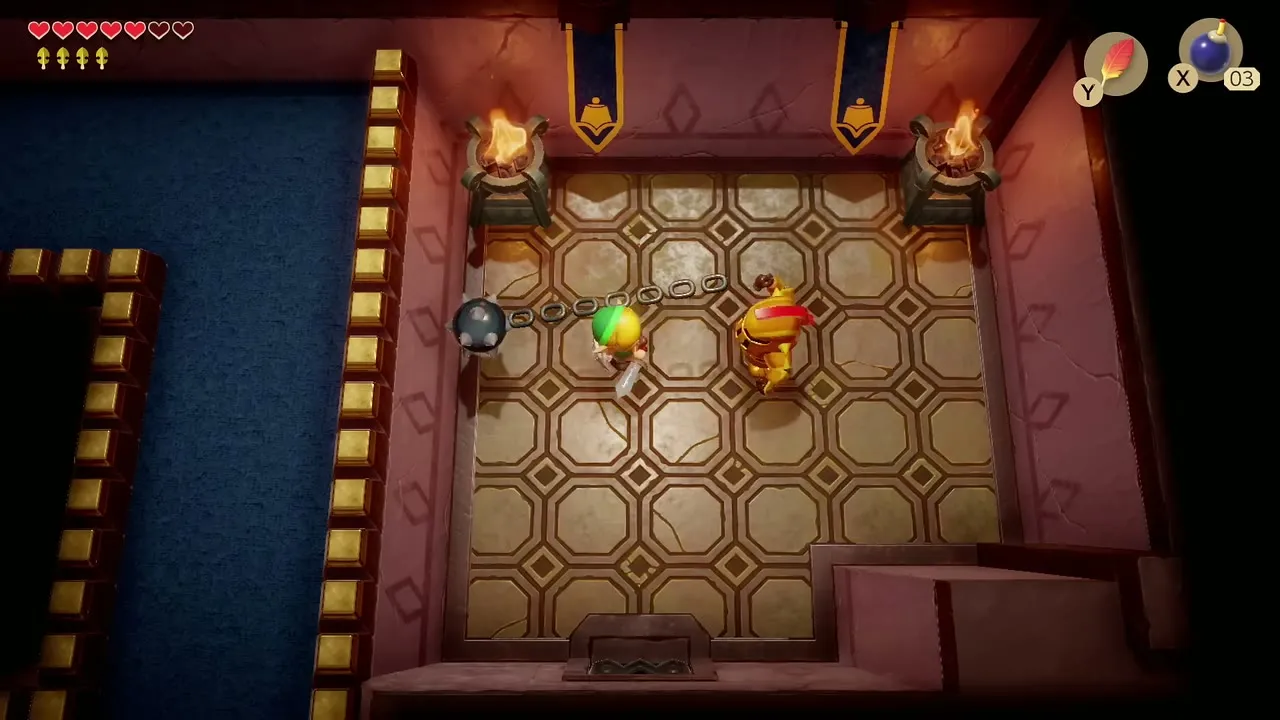
Go out to the balcony and through the new door. Throw a pot at the blocked door in the room of clay pots to smash it open. Dodge the Ball and Chain Soldier’s swings and slash him from the side. The fifth and final Golden Leaf drops when he falls.


Richard’s Villa and the Slime Key
Honeycomb from Tarin
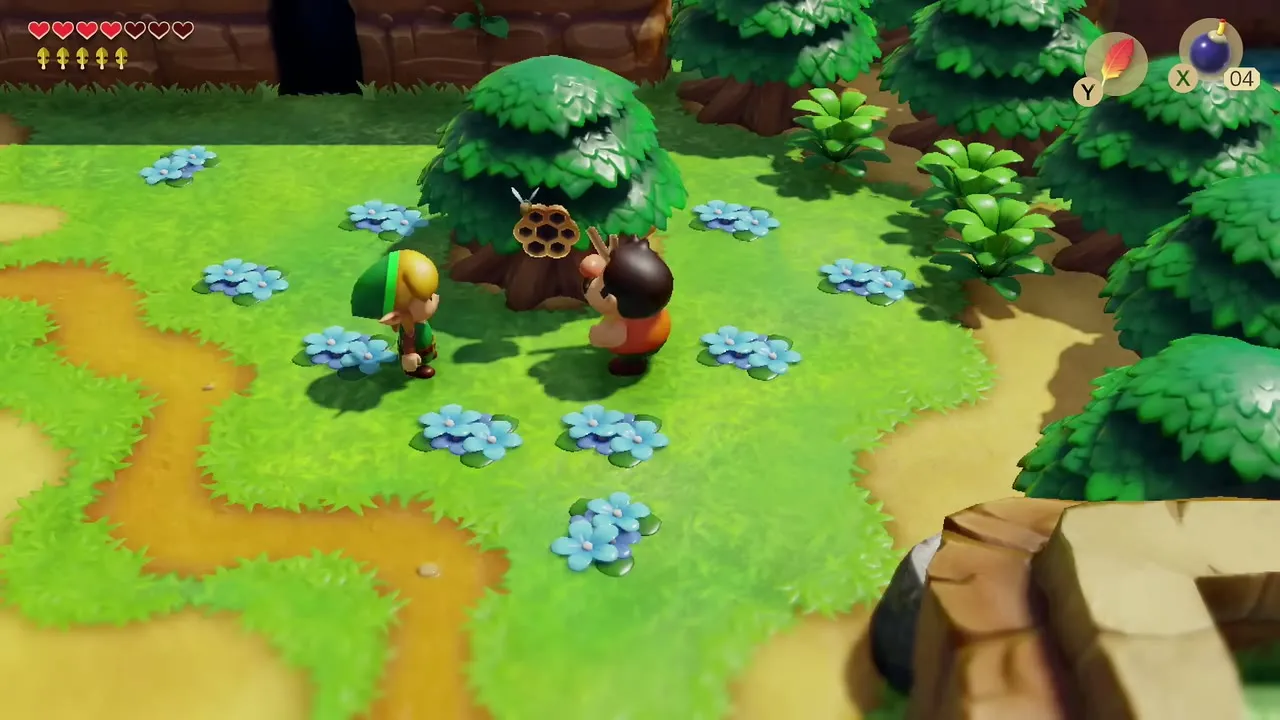
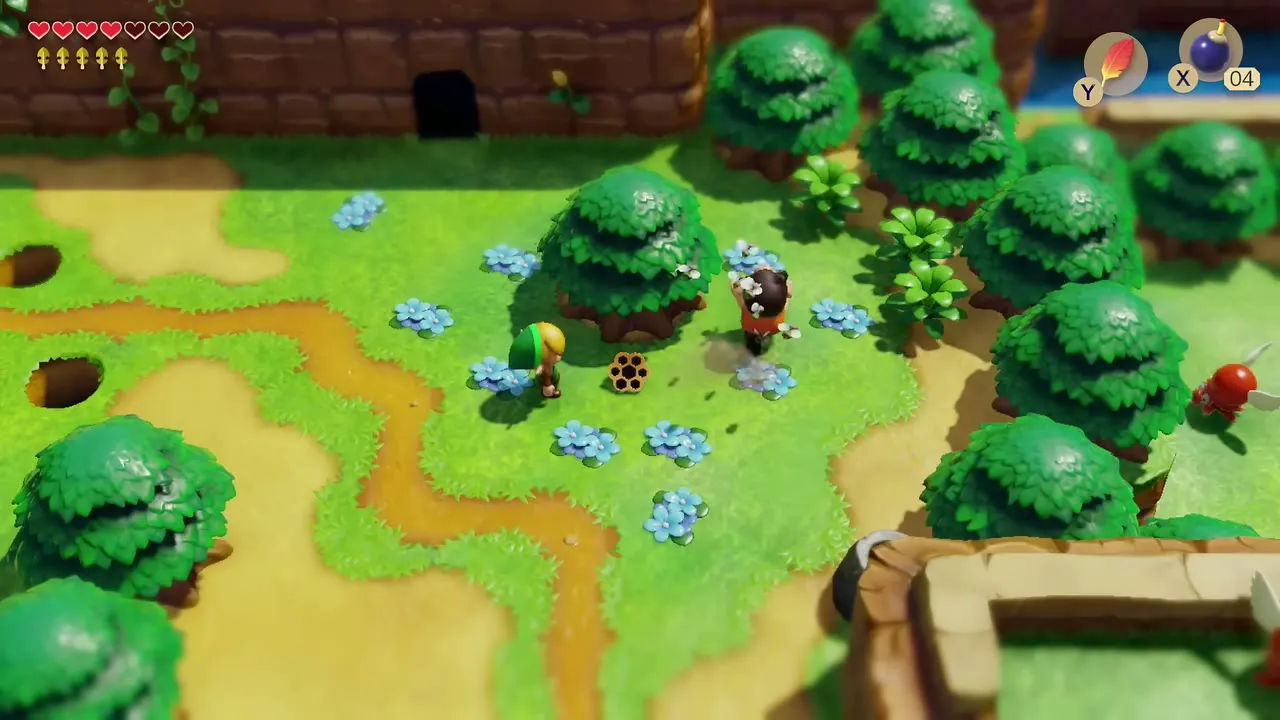
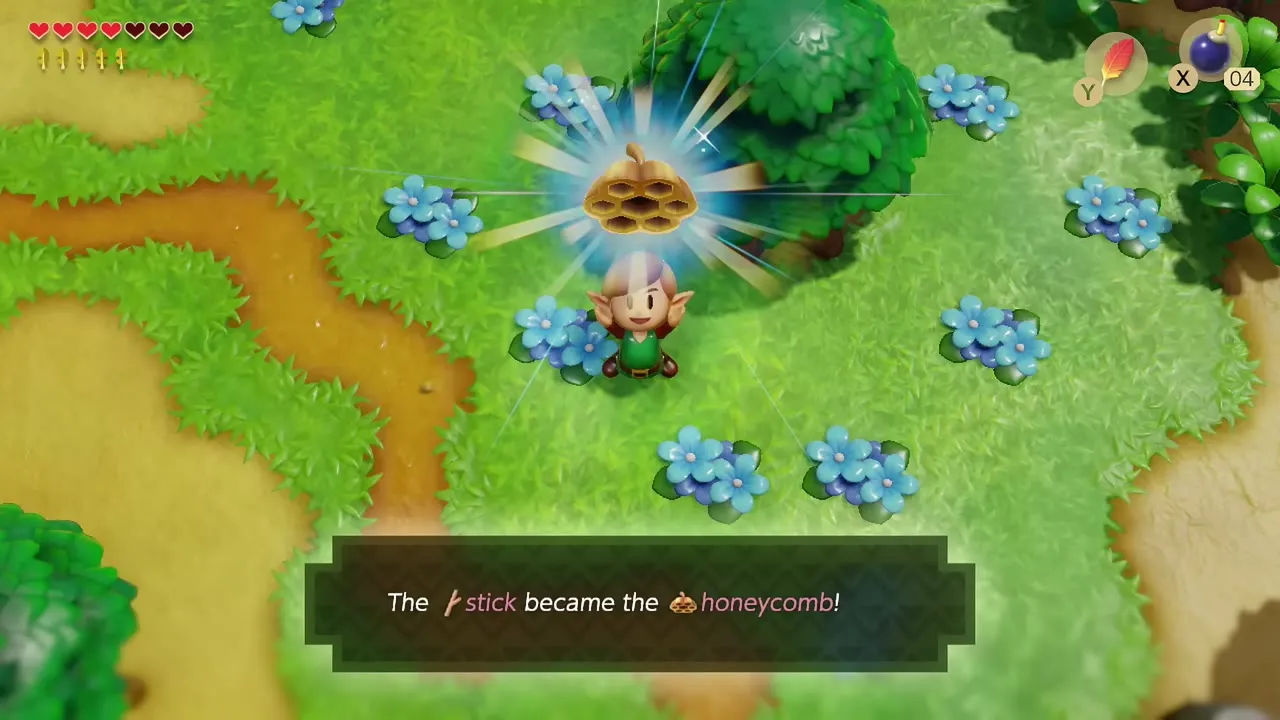
Walk back through Ukuku Prairie to the tree with the beehive. Give Tarin the Stick and he knocks the nest down; take the Honeycomb the bees leave behind.
Give Richard the leaves
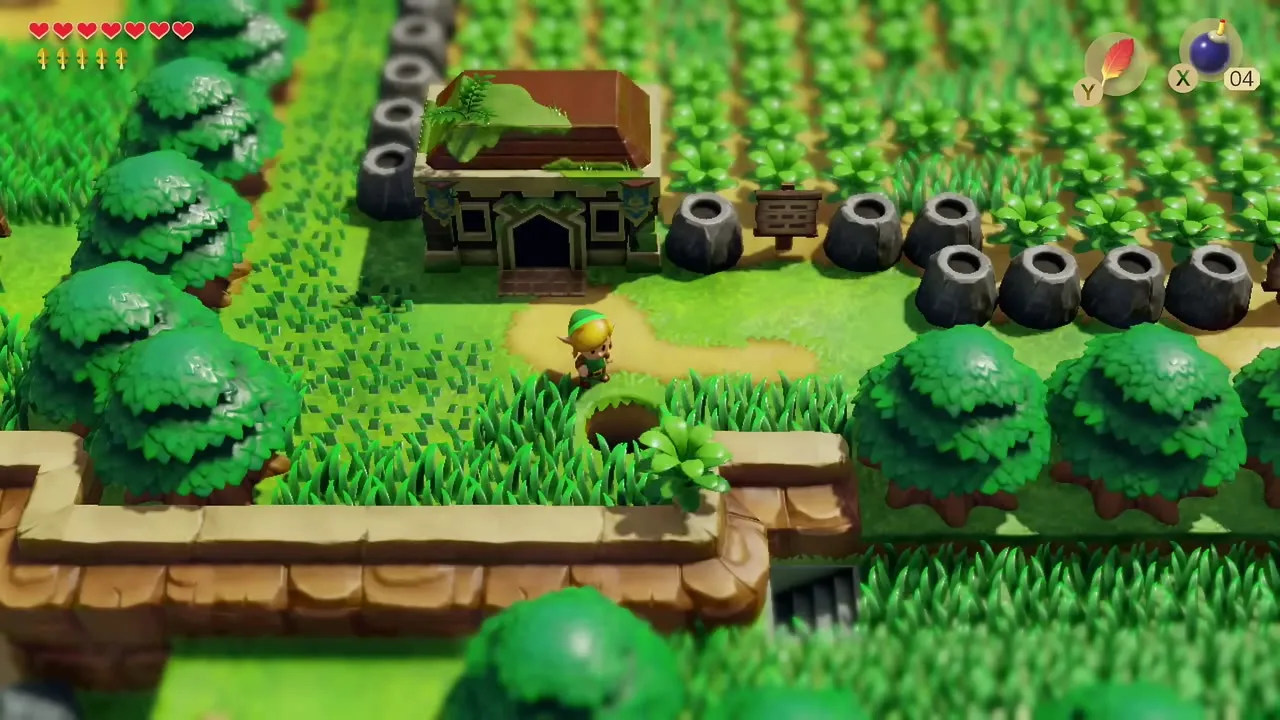
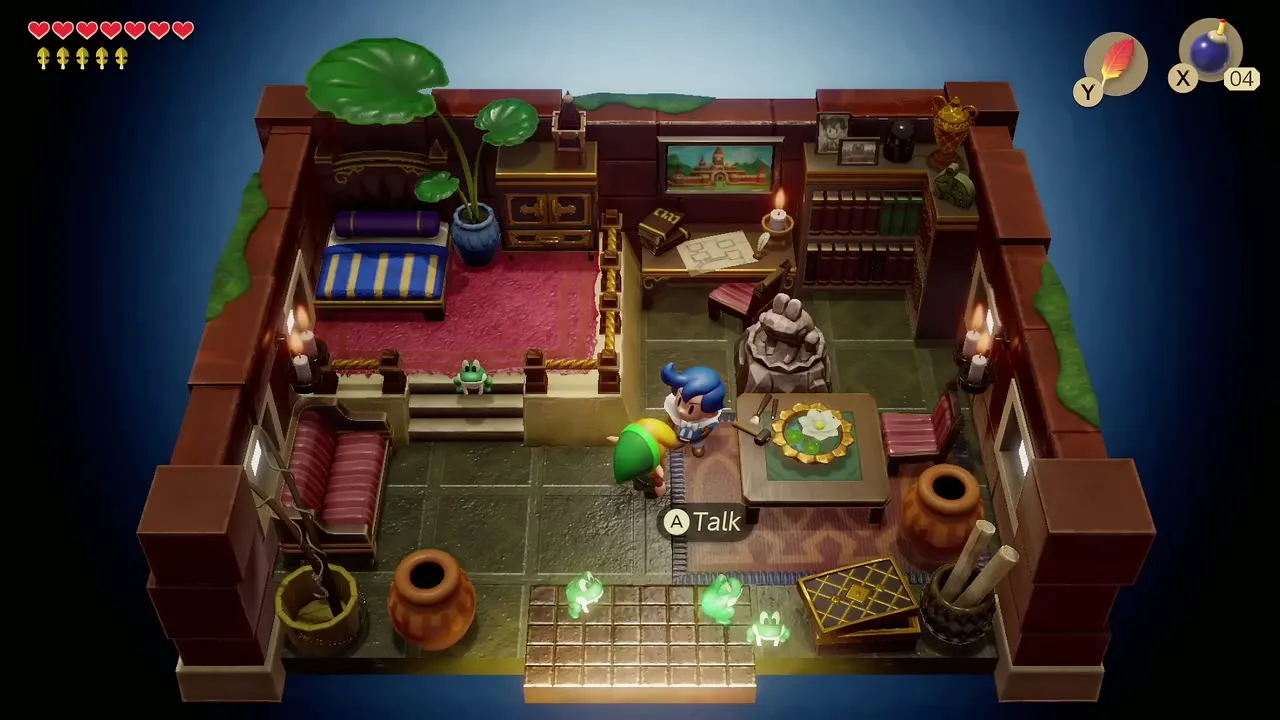
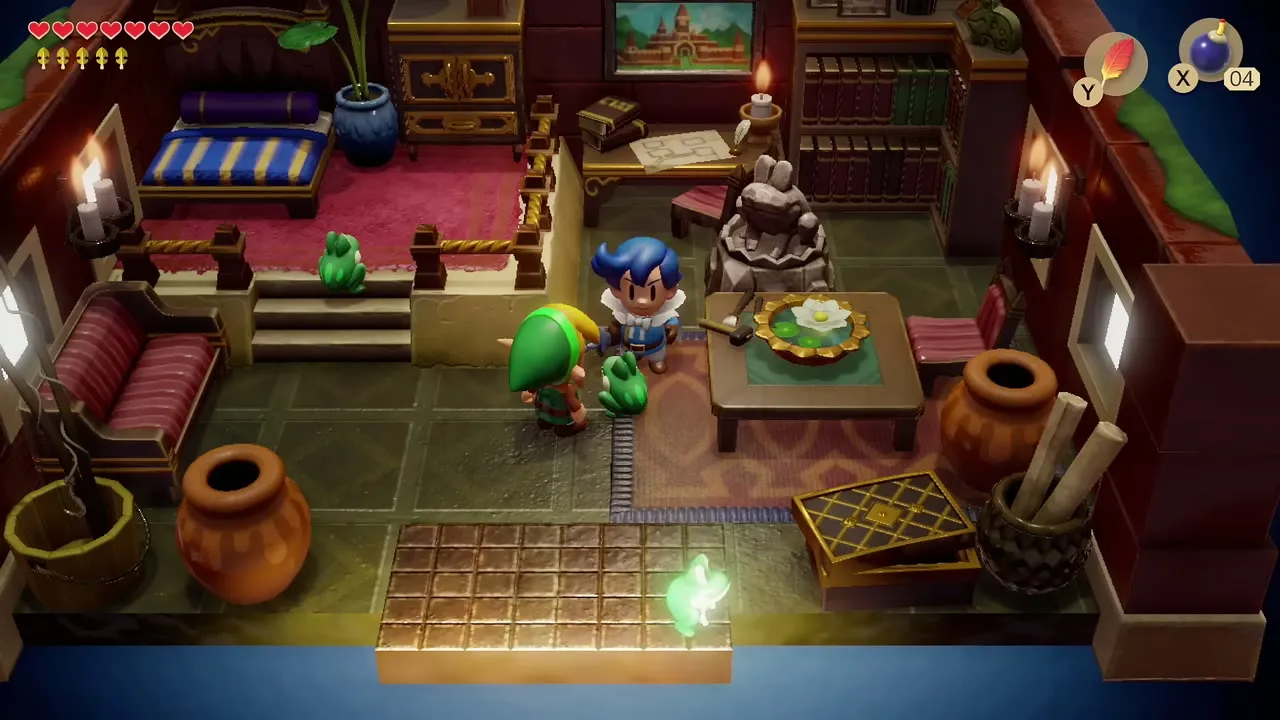
Visit Richard’s Villa and hand over all five Golden Leaves. He moves a block in the house and opens a staircase that leads outside again into the backyard, where the Pothole Field lies.
Seashell chest under the villa
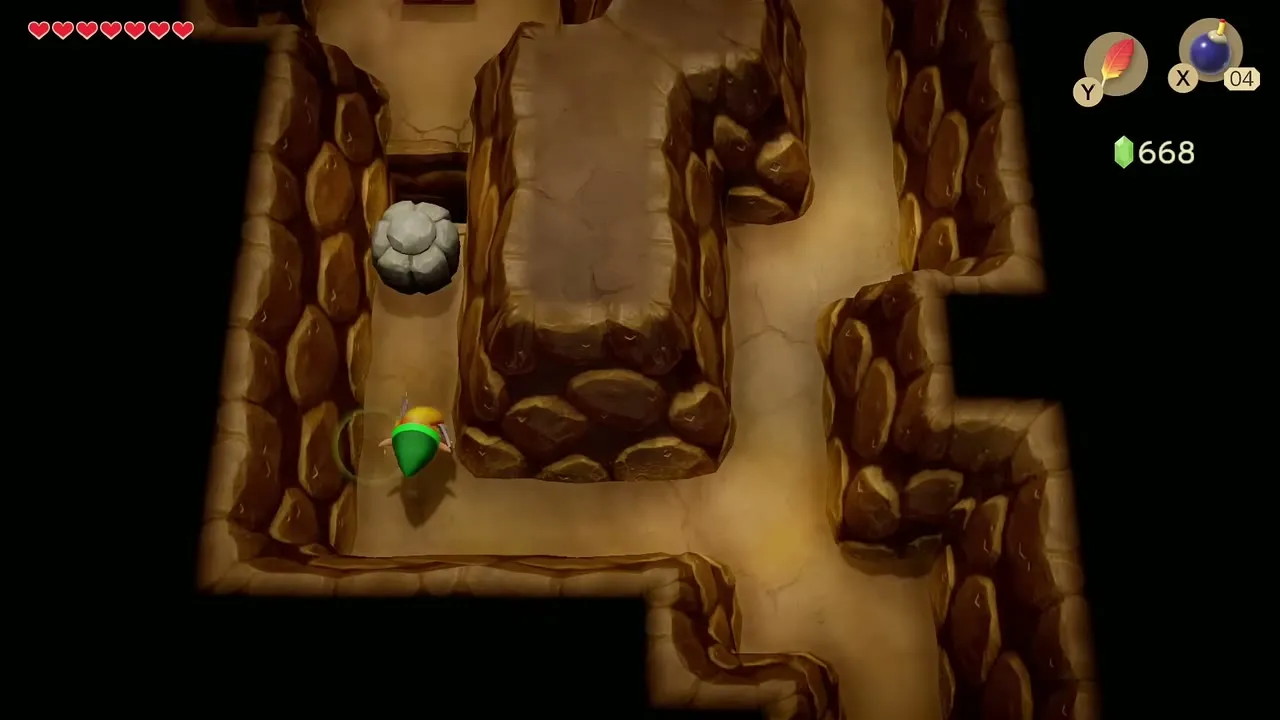
Take the left path through the tunnel under the villa, push the block and jump the gap with Roc’s Feather to reach a chest that holds a Secret Seashell.
Pothole Field Piece of Heart
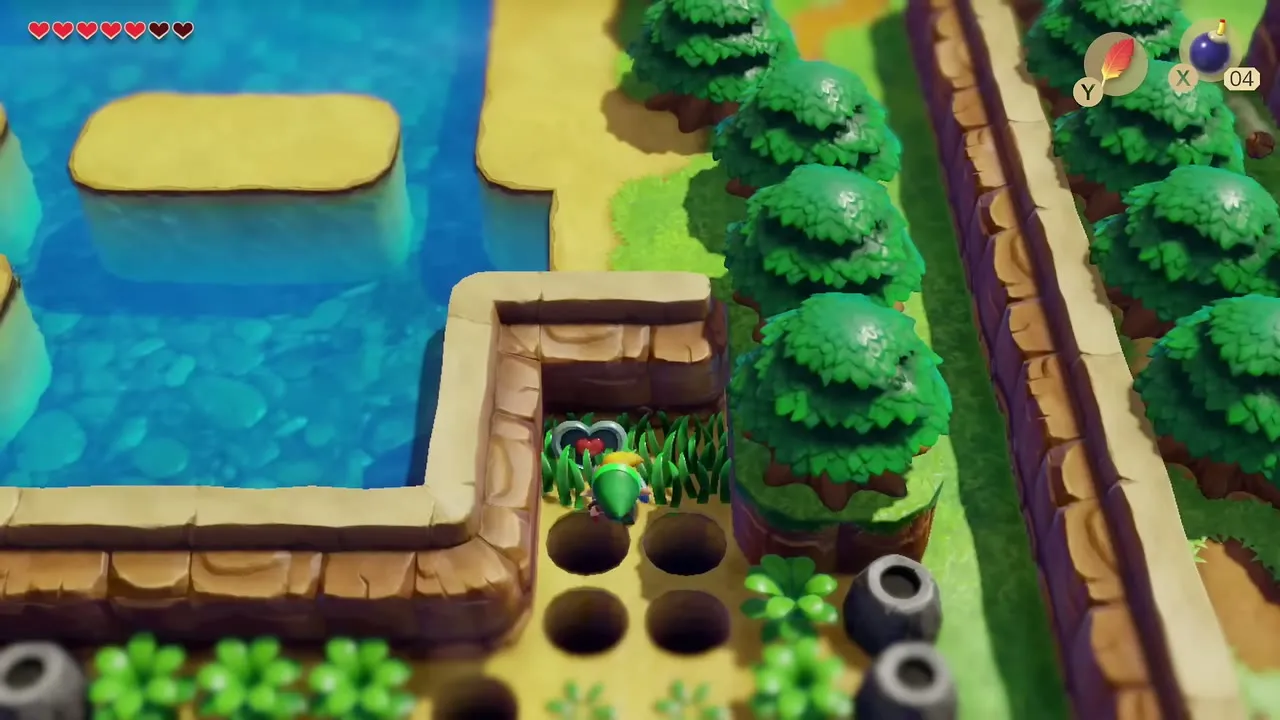
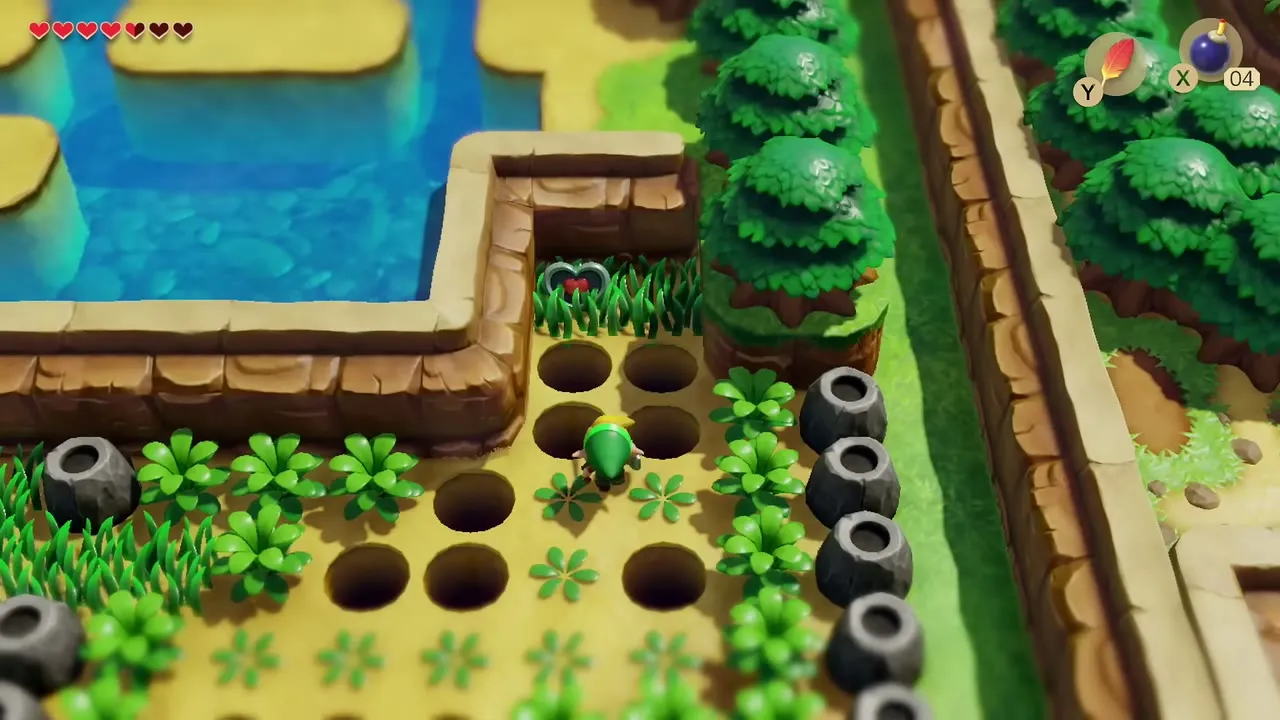
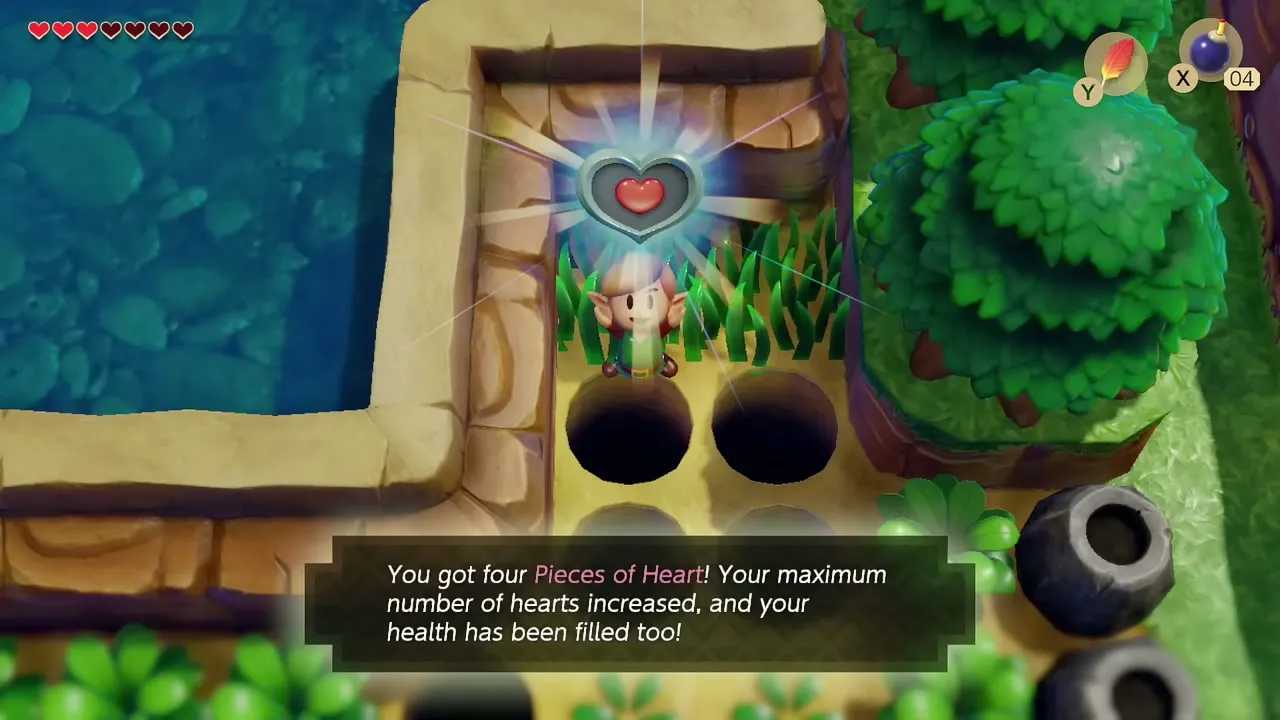
Step out into the Pothole Field and head to the far northeast corner. A Piece of Heart waits beyond a line of holes; jump across with Roc’s Feather and cut the bushes as you land. With the Pegasus Boots a running jump makes this much easier, but you can do it now.
Dig up the Slime Key
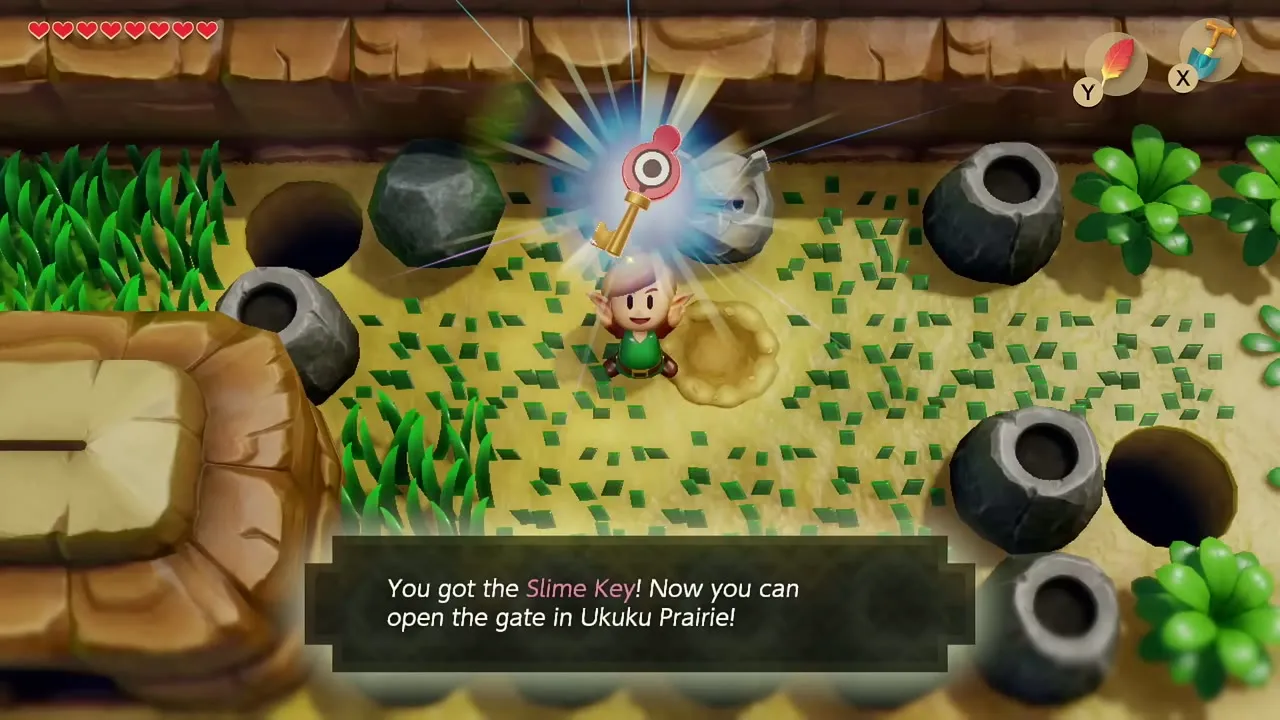
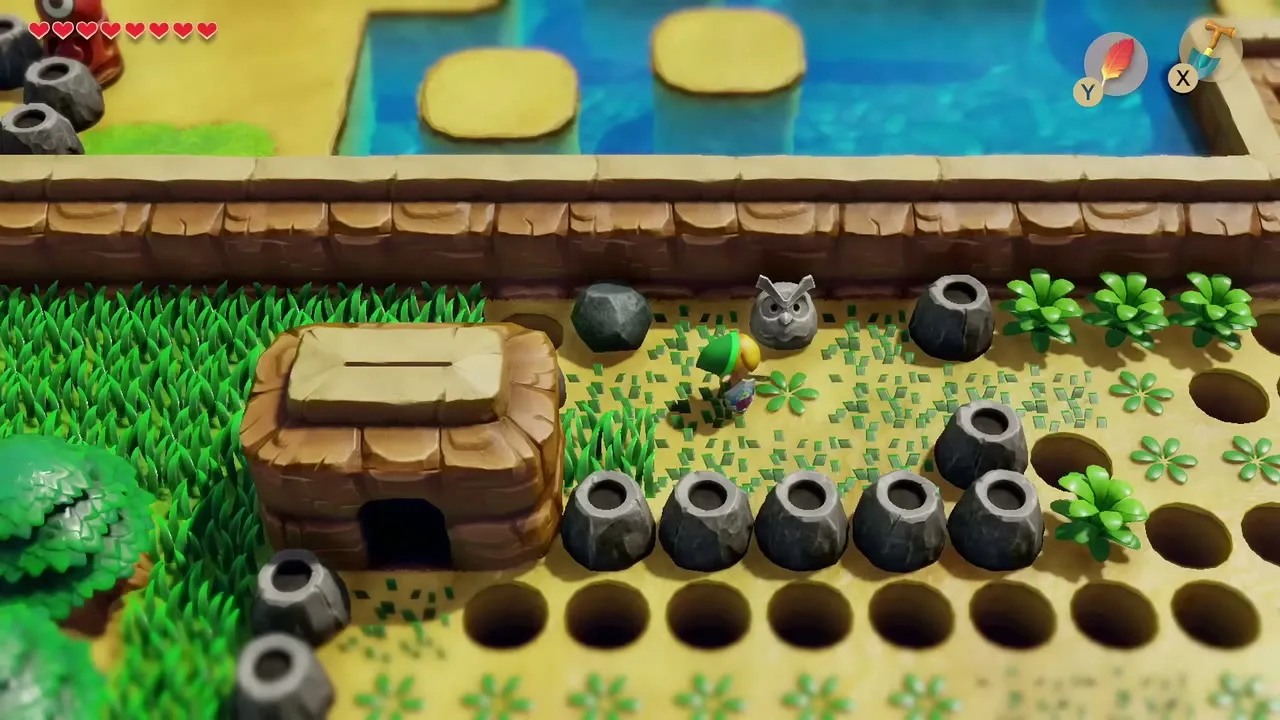
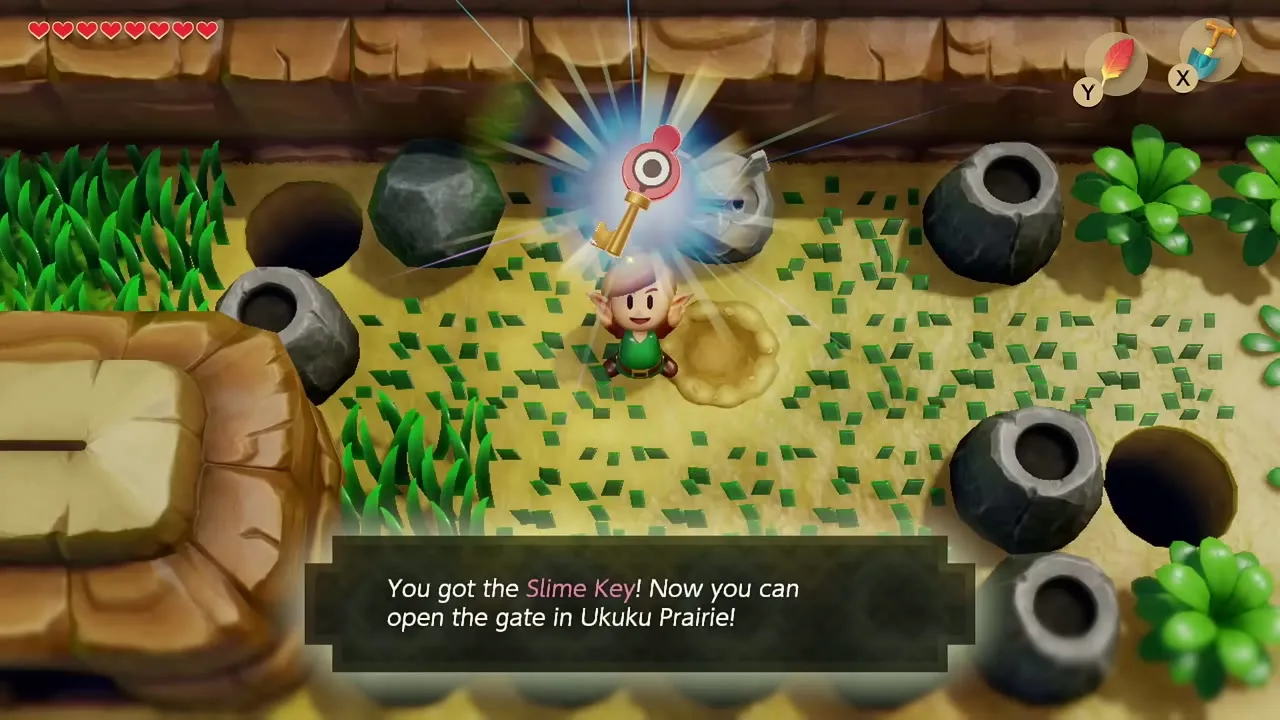
Walk to the Owl Statue in the field, equip the Shovel and dig right in front of it to unearth the Slime Key. It opens the gate in Ukuku Prairie that leads to Key Cavern.

Open the Key Cavern gate
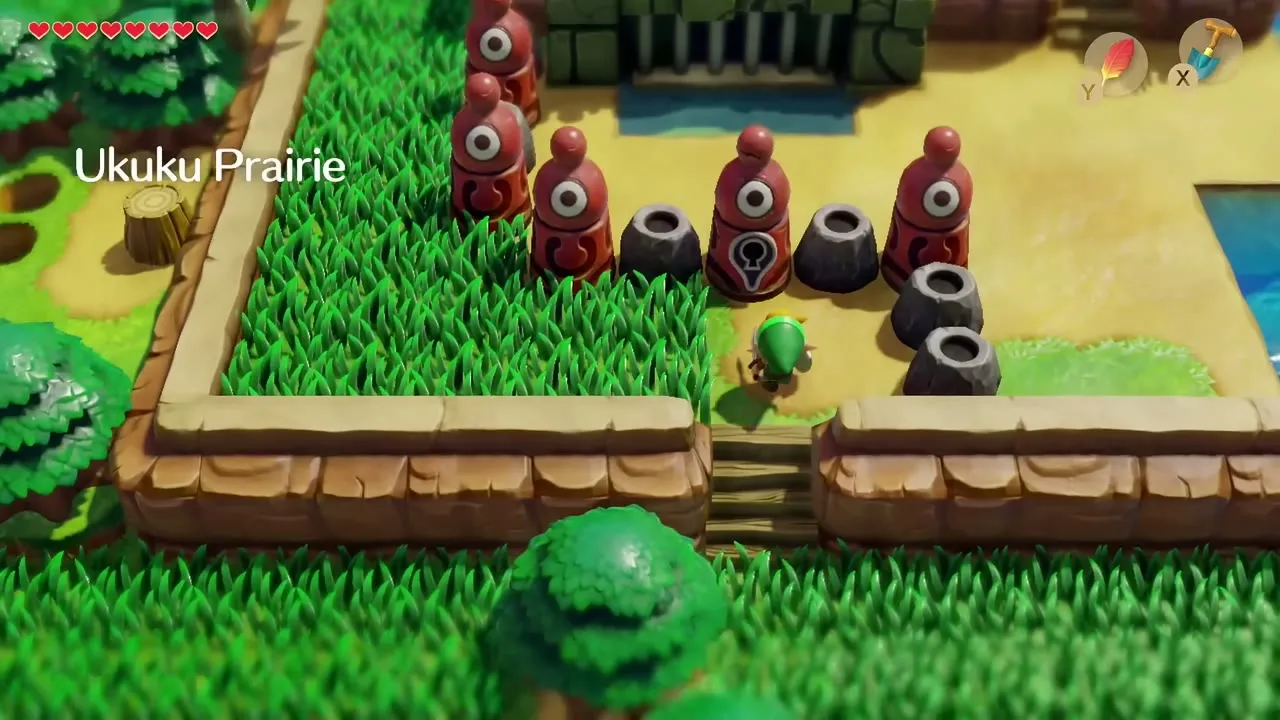
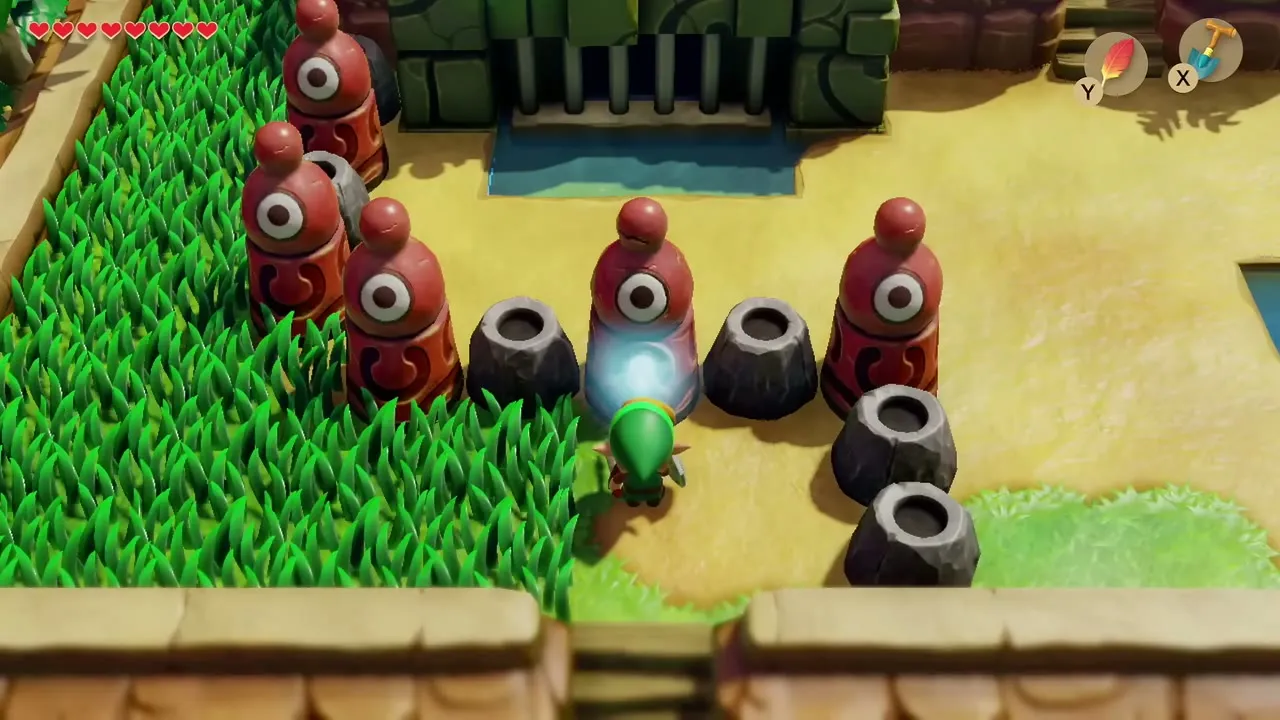
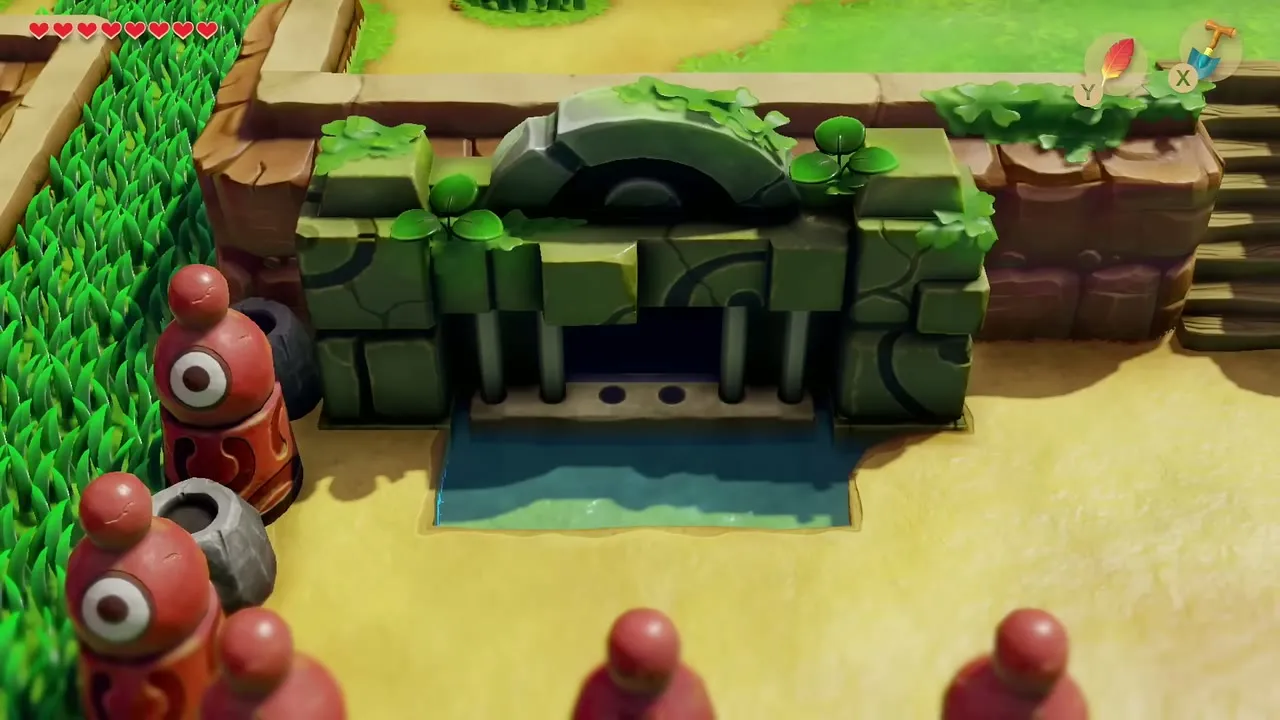
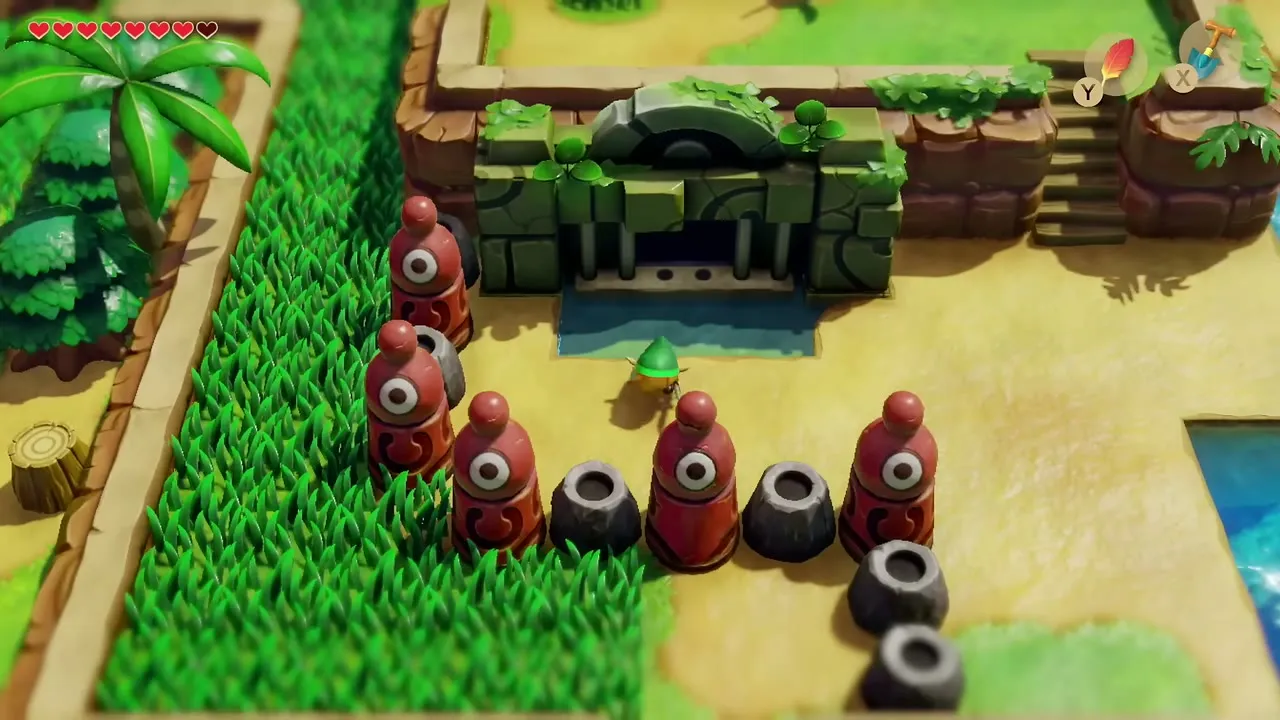
Return to the red statue gate in Ukuku Prairie and use the Slime Key. Island-hop north with Roc’s Feather until you reach the cave mouth of Key Cavern.
Tal Tal Heights detour
Seashell near the signpost
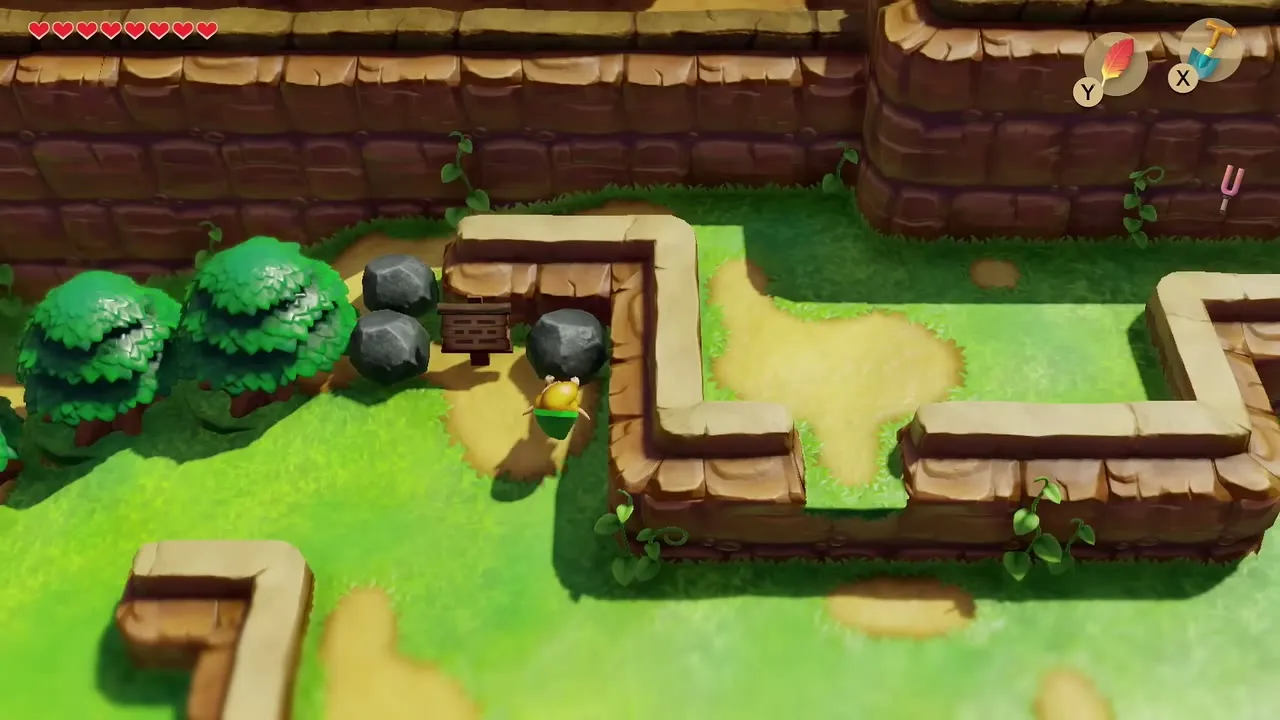
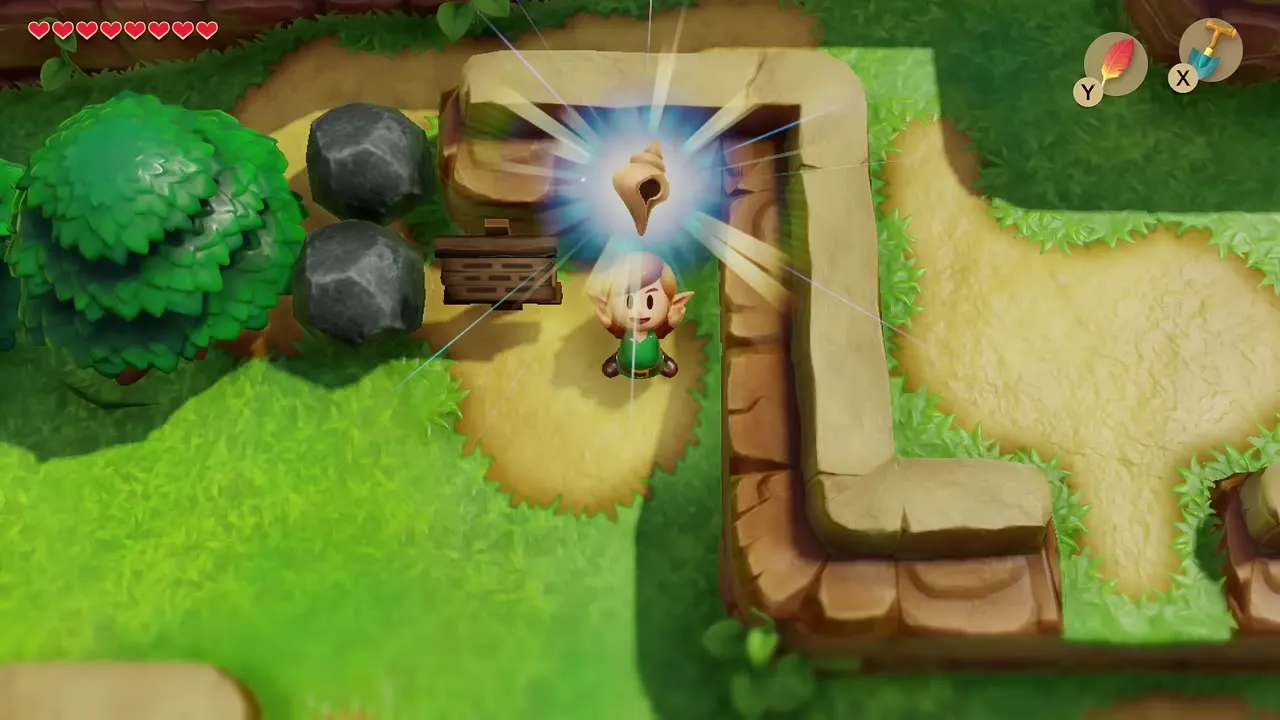
Before the dungeon, warp to Tal Tal Heights and climb to the signpost in the upper left. Lift the two rocks beside the sign with the Power Bracelet for a Secret Seashell. This brings your count to 18 shells.
First mountain cave
Continue into the Tal Tal Mountain Range and enter the first cave you reach. Lift the rocks and break the purple crystals to collect a Piece of Heart, then step out and open the chest on the ledge outside for a 50 rupee purple rupee.

Dungeon: Key Cavern (Level 3)
Entrance and first keys
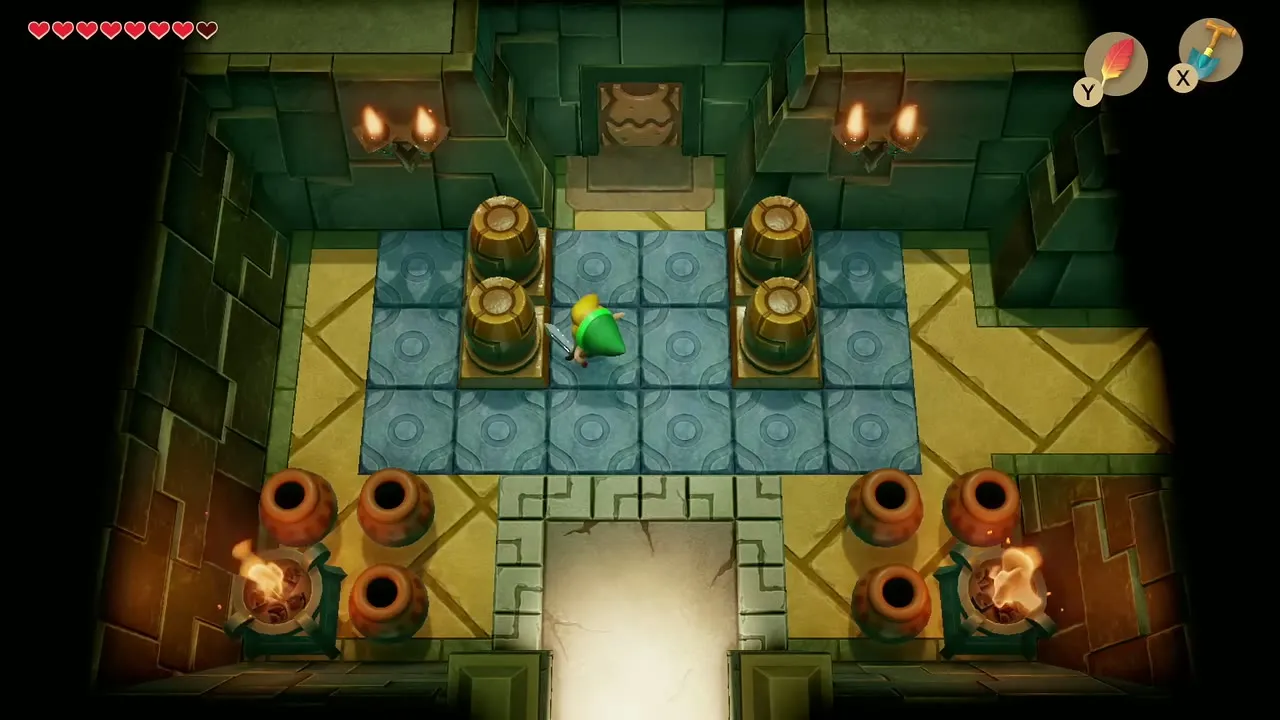
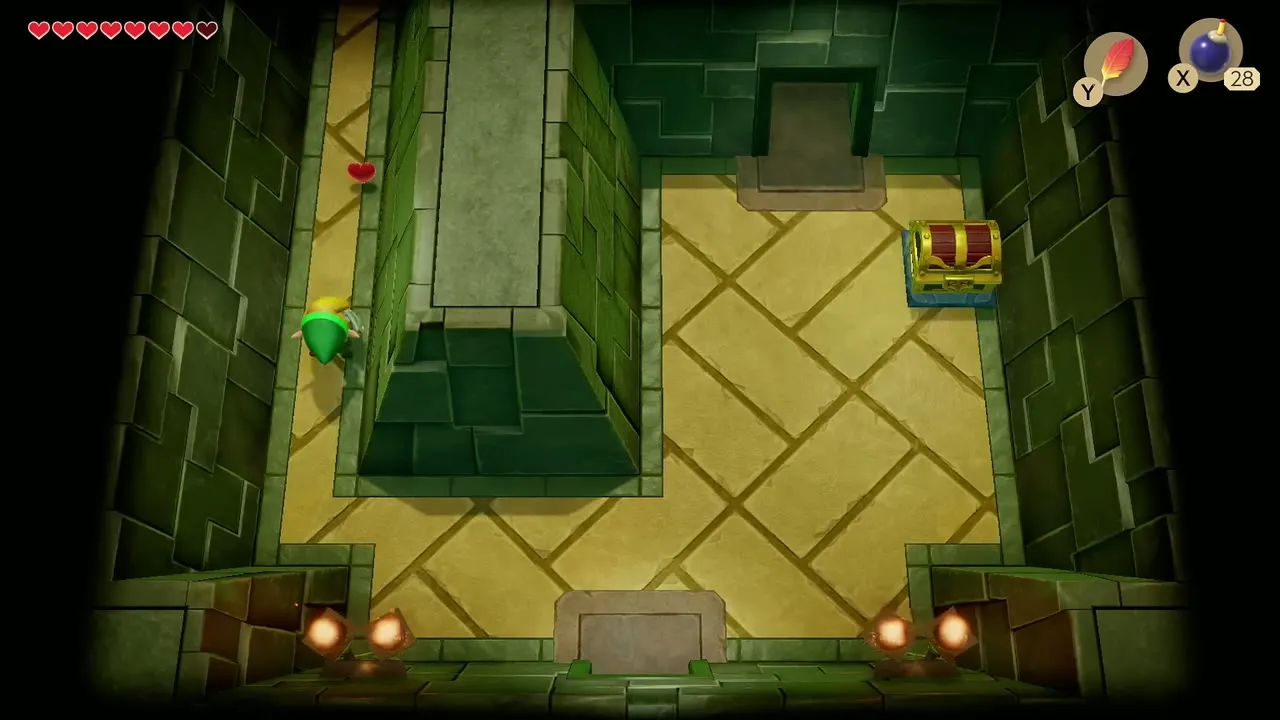
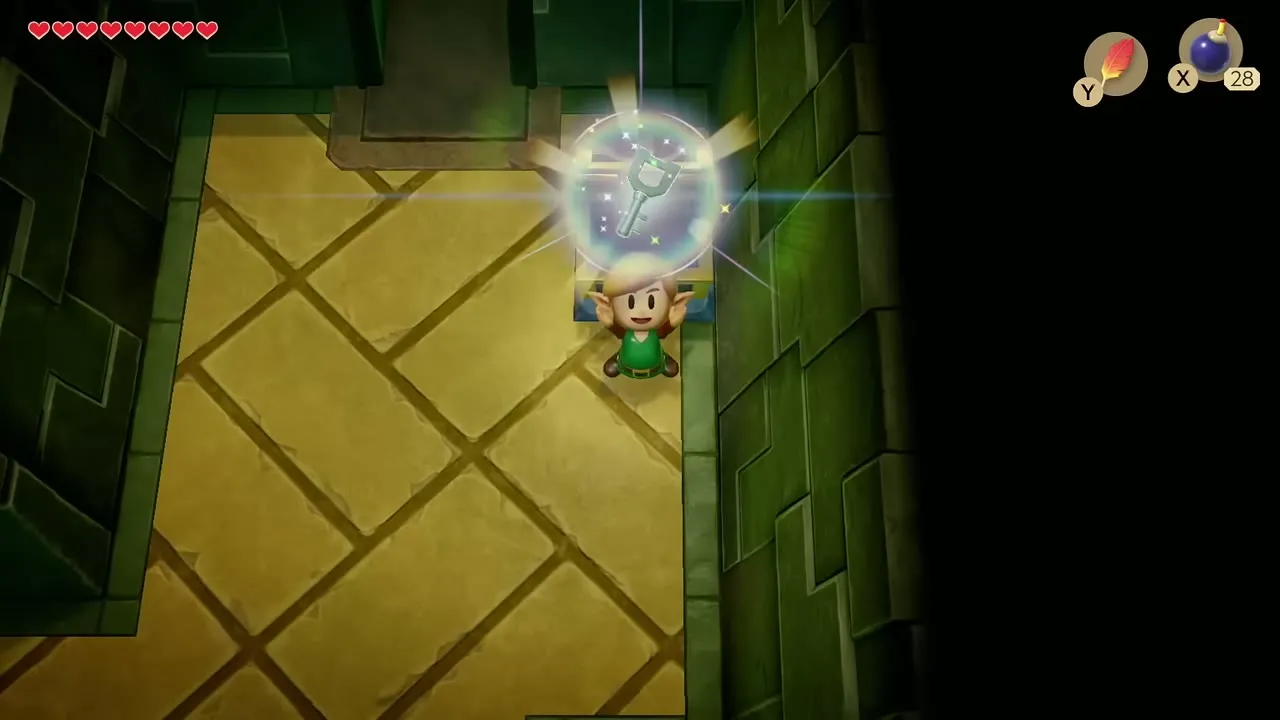
Enter the cave and open the door at the top of the first room by throwing a clay pot at it. Fight the bomb-like enemies and Stalfos in the following rooms, throwing the bombs back, then open the chest in the raised-block room for the first Small Key.
Trap chest and Stone Beak
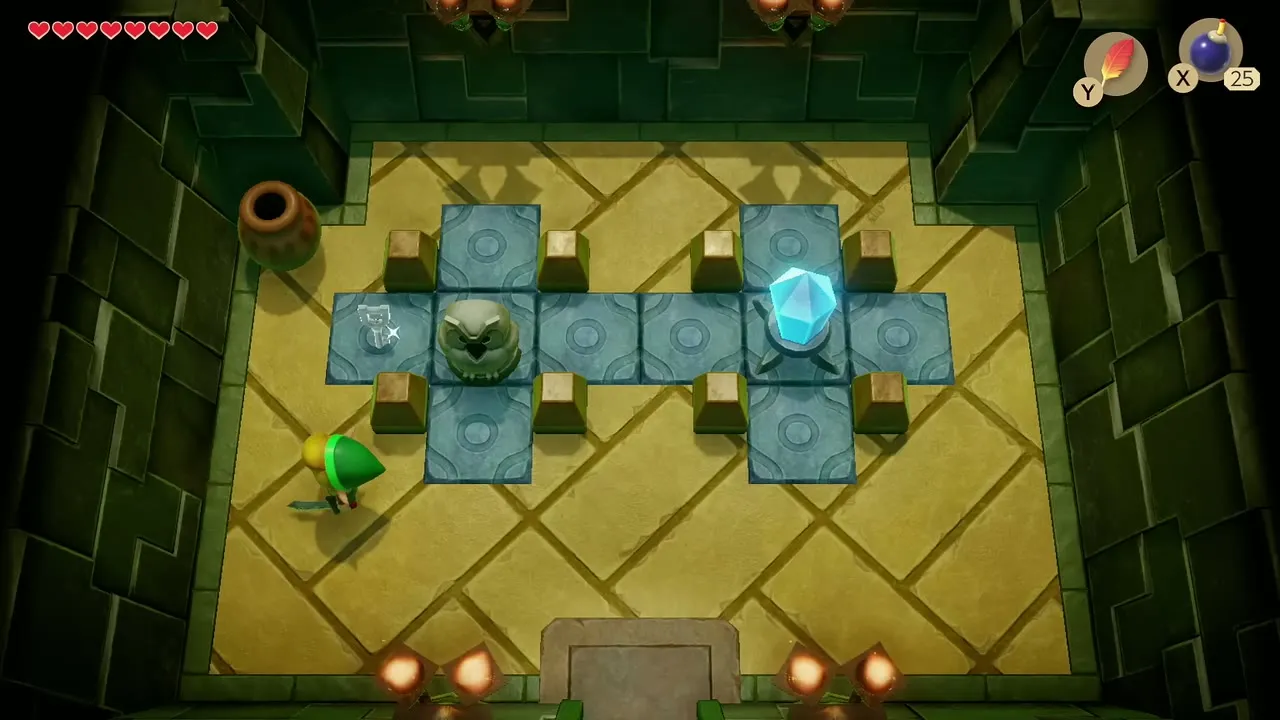
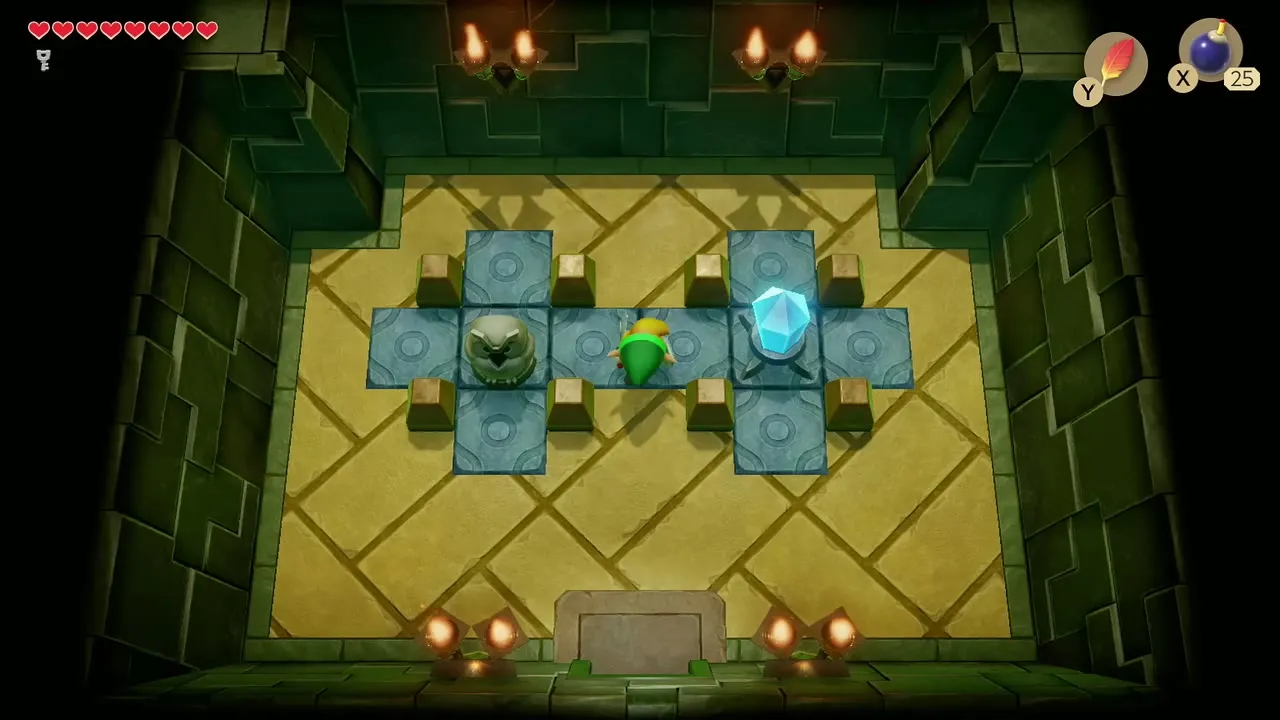
Be careful with the second chest in the Zol room: it releases a green Zol. Farther along, in the room with the blue crystal switch, hit the switch with your sword to flip the blue and orange barriers. The Stone Beak chest and the Owl Statue hint room become available afterwards.

Keyhole rooms and the 50 rupee chest
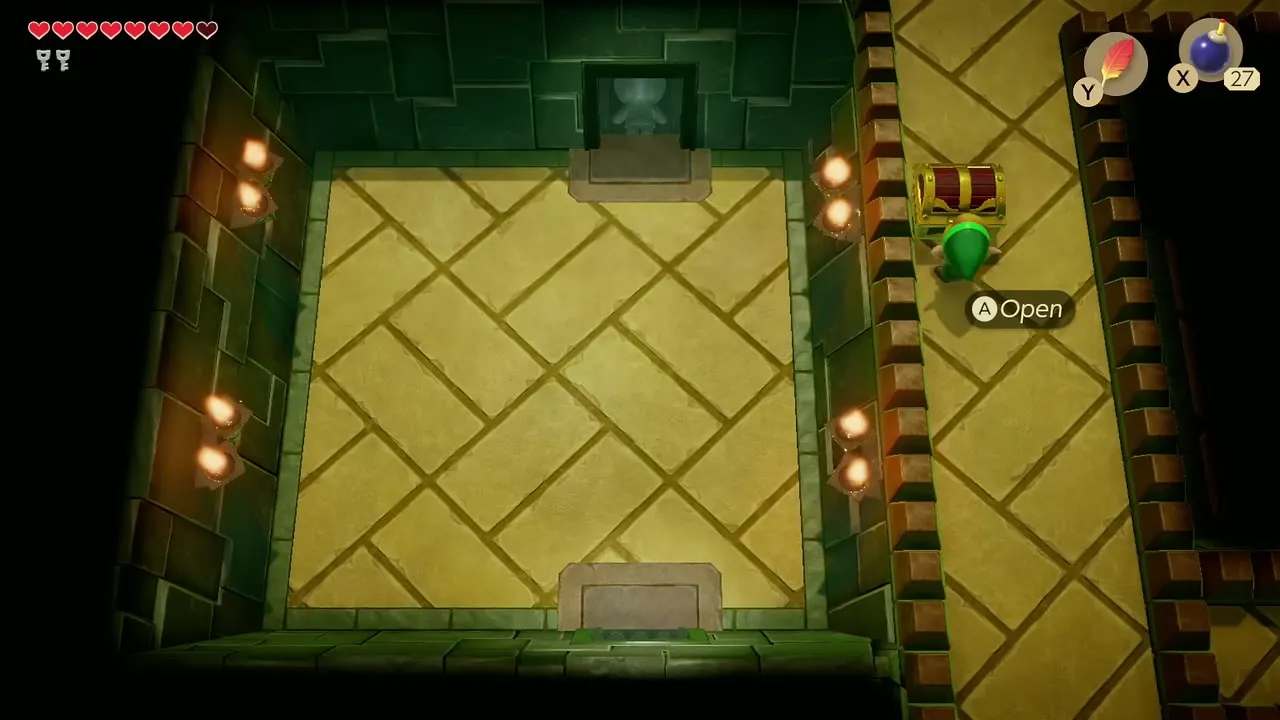
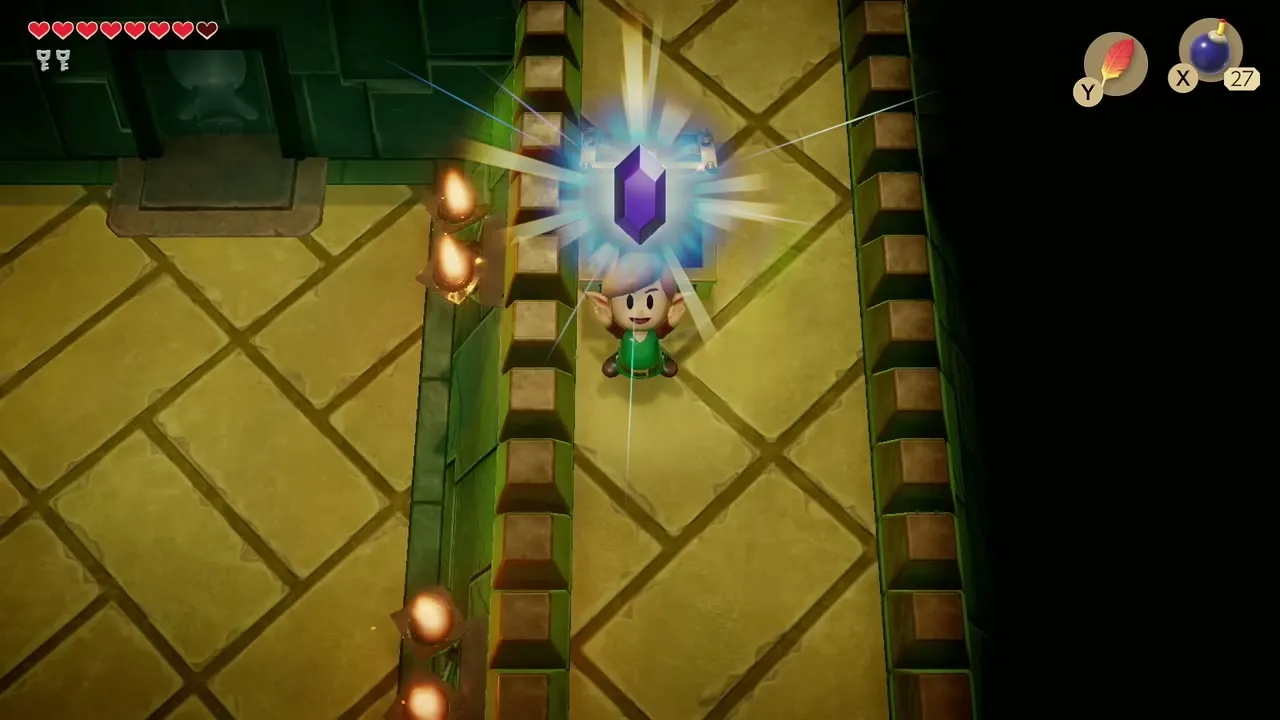
Work through the hub of keyhole blocks and open the chest on the left corridor, which holds a purple 50 rupee gem. Plenty of rooms ahead need bombs, so make sure you have enough.
Mini-boss: Dodongo Snakes
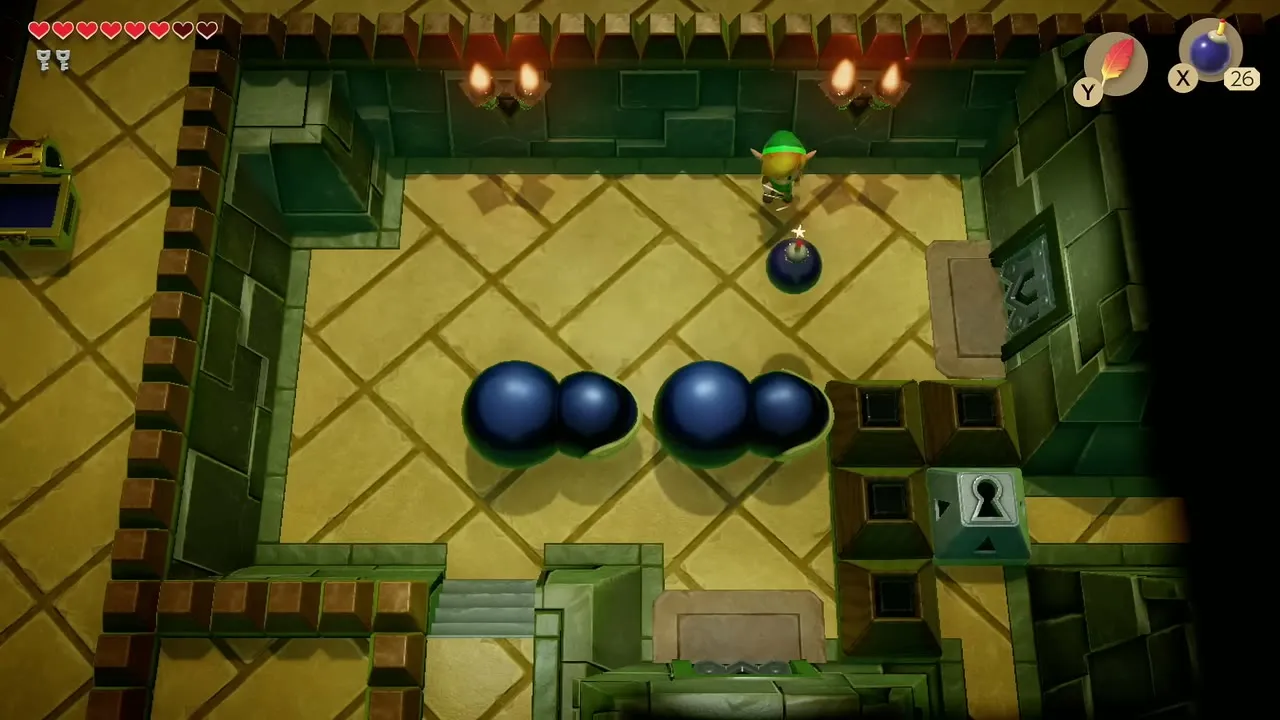
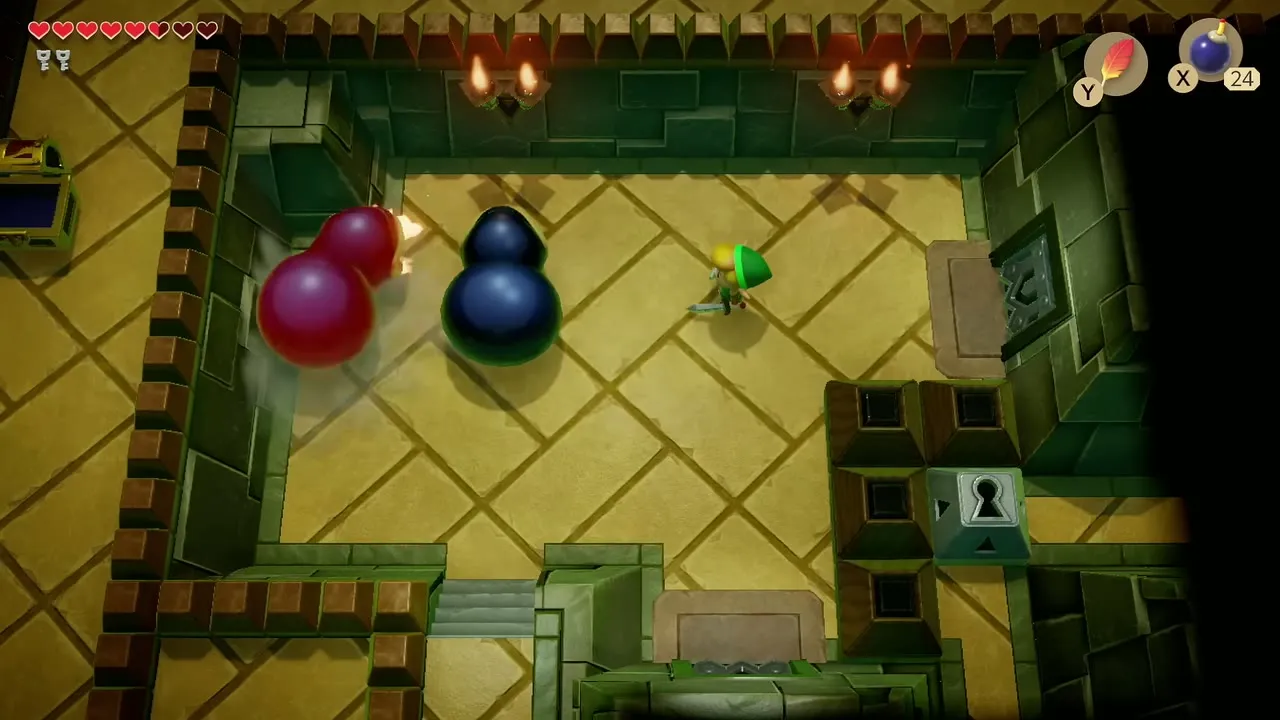
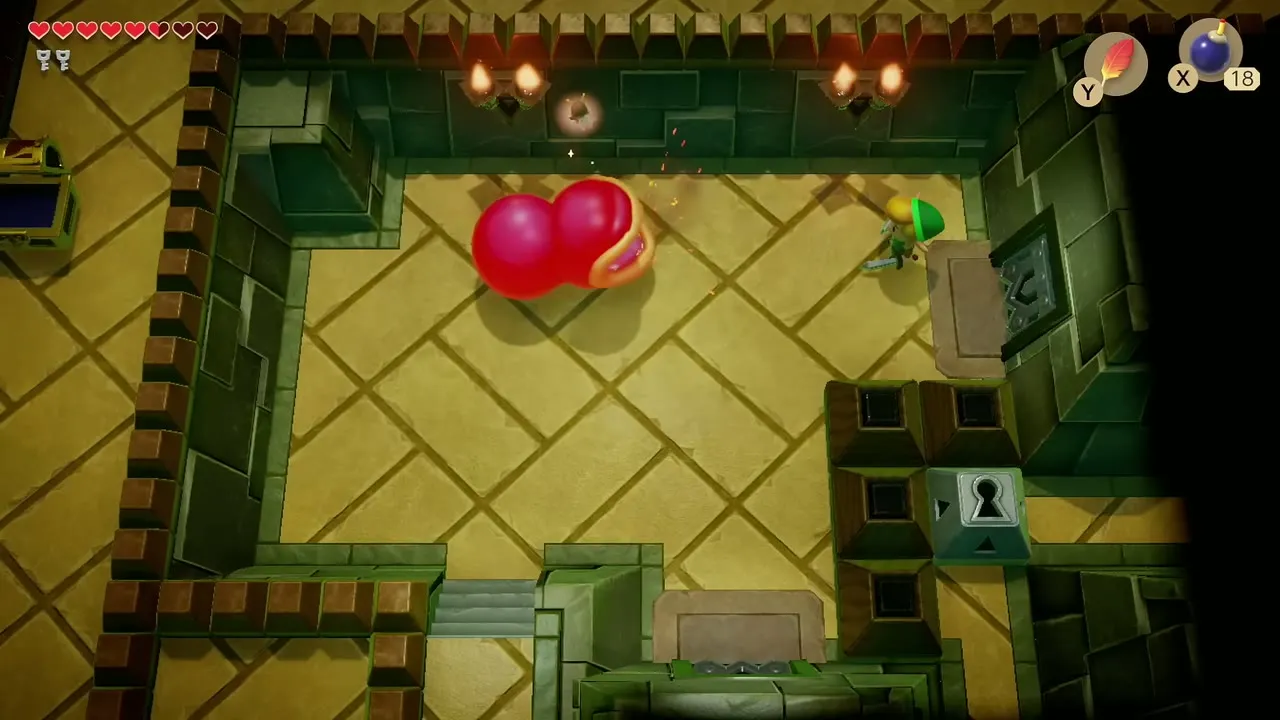
Step into the arena with the two Dodongo Snakes. Place a bomb in front of each snake’s mouth just as it turns toward you. Each one has to swallow three bombs before it bursts, and when both are gone they drop a fairy and open the door and a blue warp back to the entrance. If you run out of bombs, a stairway at the lower left leads to a bomb pickup.
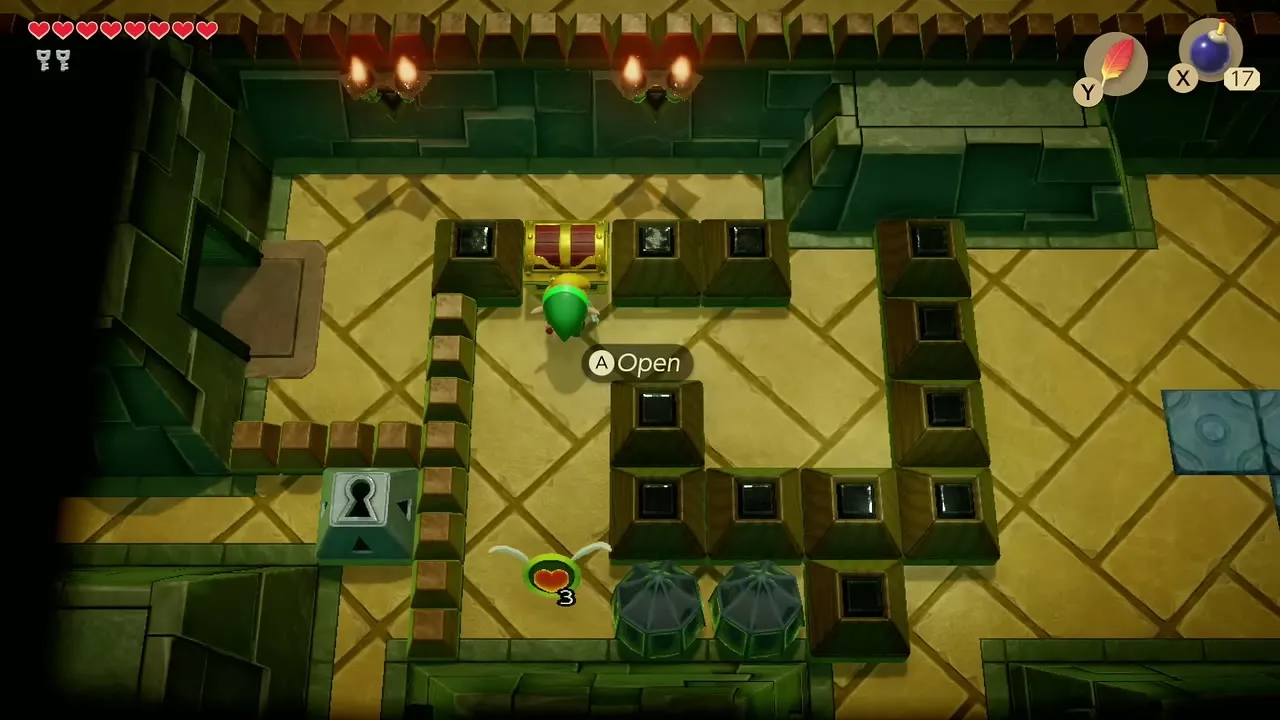
How to get the Pegasus Boots
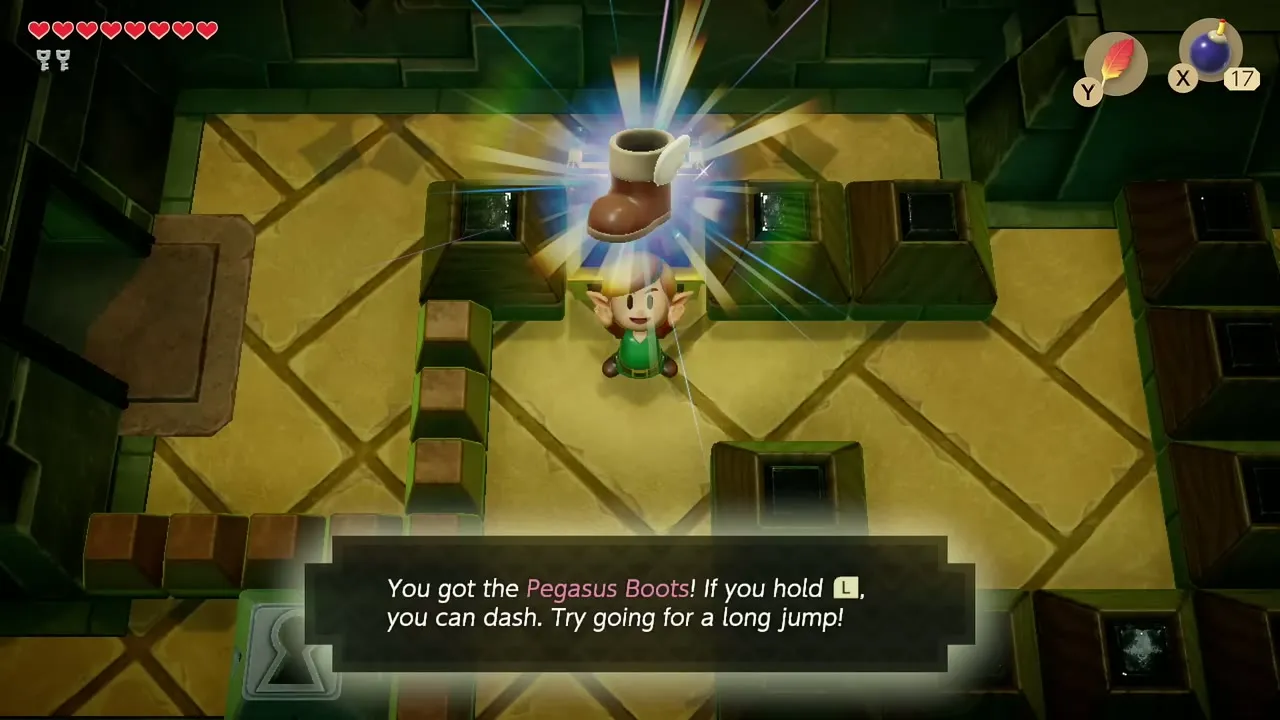
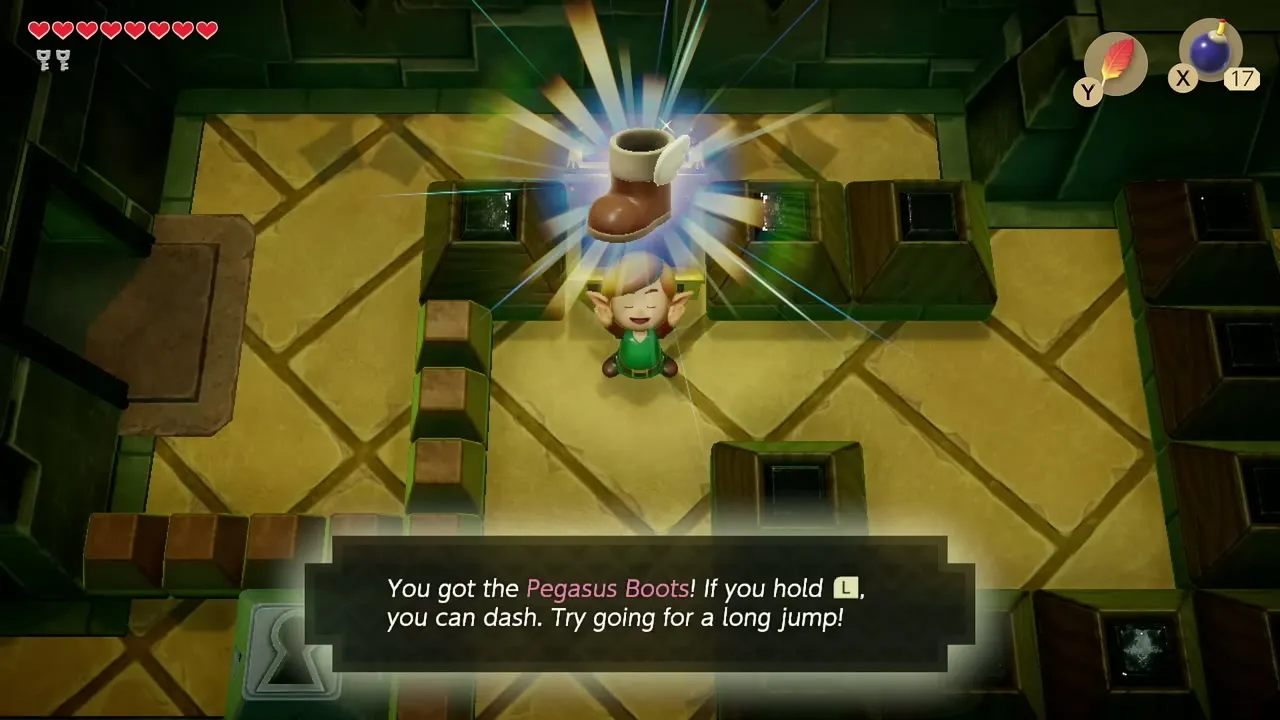
In the next room, push the lower block left and the upper block up to reach the chest. Open it for the Pegasus Boots. Hold L to dash, and combine a dash with Roc’s Feather for long jumps. You also use the dash to break the crystal barriers below and to ram the boss’s walls.
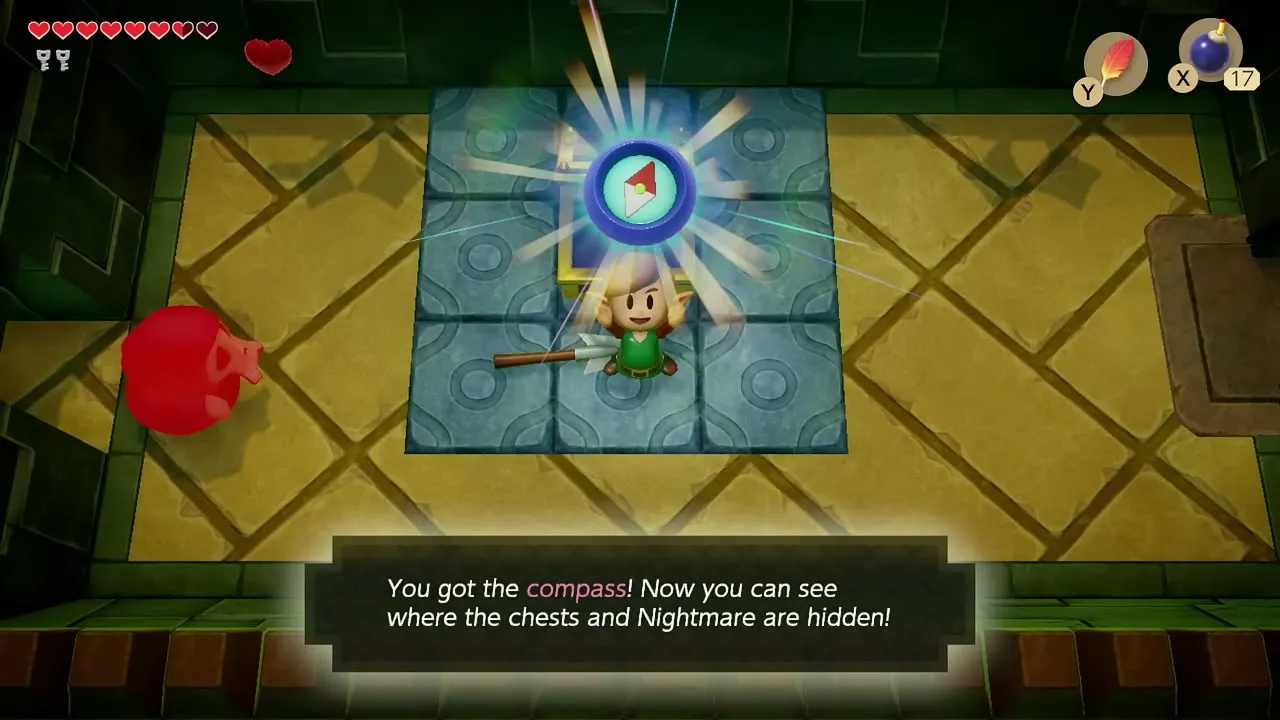
Compass
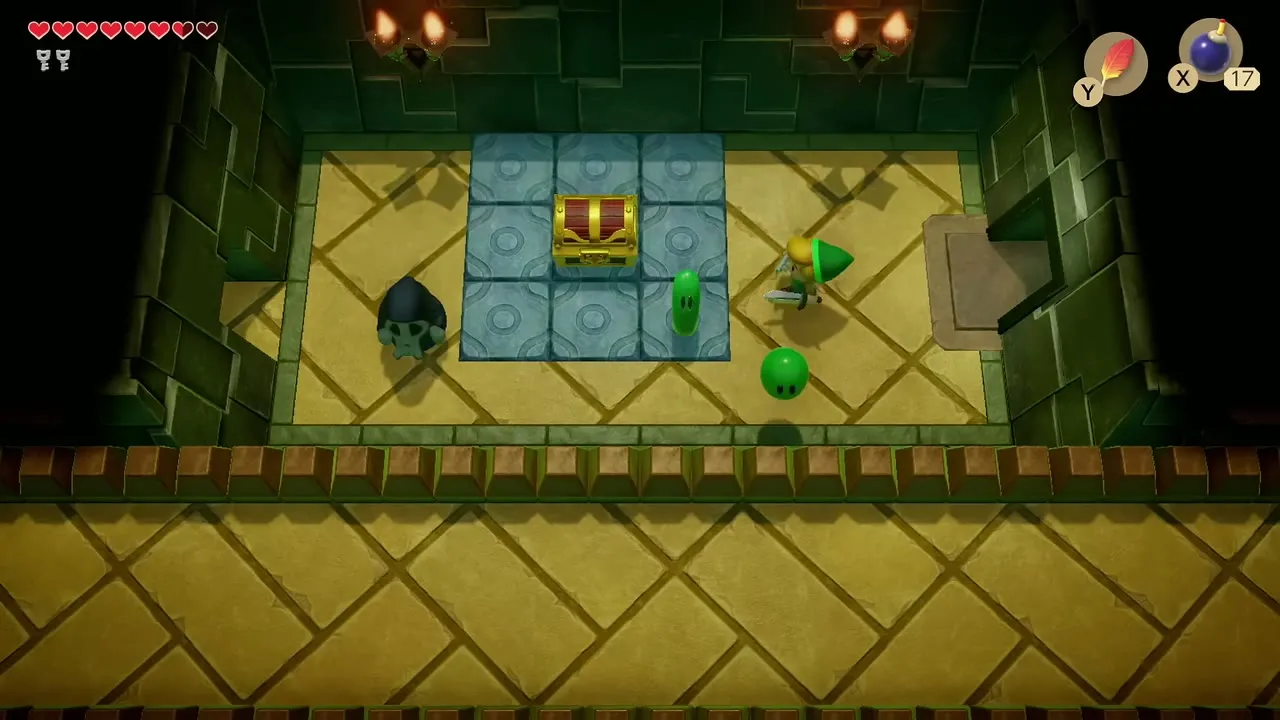
Walk through the room with the Zols and Hardhat Beetles to the chest in the blue tile ring, and open it for the Compass.
Nightmare Key
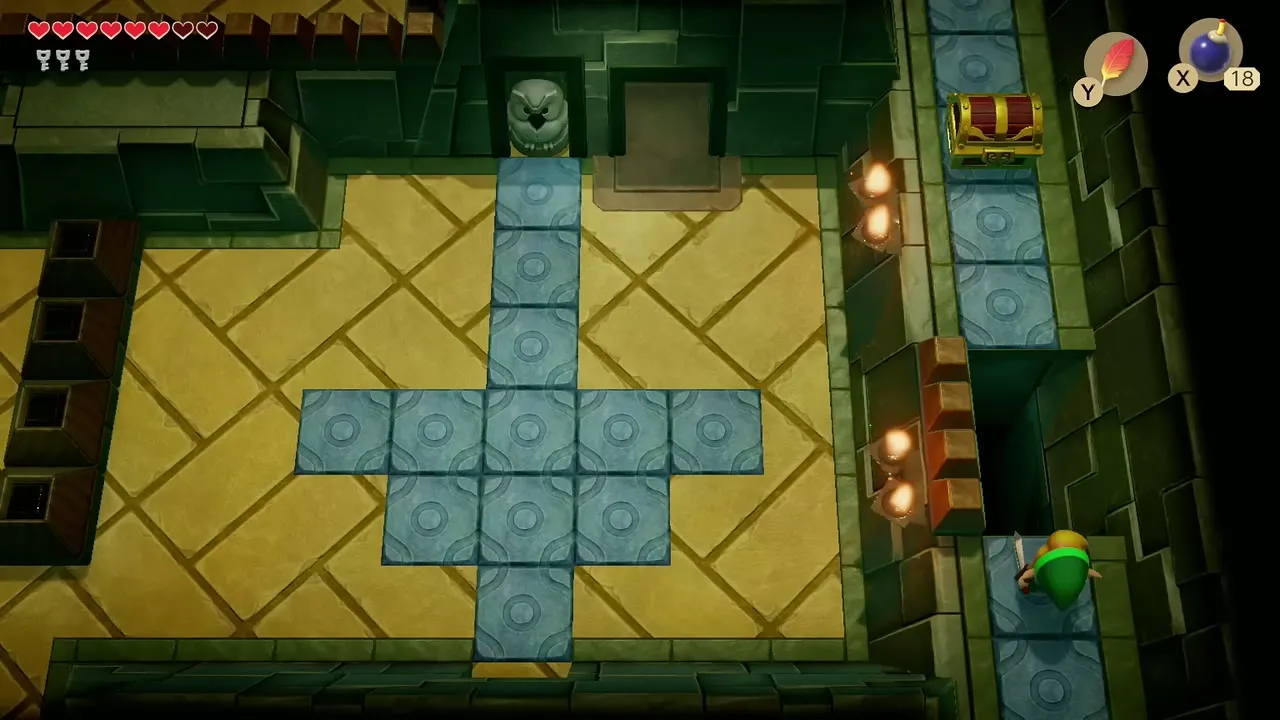
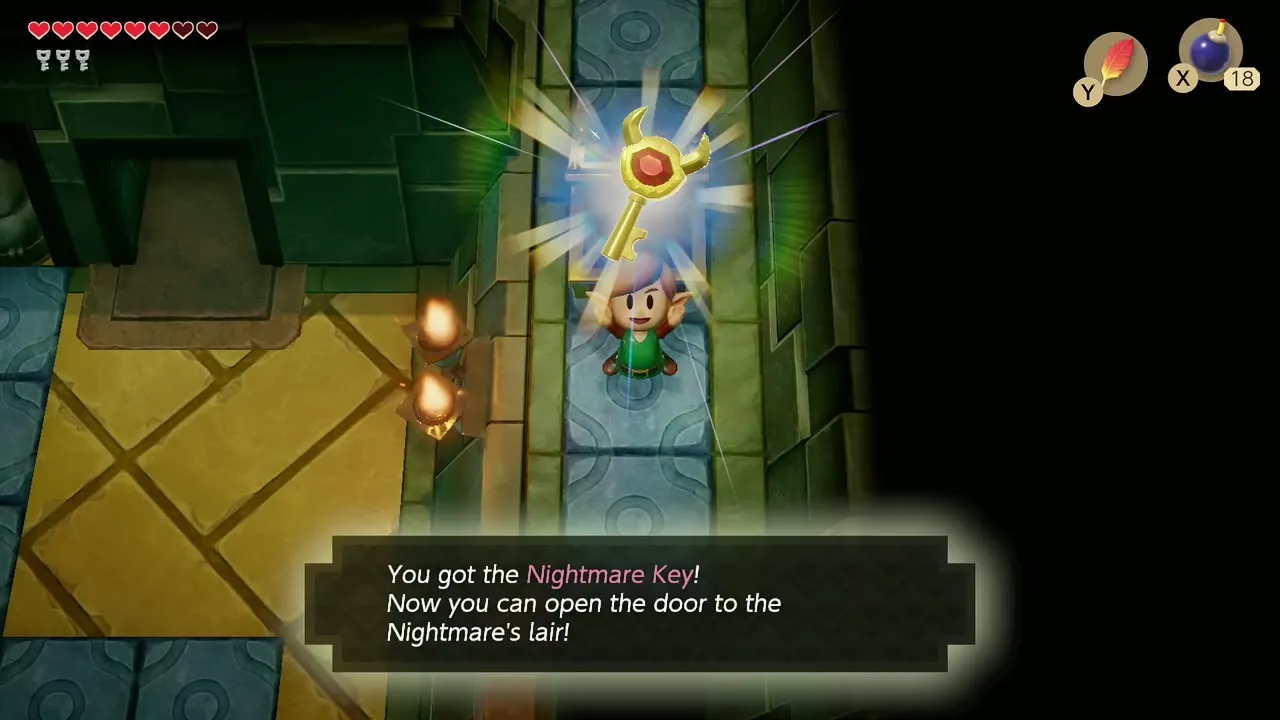
Go to the arrow-tile room and dash-jump across the pits. The chest on the upper walkway holds the Nightmare Key, which opens the boss door.
Small key and the 300 rupee chest
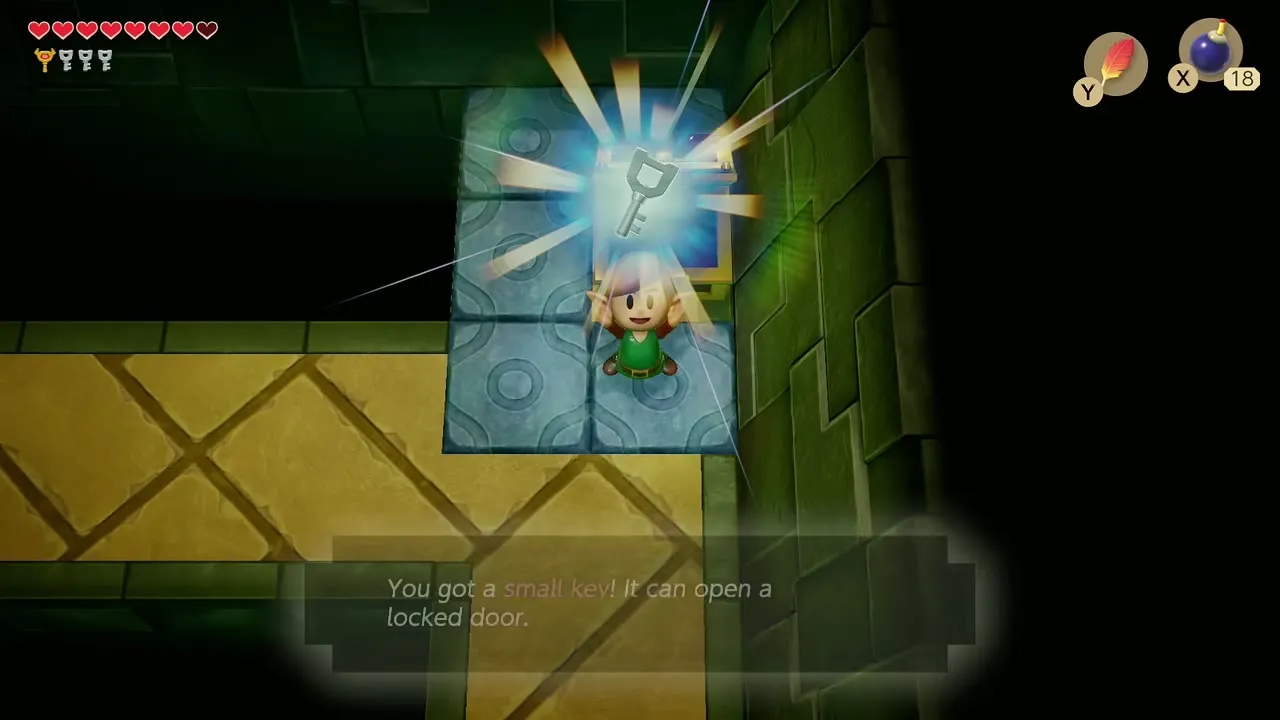
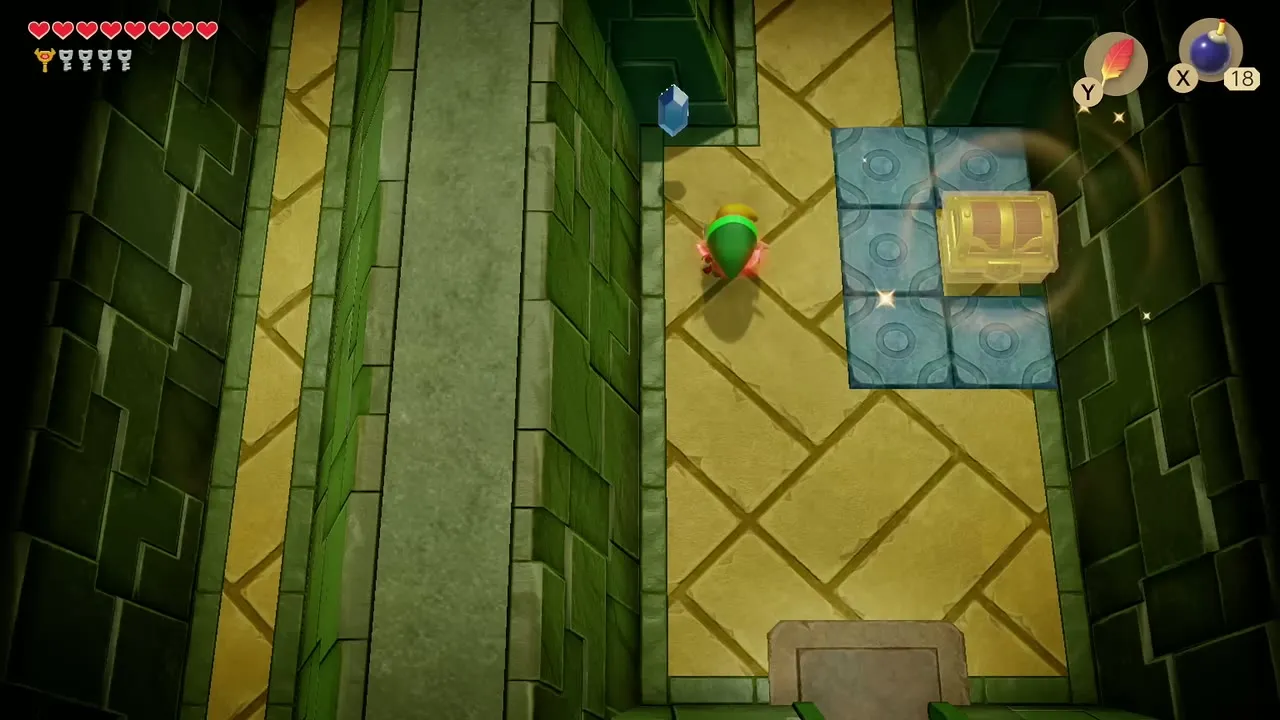
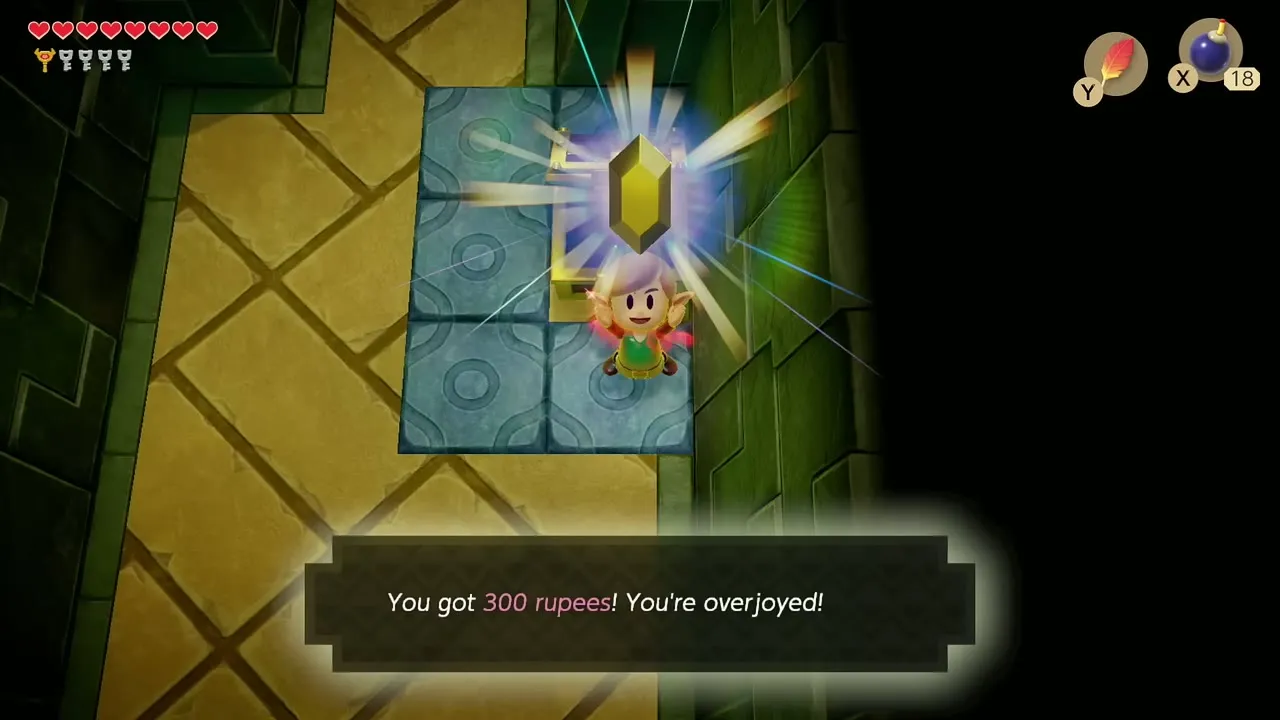
Return to the entrance room, where you pick up another Small Key. In the blue-tile room above, kill the gel and the Stalfos to make a chest appear with 300 rupees.
Dungeon Map
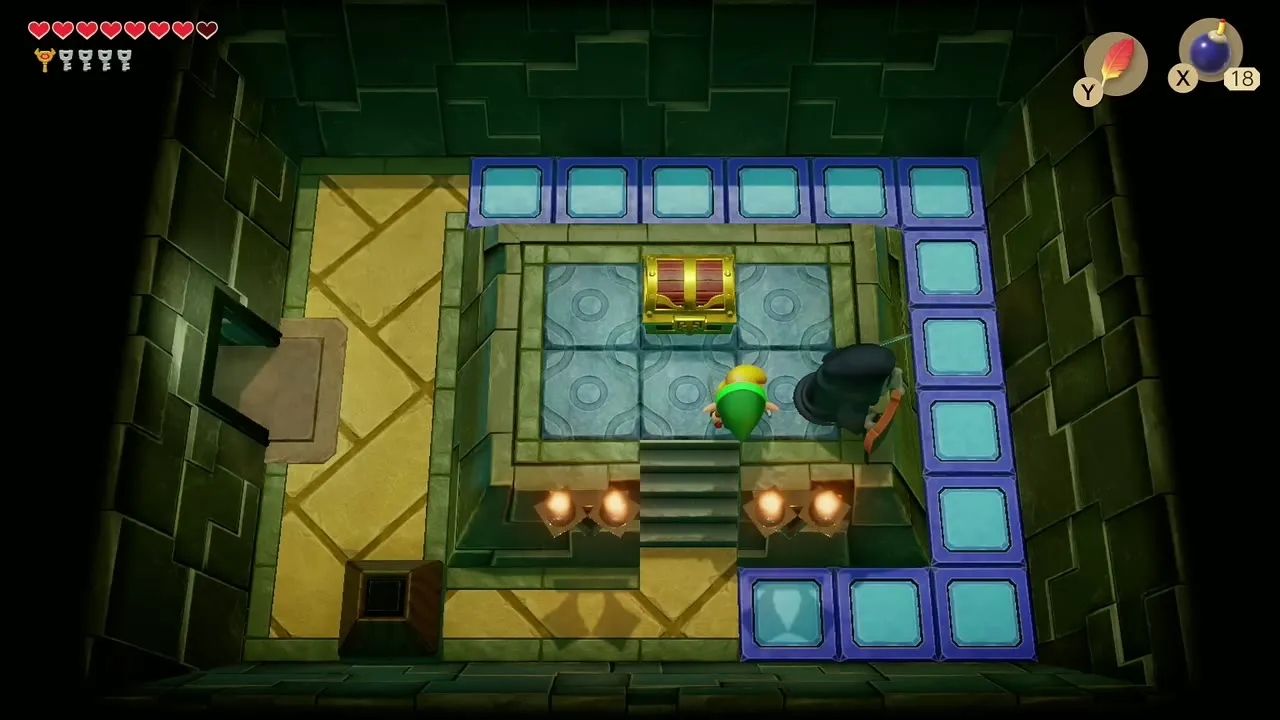
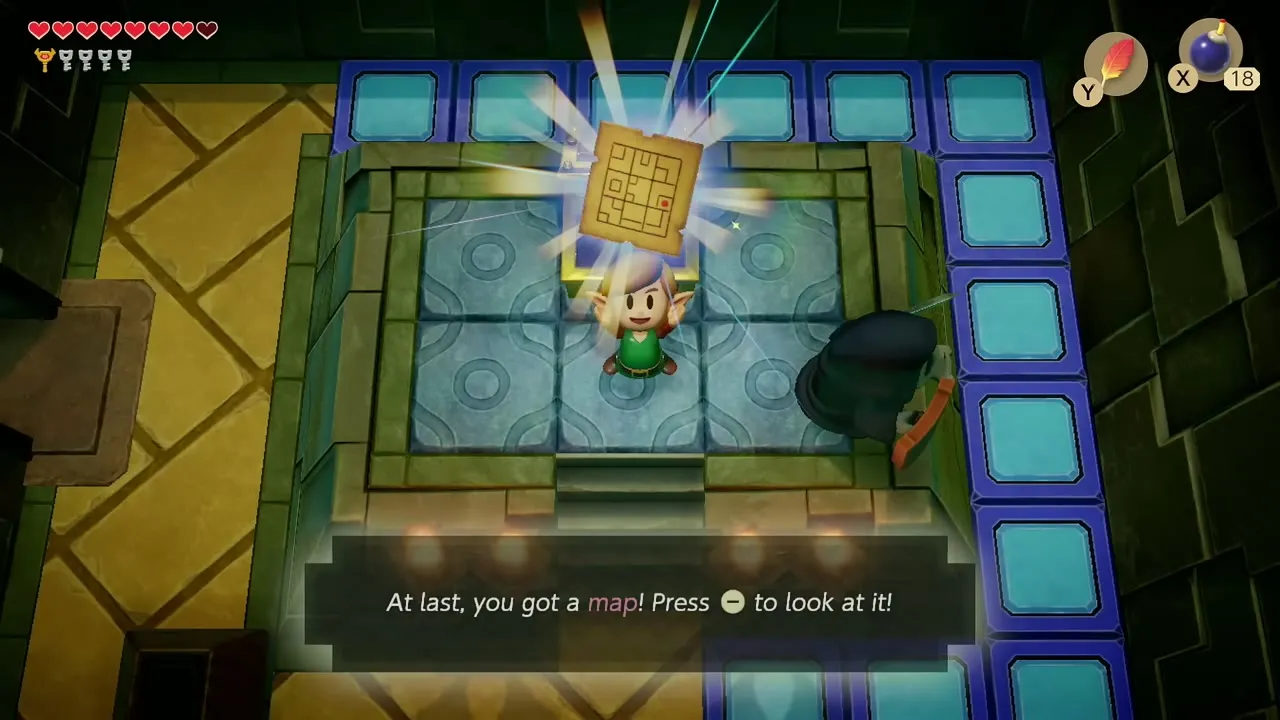
Go to the room with the dais and kill the dark knight in the middle. Use the crystal barriers to reach the chest and take the Dungeon Map.

To the Nightmare door
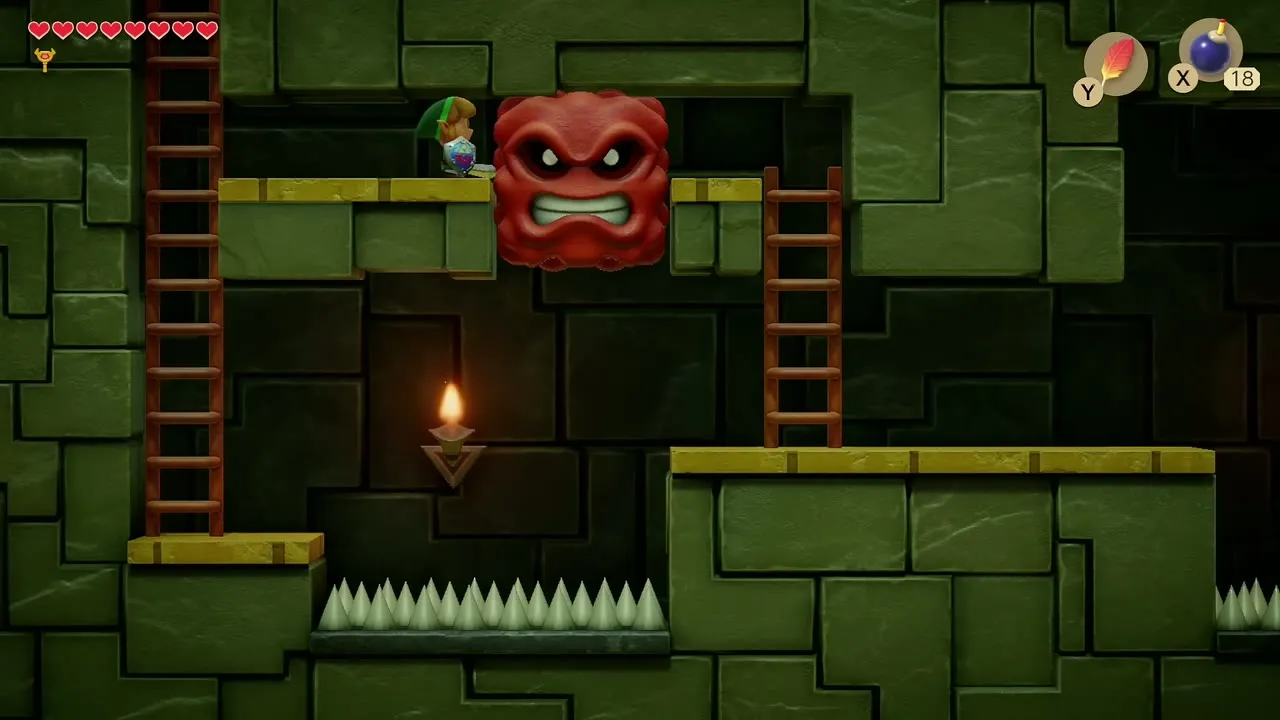
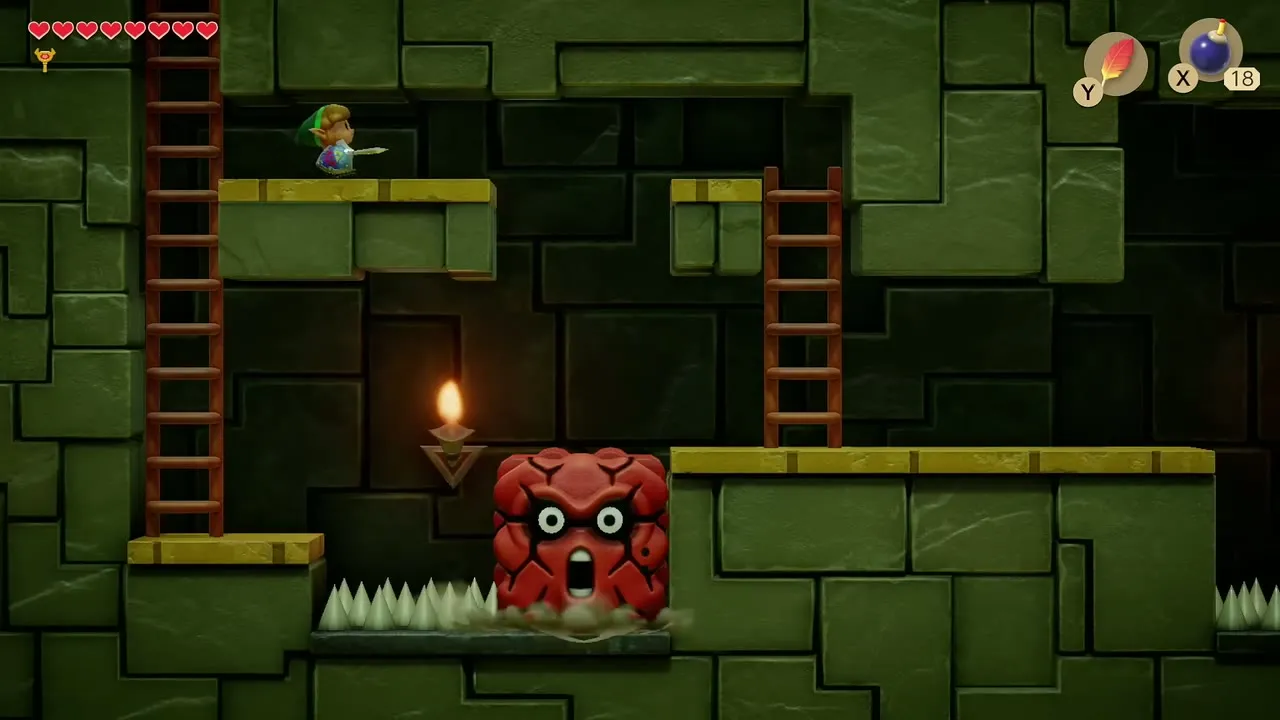
Spend your keys on the locked blocks in the central hub to open the stairs down. In the side-scrolling room dash into the giant Thwomp so it falls onto the spikes and turns into a platform, then jump across with the Feather. Clear the Keese room for the last key and push the pots toward the Nightmare door.
Boss: Slime Eye
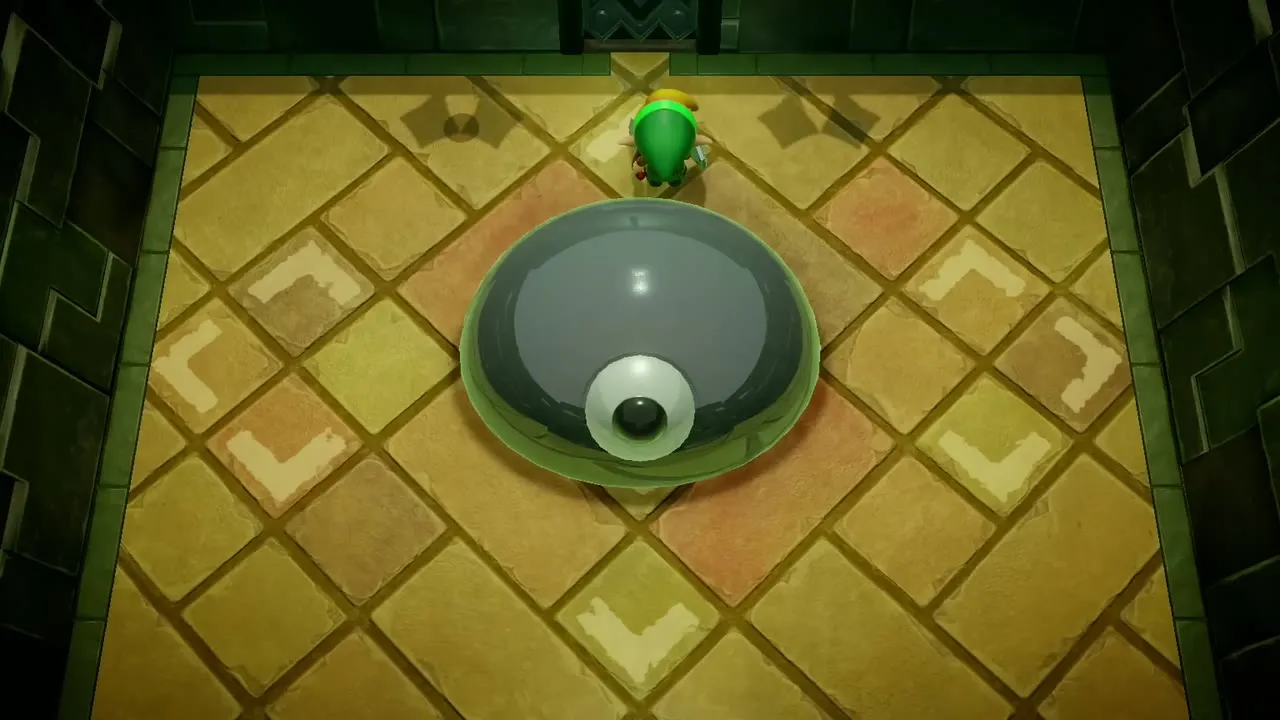
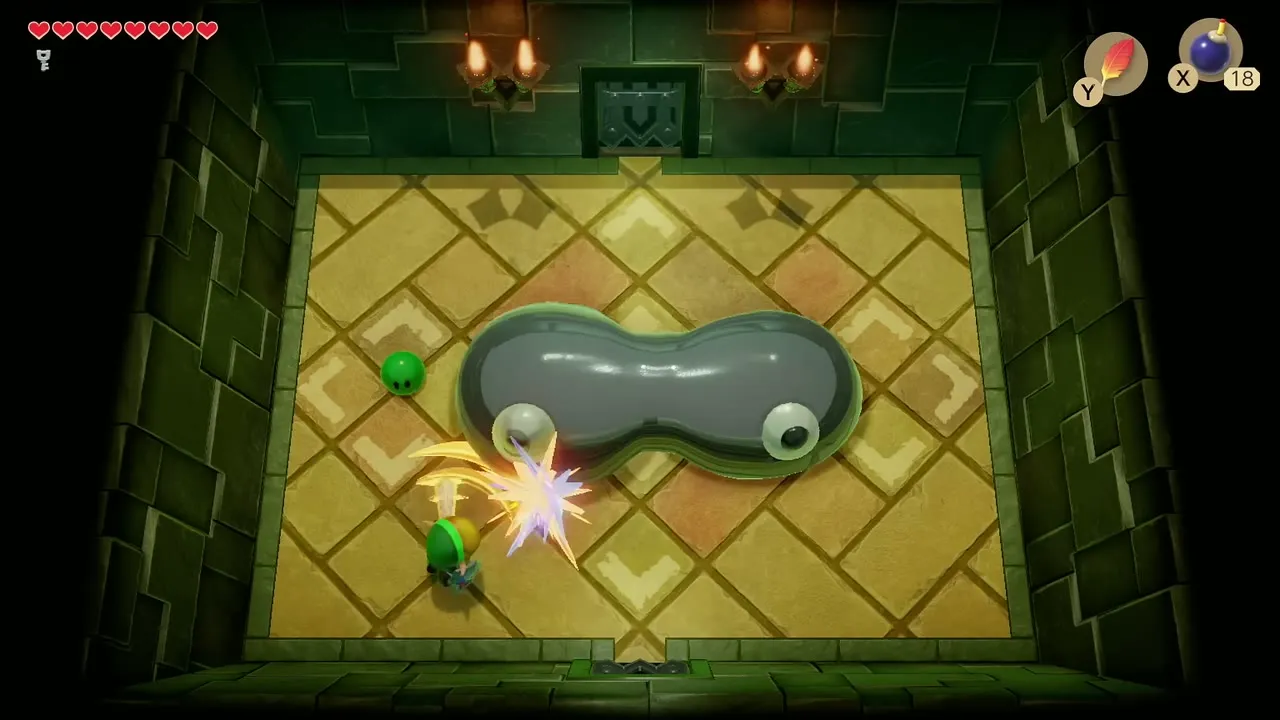
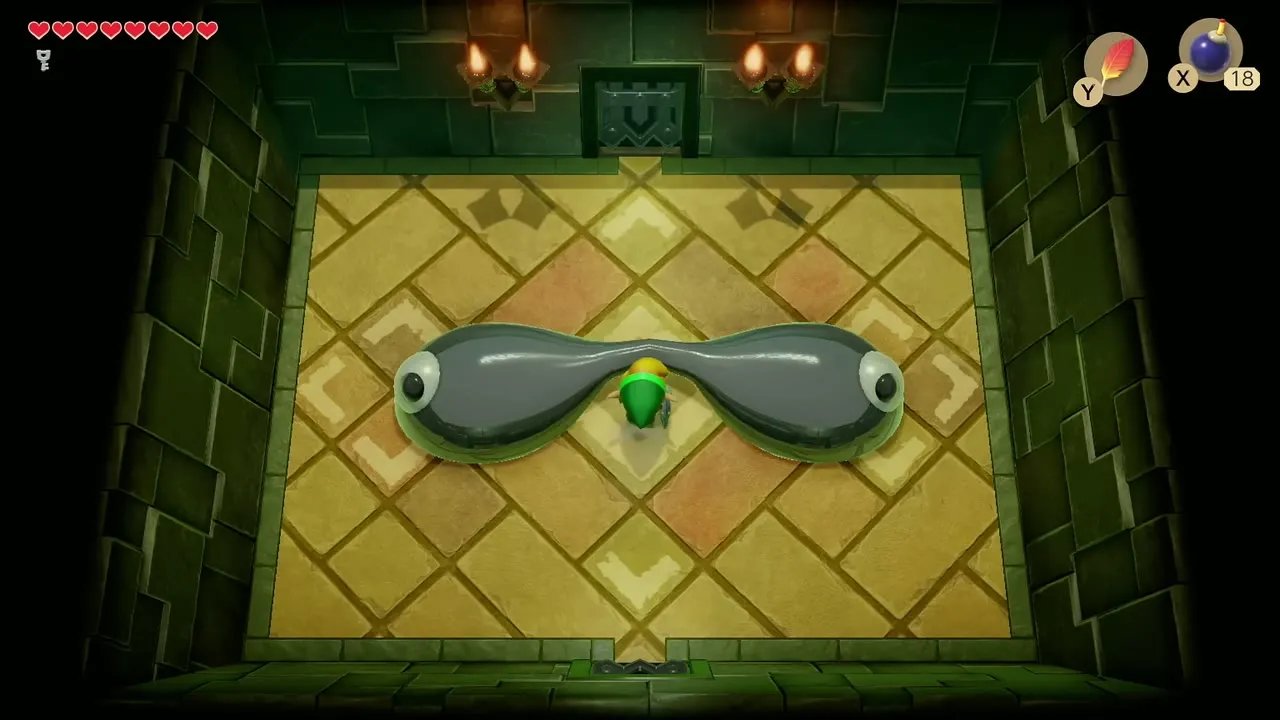
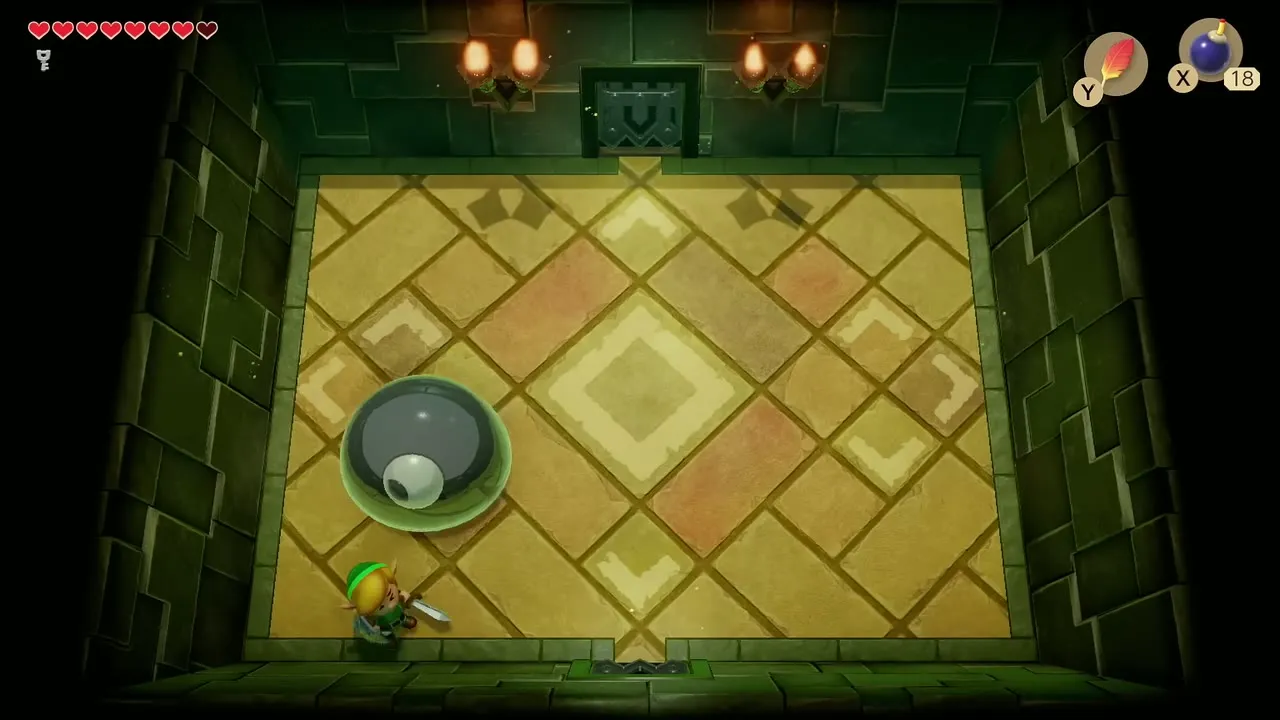
Slime Eye hides in the ceiling. Dash into a wall with the Pegasus Boots to shake it down, then keep dashing into the eye while swinging your sword. When it stretches into two halves, run between them with the boots to split it for good. Each half then bounces around; slash it, and use Roc’s Feather to avoid the stun from the crash when one jumps and slams down.
Heart Container and Sea Lily’s Bell
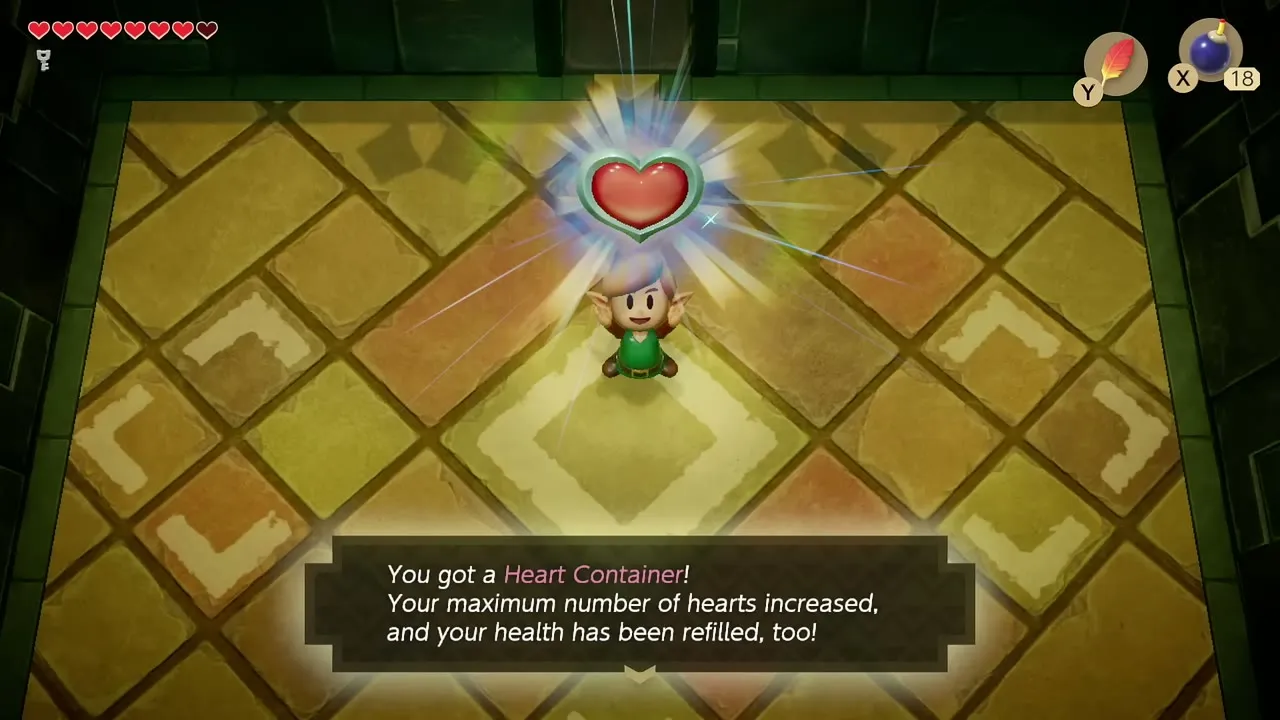
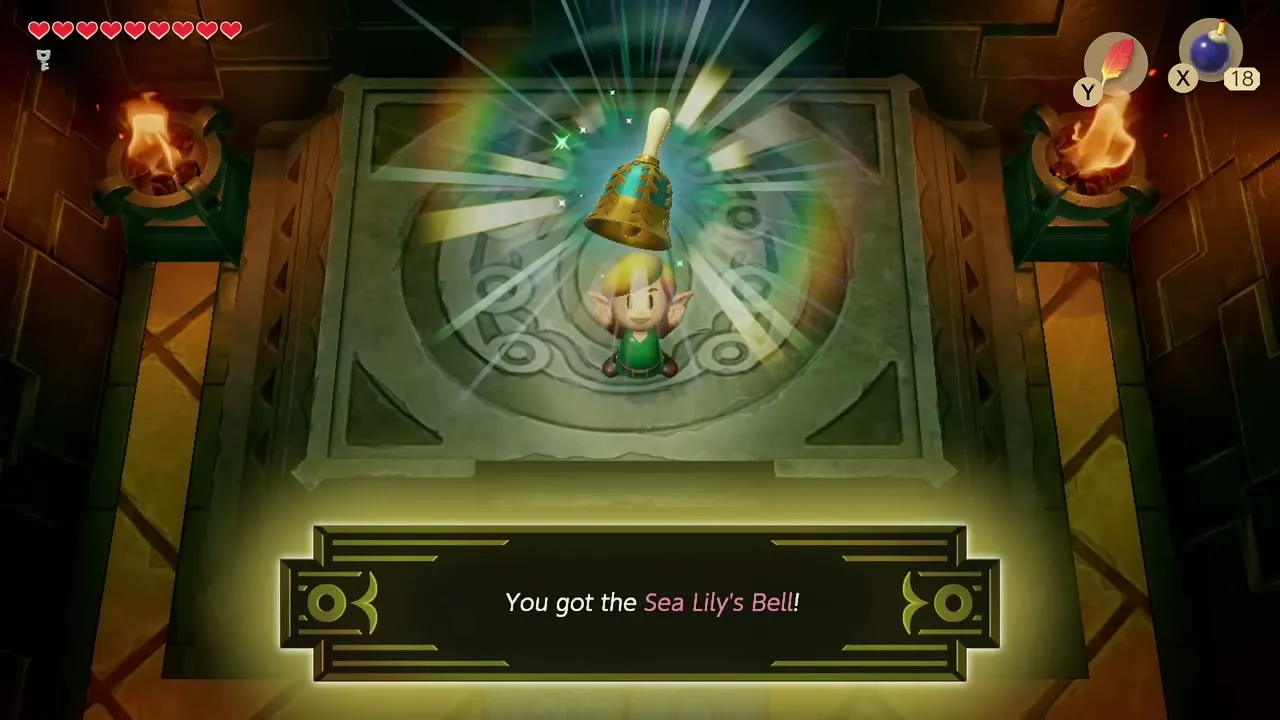
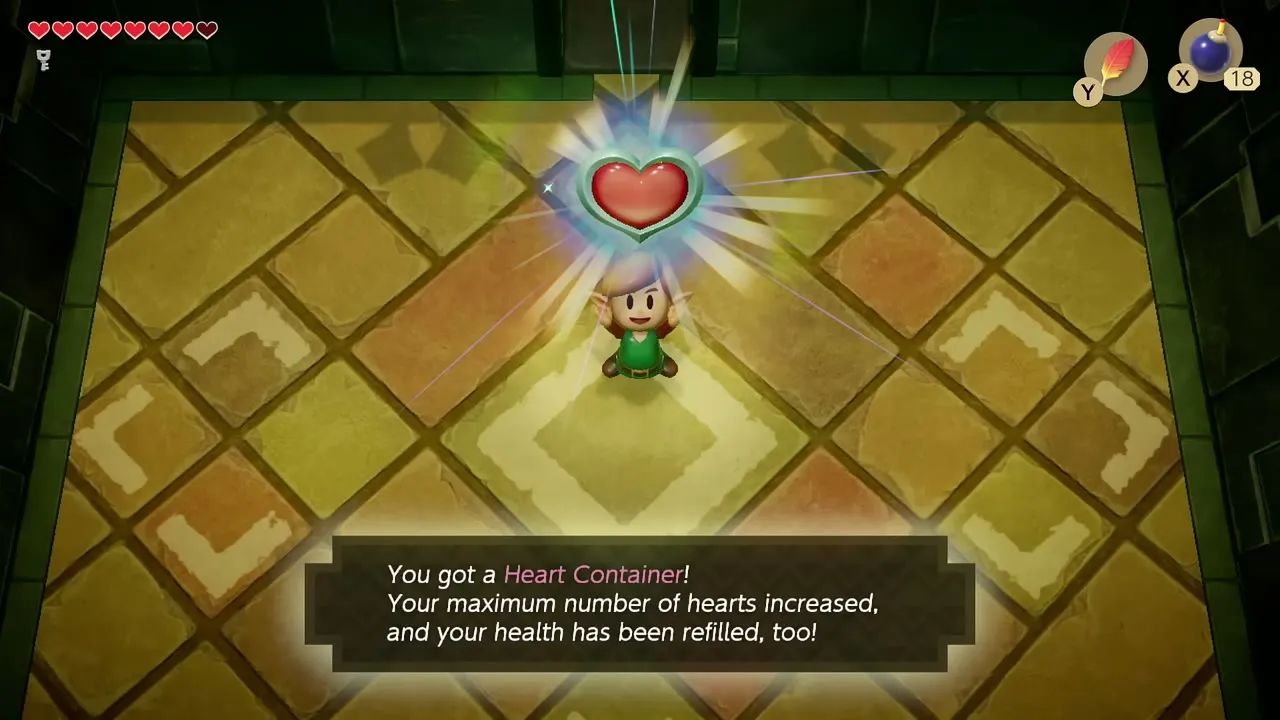
After the fight a Heart Container appears. Take it, then climb the pedestal in the next room to collect the Sea Lily’s Bell, the third instrument. With the Pegasus Boots you can reach many spots that were out of reach before; the optional items page lists them. Three shells need the Boots: dash into the lowest palm of the group in the south-west of Toronbo Shores, into the lone tree west of the Tail Cave entrance, and into the lone tree by the telephone booth on the Signpost Maze road east of Mabe Village. That brings your count to 21.

Chapter checklist
| Type | Name | Where |
|---|---|---|
| Upgrade | Magic Powder capacity | Li’l Devil, Mysterious Forest cave |
| Item | Sleepy Toadstool | Mysterious Forest path |
| Item | Secret Medicine (28 rupees) | Crazy Tracy’s Health Spa |
| Warp | Tal Tal Heights, Ukuku Prairie | Waterfall ledge, cemetery ridge |
| Piece of Heart | Skull rock cave | Mysterious Forest |
| Piece of Heart | Skull and block cave | Ukuku Prairie east of Mabe Village |
| Piece of Heart | Seashell reward | Seashell Mansion, 5 seashells |
| Piece of Heart | Northeast corner | Pothole Field |
| Piece of Heart | First mountain cave | Tal Tal Mountain Range |
| Item | Seashell Sensor | Seashell Mansion, 15 seashells |
| Seashell | Boulder chest | West of the Mysterious Forest, lift the boulder with the Power Bracelet |
| Seashell | Witch’s Hut bush | One screen left and one down from the Witch’s Hut, dig where the lone bush grows |
| Seashell | Chest behind cracked wall | Tail Cave central room |
| Seashell | Grass patch ring | Ukuku Prairie, dig in the middle of the four grass patches north of Key Cavern |
| Seashell | Dig by the cone stone | Ukuku Prairie, behind the skull rock |
| Seashell | Bushes in the northeast corner | Hill near the Seashell Mansion |
| Seashell | Loose boulder in the stone field | South of Kanalet Castle |
| Seashell | Dig left of the Owl Statue | Cave west of the stone field |
| Seashell | Chest in the tunnel | Under Richard’s Villa |
| Seashell | Rocks by the signpost | Tal Tal Heights |
| Seashell | Toronbo palm tree | Dash into the lowest palm with the Pegasus Boots |
| Seashell | Tail Cave tree | Dash into the lone tree outside Tail Cave with the Pegasus Boots |
| Seashell | Signpost Maze tree | Dash into the tree by the telephone booth with the Pegasus Boots |
| Figure | Spiny figure | Trendy Game, Mabe Village |
| Quest | Stick, Honeycomb | Kiki at the moat, Tarin near the beehive |
| Quest | 5 Golden Leaves, Slime Key | Kanalet Castle, Richard’s Villa |
| Rupees | 50 rupee chests | Forest cave, Ukuku cave, Toronbo beach, mountain ledge, Key Cavern |
| Rupees | 300 rupee chest | Key Cavern |
| Key item | Pegasus Boots | Key Cavern, beyond the Dodongo Snakes |
| Dungeon items | Compass, Dungeon Map, Nightmare Key | Key Cavern |
| Boss | Slime Eye | Key Cavern, Heart Container |
| Instrument | Sea Lily’s Bell | Key Cavern pedestal |
