





















Link's Awakening 100% Completion Walkthrough9 chapters
- Toronbo Shores, Mabe Village and Tail Cave (Level 1)Link’s Awakening Switch walkthrough from the start: get the Sword, Shovel and Magic Powder, find the Tail Key, then.
- Mysterious Forest, Goponga Swamp and Bottle Grotto (Level 2)Rescue BowWow, collect three Heart Pieces and Secret Seashells, cross Goponga Swamp and clear Bottle Grotto (Level 2).
- Ukuku Prairie, Kanalet Castle and Key Cavern (Level 3)Link’s Awakening Switch walkthrough for Kanalet Castle Golden Leaves, the Slime Key, Key Cavern (Level 3), the Pegasus.
- Yarna Desert and Angler’s Tunnel (Level 4)Yarna Desert and Angler’s Tunnel walkthrough for Link’s Awakening: get the Angler Key, the Flippers and the Surf Harp.
- Martha’s Bay and Catfish’s Maw (Level 5)Martha’s Bay and Catfish’s Maw walkthrough for Link’s Awakening: learn Manbo’s Mambo, free the Ghost, win the Hookshot.
- Southern Face Shrine and Face Shrine (Level 6)Southern Face Shrine and Face Shrine (Level 6) walkthrough for Link’s Awakening: Magnifying Lens, Koholint Sword.
- Tal Tal Heights and Eagle’s Tower (Level 7)Tal Tal Heights and Eagle’s Tower walkthrough for Link’s Awakening: the Flying Rooster, Bird Key, Mirror Shield, Evil.
- Western Tal Tal Mountains and Turtle Rock (Level 8)Western Tal Tal Mountains and Turtle Rock (Level 8) walkthrough for Link’s Awakening: Secret Seashell 50, Magic Rod.
- The Wind Fish’s Egg and Final BossesThe Wind Fish’s Egg and final bosses walkthrough for Link’s Awakening: read the maze book, play the Ballad, beat all.
| Covers | Mabe Village errands, Ancient Ruins, Toronbo Shores, Tal Tal Mountain Range, Animal Village, Yarna Desert, Martha’s Bay, Seashell Mansion, Tal Tal Heights |
|---|---|
| Dungeon | Angler’s Tunnel (Level 4): needs the Angler Key, Bombs and Roc’s Feather; boss Angler Fish; instrument Surf Harp |
| Rewards | Bow, Boo figure, Ocarina, Ballad of the Wind Fish, Guardian Acorn, Angler Key, Flippers, Stone Beak, Nightmare Key, Piece of Power, Heart Container, Surf Harp; 4 Pieces of Heart, 8 Secret Seashells; trading items Pineapple, Hibiscus, Goat’s Letter, Broom, Fishing Hook |
This chapter turns a stack of loose ends into the key to Level 4. You buy the Bow, collect the Ocarina and learn the Ballad of the Wind Fish, carry the trading item from Animal Village through Papahl, Christine and Mr. Write, wake the Walrus with Marin, win the Angler Key in Yarna Desert, and then use the Flippers you find inside Angler’s Tunnel to beat the Angler Fish and take the Surf Harp.
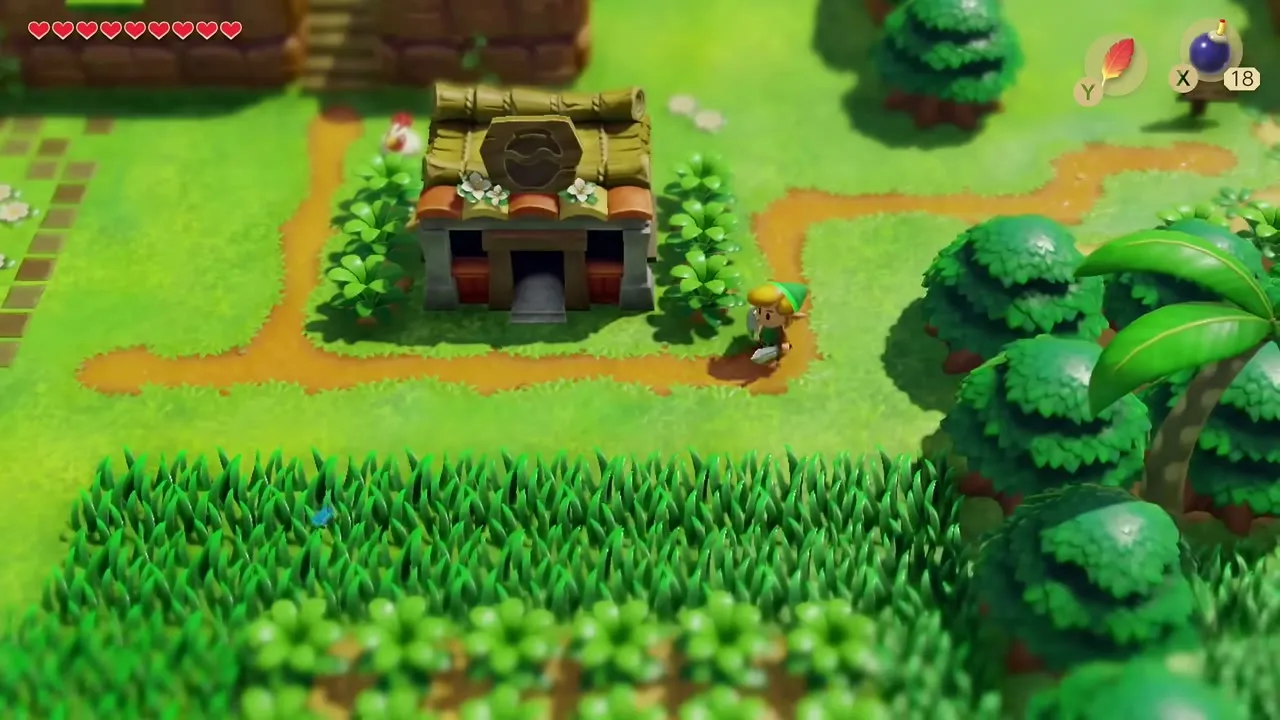
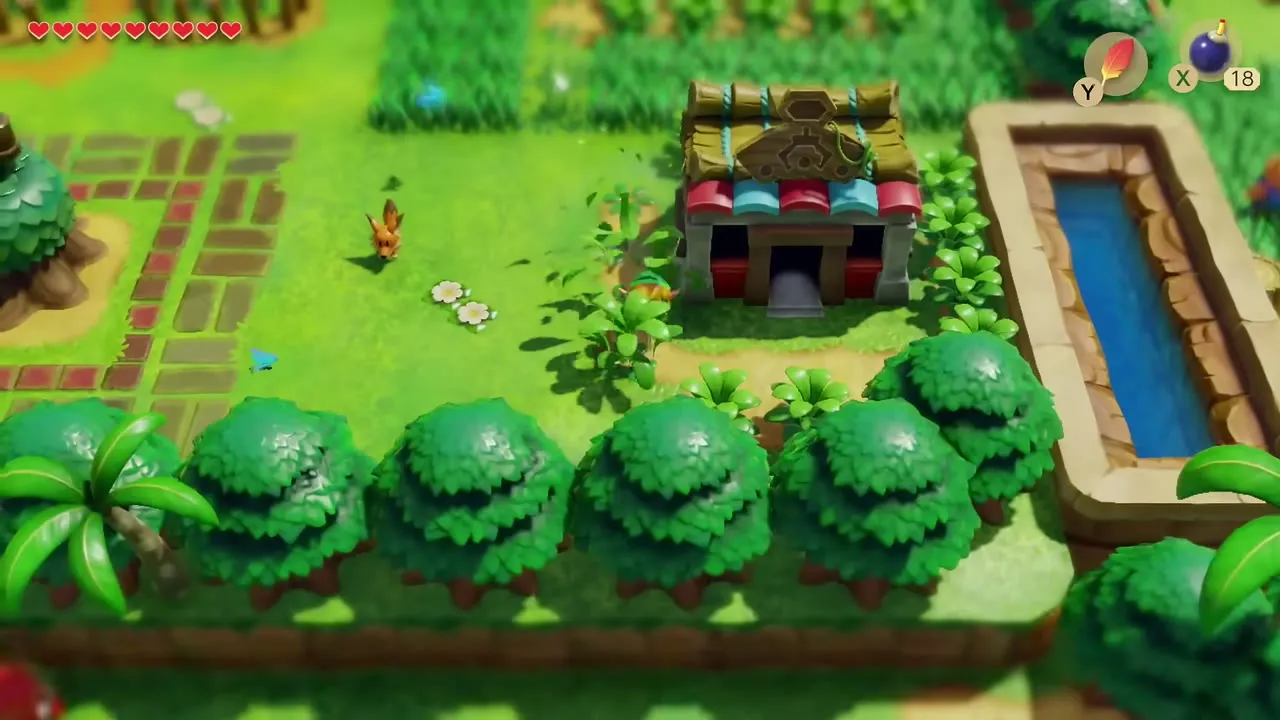
Mabe Village errands: Bow, Boo figure, Ocarina and Dampé
Buy the Bow at the Town Tool Shop
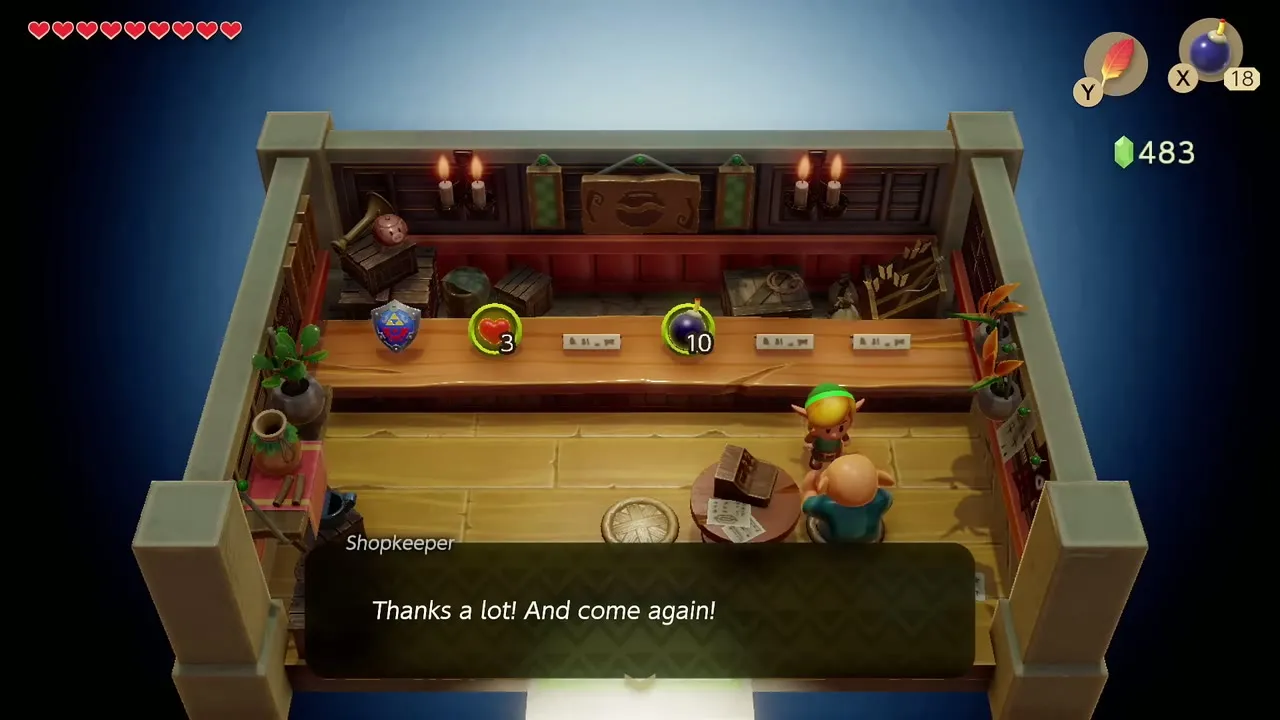
Walk into the Town Tool Shop in Mabe Village once you have around 1,000 rupees. The Bow and Arrow set costs 980 rupees, and the shopkeeper only offers it after you have bought the Shovel. Put the Bow on a button now, because Angler’s Tunnel and later dungeons use it.


Win the Boo figure at the Trendy Game
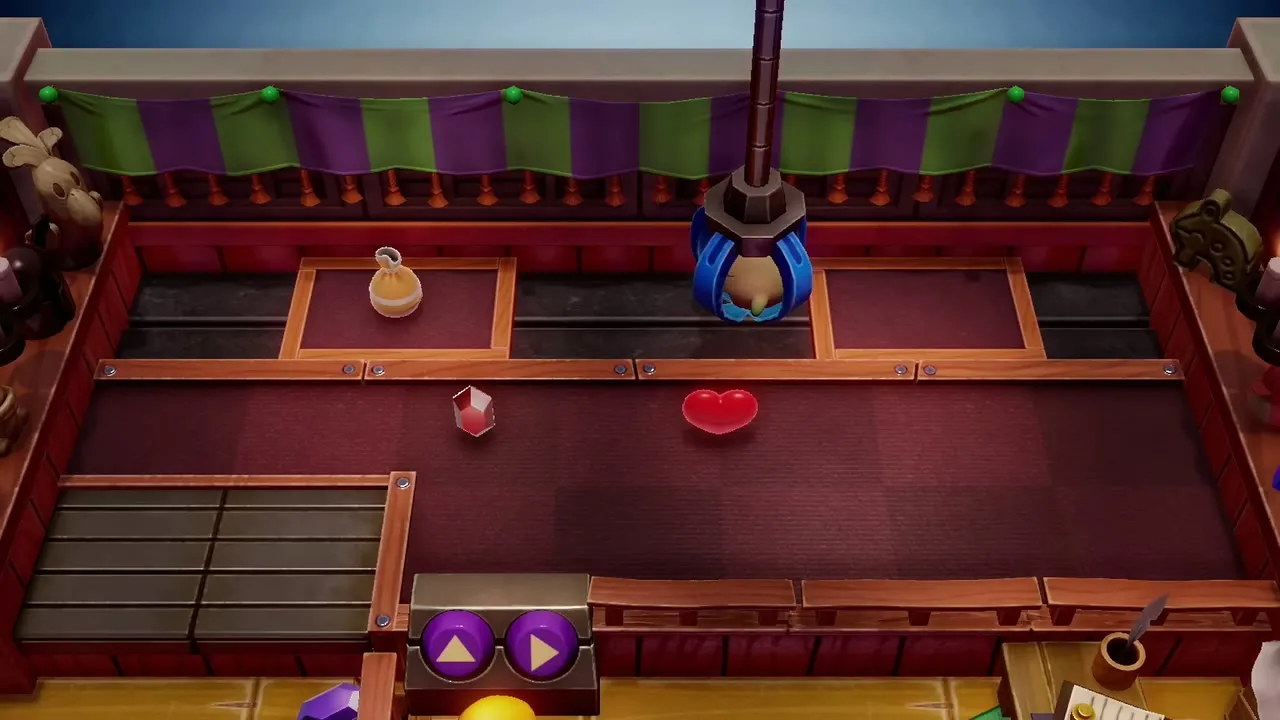
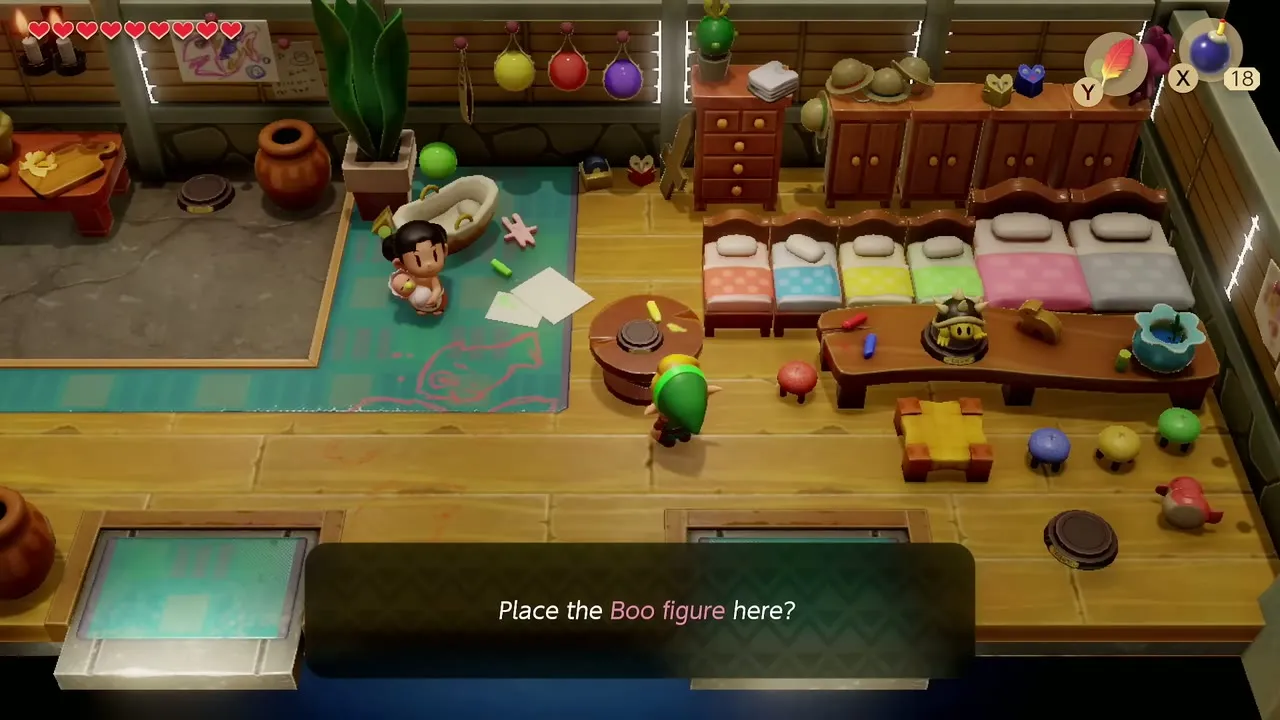
Play the crane at the Trendy Game for 10 rupees a try, steer it over the Boo figure and drop the claw. Carry the prize to the house with the children’s beds and a bath, where you are asked whether to place it on display. More on the crane’s prizes is in the figures and Trendy Game guide.

How to get the Ocarina in the Dream Shrine
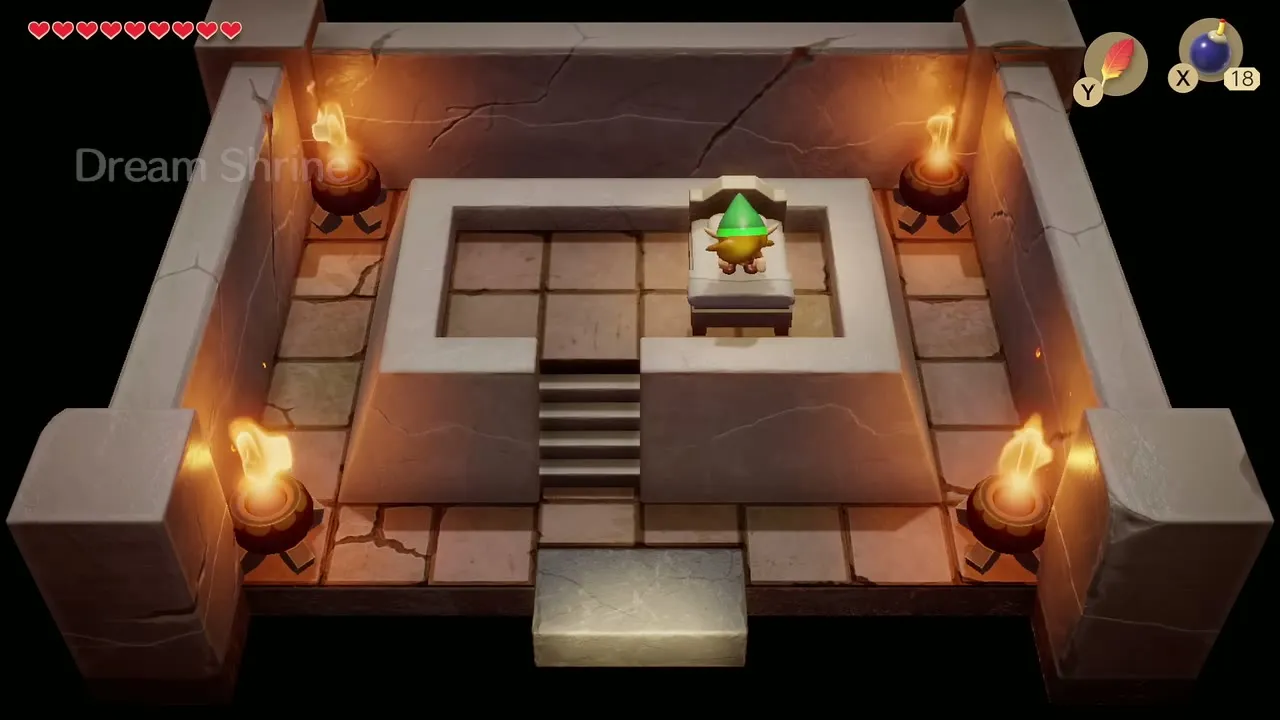
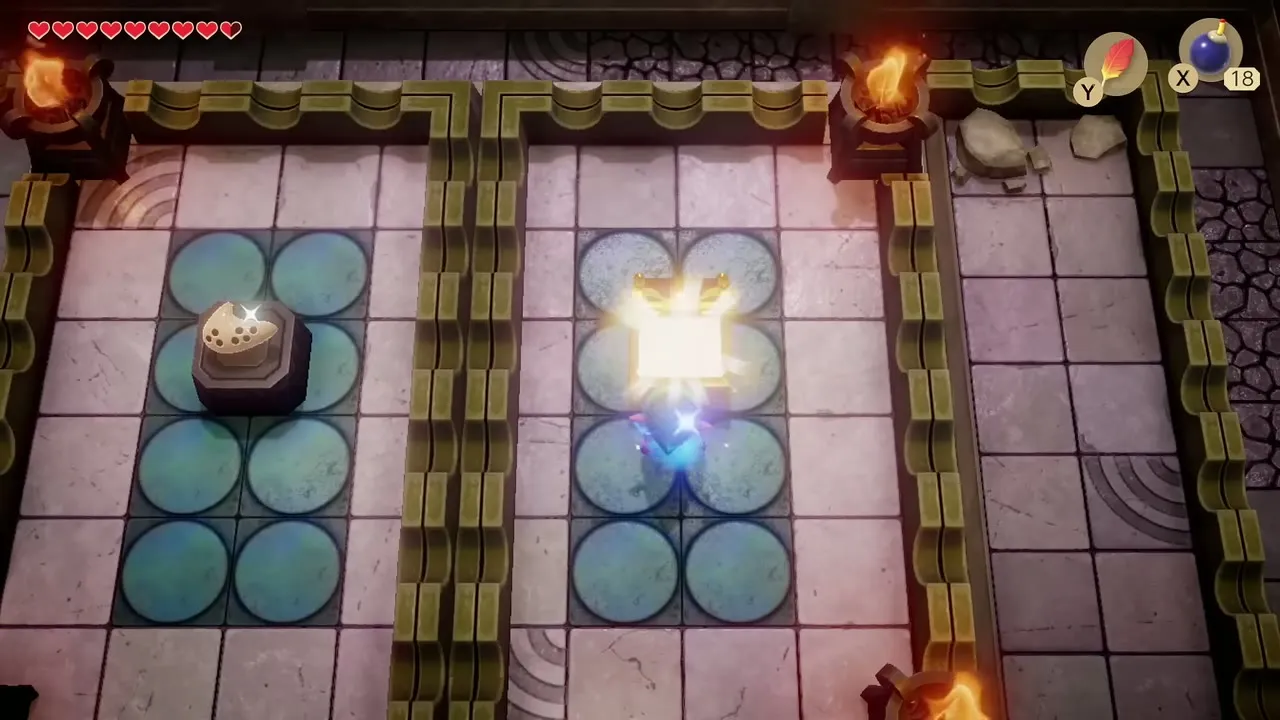
Move the heavy stones in front of the Dream Shrine with the Power Bracelet, step inside and sleep in the bed. In the dream room, Arm-Mimics copy your moves in the opposite direction. A single sword swipe only pushes them back, so run into them with the Pegasus Boots or use spin attacks, and keep to the stone paths between the patterned floor tiles.


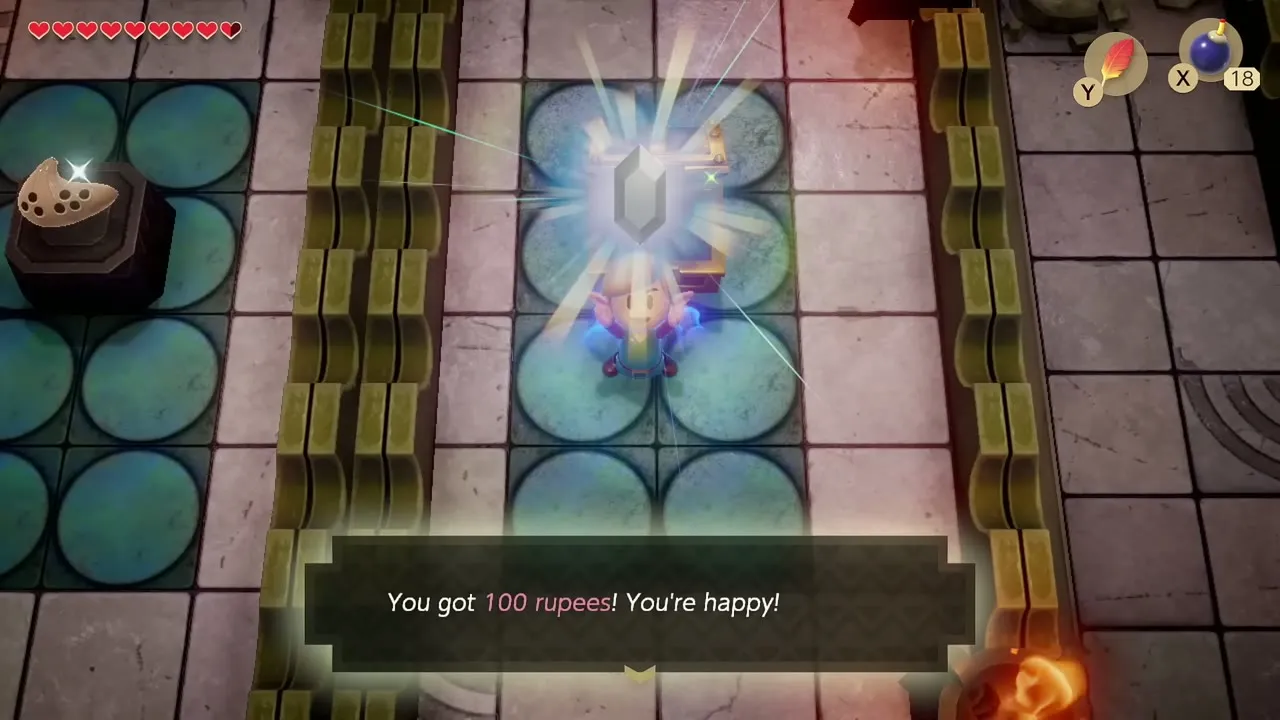
Open the chest for 100 rupees, then lift the Ocarina from its pedestal on the left side of the room. You cannot play it yet; Marin teaches the first song later in this chapter.

Clear Dampé’s challenge for a Piece of Heart
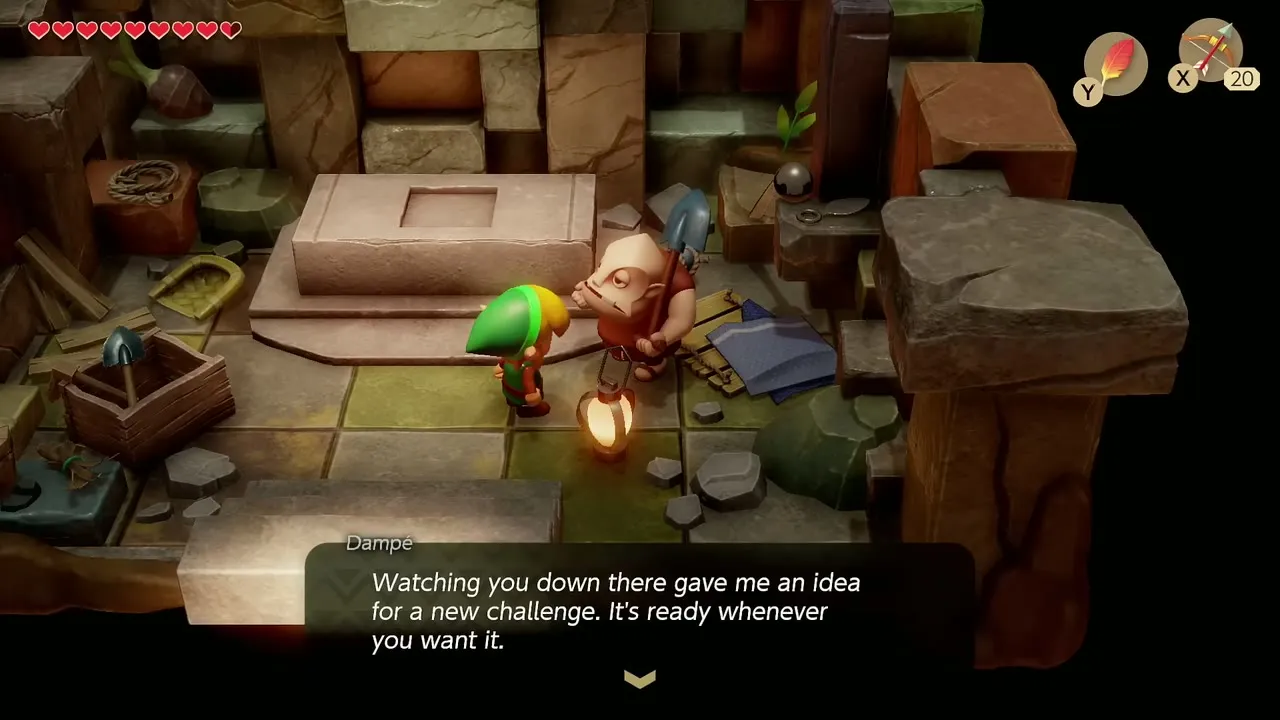
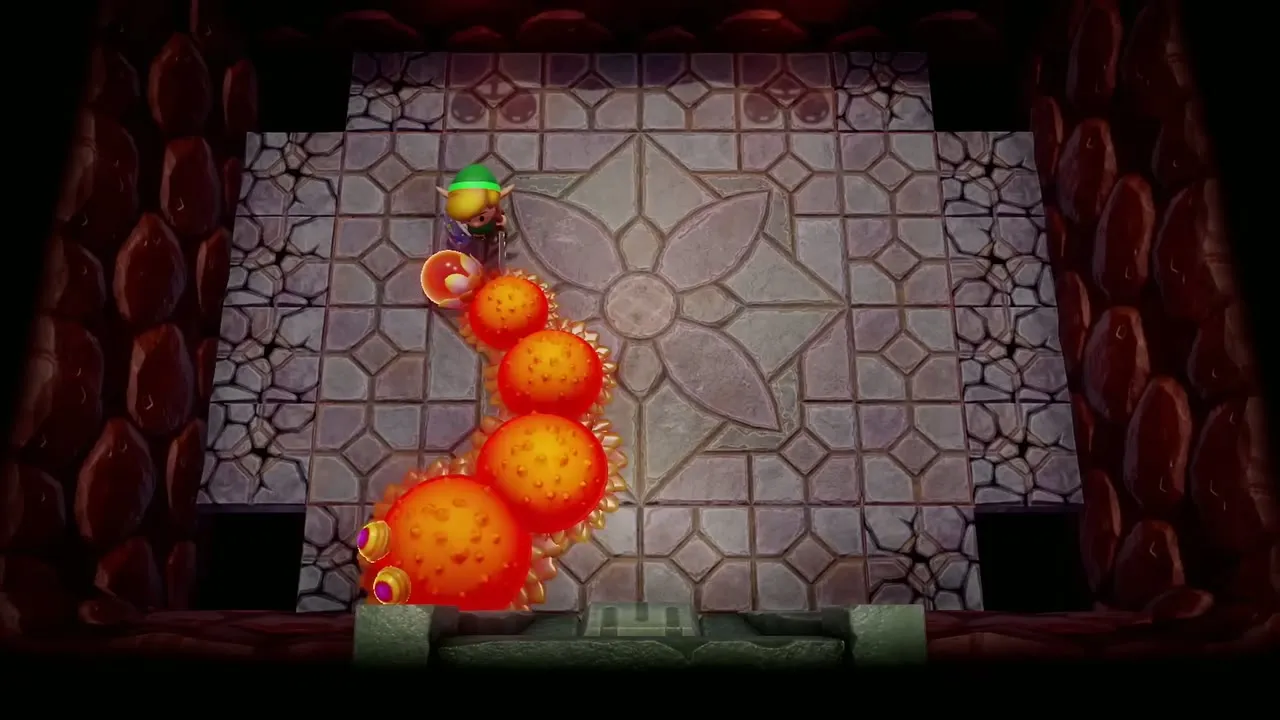
Visit Dampé’s Shack and talk to him. Open the Arrange menu, build the “Fill Up Your Hearts” layout from the chambers you own, then enter the Adventure and clear it. Dampé rewards the clear with a Piece of Heart and a Secret Seashell. Everything about his editor is in the Dampé’s Shack guide.

Ancient Ruins: Secret Seashell chest
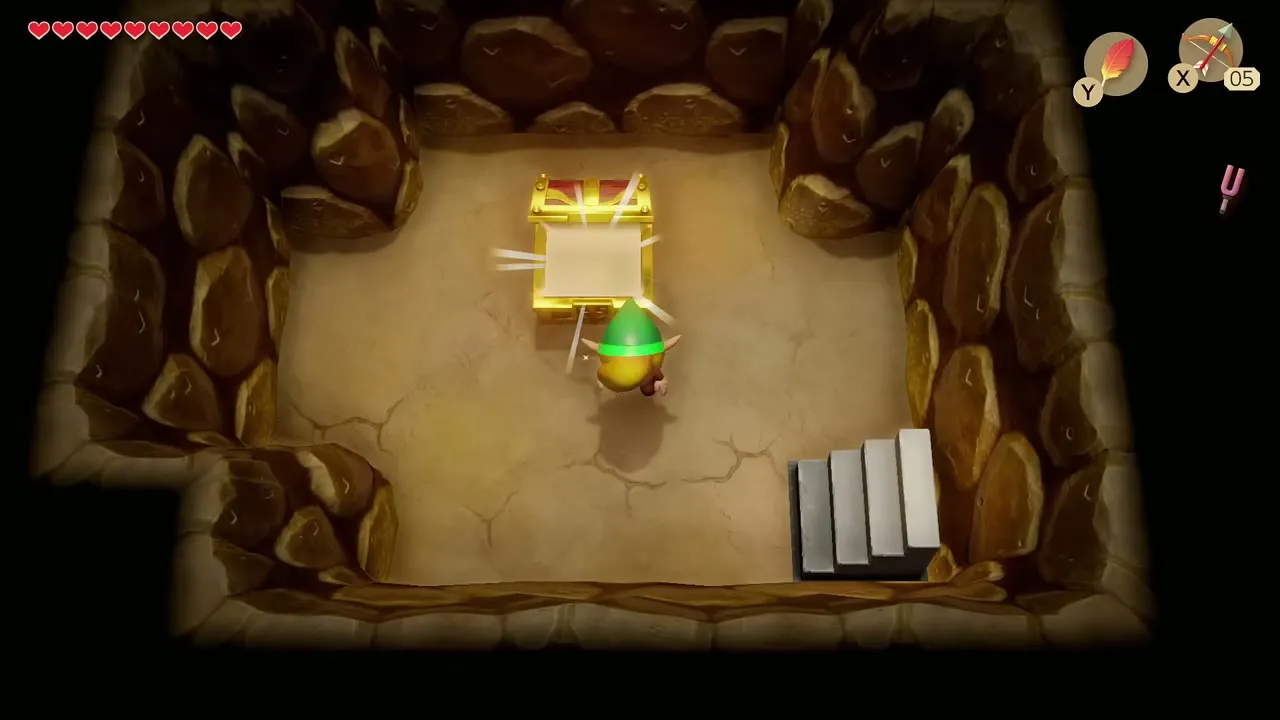
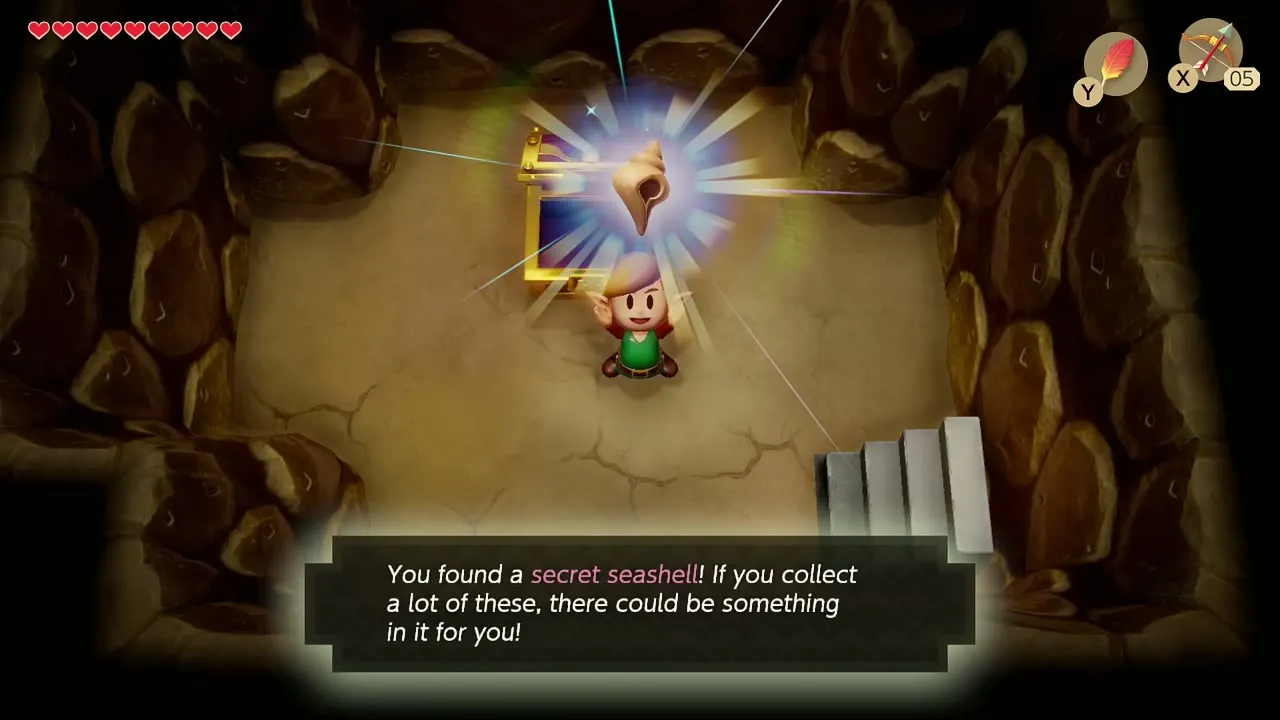
Find the staircase behind the Armos
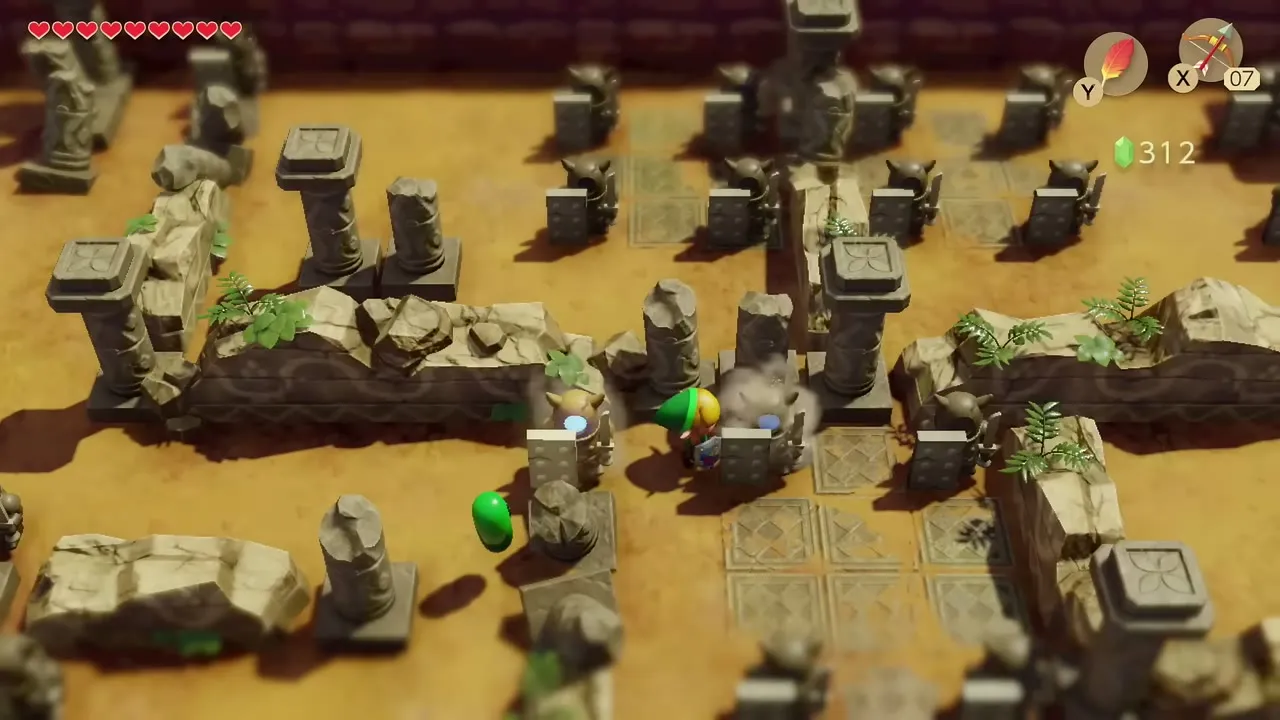
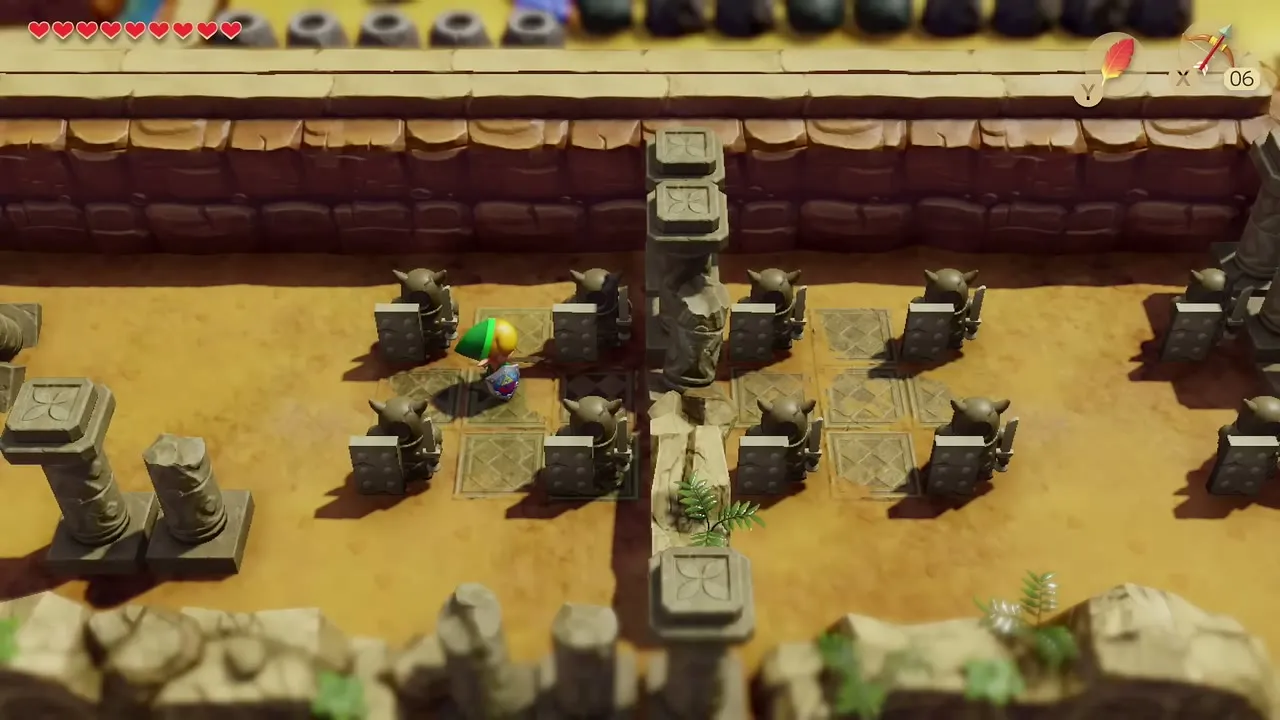
Cross Ukuku Prairie to the Ancient Ruins, where pillars and broken walls fill the screen. Look for the cluster of Armos statues, wake the bottom-right one and let it hop away. This reveals a staircase leading to a tiny cave whose chest holds a Secret Seashell. Details for every shell are in the Secret Seashells guide.

Animal Village and the trading sequence
Trade the Honeycomb for a Pineapple
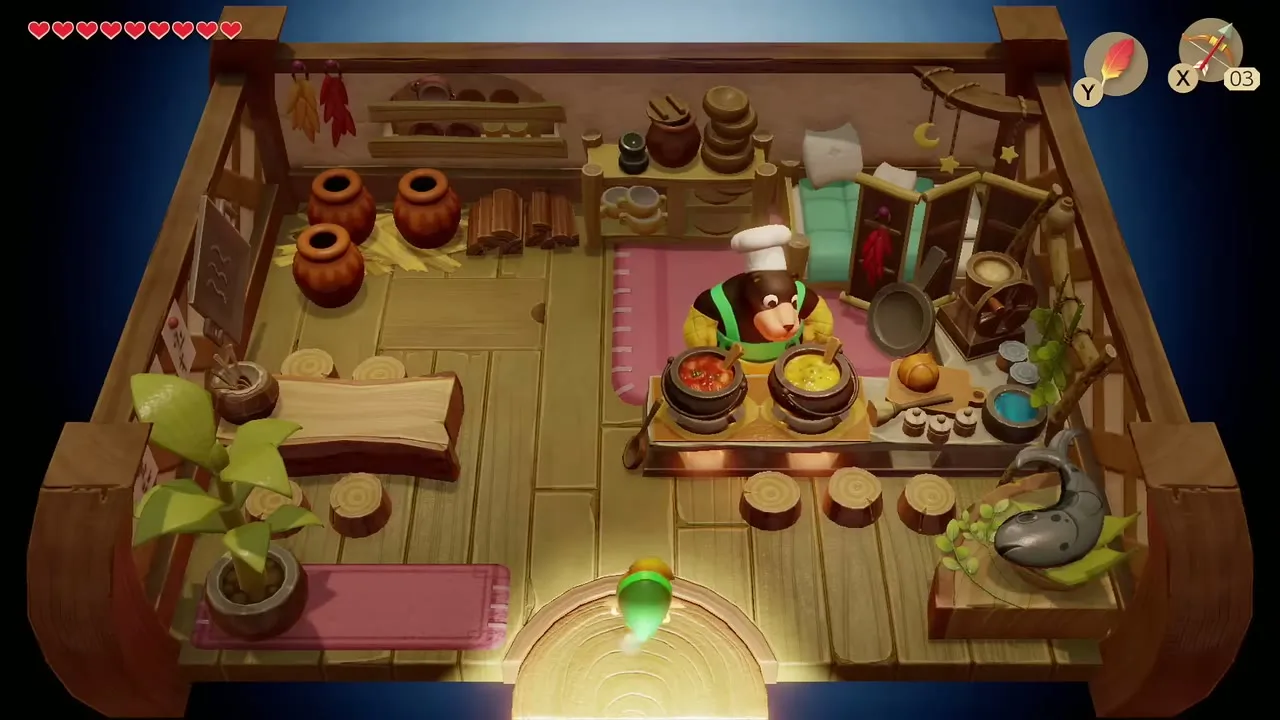
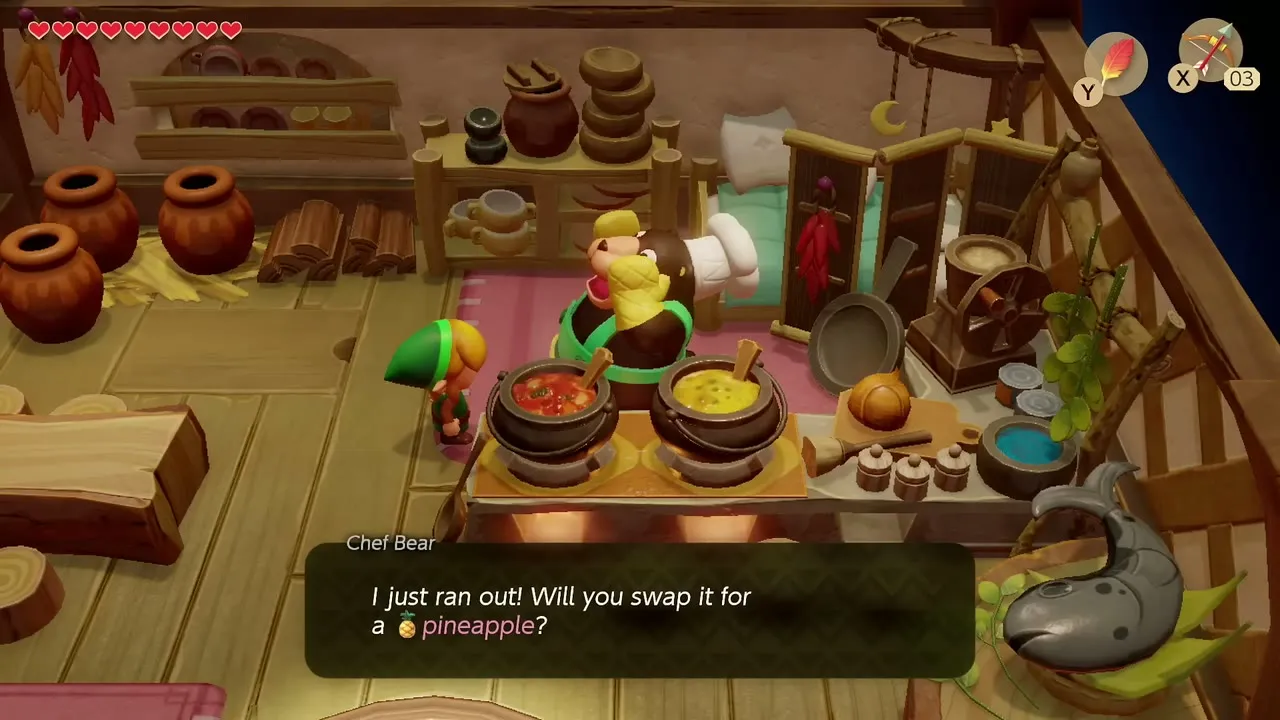
Go to Animal Village, enter the kitchen in the southeast and hand the Honeycomb you got from Tarin’s beehive to Chef Bear. He swaps it for a Pineapple. The whole chain is laid out in the trading sequence guide.

Meet Marin at Toronbo Shores
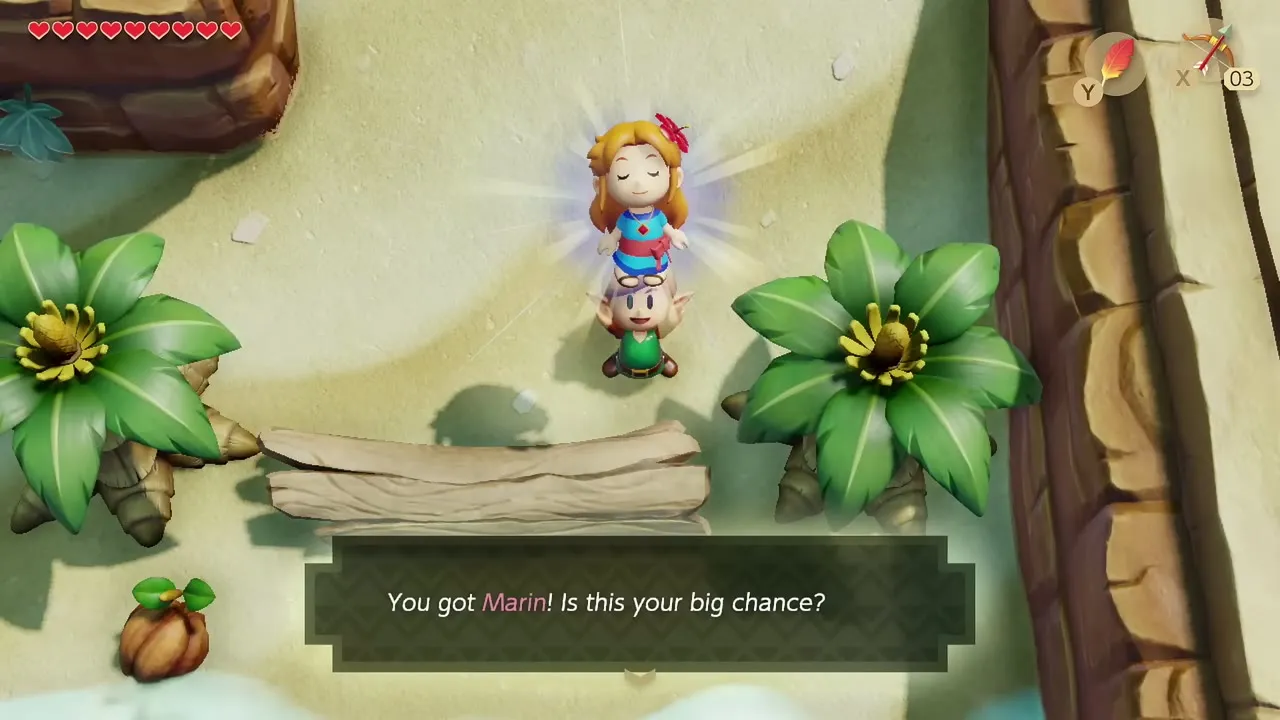
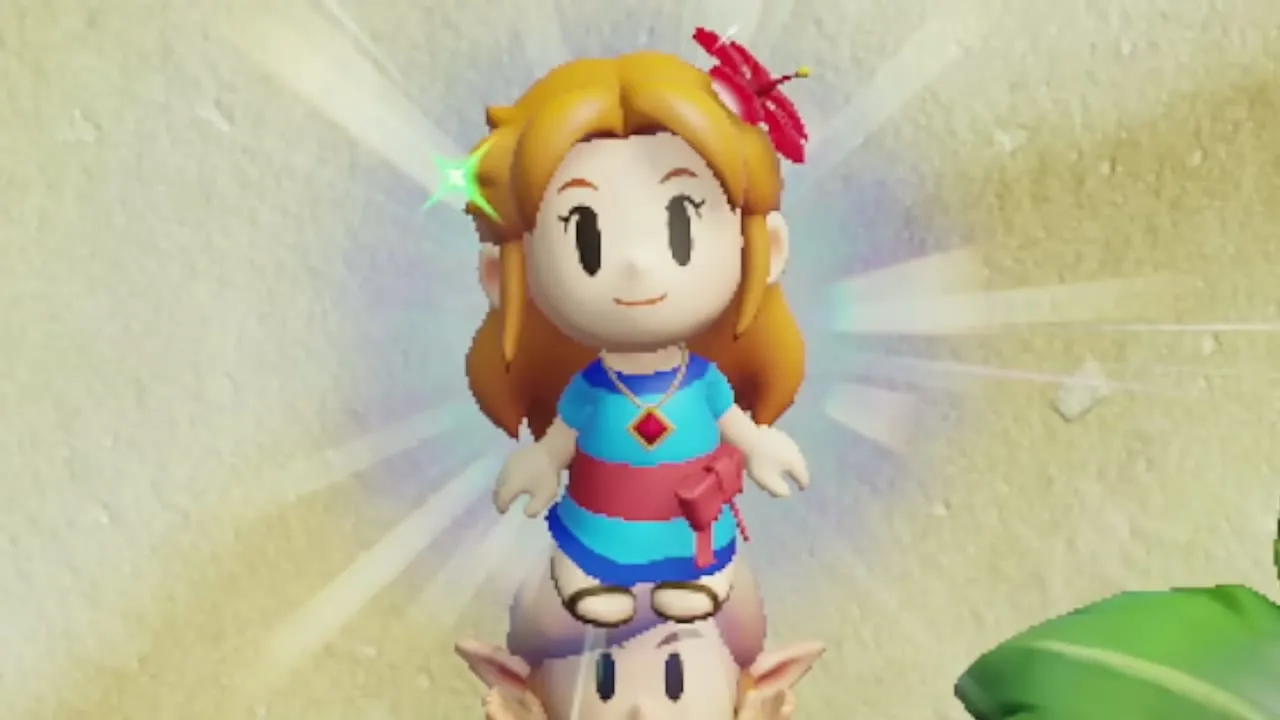
Head to Toronbo Shores on the south coast. Marin is on the log near the palm trees; talk to her and agree to spend some time together. She joins you as a follower, which is what you need to wake the sleeping Walrus later.

Guardian Acorn and the hungry Papahl
In the cave of the Tal Tal Mountain Range, pick up the Guardian Acorn. It halves the damage you take for a while. Marin keeps walking with you.
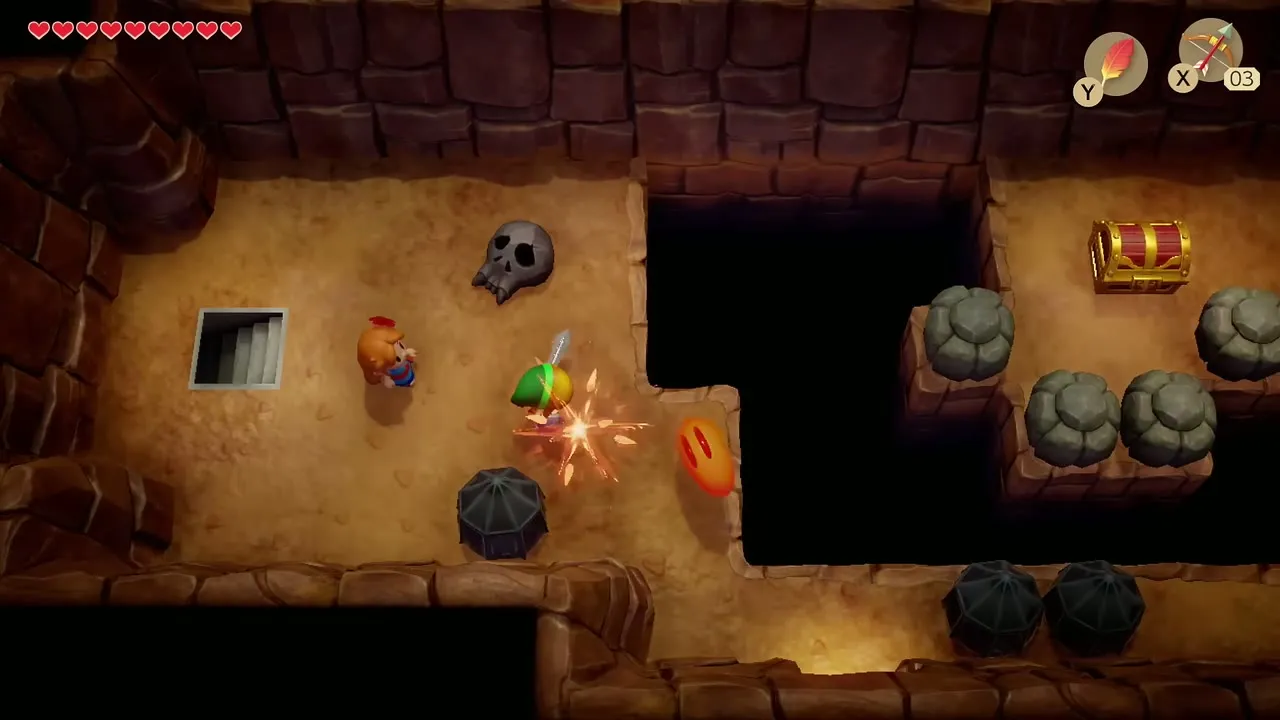

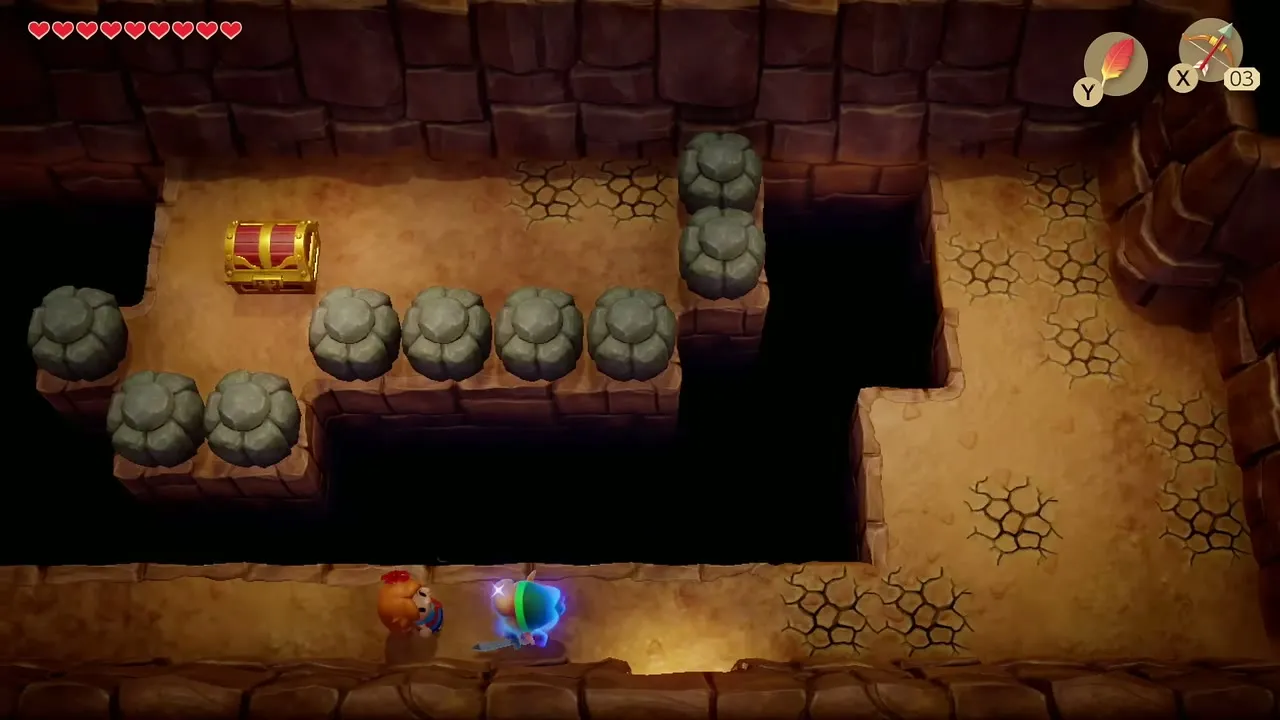
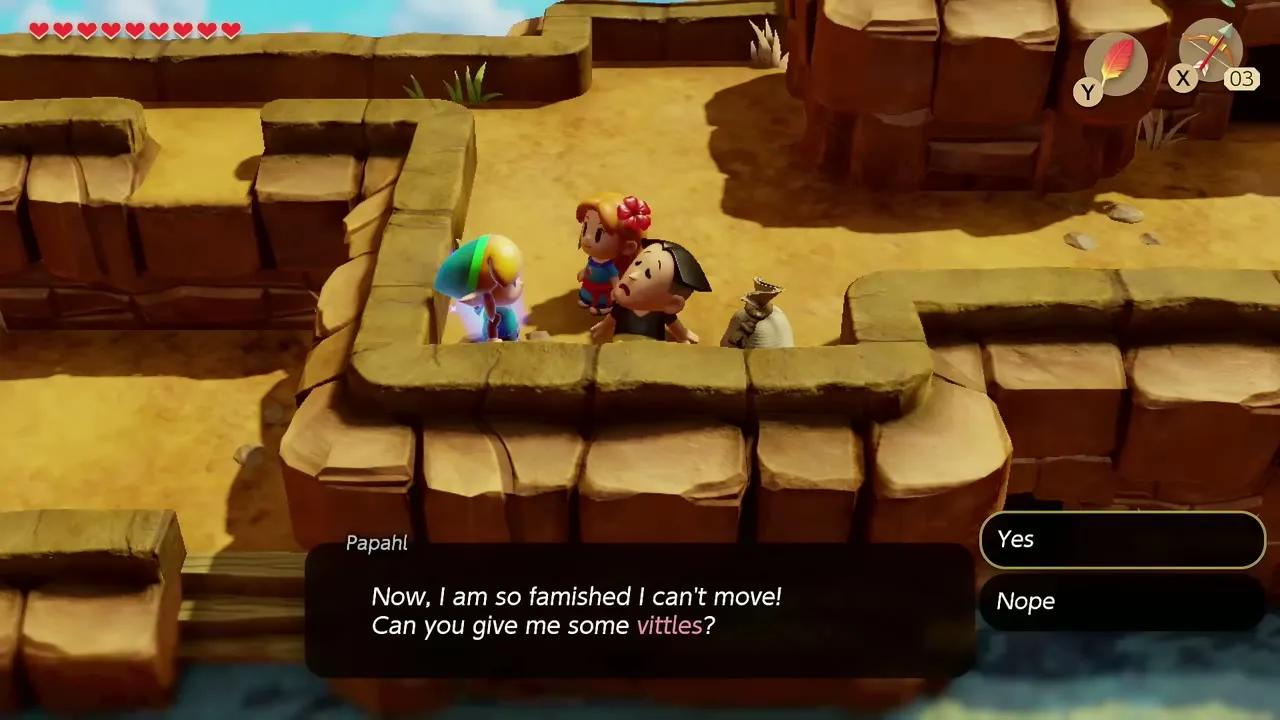
Climb the ledges to Papahl, who is too hungry to move. Say yes when he asks for food and give him the Pineapple. He answers with a Hibiscus.

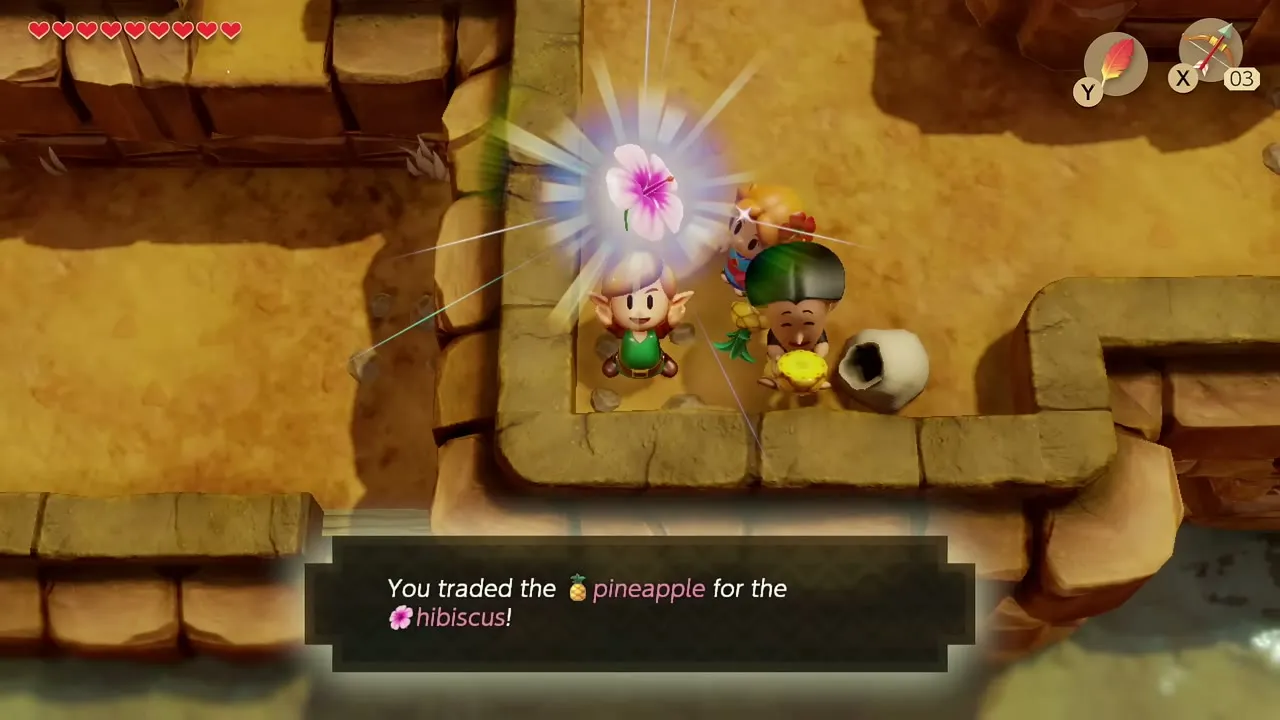
Hibiscus for the Goat’s Letter
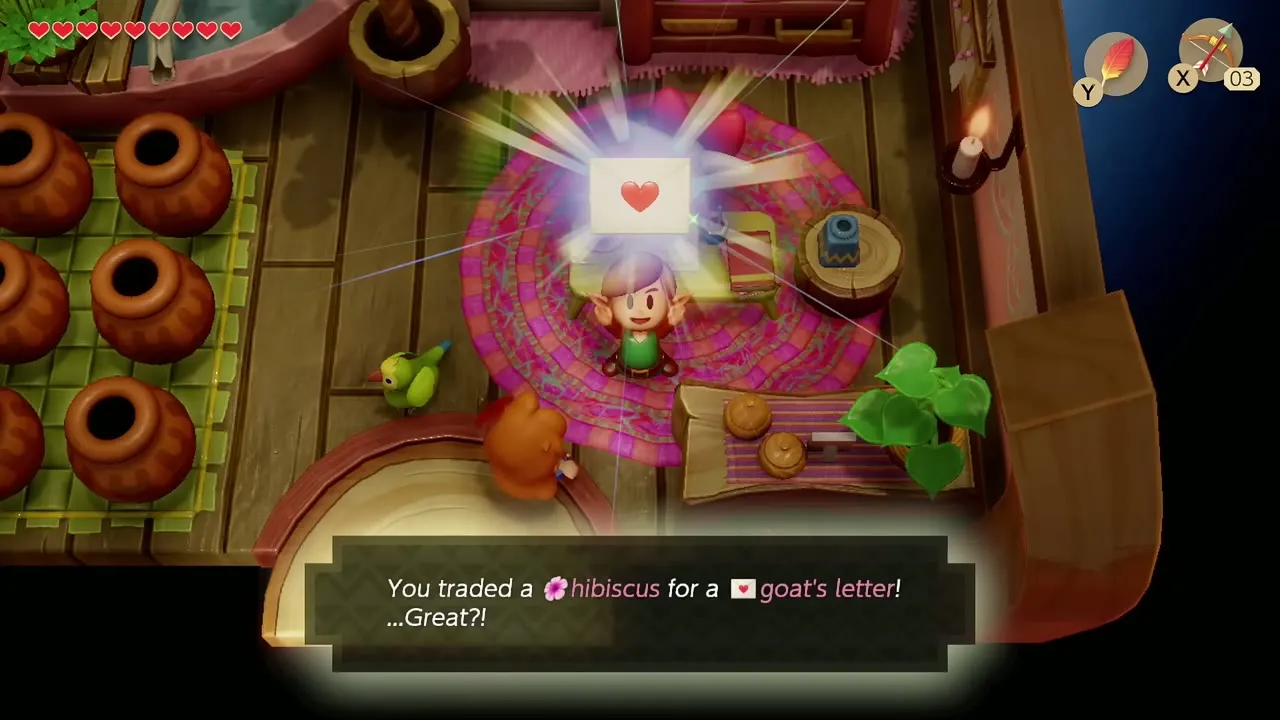
Return to Animal Village and give the Hibiscus to Christine in her house in the northeast. She trades it for a Goat’s Letter and asks you to bring it to Mr. Write, who lives at the edge of the Mysterious Forest.

Letter for the Broom, then the Fishing Hook
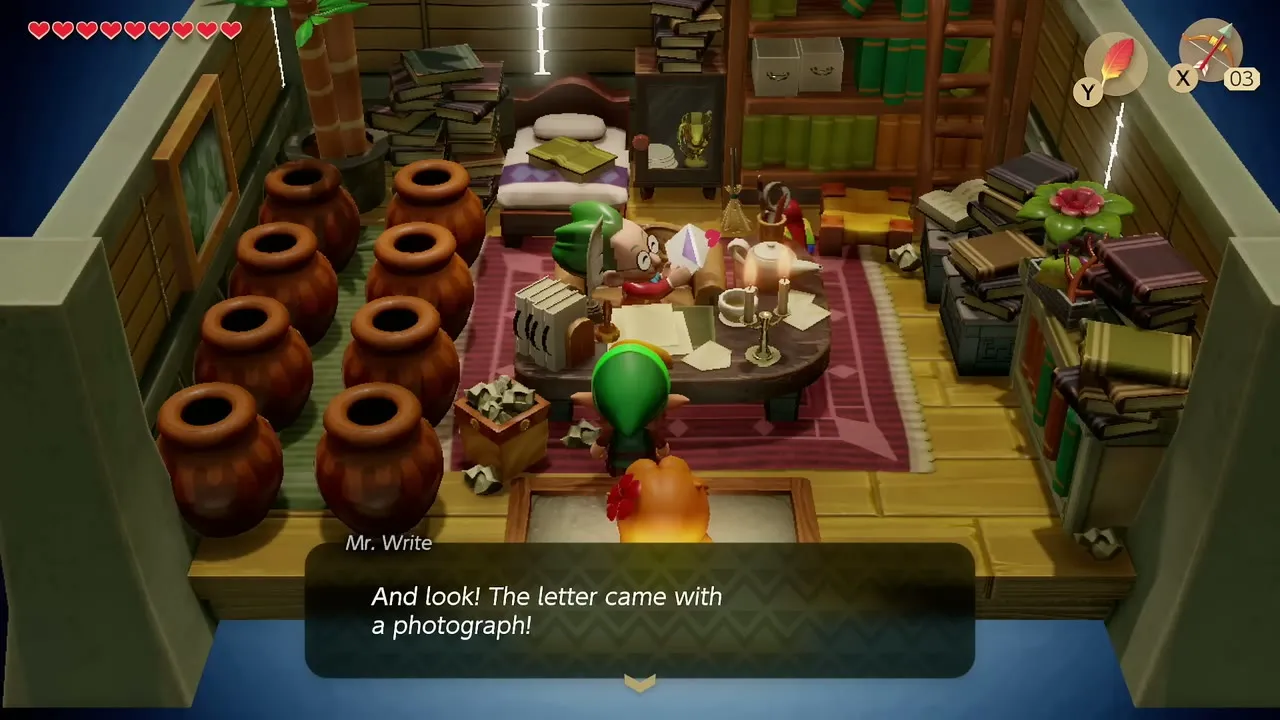
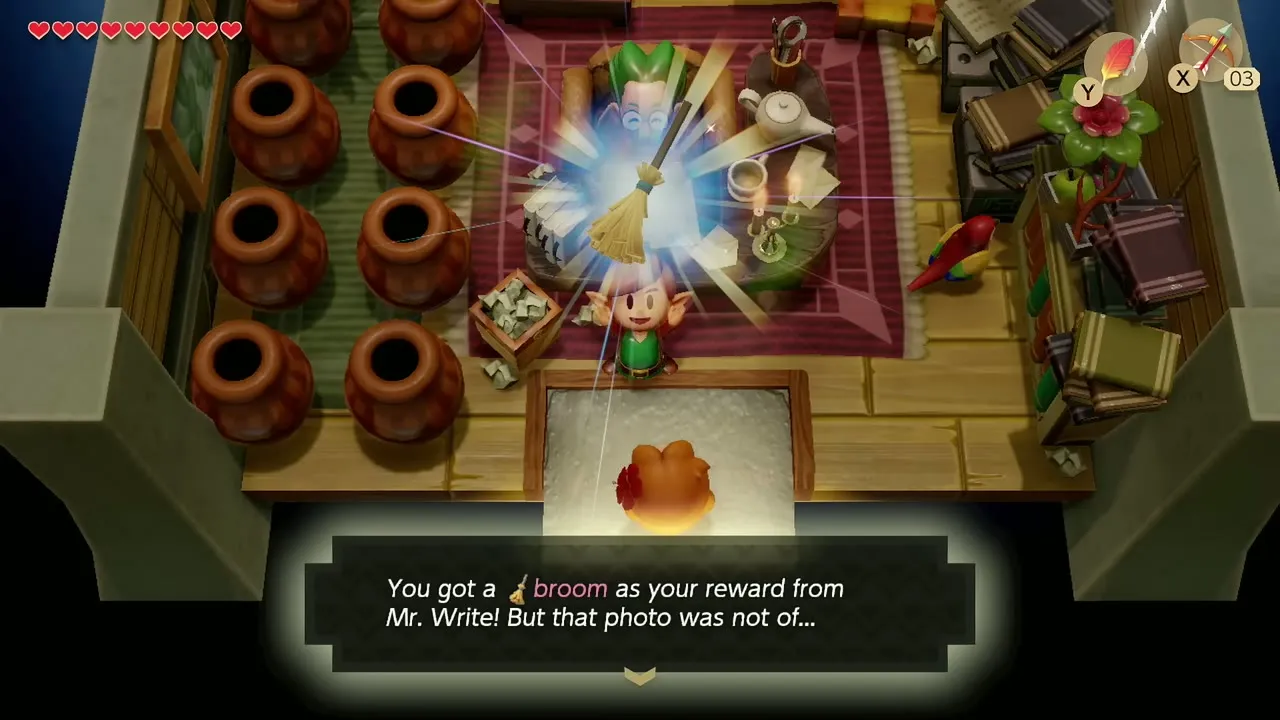
Hand the letter to Mr. Write. He is delighted by the photograph that came with it and gives you a Broom in return.
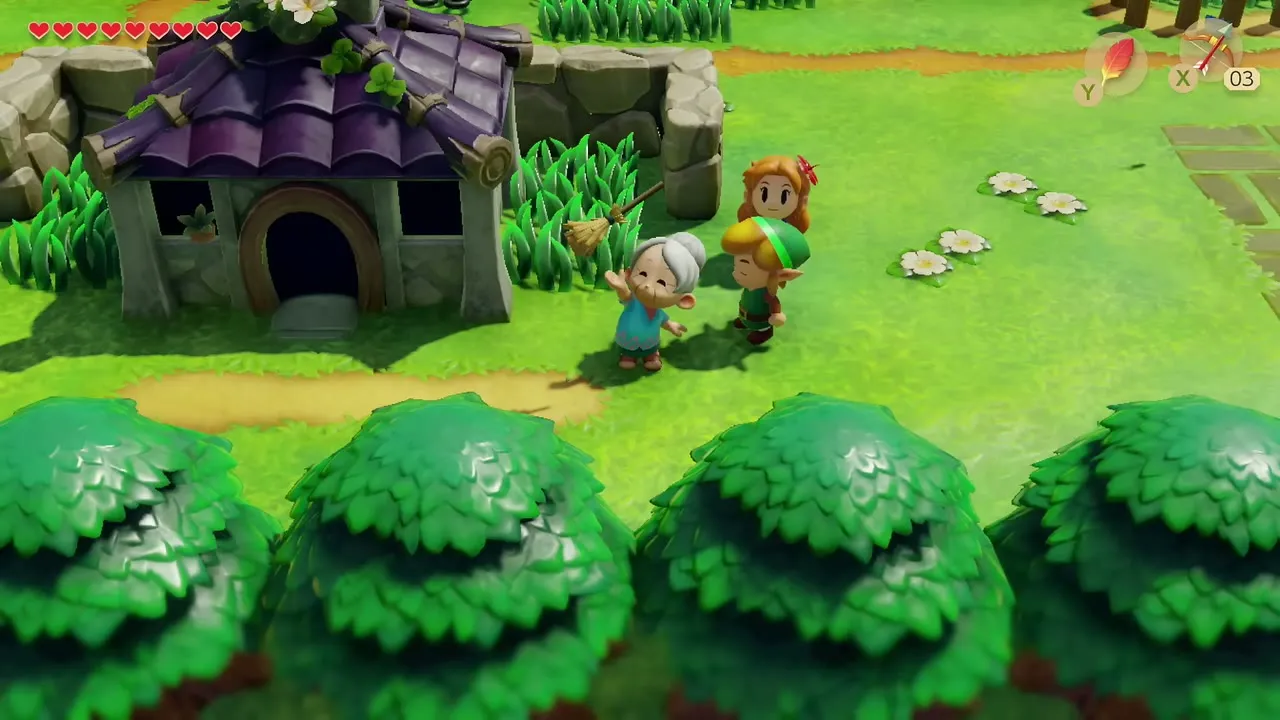
Bring the Broom to Grandma Yahoo, who is now outside Animal Village. She is thrilled and trades you a Fishing Hook. Keep the hook for the Fisherman at Martha’s Bay.

Wake the Walrus and learn the Ballad of the Wind Fish
How to move the Walrus
Walk from the village toward the desert entrance in the southeast. The Walrus sleeps on the path, and nothing you carry can move it. With Marin beside you, talk to it so she starts singing.
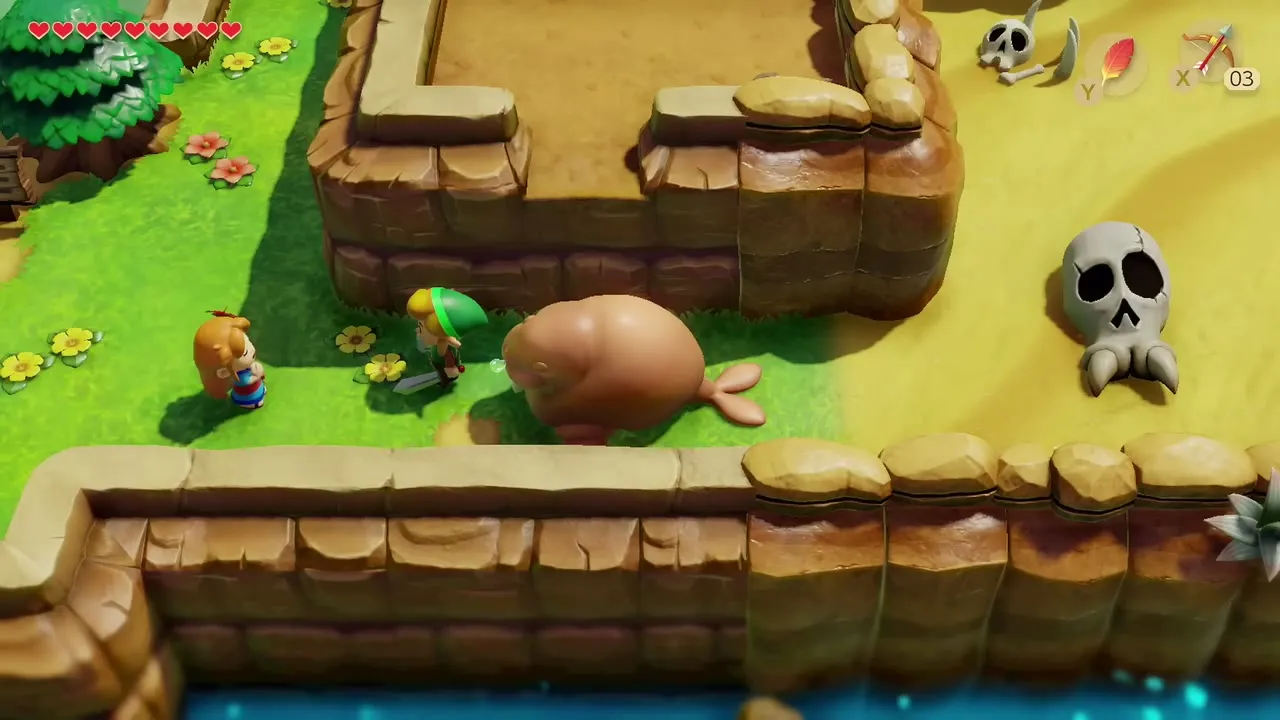

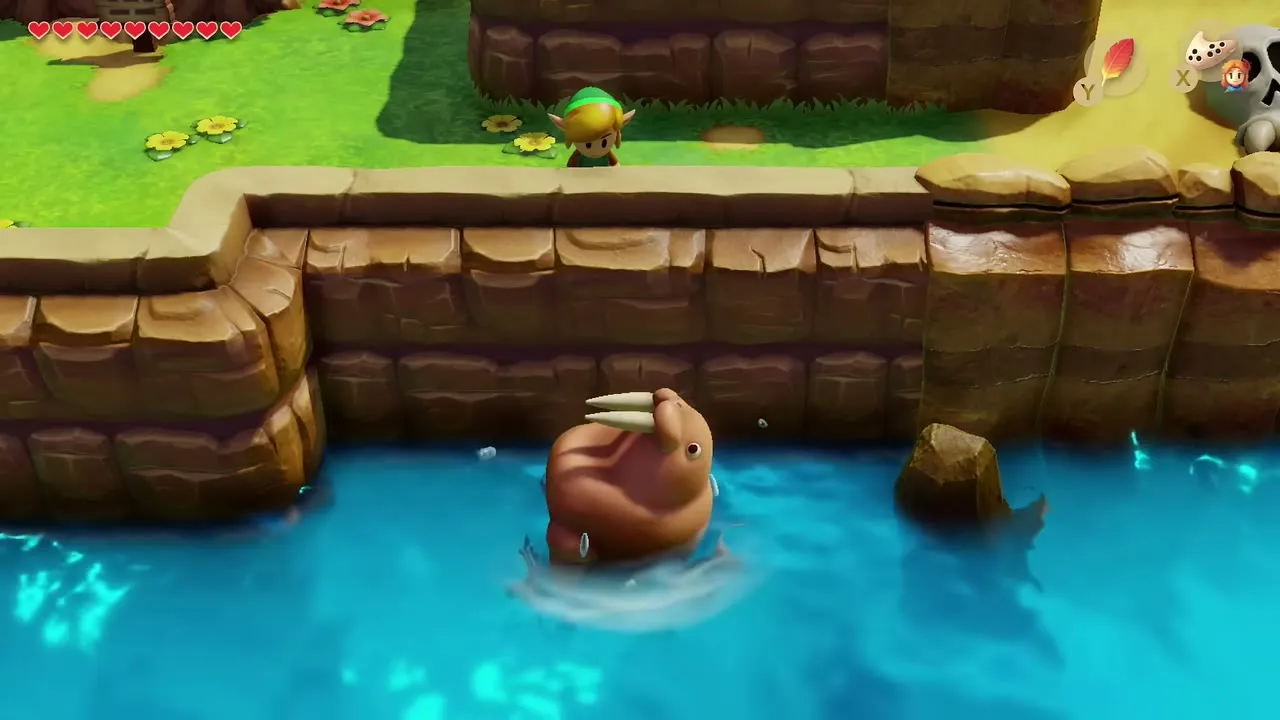
Marin sings the Ballad of the Wind Fish in the fenced meadow while animals gather around her, and you learn the song on the Ocarina. Play it again by the water at the desert entrance and the Walrus pops up from the sea and tosses you a Secret Seashell, no longer blocking the way. Marin goes back to the village after the song, so finish any side trips with her first.



Yarna Desert: Angler Key walkthrough
Cross the desert
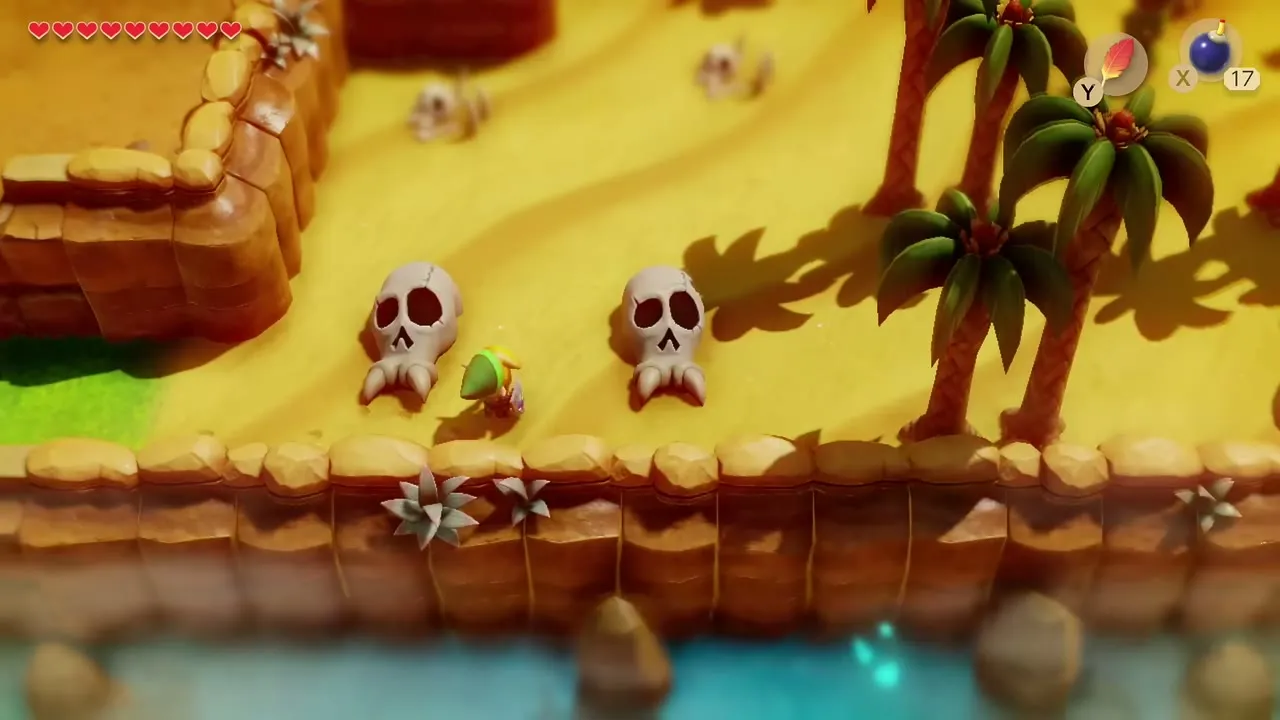
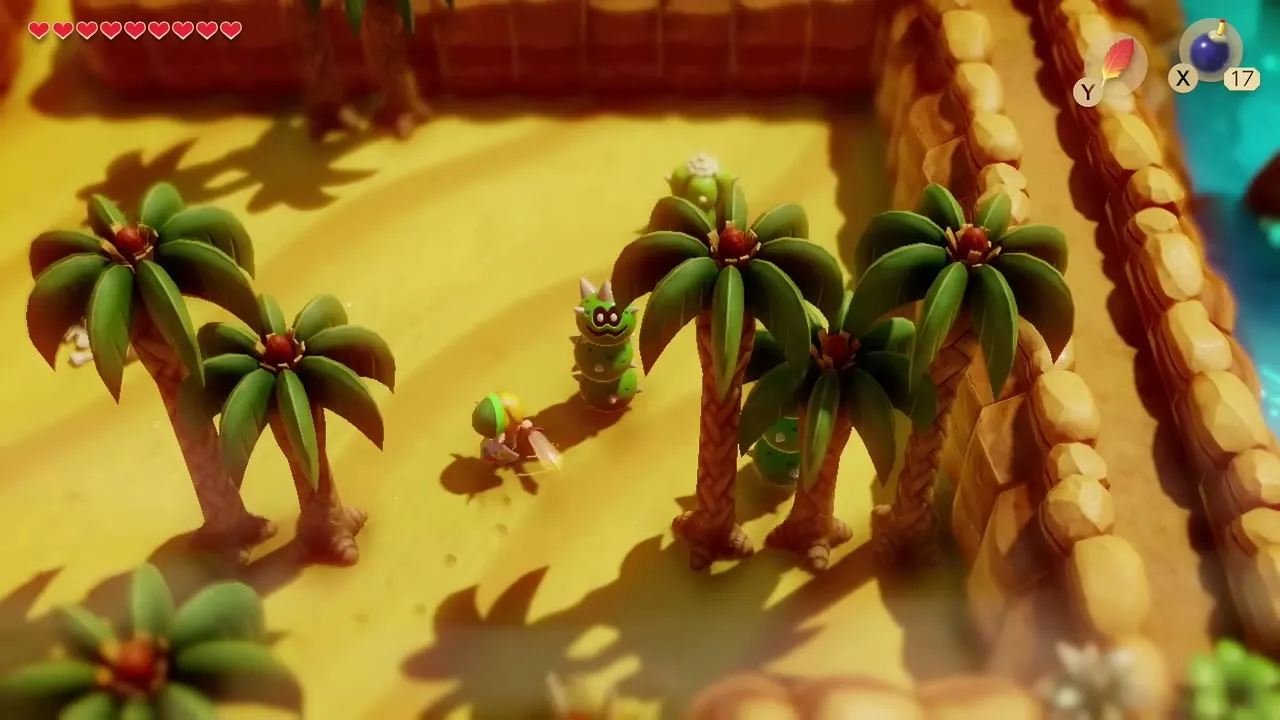
Enter Yarna Desert and walk north along the sand. Leevers burst out of the ground, and Pokeys and other desert enemies guard the path. Use the Magic Powder, sword or bombs as needed and avoid standing in the same spot while a Leever circles you. Two Secret Seashells lie on the way: dig in the sand beside the Owl Statue near the cacti in the north-east, and lift the lower of the rocks in the far south-east corner with the Power Bracelet.
Bomb the cave below the quicksand for a Piece of Heart
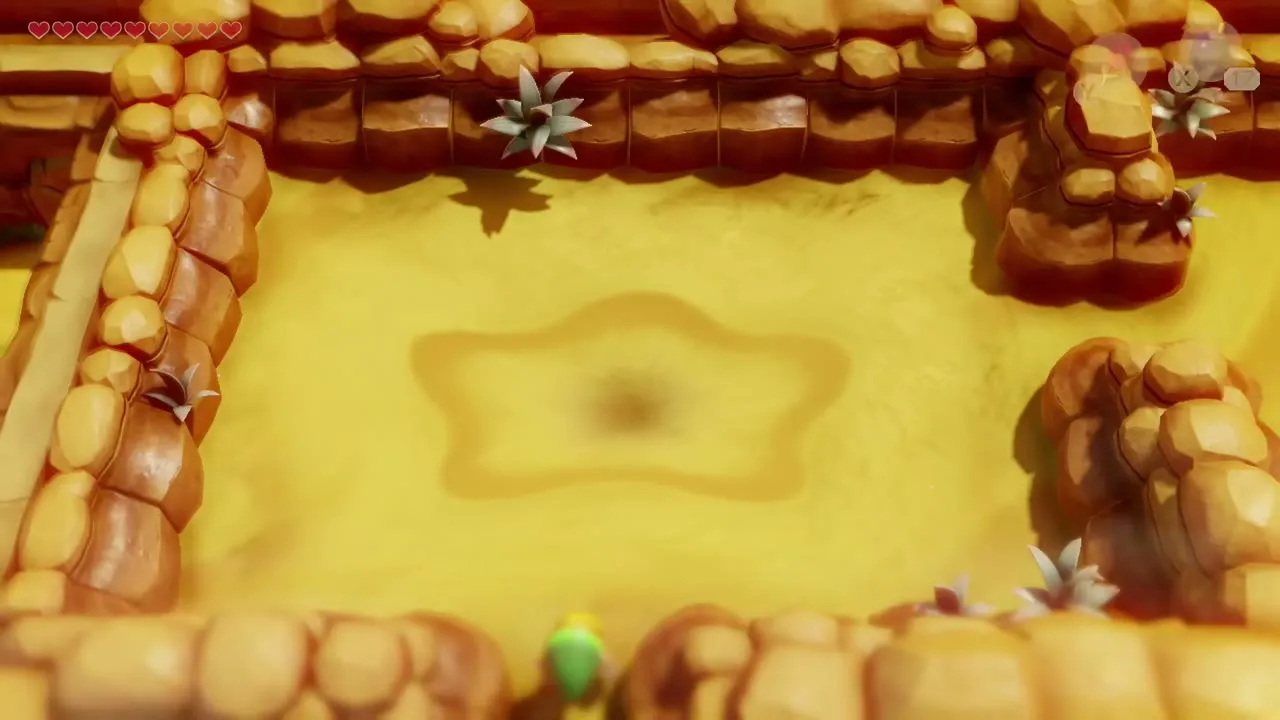
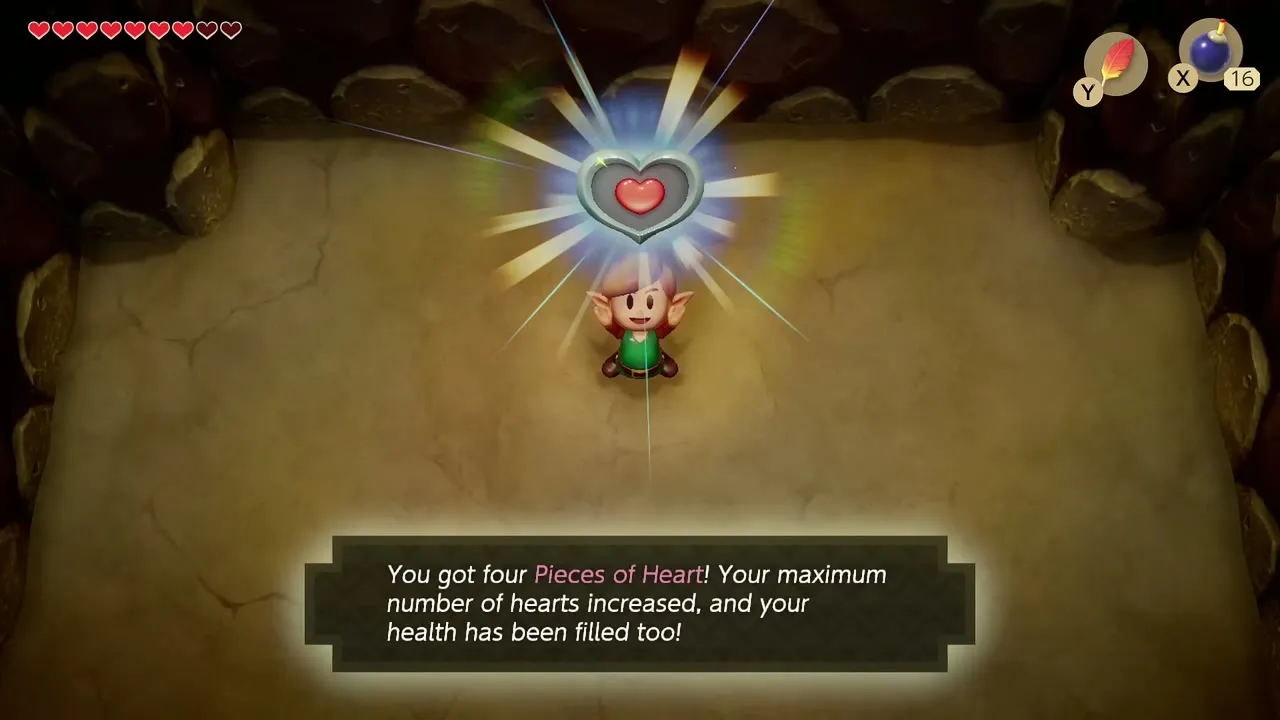
The quicksand pit in the northwest drags you toward its center. Let it pull you down into the cave beneath, then place a bomb against the north wall to open a hidden room. Inside is a Piece of Heart.

Defeat Lanmola for the Angler Key
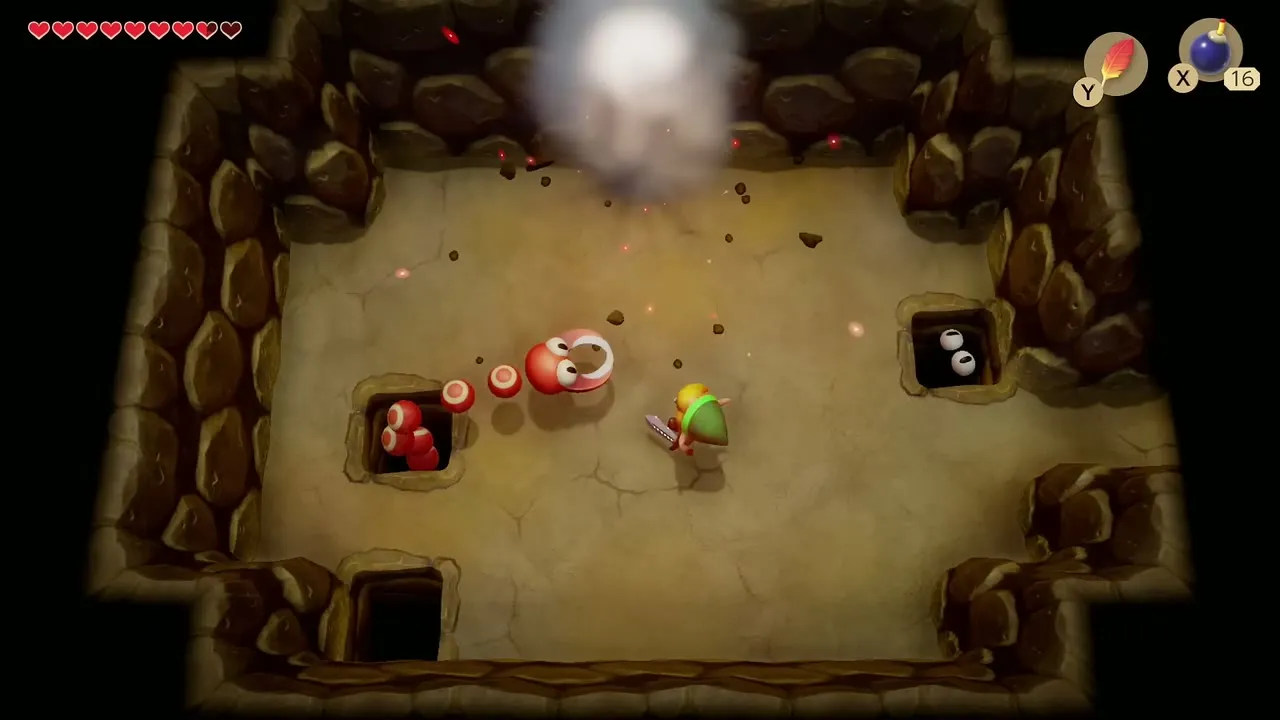
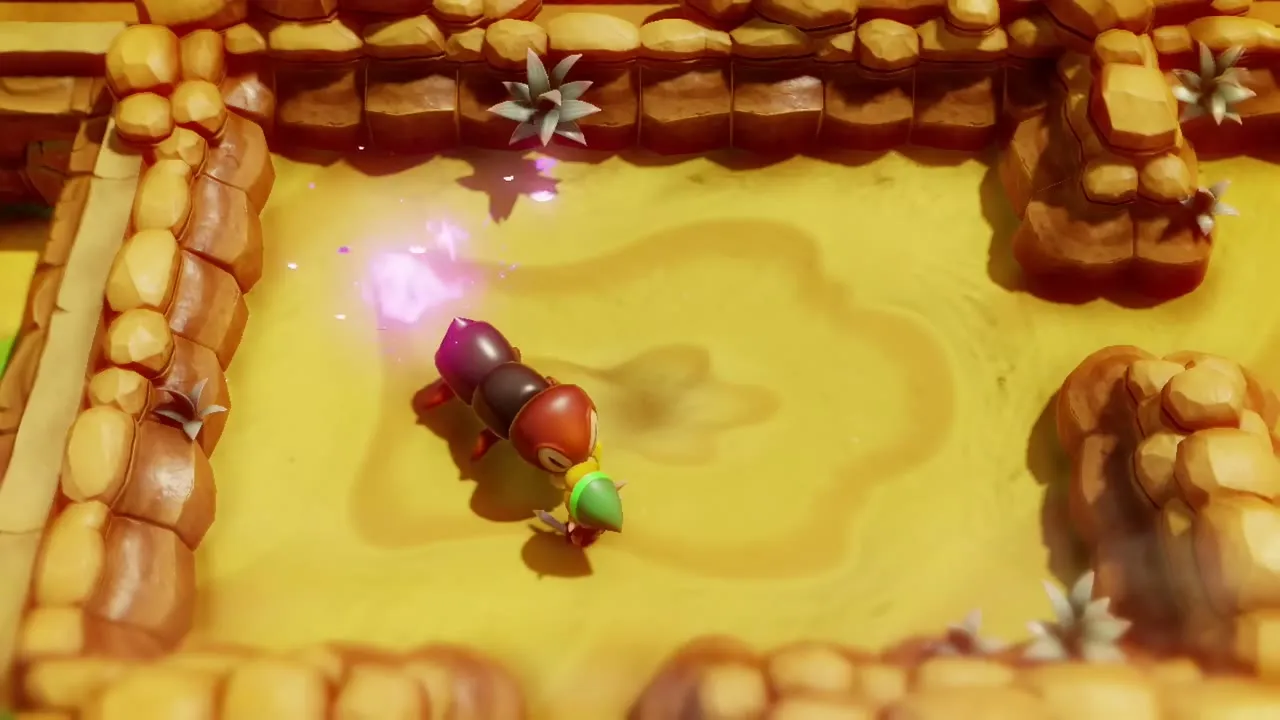
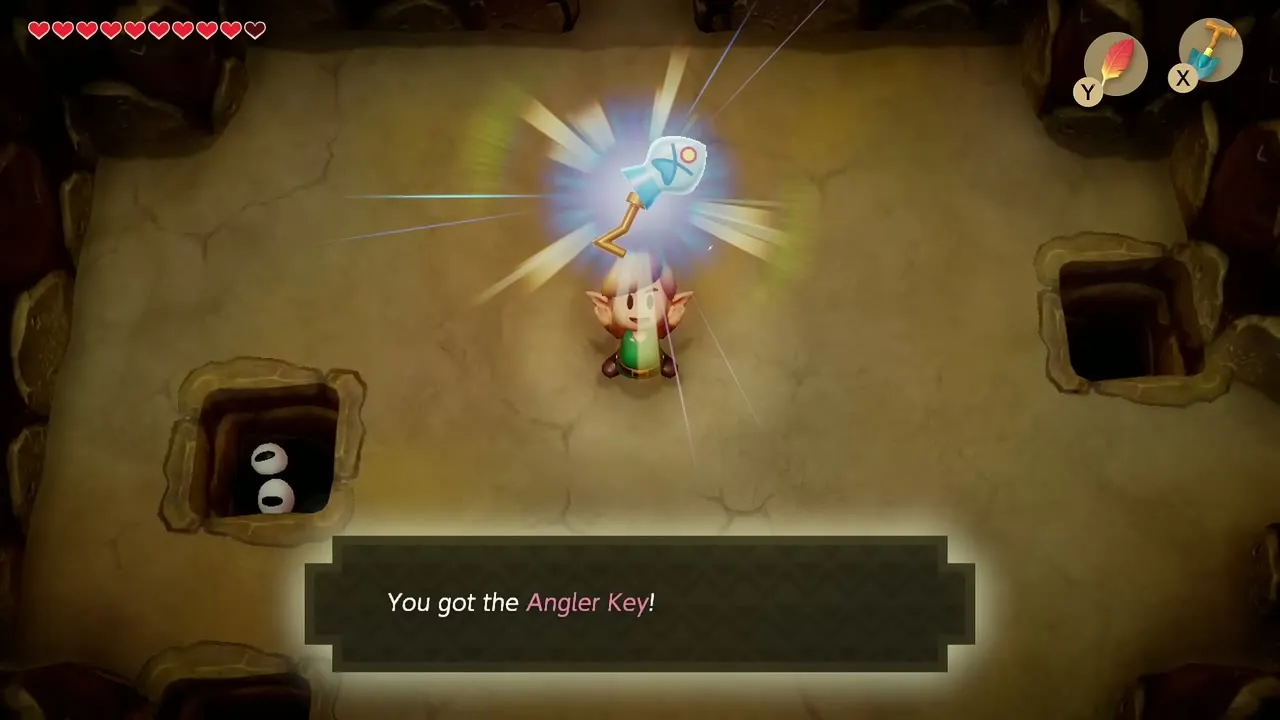
Return to the pit and fight the Lanmola that rises from the sand. Jump with Roc’s Feather or strike its head when it lifts out of the sand; if you slip into the center, its health is restored. When it falls, take the Angler Key. You can also drop into the cave below and collect it there, which opens Angler’s Tunnel.


Return to Animal Village: owl hint, Piece of Heart and Christine’s gift
Owl hint and the village Piece of Heart
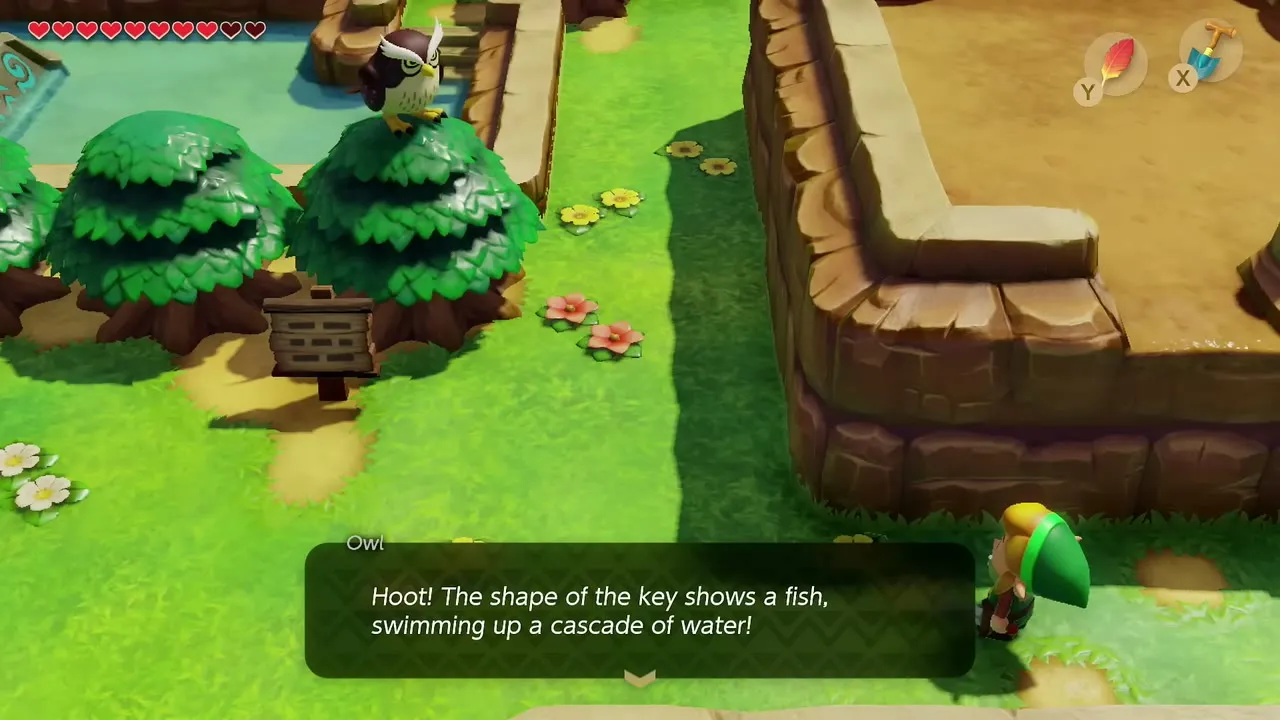
On the path back toward Animal Village, read the Owl statue. It says the key has the shape of a fish swimming up a cascade of water, which tells you the dungeon is behind a waterfall.
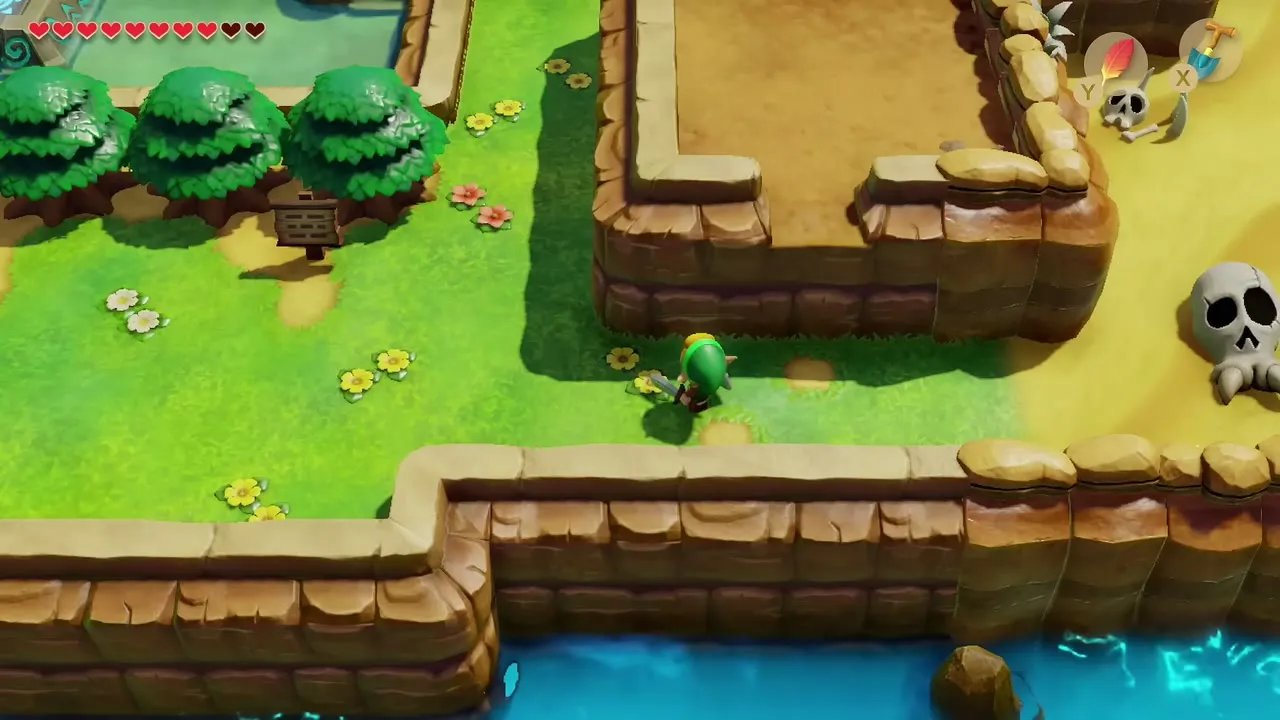

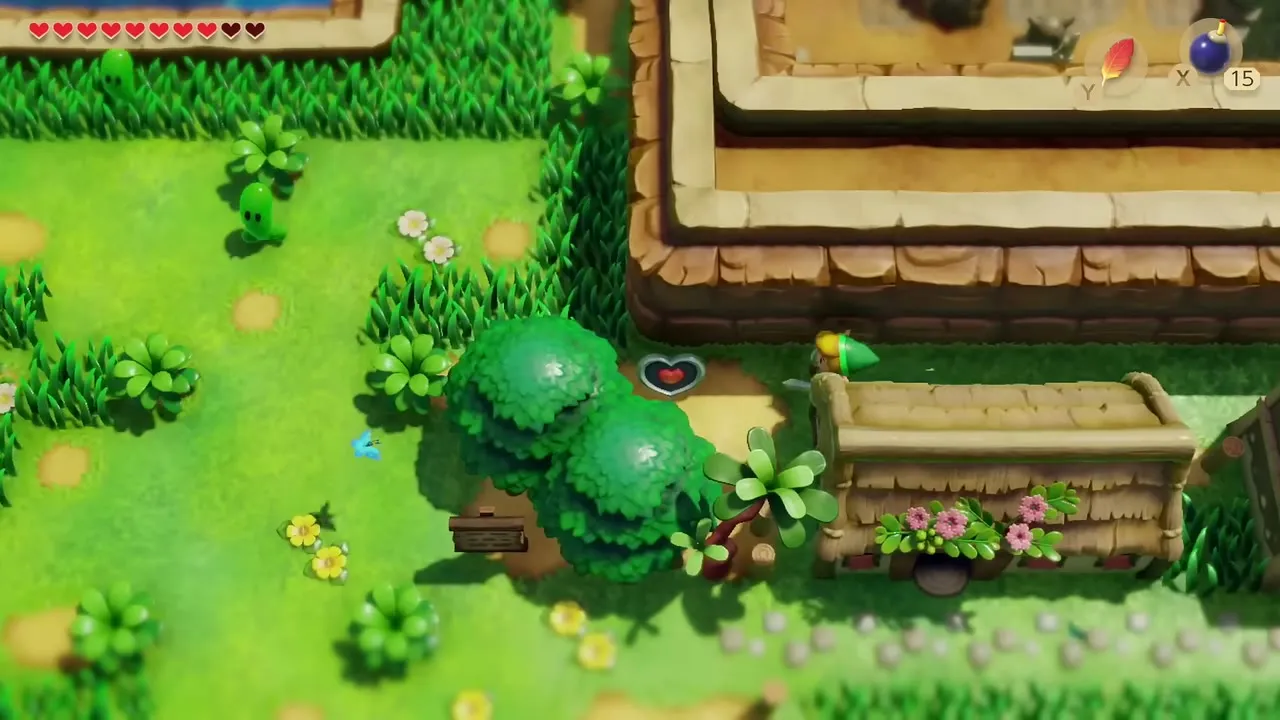
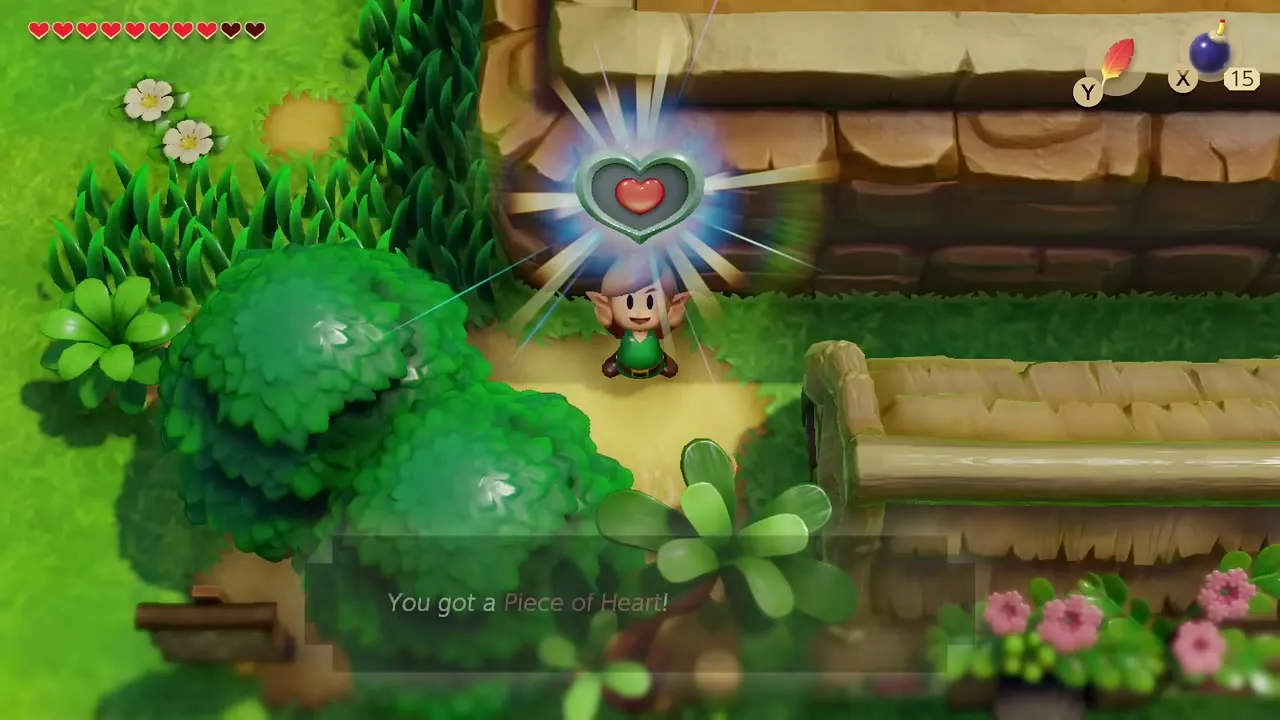
Walk around behind the houses in the northwest of the village, reached from the desert entrance. A Piece of Heart lies in plain sight beside the bushes there. See the Heart Piece guide for the cave in the northeast, which needs the Hookshot and is not available yet.
Christine’s Secret Seashell
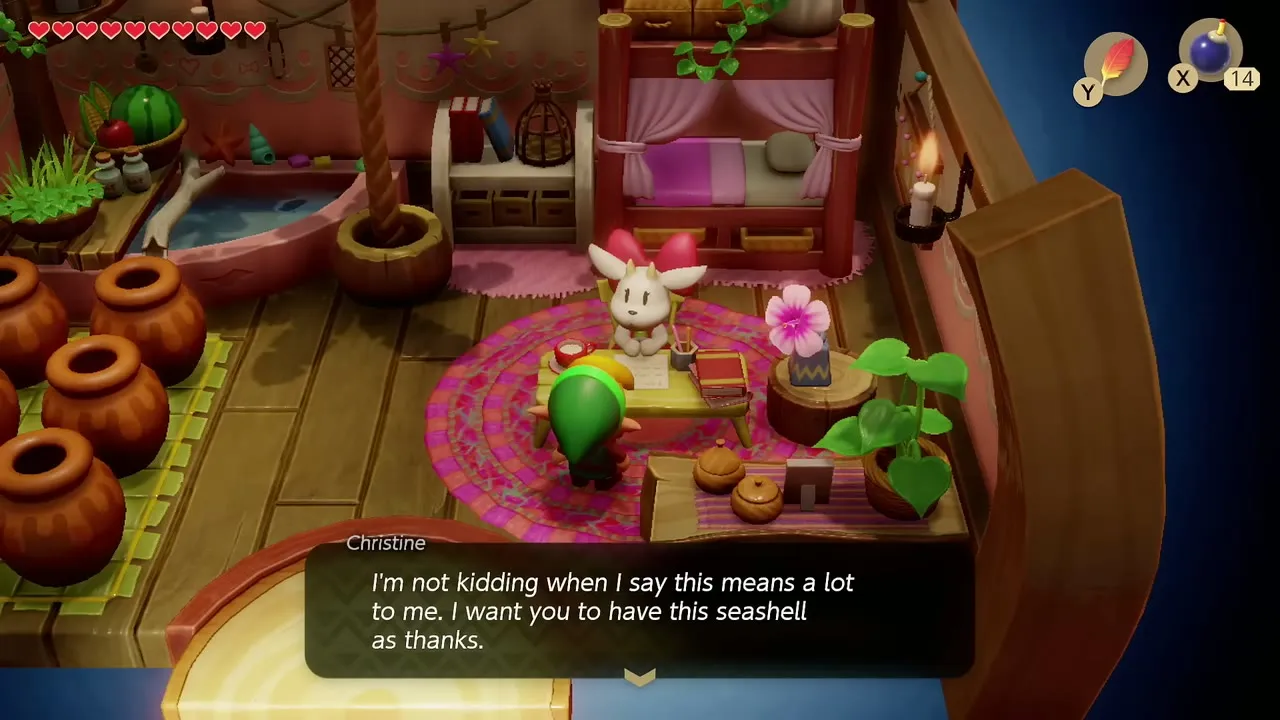
Visit Christine again now that Mr. Write has the letter. She thanks you and gives you a Secret Seashell.
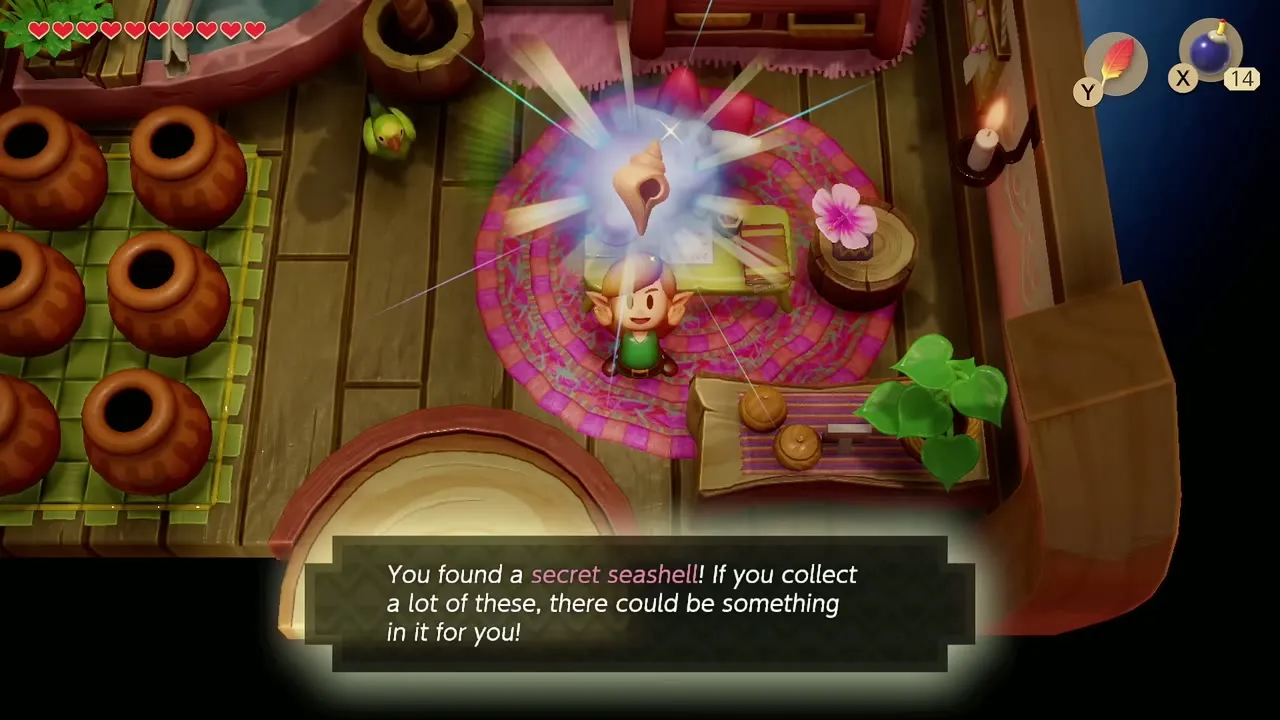
Martha’s Bay islet and Seashell Mansion
Dig up a seashell on the islet
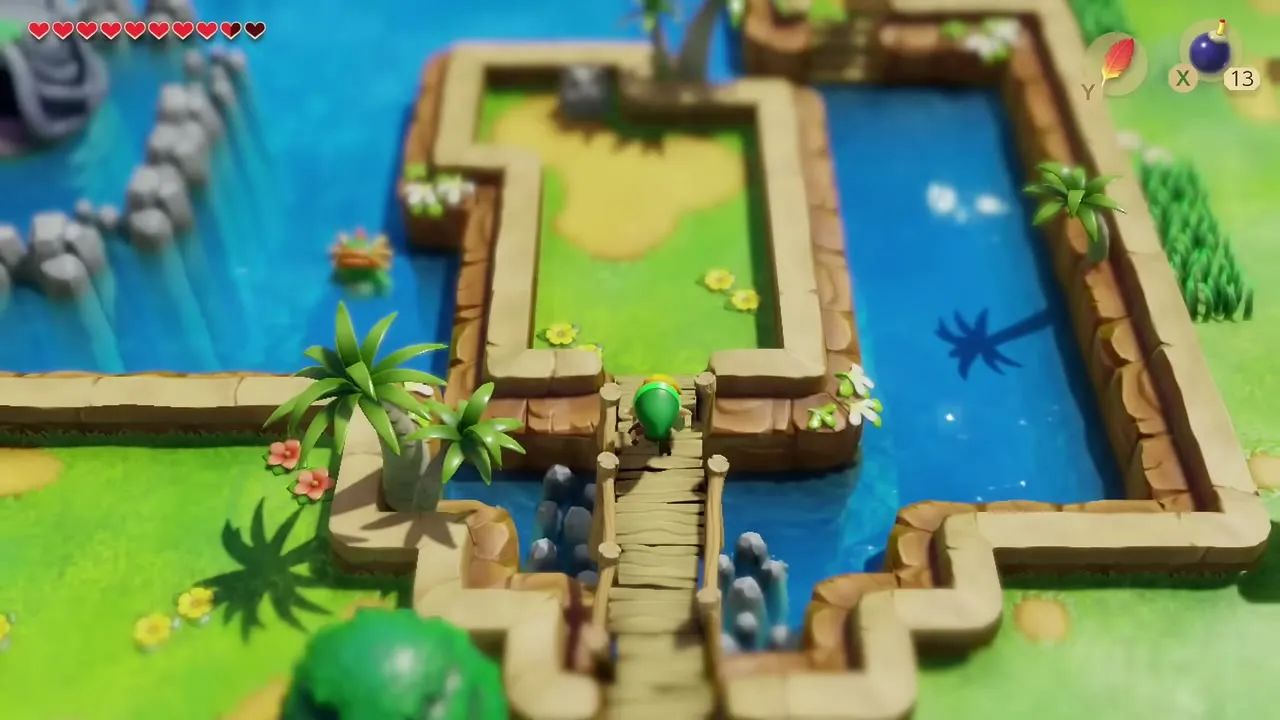
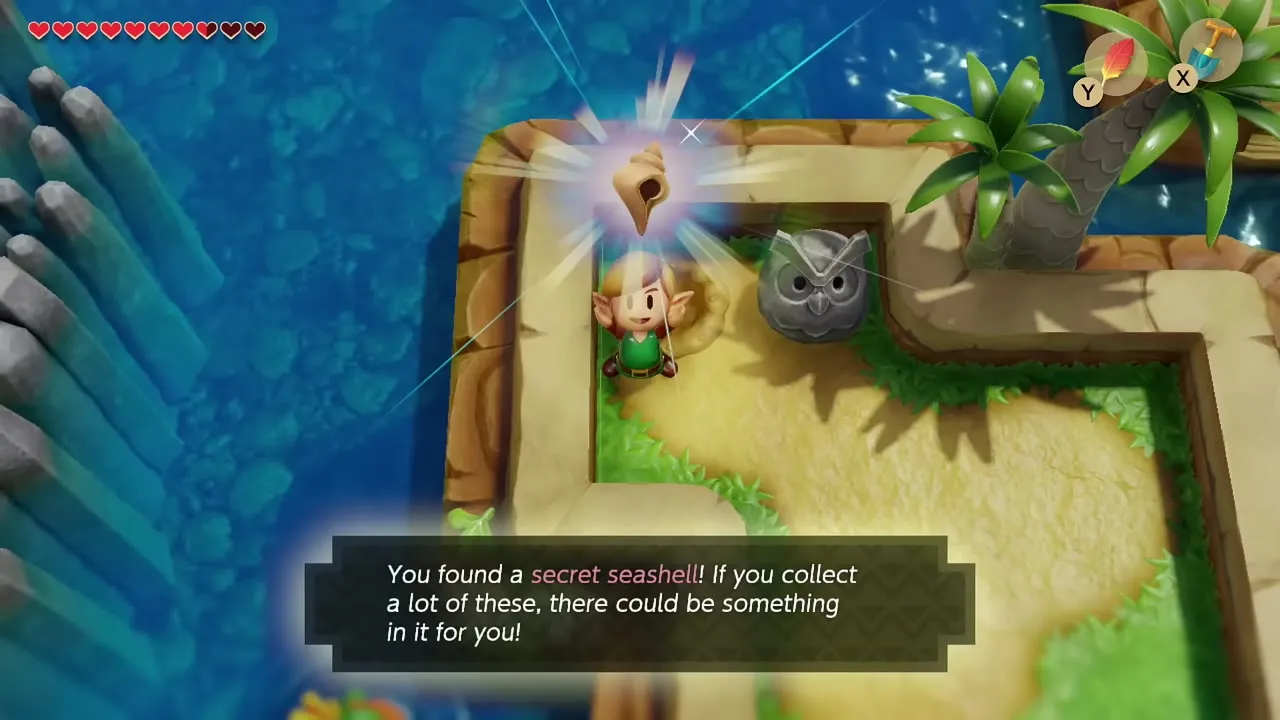
Walk to Martha’s Bay and cross the wooden plank bridge to the small island with the Owl statue. Dig beside the statue with the Shovel to uncover a Secret Seashell.
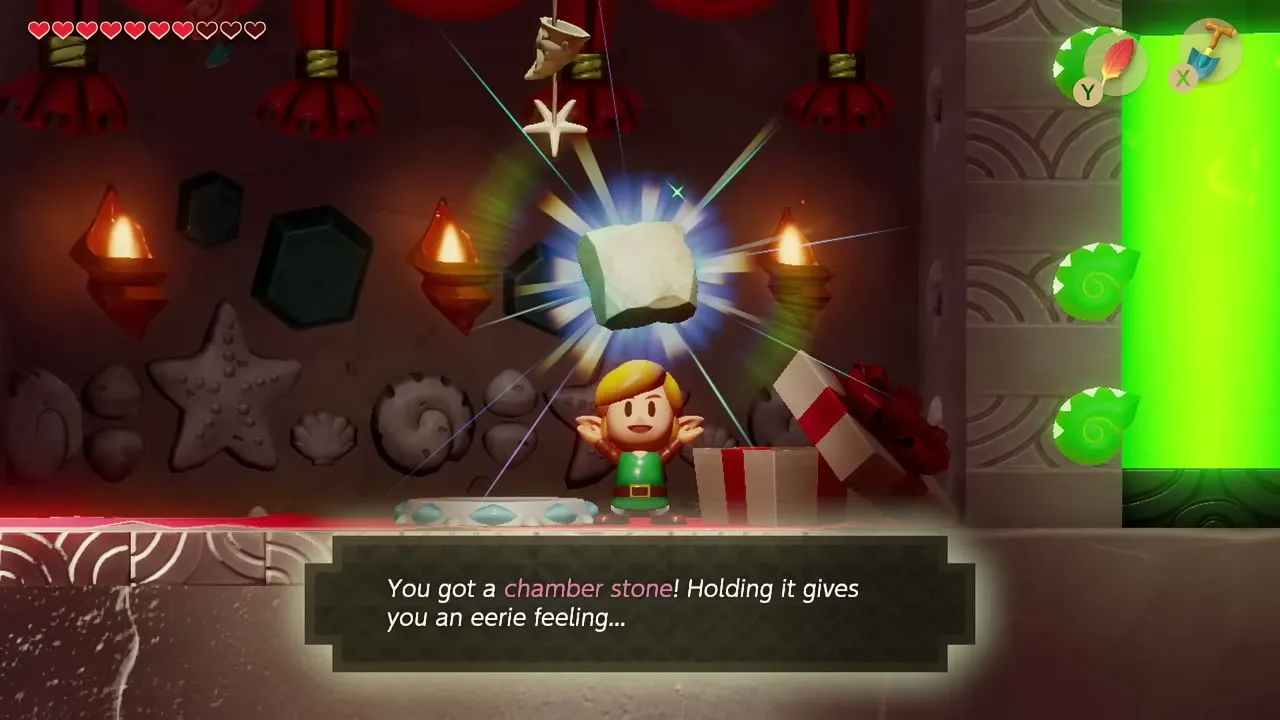
Collect the Chamber Stone
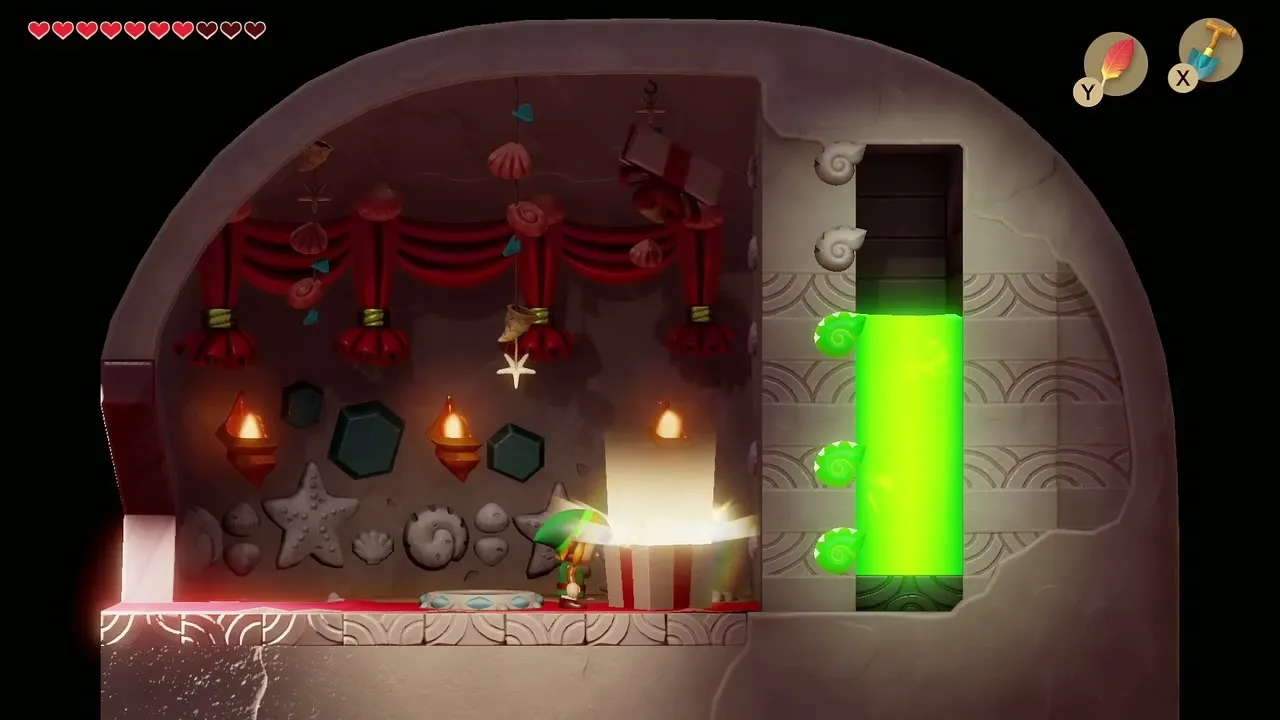
Take your shells to the Seashell Mansion in Ukuku Prairie. The gift box opens at 30 Secret Seashells and gives a Chamber Stone. You finish this chapter on 29, so the first shell of the next chapter makes 30; then collect the stone, which you can hand to Dampé to unlock new chambers for his dungeon builder.
Tal Tal Heights: find the entrance to Angler’s Tunnel
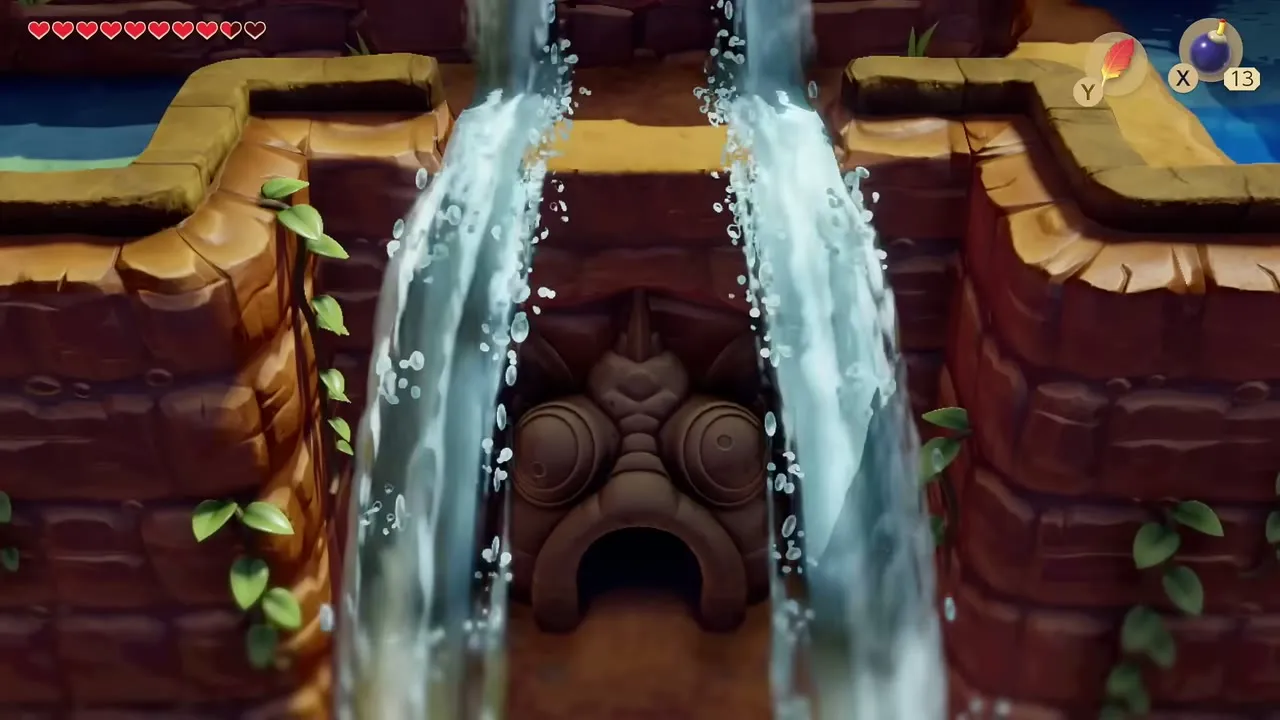
Climb the waterfalls
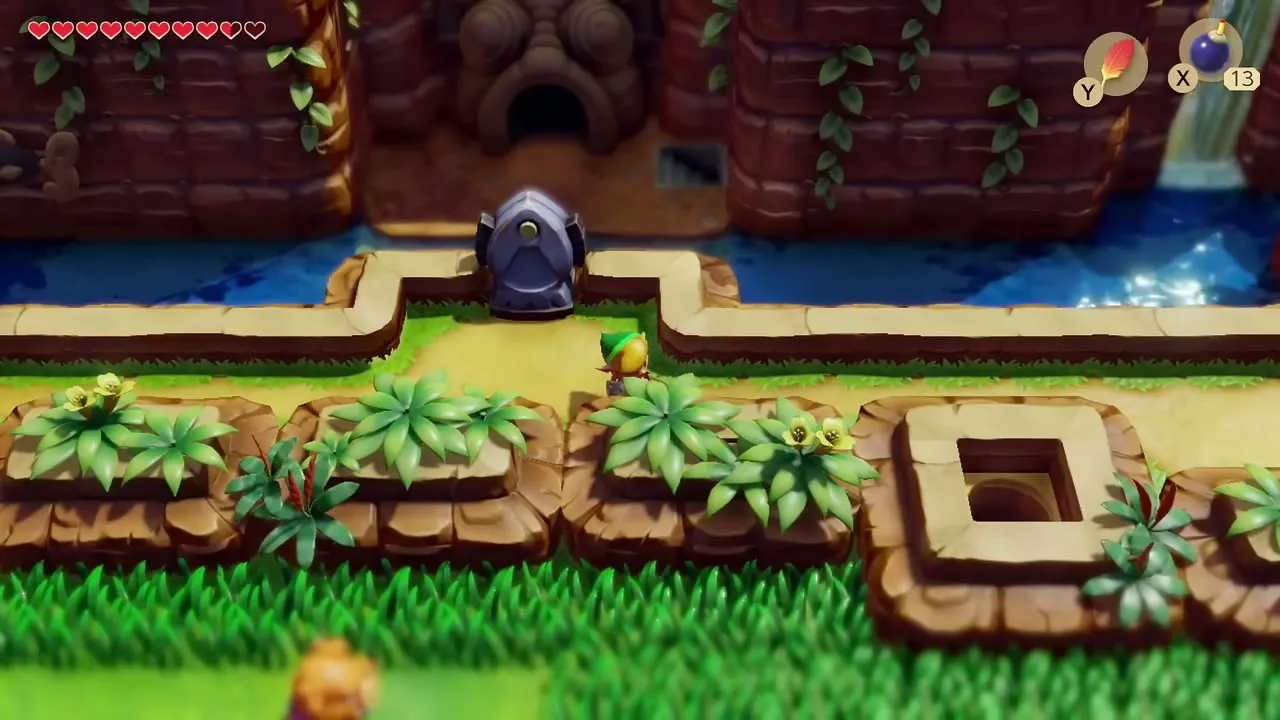
Warp to Tal Tal Heights and climb the stairs beside the waterfalls. At the top, the cave mouth sits behind a fish-shaped statue. Use the Angler Key on it and walk inside. Beside the keyhole and the warp point, set a Bomb in the small hole in the ground and a Secret Seashell pops out.


Dungeon: Angler’s Tunnel (Level 4)
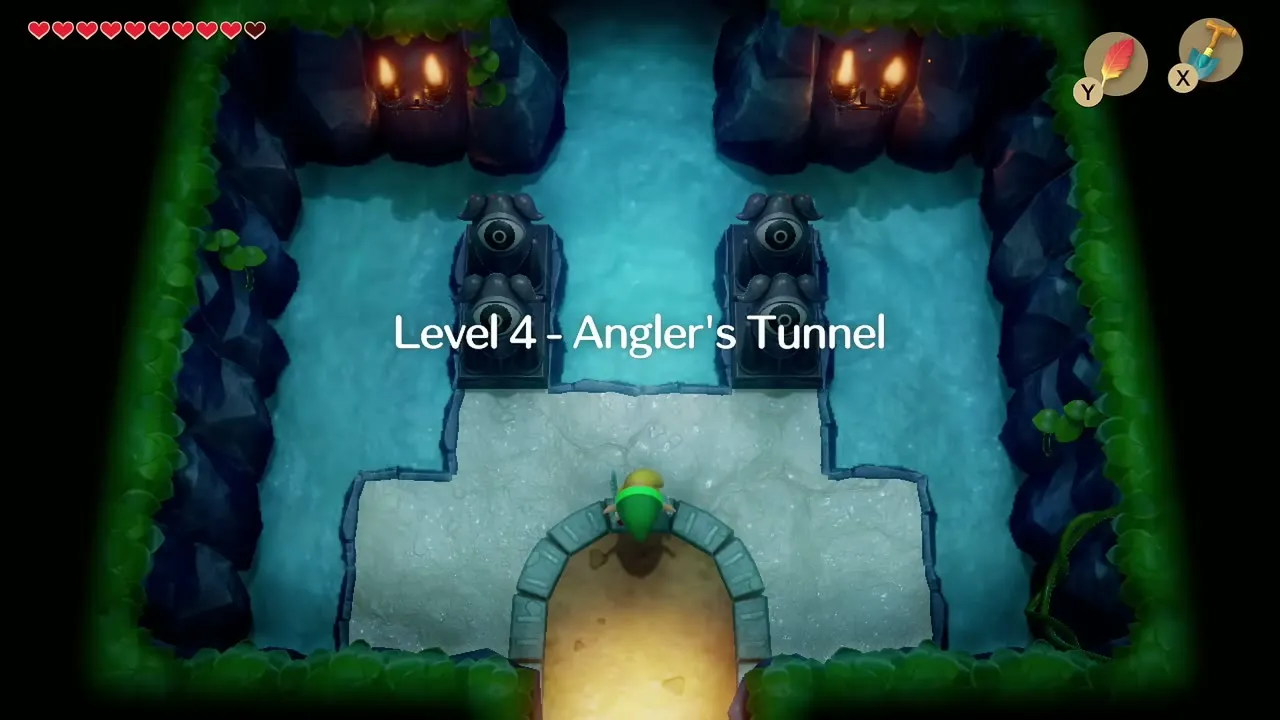
Angler’s Tunnel is a flooded cave. You wade through shallow water at first and can swim only after the Flippers. Enemies include Spiny Beetles, Sparks and Zols. Keep the Bow handy and look for the glowing floor switches near the end.
Entrance rooms: Stone Beak
Wade north from the entrance through the first flooded rooms, past the stone eyes. Climb the stairs out of the water, turn east and follow the topmost passage to an alcove chest that holds the Stone Beak. Slot it into the owl statues in the dungeon for hints.


First small keys
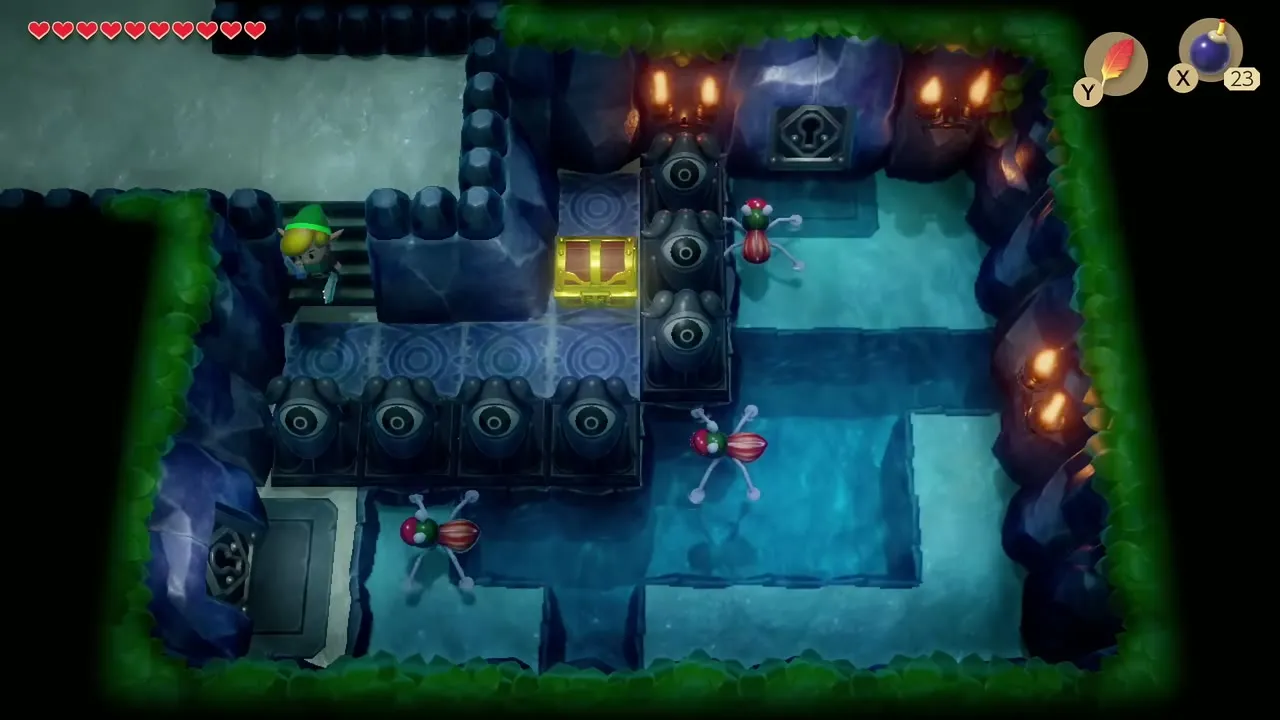
Continue through the flooded rooms, where beetles flip over when you hit them with the shield. Follow the narrow path past the flame torches to a chest and open it for the first Small Key. Defeat the Sparks with the sword and keep going.


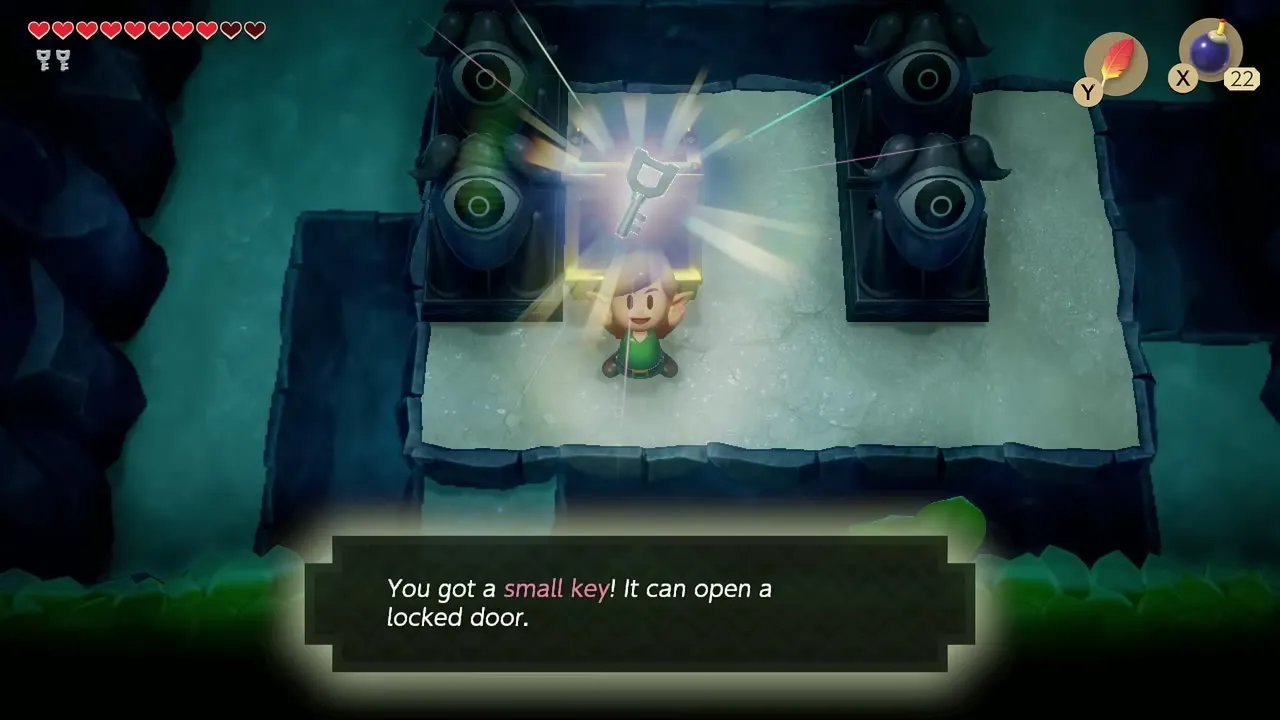
Clear the blue crystal plants around the next chest with the sword and open it for the second Small Key. These keys open the locked doors and lock blocks that block the way to the miniboss.


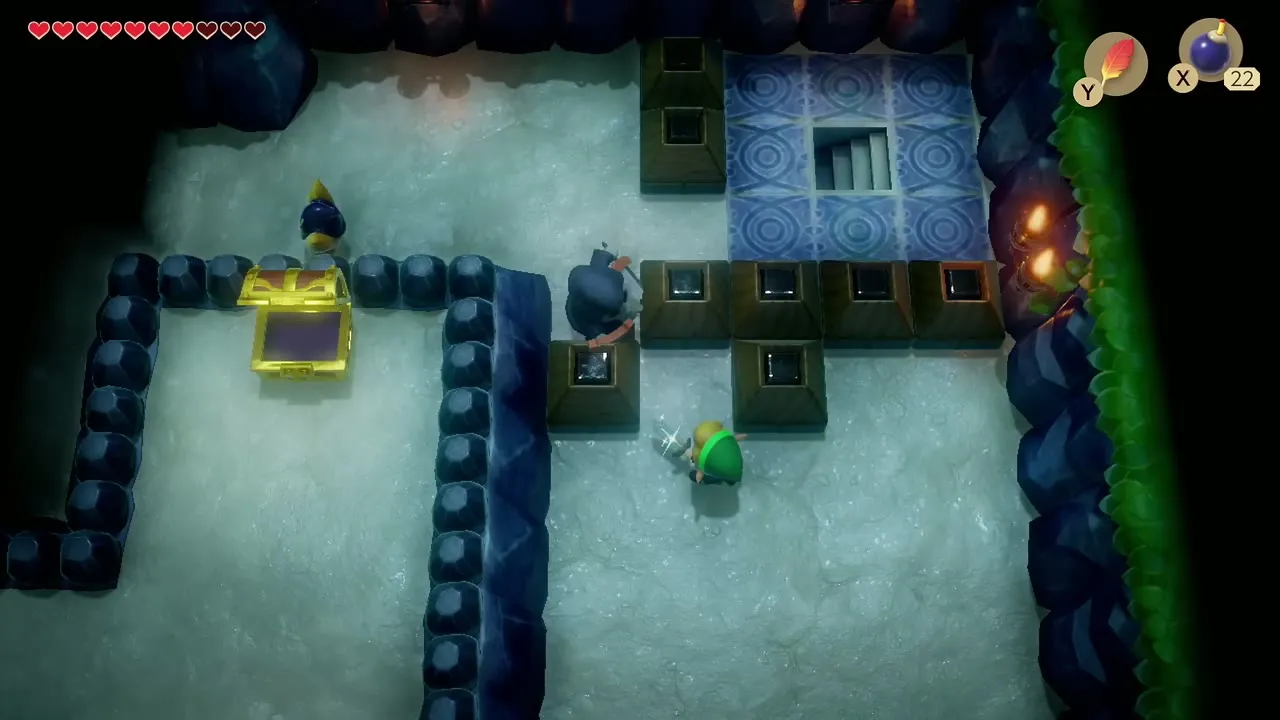
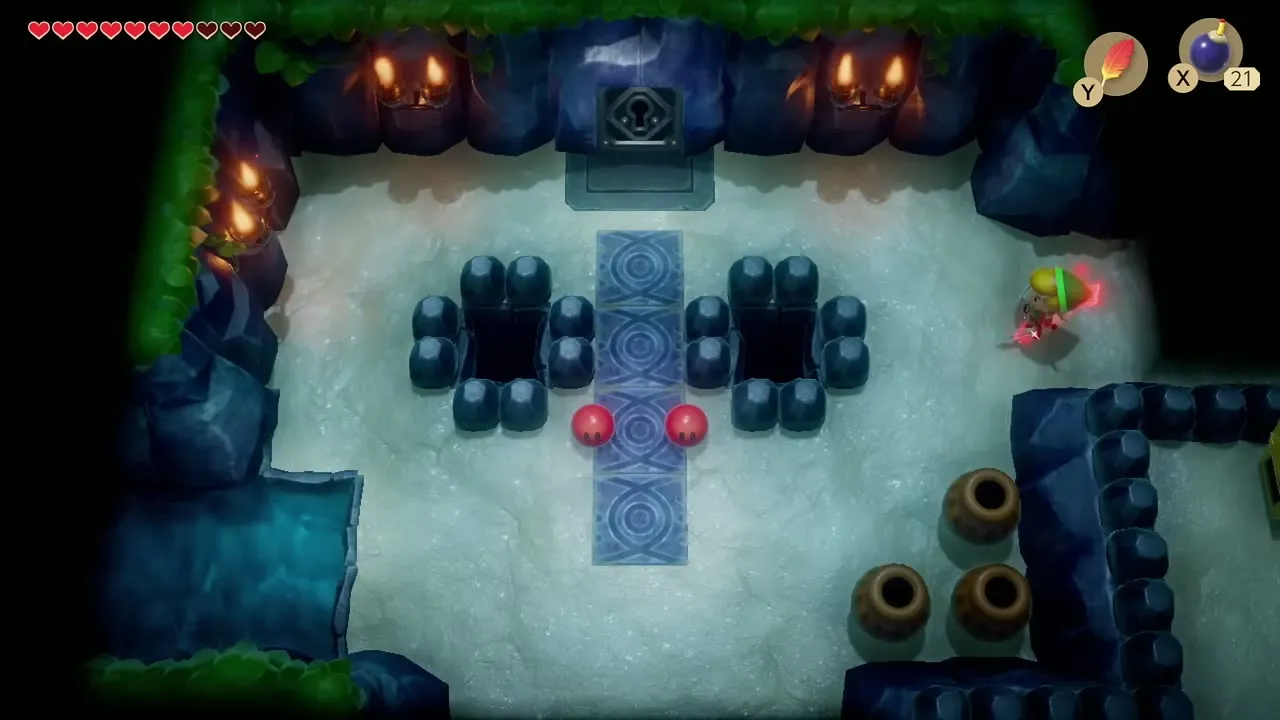
In the room with a chest on the left and stairs, step over the switch blocks and defeat the Zols, then open the chest for a small item. Next, break pots and defeat Spiny Beetles in the room with two pits.


Compass and Dungeon Map (optional chests)
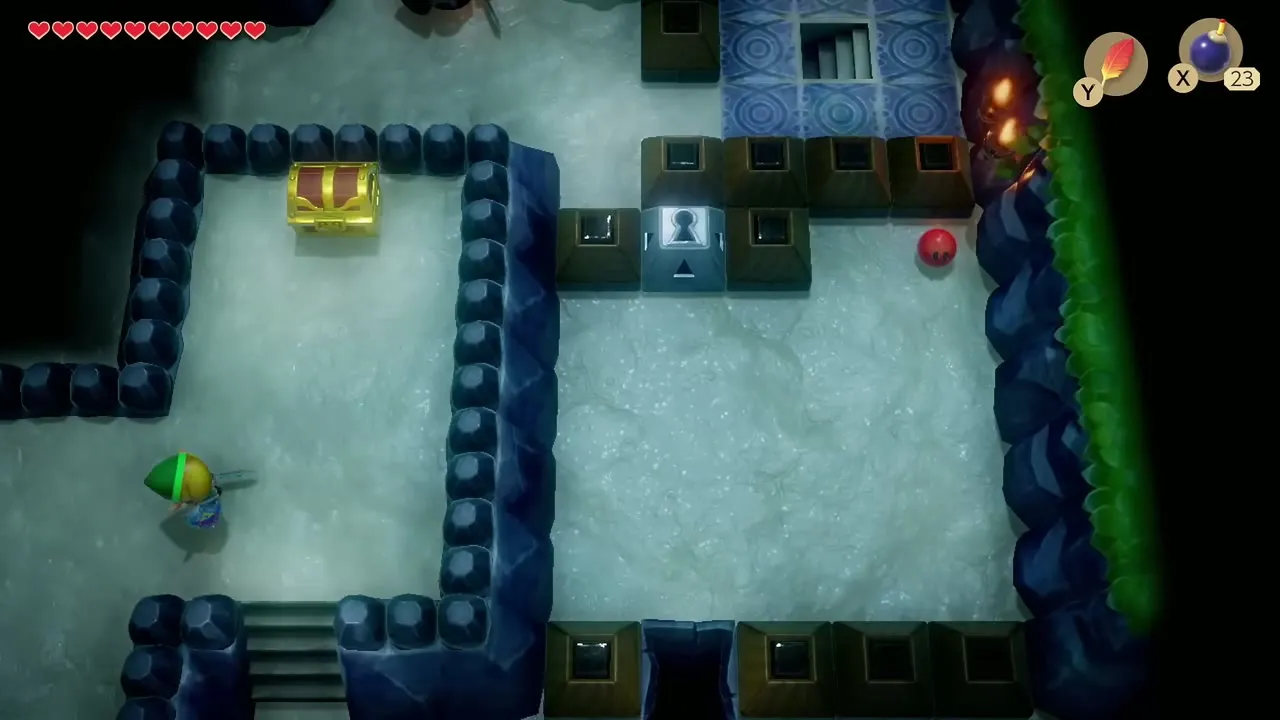
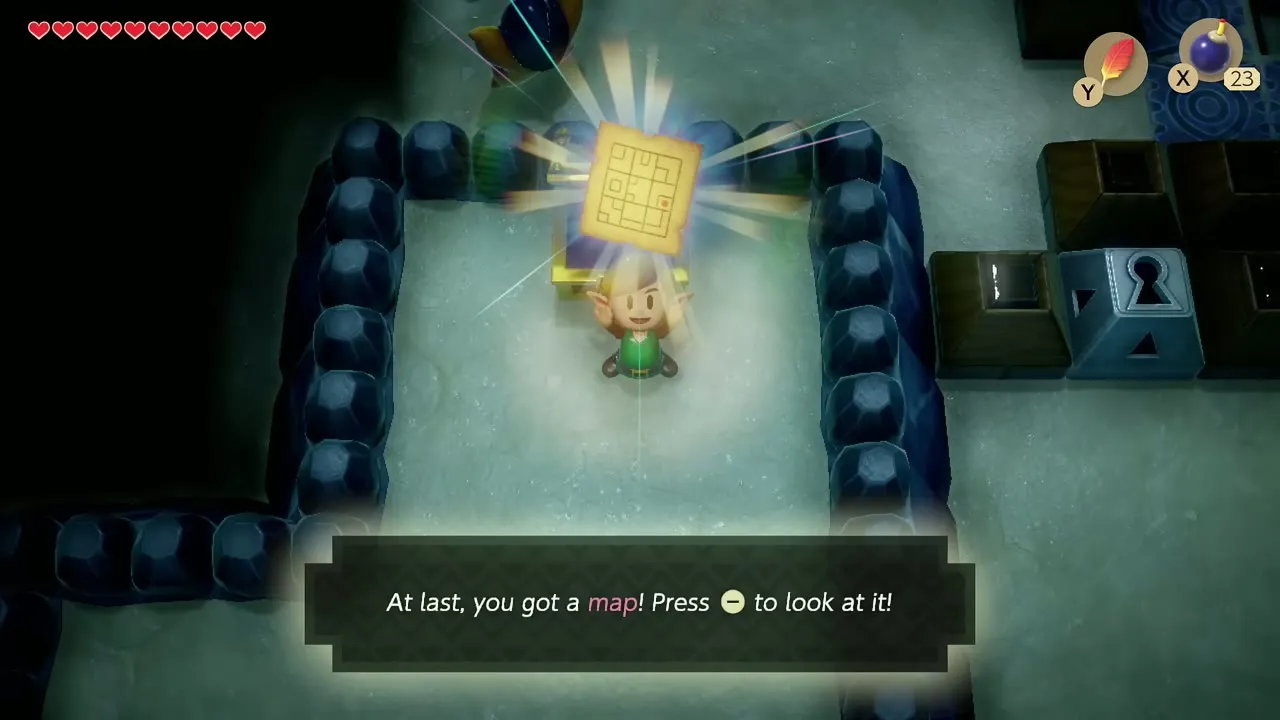
Two early chests hold the Compass and the Dungeon Map. The Compass is in the room east of the entrance once you defeat the red enemies and beetles. The Map is at the end of the long path that runs north along the upper level. They are not needed for the route, but the Map shows the chests you have not yet opened.
Mini-boss: Cue Ball
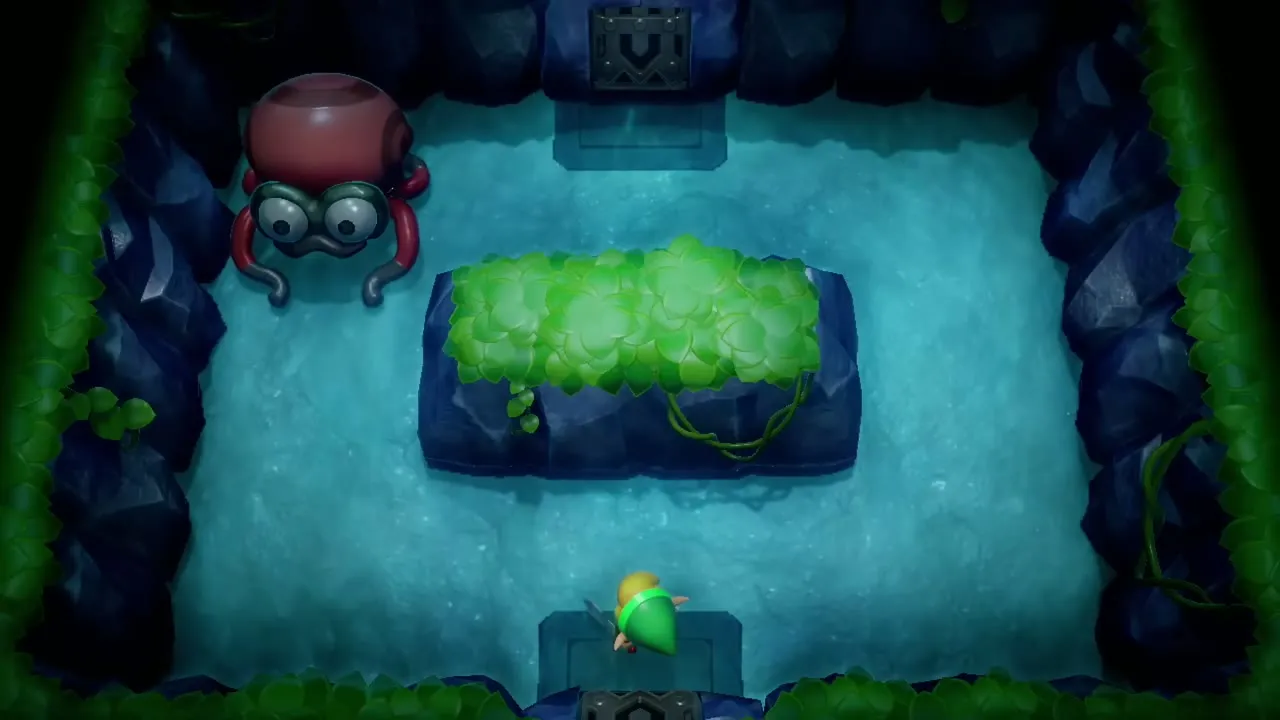
Unlock the door to the grass-island room and fight Cue Ball. He charges along the edges and cannot be hurt from the front. Jump over him with Roc’s Feather as he charges, or hit him from the side while he stops to turn. A few sword hits to his back finish him, and the door ahead opens.


Flippers
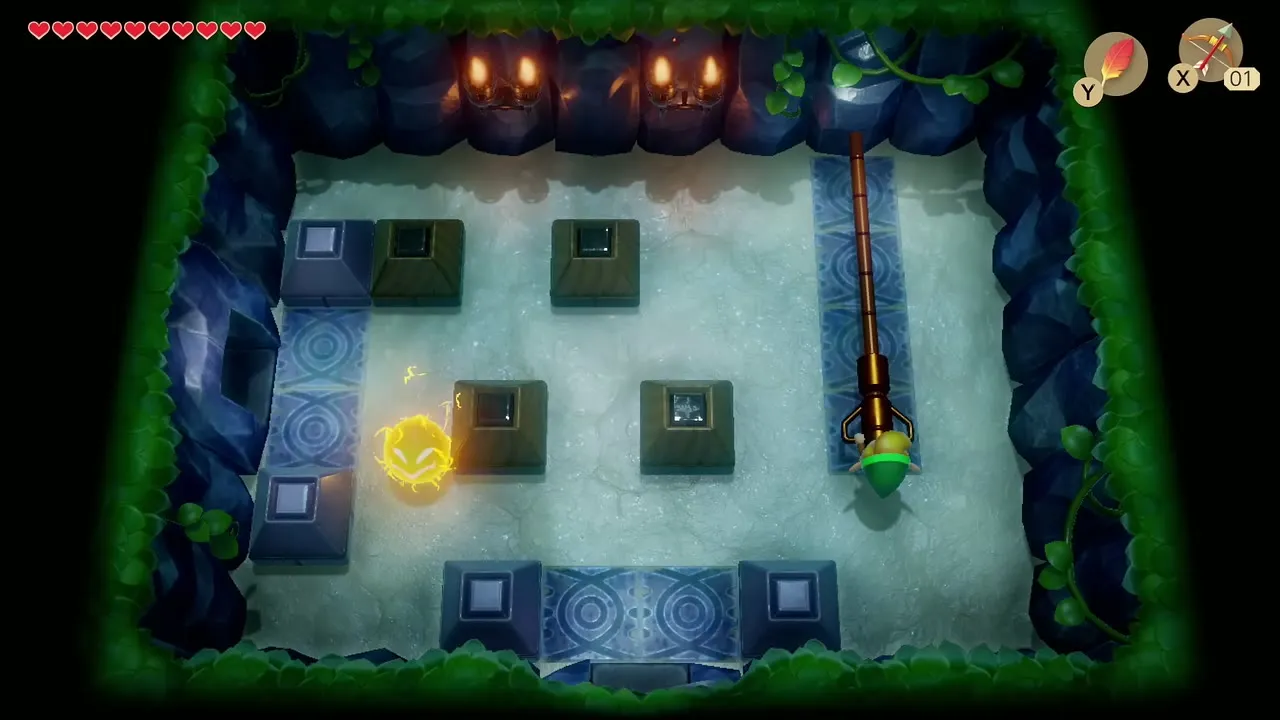
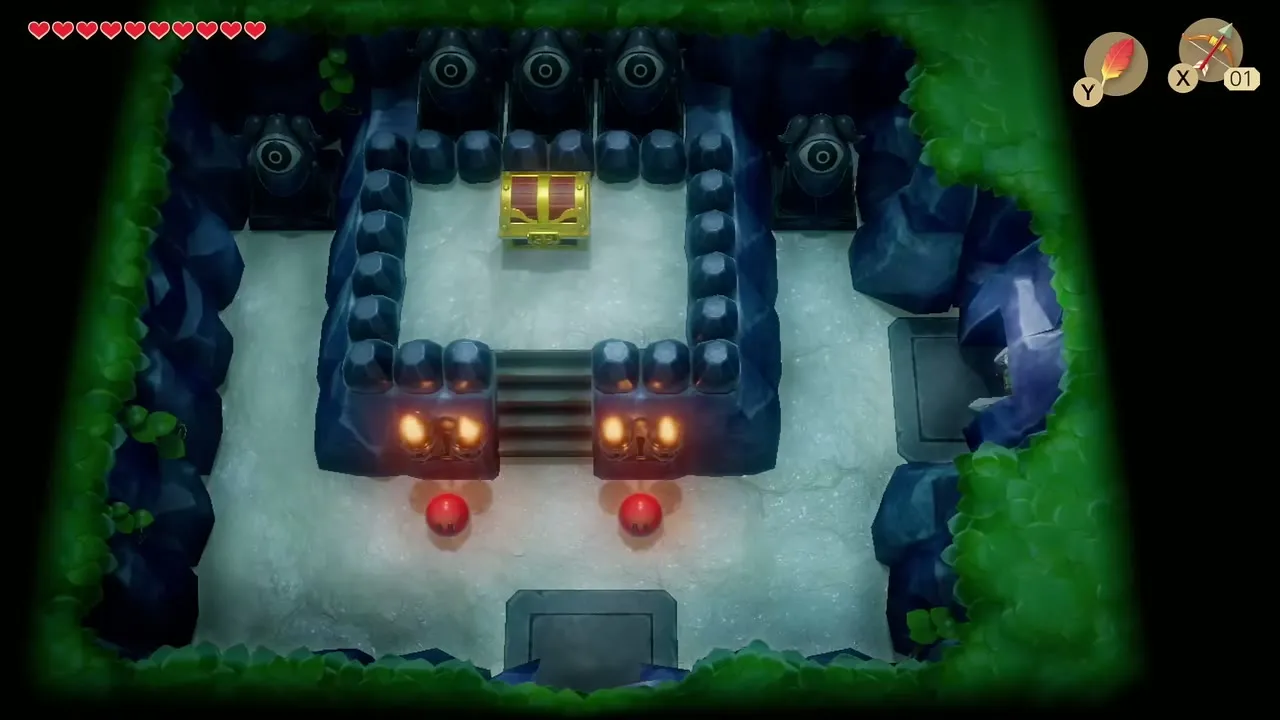
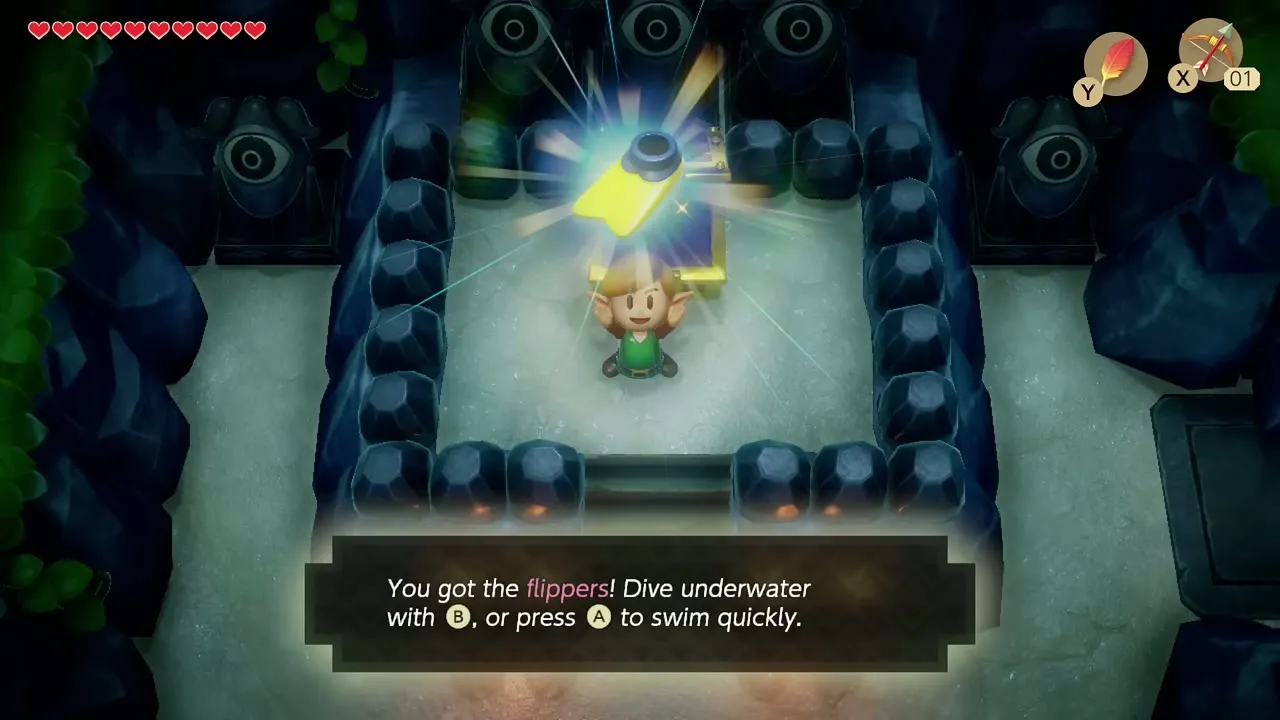
In the next room, blocks slide to seal the entrance and exit. Pull the long lever in the upper right to reset them, then slip out through the left exit while the Spark is away. Dodge the burning torches in the room beyond and climb the stone pedestal to open the chest. It holds the Flippers, which let you dive with the B button or swim quickly with A.
Rupee chests and the lit-slab puzzle
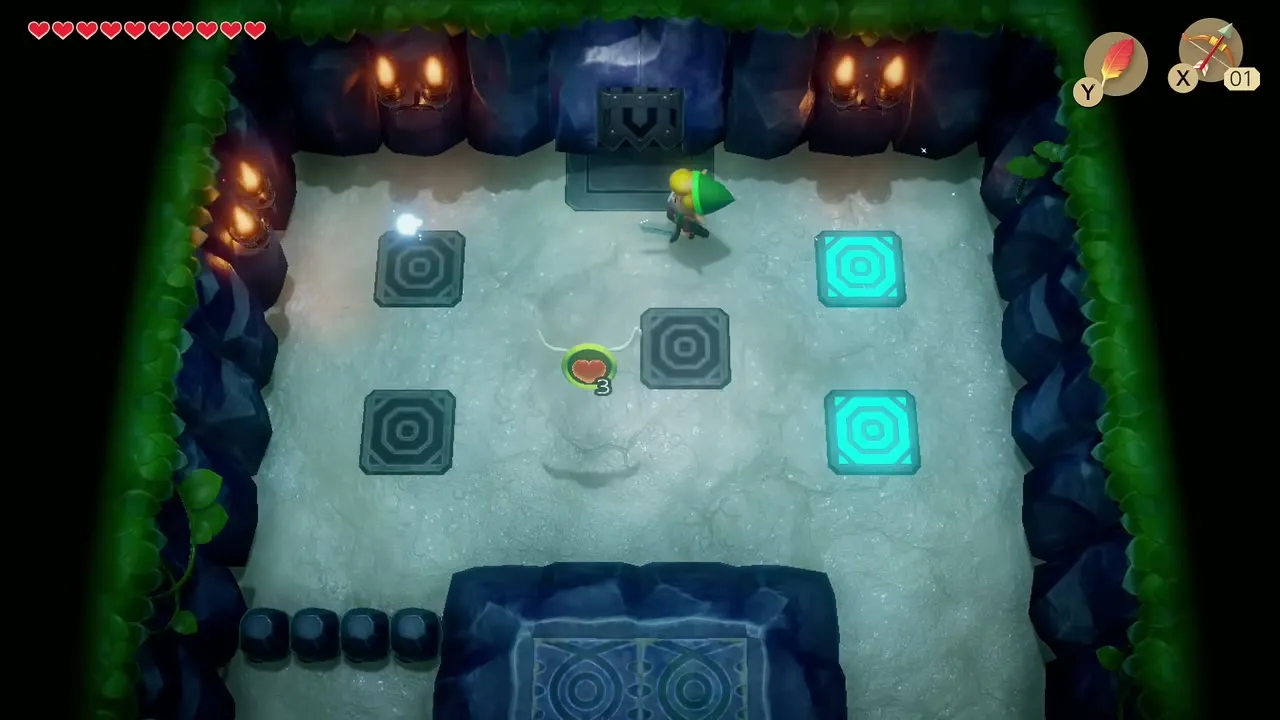
With the Flippers, grab the extra treasure in the flooded room near the eye statues. A chest behind the key-hole block holds a rupee. The next room has glowing slabs; step on them in the order that the dry-run slab room shows, and a hidden staircase appears.

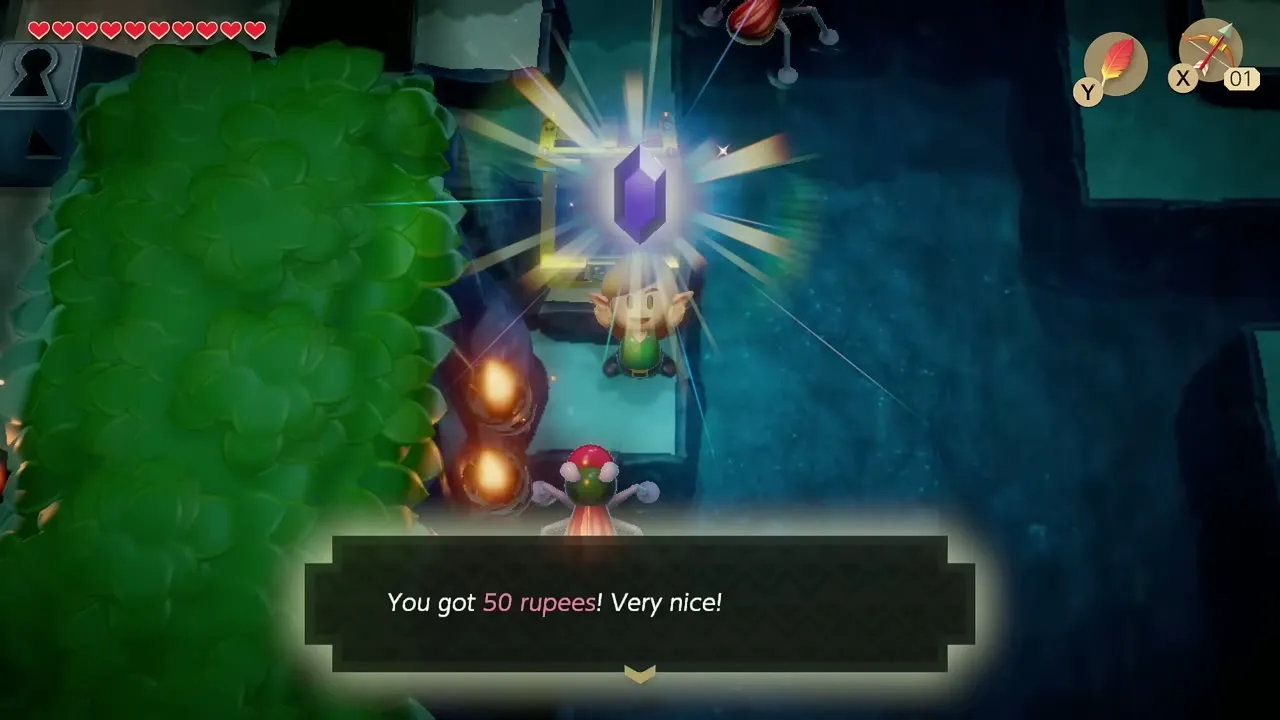
Nightmare Key
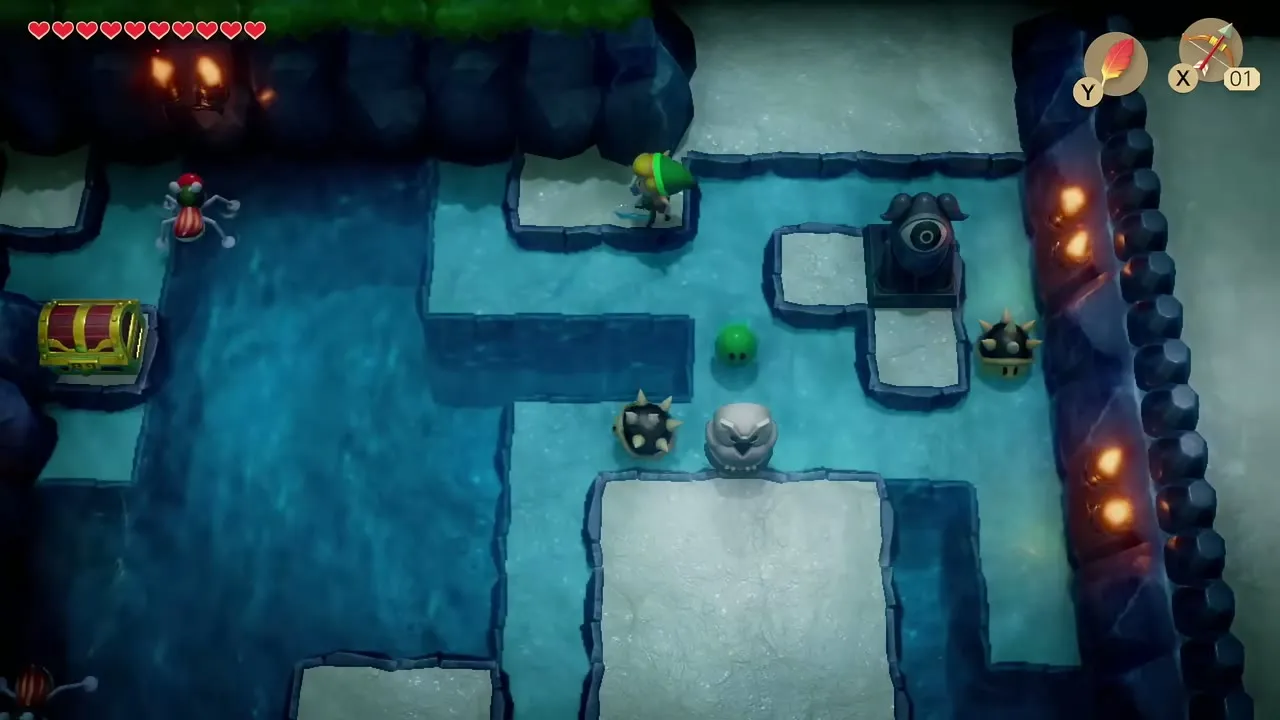
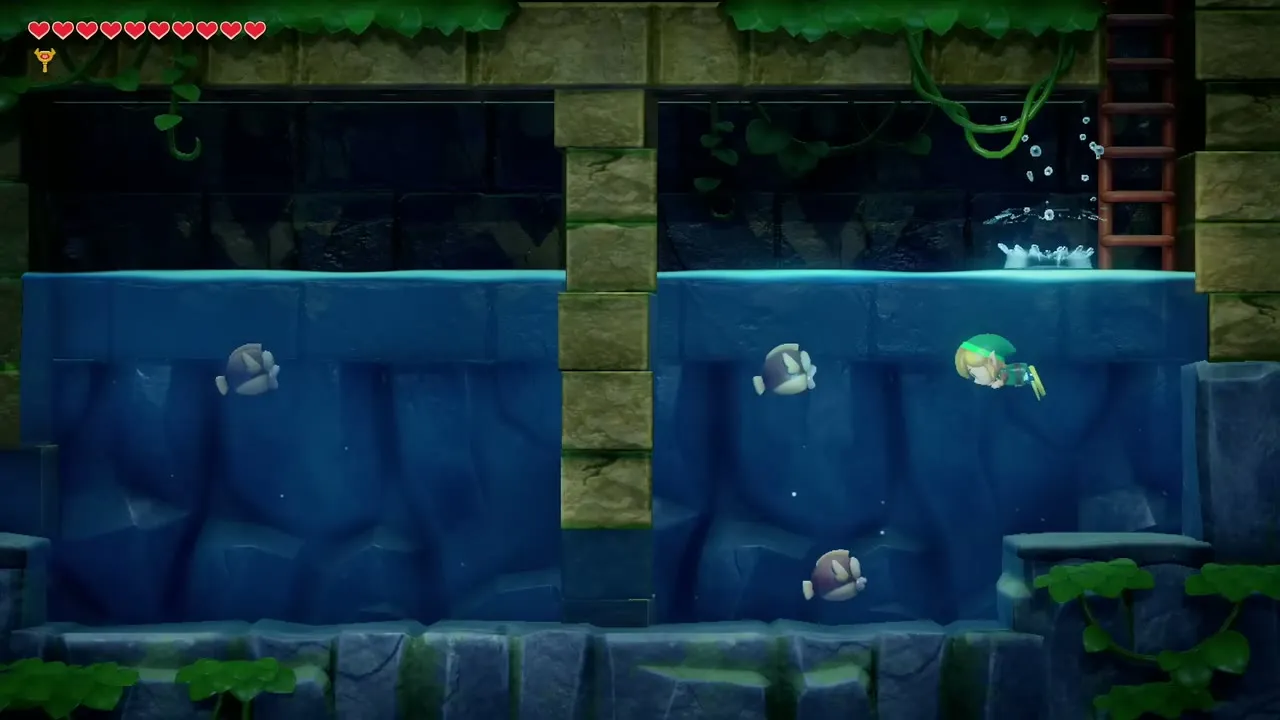
Take the stairs to the side-view room with stone faces. Swim between their drops, and for the stubborn one use the ladder and Roc’s Feather. Climb out, then follow the blue-tile corridor to the chest that holds the Nightmare Key. On your way back, swim down to the Small Key that fell into the water earlier.
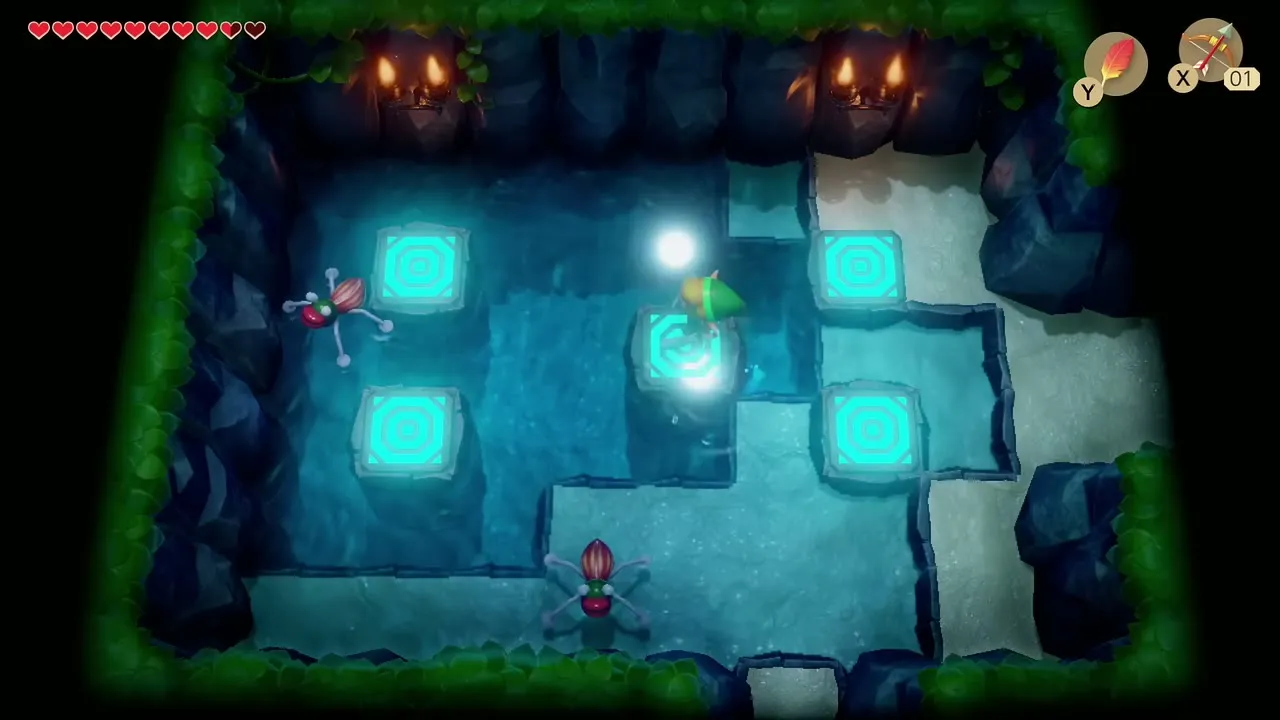

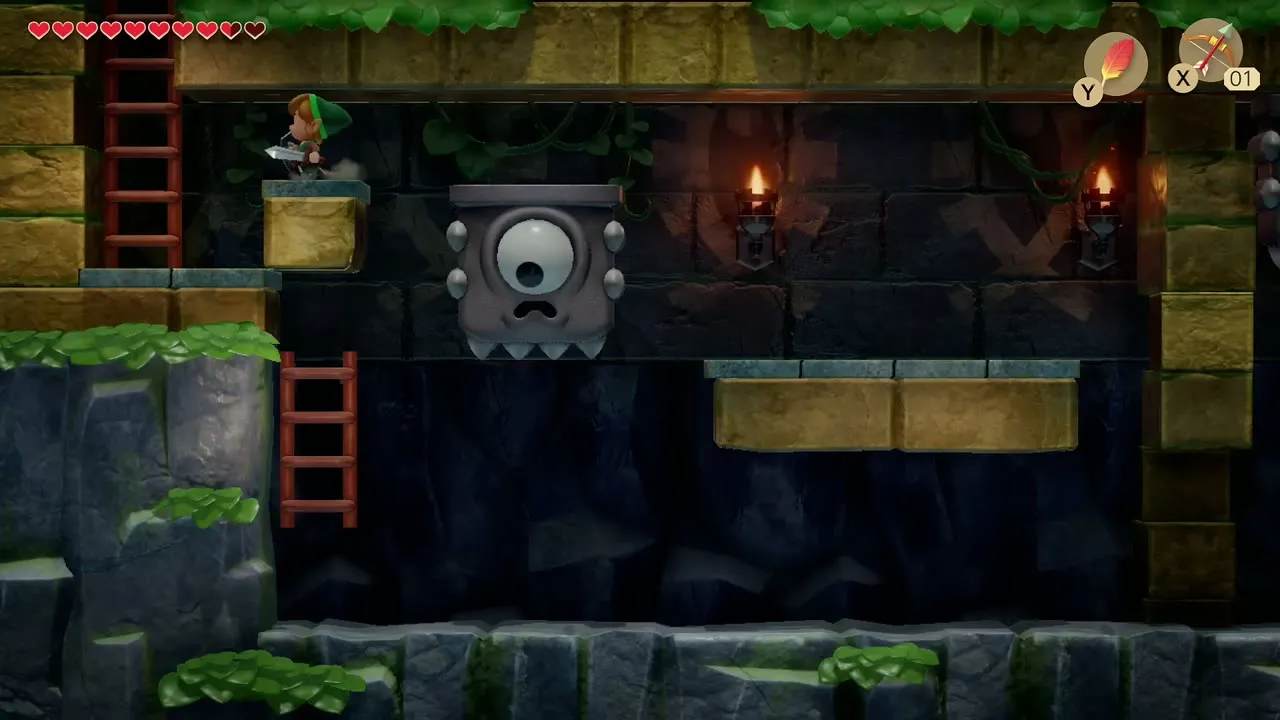

Door to the boss
Swim across the gap in the large flooded room and step on the big button to open the door. Use a small key on the lock block and go down the stairs.
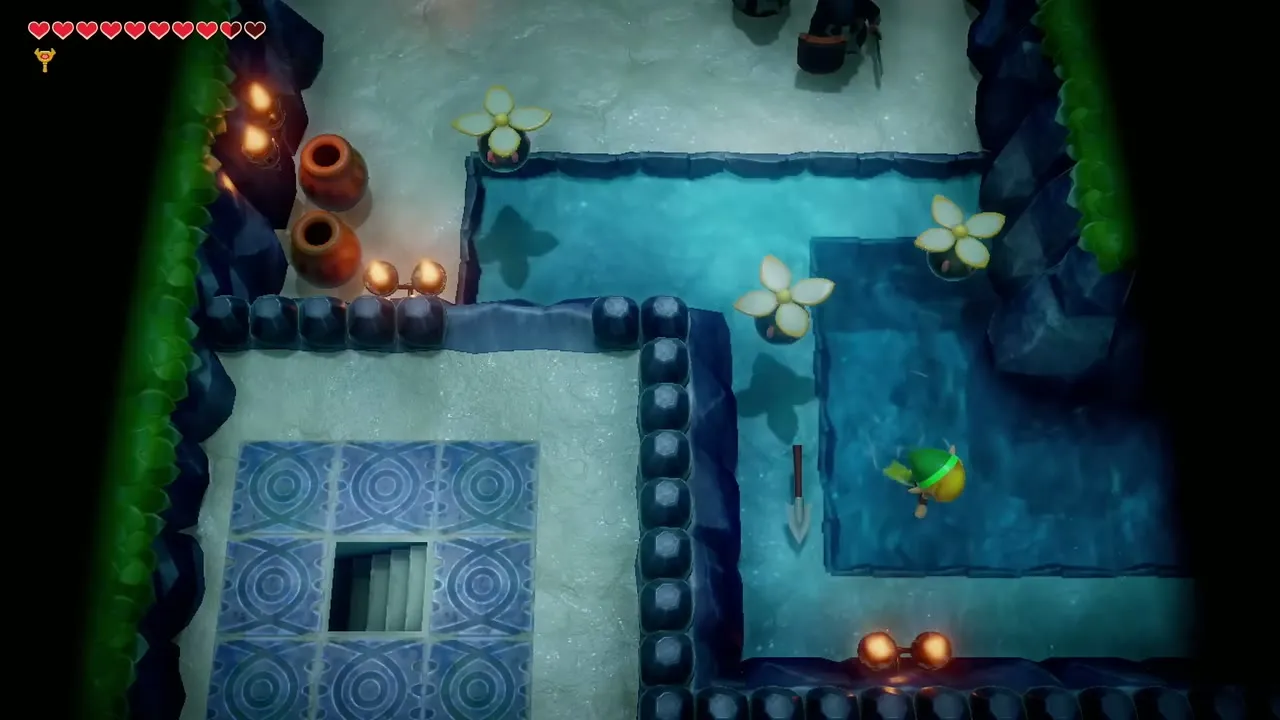
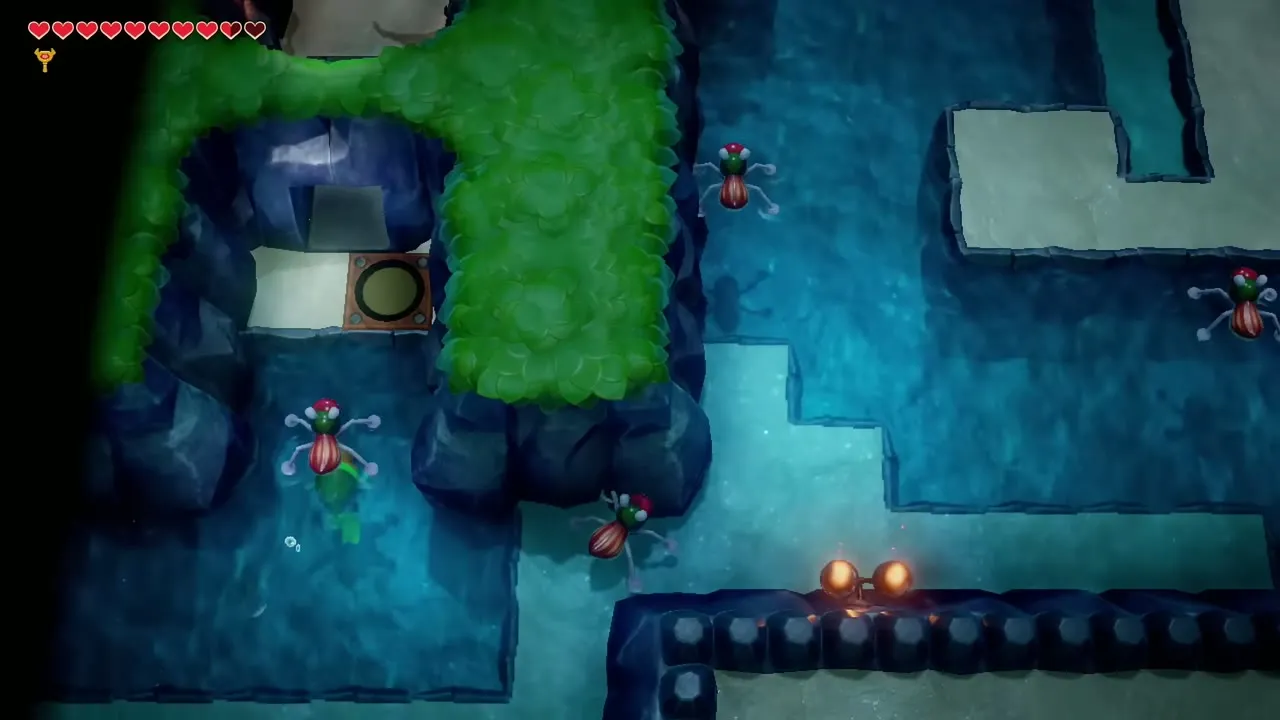
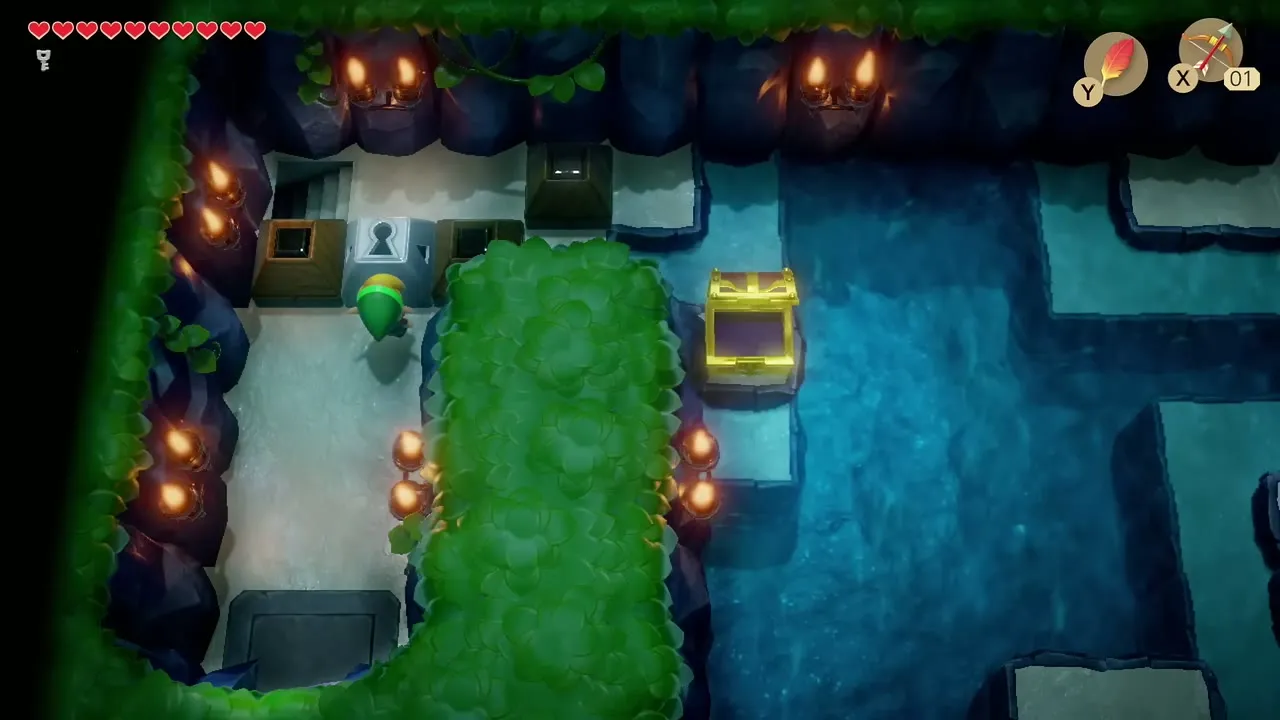
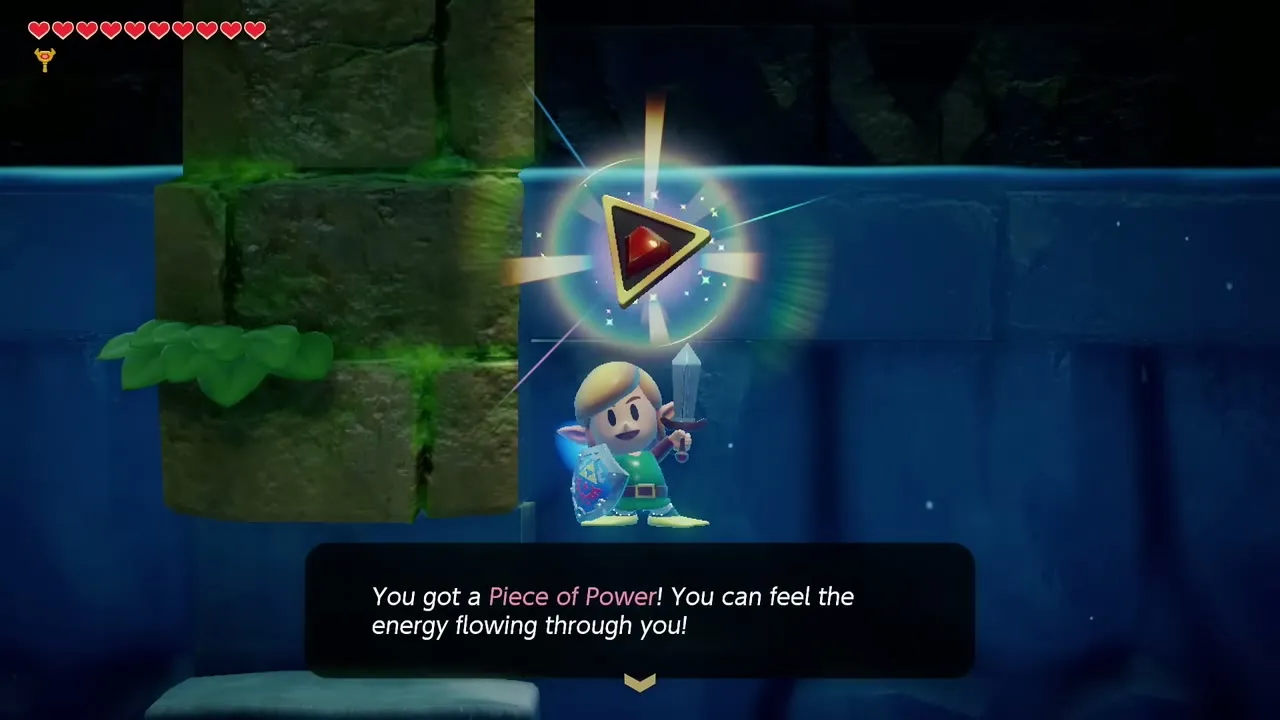
Swim through the underwater corridor, where you can pick up a Guardian Acorn and a Piece of Power. Take them before you reach the Nightmare’s door. The Piece of Power increases the damage you deal for a while.

Boss: Angler Fish
Open the Nightmare door and dive into the flooded arena to face the Angler Fish. Stay above it and let it charge. When it crashes into a wall, rocks fall from the ceiling, so swim clear. Slash the glowing lure on its head as it turns around. The sword takes about ten hits.

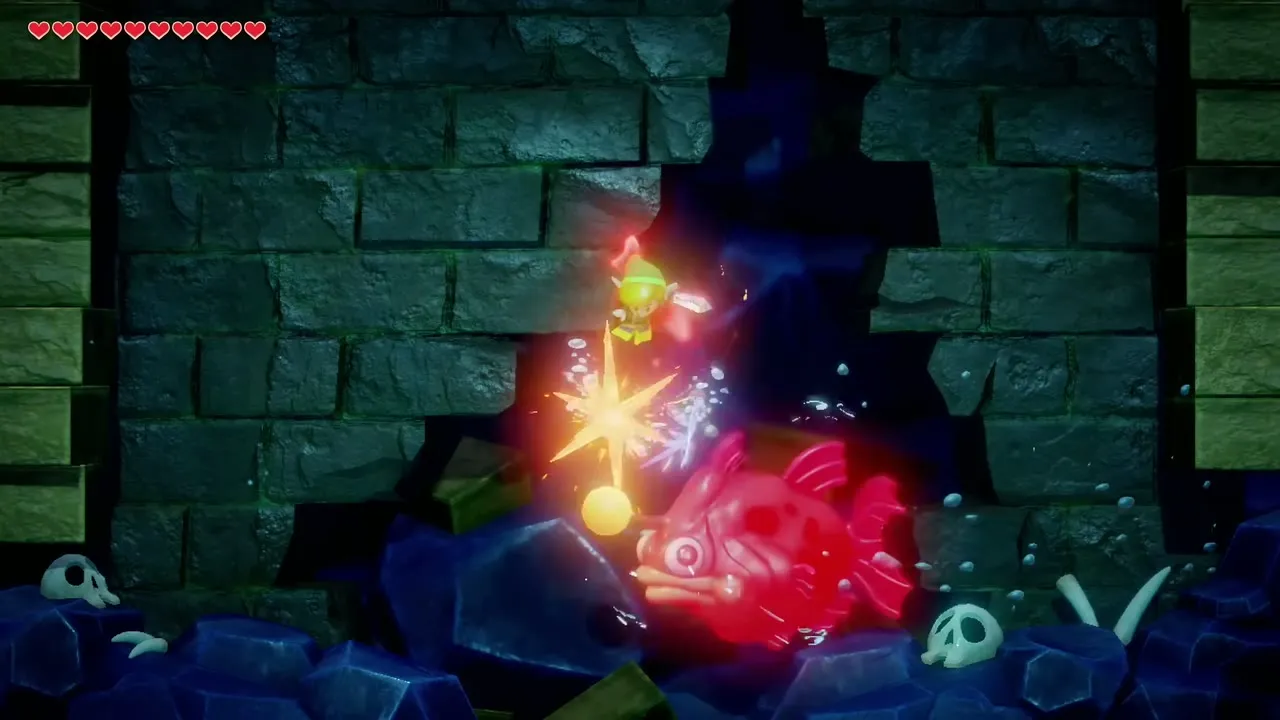
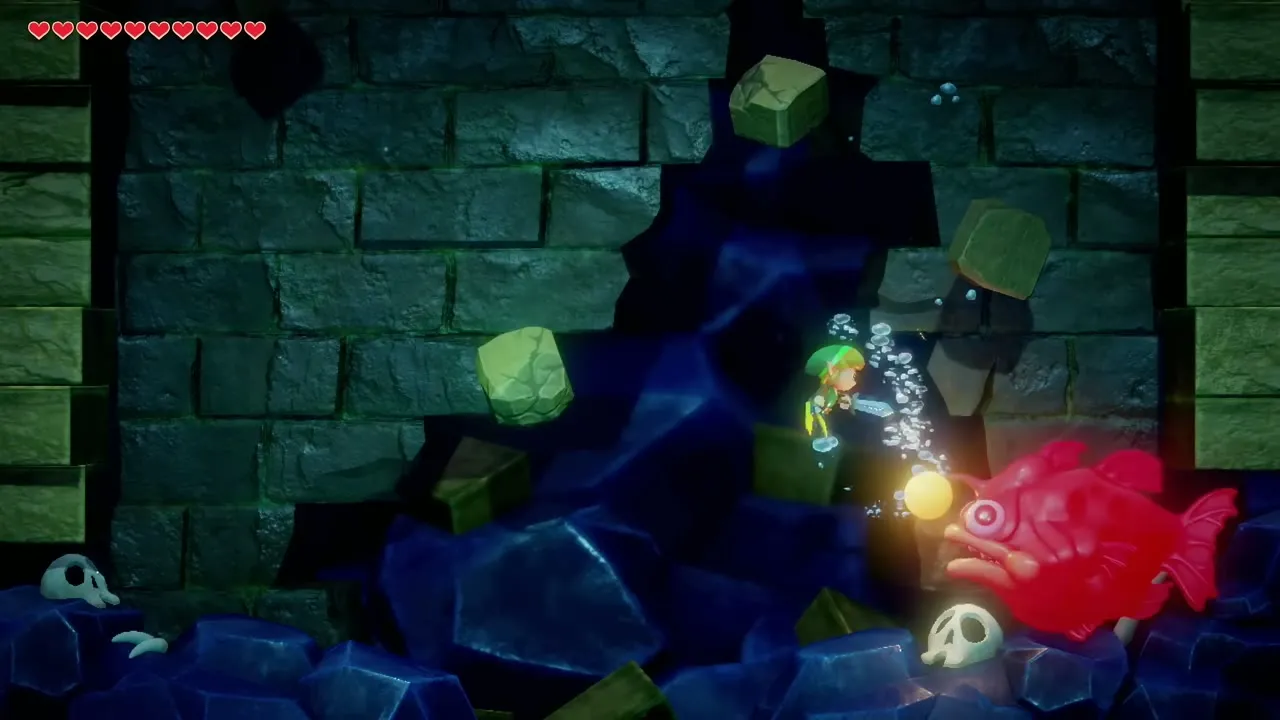
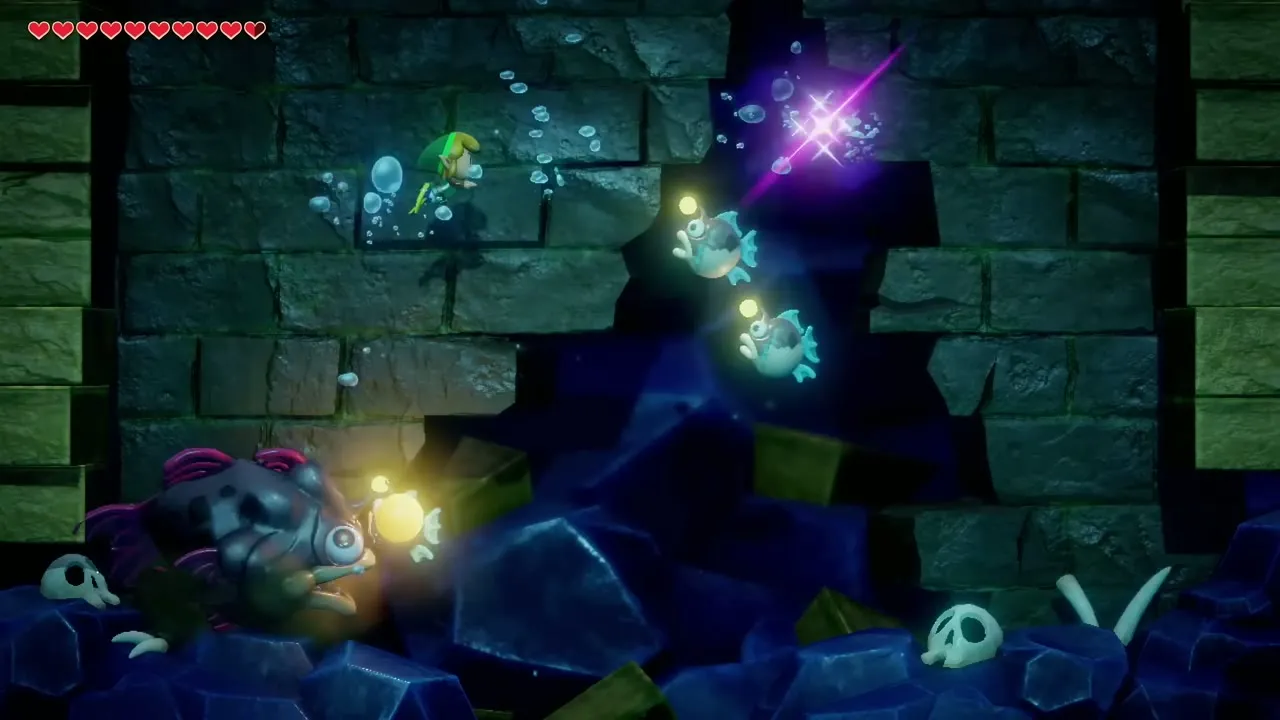
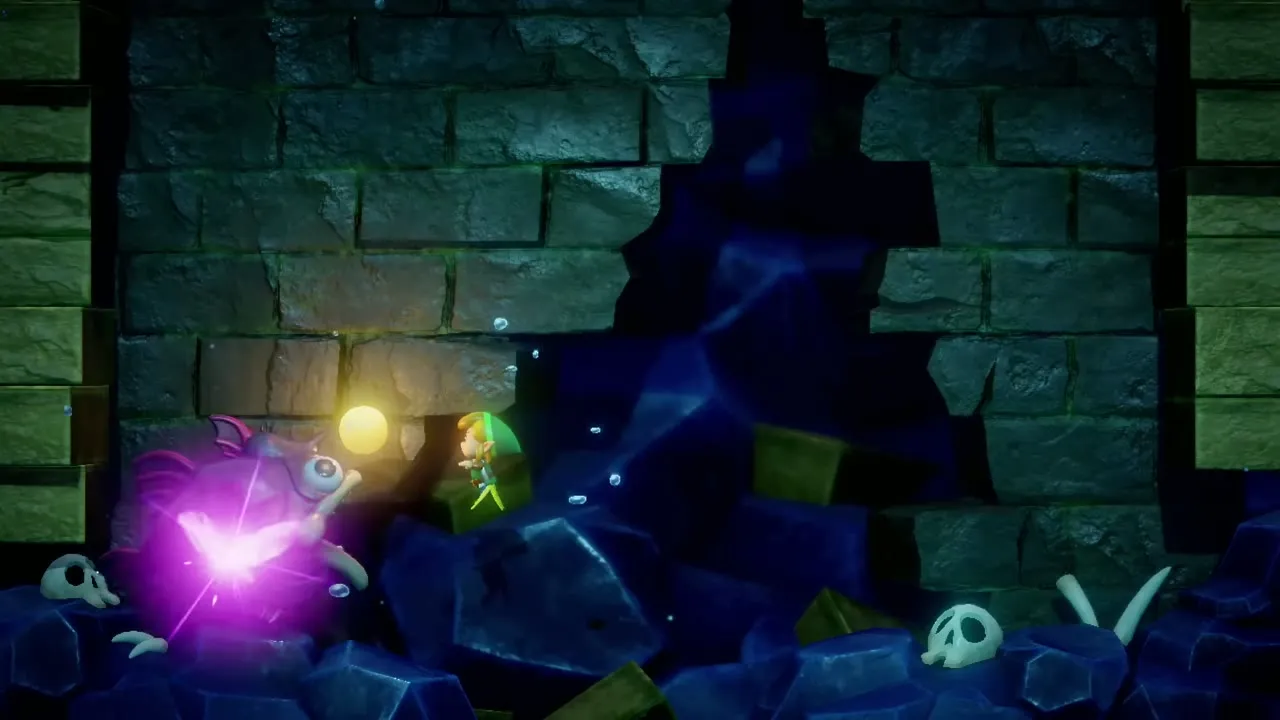
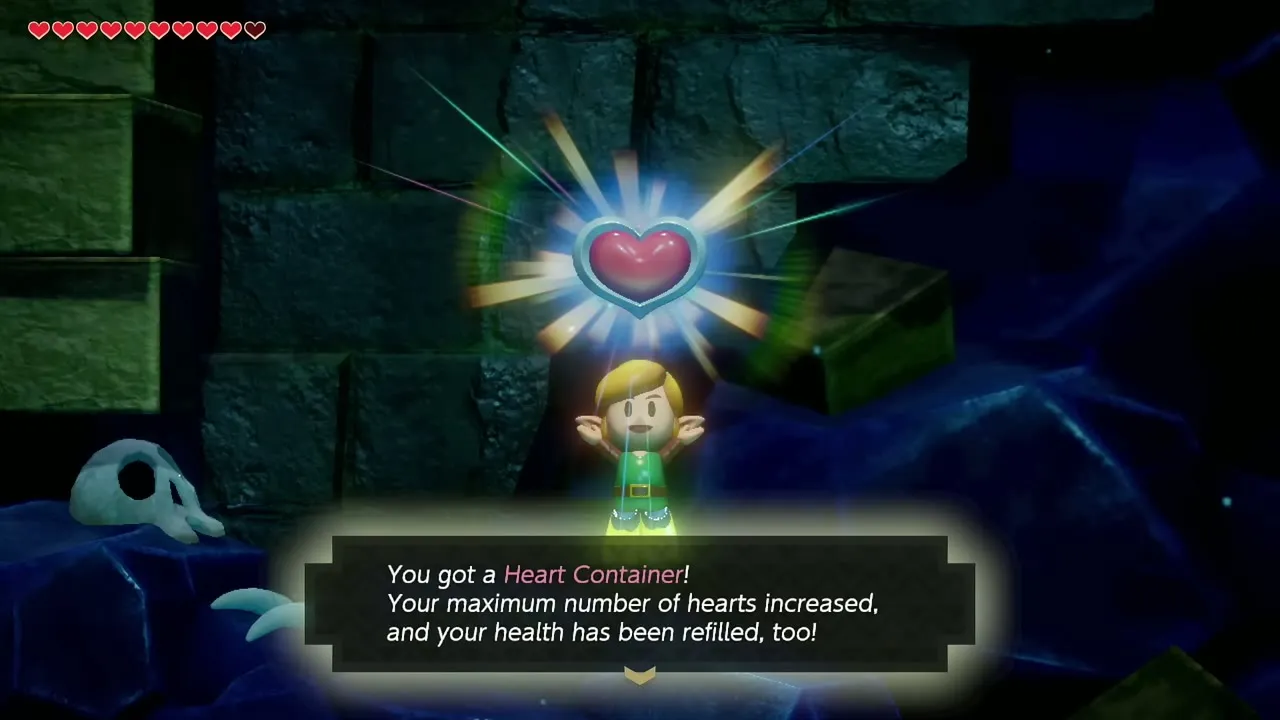
After several hits it summons small fish; each dies to one sword hit. Kill them and go back to the lure until the boss bursts. A Heart Container drifts down. Take it, then climb the ladder to the previous room.
Surf Harp
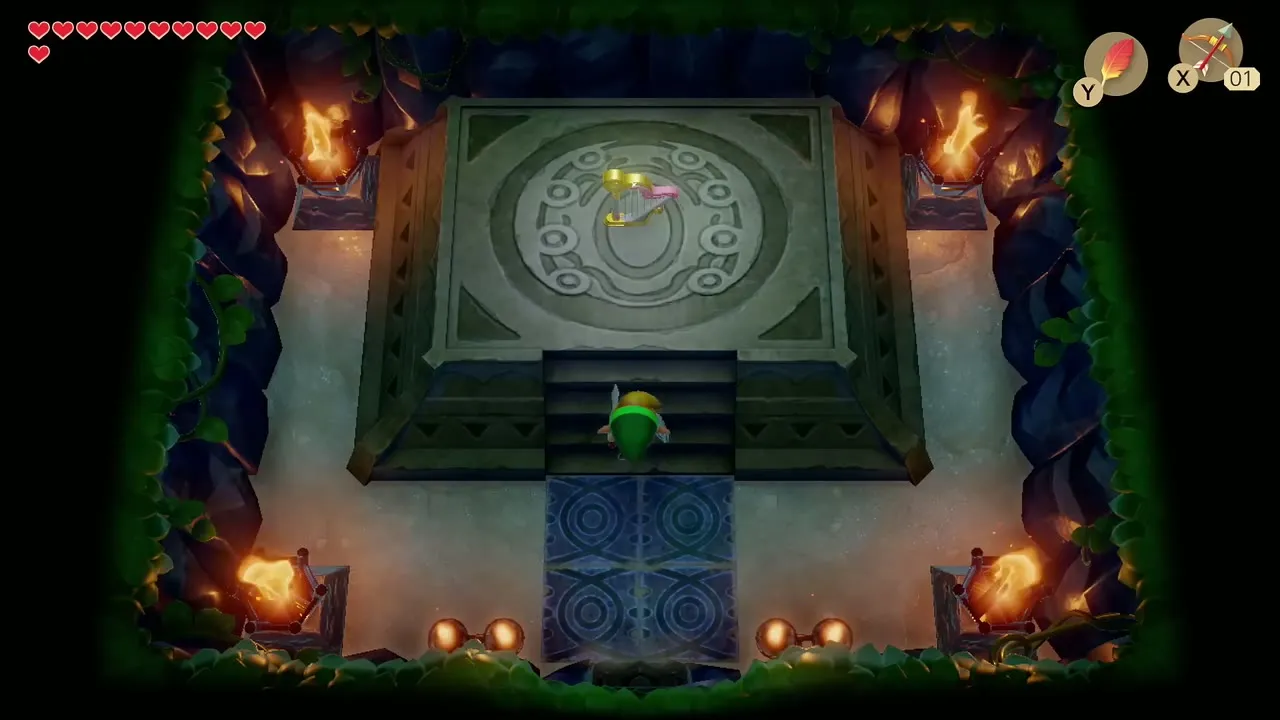
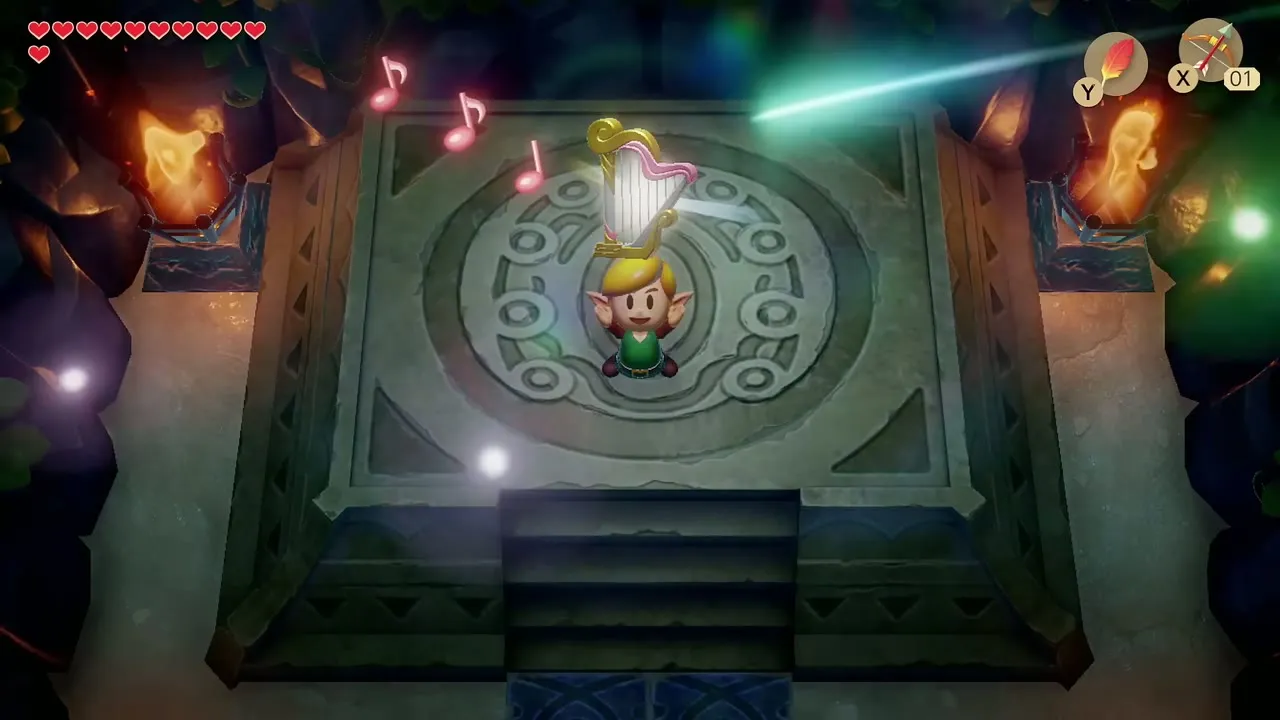
Walk through the door that opened at the north end of the room and take the Surf Harp, the fourth instrument. Link rises to the surface in a flash of light. With the Flippers in hand, swim along the Tal Tal Heights lake to the empty flooded cave east of the Angler’s Tunnel entrance and dive to the bottom for one more Piece of Heart.

Chapter checklist
| Type | Name | Where |
|---|---|---|
| Item | Bow | Town Tool Shop, Mabe Village (980 rupees) |
| Figure | Boo figure | Trendy Game, Mabe Village |
| Key item | Ocarina | Dream Shrine pedestal |
| Heart piece | Piece of Heart | Dampé’s Shack, “Fill Up Your Hearts” |
| Secret seashell | Dampé’s Fill Up Your Hearts reward | Dampé’s Shack |
| Secret seashell | Ancient Ruins chest | Cave behind the Armos |
| Trading item | Pineapple, Hibiscus, Goat’s Letter, Broom, Fishing Hook | Chef Bear, Papahl, Christine, Mr. Write, Grandma Yahoo |
| Item | Guardian Acorn | Tal Tal Mountain Range cave |
| Song | Ballad of the Wind Fish | Marin, Animal Village meadow |
| Heart piece | Piece of Heart | Cave under the Yarna Desert quicksand |
| Key item | Angler Key | Lanmola, Yarna Desert |
| Heart piece | Piece of Heart | Behind the houses, Animal Village |
| Heart piece | Piece of Heart | Flooded cave east of the Angler’s Tunnel entrance (Flippers) |
| Secret seashell | The Walrus | Play the Ballad at the shore by the desert entrance |
| Secret seashell | Desert cacti | Yarna Desert, north-east, beside the Owl Statue |
| Secret seashell | Desert corner rock | Far south-east corner of Yarna Desert, Power Bracelet |
| Secret seashell | Christine’s gift | Christine’s house |
| Secret seashell | Martha’s Bay islet | Beside the Owl statue |
| Secret seashell | Warp point bomb hole | Tal Tal Heights, next to the Angler Key keyhole |
| Dungeon item | Stone Beak, Compass, Dungeon Map, Flippers, Nightmare Key | Angler’s Tunnel chests |
| Power-up | Piece of Power | Underwater corridor before the boss |
| Heart container | Heart Container | Angler Fish |
| Instrument | Surf Harp | Room north of the boss arena |
