





















Link's Awakening 100% Completion Walkthrough9 chapters
- Toronbo Shores, Mabe Village and Tail Cave (Level 1)Link’s Awakening Switch walkthrough from the start: get the Sword, Shovel and Magic Powder, find the Tail Key, then.
- Mysterious Forest, Goponga Swamp and Bottle Grotto (Level 2)Rescue BowWow, collect three Heart Pieces and Secret Seashells, cross Goponga Swamp and clear Bottle Grotto (Level 2).
- Ukuku Prairie, Kanalet Castle and Key Cavern (Level 3)Link’s Awakening Switch walkthrough for Kanalet Castle Golden Leaves, the Slime Key, Key Cavern (Level 3), the Pegasus.
- Yarna Desert and Angler’s Tunnel (Level 4)Yarna Desert and Angler’s Tunnel walkthrough for Link’s Awakening: get the Angler Key, the Flippers and the Surf Harp.
- Martha’s Bay and Catfish’s Maw (Level 5)Martha’s Bay and Catfish’s Maw walkthrough for Link’s Awakening: learn Manbo’s Mambo, free the Ghost, win the Hookshot.
- Southern Face Shrine and Face Shrine (Level 6)Southern Face Shrine and Face Shrine (Level 6) walkthrough for Link’s Awakening: Magnifying Lens, Koholint Sword.
- Tal Tal Heights and Eagle’s Tower (Level 7)Tal Tal Heights and Eagle’s Tower walkthrough for Link’s Awakening: the Flying Rooster, Bird Key, Mirror Shield, Evil.
- Western Tal Tal Mountains and Turtle Rock (Level 8)Western Tal Tal Mountains and Turtle Rock (Level 8) walkthrough for Link’s Awakening: Secret Seashell 50, Magic Rod.
- The Wind Fish’s Egg and Final BossesThe Wind Fish’s Egg and final bosses walkthrough for Link’s Awakening: read the maze book, play the Ballad, beat all.
| Covers | Martha’s Bay, Animal Village, Seashell Mansion, Toronbo Shores, Ukuku Prairie, Mabe Village, Mysterious Forest, Rapids Ride, Ancient Ruins, Face Shrine |
|---|---|
| Dungeon | Face Shrine (Level 6): needs the Face Key, Hookshot, Bombs, Boomerang and Magic Powder; boss Facade; instrument Coral Triangle |
| Rewards | Magnifying Lens, double bomb capacity, Koholint Sword, Boomerang, Frog’s Song of Soul, Heavyweight Lure, Fairy Bottle, Blooper figure, Face Key, Power Bracelet L-2, Dungeon Map, Compass, Stone Beak, Nightmare Key, Heart Container, Coral Triangle; 7 Pieces of Heart, 7 Secret Seashells, Secret Medicine |
This chapter clears the last loose ends before Level 6 and then finishes the dungeon. You pick up the Magnifying Lens, the Koholint Sword, the Boomerang and the Frog’s Song of Soul, collect seven Pieces of Heart on the way, beat the Armos Knight in the Ancient Ruins for the Face Key, and open the Face Shrine. Inside, the Power Bracelet L-2 lets you lift the heavy statues, and Facade guards the Coral Triangle.



Martha’s Bay: Piece of Heart, Li’l Devil and Magnifying Lens
Dive for the Piece of Heart in Martha’s Bay
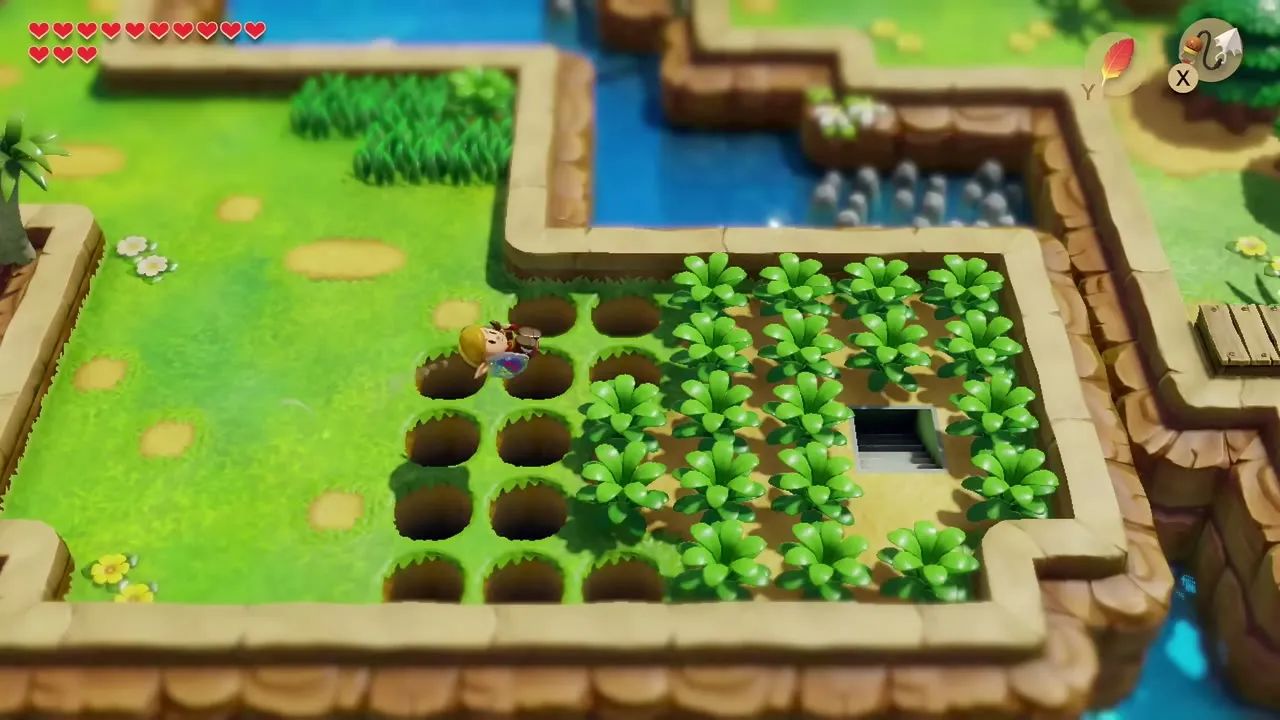
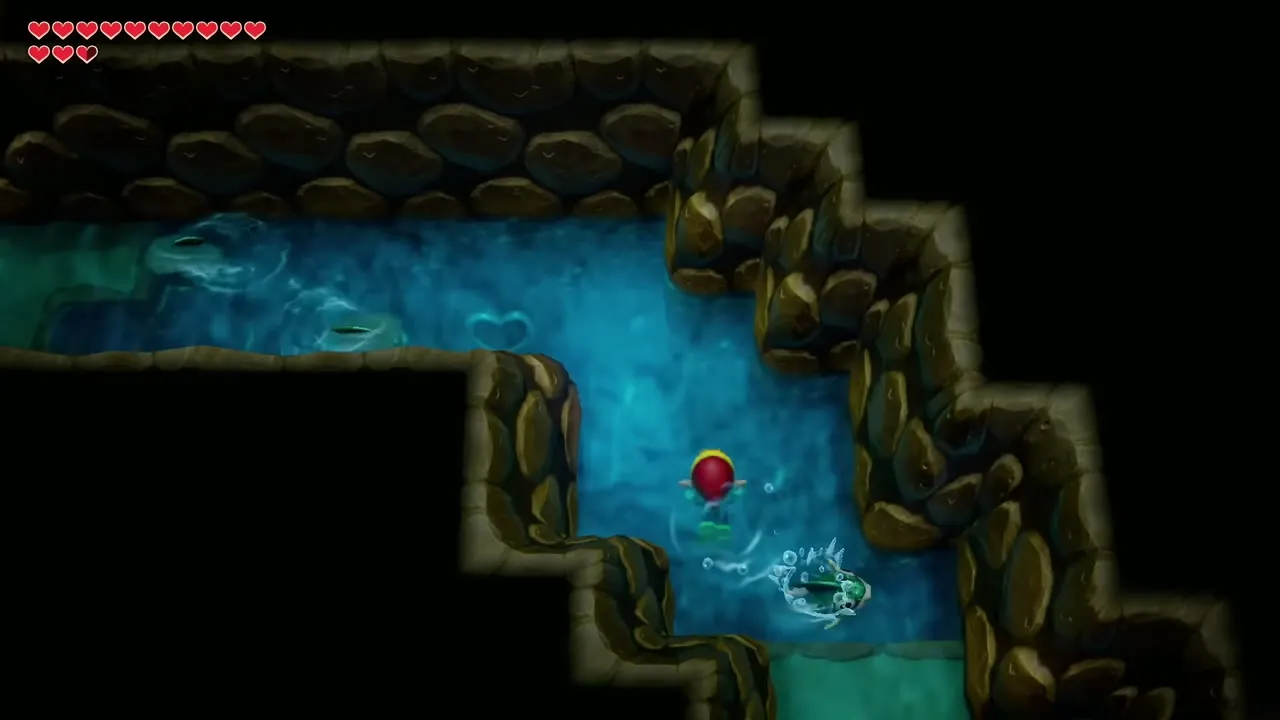
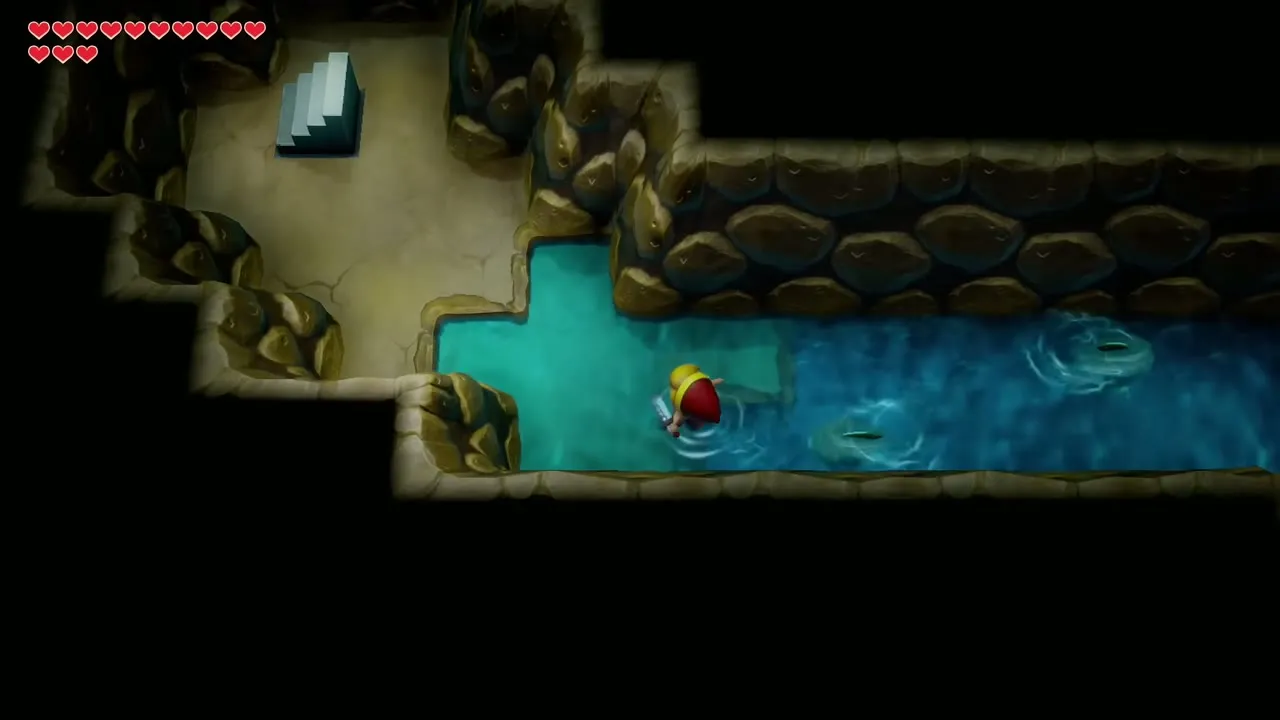
Go to the Telephone Booth in Martha’s Bay and find the staircase hidden in the patch of leafy plants to the east of it. The passage below is flooded, so swim with the Flippers and follow it to the Piece of Heart. The same tunnel carries on to the Li’l Devil’s cave. A second Piece of Heart waits at the south edge of the bay, near the Mermaid Statue: swim to the narrow channel where the water flows out and dive with the Flippers.

Double your bomb capacity
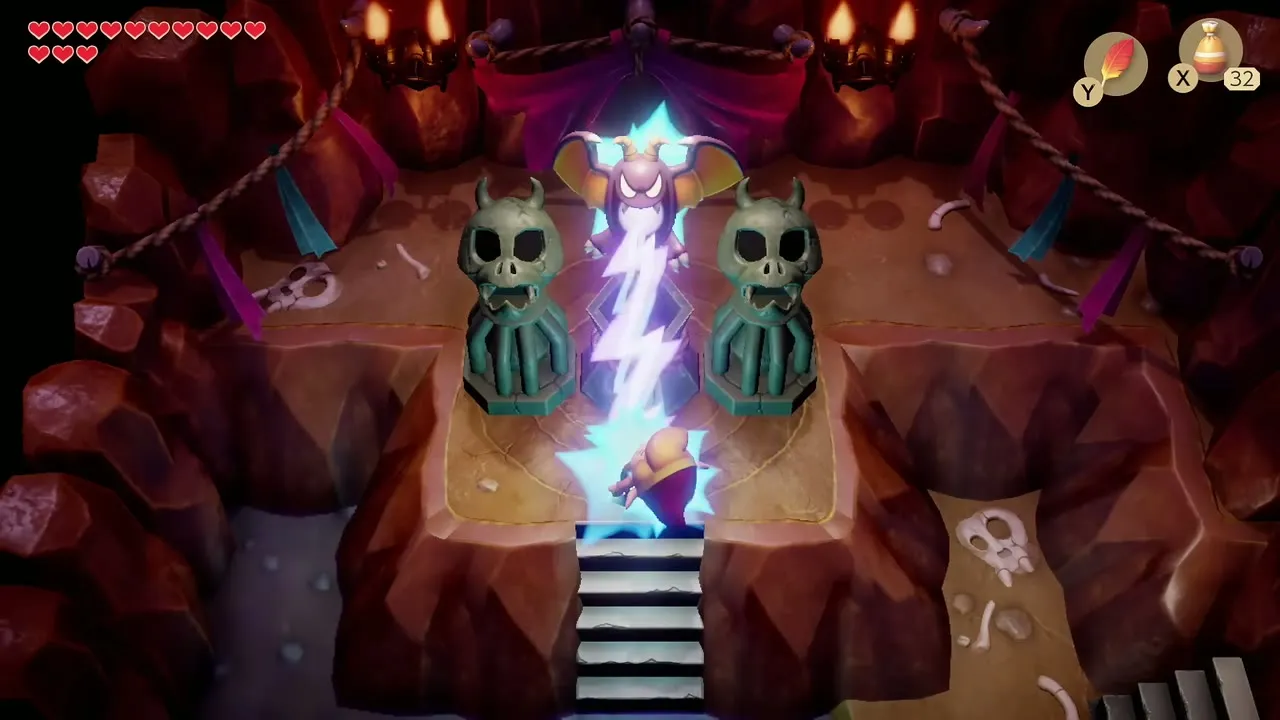
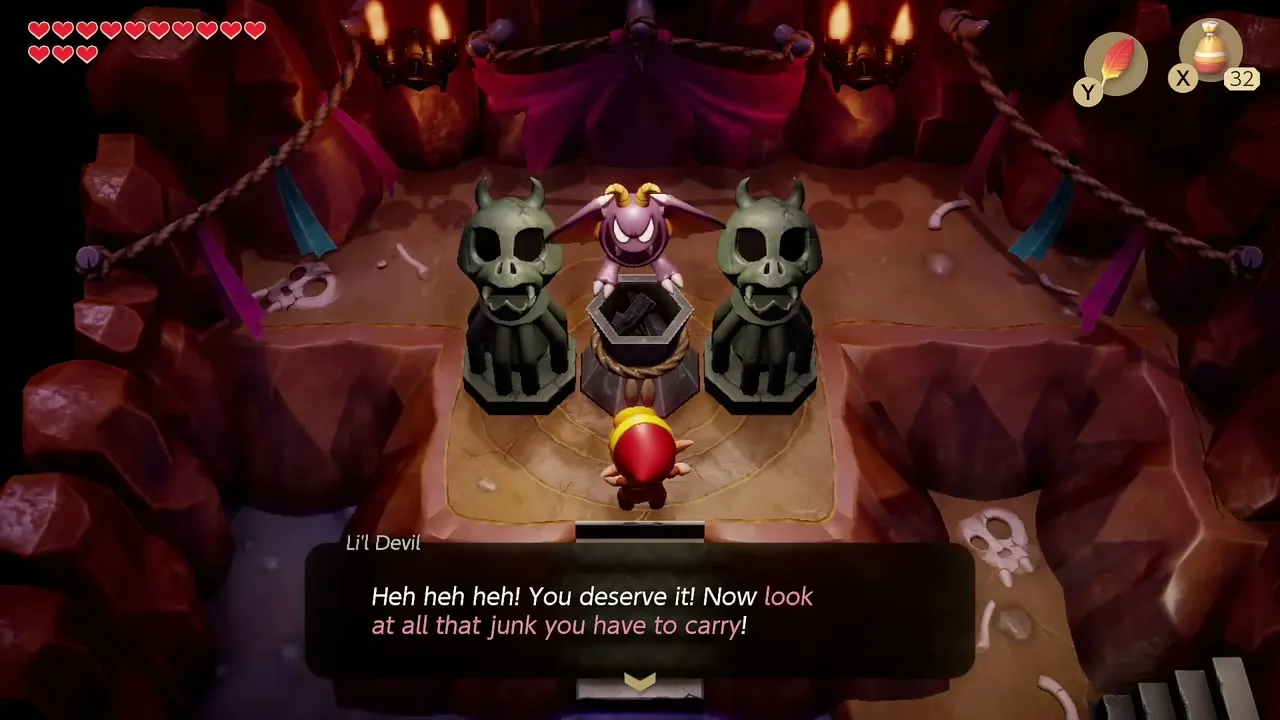
Enter the room with the two skull statues and sprinkle Magic Powder over the bowl between them to wake the Li’l Devil. He zaps you in revenge and then offers to let you carry twice as much of one item. Take the bombs and your limit rises to 60. If you refuse, he offers the other items instead: arrows also go to 60 and Magic Powder to 40, so you can come back to any of his three caves for the rest.

Get the Magnifying Lens
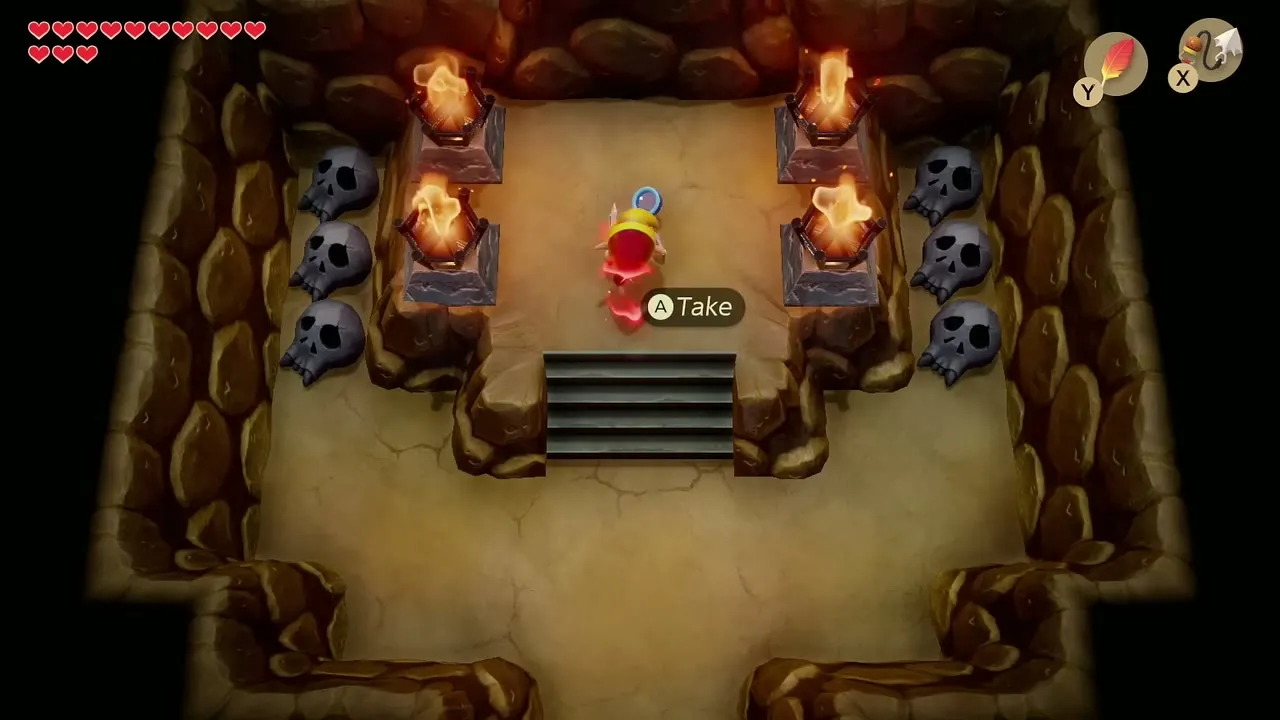
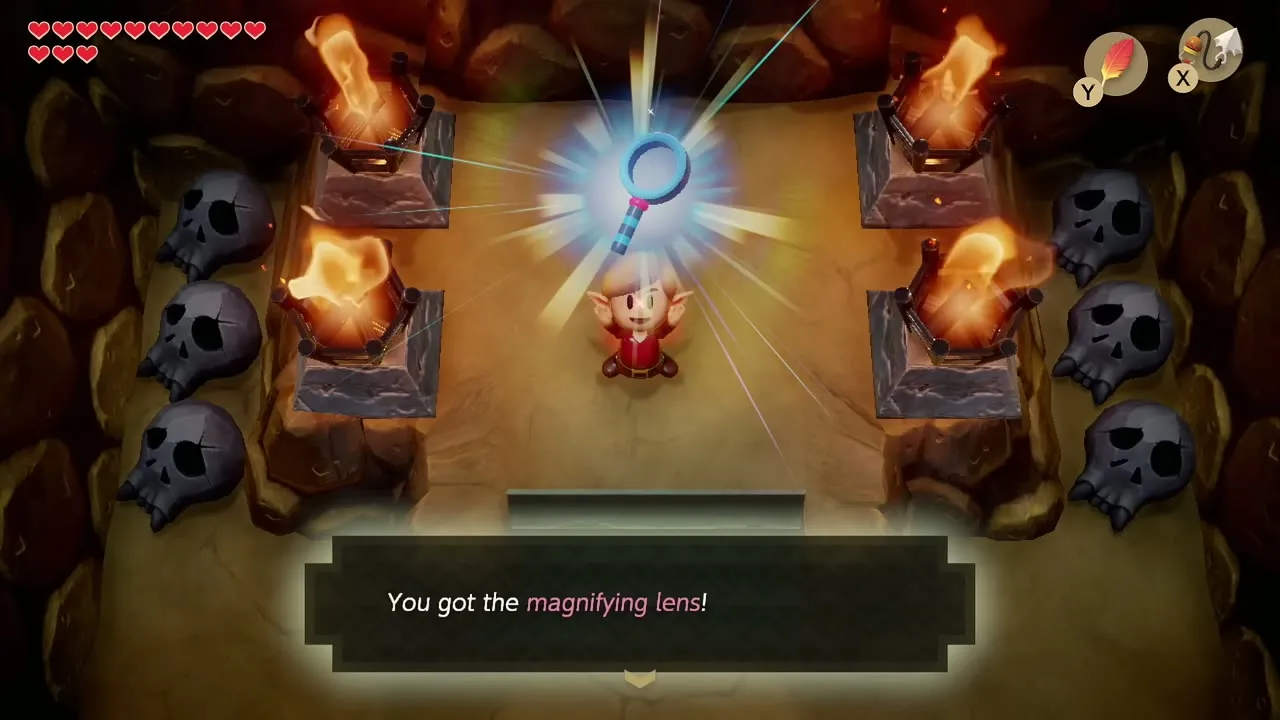
Walk to the Mourning Mermaid statue on the grassy ledge on the south side of Martha’s Bay. The Hookshot carries you over from the crate southwest of Animal Village. Use the Mermaid’s Scale from the trading sequence on the statue and a staircase opens beside it. Go down and walk north to the pedestal between the skull statues to take the Magnifying Lens. The full chain of trades is in the trading sequence guide.

Animal Village: Secret Zora and the bomb cave
Talk to the Secret Zora for a Secret Seashell
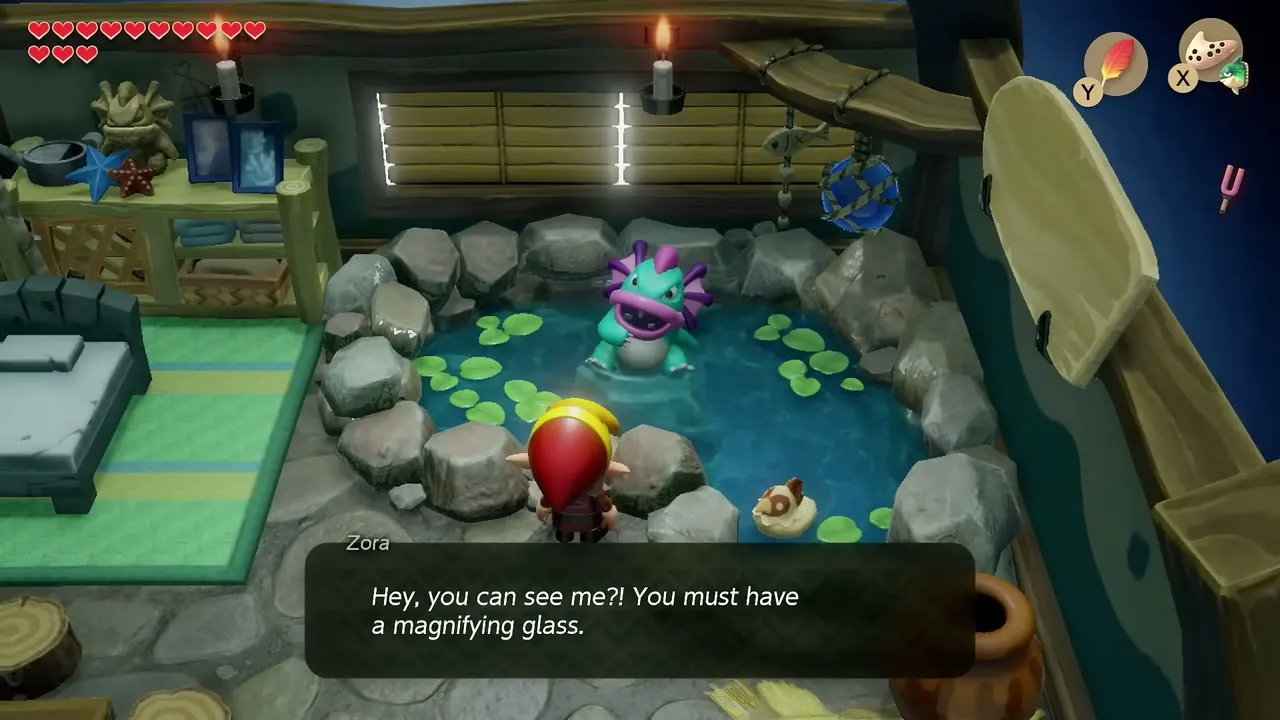
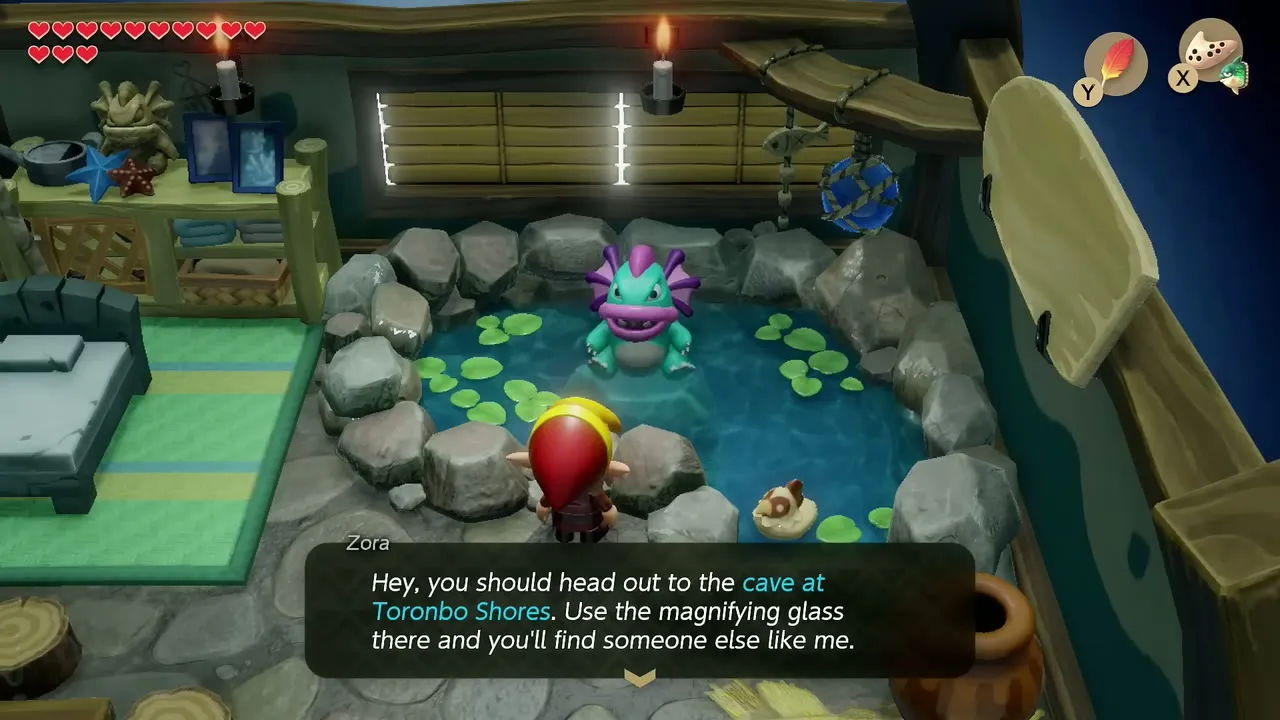
With the Lens in your bag, go into the house in the northeast corner of Animal Village. The Zora sitting in the little pond is only visible through the Lens. Talk to him and he hands you a Secret Seashell.

Bomb the northeast cave for a Piece of Heart
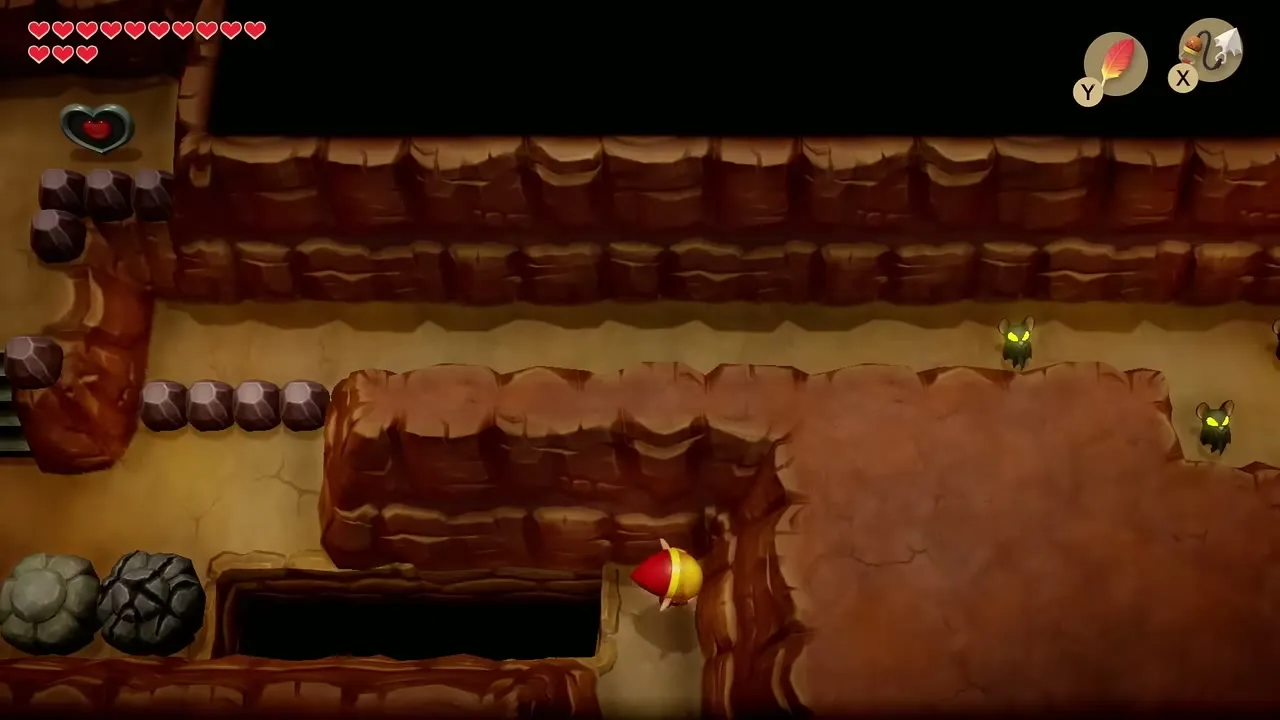
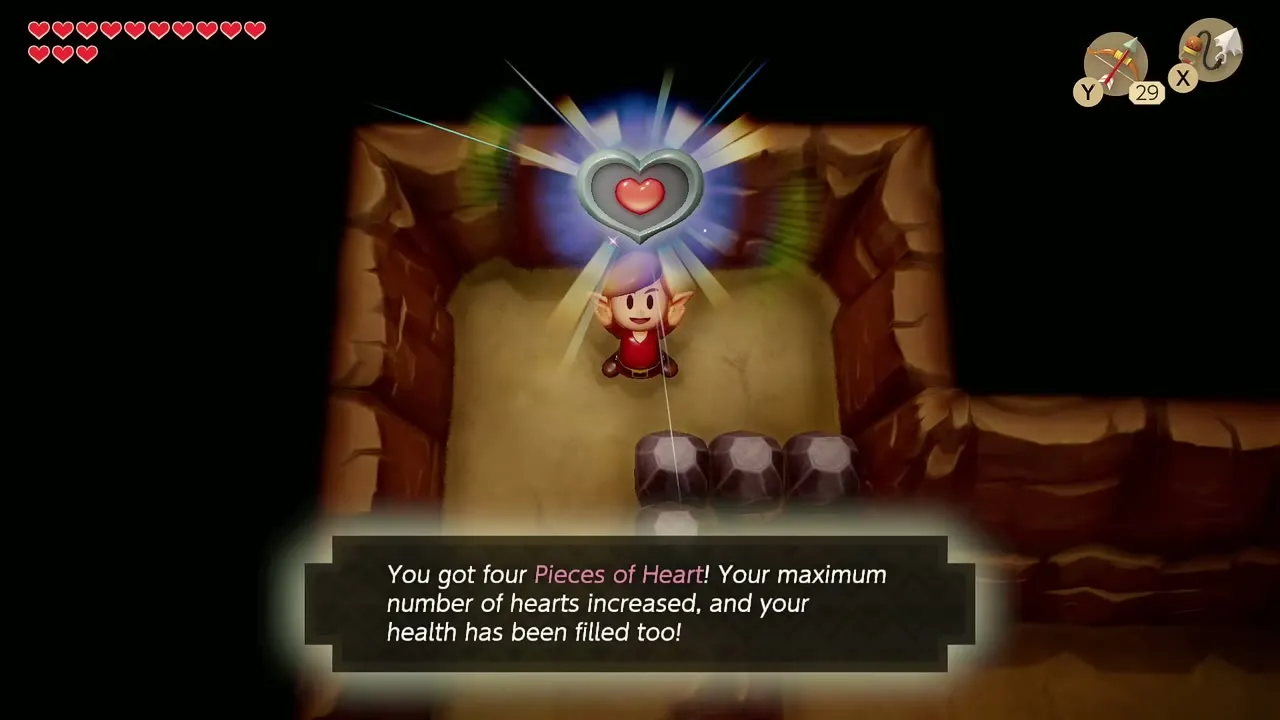
Find the cracked wall in the northeast corner of Animal Village, behind the houses, and blow it open with a Bomb. Inside, bomb the next cracked wall, then cross the gap with the Hookshot to reach the Piece of Heart on the far ledge. More heart piece spots are listed in the Piece of Heart guide.
Seashell Mansion: Koholint Sword
Trade your shells for the Koholint Sword
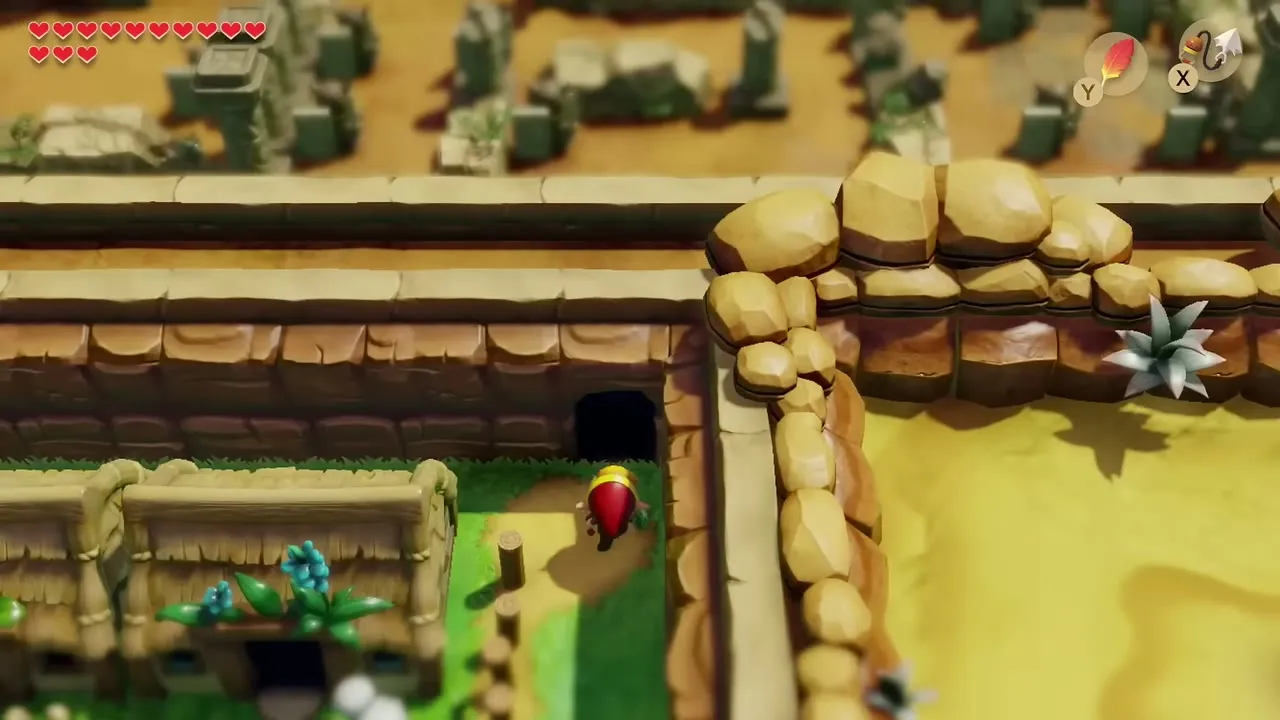
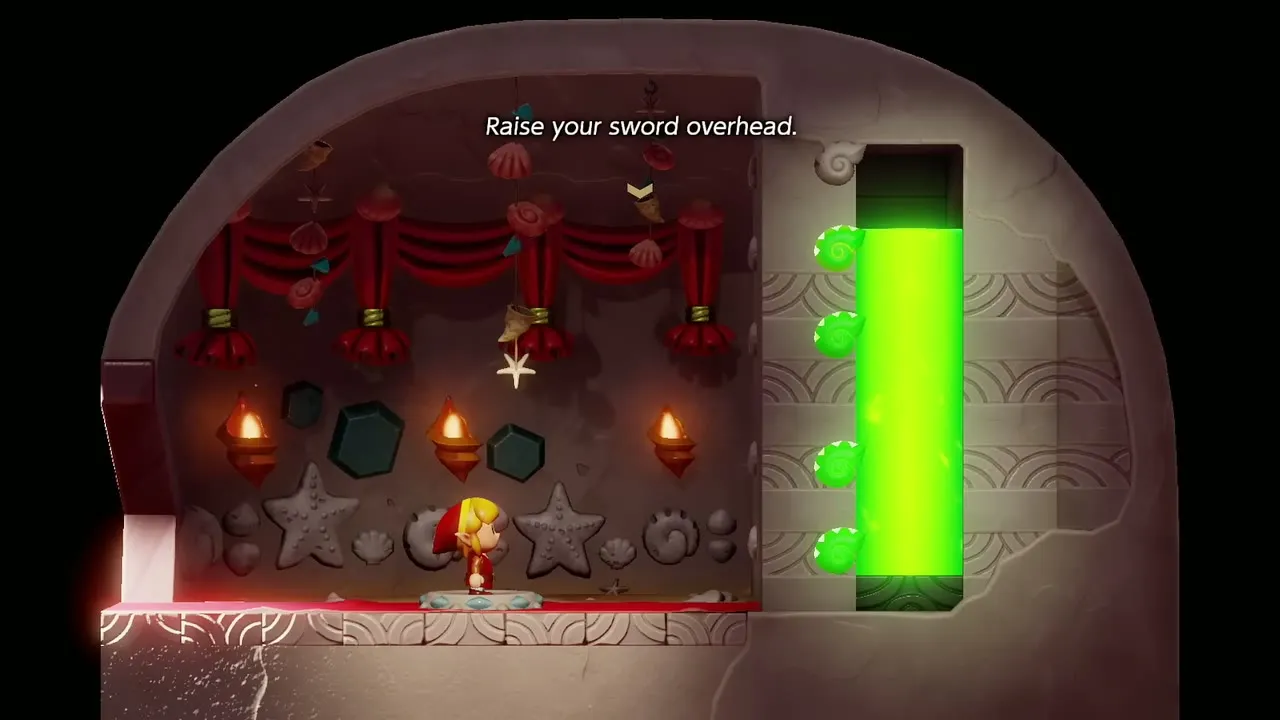
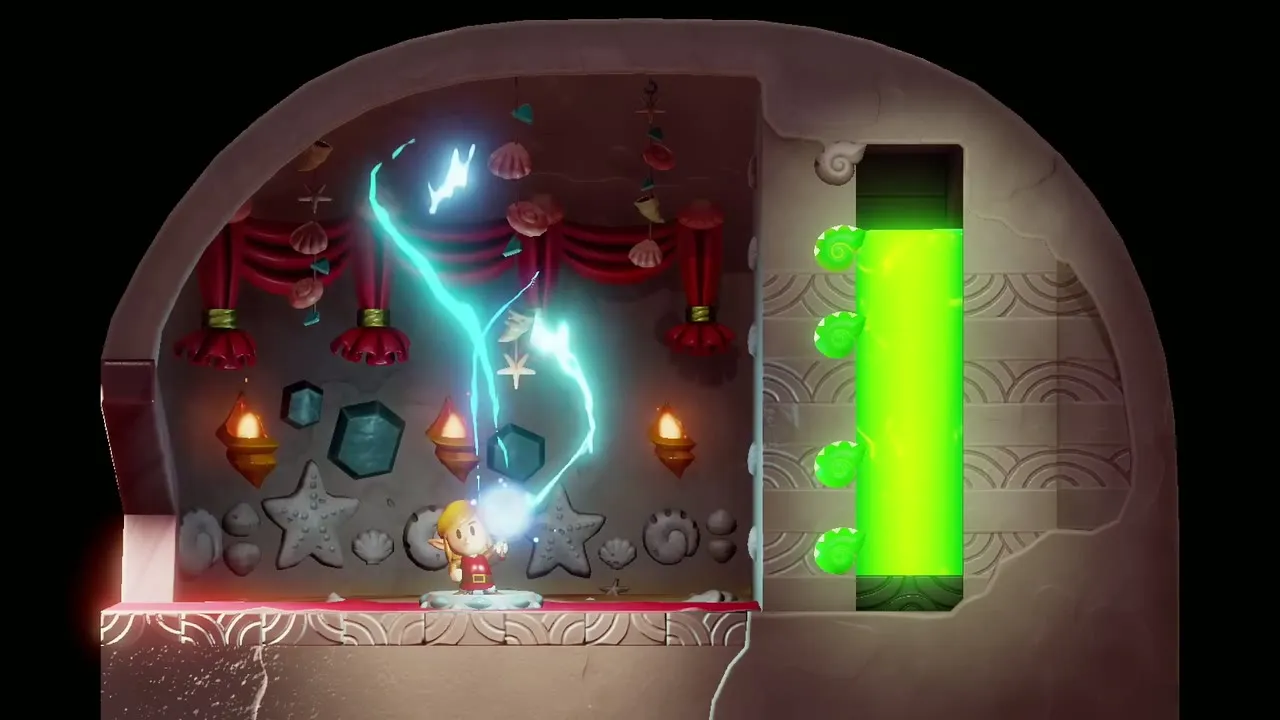
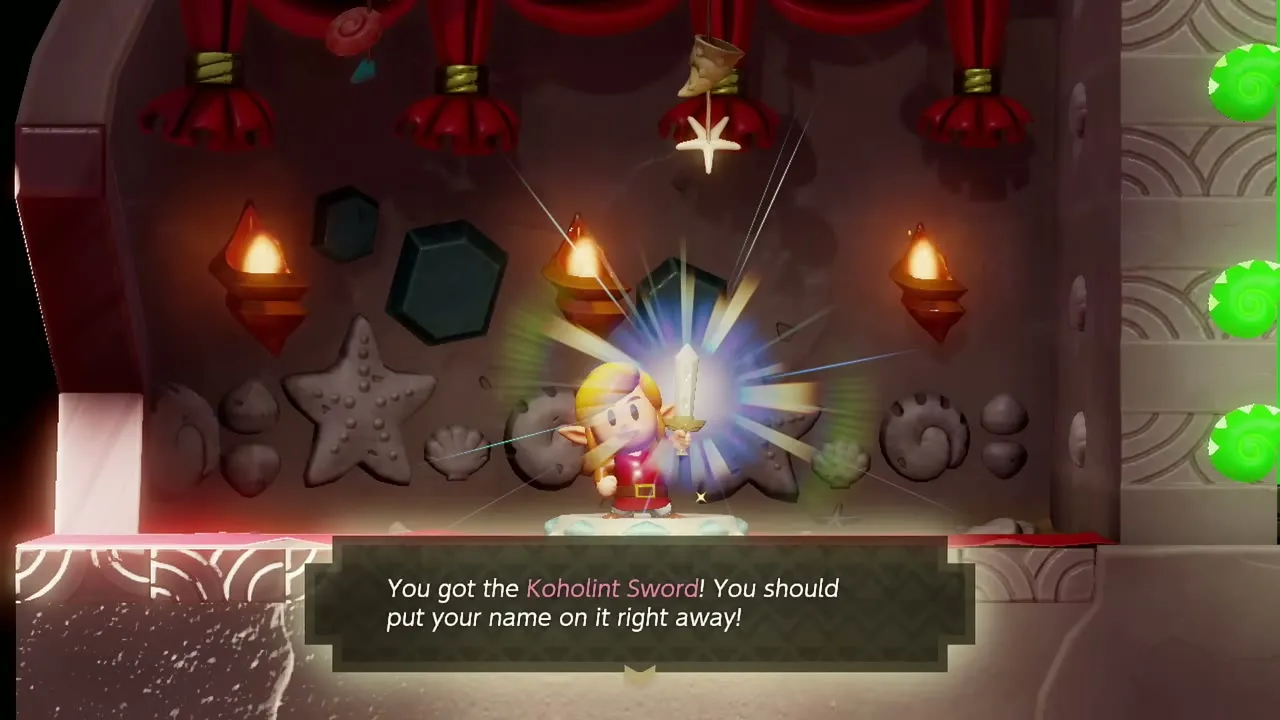
Play the Ocarina’s warp song, pick the warp point nearest the Seashell Mansion in Ukuku Prairie, and walk in. At 40 Secret Seashells the mansion rewards you with the Koholint Sword, so check the Memories screen first. You hold 39 at this point, so if you are a shell short, come back after the Fishing Pond and Rapids shells later in this chapter. Step onto the pedestal, raise your sword overhead and take the upgrade. It hits harder than your first sword. All reward tiers are in the Secret Seashells guide.
Toronbo Shores: how to get the Boomerang
Trade the Shovel to the Goriya
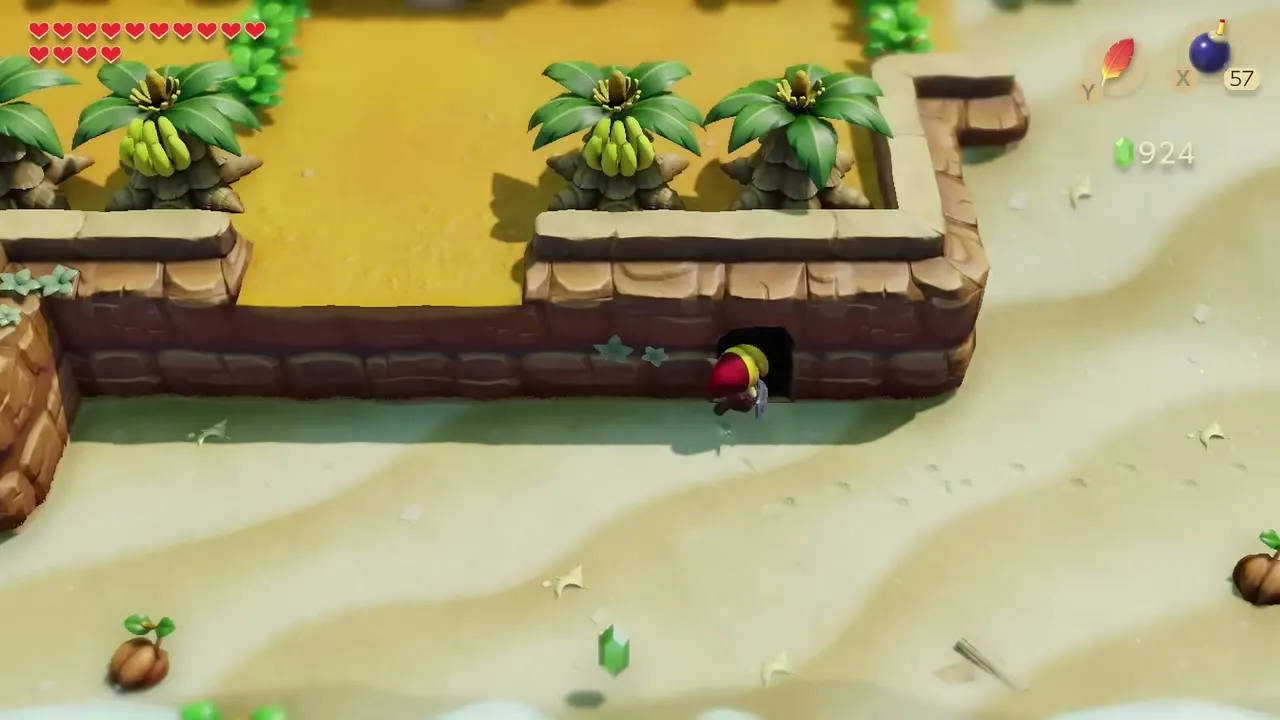
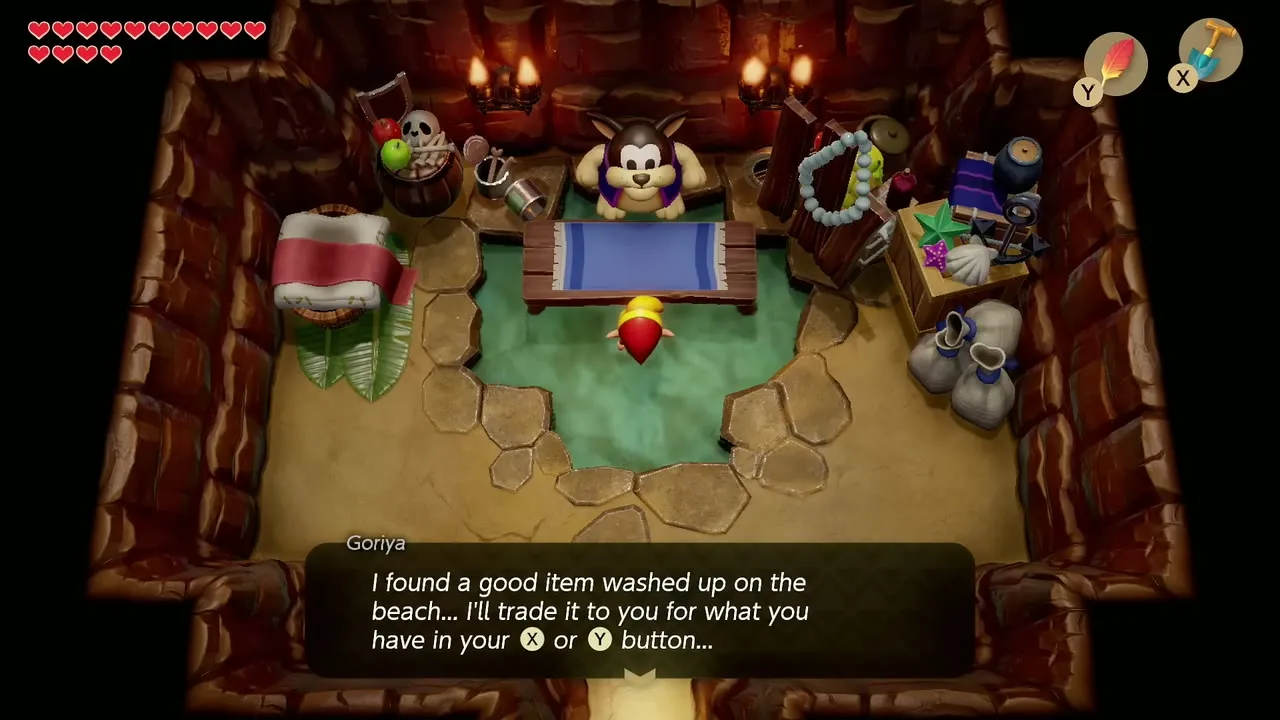
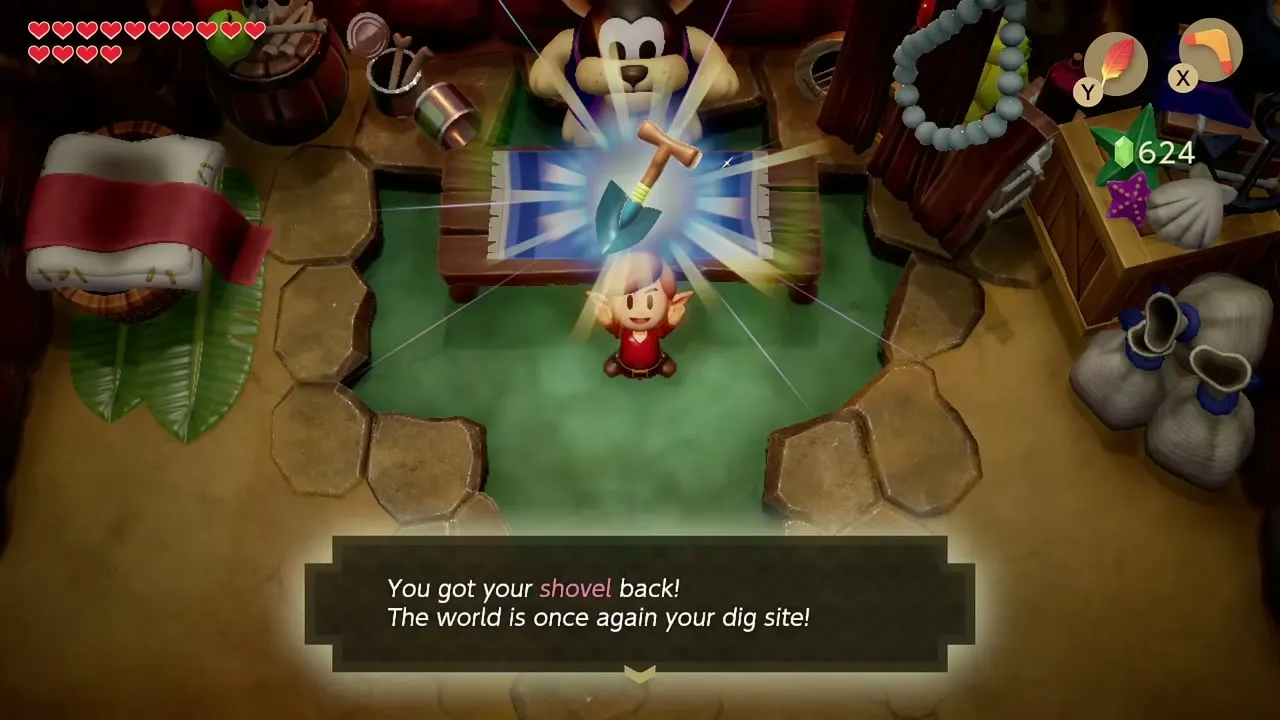
Head to Toronbo Shores and walk to the banana plantation on the beach. South of it, bomb the cracked wall to open a cave. You need the Magnifying Lens to see the Goriya inside. He has found a good item that washed up on the beach and will trade it for whatever you have on your X or Y button. Put the Shovel on a button and talk to him: you receive the Boomerang.

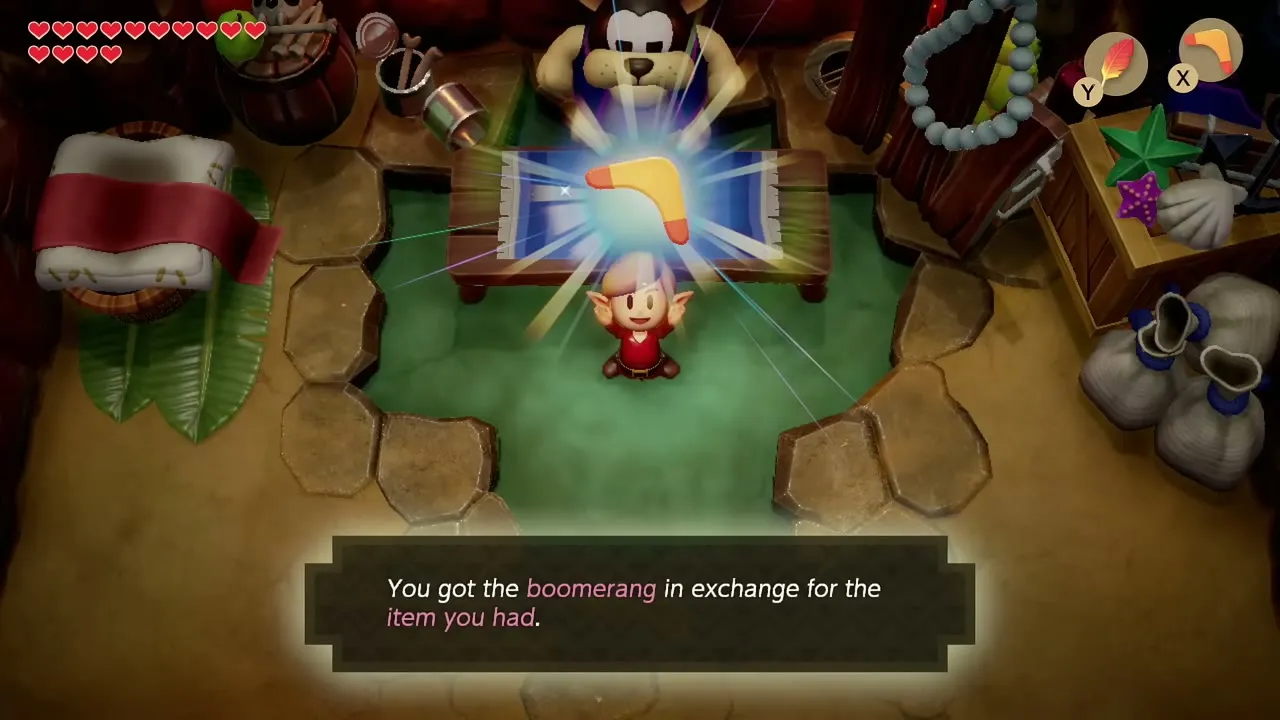
You can swap the Boomerang and the Shovel back at the cave later, so the trade is not permanent. You keep both items. The Boomerang stuns enemies and flips distant crystal switches, which you will need in the Face Shrine.

Mamu’s cave: Frog’s Song of Soul
Solve the Signpost Maze in Ukuku Prairie
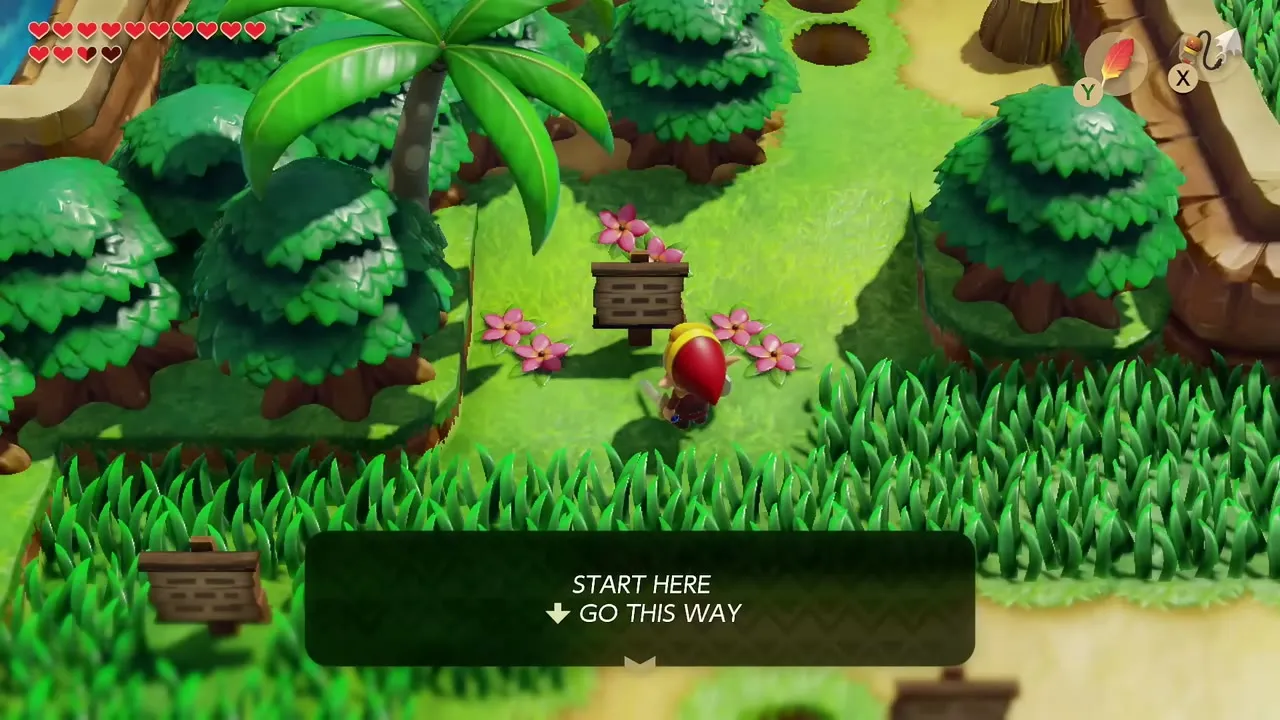
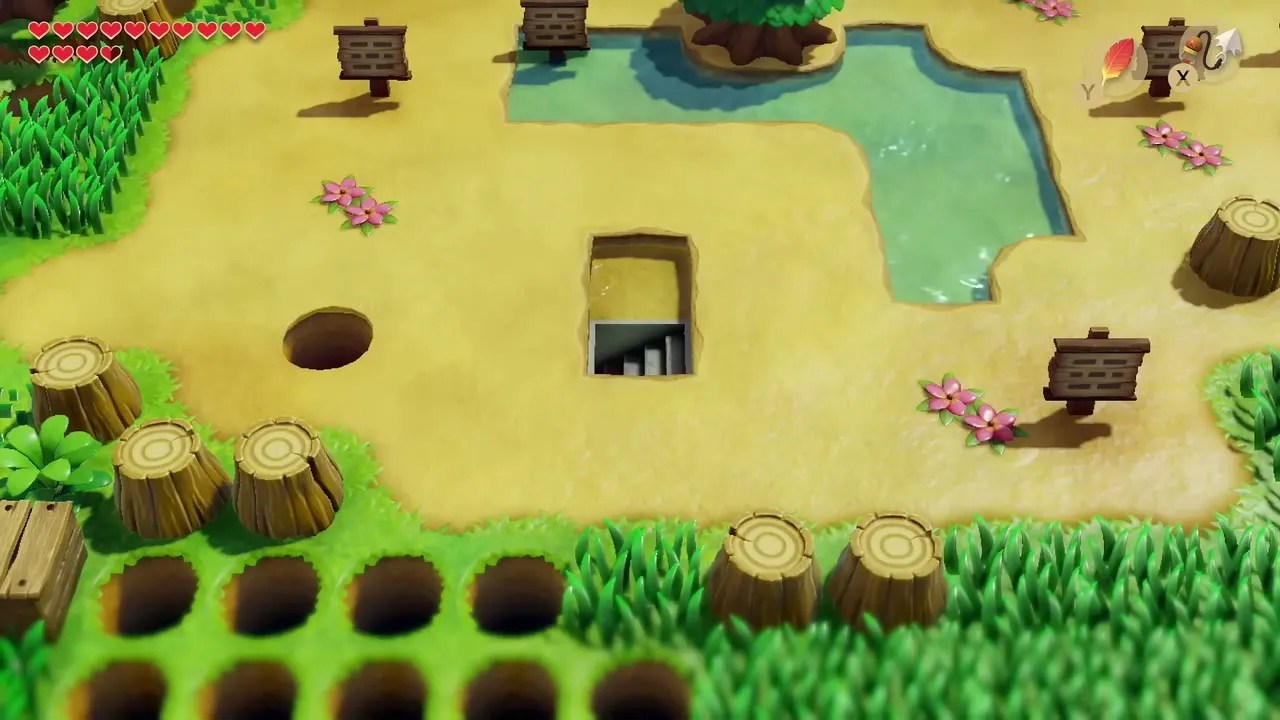
Go to the maze of wooden signs, holes and tree stumps in Ukuku Prairie. Each sign points to the next one, and a wrong turn sends you back to the start, so read every sign carefully. At the end of the trail stairs appear.


Learn the song from Mamu
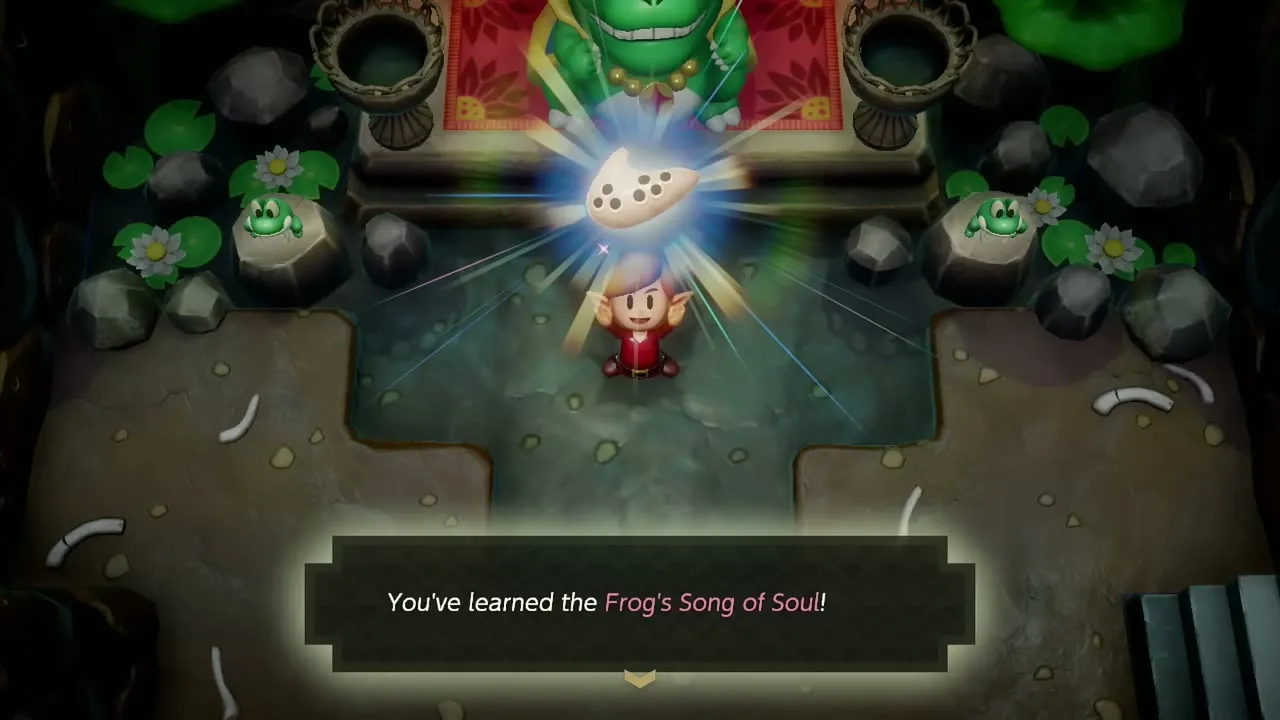
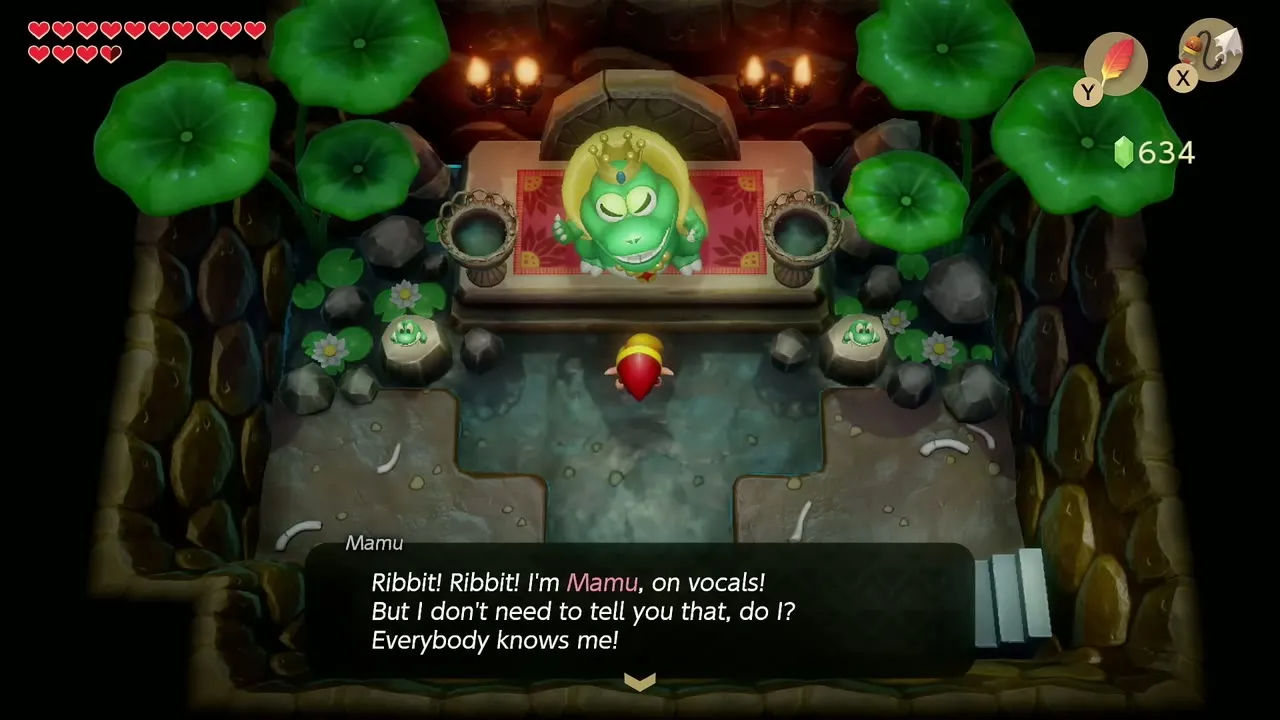
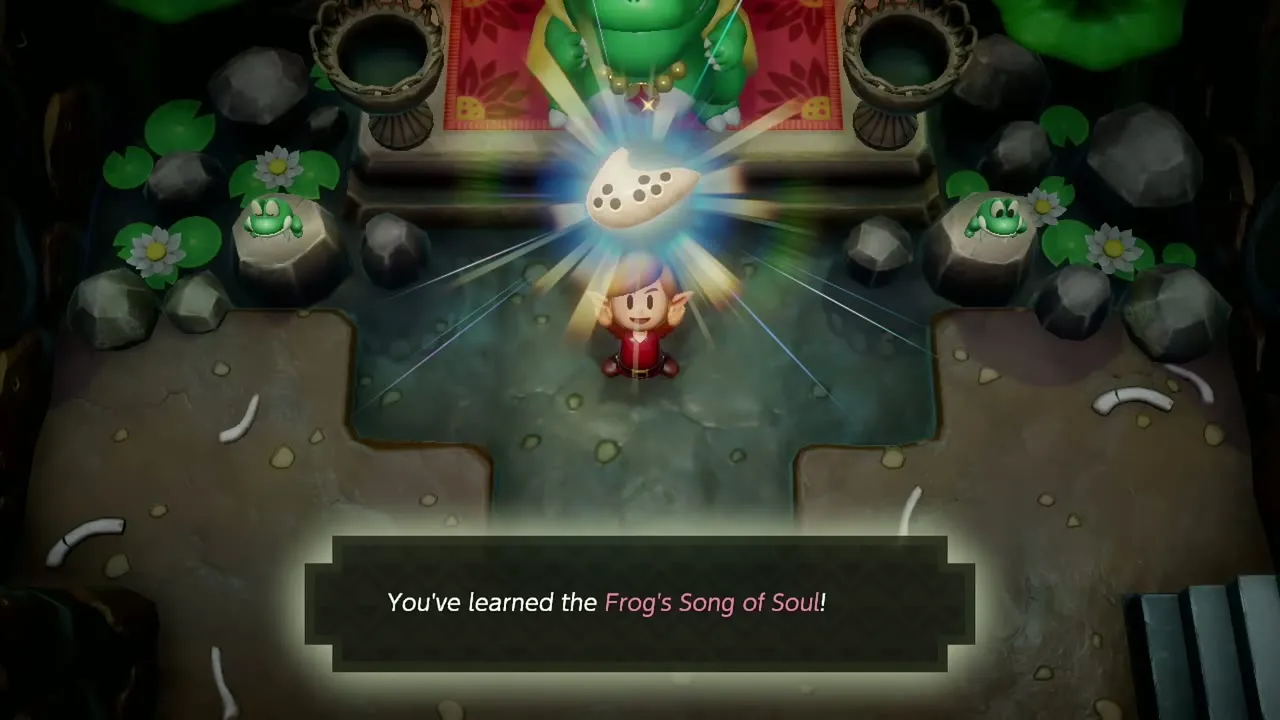
Take the stairs down to Mamu’s cave. Mamu only sings with someone who carries the Ocarina, and the lesson costs 300 rupees. Pay, play along, and Link learns the Frog’s Song of Soul. You use it to wake the rooster beneath the Weather Vane in Mabe Village and later to open Turtle Rock. All songs are listed in the Ocarina songs guide.

Mabe Village: Trendy Game, shop and Fishing Pond
Win the Blooper figure at the Trendy Game
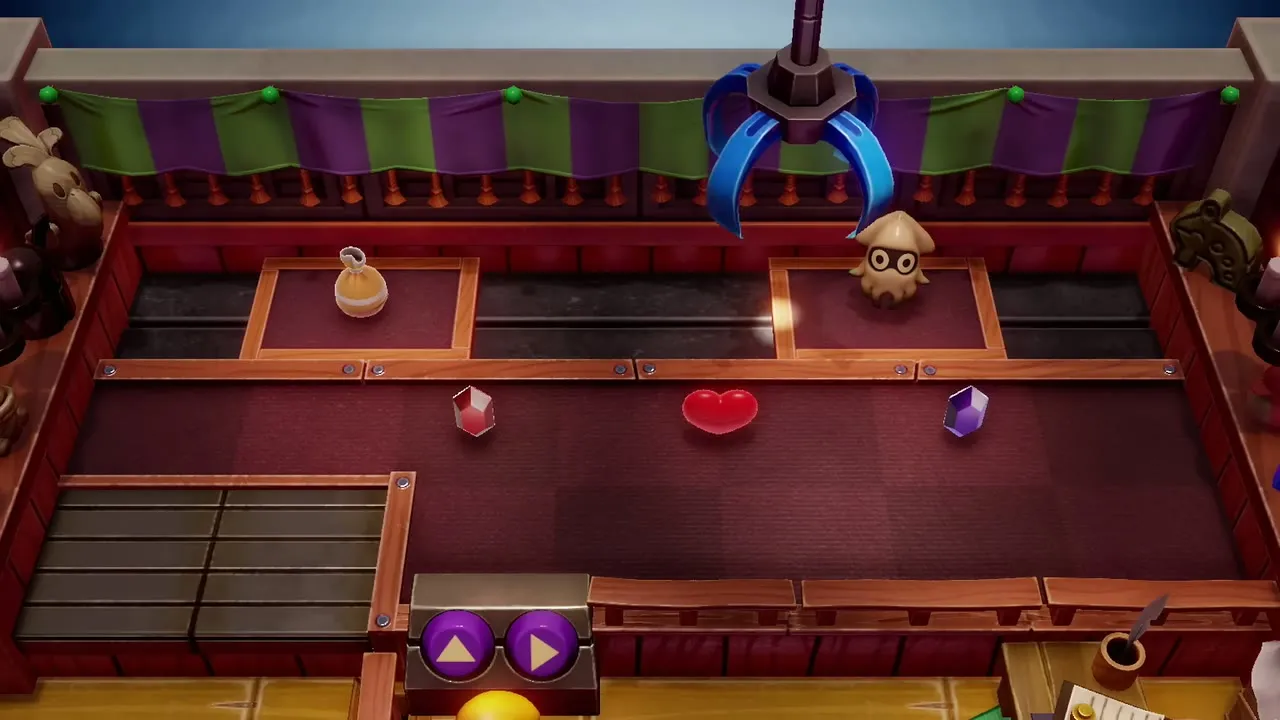
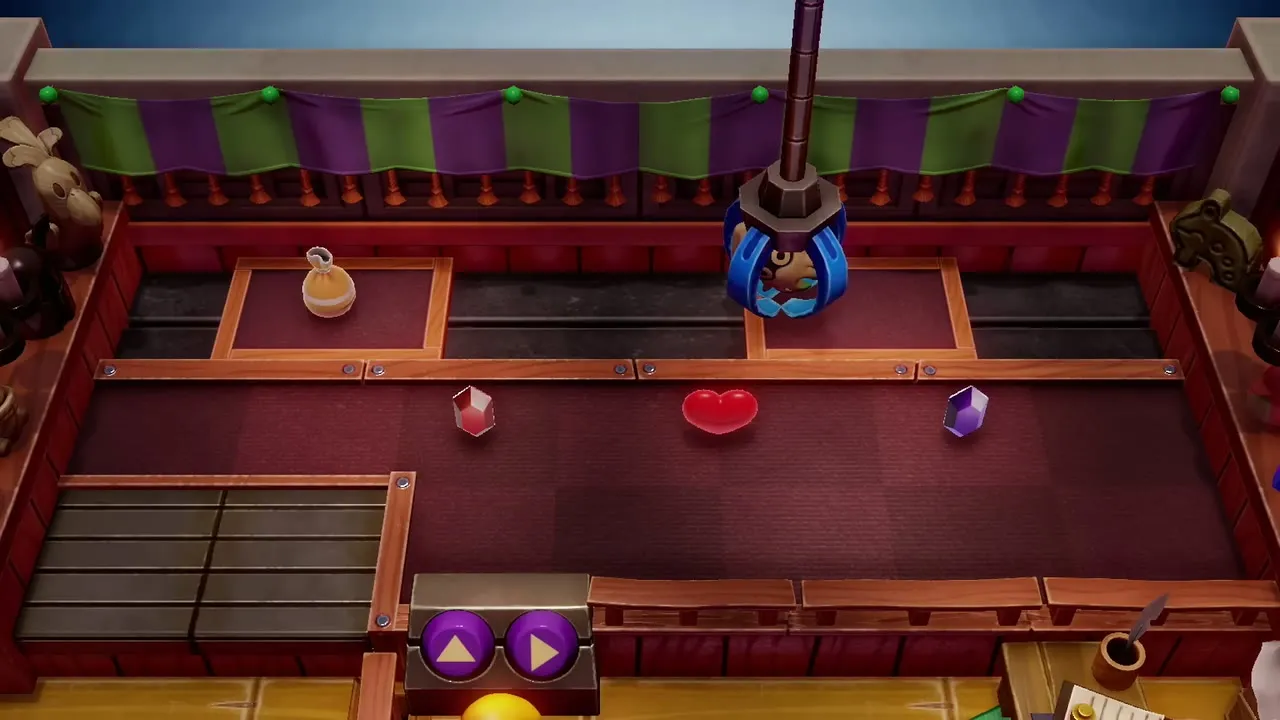
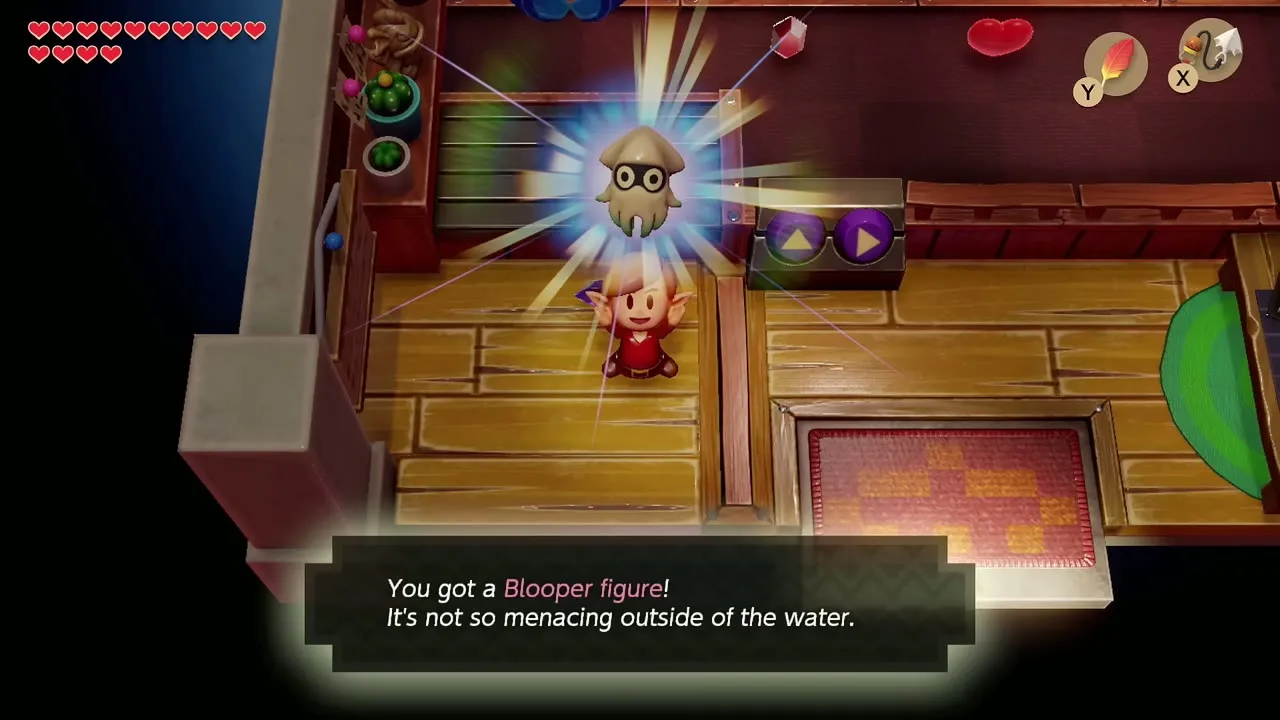
Walk into the Trendy Game and play the crane for 10 rupees a try. Steer it over the Blooper figure and drop the claw to win it. Carry the figure to the house where you display them; see the figures and Trendy Game guide.
Check the Town Tool Shop
The Town Tool Shop now sells a Chamber Stone for 1,280 rupees. It is optional, so buy it only when your wallet allows, because the Raft Shop later in this chapter needs rupees too.


Catch a Blooper for the Heavyweight Lure and a Secret Seashell
Bloopers only appear in the Fishing Pond after Catfish’s Maw. Pay 10 rupees and cast with the middleweight lure. The first Blooper you hook earns the Heavyweight Lure, which sinks to the bottom and is the one to use against the biggest fish.
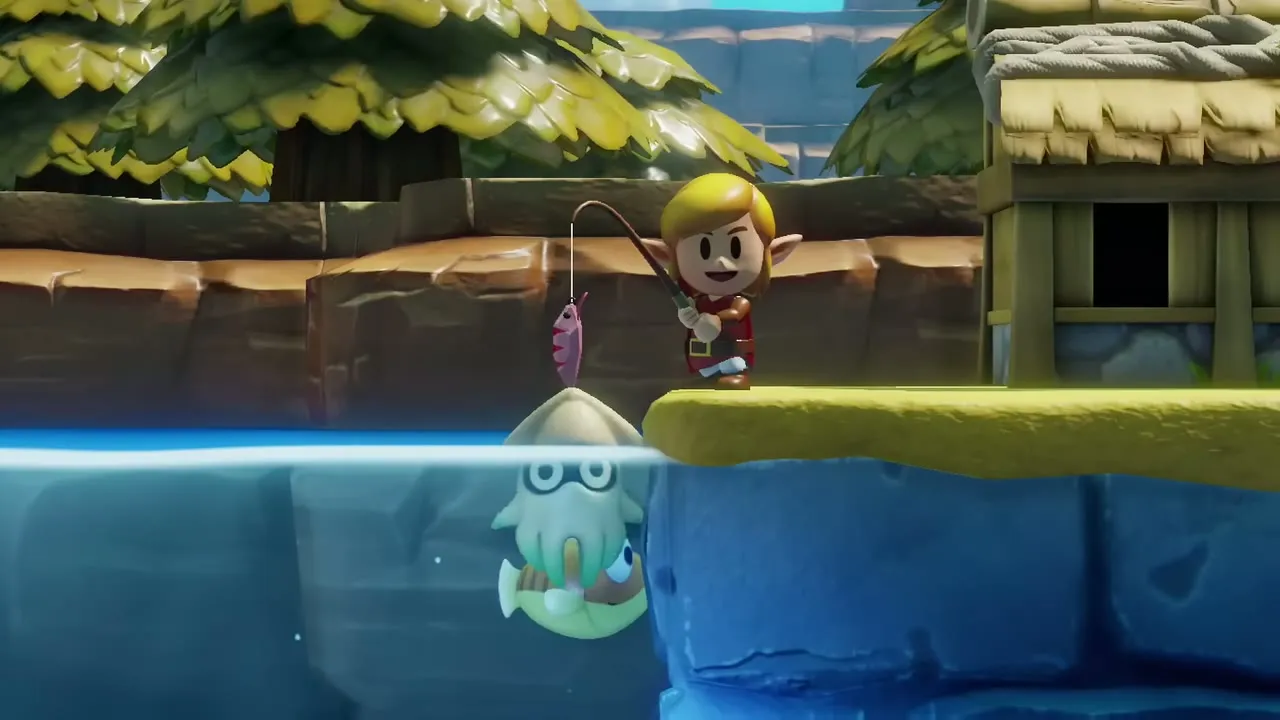

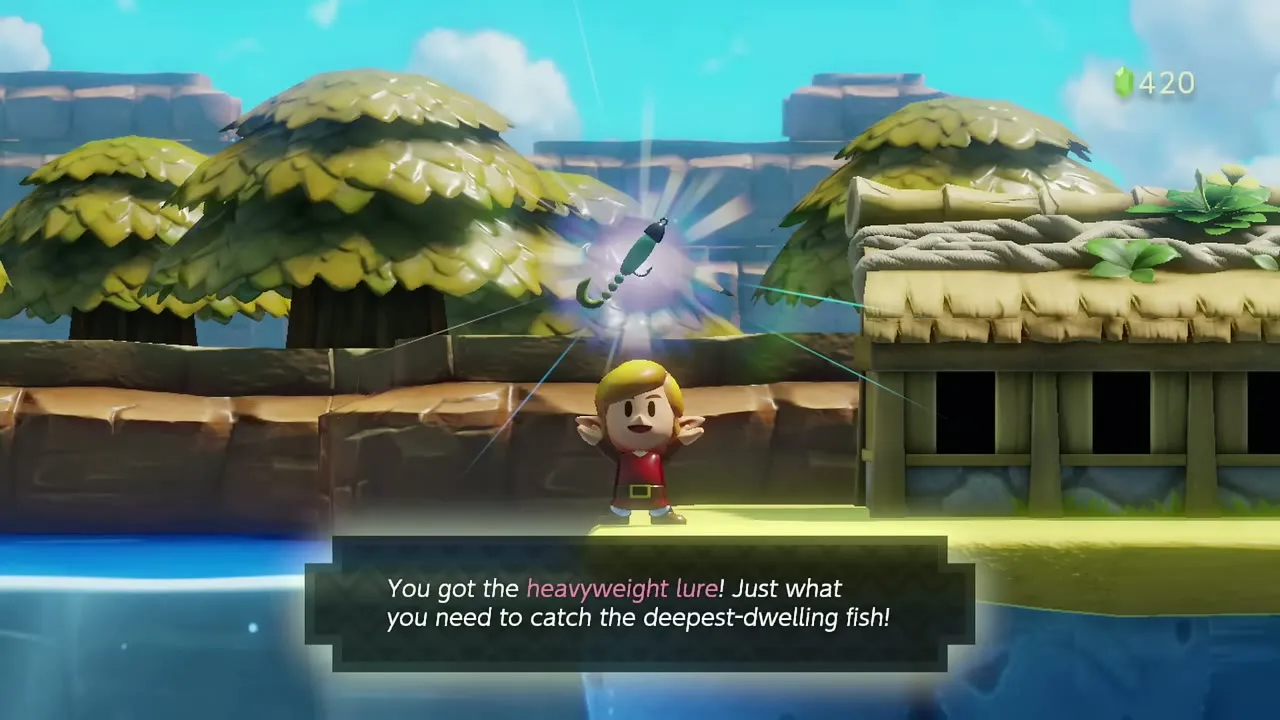
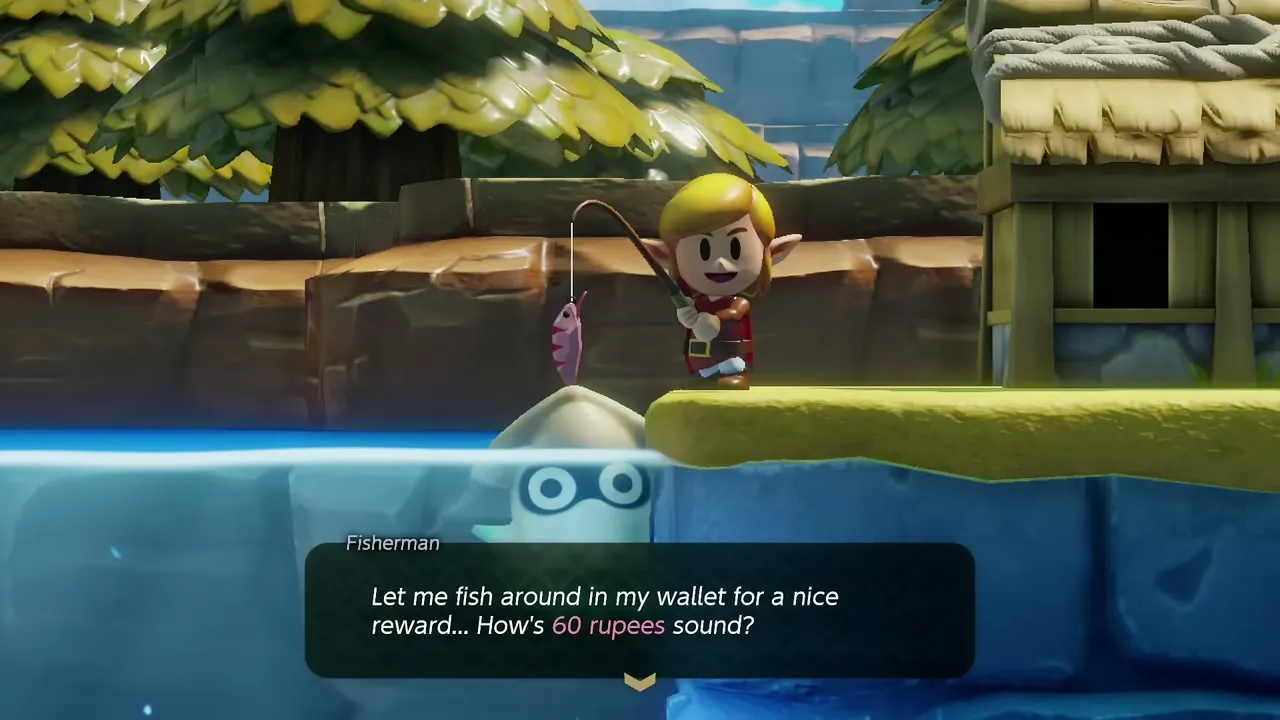
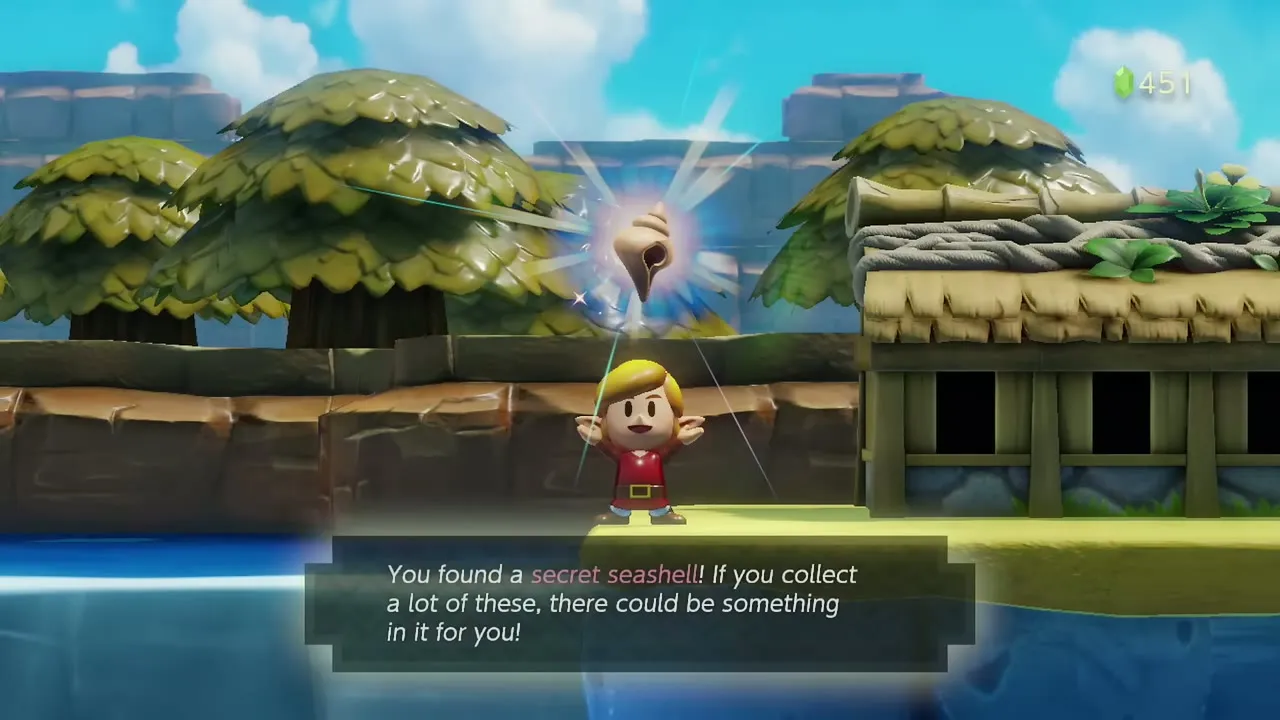
Keep fishing for a bigger Blooper. A fish over 40 inches earns a Secret Seashell, so a big Blooper is the easiest way to claim it (the first Cheep Cheep you catch also earns a shell once Angler’s Tunnel is done). More tips are in the Fishing Pond guide.

Rapids Ride: Piece of Heart, Raid and Race
Mysterious Forest hookshot cave
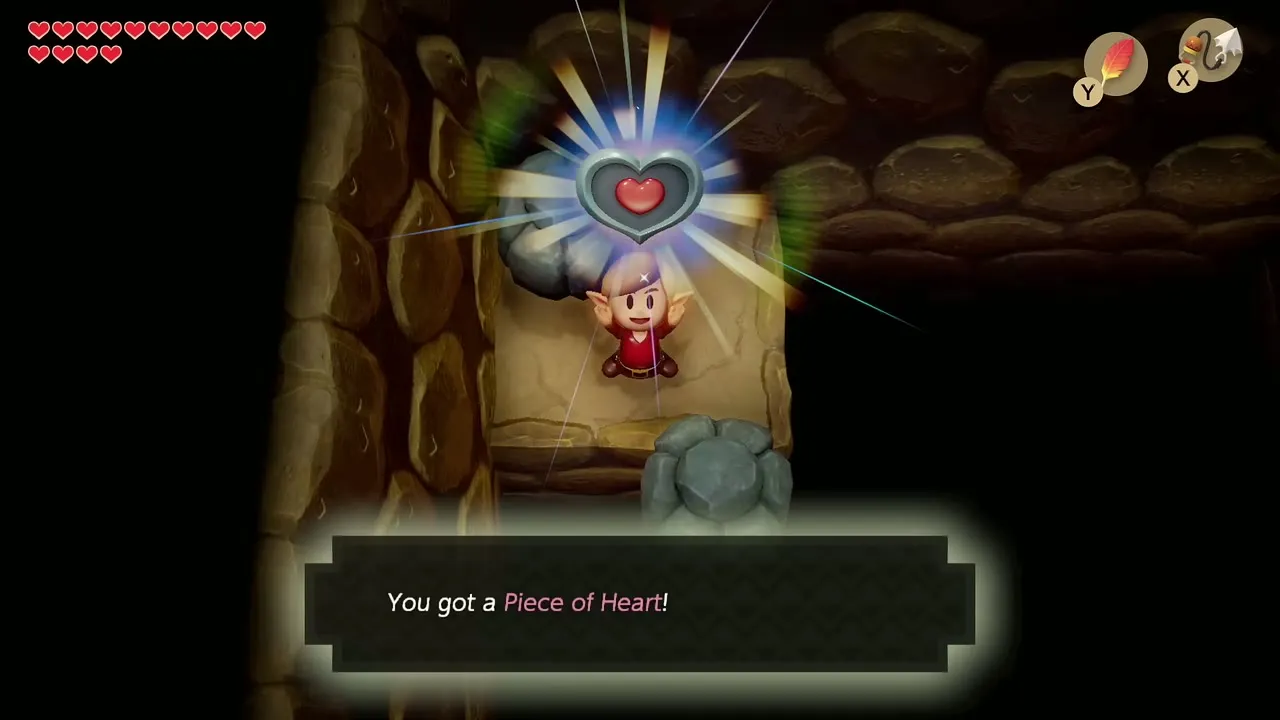
Go to the cave in the north-central Mysterious Forest, whose entrance is covered by three rocks. Lift them with the Power Bracelet and go in. Hookshot across the gap to the chest for 50 rupees, then Hookshot to the ledge on the far side and push the rock to reach the Piece of Heart. The cave lets you out into Ukuku Prairie.


Rapids Raid
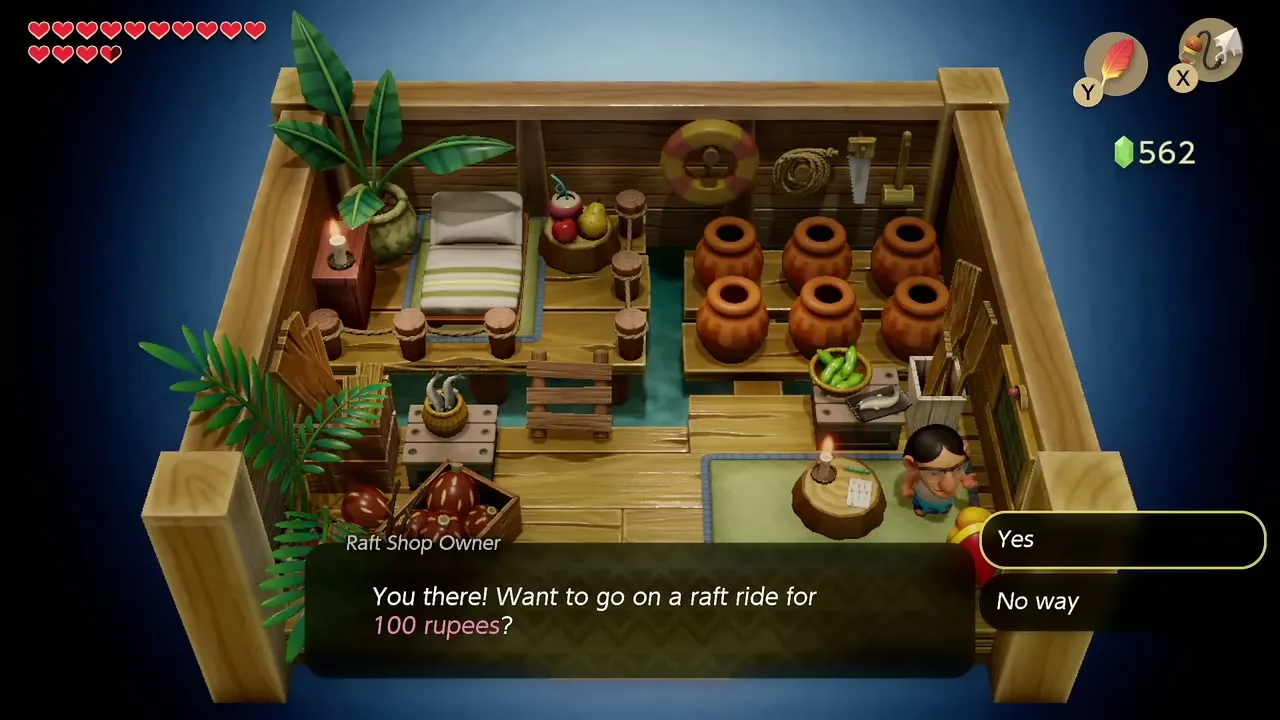
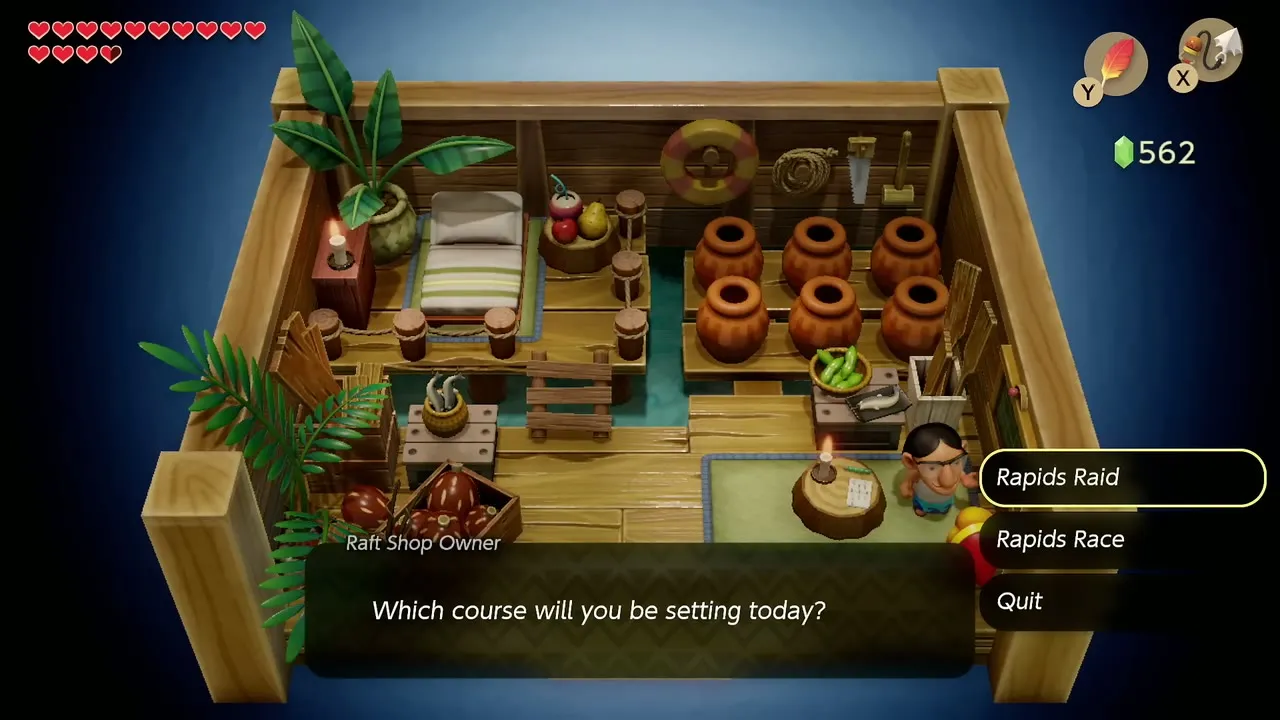
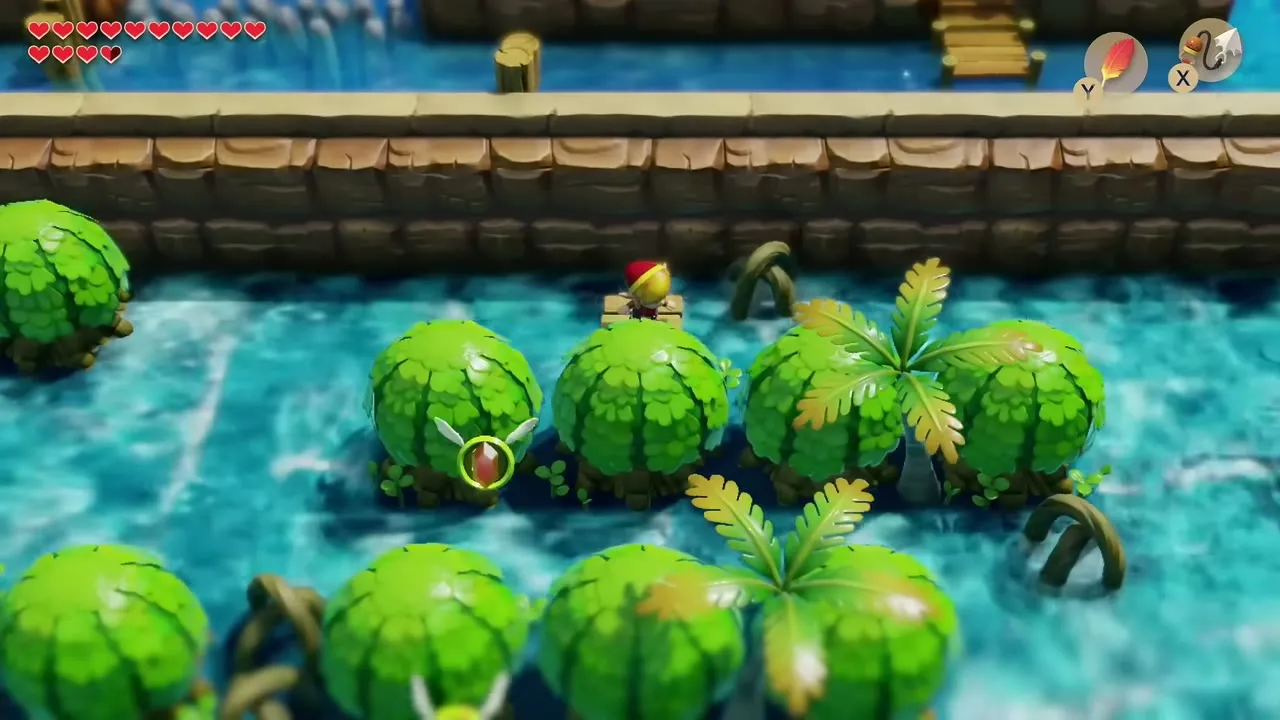
Walk to the Raft Shop at the Rapids Ride. A ride costs 100 rupees, and you choose between the Rapids Raid and the Rapids Race. In the Raid you float down the river grabbing rupees with the Roc’s Feather, so dodge the vines and rocks and swing for the floating rupees. A good run pays back more than the 100 rupees it costs. More about the ride is in the Rapids Ride guide.
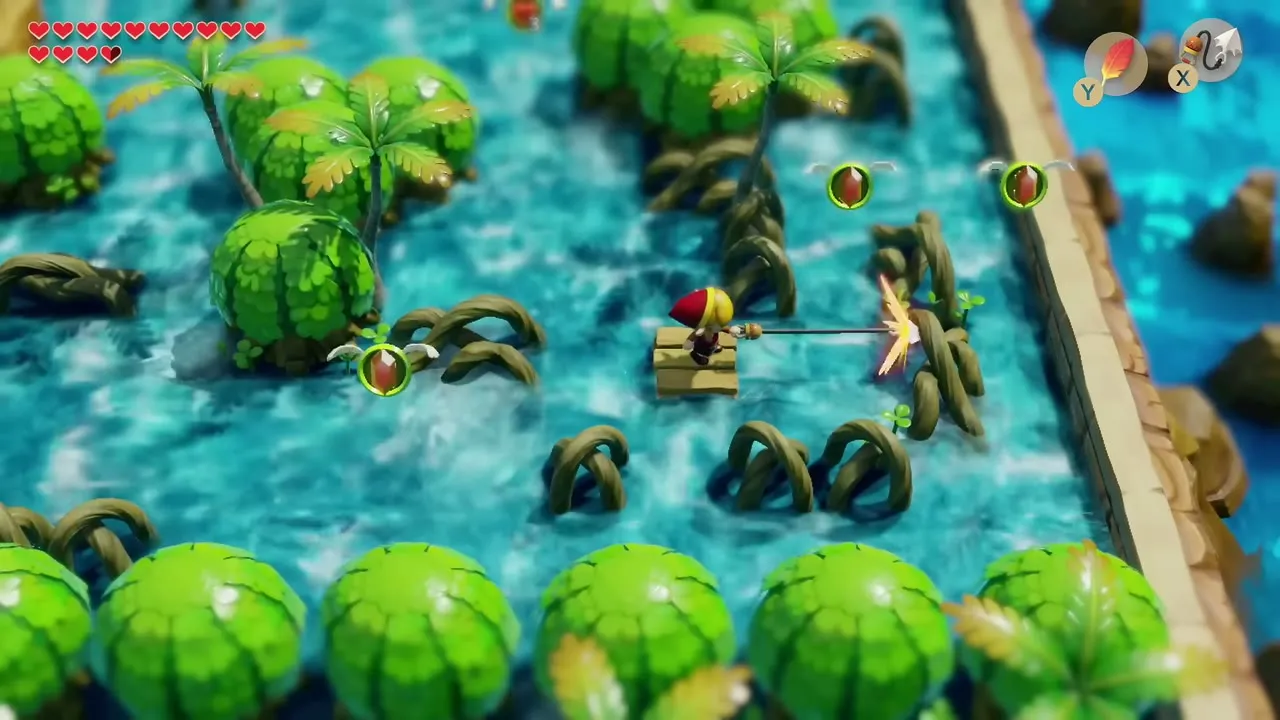
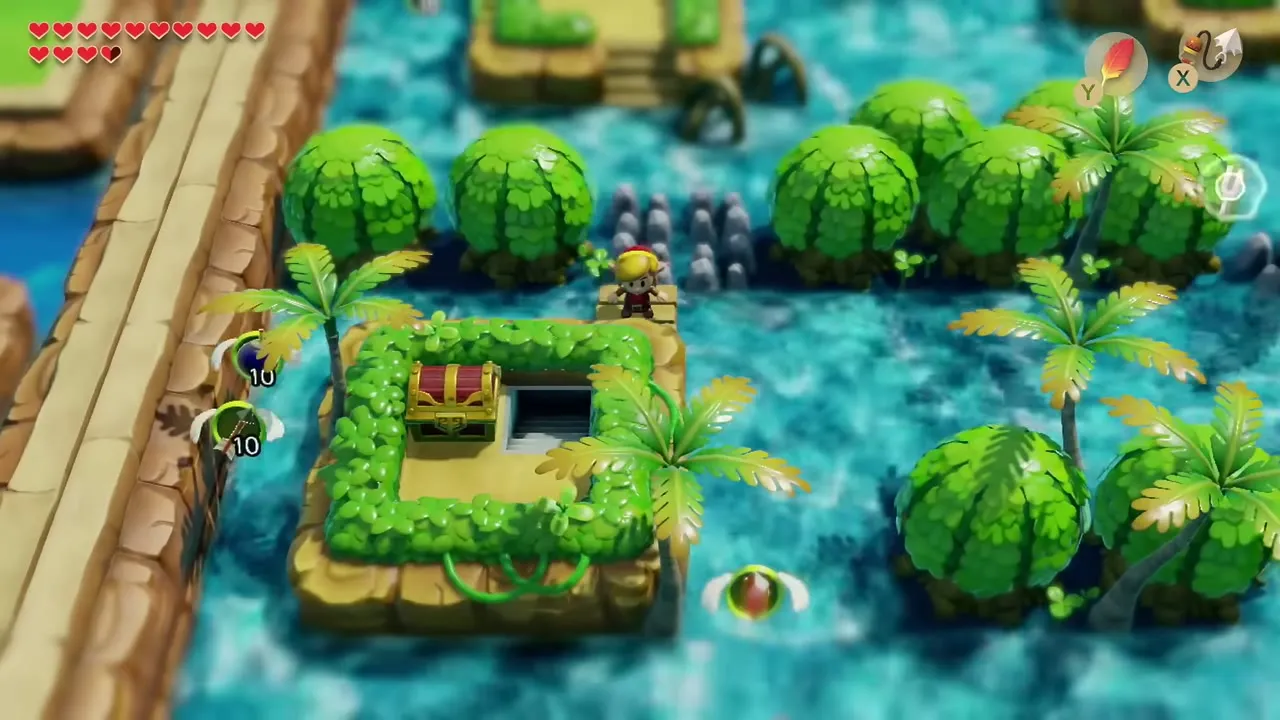
Swim the tunnel for a Piece of Heart
After the Raid, go into the tunnel next to the Raft Shop. Swim the water section, then use the Hookshot to cross the ledges and take the Piece of Heart on the right-hand ledge. Walk back to the Raft Shop afterwards.
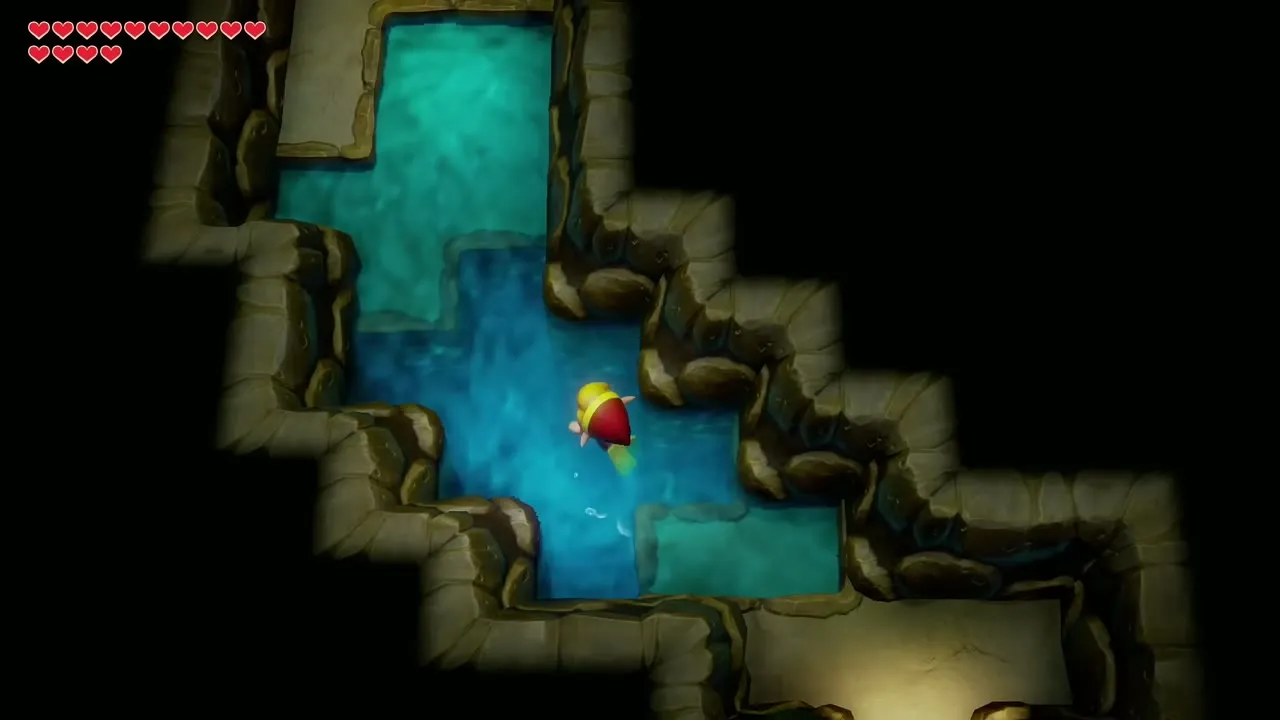

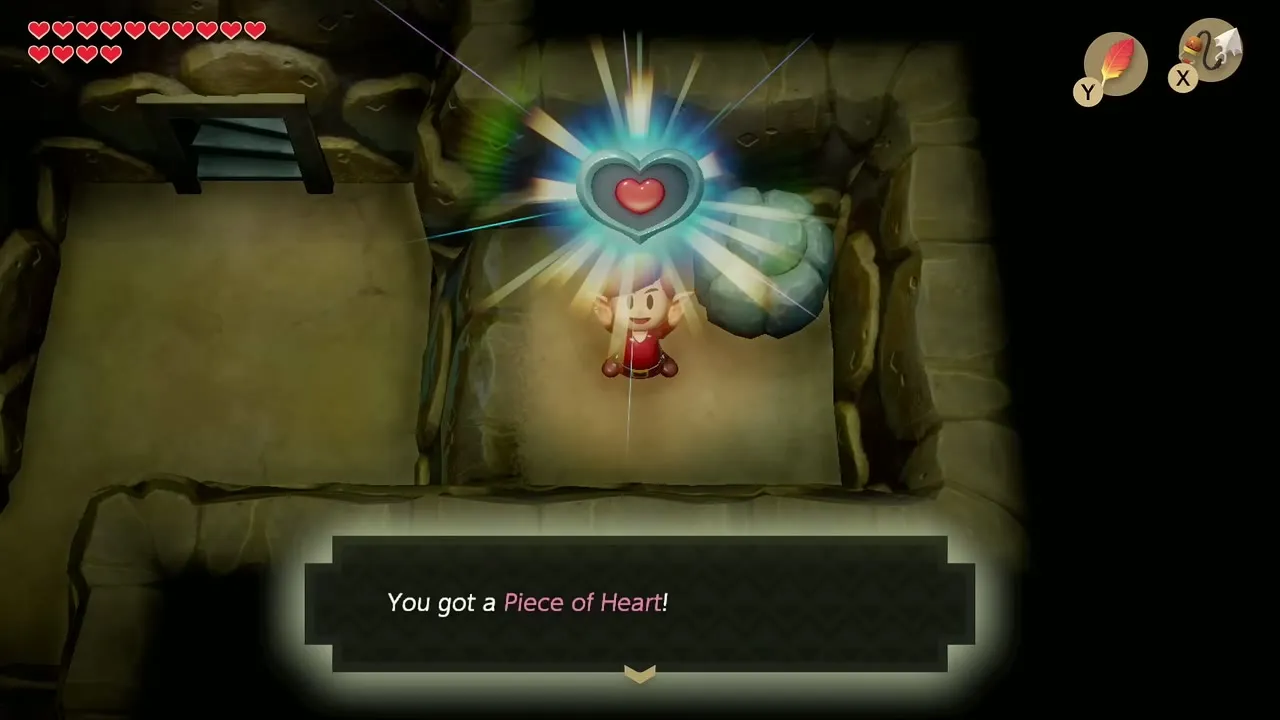
Rapids Race
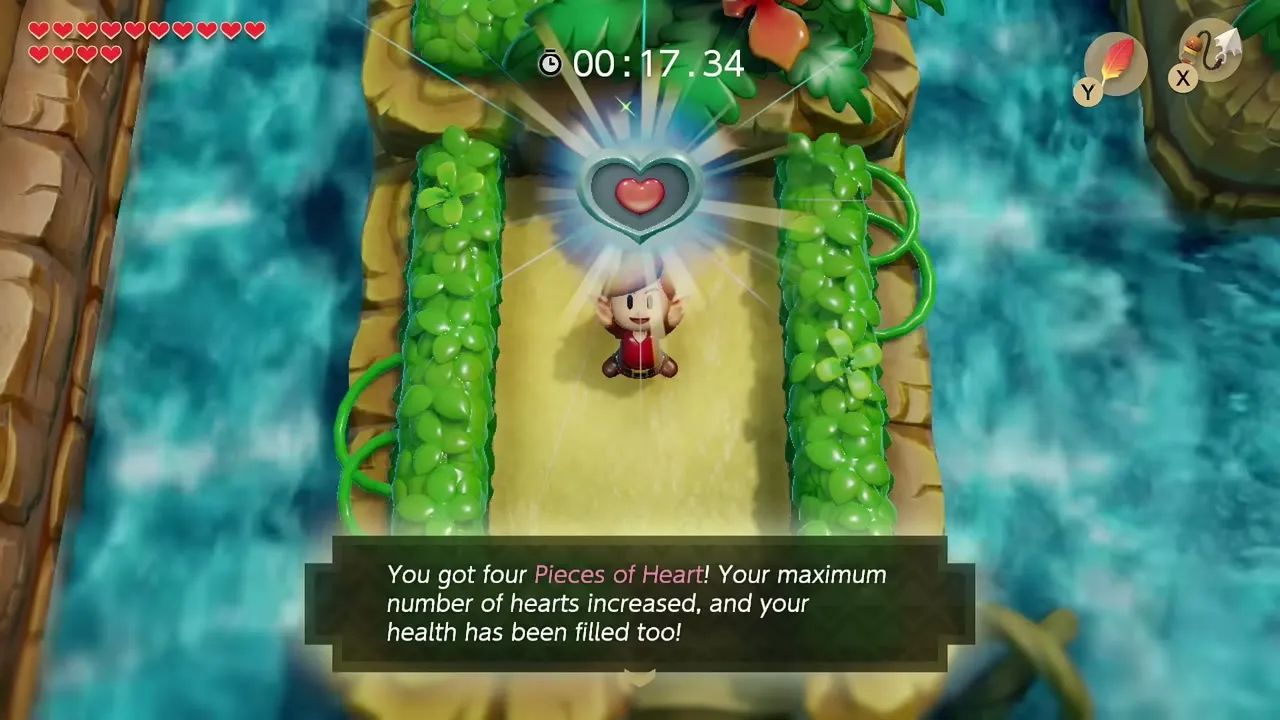
Pay 100 rupees again and choose the Rapids Race, a timed run. Finish in under 40 seconds for a Piece of Heart and in under 35 seconds for a Secret Seashell. A time around 33 seconds earns the shell, and you can repeat the race for the other reward.

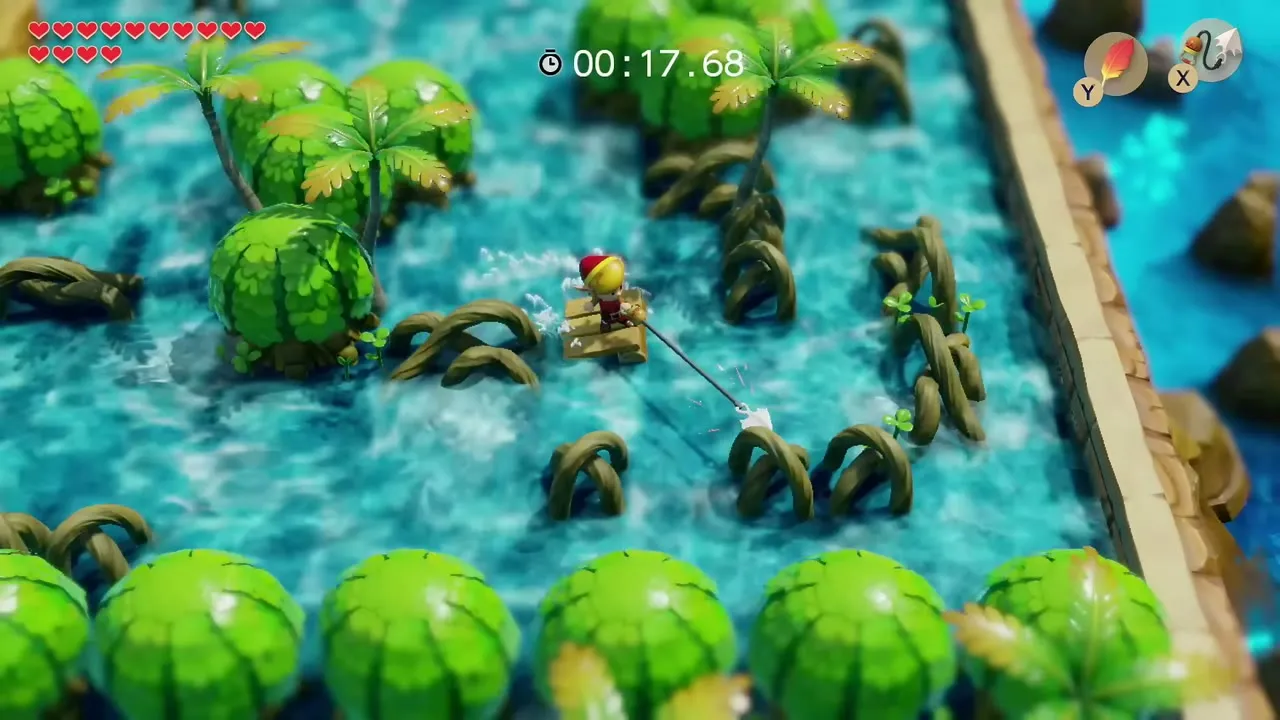
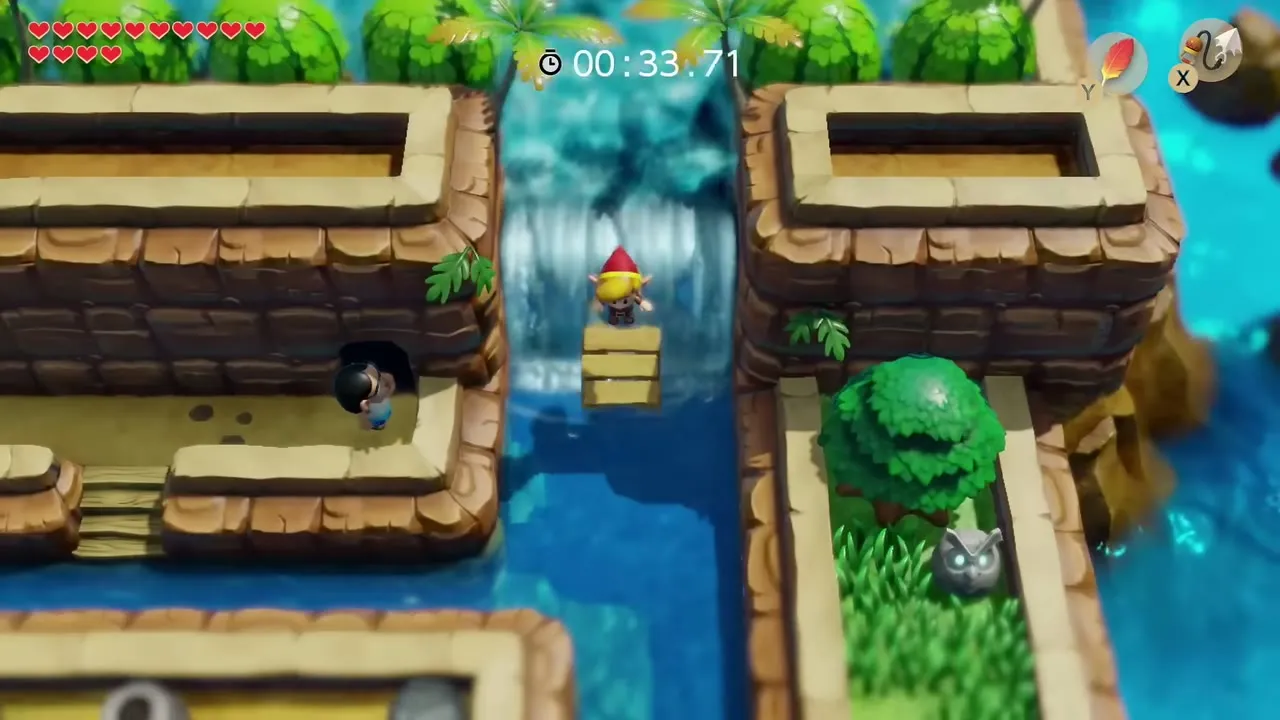
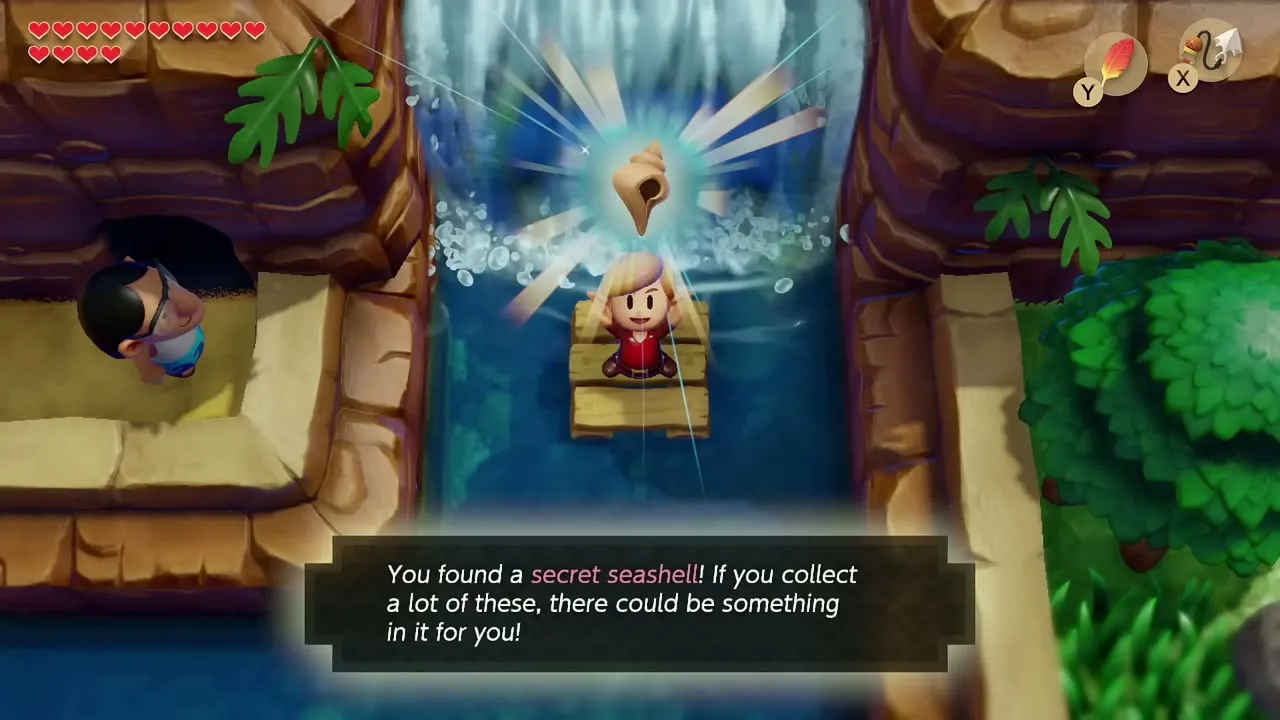
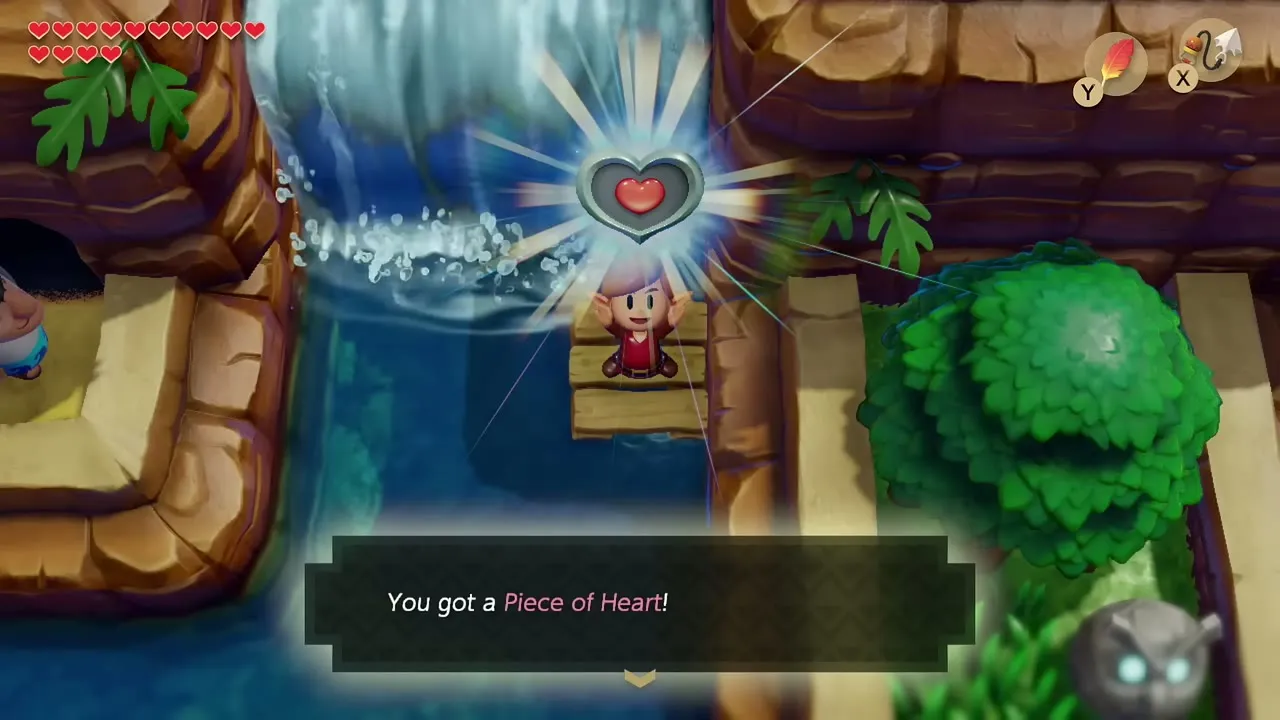
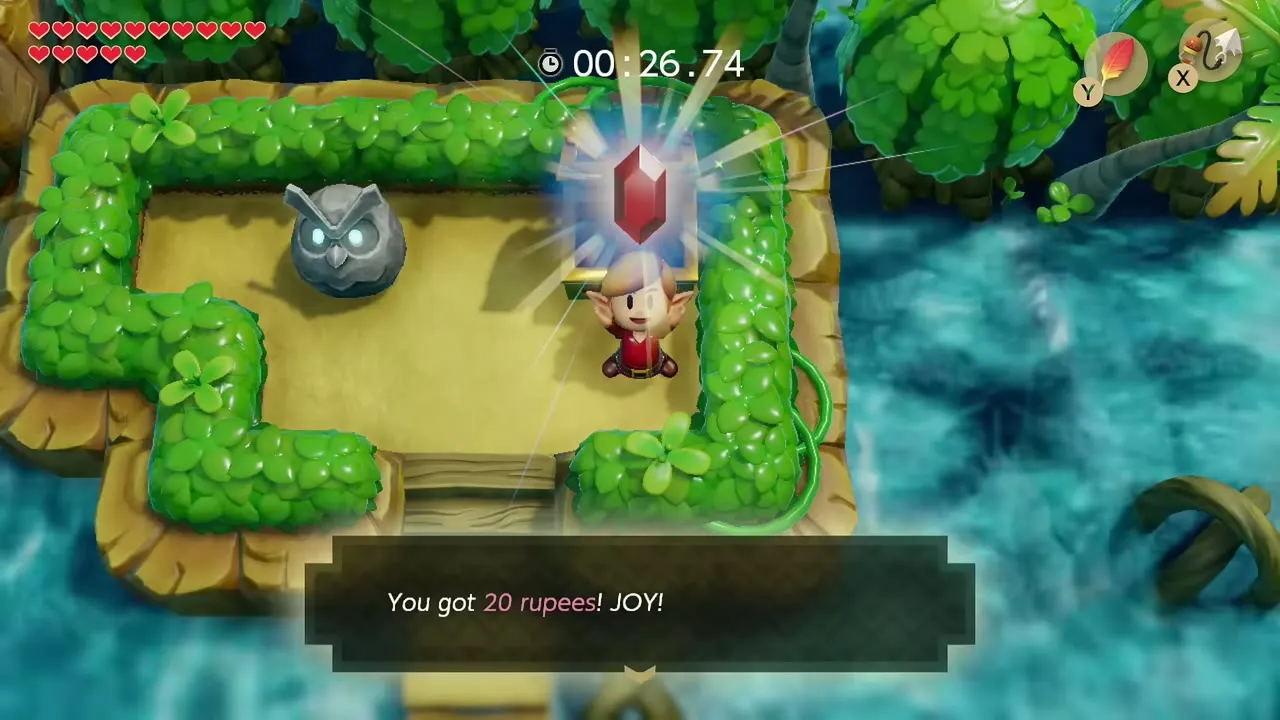
You can also stop the raft at the docks. On the west-most island a Piece of Heart waits at the dock, and the extra pause is worth it. Stop on the smallest island and dig in its upper right corner with the Shovel for a Secret Seashell. Another island with an owl statue has a chest with 20 rupees.


Ancient Ruins: Armos Knight and Face Key
Walk to the Armos Temple
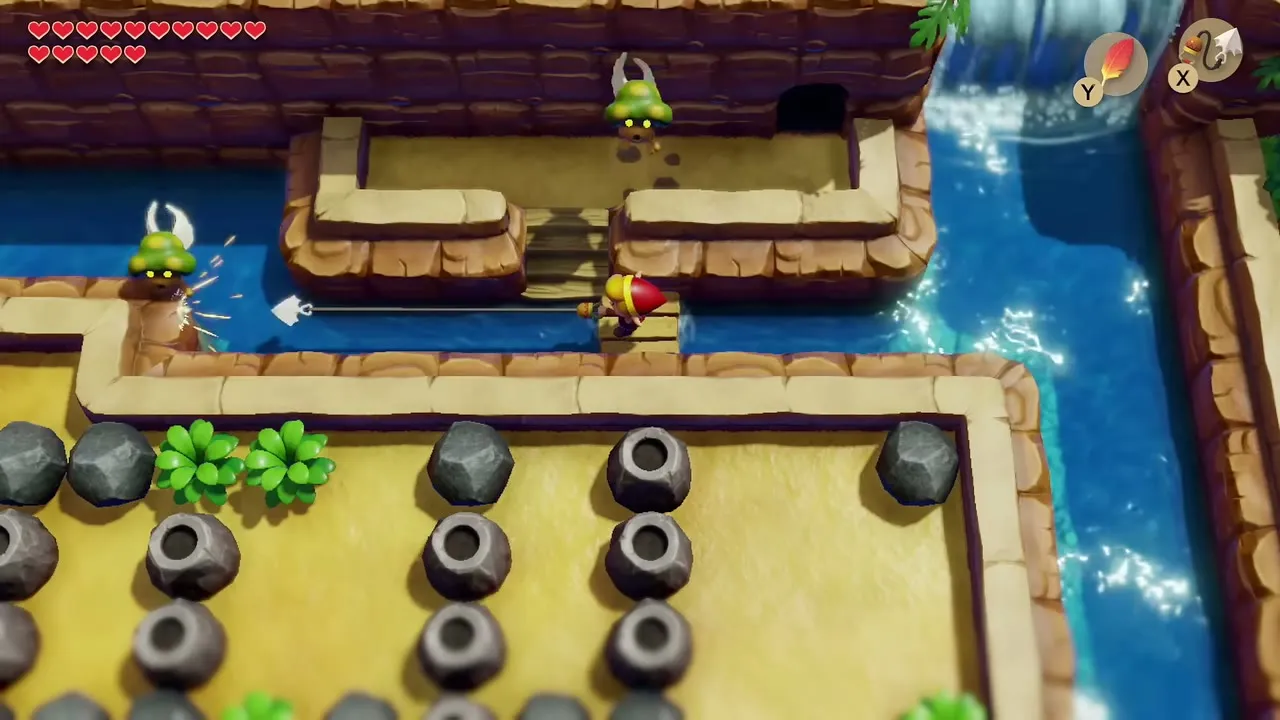
From Animal Village head north, past the stairs to the underwater passage, then east into the Ancient Ruins. Armos statues block parts of the path: walk into one to wake it and keep moving west. The main building is in the northwest corner of the ruins. North of the ruins entrance, close to the east shore, lift the lone rock with the Power Bracelet for a Secret Seashell.


Defeat the Armos Knight
Go through the first room into the second to meet the Armos Knight. He lumbers toward you and jumps to shake the floor, so jump with the Roc’s Feather just before he lands to avoid being stunned. The Boomerang does nothing to him. Charge a spin attack to break his armor, then finish him with arrows or sword hits. He speeds up near the end. Boss tips for every fight are in the boss strategies guide.
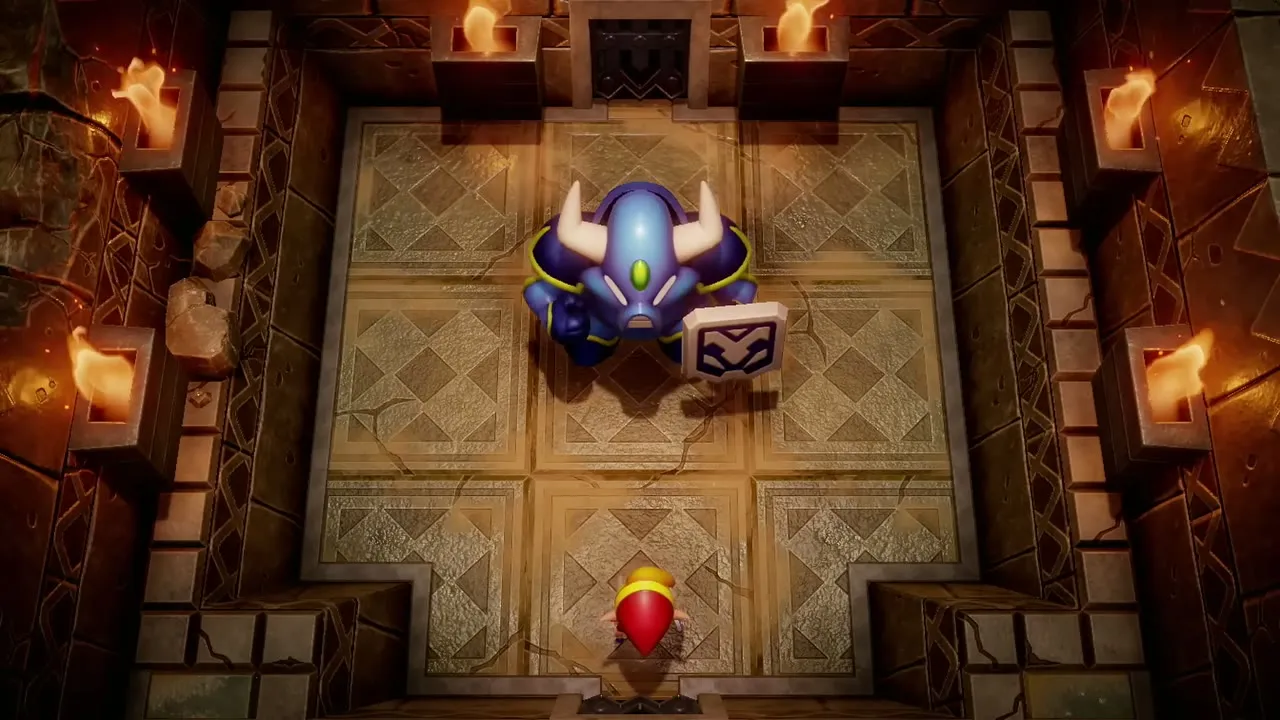
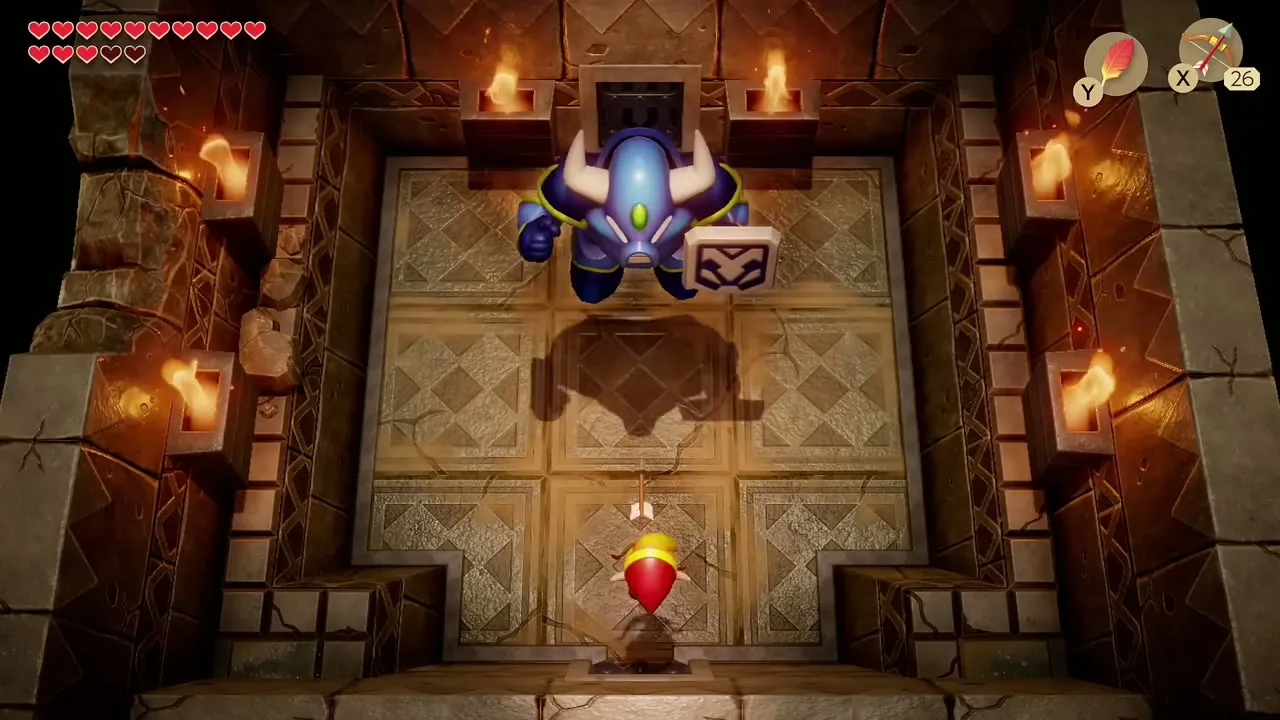

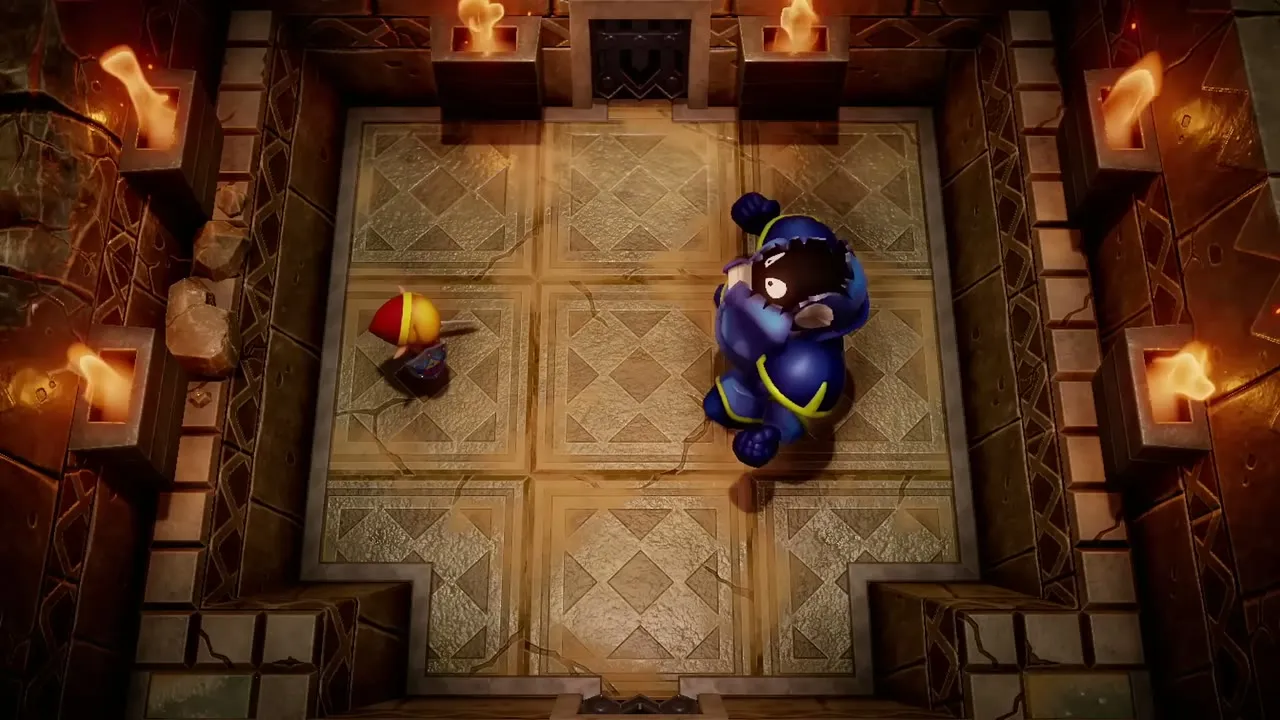
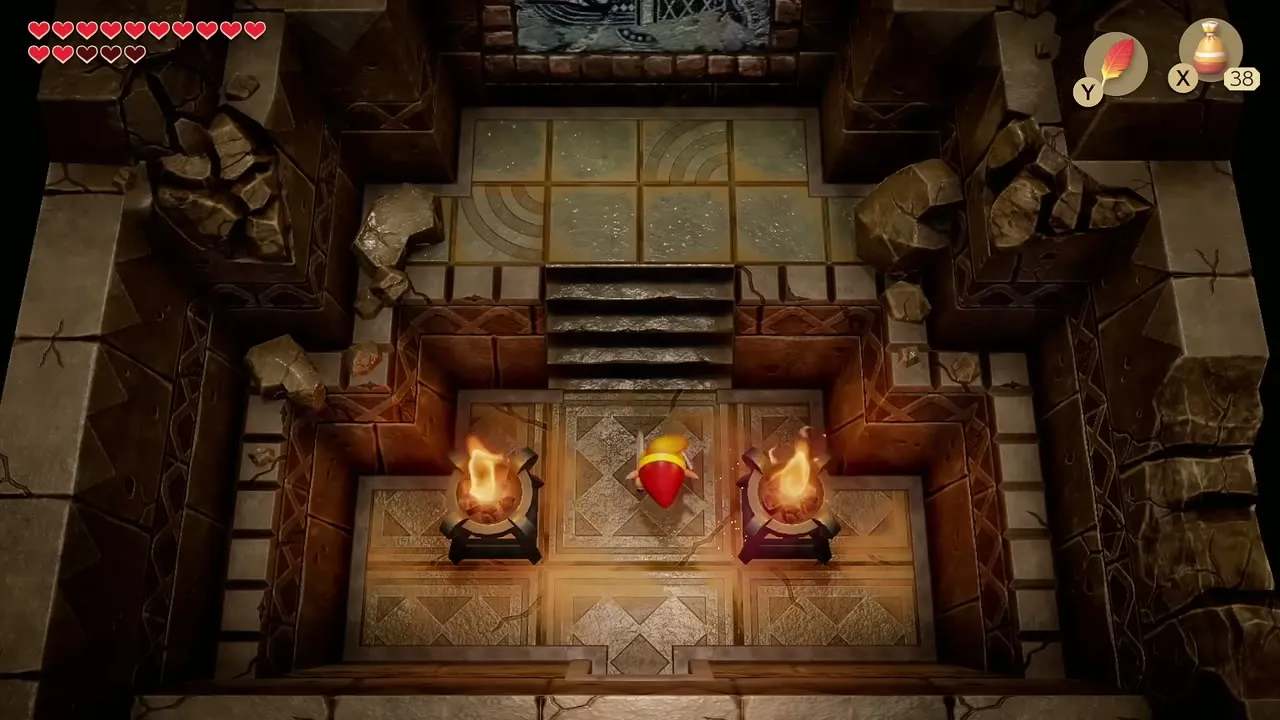
Take the Face Key he drops. Read the stone relief in the next room: light both torches with Magic Powder first, then read the carving, which hints that Koholint is a dream. The Owl comments on it afterwards.

Reach the Face Shrine entrance
Leave the building and follow the boulder path northwest to the stairs that lead down into the water. Swim to the small island with two Armos statues and touch the left one to wake it, then shoot it or lure it into the water. This uncovers a staircase. Go down, swim the cavern, Hookshot across the chasm, and insert the Face Key into the keyhole in the island’s northeast corner. The Face Shrine rises out of the ground, and you can walk in. Before you go in, follow the cliffs east of the shrine to the cracked wall and bomb it to open the Face Shrine’s Great Fairy Fountain, a free full heal for the dungeon ahead.

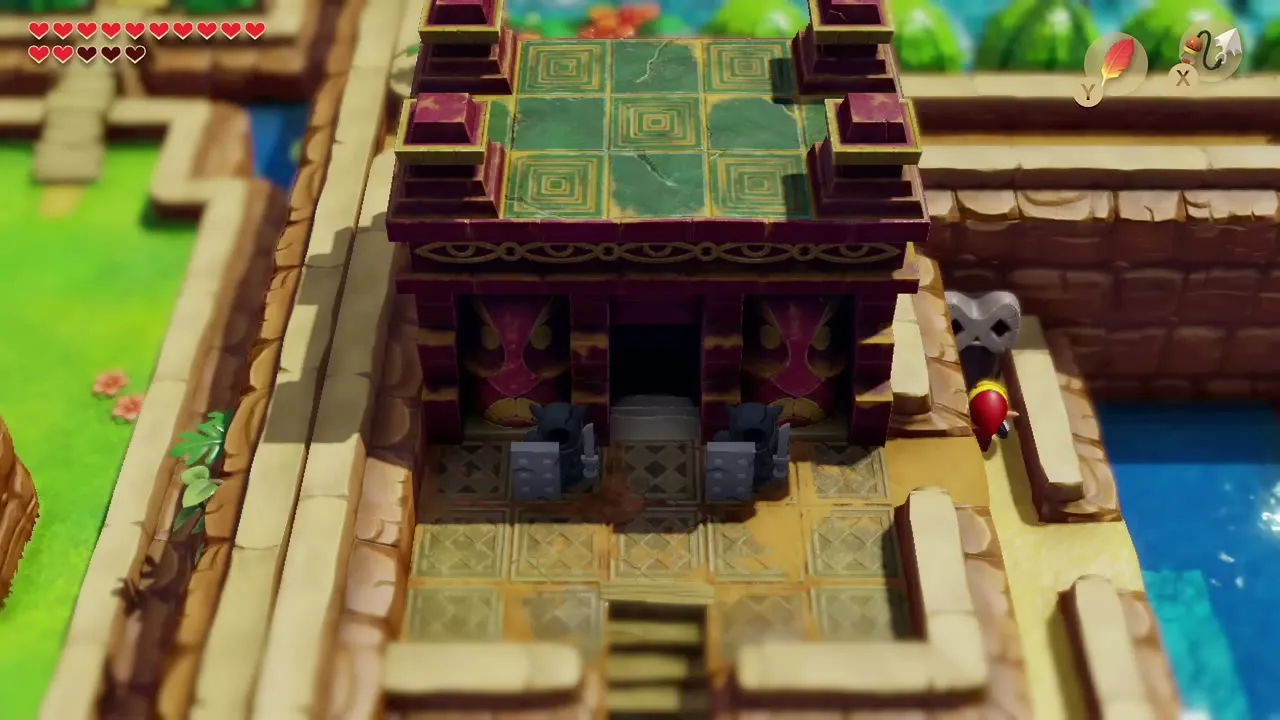
Dungeon: Face Shrine (Level 6)
Entrance rooms and the first chest
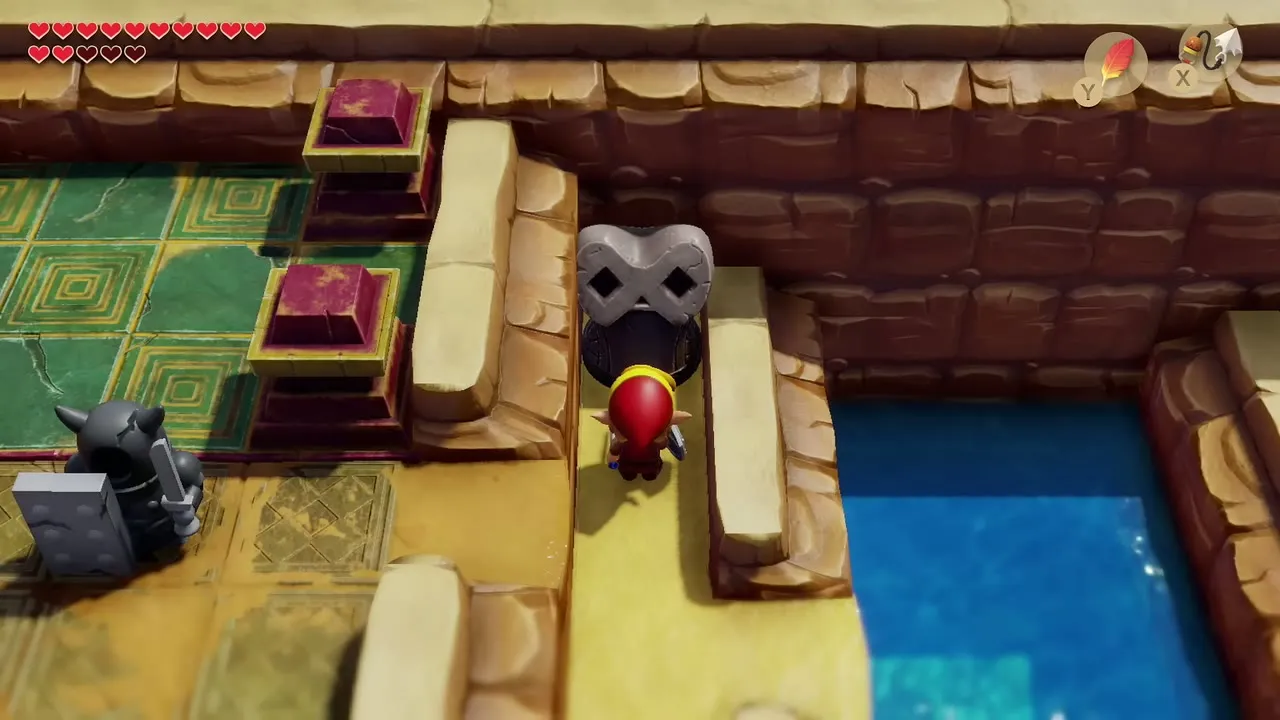
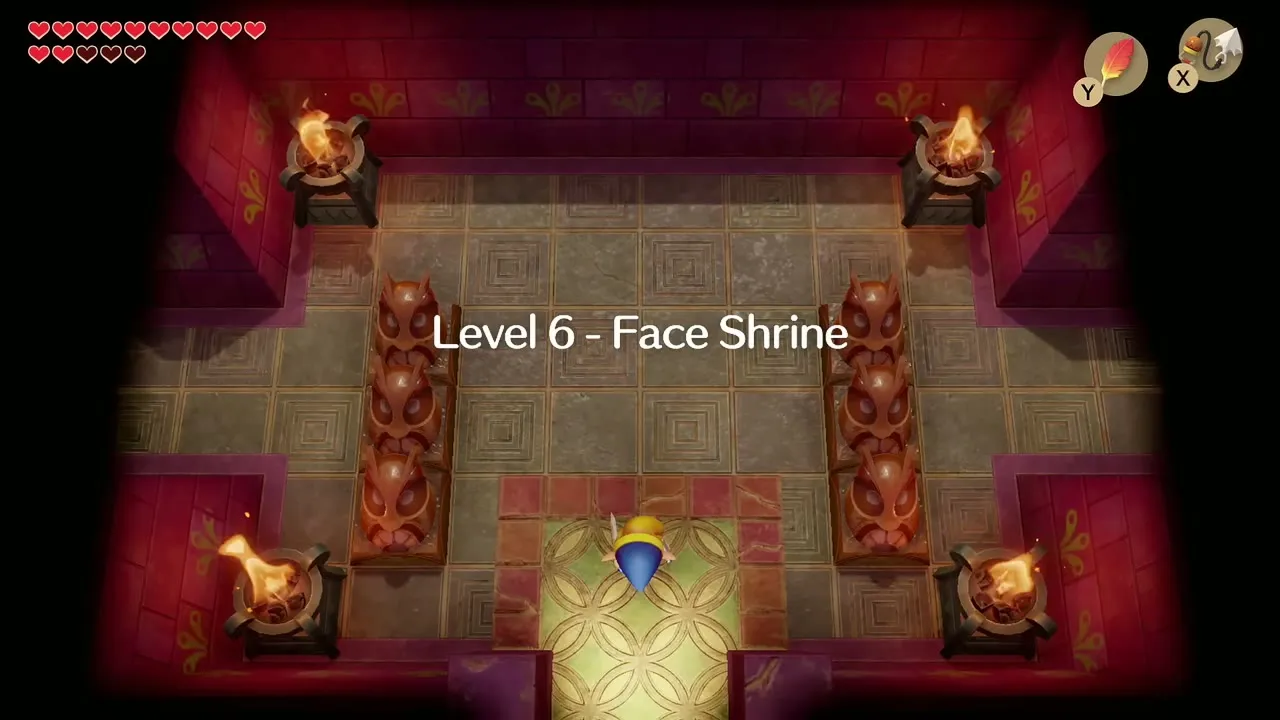
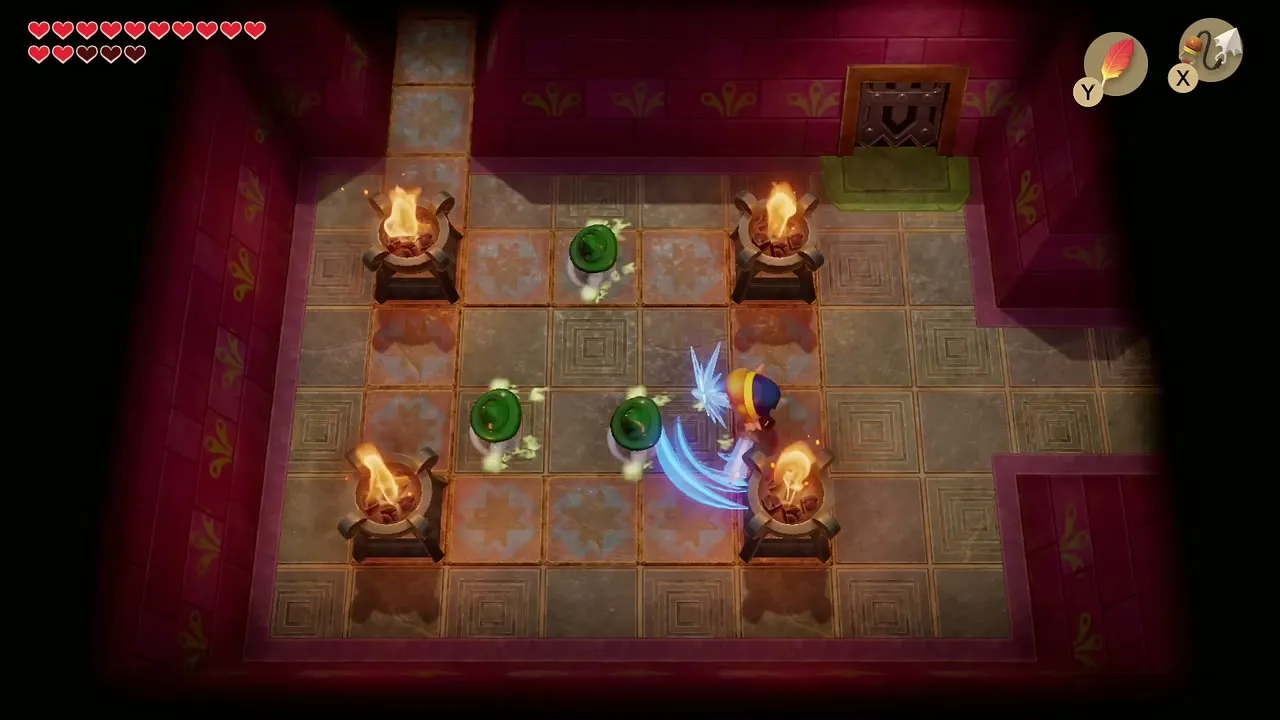
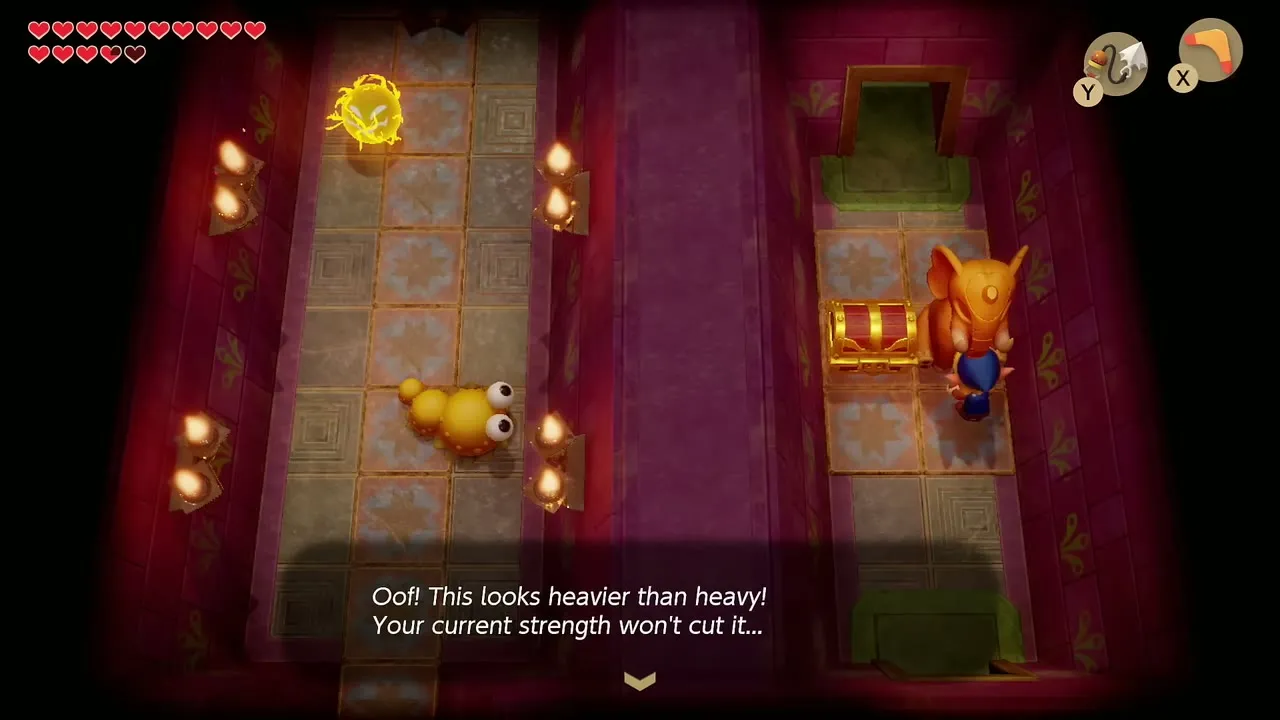
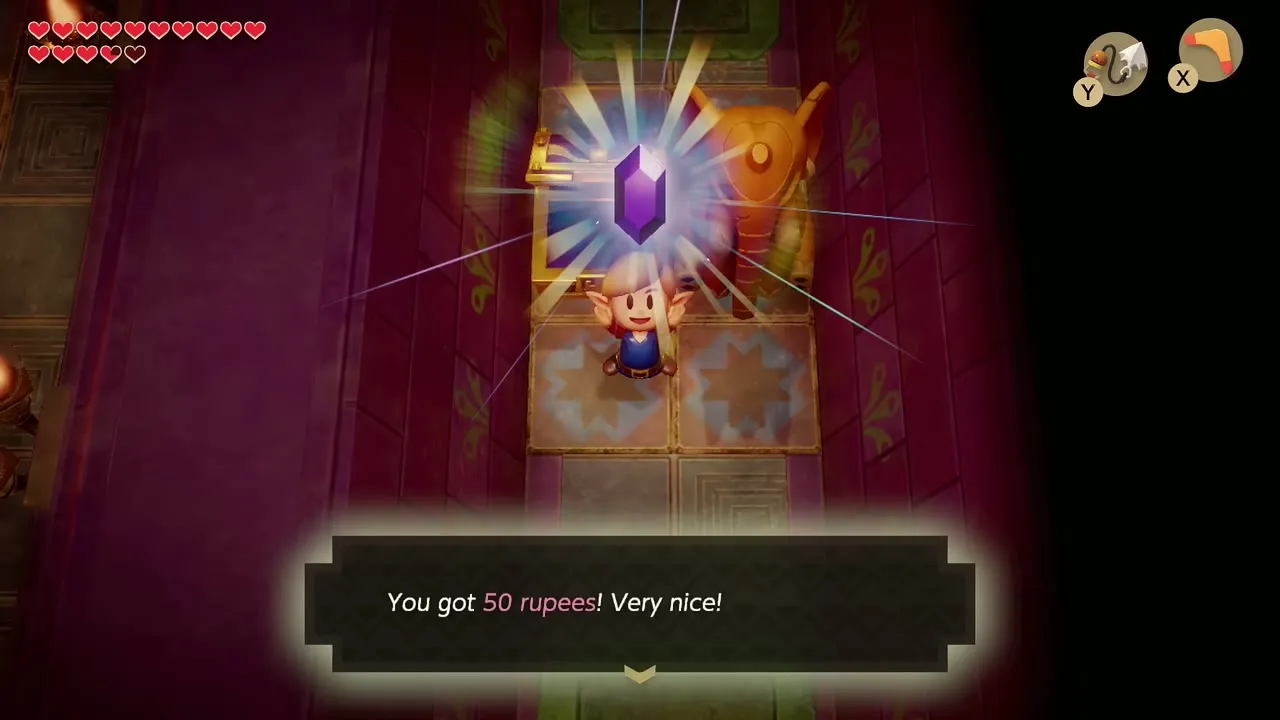
Step inside, cross the room with the four torches and defeat the Green Zols. Go north through the corridor full of enemies. A chest beside an elephant statue holds a purple 50-rupee gem. The statue itself is too heavy to lift until you own the Power Bracelet L-2, so leave it.
Power Bracelet L-2
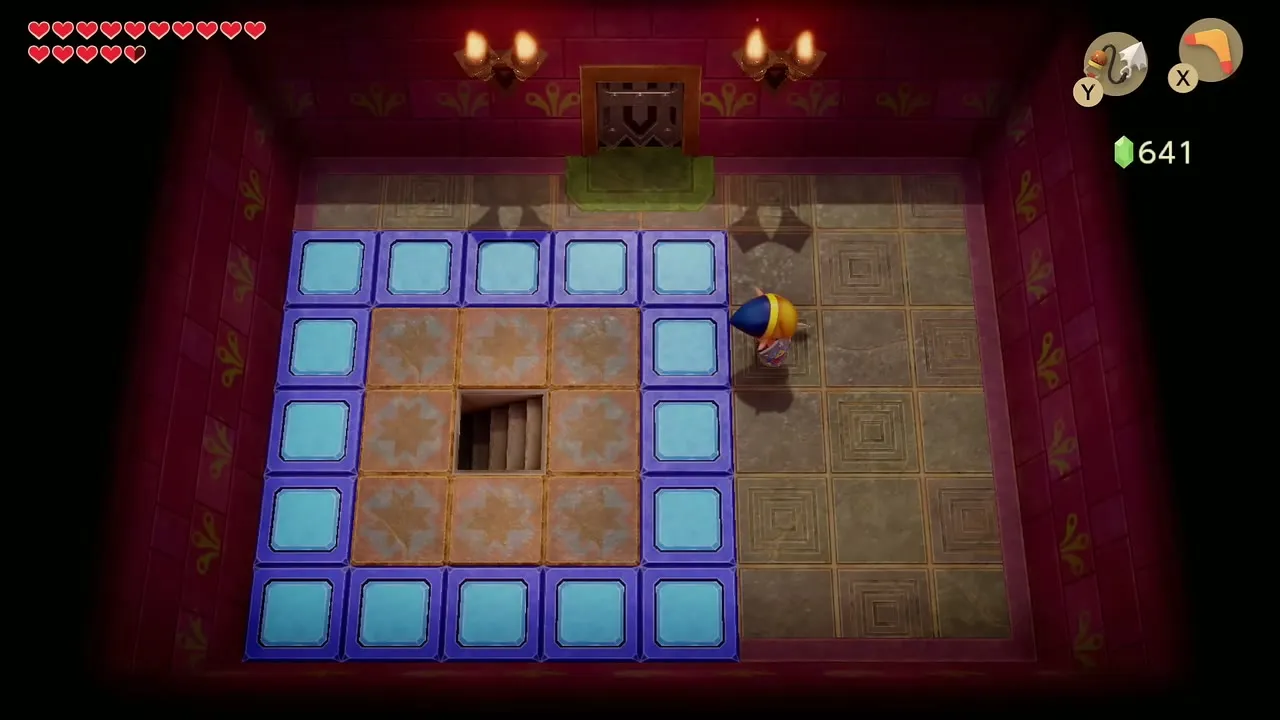
Work your way to the room with the blue floor tiles around a staircase. Bomb the crystal switch, kill the Zols that drop in, and go down the stairs. In the side-scrolling room avoid the giant Bubbles and climb the ladder on the west side. In the room above, two elephant statues flank a chest containing the Power Bracelet L-2.

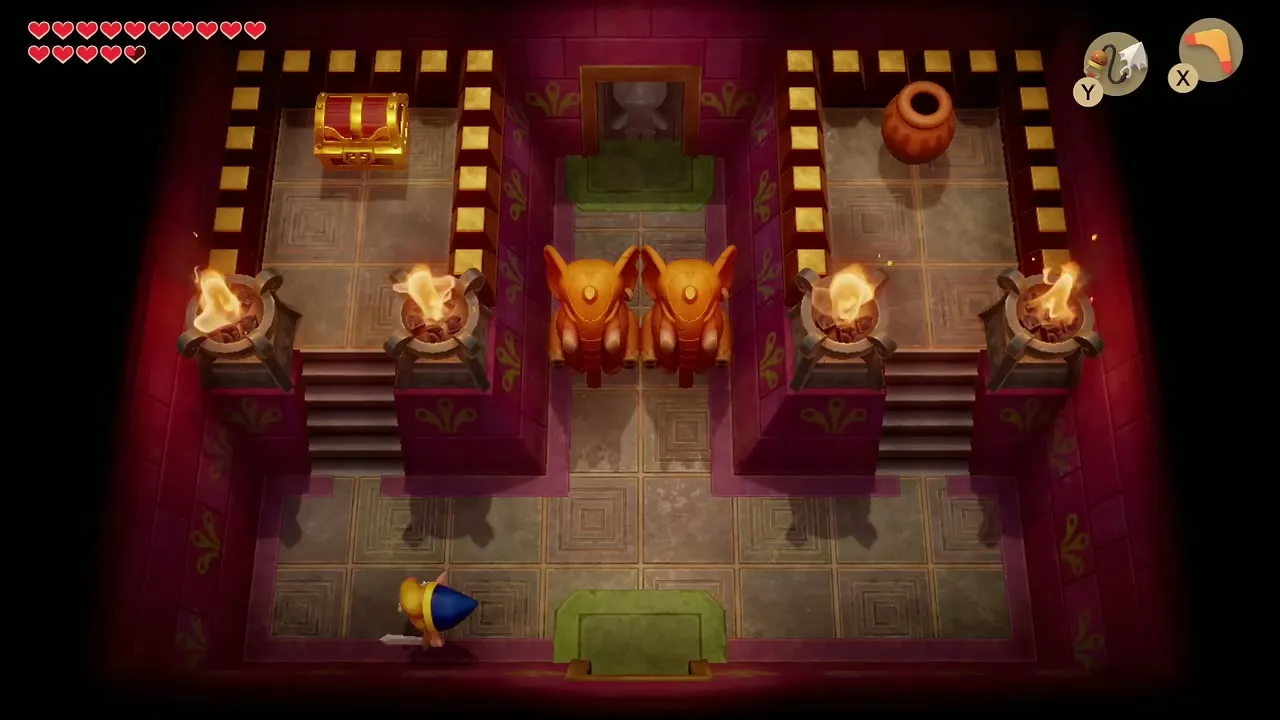
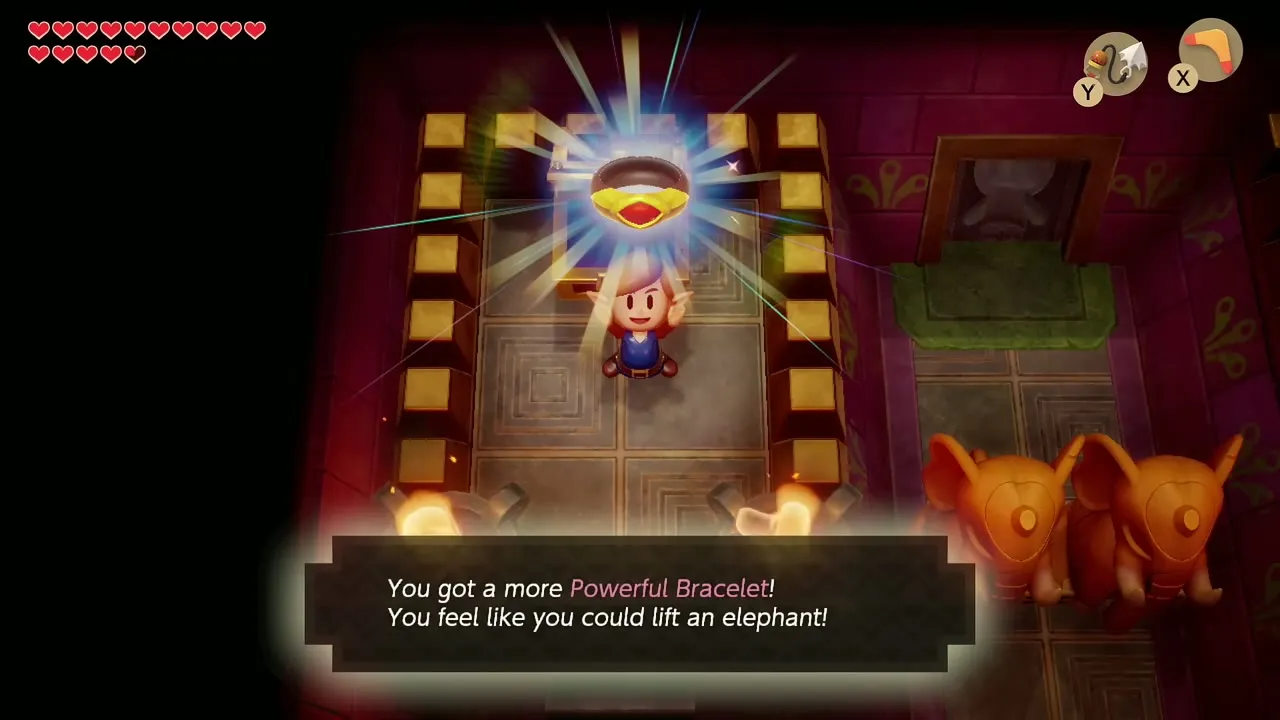
You can now lift the elephant statues. Use the one-way door to get back to the crystal switch room. The Dungeon Map, Compass and Stone Beak are all close by.

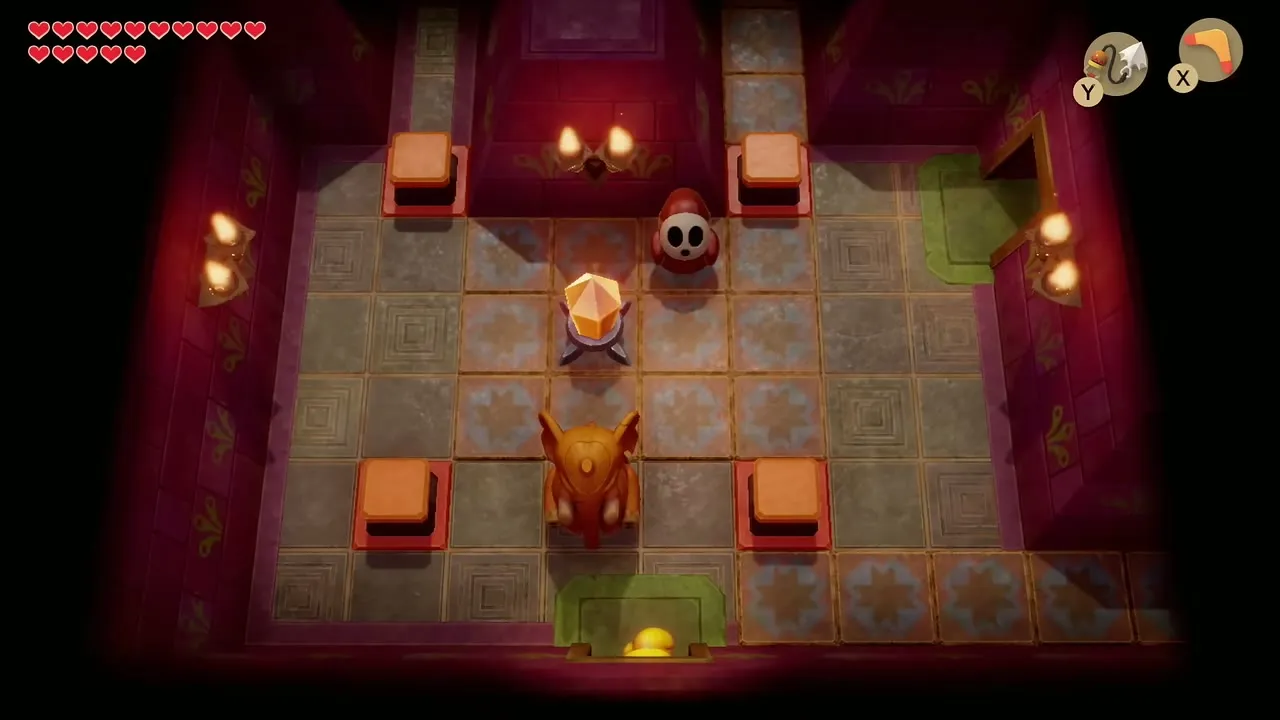
Dungeon Map, Stone Beak and Compass
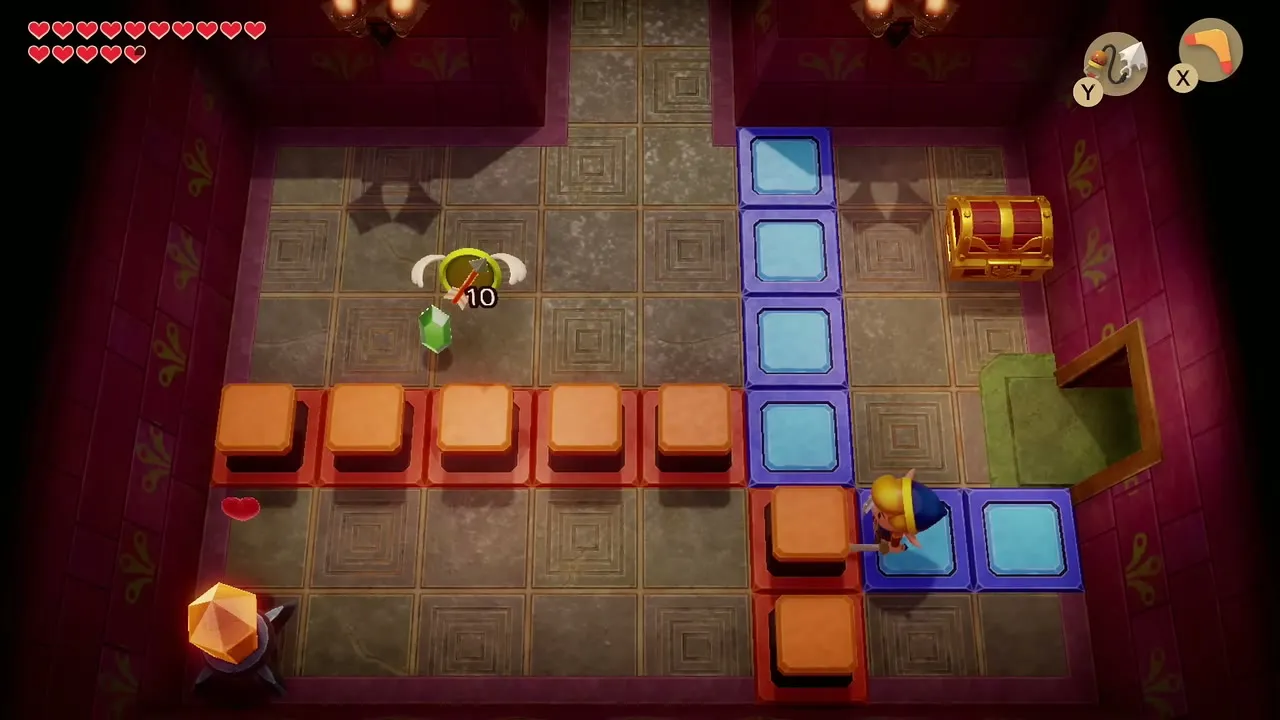
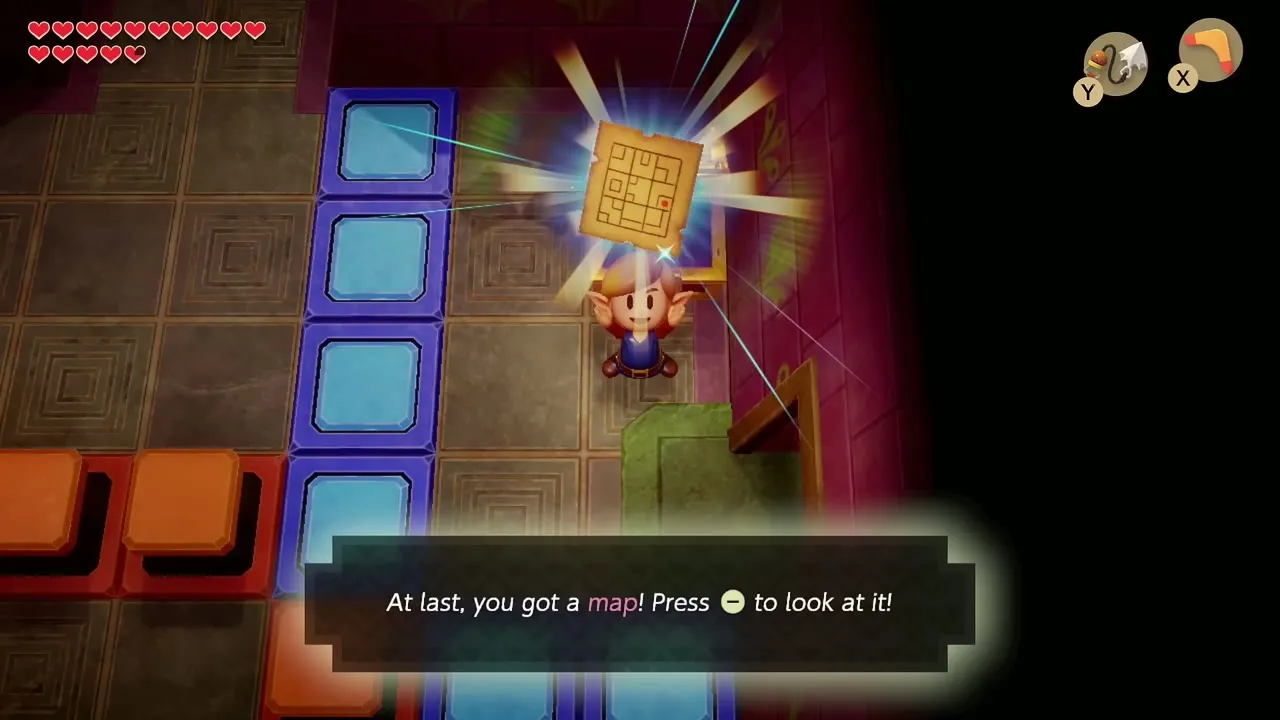
Go to the orange and blue switch room. Hit the crystal switch, cross the lowered blocks and open the chest that appears to take the Dungeon Map. See the dungeon maps and compasses guide for the layout of every level.

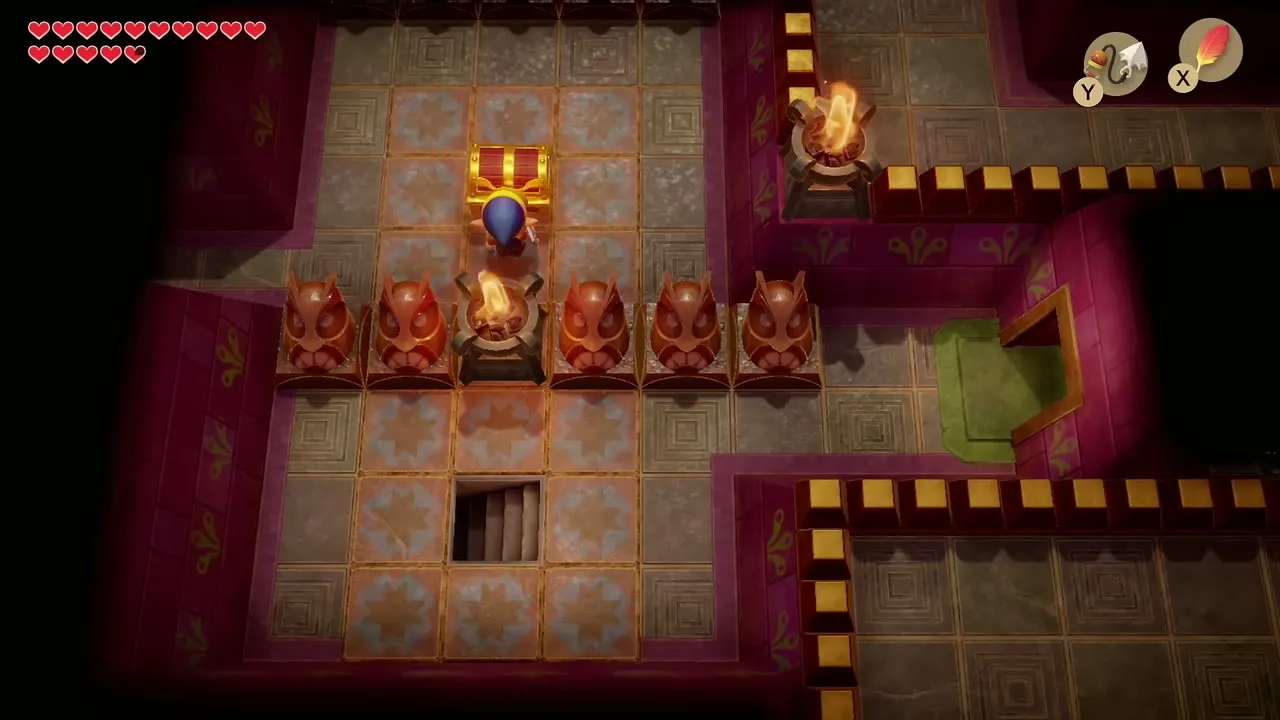
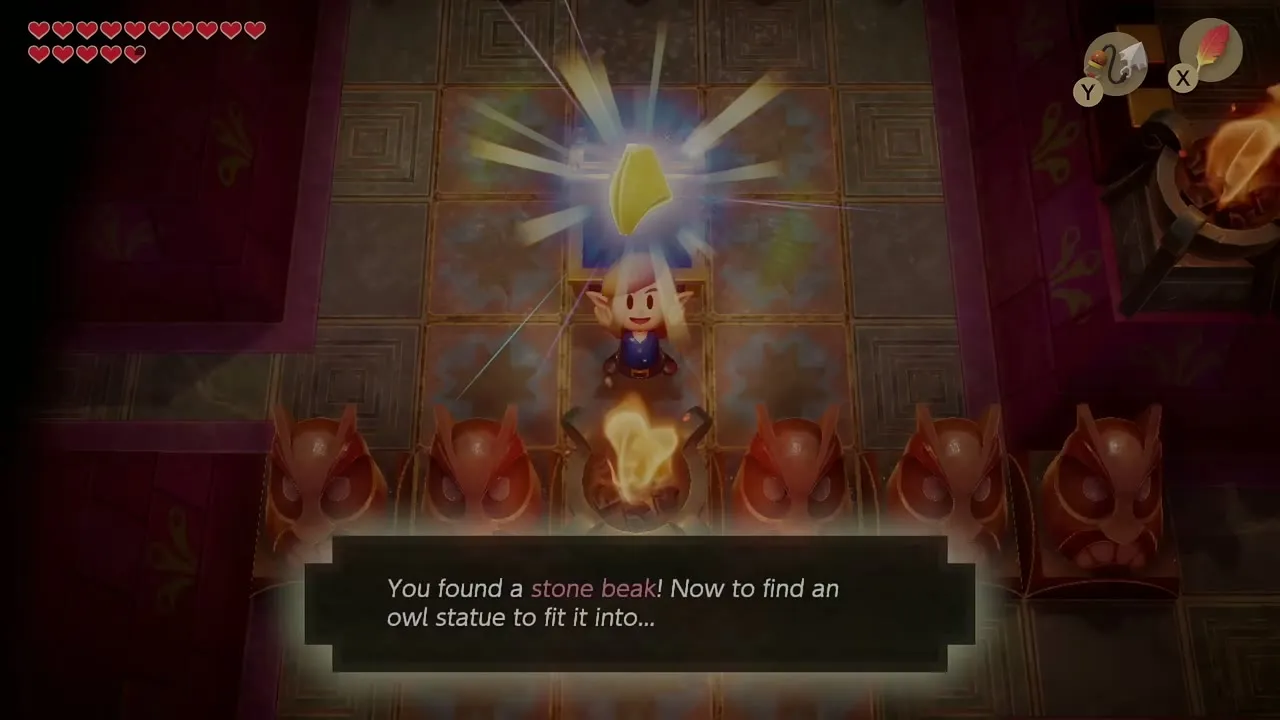
In the next owl statue room open the chest in the row of statues for the Stone Beak. Fit it into an owl statue for a hint on the way to the boss.
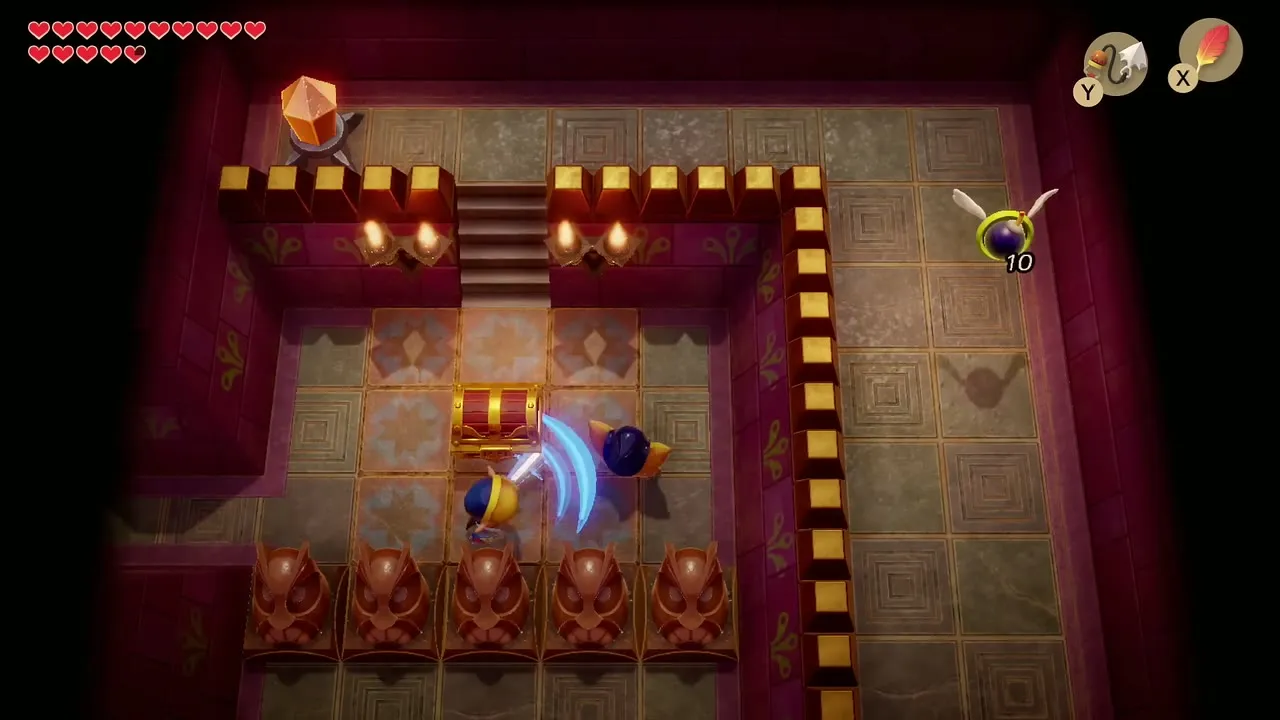
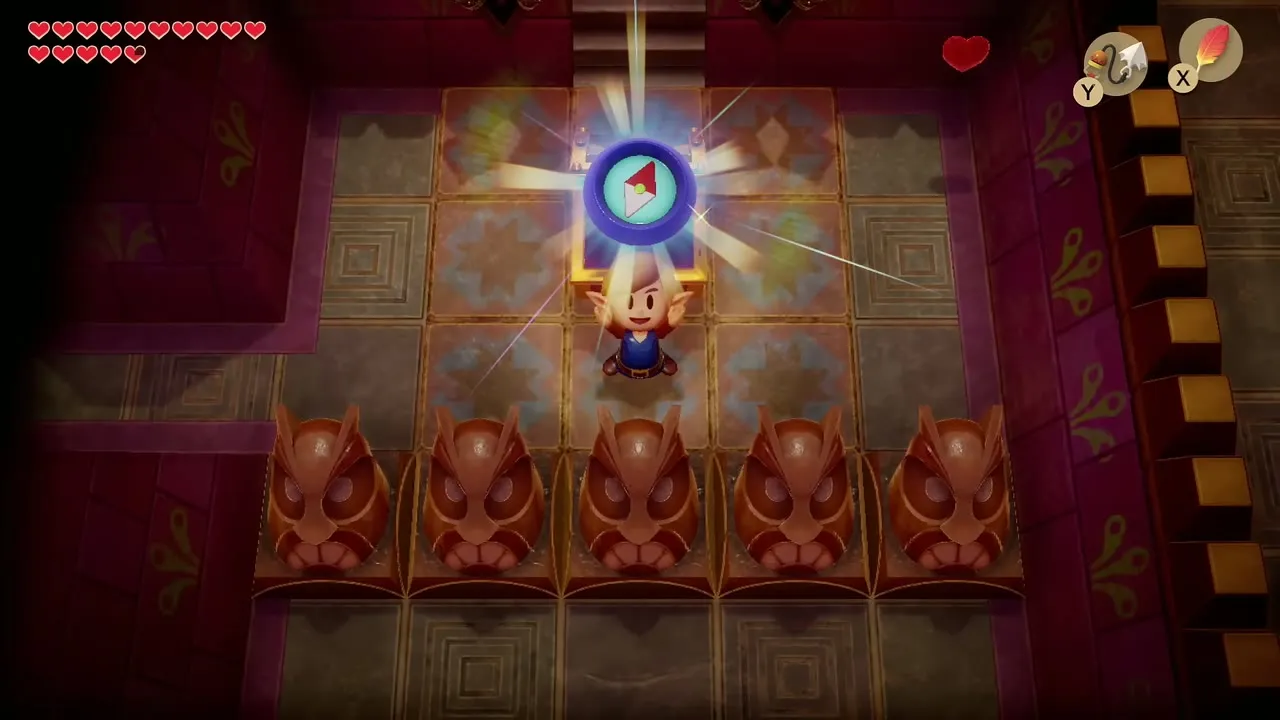
The chest in the room just beside it holds the Compass. Throw a pot at the cracked door to get in. A heart and a bomb-carrying Keese are close by.
First Small Key
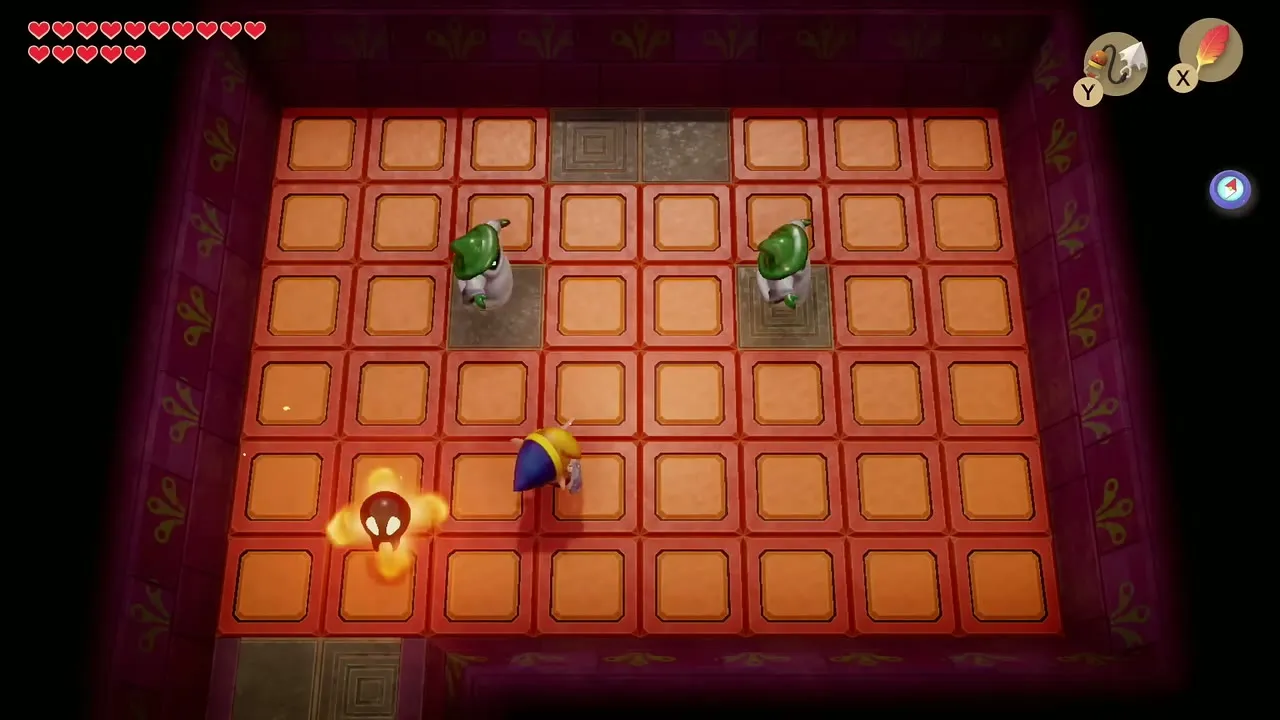
Enter the large room whose floor is covered in orange tiles. Stand in a corner and hold up your shield. The tiles fly around, and when they stop a Small Key drops.


100 rupees and the island Secret Seashell
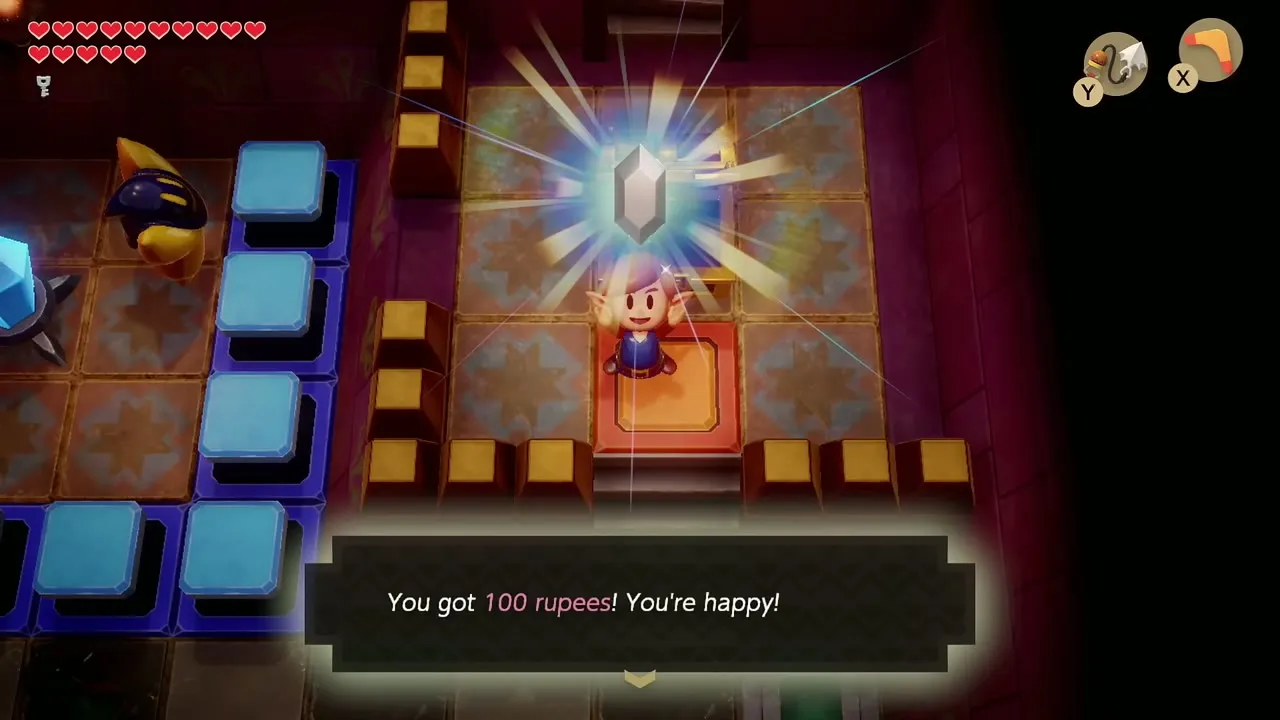
In the room with the crystal switch and chess pieces, climb the stairs to the raised platform and open the chest for 100 rupees. Throw the knight statues onto the green marked tiles to open the south door.
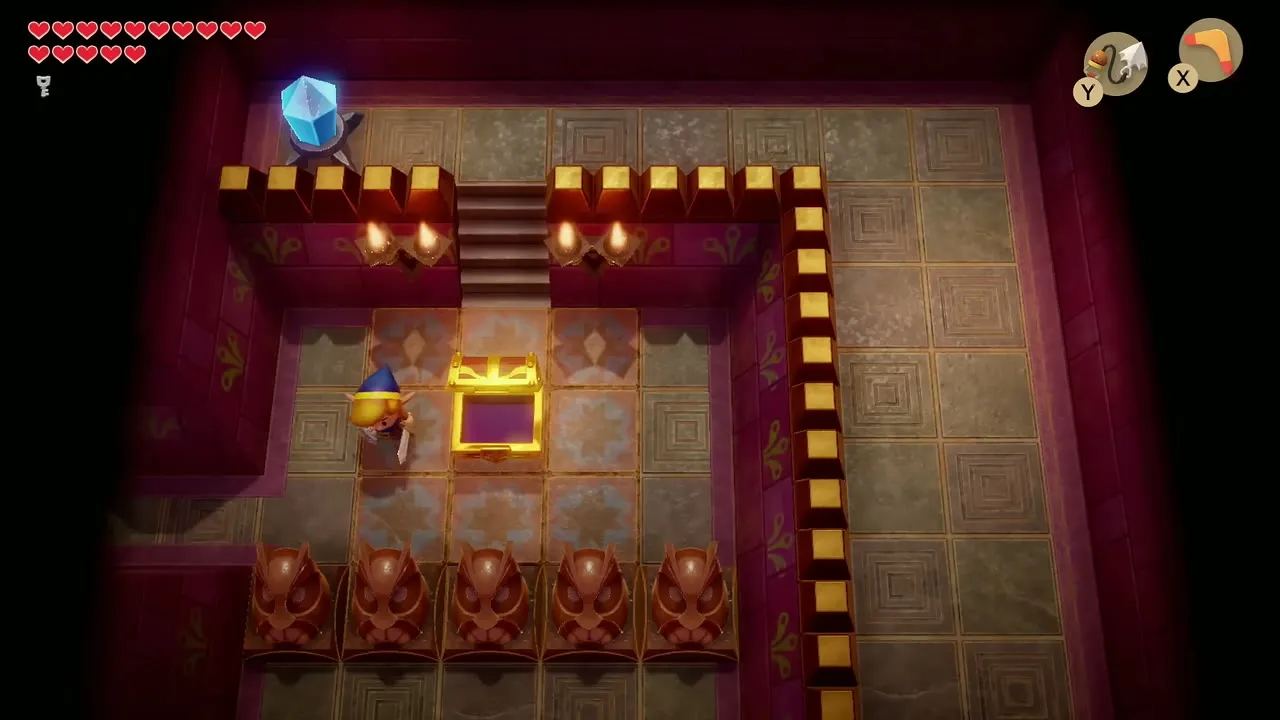

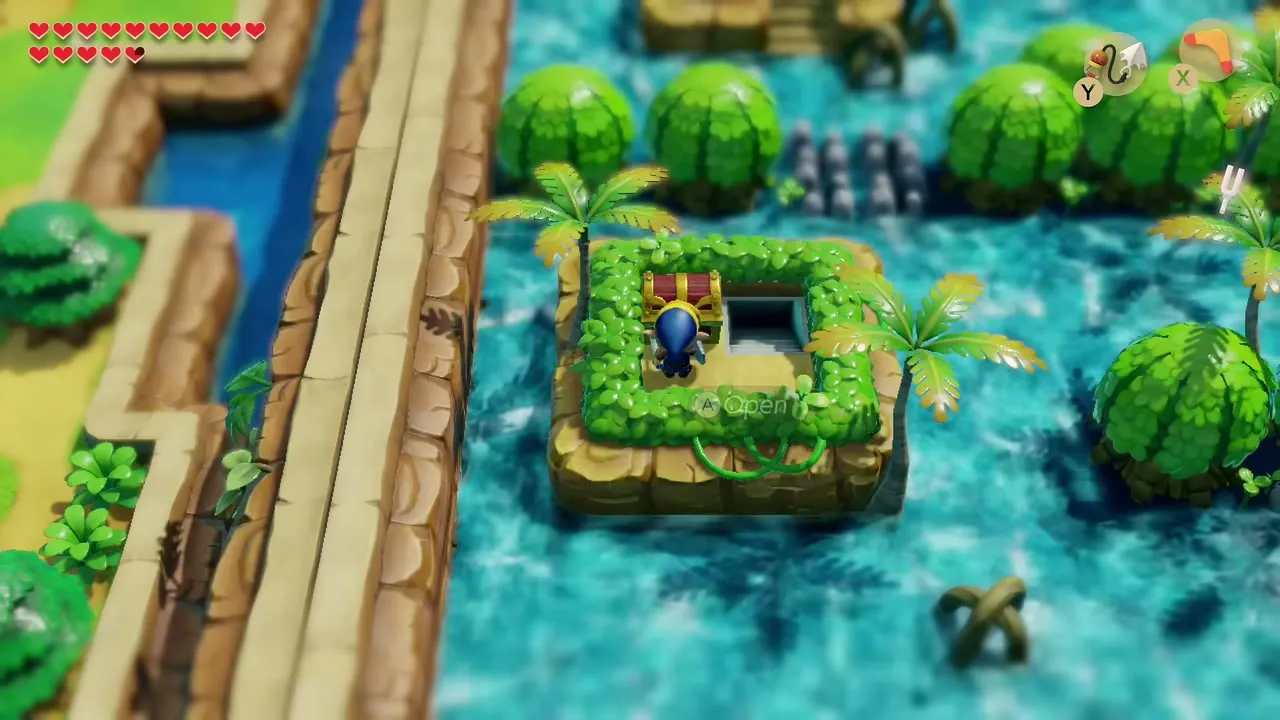
Take the staircase at the top of the platform. It leads up to a hidden island in the middle of the Rapids Ride, where a chest holds a Secret Seashell. Go back down the same stairs to return to the dungeon.


Second 100 rupees
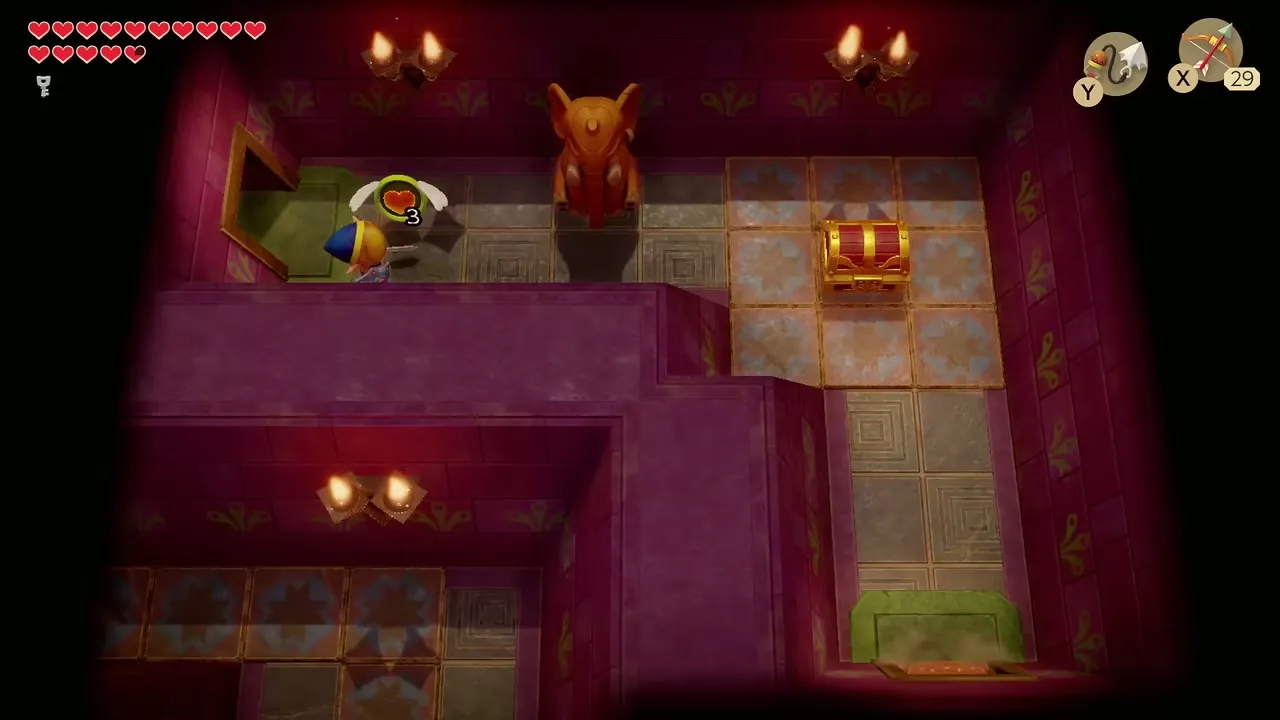
Later, a chest guarded by an elephant statue holds another 100 rupees. With the Power Bracelet L-2 you can lift the statue and throw it at a door if you need the way through.

Secret Medicine and the second Small Key
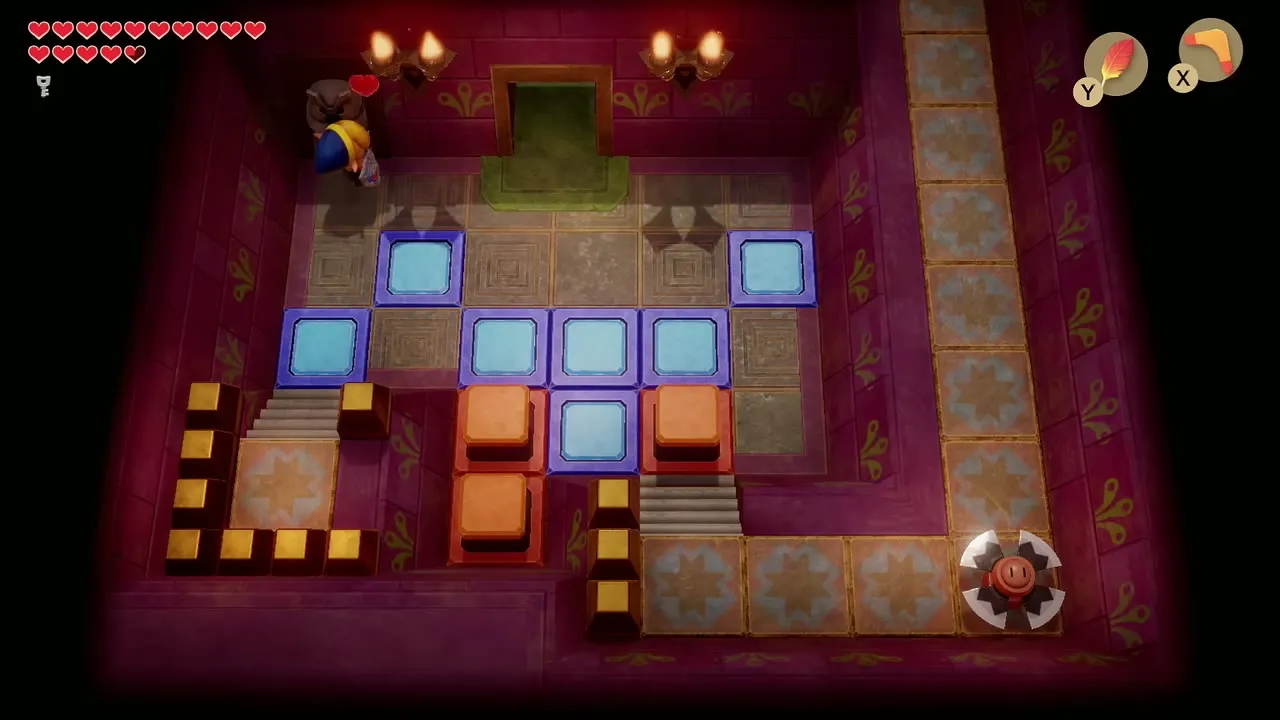
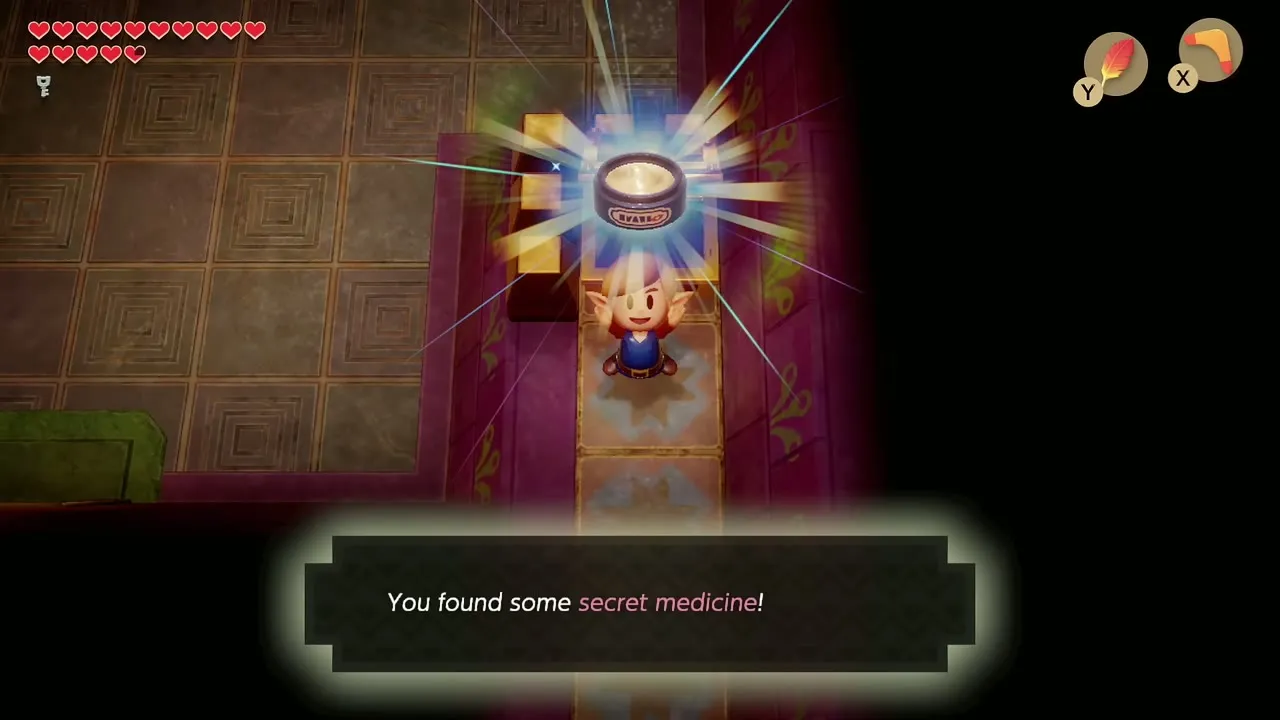
Cross the conveyor belts and avoid the Blade Traps. Shield against the flying tiles and defeat the Wizzrobes to open the doors. Follow the narrow passage past the Blade Trap and open the chest to get the Secret Medicine, Tracy’s medicine for restarting your heart. More about it in the Secret Medicine guide.

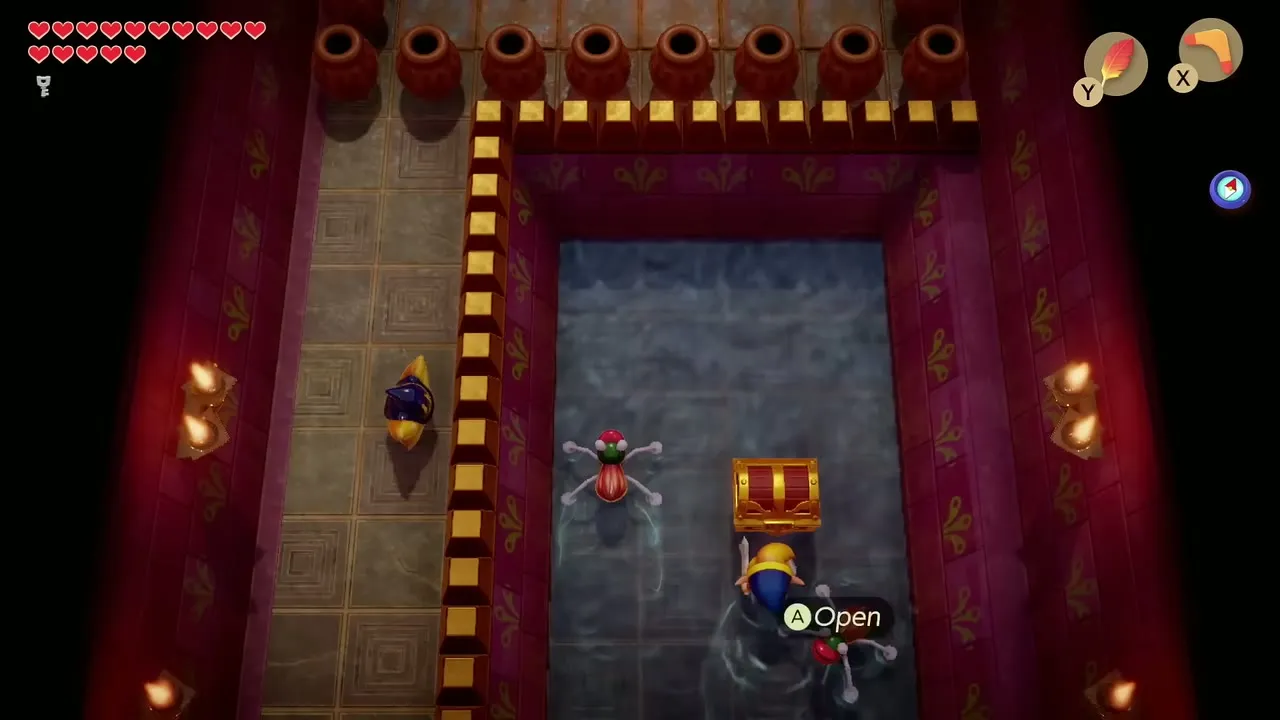
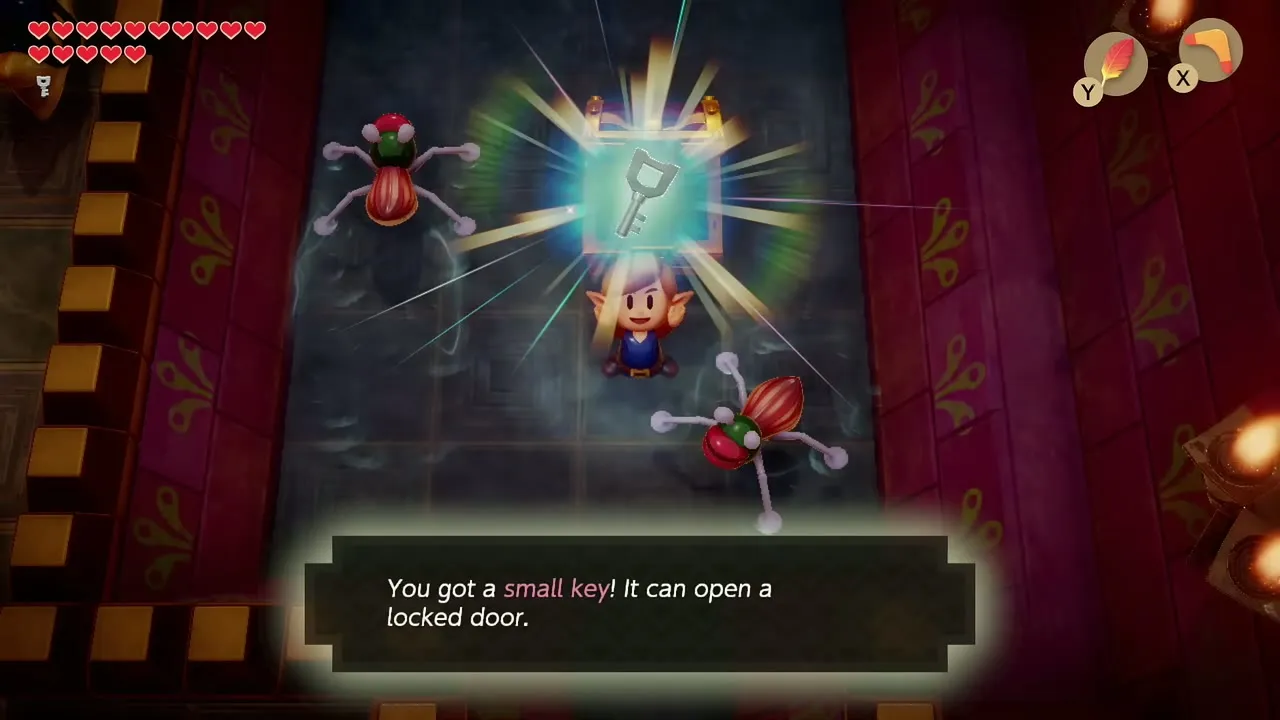
In the dark corridor, wade through the shallow water, avoid the Spiked Beetles and open the chest at the end for the second Small Key. You now carry two keys.


Mini-boss: Smasher
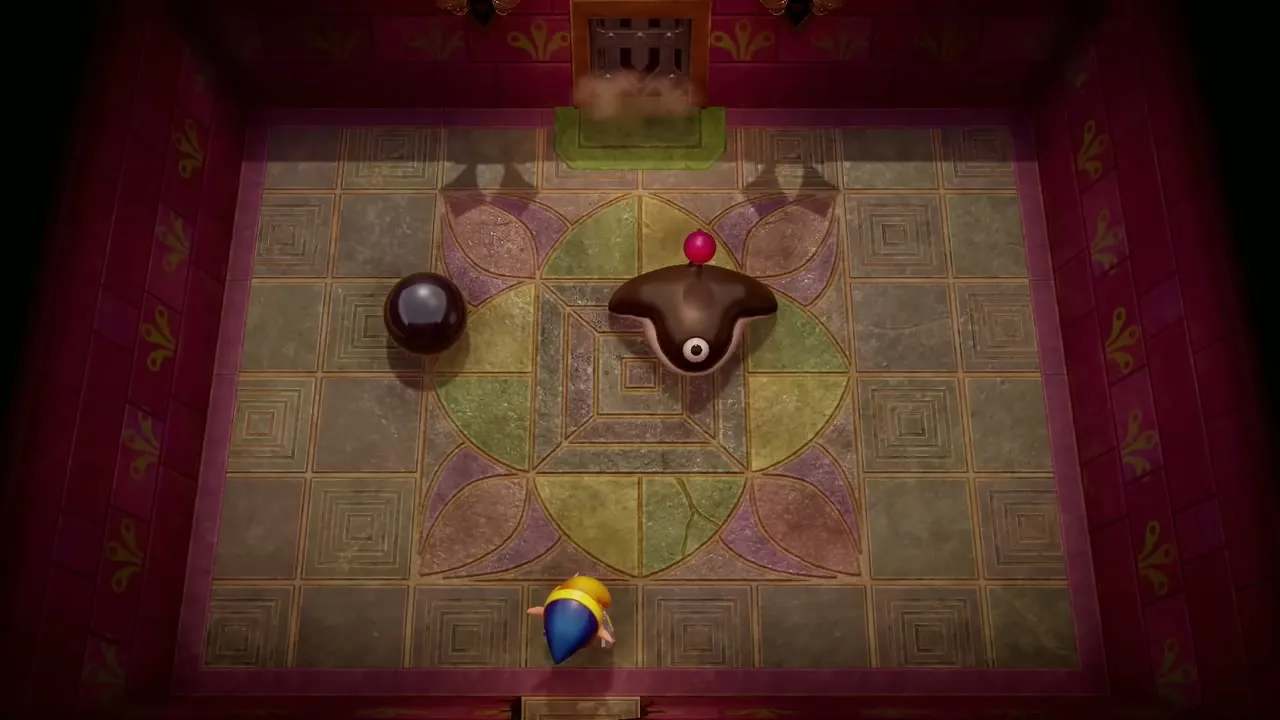
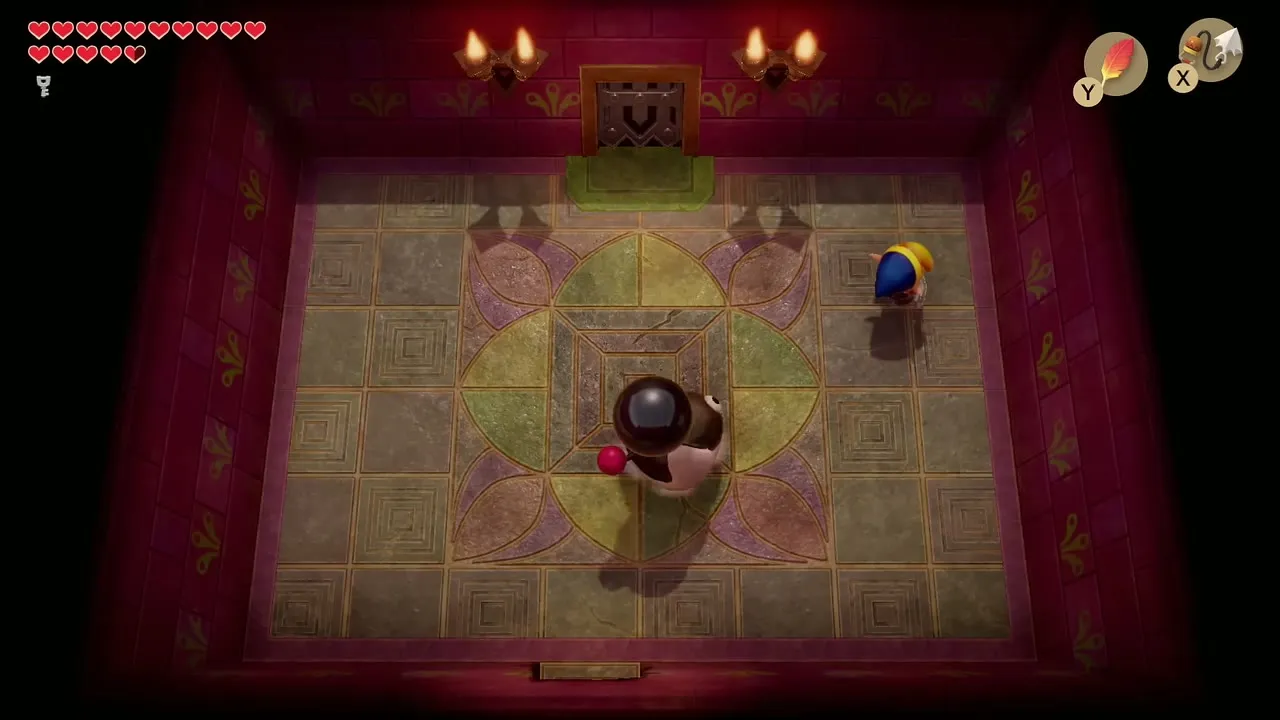
Use a Small Key on the locked door in the room with the two statues and bomb the wall above to find the circular arena. Smasher throws a heavy black ball at you. Dodge it, lift the ball with the Power Bracelet L-2 and throw it back. If Smasher picks it up, move out of the way of his throw. After a few hits he falls and leaves a fairy and a warp portal.


300 rupees
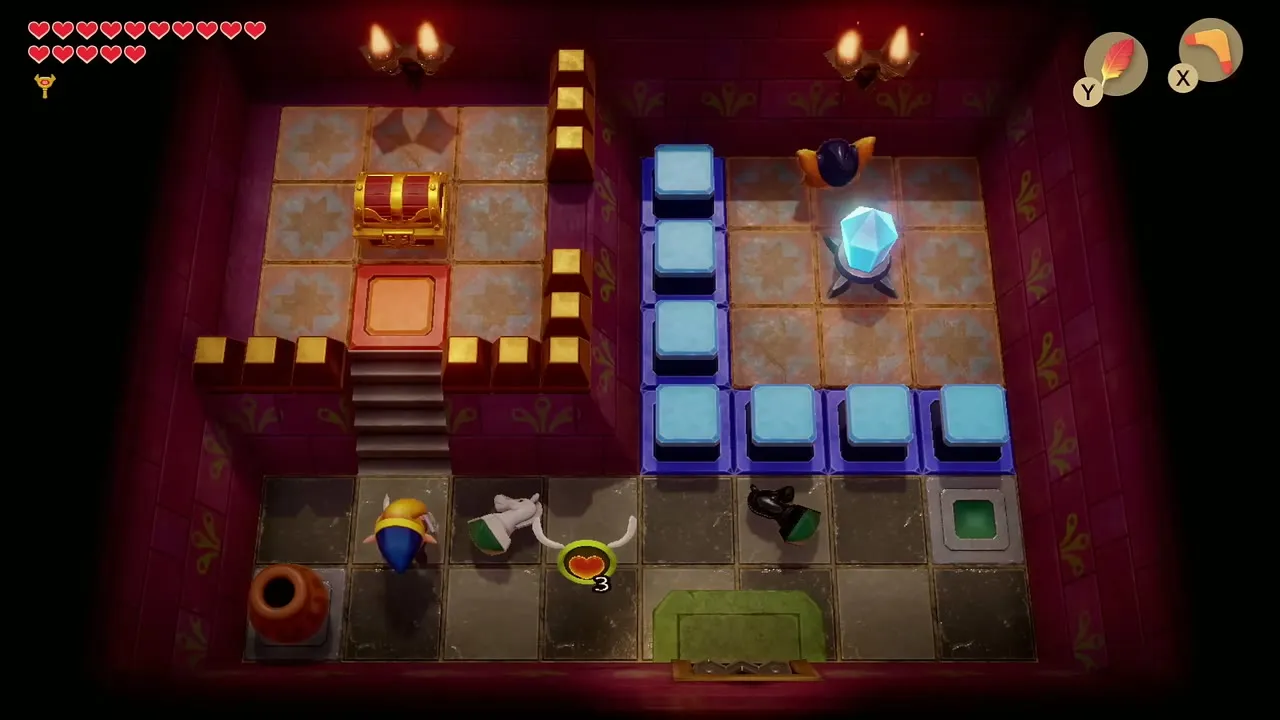
Take the path on to the second chess puzzle room. Bomb the crystal switch to raise the blocks, climb the stairs and open the chest for 300 rupees. Place the knight pieces on their marked tiles to open the exit.


Nightmare Key
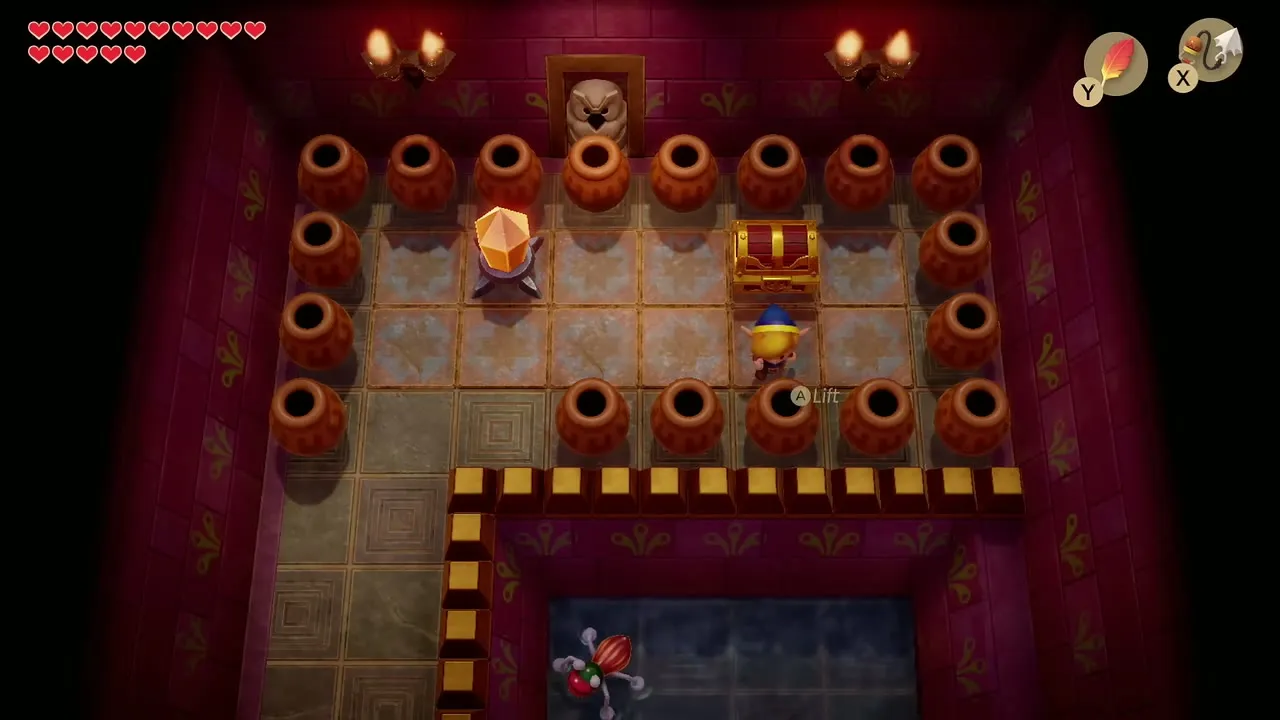
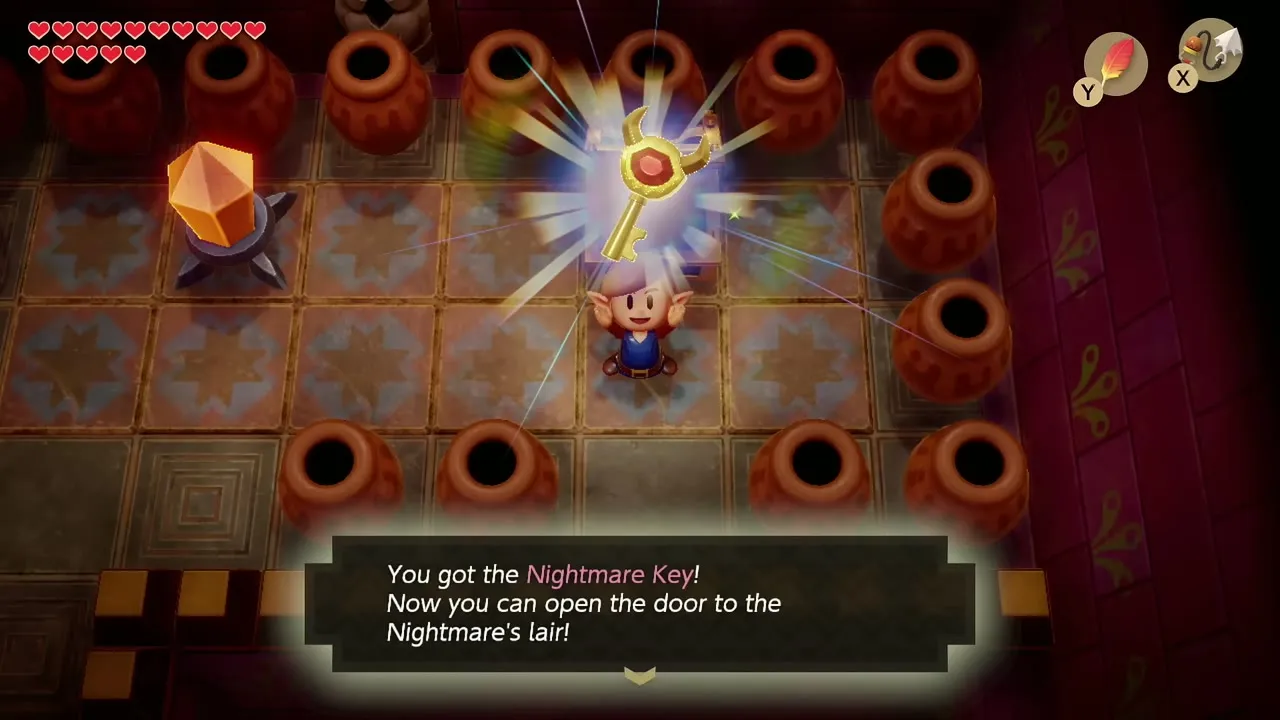
Head down into the area with the Thwomps, using the Pegasus Boots to dash past them. Keep going until you reach the locked block, Hookshot over the gap and open it with a Small Key. In the room beyond, the chest is covered by pots. Pick up and throw the pot standing in front of it, then open the chest to take the Nightmare Key.

Light the torches and reach the boss room
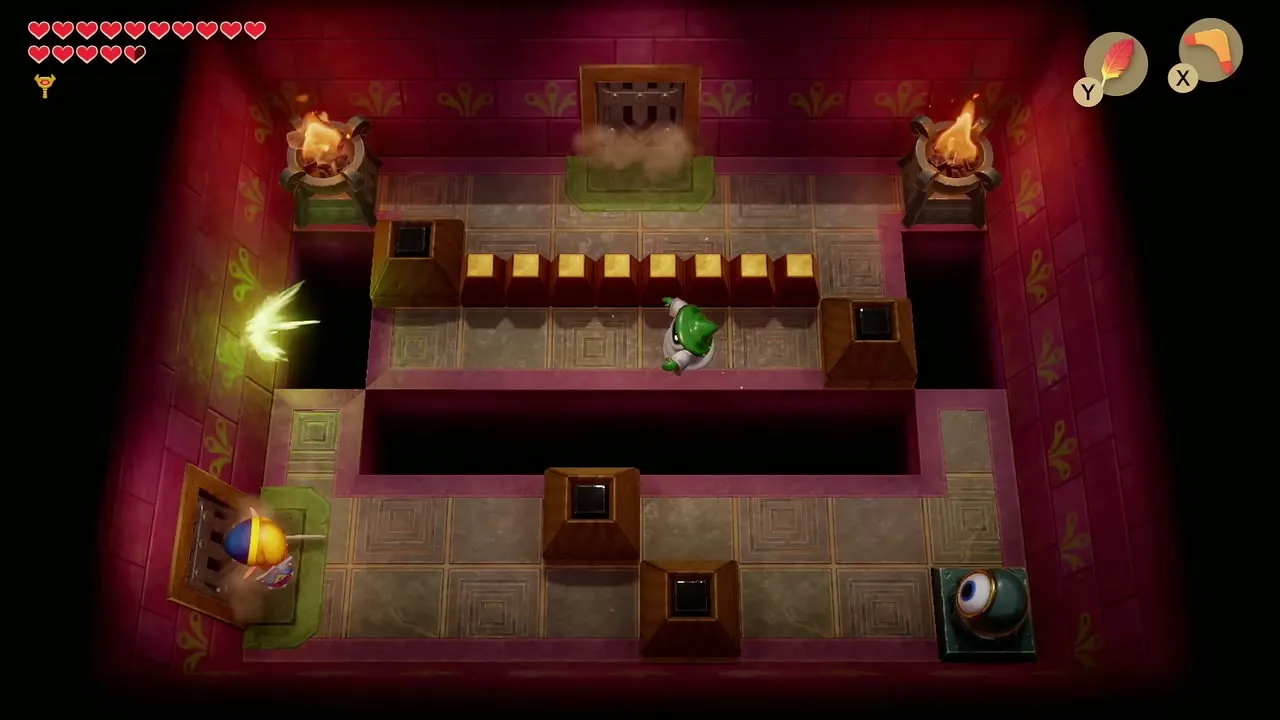
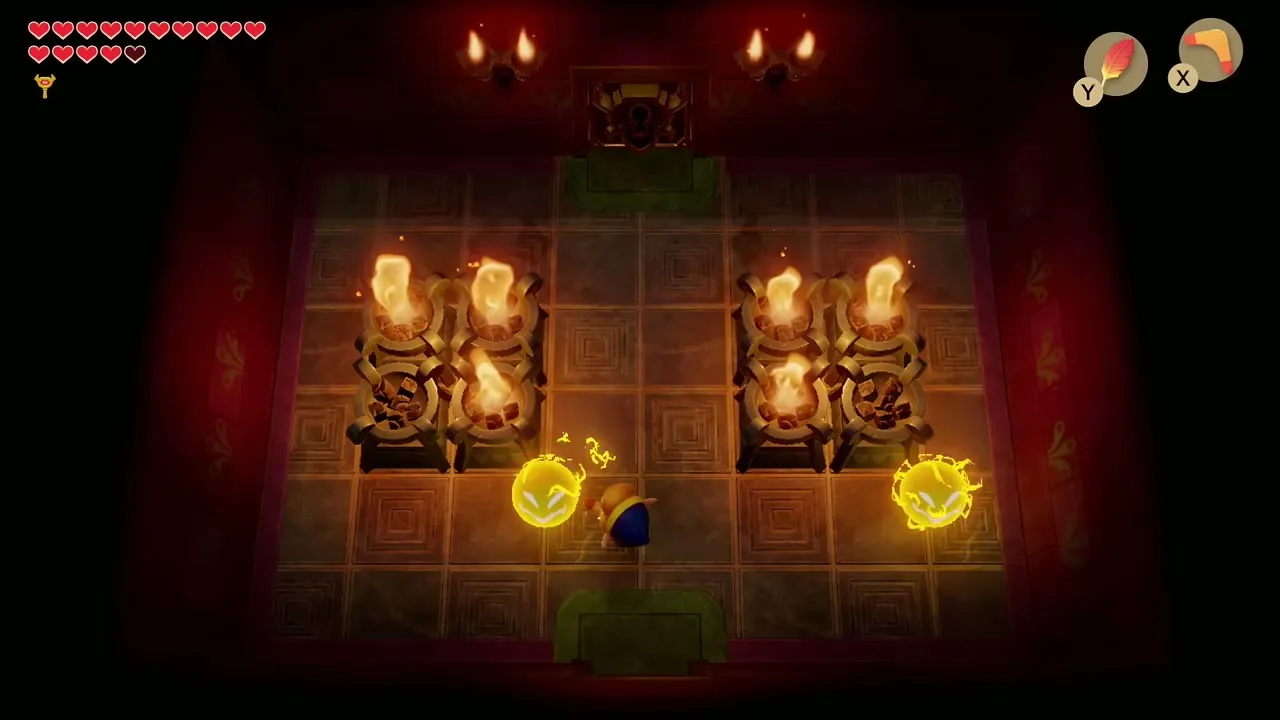
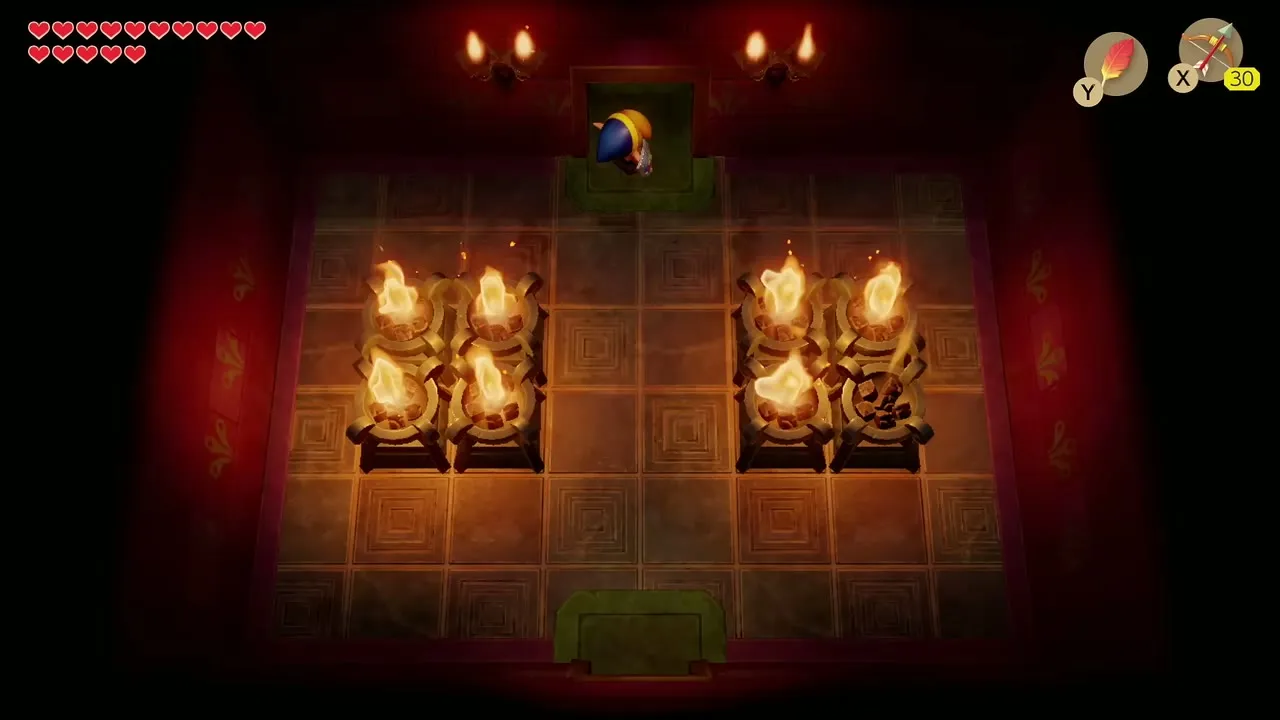
Walk back to the room with the Beamos, whose laser sweeps the floor. Avoid its line of sight, defeat the Wizzrobe across the gap, push the block into the hole and go up to the Nightmare Door. In the torch room light the torches with Magic Powder so the Sparks turn into fairies, and use a fairy to refill your hearts before the fight.
Boss: Facade
Facade appears as a face on the floor of the boss room. It sprays floor tiles and pots at you, and standing on the face hurts. Drop Bombs on its face when it appears, and keep walking along the walls to dodge the debris.
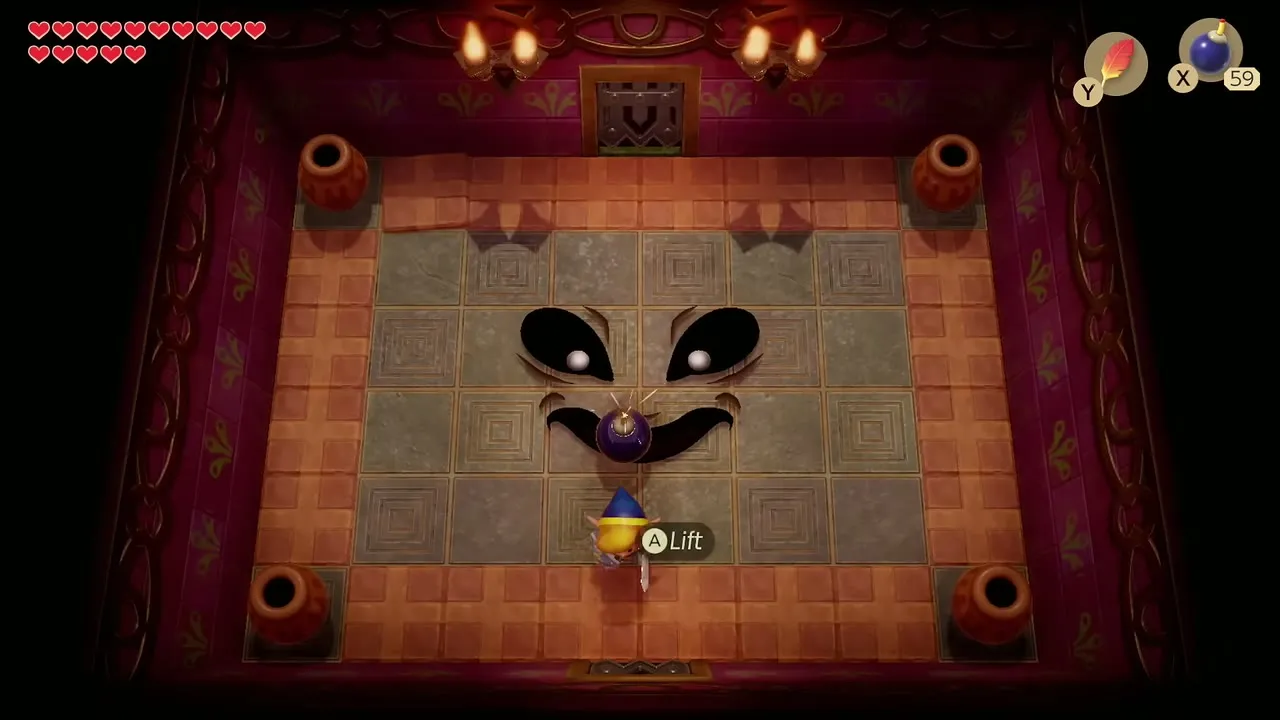

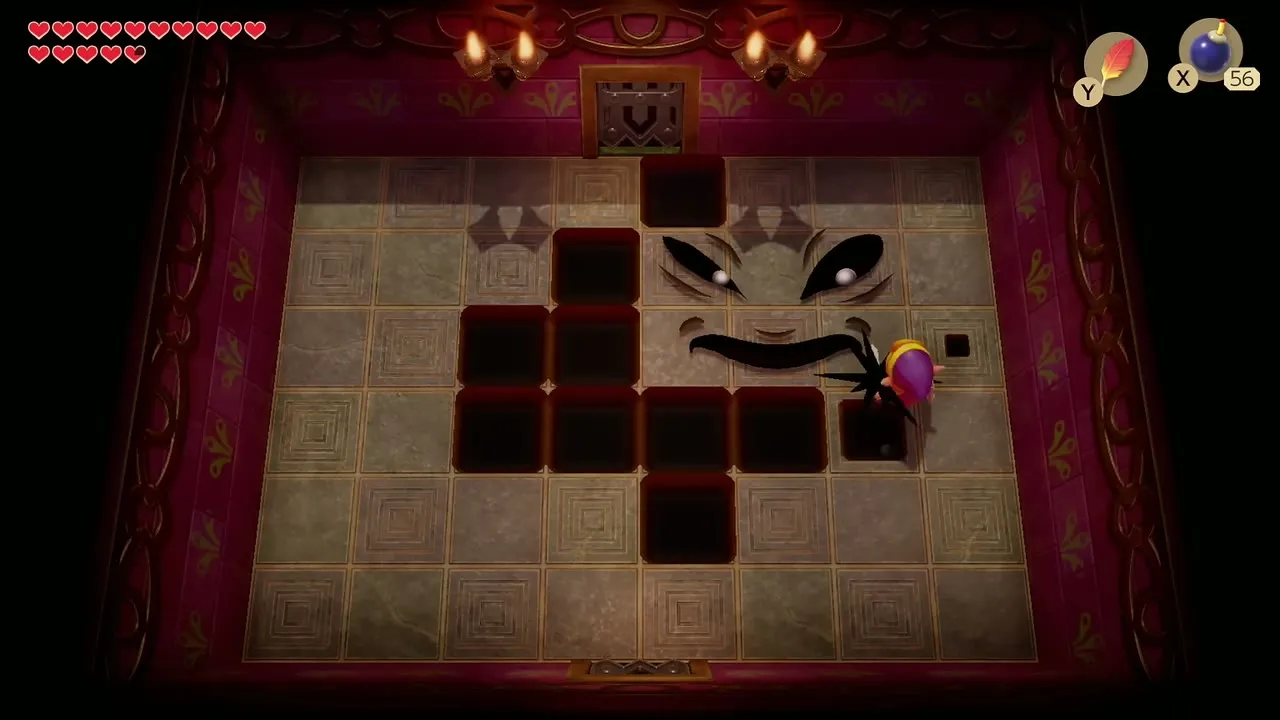
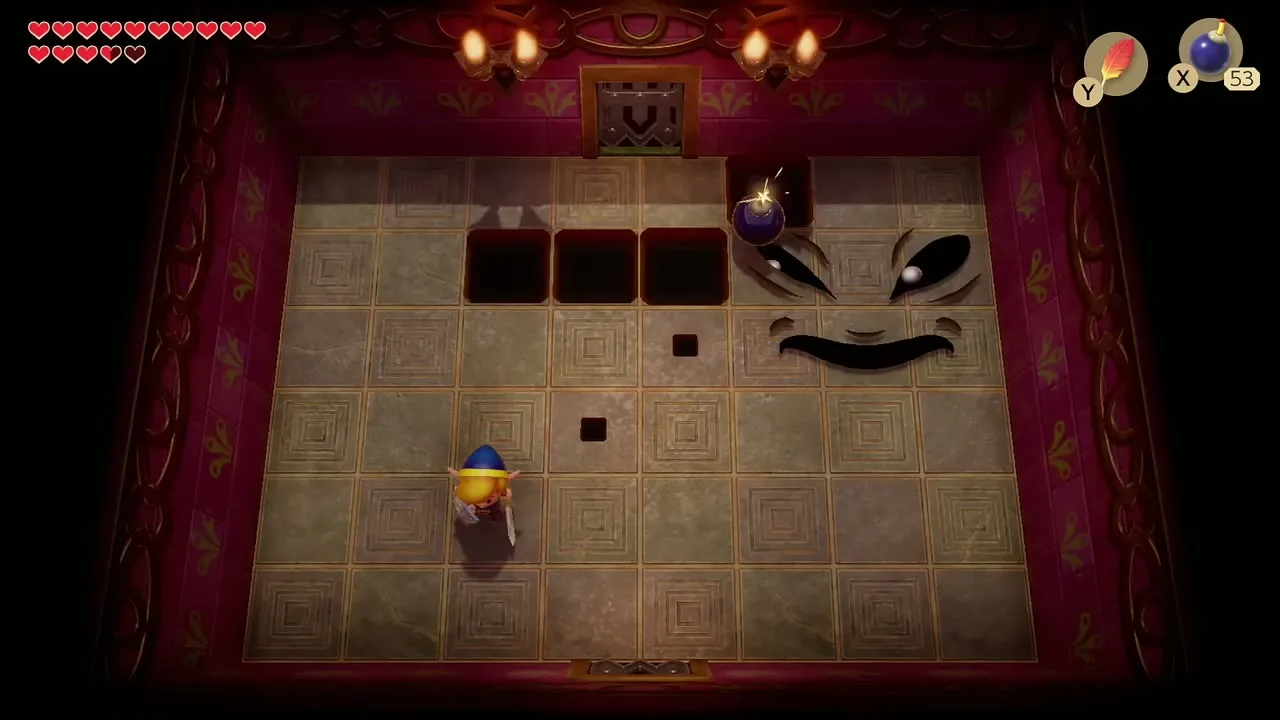
After a few hits it opens holes across the floor, so watch your footing and keep bombing. When it falls it dissolves in a purple flash. Boss strategies for every dungeon are in the boss strategies guide.

Heart Container and Coral Triangle
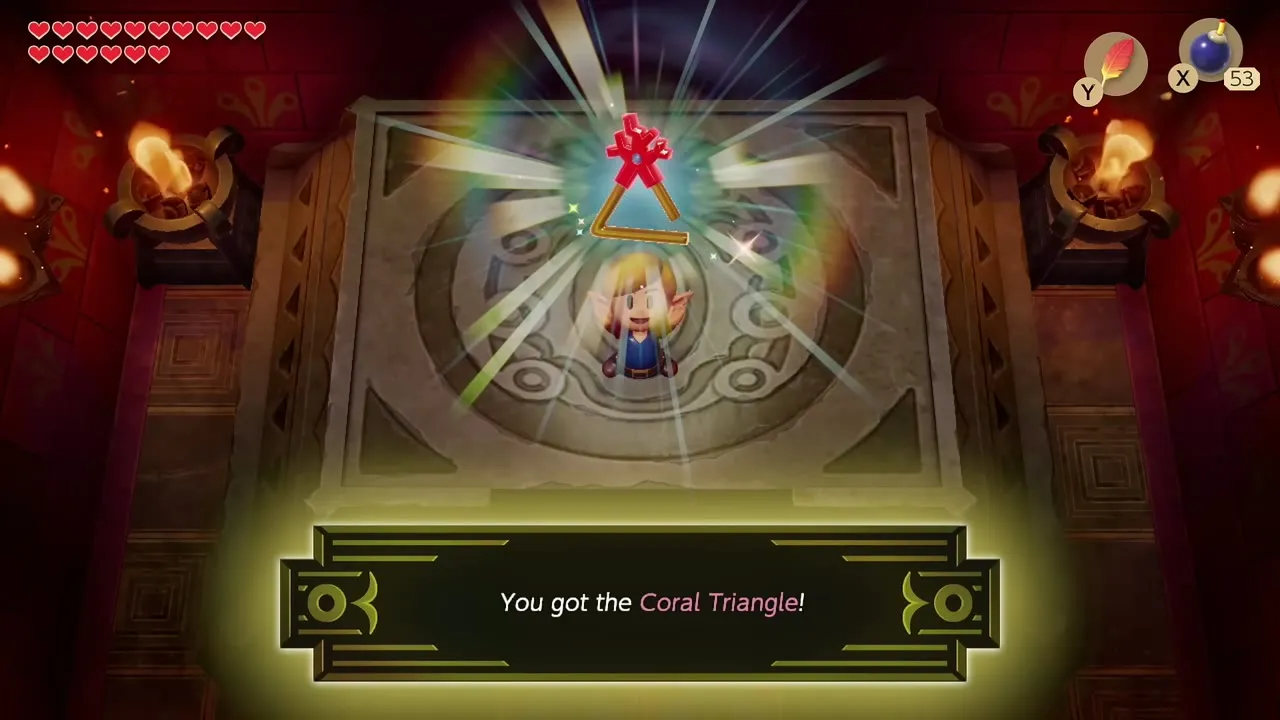
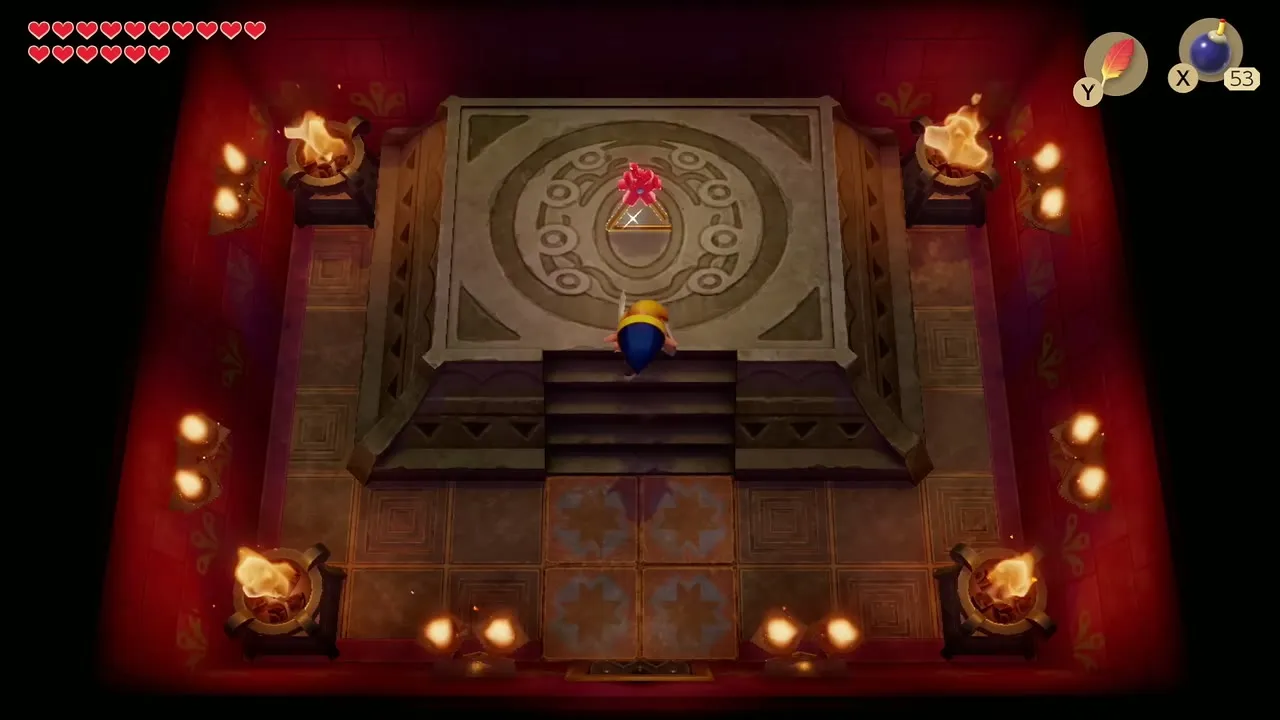
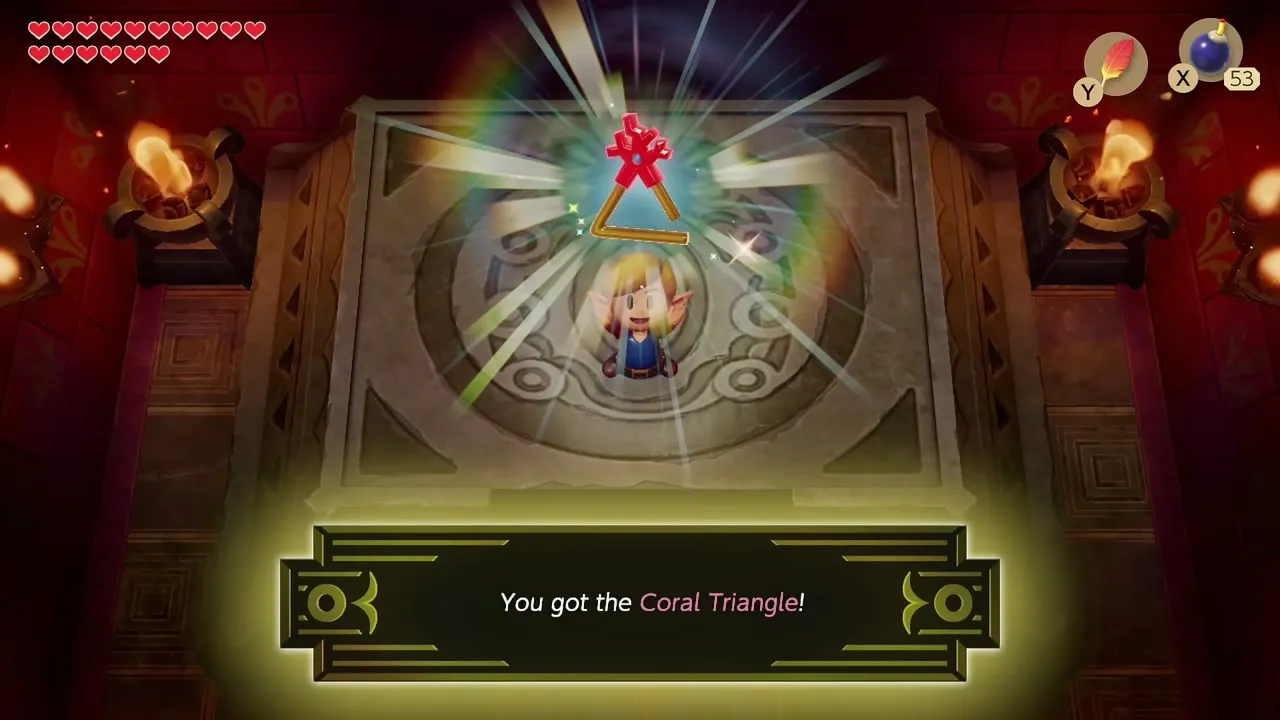
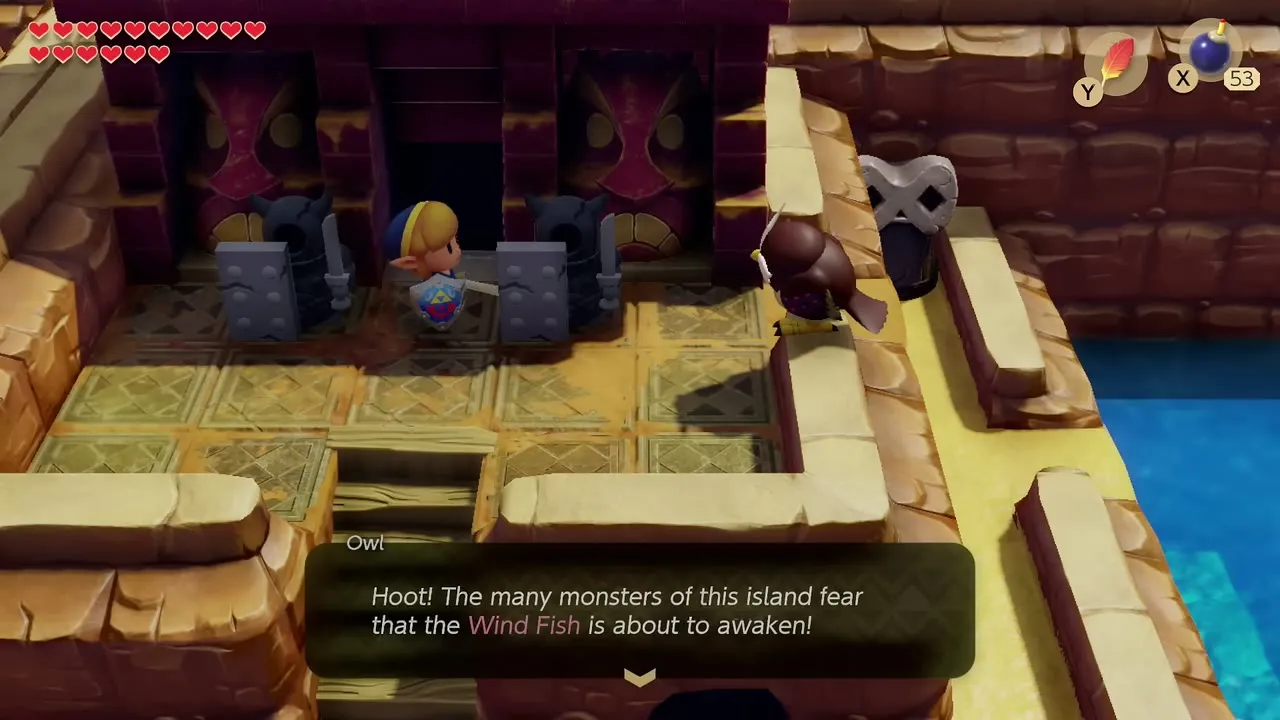
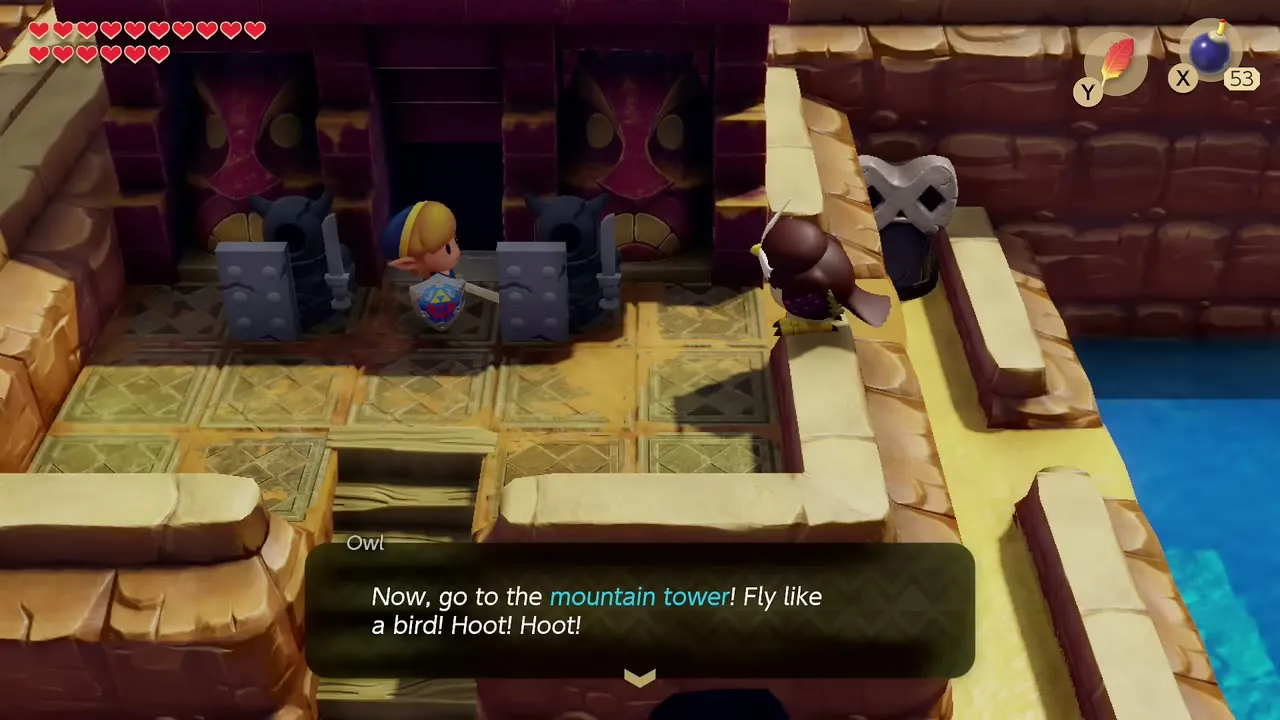
Take the Heart Container that appears where Facade fell, then walk north into the next room and step onto the platform. Pick up the Coral Triangle, the sixth instrument. You are warped to the Face Shrine entrance, where the Owl tells you to head for the mountain tower next. Back at Dampé’s Shack, clear the Stair Decisions challenge and then Heart Shortage, which pays the third bottle.

Chapter checklist
| Type | Name | Where |
|---|---|---|
| Piece of Heart | Martha’s Bay dive | Flooded tunnel below the staircase east of the Telephone Booth |
| Upgrade | Bomb capacity to 60 | Li’l Devil in Martha’s Bay |
| Trading item | Magnifying Lens | Cave under the Mermaid statue, Martha’s Bay |
| Secret Seashell | Secret Zora gift | House in the northeast corner of Animal Village |
| Piece of Heart | Martha’s Bay southern inlet | Narrow channel at the south edge of the bay, near the Mermaid Statue |
| Piece of Heart | Animal Village cave | Cracked wall in the northeast corner of Animal Village |
| Upgrade | Koholint Sword | Seashell Mansion, 40 Secret Seashells |
| Item | Boomerang | Goriya’s cave at Toronbo Shores (trade the Shovel, buy it back for 300 rupees) |
| Song | Frog’s Song of Soul | Mamu’s cave, Signpost Maze in Ukuku Prairie, 300 rupees |
| Figure | Blooper figure | Trendy Game, Mabe Village |
| Item | Heavyweight Lure | Fishing Pond, first Blooper |
| Secret Seashell | Cheep Cheep | Fishing Pond, first red Cheep Cheep |
| Secret Seashell | Large Blooper | Fishing Pond |
| Rupees and Piece of Heart | 50 rupees chest and heart | Hookshot cave in the Mysterious Forest |
| Piece of Heart | Raft Shop tunnel | Water tunnel next to the Raft Shop |
| Secret Seashell and Piece of Heart | Rapids Race rewards | Under 35 seconds and under 40 seconds |
| Piece of Heart | Rapids Race island | West-most island dock |
| Secret Seashell | Rapids Ride island | Smallest island, dig in the upper right corner |
| Rupees | 20 rupees chest | Island with the owl statue in the Rapids |
| Secret Seashell | Ruins entrance rock | North of the Ancient Ruins entrance, Power Bracelet |
| Key item | Face Key | Armos Knight, Armos Temple in the Ancient Ruins |
| Upgrade | Power Bracelet L-2 | Face Shrine, chest between two elephant statues |
| Dungeon item | Dungeon Map, Compass, Stone Beak | Face Shrine |
| Secret Seashell | Island chest | Staircase at the top of the chess platform room, Face Shrine |
| Item | Secret Medicine | Chest after the conveyor belts, Face Shrine |
| Key | Two Small Keys, Nightmare Key | Face Shrine |
| Rupees | 50, 100, 100, 300 in chests | Face Shrine |
| Boss reward | Heart Container, Coral Triangle | Facade’s room |
| Fairy Fountain | Face Shrine fountain | Bomb the cracked wall in the cliffs east of the Face Shrine |
| Bottle | Chamber Dungeon bottle | Dampé’s Shack, Heart Shortage challenge |
