





















Link's Awakening 100% Completion Walkthrough9 chapters
- Toronbo Shores, Mabe Village and Tail Cave (Level 1)Link’s Awakening Switch walkthrough from the start: get the Sword, Shovel and Magic Powder, find the Tail Key, then.
- Mysterious Forest, Goponga Swamp and Bottle Grotto (Level 2)Rescue BowWow, collect three Heart Pieces and Secret Seashells, cross Goponga Swamp and clear Bottle Grotto (Level 2).
- Ukuku Prairie, Kanalet Castle and Key Cavern (Level 3)Link’s Awakening Switch walkthrough for Kanalet Castle Golden Leaves, the Slime Key, Key Cavern (Level 3), the Pegasus.
- Yarna Desert and Angler’s Tunnel (Level 4)Yarna Desert and Angler’s Tunnel walkthrough for Link’s Awakening: get the Angler Key, the Flippers and the Surf Harp.
- Martha’s Bay and Catfish’s Maw (Level 5)Martha’s Bay and Catfish’s Maw walkthrough for Link’s Awakening: learn Manbo’s Mambo, free the Ghost, win the Hookshot.
- Southern Face Shrine and Face Shrine (Level 6)Southern Face Shrine and Face Shrine (Level 6) walkthrough for Link’s Awakening: Magnifying Lens, Koholint Sword.
- Tal Tal Heights and Eagle’s Tower (Level 7)Tal Tal Heights and Eagle’s Tower walkthrough for Link’s Awakening: the Flying Rooster, Bird Key, Mirror Shield, Evil.
- Western Tal Tal Mountains and Turtle Rock (Level 8)Western Tal Tal Mountains and Turtle Rock (Level 8) walkthrough for Link’s Awakening: Secret Seashell 50, Magic Rod.
- The Wind Fish’s Egg and Final BossesThe Wind Fish’s Egg and final bosses walkthrough for Link’s Awakening: read the maze book, play the Ballad, beat all.
| Covers | Dampé’s Shack, Trendy Game, Town Tool Shop, Mabe Village Library, Mt. Tamaranch, Wind Fish’s Egg, the ending |
|---|---|
| Dungeon | Wind Fish’s Egg (final dungeon): needs all eight Instruments of the Sirens, the Ballad of the Wind Fish, the Magnifying Lens and Magic Powder; boss Shadow Nightmare (six forms); the Wind Fish wakes |
| Rewards | Heart Container and a chamber from Dampé, Pokey figure, BowWow figure, Chamber Stone for all ten figures, the ending; the Town Tool Shop sells more Chamber Stones |
This chapter ties up the last odds and ends of the 100% route and then finishes the game. You collect Dampé’s reward for his twelve starter challenges, win the Pokey figure, read the maze book in the library, warp up to Mt. Tamaranch and play the Ballad of the Wind Fish. Inside the Egg you follow the library directions, drop into the pit and beat the six forms of the Shadow Nightmare: Giant Blob, Agahnim, Moldorm, Ganon, Lanmola and Dethl. Afterwards the save lets you return to Koholint for the BowWow figure and the last Chamber Stone.

Dampé’s Shack: Heart Container
Turn in the last starter challenge
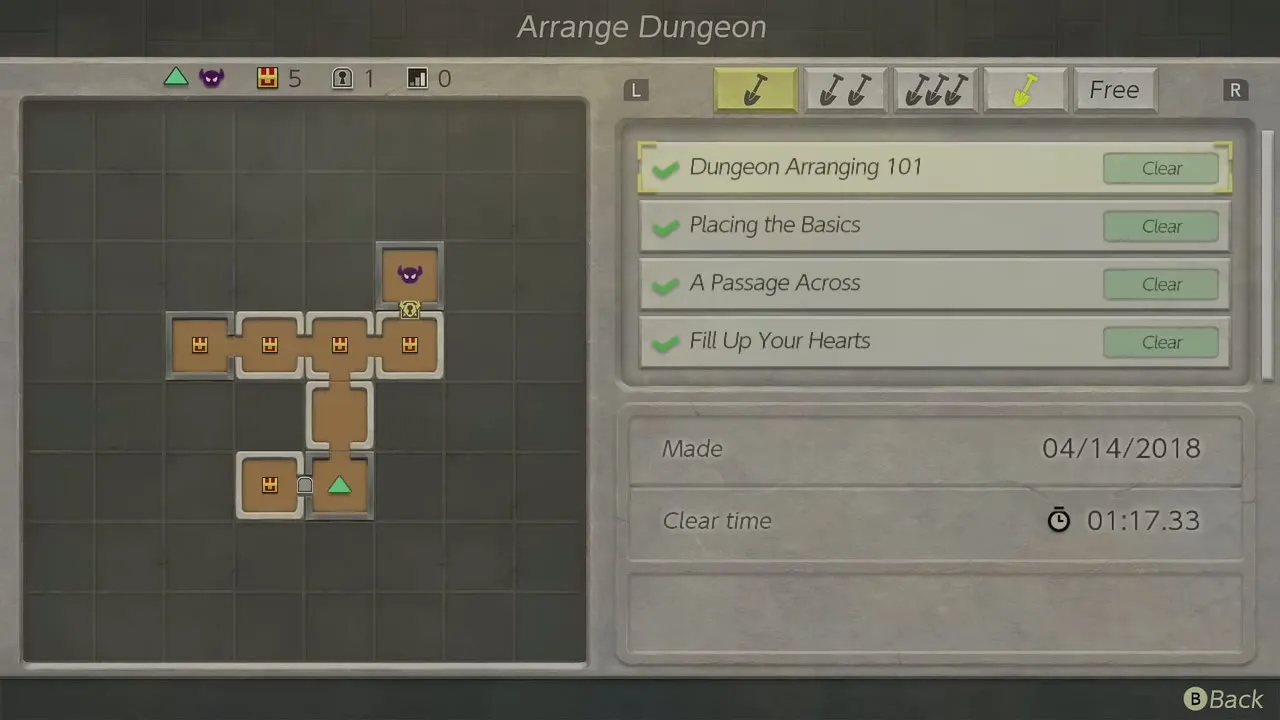
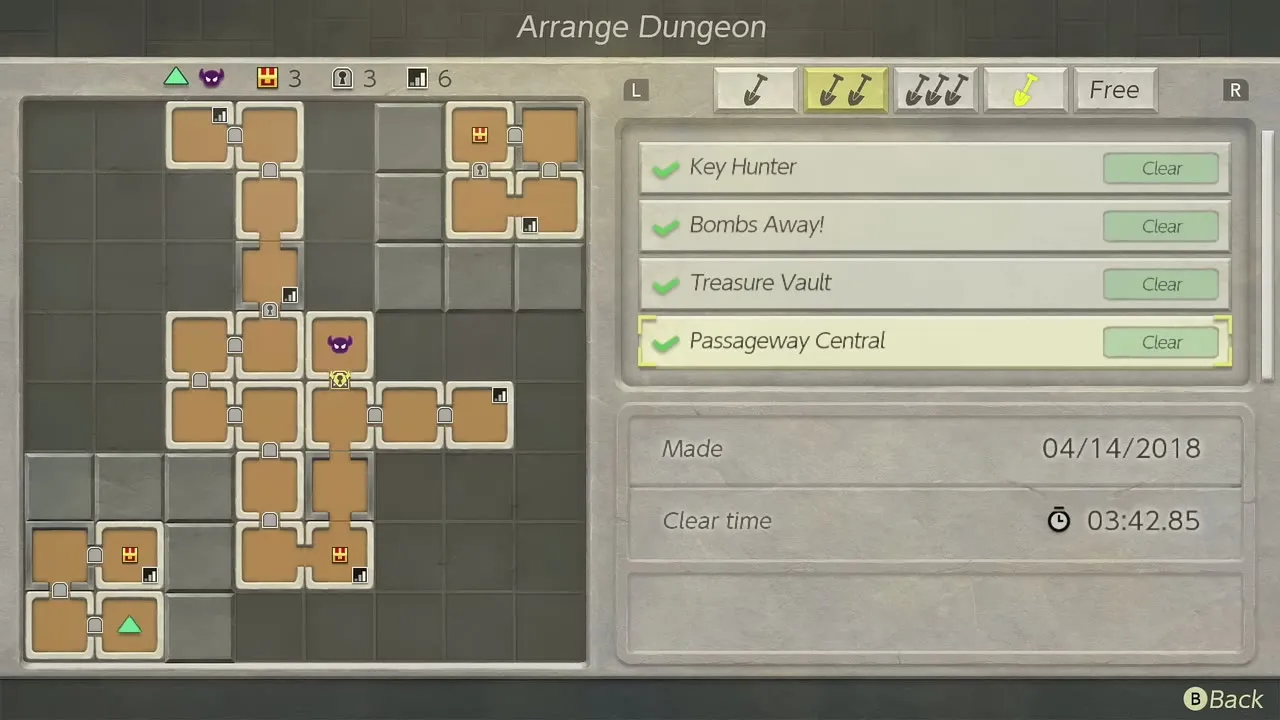
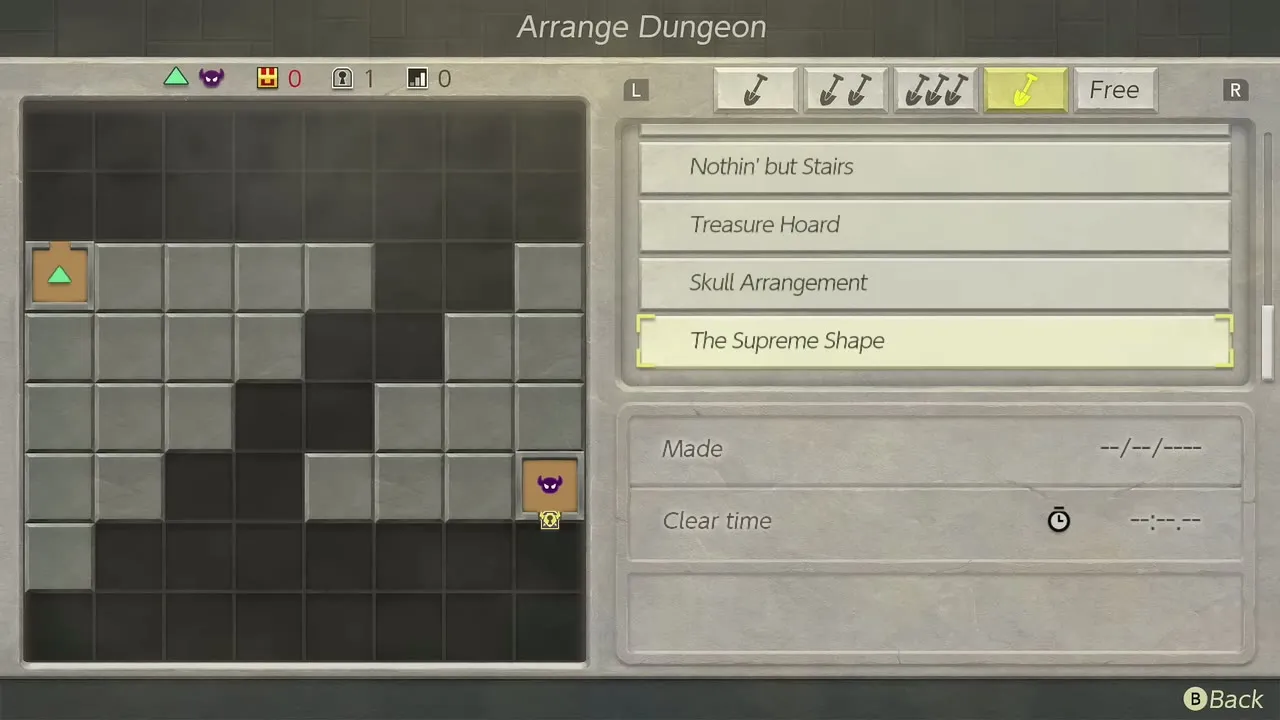
After Turtle Rock, Dampé’s remaining preset challenges are open. Select Arrange Dungeon at the shack to browse the challenge list; clear ones show a Clear tag and your best time, and the harder presets such as Nothin’ but Stairs, Treasure Hoard, Skull Arrangement and The Supreme Shape follow the early ones like Key Hunter, Bombs Away, Treasure Vault and Passageway Central. Clear the presets one by one until all twelve starter dungeons are done; the Chamber Dungeon guide covers building your own.
Collect the chamber and the Heart Container
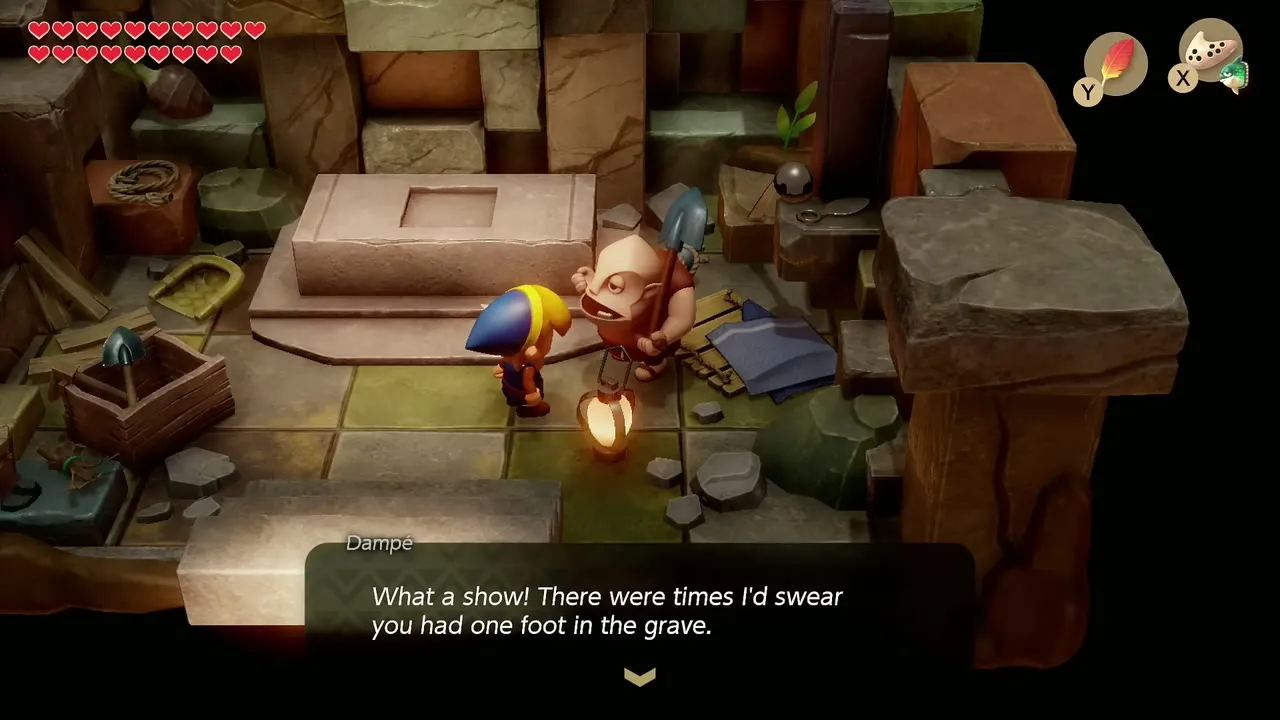
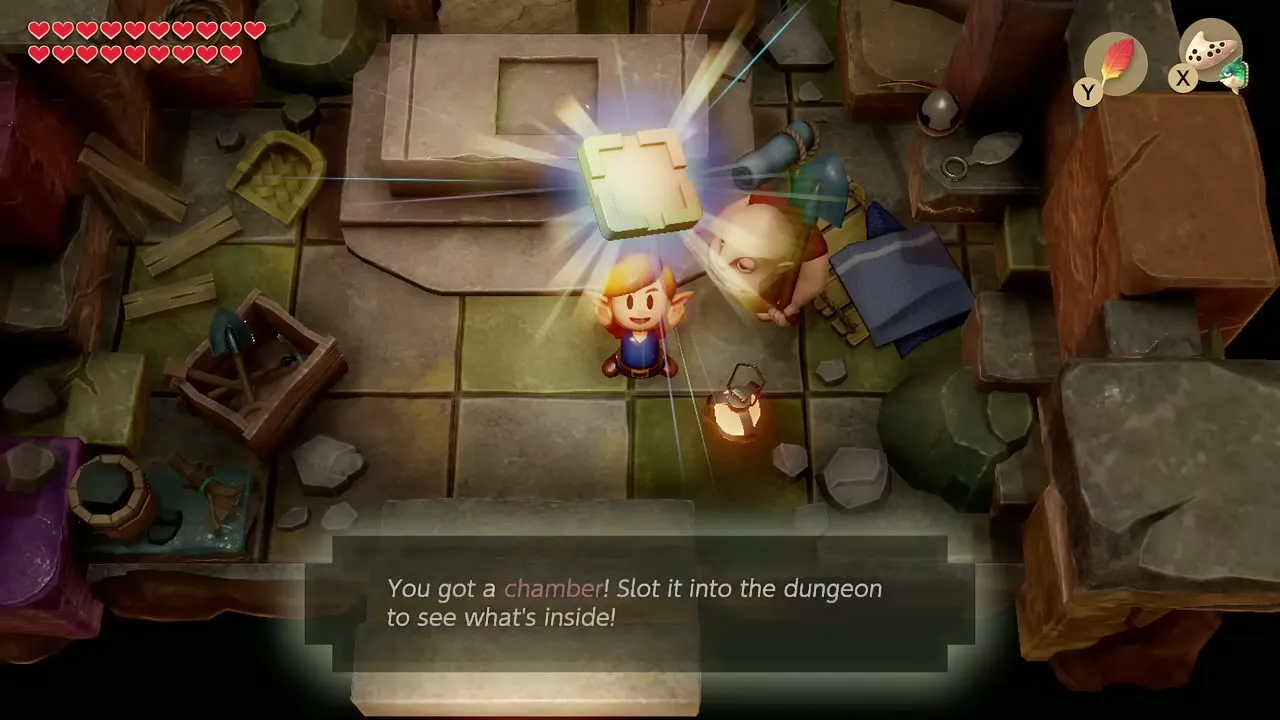
When you finish the twelfth challenge, Dampé praises the performance and hands over a new chamber to slot into your own dungeons. He then gives you a full Heart Container, which raises your maximum hearts and refills your health. This is the last Dampé reward tied to the main story, so talk to him once more before you head for the mountain.

Trendy Game: Pokey figure
Win the Pokey figure
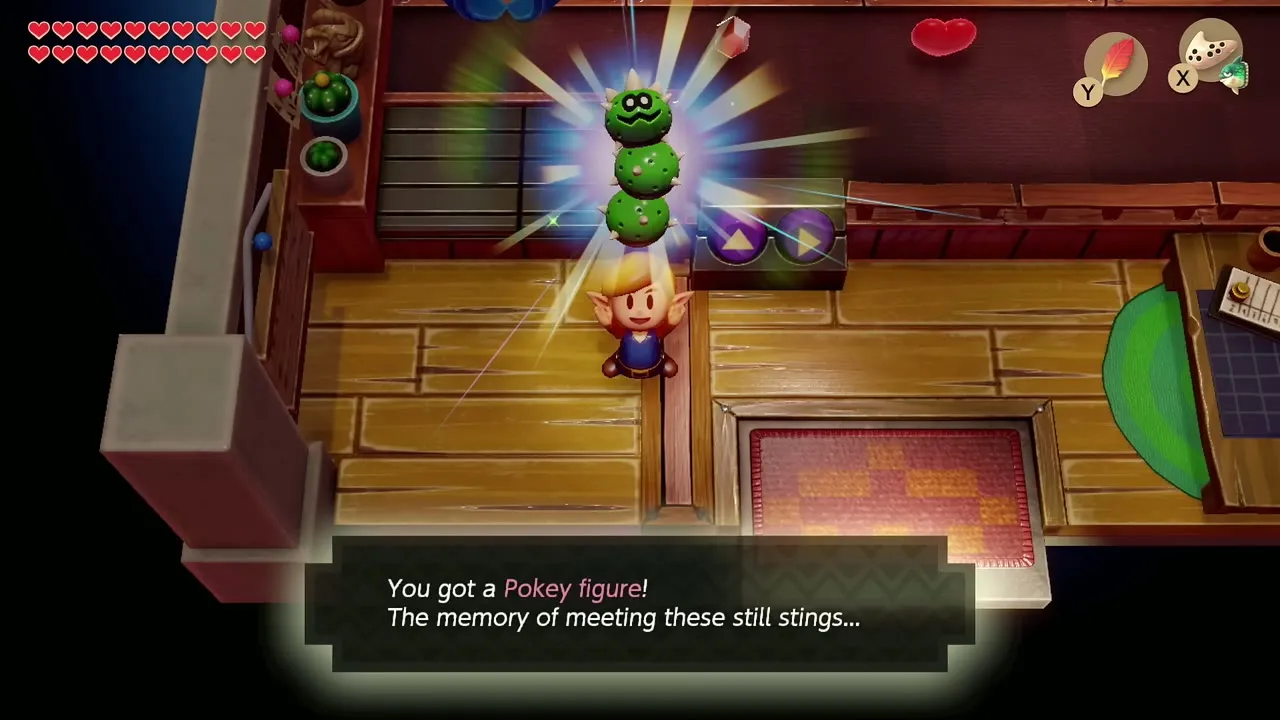
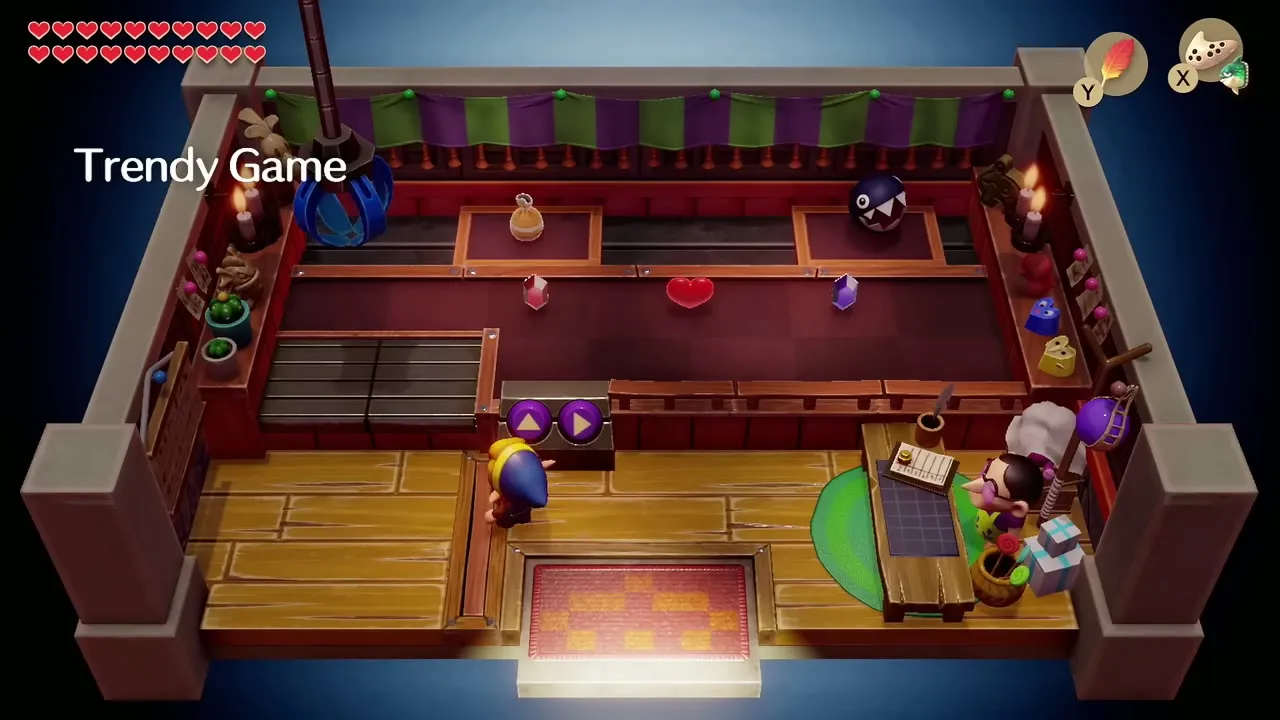
Walk into the Trendy Game shop in Mabe Village and play the crane for 10 rupees a try. The newest prize is the green, spiny Pokey figure, which becomes available once Turtle Rock is cleared. Slide the claw over it, drop and grab; if it slips, pay for another go. Carry the figure to a display stand in a Mabe Village house; the next figure will not appear until the current one is placed. The full list is in the figures and Trendy Game guide.


Town Tool Shop: Chamber Stones
Buy a Chamber Stone
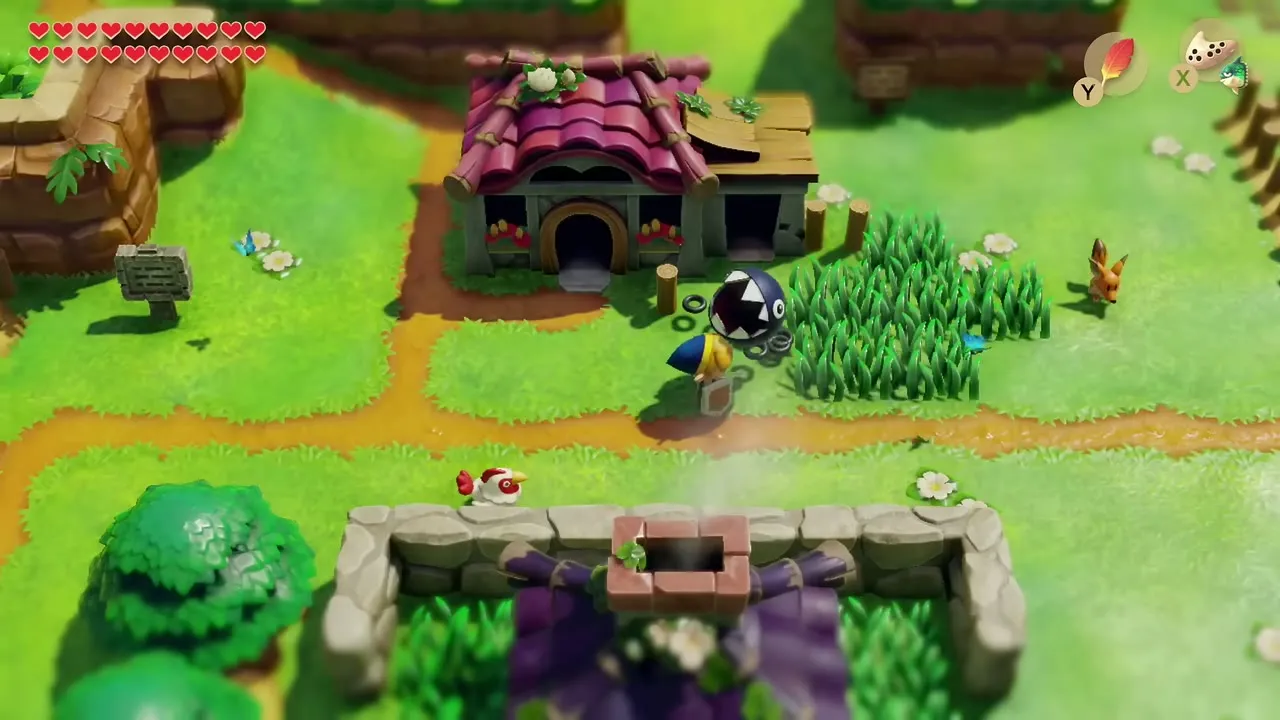
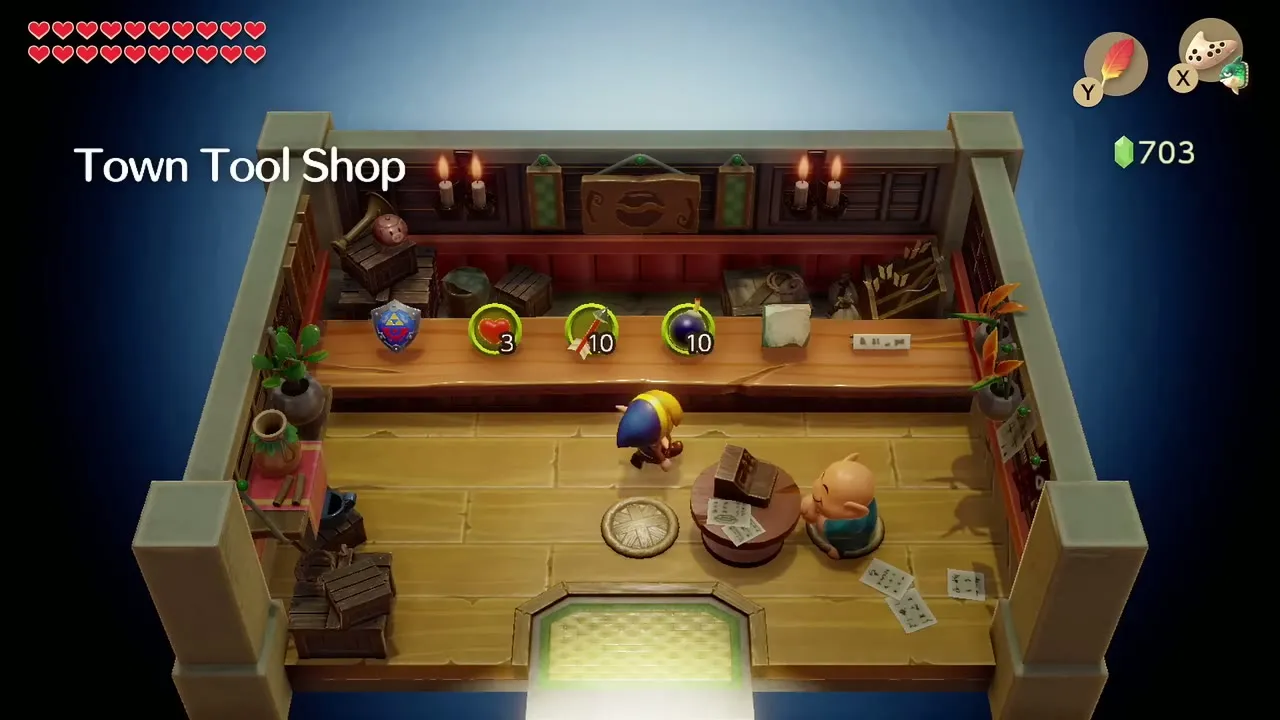
The Town Tool Shop in Mabe Village now sells Chamber Stones. Each costs 1,280 rupees, and the shop carries seven in total, with the last four appearing after Turtle Rock. If you have the rupees, buy one and take it to Dampé’s Shack to turn it into a chamber for your own dungeons.

Mabe Village Library: the Egg maze book
Read the book that holds the maze route
Go to the Mabe Village Library in the west of the village and walk to the darker book on the right-hand side of the room. You need the Magnifying Lens from the trading sequence to read it. The book, titled Dark Secrets and Mysteries of Koholint, shows a row of arrows, and that row is the route through the Egg’s maze. The route is different on every save file, so copy down your own row (or photograph the screen) instead of using a sequence from another guide. Read the book once more any time you forget the order.


Get ready for the final fight
Stock up on powder, fairies and medicine
Open the items menu before you leave the village and check three things. Magic Powder is essential, since the first form can only be hurt by it. Fill your bottles with fairies and carry Secret Medicine, because the boss fight runs through six forms without a break. Re-equip the Roc’s Feather, Pegasus Boots, Boomerang, Bow and Magic Rod as needed; you will use all of them.

Mt. Tamaranch: how to open the Egg
Warp to Dampé’s Shack and climb the mountain
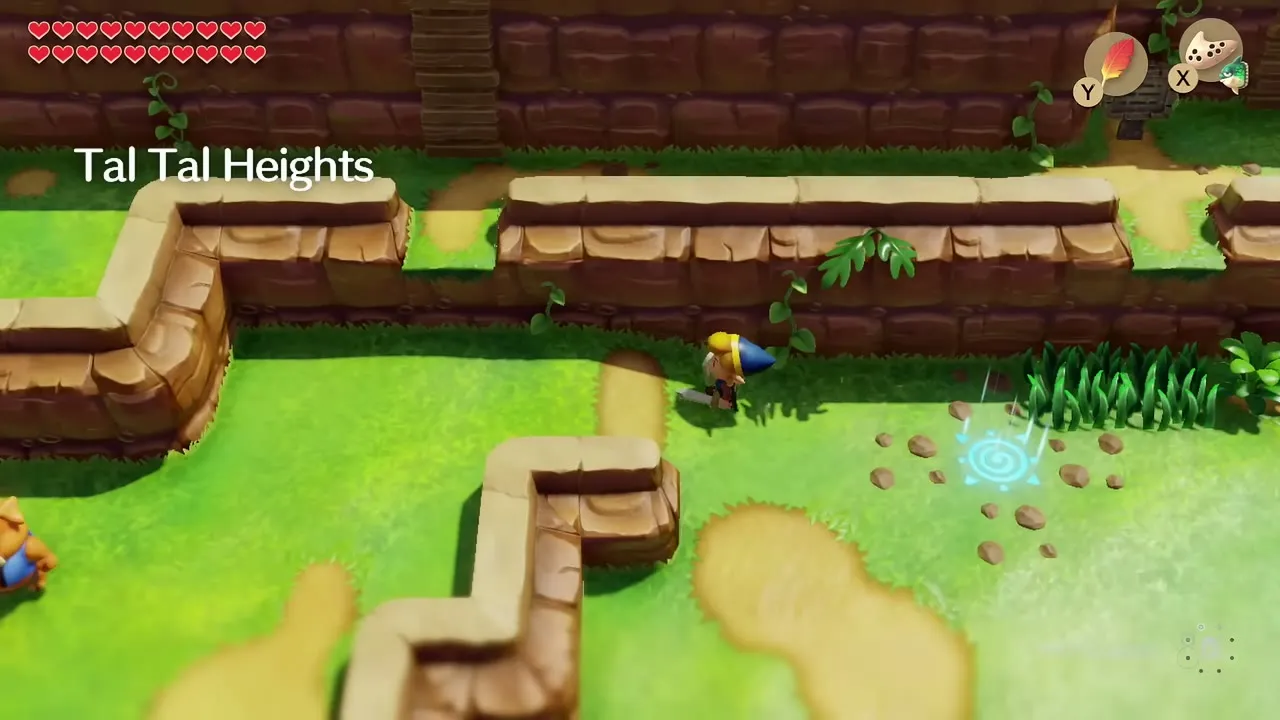
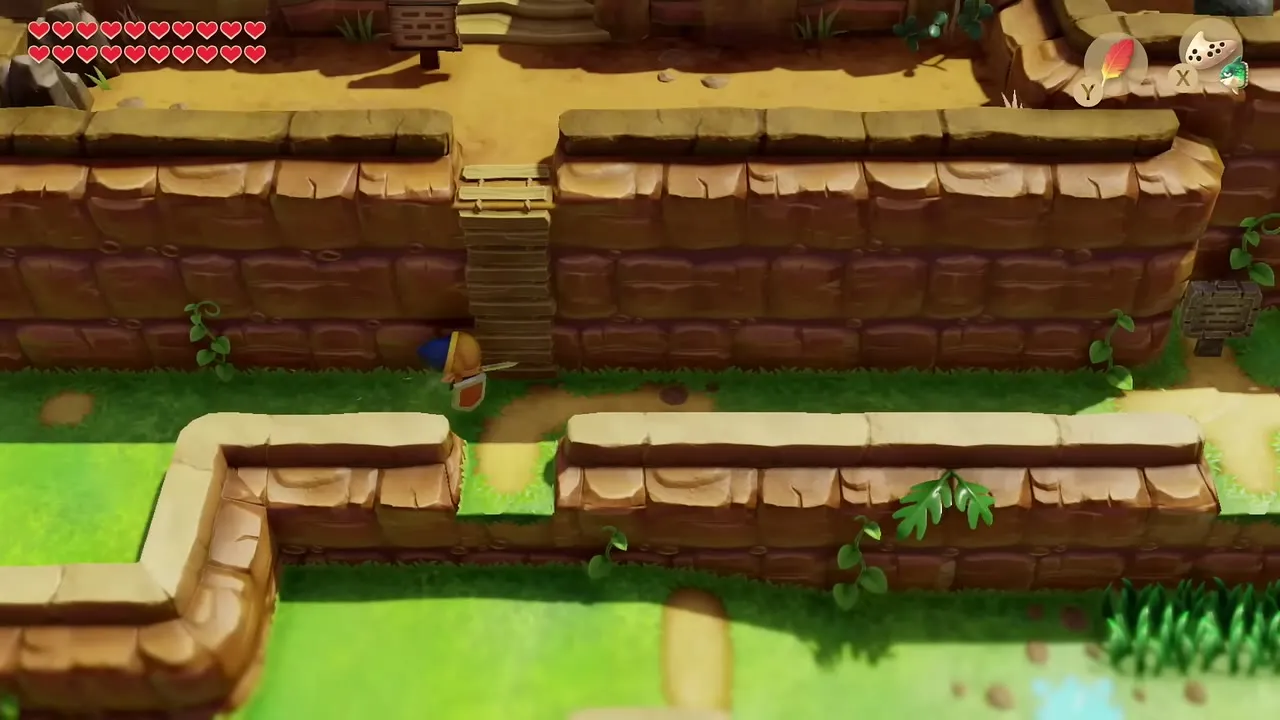
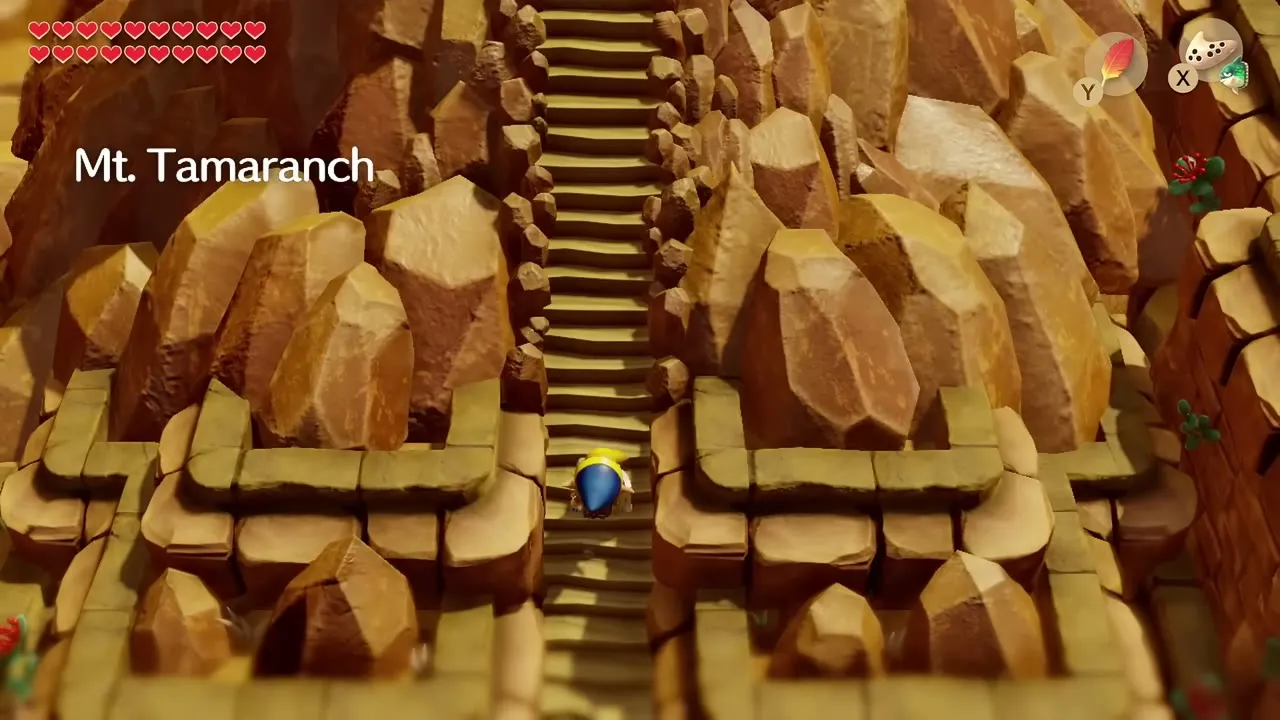
Play Manbo’s Mambo and choose the warp point at Dampé’s Shack. From the shack head north and take the longer ladder on the left up the cliff. Follow the ledges to the foot of the long staircase that leads to the top of Mt. Tamaranch. The Wind Fish’s Egg sits at the summit and is impossible to miss.

Play the Ballad of the Wind Fish
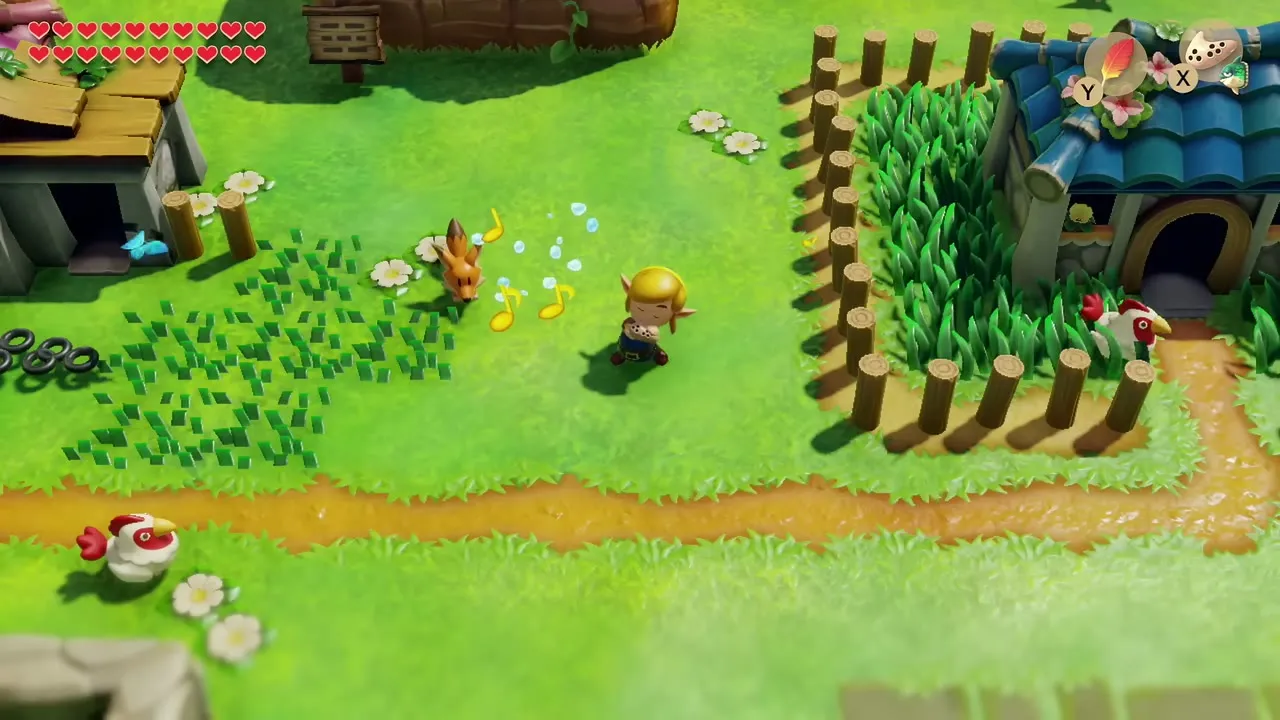
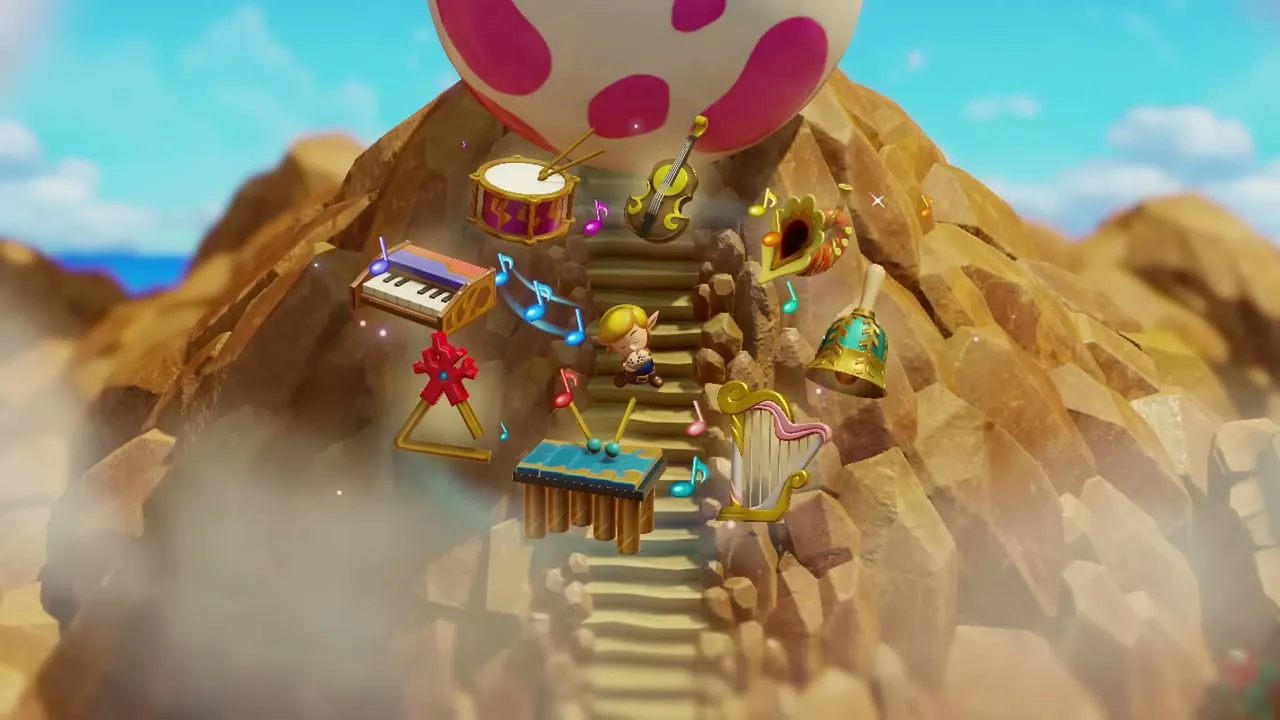
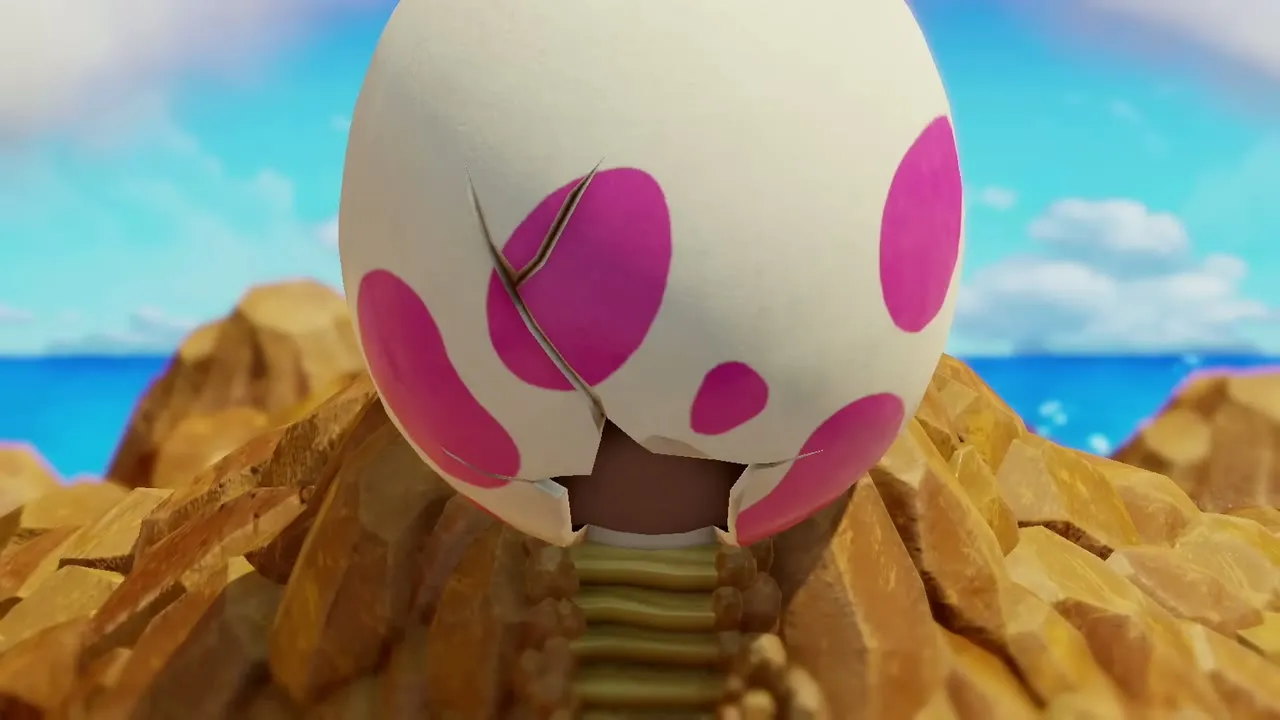
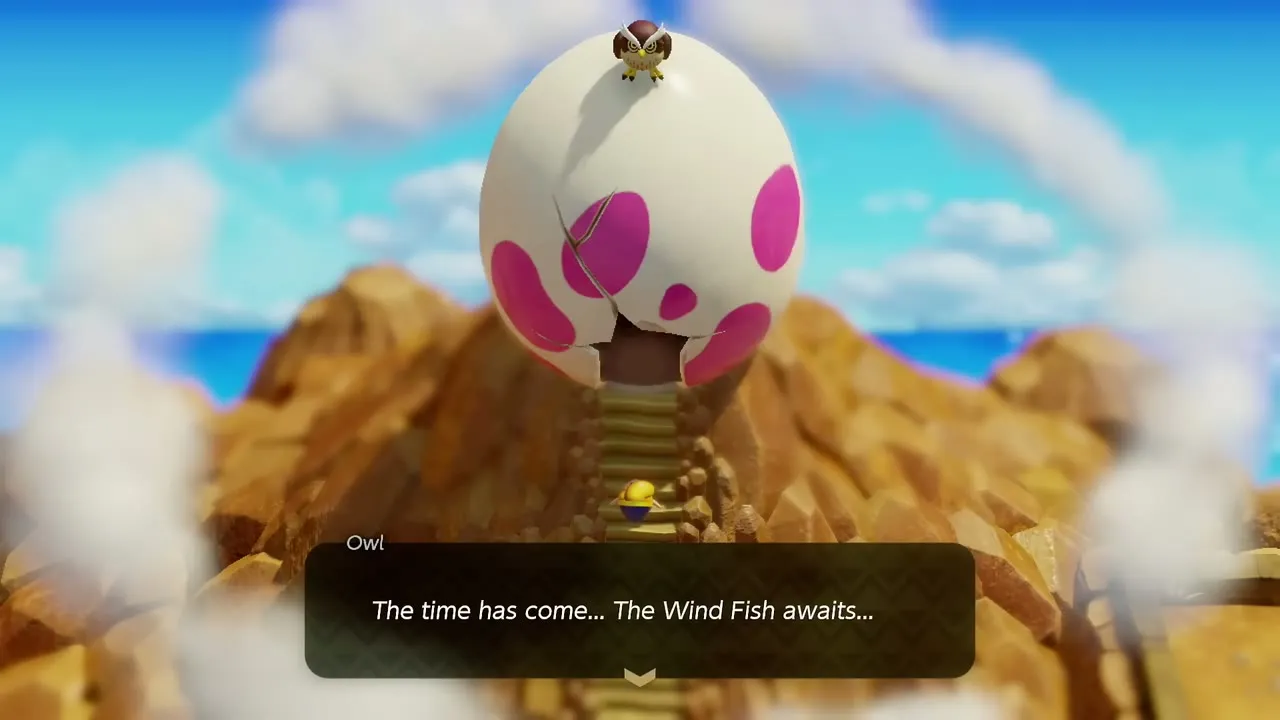
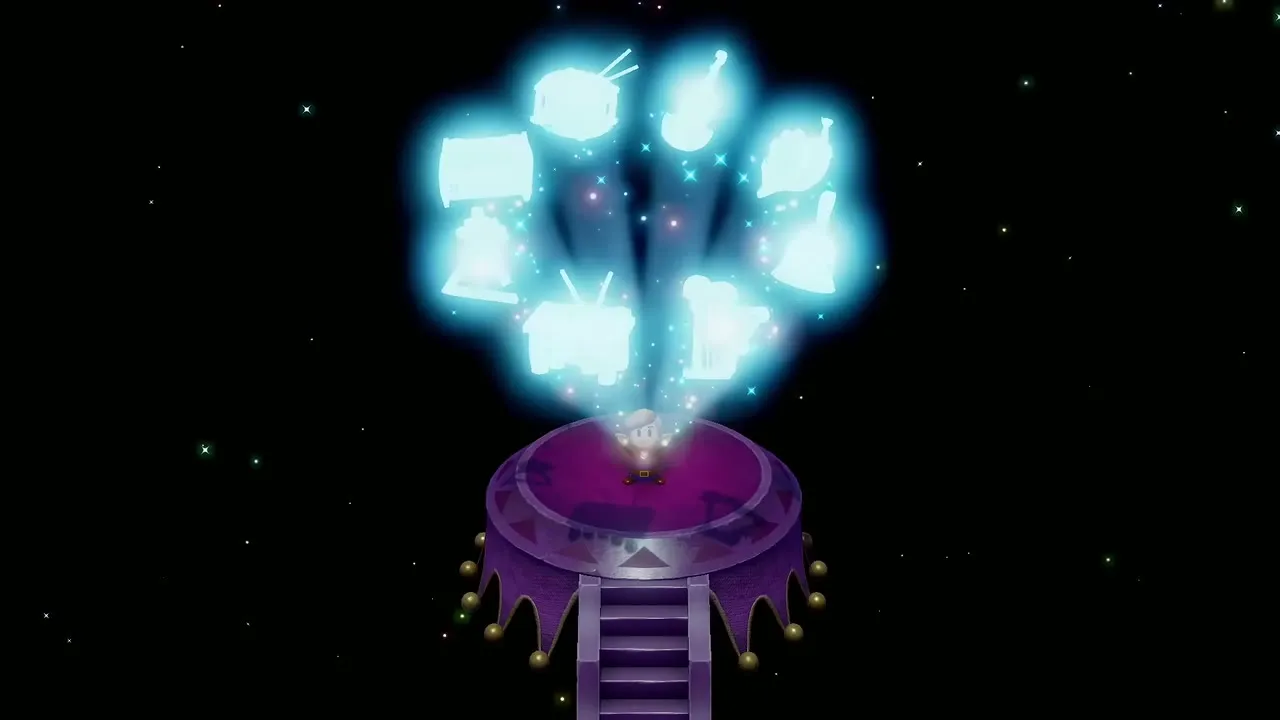
Stand on the stairs facing the Egg, open the item menu and select the Ocarina. Play the Ballad of the Wind Fish, the song Marin taught you in Mabe Village. All eight Instruments of the Sirens appear around you, the shell cracks open and the Owl tells you to go in. Climb the rest of the steps and walk into the opening.


Dungeon: Wind Fish’s Egg maze
Drop into the abyss
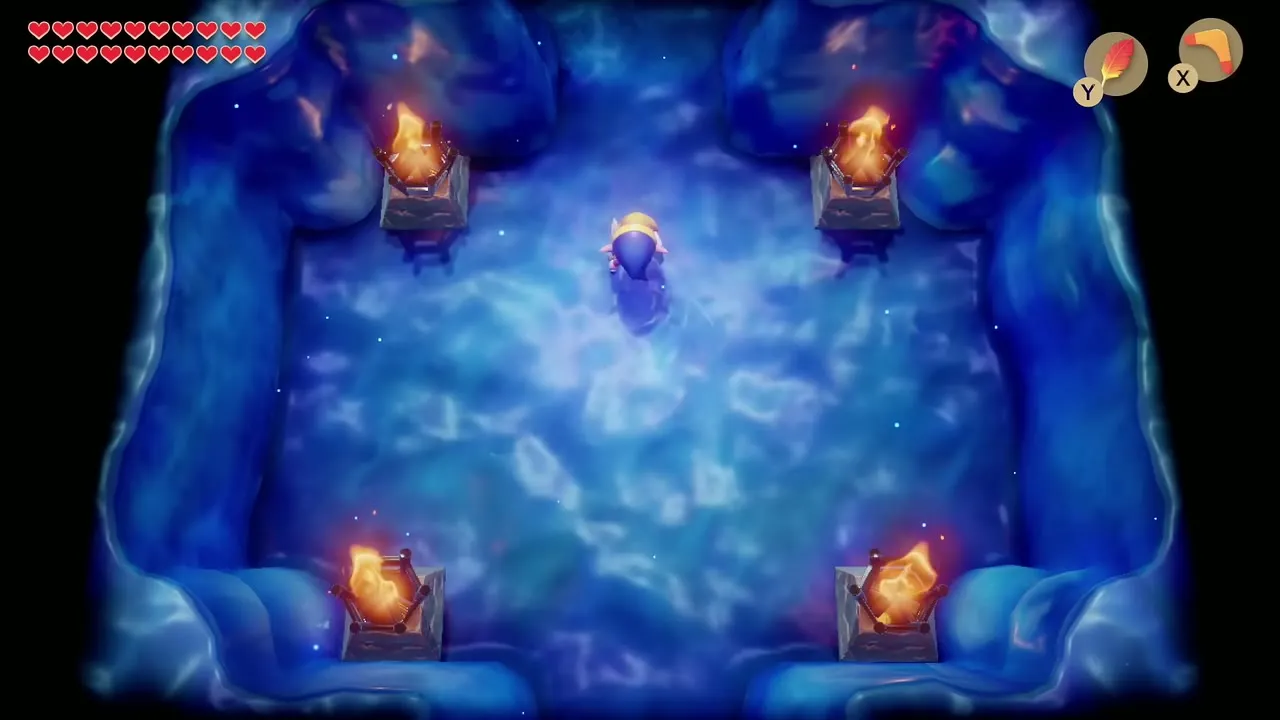
Inside the Egg you enter a chamber with four torch pedestals and a large abyss in the middle. Walk to the edge and jump in. You land in a plain room with exits to the north and the south. The south exit takes you back to the start, so go north to begin the maze.

Follow the arrows from the library book
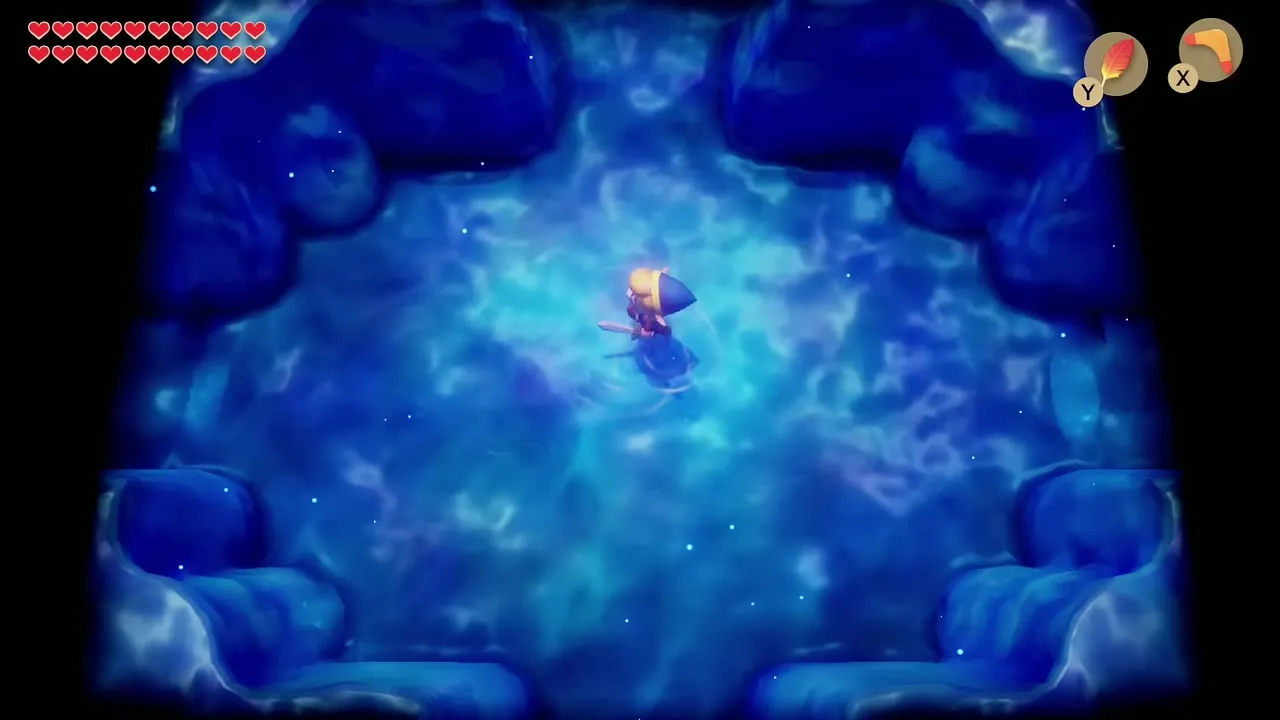
Every room in the maze looks the same and has several exits, and nothing tells you which turn is right. Take the exits in the order of the arrows you copied from the book, one arrow per room. If you slip up, walk south to return to the start and begin again. When the arrows are used up you reach a room with a swirling circular hole in the floor, and a chime confirms the route is solved.
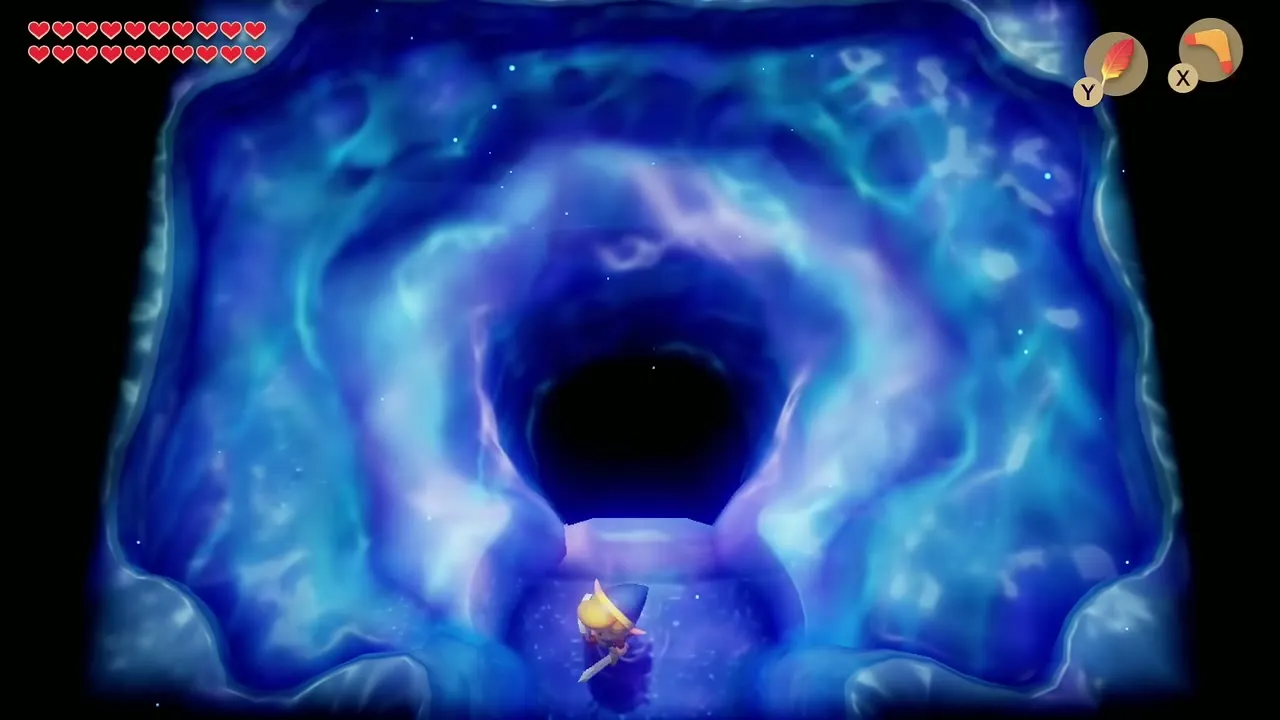
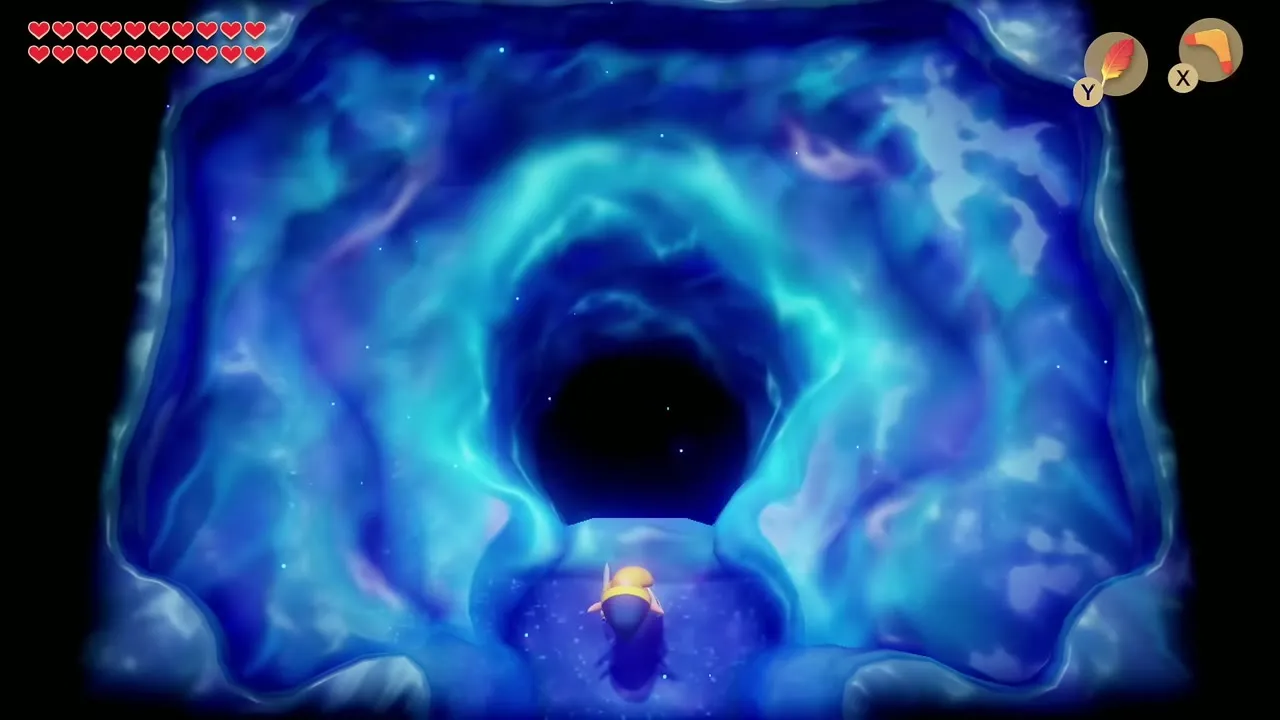
Jump into the hole
Walk into the hole to fall into the Nightmares’ arena, a shadowy room with the sleeping Wind Fish glowing in the floor. There are no keys, chests or mini-bosses in the Egg: the maze and the boss are the whole dungeon. The Nightmares speak and then the Shadow Nightmare appears with two glowing eyes. The forms arrive one after another, so keep your fairies and medicine ready.
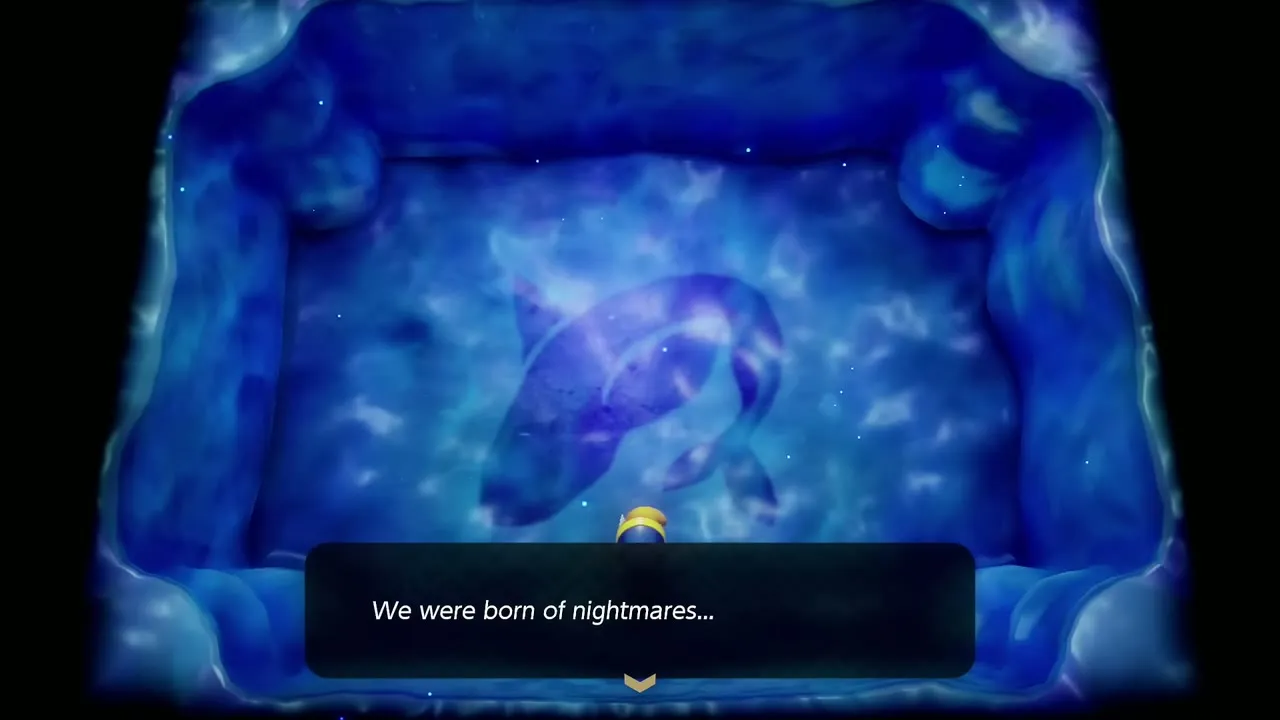
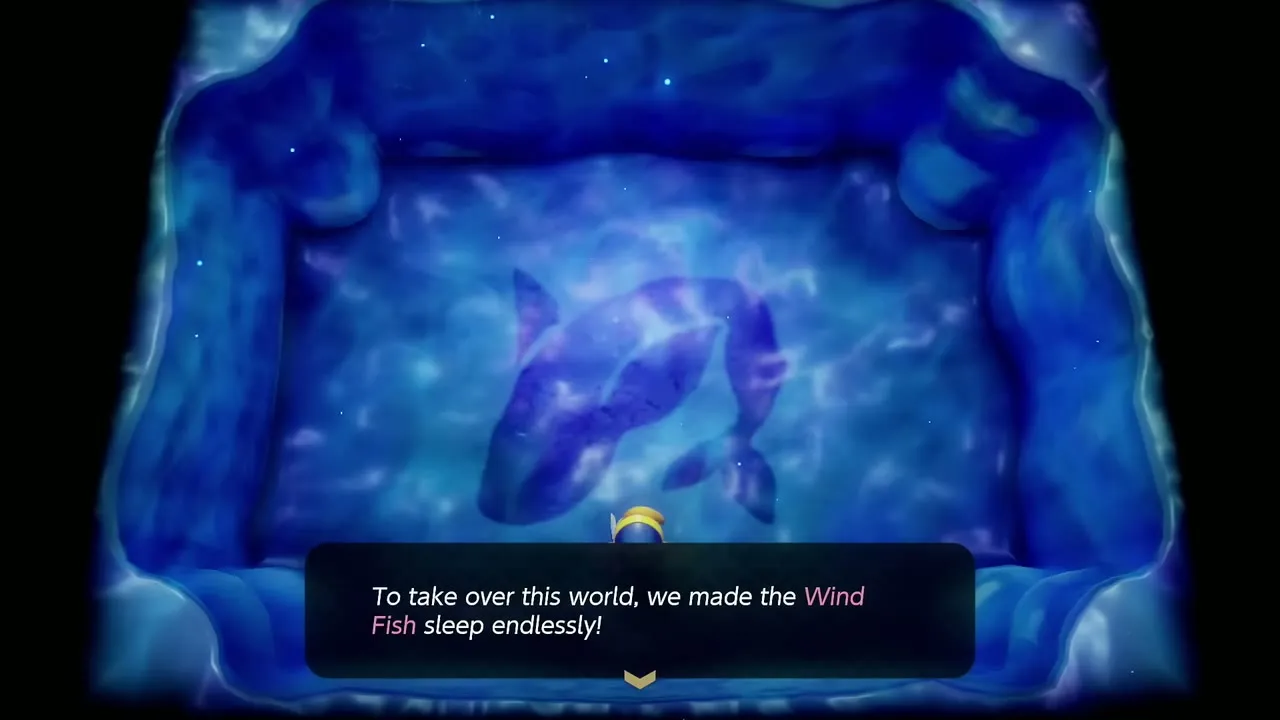
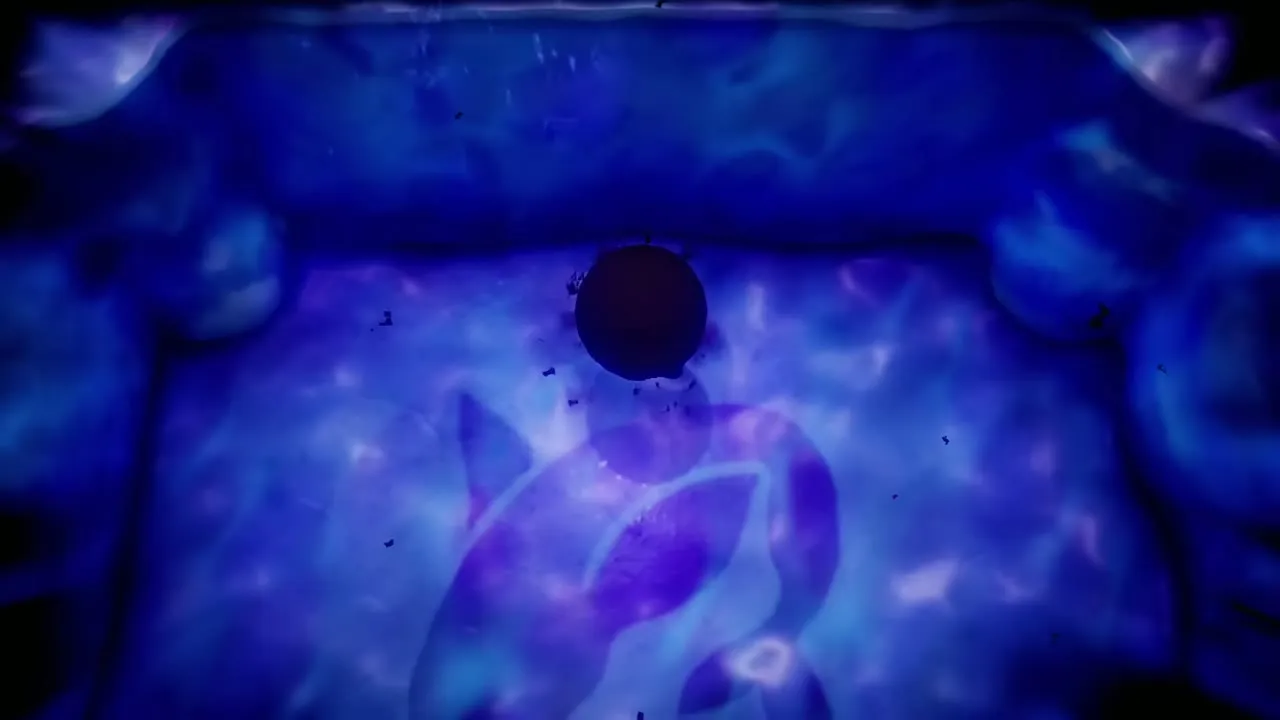
Boss: Shadow Nightmare (six forms)
Form 1: Giant Blob
The first form is a bouncing blob that only Magic Powder can hurt. Wait for it to land, then throw Magic Powder over it. Three sprinkles of powder make it change shape. Keep your distance between hops so it never lands on you.
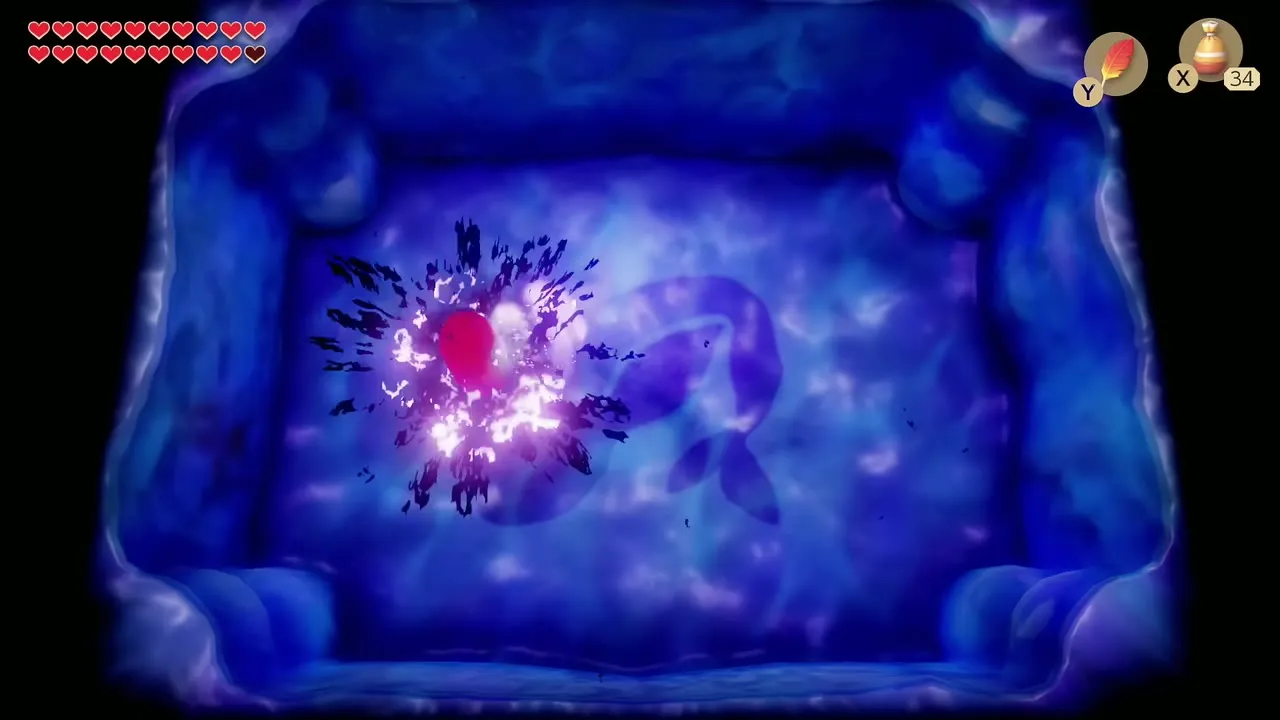
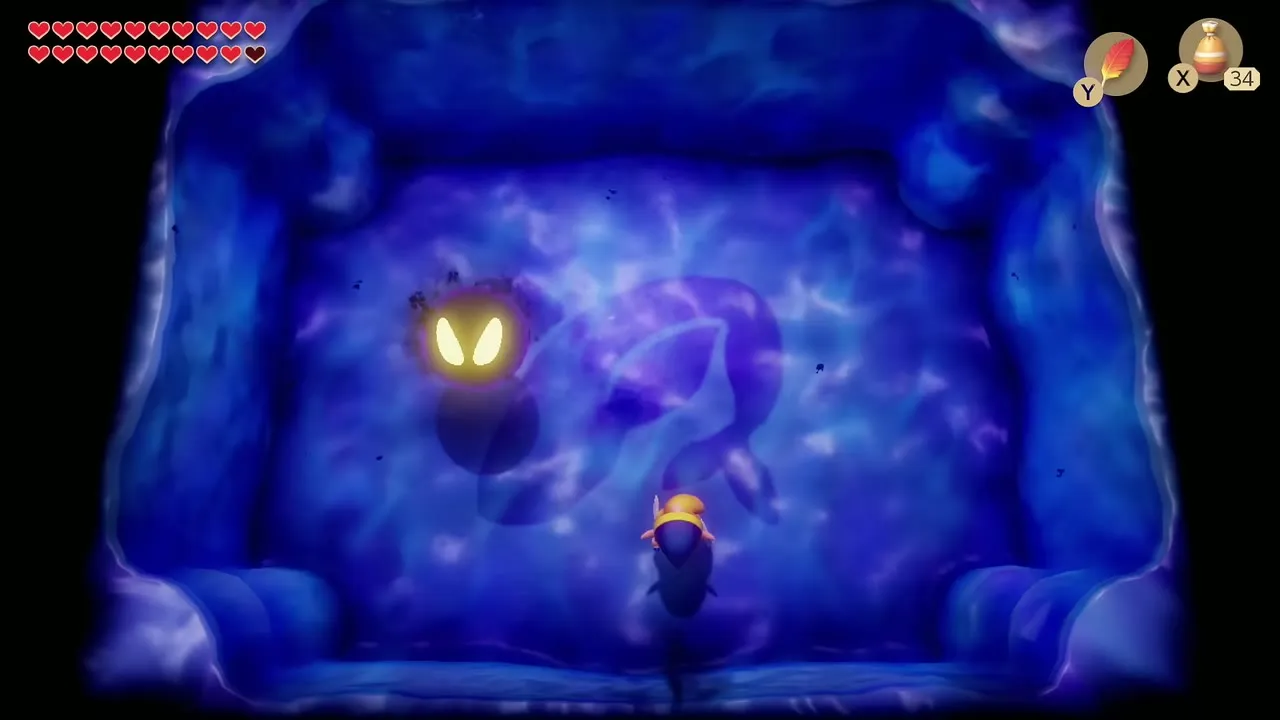

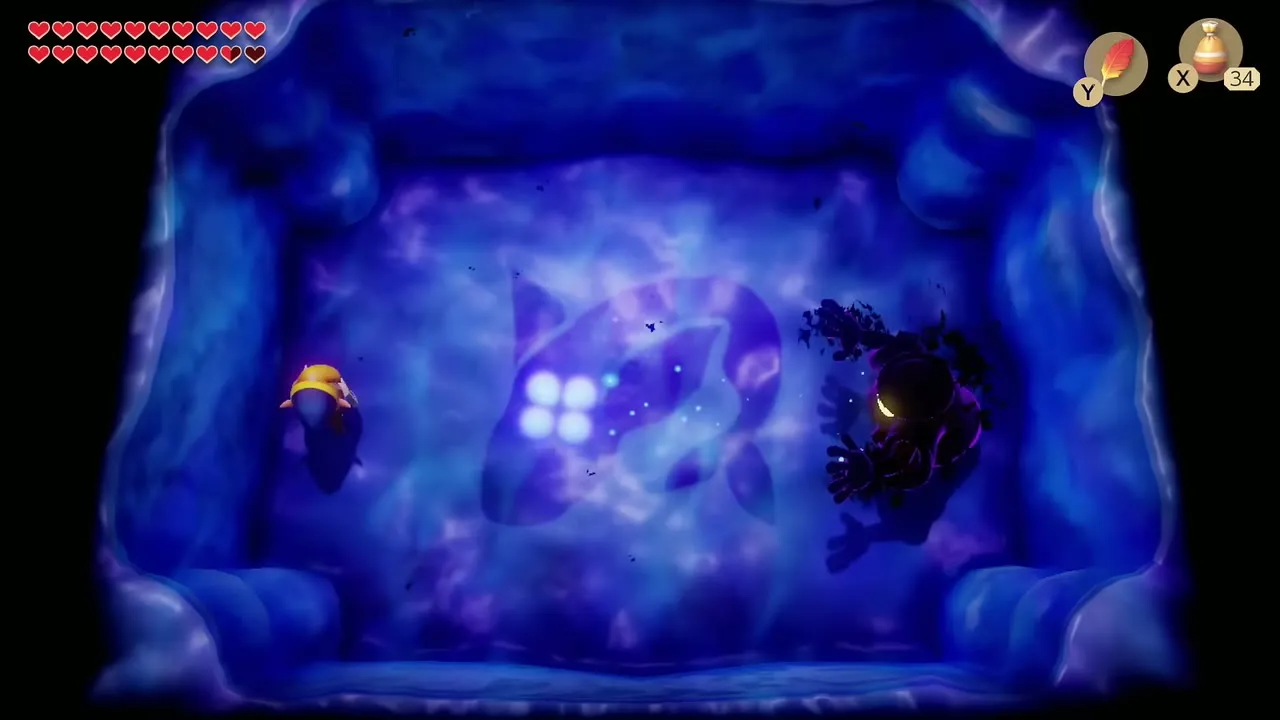
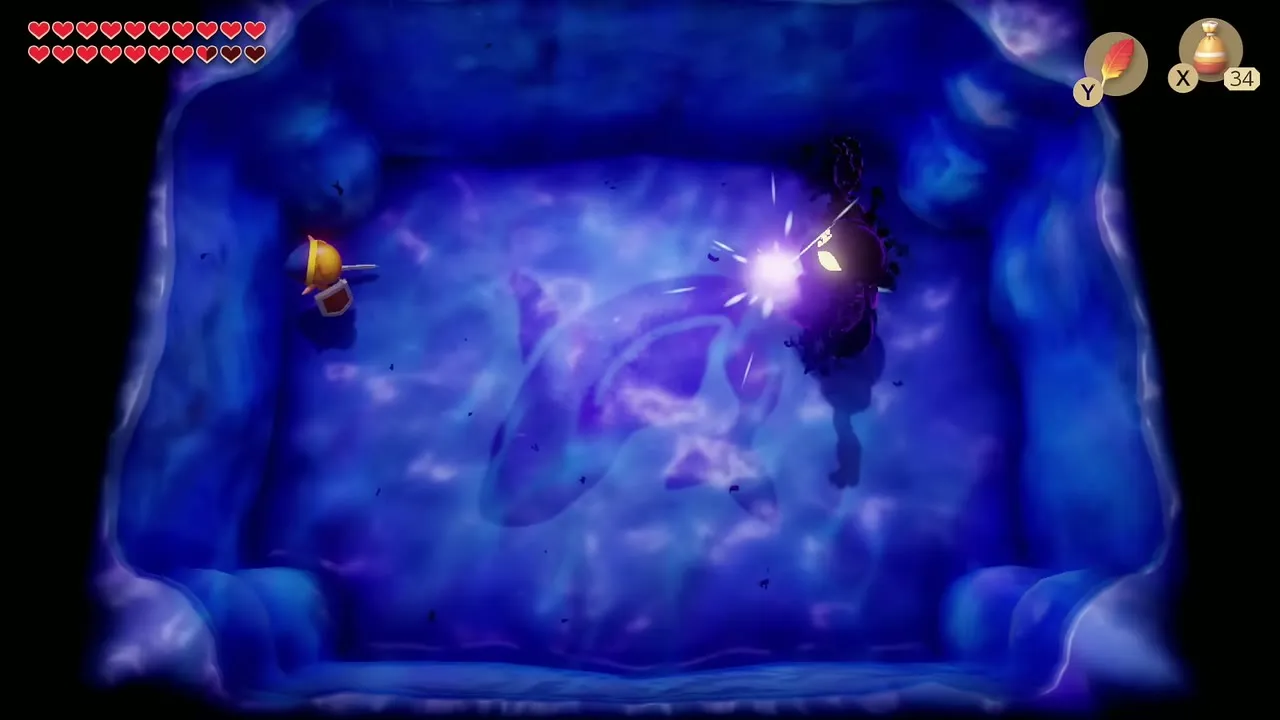
Form 2: Agahnim’s Shadow
Agahnim’s Shadow teleports around the room and throws red energy balls. Swing your sword as a ball reaches you to knock it back; roughly four returned balls finish this form. Its other attack is a set of four small balls that cannot be reflected, so step out of their lines and watch for the bounces off the walls.
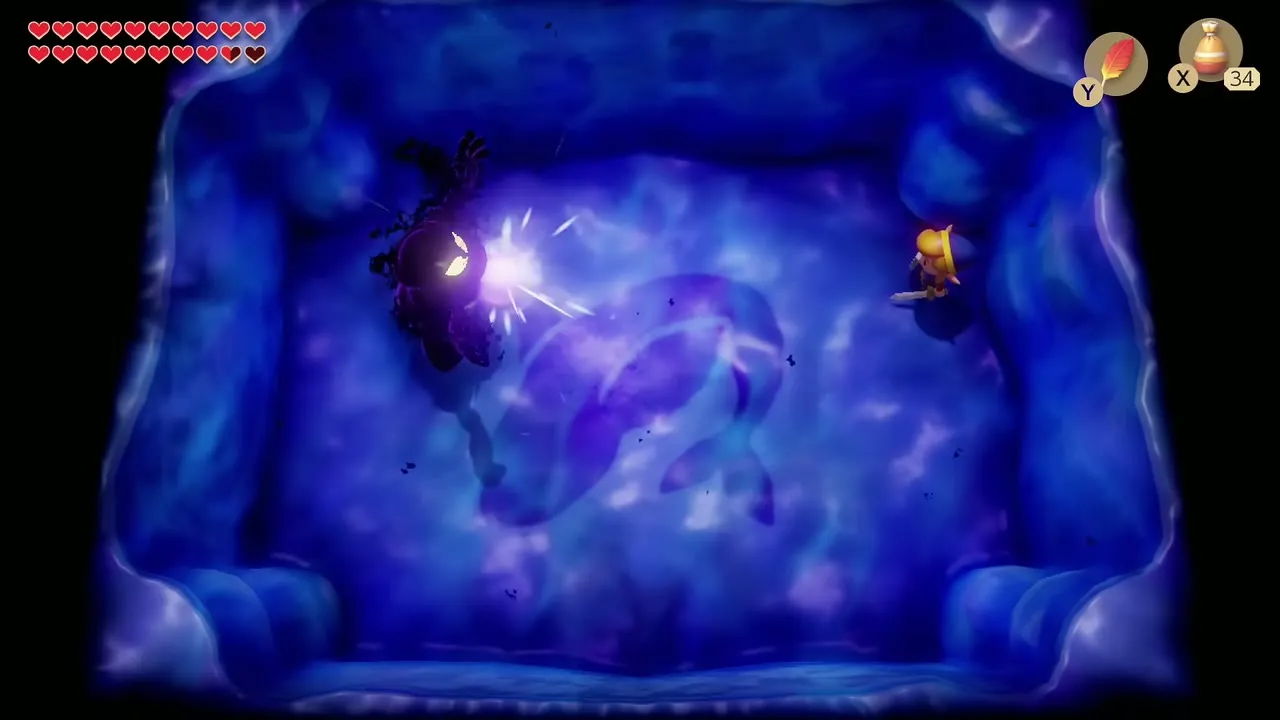
Form 3: Moldorm’s Shadow
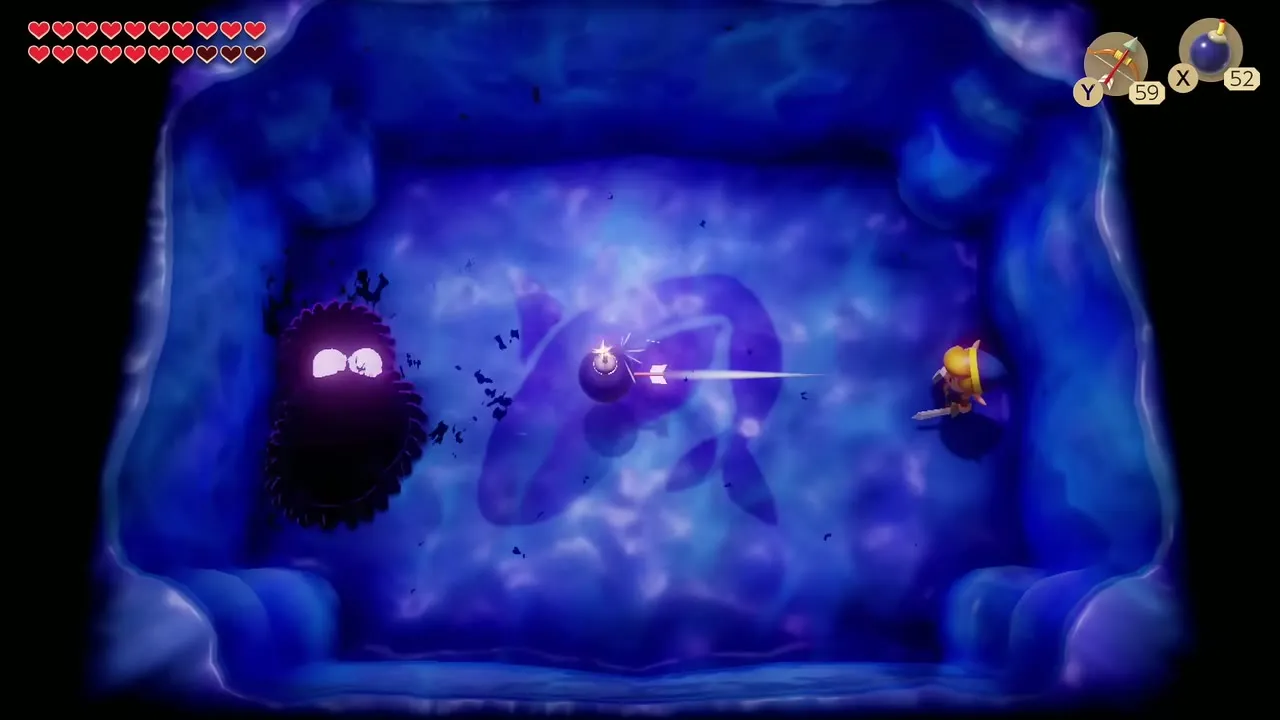
This is the first dungeon’s Moldorm again, only faster. Stay clear of the head and the body and slash the tail. Every hit speeds it up, so strike while it is still slow with a spin attack and use the Boomerang when it speeds up. Jump over its lunges with the Roc’s Feather to get behind it.


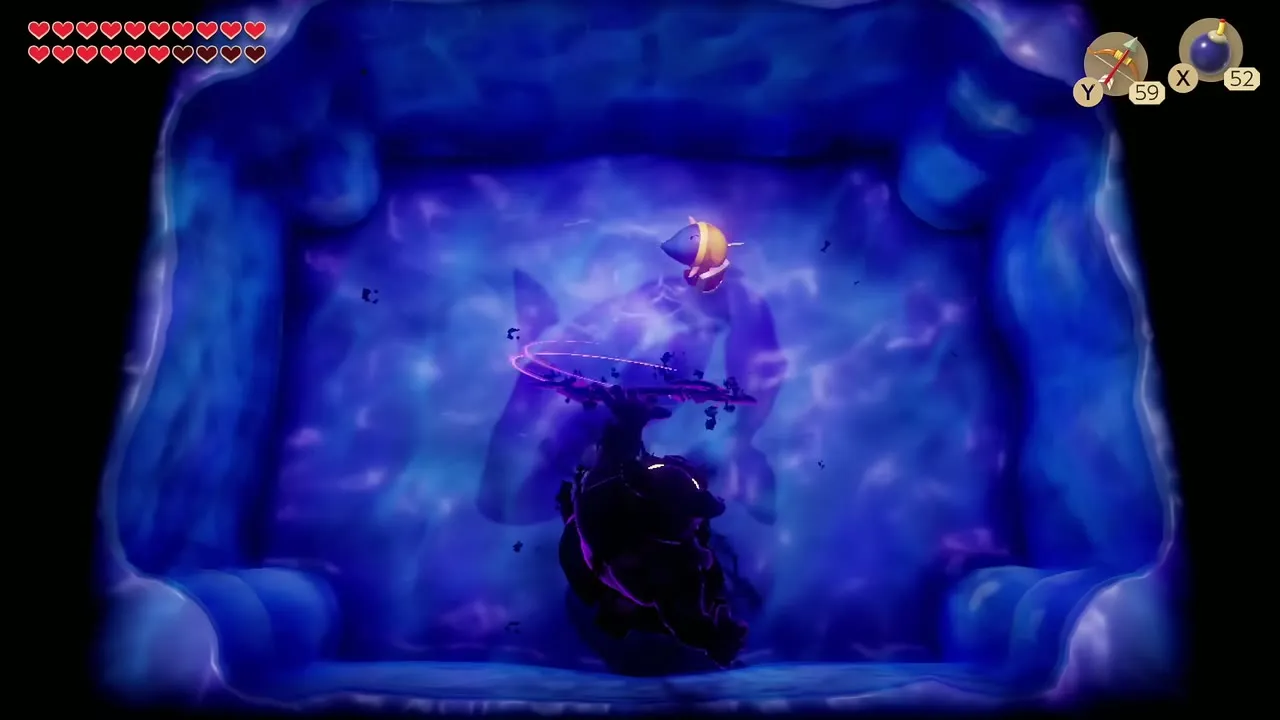
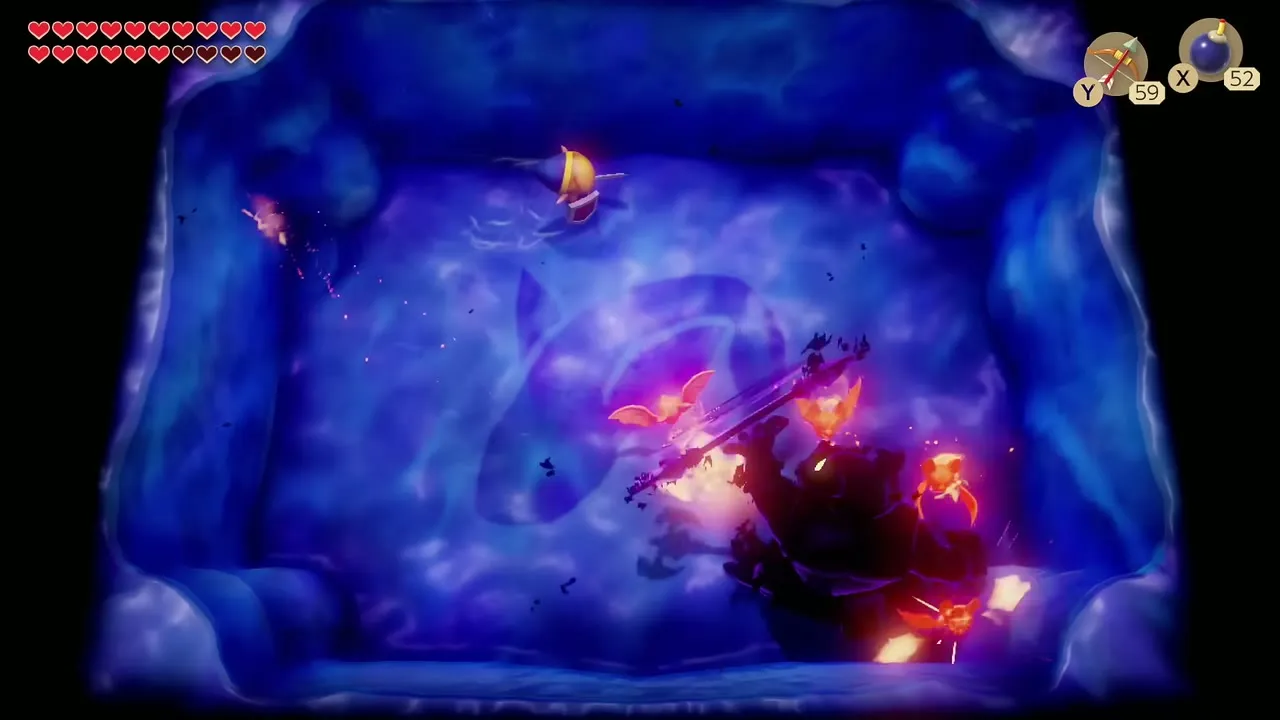
Form 4: Ganon’s Shadow
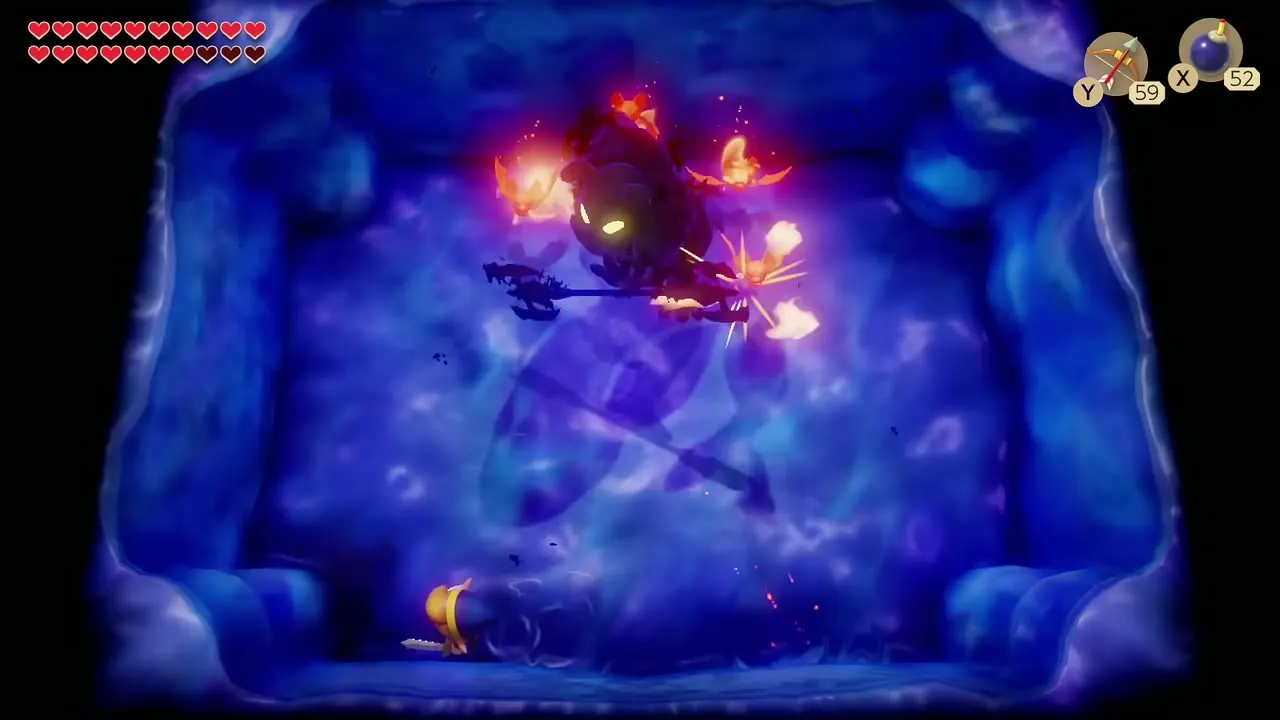
Ganon’s Shadow raises a flame that turns into Fire Keese and throws a spinning trident. Dodge the bats or jump over them with the Roc’s Feather. As soon as the trident has been thrown, hit Ganon with a spin attack or a Pegasus Boots dash. Keep moving when he floats to a new spot.

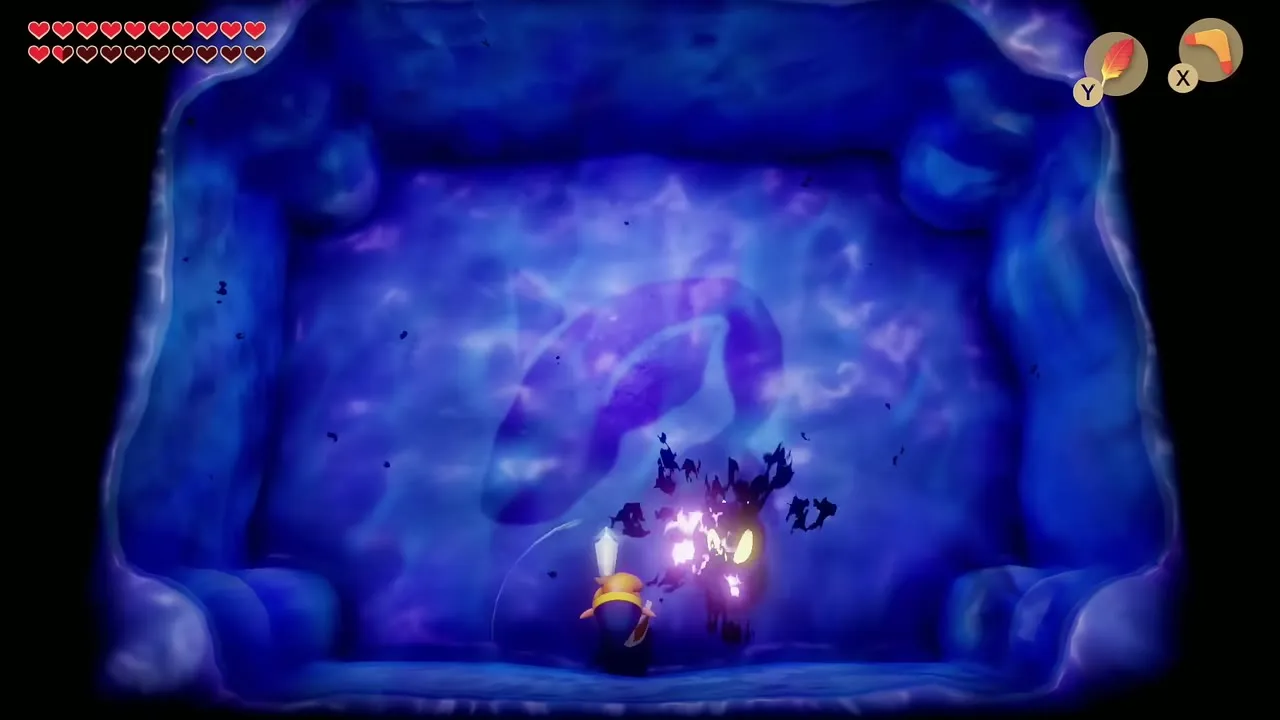
Form 5: Lanmola’s Shadow
The fifth form is a quick, snake-like Lanmola that chases you around the arena and sometimes disappears. Keep the Roc’s Feather equipped to jump its rush. A shot from the Boomerang or Bow to the head stuns it, and a spin attack or a few Magic Rod blasts finish the job while it is dazed.


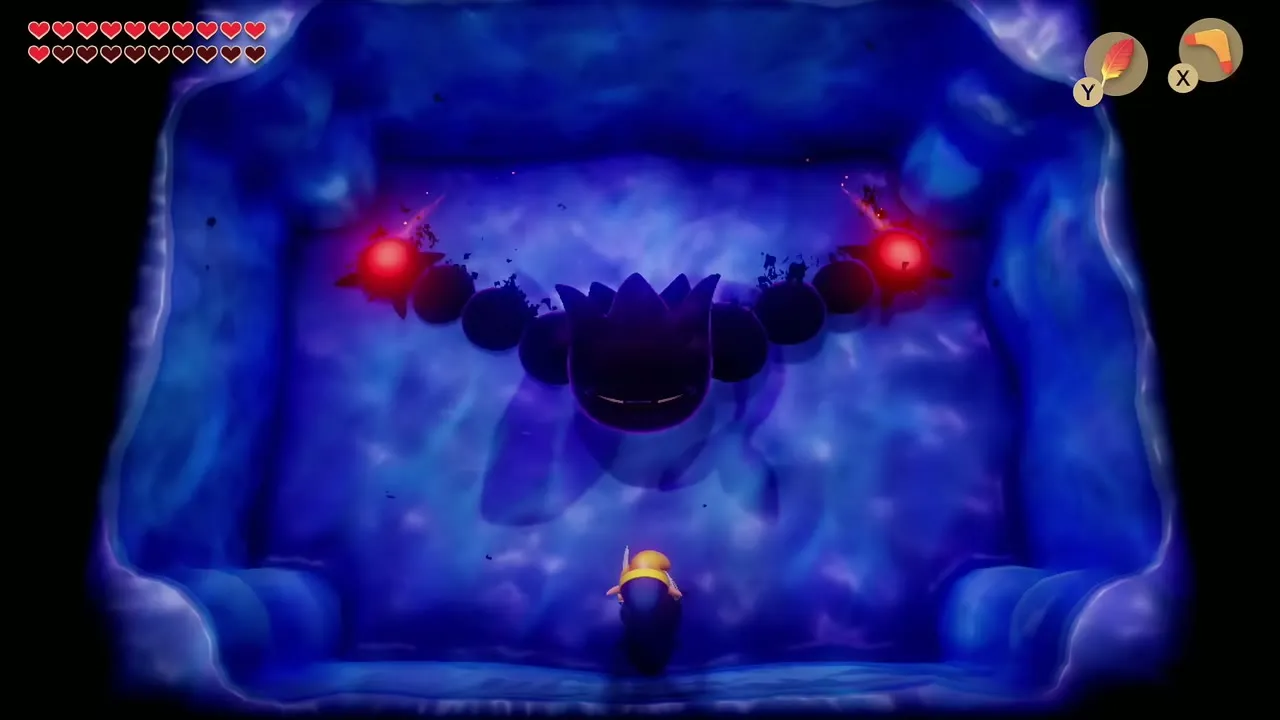
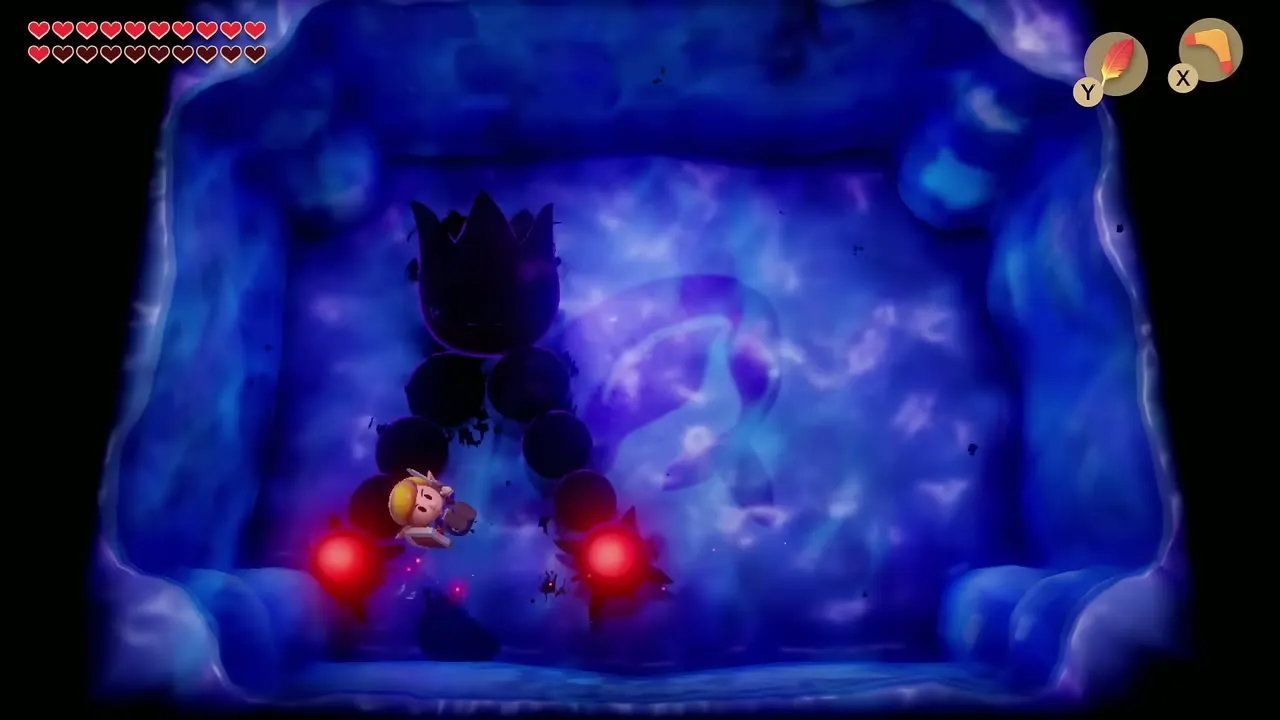
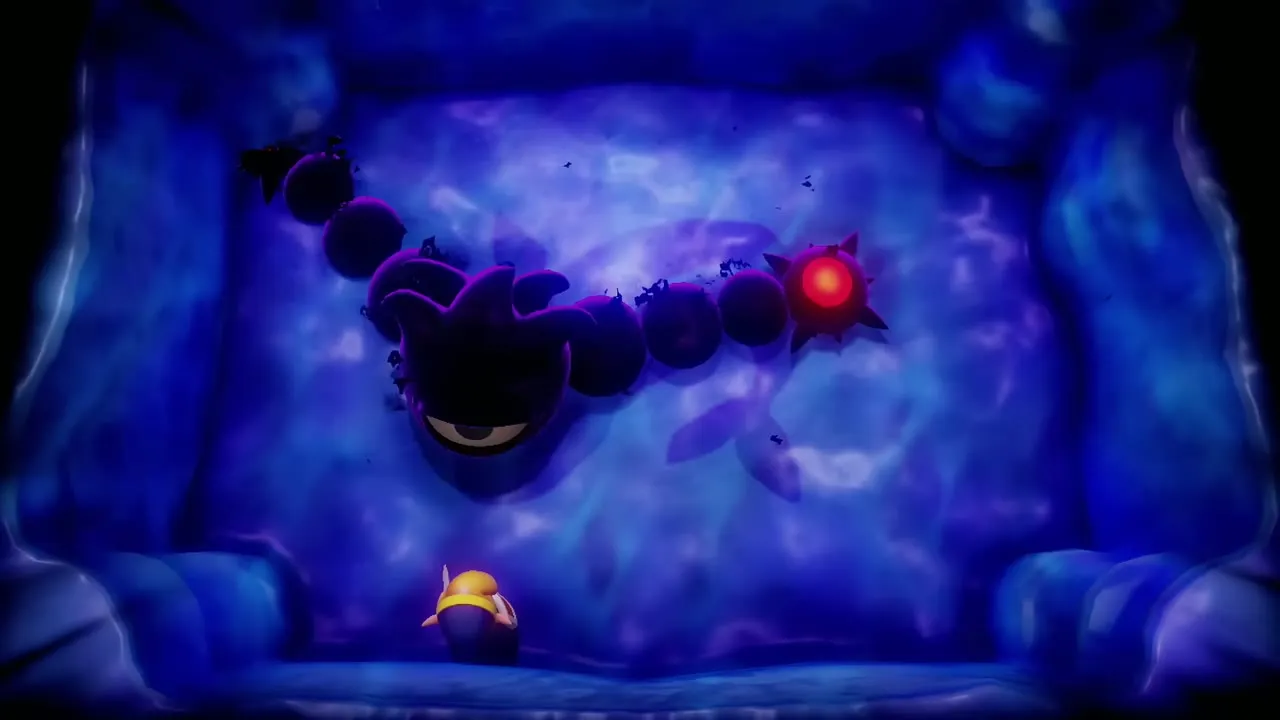
Form 6: Dethl
The last form is Dethl, a giant eye on a chain of dark segments with a glowing red hand at each end. The hands sweep the room in wide arcs, so jump over them with the Roc’s Feather and speed up your timing as they quicken. Throw the Boomerang or fire an arrow at the eye each time it opens, and repeat until it dies. If your hearts run low, call on a bottled fairy or Secret Medicine rather than risk the last form.
Wake the Wind Fish: the ending
Climb the stairs and finish the game
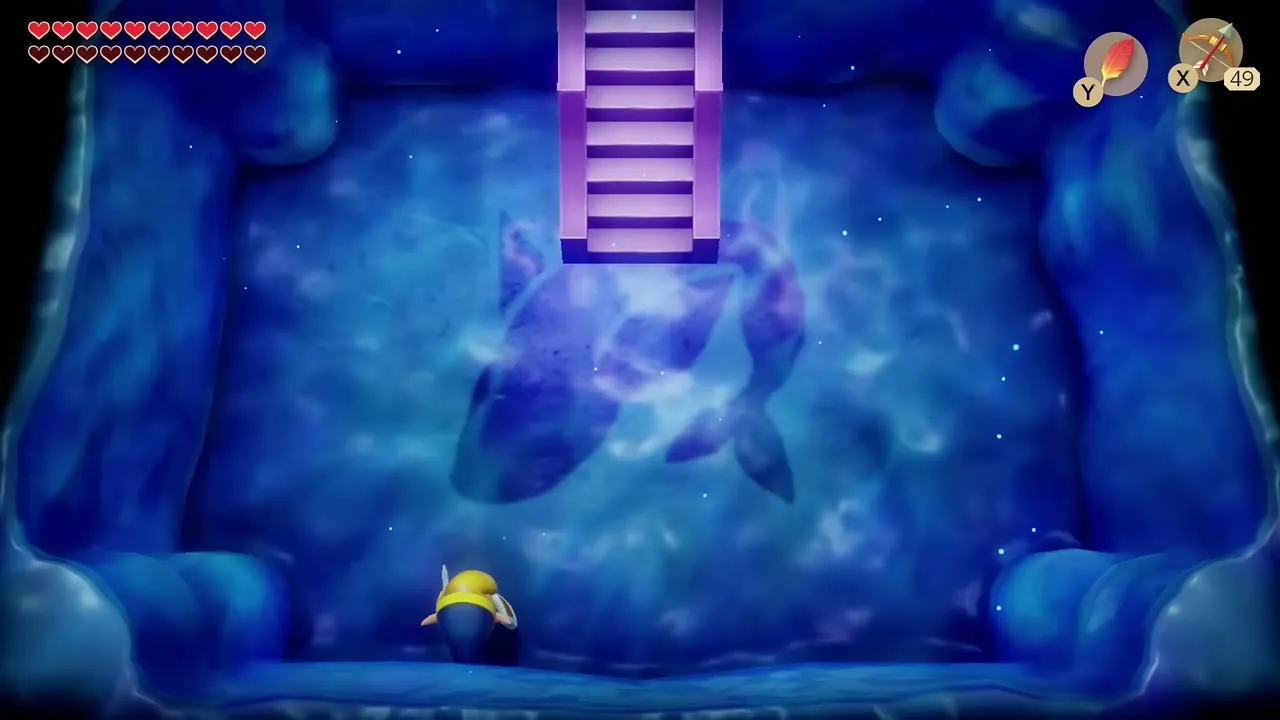
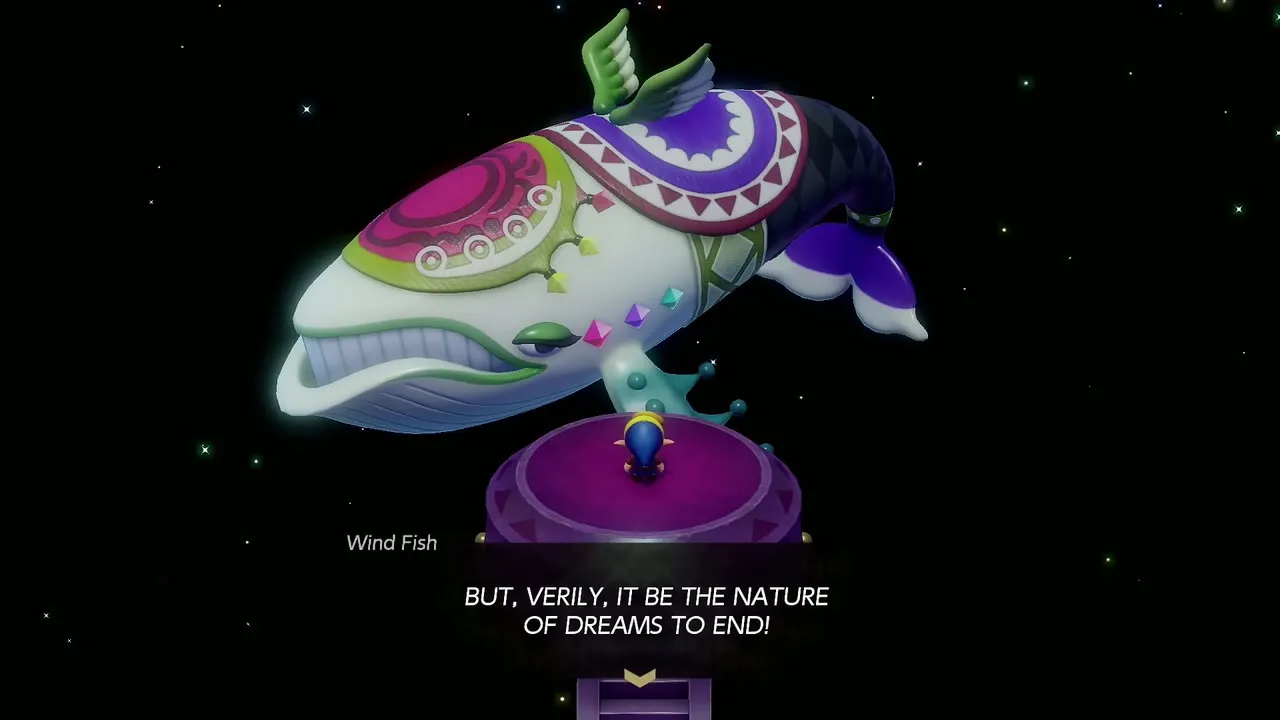
After Dethl falls, the Owl congratulates you and a staircase appears in the arena. Climb it to the platform where the Wind Fish waits. Its speech and the song of awakening end the dream, the eight Instruments flash, and the credits start. If you finished the quest without ever running out of hearts (reviving with Secret Medicine or a fairy is fine), a short scene of Marin follows the closing screen.


After the ending: return to Koholint
Reload your save and finish collecting
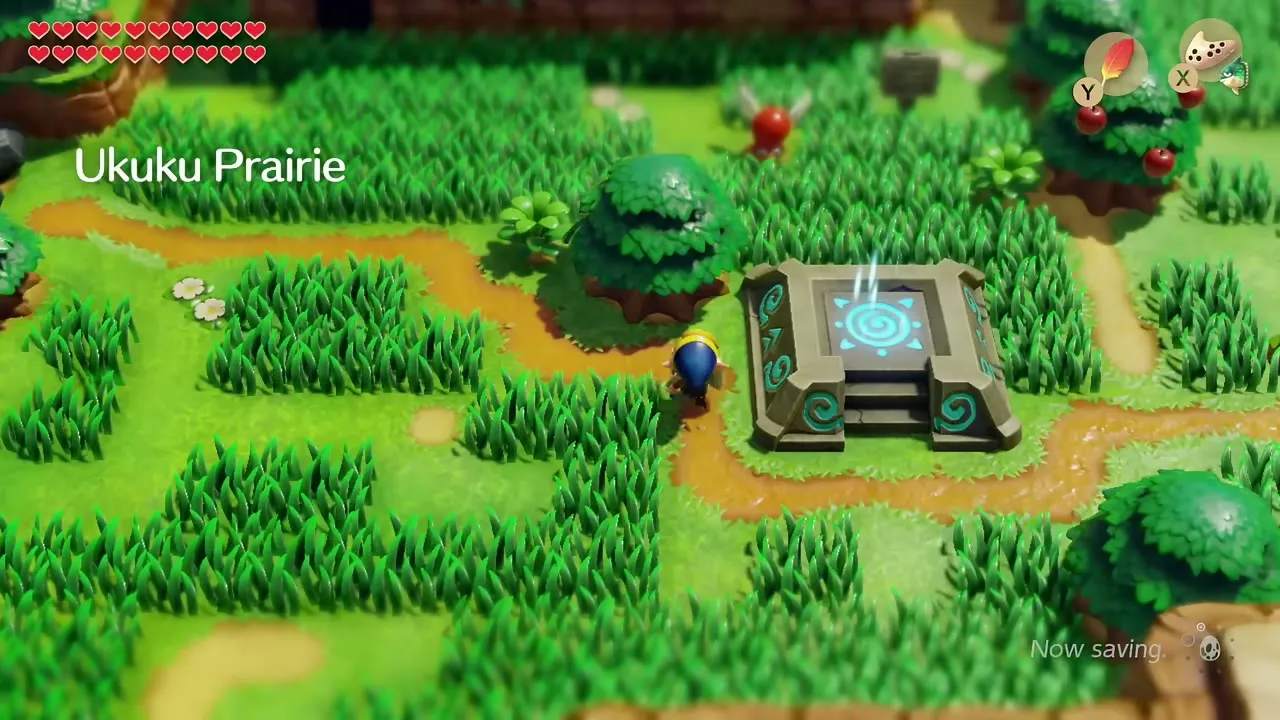
Save at the prompt after the credits and load the file again to return to Mabe Village. The game lets you keep playing, so use this to pick up Heart Pieces, Secret Seashells and dungeon challenges you missed. The heart piece and secret seashell pages list what to check.

Win the BowWow figure and the figures Chamber Stone
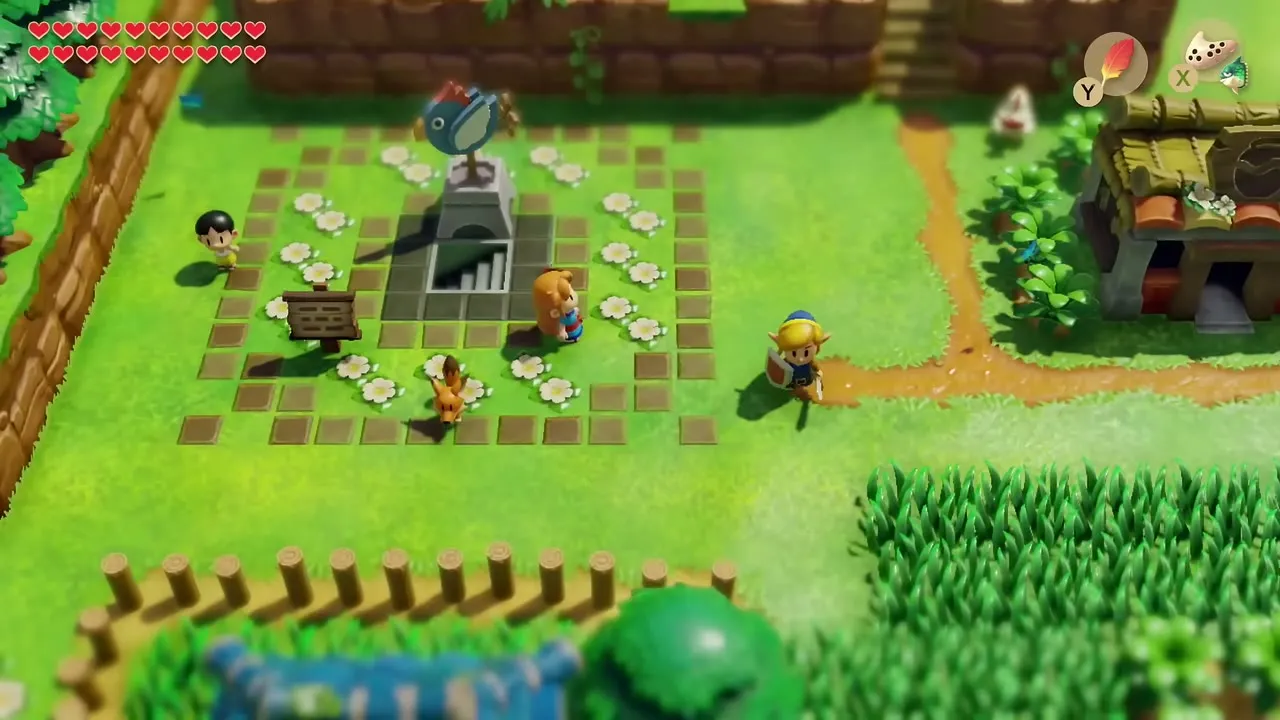
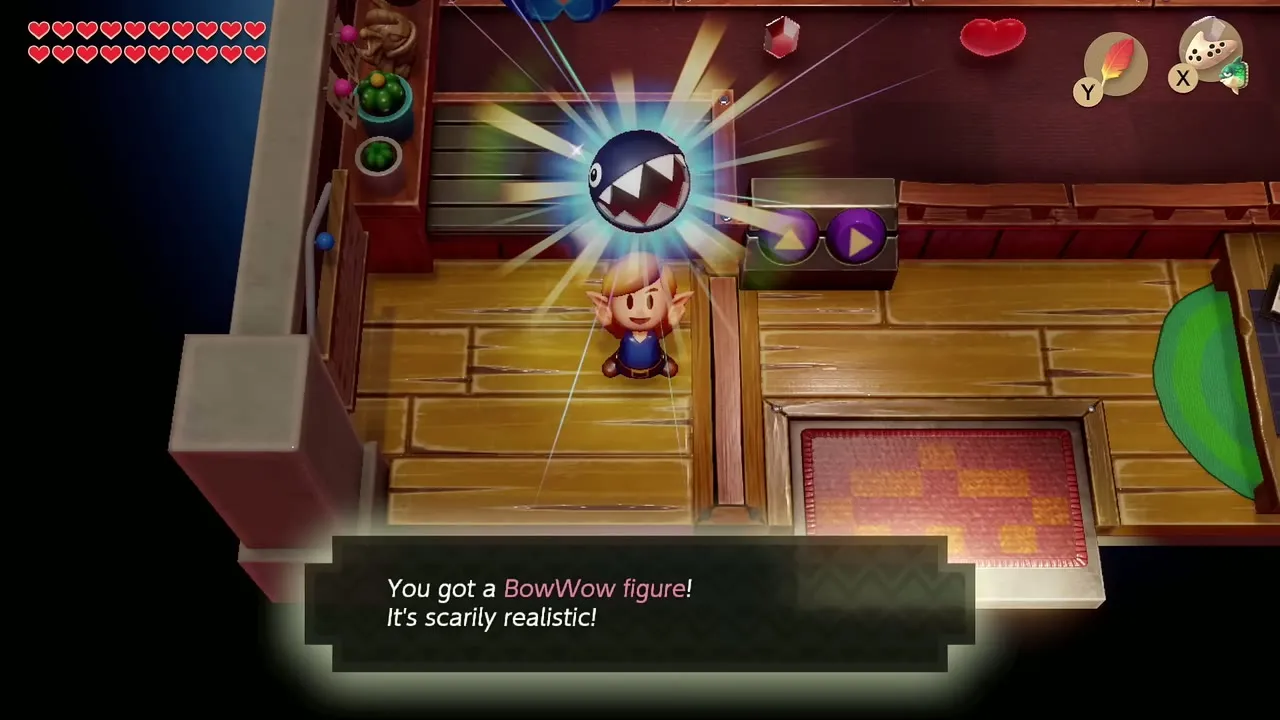
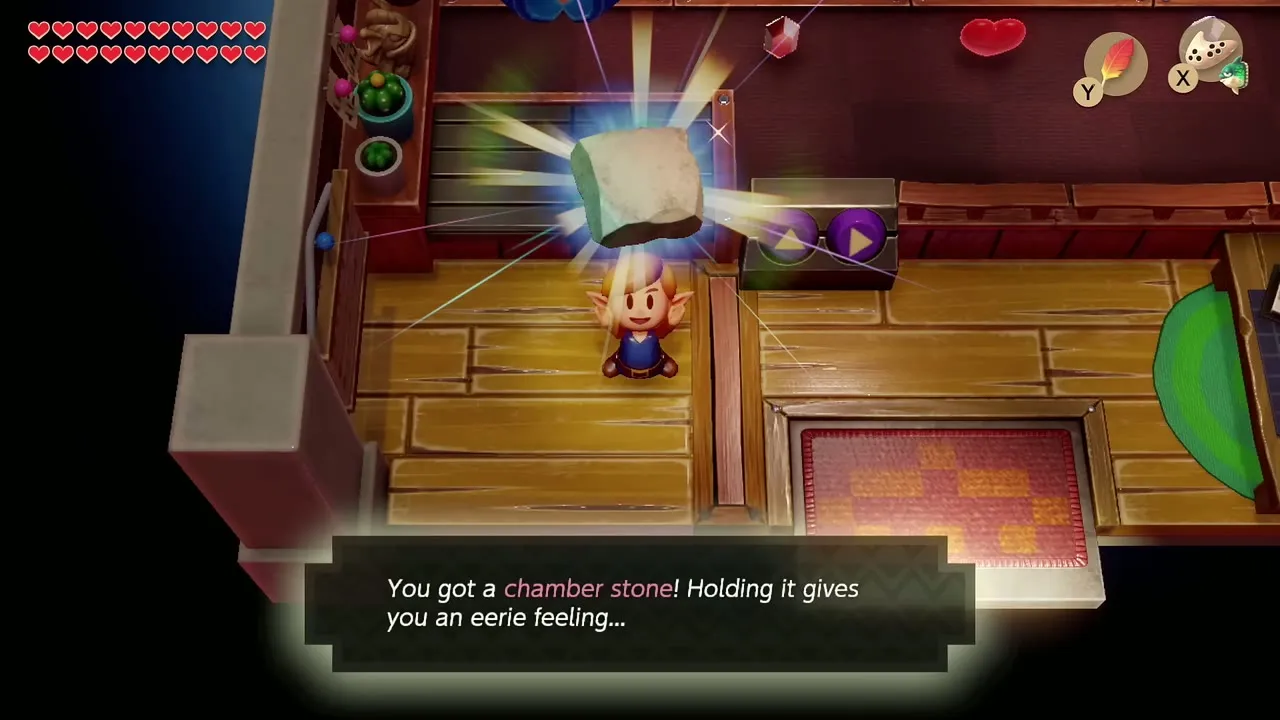
Return to the Trendy Game shop. The tenth and last figure, BowWow, is added to the crane once the game is beaten. Grab it with the claw. With all ten figures collected, the Trendy Gamester calls you a champ and gives you a Chamber Stone as proof. From then on every try costs only 5 rupees.
Chapter checklist
| Type | Name | Where |
|---|---|---|
| Upgrade | Heart Container | Dampé’s Shack, for clearing all twelve starter Chamber Dungeon challenges |
| Chamber | Chamber reward | Dampé’s Shack, same reward |
| Figure | Pokey | Trendy Game, Mabe Village, after Turtle Rock |
| Chamber Stone | Shop stones (1,280 rupees each) | Town Tool Shop, Mabe Village |
| Key item | Maze directions | Mabe Village Library, black book on the right |
| Song | Ballad of the Wind Fish played at the Egg | Mt. Tamaranch |
| Boss | Shadow Nightmare (six forms) | Wind Fish’s Egg |
| Figure | BowWow | Trendy Game, after the ending |
| Chamber Stone | Reward for all ten figures | Trendy Game, after the ending |
