
























Link's Awakening 100% Completion Walkthrough9 chapters
- Toronbo Shores, Mabe Village and Tail Cave (Level 1)Get the Sword, Shovel and Magic Powder, find the Tail Key, then clear Tail Cave and beat Moldorm.
- Mysterious Forest, Goponga Swamp and Bottle Grotto (Level 2)Rescue BowWow, collect three Heart Pieces and Secret Seashells, cross Goponga Swamp.
- Ukuku Prairie, Kanalet Castle and Key Cavern (Level 3)Link’s Awakening Switch walkthrough for Kanalet Castle Golden Leaves, the Slime Key, Key Cavern (Level 3).
- Yarna Desert and Angler’s Tunnel (Level 4)Get the Angler Key, the Flippers and the Surf Harp, with heart pieces and seashells.
- Martha’s Bay and Catfish’s Maw (Level 5)Learn Manbo’s Mambo, free the Ghost, win the Hookshot and the Wind Marimba.
- Southern Face Shrine and Face Shrine (Level 6)Magnifying Lens, Koholint Sword, Frog’s Song of Soul, Coral Triangle.
- Tal Tal Heights and Eagle’s Tower (Level 7)The Flying Rooster, Bird Key, Mirror Shield, Evil Eagle and Organ of Evening Calm.
- Western Tal Tal Mountains and Turtle Rock (Level 8)Secret Seashell 50, Magic Rod, Hot Head and the Thunder Drum.
- The Wind Fish’s Egg and Final BossesRead the maze book, play the Ballad, beat all six Shadow Nightmare forms.
| Covers | Key Cavern pond, Mabe Village (Town Tool Shop, Fishing Pond, weathervane), Tal Tal Mountain Range, Bird Key cave, Hen House cliffs, western ledges, warp portal, Fairy Fountain, Eagle’s Tower |
|---|---|
| Dungeon | Eagle’s Tower (Level 7): needs the Bird Key, Hookshot, Bombs, Power Bracelet and Roc’s Feather; mini-bosses Red Hinox and Grim Creeper; boss Evil Eagle; instrument Organ of Evening Calm |
| Rewards |  Chamber Stone (shop), Chamber Stone (Ol’ Baron), Bird Key, Mirror Shield, Map, Compass, Nightmare Key, Bombs, Heart Container, Organ of Evening Calm; 2 Pieces of Heart, 4 Secret Seashells, Shy Guy figure, 2 purple Rupees |
This chapter takes you from the pond islet and the Fishing Pond to the top of the Tal Tal Mountain Range. You revive the Flying Rooster in Mabe Village, fly him through the Bird Key cave, collect the heart pieces and Secret Seashells along the cliffs, and open Eagle’s Tower with the Bird Key. Inside, the Mirror Shield, four pillars knocked down with a black iron ball and a Hookshot detour lead to the Nightmare Key, the Evil Eagle and the Organ of Evening Calm.
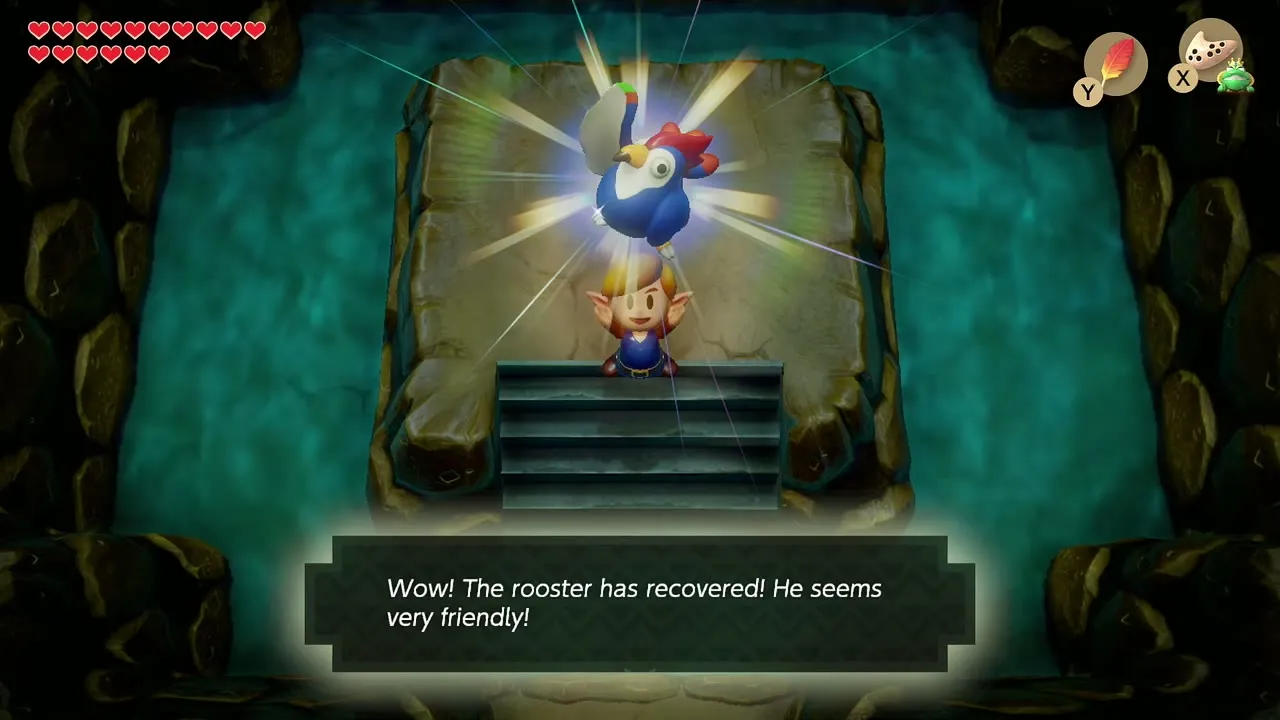
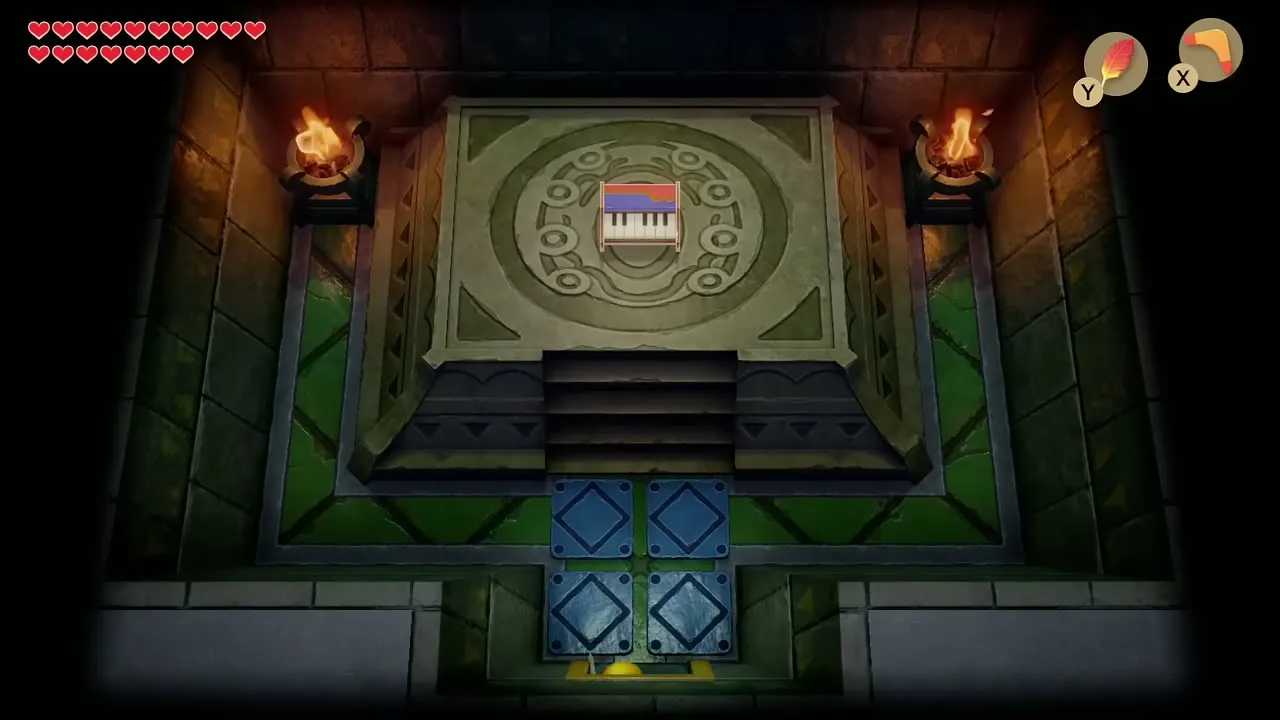
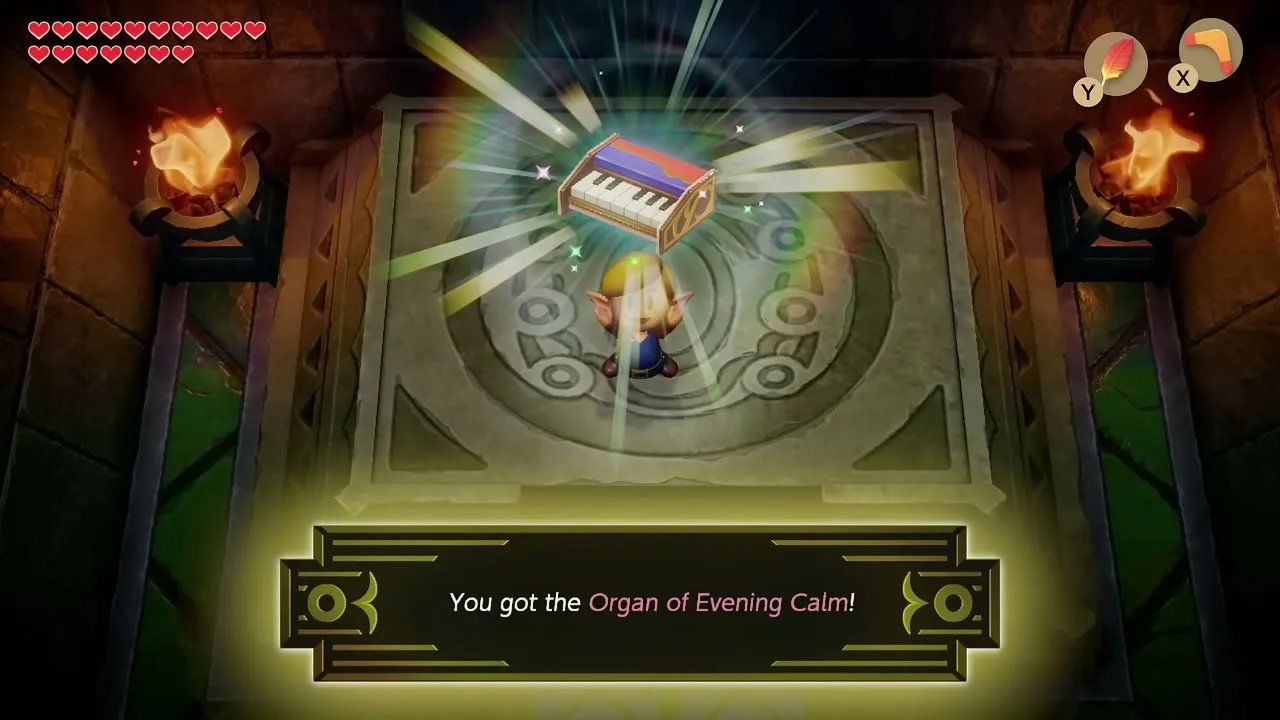
Table of Contents
Pond islet, Town Tool Shop and Fishing Pond
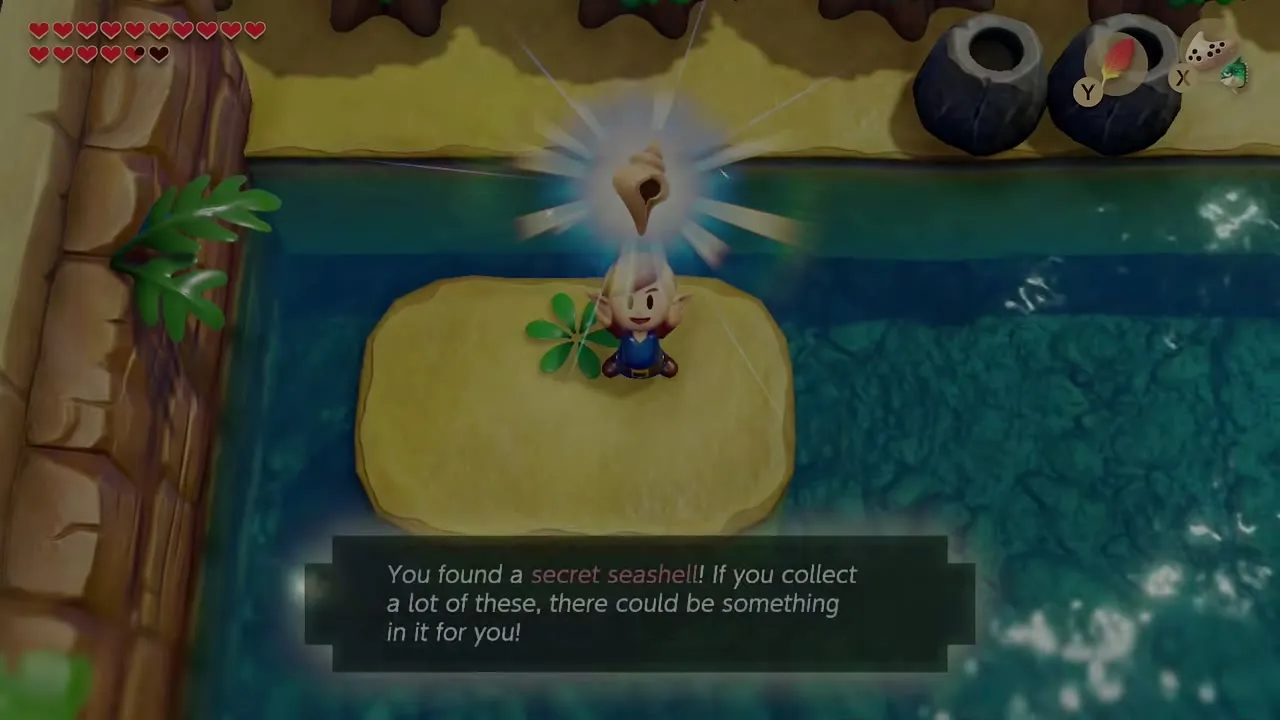
Secret Seashell on the Key Cavern pond islet
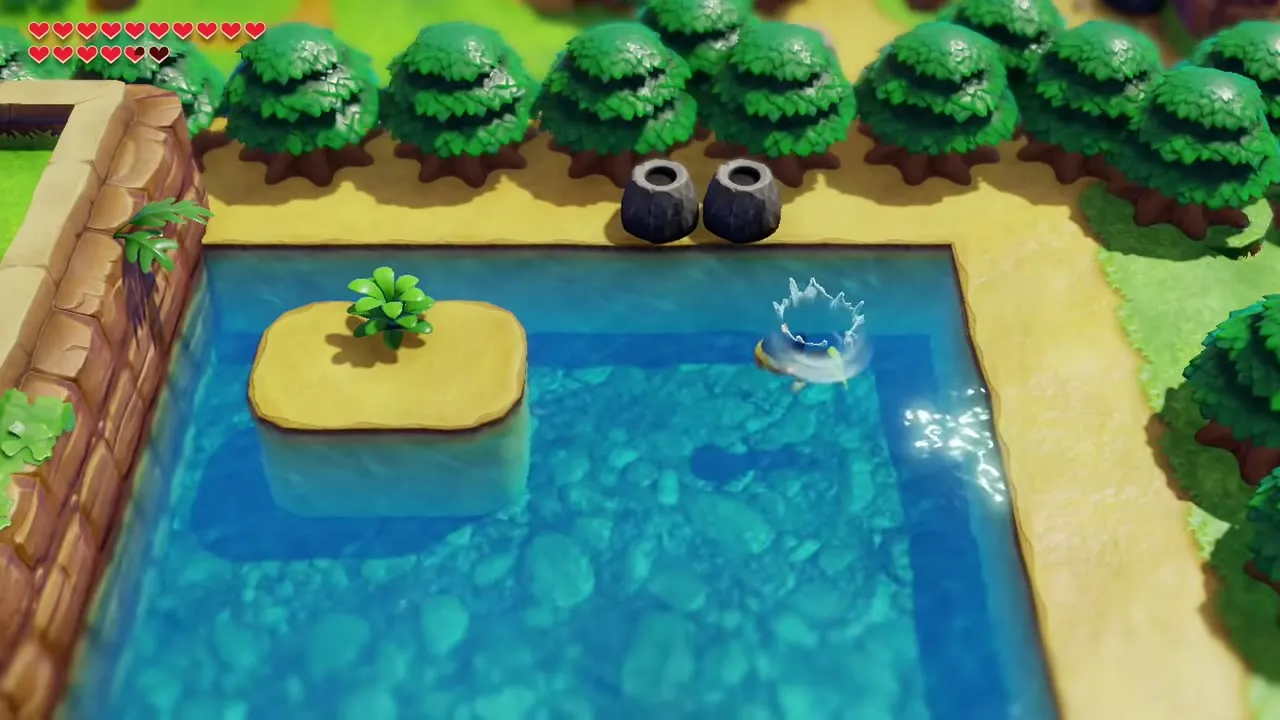
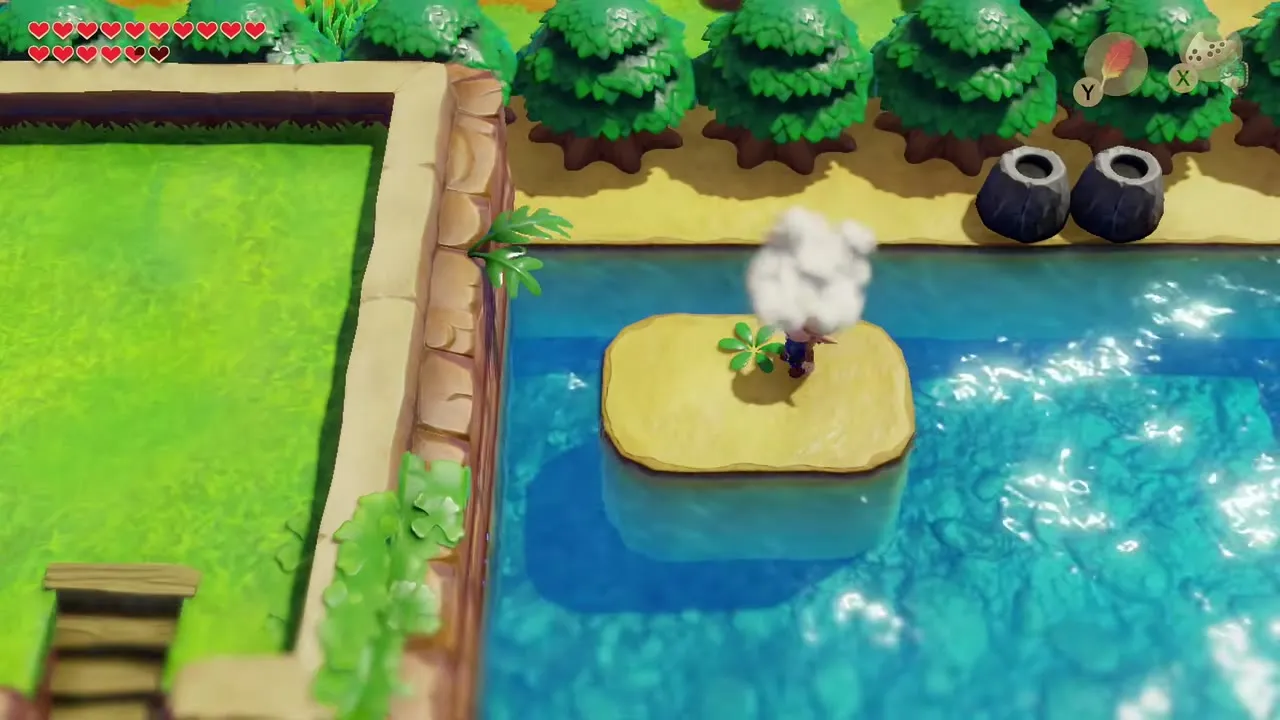
Head across Ukuku Prairie to the pond near the Key Cavern entrance, where a few tiny islets sit in the water. Swim out with the Flippers to the islet that has a single bush and cut the bush down. A Secret Seashell is under it. Hit the bush from the north side, because a slash from the south can knock the shell into the water. All fifty shells are tracked in the Secret Seashells guide.
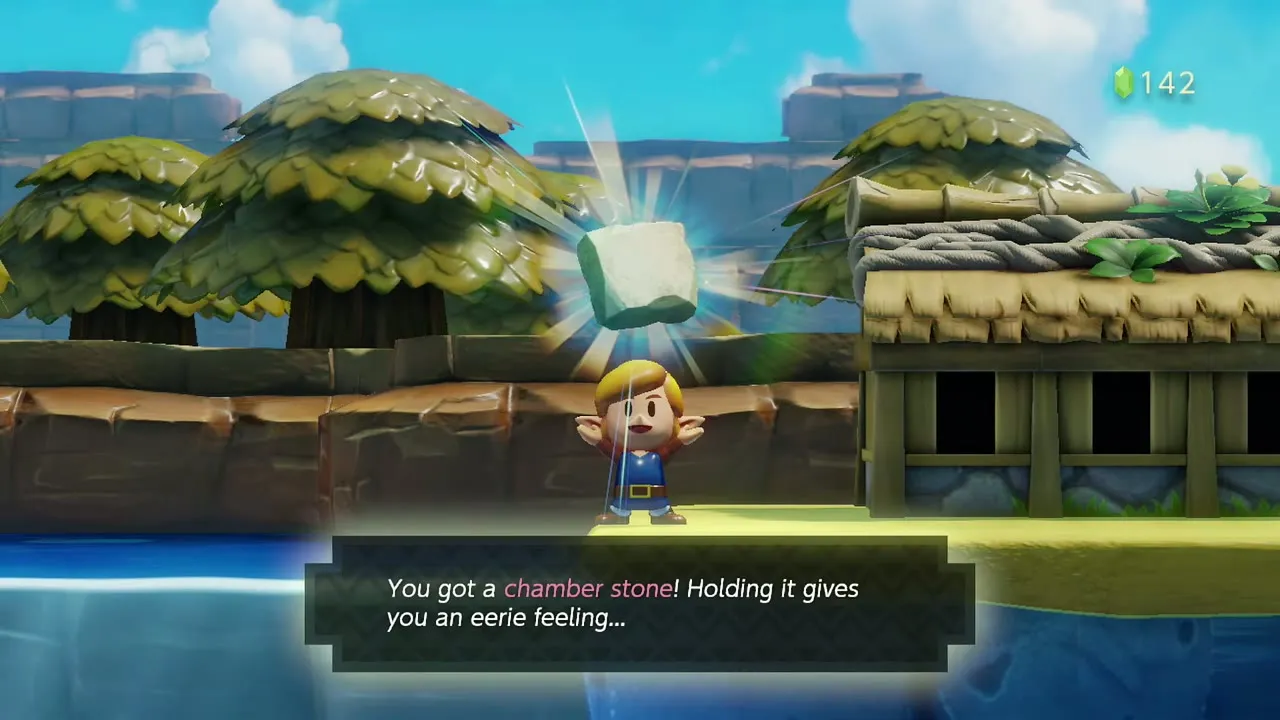
Buy a Chamber Stone at the Town Tool Shop
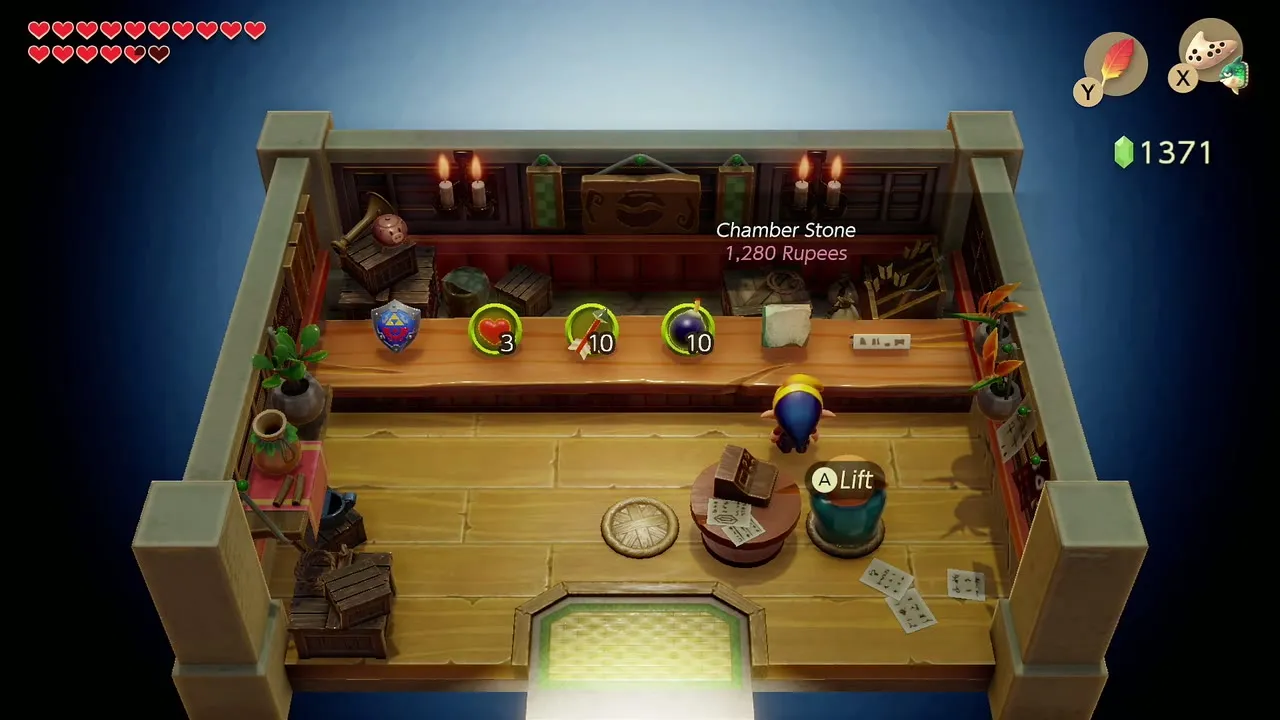
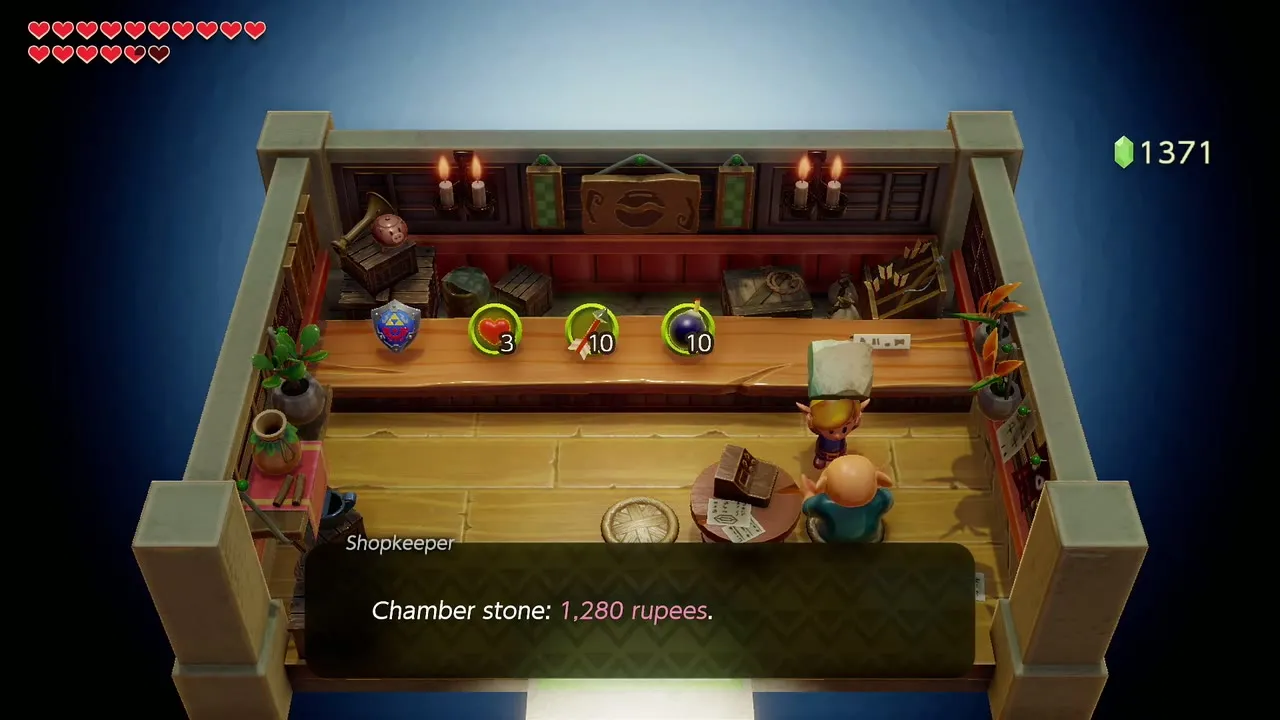
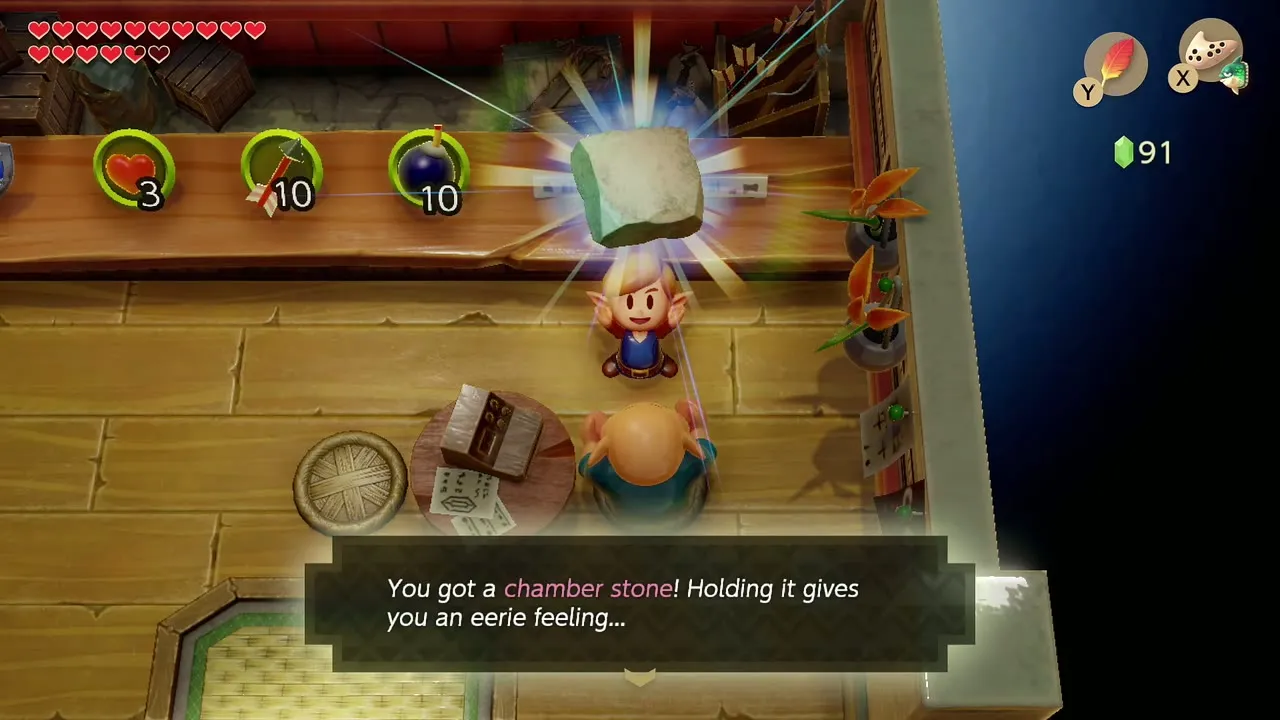
Walk into the Town Tool Shop in Mabe Village. Besides hearts, arrows and bombs, the counter now sells a Chamber Stone for 1,280 rupees. Buy it if you can afford it, since every stone lets you place one more room when you arrange a Chamber Dungeon. More about the stones and what they are for is in the Dampé’s Shack guide. The Trendy Game next door now offers the Shy Guy figure, the prize for clearing the Face Shrine; win it and put it on the stand in Papahl’s house.
Catch Ol’ Baron at the Fishing Pond
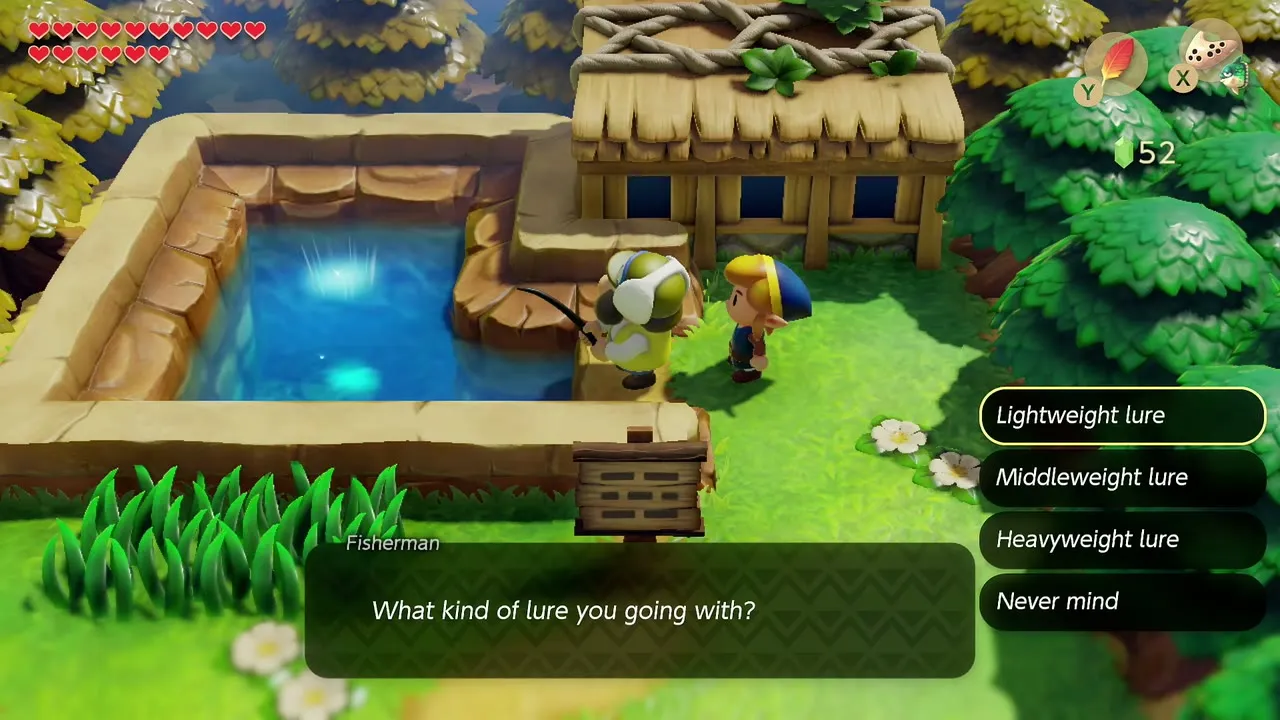
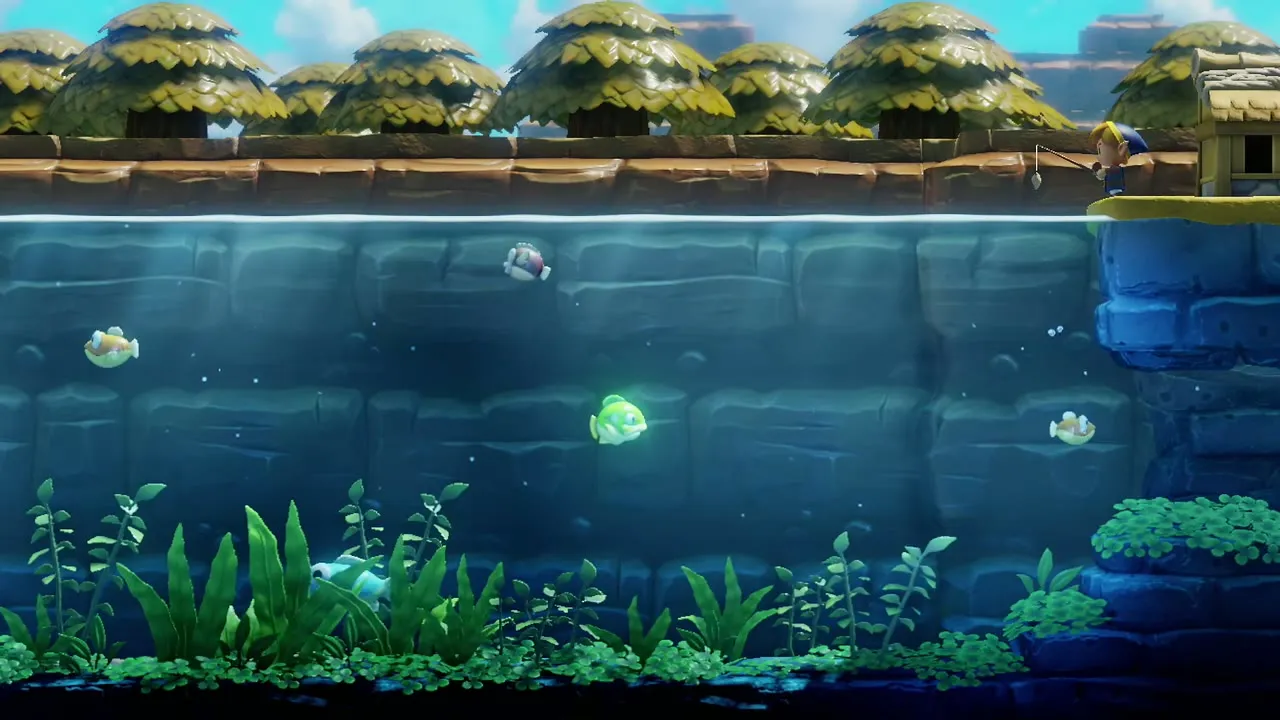
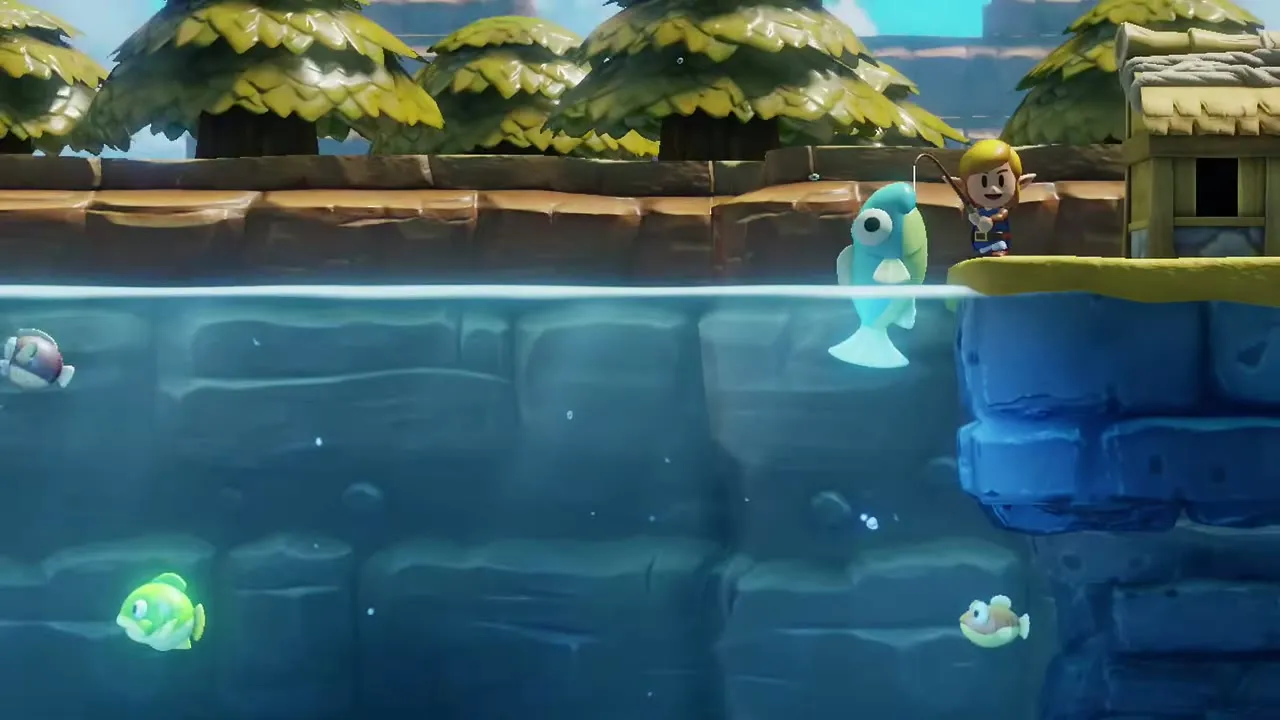
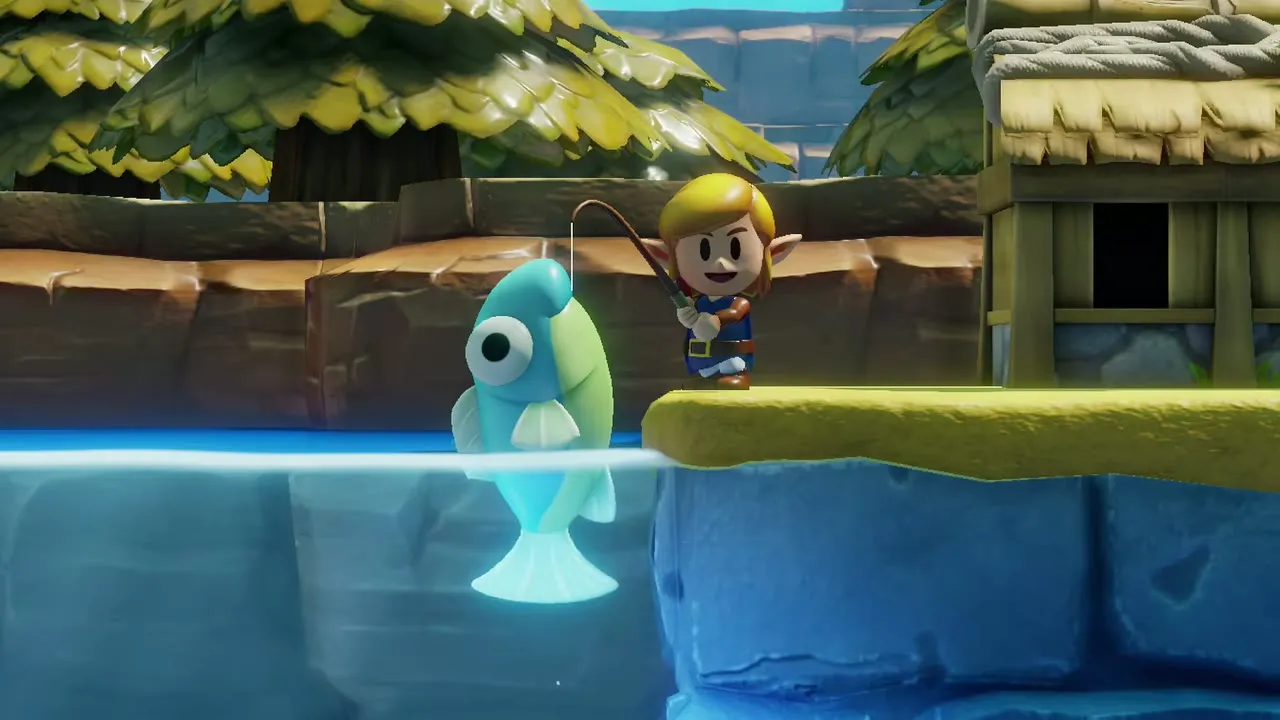
Go to the Fishing Pond in the northwest of the village and pay 10 rupees to fish. Ol’ Baron only turns up after you have cleared the Face Shrine, and it is a rare spawn that shows up near the bottom of the pond while the water glows, so use the Heavyweight Lure and be patient. Reel gently, because Ol’ Baron snaps the line if you pull too hard while it swims away. Your first catch earns a Chamber Stone and roughly 100 rupees. See the Fishing Pond guide for the other prizes.
Revive the Flying Rooster
Move the weathervane in Mabe Village
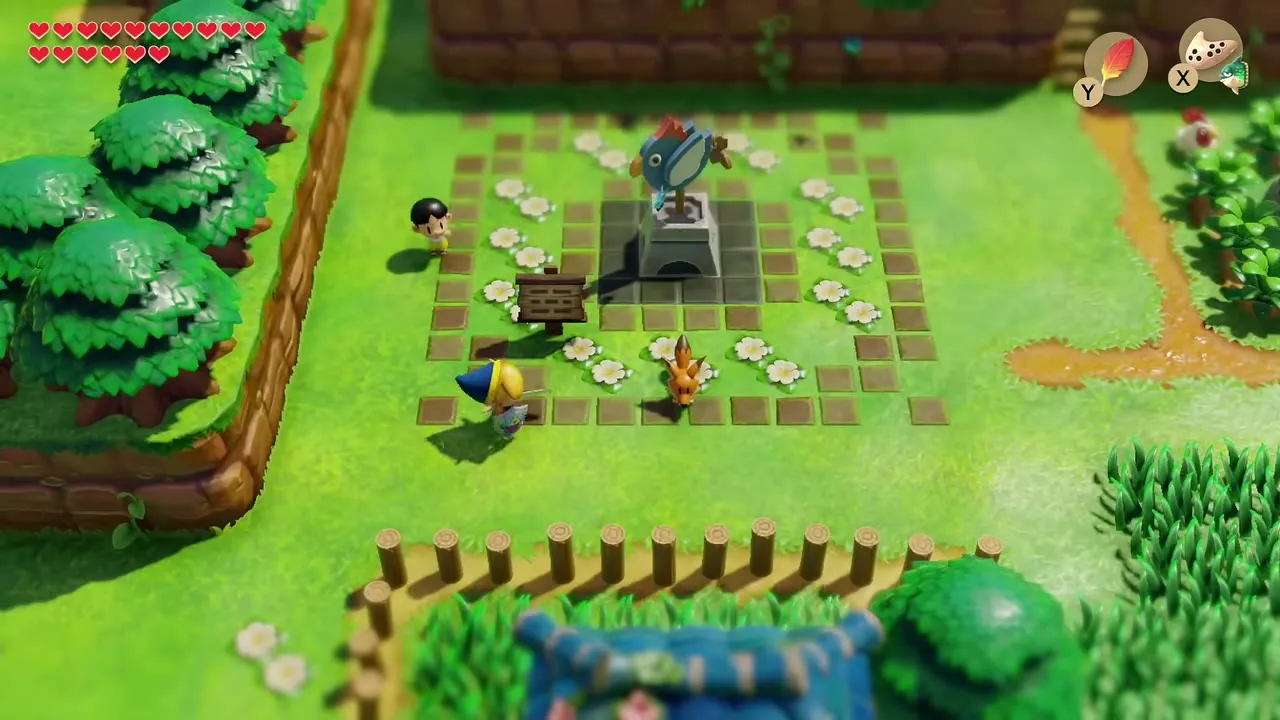
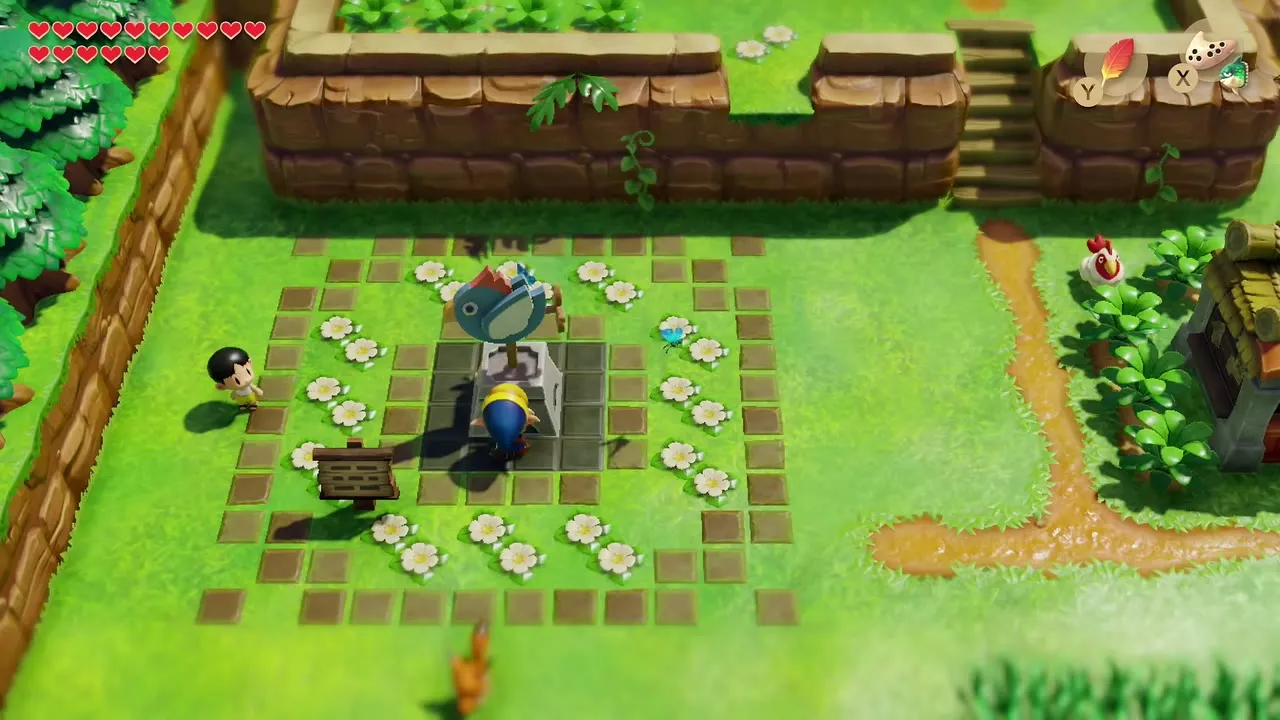
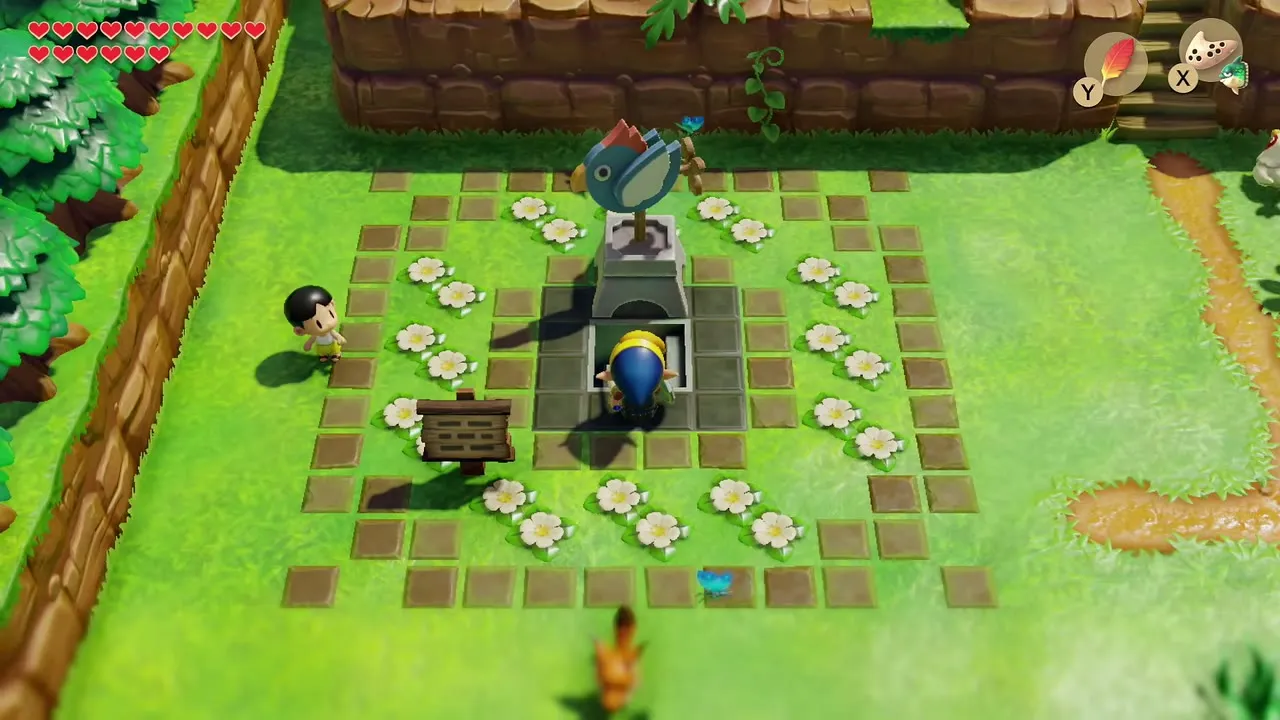
You need the L-2 Power Bracelet from the Face Shrine and the Frog’s Song of Soul, which Mamu teaches for 300 rupees in the Signpost Maze. Go to the weathervane statue in Mabe Village, north of Marin and Tarin’s house, and push it out of the way. A staircase appears below it.
Play the Frog’s Song of Soul over the bones
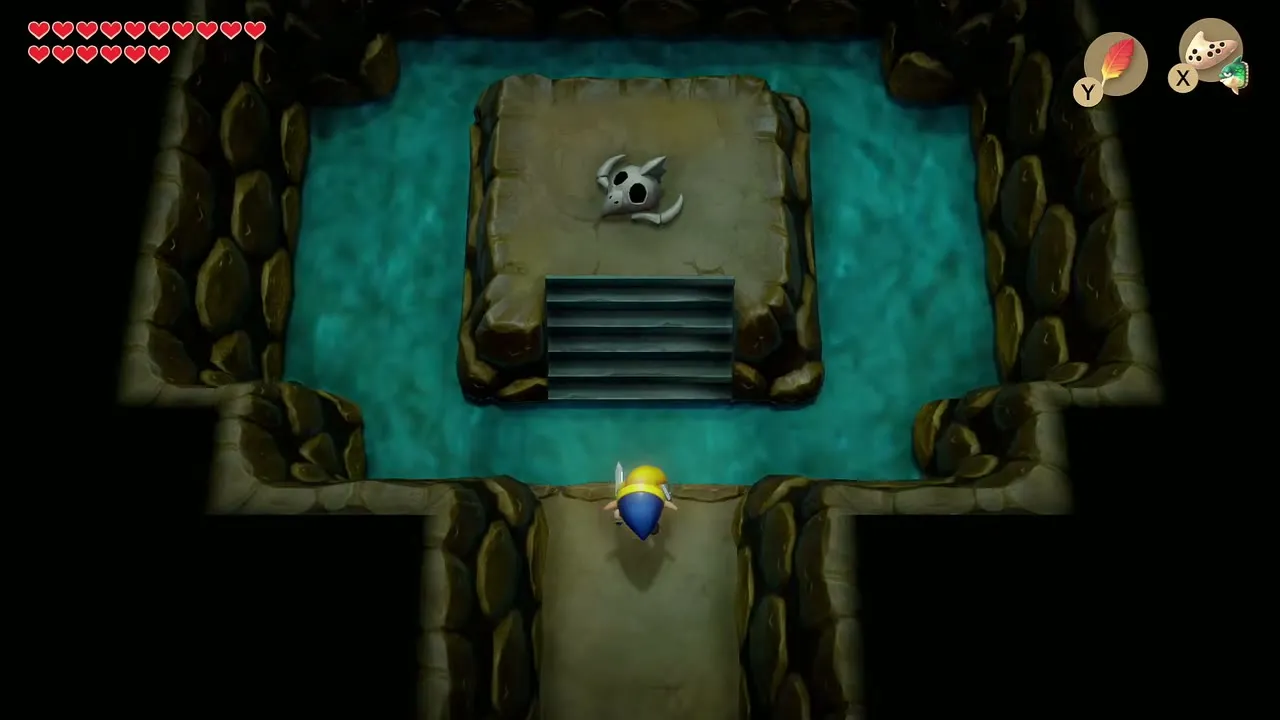
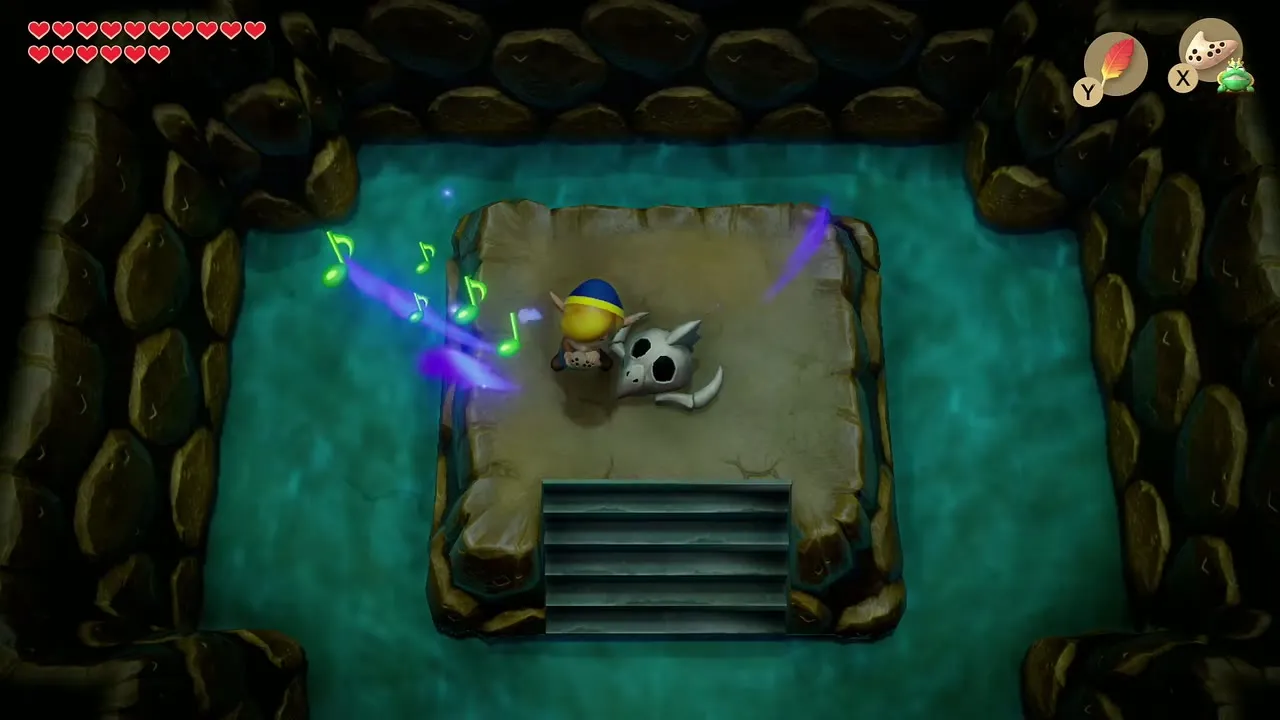
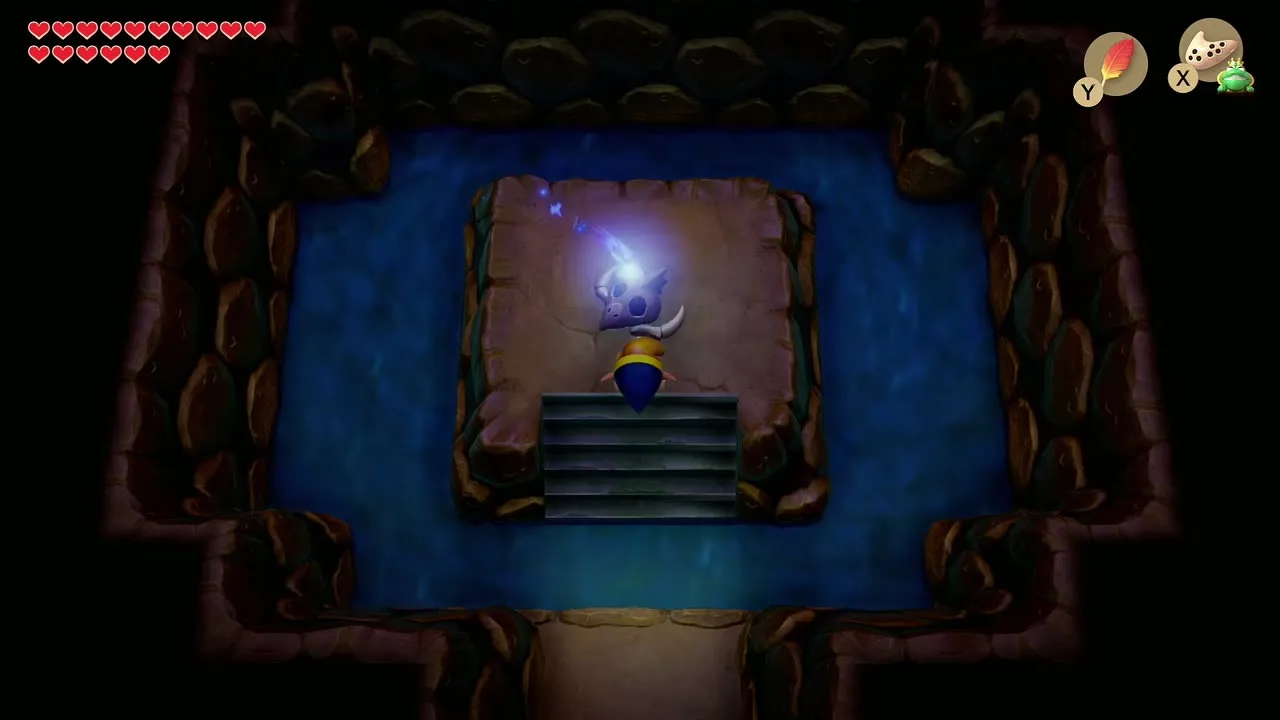
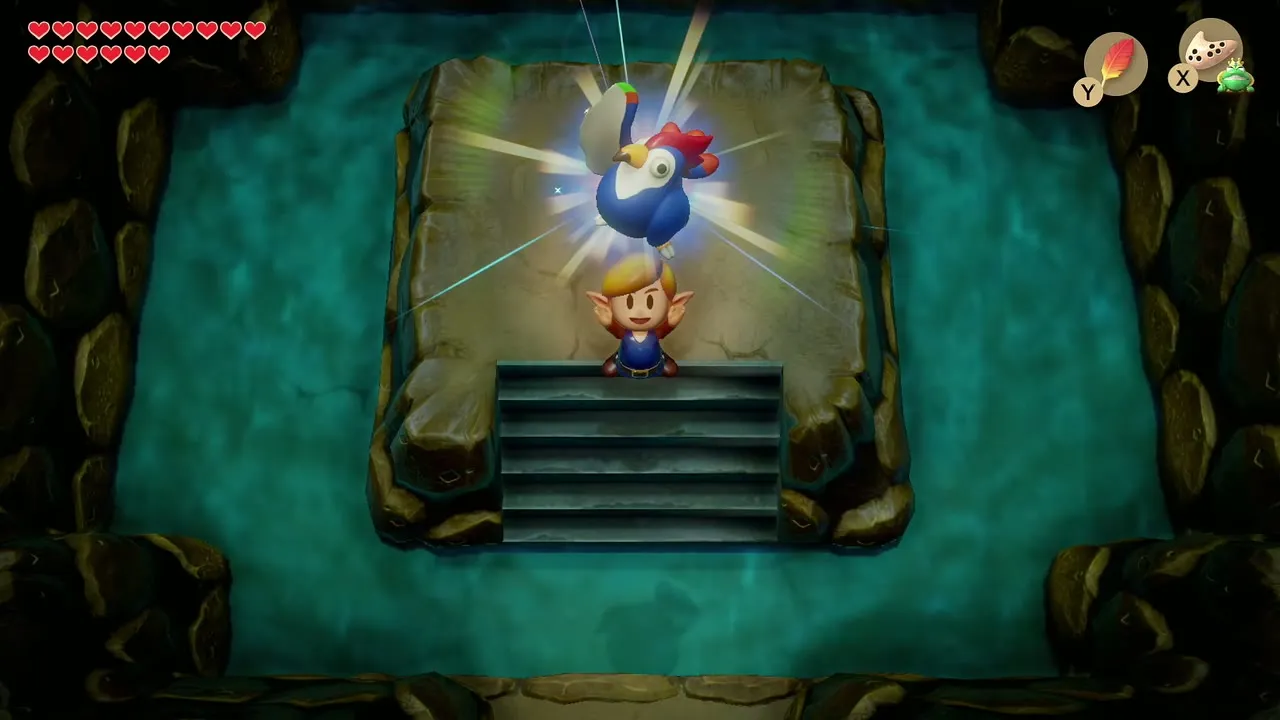
Go down the stairs and walk up one screen. A pile of bird bones lies on a stone platform in the middle of a pool. Equip the Ocarina, choose the Frog’s Song of Soul and play it. A light gathers over the bones and the Flying Rooster comes back to life. He now follows you, and you can pick him up and carry him to hover across gaps. The rooster stays with you until Eagle’s Tower is finished.
Tal Tal Mountain Range and the Bird Key
Climb the mountain toward the Bird Key cave
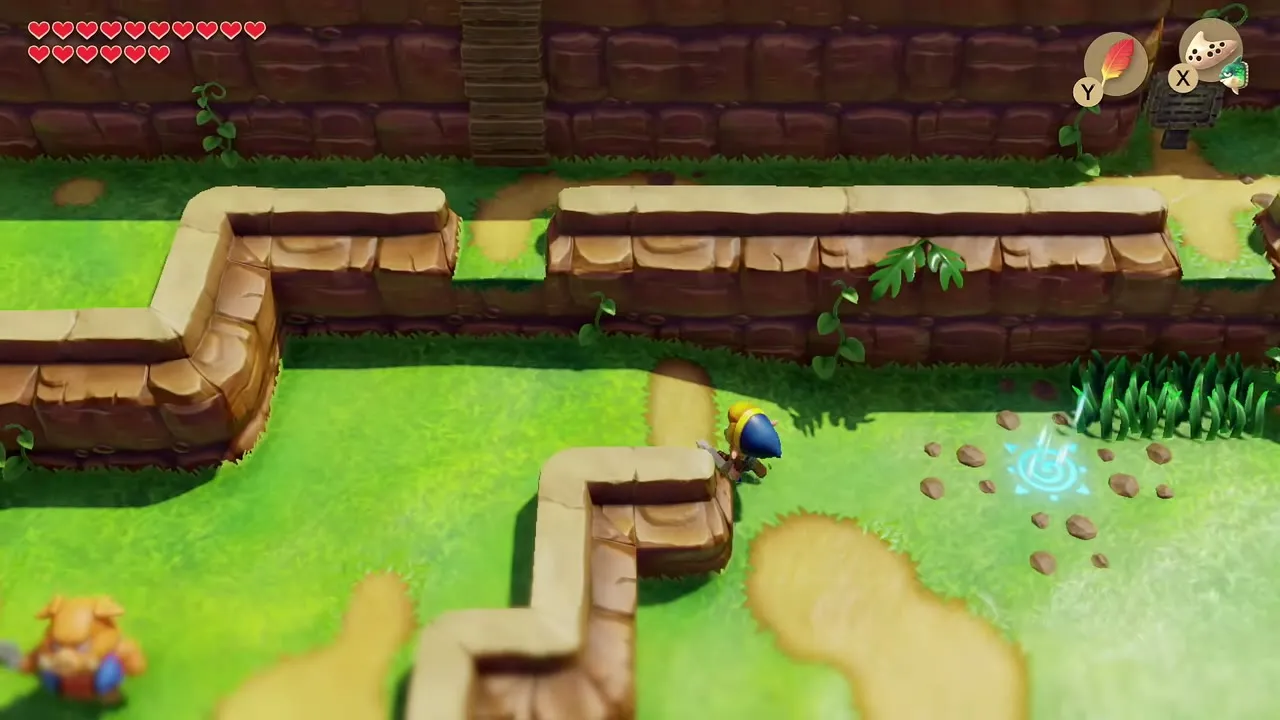
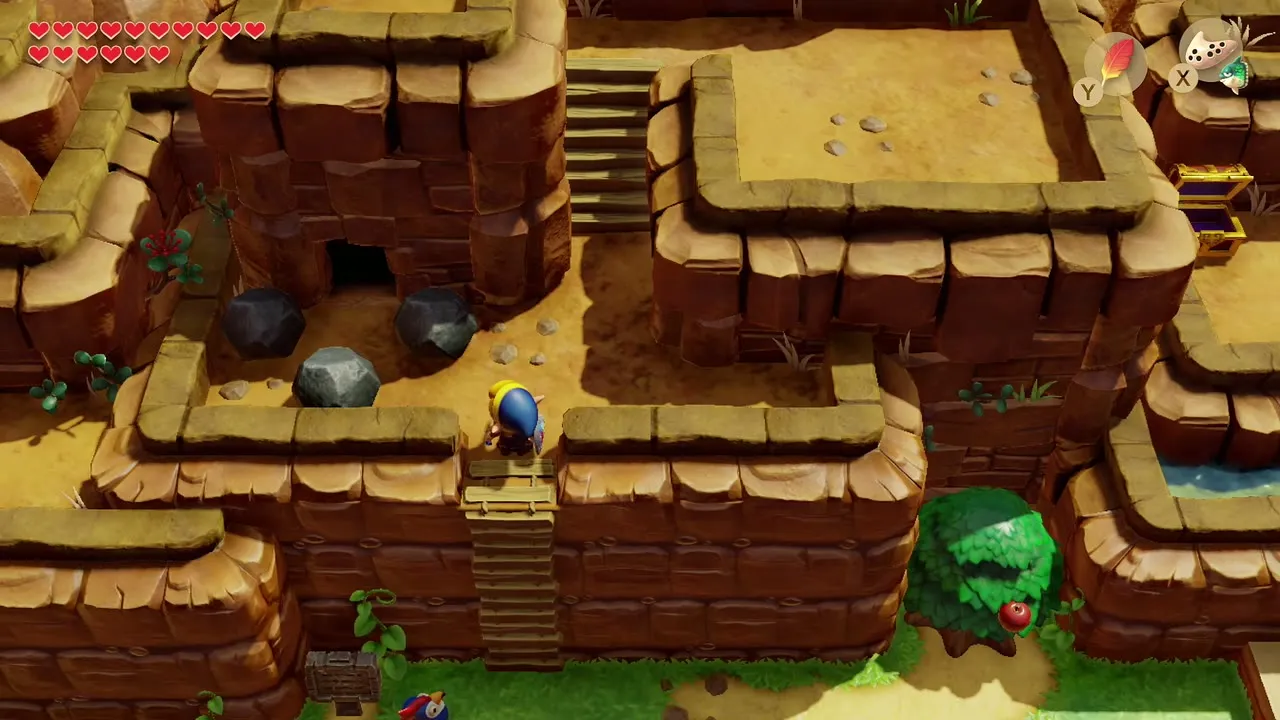
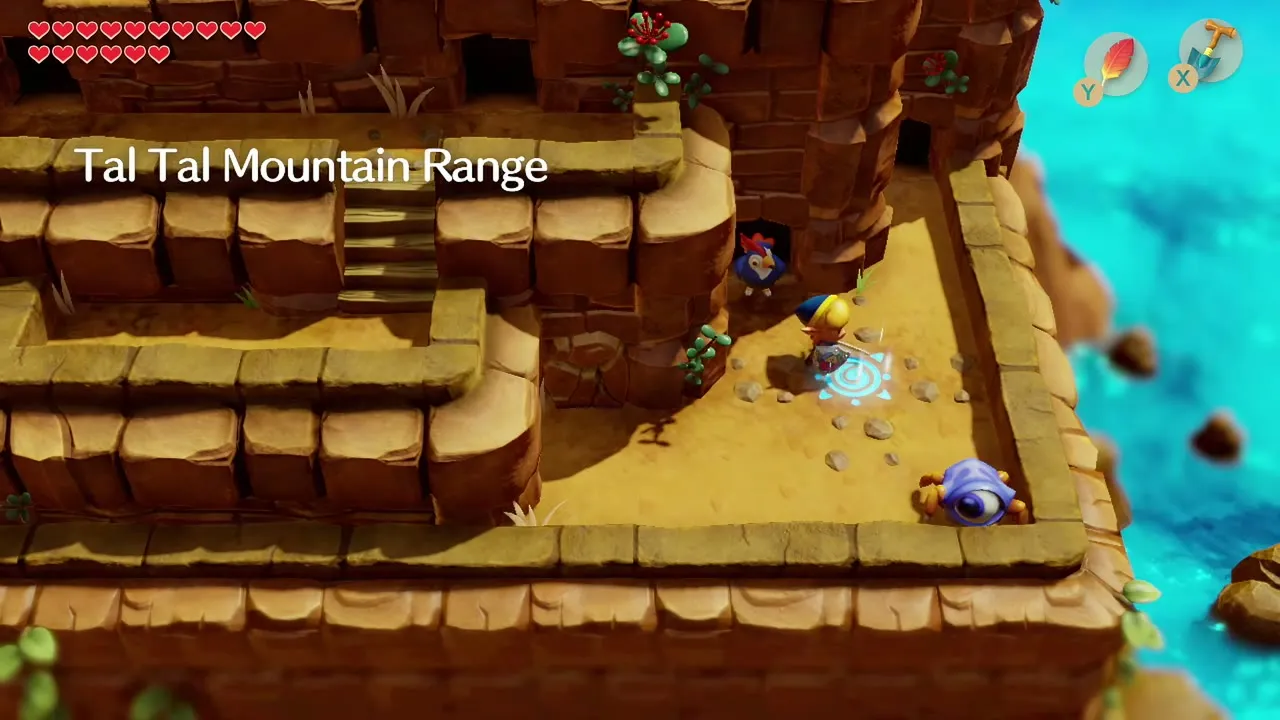
Take the route you used for Angler’s Tunnel, or warp to Dampé’s Shack, and climb the ledges of the Tal Tal Mountain Range. Dodge the rolling boulders and the Tektites on the way up. The cave you want lies directly underneath the Hen House, the house with the weathervane roof, which your map marks.
Grab the purple Rupee chest with the rooster
A chest sits on a ledge you cannot walk to. Lift the rooster and float across the gap, or cross with the Hookshot, and open the chest for a purple Rupee.

How to get the Bird Key
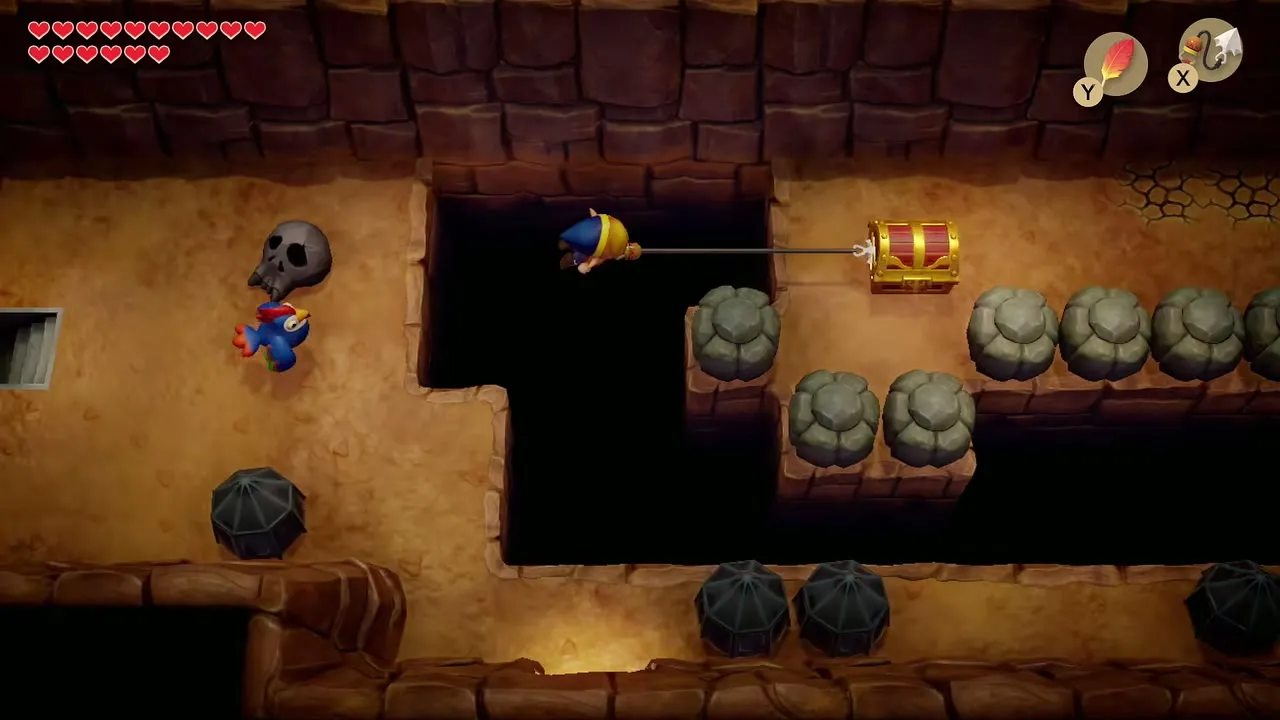
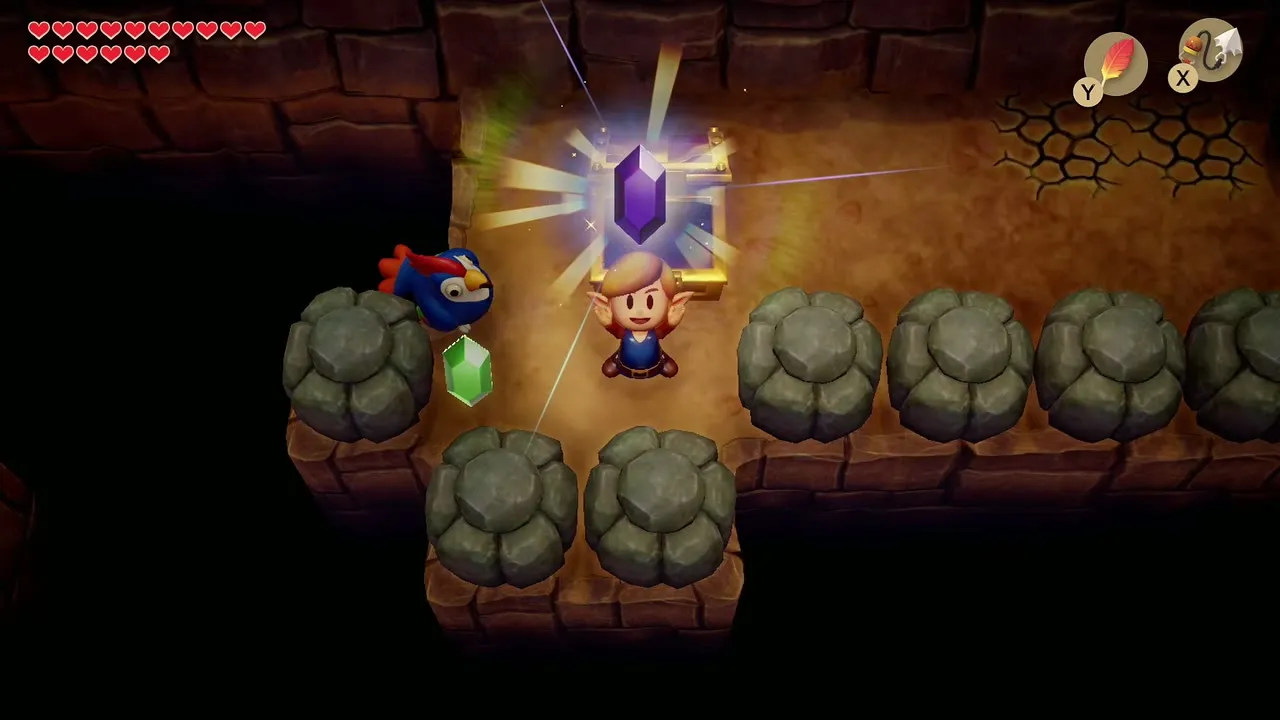
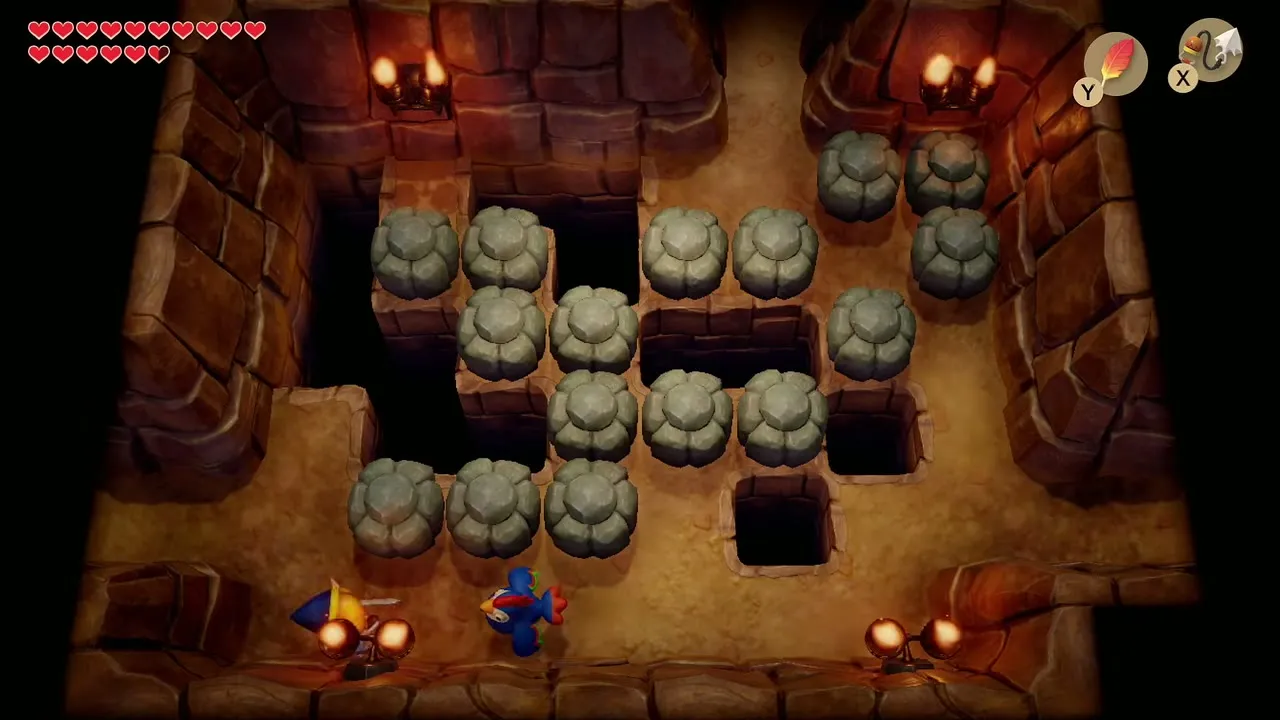
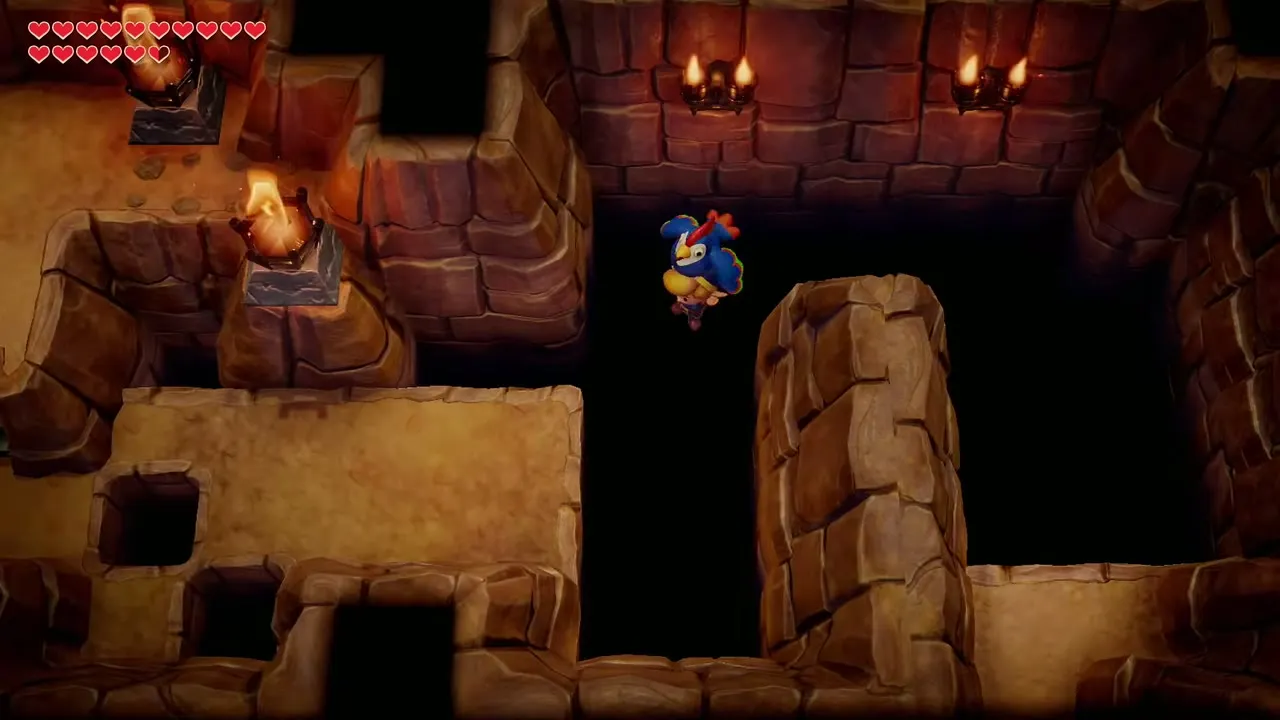
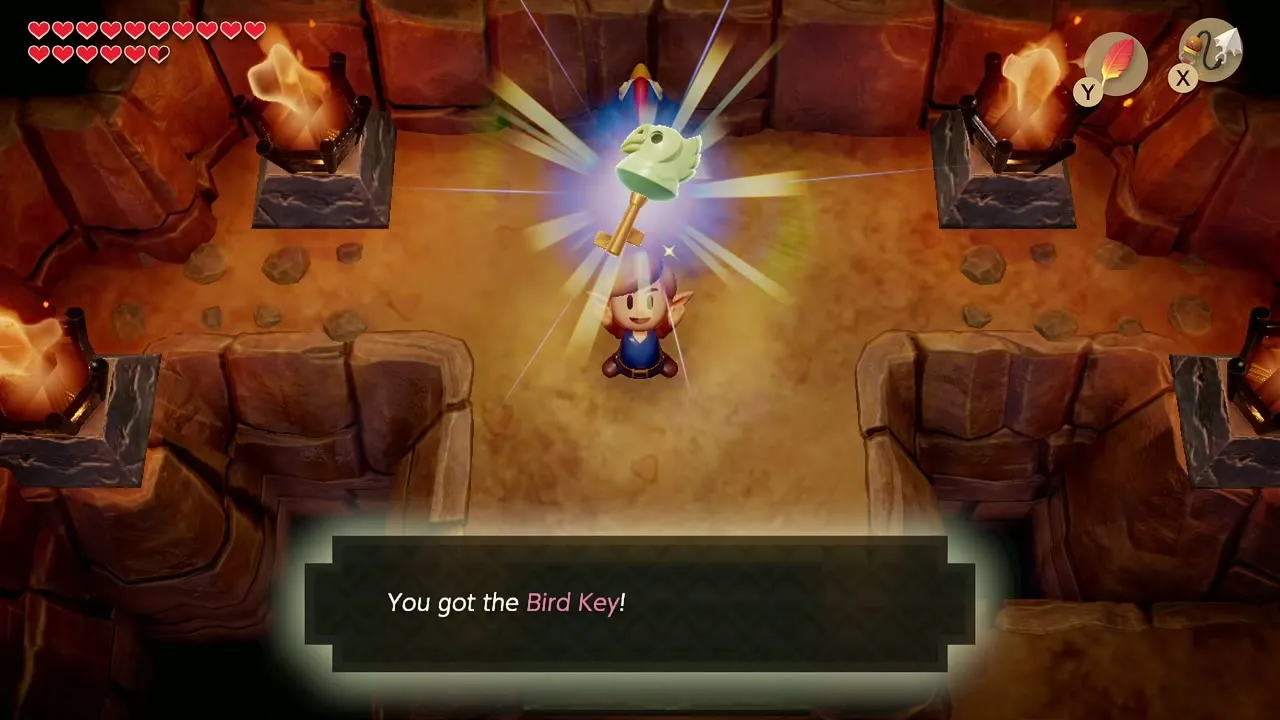
Enter the cave under the Hen House. In the first room the boulders cannot be pushed into a clear path, so pick up the rooster and fly across the pits on the left and top edges, then throw him down to land and leave by the north exit. In the next room an open abyss blocks the way. Hold the rooster over your head, float to the far side, climb the steps and open the chest for the Bird Key.
Piece of Heart west of the Hen House bridge
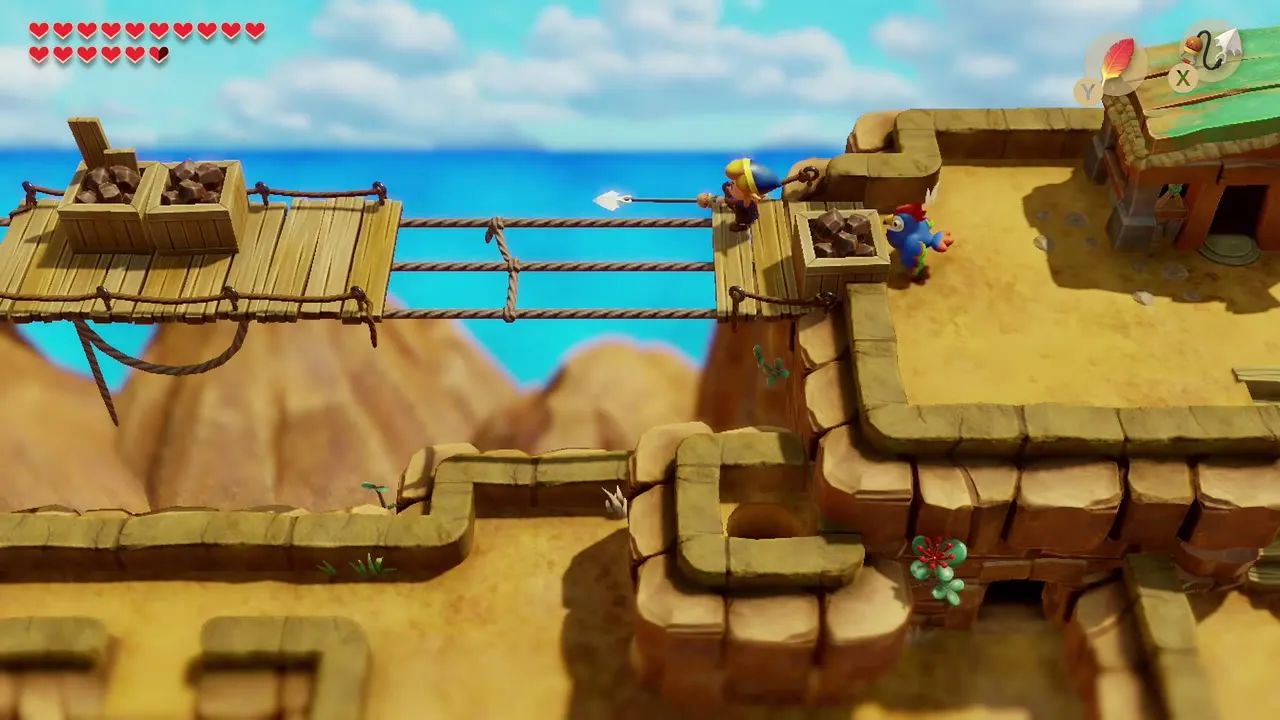
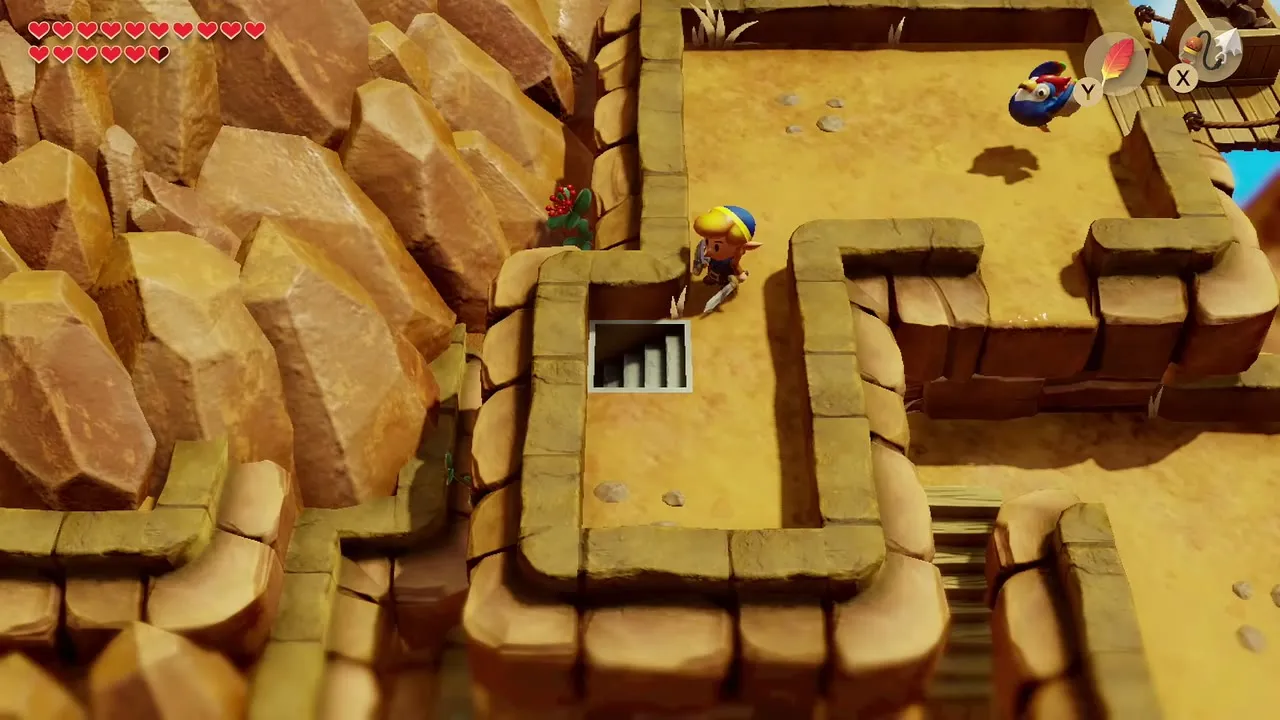
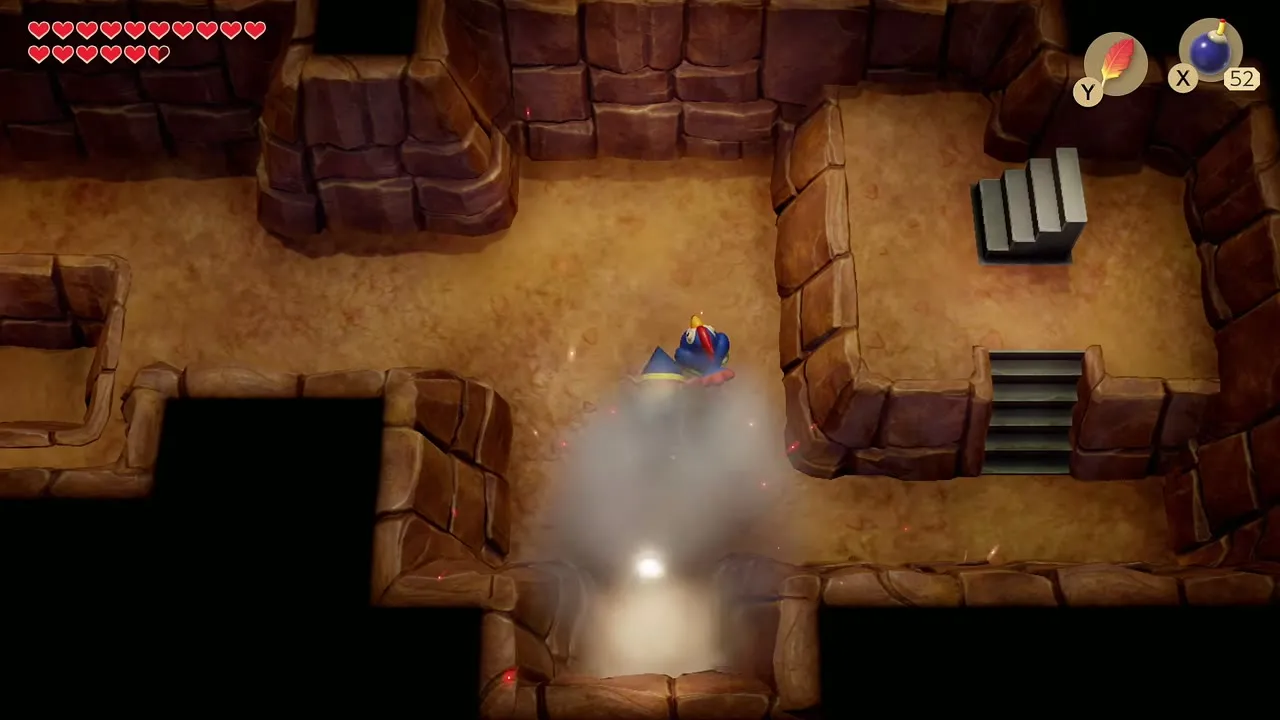
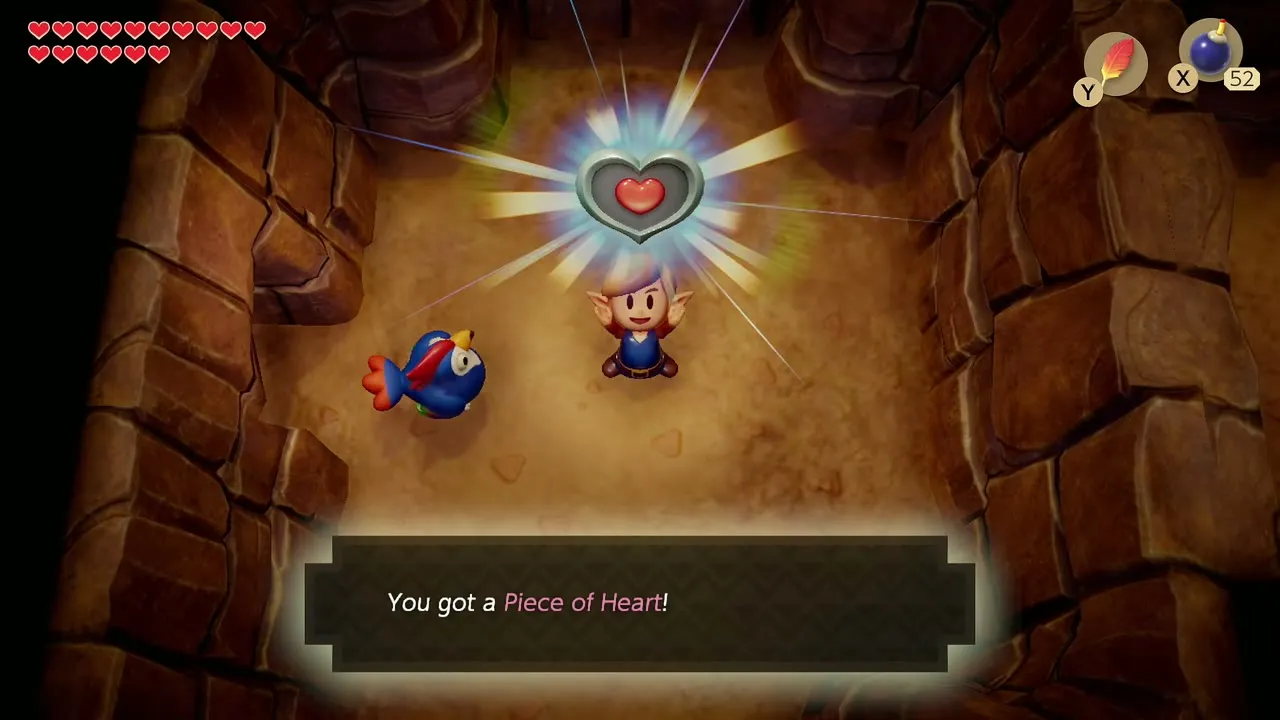
Leave the cave and go back up to the Hen House cliff. Walk left to the broken bridge and cross it with the Hookshot. At the far end, cut the lone bush to uncover a hidden staircase and go down. Place a Bomb against the cracked south wall, step through, and take the Piece of Heart on the right.
West cliffs: Secret Seashell and another purple Rupee
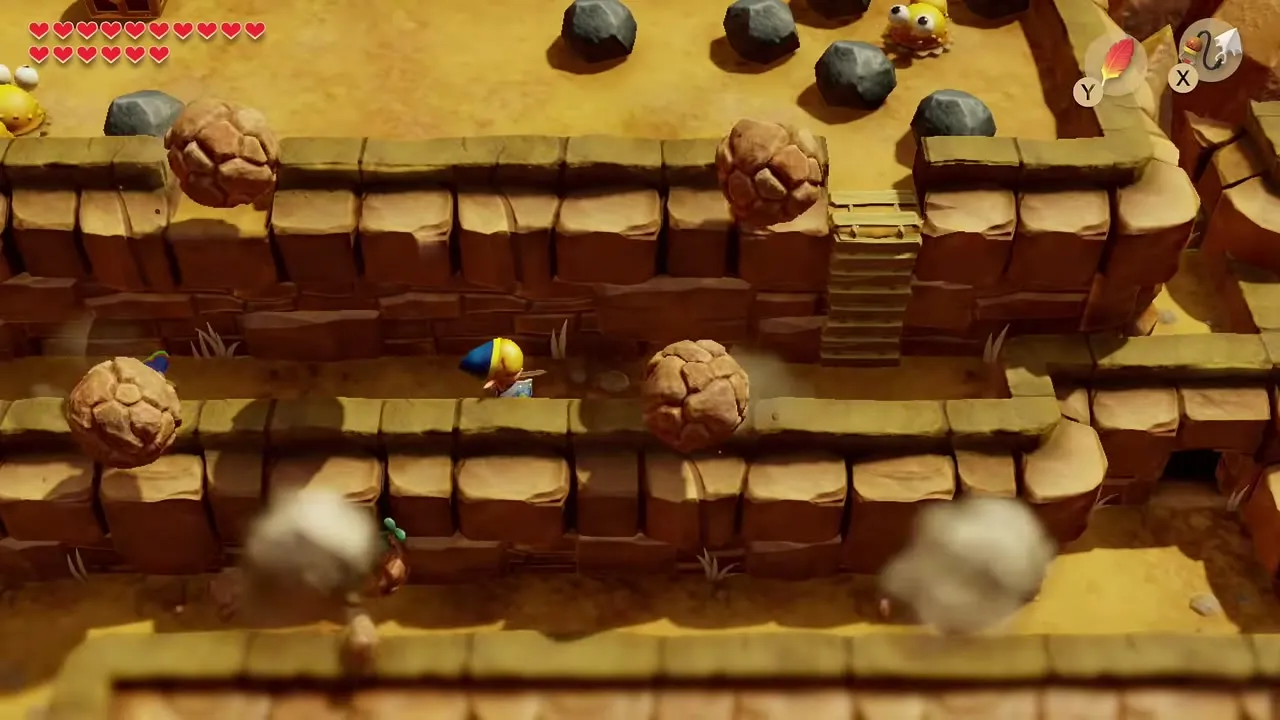
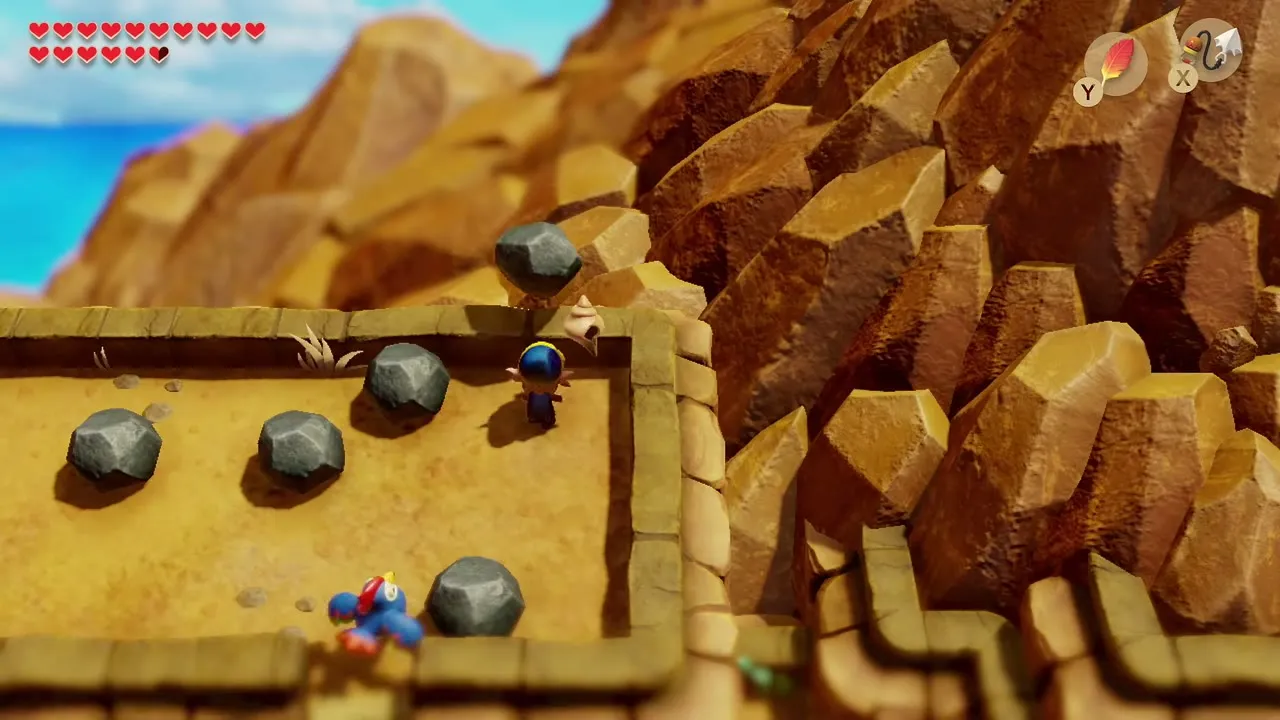
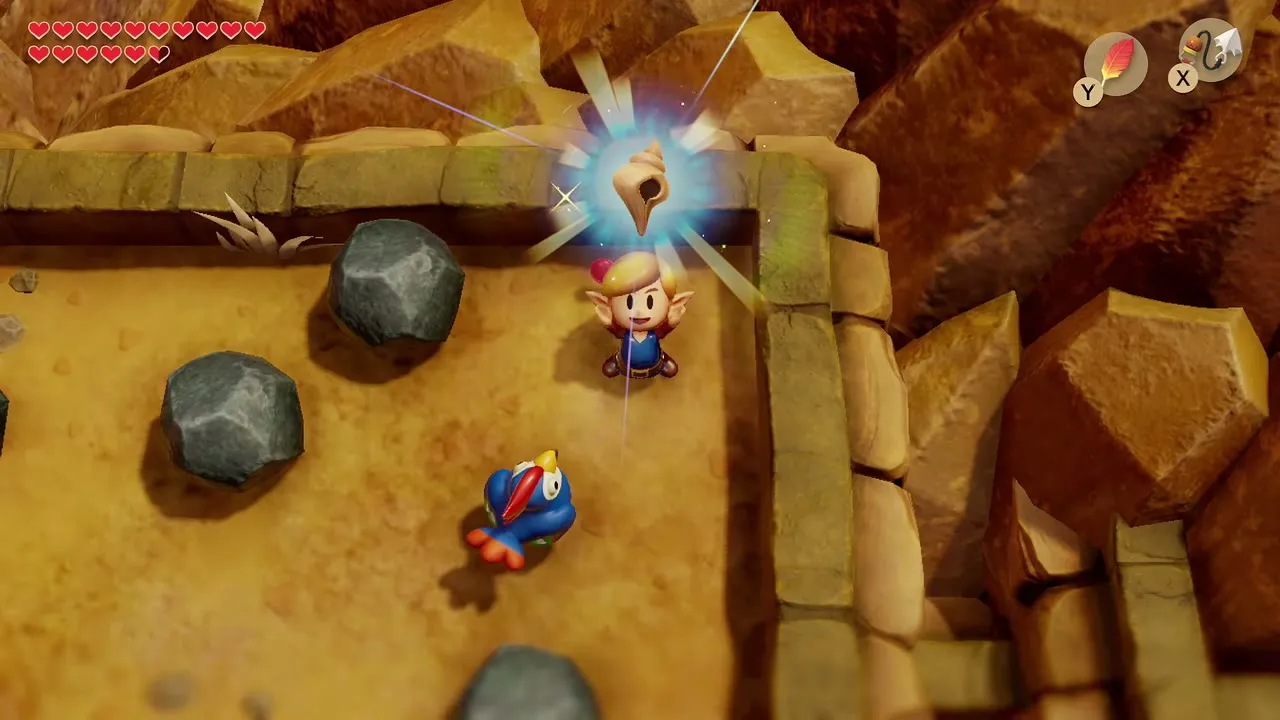
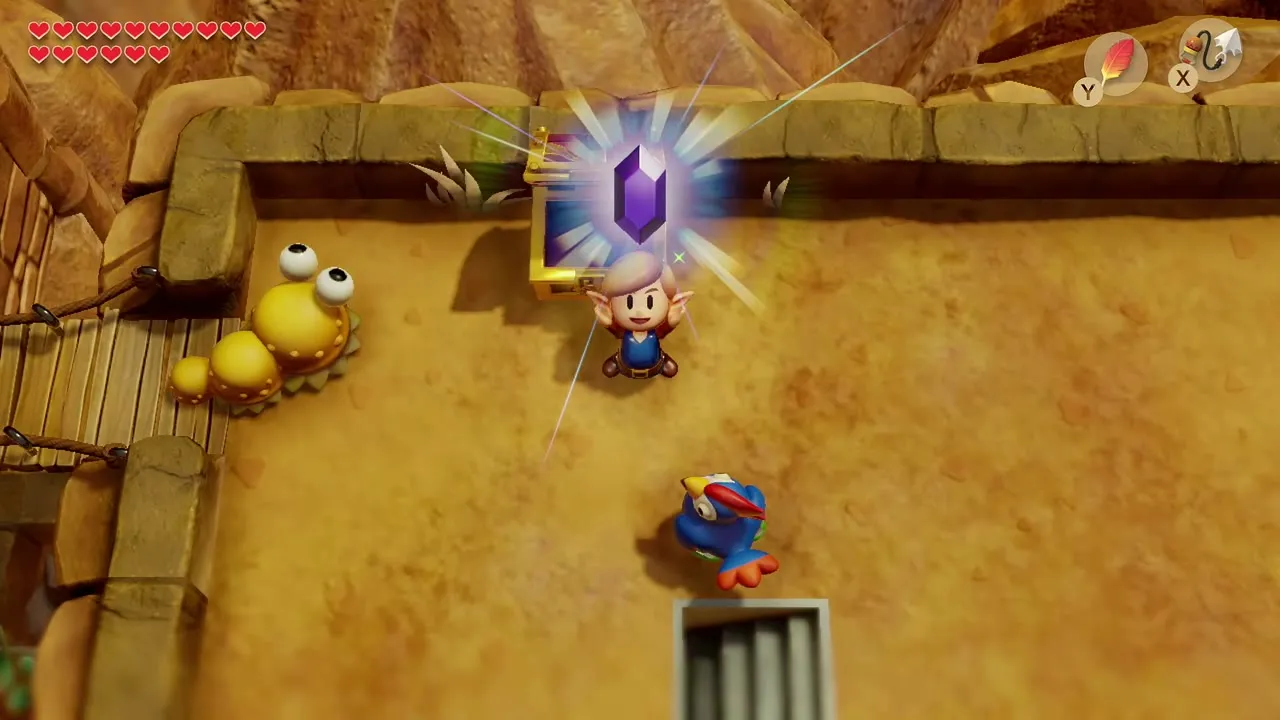
Climb to the higher boulder fields in the west of the range, west of Mt. Tamaranch, where stones tumble down the slope. Dodge them, reach the upper ledge and lift the boulder in the top-right corner. A Secret Seashell is hidden under it. Follow the ledges further to a chest holding a second purple Rupee. Back at the Hen House, cross the bridges to the east, where three rocks block the path, and lift the right-hand one with the Power Bracelet for one more Secret Seashell.

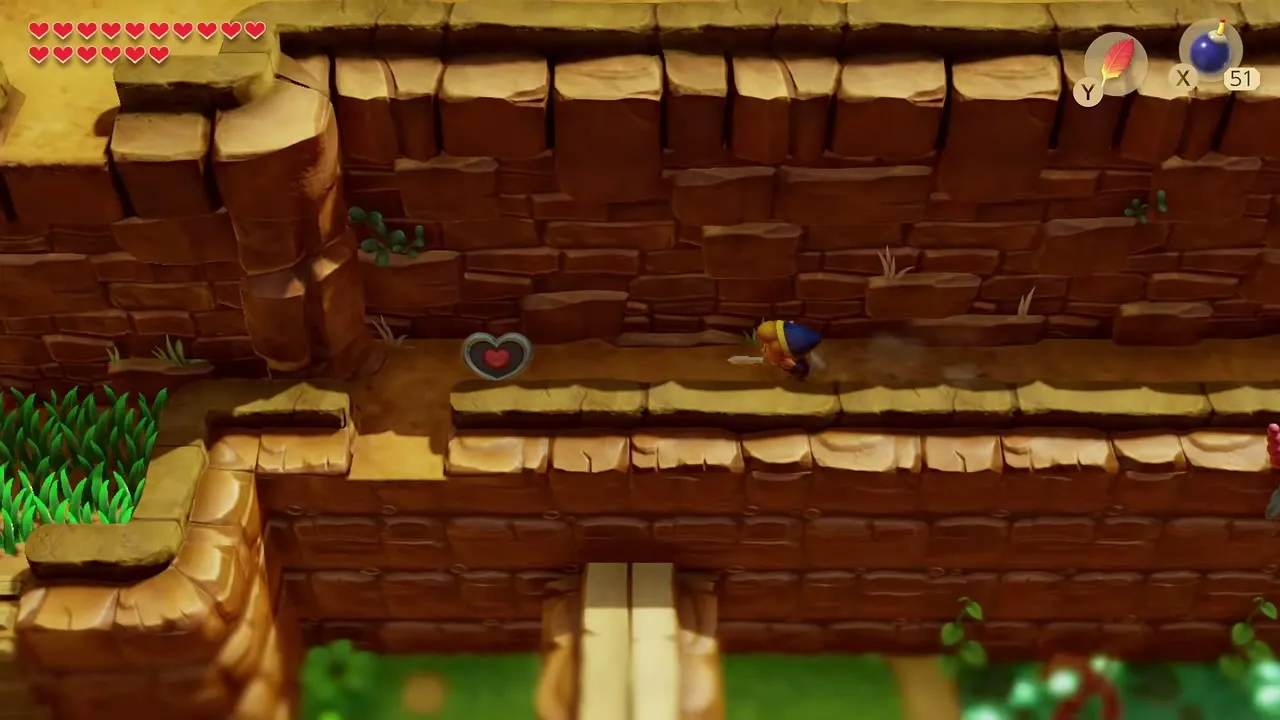
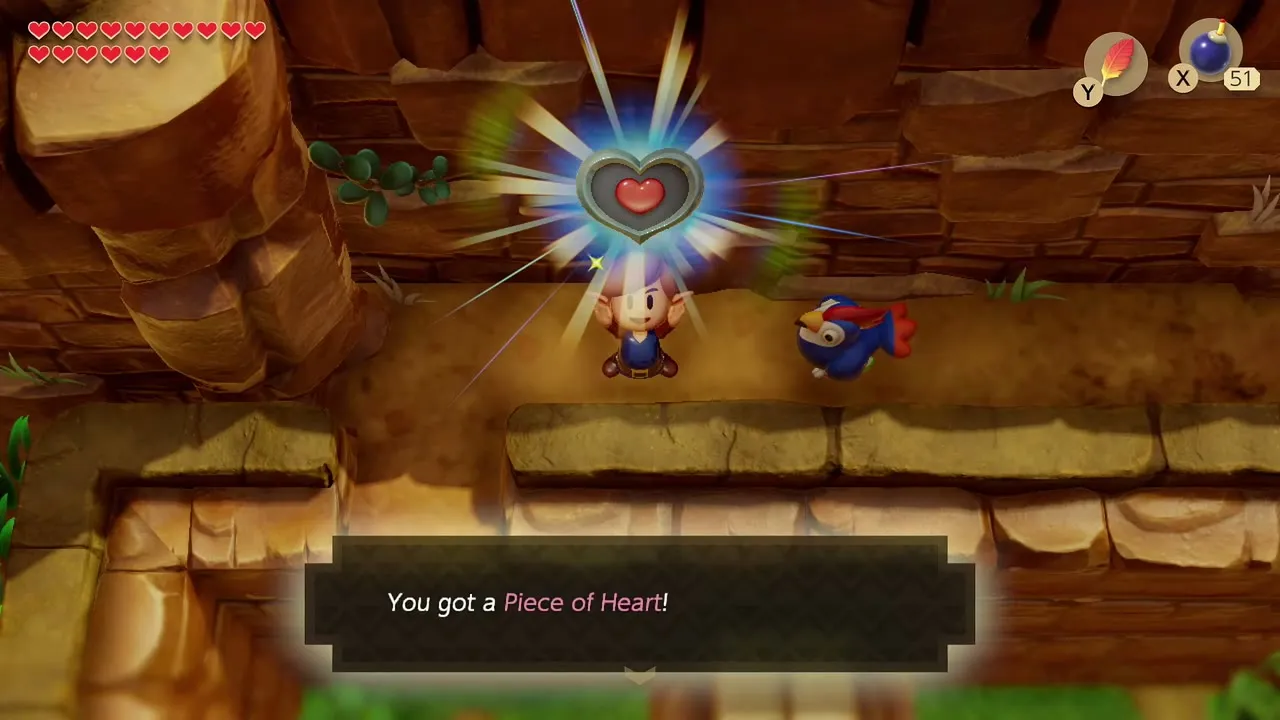
Second Piece of Heart on the narrow ledge
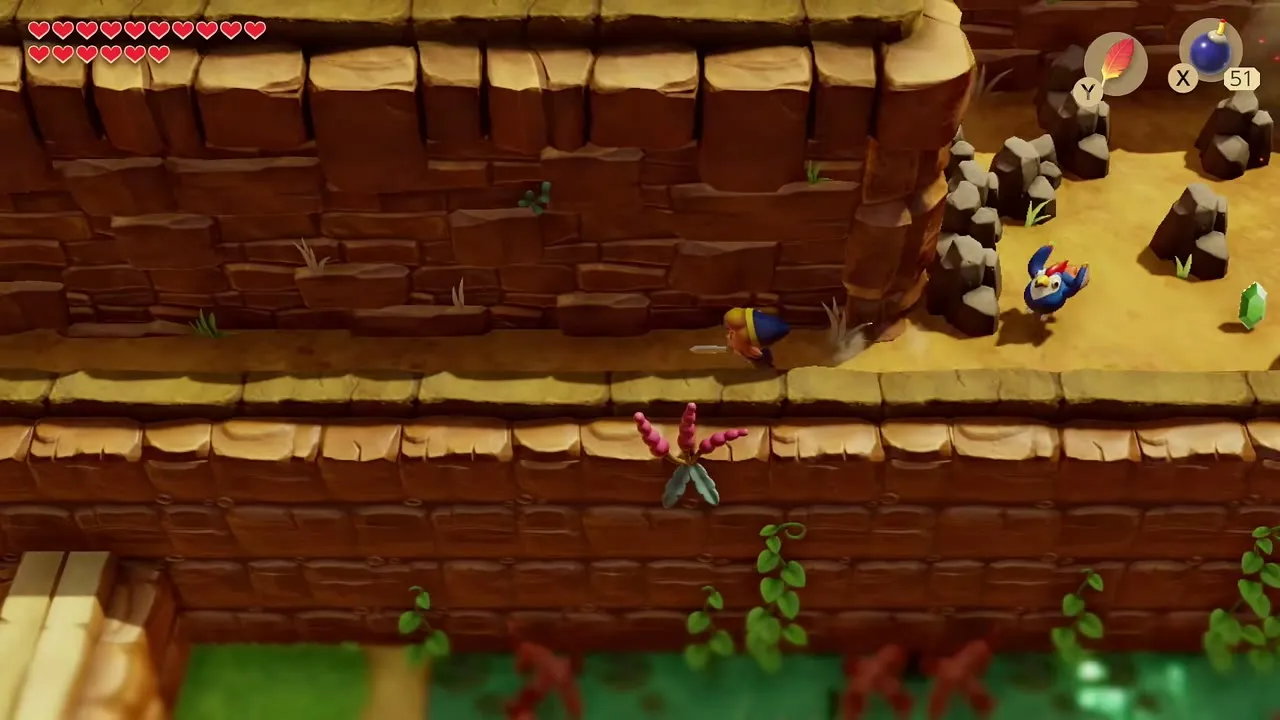
On the cliff west of Mt. Tamaranch, step off the high ledge to a narrow lower edge. Walk west along it to the end, where a Piece of Heart waits.
Warp portal, Fairy Fountain and the tower entrance
Go back east through the caves
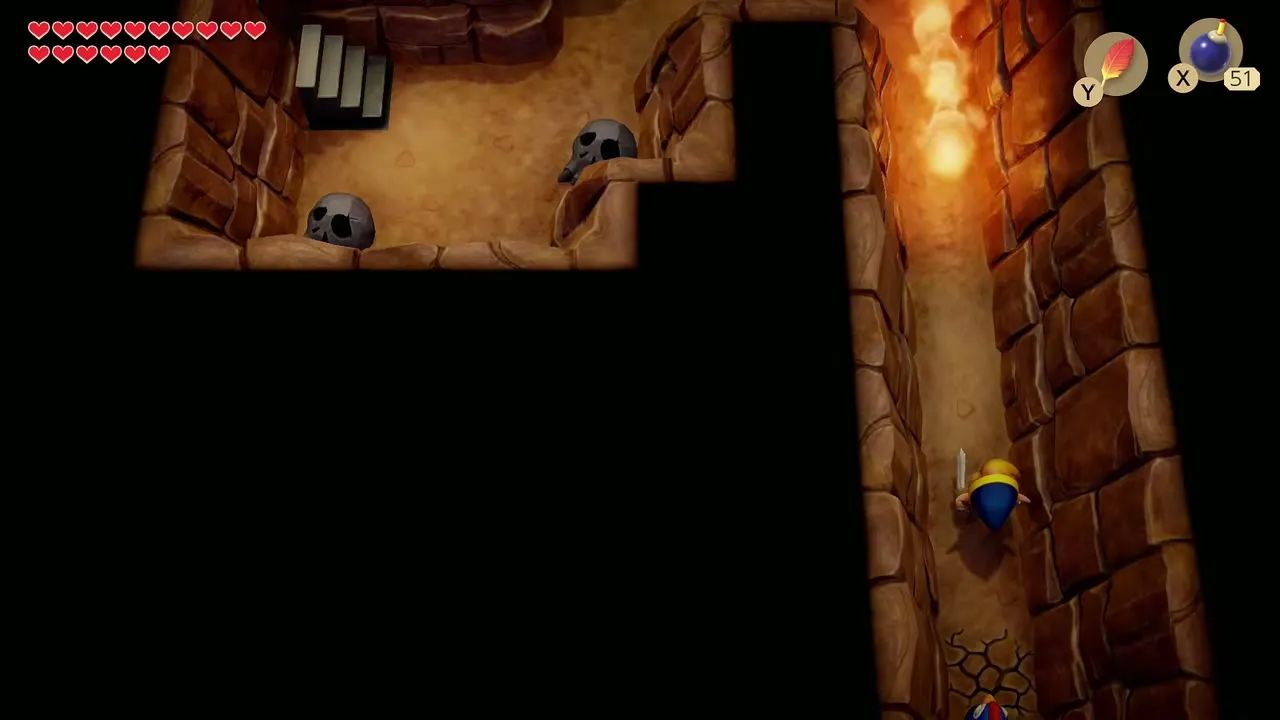
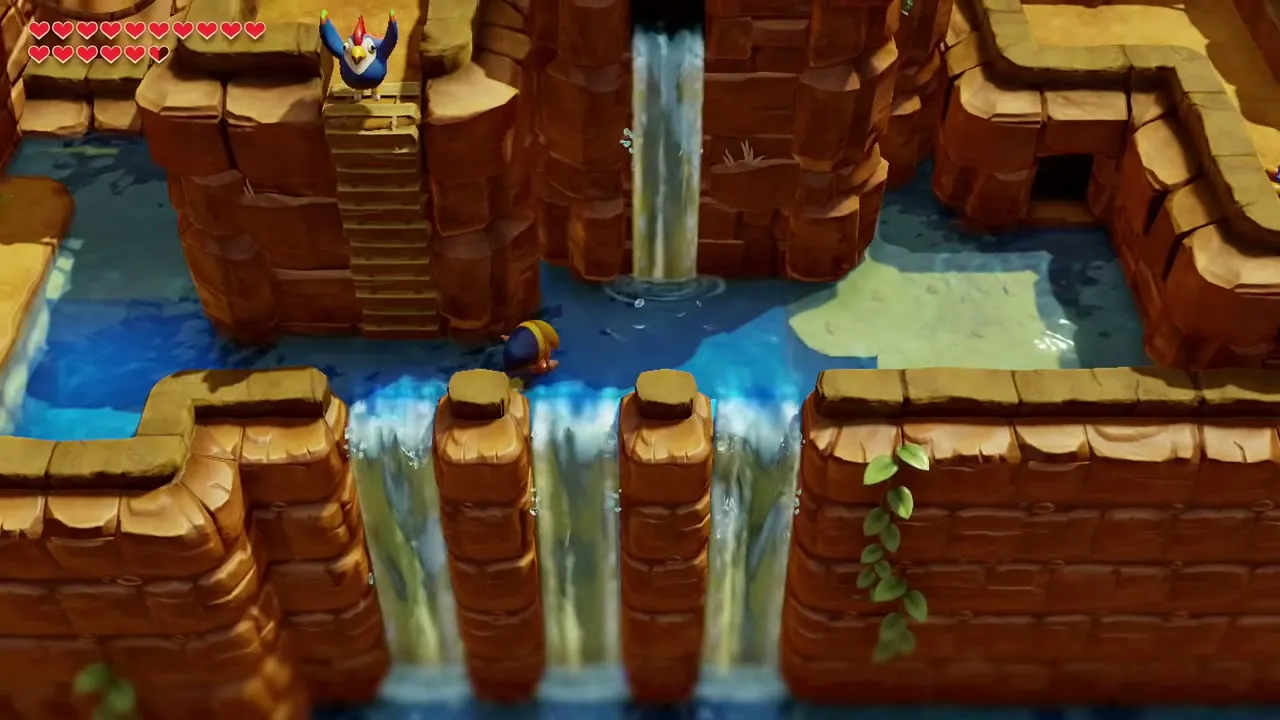
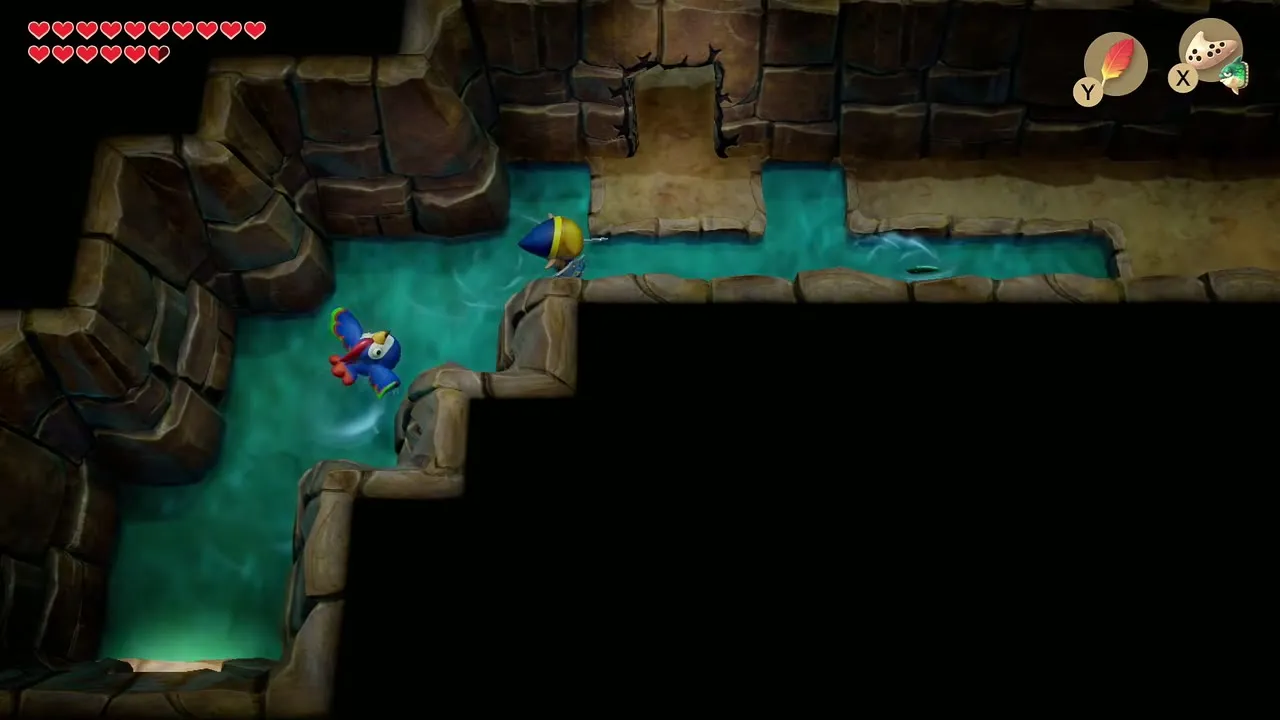
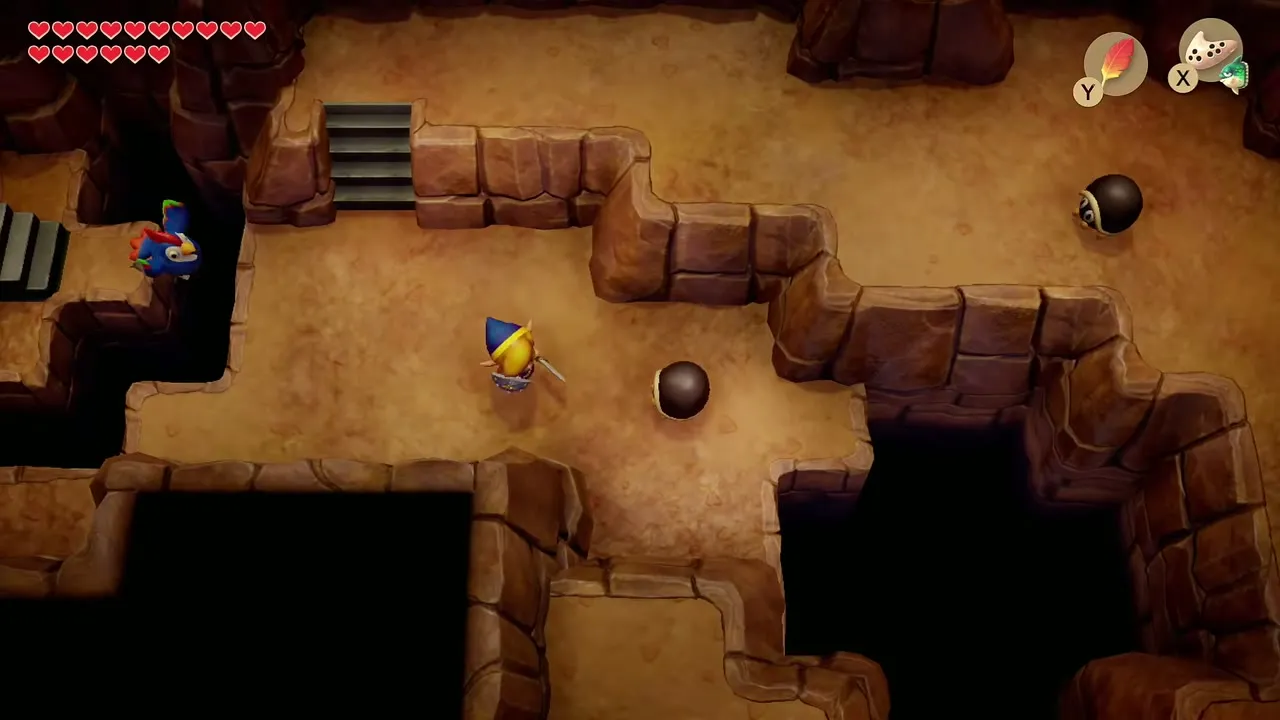
Take the cave system east, where fire walls, a waterfall pool and a few small enemies fill the rooms, and climb up to the ledge. Use the warp portal there to jump straight to the eastern Tal Tal Mountains. The path from there winds along the mountainside and is mostly linear.

Great Fairy Fountain behind a cracked wall
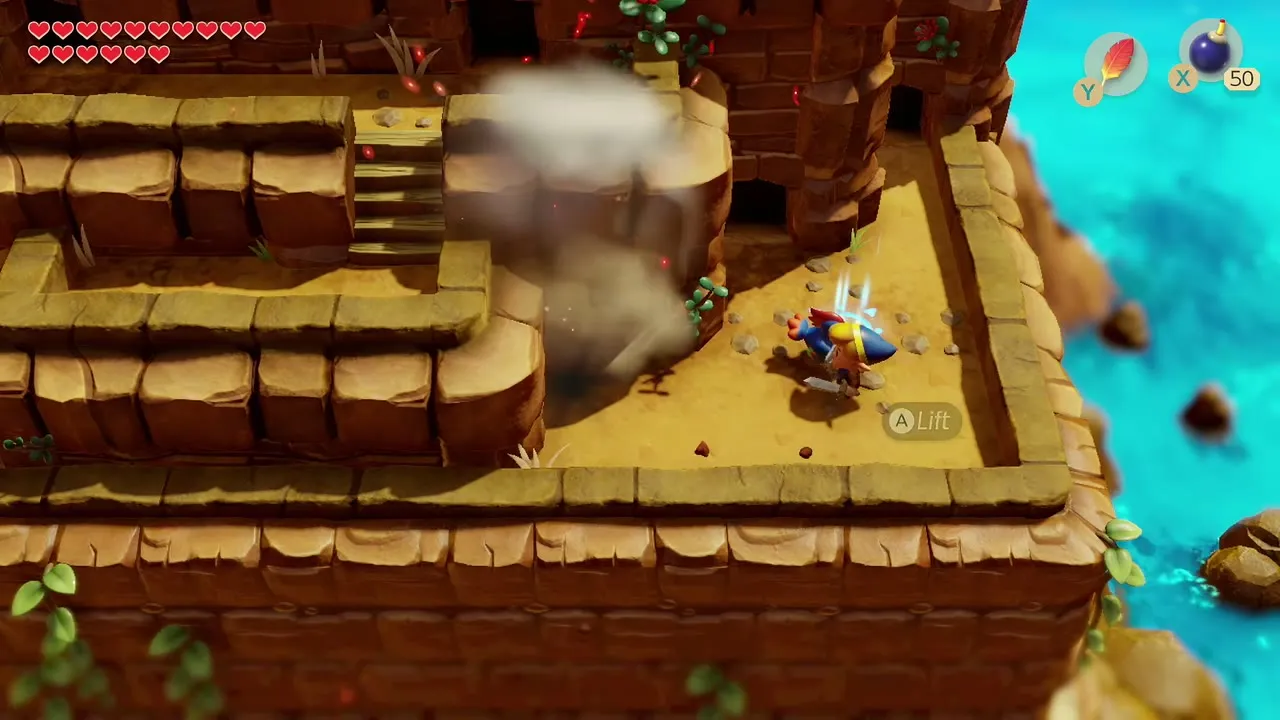
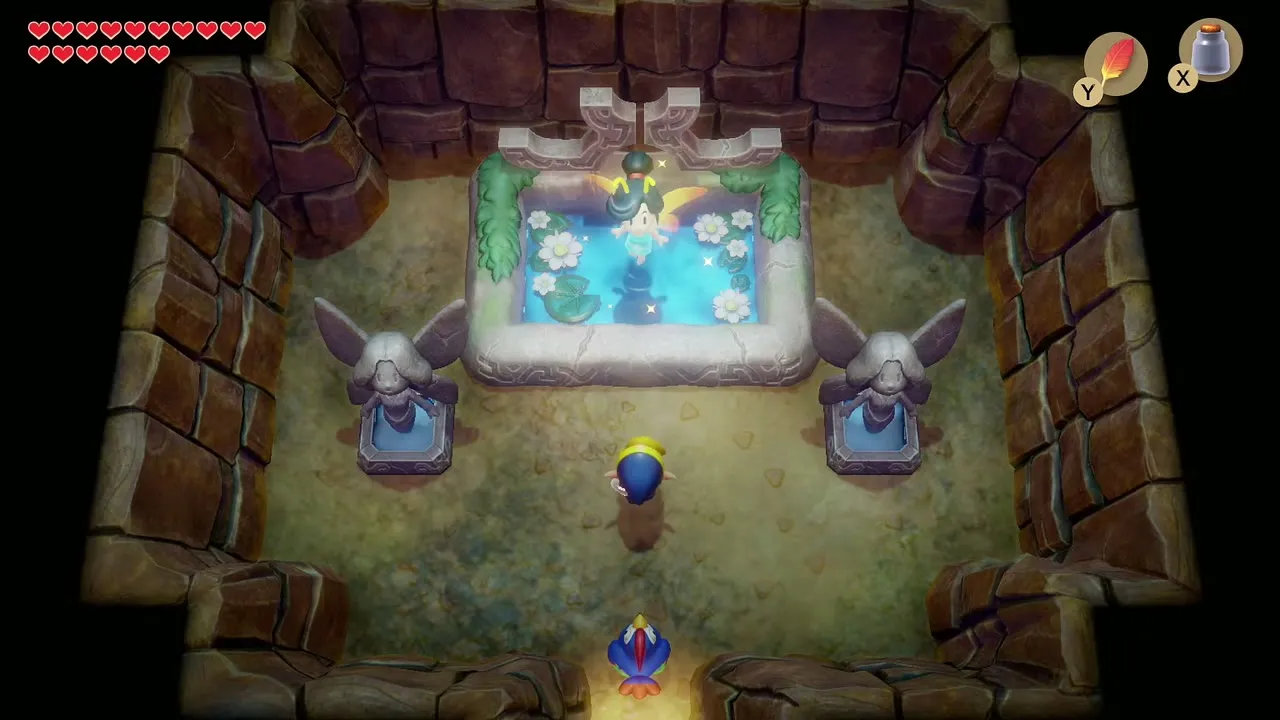
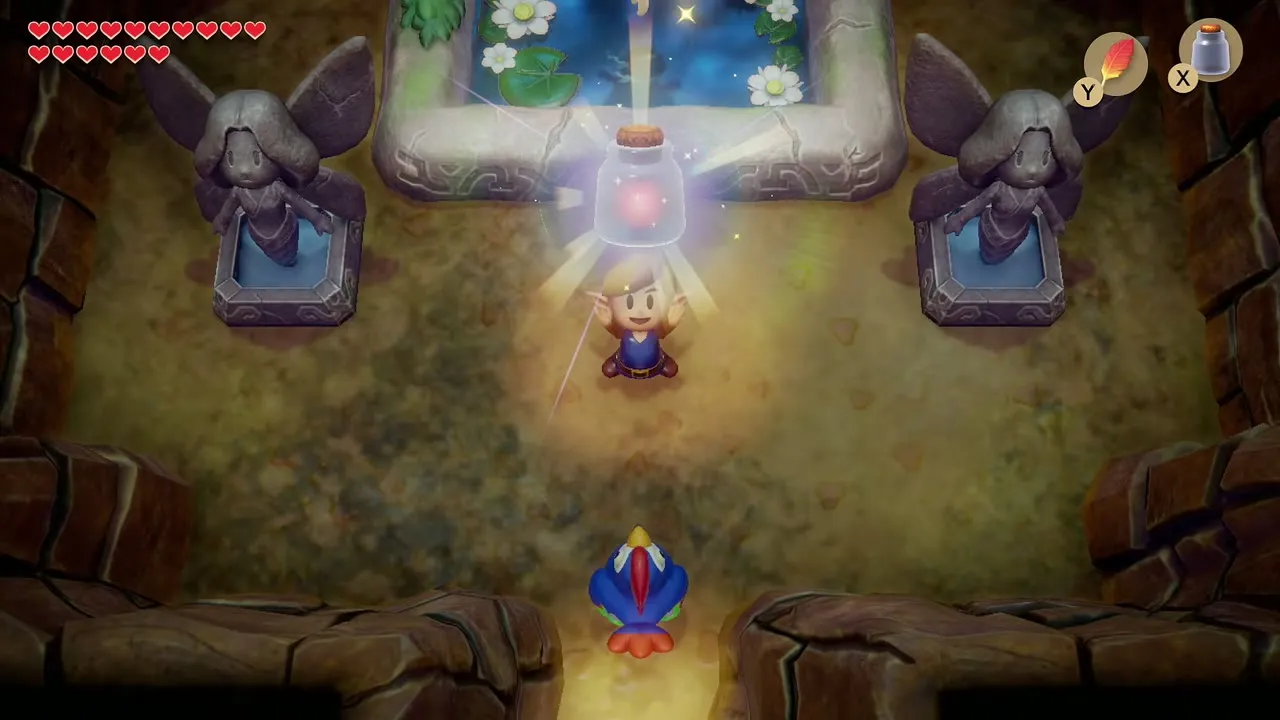
Bomb the cracked wall on the route to reveal a Great Fairy Fountain. Wade into the pond and the Great Fairy refills your hearts. You can see every fountain in the Great Fairy Fountains guide.
Open Eagle’s Tower with the Bird Key
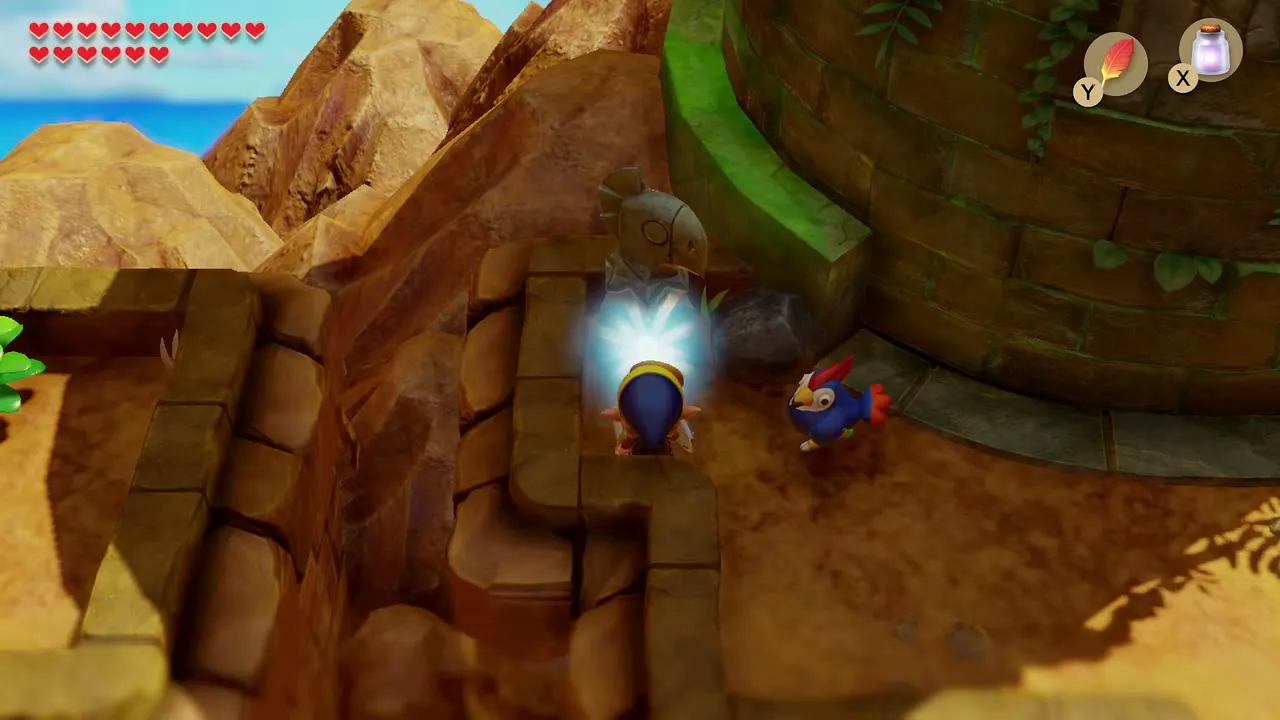
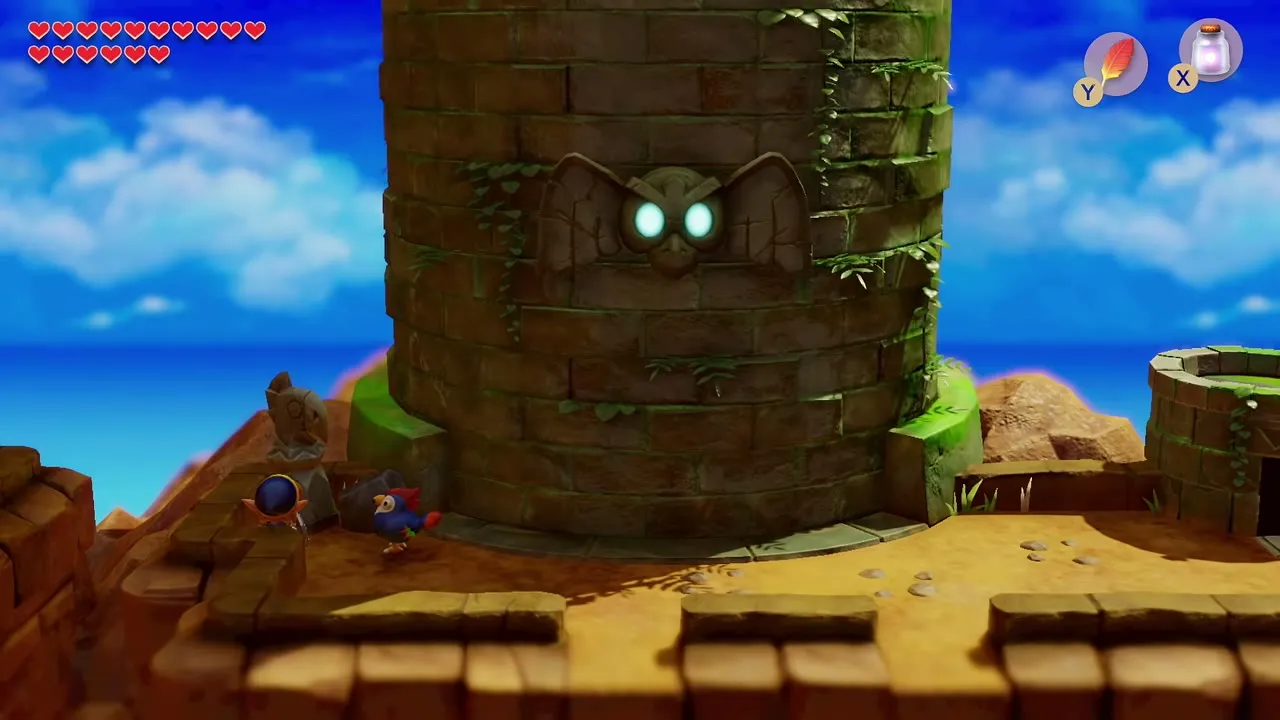
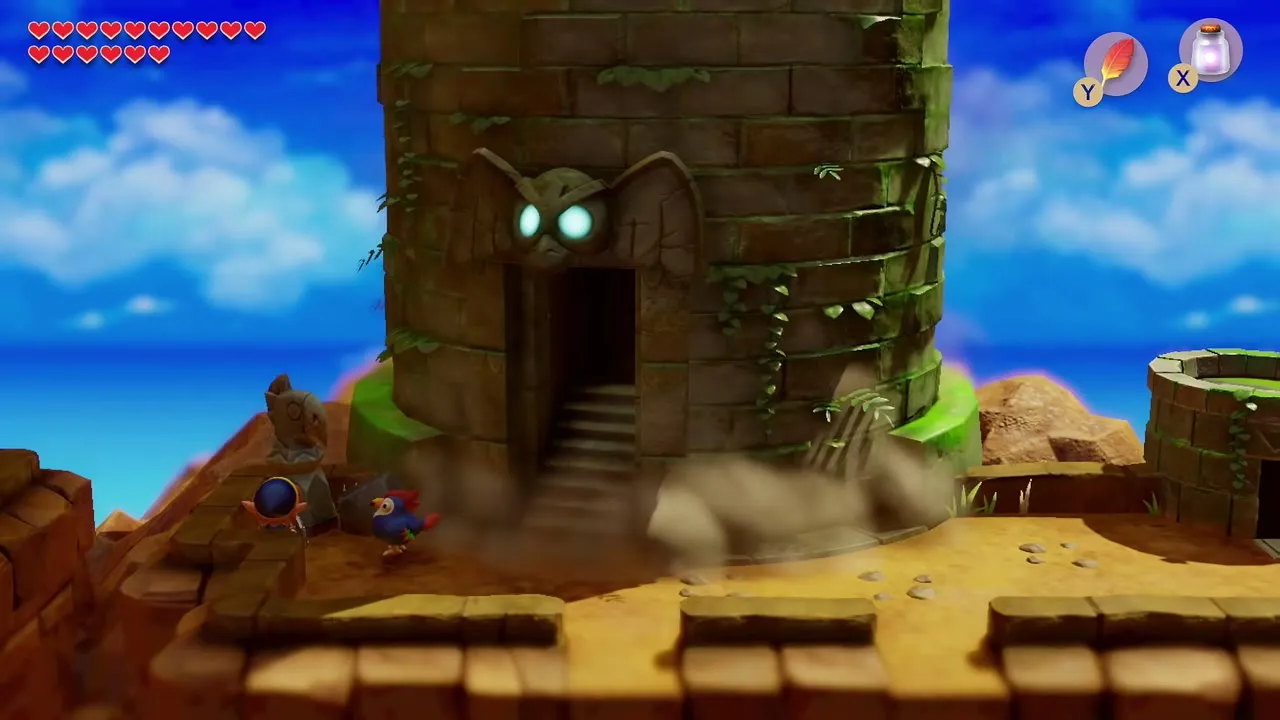
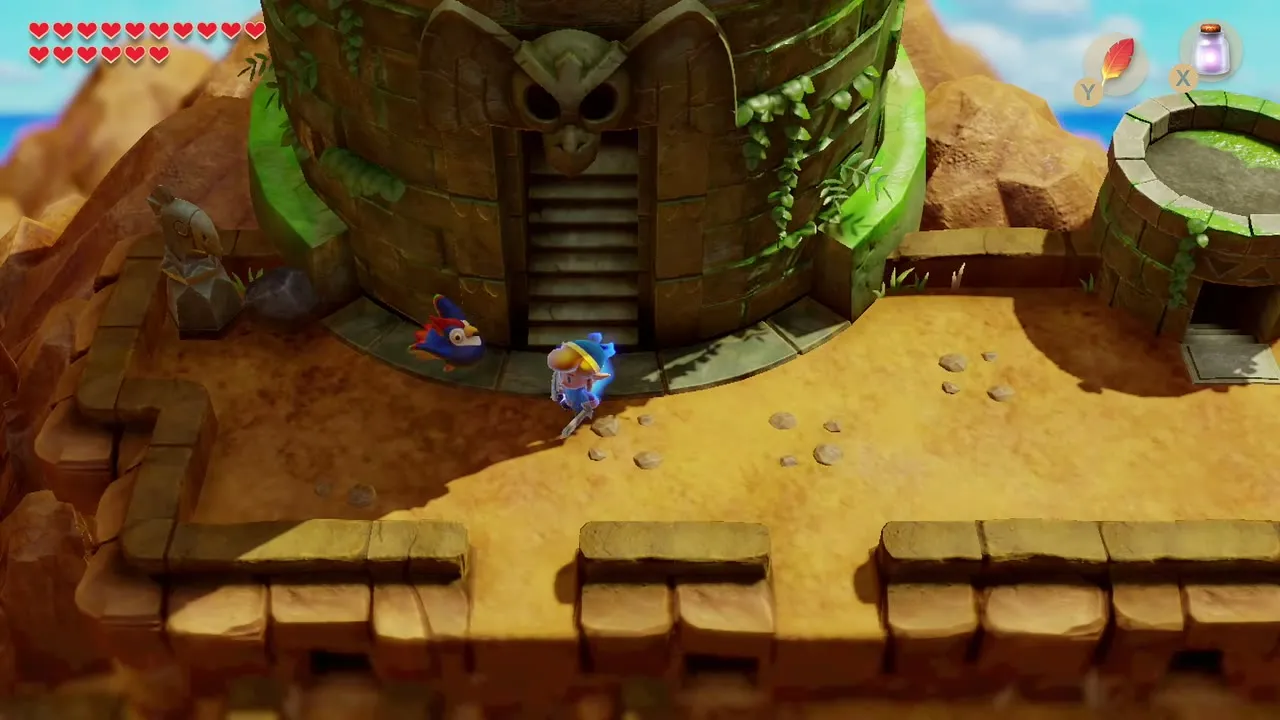
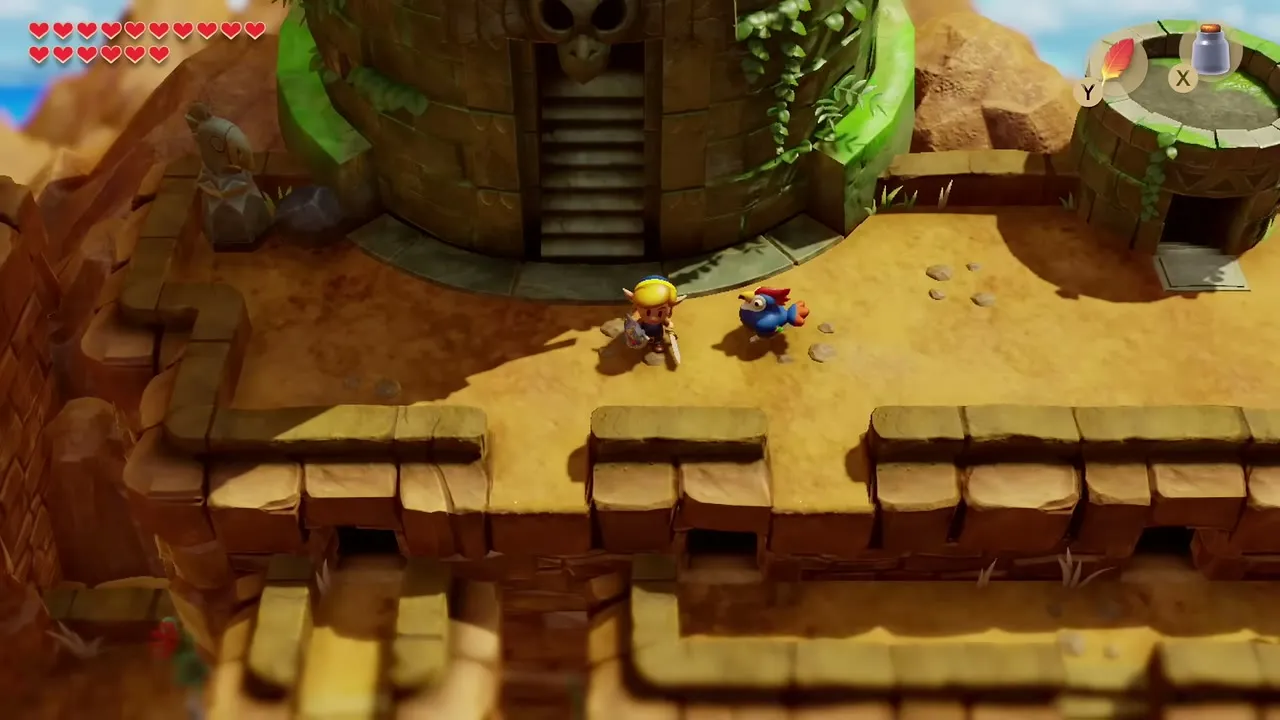
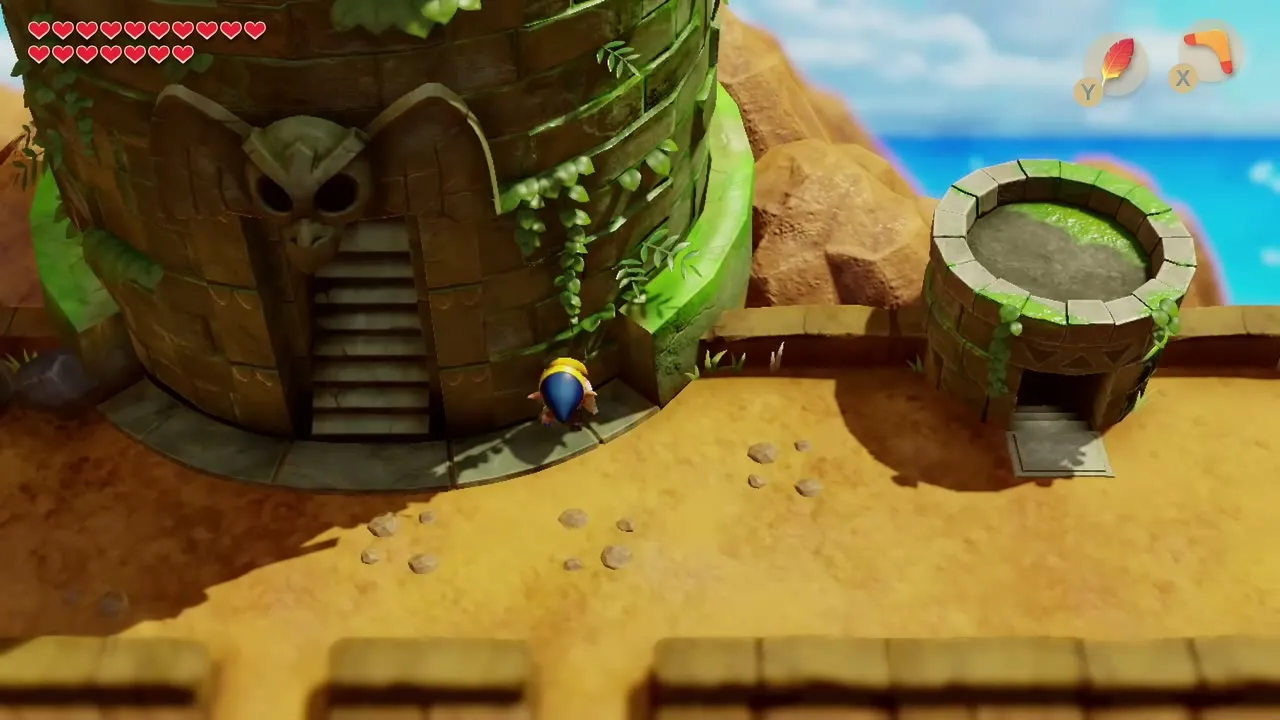
Climb the stairs to the owl-faced tower at the top of the mountain. Lift the boulders around it, then walk up to the keyhole on its left side and use the Bird Key. The owl’s eyes glow, the tower turns and a staircase opens at the base. Walk in.
Dungeon: Eagle’s Tower (Level 7)
Eagle’s Tower is a four-floor dungeon built around colored floor tiles, a black iron ball and four tall pillars. Pillars on the lower floors have to be knocked over to bring the building down. You need the Hookshot, Bombs, Roc’s Feather and the Power Bracelet, and you find the Mirror Shield, Map, Compass and Nightmare Key. This guide follows the order in which the tower is cleared.
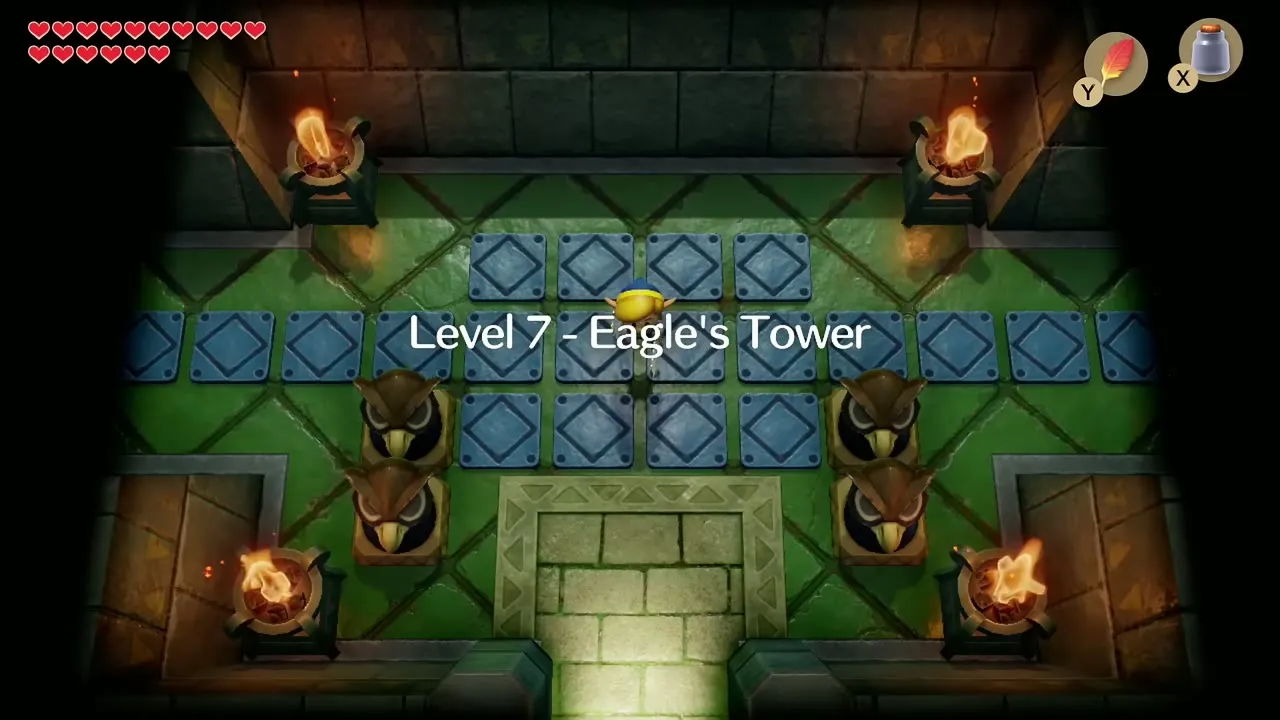

Entrance floor: Like-Likes and the first small key
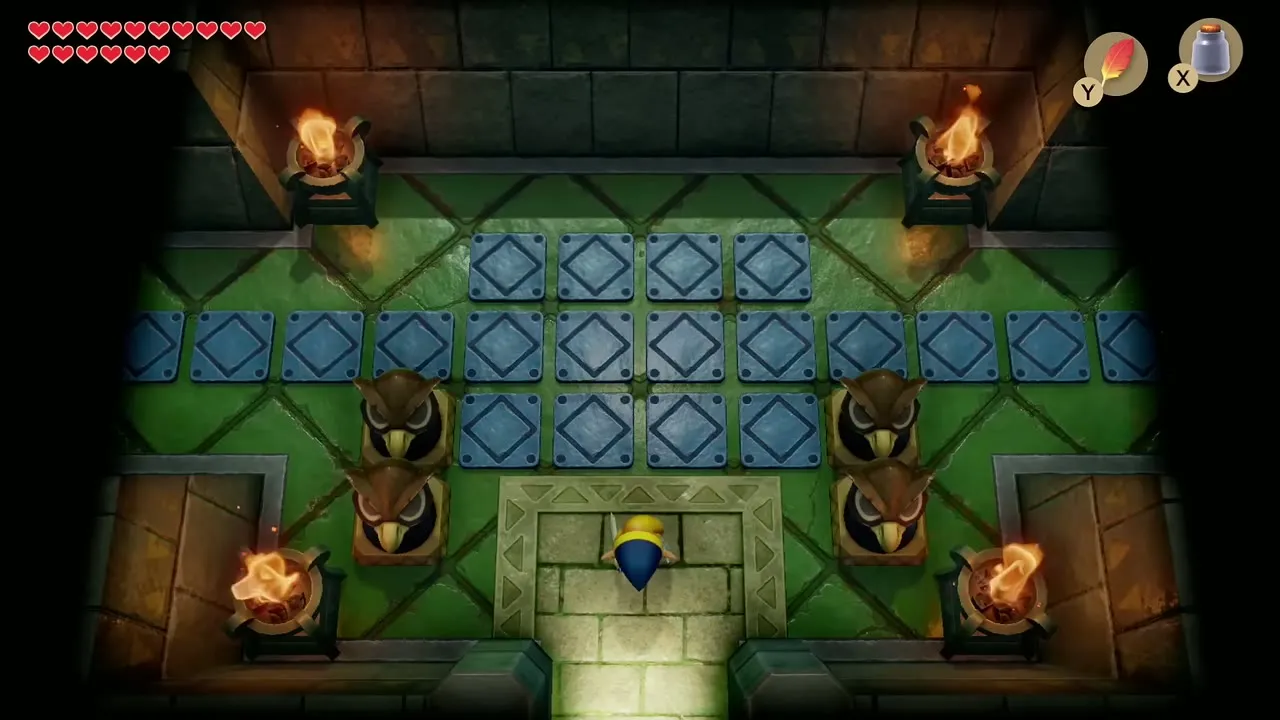
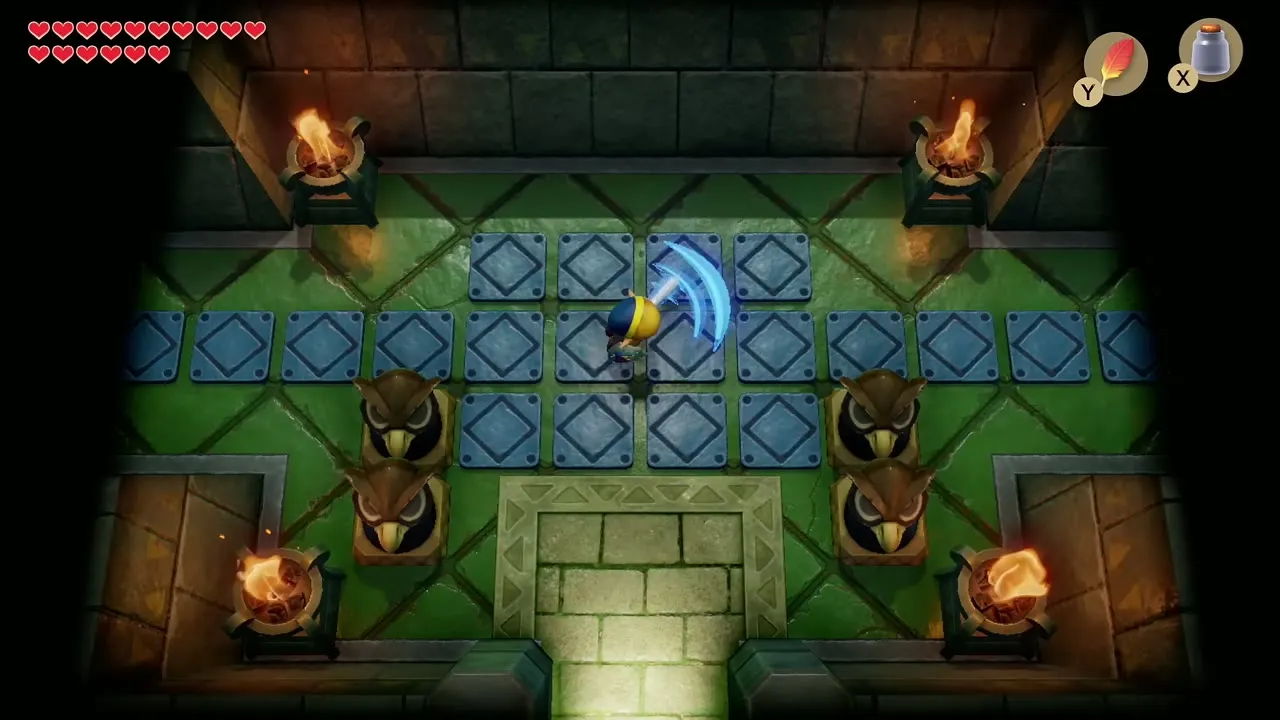
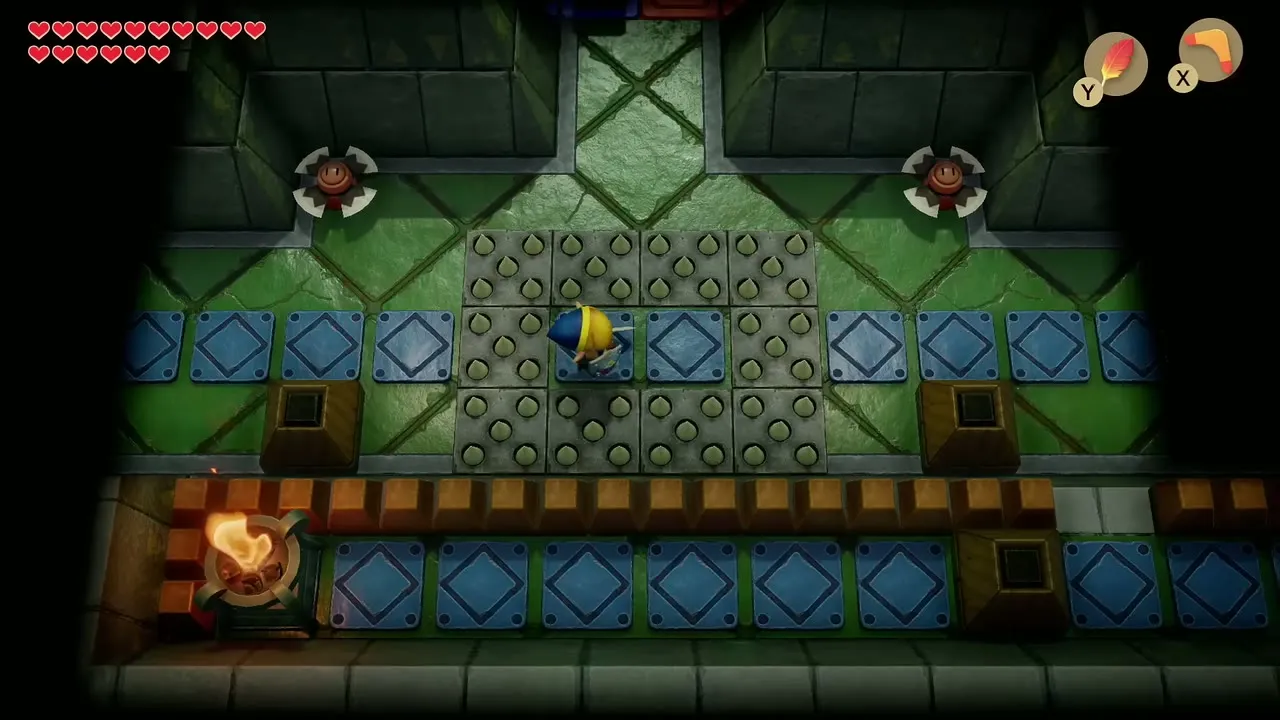
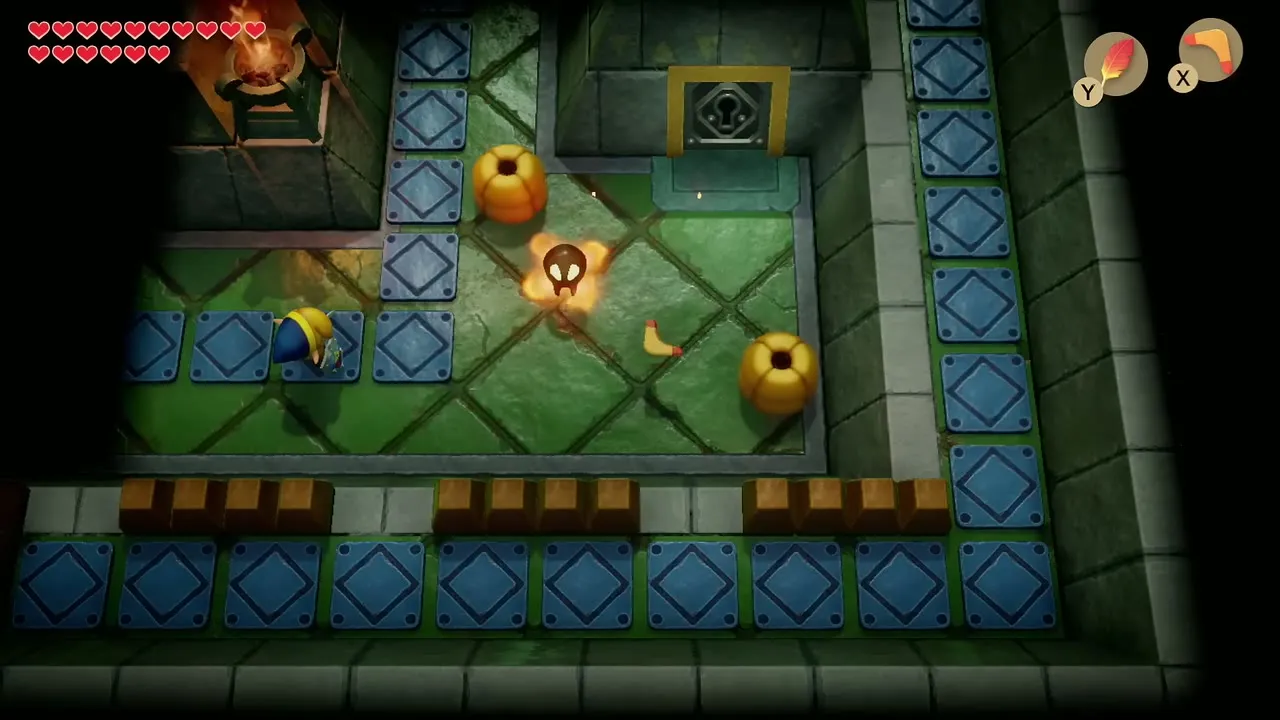
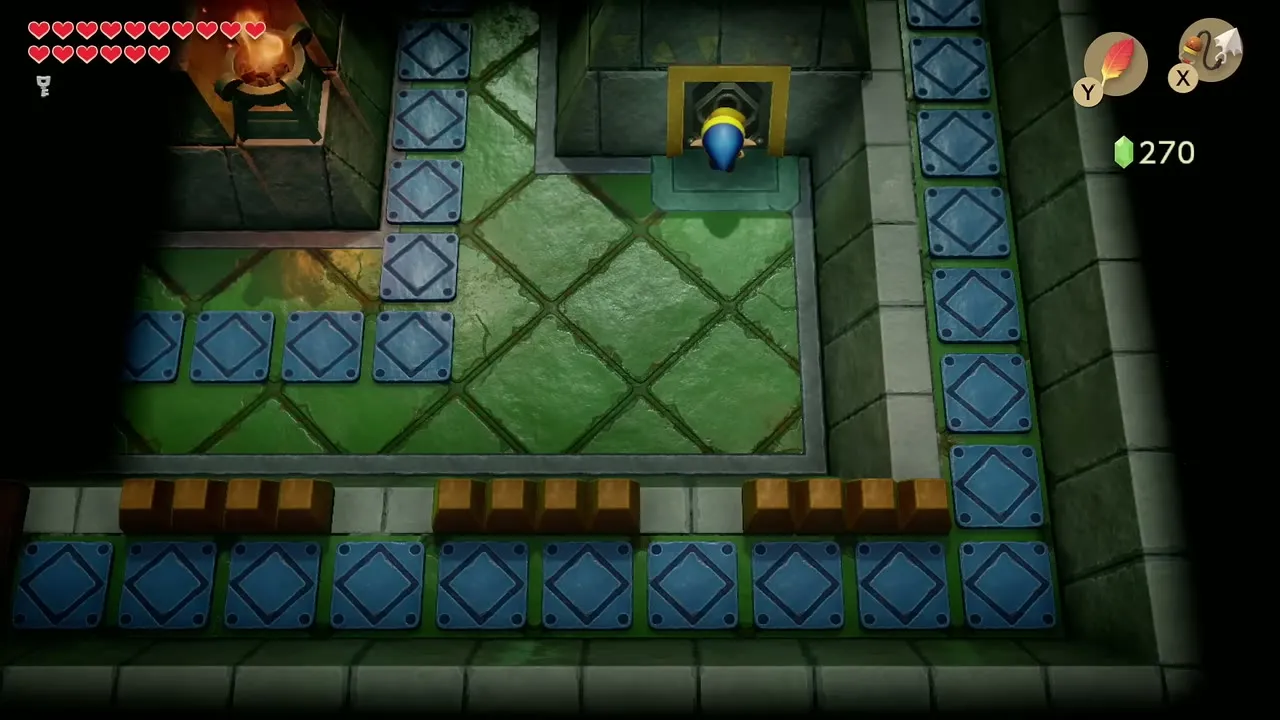
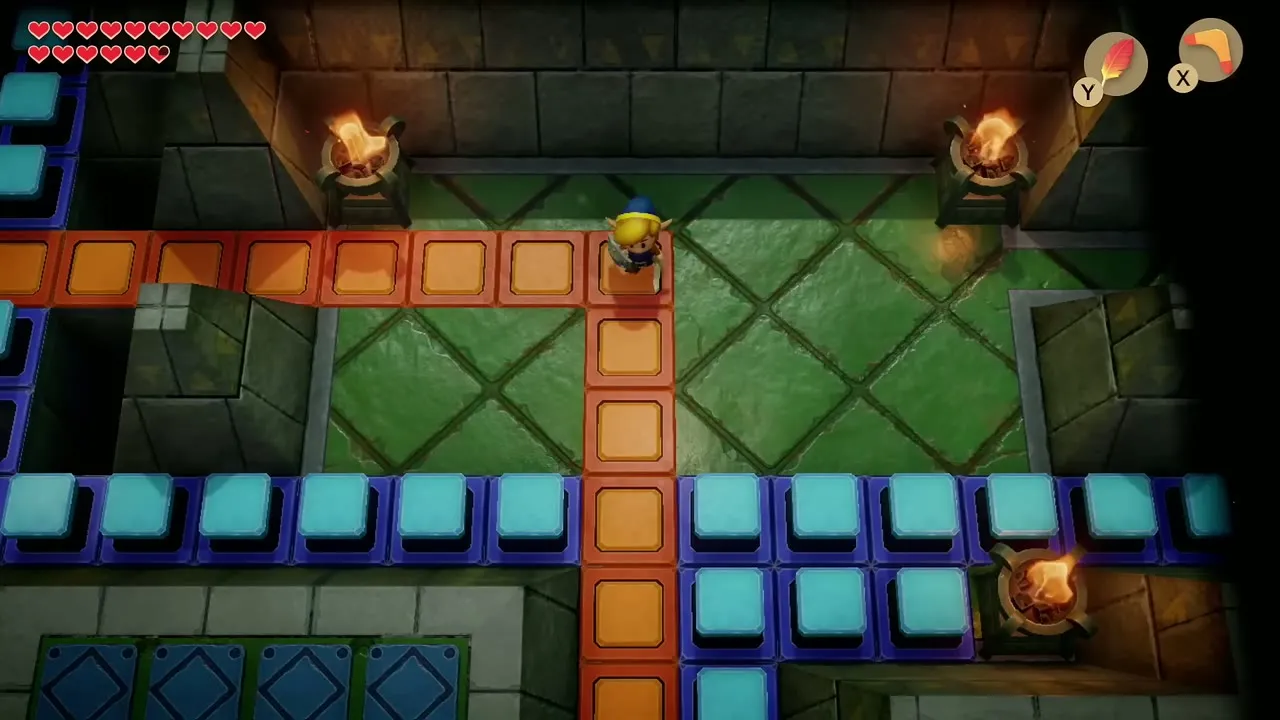
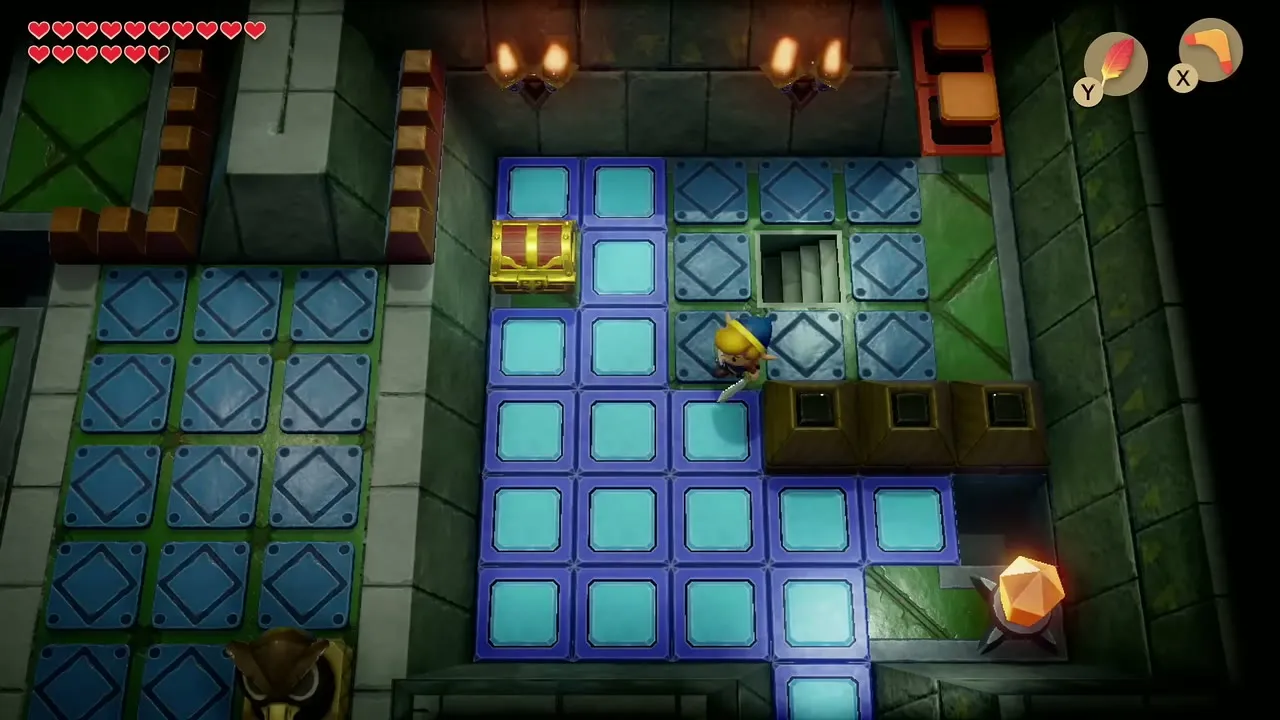
The first room is a green floor with torches and rows of blue tiles. Fight the two Like-Likes in the early room to get a small key and open the locked door on this floor. Several rooms ahead are made of blue and orange tile rows. Hit a crystal switch with your sword, the boomerang or an arrow and the raised and lowered tile blocks swap, which opens different paths.
Mirror Shield
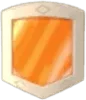
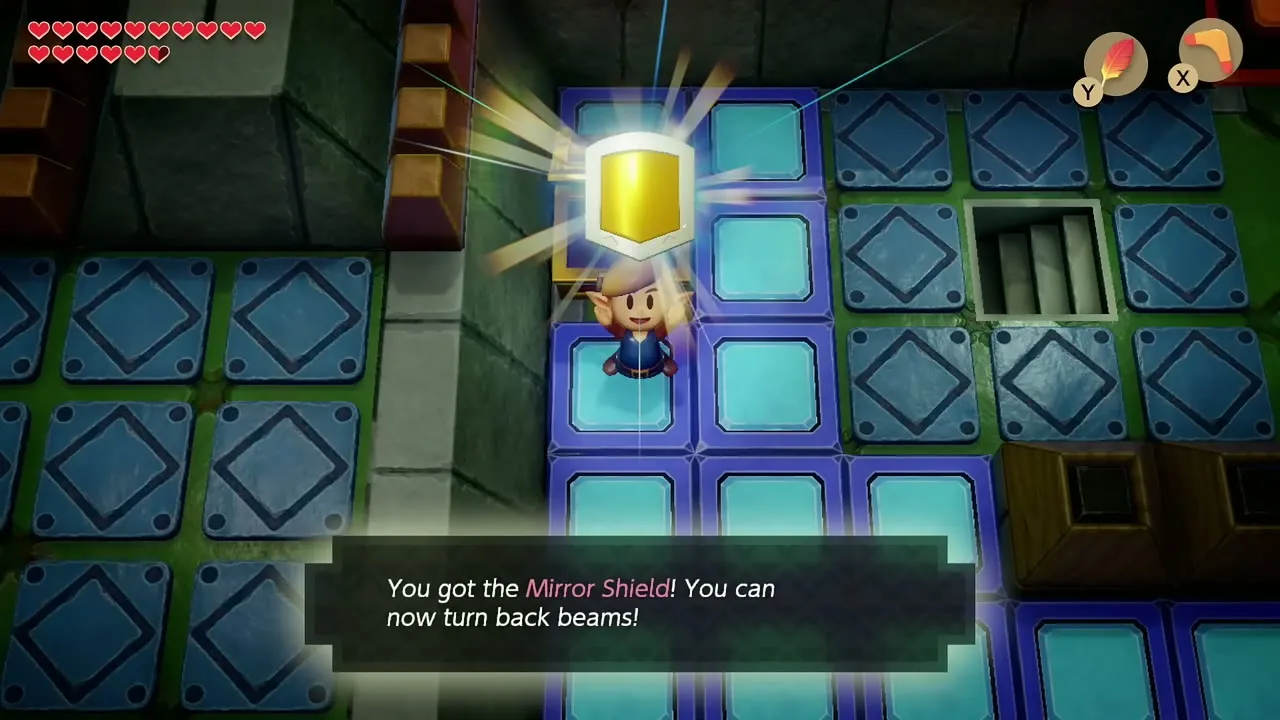
Work through the blue and orange tile rooms, slash the crystal switch at the end, and return to the chest that now stands open. It holds the Mirror Shield, which turns back beams. Use it against the Beamos statues that fire at you in the tile rooms, because reflecting the beam back at the statue puts it out of action.
Second small key
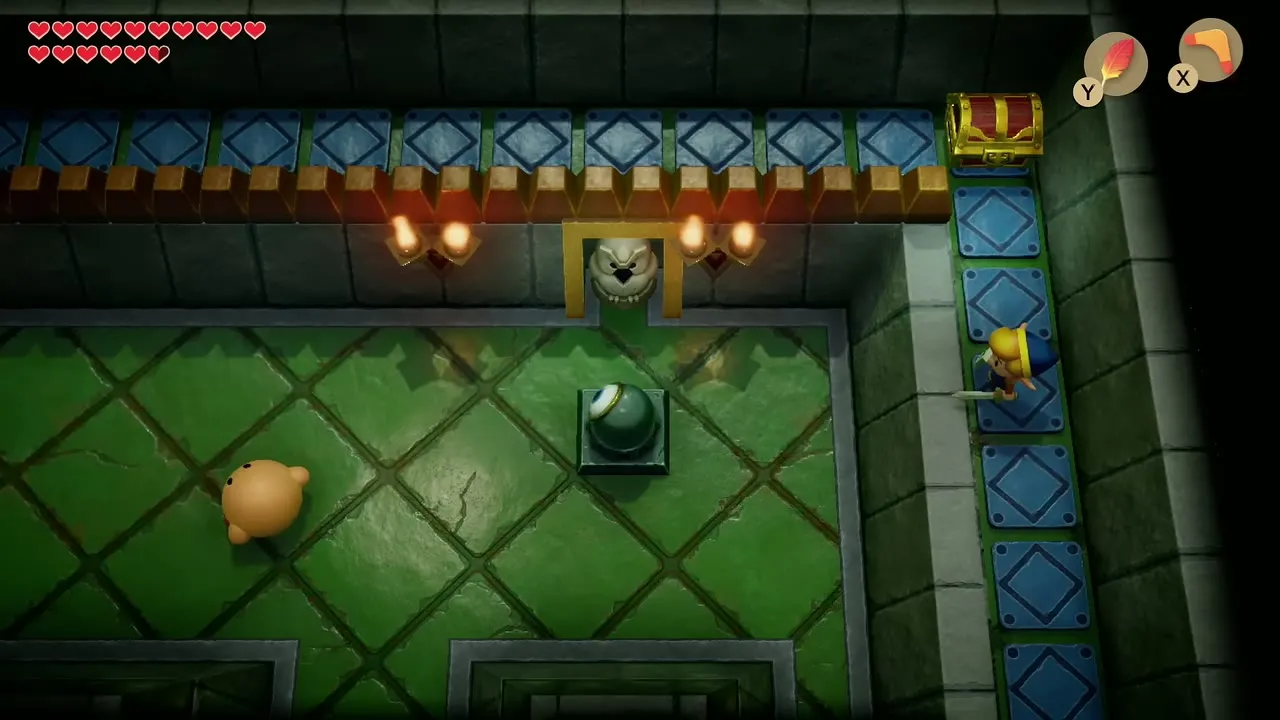
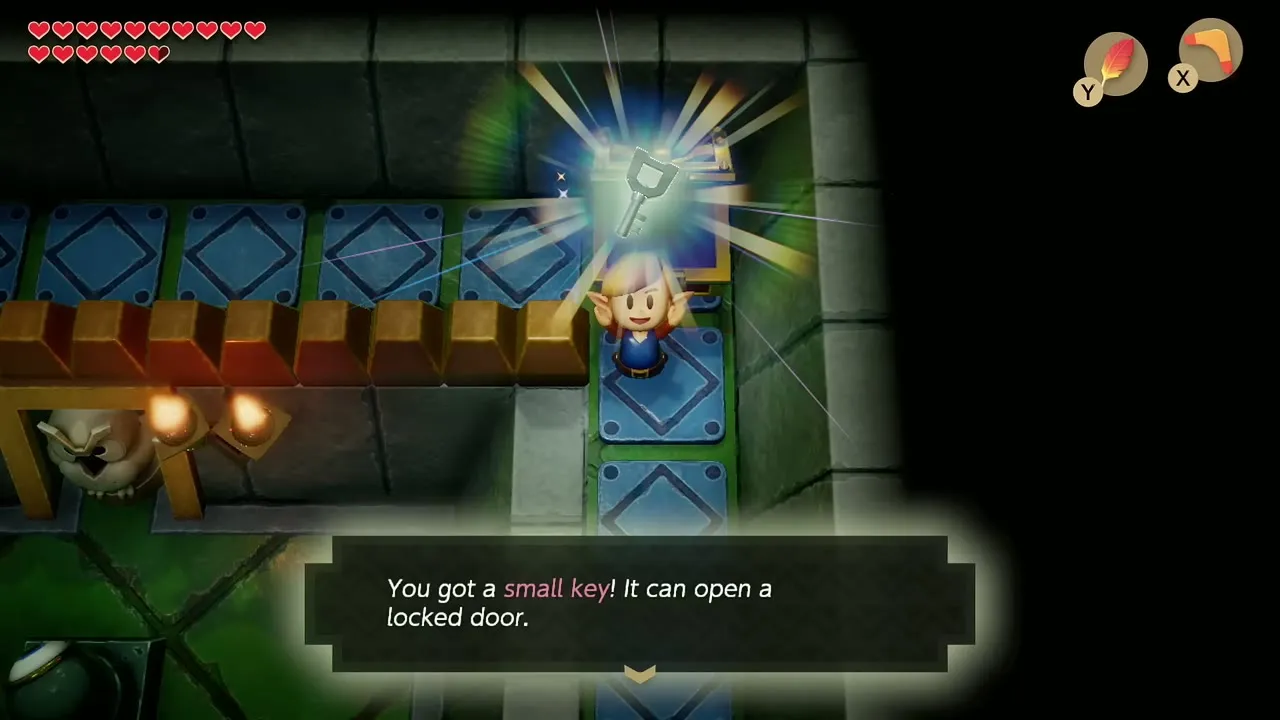
On the next level, follow the narrow blue tile path along the edge of the room above the dark floor. Open the chest at the end of the path for a small key. Keep every key for the locked blocks that appear later.

Map: horse statues
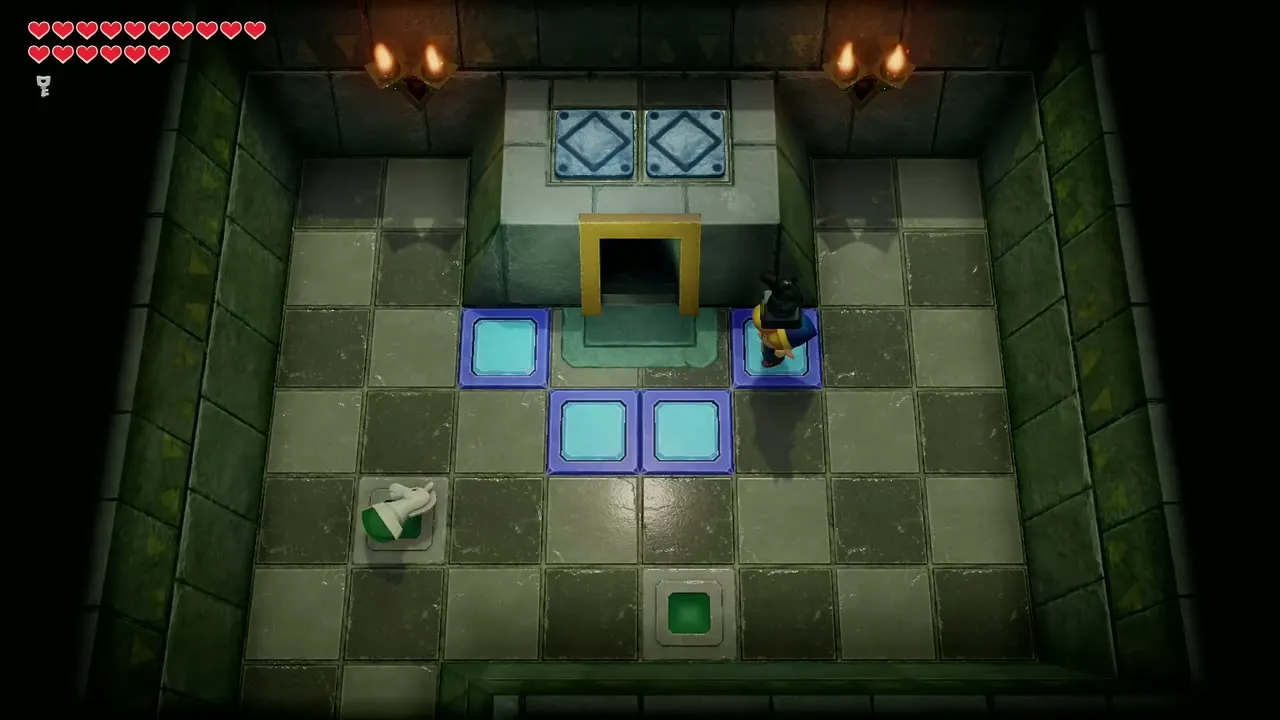
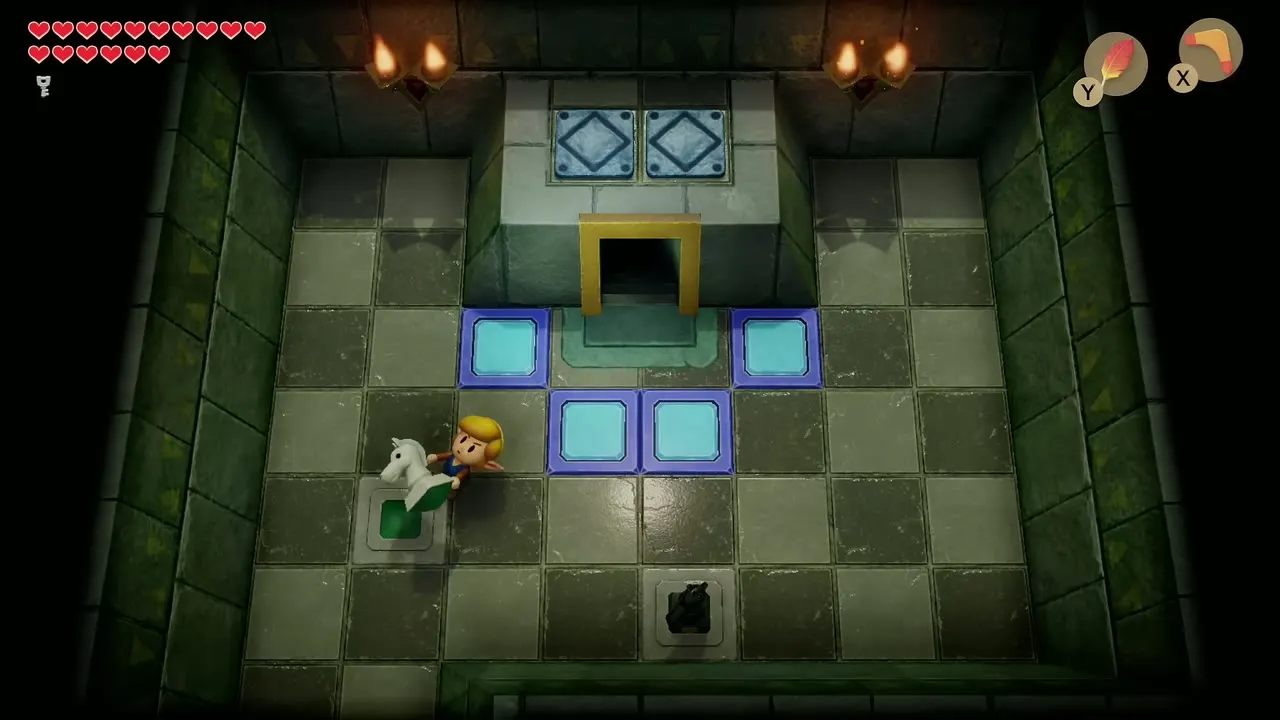
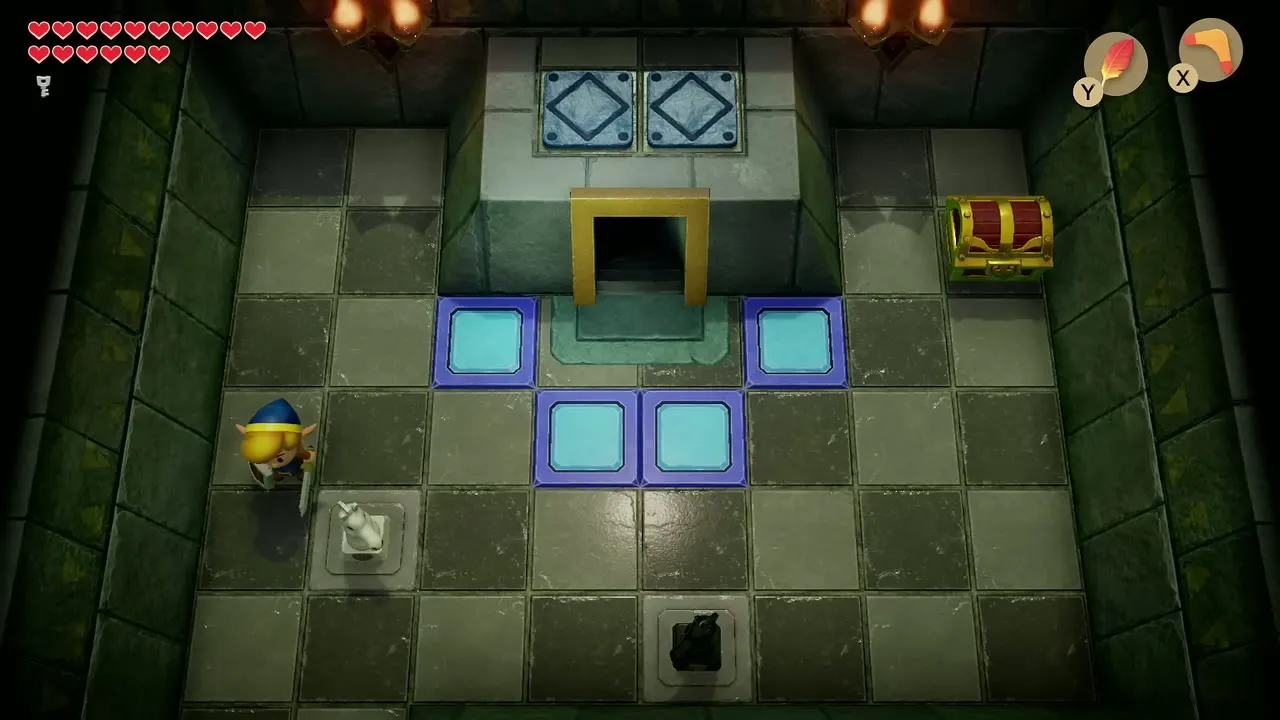
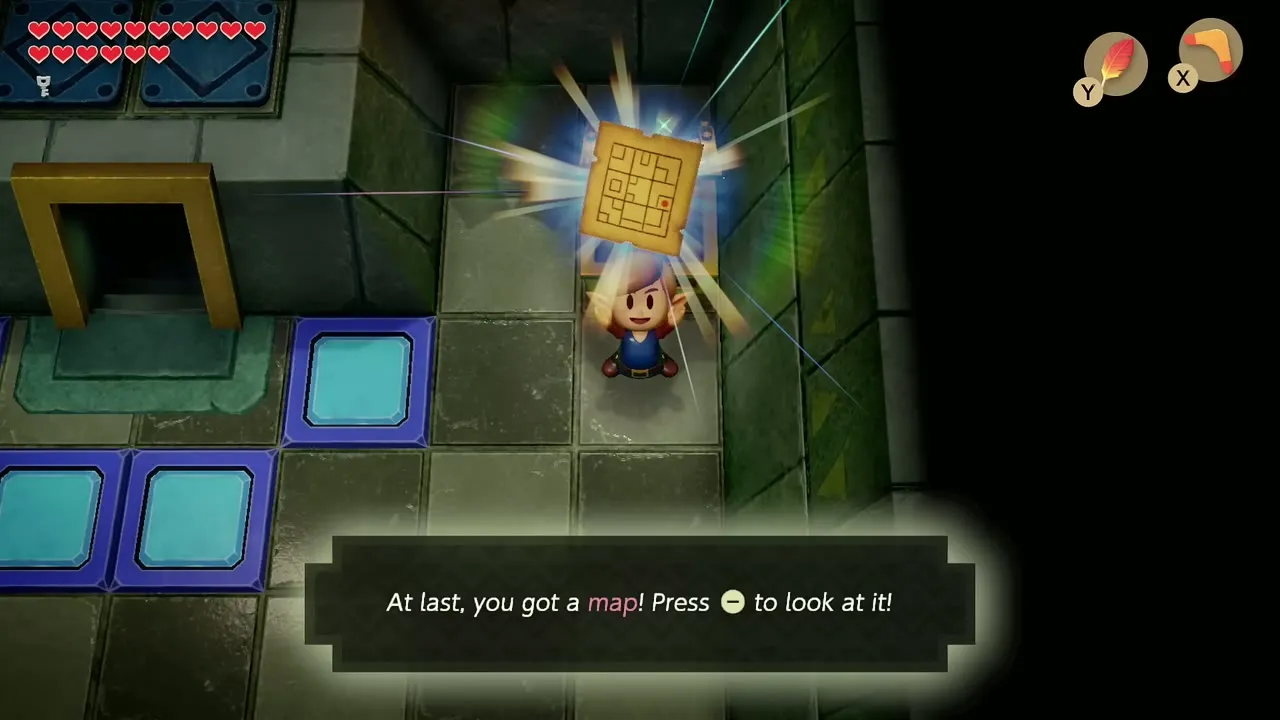
In the room with two horse-head statues, lift and toss each one so it lands upright. Once both stand, a chest appears with the dungeon map. Check the map afterwards, because the tower spreads over four floors.
The black iron ball and the first pillars
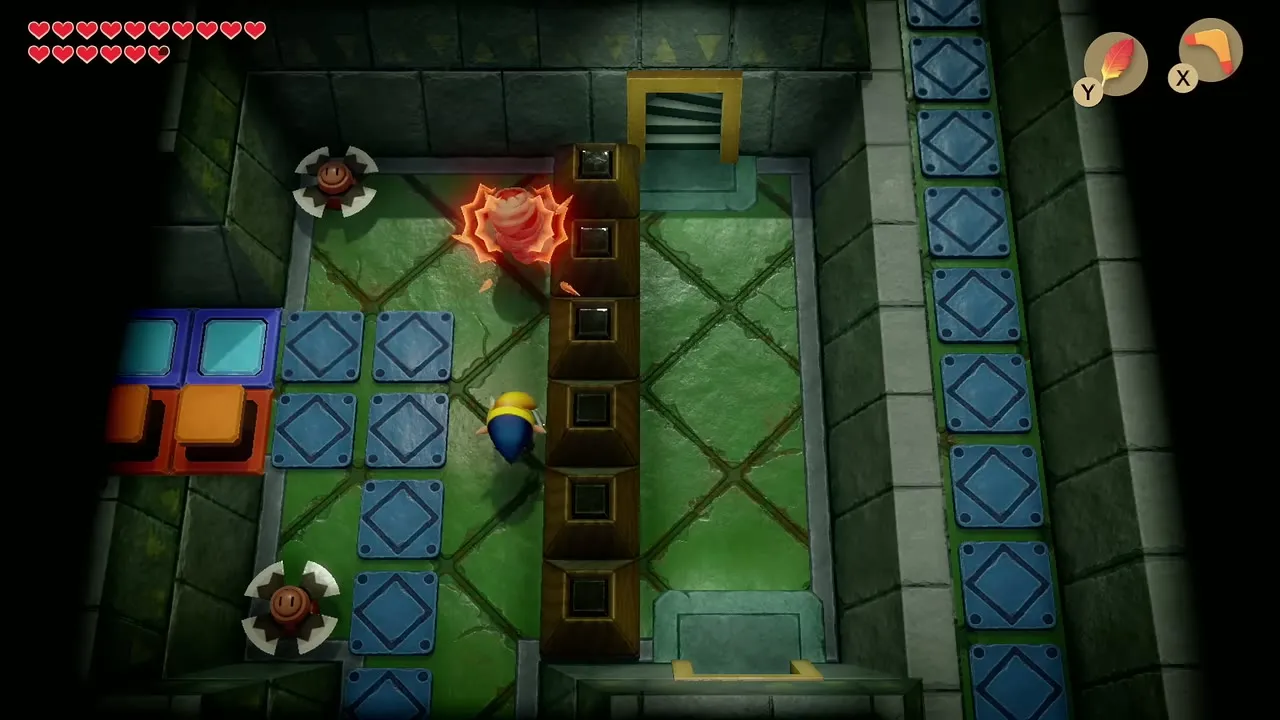
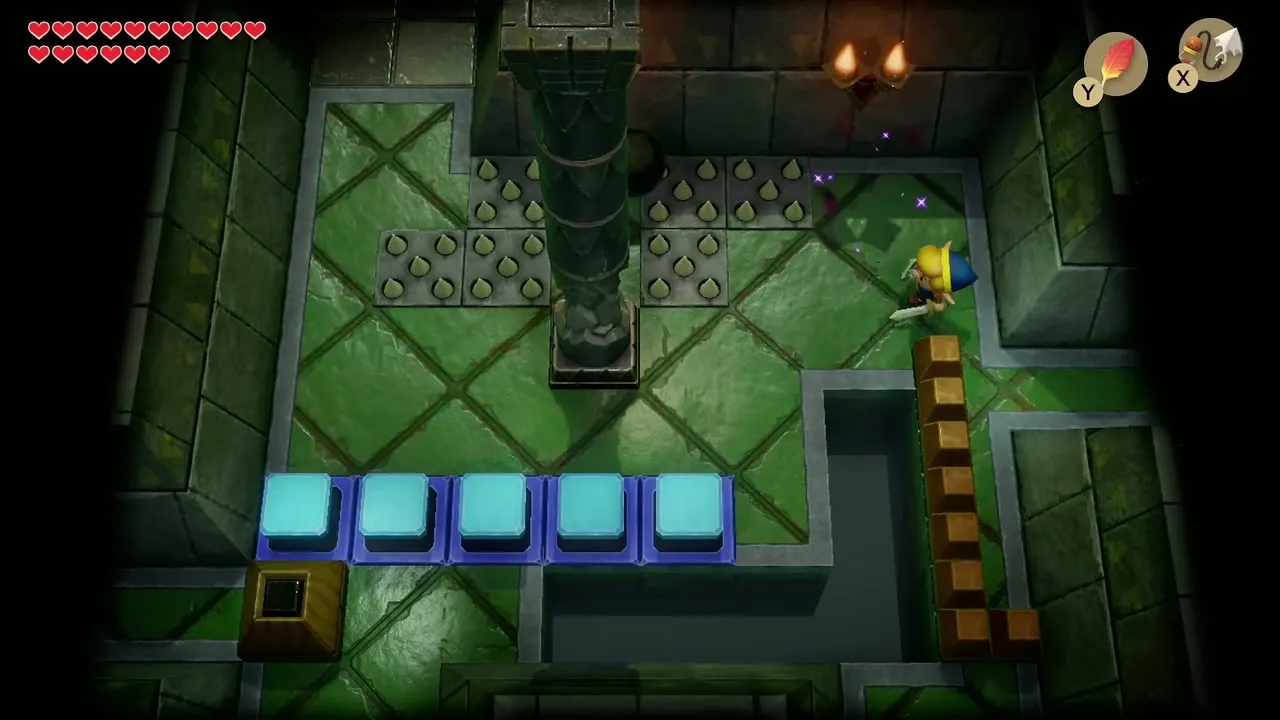
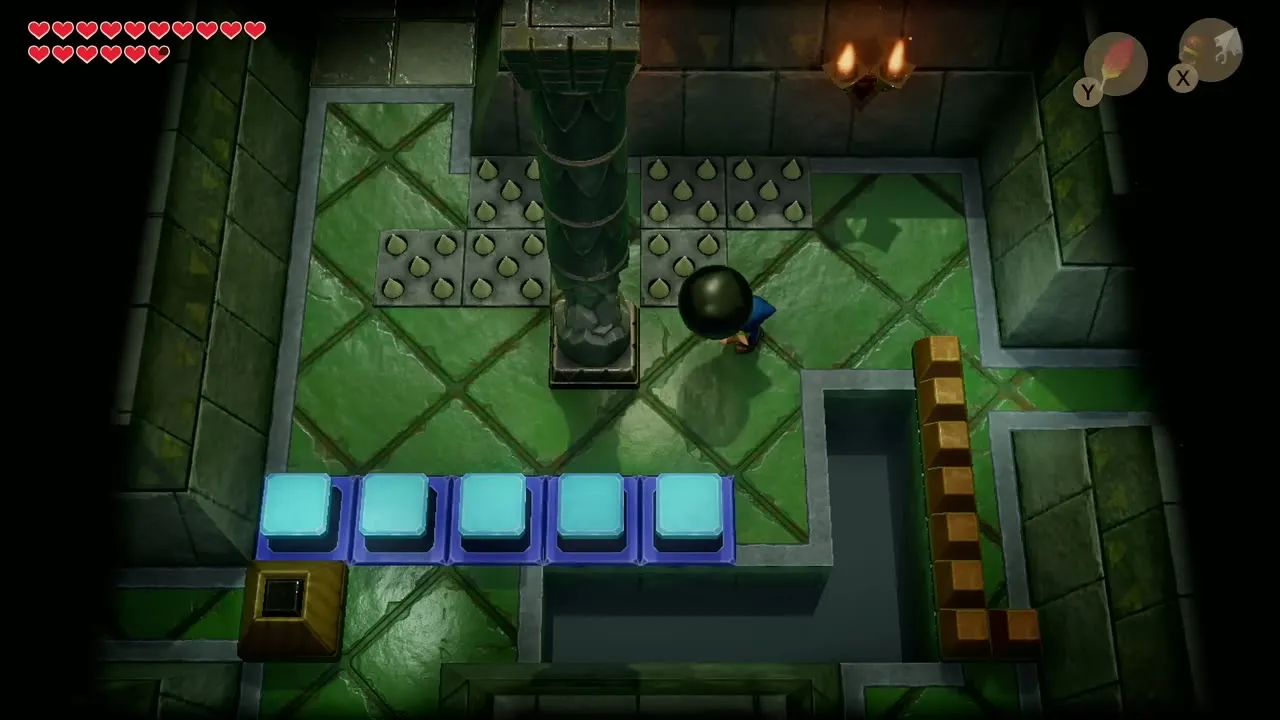
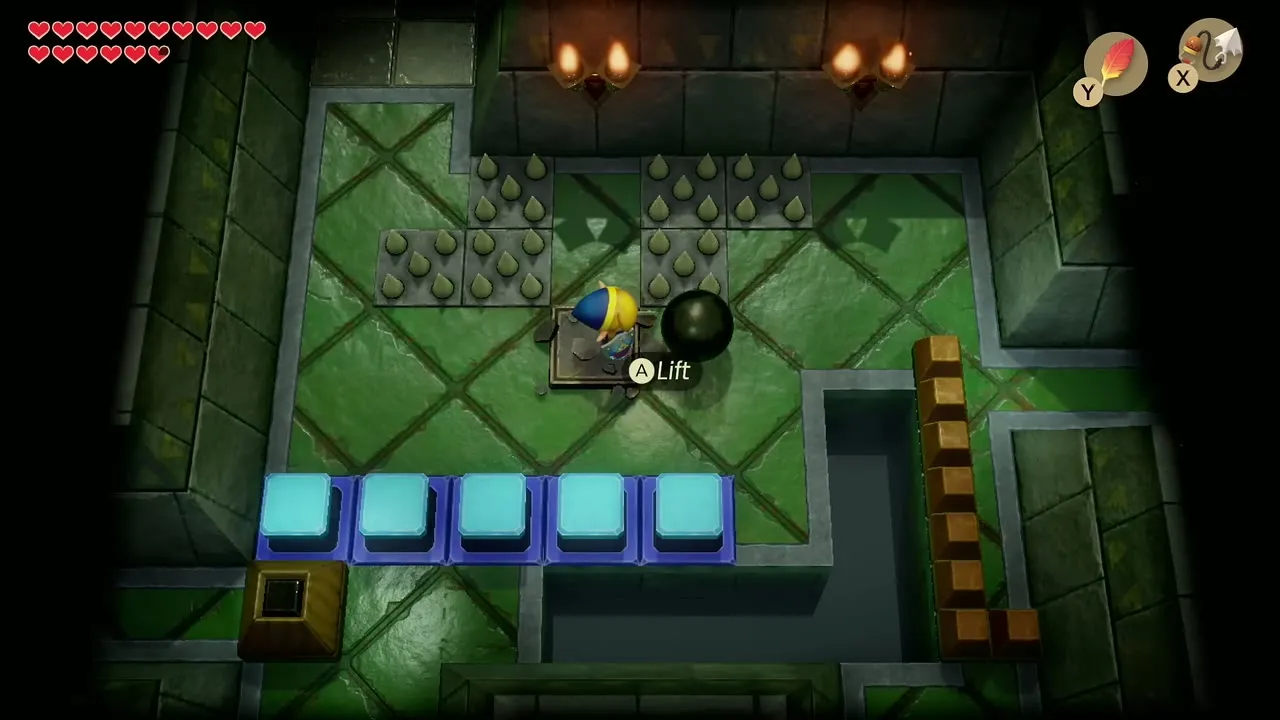
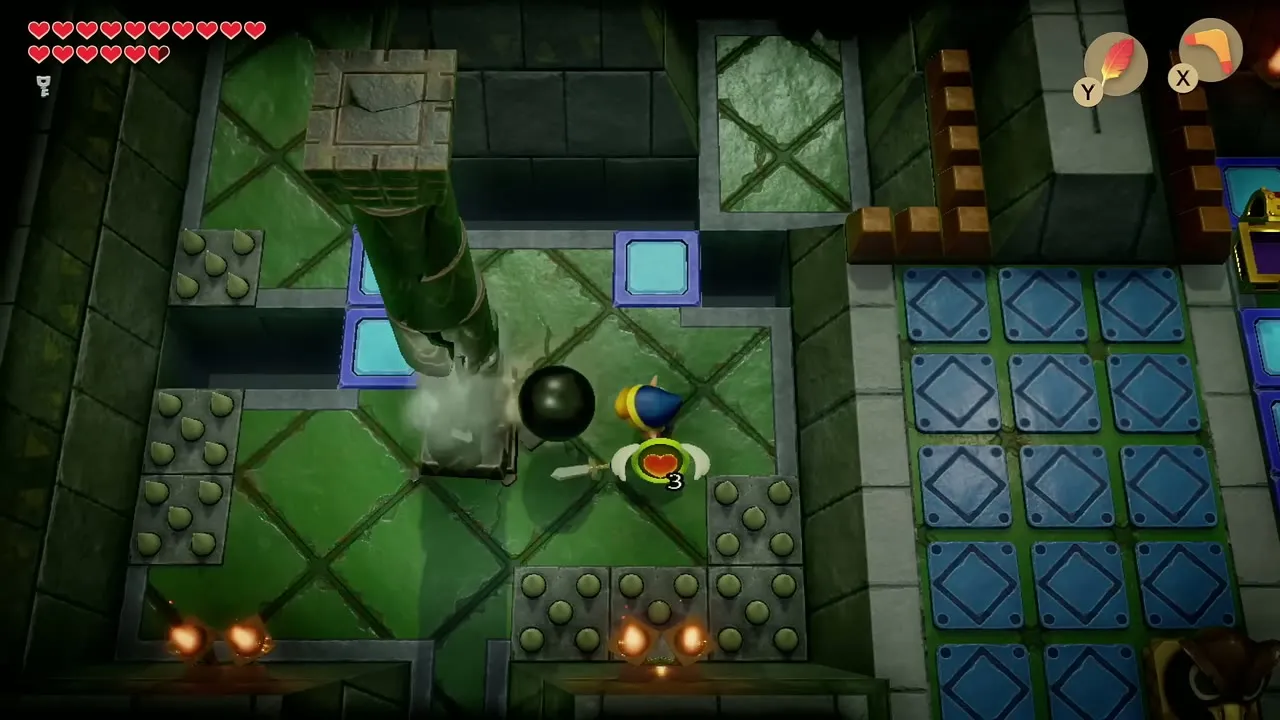
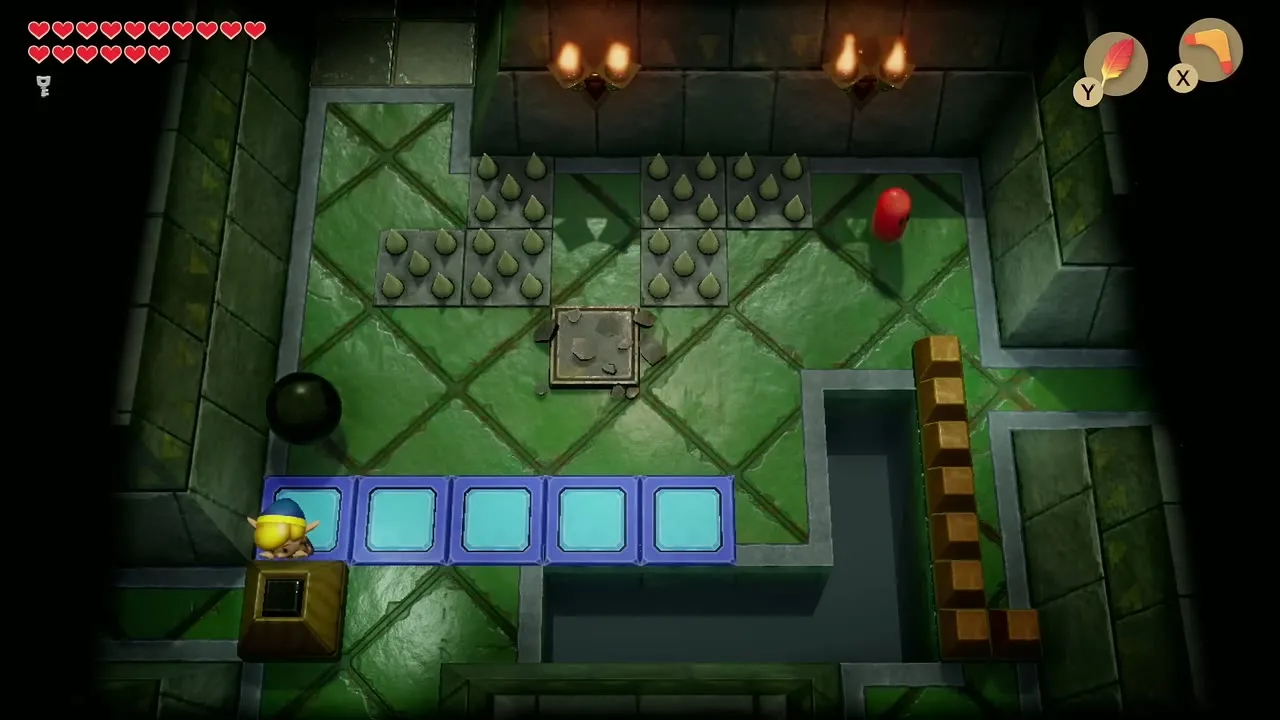
Next you reach a spiked room with a black iron ball and a row of blue tiles. Lift the ball, carry it through the room and throw it at the tall pillar to knock it down. If the ball drops to a lower floor, go back to the room where you found it and pick it up again. There are four pillars, and you carry the same ball between them.

Compass: three-of-a-kind room
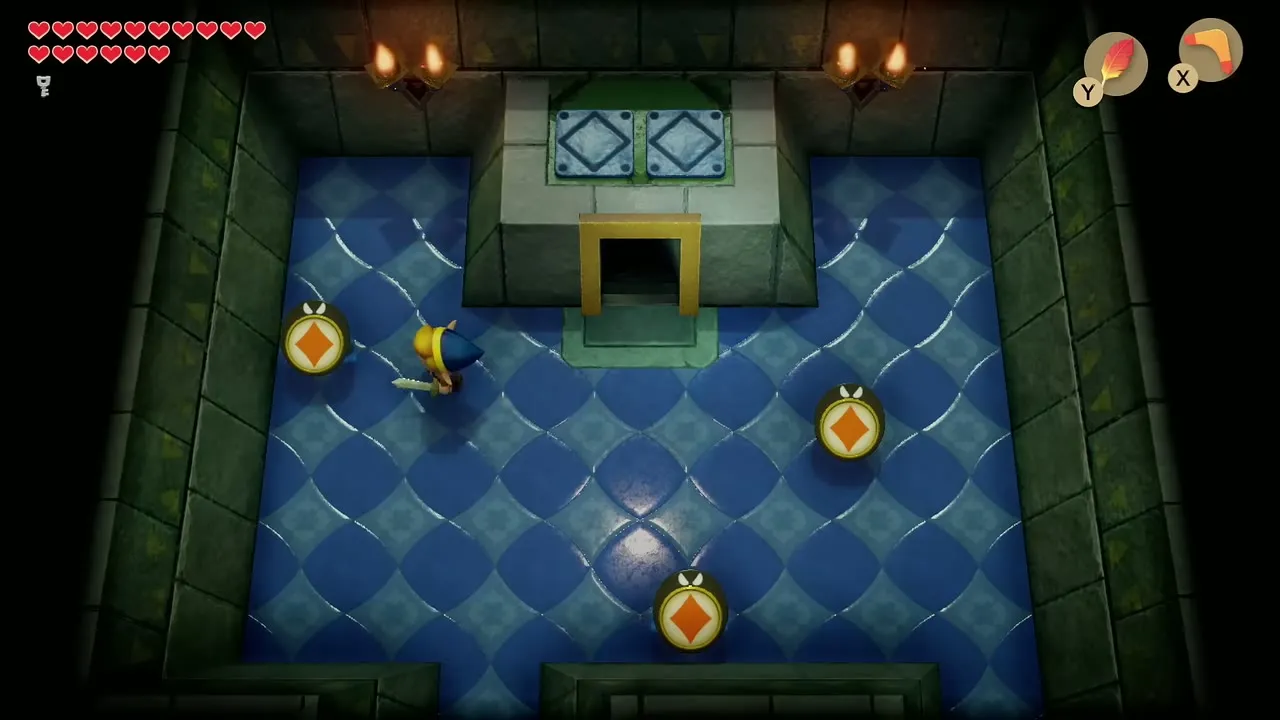
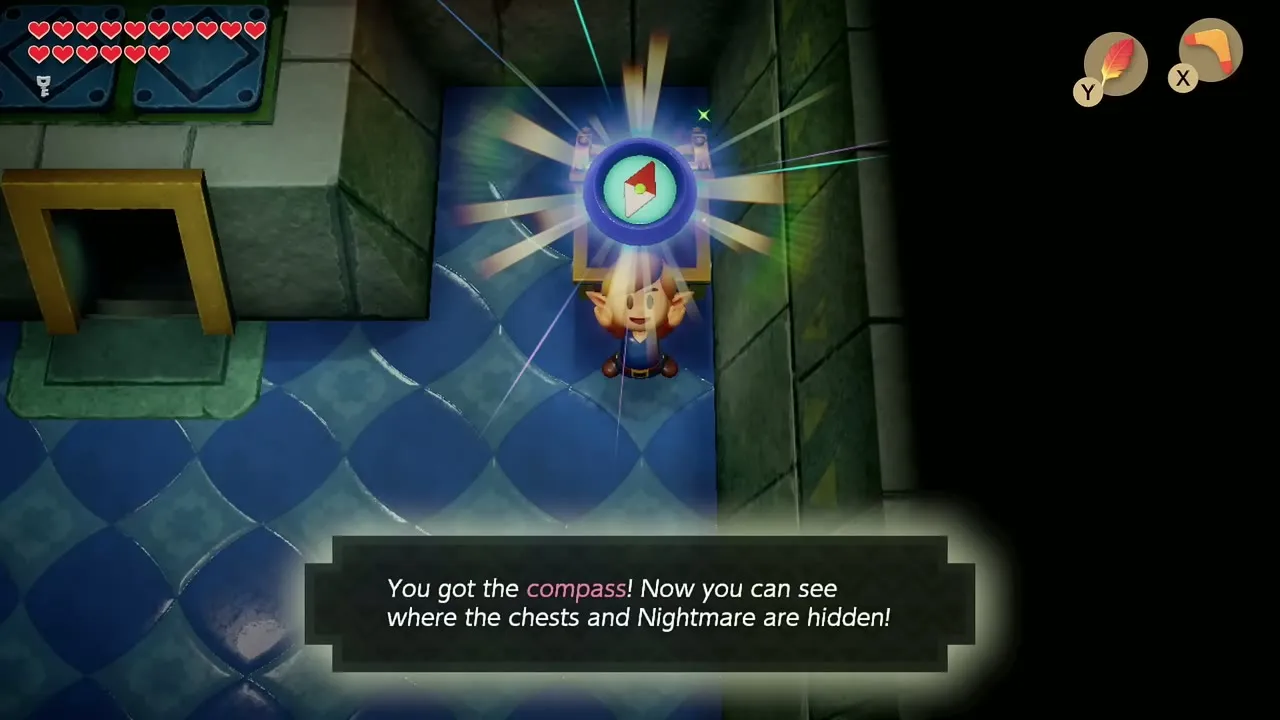
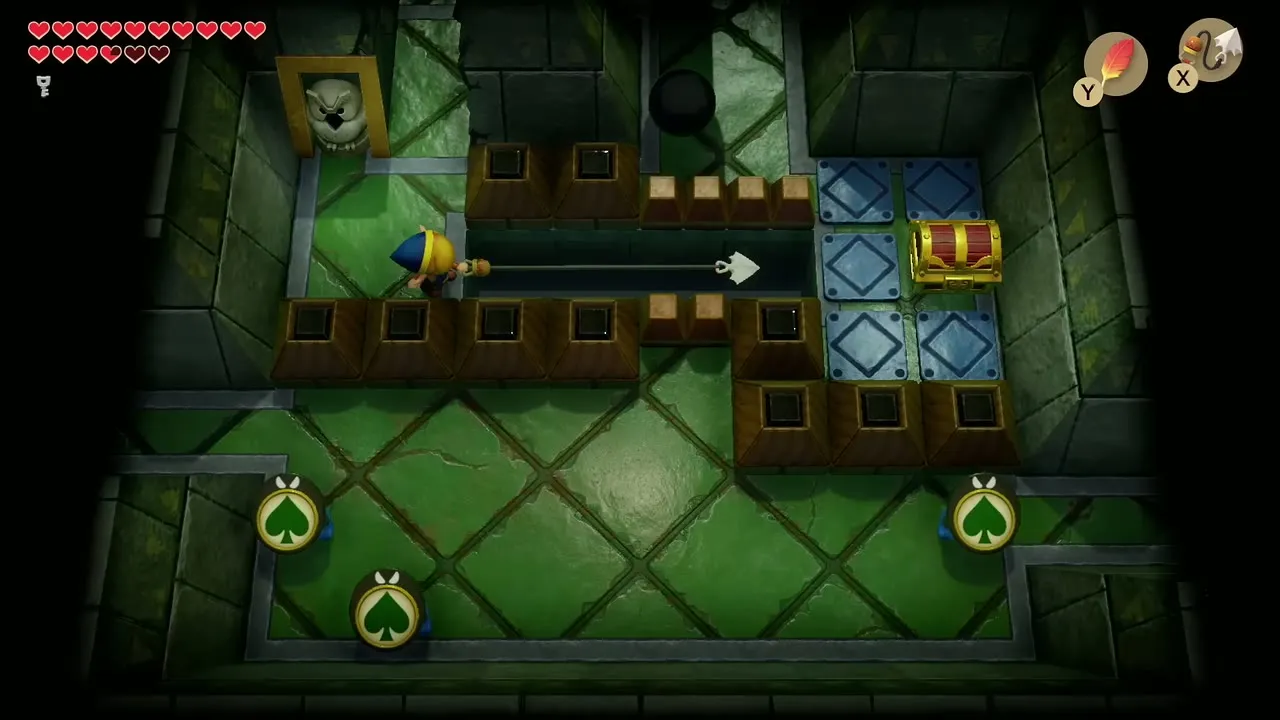
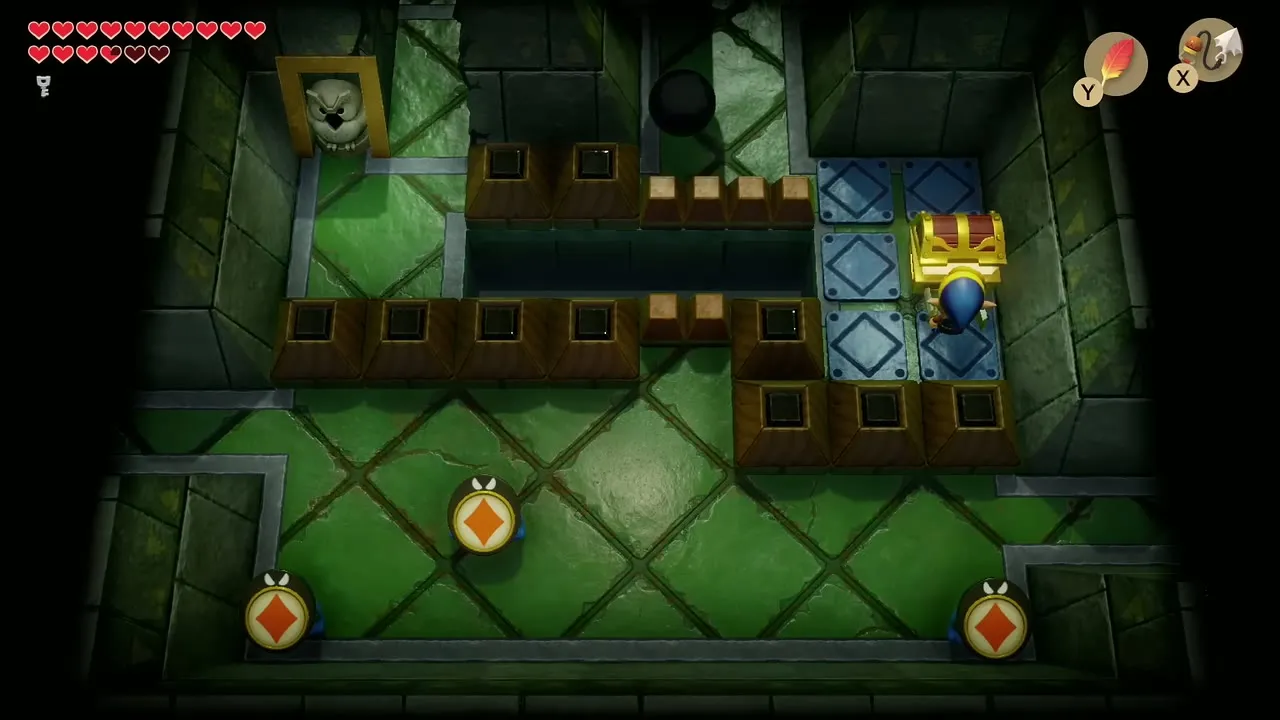
Carry on until you reach a room with a blue floor and three enemies that each show a card symbol. Hit them when all three show the same symbol, and a chest appears. The chest holds the Compass, which marks chests and the Nightmare in the tower.
Red Hinox mini-boss and a Secret Seashell
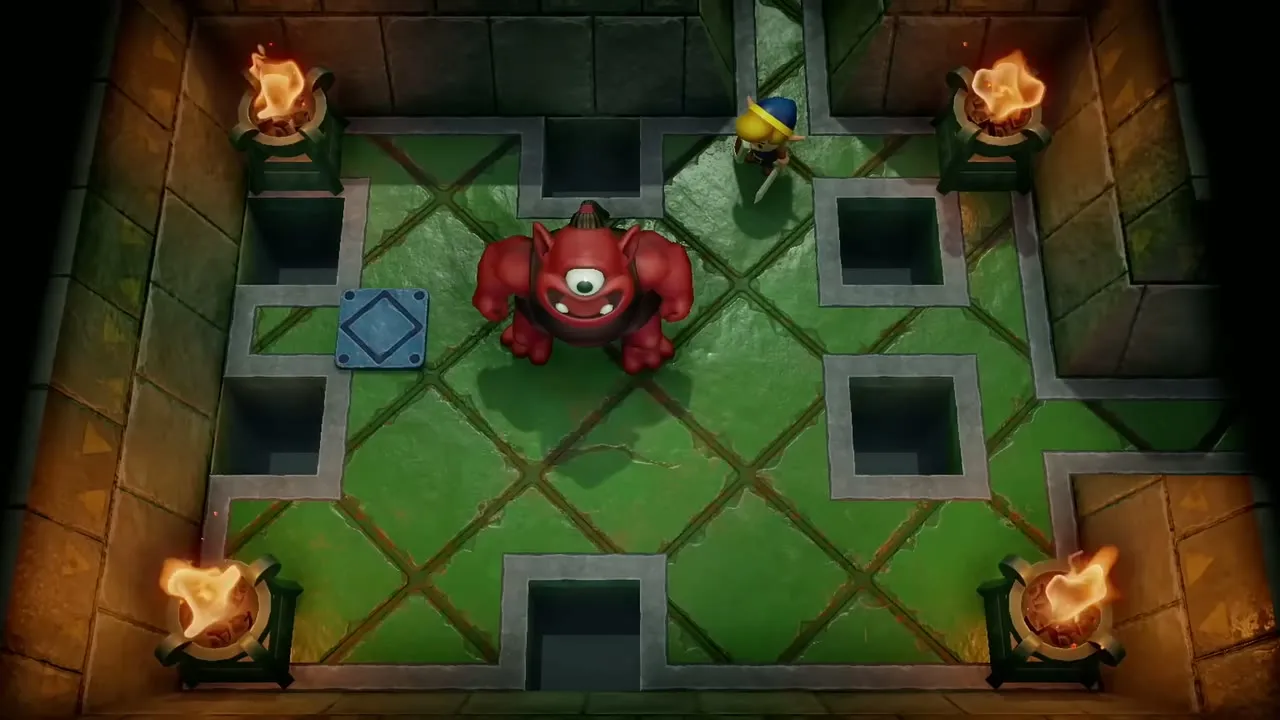
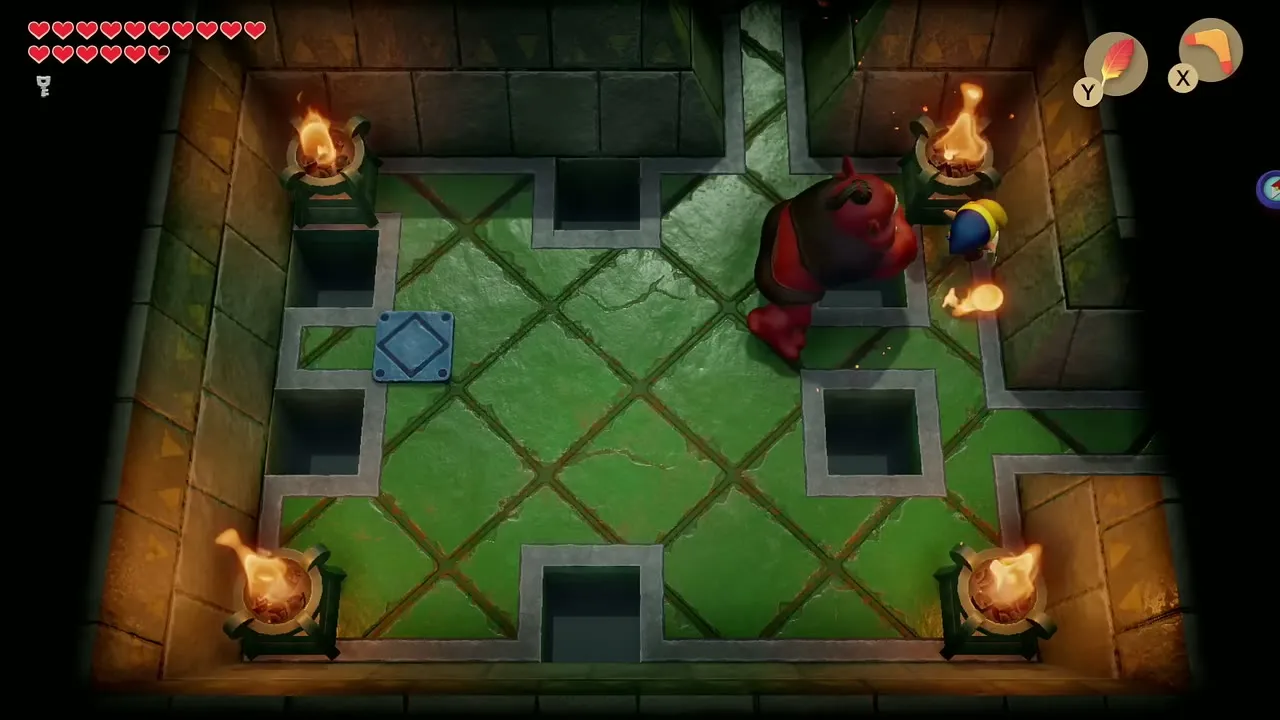
In the room with torches in all four corners and holes in the floor, a Red Hinox comes at you and throws bombs. Stay across the pit from it and keep hitting it with the boomerang, or slash it when it comes close. It drops a small key when it falls, which brings your total to two keys.
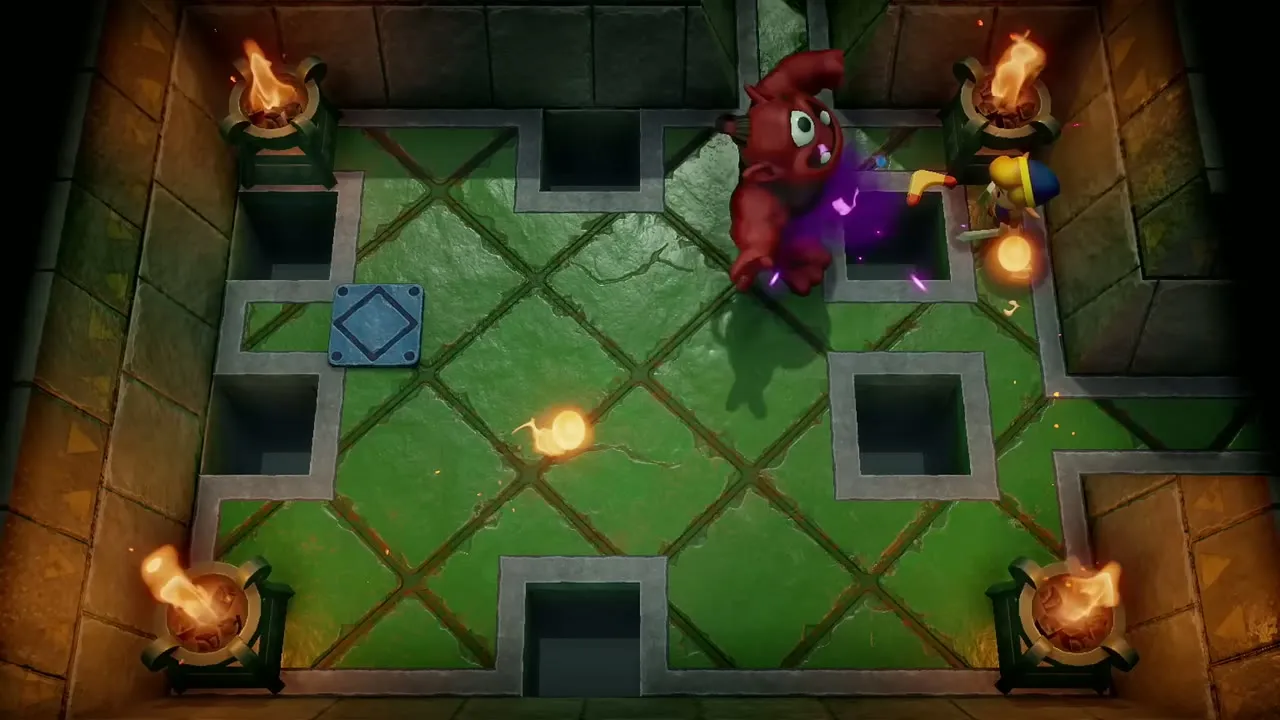
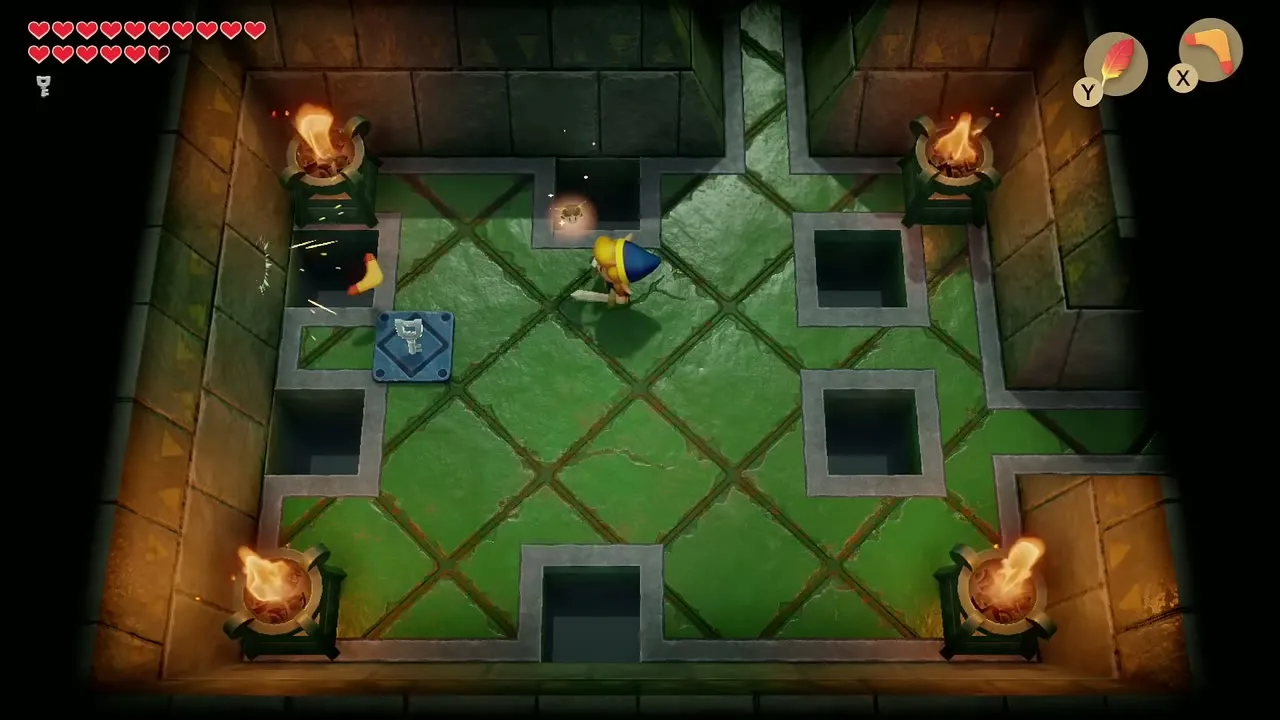
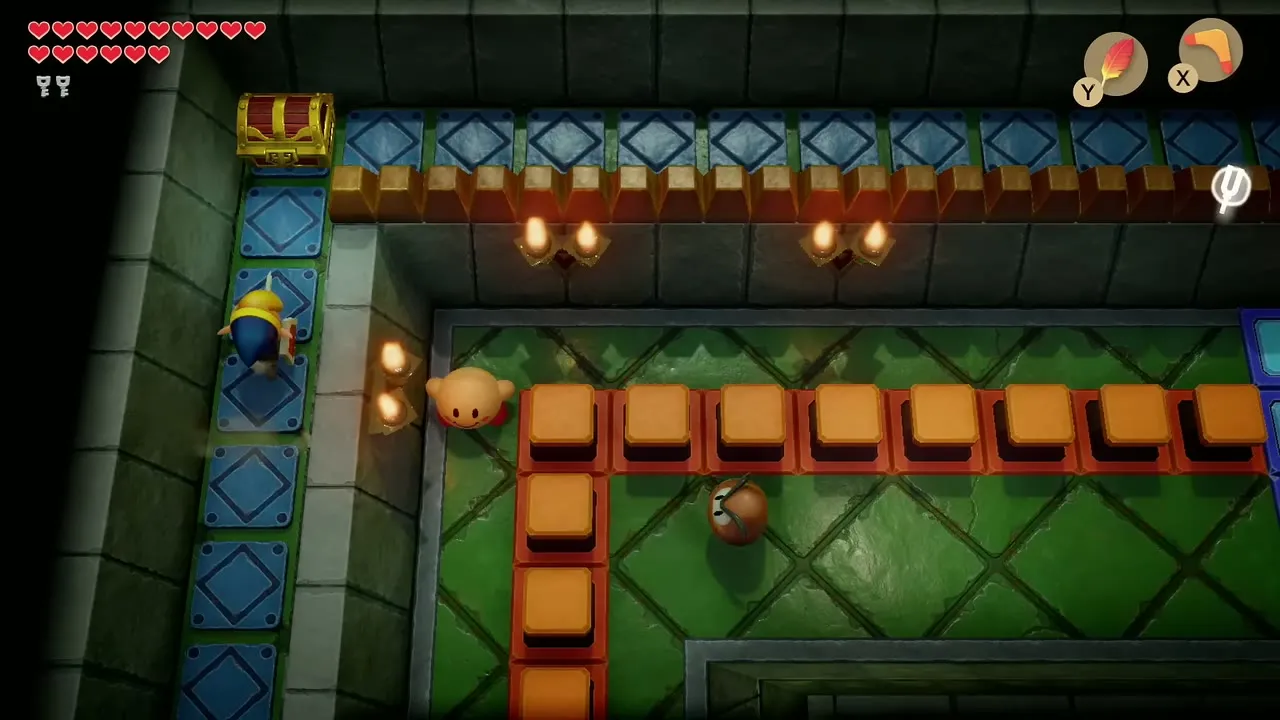
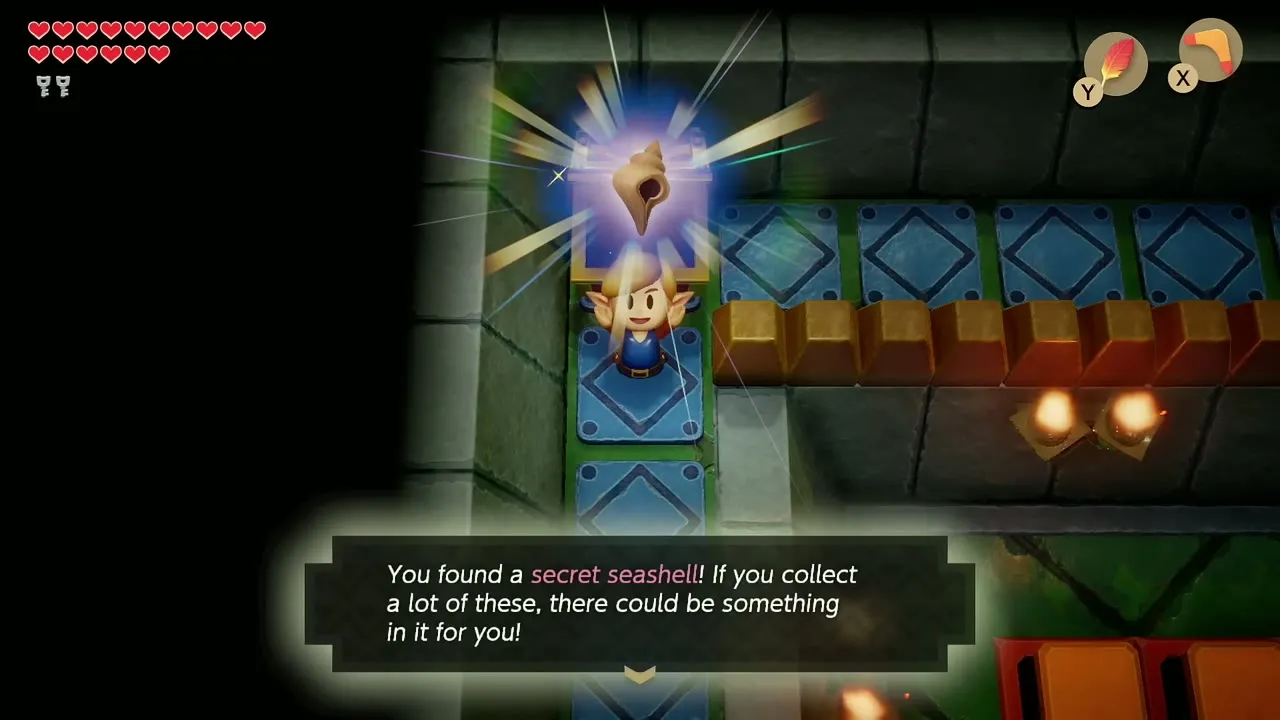
Before you leave, jump into one of the holes on the left side of the room. You land on a narrow ledge below. Walk north along it, crossing the tile rows, and open the chest at the end for a Secret Seashell.
Locked block and the third pillar
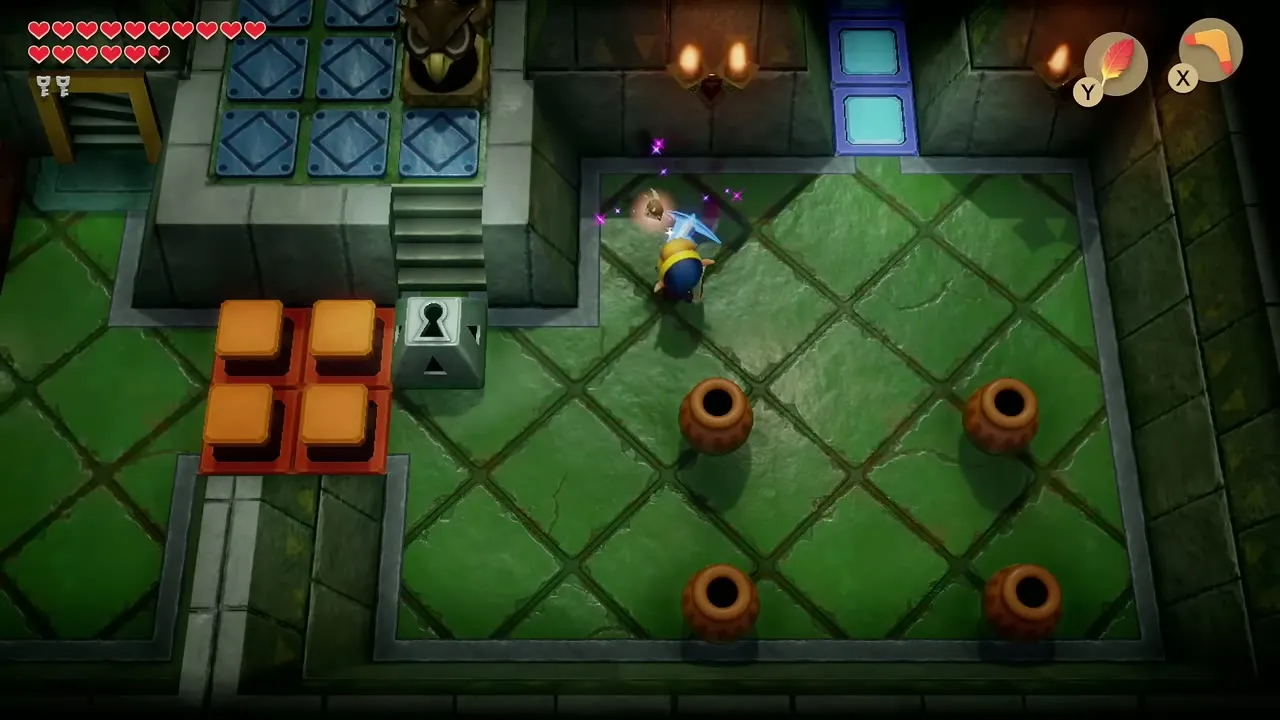
Take the stairs up and work through the tile rooms to the locked keyhole block. Use a small key on it, and continue to the pillar that is blocked off until you carry the ball past the hole. Push the bottom block right, throw the ball over the gap and cross yourself. Pick it up again and knock the pillar over.
Fourth pillar, Bombs and the tower collapse
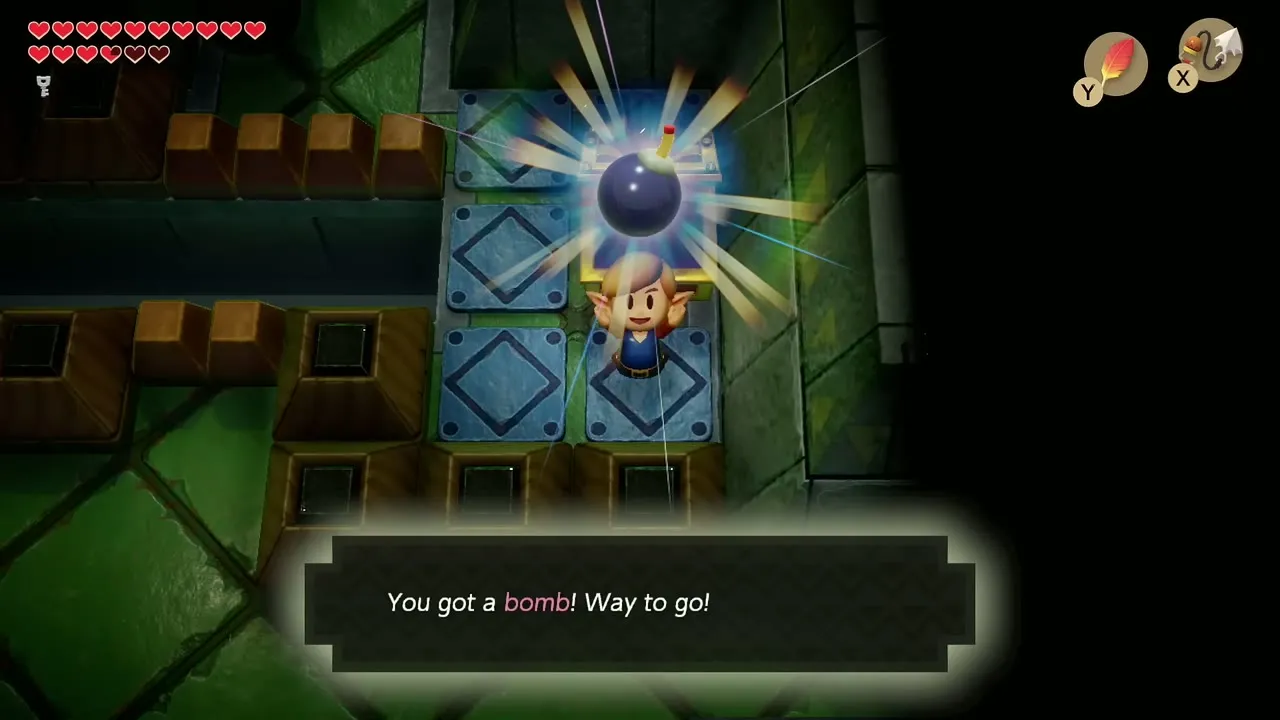
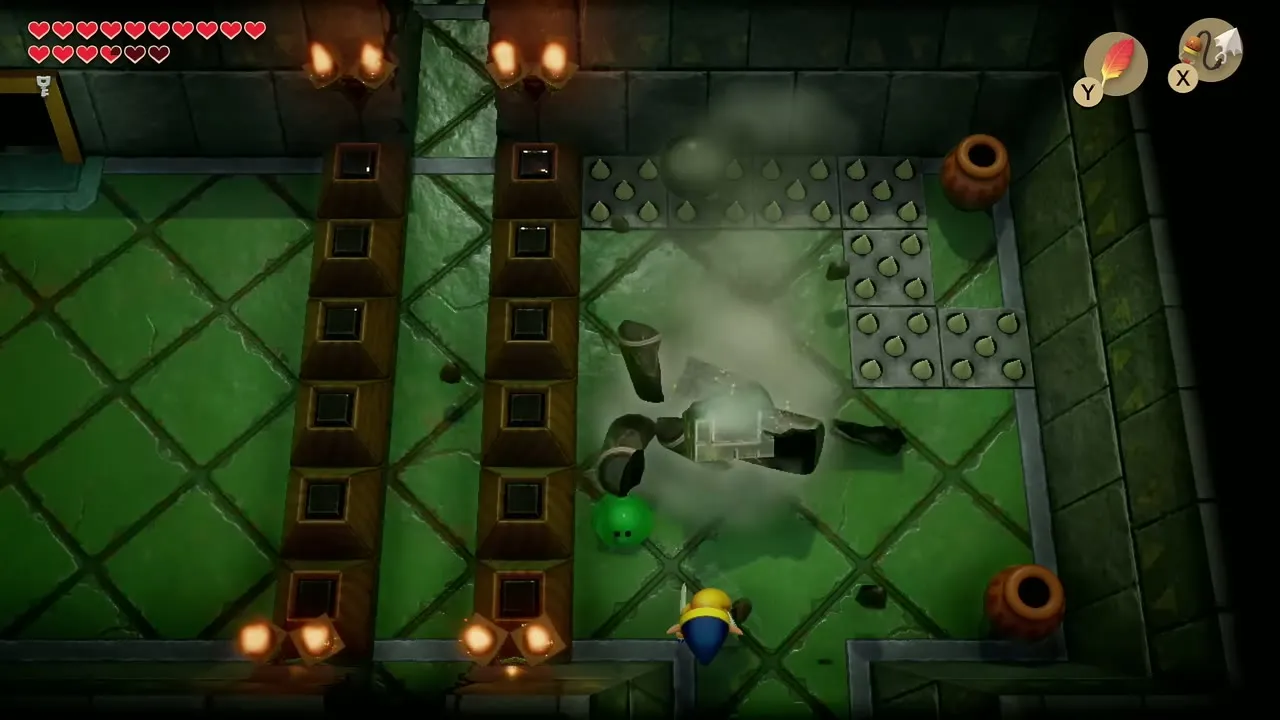
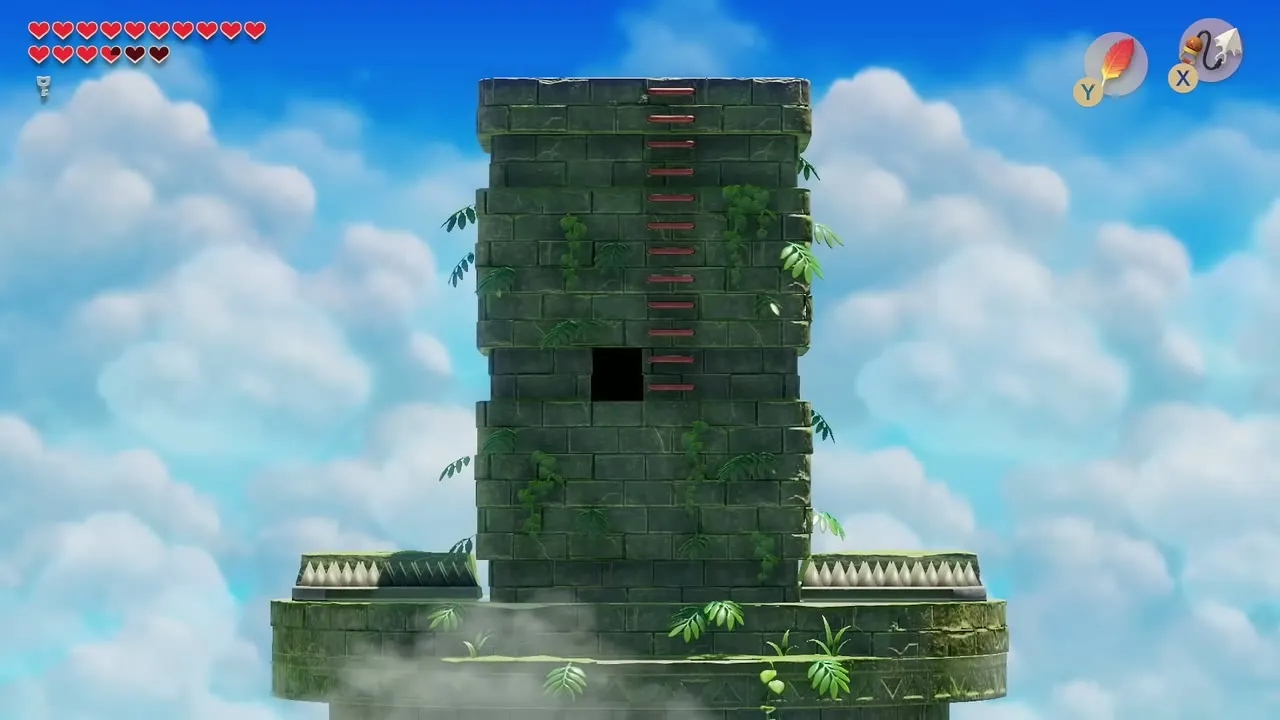
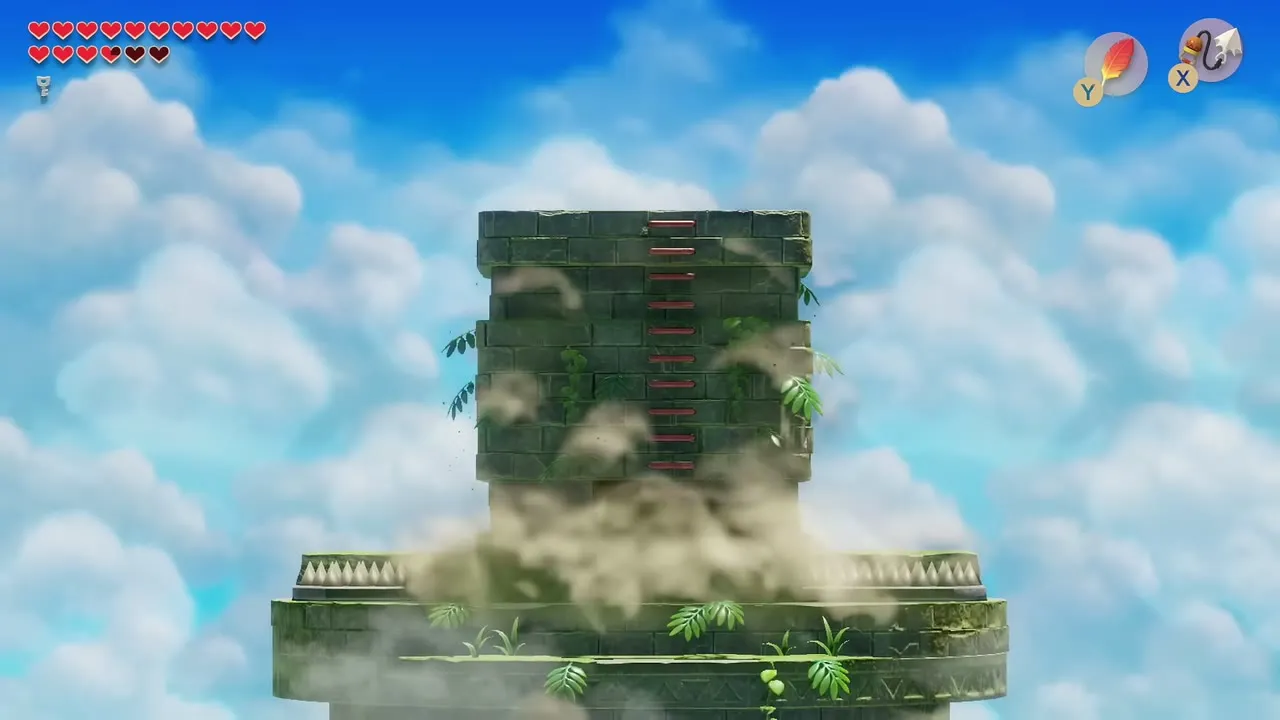
Return to the room with the torches in the corners, bomb the south wall between the torches and drop through the gap. A second cracked wall below also needs a bomb. From the room beyond, use the Hookshot to cross to the chest that appeared earlier. It holds Bombs. Pick up the ball, climb to the last pillar and throw it. The top of the tower collapses and the building drops to three floors, so the route to the boss opens.

Grim Creeper mini-boss
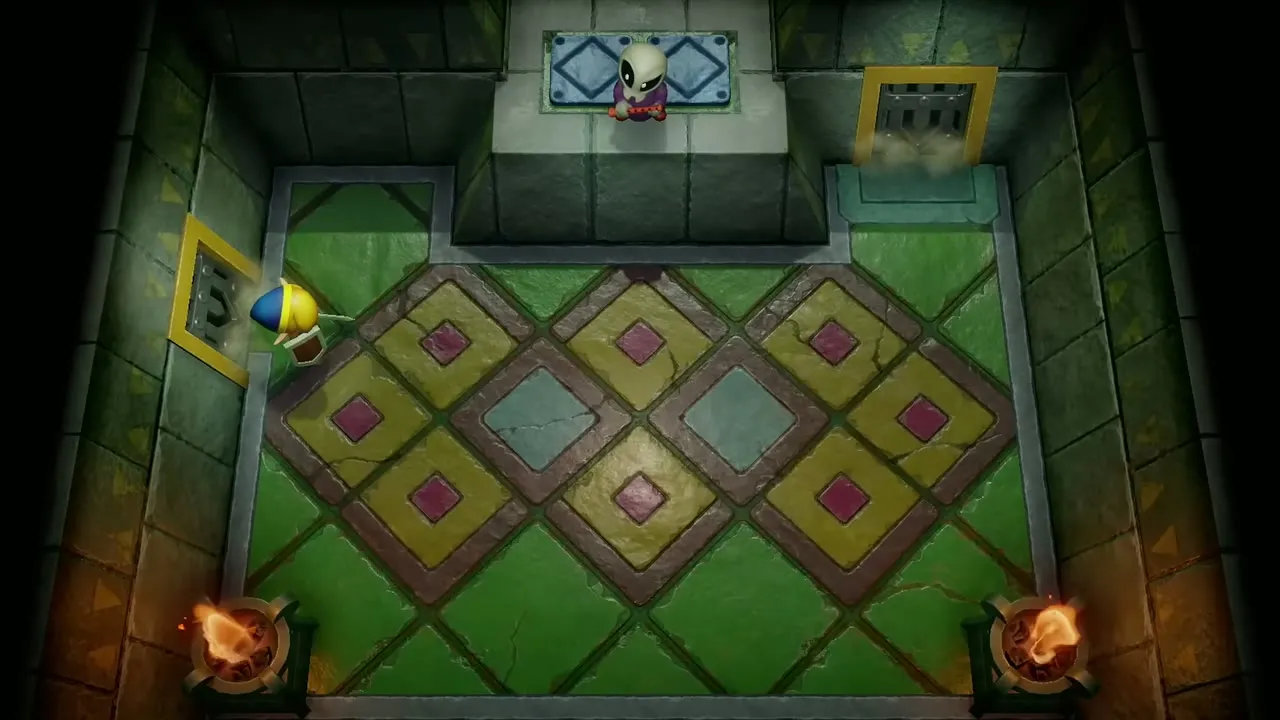
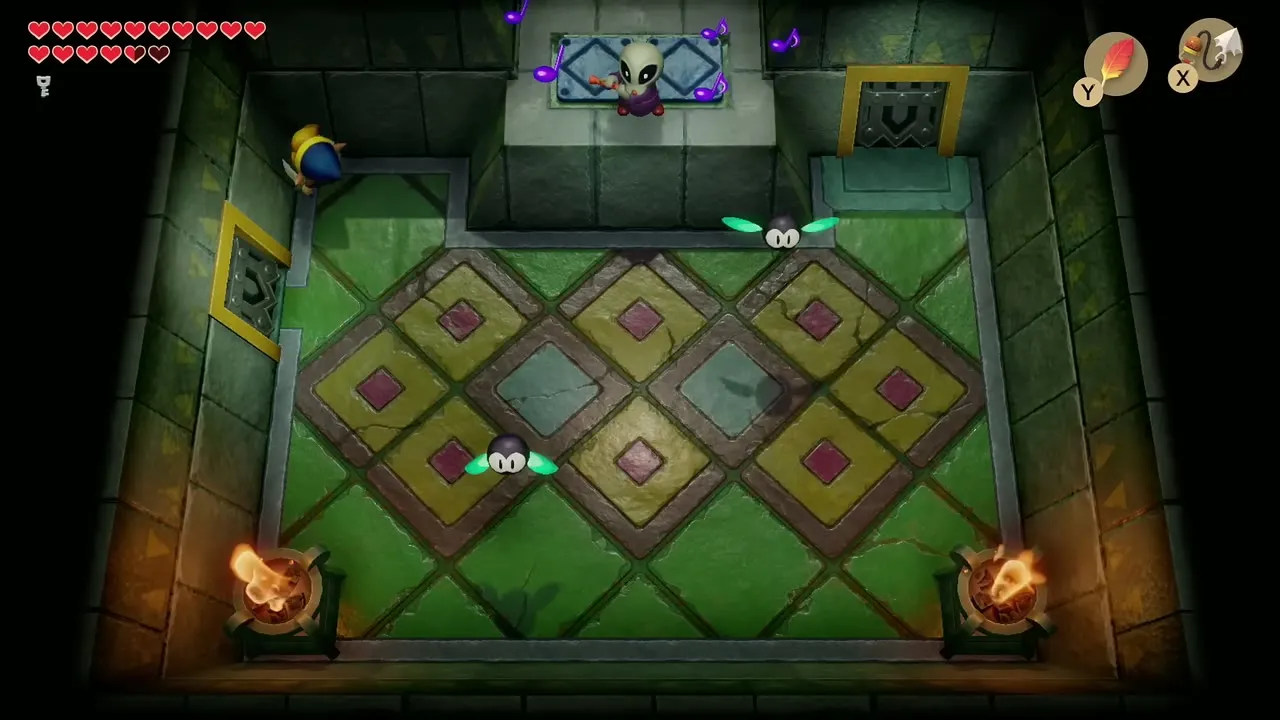
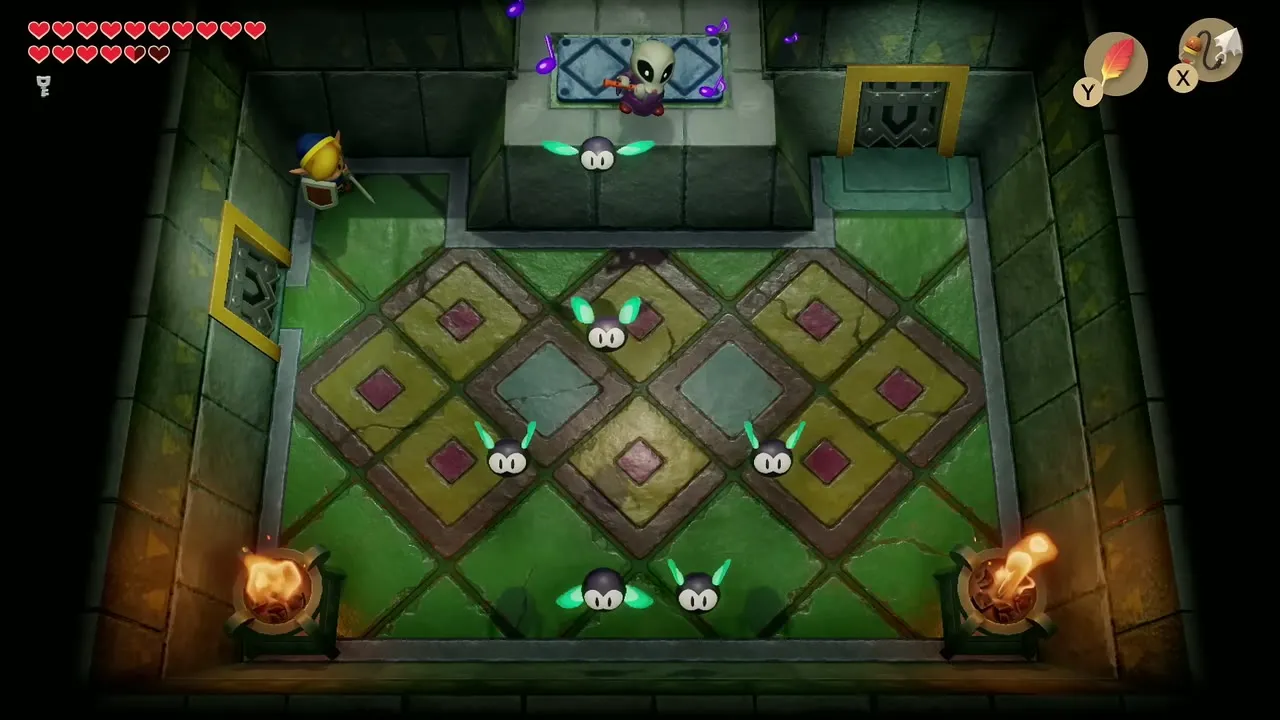
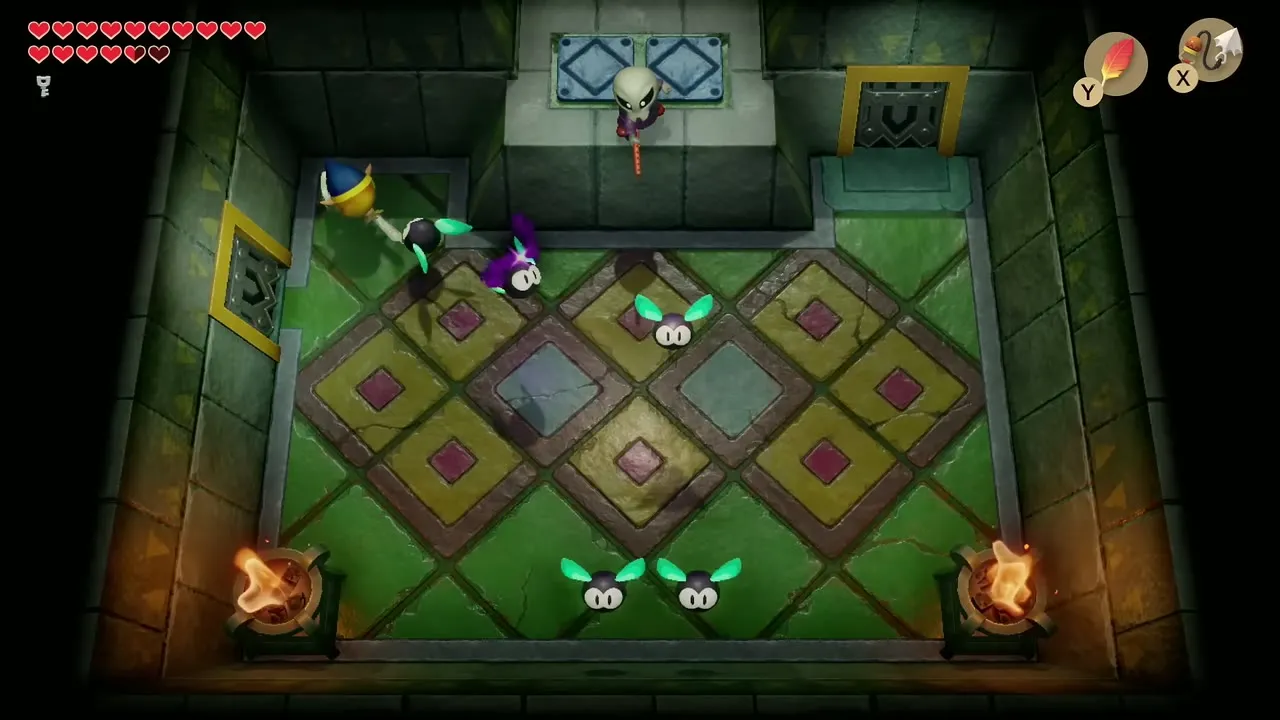
On the third floor you meet Grim Creeper in a room with a diamond-pattern floor. He plays a flute and sends out six Big Keese that dive at you one at a time. Stand against a wall and swing your sword at each one as it comes. Hit all six in a single round and he runs away. If any escape, all six come back and you must try again.
Nightmare Key
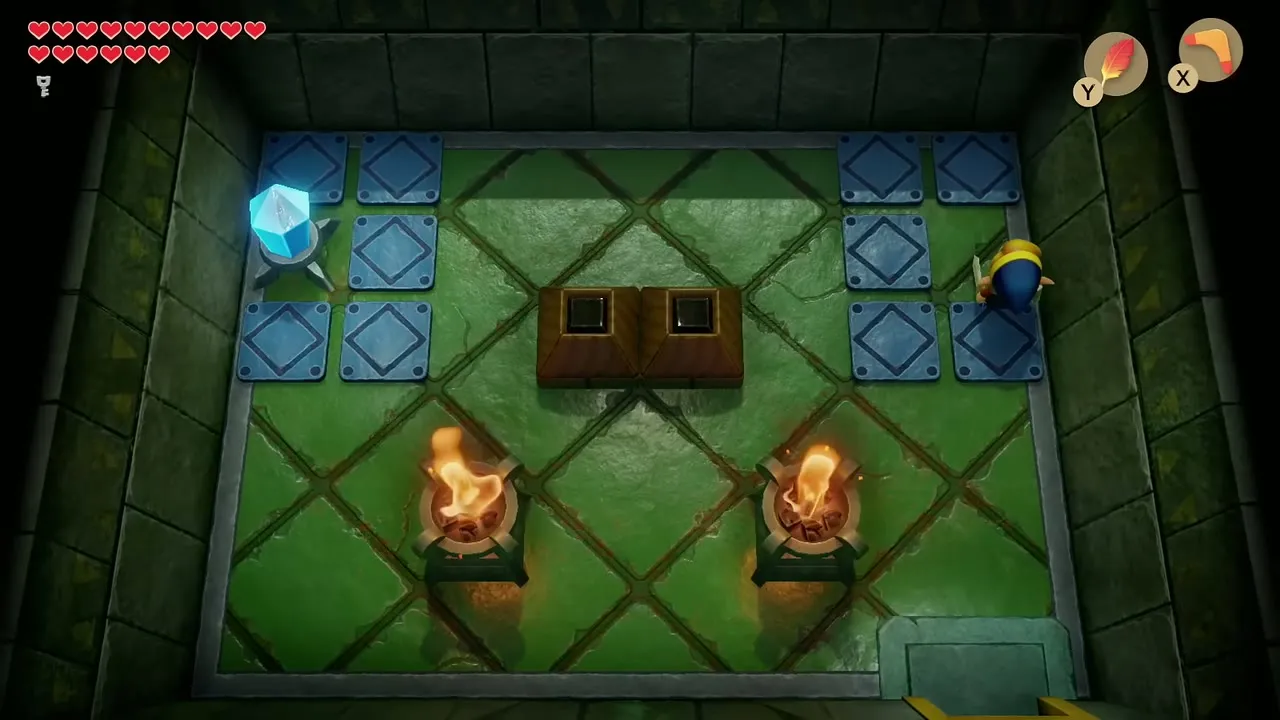
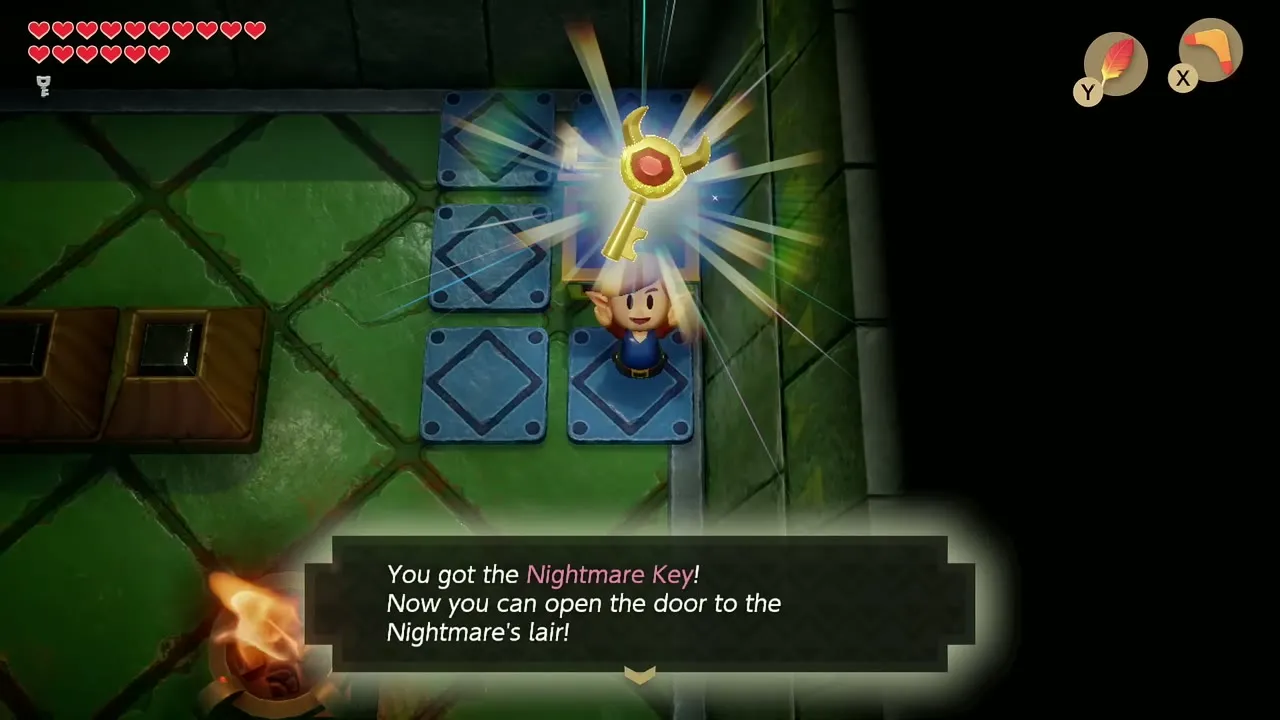
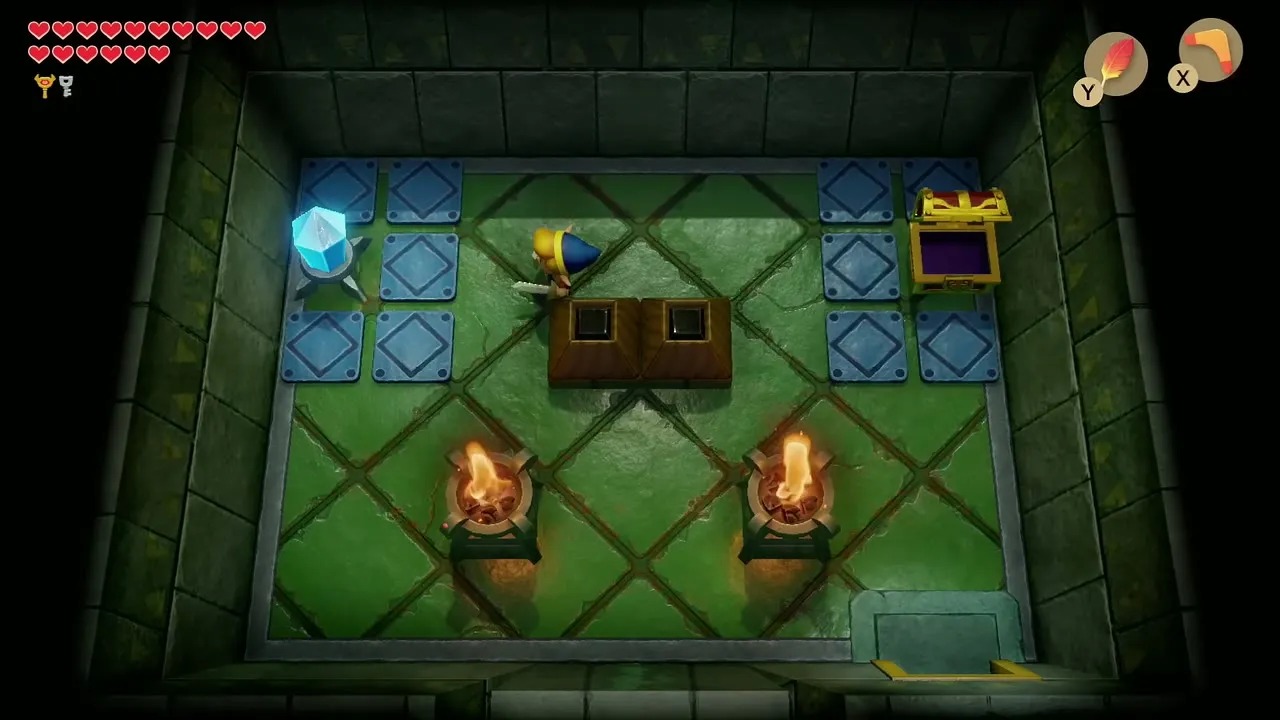
In the room right after the fight, slash the crystal switch to turn the tiles blue, push the two blocks together and open the chest for the Nightmare Key. Then go back past the Goombas to the boss door at the top of the tower.
Boss: Evil Eagle
Climb to the top of the tower
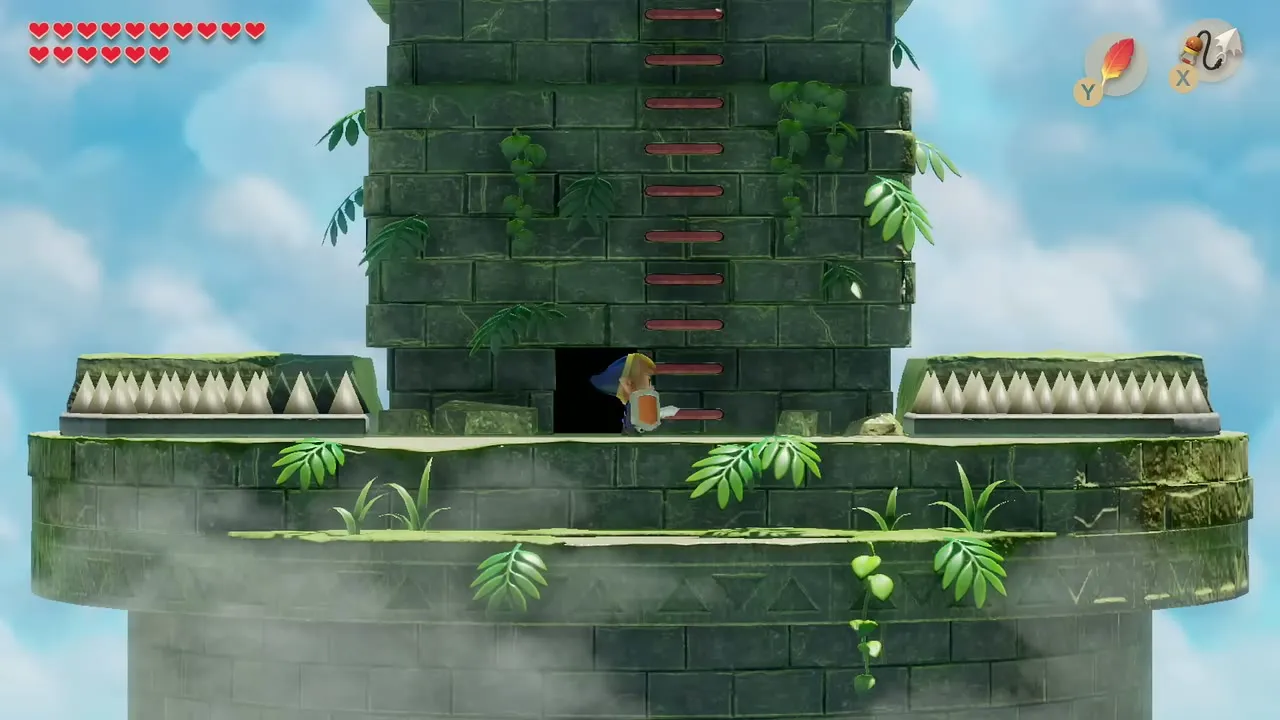
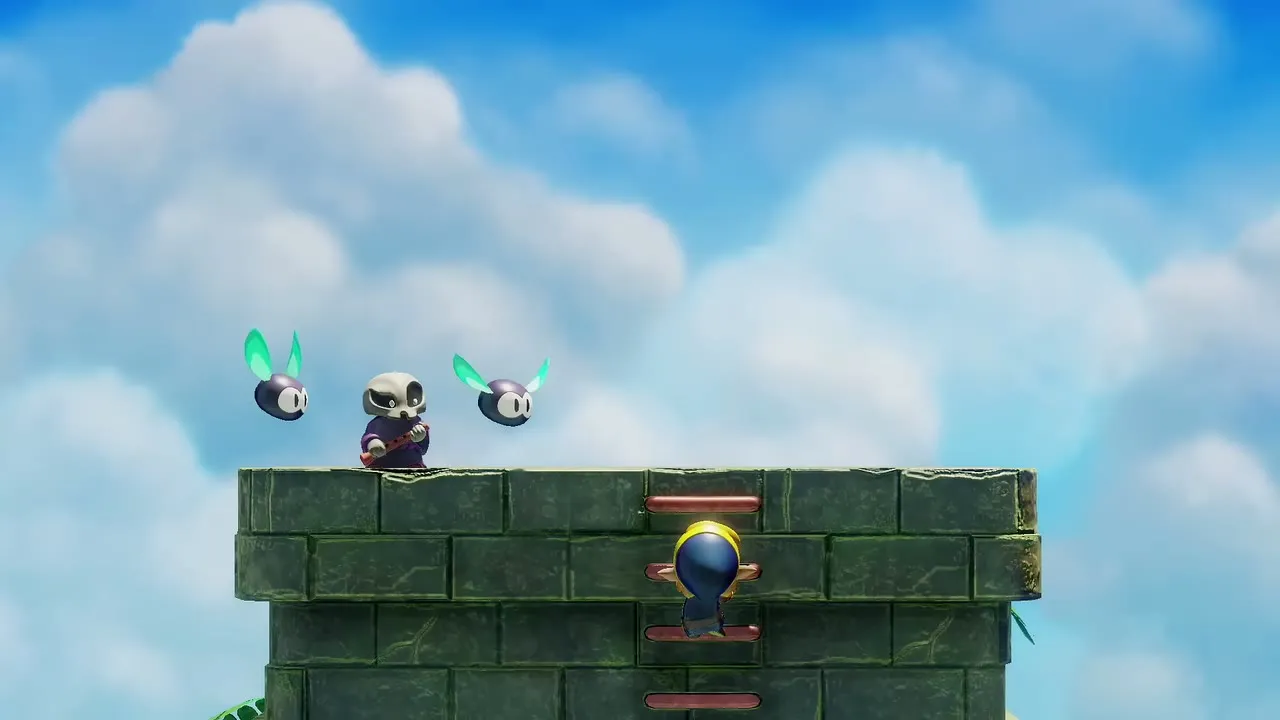
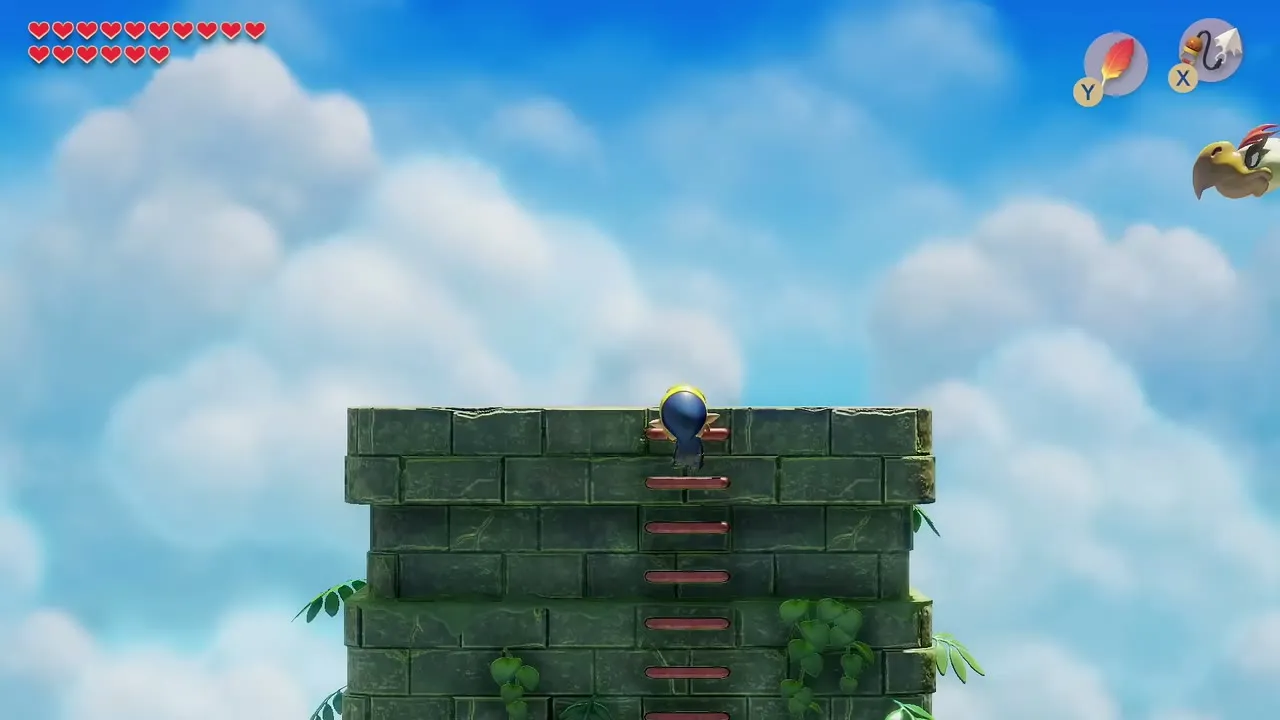
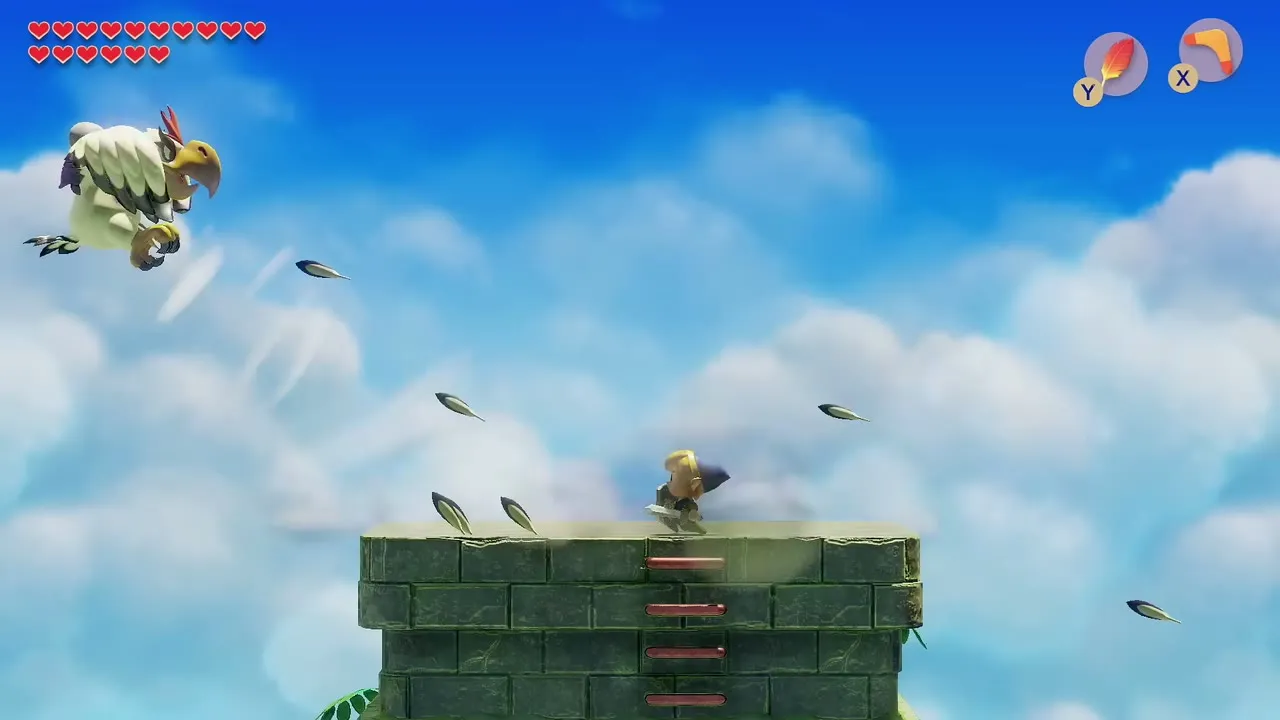
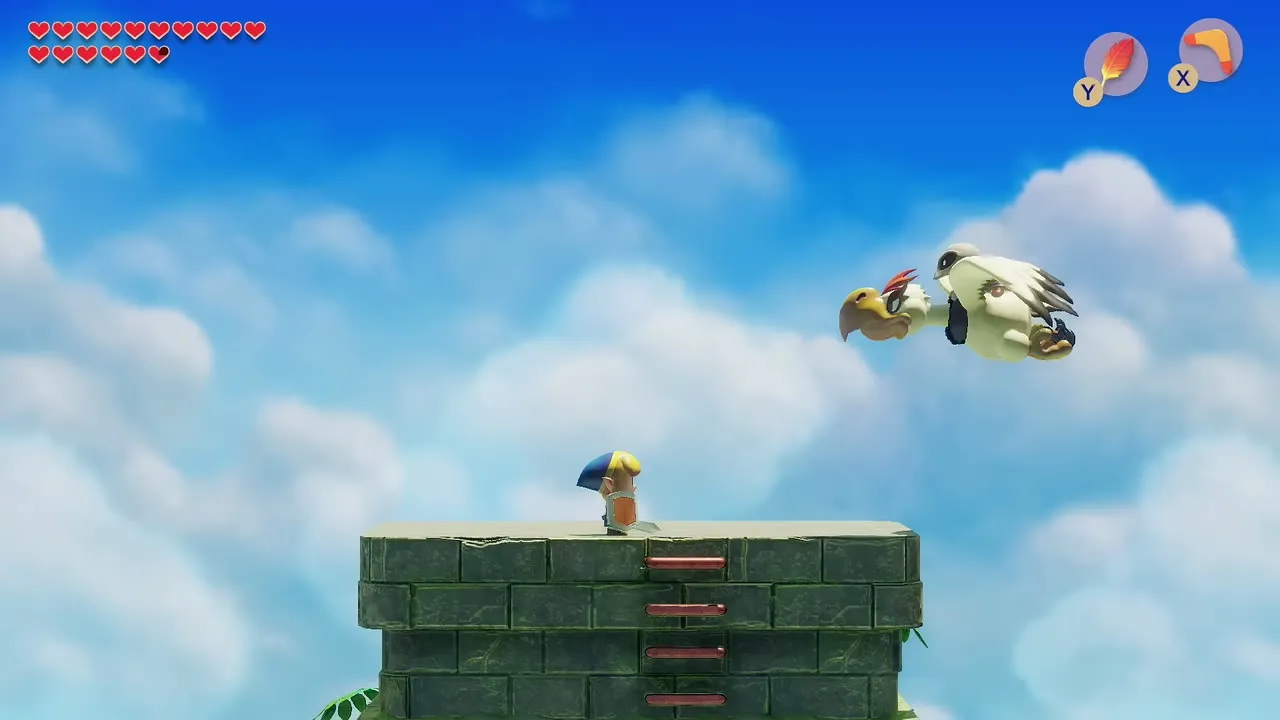
Open the boss door with the Nightmare Key and climb the long ladder outside the tower. The fight takes place on top of the tower, with wind and open sky around you. Stay in the middle of the platform. If you are pushed off, climb the ladder back up while the eagle fires feathers at you.
How to beat the Evil Eagle
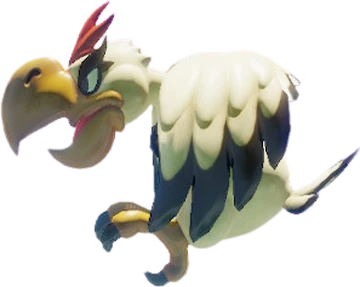
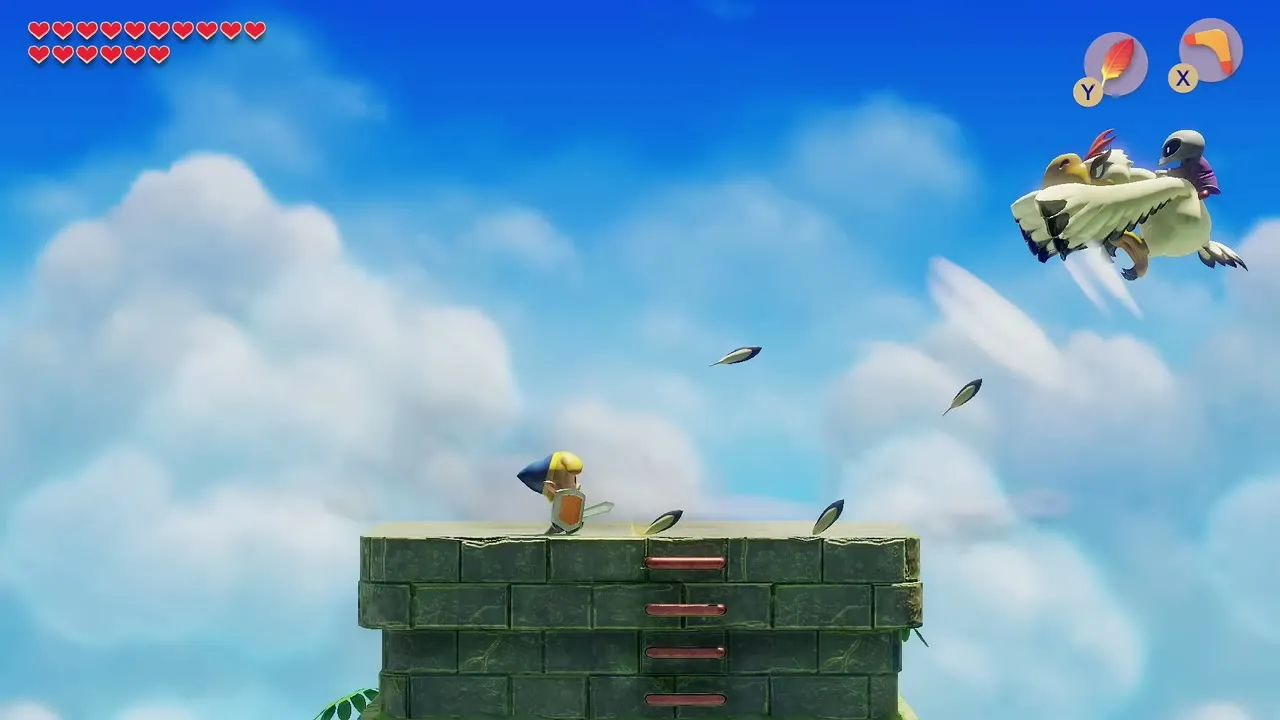
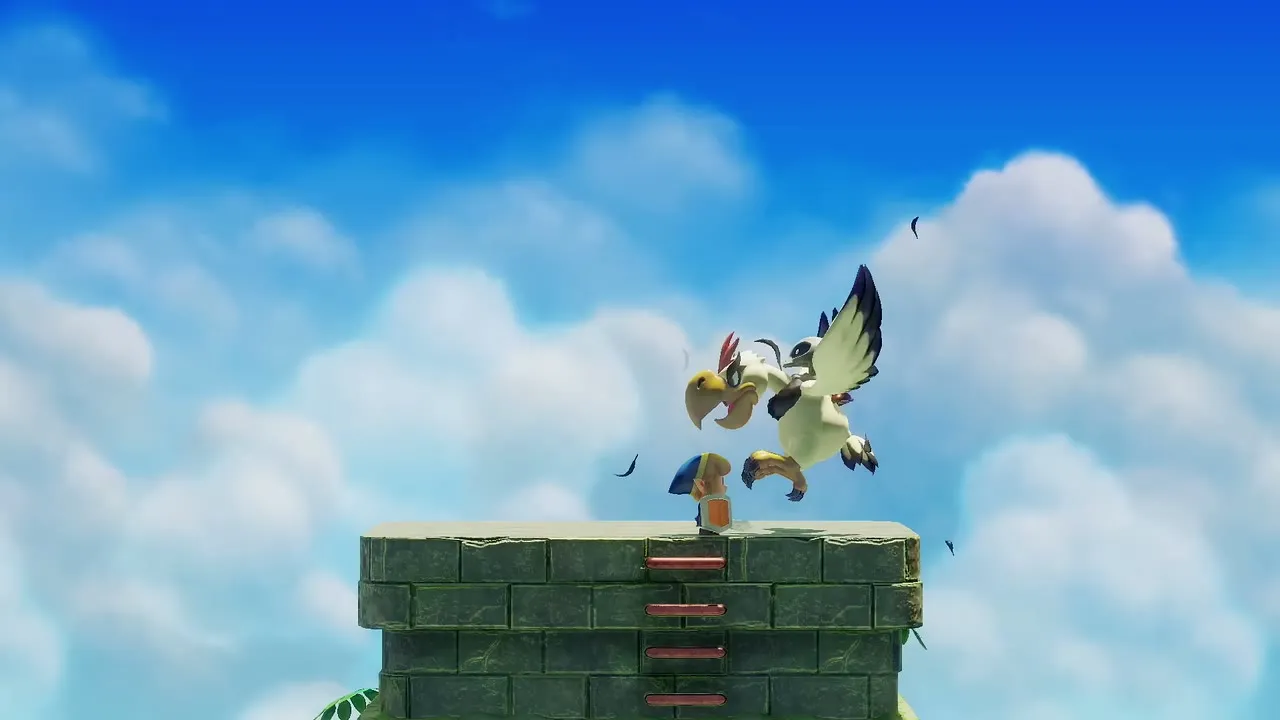
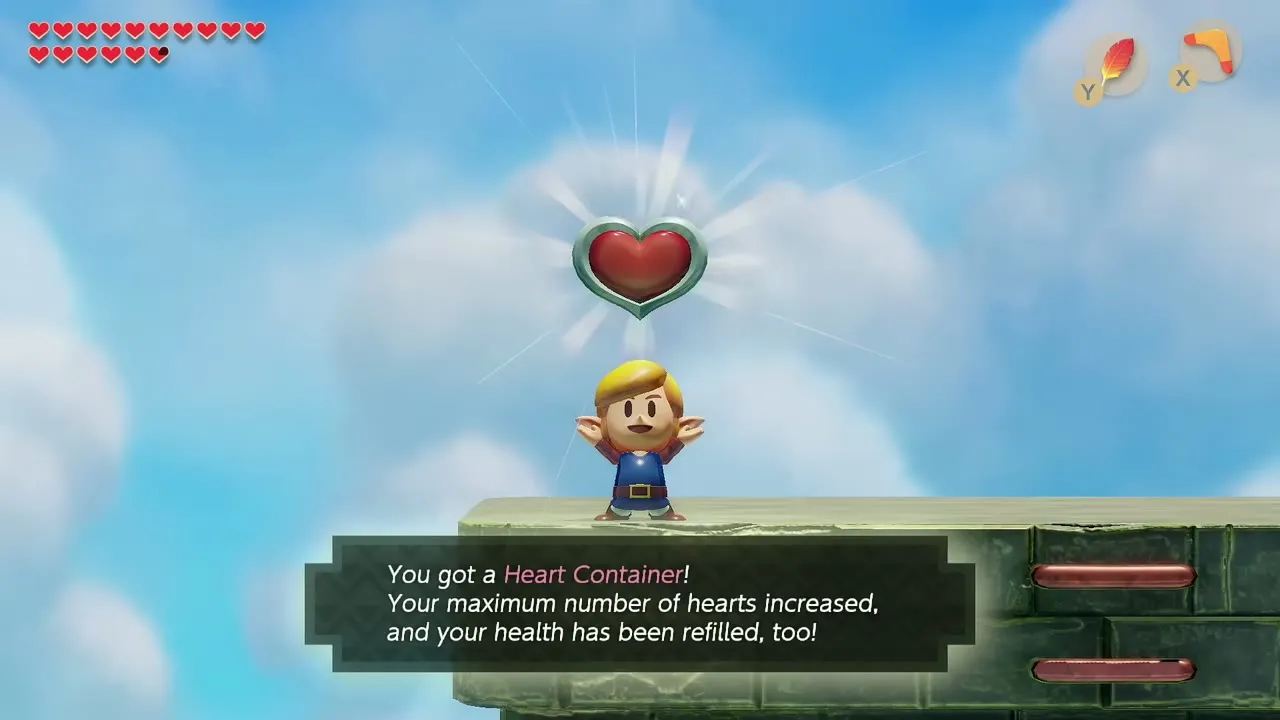
The Evil Eagle swoops across the screen at your height or above you. Slash it as it passes, or hit it with the boomerang, an arrow or the Hookshot. When it hovers near the edge and blows wind, hold up the Mirror Shield and walk toward it so the wind does not push you off. The shield also blocks the feathers. Keep attacking until it goes down. Defeating it earns a Heart Container.
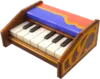
Organ of Evening Calm
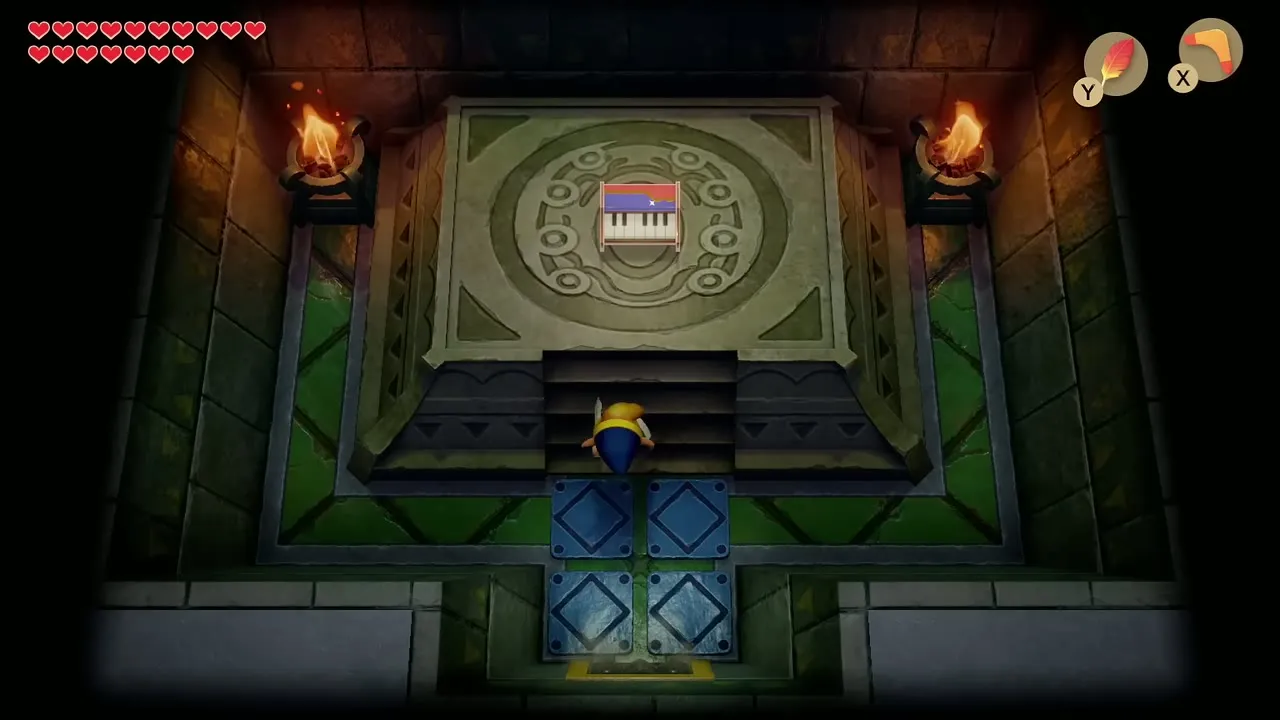
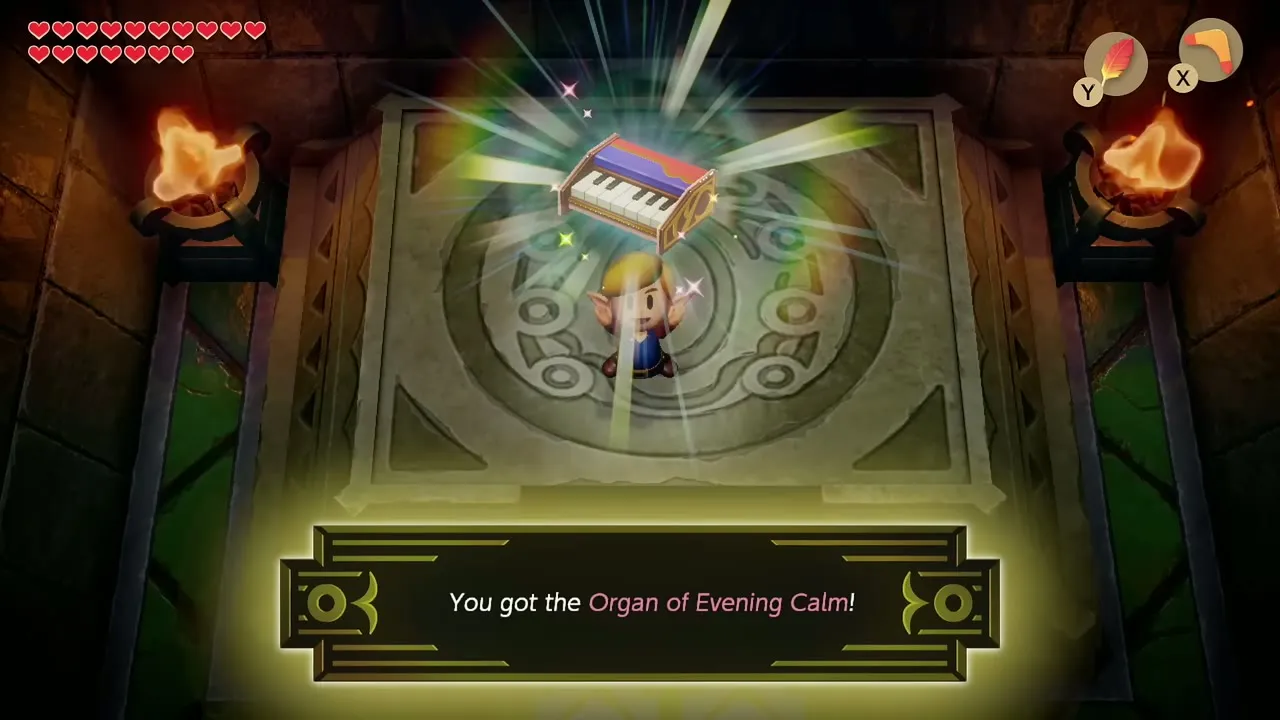
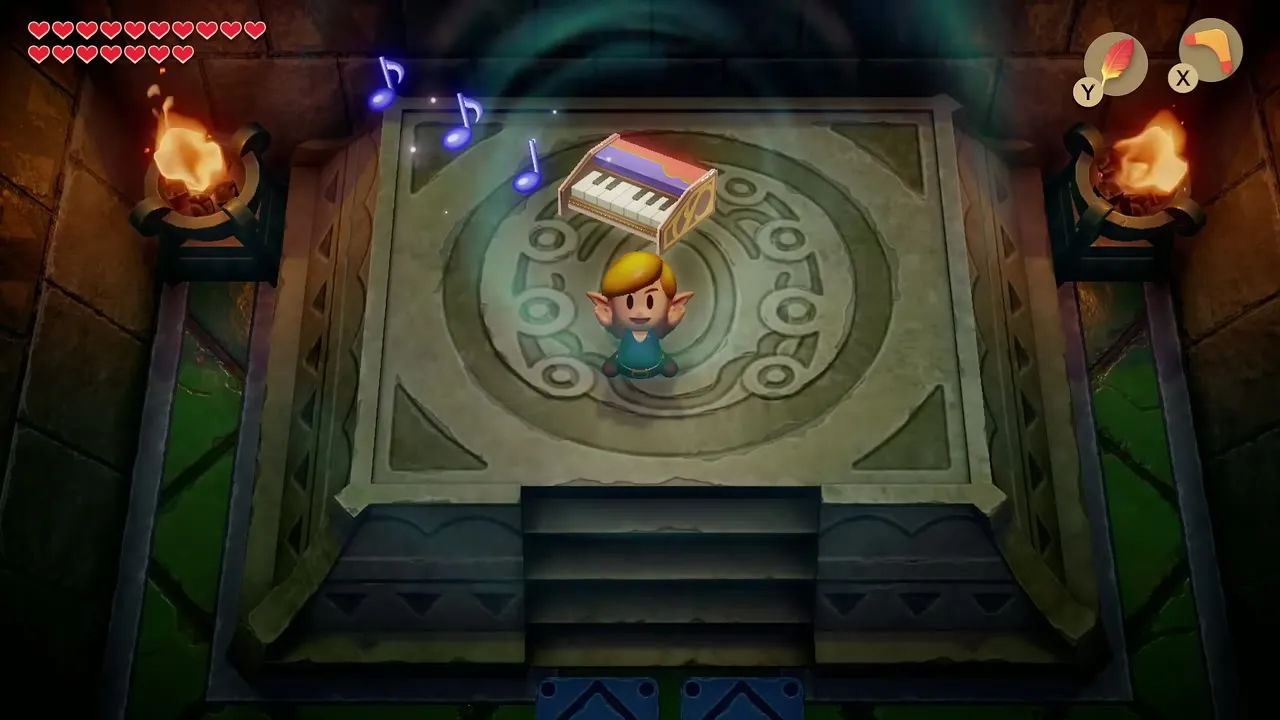
Walk back into the tower and enter the room at the end to find the Organ of Evening Calm on its pedestal. Take it to finish Level 7. You are carried outside to the tower entrance, with the Flying Rooster on his way to a new home in the Hen House, and the instrument sounds with the Ocarina. All boss tactics are collected in the boss strategies guide.
Chapter checklist
| Type | Name | Where |
|---|---|---|
| Secret Seashell | Key Cavern islet shell | Under the lone bush on the small islet in the pond near the Key Cavern entrance (Flippers) |
| Chamber Stone | Shop stone | Town Tool Shop, 1,280 rupees |
| Chamber Stone | Ol’ Baron stone | Fishing Pond, first Ol’ Baron caught |
| Rooster |  Flying Rooster | Under the weathervane in Mabe Village, Frog’s Song of Soul |
| Rupees |  Purple Rupee (two chests) | Ledge chest on the way to the Bird Key cave; chest on the western ledge |
| Key item | Bird Key | Cave under the Hen House, rooster flight |
| Piece of Heart | Hen House bridge cave | Hookshot across the broken bridge west of the Hen House, bomb the south wall |
| Secret Seashell | Bridge rock east of the Hen House | Lift the right-hand rock of the three across the bridges |
| Figure |  Shy Guy figure | Trendy Game, Mabe Village |
| Secret Seashell | Western cliff boulder | Top-right boulder on the upper cliff west of Mt. Tamaranch |
| Piece of Heart | Narrow ledge | Lower ledge west of Mt. Tamaranch |
| Fairy Fountain | Cracked-wall fountain | Bomb the cracked wall on the route to Eagle’s Tower |
| Dungeon item | Mirror Shield | Eagle’s Tower, chest opened after the crystal switch |
| Dungeon item | Map | Eagle’s Tower, horse-statue puzzle |
| Dungeon item | Compass | Eagle’s Tower, three-of-a-kind room |
| Secret Seashell | Eagle’s Tower ledge shell | Eagle’s Tower, hole on the left of the Red Hinox room |
| Item |  Bombs | Eagle’s Tower, Hookshot chest near the fourth pillar |
| Key item |  Nightmare Key | Eagle’s Tower, chest after Grim Creeper |
| Container |  Heart Container | Eagle’s Tower, Evil Eagle |
| Instrument | Organ of Evening Calm | Eagle’s Tower, after the Evil Eagle |
