





















Link's Awakening 100% Completion Walkthrough9 chapters
- Toronbo Shores, Mabe Village and Tail Cave (Level 1)Link’s Awakening Switch walkthrough from the start: get the Sword, Shovel and Magic Powder, find the Tail Key, then.
- Mysterious Forest, Goponga Swamp and Bottle Grotto (Level 2)Rescue BowWow, collect three Heart Pieces and Secret Seashells, cross Goponga Swamp and clear Bottle Grotto (Level 2).
- Ukuku Prairie, Kanalet Castle and Key Cavern (Level 3)Link’s Awakening Switch walkthrough for Kanalet Castle Golden Leaves, the Slime Key, Key Cavern (Level 3), the Pegasus.
- Yarna Desert and Angler’s Tunnel (Level 4)Yarna Desert and Angler’s Tunnel walkthrough for Link’s Awakening: get the Angler Key, the Flippers and the Surf Harp.
- Martha’s Bay and Catfish’s Maw (Level 5)Martha’s Bay and Catfish’s Maw walkthrough for Link’s Awakening: learn Manbo’s Mambo, free the Ghost, win the Hookshot.
- Southern Face Shrine and Face Shrine (Level 6)Southern Face Shrine and Face Shrine (Level 6) walkthrough for Link’s Awakening: Magnifying Lens, Koholint Sword.
- Tal Tal Heights and Eagle’s Tower (Level 7)Tal Tal Heights and Eagle’s Tower walkthrough for Link’s Awakening: the Flying Rooster, Bird Key, Mirror Shield, Evil.
- Western Tal Tal Mountains and Turtle Rock (Level 8)Western Tal Tal Mountains and Turtle Rock (Level 8) walkthrough for Link’s Awakening: Secret Seashell 50, Magic Rod.
- The Wind Fish’s Egg and Final BossesThe Wind Fish’s Egg and final bosses walkthrough for Link’s Awakening: read the maze book, play the Ballad, beat all.
| Covers | Marin and Tarin’s house, Toronbo Shores, Mabe Village, Mysterious Forest, the Witch’s Hut and the road to Tail Cave |
|---|---|
| Dungeon | Tail Cave (Level 1): needs the Tail Key; boss Moldorm; instrument Full Moon Cello |
| Rewards | Shield, Sword, Shovel, Magic Powder, Tail Key, Roc’s Feather, Stone Beak, Heart Container, Full Moon Cello; 5 Pieces of Heart; 4 Secret Seashells; Yoshi Doll, Ribbon, Dog Food and Bananas from the trading sequence; Middleweight Lure; a bottle; ClaoClao figure |
This chapter takes you from waking up in Marin and Tarin’s house to your first Instrument. You collect the Shield and Sword, run the Mabe Village errands that pay off for the whole game (Trendy Game, the Town Tool Shop, the fishing pond and the start of the trading sequence), get Magic Powder and the Tail Key in the Mysterious Forest, and then clear Tail Cave for the Roc’s Feather and the Full Moon Cello.
Shield and Sword: the start of the adventure
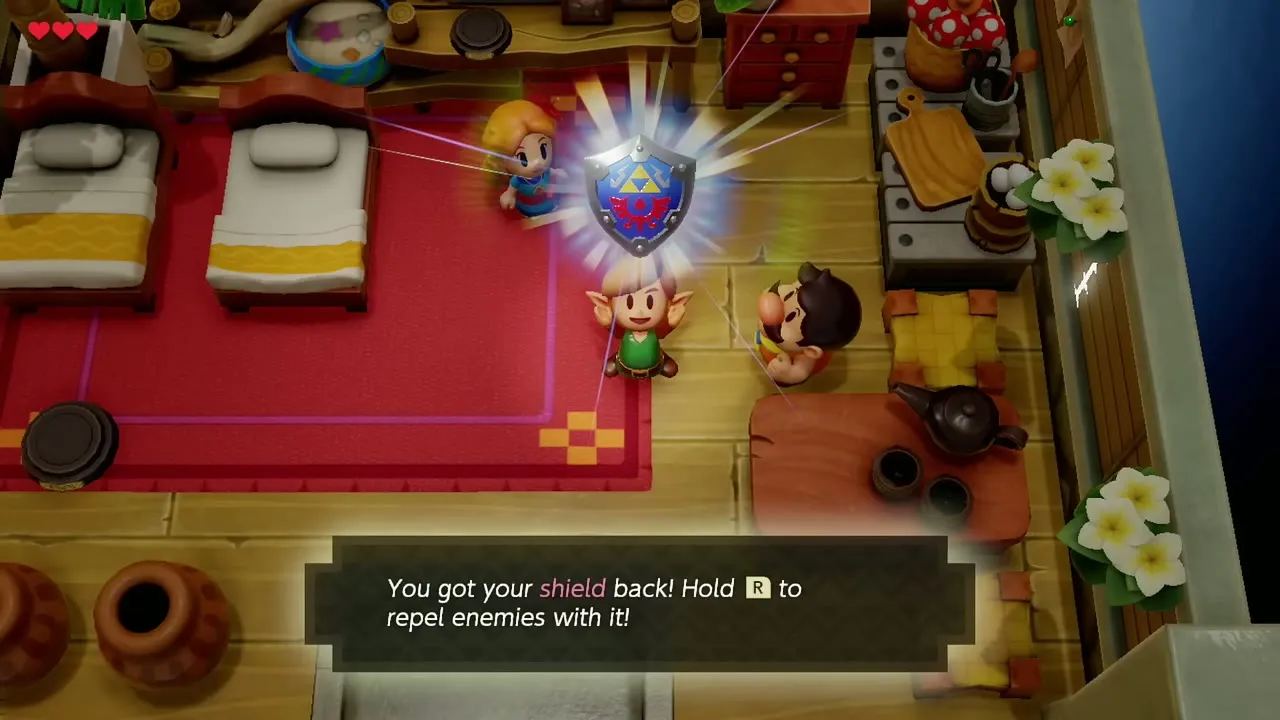
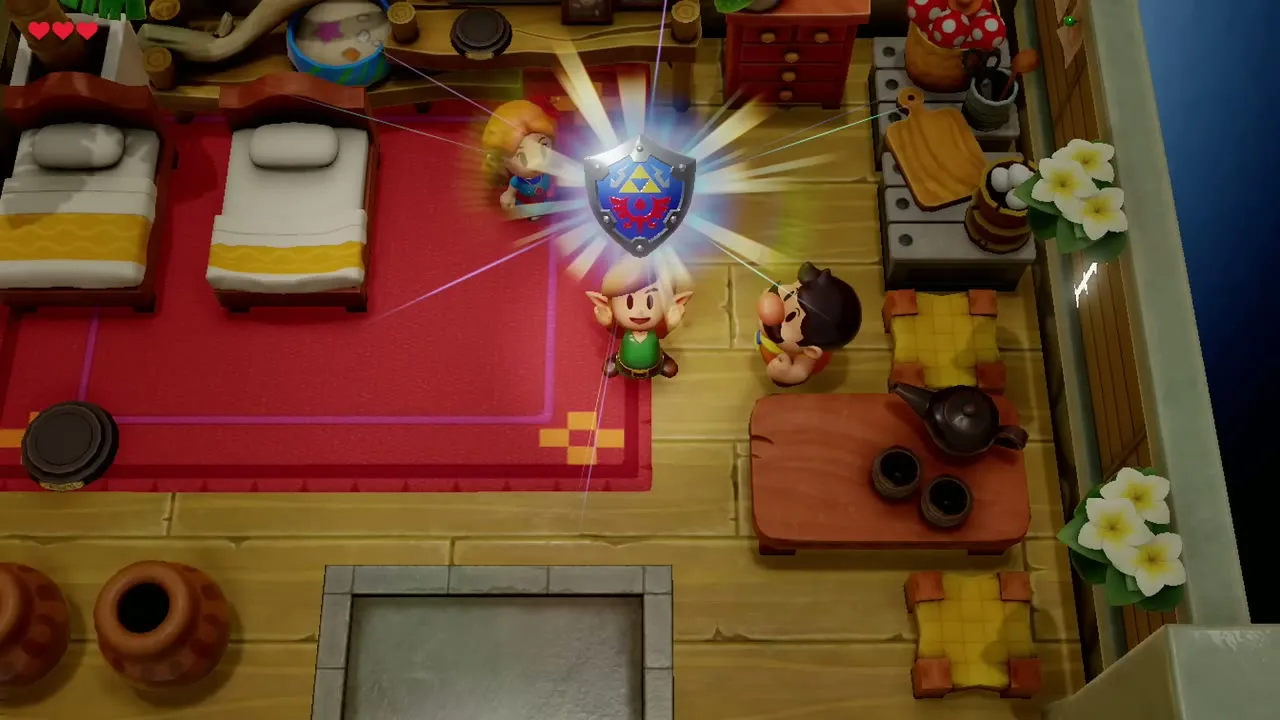
Take the Shield from Tarin
After the opening scenes you are in Marin and Tarin’s house with no equipment. Talk to Tarin to receive the Shield, then leave through the door at the bottom of the room. Raise the Shield with the guard button to push enemies away, which you need for the very next step.
Find the Sword on Toronbo Shores
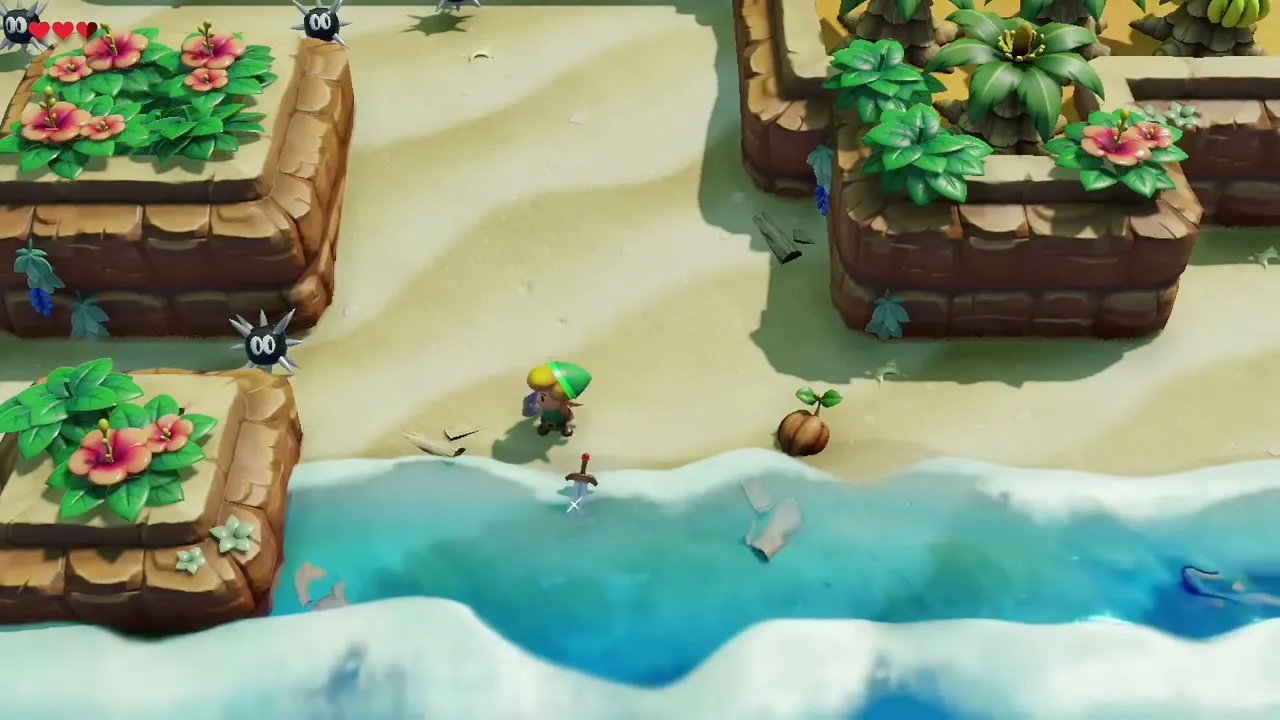
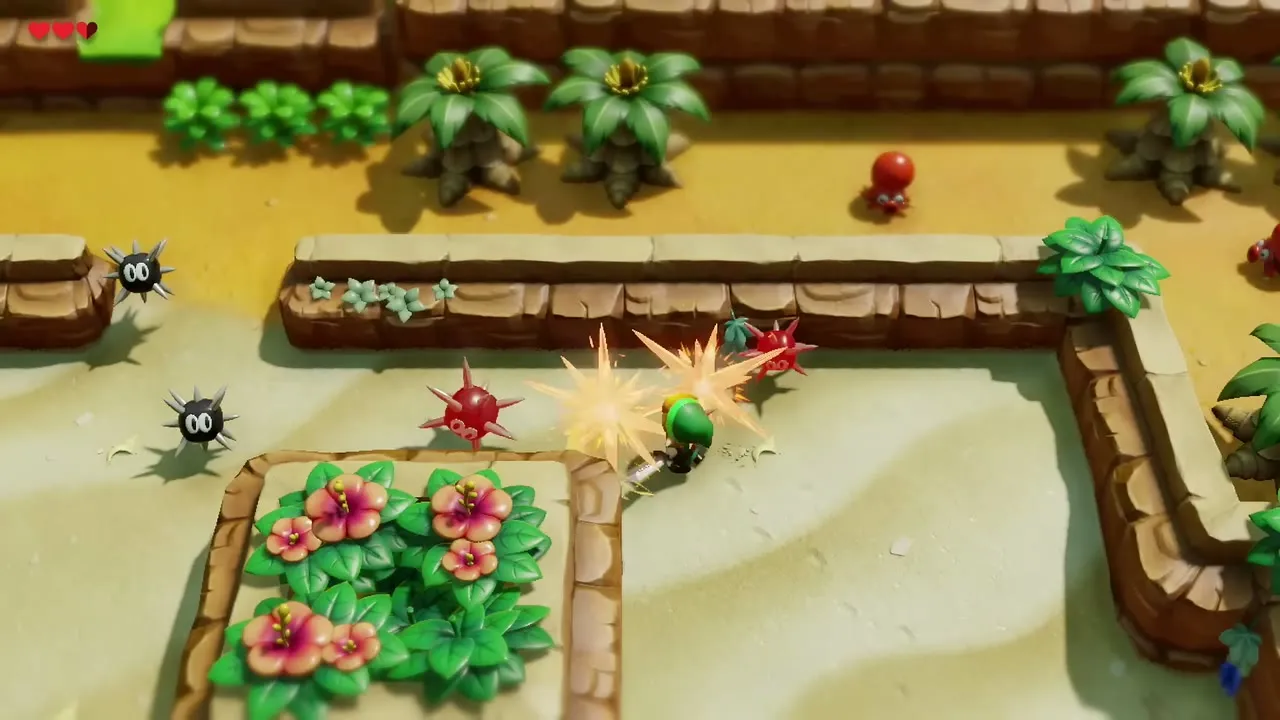
Head down to Toronbo Shores, the beach just outside. Sea Urchins sit on the sand and hurt on contact, so hold the Shield up and walk into them to shove them out of your way. Press on along the beach until you find the Sword stuck in the sand and take it.
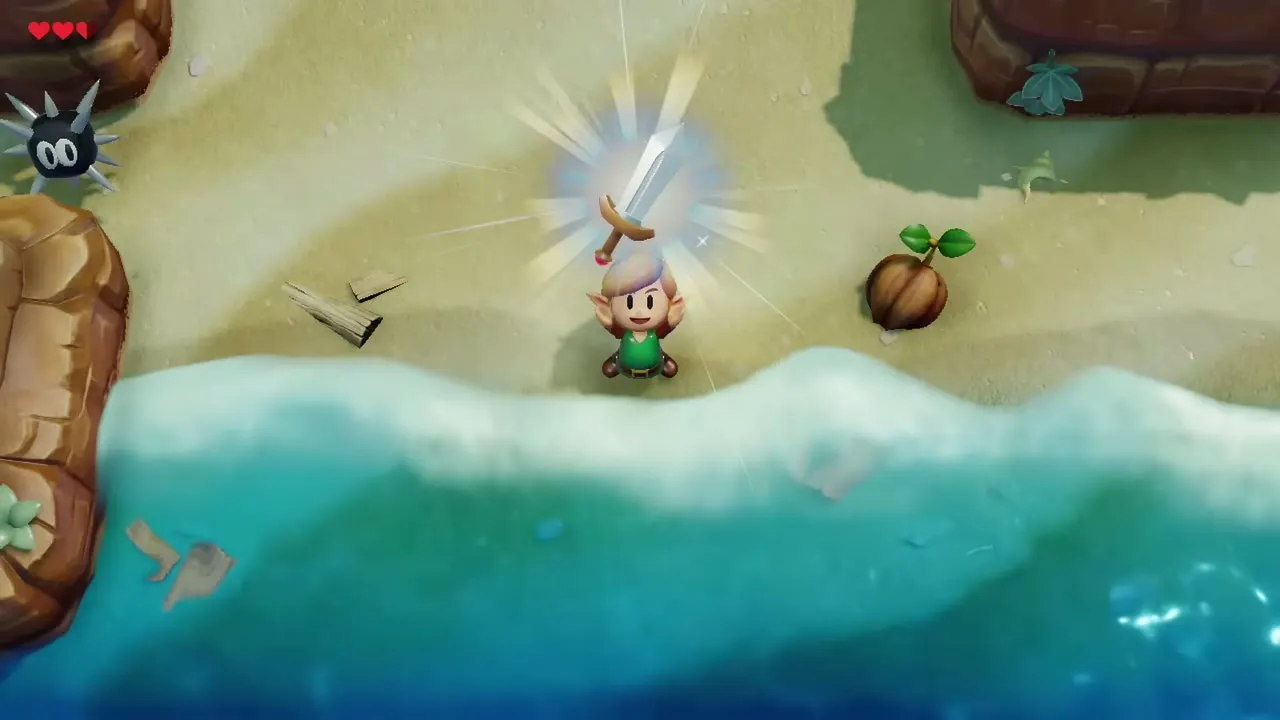
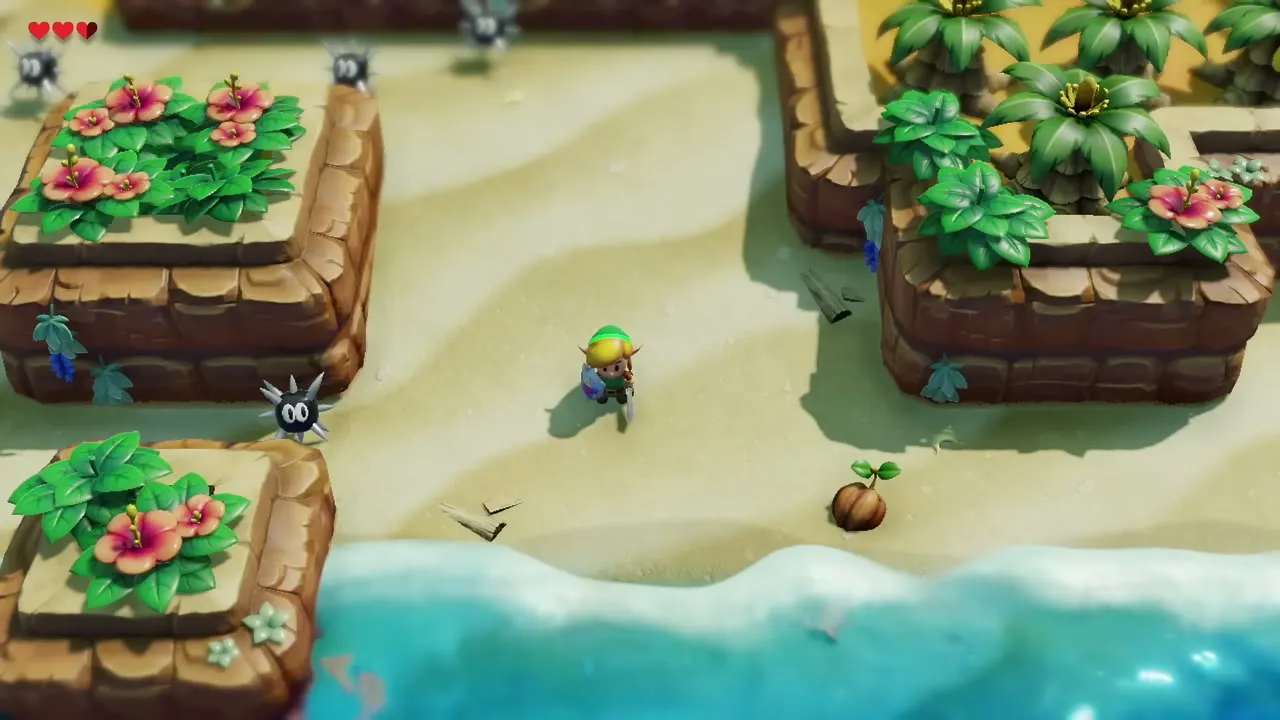
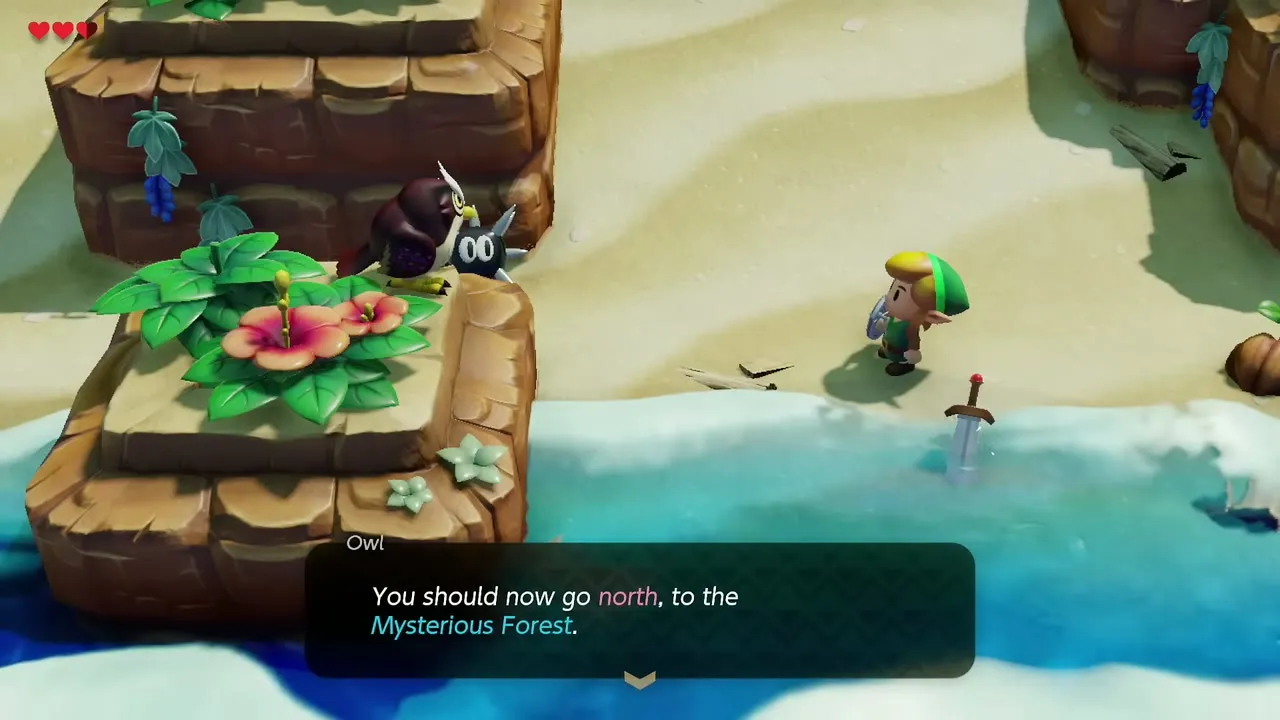
With the Sword in hand, an Owl tells you to look for the Mysterious Forest. Walk back up to Mabe Village first: it holds three Pieces of Heart, three Secret Seashells, the Shovel and your first trading items, and the rupees you earn here pay for the rest.
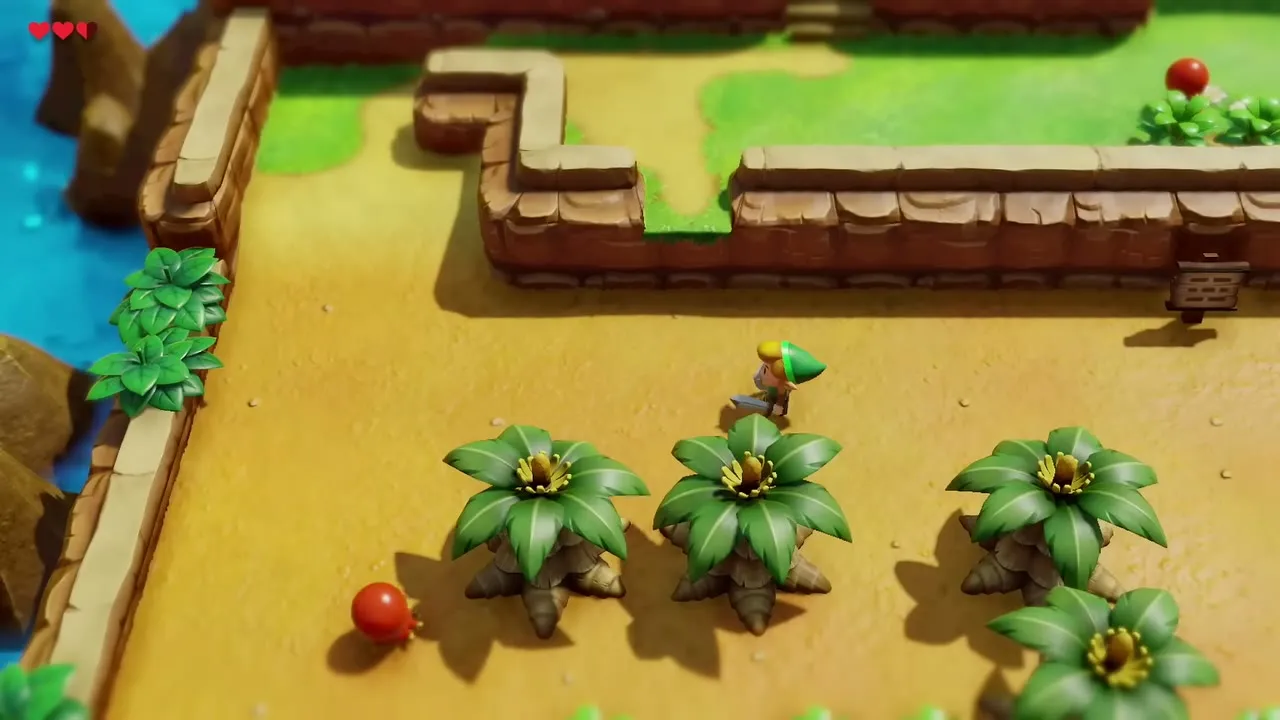
Mabe Village: heart pieces, Shovel and rupees
Jump into the well for the first Piece of Heart
On the west side of Mabe Village a well sits behind a patch of bushes at the top of a ledge. Cut the bushes with the Sword and step off the ledge to drop into the well. Wade across the little pool in the cave below to the glowing heart: your first Piece of Heart (all heart piece locations).


Cut the clover patch for a Secret Seashell
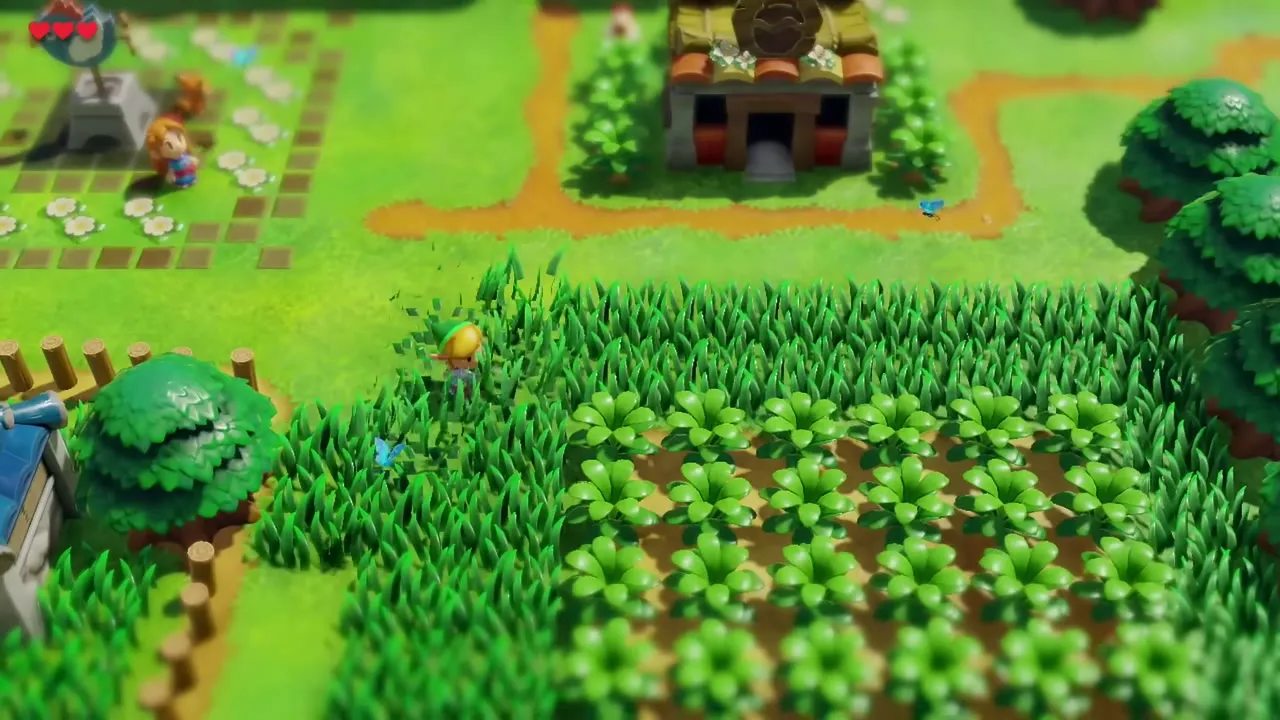
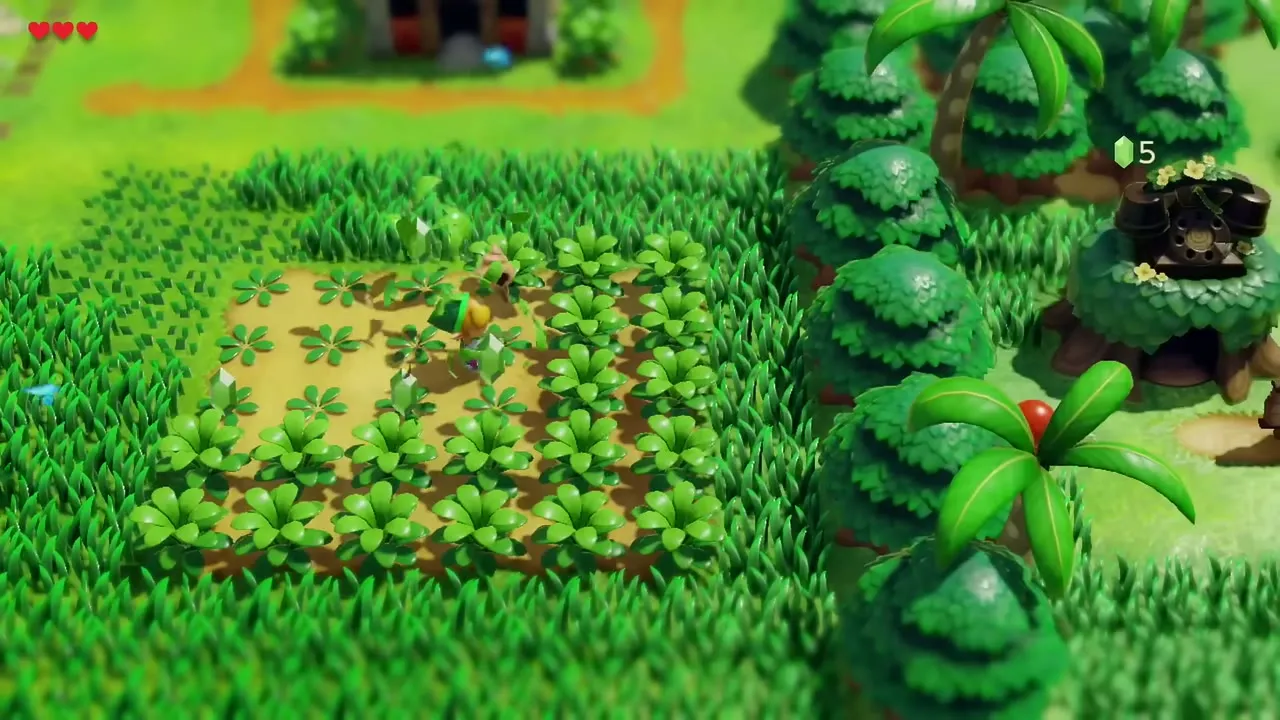
On the east side of the village a square patch of clover plants grows in the long grass. Slash through the clover with the Sword until you uncover the shell hidden among them. That is your first Secret Seashell (all Secret Seashell locations).

Trendy Game: easy rupees, a Piece of Heart and the Yoshi Doll
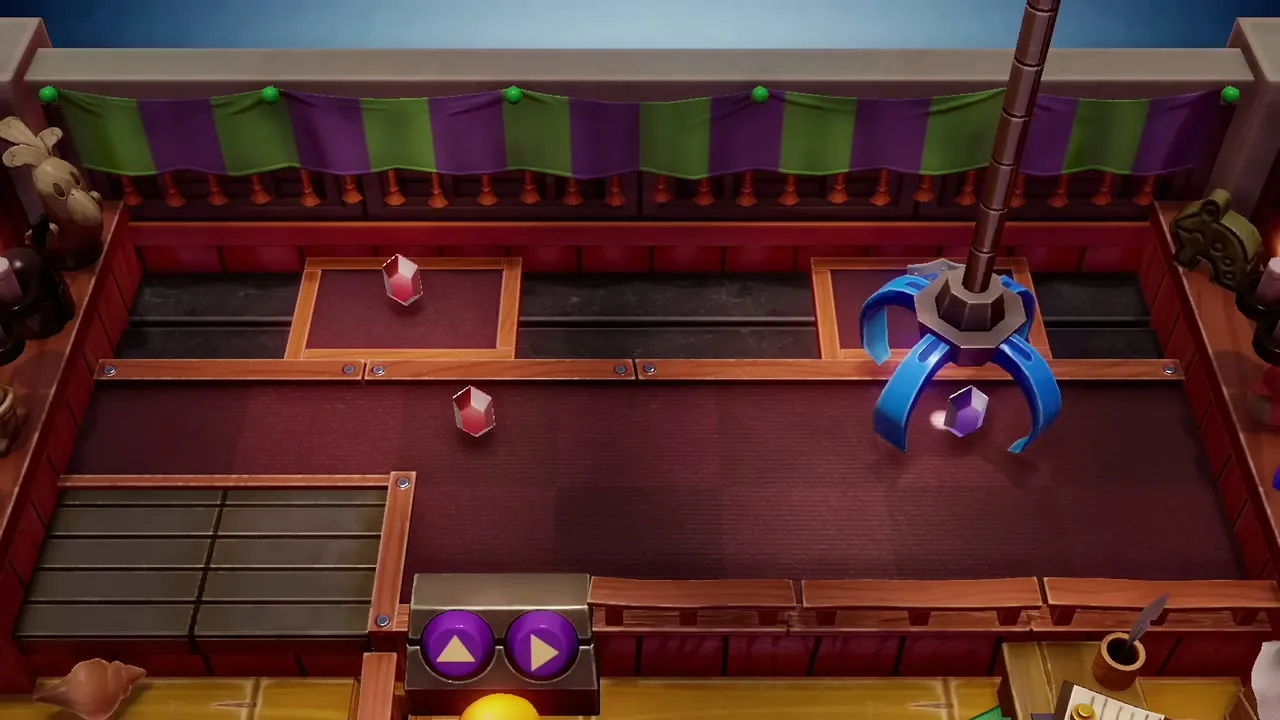
Enter the Trendy Game shop, the building with the crane machine, and talk to the owner to play for 10 rupees. You steer the claw left and right and press the button to drop it. Prizes sit in two rows, and they slip out of the claw easily, so expect a few misses. The purple rupee is the best one to aim for: it is worth 50 rupees, so every win nets 40 and the machine doubles as your rupee farm. Repeat until you hold about 400 rupees, which covers the next two shopping stops.
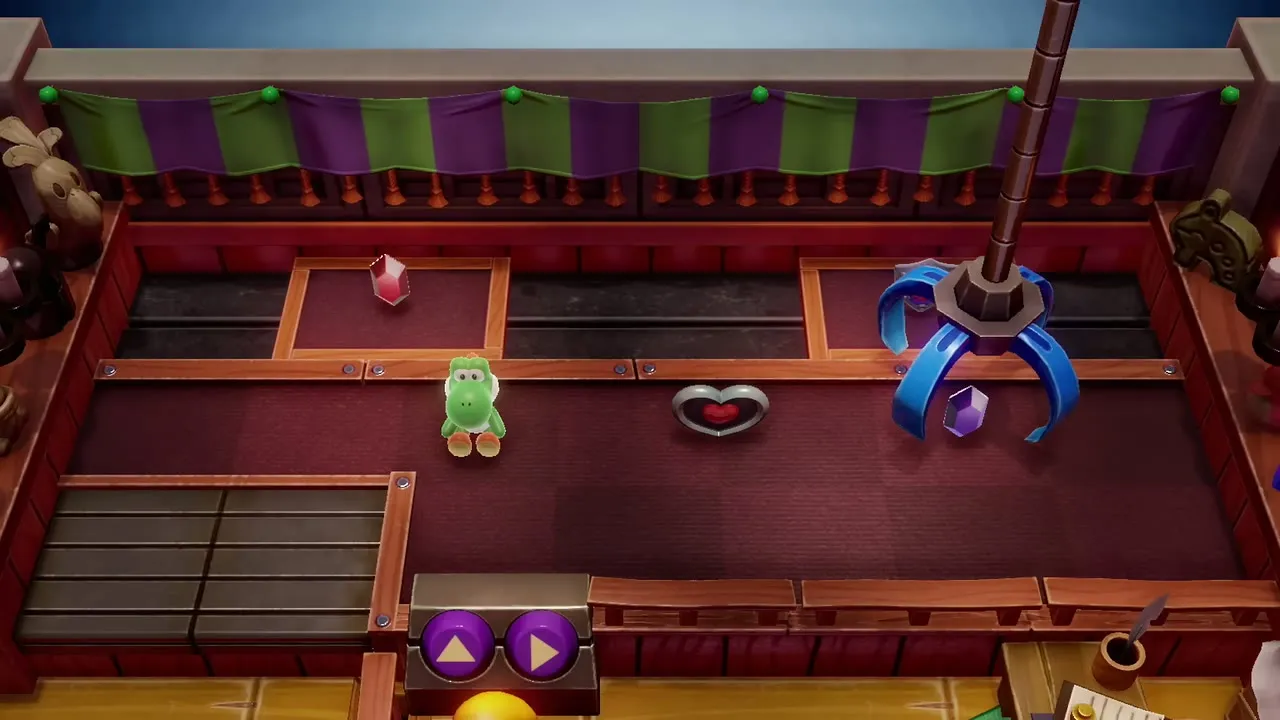

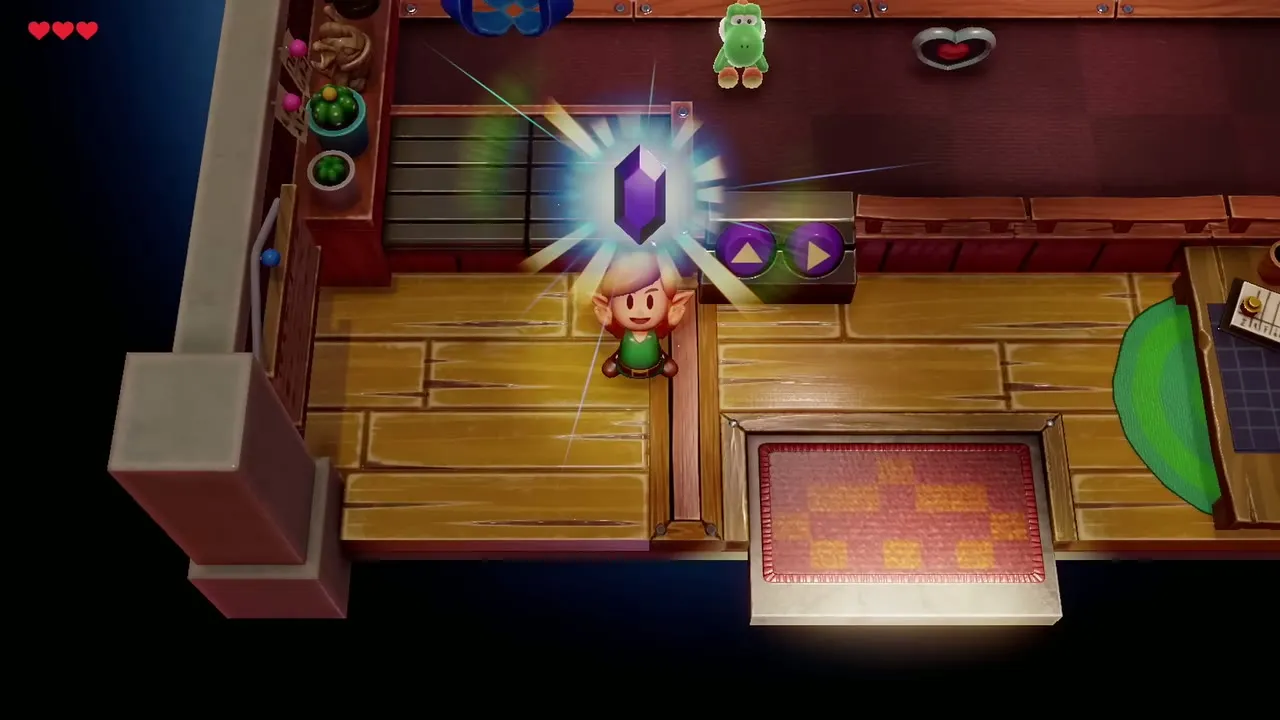
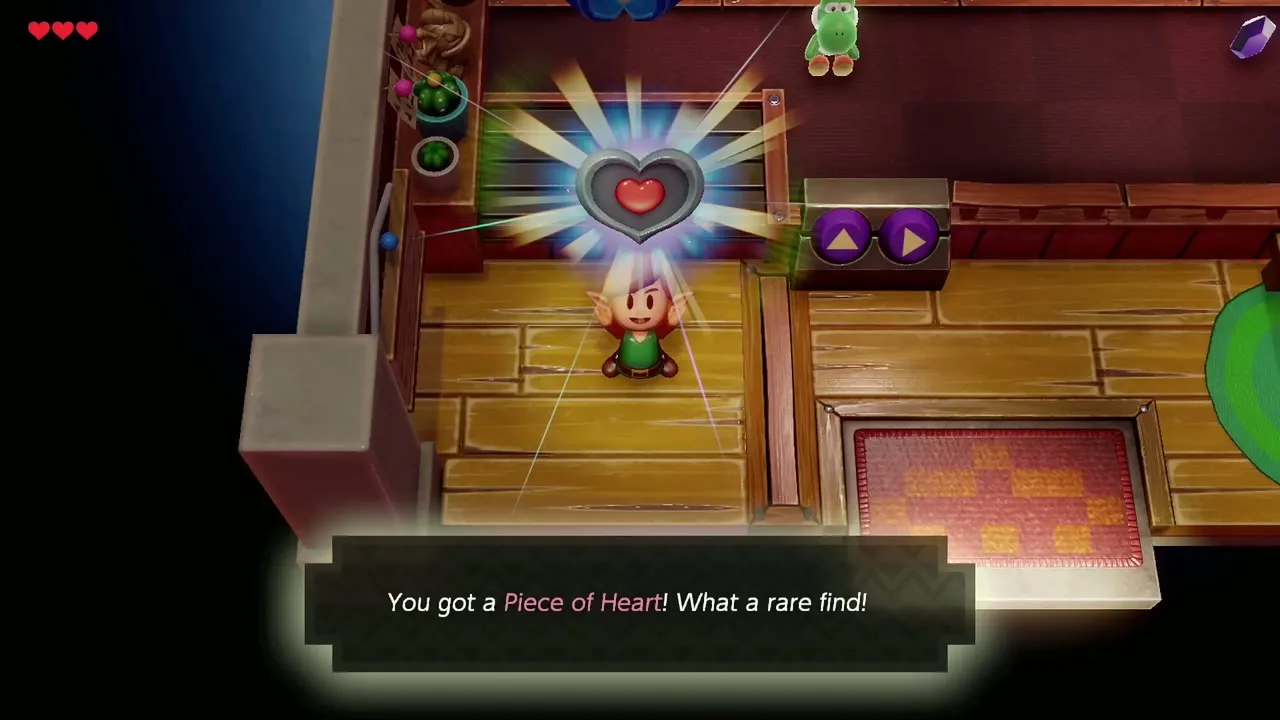
Once you have the money, go for the Piece of Heart that appears among the prizes and drag it to the chute. After that, grab the Yoshi Doll, the first item of the trading sequence. Each prize drops out of the chute when the claw lets go over it.


Town Tool Shop: buy the Shovel and a Piece of Heart
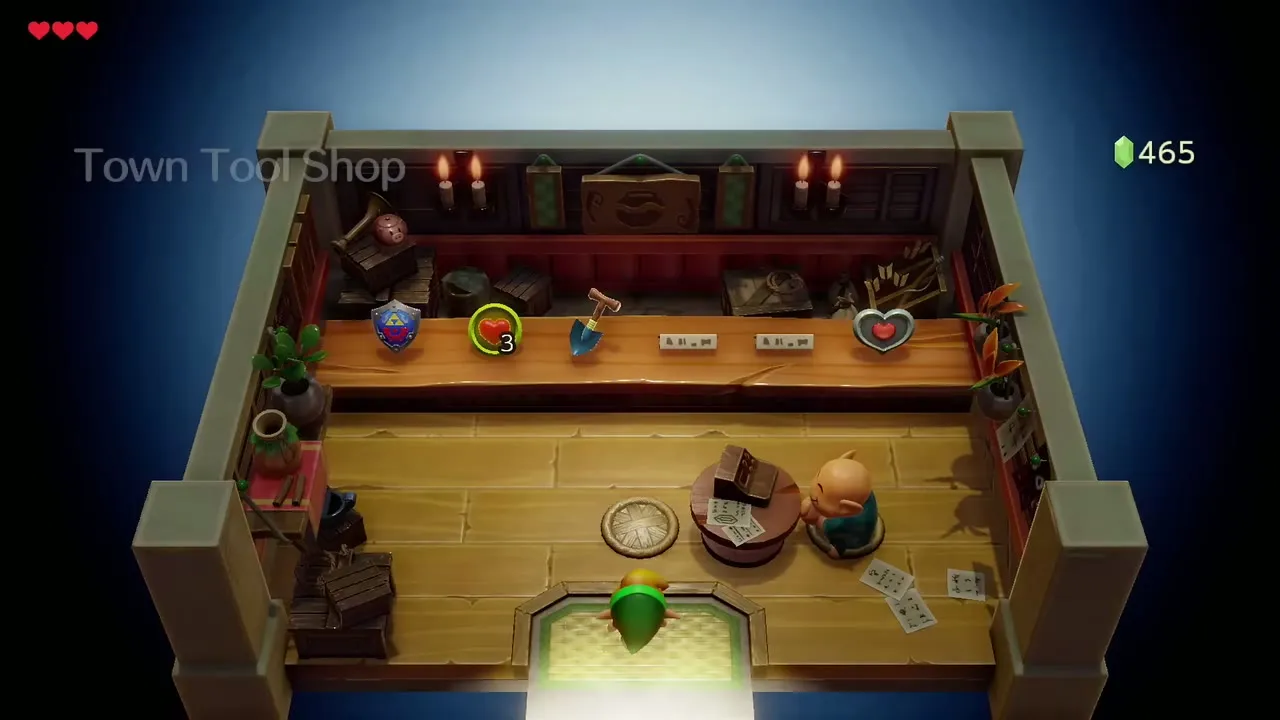
Walk through the crop field in the middle of the village to the Town Tool Shop. The Shovel costs 200 rupees; confirm the purchase and set it to a button from the item menu. You need it for every digging spot in the game, so buying it first is worth it.
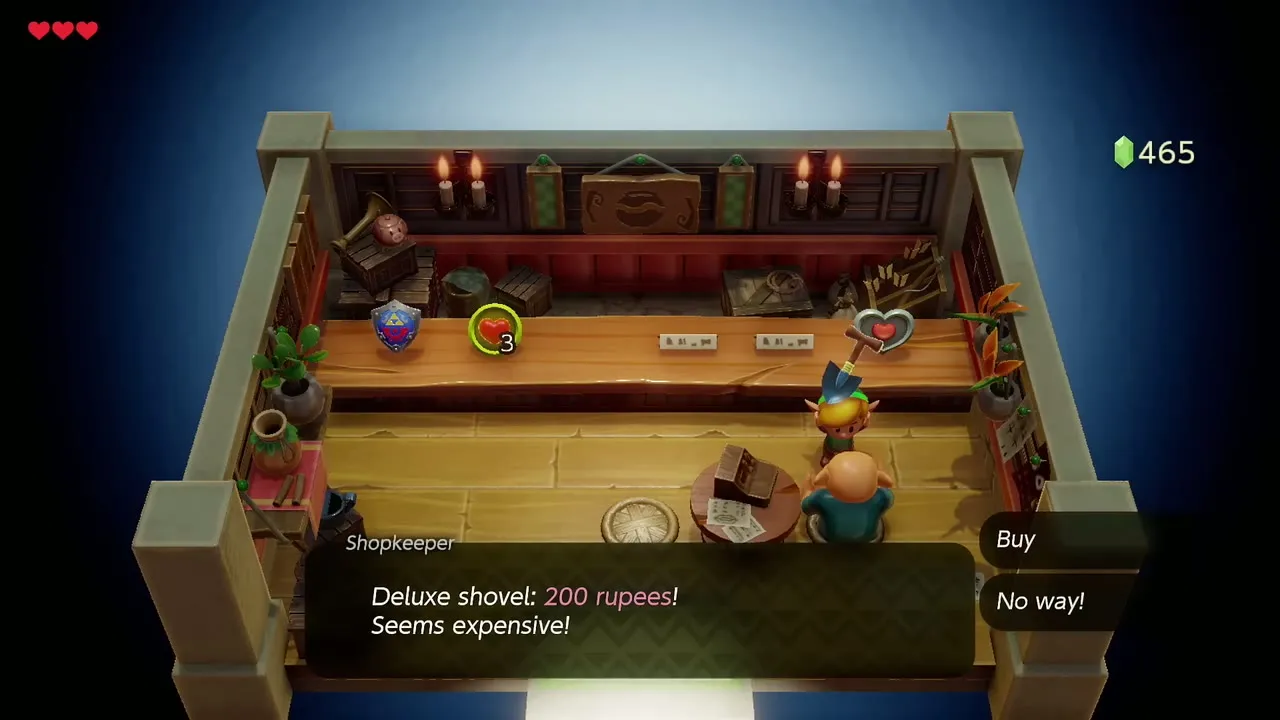

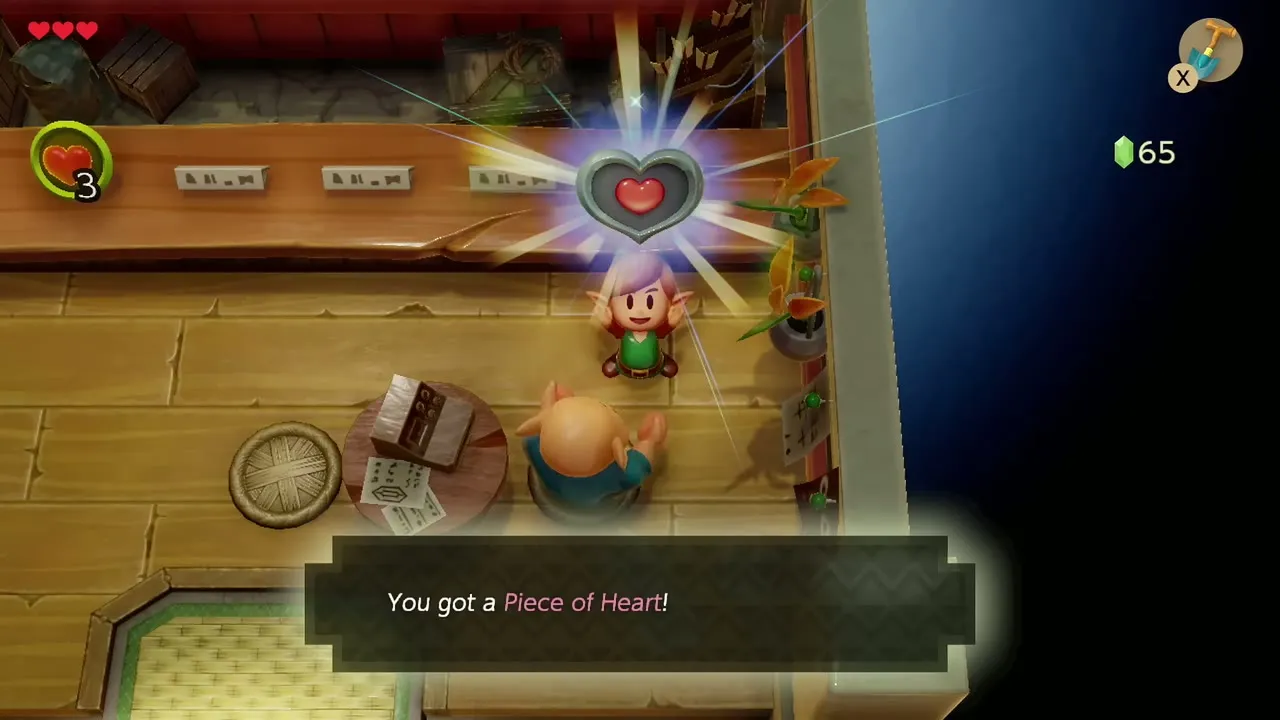
The shop also sells a Piece of Heart on its counter for another 200 rupees. Pay for it and you hold three Pieces from the well, the Trendy Game and the shop. Do not take anything from the counter without paying: the shopkeeper remembers.
Trendy Game again: ClaoClao figure and a Secret Seashell
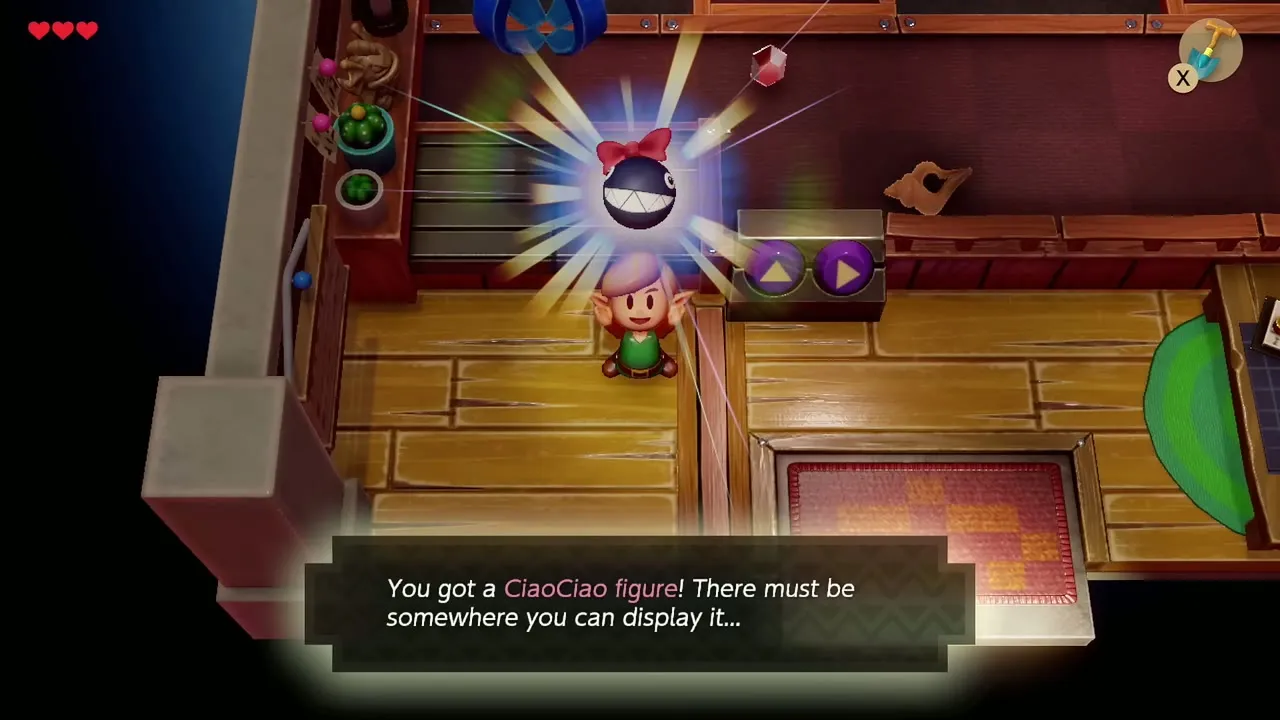
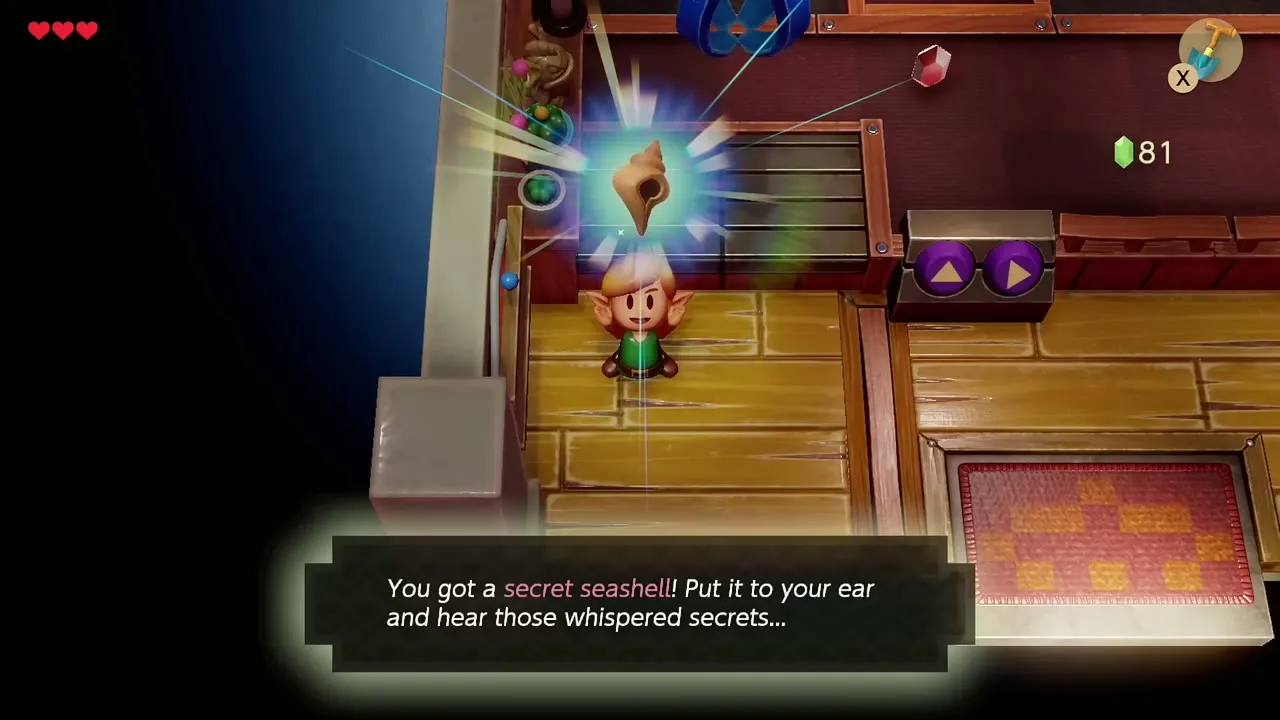
Return to the Trendy Game for more plays. Once you have won the Yoshi Doll, new prizes enter the machine. Win the ClaoClao figure, a collectible you can display later (figures and Trendy Game prizes), and then keep playing for the Secret Seashell that joins the prize pool. That is your second Secret Seashell. If you run low on rupees, go back to the purple rupee.
Start the trading sequence: Ribbon and Dog Food
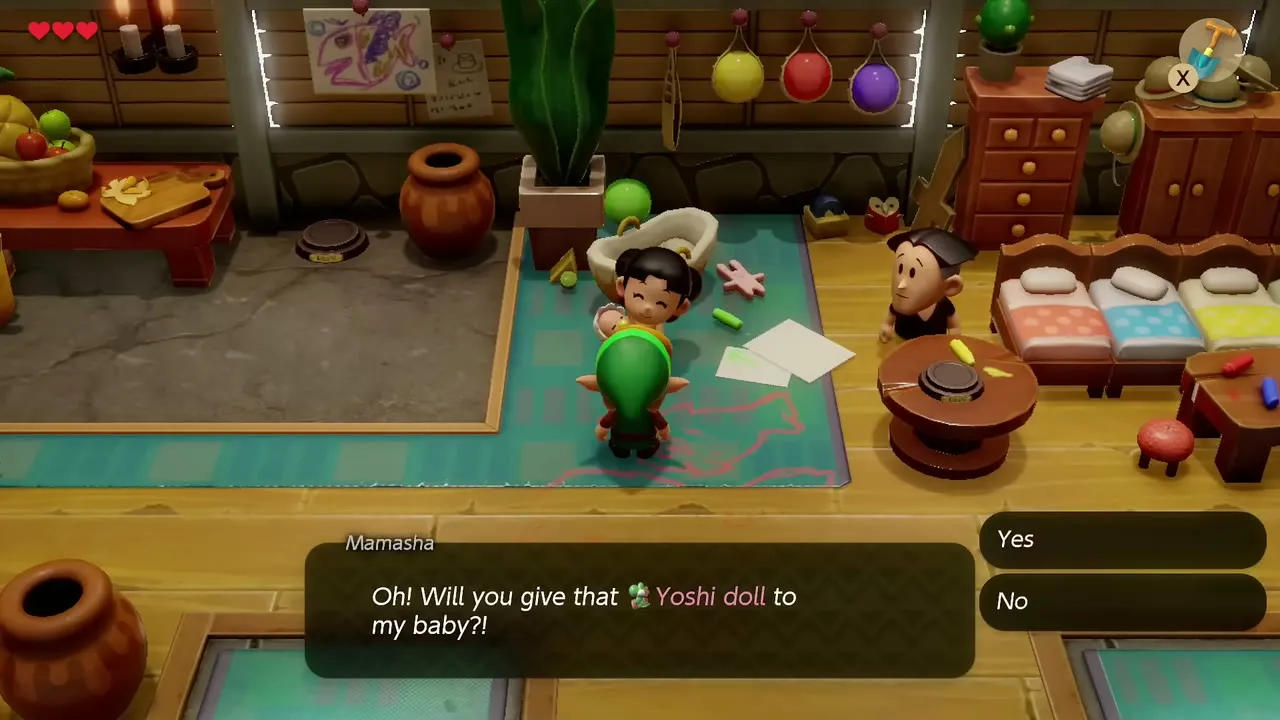
Take the Yoshi Doll to the house with the bathtub in the northern part of the village, where Mamasha is trying to calm her crying baby. Hand the doll over and she gives you a Ribbon in thanks.

Carry the Ribbon to CiaoCiao, the little Chain Chomp in the doghouse next to BowWow’s. She wants it and trades you a can of Dog Food. Keep the Dog Food for a visit to Toronbo Shores later in this chapter.
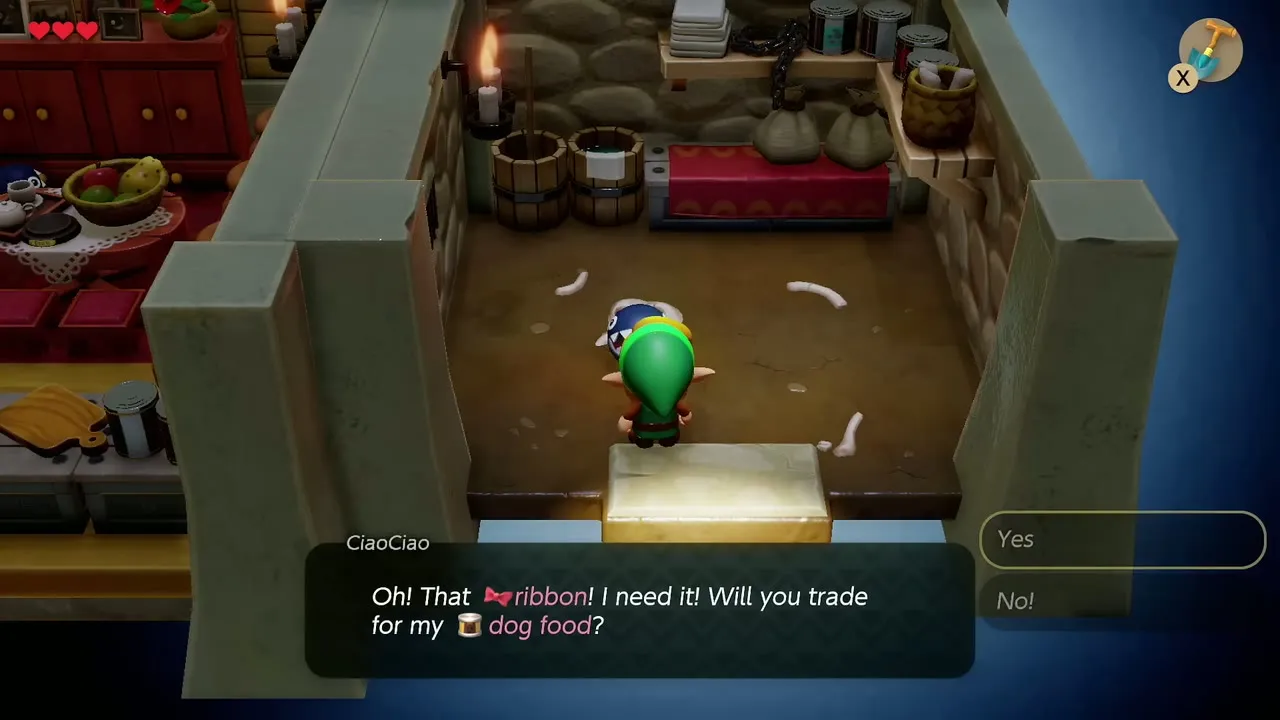

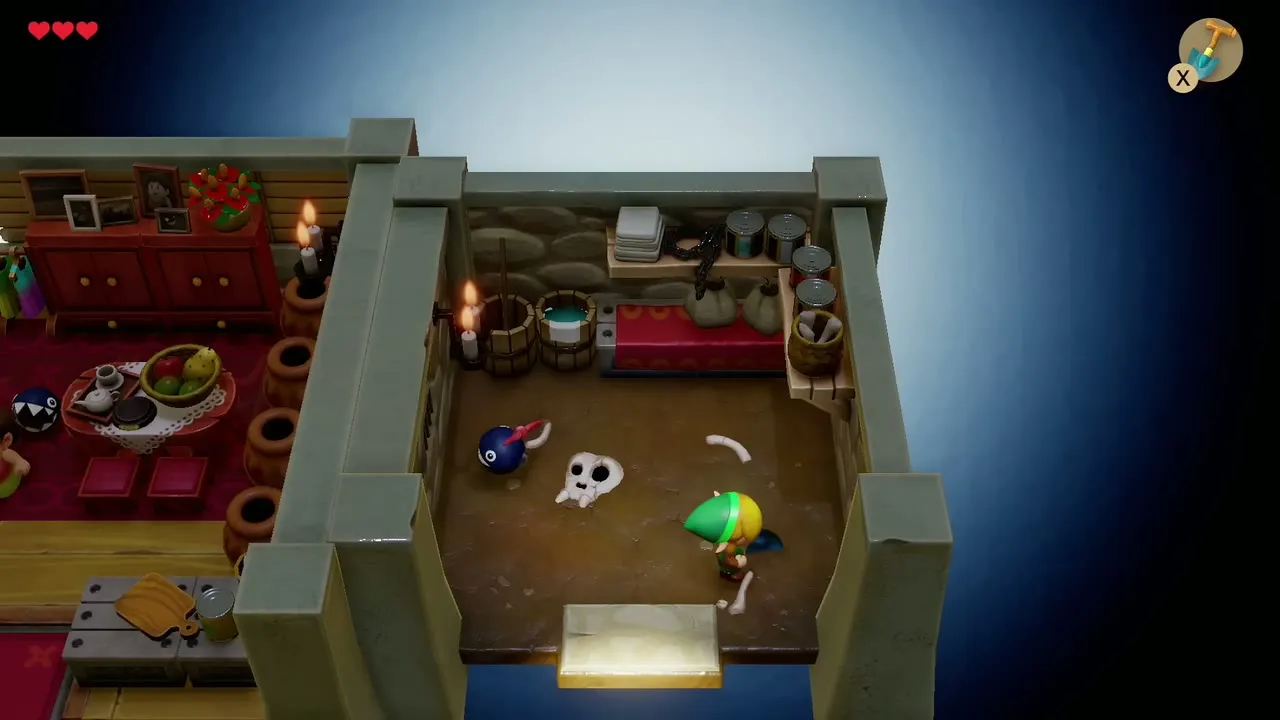
While you are inside CiaoCiao’s doghouse, use the Shovel and dig in the floor to unearth another Secret Seashell. That is your third.

Fishing pond: two Pieces of Heart, a lure and a bottle
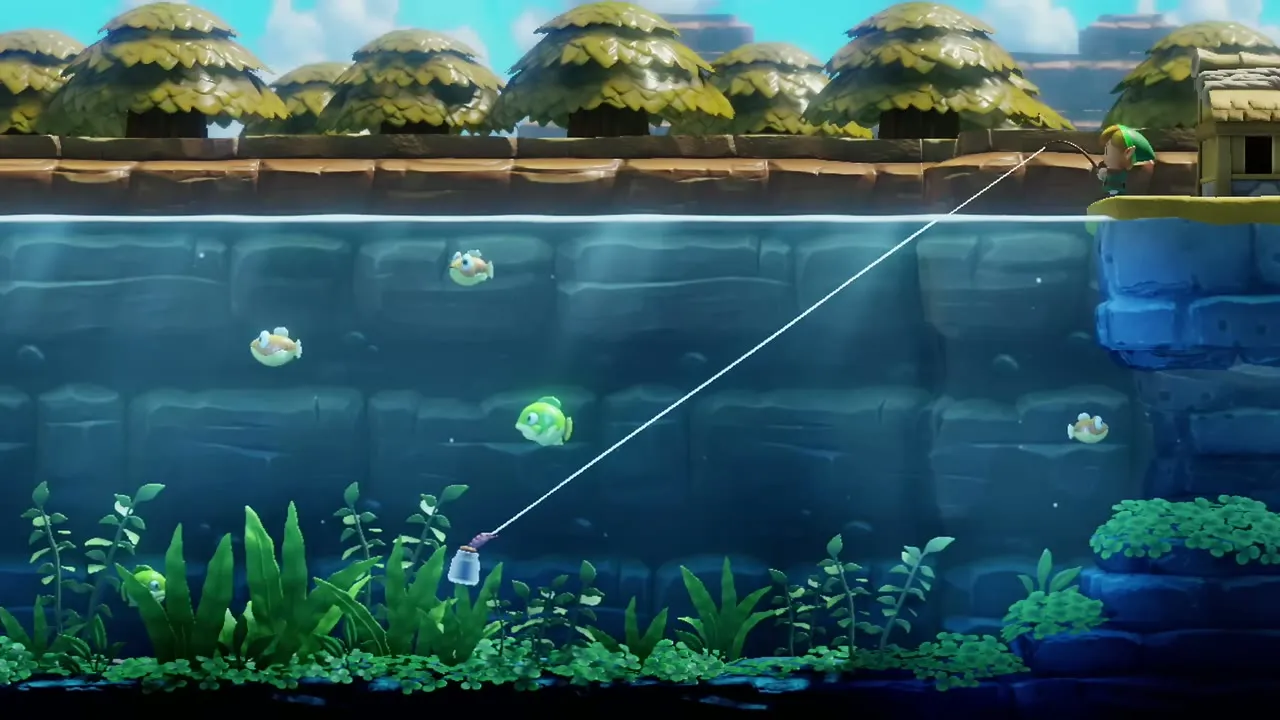
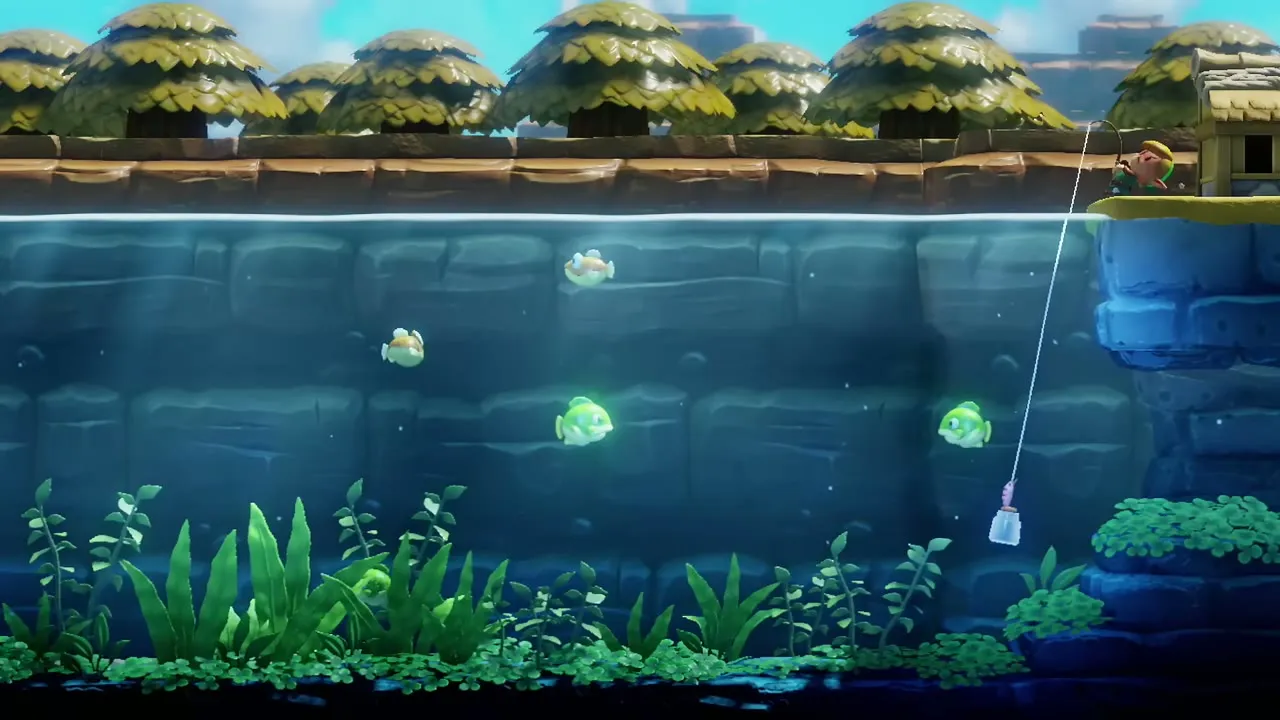
Go to the fishing pond in the northwest corner of the village, near Madam MeowMeow’s house, and talk to the Fisherman. Each round costs 10 rupees. Hold the button to cast, jiggle the lure with the stick to attract fish, and wait for a real bite before you mash the button to reel in. Ease off when the fish turns away from you so the line does not snap (fishing pond guide).
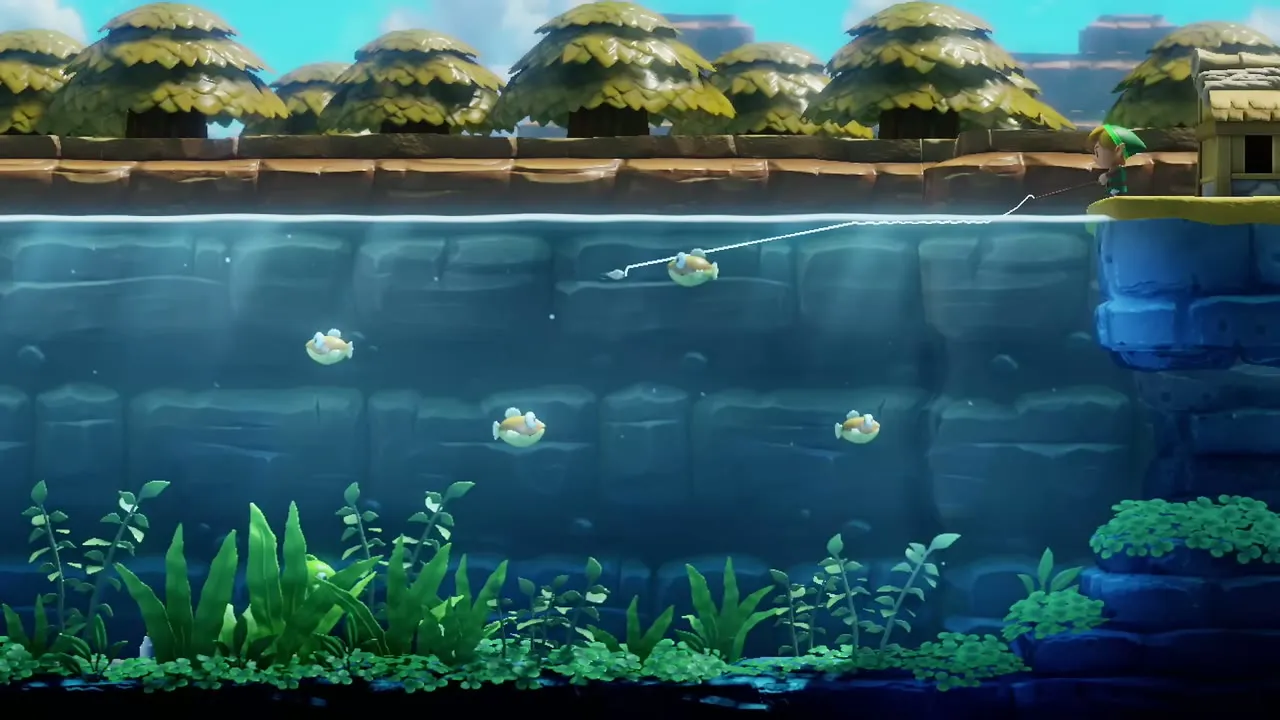
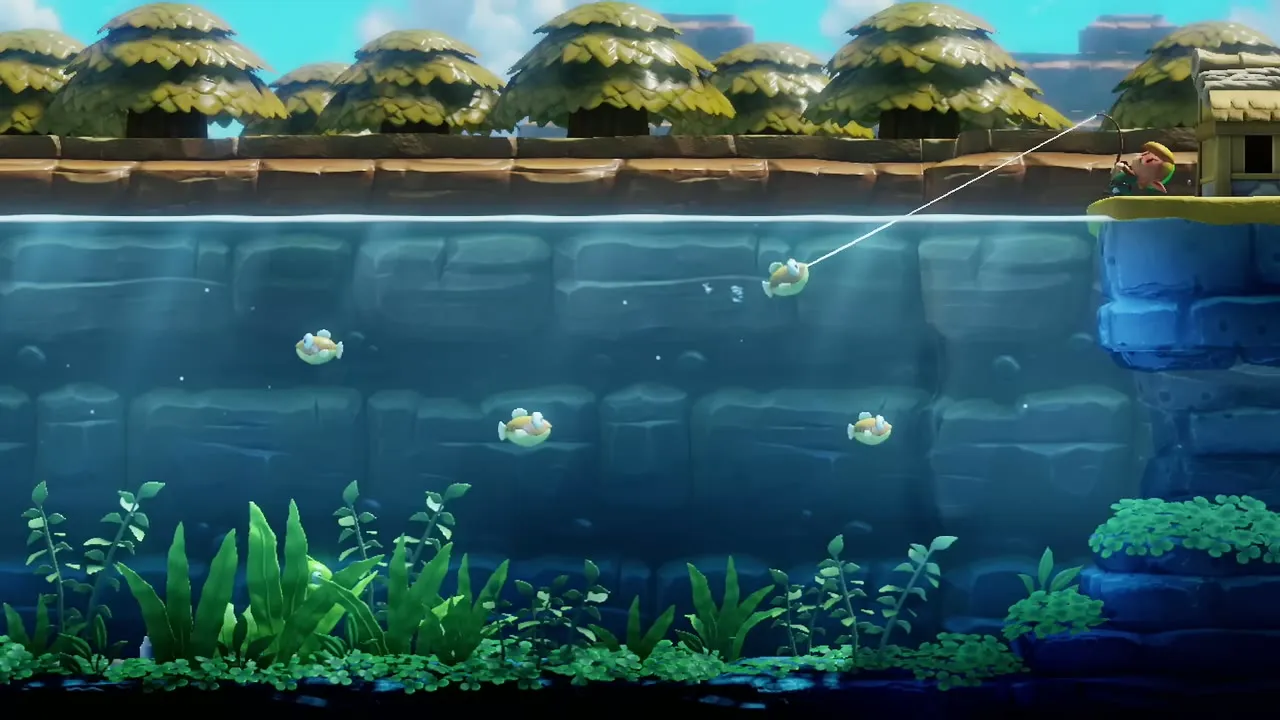
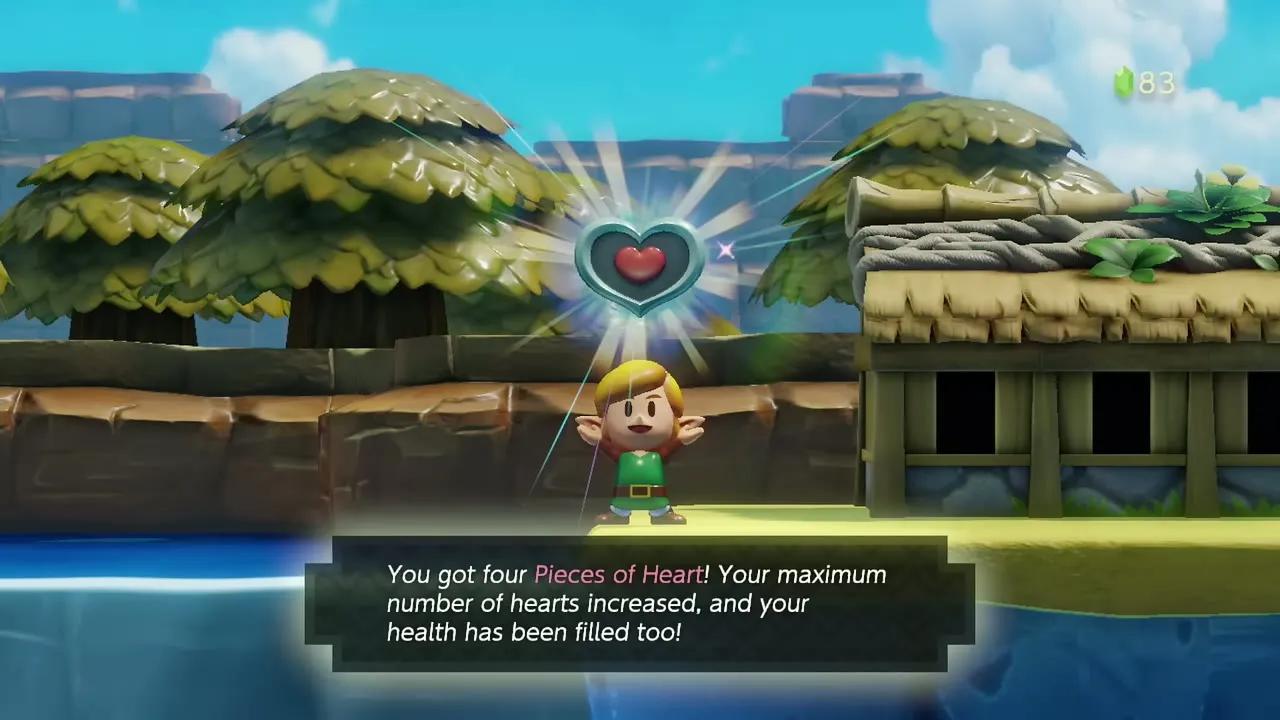
Catch any fish for the first time and the Fisherman rewards you with a Piece of Heart. This is your fourth Piece, so four make a full Heart Container and your maximum health rises to four hearts.

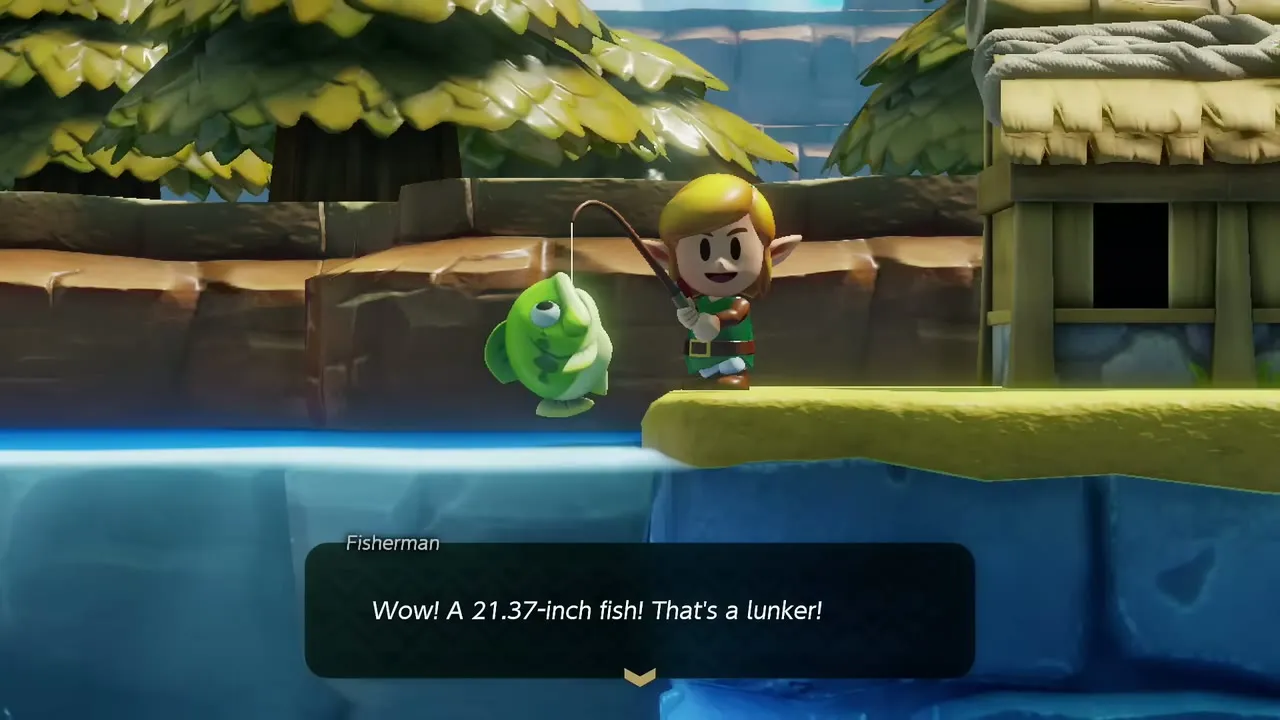
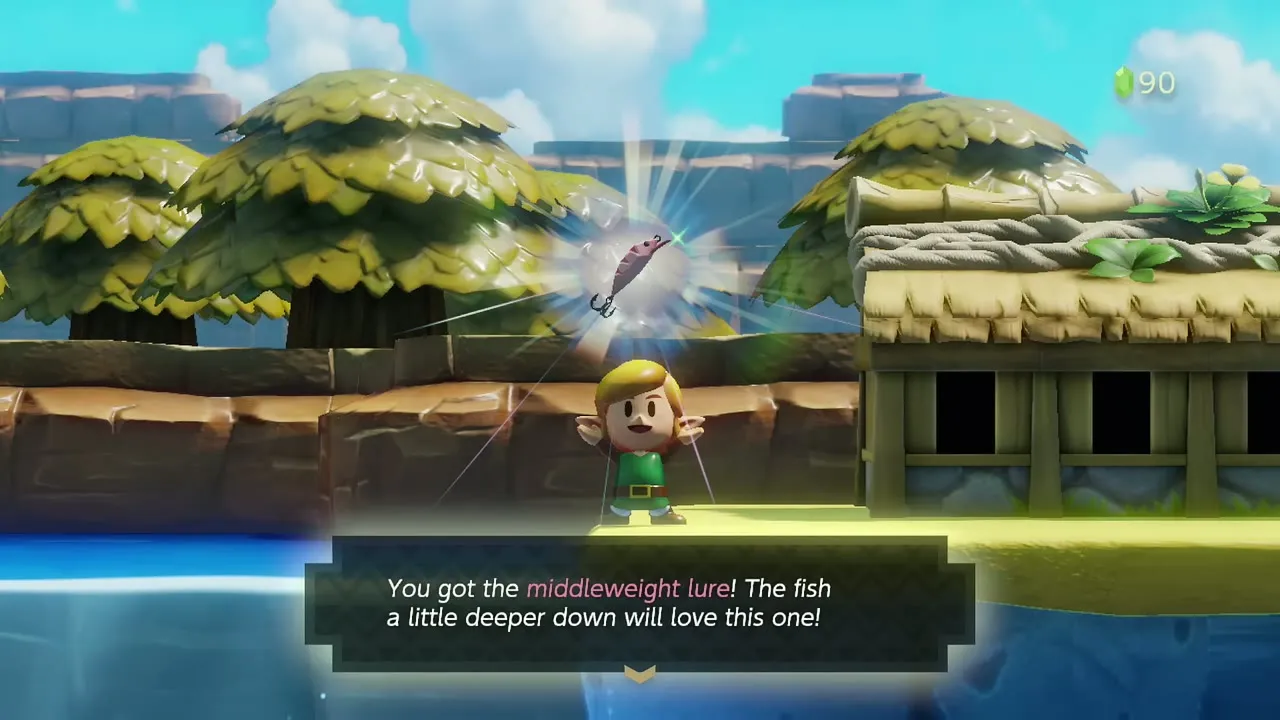
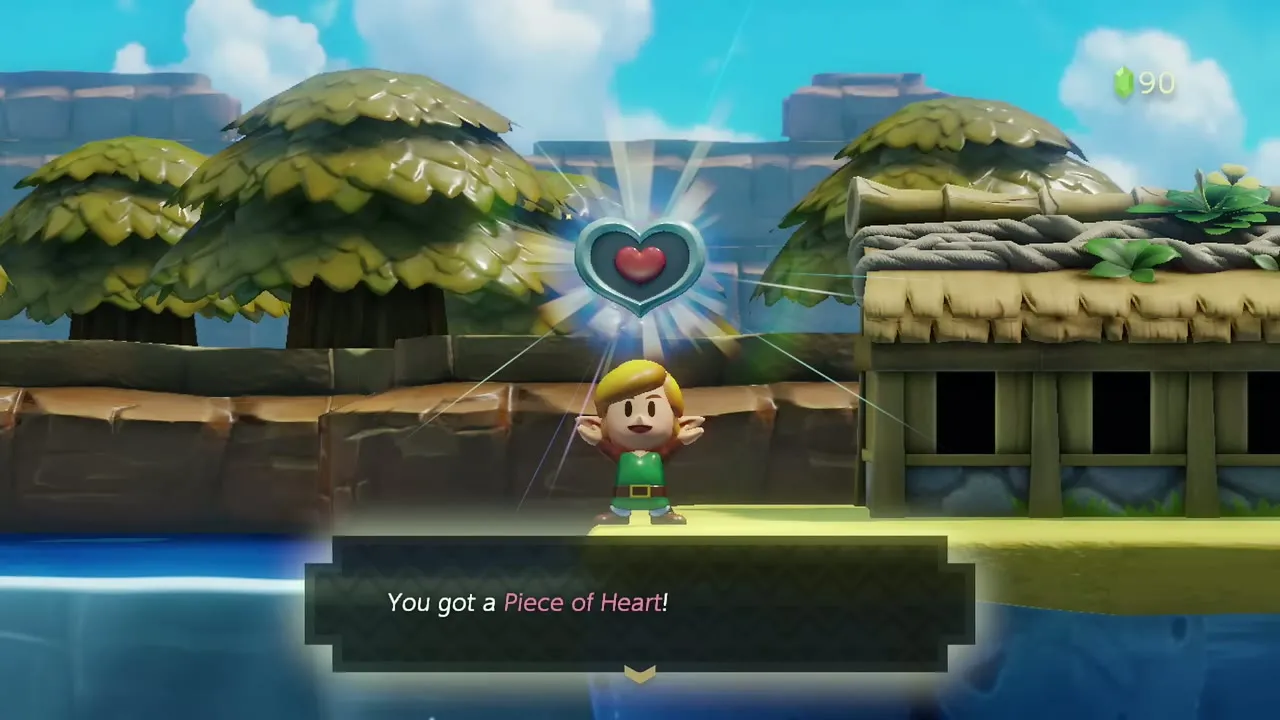
Keep fishing until a big green fish bites. Landing your first lunker, as the Fisherman calls the large fish, earns you the Middleweight Lure, which sinks faster than the default lure. A lunker over 20 inches then earns another Piece of Heart, your fifth of the chapter.
For the last prize in the pond, accept when the Fisherman asks if you want to keep going, and drop the lure all the way to the bottom. A bottle is down there. Reel it in to receive an empty bottle for fairies, then leave the pond.

Mysterious Forest: Magic Powder and the Tail Key
Log cave: 50 rupees
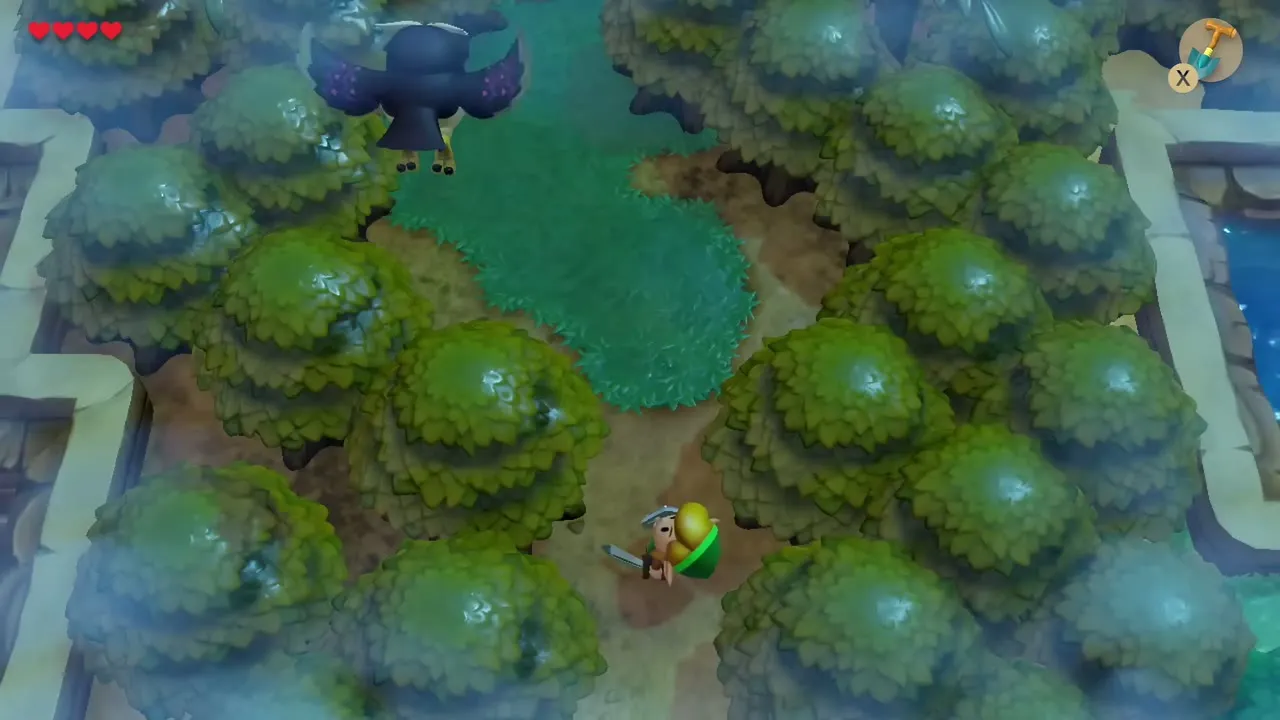
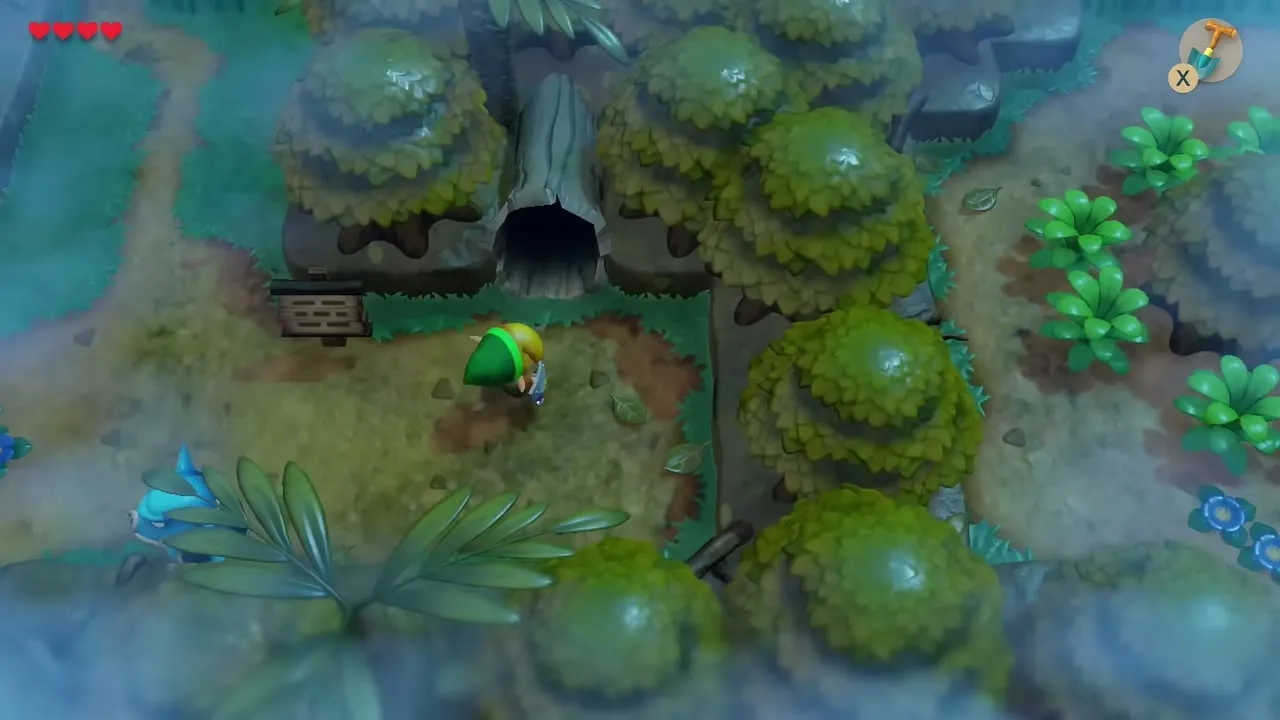
The Mysterious Forest lies north of Mabe Village, and its twisting paths are covered in fog. Raise the Shield against the Moblins and counterattack when they swing. Look for a hollow log in a cliff wall: it is the entrance to a cave. Inside, clear the bats and the purple crystals, then push the block in front of the chest to open it for 50 rupees.

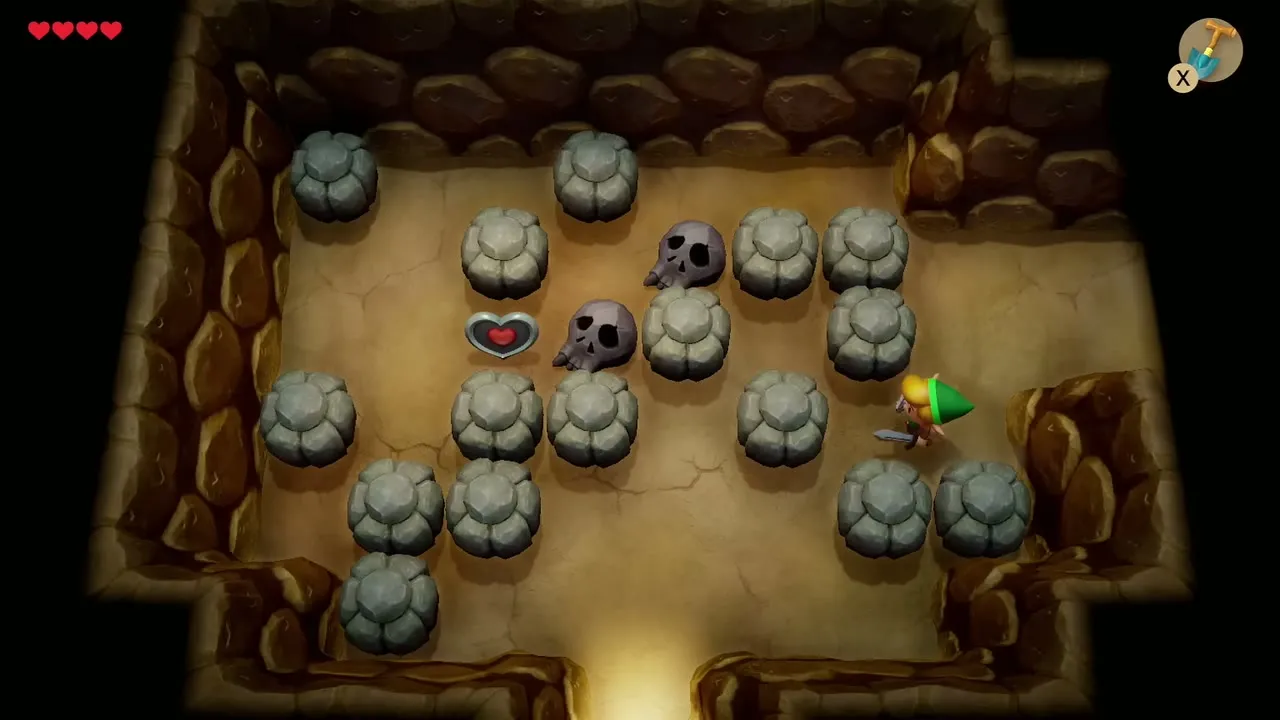
Another room in the cave holds a Piece of Heart behind skulls and rocks. You cannot lift the rocks yet. Come back with the Power Bracelet from Bottle Grotto (Level 2).

Pick the Toadstool and earn a Guardian Acorn
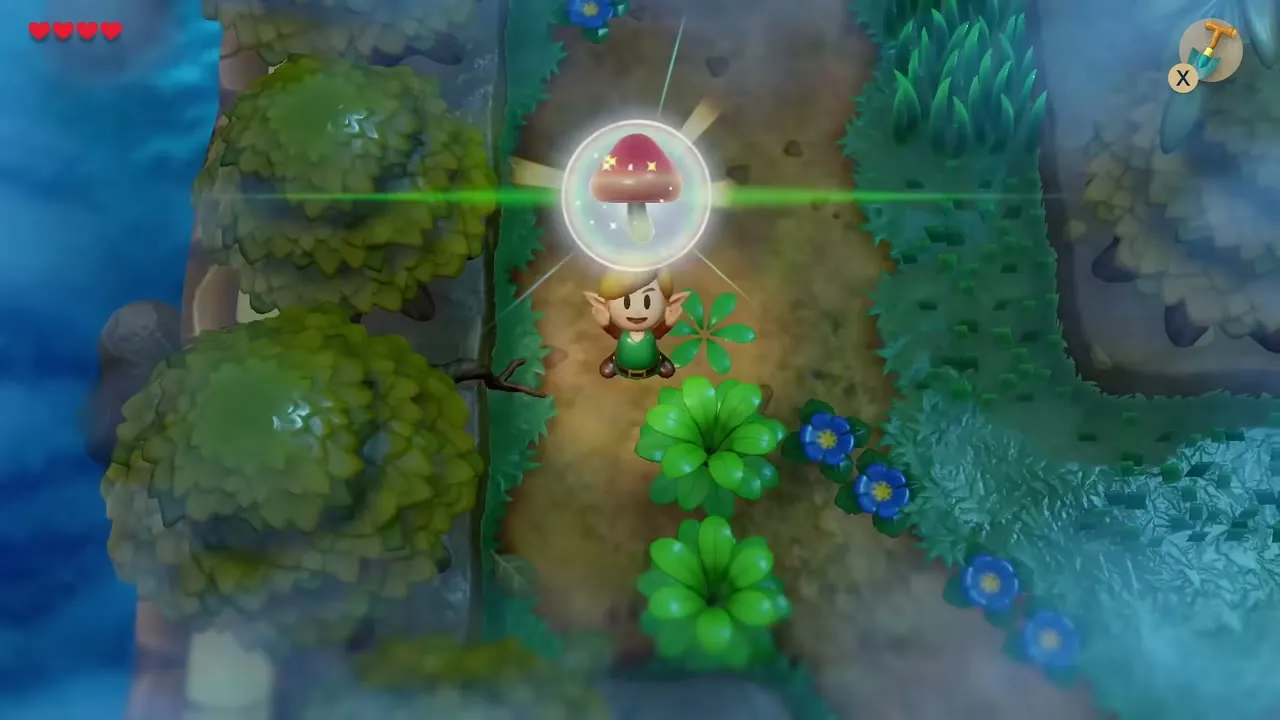
Back outside the cave, pick the red Toadstool growing in the grass. The Witch wants it in exchange for Magic Powder.
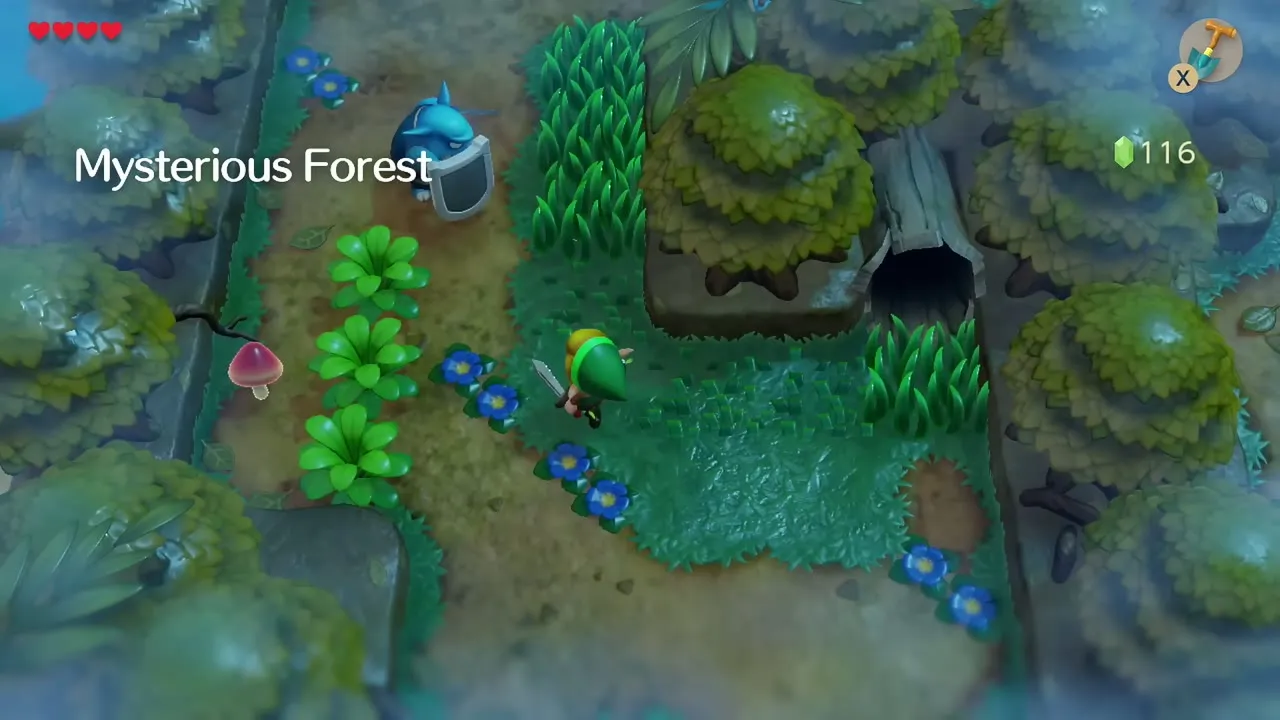
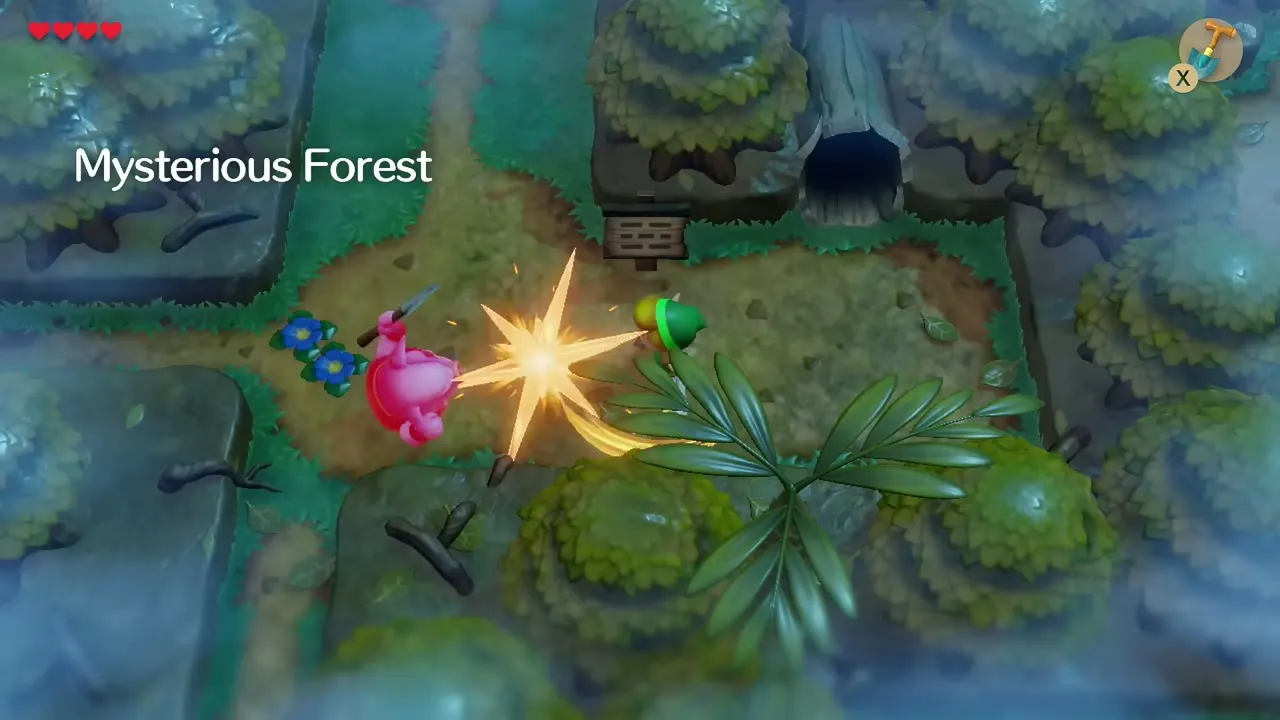
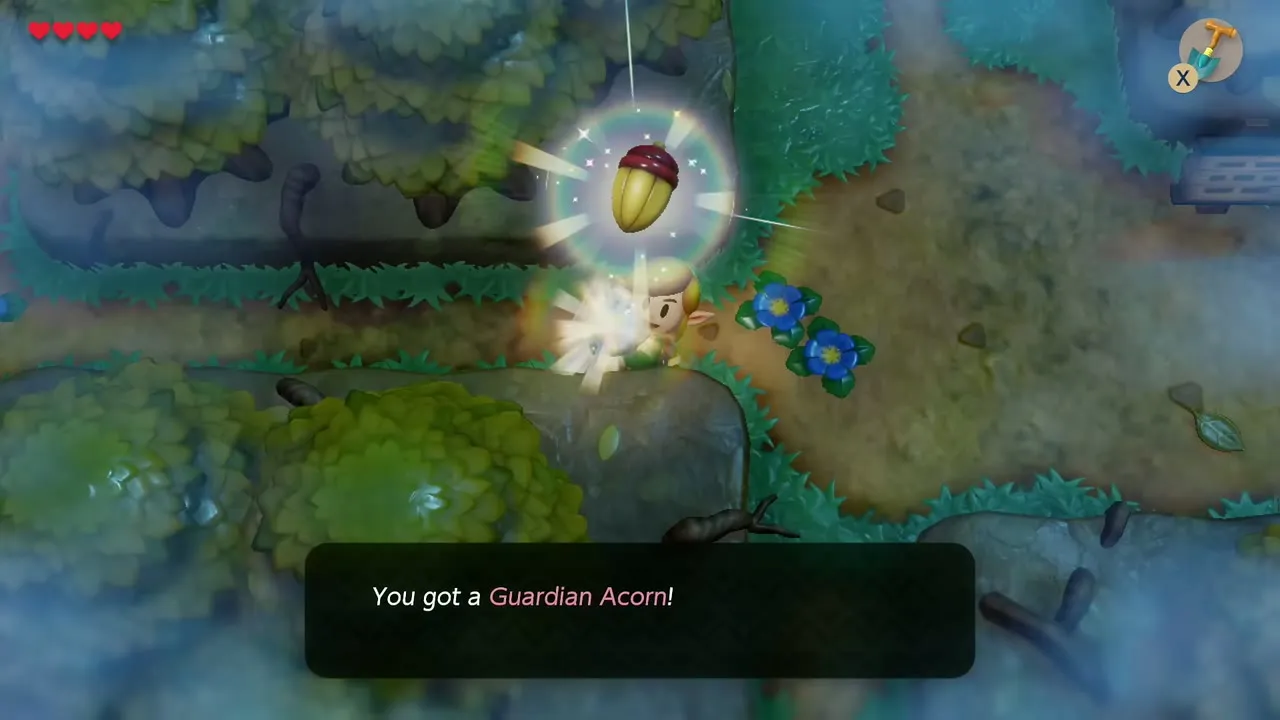
The forest is packed with enemies, which makes it a good place to earn a Guardian Acorn: defeat twelve enemies in a row without taking damage and the twelfth drops it. Touching it halves the damage you take until you have been hit three times, or until you enter a building or dungeon.
Witch’s Hut: Magic Powder
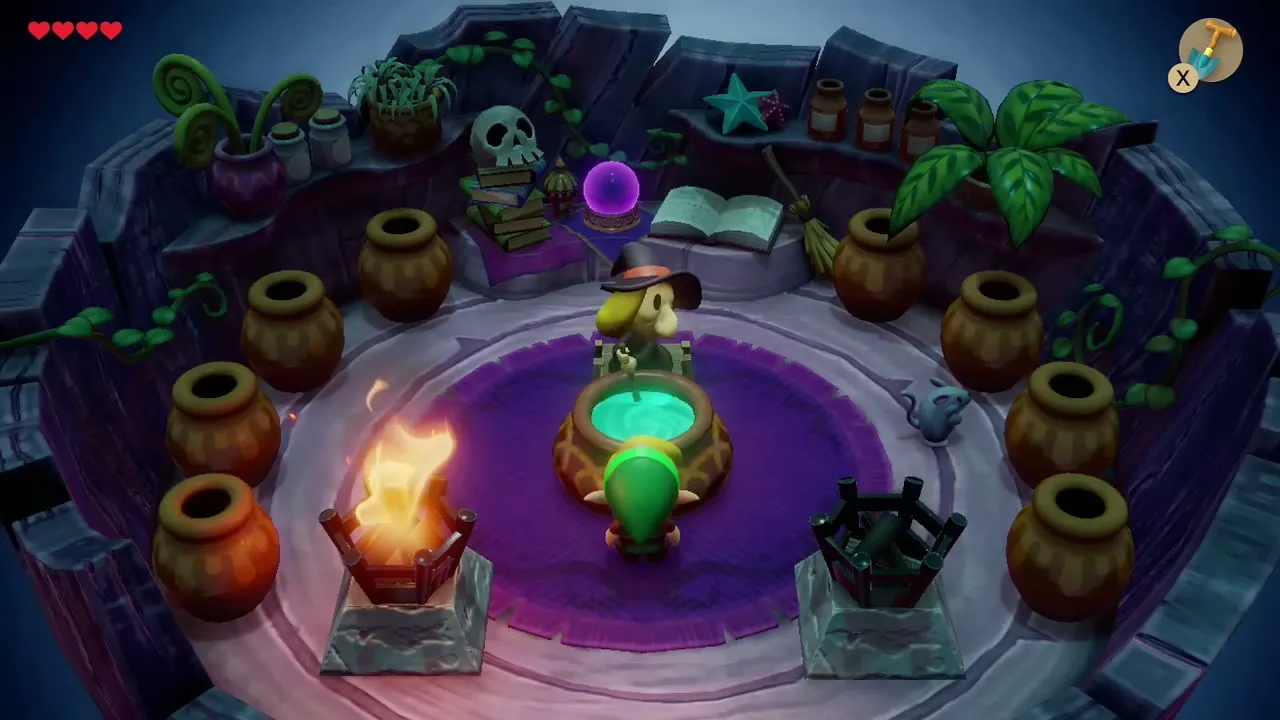
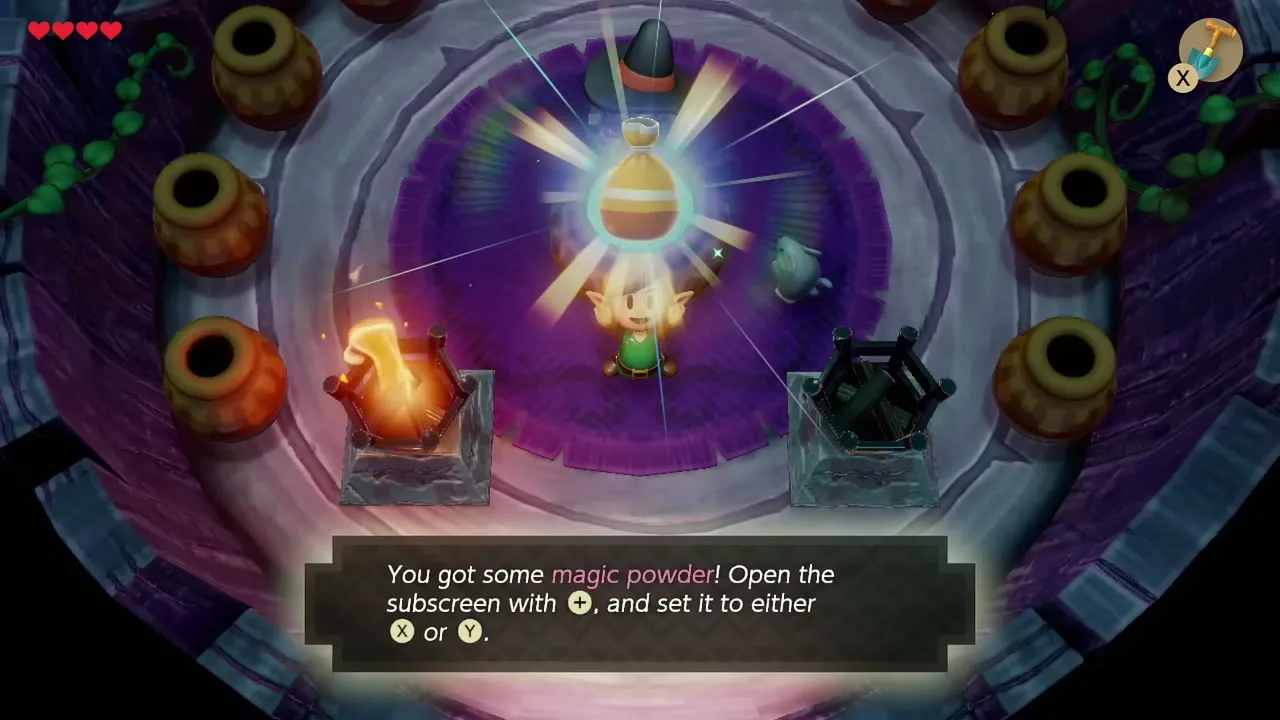
Leave the forest to the northeast onto Koholint Prairie and follow the path past the electric slime to the Witch’s Hut. Give the Witch the Toadstool and she hands over Magic Powder. Open the item menu with the plus button and assign it to a button.

Optional: Secret Seashell and the Great Fairy
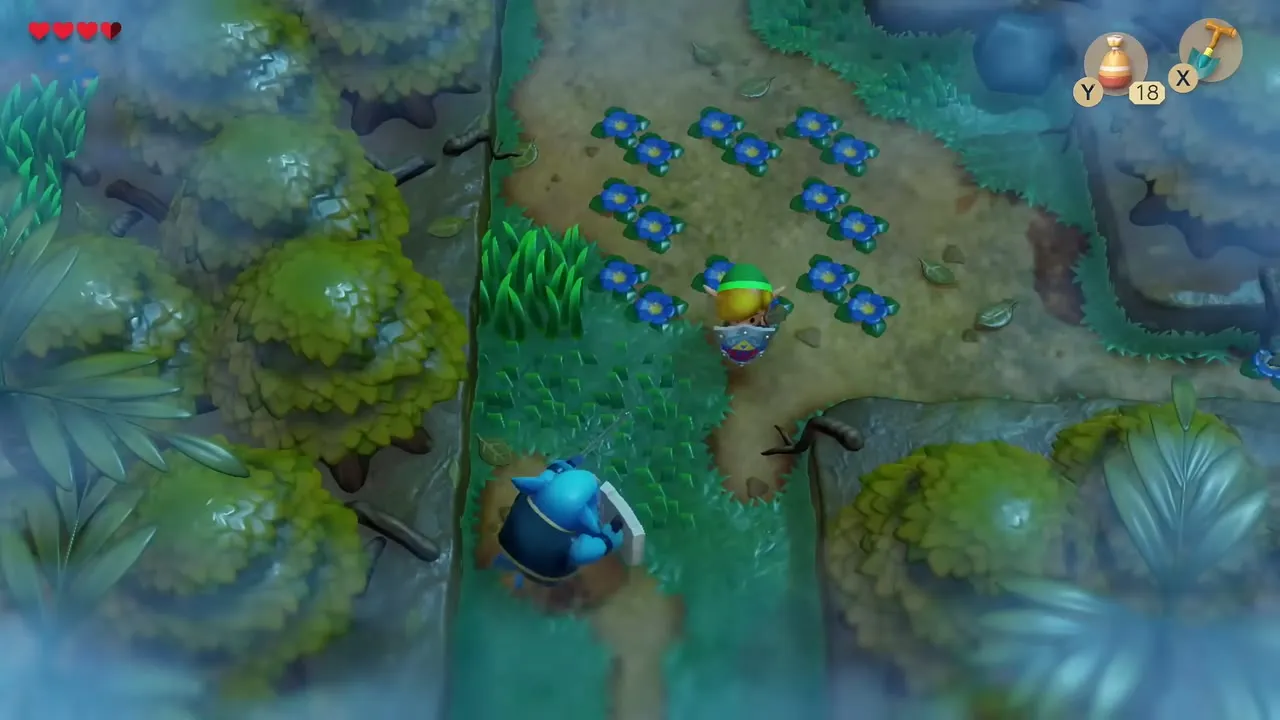
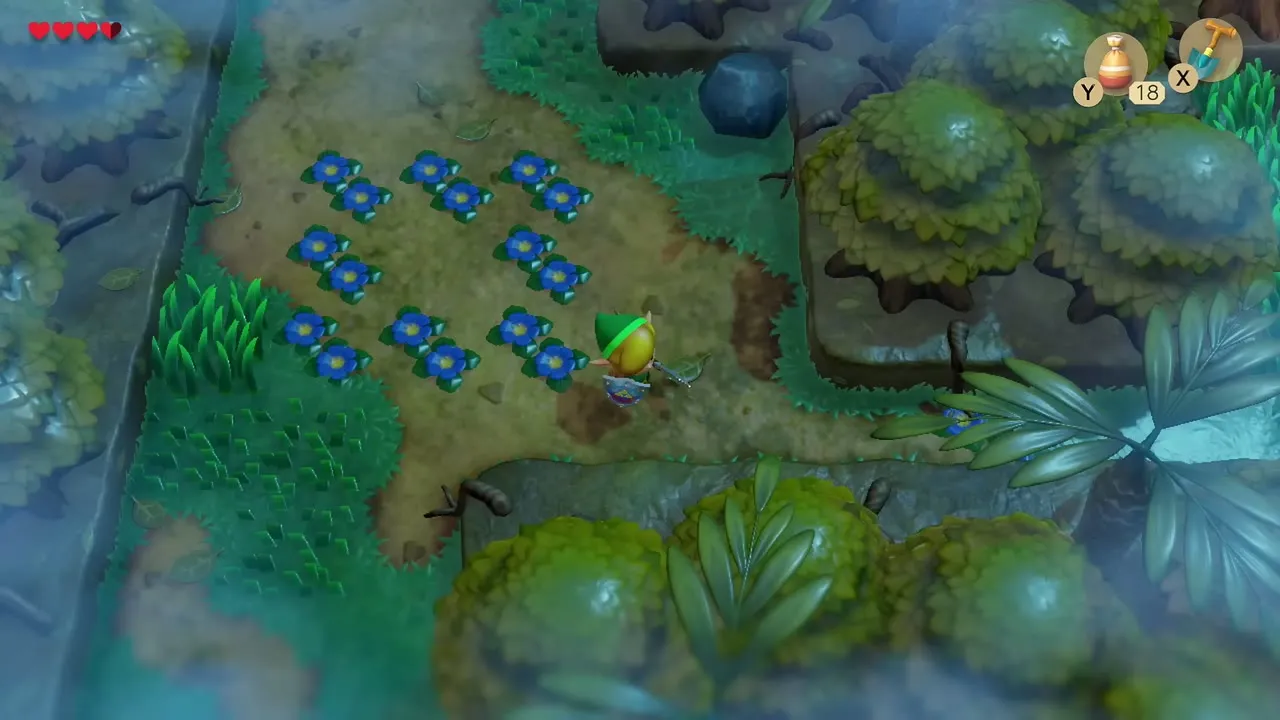
Because you already own the Shovel, you can take another Secret Seashell in the forest now. Find the small clearing ringed with blue flowers and dig in the middle of the flowers. It is not counted in the four above because it belongs to the next chapter’s total, and you can also leave it until you pass this way again.

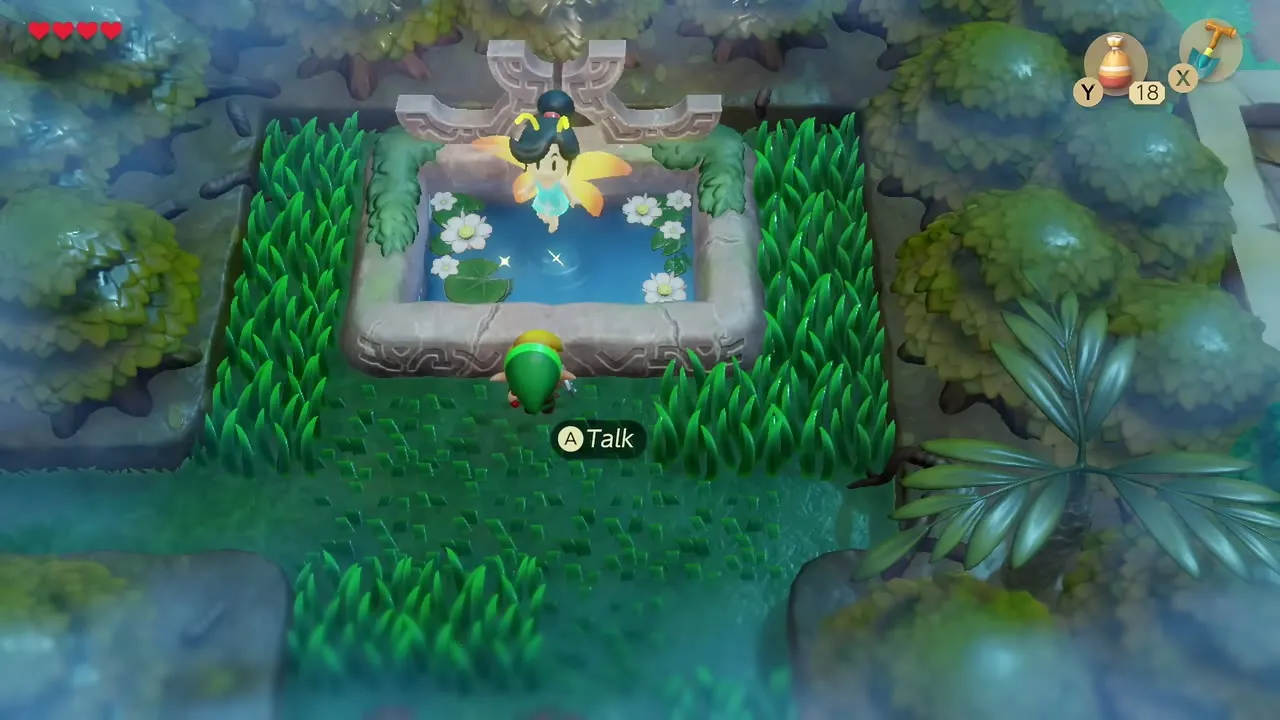
Further on, a Great Fairy waits in a pond. Talk to her and she heals you for free (Great Fairy fountains).

Magic Powder on the Raccoon: the Tail Key
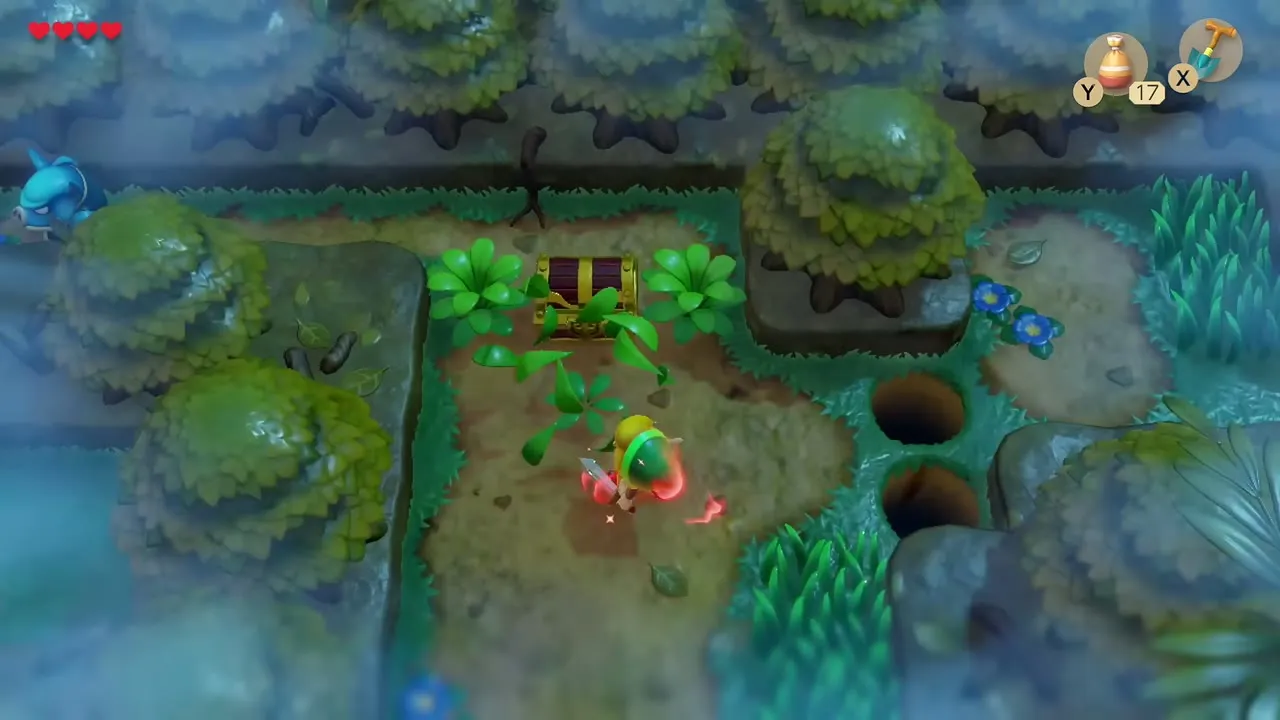
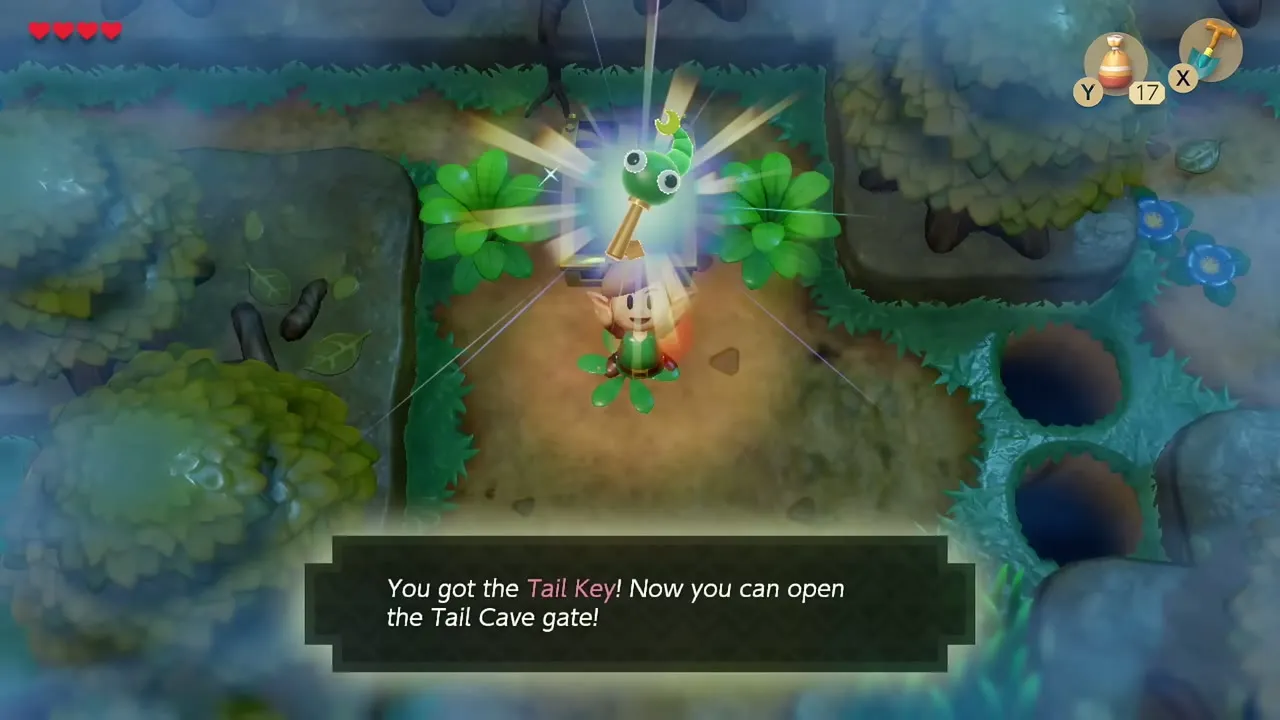
Go to the western clearing of the forest, where a Raccoon waits among the trees. Sprinkle Magic Powder on the Raccoon and he turns back into Tarin. Walk north from the clearing to a chest and open it for the Tail Key, which opens the gate to the first dungeon.


Toronbo Shores and the road to Tail Cave
Bananas from Sale
Leave the forest and head back down toward Toronbo Shores. Sale the crocodile lives in the house with banana plants on the sand. Give him the Dog Food and he trades you a bunch of Bananas, the fourth item of the trading sequence. Keep them for later, because Kiki the monkey wants them.
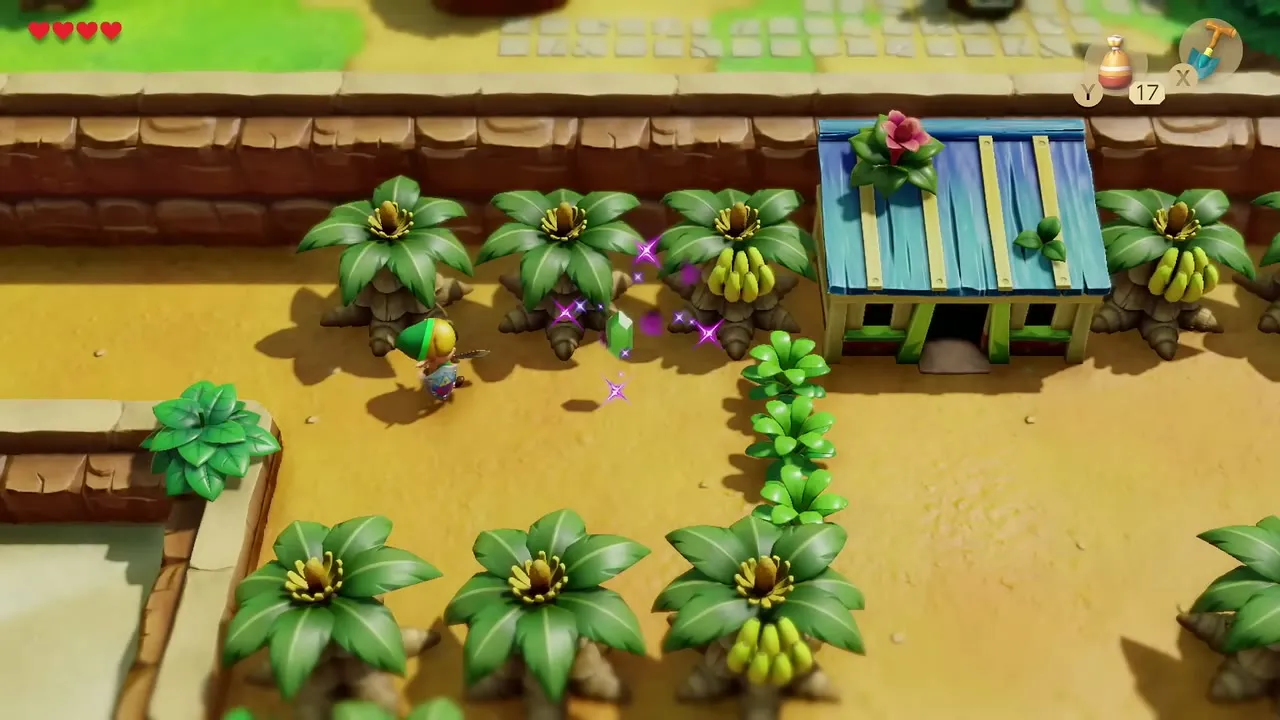
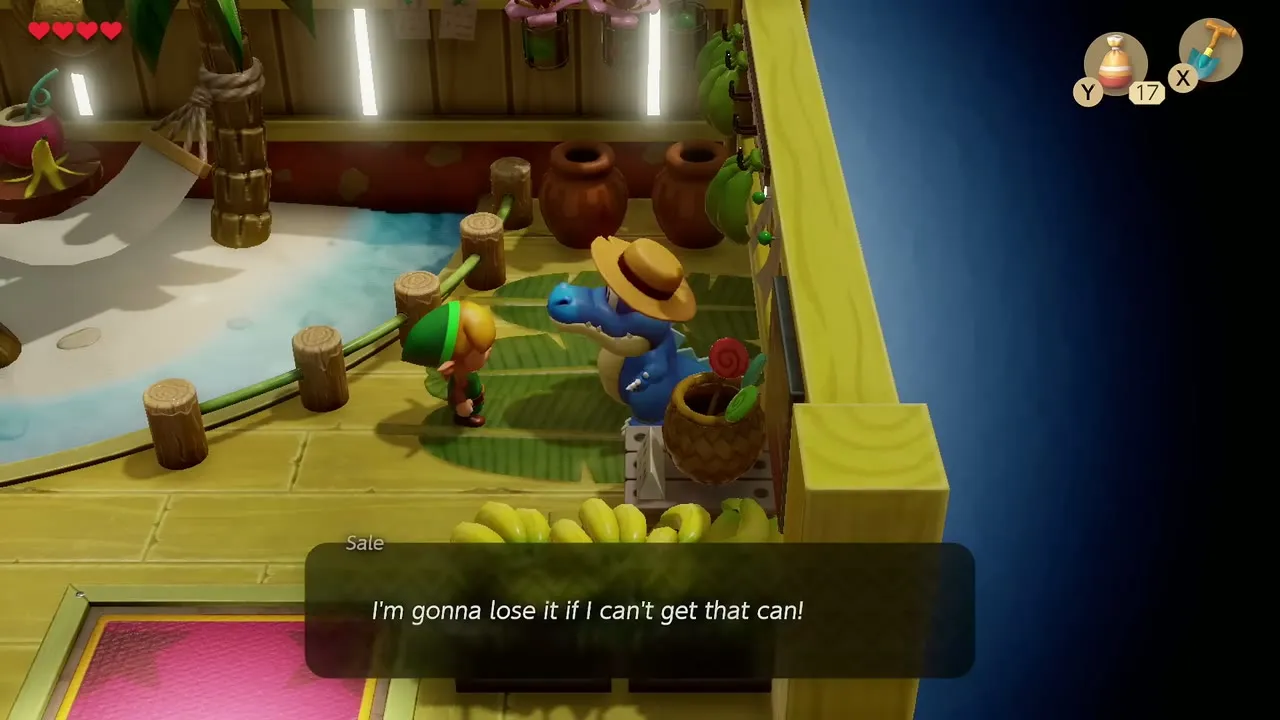
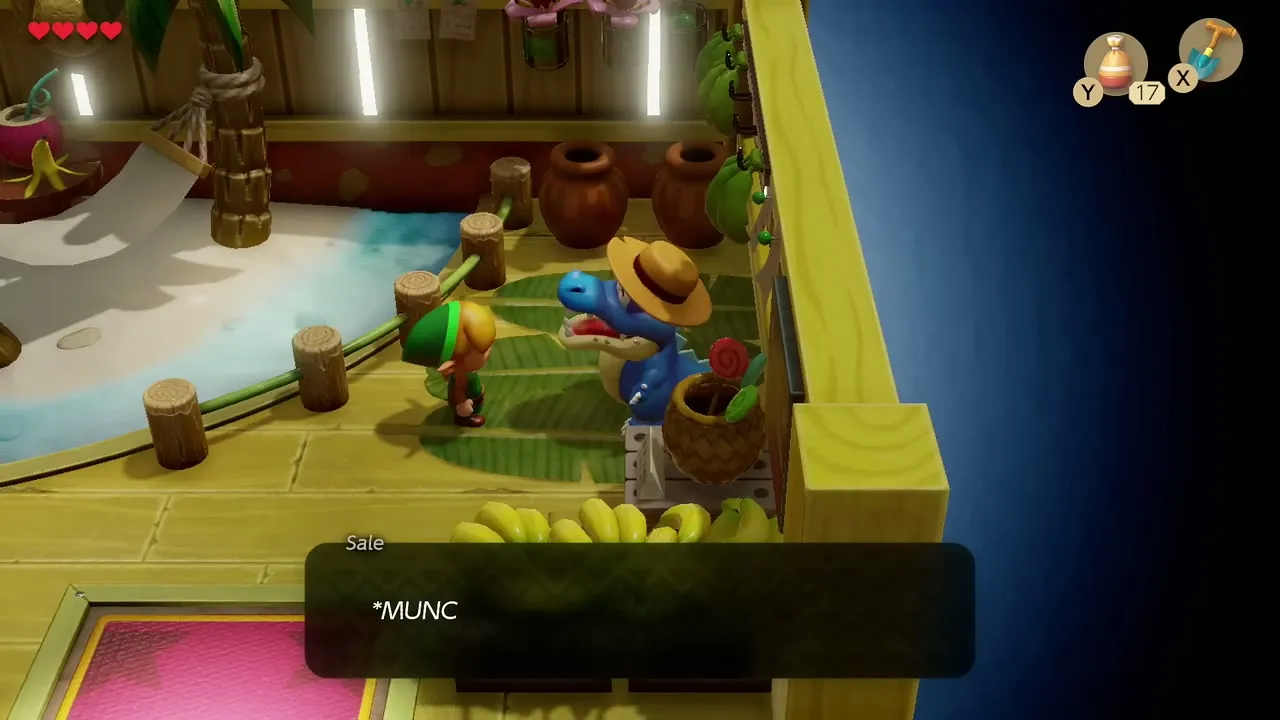
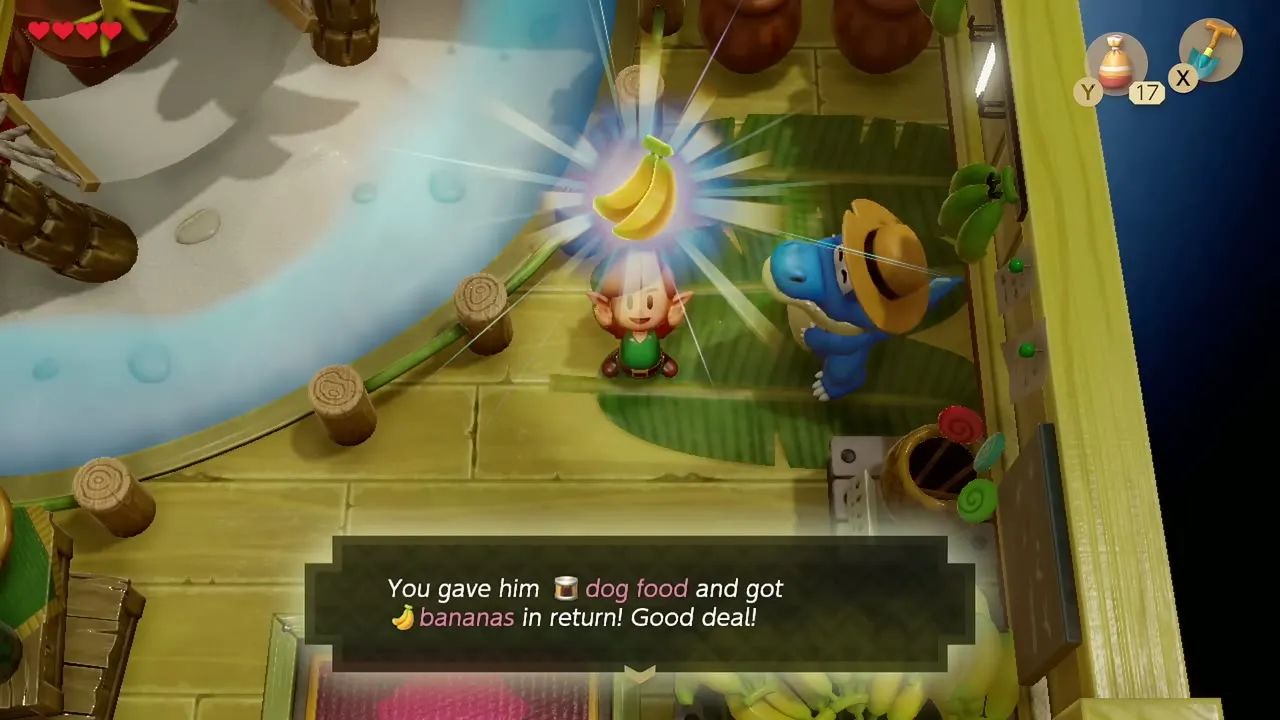
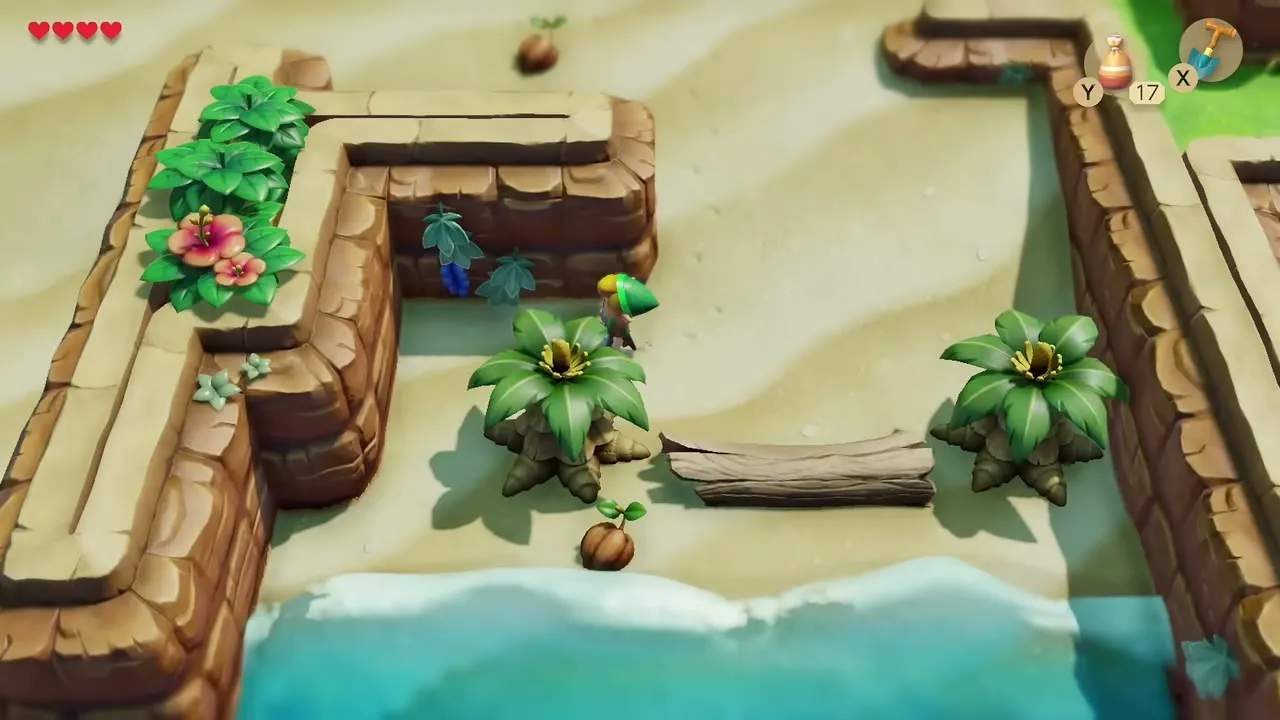
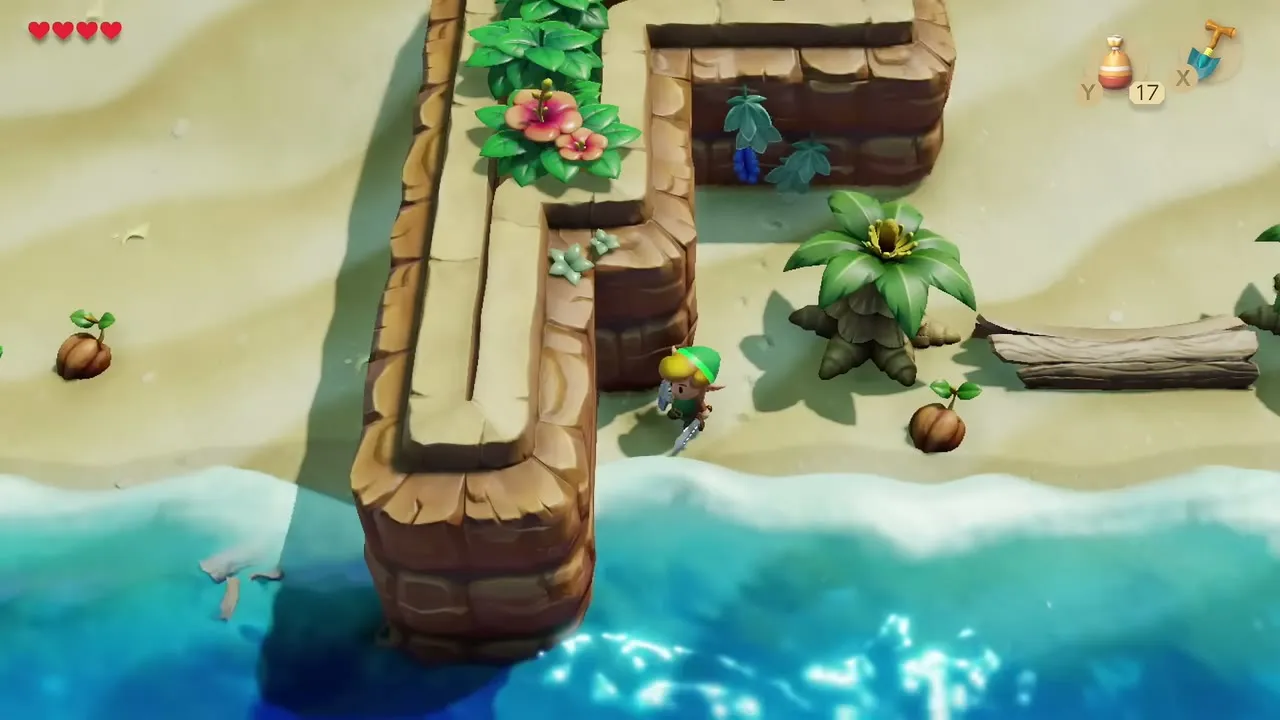
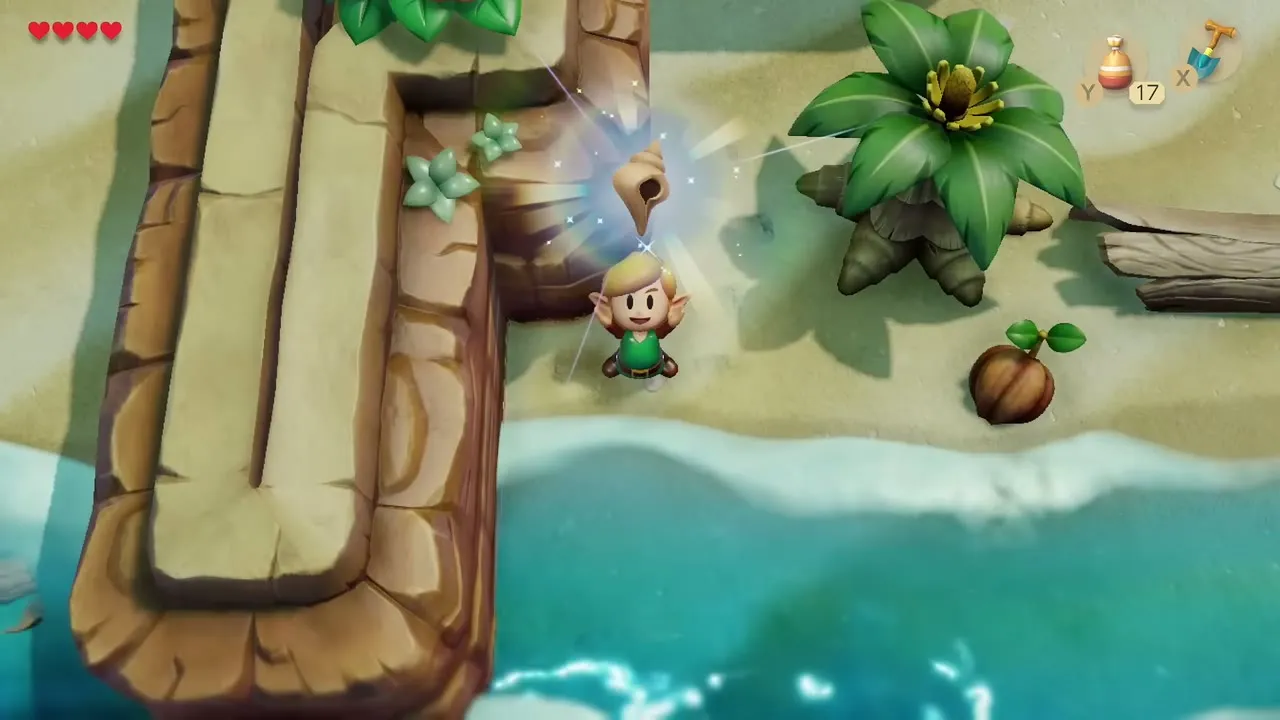
Dig a Secret Seashell on the beach
Walk east across the sand to the stone wall that bends along the shore. In the corner against the wall, dig with the Shovel to find your fourth and last Secret Seashell of the chapter.
Open Tail Cave
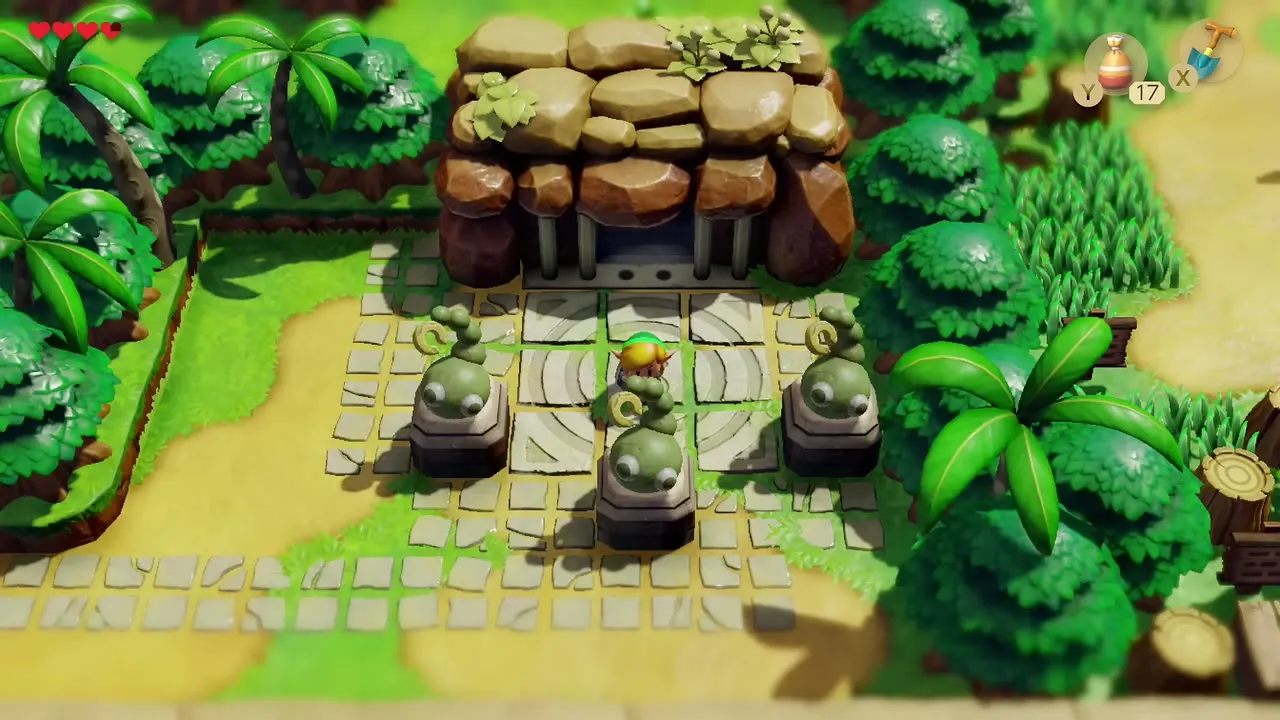
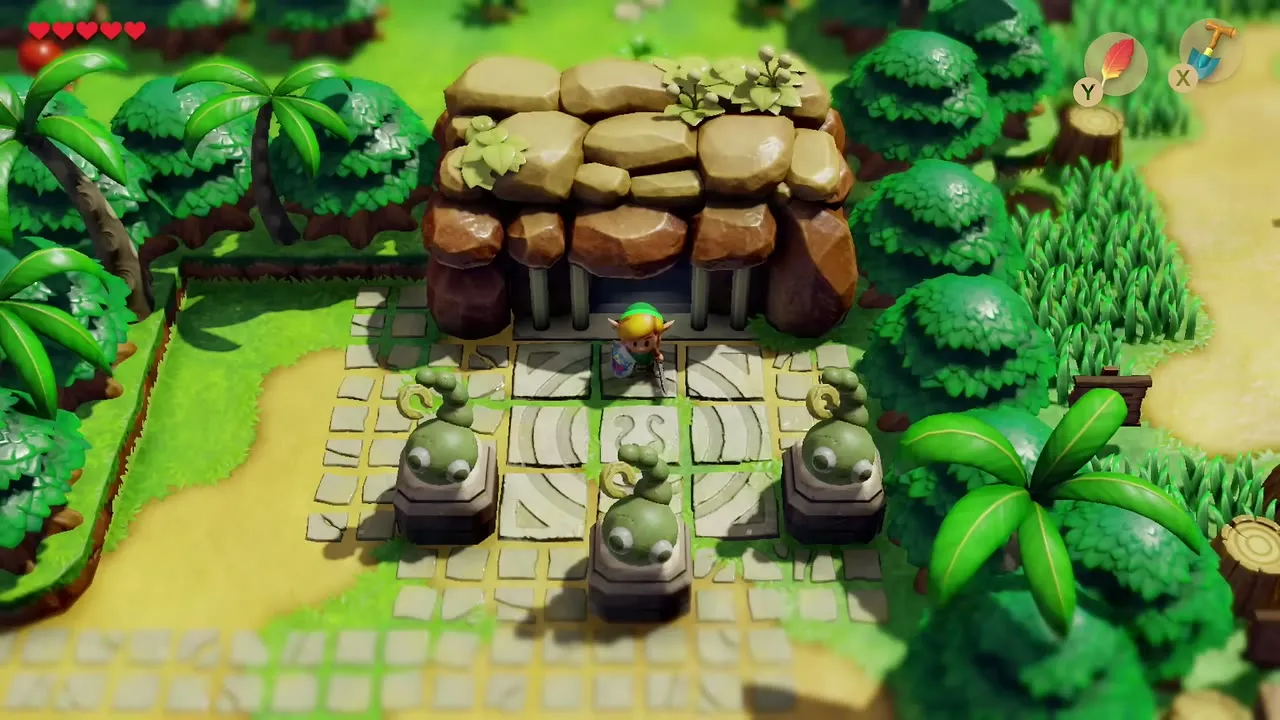
Continue east along the path to the entrance of Tail Cave, a rock doorway flanked by two statues. Use the Tail Key to unlock it and walk in. Tail Cave rewards patience with its doors and keys, so heal up before you go in.

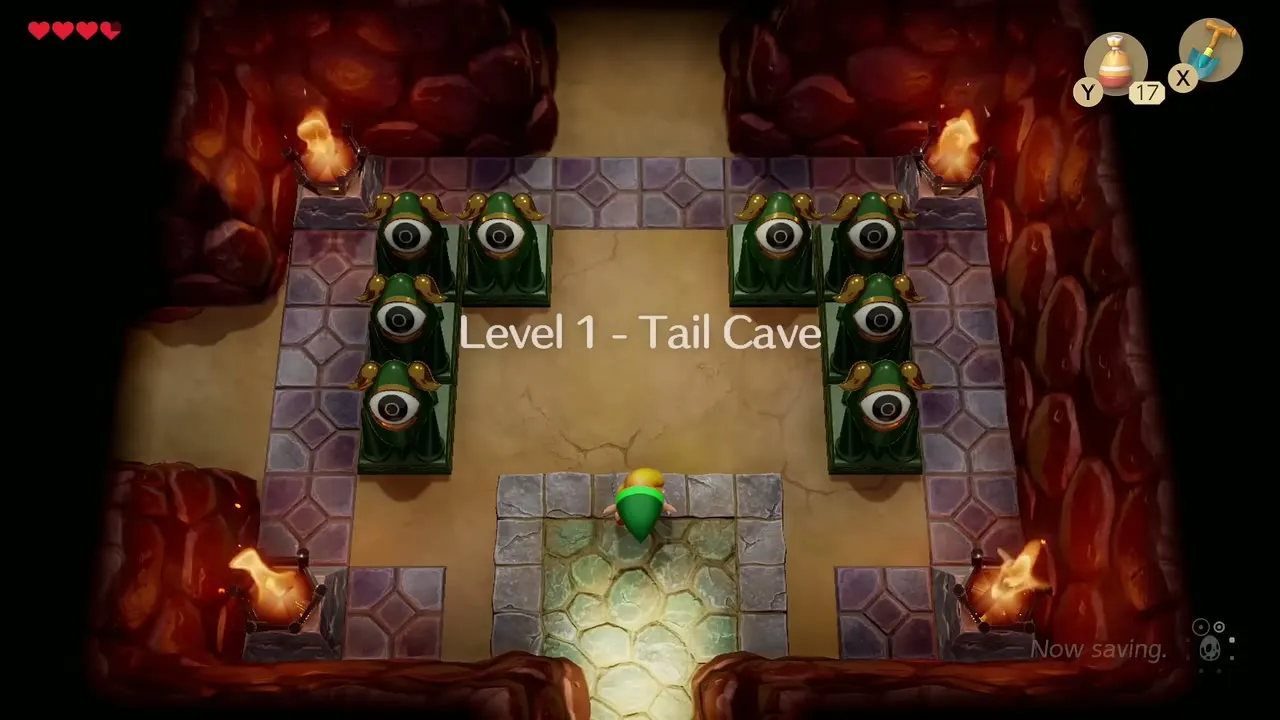
Dungeon: Tail Cave (Level 1)
Entrance room: Small Key from the Hardhat Beetles
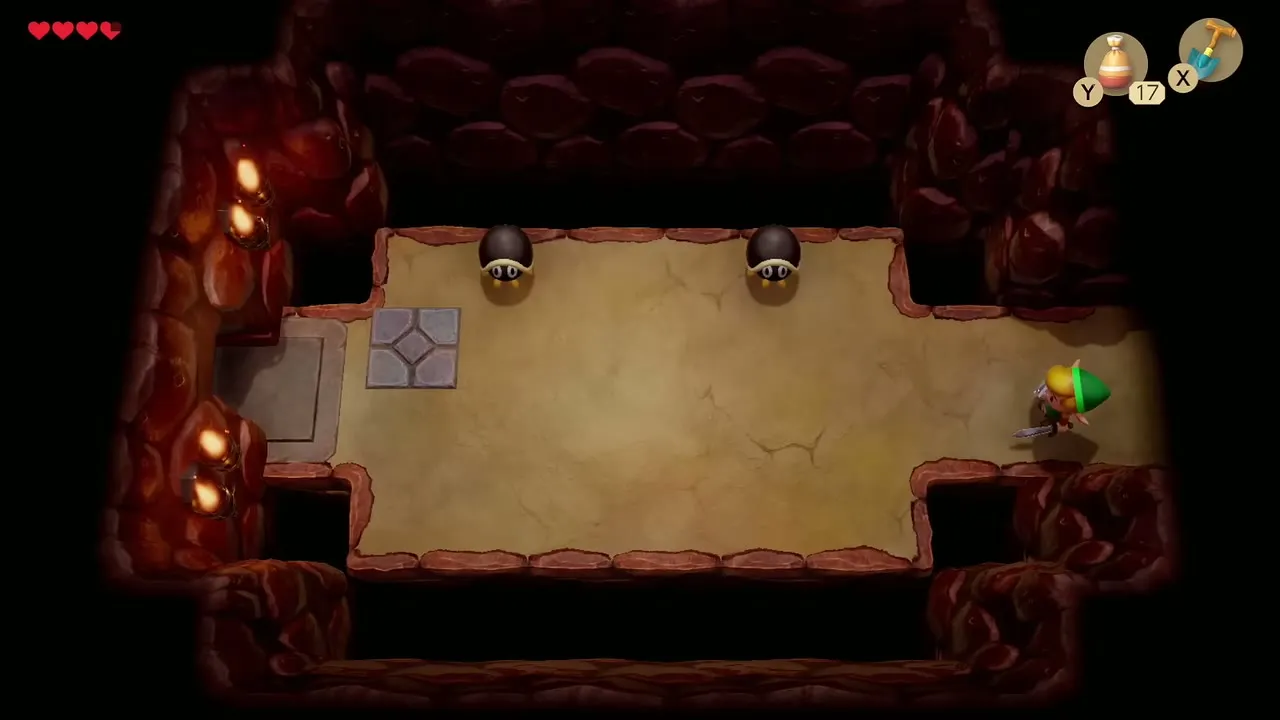
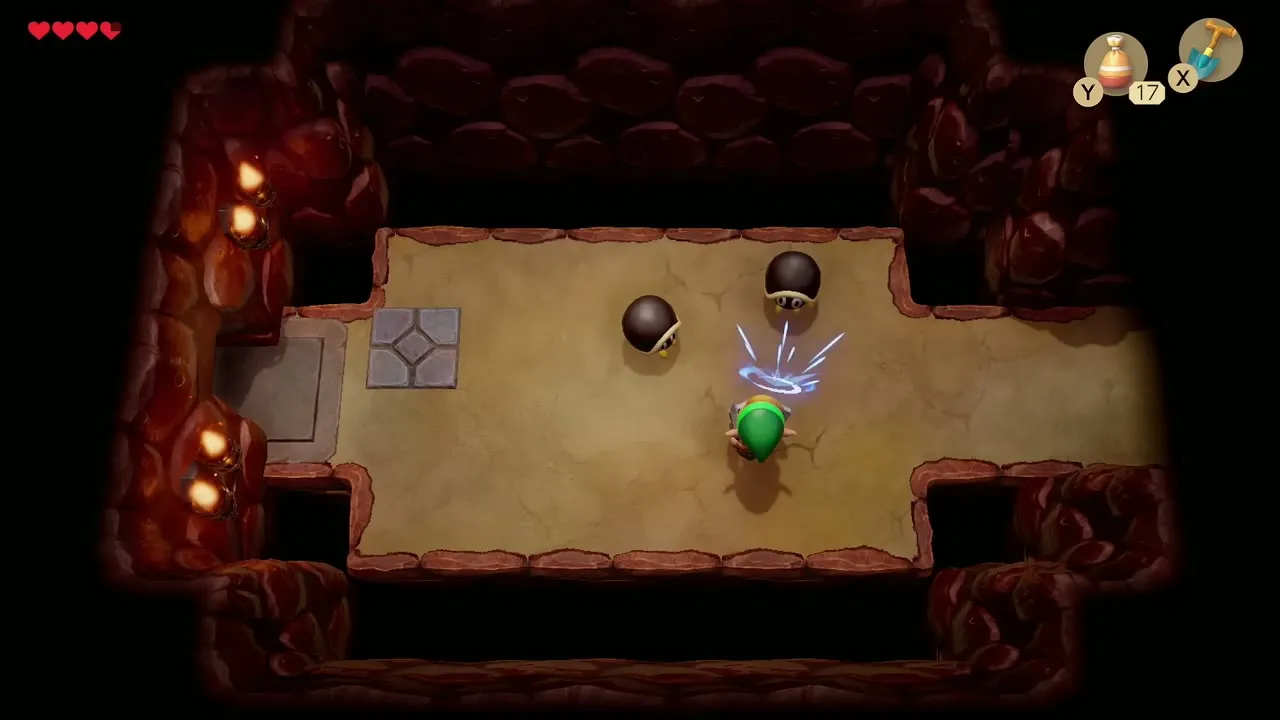
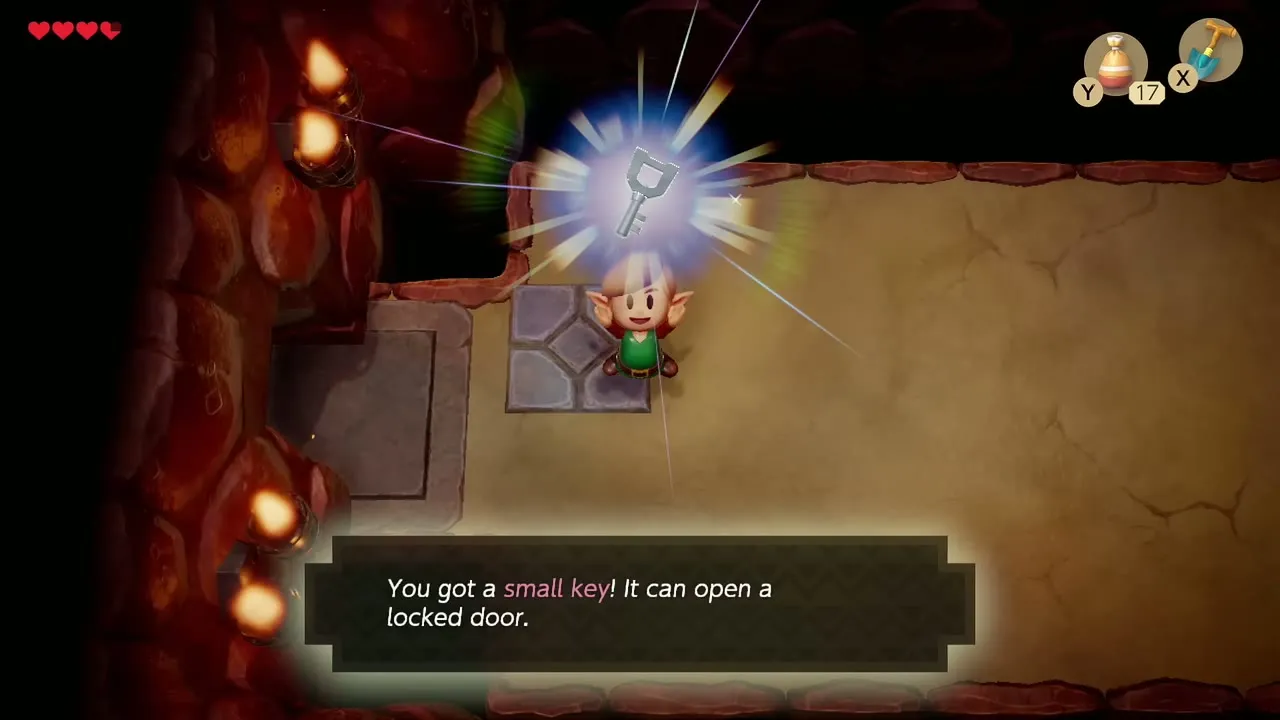
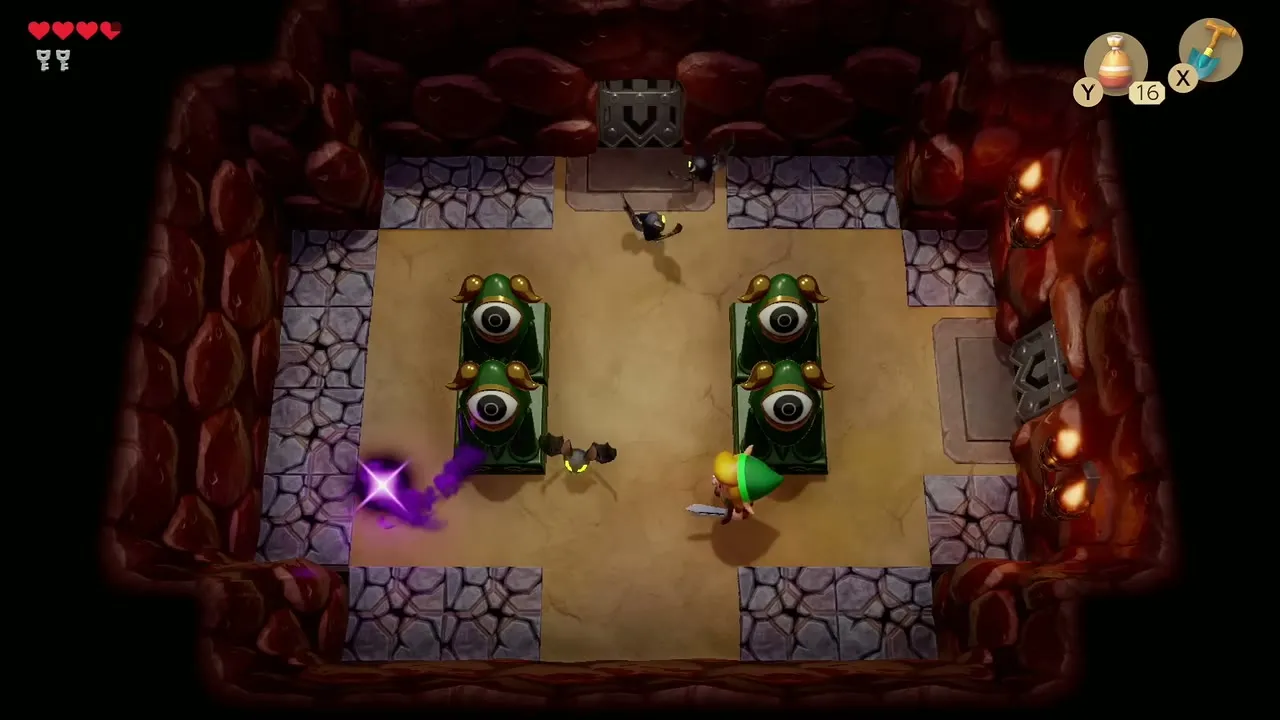
The first room is a dark chamber lit by torches. Take the left door first. In the room beyond, raise your Shield and bump the Hardhat Beetles into the pit, or knock them back with the Sword. When they are gone, a Small Key falls from the ceiling.
Compass
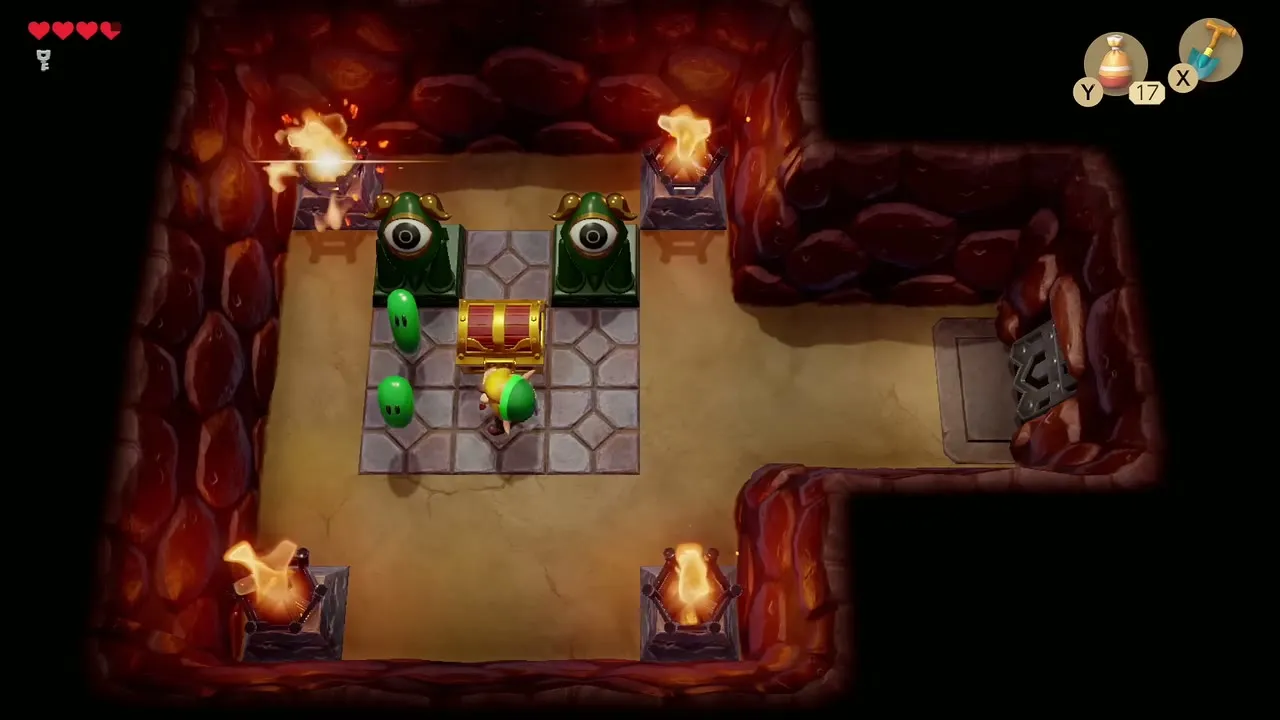
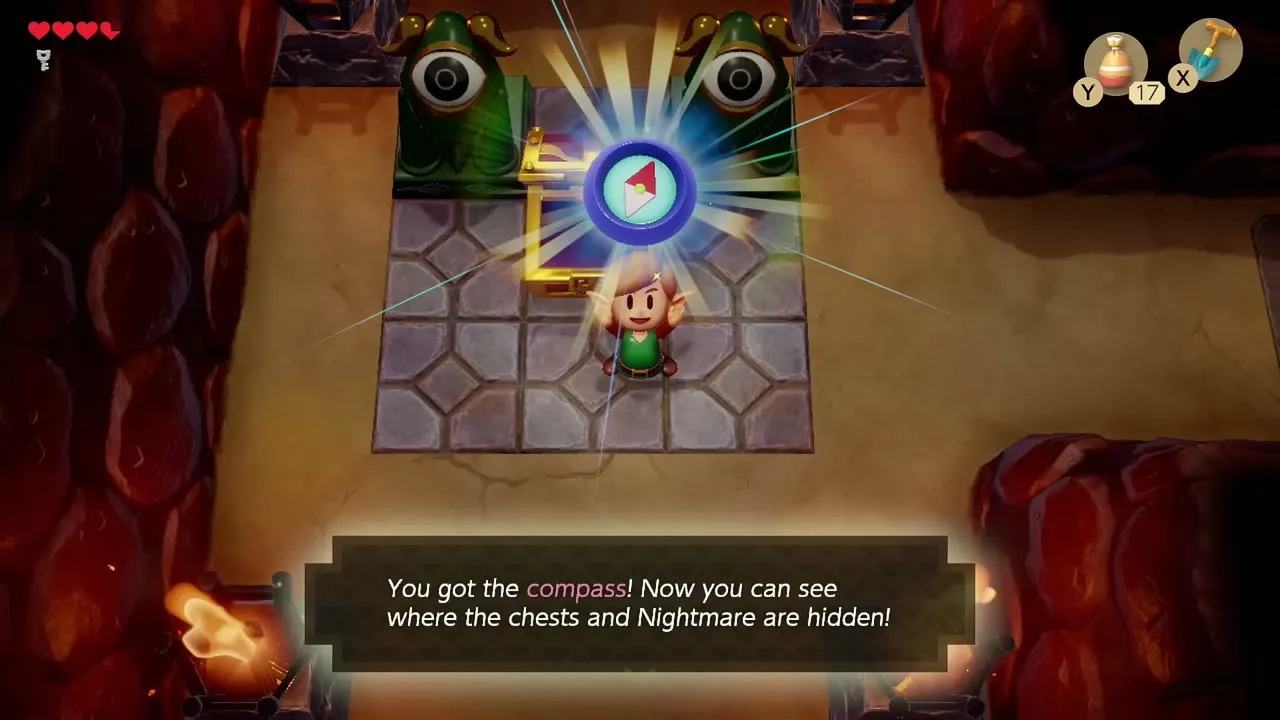
Continue into the next room to the west and defeat the enemies that pop out of the floor. Fireballs shoot from the corner torches, so keep moving. Open the chest for the Compass, which shows where chests and the boss are. Return to the entrance room.
Button chest: a second Small Key
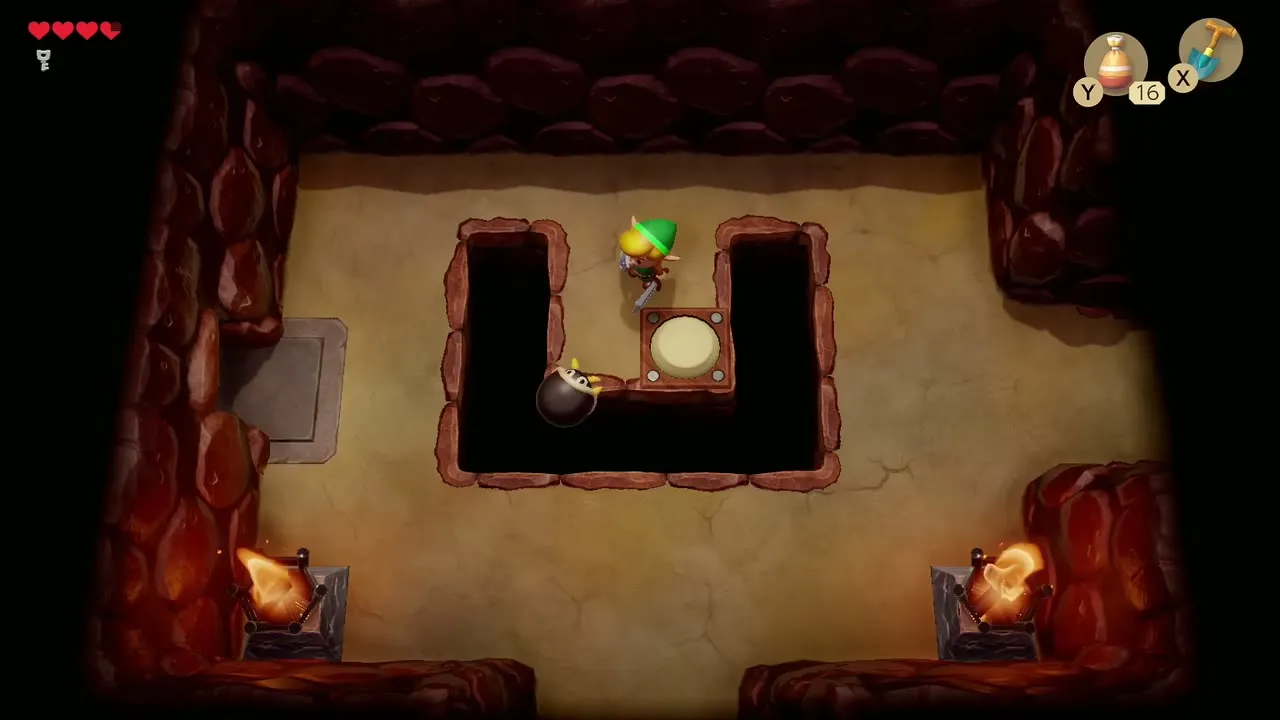
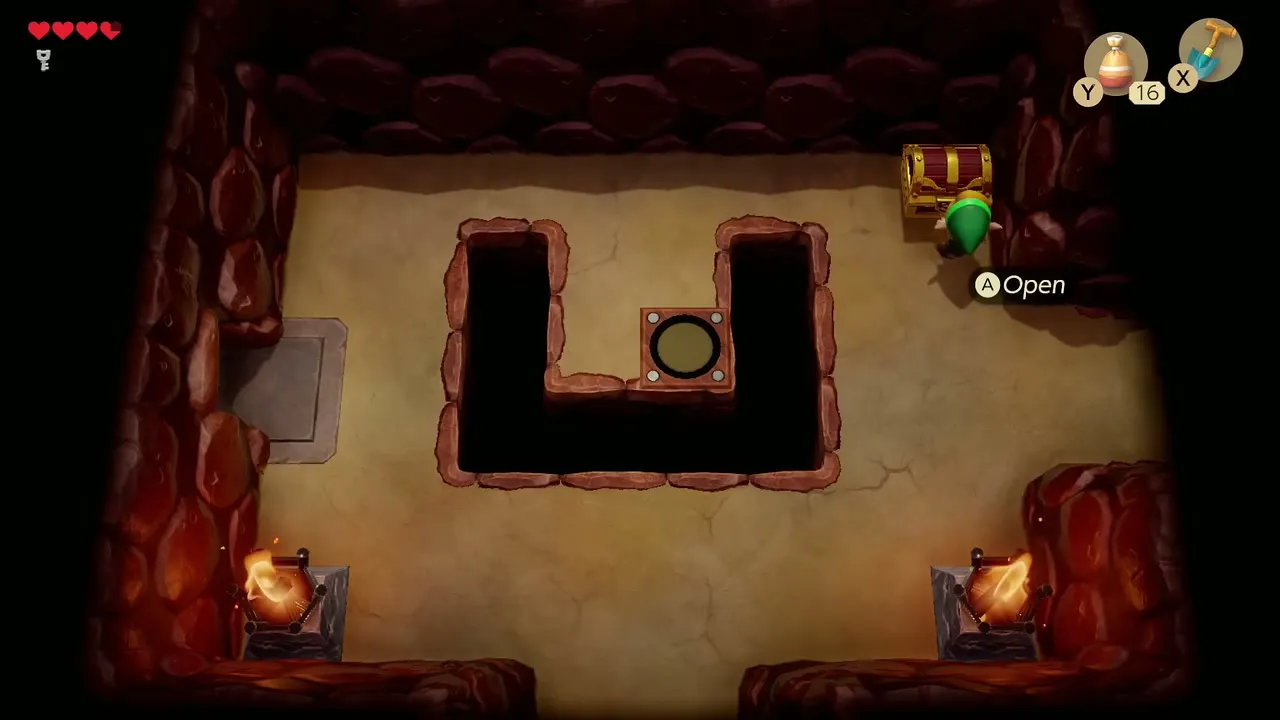
Go north from the entrance room. Push the Hardhat Beetle into the pit with your Shield or Sword, then step on the floor button to make a chest appear. It holds your second Small Key.


The central hub and the Spark chest
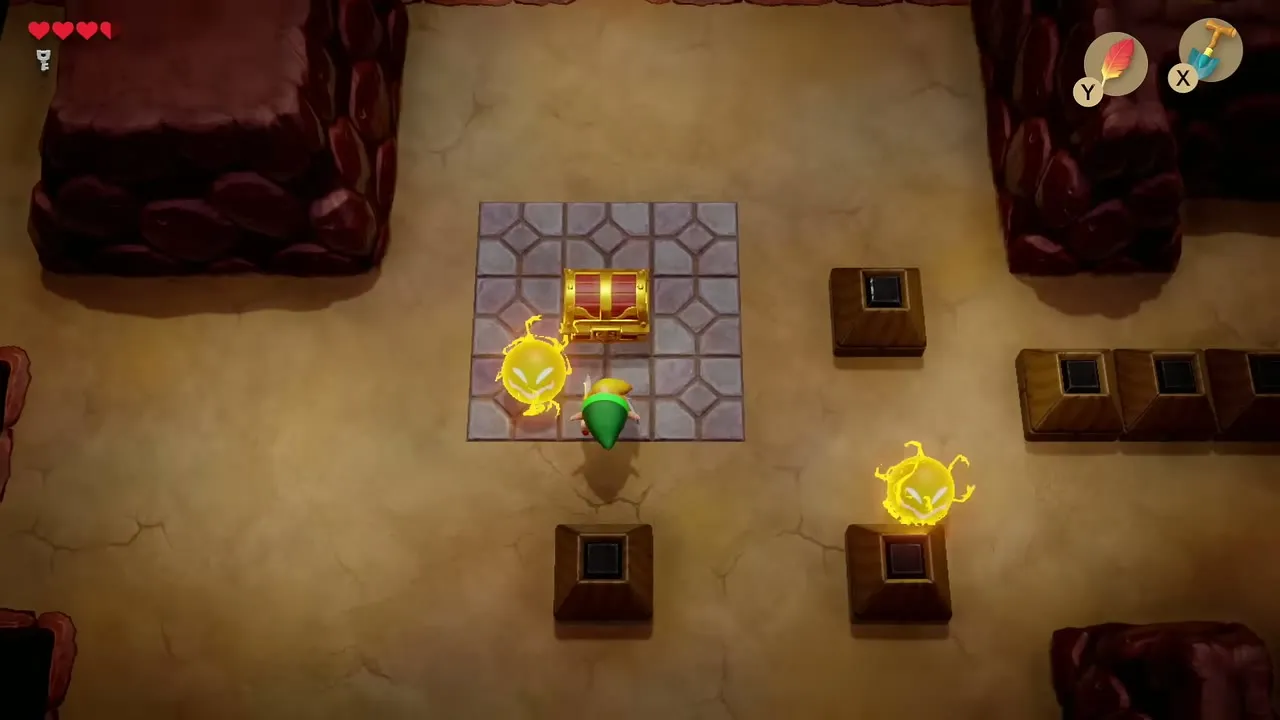
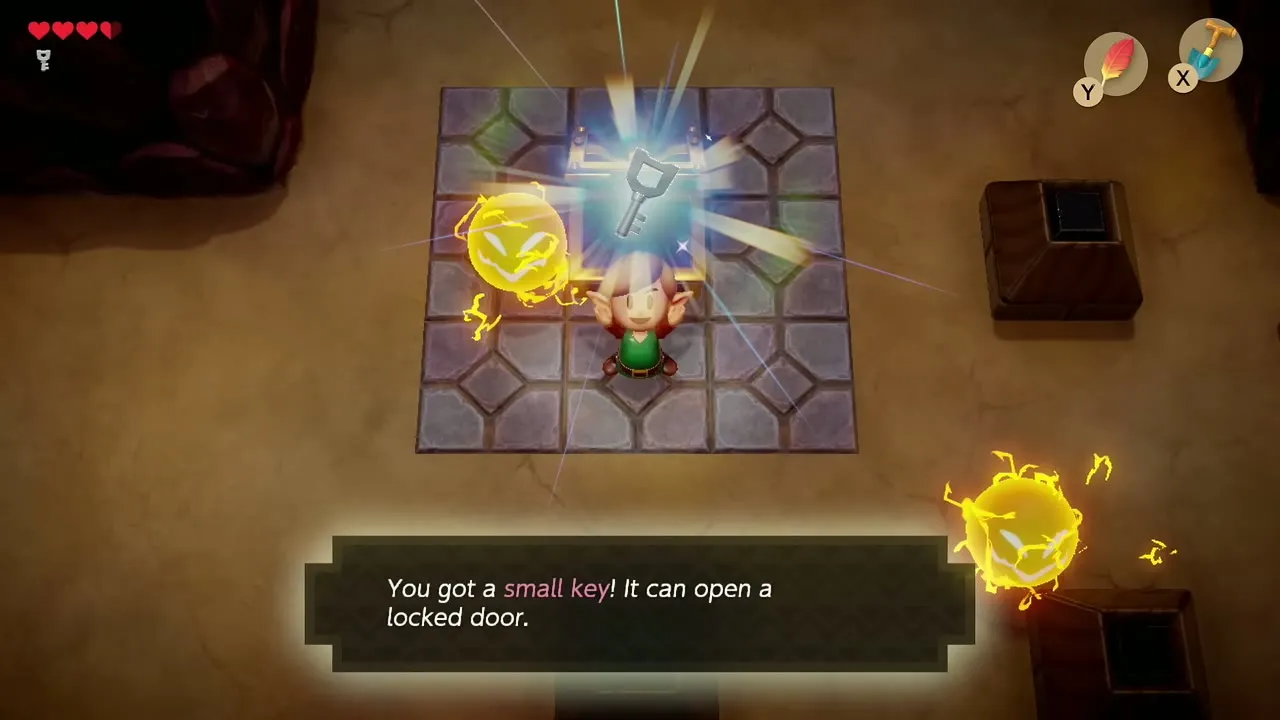
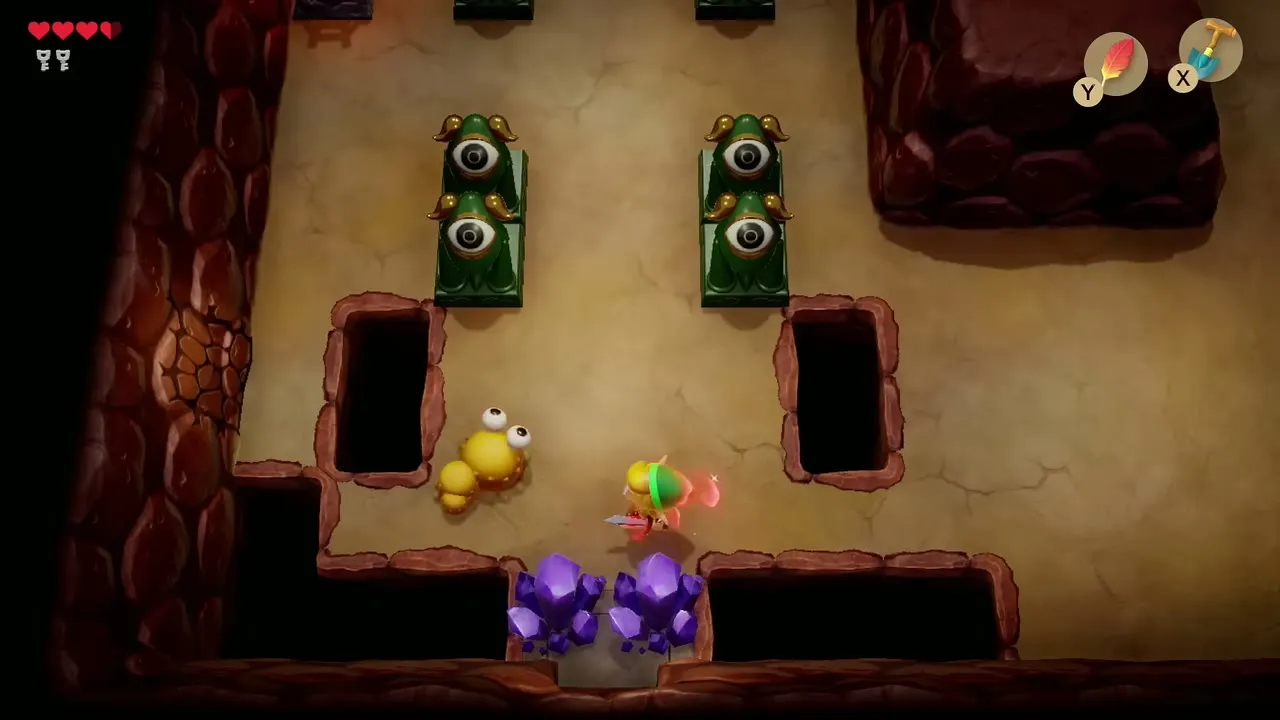
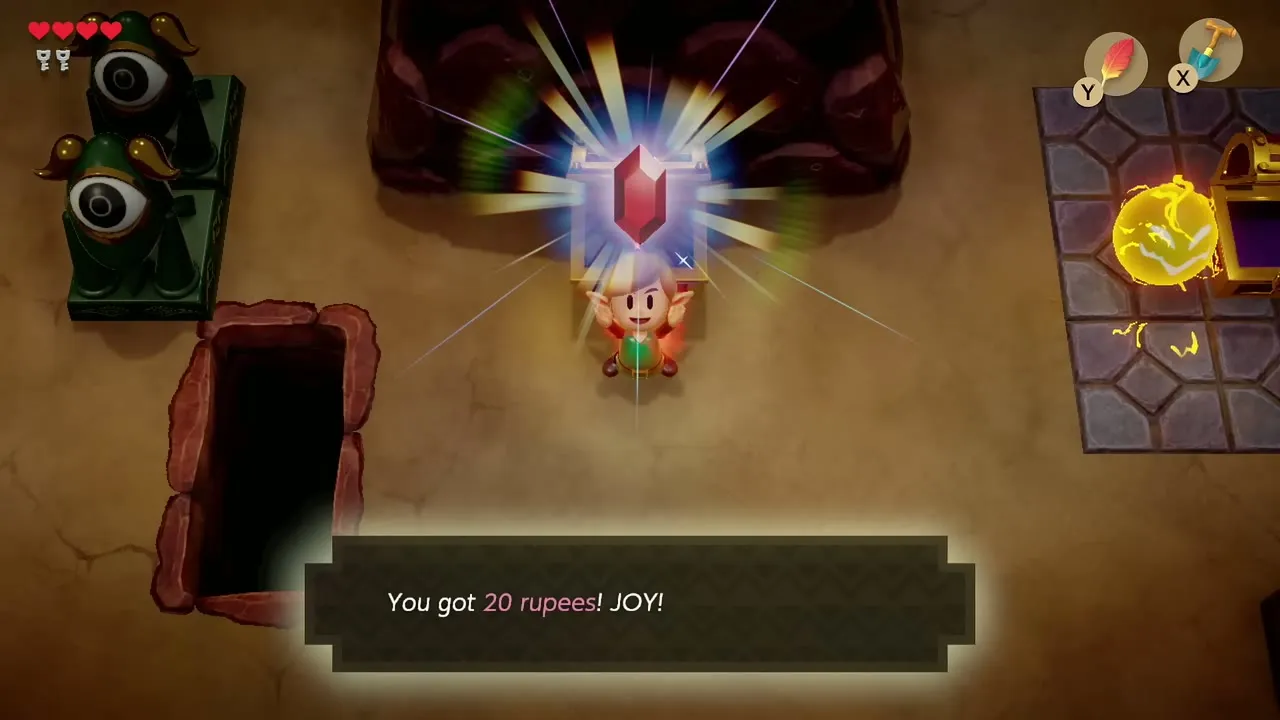
From the central hub, work west through the rooms patrolled by Sparks. In the room with a chest on a tile platform, a Spark circles the chest. Time your approach, open it and take the third Small Key. Defeat the Mini-Moldorms in the nearby rooms to make a chest appear with 20 rupees.
A cracked wall in the hub area hides a Secret Seashell, but you cannot open it yet because it needs a Bomb. Come back once you own Bombs; the shell is counted in the third chapter, where you return for it.

Roc’s Feather
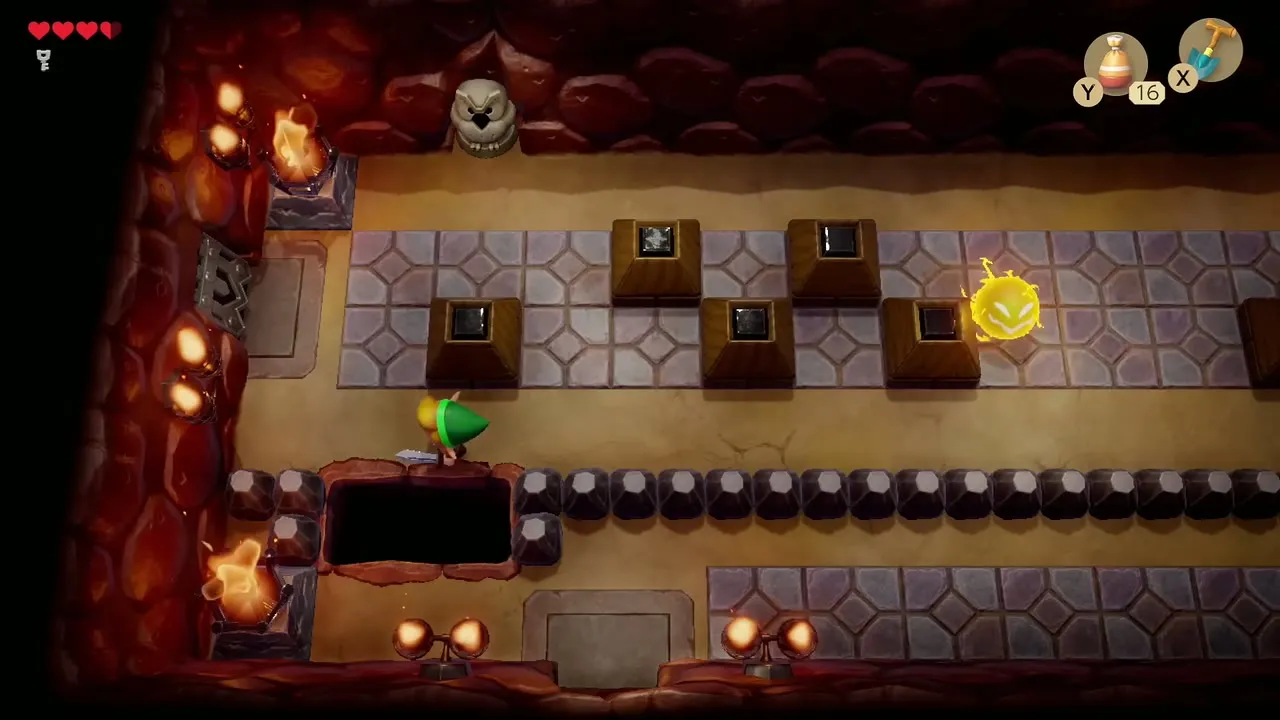
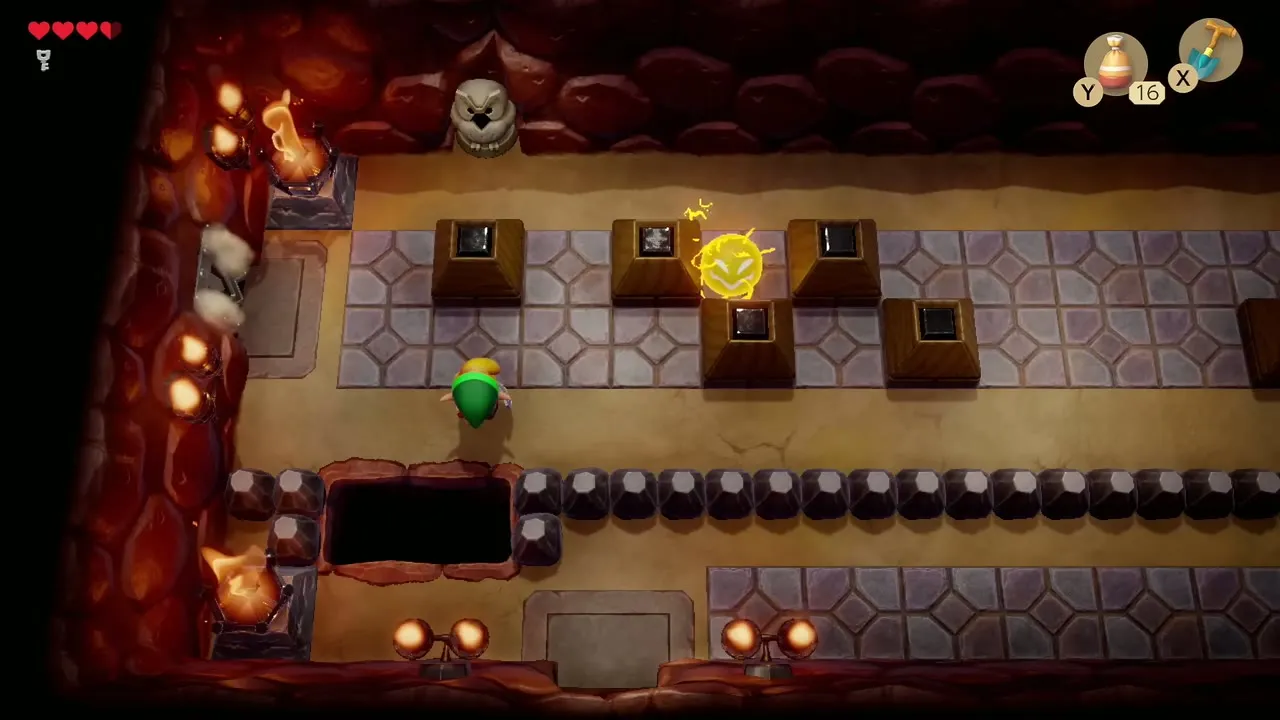
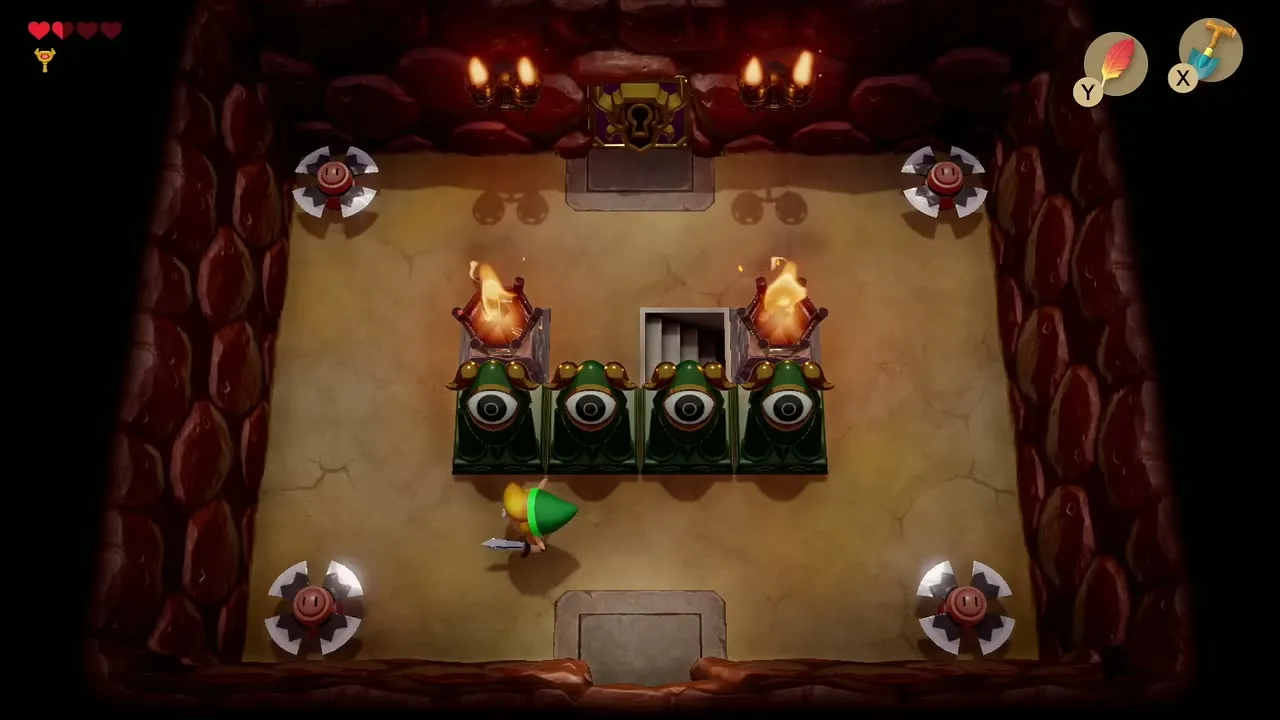
The hub’s top-left corner holds a locked door guarded by a sliding blade Trap. Wait for the Trap to retreat, then use a Small Key. A long room with an owl statue lies beyond: push the leftmost block to open the door on the left. The owl statue gives hints once you carry the Stone Beak.
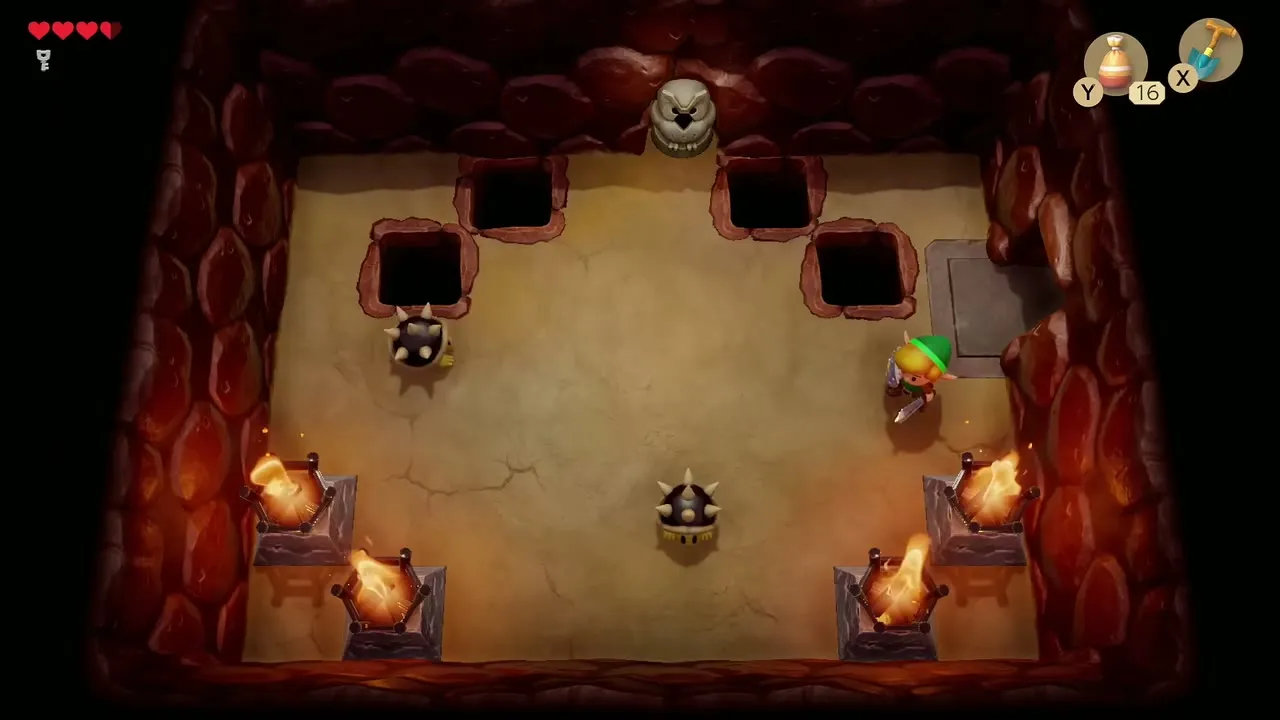
In the next room two Spiny Beetles block the way. Raise your Shield to flip each one over, then hit them with the Sword. Stairs appear when both are gone. Go down.
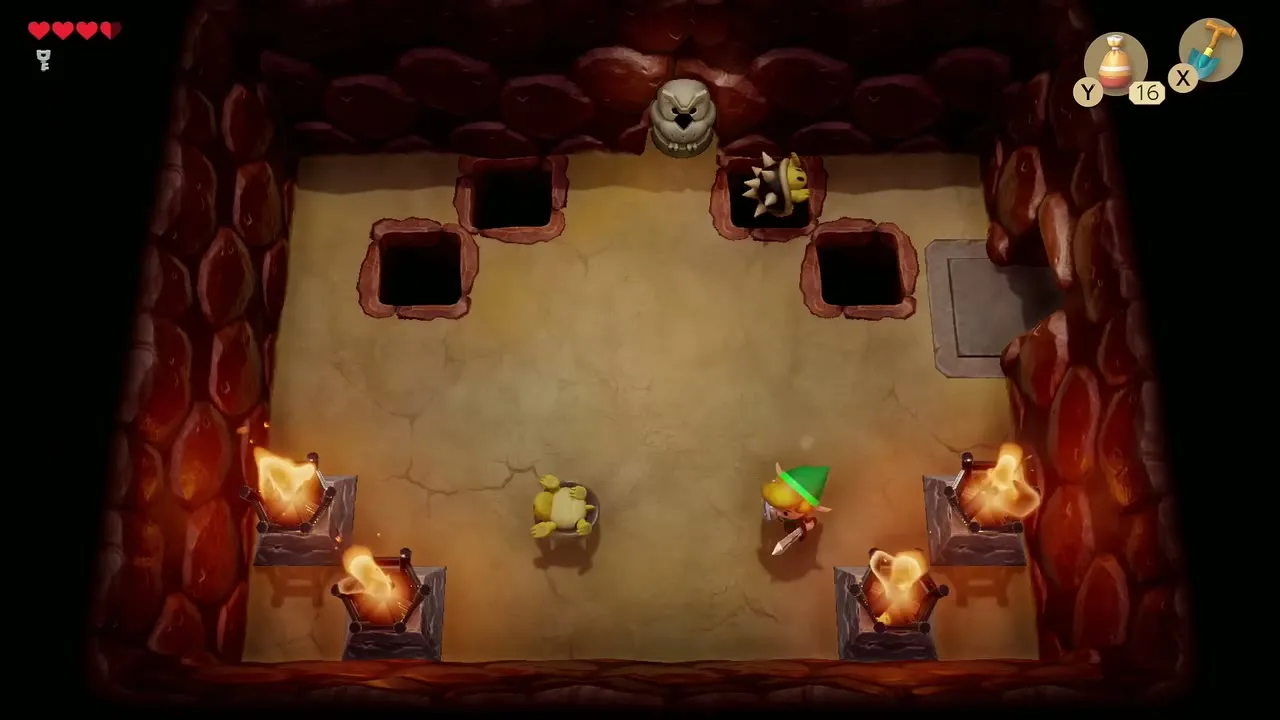
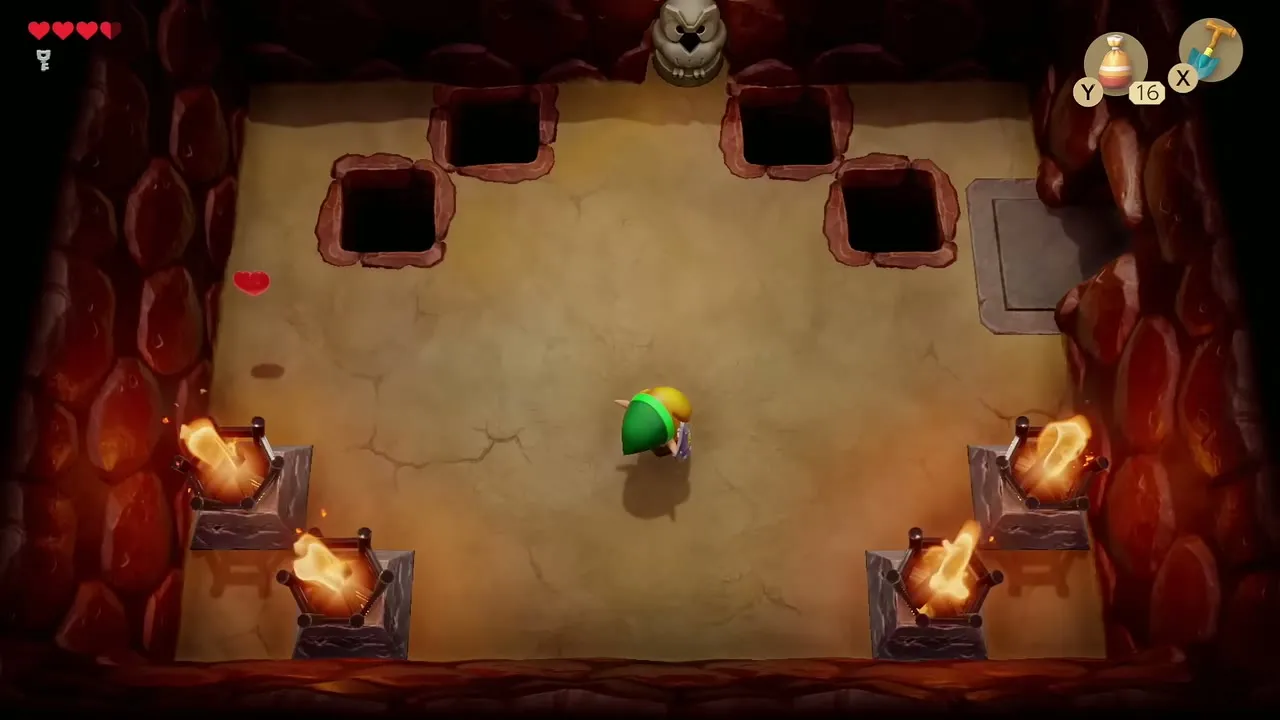
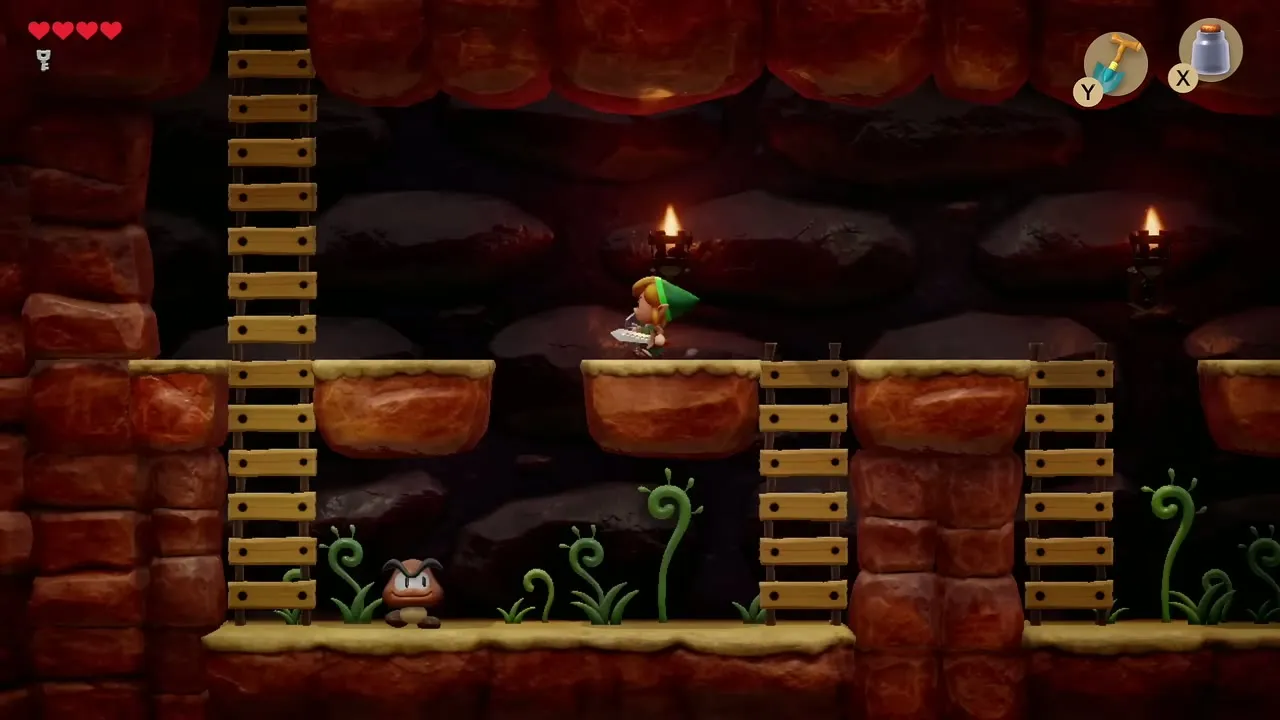
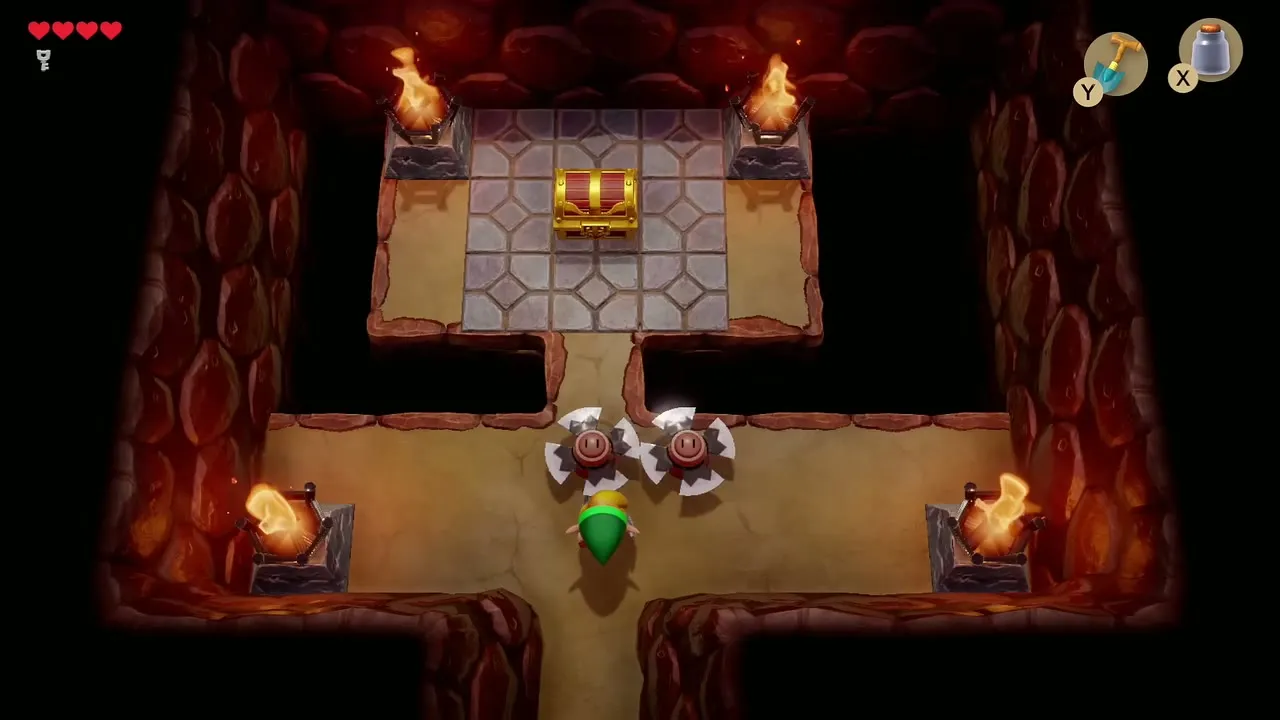
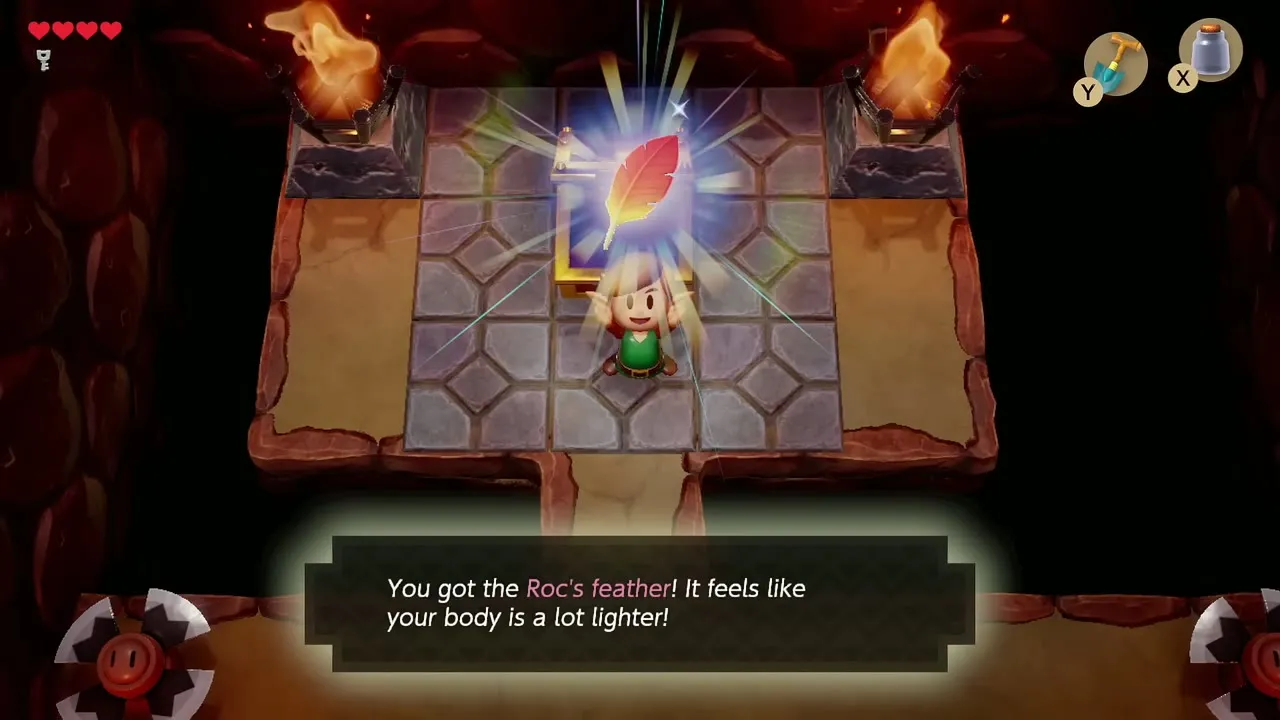
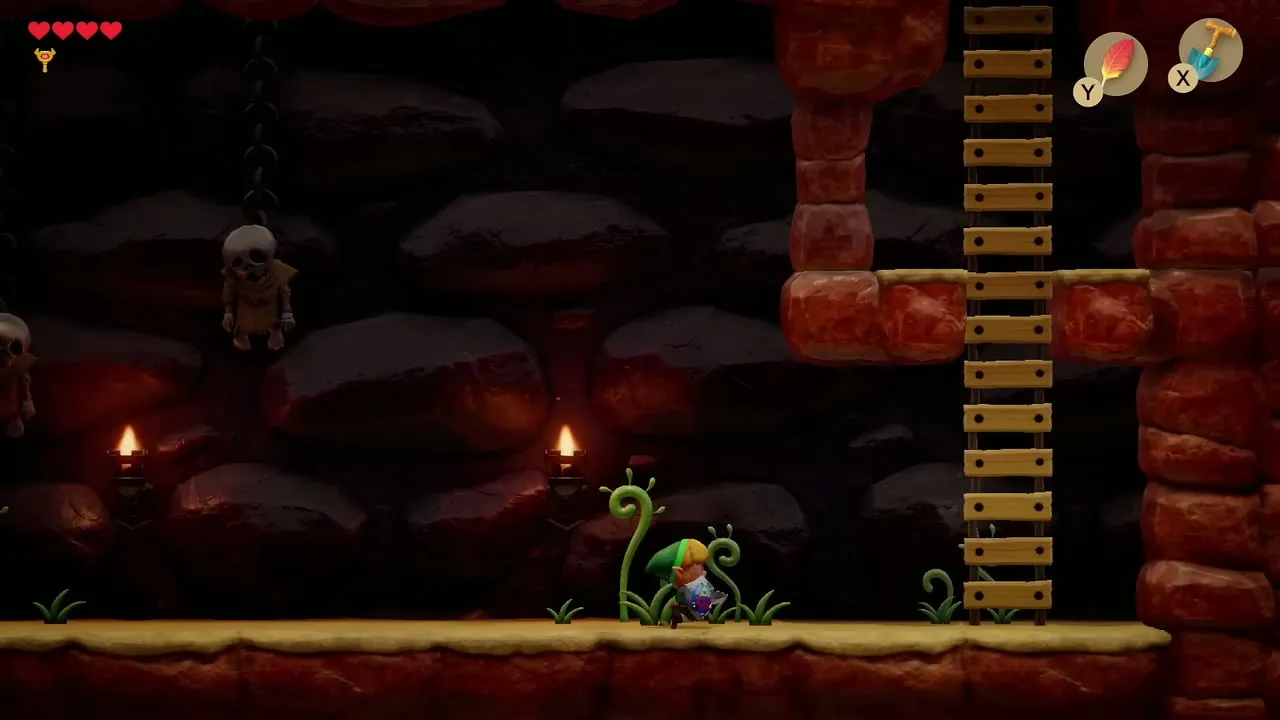
The stairs lead to a side-scrolling passage with Goombas and ladders. Climb the ladder at the end up through the ceiling. In the room above, slip past the Traps and open the chest for the Roc’s Feather, which lets you jump over gaps and pits. Assign it to a button from the item menu and practice jumping before you head back.

Nightmare Key
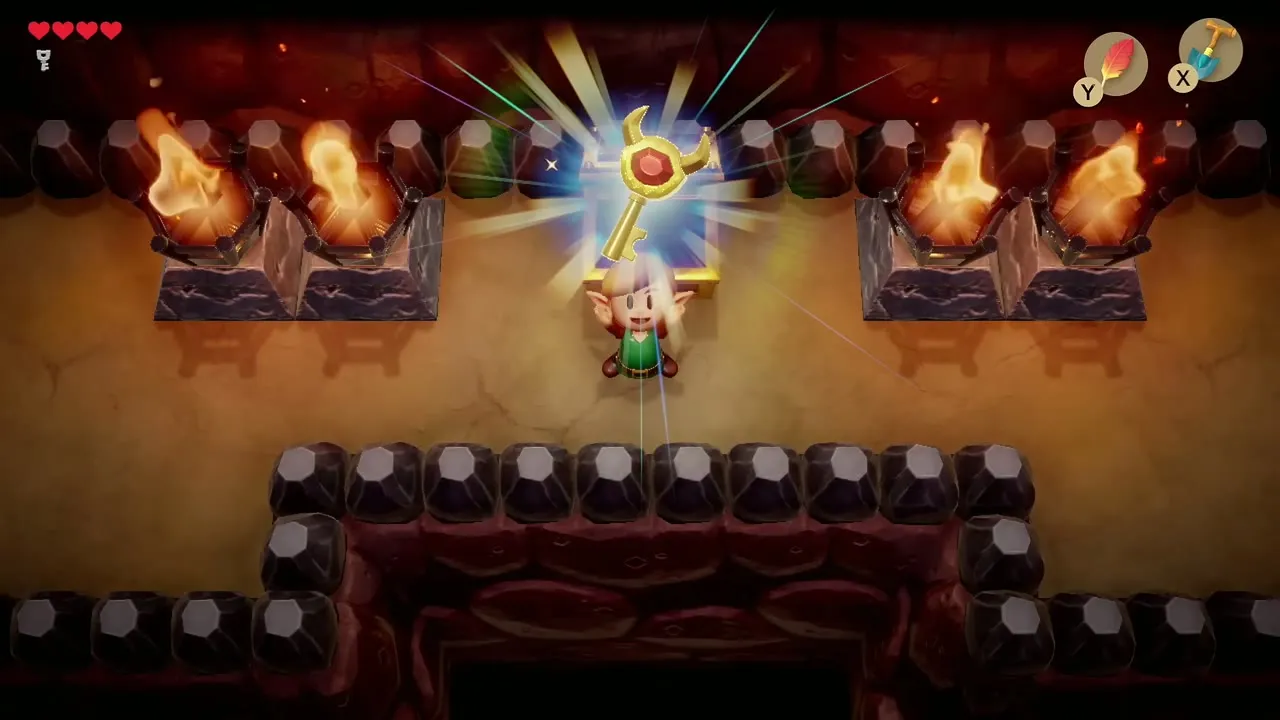
Return to the hub’s northeast corner. Jump over the gap with the Roc’s Feather, use a Small Key on the lock block and climb the stairs. Open the chest at the top for the Nightmare Key, which opens the boss door.


Stone Beak
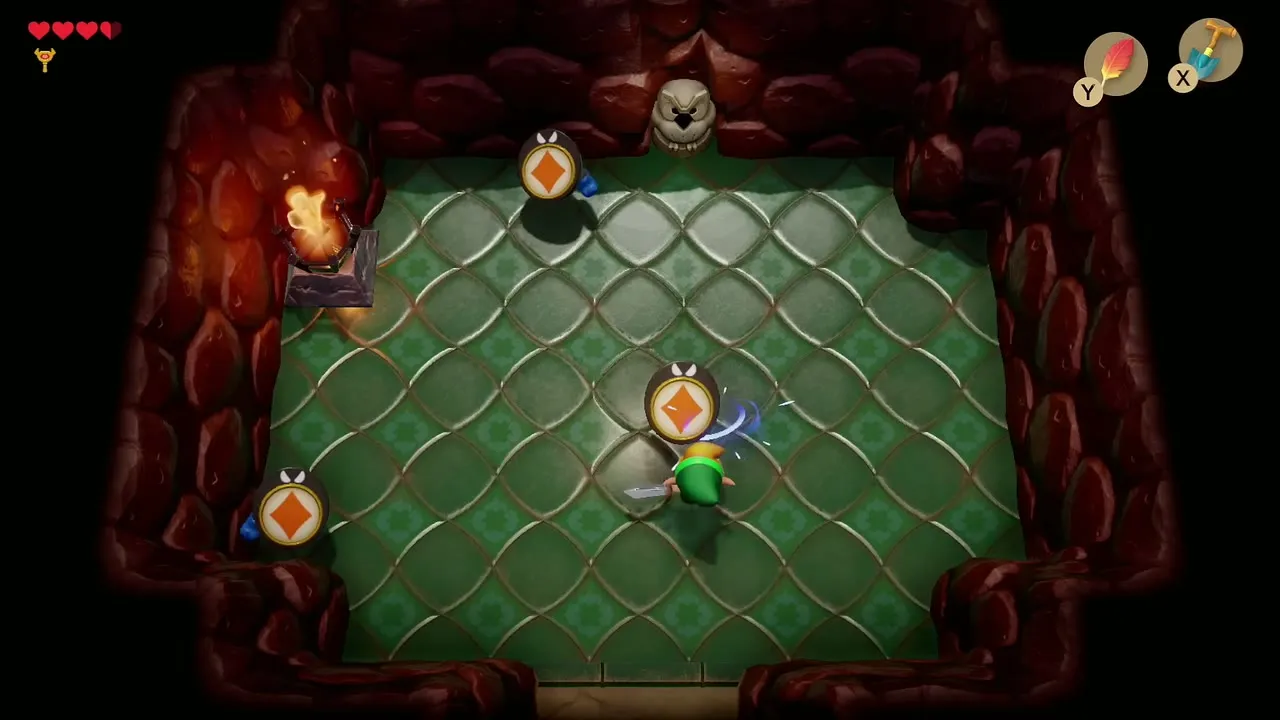
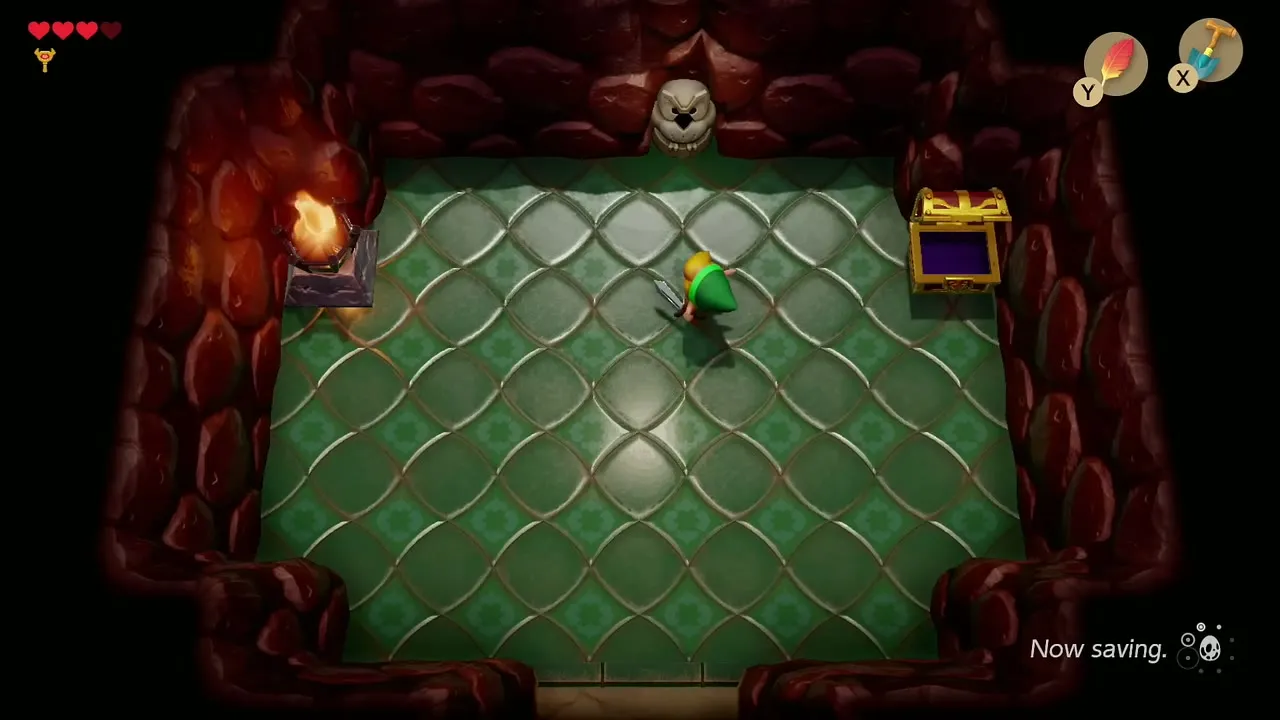
Use a Small Key on the locked door at the lower right of the hub and take the north exit into a green-tiled room where three card-suit creatures roam. Hit each one with the Sword so it freezes on a suit. When all three show the same suit they vanish and a chest appears with the Stone Beak.

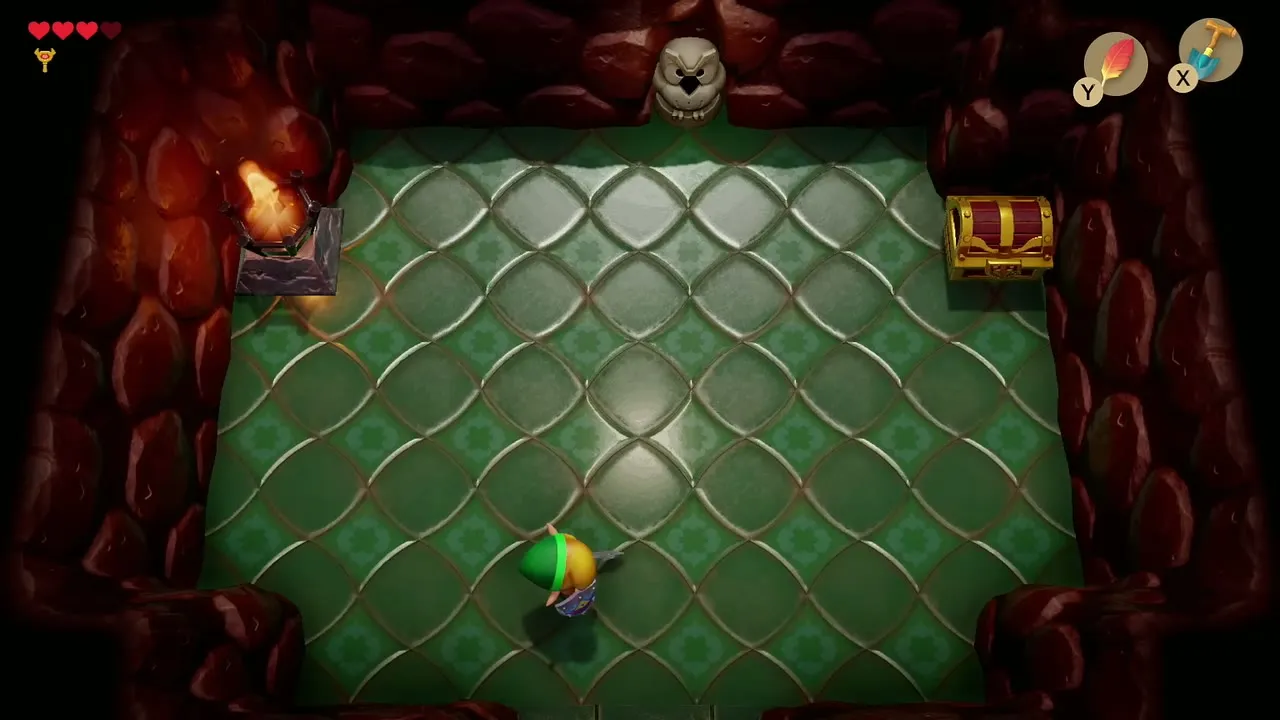

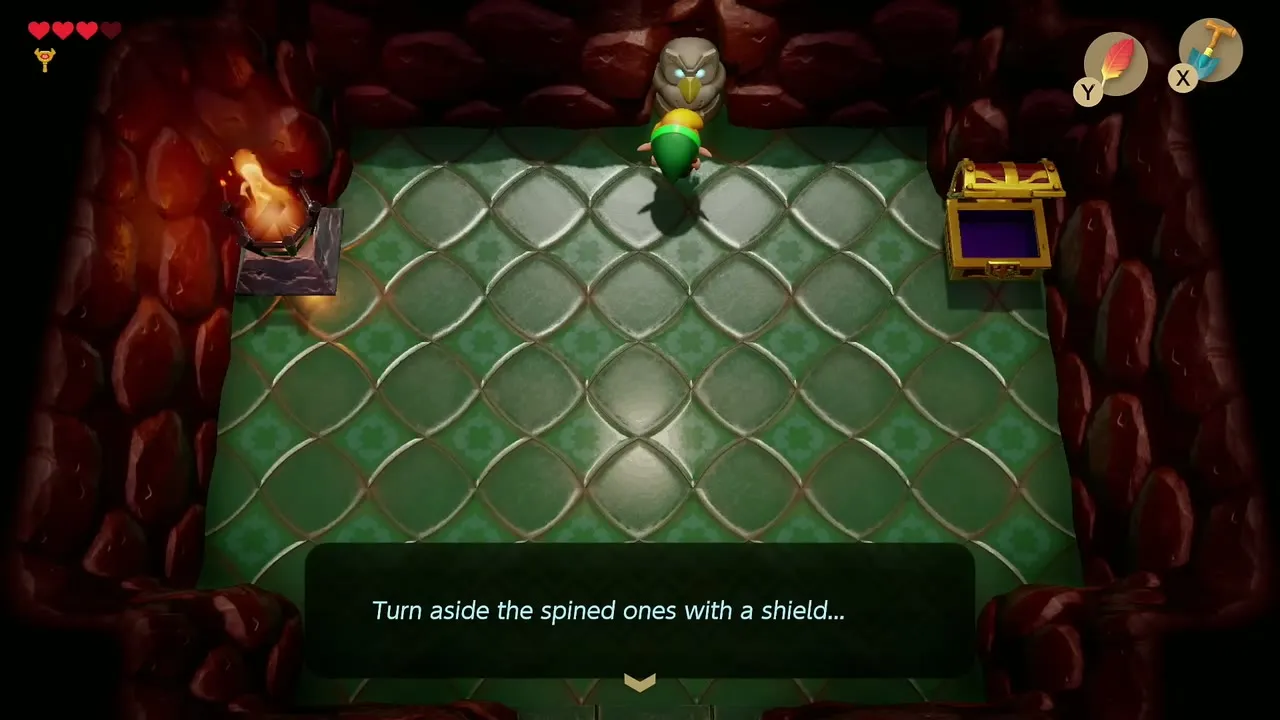
The Stone Beak lets you read the owl statues. Here the owl tells you to turn aside the spined ones with a shield, a hint for the Spiny Beetles you already beat.
Mini-boss: Rolling Bones
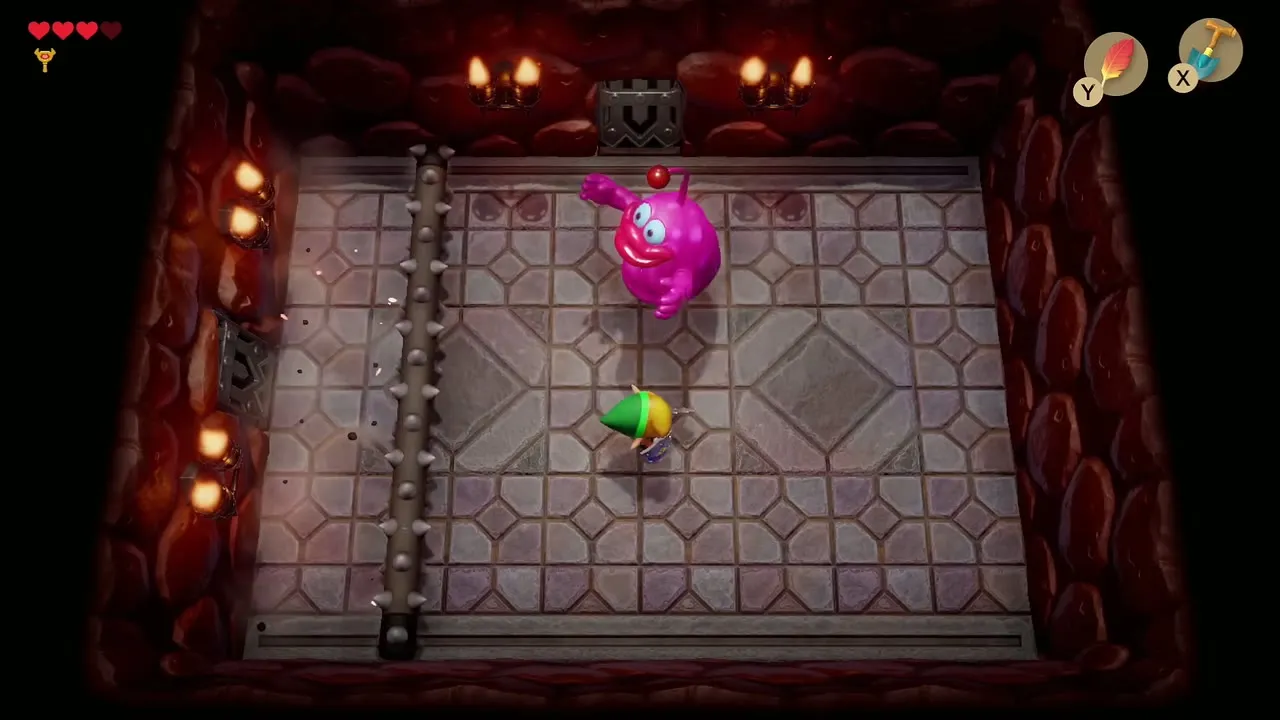
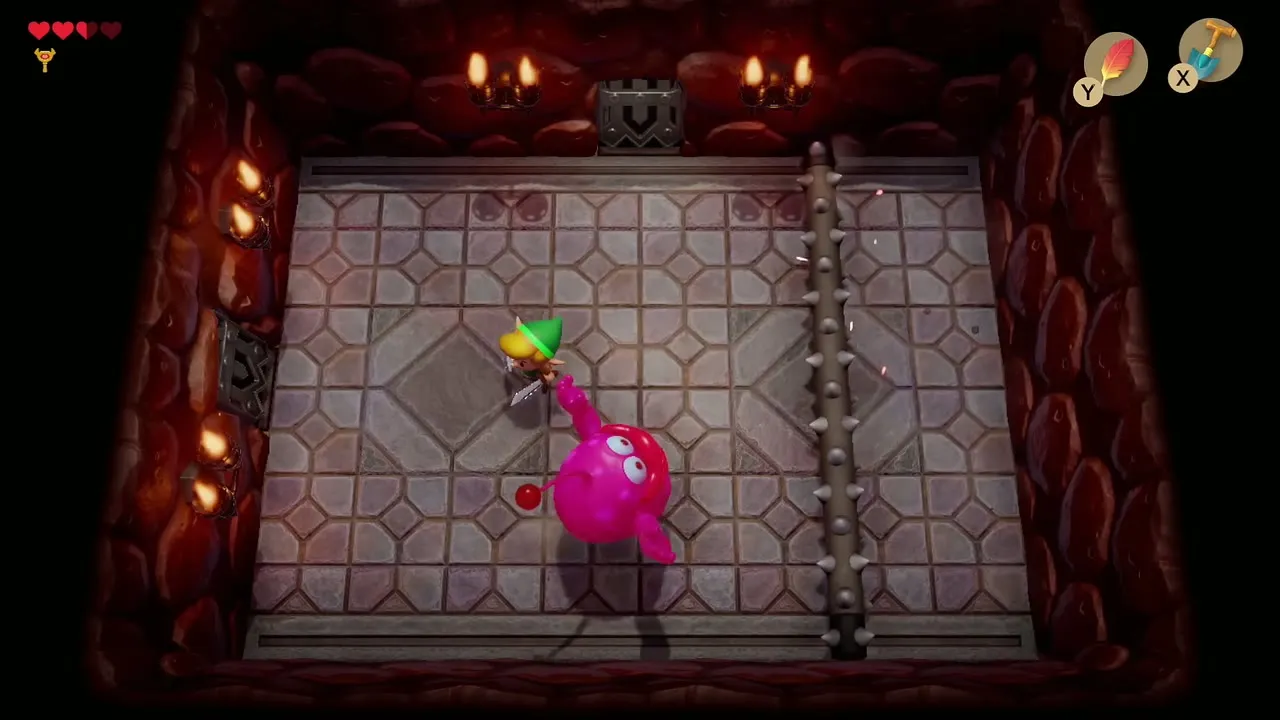
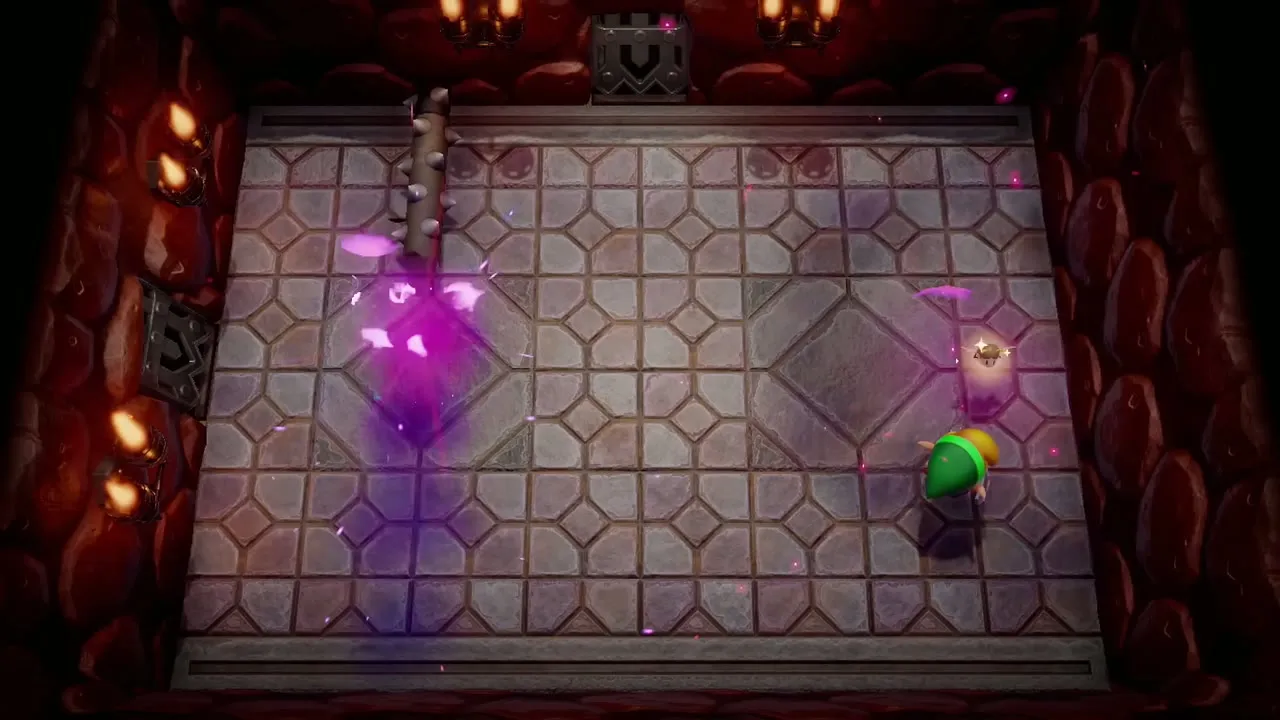
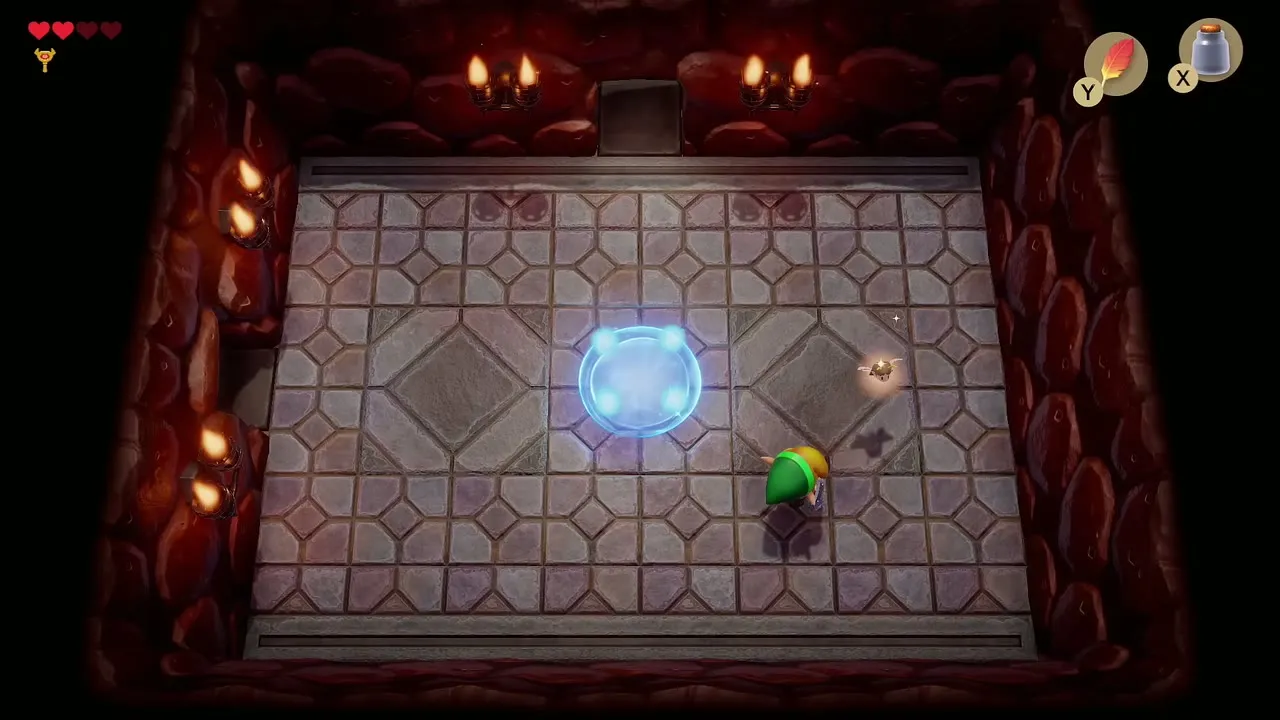
Leave the hub through the southeast door and jump the gap with the Roc’s Feather. Rolling Bones swings a spiked beam across the room. Jump over the beam, then strike Rolling Bones with the Sword. Repeat until it is defeated. A blue warp portal opens when it falls, a shortcut back to the dungeon entrance.
Dungeon Map
Use the warp to return to the entrance room and take the east door. Defeat all the Stalfos and Keese in the room beyond and a chest appears with the Dungeon Map. Take it if you skipped it earlier.
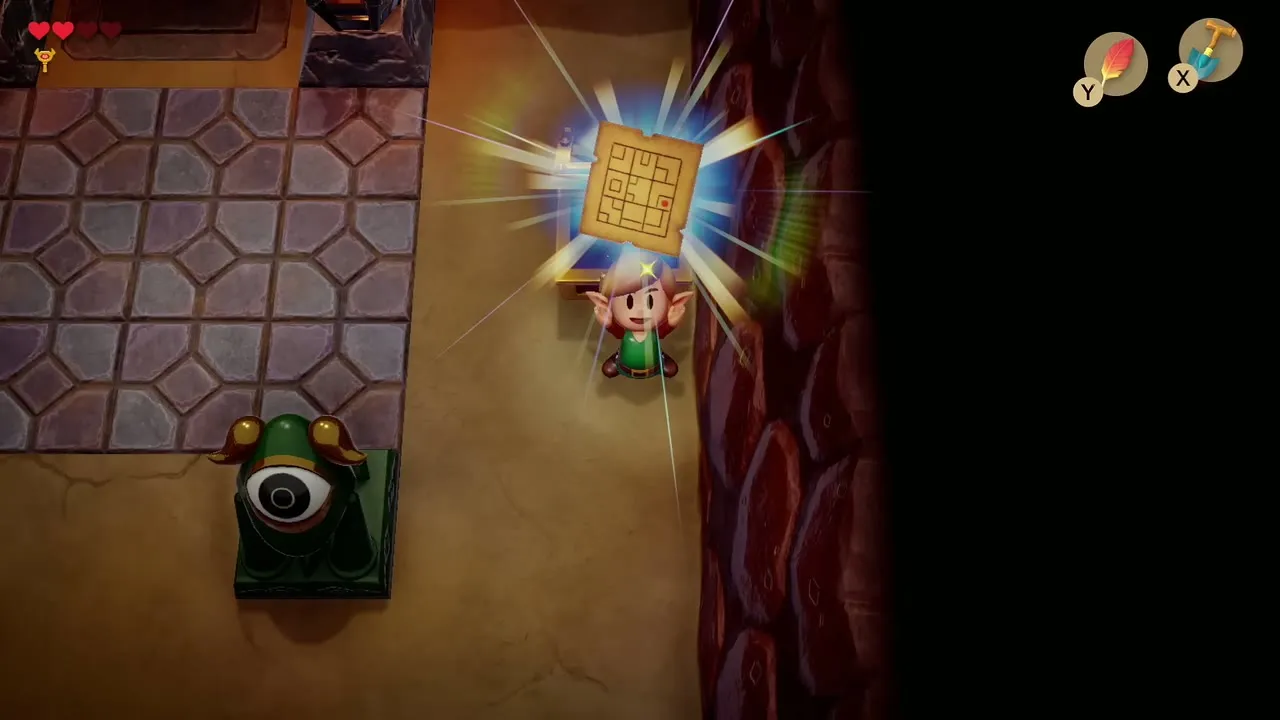
Boss: Moldorm
Go back through the mini-boss room and north, avoiding the blade Traps, to the Nightmare’s door. Use the Nightmare Key. Moldorm is a giant worm that thrashes around a platform with no railings.
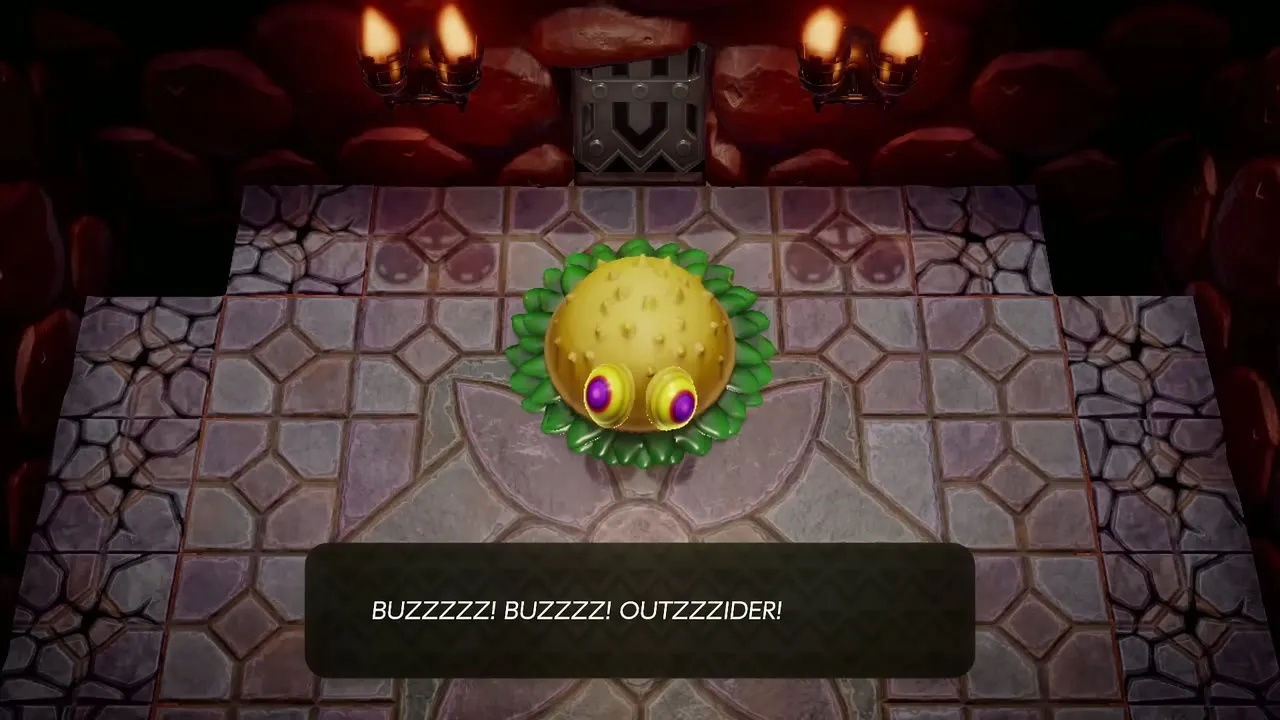
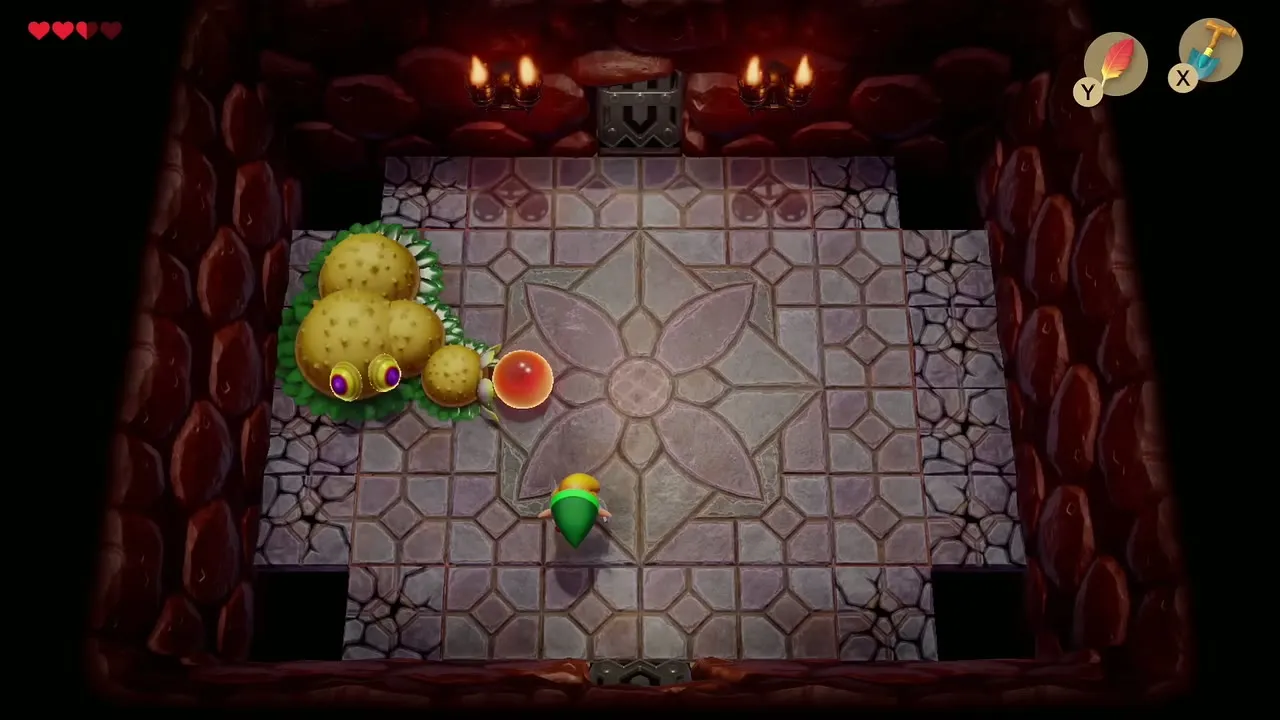
Attack its tail, which has a glowing tip. Each hit makes Moldorm faster and angrier, and four hits finish it. If it touches you it can knock you off the edge, so raise the Shield when it charges, step to the side and strike the tail as it passes.
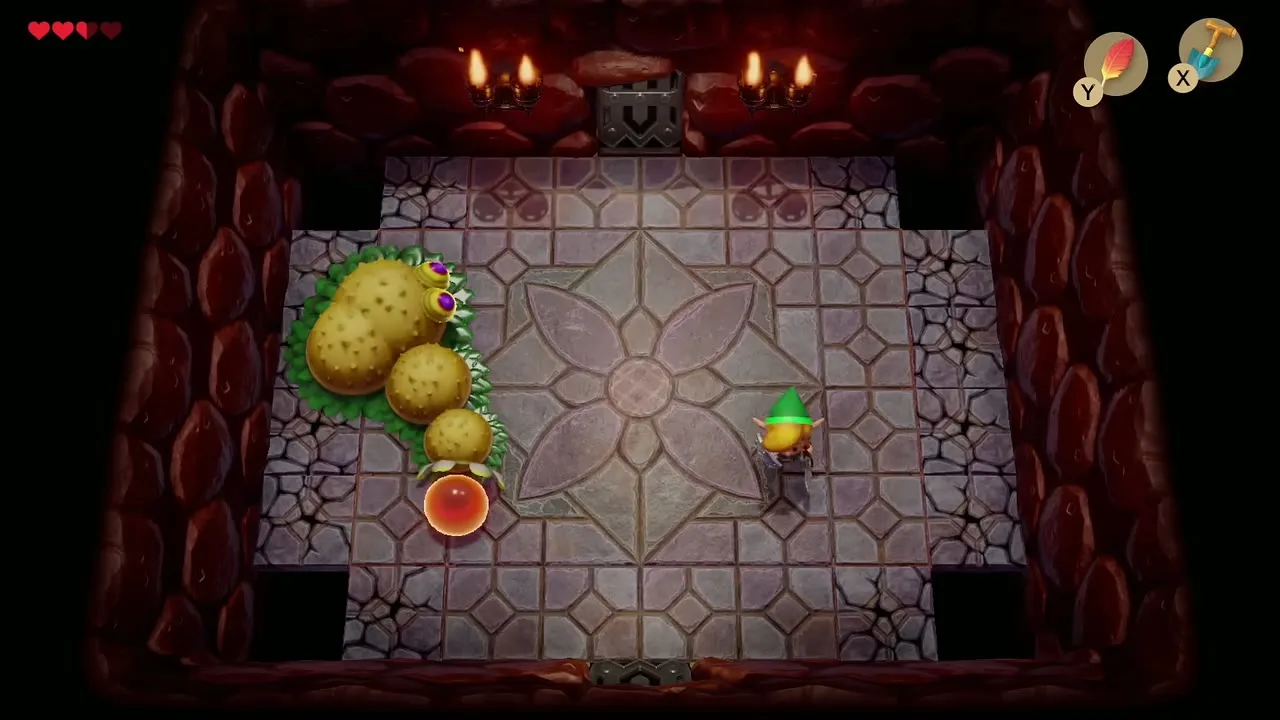
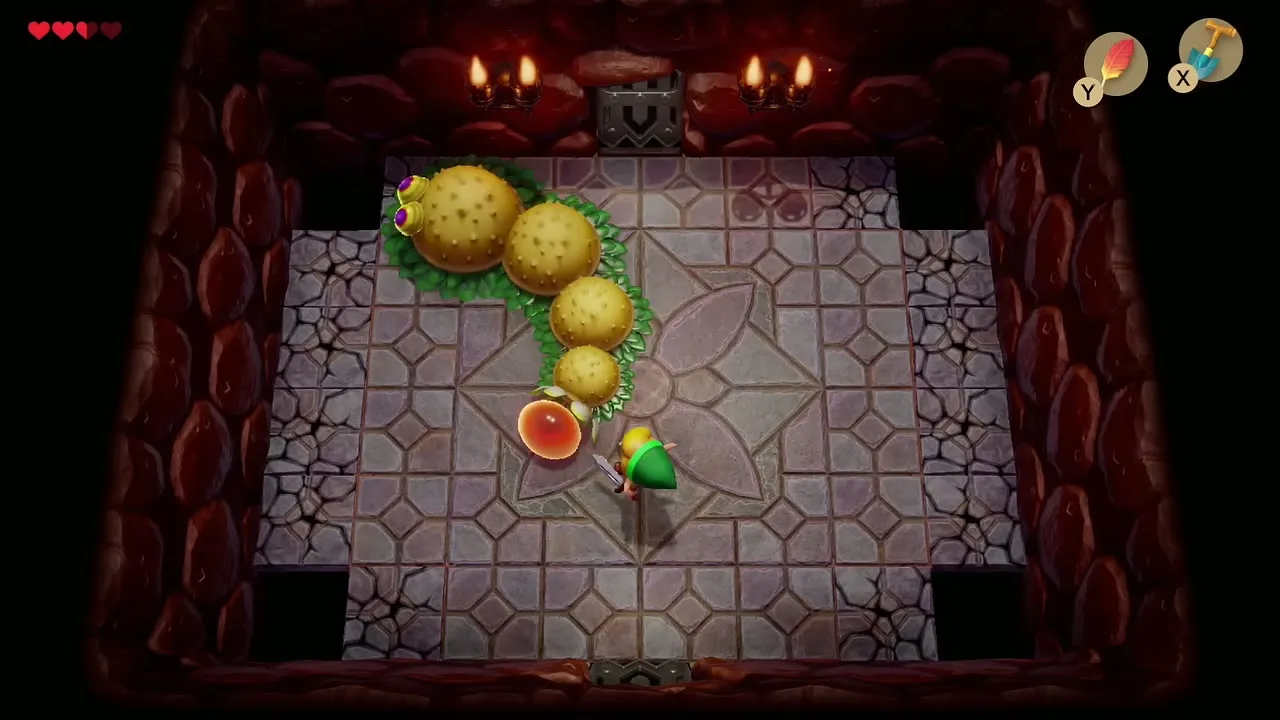
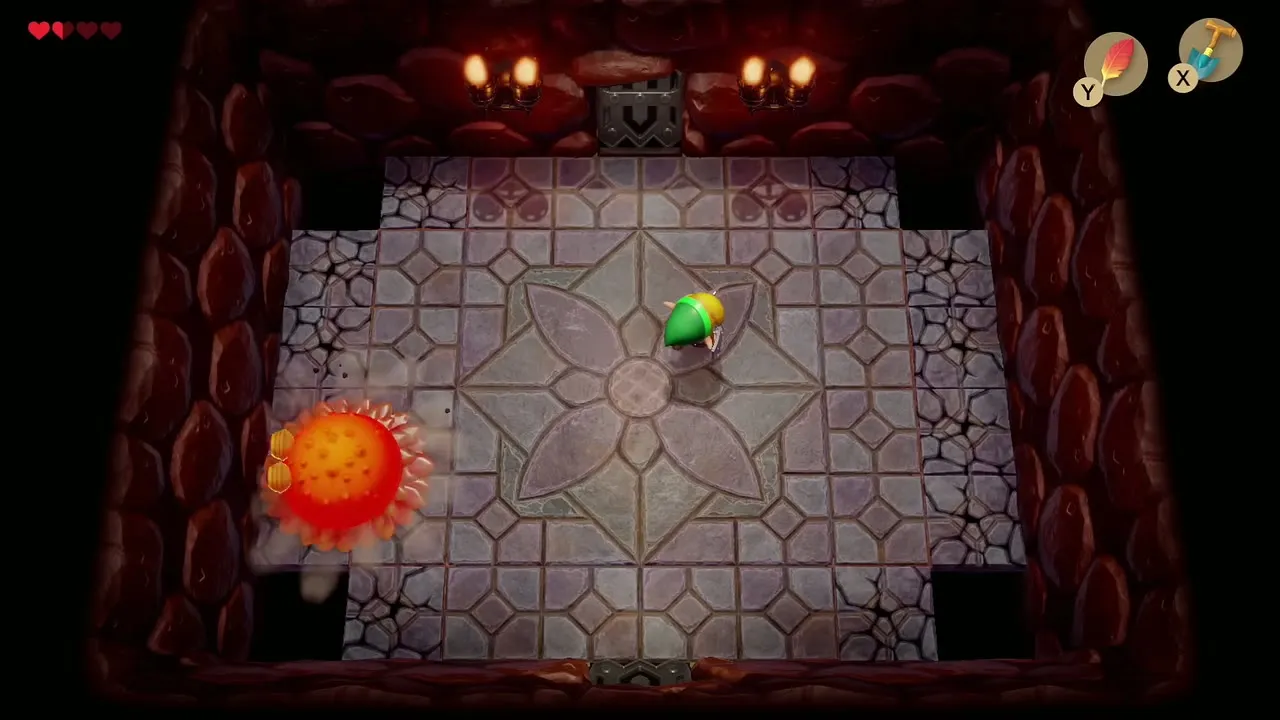
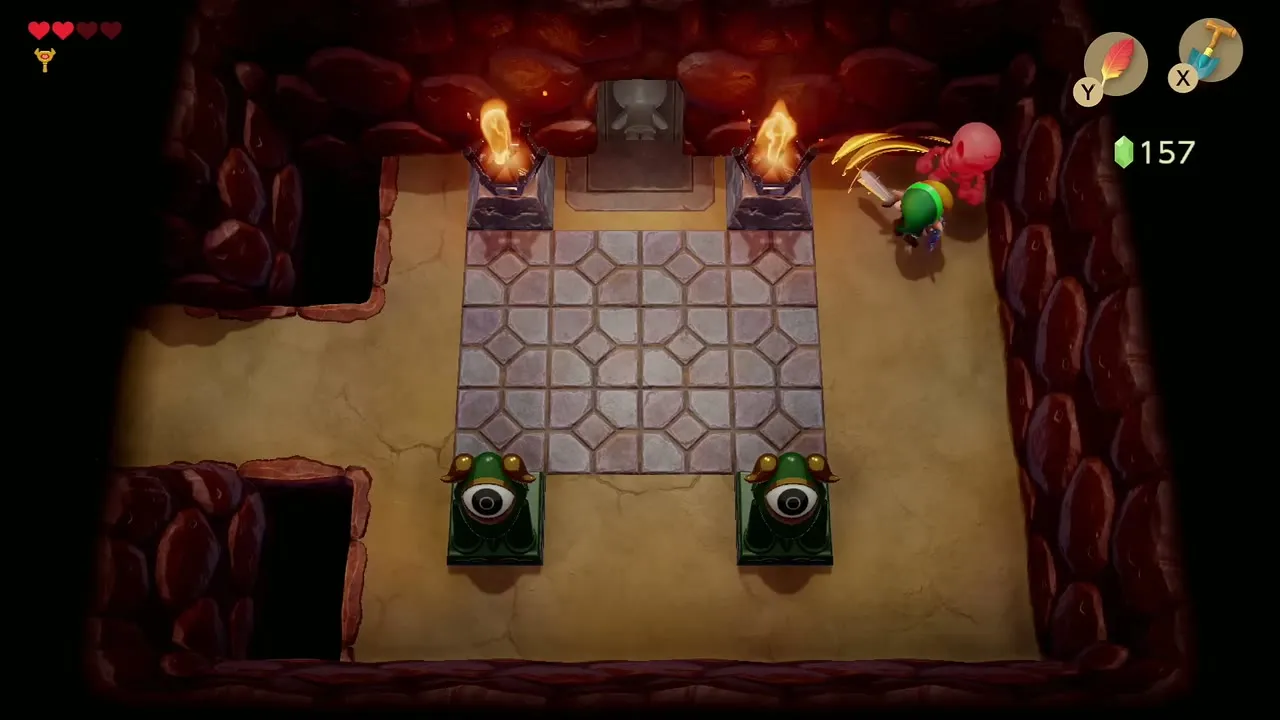
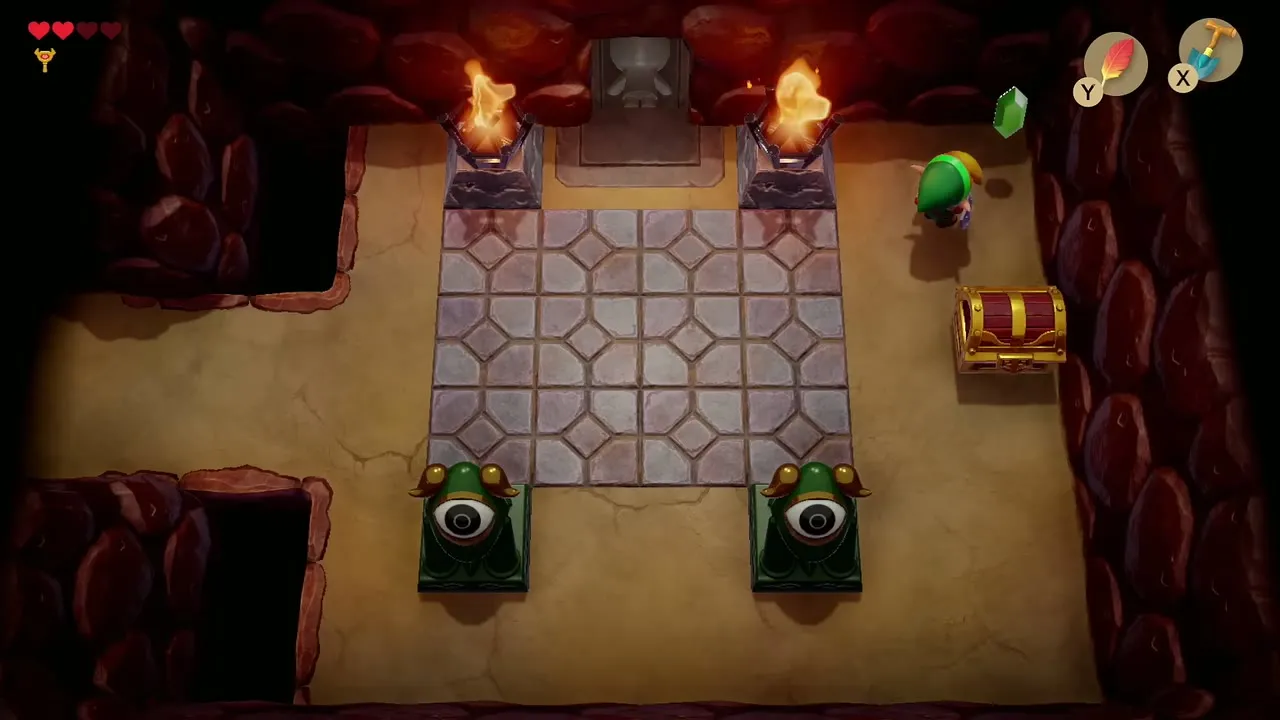
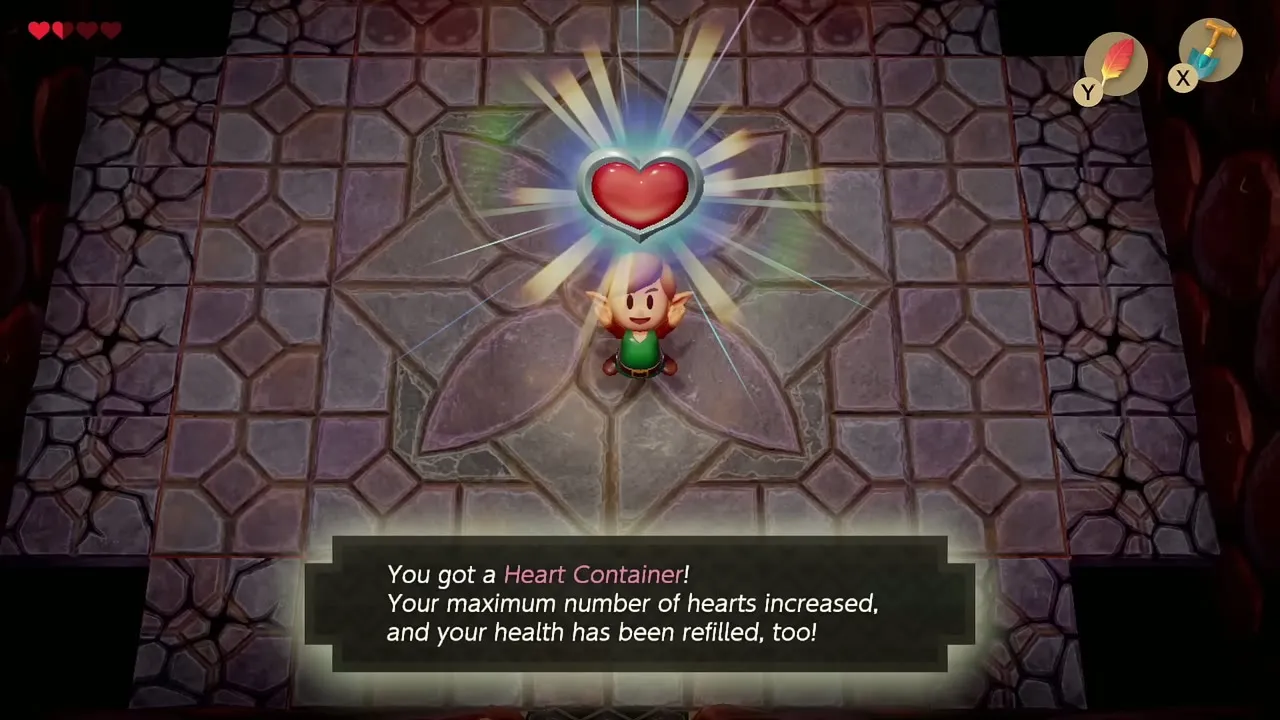
Pick up the Heart Container the boss leaves behind. It raises your maximum health by one heart. Walk north up the steps to the altar and take the Full Moon Cello, your first Instrument.
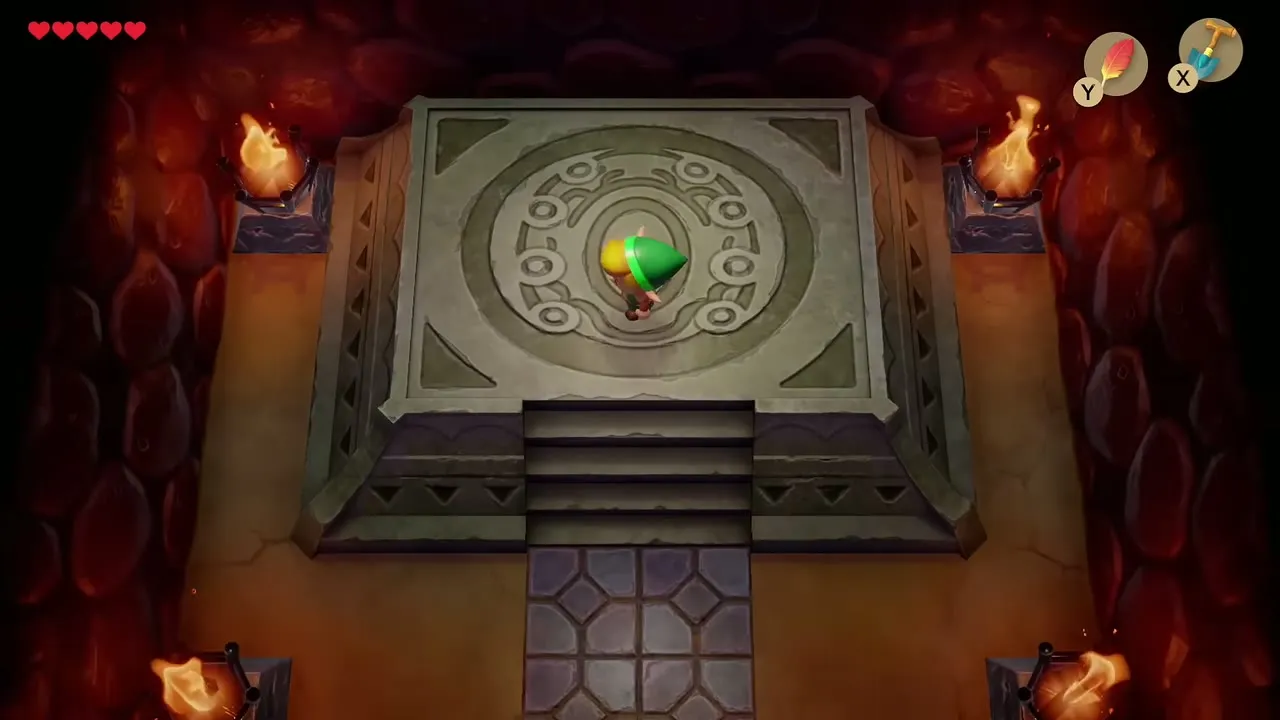

The Cello points you toward Goponga Swamp, your next stop. When the light fades you are standing outside the entrance of Tail Cave again.

Chapter checklist
| Type | Name | Where |
|---|---|---|
| Equipment | Shield | Tarin, Marin and Tarin’s house |
| Equipment | Sword | Toronbo Shores, stuck in the sand |
| Heart piece | Piece of Heart (1) | Mabe Village well, jump down from the ledge by the bushes |
| Heart piece | Piece of Heart (2) | Trendy Game crane prize |
| Heart piece | Piece of Heart (3) | Town Tool Shop counter, 200 rupees |
| Heart piece | Piece of Heart (4) | Fishing pond, first fish caught |
| Heart piece | Piece of Heart (5) | Fishing pond, first lunker |
| Secret Seashell | Clover patch | Mabe Village, east side |
| Secret Seashell | Trendy Game prize | Mabe Village |
| Secret Seashell | CiaoCiao’s doghouse | Mabe Village, dig inside |
| Secret Seashell | Beach corner | Toronbo Shores, dig against the wall |
| Item | Shovel | Town Tool Shop, 200 rupees |
| Item | Middleweight Lure | Fishing pond, first lunker |
| Bottle | Empty bottle | Fishing pond, reeled up from the bottom |
| Figure | ClaoClao figure | Trendy Game |
| Trading | Yoshi Doll, Ribbon, Dog Food, Bananas | Trendy Game, Mamasha, CiaoCiao, Sale |
| Item | Magic Powder | Witch’s Hut, in exchange for the Toadstool |
| Item | Guardian Acorn | Dropped by the twelfth enemy in a hitless chain |
| Key item | Tail Key | Chest north of the Raccoon clearing, Mysterious Forest |
| Dungeon | Compass, Dungeon Map, Small Keys (3) | Tail Cave |
| Key item | Roc’s Feather | Tail Cave, chest above the side-scrolling ladder |
| Dungeon | Stone Beak, Nightmare Key | Tail Cave |
| Heart | Heart Container | Dropped by Moldorm |
| Instrument | Full Moon Cello | Tail Cave, altar room |
| Return later | Bomb-wall Secret Seashell and log-cave Piece of Heart (both collected in chapter 3) | Tail Cave hub; Mysterious Forest cave (needs the Power Bracelet) |
