





















| Boss Keys | 8, one in every dungeon |
|---|---|
| Small Keys counted | 15 across the five dungeons with a settled count (Gnarled Root 2, Snake’s Remains 3, Poison Moth’s Lair 2, Dancing Dragon 5, Ancient Ruins 3) |
| Dungeon Maps and Compasses | 7 of 8 dungeons confirmed (see the table for the dash) |
| Game | The Game Boy Color version, Oracle of Seasons |
Every dungeon in Oracle of Seasons holds a Boss Key, which opens the boss door at the end. Maps and Compasses sit in chests inside each dungeon, and Small Keys open the locked doors on the way. The Map shows the layout, and the Compass reveals chests on it. Small Keys work only in the dungeon where you find them. The table below lists where each key item and the dungeon’s main item sit.
| Dungeon | Small Keys | Dungeon Map | Compass | Boss Key | Main item |
|---|---|---|---|---|---|
| 1. Gnarled Root Dungeon | 2 | Behind the first locked door | Rail room, after the junction switch | Moblin room, behind the first pair of torches | Seed Satchel |
| 2. Snake’s Remains | 3 | Behind a pot east of the Power Bracelet room | Block-puzzle room east of the entrance | Top of the moving-platform room | Power Bracelet |
| 3. Poison Moth’s Lair | 2 | Hidden behind the bombable north wall | Chest above the trampoline | Basement chest across the bridged pit | Roc’s Feather |
| 4. Dancing Dragon Dungeon | 5 | East of the Keese and Anti-Fairy room | Island in the water room past the cracked wall | Right-eye pool on the face-shaped island | Slingshot |
| 5. Unicorn’s Cave | – | Hexagonal room, middle chest | Small room off the ring-shaped walkway | – | Magnetic Gloves |
| 6. Ancient Ruins | 3 | First floor, north of the bottom-left stairs | First floor, upper-left corner of the Beamos room | Behind the far west door after the walls close | Magical Boomerang (Level 2) |
| 7. Explorer’s Crypt | – | – | – | Red chest on a blue-tiled floor, after the switch puzzle | Roc’s Cape |
| 8. Sword & Shield Maze | – | Upper icy level, blue-floored room with pink blocks | Icy room with spikes, reached with the Roc’s Cape | Side alcove across the moving green platforms | Hyper Slingshot |
A dash means the count or location differs between written guides, or I could not confirm it, so it is left out of the totals.
Dungeon 1: Gnarled Root Dungeon
The dungeon is entered from the island in North Horon, and the Gnarled Root Dungeon walkthrough covers the full route. Two Small Keys are in this dungeon: one drops from a Stalfos in the room east of the second room, and the other sits in a chest revealed by a switch in the Blade Trap alcove.
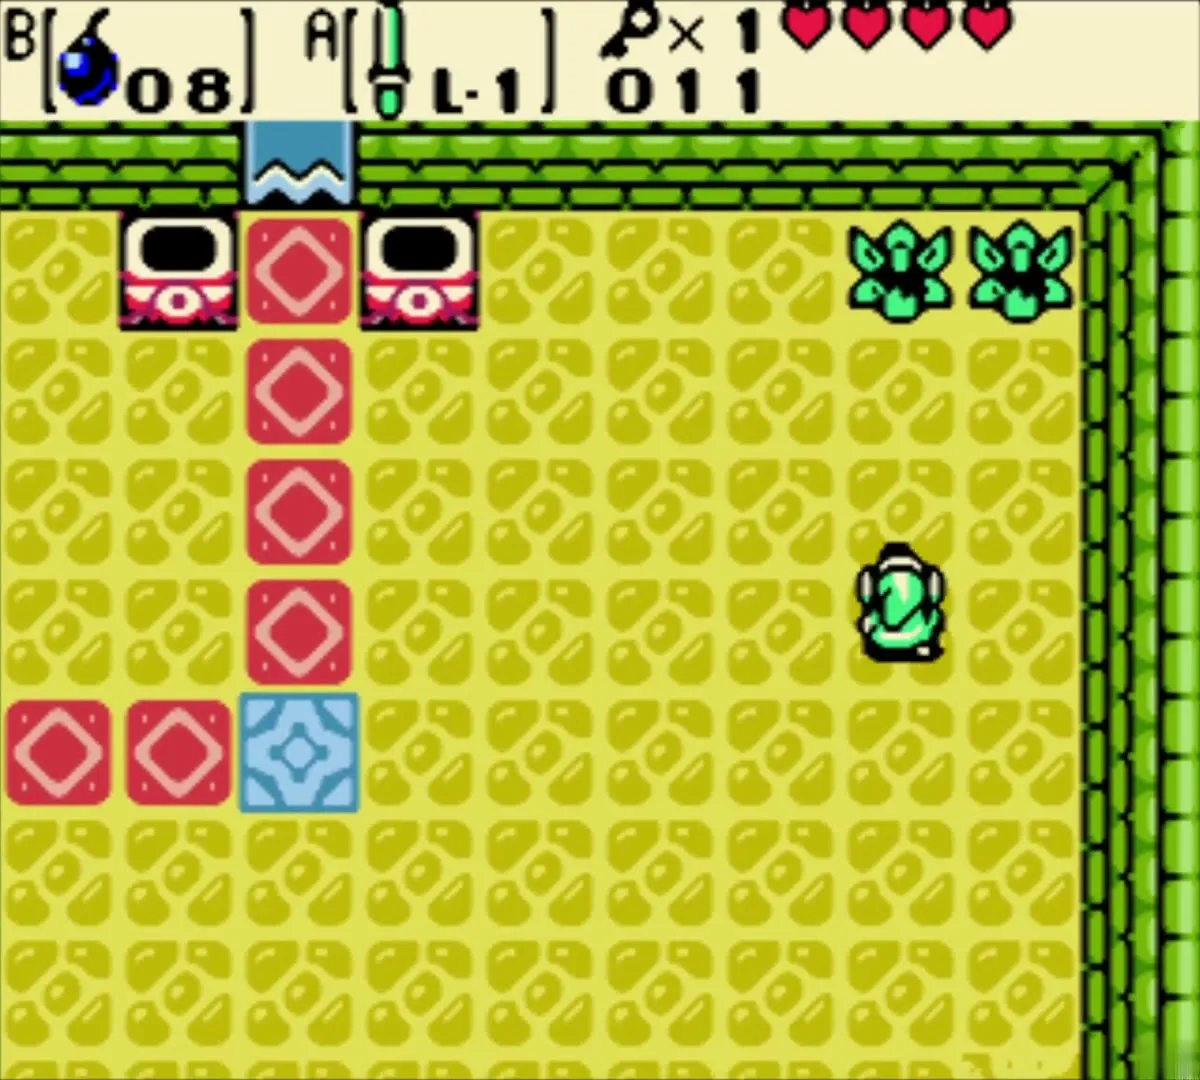

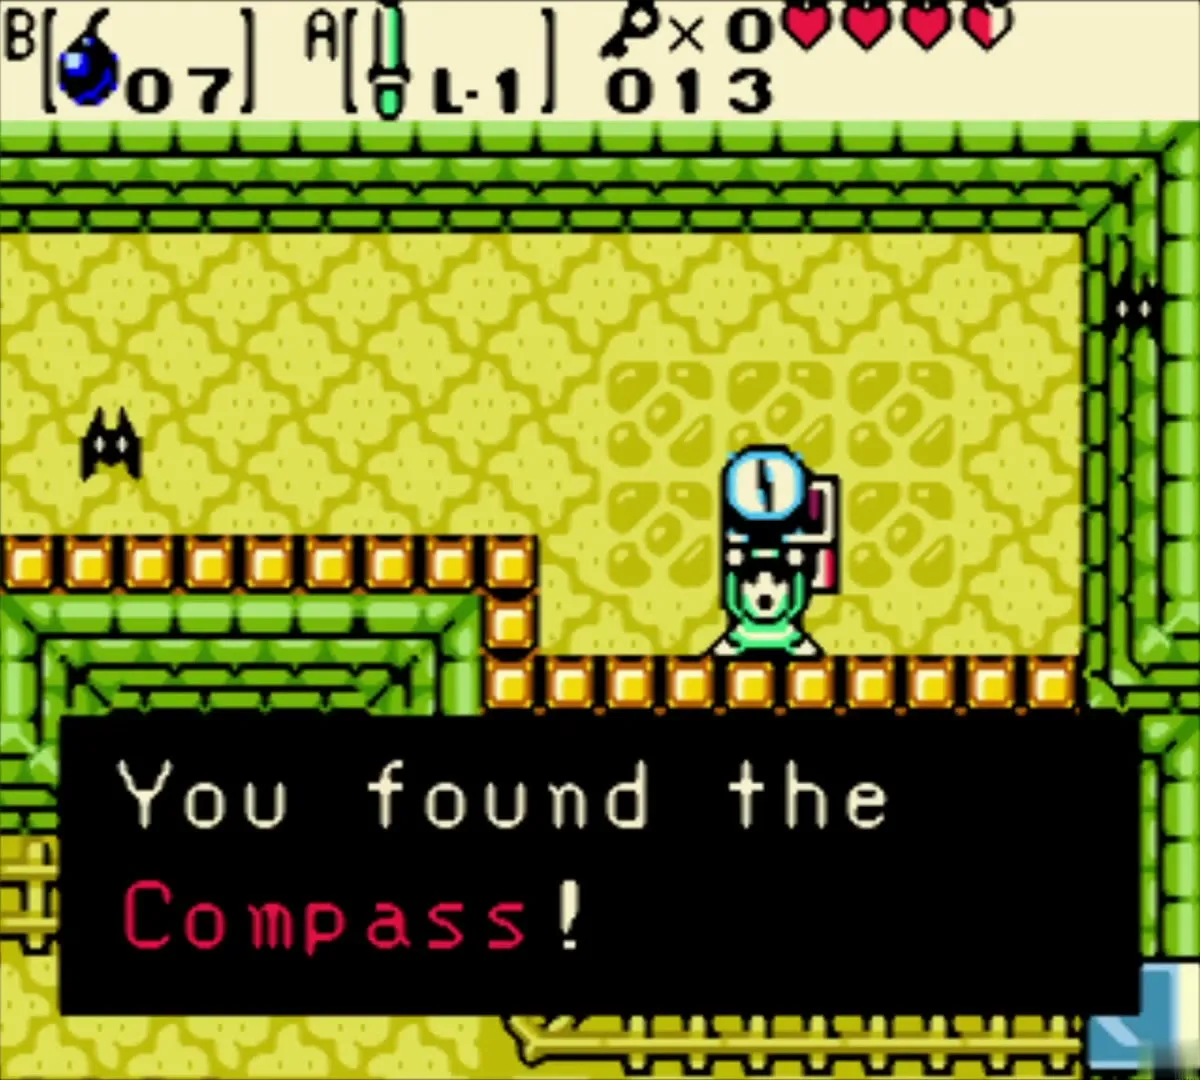
The Dungeon Map is in a chest in the room behind the first locked door. The Compass is in a chest in the rail room, which you reach after flipping the junction switch.

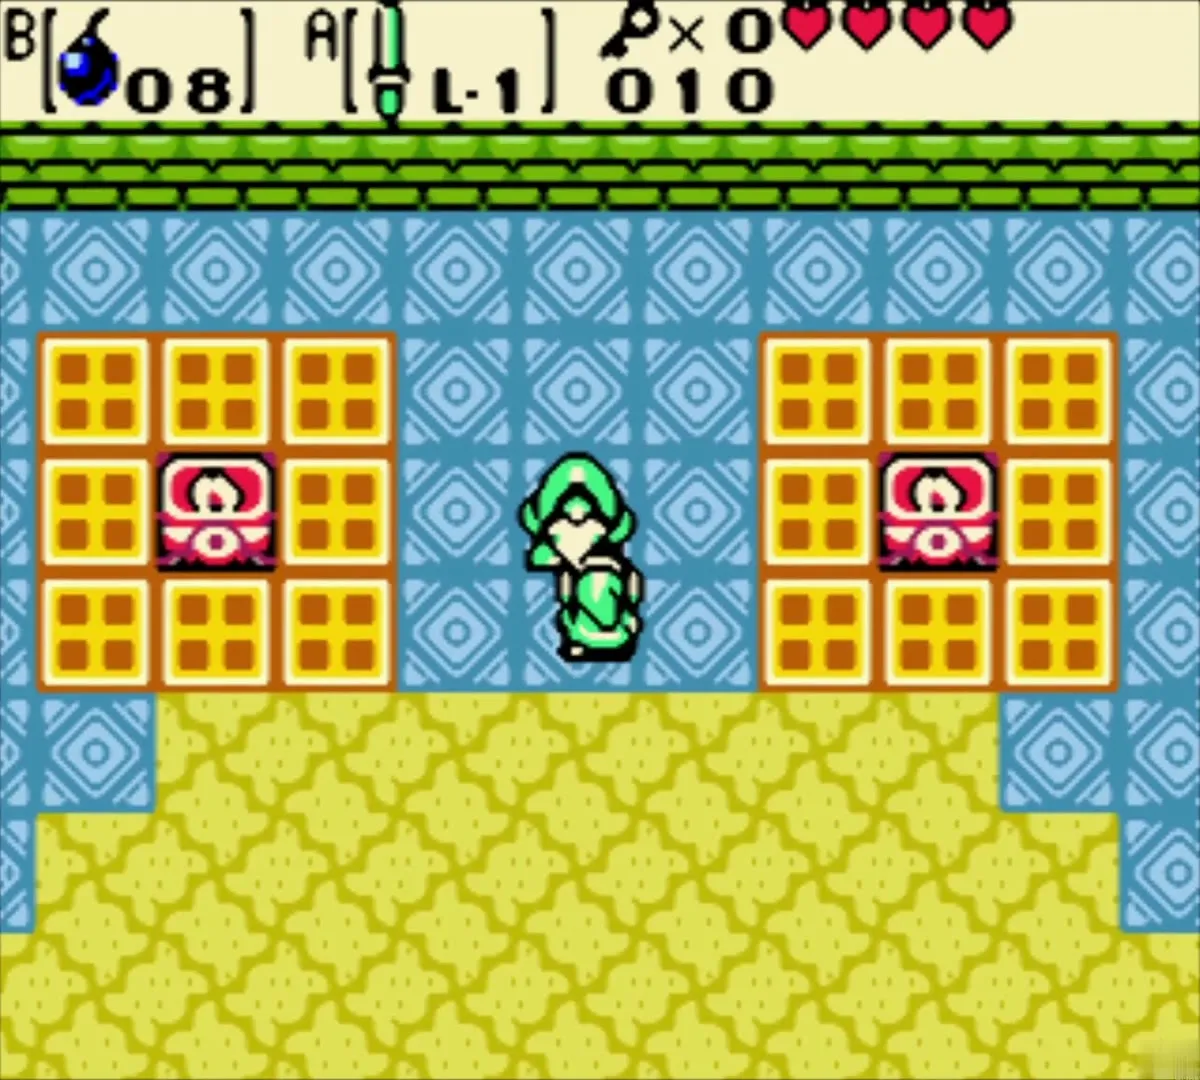
The Boss Key is in a chest in the Moblin room behind the first pair of torches. Light them with Ember Seeds to open the way.

Dungeon 2: Snake’s Remains
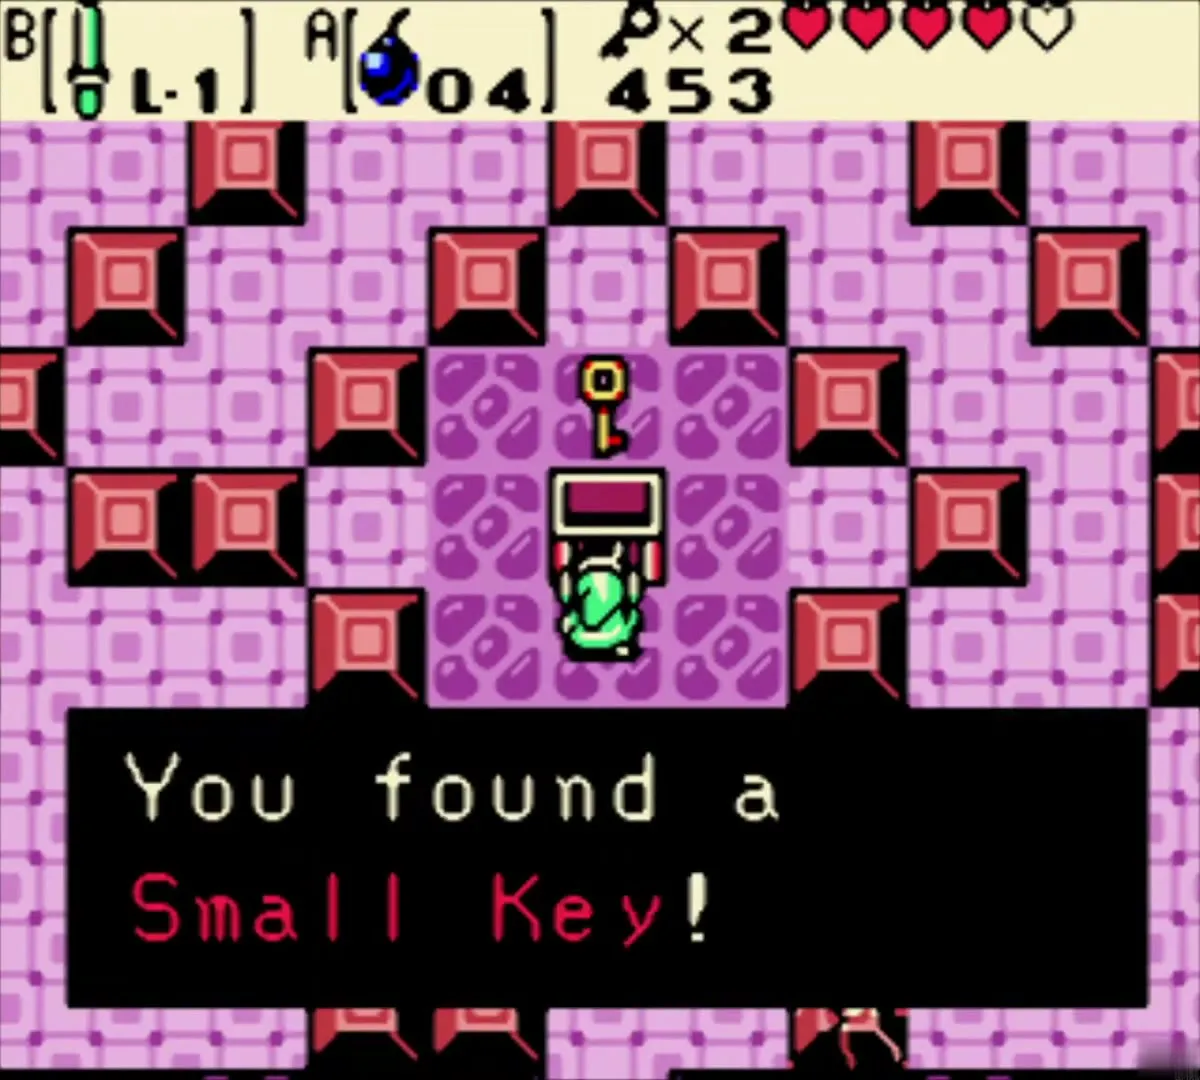
Snake’s Remains has three Small Keys. The first drops in the dead-end room of ropes north of the 5 Rupee room. The second sits in a chest between two circling giant Blade Traps, and the third is in a timed chest in the round bombable-block room. See Snake’s Remains.

The Compass is in a chest in the block-puzzle room east of the entrance. The Dungeon Map is behind a pot east of the room that holds the Power Bracelet.


The Boss Key is in a chest at the top of the moving-platform room, and the Facade mini-boss waits in the large green room behind a locked door.
Dungeon 3: Poison Moth’s Lair
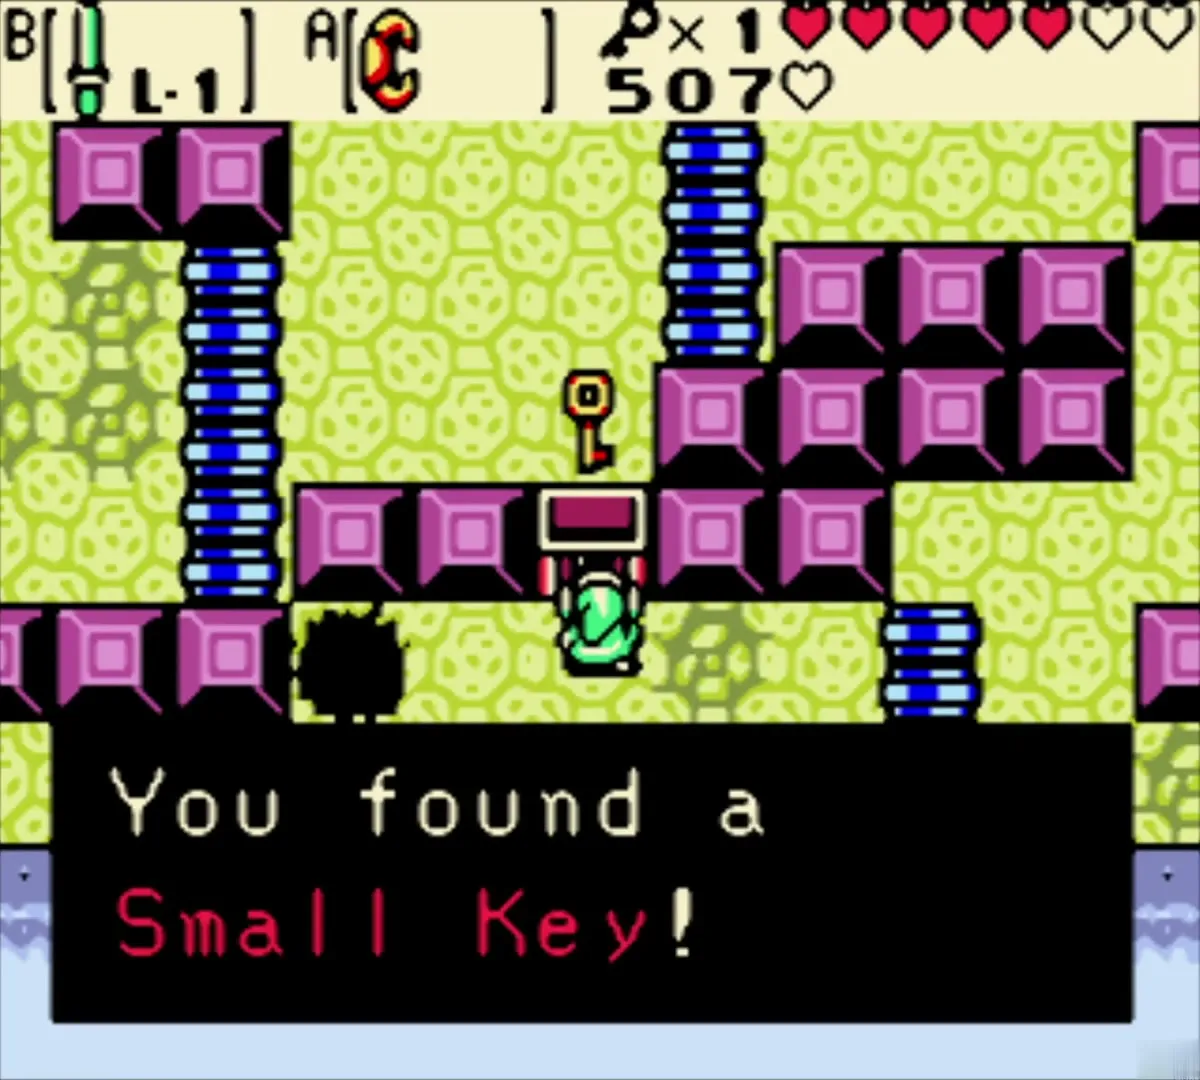
Two Small Keys are in this dungeon. The first is in a chest guarded by three rolling logs, west of the Floormaster room. The second is in a first-floor chest you reach by trampoline. See Poison Moth’s Lair.

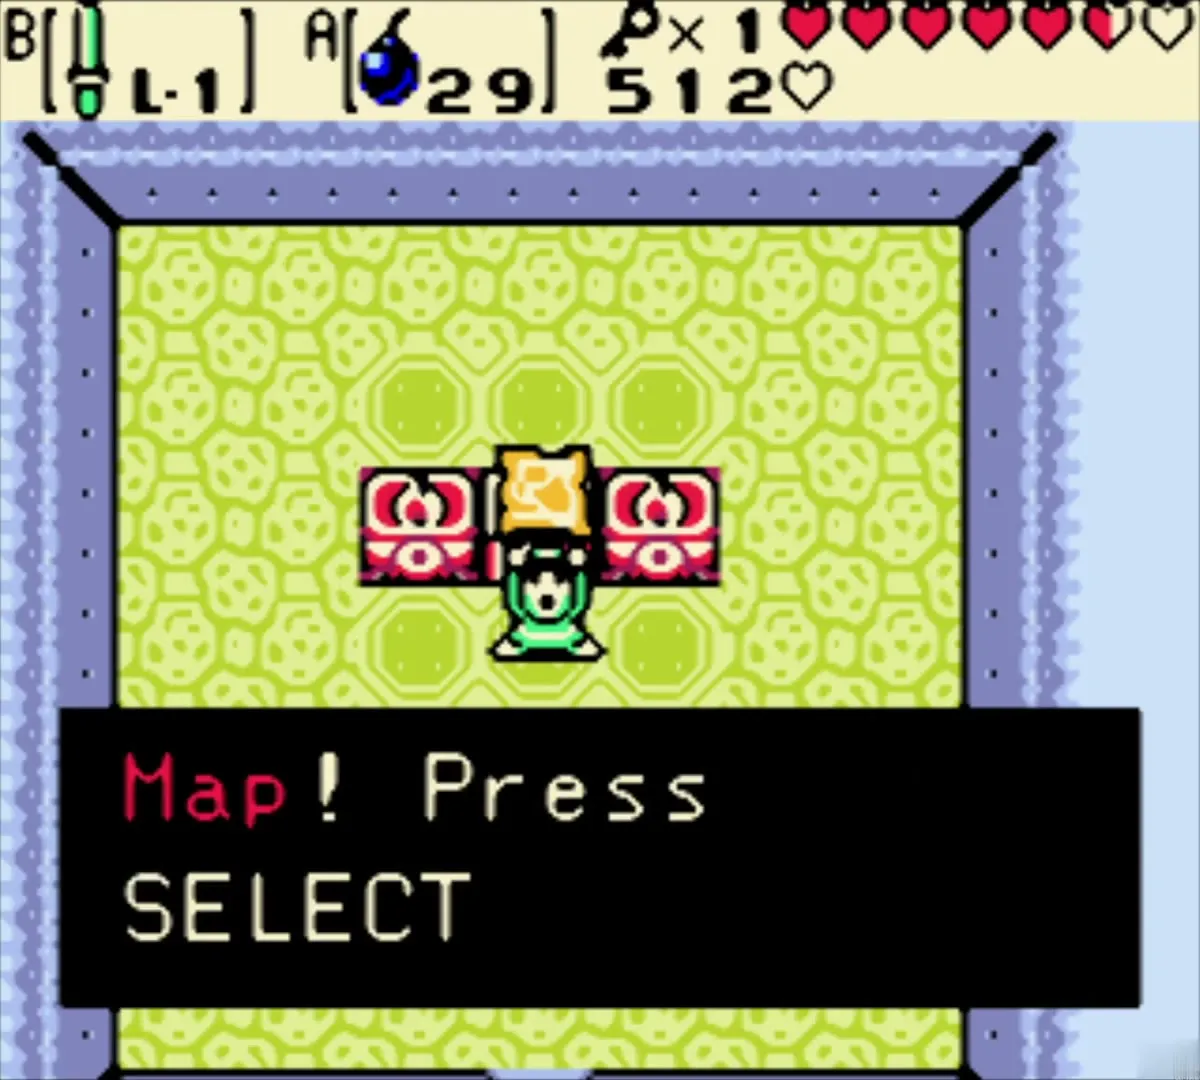
The Dungeon Map is hidden behind the bombable north wall. The Compass is in a chest above the trampoline.
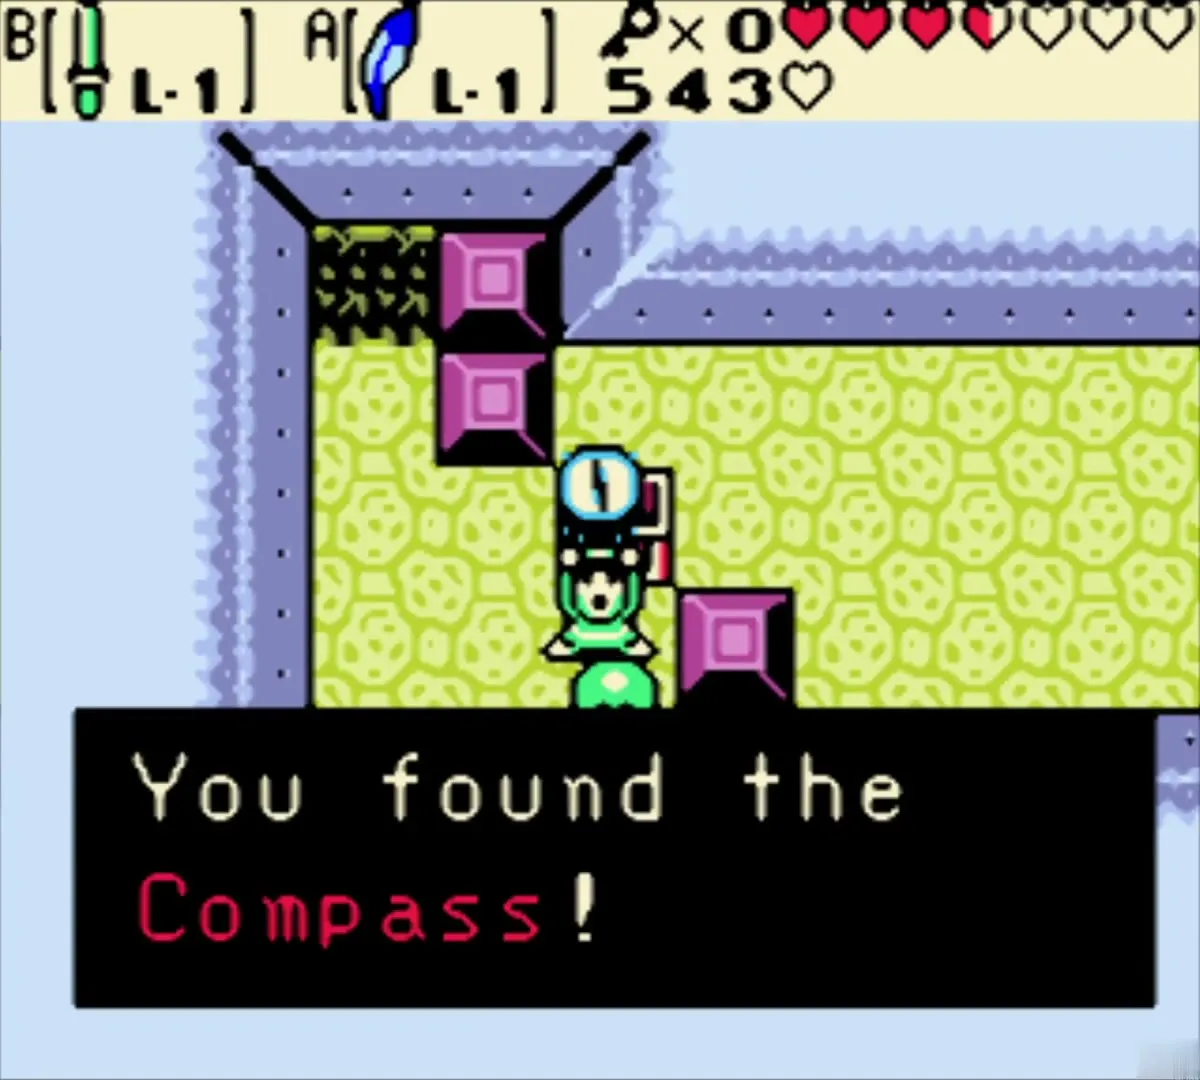
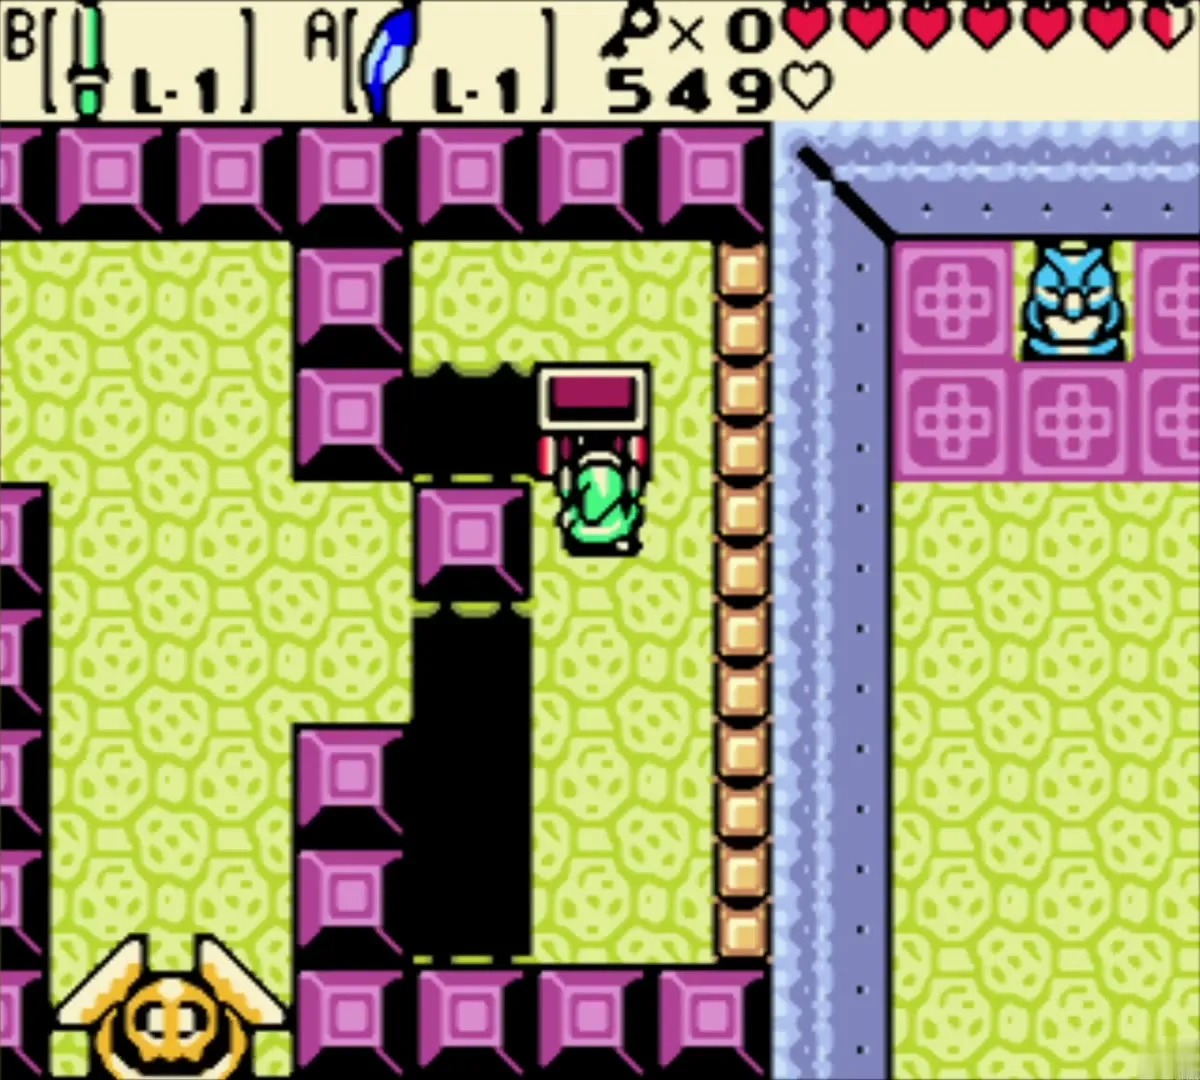
The Boss Key is in a basement chest across the bridged pit.

Dungeon 4: Dancing Dragon Dungeon
This dungeon has five Small Keys. One is under the pot-and-switch room, one is in the dark chest room past the side-view platforms, one is in the pool in the far-west room, one is in a niche above the merchant, and the last is on the catwalk after you light the torches. See Dancing Dragon Dungeon.
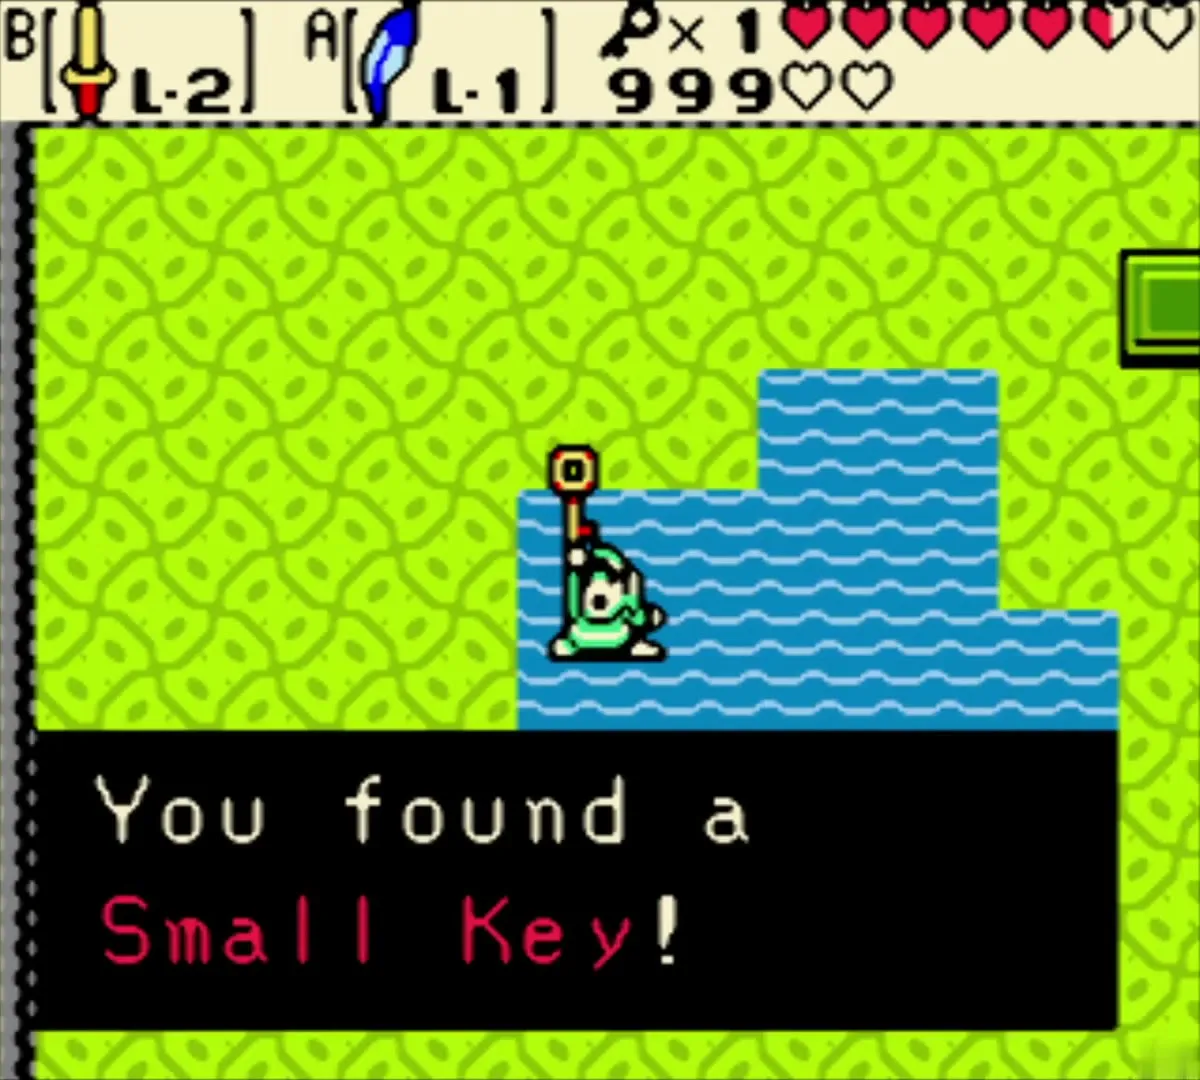

The Dungeon Map is in a chest east of the Keese and Anti-Fairy room. The Compass is on an island in the water room past the cracked wall.

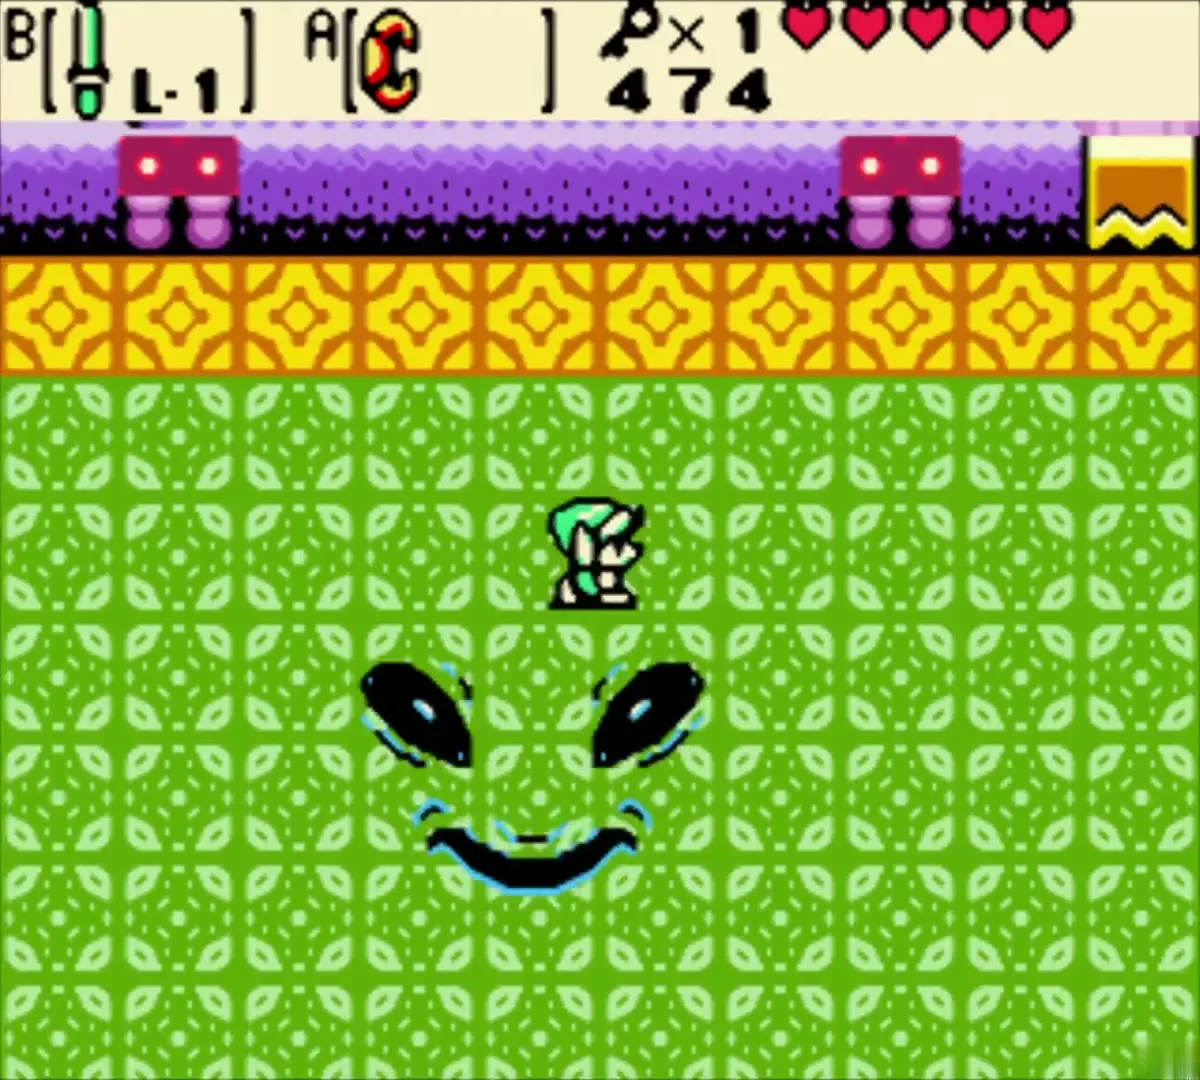
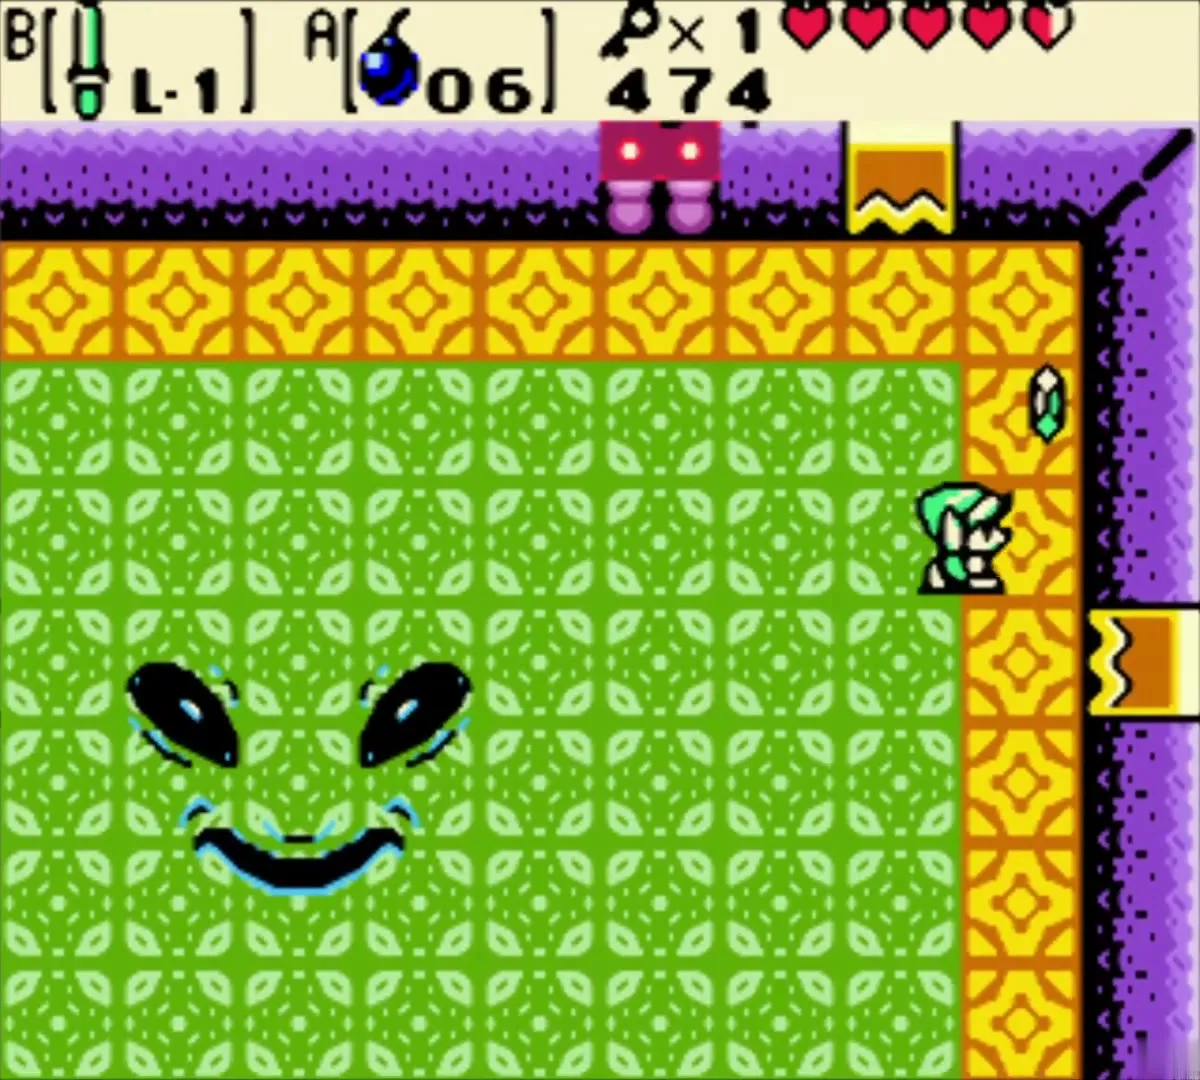
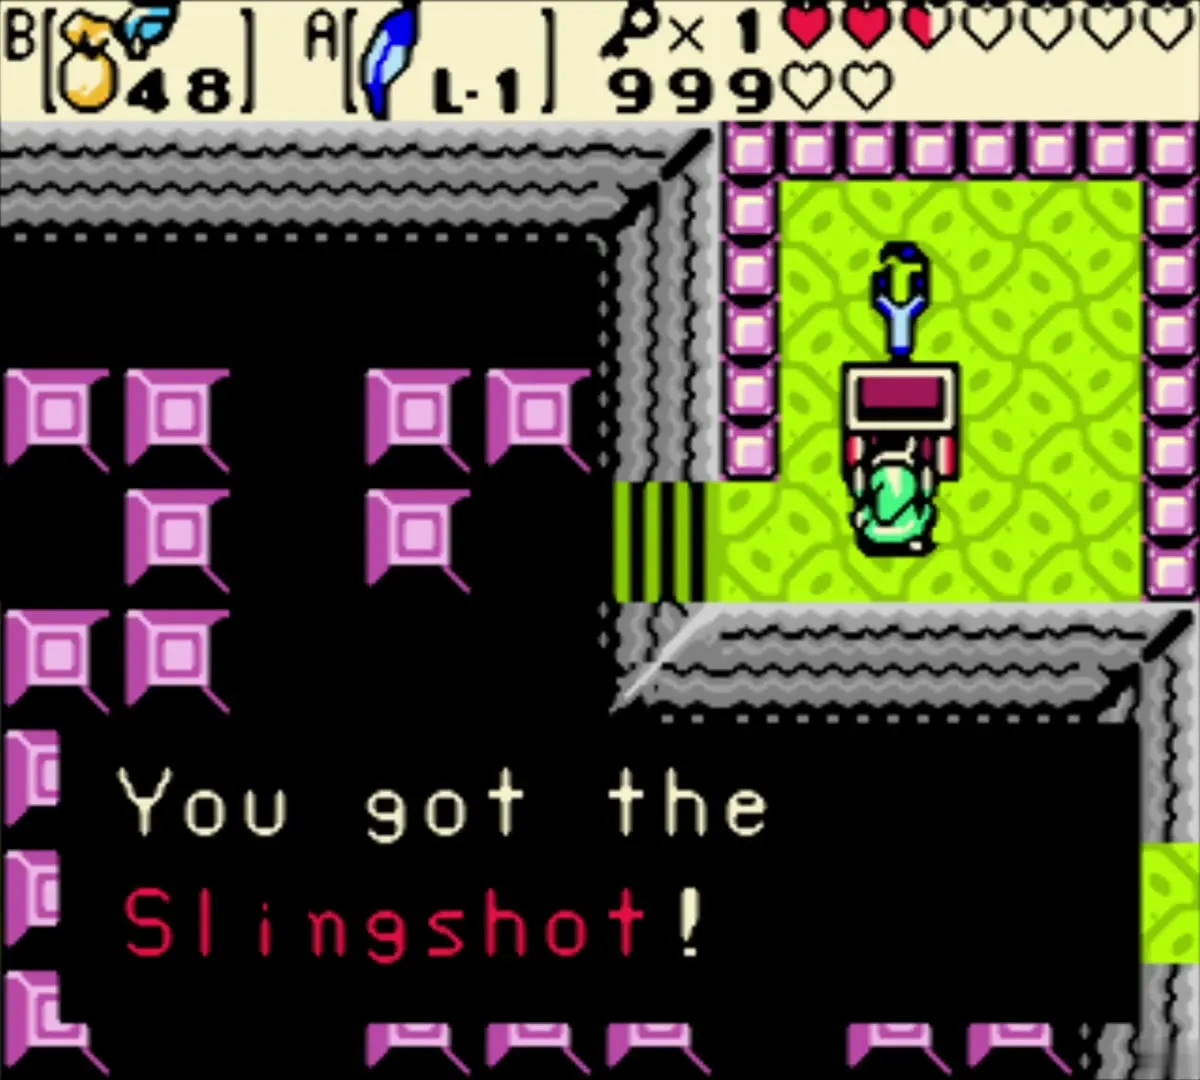
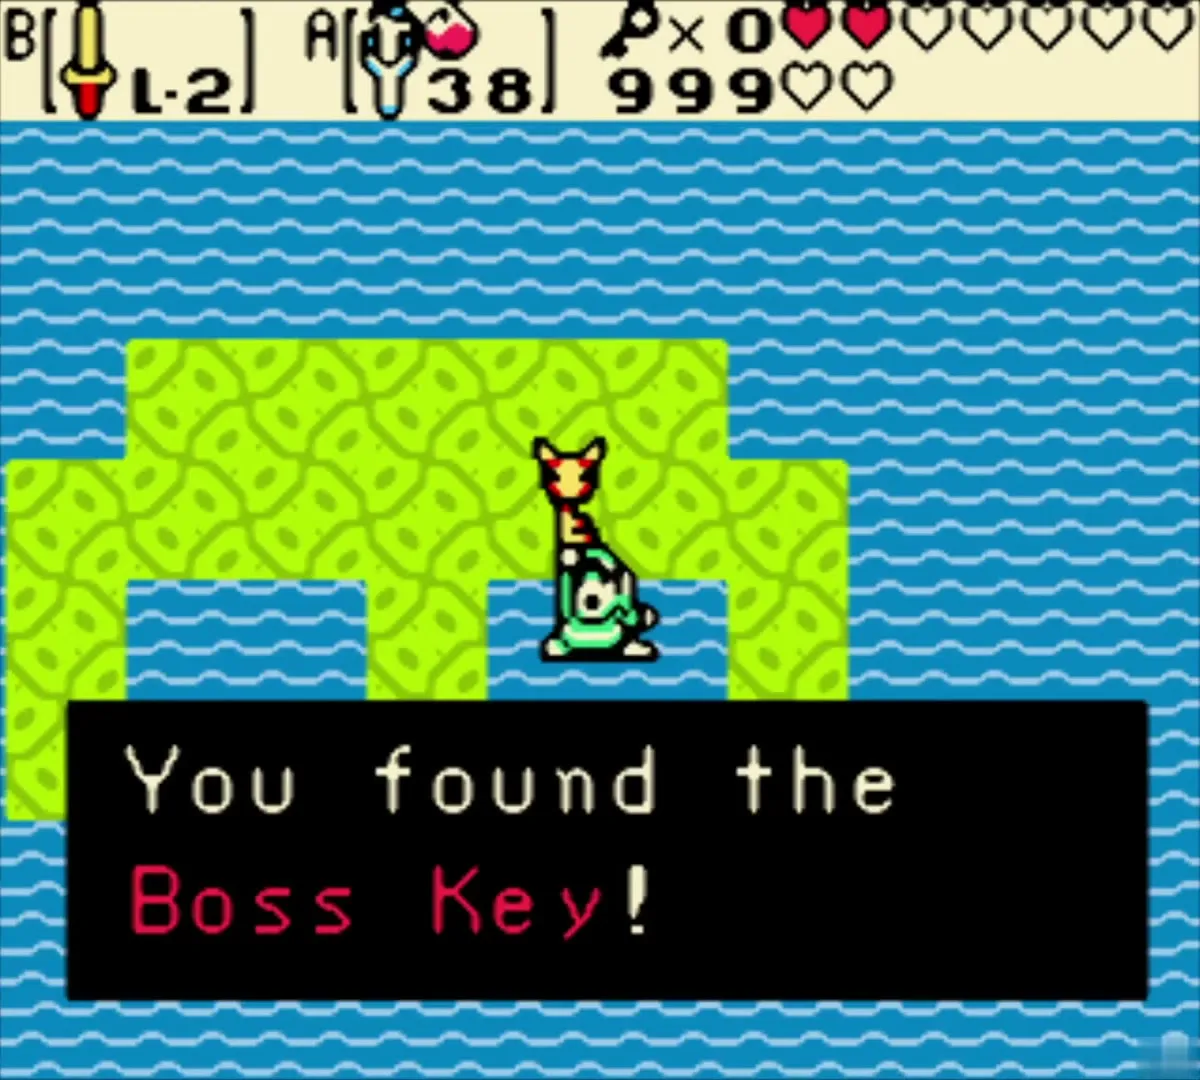
The Boss Key is in the right-eye pool on the face-shaped island. The Slingshot, the dungeon’s item, sits at the end of the crumbling-floor room.
Dungeon 5: Unicorn’s Cave
The Compass sits in a small room off the ring-shaped walkway that circles a pit. The Dungeon Map is in the hexagonal room with four orange blocks around a chest. See the Tower of Autumn route to this cave.
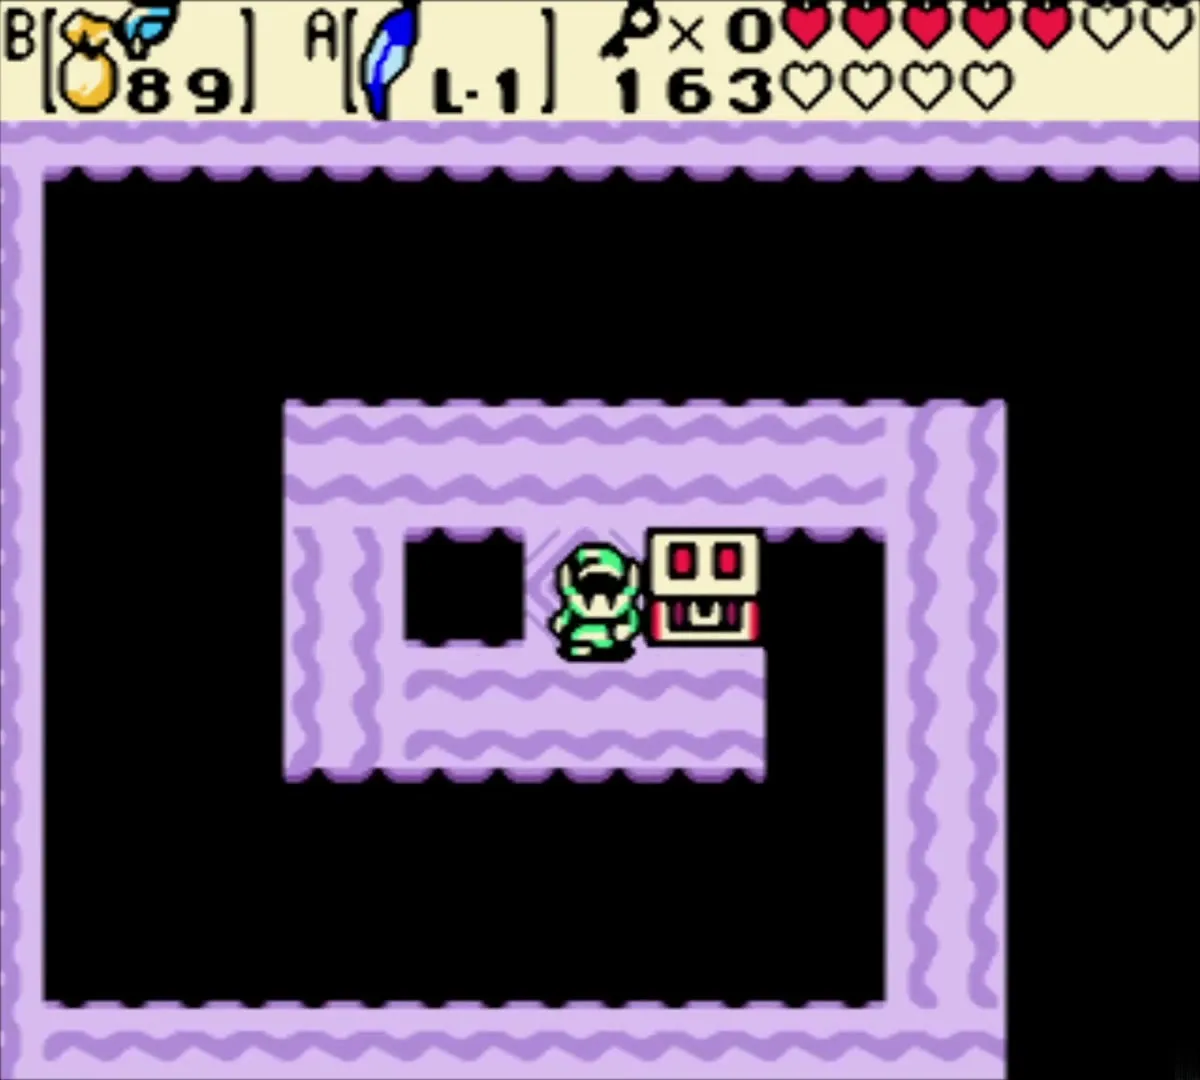

The Magnetic Gloves are in a chest in an alcove off the yellow-tile room. You need them for the metal puzzles in the middle of the dungeon.

Dungeon 6: Ancient Ruins
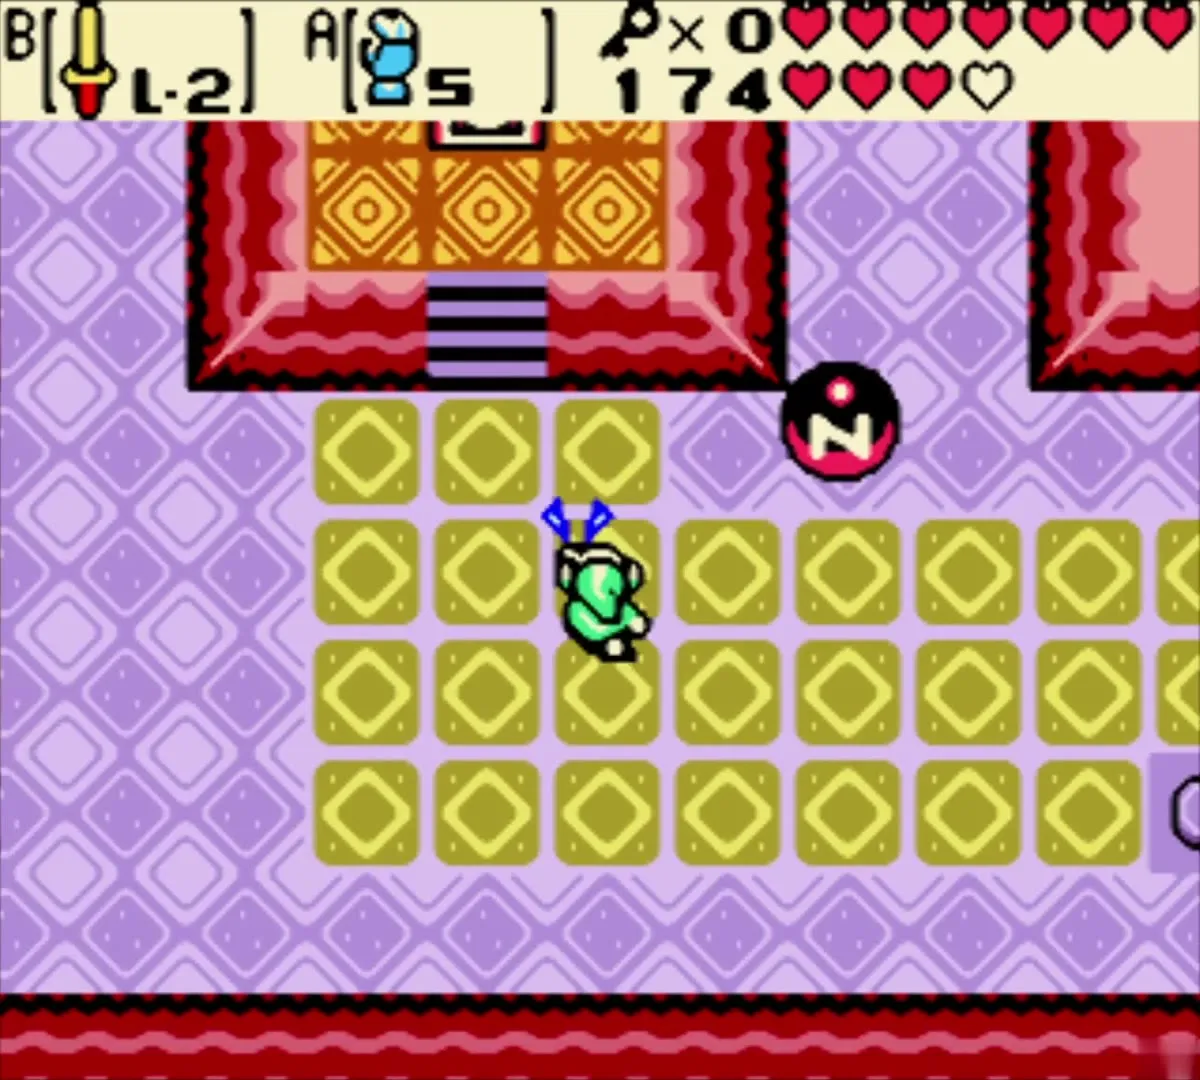
The Ancient Ruins hold three Small Keys: one dropped by the magnet orb, one in a second-floor chest and one in a third-floor chest. See Ancient Ruins.
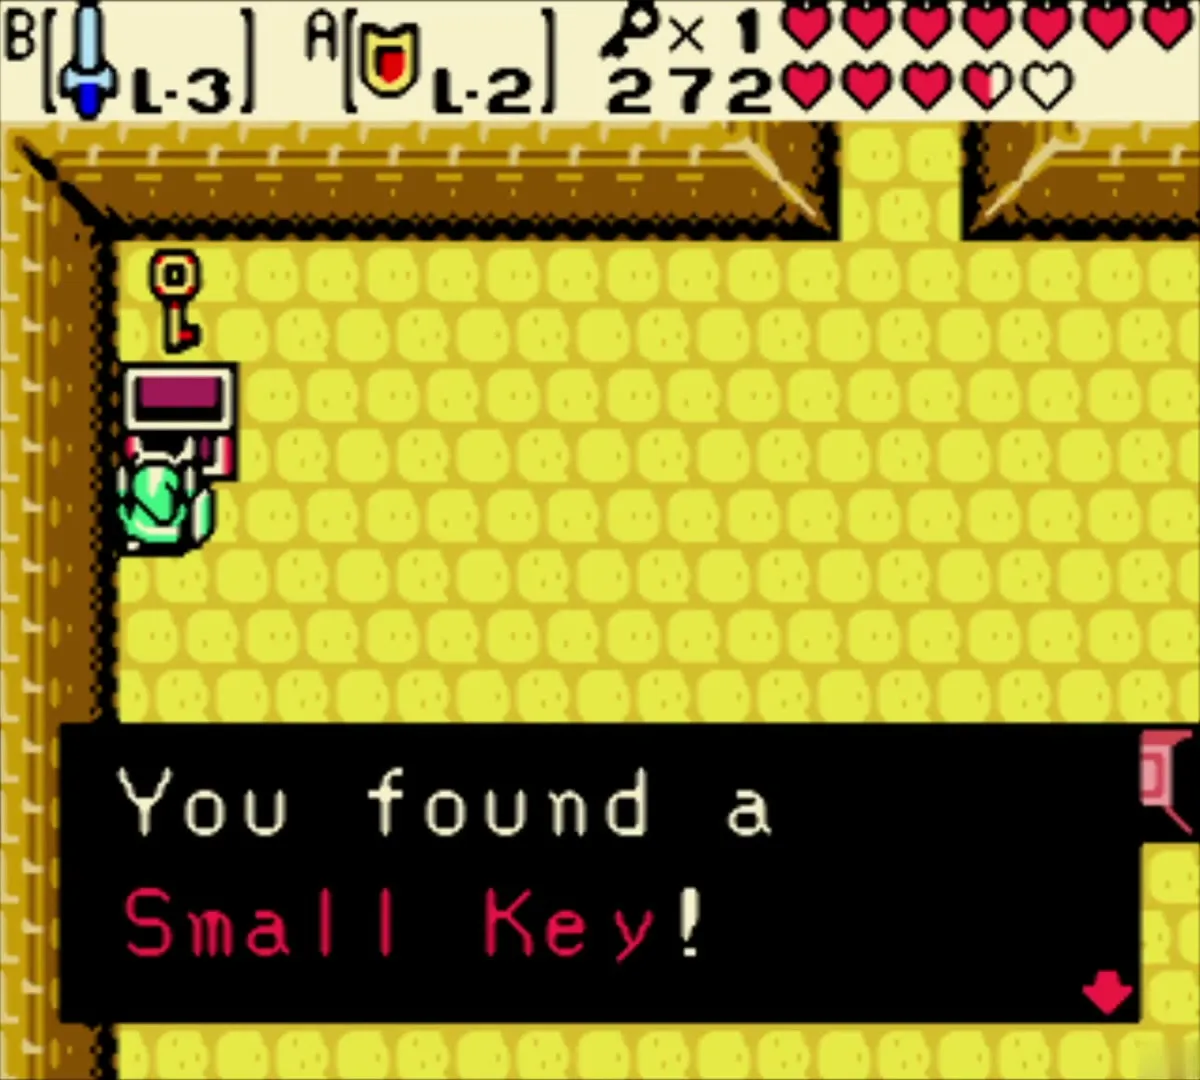
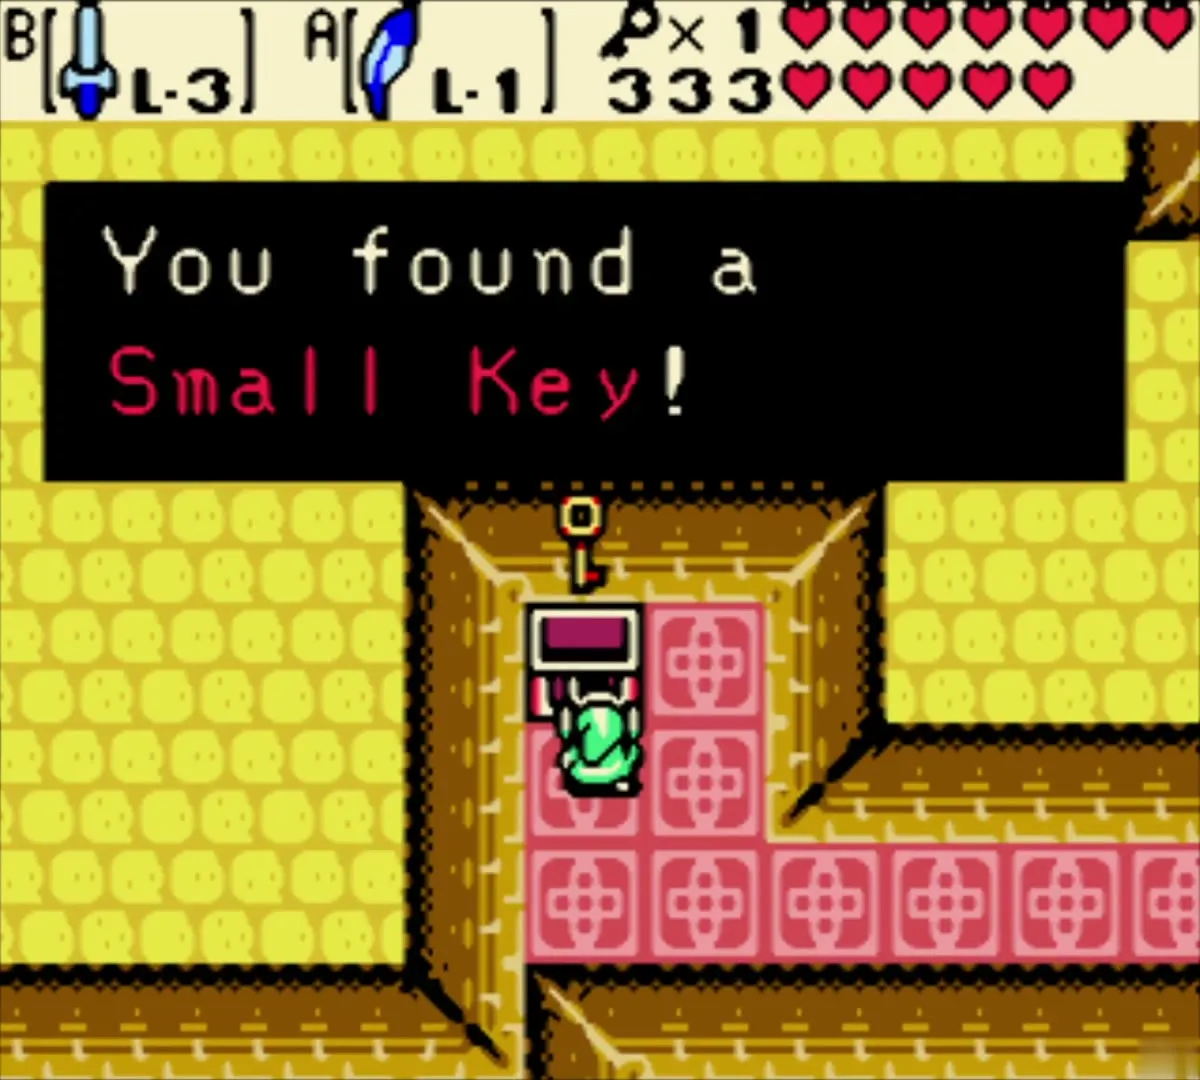
The Dungeon Map is in a first-floor chest north of the bottom-left stairs. The Compass is in a first-floor chest in the upper-left corner of the Beamos room.

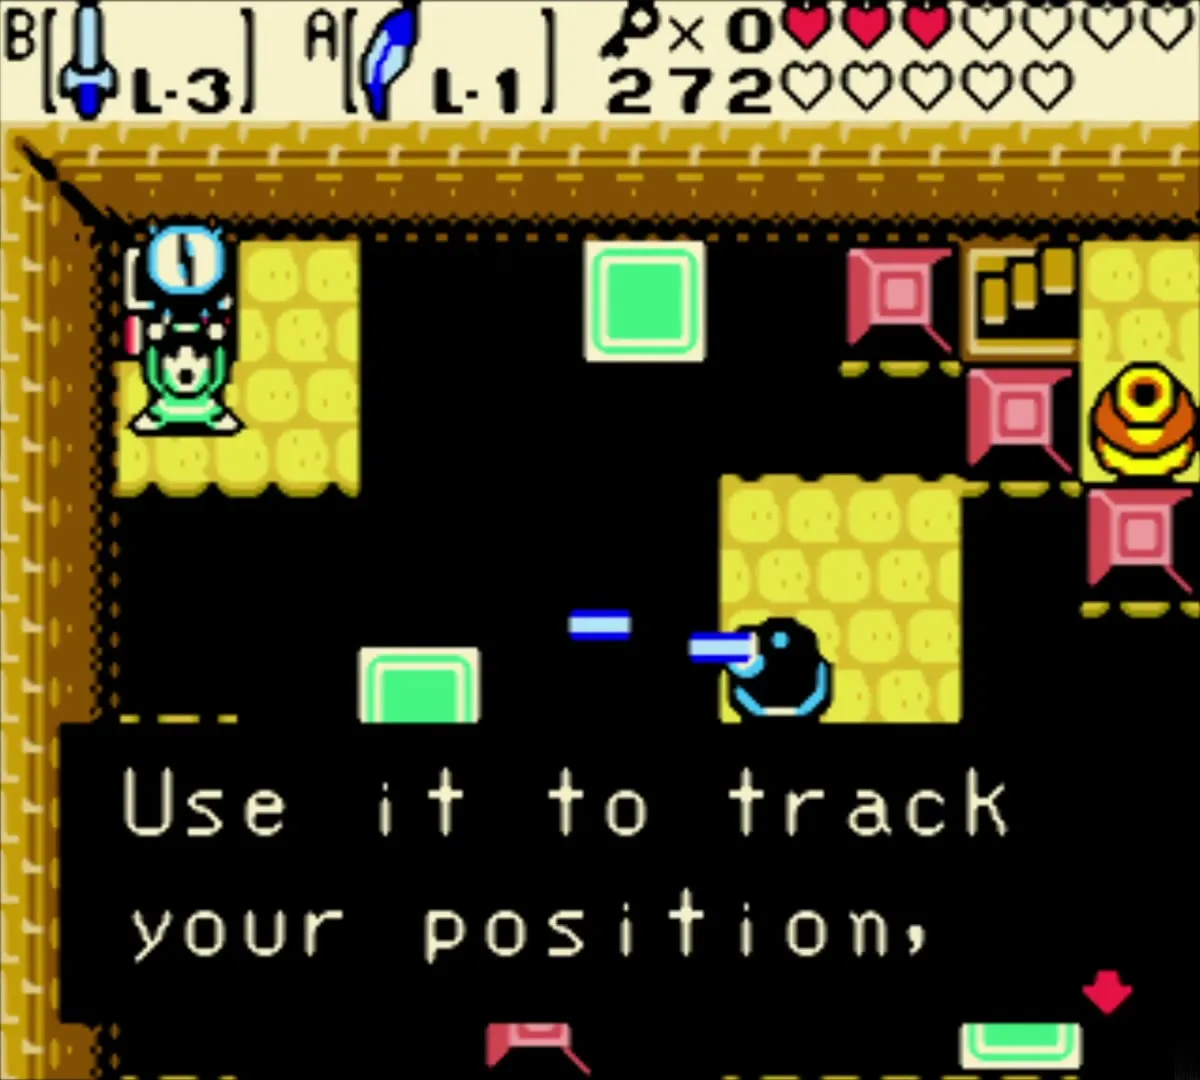
The Boss Key is in a chest behind the far west door, which you can reach once the closing walls have moved. The Magical Boomerang (Level 2) sits in a chest in the Armos room on the third floor.

Dungeon 7: Explorer’s Crypt
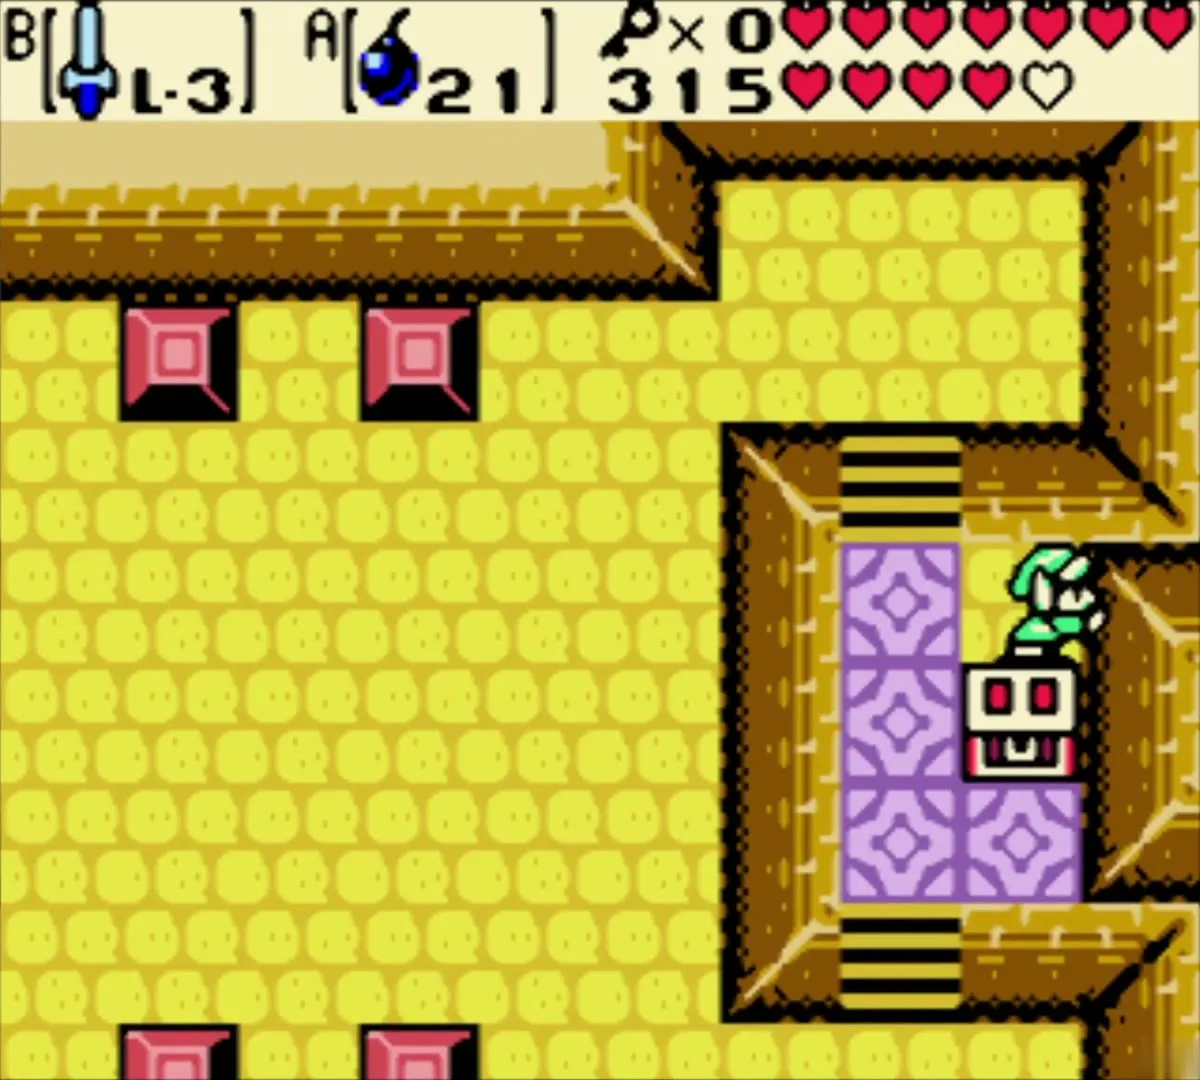
The Small Keys in Explorer’s Crypt come from a Wizzrobe chest in the first rooms and from a chest after the magnet orb puzzle. See Explorer’s Crypt.
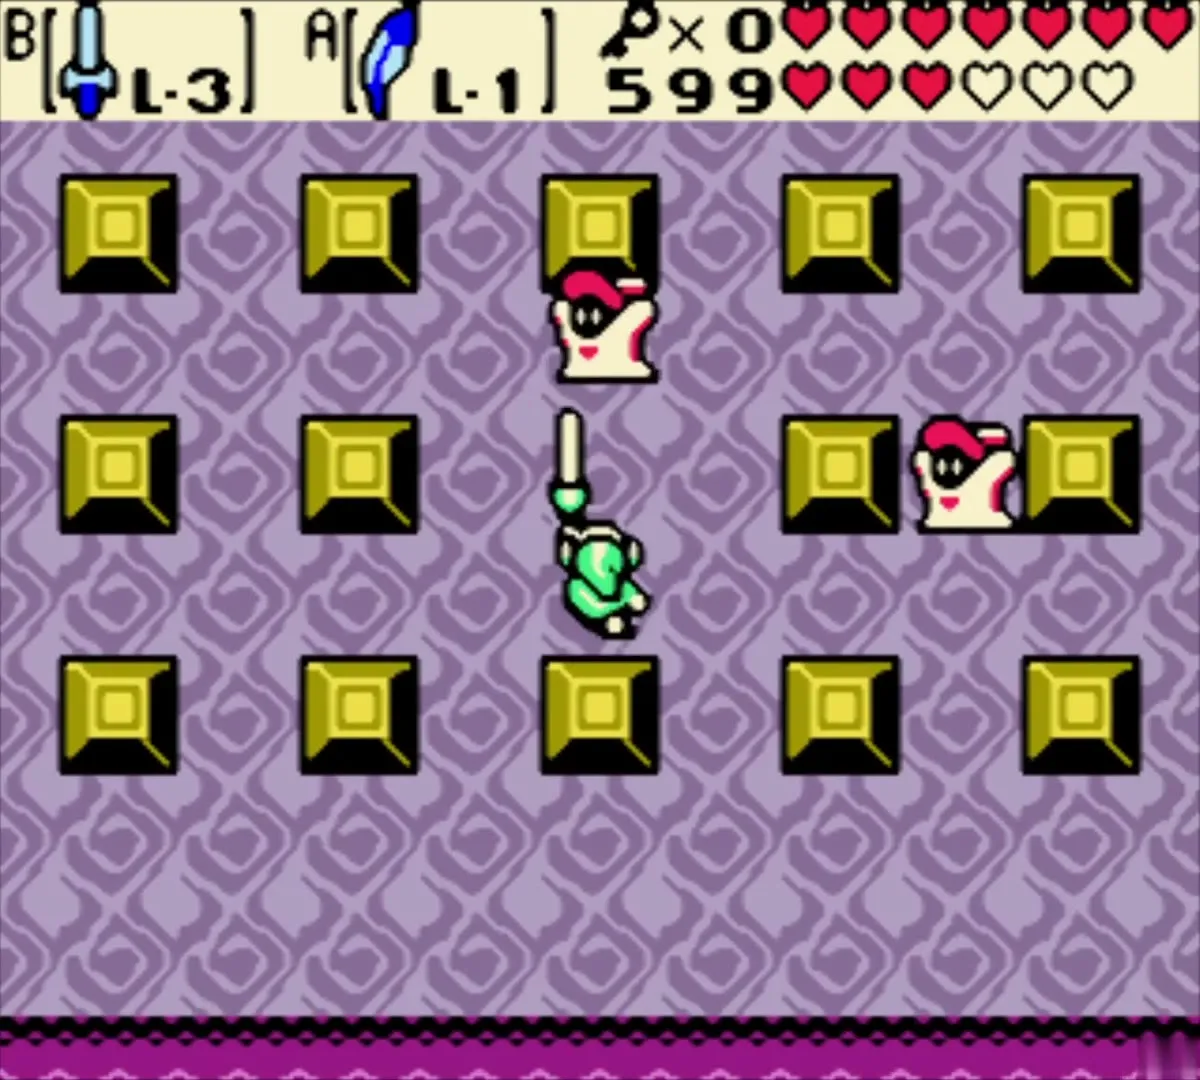

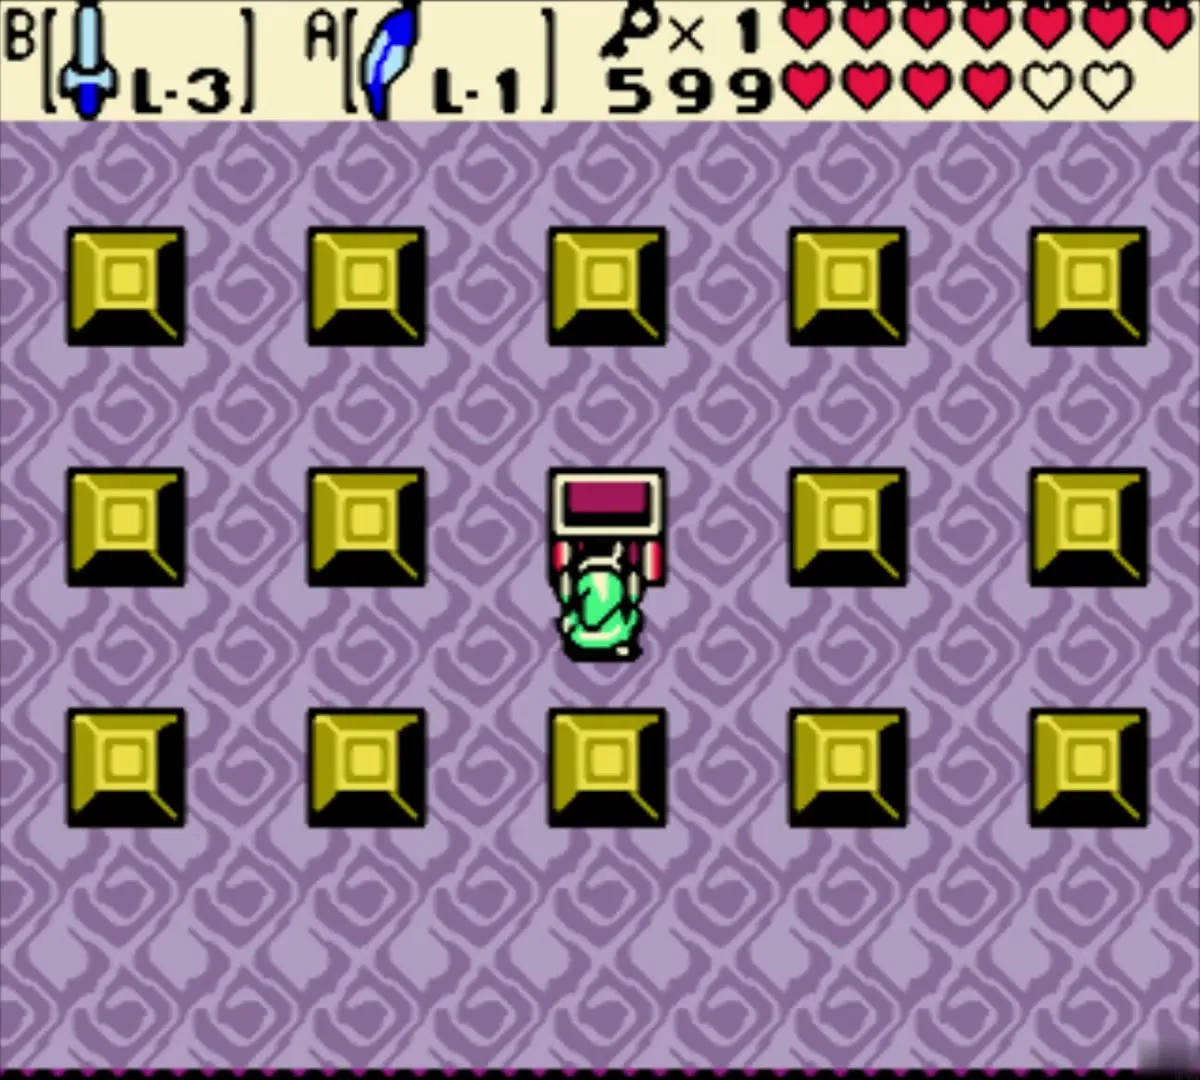
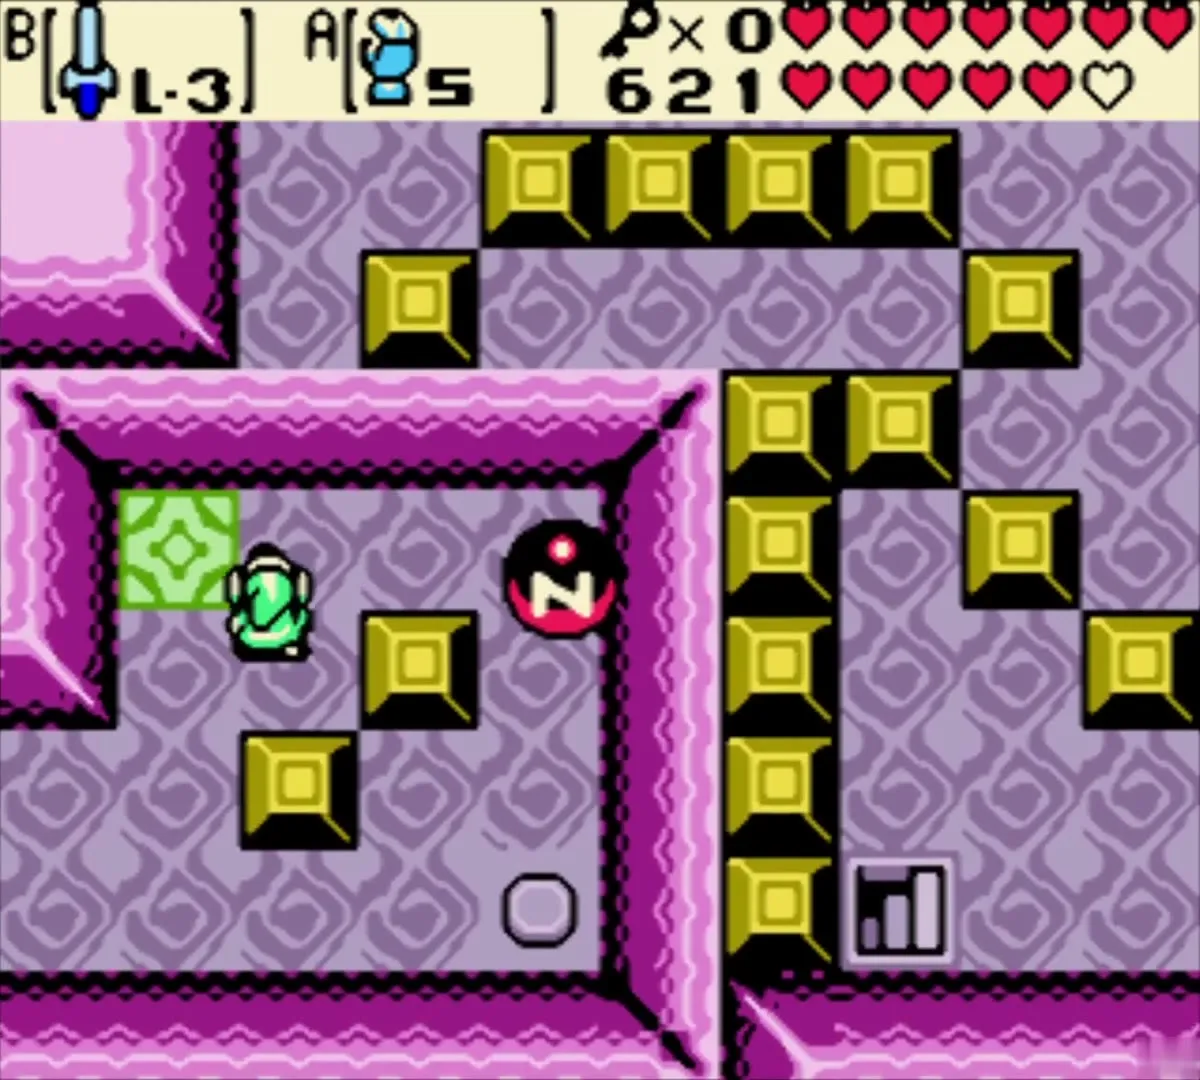

The Boss Key is in a red chest on a blue-tiled floor, which you collect after setting the switch puzzle. Take it back through the stair maze to the boss door. The Roc’s Cape is in the dark spike-ringed room past the magnet crossing.


Dungeon 8: Sword & Shield Maze
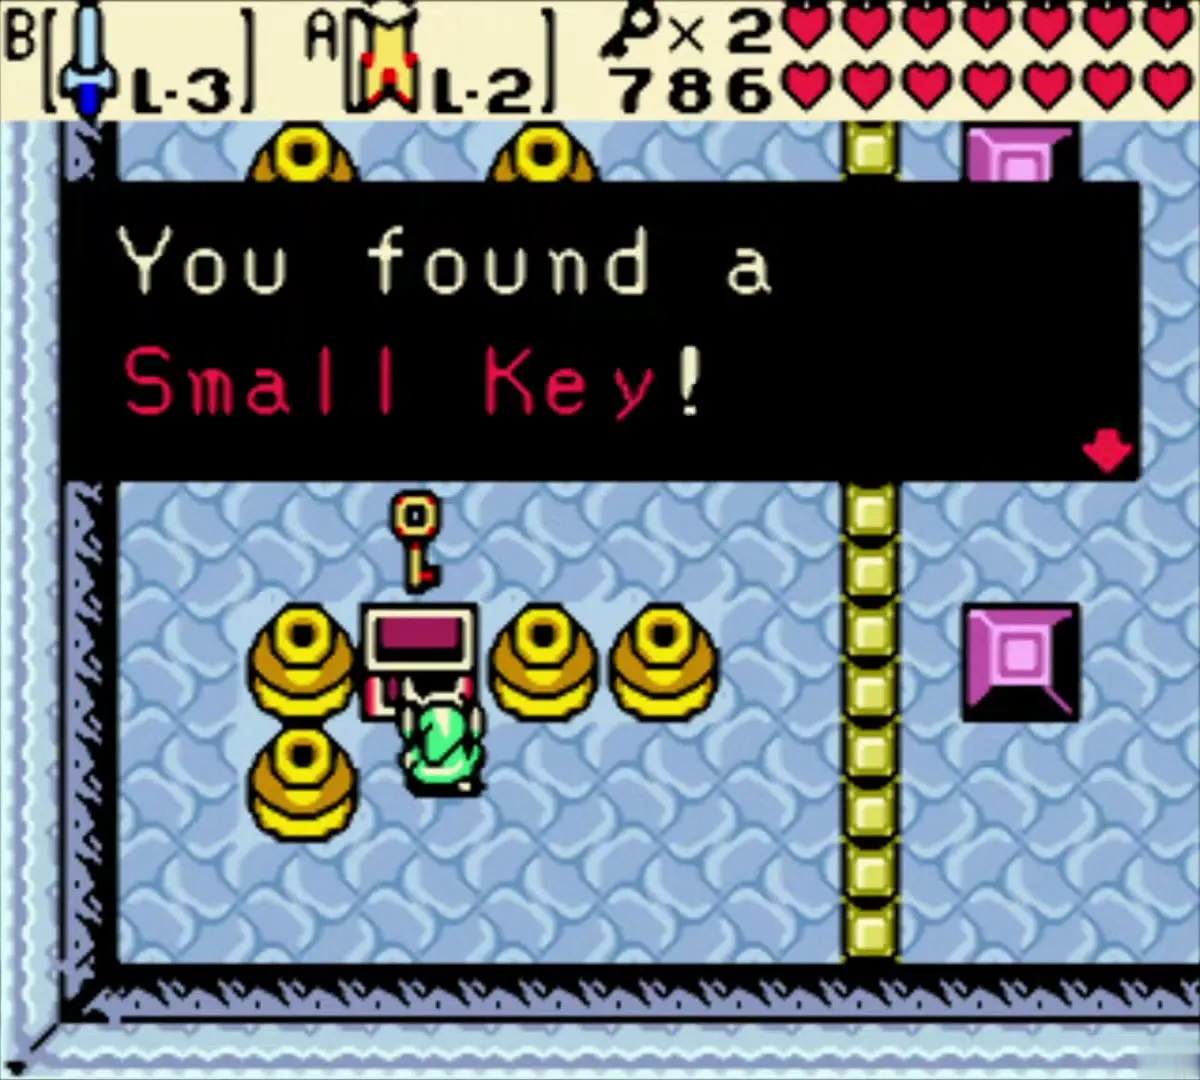
The first Small Key drops from the eyeless statue in the first long room, and more Small Keys are scattered through the rooms with pink blocks and carts. See Sword & Shield Maze.

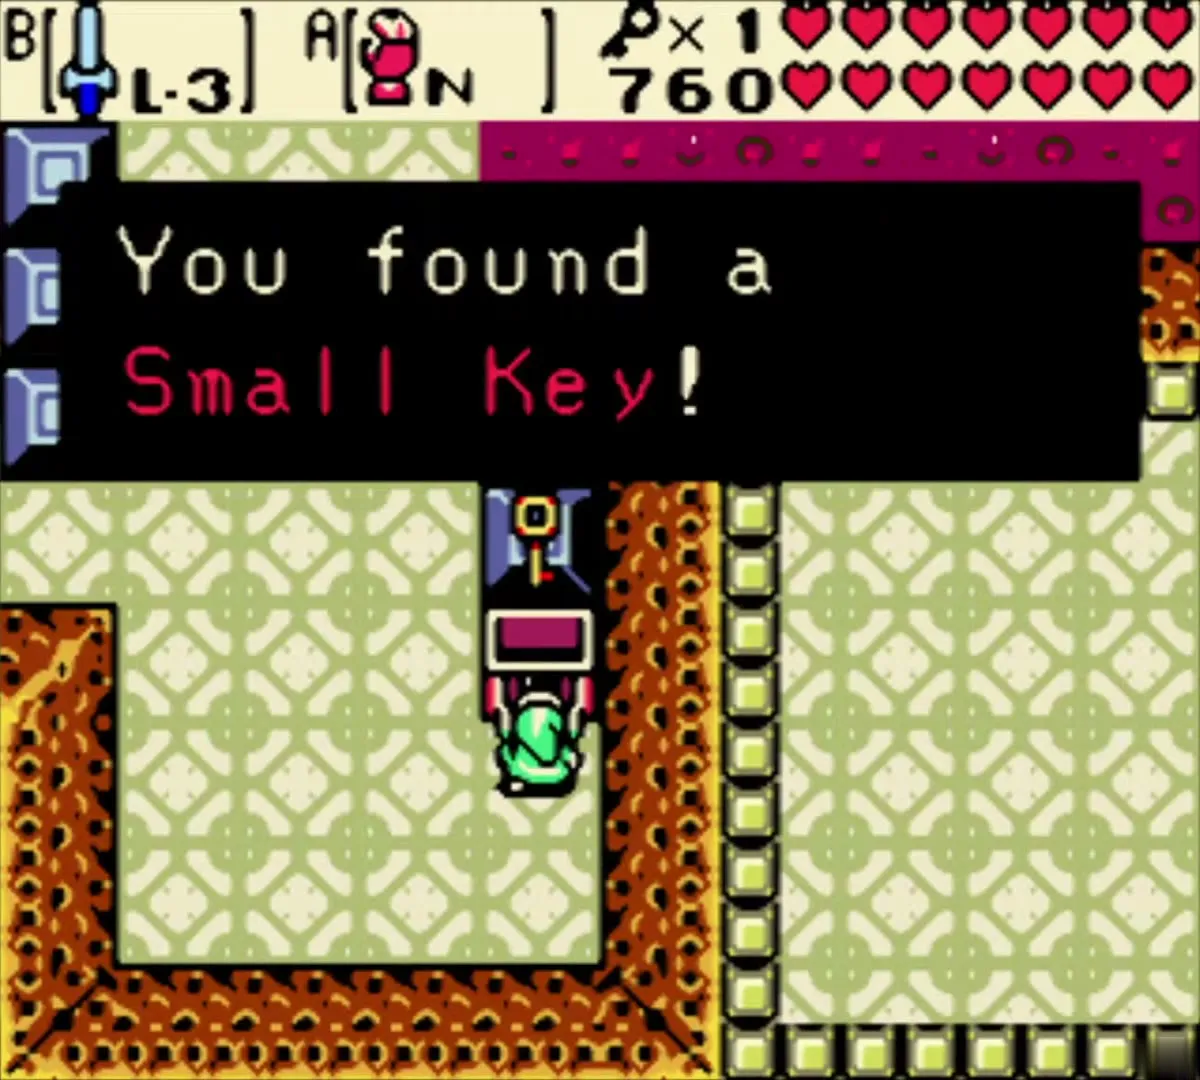

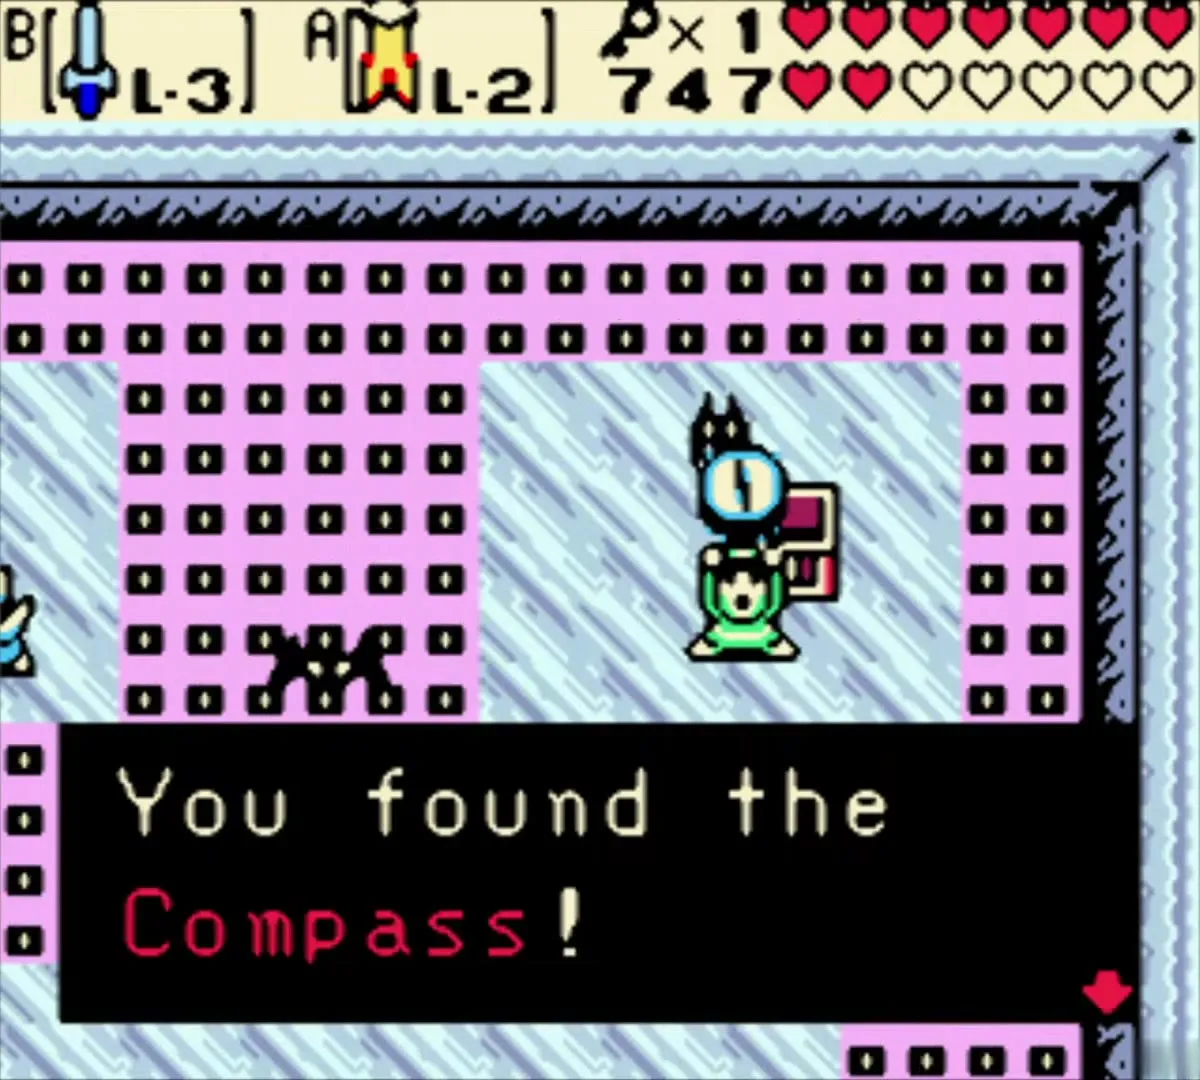
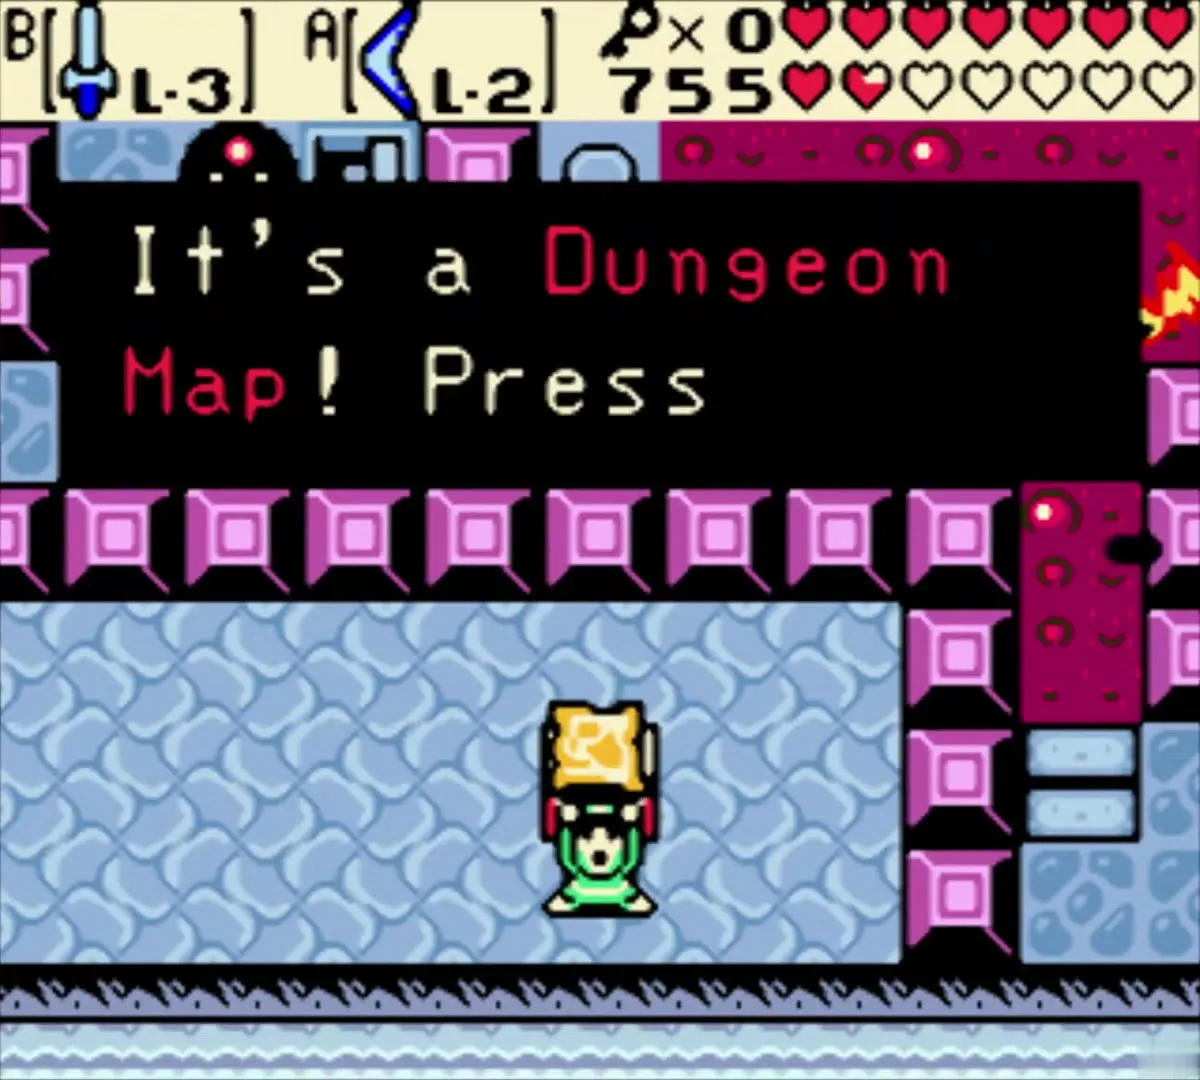
The Compass is in an icy spiked room, which you reach with the Roc’s Cape. The Dungeon Map is in a blue-floored room with pink blocks on the upper icy level.
The Boss Key is in a side alcove that you reach by crossing the moving green platforms. The Hyper Slingshot is in the face-block room, which you open with the Magnetic Gloves.


