





















Oracle of Seasons 100% Completion Walkthrough26 chapters
- Getting Started in Holodrum and the Hero’s CaveGetting started in Holodrum: Impa’s request, Mayor Ruul’s Gasha Seed, Vasu’s Ring Box, the Hero’s Cave ledge chest.
- Gnarled Root Dungeon (Dungeon 1)Gnarled Root Dungeon walkthrough for Oracle of Seasons: keys, map, compass, Seed Satchel, Boss Key, Aquamentus and the.
- Subrosia, the Tower of Winter and the Rod of SeasonsWalkthrough for Subrosia, the Tower of Winter and the Rod of Seasons in Oracle of Seasons: Gasha Nuts, Boomerang, Ore.
- Woods of Winter and the ShovelWoods of Winter walkthrough: pay the old man, bomb the 30 Rupee cave, get the Shovel from Holly, find the Mystery Seed.
- Snake’s Remains (Dungeon 2)Snake’s Remains walkthrough: Compass, rupee room, Power Bracelet, Dungeon Map, bomb merchant, Facade, Dodongo boss.
- Farore’s Secrets and Princess Zelda’s RescueFarore’s secrets and Princess Zelda’s rescue walkthrough: three Pieces of Heart, a Gasha Nut, Vasu’s rings, the L-2.
- Spool Swamp and the Floodgate KeySpool Swamp walkthrough for Oracle of Seasons: Ricky’s Gloves, the Iron Pot trade, Pegasus Seeds, the Floodgate Key.
- The Tower of Summer and Rosa’s RibbonThe Tower of Summer walkthrough: Star-Shaped Ore, Rosa’s Ribbon, Subrosian Market buys (Heart Piece, Bomb Bag), the.
- Poison Moth’s Lair (Dungeon 3)Poison Moth’s Lair walkthrough: both Small Keys, Roc’s Feather, Compass, Map, Gasha Seed, Omuai, Boss Key, Mothula and.
- Natzu, Sunken City and Zora’s FlippersNatzu, Sunken City and Zora’s Flippers walkthrough: Dimitri’s swim, Gale Seeds, Master’s Plaque, Master Diver and the.
- The Hall of Secrets and the Noble SwordHall of Secrets walkthrough: Farore’s secrets, Bombchu, the Noble Sword, Advance Shop rings, Vasu’s appraisals and a.
- Great Moblin’s Keep and Goron MountainGreat Moblin’s Keep and Goron Mountain walkthrough: bomb-catching boss fight, Heart Piece, Tokay secret, bigger Ring.
- The Strange Brothers, the Tower of Spring and Mt. CuccoThe Tower of Spring and Mt. Cucco walkthrough: win back Roc’s Feather from the Strange Brothers, Spring power, Moosh.
- Dancing Dragon Dungeon (Dungeon 4)Dancing Dragon Dungeon walkthrough: all five Small Keys, Map, Compass, Agunima, Slingshot, Boss Key, Gohma and the.
- The Tower of Autumn and Eyeglass LakeTower of Autumn and Eyeglass Lake walkthrough for Oracle of Seasons: Gasha Seeds, ring appraisals, Seed Satchel.
- Unicorn’s Cave (Dungeon 5)Unicorn’s Cave walkthrough for Oracle of Seasons: Compass, five Small Keys, Magnetic Gloves, Syger and Digdogger.
- The Four Jewels, Tarm Ruins and the Lost WoodsTarm Ruins and Lost Woods walkthrough for Oracle of Seasons: Red Ore, Iron Shield, Round Jewel, Vasu’s rings, the Lost.
- Ancient Ruins (Dungeon 6)Ancient Ruins walkthrough for Oracle of Seasons: Dungeon Map, Compass, three Small Keys, Magical Boomerang, Vire.
- Samasa Desert and the Pirate’s BellSamasa Desert and Pirate’s Bell walkthrough for Oracle of Seasons: the desert ring chest, the polished Rusty Bell and.
- Explorer’s Crypt (Dungeon 7)Oracle of Seasons Explorer’s Crypt walkthrough: beat the Poe Sisters, get Roc’s Cape and the Boss Key, defeat Gleeok.
- Temple Remains and the Volcano EruptionOracle of Seasons Temple Remains walkthrough: Maku Tree secrets, Vasu ring appraisals, the Subrosian volcano eruption.
- Sword & Shield Maze (Dungeon 8)Oracle of Seasons Sword & Shield Maze walkthrough: Compass, Dungeon Map, Hyper Slingshot, Frypolar, Medusa Head and.
- The Huge Maku Seed, the Last Trades and the Hero’s CaveOracle of Seasons Huge Maku Seed walkthrough: the Goron Vase to Phonograph trade chain, Gasha Seed planting, and the.
- Side Quests and Collectibles Before Onox’s CastleSide quests and collectibles before Onox’s Castle in Oracle of Seasons: Gasha Nuts, Vasu’s rings, the Mirror Shield.
- Onox’s Castle and the Final BattleOnox’s Castle walkthrough for Oracle of Seasons: clear the castle rooms, beat Facade, buy the Mirror Shield, then.
- The Linked Game FinaleLinked game finale walkthrough for Oracle of Seasons: beat Twinrova and Ganon in the Room of Rites, then finish at the.
| Covers | Horon Village, the Eyeglass Lake region, the Subrosian Smithy and Temple of Seasons, and the Holodrum winter and autumn fields around them. Summer is needed for the drained lake, and autumn for the stump that opens the way to Unicorn’s Cave. |
|---|---|
| Dungeon | None cleared here. You finish at the entrance of Unicorn’s Cave (Dungeon 5), which the next chapter clears. |
| Rewards | Power of Autumn for the Rod of Seasons, Seed Satchel upgrade to 99 seeds, Treasure Map, one Gasha Seed bought, five Gasha Seeds planted, seven rings appraised by Vasu, two Gasha Nut rings and two unappraised chest rings, Square Jewel, X-Shaped Jewel, Bomb Flower (used), one Piece of Heart that completes a Heart Container. |
Start in Horon Village after clearing the Dancing Dragon Dungeon. This chapter sends you to Vasu for ring appraisals, to the Horon Village shop for the Seed Satchel upgrade and the Treasure Map, out to plant Gasha Seeds around Holodrum, and through the Subrosian portal for the Bomb Flower. The Power of Autumn comes from the Temple of Seasons, and the chapter ends in the summer lake country, where the Piece of Heart waits in the drained lake.

Horon Village: rings, the Gasha Nut and the shop upgrades
Follow the Maku Tree’s hint east
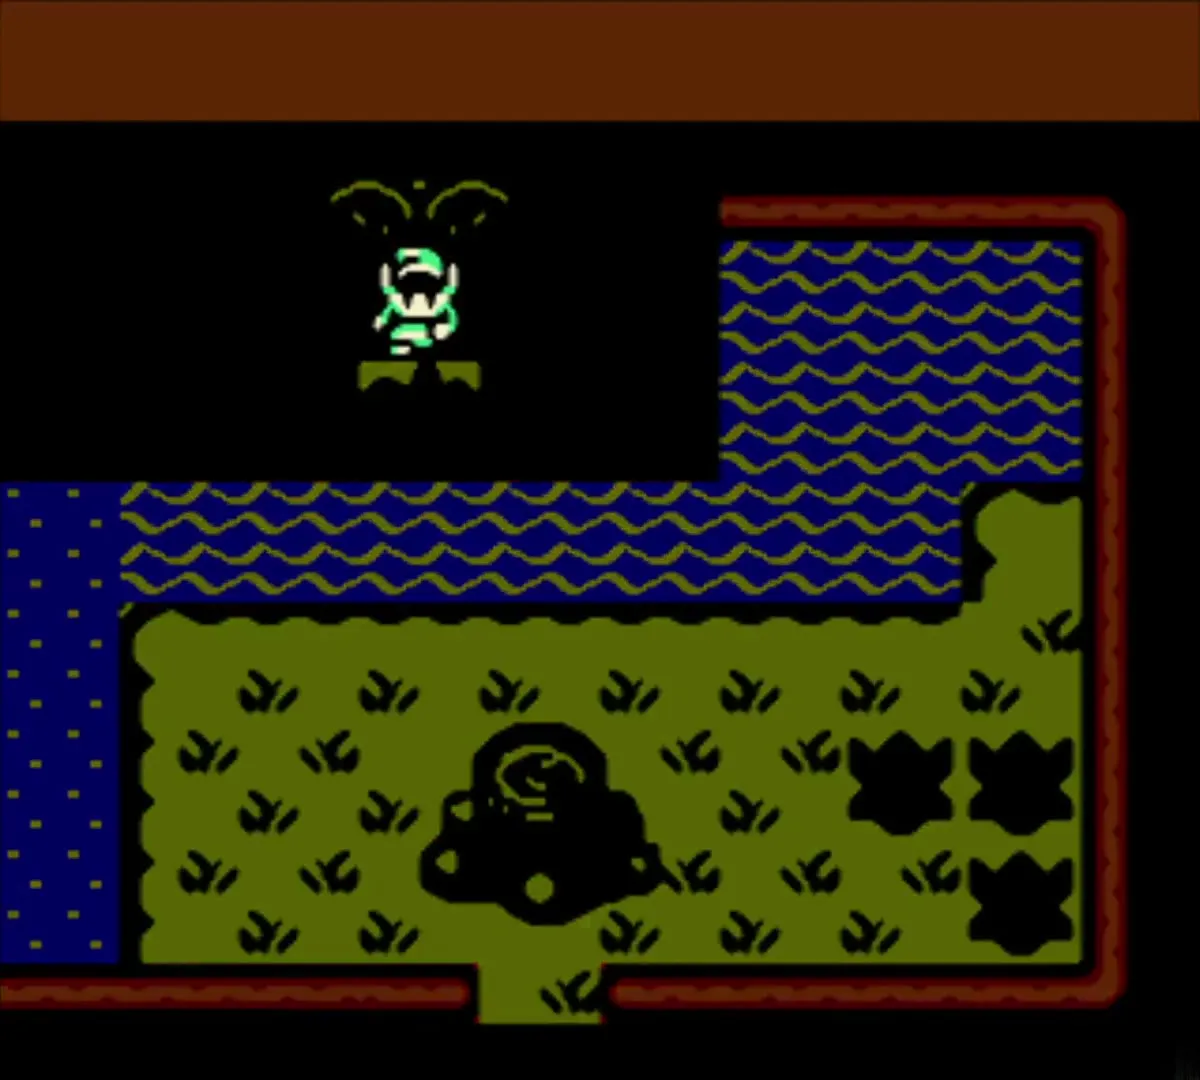
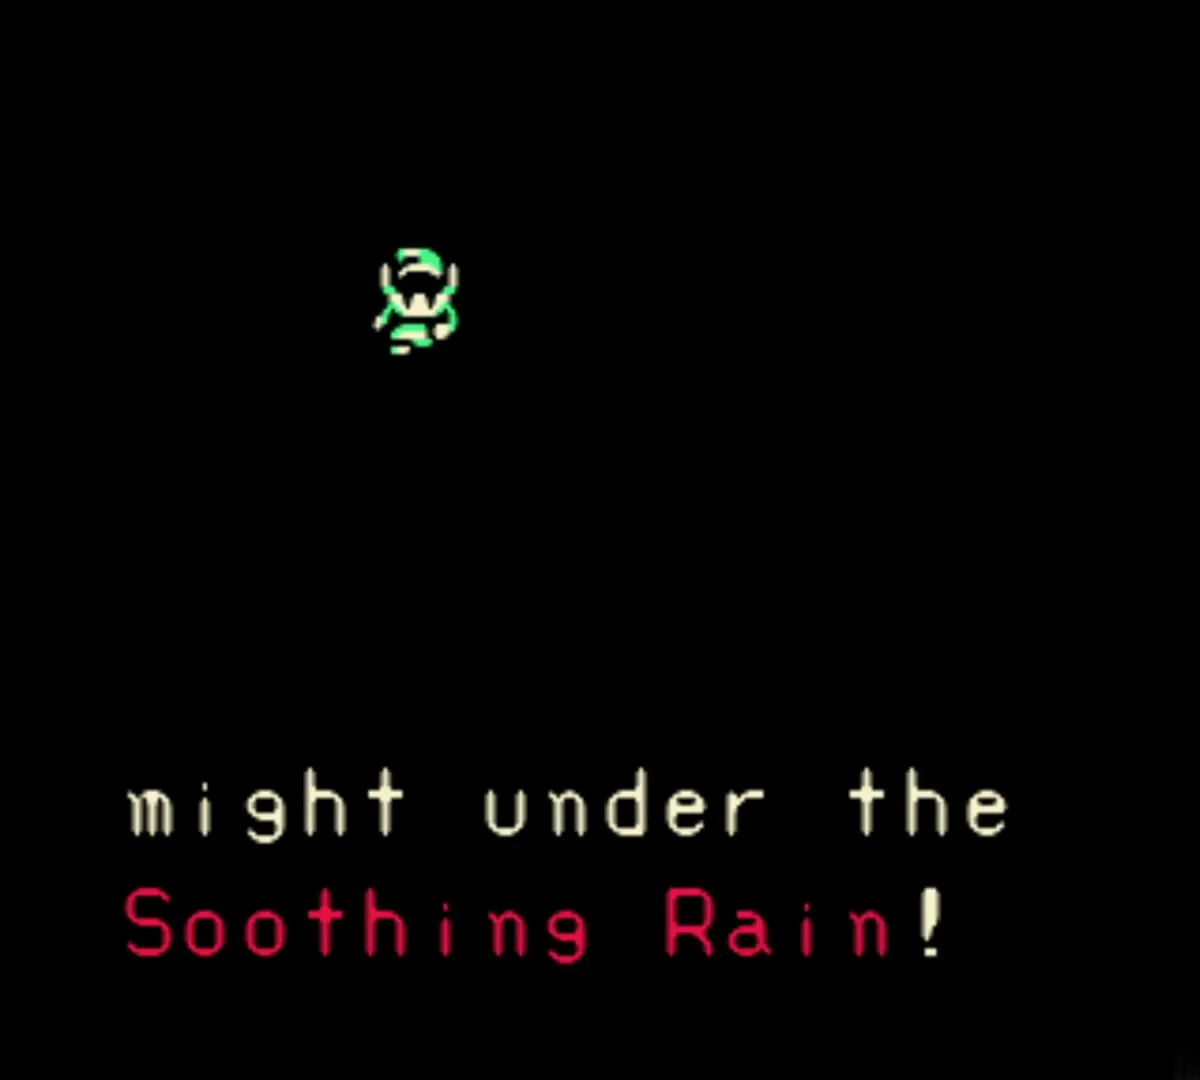
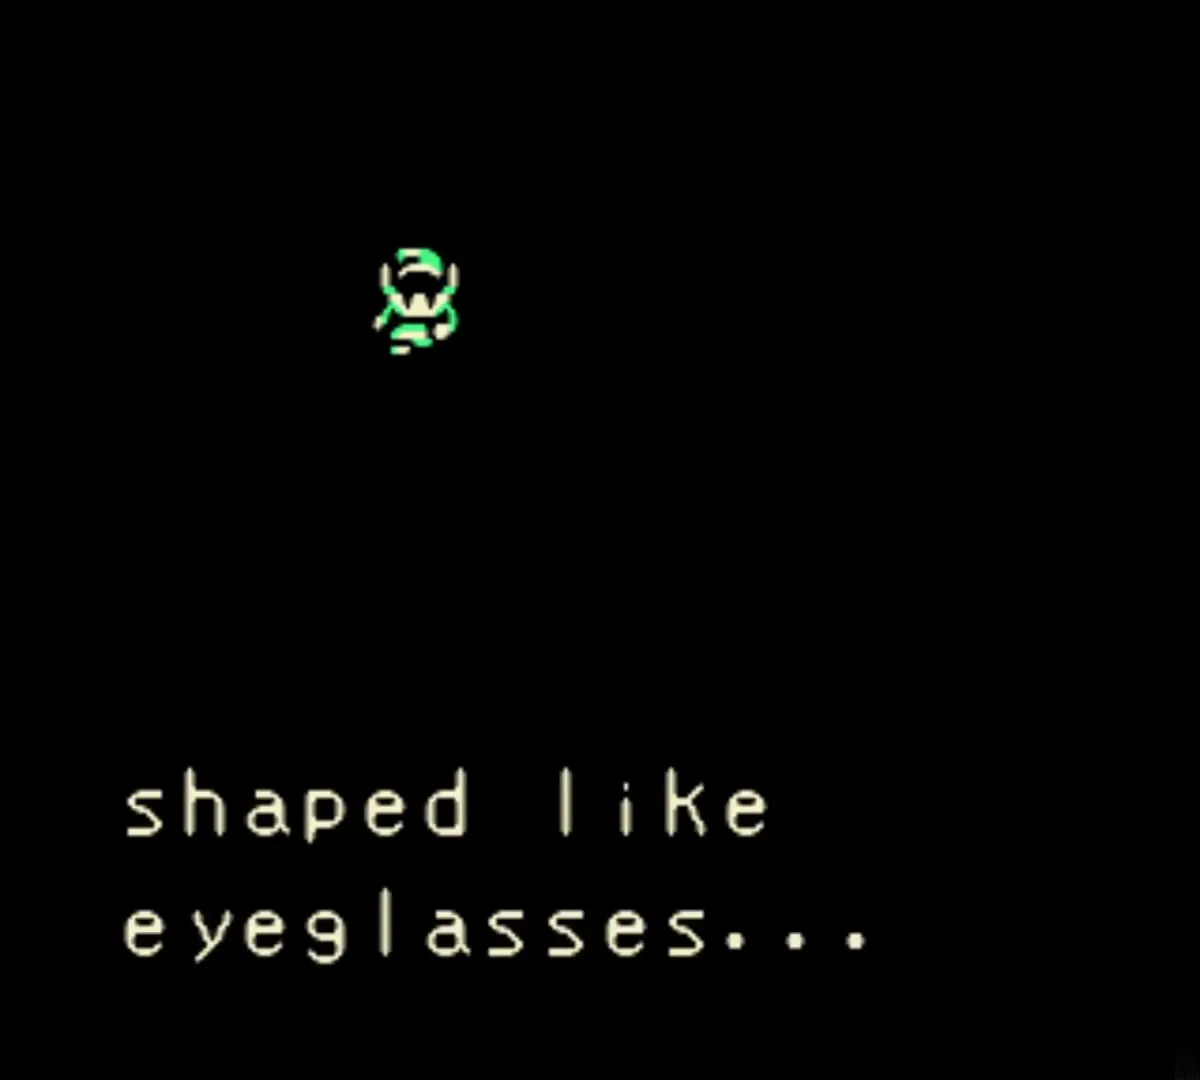
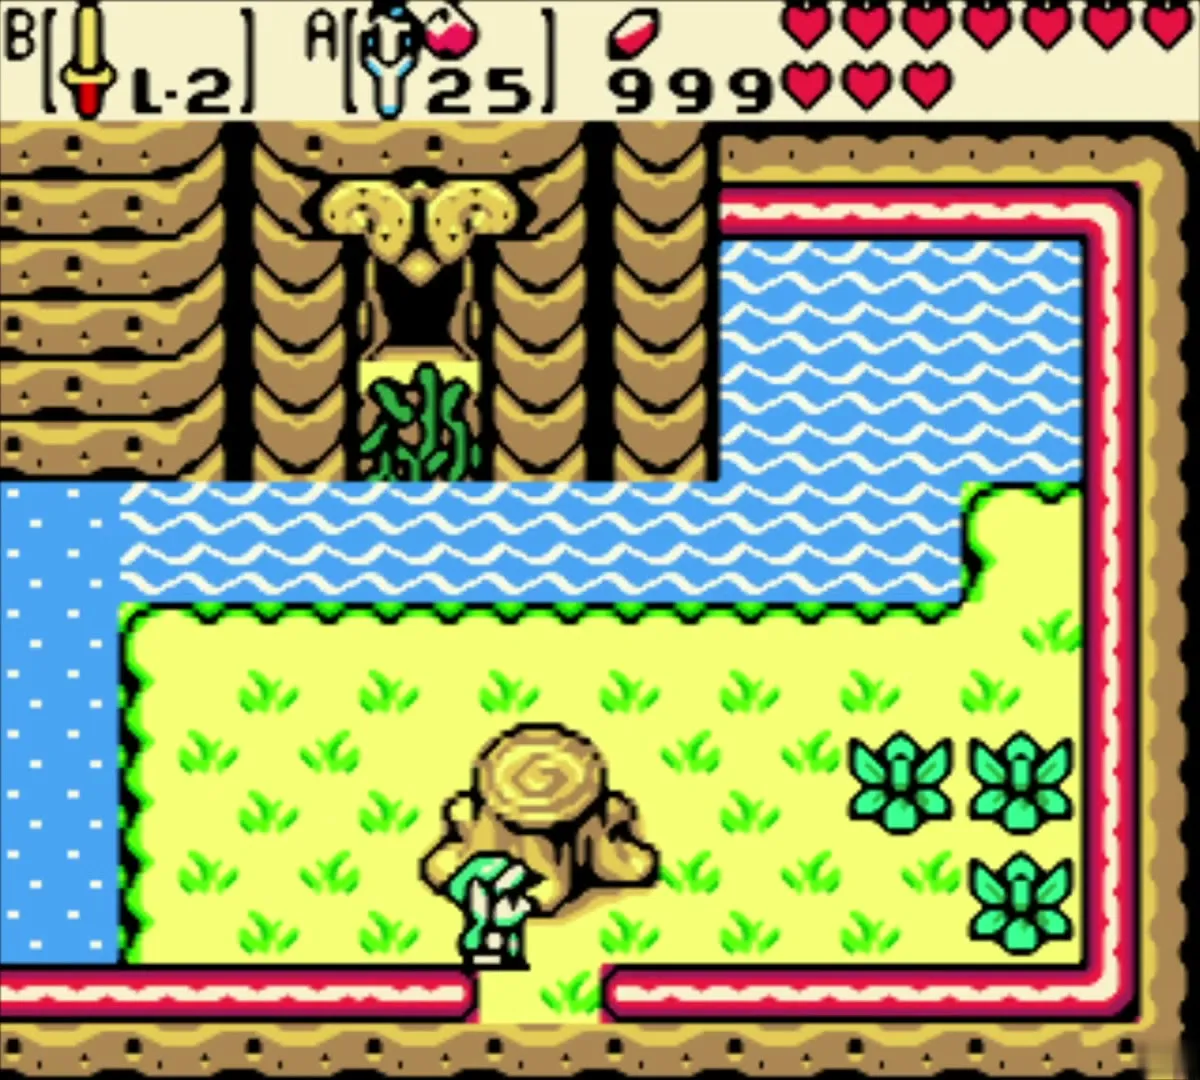
After the boss falls, the Maku Tree tells you that it saw a lake shaped like eyeglasses. That is Eyeglass Lake, east of Impa’s house. Leave the dungeon, take the path past the flower patch and climb the waterfall cliff to the winter mountain, where the next steps begin.


Race Maple for her rupees
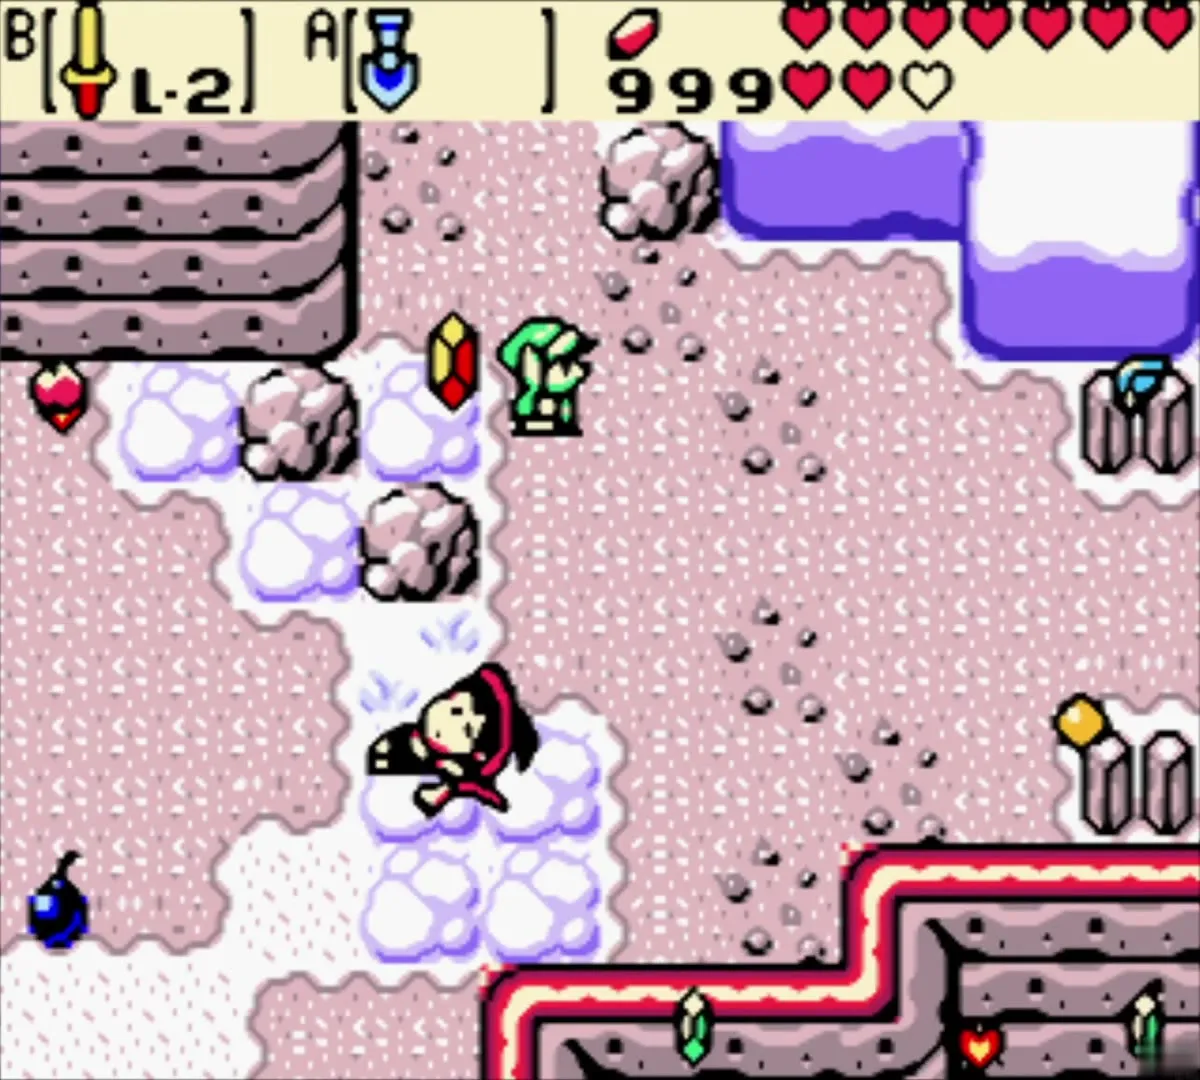
On the winter mountain, Maple the witch challenges you to a race to grab items as they scatter. She is quick and she bumps you aside as often as you bump her. Win a few grabs for a handful of hearts and rupees, then let her go; she will come back to you on other screens. Maple’s own Piece of Heart is a random drop, so you do not need to chase her for it.


Harvest the Gasha Nut for a ring
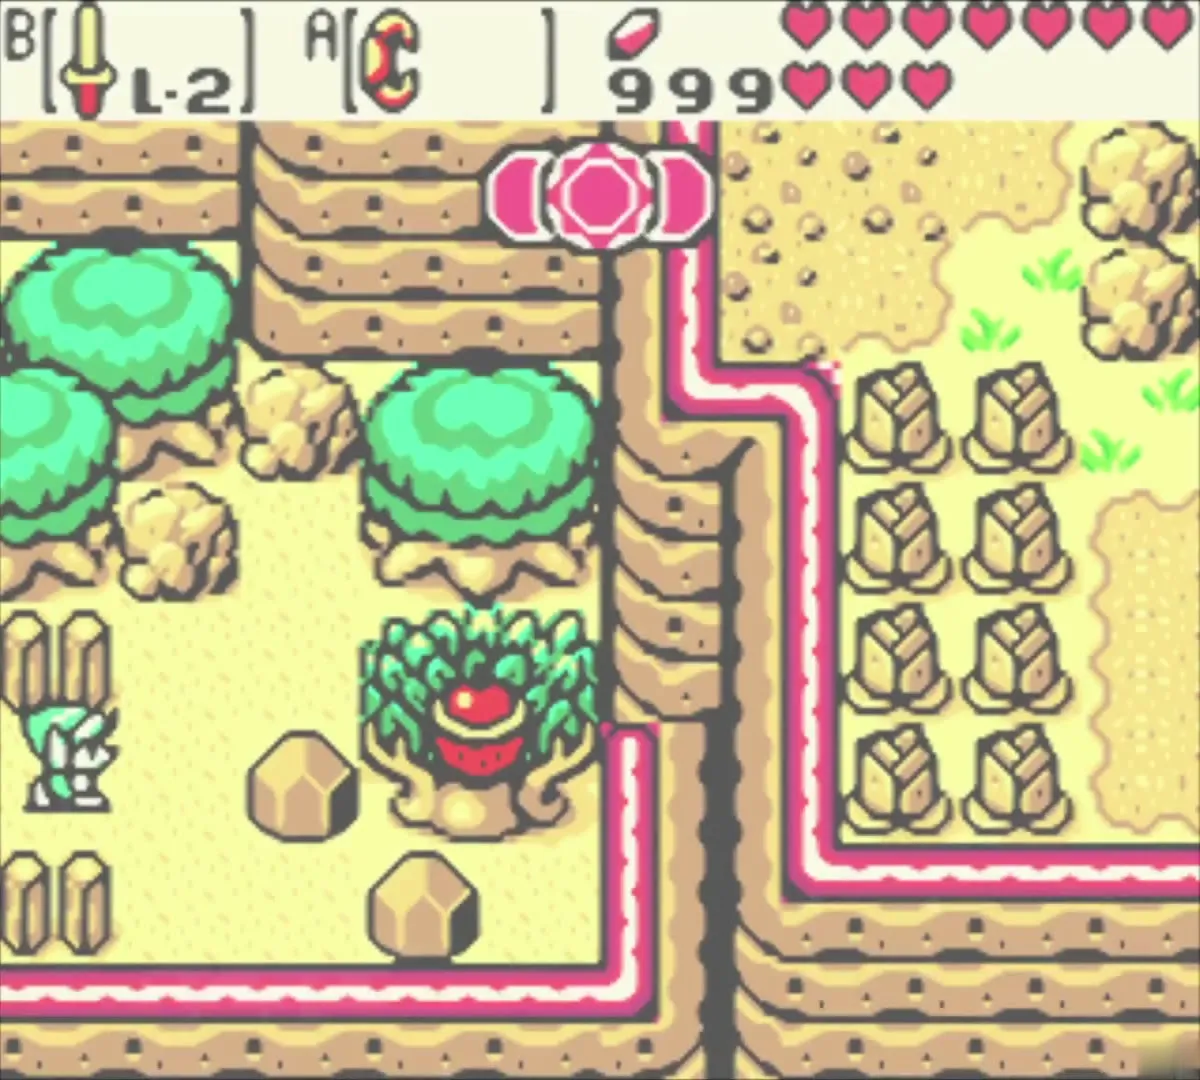
Stand next to the grown Gasha tree on the sandy boulder ground and strike it. A Gasha Nut falls, and cracking it gives you a ring. You will not know which ring it is until Vasu appraises it, so keep it in your Ring Box until you reach Horon Village.


Warp to Horon Village and visit Vasu
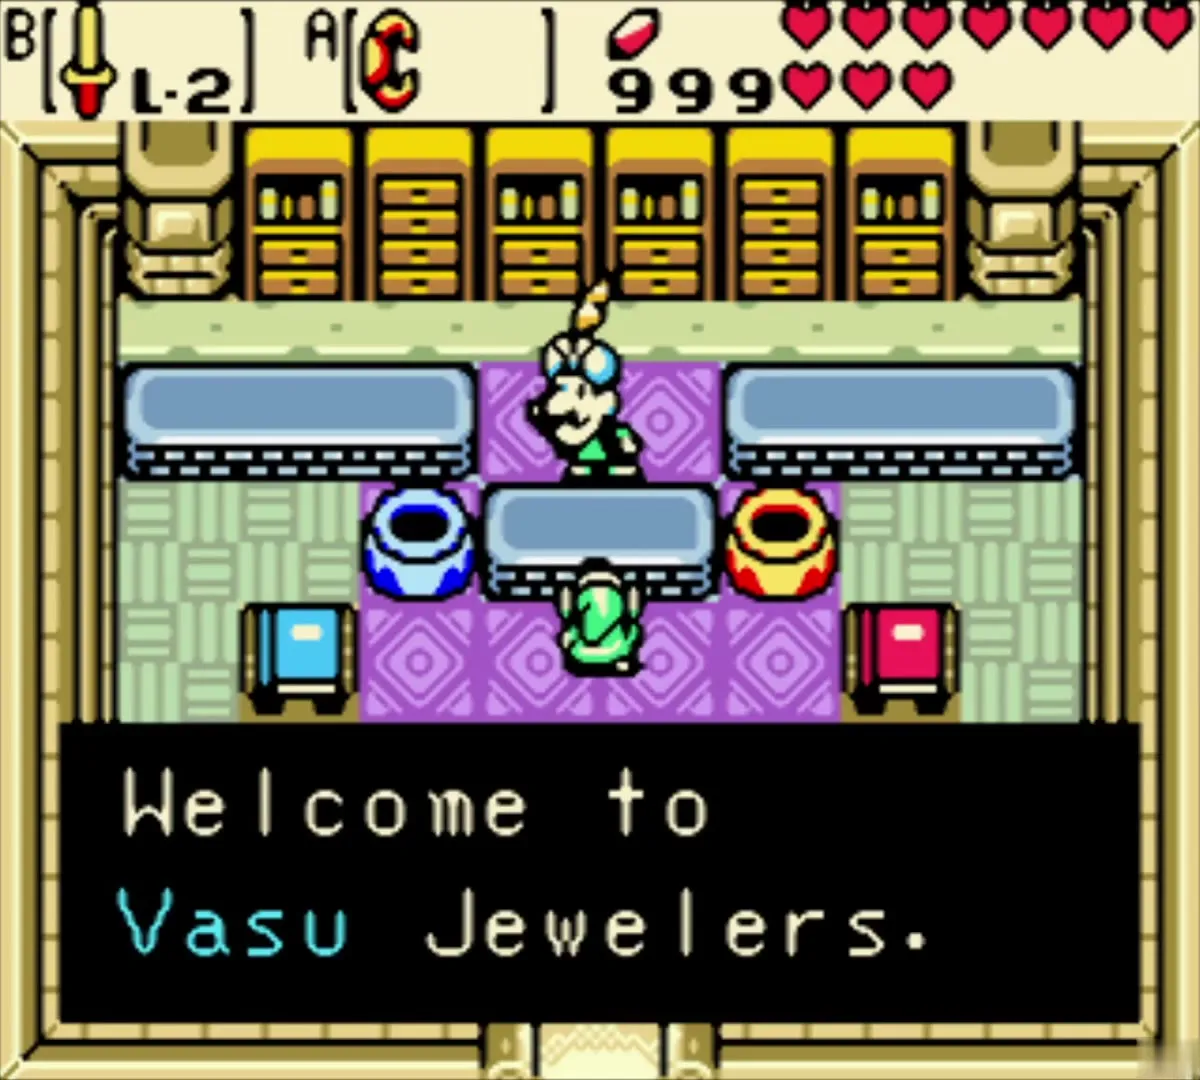
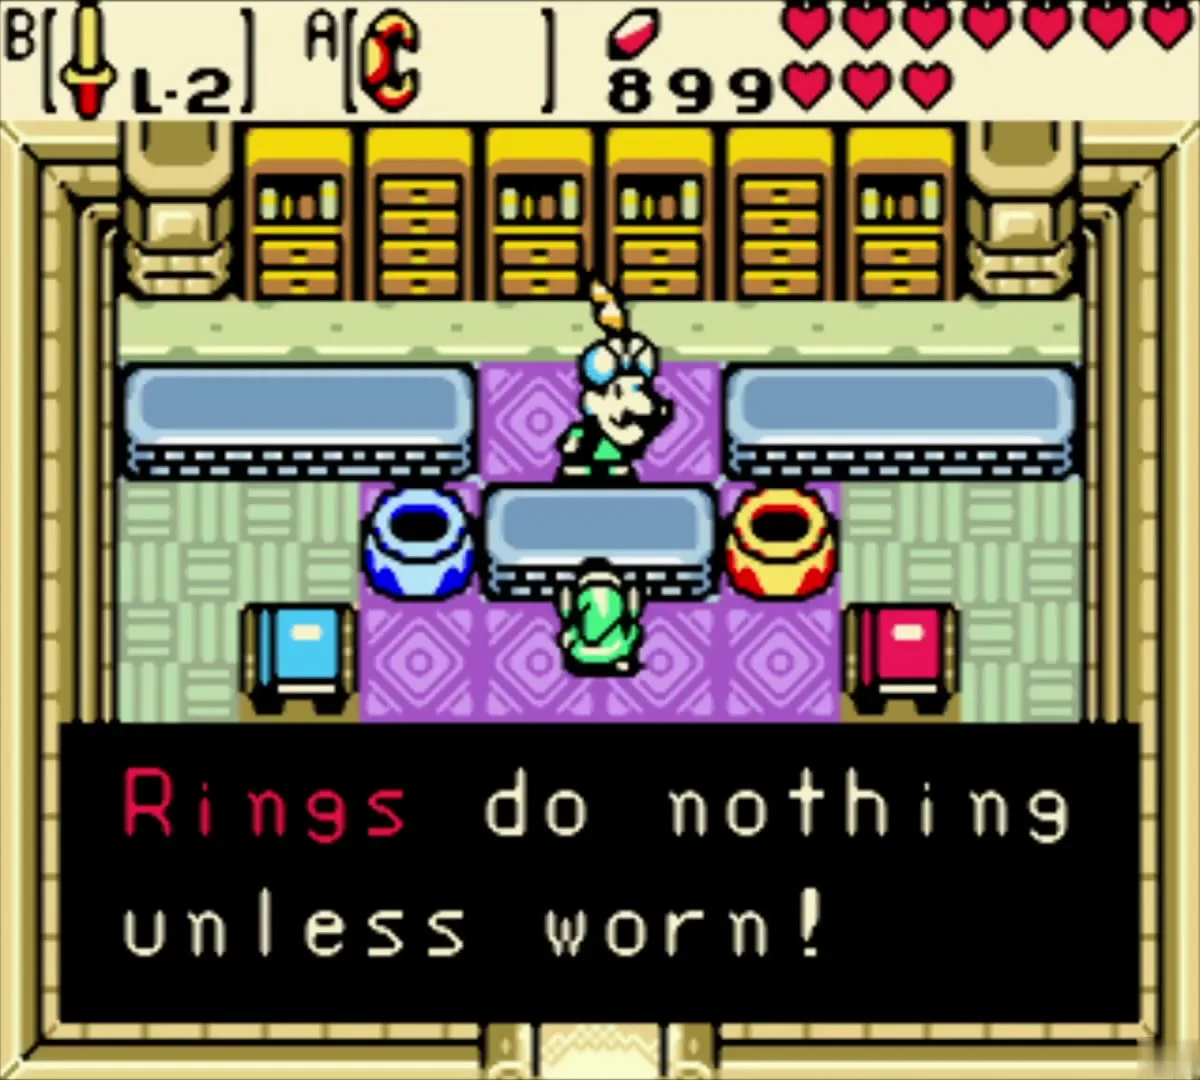
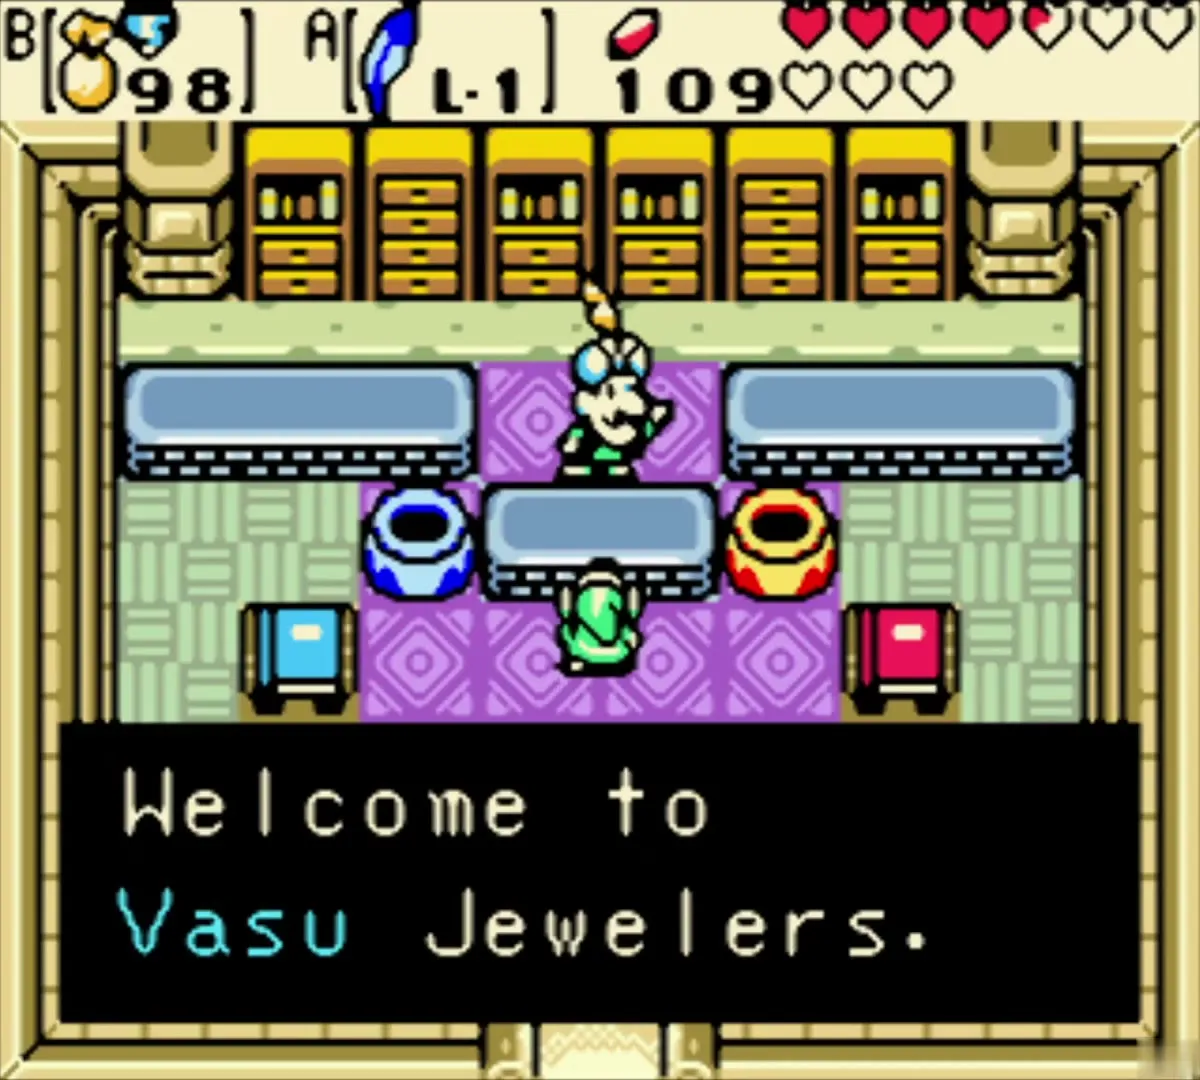
Open the Gale Seed map and warp to Horon Village. Walk to Vasu Jewelers and choose the appraise option. Each ring costs 20 Rupees to appraise, and Vasu names it as he goes. This first visit clears five rings: the GBA Nature Ring, the Peace Ring, the Power Ring L-2, the Green Joy Ring and the Whisp Ring.
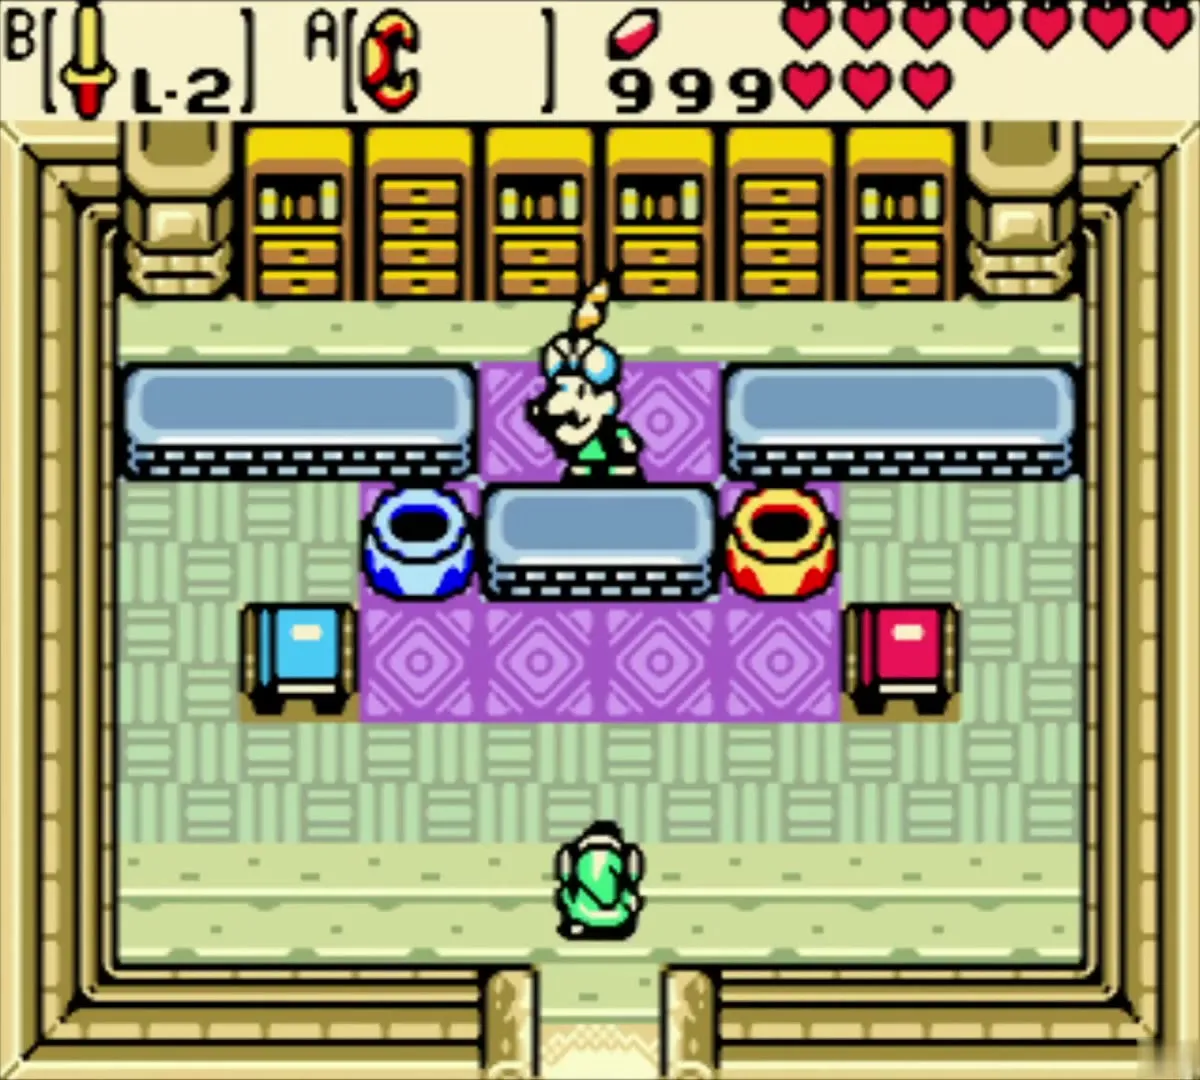
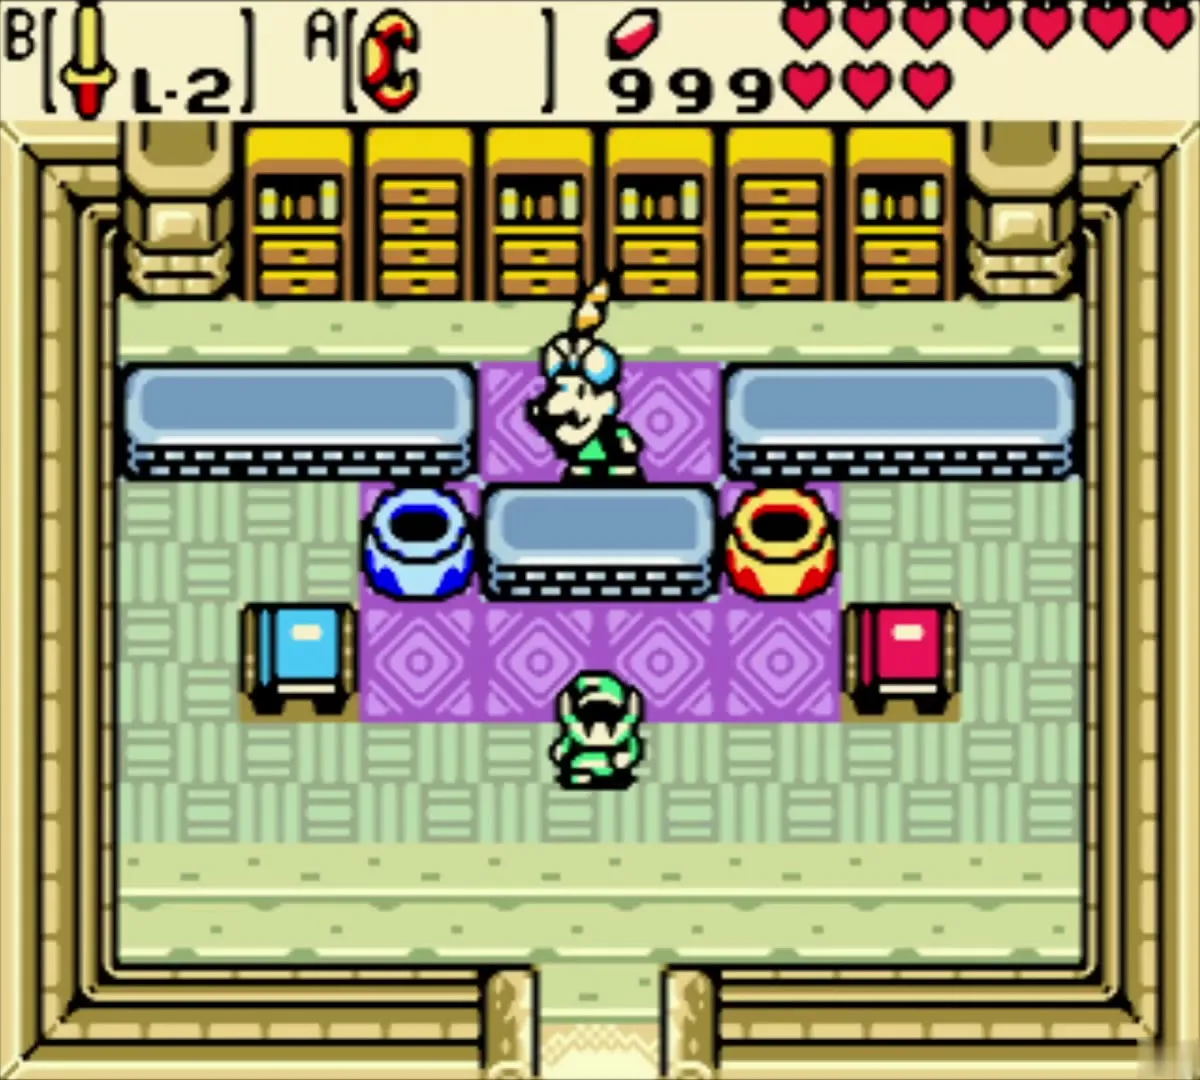
Rings do nothing until you wear them, so open the Ring Box afterwards and equip the ones you want. The list runs over four pages. Check it before you spend Rupees on more appraisals, so you know which rings you already own.

Show the Member’s Card and buy the Seed Satchel upgrade
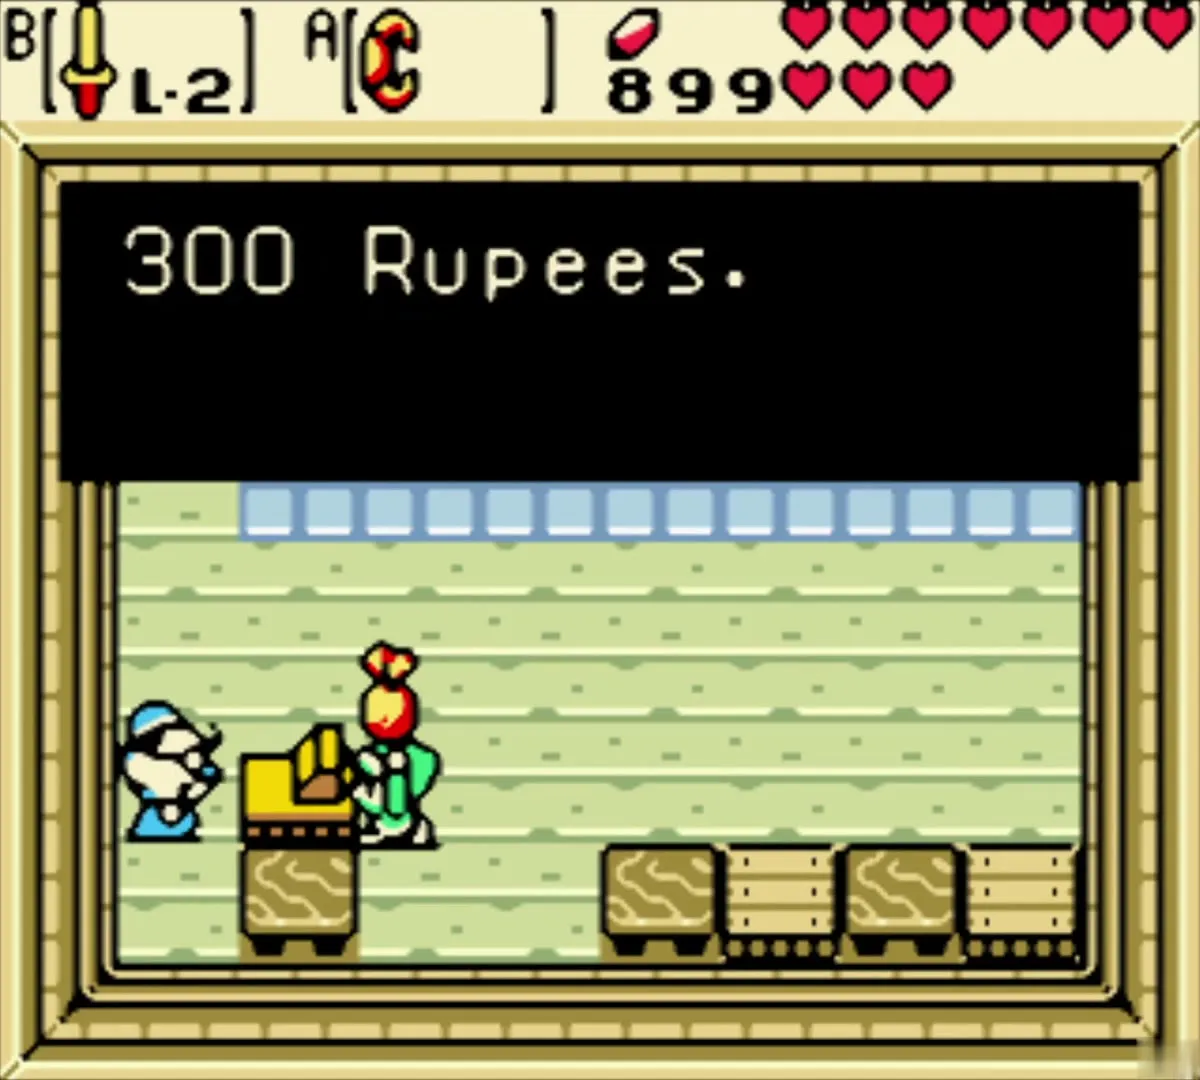
Walk into the Horon Village shop and show the Member’s Card to the shopkeeper. He lets you through to the members’ room in the back, where the Seed Satchel upgrade costs 300 Rupees. Buy it and your satchel grows to hold 99 of each seed, up from 50.

Buy the Gasha Seed and the Treasure Map
The same back room sells a Gasha Seed for 300 Rupees and the Treasure Map for 200 Rupees. Plant the Gasha Seed in soft soil as described below. The Treasure Map marks a destination on the map screen, so open it after you buy it.


Eyeglass Lake: winter stump, Square Jewel and the golden beasts
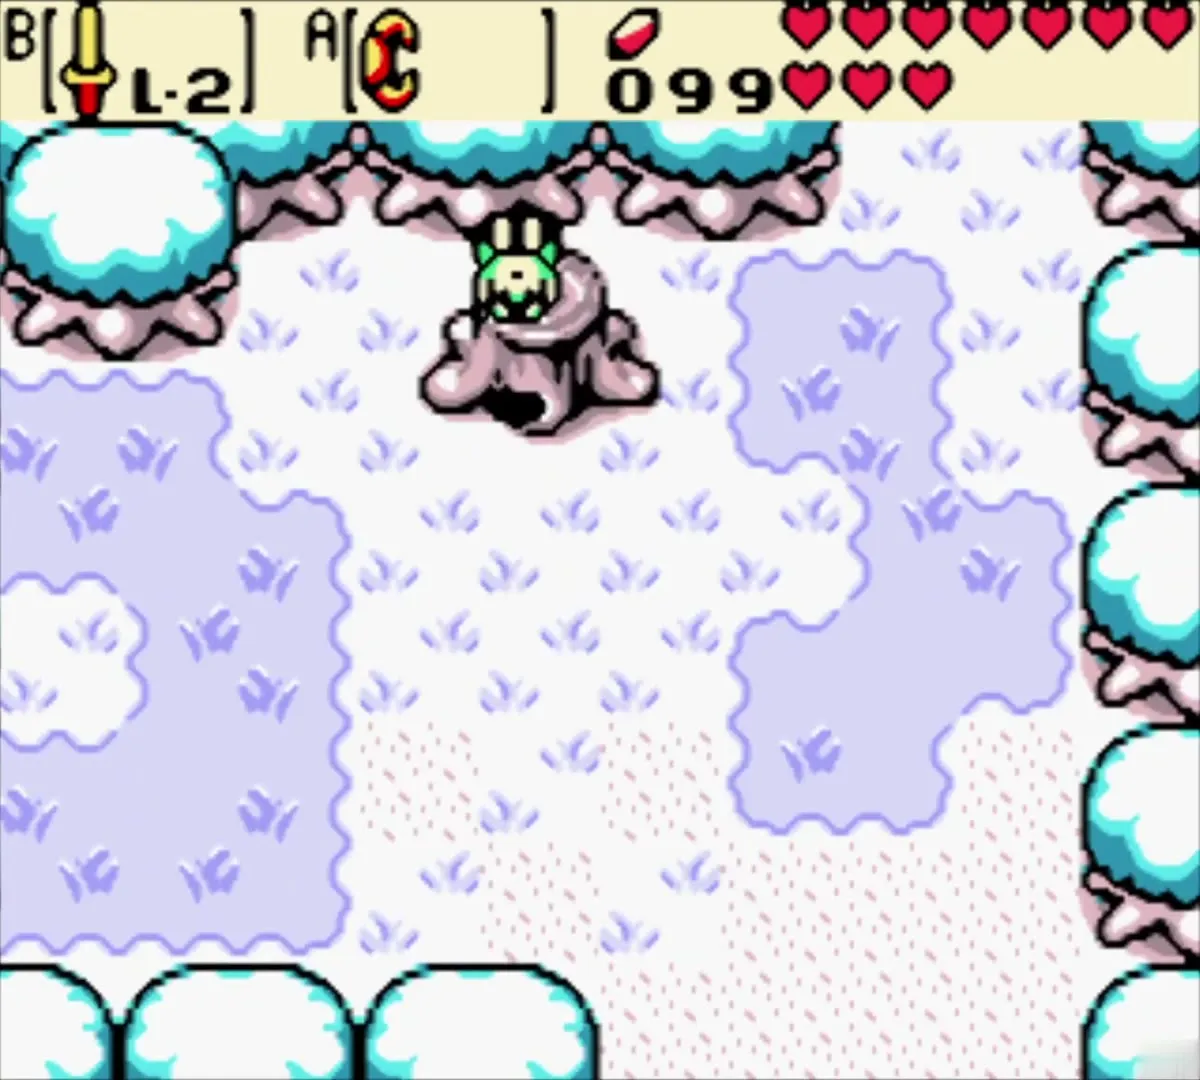
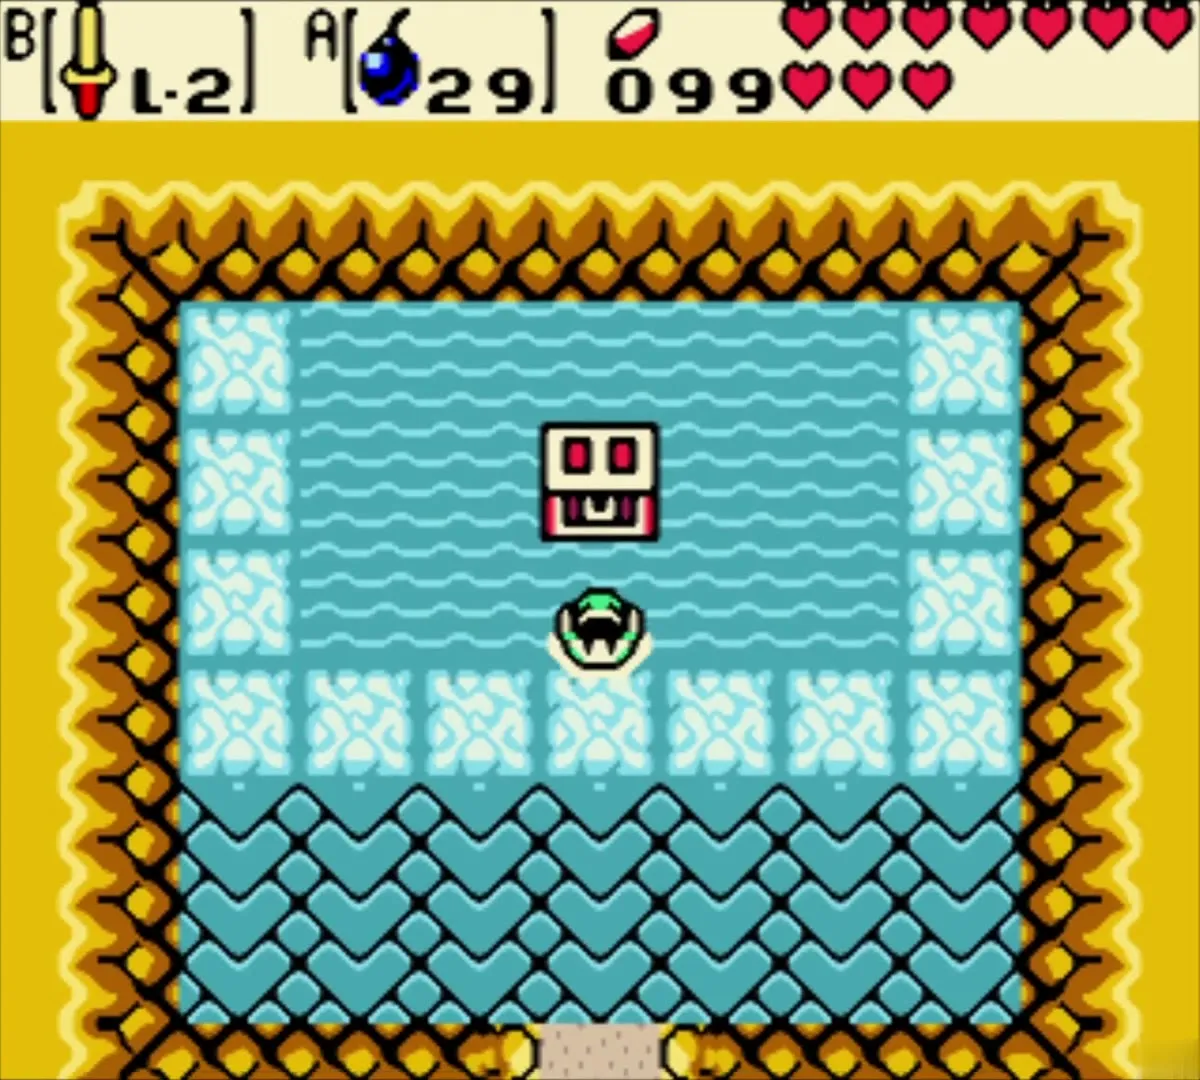
Set the stump and open the Square Jewel room
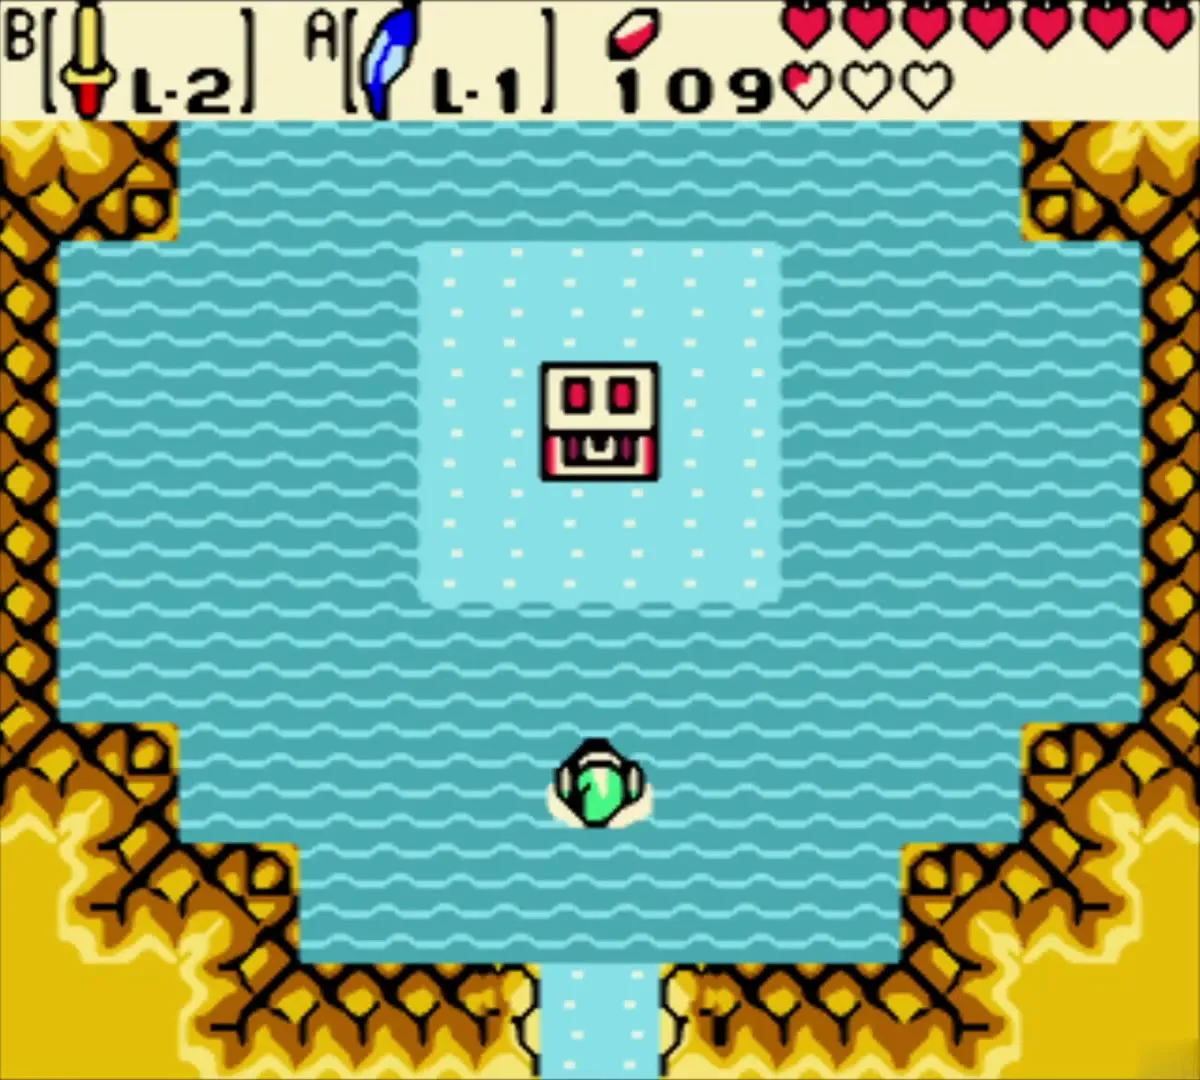
Return to the winter lake shore, where the Gasha tree stood, and walk to the tree stump. Stand on it and use the Rod of Seasons to change the season, then cross the water to the chest room. A water-filled room holds a single chest on an island of ice tiles. Open the chest to receive the Square Jewel, the first of the four jewels that the Tarm Ruins gate needs.

Learn about the golden beasts
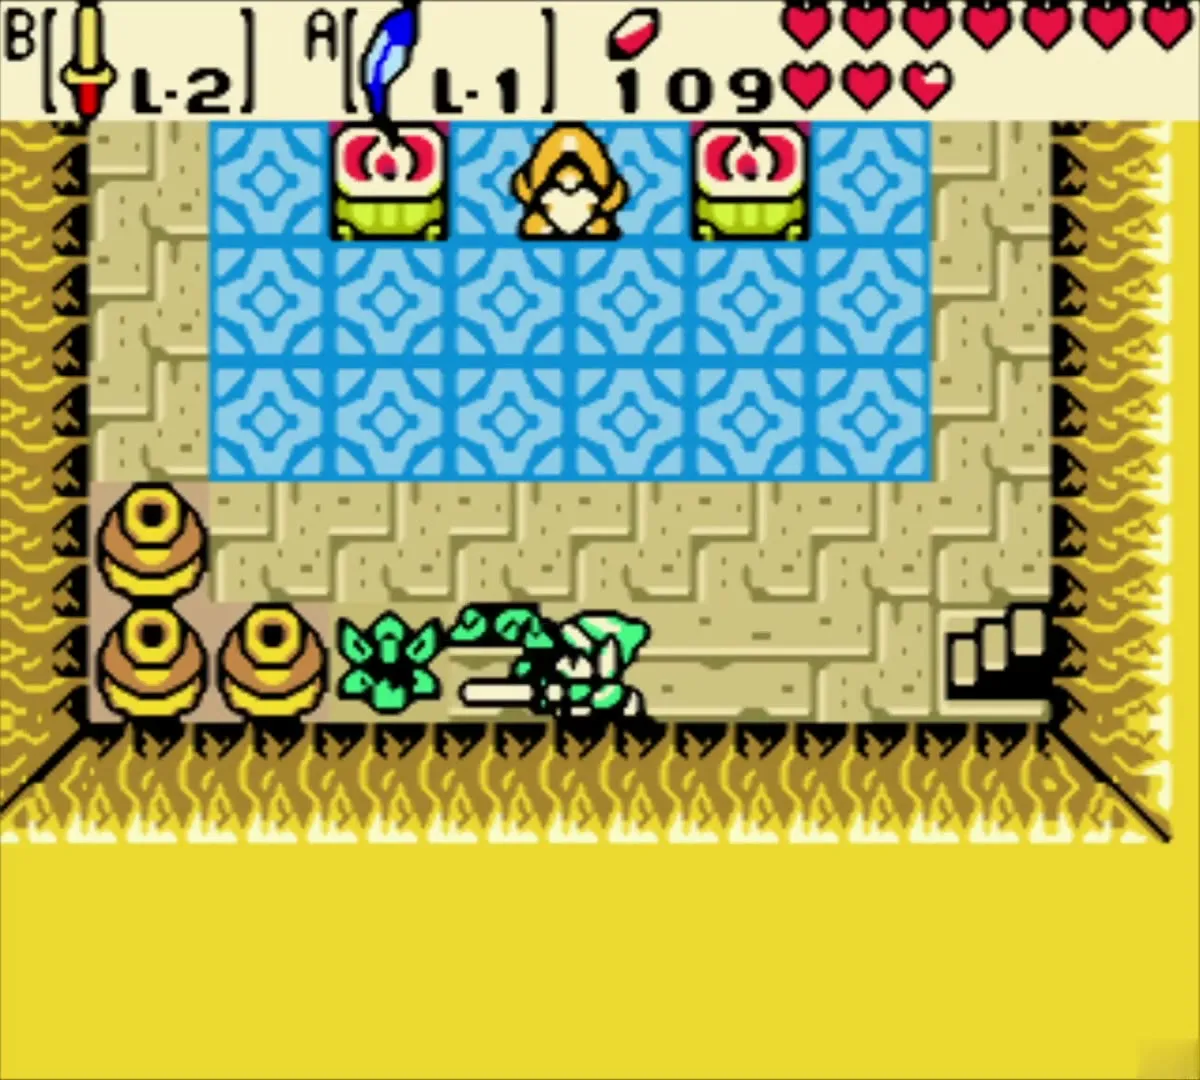
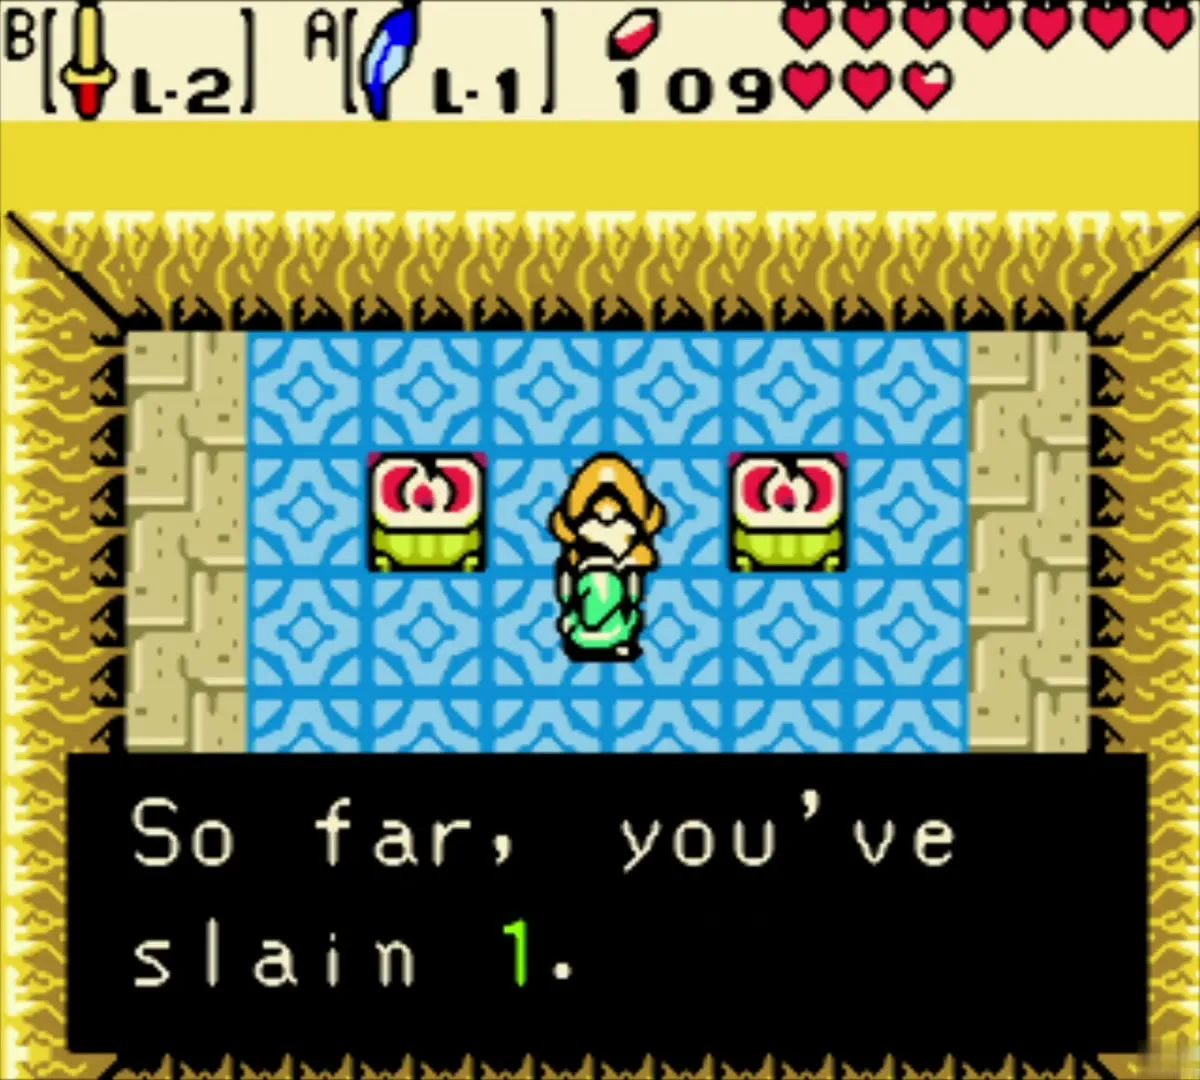
Four Golden Beasts roam Holodrum, and each is a tougher version of a common enemy: a Golden Octorok, a Golden Moblin, a Golden Lynel and a Golden Darknut. Slay all four, then return to the old man in the cave south of the Gnarled Root Dungeon. He rewards you with the Red Ring, which doubles your sword damage. See the golden beasts page for where each one roams.

Plant the Gasha Seeds
Plant at the lake island and the lake shore
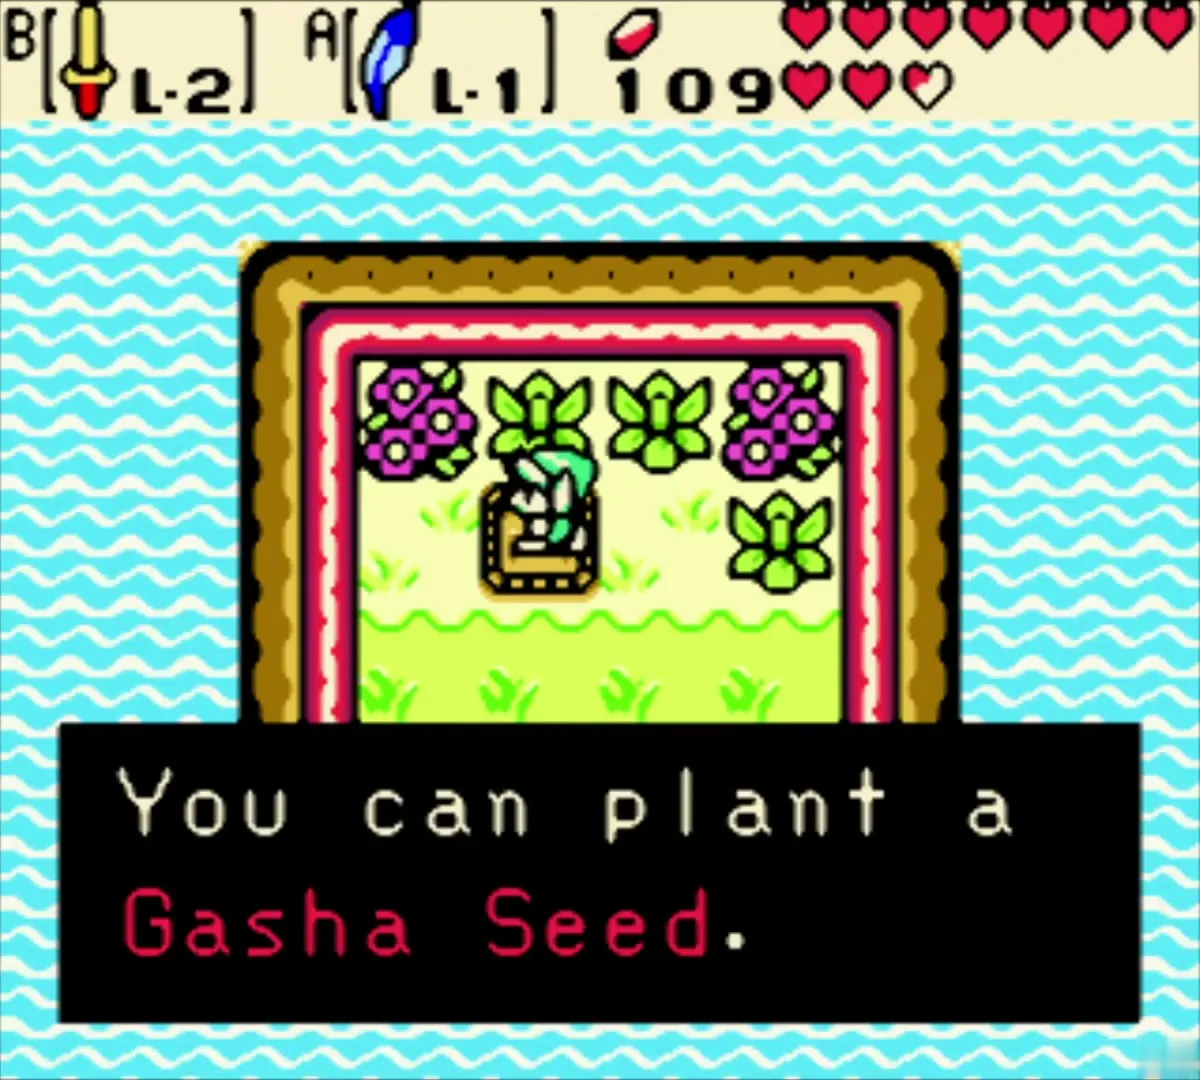
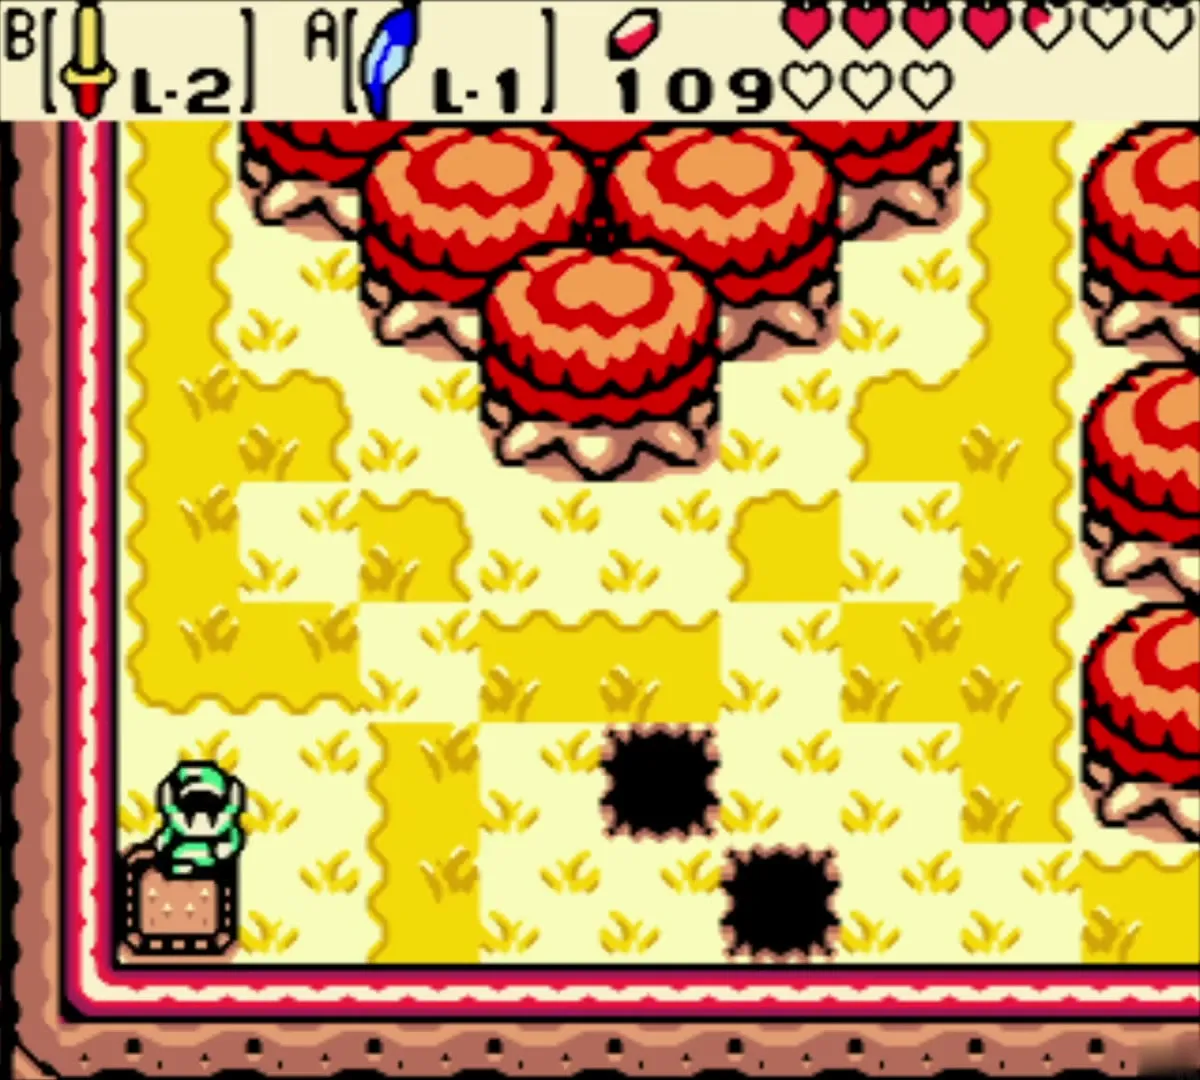
Use the Gasha Seed you bought to plant at a soft soil patch. The first patch is on a small island in the lake, marked by purple flowers; swim out with Zora’s Flippers and plant the seed there. The second patch sits on a grassy lake shore near a row of pits. Plant the next seed here, and note both spots so you can come back for the nuts once they grow.


Plant in autumn and winter
After you dig up a patch of red mounds in the autumn desert, plant a third seed in the soft soil beside them. Return to Horon Village by Gale Seed to reach the red autumn village, and plant a fourth seed in the soft soil beside a red house. Last, walk back to the winter lakeshore and plant the fifth seed in the soil there. Five seeds are in the ground by the end of this stretch.


Collect the ring chests
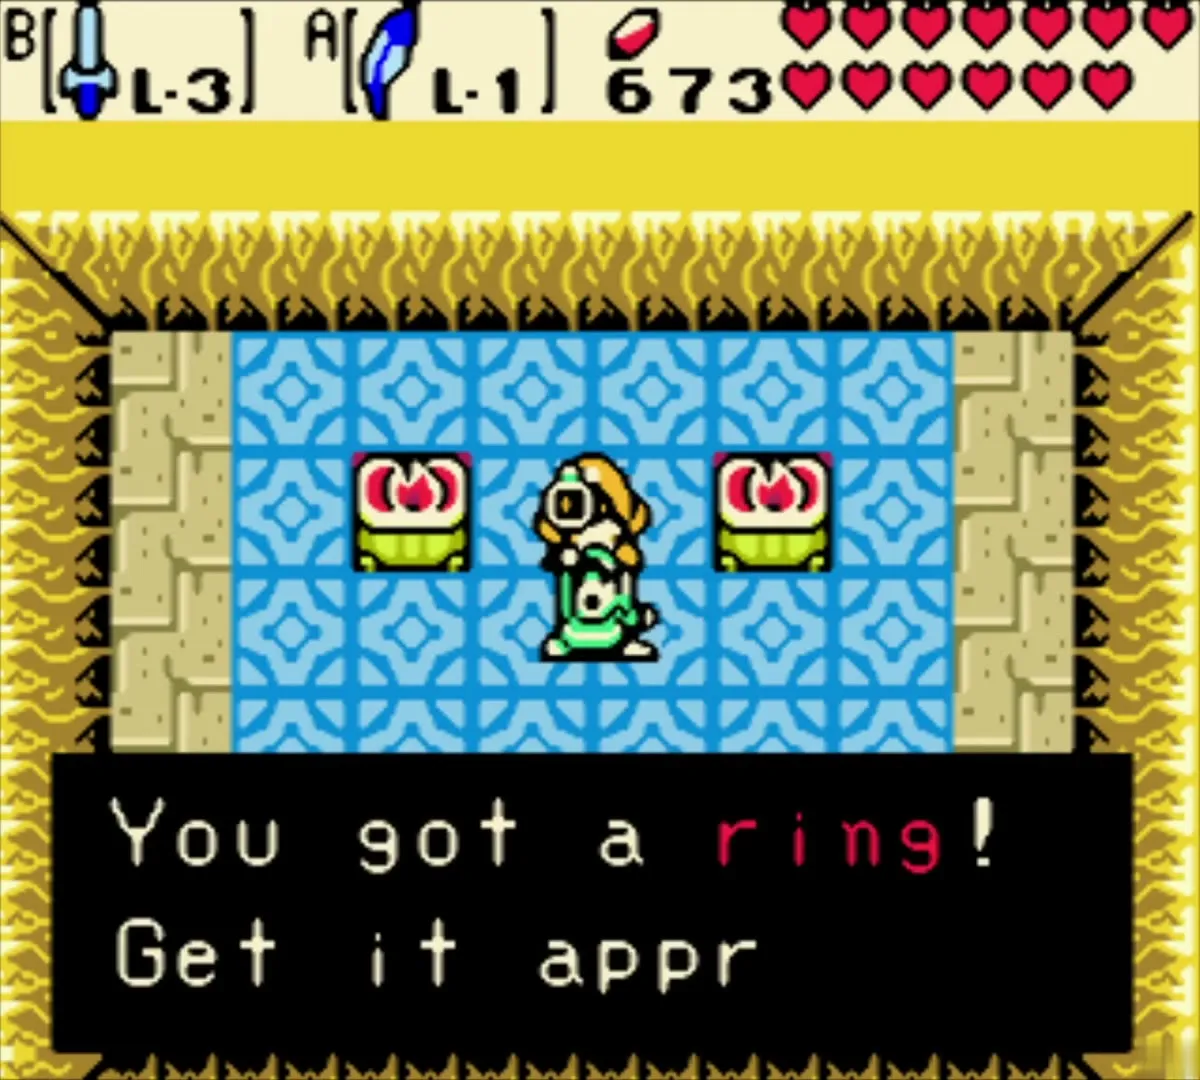
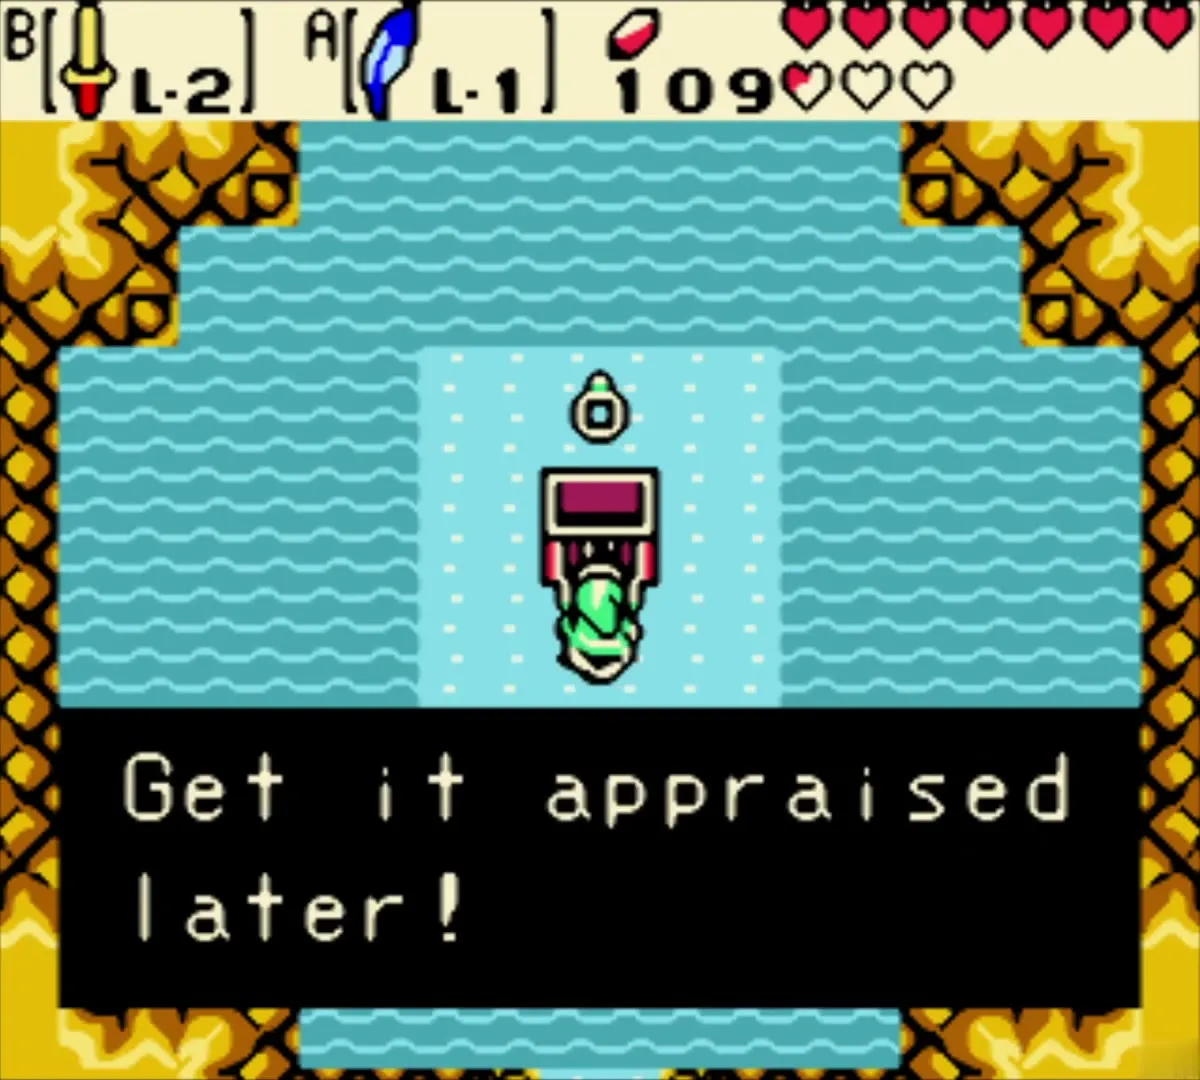
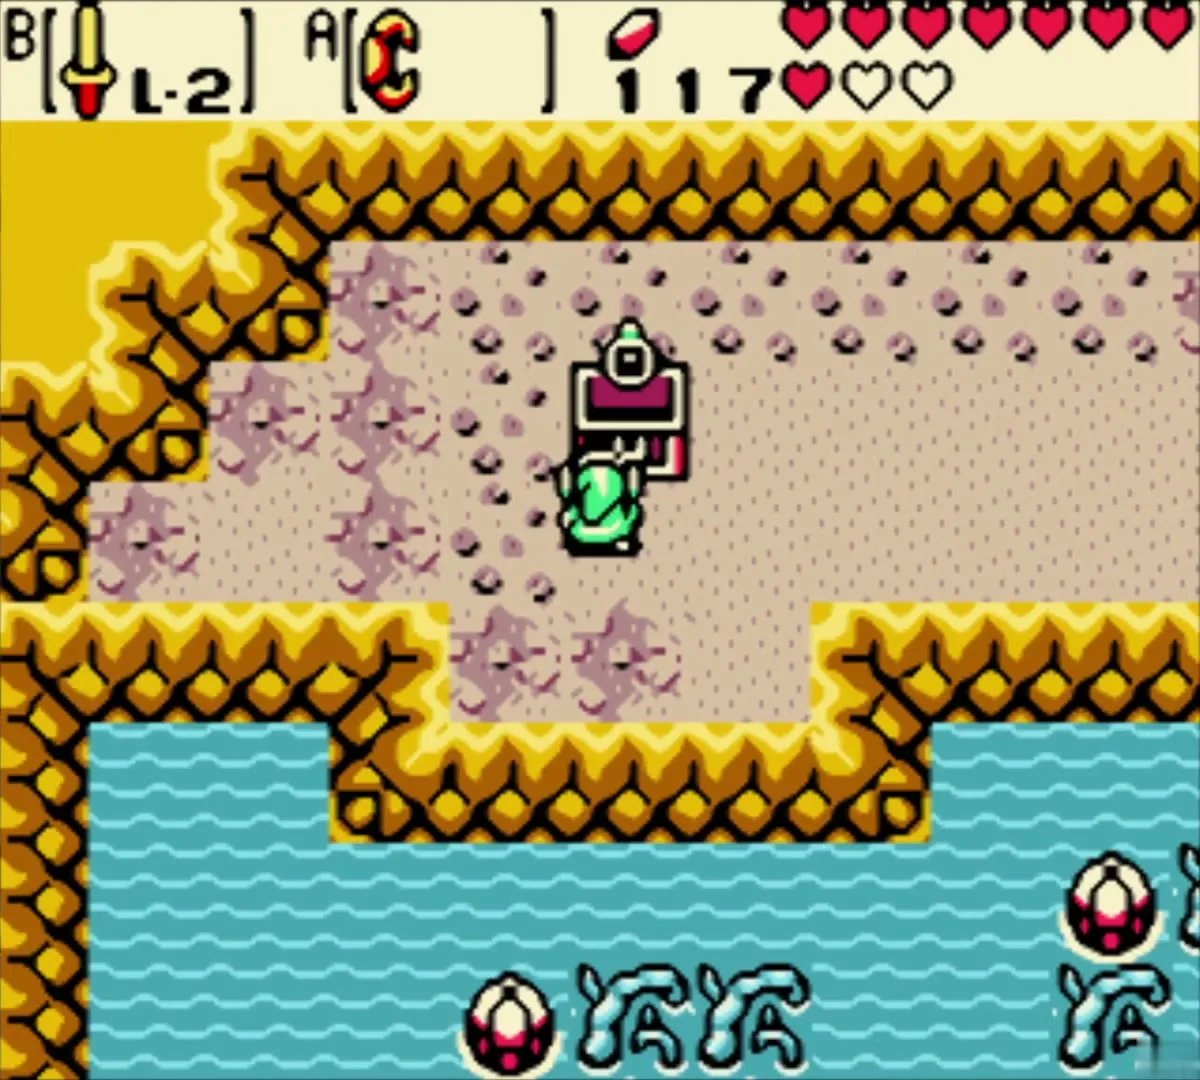
A chest on a platform in the pool room beside the lake holds a ring. It is unappraised, so take it to Vasu the next time you pass through Horon. Later, a chest in the pond cave on the autumn peninsula gives you a second unappraised ring, found by crossing the lily pads inside.
Vasu’s second round
Warp back to Horon Village in autumn and visit Vasu again. Two more rings, the Red Holy Ring and the Octo Ring, are appraised at 20 Rupees each. Check the Ring Box afterwards to confirm both are in the list.
Subrosia: the Bomb Flower and the Tower of Autumn
Enter Subrosia through the winter portal
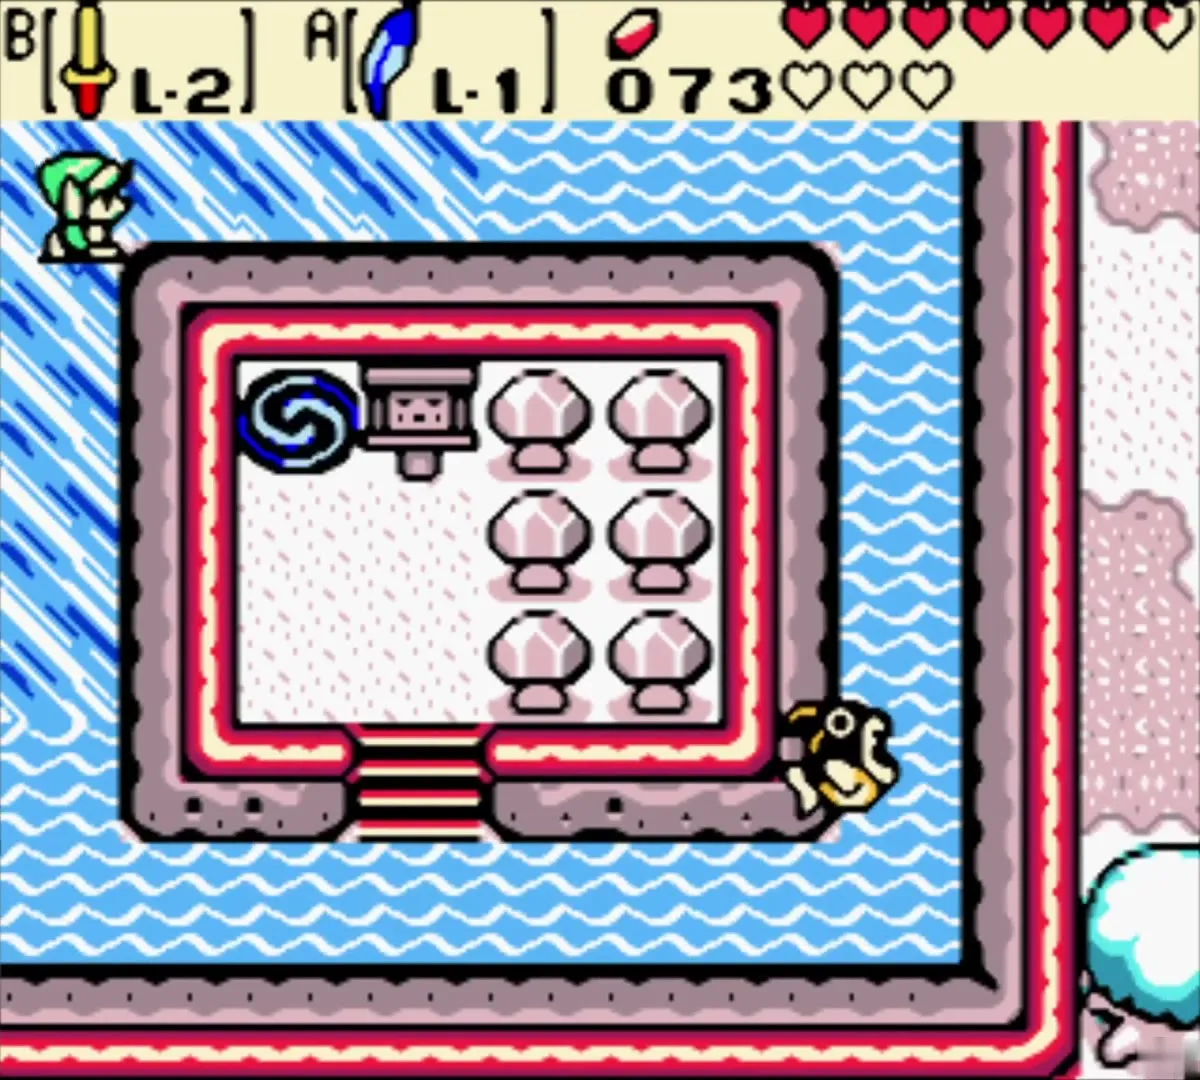
The Subrosian portal sits on an island in the winter lake. Hop the pits and follow the ice path with the Roc’s Feather, and dive under the piranha guarding the water to reach the portal. Stepping onto it drops you in Subrosia, where the rocks blocking the Tower of Autumn still need to be cleared.

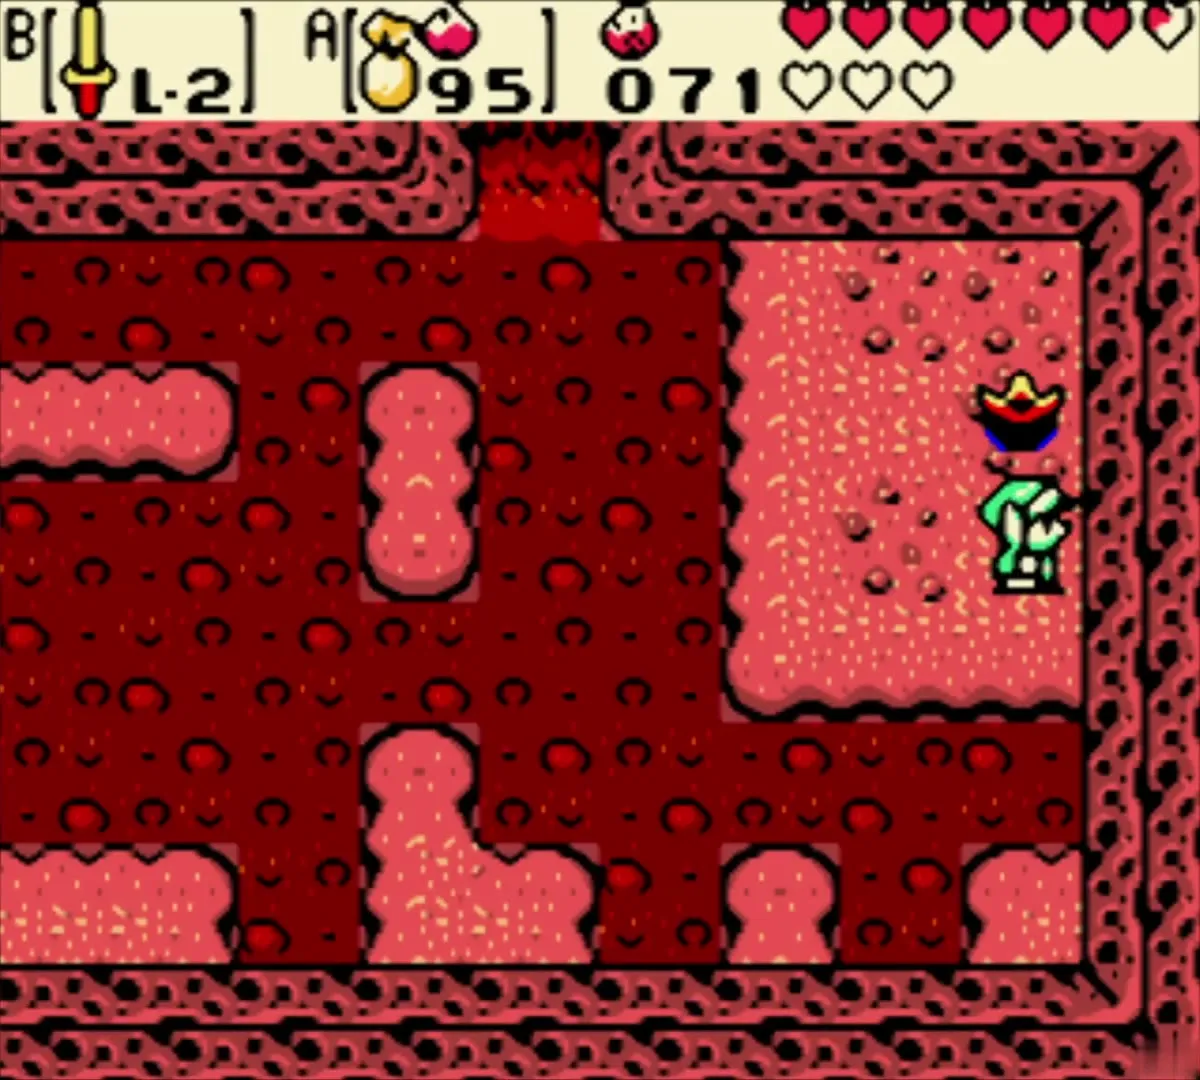
Find the Bomb Flower in the lava room
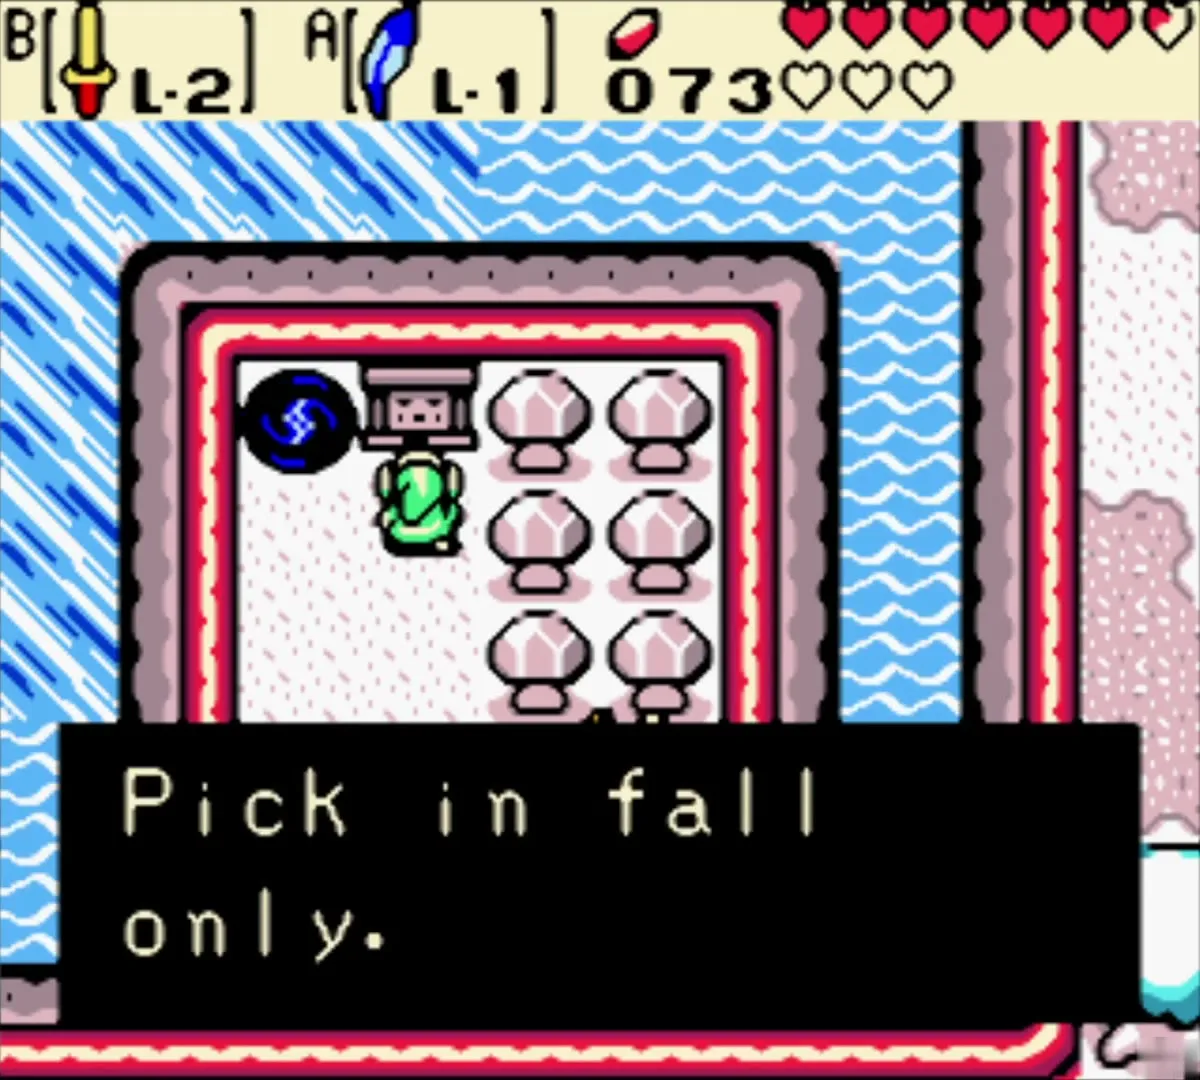
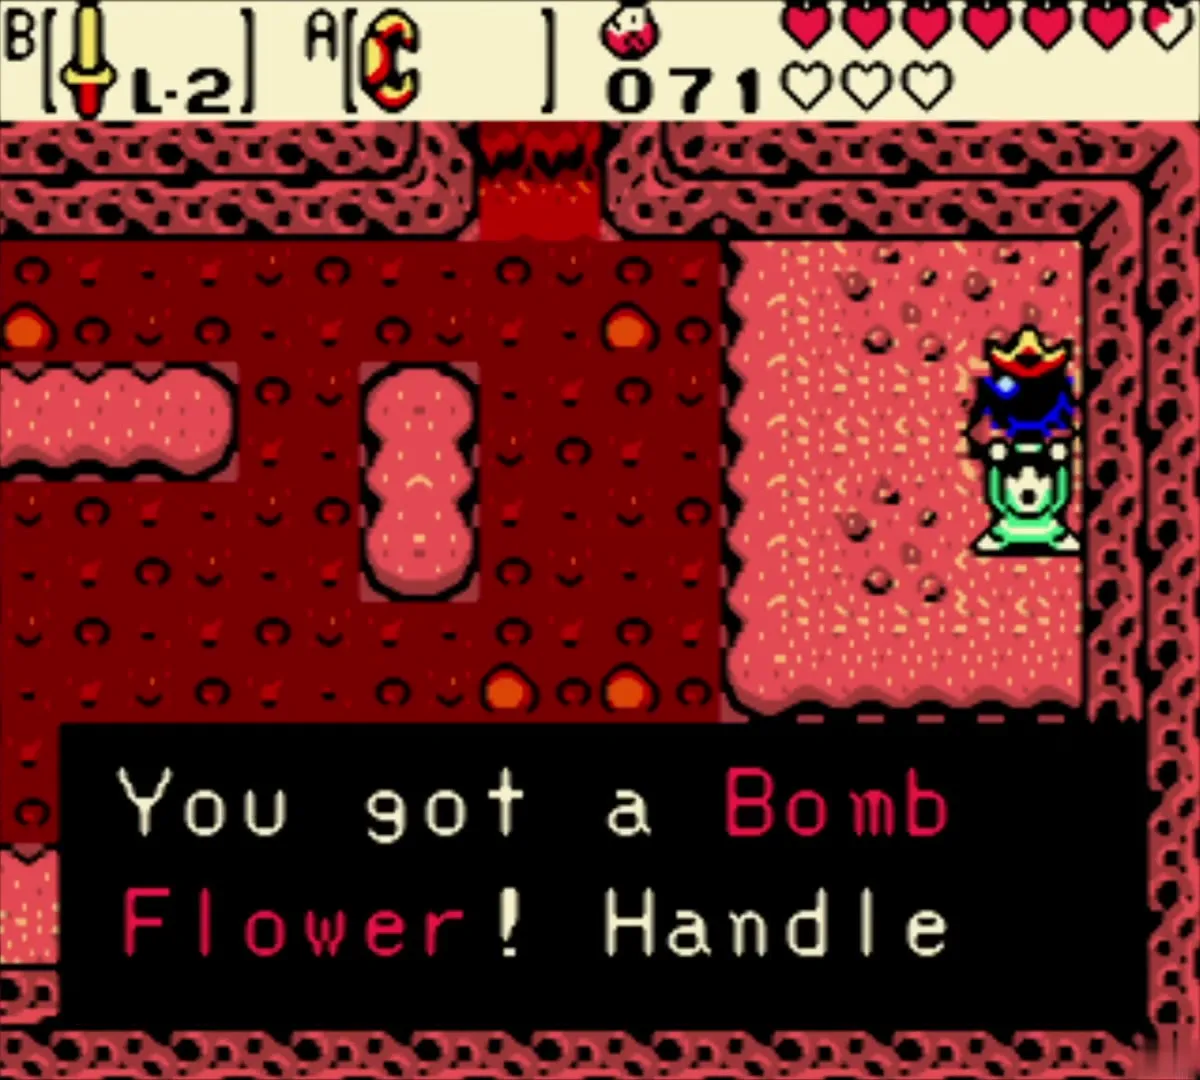
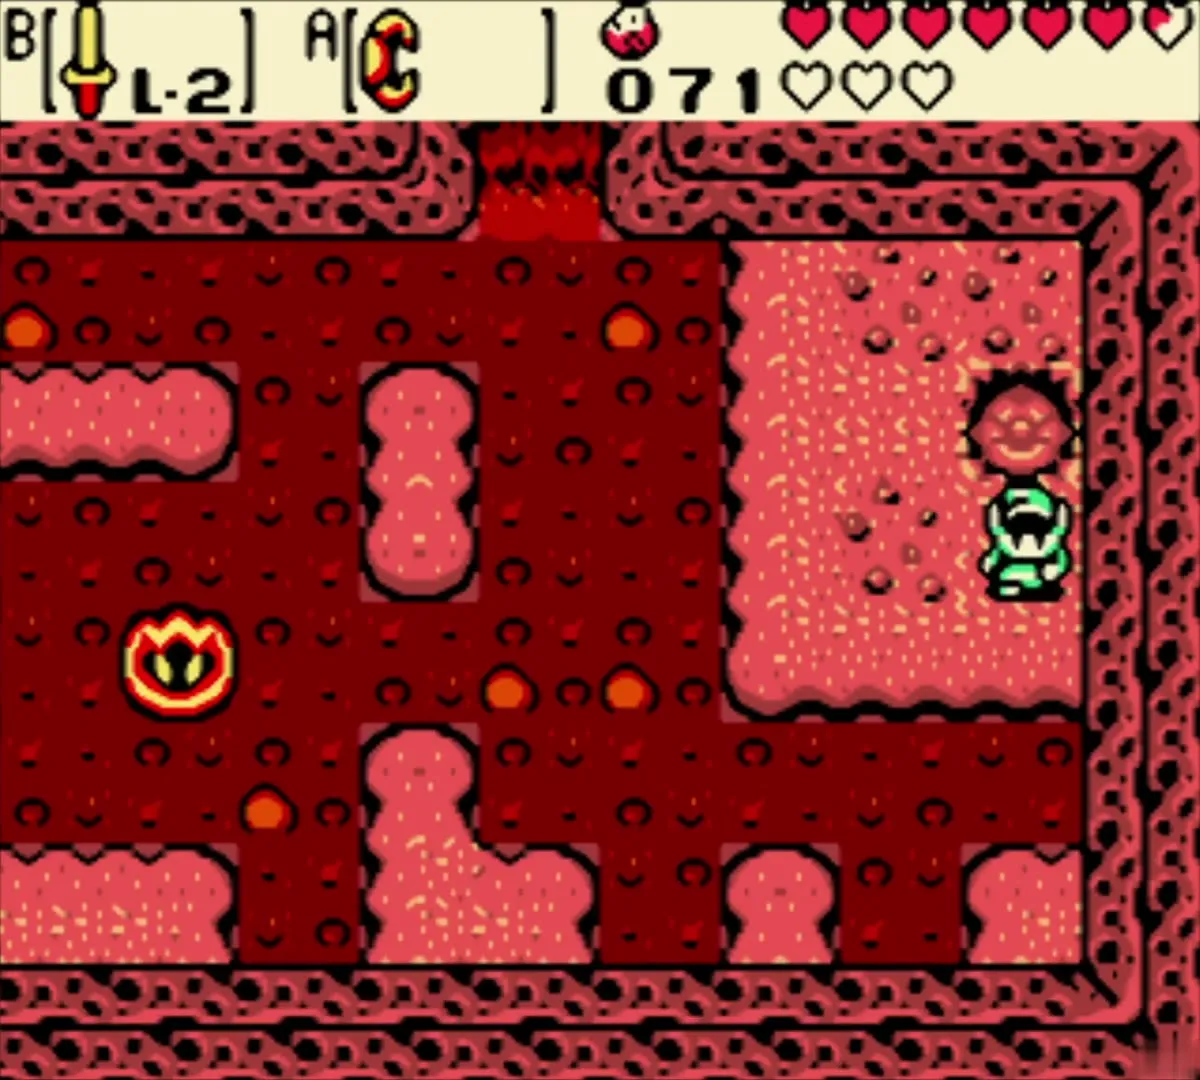
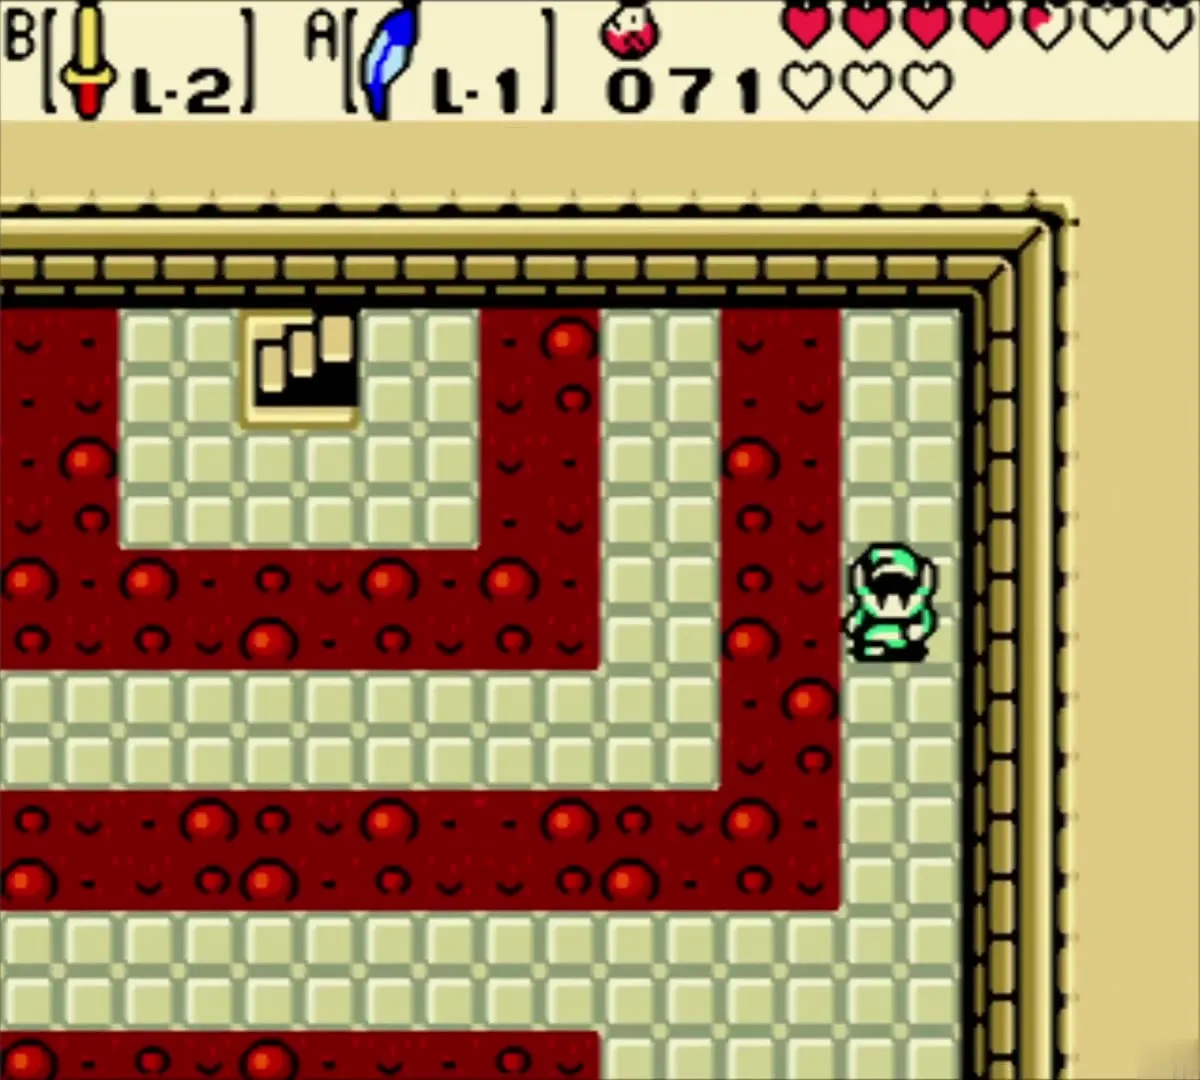
Ordinary bombs cannot break the rock blocking the tower. Go south past the volcano and cross the lava lake with the Roc’s Feather. In the most remote corner, equip the Power Bracelet and lift the Bomb Flower. Once you have it, the flower becomes your item to use on the next target.


Hand the Bomb Flower to the Subrosians
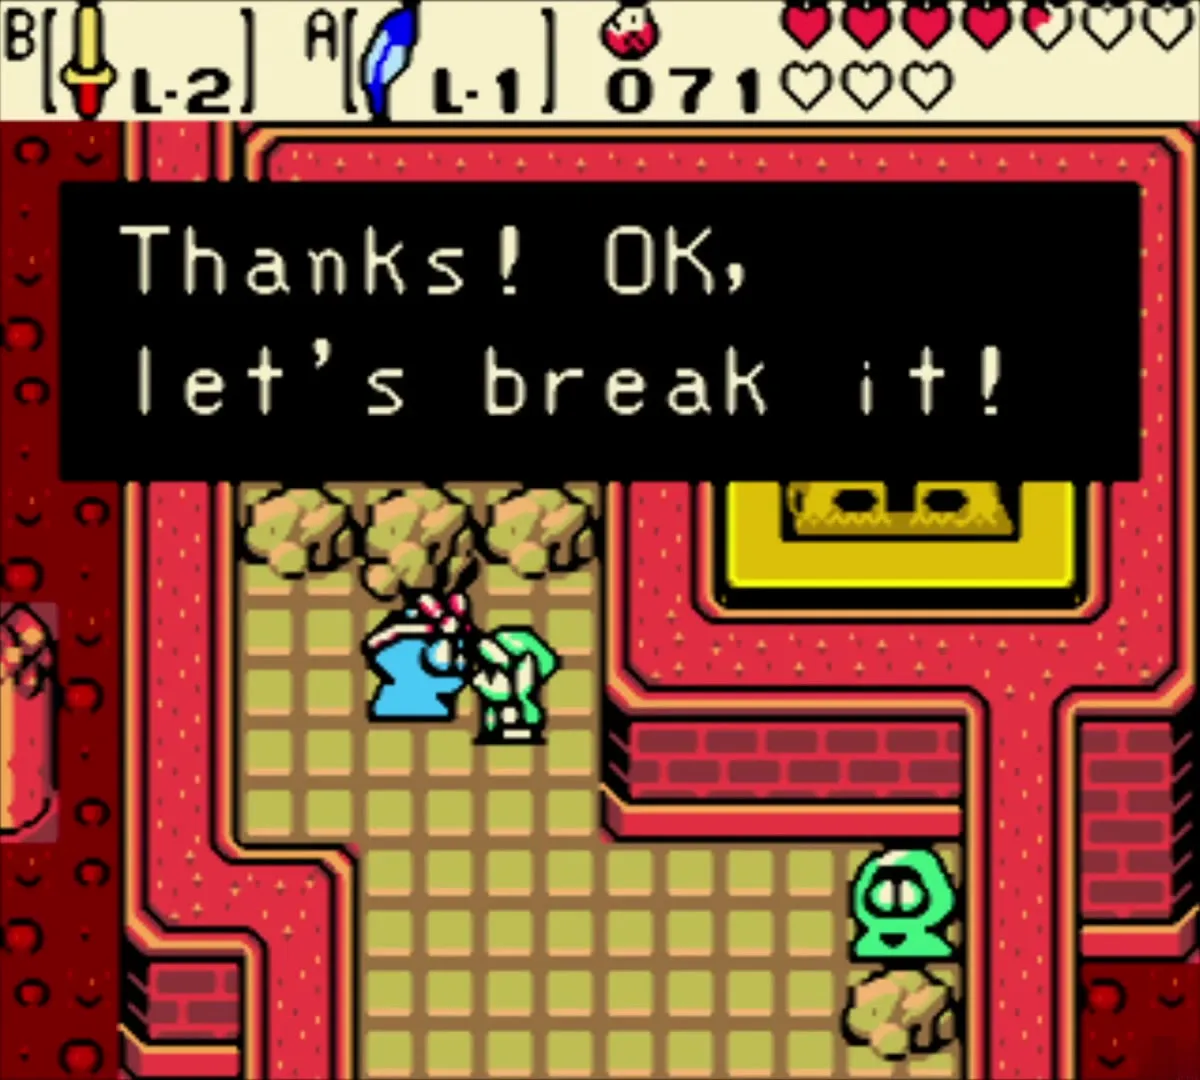
Take the flower to the Subrosian smiths near the Smithy. They are delighted, say that they will break the ore with it, and do so in one blast. Walk out of the Smithy and follow the lava path to the Temple of Seasons, which is the way to the Power of Autumn.

Receive the Power of Autumn
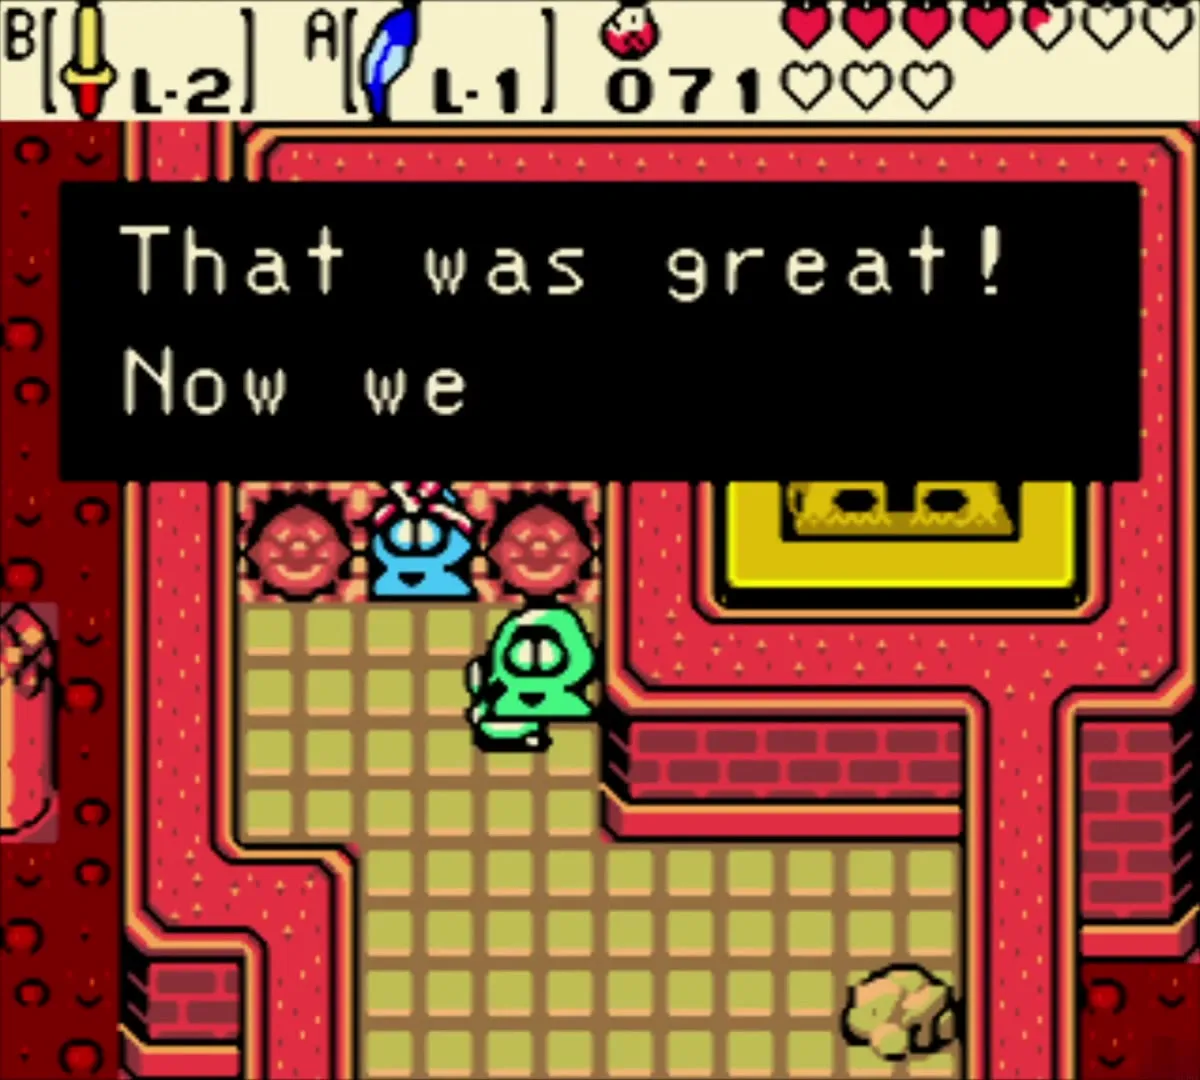
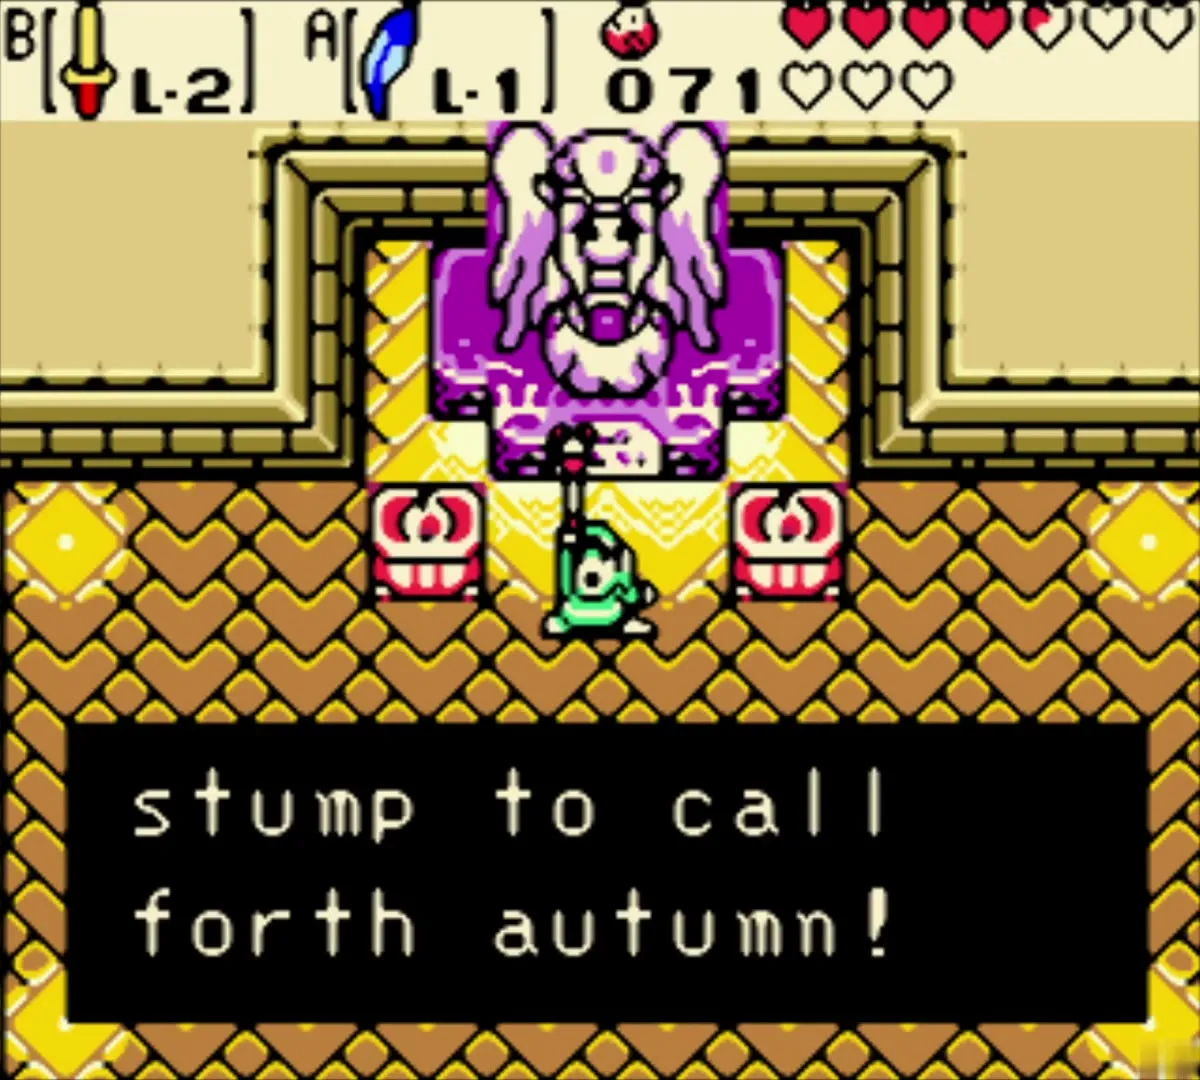
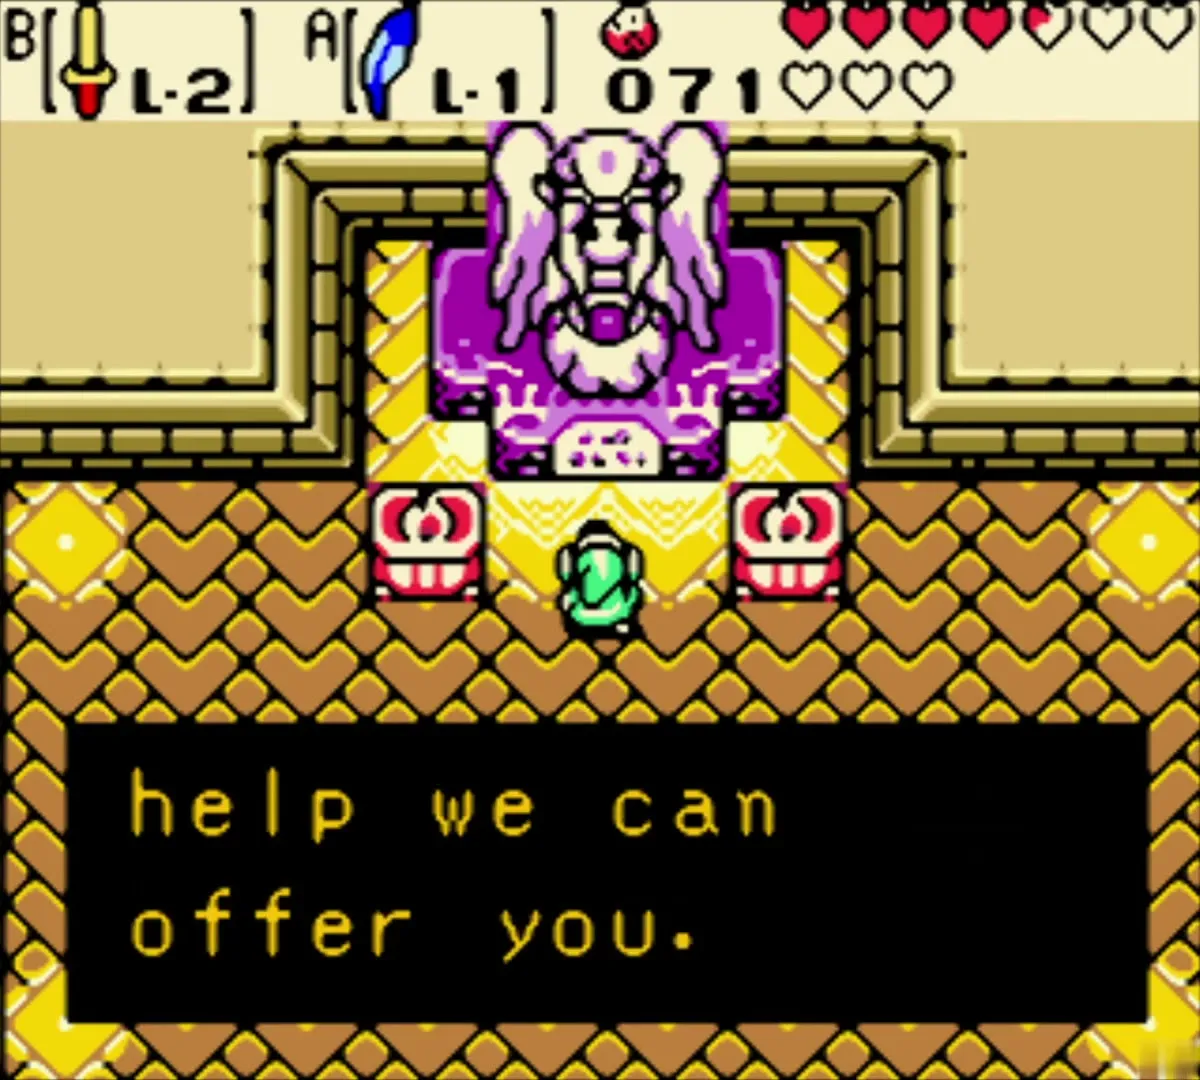
Cross the lava rivers with the Roc’s Feather and step into the hall with four red pedestals. The Spirit of Autumn speaks to you, and then grants you the power of autumn. The Rod of Seasons now carries the powers of all four seasons, so climbing a stump can set autumn anywhere the Rod reaches.


The X-Shaped Jewel and the autumn fields
Clear the island with the Black Beast
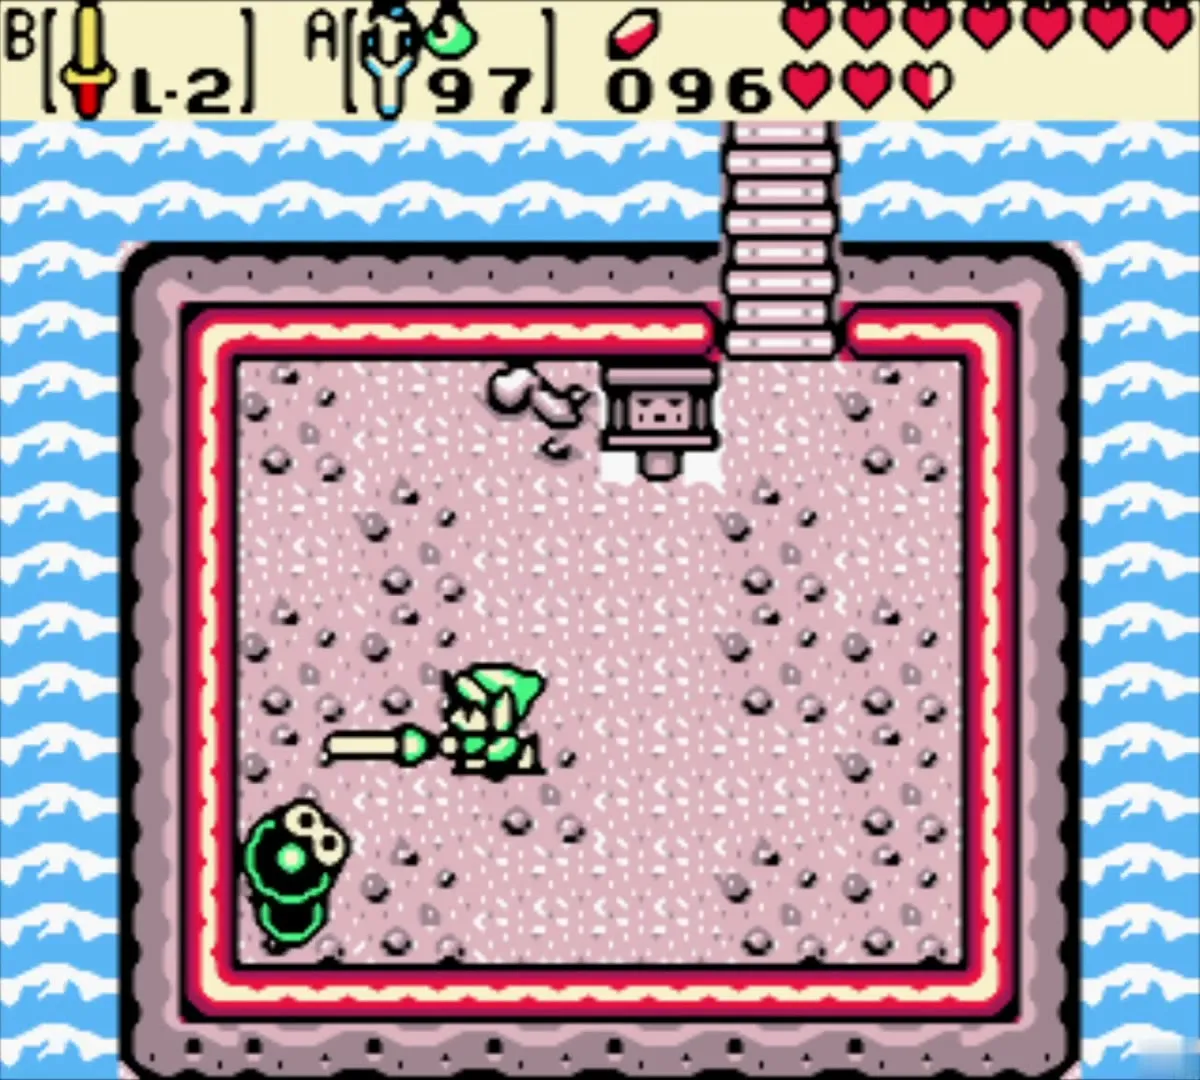
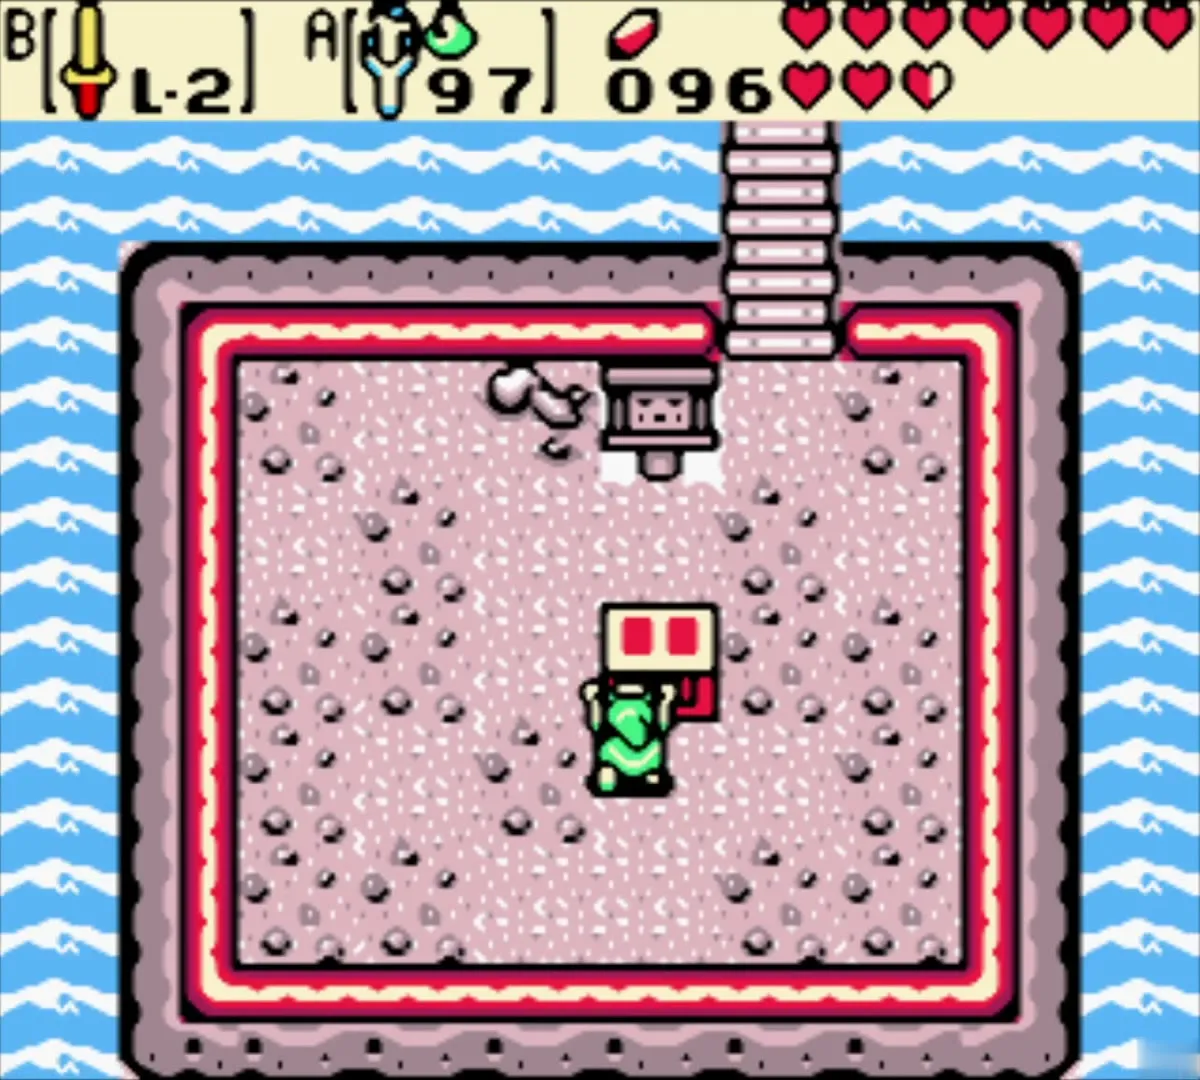
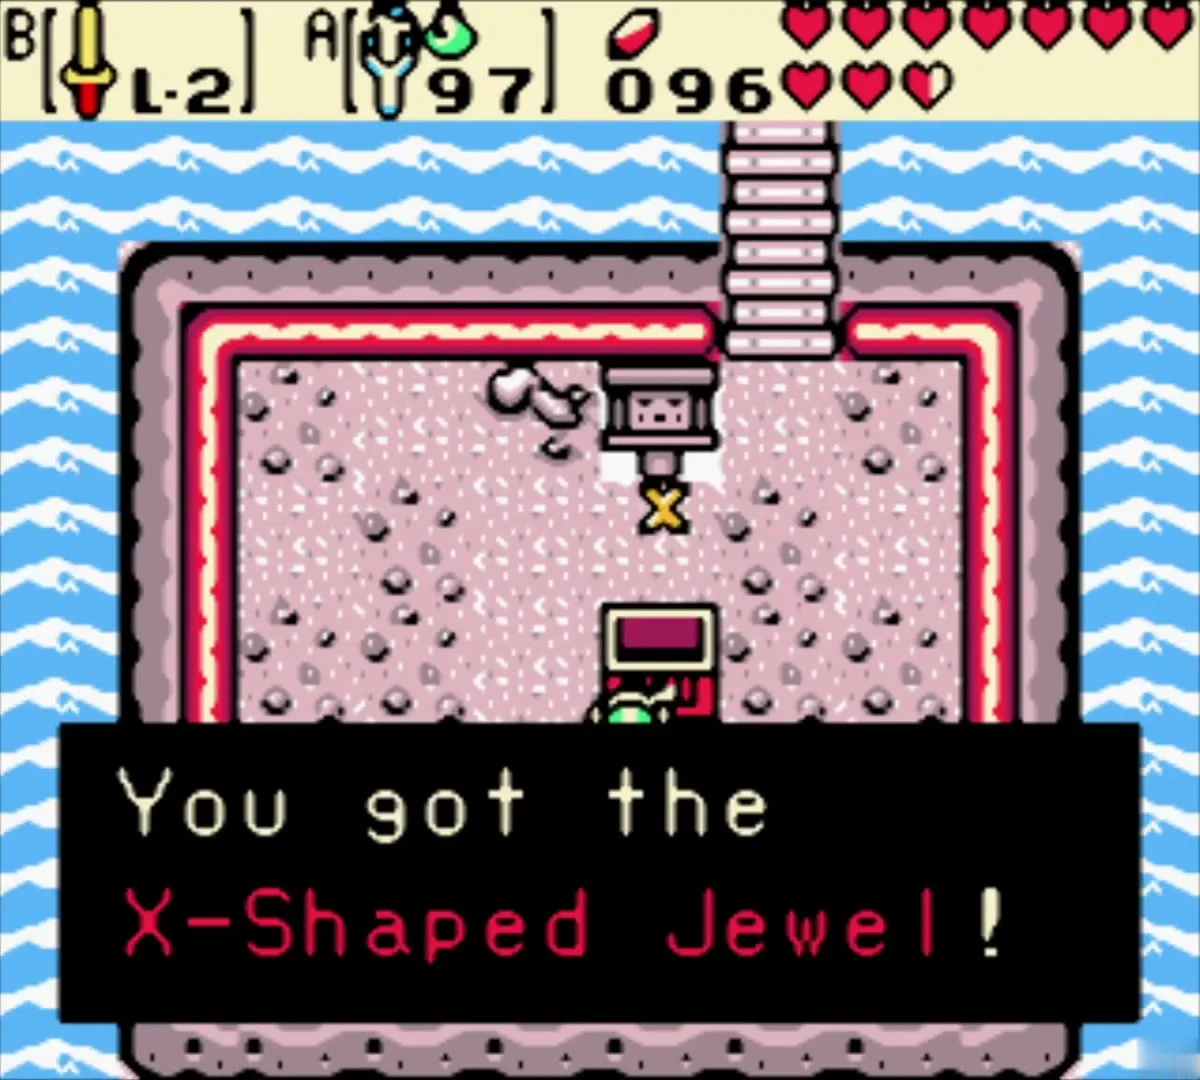
On the island chest room, a plaque says the Black Beast lives there. Defeat it, then open the chest to take the X-Shaped Jewel, one of the four jewels that the Tarm Ruins gate needs.
Take the Gale Seed to Spool Swamp
Use a Gale Seed to warp from Horon Village to Spool Swamp. Walk to the lake shore, swim across the blue water, and climb the stairs on the far side. From there the route returns through the autumn fields to Holodrum’s lake.
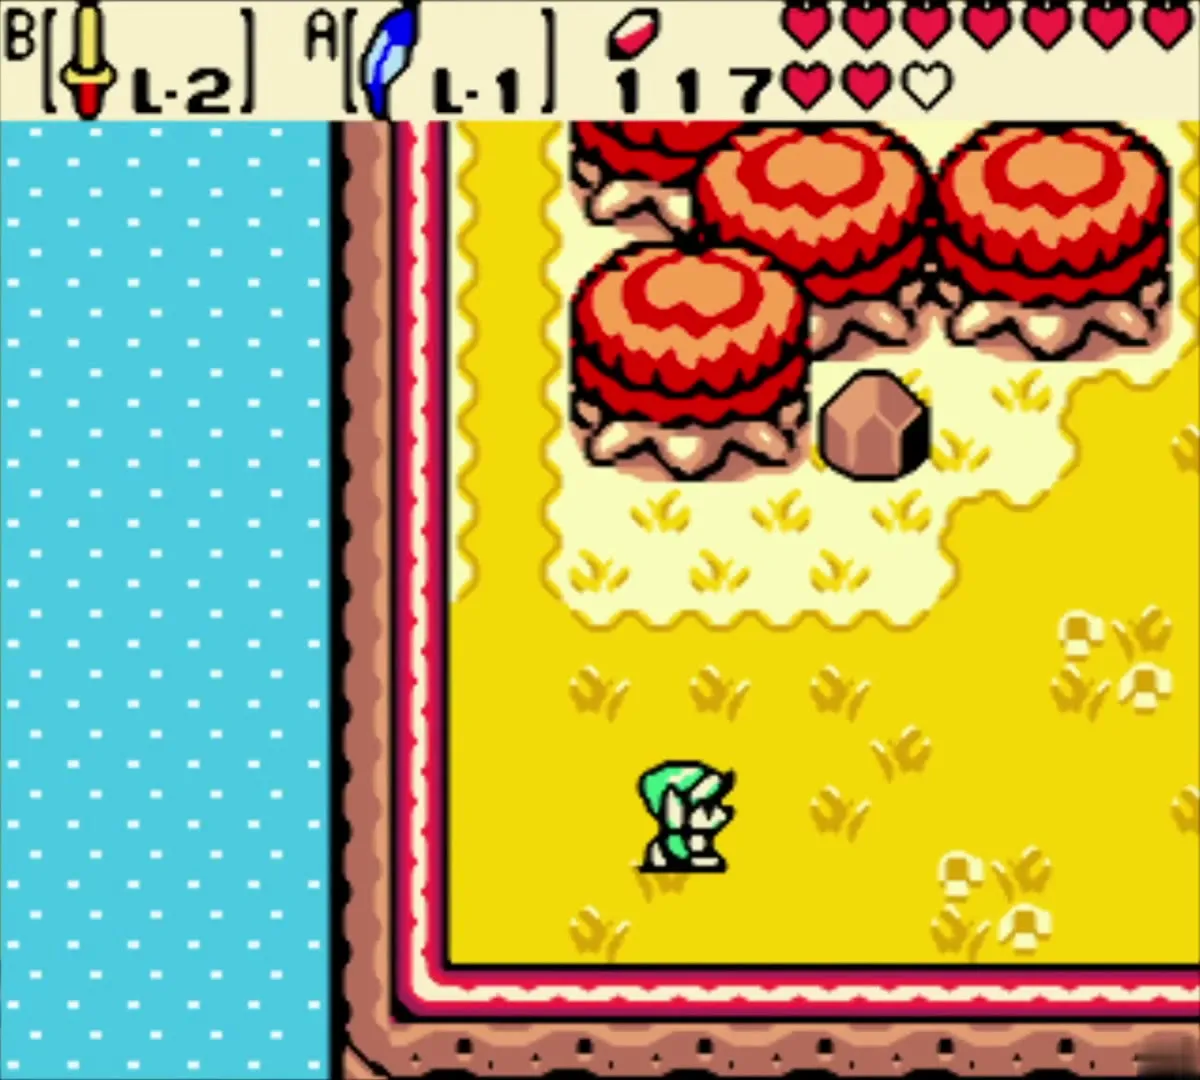
Eyeglass Lake in summer: the Piece of Heart
Change the stump to summer
Find a tree stump on the summer meadow beside the water and use the Rod of Seasons to change the season to summer. The water drops back, and the sandy shore becomes walkable. Follow the sand to the rocks at the water’s edge.


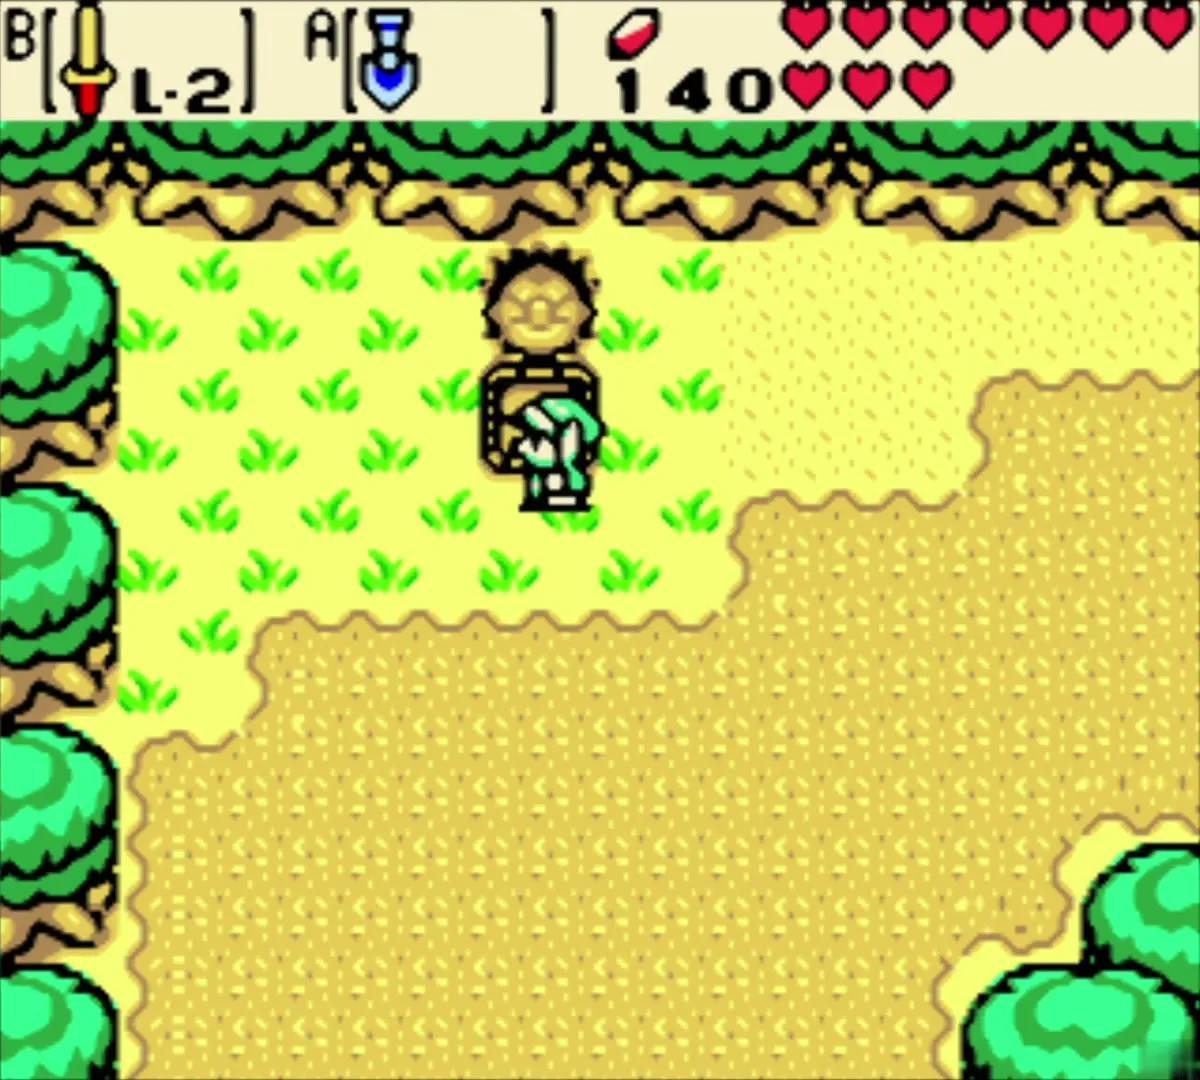
Enter the cave and take the Piece of Heart
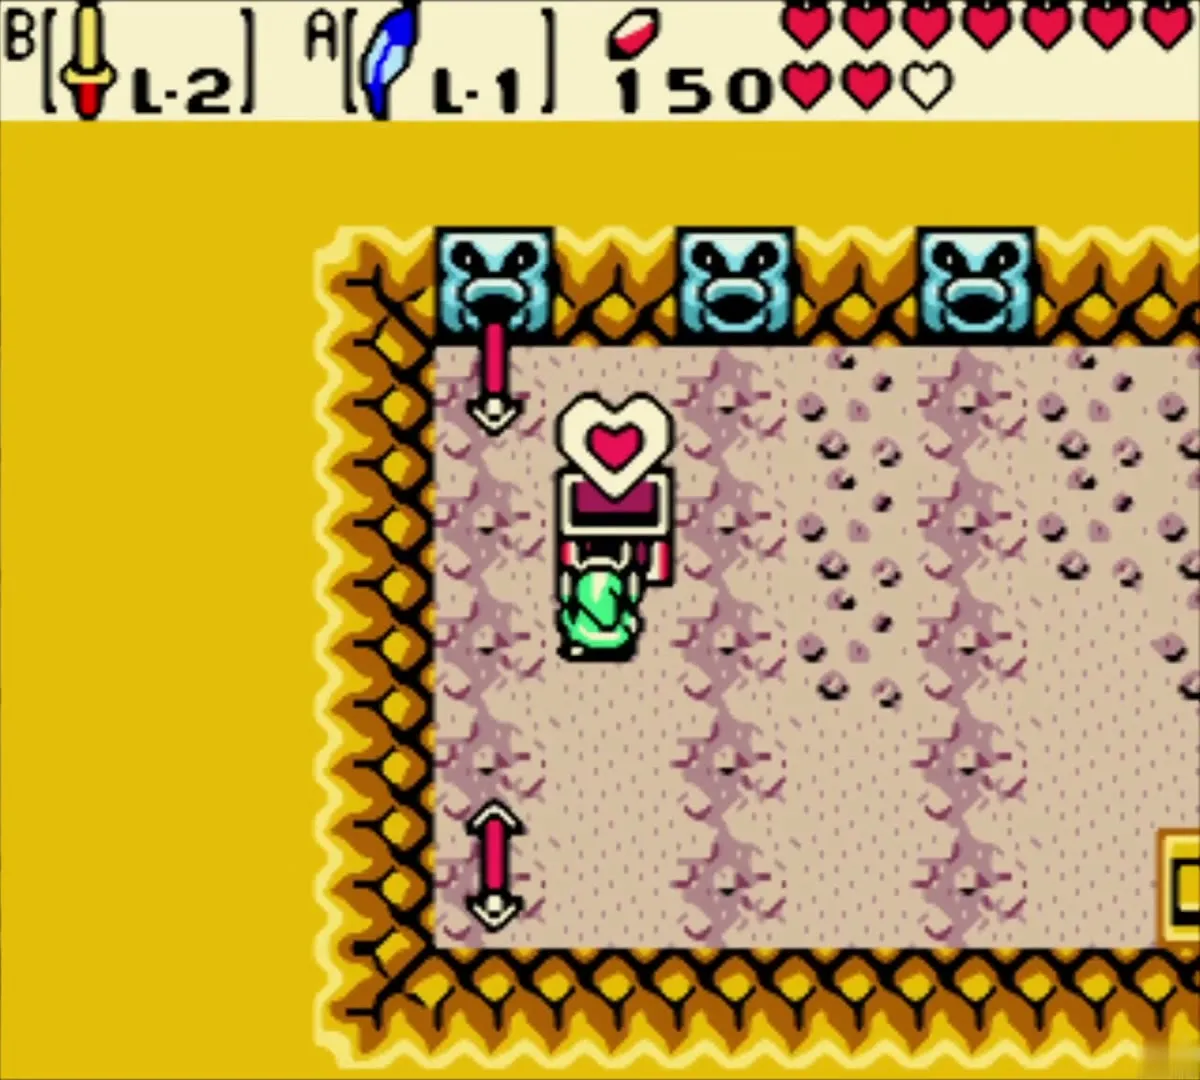
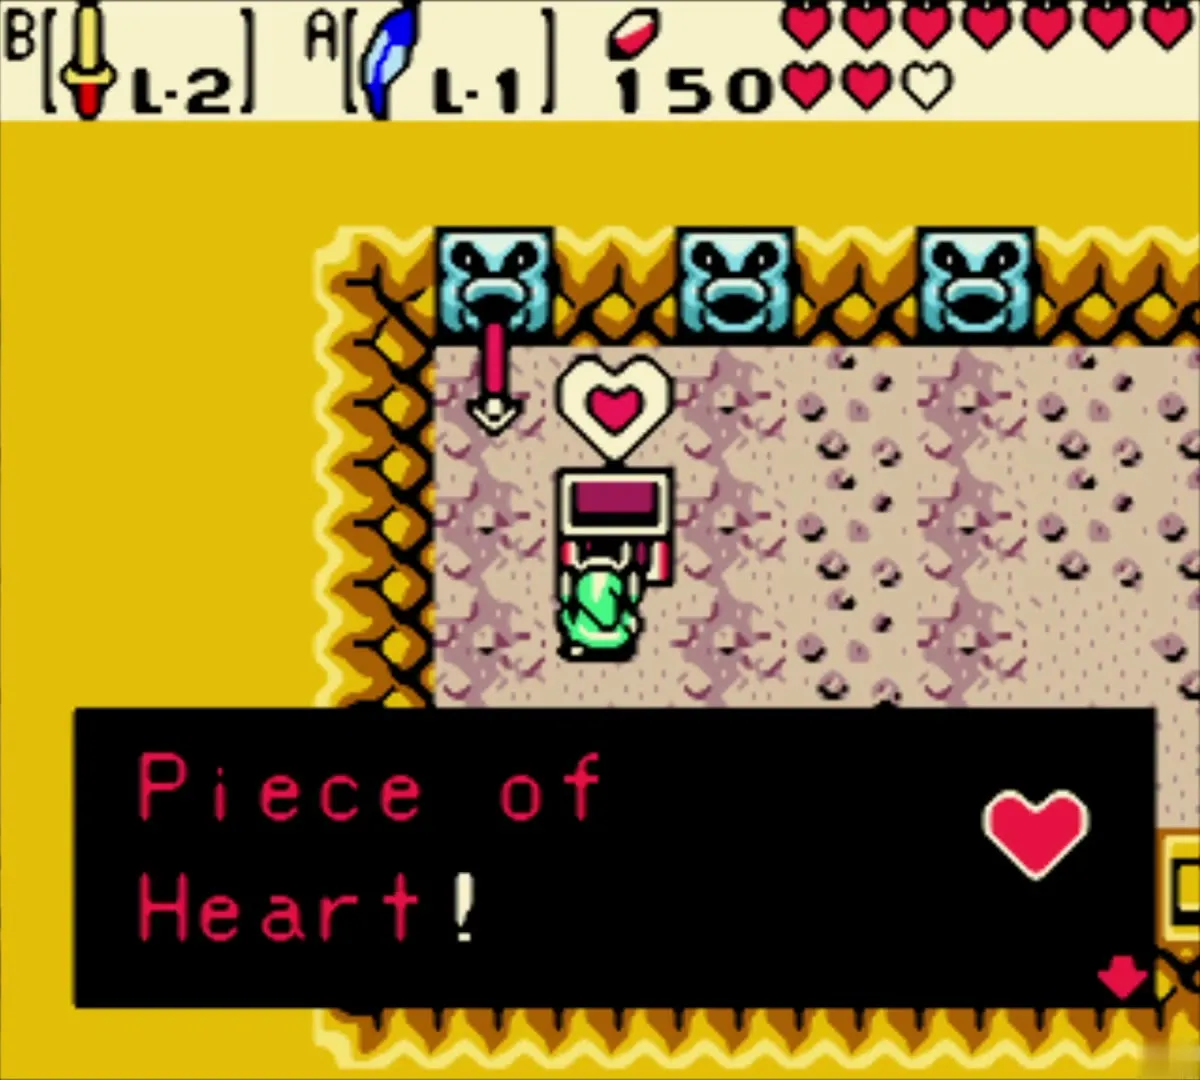
Walk into the cave with gold walls and blue statues at the edge of the sand. The chest inside holds a Piece of Heart. Open it. It is the fourth piece of a set, so the game tells you that four pieces make a Heart Container, and your health bar grows by a full heart.

Reach the entrance of Unicorn’s Cave
Switch to autumn at the stump
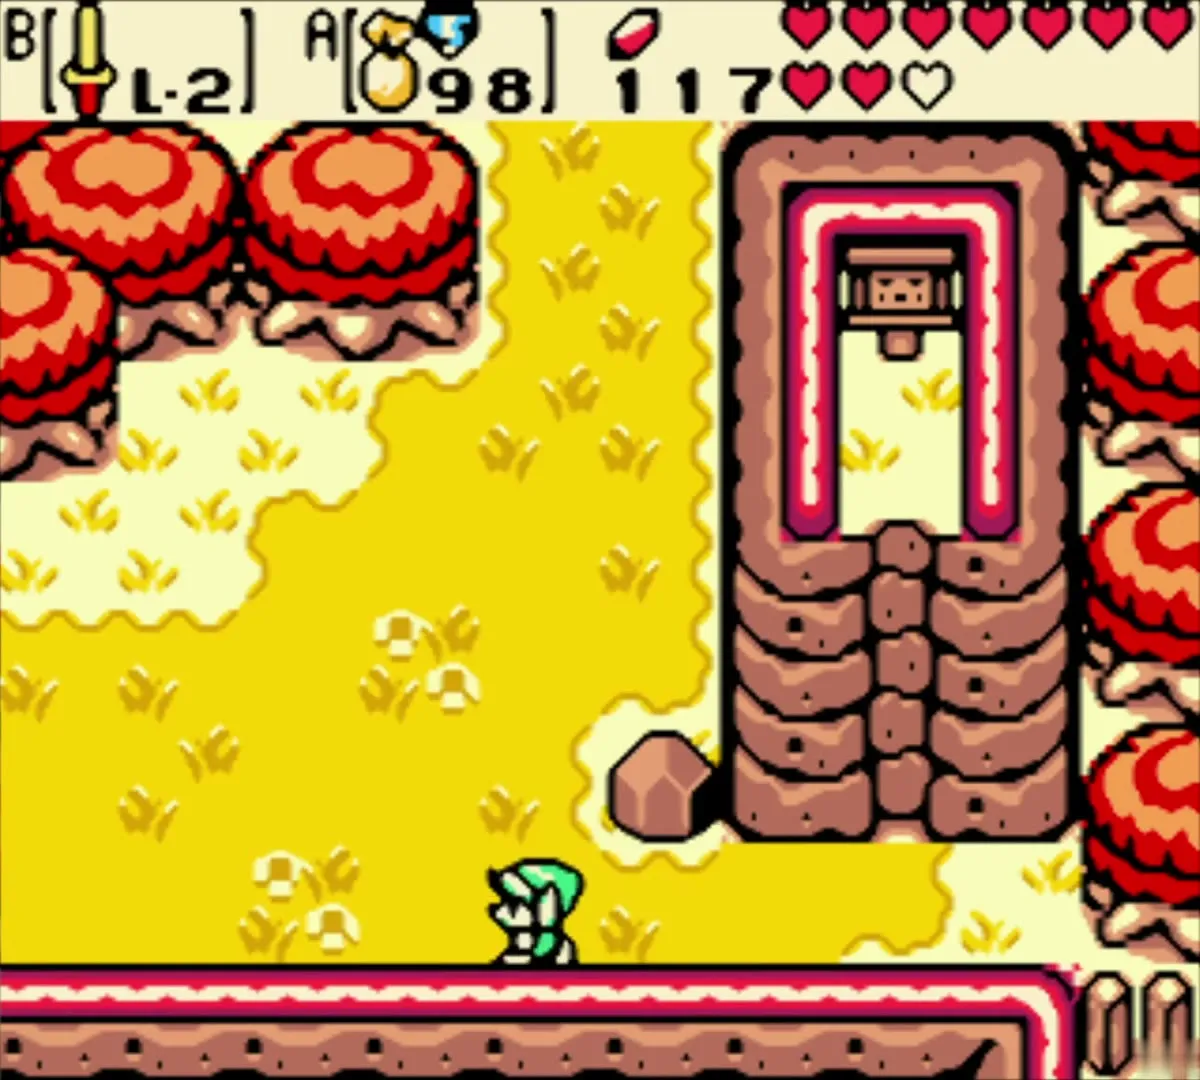
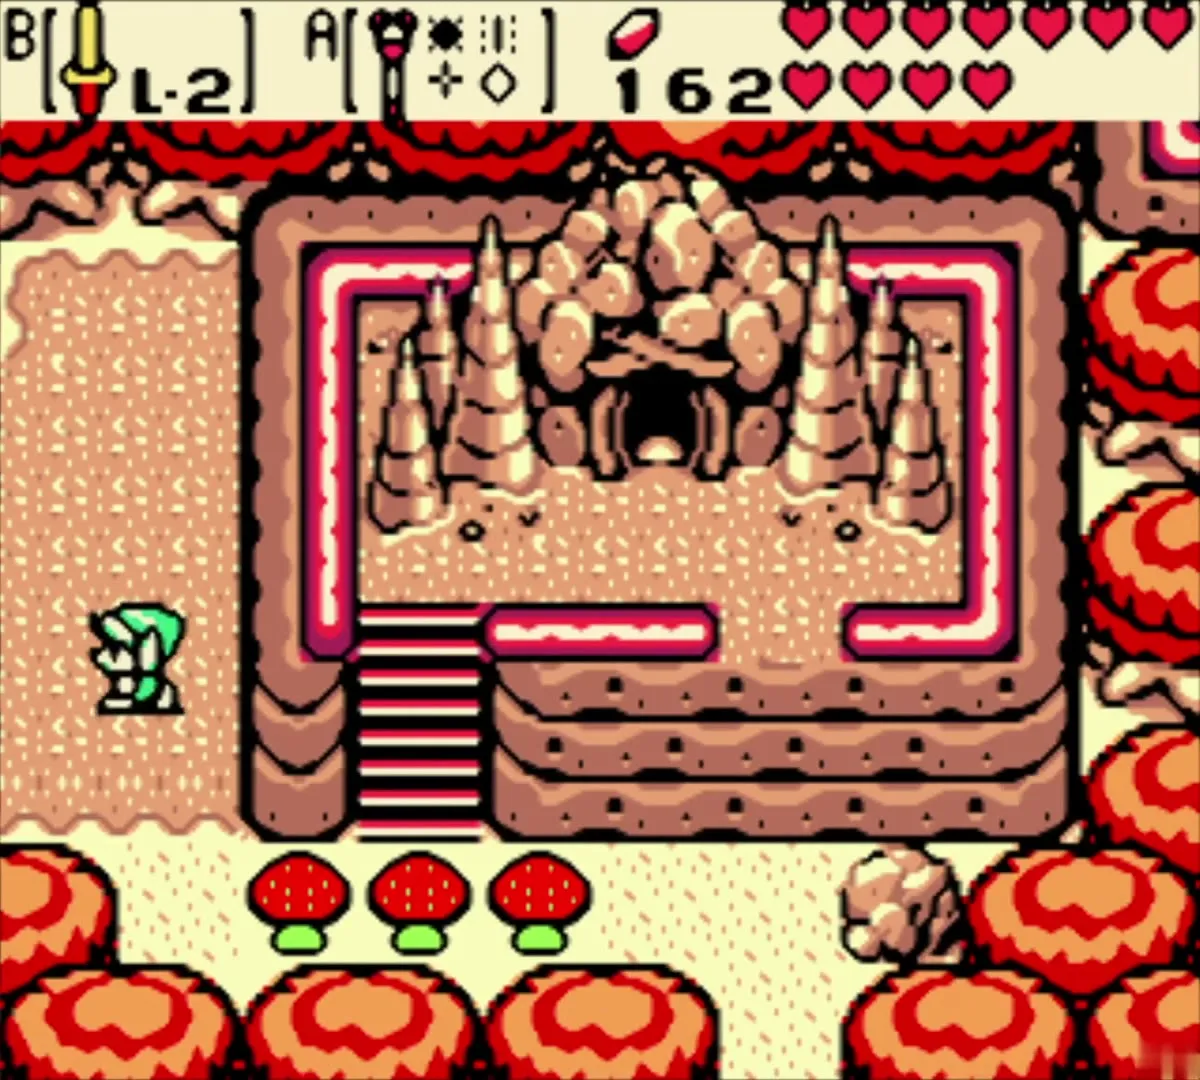
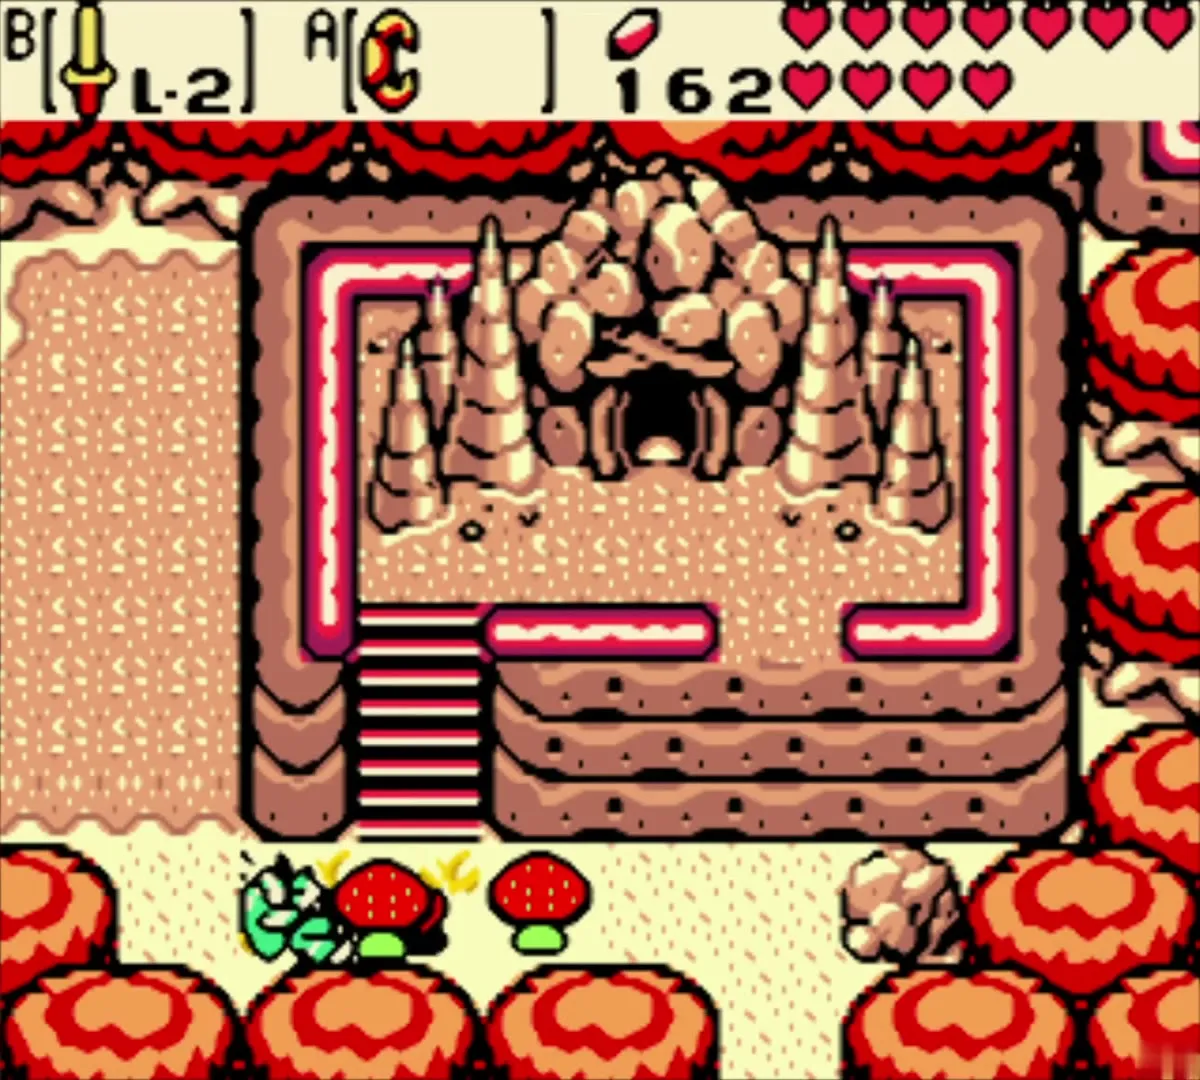
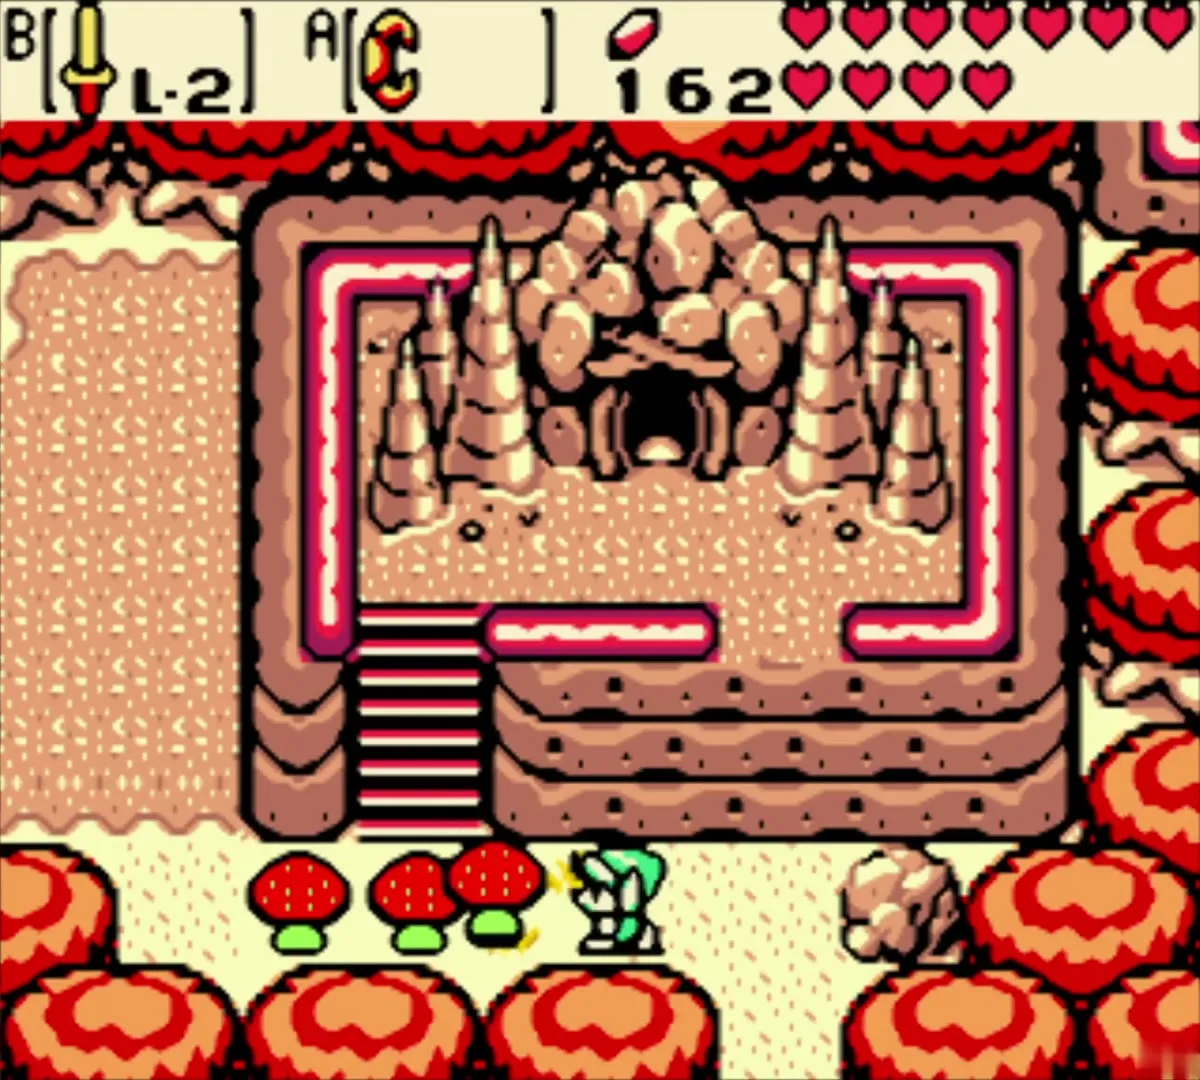
Back in the open country, use the Rod on a tree stump to call autumn. The red mushroom trees and the orange ground appear. Walk through the autumn fields past the rocky cave entrance with stalagmites and step up to the entrance.
Enter the dungeon doorway
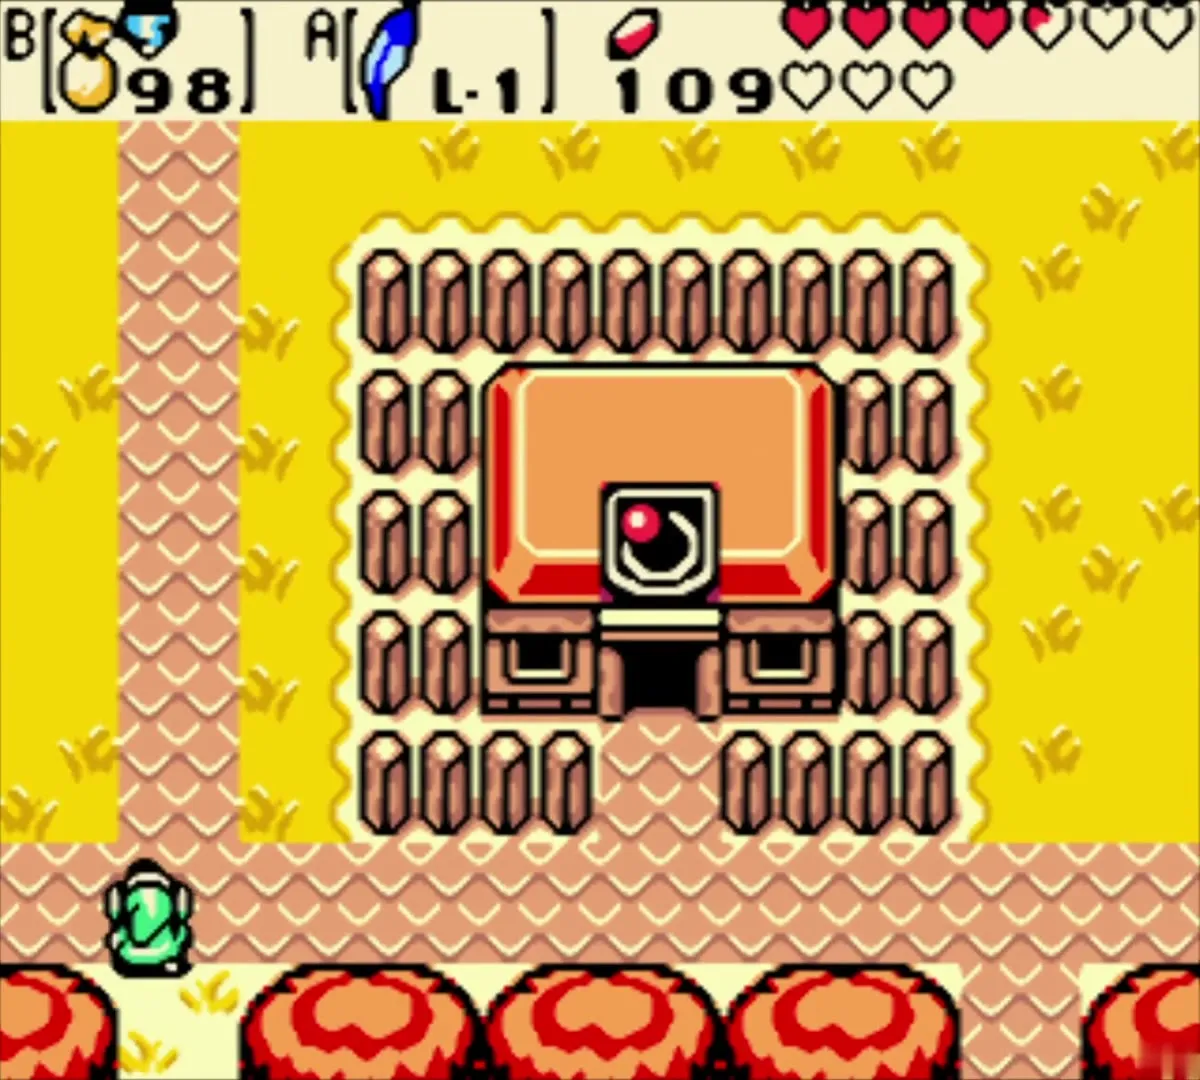
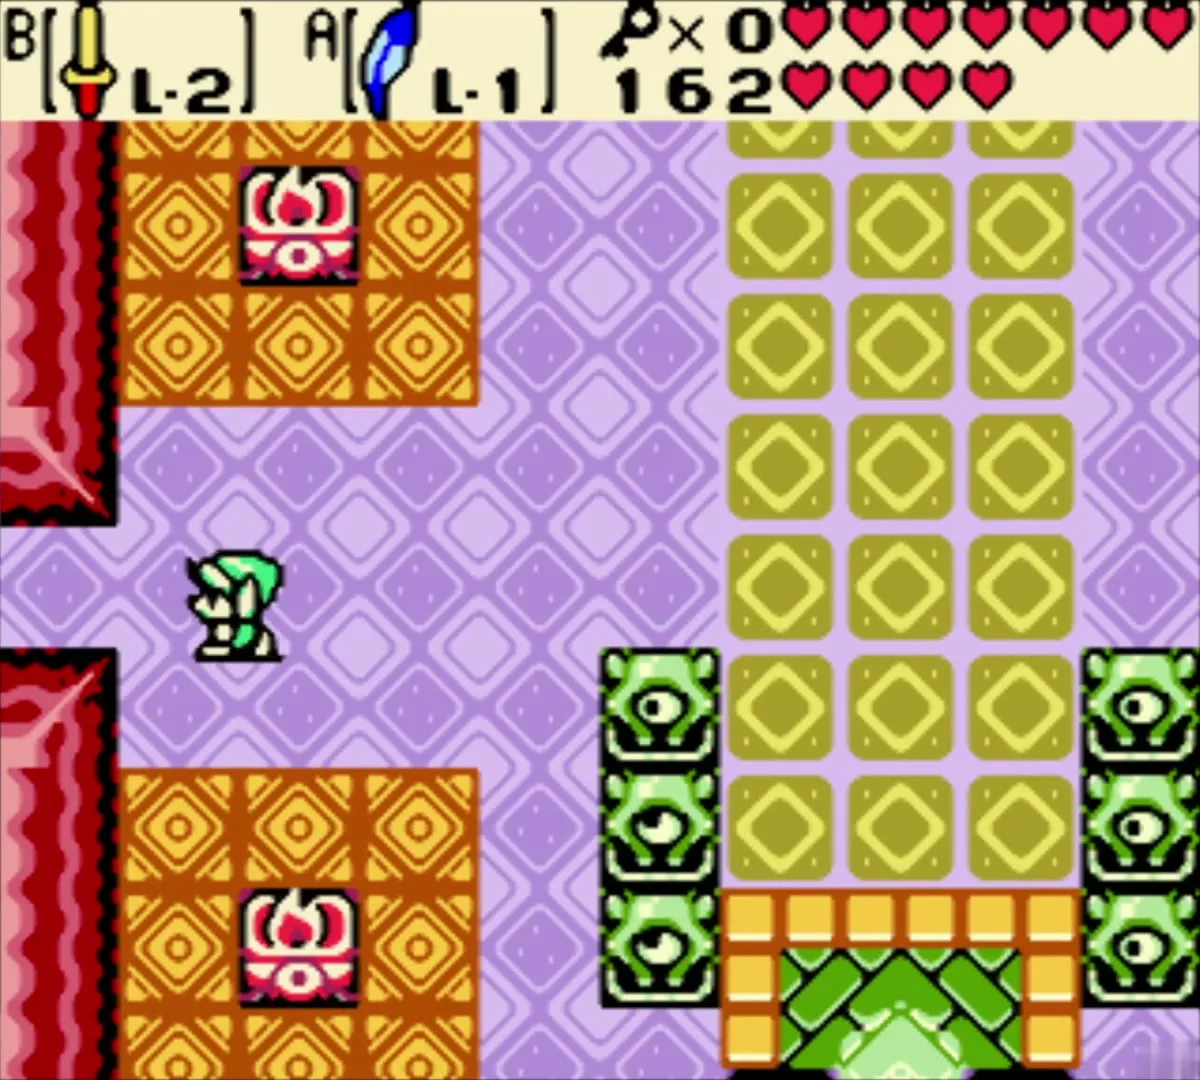
The dungeon entrance is a purple and orange room with green statues at the door. Step inside to end this chapter. The next chapter, Unicorn’s Cave, begins from this doorway.

Chapter checklist
| Type | Name | Where |
|---|---|---|
| Season power | Power of Autumn | Spirit of Autumn, Temple of Seasons, Subrosia |
| Key item | Bomb Flower | Subrosian lava lake, lifted with the Power Bracelet |
| Jewel | Square Jewel | Chest on the ice-tile island in a water room, reached after the winter stump |
| Jewel | X-Shaped Jewel | Island chest room, after defeating the Black Beast |
| Upgrade | Seed Satchel (99) | Horon Village shop, members’ room, 300 Rupees |
| Item | Treasure Map | Horon Village shop, members’ room, 200 Rupees |
| Gasha | Gasha Seed (bought) | Horon Village shop, members’ room, 300 Rupees |
| Gasha | Gasha Seeds planted (5) | Lake island, lake shore, autumn red mounds, autumn red house, winter lake shore |
| Gasha | Gasha Nut rings (2) | Sandy Gasha tree; winter lake shore Gasha tree |
| Ring | Rings appraised (7) | Vasu Jewelers, Horon Village; 20 Rupees each |
| Ring | Unappraised rings (2) | Pool room chest; pond cave chest on the autumn peninsula |
| Piece of Heart | Piece of Heart (completes a container) | Chest in the drained summer lake cave |
| Rod | Rod of Seasons (all four seasons) | Spirit of Autumn, Temple of Seasons |
