





















Oracle of Seasons 100% Completion Walkthrough26 chapters
- Getting Started in Holodrum and the Hero’s CaveImpa’s request, Mayor Ruul’s Gasha Seed, Vasu’s Ring Box, the Hero’s Cave ledge chest, shop Bombs and the Gnarled Key.
- Gnarled Root Dungeon (Dungeon 1)Keys, map, compass, Seed Satchel, Boss Key, Aquamentus and the Essence of Fertile Soil.
- Subrosia, the Tower of Winter and the Rod of SeasonsGasha Nuts, Boomerang, Ore Chunks, the Rod and the Ghastly Doll.
- Woods of Winter and the ShovelPay the old man, bomb the 30 Rupee cave, get the Shovel from Holly, find the Mystery Seed tree.
- Snake’s Remains (Dungeon 2)Compass, rupee room, Power Bracelet, Dungeon Map, bomb merchant, Facade, Dodongo boss, Heart Container and Gift of Time.
- Farore’s Secrets and Princess Zelda’s RescueThree Pieces of Heart, a Gasha Nut, Vasu’s rings, the L-2 Ring Box, Zelda and the Blue Joy Ring.
- Spool Swamp and the Floodgate KeyRicky’s Gloves, the Iron Pot trade, Pegasus Seeds, the Floodgate Key and freeing Dimitri for his flute.
- The Tower of Summer and Rosa’s RibbonStar-Shaped Ore, Rosa’s Ribbon, Subrosian Market buys (Heart Piece, Bomb Bag), the Spirit of Summer.
- Poison Moth’s Lair (Dungeon 3)Both Small Keys, Roc’s Feather, Compass, Map, Gasha Seed, Omuai, Boss Key, Mothula and the Bright Sun Essence.
- Natzu, Sunken City and Zora’s FlippersDimitri’s swim, Gale Seeds, Master’s Plaque, Master Diver and the Pyramid Jewel in Oracle of Seasons.
- The Hall of Secrets and the Noble SwordFarore’s secrets, Bombchu, the Noble Sword, Advance Shop rings, Vasu’s appraisals and a first Hero’s Cave visit.
- Great Moblin’s Keep and Goron MountainBomb-catching boss fight, Heart Piece, Tokay secret, bigger Ring Box, 300 Rupees and a Gasha Seed spot.
- The Strange Brothers, the Tower of Spring and Mt. CuccoWin back Roc’s Feather from the Strange Brothers, Spring power, Moosh, Heart Piece, Dragon Key and Dungeon 4.
- Dancing Dragon Dungeon (Dungeon 4)All five Small Keys, Map, Compass, Agunima, Slingshot, Boss Key, Gohma and the Essence of Soothing Rain.
- The Tower of Autumn and Eyeglass LakeGasha Seeds, ring appraisals, Seed Satchel, Treasure Map, Bomb Flower and Power of Autumn.
- Unicorn’s Cave (Dungeon 5)Compass, five Small Keys, Magnetic Gloves, Syger and Digdogger, Heart Container and Nurturing Warmth Essence.
- The Four Jewels, Tarm Ruins and the Lost WoodsRed Ore, Iron Shield, Round Jewel, Vasu’s rings, the Lost Woods seasons and the Master Sword.
- Ancient Ruins (Dungeon 6)Dungeon Map, Compass, three Small Keys, Magical Boomerang, Vire, Manhandla, Heart Container and Blowing Wind.
- Samasa Desert and the Pirate’s BellThe desert ring chest, the polished Rusty Bell and the way to Explorer’s Crypt.
- Explorer’s Crypt (Dungeon 7)Beat the Poe Sisters, get Roc’s Cape and the Boss Key, defeat Gleeok and claim the Seed of Life essence.
- Temple Remains and the Volcano EruptionMaku Tree secrets, Vasu ring appraisals, the Subrosian volcano eruption and the last Piece of Heart in the temple.
- Sword & Shield Maze (Dungeon 8)Compass, Dungeon Map, Hyper Slingshot, Frypolar, Medusa Head and the Changing Seasons essence.
- The Huge Maku Seed, the Last Trades and the Hero’s CaveThe Goron Vase to Phonograph trade chain, Gasha Seed planting, and the linked Hero’s Cave chest trial.
- Side Quests and Collectibles Before Onox’s CastleGasha Nuts, Vasu’s rings, the Mirror Shield, the chest game, Maple and Biggoron’s Sword.
- Onox’s Castle and the Final BattleClear the castle rooms, beat Facade, buy the Mirror Shield, then defeat General Onox and free Din.
- The Linked Game FinaleBeat Twinrova and Ganon in the Room of Rites, then finish at the Maku Tree and find the Hero’s Secret.
| Covers | The island in North Horon where the Gnarled Root Dungeon stands (winter season, no season change needed) and the whole dungeon |
|---|---|
| Dungeon | Gnarled Root Dungeon (Dungeon 1): Seed Satchel with Ember Seeds, mini-boss the Goriya brothers, boss Aquamentus, Essence of Nature Fertile Soil |
| Rewards | Seed Satchel (20 Ember Seeds), 10 Bombs, Dungeon Map, Compass, Boss Key, 1 Gasha Seed, 1 ring (unappraised), Heart Container, Essence of Fertile Soil. Small Keys: 2 found and used. |
The Gnarled Root Dungeon is the first of the eight dungeons. You clear it for the Seed Satchel, the first Heart Container and the Essence of Fertile Soil. The short route: open the tree with the Gnarled Key, collect the two Small Keys, the Map and the Compass, ride the minecart to the Gasha Seed and the Bombs, beat the Goriya brothers, fetch the Seed Satchel, light the torches with Ember Seeds for the Boss Key, grab the ring, then fight Aquamentus.
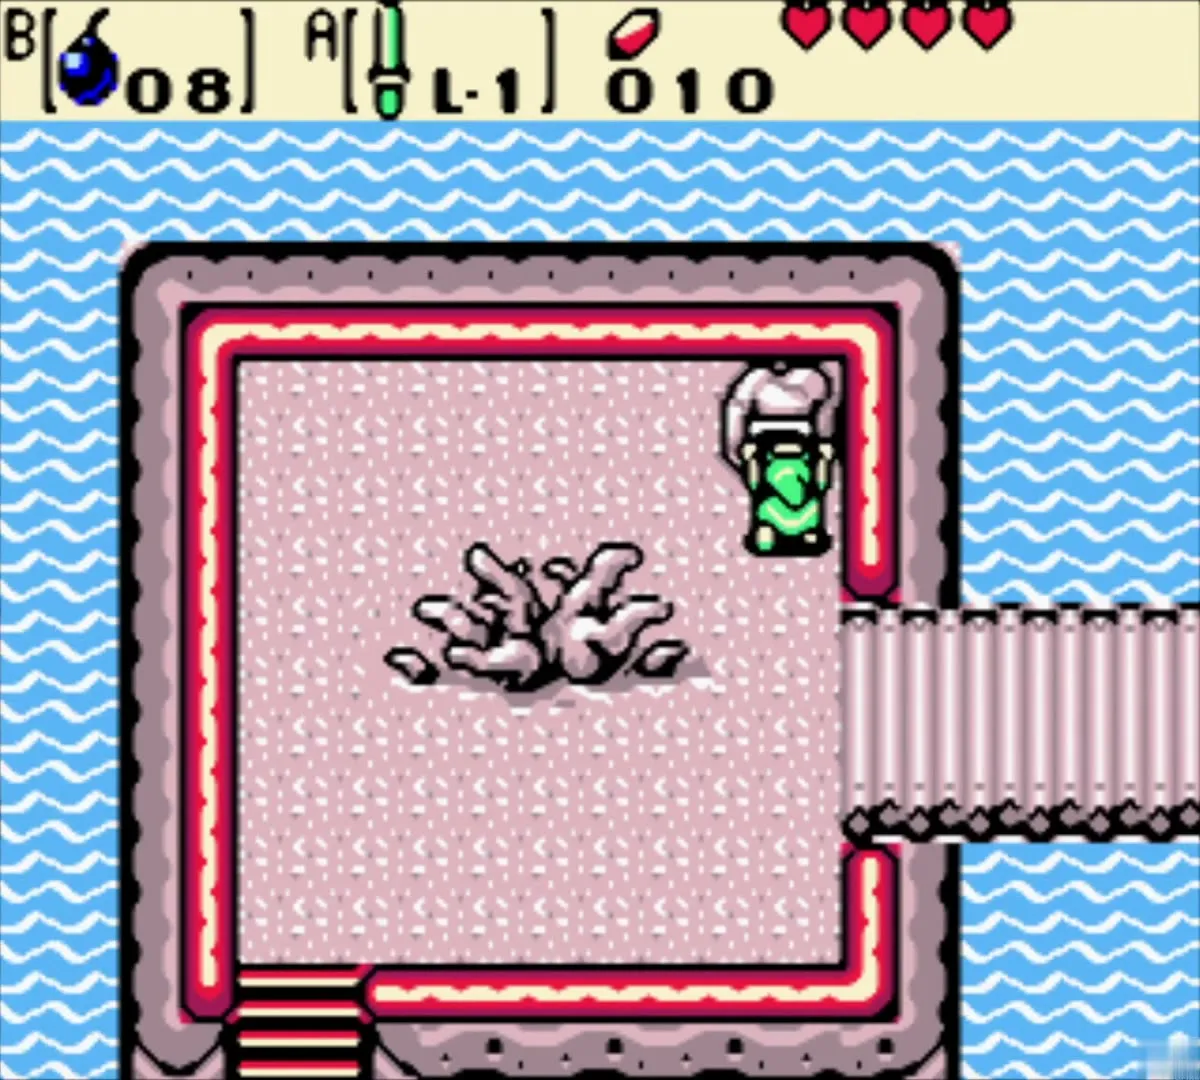
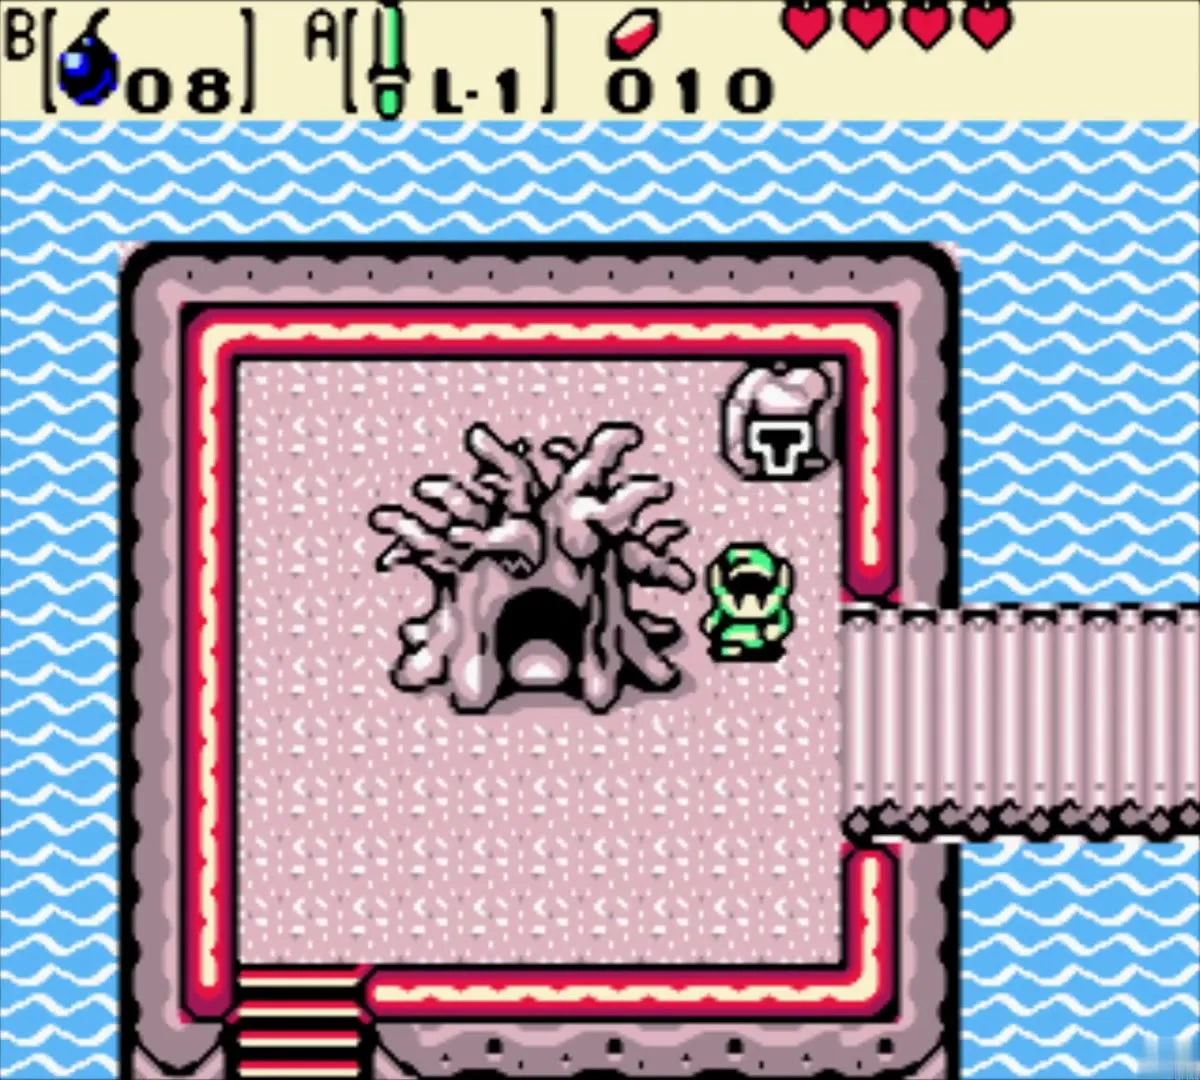
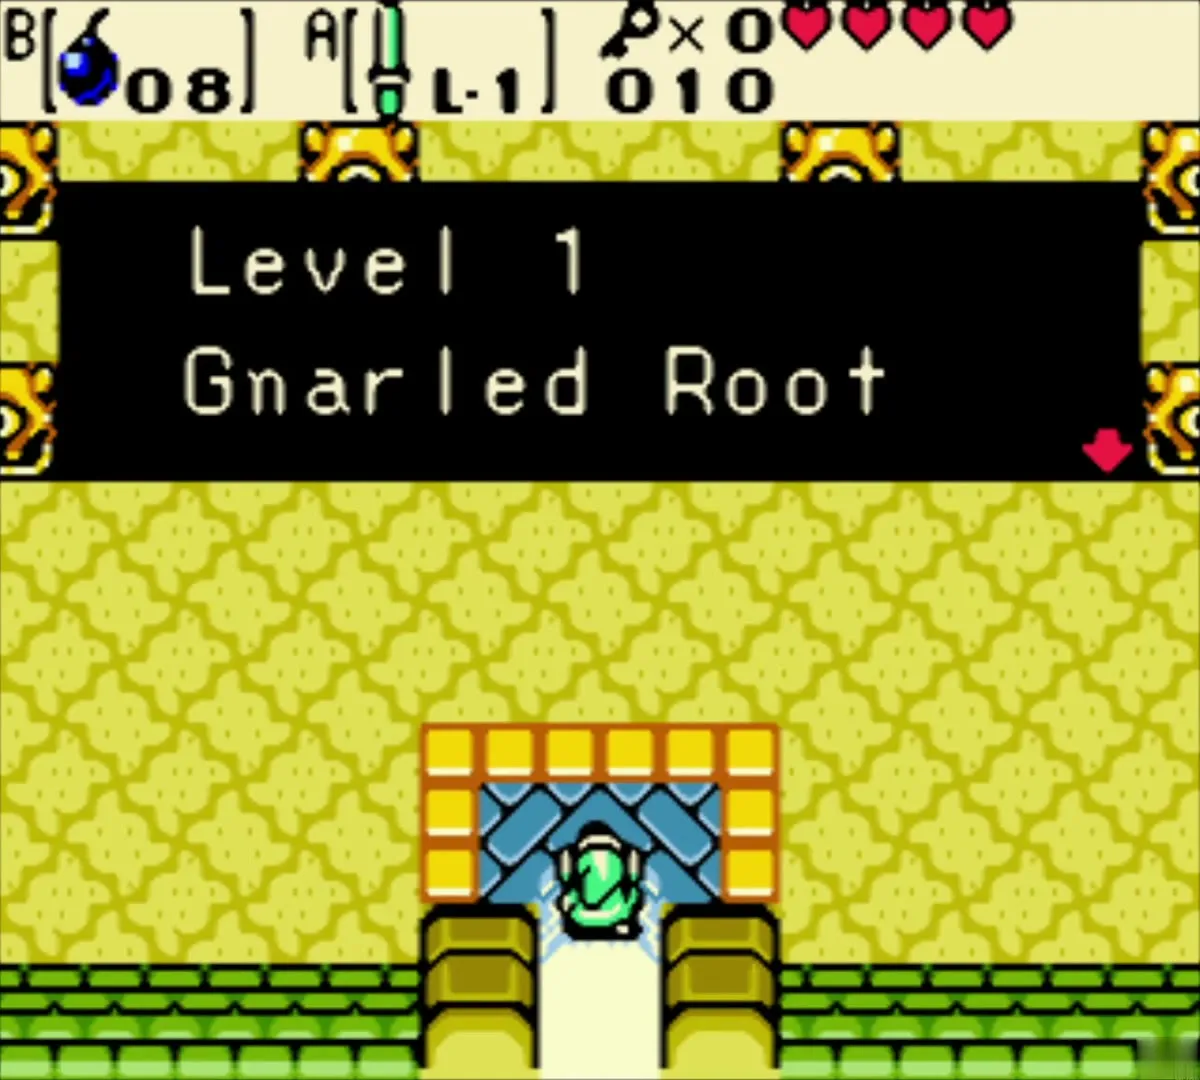
Table of Contents
Getting into the Gnarled Root Dungeon
Open the tree with the Gnarled Key
With the Gnarled Key from the Maku Tree, cross the bridge east of the lake to the small island in North Horon. It is winter, but you do not need to change the season. Walk up to the withered tree in the middle of the island and use the key on it. The trunk opens, and you can step inside to start the dungeon.

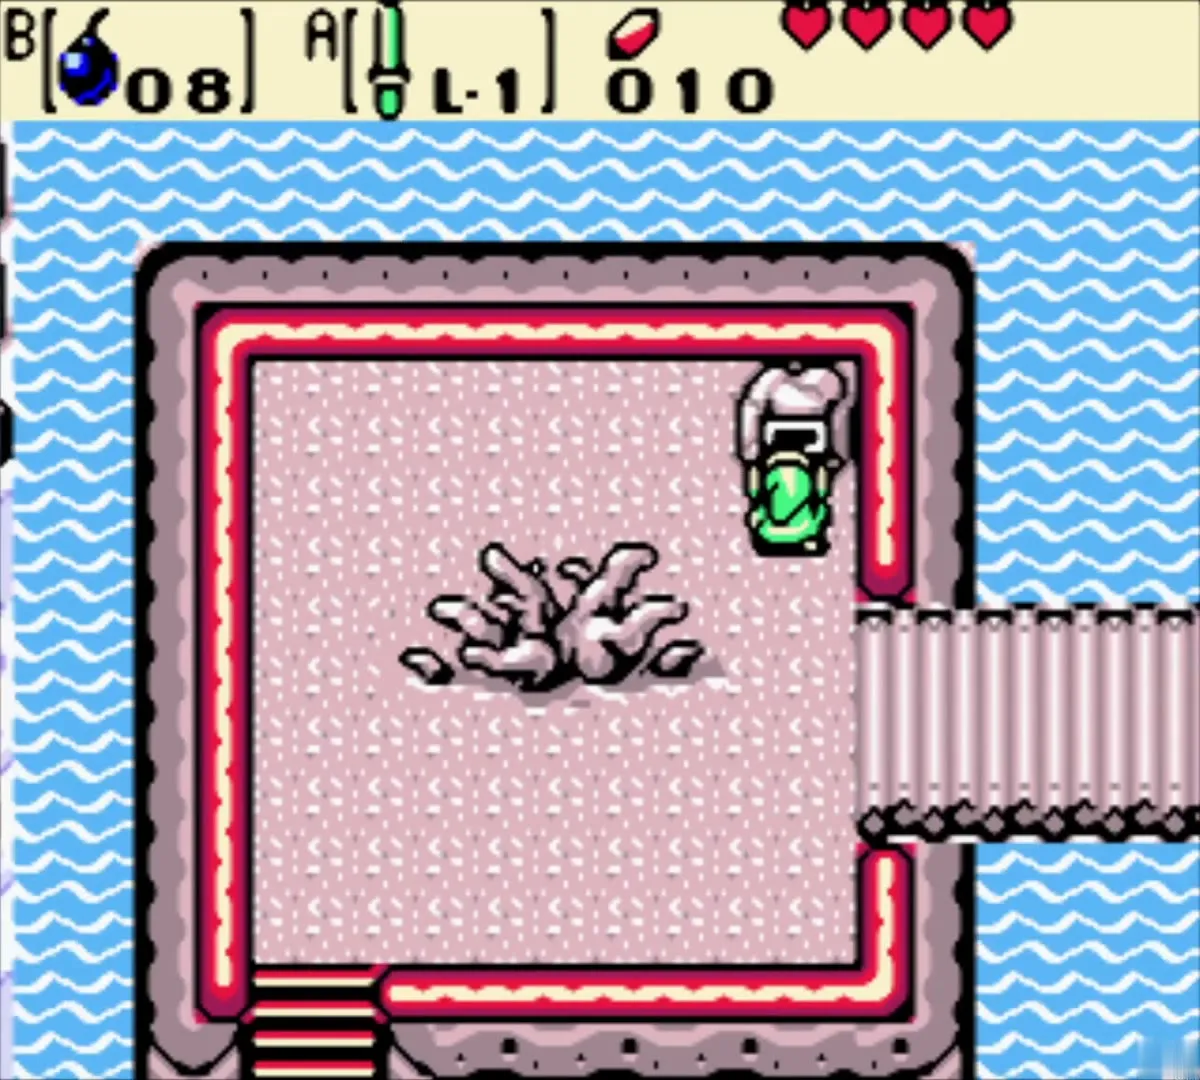
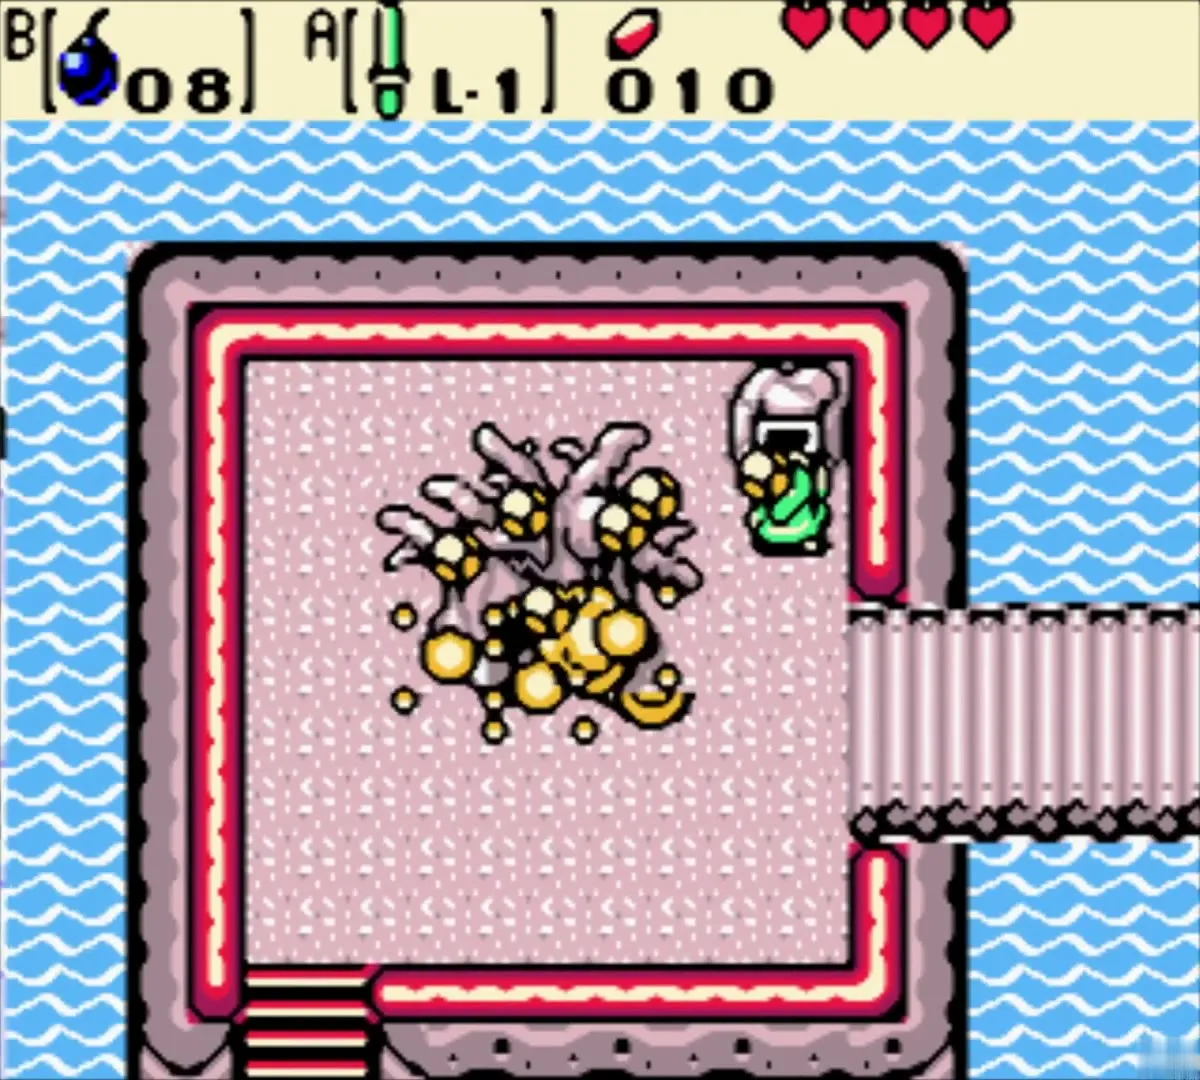
Dungeon: Gnarled Root Dungeon (Dungeon 1)
Entrance rooms and the first Small Key
Go north through the entrance room, which is only an introduction, and continue north through a room of statues and Keese. In the second room, push the upper-right of the four central blocks to open the doors. The grass there is a good spot to restock hearts. A room east of it holds Stalfos, and defeating them all makes a Small Key appear.

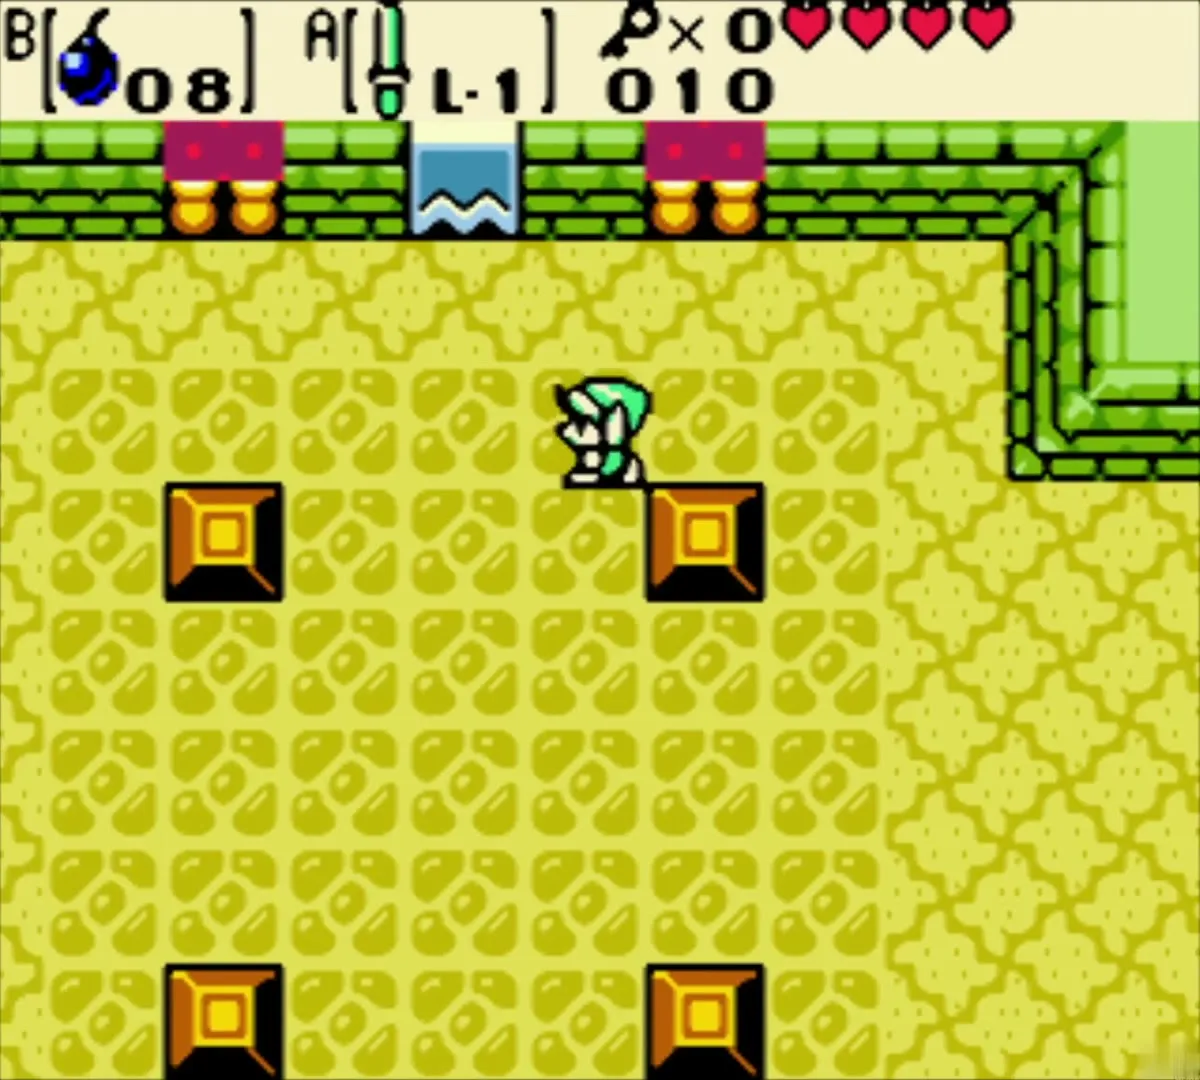

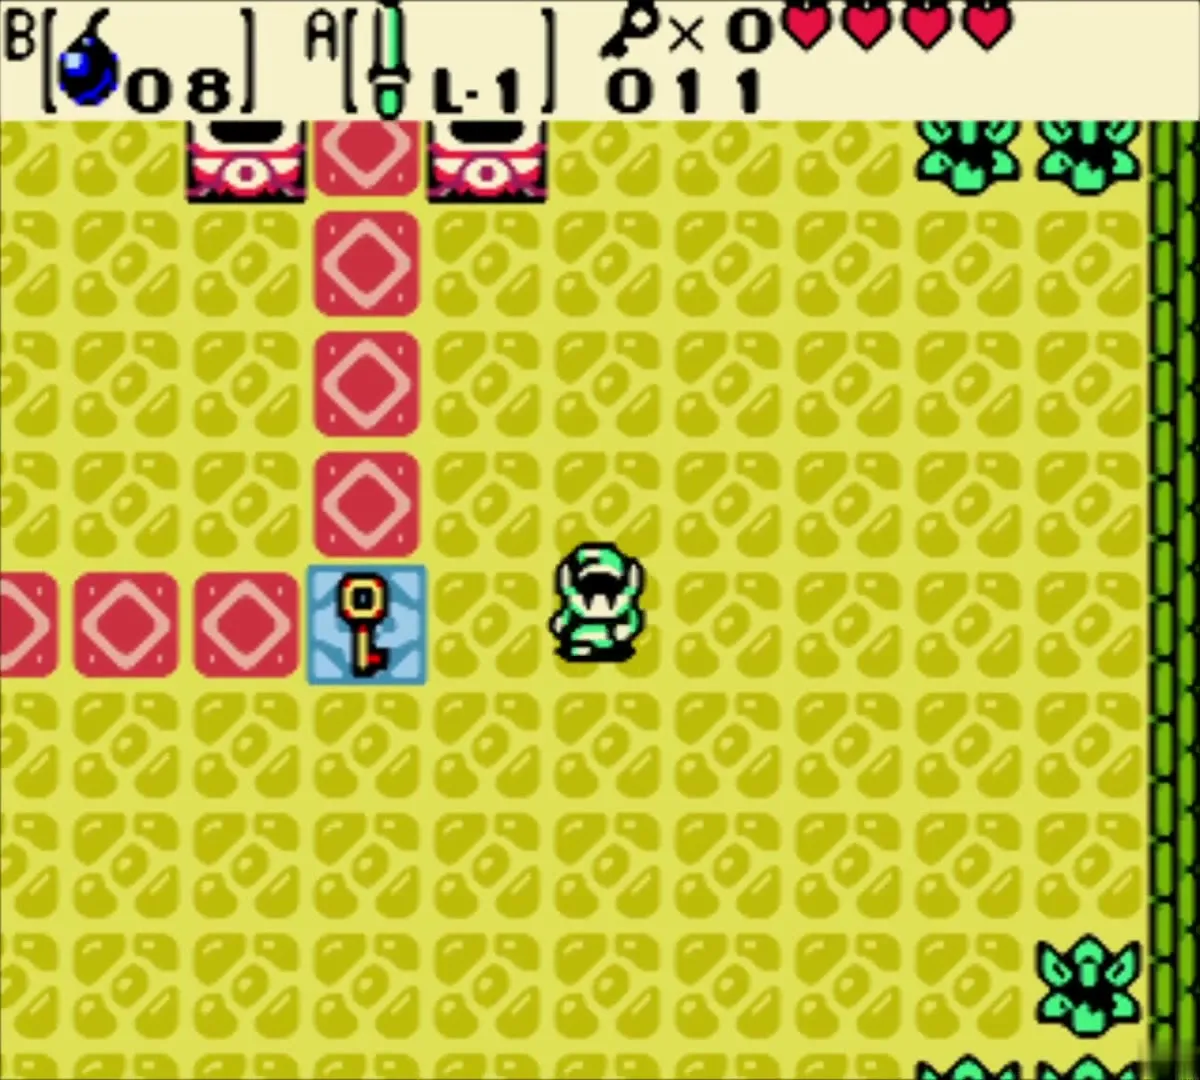
Dungeon Map
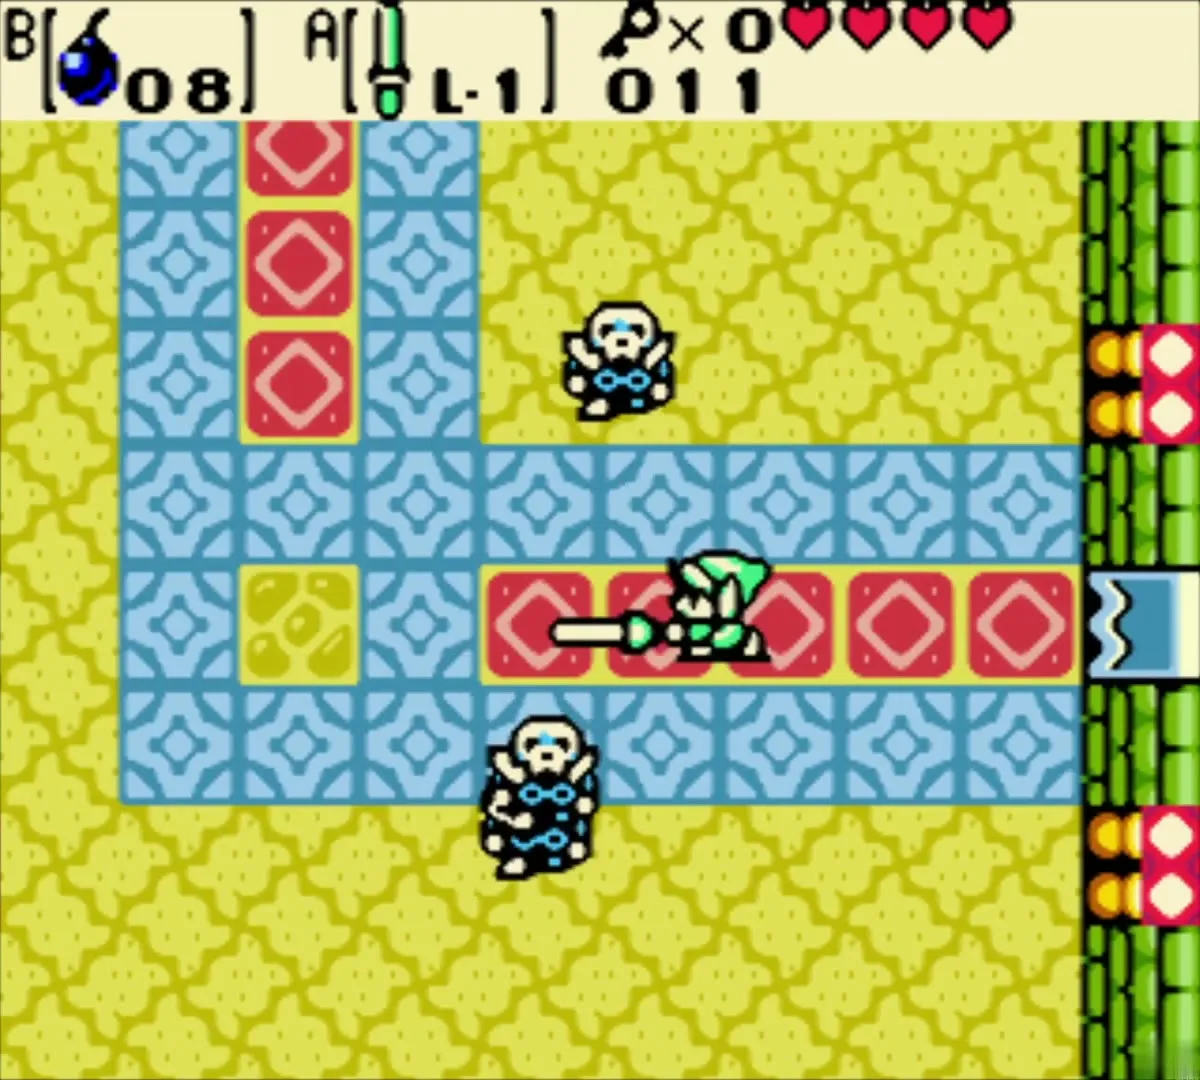
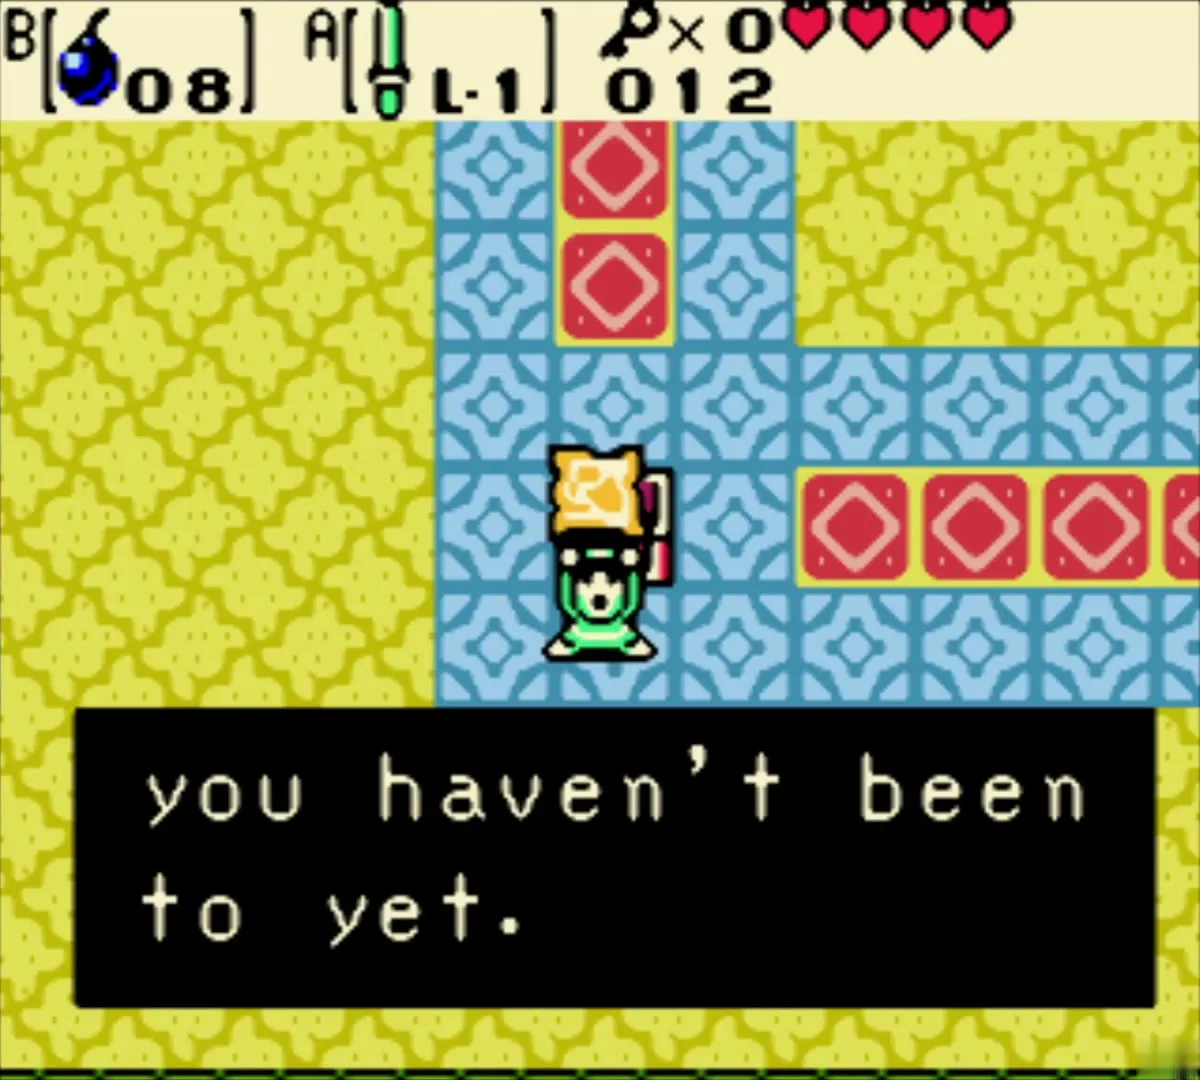
Take the Small Key back west and unlock the locked door. Beat the Stalfos in the room beyond, which has a floor of red and blue tiles, and open the chest for the Dungeon Map.


Minecart and Compass
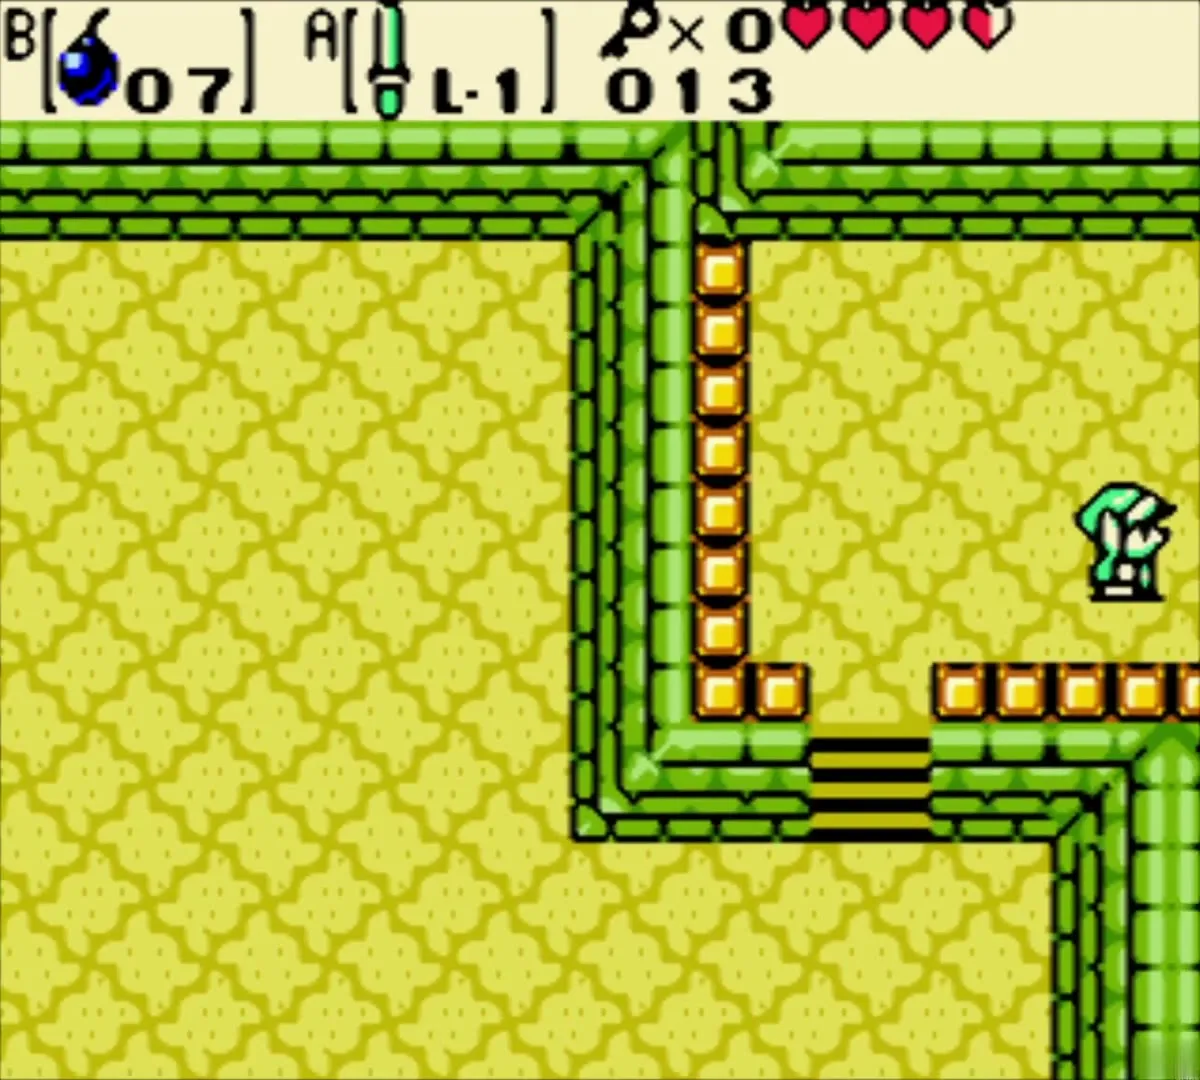
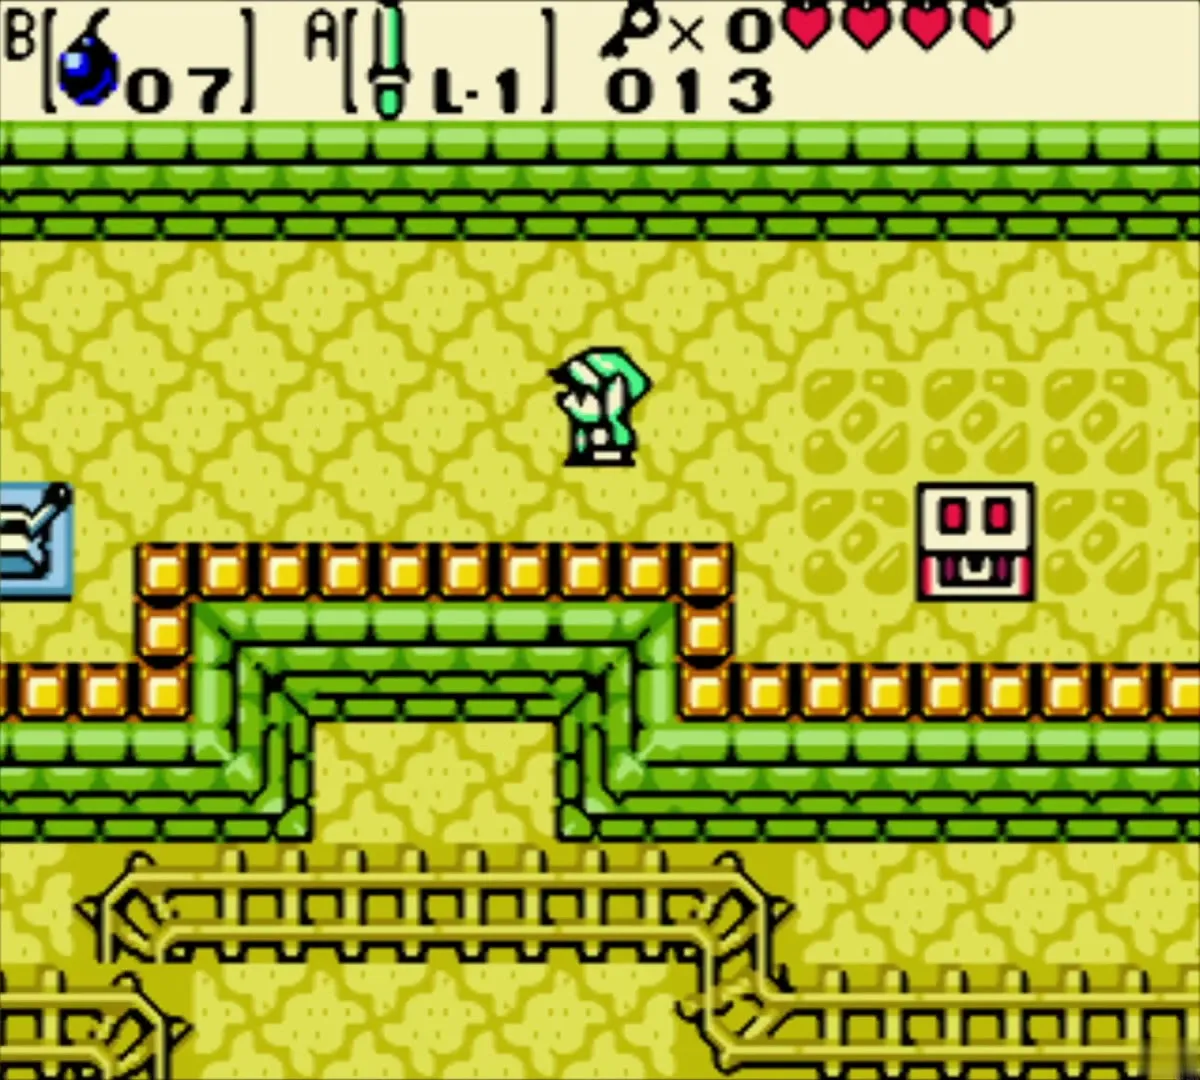
Head north. The Zols here are harmless. Board the minecart on the rails heading north, and note that you cannot get off until it reaches the end of the line. The ride passes a room of Keese and carries you west to a room of Moblins, who throw boomerangs and fall to your sword. Take the stairs to the raised platform in the upper right of the rail room and strike the switch with your sword, which changes the track junction below. Then open the Compass chest nearby.



Gasha Seed chest (optional)
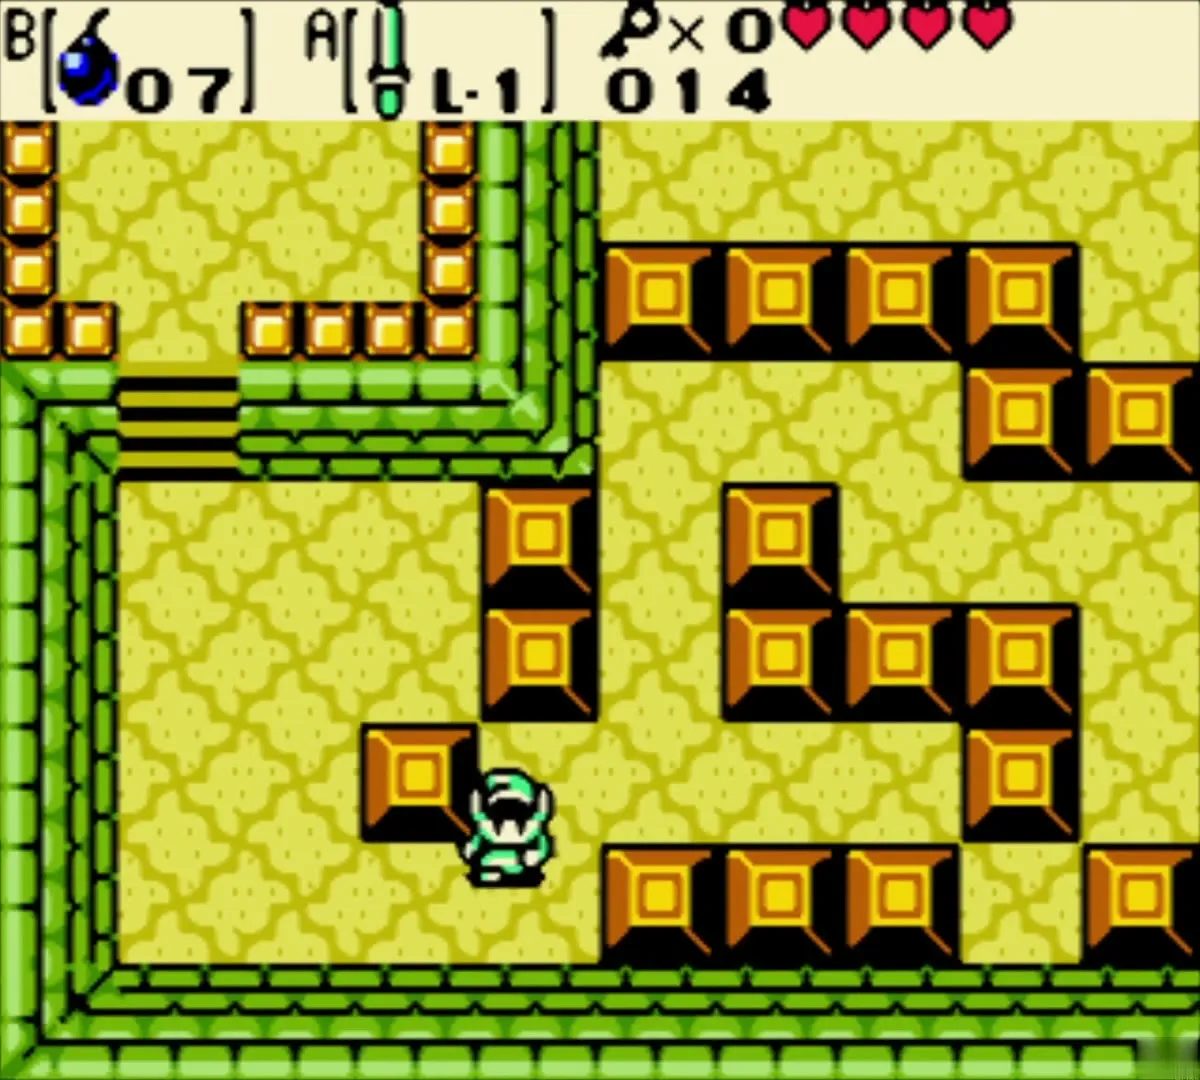
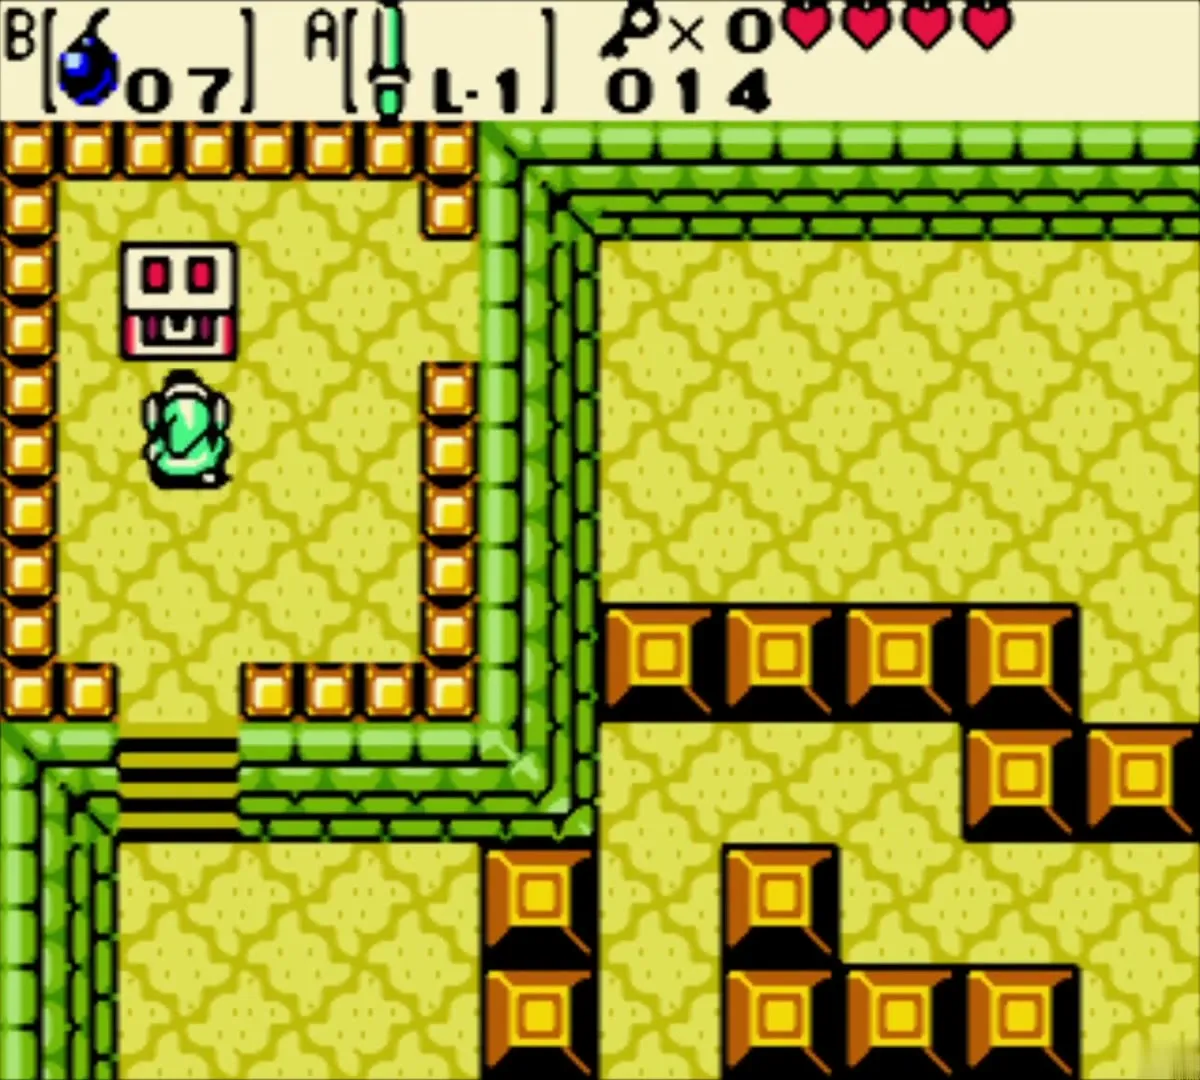
A block-pushing room near the Blade Traps hides the Gasha Seed chest. Push the block by the traps to open the west door. Inside, push the blocks that stick out on the right downward so you can enter the block pile. Push the block on your left to the left, push the middle block of the leftmost column left, then push the block below you down. The chest on the platform holds a Gasha Seed. Keep it and plant it in a patch of soft soil outside; it grows into a tree that gives a Gasha Nut after a while.

Bombs
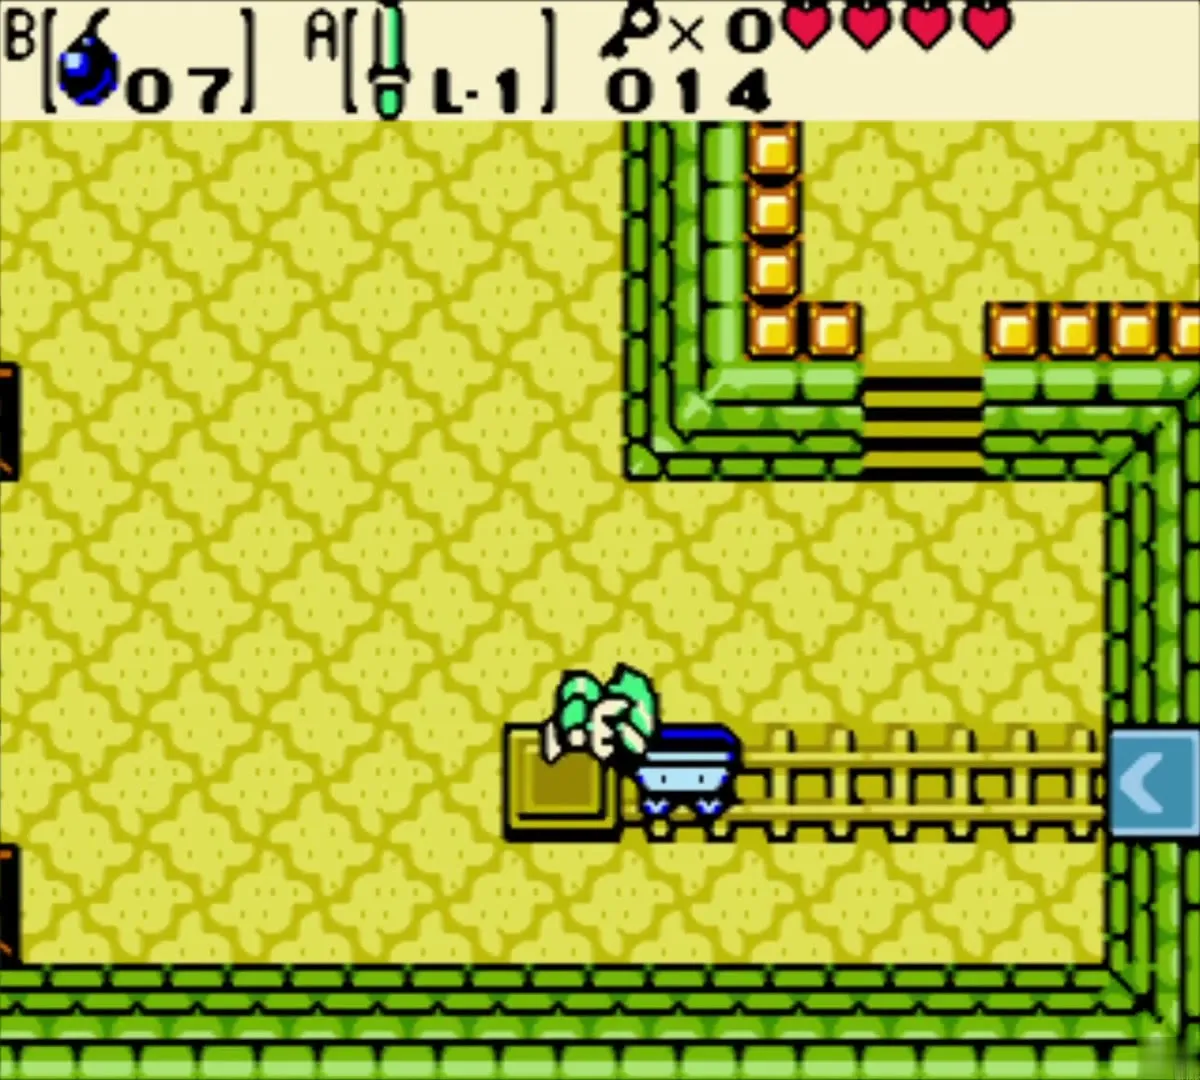
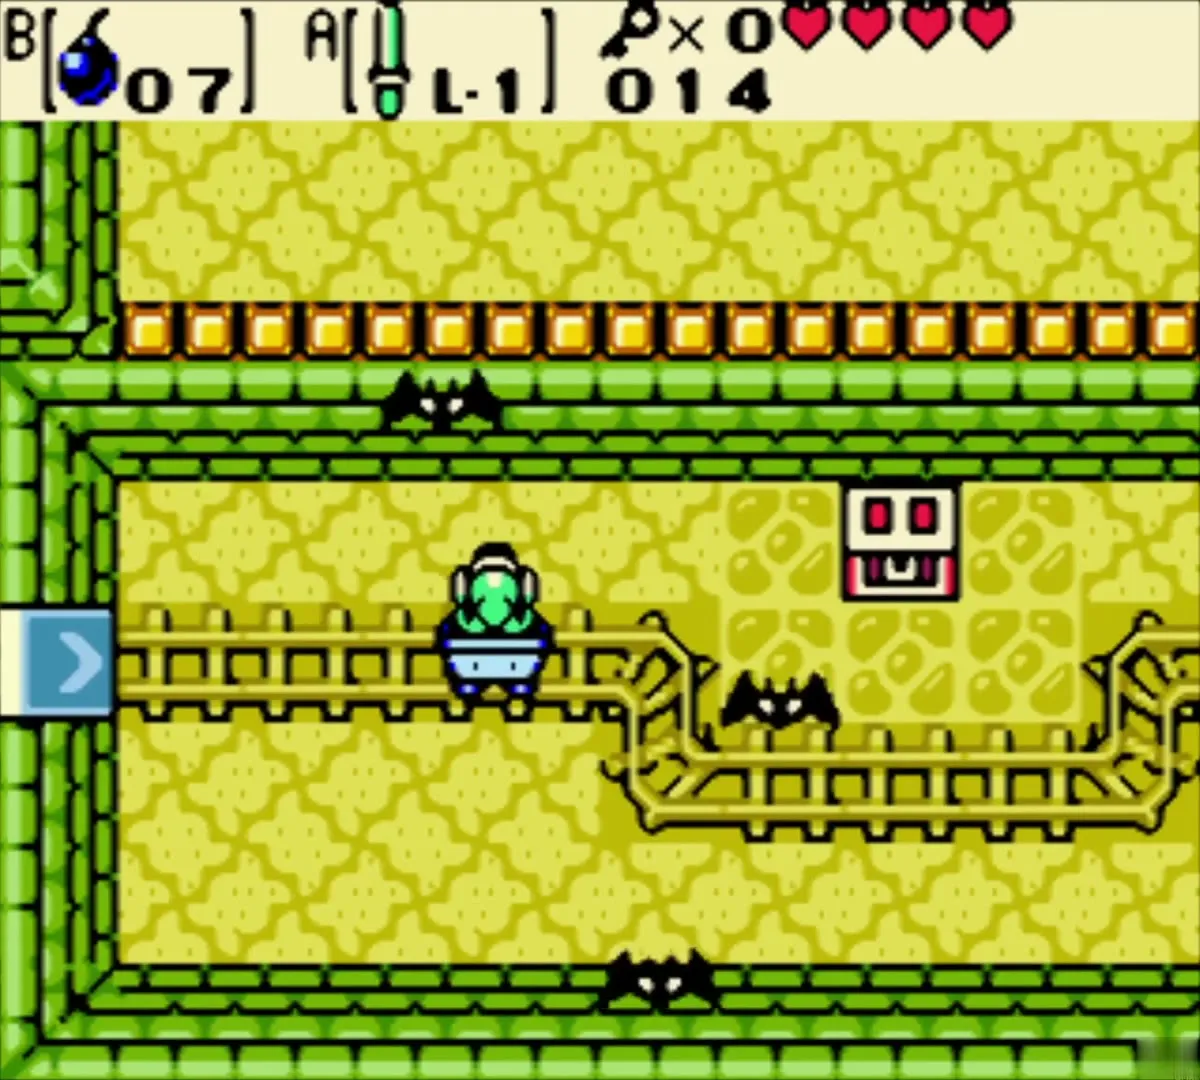
Get back in the minecart. With the junction switched, the rails now run east for two screens. Ride to the end, then walk back one screen to the chest next to the track. It contains ten Bombs, which you need to blow open a cracked wall soon after.

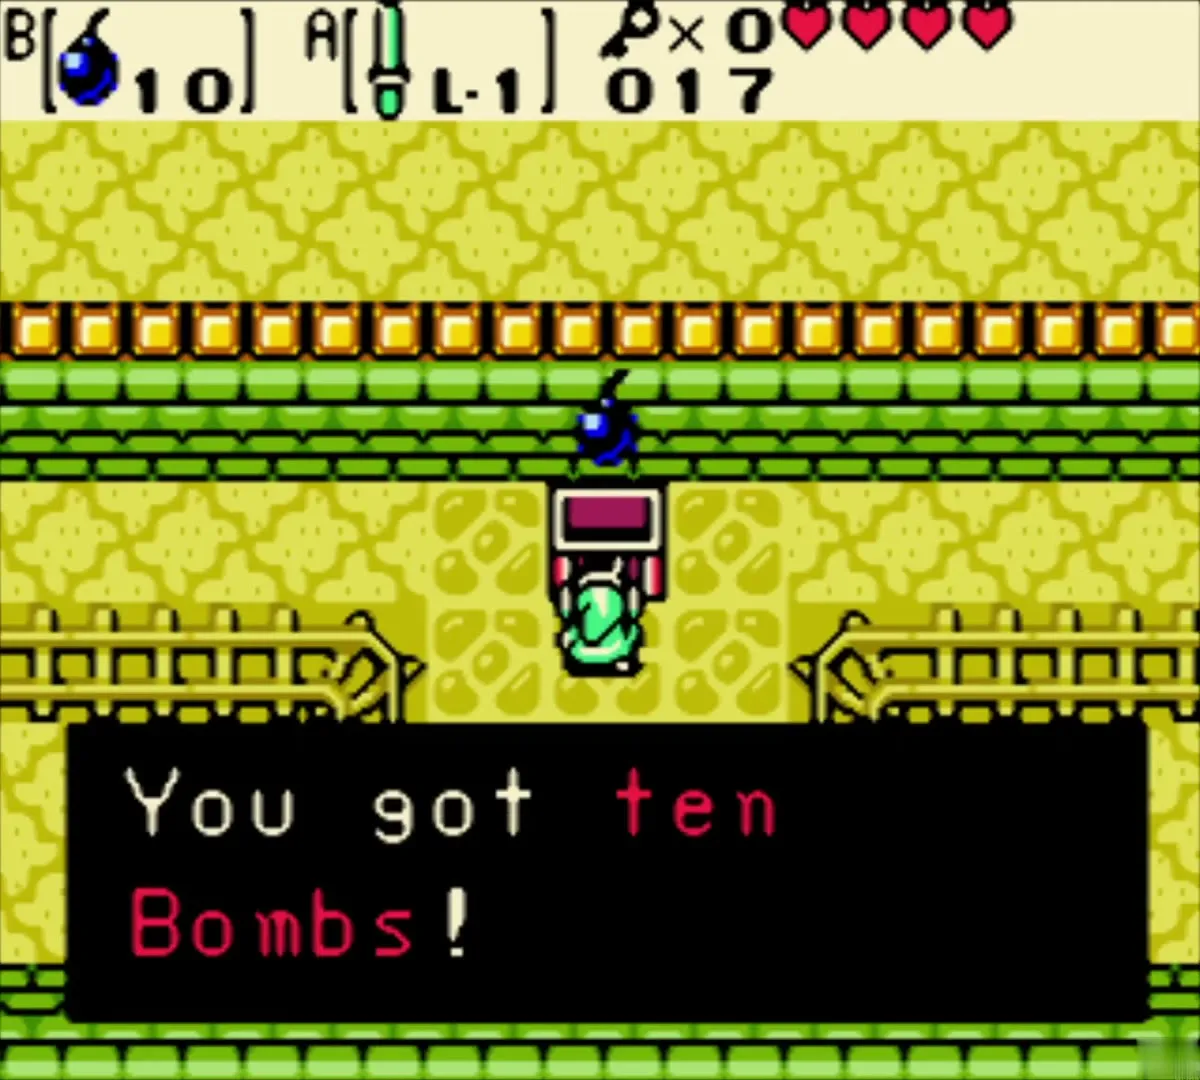
Second Small Key and the Blade Trap rooms
Return east, climb the stairs, then go down the neighbouring staircase to an alcove with a Spinning Blade Trap. Lure the trap through the small block maze to the switch, which reveals a chest with a second Small Key. Go back to the stairs, head west and bomb the cracked wall to open a way north.

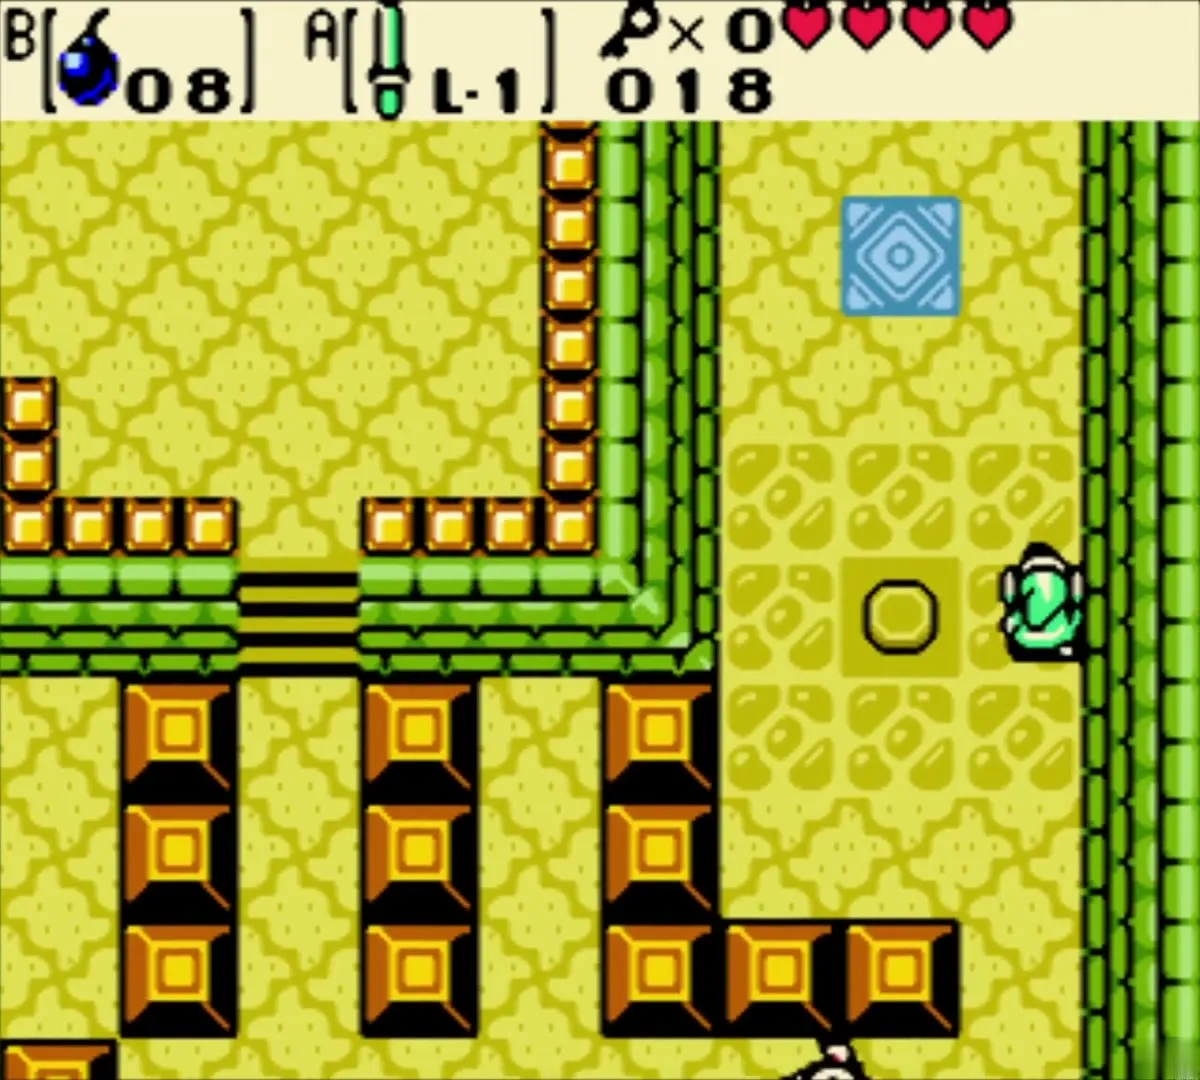

The next area is a maze of Blade Traps, Gels, Hardhat Beetles and ropes among blocks. Move through it patiently, cutting the bushes that block the way and waiting for the traps to bounce off each other in front of the locked door before you unlock it with the Small Key.
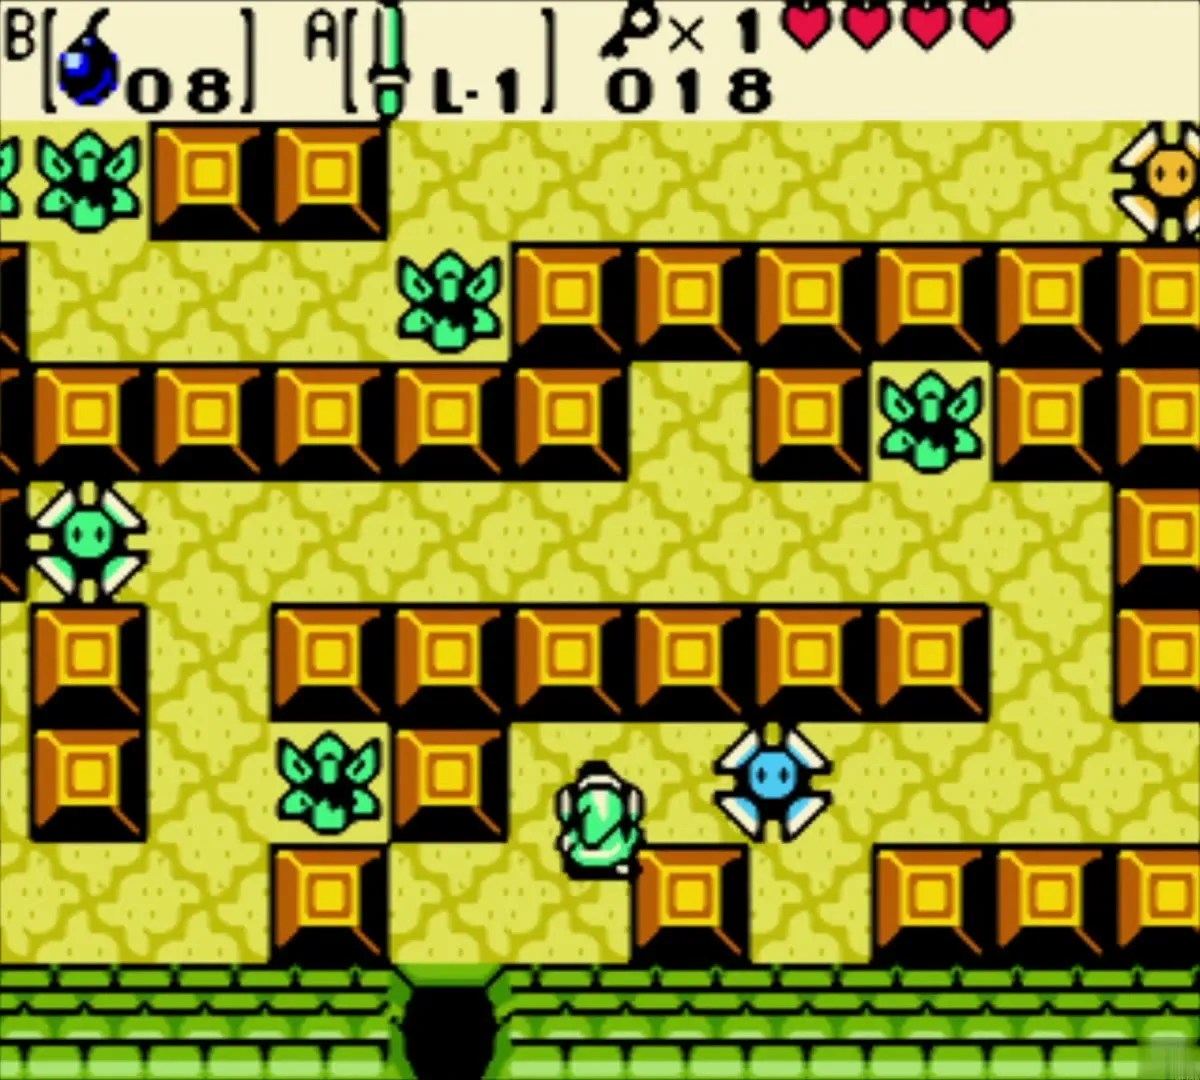
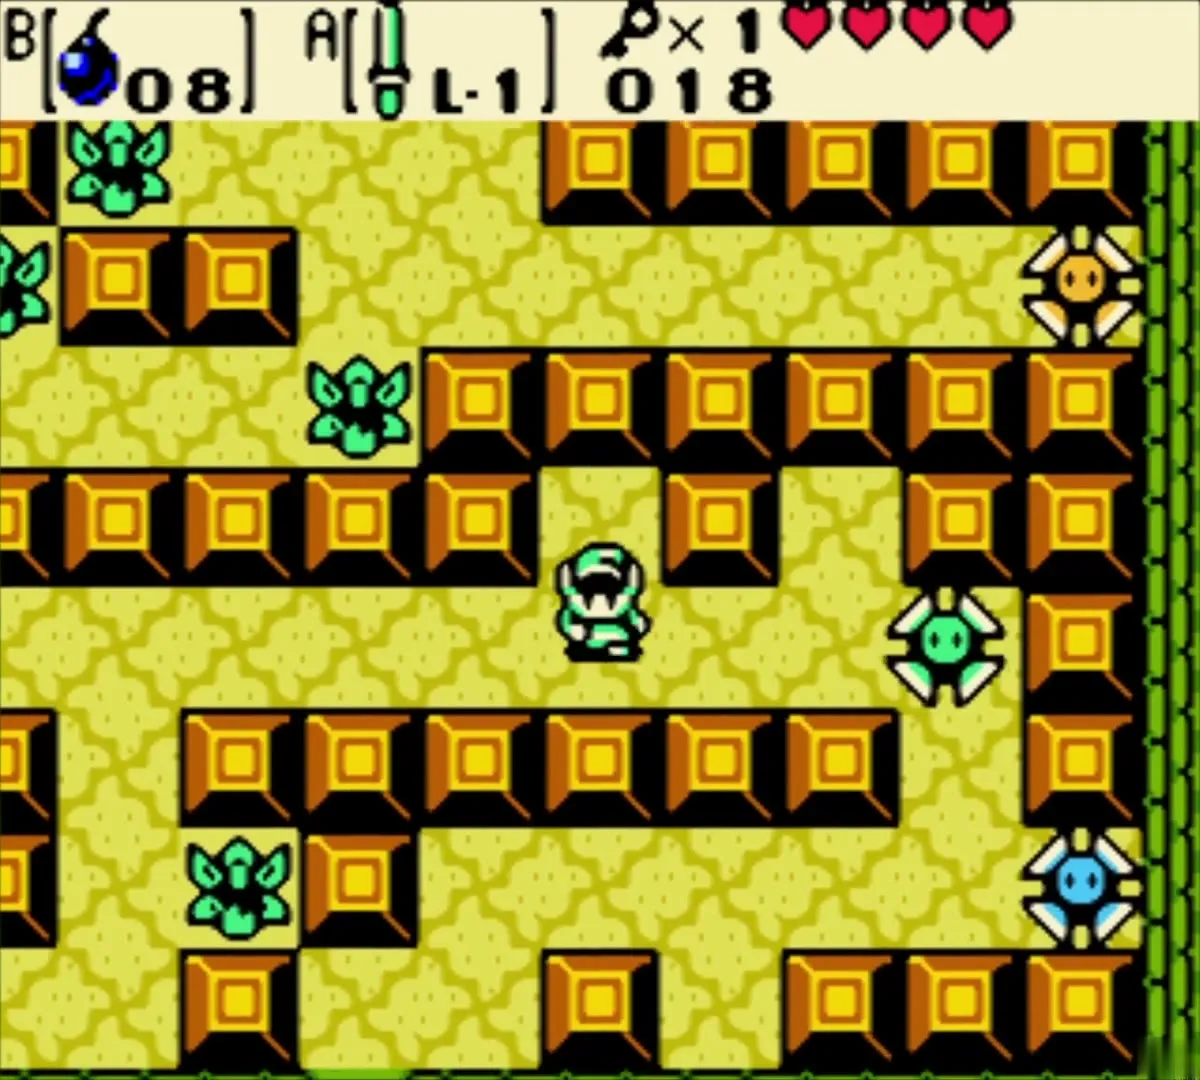


Mini-boss: the Goriya brothers
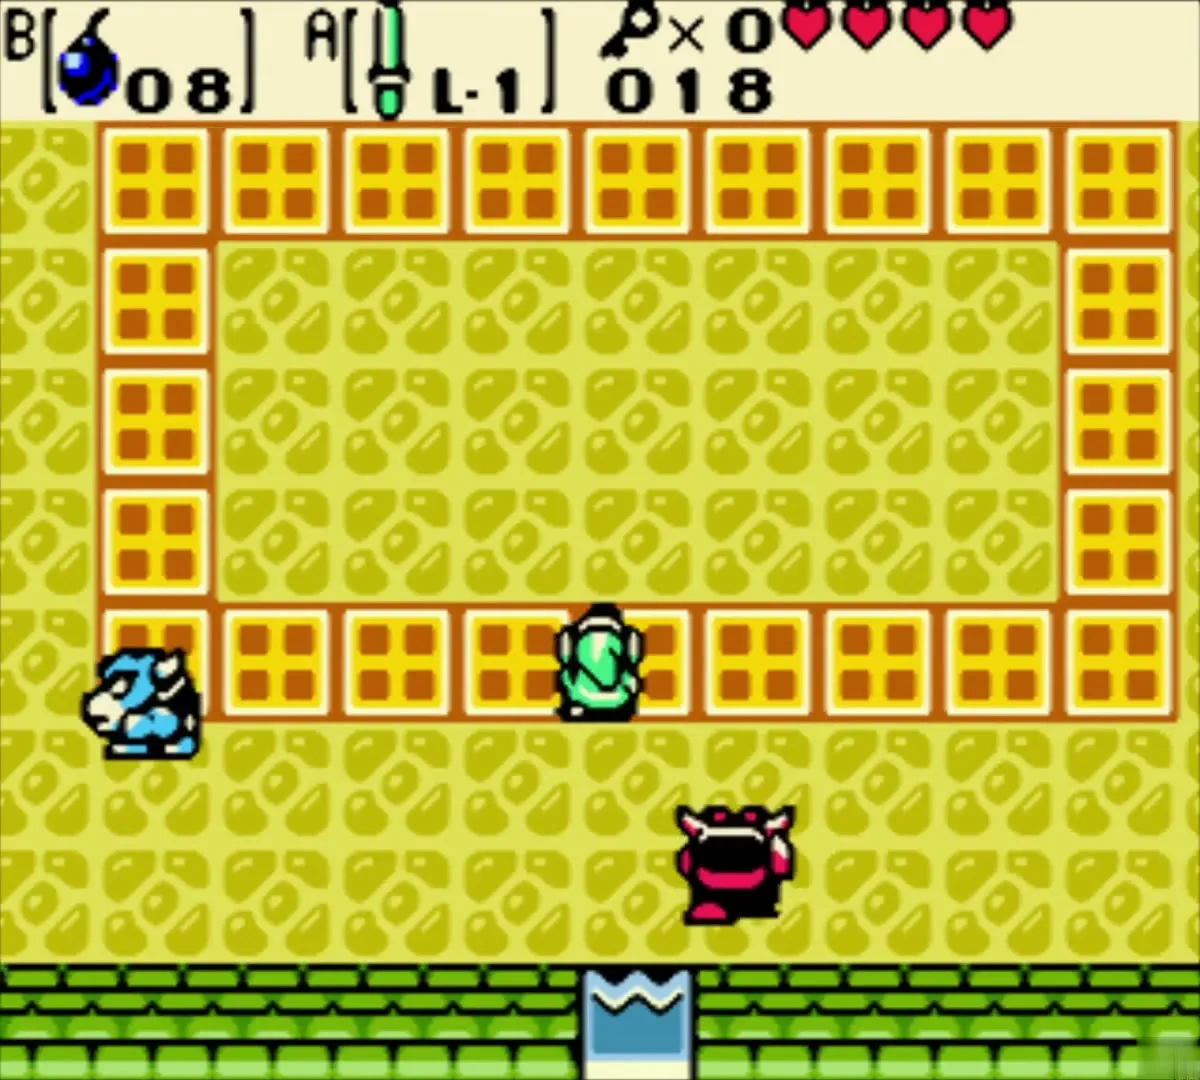
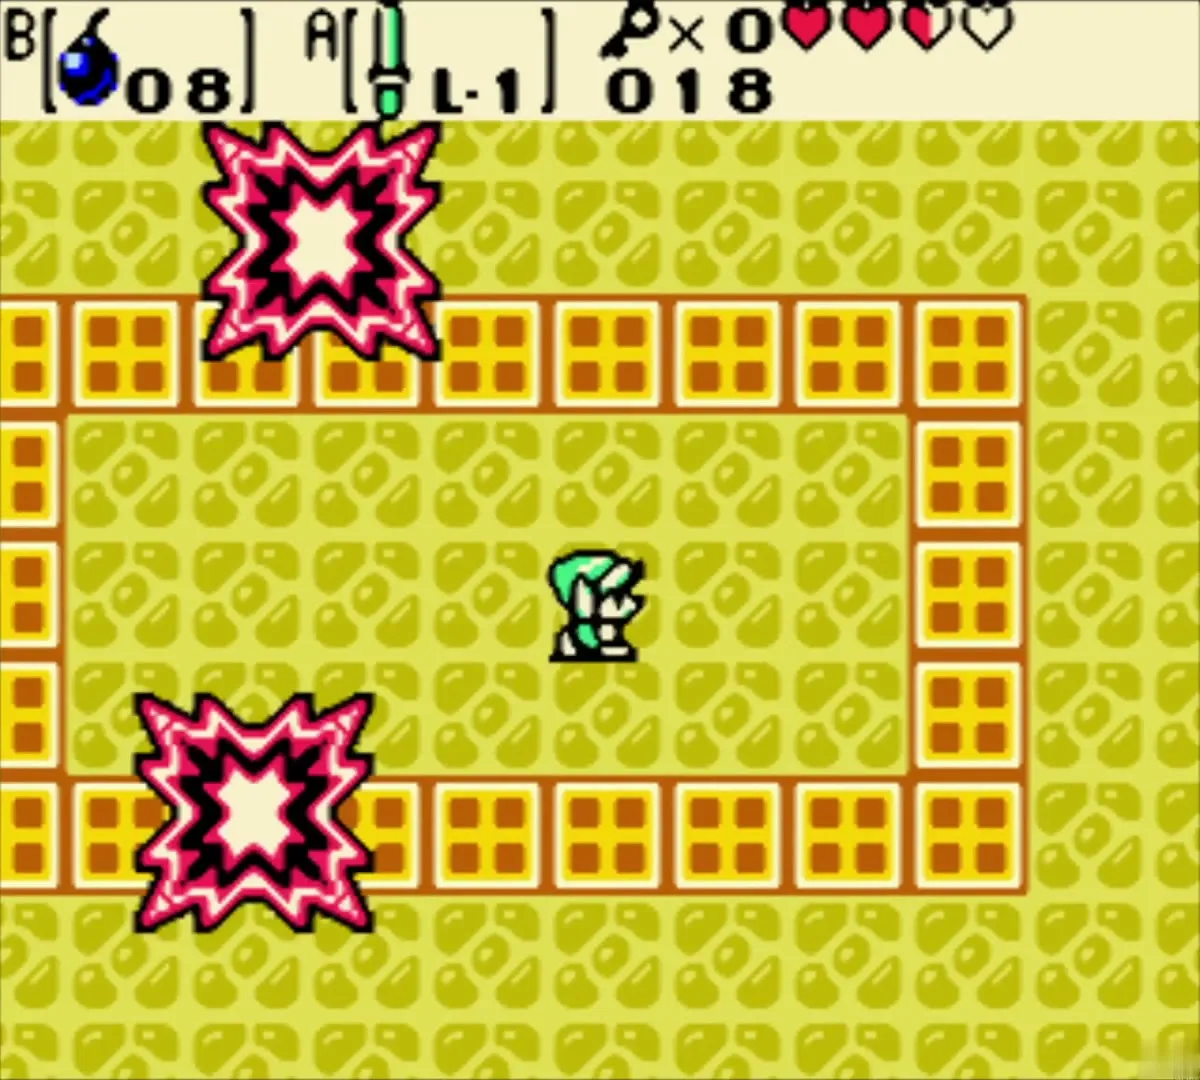
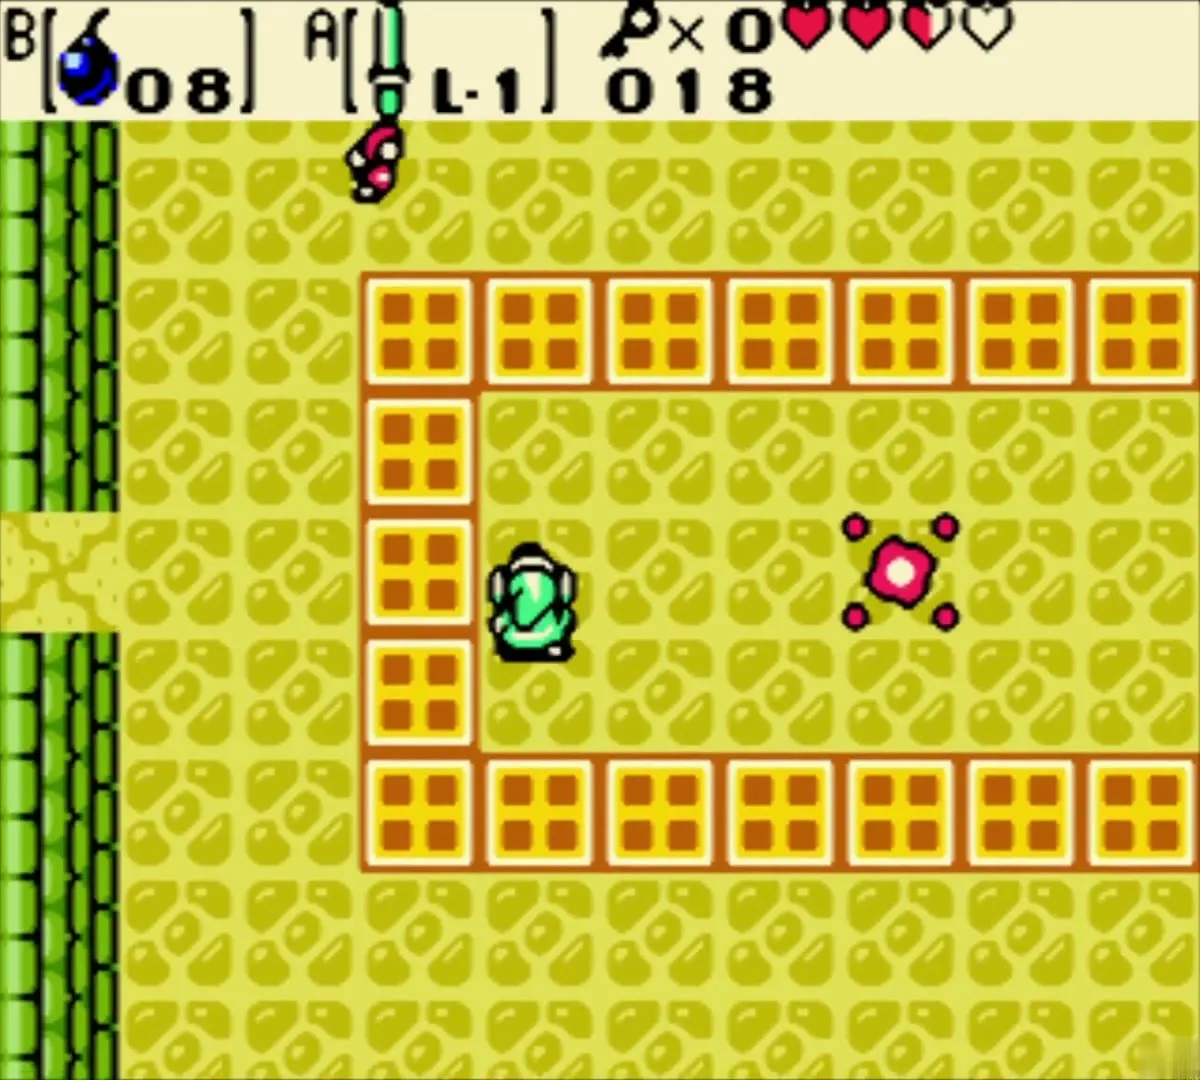
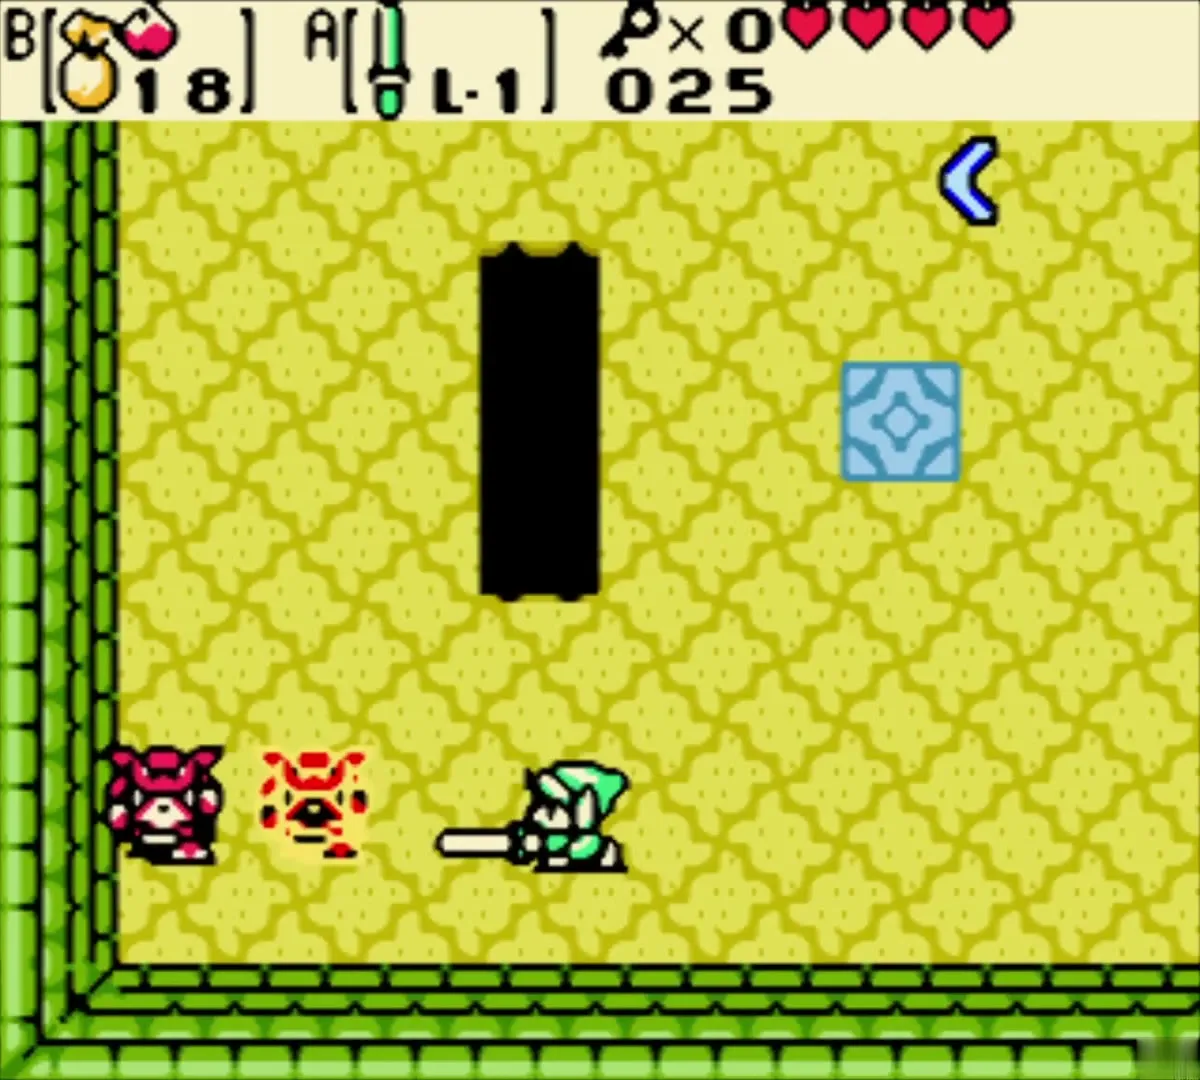
The locked door leads to a room ringed by blocks, where two Goriyas, one red and one blue, guard the way. They hurl boomerangs, so step aside and cut them down, or hit the boomerangs away. After both fall, a teleporter back to the dungeon entrance appears and the door onward opens.

Seed Satchel
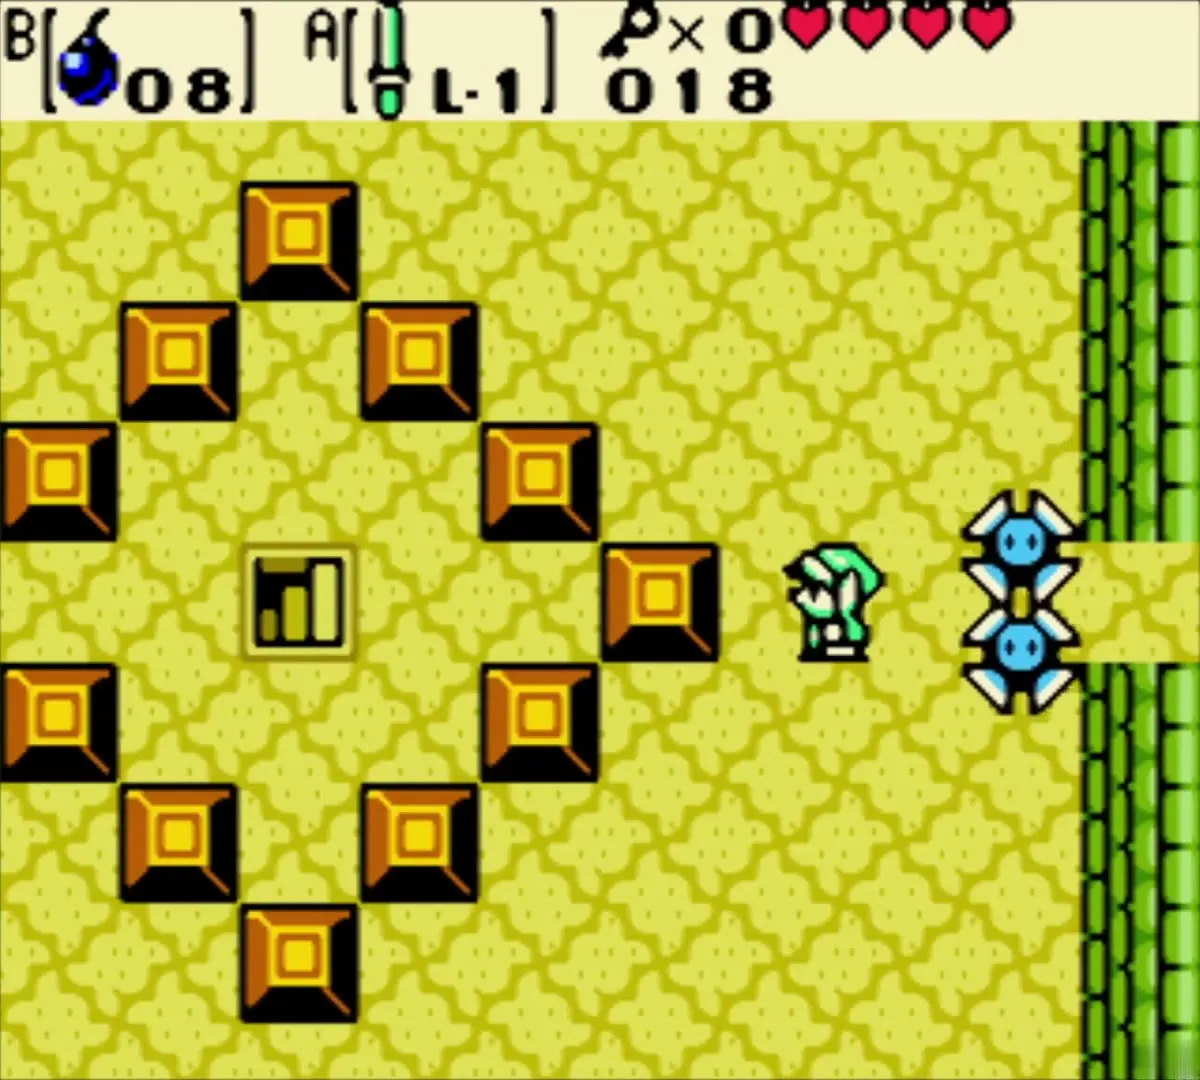
Through the next rooms you reach a room where a diamond of blocks surrounds a staircase. Avoid the Blade Traps in the corners and push the leftmost block of the diamond up. Go down the stairs to a side-scrolling basement, hop the gaps and climb the ladder to reach the Seed Satchel. It comes with 20 Ember Seeds, which burn enemies and light torches. Equip it to a button to shoot them.
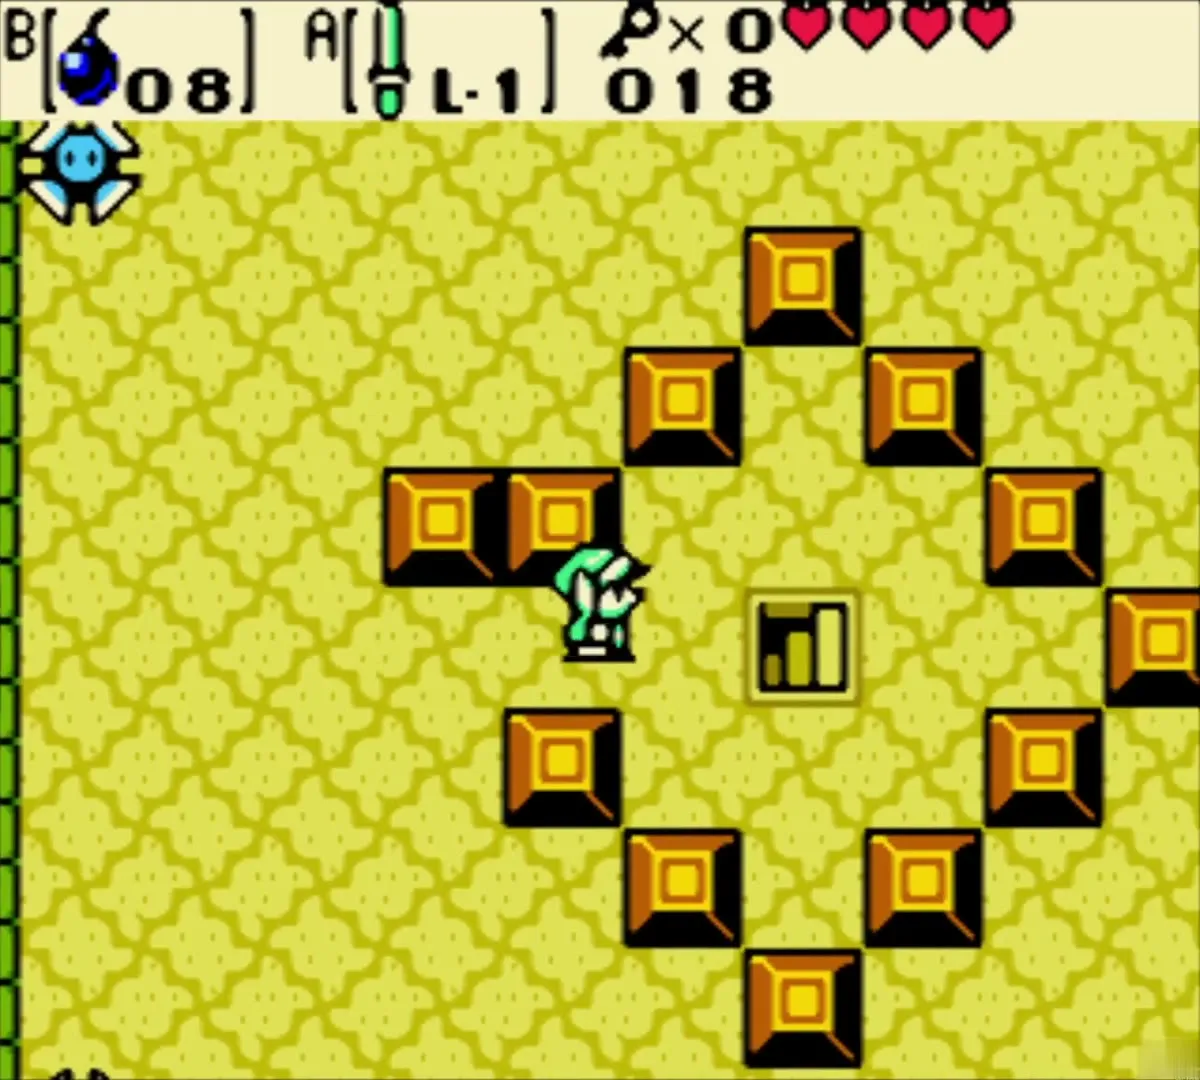
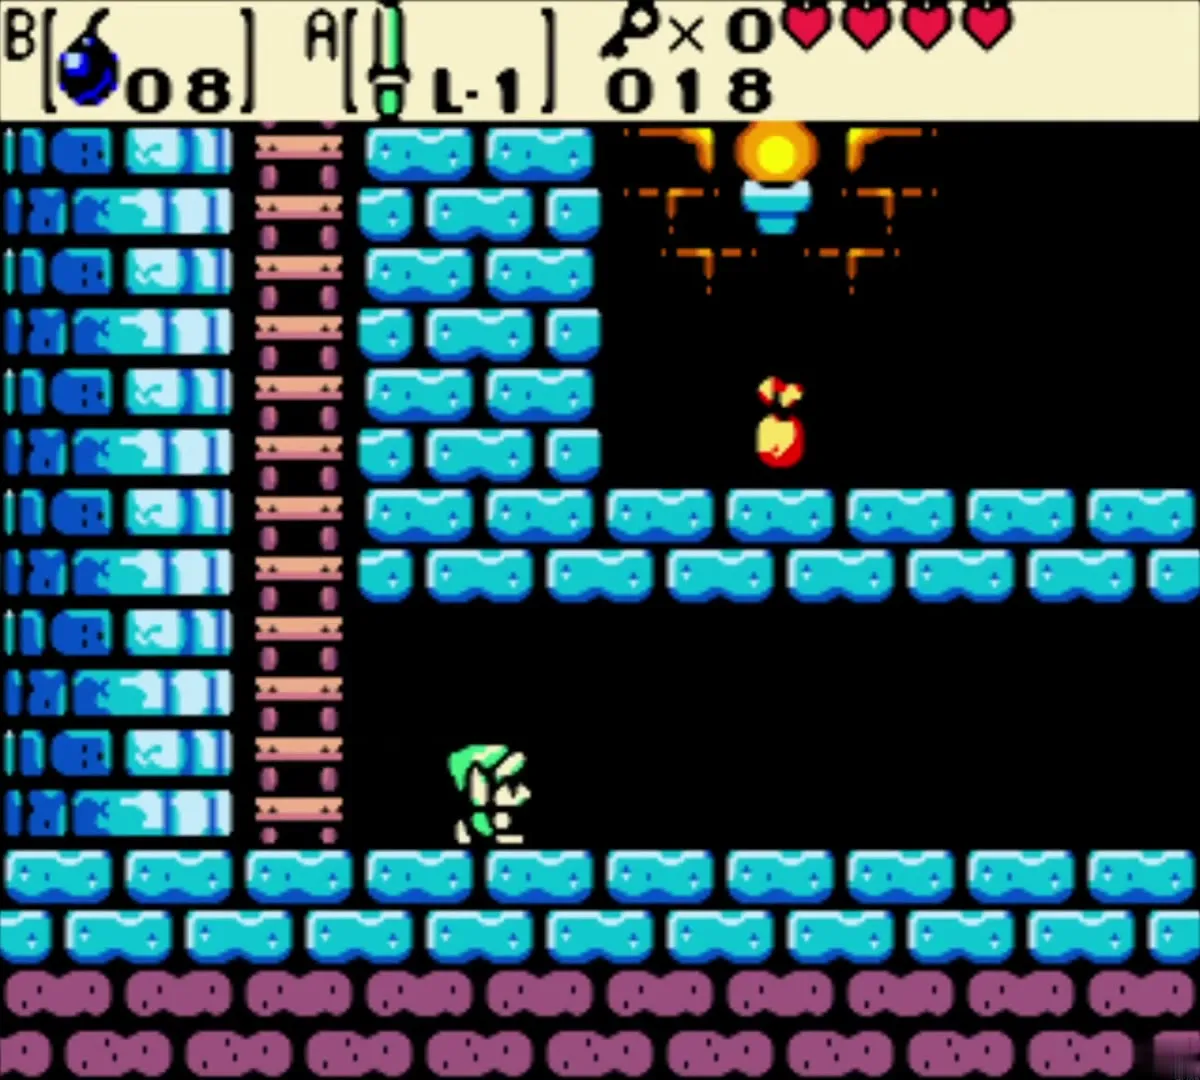
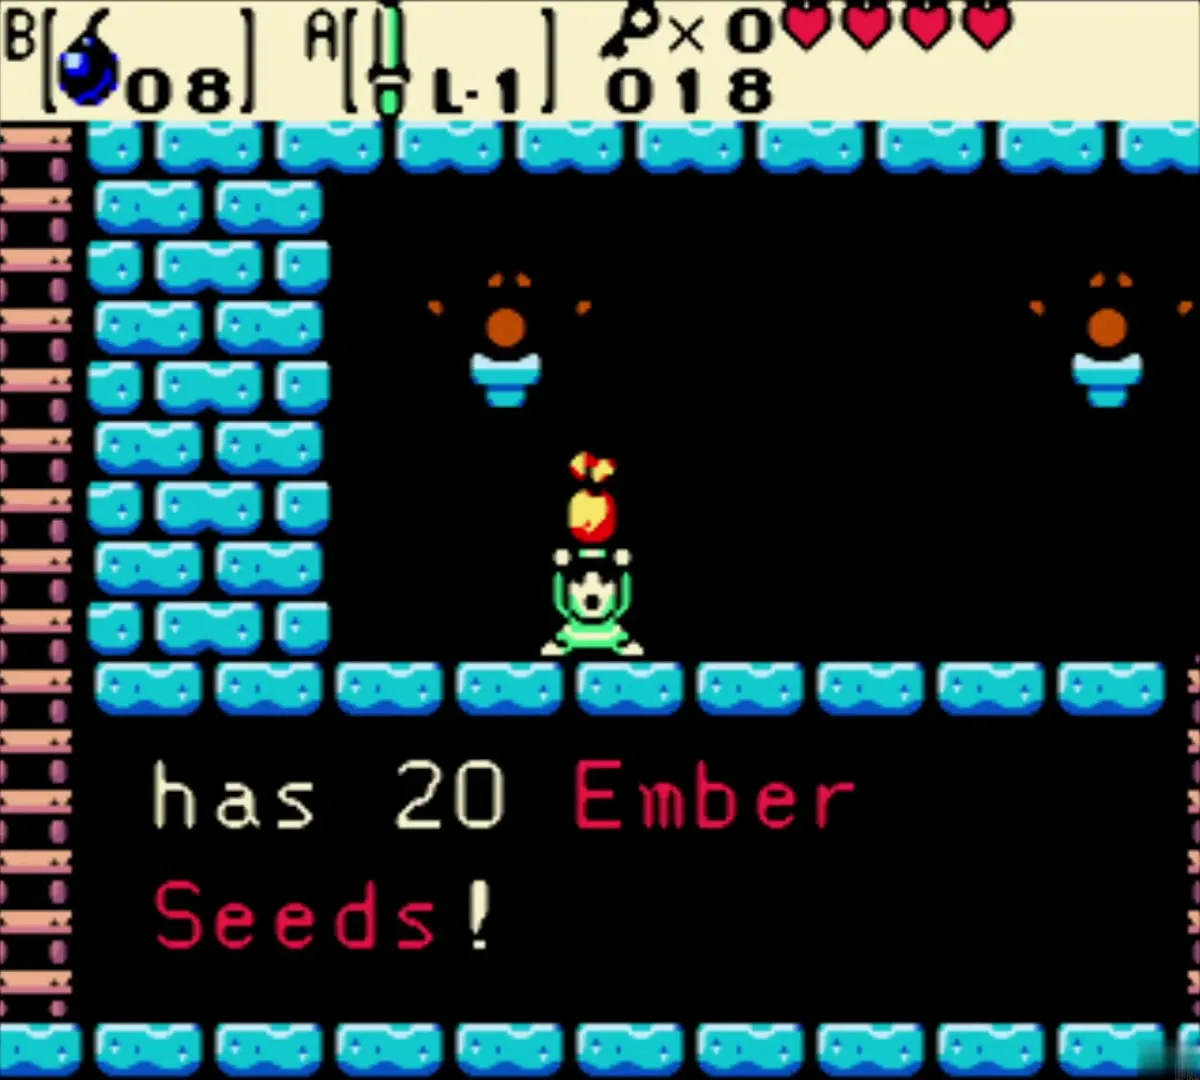
Boss Key
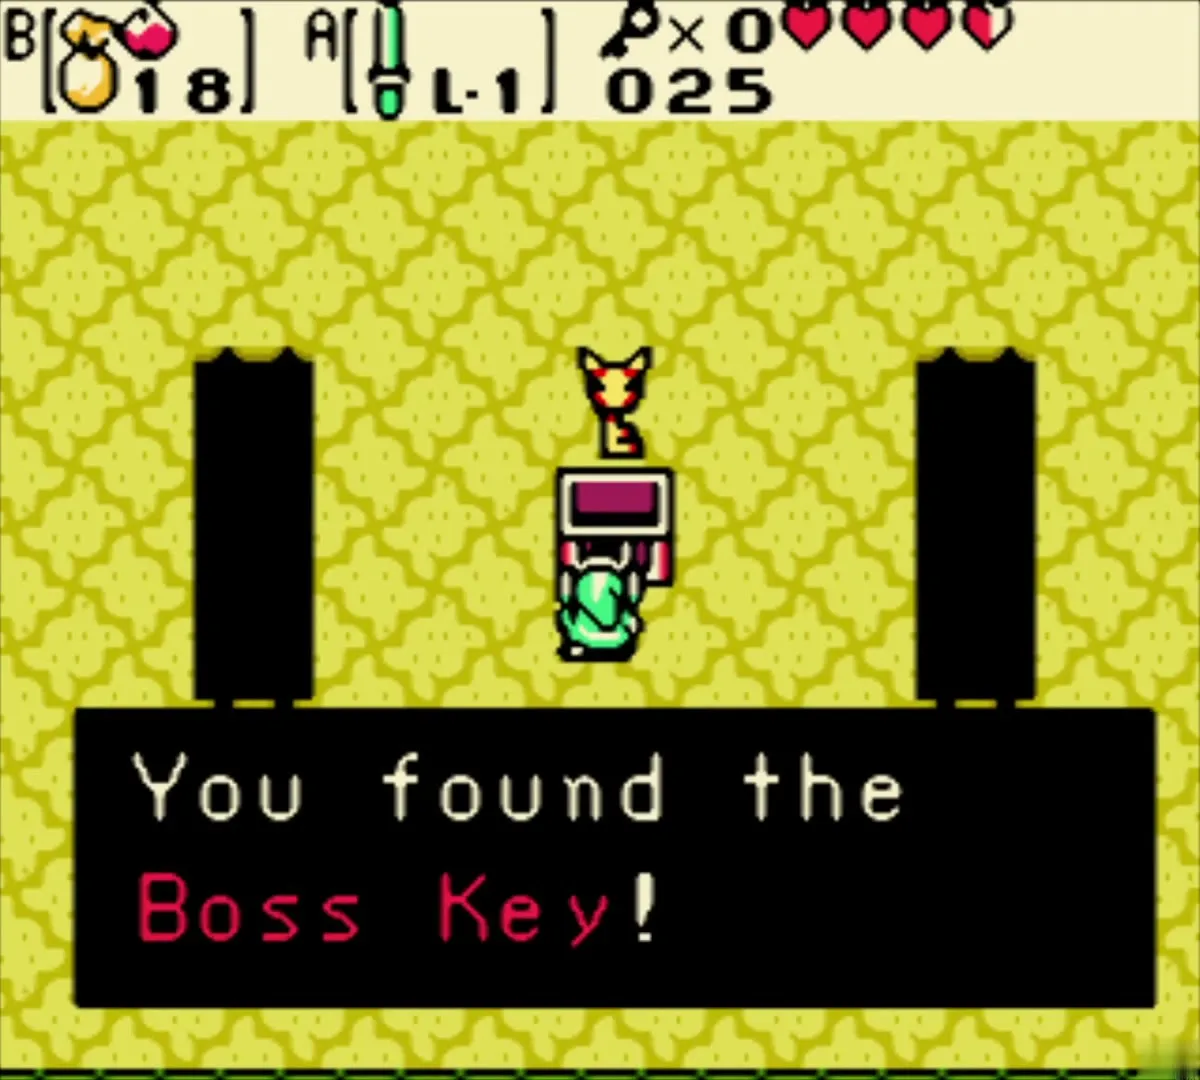
Climb back up and take the teleporter to the room with the sealed door flanked by two unlit torches. Drop an Ember Seed on each torch to unlock the door and go through. Defeat the Moblins inside while avoiding the floor pits, and a chest appears. Open it for the Boss Key.
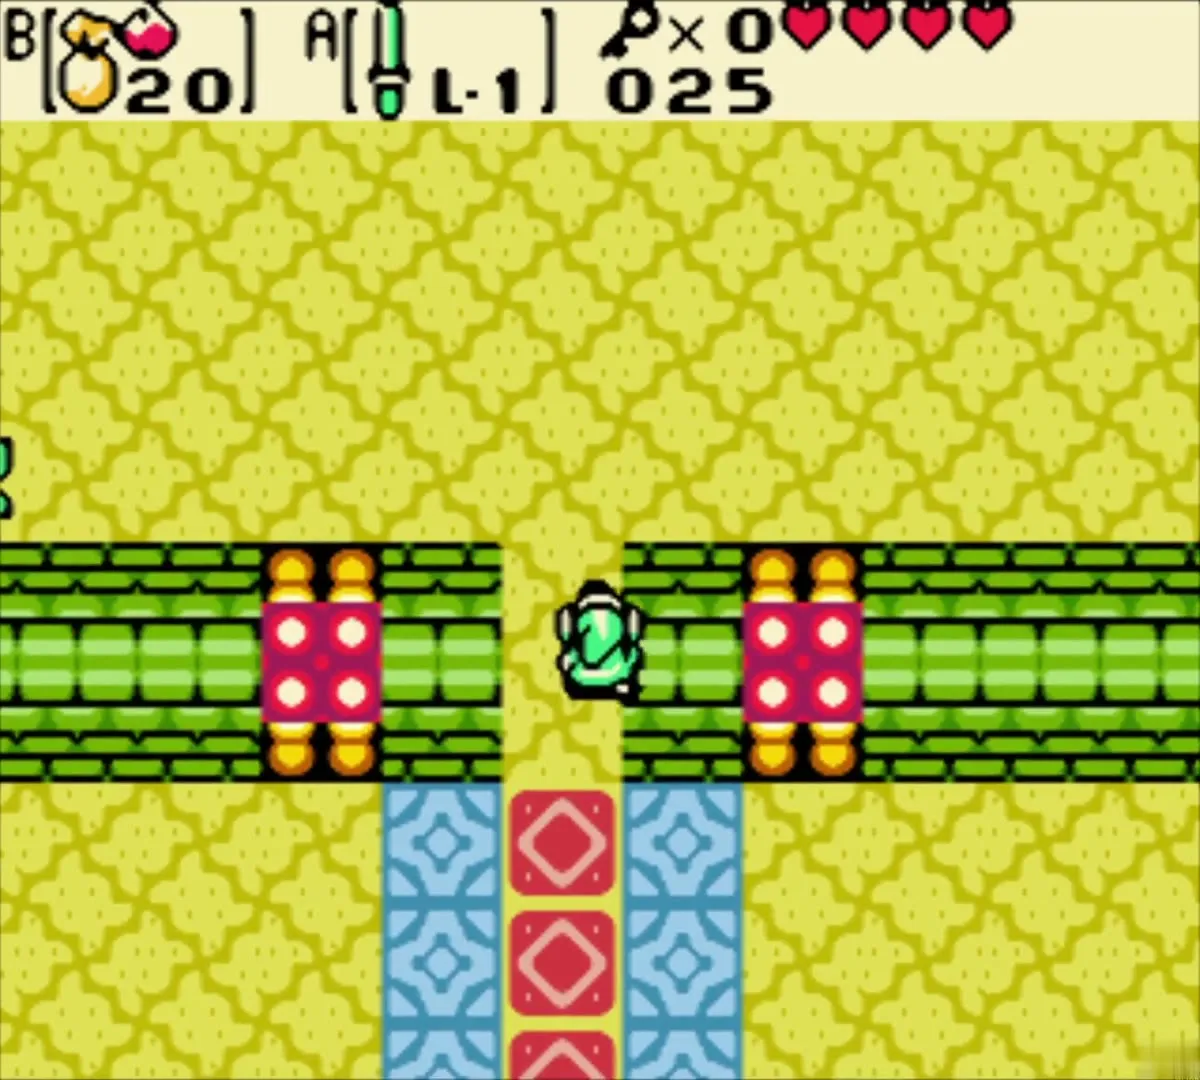

Ring chest
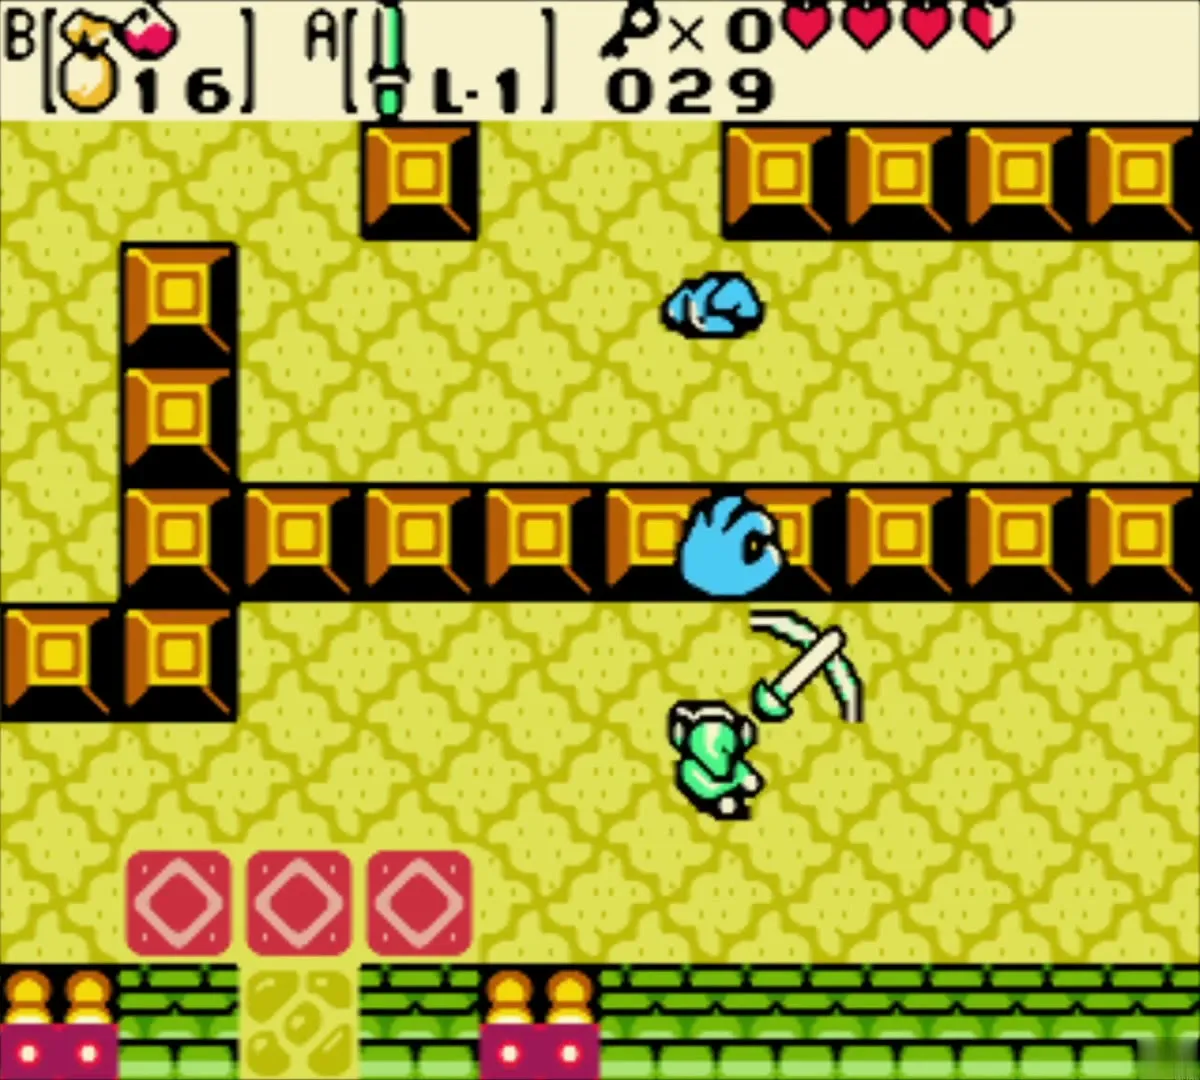
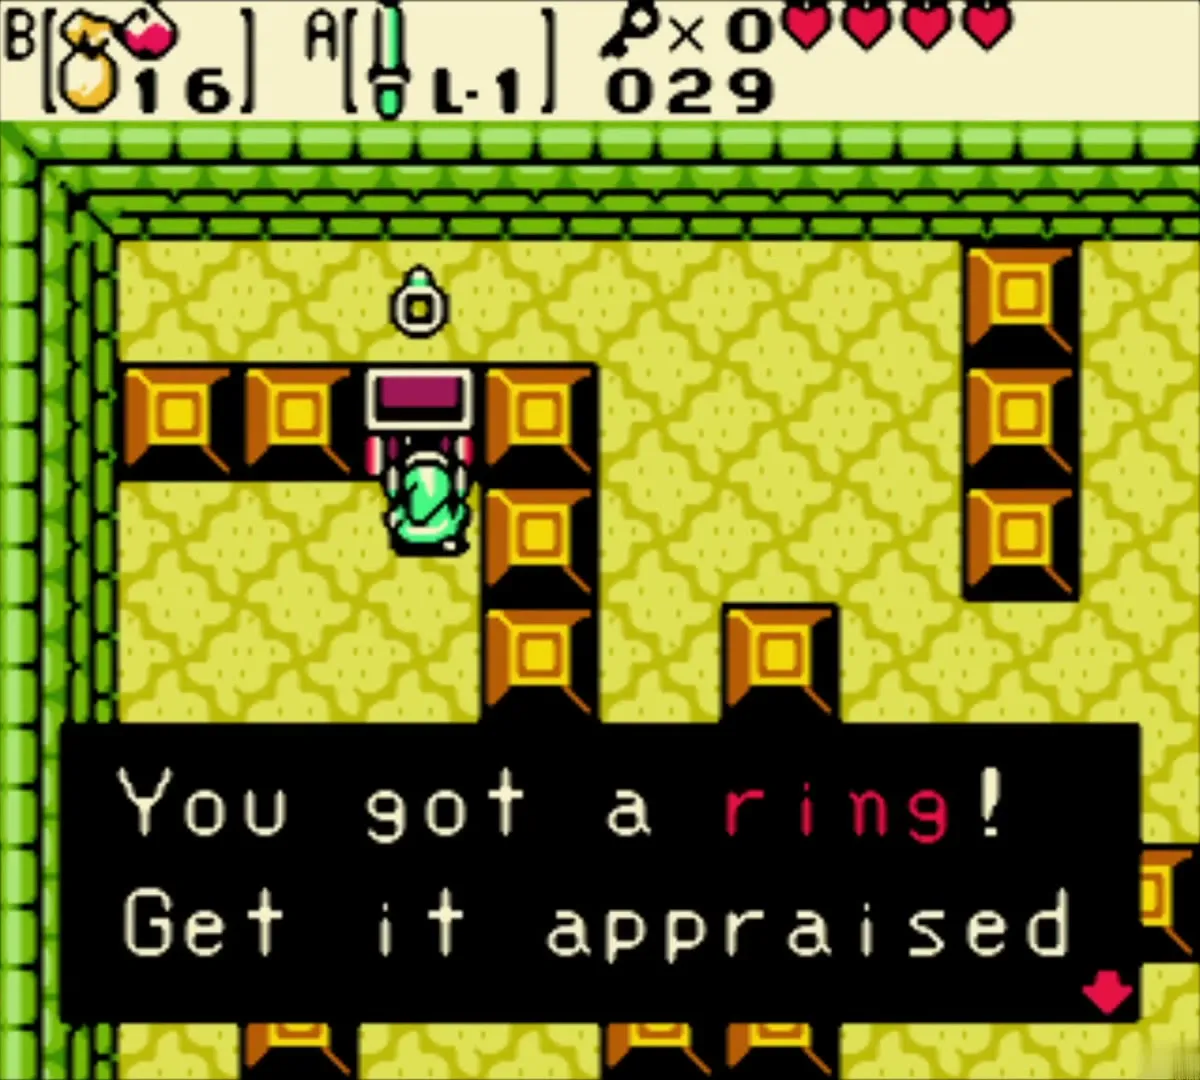
Go back east and use the Ember Seeds on the second pair of torches by the sealed door, then go north. Floormasters grab Link and fling him back to the entrance, so kill them in each room until they stop returning. In a small maze of blocks, a chest holds a ring. It is unappraised, so take it to Vasu in Horon Village later to learn what it is.



Boss: Aquamentus
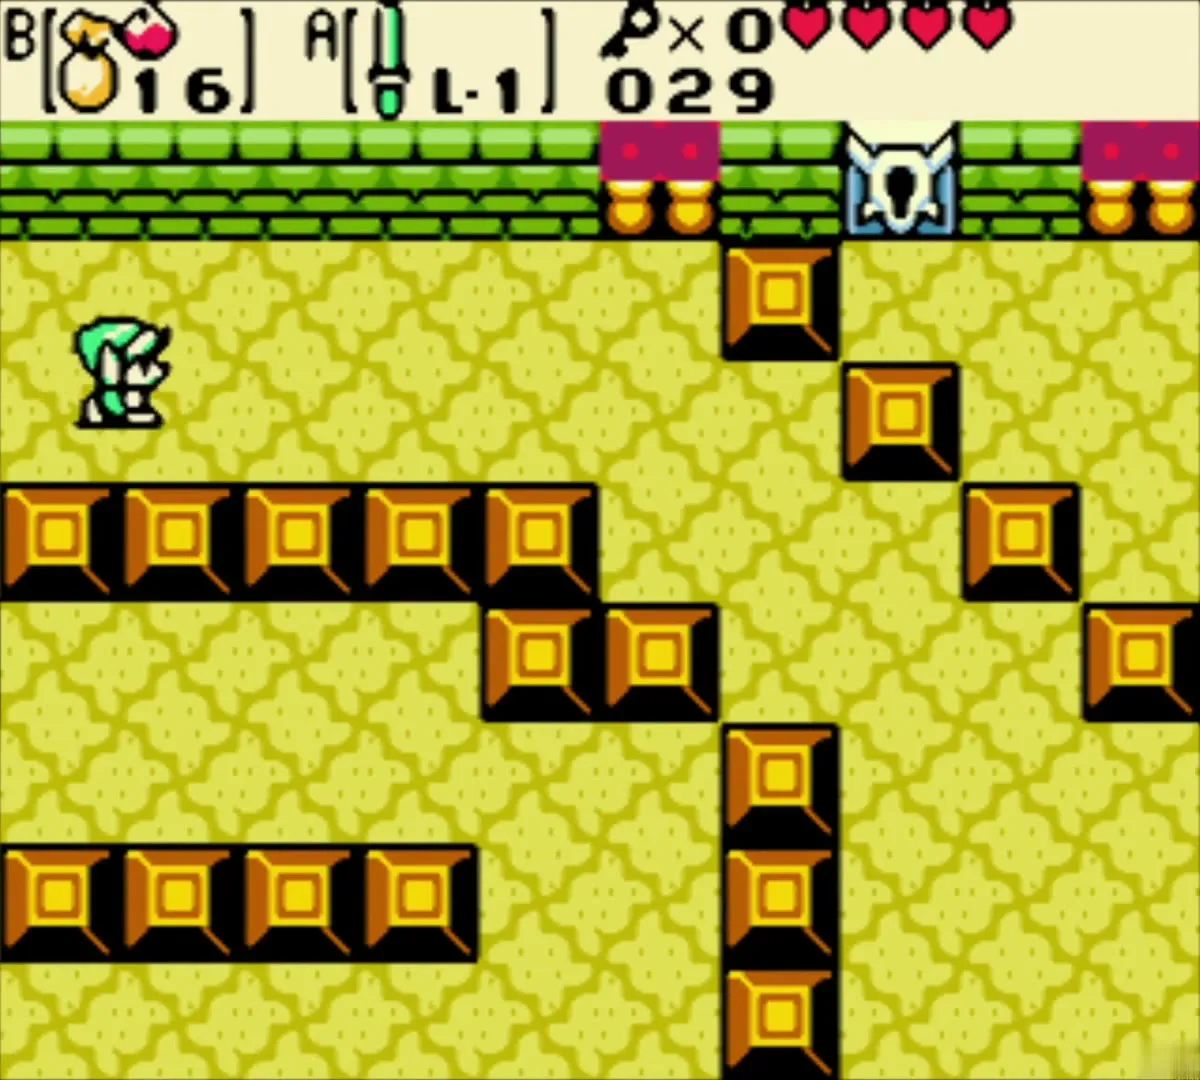
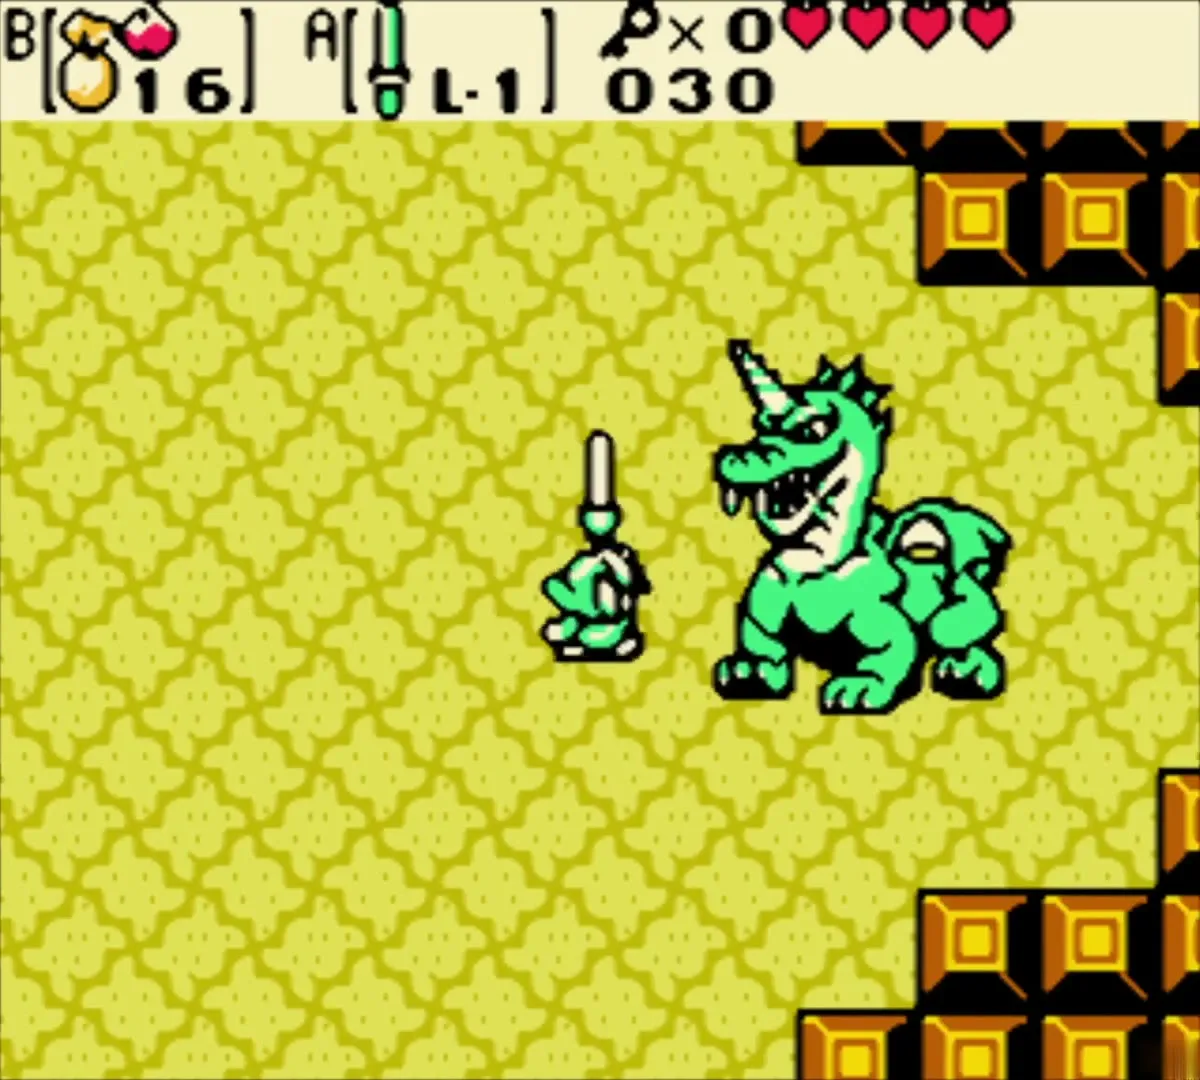
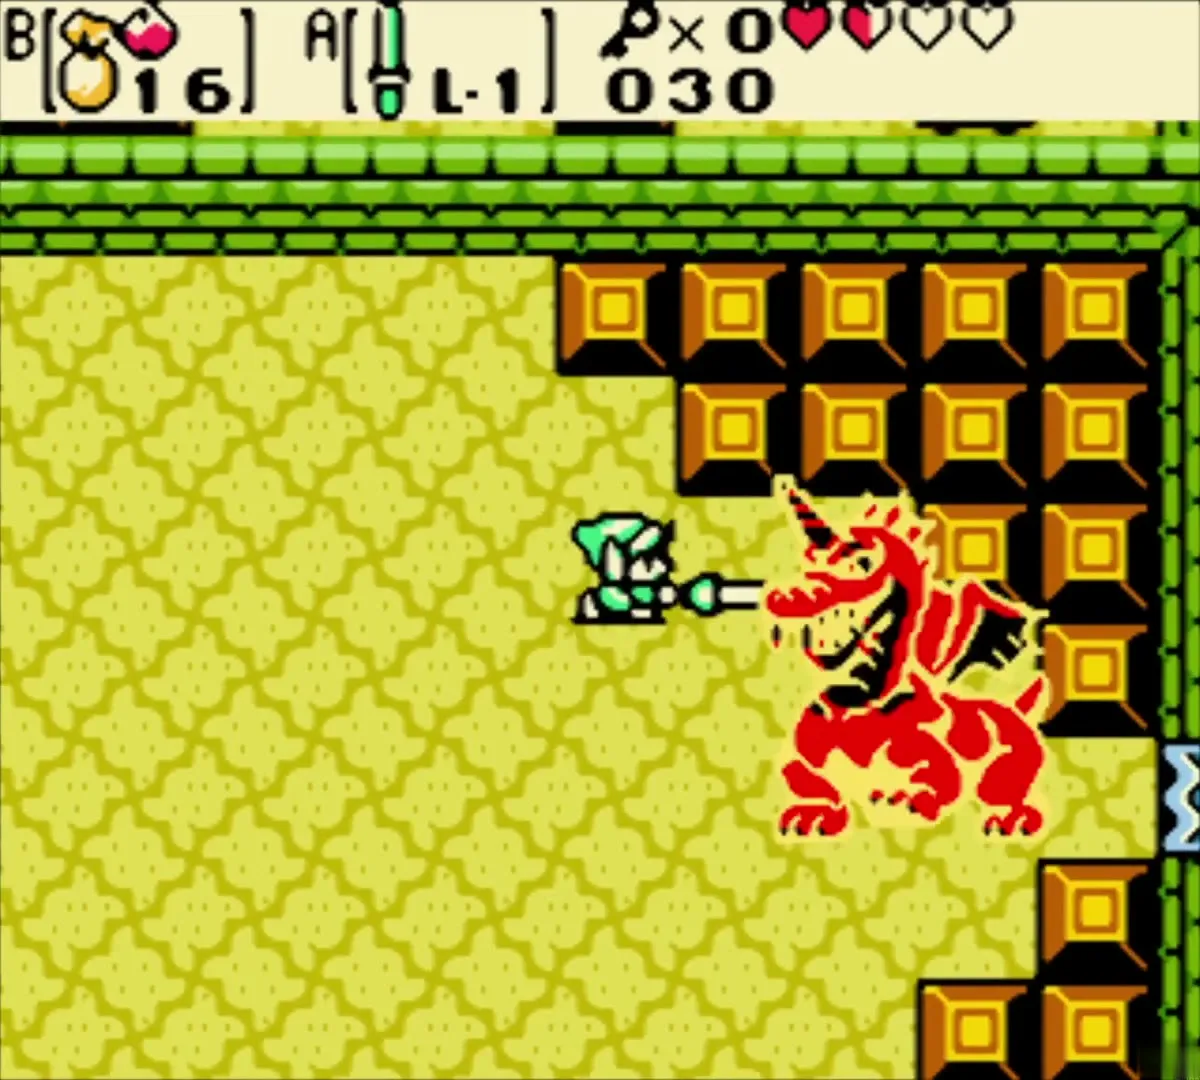
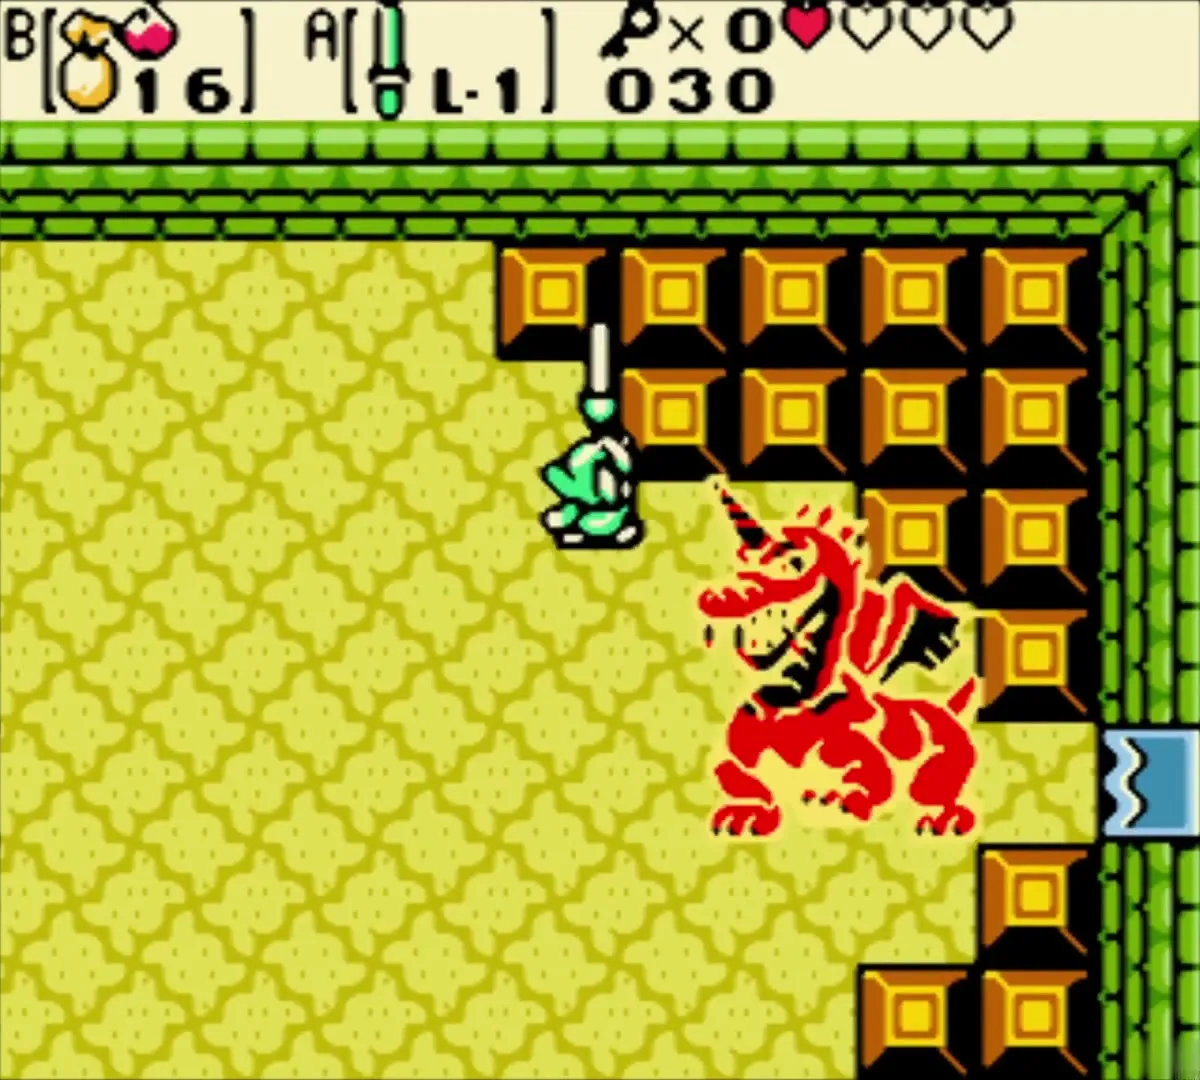
Walk east, defeat the Floormasters in the last room and unlock the boss door on the north wall with the Boss Key. Aquamentus is a horned dragon that spits a spread of three fireballs and sometimes charges. Stand on the upper side so you can reach its horn, and hit the horn with the sword. Its horn glows before it fires, so slip between two fireballs, and dodge the charge, after which it flies back to the right. Close in to strike between attacks. Spin Attacks and charged strikes do extra damage, and Ember Seeds also hurt it.

Heart Container and Essence of Fertile Soil
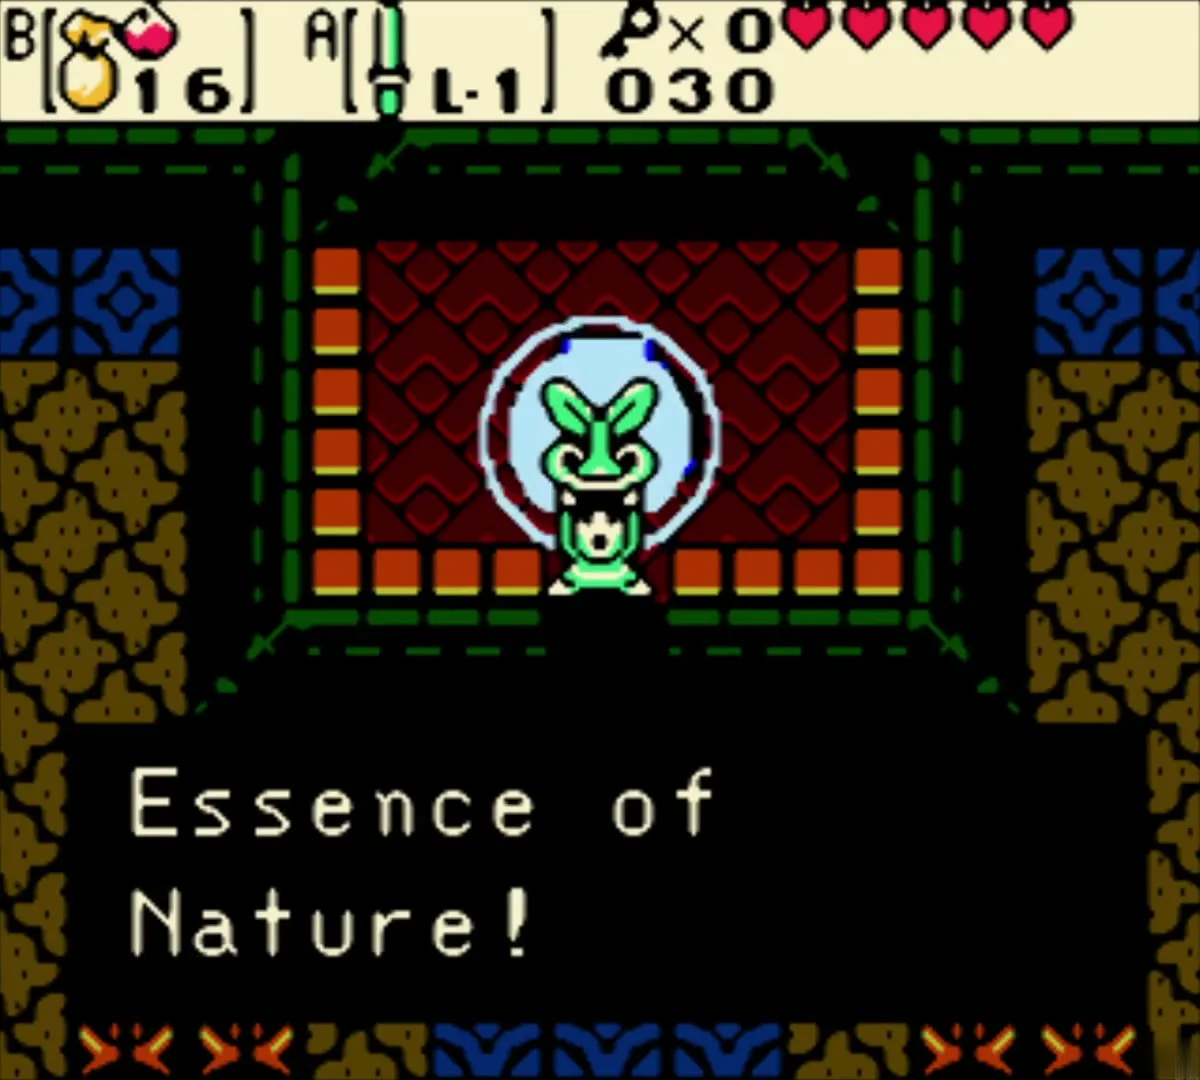
Aquamentus drops a Heart Container, which raises your maximum hearts by one. Take it, then walk east up the carpeted aisle to the altar to receive the Essence of Fertile Soil, the first of the eight Essences of Nature. The Maku Tree speaks to you, and you return to the island outside.


Chapter checklist
| Type | Name | Where |
|---|---|---|
| Small Key | Small Key | Dropped by the Stalfos in the room east of the second room |
| Map | Dungeon Map | Chest in the room behind the first locked door |
| Compass | Compass | Chest in the rail room, after flipping the junction switch |
| Gasha Seed | Gasha Seed | Chest in the block-pushing room near the Blade Traps |
| Item | 10 Bombs | Chest at the end of the eastern rails |
| Small Key | Small Key | Chest revealed by the switch in the Blade Trap alcove |
| Item | Seed Satchel and 20 Ember Seeds | Side-scrolling basement under the diamond of blocks |
| Key | Boss Key | Chest in the Moblin room behind the first pair of torches |
| Ring | Unappraised ring | Chest in the block maze beyond the Floormaster rooms |
| Heart Container | Heart Container | Dropped by Aquamentus |
| Essence | Fertile Soil | Altar beyond the boss room |
