
























Oracle of Seasons 100% Completion Walkthrough26 chapters
- Getting Started in Holodrum and the Hero’s CaveImpa’s request, Mayor Ruul’s Gasha Seed, Vasu’s Ring Box, the Hero’s Cave ledge chest, shop Bombs and the Gnarled Key.
- Gnarled Root Dungeon (Dungeon 1)Keys, map, compass, Seed Satchel, Boss Key, Aquamentus and the Essence of Fertile Soil.
- Subrosia, the Tower of Winter and the Rod of SeasonsGasha Nuts, Boomerang, Ore Chunks, the Rod and the Ghastly Doll.
- Woods of Winter and the ShovelPay the old man, bomb the 30 Rupee cave, get the Shovel from Holly, find the Mystery Seed tree.
- Snake’s Remains (Dungeon 2)Compass, rupee room, Power Bracelet, Dungeon Map, bomb merchant, Facade, Dodongo boss, Heart Container and Gift of Time.
- Farore’s Secrets and Princess Zelda’s RescueThree Pieces of Heart, a Gasha Nut, Vasu’s rings, the L-3 Ring Box, Zelda and the Blue Joy Ring.
- Spool Swamp and the Floodgate KeyRicky’s Gloves, the Iron Pot trade, Pegasus Seeds, the Floodgate Key and freeing Dimitri for his flute.
- The Tower of Summer and Rosa’s RibbonStar-Shaped Ore, Rosa’s Ribbon, Subrosian Market buys (Heart Piece, Bomb Bag), the Spirit of Summer.
- Poison Moth’s Lair (Dungeon 3)Both Small Keys, Roc’s Feather, Compass, Map, Gasha Seed, Omuai, Boss Key, Mothula and the Bright Sun Essence.
- Natzu, Sunken City and Zora’s FlippersDimitri’s swim, Gale Seeds, Master’s Plaque, Master Diver and the Pyramid Jewel in Oracle of Seasons.
- The Hall of Secrets and the Noble SwordFarore’s secrets, Bombchu, the Noble Sword, Advance Shop rings, Vasu’s appraisals and a first Hero’s Cave visit.
- Great Moblin’s Keep and Goron MountainBomb-catching boss fight, Heart Piece, Tokay secret, bigger Ring Box, 300 Rupees and a Gasha Seed spot.
- The Strange Brothers, the Tower of Spring and Mt. CuccoWin back Roc’s Feather from the Strange Brothers, Spring power, Moosh, Heart Piece, Dragon Key and Dungeon 4.
- Dancing Dragon Dungeon (Dungeon 4)All five Small Keys, Map, Compass, Agunima, Slingshot, Boss Key, Gohma and the Essence of Soothing Rain.
- The Tower of Autumn and Eyeglass LakeGasha Seeds, ring appraisals, Seed Satchel, Treasure Map, Bomb Flower and Power of Autumn.
- Unicorn’s Cave (Dungeon 5)Compass, five Small Keys, Magnetic Gloves, Syger and Digdogger, Heart Container and Nurturing Warmth Essence.
- The Four Jewels, Tarm Ruins and the Lost WoodsRed Ore, Iron Shield, Round Jewel, Vasu’s rings, the Lost Woods seasons and the Master Sword.
- Ancient Ruins (Dungeon 6)Dungeon Map, Compass, three Small Keys, Magical Boomerang, Vire, Manhandla, Heart Container and Blowing Wind.
- Samasa Desert and the Pirate’s BellThe desert ring chest, the polished Rusty Bell and the way to Explorer’s Crypt.
- Explorer’s Crypt (Dungeon 7)Beat the Poe Sisters, get Roc’s Cape and the Boss Key, defeat Gleeok and claim the Seed of Life essence.
- Temple Remains and the Volcano EruptionMaku Tree secrets, Vasu ring appraisals, the Subrosian volcano eruption and the last Piece of Heart in the temple.
- Sword & Shield Maze (Dungeon 8)Compass, Dungeon Map, Hyper Slingshot, Frypolar, Medusa Head and the Changing Seasons essence.
- The Huge Maku Seed, the Last Trades and the Hero’s CaveThe Goron Vase to Phonograph trade chain, Gasha Seed planting, and the linked Hero’s Cave chest trial.
- Side Quests and Collectibles Before Onox’s CastleGasha Nuts, Vasu’s rings, the Mirror Shield, the chest game, Maple and Biggoron’s Sword.
- Onox’s Castle and the Final BattleClear the castle rooms, beat Facade, buy the Mirror Shield, then defeat General Onox and free Din.
- The Linked Game FinaleBeat Twinrova and Ganon in the Room of Rites, then finish at the Maku Tree and find the Hero’s Secret.
| Covers | The whole of the Dancing Dragon Dungeon in Mount Cucco, entered by swimming from the lake stump with the Dragon Key in your pocket, up to the Essence chamber and the Maku Tree’s words afterward. |
|---|---|
| Dungeon | Dancing Dragon Dungeon (Dungeon 4): Slingshot, mini-boss Agunima, boss Gohma, Essence of Nature: Soothing Rain. |
| Rewards | 10 Bombs, Dungeon Map, Compass, Slingshot, Boss Key, 5 Small Keys, 10 Ember Seeds bought for 20 Rupees, 1 Heart Container, Essence of Soothing Rain (the fourth Essence). |
This chapter clears the fourth dungeon, a flooded maze of minecart tracks, spike floors and pot-and-switch rooms. You collect the Map and Compass, fight the three-bodied Agunima, win the Slingshot, then use it to reach the Boss Key and to light torches that open the last Small Key. Gohma waits behind the boss door, and its Heart Container leads to the Soothing Rain.
Table of Contents
Entrance and the first rooms
Swim to the gate
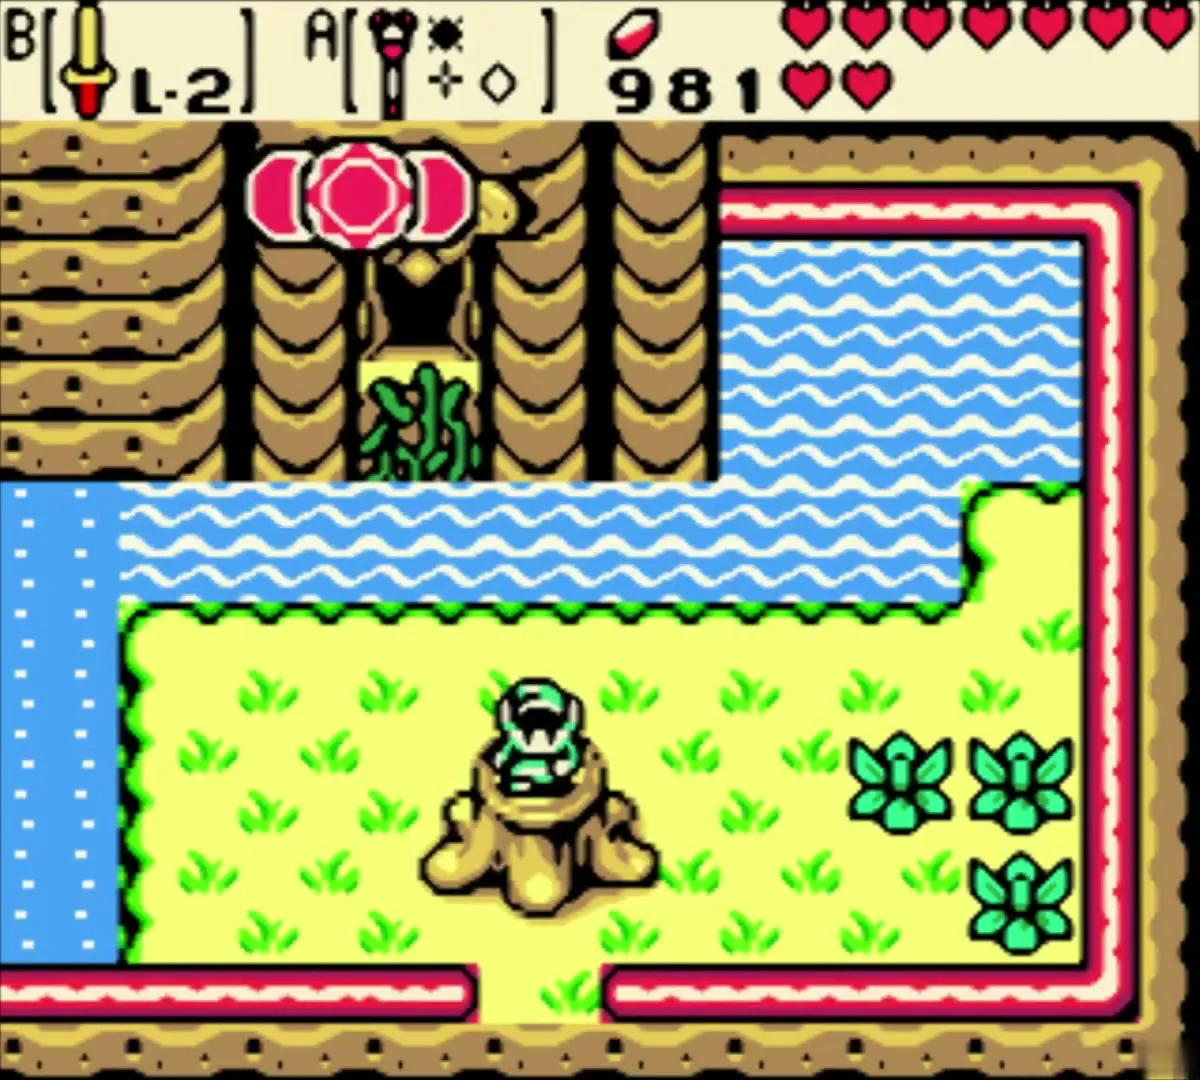
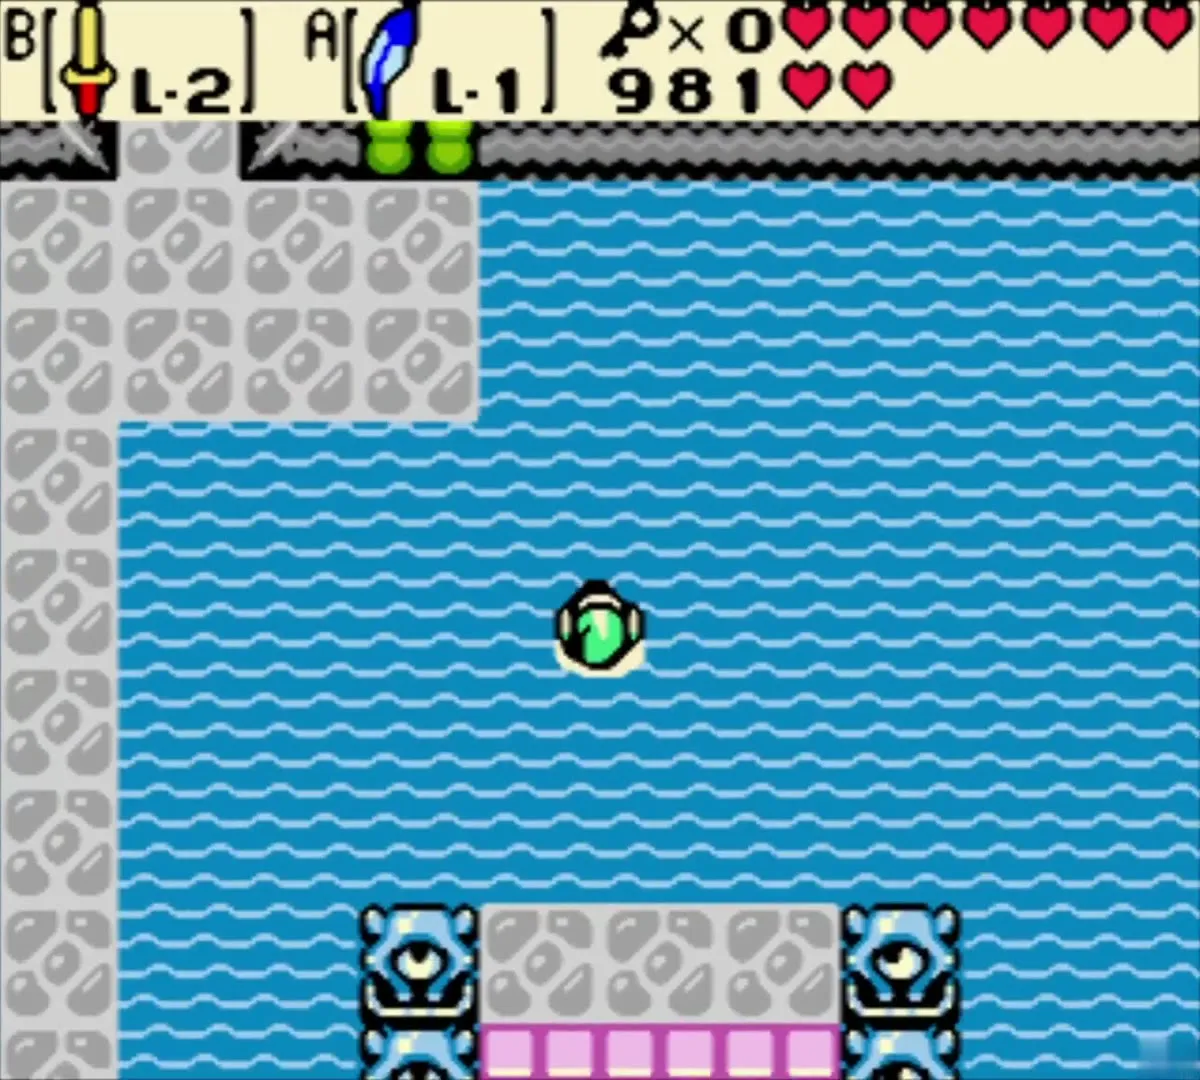
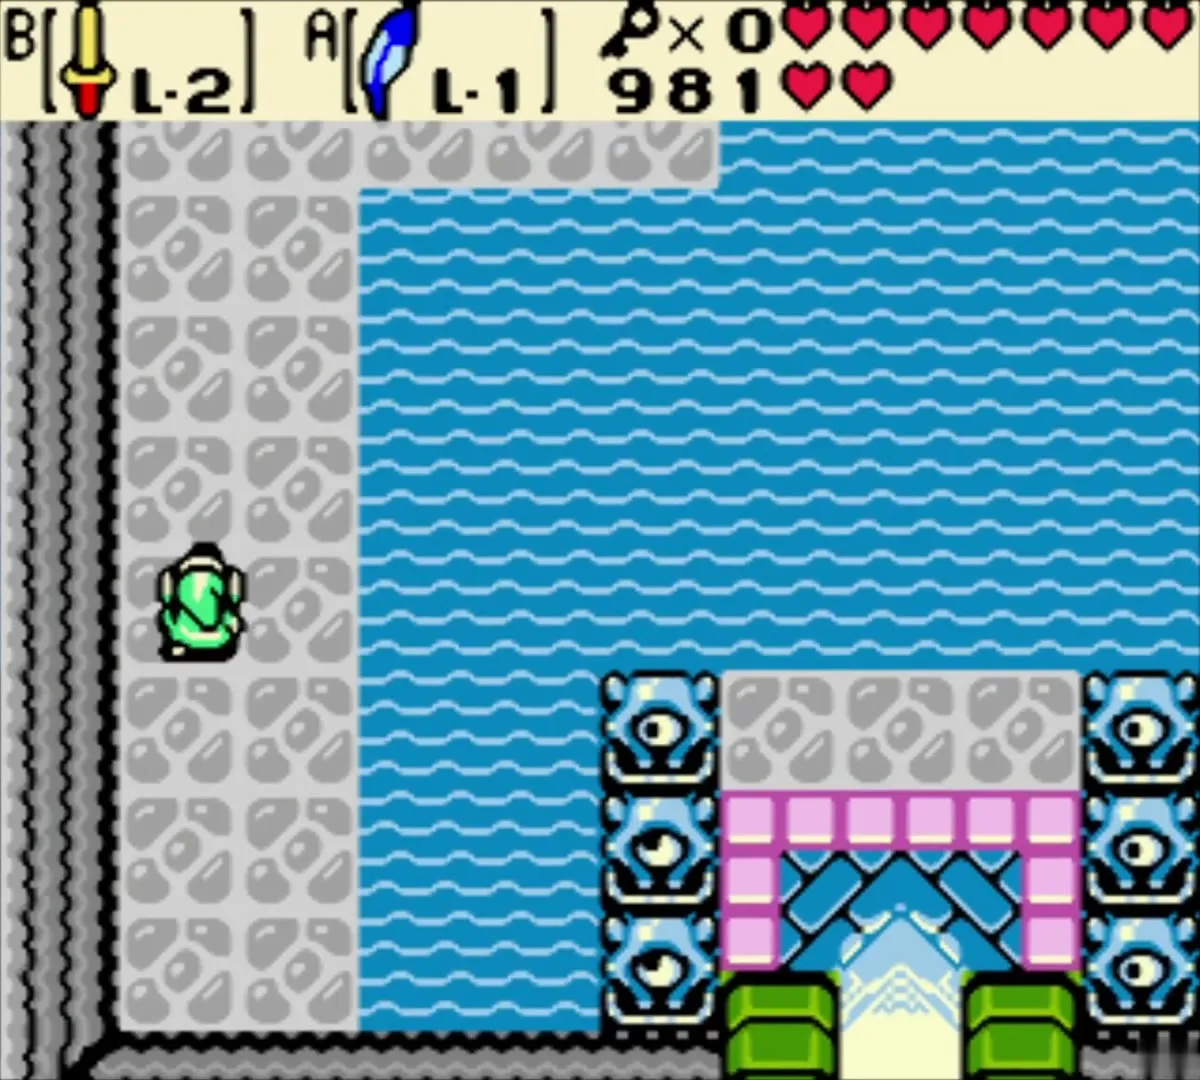
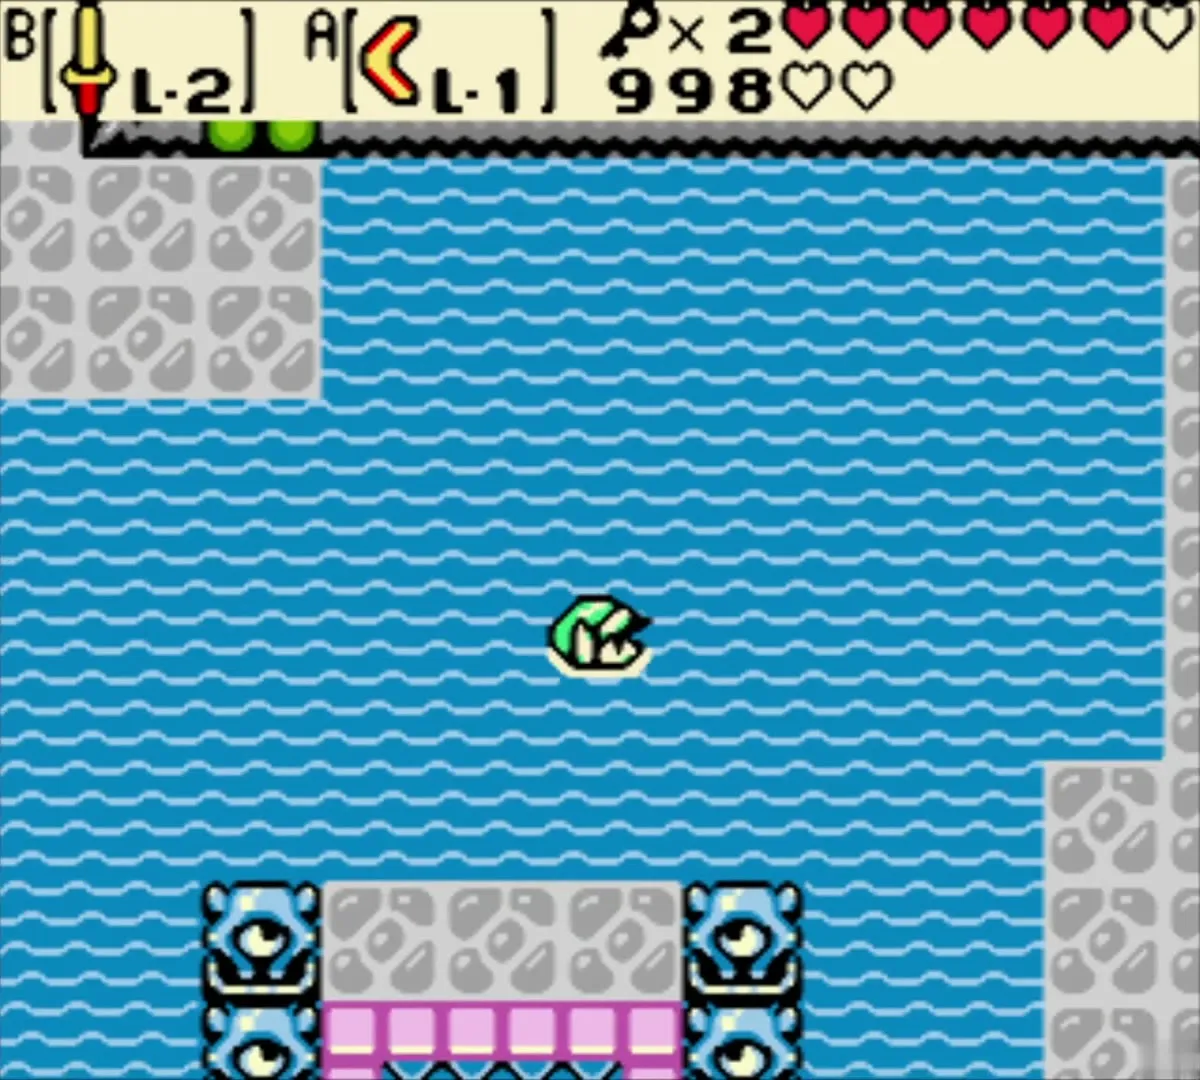
From the stump by the lake, use the Rod of Seasons if you need to, then swim across the water to the pink gate between two rows of blue eye statues. Zora’s Flippers carry you the whole way. Step through the gate into the dungeon.

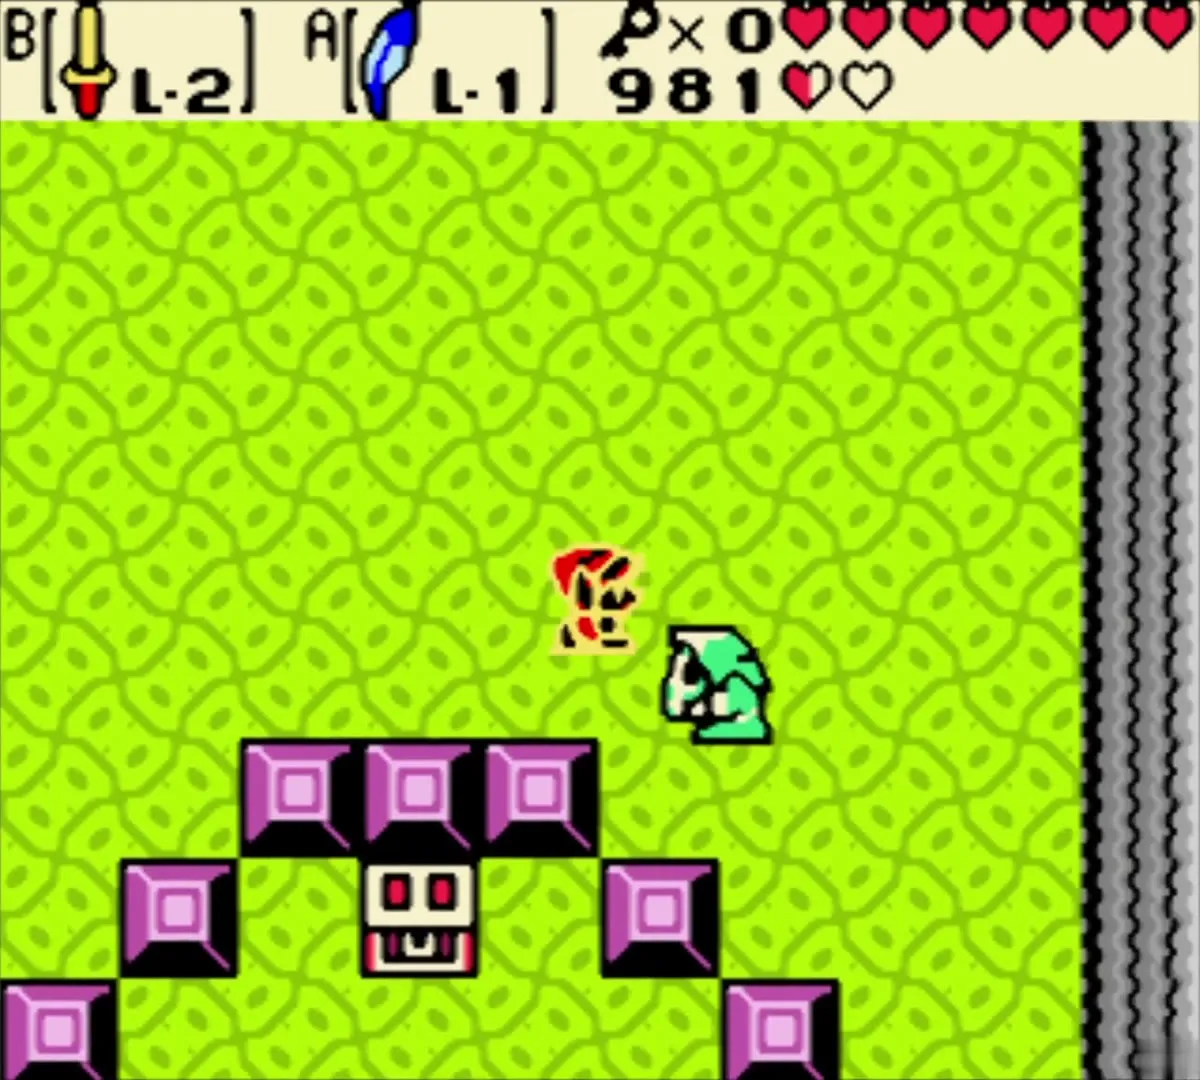
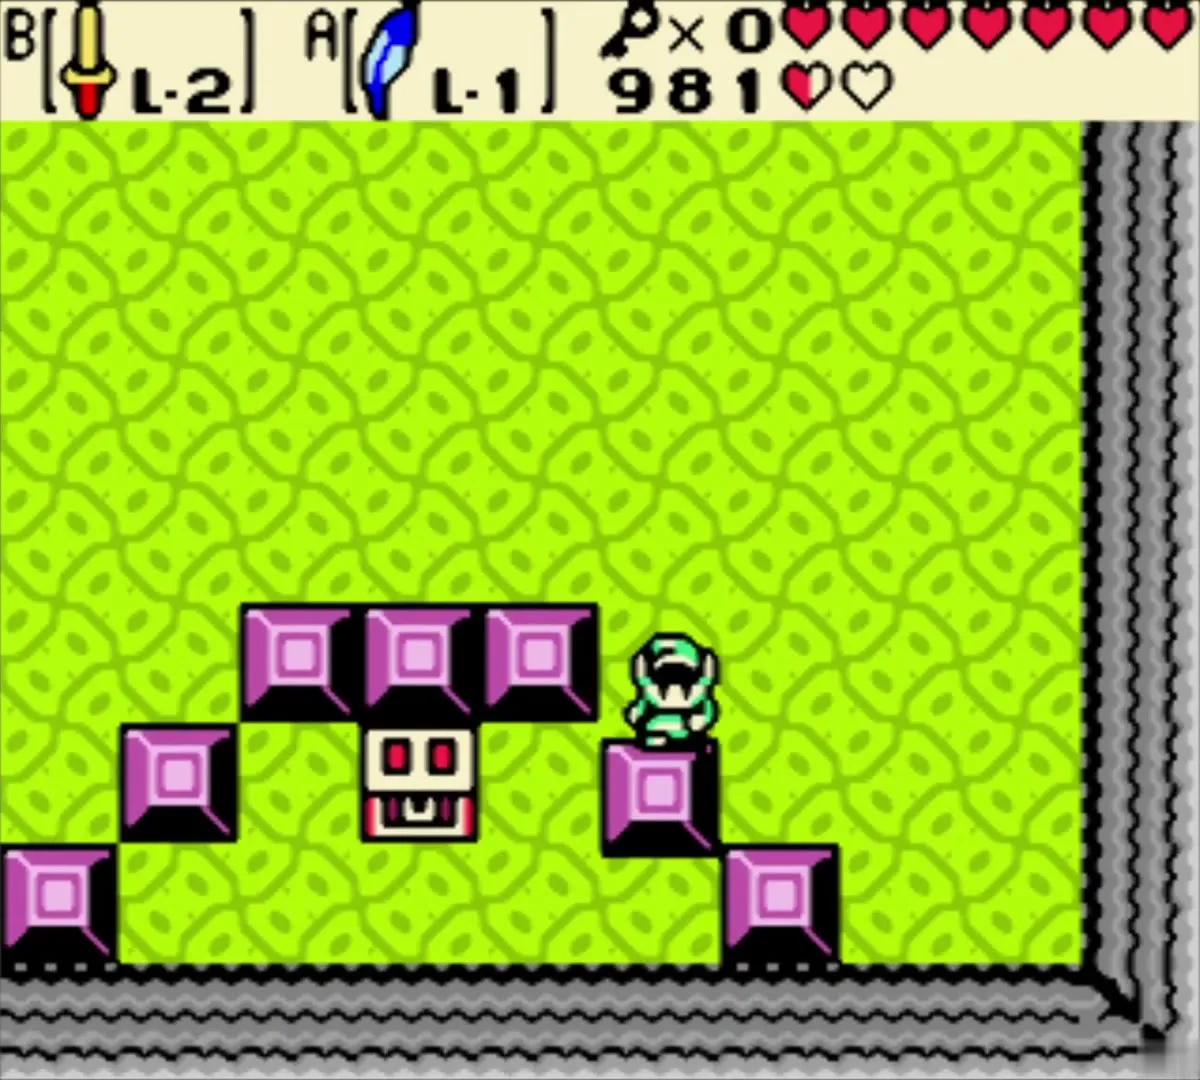
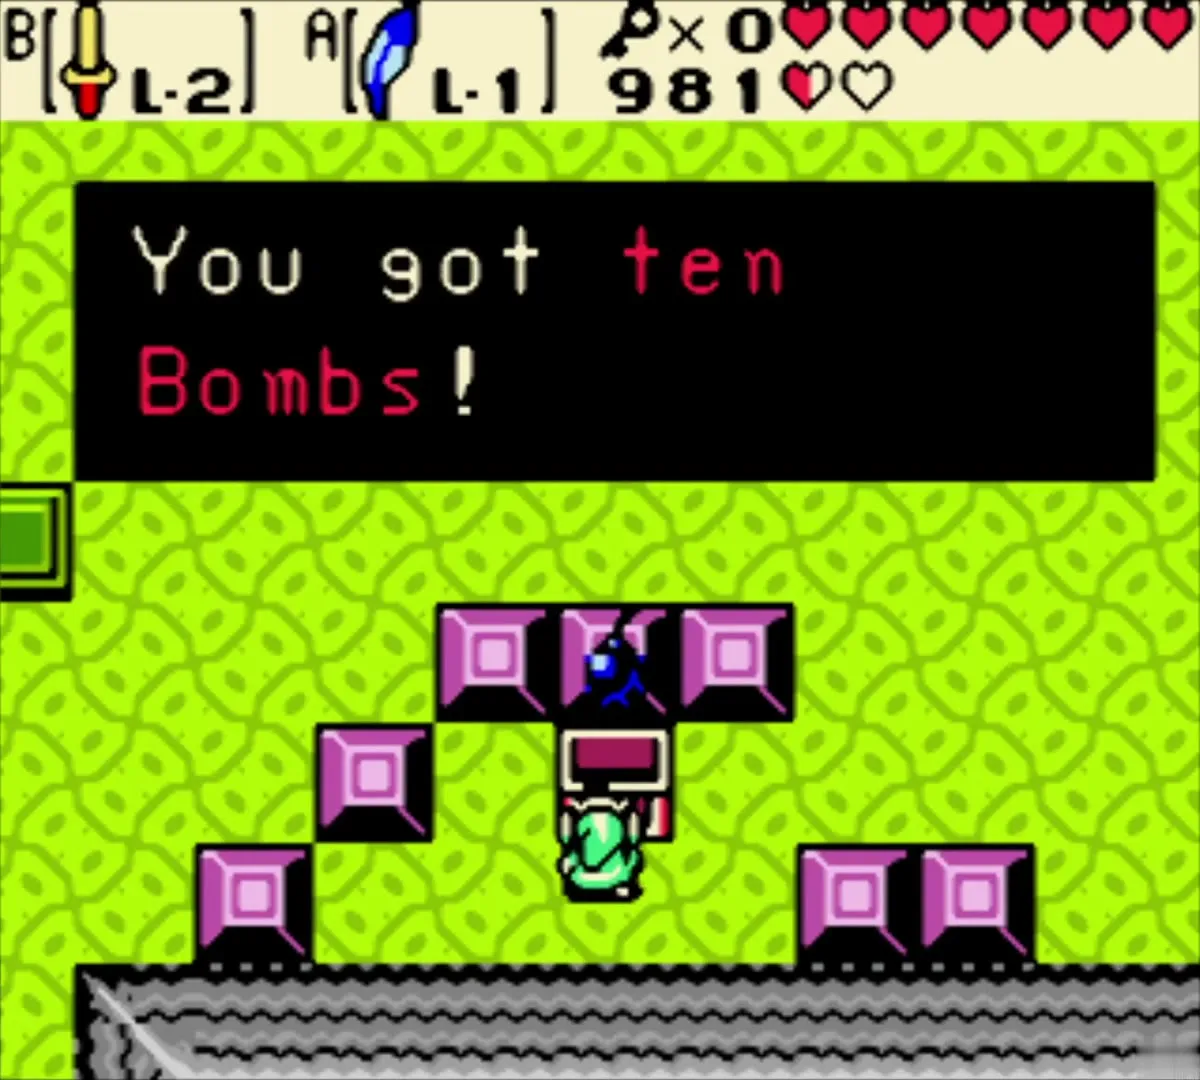
Stalfos room and the chest of 10 Bombs
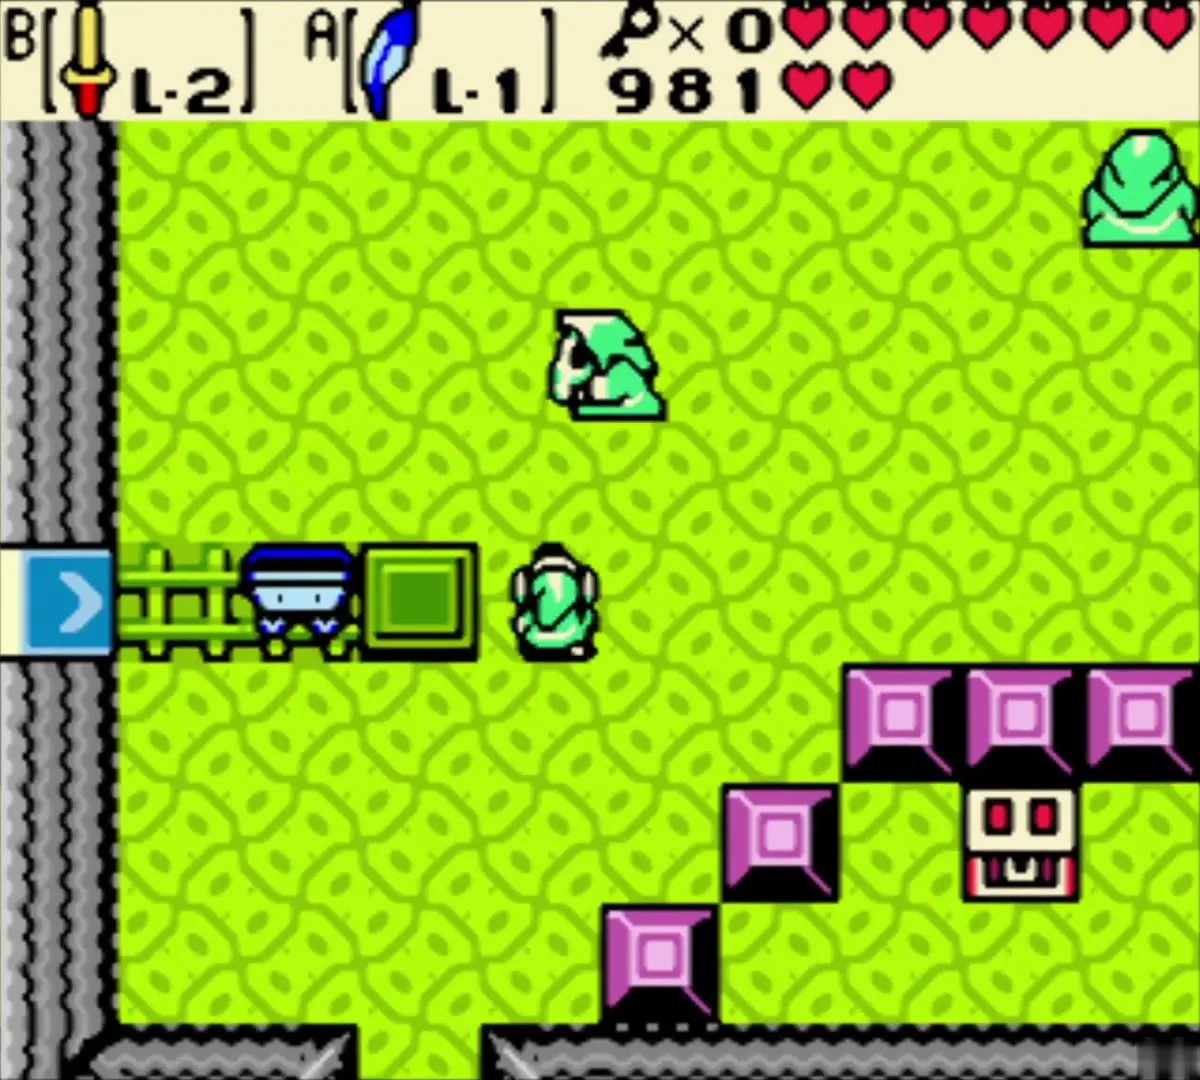
The first rooms are green floors with purple blocks. Beat the Stalfos that crouch under a cloth and push aside the purple block that guards the chest at the foot of the block arch, then open it for 10 Bombs. You will need Bombs for a cracked wall soon, and the Bomb Bag holds 30.
The first minecart and the cracked wall
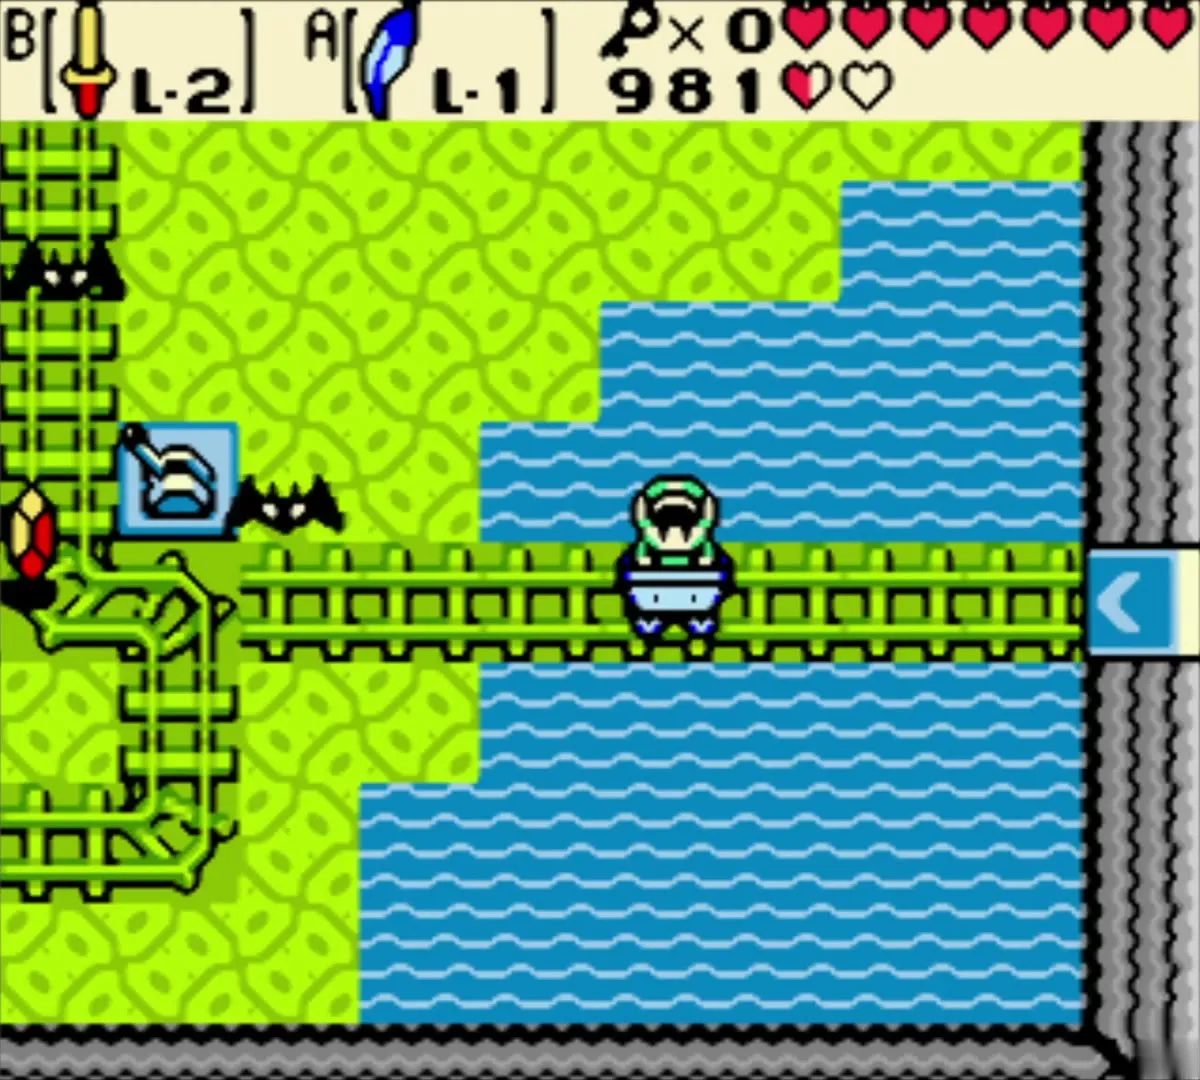
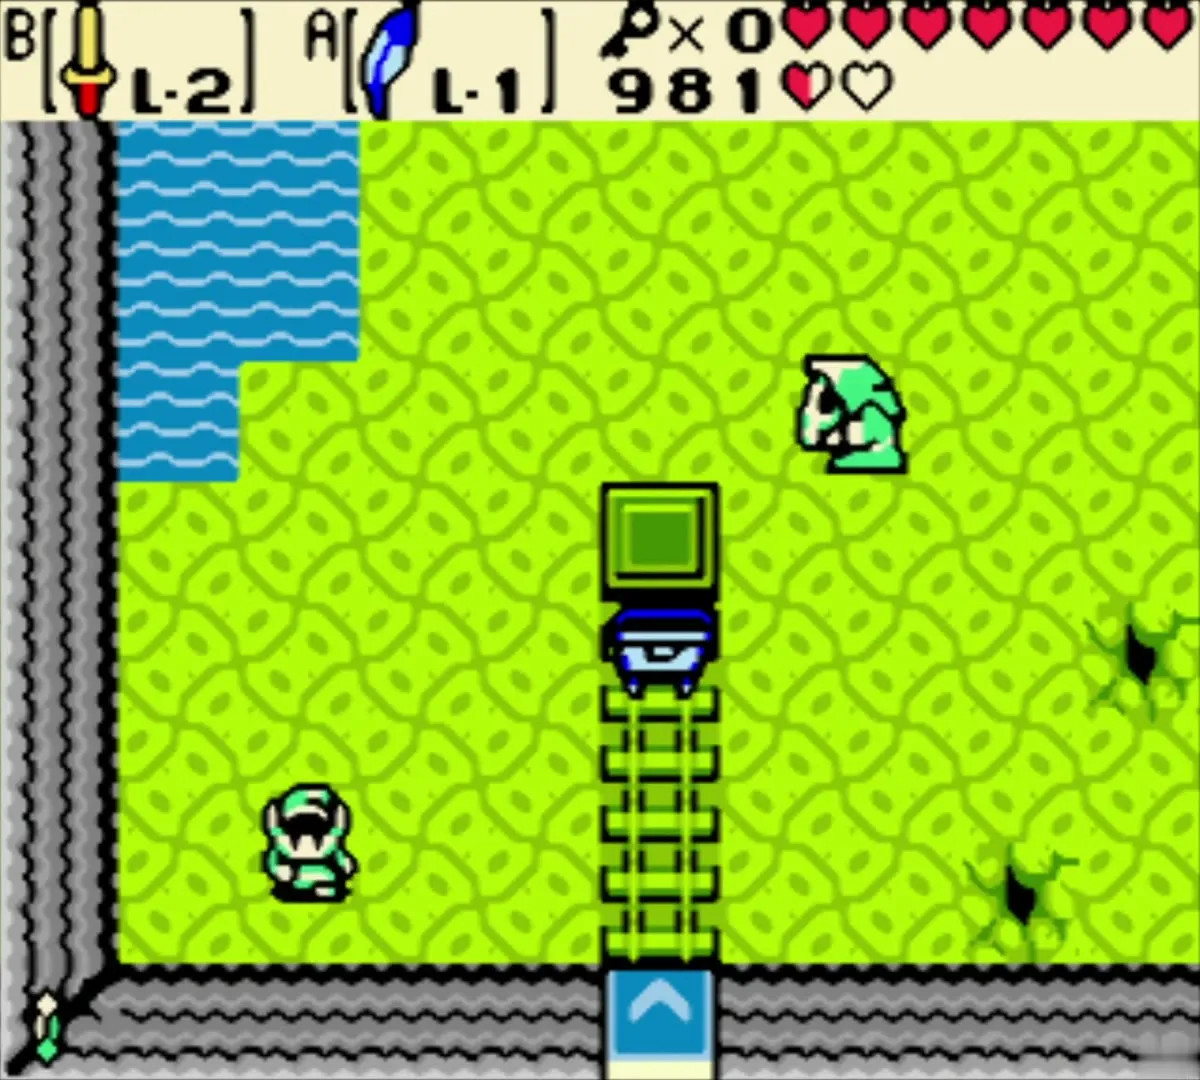
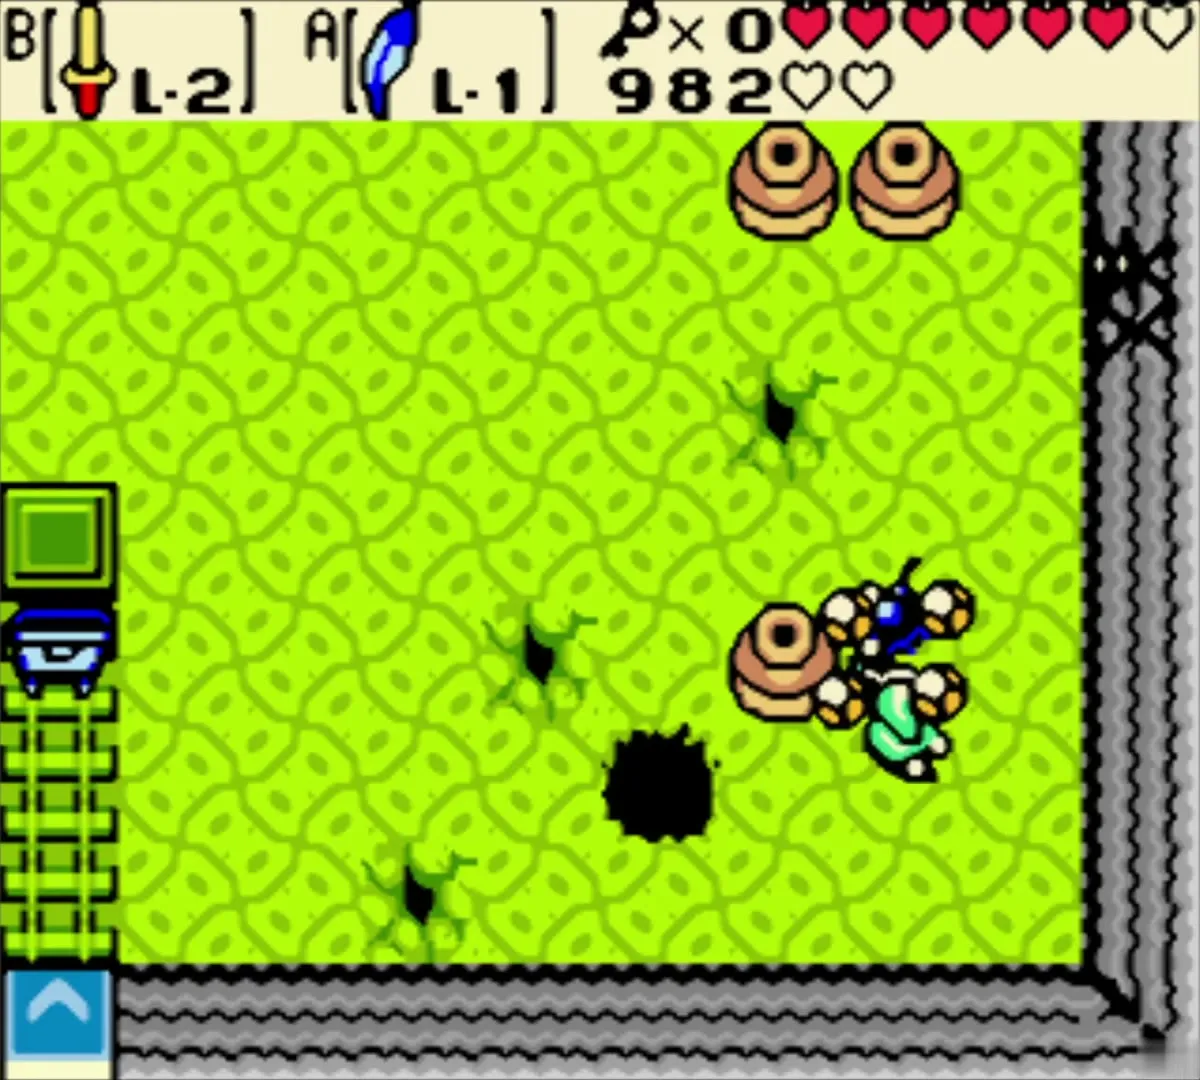
Step into the minecart on its rail and ride it east. Do not hit the colored switch on the way out; you will return this way and want it facing the other direction. The cart carries you to a room of Keese, a black Stalfos and floor holes. Kill them, then use a Bomb on the cracked wall on the east side to open the passage.
The pot-and-switch room and the first Small Key
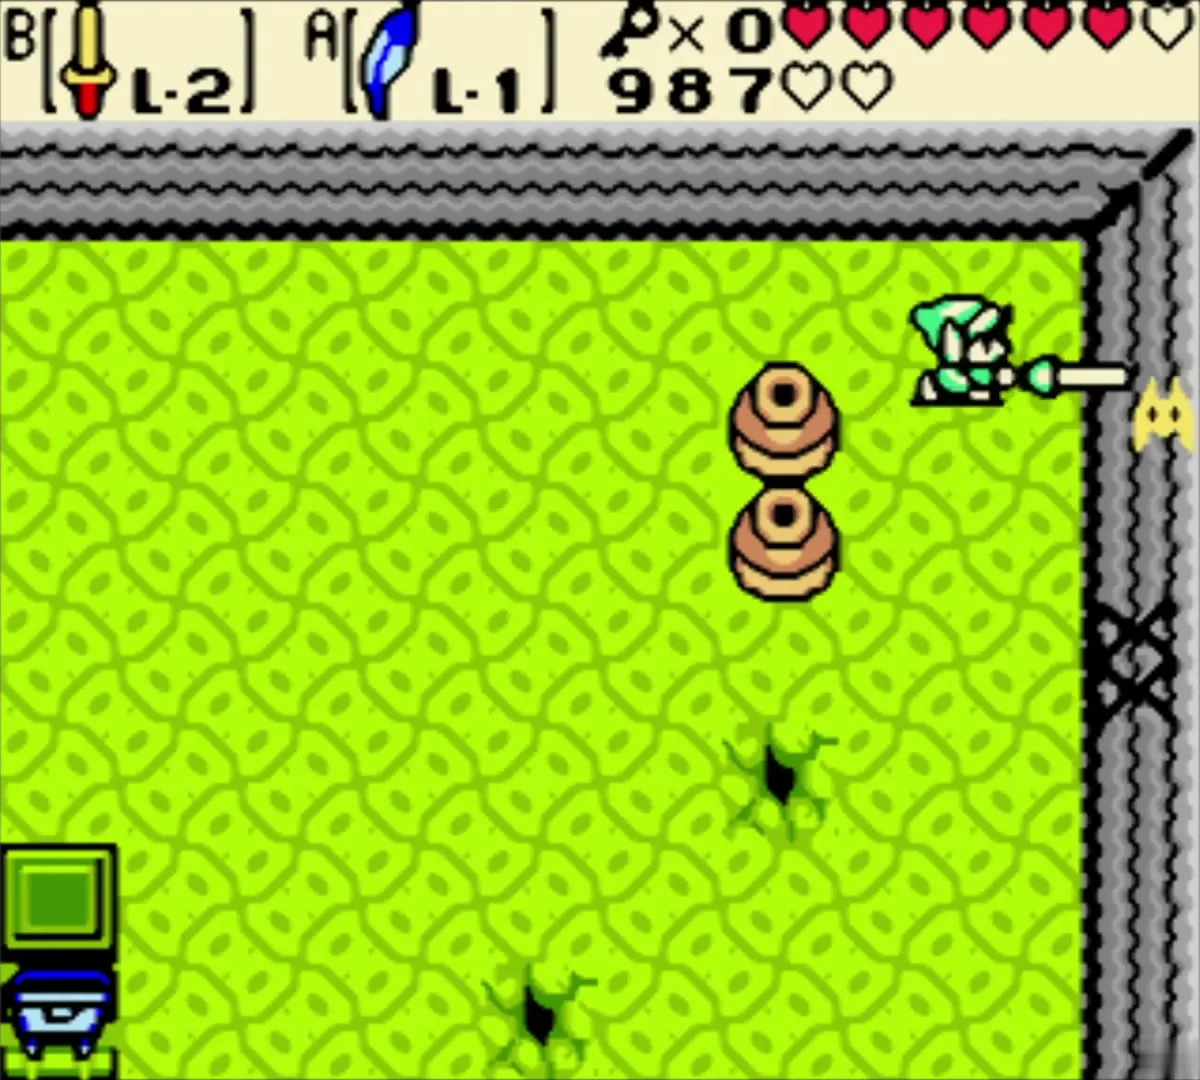
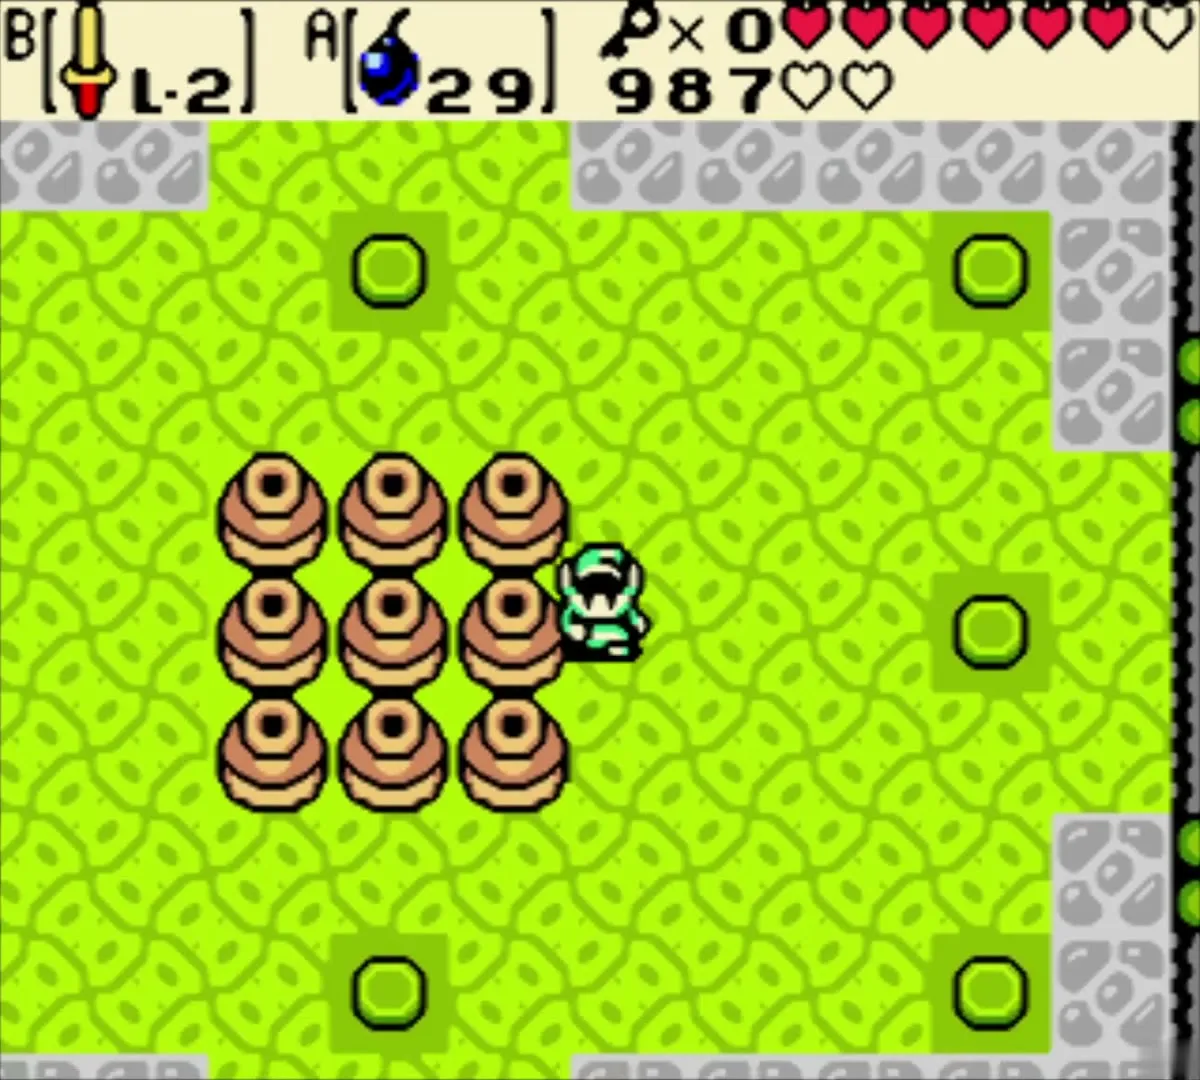
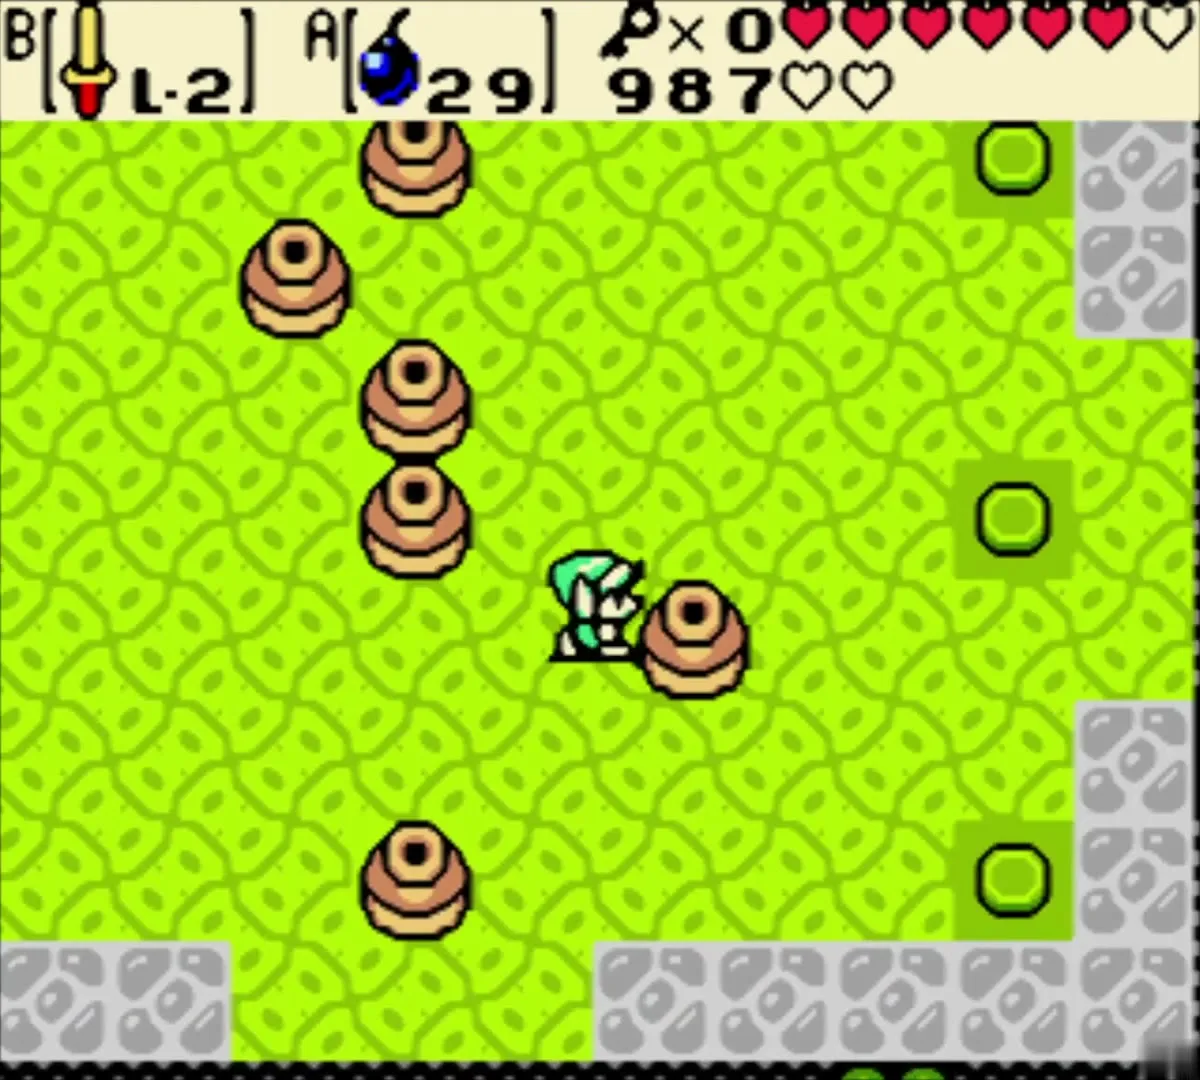
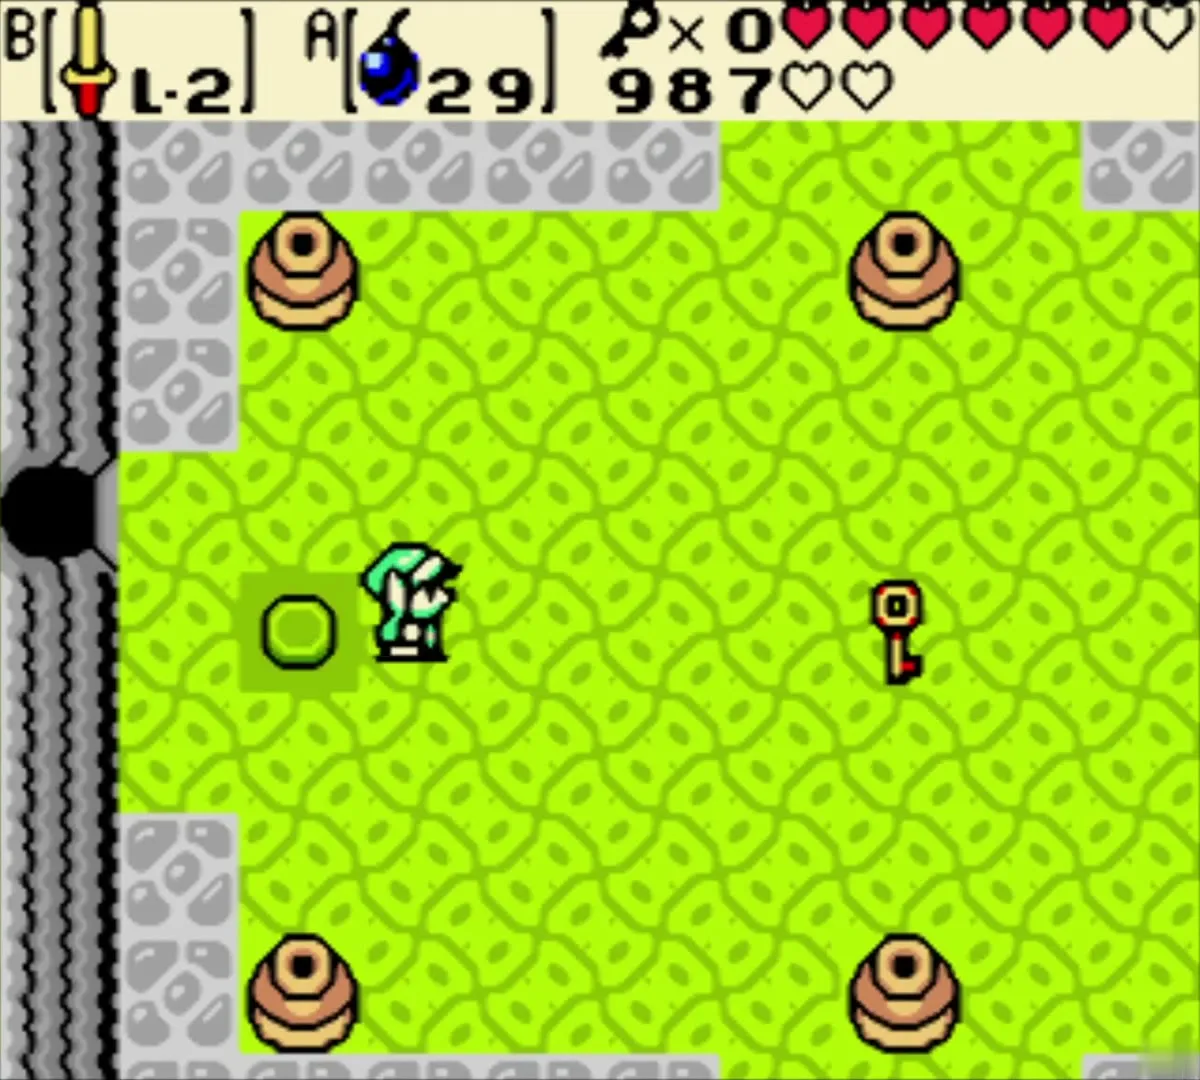
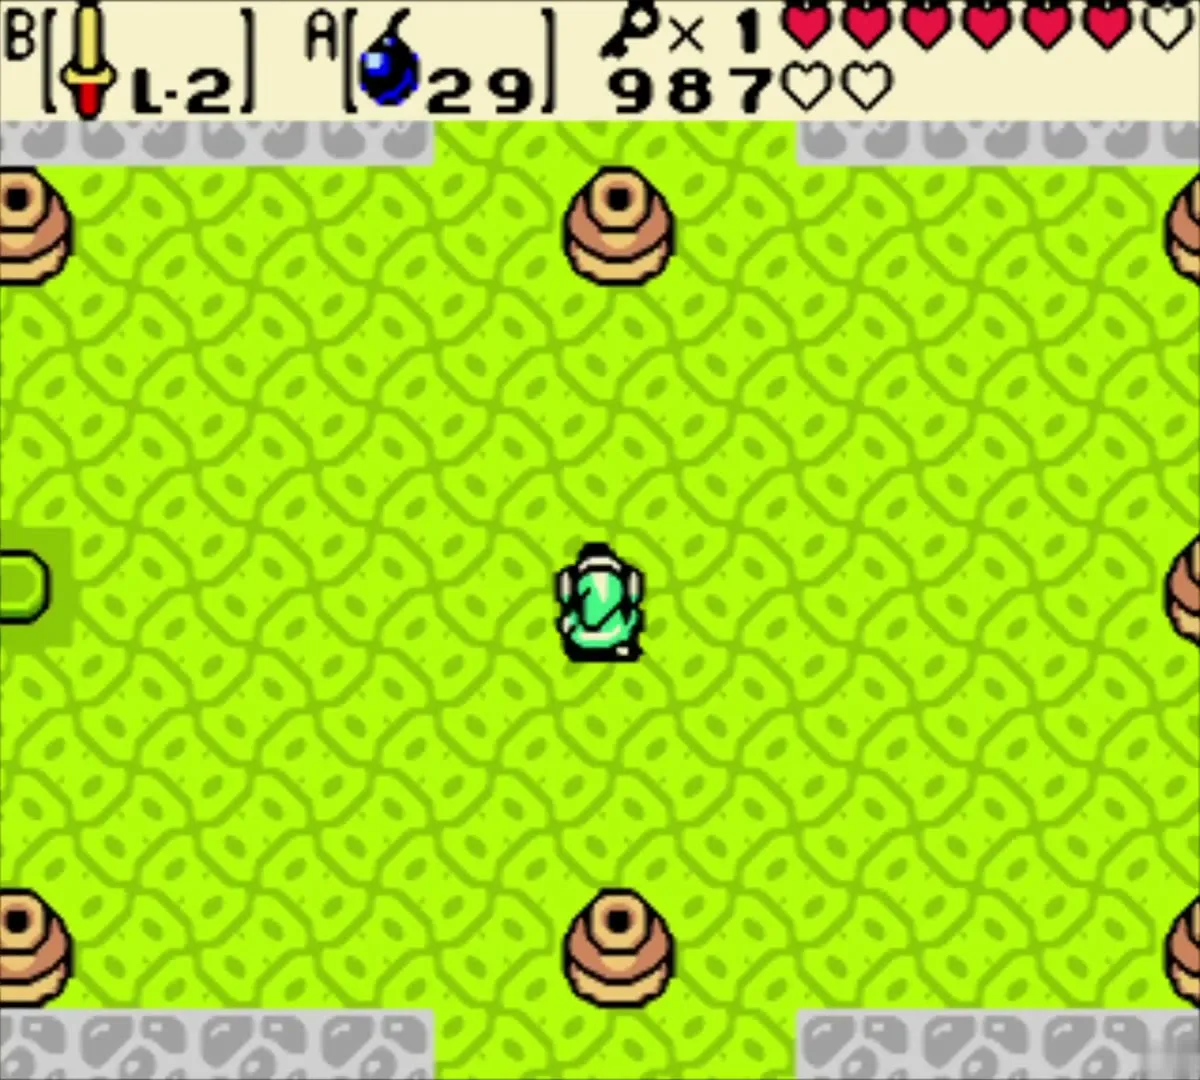
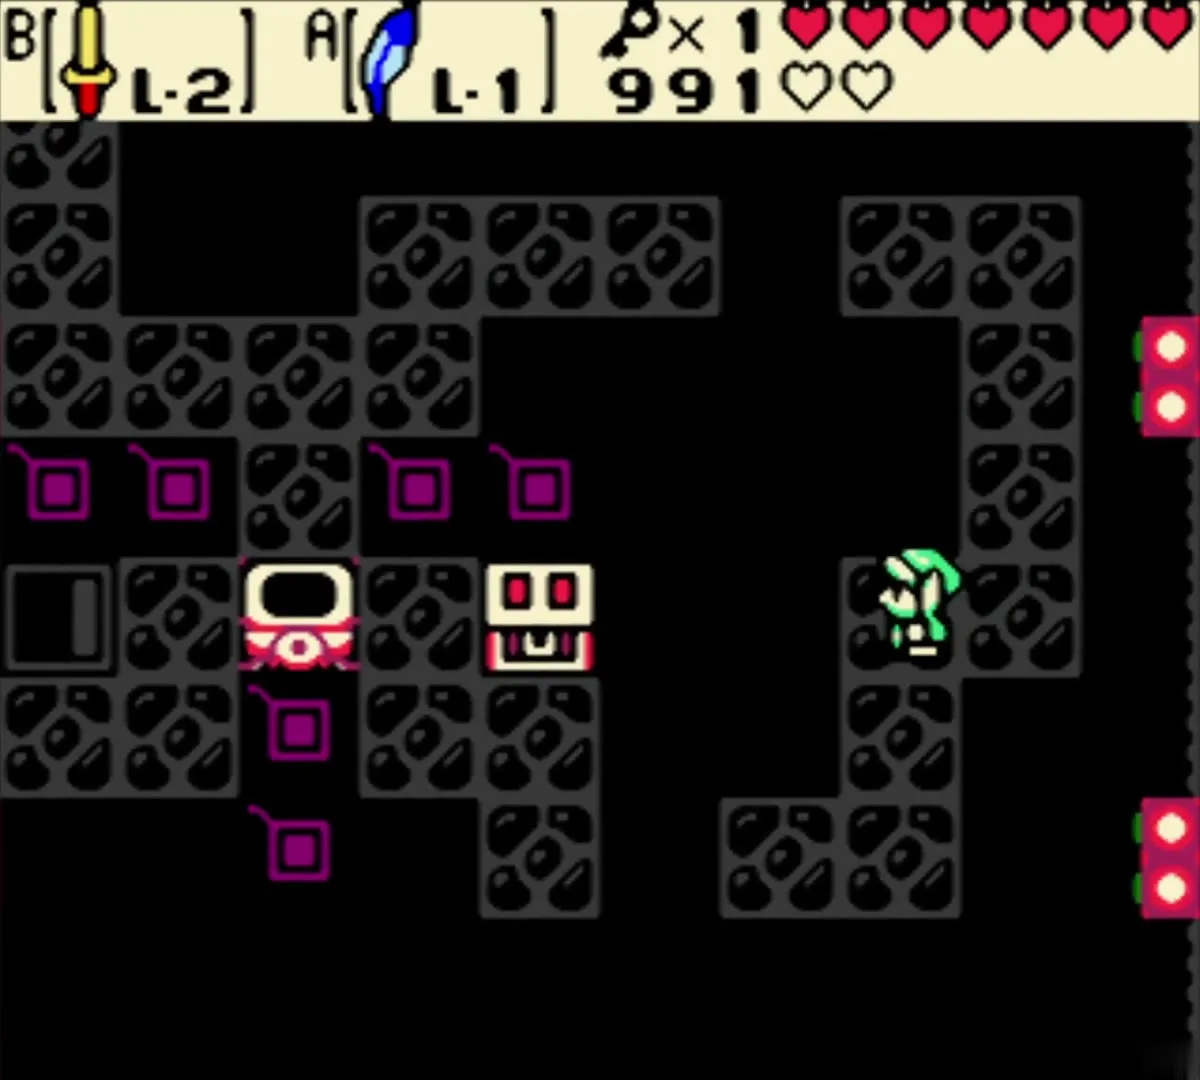
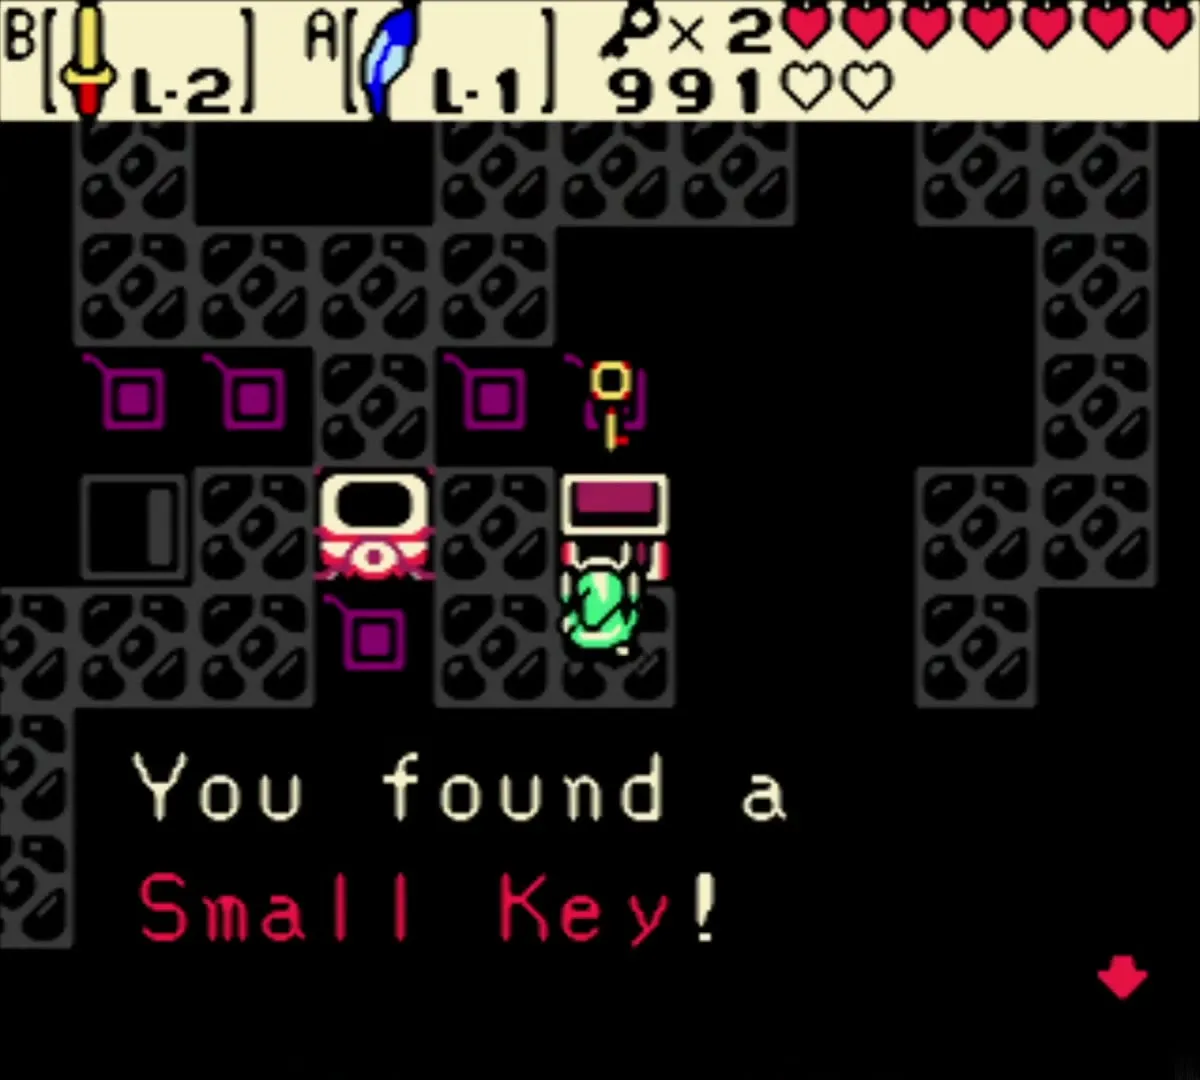
Next you reach a room with eight round floor switches and nine brown pots. Lift or break the center pot and one more, then carry the rest of the pots onto seven of the switches. Stand on the eighth yourself. A Small Key drops from the ceiling. Pick it up for your first of five.
Dungeon Map
Ride back, flip the switch and swim
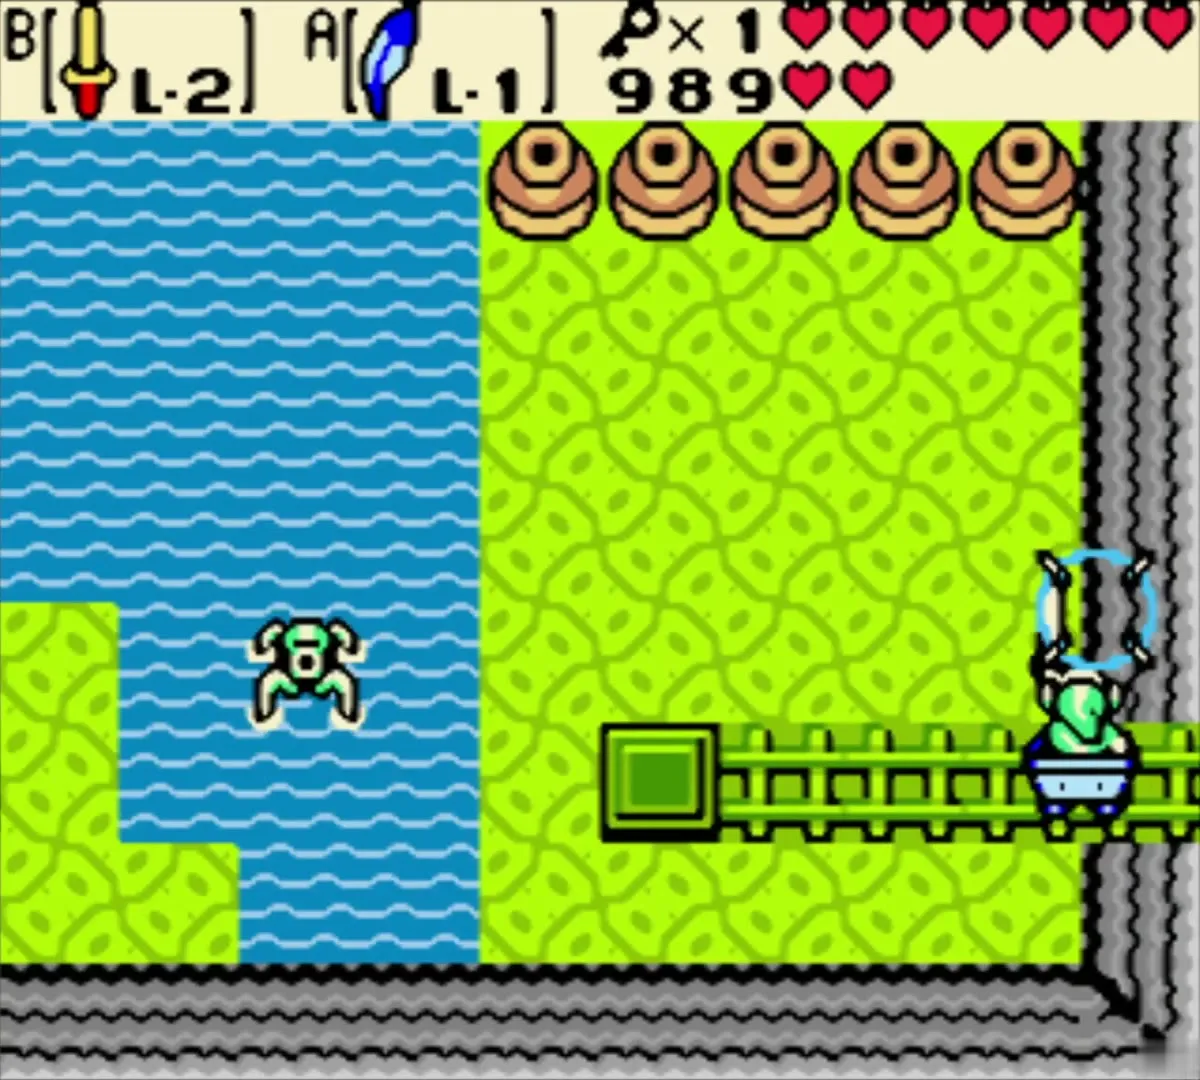
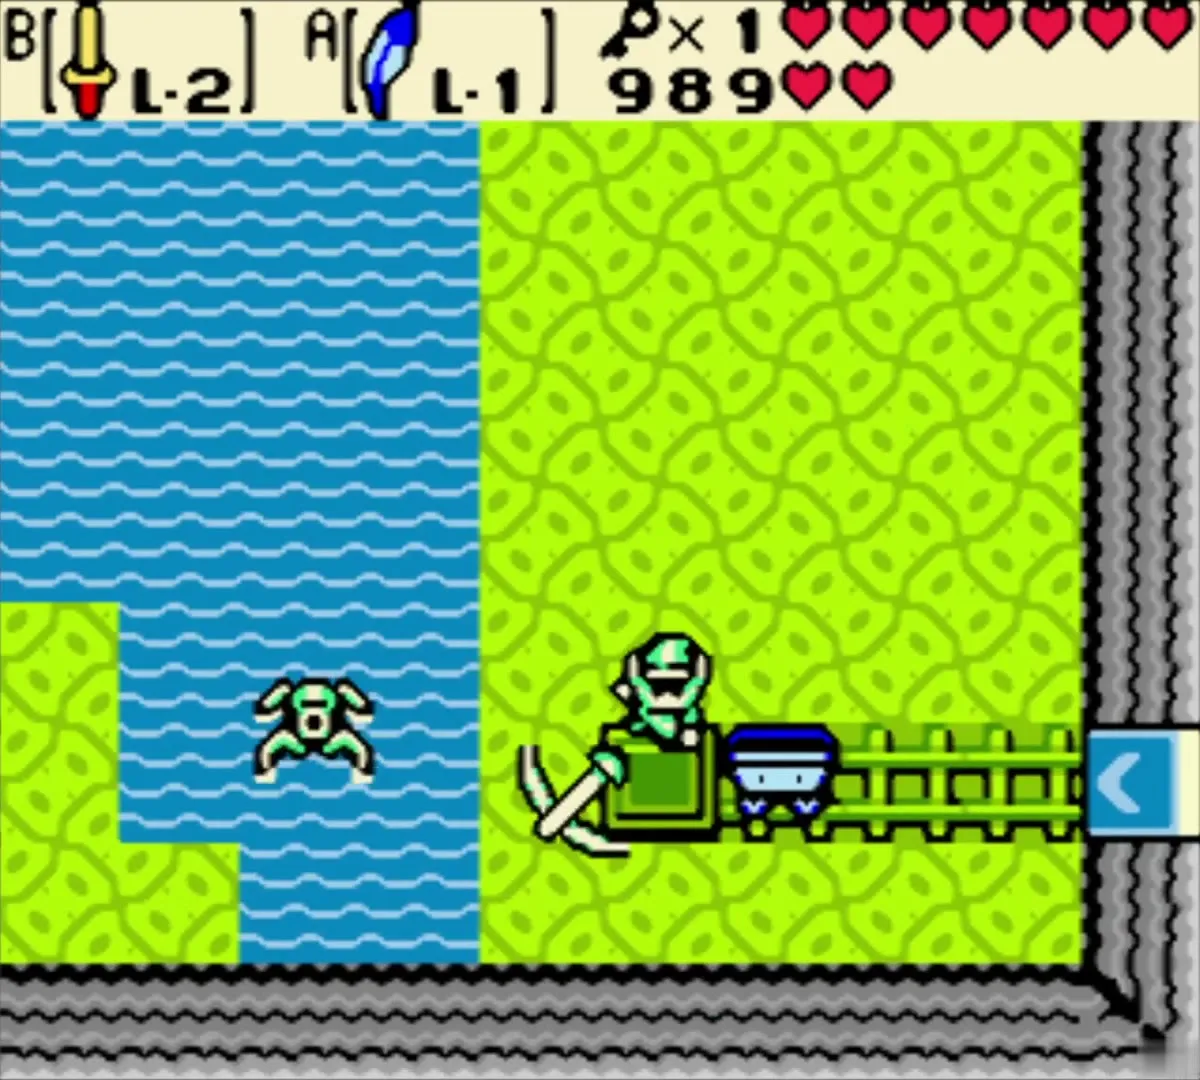
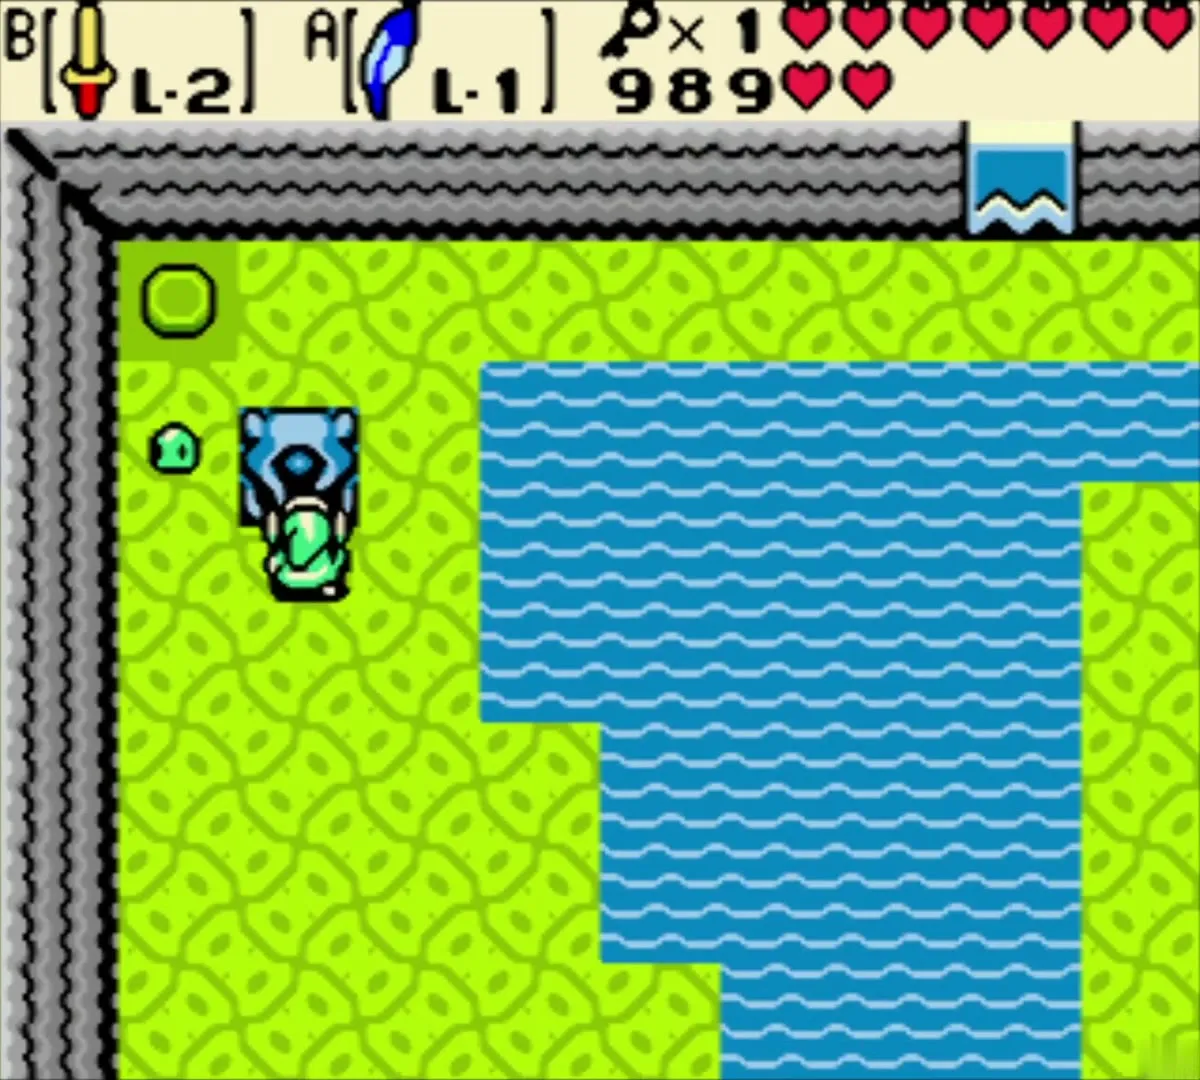
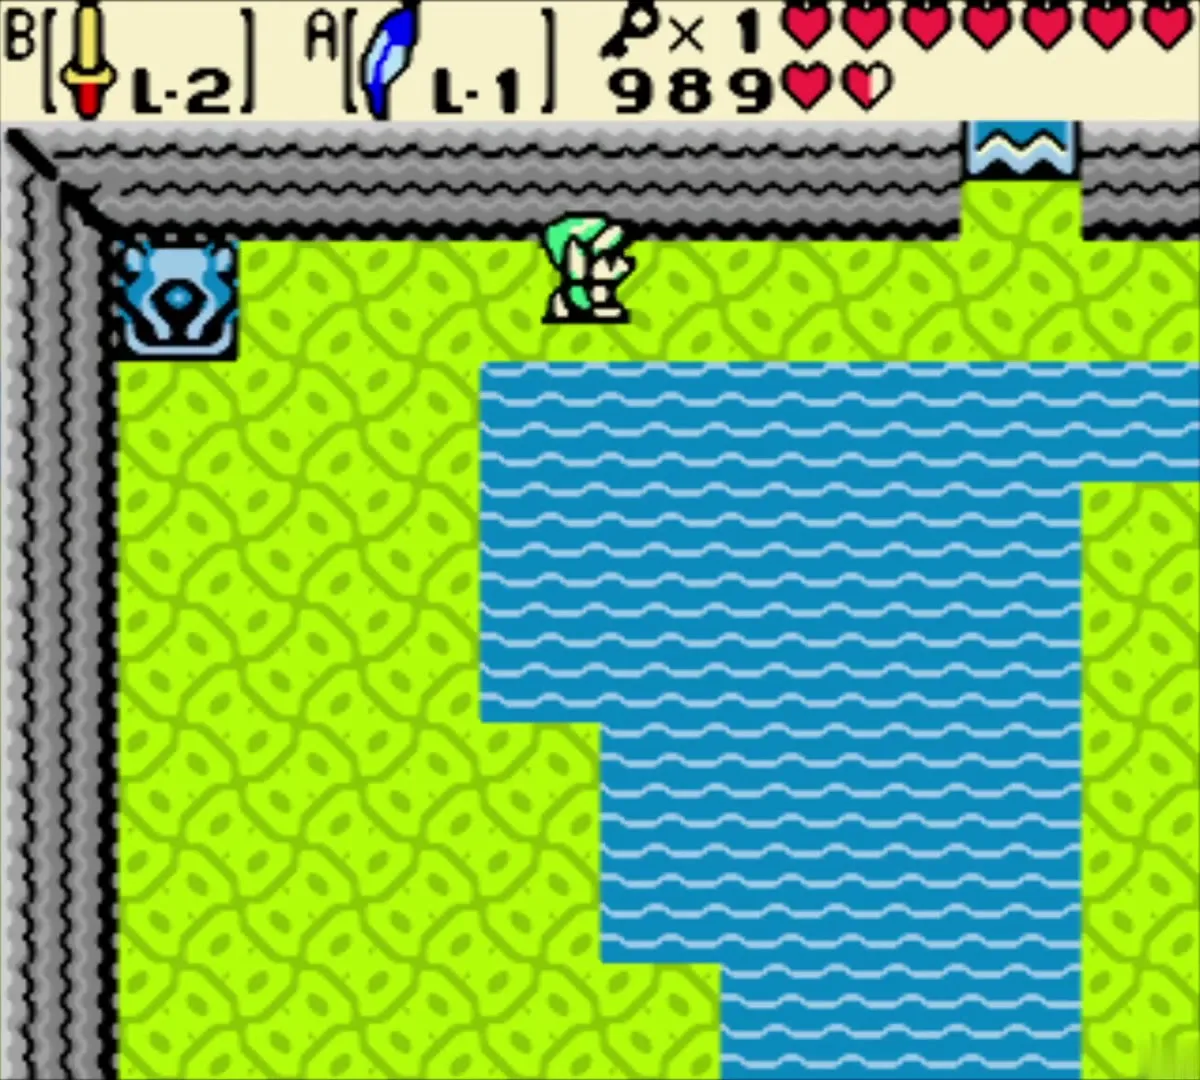
Return to the minecart and this time strike the switch next to the track before you pass it, so the cart is sent to a different room. In the Water Tektite room, swim left and push the statue onto the floor switch in the top-left corner to open the north door. You can dive with B to avoid the Tektites.
Stairs and the block puzzle
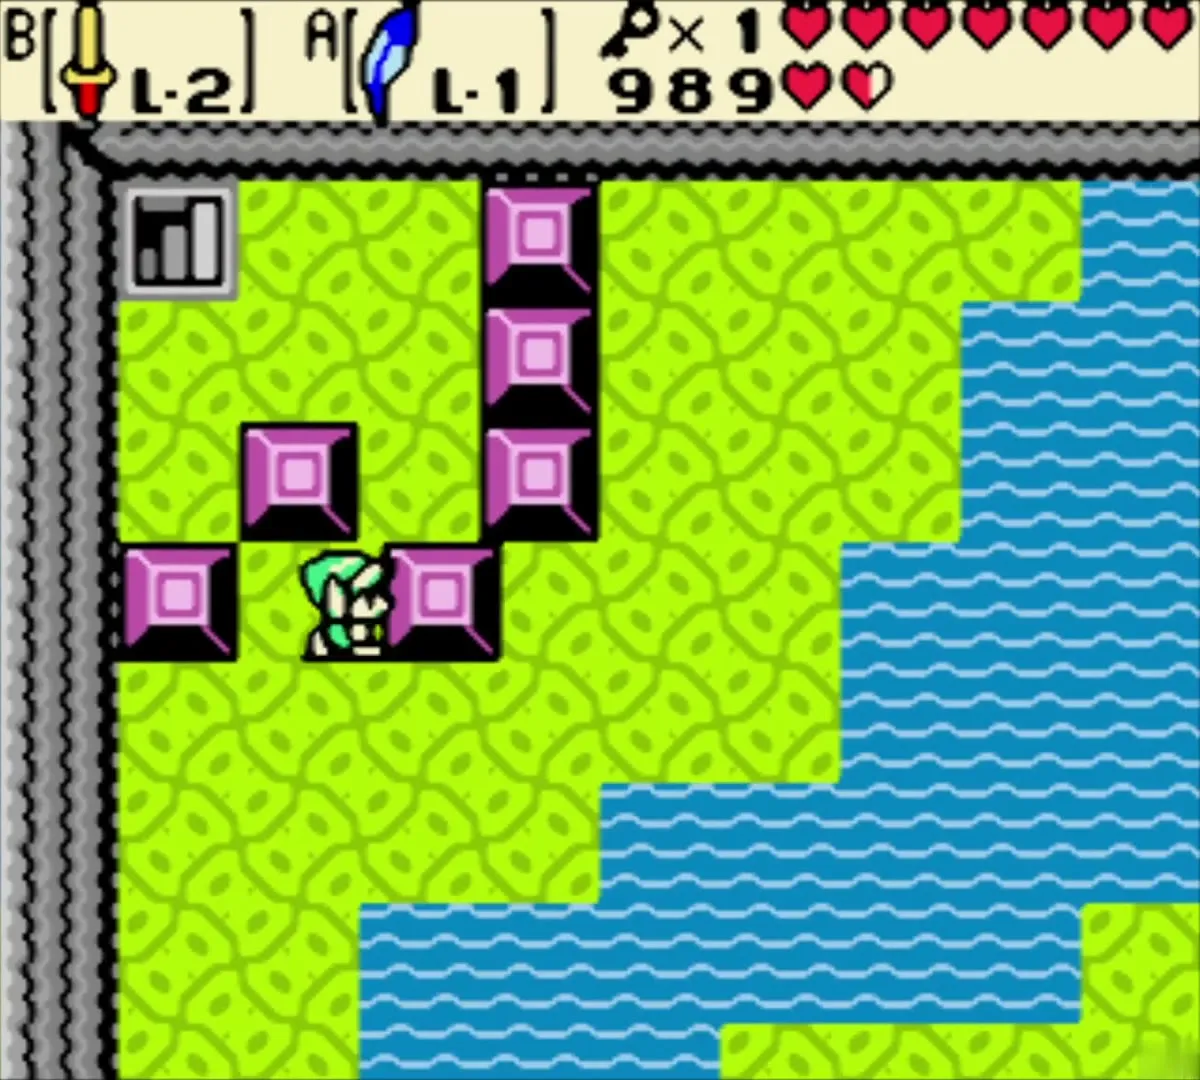
Go north to the room with a flight of stairs blocked by purple blocks. Push the blocks on both ends of the stair block one square each, and the middle block out of the way, then walk down to the first floor.

Wizzrobes, the block maze and the Map chest
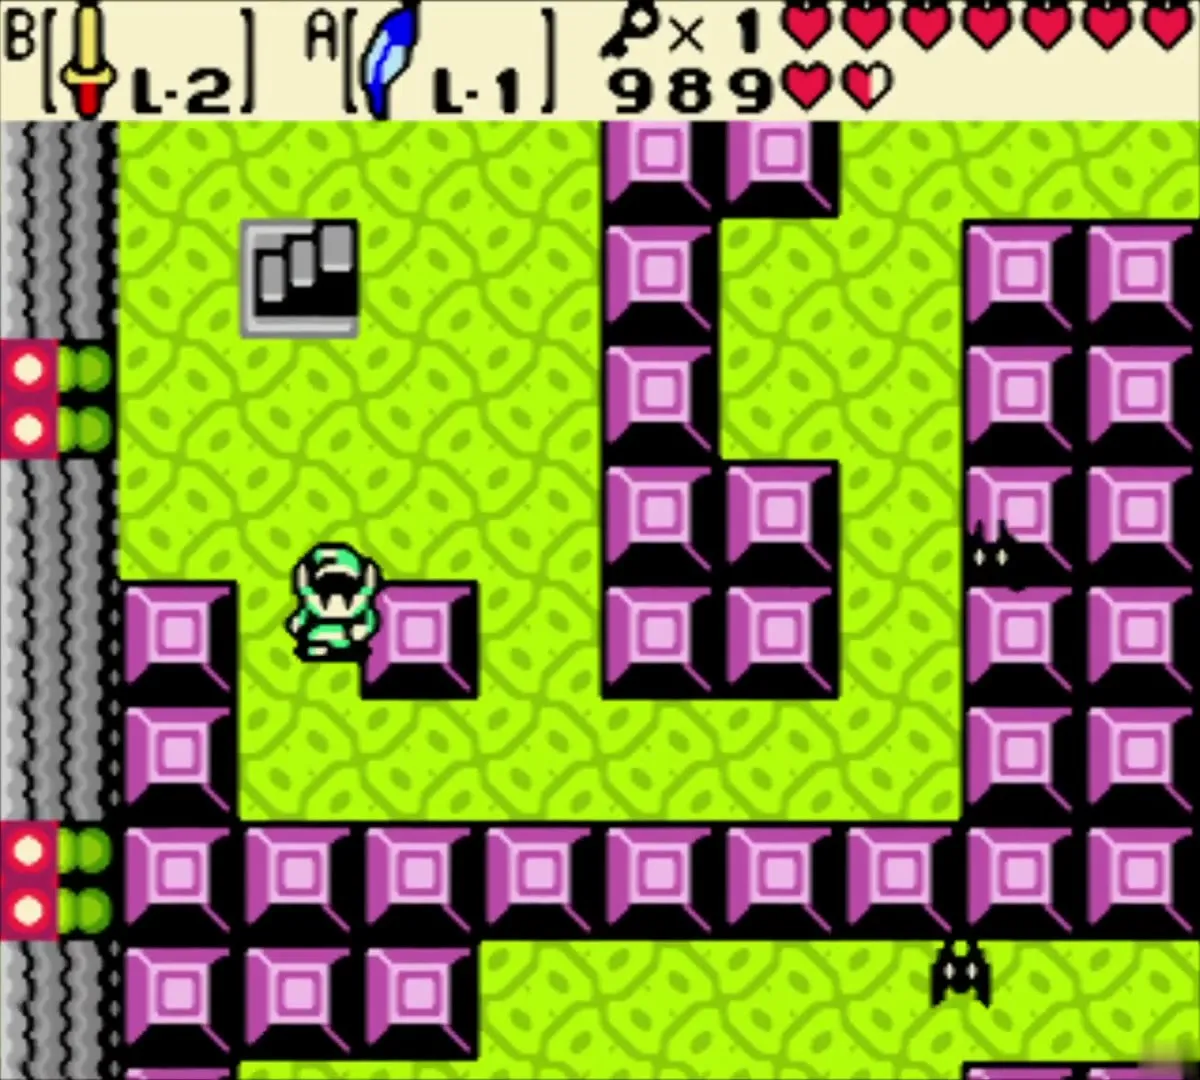
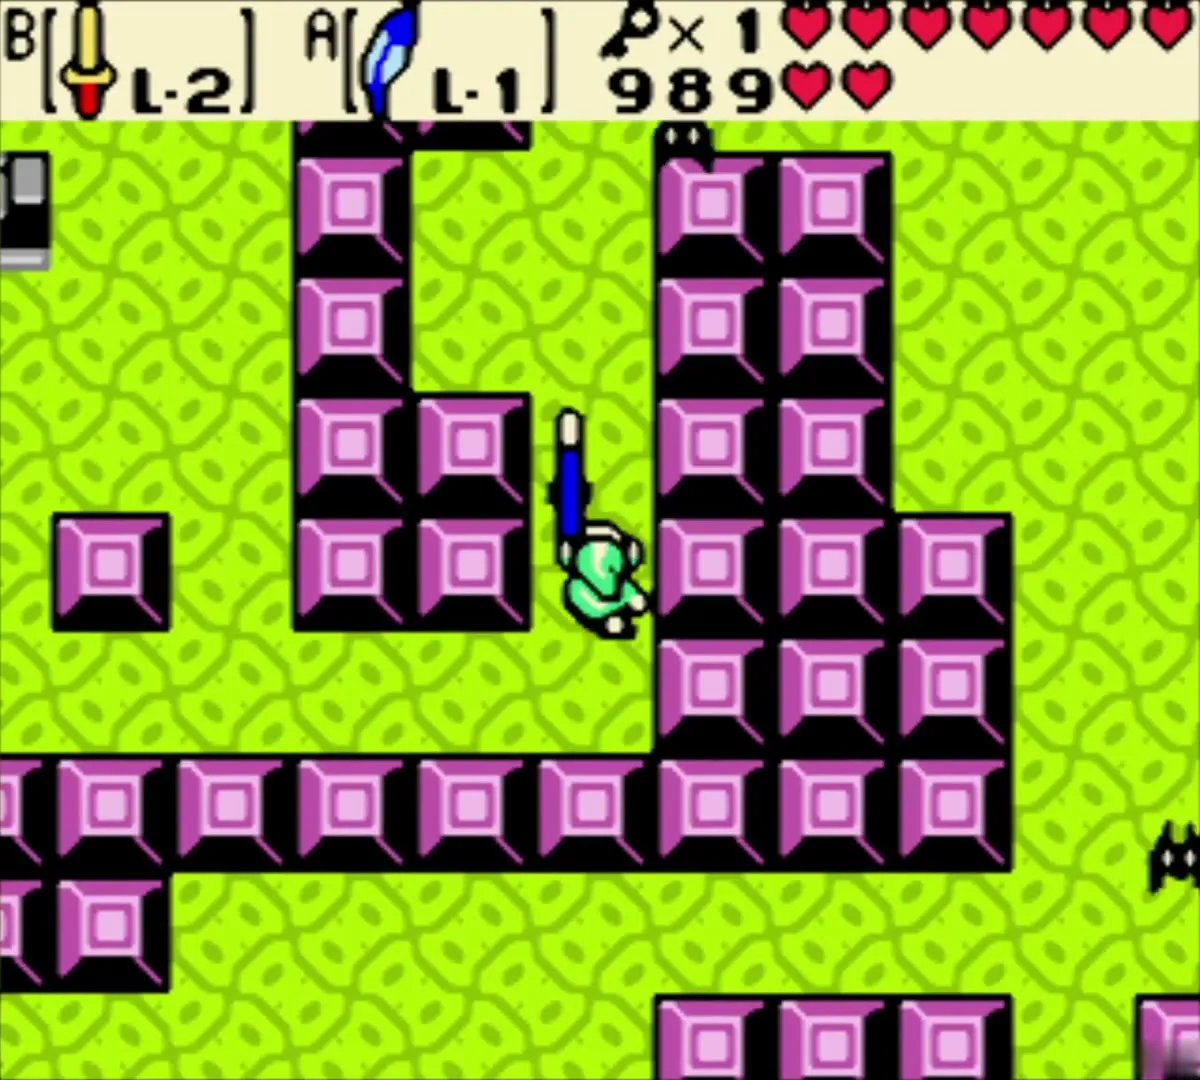
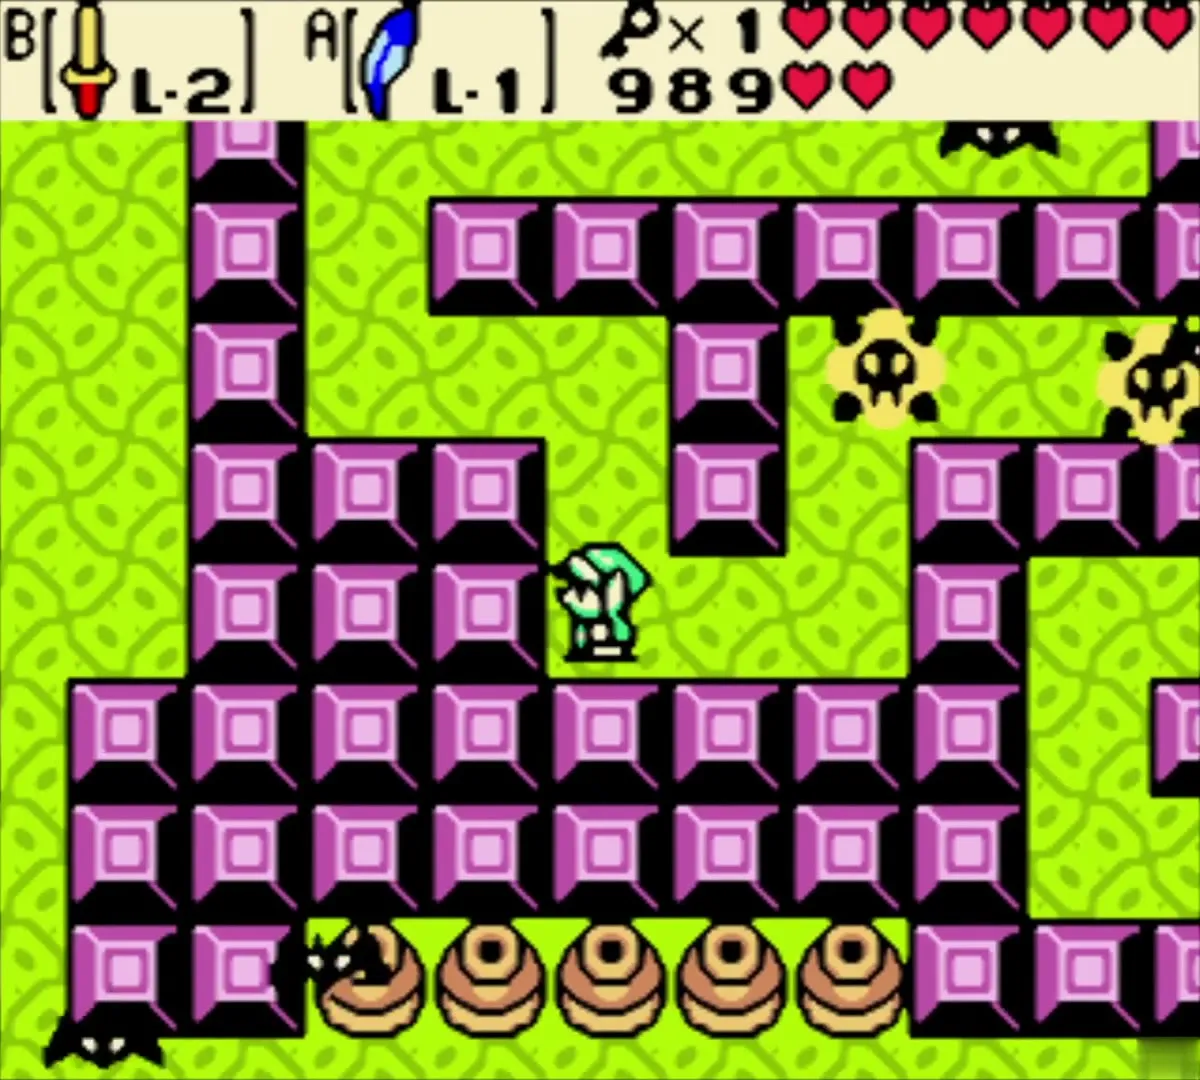
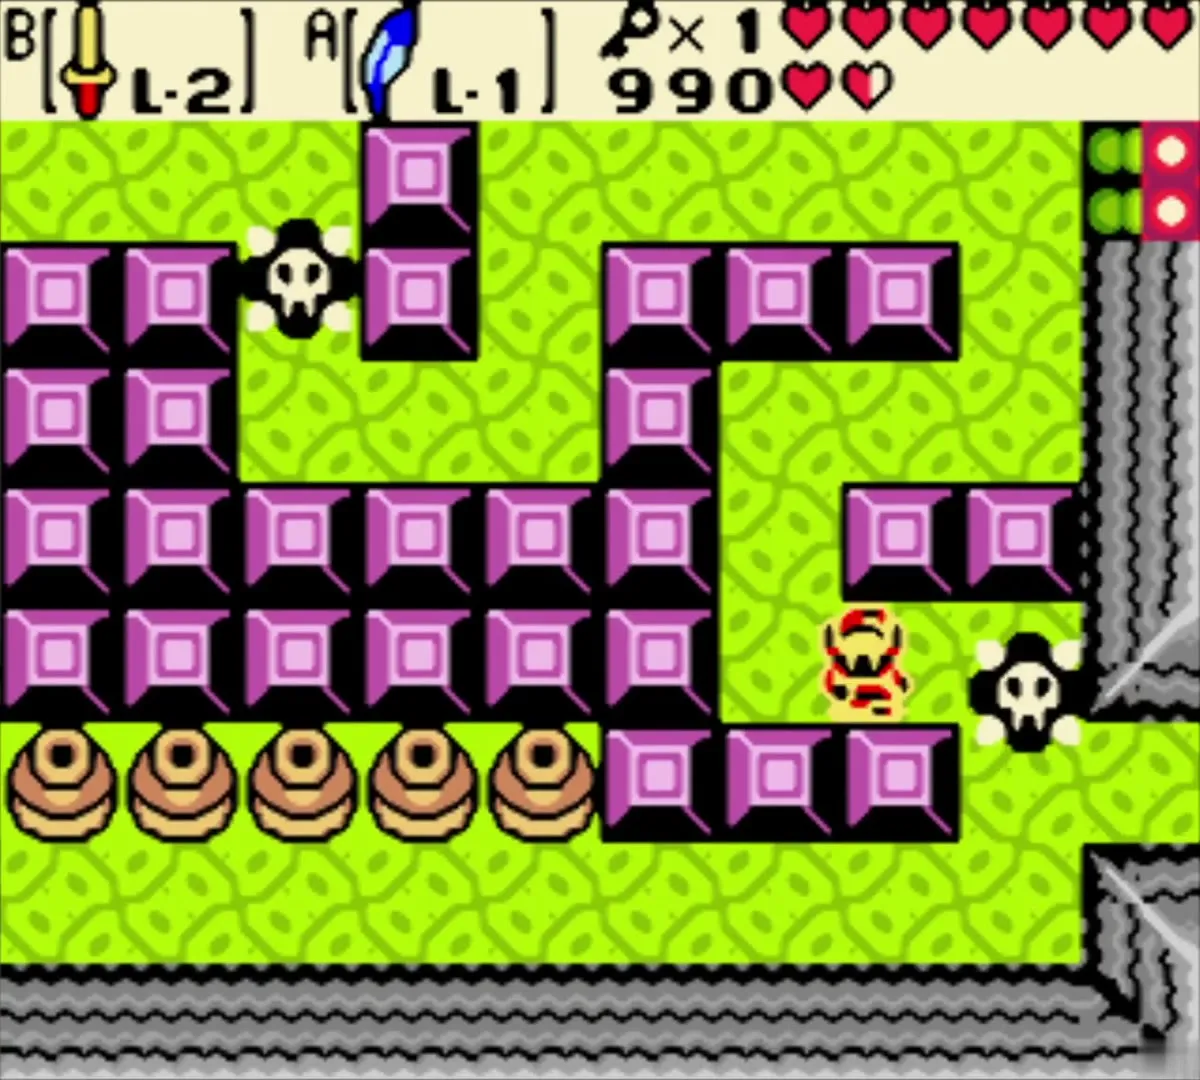
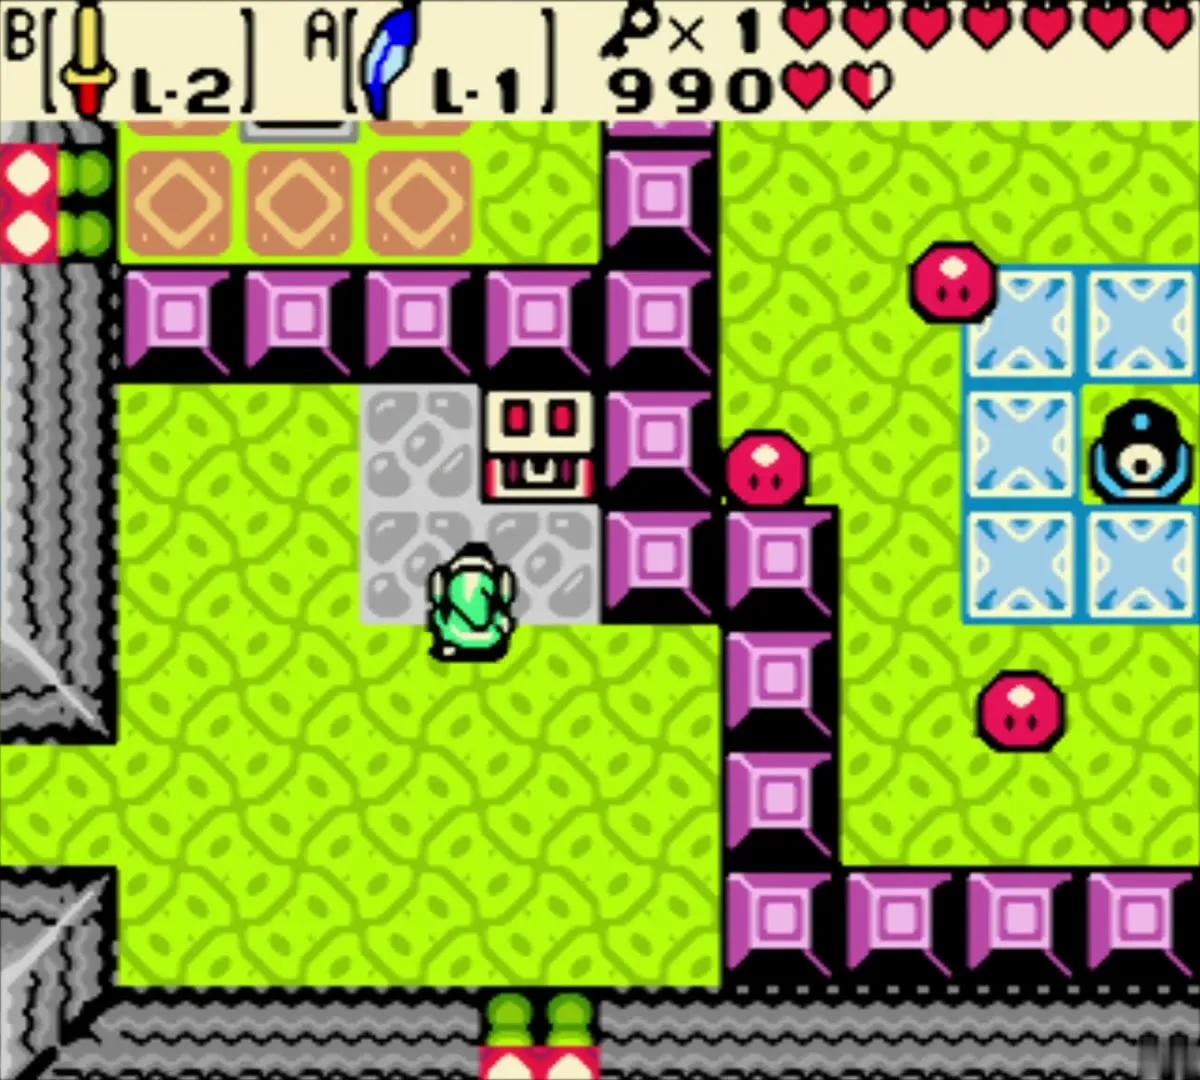
On the first floor, green Wizzrobes blink in and out of fixed spots, firing in the direction they face. Thread through the maze of purple blocks and take either passage south. Cross the room of Keese and bouncing Anti-Fairies, using the Boomerang or Roc’s Feather, and go to the bottom-right corner. Clear the Zol that lives there and open the chest in the next room for the Dungeon Map. Press SELECT to look at the floors.
Second Small Key and the Compass
Side-view platforms
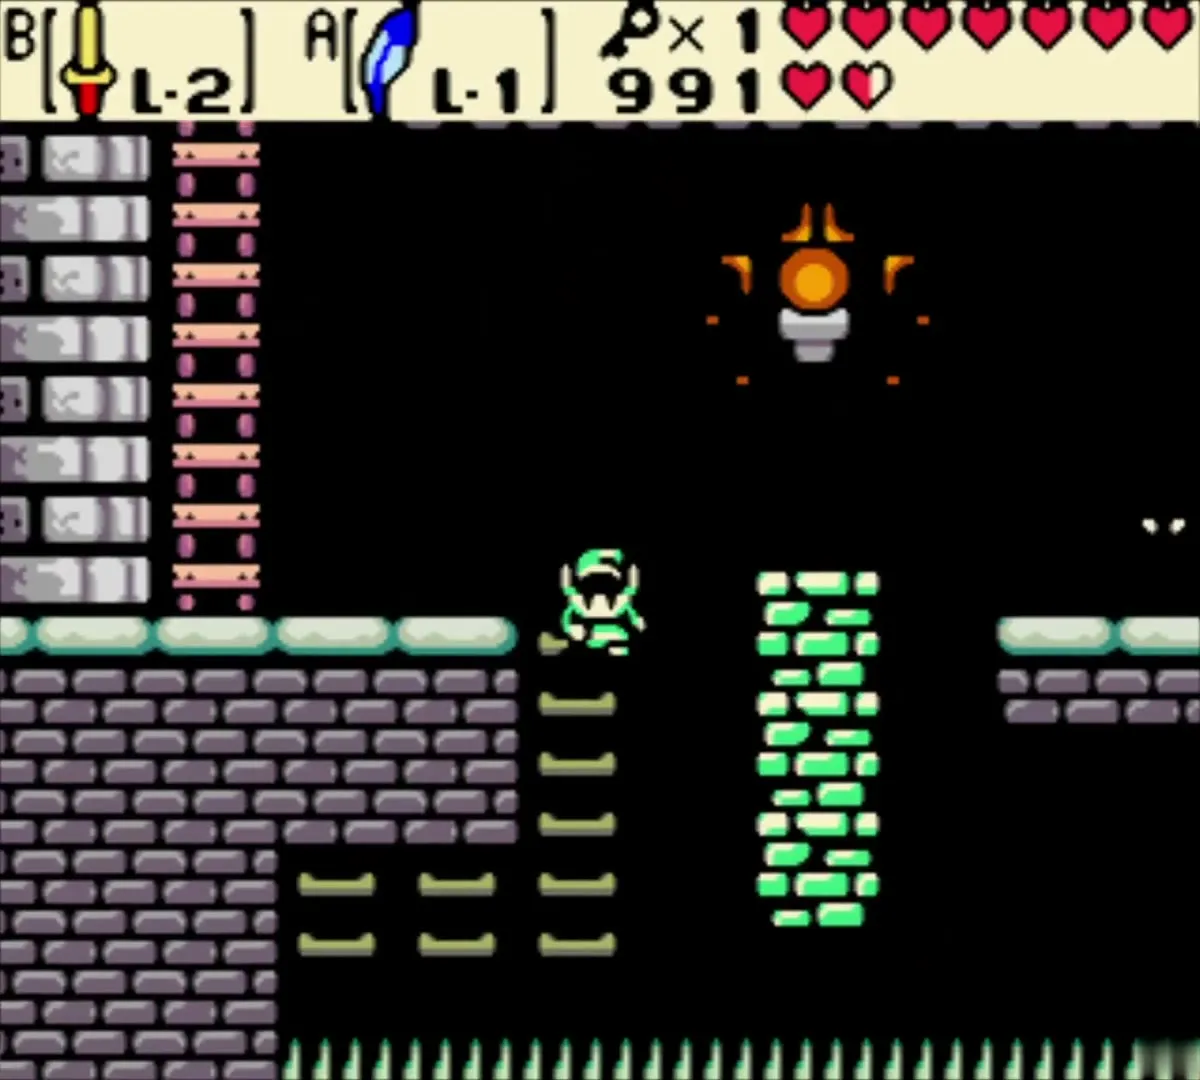
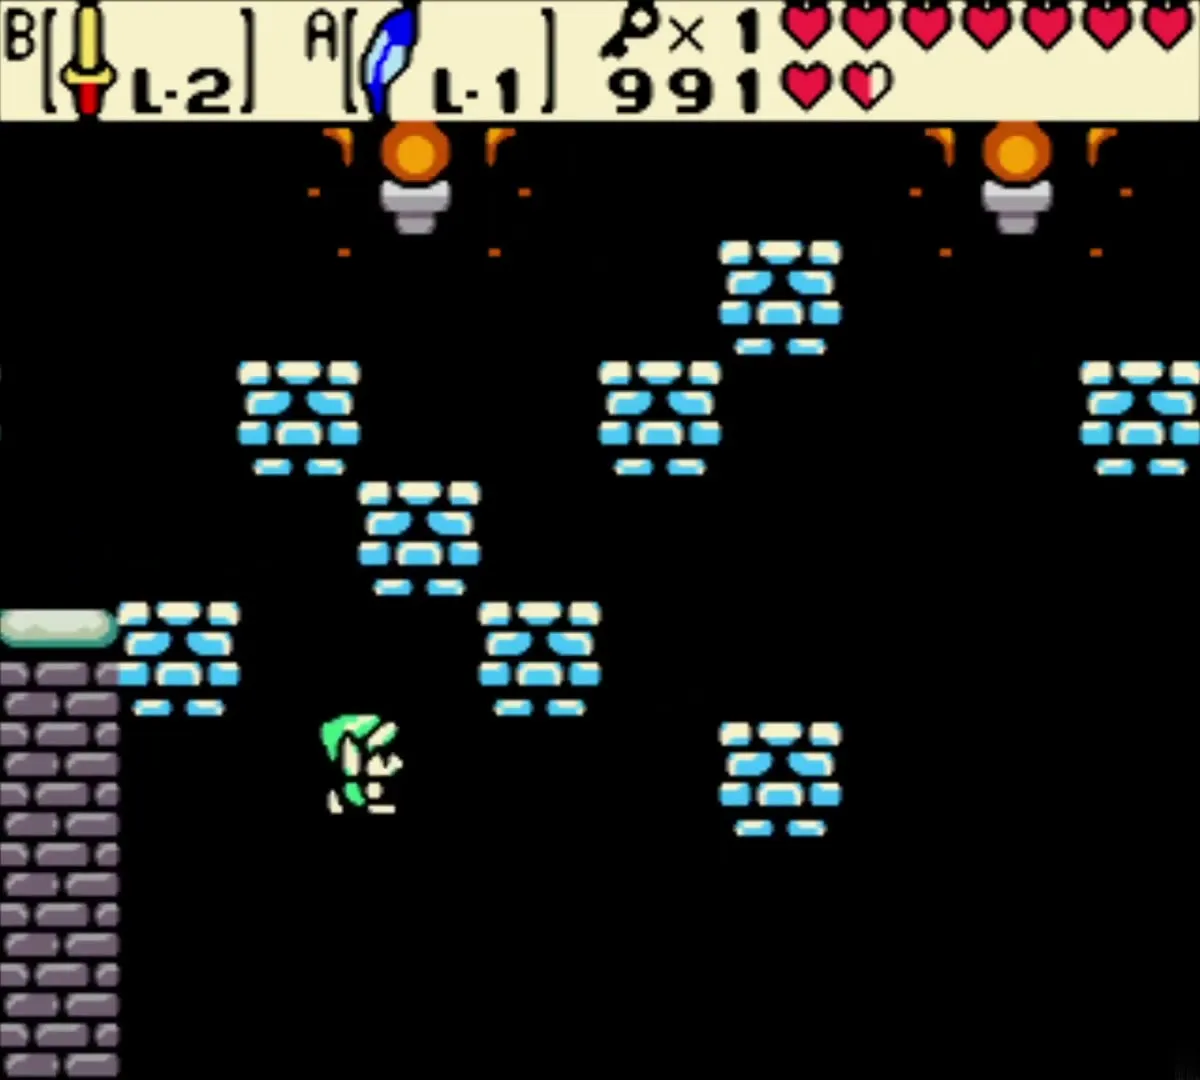
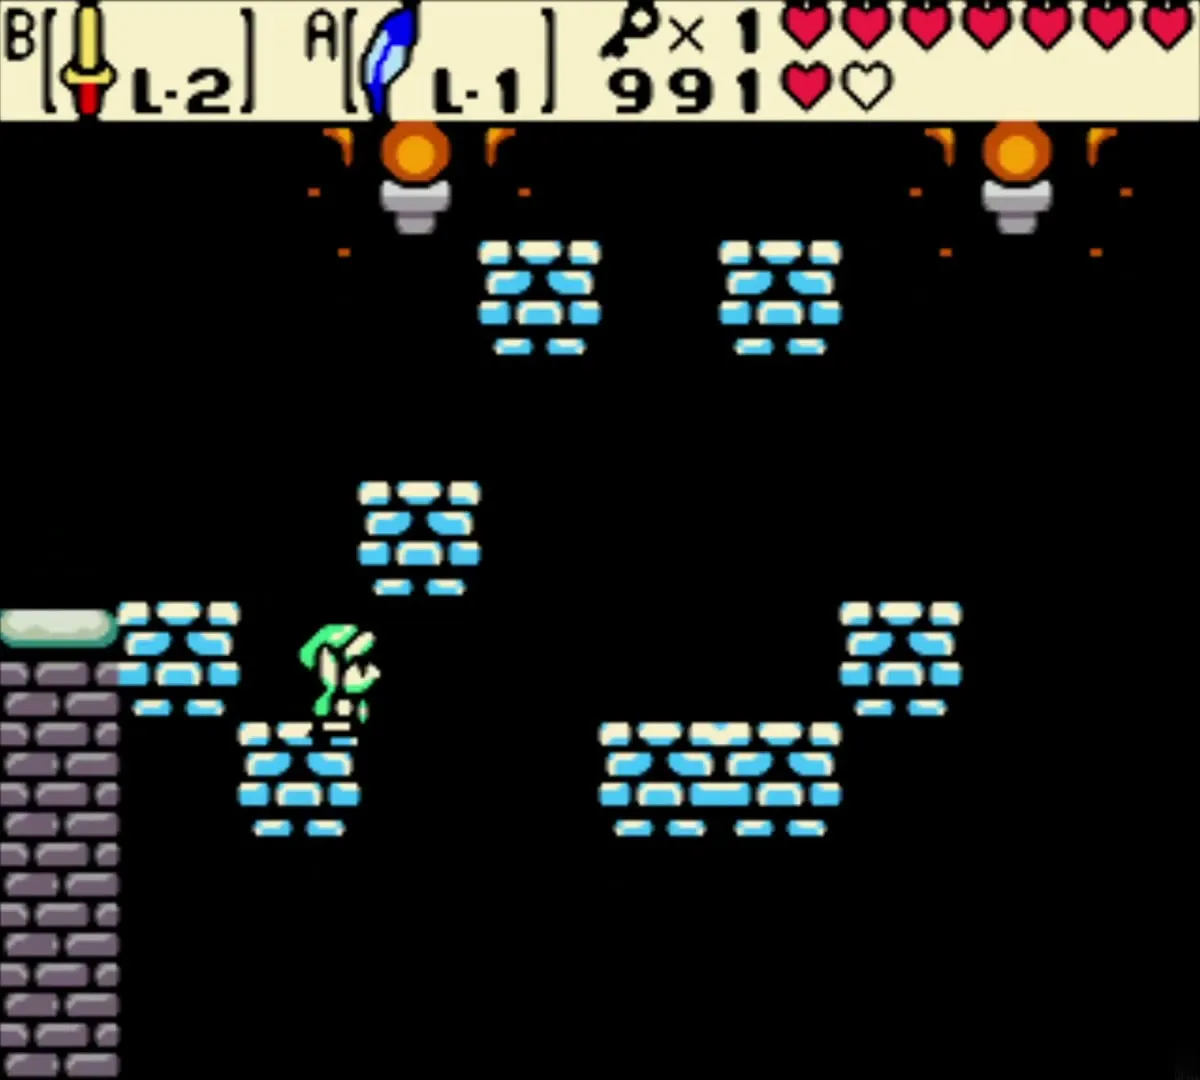
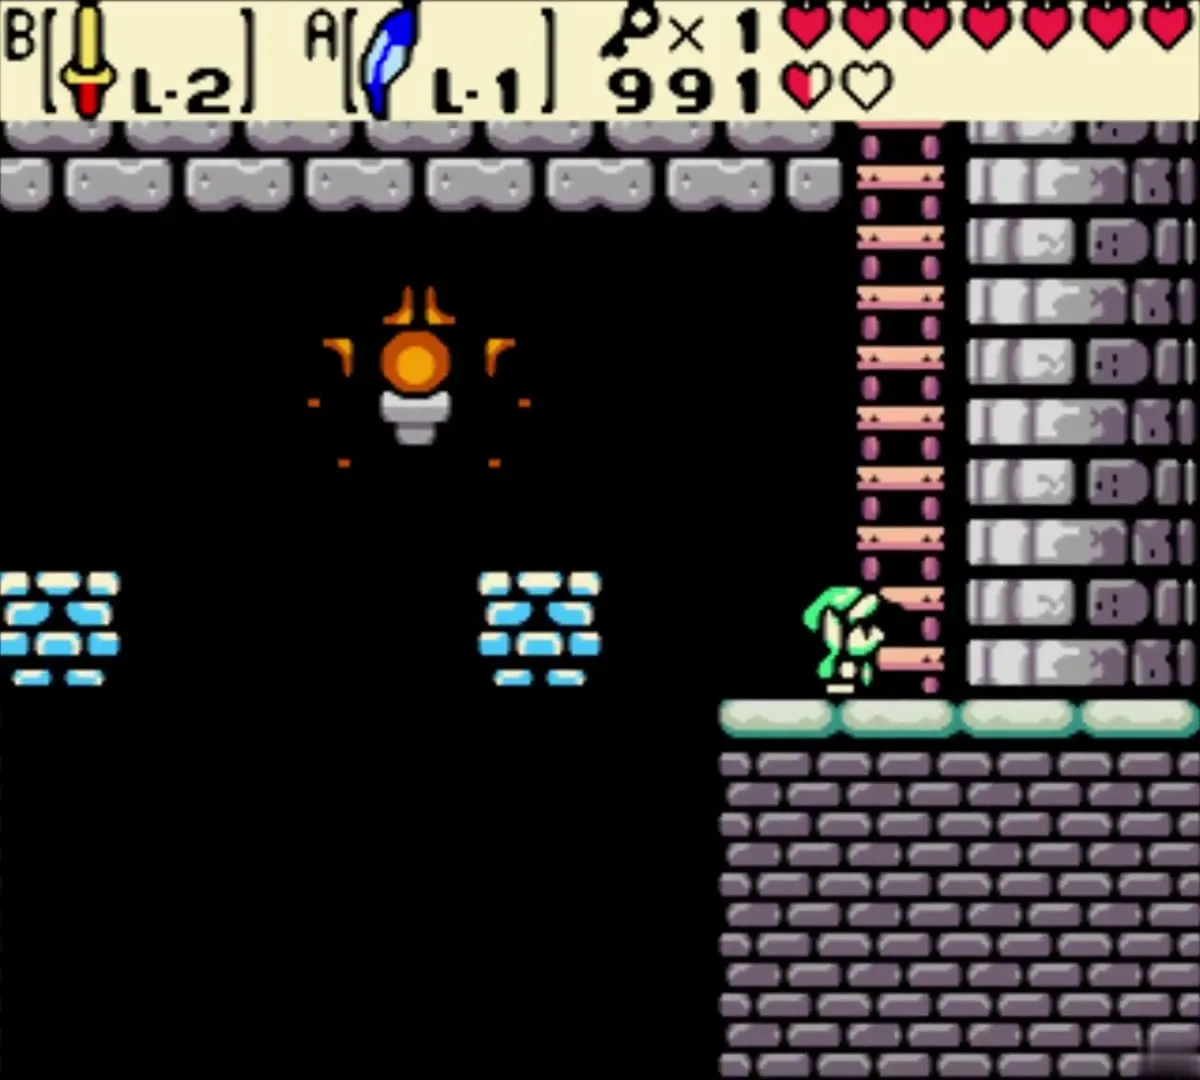
Head west to the bottom-left corner and take the stairs down to a side-view room. Kill the Keese before you jump, then use Roc’s Feather to cross the floating blue platforms to the ladder on the right. Some platforms appear and vanish on a rhythm, so hop to the one just ahead when it shows up and do not linger.
The dark chest room
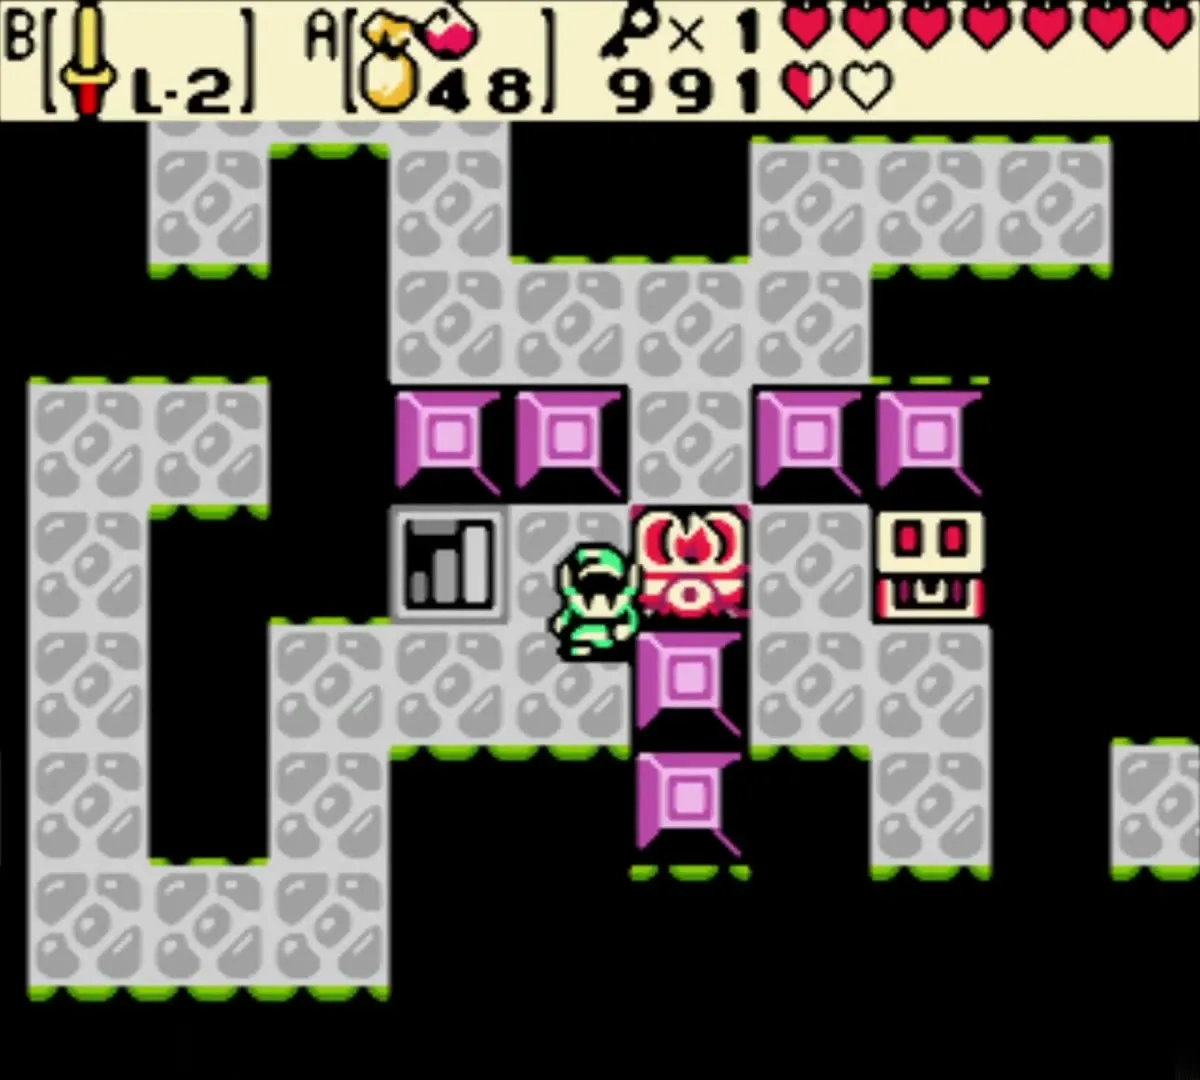
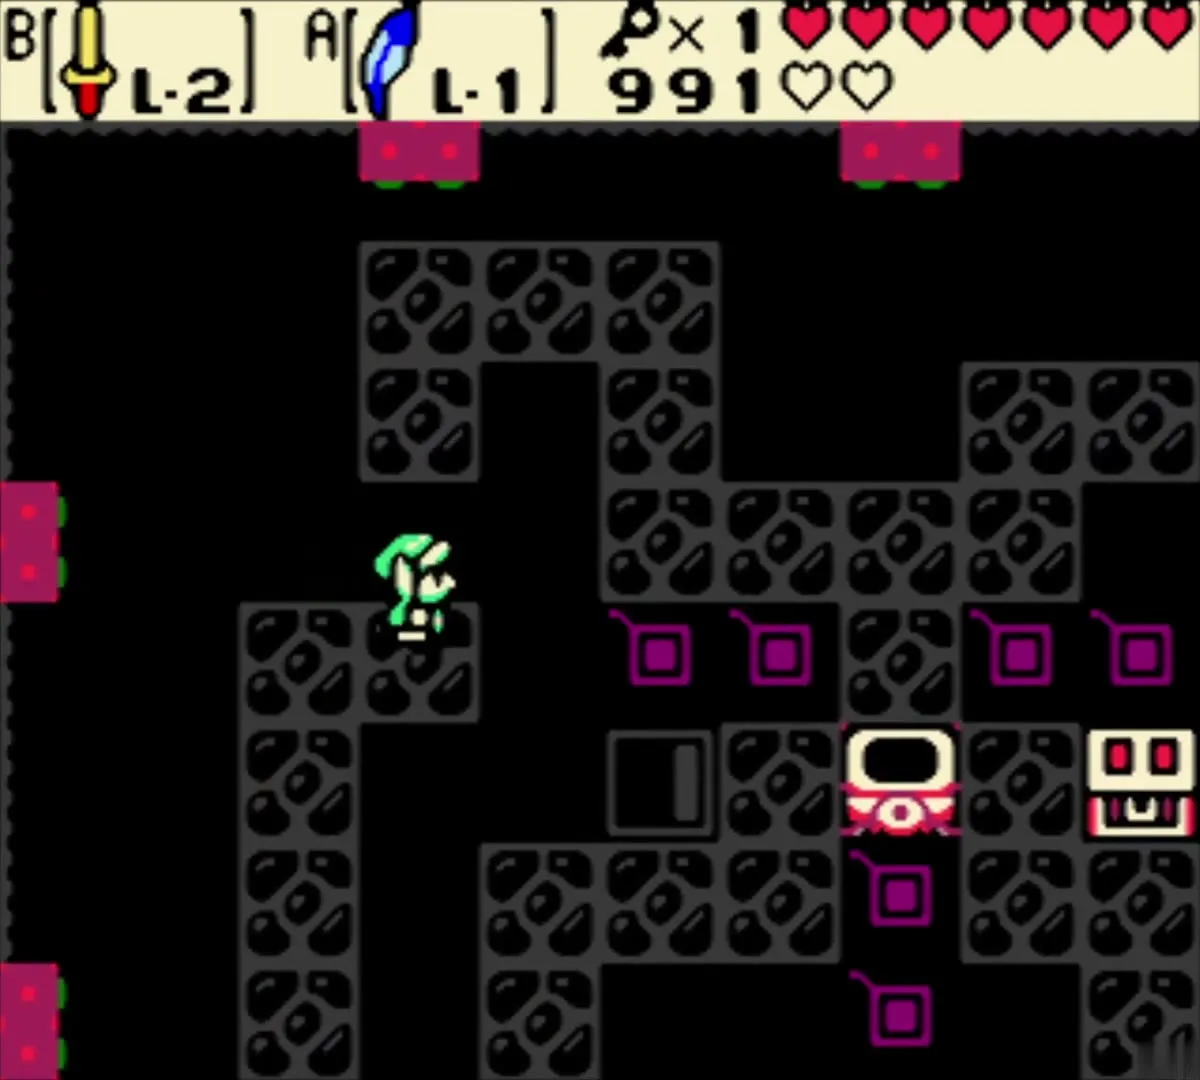
The ladder leads to a dark stone room of narrow walkways and pits. Cross the catwalks to the chest in the middle and take the second Small Key. Retrace your steps back across the side-view room.
Back to the entrance, east door
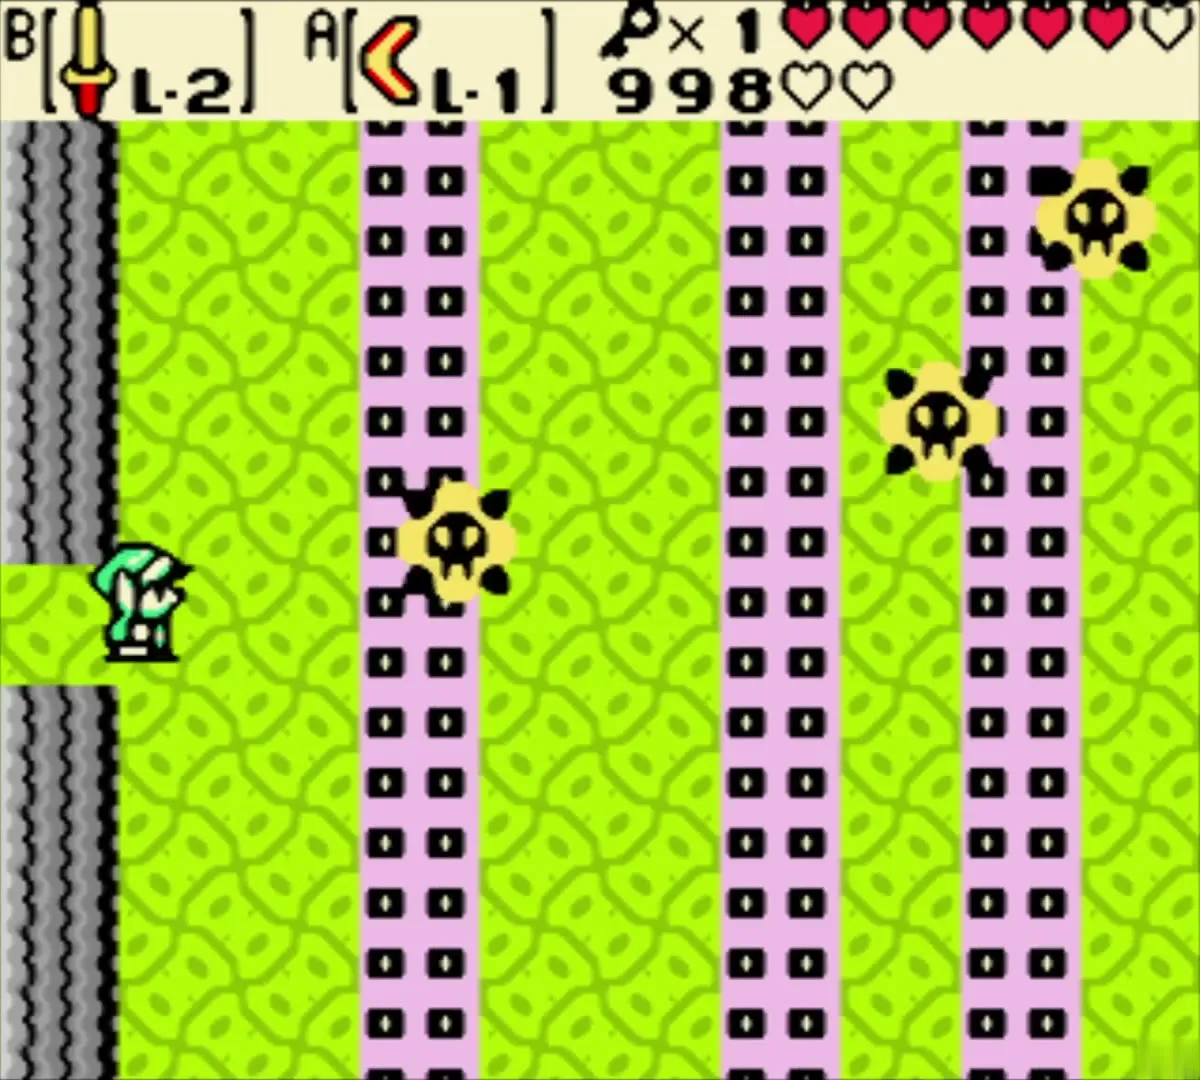
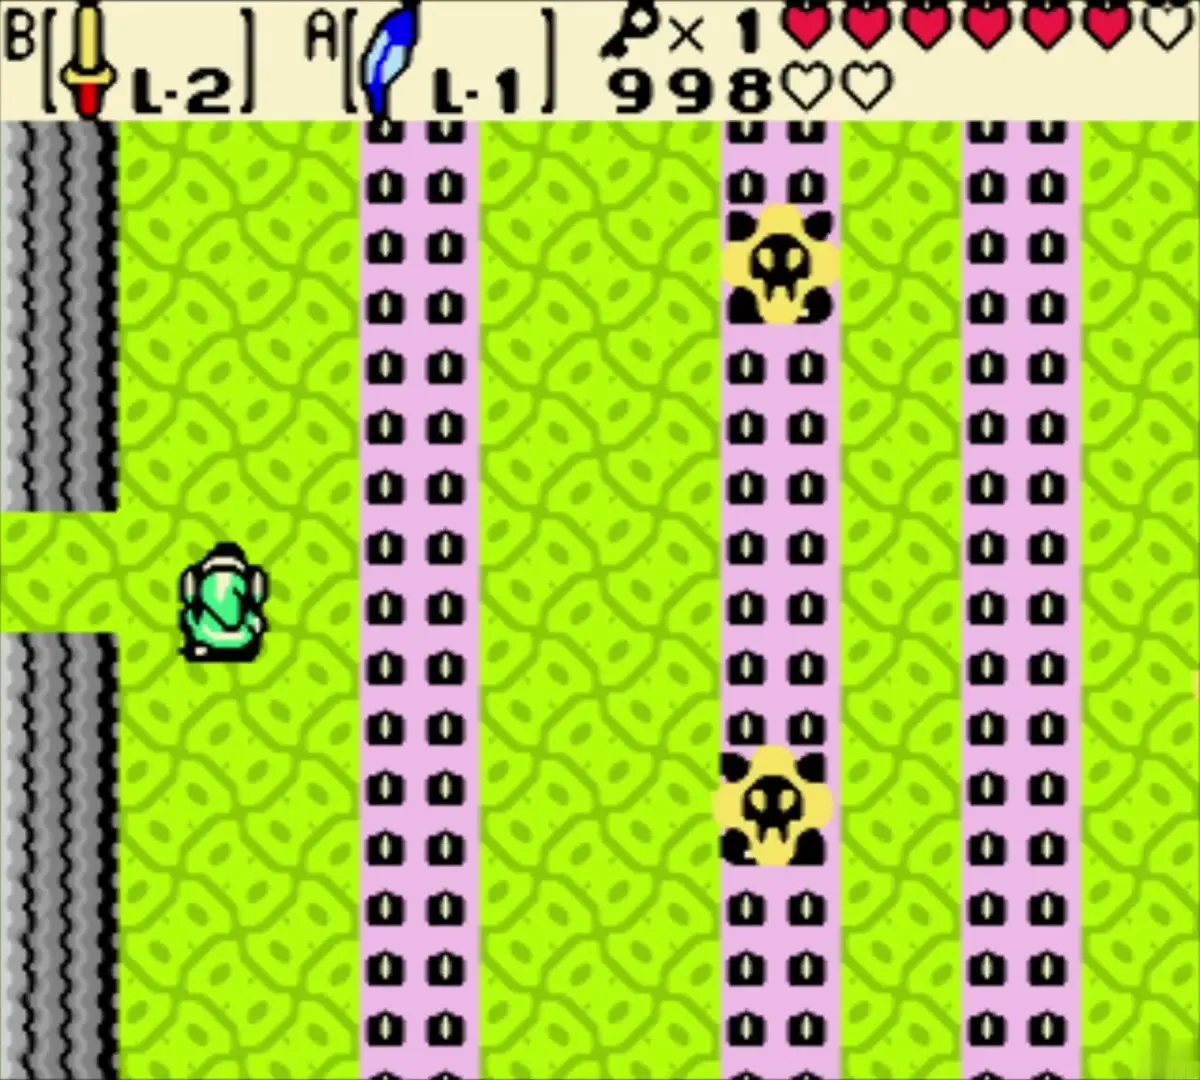
Walk or ride the minecart back to the entrance room. The locked door on the east side of the water room takes one Small Key. Beyond it is a corridor of spiked floor columns; knock the Anti-Fairies away with the Boomerang and jump the spikes with Roc’s Feather.
Compass chest
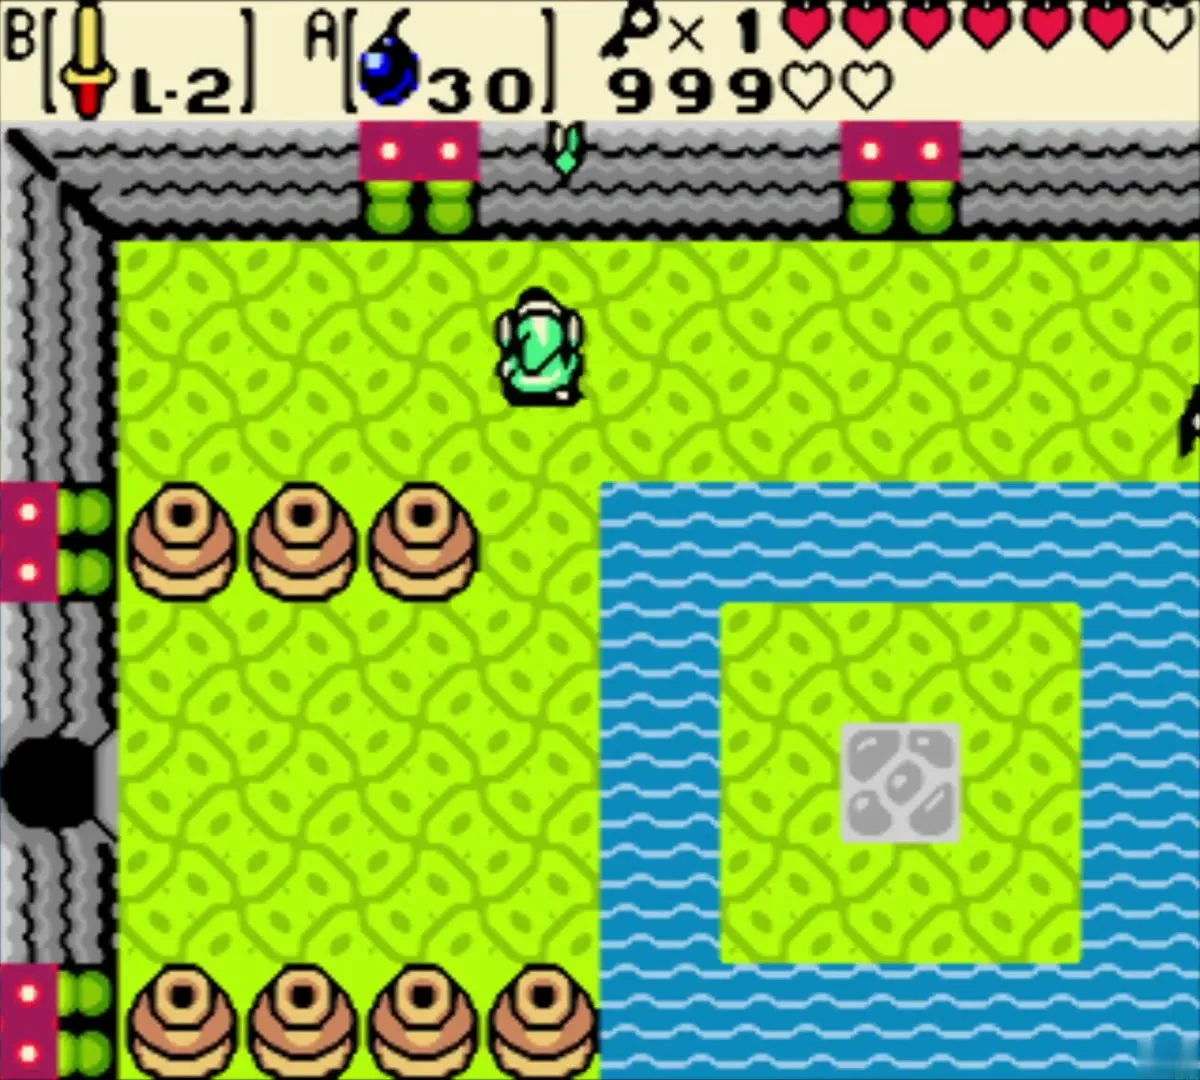
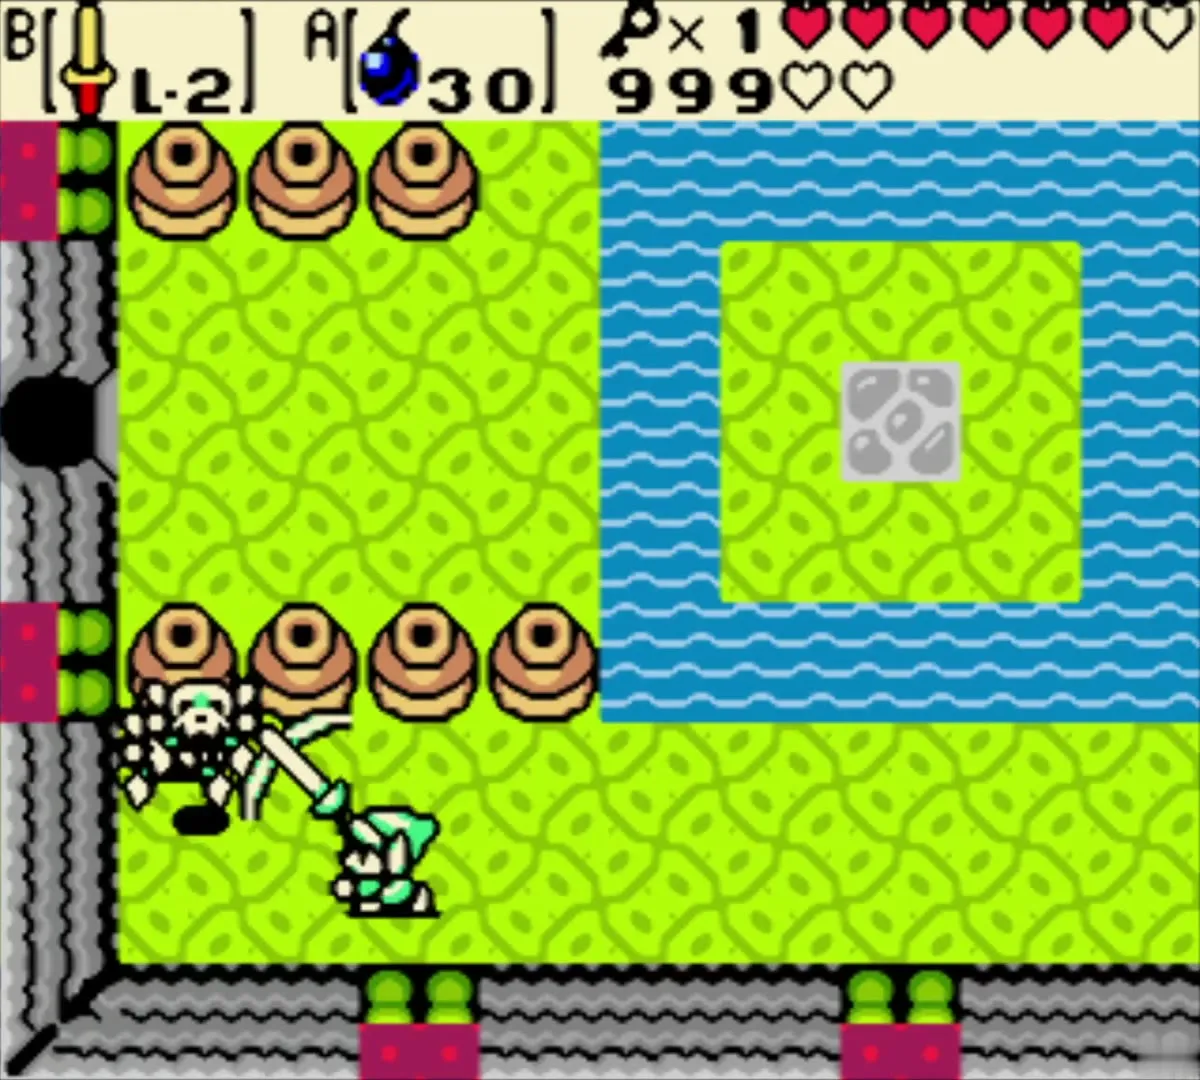
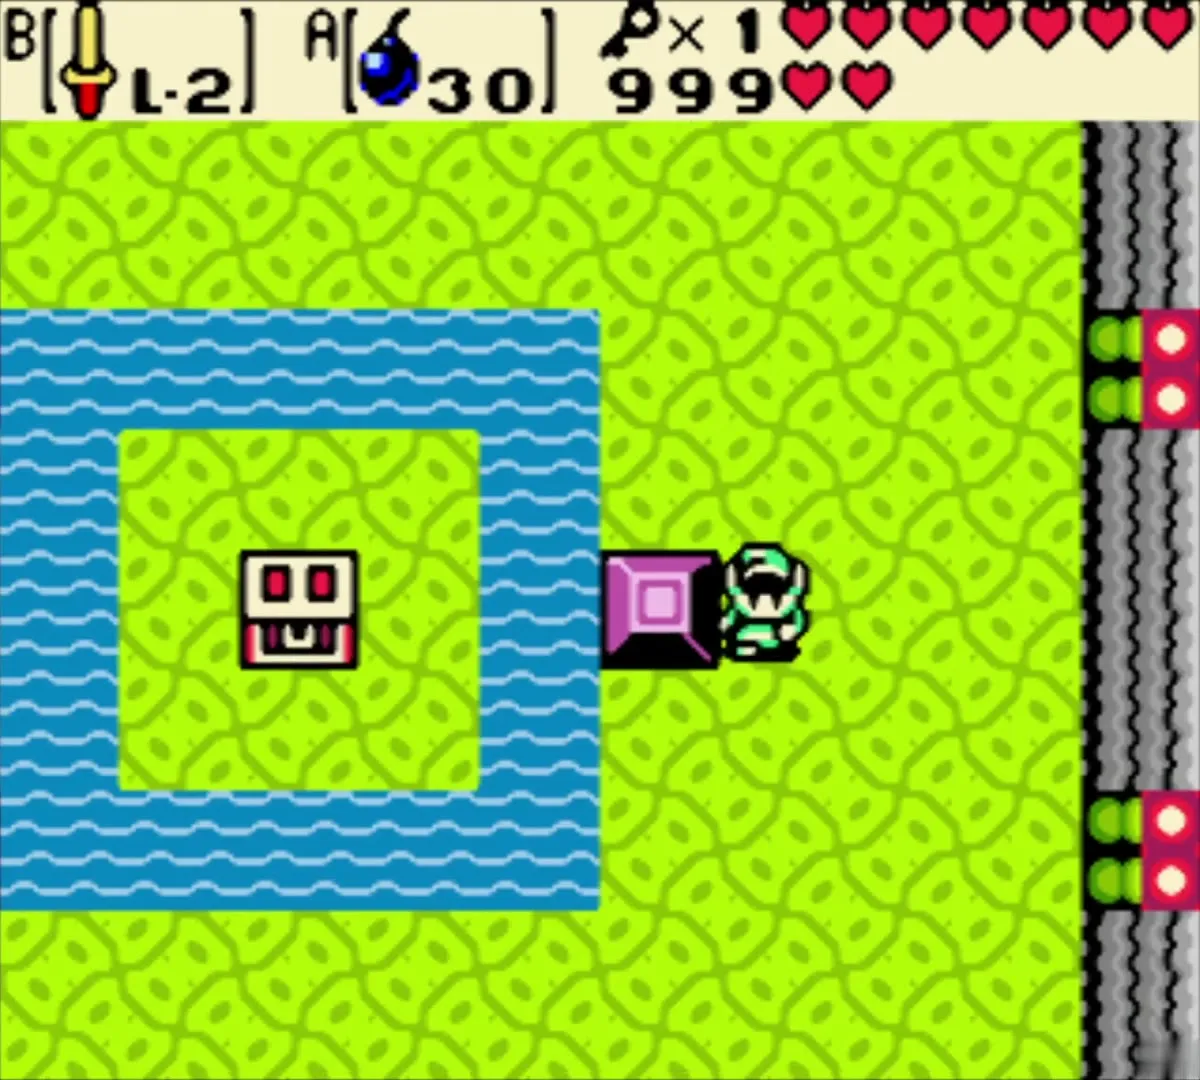
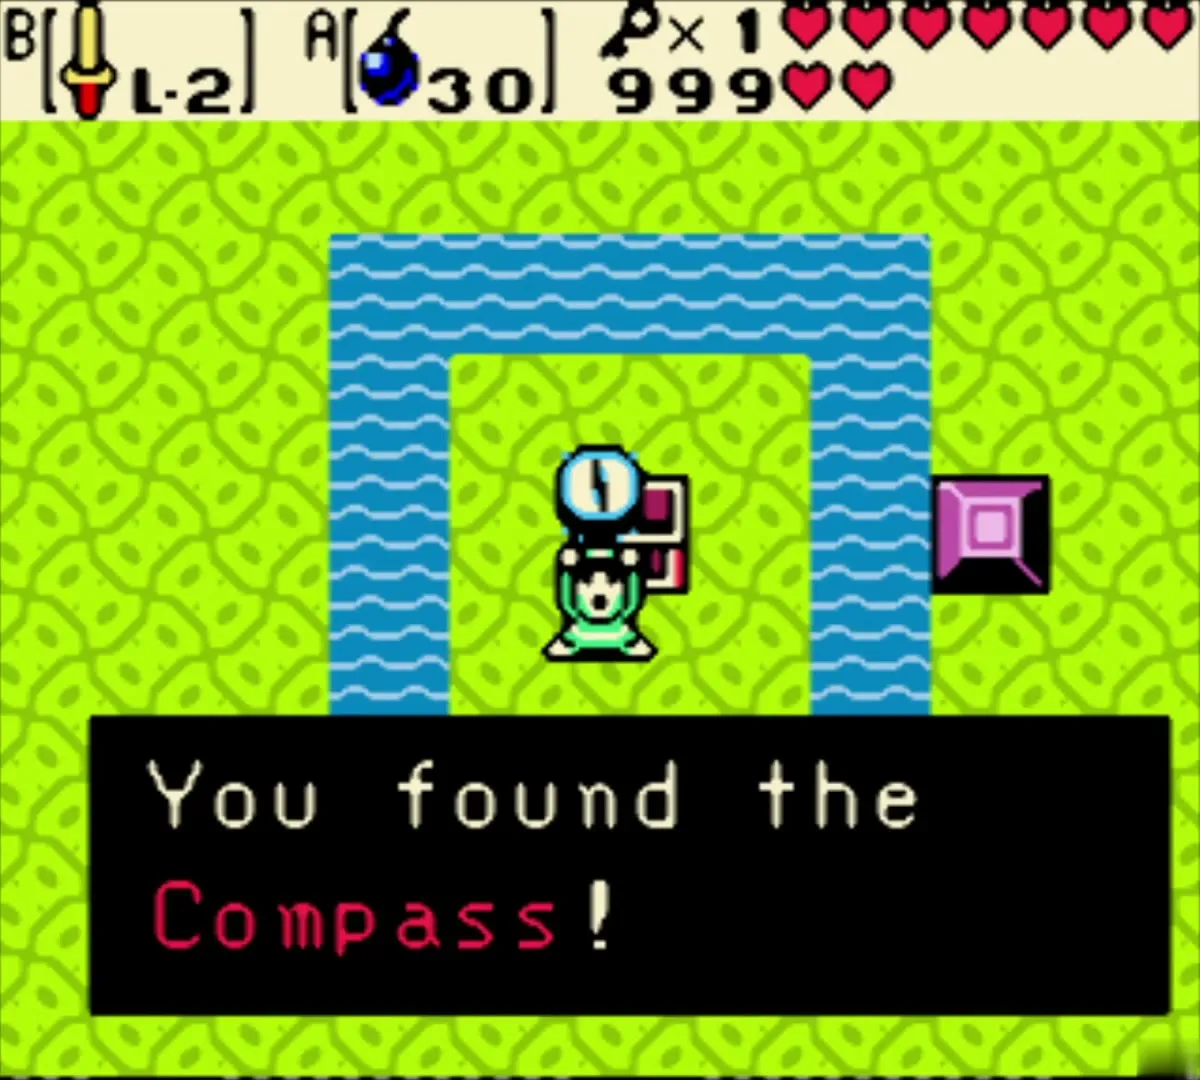
Bomb the cracked wall on the right to enter a room with a water-ringed island. Defeat the Stalfos and Keese, cross to the island and shove the lone block that sits beside it. The Compass chest appears. Open it to see the dungeon’s chests and boss on the map.
Third and fourth Small Keys
Dive under the spiked rollers
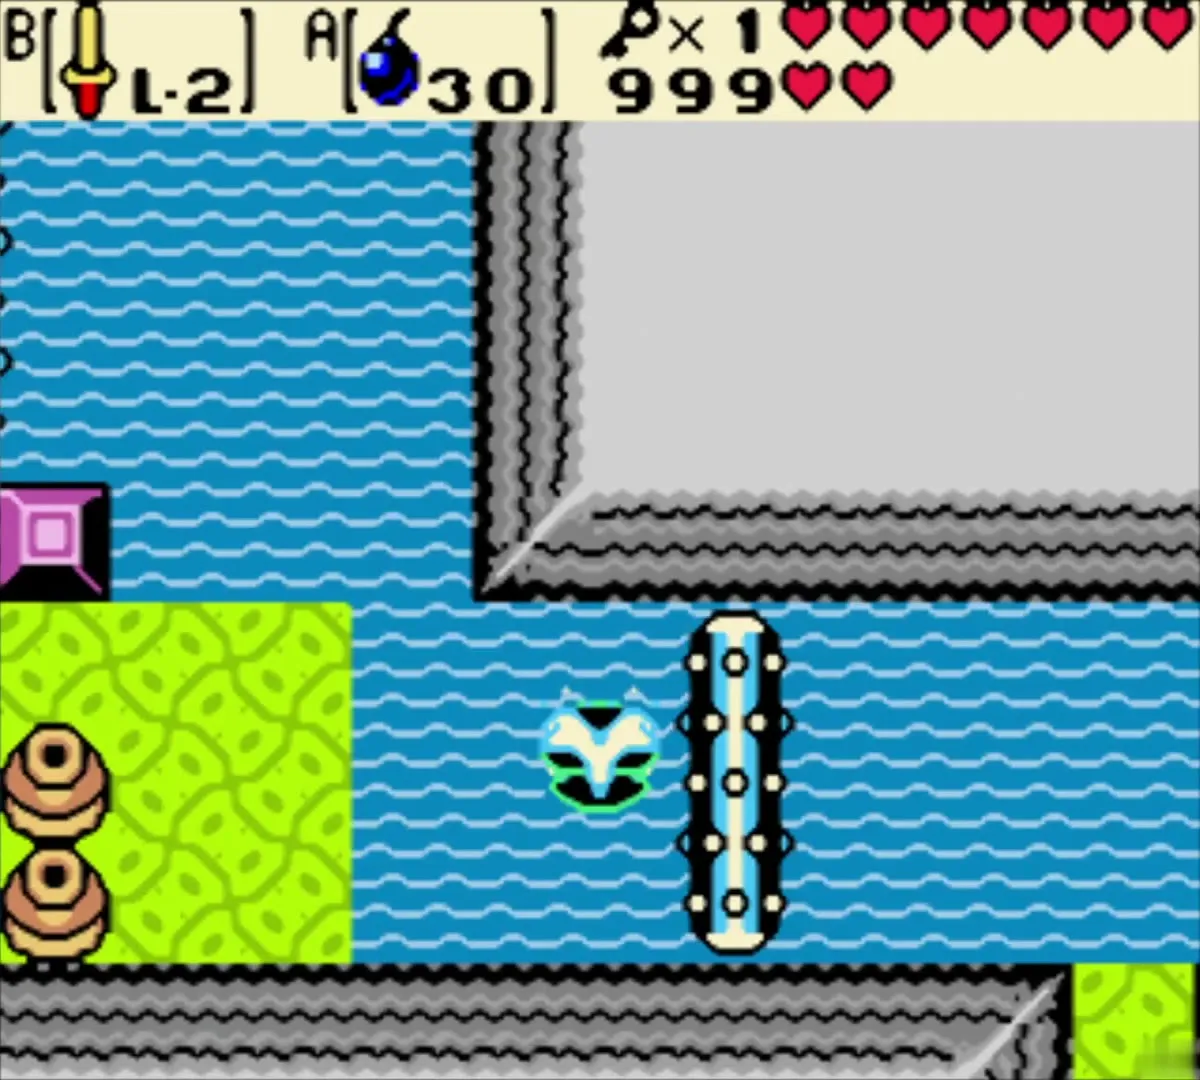
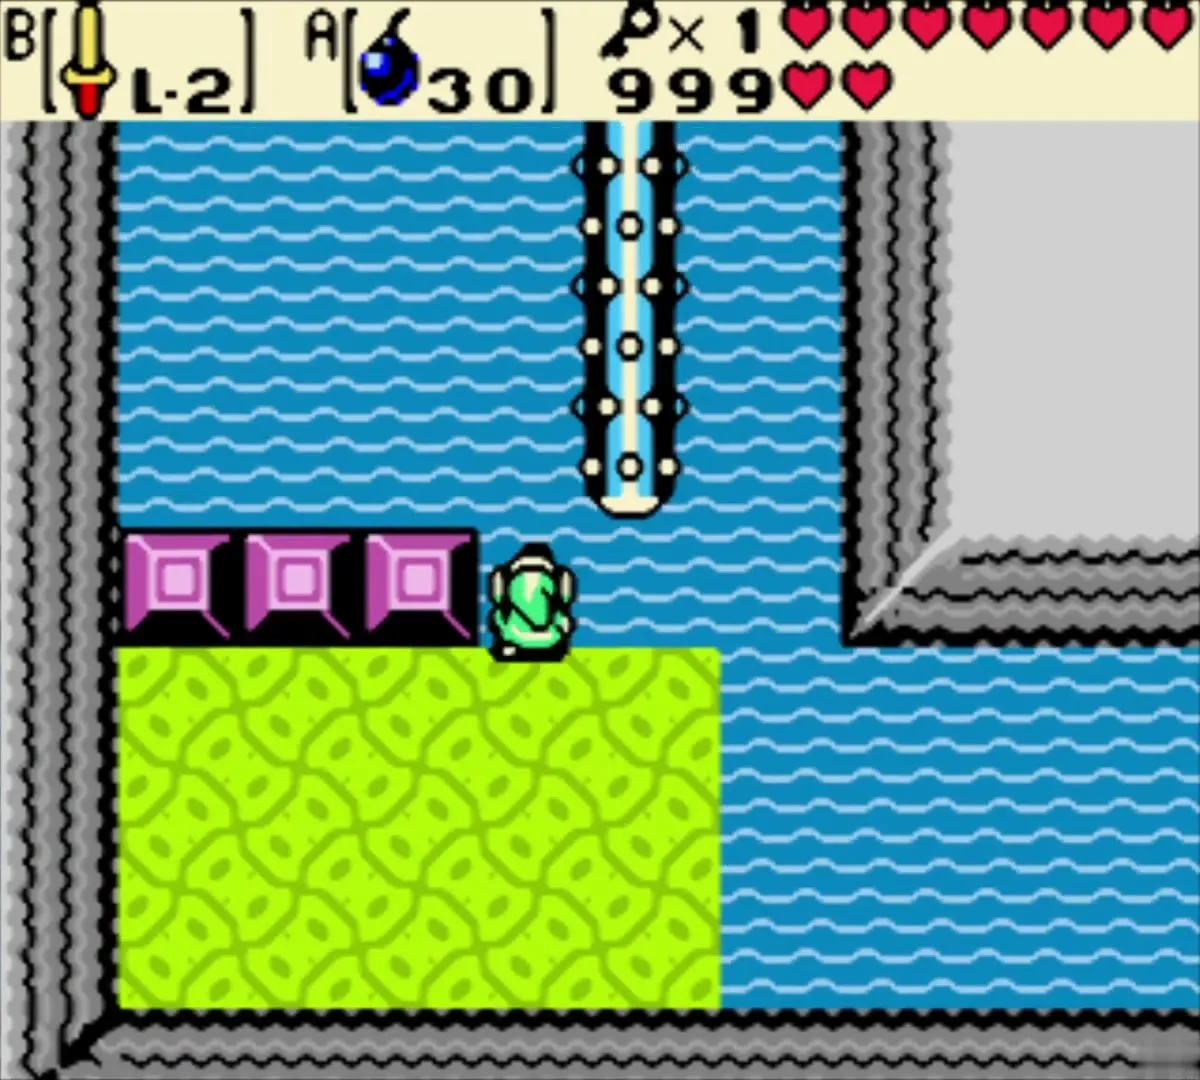
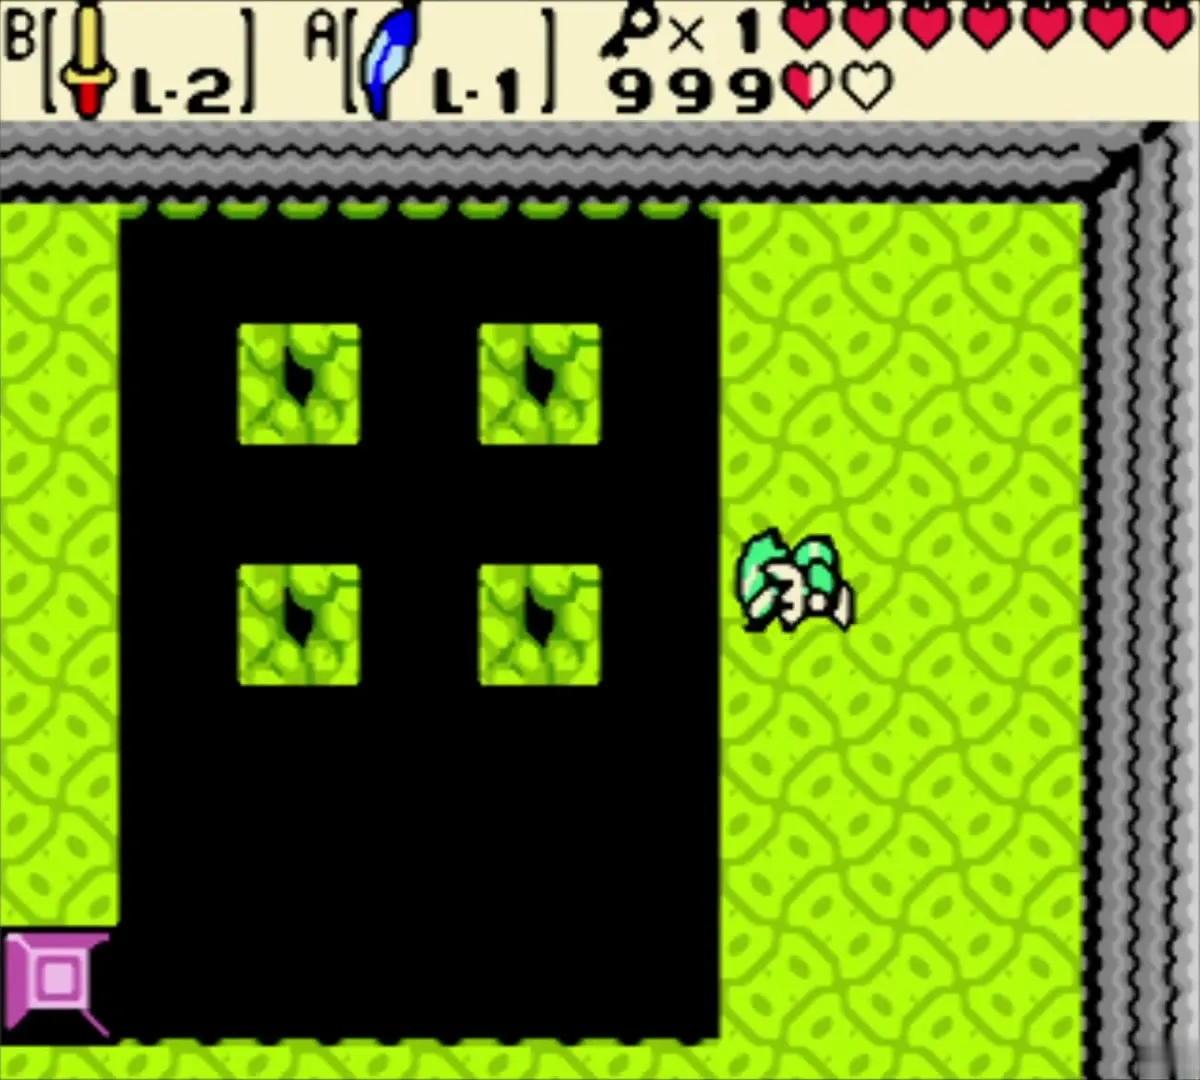
Go west and north to a room flooded between two spiked rollers. Press B to dive when a roller rolls toward you, then climb out on the north side. A black-pit room with Keese lies beyond.
Northern rooms and a locked block
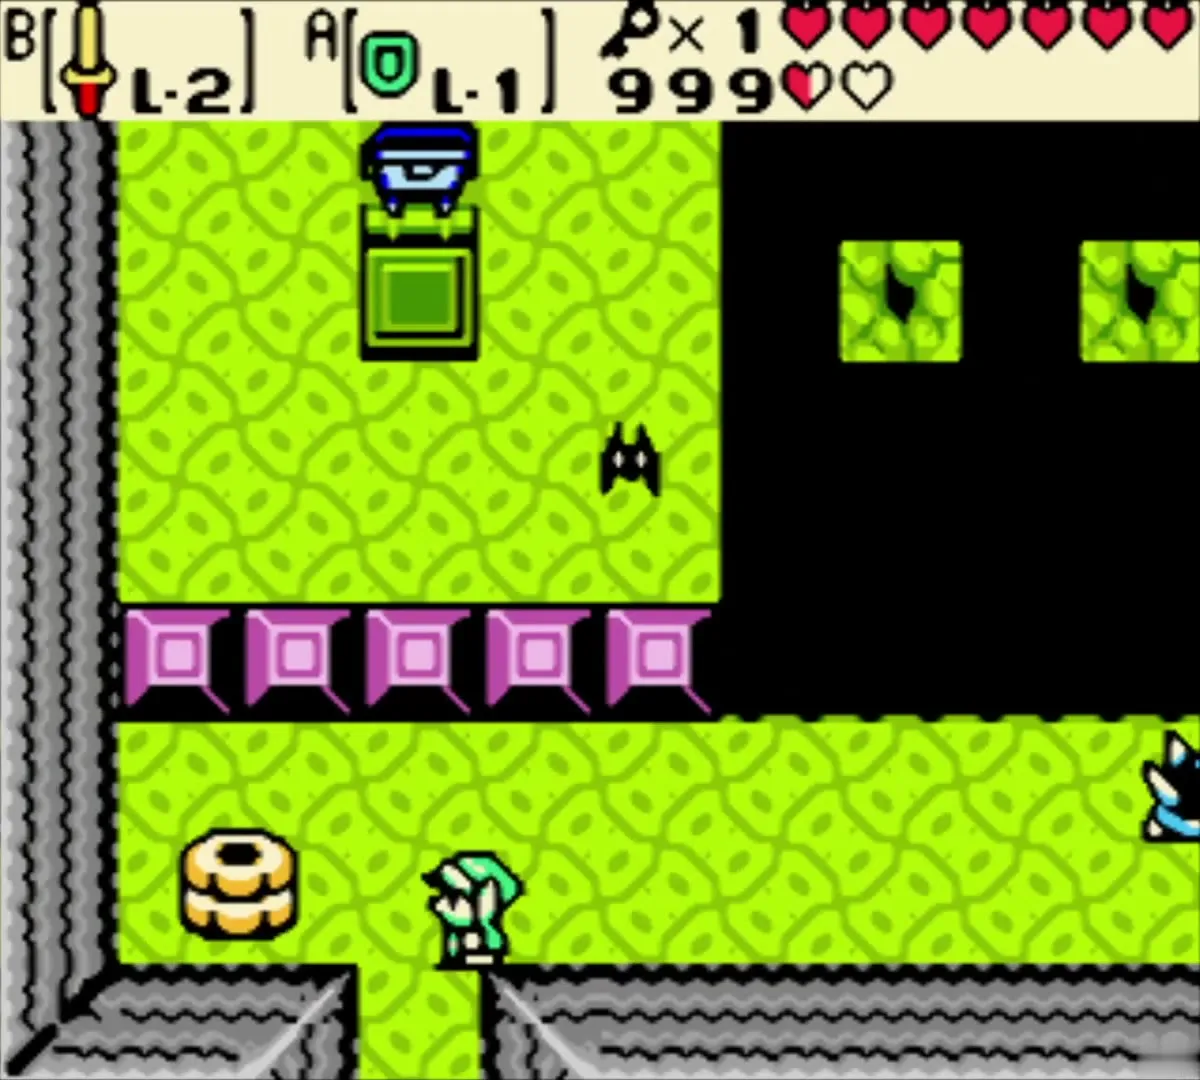
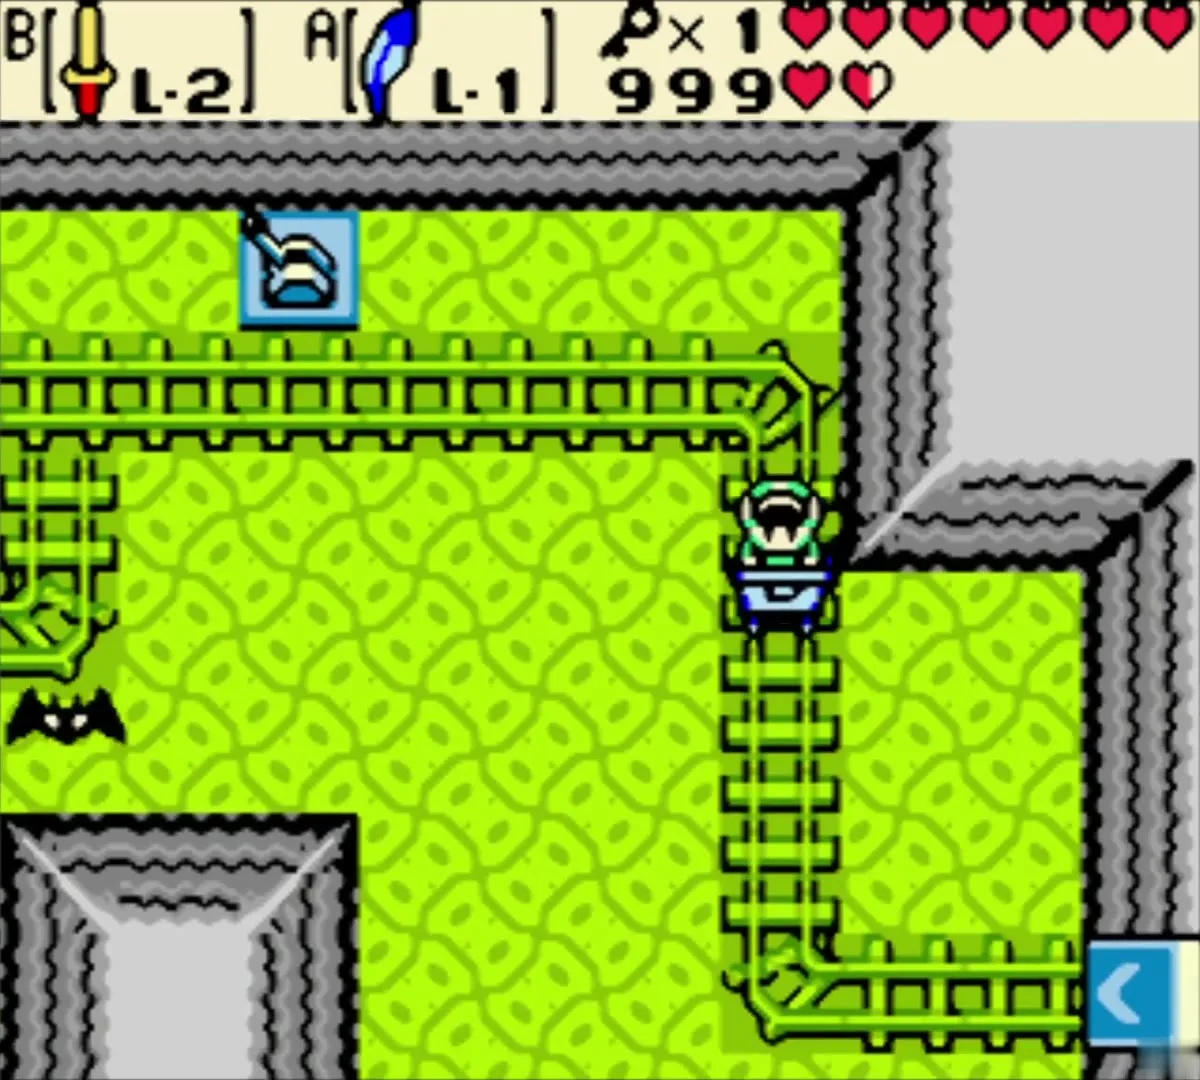
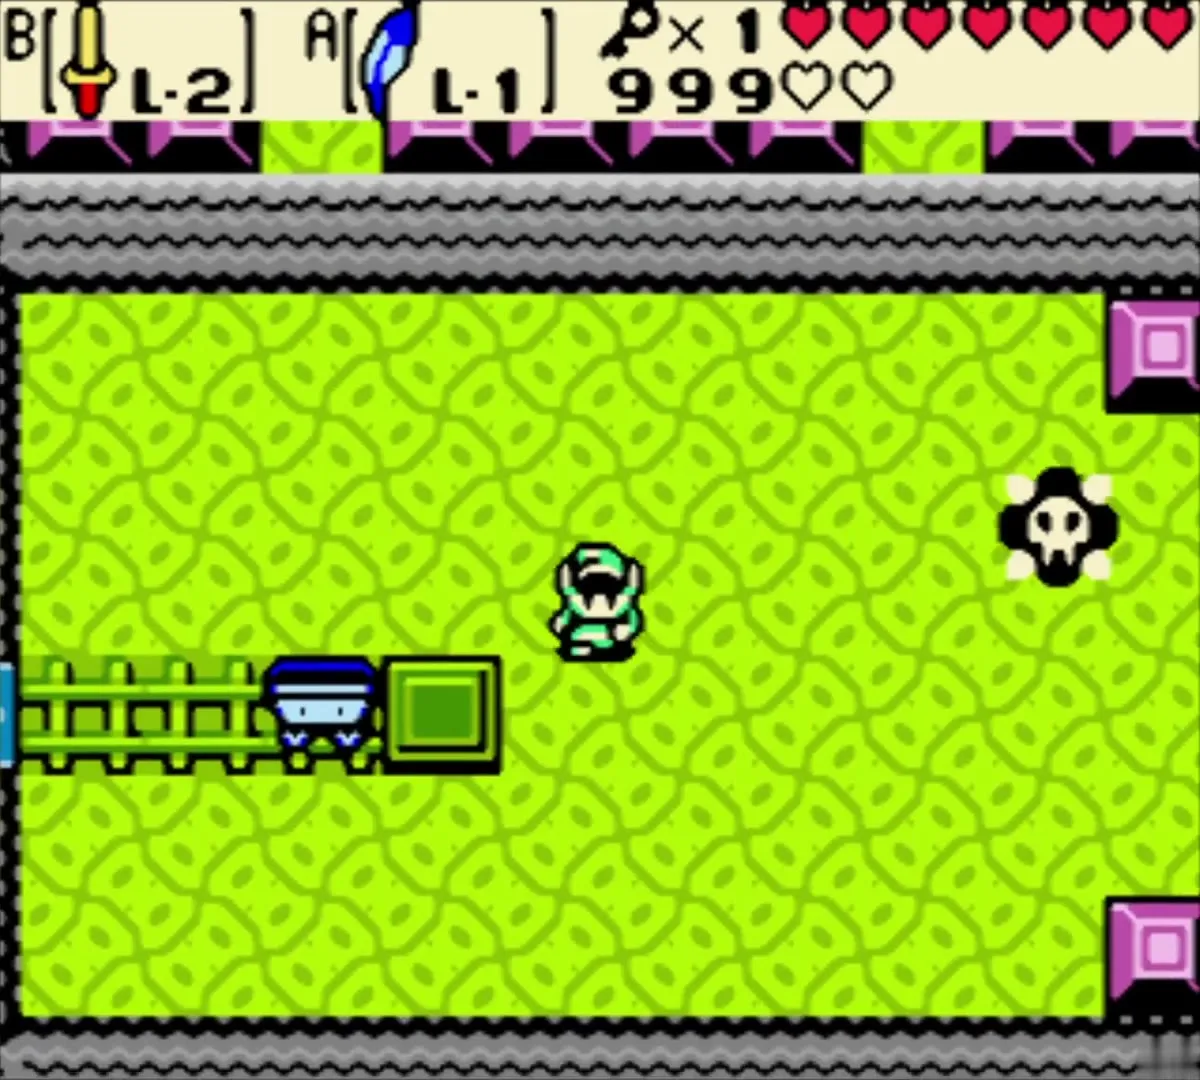
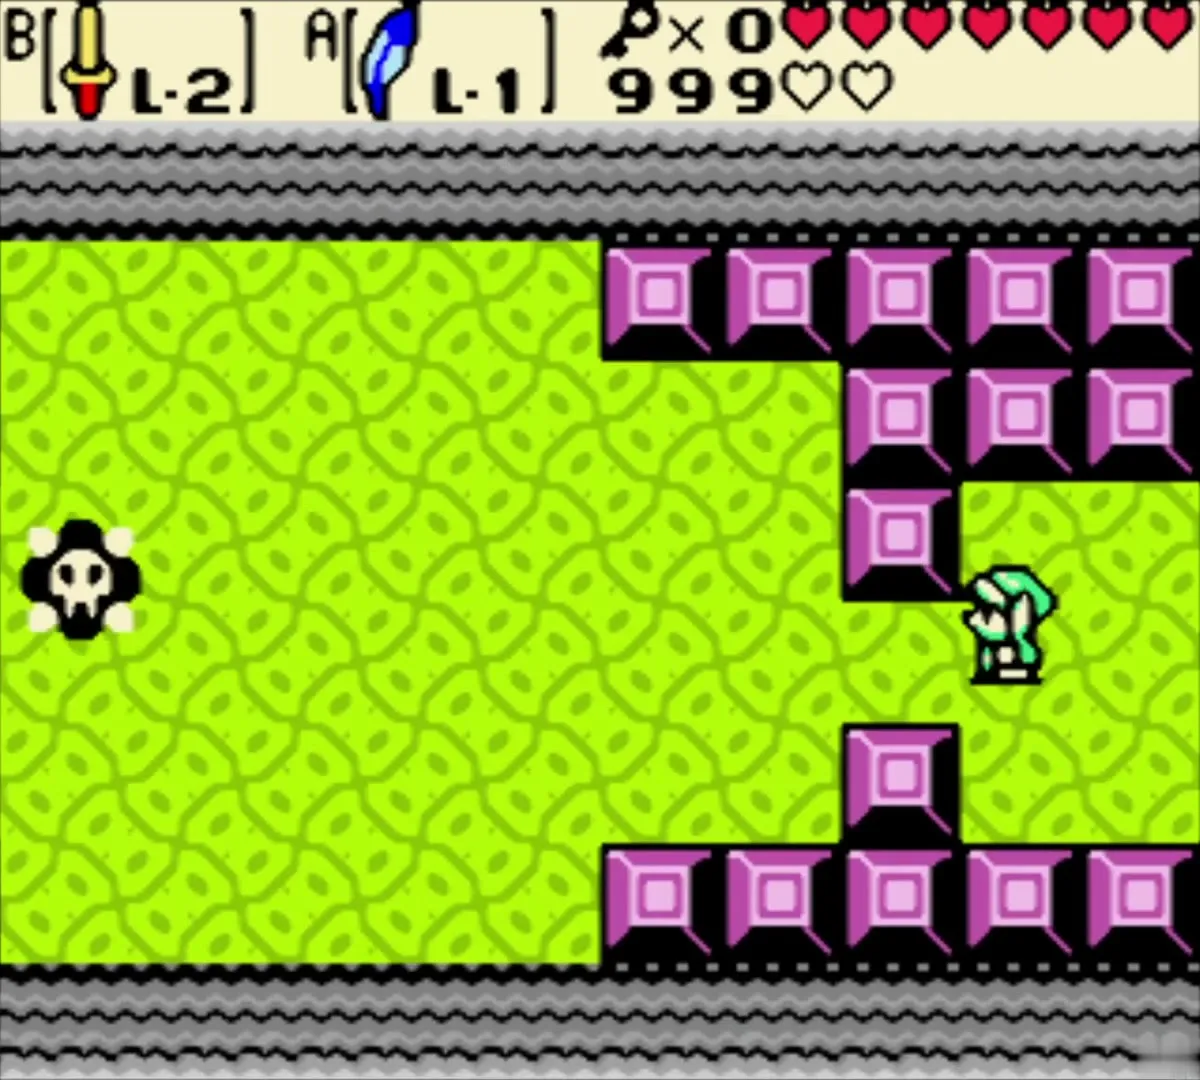
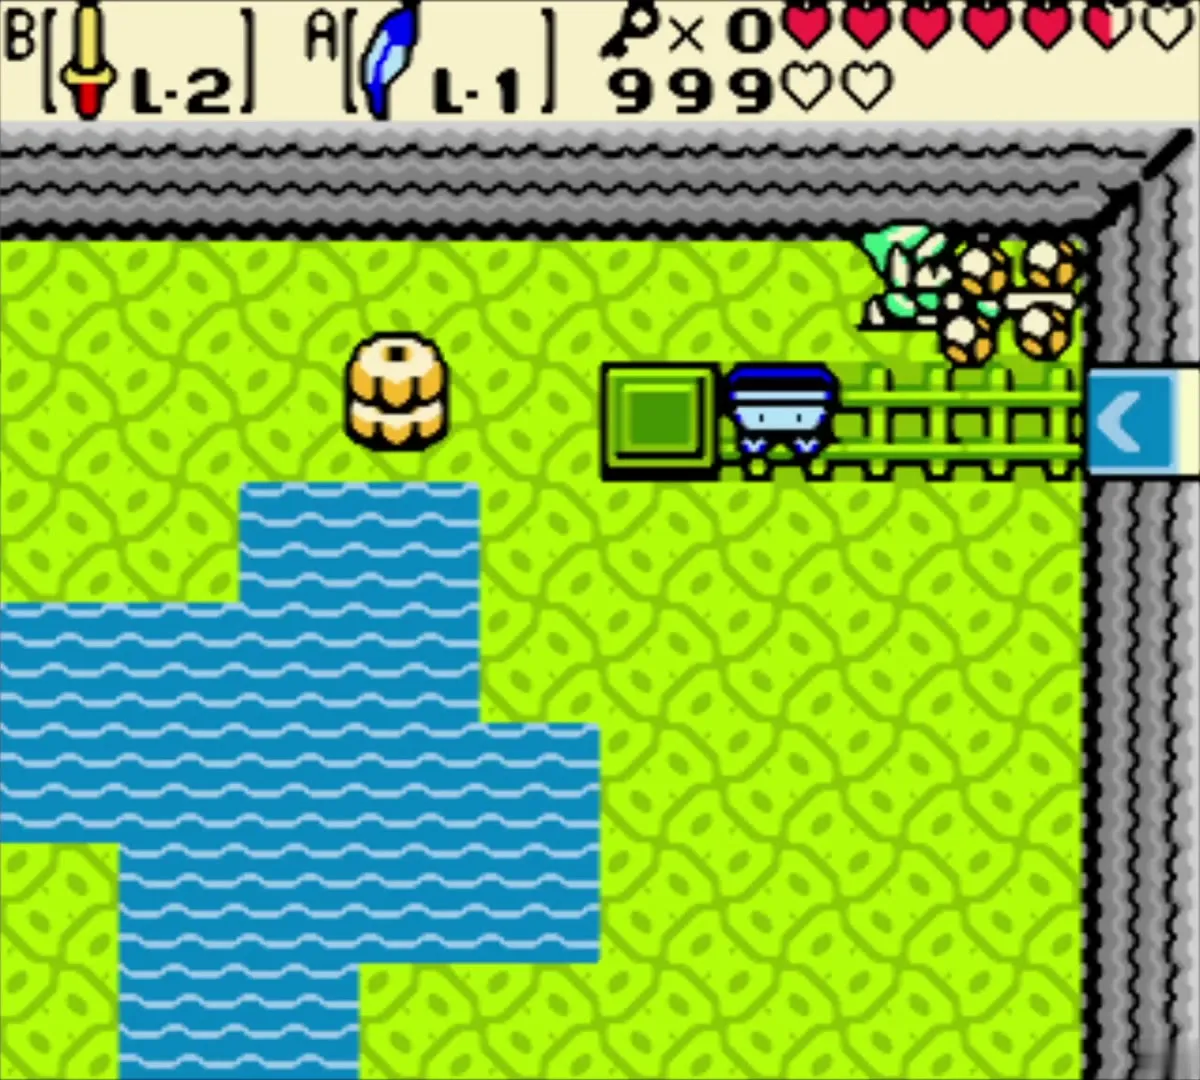
Ride the cart through the track rooms to the north. Hit the switch on your way, and board the cart again to land in a different place. A locked block of purple blocks takes one Small Key. Kill the Like Likes first, then the Spiked Beetle: flip it with your shield and strike its belly.

The pool room: third key
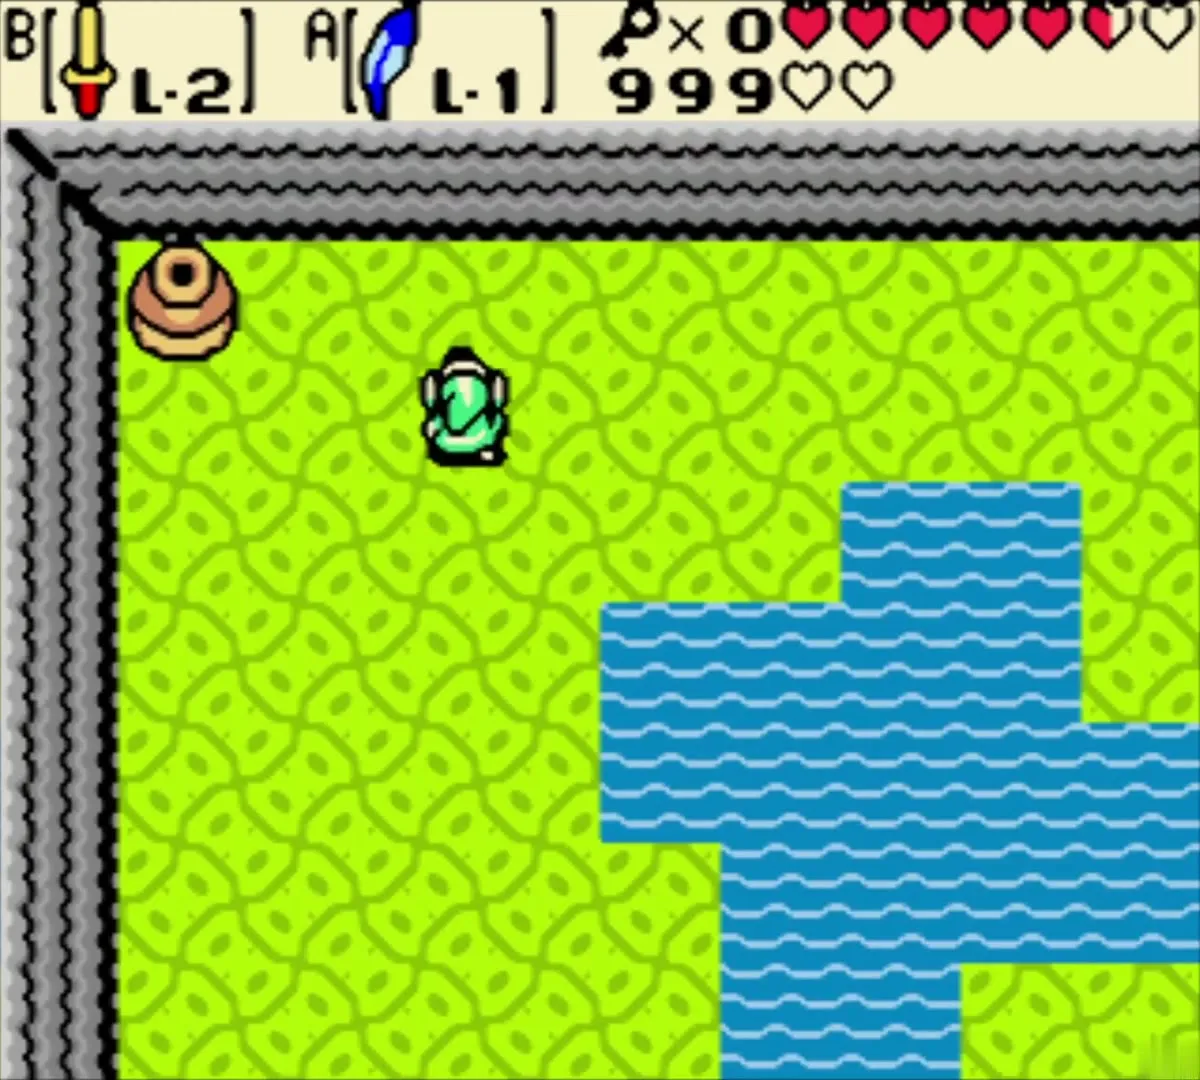
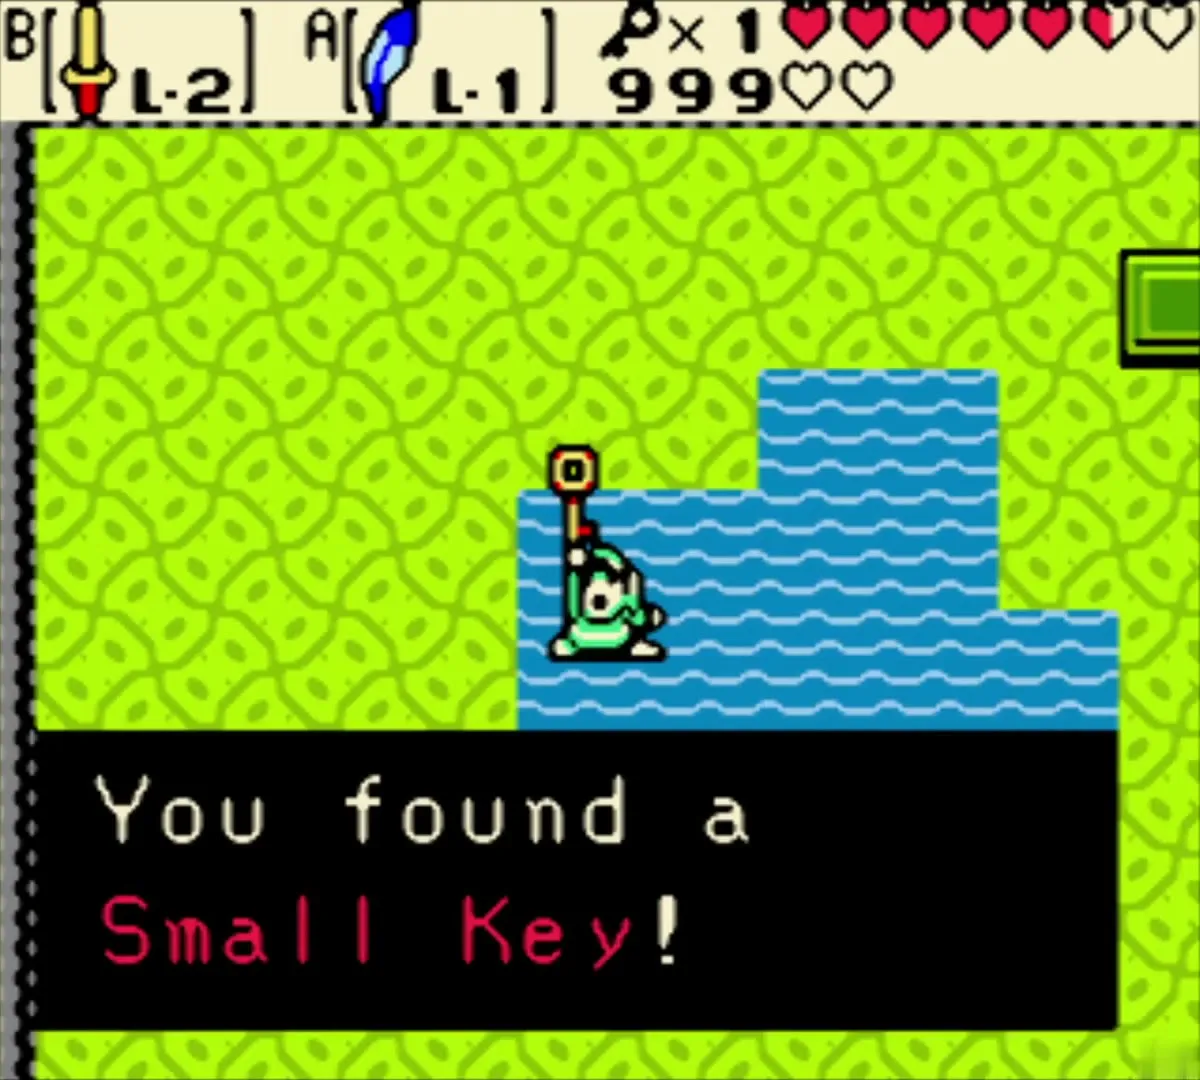
In the far-west room, kill the Like Likes and then the Water Tektite. A key falls into the pool. Dive for it with B to collect the third Small Key. Ride the minecart east twice to return.
Seed merchant
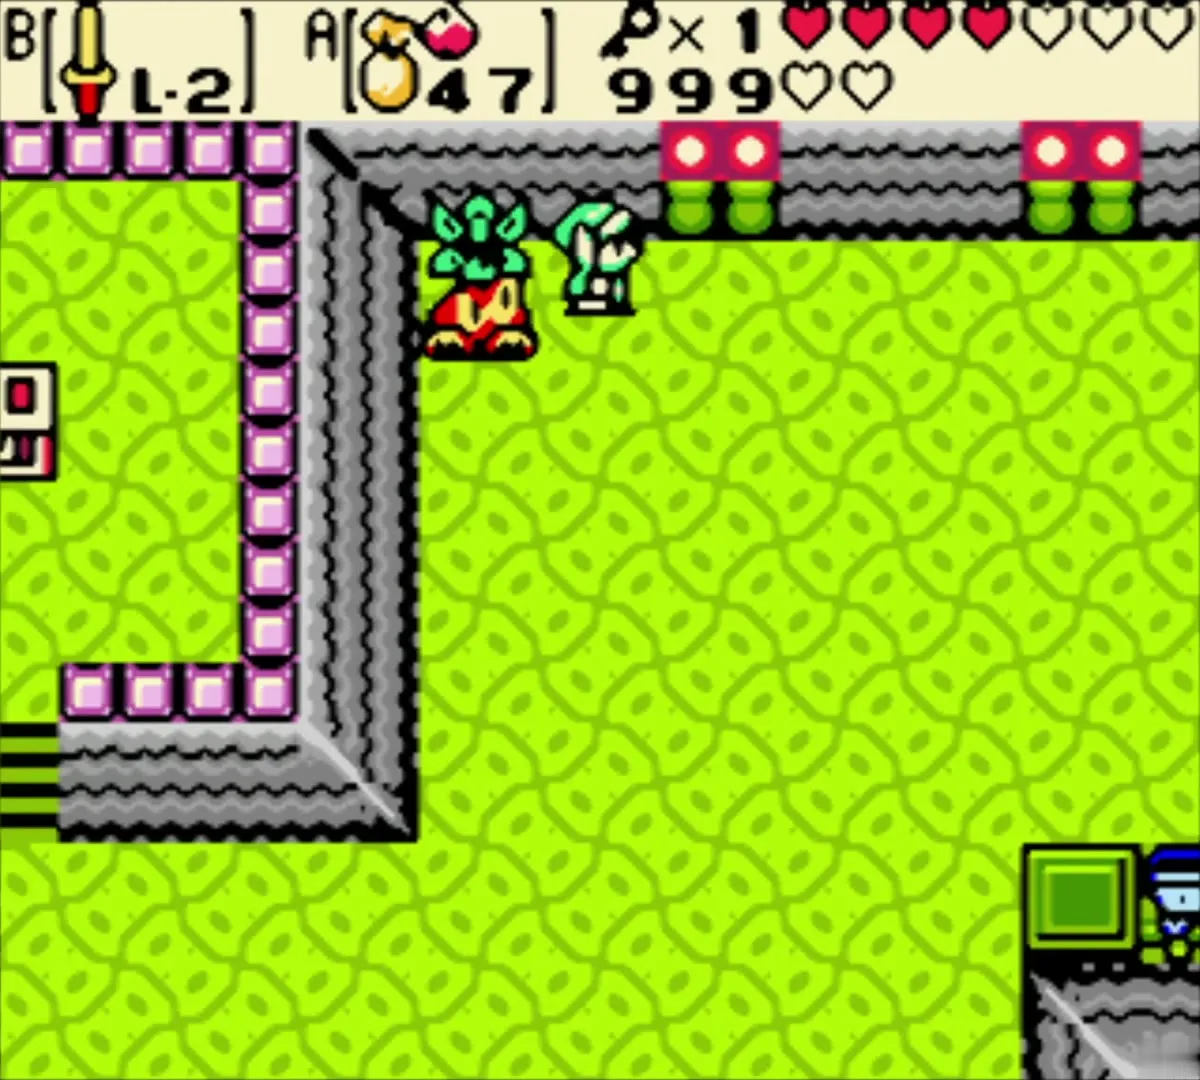
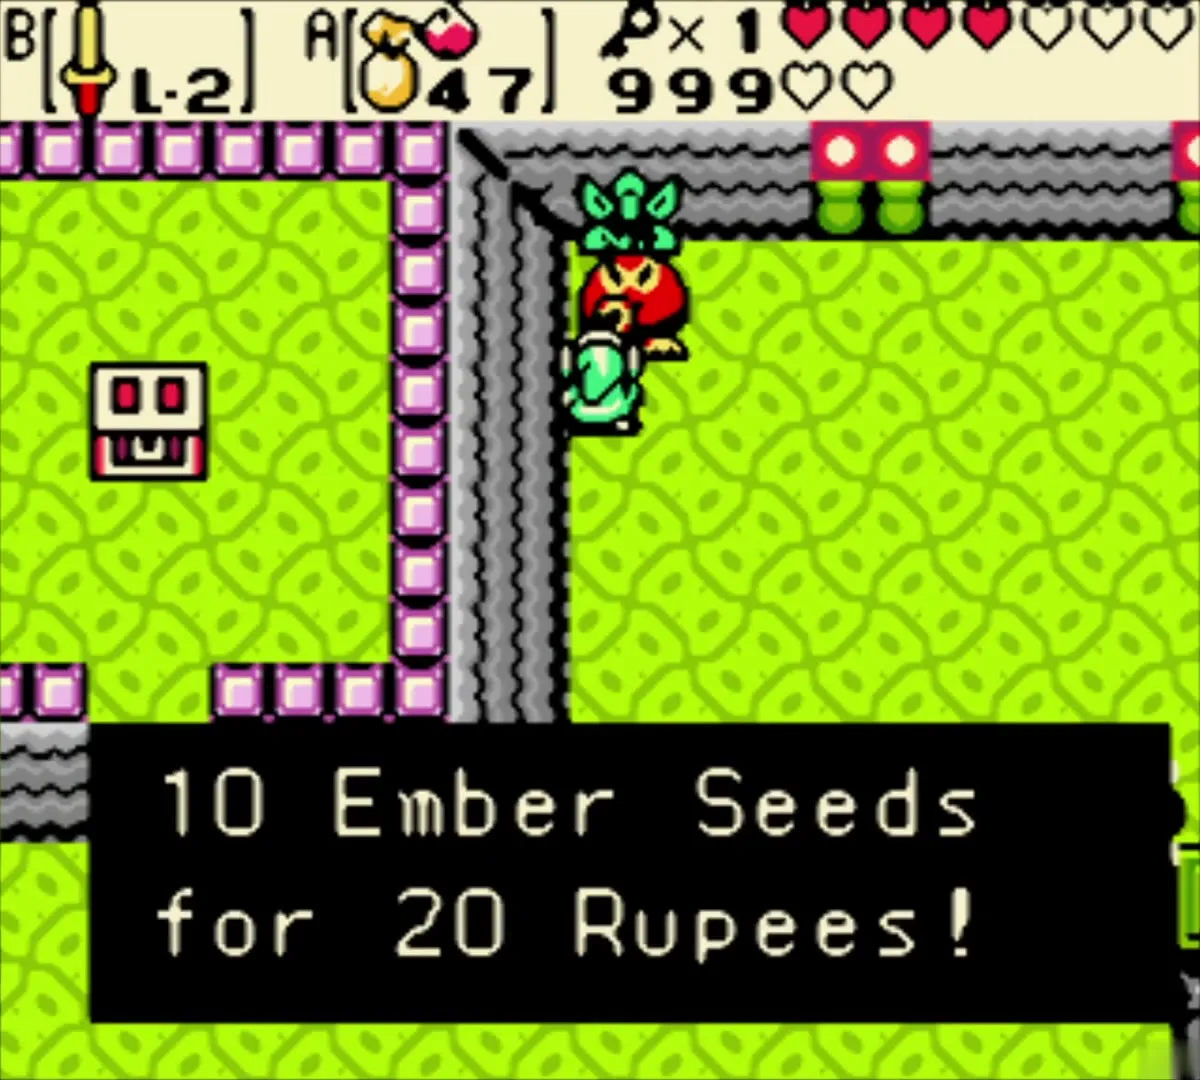
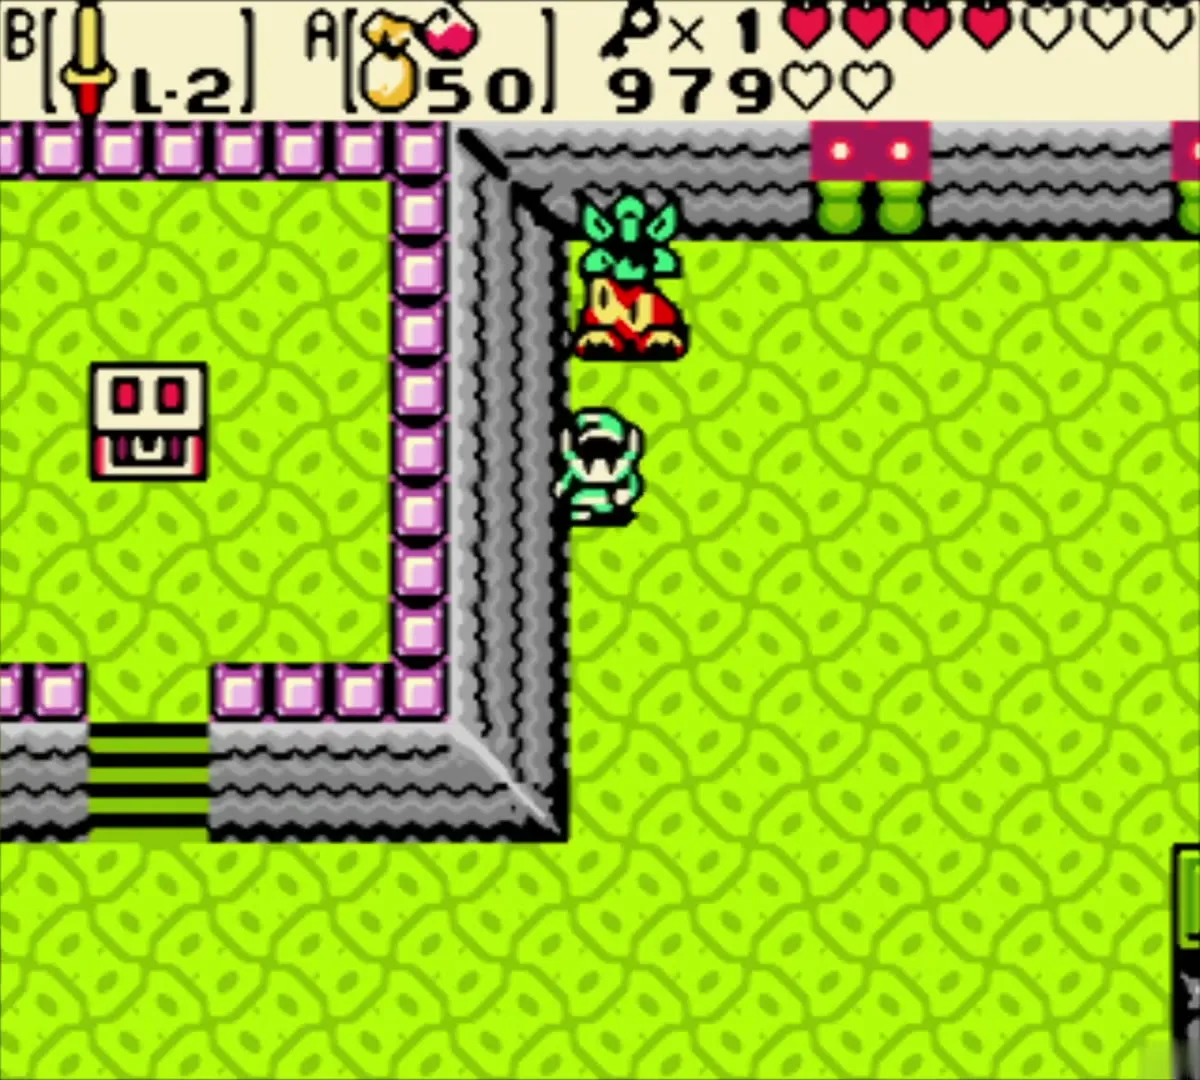
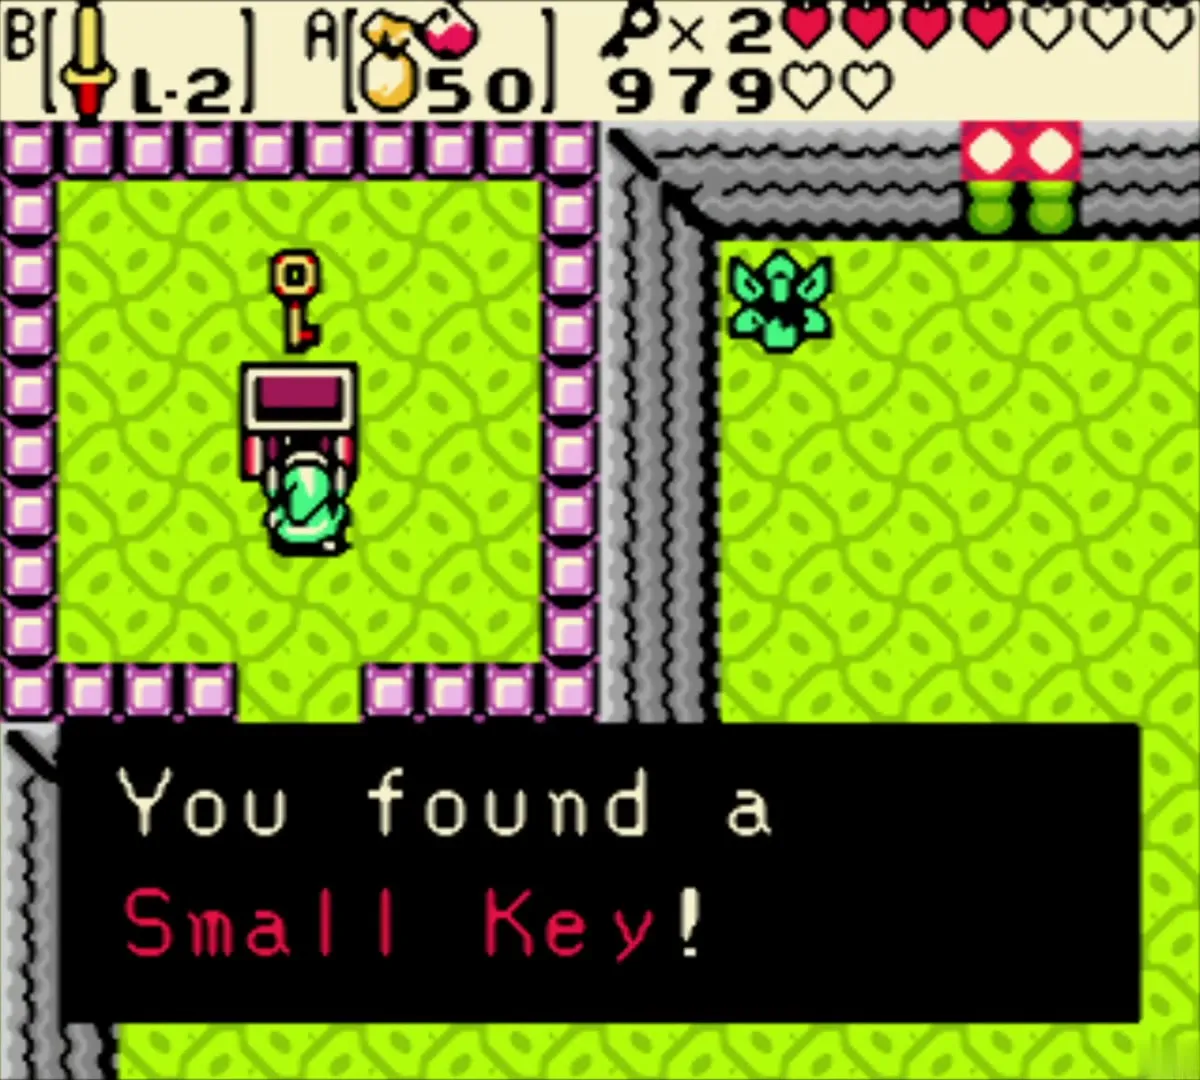
Further east, in a pink-walled room, a Business Scrub offers 10 Ember Seeds for 20 Rupees. Buy them; Ember Seeds are the ones that light torches, and you will use plenty here and on the boss. Climb into the niche above him and open the chest for the fourth Small Key.
Mini-boss: Agunima
Spike room and the way in
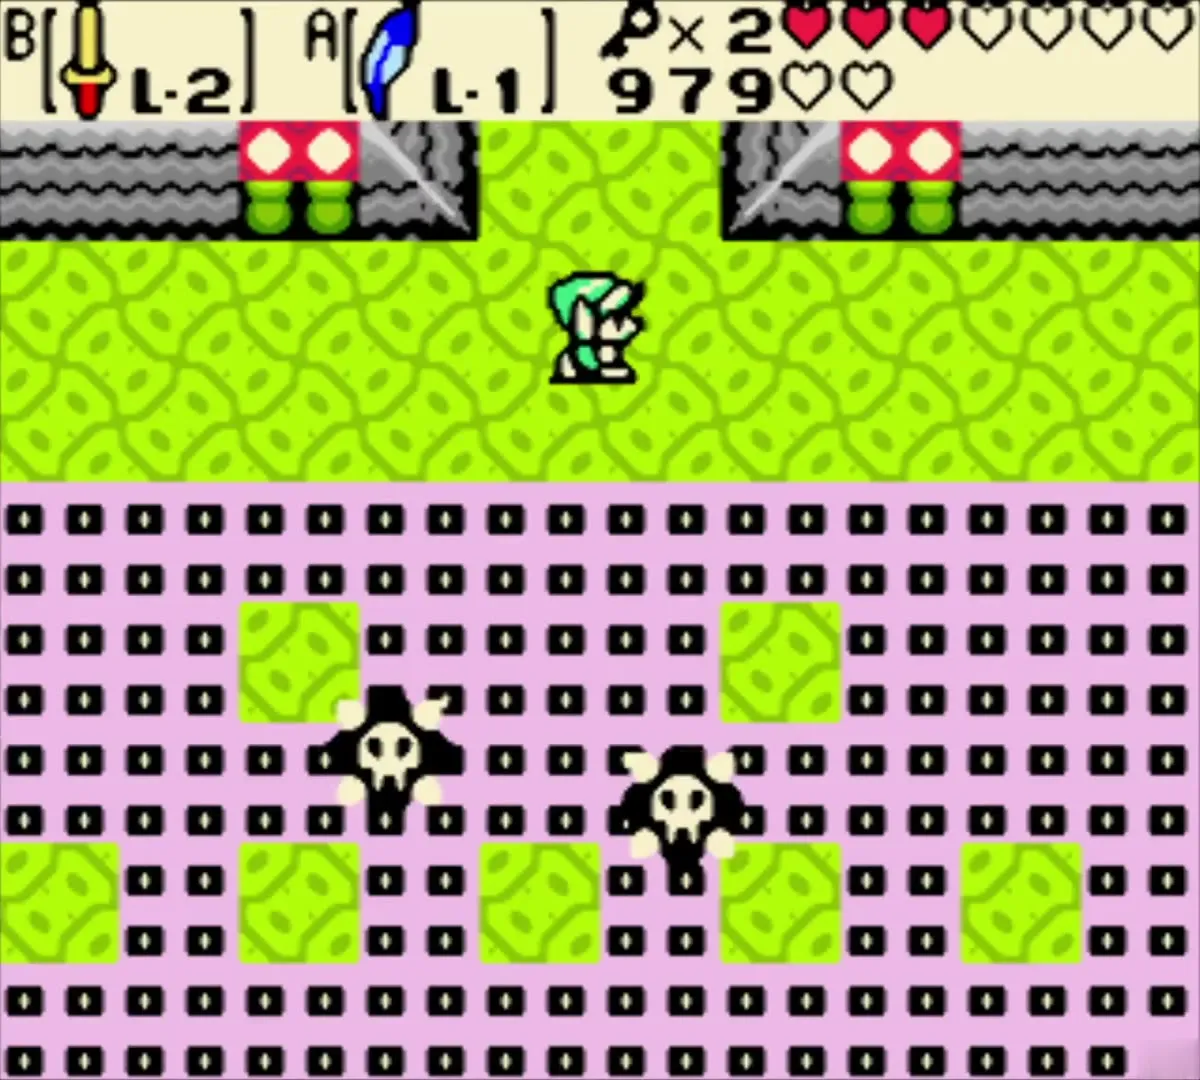
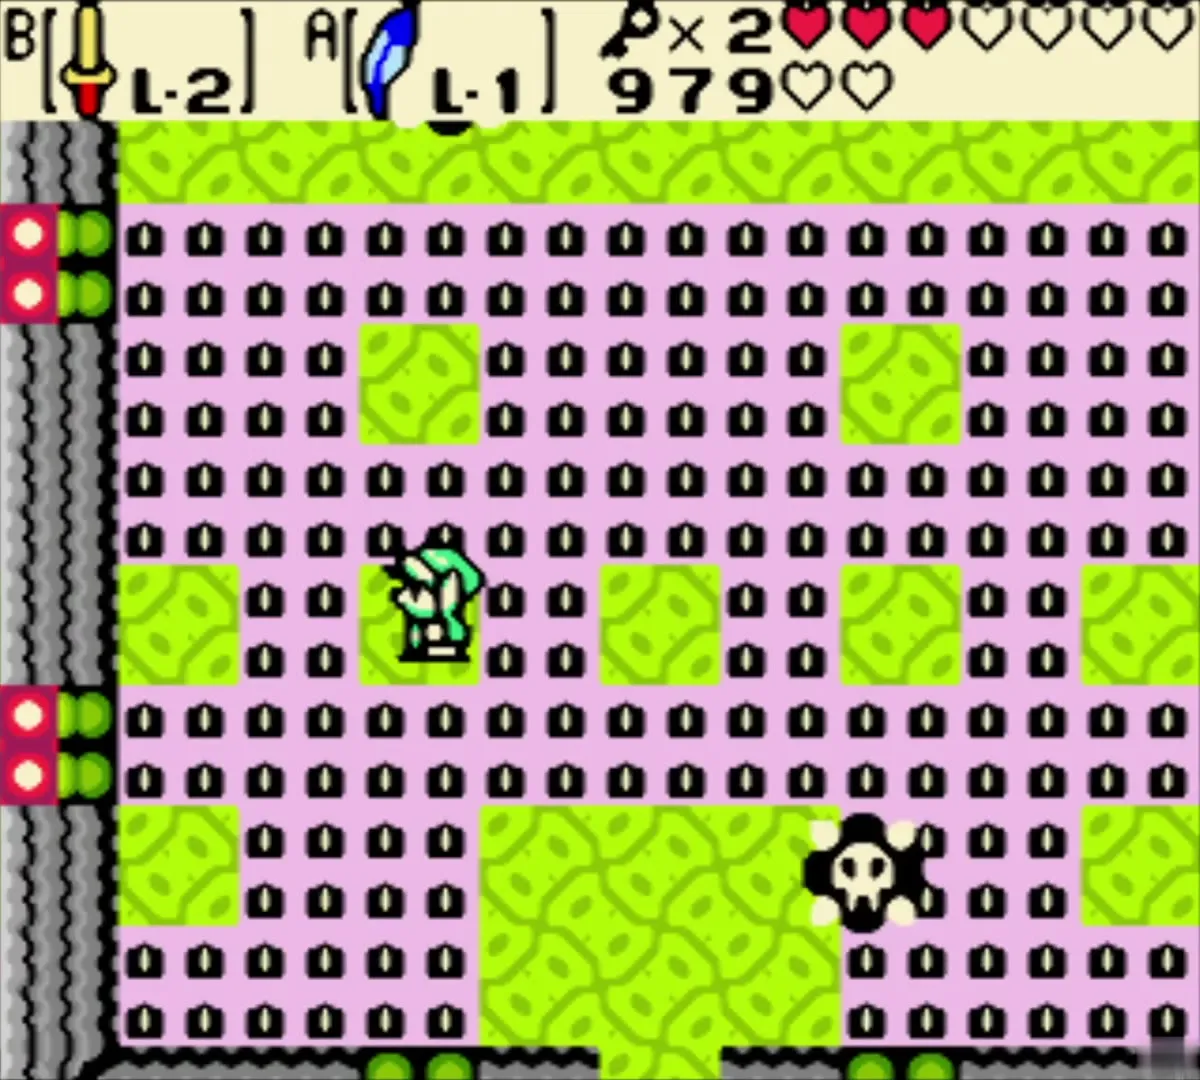
Go north through a spike-covered floor and stay in the middle to avoid the Anti-Fairies. Keep going south to the dark room of the mini-boss.
Light both torches and strike
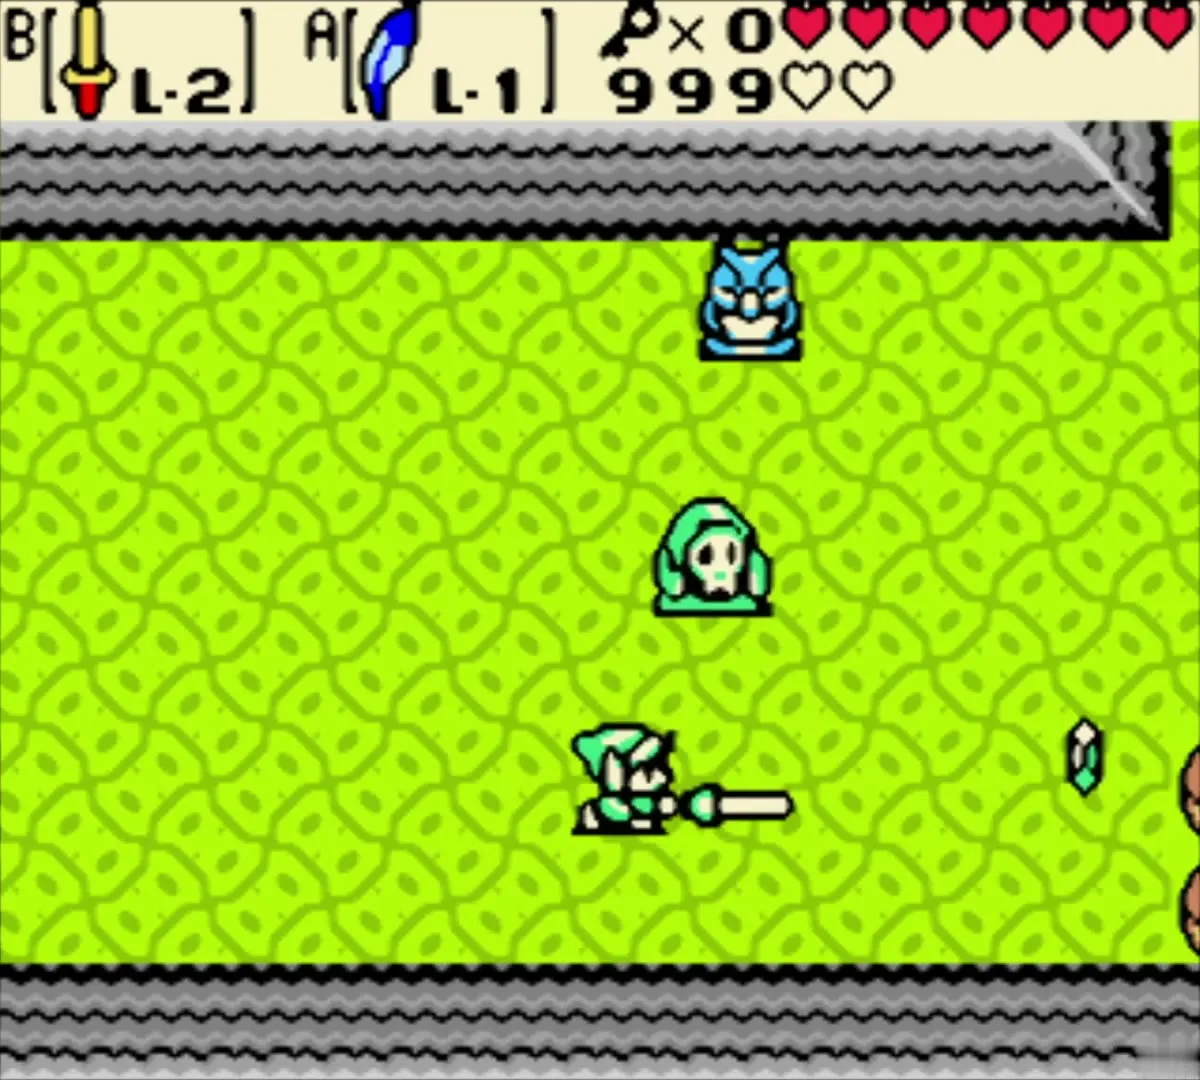
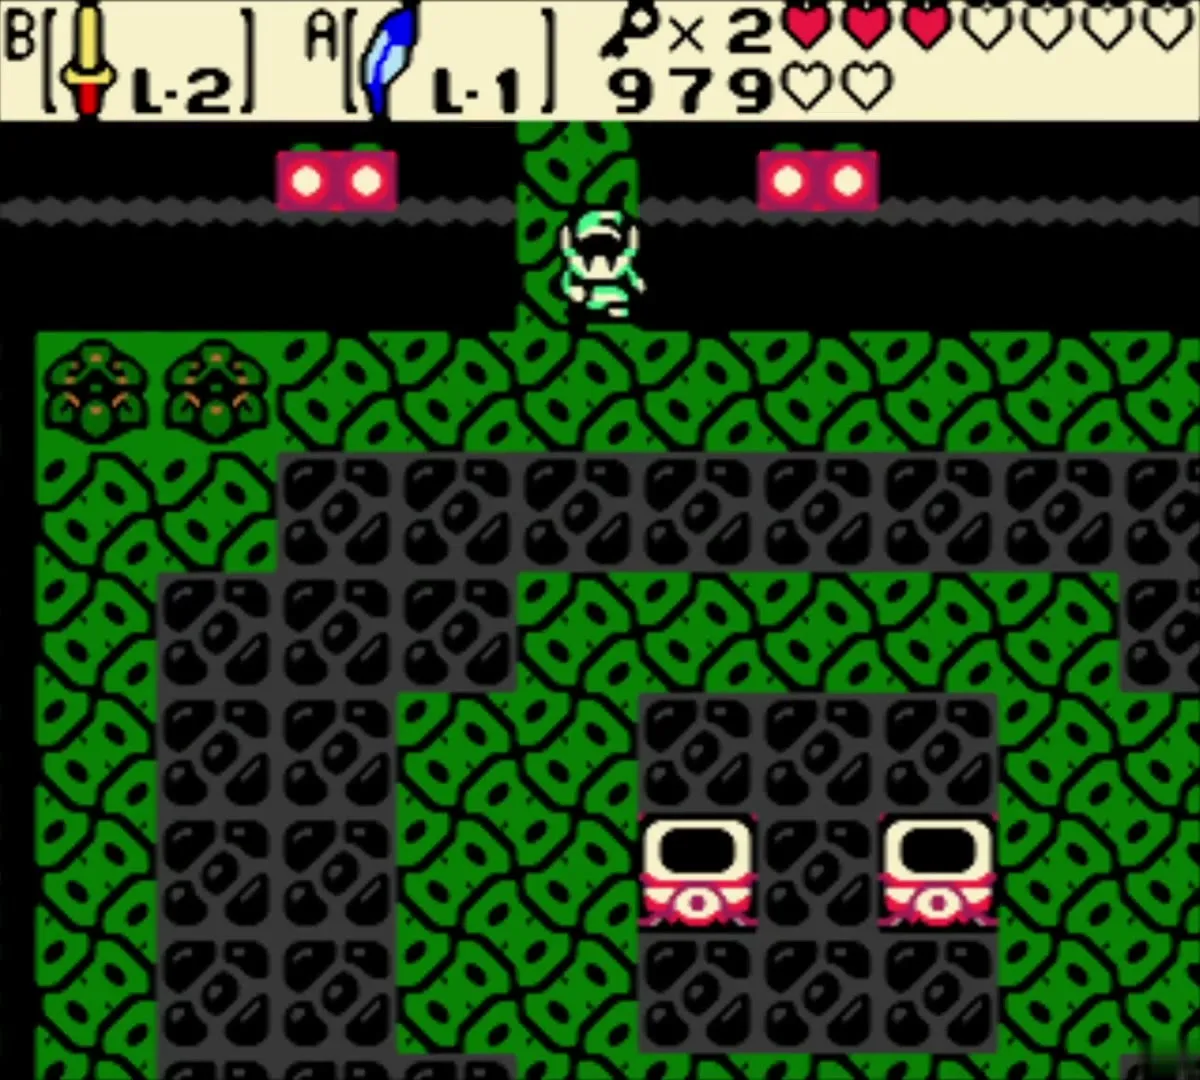
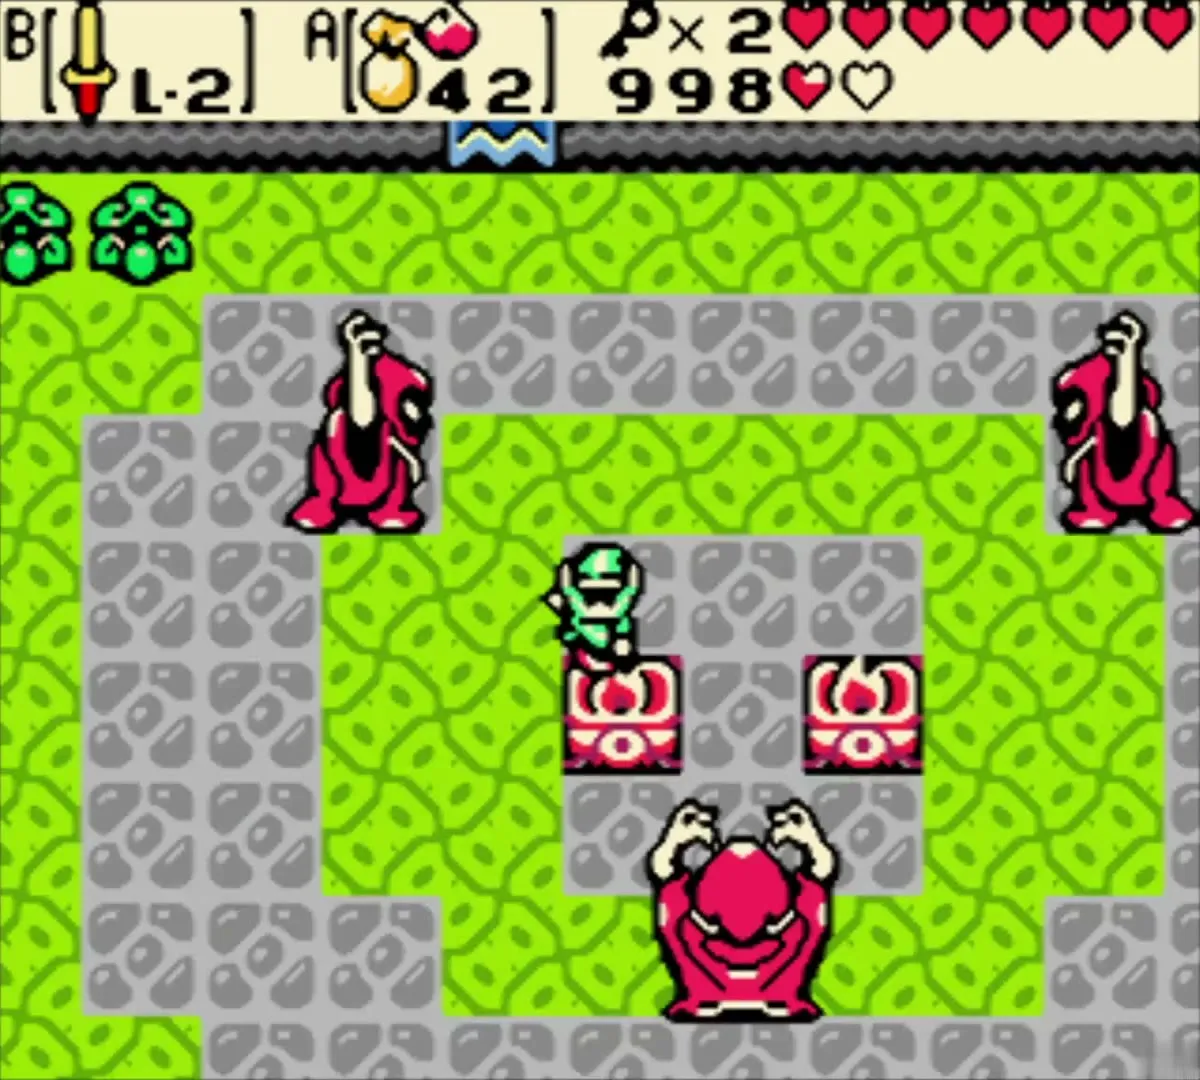
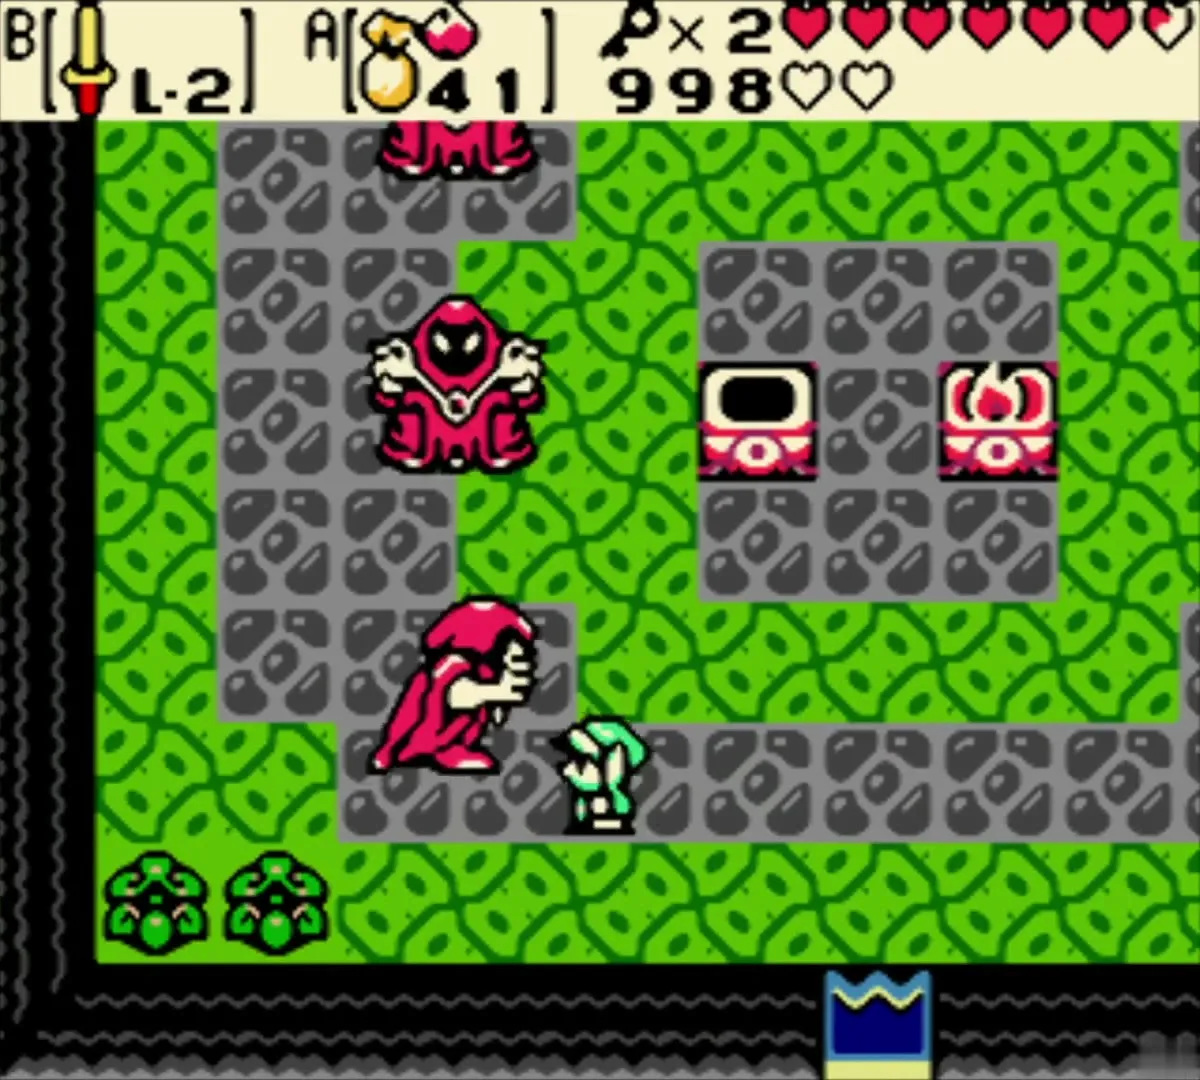
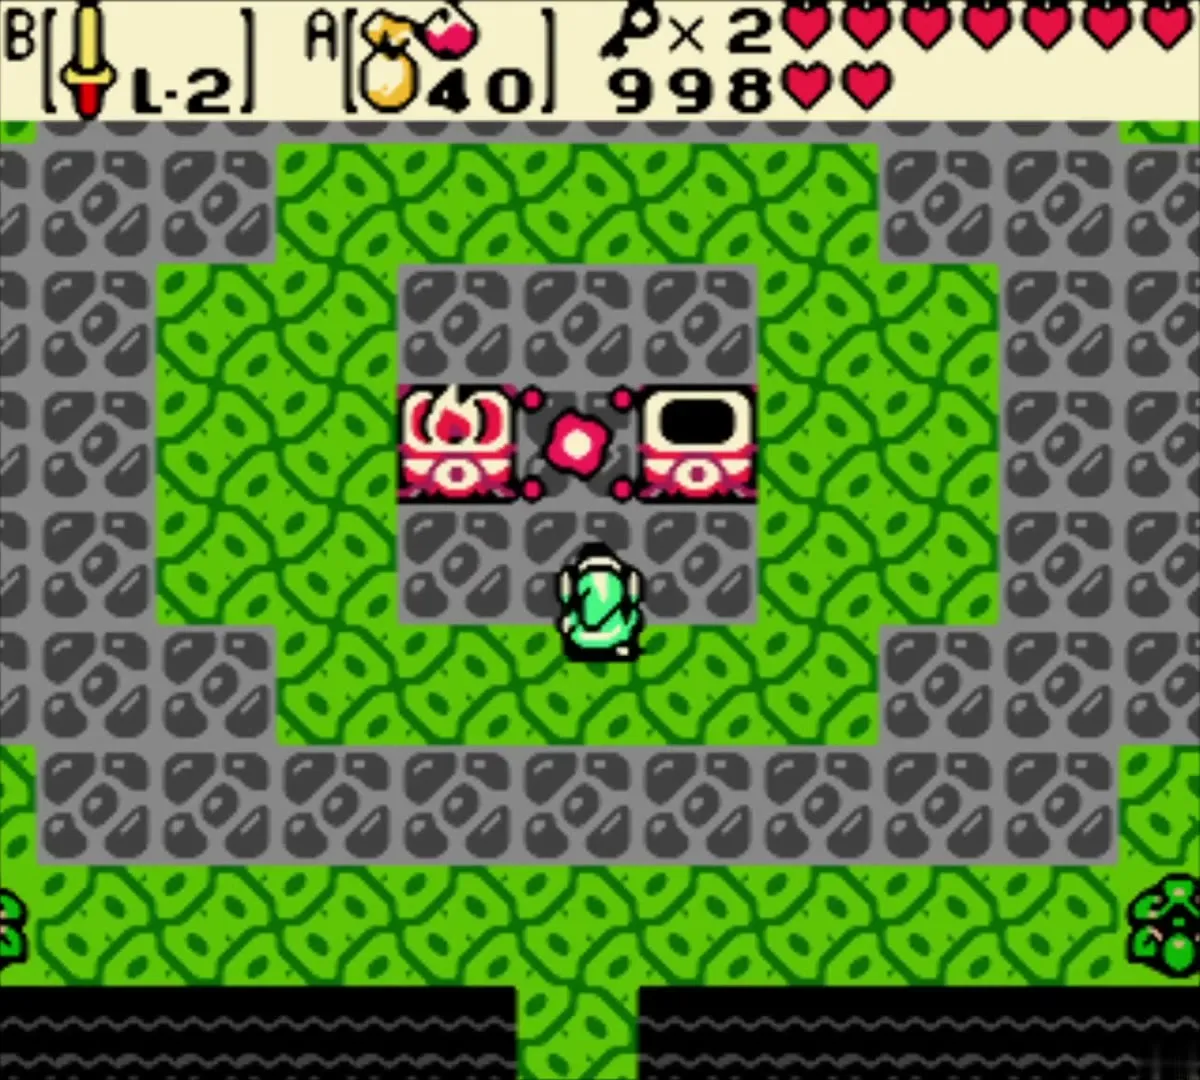
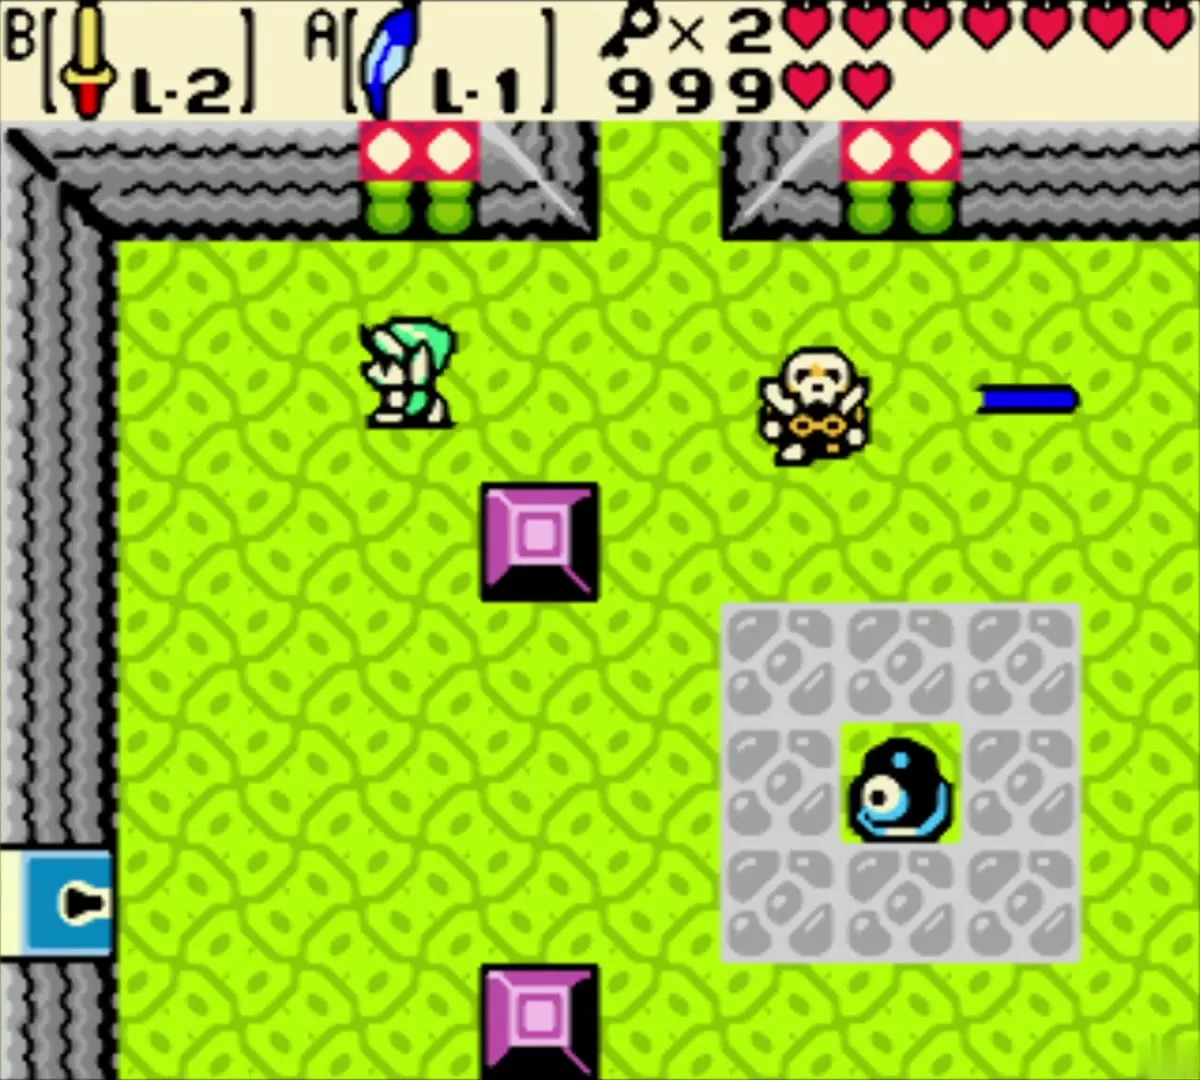
Agunima splits into three bodies. Only one is real and you can tell which because it is the only one casting a shadow. It can only be hurt while both eye-statue torches are lit, so shoot or hit Ember Seeds at them. Fireballs cannot be blocked, so keep your distance when a body winds up. Strike the shadowed one when it appears, backing off to relight any torch that goes out. Corner bushes regrow Ember Seeds if you run short.

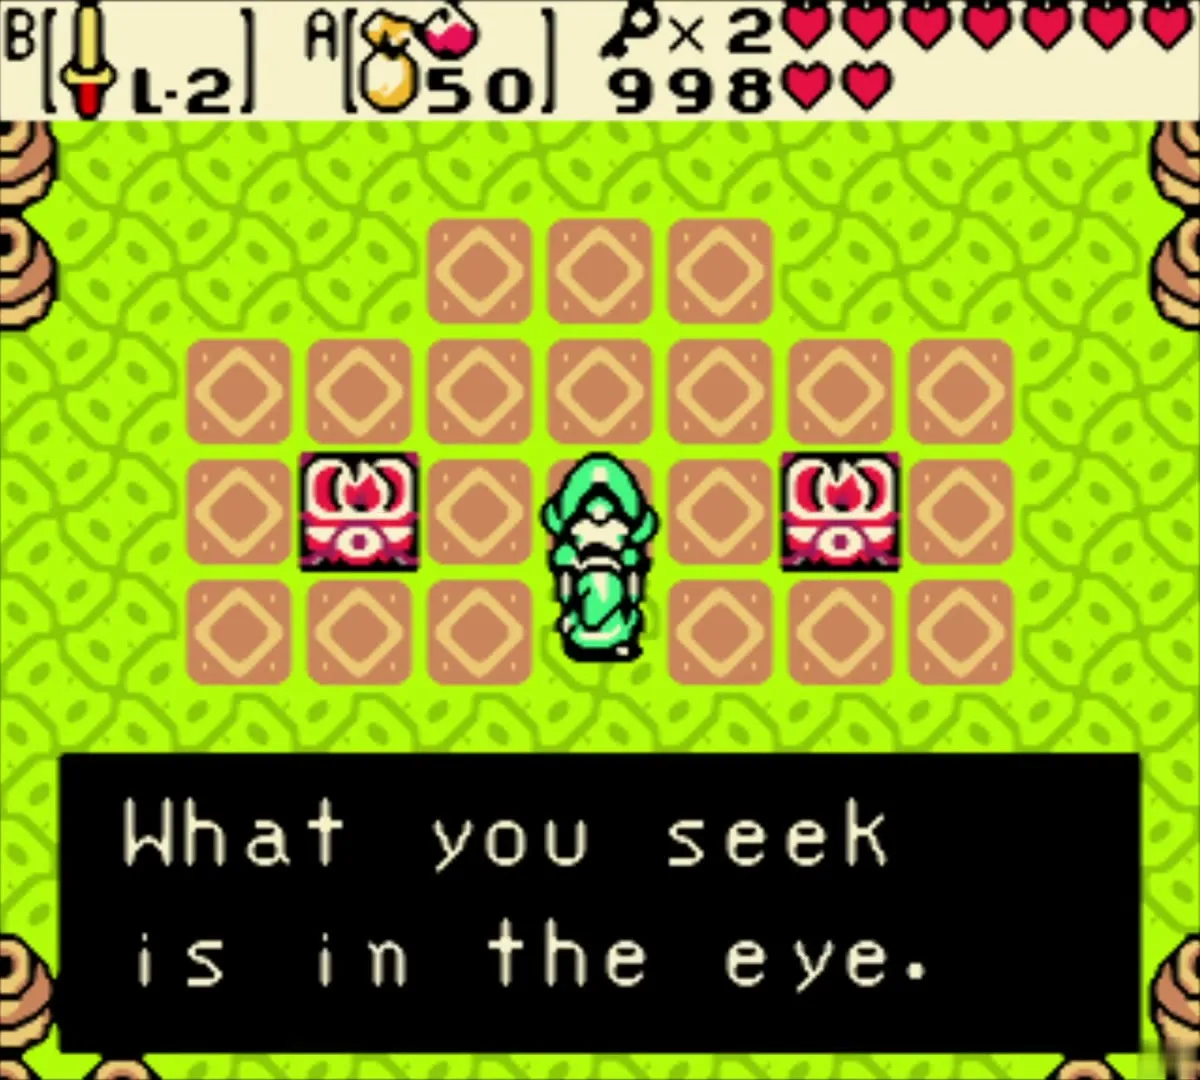
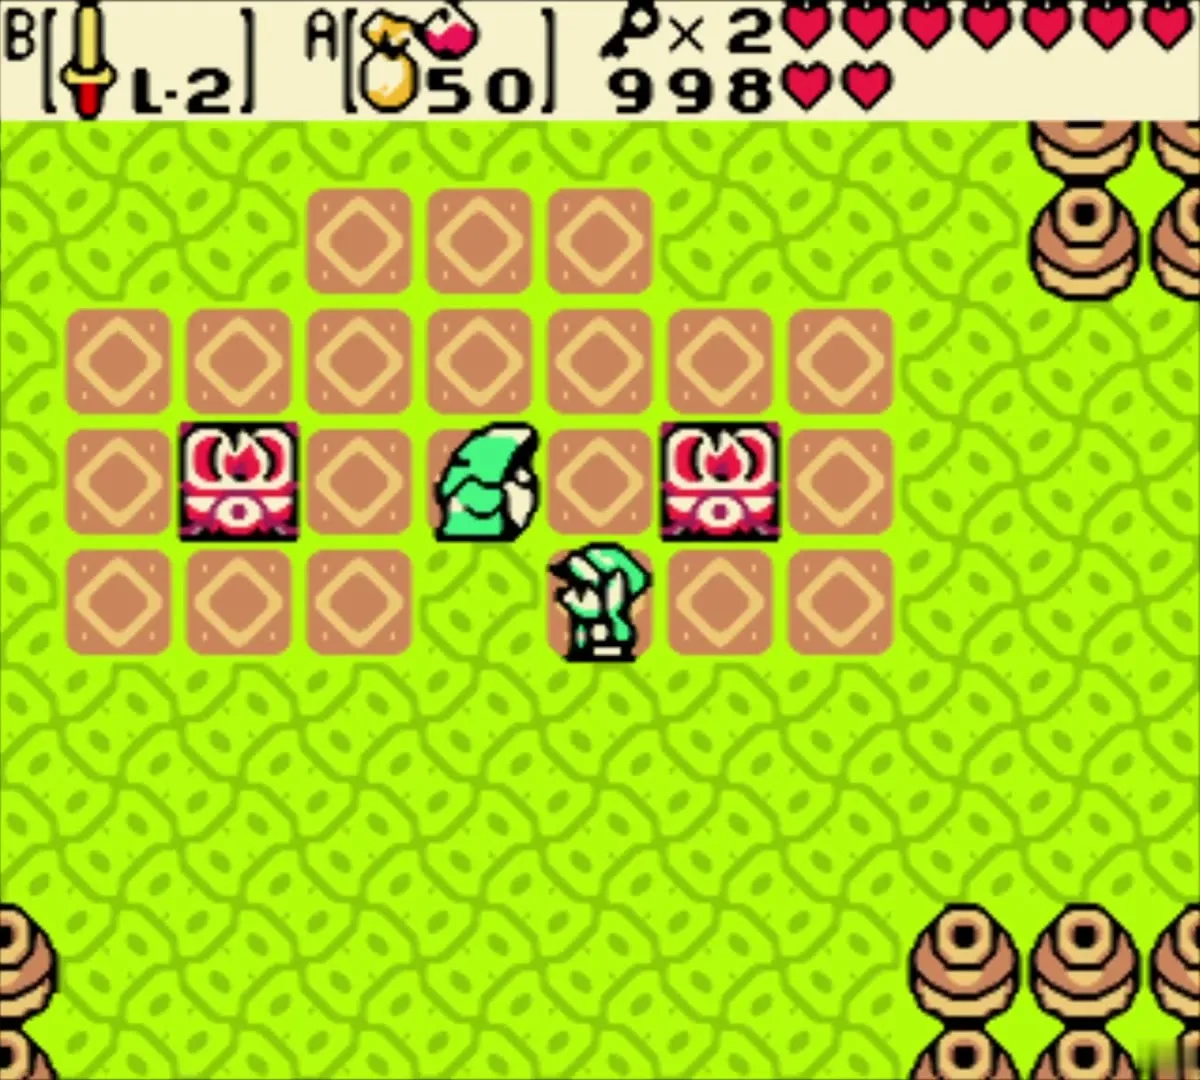
The old man’s hint
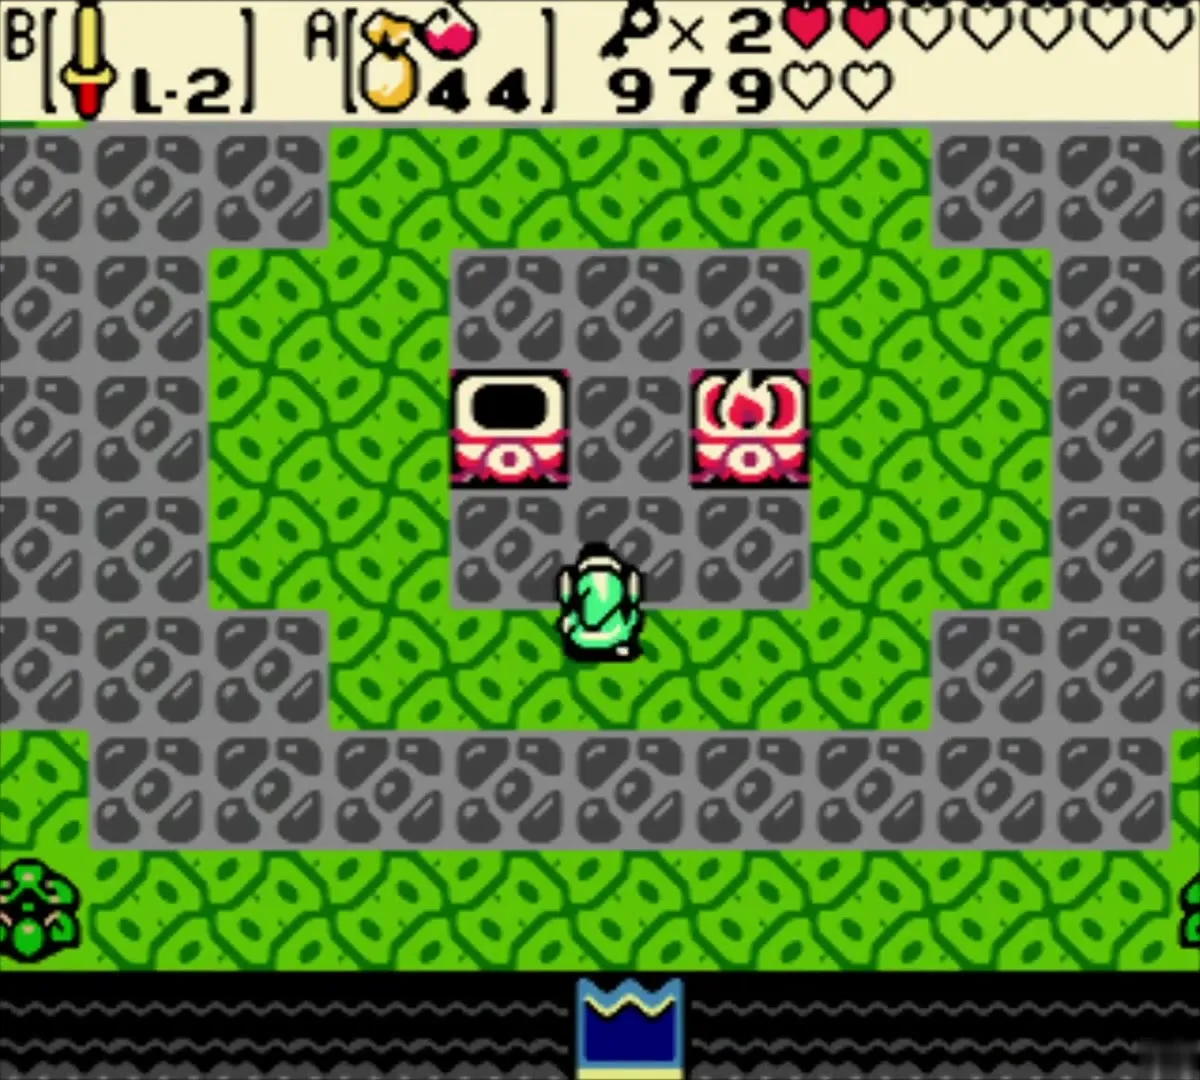
The room beyond has a wise old man who says what you seek is in the eye. Remember it: the Boss Key is hidden underwater in an eye-shaped pool later.
Slingshot
Cart and Beamos room
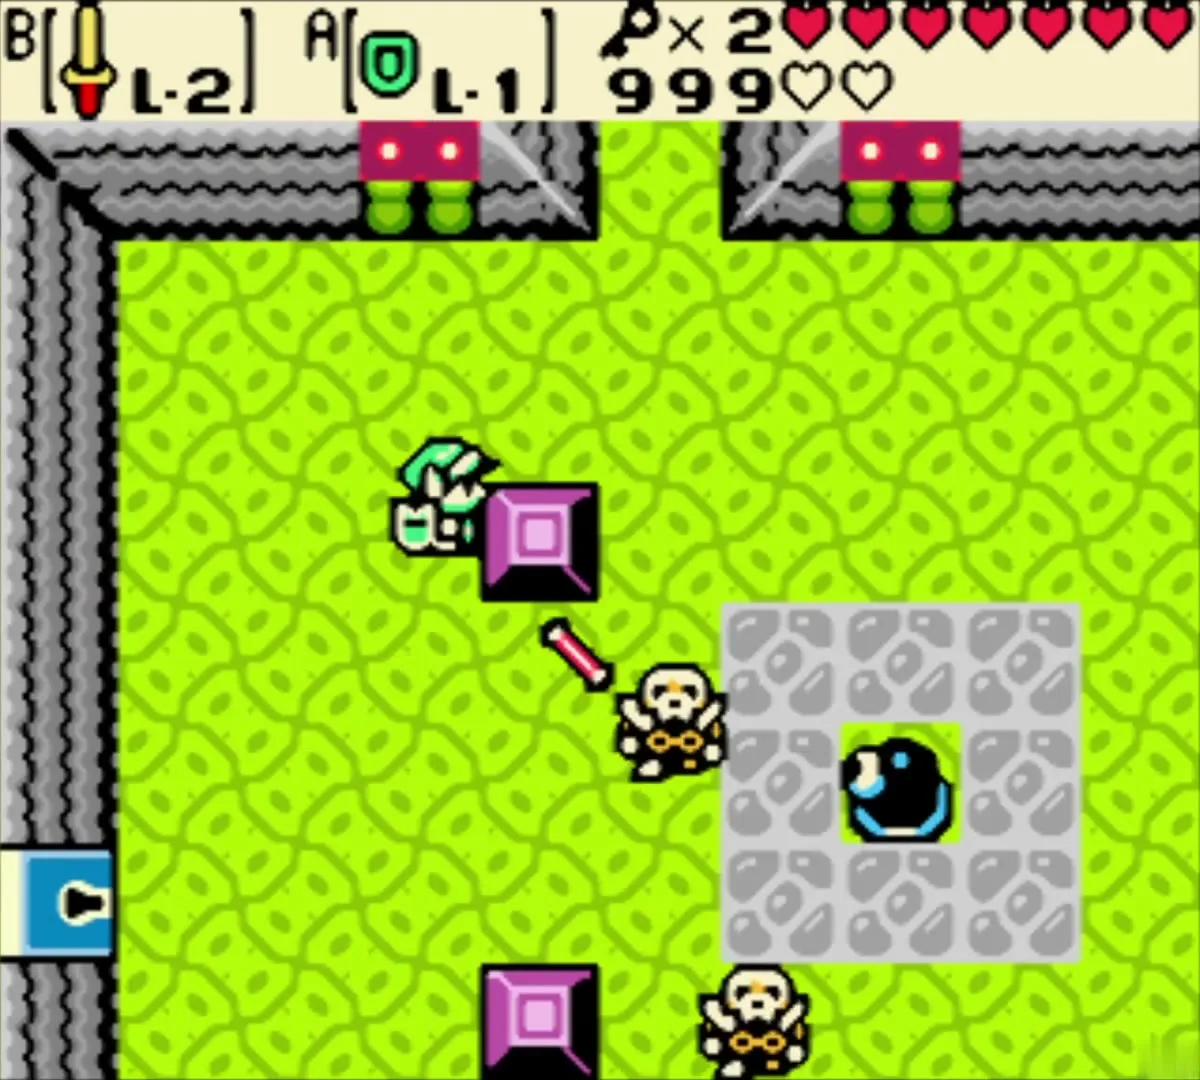
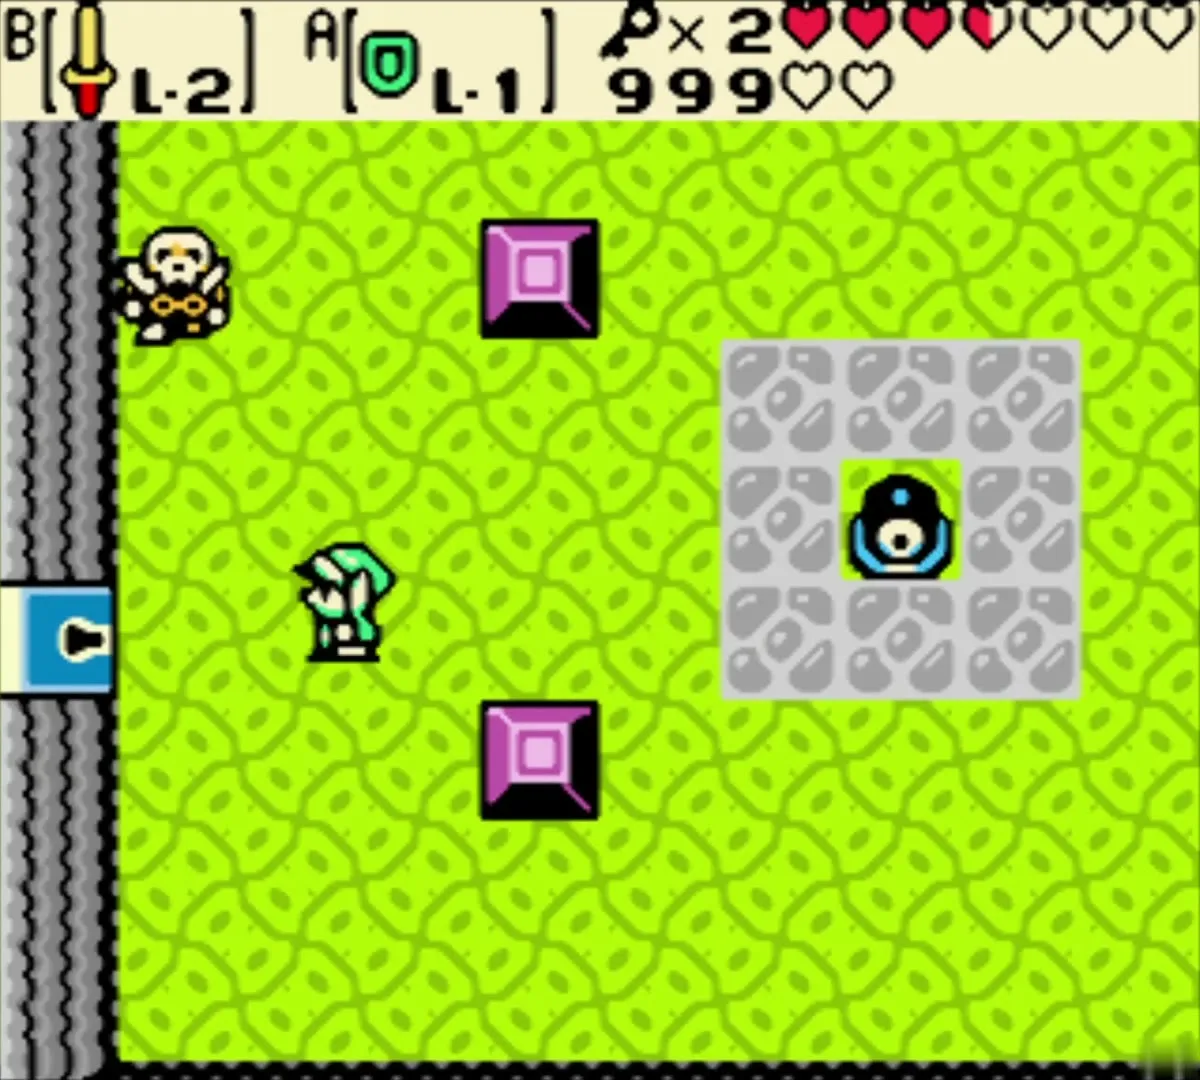
Return to Agunima’s room, go south and board the minecart; its destination is fixed. A room of two yellow Stalfos and a Beamos waits. You can fight or skip the Stalfos, then unlock the west door with one Small Key.

Crumbling floor and the Slingshot chest
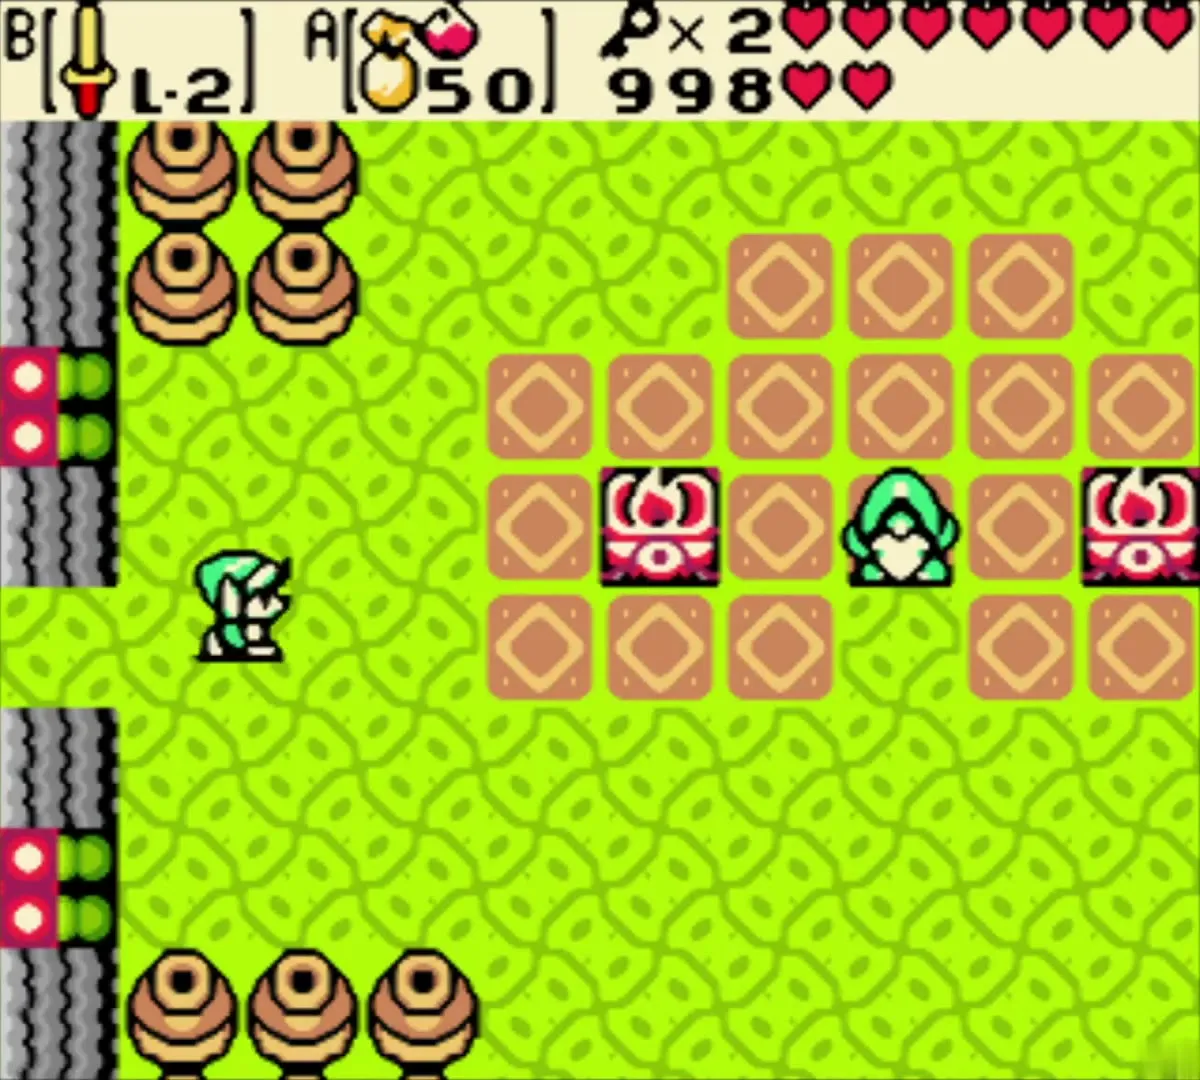
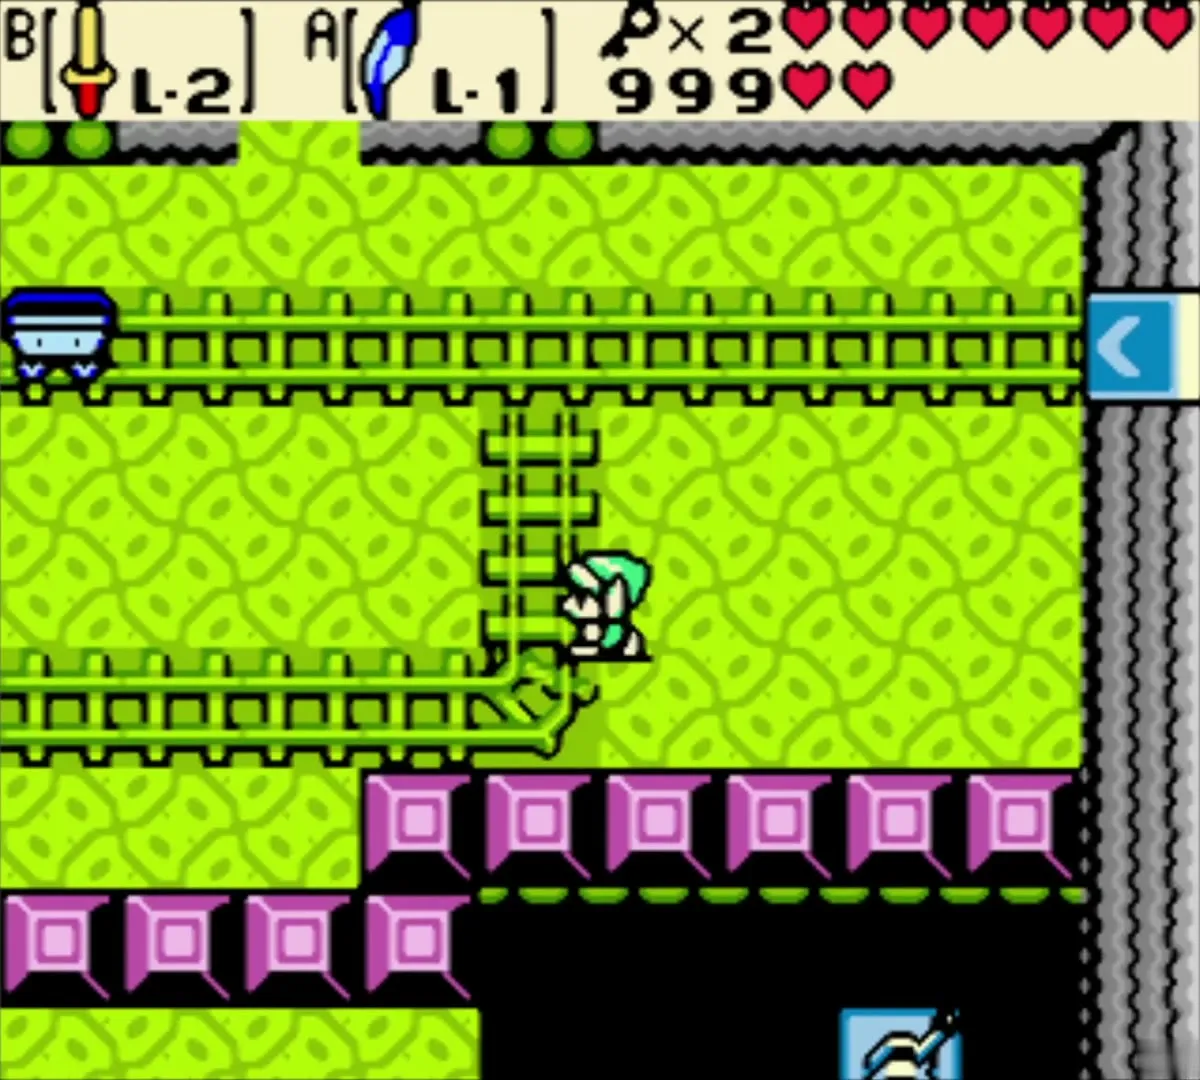
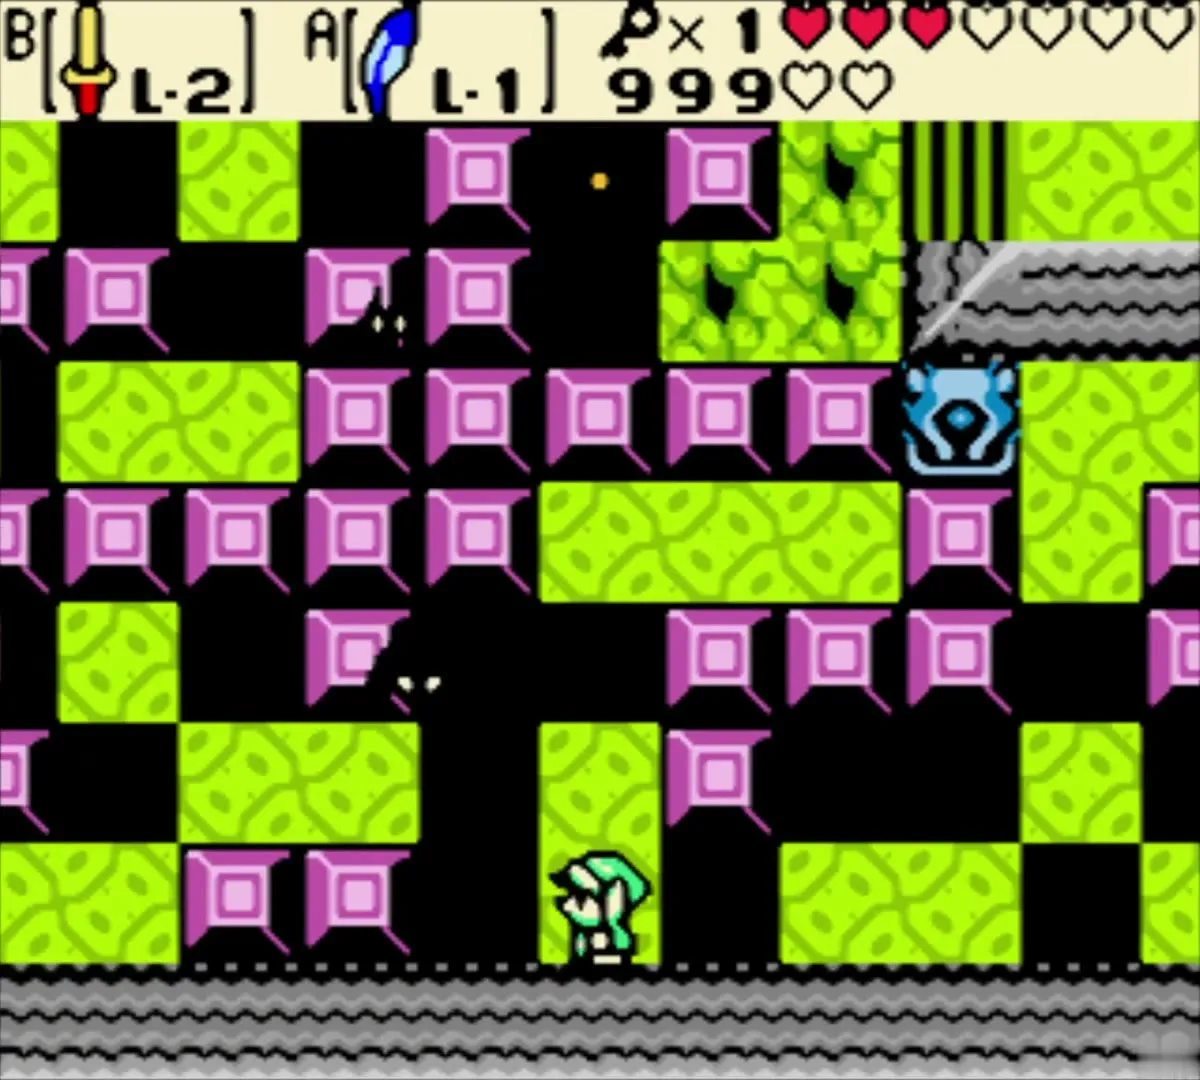
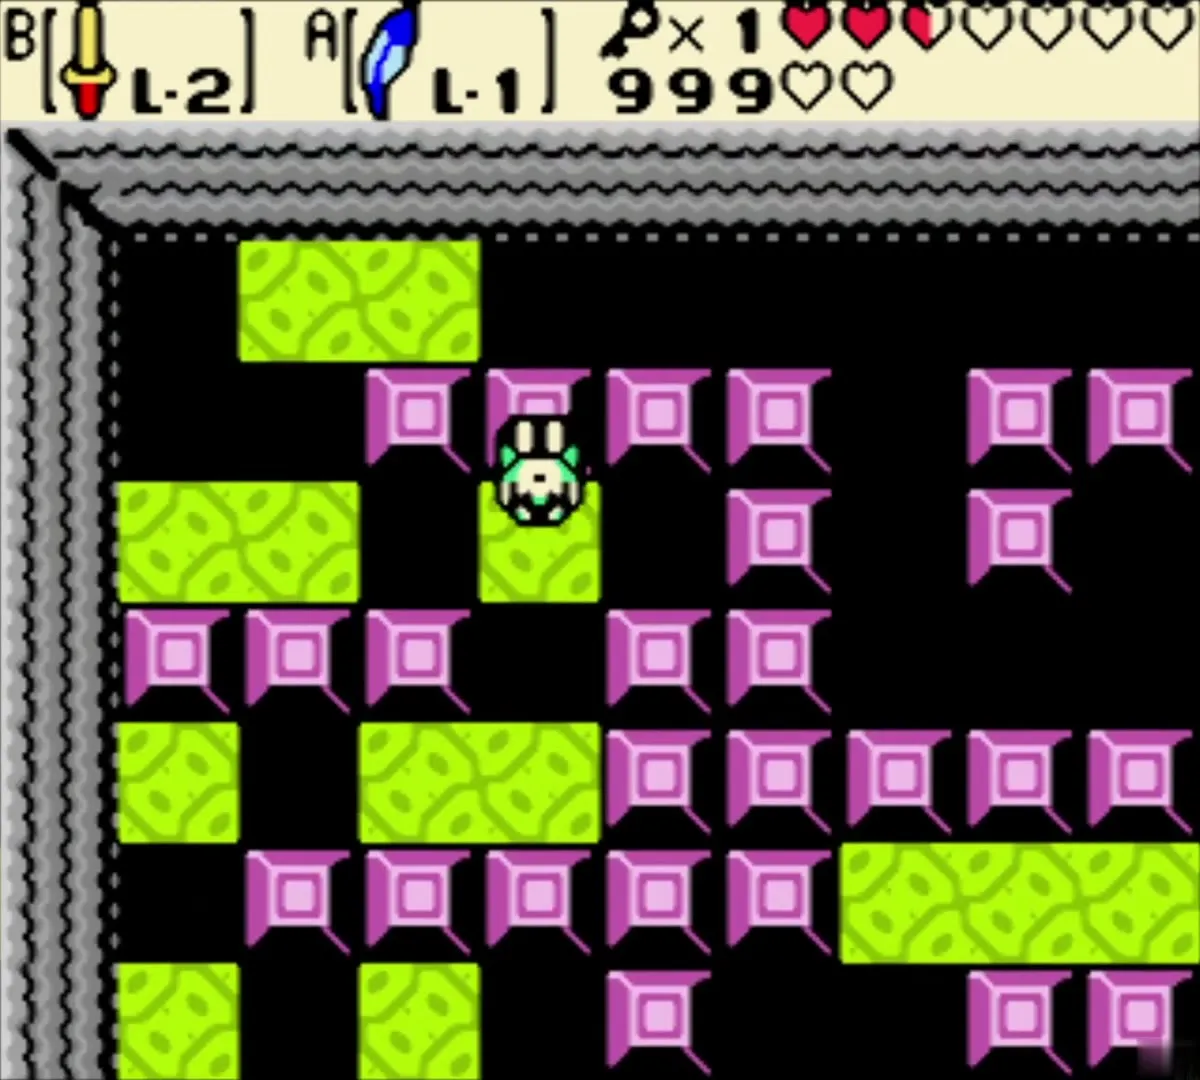
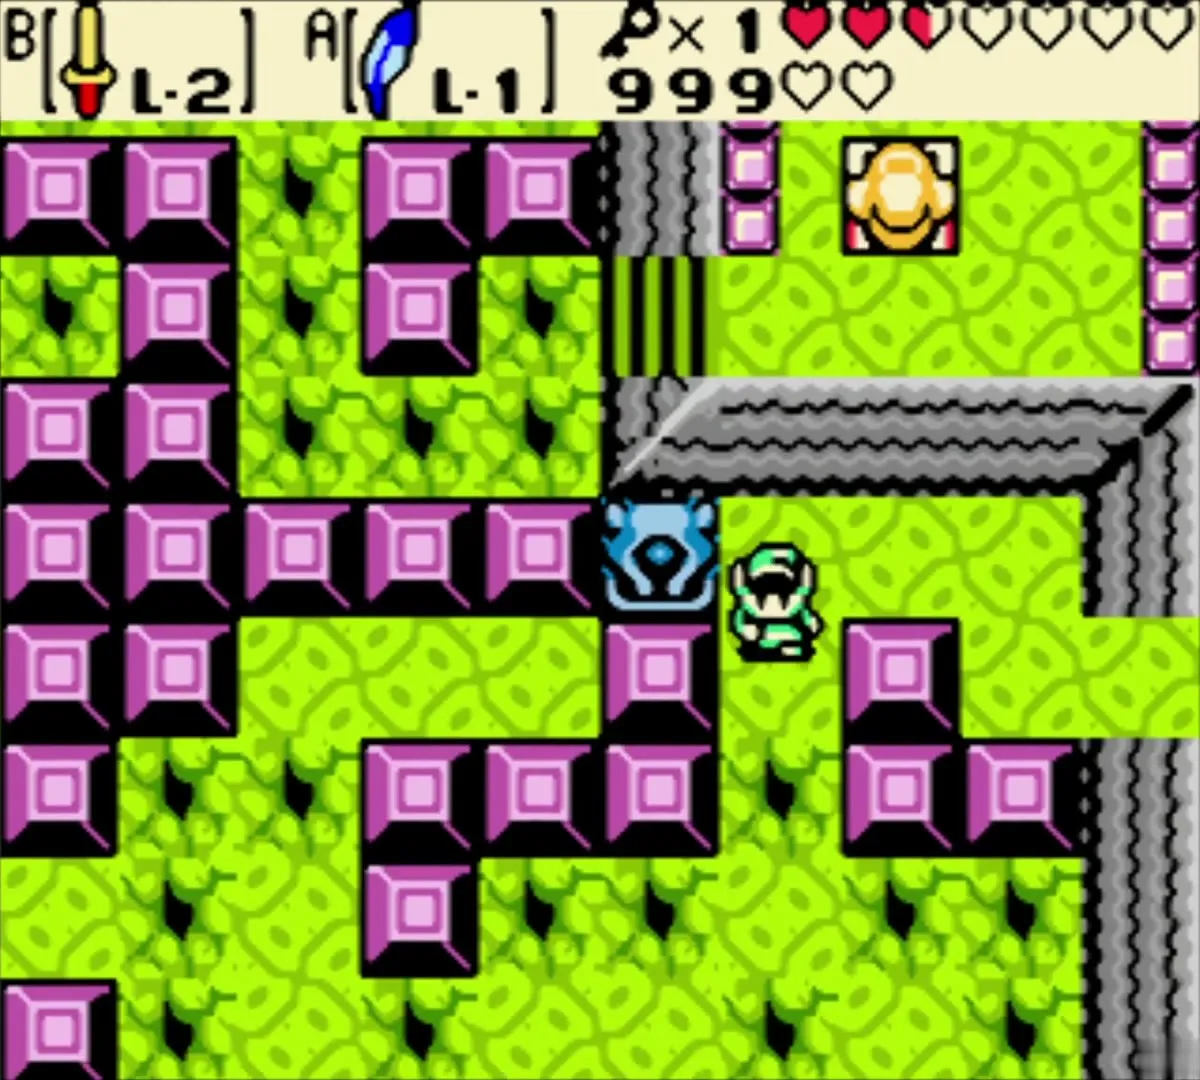
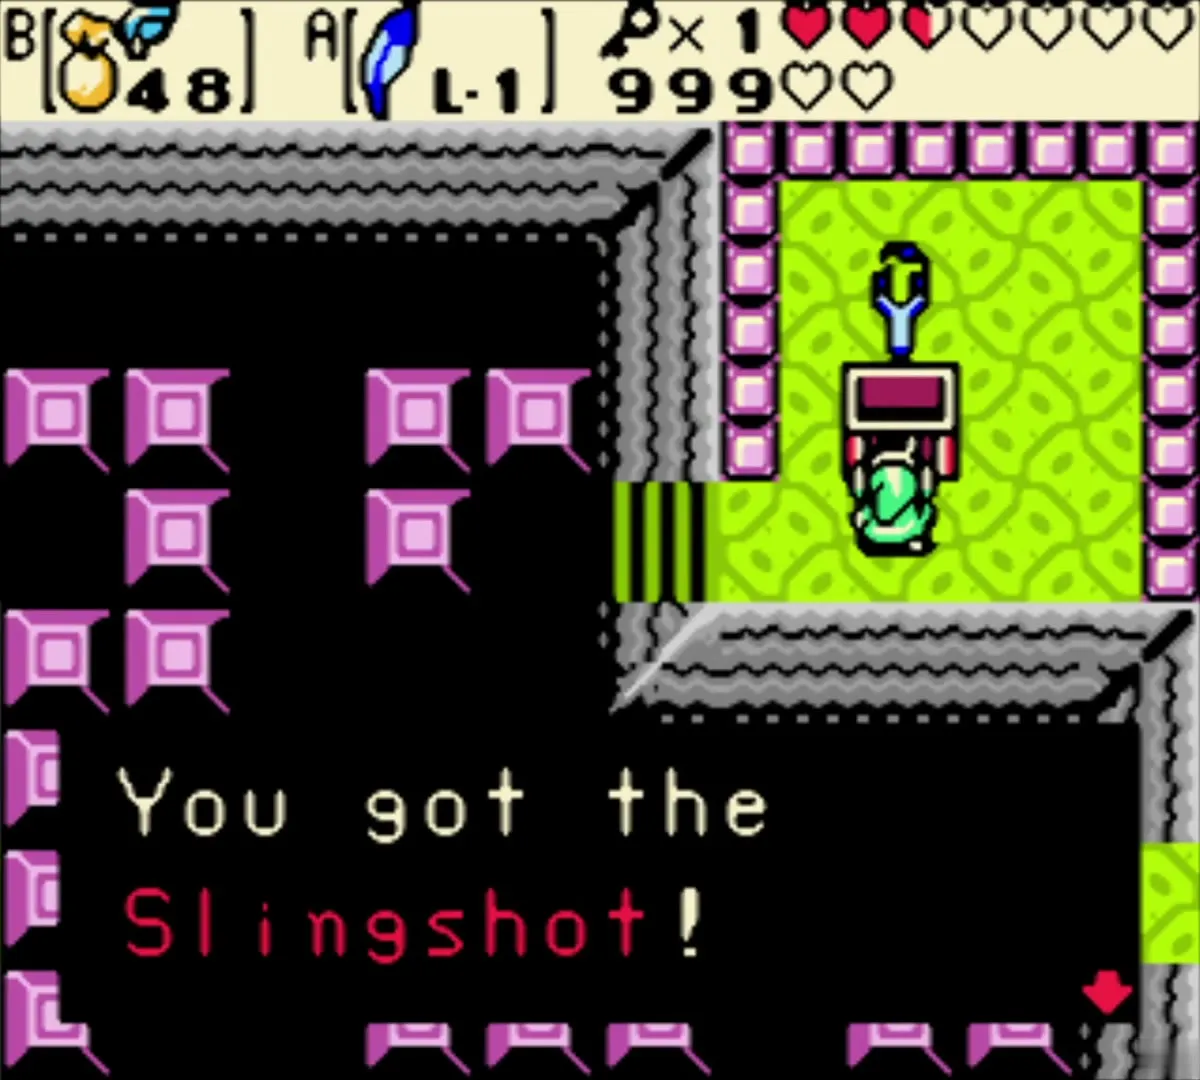
Take the next minecart to a room of purple blocks and a statue. Push the statue onto the switch and the floor begins to crumble from one corner, so equip a Pegasus Seed first and run along the path. The chest at the end holds the Slingshot. Choose seeds for it; any type works as ammunition, and it lets you shoot switches and torches at range.
Boss Key
Shoot the track switches
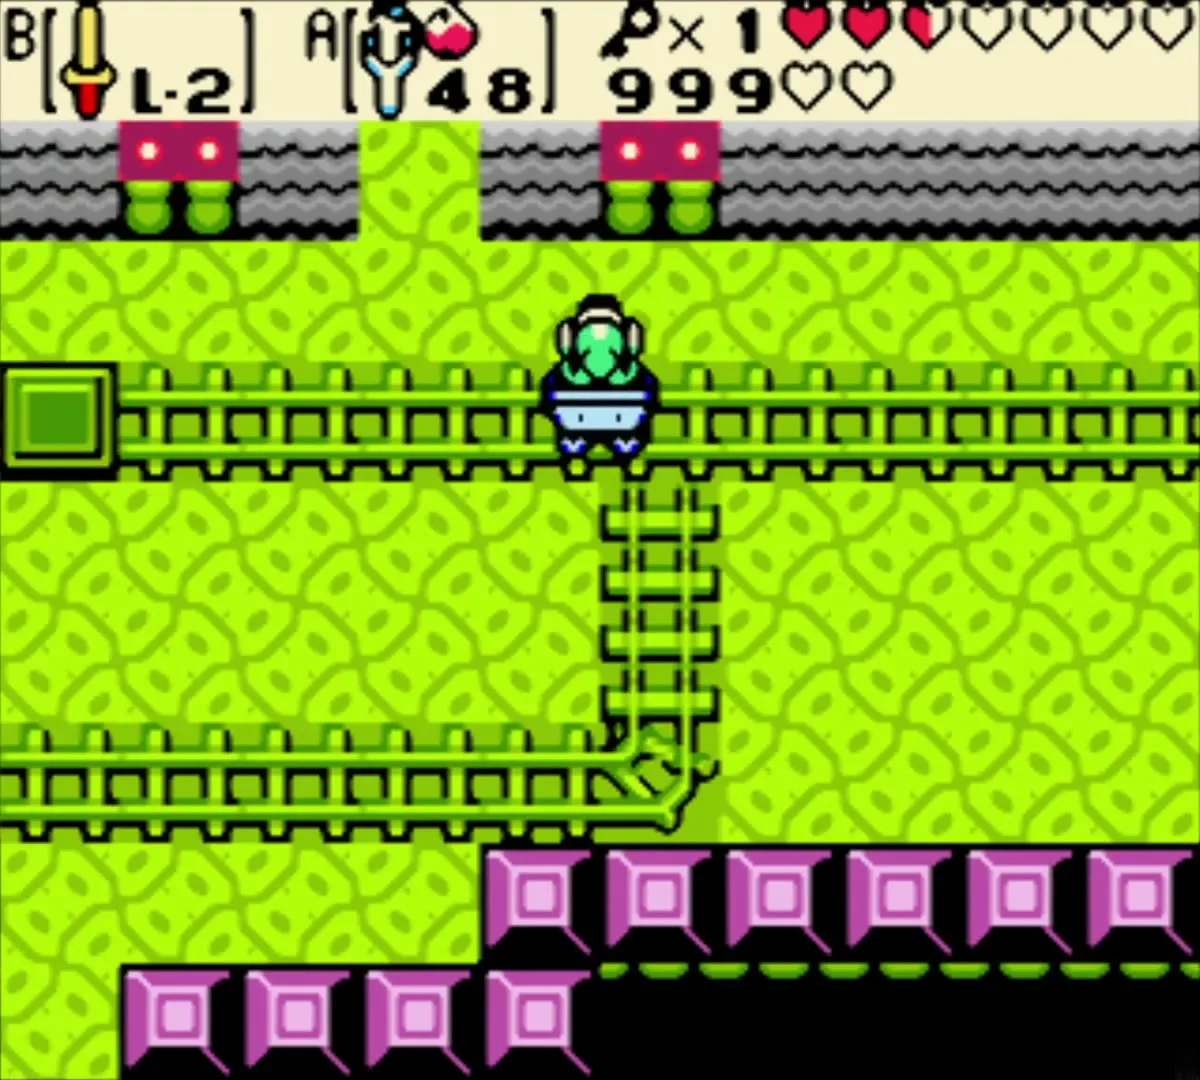
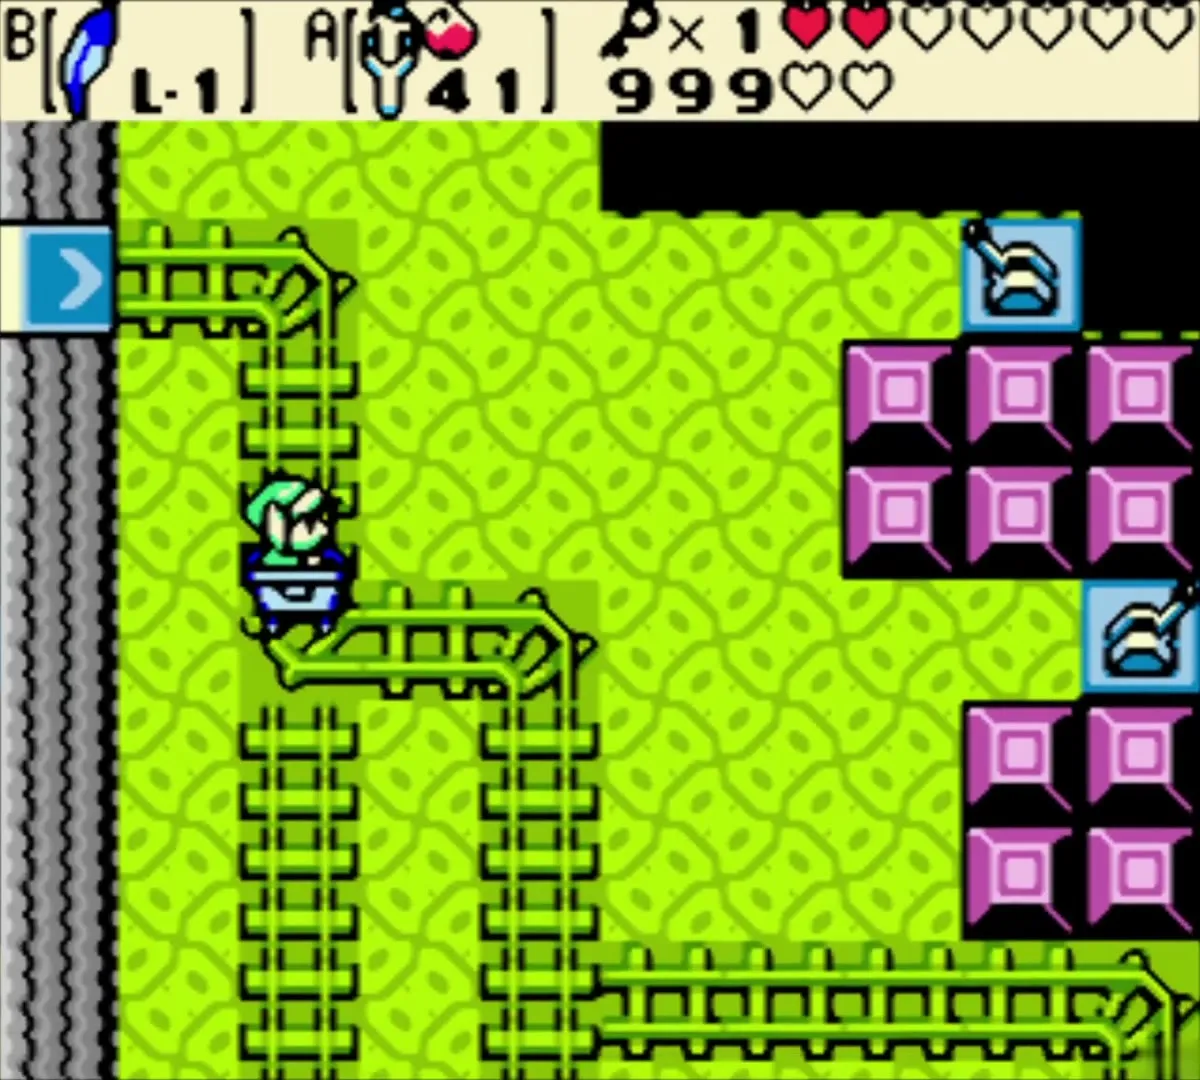
Back in the Beamos room go north to the cart room. Equip the Slingshot, not the Seed Satchel, with a seed you rarely need, and shoot the two switches at the east side. Ride the cart and fire east at the next switch to arrive in the north-east corner.
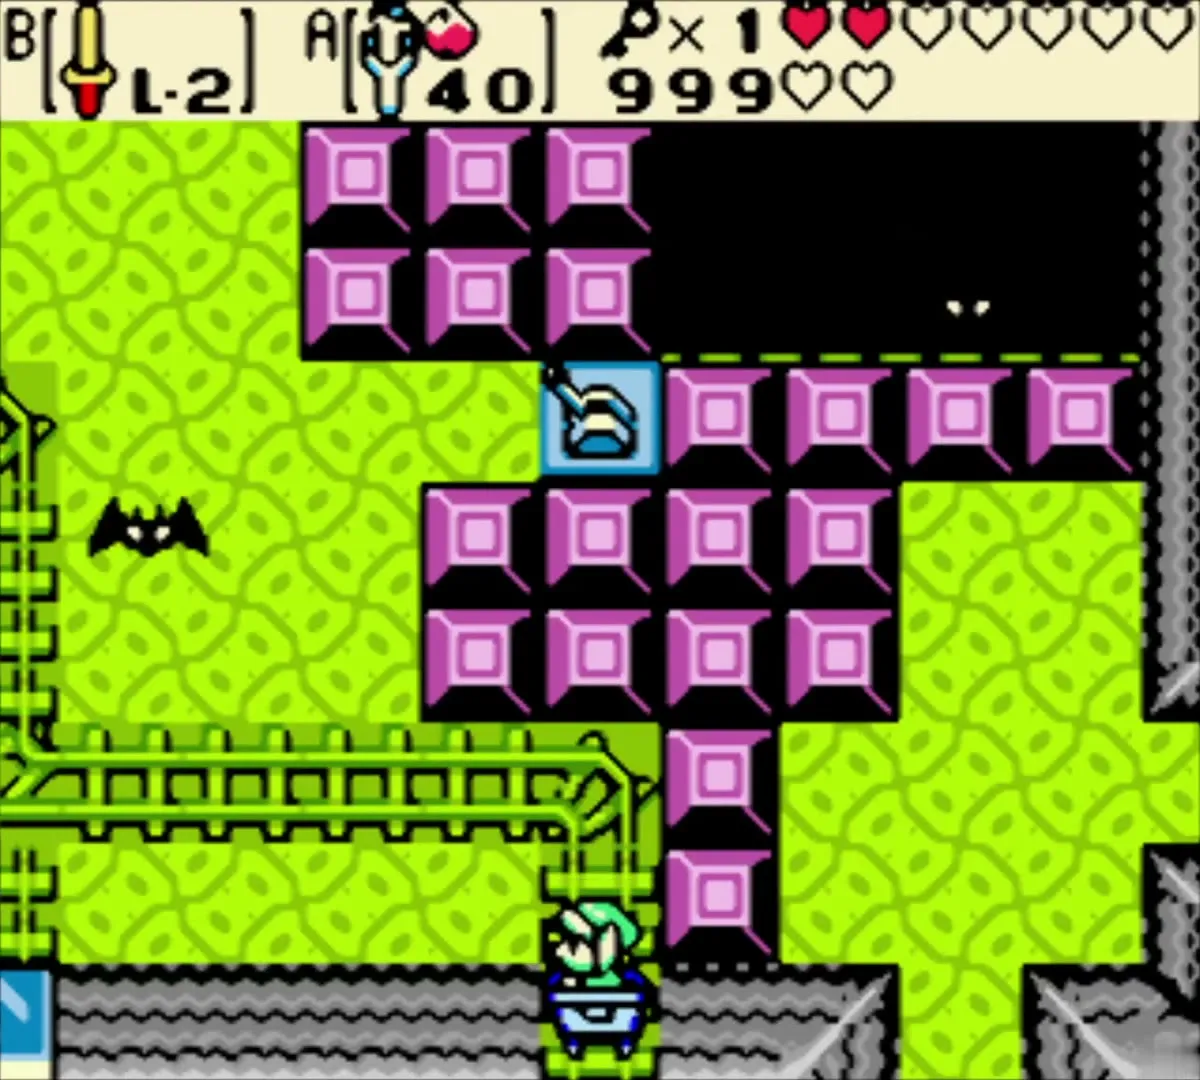
The eye-shaped pool
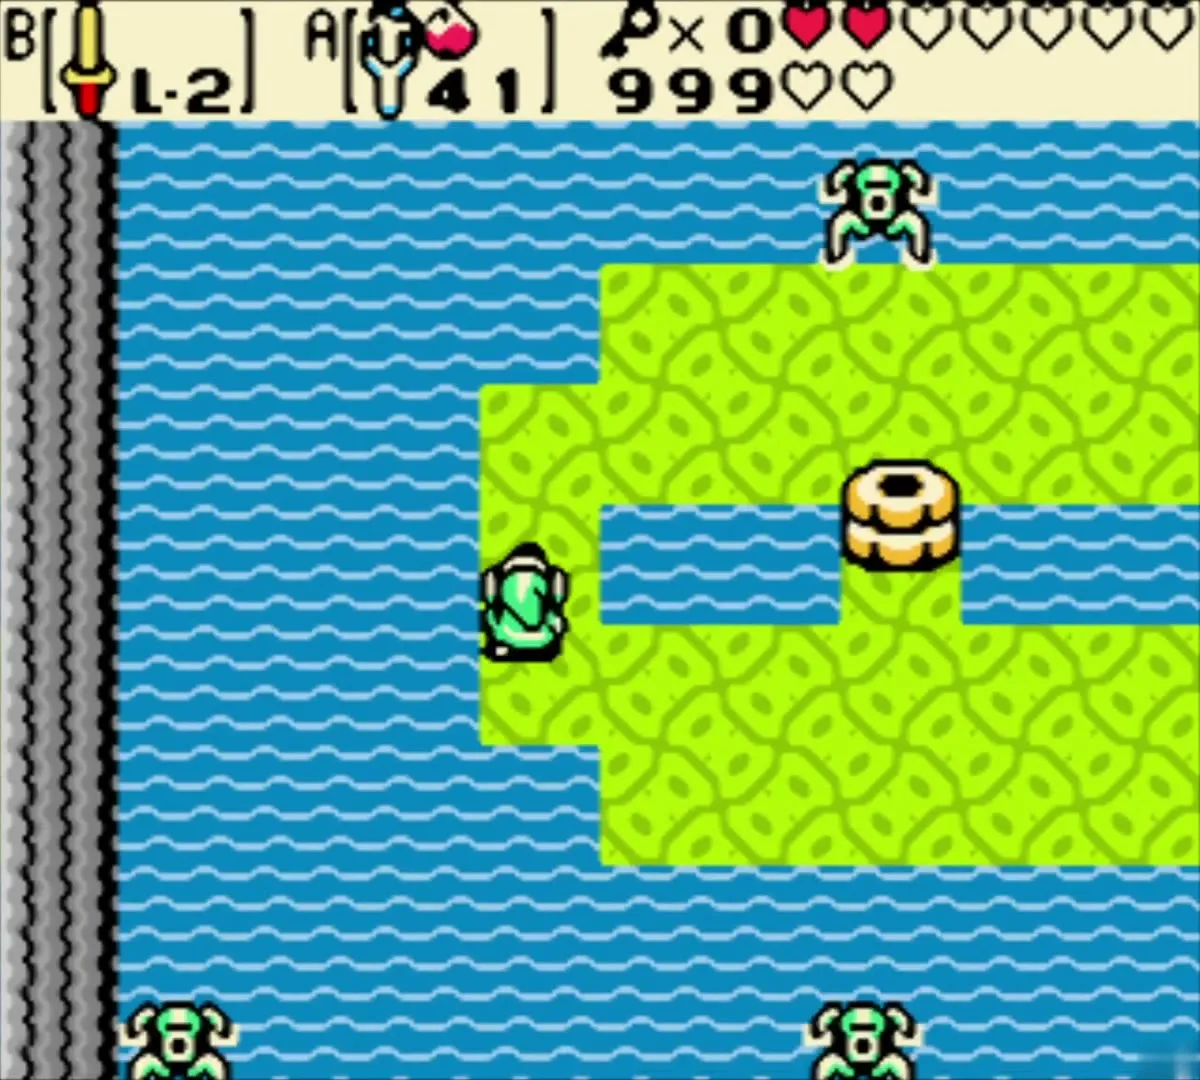
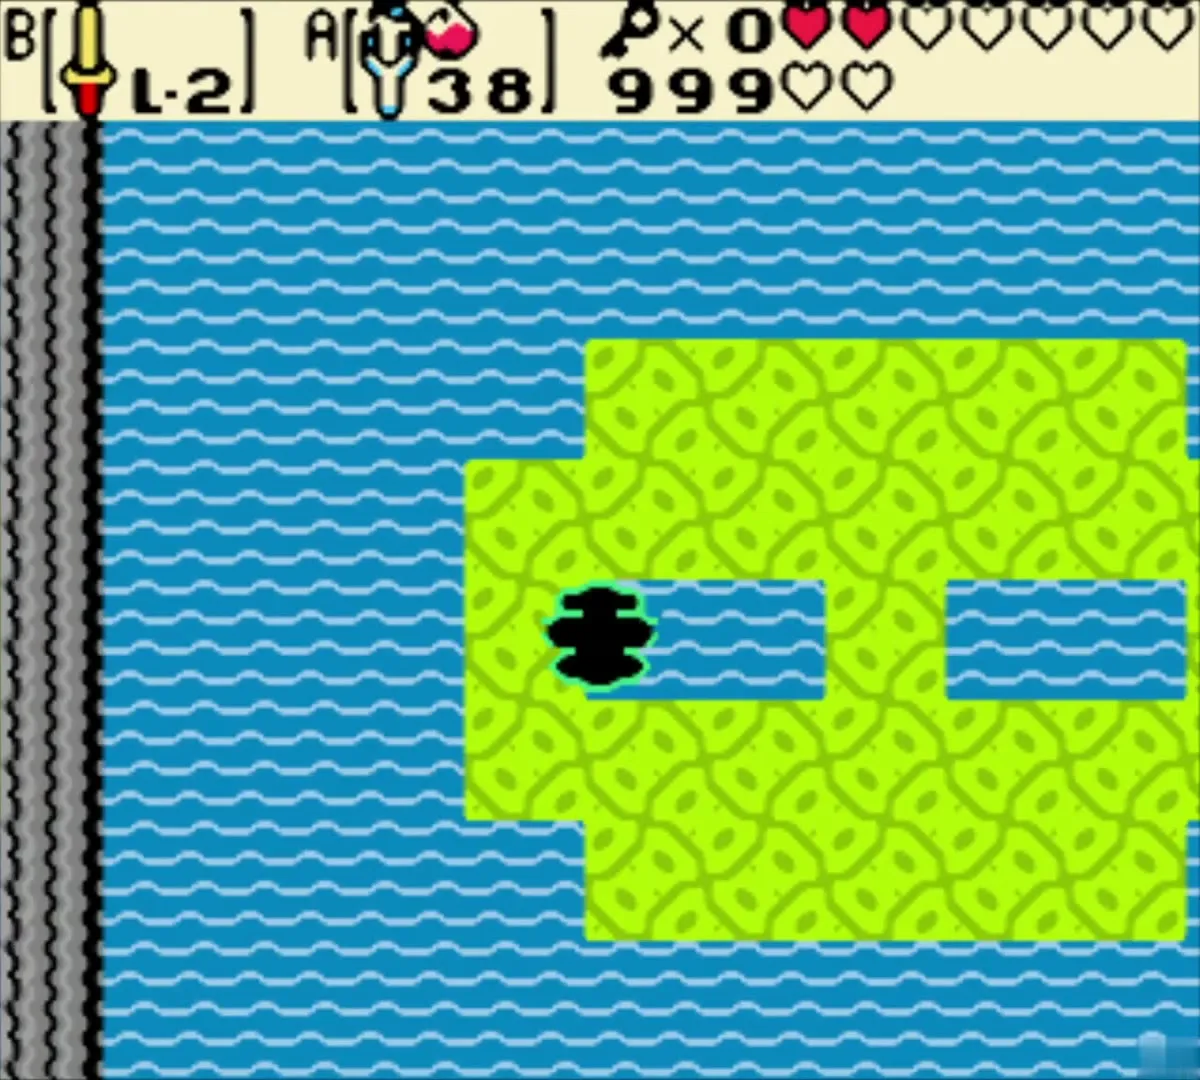
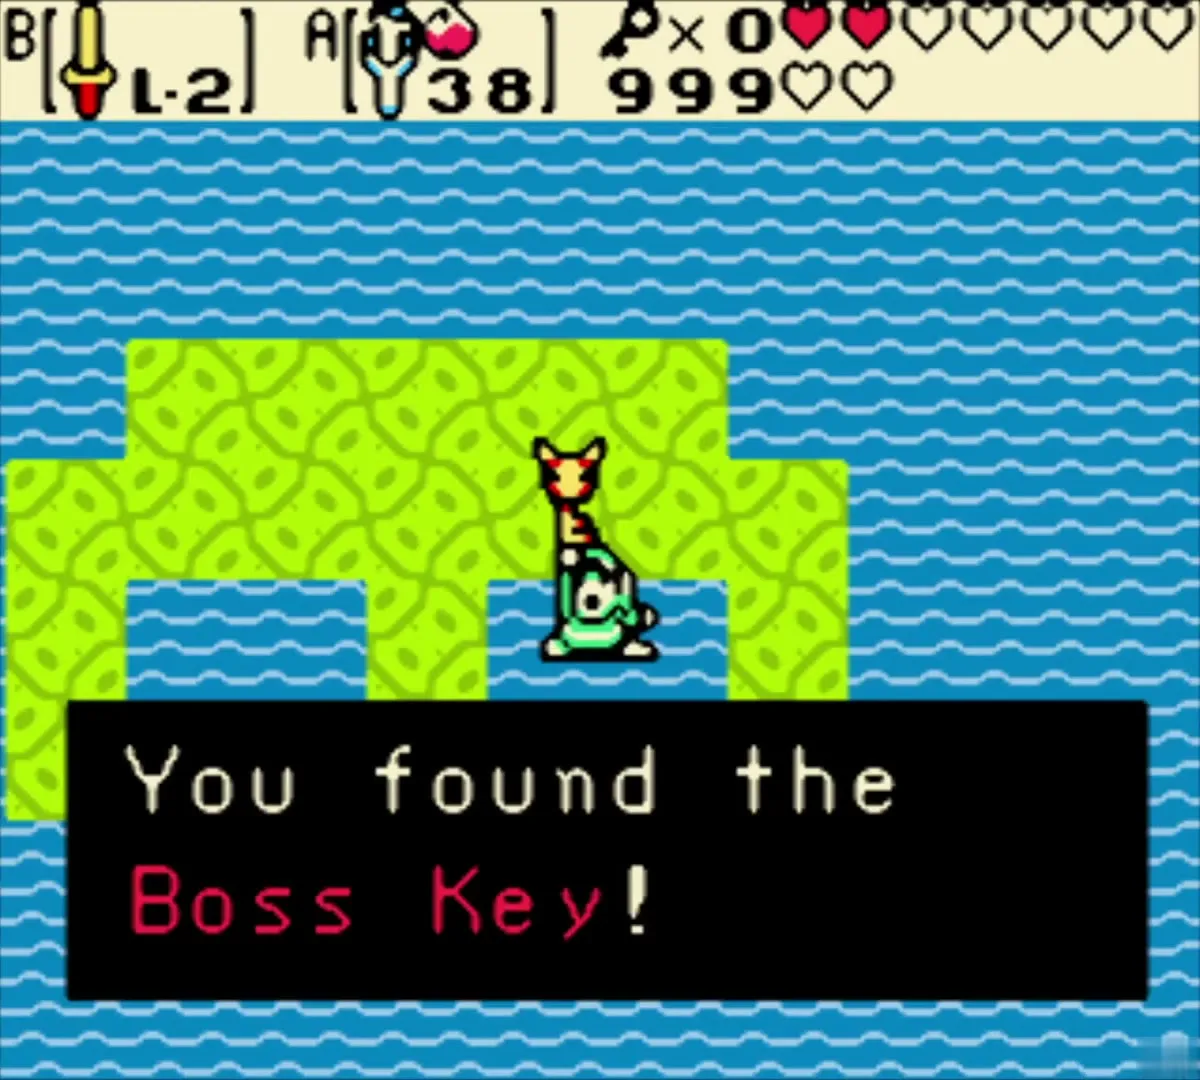
Cross the next rooms north and east, killing Keese and using a Pegasus Seed plus Roc’s Feather over the floor gaps. Spend one Small Key on the locked block on the upper-left island, then enter the island room with its two Water Tektites and a face-shaped island. Dive into the right-hand eye pool and swim down on its left side to find the Boss Key.
Fifth Small Key
Light the torches from the cart
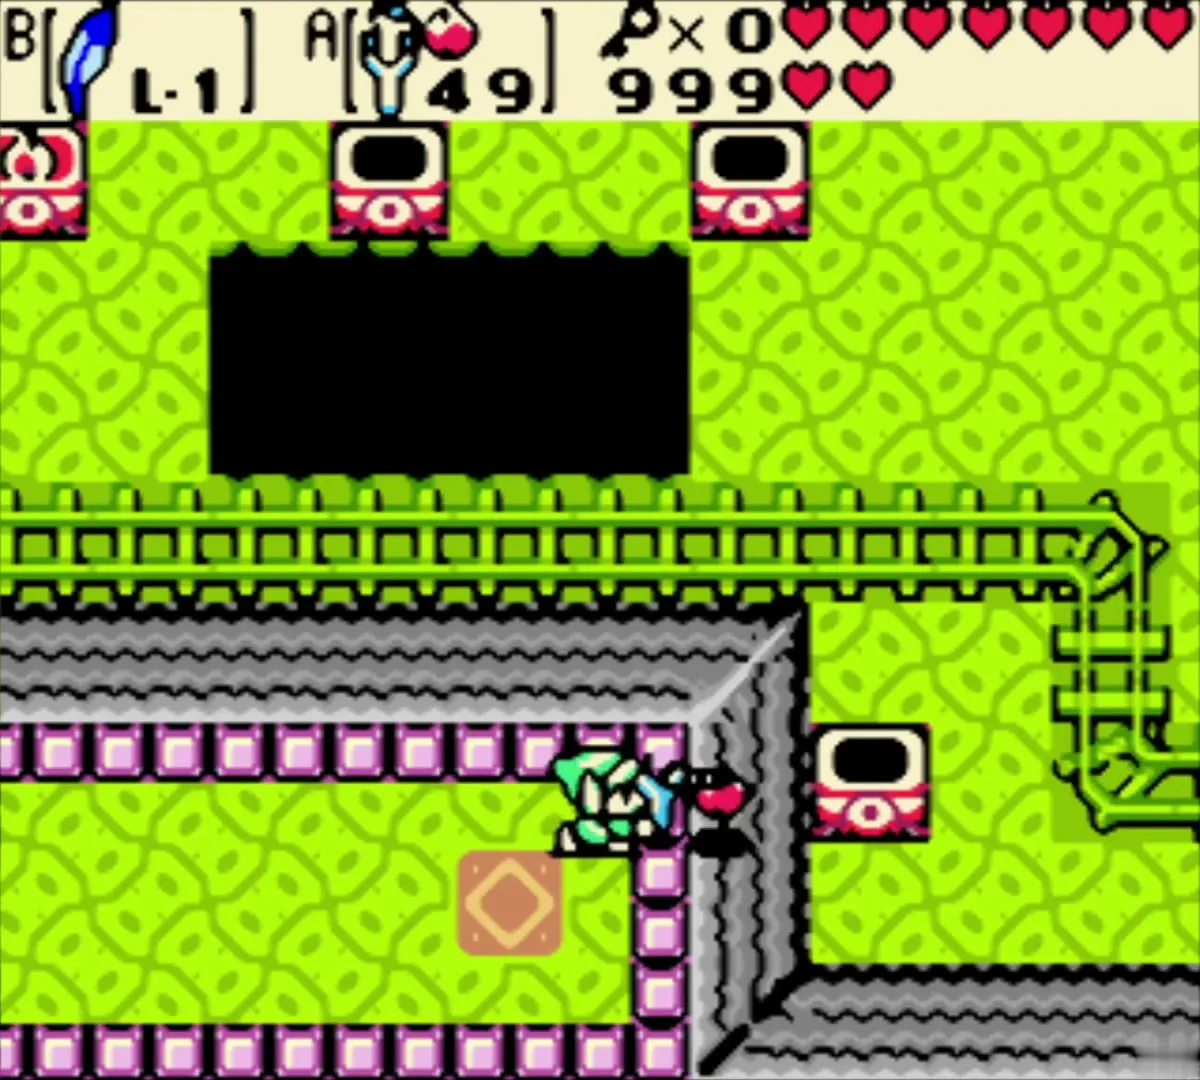
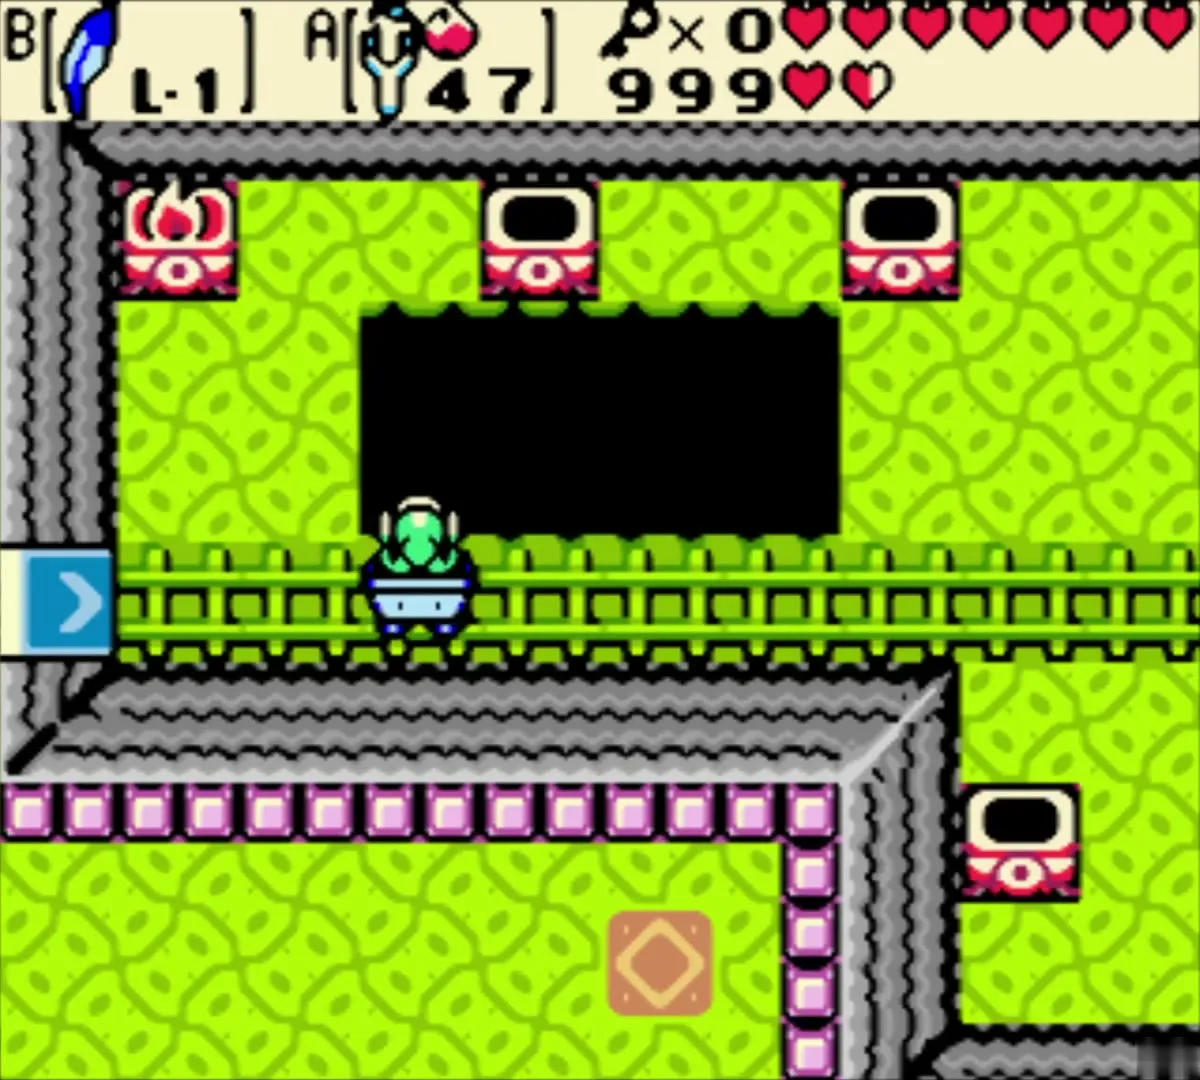
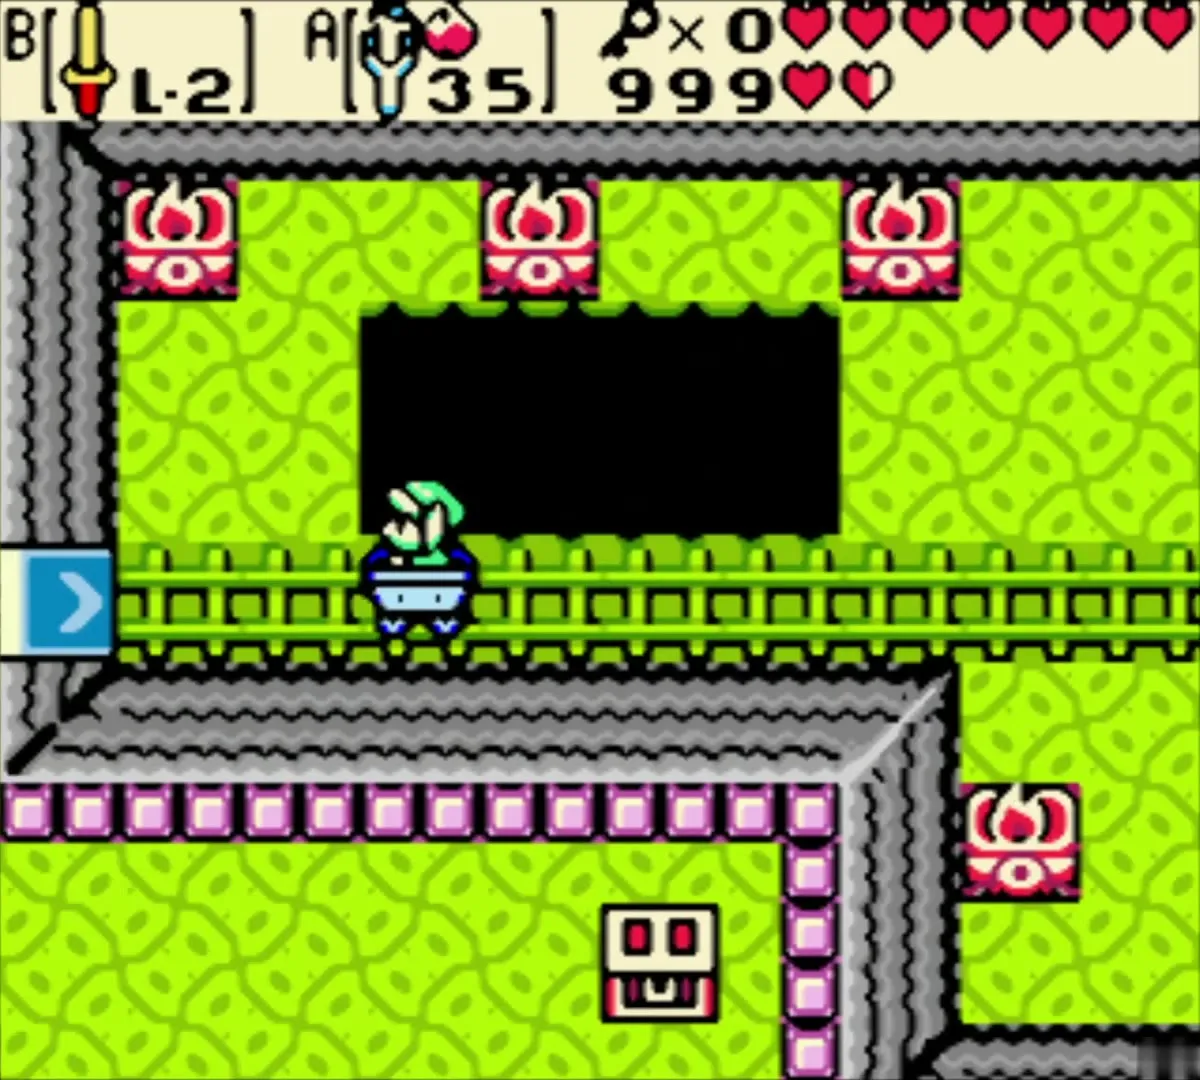
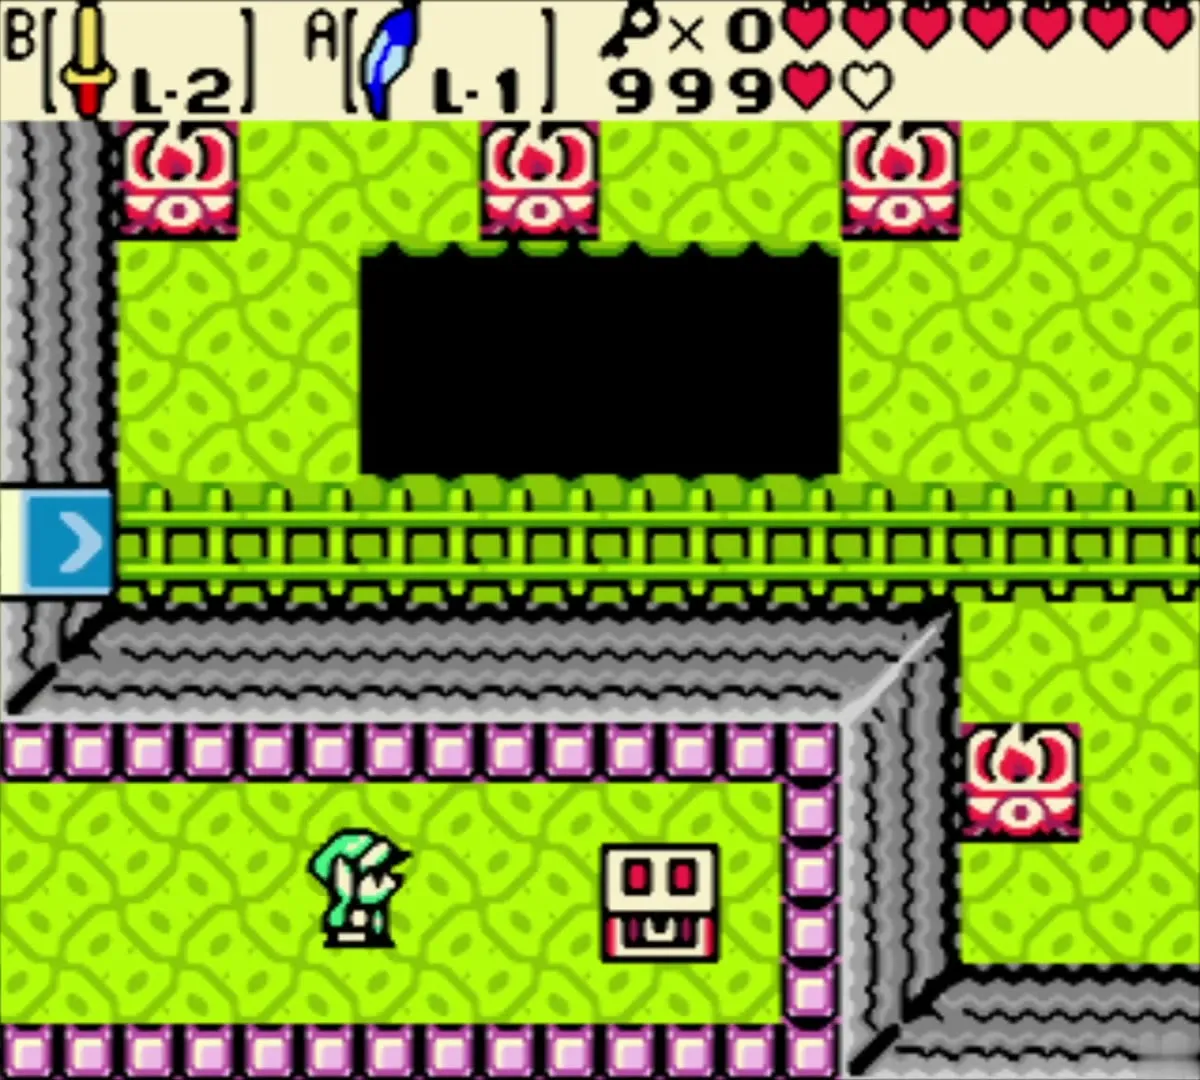
Ride the cart back, go north through Agunima’s room and the spike room. In the cart room beyond, shoot Ember Seeds at all the torches with the Slingshot. Lighting them all makes a chest appear.
Catwalk chest
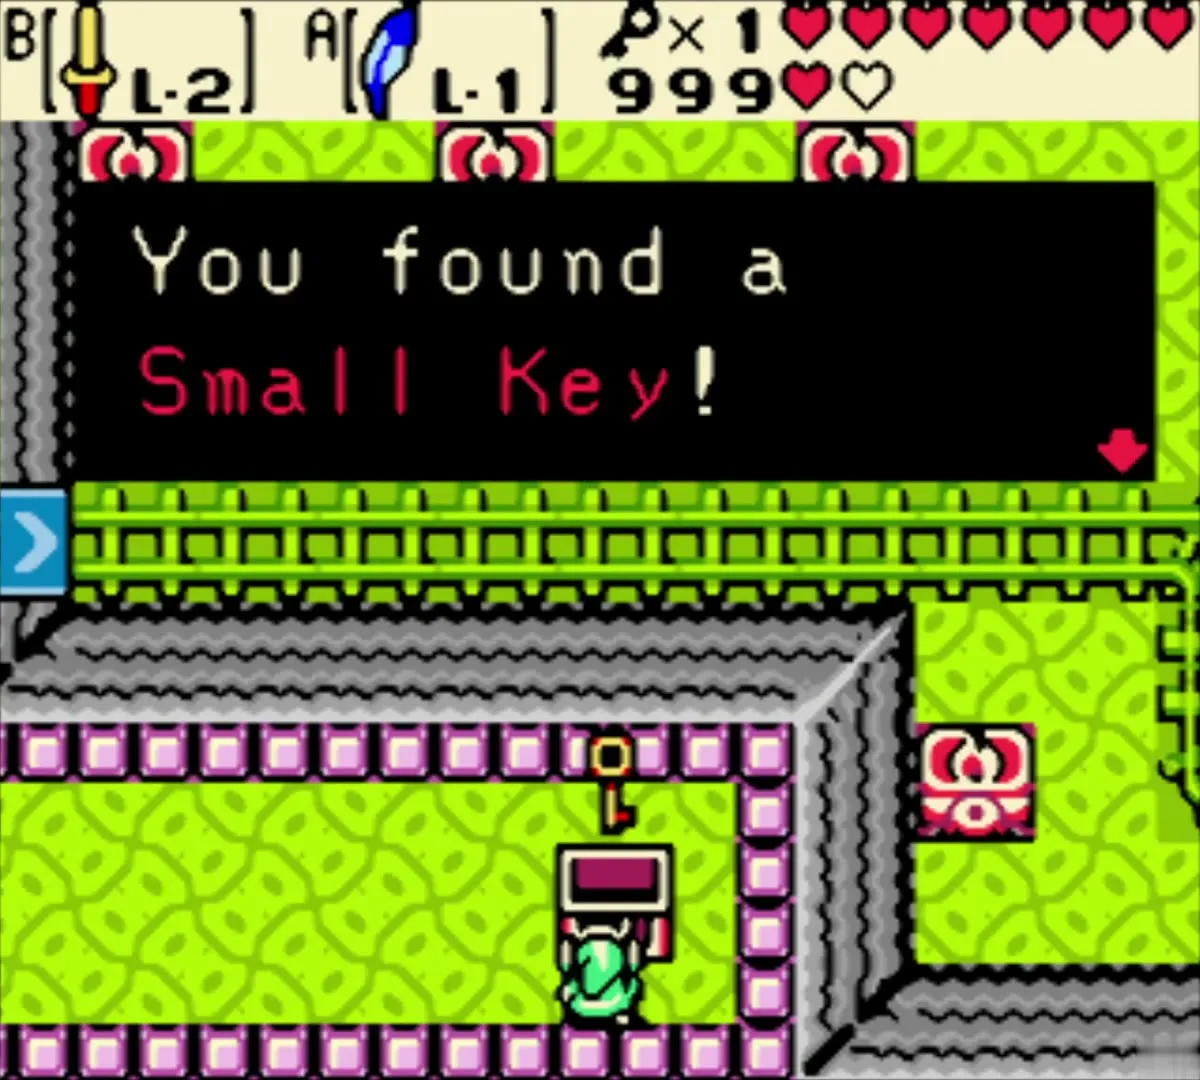
Ride back to the spike room, jump to the safe east side, climb the steps and take the catwalk north then east. The chest at its end holds the fifth Small Key.
To the boss door

Blade trap and red Wizzrobes
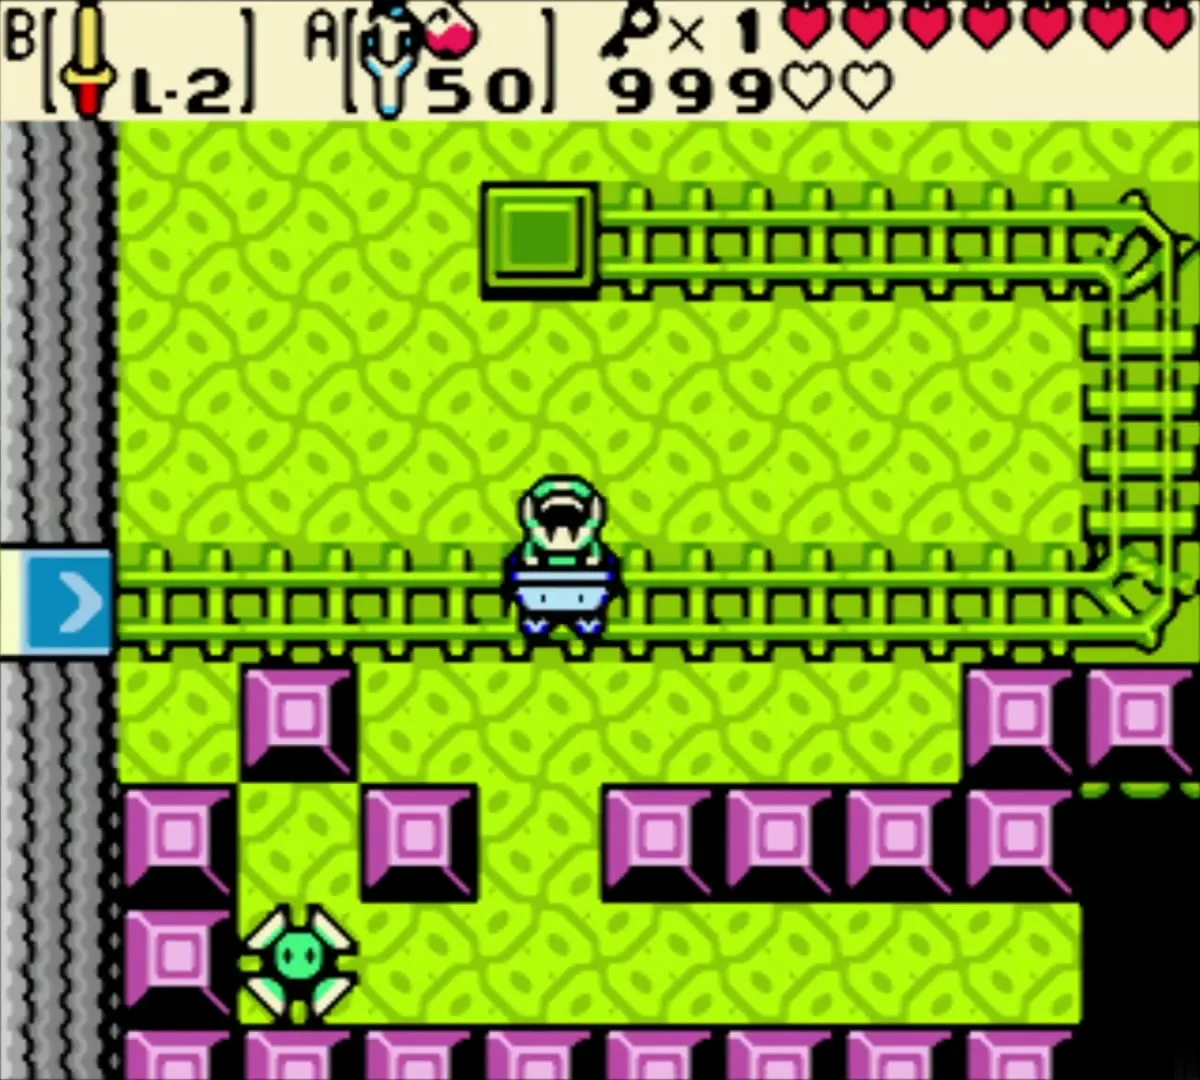
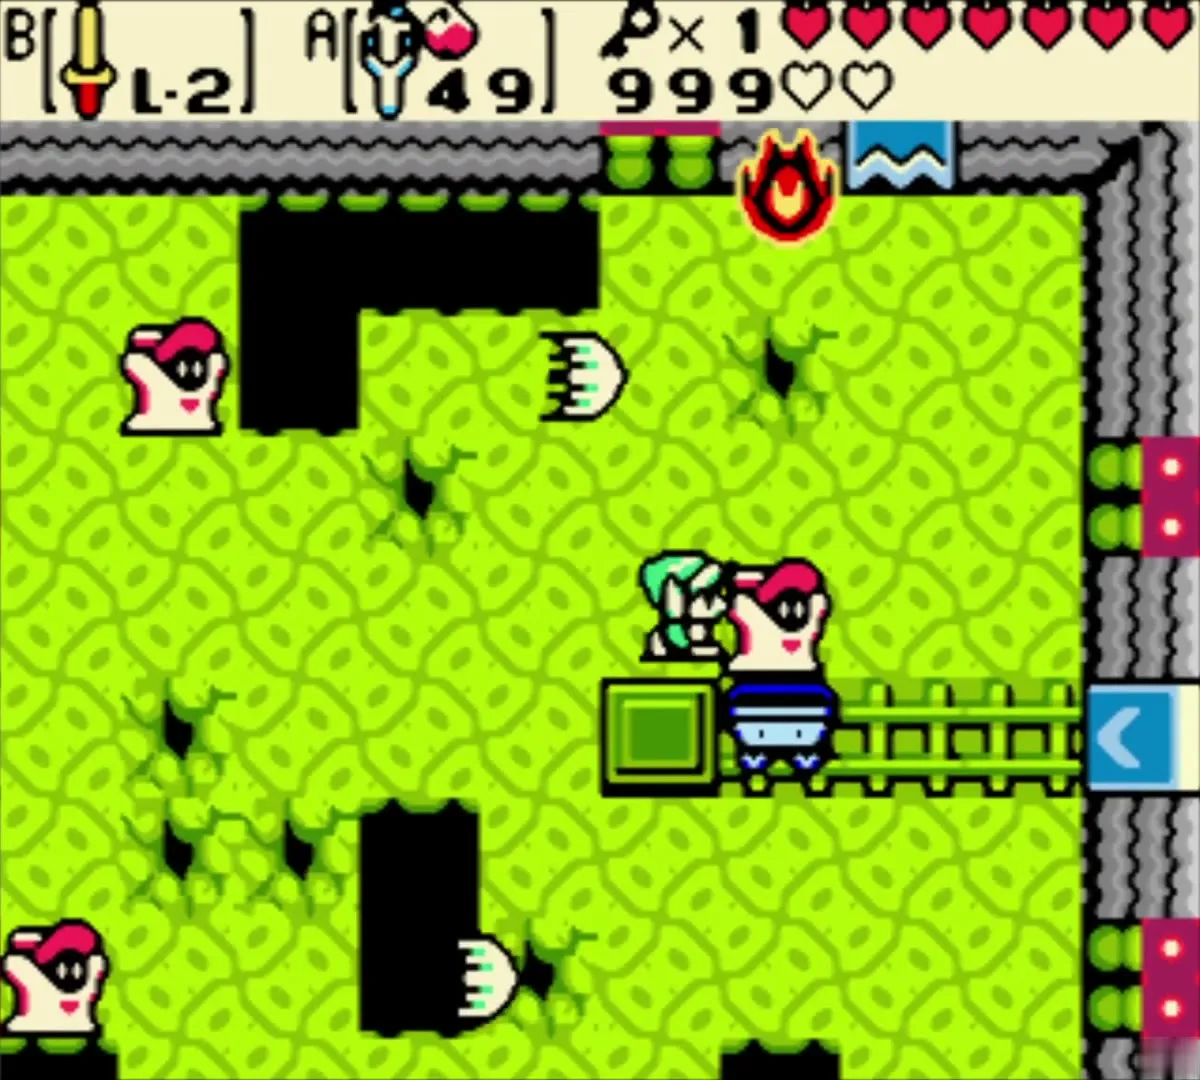
Return through the spike room and Agunima’s room and go south. In the cart room, wake the green Blade Trap, wait for it to pass, then jump it with Roc’s Feather. Shoot the east switch and ride west. In the Wizzrobe room, kill all three red Wizzrobes, which teleport, to unseal the north door.
Beamos room and the locked block
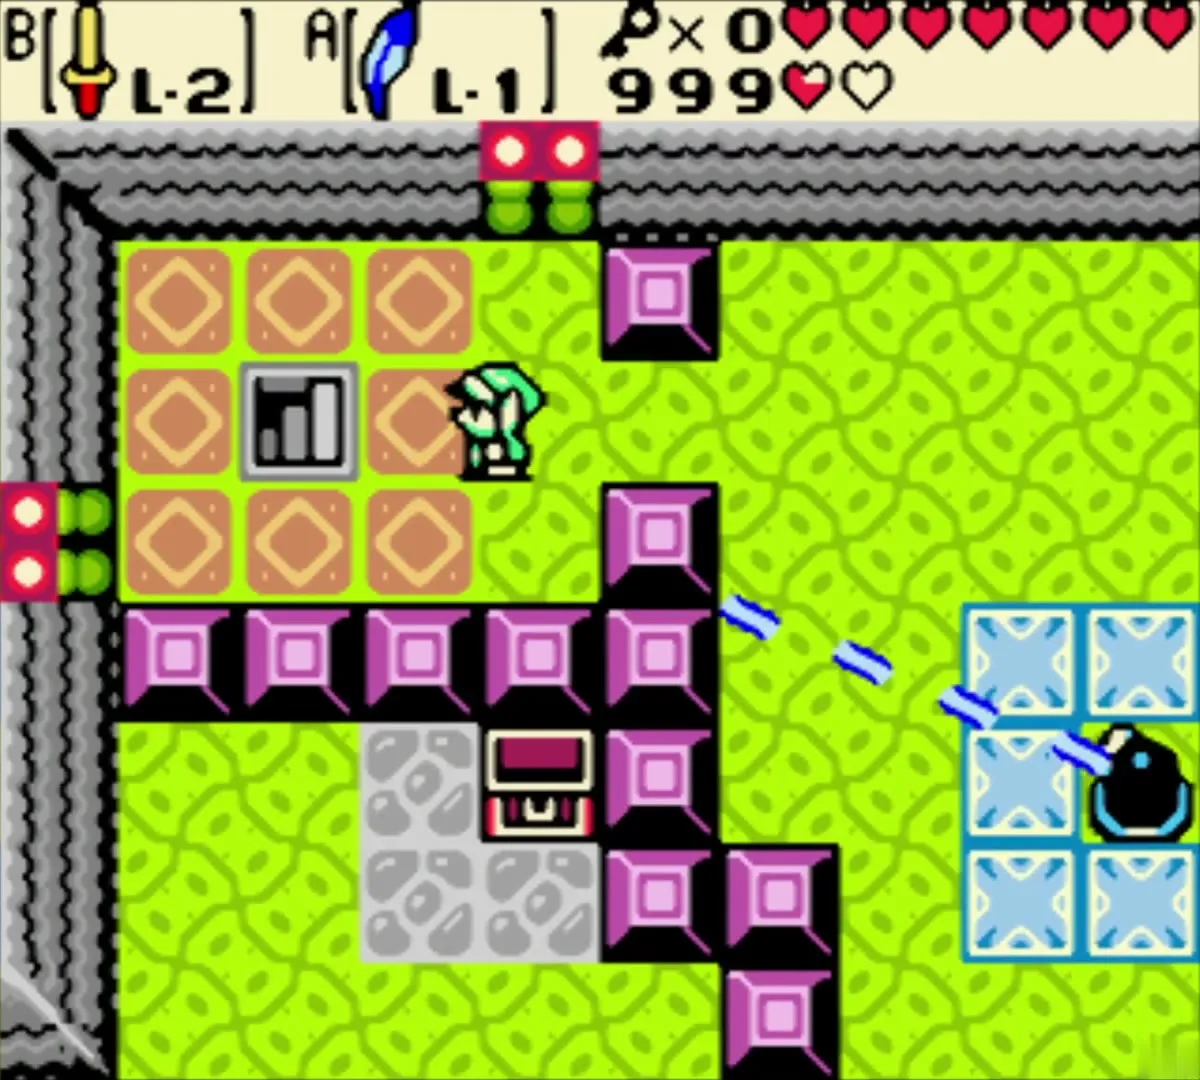
The next room has a Beamos that covers it. Red Zols leave Gels behind, which leave you more exposed to its beams. Unlock the block on the north side with your last Small Key and take the stairs down.
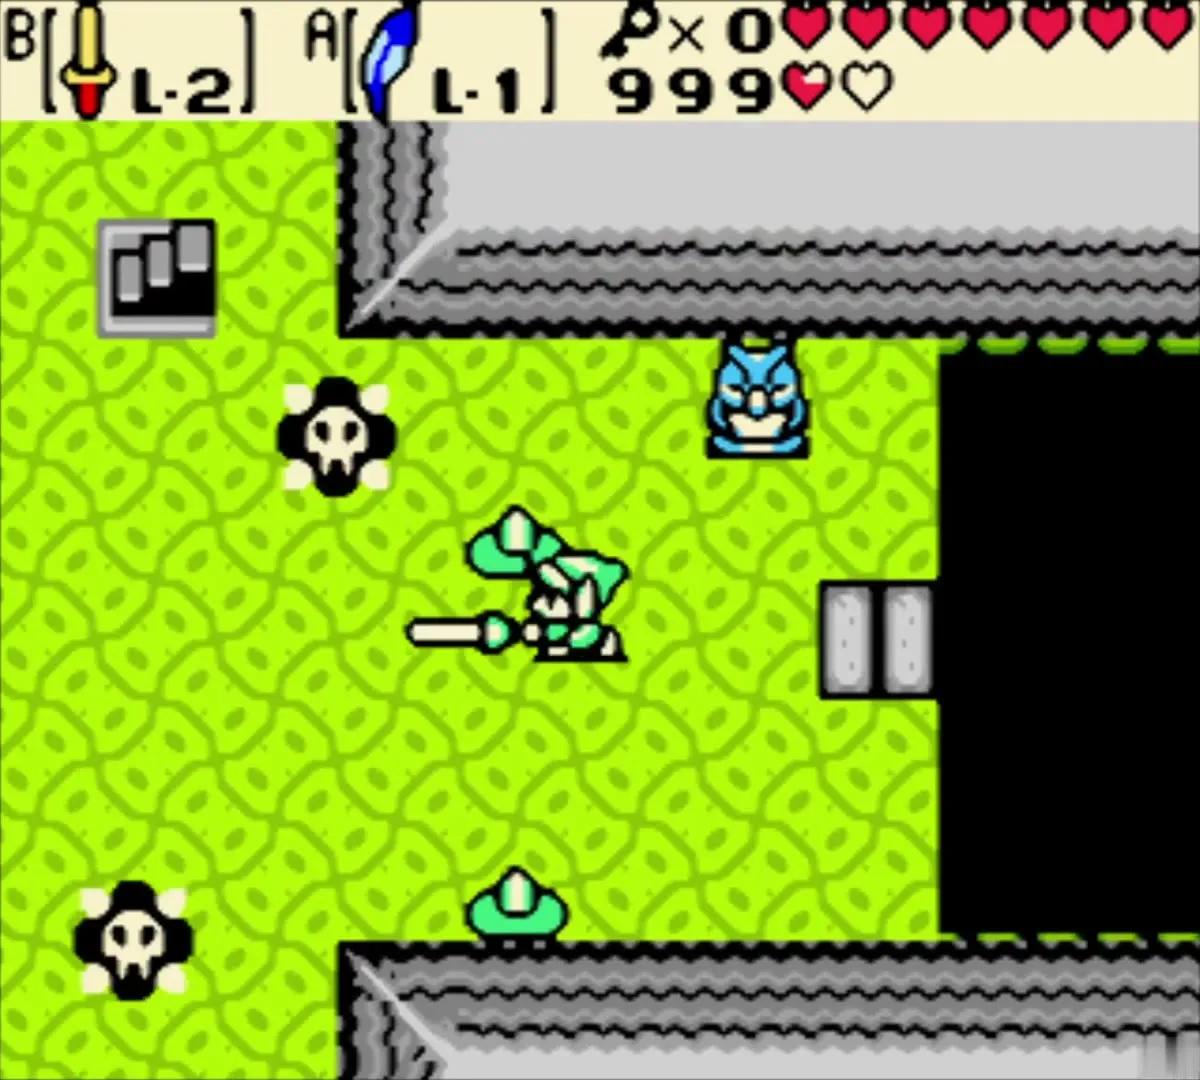
Basement torches and the pot room
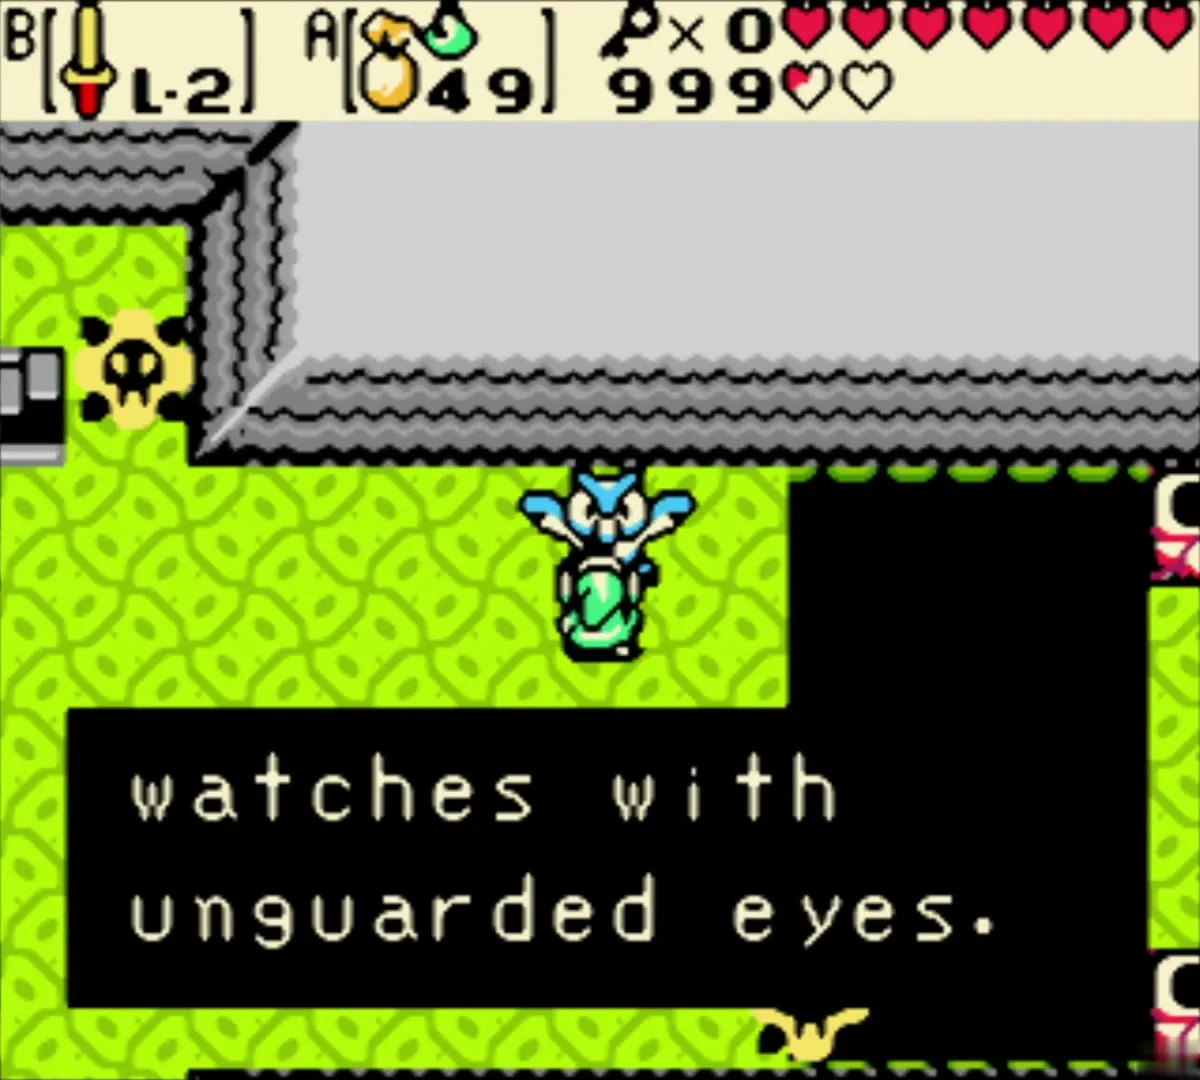
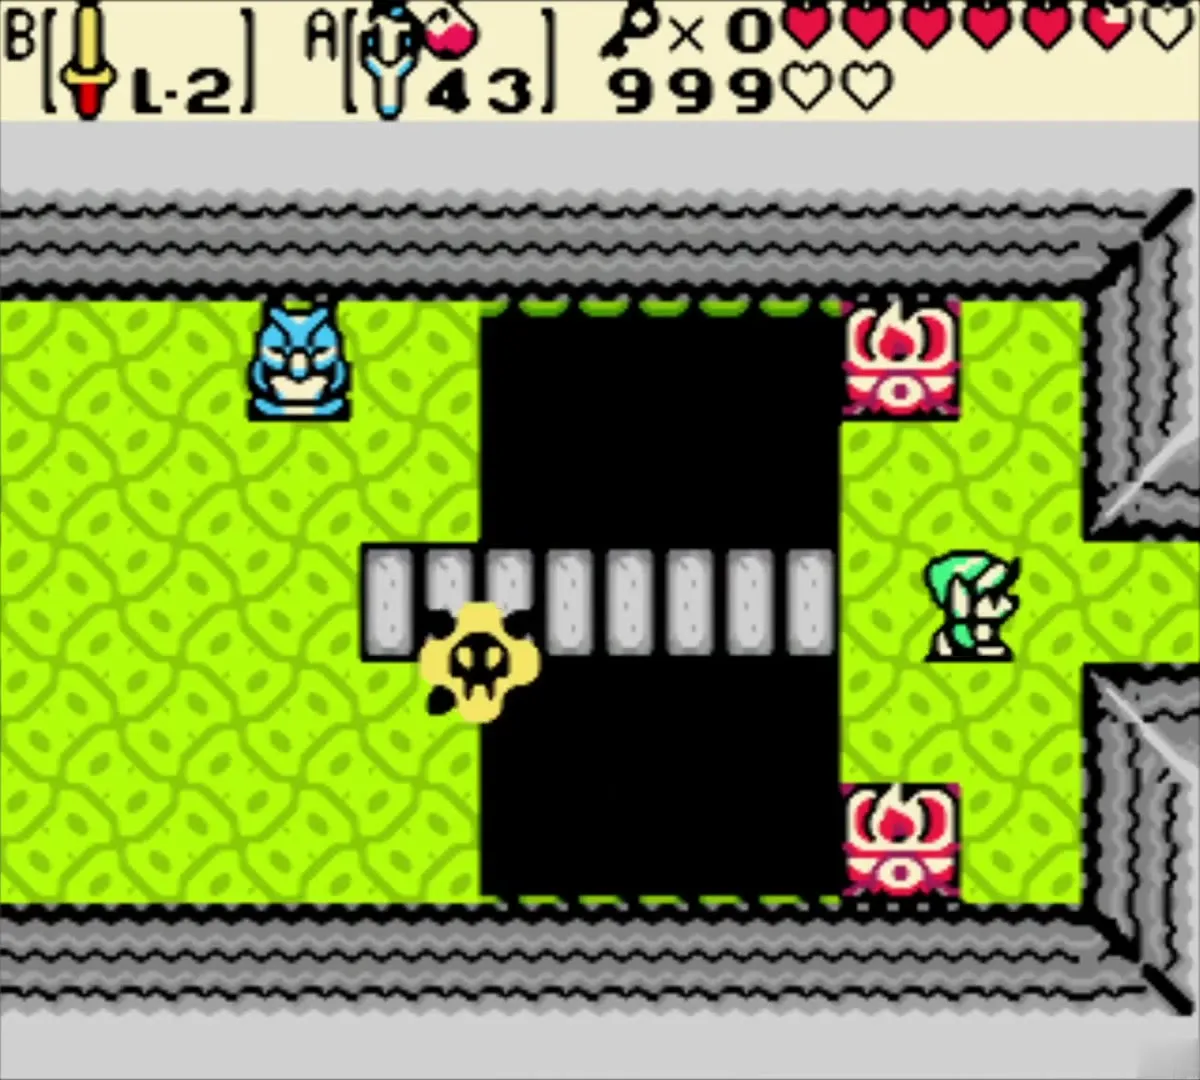
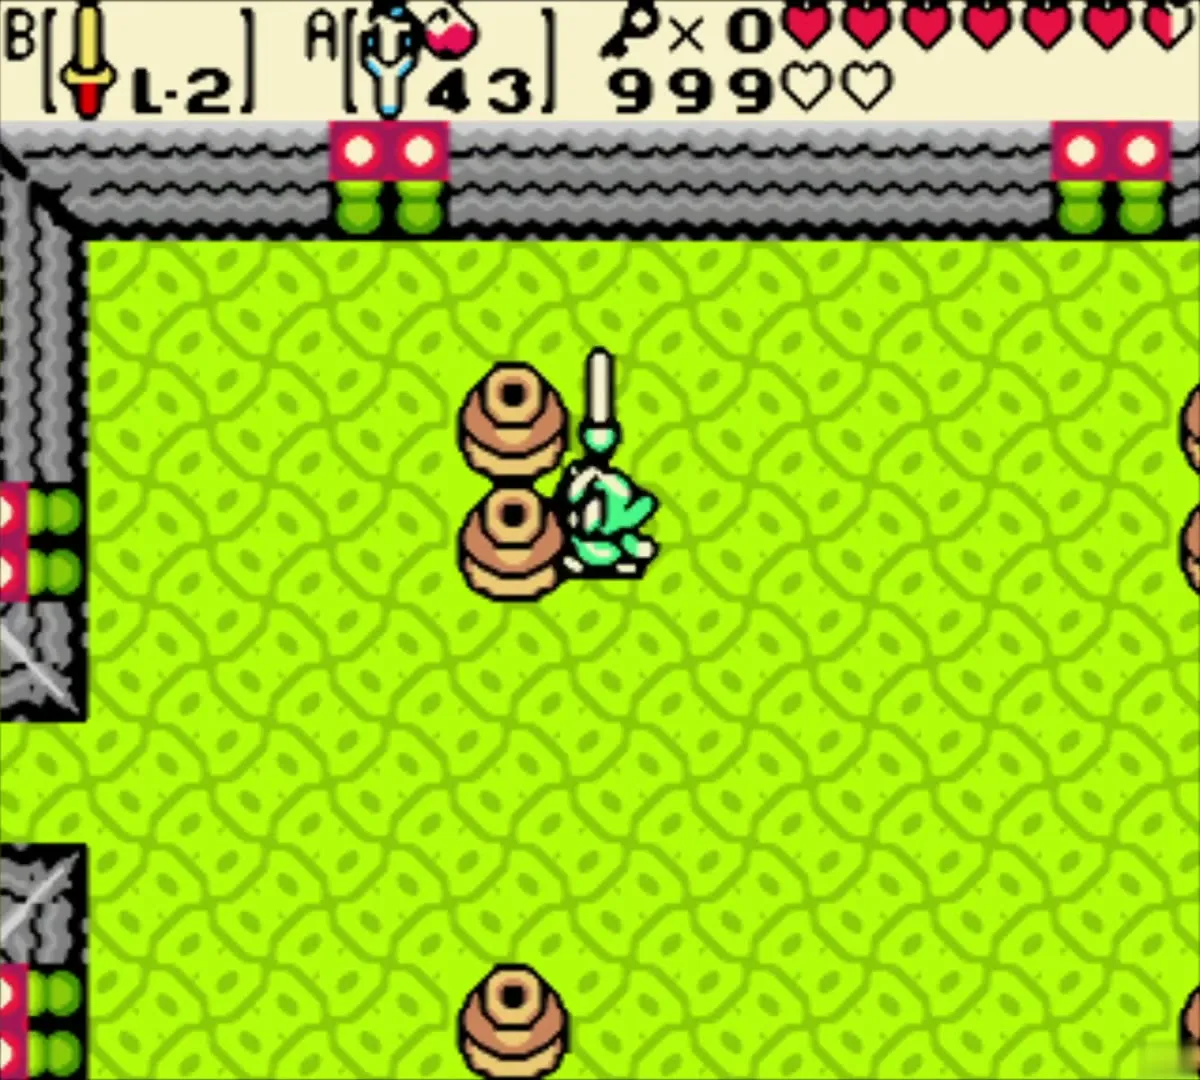
An owl statue says that a guardian watches with unguarded eyes. In the basement, kill the Anti-Fairy and the green Wizzrobes, then shoot Ember Seeds at the torches across the pit to form a bridge east. The next room is a pot room with no enemies; smash pots to restock seeds and hearts before the boss.
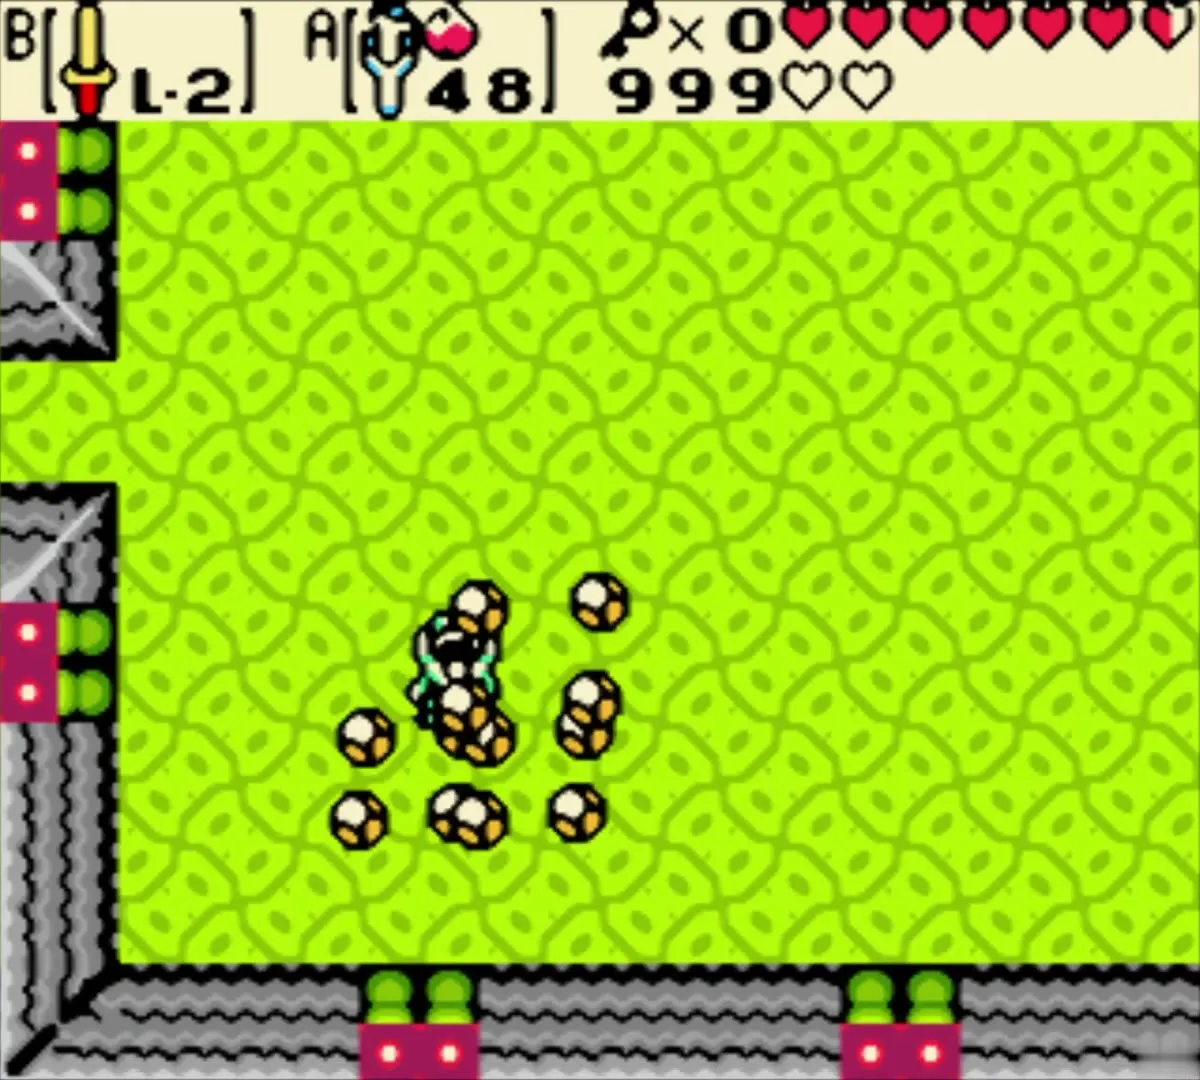
Platform ride and boss door
Cross the dark room with the fast green platform, killing Keese that could knock you off. Step off when it stops by the door at the upper right, then unlock the Boss Door with the Boss Key.
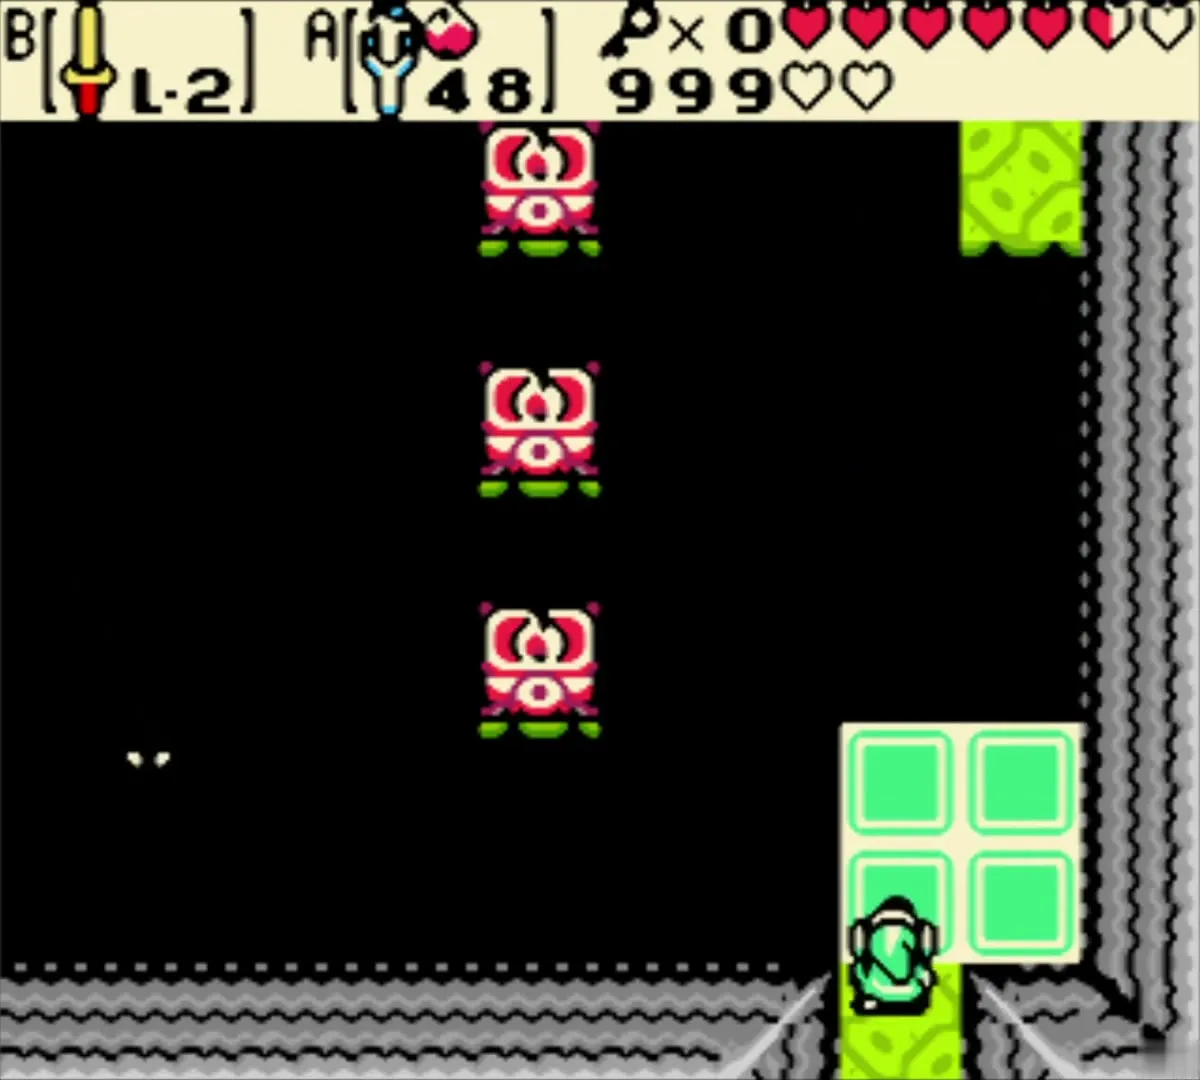
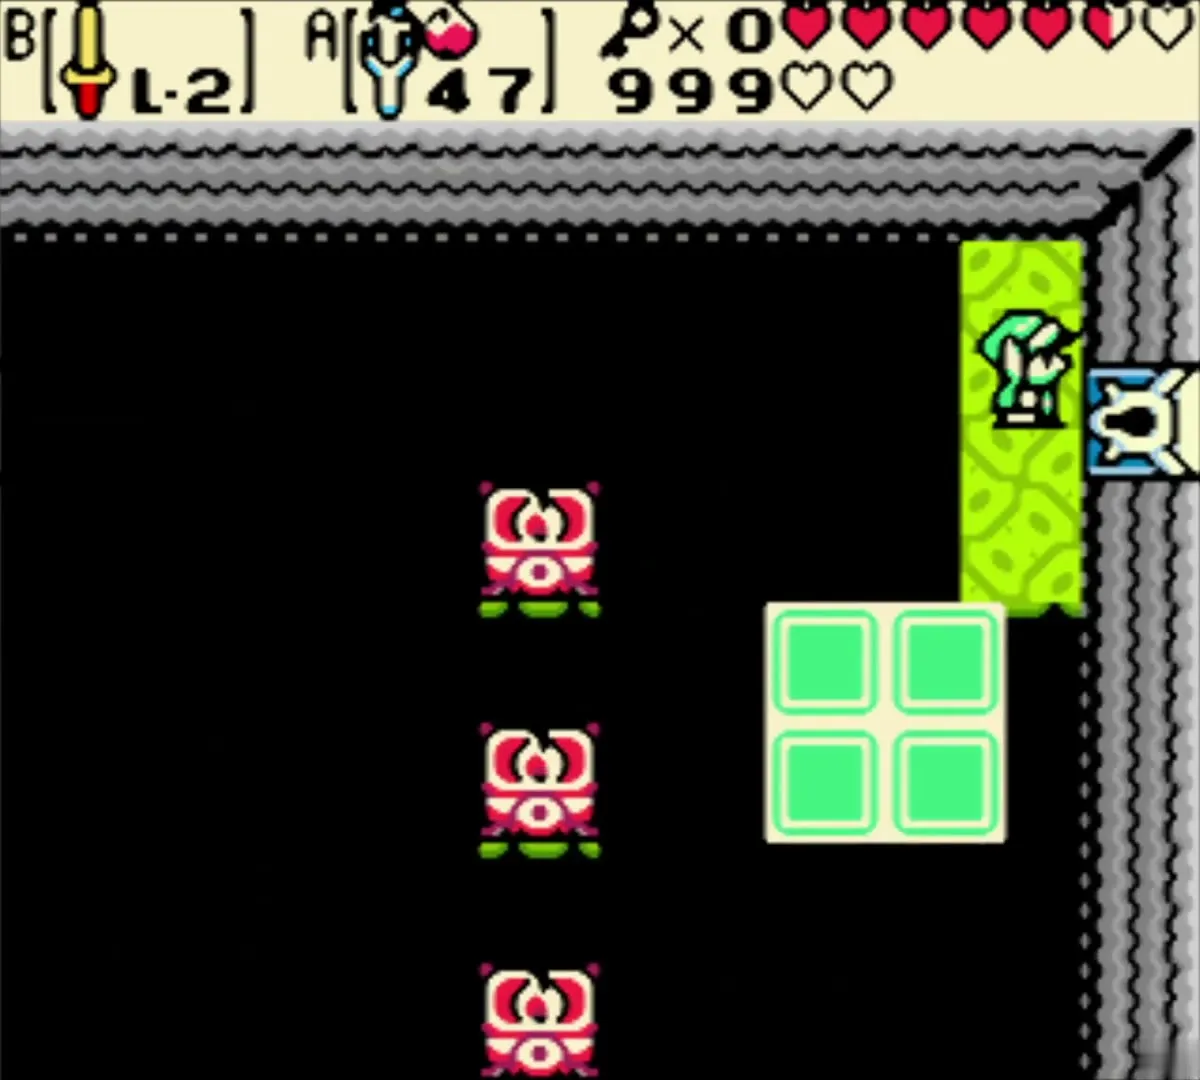
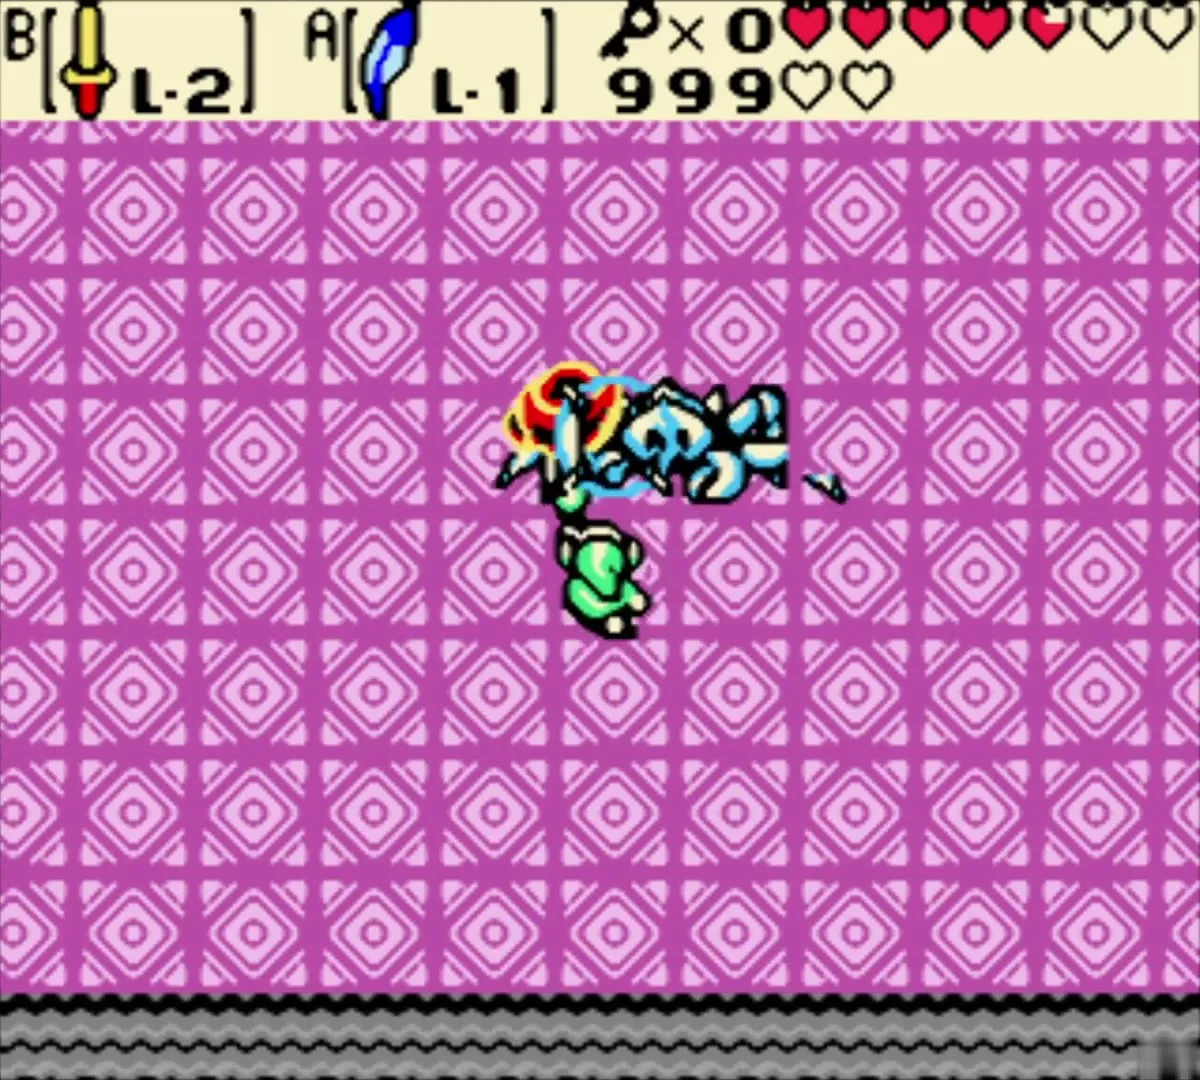
Boss: Gohma
Gohma strategy
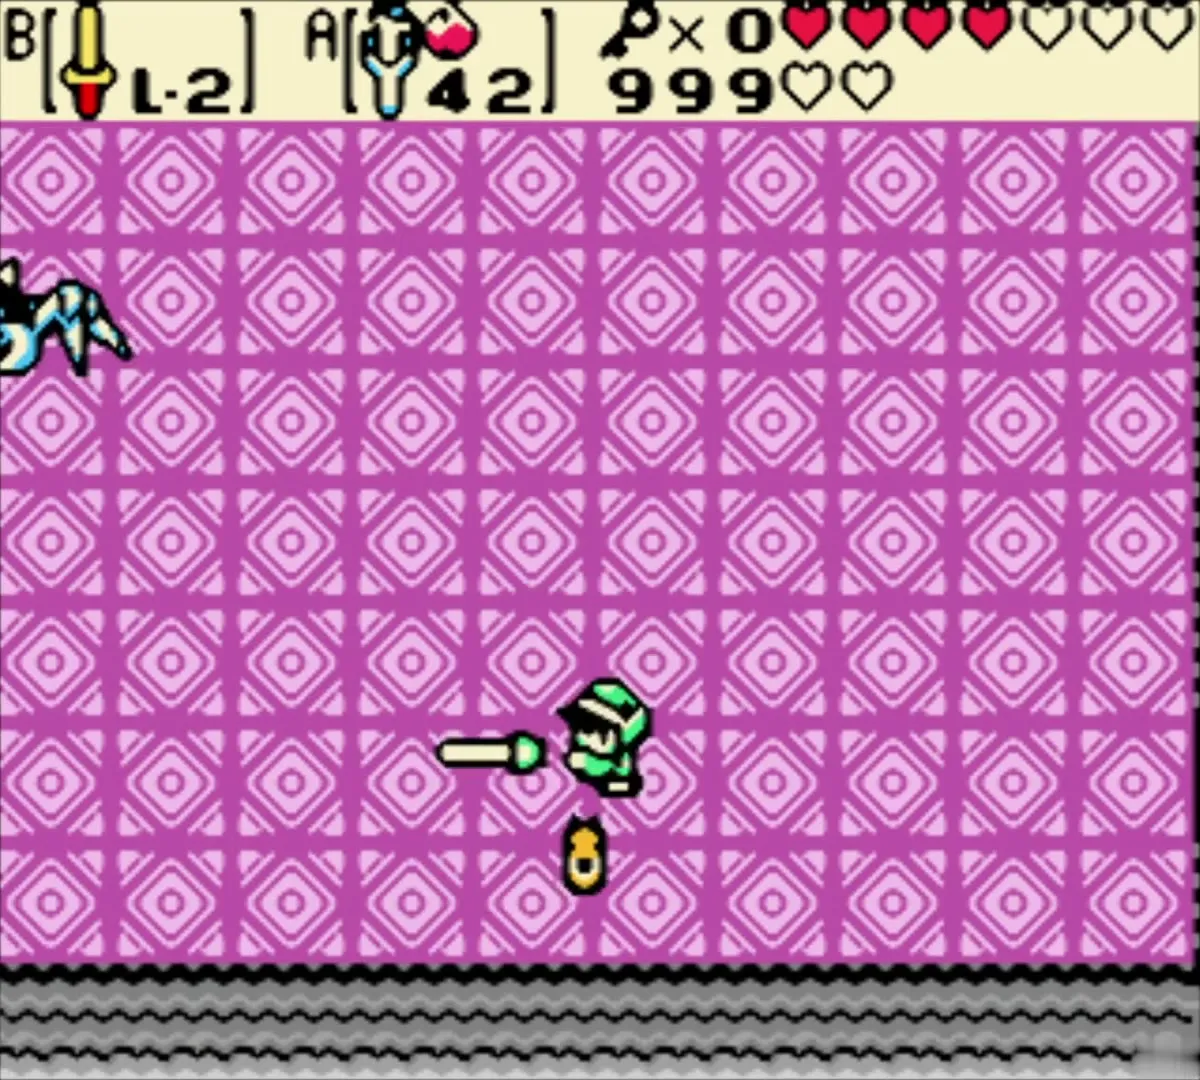
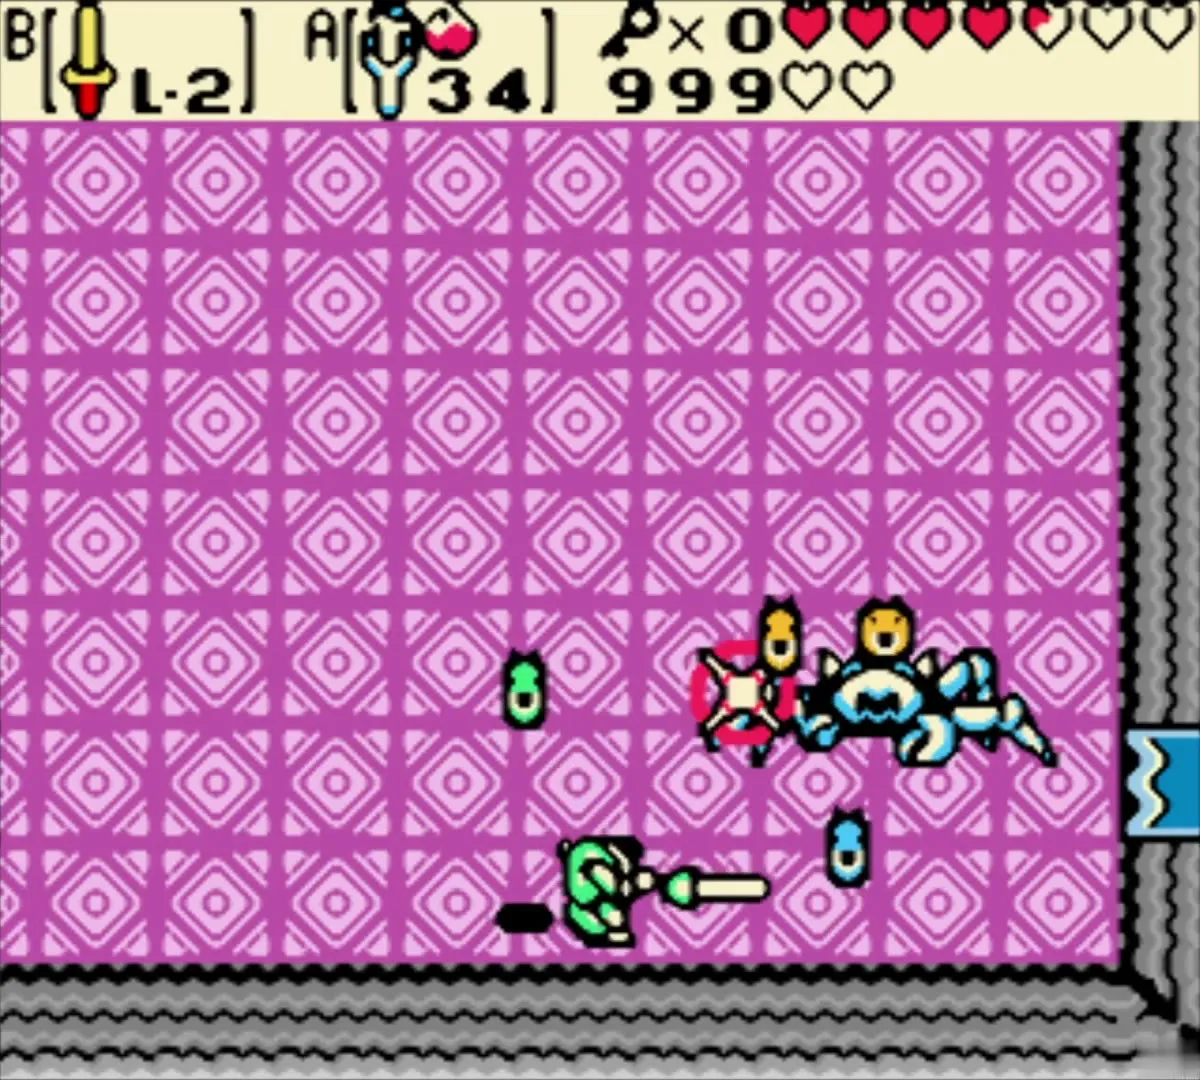
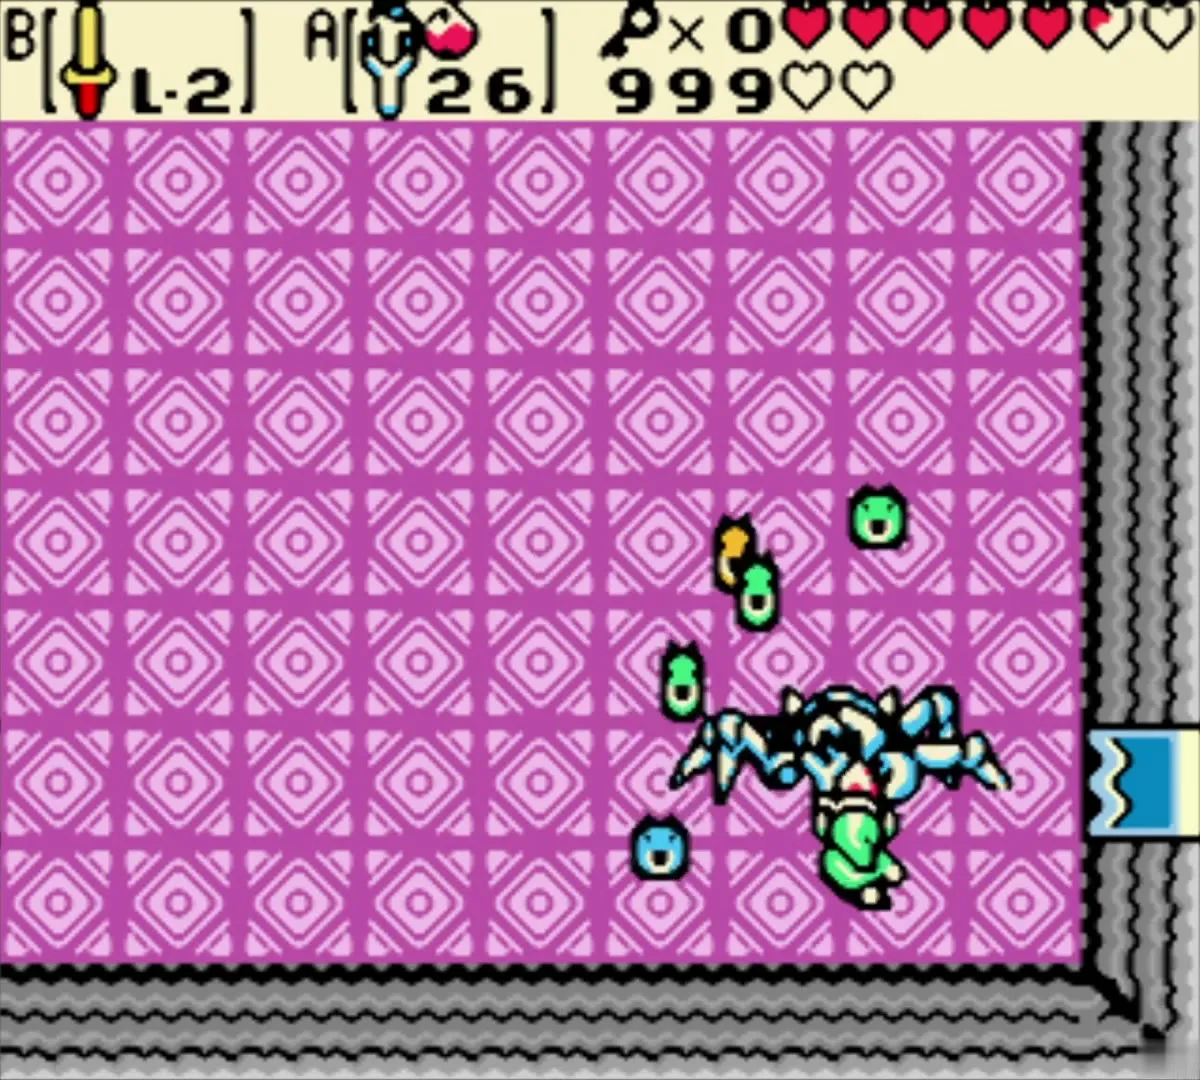
Gohma is a giant crab. Its claw can grab you for heavy damage if you stand in front of it, and it charges diagonally when it raises it. Strike the claw with your sword and sidestep its charges. Once the claw is gone, wait for the eye to open and shoot it with the Slingshot; any seeds work. Gohma sometimes spits small bugs that cling to Link and stop item use, so tap buttons to shake them off and kill them quickly. They drop seeds and hearts.

Heart Container
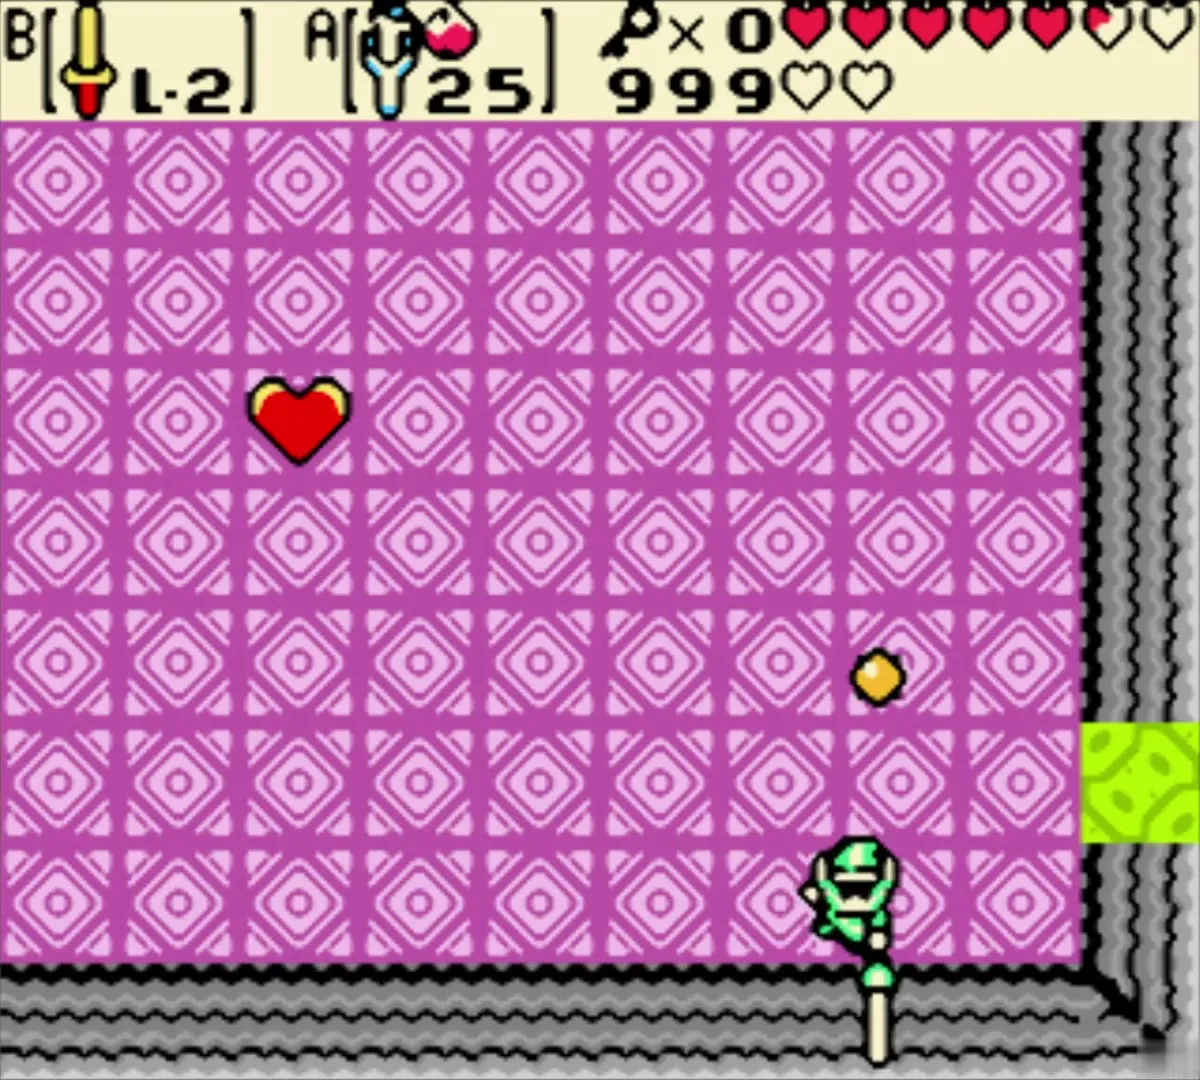
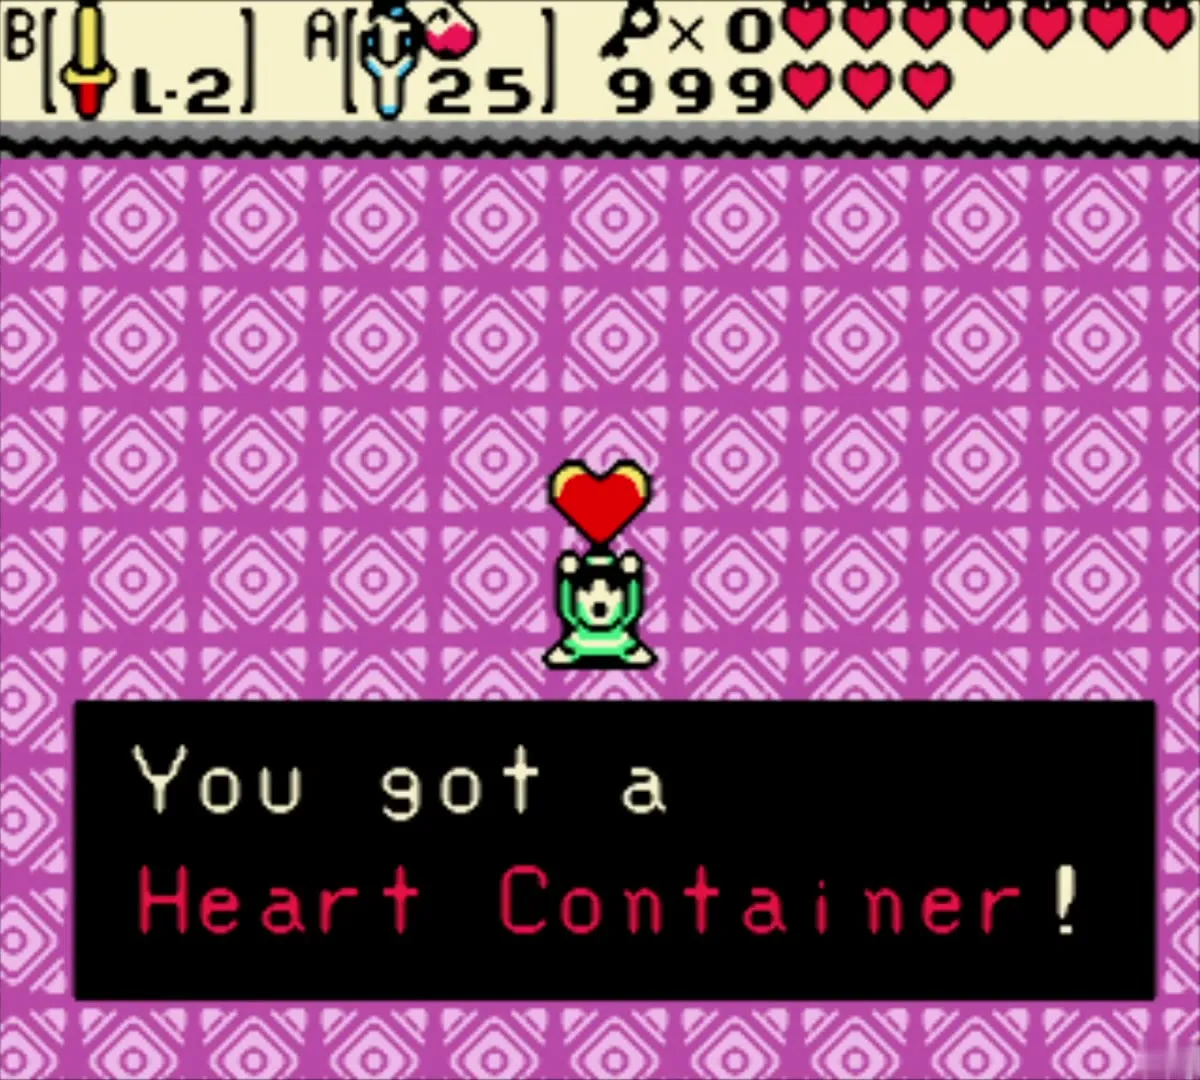
When Gohma falls, a Heart Container floats down. Take it to increase your maximum hearts by one.
Essence of Nature
Soothing Rain
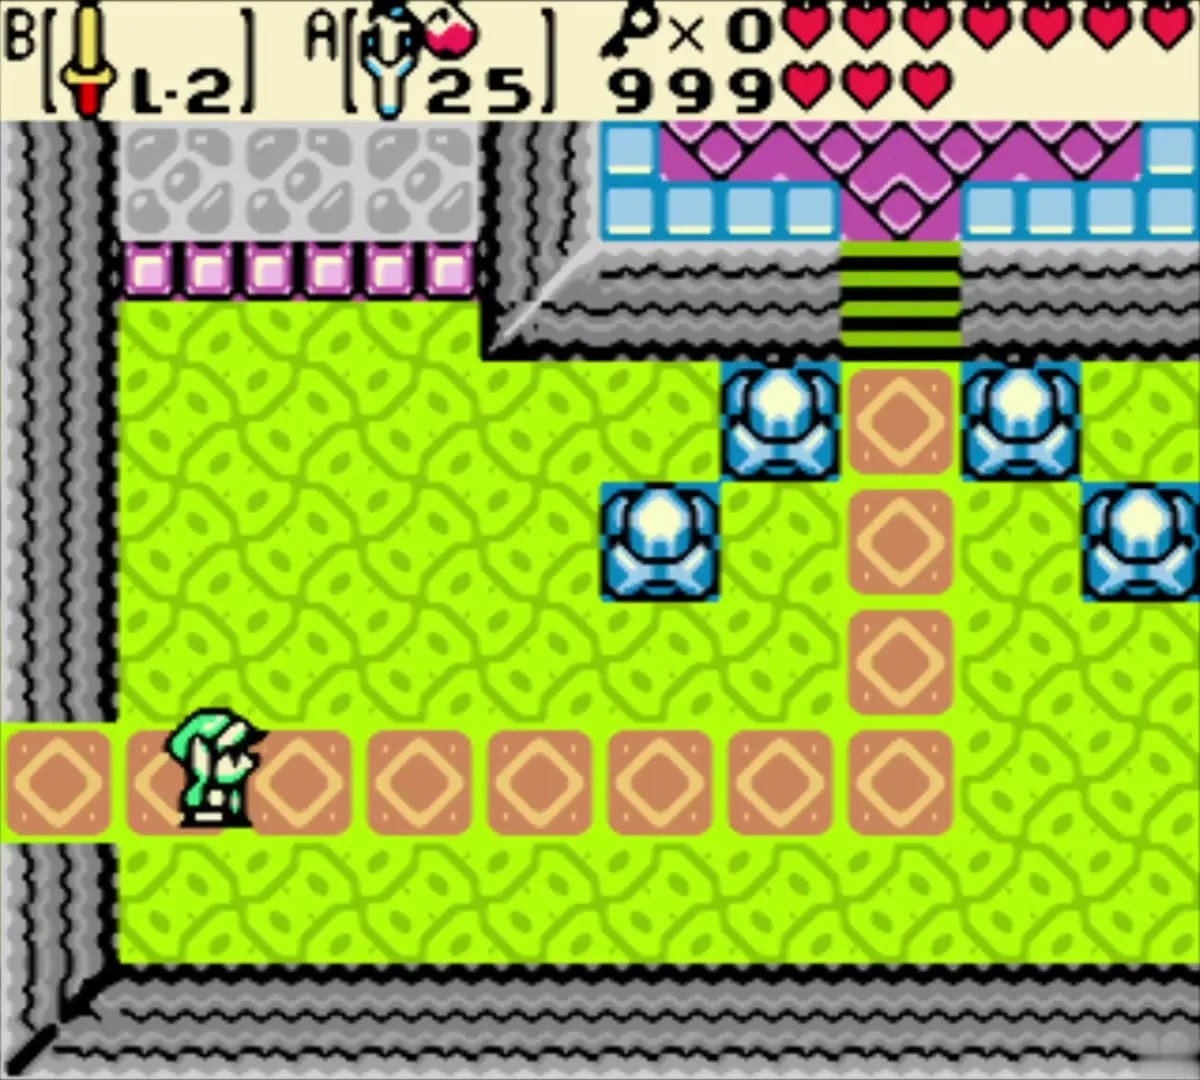
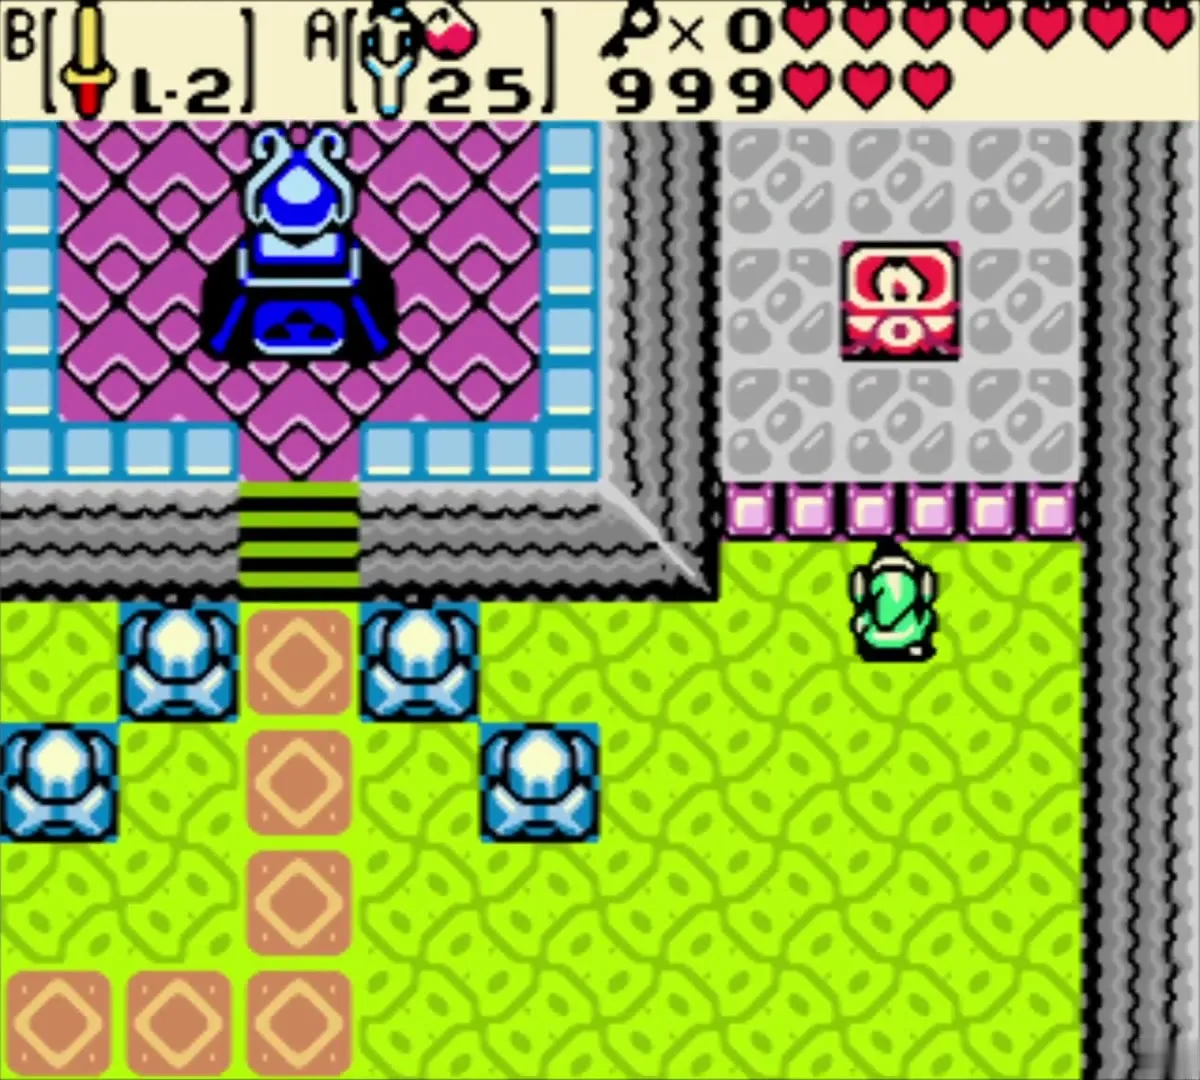
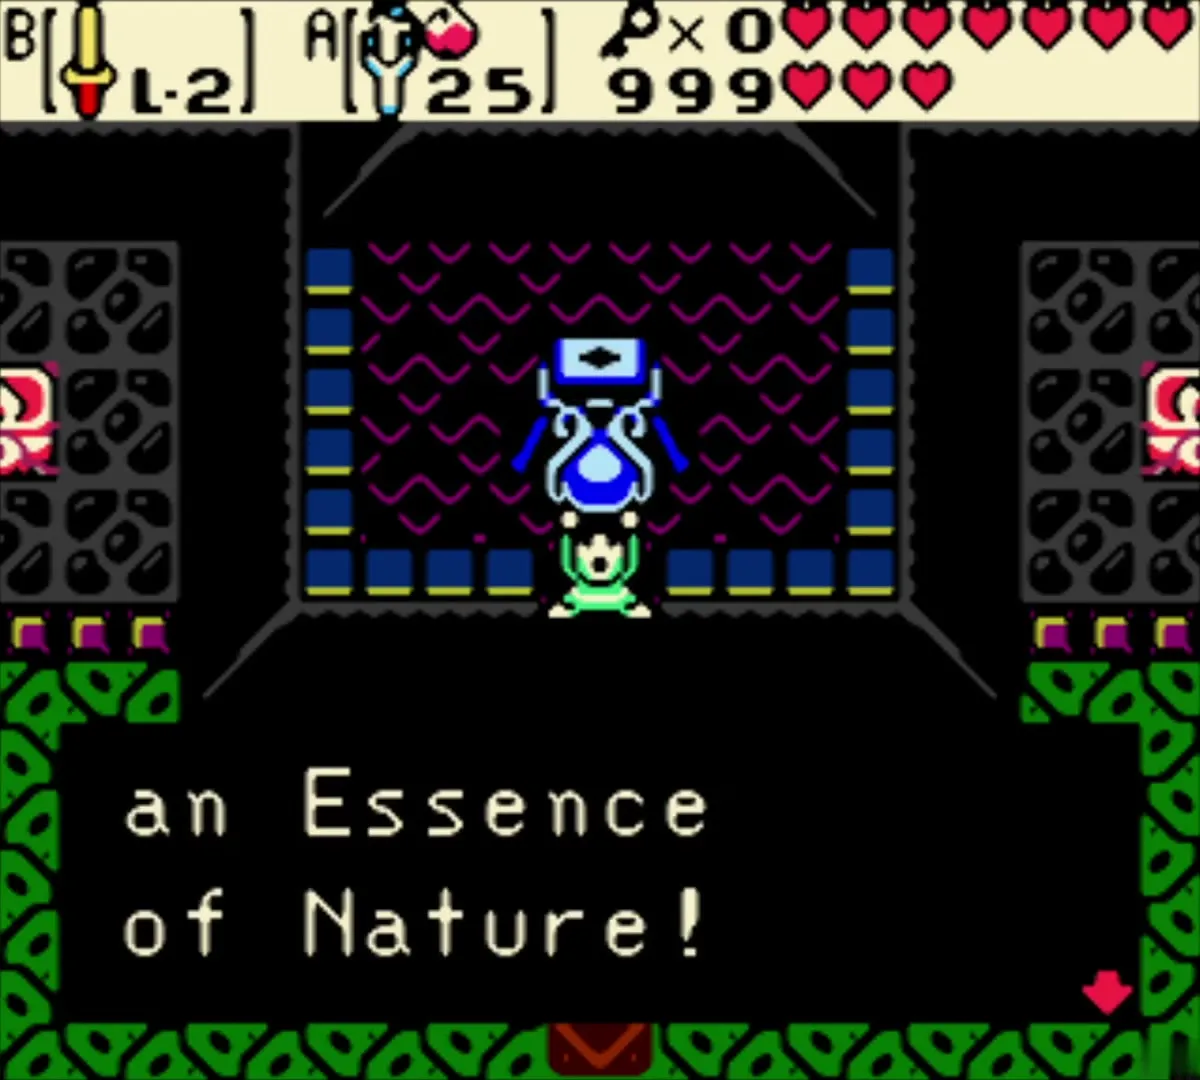
Go east along the diamond-tiled path, past the blue crystal pots, to the Essence chamber. Take the Soothing Rain, the fourth Essence of Nature. You are returned to the dungeon entrance, where the Maku Tree tells you it saw a lake shaped like a pair of eyeglasses. That is your next destination.
Chapter checklist
| Type | Name | Where |
|---|---|---|
| Chest item | 10 Bombs | First Stalfos room, chest under the block arch |
| Small Key 1 | Small Key | Pot-and-switch room |
| Dungeon item |  Dungeon Map | Chest east of the Keese and Anti-Fairy room |
| Small Key 2 | Small Key | Dark chest room past the side-view platforms |
| Dungeon item |  Compass | Island chest in the water room past the cracked wall |
| Small Key 3 | Small Key | Pool in the far-west room |
| Shop | 10 Ember Seeds for 20 Rupees | Business Scrub in the pink-walled room |
| Small Key 4 | Small Key | Chest in the niche above the merchant |
| Mini-boss |  Agunima | Dark torch room south of the spike room |
| Dungeon item | Slingshot | Chest at the end of the crumbling-floor room |
| Dungeon item |  Boss Key | Right-eye pool on the face-shaped island |
| Small Key 5 | Small Key | Chest on the catwalk after lighting the torches |
| Heart Container | 1 | 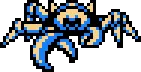 Gohma |
| Essence |  Soothing Rain | Essence chamber past the boss |
