





















Tears of the Kingdom 100% Completion Walkthrough43 chapters
Great Sky Island
- Great Sky Island4 shrines, 4 caves and Bubbul Gems, 17 Korok seeds
Hyrule Field and Hyrule Castle
- Lookout LandingParaglider, Crisis at Hyrule Castle, Jiosin and Kyononis shrines, 2 caves, 3 wells
- Hyrule FieldSusuyai and Ishodag shrines, the Hyrule Field Chasm, 2 caves, 13 Koroks
- Hyrule Castle Town RuinsSepapa, Yamiyo and Tukarok shrines, 2 caves, 4 wells, Koroks, chests and Battle Taluses in route order
- Central Hyrule Depthslight all 7 Lightroots, loot Daphnes and Gustaf Canyon Mines, find the Miner's Top
- Rest of Hyrule CastleRoyal Hidden Passage loot, 8 castle chests, Phantom Ganon, Energy Wells
- South Hyrule FieldShrines, Koroks & the Great Plateau
- South Hyrule Field DepthsGreat Abandoned Central Mine, Master Kohga, Autobuild, Majora's Mask
Tabantha and Hyrule Ridge
- Tabantha FrontierNew Serenne Stable, Hestu, Courage Island and the Glide Shirt, 3 shrines, 2 Korok seeds, Lindor's Brow Cave
- Forgotten TempleImpa and the Geoglyphs, Dragon's Tears, Kiuyoyou and Mayausiy shrines, Yiga Maritta Branch, 9 Koroks
- Tanagar Canyon & Hyrule RidgeRunakit and Iun-orok shrines, 2 caves, 12 Koroks, 20 chests, 8 minibosses and Dragon's Tear 6
- Thundra Plateau & Tabantha Bridgesolve the noon shadow puzzle, Tabantha Bridge Stable, Makurukis Shrine, 19 Korok seeds, 9 chests, 3 minibosses
- Lindor's Brow DepthsLightroots; Two Yiga camps (Bomb Bouquet, Flamethrower Balloon)
- Hyrule Ridge and Tabantha FrontierIkatak, Oromuwak, Ganos and Ga-ahisas shrines, 4 caves, a well, 26 Koroks and 3 minibosses
Hebra
- Rito VillageGatakis and Ijo-o shrines, Sikatag Lightroot, 9 Korok seeds, 14 chests
- Hebra MountainsShrines, Wind Temple & Koroks; Raspro Pass, Biron Snowshelf & Royal Hidden Passage
- Corvash Canyon MineTrousers of the Hero, Floodlights schematic, Sea-Breeze Boomerang, four Lightroots, Colgera
- Raspro Pass DepthsNupisoyuat and Sasag Lightroots, Colgera, Cap of Time, Tunic of the Wind, two Yiga camps and 13 minibosses
- Tabantha TundraTaninoud, Orochium, Oshozan-u, Mayaotaki, Nouda and Tenbez shrines, three Lightroots, caves and Bubbul Gems
- Pikida Stonegrove DepthsEvil Spirit Greaves, Ikatoayam, Muihcoro and Sikatag Lightroots, 3 Yiga schematics, Frox fights
Great Hyrule Forest
- Great Hyrule Forest7 shrines, 8 Lightroots, 2 caves, 2 wells, Korok Mask, Glide Tights
Eldin
- EldinEldin Canyon, Shrines, Caves & Goron City
- Eldin Canyon Depths10 Lightroots, Zant's Helmet, Trousers of the Wild, Biggoron's Sword, 3 Yiga schematics and Eldin's sky chests
Faron
- FaronHighland Stable, Lake Hylia & Popla Foothills
Necluda
- Kakariko VillageMakasura Shrine, Kakariko Village Well, 2 caves, Ring Ruins chests, 10 Korok seeds and village quests
- West Necluda and Lanayru WetlandsShrines, Koroks & Caves; Jonsau, Kurakat
- Hateno VillageZanmik and Mayahisik shrines, Shield of the Mind's Eye and Phrenic Bow wells, 7 Koroks
- East NecludaRabella Wetlands, Sifumim Shrine, Lurelin Village, 21 Korok seeds
- East Necluda DepthsKumamayn Shrine, 4 Lightroots, Midna's Helmet, Cap of the Hero, Trousers of the Wind and 18 Depths chests
Lanayru
- Lanayru Great SpringShrines, Koroks & Caves; Ralis Channel, 3 shrines, 8 caves
- Zora's DomainMogawak and Ihen-a shrines, Ploymus cave, Pristine Sanctum, Zora Armor, Sidon of the Zora and Clues to the Sky
- Wellspring IslandAncient Zora Waterworks chests, Igoshon Shrine, 2 Korok seeds, Water Temple's four wheels and Mucktorok
- Mount LanayruShrines, Koroks & Light Rings; Jikais and Anedamimik shrines
Gerudo
- Gerudo DesertShrines, Caves & Koroks; West and South Sands
- Gerudo TownGerudo Shelter shops and quests, Valley of Silent Statues, Lightning Temple and Queen Gibdo, Chichim Shrine
- Gerudo Desert DepthsGranajh and Daval mines, three Master Kohga fights, Queen Gibdo, Mucktorok, Sheik's Mask and 37 chests
- Gerudo HighlandsSkyview Tower, Rotsumamu and Suariwak shrines, Mayasiar Shrine, Yiga hideout
Akkala
- AkkalaTarrey Town quests, 4 shrines, Hinox, Battle Talus
- Akkala Sky Islands and DepthsGikaku and Natak shrines, Old Maps, Lomei Depths Labyrinth, Mucktorok, 5 Lightroots and 19 chests
Finale and completion
- Ancient Tablets, Gleeoks and Armor Upgradesall 13 stone tablets with coordinates, Frost and King Gleeok, Obsidian Frox, Cotera upgrades and farming
- Hyrule CastleRoyal gear chests, Korok seeds, Serutabomac Shrine
- Thunderhead IslesCharged armor, Joku-usin and Joku-u Shrines, Dragonhead Island's relic
- 100% Completion: Armor Upgrades & Korok BonusHestu's Gift, Ancient Hero's Aspect, Great Fairy Cotera upgrade costs and materials, then Destroy Ganondorf
| Region | East Necluda Sky (Necluda Sky Archipelago), then East Necluda Depths, West Necluda Depths and Necluda Sea Depths under Lurelin, Eventide Island and the Rabella Wetlands |
|---|---|
| Shrines | Kumamayn Shrine (Rauru’s Blessing, 2856, -2856, 1225), reached by The Necluda Sky Crystal. See Kumamayn Shrine. |
| Lightroots | 4 lit: Yikot (2303, -2378), Mimufis (2825, -3269), Kotimab (3092, -3209) and Ni-iraram (4630, -3711). See all Lightroots. |
| Depths landmarks | Lone Island Coliseum, Hickaly Grove, Rozudo, Meda, Taran, Tuft, Dunsel and Abandoned Lurelin mines, Cresia Pit Mine and the Ancient Observation Deck |
| Koroks | 2 in the Necluda sky (the Depths have none) |
| Armor | Midna’s Helmet (Lone Island Coliseum), Cap of the Hero (Tuft Canyon Mine), Trousers of the Wind (Cresia Pit Mine) |
| Minibosses | 3 Flux Construct III and a King Gleeok (sky and depths), Frost Talus, Stalnox, Blue-White Frox, Battle Talus |
| Previous / next | East Necluda, part 2 / Gerudo Desert |
This chapter begins in the sky above Rabella Wetlands, where the Necluda Sky Crystal opens Kumamayn Shrine and two Sage’s Wills drop from the Flux Construct III and King Gleeok. It then drops through Meda Mountain Chasm and the Eventide Island Chasm to light four Lightroots and sweep the south-east Depths mine by mine for armor and Large Crystallized Charges. Coordinates are map units (X, Y, height); larger Y is further north.
Quick route
Glide from Rabella Wetlands Skyview Tower to the Necluda Sky Archipelago for the first Korok, the Device Dispenser, Kumamayn Shrine with its crystal and its Zonaite Bow, and the climbing Korok on the way to the Flux Construct III’s Sage’s Will island.
Fly out over Eventide Island for the King Gleeok and its Sage’s Will, then drop through Meda Mountain Chasm for Yikot, Mimufis and Kotimab Lightroots and surface to visit the Goddess Statue at Hateno Village.
Return through the Eventide Island Chasm, using Brightbloom Seeds in the dark, to win Midna’s Helmet at the Lone Island Coliseum and light Ni-iraram Lightroot, then walk the Depths west to east for Hickaly Grove, Rozudo, Meda, Taran and Tuft Canyon mines and finish at Abandoned Lurelin Mine, Cresia Pit Mine and Dunsel Canyon Mine.
Necluda Sky Archipelago
Glide to the sky islands
Rabella Wetlands Skyview Tower at (2420, -2755, 216). Launch from the tower and glide south-east toward the Necluda Sky Archipelago; the first ruined island sits above (2719, -2748, 1220).


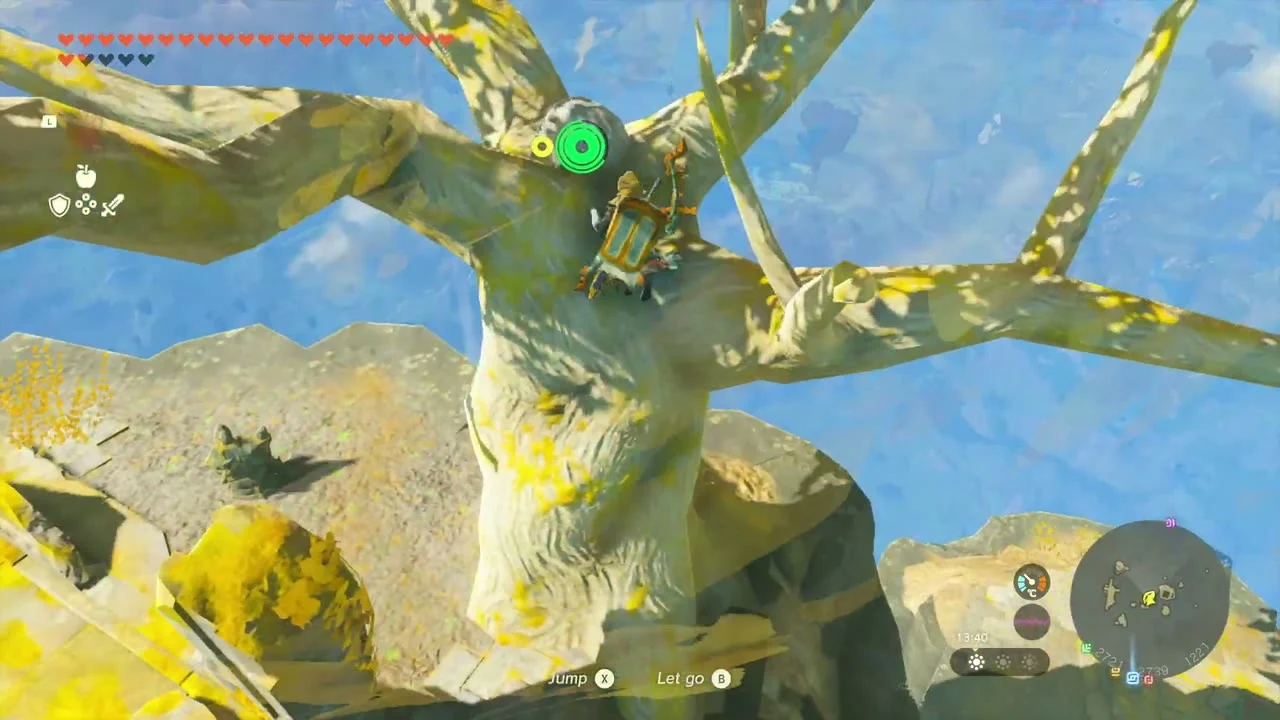
Lift the rock for the Korok seed
Korok seed (Lift the rock) at (2719, -2739, 1222), at the foot of a big dead tree on the first island. Lift the single rock beside the tree trunk to make the Korok appear and take the seed.

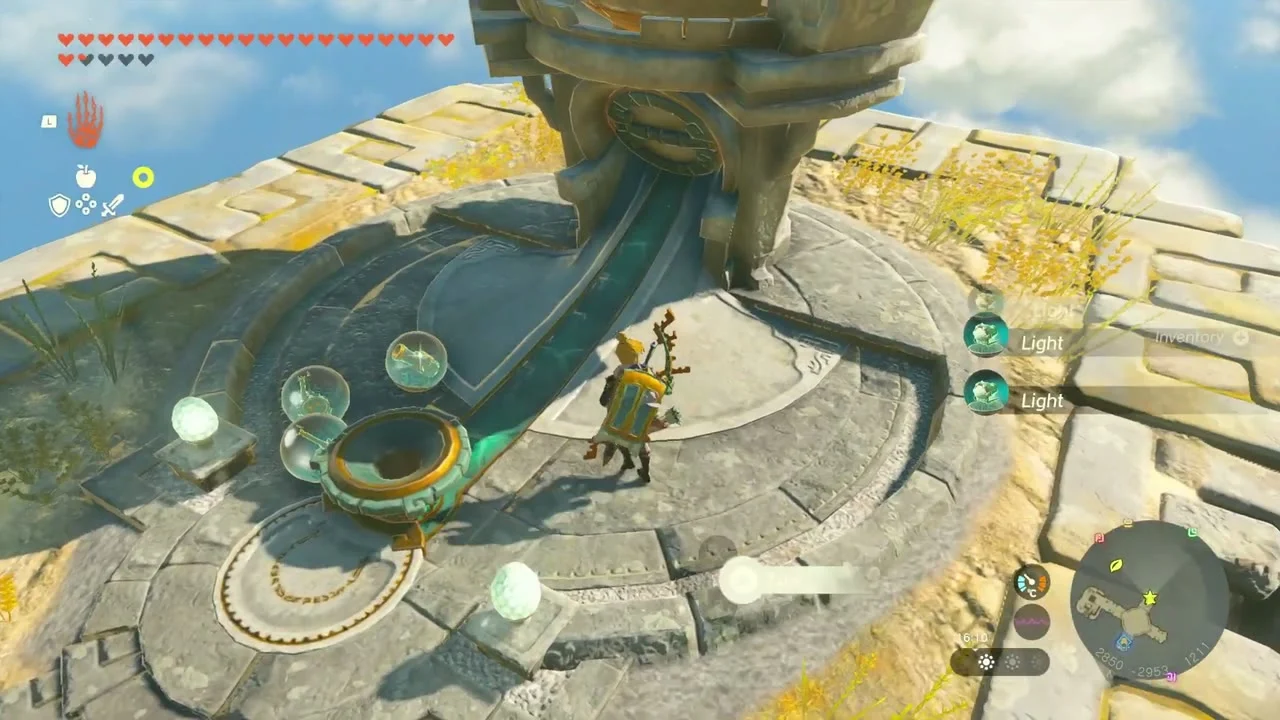
Use the Device Dispenser
Device Dispenser at (2852, -2959, 1211) on the central island. It stocks Steering Sticks, Small Wheels, Cannons and Lights; feed it a Zonai Charge for one.

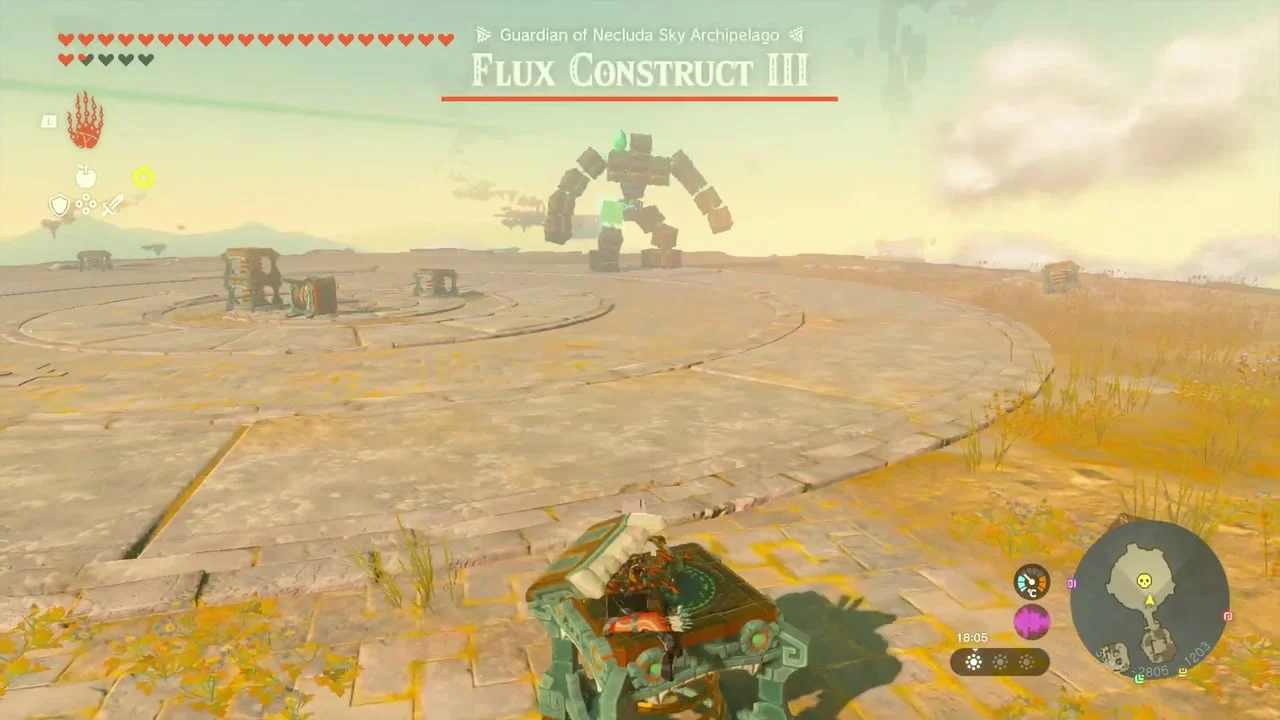
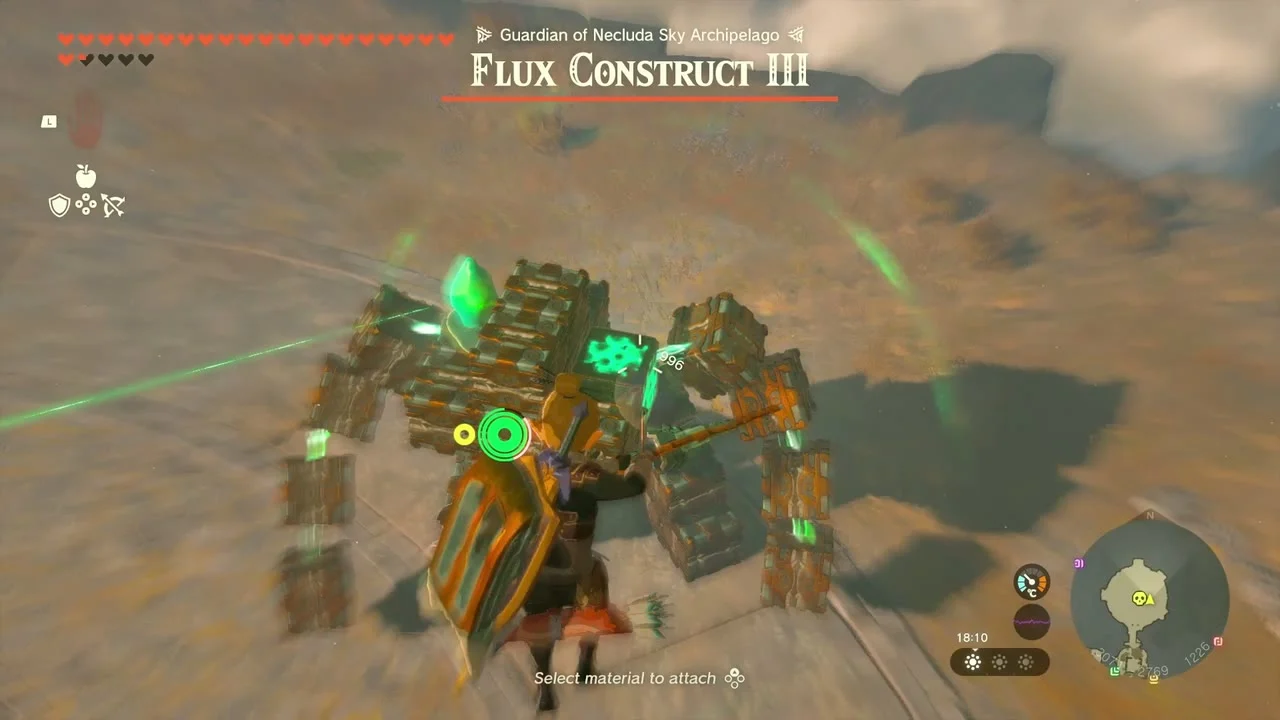
Defeat the Flux Construct III and take the crystal
Miniboss: Flux Construct III on the island near the shrine. It carries the glowing crystal you need on its shoulder. Hit its glowing weak spots with bomb flowers and strong weapons, then take the crystal with Ultrahand and carry it to the beam.
Clear Kumamayn Shrine: Rauru’s Blessing
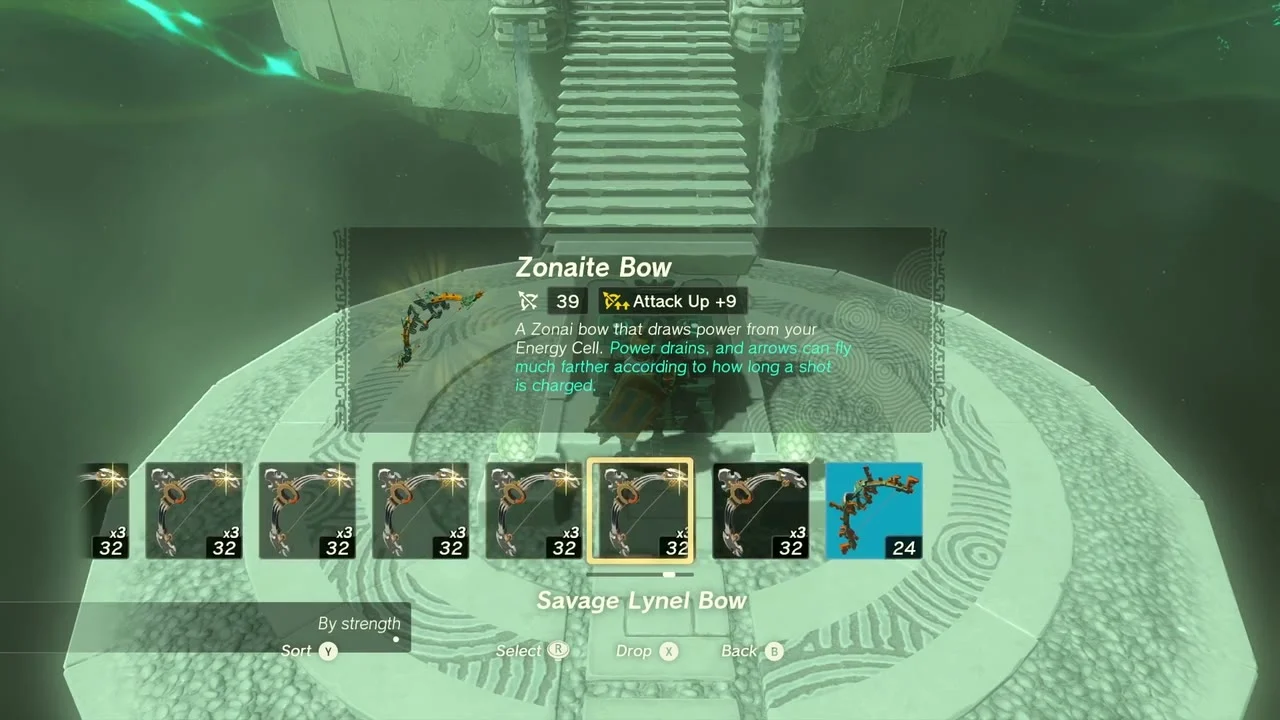
Kumamayn Shrine (Rauru’s Blessing, no puzzle) at (2856, -2856, 1225), the end of The Necluda Sky Crystal. Place the crystal in the shrine’s ray of light to open it, then collect the Zonaite Bow from the chest and the Light of Blessing.

Climb the wall for the Korok seed
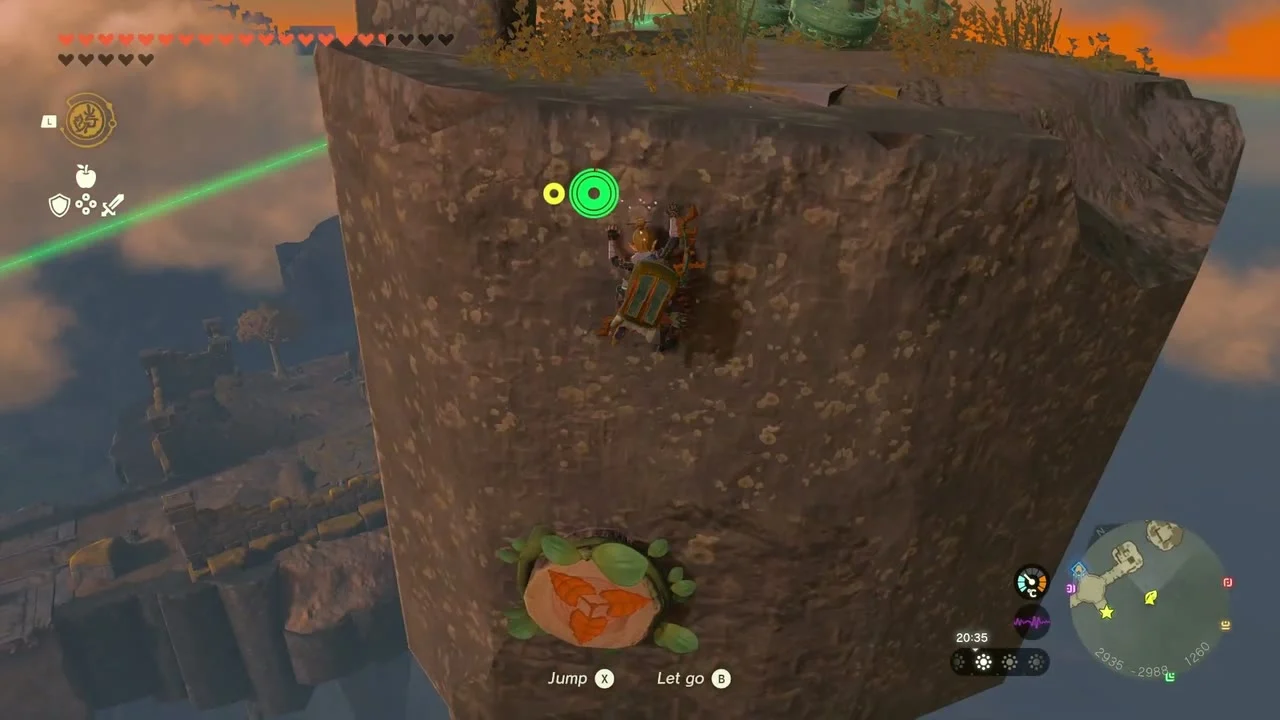
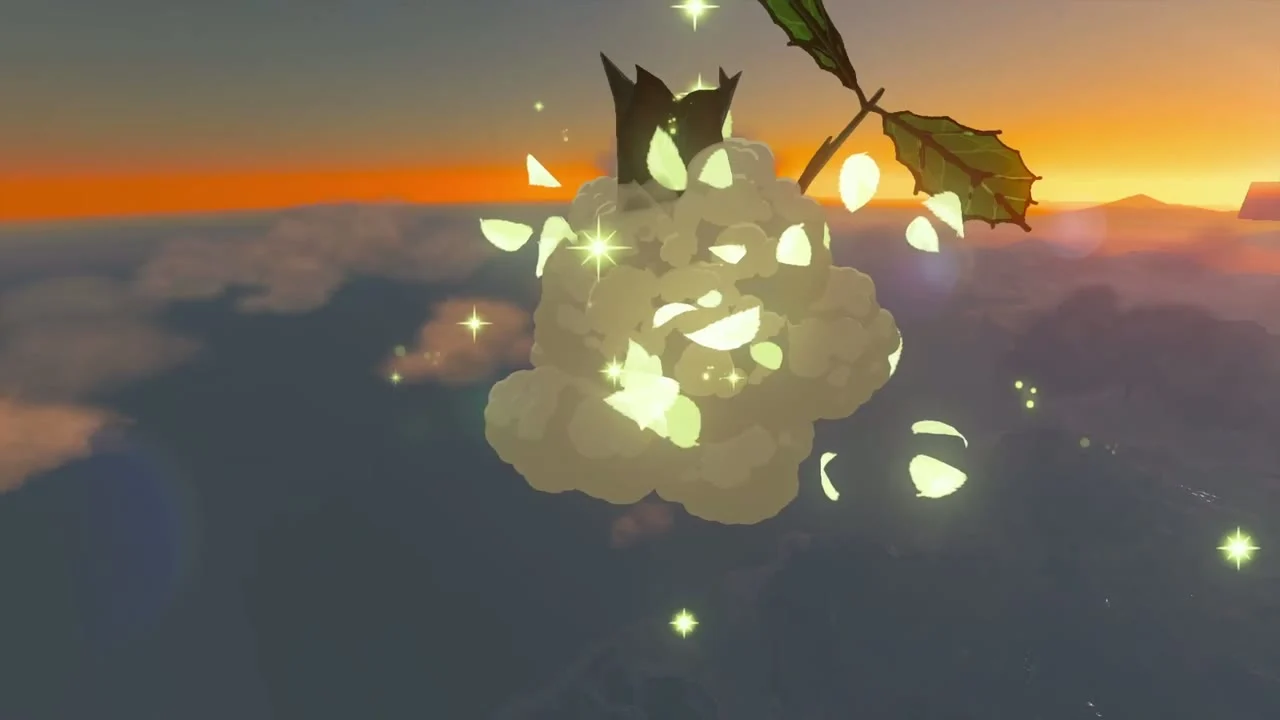
Korok seed (Climb on the wall to touch the marker) at (2932, -2991, 1258), on the south-east island. Climb the brown wall of the pillar and touch the marker at the top to release the seed.
Take the Sage’s Will from the second Flux Construct III
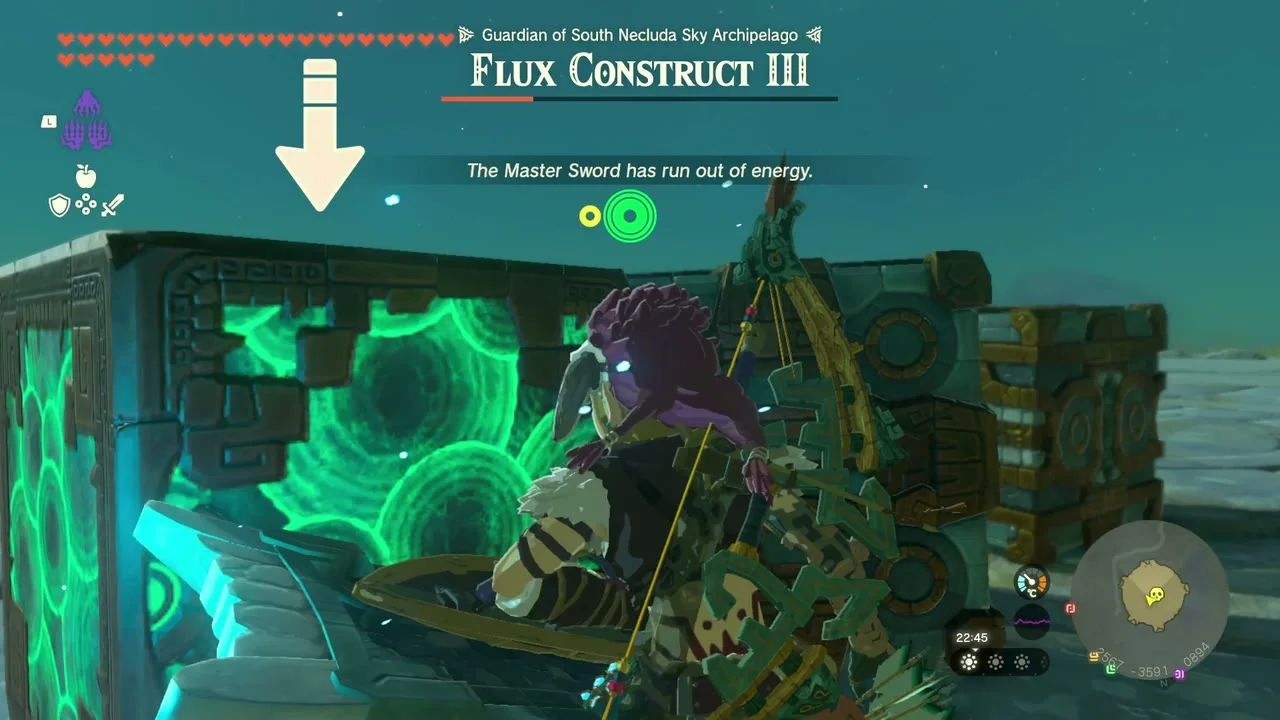
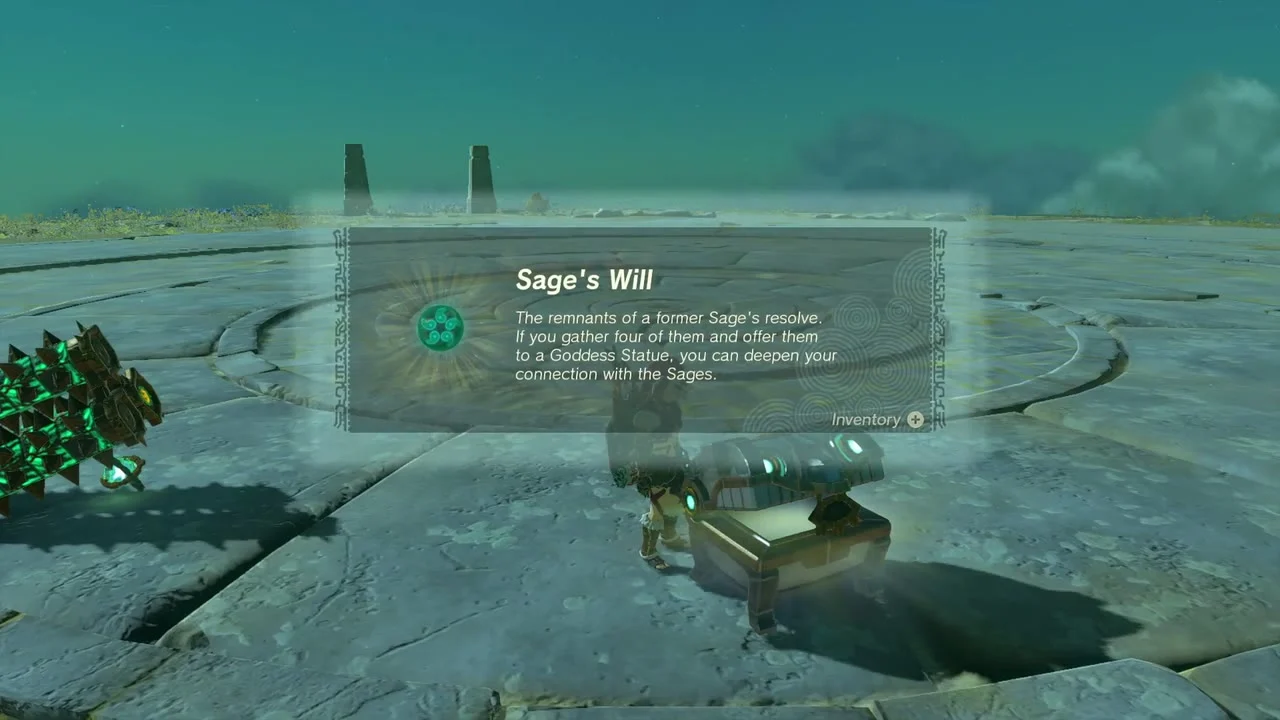
Sage’s Will at (2552, -3601, 895), on the South Necluda Sky island above Tuft Mountain. Beat the Flux Construct III that guards it, then open the chest for the Sage’s Will.
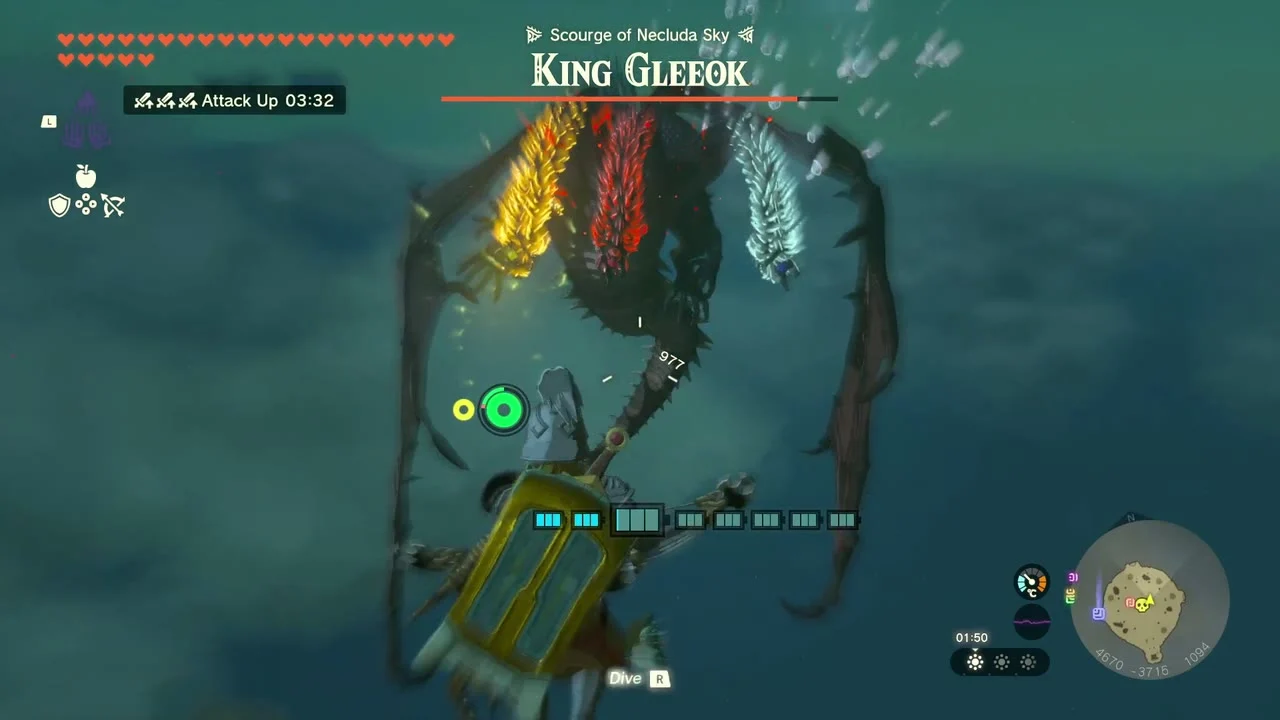
Defeat King Gleeok above Eventide Island
Miniboss: King Gleeok at (4653, -3829, 1066), on the island over Eventide Island. Shoot out each head’s eyes while gliding around it and hit the necks with Bomb Flowers; the three heads (fire, ice and lightning) must all be removed.

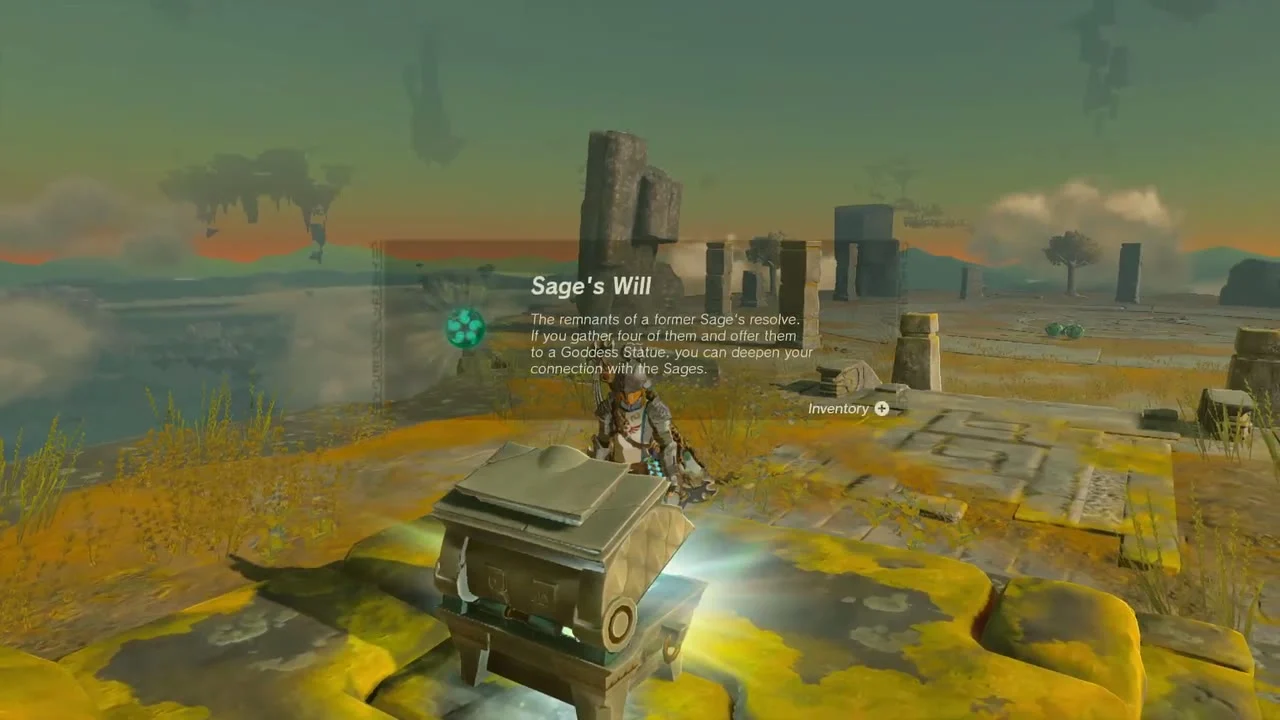
Open the Sage’s Will chest on the Gleeok island
Chest: Sage’s Will on the island where the King Gleeok circles. Step up to the chest at the island’s top and open it for the Sage’s Will. Offer four Sage’s Wills to any Goddess Statue to strengthen the bond with one of the Sages and boost that Sage’s help in battle.

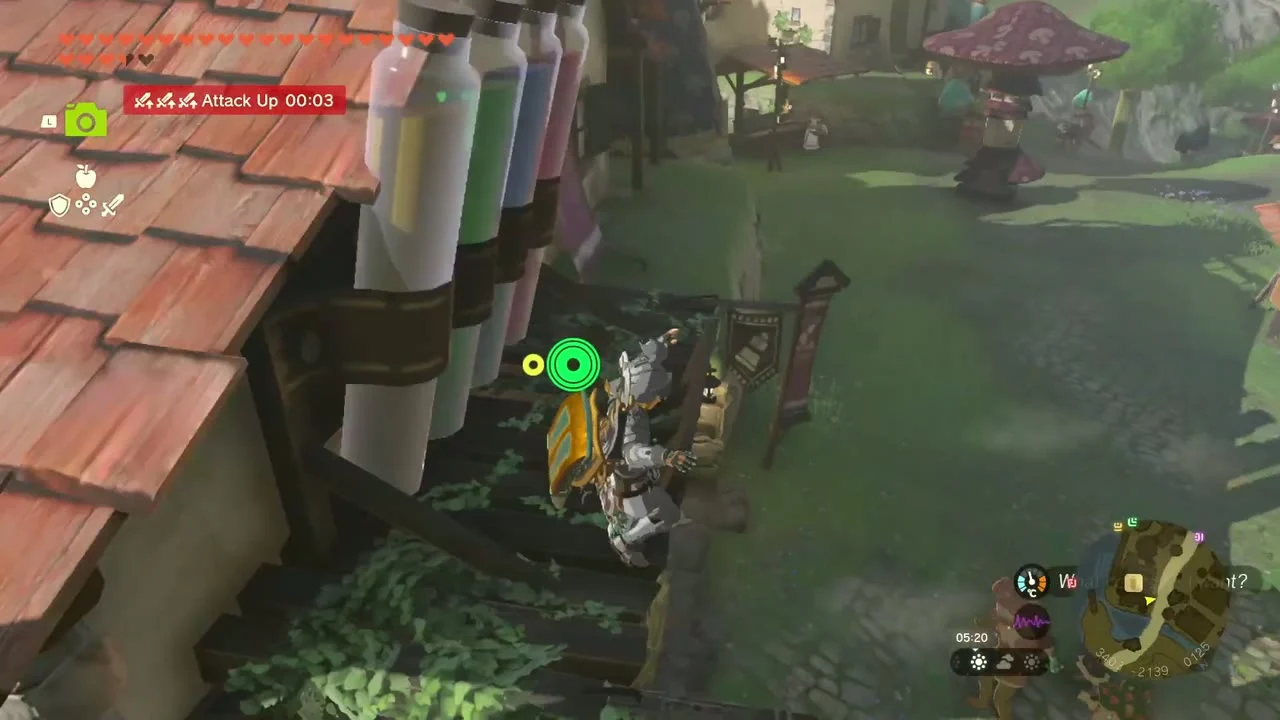
Dye the paraglider with Gleeok Fabric
At the Hateno Village dye shop (3402, -2139), the Gleeok parts you collected make Gleeok Fabric for your paraglider. Choose Rework a paraglider and select the fabric.

Farm dragon parts
Build a hoverbike or a wing glider and fly beside the dragon that circles above the Necluda coast. Shoot its scales and horns with arrows and pick up what falls.
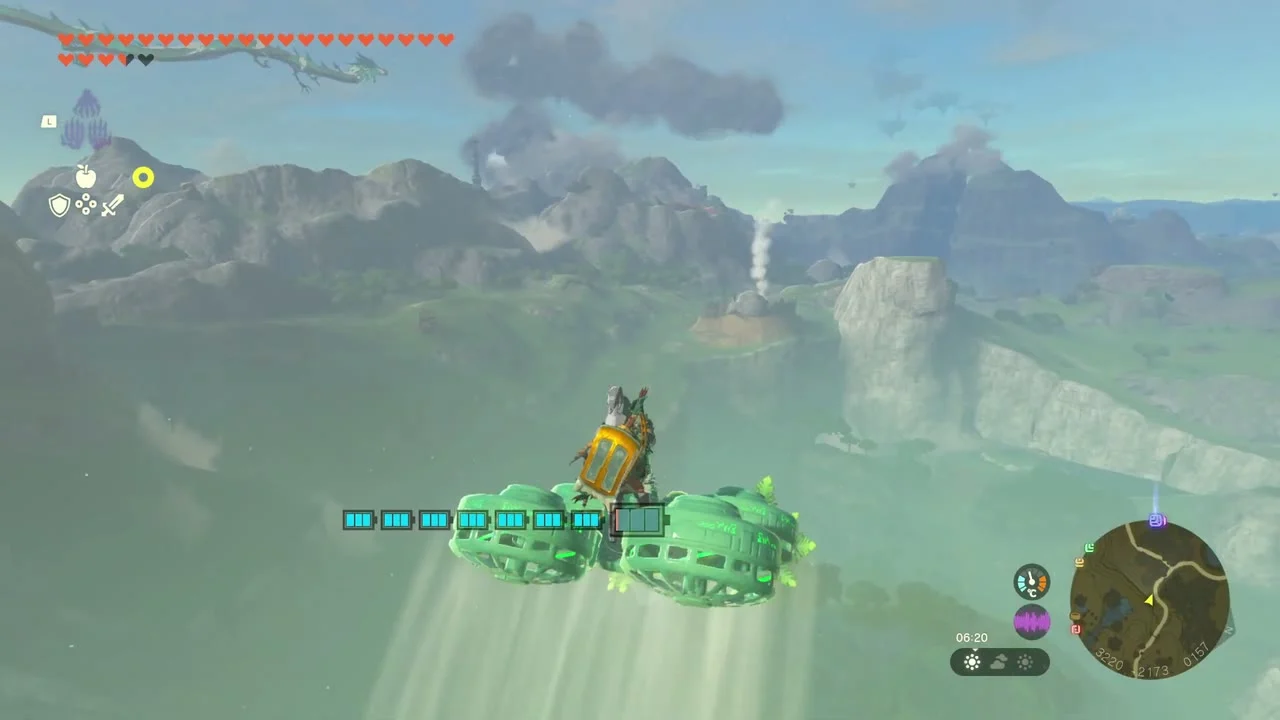

Necluda Depths: the Lightroots
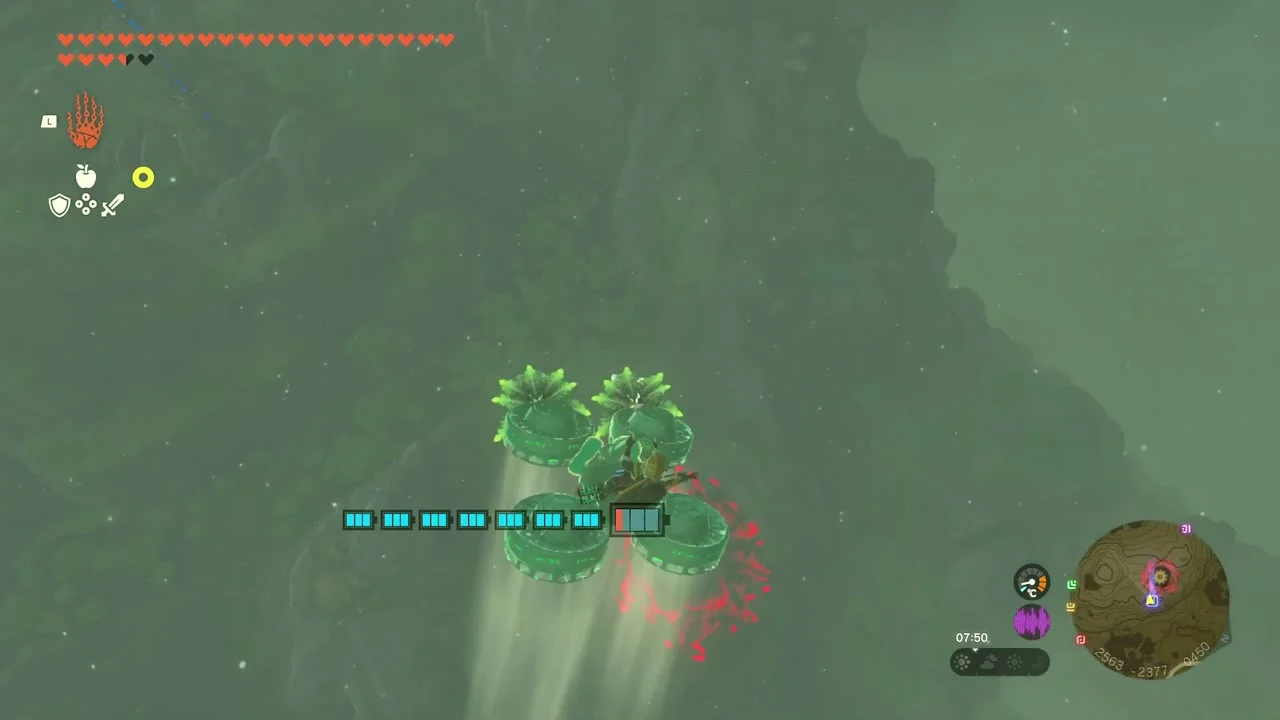
Light Yikot Lightroot
Yikot Lightroot at (2303, -2378, -638), the West Necluda Depths. Drop into Meda Mountain Chasm at (2513, -2381) and glide to the glowing root tree; Yikot lies beneath Tokiy Shrine in West Necluda.

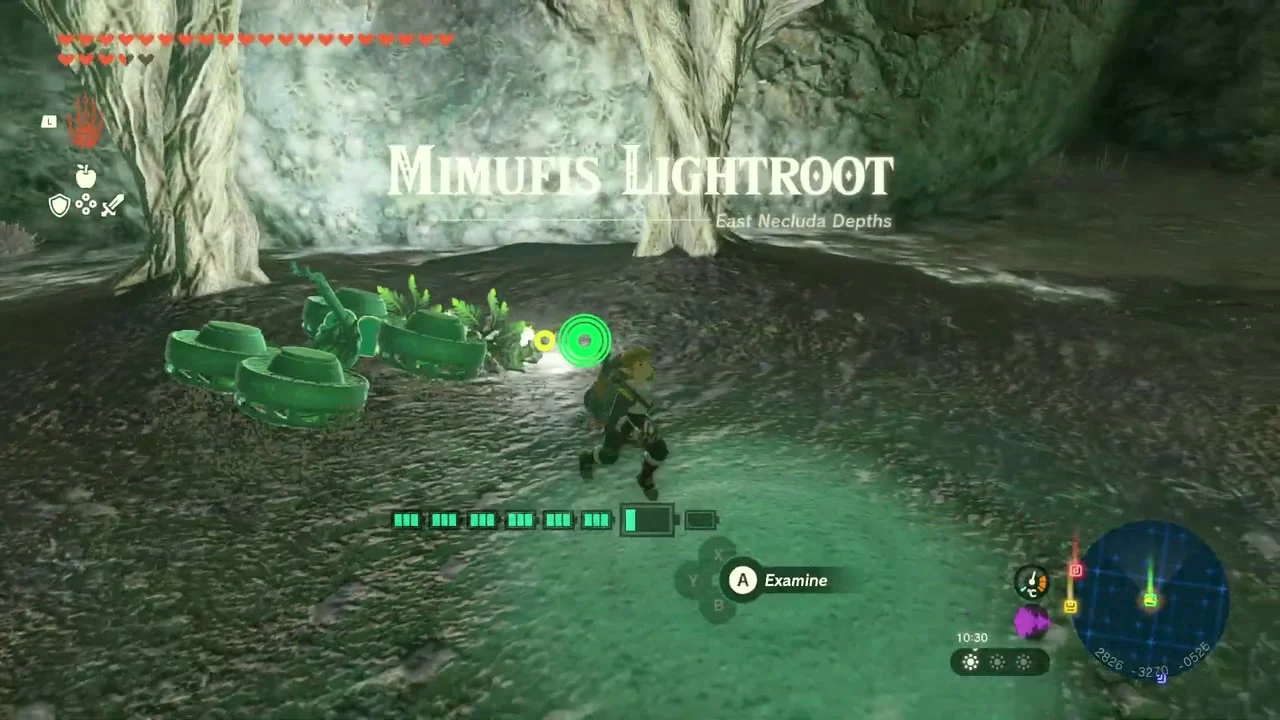
Light Mimufis Lightroot
Mimufis Lightroot at (2825, -3269, -547), under Sifumim Shrine near Lurelin Village. Travel south-east along the Depths floor from Yikot and step onto the root’s glowing circle.
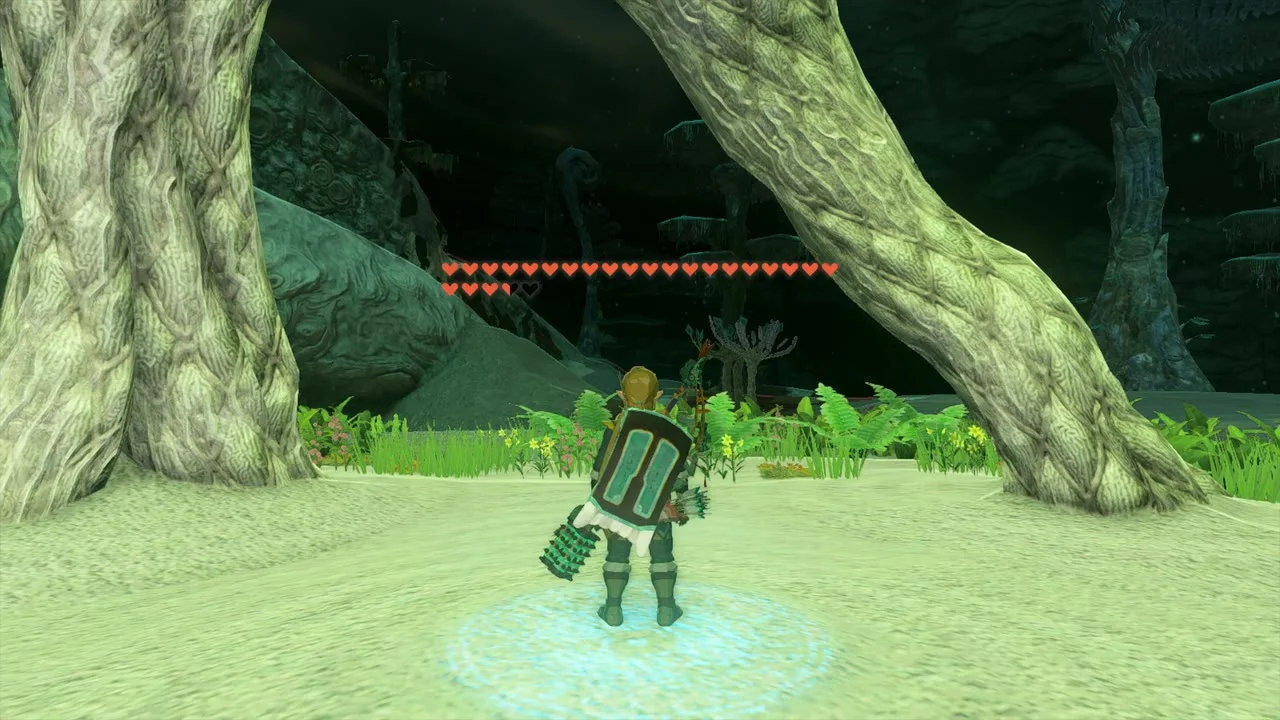
Light Kotimab Lightroot
Kotimab Lightroot at (3092, -3209, -645), under Bamitok Shrine in Mount Dunsel Cave. Continue east from Mimufis to the next root.
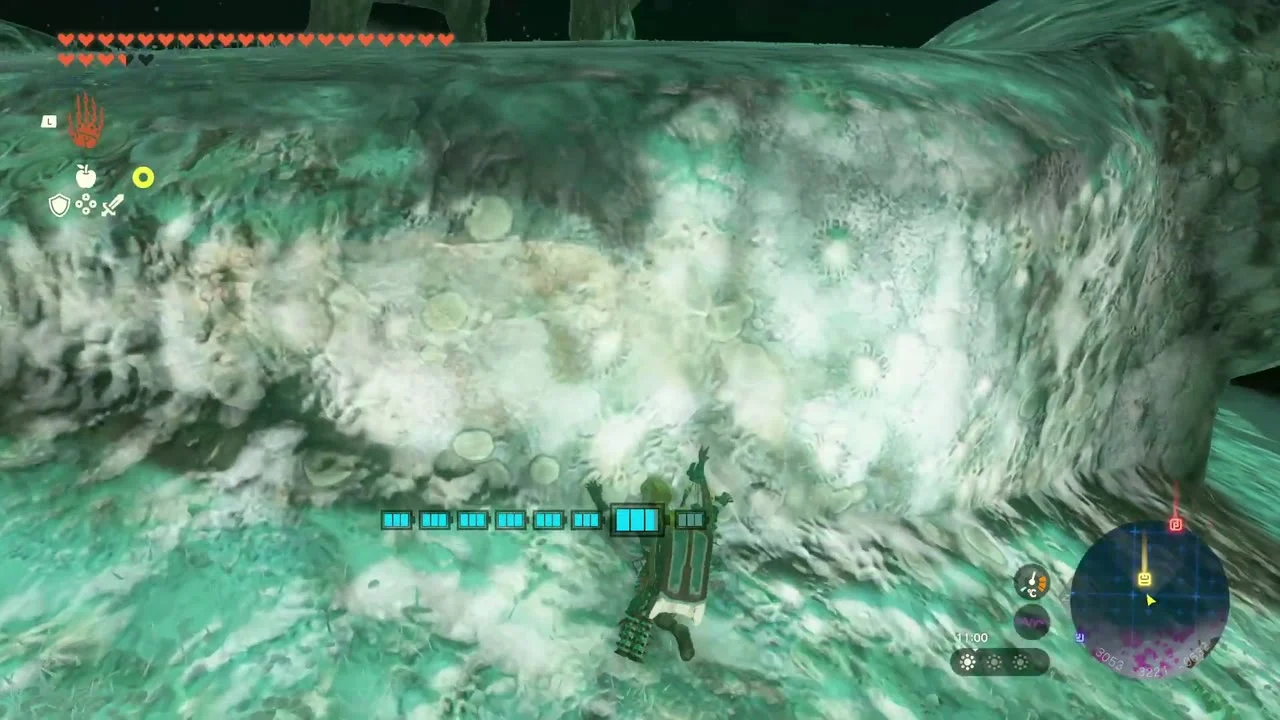

Trade Sage’s Wills for a Heart Container
Heart Container at the Hateno Village Goddess Statue (3439, -2098, 131). At a Goddess Statue, four Lights of Blessing (from shrines) buy a Heart Container or Stamina Vessel, while four Sage’s Wills instead strengthen a Sage’s bond; they are separate trades, so spend the Lights here if you have four.


Drop through the Eventide Island Chasm
Eventide Island Chasm at (4507, -3461), on the north tip of Eventide Island. Glide in from the shrine island and fall straight down into the Necluda Sea Depths.
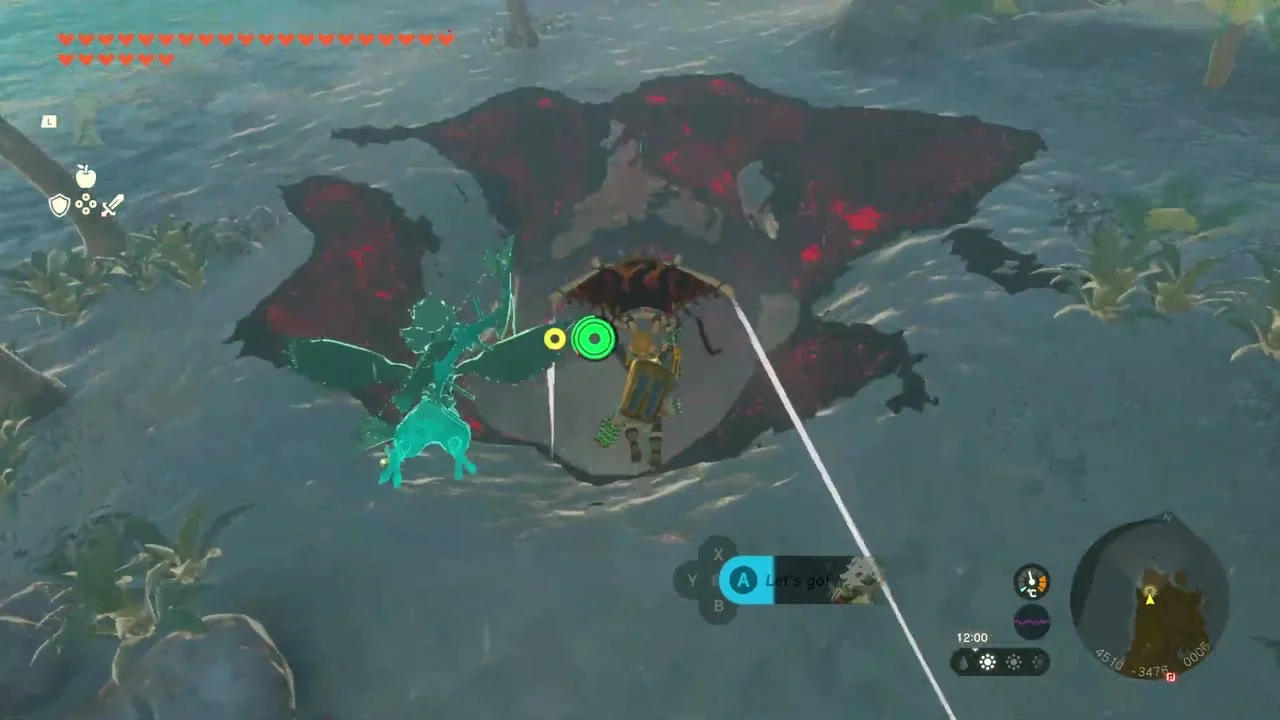

Lone Island Coliseum and Ni-iraram Lightroot
Win the Lone Island Coliseum
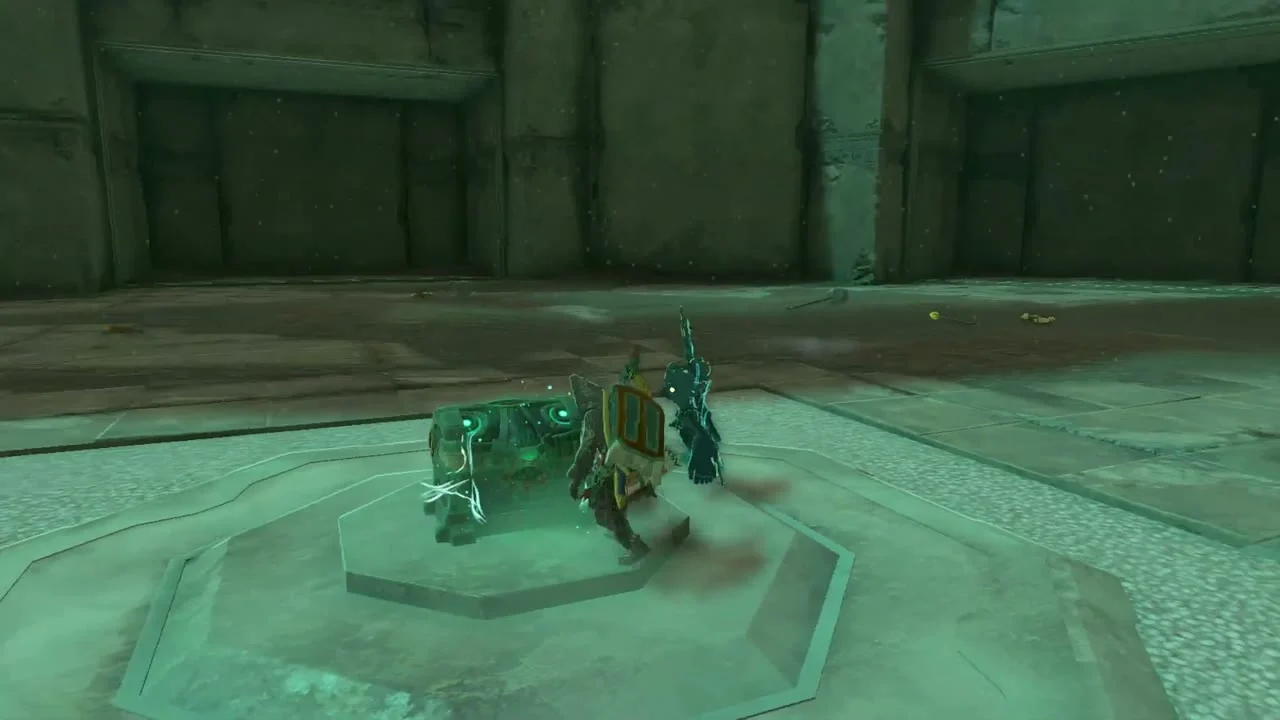
Lone Island Coliseum at (4563, -3604, -349). Enter the arena and the gate closes behind you; waves of Gloom-corrupted Bokoblins and Lizalfos follow. Build a Zonai ally with a Cannon or Beam Emitter on a Steering Stick, and fight from the high ground.
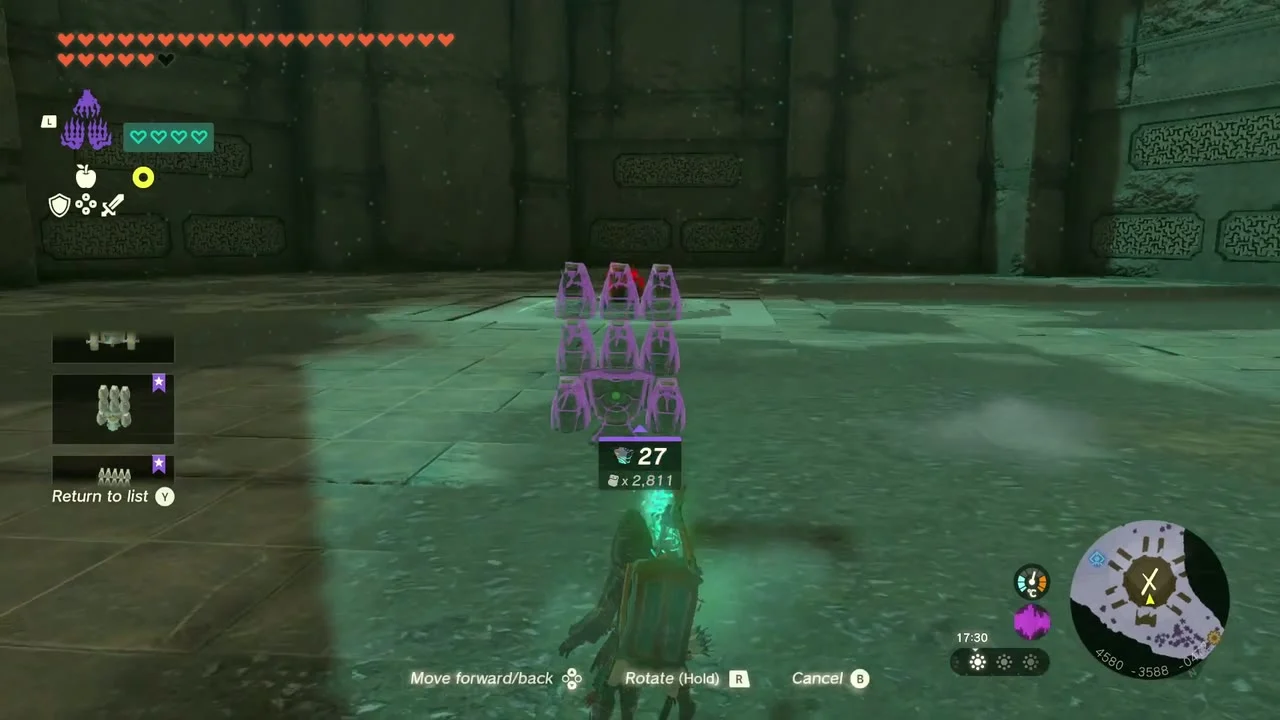
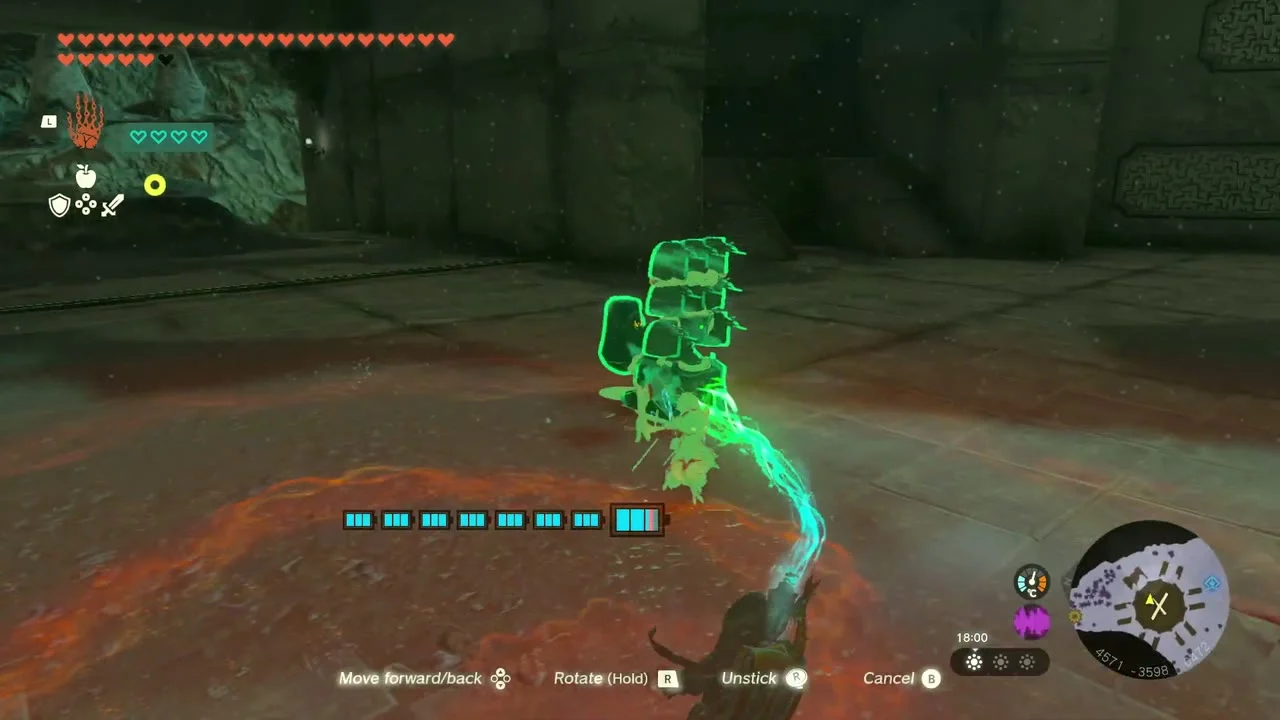
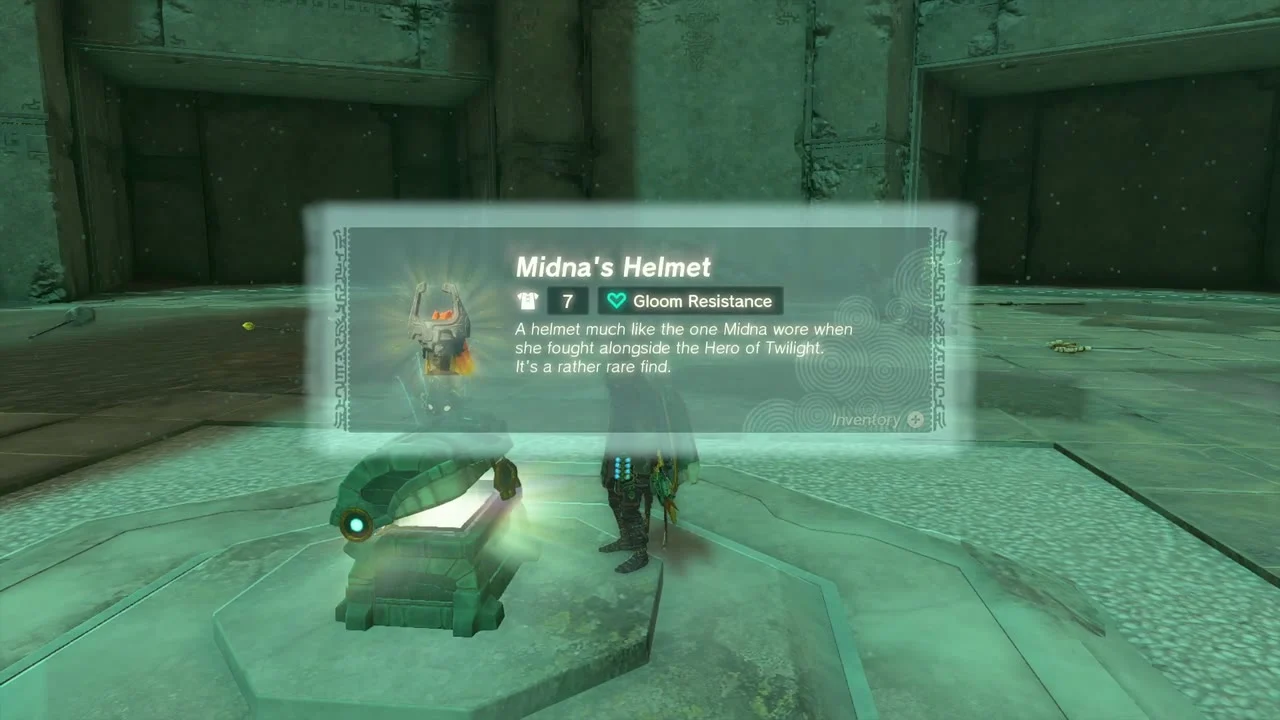
Open the chest for Midna’s Helmet
Chest: Midna’s Helmet at (4569, -3613, -472), at the end of the arena. Open the chest for Midna’s Helmet, a head piece with Gloom Resistance (Old Map from South Lanayru Sky Archipelago).
Light Ni-iraram Lightroot
Ni-iraram Lightroot at (4630, -3711, -526), beneath Marari-in Shrine. Leave by the south exit of the coliseum and walk to the root.
Hickaly Grove and Rozudo Canyon Mine
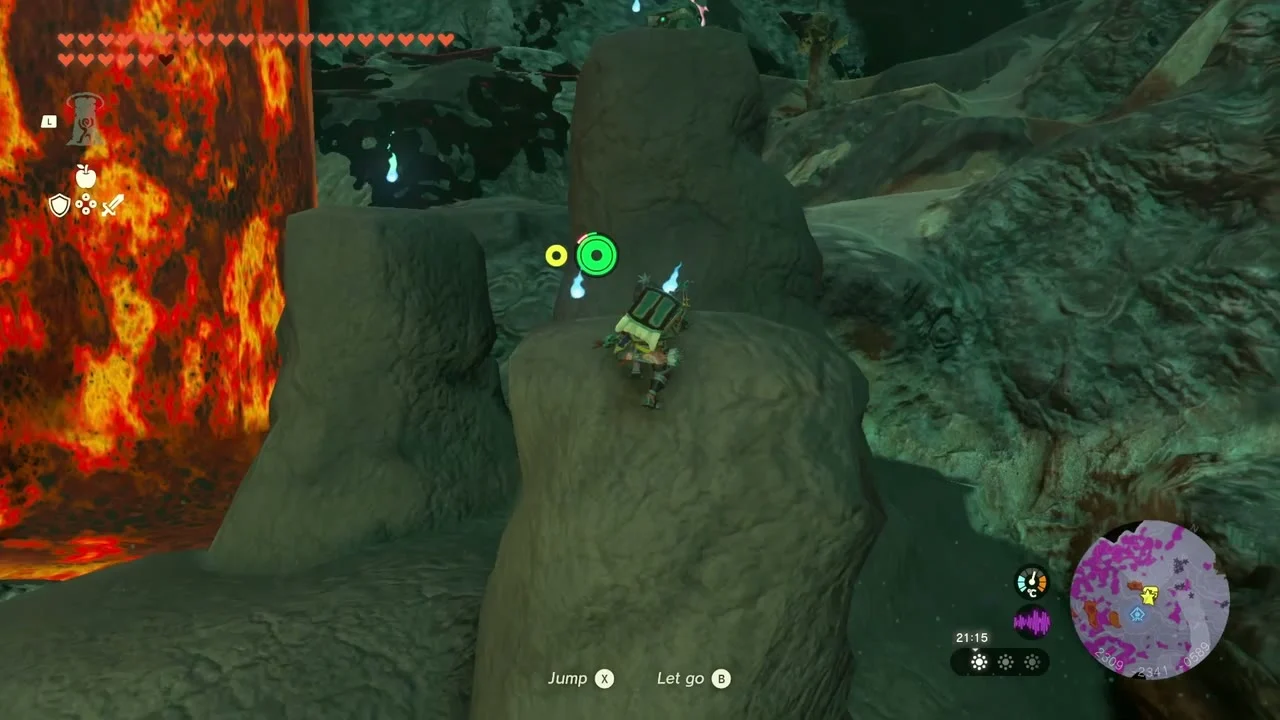
Take the Large Crystallized Charge beside Meda Lavafalls
Chest: Large Crystallized Charge at about (2301, -2329, -58), beside the lava columns of Meda Lavafalls (2253, -2366). Reach the ledge beside the lava and open the chest.

Open the chest at Hickaly Grove
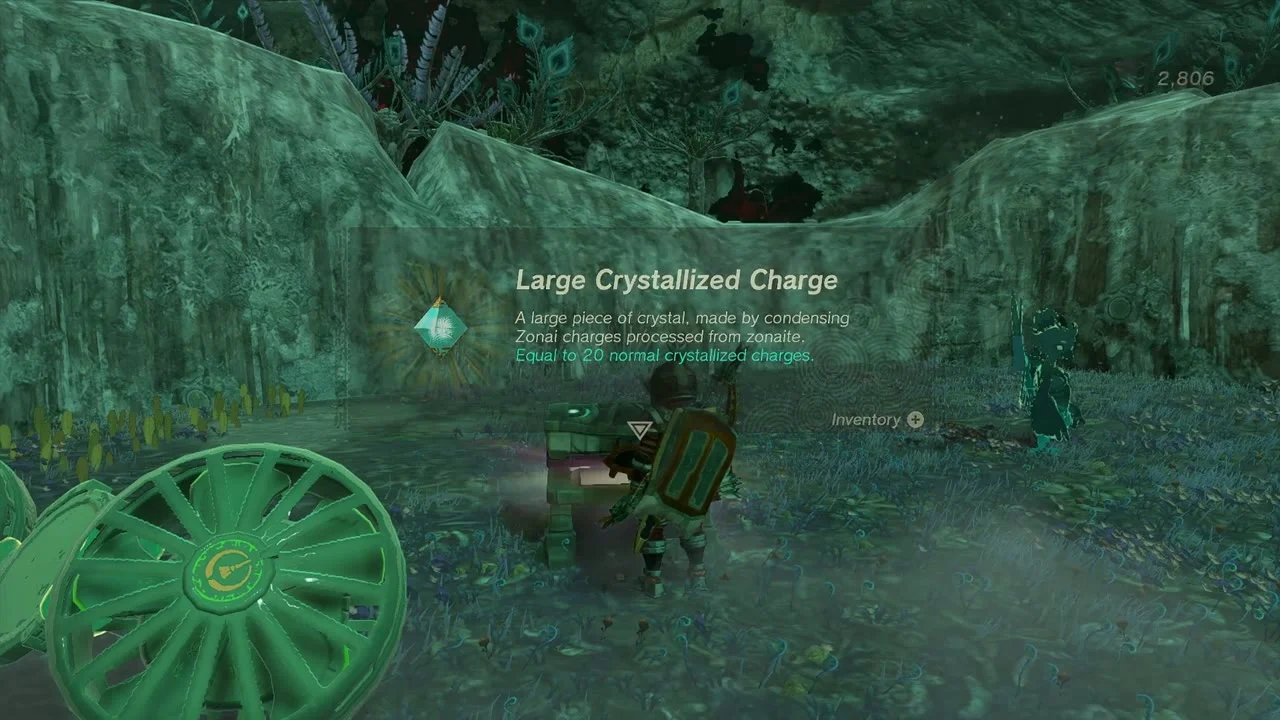
Chest: Large Crystallized Charge at Hickaly Grove (1943, -2392, -595). Throw Brightbloom Seeds to light the dark grove and open the chest for a Large Crystallized Charge.

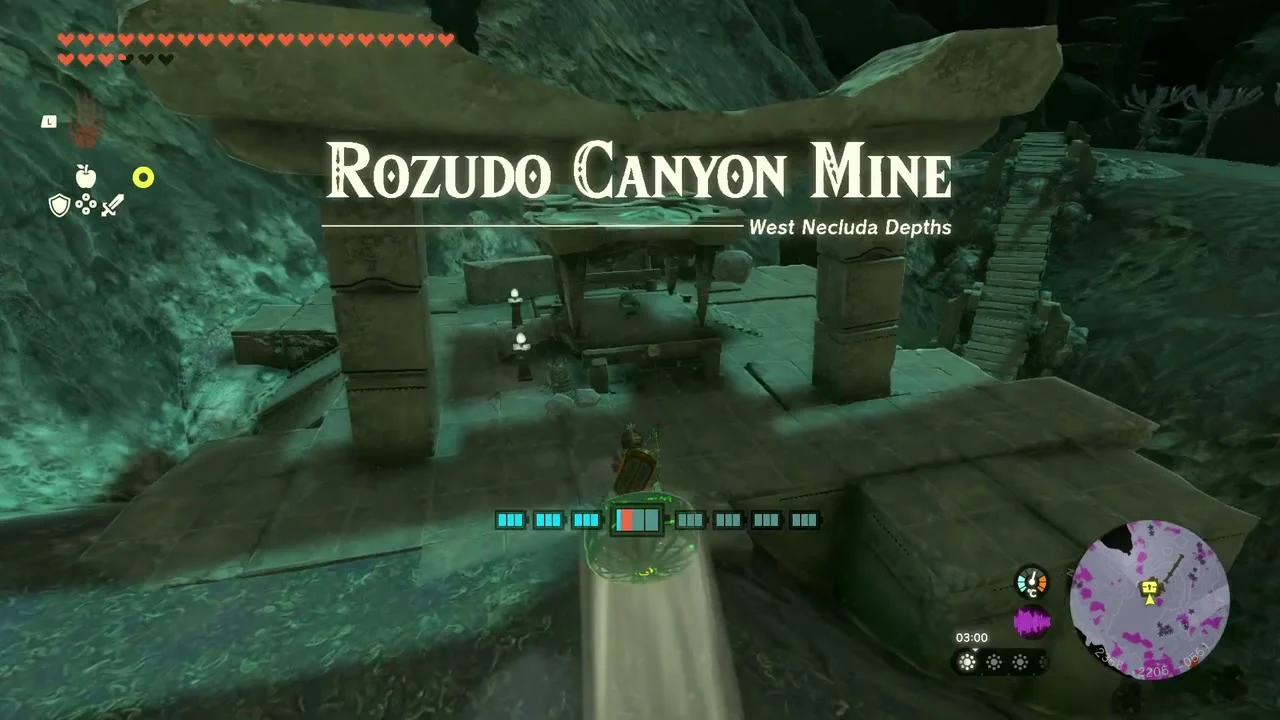
Search Rozudo Canyon Mine
Rozudo Canyon Mine at (2368, -2201, -597). Clear the ore deposits for Zonaite and open the mine chest for a Large Crystallized Charge; the Large Zonaite lies in the rock below.

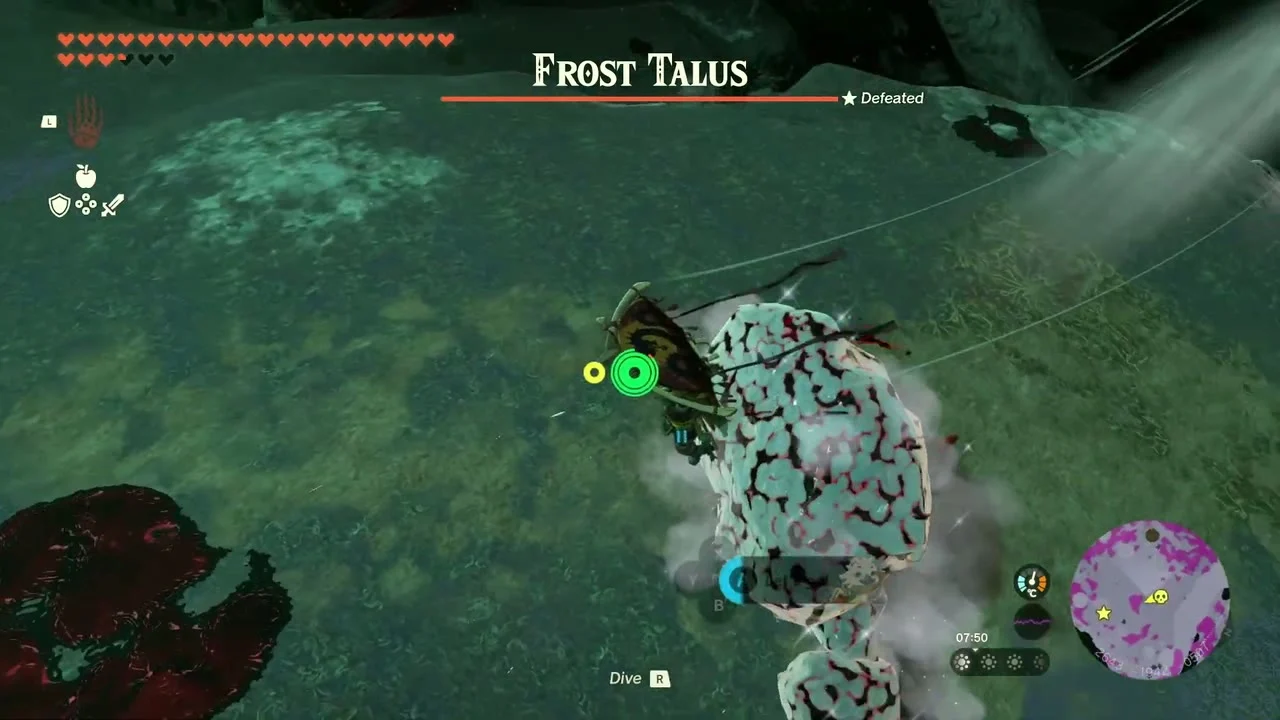
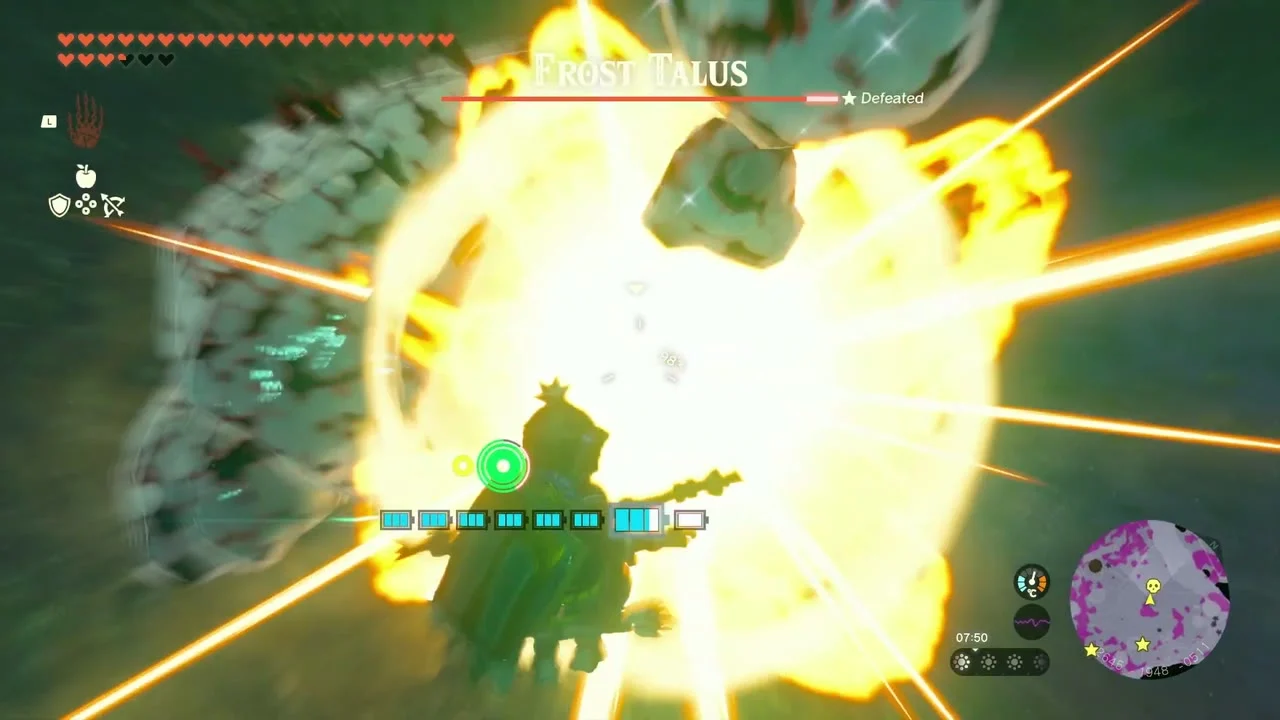
Defeat the Frost Talus
Miniboss: Frost Talus at about (2650, -1950). Use Fire Fruit or Bomb Flowers to melt it, then hit the ore on its back.
Meda, Taran and Tuft mines
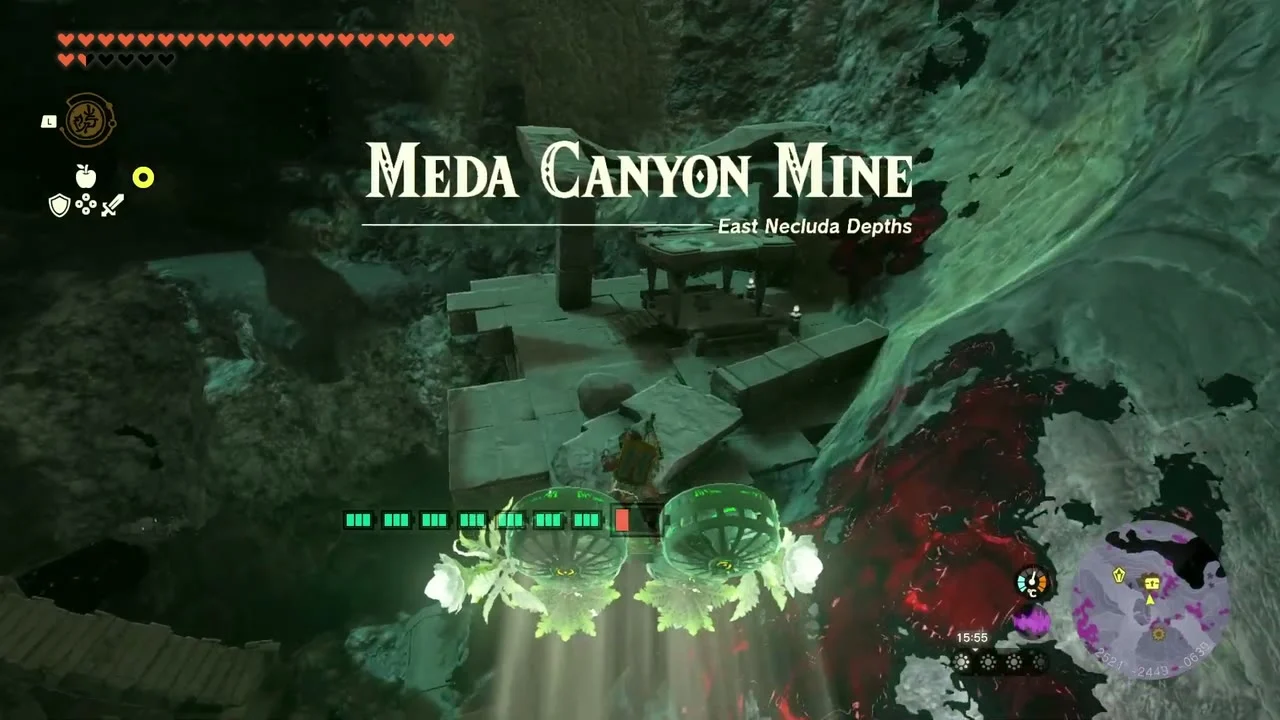
Enter Meda Canyon Mine
Meda Canyon Mine at (2512, -2483, -503). The chest in the mine holds a Large Crystallized Charge.
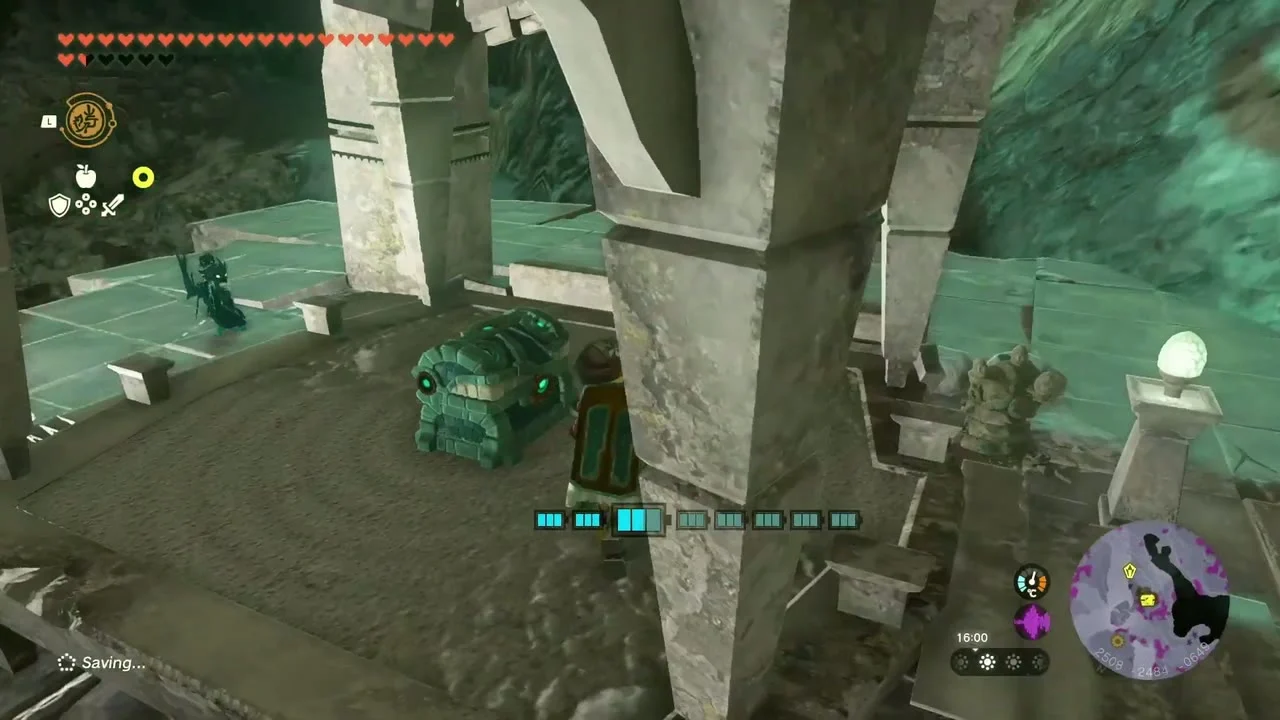
Defeat Stalnox
Miniboss: Stalnox at about (2865, -2361), in the dark below Rabella Wetlands. Shoot its glowing eye until it collapses, then strike the eye.

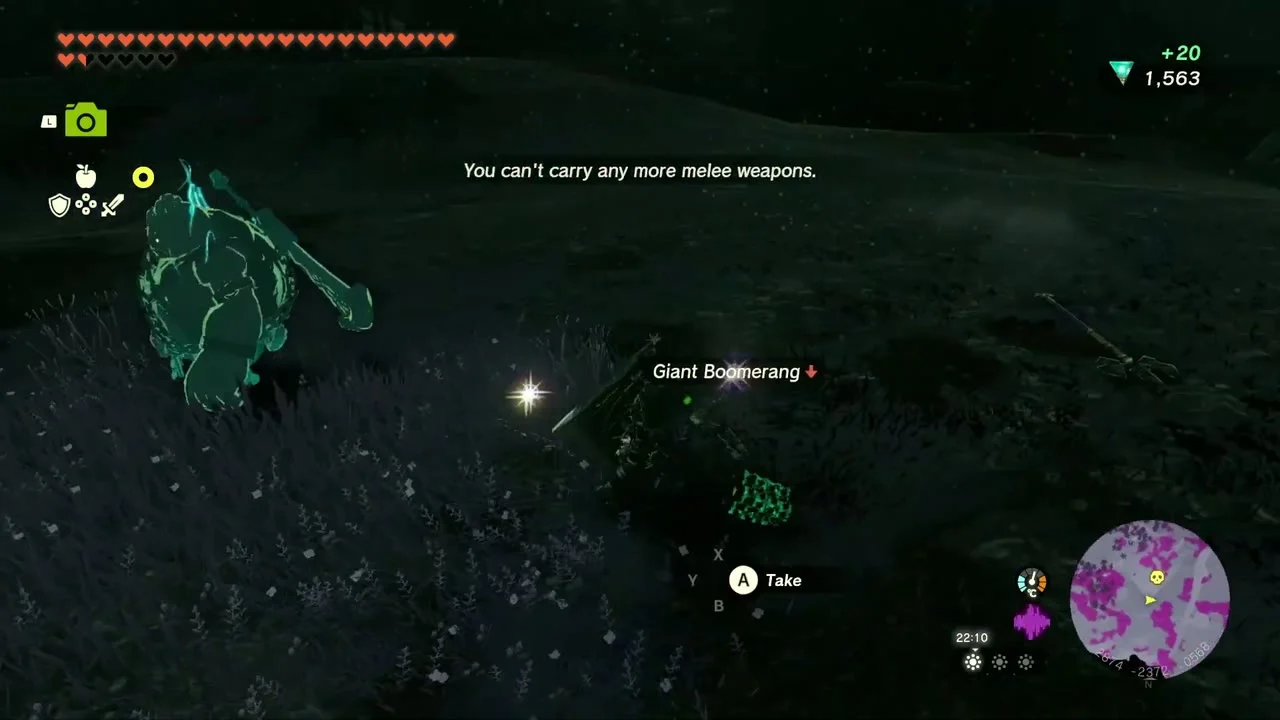
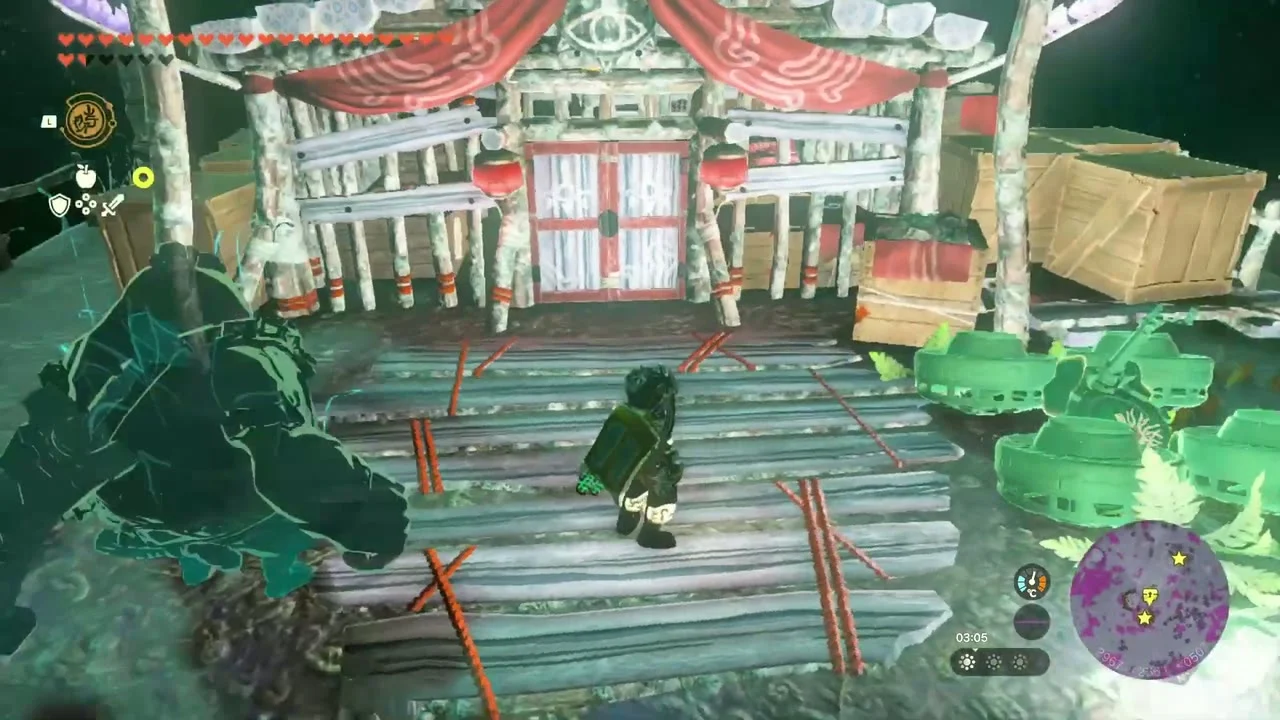
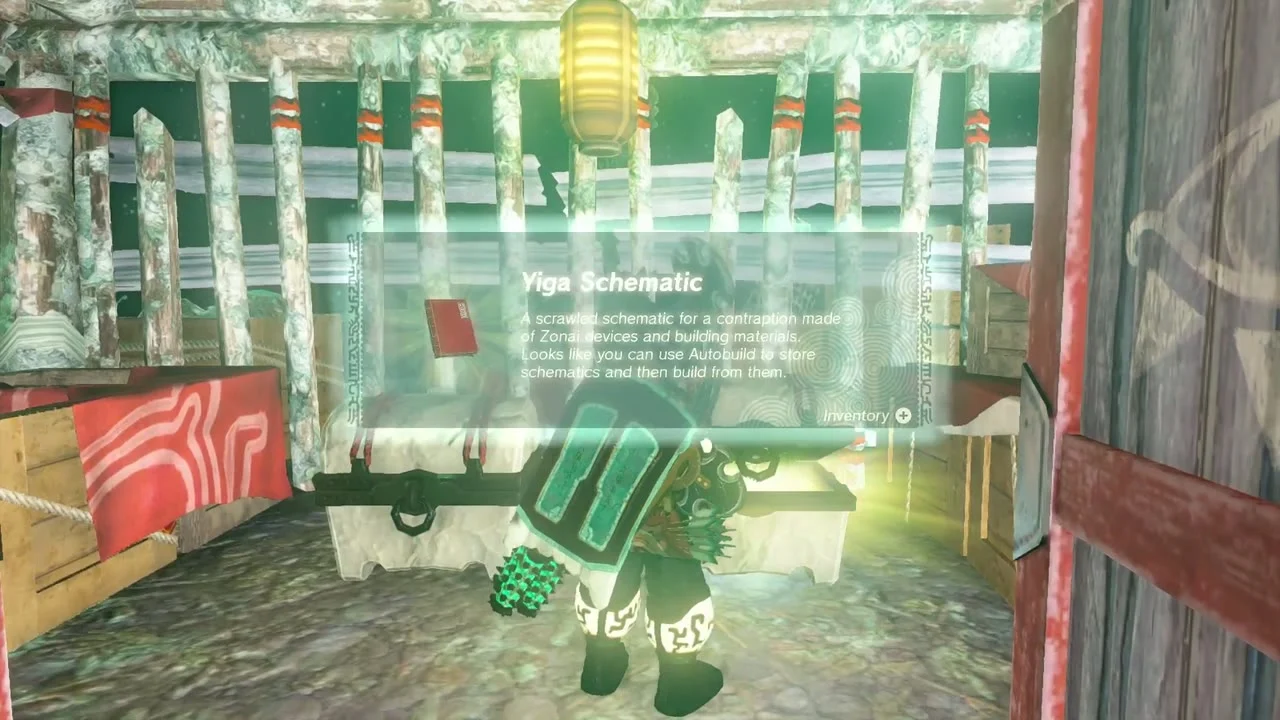
Search the Yiga camp
Chest: Yiga Schematic, Zonai Charge at about (2973, -2573), in a Yiga camp. Defeat the Yiga outpost’s guards and open the chest for a Yiga Schematic and a Zonai Charge.
Loot Taran Canyon Mine
Taran Canyon Mine at (2500, -2673, -733). The chest in the mine holds a Large Crystallized Charge.


Open the Giant Brightbloom Seed chest
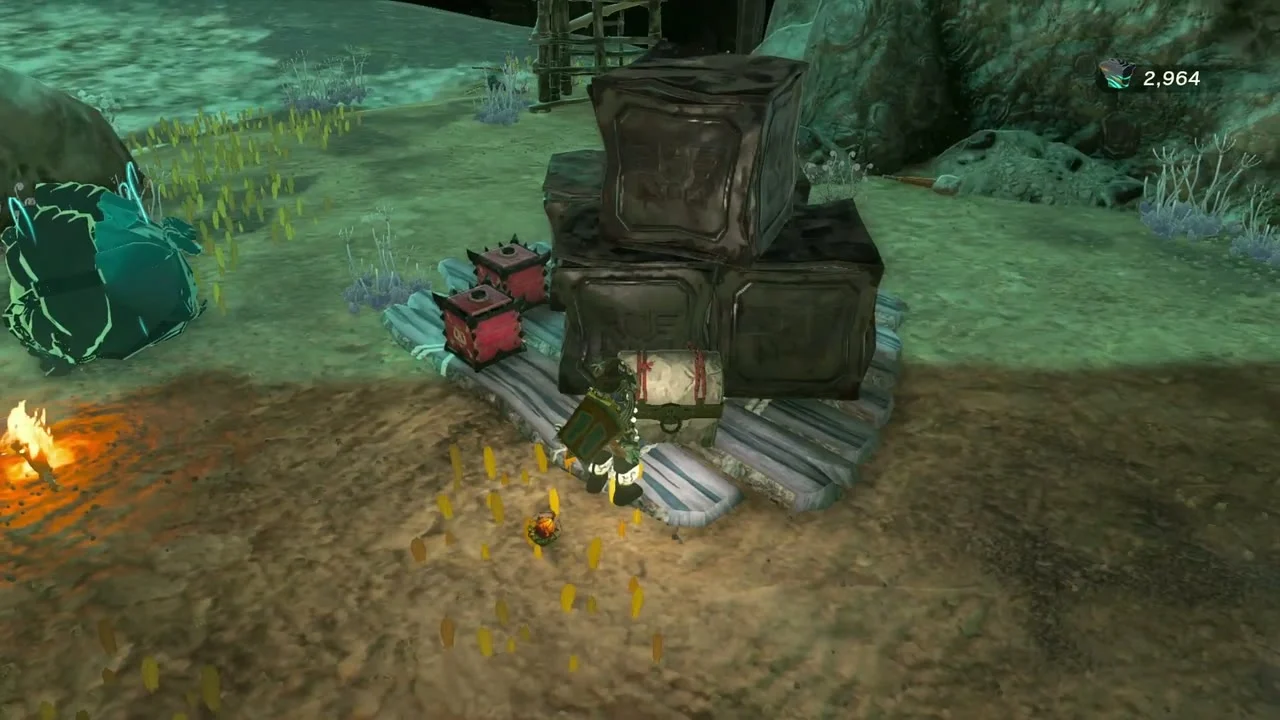
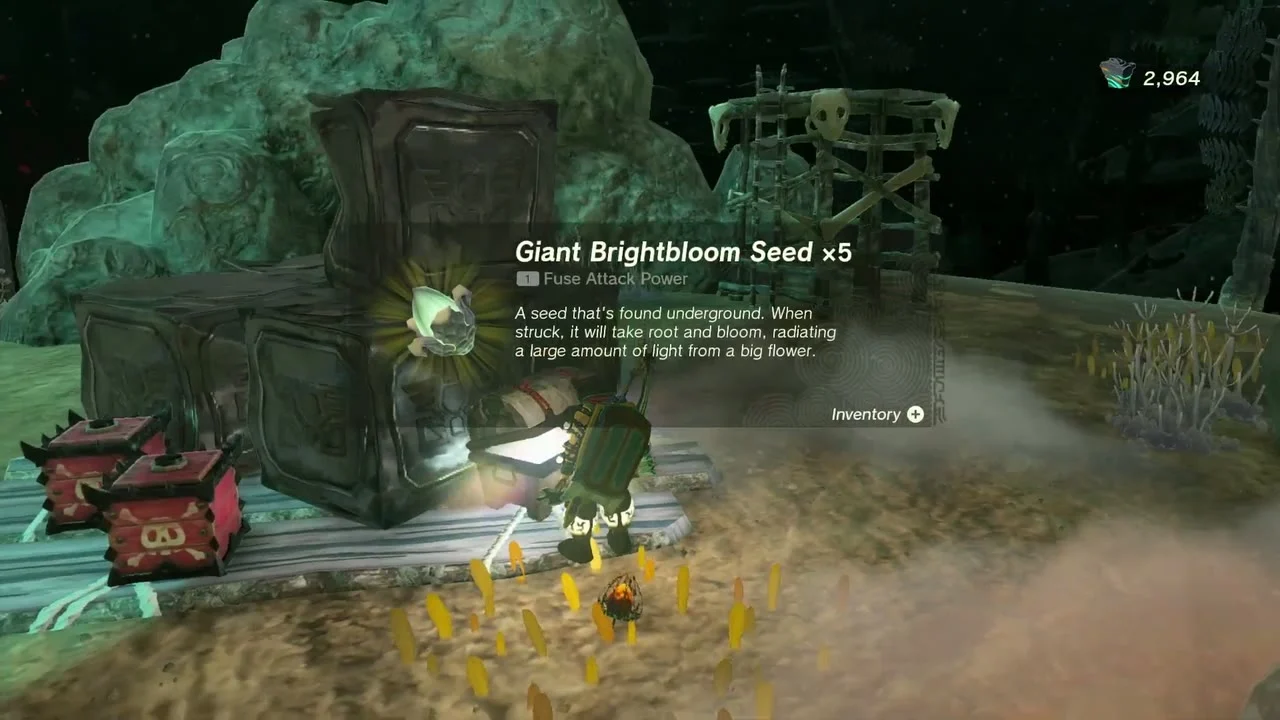
Chest: Giant Brightbloom Seed x5 at about (2577, -2972, -62). Clear the monster camp and open the chest for Giant Brightbloom Seed x5.
Defeat the Blue-White Frox
Miniboss: Blue-White Frox at about (2149, -3514). Pull the Frox’s weak point out of its shell with Ultrahand once the shield is gone.


Take the Eightfold Blade
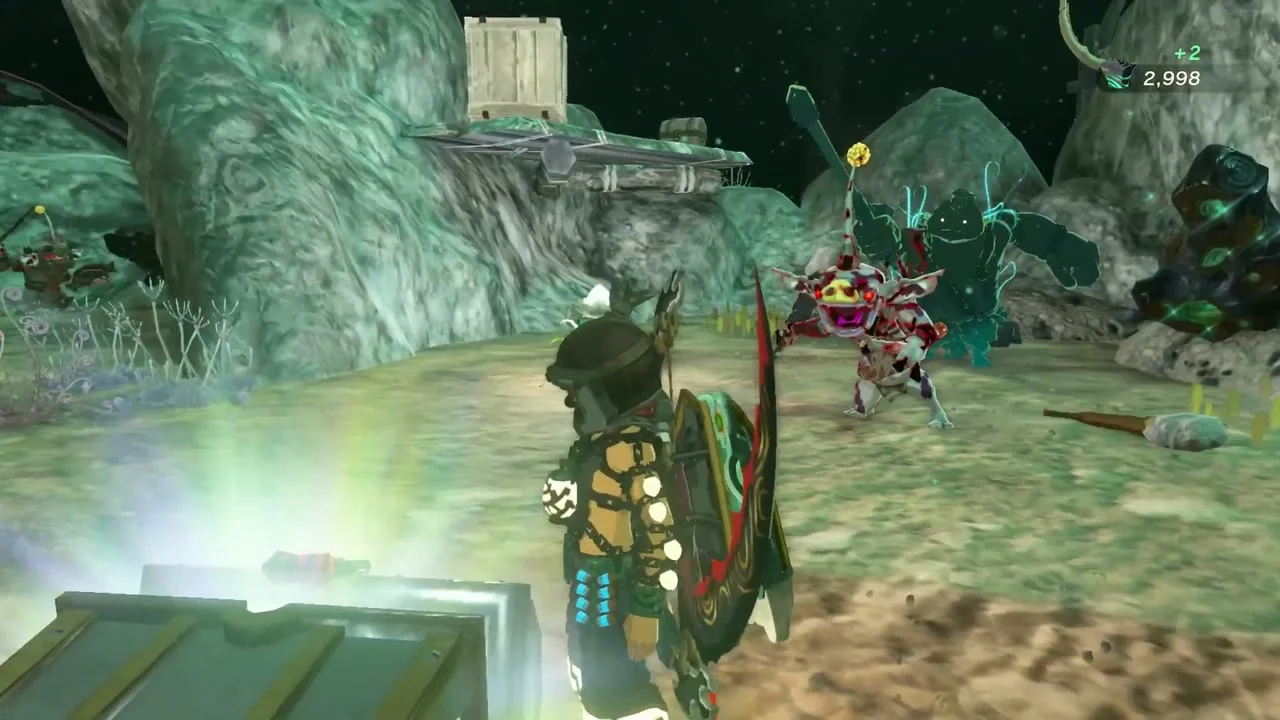
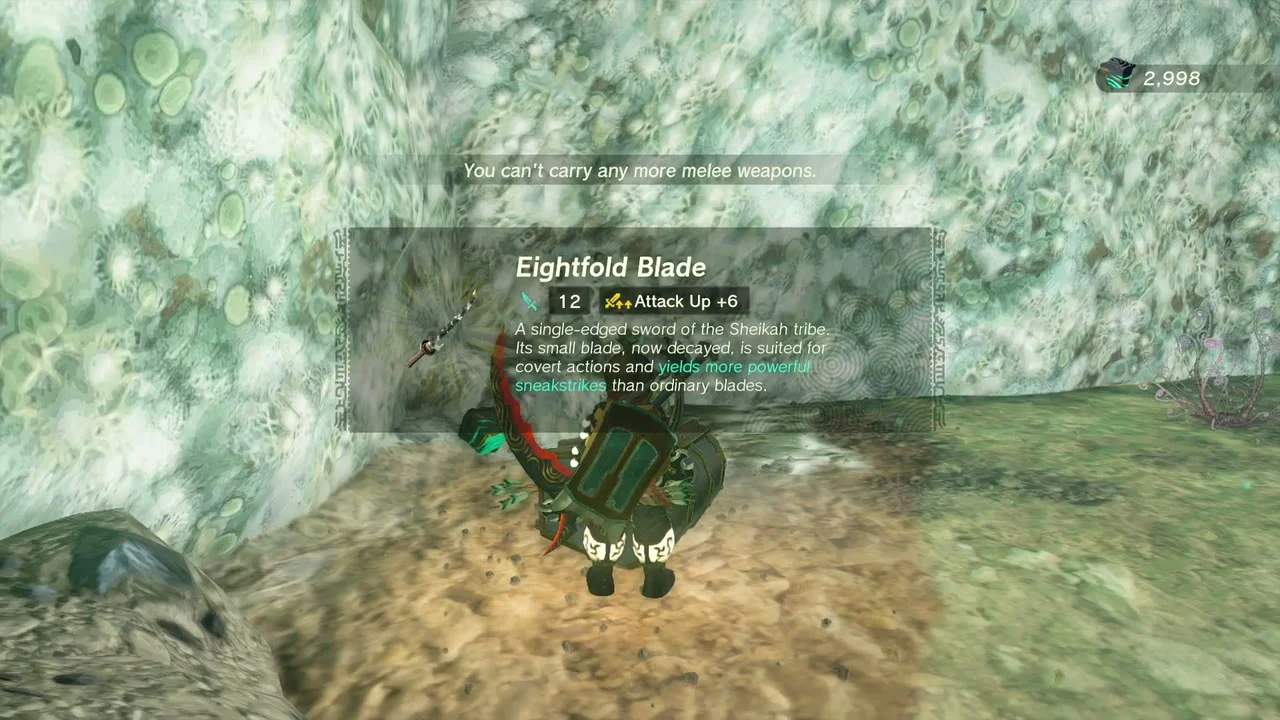
Chest: Eightfold Blade at about (2286, -3877, -45), under Clarnet Coast. Open the chest for the Eightfold Blade. A neighbouring chest holds the Shield of the Mind’s Eye and Arrow x10.
Open the Sundelion chest
Chest: Sundelion at about (2800, -3865). Pass the wooden scaffold and open the chest for a Sundelion.
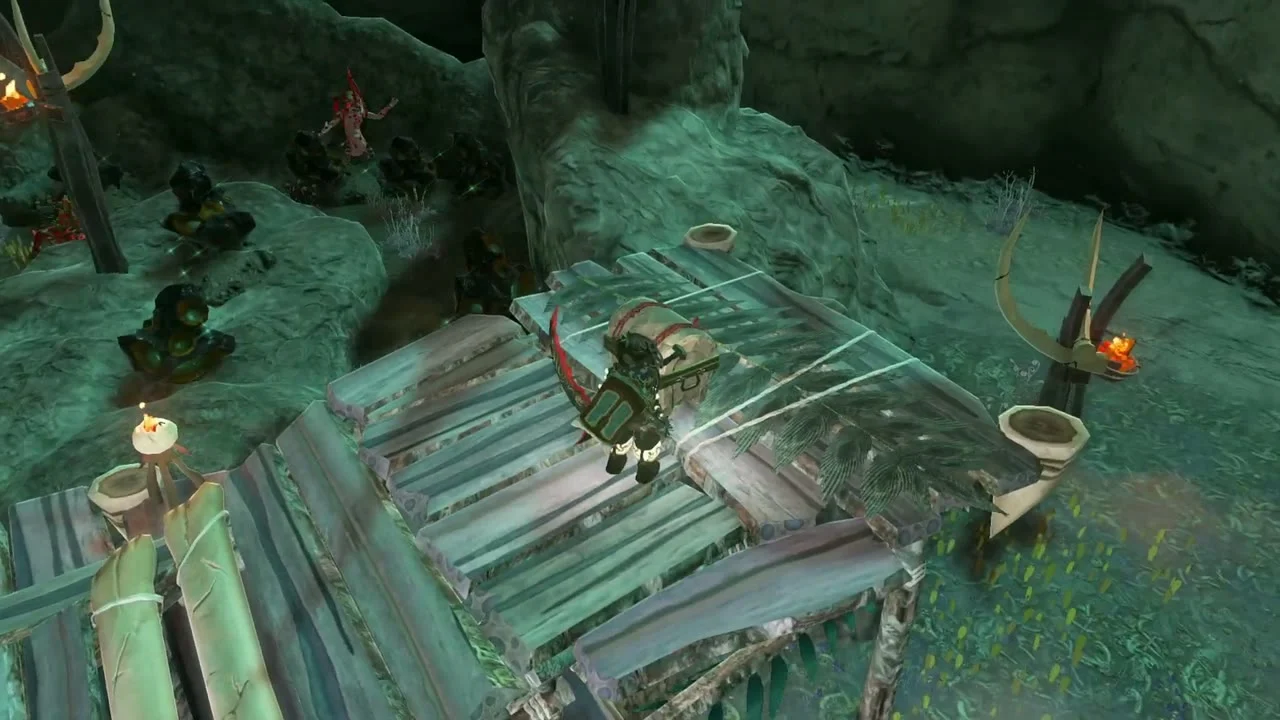

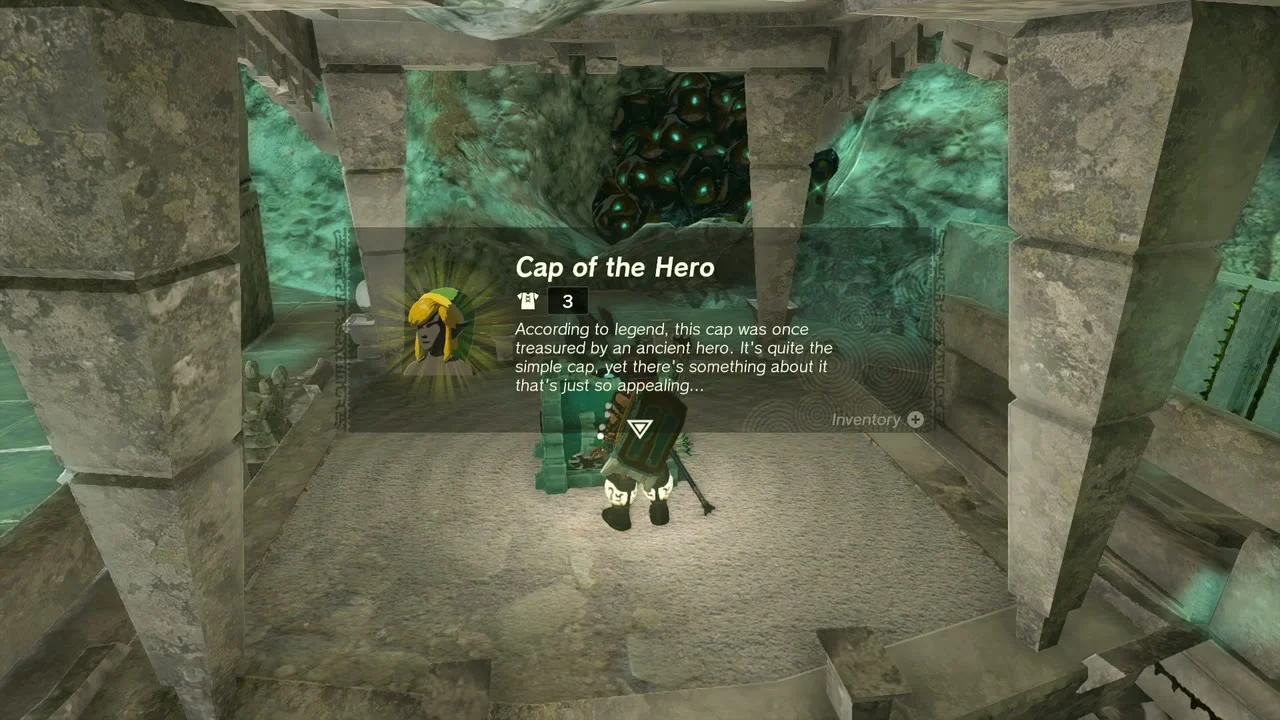
Take the Cap of the Hero from Tuft Canyon Mine
Chest: Cap of the Hero at (2525, -3601, -626), in Tuft Canyon Mine (2557, -3611). Climb the stone gallery and open the chest for the Cap of the Hero (Old Map from South Hyrule Sky Archipelago). The Ancient Observation Deck at (2589, -3504, -630) sits nearby.

Open the Tuft Canyon Large Crystallized Charge chest
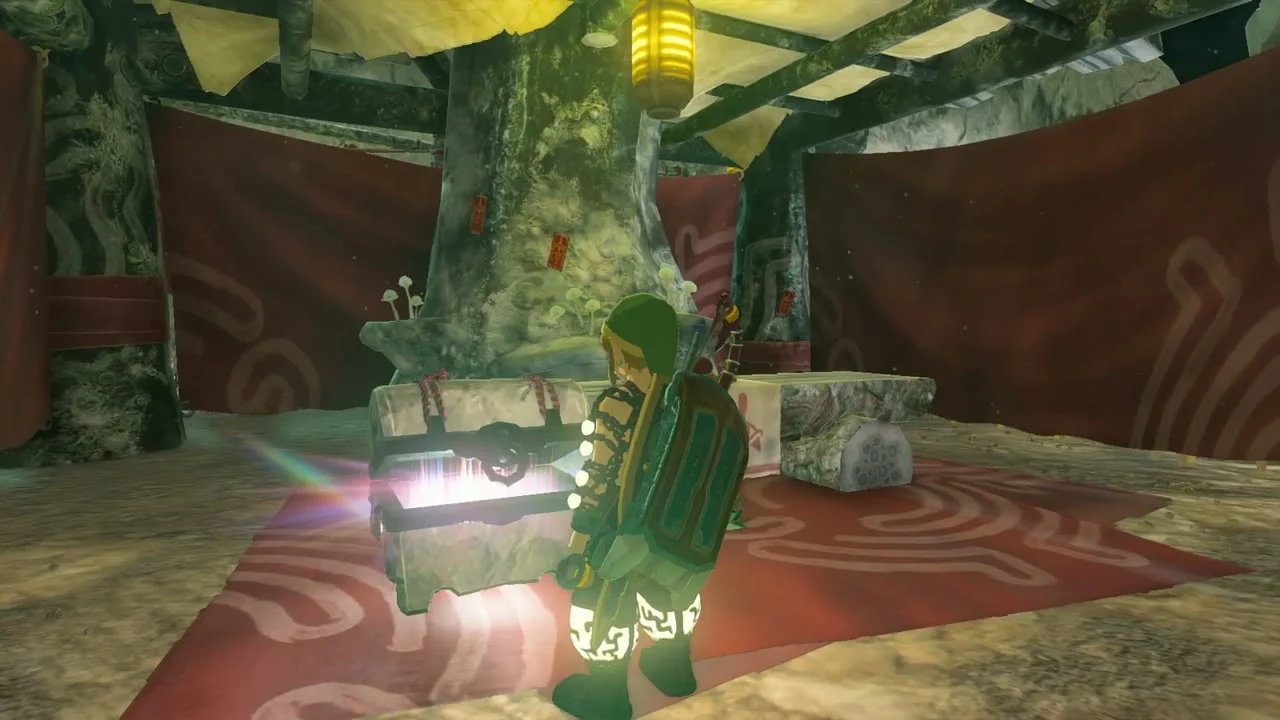
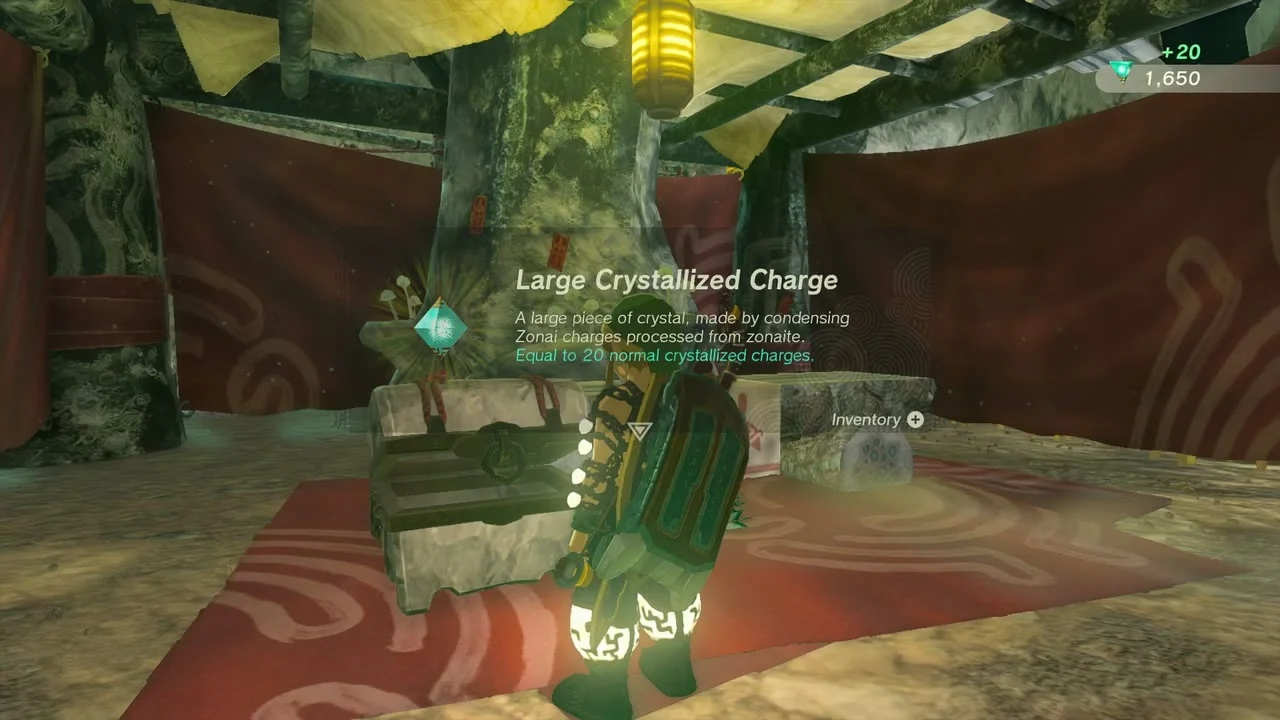
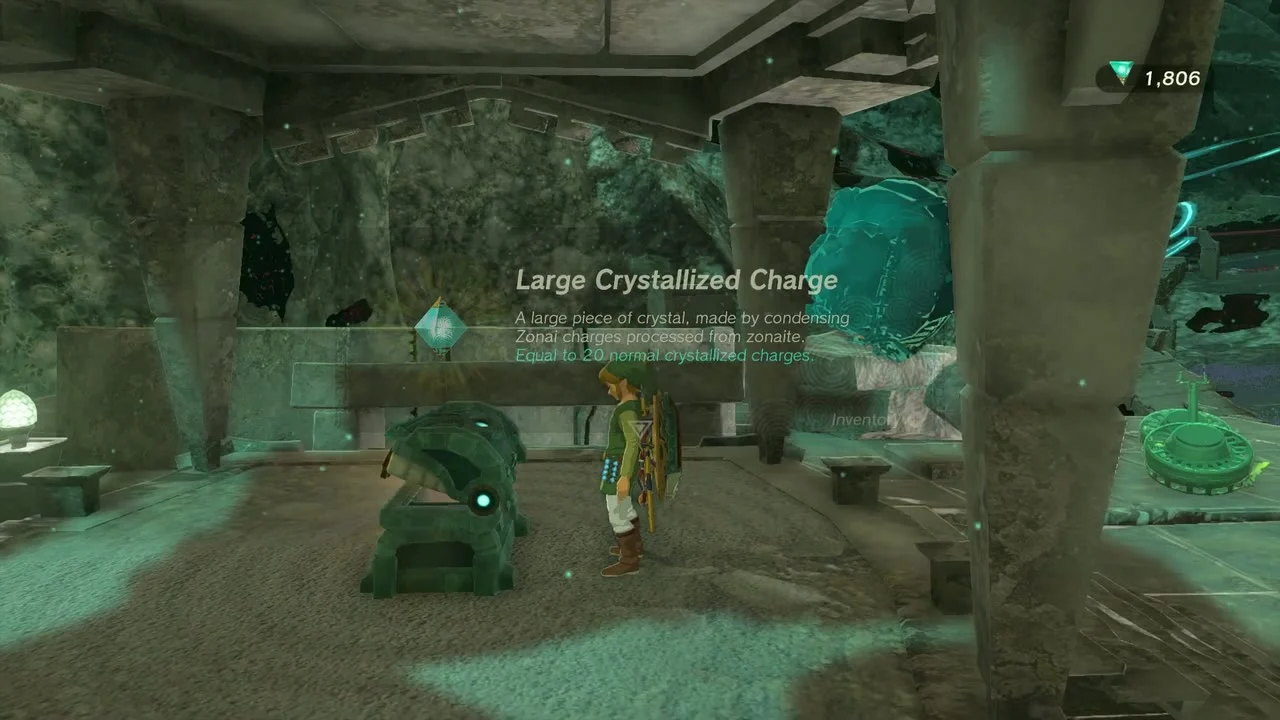
Chest: Large Crystallized Charge in Tuft Canyon Mine. Climb the stone dais and open the chest for a Large Crystallized Charge.


Abandoned Lurelin Mine, Cresia Pit and Dunsel Canyon
Loot Abandoned Lurelin Mine
Abandoned Lurelin Mine at (2967, -3606, -306). Search the Yiga office on the lower floor for a Large Crystallized Charge.
Take the Schema Stone
Schema Stone at the Steward Construct in Abandoned Lurelin Mine. Answer the construct to receive a Schema Stone that adds the Dirigible to Autobuild. You need Autobuild from the Great Abandoned Central Mine first, and the Steward Construct only talks to you after you deal with the Yiga (or wear the Yiga set). A second Large Crystallized Charge sits in the mine.
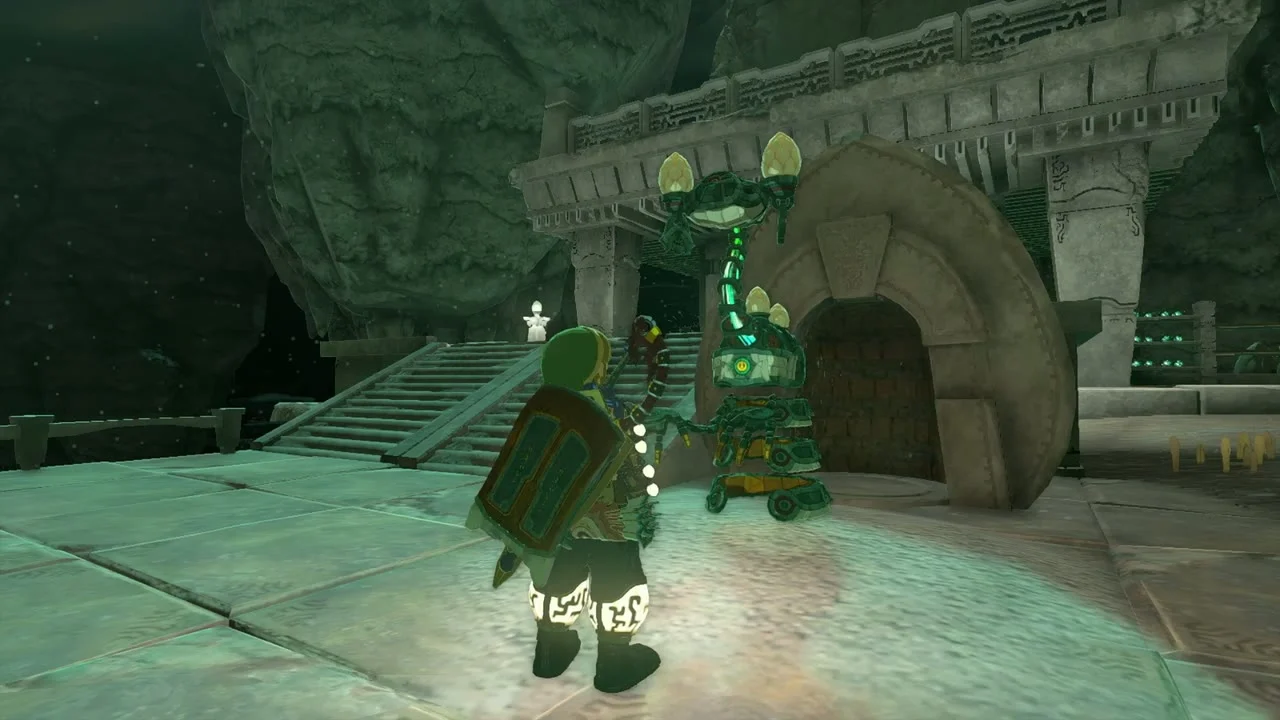

Miniboss: Flux Construct III at about (3259, -3687). Beat it with its weak spots for a Zonaite haul.
Open the chest in Cresia Pit Mine
Chest: Trousers of the Wind at (3794, -3616, -445), in Cresia Pit Mine (3729, -3735). Climb the stone building and open the chest for the Trousers of the Wind (Old Map from Wellspring Island).


Search Dunsel Canyon Mine
Dunsel Canyon Mine at (3153, -3276, -709). The chest at the end of the mine holds a Large Crystallized Charge.
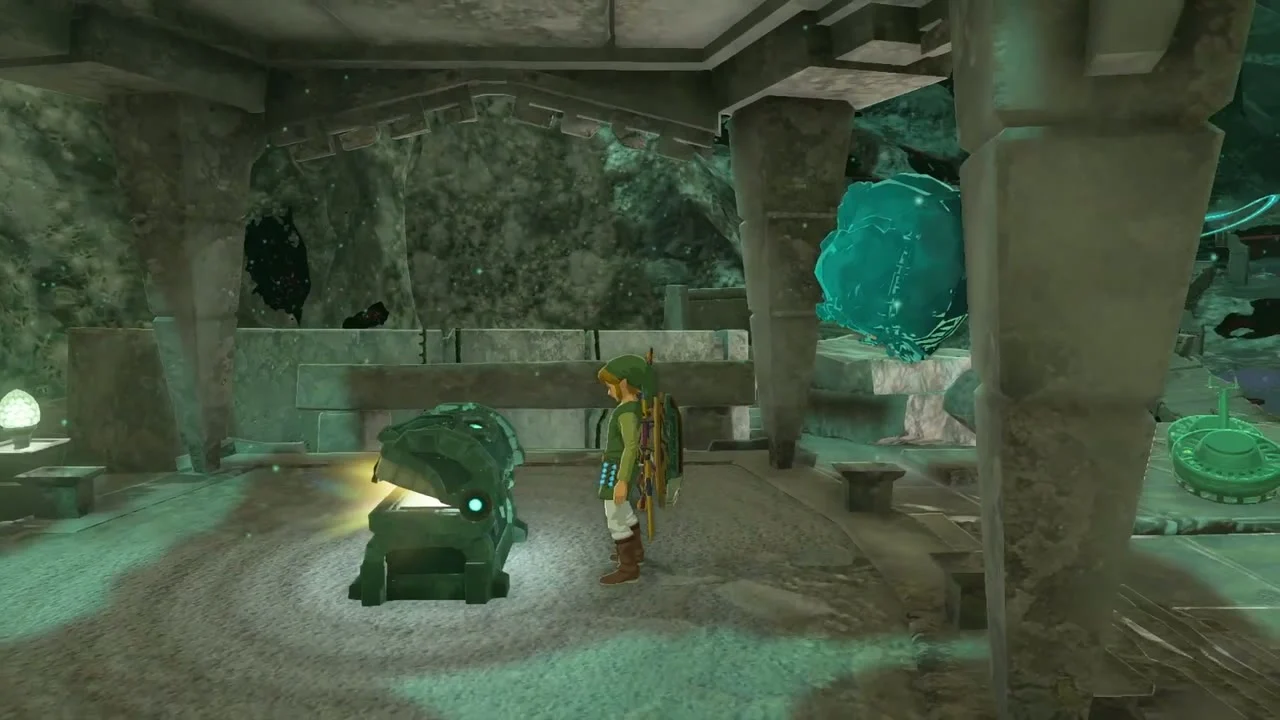
Take the Sundelion chest near the mine
Chest: Sundelion, on a wooden scaffold with candles on the way to the mine exit. Open it for a Sundelion.
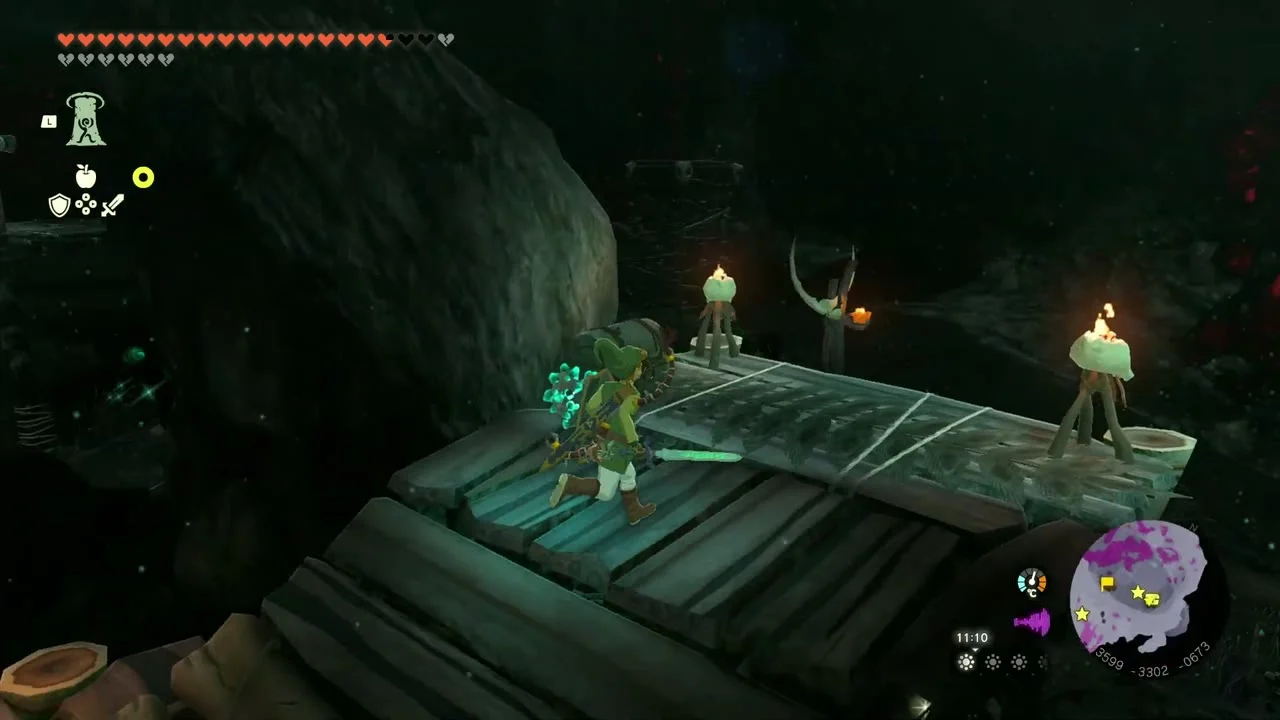
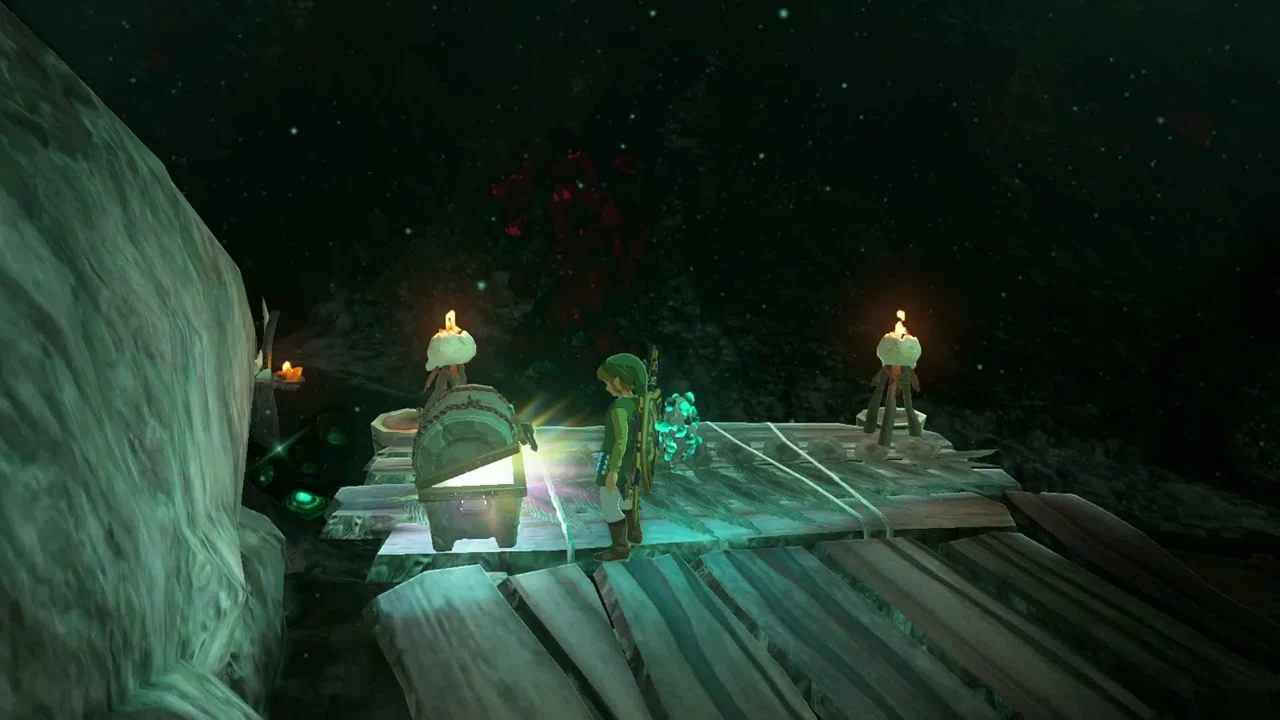
Miniboss: Battle Talus at about (3280, -3405), just before the return route. Hit the ore on its back with a strong weapon and throw its arms back with Ultrahand.
Return to the surface and dye the paraglider
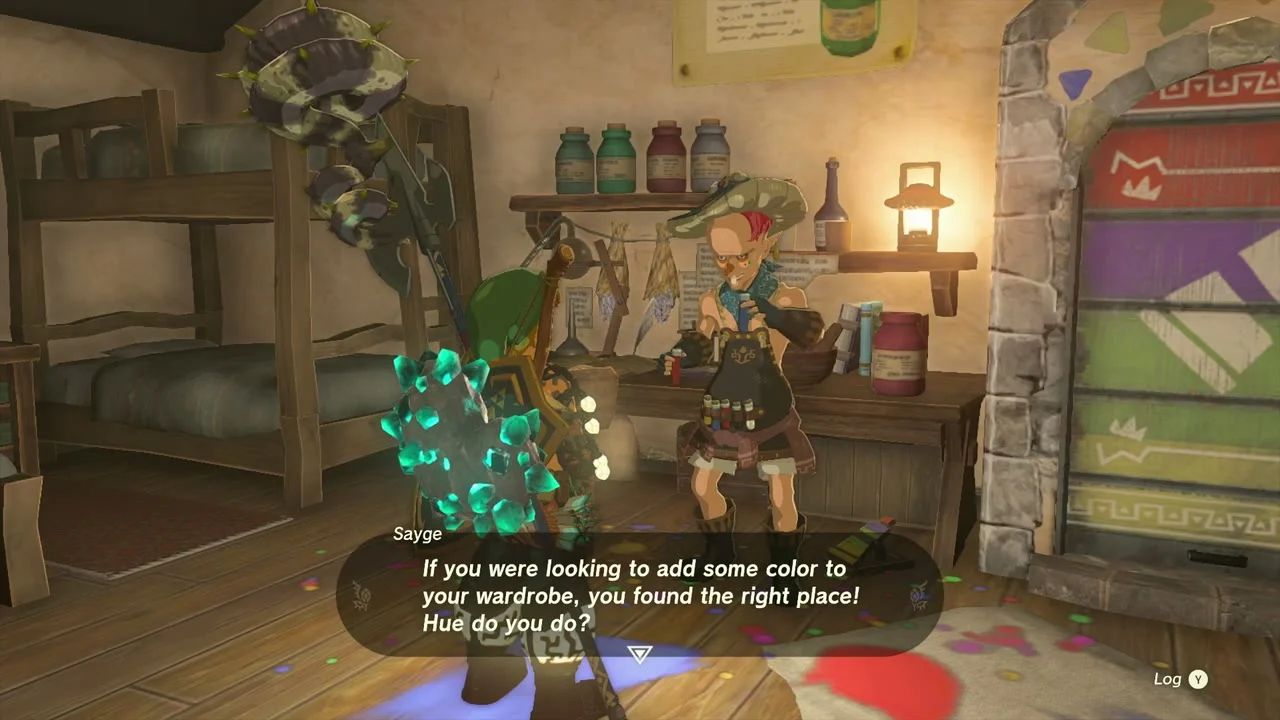
Take the shortcut out of the Depths and dye your paraglider with Stalnox Fabric at the Hateno Village dye shop.

Activate Gerudo Canyon Skyview Tower
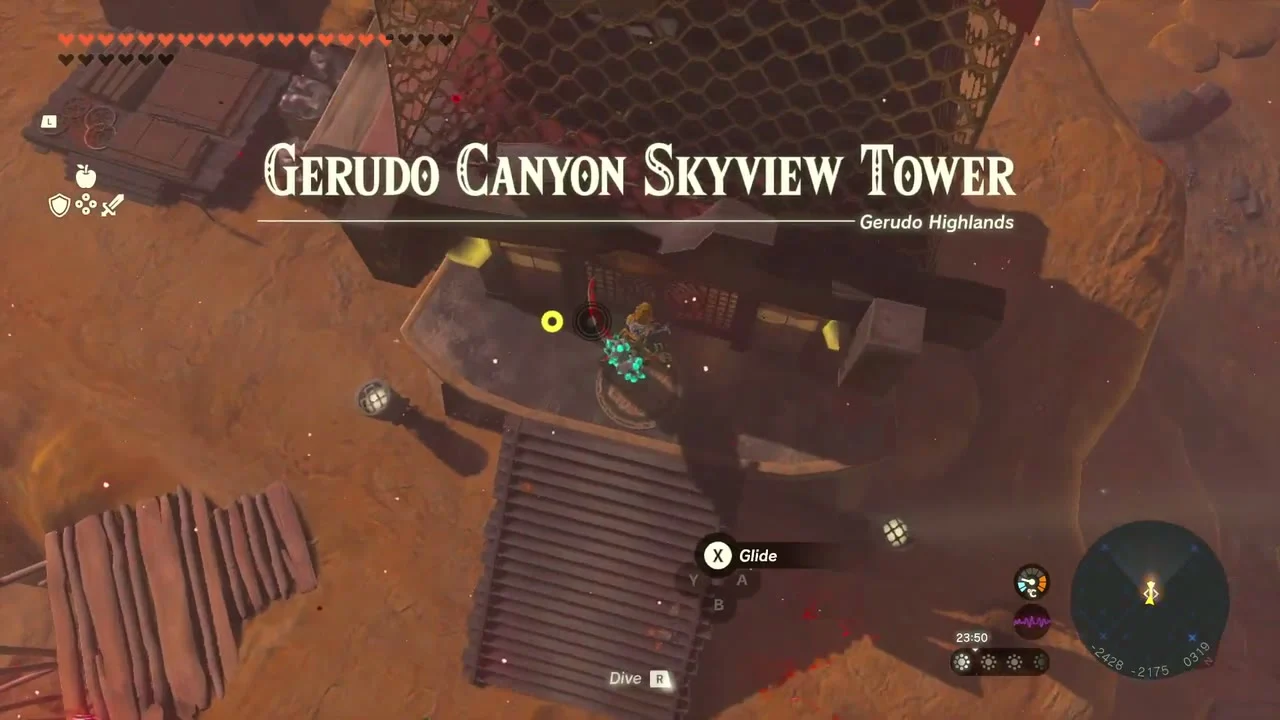
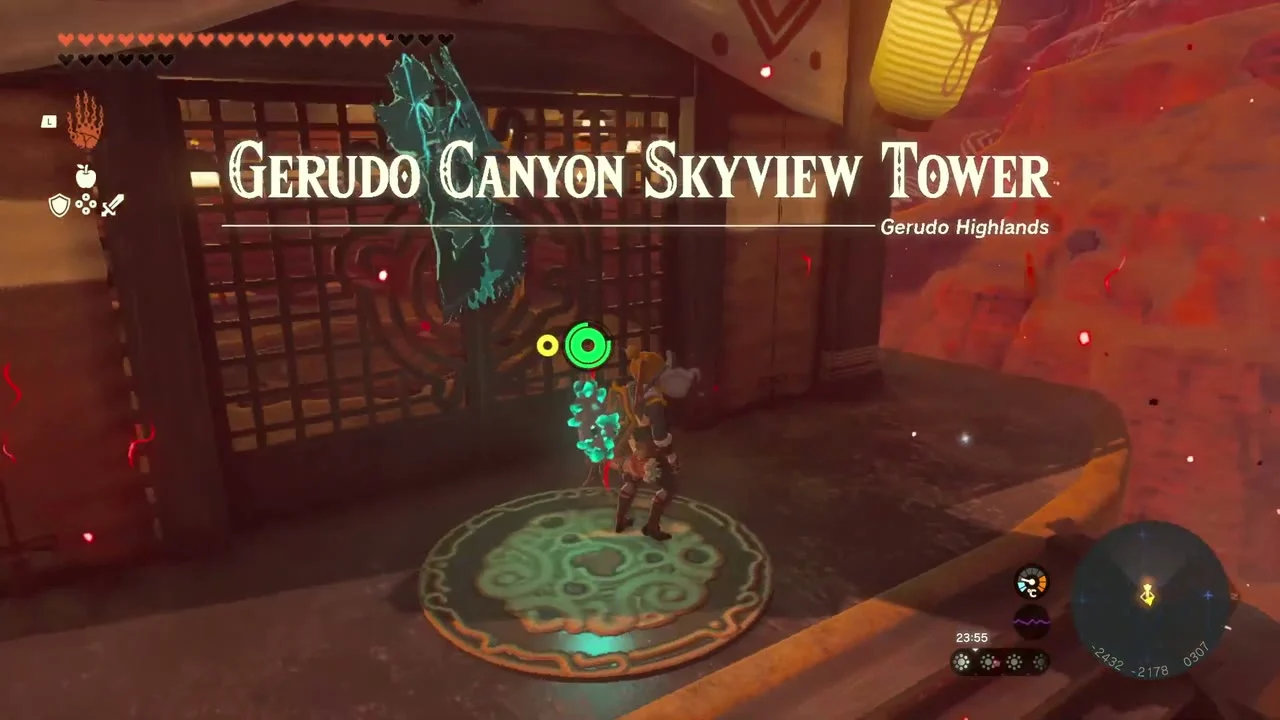
Gerudo Canyon Skyview Tower at (-2439, -2183, 301), north-north-west of Spectacle Rock. Climb to the top and activate the terminal; the route continues in Gerudo Desert.
Old Maps and the armor chests
Three armor pieces in this chapter are marked by Old Maps found in the sky, so collect the map first and the chest location appears on your map. The Midna’s Helmet map is the Old Map on the South Lanayru Sky Archipelago (4658, -869, 1769) and points to Lone Island Coliseum (4562, -3619, -470). The Cap of the Hero map is on the South Hyrule Sky Archipelago (-1343, -1547, 801) and points to Tuft Canyon Mine (2519, -3602, -625). The Trousers of the Wind map is on Wellspring Island (3692, 593, 1246) and points to Cresia Pit Mine (3794, -3613, -445). All three pieces count toward the Depths armor sets and can be upgraded at a Great Fairy fountain.
Depths landmarks in this chapter
| Landmark | Coordinates | What is there |
|---|---|---|
| Hickaly Grove | 1943, -2392, -595 | Dark grove with a Large Crystallized Charge chest |
| Rozudo Canyon Mine | 2368, -2201, -597 | Mine chest and Large Zonaite deposits |
| Meda Canyon Mine | 2512, -2483, -503 | Mine chest (Large Crystallized Charge) |
| Taran Canyon Mine | 2500, -2673, -733 | Mine chest (Large Crystallized Charge) |
| Ancient Observation Deck | 2589, -3504, -630 | Stone observation platform next to Tuft Canyon Mine |
| Tuft Canyon Mine | 2557, -3611, -516 | Cap of the Hero and a Large Crystallized Charge |
| Abandoned Lurelin Mine | 2967, -3606, -306 | Two Large Crystallized Charges and the Schema Stone |
| Dunsel Canyon Mine | 3153, -3276, -709 | Mine chest (Large Crystallized Charge) |
| Cresia Pit Mine | 3729, -3735, -607 | Trousers of the Wind chest |
| Lone Island Coliseum | 4563, -3604, -349 | Midna’s Helmet |
Sky and Depths links in this stretch
Each Lightroot in this chapter lies directly below a surface shrine, so lighting it from the Depths also shows the shrine’s surface location on your map: Mimufis under Sifumim Shrine (2825, -3270), Kotimab under Bamitok Shrine (3093, -3209) and Ni-iraram under Marari-in Shrine (4631, -3712). Yikot sits under Tokiy Shrine in West Necluda (2304, -2377). The Rabella Wetlands Skyview Tower is the best launch point for every sky island here, and the Eventide Island Chasm and Meda Mountain Chasm are the two entrances to the Depths used in this chapter.
Gloom from the coliseum’s enemies lowers your maximum hearts until you rest or eat a Hearty-type meal, so go in with plenty of hearts and several full-heal dishes in your pouch. Waves arrive as the previous one is cleared, so use the arena walls for cover while you recover. The Gloom Resistance of Midna’s Helmet is worth the effort if you plan to dive into Gloom-heavy parts of the Depths later. Light Ni-iraram Lightroot straight afterwards so that you can return to the island without repeating the fight.
Tips for this stretch
King Gleeok has three elemental heads and each one resists a different approach. Fire Fruit and Ice Fruit arrows stun the matching head, a Shock Fruit or a Zonai Beam Emitter hurts the lightning head, and a Rocket-powered glider keeps you near the island so you can land on its back between attacks. Keep a stack of Bomb Flowers for the Frox and Talus fights and save your best spare weapons for the ore deposits on the Talus bosses.
Bring plenty of Brightbloom Seeds and Zonai Charges. Each Large Crystallized Charge counts as 20 Zonai Charges, so the nine in this stretch refill a lot of vehicles. Light the four Lightroots before you start mining so the map and fast travel are available.
East Necluda Depths checklist
| Collectible | Count | Where |
|---|---|---|
| Lightroots lit | 4 | Yikot, Mimufis, Kotimab, Ni-iraram |
| Shrines | 1 | Kumamayn (Necluda sky) |
| Korok seeds | 2 | Necluda sky: (2719, -2739), (2932, -2991) |
| Sage’s Wills | 2 | South Necluda Sky island, King Gleeok island |
| Armor pieces | 3 | Midna’s Helmet, Cap of the Hero, Trousers of the Wind |
| Depths chests (items listed) | 18 | 9 Large Crystallized Charge, Midna’s Helmet, Yiga Schematic, Giant Brightbloom Seed x5, Eightfold Blade, Shield of the Mind’s Eye, 2 Sundelion, Cap of the Hero, Trousers of the Wind |
| Minibosses | 8 | 2 Flux Construct III (sky), King Gleeok, Frost Talus, Stalnox, Blue-White Frox, Flux Construct III, Battle Talus |
