





















| Beast | Vah Medoh, the bird-shaped Divine Beast of the Rito |
|---|---|
| Region | Tabantha; flies above Rito Village (settlement at x -3618, z -1808, height 532, map square B-3) |
| Champion | Revali |
| Boss | Windblight Ganon (health 800 for the first Blight you defeat, then 1,200, 1,600 and 2,000 for the fourth) |
| Bring | Cold protection (Snowquill set or elixirs), a bow, Remote Bombs, Magnesis and Stasis |
| Reward | Heart Container, Revali’s Gale, Great Eagle Bow (attack 28, durability 60) |
Vah Medoh circles high above Rito Village. The Rito warrior Teba tests your aim at the Flight Range, gives you 20 Bomb Arrows and takes you up against the beast, where you destroy four cannons while gliding. Inside, you tilt the wings to reach five terminals and then fight Windblight Ganon.
Before the assault
Find Teba
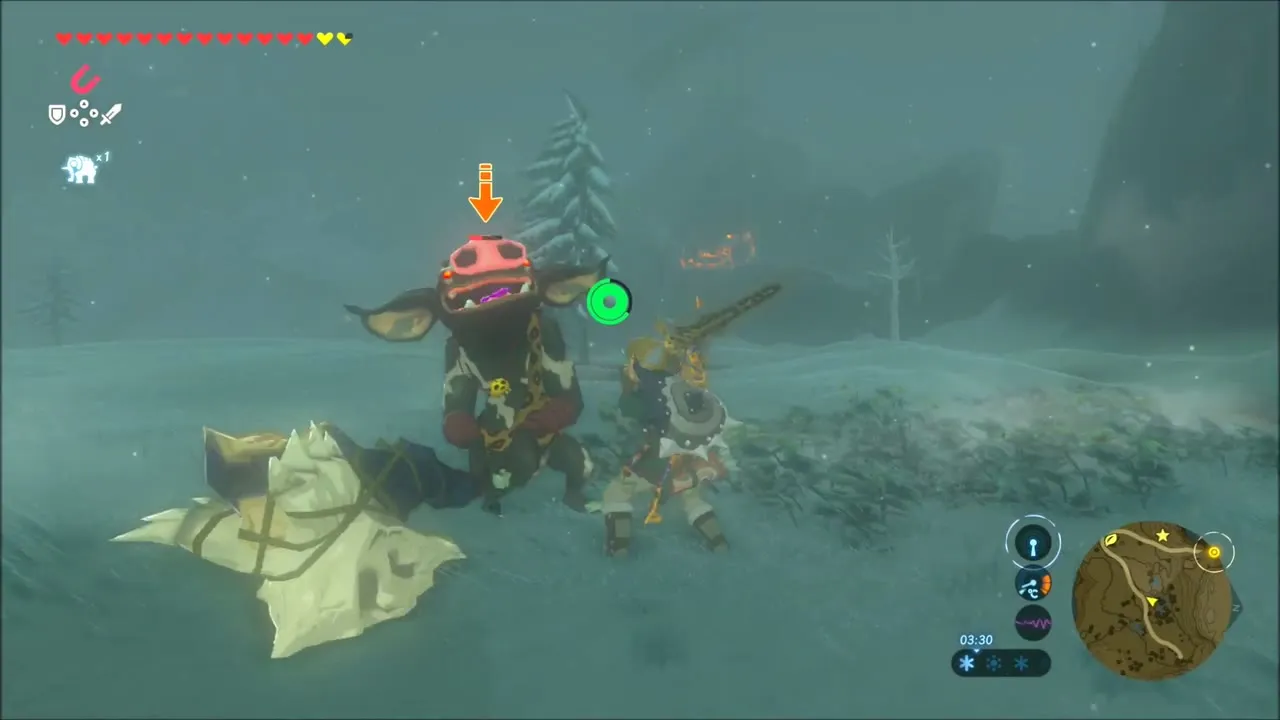
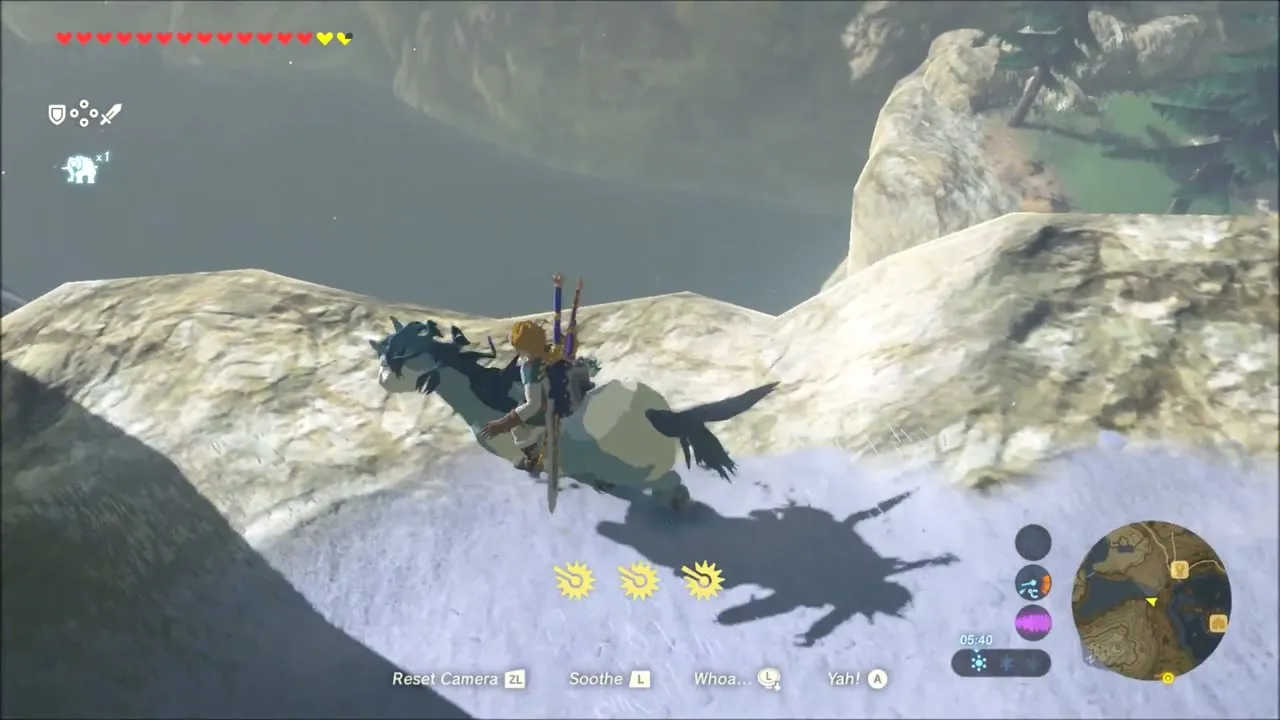
Elder Kaneli sends you after Teba, who has left for the Flight Range. His wife Saki tells you to leave by Revali‘s Landing. Glide off north past the stone pillar and prepare for cold: the Hebra slopes need warm clothing, the Snowquill set sold in the village, or elixirs. Black Bokoblins on horseback and camouflaged Ice-breath Lizalfos patrol the route, which passes Sha Warvo Shrine.


The Flight Range test
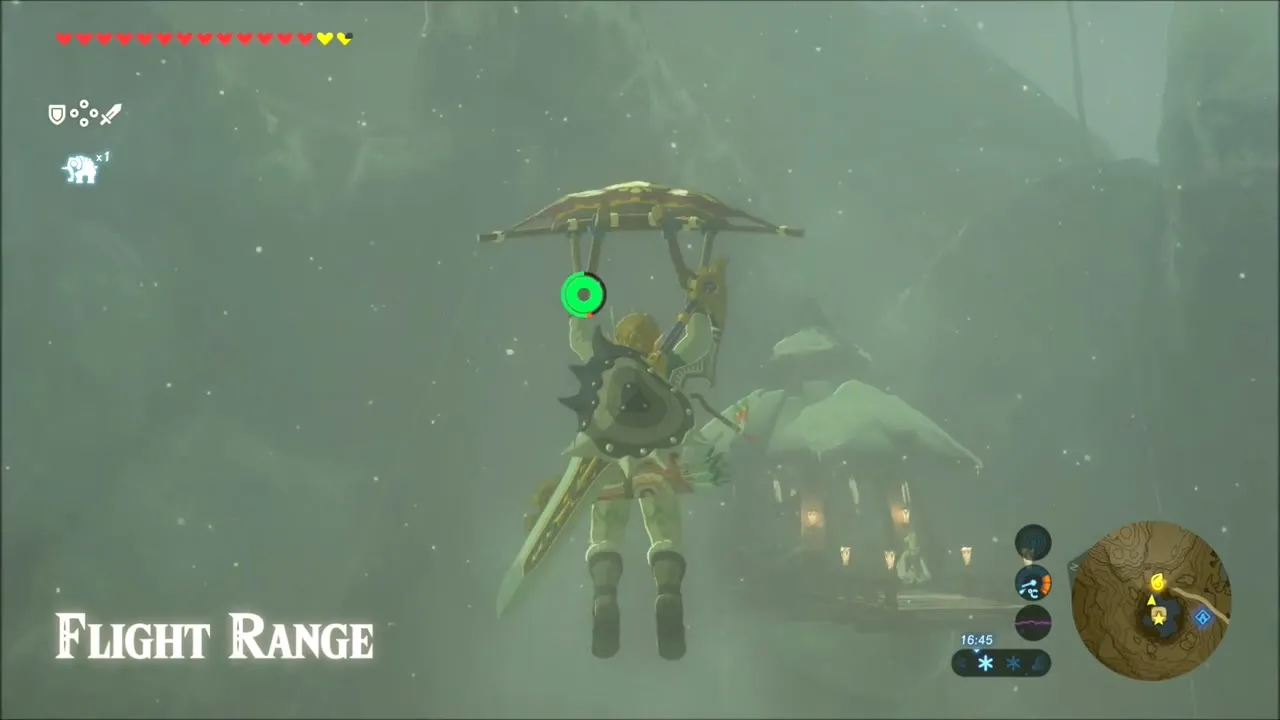
Teba asks you to hit five targets in three minutes while gliding on the updrafts. There are many more than five in the arena and each hit refills your stamina. Borrow the Swallow Bow from the building if you have none. After you pass, a chest at the range holds a Falcon Bow and Teba hands you 20 Bomb Arrows; do not waste them.

Assaulting Vah Medoh
Destroy the four cannons
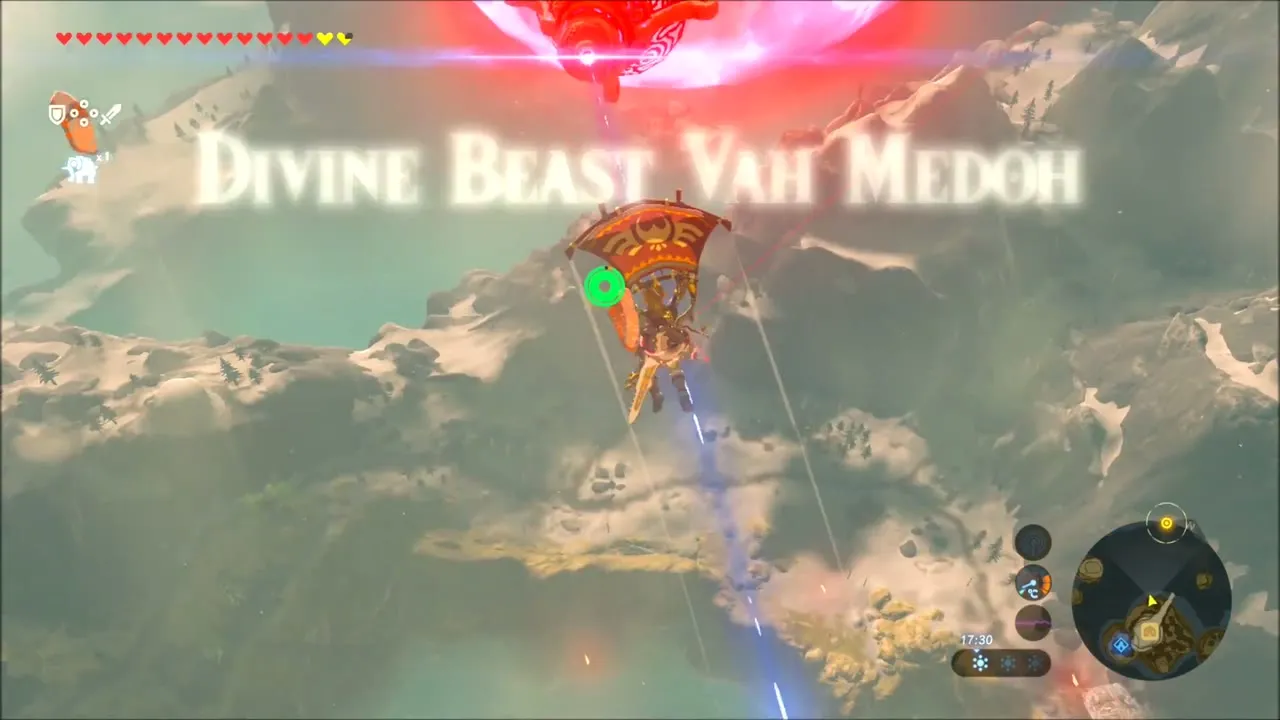
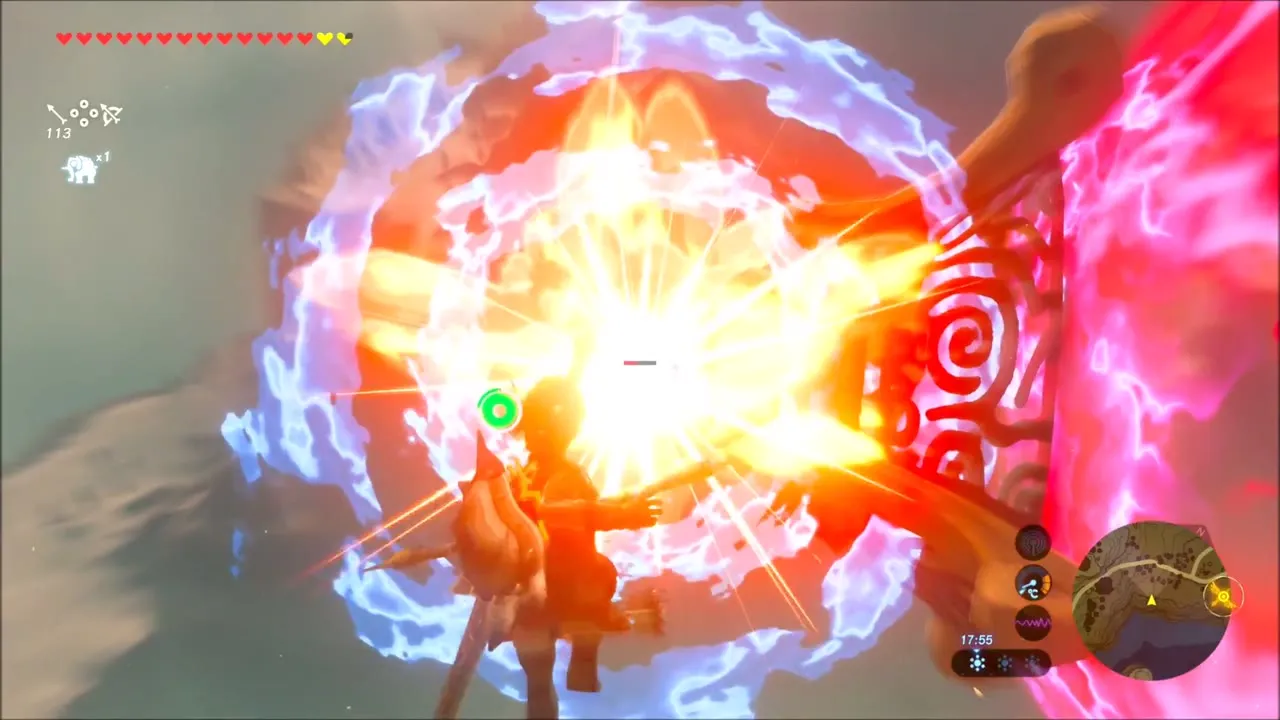
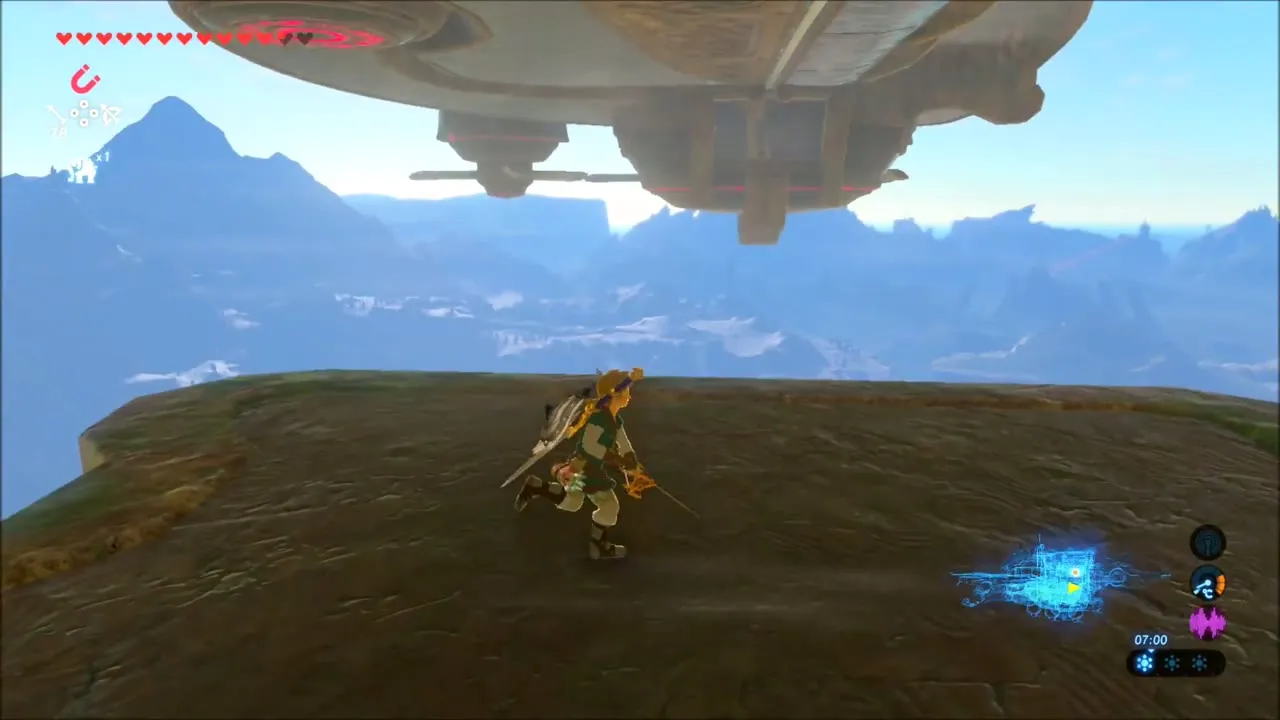
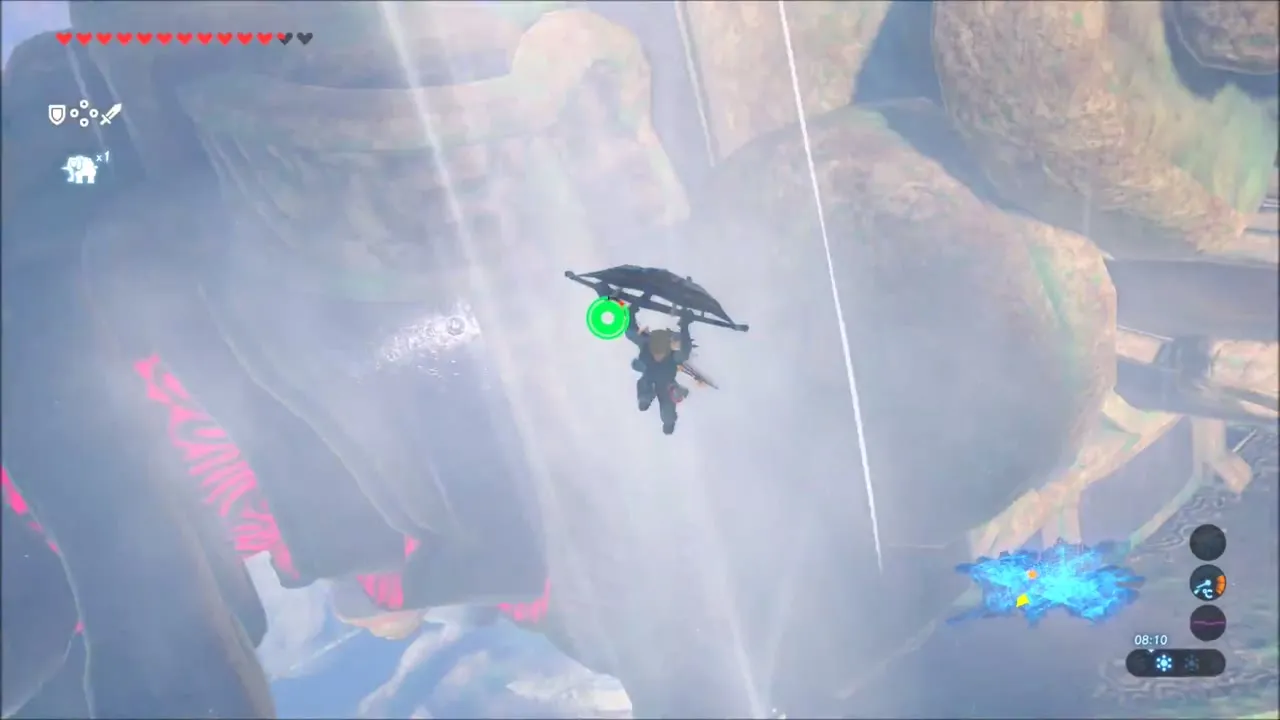
Four cannons sit on the tips of the beast’s shield. They lock on and fire like Guardian beams. Wait until the last moment, free-fall under the beam and then glide back up. Each cannon needs two Bomb Arrows, so get close. Your stamina refills each time you open the paraglider, so you can circle the whole beast. Teba leaves when all four are destroyed.

Inside Vah Medoh
Tail, map and the first chests
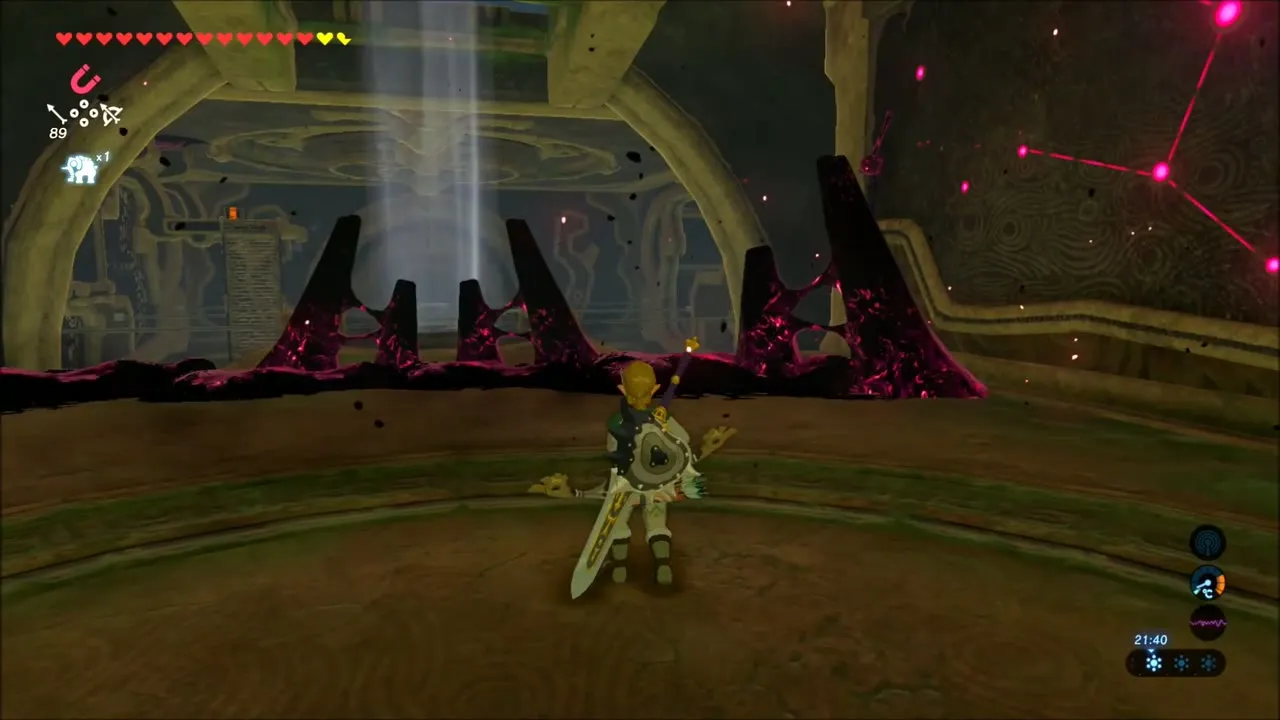
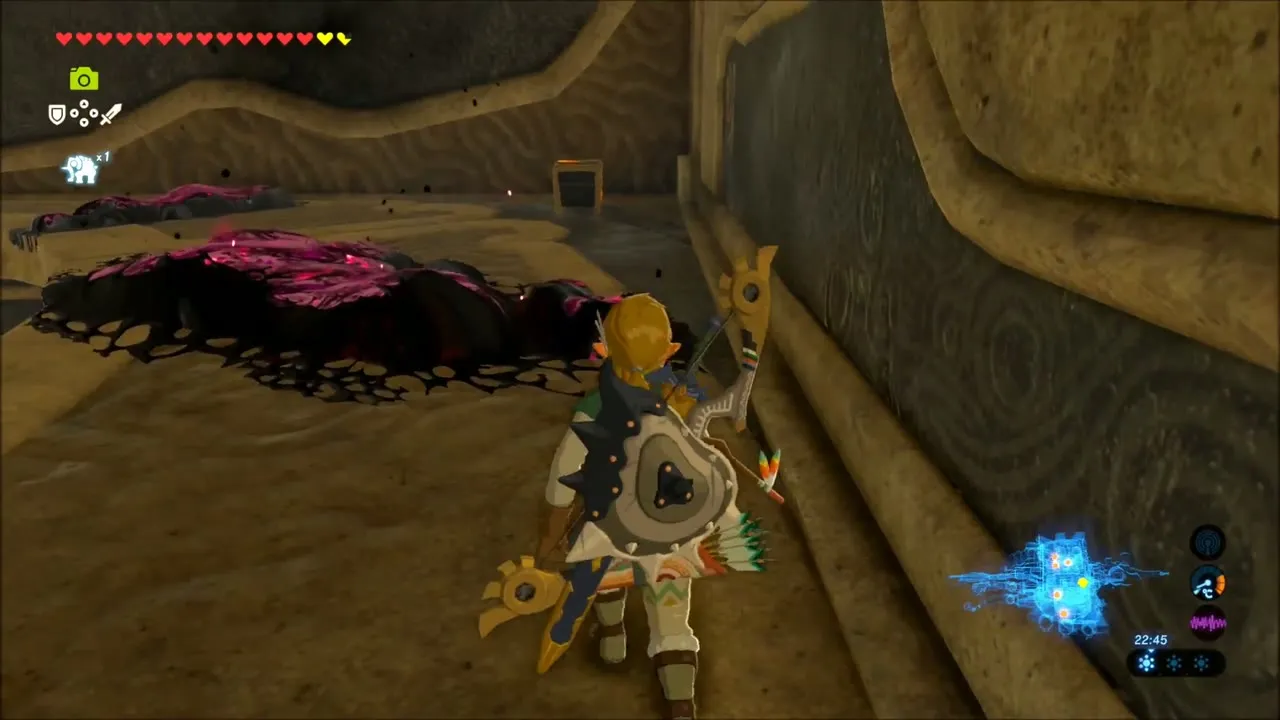
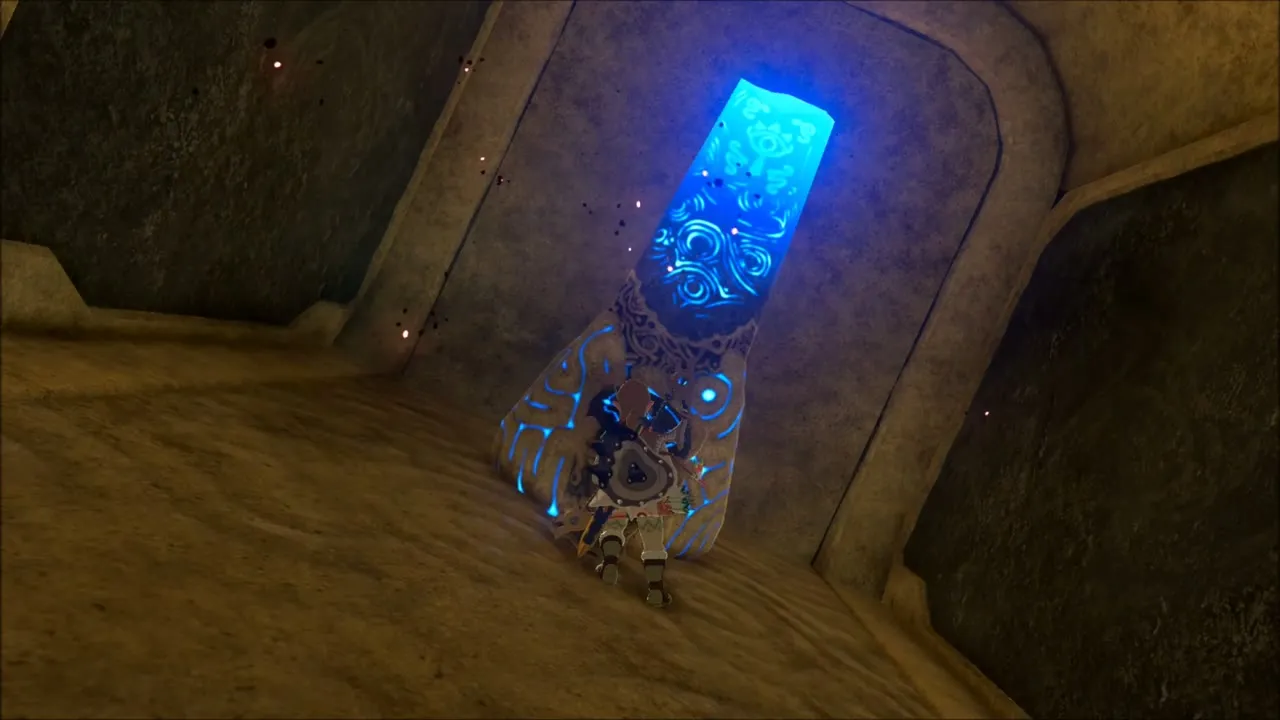
Before entering, turn around and shoot the eye on the Malice-covered chest for a Sapphire. Inside, clear the Malice on the right and cross the hall to the Guidance Stone. Move the metal slab with Magnesis, knock the stone slab with Stasis and line them up so you can climb a ladder to a chest with an Ancient Core. Defeat the Guardian Scout and take the map; the beast can now be tilted.
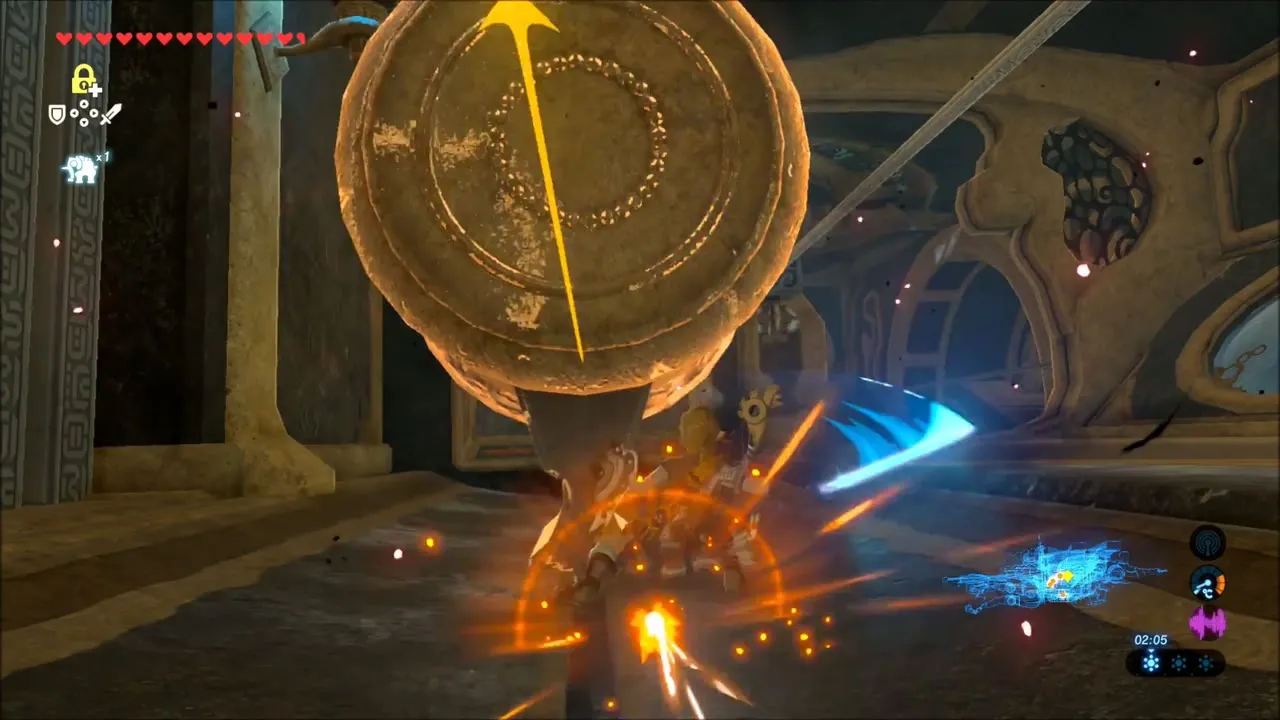
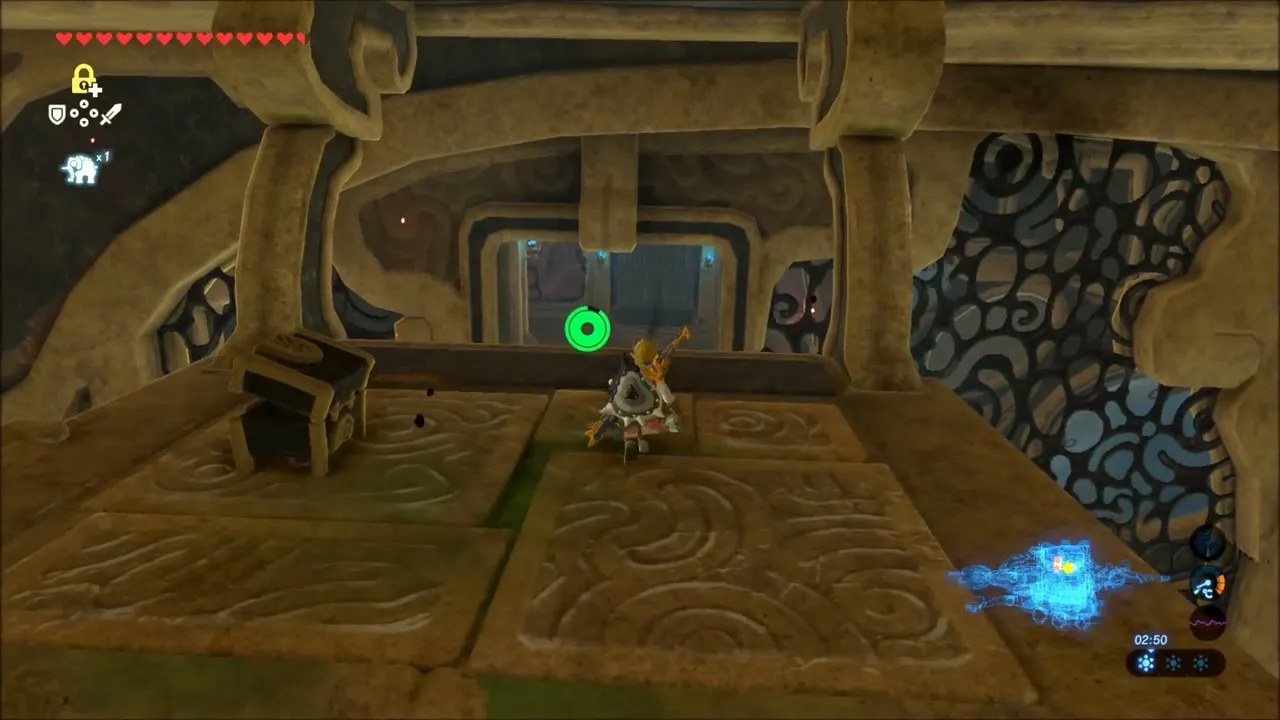
From the first slab, look down for an eye in a Malice pool, then drop to a balcony chest of 5 Bomb Arrows and to the lowest level for a chest with an Ancient Shaft.
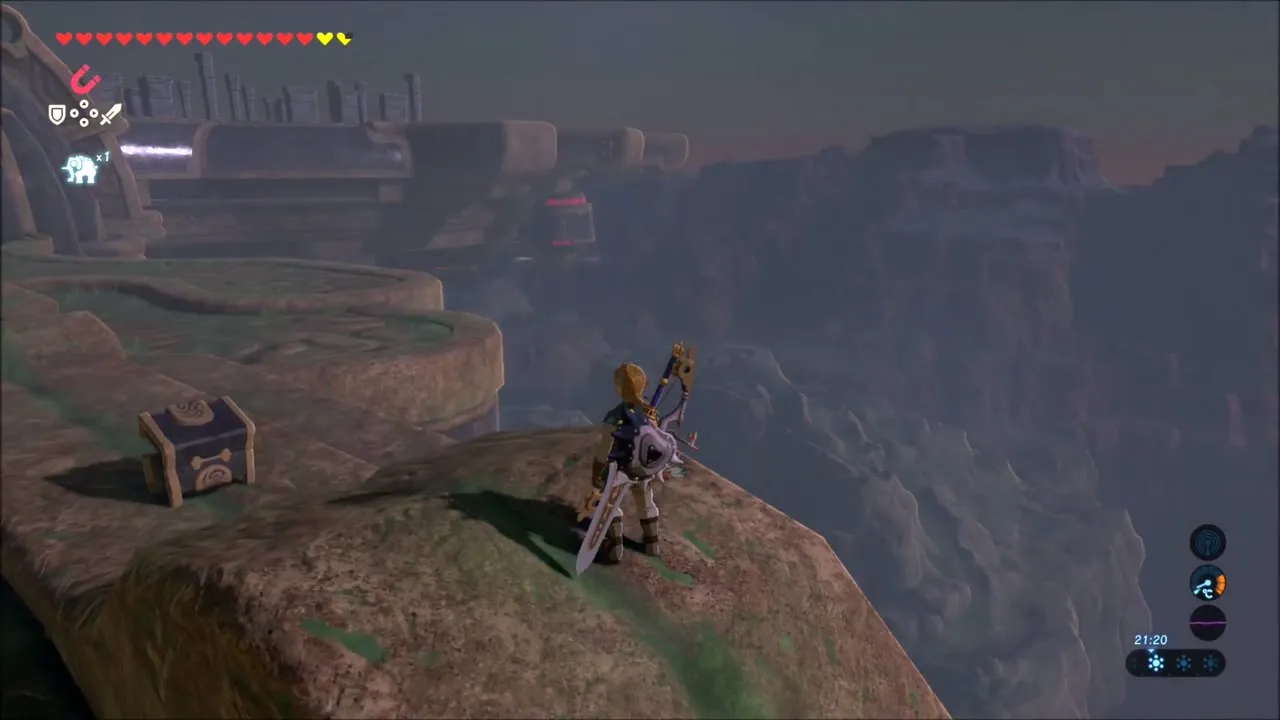
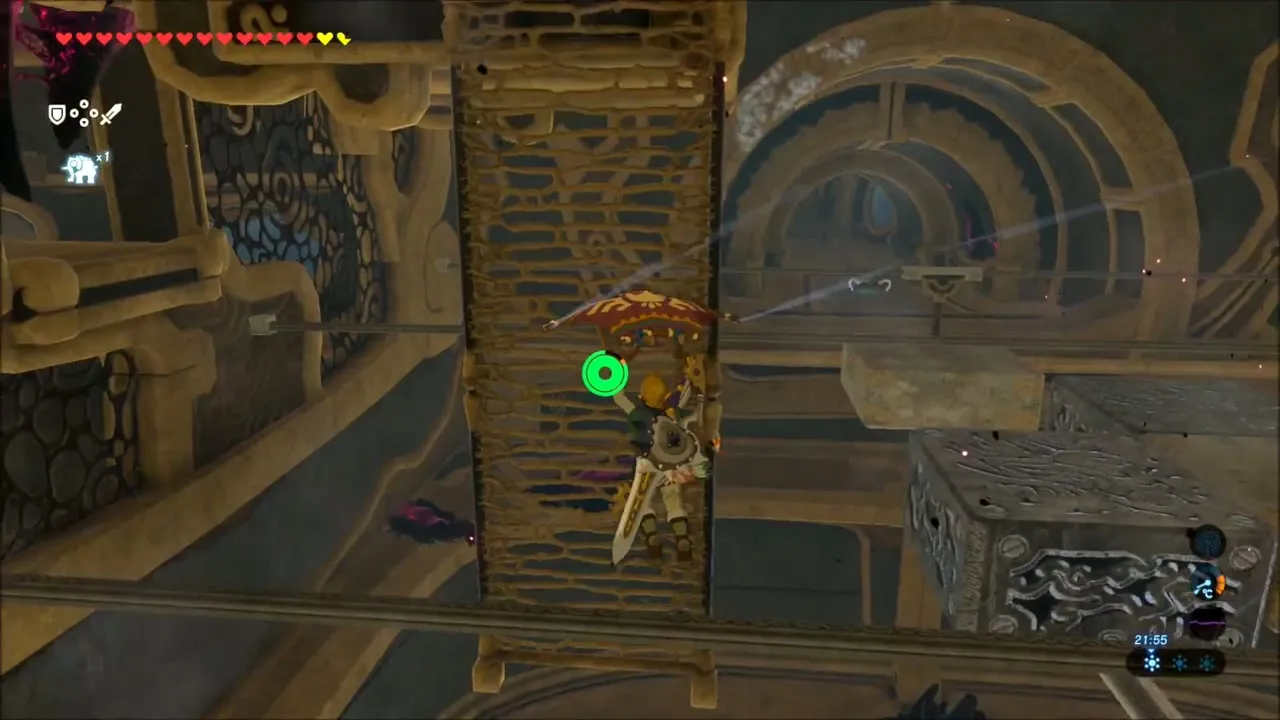
First and second terminals
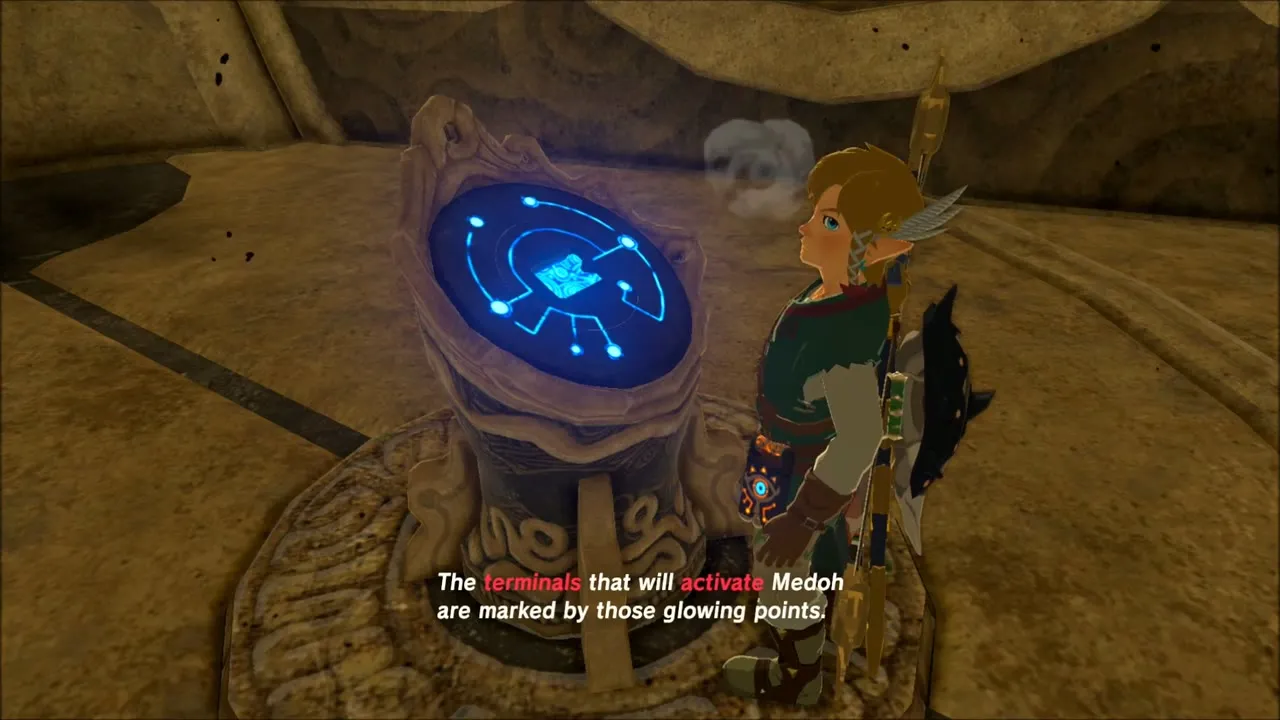
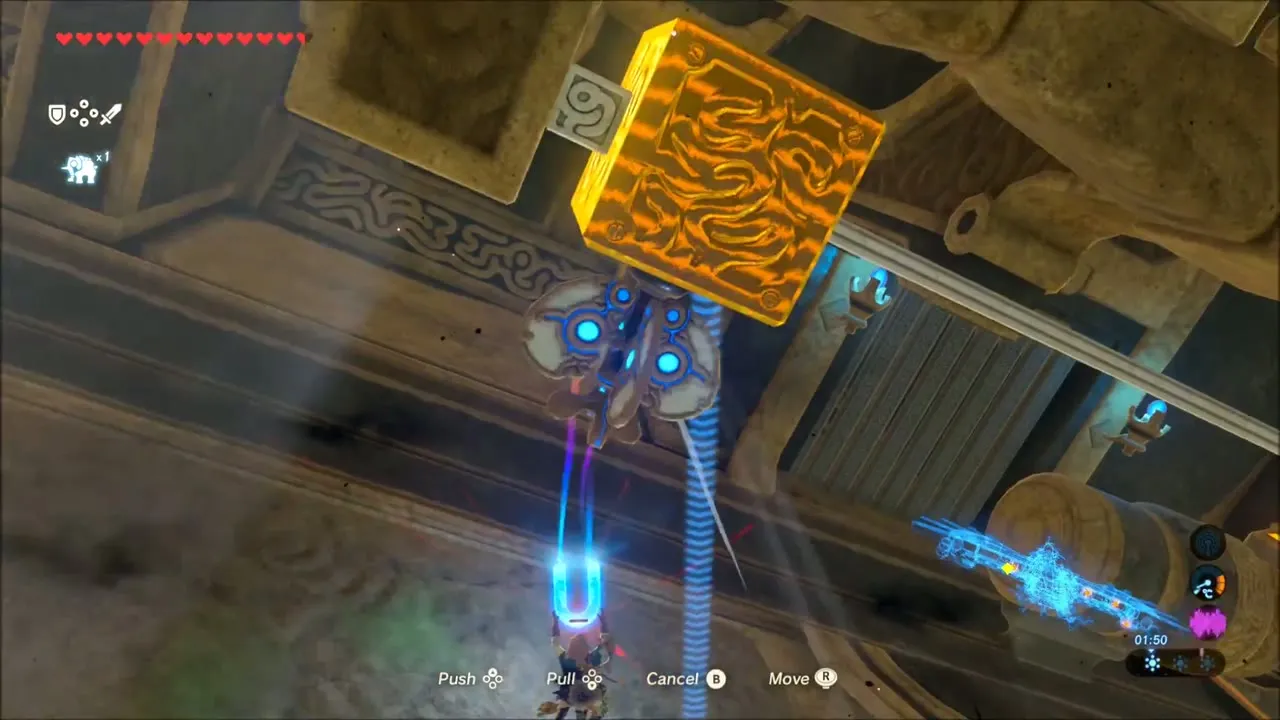
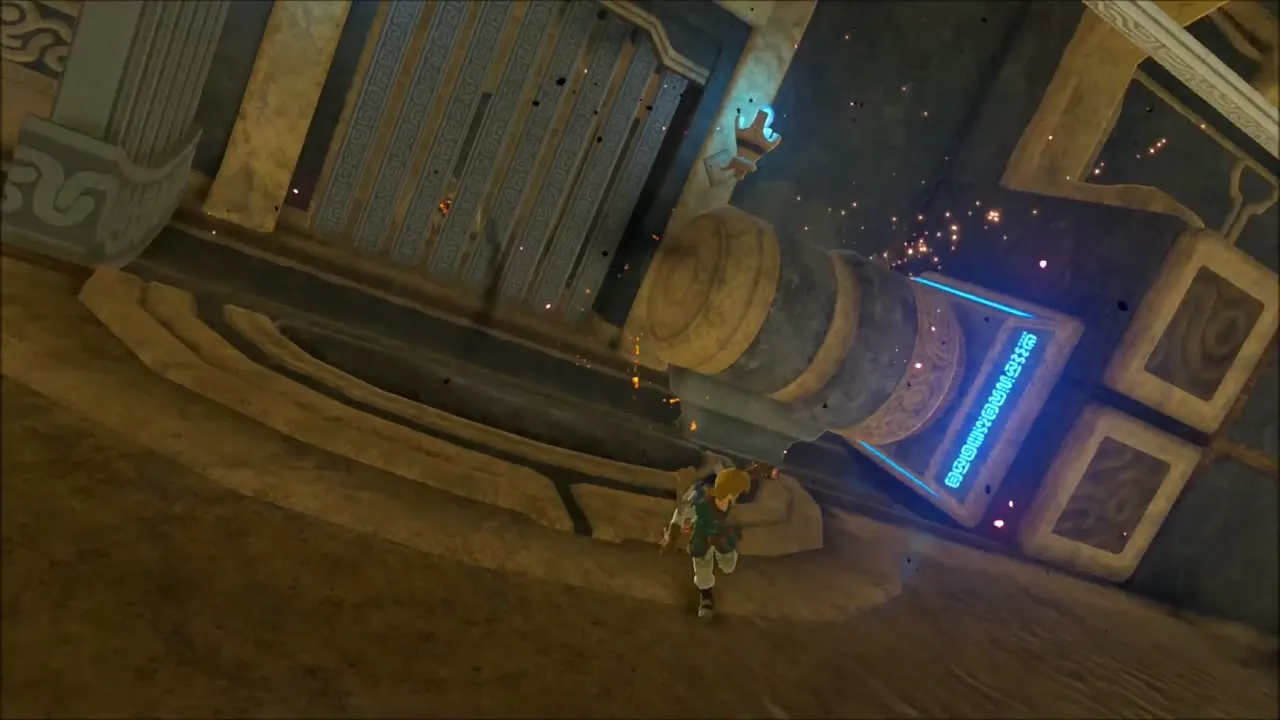
Tilt right and ride the middle slab into the right wing. Press the orange switch to run a fan that opens the left gate, tilt left, then hold the second windmill with Magnesis so the large stone slides into the receptacle and opens the first terminal. While tilted left, glide the gust to a chest with a Knight’s Bow and clear the skull-spitting maw at the sealed door for Ice Arrows. For the second terminal, shoot the Malice eye in the middle room, glide across to a chest holding a Knight’s Claymore, clear the central maw, tilt back and glide to the terminal.
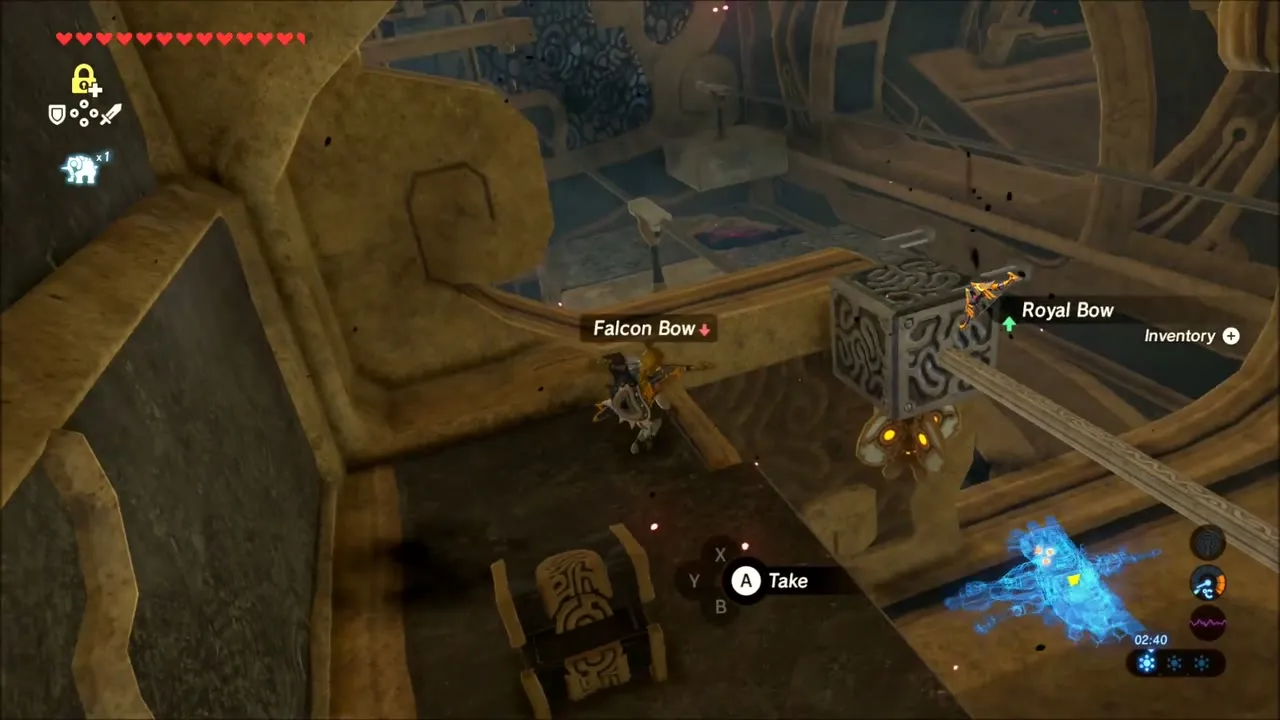
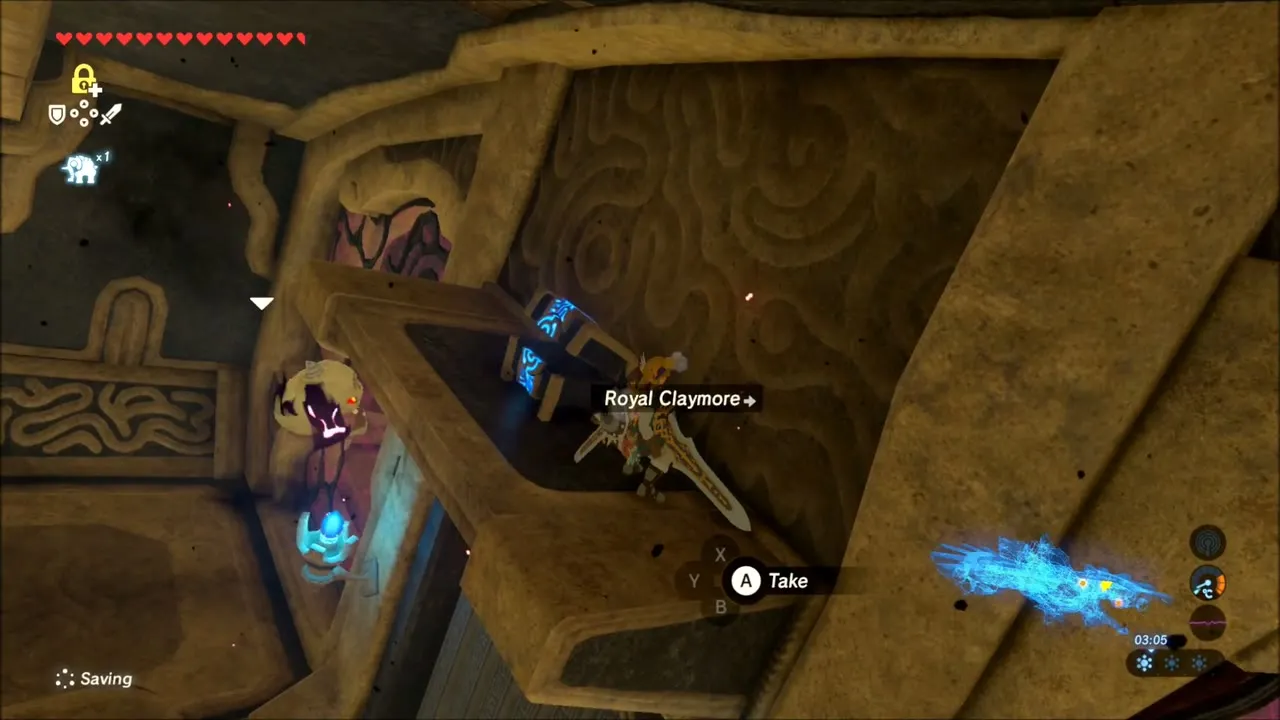
Third terminal
Behind the sealed gate with a window, drop a Remote Bomb through the hole while the beast leans left to blast the stones. Use the switch to blow a bomb to the corner of the back wall, which exposes a large metal boulder. Tilt back, use Magnesis to bring the boulder to the receptacle, and tilt again so it slams the switch and opens the terminal.
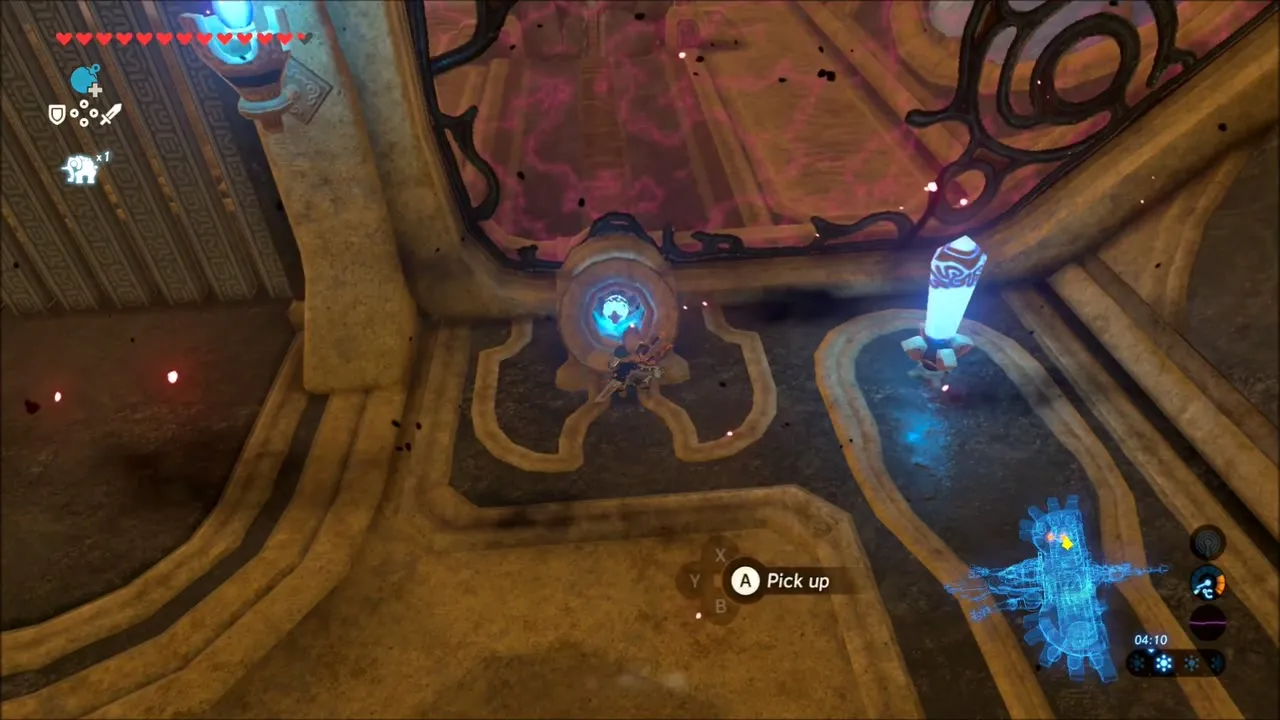

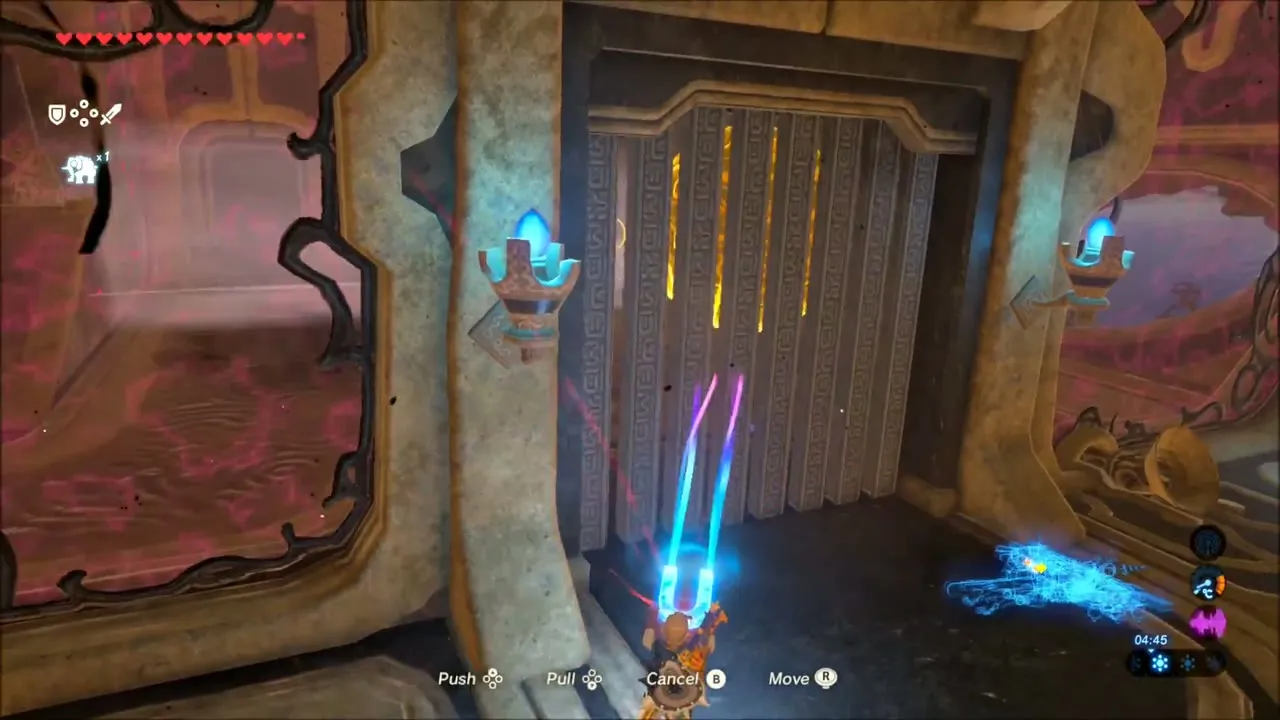
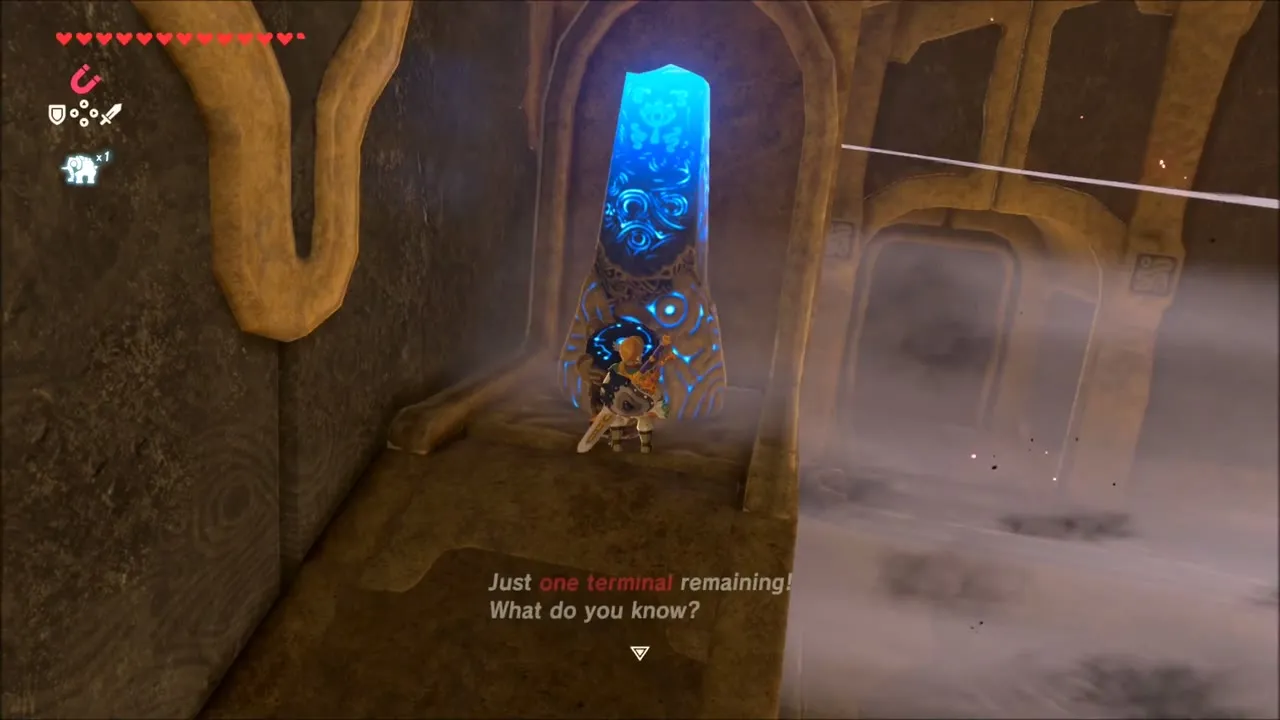
Fourth and fifth terminals
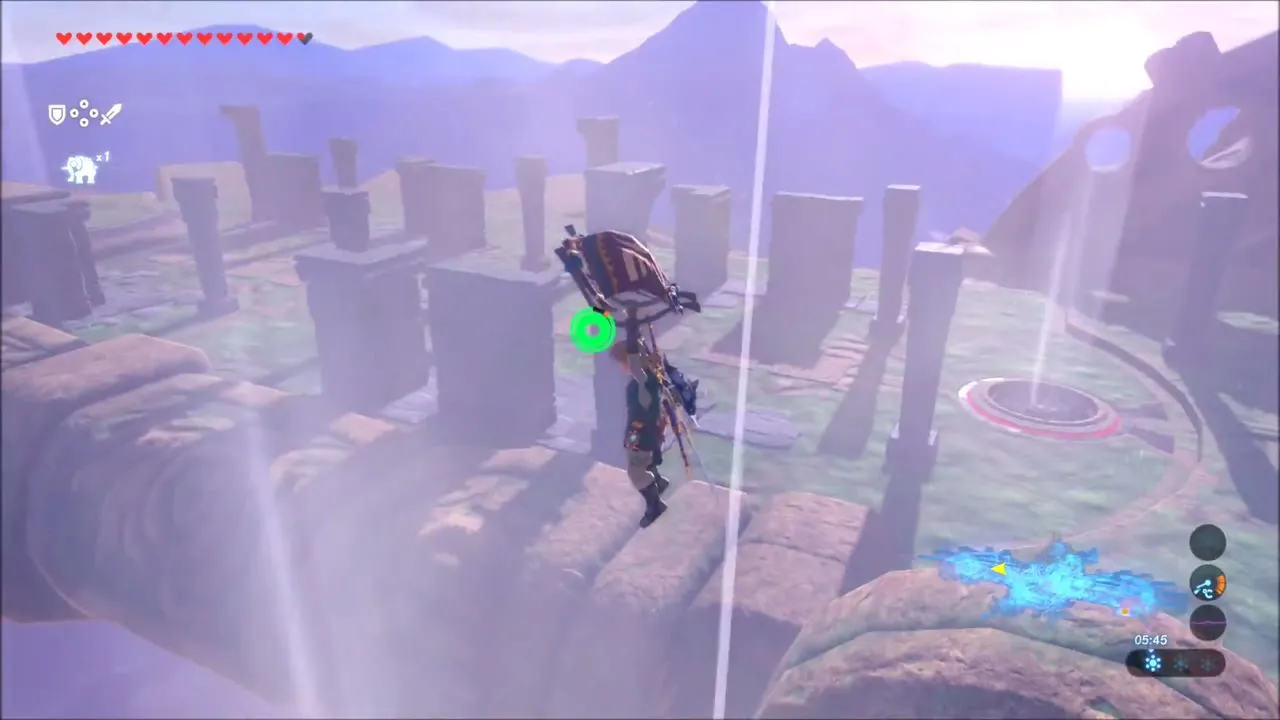
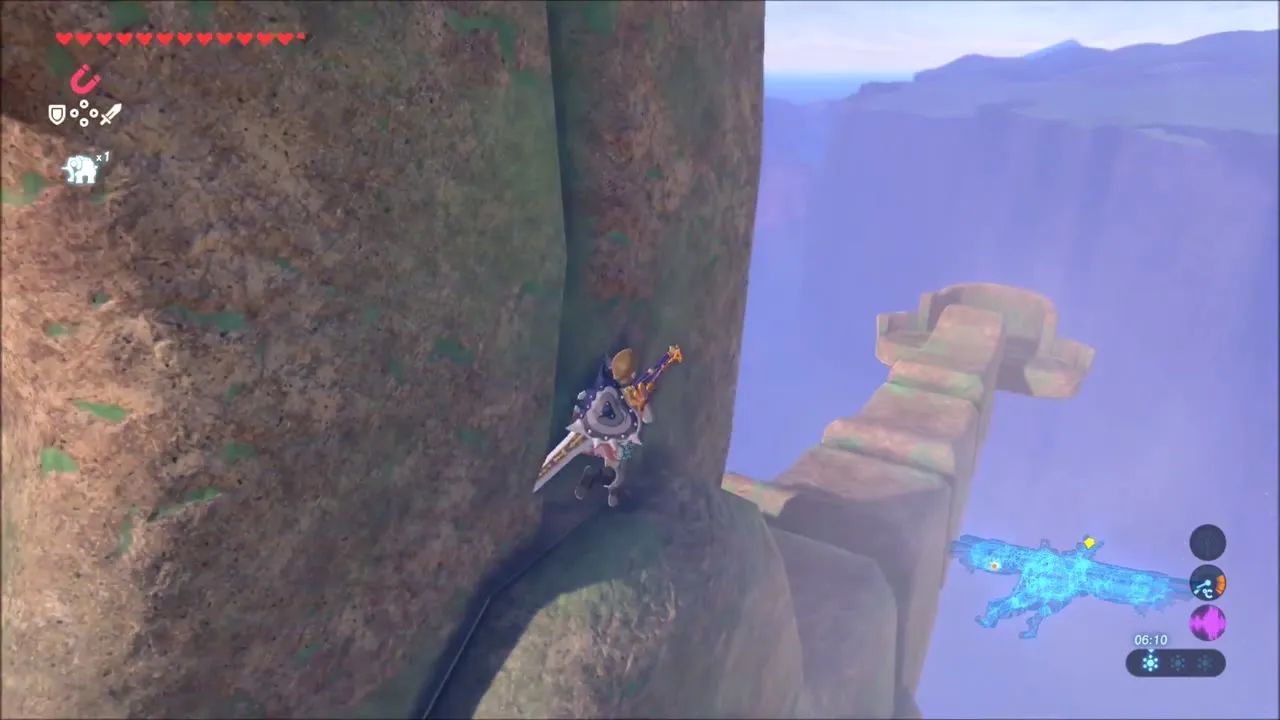
Level the beast, go to the bottom floor and take the right door outside to find the eyes behind the blocked door and turbine. Tilt left and glide to the terminal across the wings. For the last one, ride the carousel on the rail under the wing: tilt it toward you, flatten the beast to board and tilt toward the tip. Level it halfway to shoot the eye above the Malice gate, tilt the rest of the way and climb the stairs to the terminal.

The control unit and the Giant Ancient Core
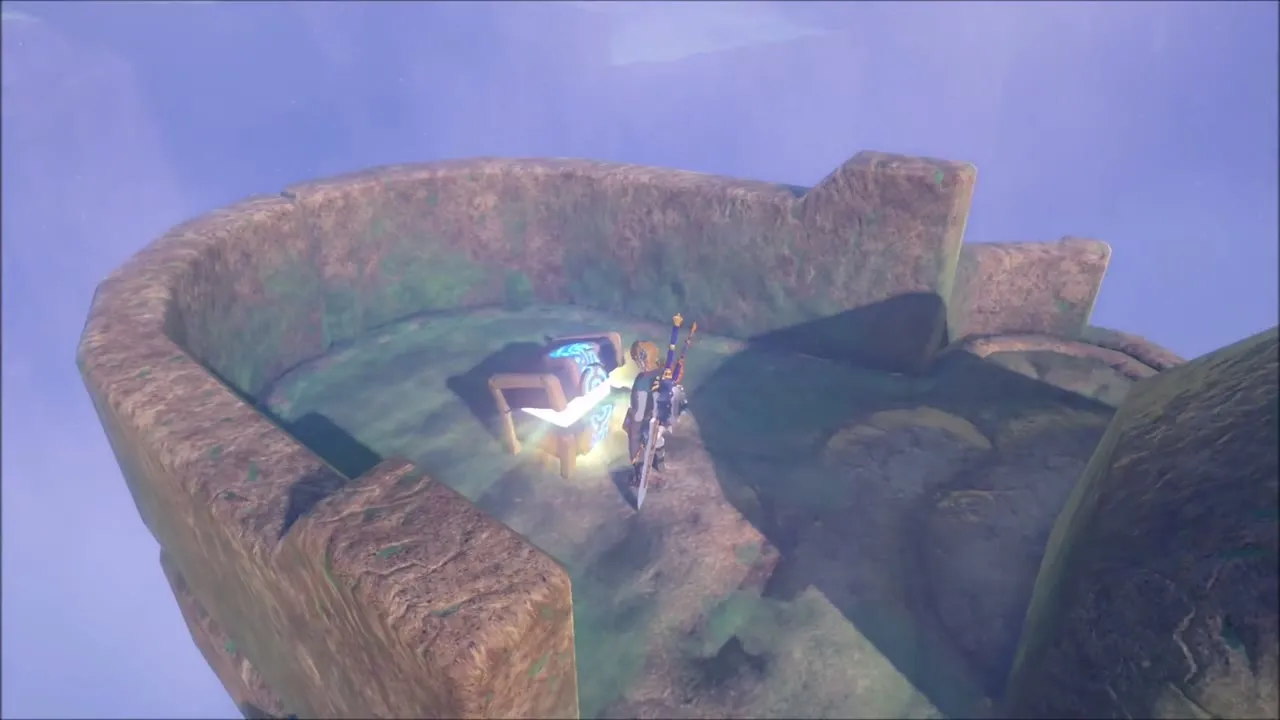
With all five terminals active, two turbines on the lower balcony lift you to the roof. Before using the control unit, tilt the beast so you are higher and glide toward the nose to a chest with a Giant Ancient Core.
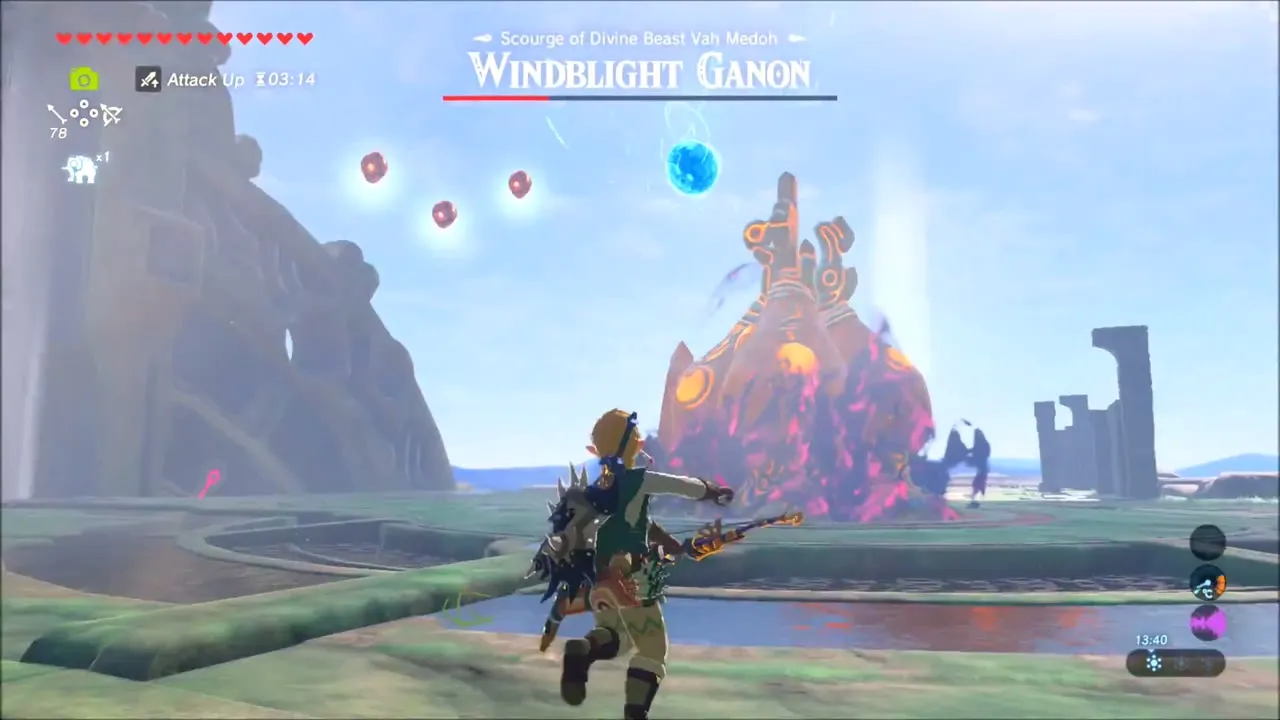
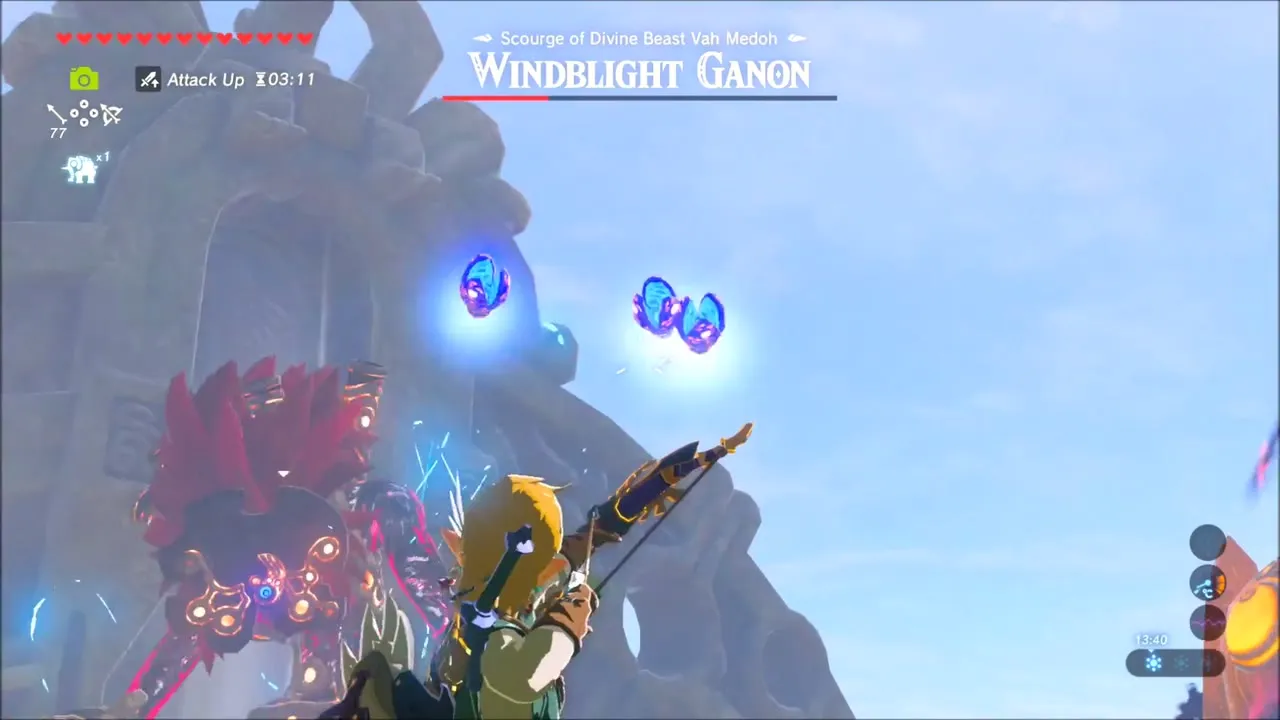
Boss: Windblight Ganon
Phase one
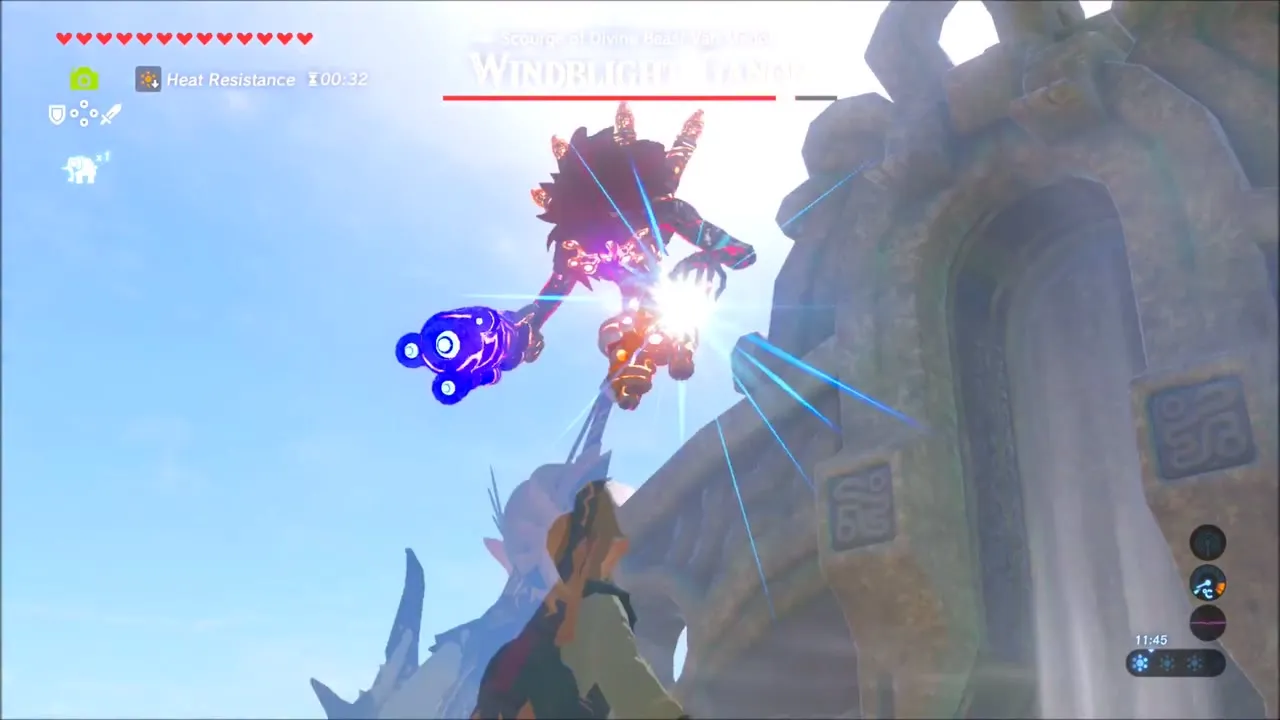
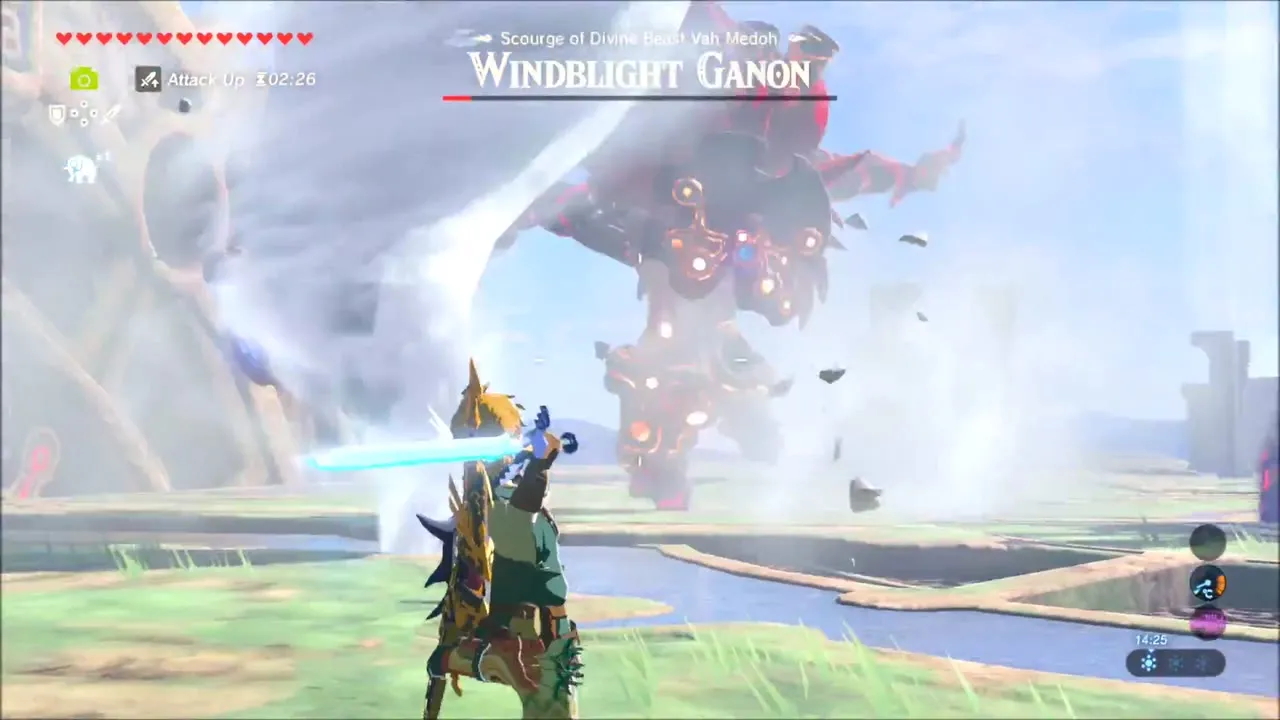
Windblight Ganon floats about the roof with a cannon arm and keeps his distance, alternating fast cannon bursts with large tornadoes. Use the turbines to get airborne and shoot his face for critical damage. His shots have a minimum range, so getting close under the cannon leaves him open to melee.

Phase two
At half health he summons floating turrets and bounces shots between them. Use the updrafts to rise, slow time and shoot the turrets down. With fewer turrets he returns to the ground and his tornadoes become easier to dodge. A hit to the eye stops his Guardian-style beam.

Chests and rewards
| Item | Where | |
|---|---|---|
 | Heart Container | Boss reward |
 | Great Eagle Bow (attack 28, durability 60) | Given by Kaneli in Rito Village afterwards |
 | Falcon Bow (attack 20, durability 50) | Chest at the Flight Range, after the test |
 | Giant Ancient Core | Chest near the nose |
 | Ancient Core | Ladder chest by the Guidance Stone hall |
 | Ancient Shaft | Lowest level under the Malice pool |
 | Knight’s Bow | High platform in the right wing |
 | Knight’s Claymore | Far ledge of the left room |
Revali gives you Revali’s Gale: charge a jump to be lifted by an updraft. It needs time to recharge after use.
