





















Tears of the Kingdom 100% Completion Walkthrough43 chapters
Great Sky Island
- Great Sky Island4 shrines, 4 caves and Bubbul Gems, 17 Korok seeds
Hyrule Field and Hyrule Castle
- Lookout LandingParaglider, Crisis at Hyrule Castle, Jiosin and Kyononis shrines, 2 caves, 3 wells
- Hyrule FieldSusuyai and Ishodag shrines, the Hyrule Field Chasm, 2 caves, 13 Koroks
- Hyrule Castle Town RuinsSepapa, Yamiyo and Tukarok shrines, 2 caves, 4 wells, Koroks, chests and Battle Taluses in route order
- Central Hyrule Depthslight all 7 Lightroots, loot Daphnes and Gustaf Canyon Mines, find the Miner's Top
- Rest of Hyrule CastleRoyal Hidden Passage loot, 8 castle chests, Phantom Ganon, Energy Wells
- South Hyrule FieldShrines, Koroks & the Great Plateau
- South Hyrule Field DepthsGreat Abandoned Central Mine, Master Kohga, Autobuild, Majora's Mask
Tabantha and Hyrule Ridge
- Tabantha FrontierNew Serenne Stable, Hestu, Courage Island and the Glide Shirt, 3 shrines, 2 Korok seeds, Lindor's Brow Cave
- Forgotten TempleImpa and the Geoglyphs, Dragon's Tears, Kiuyoyou and Mayausiy shrines, Yiga Maritta Branch, 9 Koroks
- Tanagar Canyon & Hyrule RidgeRunakit and Iun-orok shrines, 2 caves, 12 Koroks, 20 chests, 8 minibosses and Dragon's Tear 6
- Thundra Plateau & Tabantha Bridgesolve the noon shadow puzzle, Tabantha Bridge Stable, Makurukis Shrine, 19 Korok seeds, 9 chests, 3 minibosses
- Lindor's Brow DepthsLightroots; Two Yiga camps (Bomb Bouquet, Flamethrower Balloon)
- Hyrule Ridge and Tabantha FrontierIkatak, Oromuwak, Ganos and Ga-ahisas shrines, 4 caves, a well, 26 Koroks and 3 minibosses
Hebra
- Rito VillageGatakis and Ijo-o shrines, Sikatag Lightroot, 9 Korok seeds, 14 chests
- Hebra MountainsShrines, Wind Temple & Koroks; Raspro Pass, Biron Snowshelf & Royal Hidden Passage
- Corvash Canyon MineTrousers of the Hero, Floodlights schematic, Sea-Breeze Boomerang, four Lightroots, Colgera
- Raspro Pass DepthsNupisoyuat and Sasag Lightroots, Colgera, Cap of Time, Tunic of the Wind, two Yiga camps and 13 minibosses
- Tabantha TundraTaninoud, Orochium, Oshozan-u, Mayaotaki, Nouda and Tenbez shrines, three Lightroots, caves and Bubbul Gems
- Pikida Stonegrove DepthsEvil Spirit Greaves, Ikatoayam, Muihcoro and Sikatag Lightroots, 3 Yiga schematics, Frox fights
Great Hyrule Forest
- Great Hyrule Forest7 shrines, 8 Lightroots, 2 caves, 2 wells, Korok Mask, Glide Tights
Eldin
- EldinEldin Canyon, Shrines, Caves & Goron City
- Eldin Canyon Depths10 Lightroots, Zant's Helmet, Trousers of the Wild, Biggoron's Sword, 3 Yiga schematics and Eldin's sky chests
Faron
- FaronHighland Stable, Lake Hylia & Popla Foothills
Necluda
- Kakariko VillageMakasura Shrine, Kakariko Village Well, 2 caves, Ring Ruins chests, 10 Korok seeds and village quests
- West Necluda and Lanayru WetlandsShrines, Koroks & Caves; Jonsau, Kurakat
- Hateno VillageZanmik and Mayahisik shrines, Shield of the Mind's Eye and Phrenic Bow wells, 7 Koroks
- East NecludaRabella Wetlands, Sifumim Shrine, Lurelin Village, 21 Korok seeds
- East Necluda DepthsKumamayn Shrine, 4 Lightroots, Midna's Helmet, Cap of the Hero, Trousers of the Wind and 18 Depths chests
Lanayru
- Lanayru Great SpringShrines, Koroks & Caves; Ralis Channel, 3 shrines, 8 caves
- Zora's DomainMogawak and Ihen-a shrines, Ploymus cave, Pristine Sanctum, Zora Armor, Sidon of the Zora and Clues to the Sky
- Wellspring IslandAncient Zora Waterworks chests, Igoshon Shrine, 2 Korok seeds, Water Temple's four wheels and Mucktorok
- Mount LanayruShrines, Koroks & Light Rings; Jikais and Anedamimik shrines
Gerudo
- Gerudo DesertShrines, Caves & Koroks; West and South Sands
- Gerudo TownGerudo Shelter shops and quests, Valley of Silent Statues, Lightning Temple and Queen Gibdo, Chichim Shrine
- Gerudo Desert DepthsGranajh and Daval mines, three Master Kohga fights, Queen Gibdo, Mucktorok, Sheik's Mask and 37 chests
- Gerudo HighlandsSkyview Tower, Rotsumamu and Suariwak shrines, Mayasiar Shrine, Yiga hideout
Akkala
- AkkalaTarrey Town quests, 4 shrines, Hinox, Battle Talus
- Akkala Sky Islands and DepthsGikaku and Natak shrines, Old Maps, Lomei Depths Labyrinth, Mucktorok, 5 Lightroots and 19 chests
Finale and completion
- Ancient Tablets, Gleeoks and Armor Upgradesall 13 stone tablets with coordinates, Frost and King Gleeok, Obsidian Frox, Cotera upgrades and farming
- Hyrule CastleRoyal gear chests, Korok seeds, Serutabomac Shrine
- Thunderhead IslesCharged armor, Joku-usin and Joku-u Shrines, Dragonhead Island's relic
- 100% Completion: Armor Upgrades & Korok BonusHestu's Gift, Ancient Hero's Aspect, Great Fairy Cotera upgrade costs and materials, then Destroy Ganondorf
| Region | Zora’s Domain, Ploymus Mountain, Pristine Sanctum and Mipha’s Court, then Toto Lake and Floating Scales Island |
|---|---|
| Continues from | Lanayru Great Spring; next stop Wellspring Island |
| Main quests | The Sludge-Covered Statue, Restoring the Zora Armor, Sidon of the Zora, The Broken Slate, Clues to the Sky |
| Side quest | Secret Treasure under the Great Fish (Sidon) |
| Shrines | 2: Mogawak (The Power of Water, Puzzle) and Ihen-a (Midair Perch, Puzzle) |
| Surface Lightroots | Below the shrines: Kawagom (Mogawak) and A-nehi (Ihen-a); see all Lightroots |
| Caves | Ploymus Mountain Cave, Pristine Sanctum, Ancient Zora Waterworks |
| Bubbul Gems | 2: Ploymus Mountain Cave, Pristine Sanctum |
| Armor | Zora Armor, Climber’s Bandanna, Zora Helm |
| Korok seeds | 3 collected (see Lanayru Korok seeds) |
This chapter takes you into Zora’s Domain, clears the sludge from the central statue, earns the Zora armor, climbs Ploymus Mountain to Mipha’s Court and ends with the first step of the Water Temple quest at Ancient Zora Waterworks. Coordinates are map units (X, Y, height): larger Y is further north, and the minimap rim prints the same numbers.
Quick route
Enter Zora’s Domain, wash the sludge from the statue with a Splash Fruit, and talk to Yona. Catch an Ancient Arowana and bring it to Yona for the Zora Armor.
Solve Mogawak Shrine, collect the Koroks around the domain, then climb Ploymus Mountain through Ploymus Mountain Cave and Pristine Sanctum to reach Sidon at Mipha’s Court.
Solve Ihen-a Shrine beside the court, then visit Jiahto at Toto Lake, repair the Broken Slate and take its clue to King Dorephan.
Follow the Clues to the Sky puzzle to Floating Scales Island, and finish with Sidon at Mipha’s Court and the dive into Ancient Zora Waterworks.
Zora’s Domain: the statue and the armor
Clean the statue with water
The big statue in the central plaza of Zora’s Domain (3330, 545, 137) is covered in sludge. Throw a Splash Fruit at it, or fire one from your bow, and the water washes the sludge away to complete The Sludge-Covered Statue. Splash Fruit grow on the small trees outside the domain by Upland Zorana Skyview Tower, so stock up before you enter. Finishing the statue and progressing the Sidon questline also unlocks the next steps: Sidon asks you to meet him at Mipha’s Court on top of Ploymus Mountain, which carries on Sidon of the Zora.

Bring Yona an Ancient Arowana
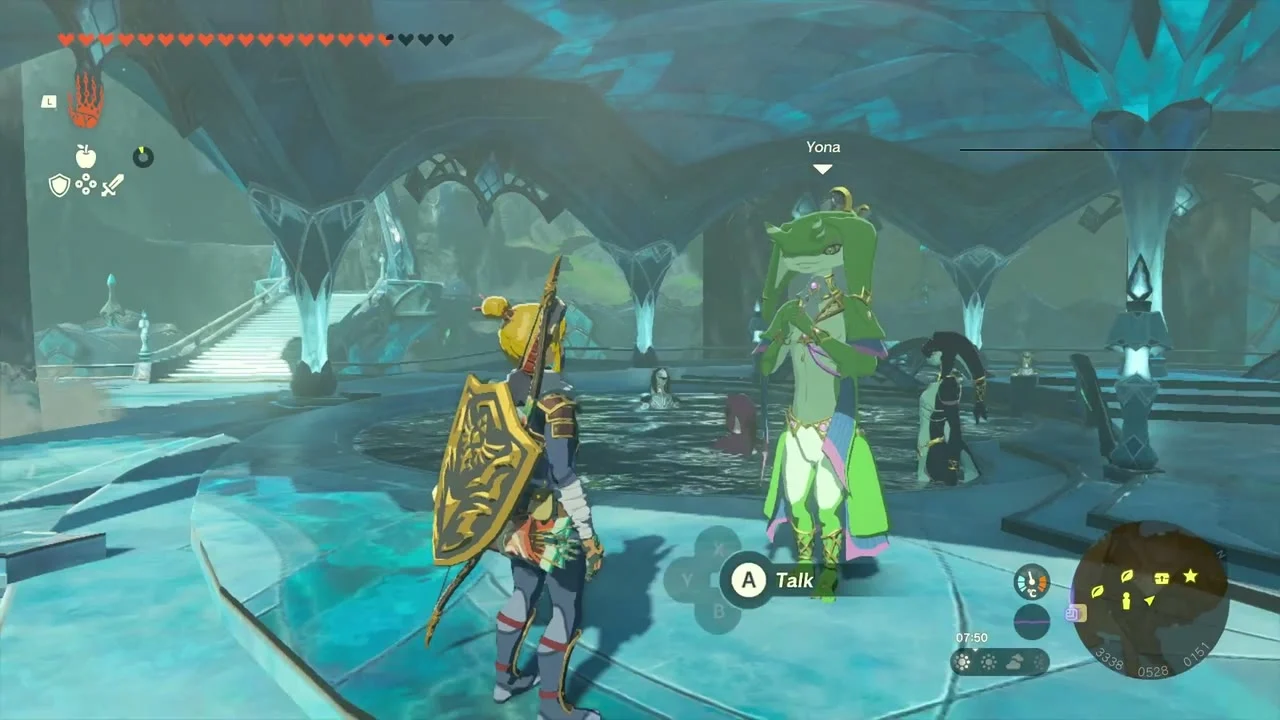
Restoring the Zora Armor begins with Lady Yona (most guides find her near the infirmary at the back of the domain; keep checking in with her until she offers it). She says the armor is almost repaired and only needs a scale from an Ancient Arowana. She suggests asking Dento the blacksmith just below the royal pools, and he tells you the fish have been spotted by the statue of Mipha at the top of Ploymus Mountain. Climb to Mipha’s Court (Ihen-a Shrine is the quickest way up once it is open), go up the stairs to the statue and catch an Ancient Arowana in the water around it. If you already have one, for example from the pool under the waterfall on the Great Sky Island, you can hand that over instead. Return to Yona for the Zora Armor, which lets you swim up waterfalls and is required for the Water Temple trip later. Finish this quest before going on to Wellspring Island.
Mogawak Shrine
Power the water wheel and open the shrine
Mogawak Shrine (The Power of Water, a Puzzle trial) stands at (3299, 423, 125) in Zora’s Domain; the Kawagom Lightroot lies below it at (3298, 419, -770). The trial runs on a water wheel and a battery: use Ultrahand to join the floating slabs so the water spins the wheel and charges the line, then carry the battery to the terminal at the end of the wire and place it there to raise the gate. The optional chest in the pool holds an Opal; bring the two chained metal balls together underwater, set the battery on the port, and swim through the door the moment it opens. Take the Light of Blessing at the end.
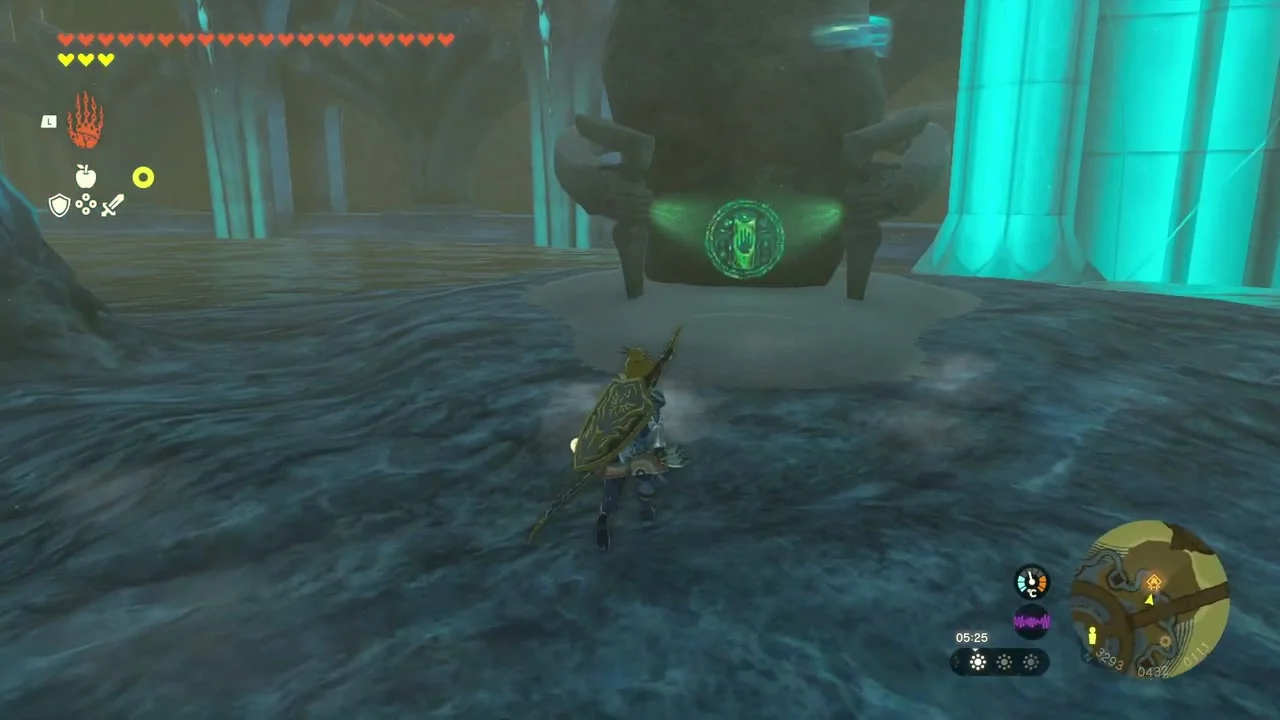
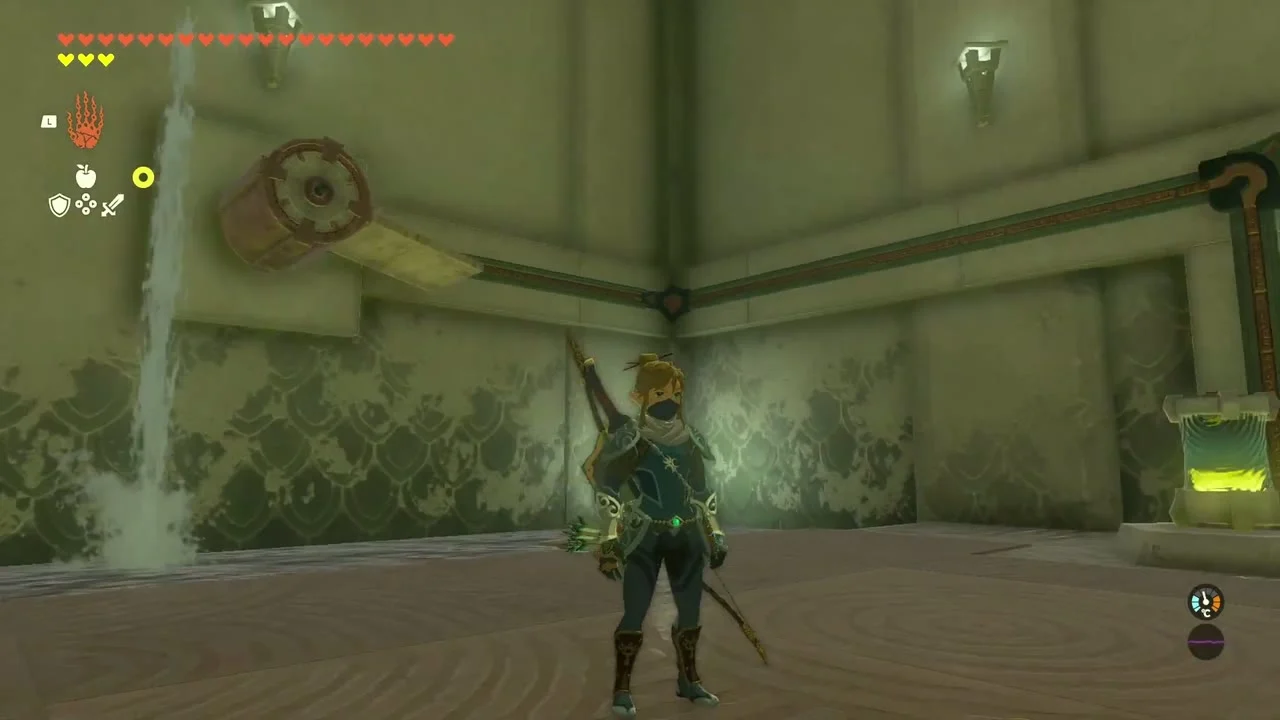
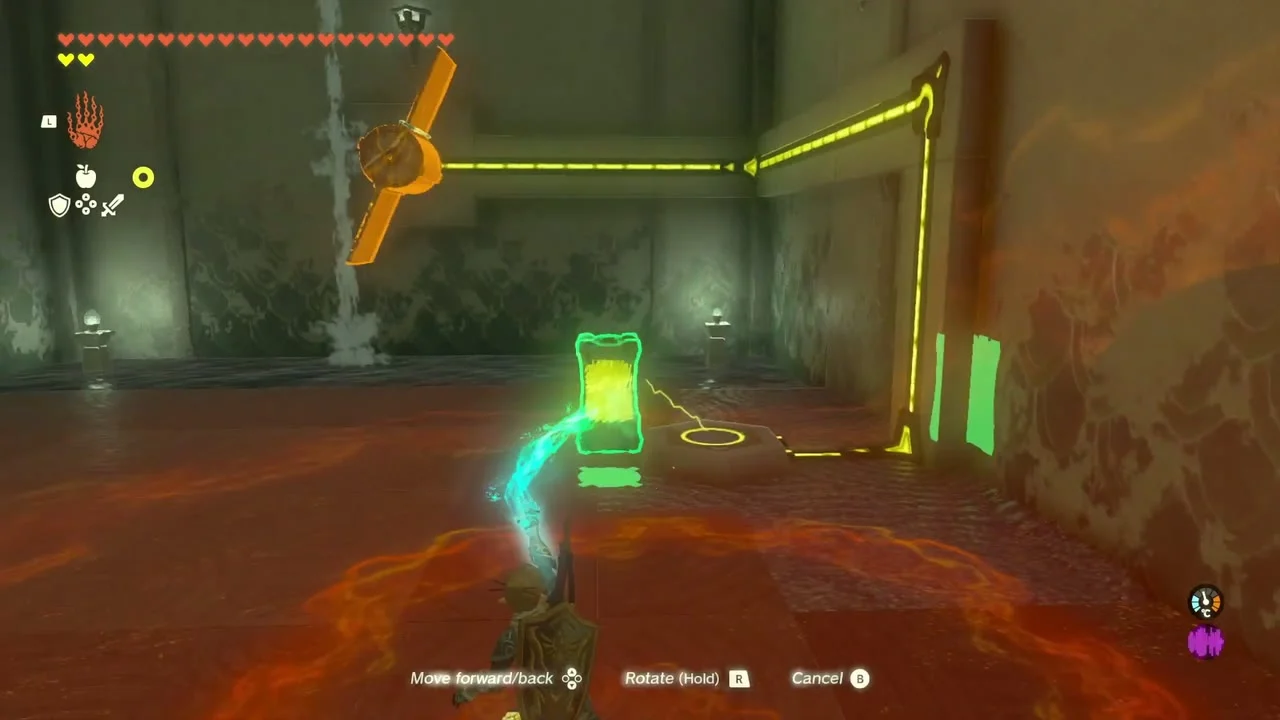
The shrine is fully flooded, so the Zora Armor is optional but helpful. If the battery runs out before you reach the door, put it back on its charging terminal and let it fill completely before you try again; nothing in the room resets.
Koroks around Zora’s Domain
Lift the rock by the water
Korok seed (lift the rock, 3329, 532, 112). On the stone ledge by the water at the rim of the domain, pick up the boulder with Ultrahand and the Korok beneath it hands over its seed.


A second datamined Korok, a dive-through ring at (3387, 741, 177), lies on the plateau north of the domain; glide through the ring from a high ledge to make it appear.
Ploymus Mountain Cave and Pristine Sanctum
Search Ploymus Mountain Cave
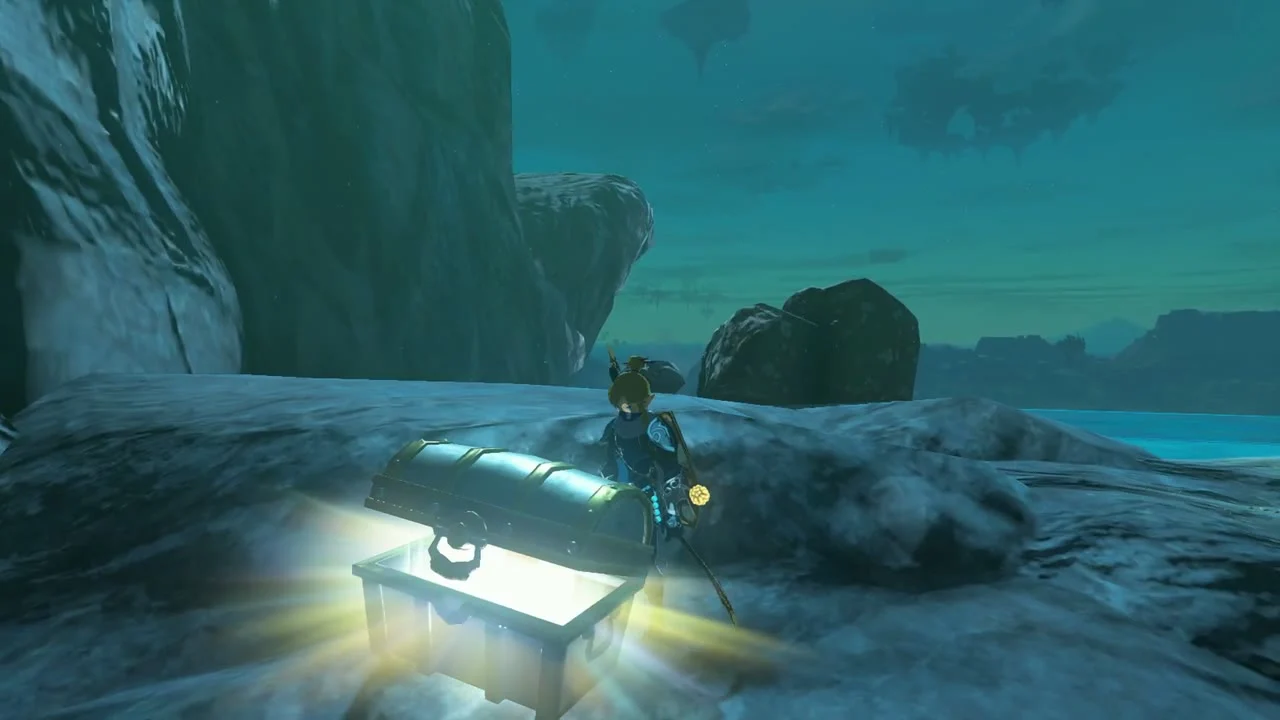
Ploymus Mountain Cave (3660, 538, 268) opens at the foot of the climb to Mipha’s Court. A Bubbul Gem is held by the Bubbulfrog on the lower ledge at about (3679, 523, 284); throw a Keese Eyeball and catch it. At the far end of the cave a chest holds the Climber’s Bandanna, a headband that raises climbing speed.


Climb through Pristine Sanctum
Pristine Sanctum has two entrances, at (3622, 583, 169) and (3708, 608, 343), reached by climbing the steps and waterfalls under the mountain. A second Bubbul Gem sits in the first chamber at about (3694, 639, 188). A chest on the path beyond it holds an Arrow and, a little further on, a chest at the water’s edge holds a Topaz. Continue up the stairs to Mipha’s Court at (3838, 566, 491) to find Sidon.

Mipha’s Court and Ihen-a Shrine
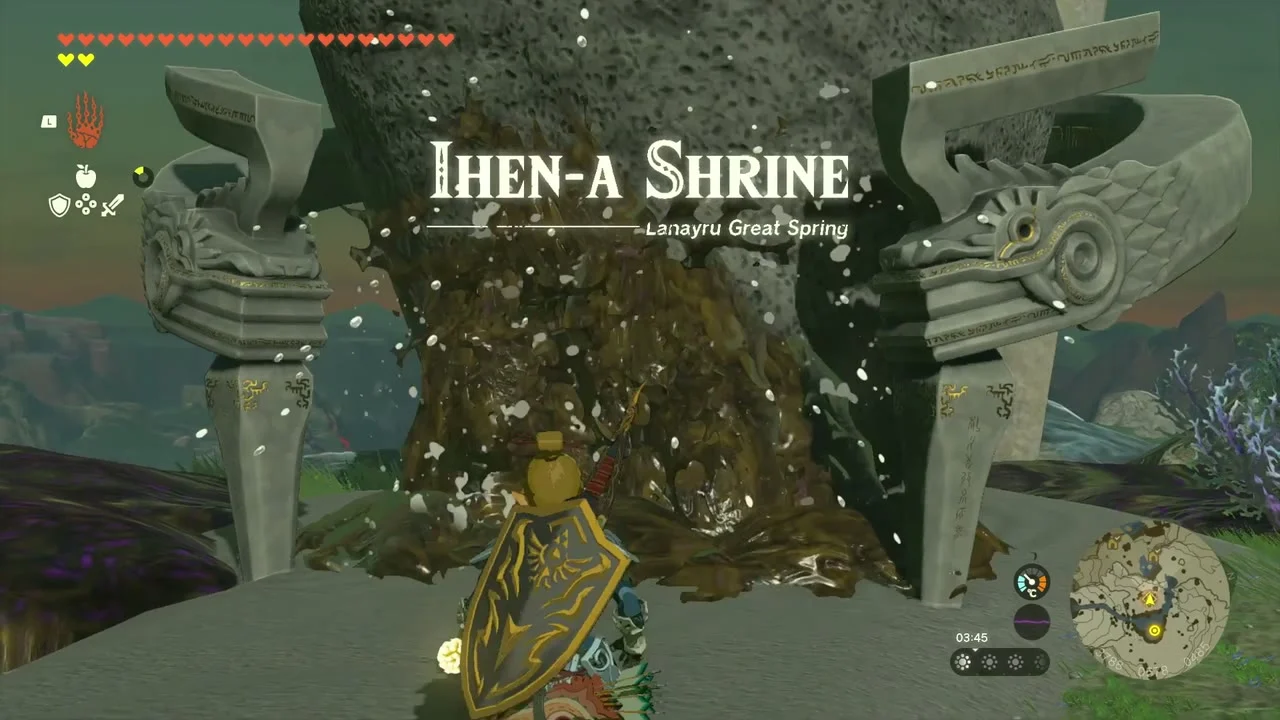
Mipha’s Court sits on the summit of Ploymus Mountain at (3838, 566, 491). It holds a Zora statue, a pond and the fountain, and its waterfalls feed the river that runs down through Zora’s Domain. Sludge-covered doors block the shrine until you wash them; carry Splash Fruit.
Talk to Sidon and Jiahto’s instructions
Sidon waits at the top of the mountain in Mipha’s Court. The direct route from the domain leaves east over the bridge and takes the stairs cut into the wall, then follows the mountain east through Shatterback Point and Tal Tal Peak before climbing the easier walls and turning north-west to Sidon’s pool; light Ihen-a Shrine on the way for a fast-travel point. He tells you to find the historian Jiahto at Toto Lake, which starts the next part of Sidon of the Zora. Ihen-a Shrine (Midair Perch, a Puzzle trial) stands at (3786, 577, 499) beside the court; the A-nehi Lightroot lies below it at (3785, 578, -947).

Stack the hover stones and take the chest
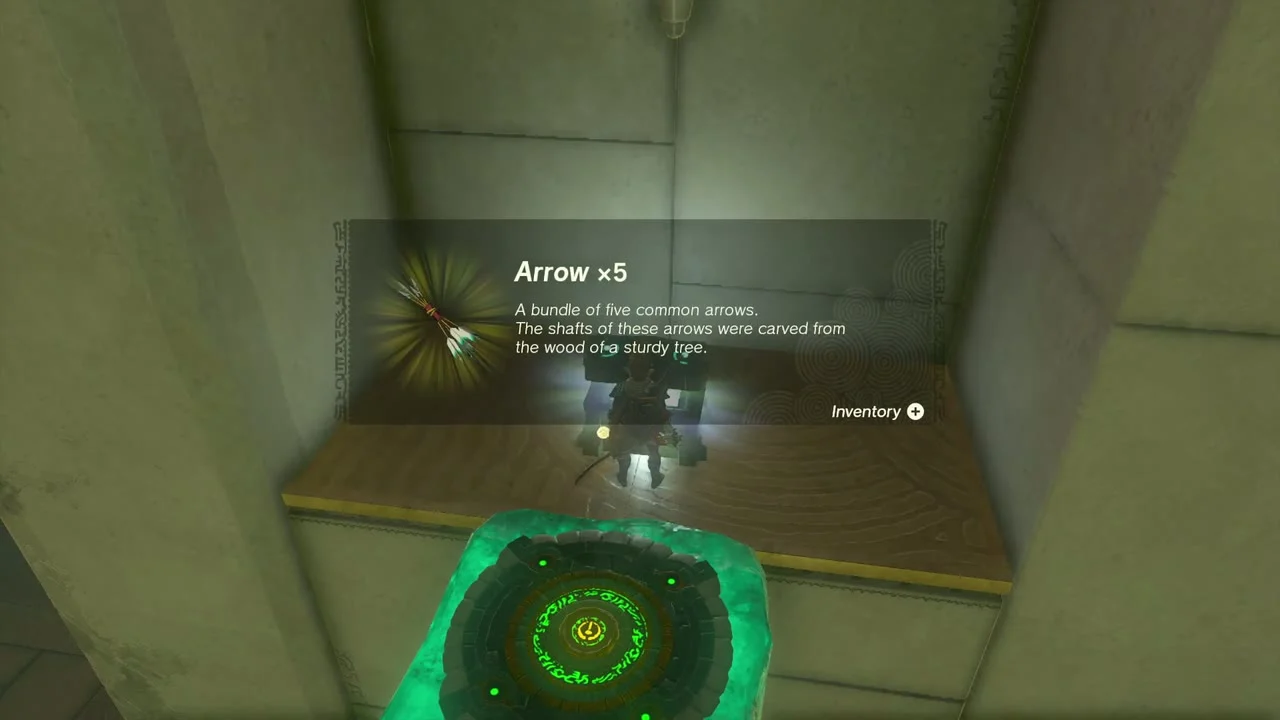
Hit each floating hover stone to switch it on. Stack them into steps in the first room, lay the leaning grating across a hover stone to bridge the gap in the second room, and raise a pair of hover stones to reach the alcove with the chest, which holds Arrow x5. Take the Light of Blessing at the end.
Upland Zorana Koroks
Collect the court-side seeds
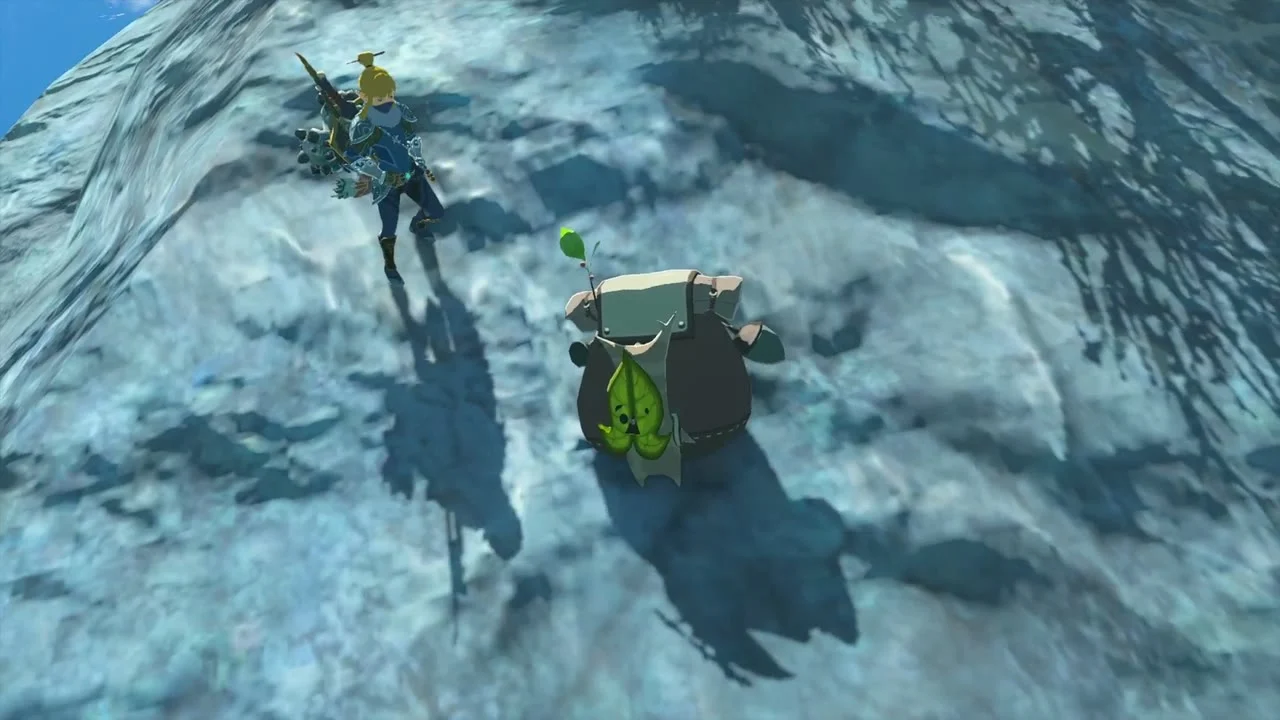
Korok seeds x2 (carry the exhausted Korok). An exhausted Korok on the ridge asks to be carried to its friend. Fix a Zonai fan or wing to a platform and fly it across; both Koroks give a seed.
Take the Giant Brightbloom Seed chest
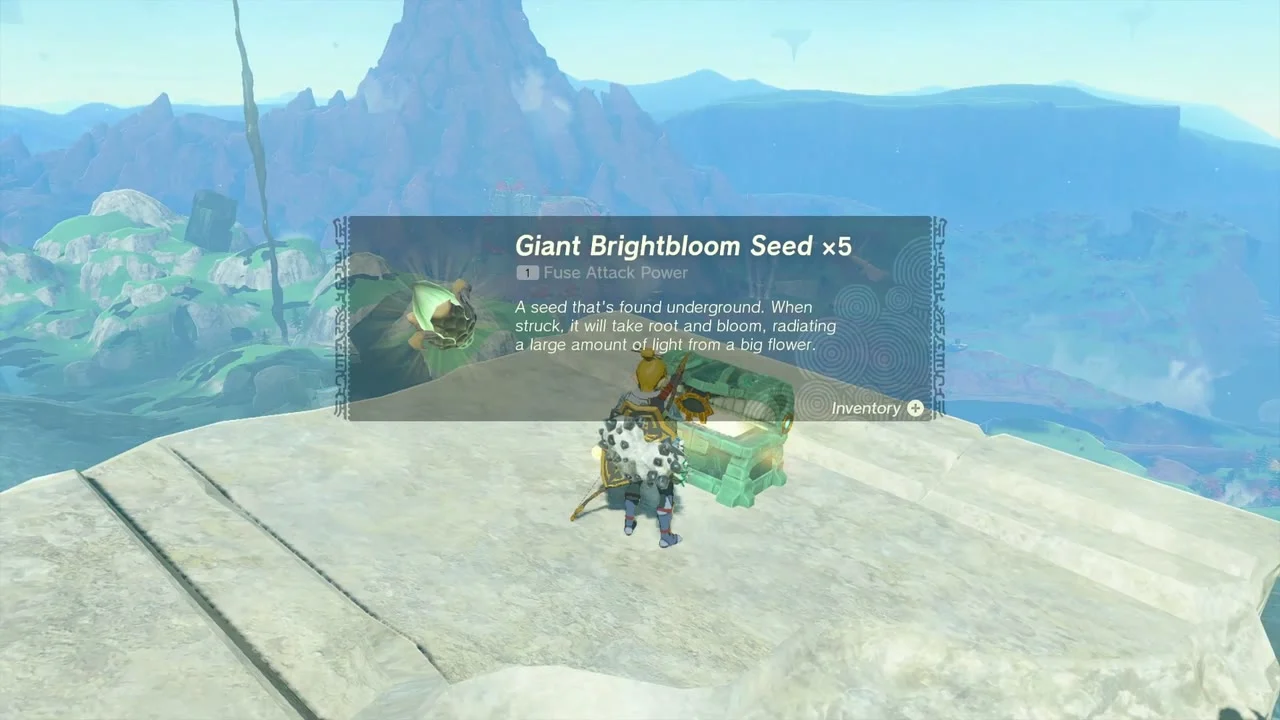
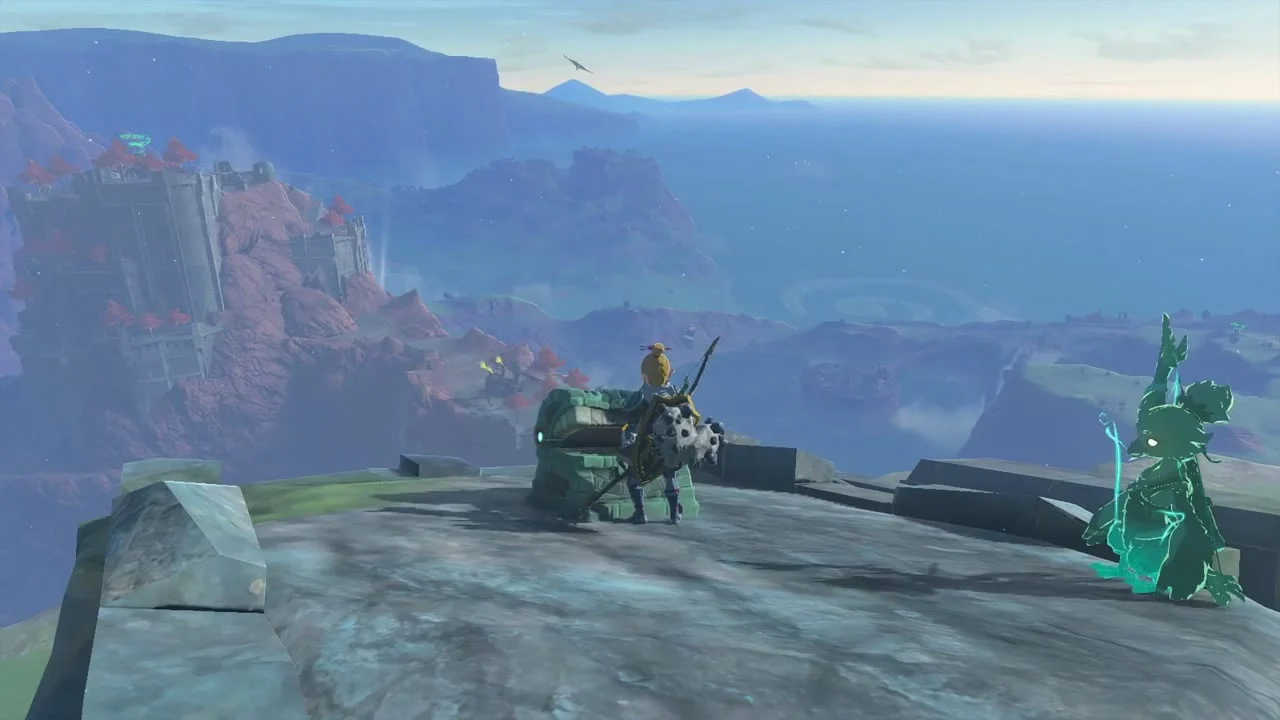
On the pale stone ledge south-west of Mipha’s Court, a chest holds Giant Brightbloom Seed x5. Glide to it from the high ground rather than climbing.
Chests around Ploymus Canyon
Collect the boomerang, seeds and opal
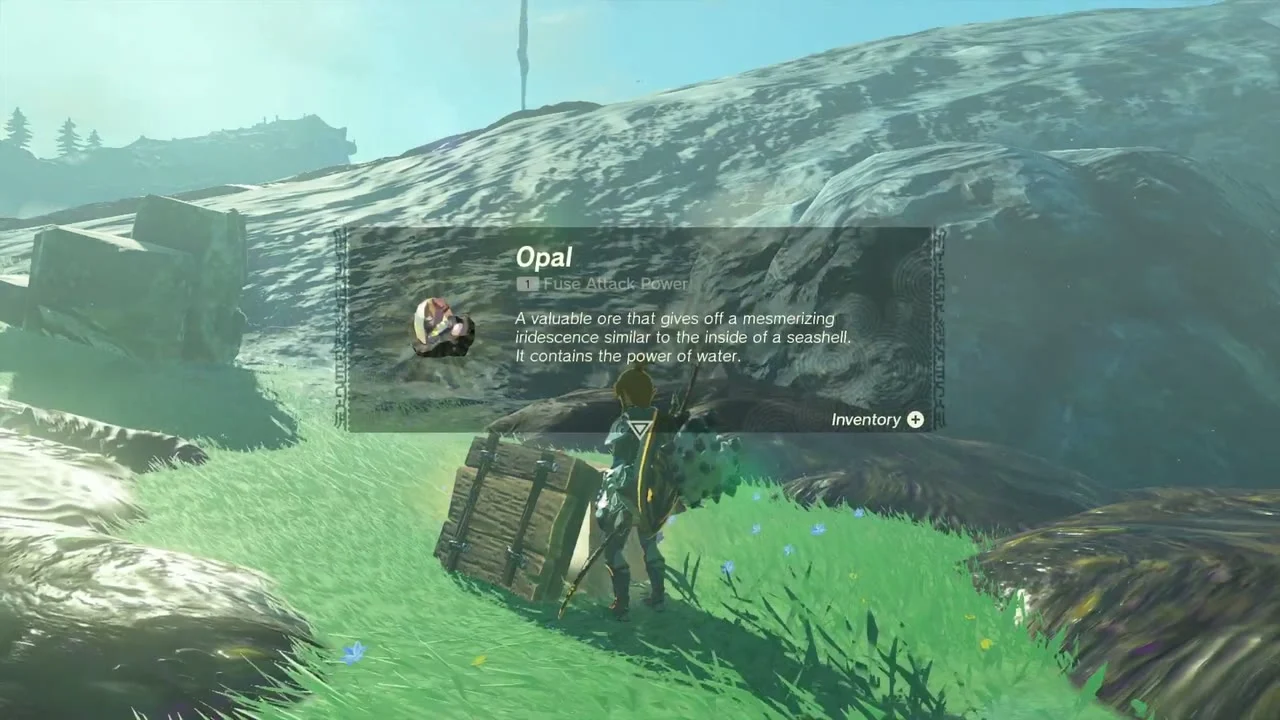
A chest on a wooden skull-decorated platform in the green valley holds a Lynel Boomerang. A chest on a stone ridge at about (3321, 468) holds a Brightbloom Seed, and a chest in a grassy pasture further on holds an Opal. Bring Zonai fans or a wing; the ridges are far apart.

The Broken Slate and Clues to the Sky
Repair the Broken Slate at Toto Lake
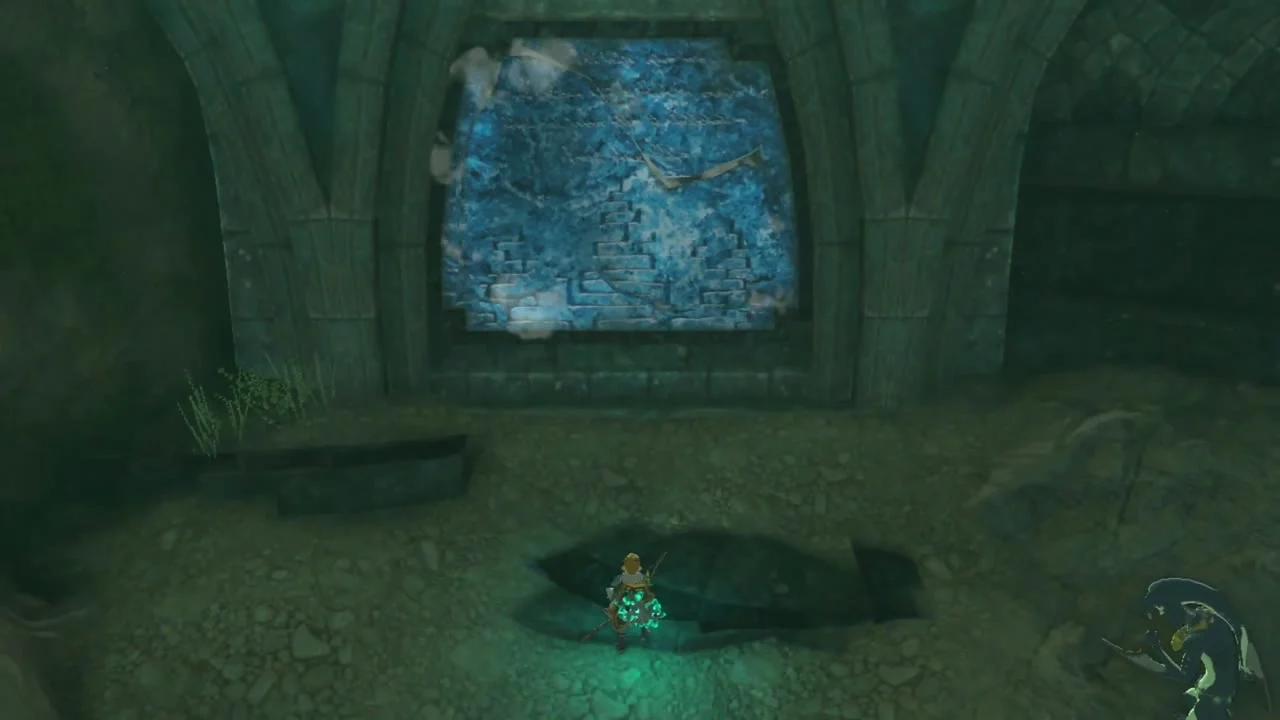
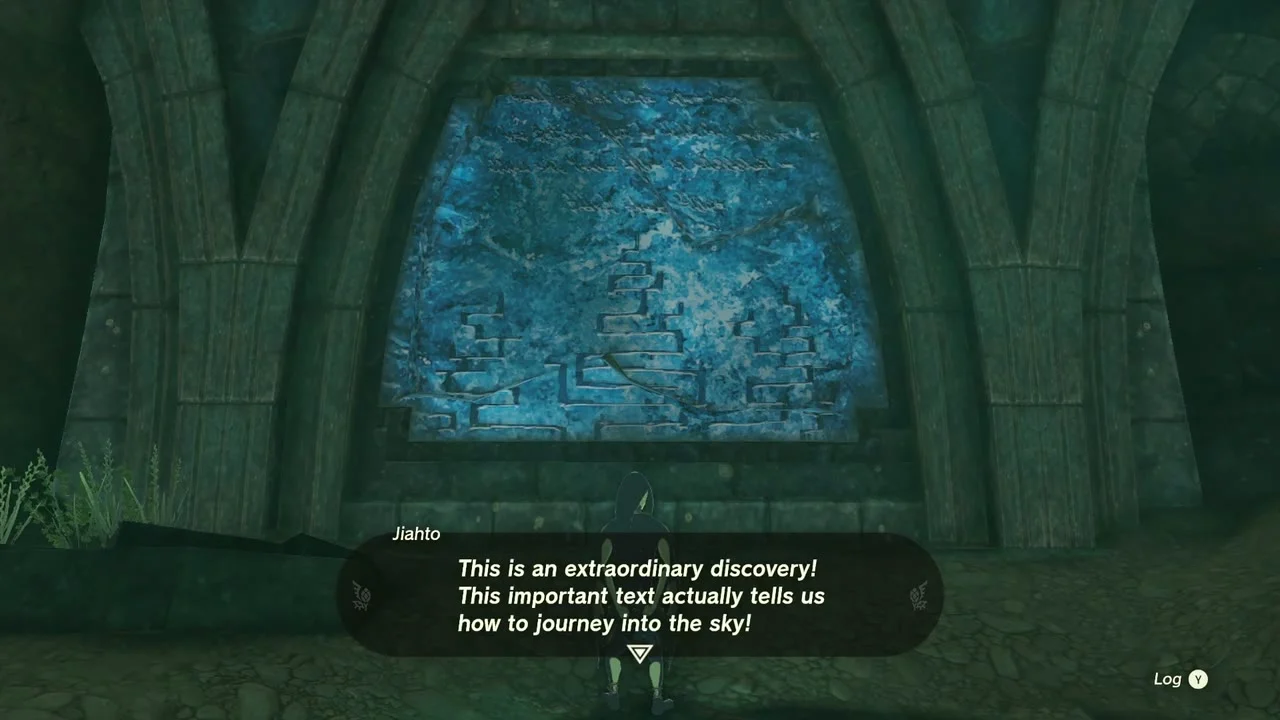
Jiahto digs at Toto Lake, north-west of Mipha’s Court; glide there and look for the small cave in the south-west of the lake. Talk to him to start The Broken Slate. Wash the slate with a Splash Fruit thrown from a bow, then use Ultrahand to slot it into the stone frame on the wall; its text is a clue about the sky. Jiahto then asks you to find King Dorephan, which begins Clues to the Sky.

Find King Dorephan in the throne room
King Dorephan is in the throne room of Zora’s Domain. Ask about the “mark of the king”: it means a Zora king’s scale, so he gives you King’s Scales (five, according to Nintendo Life). Then fast travel to Ihen-a Shrine at Mipha’s Court to continue.
Floating Scales Island
Floating Scales Island is a sky island east of Mipha’s Court. You reach it by flying a balloon or a glider launched from the high ground; the Zonai devices you need are a platform, a Flame Emitter and a balloon, plus fans if you want to steer. The island has stairs, a short chamber and a large droplet marker, so you do not need to explore further to finish Clues to the Sky.
Fly the hot-air balloon to the sky island
The clue says to stand on the land of the sky fish and shoot an arrow with the king’s mark through the floating droplet. The sky island is Floating Scales Island at roughly (4077, 535), a fish-shaped island with a waterfall in front of it, east of the shrine; unlocking Upland Zorana Skyview Tower helps you spot it on the map. Build a hot-air balloon from a platform, a Balloon and a fire source (a Flame Emitter, wood or flint), light it, and fly up from the mountain edge east of Ihen-a Shrine. Glide the last stretch to the island, with the Zora Armor on so you can aim for the waterfall.
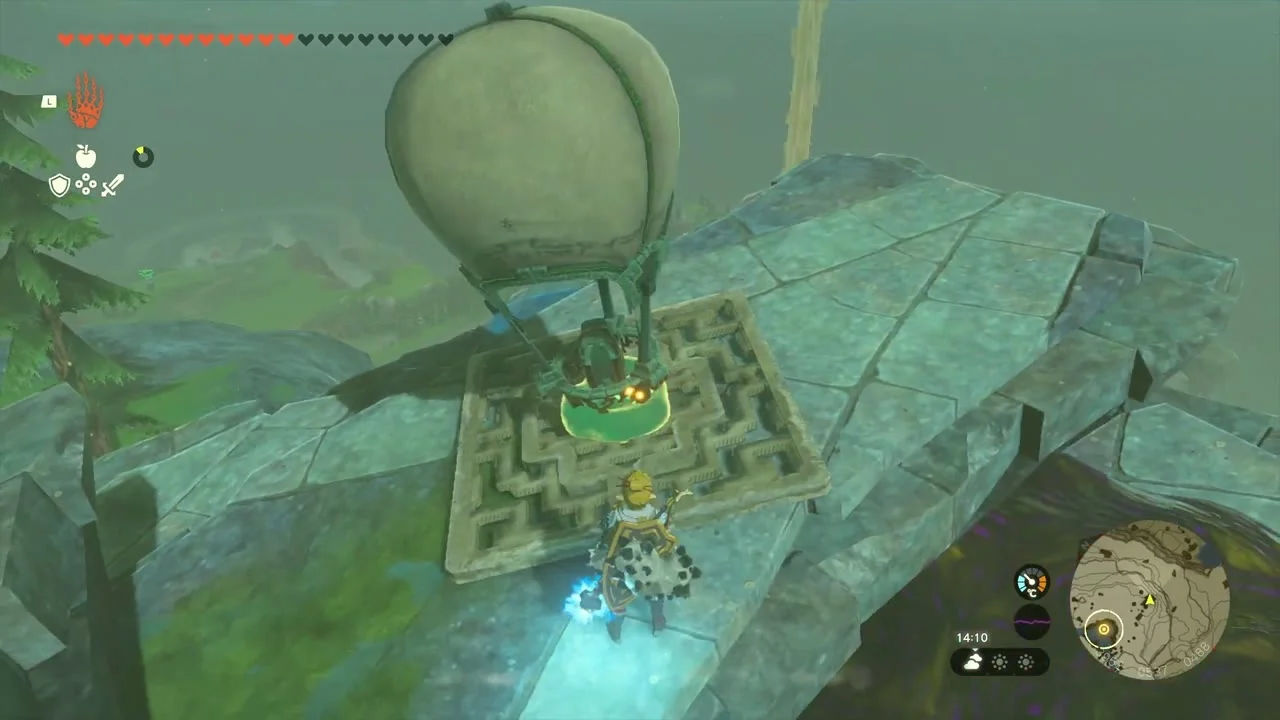
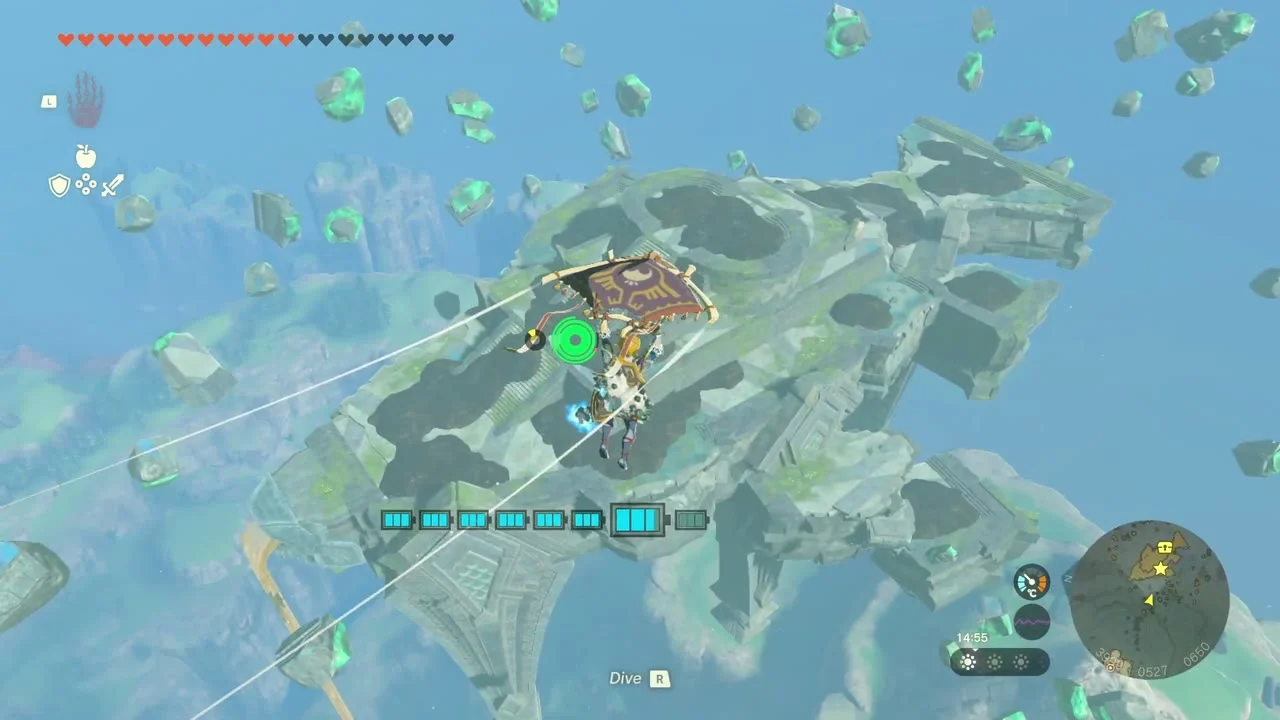
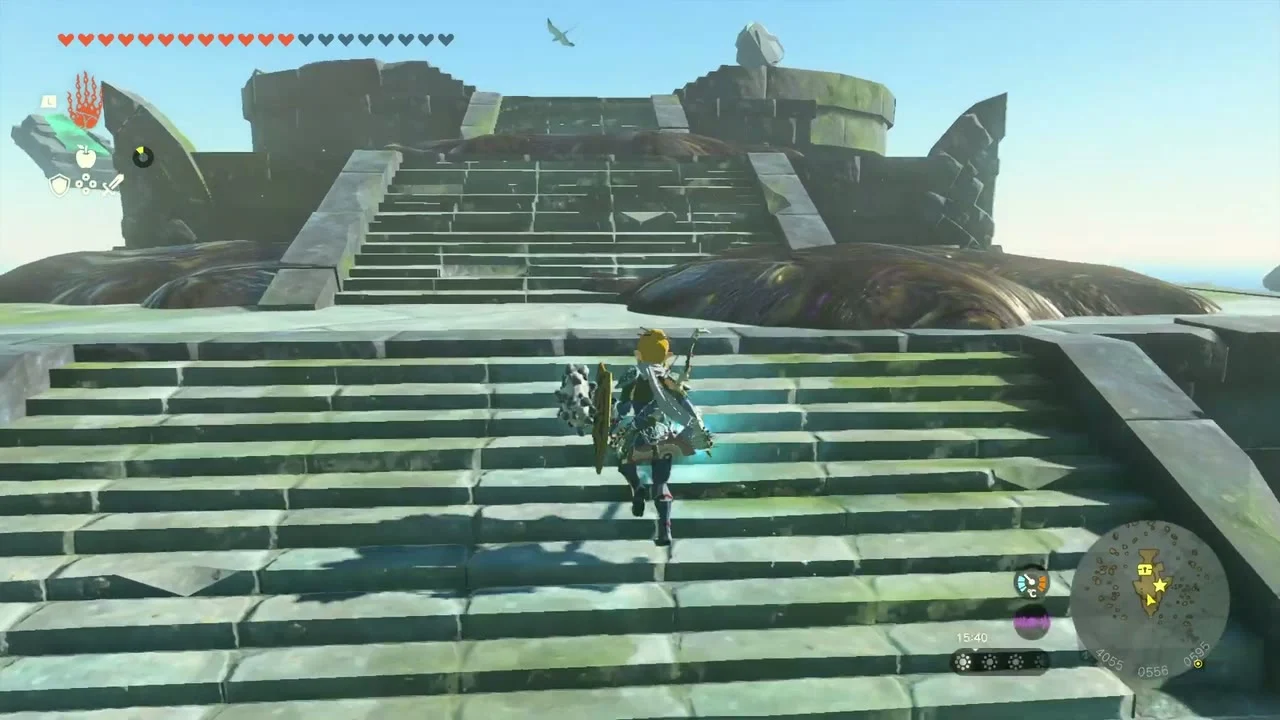
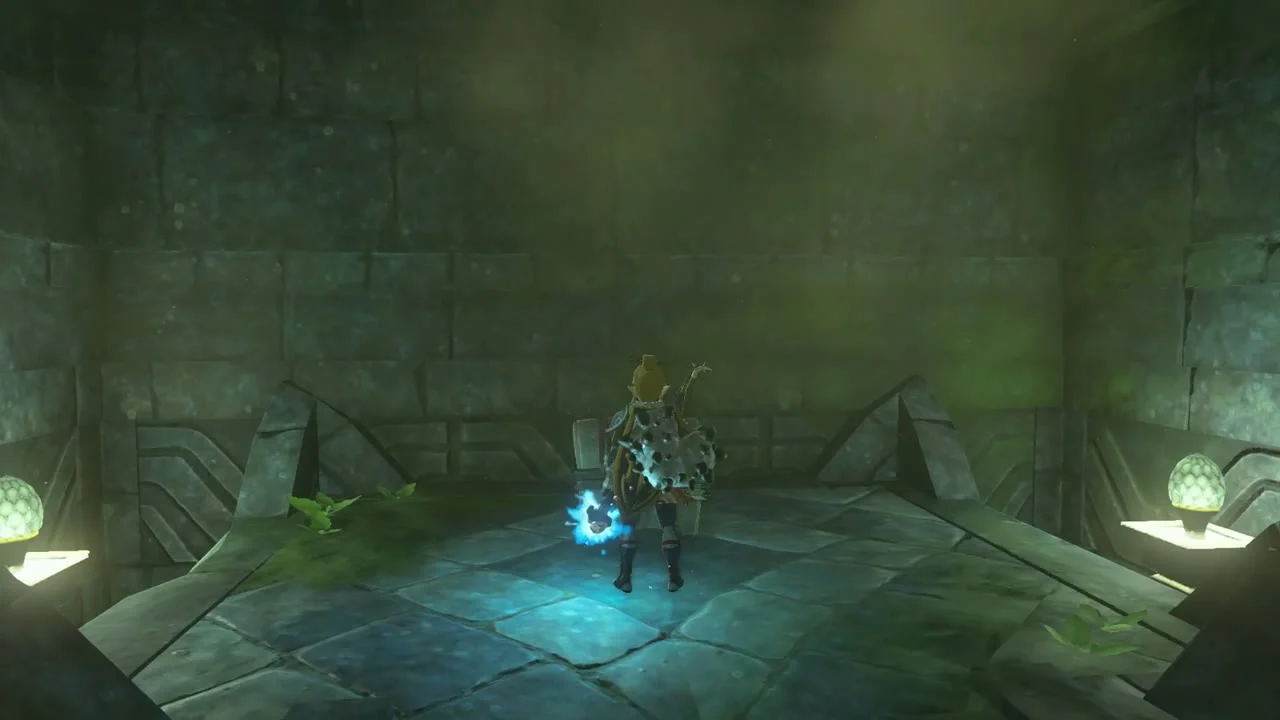
The island is covered in sludge. Wash a path to its centre with Splash Fruit (about 4073, 530) and look south-west from the edge for a rock formation shaped like a tear. Fuse a King’s Scale to your arrow, shoot it through the teardrop and a pillar of light rises from a nearby lake.
Take the Zora Helm and solve the droplet puzzle
A chest in the room on the island holds a Zora Helm. Then fire the scale-tipped arrow through the floating droplet as the clue says; this completes Clues to the Sky. Speak with Sidon back at the court to complete Sidon of the Zora’s next stage.
Sludge-Like boss, East Reservoir Lake and Ancient Zora Waterworks
Defeat the Sludge-Like
At Mipha’s Court, when you talk to Sidon a sludge monster appears. Stand close to Sidon to get his water bubble, use melee hits to wash off its sludge, then strike the weak point that opens in its mouth; repeat until it sinks. It has a lot of health, so expect several rounds. A chest afterwards holds a Royal Claymore (or Traveler’s Claymore, Soldier’s Claymore or Knight’s Claymore, depending on your progress). Keep distance when the boss leaps, because the ground sludge slows you; Sidon’s water bubble blocks the incoming slam if you swing at the right moment.
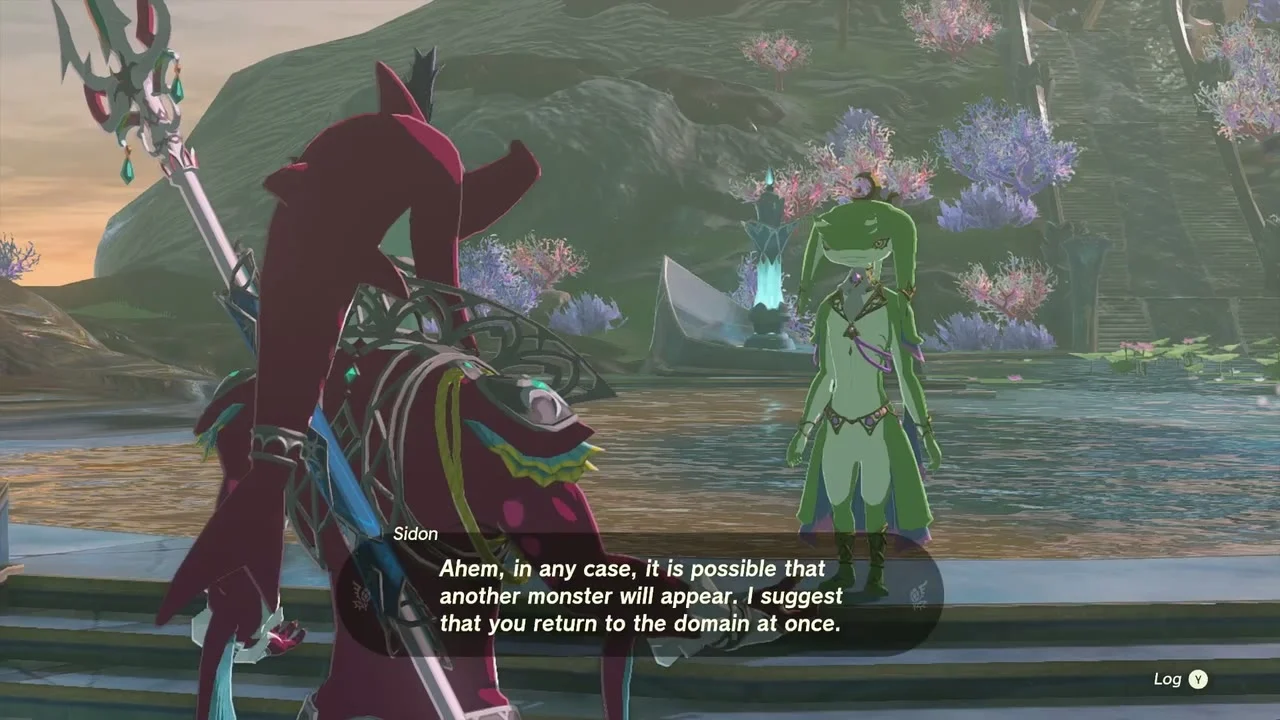


Meet Sidon at East Reservoir Lake
Follow Sidon to the pillar of light at East Reservoir Lake and dive in to reach Ancient Zora Waterworks (3606, 122, -1). A chest in the underwater cave holds a Zora Sword. Inside, break the boulders blocking the drains with bombs or a hammer (fuse the sword to a rock for a quick hammer) to raise the water, then work upward to the Zonai terminal. This is where Wellspring Island begins.
Collectibles in this chapter
- Shrines: 2 (Mogawak, Ihen-a); surface Lightroots: 2 (Kawagom, A-nehi)
- Caves: 3 (Ploymus Mountain Cave, Pristine Sanctum, Ancient Zora Waterworks); Bubbul Gems: 2
- Armor: Zora Armor, Climber’s Bandanna, Zora Helm
- Main quests: The Sludge-Covered Statue, Restoring the Zora Armor, Sidon of the Zora, The Broken Slate, Clues to the Sky
- Side quest: Secret Treasure under the Great Fish
Also in this area
These datamined Korok seeds lie near this stretch and were not collected here: hidden balloon at (3588, 416, 207); follow the flower at (3678, 450, 257); rock pattern at (3801, 855, 276); balloon at (3817, 76, 213); cube puzzle at (3905, 797, 385); carried Korok pair ending at (3920, 542, 485) and (3879, 266, 211); sparkle at (3322, 515, 308); rock pattern at (3167, 586, 115); balloon at (3284, 338, 250); and the sky Koroks at (3234, 461, 941), (3413, 617, 1550) and (3496, 579, 1193).
Secret Treasure under the Great Fish
Once Sidon of the Zora is under way, speak to Sidon in the throne room: he muses that a treasure may be hidden under the statue of the great fish, past two waterfalls. The treasure is in the Cave Under Zora’s Domain (3240, 373, 75), behind the waterfall at the Great Zora Bridge; glide into the waterfall, then go behind the inner waterfall to the chest holding the Vah Ruta Divine Helm. Opening it completes the quest, and if you already took the helm earlier, talking to Sidon clears the quest at once.
Quest order
The main quests in this chapter stack: finish the statue first, then Yona starts both the armor and Sidon quests, and the armor lets you shortcut the climb. Sidon sends you to Jiahto, Jiahto sends you to Dorephan, Dorephan sends you to Floating Scales Island, and the whole chain ends with Sidon back at Mipha’s Court. You can do the shrines and chests before or after the chain; fast travel to Zora’s Domain Skyview Tower keeps the shuffle short.
Chest summary
In route order the chests here give an Opal (Mogawak Shrine), the Climber’s Bandanna (Ploymus Mountain Cave), an Arrow and a Topaz (Pristine Sanctum), Arrow x5 (Ihen-a Shrine), Giant Brightbloom Seed x5, a Lynel Boomerang, a Brightbloom Seed and an Opal (the valley beyond Mipha’s Court), the Zora Helm (Floating Scales Island), a Royal Claymore (after the Sludge-Like) and a Zora Sword (Ancient Zora Waterworks). Several are weapons, so empty slots before you start the quest chain.
Cave notes
Ploymus Mountain Cave and Pristine Sanctum are short, but both are dark and wet. Light the torches with a flame, keep the Zora Armor on for the waterfalls, and take a Keese Eyeball for each Bubbulfrog.
Armor notes
The Zora Armor Set is the key to this region. With it equipped you swim up waterfalls without stamina cost and swim faster; the Zora Helm you find on Floating Scales Island is the matching headpiece. Upgrade them later with a Great Fairy once you have more Zonai Charges and materials. Wear the Climber’s Bandanna when you leave Ploymus Mountain Cave and climb to the Pristine Sanctum steps.
Who is who
Lady Yona is a Zora noblewoman and the quest giver for the statue, the armor and the first Sidon quest. Sidon is the Zora prince and waits at Mipha’s Court; he later fights with you and is the Sage of Water. Jiahto is the Zora historian at Toto Lake who decodes the slate. King Dorephan holds court in the throne room and hands over the King’s Scales. Keep these four names in mind and the quest log in this region reads in a straight line.
Route tips
Carry Splash Fruit for the statue and the slate, Keese Eyeballs for the Bubbulfrogs and spare Zonai fans for the balloon. Wear the Zora Armor to swim up waterfalls and skip the long climbs around the domain.
