





















Tears of the Kingdom 100% Completion Walkthrough43 chapters
Great Sky Island
- Great Sky Island4 shrines, 4 caves and Bubbul Gems, 17 Korok seeds
Hyrule Field and Hyrule Castle
- Lookout LandingParaglider, Crisis at Hyrule Castle, Jiosin and Kyononis shrines, 2 caves, 3 wells
- Hyrule FieldSusuyai and Ishodag shrines, the Hyrule Field Chasm, 2 caves, 13 Koroks
- Hyrule Castle Town RuinsSepapa, Yamiyo and Tukarok shrines, 2 caves, 4 wells, Koroks, chests and Battle Taluses in route order
- Central Hyrule Depthslight all 7 Lightroots, loot Daphnes and Gustaf Canyon Mines, find the Miner's Top
- Rest of Hyrule CastleRoyal Hidden Passage loot, 8 castle chests, Phantom Ganon, Energy Wells
- South Hyrule FieldShrines, Koroks & the Great Plateau
- South Hyrule Field DepthsGreat Abandoned Central Mine, Master Kohga, Autobuild, Majora's Mask
Tabantha and Hyrule Ridge
- Tabantha FrontierNew Serenne Stable, Hestu, Courage Island and the Glide Shirt, 3 shrines, 2 Korok seeds, Lindor's Brow Cave
- Forgotten TempleImpa and the Geoglyphs, Dragon's Tears, Kiuyoyou and Mayausiy shrines, Yiga Maritta Branch, 9 Koroks
- Tanagar Canyon & Hyrule RidgeRunakit and Iun-orok shrines, 2 caves, 12 Koroks, 20 chests, 8 minibosses and Dragon's Tear 6
- Thundra Plateau & Tabantha Bridgesolve the noon shadow puzzle, Tabantha Bridge Stable, Makurukis Shrine, 19 Korok seeds, 9 chests, 3 minibosses
- Lindor's Brow DepthsLightroots; Two Yiga camps (Bomb Bouquet, Flamethrower Balloon)
- Hyrule Ridge and Tabantha FrontierIkatak, Oromuwak, Ganos and Ga-ahisas shrines, 4 caves, a well, 26 Koroks and 3 minibosses
Hebra
- Rito VillageGatakis and Ijo-o shrines, Sikatag Lightroot, 9 Korok seeds, 14 chests
- Hebra MountainsShrines, Wind Temple & Koroks; Raspro Pass, Biron Snowshelf & Royal Hidden Passage
- Corvash Canyon MineTrousers of the Hero, Floodlights schematic, Sea-Breeze Boomerang, four Lightroots, Colgera
- Raspro Pass DepthsNupisoyuat and Sasag Lightroots, Colgera, Cap of Time, Tunic of the Wind, two Yiga camps and 13 minibosses
- Tabantha TundraTaninoud, Orochium, Oshozan-u, Mayaotaki, Nouda and Tenbez shrines, three Lightroots, caves and Bubbul Gems
- Pikida Stonegrove DepthsEvil Spirit Greaves, Ikatoayam, Muihcoro and Sikatag Lightroots, 3 Yiga schematics, Frox fights
Great Hyrule Forest
- Great Hyrule Forest7 shrines, 8 Lightroots, 2 caves, 2 wells, Korok Mask, Glide Tights
Eldin
- EldinEldin Canyon, Shrines, Caves & Goron City
- Eldin Canyon Depths10 Lightroots, Zant's Helmet, Trousers of the Wild, Biggoron's Sword, 3 Yiga schematics and Eldin's sky chests
Faron
- FaronHighland Stable, Lake Hylia & Popla Foothills
Necluda
- Kakariko VillageMakasura Shrine, Kakariko Village Well, 2 caves, Ring Ruins chests, 10 Korok seeds and village quests
- West Necluda and Lanayru WetlandsShrines, Koroks & Caves; Jonsau, Kurakat
- Hateno VillageZanmik and Mayahisik shrines, Shield of the Mind's Eye and Phrenic Bow wells, 7 Koroks
- East NecludaRabella Wetlands, Sifumim Shrine, Lurelin Village, 21 Korok seeds
- East Necluda DepthsKumamayn Shrine, 4 Lightroots, Midna's Helmet, Cap of the Hero, Trousers of the Wind and 18 Depths chests
Lanayru
- Lanayru Great SpringShrines, Koroks & Caves; Ralis Channel, 3 shrines, 8 caves
- Zora's DomainMogawak and Ihen-a shrines, Ploymus cave, Pristine Sanctum, Zora Armor, Sidon of the Zora and Clues to the Sky
- Wellspring IslandAncient Zora Waterworks chests, Igoshon Shrine, 2 Korok seeds, Water Temple's four wheels and Mucktorok
- Mount LanayruShrines, Koroks & Light Rings; Jikais and Anedamimik shrines
Gerudo
- Gerudo DesertShrines, Caves & Koroks; West and South Sands
- Gerudo TownGerudo Shelter shops and quests, Valley of Silent Statues, Lightning Temple and Queen Gibdo, Chichim Shrine
- Gerudo Desert DepthsGranajh and Daval mines, three Master Kohga fights, Queen Gibdo, Mucktorok, Sheik's Mask and 37 chests
- Gerudo HighlandsSkyview Tower, Rotsumamu and Suariwak shrines, Mayasiar Shrine, Yiga hideout
Akkala
- AkkalaTarrey Town quests, 4 shrines, Hinox, Battle Talus
- Akkala Sky Islands and DepthsGikaku and Natak shrines, Old Maps, Lomei Depths Labyrinth, Mucktorok, 5 Lightroots and 19 chests
Finale and completion
- Ancient Tablets, Gleeoks and Armor Upgradesall 13 stone tablets with coordinates, Frost and King Gleeok, Obsidian Frox, Cotera upgrades and farming
- Hyrule CastleRoyal gear chests, Korok seeds, Serutabomac Shrine
- Thunderhead IslesCharged armor, Joku-usin and Joku-u Shrines, Dragonhead Island's relic
- 100% Completion: Armor Upgrades & Korok BonusHestu's Gift, Ancient Hero's Aspect, Great Fairy Cotera upgrade costs and materials, then Destroy Ganondorf
This chapter is in 3 parts, in the order a 100% run reaches them. Jump to a part:
Part 1: Highland Stable, Lake Hylia & Popla Foothills
| Region | Faron Grasslands: Highland Stable and the south coast, north to the Popla Foothills, the Bridge of Hylia and Lake Hylia, then east to the Horse God Bridge and Corta Lake |
|---|---|
| Quests | The Flute Player’s Plan, Serenade to Kaysa, The Lake Hylia Crystal, Bring Peace to Faron!, Ride the Giant Horse, A Picture for Highland Stable, Ousting the Giants, The Beast and the Princess, Help Addison (x2) |
| Shrines | 2: En-oma (Rauru’s Blessing) and Ishokin (Rauru’s Blessing) |
| Lightroots | Amo-ne under En-oma Shrine and Nikohsi under Ishokin Shrine (see all Lightroots) |
| Caves and wells | 6 caves (Komo Shoreline, Lake Hylia Whirlpool, Cora Lakefront, Puffer Beach Overhead, Sarjon Woods, Corta Lake) and 1 well (Highland Stable) |
| Bubbul Gems | 6: Komo Shoreline end of the Highland Stable Well route, Lake Hylia Whirlpool Cave, Cora Lakefront Cave, Puffer Beach Overhead Cave, Sarjon Woods Cave, Corta Lake Cave |
| Korok seeds | 41 Korok spots listed (43 seeds, counting the two exhausted-Korok deliveries as two each); see Faron Korok seeds |
| Minibosses | Flame Gleeok, Flux Construct III, Boss Bokoblin x2, Blue-Maned Lynel, Silver-Maned Lynel, White-Maned Lynel, Phantom Ganon x2, Hinox, Stone Talus x2, Thunder Gleeok |
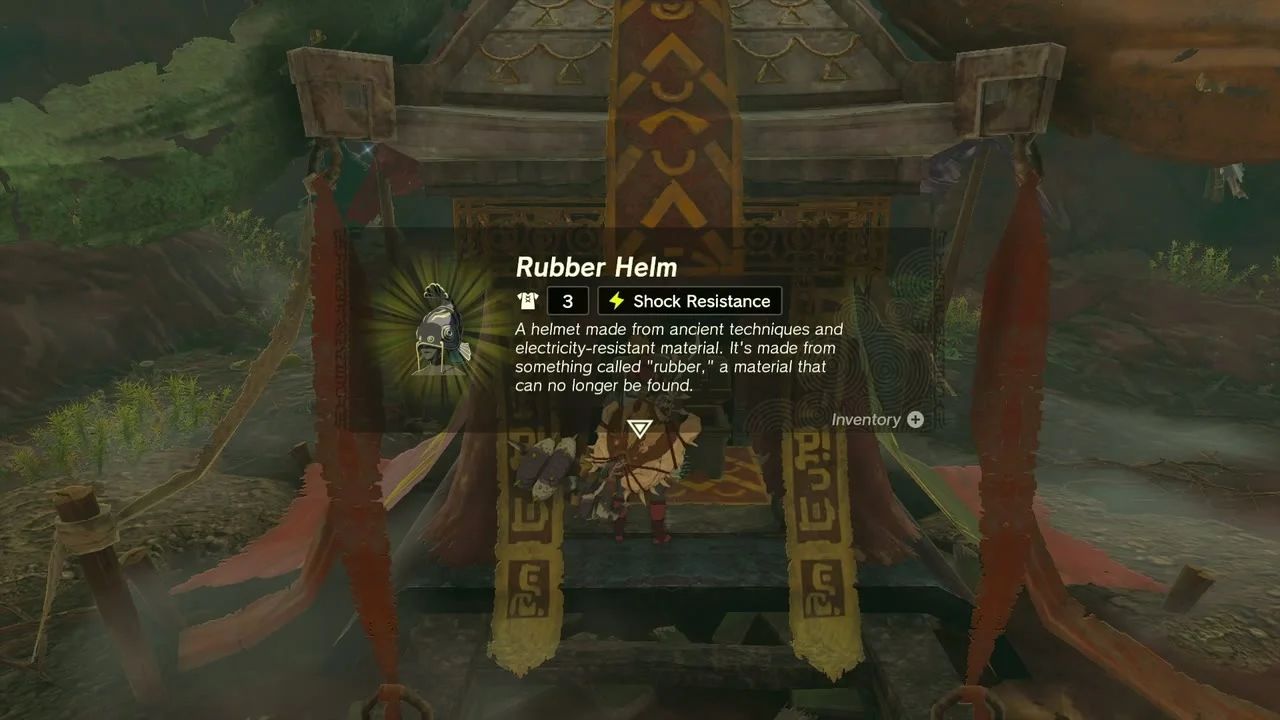
| Armor | Phantom Helmet (Puffer Beach Overhead Cave), Rubber Helm (Sarjon Woods Cave) |
| Other | Dragon’s Tear: A King’s Duty (Memory 13); Sage’s Will from the Flux Construct III |
This chapter covers the Faron Grasslands from Highland Stable on the south coast up through the Popla Foothills and Lake Hylia, then east along the Horse God Bridge toward Lakeside Stable. Two shrines, six caves, a well, a Dragon’s Tear, a Sage’s Will and a long run of Korok seeds sit on this stretch, listed below in route order. Coordinates are map units (X, Y, height): larger Y is further north, and the minimap rim prints the same numbers, so you can match any entry against your own position.
Quick route
Start at Highland Stable: give Pyper his fireflies (which frees him to rejoin the Stable Trotters for Serenade to Kaysa), drop into the well beside the stable for three weapon chests, and leave through Komo Shoreline Cave onto the beach. Then work north to the Bridge of Hylia, fight the Flame Gleeok and collect the Korok seeds around Lake Hylia.
Fix Addison’s sign, dive into the Lake Hylia Whirlpool Cave, climb to the sky island above it for the Lake Hylia Crystal and carry the crystal back to En-oma Shrine. Then take the Sage’s Will from the Flux Construct III in the sky, pull the Dragon’s Tear on the Lake Hylia cliff and loop through the Cora Lakefront Cave.
Sweep south and west for Koroks, a Lynel pair, Phantom Ganon and a Hinox, help Flaxel with Bring Peace to Faron!, bring the giant white stallion to Baddek for Ishokin Shrine, then finish with Puffer Beach Overhead Cave, Sarjon Woods Cave, Corta Lake Cave, Satori and the Lakeside Stable quests.
Highland Stable
Give Pyper ten sunset fireflies
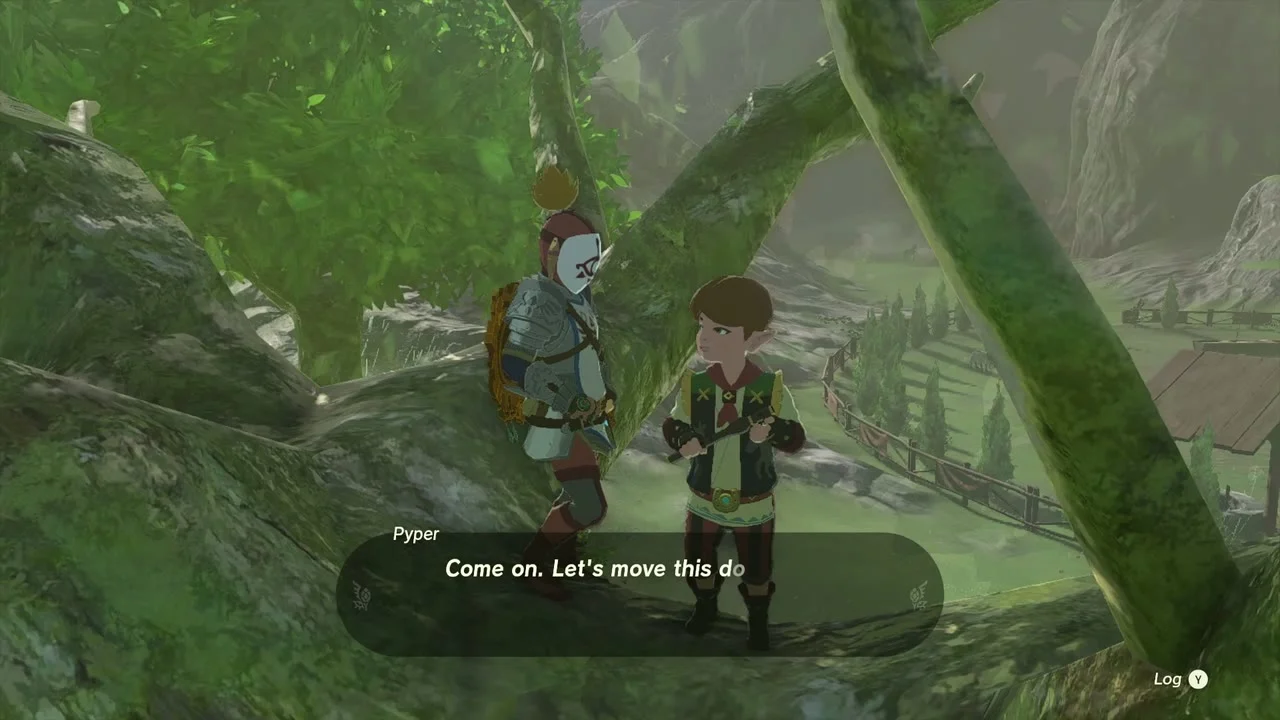
Quest (The Flute Player’s Plan). Pyper, the flute player of the Stable Trotters, sits up in the big tree beside Highland Stable (529, -3450, 95). Bring him 10 sunset fireflies, which only come out at night; crouch as you approach so they do not scatter. Then wake Haite in the stable at night and bring her to the tree to finish the quest; Pyper pays out a Big Hearty Truffle. Guides differ on where the fireflies gather (they drift over water and along wooded roads after dark and are most common after midnight). Once the quest is done Pyper returns to the Stable Trotters, which is what lets you finish Serenade to Kaysa.

Drop into Highland Stable Well
Well (Highland Stable Well). The well sits just north of the stable at (537, -3426, 33). Climb down the ladder and break through the Red Sediment on the cave floor to open the passage south toward the shore; the well and Komo Shoreline Cave are one connected route. The caverns hold Bokoblins and Shock Like enemies, so bring fire or arrows. Fera, who is collecting well locations for the side quest Where Are the Wells?, can be found here if you have not already met her at another well; tell her about it to count the well.


Chest (Eightfold Longblade). The first chest on the route holds an Eightfold Longblade, a decayed long two-hander that works best as a fuse base.


Chest (Ancient Blade). In a lower area full of crates, a chest that is harder to spot than the surrounding crates holds an Ancient Blade. A second Ancient Blade chest sits near the campsite inside Komo Shoreline Cave.


Chest (Royal Broadsword (or Traveler’s Sword, Soldier’s Broadsword or Knight’s Broadsword, depending on your progress)). A chest deeper in the cave holds a Royal Broadsword. A Bubbulfrog hides in the Komo Shoreline end of the route at about (464, -3843, 2), behind a large stone pillar in a side room; clear the grey rocks or blow the wall near the ceiling with a Bomb Flower, climb up and shoot it for a Bubbul Gem.


Route notes. The first cavern holds Bokoblins guarding a wooden chest. A small cavern at the end of the first path has a campsite with a chest, and the next large cavern has five stone columns, two Shock Likes and more Bokoblins. A small alcove there is sealed by grey rocks; behind it is the side room with the large central pillar ringed by nine ore deposits and one luminous ore deposit, with the Bubbulfrog tucked behind the pillar. A homing arrow (Keese Eyeball fused to an arrow) makes the shot easy.
Leave through Komo Shoreline Cave
Cave (Komo Shoreline Cave). The beach exit opens on the cliff base between Puffer Beach and the Komo Shoreline, south-west of the Horse God Bridge, at (486, -3831, 7). The lake inside holds Porgys, so keep a weapon ready. It is also the quickest way to reach the well from the coast.


Wake Kaysa at the Great Fairy fountain
Quest (Serenade to Kaysa). Mastro of the Stable Trotters, at Outskirt Stable far to the north-west, starts this quest: the Great Fairy Kaysa has shut herself inside her flower bud near Outskirt Stable, and the troupe’s flute might draw her out, but their flautist Pyper is missing and the only lead is a flute heard near Highland Stable. That is why you find him here. With Pyper back in the group, sky debris blocks the road to Kaysa so you cannot take the troupe there by horse; build a vehicle with Ultrahand to carry them to her fountain. Kaysa then upgrades armor for rupees and materials.

Popla Foothills and Lake Hylia
Collect the Lake Hylia Korok seeds
Korok seed (dive into the ring). A ring of leaves floats under the waterfall at (45, -2133, -11), south of the Bridge of Hylia. Dive into the ring to unlock the Korok.

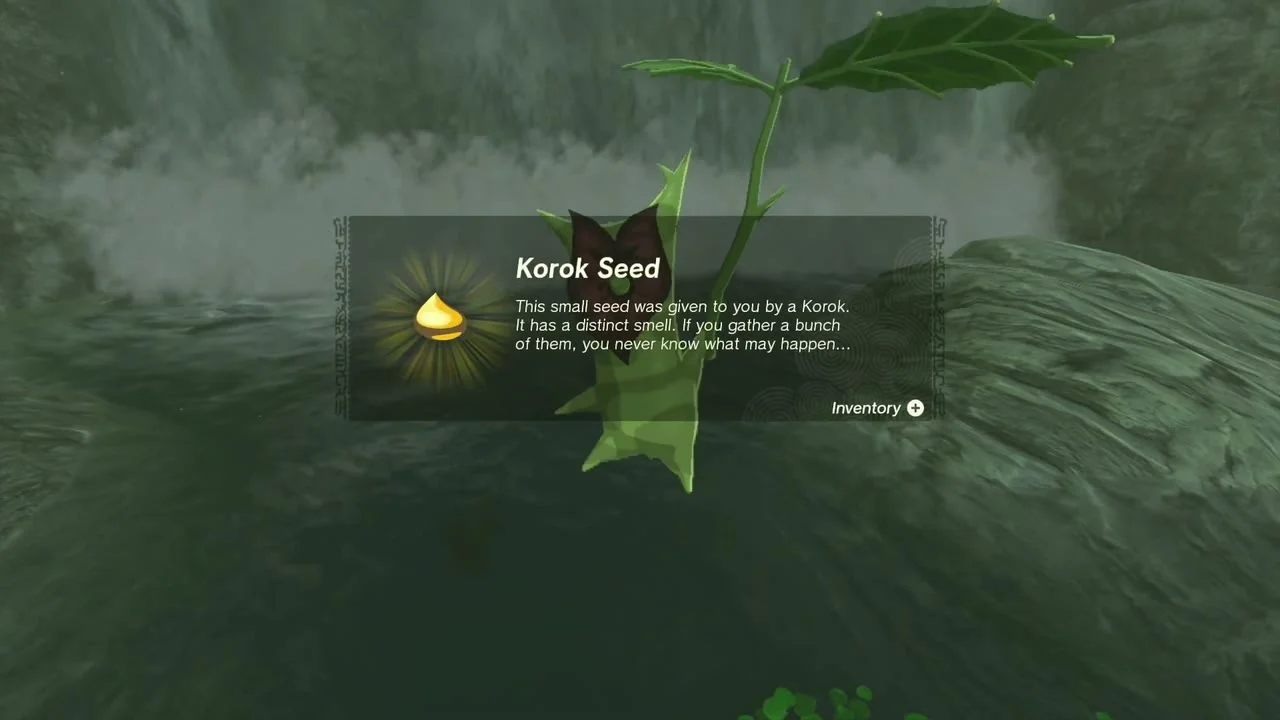
Korok seed (break the acorn pot). In the stone ruin beside the bridge at (-65, -2441, 17), hit the hidden acorn pot with a thrown rock or an arrow.
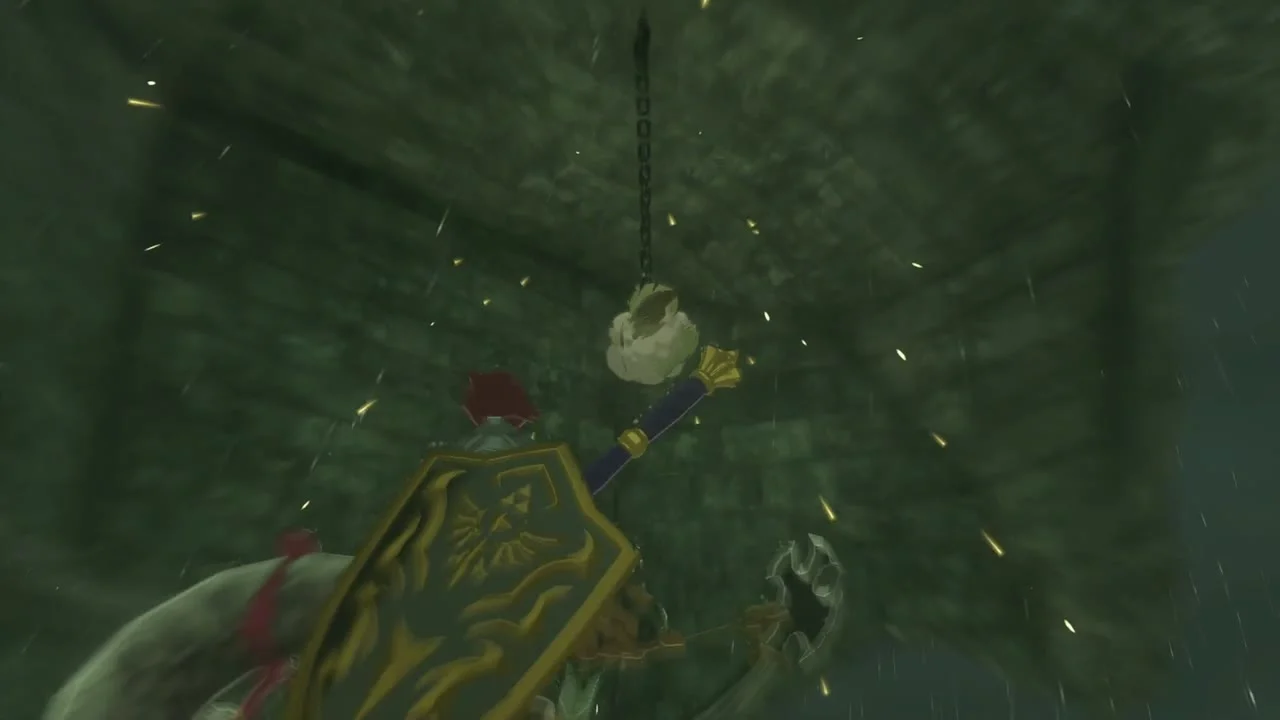
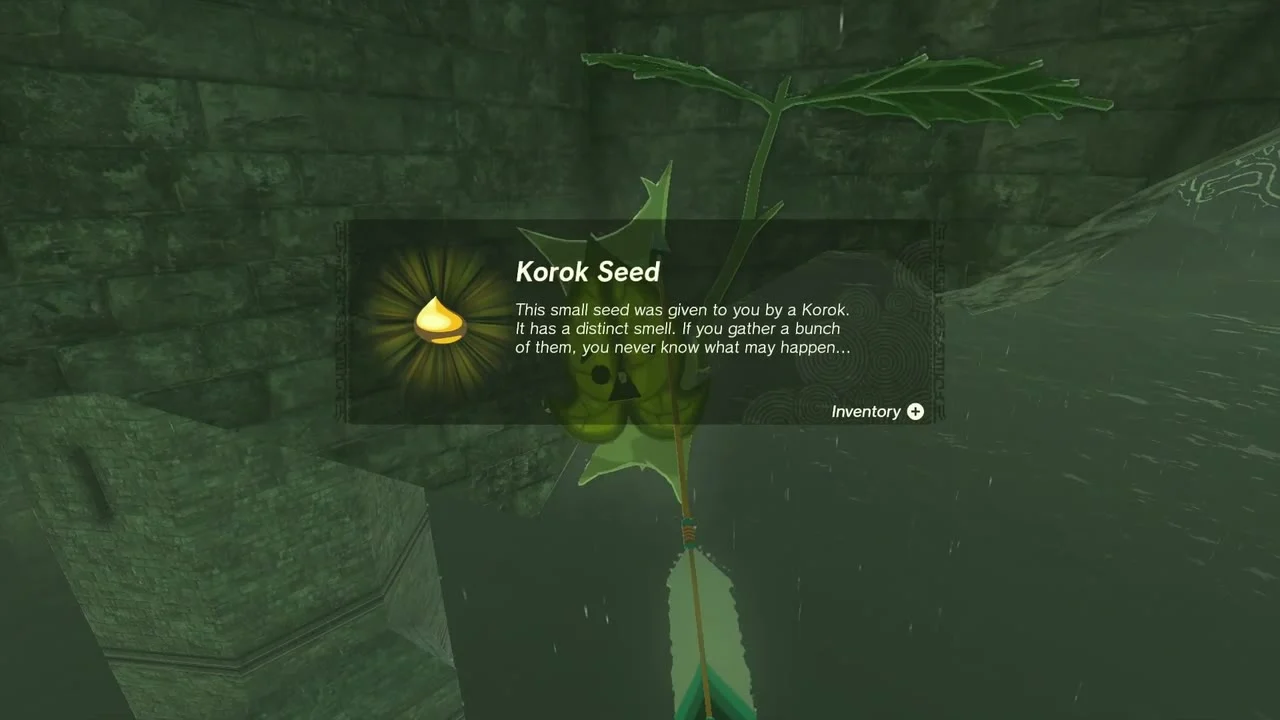
Korok seed (examine where the arrows point to). Arrow marks on a ruined wall at (-9, -2587, 7) point at a hidden spot; examine the spot where they end.
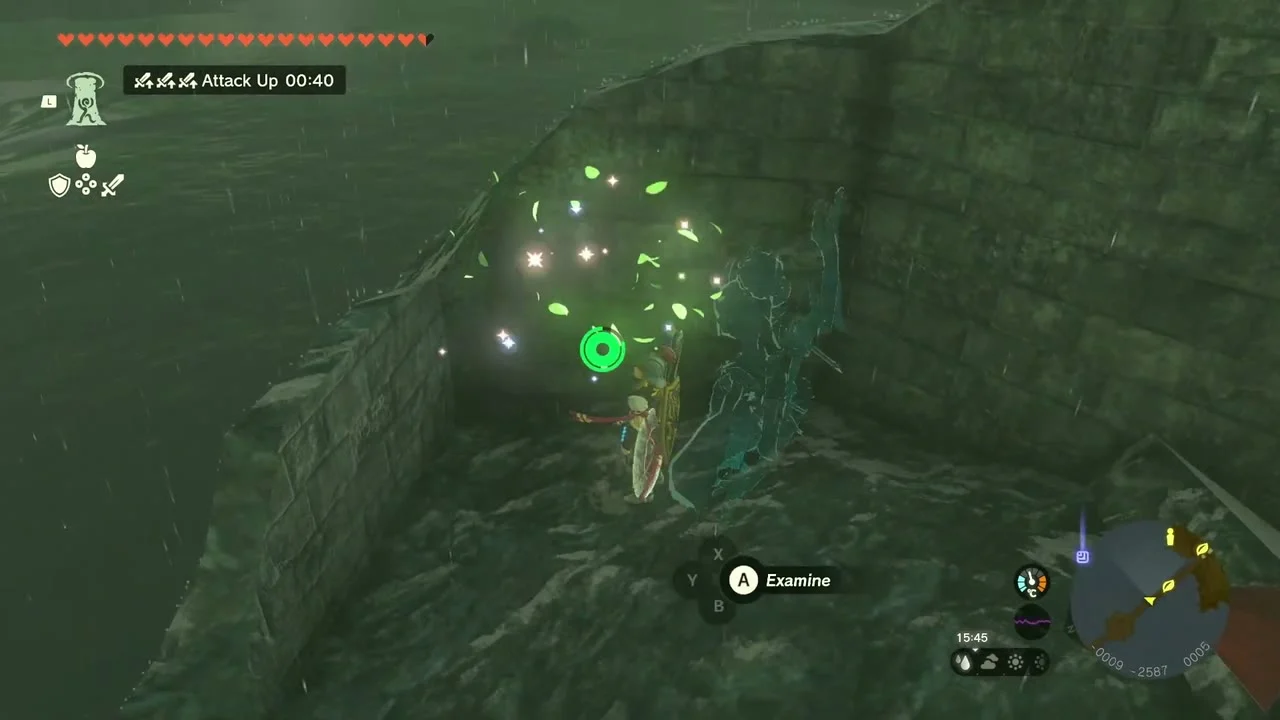
Korok seed (reach the target ring). On the old wall at (25, -2728, 82) a timed target ring appears; glide through it before the timer runs out.
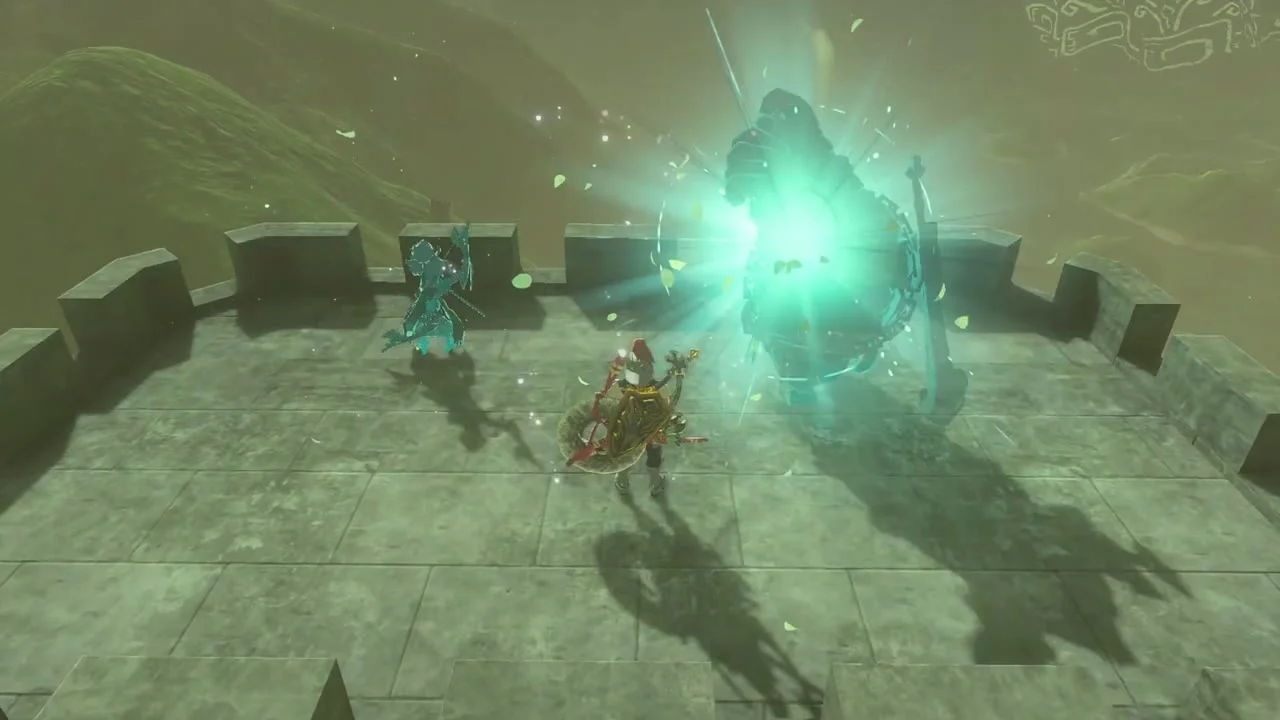
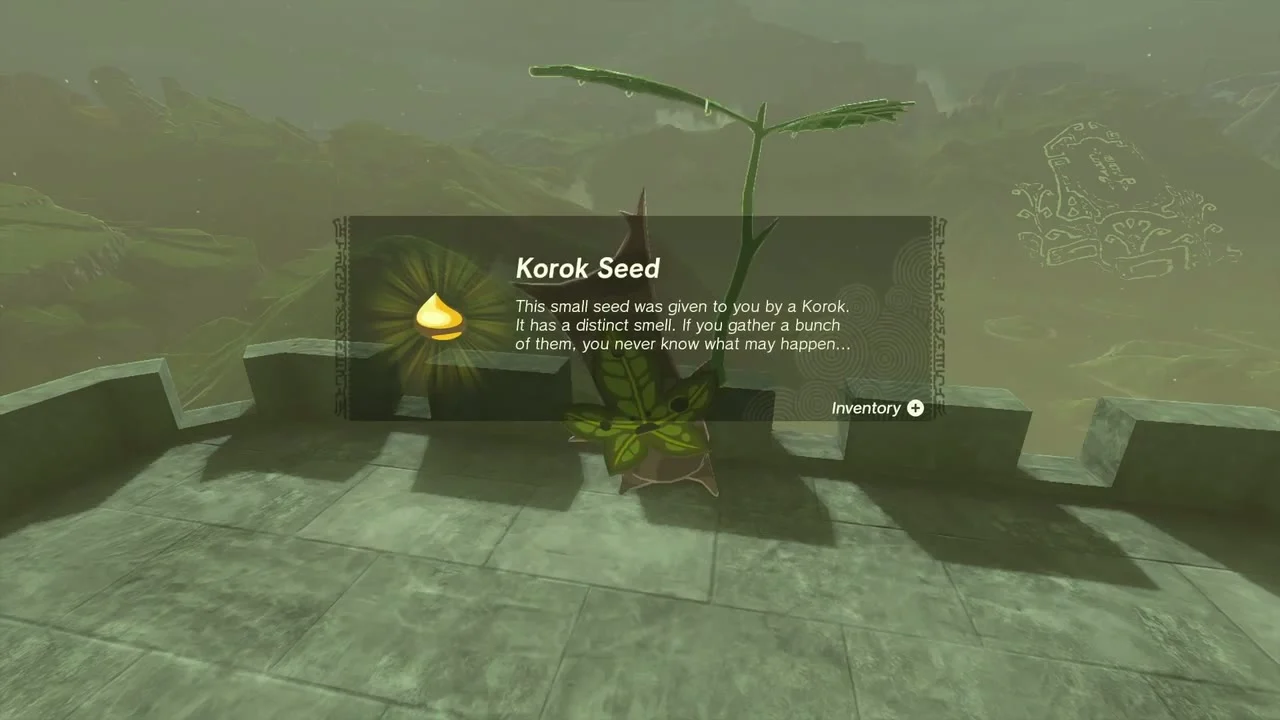
Korok seed (lift the rock). A boulder at (339, -2832, -14) on the lake shore hides the Korok. Lift it with Ultrahand.
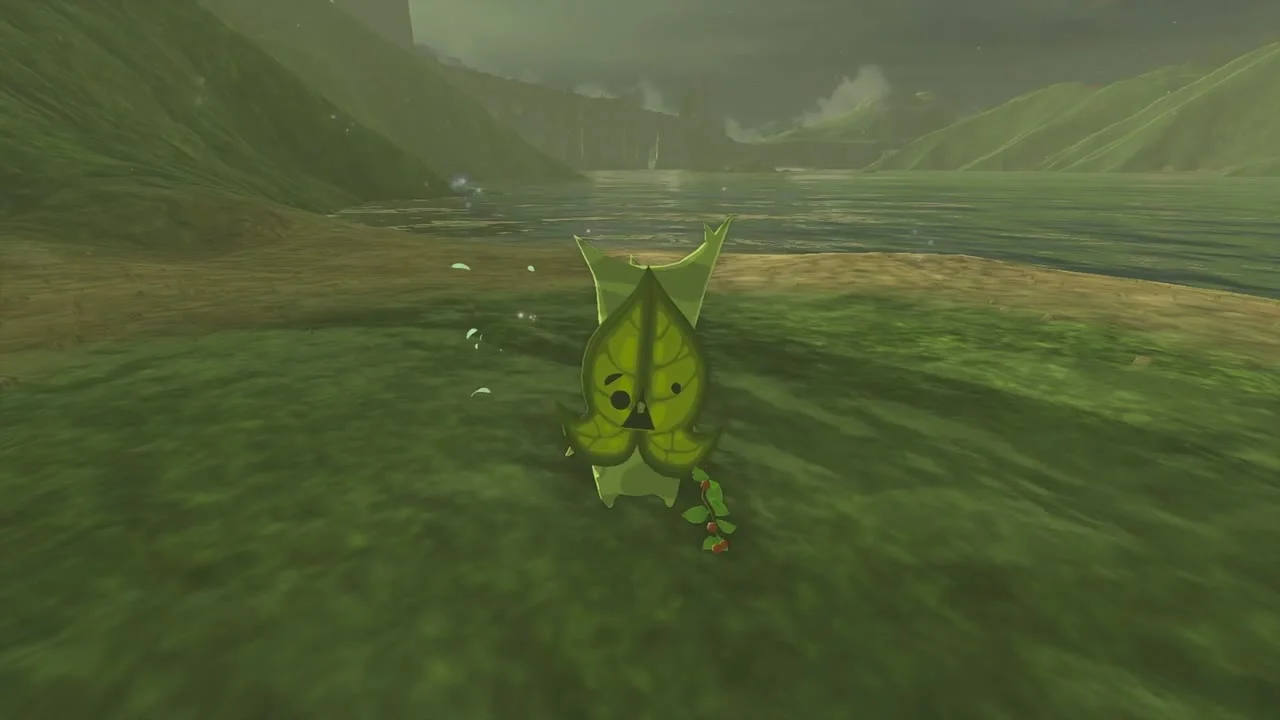

Korok seed (shoot the balloon). Balloons hang over a tiny grass islet at (205, -2638, -9); pop them with arrows from the shore to reveal the Korok.


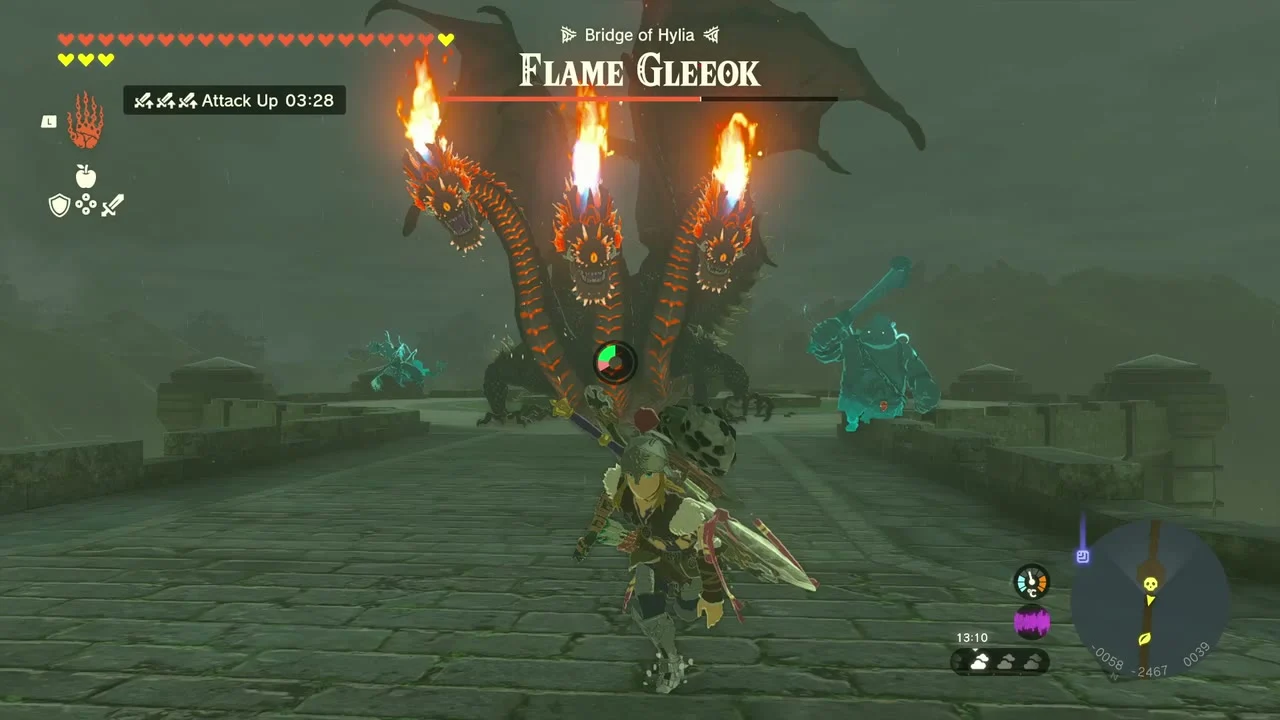
Miniboss (Flame Gleeok). A Flame Gleeok circles the Bridge of Hylia at about (-57, -2468, 39). Shoot its wings with arrows to ground it, then strike its heads while it is down; ice arrows work well.

Help Addison with his sign
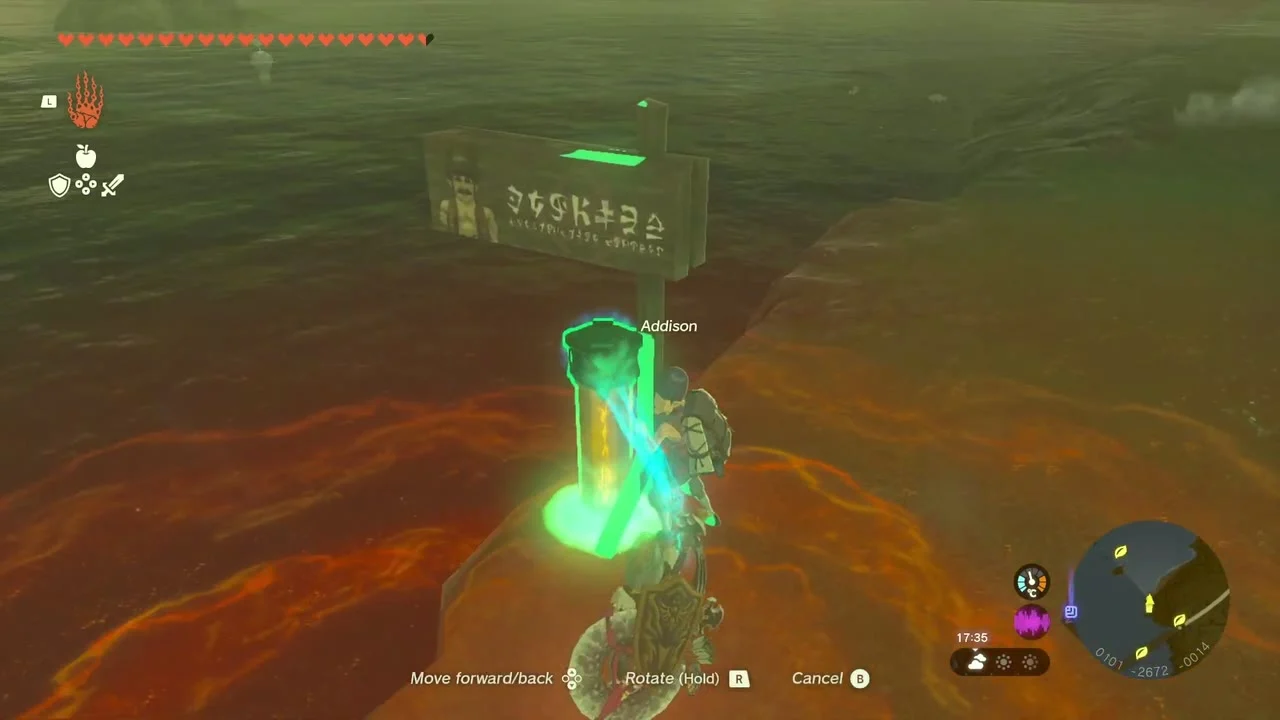
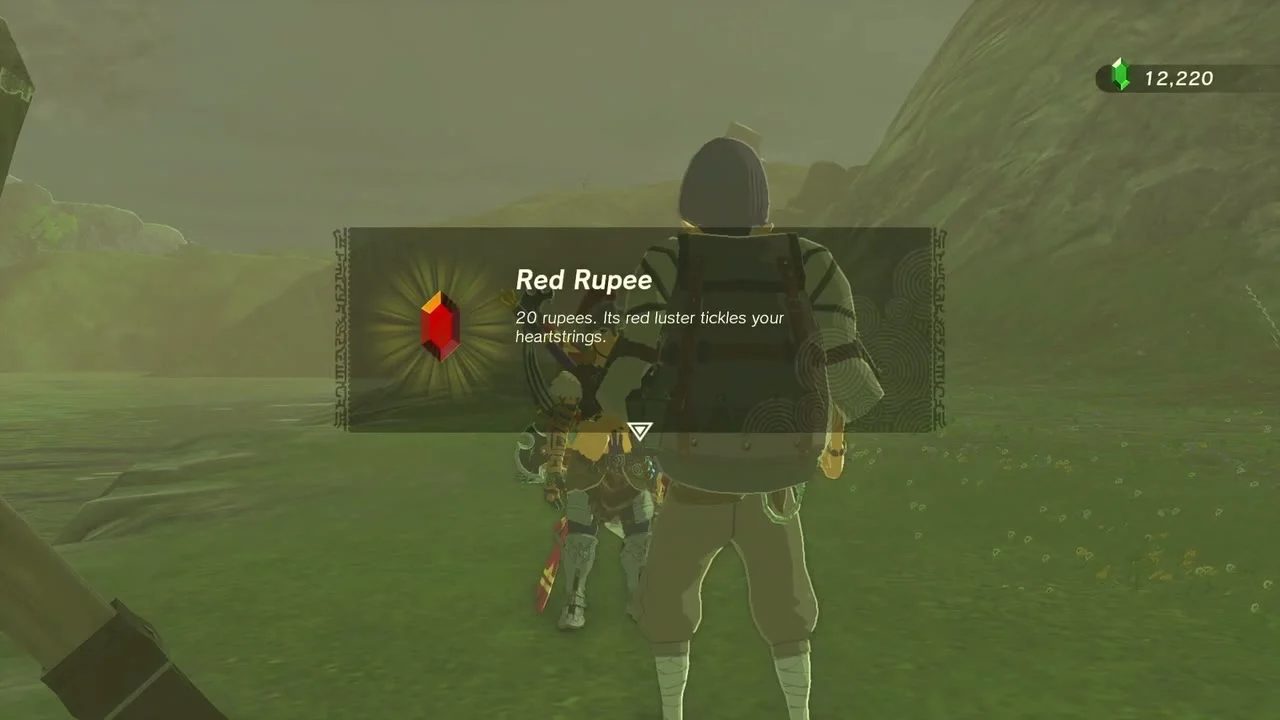
Quest (Help Addison). Addison struggles to hold his sign upright on the hillside above the lake at (100, -2672, -14). Use Ultrahand on nearby planks to build a support, then talk to him; he rewards you with a Red Rupee.
Dive into Lake Hylia Whirlpool Cave
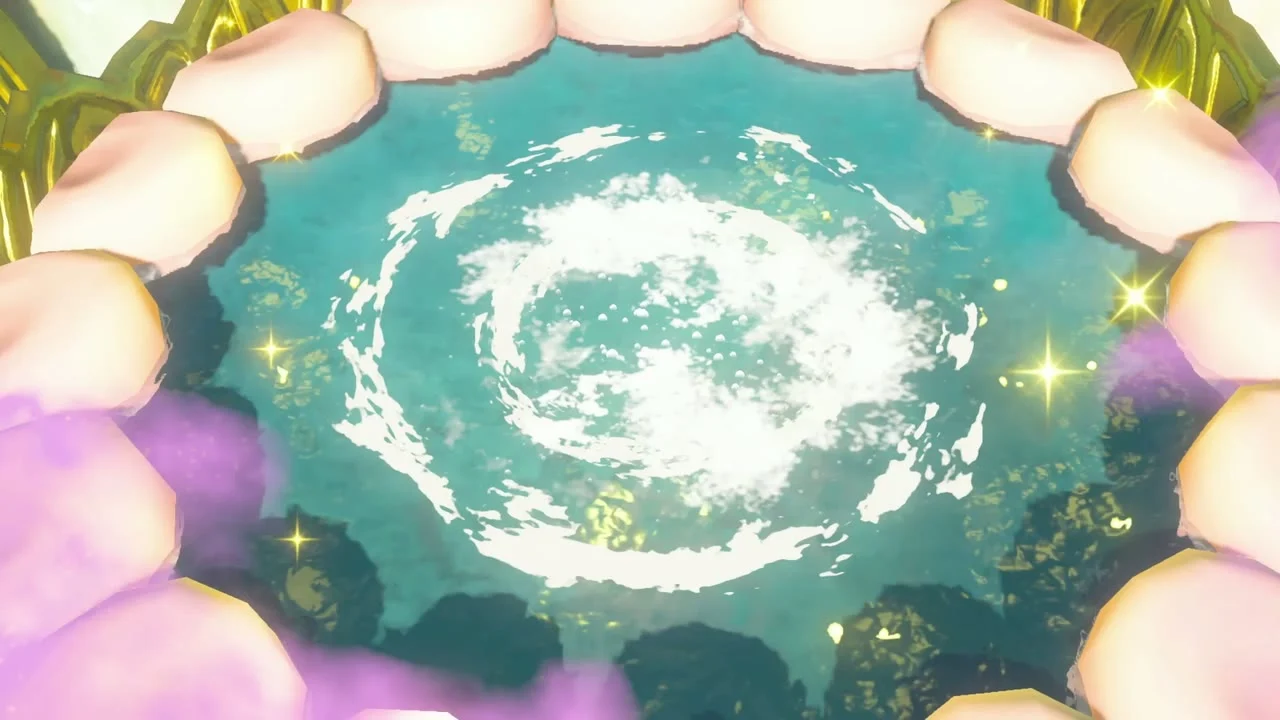
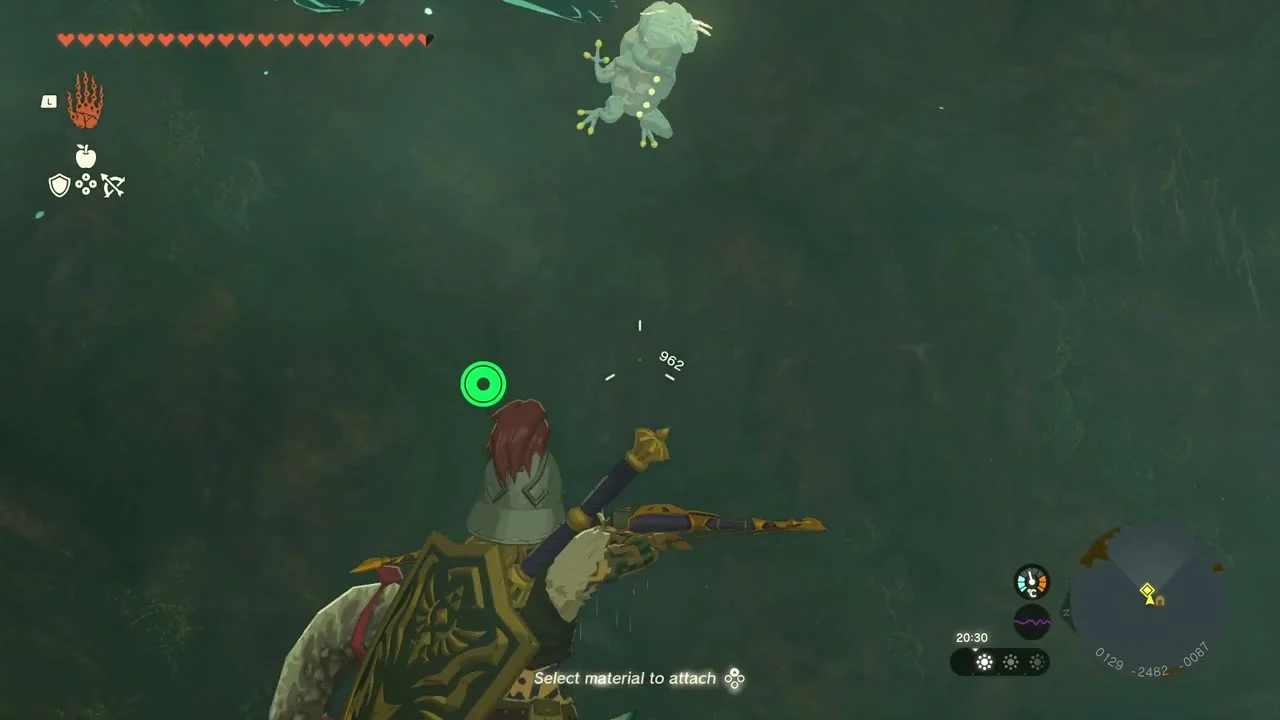
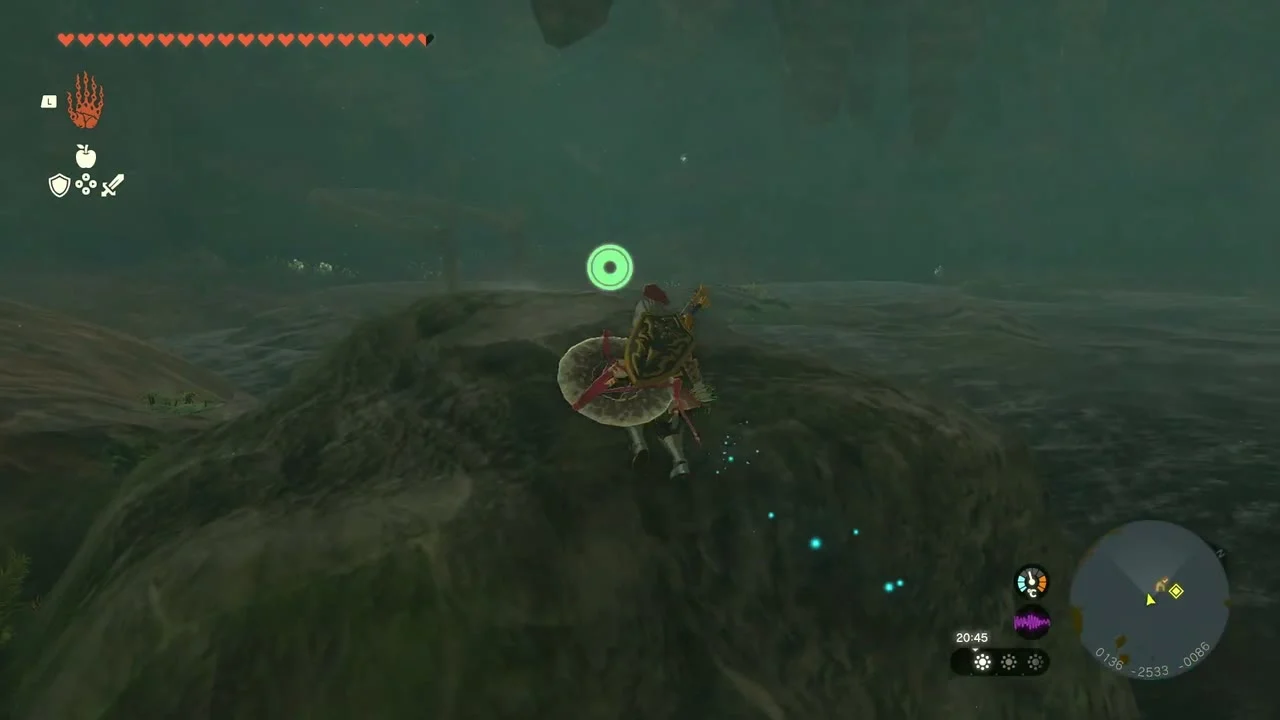
Cave (Lake Hylia Whirlpool Cave). The whirlpool at (125, -2501, -89) in the lake drops straight into a cave; glide down onto it from the Popla Foothills Skyview Tower (604, -2126, 91). A Bubbulfrog lives in the cavern: shoot it for a Bubbul Gem. A rock mound at the back of the cave is En-oma Shrine’s sealed entrance.
En-oma Shrine and the Lake Hylia Crystal
Shrine quest (The Lake Hylia Crystal). Examine the shrine mound inside the whirlpool cave to start this quest. The crystal sits on a sky island of the Faron Sky Archipelago above the lake; glide there from the Popla Foothills Skyview Tower, pick the crystal up, drop it through the hole in the island floor and dive down after it.
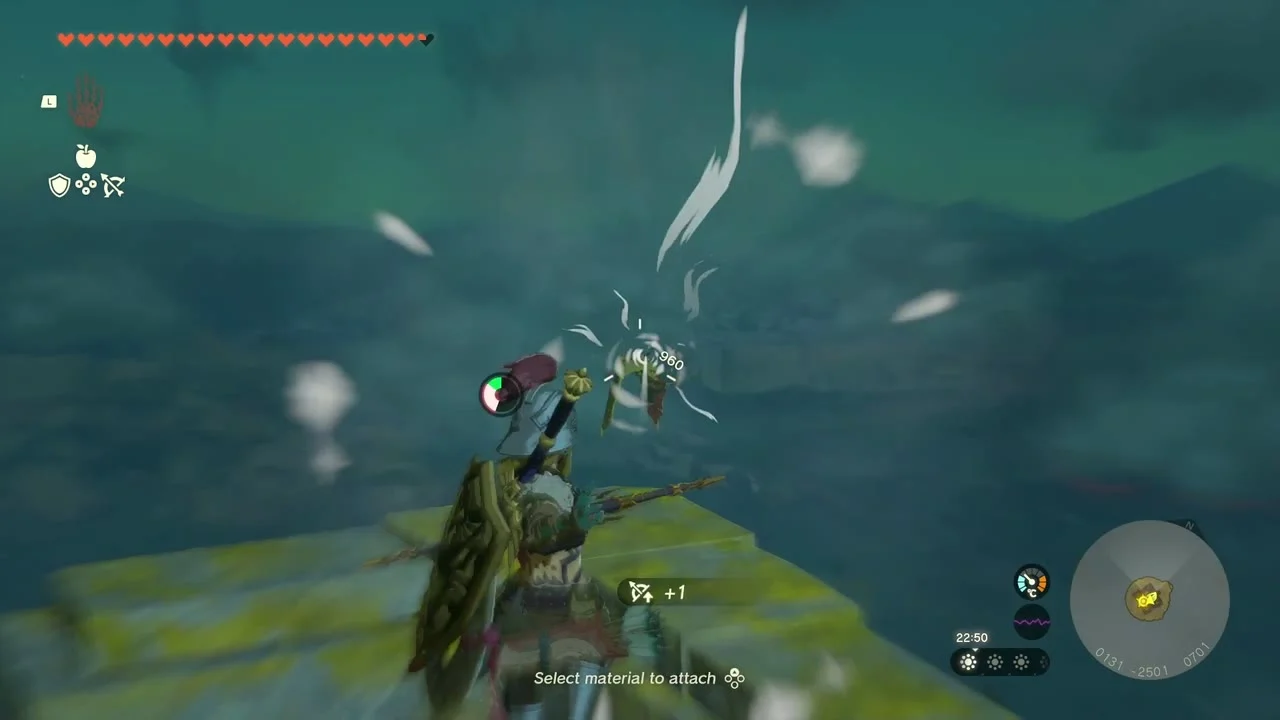
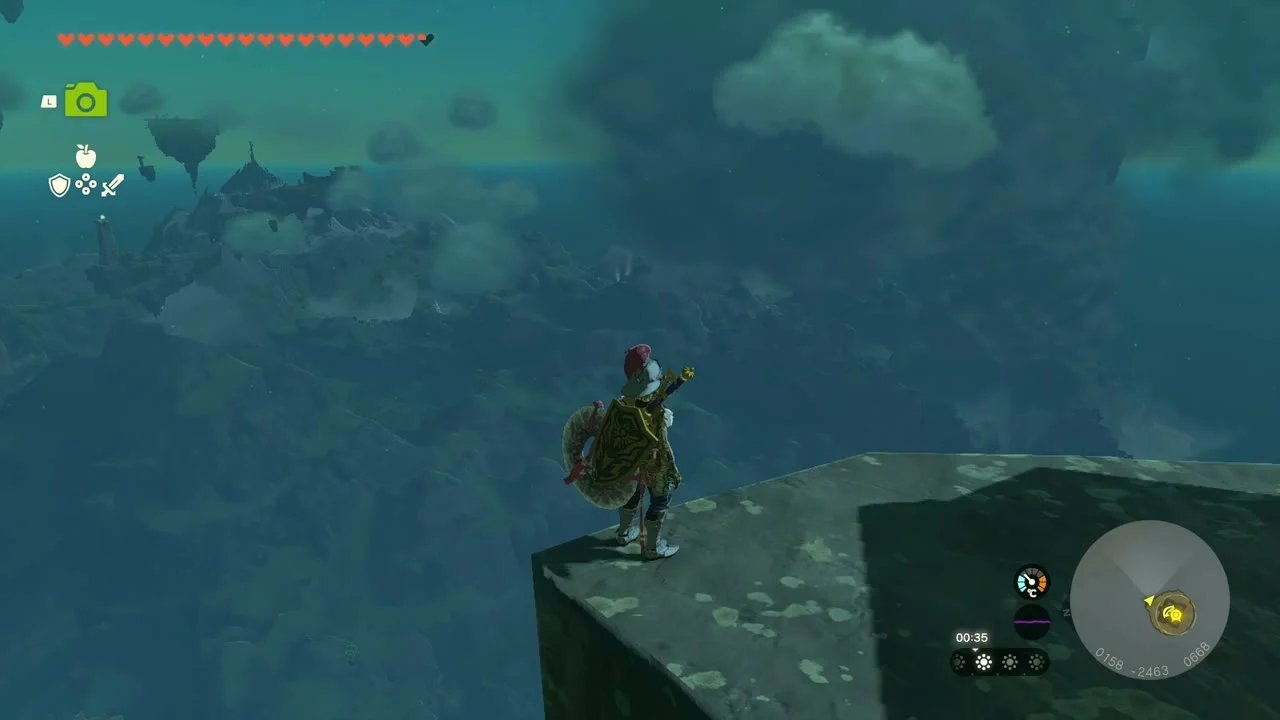
Korok seed (lift the rock). A rock on the sky island at (126, -2502, 691), straight above the whirlpool, hides a Korok. Lift it and take the seed before you drop the crystal.
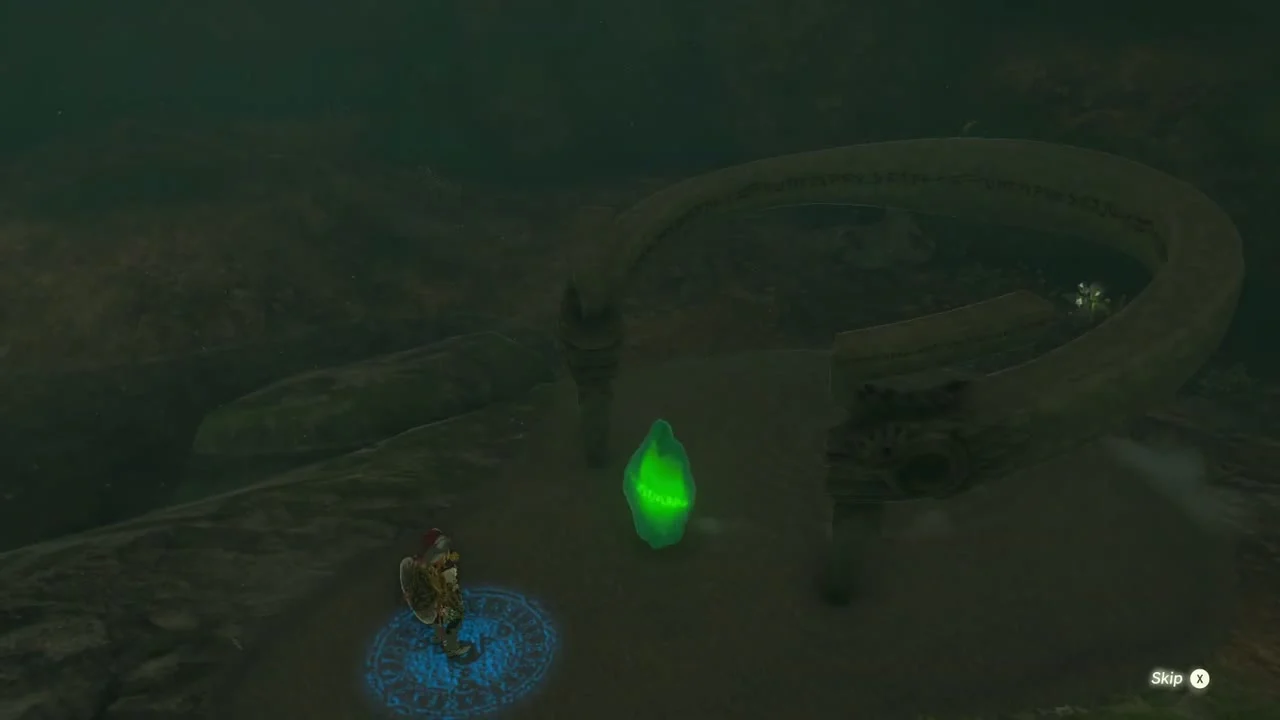
Shrine (En-oma Shrine, Rauru’s Blessing). Carry the crystal to the glowing circle at (103, -2518, -74) inside the whirlpool cave; it grows into the shrine entrance. The trial has no puzzle: walk up the stairs, open the chest for a Mighty Zonaite Sword (Strong or Mighty, depending on your progress) and take the Light of Blessing. The Amo-ne Lightroot lies below at (102, -2518, -435).


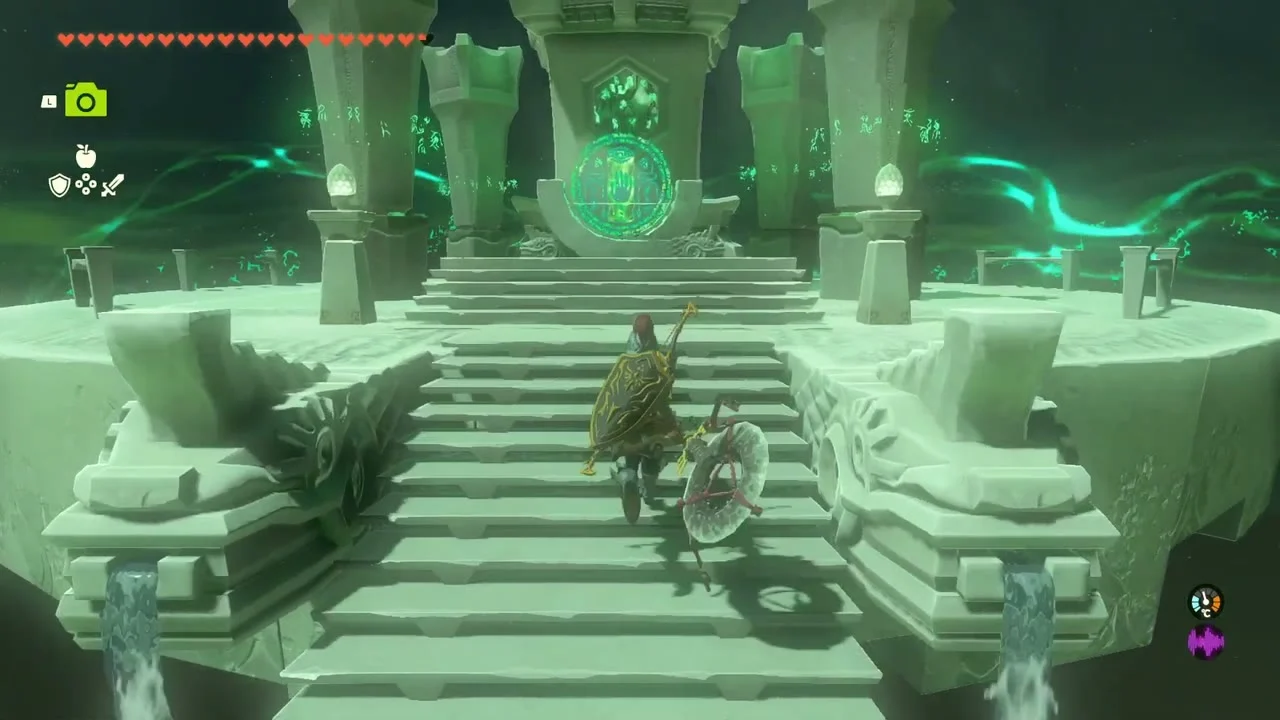
Sky, Dragon’s Tear and Cora Lake
Beat the Flux Construct III for the Sage’s Will
Miniboss (Flux Construct III). On the Faron Sky Archipelago a patrolling Flux Construct III carries a chest bolted to one of its blocks. Pull its blocks apart with Ultrahand and fight it, or detach the chest and open it without finishing the fight.
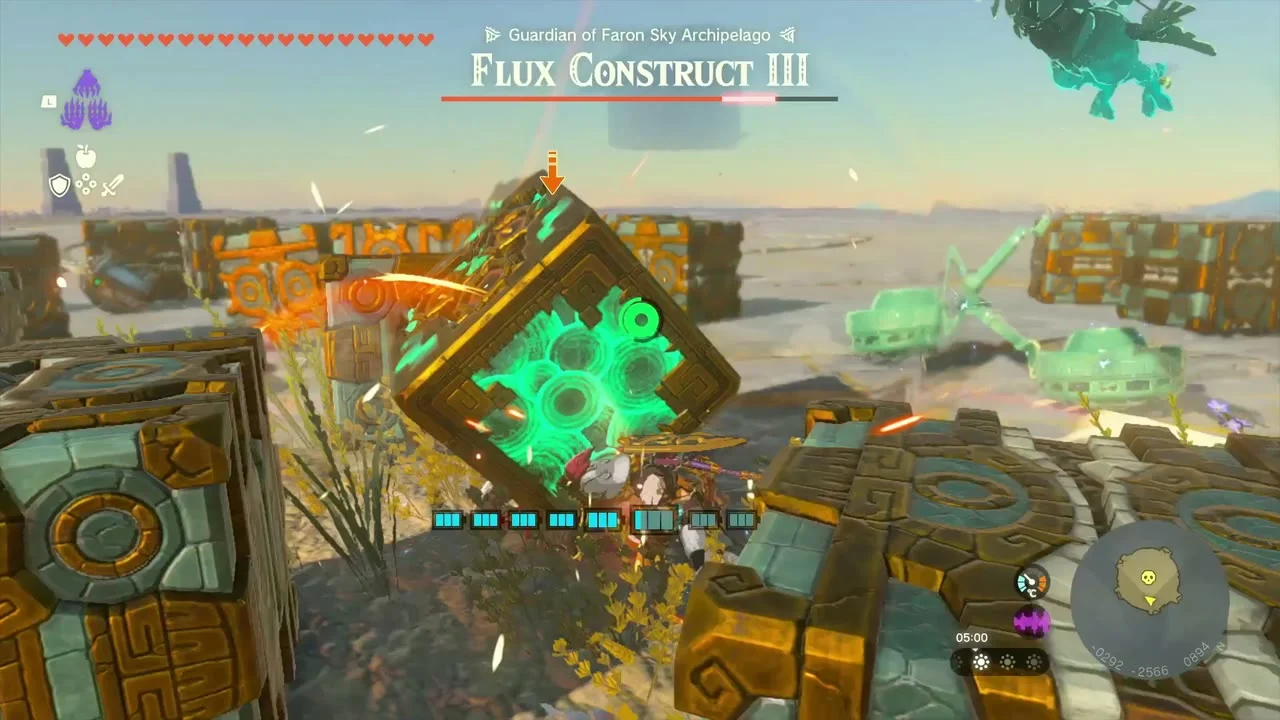

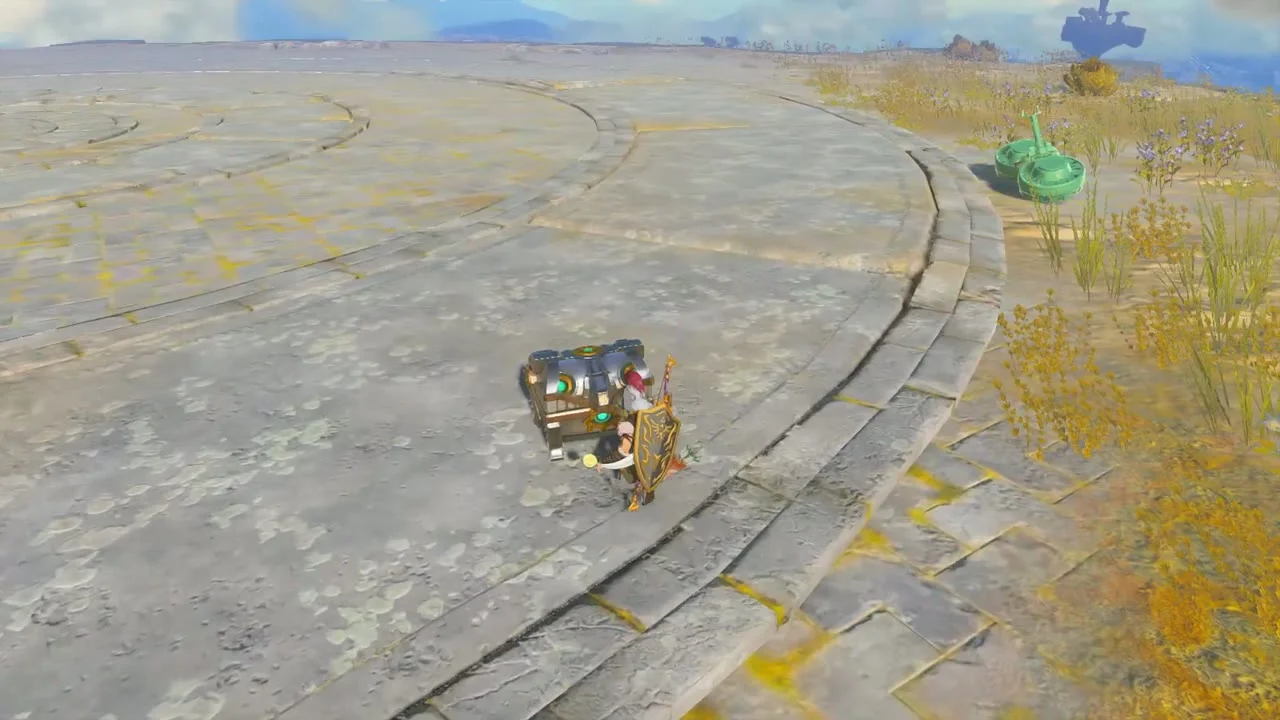
Chest (Sage’s Will). The chest on the stone-ringed platform holds a Sage’s Will; four of these upgrade a Sage’s Vow at a Goddess Statue.

Pull the Dragon’s Tear at Lake Hylia
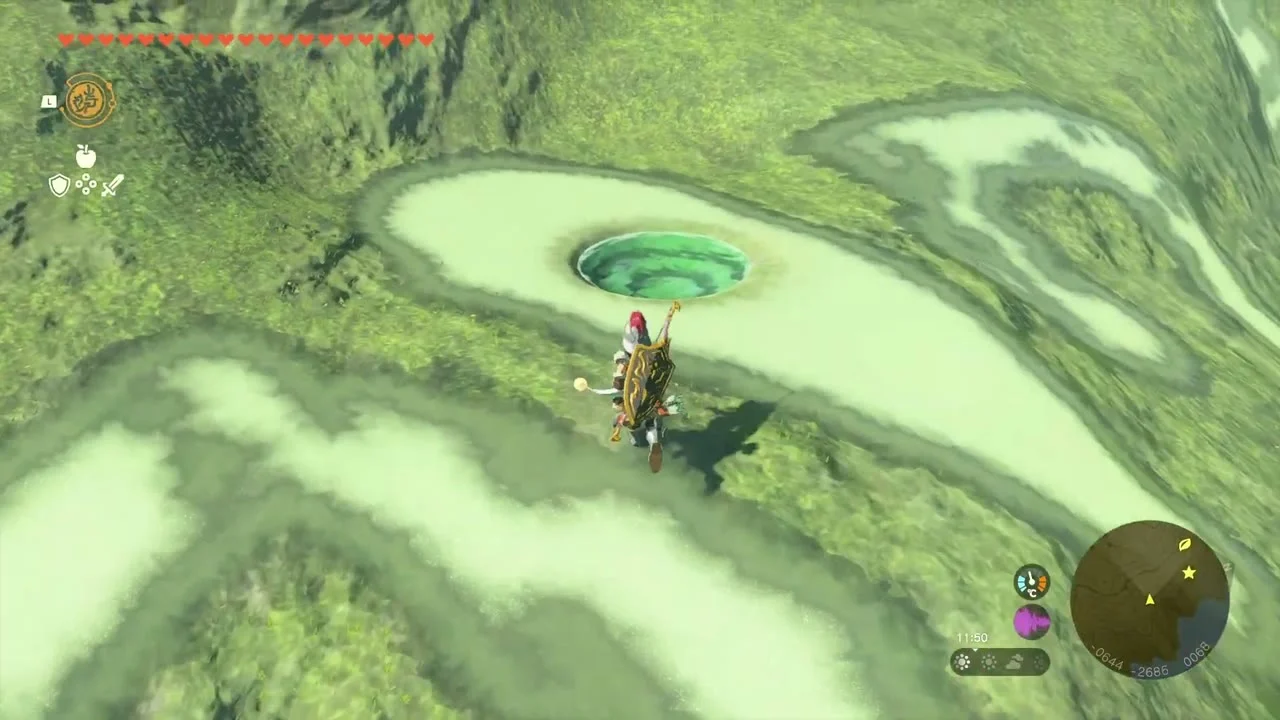
Dragon’s Tear (Memory 13: A King’s Duty). At the gravestone geoglyph on the western Lake Hylia cliff at about (-647, -2685, 68), the tear sits in the flower at the foot of the headstone; take it for the memory in which Zelda tells Rauru her vision of the Demon King.
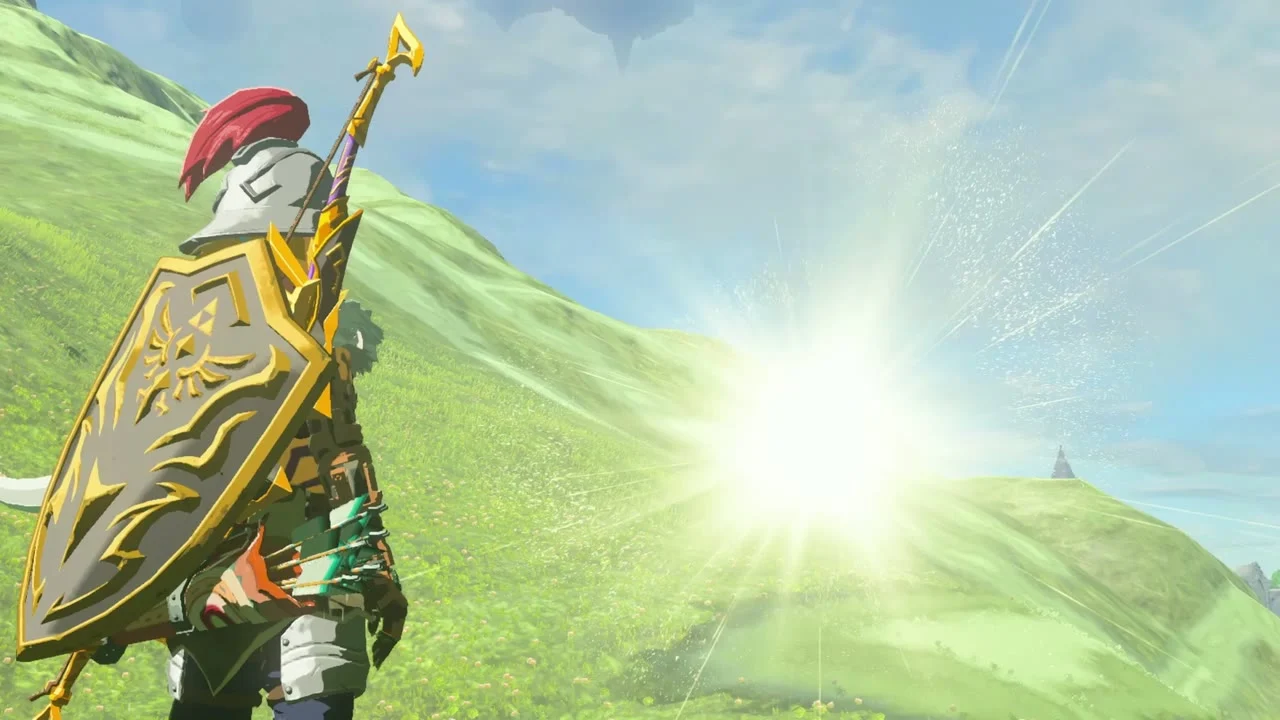
More Korok seeds around the lake
Korok seed (go up to examine the sparkling spot). A sparkle on the west shore at (-397, -2559, -1) sits at water level; walk up to it and examine the spot.


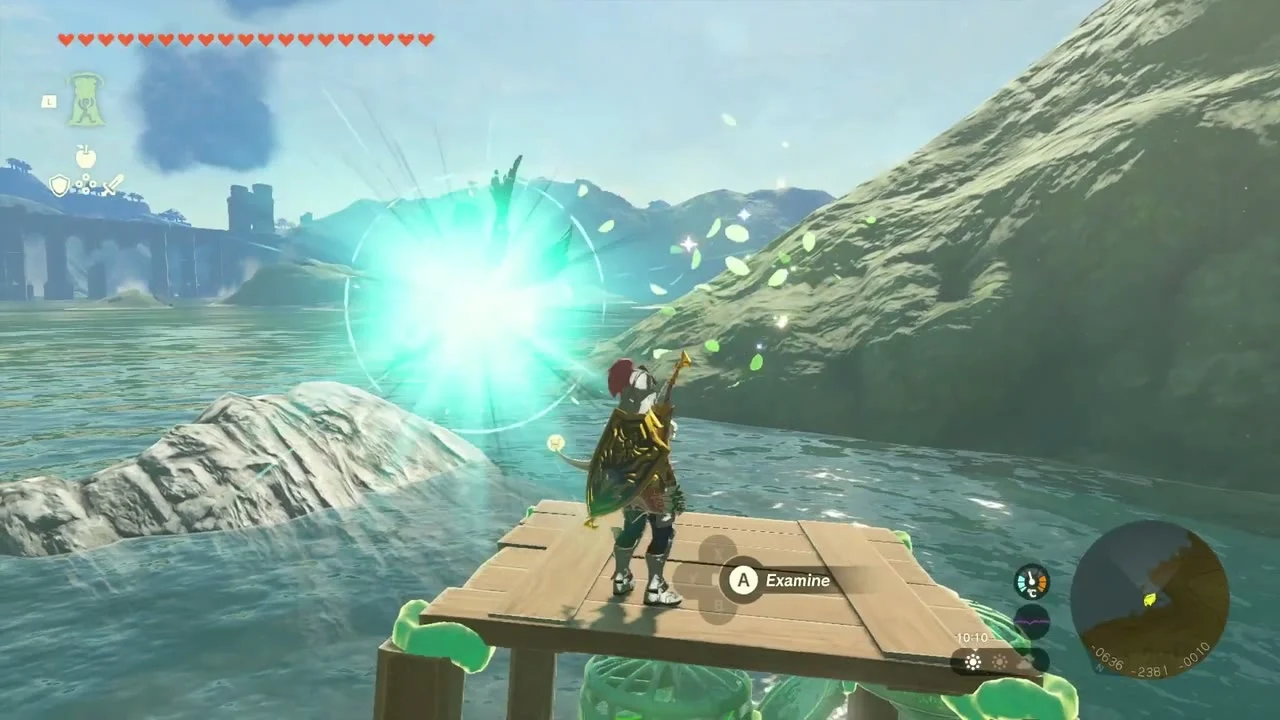
Korok seed (go up to examine the sparkling spot). A wooden dock at (-636, -2382, -9) ends in a sparkling spot; examine it from the end of the dock.
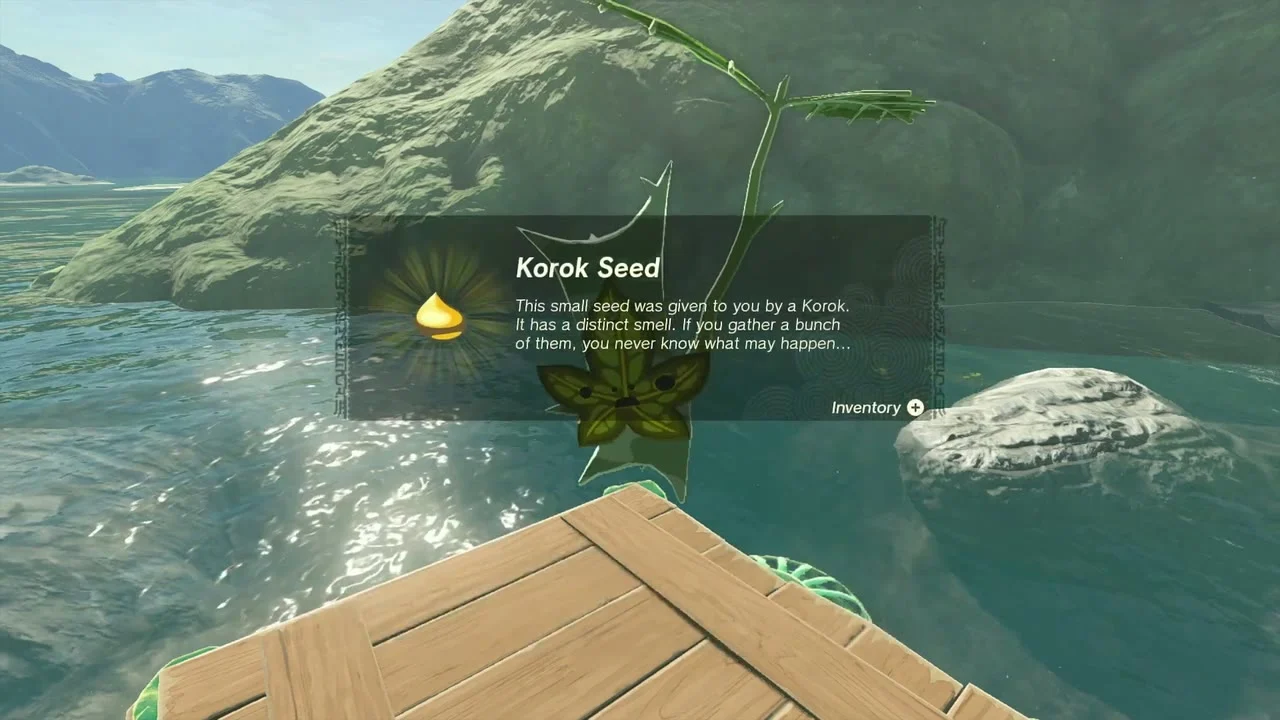
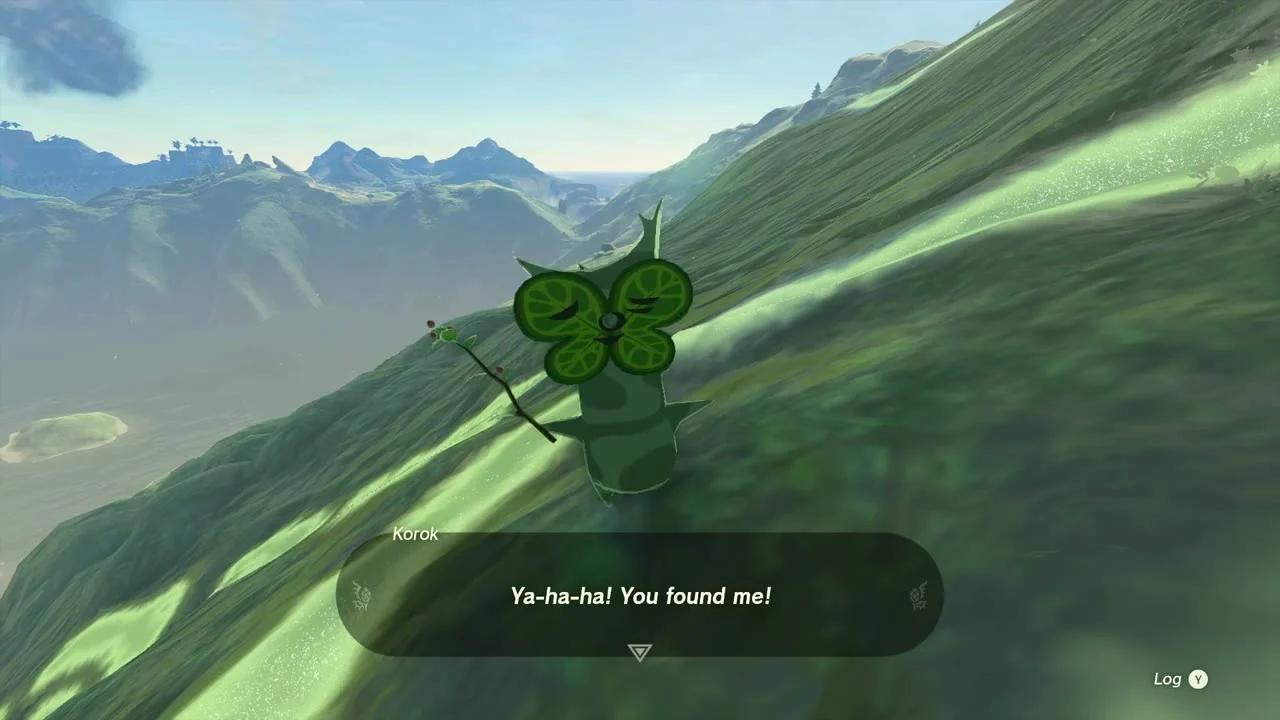
Korok seed (lift the rock). A boulder halfway up the green slope at (-711, -2624, 99) hides a Korok; lift it.
Cora Lakefront Cave
Chest (Eightfold Longblade). A chest next to a mass of Shock Like Stone just outside the cave holds another Eightfold Longblade.


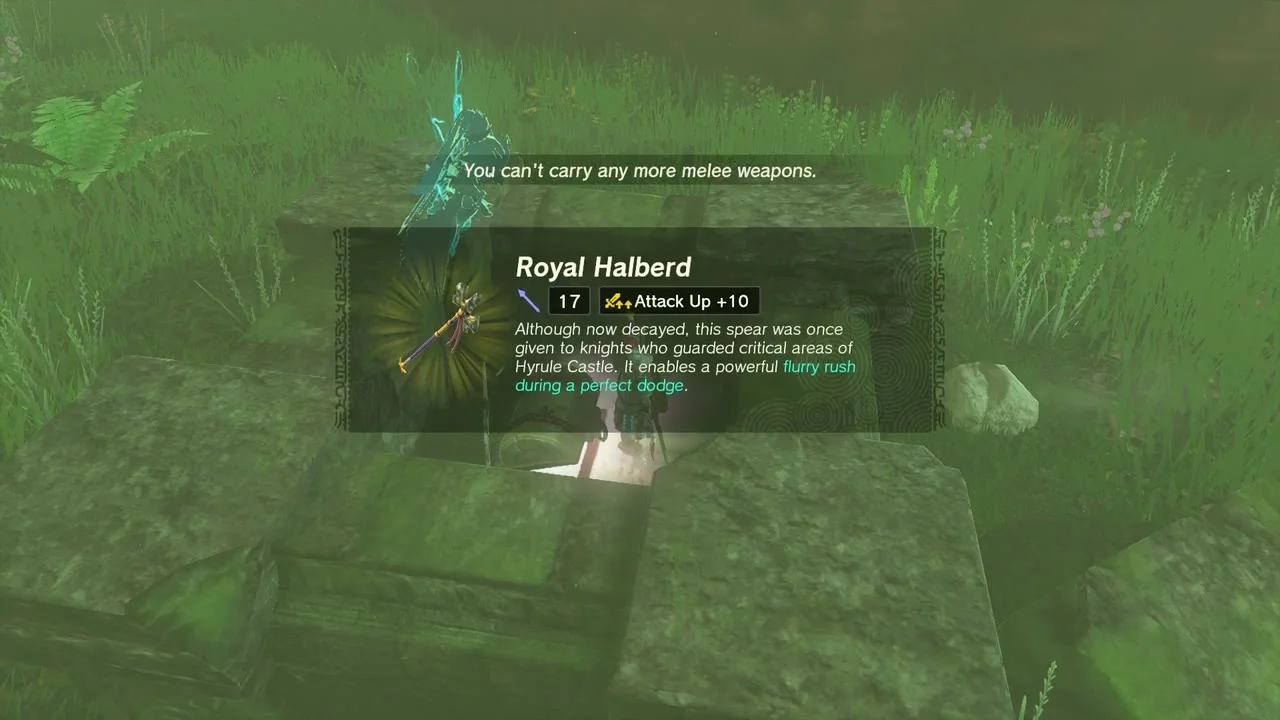
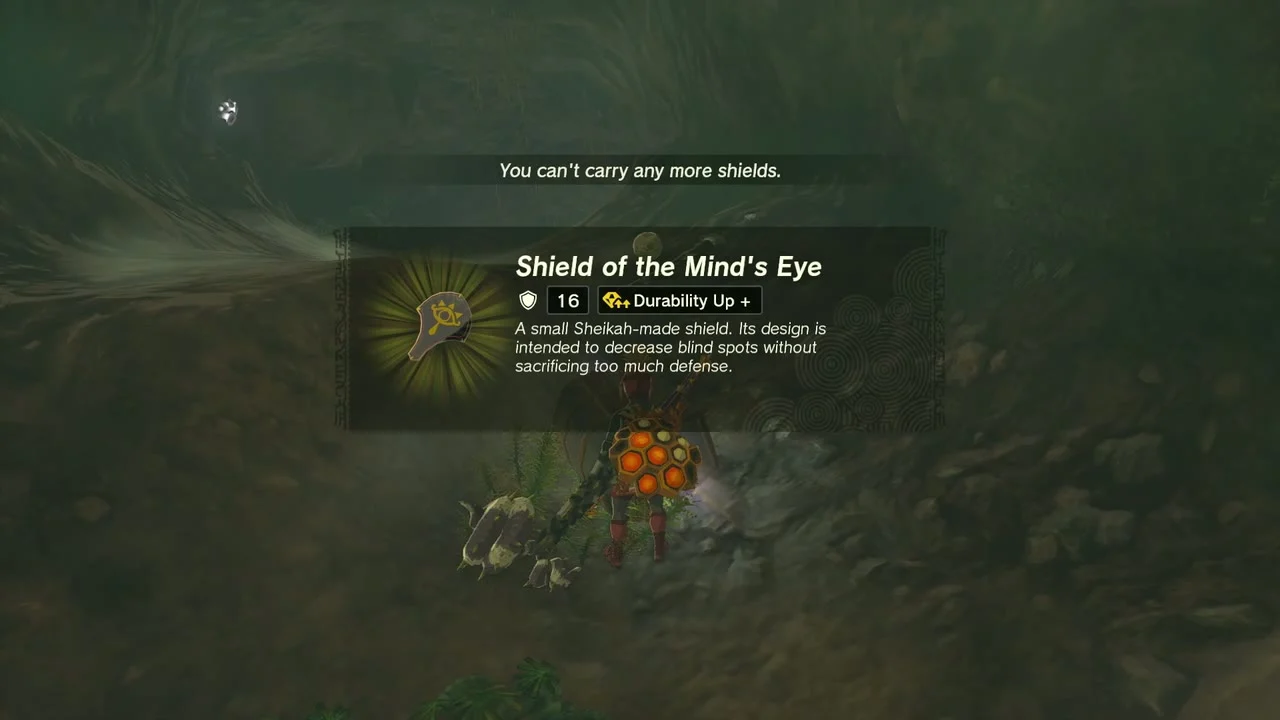
Cave (Cora Lakefront Cave). The cave links Lake Hylia to Cora Lake, with entrances at (-256, -2940, -18) and (-171, -3067). Inside, a chest near the north entrance holds a Boulder Hammer, two chests on a wooden platform under a pair of Horriblins hold a Bomb Flower and a Royal Halberd (or Traveler’s Spear, Soldier’s Spear or Knight’s Halberd, depending on your progress), and another chest holds a Shield of the Mind’s Eye (some guides list the halberd as a Knight’s Halberd). The Bubbulfrog hangs from the ceiling of the higher chamber: shoot it for a Bubbul Gem.


Korok seeds on the Cora Lake road
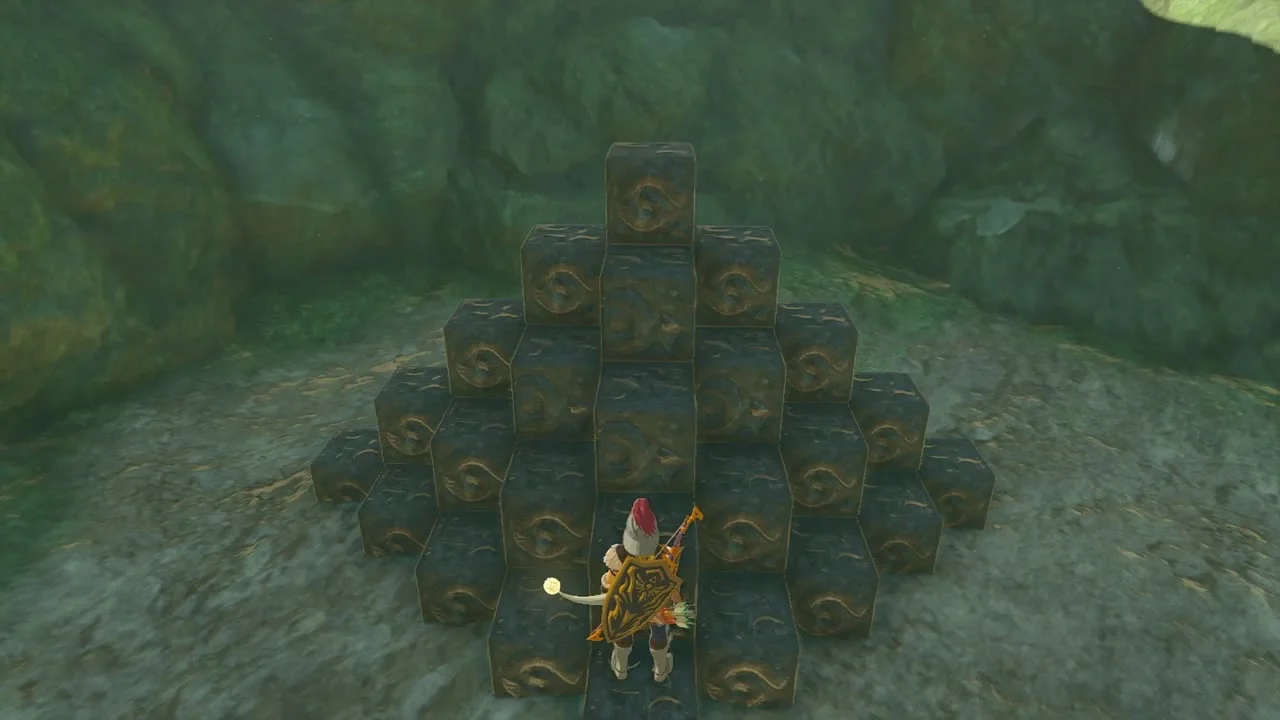
Korok seed (complete the cube puzzle). A pyramid of stone cubes at (-467, -2899, -9) near the cave is missing its shape; place the loose cubes to complete the outline.
Korok seed (lift the rock). A rock at (-150, -3068, 37) above the lake edge hides the Korok.

Miniboss (Boss Bokoblin). A Boss Bokoblin leads a camp south of Cora Lake at about (-190, -2997, 87). Shoot it from range or burn the camp with a Zonai flame emitter.
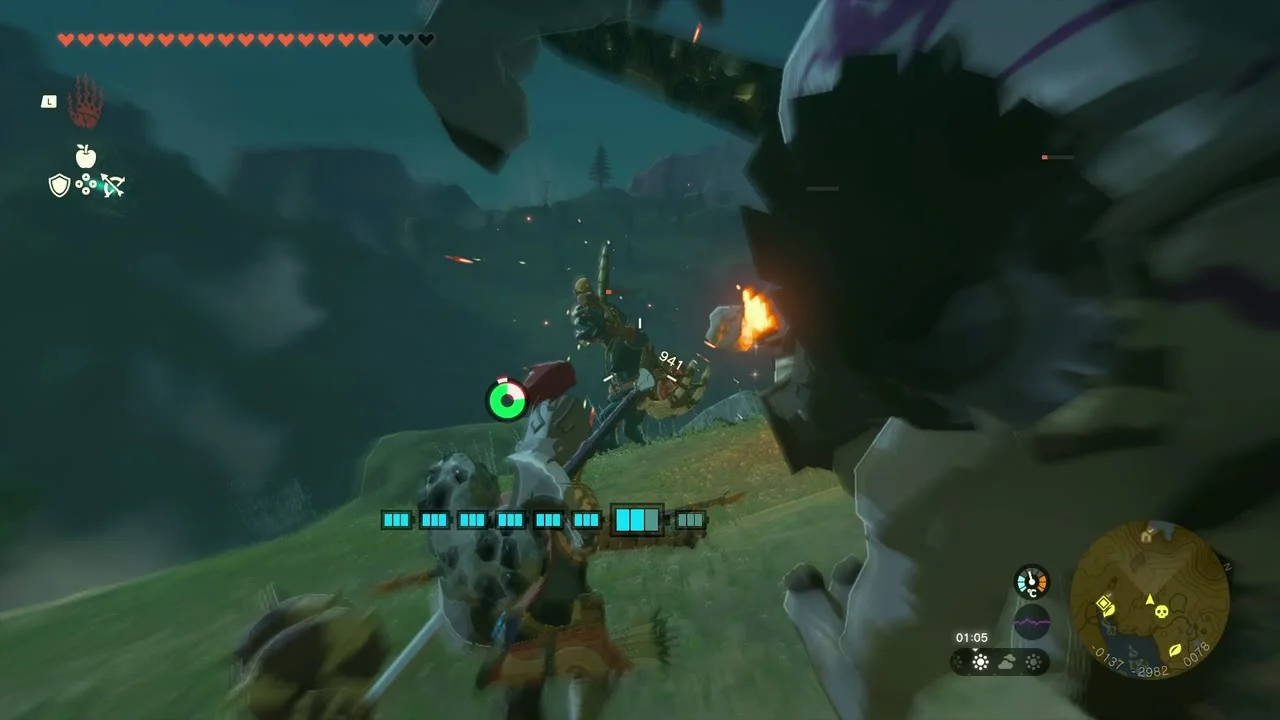
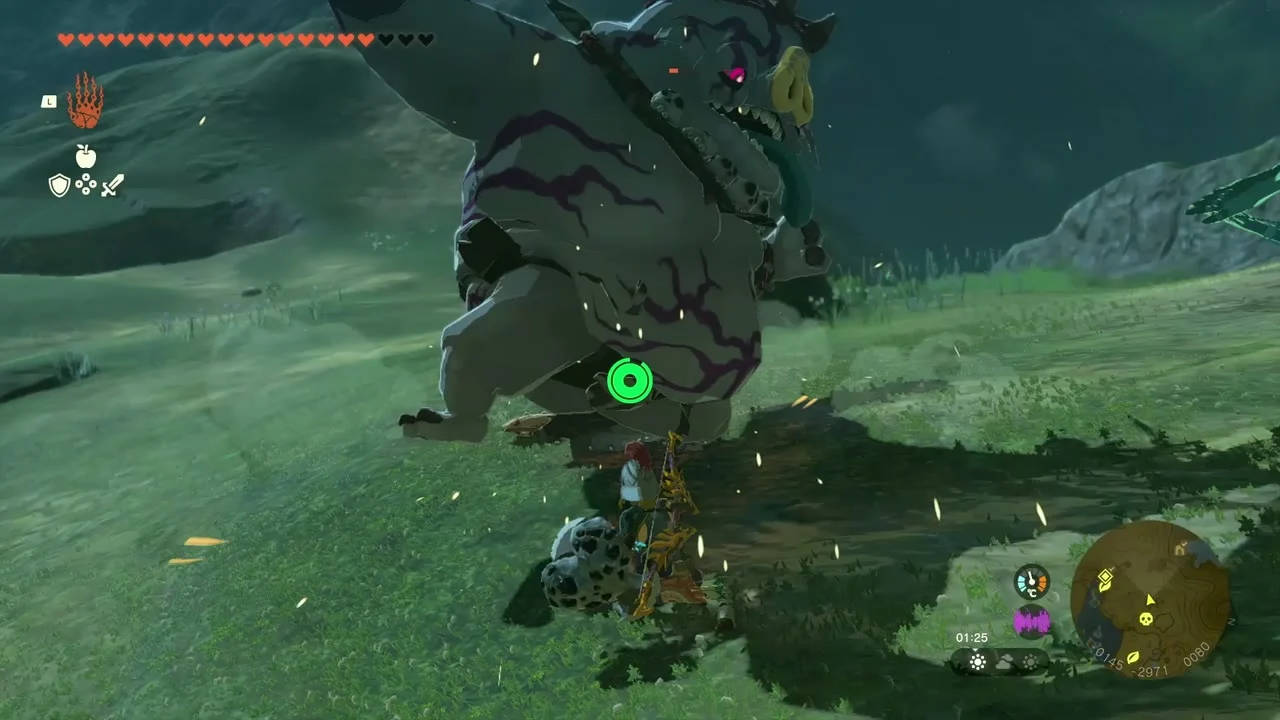
Korok seed (follow the flower). A Korok flower at (-18, -2974, 116) drifts along the hillside; follow it to the end of its path.
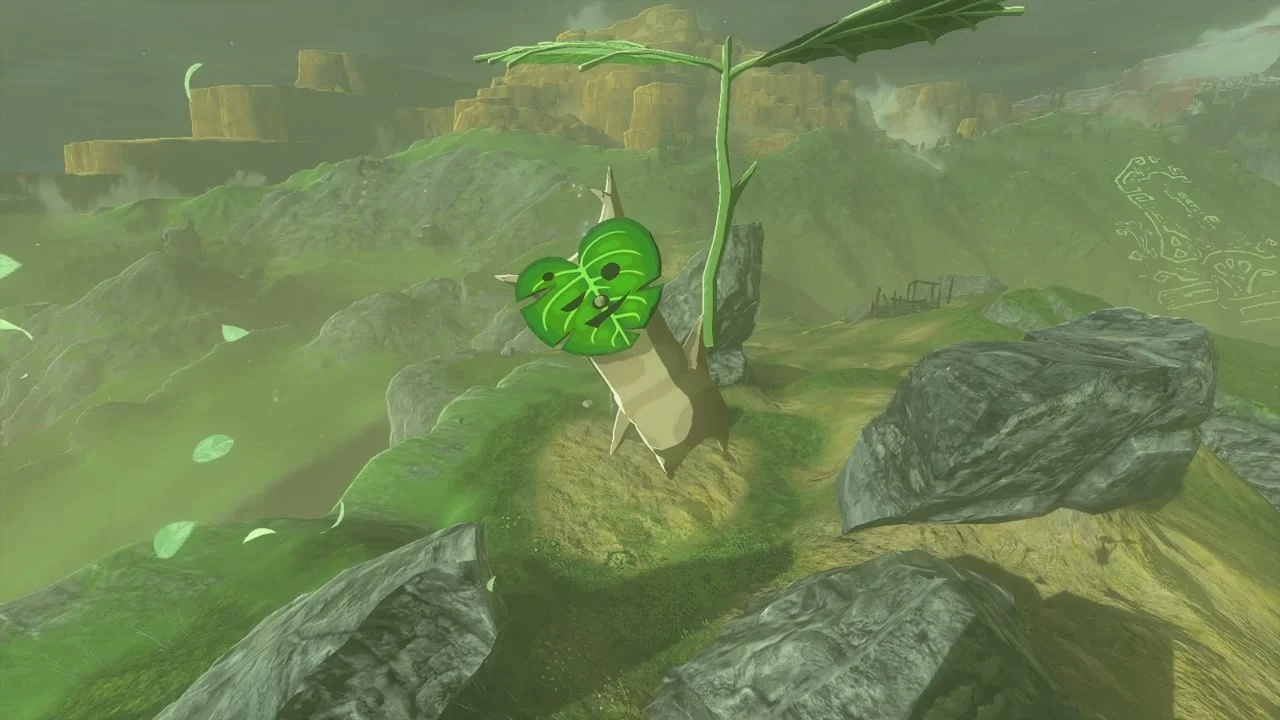
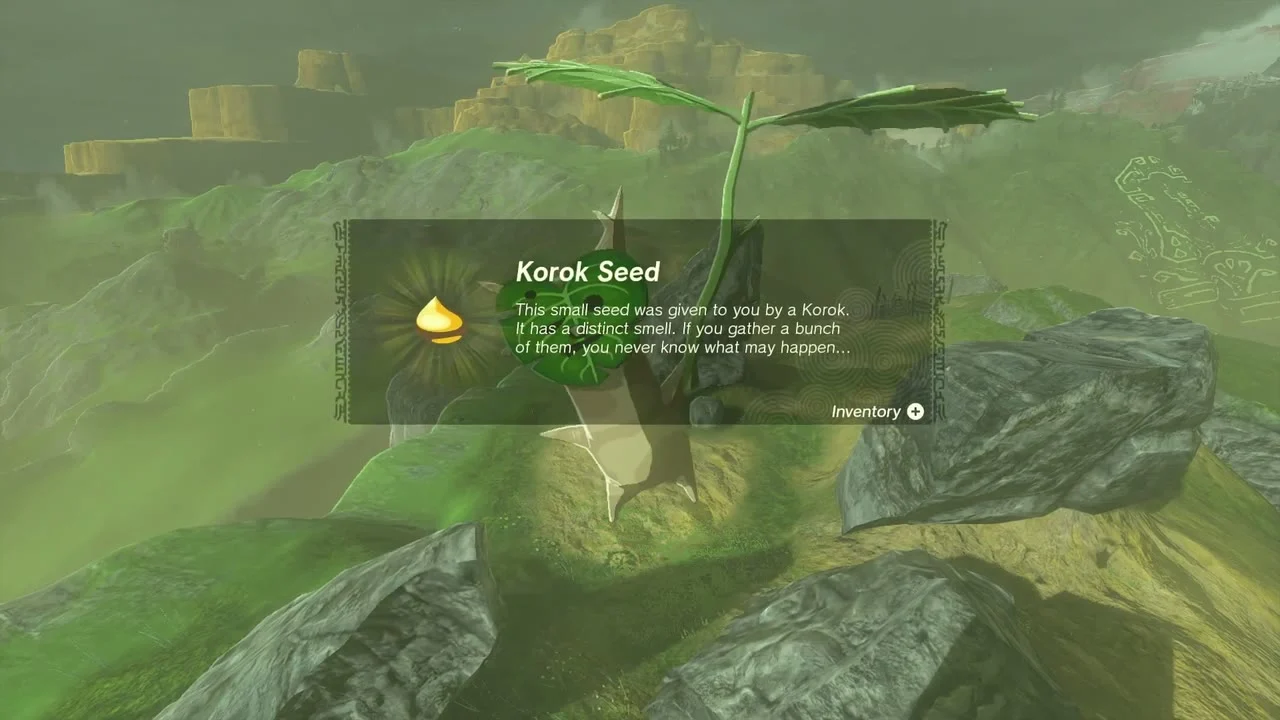
Korok seed (place the boulder on the tree stand). Carry the boulder near (115, -2960, 41) to the tree stand at the bottom of the slope and set it on top.
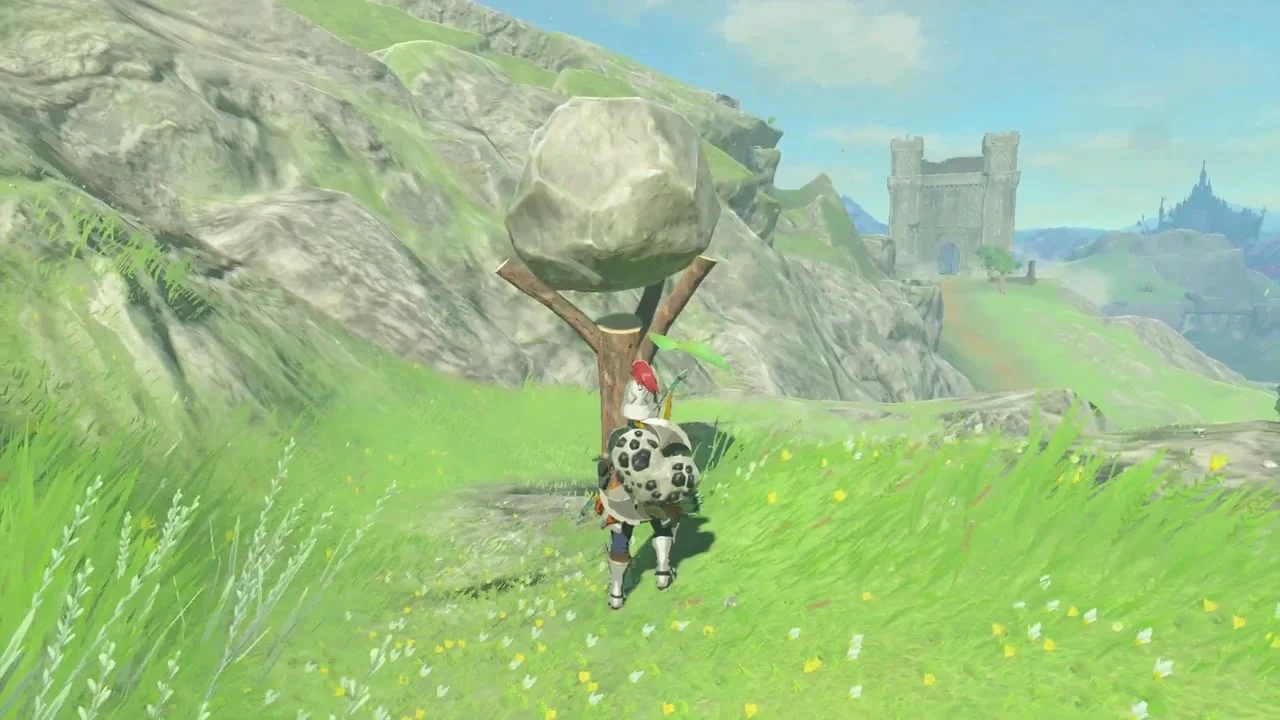

Korok seed (place the boulder on the tree stand). A second tree stand at (242, -2874, 37) takes the nearby boulder; use Ultrahand to lift it into place.

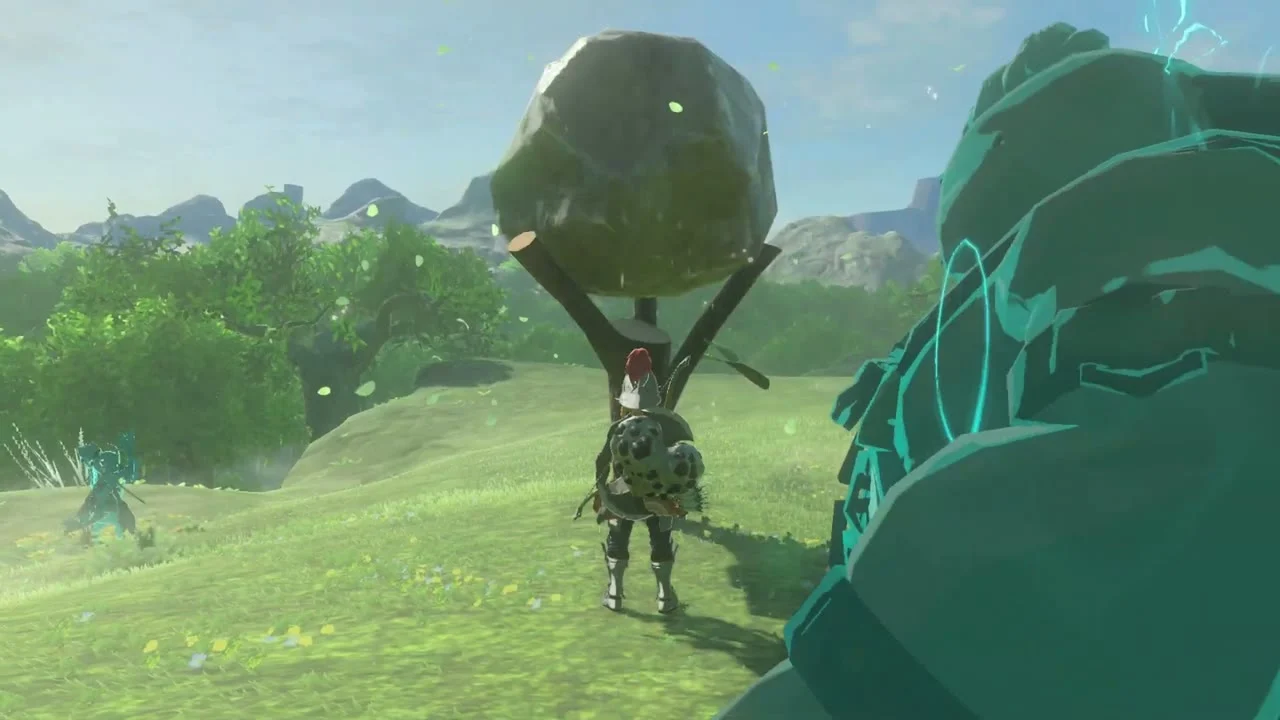
Korok seed (place the boulder on the tree stand). The third stand at (422, -2884, 30) sits on a grassy mound; the boulder is close by.
Southern Faron: Flaxel, Lynels and Baddek
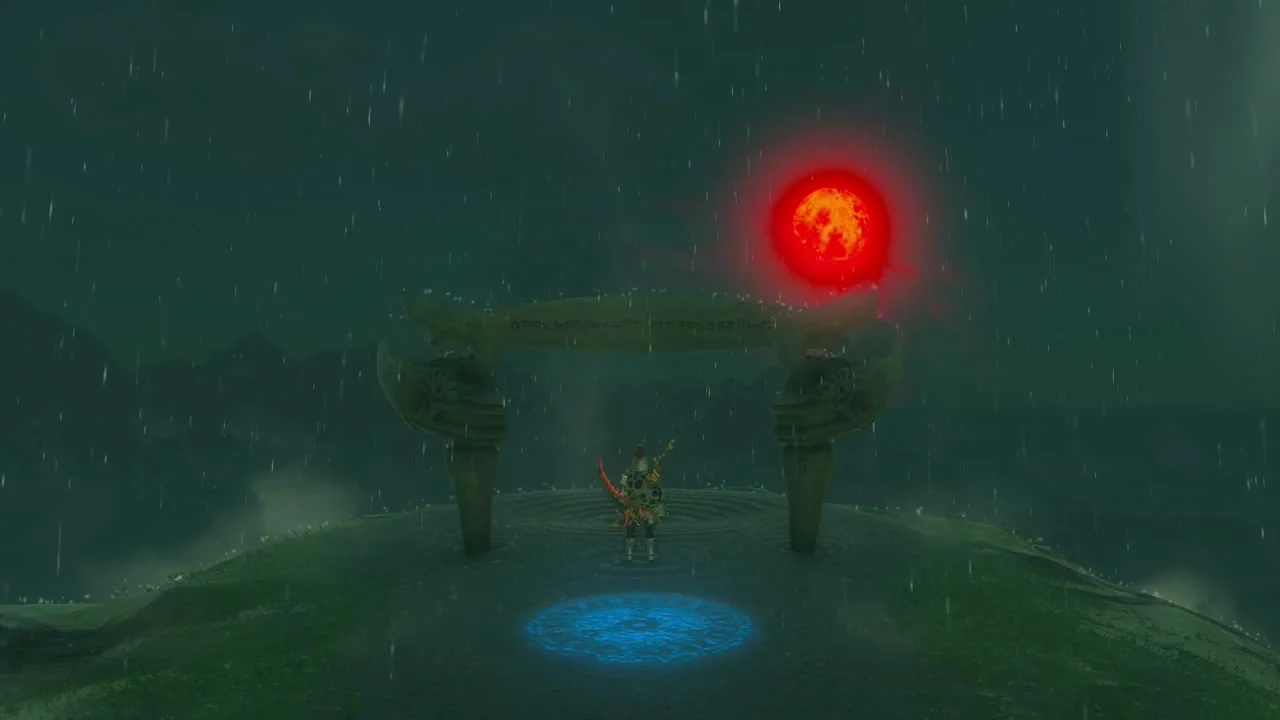
Shrine quest started (Ride the Giant Horse). Baddek, camped on the hill by Ishokin Shrine, wants a giant horse brought to him. The shrine itself stands at (-565, -3524, 142) with the Nikohsi Lightroot below at (-564, -3524, -595); step on the glowing pad to activate it and the green beam points to Baddek’s crystal. Full solution further down.
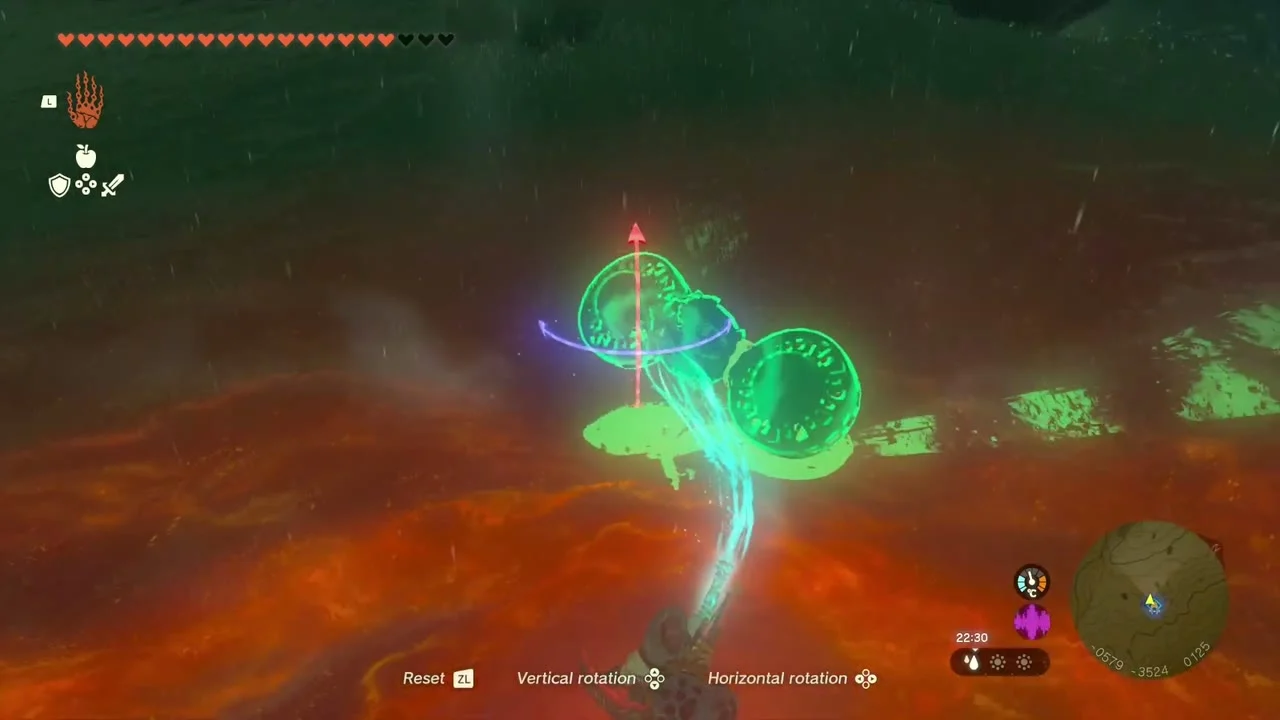
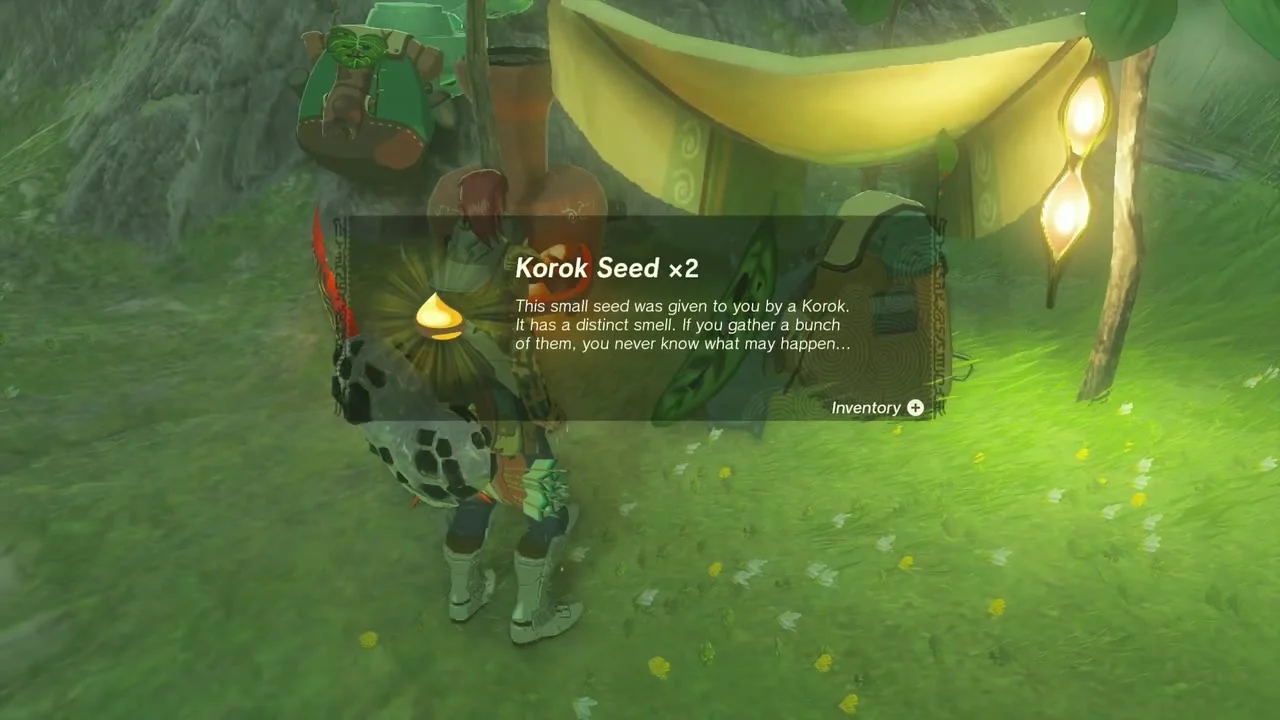
Korok seed (bring the exhausted Korok). Carry the exhausted Korok to its friend: the friend waits under a yellow tent at (47, -3393, 24). Both Koroks give a seed.

Miniboss (Blue-Maned Lynel). A Blue-Maned Lynel patrols the grass at about (93, -3400). Block its charges with a perfect dodge and shoot the head.


Chest (Topaz). A chest near (165, -3554, 121) holds a Topaz.
Help Addison again
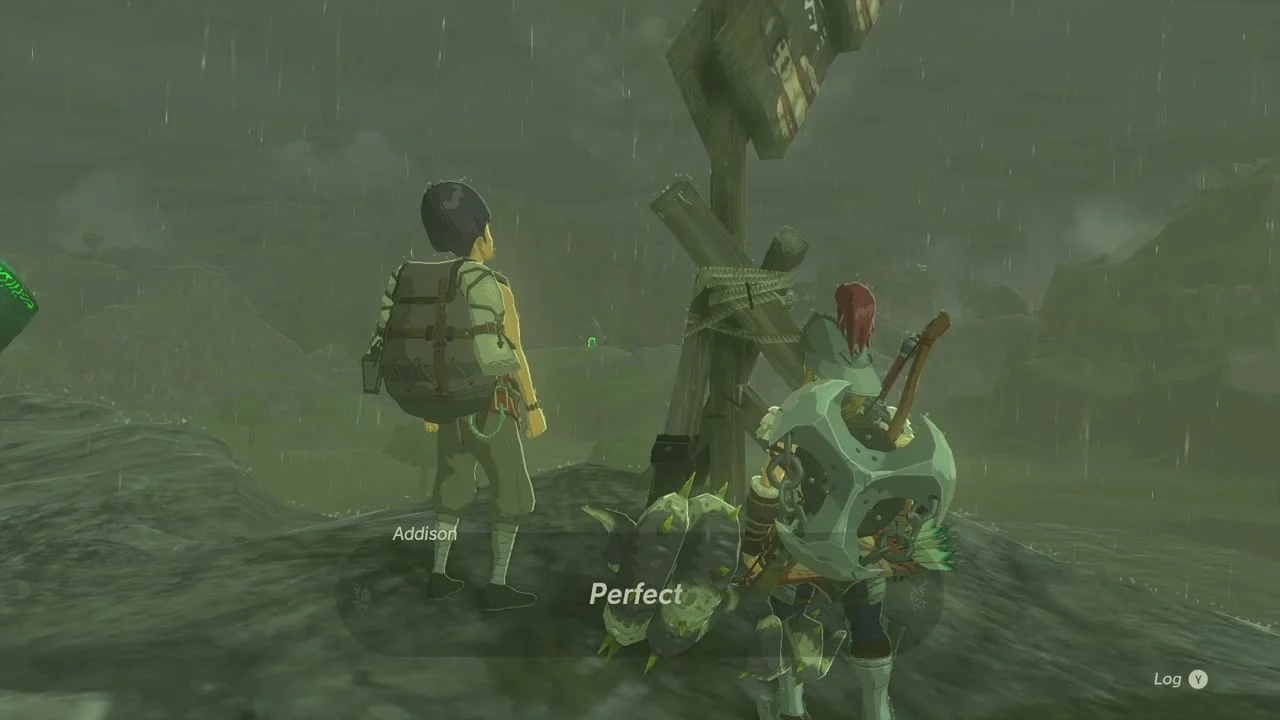
Quest (Help Addison). A second Addison sign needs the same fix: stand it upright with Ultrahand and attach the support straight until Addison calls it perfect.
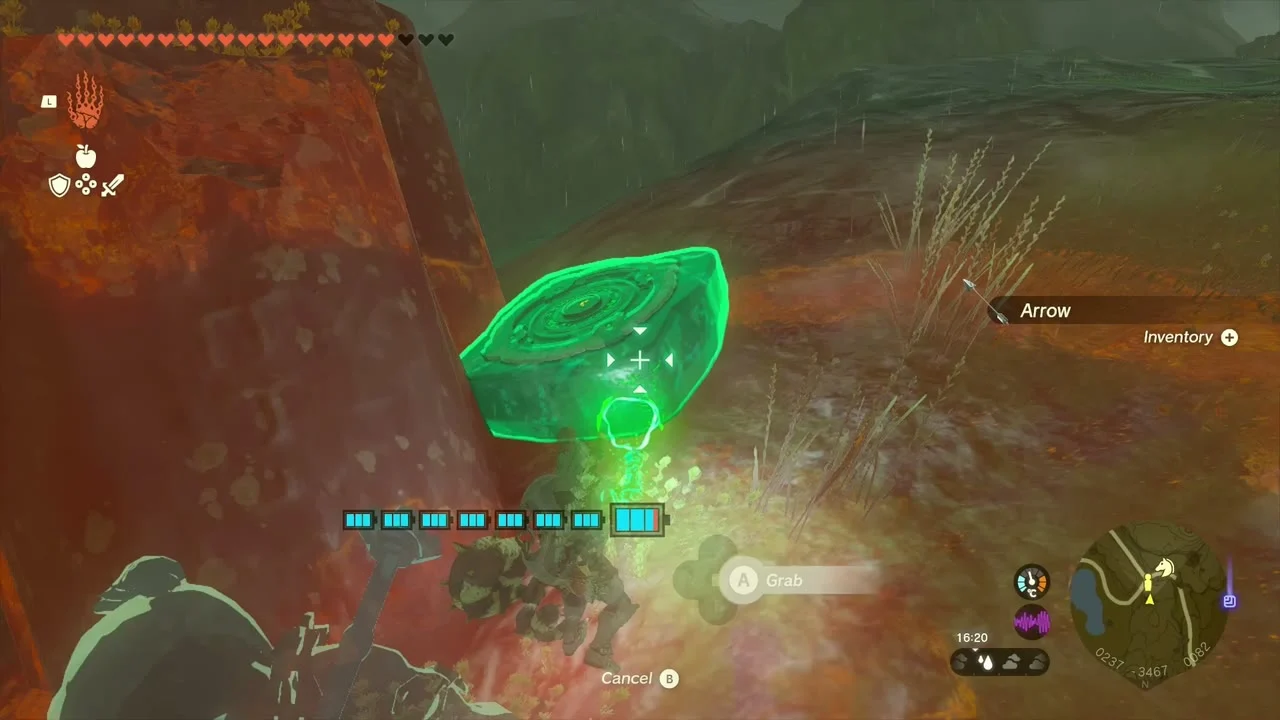
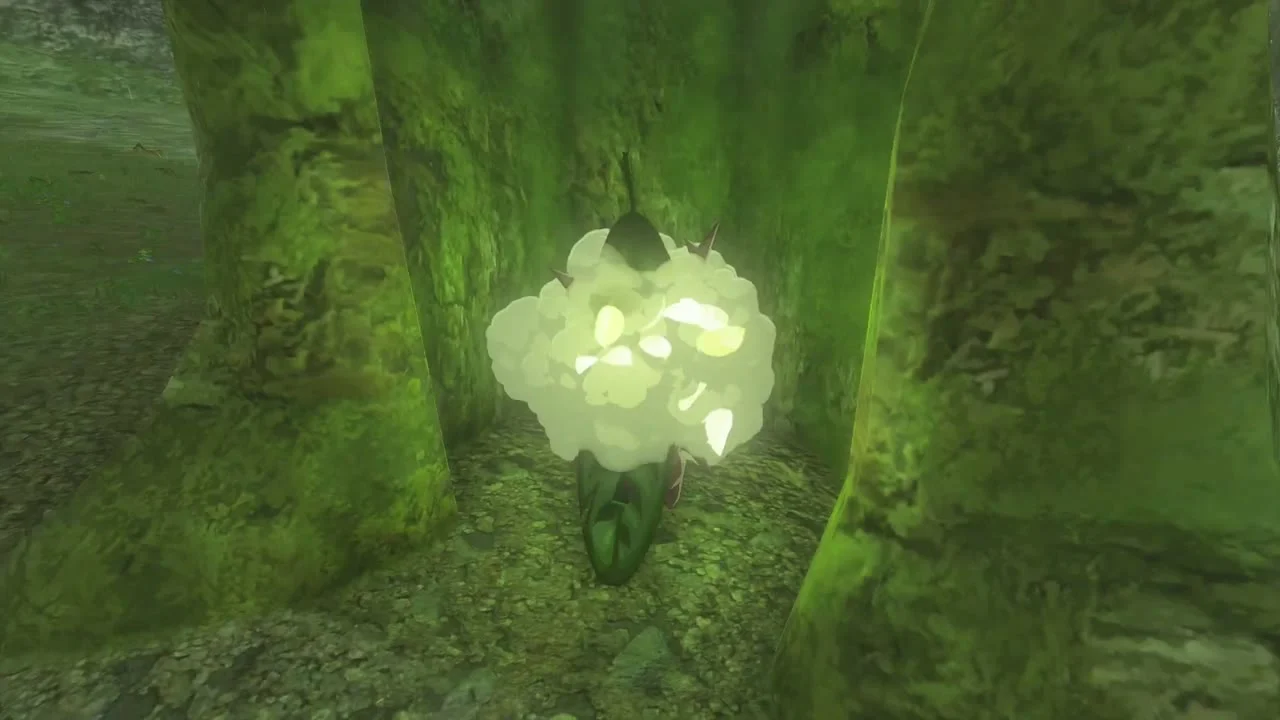
Korok seed (lift the rock). A boulder at (206, -3312, 60) rests under a large tree; lift it away to free the Korok.

Bring Peace to Faron!
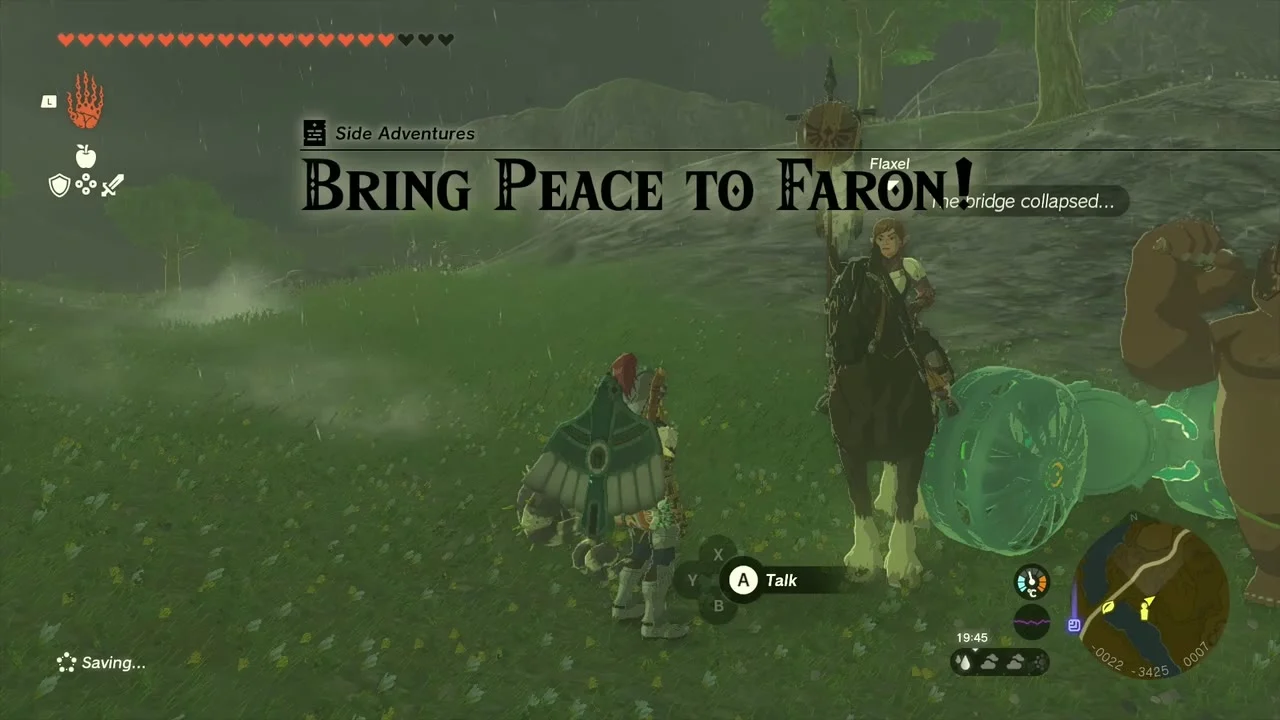
Quest (Bring Peace to Faron!). Flaxel’s monster-control squad is camped by the Menoat River at about (-34, -3431, 9), beside a ship overrun with monsters. Use Ultrahand on the collapsed bridge to repair it, then join the squad and clear the ship. Flaxel rewards you with a Silver Rupee (100 rupees), and her squad moves on to the South Tabantha Snowfield in Hebra. Some guides list Bring Peace to Hyrule Field! as a prerequisite, so if Flaxel is not at the river yet, complete that quest first.

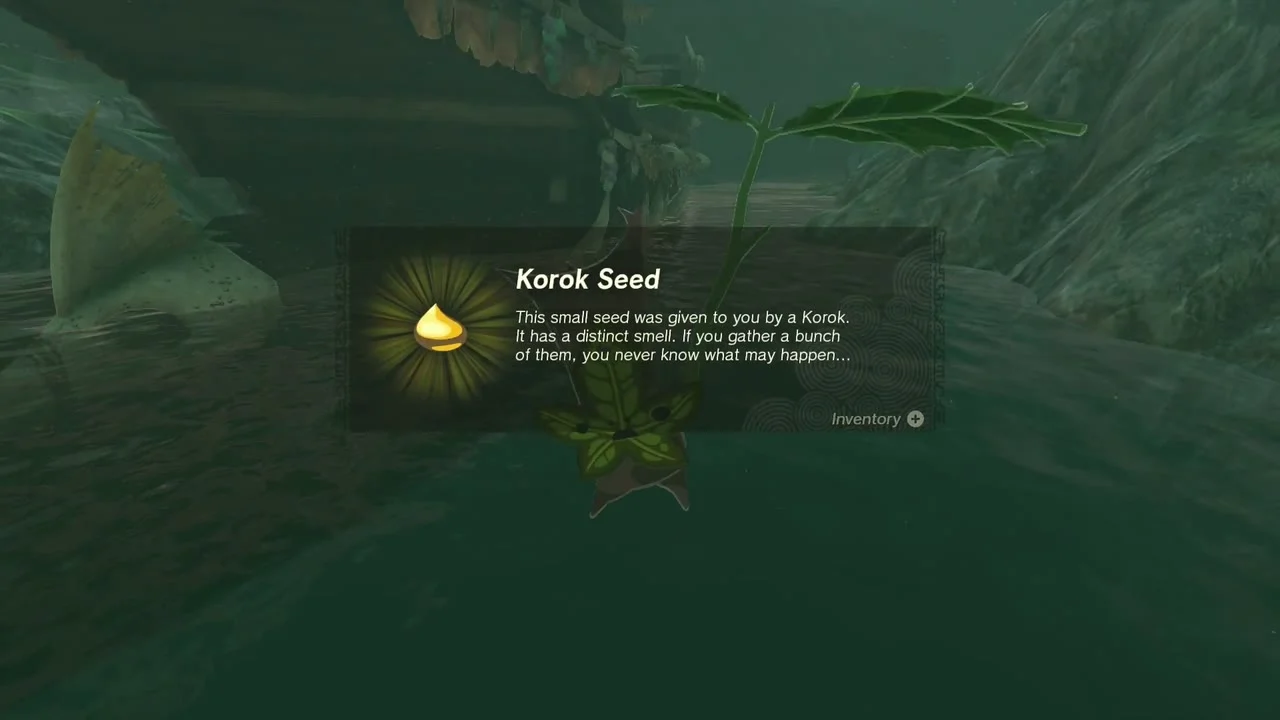
Korok seed (dive into the ring). A ring of lily pads at (-105, -3439, 4) sits in the Menoat River; dive into it.

Korok seed (examine where the arrows point to). Arrow marks at (-241, -3919, 6) on the shore point at a hidden Korok; examine where they end.
Miniboss (Silver-Maned Lynel). A Silver-Maned Lynel roams the plain around (-578, -3846, 50). It is the toughest of the three Faron Lynels: bring elixirs and dodge its flame breath sideways.


Korok seed (break the acorn pot). The hidden acorn pot at (-800, -3257, 93) is wedged against a tree trunk; hit it.
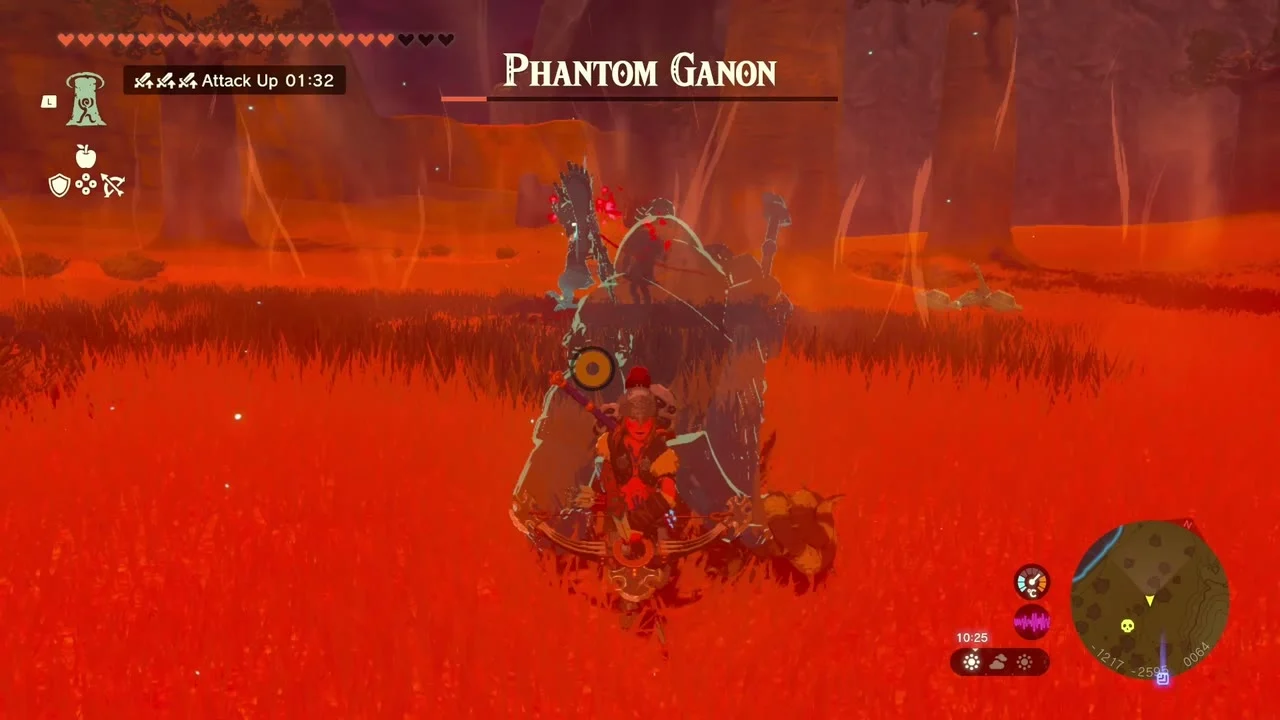
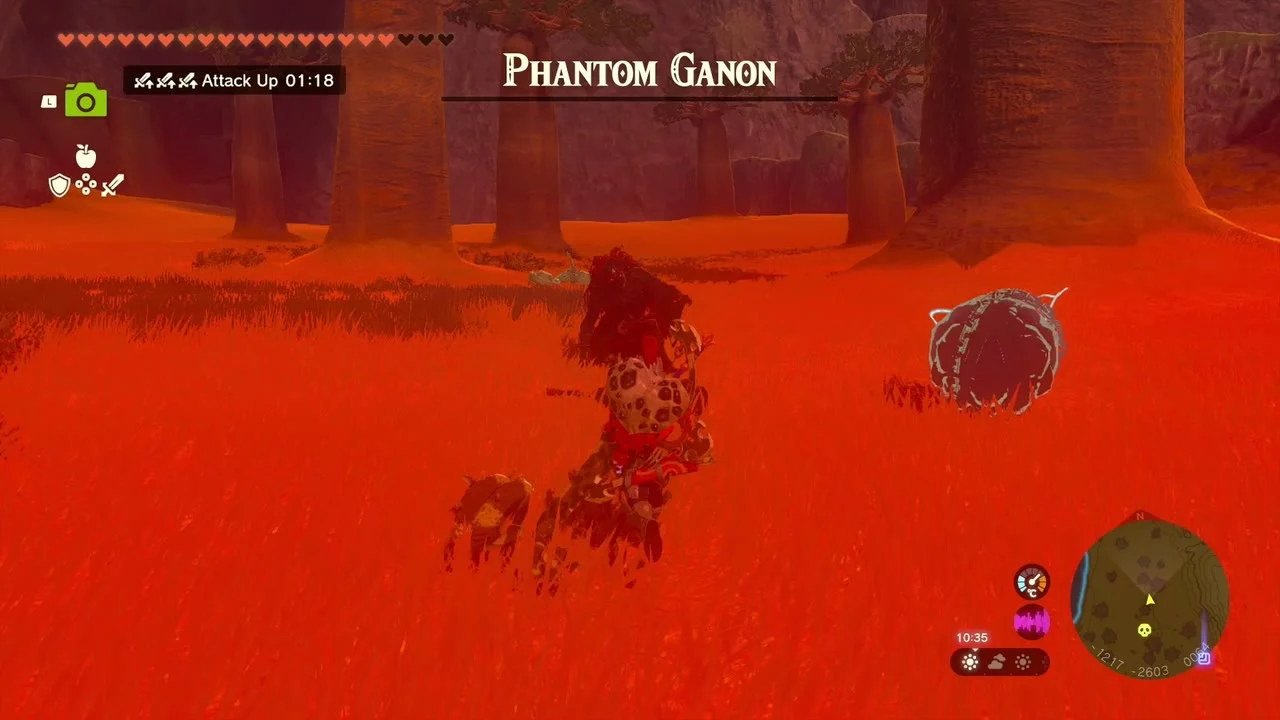
Miniboss (Phantom Ganon). A Gloom Spawn stands in the red gloom at about (-1217, -2595, 64) in the Taobab Grassland; it summons a Phantom Ganon. Shoot it from outside the gloom and finish it with fused weapons.
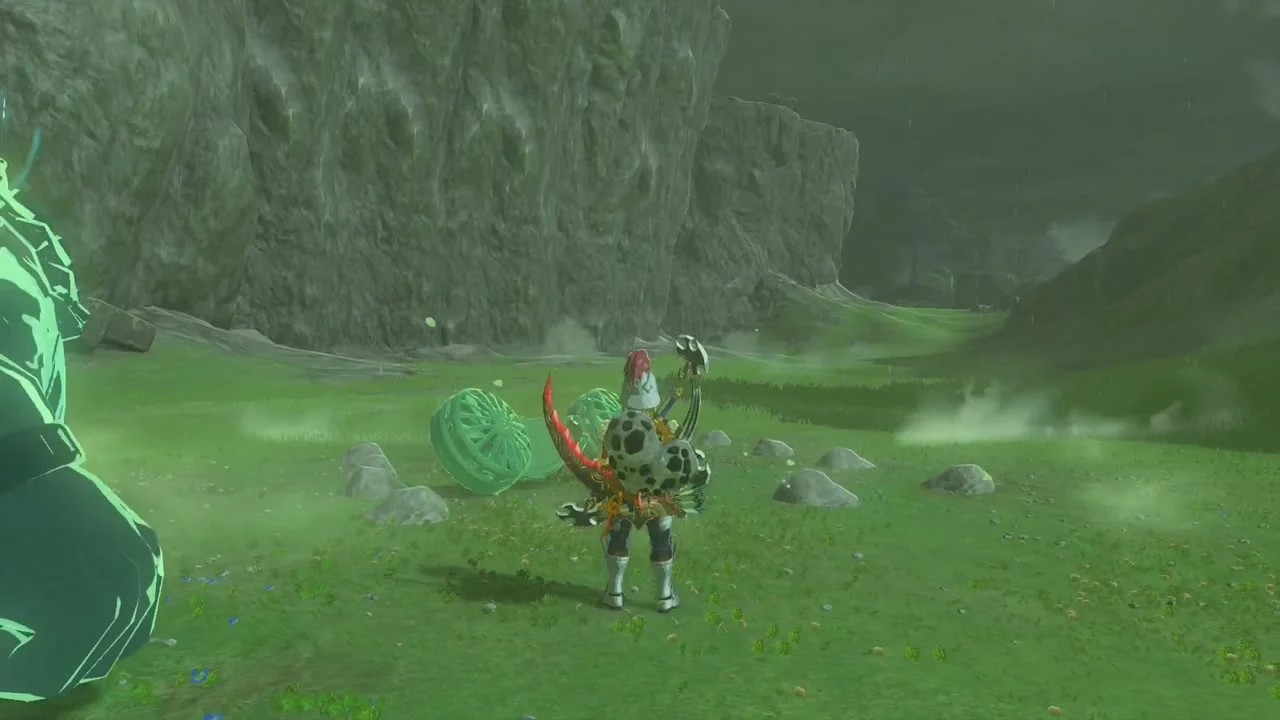
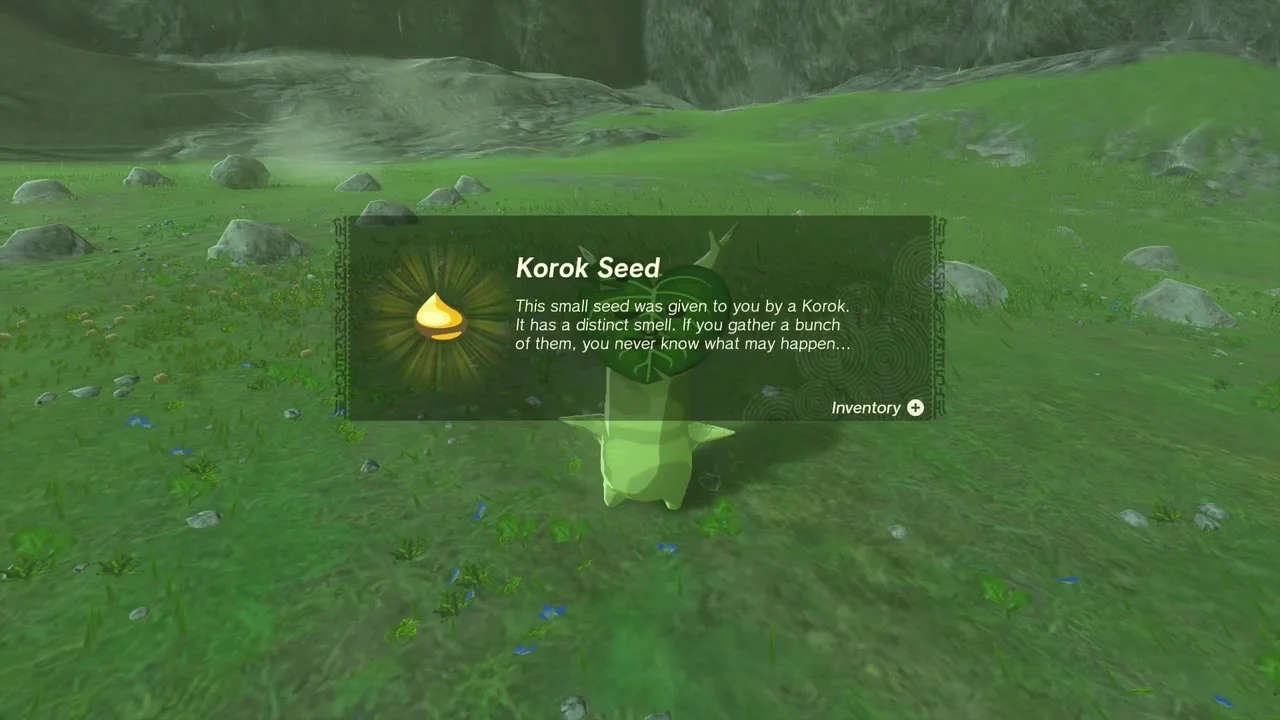
Korok seed (complete the rock pattern). Place the rocks at (-1039, -2397, 28) in the outlined pattern on the hillside.
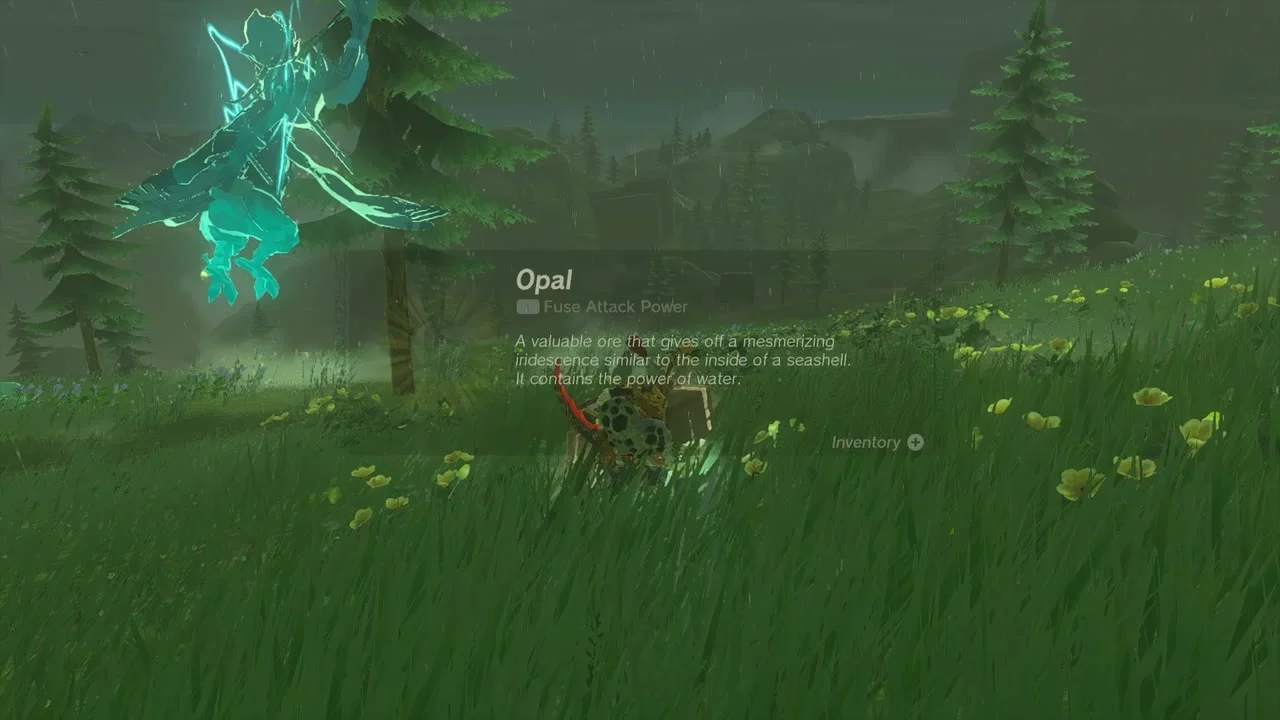
Chest (Opal). A chest in the tall grass at about (-907, -2660, 163) holds an Opal.
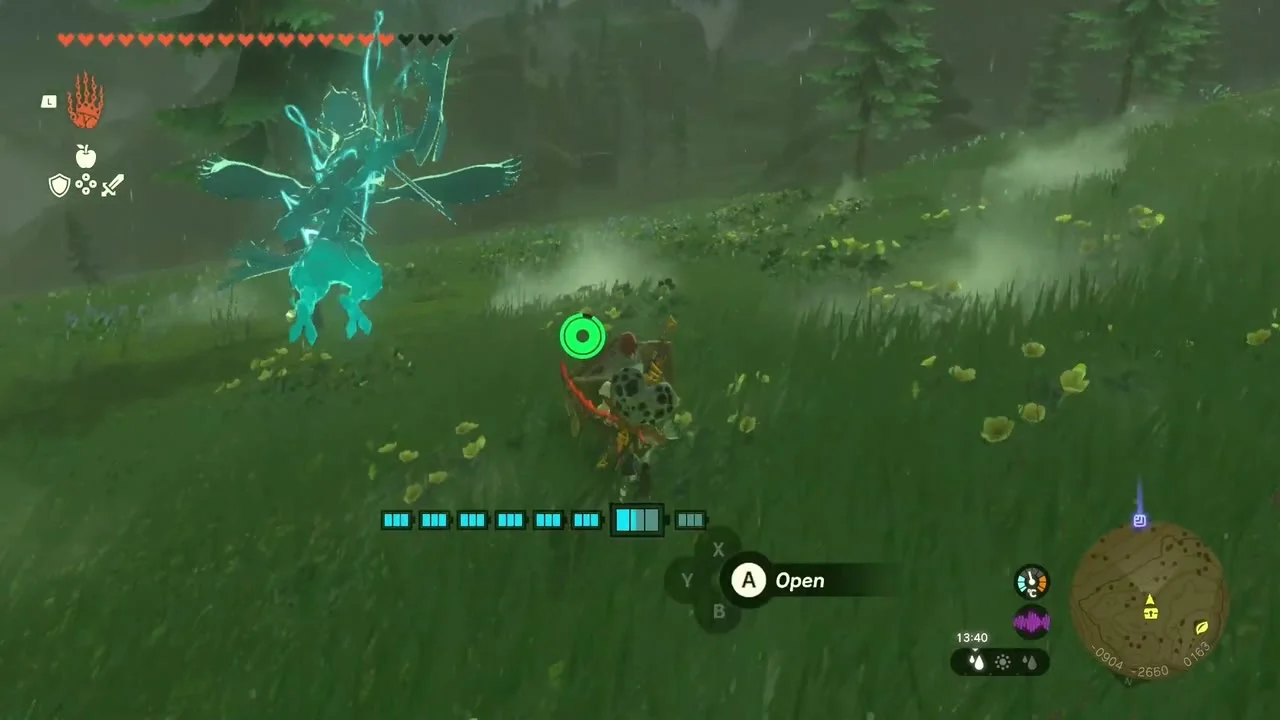
Miniboss (Hinox). A Hinox sleeps on the slope at about (-805, -3023, 119). Wake it with an arrow to its eye and keep moving; its belly weapons drop when it falls.
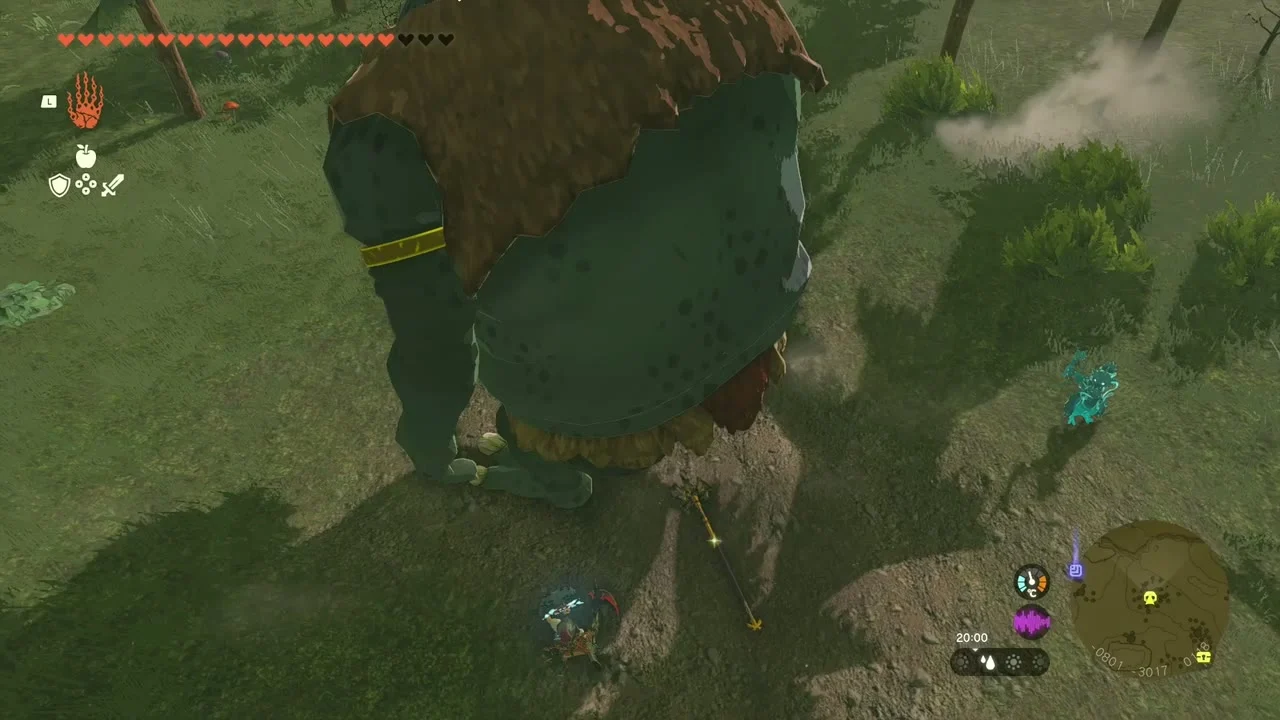
Chest (Amber). A chest at about (-379, -3569, 22) holds an Amber, and a Bomb-Barrel Spear sits nearby.
Ishokin Shrine and the giant horse
Find the giant white stallion
Shrine quest (Ride the Giant Horse). Padok at Highland Stable says travelers have seen a horse god near the Lake of the Horse God, past Horse God Bridge. Approach the giant white stallion from behind while crouching, mount it and soothe it repeatedly until the meter fills; a Stamina Elixir helps, and freezing the stallion first with an Ice Fruit arrow makes mounting much easier. The giant horse stands at the far end of the ravine past Horse God Bridge, southeast of the stable. Register it at Highland Stable so you can summon it later, then bring it to Baddek, who hands over the crystal.

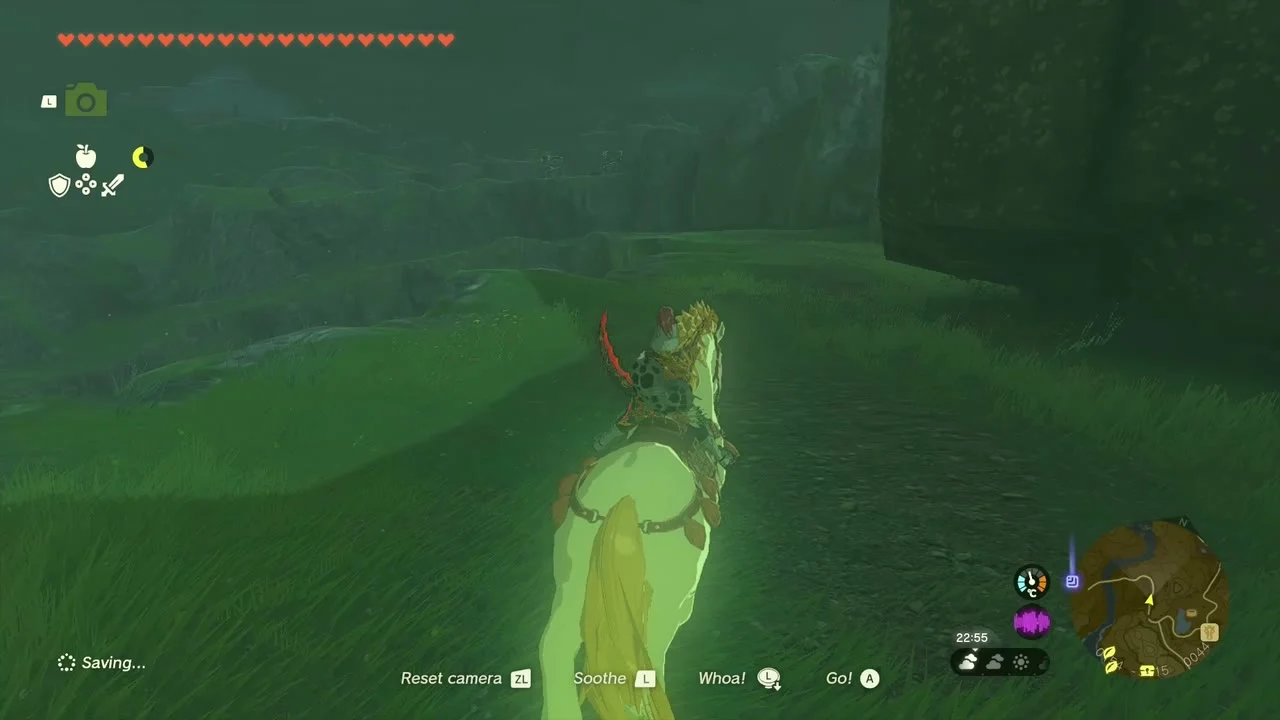
Quest (A Picture for Highland Stable). Padok wants a painting of the giant white stallion. Take a Purah Pad photo of the horse and show it to him. Padok will happily replace the picture if you show him a new one later. If your pouch is full he holds the reward until you make room, so trim your inventory first.


Activate Ishokin Shrine
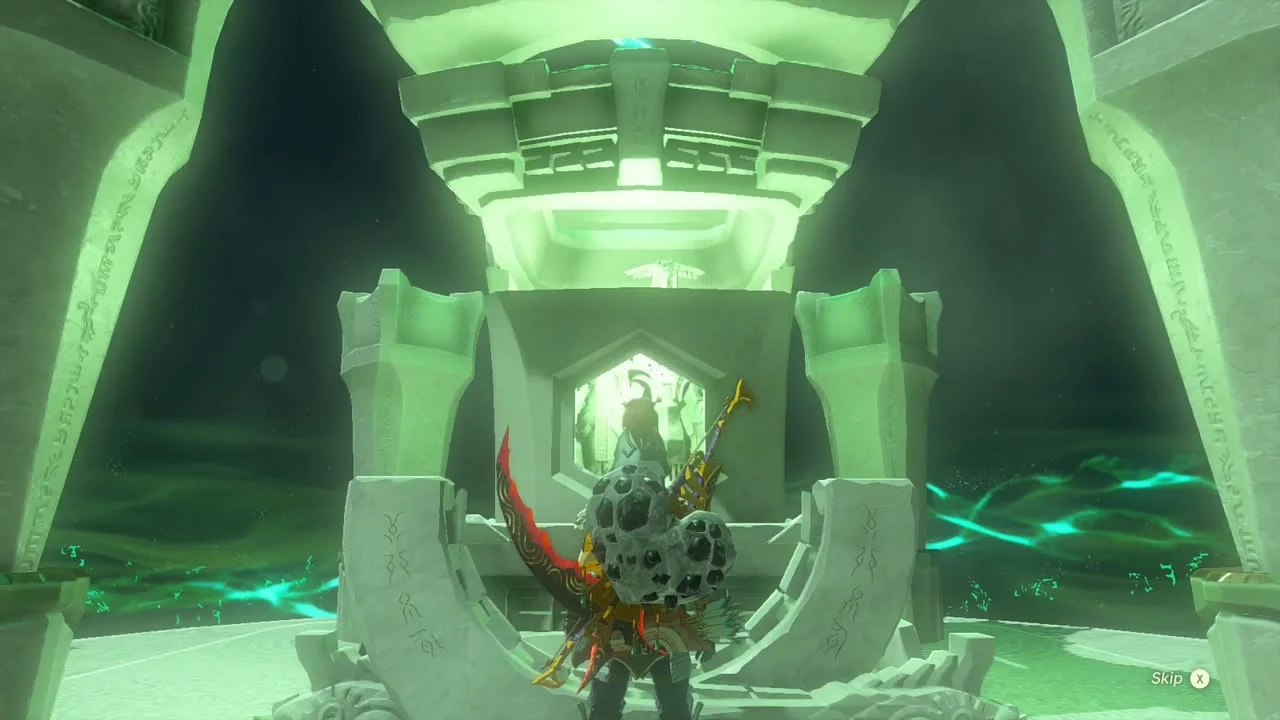
Shrine (Ishokin Shrine, Rauru’s Blessing). Carry the crystal from Baddek to the shrine at (-565, -3524, 142). The trial has no puzzle: take the lift, open the chest for a Topaz and finish with the Light of Blessing.


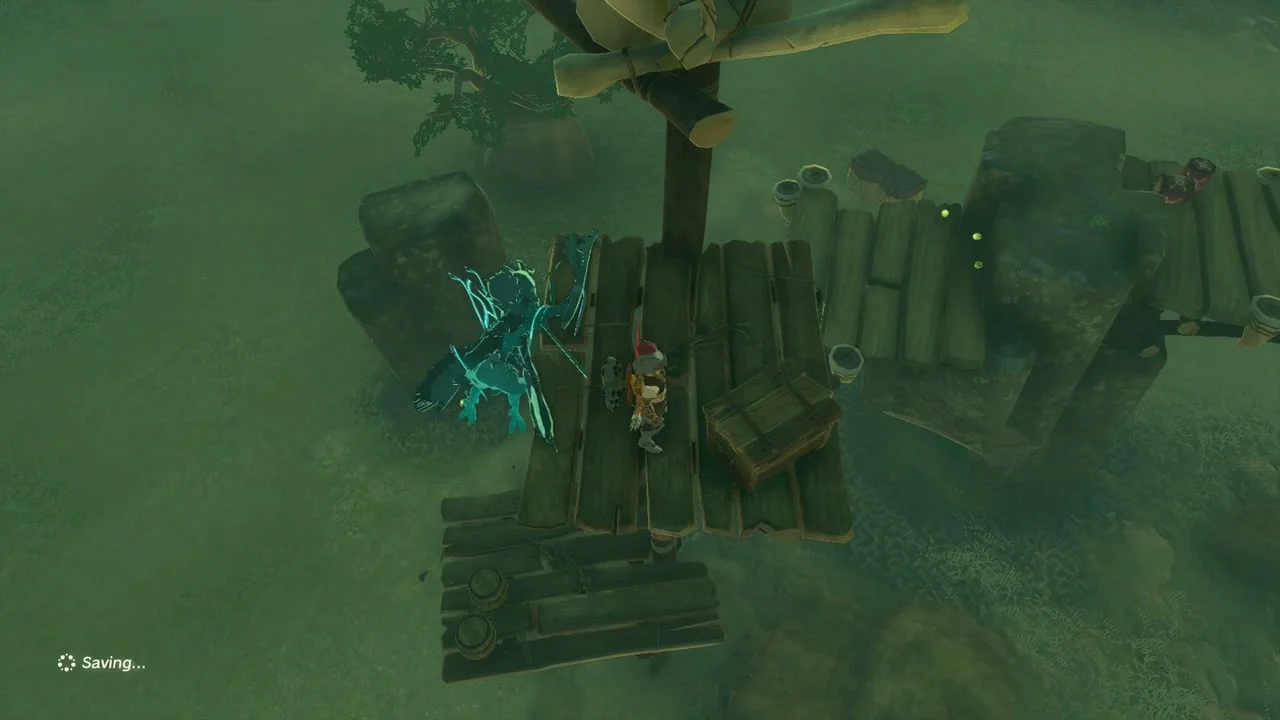
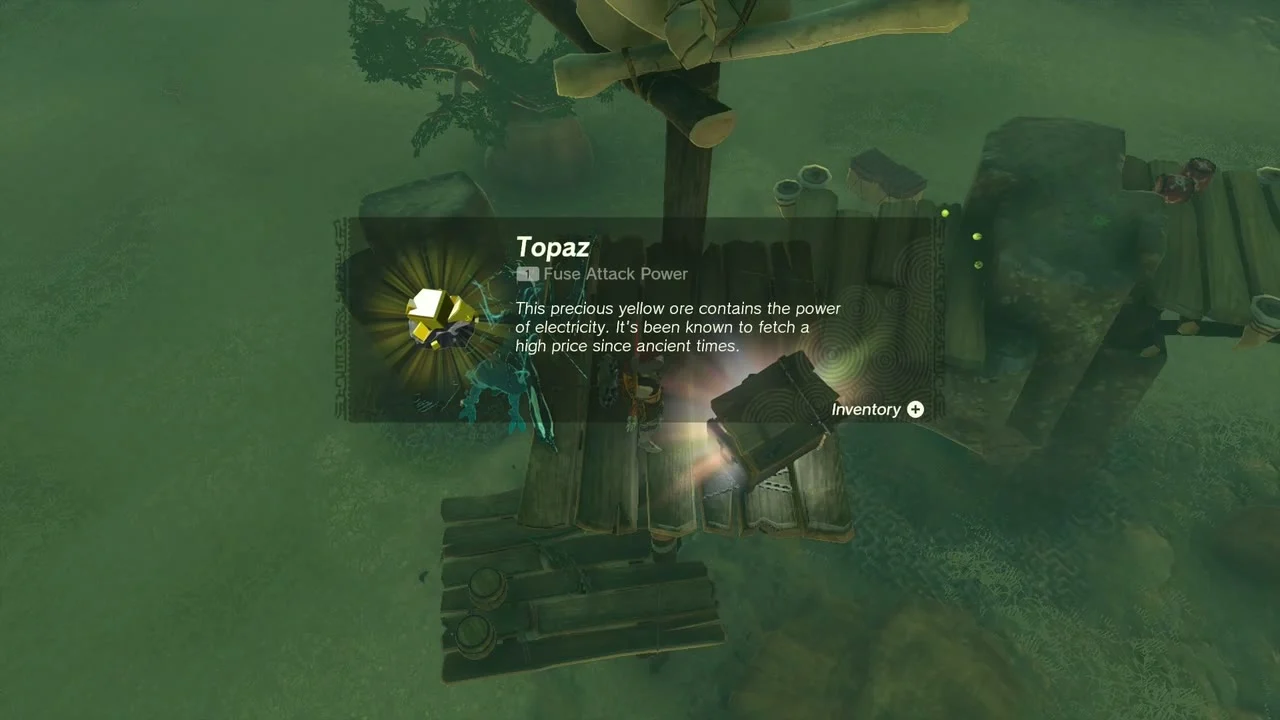
Chest (Topaz). A second chest sits on wooden crates just outside the shrine hill and holds another Topaz.
Korok seeds, Puffer Beach and Horse God Bridge
Chest (Spring x5). A chest on a rock mound at (-414, -3150, 35) holds Spring x5.
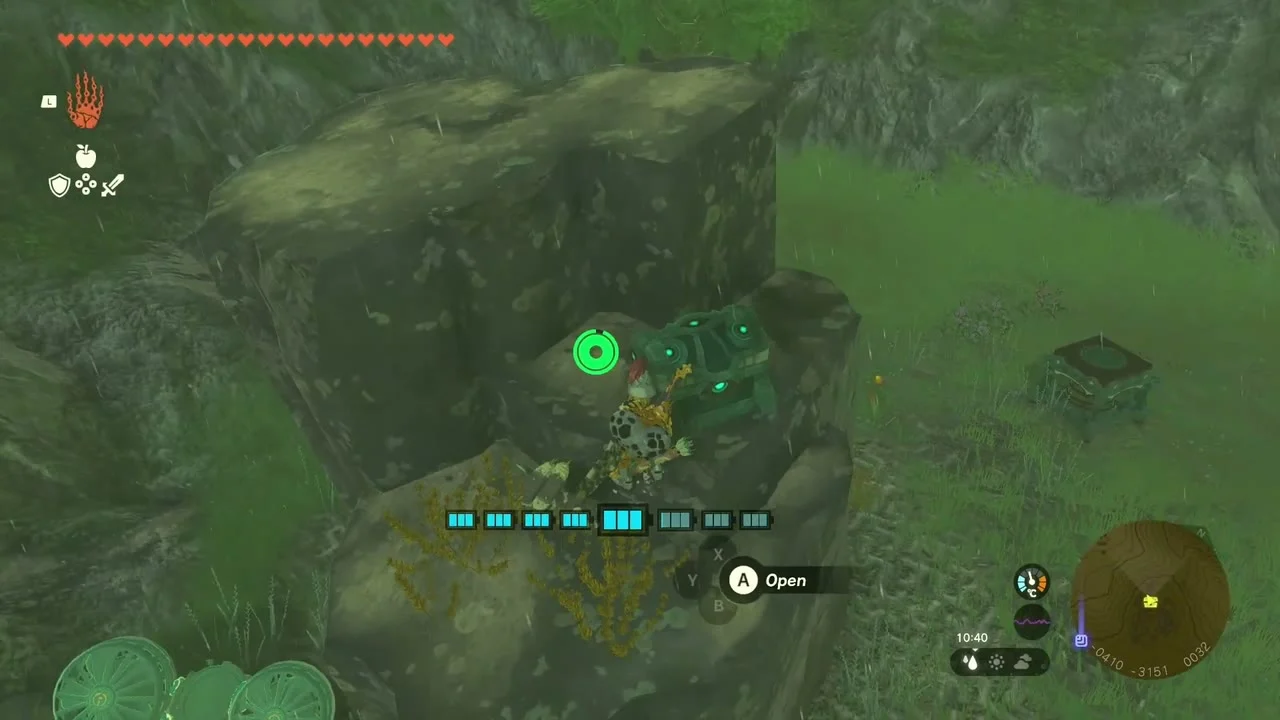

Korok seed (lift the rock). On the hill at (-224, -3340, 71), lift the boulder to find the Korok.
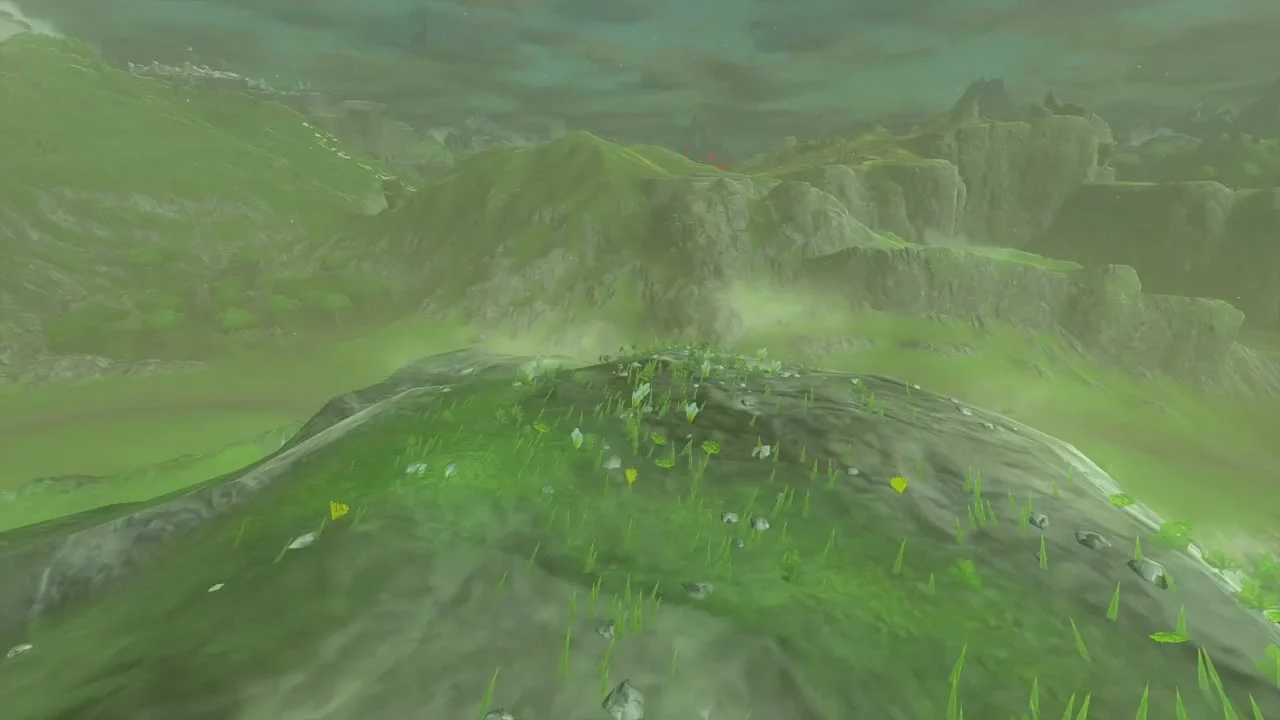
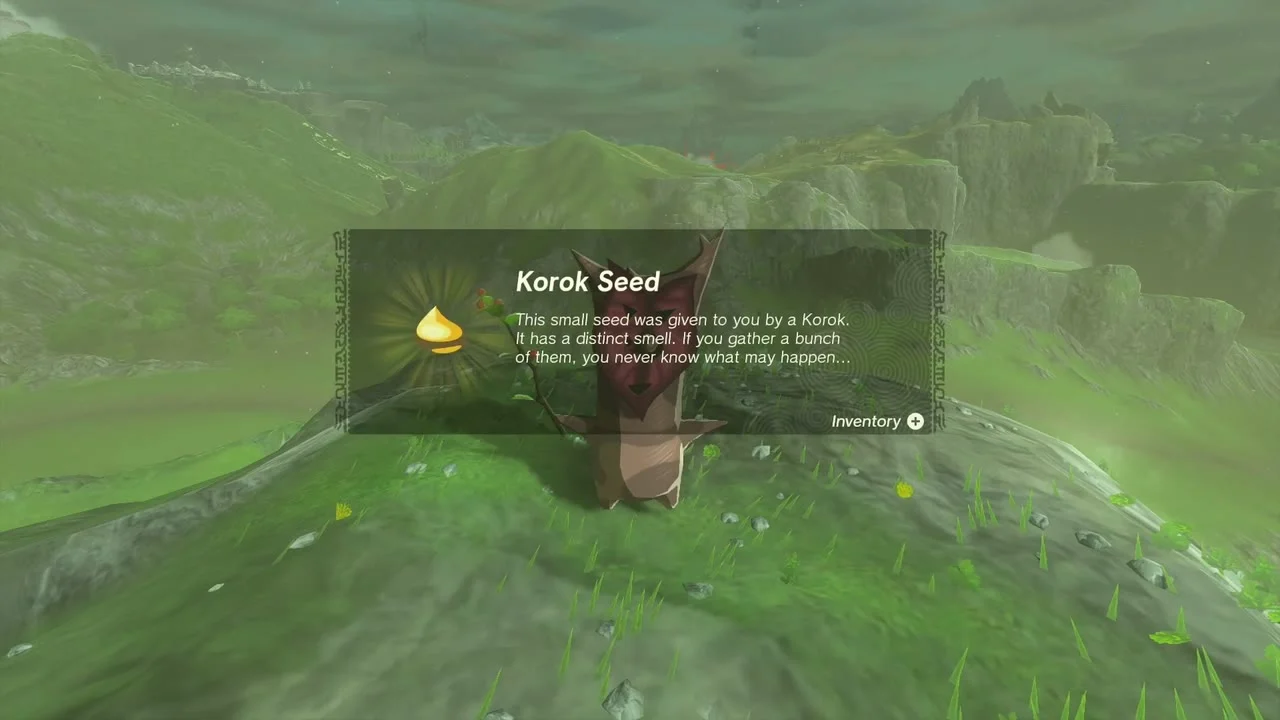
Korok seed (catch the sparkling spot). A sparkle at (-414, -3374, 32) darts around in the tall grass; crouch and walk into it.

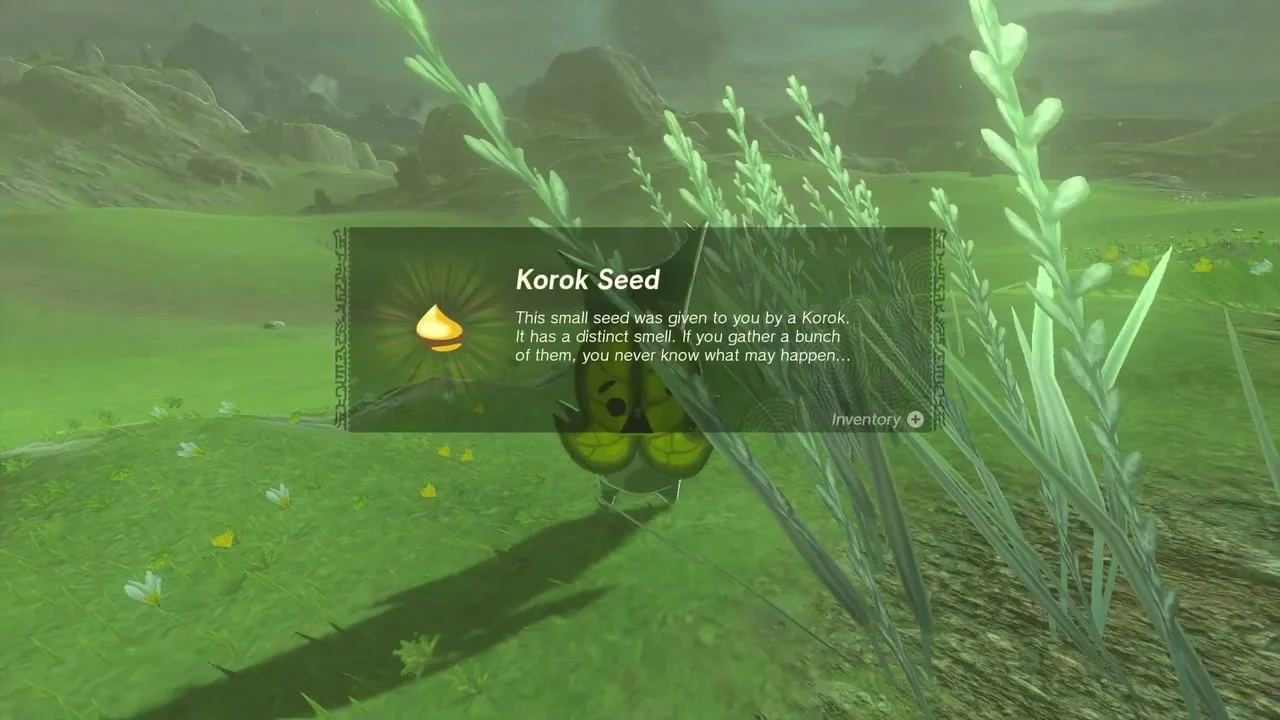
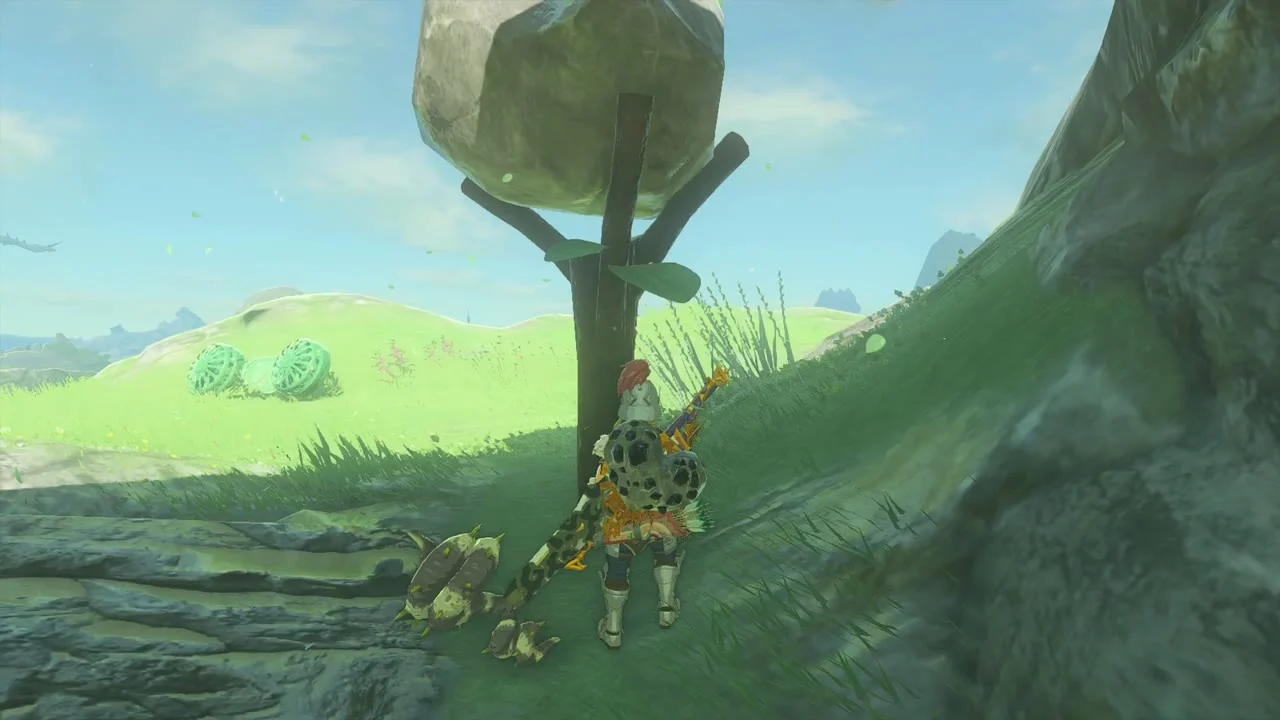
Korok seed (place the boulder on the tree stand). Lift the boulder at (389, -3608, 79) and set it on the tree stand.

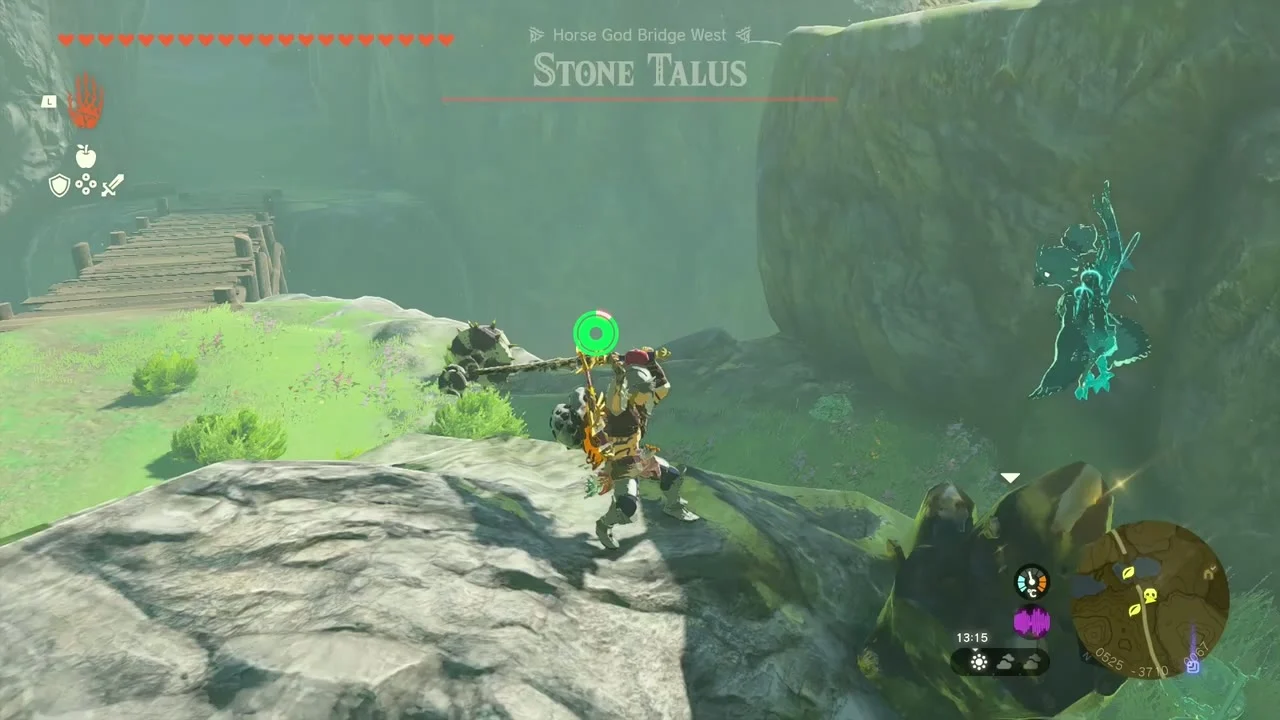
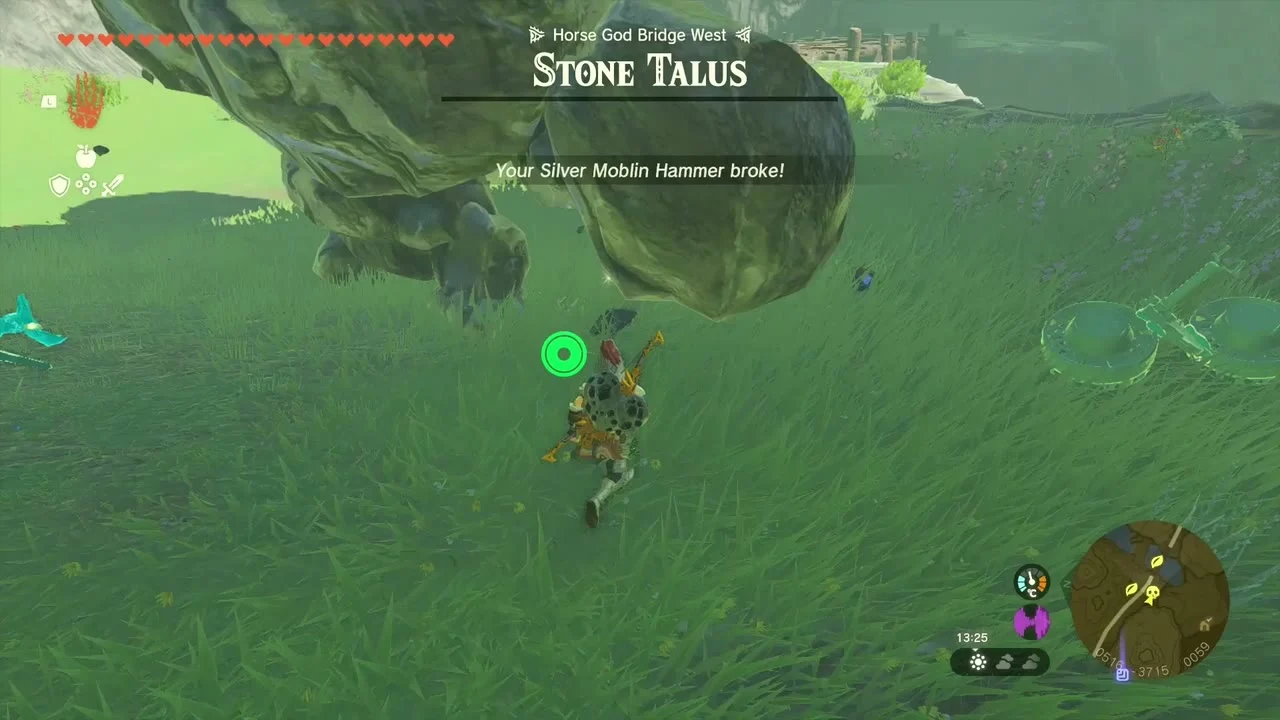
Miniboss (Stone Talus). A Stone Talus waits at Horse God Bridge West. Hit the ore deposit on its back with bombs or a big hammer after it opens its mouth.
Korok seed (place the boulder on the tree stand). The stand at (527, -3665, 71) is on a ledge; carry the boulder up with Ultrahand.


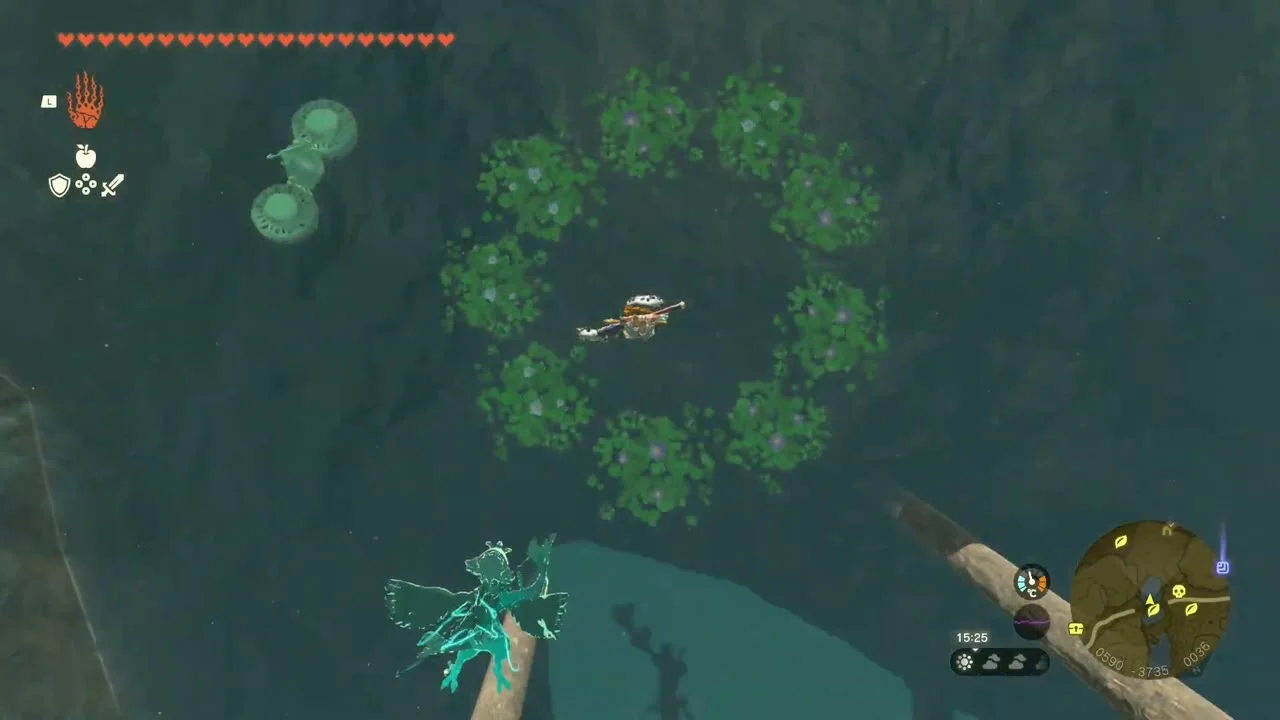
Korok seed (dive into the ring). Dive into the lily-pad ring at (588, -3740, 34) in the pond.

Korok seed (follow the flower). Follow the flower at (814, -3704, 105) up the ridge to the Korok.


Chest (Mighty Zonaite Sword). On an old Zonai platform near (738, -3788, 153) a chest holds a Mighty Zonaite Sword (Strong or Mighty, depending on your progress); build a fan-and-wing flyer or climb up the cliff to reach it.
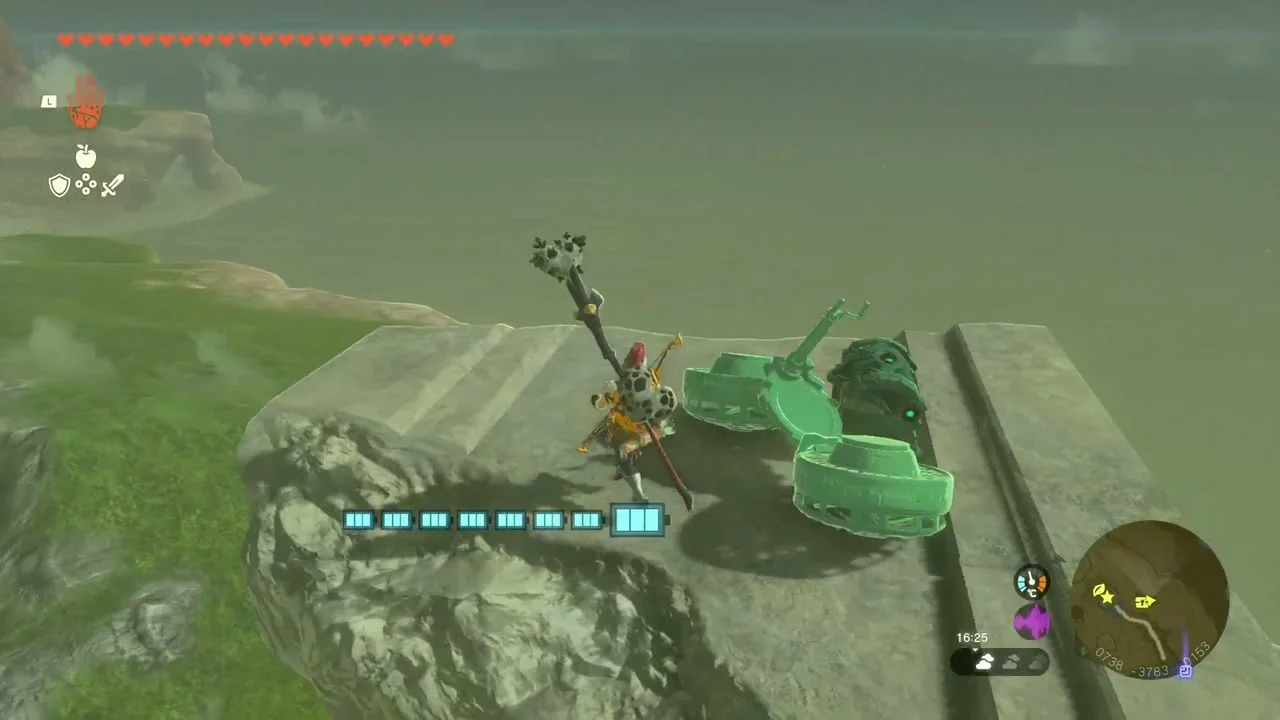

Korok seed (pull the plug). Pull the plug at (101, -3842, 32) on the cliff above Puffer Beach.
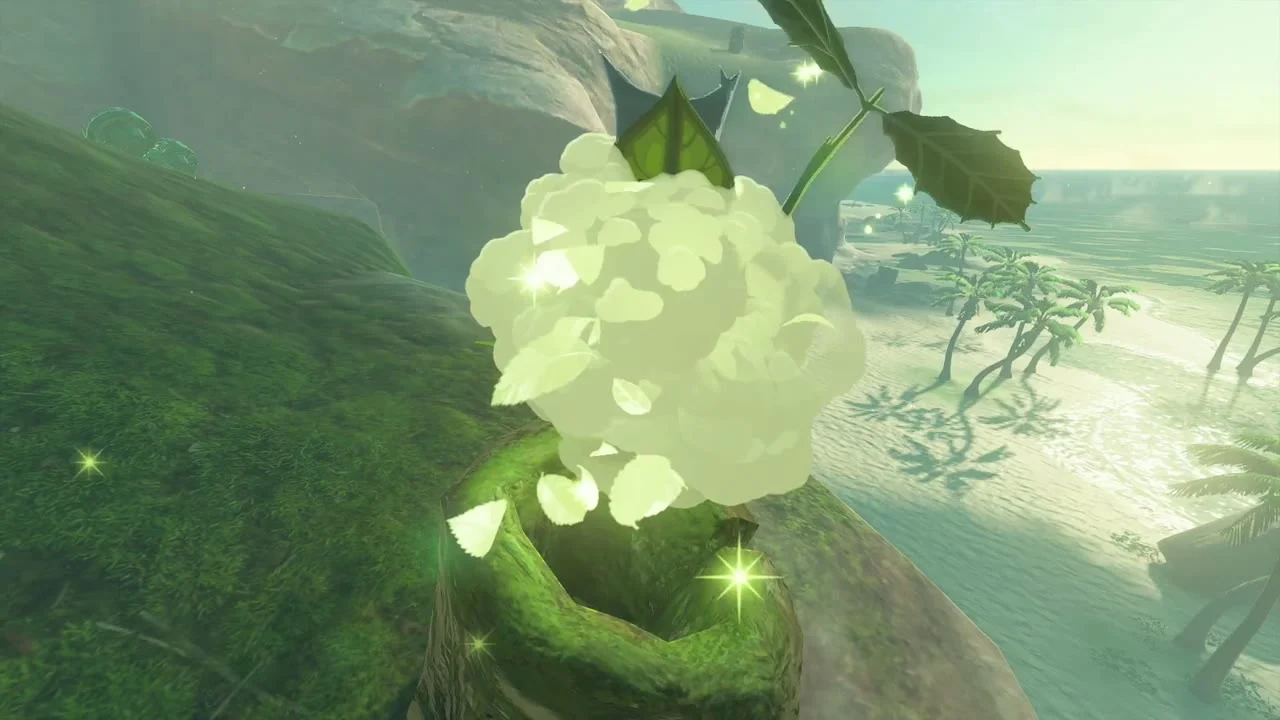
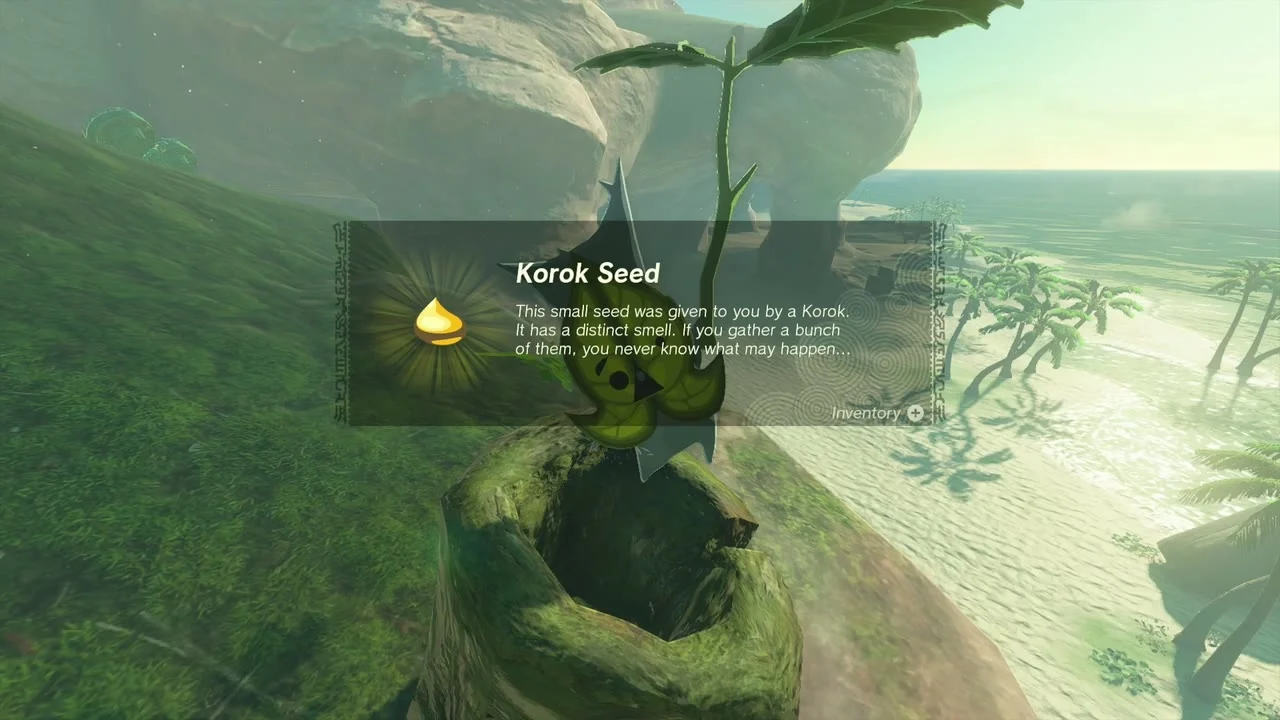
Korok seed (bring the exhausted Korok). Carry the exhausted Korok along the beach to its friend’s tent at (397, -3861, 0). Both Koroks give a seed.
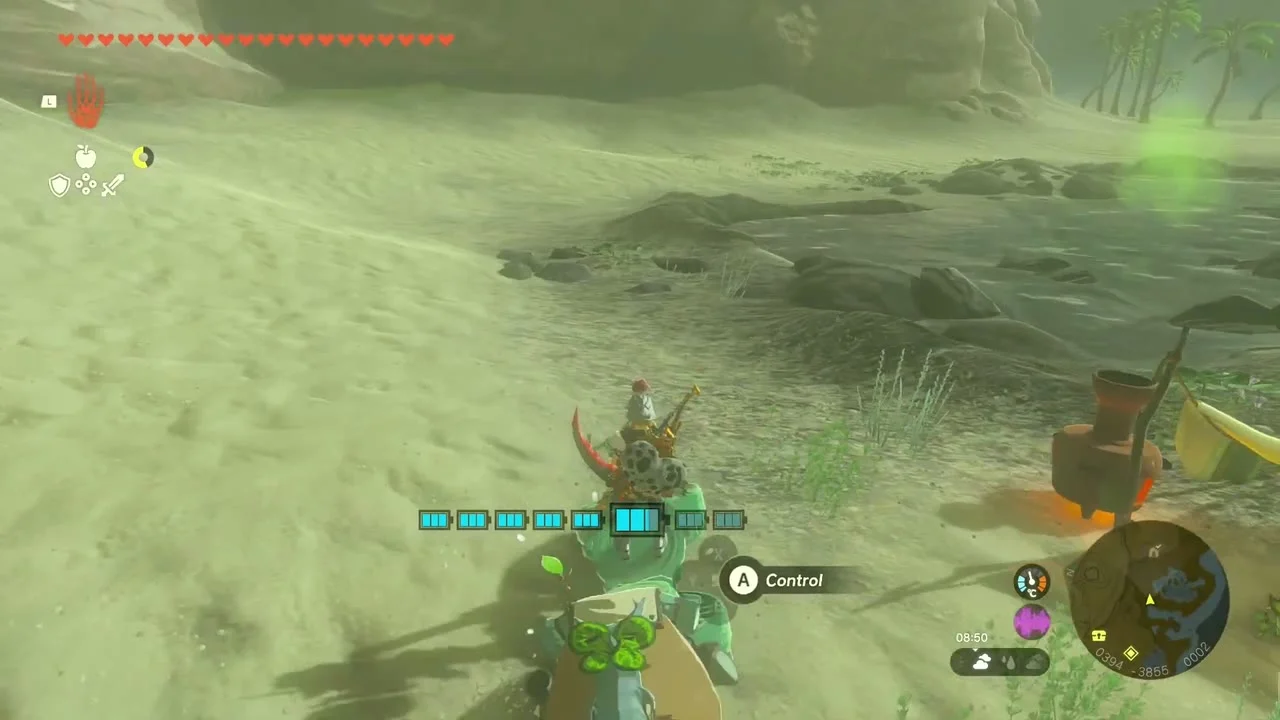

Puffer Beach Overhead Cave
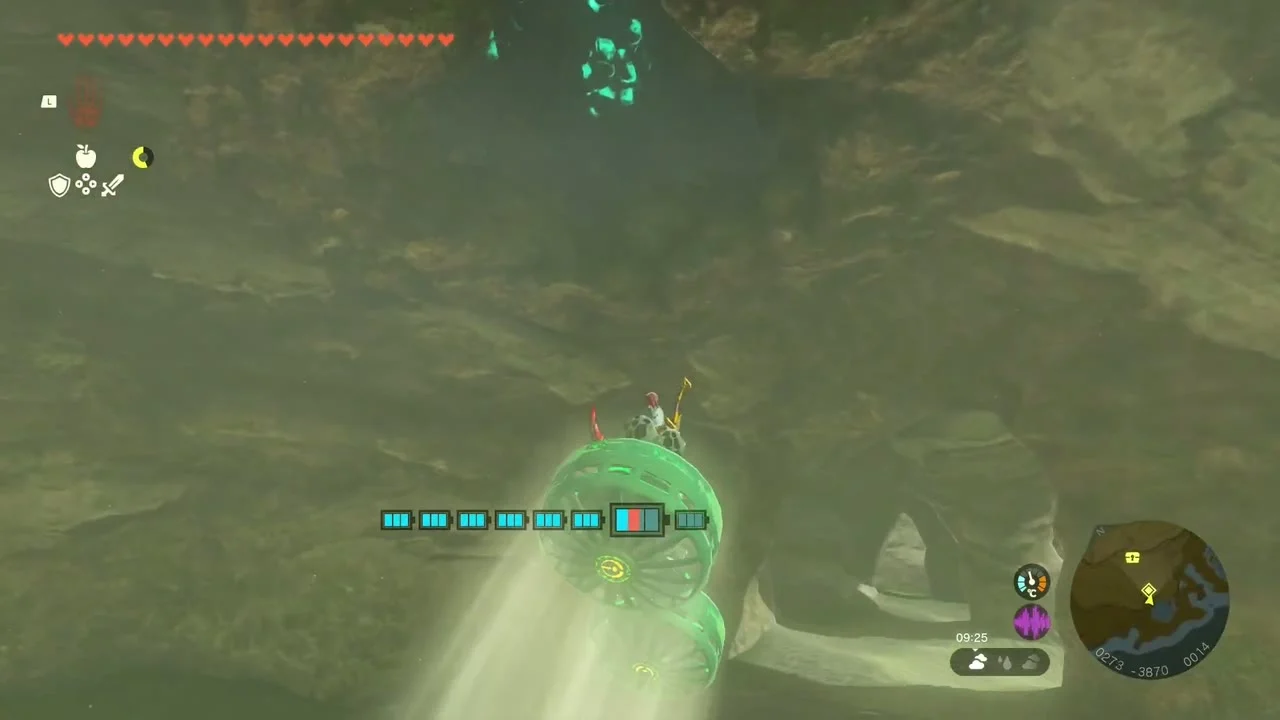
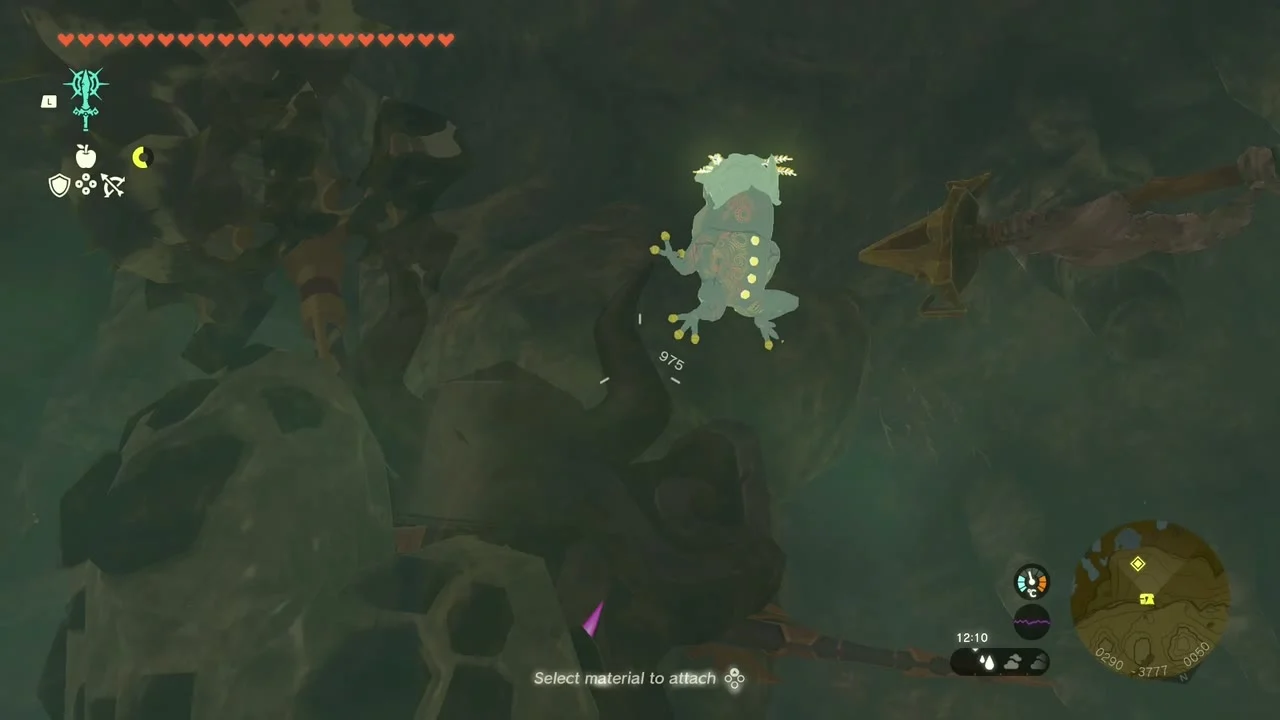
Cave (Puffer Beach Overhead Cave). The entrance is a hole in the ceiling of the sea cliff at (283, -3851, 33), ringed by Luminous Stone. Reach it with Ascend from a stacked boulder, a Rocket or a Spring. Inside, two Horriblins hang from the ceiling; a chest holds a Phantom Helmet and a Bubbulfrog sits behind a pillar for a Bubbul Gem.
Korok seed (complete the cube puzzle). Complete the cube puzzle at (573, -3853, 34) on the shore.


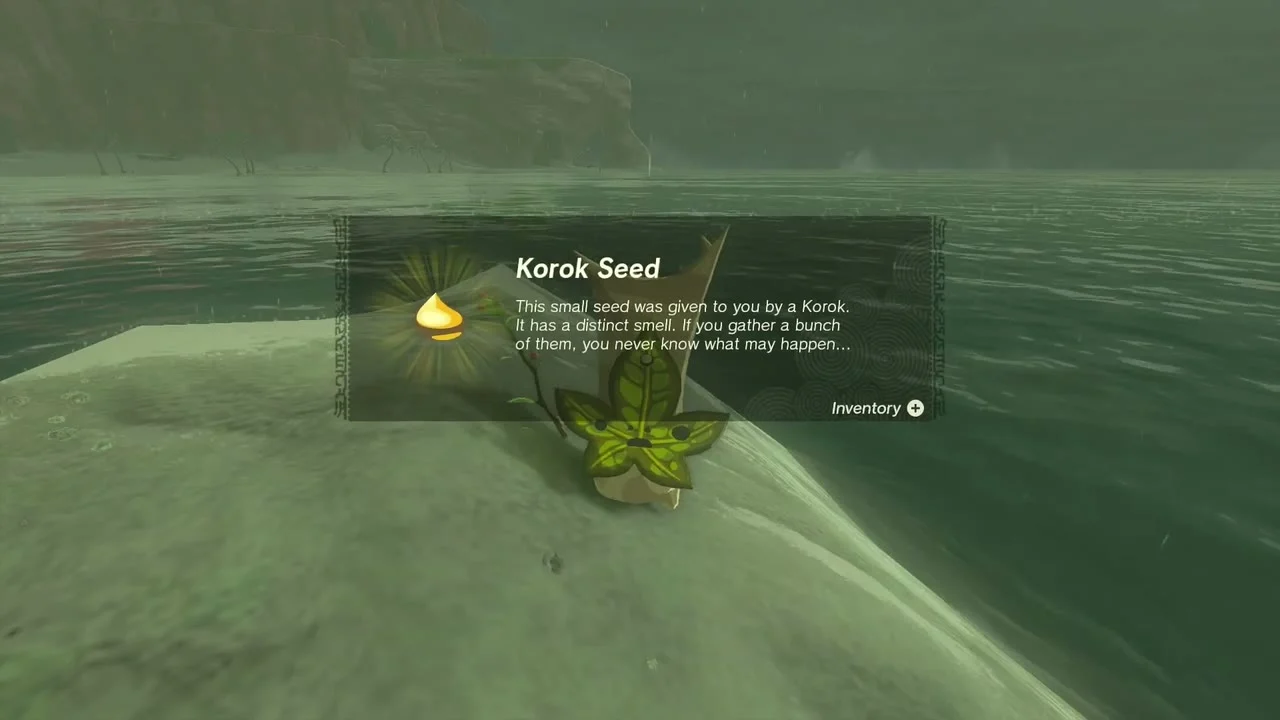
Korok seed (lift the rock). A boulder at (1095, -3832, 2) on a sandbar hides a Korok.

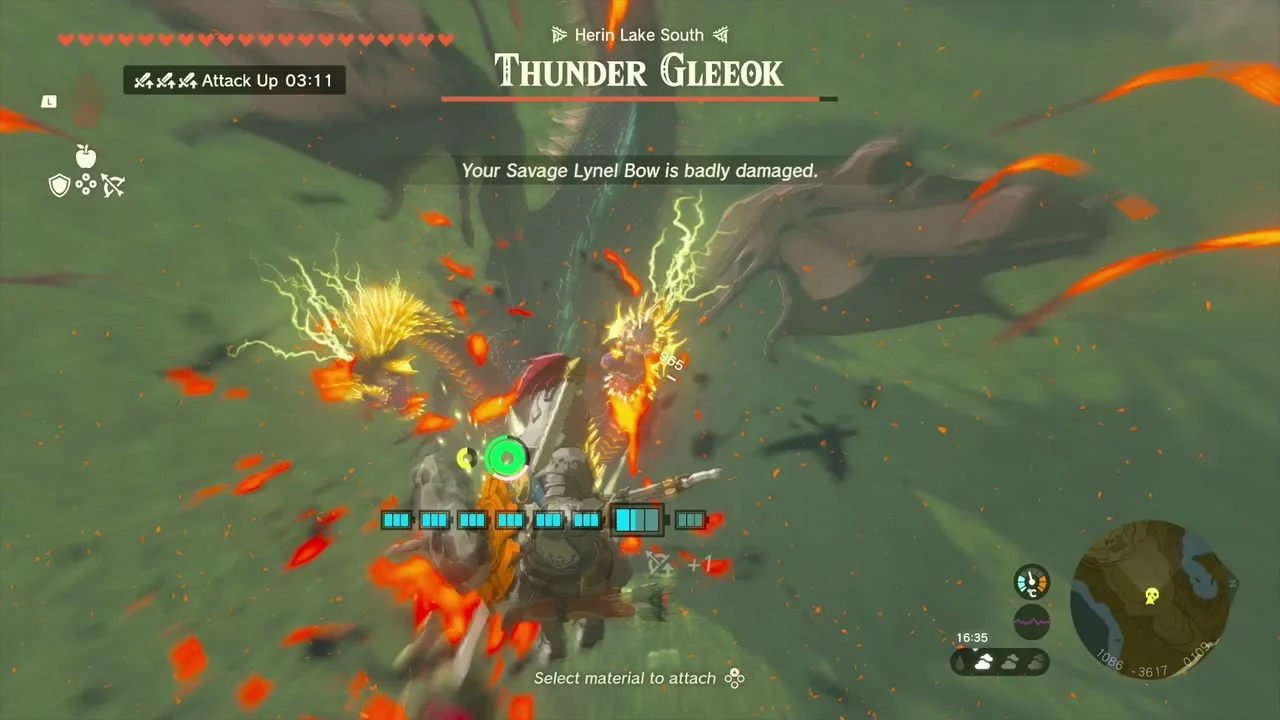
Miniboss (Thunder Gleeok). A Thunder Gleeok attacks around Heron Lake South at about (1086, -3617, 109). Shoot it out of the sky with arrows and strike its heads while it is stunned.

Sarjon Woods, Corta Lake and Lakeside Stable
Satori offering. At the mossy tree at (803, -3502, 57) near Highland Stable, drop an Apple or other fruit at the offering spot and the legendary creature Satori appears, marking the nearby caves with pillars of light. Use the pillars to find Bubbulfrog caves.
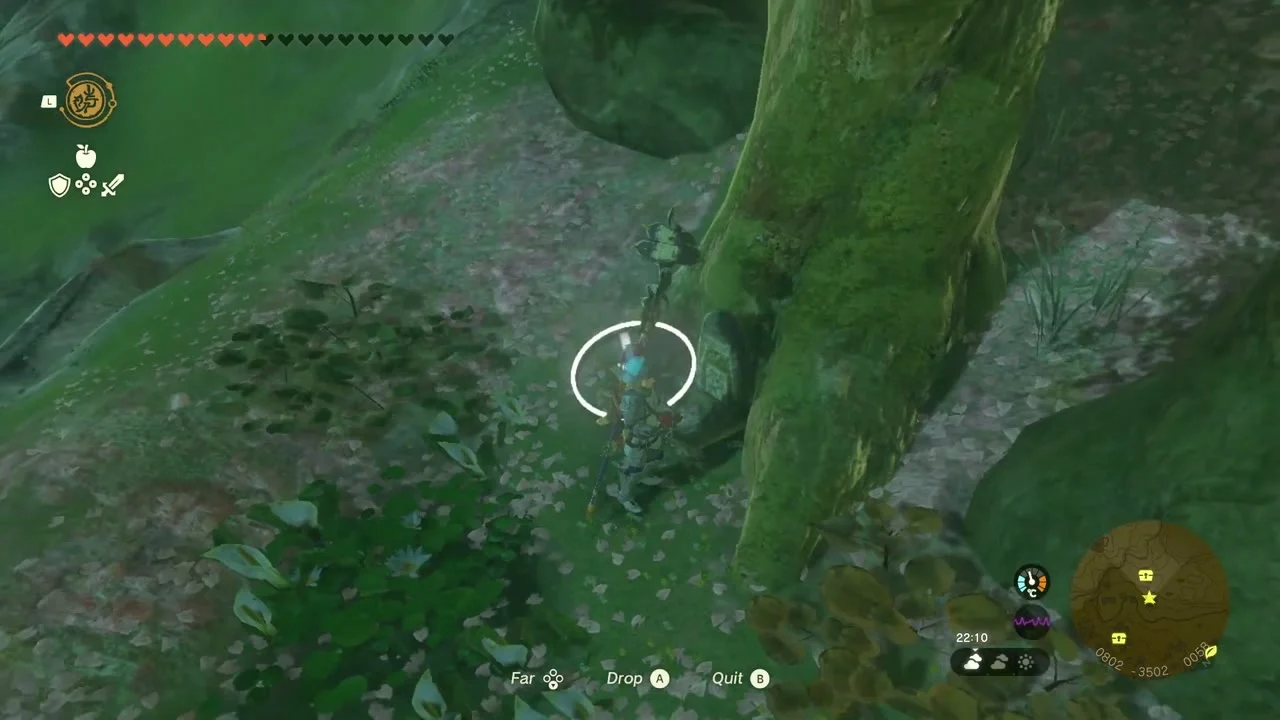

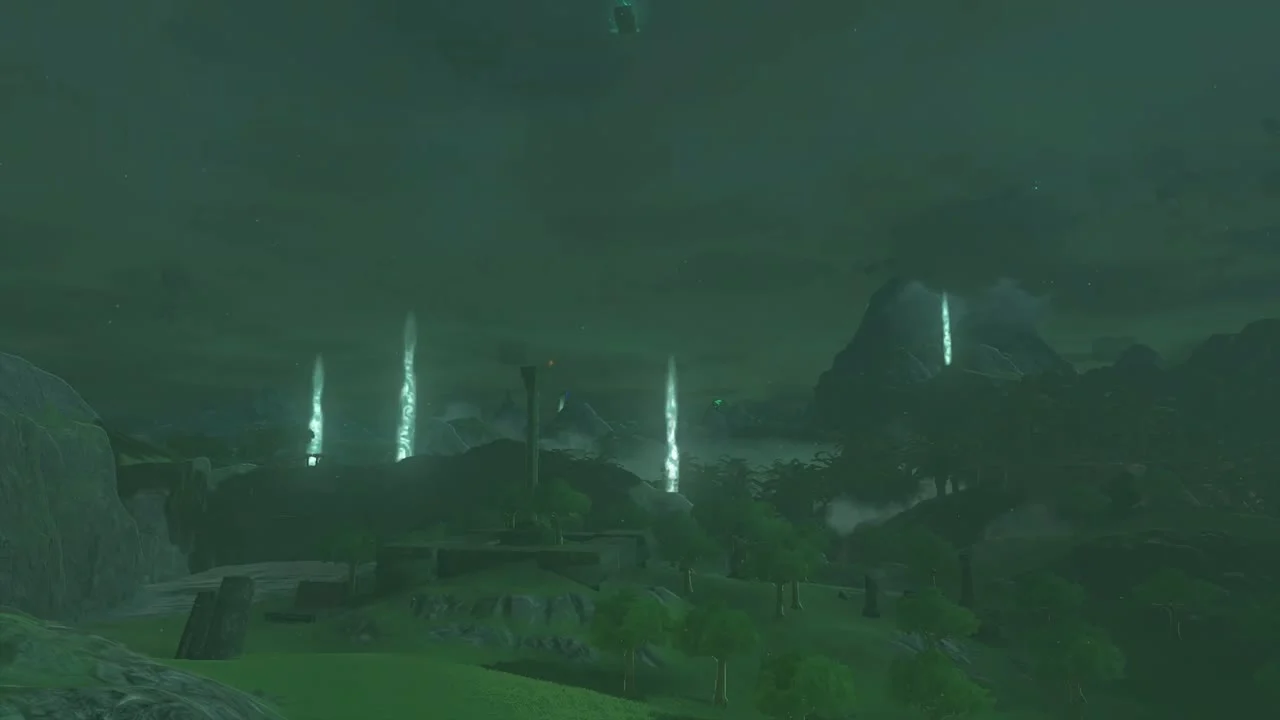
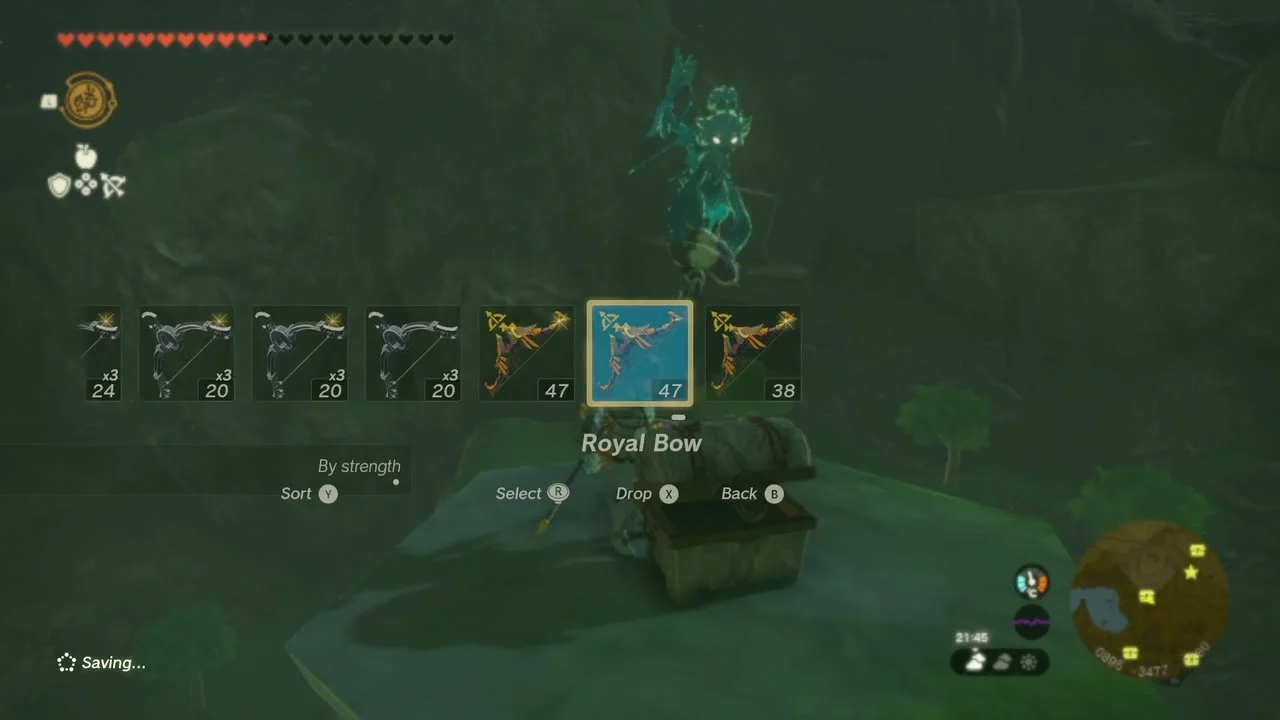
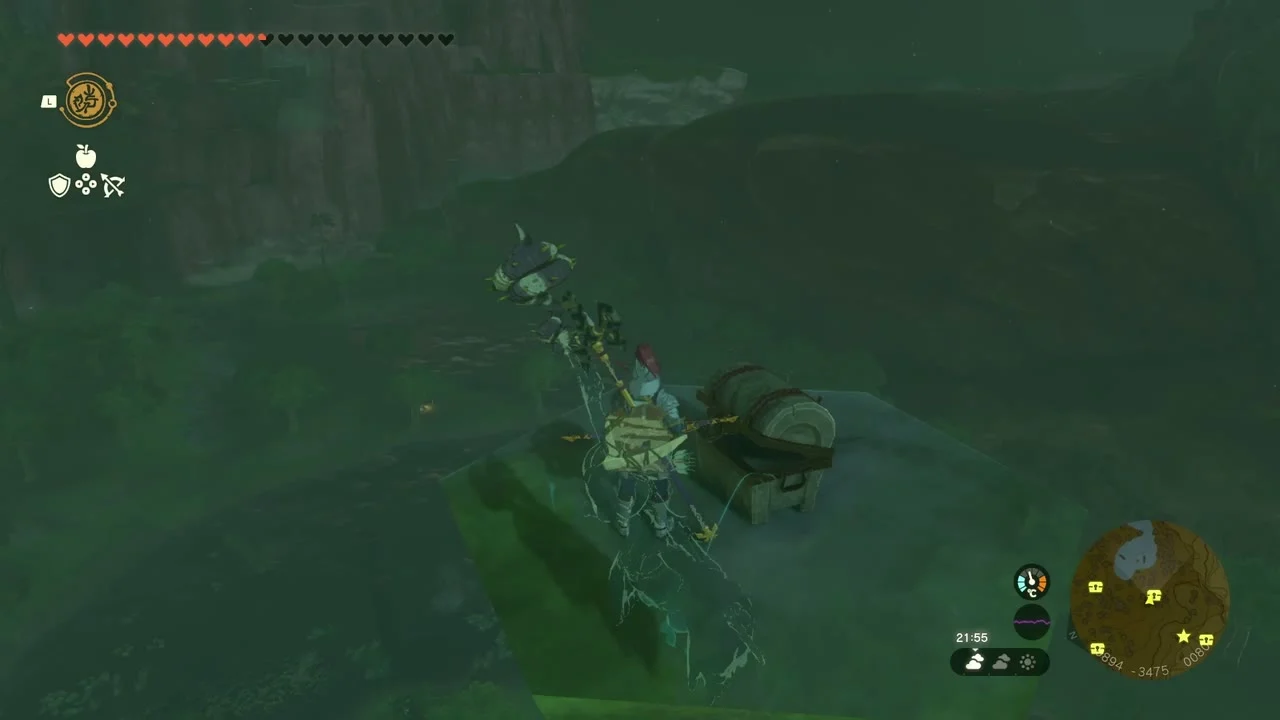
Chest (Royal Bow (or Traveler’s Bow, Soldier’s Bow or Knight’s Bow, depending on your progress)). The chest next to the Satori tree holds a Royal Bow.
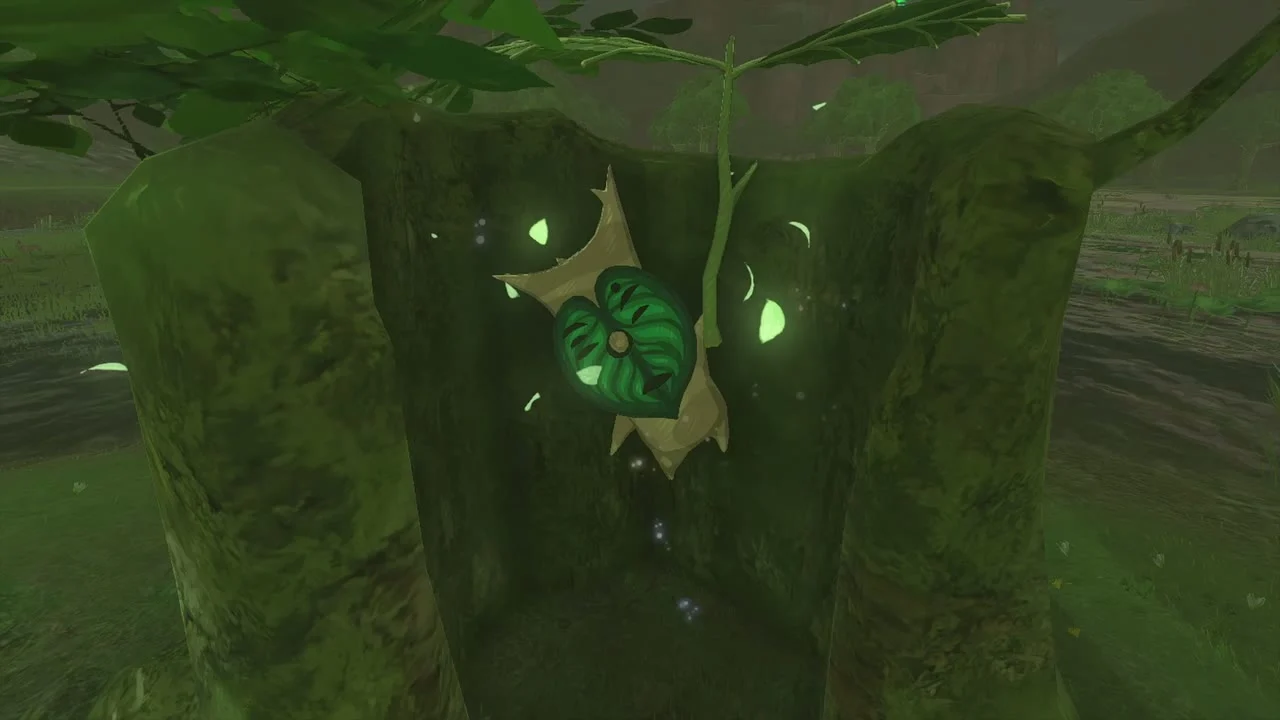
Korok seed (examine where the arrows point to). Arrow marks at (953, -3476, 22) point to a Korok at the base of a mossy tree hollow.
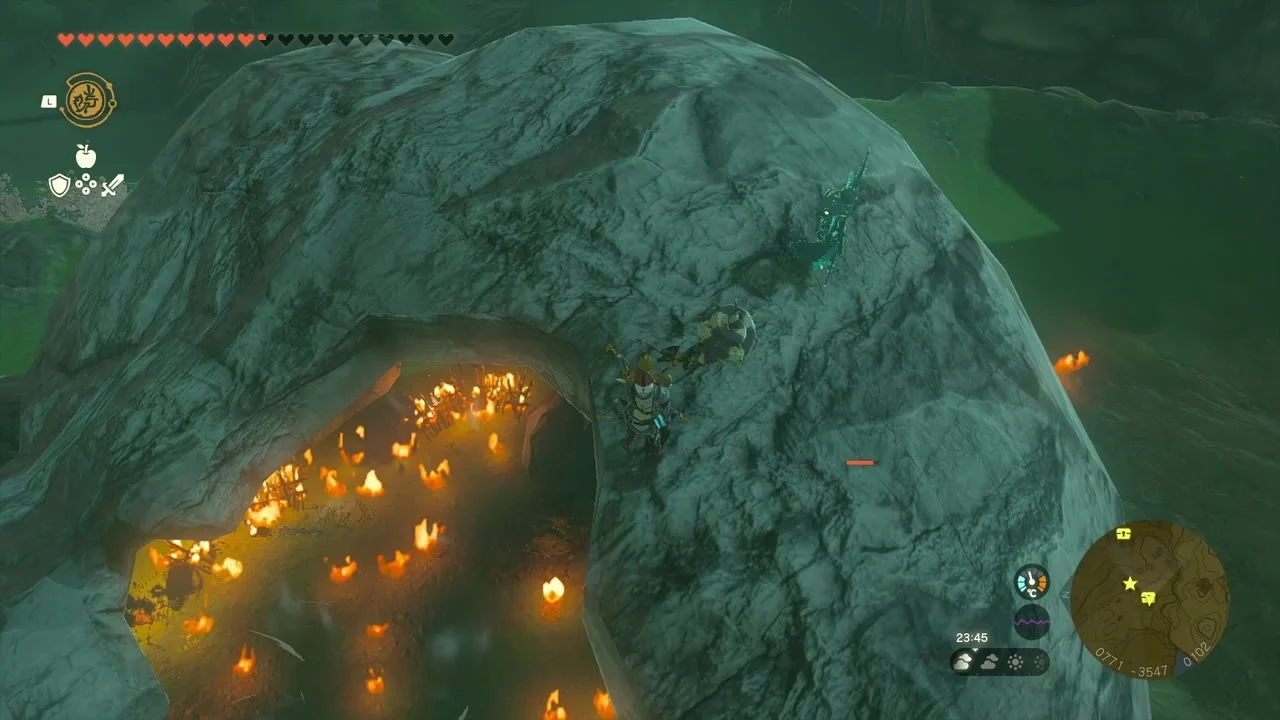
Miniboss (Boss Bokoblin). A Boss Bokoblin holds a burning camp in a cave mouth east of the stable. Use arrows and a flame emitter; it drops Bokoblin Guts and a Silver Bokoblin Horn.

Korok seed (shoot the balloon). Balloons at (795, -3345, 81) hover above a rise; shoot all of them.


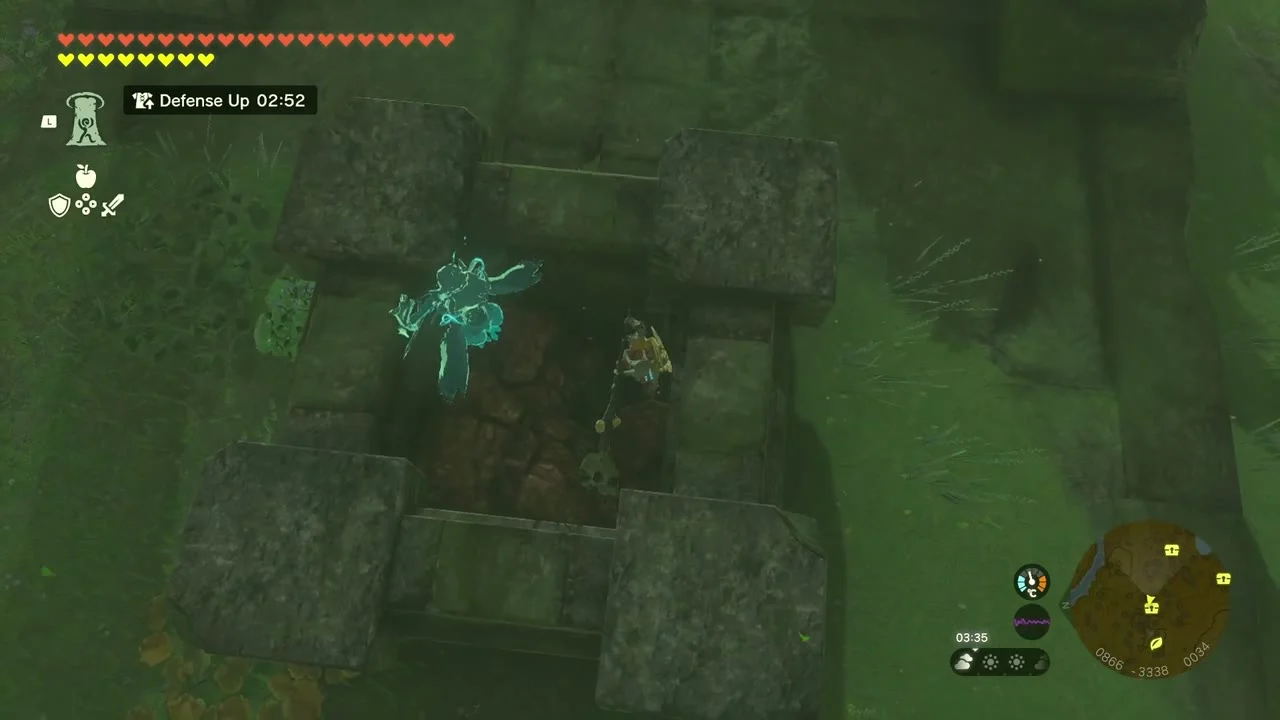
Chest (Royal Halberd). A chest beside wooden crates on the grassland holds a Royal Halberd.

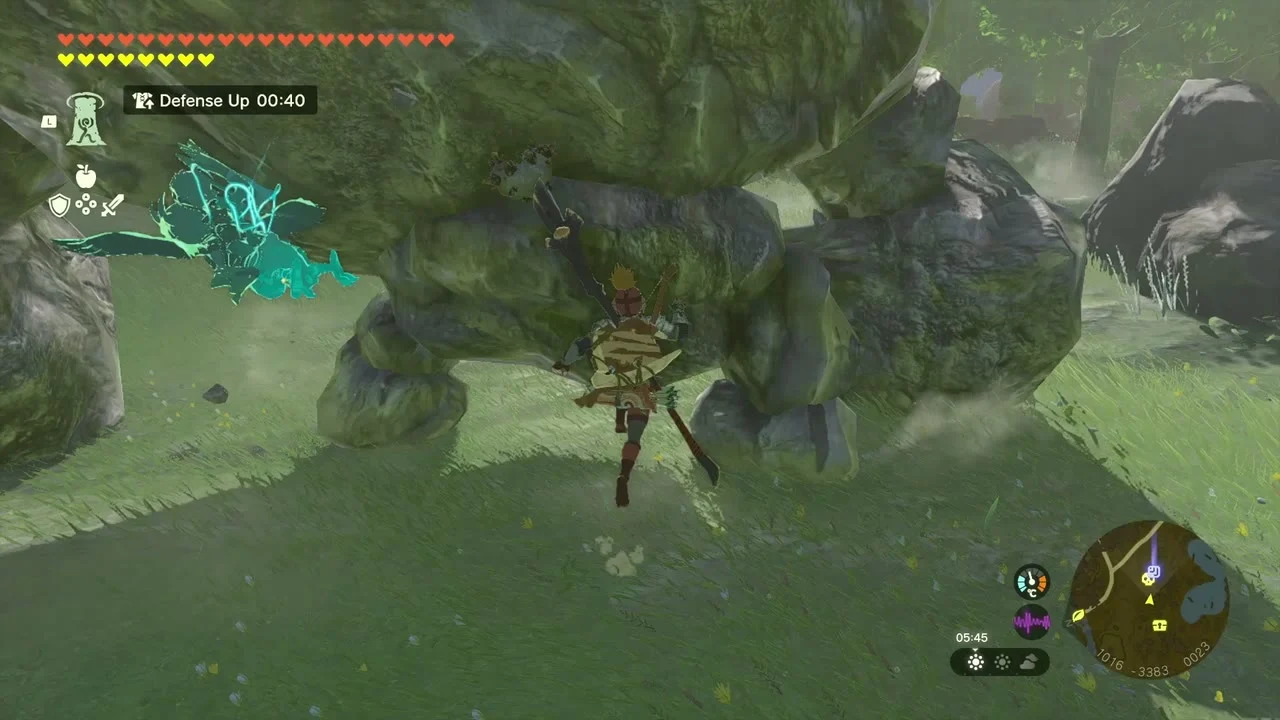
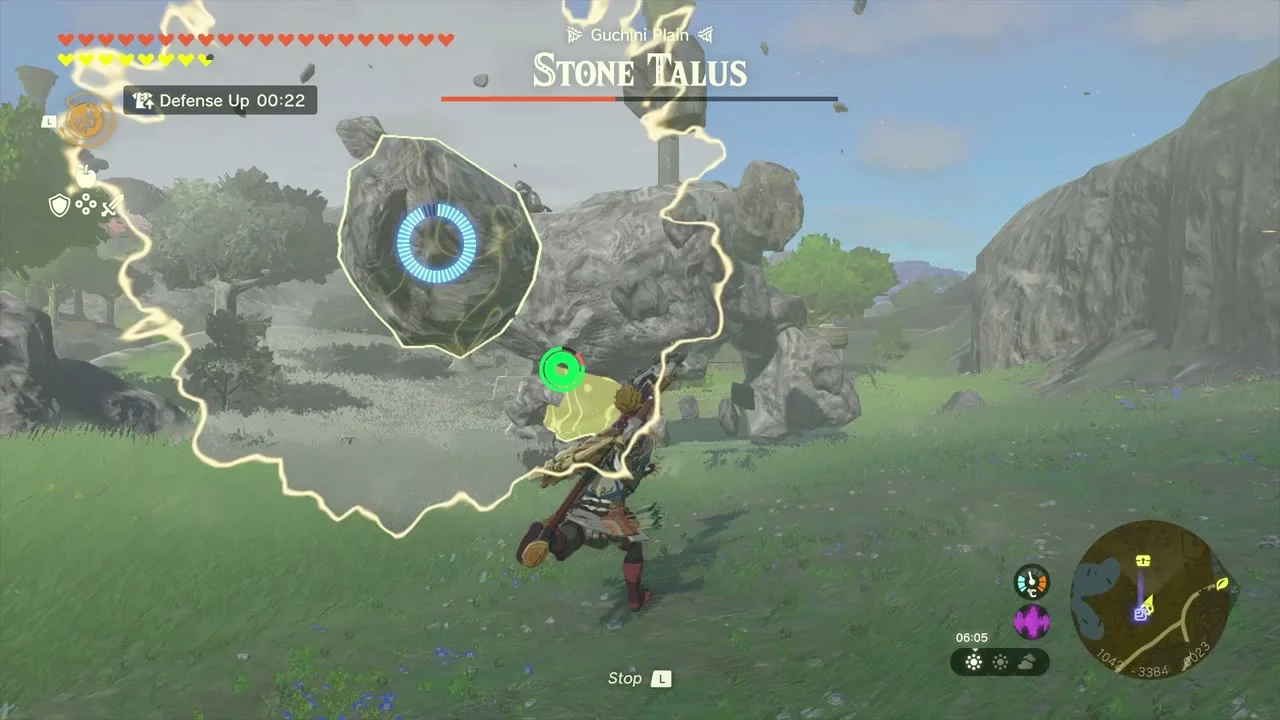
Miniboss (Stone Talus). A Stone Talus roams the grass here; drop a bomb into its open mouth, then break the ore on its back.
Korok seed (pop the hidden balloon). A hidden balloon at (1023, -3228, 16) floats in the grass; shoot it down.
Sarjon Woods Cave
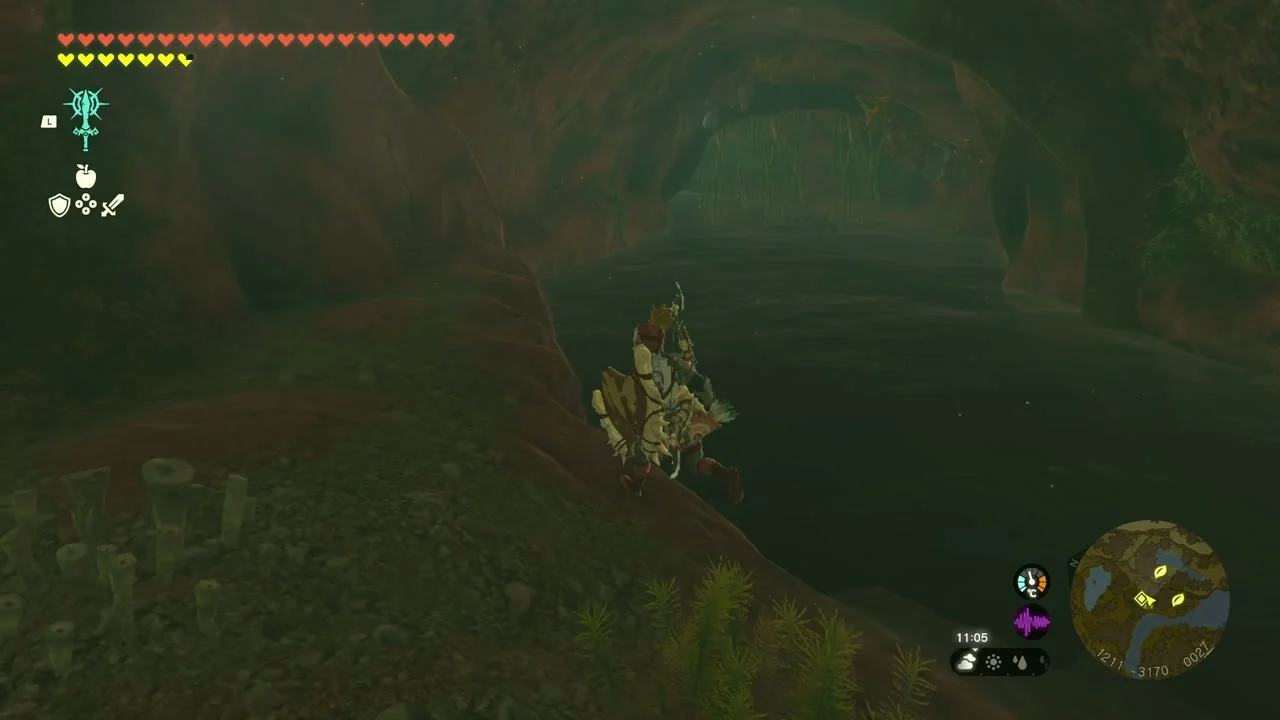
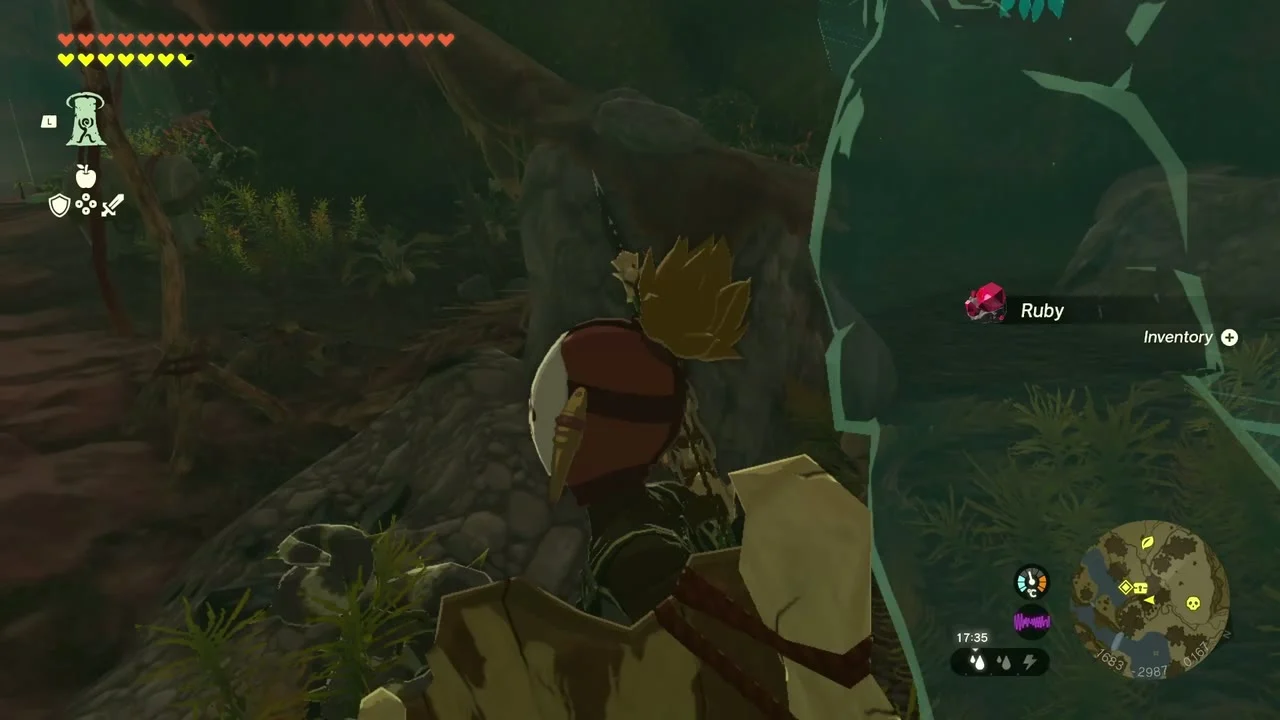
Cave (Sarjon Woods Cave). The entrance at (1203, -3170, 25) leads into an underground river under Kamah Plateau. Swim downstream, shoot the Black Horriblins off the ceiling and keep stamina food handy. A Like Like guards the river, and above the waterfall beyond it a Bubbulfrog gives a Bubbul Gem; at the far end a chest holds a Rubber Helm.

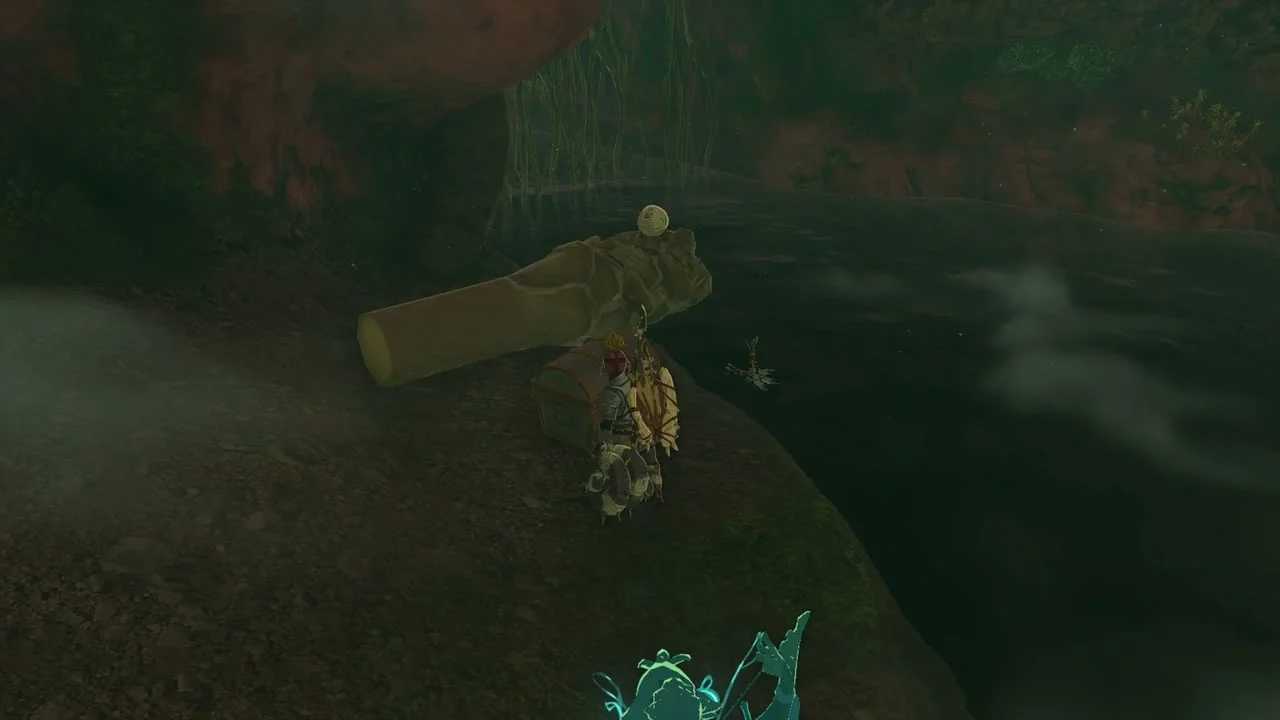
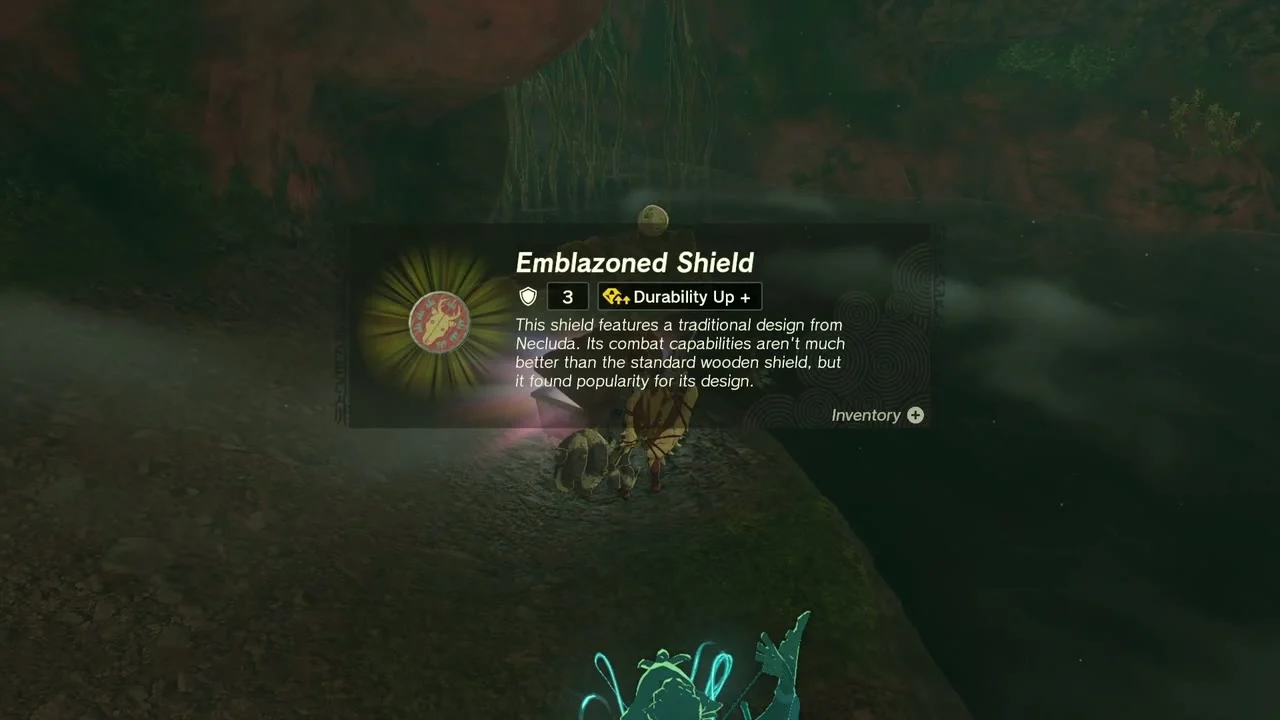
Chest (Emblazoned Shield). A chest on a rocky shelf beside the river holds an Emblazoned Shield.
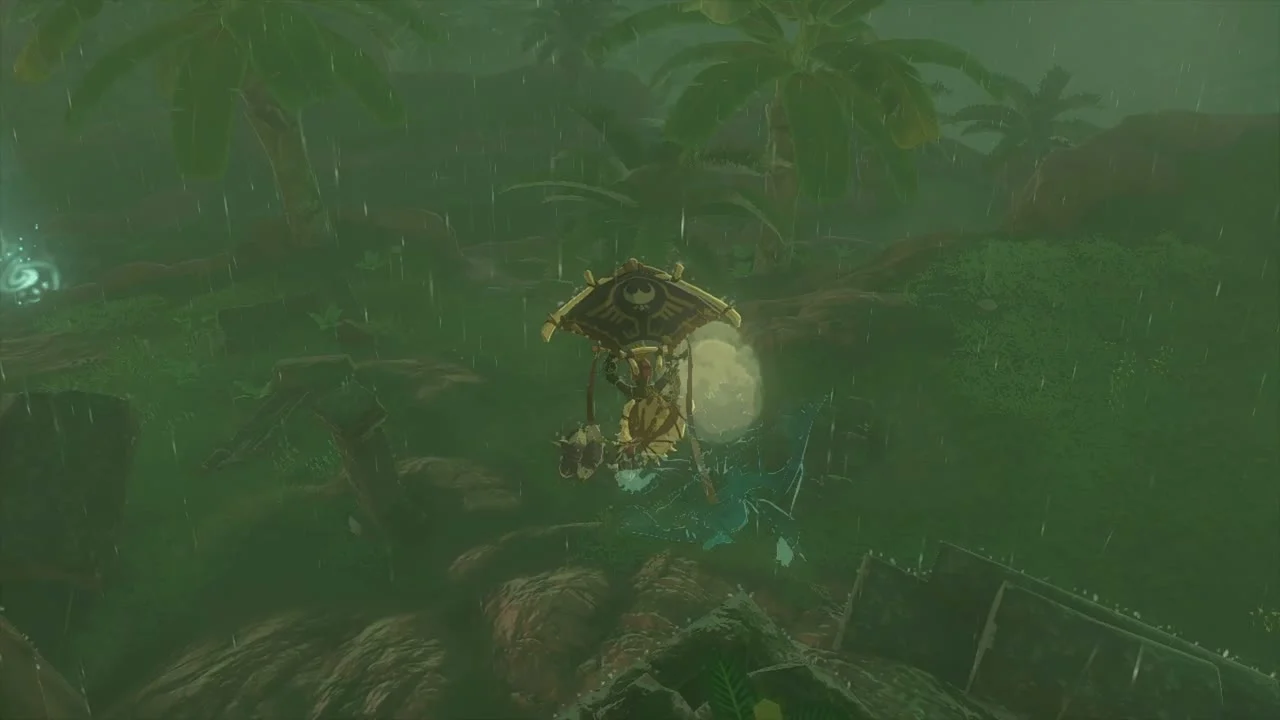
Korok seed (attack and catch the dandelion). A floating dandelion at (1580, -3033, 228) drifts above the forest; hit it.
Corta Lake Cave
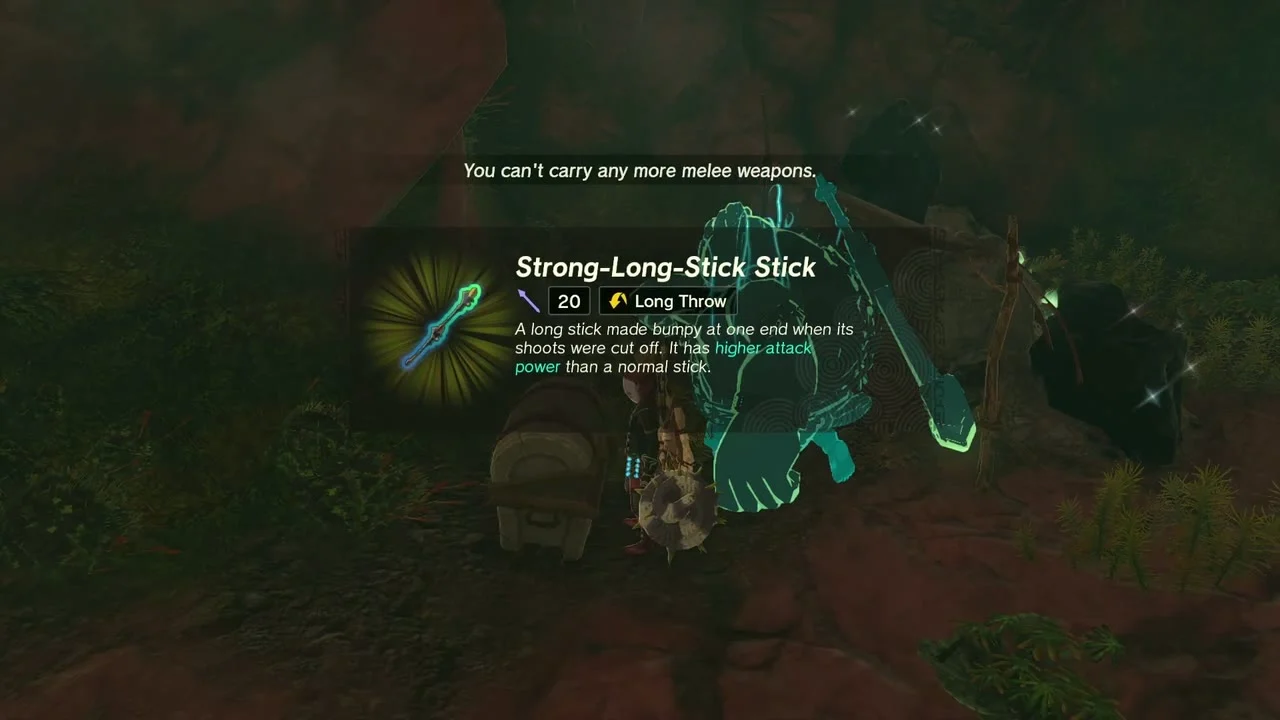
Cave (Corta Lake Cave). The entrance at (1676, -3038, 164) opens into a wind-geyser passage. Just beyond the geyser, a chest holds a basic long-stick weapon (Zelda Dungeon lists it as a Strong-Long-Stick Stick); break the boulder at the far end of the lower path to create another wind geyser and follow the geysers north to a higher room where the Bubbulfrog gives a Bubbul Gem.
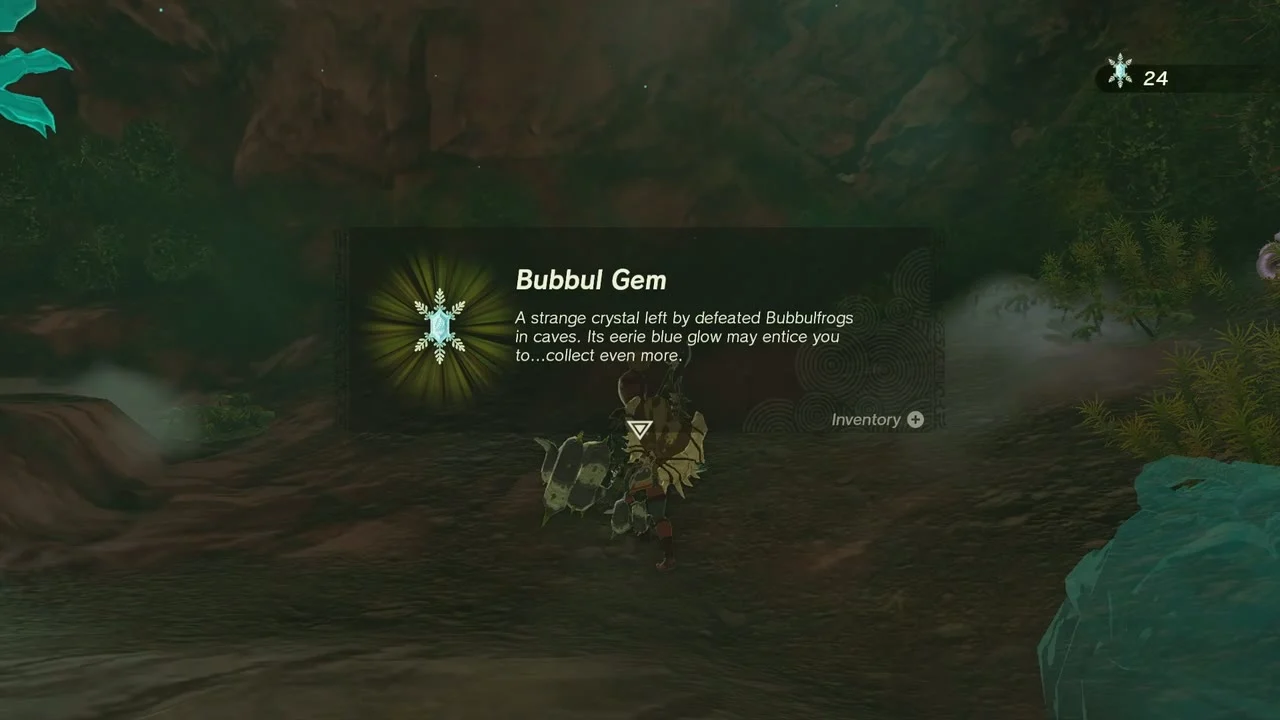
Quest (Ousting the Giants). Kampo at Lakeside Stable asks you to drive the three Hinox brothers out of the lake caves. The Middle Hinox Brother is in the high room to the west of this cave; defeat it for Royal Broadsword and Hinox Tooth drops. The brothers are best taken in order of difficulty (Rodai Lakefront Tunnel, Corta Lake Cave, then Calora Lake Cave); once all three are down, report to Kampo at Lakeside Stable for his reward (Zelda Dungeon lists Mighty Fried Bananas).

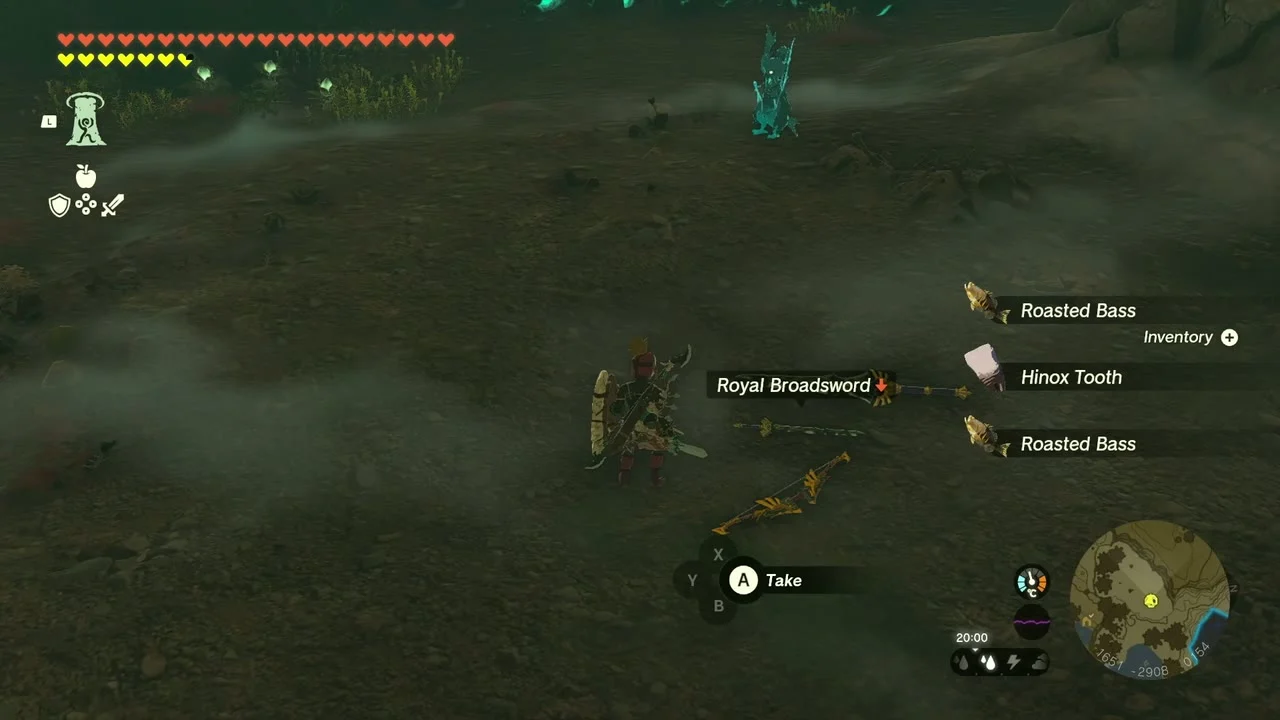
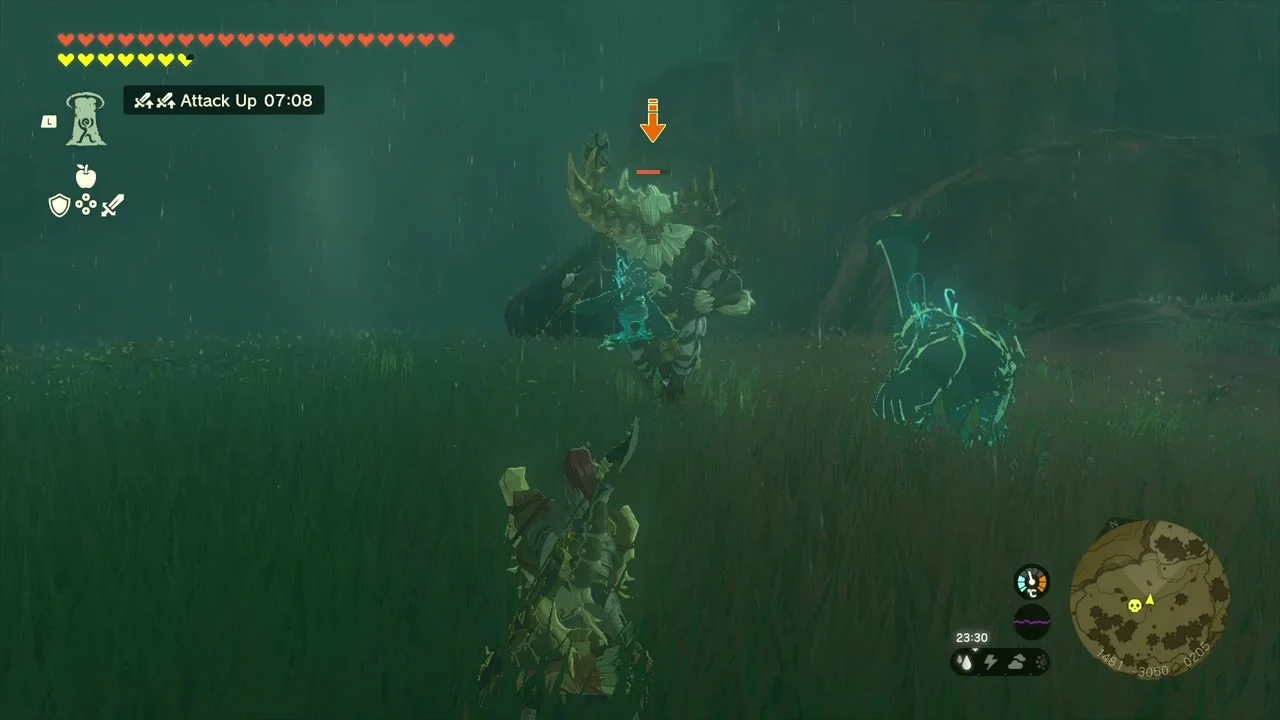
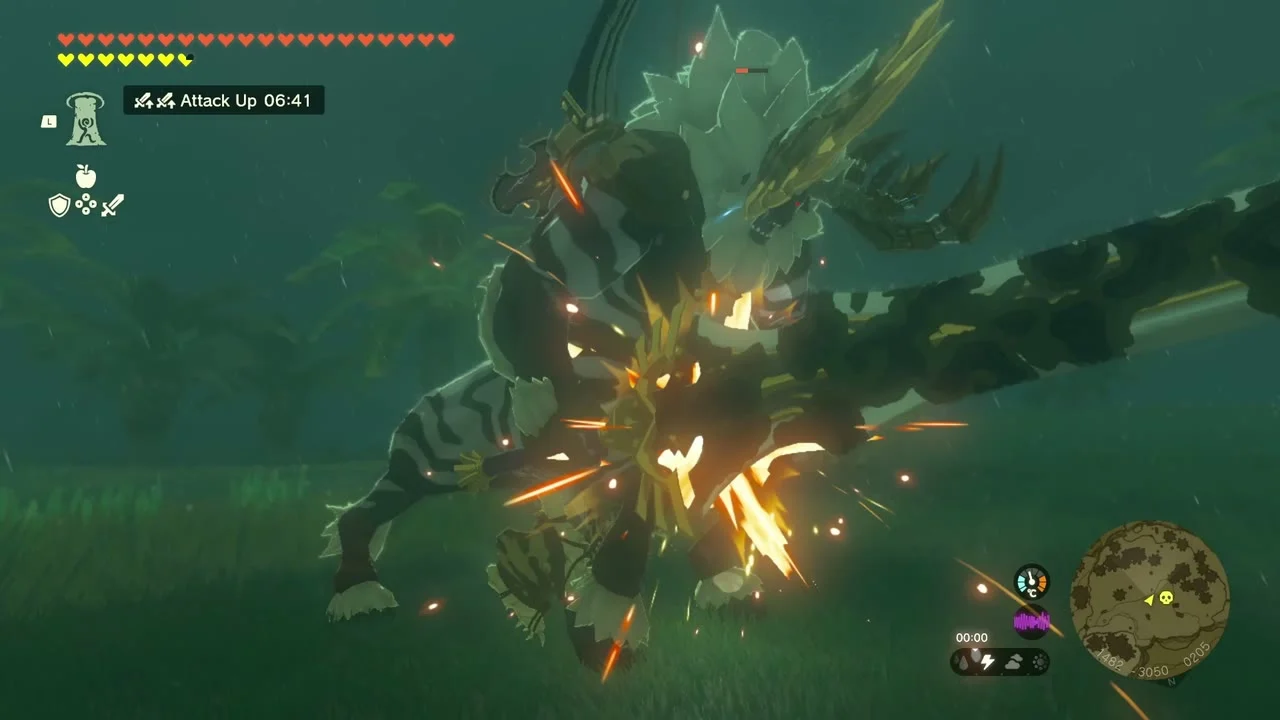
Miniboss (White-Maned Lynel). A White-Maned Lynel, the strongest of the group, prowls the plain north of the lake. Dodge its flurries and shoot the head; it drops Arrow x10 bundles and Lynel Hooves.
Korok seed (follow the flower). Follow the flower at (1532, -3261, 96) up the slope to the Korok.


Korok seed (lift the rock). A rock at (1475, -3263, 86) in the forest hides a Korok.

Penn and Cima at the camp
Quest (The Beast and the Princess). Penn heard that Princess Zelda rides a tusked beast. Penn, who starts the quest at New Serenne Stable, has heard that Zelda was seen riding a tusked beast. Talk to Cima, the attendant at Lakeside Stable (guides also find her at the camp near (1477, -3278, 83) beside a Dondon); she explains that the beast was a Dondon, and returning to Penn pays a rupee reward (guides report 50 to 100 rupees).

Korok seed (complete the cube puzzle). Complete the cube puzzle at (1327, -3275, 93).
Chest (Royal Halberd). A chest in a rocky hollow with a barrel holds another Royal Halberd.

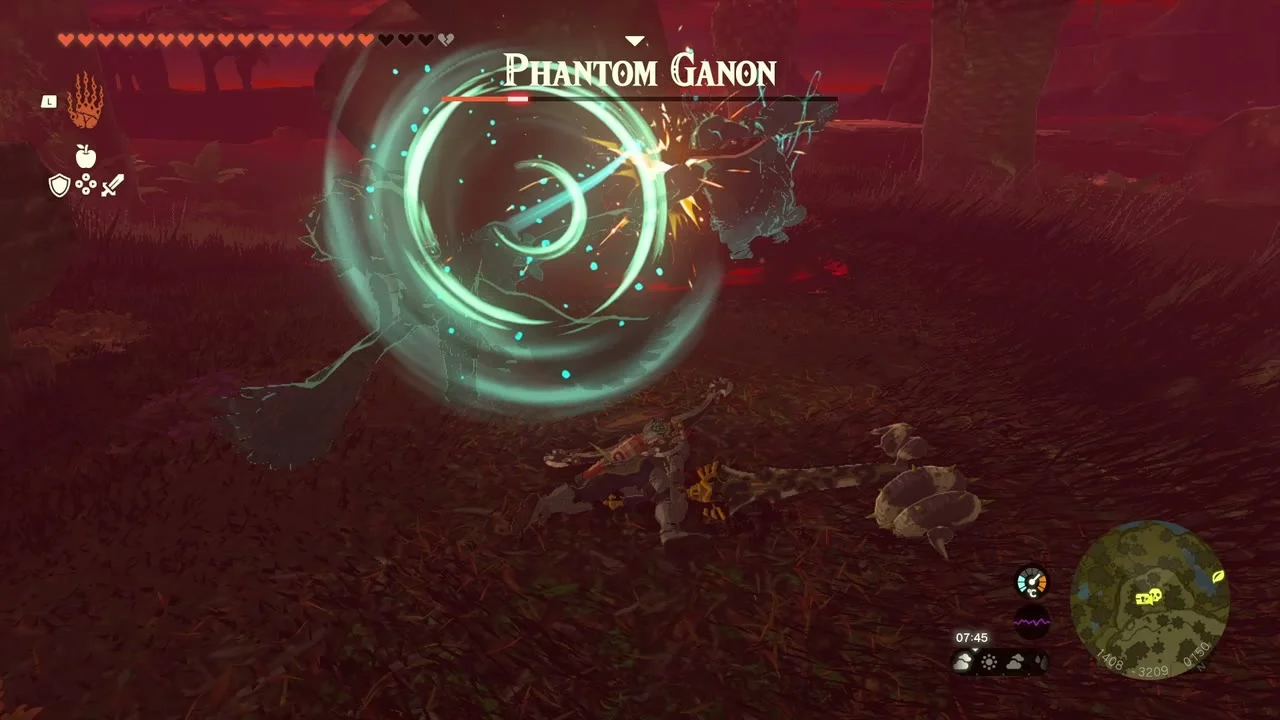
Miniboss (Phantom Ganon). A Gloom Spawn on the plain summons a Phantom Ganon. Shoot it with fused arrows and stay out of the red gloom.
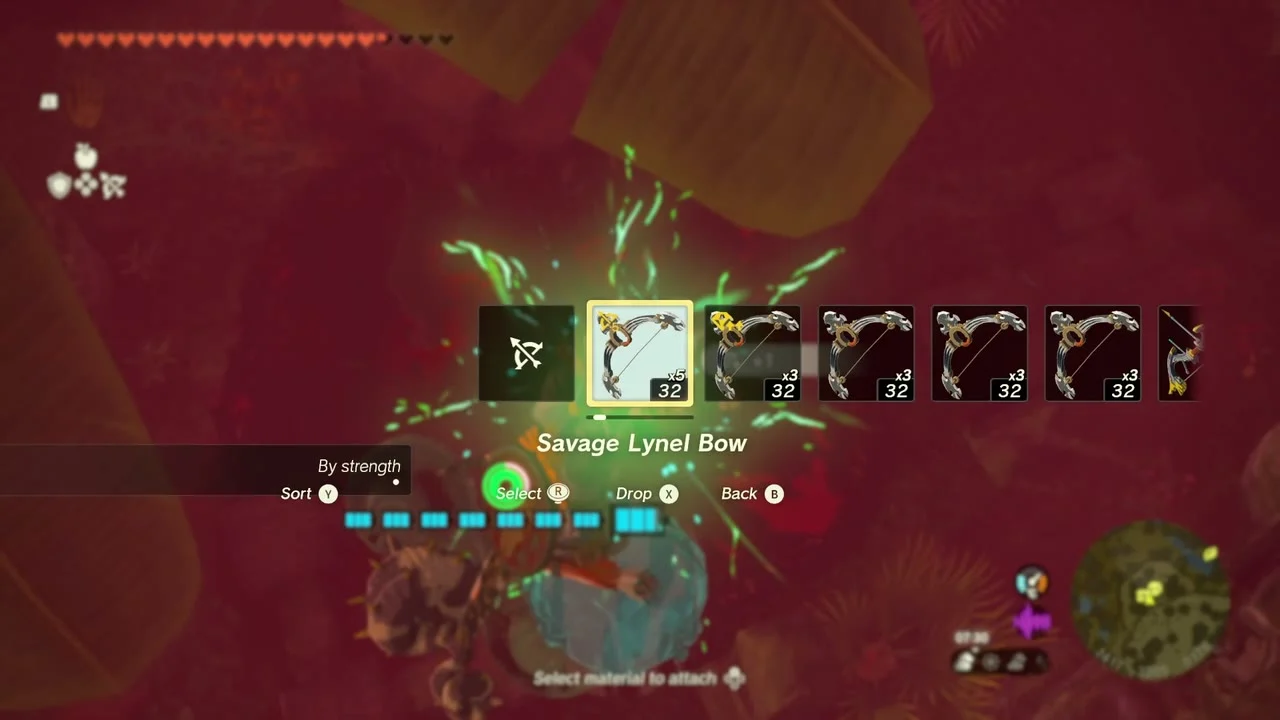
Korok seed (attack and catch the dandelion). A dandelion at (1273, -3190, 104) floats beside a stone pillar; hit it with an arrow.


Korok seed (use Ascend on the marker). Ascend through the ceiling marker at (1235, -3217, 46) to reach the top of a mound where the Korok waits.


Also in this area
These datamined Koroks lie inside the Popla Foothills to Lakeside box but were not collected on this route; later Faron chapters or a return trip cover them. Each is listed with its challenge type and coordinates:
- Reach the target ring within the time limit: (458, -2141, 12)
- Bring the exhausted Korok to its friend: (343, -2182, 57)
- Follow the flower: (267, -2214, 38)
- Place the boulder on the tree stand: (895, -2217, 153)
- Examine where the arrows point to: (1367, -2272, 188)
- Bring the exhausted Korok to its friend: (1149, -2282, 210)
- Lift the rock: (-102, -2292, 70)
- Offer apples to the statues: (637, -2314, 60)
- Place the boulder on the tree stand: (342, -2379, 30)
- Lift the rock: (567, -2384, 112)
- Reach the target ring within the time limit: (889, -2394, 78)
- Bring the exhausted Korok to its friend: (-216, -2595, -11)
- Use Ascend on the marker: (1371, -2763, 90)
- Dive into the ring: (784, -2764, 11)
- Complete the rock pattern: (1556, -2899, 185)
- Complete the cube puzzle: (699, -2953, 16)
- Lift the rock: (967, -3184, 715)
- Dive into the ring: (1329, -3404, 470)
- Attack and catch the dandelion: (1372, -3508, 172)
- Bring the exhausted Korok to its friend: (517, -3513, 71)
- Catch the sparkling spot: (1449, -3531, 117)
- Dive into the ring: (1637, -3675, 179)
- Catch the sparkling spot: (1610, -3802, 91)
- Bring the exhausted Korok to its friend: (994, -3804, 1)
- Break the acorn pot: (272, -3905, 4)
Collectibles in this chapter
- Shrines: 2 (En-oma, Ishokin)
- Caves: 6, wells: 1
- Bubbul Gems: 6
- Korok spots: 41
- Dragon’s Tear: 1, Sage’s Will: 1
- Armor pieces: Phantom Helmet, Rubber Helm
Part 2: Lakeside Stable, Mount Floria & Popla Foothills
| Region | Faron, West and East Necluda: the lakes east of Lakeside Stable (Calora, Rodai, Lake Floria, Rassla), Mount Floria, Tobio’s Hollow, then west over the Faron Grasslands to Popla Foothills and the Hills of Baumer |
|---|---|
| Side quests | Ousting the Giants (Kampo, Lakeside Stable; finished), A Picture for Lakeside Stable (Anly, Lakeside Stable; finished), Goddess Statue of Courage (started) |
| Shrine quests | Legend of the Soaring Spear (Utojis Shrine), Keys Born of Water (Jochisiu Shrine) |
| Shrines | 5: Joju-u-u (Building Bridges), Utojis (Rauru’s Blessing), Jiukoum (Built for Rails), Susub (Rauru’s Blessing), Jochisiu (Rauru’s Blessing) |
| Caves and wells | 9 caves (Calora Lake Cave, Ubota Point Cave, Rassla Lake Cave, Rodai Lakefront Tunnel, Mount Floria Cave, Tobio’s Hollow Cave, Finra Woods Excavation Site, Pagos Woods Excavation Site, Floria River Upstream Excavation) and 6 wells (Lakeside Stable Well, Hills of Baumer Well, Deya Village Ruins East, North, South and main wells) |
| Lightroots | 5 sit beneath this chapter’s shrines: Muokuij, Sijotu, U-u-ujoj, Busus and Uisihcoj (see all Lightroots) |
| Korok seeds | 32 mapped below (see Faron Korok seeds) |
| Bubbul Gems | 9: one in each cave listed above |
| Minibosses | Stone Talus x3 (Lake Floria, Deya wells, Hills of Baumer), Hinox x3 (the three Ousting the Giants brothers), Boss Bokoblin camps |
| Armor | No armor piece in this stretch; the chests hold weapons, shields, bows, gems and elixirs |
This chapter works through the south-east corner of Faron, from the lake country around Lakeside Stable to the ruins and wells of the Hills of Baumer. Every shrine, cave, well, chest and Korok seed is listed in route order. Coordinates are map units (X, Y, height): larger Y is further north, and the minimap rim prints the same numbers, so you can match any entry against your own position.
Quick route
Start in the lake country east of Lakeside Stable. Clear the Calora Lake Cave and its Hinox, take the Royal Broadsword (or Traveler’s Sword, Soldier’s Broadsword or Knight’s Broadsword, depending on your progress) chest in the jungle, then circle Lake Floria for the Stone Talus and Floria Bridge.
Settle at Lakeside Stable for Kampo and Anly’s quests, visit Ubota Point Cave and the stable’s well, then solve Joju-u-u Shrine at the tip of Ubota Point.
Head east to Rassla Lake Cave, the Rodai Lakefront Tunnel and its Hinox, and Mount Floria Cave, then turn west through the highland camps to Tobio’s Hollow Cave and Utojis Shrine.
Cross the Faron Grasslands to Jiukoum Shrine, the three excavation sites at Finra, Pagos and Floria River, and finish at the Hills of Baumer: the wells, Susub Shrine, and Jochisiu Shrine for Keys Born of Water.
Calora Lake and Lake Floria
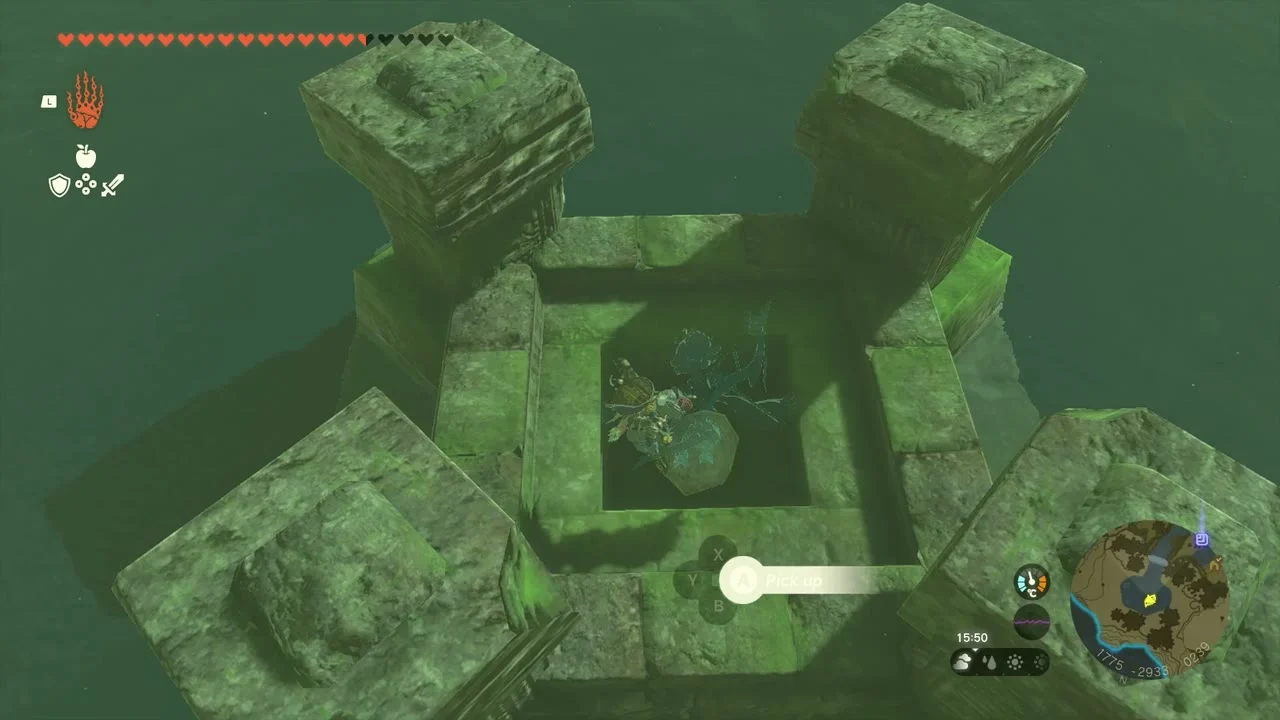
Korok seed (boulder in the stone pit). On the shore at (1775, -2933, 239), ruined blocks ring a stone pit holding a boulder. Lift the boulder out of the pit and the Korok behind it gives you its seed.
Calora Lake Cave. The cave has two entrances, (1958, -3032, 192) and (2009, -3164, 176), north of Calora Lake. Use the explosive barrels with Ultrahand to hit it from range.
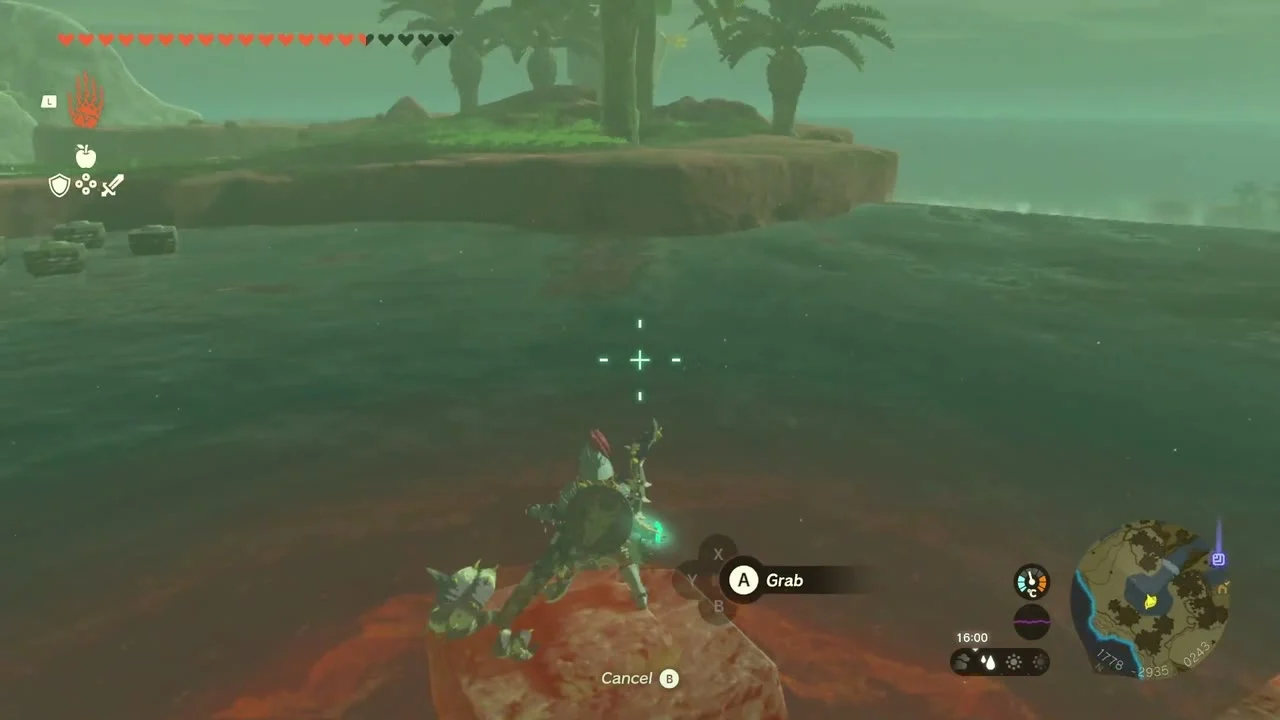
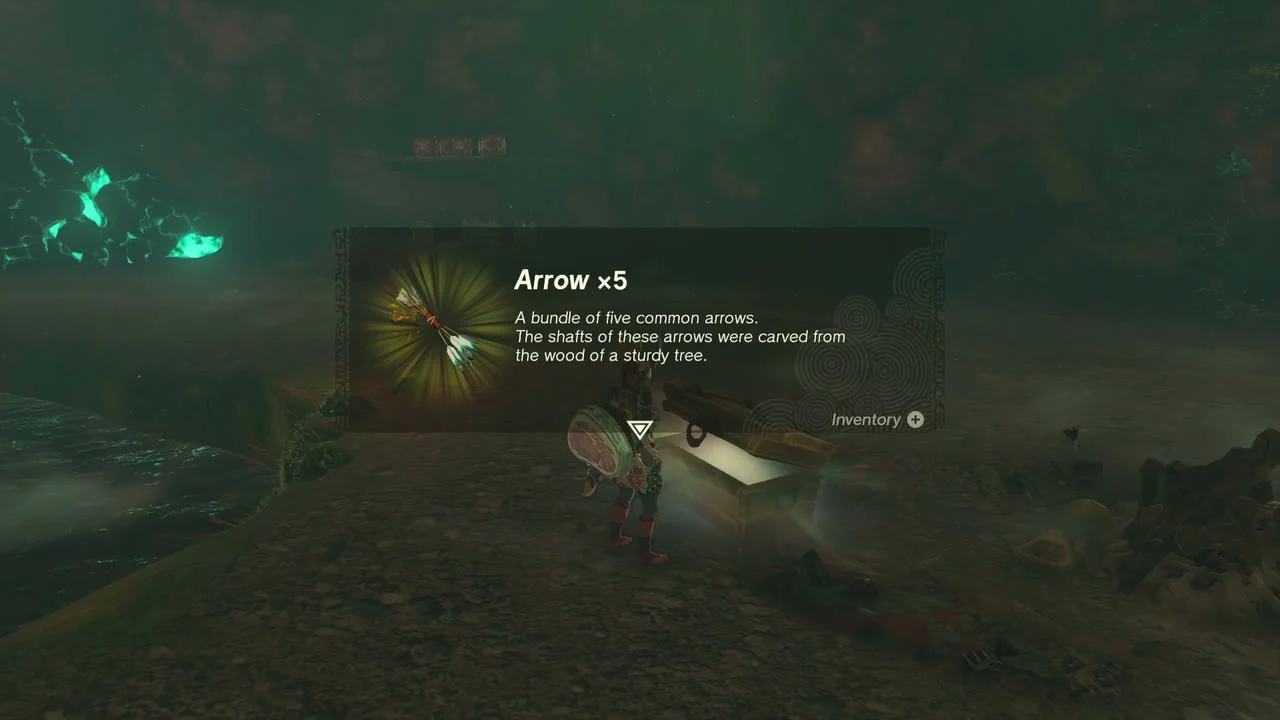
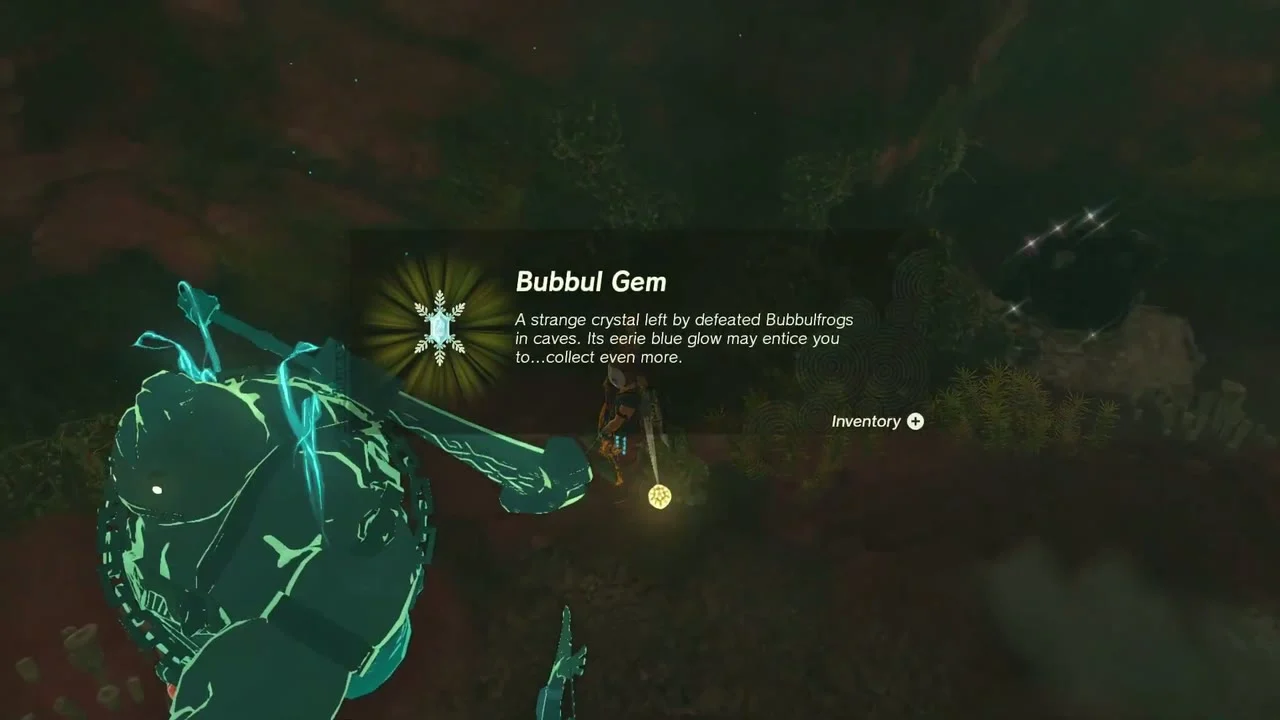
Bubbul Gem and chest (Arrow x5). Blow open the wall beside the large room to reach the Bubbulfrog, and shoot it for a Bubbul Gem. A wooden chest floats on the water next to the Hinox at about (2030, -3052, 95) and holds Arrow x5.
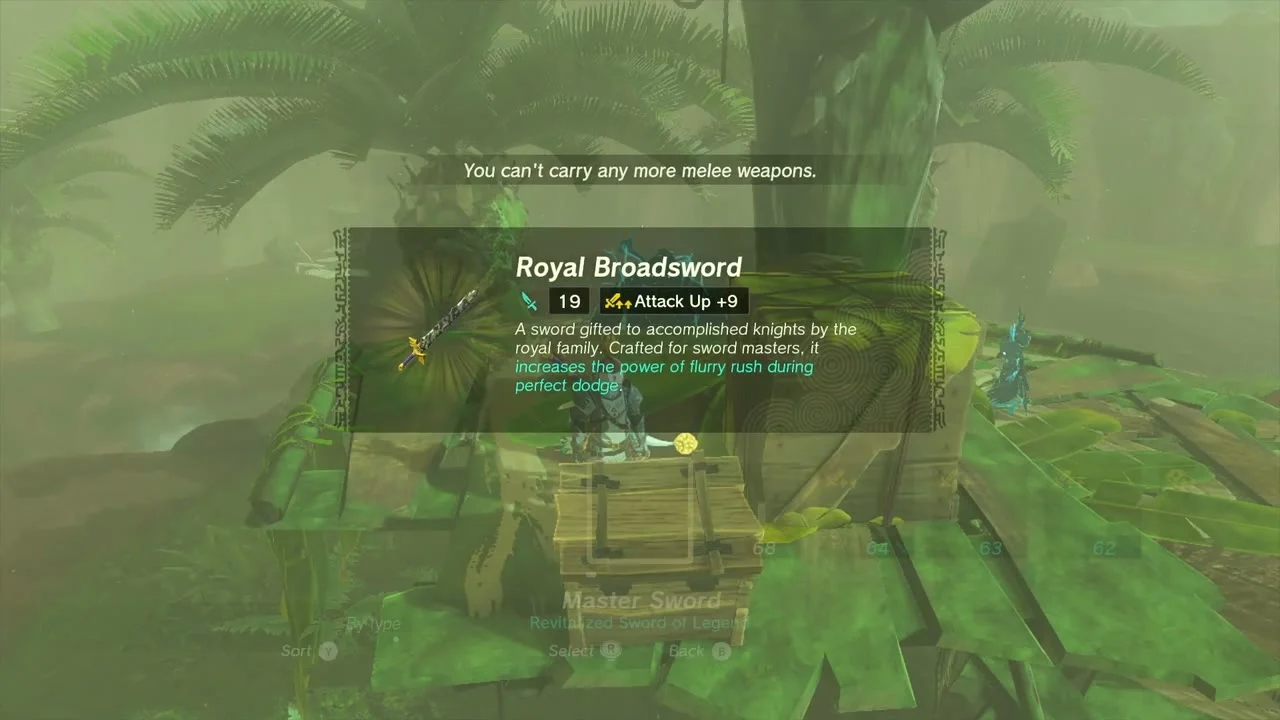
Chest (Royal Broadsword). A chest sits on a wooden platform in the jungle canopy at about (2009, -3292, 201). Climb up to it and open it for a Royal Broadsword.

Korok seed (offer fruit to the statues). At (1847, -3342, 58), by the falls above Lake Floria, a pair of mossy statues sit side by side. Place fruit in front of them (apples or any fruit) and the Korok pops out with its seed.

Korok seed (arrows). Follow the arrow marks on the ground to the stone they point at near (1793, -3580, 29), on the south side of the lake.


Korok seed (lift the rock). A single loose rock at (1738, -3468, 50) hides the seed. Lift it.
Miniboss (Stone Talus). A Stone Talus rests in the grass beside Lake Floria at about (1828, -3495, 32), just south of Floria Bridge (1731, -3454, 54). Hit the ore deposit on its head or back with a bow shot or a hammer once it stands, or fuse a Muddle Bud to an arrow to make it stagger.
Lakeside Stable, Ubota Point Cave and Joju-u-u Shrine
Lakeside Stable. The stable stands at (1552, -3538, 105) on the shore of Lake Floria. Kampo, outside, gives Ousting the Giants; Anly, inside, gives A Picture for Lakeside Stable. To finish Anly’s quest, stand on Floria Bridge in clear weather and take a Camera photo of Floria Falls, then show it to him.
Korok seed (carry the exhausted Korok). Pick up the tired Korok near the stable and carry it to its friend at (1979, -3390, 49) on the lake’s far side. Walk, do not glide.
Korok seeds (dandelion and sparkling spot). A dandelion puff floats at (1372, -3508, 172): shoot or slash it as it drifts. Another Korok waits at (1449, -3531, 117) where a spot sparkles in the grass; walk up to it and examine it.
Lakeside Stable Well. The well entrance is at (1535, -3554, 46) beside the stable. Drop in and swim through the flooded passage.
Ubota Point Cave. The mouth is tucked behind greenery at (1446, -3483, 77), north-west of the stable. Smash the red sediment at the entrance with a Bomb Flower or a rock weapon.
Chest (Royal Claymore (or Traveler’s Claymore, Soldier’s Claymore or Knight’s Claymore, depending on your progress)) and Bubbul Gem. Straight ahead inside is a chest holding a Royal Claymore. Break through the thin rock wall on the right to reach the small chamber with the Bubbulfrog and shoot it for a Bubbul Gem.
Joju-u-u Shrine (Building Bridges, Puzzle) stands at (1515, -3577, 155) on Ubota Point. The Lightroot below is U-u-ujoj Lightroot at (1514, -3577, -550). Use Ultrahand to repair three broken bridges.


Join the first bridge
Take the loose segment from the far end and attach it to the lone piece hanging from the next platform to make a full span, then cross.
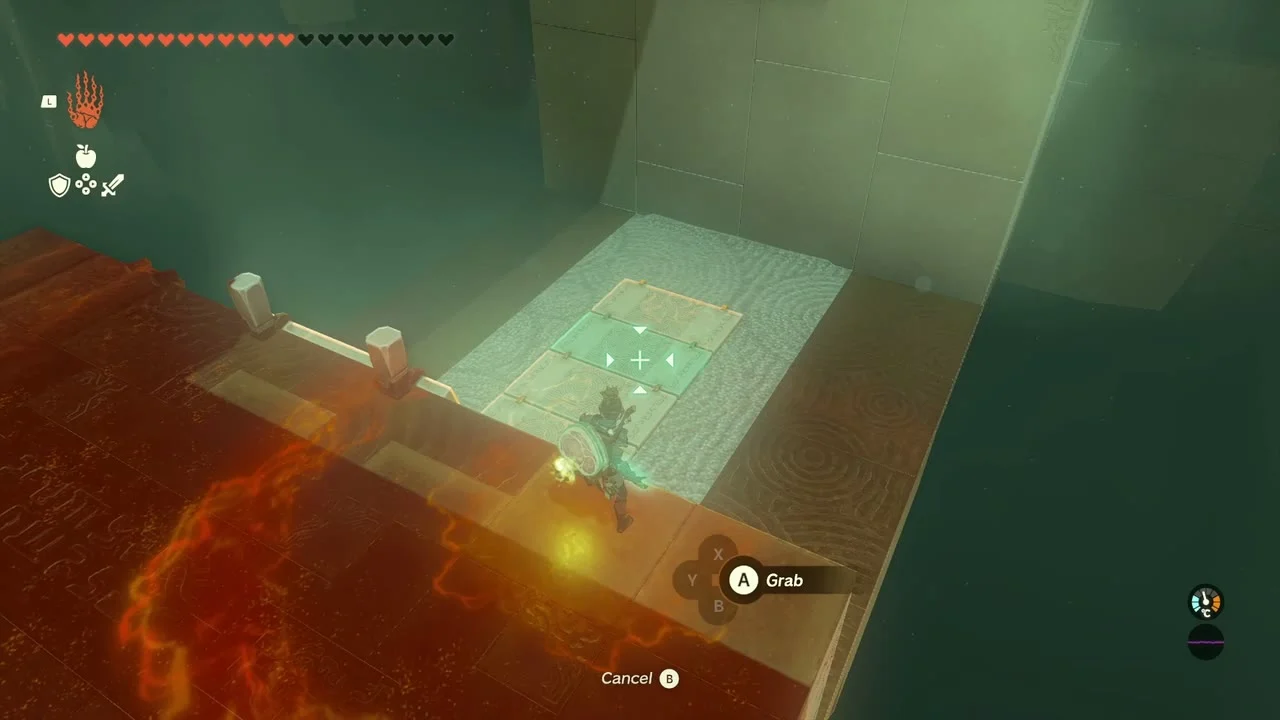
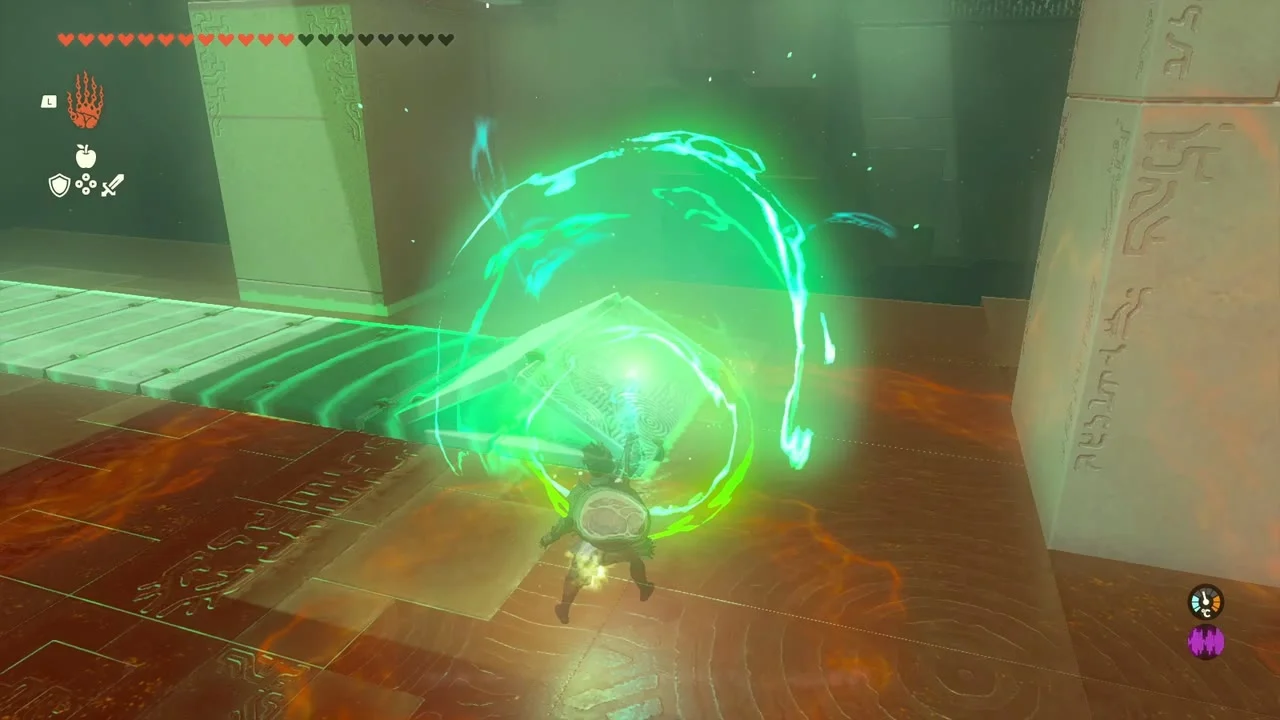
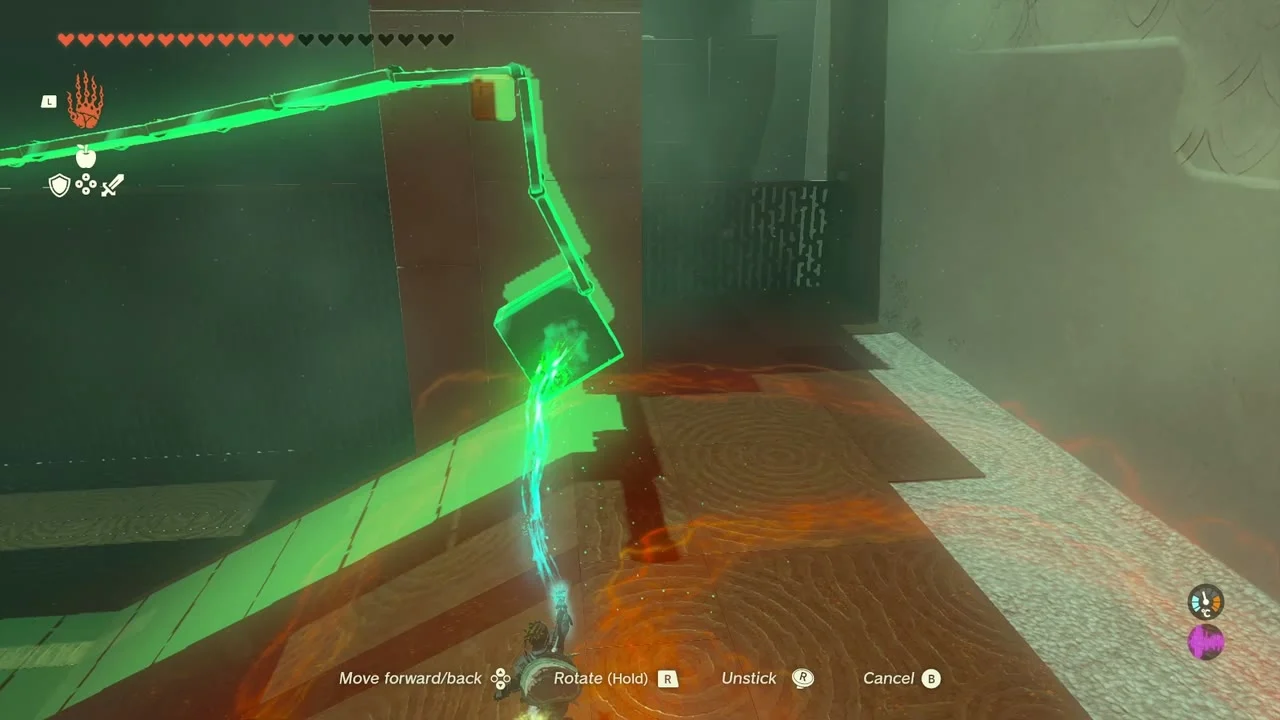
Raise the long bridge by the fourth segment
The second bridge is too long to reach the platform. Grab the fourth segment from the end and attach it there, lifting the bridge high enough. On the third gap, set the nearby block beneath the post sticking out of the wall and drop the bridge end over the post onto the block.

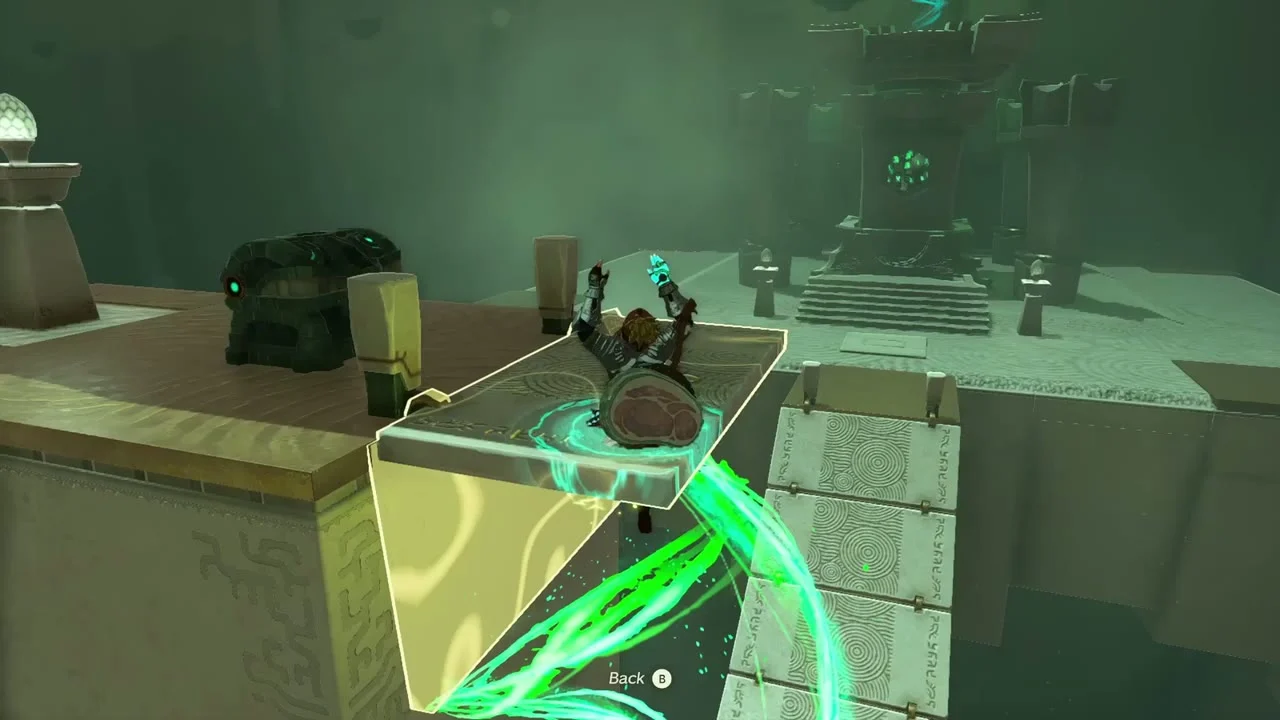
Reach the chest and altar
Build the last bridge, then use a middle piece (you cannot be standing on the bridge while you lift it) to raise the end to the chest platform. Open it for a Large Zonaite, then take the Light of Blessing at the altar.

Rassla Lake and Rodai Lake
Korok seed (dive into the ring). At (1637, -3675, 179), a ring of ripples marks a spot in the pond on the cliff above Rassla Lake. Dive into the center of it.
Korok seed (sparkling spot). Examine the sparkling spot at (1610, -3802, 91) on the south shore of Rassla Lake.
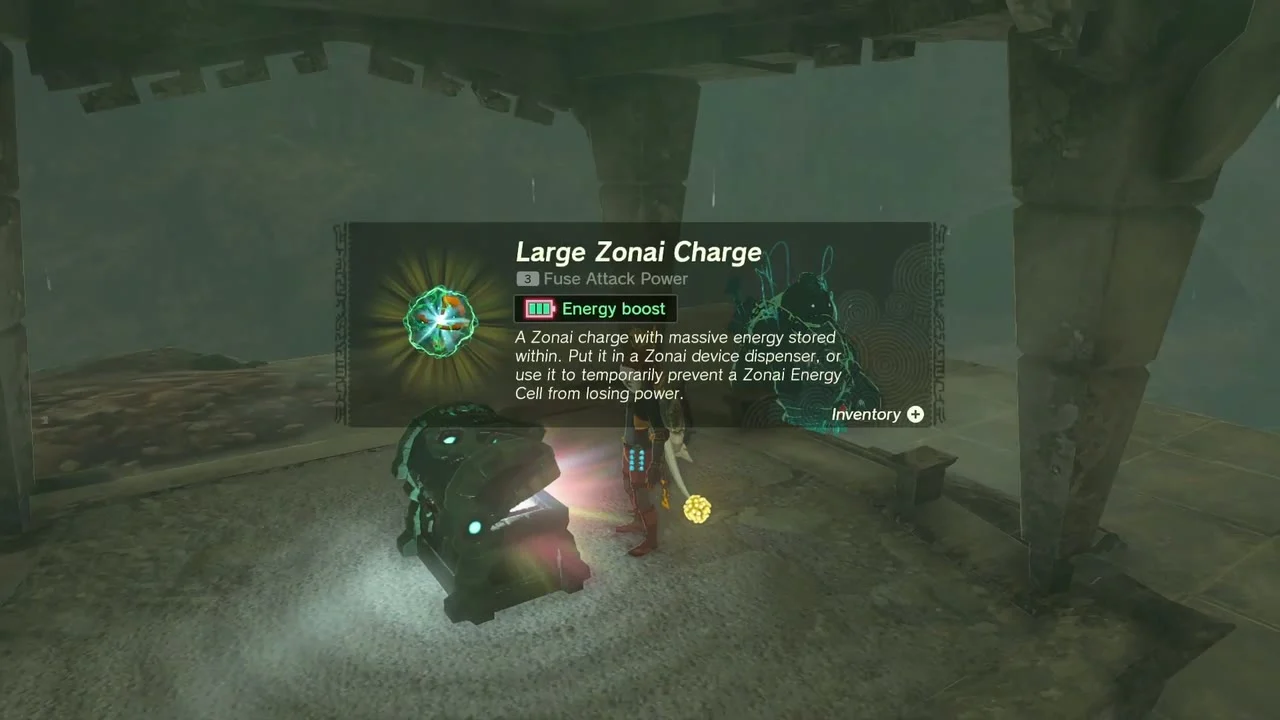
Rassla Lake Cave. The entrance is a drop along the south-west shore at (1813, -3738, 118). Inside, swim west into the side chamber and open the chest at the statue’s feet for a Large Zonai Charge; the chest floods during rain. The Bubbulfrog sits in an upper room reached from the elevated platform. Use a Zonai Spring or Rocket, then glide to the stairs; shoot the frog for a Bubbul Gem.
Miniboss (Hinox). A Hinox patrols the lakeshore south of Rassla Lake. Aim arrows at its eye to knock it down, then attack.

Korok seed (exhausted Korok). Carry the tired Korok from near (1399, -3601) west across the water to its friend at (994, -3804, 1).
Korok seed (cube puzzle). At (1691, -3324, 66), slide the stone cubes to complete the picture shown on the floor of the ruin.
Korok seed (dive into the ring). Dive into the ring of ripples at (1793, -3179, 80) in the pond between Rodai and Calora lakes.
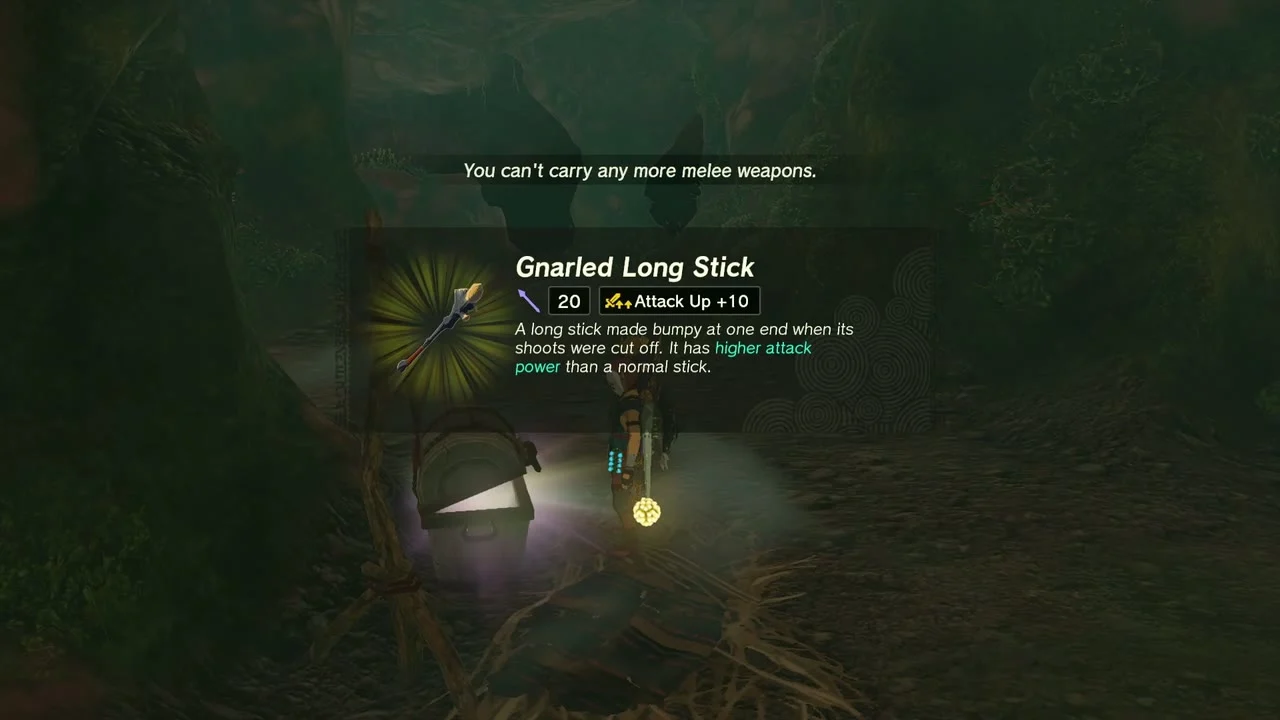
Rodai Lakefront Tunnel. The entrance is at (1896, -3111, 132) at the north-east end of Rodai Lake; jump down the hole into the water. A chest in the tunnel holds a Gnarled Long Stick (or Long Stick or Sturdy Long Stick, depending on your progress). At the west end, drop into the second hole in the dark; throw Brightbloom Seeds for light, and shoot the Bubbulfrog for a Bubbul Gem.
Quest step (Youngest Hinox Brother). The north end of the tunnel opens into the Youngest Hinox’s chamber, a red Hinox. Once all three brothers are down Kampo pays his reward (Zelda Dungeon lists Mighty Fried Bananas), and the caves stay open for mining their luminous stone. The usual order is Rodai (youngest, red), then Corta Lake Cave (middle, blue), then Calora Lake Cave (eldest, black).
Mount Floria Cave
Korok seed (burn the leaves and lift the rock). Light the pile of dry leaves at (1777, -2990, 82) beside the cave’s south entrance and lift the rock underneath.
Mount Floria Cave has two entrances, at (1789, -2985, 80) behind the waterfall and (1959, -2611, 71) in the north. The route climbs a spiral around a central structure and crosses a spike field; building a cart with big wheels and a steering stick carries you across the spikes.
Chests (Large Zonai Charge, Star Fragment). Climb the slippery central structure (Ascend helps) and open the chest on top for a Large Zonai Charge. At the gate at the end of the rising path, break the boulders on the side, step through the fence and open the chest for a Star Fragment.
Bubbul Gem and chest (Royal Shield (or Traveler’s Shield, Soldier’s Shield or Knight’s Shield, depending on your progress)). Break the second boulder to find the next room with the Bubbulfrog and shoot it for a Bubbul Gem. In the center of the spiked room, a chest holds a Royal Shield.

The highland camps above Tobio’s Hollow
Korok seed (pull the plug). Pull the plug at (1940, -2564, 26) in the pond above the cave’s north exit.
Korok seed (acorn pot). Break the acorn pot at (1959, -2627, 251) on the high ledge of Mount Floria.
Korok seed (sparkling spot). Examine the sparkling spot on the mountainside at (1775, -2766, 317).
Chest (Shield of the Mind’s Eye). A chest on the rock face at about (1775, -2831, 260) holds a Shield of the Mind’s Eye.
Miniboss (Boss Bokoblin). A Boss Bokoblin camp sits on the hillside to the west; beat it with arrows from range.
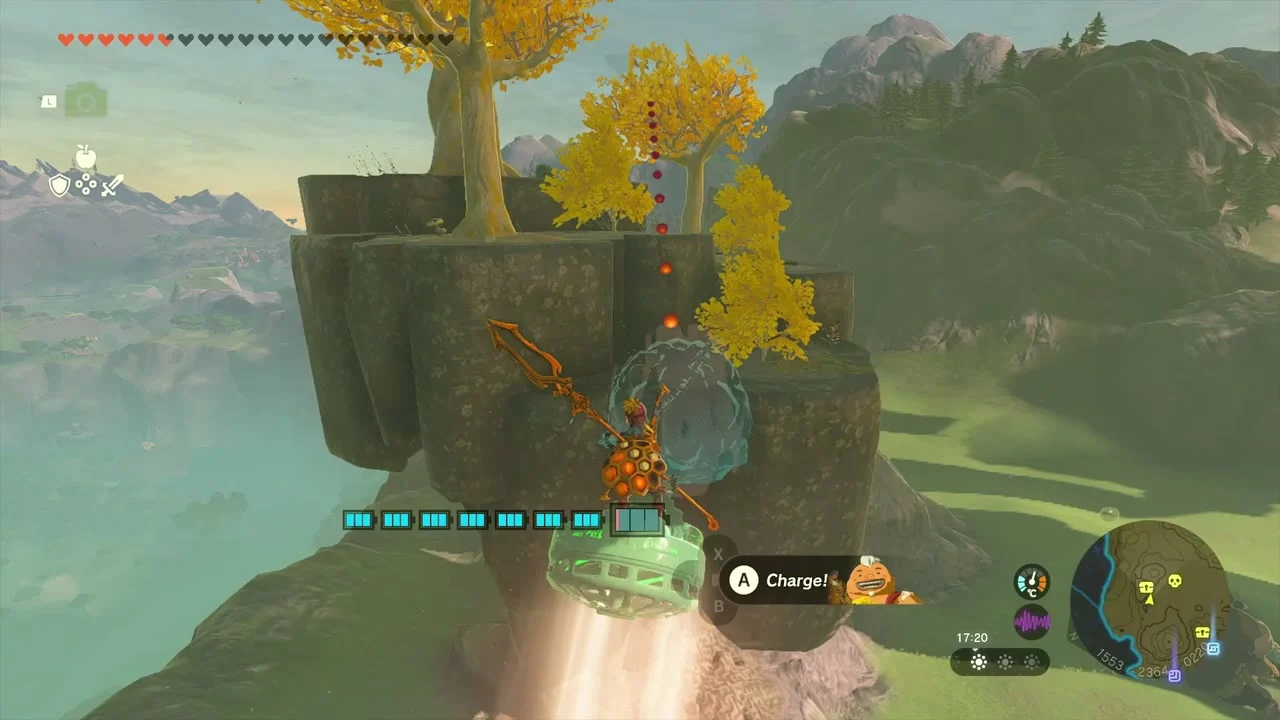
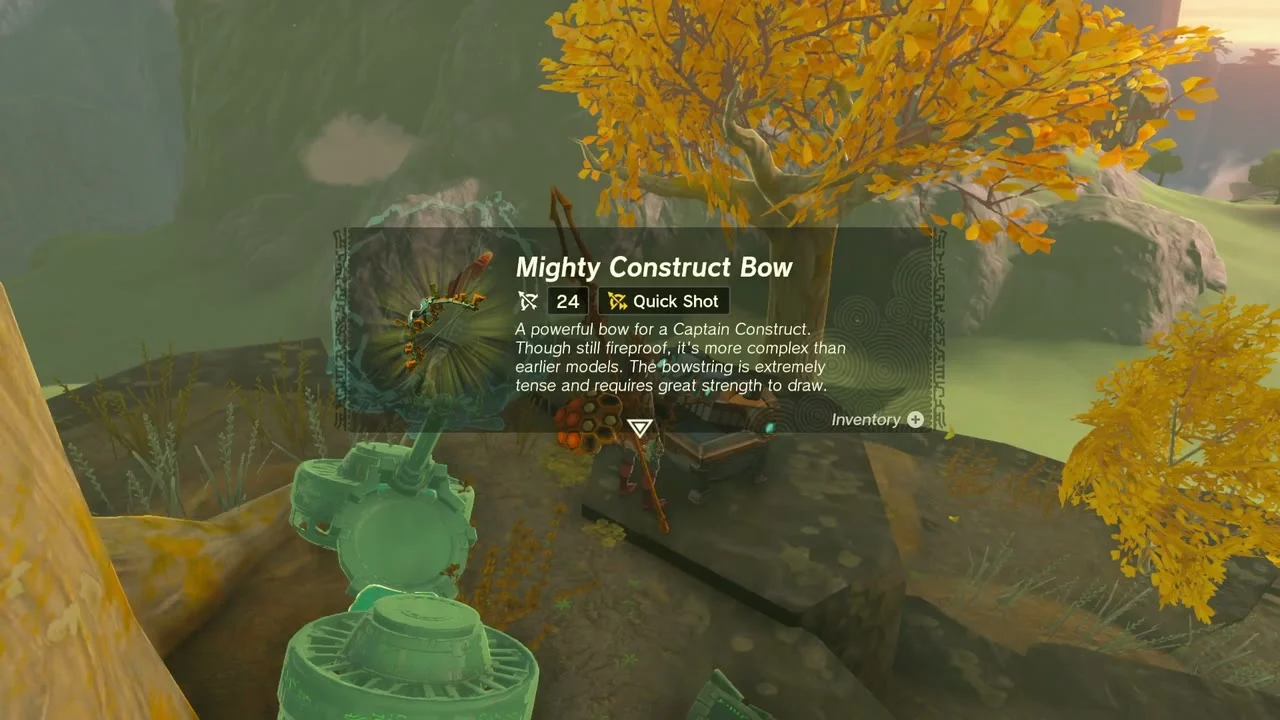
Chest (Mighty Construct Bow (Strong or Mighty, depending on your progress)). A chest on a rocky ledge at about (1553, -2364, 222) is reachable with Zonai fans or a Zonai wing. It holds a Mighty Construct Bow.
Miniboss (Hinox). A Black Hinox wanders the grass south of the ledge at (1565, -2412, 191).
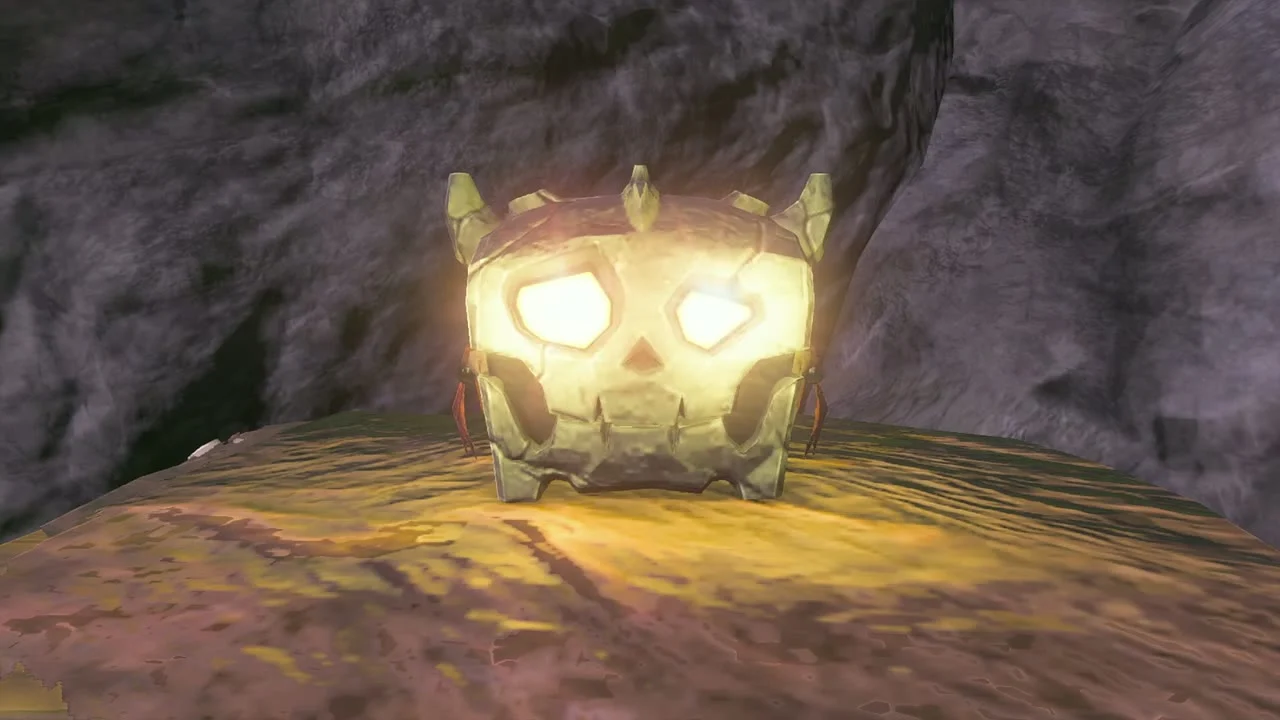
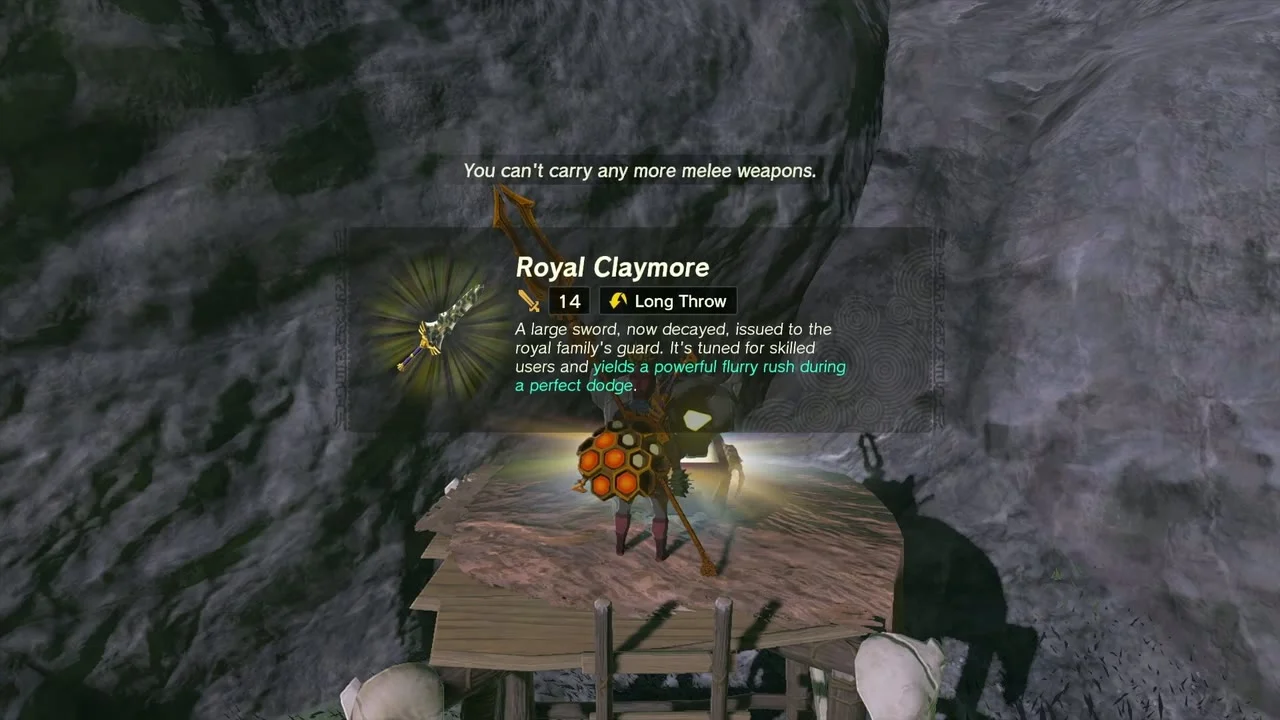
Chest (Royal Claymore). In the Bokoblin cave camp at about (1458, -2420, 172), a skull chest holds a Royal Claymore. Clear the camp’s Bokoblins first.
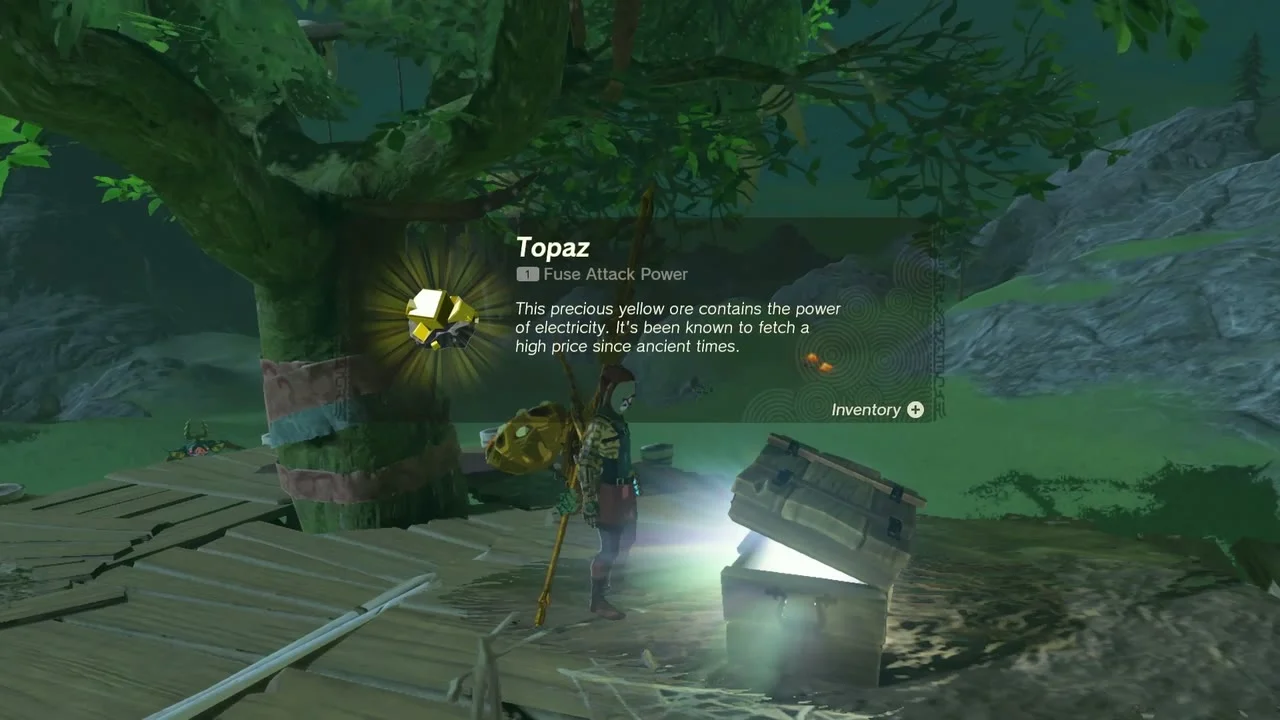
Chest (Topaz). A wooden tree-platform camp at about (1515, -2600, 209) holds a chest with a Topaz.
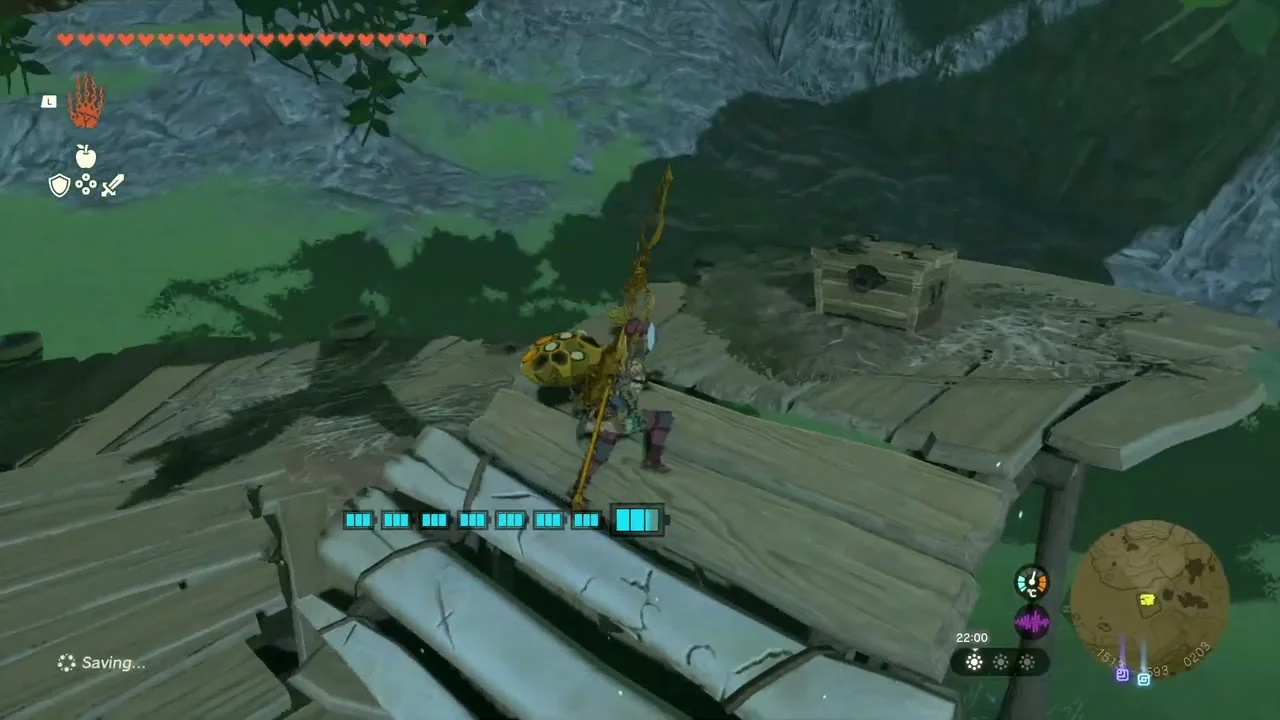
Korok seed (complete the rock pattern). At (1556, -2899, 185), arrange the stones to match the pattern.
Korok seed (Ascend on the marker). Use Ascend through the ceiling at the marker (1371, -2763, 90).
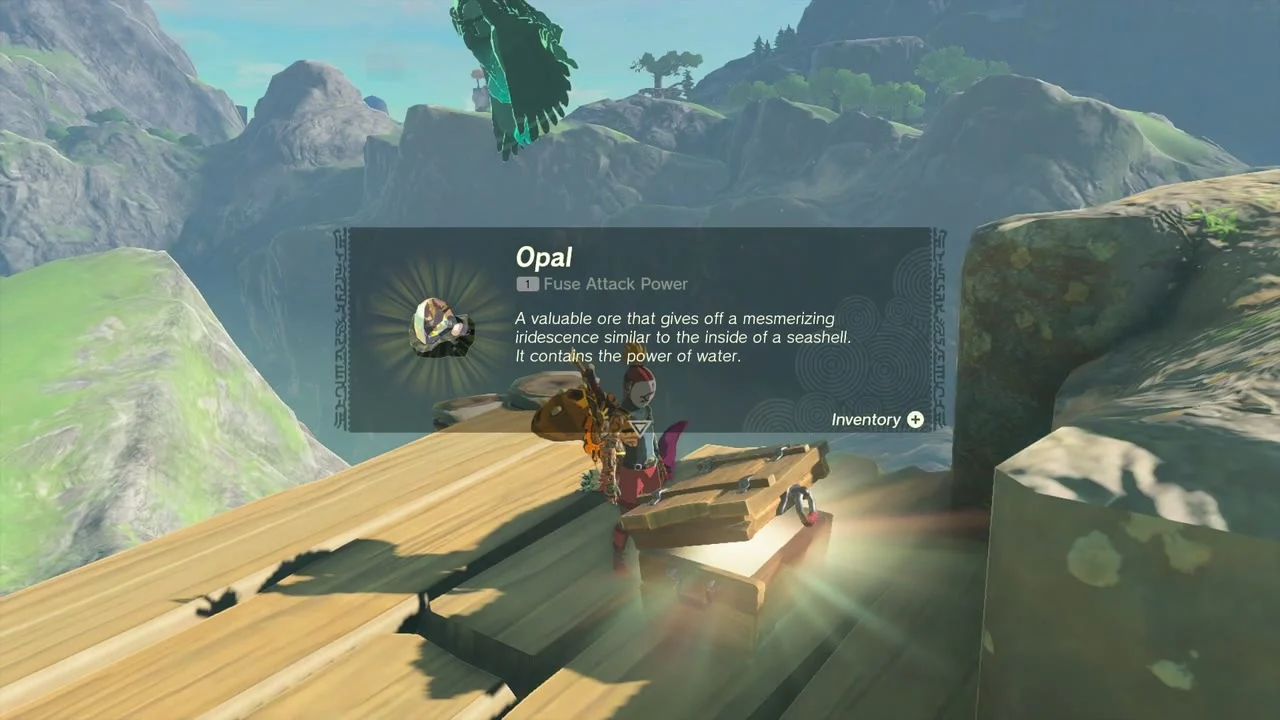
Chest (Opal). A chest on a plank platform wedged on a cliff at about (1268, -2814, 163) holds an Opal.
Chest (Arrow x10). On a plank platform at about (1197, -2659, 141), a chest holds Arrow x10. A Bokoblin camp guards it.

Tobio’s Hollow Cave and Utojis Shrine
Tobio’s Hollow Cave. The entrance is at (1169, -2443, 177) between two Luminous Stone deposits. Expect Keese. Beside a spring deeper in, a Tattered Notebook starts the shrine quest Legend of the Soaring Spear.
Utojis Shrine (Rauru’s Blessing, Blessing) stands at (1218, -2543, 110), with Sijotu Lightroot at (1218, -2544, -633) beneath it.
Fuse a wing to a spear and throw it through the ring
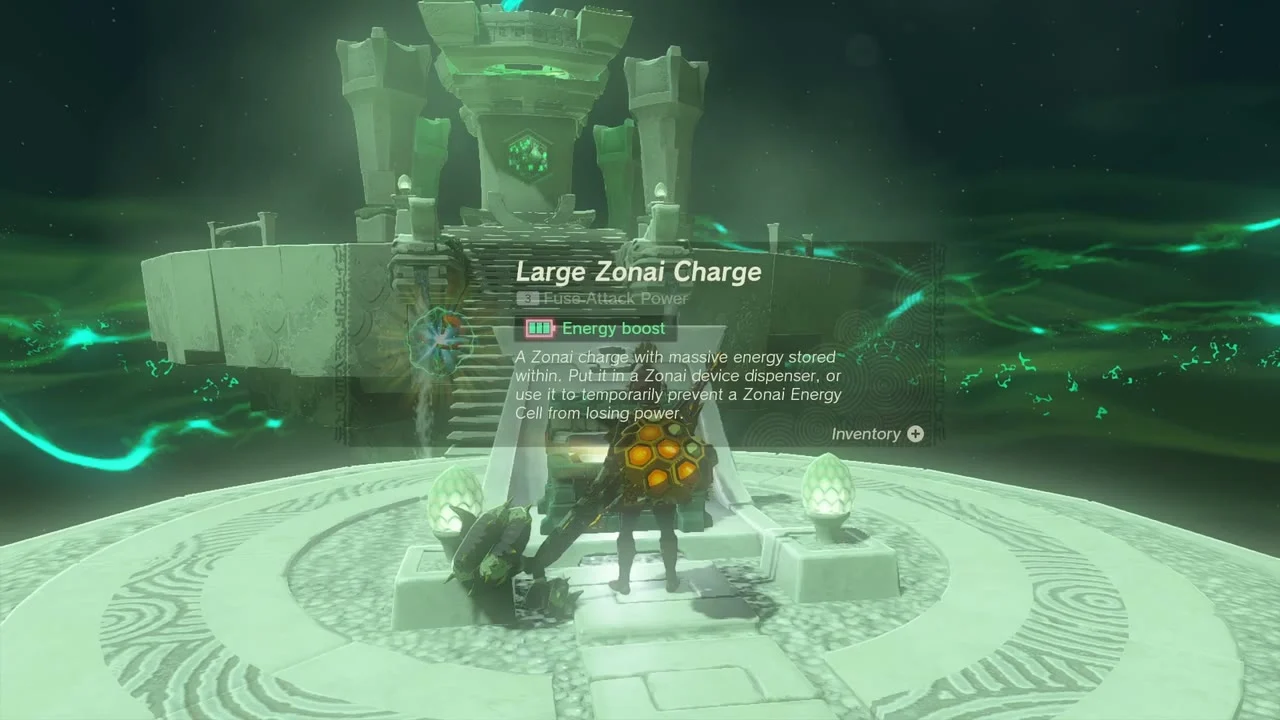
Pick up a Zonai spear, fuse a Keese Wing to it and stand on the platform by the pond. Throw it a little high through the glowing ring on the pillar; if you miss, swim over, retrieve it and try again. The shrine rises and holds a chest with a Large Zonai Charge, plus the Light of Blessing.


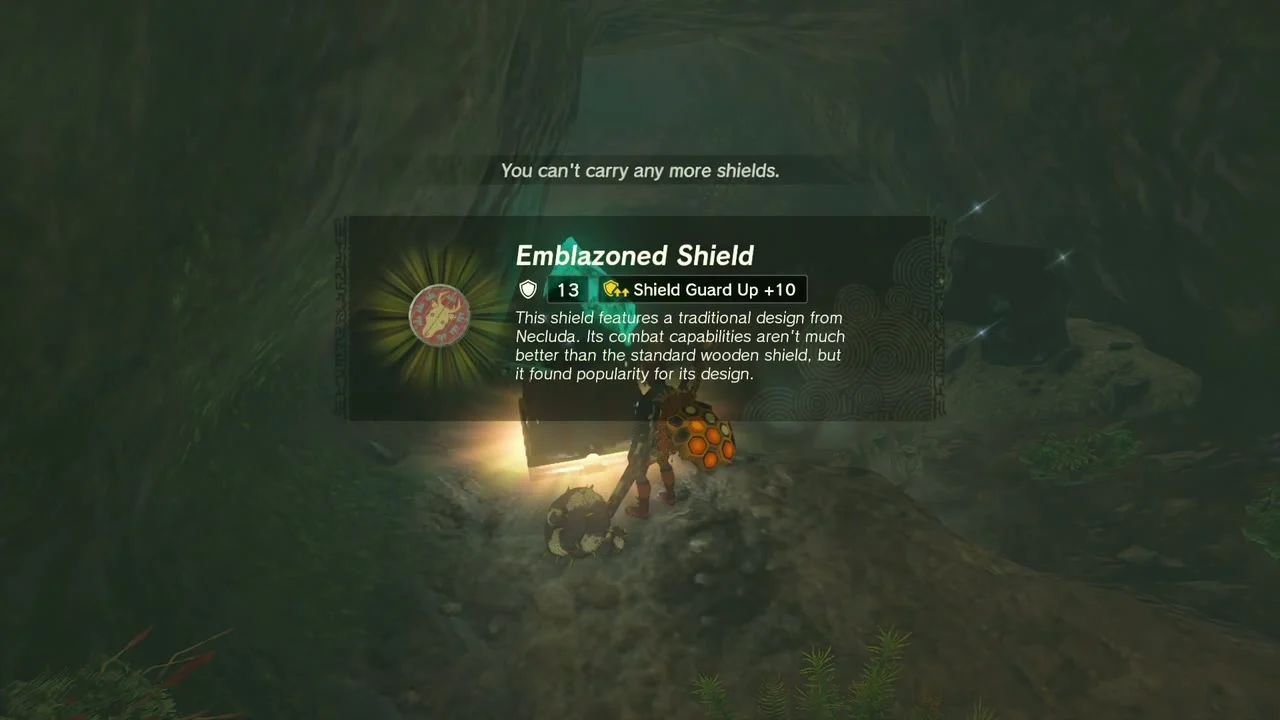
Chests (Emblazoned Shield, Shield of the Mind’s Eye) and Bubbul Gem. Back in the cave, a chest holds an Emblazoned Shield, another a Shield of the Mind’s Eye, and the Bubbulfrog gives a Bubbul Gem.
Chest (Dragonbone Boko Bow (or Boko Bow or Spiked Boko Bow, depending on your progress)). A chest atop a rock camp in the hills holds a Dragonbone Boko Bow.

Korok seed (boulder on the stand). Carry the boulder to the tree stump at (895, -2217, 153).


Jiukoum Shrine
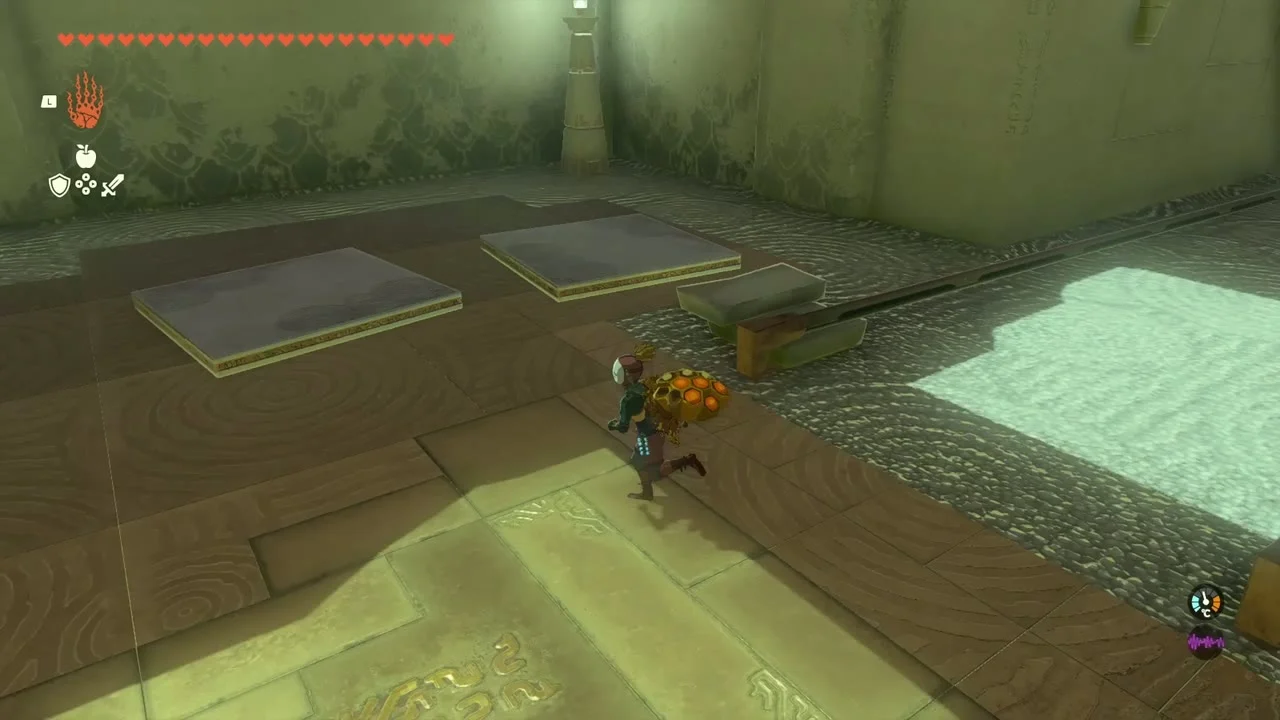
Jiukoum Shrine (Built for Rails, Puzzle) stands at (867, -2278, 154) on the Faron Grasslands, a short glide south-east of the Popla Foothills Skyview Tower. Muokuij Lightroot lies at (867, -2277, -577) below. The shrine has three rails.
Ride the first rail
Join two squares into a rectangle with Ultrahand, set it on the nearby rails and ride it across to the chest.
Build a U-shaped cart
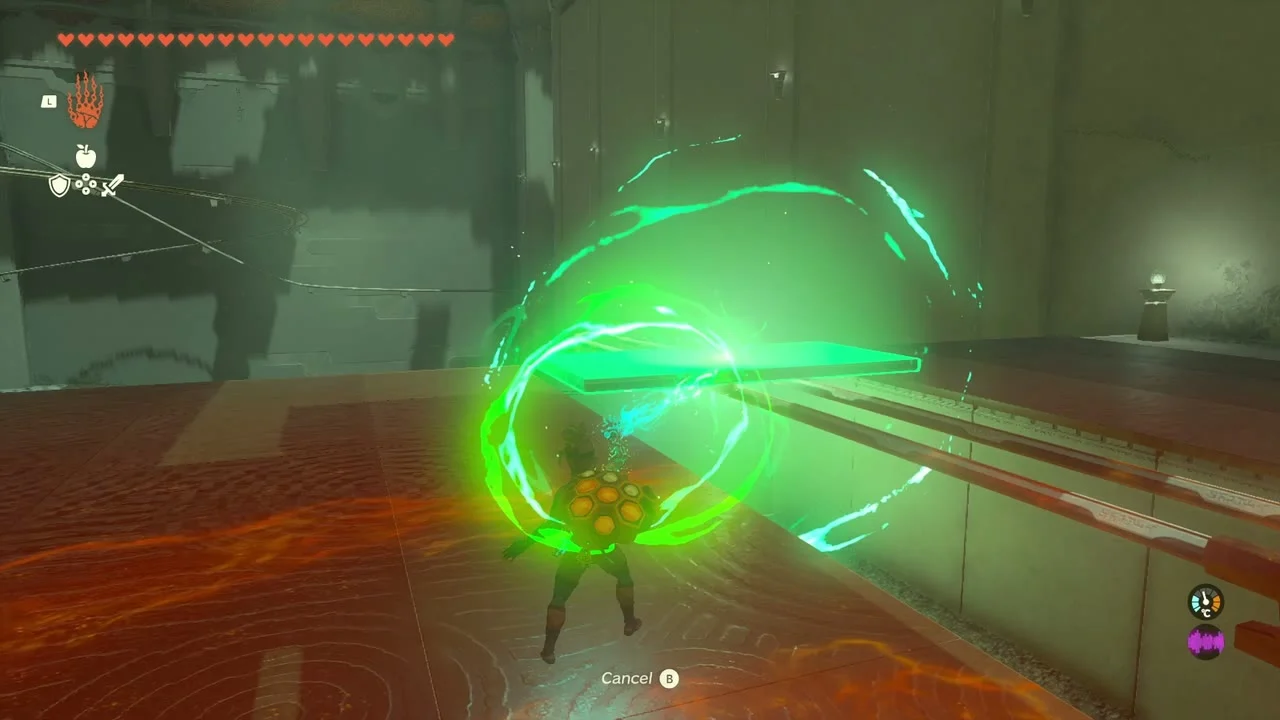
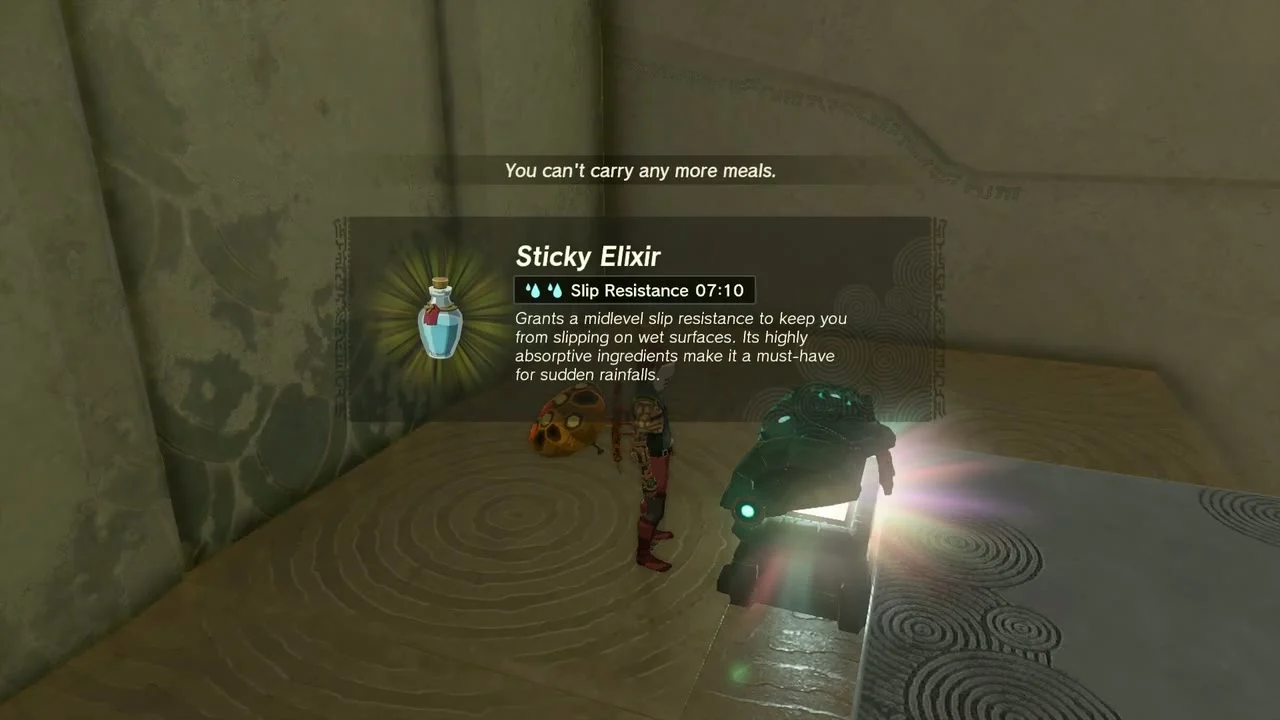
The chest holds a Sticky Elixir. For the middle rail, attach the three short pieces to the long slab to form a U and slot it over the rail end, then ride it.
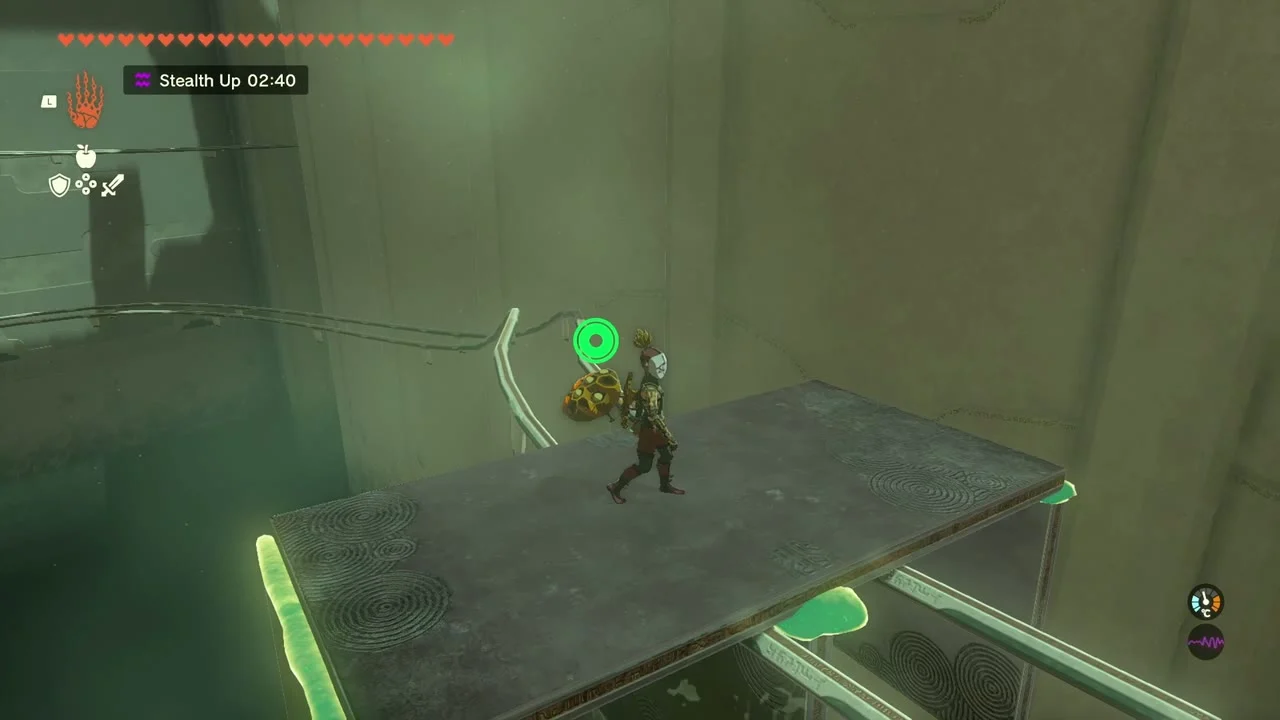
Fan-powered final rail
Attach two smaller slabs to the large slab so they hang down through both rails, add three fans on the back and ride up the incline to the altar. Turn the fans off if the cart tips and let it slide back.
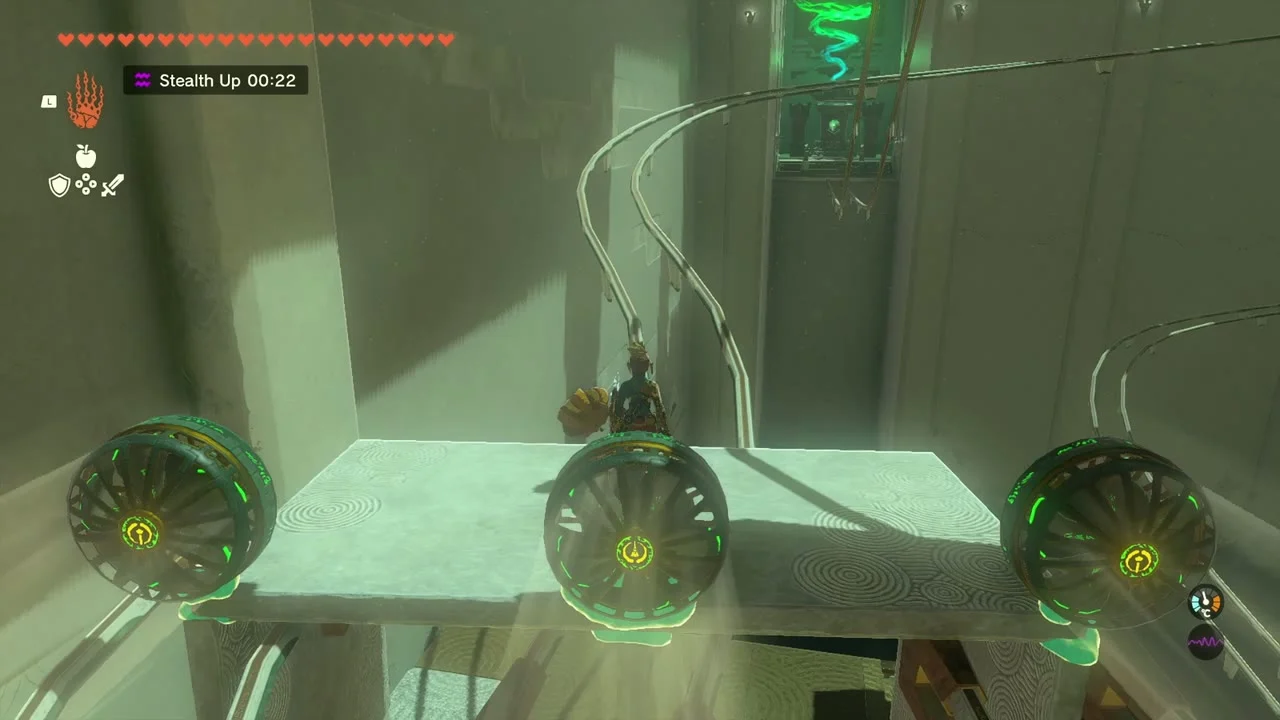

Finra Woods, Pagos Woods and Floria River
Chest (Shield of the Mind’s Eye). A chest under a plank watchtower at about (742, -2235, 110) holds a Shield of the Mind’s Eye.
Korok seeds (grassland). Lift the rock at (567, -2384, 112), and carry the exhausted Korok to its friend at (1149, -2282, 210).


Boss Bokoblin camp and chest (Opal). A camp at about (575, -2390, 95) holds a chest with an Opal. Bokoblins guard the fire pit.
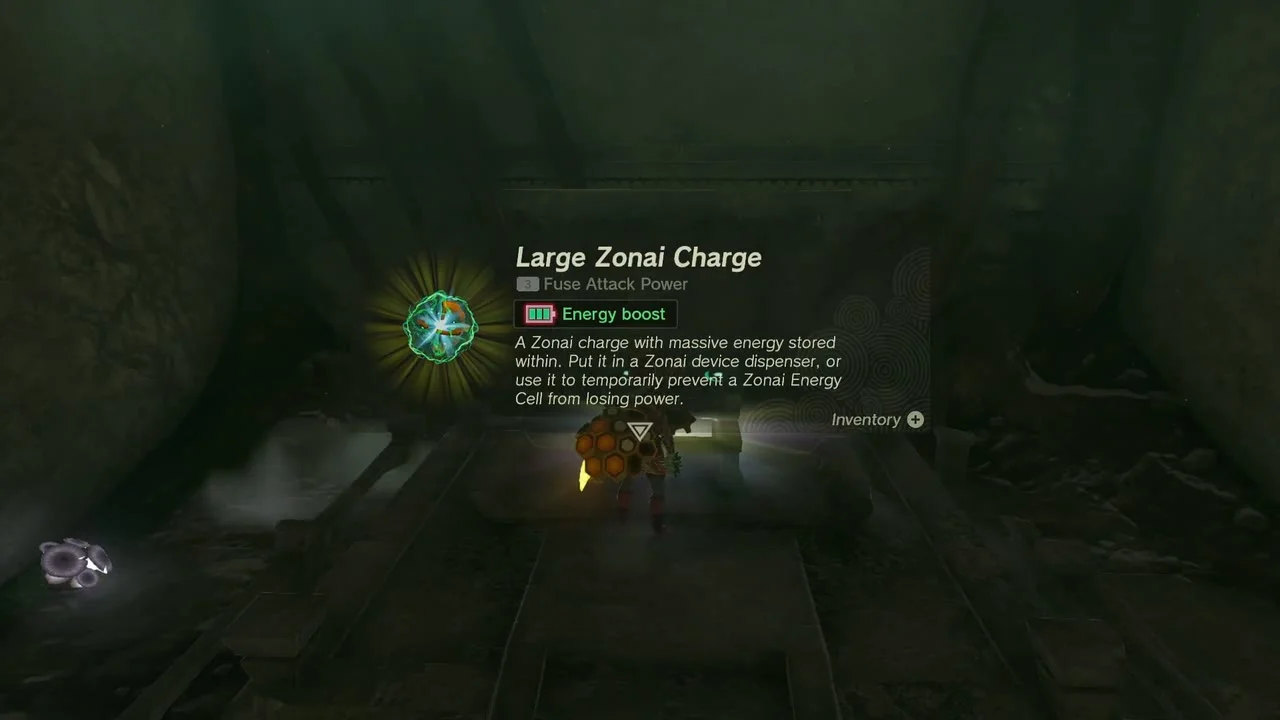
Finra Woods Excavation Site. The entrance is at (568, -2981, 12) on the cliffside of Finra Woods. A chest holds a Large Zonai Charge; use Ascend to the chamber above for the Bubbulfrog and its Bubbul Gem. Gamer Guides notes the gate can also be opened by fixing a Fan and a Rocket to a wheel and driving it through.


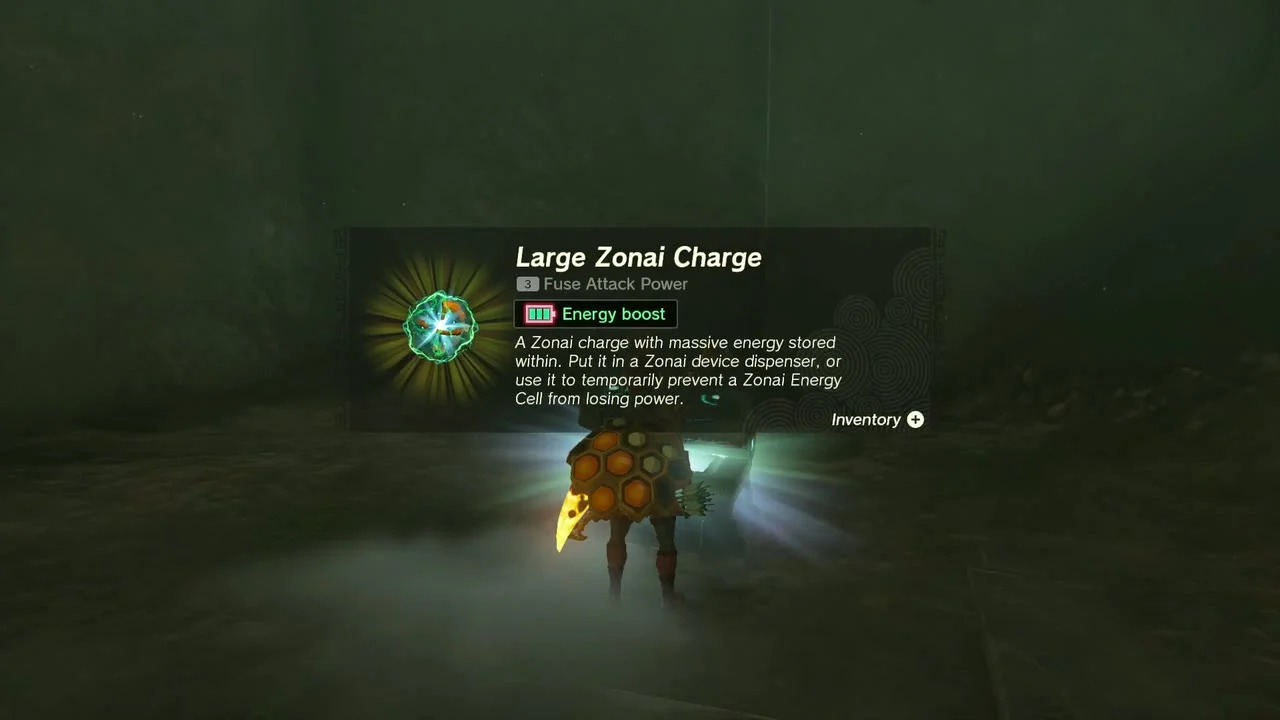
Pagos Woods Excavation Site. The entrance is at (671, -3109, 23) south of the road. Use Zonai devices to block the lasers, open the gate and take a Large Zonai Charge. Drop down the hole on the right at the entrance to reach the Bubbulfrog and its Bubbul Gem.

Chest (Gnarled Wooden Stick (or Wooden Stick or Sturdy Wooden Stick, depending on your progress)). A tree platform chest at about (640, -3180, 58) holds a Gnarled Wooden Stick.

Korok seed (cube puzzle). Solve the cube puzzle at (699, -2953, 16).
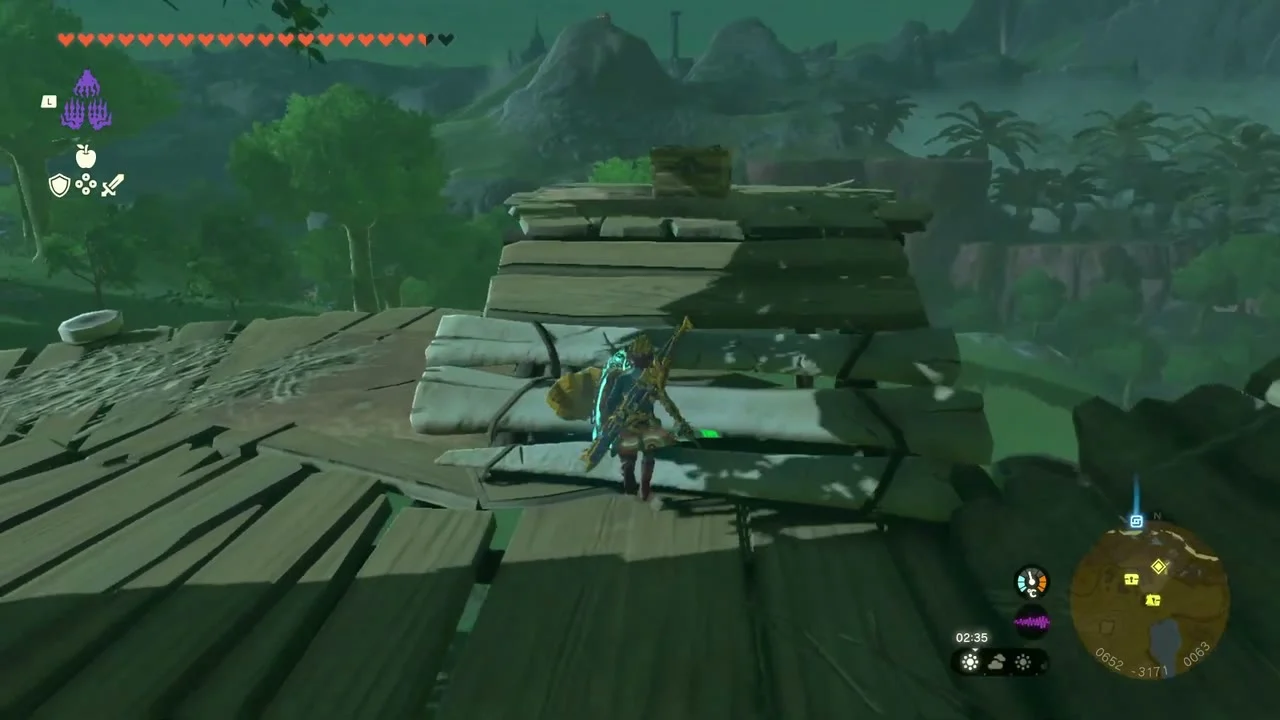

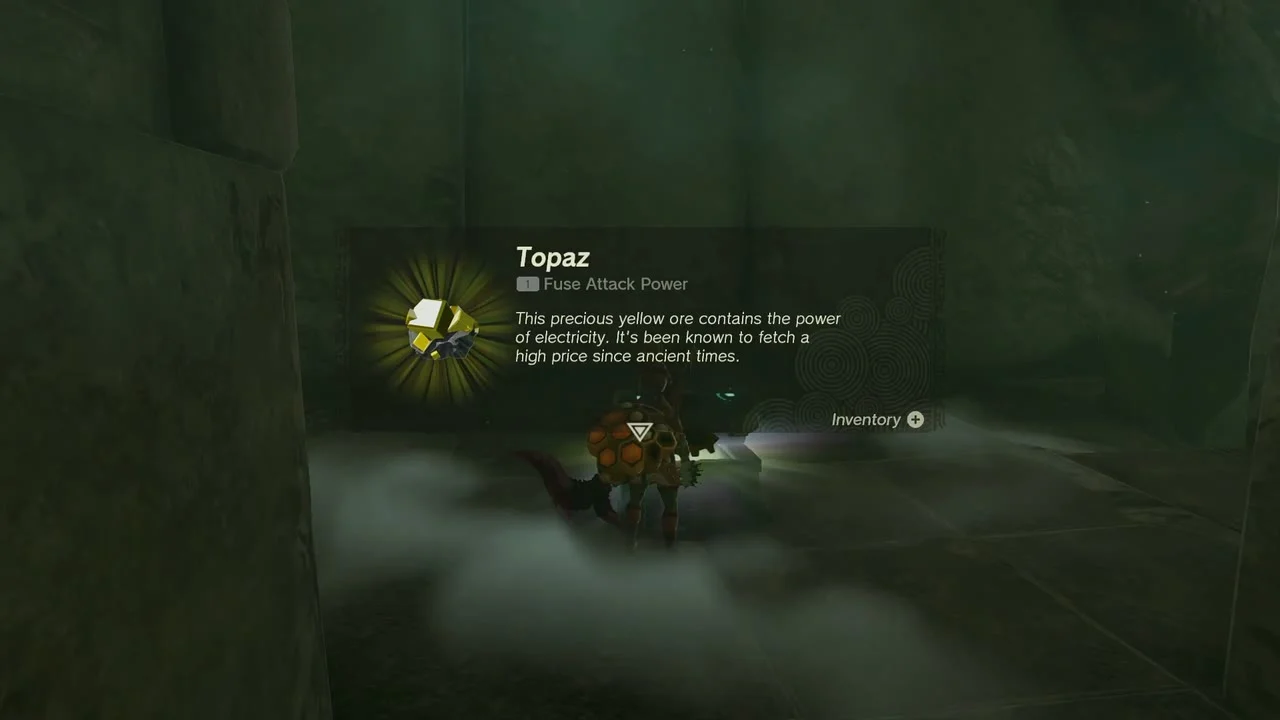
Floria River Upstream Excavation. The entrance is at (809, -2971, 10). A chest holds a Topaz and the Bubbulfrog gives a Bubbul Gem. Along the river itself, Zelda Dungeon lists a Gold Rupee at the far north end under a large boulder (north of Pagos Woods) and a Purple Rupee under the bridge just south-west of the Zonai ruins.
Chest (Electro Elixir). Among the woods at about (1040, -2955, 30), a chest holds an Electro Elixir.
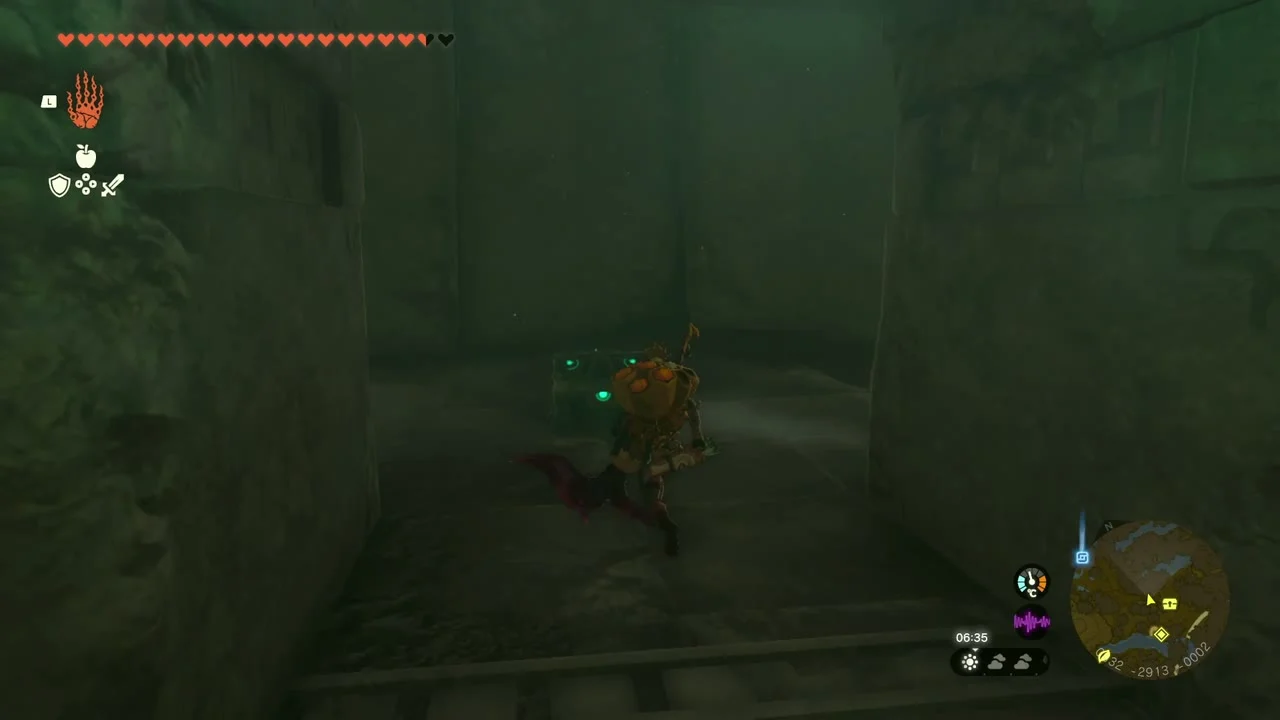
Miniboss (Hinox). A Hinox sits at about (1096, -2875, 67); shoot its eye and strike while it is down.
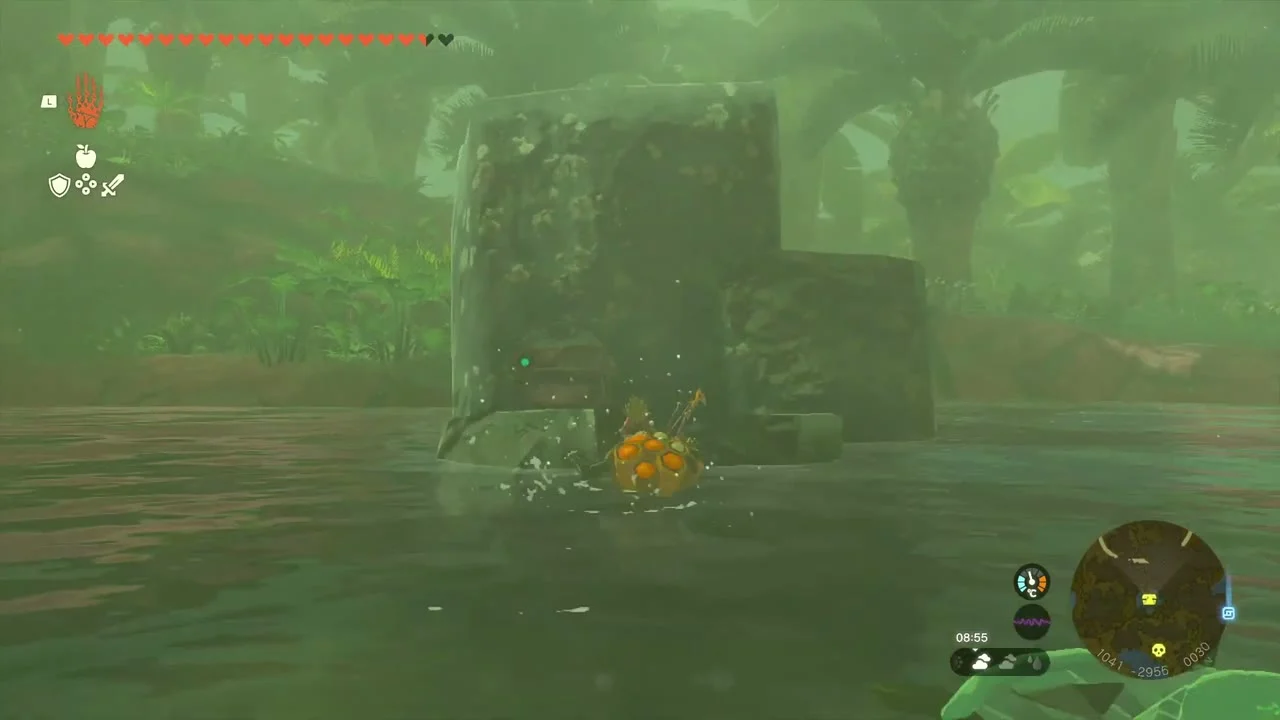

Korok seed (dive into the ring). Dive into the ring of ripples at (784, -2764, 11).
Quest (Goddess Statue of Courage). The Goddess Statue at the Spring of Courage (879, -2371) starts this quest: she cannot sense the Mother Goddess Statue in the Forgotten Temple, so go and speak to that statue, which asks for one of Farosh’s claws. Shoot one of the golden dragon’s feet with an arrow to get a claw (other body parts drop other pieces and Farosh then needs about ten real-time minutes before you can try again), and drop the claw into the spring in front of the statue for a Topaz.
Korok seed (target ring, time limit). Pass through the ring of the time-limit course at (889, -2394, 78).
Hills of Baumer, the wells and Susub Shrine
Korok seeds (Hills of Baumer). Carry a boulder to the tree stand at (342, -2379, 30), follow the flower at (267, -2214, 38), carry the exhausted Korok to its friend at (343, -2182, 57), and examine the sparkling spot at (351, -1999, 8).
Hills of Baumer Well. The entrance is at (316, -2128, 30). Smash the floor to release the water; a chest under the rocks holds a Ruby.
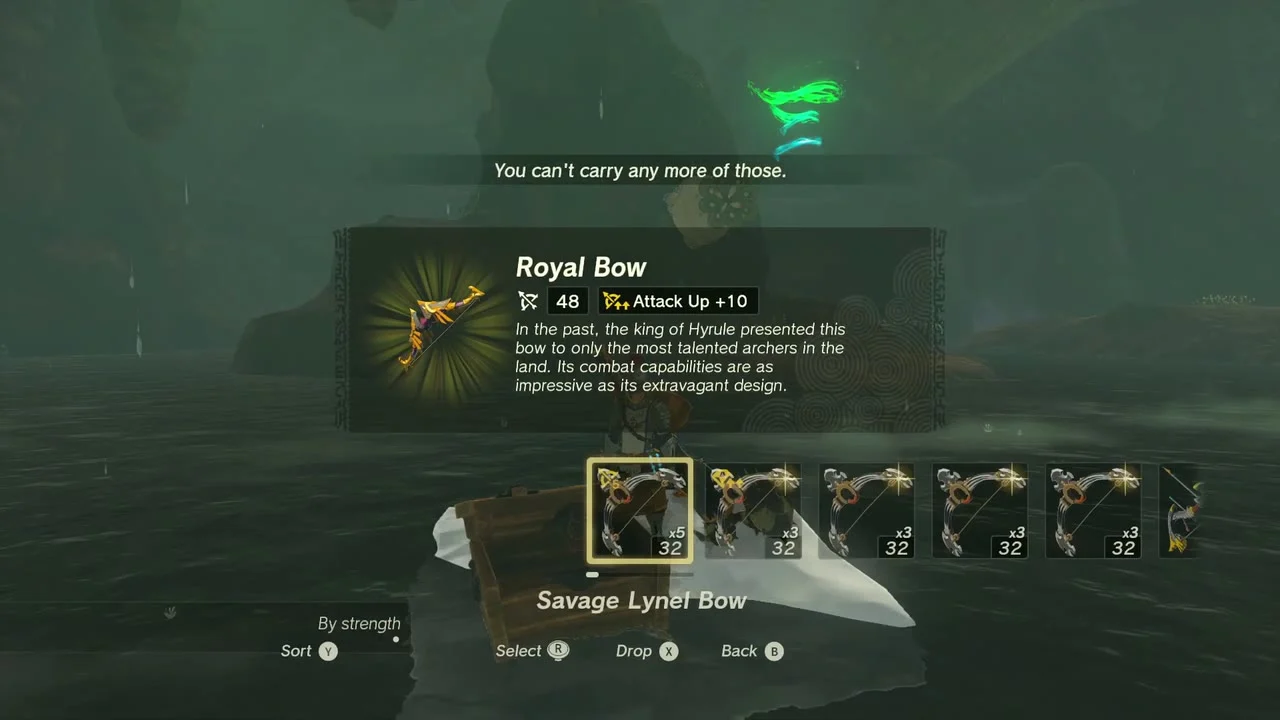
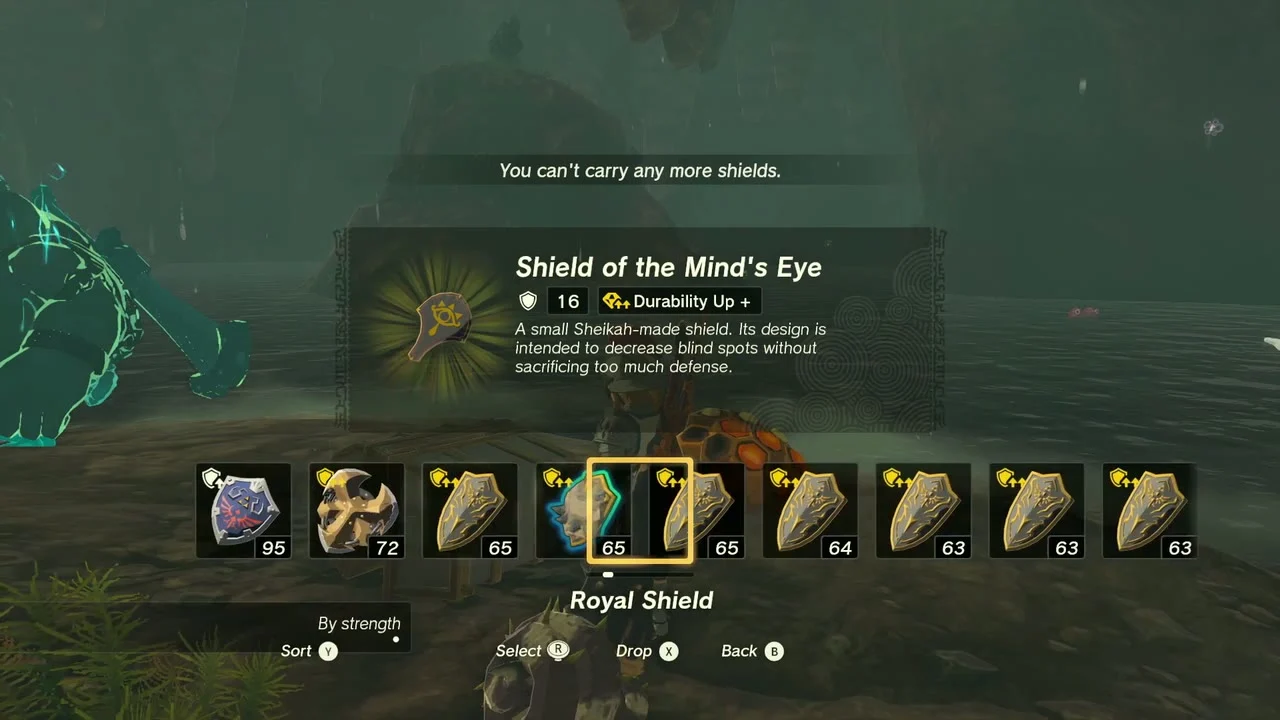
Deya Village Ruins East Well. At (423, -2043, -6), break the rocks and drop in. Three chests hold a Giant Boomerang, a Royal Bow (or Traveler’s Bow, Soldier’s Bow or Knight’s Bow, depending on your progress) and a Shield of the Mind’s Eye. A Stone Talus sleeps nearby; walk along the edge to keep it asleep. Zelda Dungeon also lists a Royal Shield in a hollow log in this cavern.


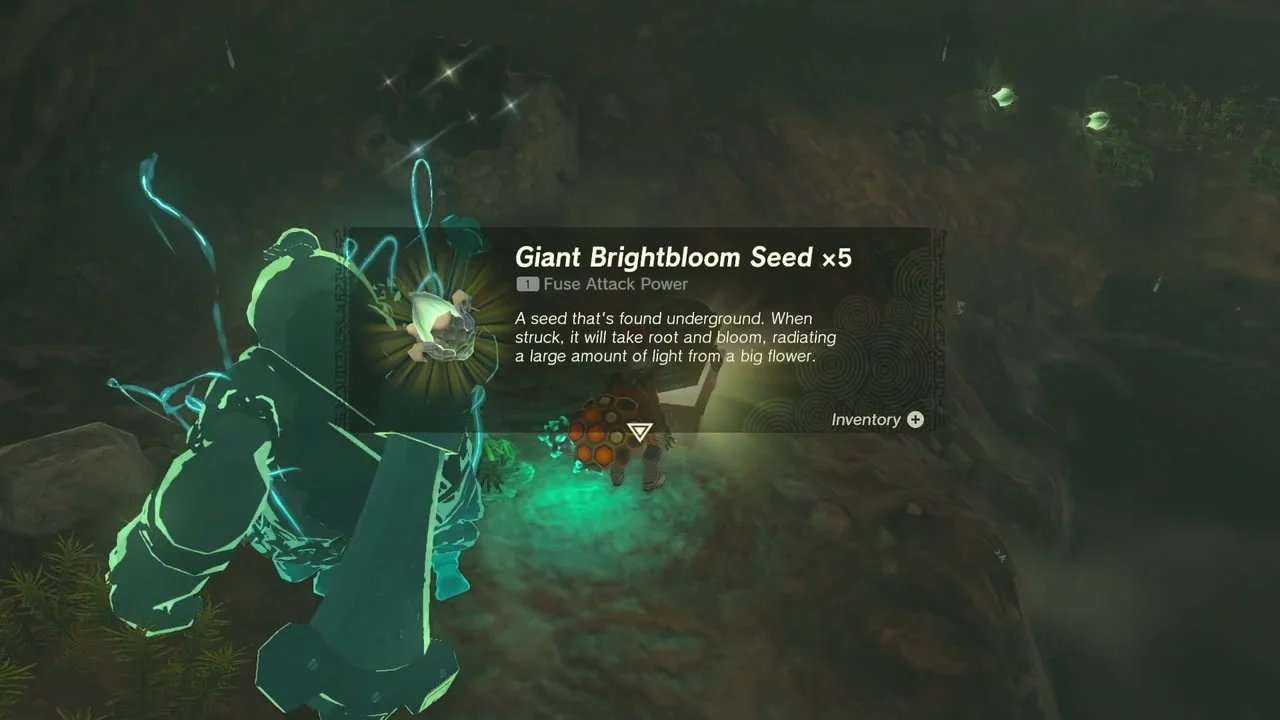
Deya Village Ruins North Well. At (316, -1857, -6), a chest holds Giant Brightbloom Seed x5.

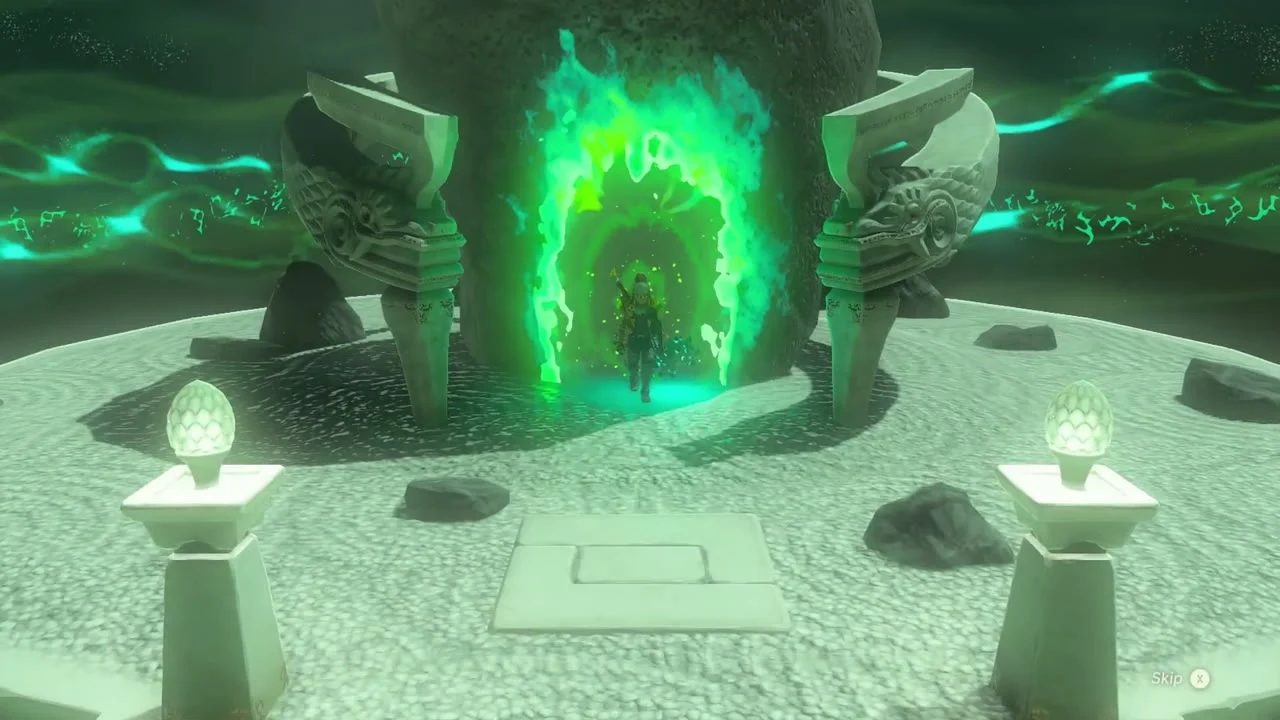
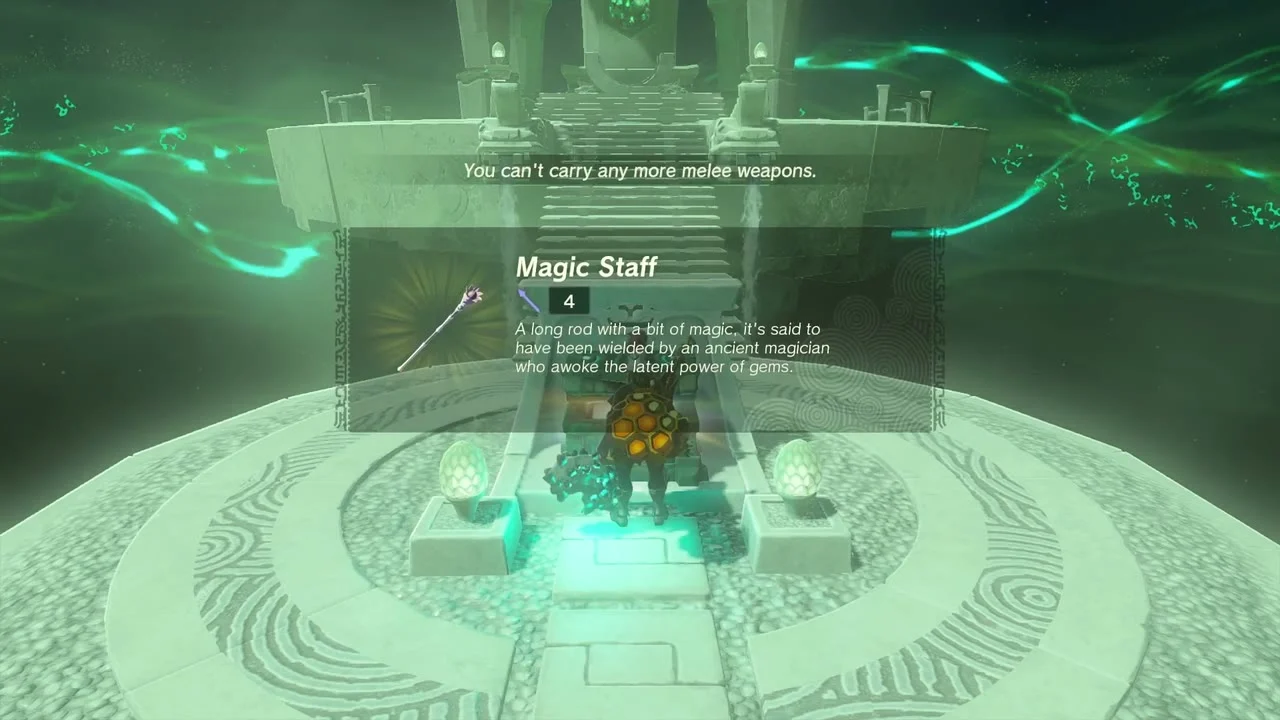
Susub Shrine (Rauru’s Blessing, Blessing) stands at (349, -2051, -13); Busus Lightroot is beneath it at (350, -2052, -492). Drop into the East Well, glide to the rock formation in the water and land on its moss-covered part, not the red part, which wakes a Stone Talus. Place a wooden plank with Ultrahand on the land nearest the waterfall, hold it against the cliff for about 30 seconds, set it back on the water, hop on and use Recall to lift yourself up, then climb the slippery rock by the route with the least climbing. Its chest holds a Magic Staff.
Other wells. The Deya Village Ruins South Well (340, -2099, 12) and the main Deya Village Ruins Well (322, -1927, -5) are also here; no chest was opened in them. The South Well holds only a Brightcap and a gate through which Susub Shrine is visible; you have to enter the larger cavern from the East, North or main well.
Korok seeds (Deya ruins). Offer apples to the statues at (163, -1940, 45), burn the leaves and lift the rock at (297, -1833, 17), and catch the dandelion at (312, -1765, 74).
Miniboss (Stone Talus). A second Stone Talus waits on the hills at about (678, -1887, 52). Hit its ore deposit when it stands.
Chest (Phrenic Bow). A hillside chest at about (680, -1885, 52) holds a Phrenic Bow.
Korok seed (boulder on the stand). Place the boulder on the tree stand at (653, -1769, 17).

Jochisiu Shrine
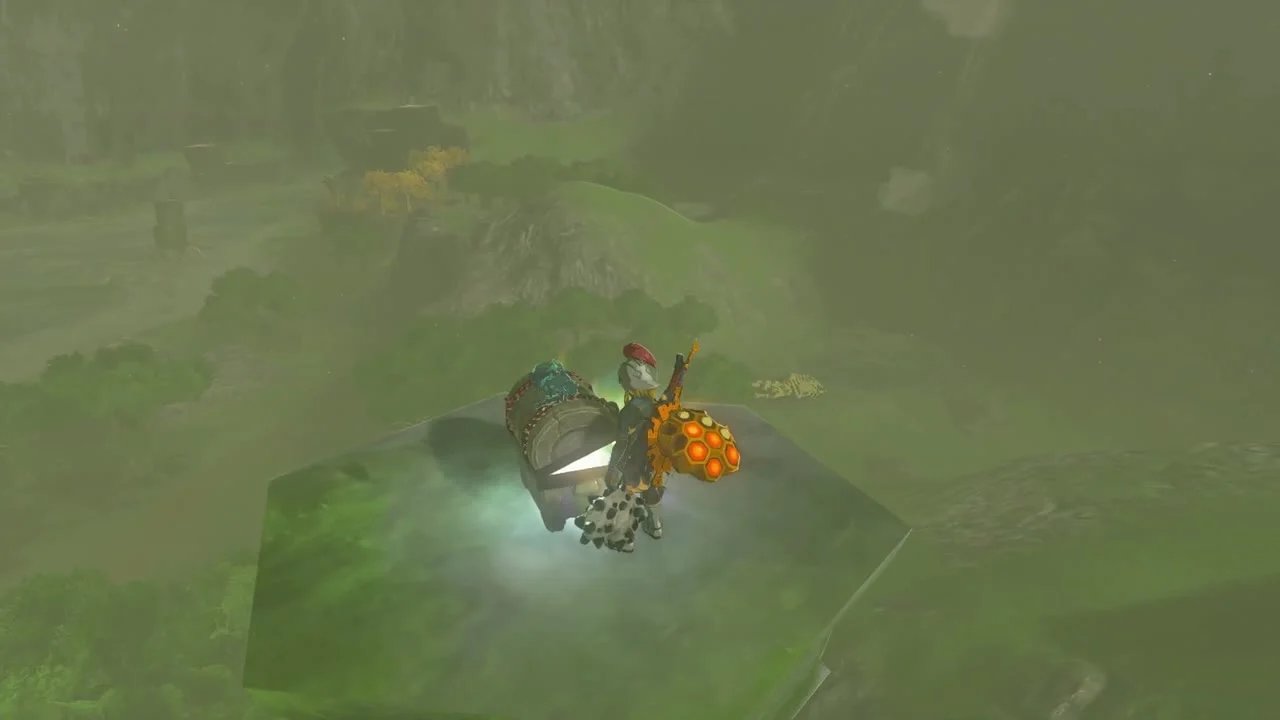
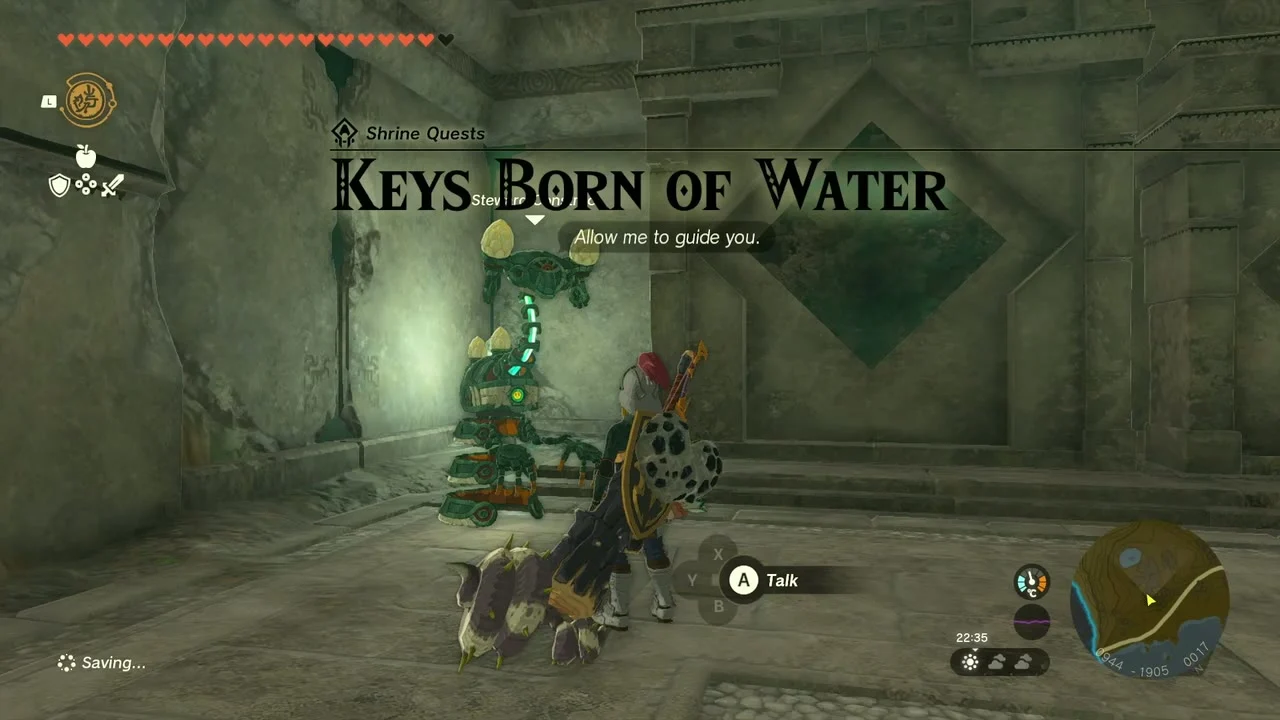
Jochisiu Shrine (Rauru’s Blessing, Blessing) rises at (930, -1903, 43) on top of fallen Zonai ruins between the Squabble River and the Popla Foothills. Uisihcoj Lightroot lies at (930, -1903, -481). A Steward Construct at the ruins near the foot of the Dueling Peaks gives the shrine quest Keys Born of Water: give three water keys to the three altars (three altars of differing sizes).
Make the keys from ice
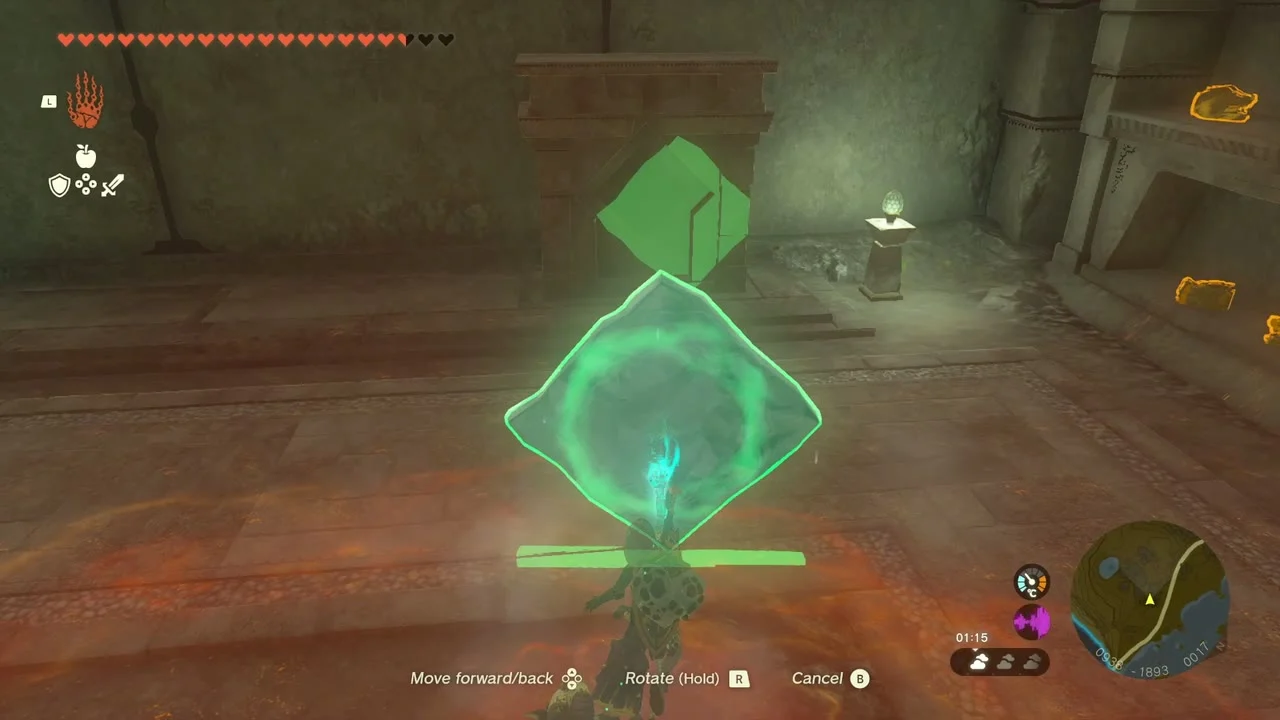
Shoot an Ice Fruit arrow into the water to freeze a single square, or use a Frost Emitter for several. Lift the squares out of the river with Ultrahand and set one on each altar.
Shrink the keys to fit
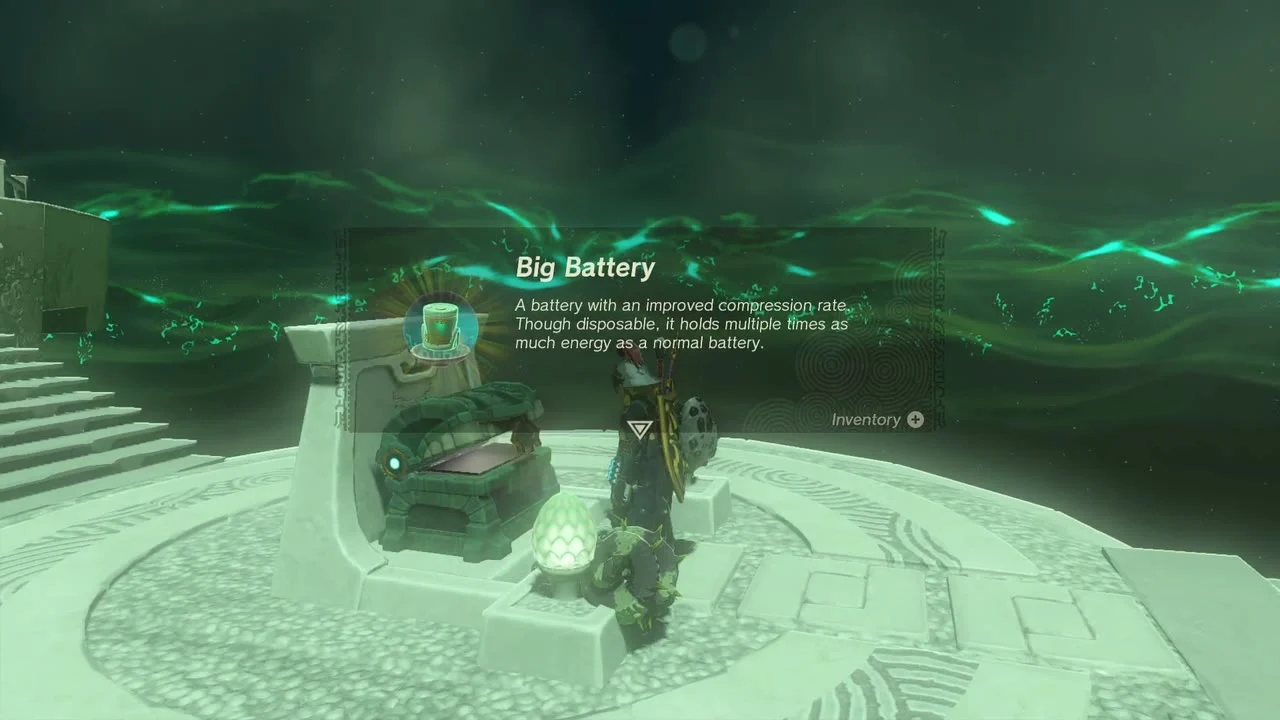
The large key fits as is; melt the other two with a flame until they fit the altar sockets. When all three altars are filled, the shrine appears above; Ascend to reach it. The chest holds a Big Battery.

Collectibles in this chapter
- Shrines: 5 (Joju-u-u, Utojis, Jiukoum, Susub, Jochisiu)
- Caves: 9 with 9 Bubbul Gems
- Wells: 6 (chests confirmed in 3)
- Lightroots: 5 under the shrines
- Korok seeds: 32 mapped on this page
- Chests listed: 35
- Minibosses: 3 Stone Talus, 3 Hinox, Boss Bokoblin camps
Part 3: Lake Hylia Chasm, 8 Lightroots, Construct Factory depots, Colgera, Ukoojisi and Yansamin
| Region | Surface: Popla Foothills, Nabi Lake and Lake Hylia (West Necluda / Faron Grasslands). Depths: Faron Grasslands, West Necluda and Lake Hylia Depths. Sky: West Necluda Sky Archipelago, Sahasra Slope and Zonaite Forge Island (East Necluda Sky) |
|---|---|
| Shrines | Ukoojisi Shrine (Rauru’s Blessing, West Necluda Sky) and Yansamin Shrine (Proving Grounds: Low Gravity, Zonaite Forge Island) |
| Lightroots | 8 lit: Amo-ne, Nikohsi, Kohsustu, U-u-ujoj, Sijotu, Uisihcoj, Busus, Muokuij. See all Lightroots. |
| Caves, wells, towers | Sahasra Slope Cave (Bubbul Gem), South Nabi Lake Well, Sahasra Slope Skyview Tower, plus the Construct Factory, four depots, Dracozu Altar and the Spirit Temple in the Depths |
| Quests | Goddess Statue of Courage, Bring Peace to Hebra!, a Hudson Construction sign for Addison, Juney’s plushie game, The West Necluda Sky Crystal, Dragon’s Tear memory: The Gerudo Assault |
| Koroks | 15 collected: 9 on the surface, 2 in the West Necluda sky, 4 on Zonaite Forge Island |
| Armor | Dark Hood (Bargainer Statue, Wellspring of Courage), Zonaite Waistguard (Forge Island chest) |
| Minibosses | 6 on the surface and in the sky; 18 in the Depths, plus the boss Colgera (Depths) |
This chapter clears the grassland around Popla Foothills and Nabi Lake, then drops through the Lake Hylia Chasm to light eight Lightroots and work the Faron and West Necluda Depths, where the Construct Factory and its four depots, Colgera and three Yiga camps sit. It finishes in the sky with the West Necluda Sky Crystal, Ukoojisi Shrine and Zonaite Forge Island with Yansamin Shrine.
Quick route
Take the Star Fragment and the first Korok seed north of Nabi Lake, defeat Stalnox, open the Spring chest and collect the Koroks around Nabi Lake and South Nabi Lake before the Boss Bokoblin, the island chest for the Forest Dweller’s Sword and Juney’s plushie game.
Finish the surface with Eagus Bridge’s Korok and Addison’s sign, the Hinox, the Battle Talus and the Topaz chest, then drop through the Lake Hylia Chasm to light Amo-ne Lightroot.
Offer Farosh’s claw at the Spring of Courage, help Flaxel’s crew at the South Tabantha Snowfield, then go down again and light Nikohsi, Kohsustu, U-u-ujoj, Sijotu, Uisihcoj, Busus and Muokuij Lightroots.
Work around the Construct Factory: its two chests, the Right-Arm, Left-Arm, Left-Leg and Right-Leg Depots, the Bargainer Statue at the Wellspring of Courage for the Dark Hood, Dracozu Altar and the Spirit Temple.
Sweep east for Floria Canyon Mine and its Hinoxes, Frox and Lynel, then west for the Yiga bases, Colgera and Faloraa Canyon Mine, and climb out at Popla Foothills Skyview Tower.
Finally clear Sahasra Slope Cave and activate the tower, glide to the West Necluda Sky Archipelago for the Koroks, the Old Map and the crystal for Ukoojisi Shrine, and finish on Zonaite Forge Island with four Koroks, the Zonaite Waistguard and Yansamin Shrine.
Popla Foothills and Nabi Lake (surface)
Take the Star Fragment and the first Korok seed
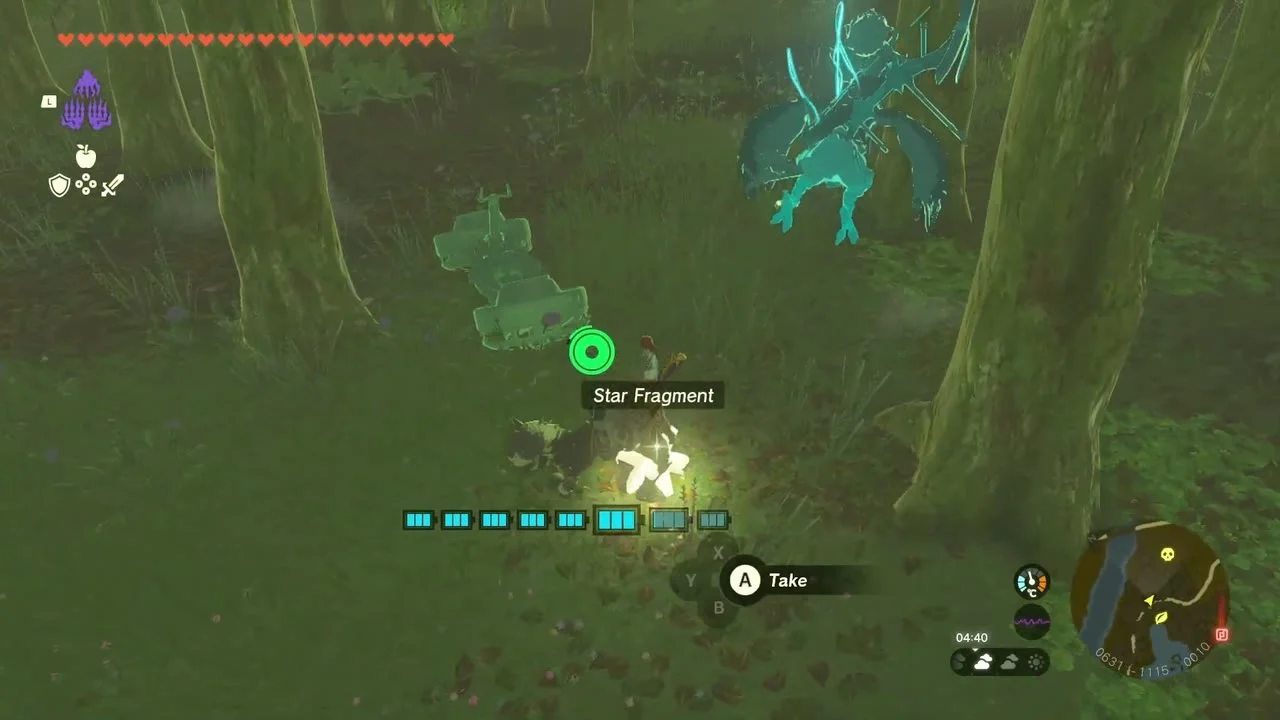
Star Fragment and Korok seed (Break the hidden acorn pot) at (627, -1161), on the grass north-east of Batrea Lake. If a star has fallen, run to the glowing crater and pick up the Star Fragment. Then cut or burst the acorn pot hidden in the grass beside the Korok to make it appear and take the seed.

Defeat Stalnox in the Popla Foothills
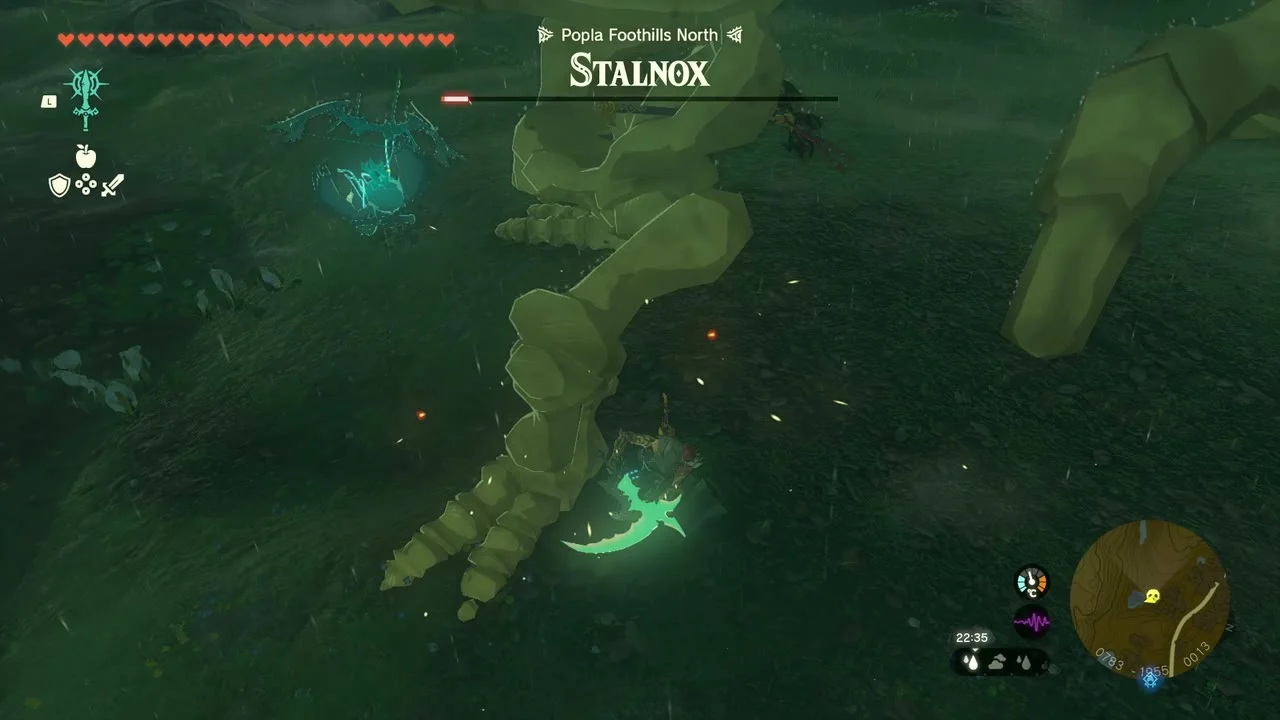
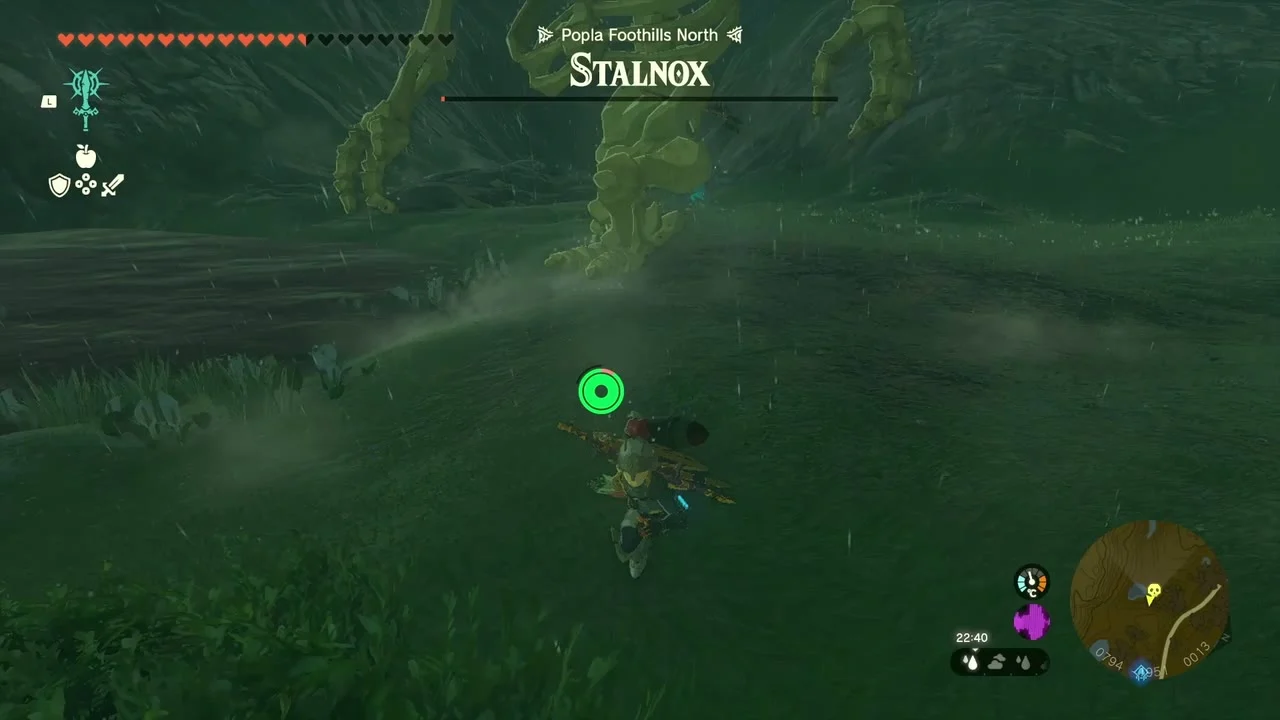
Miniboss: Stalnox at about (874, -1947), in the grassland of the Popla Foothills. Shoot its glowing eye to knock it down, then hit the eye or the weak spot on its head with your strongest weapon while it is stunned; wooden and stone weapons break quickly, so bring spares.
Open the Spring chest on the cliff
Chest: Spring x3 at about (439, -1596), on a rock ledge at the top of a dark cliff south-west of Nabi Lake. Climb or Ascend to the ledge and open the chest for Spring x3, a Zonai device that bounces whatever is attached to it.


Fix the roof for the Korok
Korok seed (Repair the roof) at (296, -1496), west of the Nabi Lake road. A wooden shelter has a gap in its roof: pick up the loose board lying nearby and fit it into the gap with Ultrahand (or Fuse a plank) to make the Korok appear.

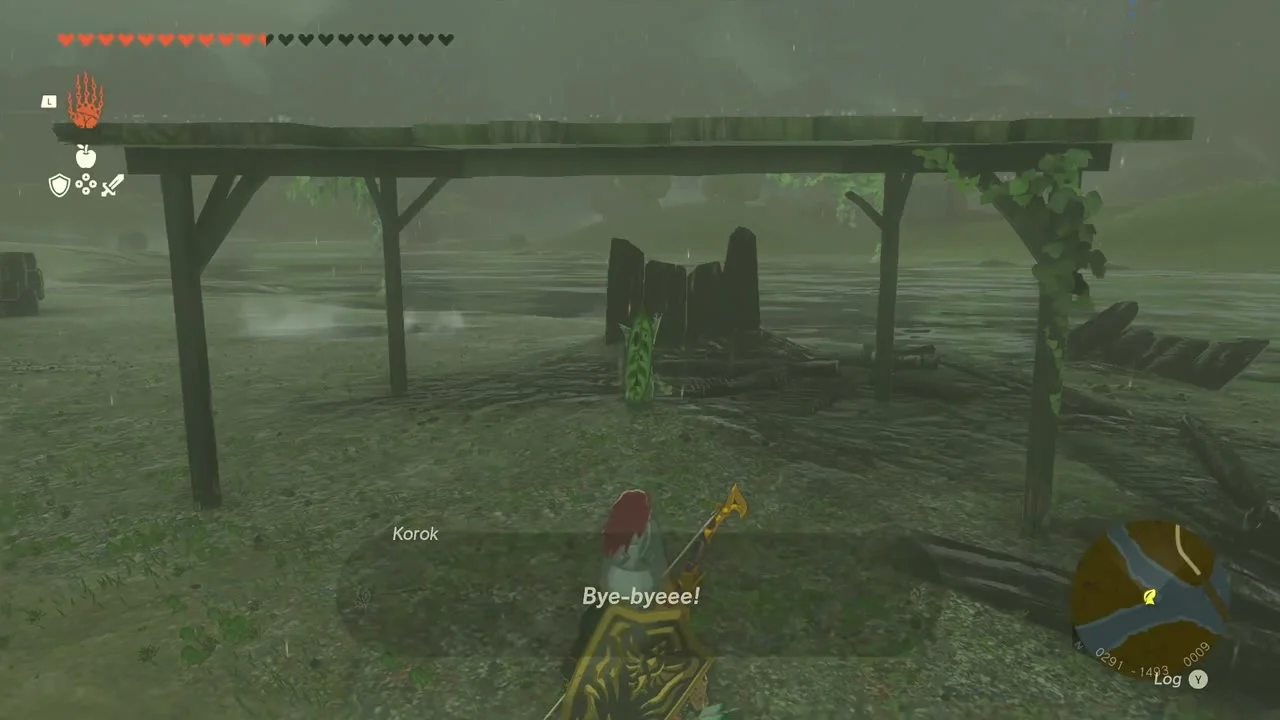
Place the boulder on the tree stand
Korok seed (Place the boulder on the tree stand) at (609, -1467), on a hill north-west of South Nabi Lake. Lift the boulder with Ultrahand and set it on the flat tree stand beside it; the Korok leaps out.

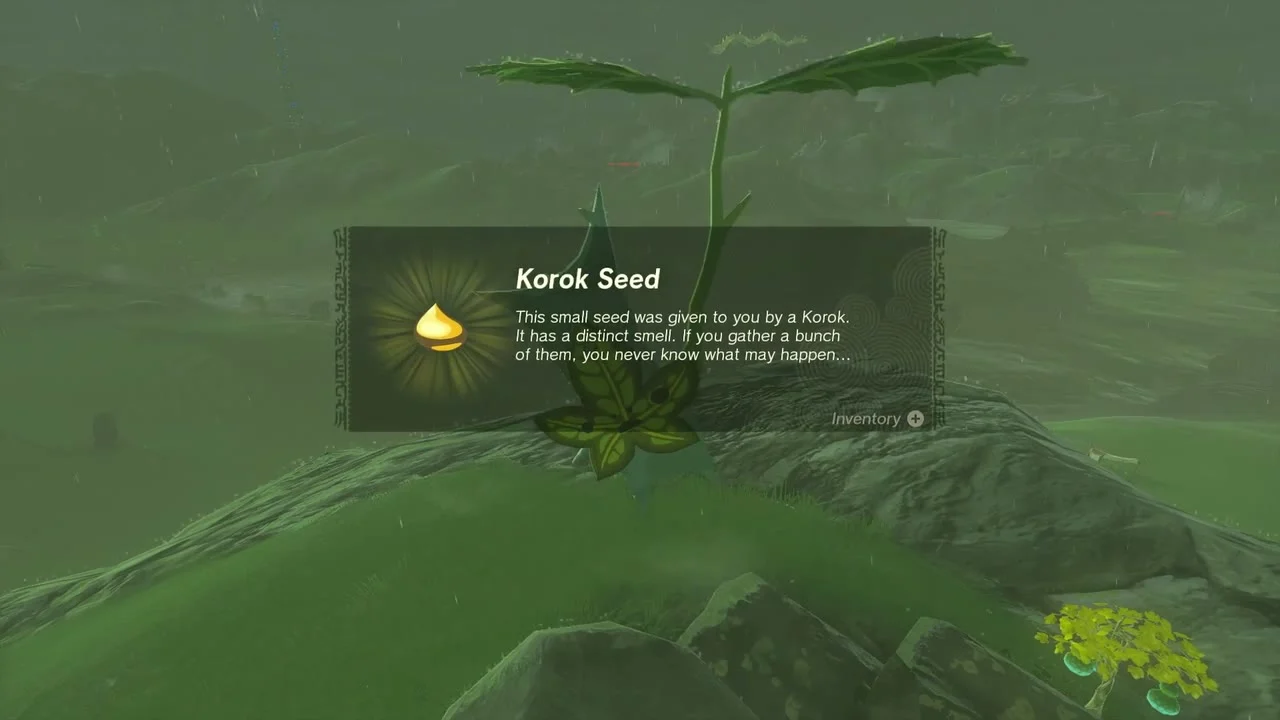
View the Dragon’s Tear at East Batrea Lake
Dragon’s Tear: The Gerudo Assault at (694, -1309, 53), beside East Batrea Lake. Walk up to the glowing tear to trigger the memory of the Gerudo attack; the geoglyph this tear belongs to (a Molduga) is on the same lake.
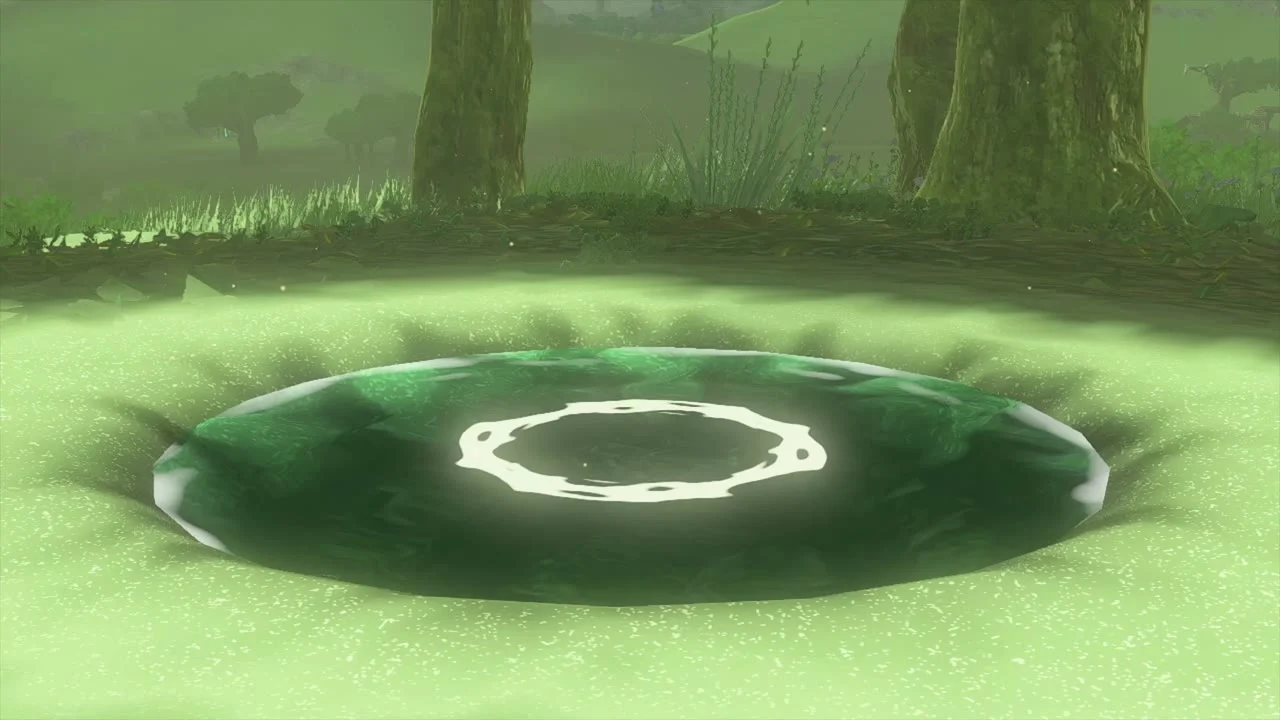
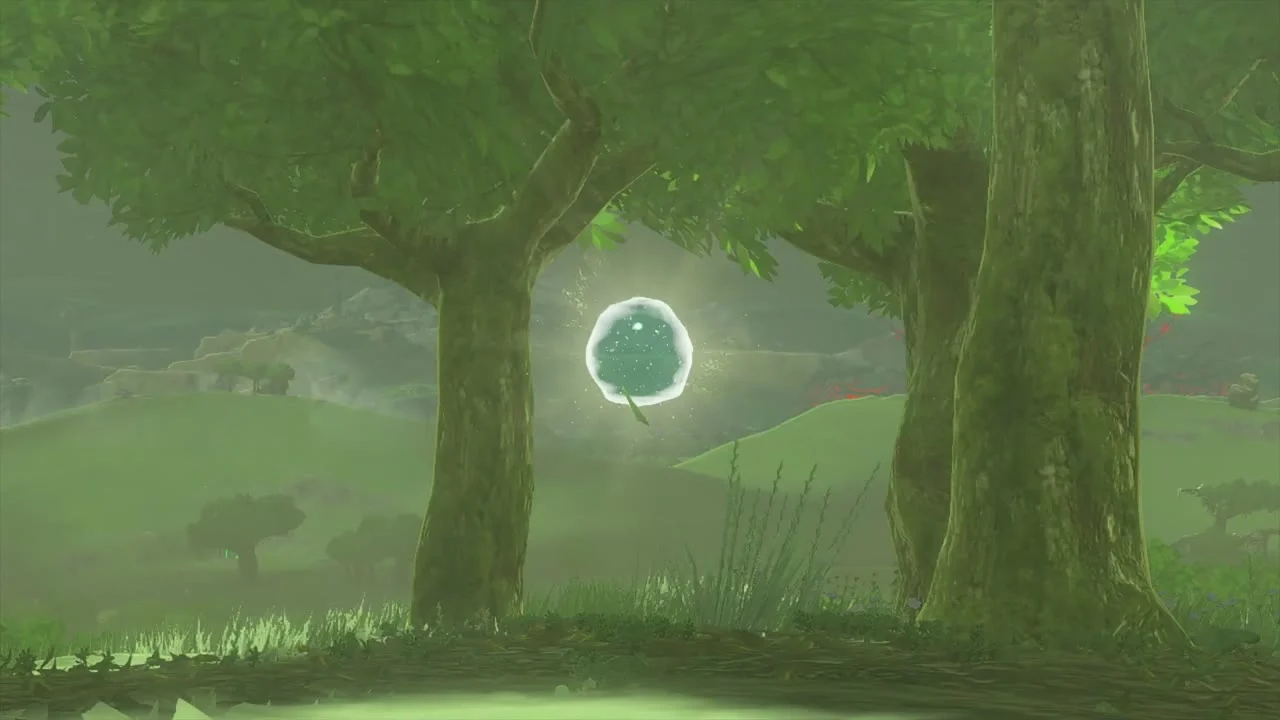
Break the acorn pot and find South Nabi Lake Well
Korok seed (Break the hidden acorn pot) at (734, -1503), under a tree on the west side of South Nabi Lake; attack the pot hanging on the tree to release the Korok. About 50 units east is South Nabi Lake Well (782, -1497): a stone well with a chasm shaft that leads down toward the Depths.


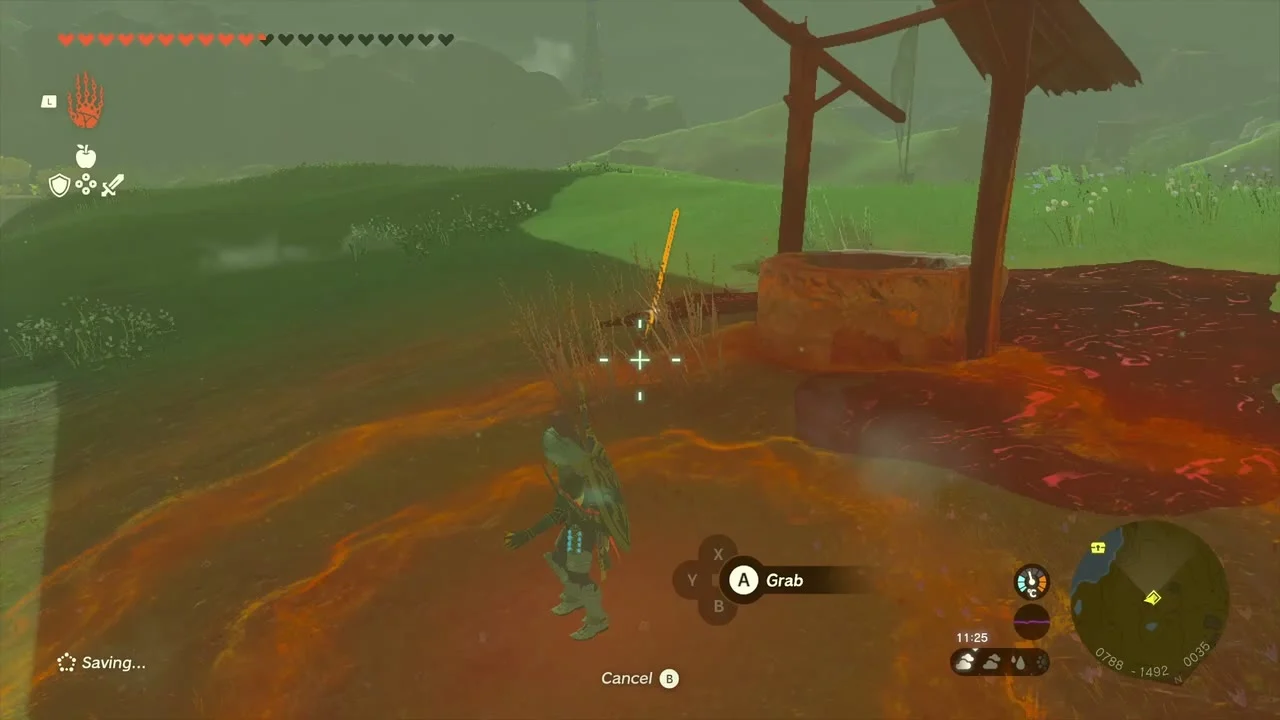
Lift the rock for the Korok
Korok seed (Lift the rock) at (843, -1291), in the meadow south-west of Nabi Lake. A single rock sits in a ring of flattened grass; lift it with Ultrahand and the Korok is underneath.
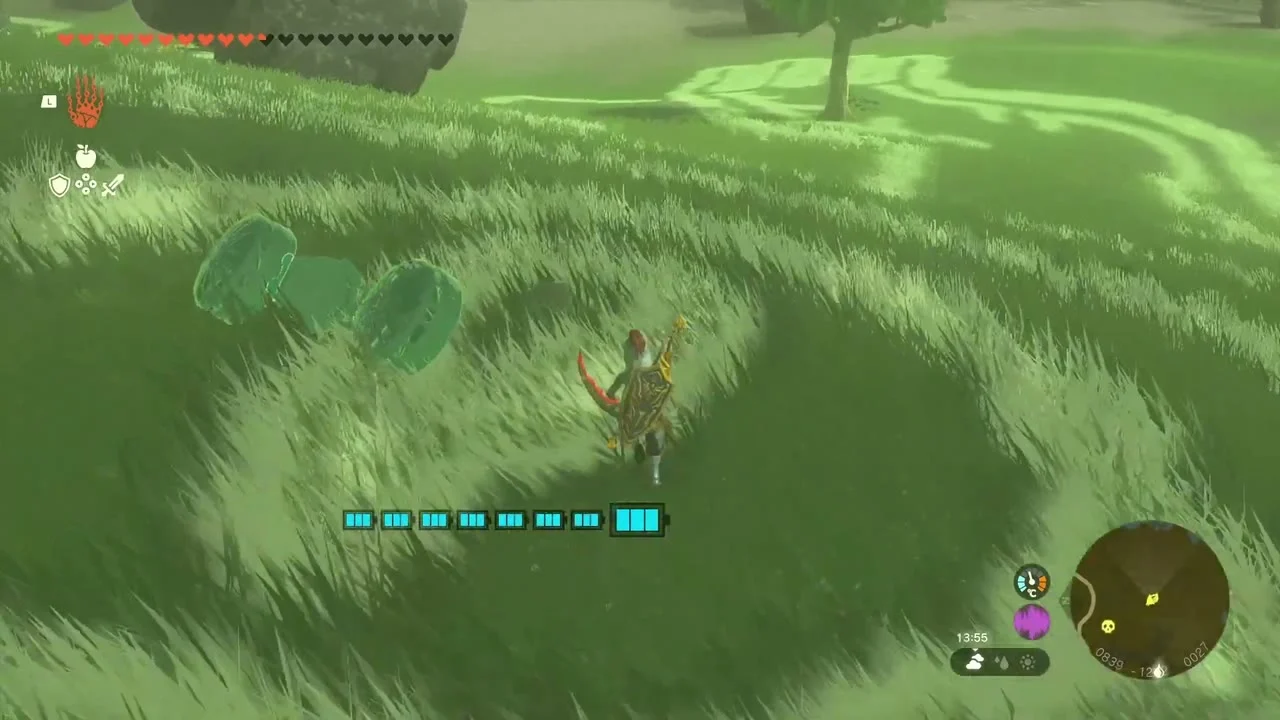
Defeat the Boss Bokoblin on the lakeshore
Miniboss: Boss Bokoblin at about (861, -1667), on the grassy shore of South Nabi Lake. Its camp has smaller Bokoblins around it: clear them first, then dodge the Boss Bokoblin’s swings and counter with a sword or bombs.
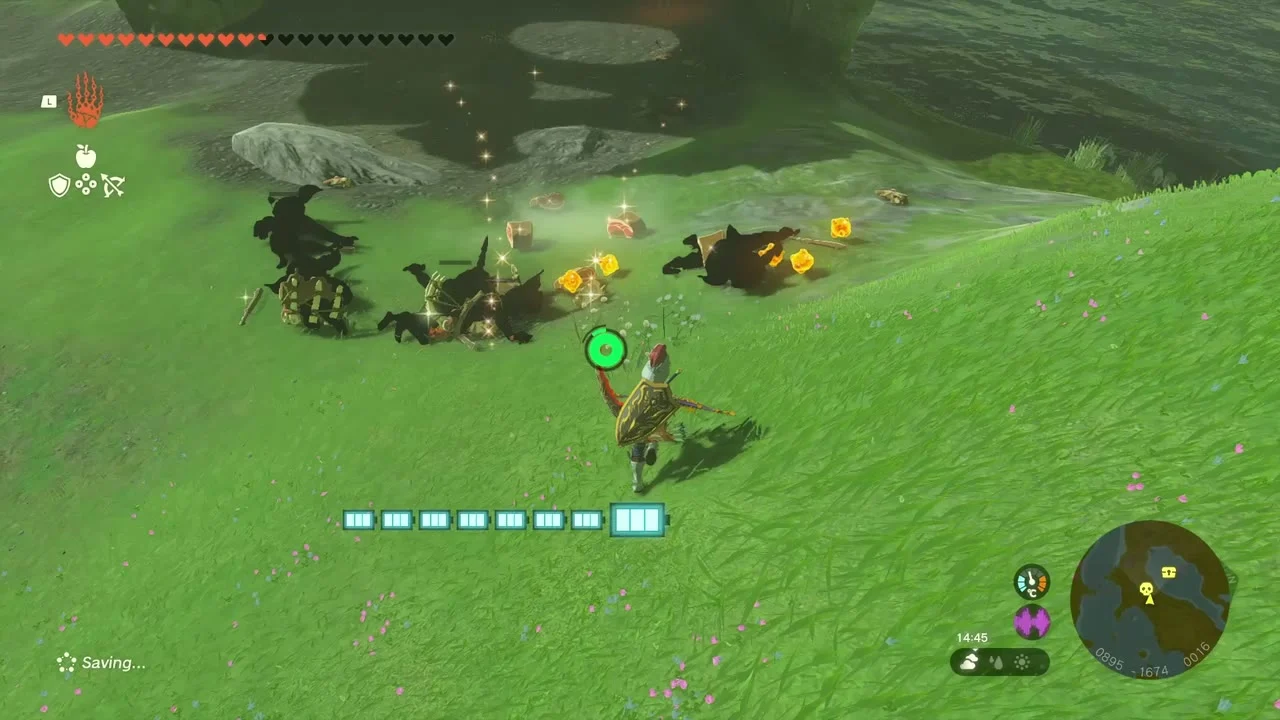

Reach the island chest for the Forest Dweller’s Sword
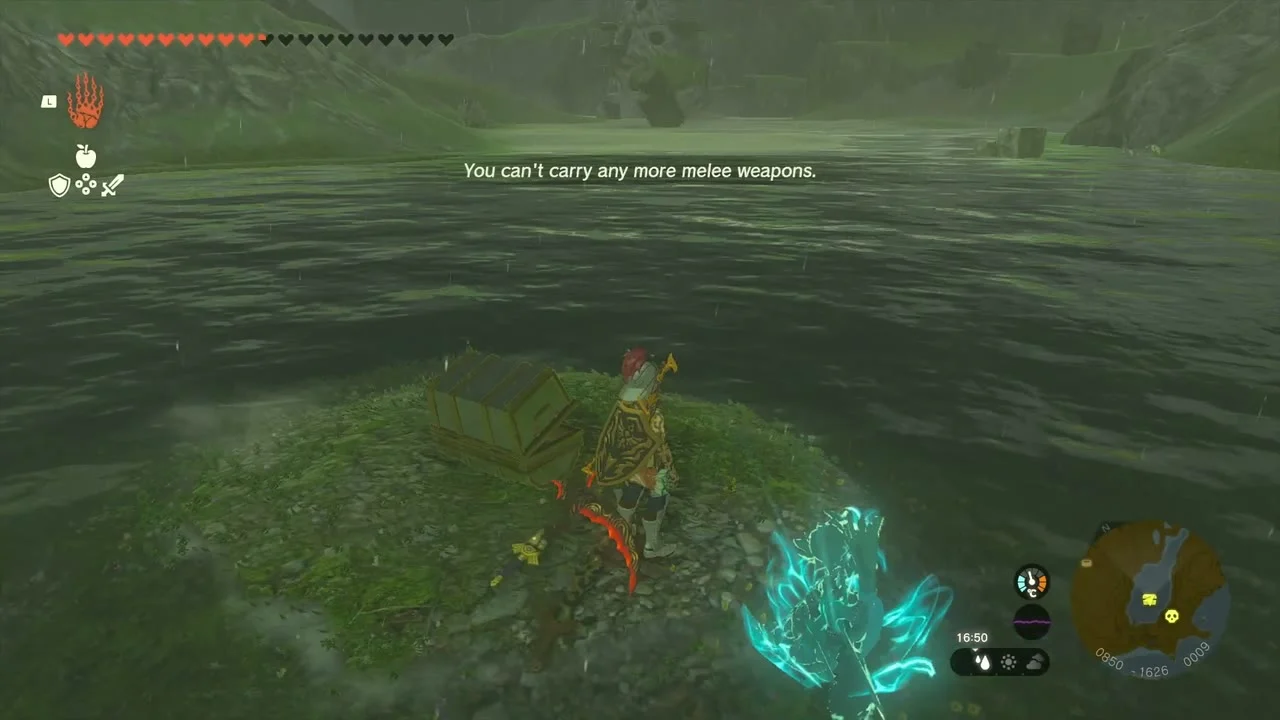
Chest: Forest Dweller’s Sword at (851, -1625), on a small grassy islet in South Nabi Lake. Cross the water on a raft or a hover bike built with Ultrahand and open the chest for the Forest Dweller’s Sword, a living wooden Korok sword that restores its tip when you burst materials on it.

Ascend into the cave for the chest
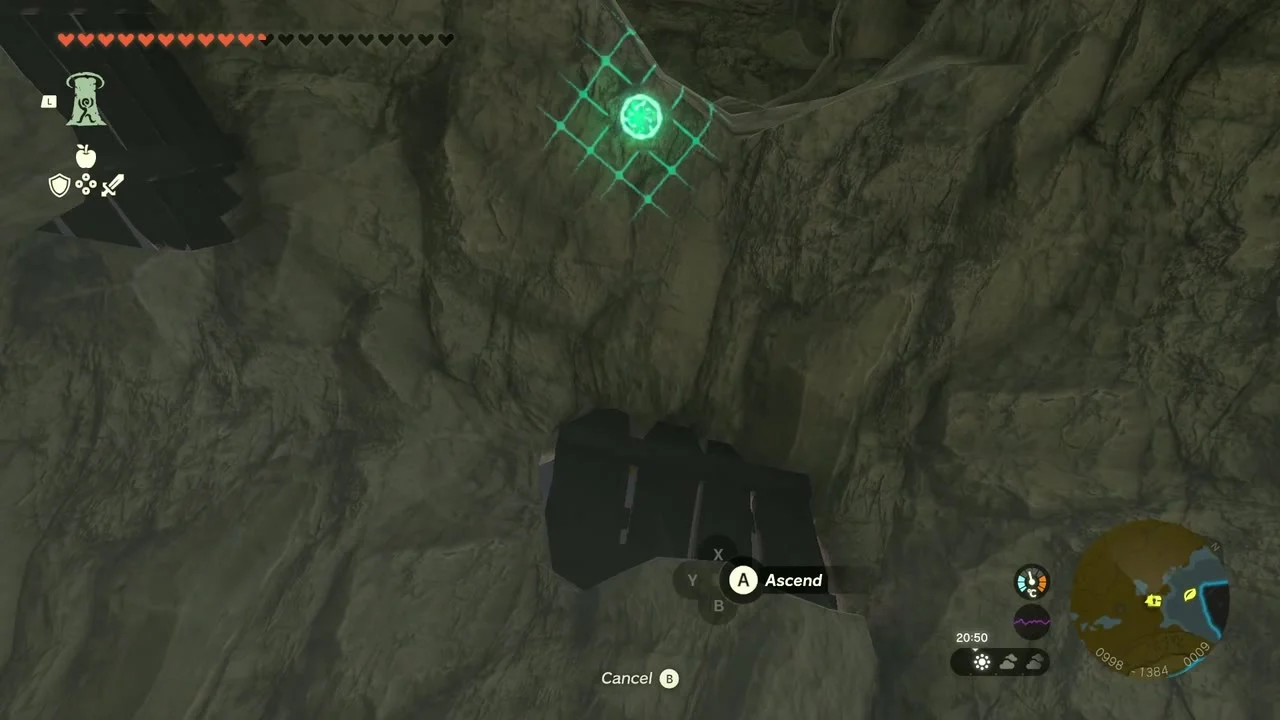
Chest in the cave at about (1008, -1388), a small cave on the east side of Nabi Lake lit by a campfire. Climb the cave to the overhang and use Ascend through the ceiling to reach the chest room at the top.

Dive through the ring on the islet
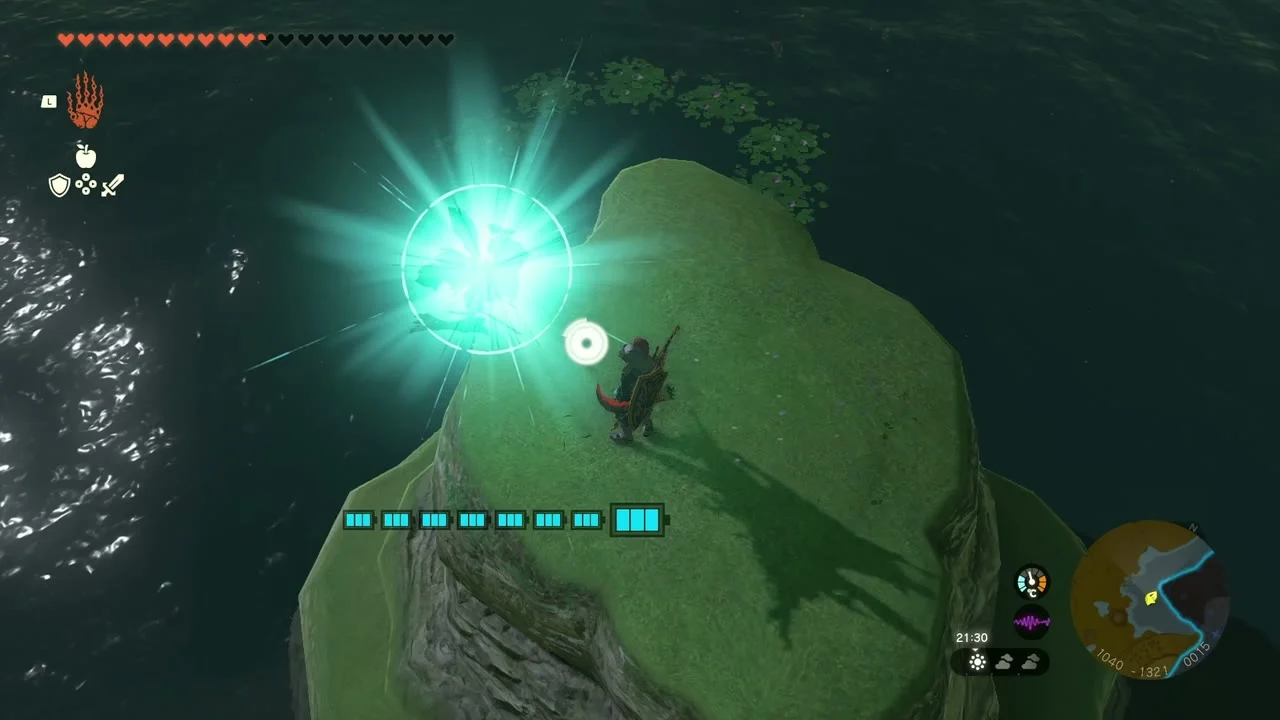
Korok seed (Dive into the ring) at (1032, -1305), on a lone islet in the north of Nabi Lake. Launch yourself high with a Zonai device or a tower launch, skydive and fly through the floating ring above the islet to make the Korok appear.

Win the plushie game at Juney’s wagon
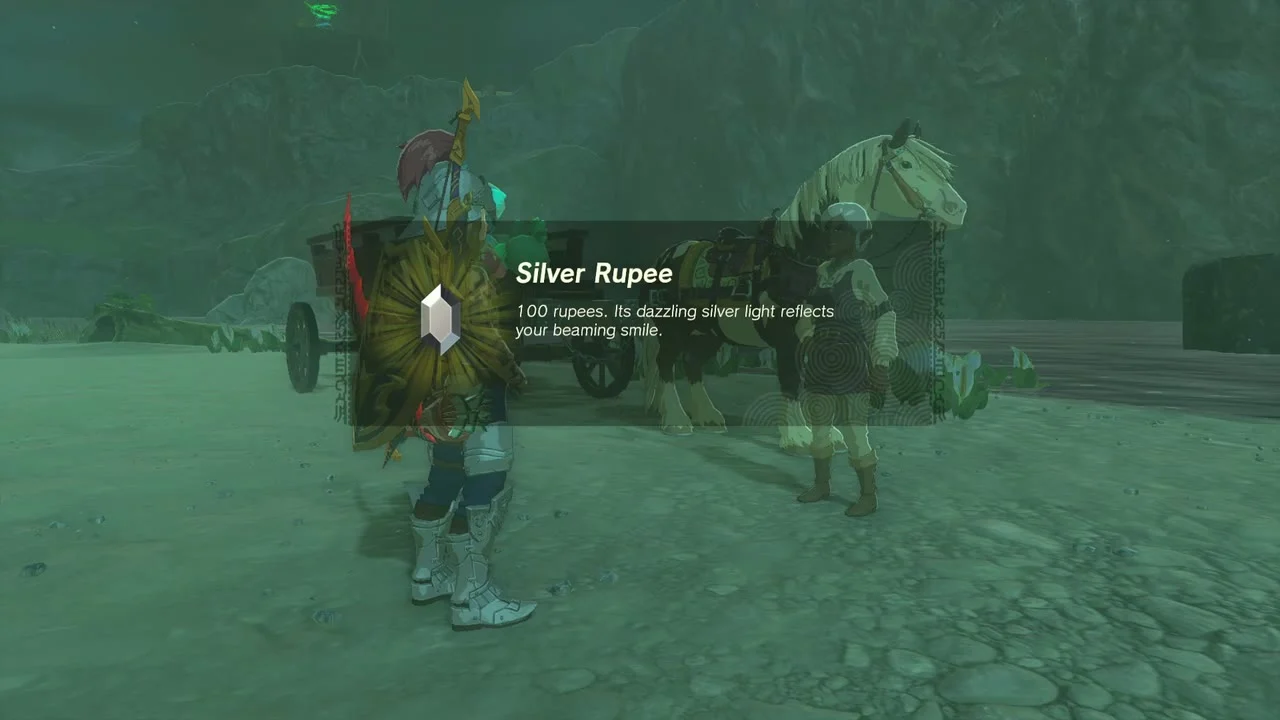
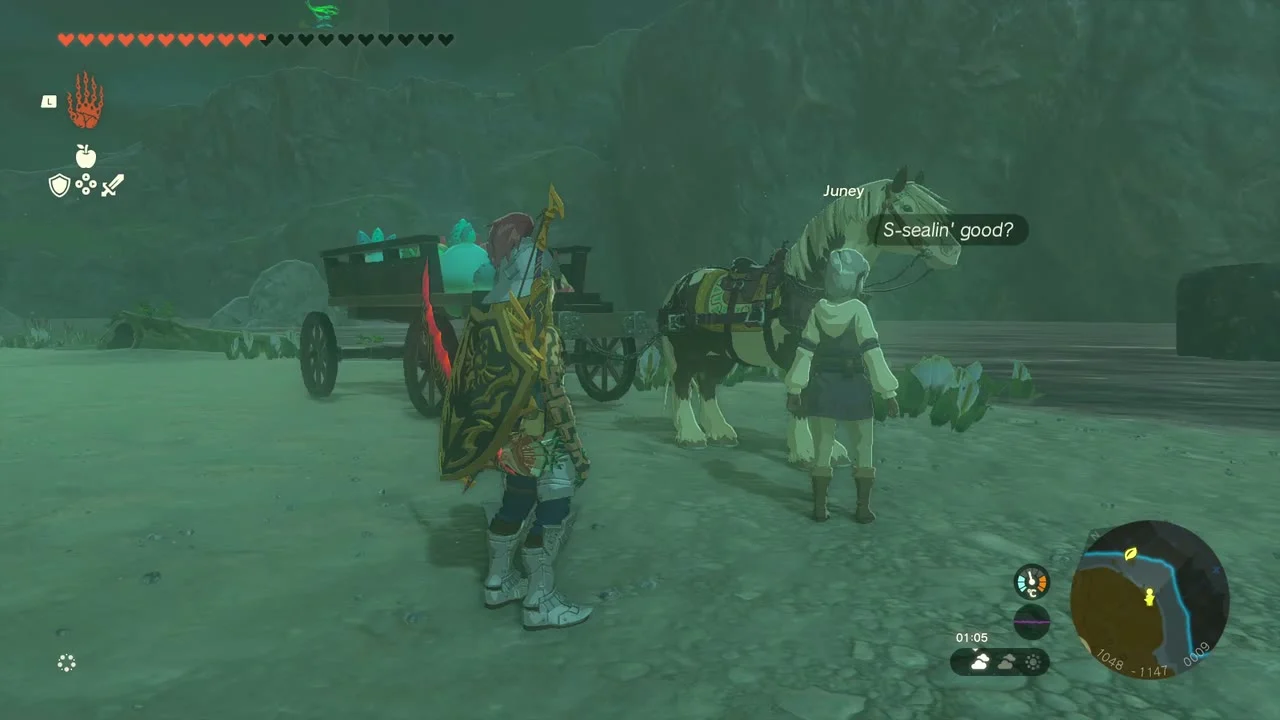
Juney’s plushie mini-game on the shore of Nabi Lake. Pay Juney’s 20-rupee deposit and carry the scattered sand-seal plushies back to her wagon within 90 seconds; returning five to nine gets the deposit back, and all ten earns the full prize; fuse or carry several at once with Ultrahand. A good result pays a Silver Rupee (100 rupees).
Reach the target ring in the shallows
Korok seed (Reach the target ring within the time limit) at (1040, -1068), at the northern end of Nabi Lake. Activate the starting marker and swim or dash across the shallows to the ring before the clock runs out.


Pull the plug near Eagus Bridge
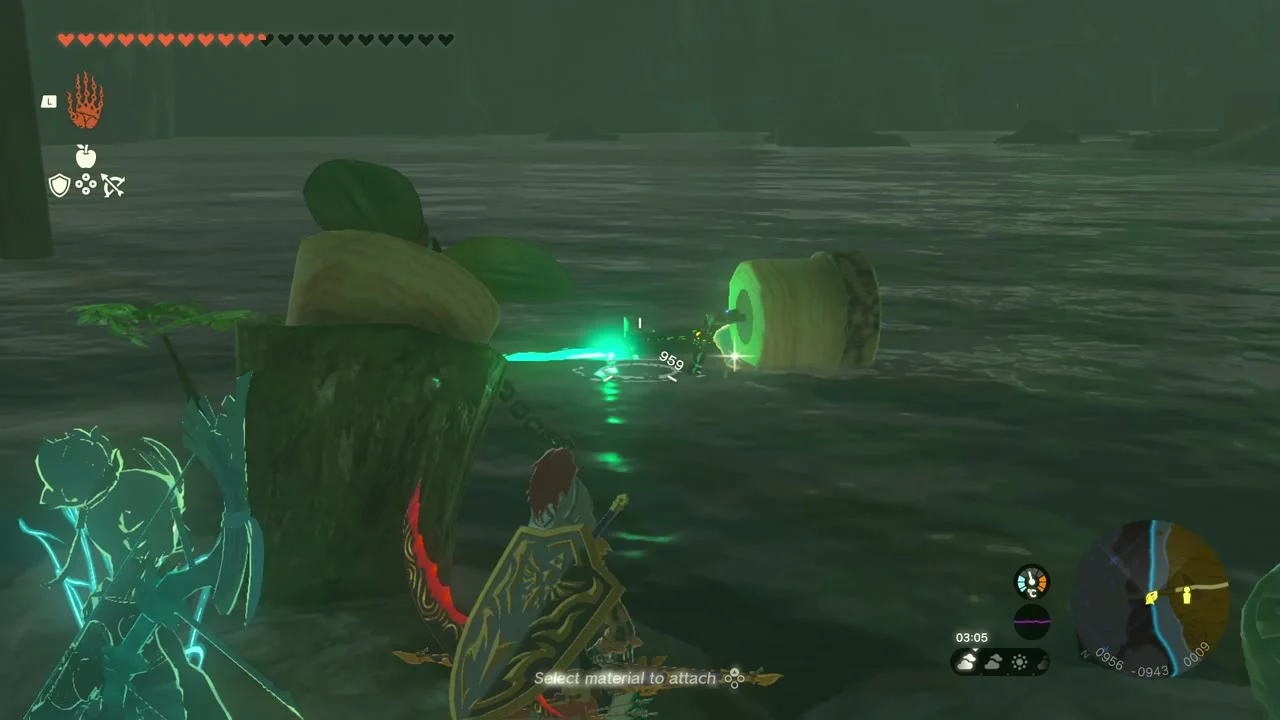
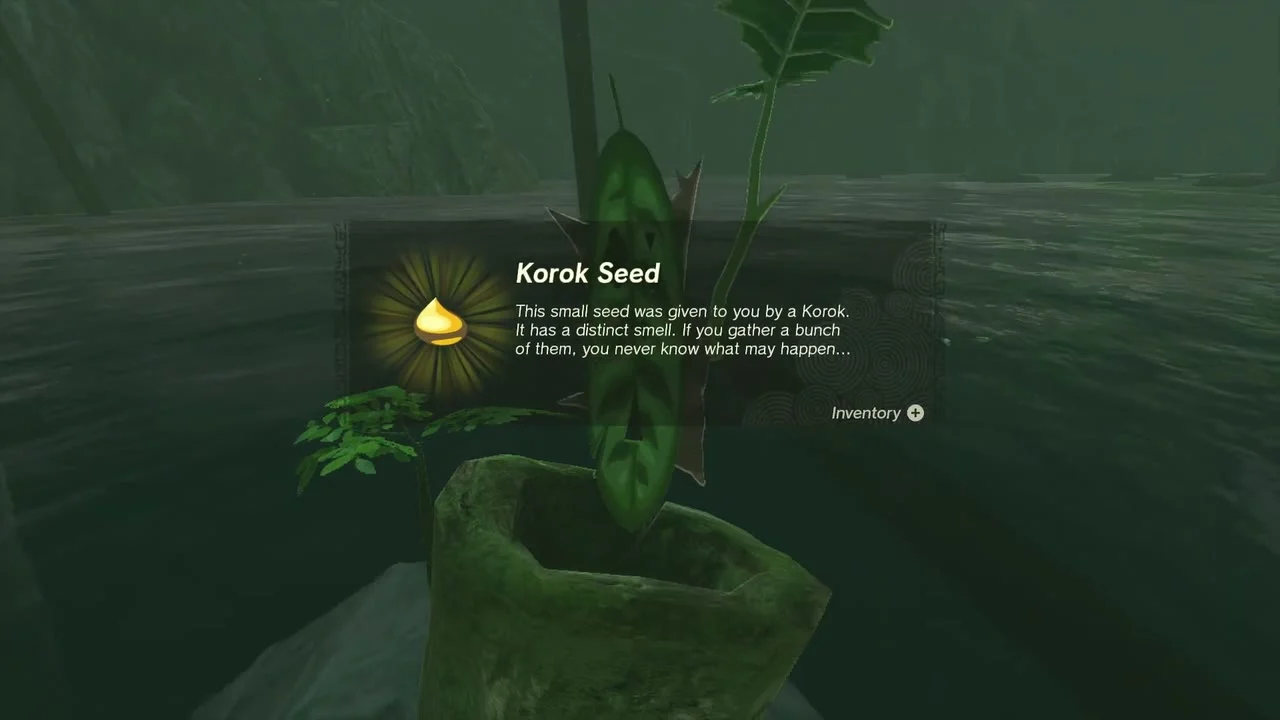
Korok seed (Pull the plug) at (959, -943), beside Eagus Bridge. A log is jammed in a hollow tree stump: grab it with Ultrahand and pull it out, then take the seed from the plant that grows from the stump.
Prop up the Addison sign
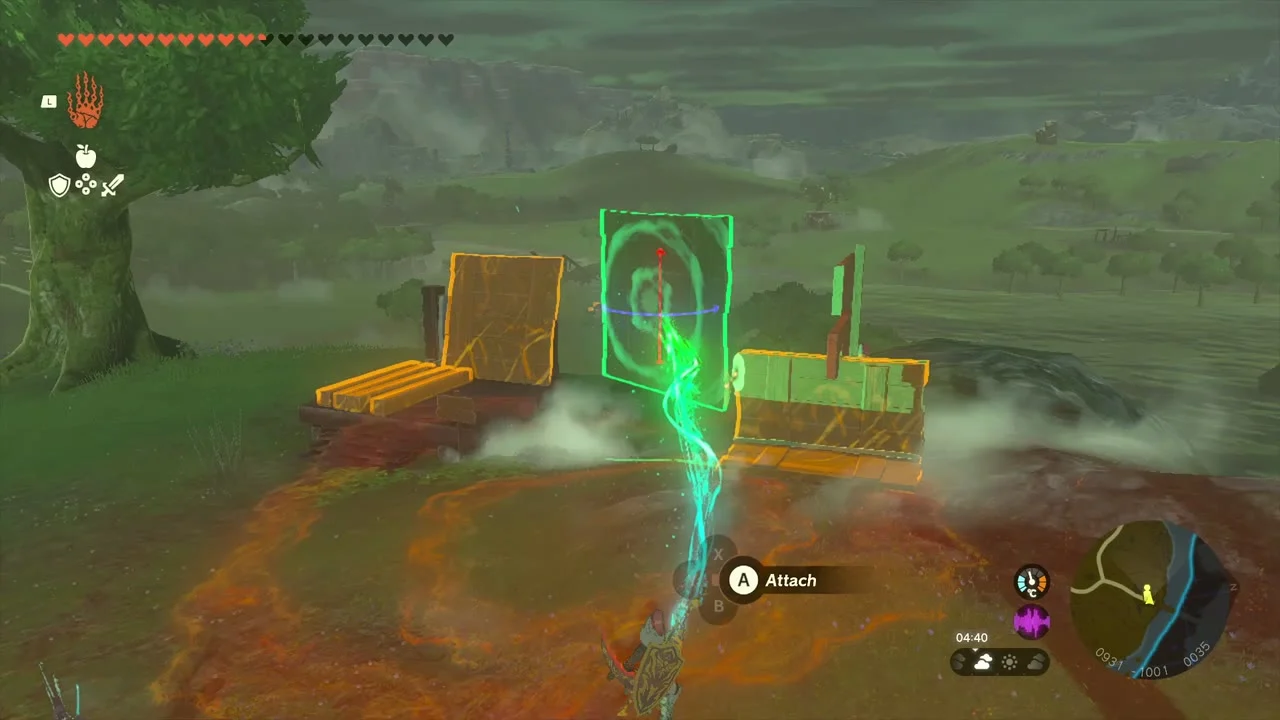
Addison’s sign at about (922, -995), on the hillside beside Eagus Bridge. Hold the Hudson sign upright with Ultrahand: slide planks under its base and brace it from behind so it stays standing for a few seconds, then let go.

Defeat the Hinox near the Popla Foothills road
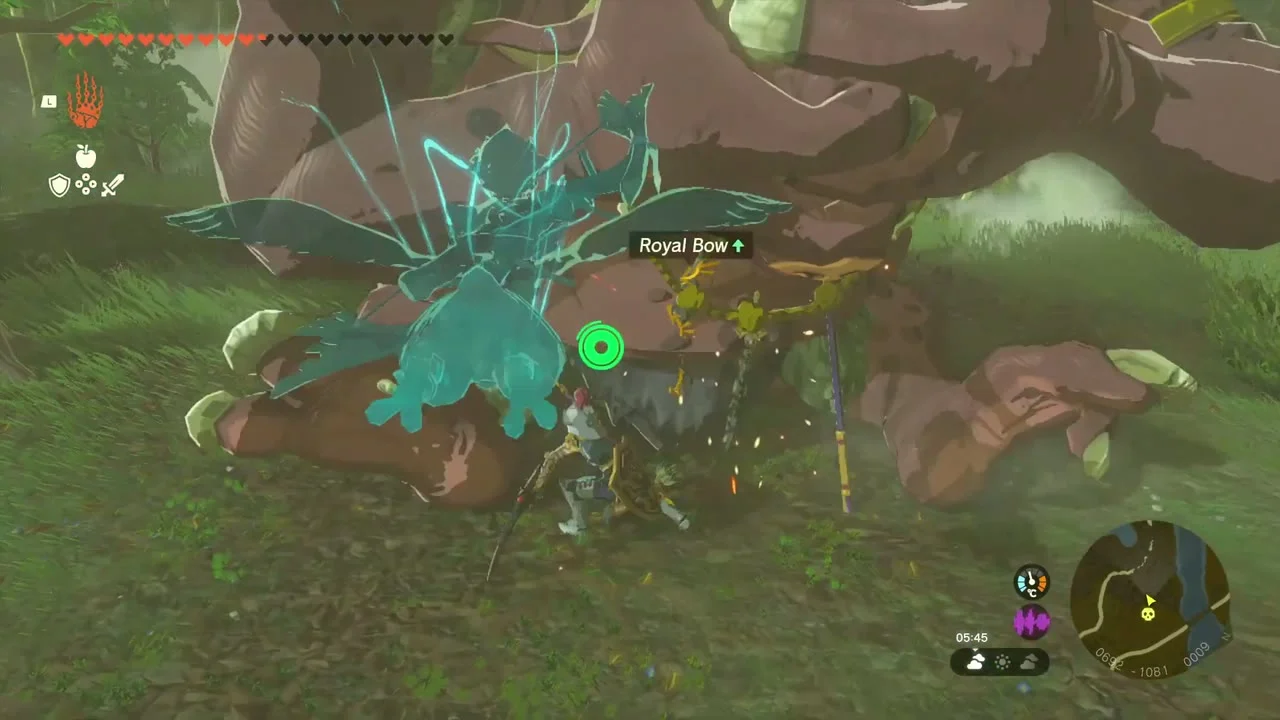
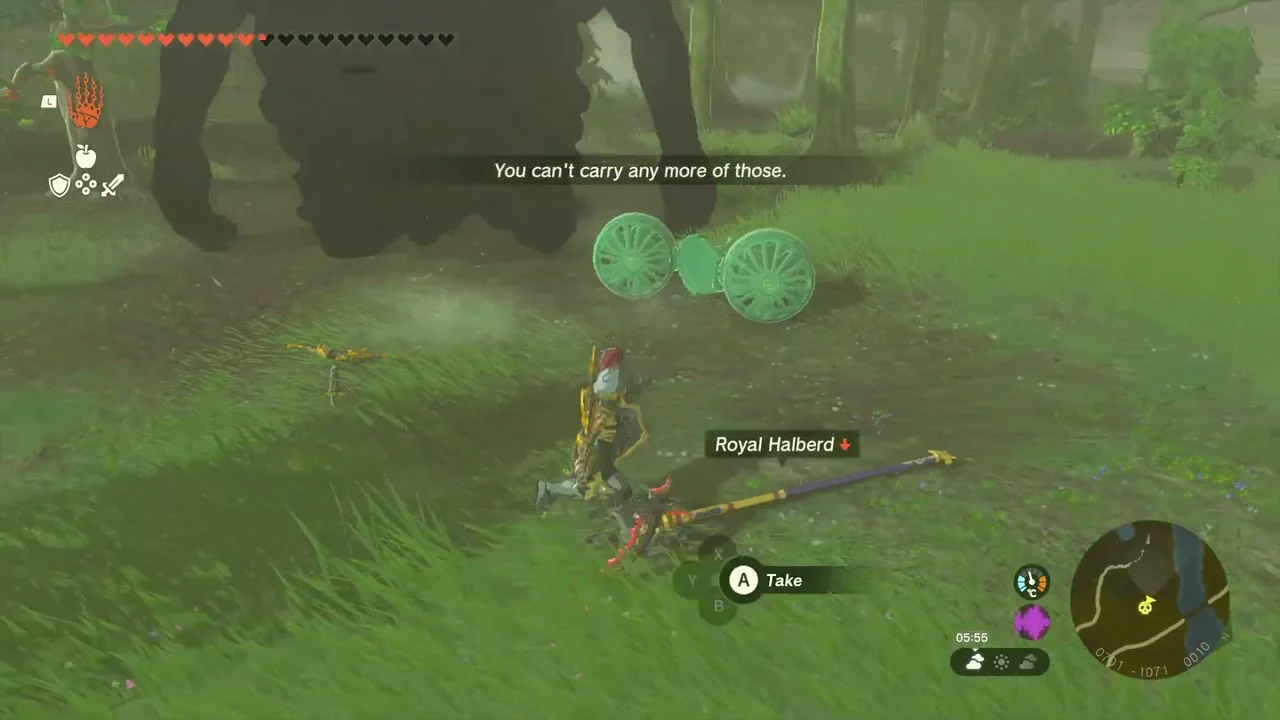
Miniboss: Hinox at about (697, -1078), in the woods beside the road north of the foothills. Shoot its eye to make it fall, then attack the eye while it is down; watch for its thrown rocks. It drops weapons including a Royal Bow (or Traveler’s Bow, Soldier’s Bow or Knight’s Bow, depending on your progress) and a Royal Halberd (or Traveler’s Spear, Soldier’s Spear or Knight’s Halberd, depending on your progress).
Break the Battle Talus
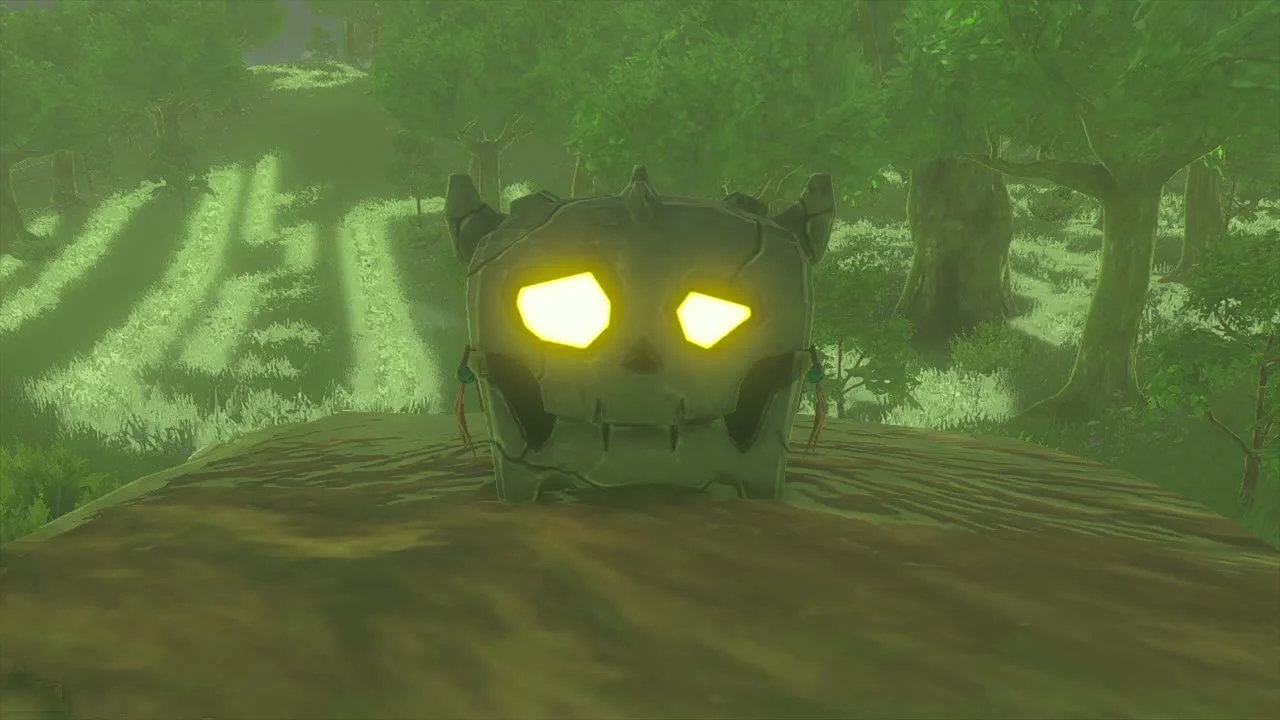
Miniboss: Battle Talus at about (764, -1218), west of the road below Nabi Lake. Shoot or bomb the glowing eyes on its back, climb up and strike the crystal weak spot. It drops Amber.

Open the Topaz chest on the platform
Chest: Topaz at about (768, -1215), on a straw-covered wooden platform just past the Battle Talus. Open the chest for a Topaz.


Bridge of Hylia, Spring of Courage and South Tabantha Snowfield
Defeat the Flame Gleeok at the Bridge of Hylia
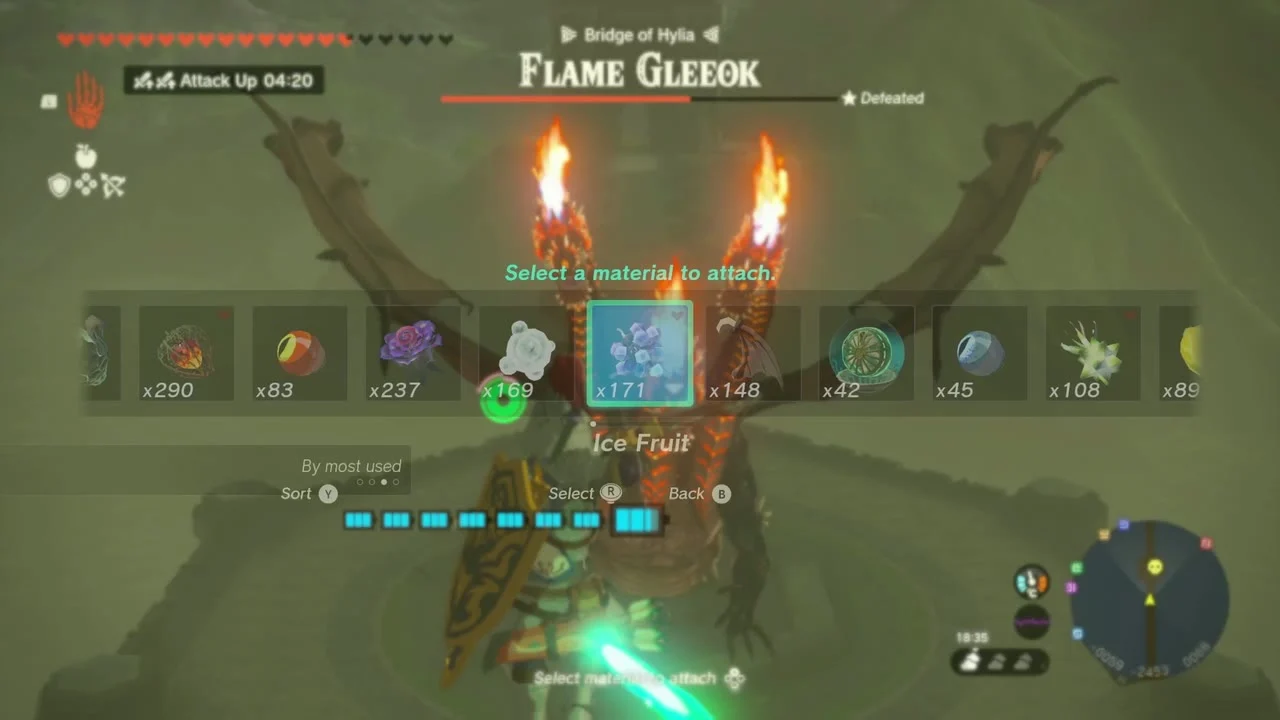
Miniboss: Flame Gleeok over the Bridge of Hylia, around (-100, -2450) on Lake Hylia. Glide close, fire Ice Fruit arrows (or fuse Ice Fruit to a weapon) at its wings and head to knock it down, then strike the head while it lies on the bridge. It drops Gleeok parts such as the Gleeok Wing.

Offer Farosh’s claw at the Spring of Courage
Side quest: Goddess Statue of Courage at the Spring of Courage (879, -2371), in the Faron Grasslands. Giver: the Goddess Statue. First report the toppled Mother Goddess Statue in the Forgotten Temple, then bring back a claw of Farosh, the golden dragon, and offer it at the spring. To get the claw, shoot one of Farosh’s feet with an arrow (hitting another body part drops a different piece and Farosh needs about ten real-time minutes before you can try again), then drop the claw into the spring in front of the statue. She rewards you with a Topaz, and if your pouch is full she keeps it for you until you make room.


Bring Peace to Hebra with Flaxel
Side adventure: Bring Peace to Hebra! Giver: Flaxel, whose monster-control crew attacks the fort in the South Tabantha Snowfield (Hebra), around (-1796, -2303). Move the iron ball that blocks the fort entrance out of the way, then join the crew and clear the Marauders of Hebra from the fort.


Depths: Lake Hylia, Faron Grasslands and West Necluda
Lake Hylia Chasm and Amo-ne Lightroot
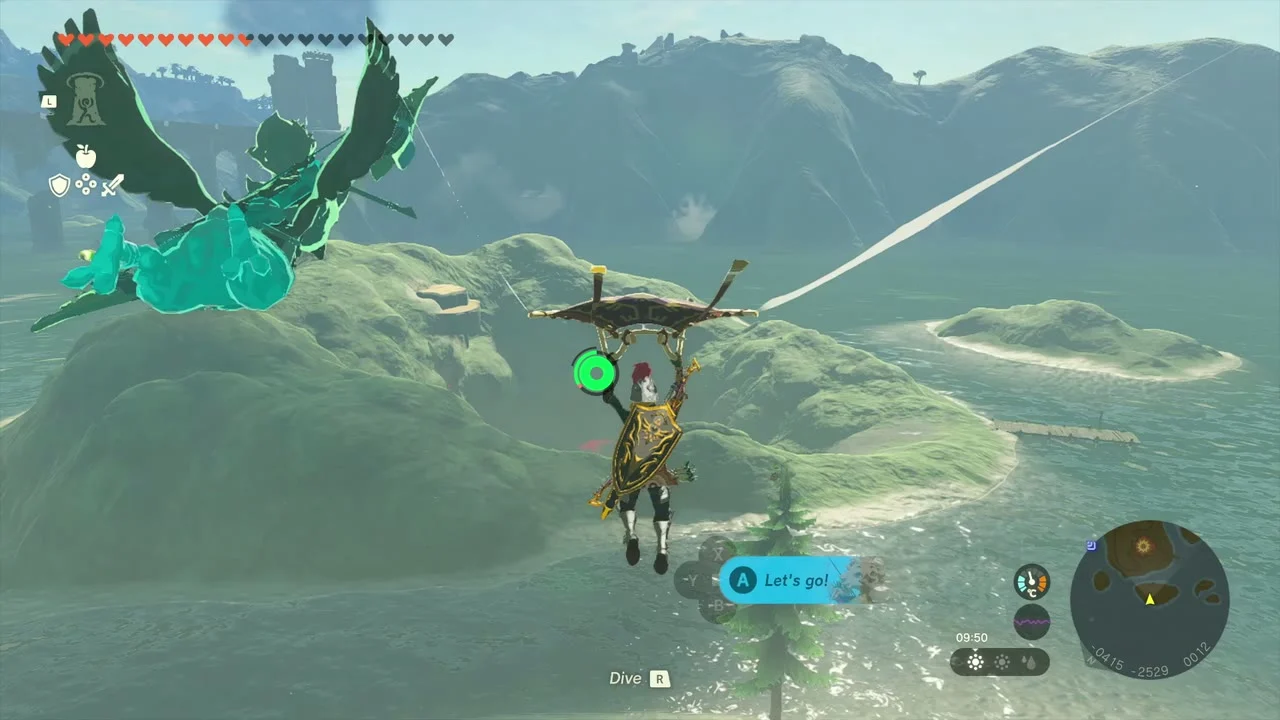
Drop into the Lake Hylia Chasm
The Lake Hylia Chasm at (-332, -2598) is the way down from the lake. Glide from the shore and fall into the chasm, then use the Depths below to find the lightroot.

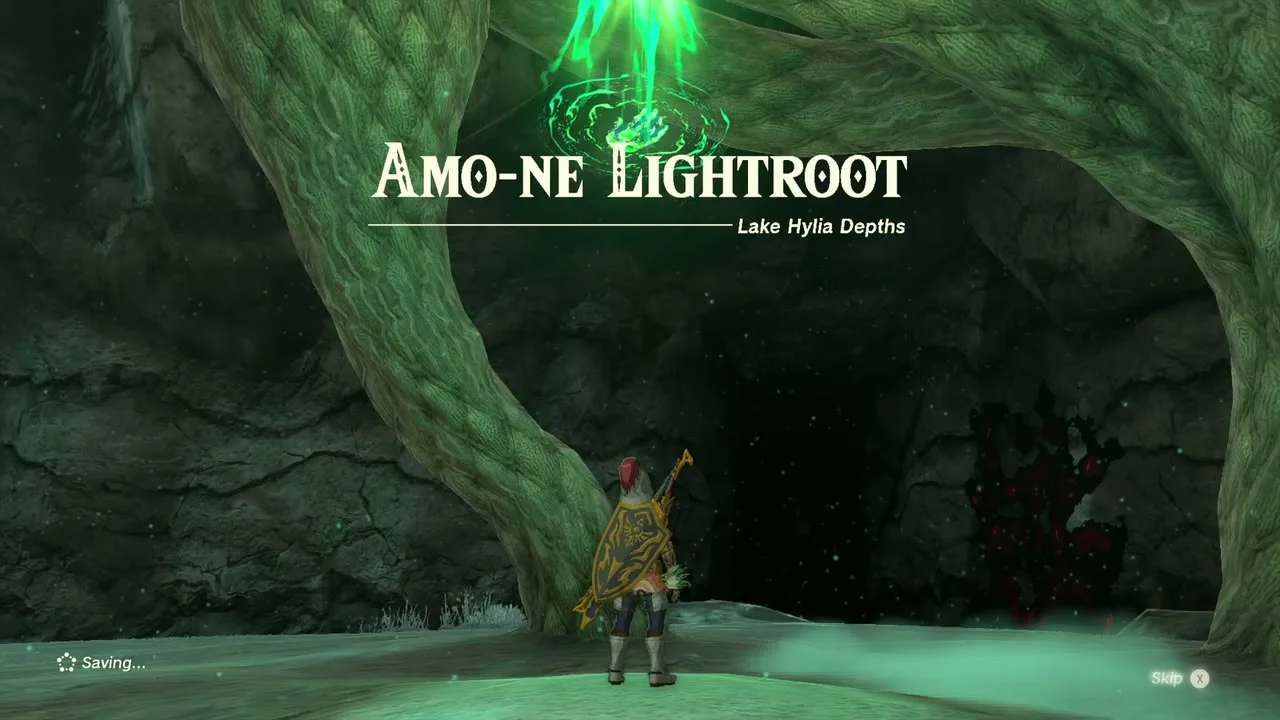
Light Amo-ne Lightroot
Amo-ne Lightroot at (102, -2518, -435), in the Lake Hylia Depths, below En-oma Shrine (Rauru’s Blessing). Walk up to the glowing roots and step into them to light it.

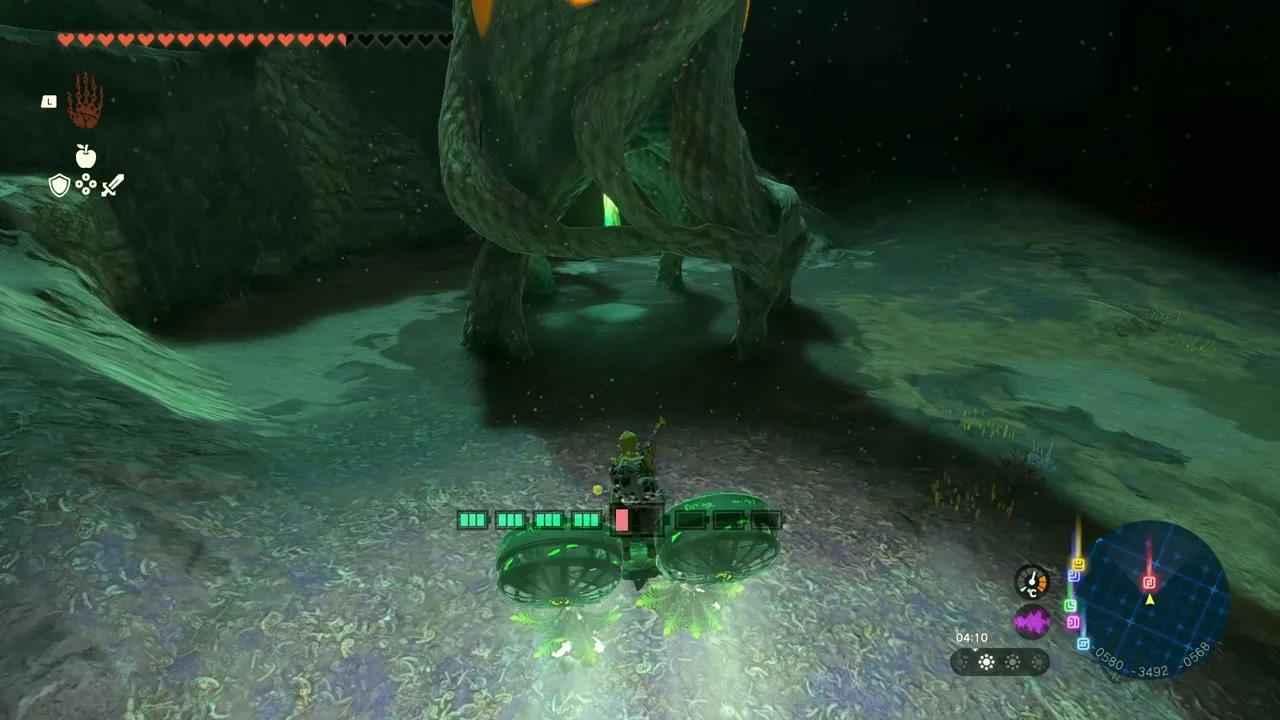
Faron Grasslands and West Necluda Depths: seven lightroots
Light Nikohsi Lightroot
Nikohsi Lightroot at (-564, -3524, -574), below Ishokin Shrine (Rauru’s Blessing, which sits on the Faron Grasslands above Zokassa Ridge). Walk to the roots in the far south-west of the Depths and step into them to light it.
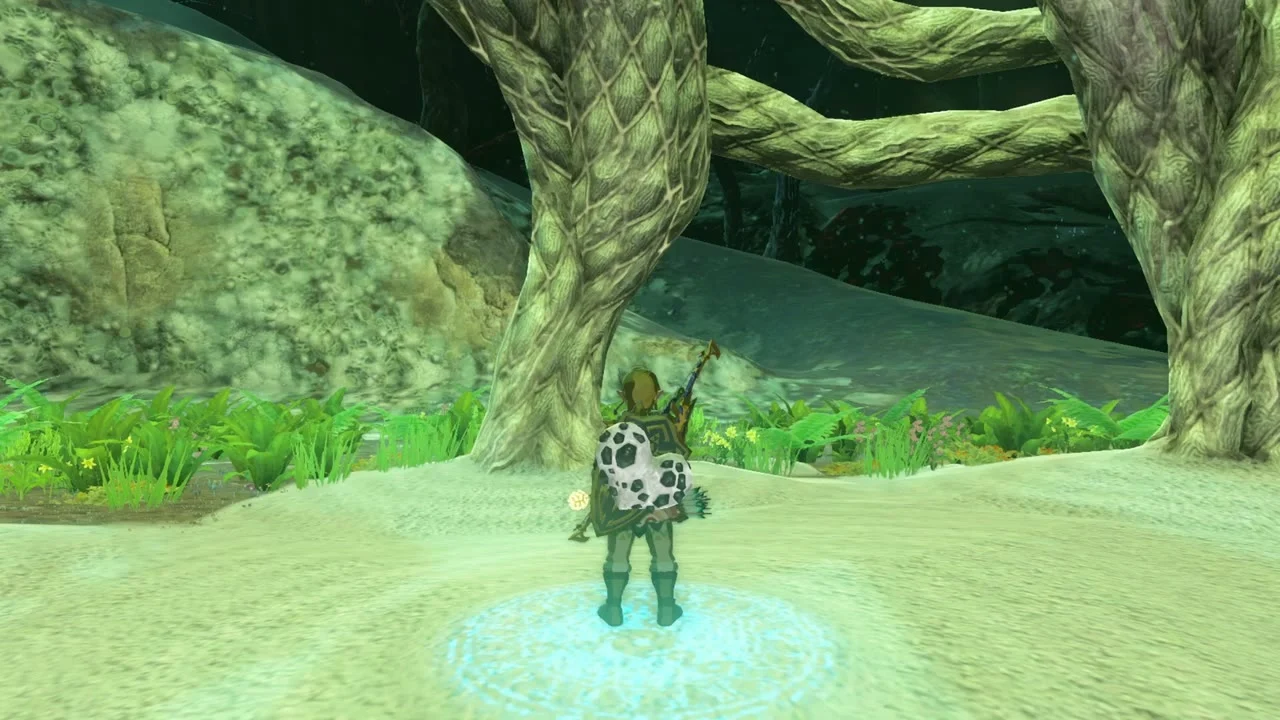
Light Kohsustu Lightroot
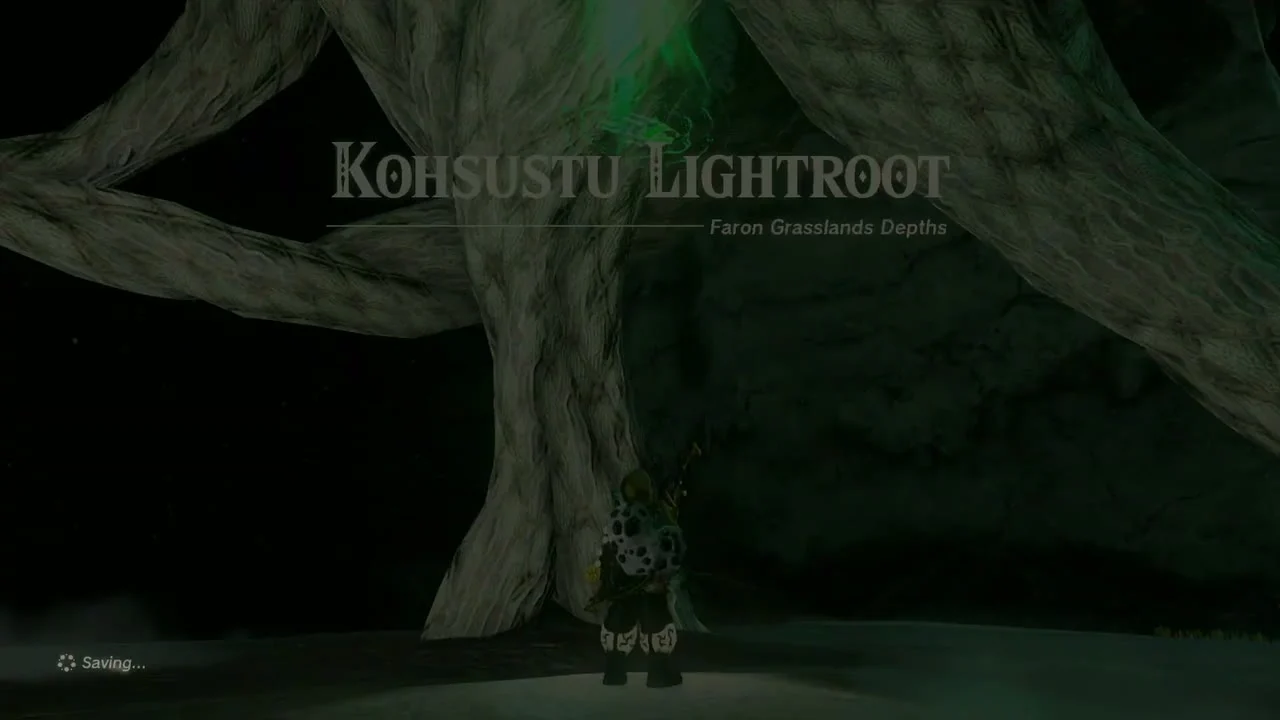
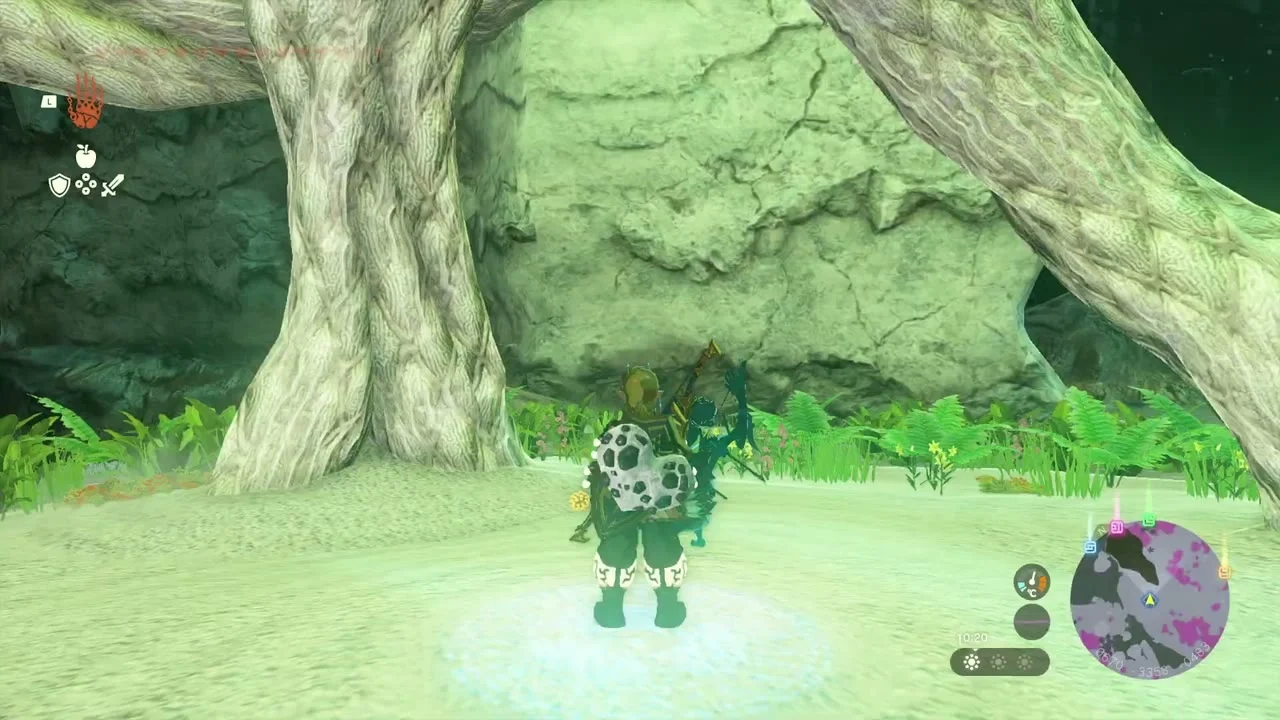
Kohsustu Lightroot at (670, -3358, -504), in the Faron Grasslands Depths, below Utsushok Shrine (Long or Wide, puzzle). Its roots stand on a pale grassy patch under a huge arch of root.
Light U-u-ujoj Lightroot
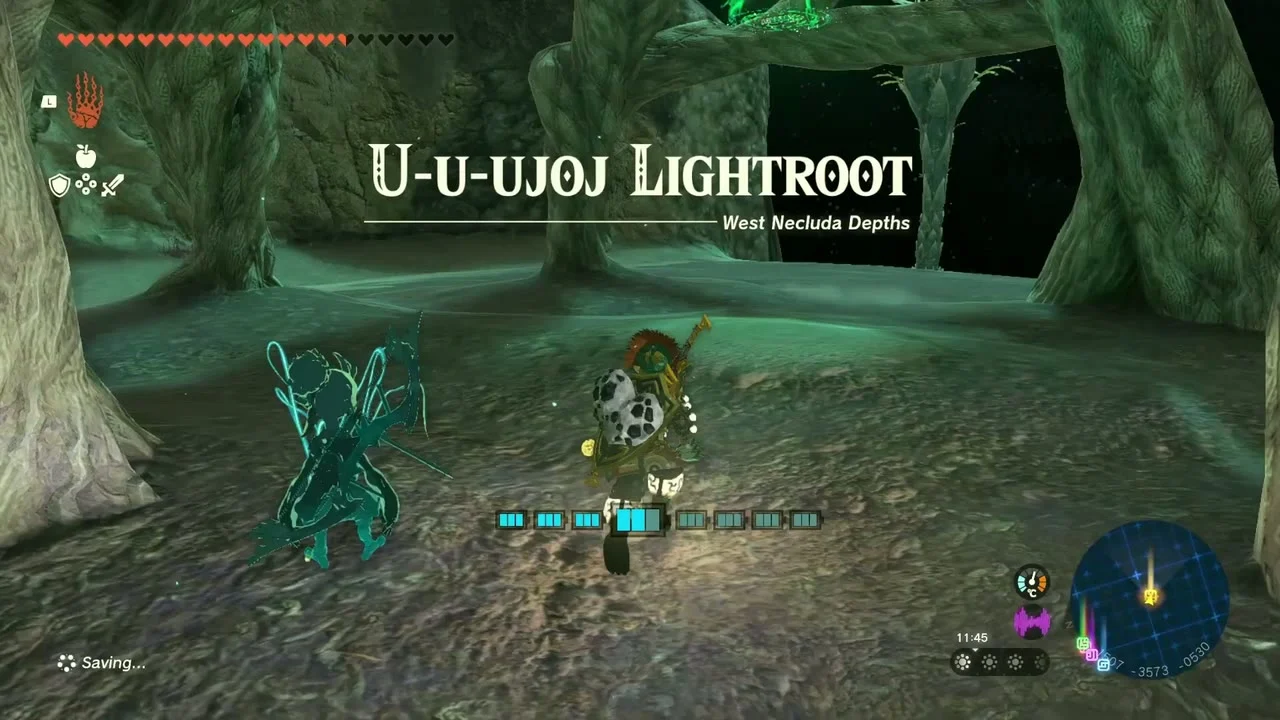
U-u-ujoj Lightroot at (1514, -3577, -550), in the West Necluda Depths, below Joju-u-u Shrine (Building Bridges, puzzle). The roots sit in a small grotto lined with ferns.

Light Sijotu, Uisihcoj and Busus Lightroots
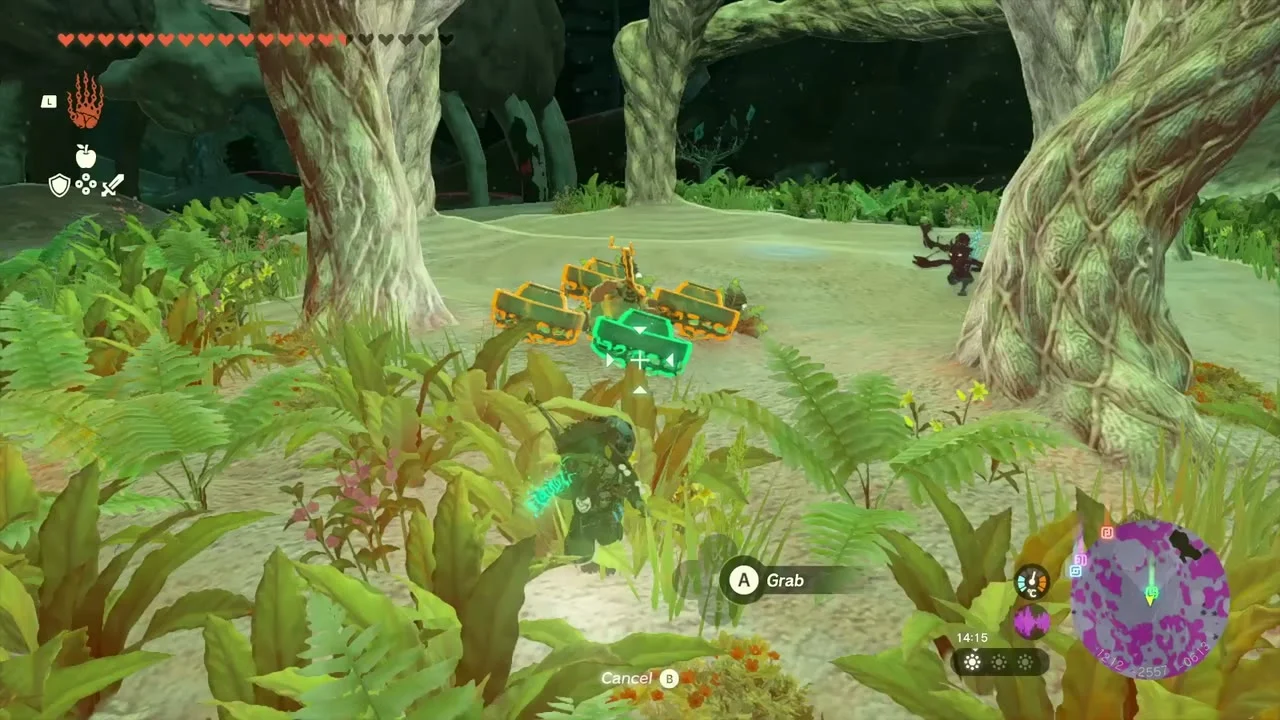
Sijotu Lightroot at (1218, -2544, -633), below Utojis Shrine (Rauru’s Blessing, East Necluda). Uisihcoj Lightroot at (930, -1903, -481), below Jochisiu Shrine (Rauru’s Blessing). Busus Lightroot at (349, -2052, -492), below Susub Shrine (Rauru’s Blessing). Fly a fan glider or hover bike between them; each root stands in a green grove.
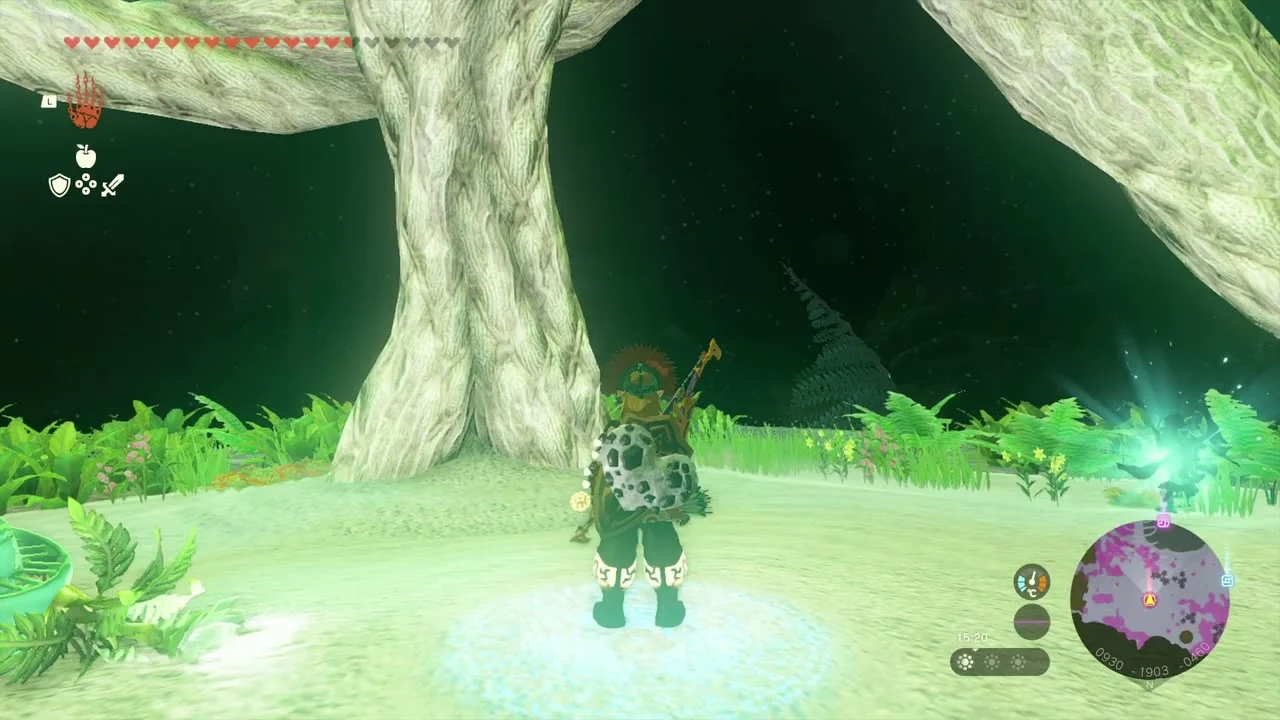
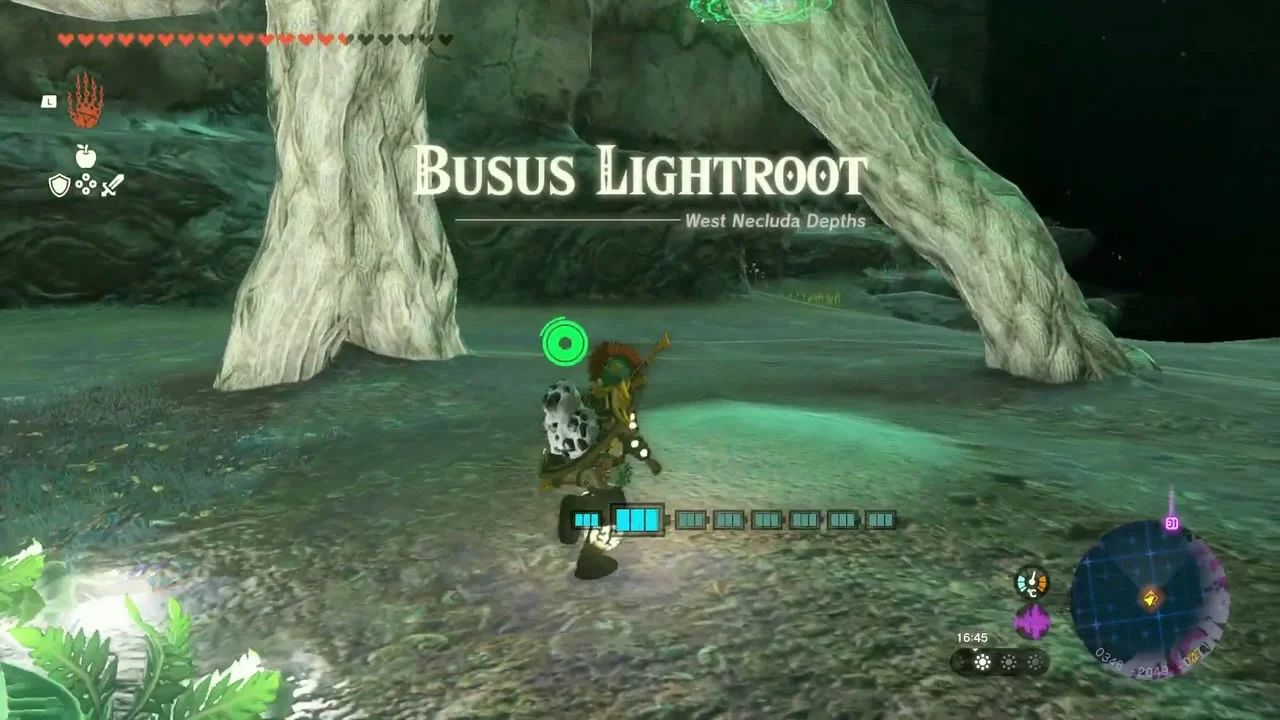
Raid the Yiga camp storeroom
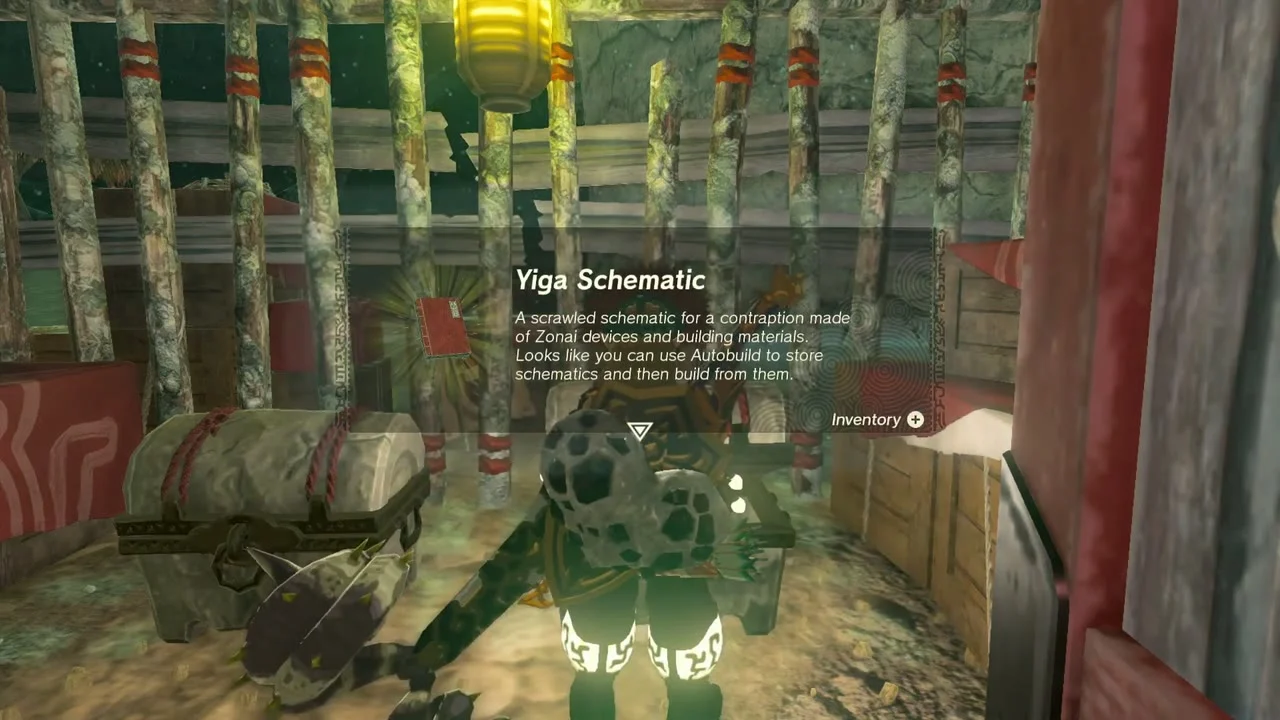
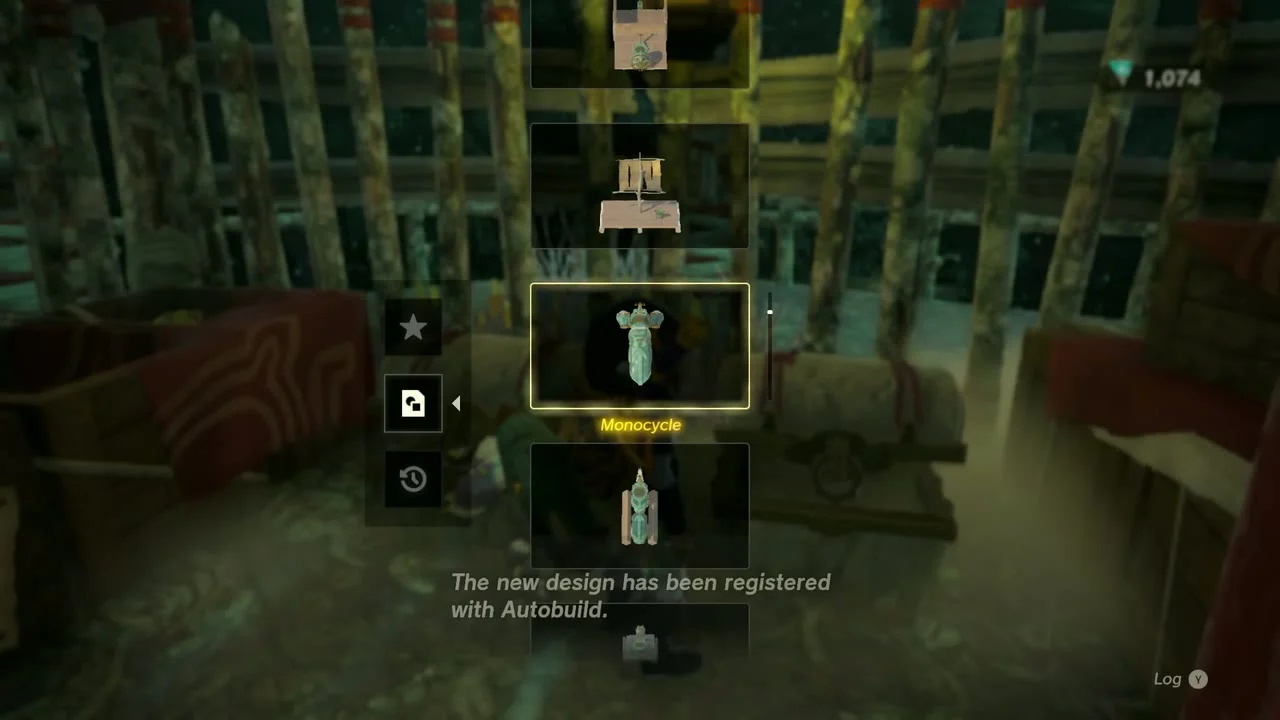
Yiga camp chests at about (241, -2162, -486), in the West Necluda Depths. Defeat the Yiga Footsoldier guarding the storehouse and open the red doors; the two chests hold a Yiga Schematic and a Large Crystallized Charge. Add the schematic through the Autobuild menu.

Defeat the Stalnox in the Depths
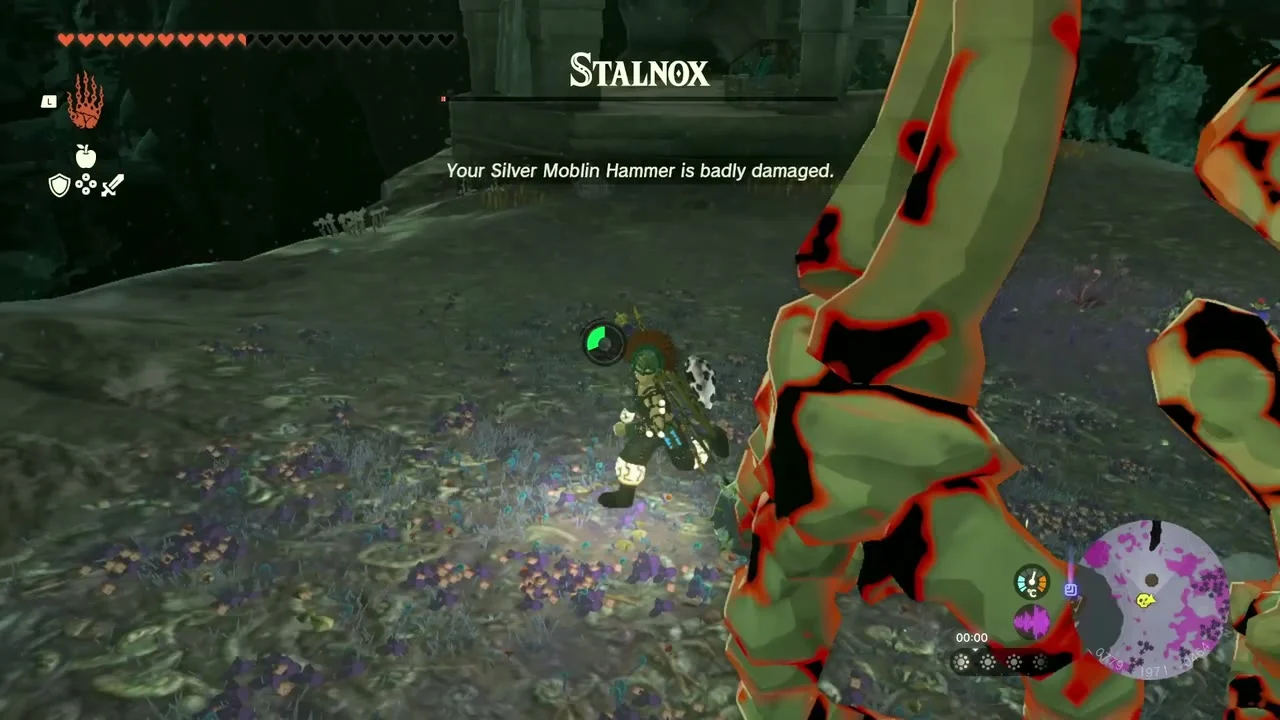
Miniboss: Stalnox at about (779, -1971, -464), in the Faron Depths north of the Muokuij Lightroot. Its glowing eye is the weak point: arrows from a distance, then heavy hits while it is down.

Light Muokuij Lightroot
Muokuij Lightroot at (867, -2277, -577), in the Faron Grasslands Depths, below Jiukoum Shrine (Built for Rails, puzzle). A lit stone temple hall stands beside it: this is the area of the Construct Factory.


Construct Factory and the four depots
Search the Construct Factory chests
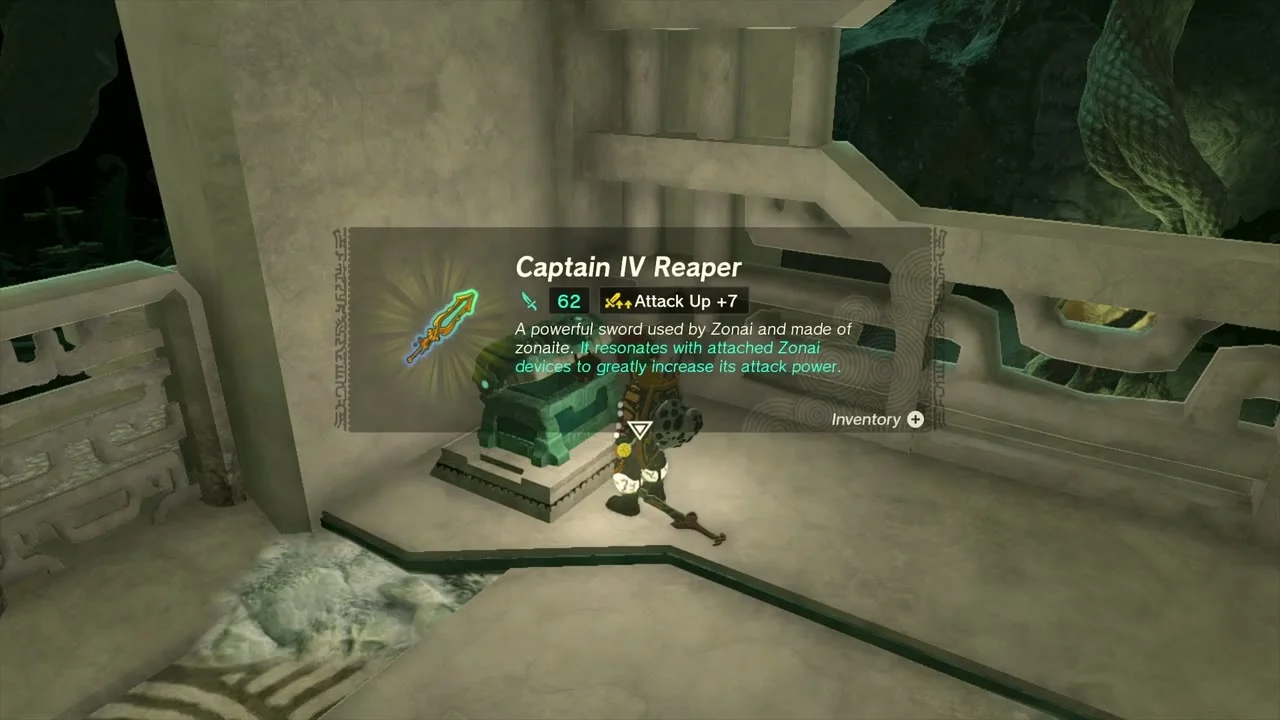
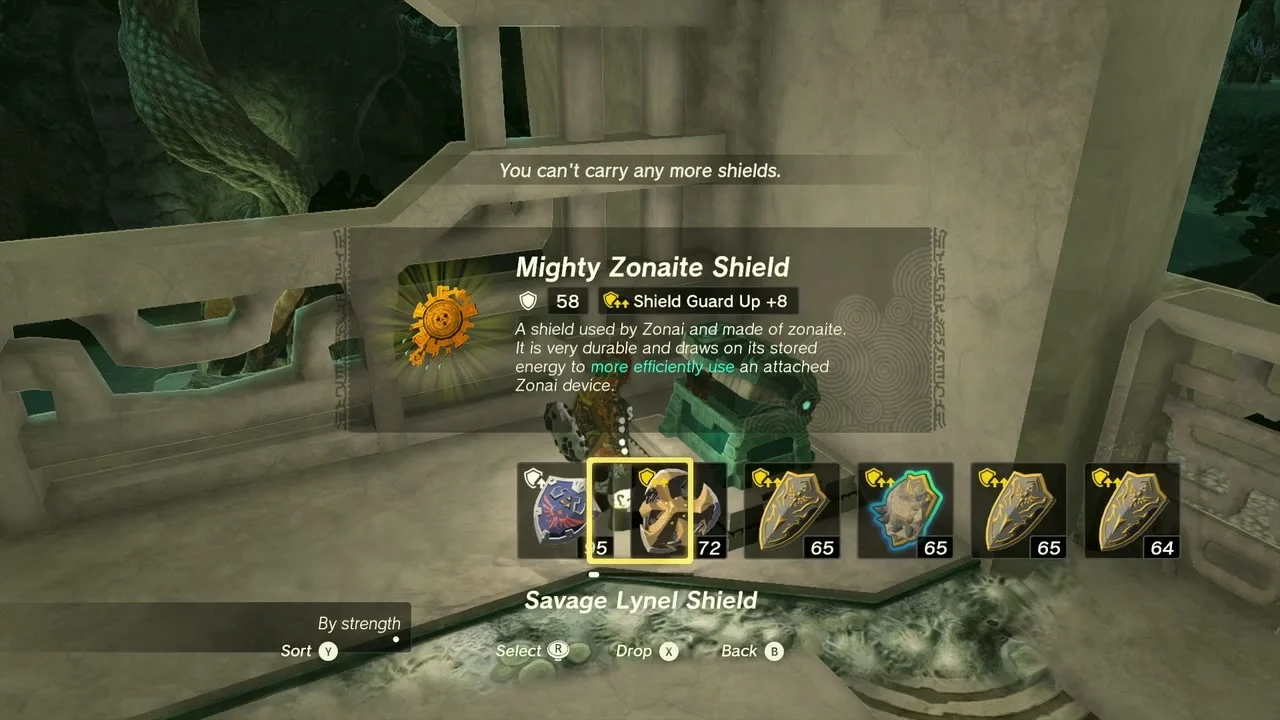
Construct Factory at (868, -2174, -570) is the body workshop for Mineru’s Construct. Inside the lit hall two chests stand on a raised platform: one holds the Captain IV Reaper and the other a Mighty Zonaite Shield (Strong or Mighty, depending on your progress).
Defeat the Boss Bokoblin by the factory
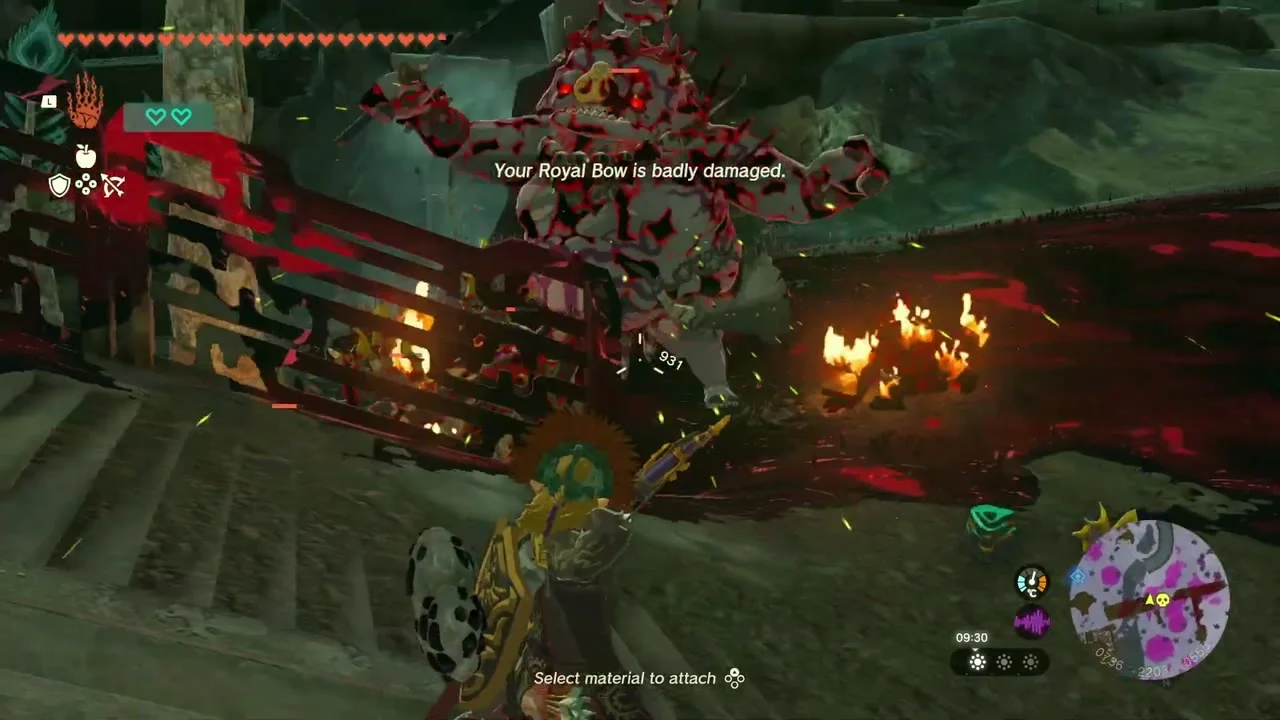
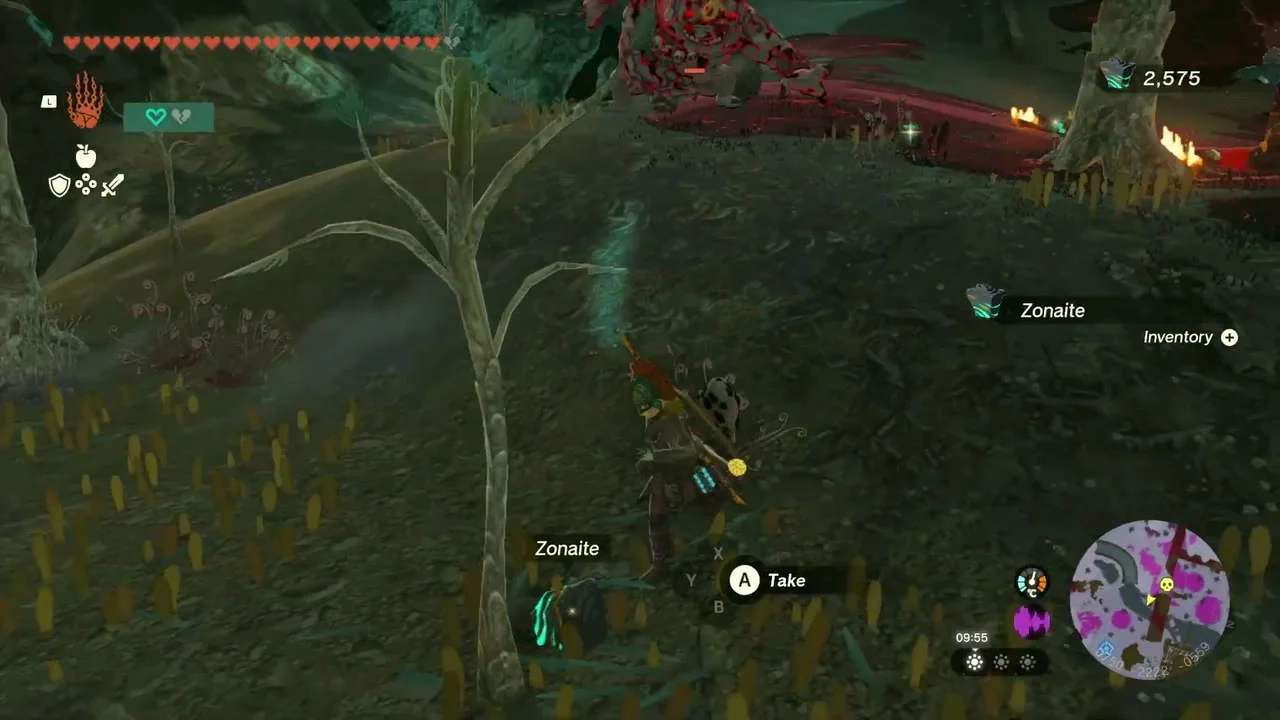
Miniboss: Boss Bokoblin just west of the Construct Factory, around (740, -2220). Fight it on the open ground, use fire or bombs on it and pick up the Zonaite it leaves behind.
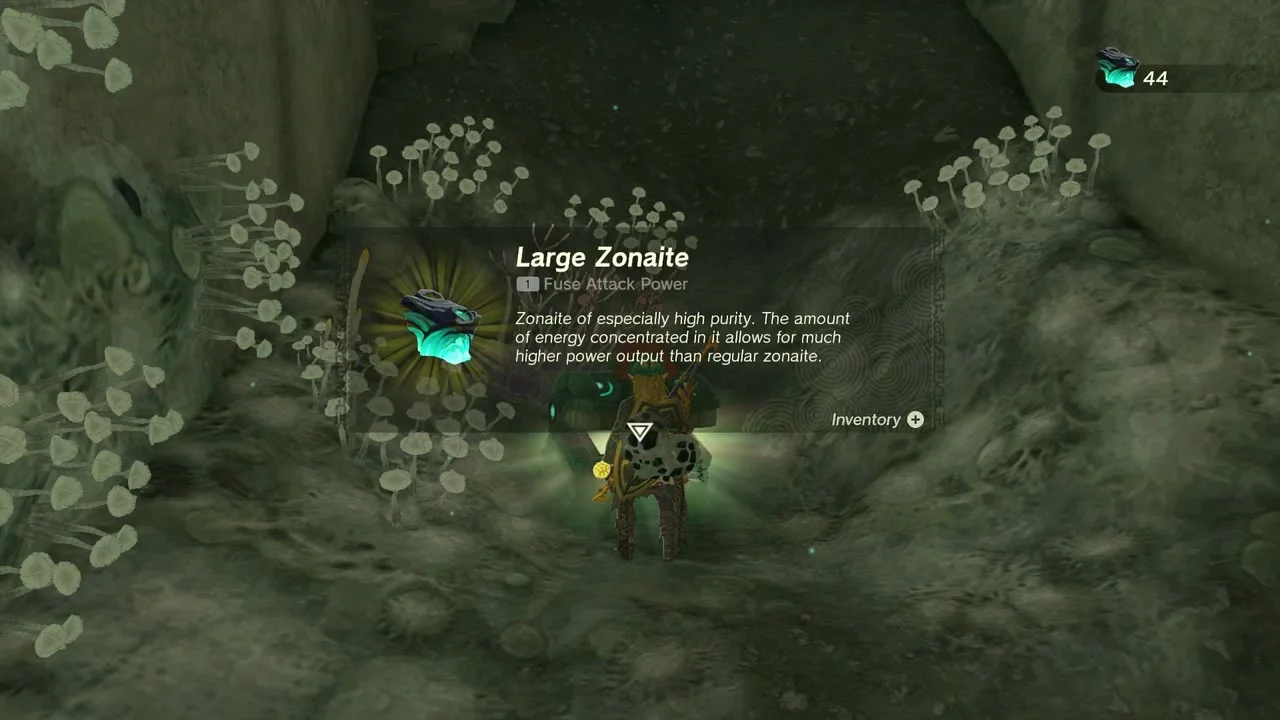
Open the Large Zonaite chest at Right-Arm Depot
Right-Arm Depot at (569, -2111, -509), in the Depths north-west of the factory. Reach the depot and open the chest for Large Zonaite. The depot holds the right arm of Mineru’s Construct.

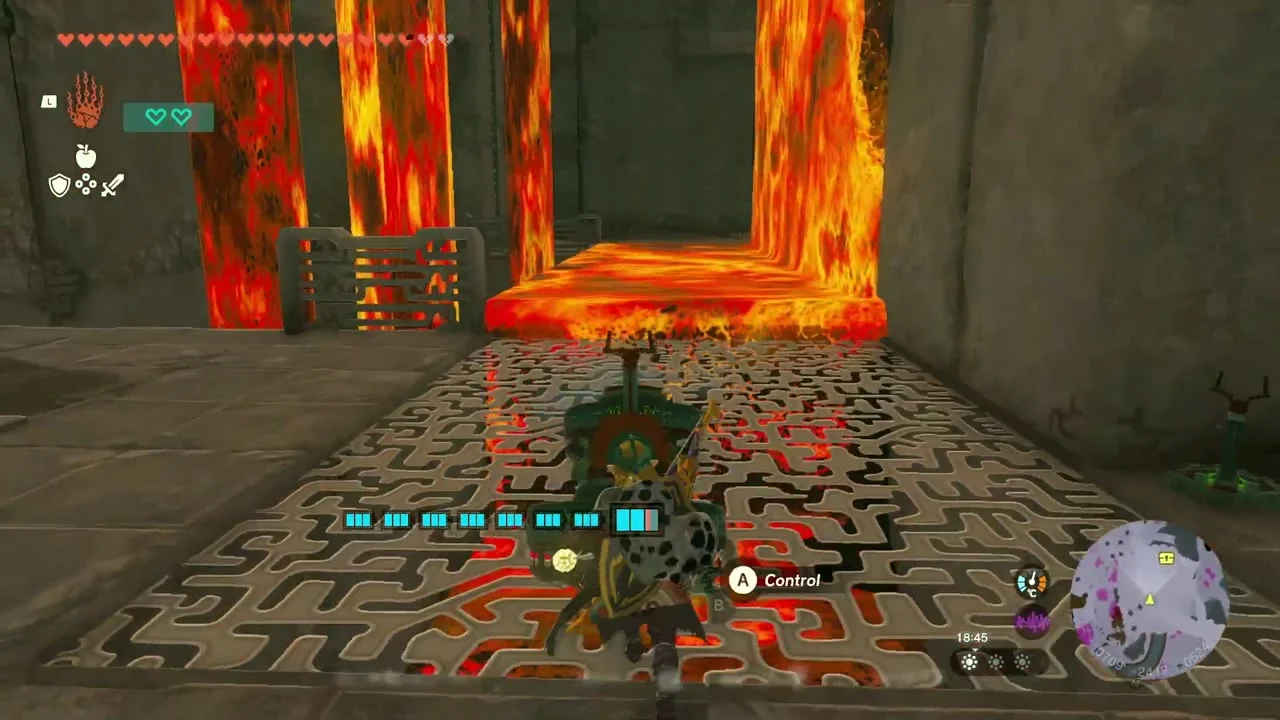
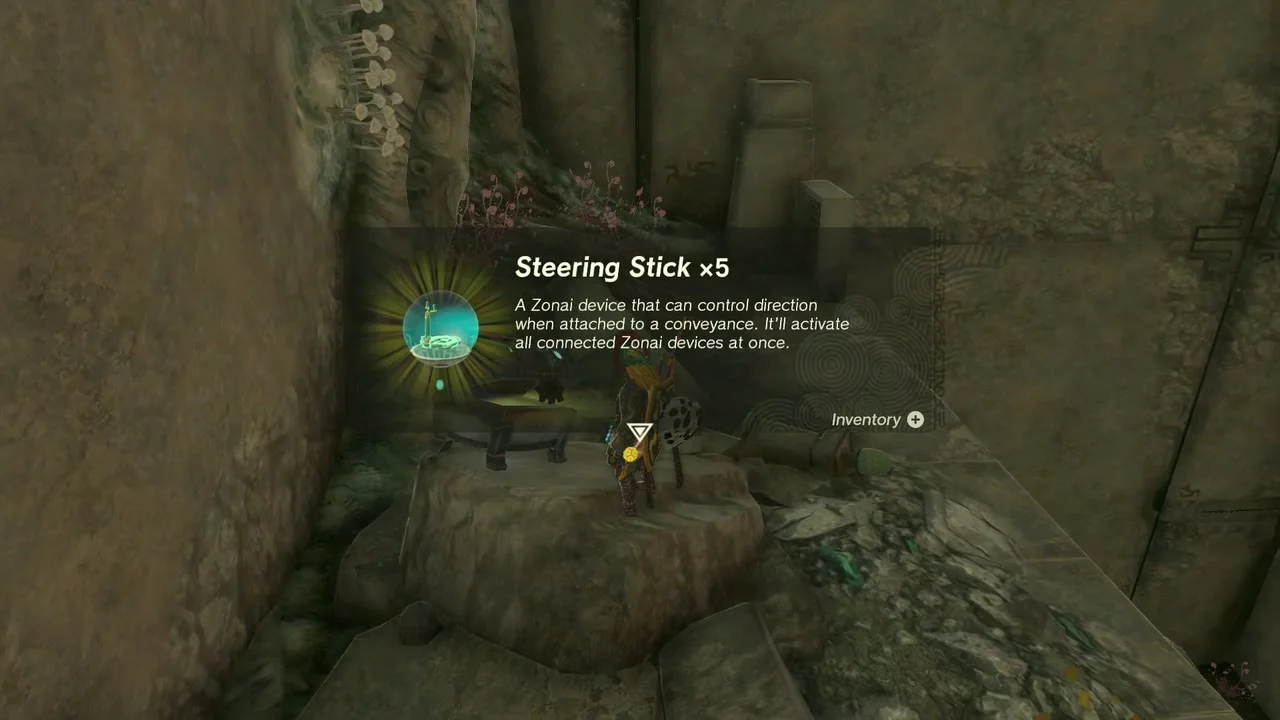
Open the Steering Stick chest at Left-Arm Depot
Left-Arm Depot at (706, -2431, -524), south-west of the factory. Clear the lava-lit corridors inside and open the chest at the end for Steering Stick x5.
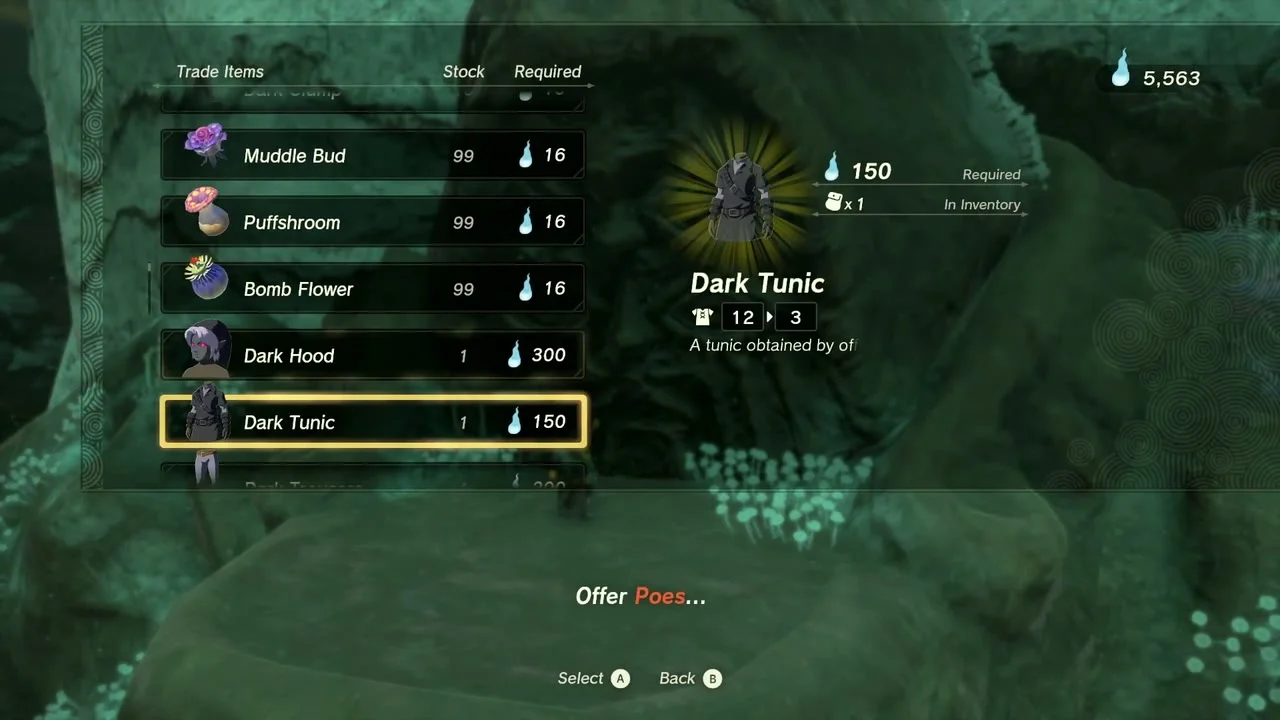
Trade Poes at the Wellspring of Courage Bargainer Statue
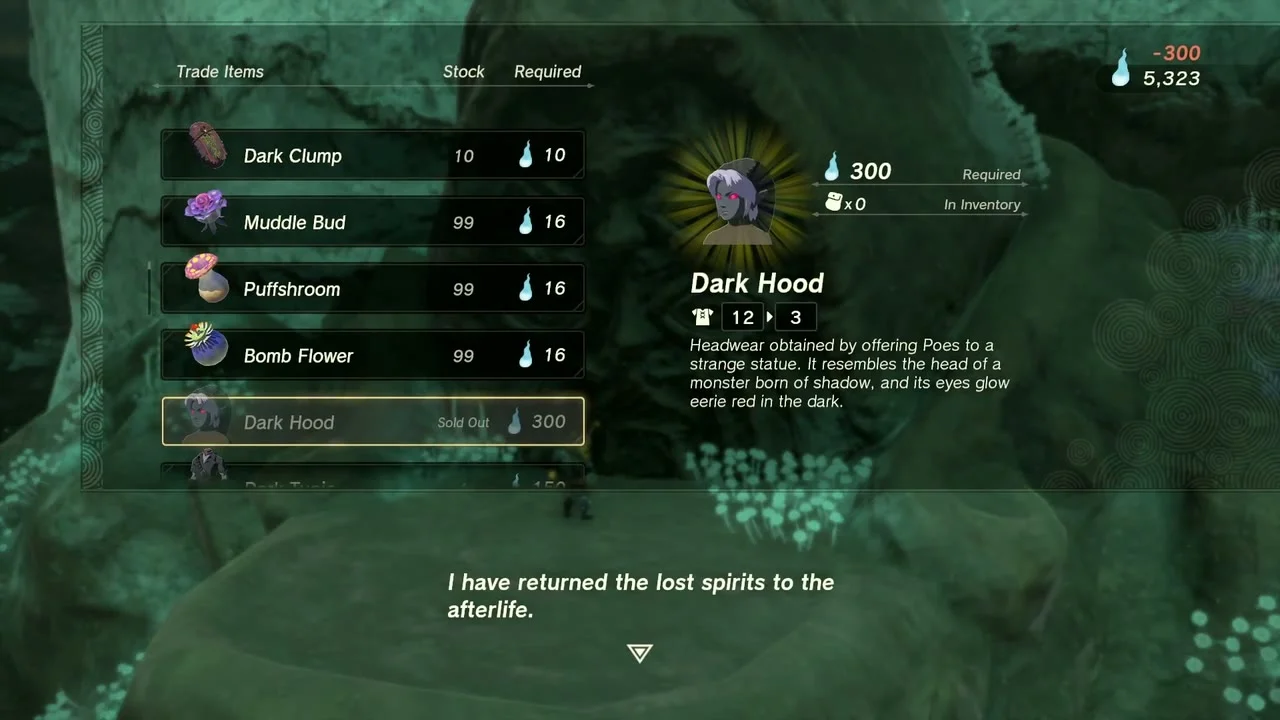
Wellspring of Courage at (903, -2488, -358), under the Spring of Courage, holds a Bargainer Statue. Offer Poes for armor: the Dark Hood costs 300 Poes and the Dark Tunic costs 150 Poes and the Dark Trousers cost 200 Poes. The statue also sells common Depths materials.
Open the chest at Dracozu Altar
Dracozu Altar at (906, -2556, -467), a pale shrine room beneath Dracozu Lake. Open the chest on the altar for a Large Crystallized Charge.


Collect the Giant Brightbloom Seeds
Chest: Giant Brightbloom Seed x5 at (755, -2798, -462), on a wooden platform around a root pillar south of the Dracozu Altar. Climb the wooden ramp and open the chest for Giant Brightbloom Seed x5.


Use the Left-Leg Depot dispenser and chest
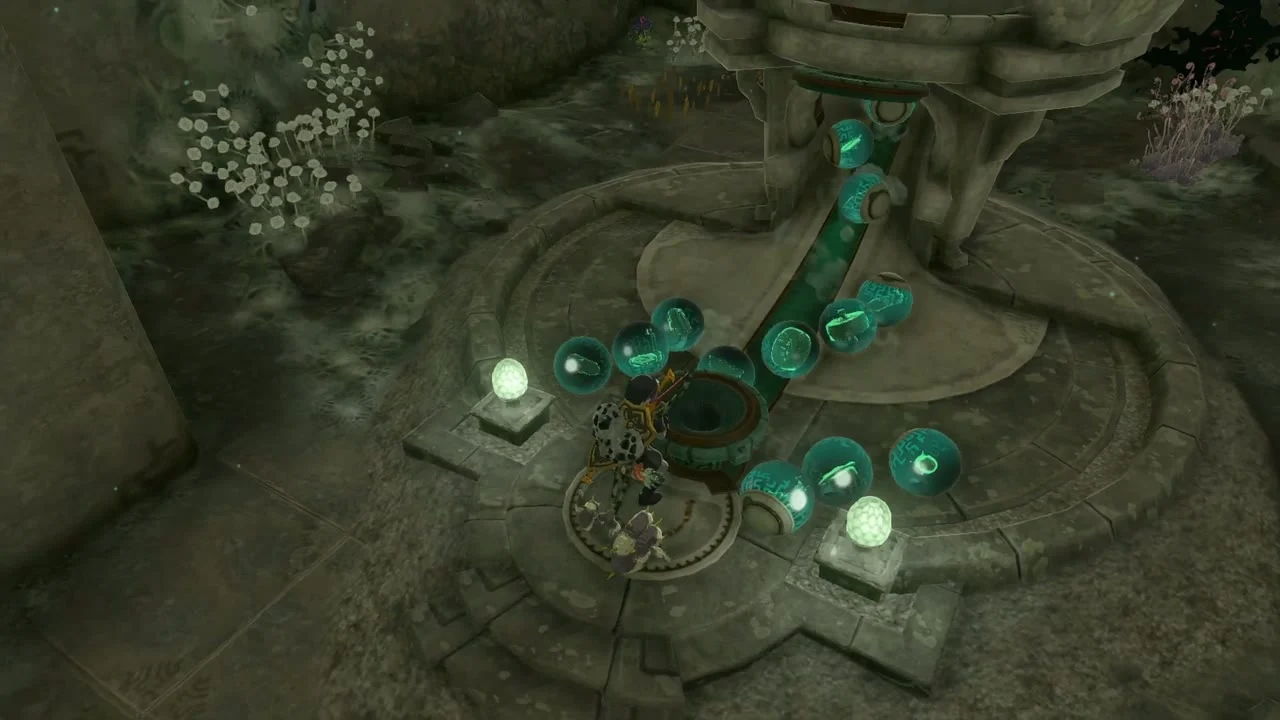
Left-Leg Depot at (1016, -2292, -533), east of the factory. Its Device Dispenser stands near the entrance: feed it a Zonai Charge for wheels, big wheels and construct heads, and a chest at the end of the depot holds Large Zonaite.

Take the Zonaite x3 chest at Right-Leg Depot
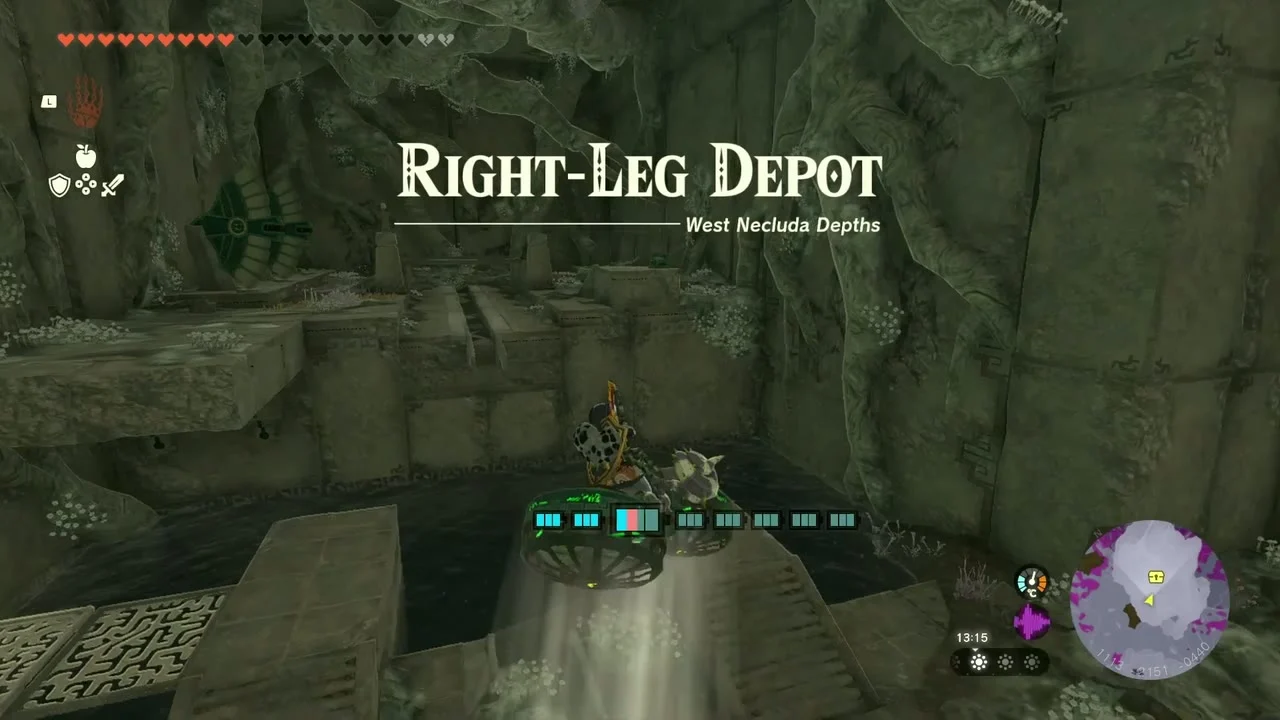
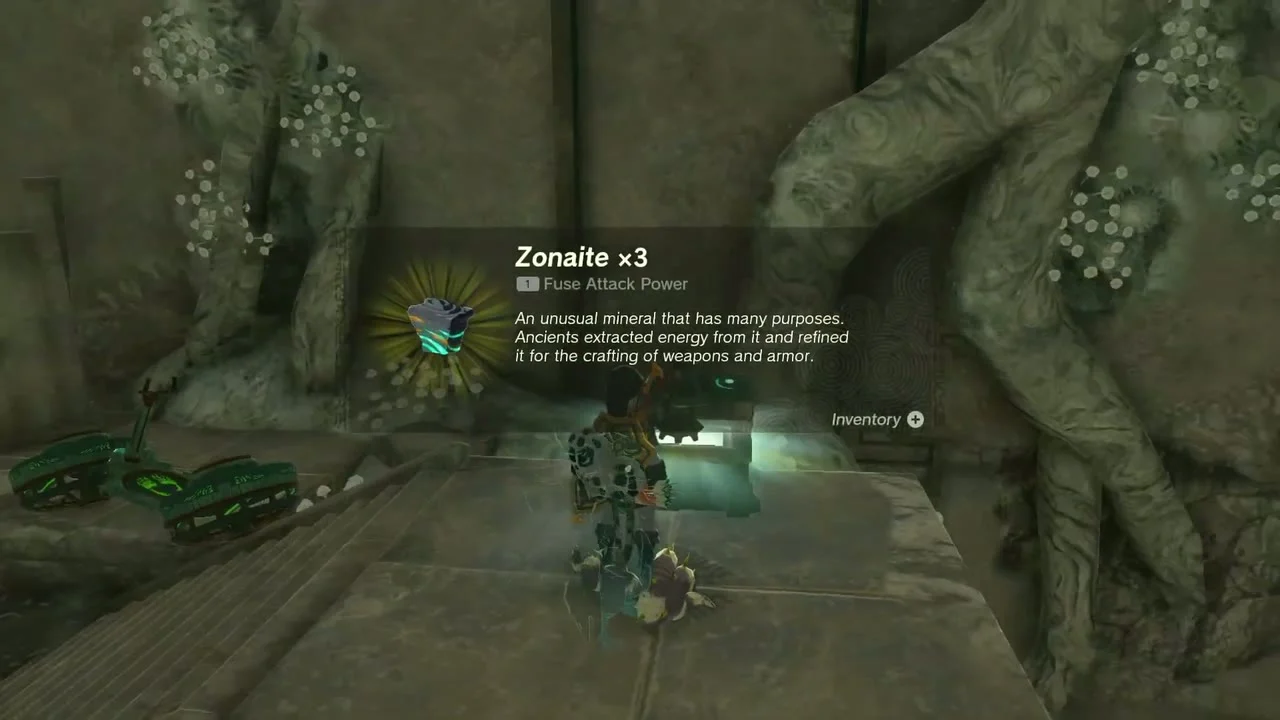
Right-Leg Depot at (1143, -2116, -440), on the east side of the factory. Glide in over the platforms and open the chest for Zonaite x3.
Defeat the Blue Hinox
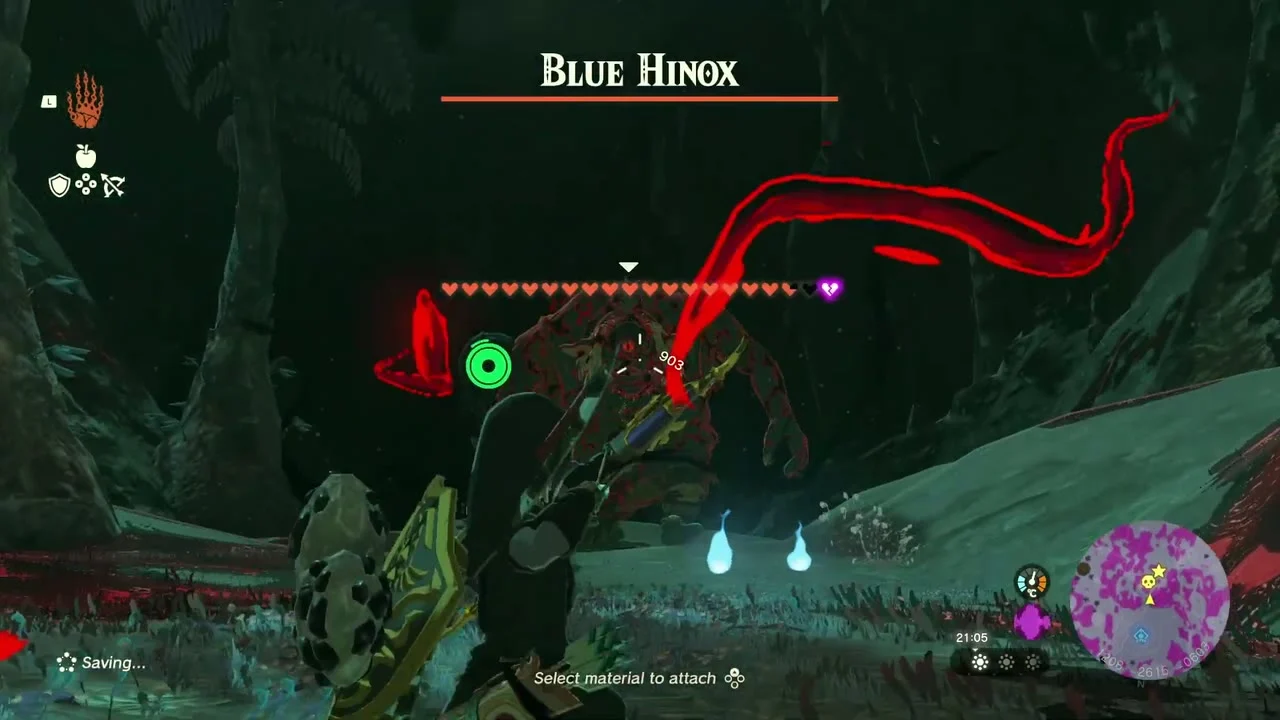
Miniboss: Blue Hinox at about (1212, -2645, -597), in the dark south of the Right-Leg Depot. Use bombs and arrows at its eye from range and strike while it is stunned. A second Hinox waits further south at about (1088, -2873, -516); fight it the same way.

Defeat the Boss Bokoblin near the Spirit Temple
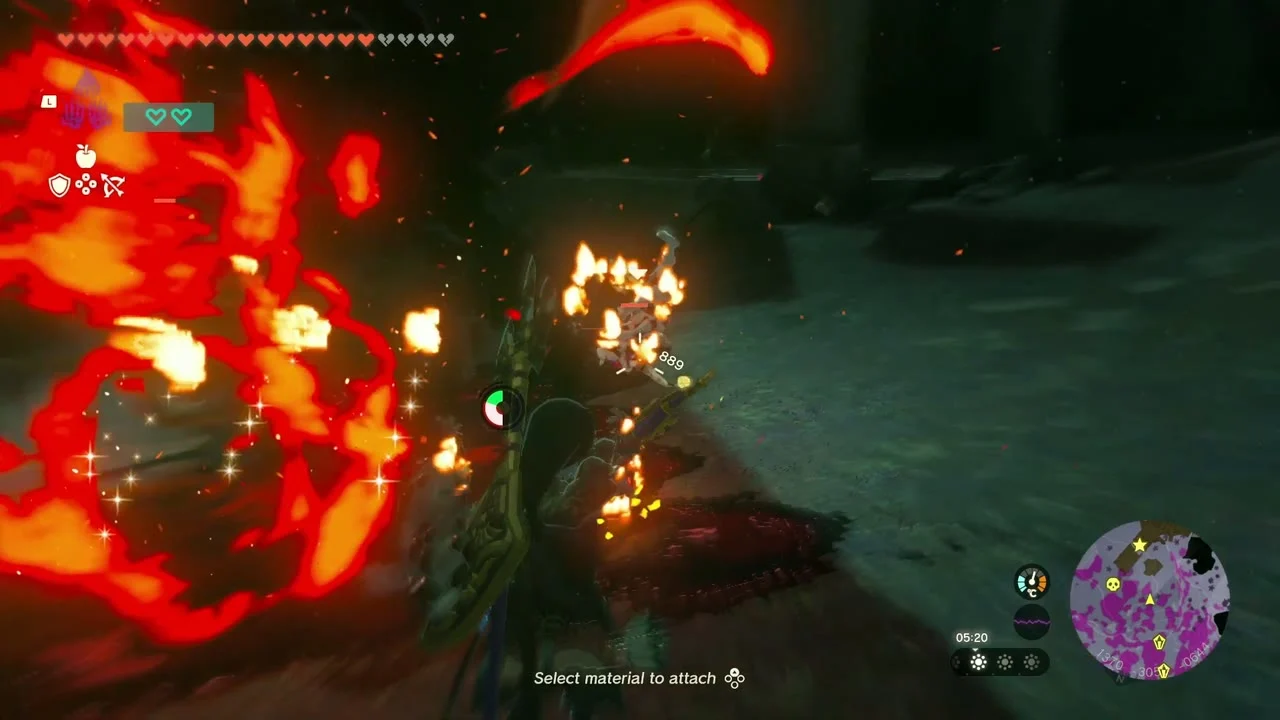
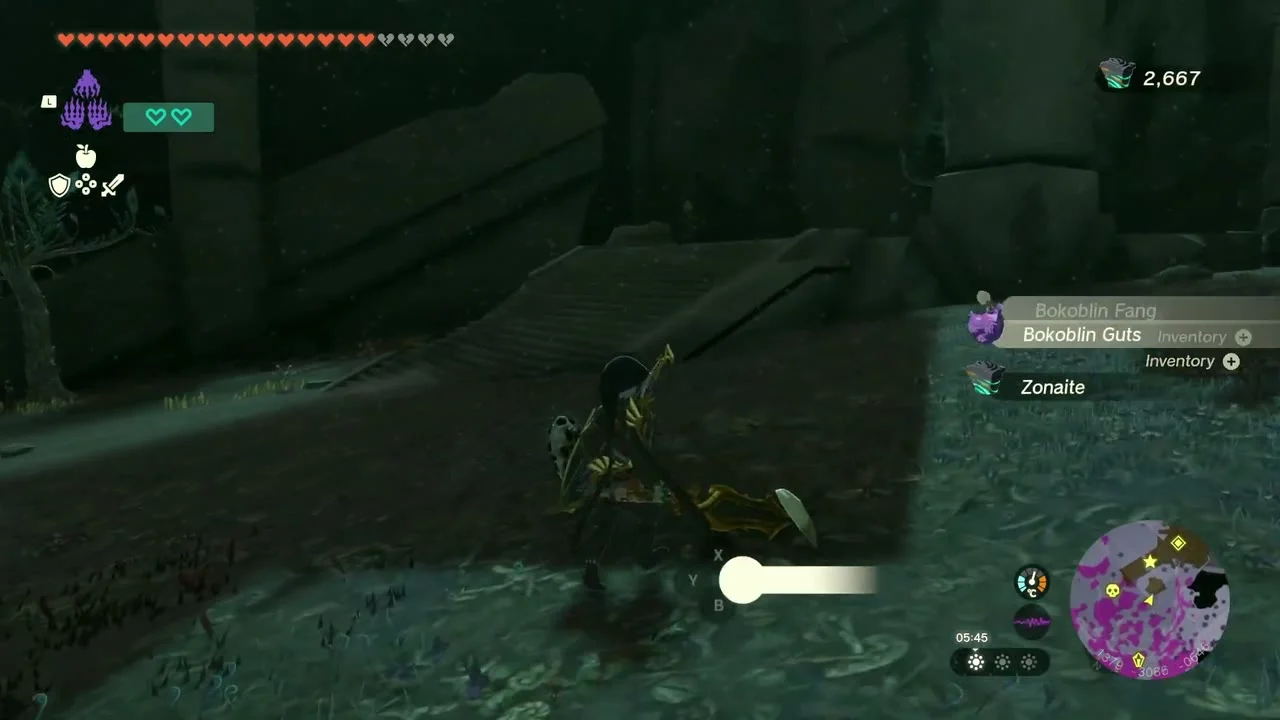
Miniboss: Boss Bokoblin at about (1370, -3053, -644), on the way to the temple. Use fire attacks and bombs on its camp.
Find the Spirit Temple
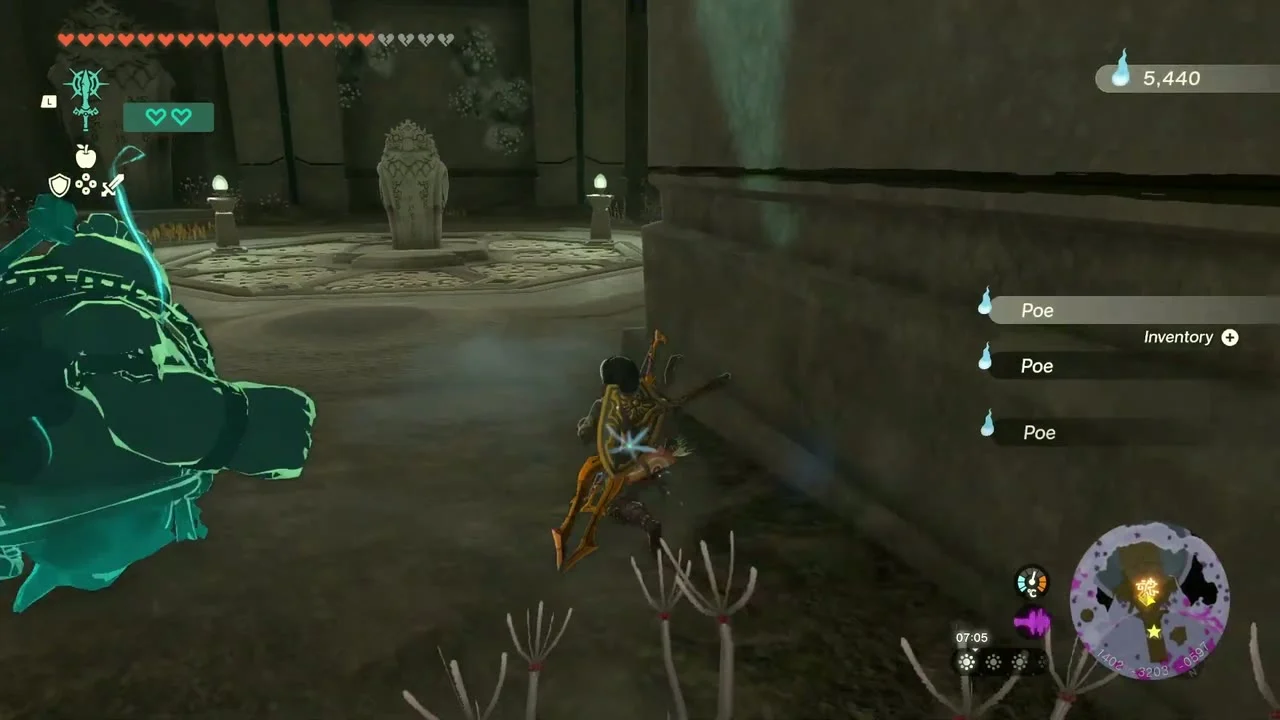
The Vessel of Spirit’s Resting Place (the Spirit Temple) at (1418, -3170, -619), in the far south-east of the Faron Depths. The temple itself is the Spirit Temple dungeon, tied to Find the Fifth Sage and Guidance from Ages Past, and you reach it by dropping down the hole in front of the entrance. Once the Seized Construct is beaten, a Mining Construct beside Mineru offers an ancient blade excavated from the Depths in return for 50 Zonaite (the Ancient Blades Below side quest); it will trade again for another 50 Zonaite.

East Faron Depths: Floria Canyon Mine to the Obsidian Frox
Defeat the Blue Hinox and the second Hinox
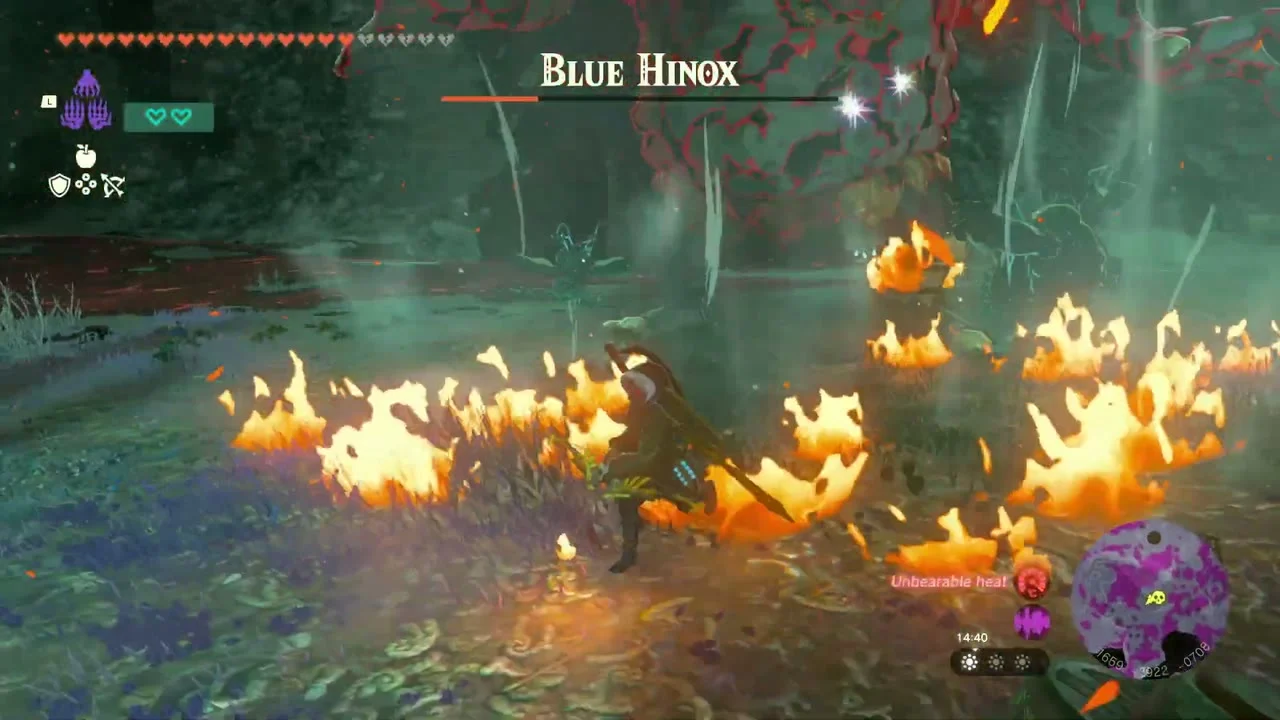
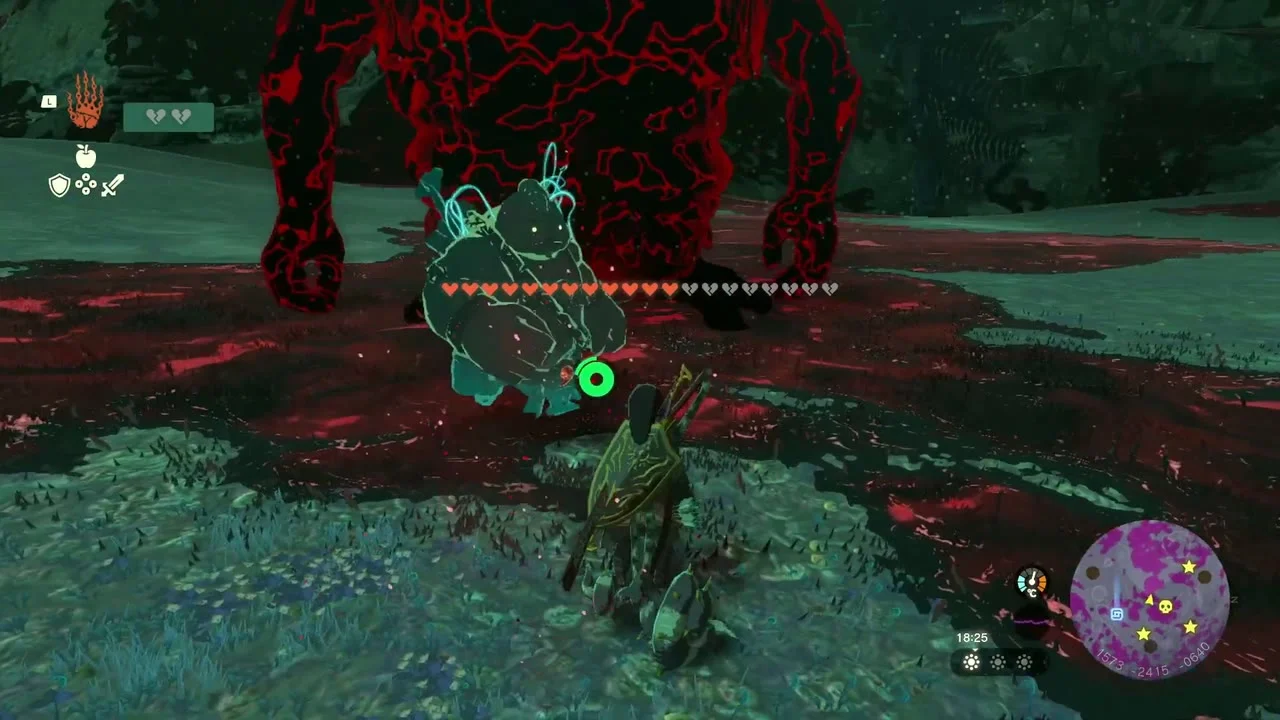
Miniboss: Blue Hinox at about (1650, -2915, -703) and Miniboss: Hinox at about (1571, -2416, -621), on the approach to Floria Canyon Mine. Blue Hinox flames burn the ground, so stay behind rocks, shoot the eye and use bombs or heavy weapons while it is down; the second Hinox falls to the same tactics.
Enter Floria Canyon Mine and open the chest
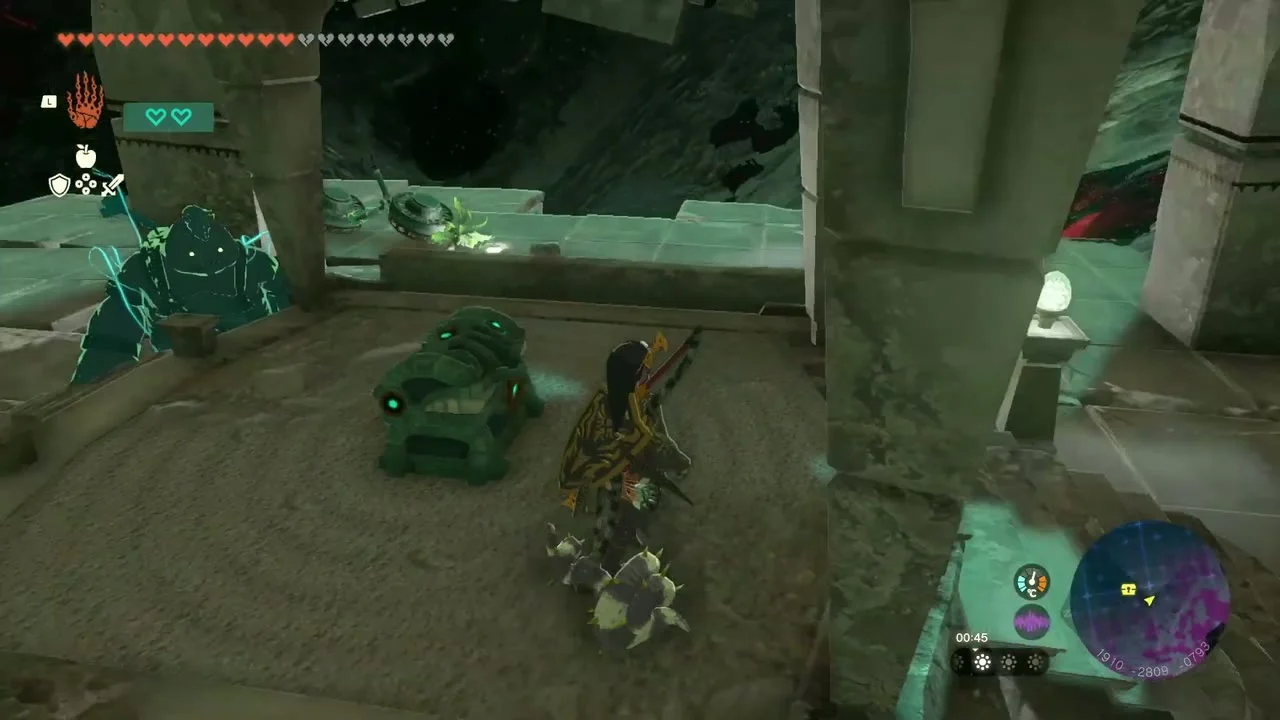
Floria Canyon Mine at (1936, -2779, -854). Climb the ruined stairs of the mine; a chest on the stone platform at about (1911, -2809, -793) holds a Large Crystallized Charge.

Defeat the Blue-White Frox
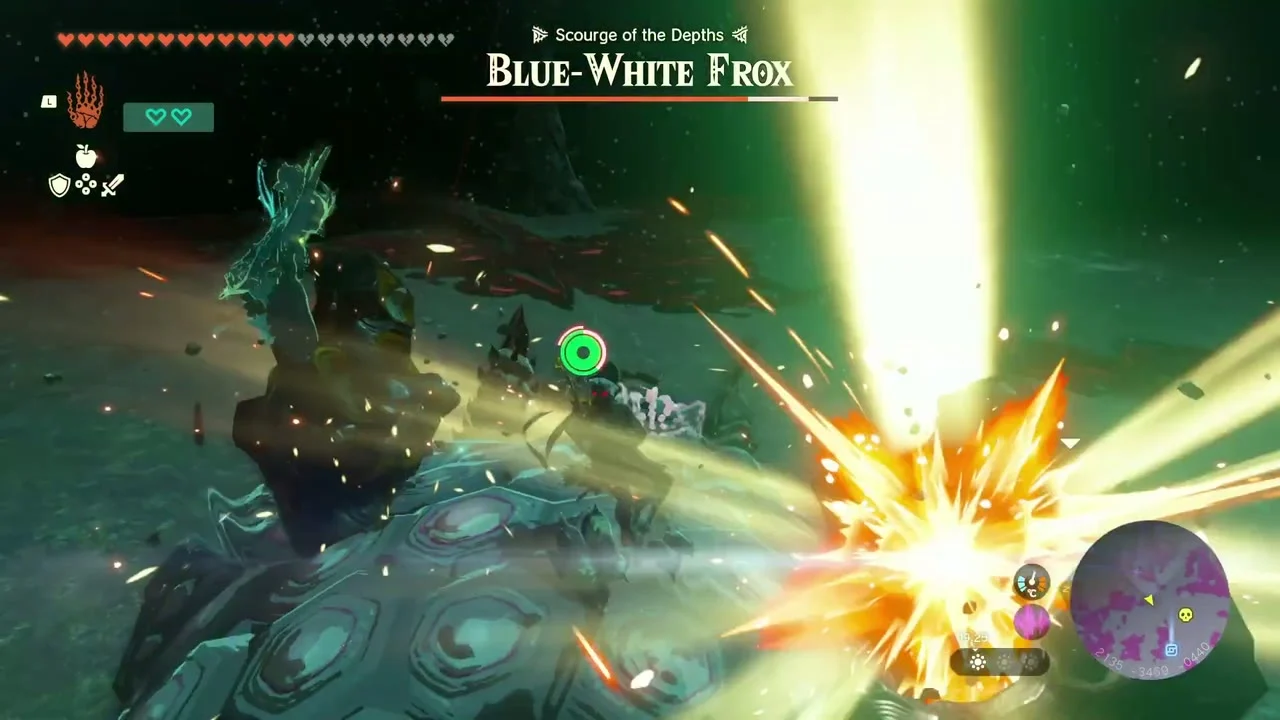
Miniboss: Blue-White Frox at about (2135, -3469, -439), south-east of the mine. Shoot the glowing eye on its shell or shoot the exposed eye and finish it with strong weapons.

Defeat the third Hinox and the Armored Silver-maned Lynel
Miniboss: Hinox at about (1693, -3882, -450), then Miniboss: Armored Silver-maned Lynel at about (1576, -3490, -512). The Lynel’s armor blocks attacks: wear down its guard with arrows and fire attacks, then go for its head.

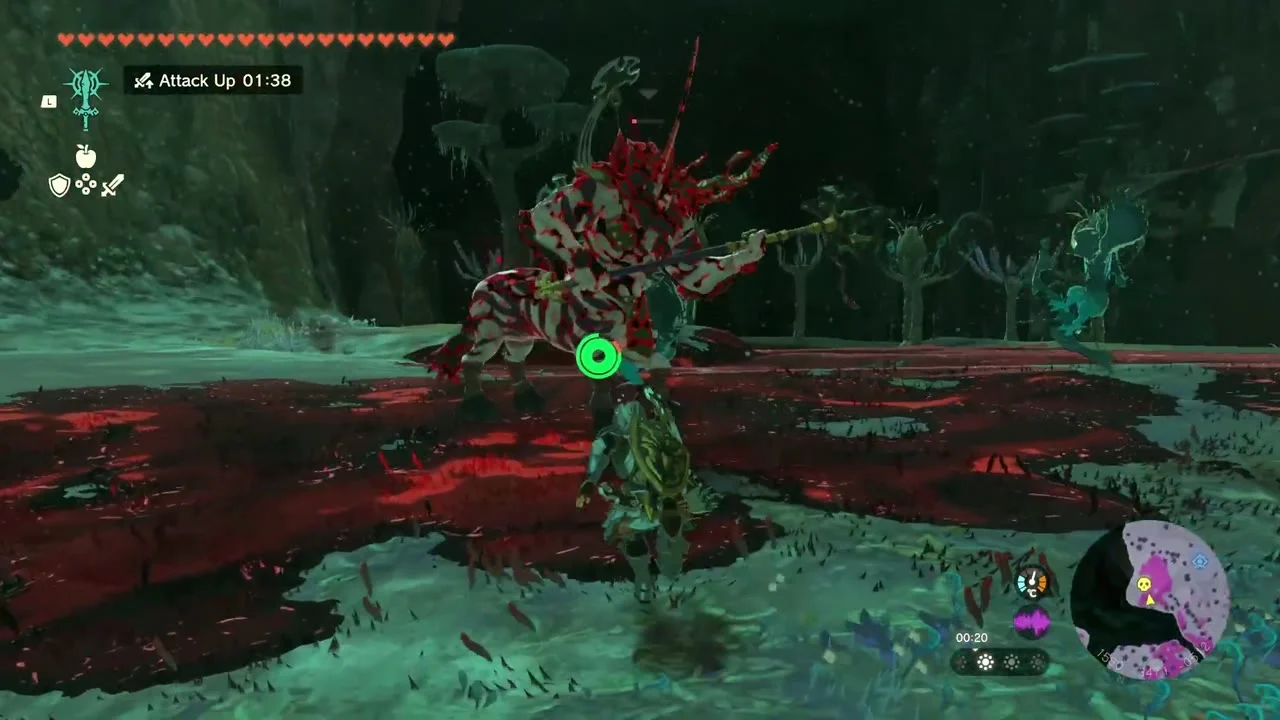
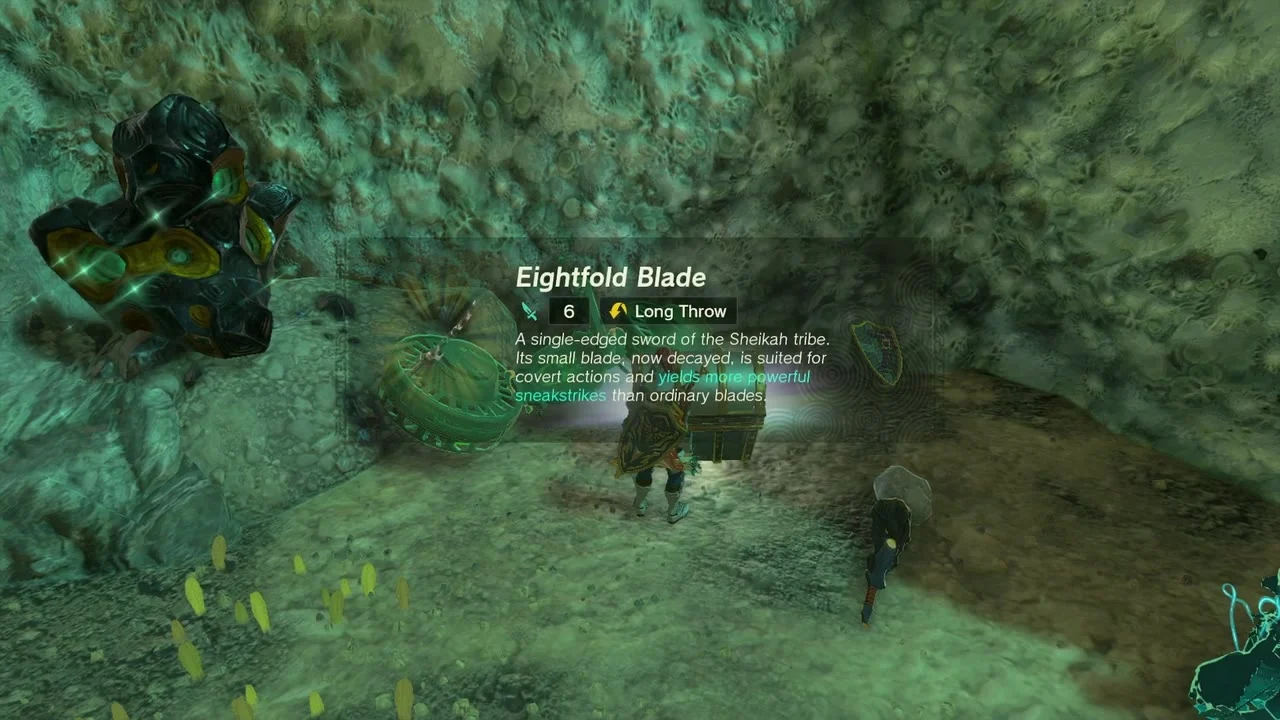
Open the Eightfold Blade and Emblazoned Shield chests
Chest: Eightfold Blade, a few hundred units before the next chest, near (1270, -3600, -450). Chest: Emblazoned Shield at about (1268, -3620, -451), on a rocky ledge with wooden scaffolding. They hold the Eightfold Blade (a long-throw sword) and the Emblazoned Shield.

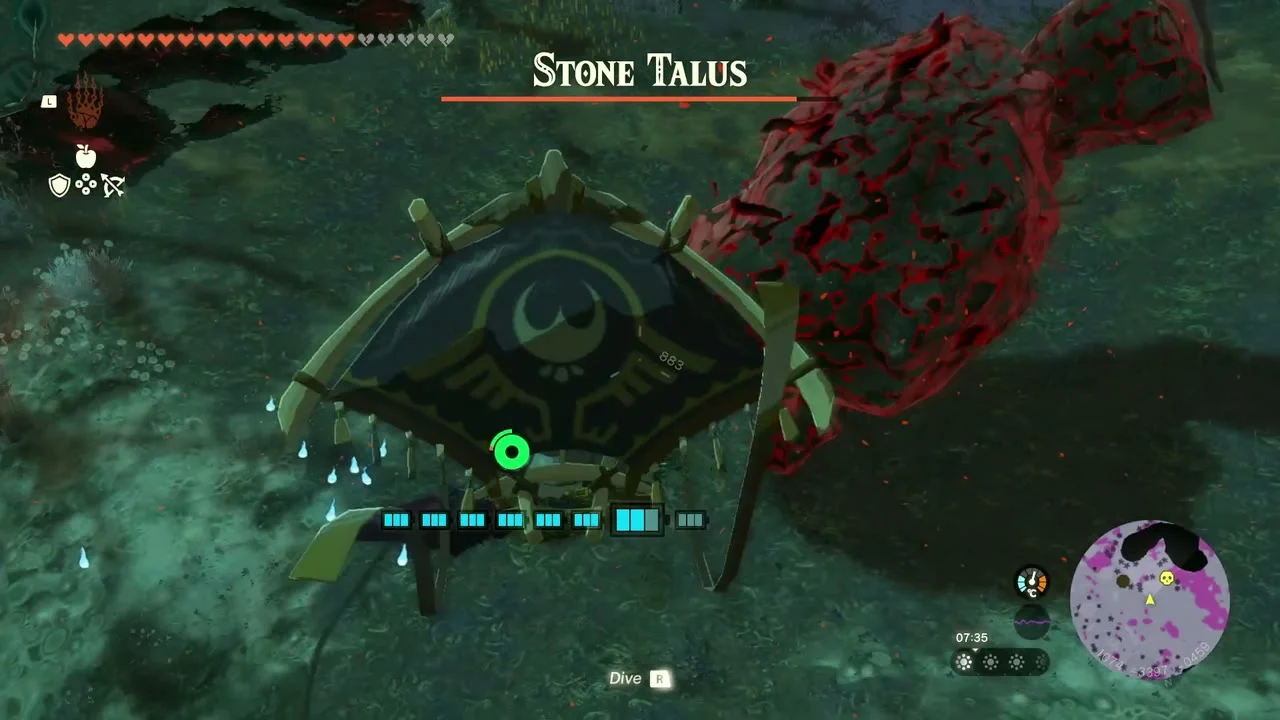
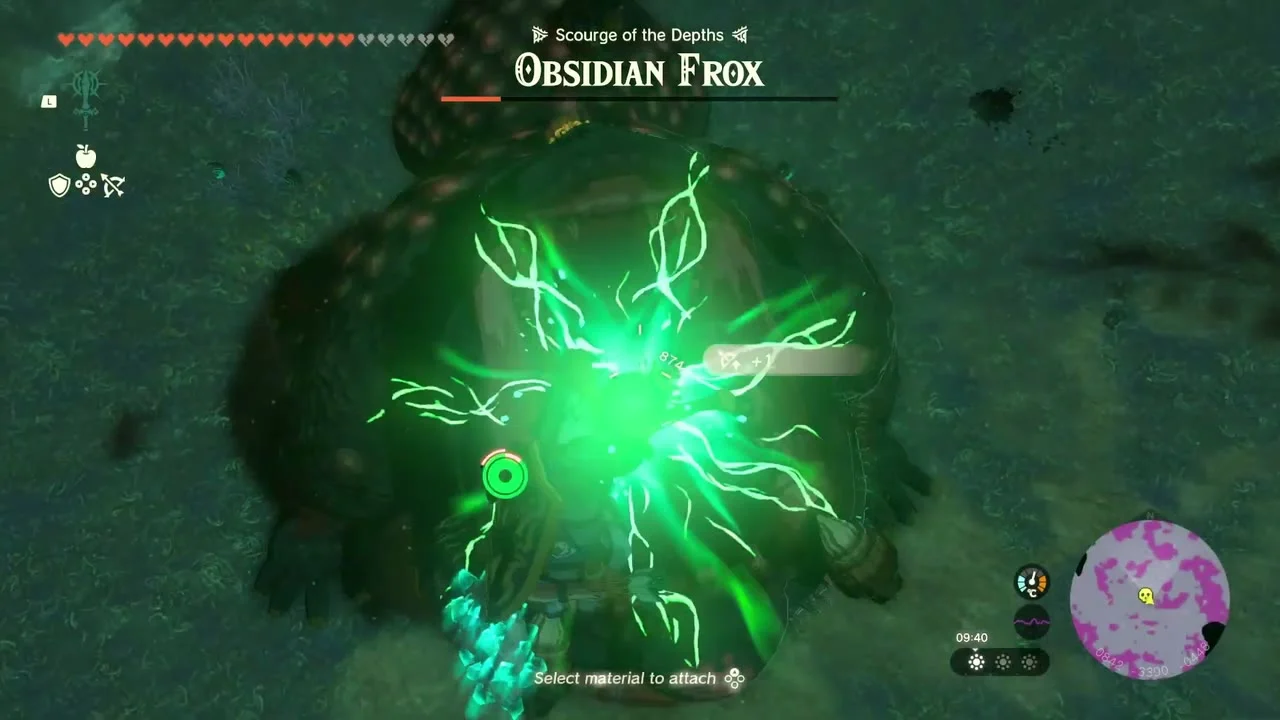
Break the Stone Talus and the Obsidian Frox
Miniboss: Stone Talus at about (1044, -3422, -448): climb its back and strike the ore weak spot. Miniboss: Obsidian Frox at about (850, -3397, -442), south-west: shoot the eye on its back and finish it with strong attacks.
West Faron Depths: Water Freezer, Colgera and Faloraa Canyon Mine
Defeat the Armored White-maned Lynel
Miniboss: Armored White-maned Lynel at about (465, -3459, -500), south-west of Kohsustu Lightroot. A flame weapon makes its armor shed faster; dodge its charges and shoot from a distance.


Loot the Water Freezer Yiga base
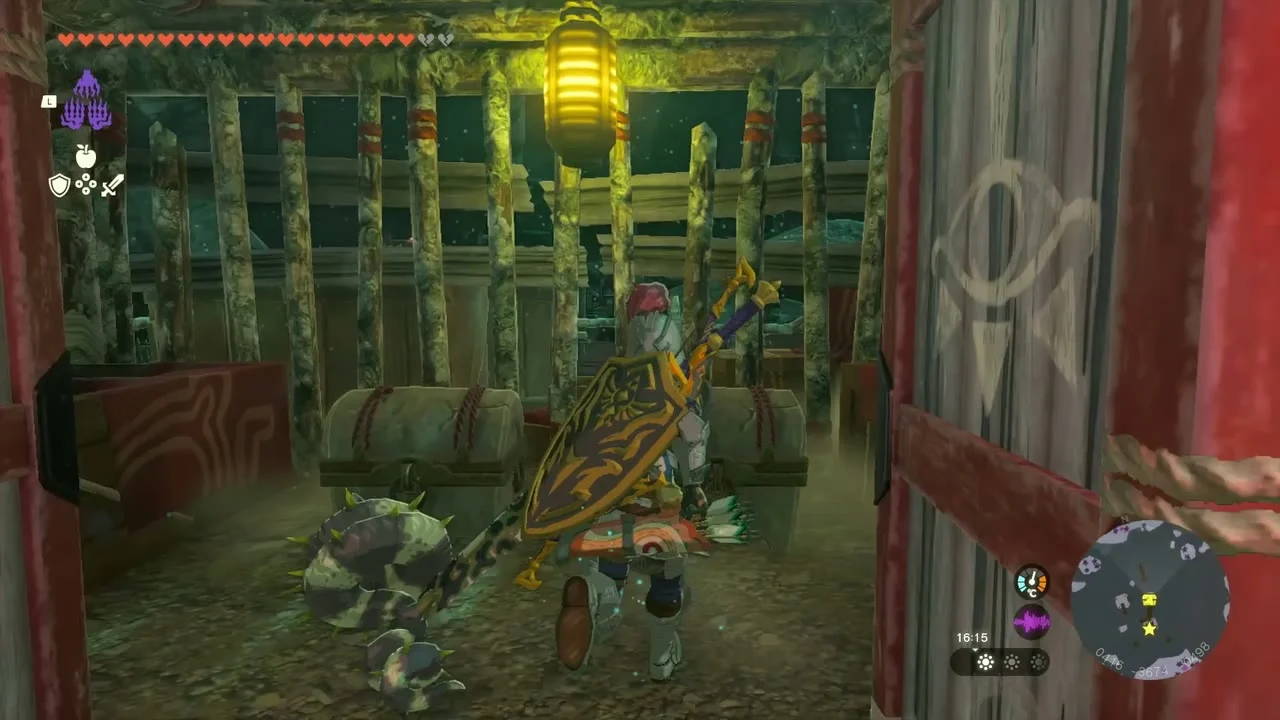
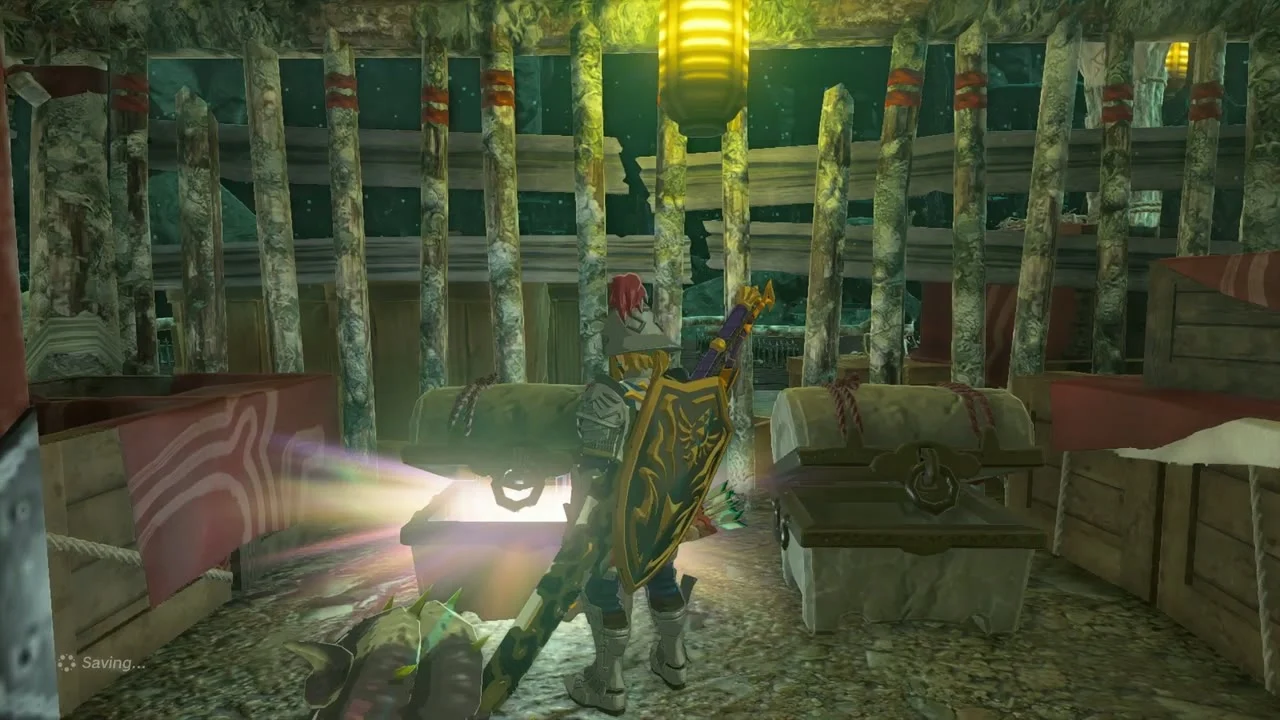
Yiga relay base at about (409, -3673, -497), south-west of Kohsustu Lightroot. Defeat the Footsoldier to open the storehouse; the chests hold a Yiga Schematic (the Water Freezer, according to guides) and a Large Crystallized Charge.
Defeat Flux Construct I
Miniboss: Flux Construct I at about (105, -3729, -452), west of the Yiga base. It builds itself from stacked blocks: knock out the core block with strong or electric attacks before it reforms. It drops Zonai Charges and Zonaite.


Defeat the Frox and open the cistern chest
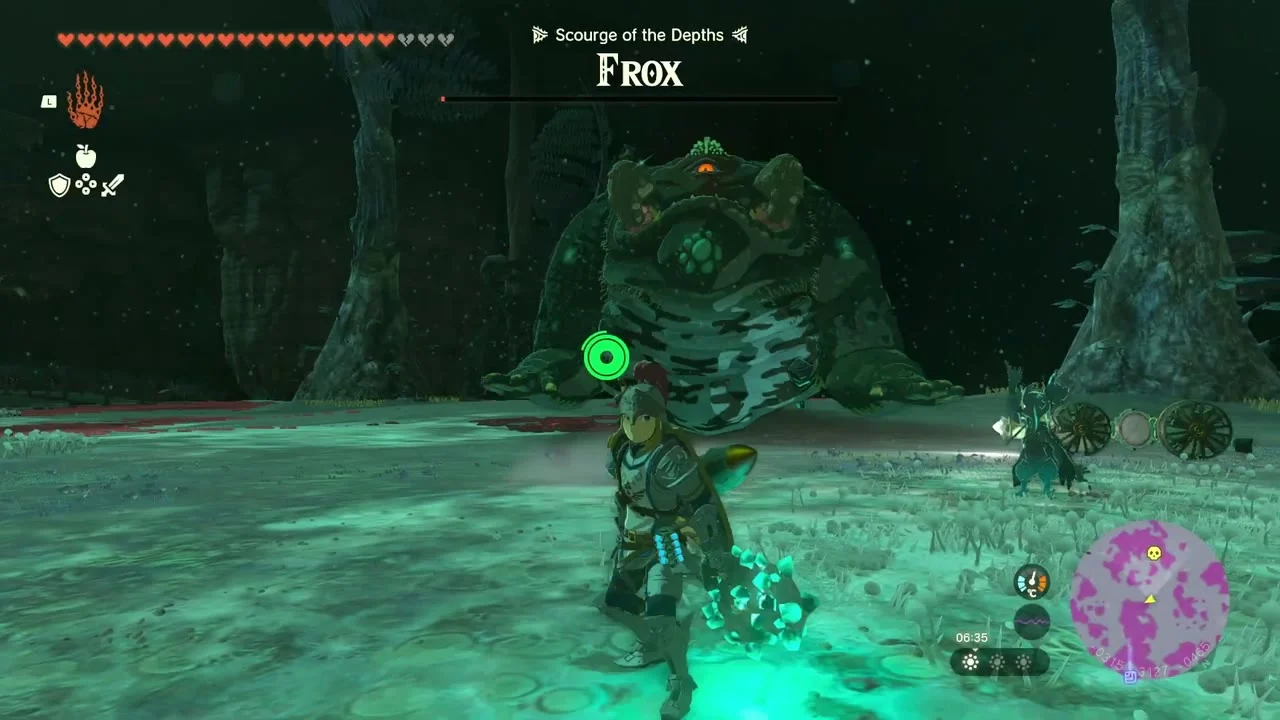
Miniboss: Frox in the far west of the Faron Depths, around (-325, -3135). Shoot the glowing eye, then use fire or strong weapons; a chest in a mossy stone cistern further on holds a Large Crystallized Charge. A second Frox lurks near the Colgera arena and falls the same way.

Beat Colgera for the Huge Crystallized Charge
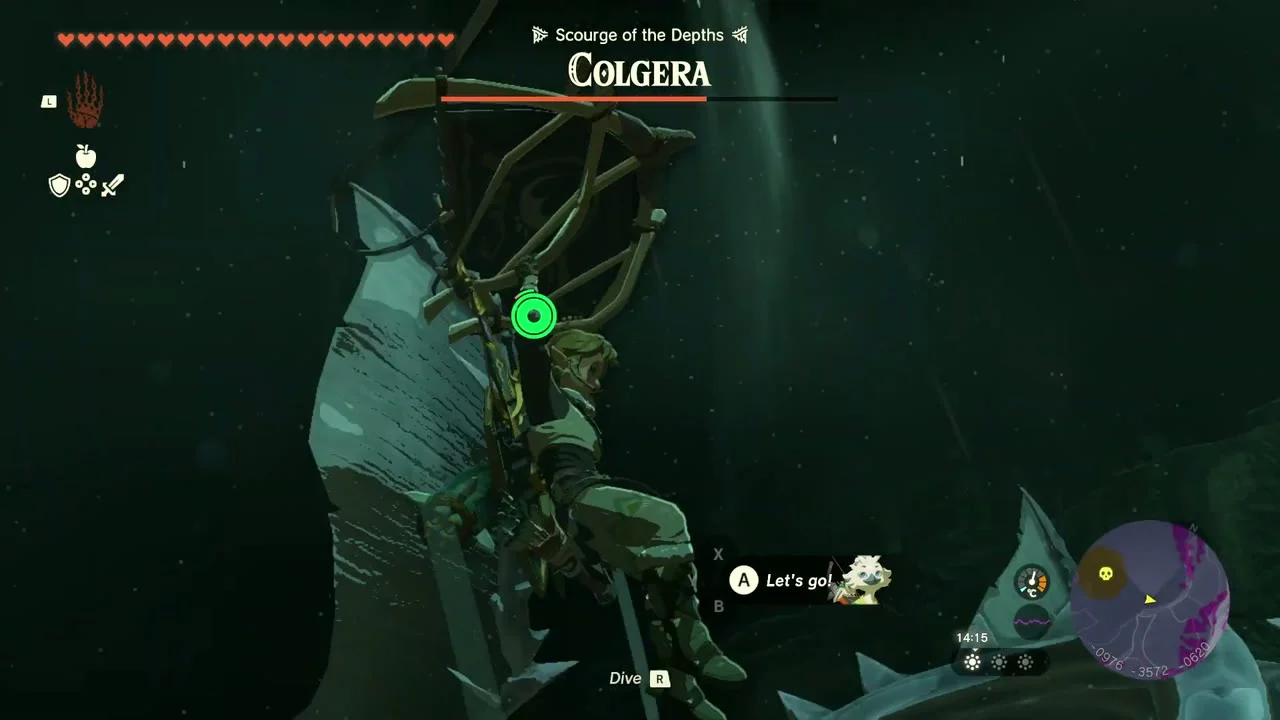
Miniboss: Stone Talus at about (-822, -3361, -538) stands on the way: climb its back and strike the ore weak spot. Boss: Colgera (Depths) at about (-963, -3564, -554). This is a Boss Rematch arena, so you can fight it again at will. Keep moving across the arena, shoot the flashing weak points and use strong weapons. After the fight, a chest holds a Huge Crystallized Charge, worth 100 normal charges.
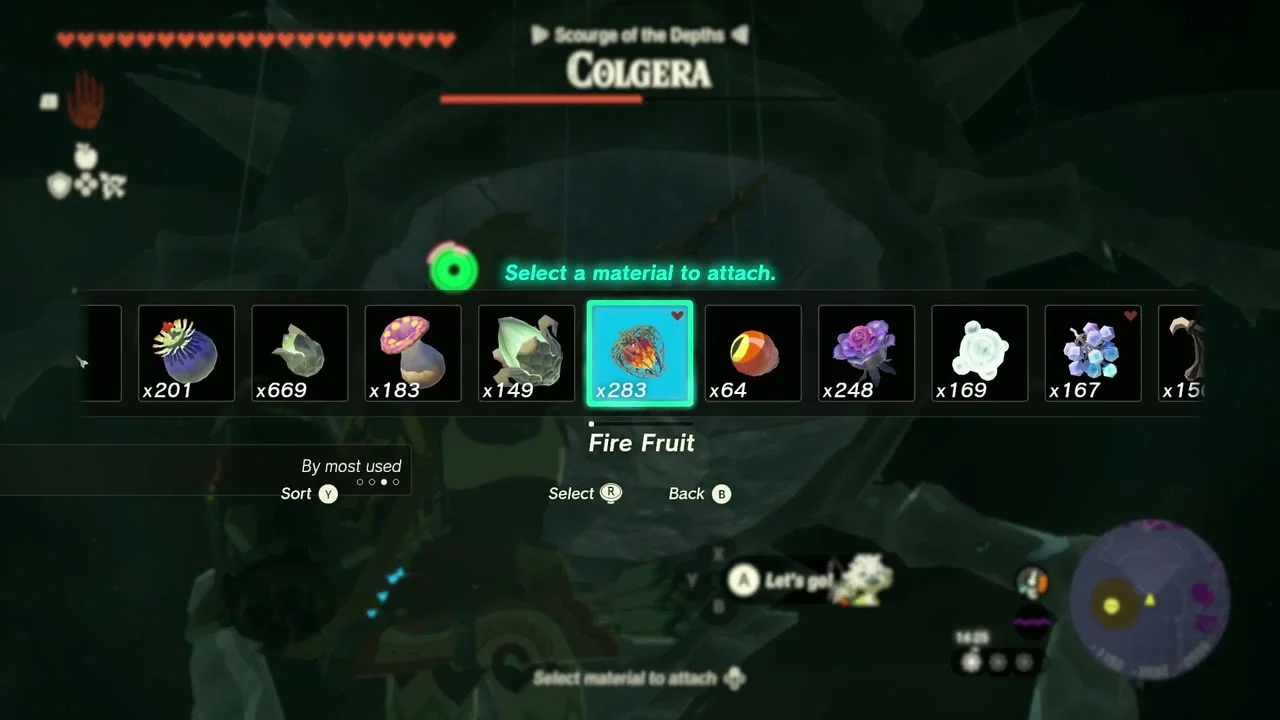
Climb into Faloraa Canyon Mine
Faloraa Canyon Mine at (-970, -2601, -683), below Mount Faloraa. Fly a hover bike up to the mine entrance and open the chest on the stone platform for a Large Crystallized Charge.


Raid the Yiga camp west of Faloraa
Yiga camp at about (-1240, -2682, -487), a wooden tower hung with red banners west of Faloraa Canyon Mine. Defeat the Footsoldier, open the red doors and take the Large Crystallized Charge and a Yiga Schematic from the chests.
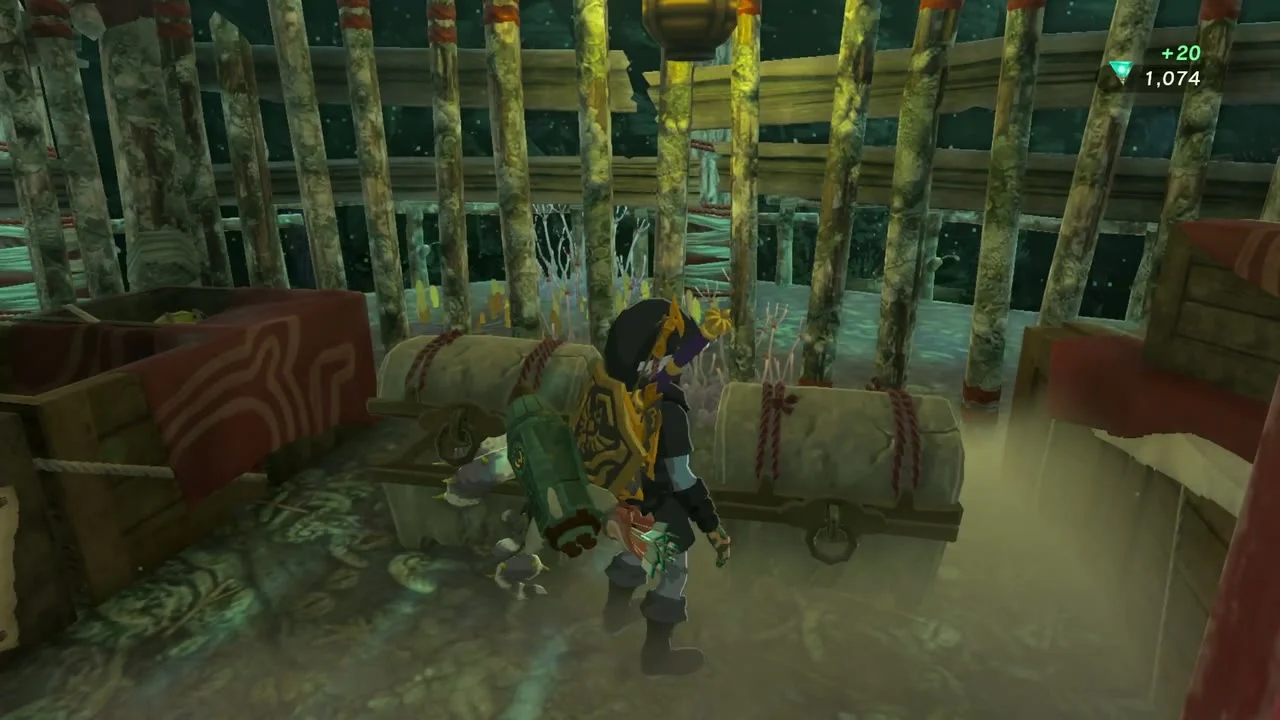
Defeat the last Hinox and leave the Depths
Miniboss: Hinox at about (-1438, -2342, -556), at the west edge of the Faron Depths. Beat it and take a fan glider or light-based route back up. Launch from Popla Foothills Skyview Tower (604, -2127) to reach the sky.
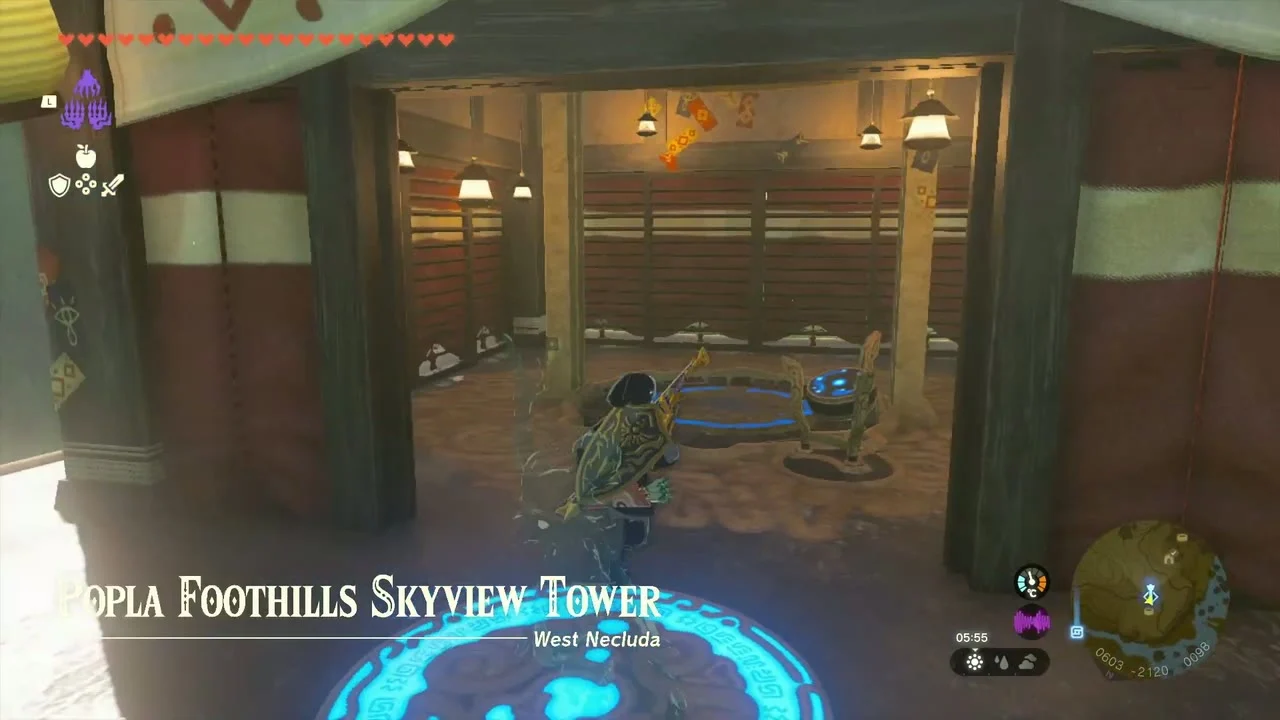

Sky: Sahasra Slope, West Necluda Archipelago and Zonaite Forge Island
Sahasra Slope: Battle Talus, cave and Skyview Tower
Break the Battle Talus on Sahasra Slope
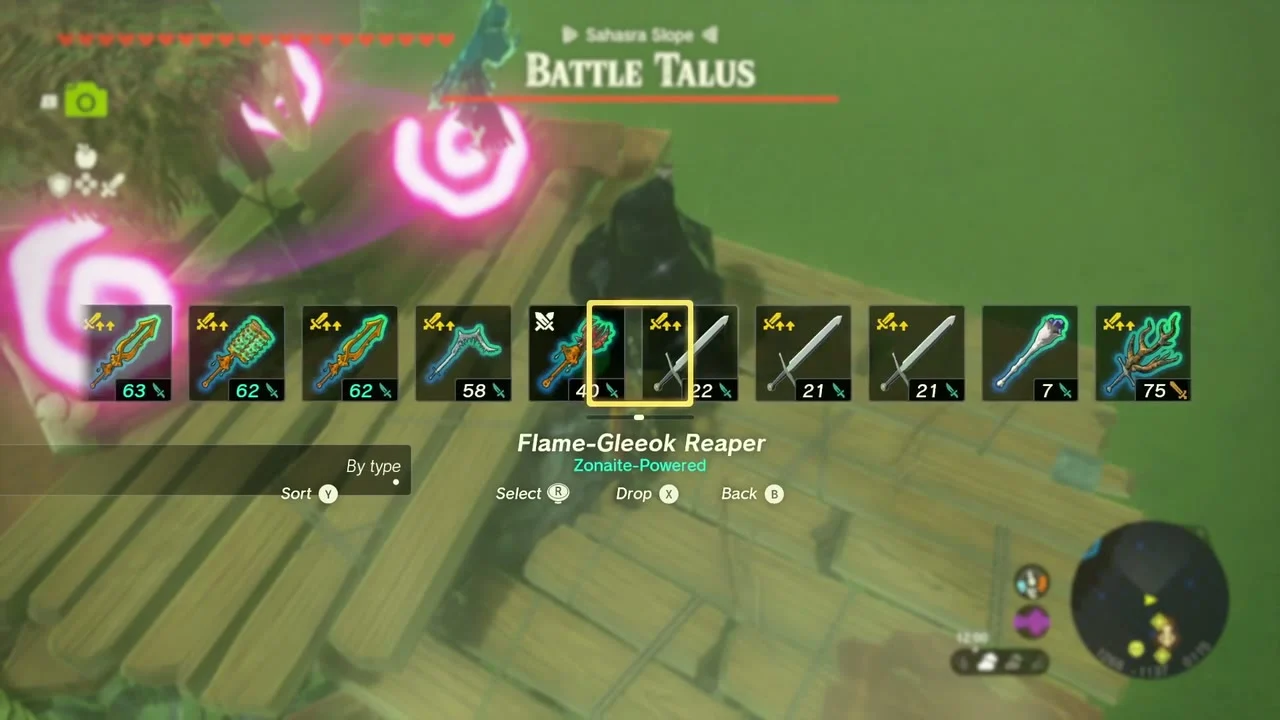
Miniboss: Battle Talus at about (1300, -1156, 136), on the grassy slope just north-west of the Sahasra Slope Skyview Tower. Shoot the glowing eyes on its back, climb on and attack the weak spot. It drops Amber.

Enter Sahasra Slope Cave
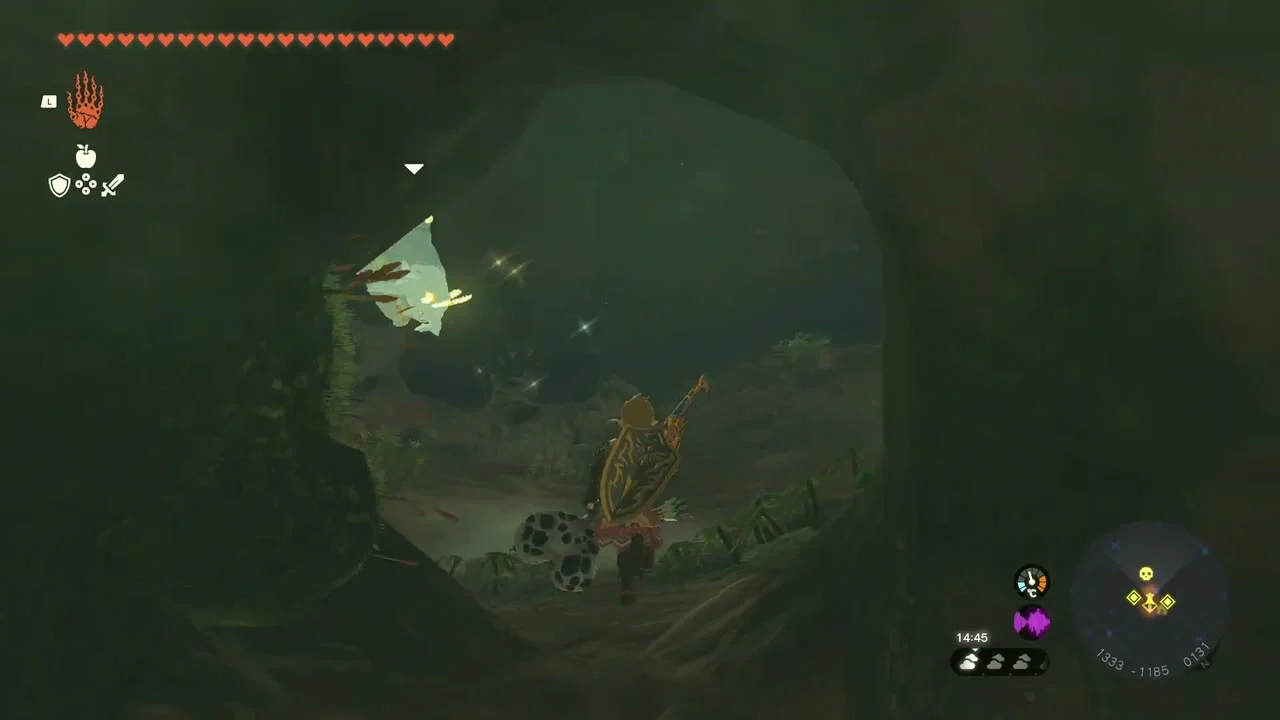
Sahasra Slope Cave has two entrances, one at about (1328, -1156) north-west of the tower and one at (1373, -1197) to the south-east, both in West Necluda. A boulder blocks the passage inside: destroy it with a bomb or a heavy strike (or Fuse a hammer) to get through.


Take the Bubbul Gem
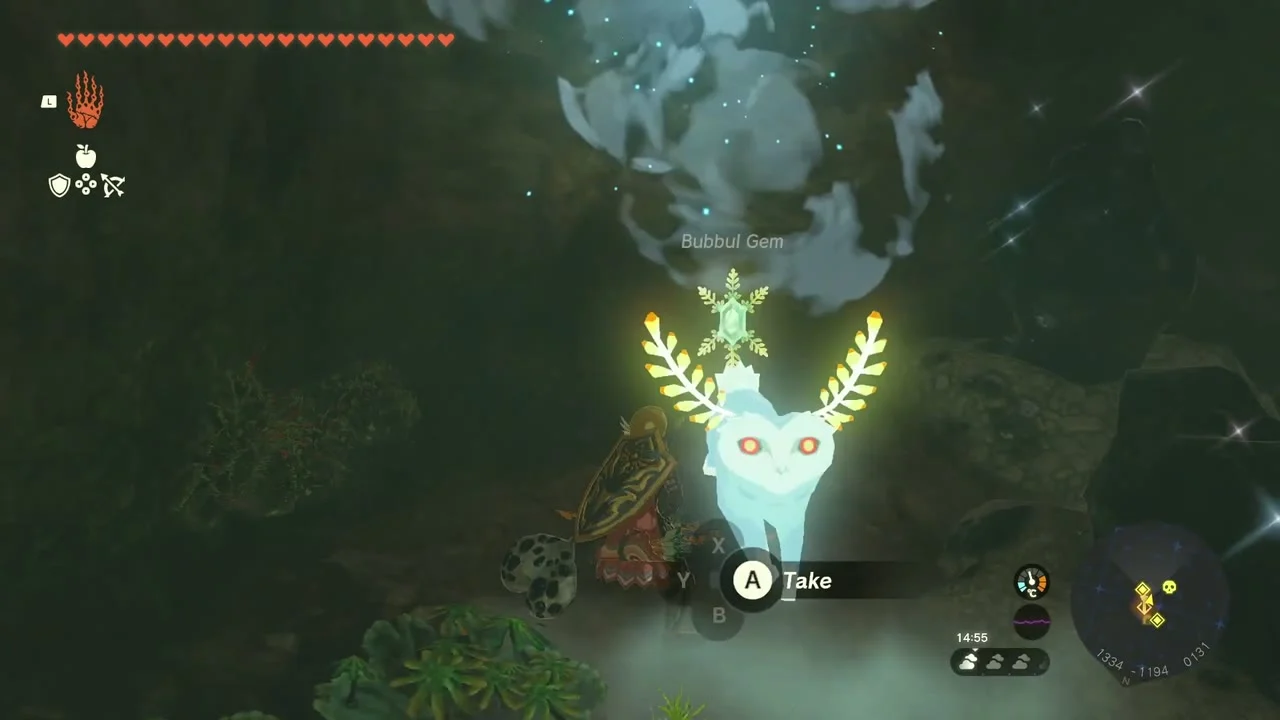
Bubbul Gem in the cave’s deeper chamber behind the broken rock. Smash the boulder at the end of the side tunnel and take the gem from the Bubbulfrog sitting in the opened alcove.
Open the Shield of the Mind’s Eye chest
Chest: Shield of the Mind’s Eye at about (1388, -1142, 136), on a ledge in the north-east chamber of the cave. Defeat the Horriblins in the chamber and open the chest for the Shield of the Mind’s Eye, a small shield with blind-spot protection.

Activate Sahasra Slope Skyview Tower
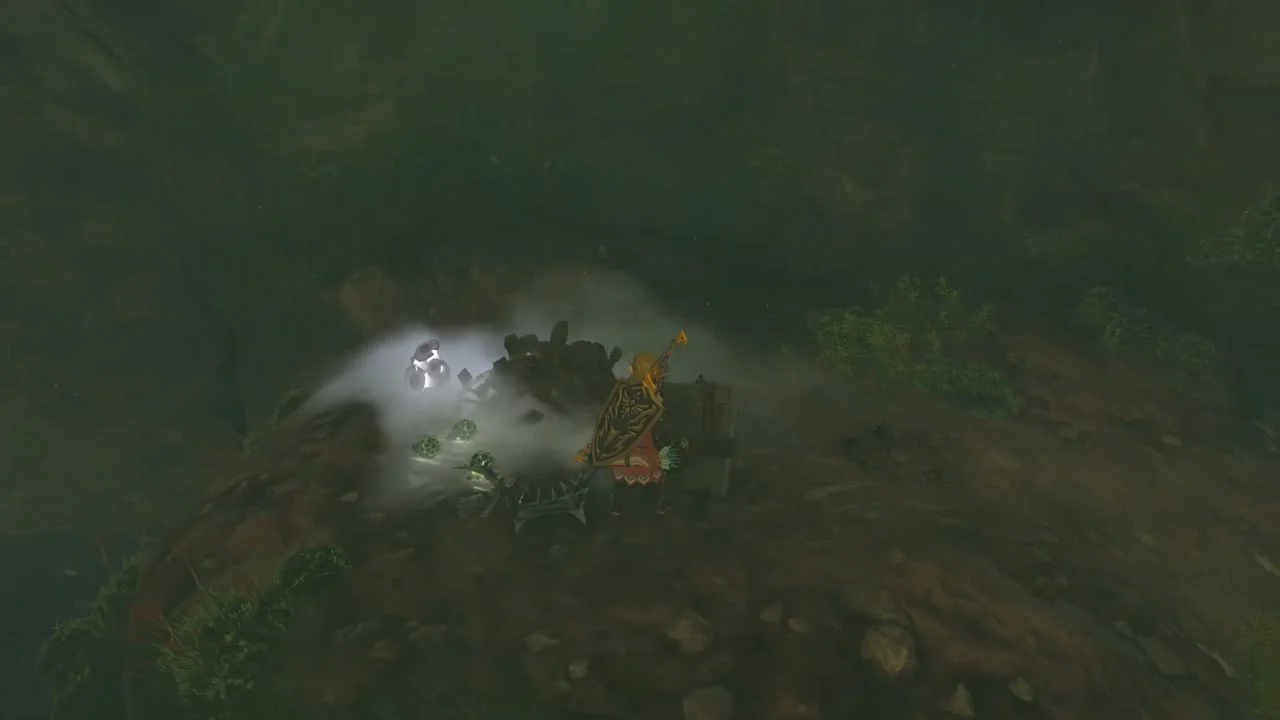
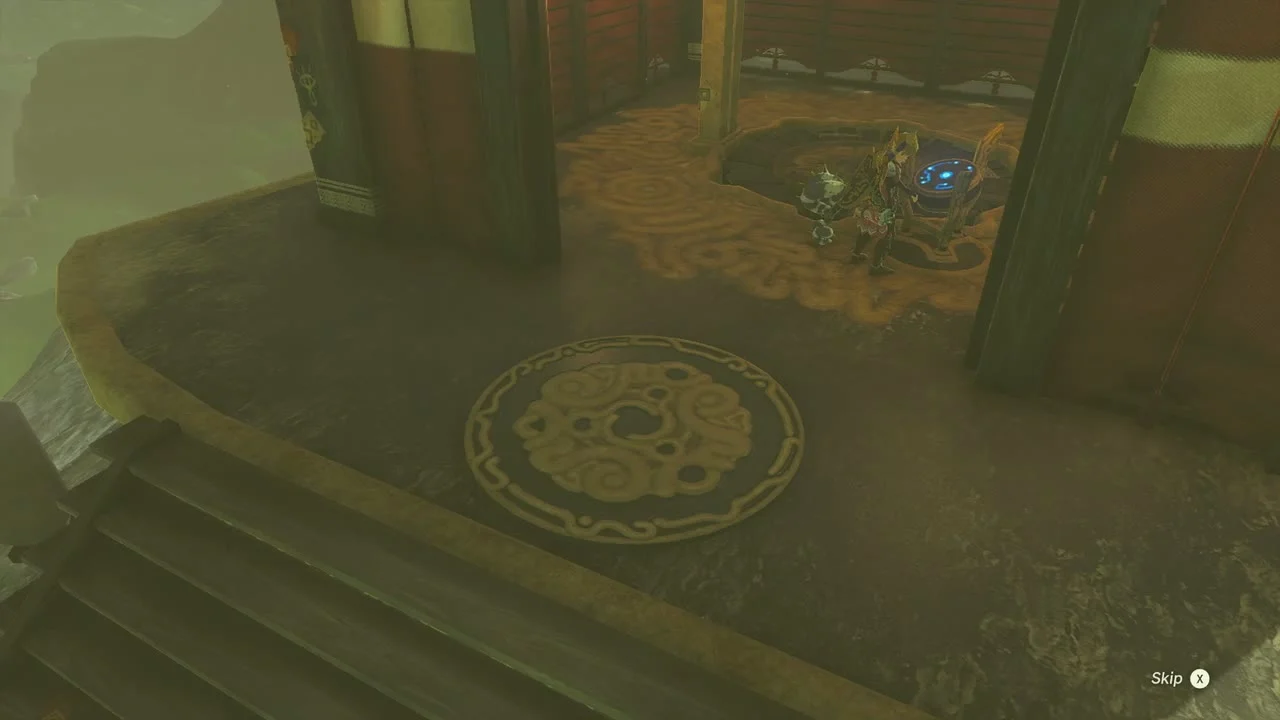
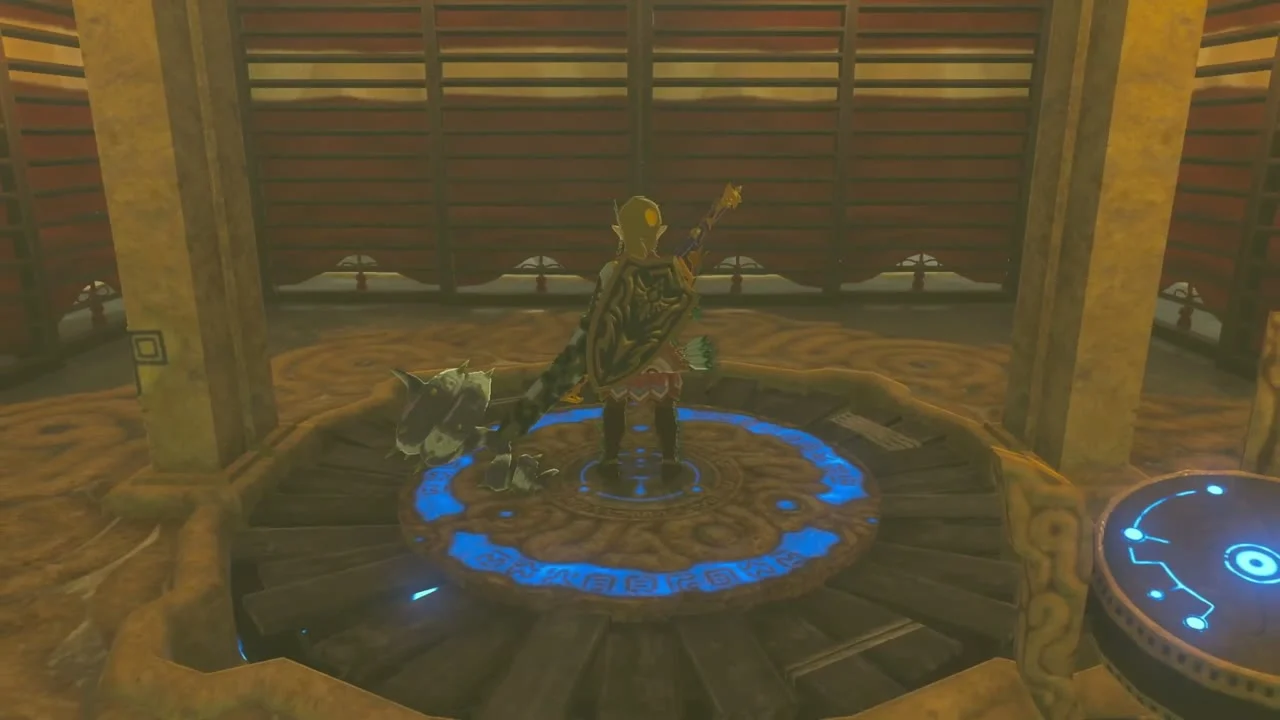
Sahasra Slope Skyview Tower at (1341, -1178, 160). Its cave entrance leads to the tower’s base chamber: step onto the activation ring on the floor to light the tower, then use the launcher to shoot into the sky. The tower’s gate is shut from outside, so the way in is through the cave below it: fuse a boulder to a weapon to make a hammer and smash the brown rocks, dig sideways toward the tower icon (about (1340, -1181)) until you reach a room with three big white stones, and Ascend through the ceiling above them. If you run into enemies you dug the wrong way. Inside, use Ultrahand to remove the two sticks jammed beside the sliding door so the repairman can fix the console, then activate the tower.
West Necluda Sky Archipelago
Take a device from the dispenser and glide to the Korok
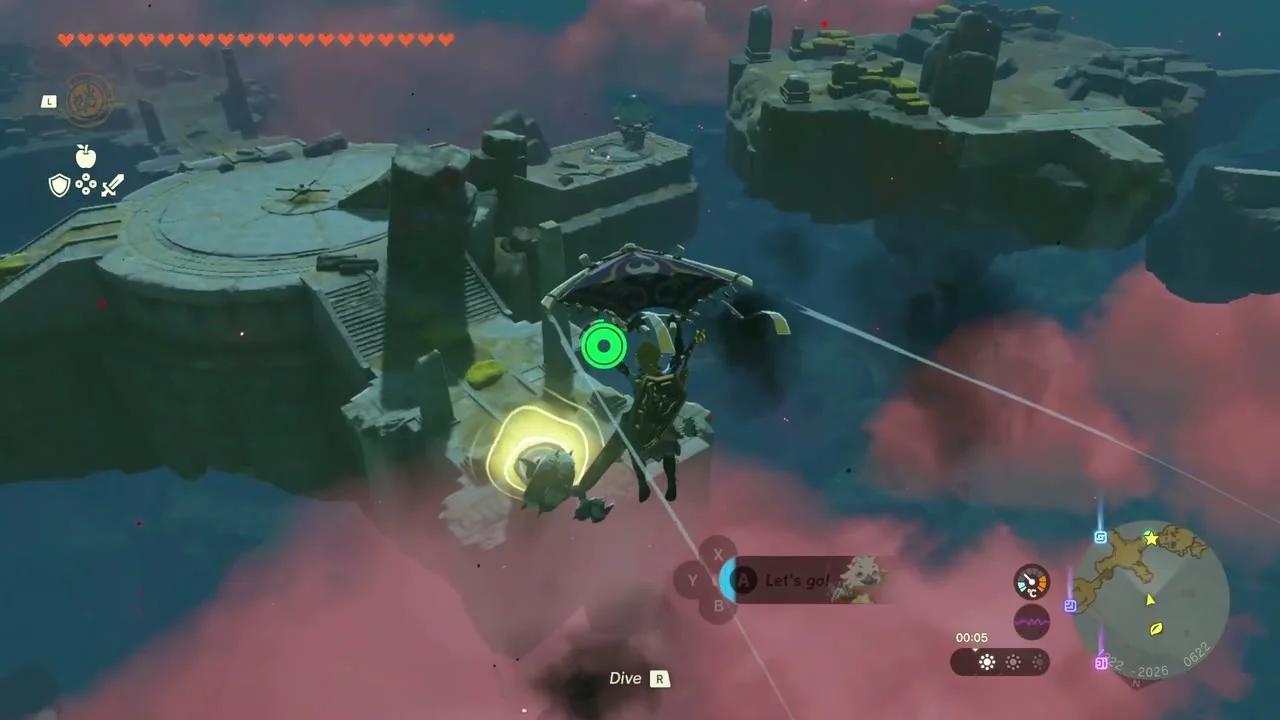
Device Dispenser at (1344, -2151, 584) on the West Necluda Sky Archipelago (it stocks Construct Head, Cart, Balloon, Stabilizer and Hydrant). Feed it a Zonai Charge for the device you need. Then glide north to Korok seed (Use the paraglider to reach the goal) at (1336, -2061, 594): glide off the start point and land on the goal platform before time runs out.


Open the first Old Map chest
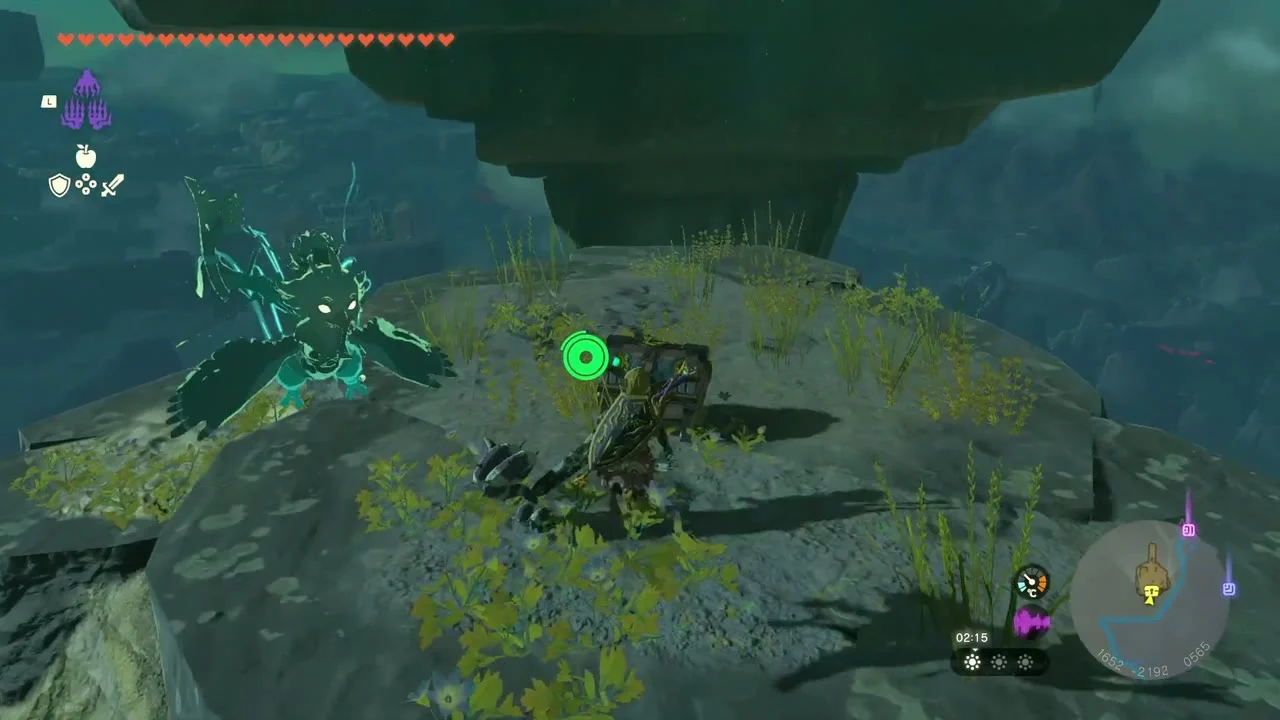
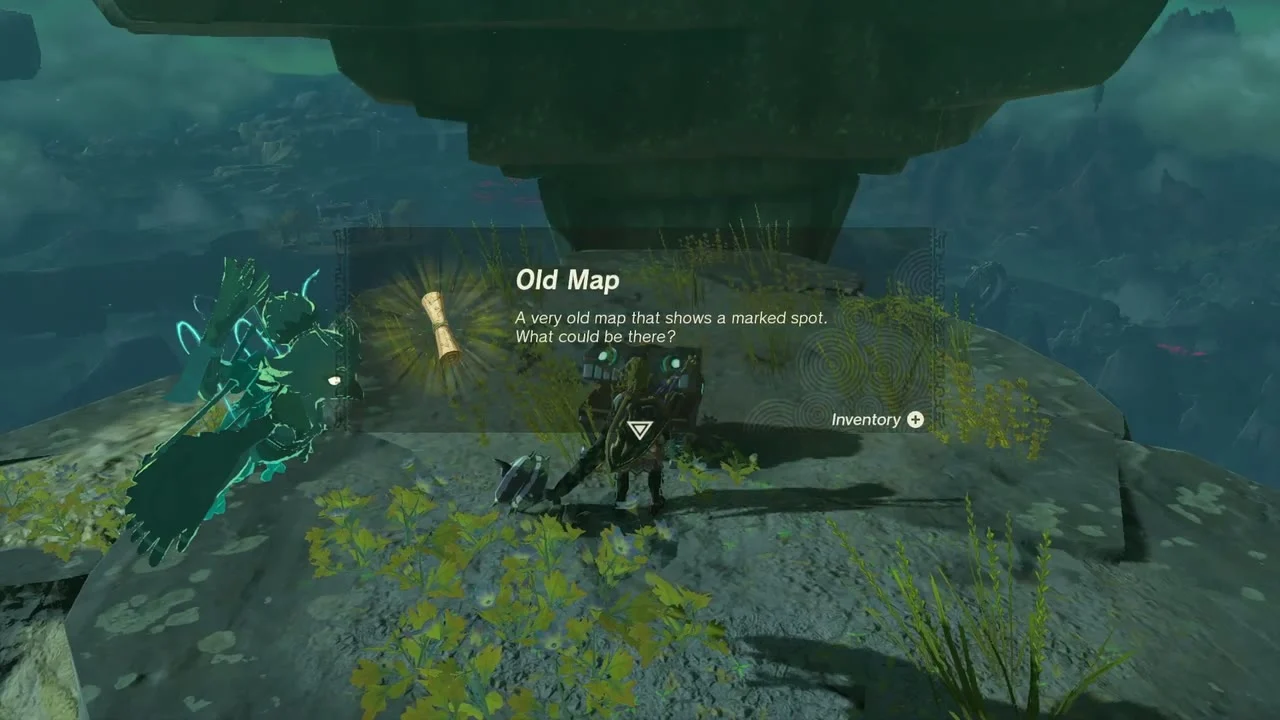
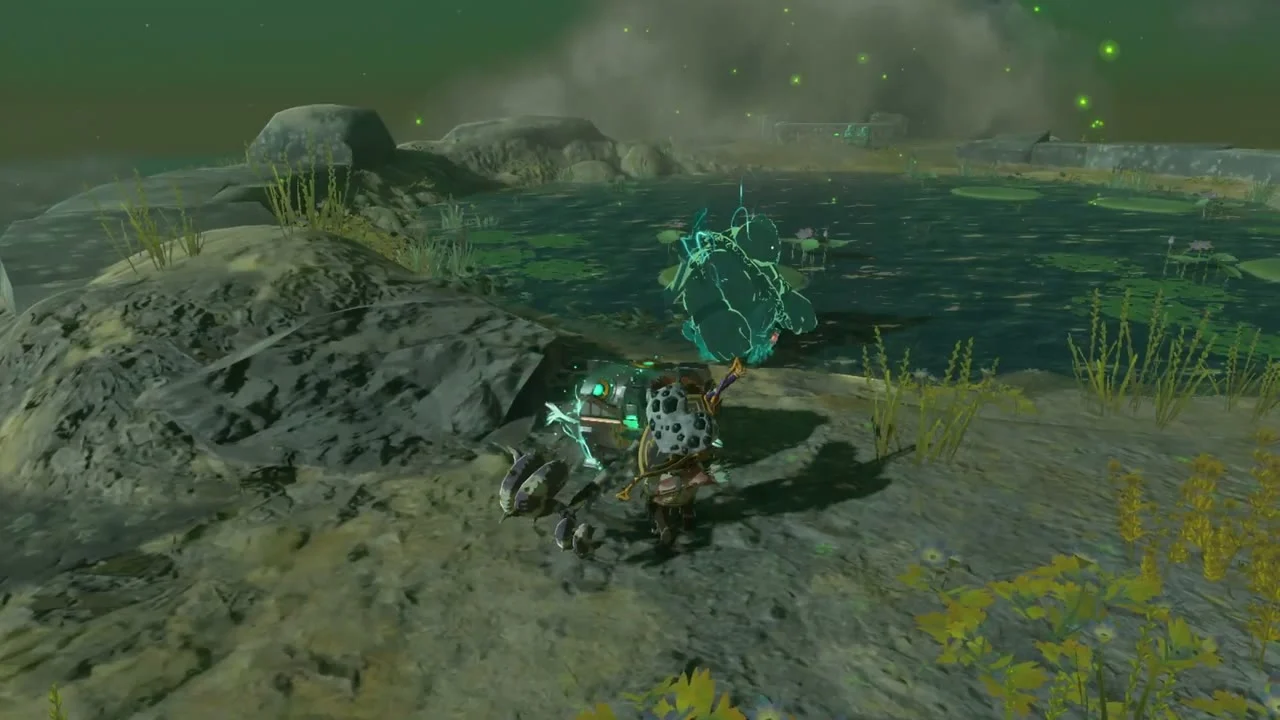
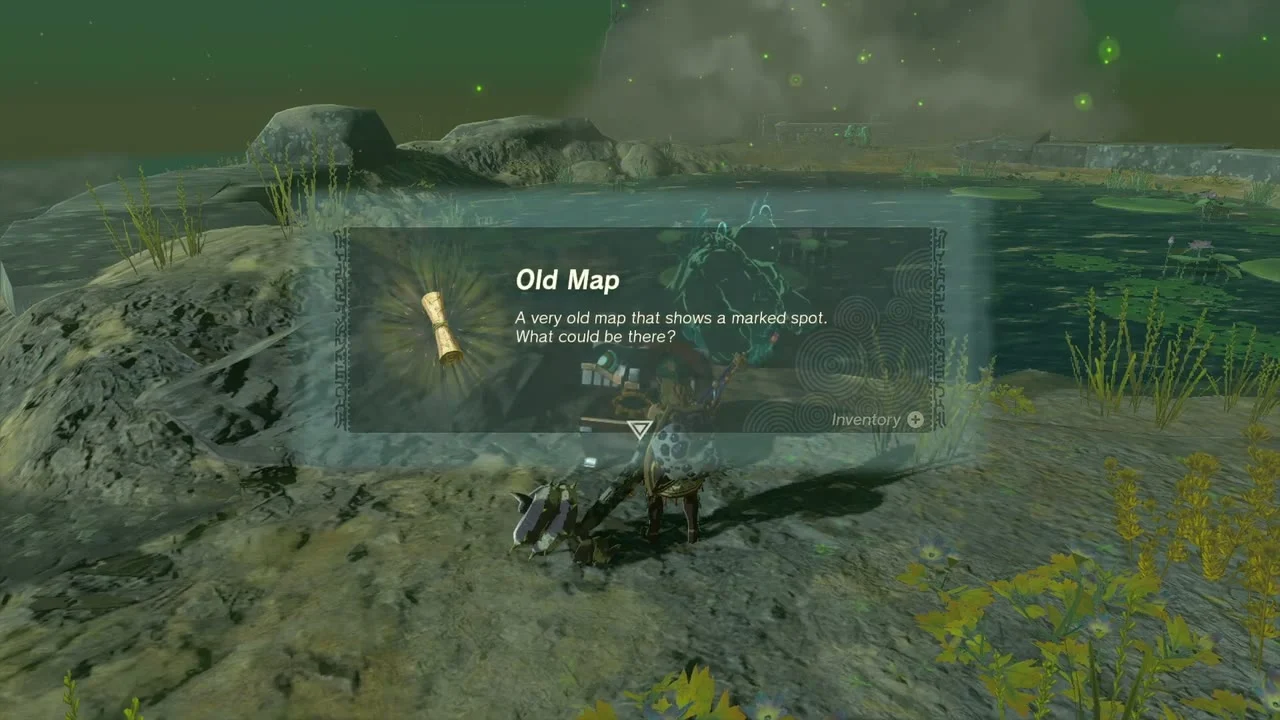
Chest: Old Map at (1652, -2191, 574), on a rocky island of the West Necluda Sky Archipelago. The Old Map marks the Minshi Grove in the Great Hyrule Forest Depths, where the Tunic of the Sky is.
Complete the rock pattern
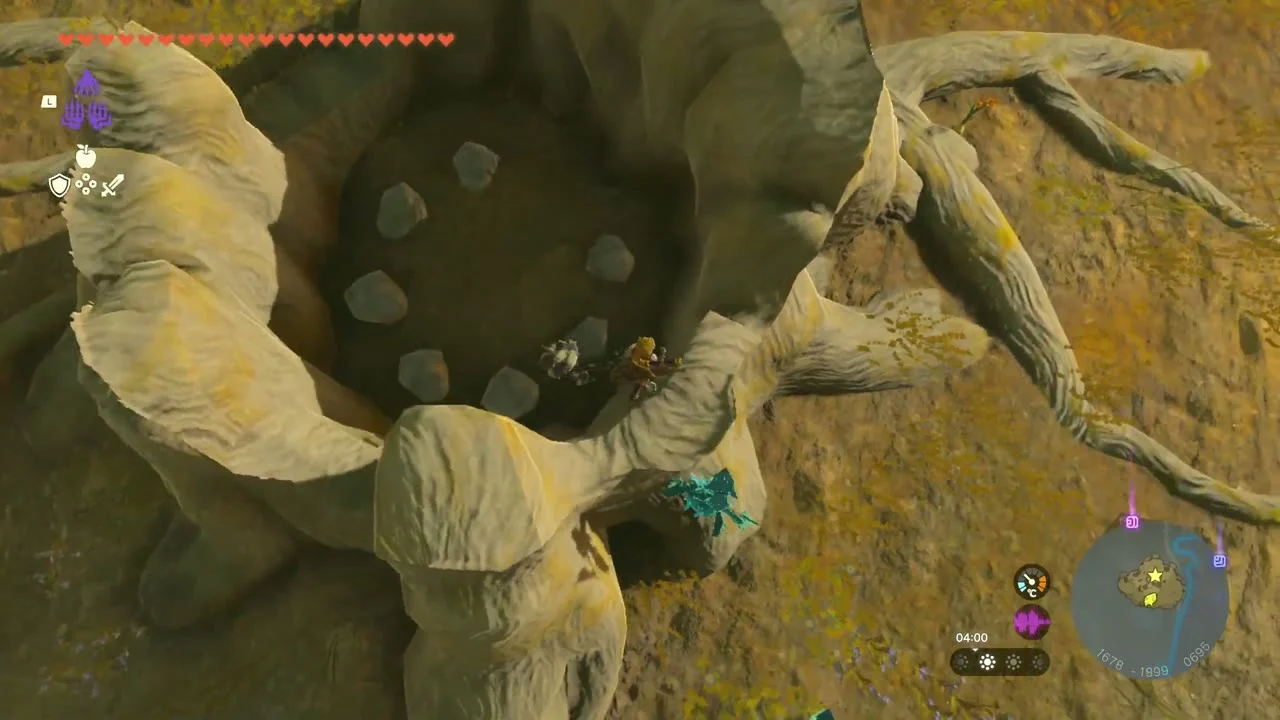
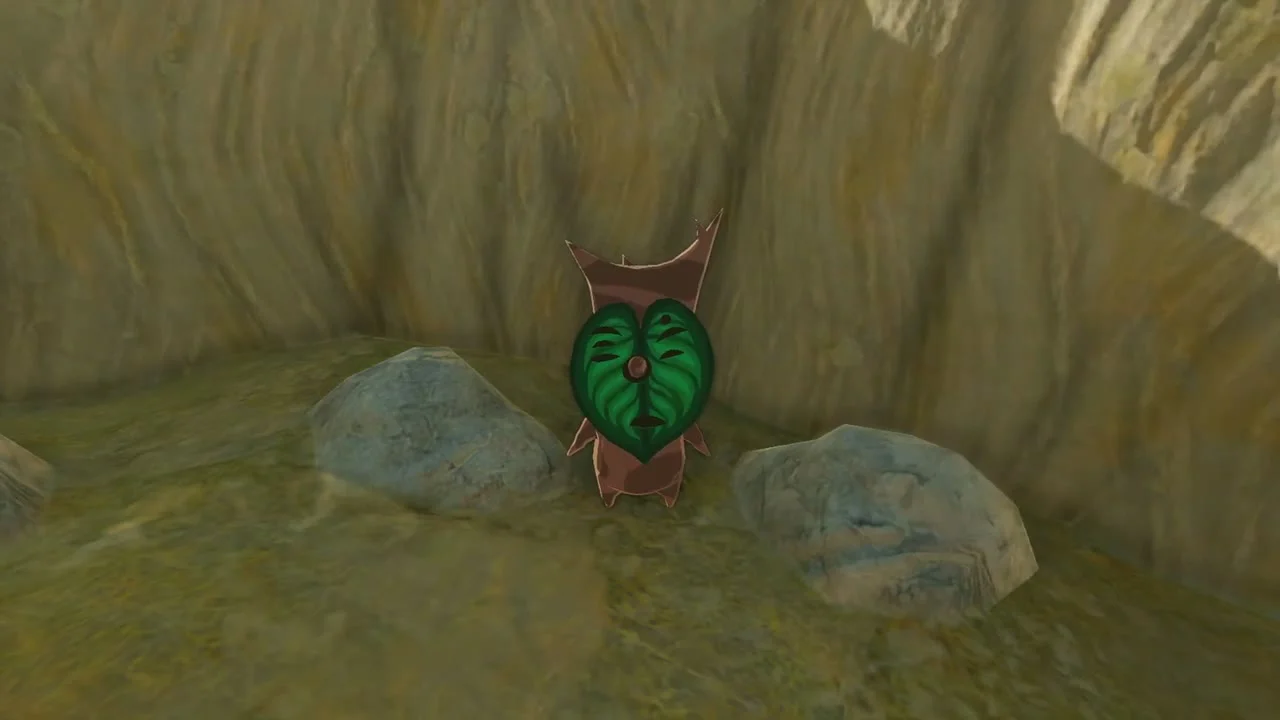
Korok seed (Complete the rock pattern) at (1677, -1897, 693), on a sky island with a hollow tree stump. Place the missing rocks into the circle of stones inside the stump to match the pattern and the Korok appears.
Ukoojisi Shrine: The West Necluda Sky Crystal
Carry the crystal to Ukoojisi Shrine
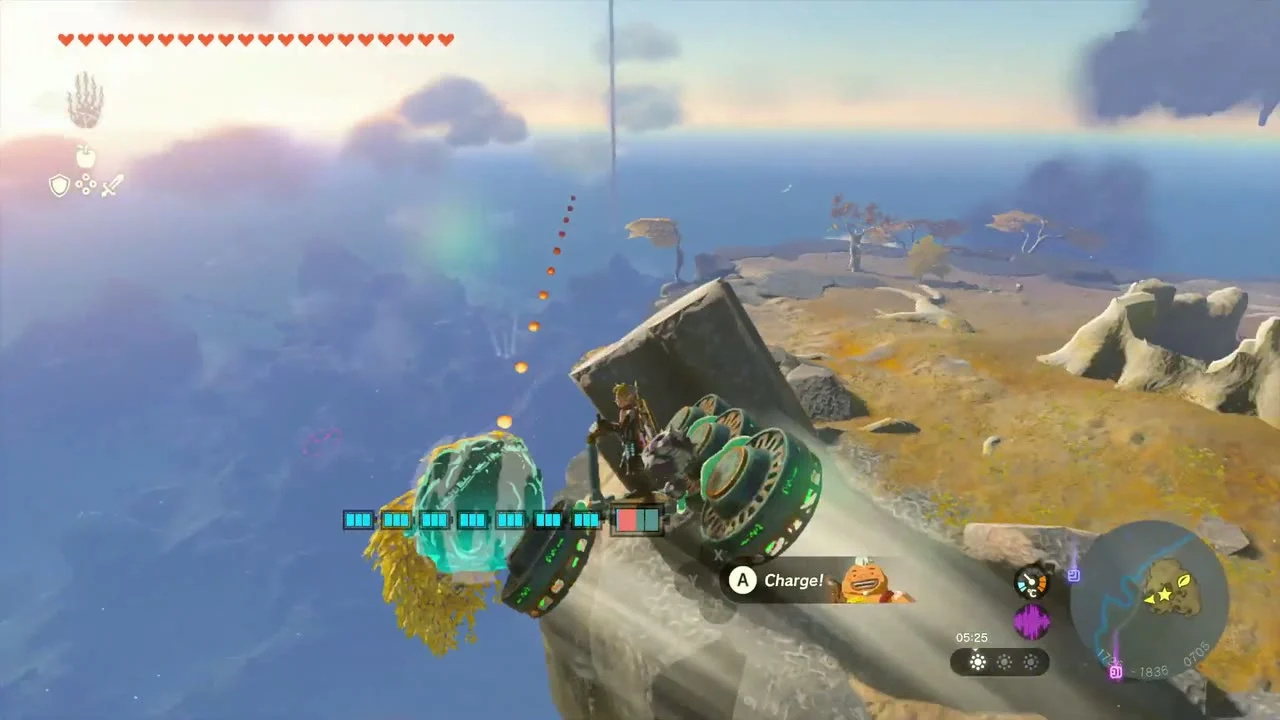
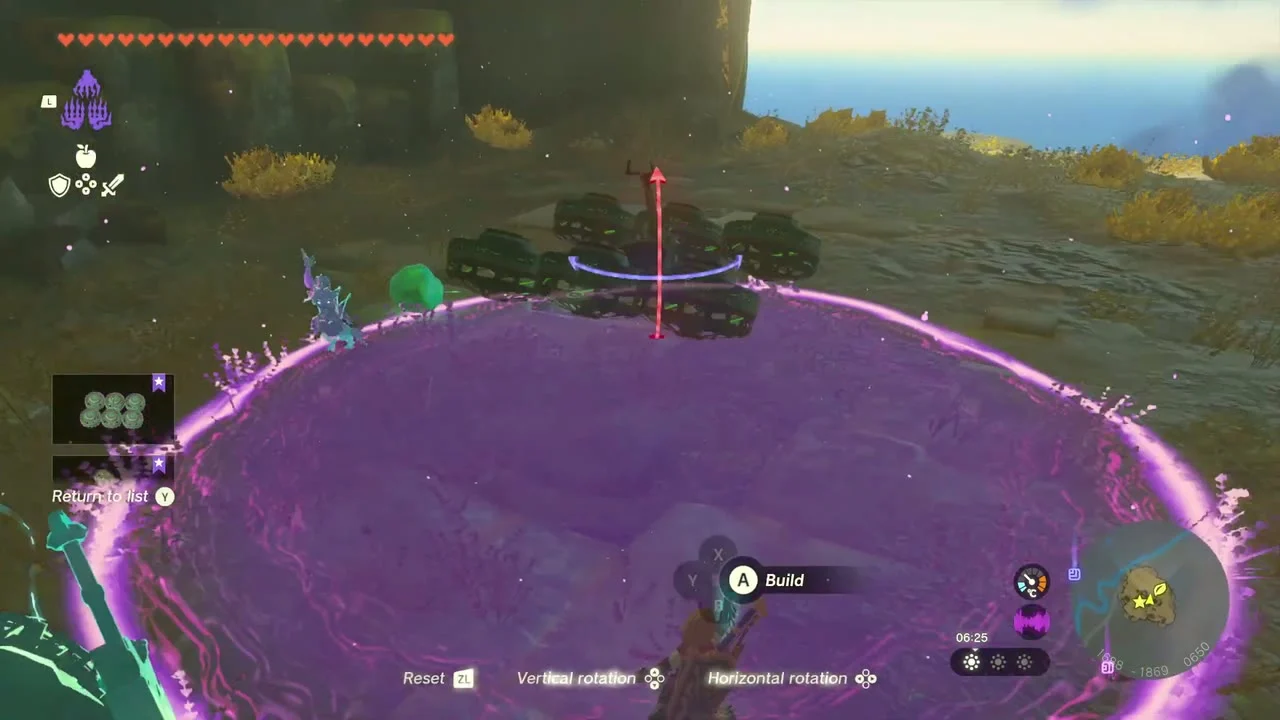
Shrine quest: The West Necluda Sky Crystal (giver: a Mysterious Voice) starts when you examine Ukoojisi Shrine at (1468, -2168, 599). Find the crystal in the vine-covered cave on the western island, build a fan glider or cart with a wing, steering stick, batteries and fans from the cave devices, and carry the crystal to the shrine island. The crystal floats above the shrine and opens it.

Collect the Light of Blessing
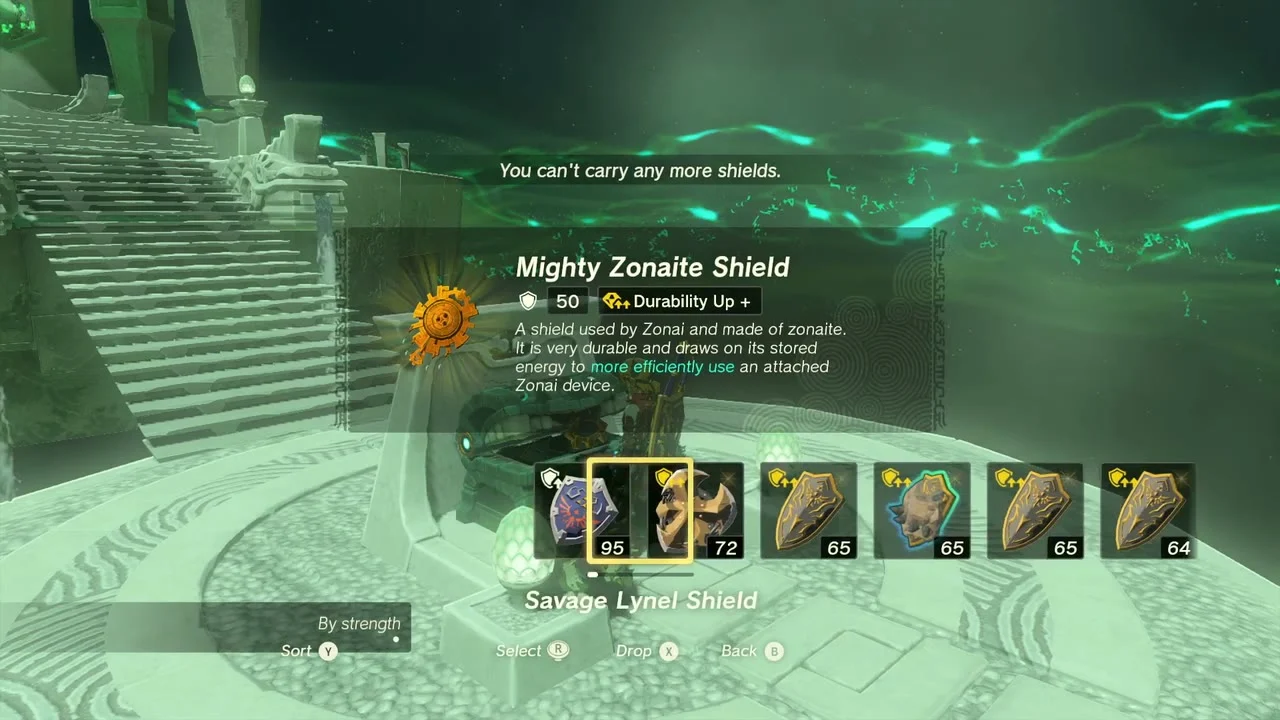
Ukoojisi Shrine (Rauru’s Blessing, no puzzle) at (1468, -2168, 599). Walk the stairs to the statue to claim the Light of Blessing. A chest on the way holds a Mighty Zonaite Shield (Strong or Mighty, depending on your progress).

Zonaite Forge Island
Land on Zonaite Forge Island
Zonaite Forge Island in the East Necluda Sky, over (2349, -1869). Glide in from Ukoojisi Shrine, land at the bottom and activate the terminal at about (2421, -1677, 1475) on the north-eastern base: it starts the fans that lift you to the top, where a grate in the centre is open. Another route is to move the Rockets on the small island beside Ukoojisi Shrine onto the middle floating platform without attaching them, then attach and fire them one at a time to gain enough height. If a Blood Moon rises after you have activated the terminal but before you finish Yansamin Shrine, the hatch closes again and you must re-activate it.
Collect the four Korok seeds on the island
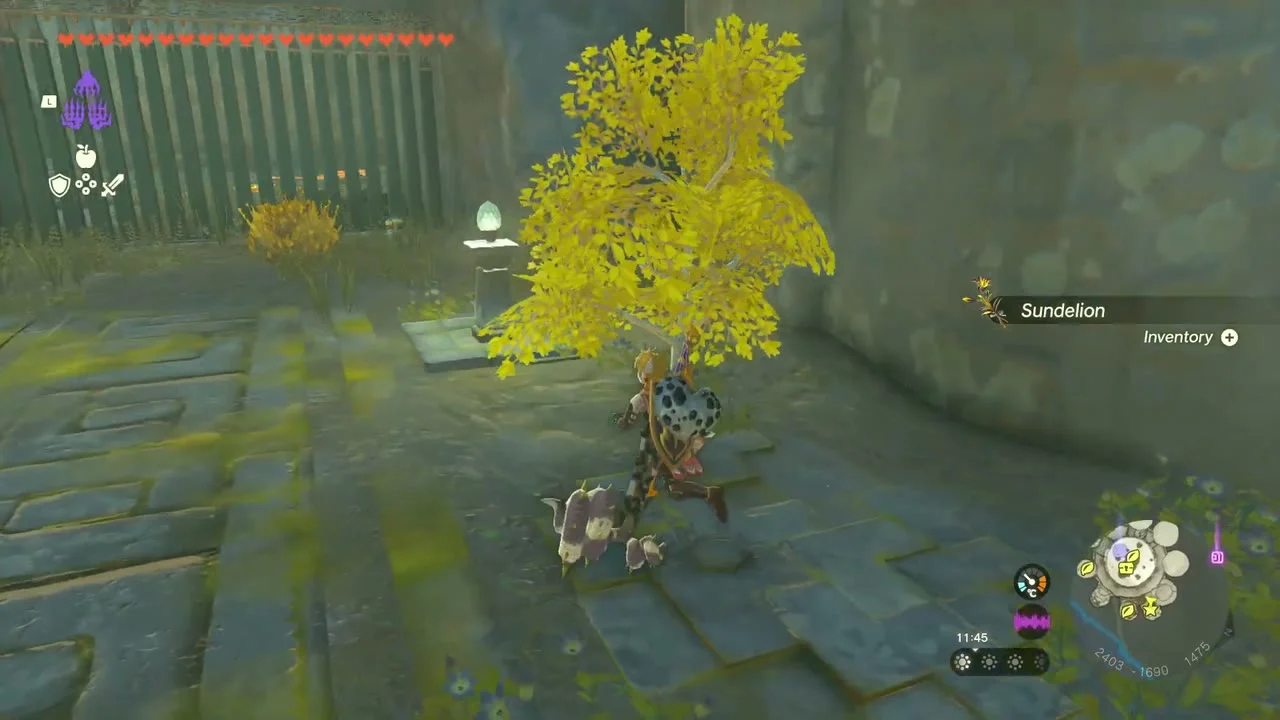
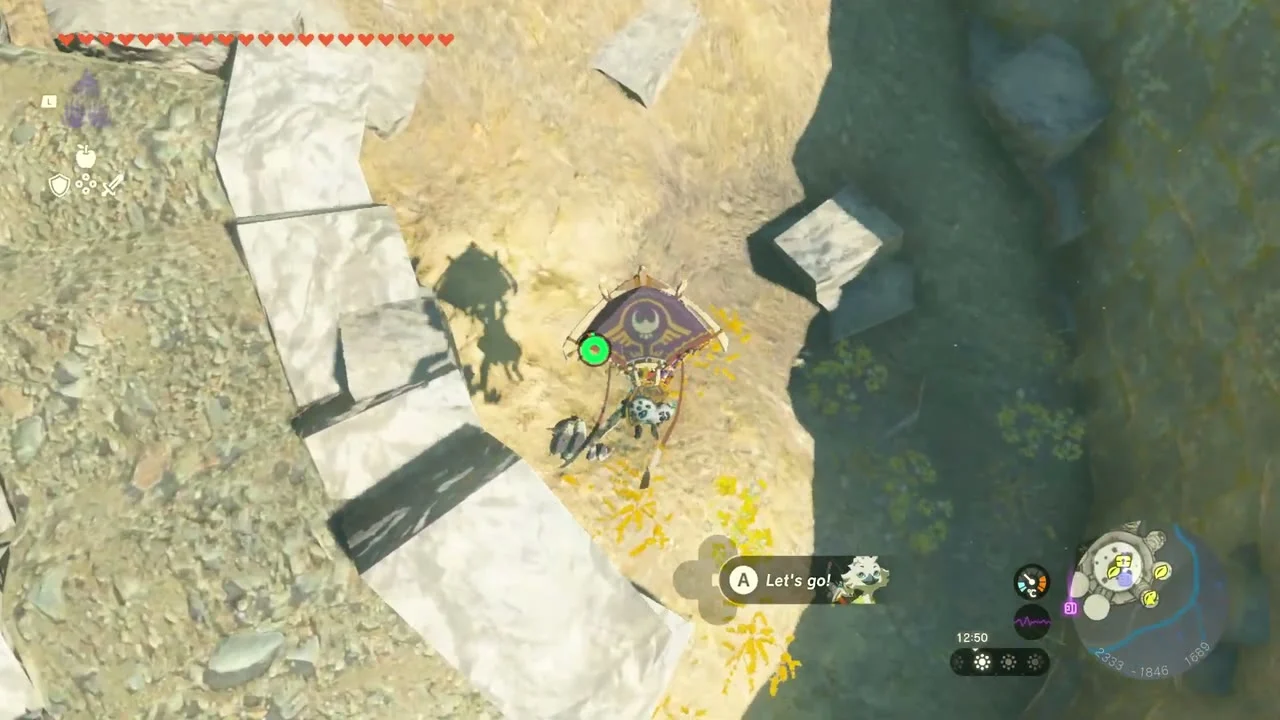
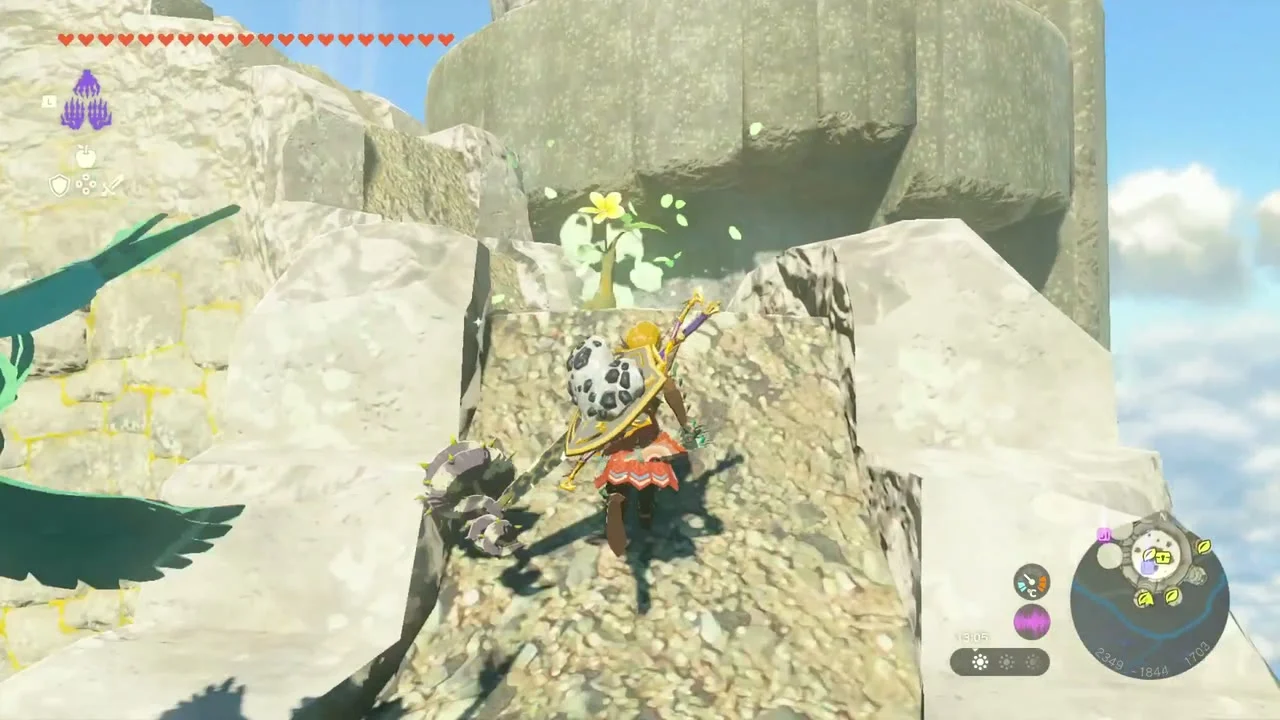
Korok seeds (Follow the flower, Reach the target ring within the time limit, Complete the rock pattern, Lift the rock) at (2332, -1827, 1716), (2430, -1783, 1517), (2439, -1721, 1444) and (2344, -1752, 1885). Follow the blowing petals up the pale cliff to the first; take the ring course next, then fit the stones into the pattern and lift the last rock near the top.

Use the Device Dispenser
Device Dispenser at (2321, -1719, 1484) on Zonaite Forge Island. It stocks Homing Carts, Beam Emitters, Flame Emitters, Frost Emitters and Time Bombs; feed it a Zonai Charge and take a Flame Emitter or a Time Bomb.


Reach the Zonaite Waistguard chest
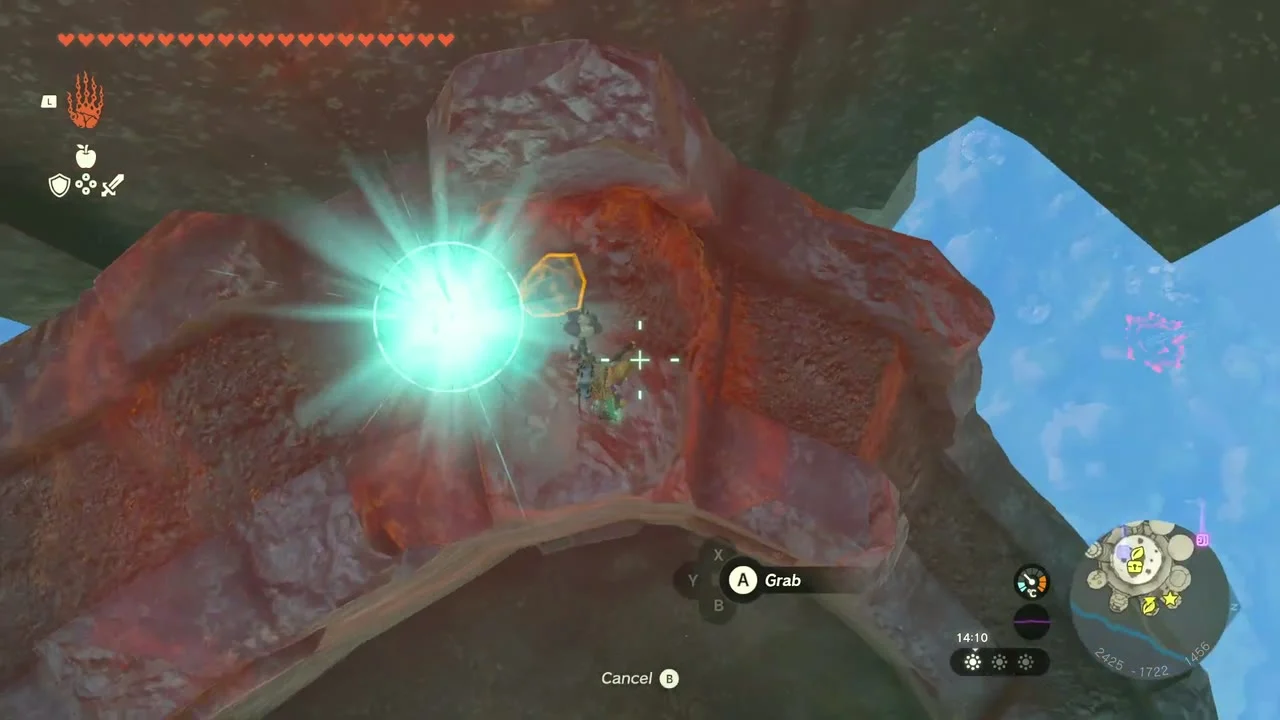
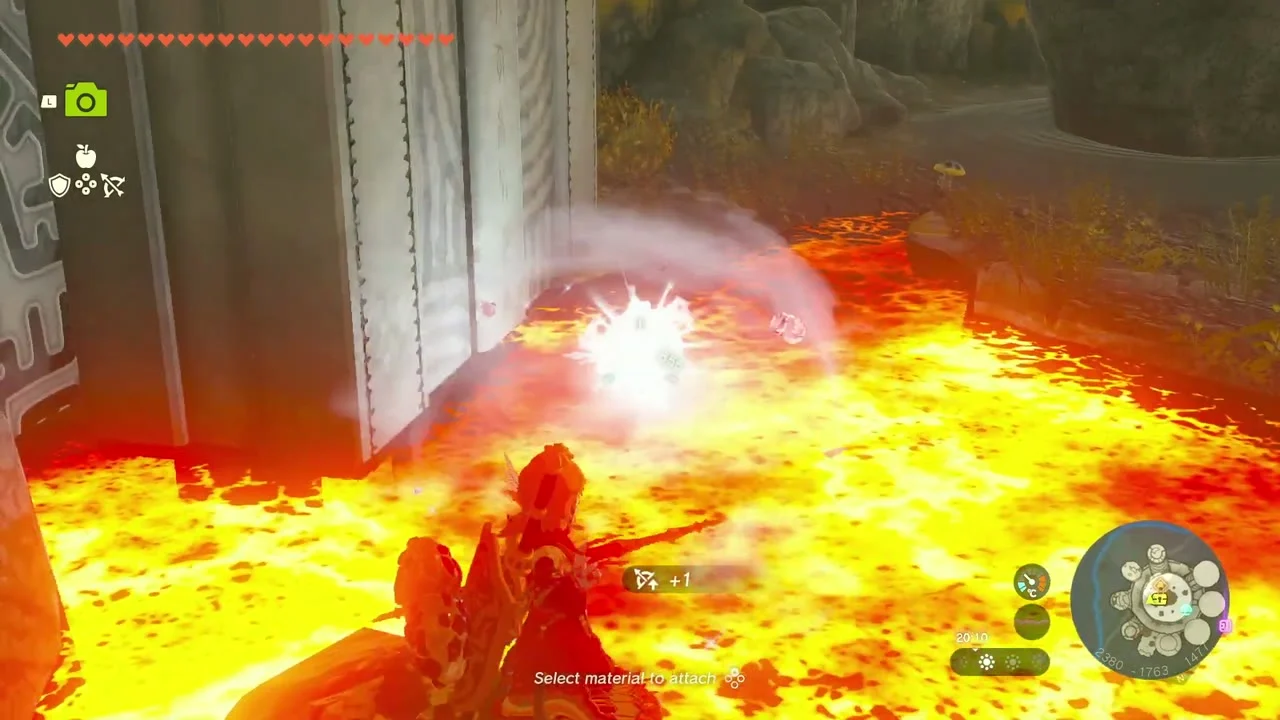
Chest: Zonaite Waistguard at (2375, -1775, 1489), in a small room east of the shrine. Throw a Splash Fruit into the lava on the left side of the shrine to cool it into a platform beneath the stone structure, then Ascend through the floor. The chest holds the Zonaite Waistguard.


Clear Yansamin Shrine: Proving Grounds, Low Gravity
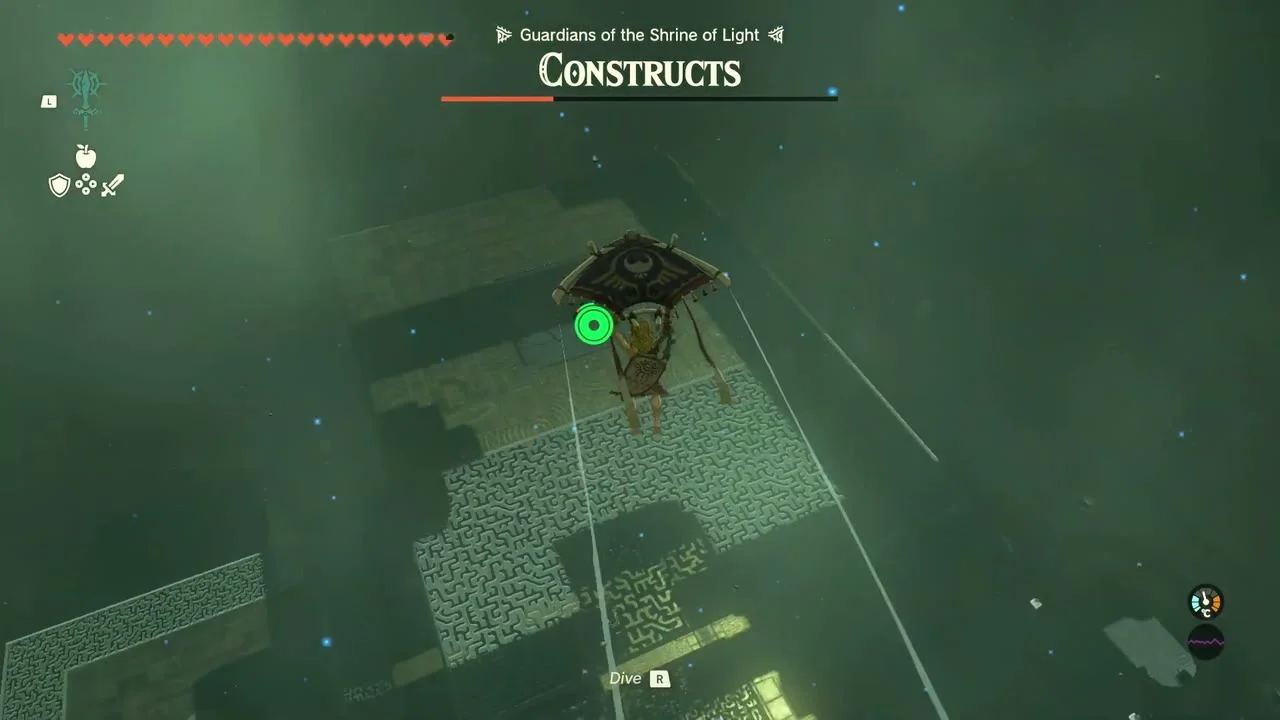
Yansamin Shrine at (2350, -1782, 1489), trial Proving Grounds: Low Gravity (type Proving Grounds). You enter with only the supplied gear, so beat the Soldier Constructs on each floating platform with the supplied spear and shield, using the low gravity to leap across the gaps. Take the Large Zonaite chest at the end and claim the Light of Blessing.


Open the second Old Map chest
Chest: Old Map at about (2645, -1414, 1477), on a rocky island of the Necluda Sky Archipelago east of the forge island. The Old Map marks Tabahl Grove in the Lanayru Great Spring Depths, where the Sea-Breeze Shield is.
Also in this area
The dataset lists these Koroks in the Nabi Lake box (X 400 to 1100, Y -2200 to -1000) that this route did not collect: Reach the target ring within the time limit (458, -2141), Attack and catch the dandelion (543, -1265), Bring the exhausted Korok to its friend (587, -1580 and 1018, -1185), Complete the cube puzzle (588, -1232), and Place the boulder on the tree stand (653, -1769 and 895, -2217).
Tips for this stretch
Each Large Crystallized Charge counts as 20 Zonai Charges, so the chests here refill a lot of vehicles; the Huge Crystallized Charge from Colgera is worth 100. Yiga schematics add recipes to Autobuild. Lightroots here sit under shrines you can reach later: use them as fast-travel points while you work through the Depths.
Faron Part 3 checklist
| Collectible | Count | Where |
|---|---|---|
| Lightroots lit | 8 | Amo-ne, Nikohsi, Kohsustu, U-u-ujoj, Sijotu, Uisihcoj, Busus, Muokuij |
| Shrines | 2 | Ukoojisi (sky), Yansamin (Zonaite Forge Island) |
| Korok seeds | 15 | 9 surface, 2 West Necluda sky, 4 Zonaite Forge Island |
| Chests (surface, cave and sky) | 10 | Spring x3, Forest Dweller’s Sword, Topaz, cave chest, Shield of the Mind’s Eye, Old Map x2, Zonaite Waistguard, Large Zonaite (Yansamin), Mighty Zonaite Shield (Ukoojisi) |
| Depths chests | 19 listed | Construct Factory x2, four depots x4, Dracozu Altar, Giant Brightbloom Seed x5, Floria Canyon Mine, Eightfold Blade, Emblazoned Shield, Faloraa Canyon Mine, cistern chest, and three Yiga camps (6 chests) |
| Yiga camps | 3 | (241, -2162), (409, -3673), (-1240, -2682) |
| Bubbul Gems | 1 | Sahasra Slope Cave |
| Bargainer Statue | 1 | Wellspring of Courage |
| Dragon’s Tears | 1 | The Gerudo Assault (694, -1309) |
| Skyview Towers | 1 | Sahasra Slope |
| Old Maps | 2 | Minshi Grove (Tunic of the Sky), Tabahl Grove (Sea-Breeze Shield) |
