





















Oracle of Seasons 100% Completion Walkthrough26 chapters
- Getting Started in Holodrum and the Hero’s CaveGetting started in Holodrum: Impa’s request, Mayor Ruul’s Gasha Seed, Vasu’s Ring Box, the Hero’s Cave ledge chest.
- Gnarled Root Dungeon (Dungeon 1)Gnarled Root Dungeon walkthrough for Oracle of Seasons: keys, map, compass, Seed Satchel, Boss Key, Aquamentus and the.
- Subrosia, the Tower of Winter and the Rod of SeasonsWalkthrough for Subrosia, the Tower of Winter and the Rod of Seasons in Oracle of Seasons: Gasha Nuts, Boomerang, Ore.
- Woods of Winter and the ShovelWoods of Winter walkthrough: pay the old man, bomb the 30 Rupee cave, get the Shovel from Holly, find the Mystery Seed.
- Snake’s Remains (Dungeon 2)Snake’s Remains walkthrough: Compass, rupee room, Power Bracelet, Dungeon Map, bomb merchant, Facade, Dodongo boss.
- Farore’s Secrets and Princess Zelda’s RescueFarore’s secrets and Princess Zelda’s rescue walkthrough: three Pieces of Heart, a Gasha Nut, Vasu’s rings, the L-2.
- Spool Swamp and the Floodgate KeySpool Swamp walkthrough for Oracle of Seasons: Ricky’s Gloves, the Iron Pot trade, Pegasus Seeds, the Floodgate Key.
- The Tower of Summer and Rosa’s RibbonThe Tower of Summer walkthrough: Star-Shaped Ore, Rosa’s Ribbon, Subrosian Market buys (Heart Piece, Bomb Bag), the.
- Poison Moth’s Lair (Dungeon 3)Poison Moth’s Lair walkthrough: both Small Keys, Roc’s Feather, Compass, Map, Gasha Seed, Omuai, Boss Key, Mothula and.
- Natzu, Sunken City and Zora’s FlippersNatzu, Sunken City and Zora’s Flippers walkthrough: Dimitri’s swim, Gale Seeds, Master’s Plaque, Master Diver and the.
- The Hall of Secrets and the Noble SwordHall of Secrets walkthrough: Farore’s secrets, Bombchu, the Noble Sword, Advance Shop rings, Vasu’s appraisals and a.
- Great Moblin’s Keep and Goron MountainGreat Moblin’s Keep and Goron Mountain walkthrough: bomb-catching boss fight, Heart Piece, Tokay secret, bigger Ring.
- The Strange Brothers, the Tower of Spring and Mt. CuccoThe Tower of Spring and Mt. Cucco walkthrough: win back Roc’s Feather from the Strange Brothers, Spring power, Moosh.
- Dancing Dragon Dungeon (Dungeon 4)Dancing Dragon Dungeon walkthrough: all five Small Keys, Map, Compass, Agunima, Slingshot, Boss Key, Gohma and the.
- The Tower of Autumn and Eyeglass LakeTower of Autumn and Eyeglass Lake walkthrough for Oracle of Seasons: Gasha Seeds, ring appraisals, Seed Satchel.
- Unicorn’s Cave (Dungeon 5)Unicorn’s Cave walkthrough for Oracle of Seasons: Compass, five Small Keys, Magnetic Gloves, Syger and Digdogger.
- The Four Jewels, Tarm Ruins and the Lost WoodsTarm Ruins and Lost Woods walkthrough for Oracle of Seasons: Red Ore, Iron Shield, Round Jewel, Vasu’s rings, the Lost.
- Ancient Ruins (Dungeon 6)Ancient Ruins walkthrough for Oracle of Seasons: Dungeon Map, Compass, three Small Keys, Magical Boomerang, Vire.
- Samasa Desert and the Pirate’s BellSamasa Desert and Pirate’s Bell walkthrough for Oracle of Seasons: the desert ring chest, the polished Rusty Bell and.
- Explorer’s Crypt (Dungeon 7)Oracle of Seasons Explorer’s Crypt walkthrough: beat the Poe Sisters, get Roc’s Cape and the Boss Key, defeat Gleeok.
- Temple Remains and the Volcano EruptionOracle of Seasons Temple Remains walkthrough: Maku Tree secrets, Vasu ring appraisals, the Subrosian volcano eruption.
- Sword & Shield Maze (Dungeon 8)Oracle of Seasons Sword & Shield Maze walkthrough: Compass, Dungeon Map, Hyper Slingshot, Frypolar, Medusa Head and.
- The Huge Maku Seed, the Last Trades and the Hero’s CaveOracle of Seasons Huge Maku Seed walkthrough: the Goron Vase to Phonograph trade chain, Gasha Seed planting, and the.
- Side Quests and Collectibles Before Onox’s CastleSide quests and collectibles before Onox’s Castle in Oracle of Seasons: Gasha Nuts, Vasu’s rings, the Mirror Shield.
- Onox’s Castle and the Final BattleOnox’s Castle walkthrough for Oracle of Seasons: clear the castle rooms, beat Facade, buy the Mirror Shield, then.
- The Linked Game FinaleLinked game finale walkthrough for Oracle of Seasons: beat Twinrova and Ganon in the Room of Rites, then finish at the.
| Covers | The Woods of Winter, north of Horon Village, with season changes at the tree stumps (summer, winter and autumn) and the trip to the front door of Snake’s Remains. |
|---|---|
| Dungeon | None inside this chapter. Snake’s Remains (Dungeon 2) is entered at the end, and the next chapter clears it. |
| Rewards | Shovel (from Holly), 30 Rupees (bomb cave chest), Mystery Seeds from the seed tree, the Great Fairy’s secret for Tingle (linked game only), a free heart refill from the fairy in the cave. The old man’s door repair costs 50 Rupees. No Heart Pieces, rings or Gasha Seeds here. |
This chapter puts a new tool in your hands and opens the road to the second dungeon. You burn a bush to find the old man who wants his door paid for, bomb open a cave for an easy chest, drop down Holly’s chimney in winter to earn the Shovel, then use it on snow and leaf piles to reach a tree that drops Mystery Seeds. A last cave holds a fairy with a message for Oracle of Ages, and the dungeon lies just outside it.
The old man’s door repair cave
Burn the bush and pay for the door
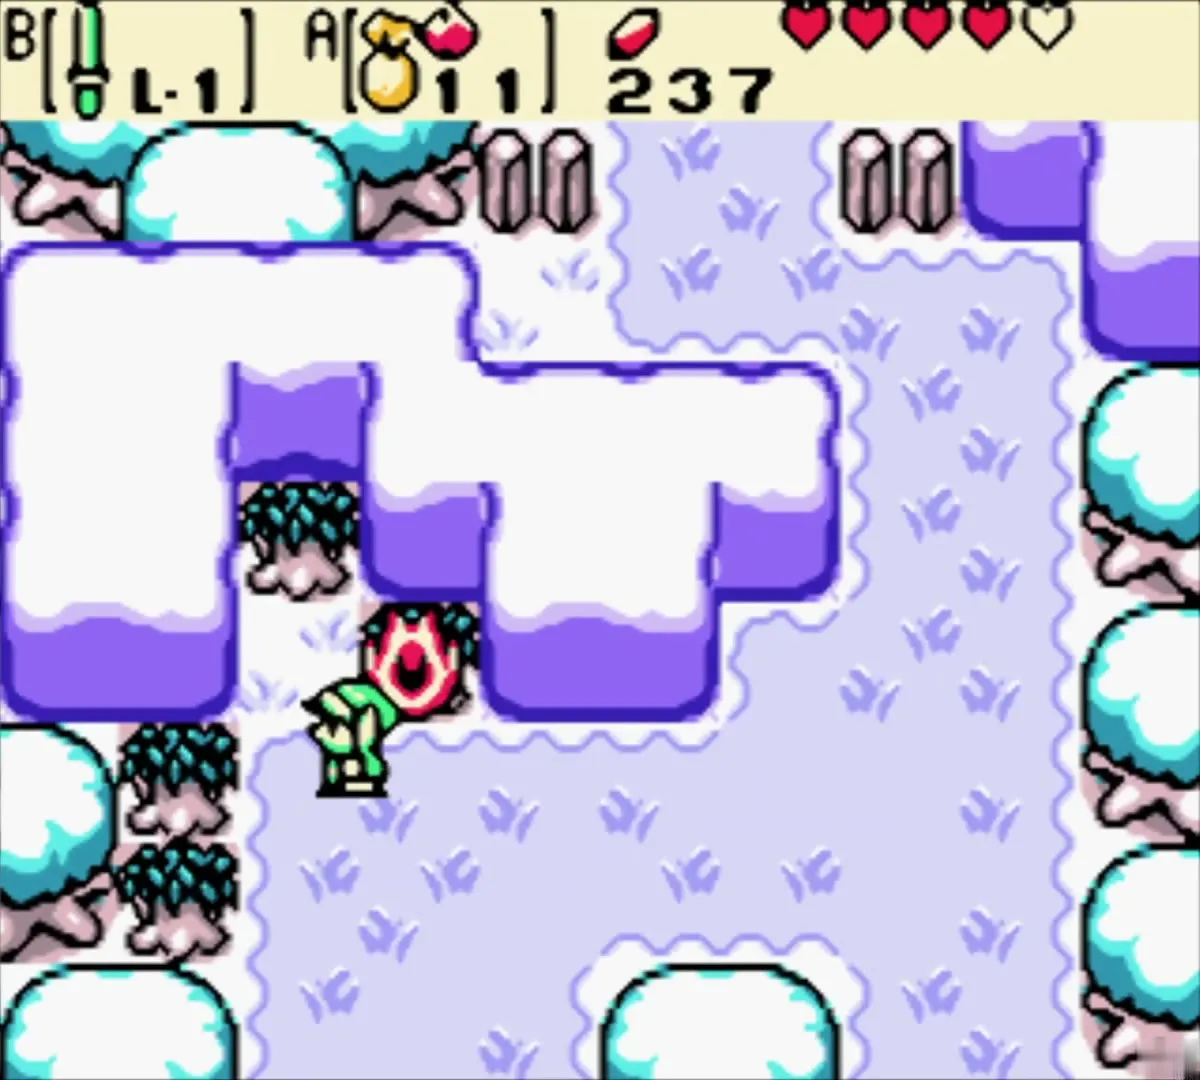
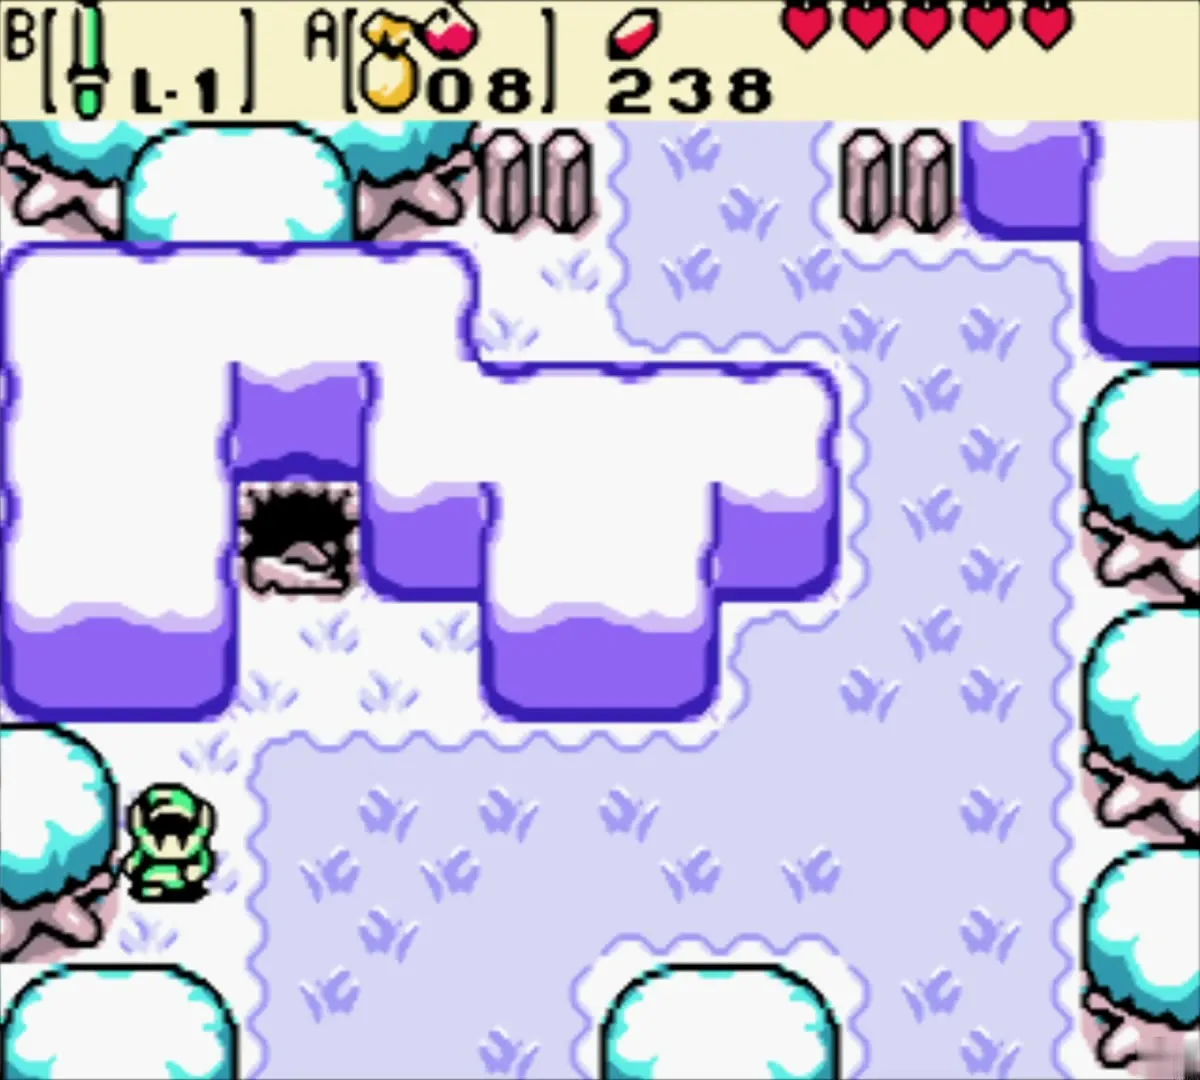
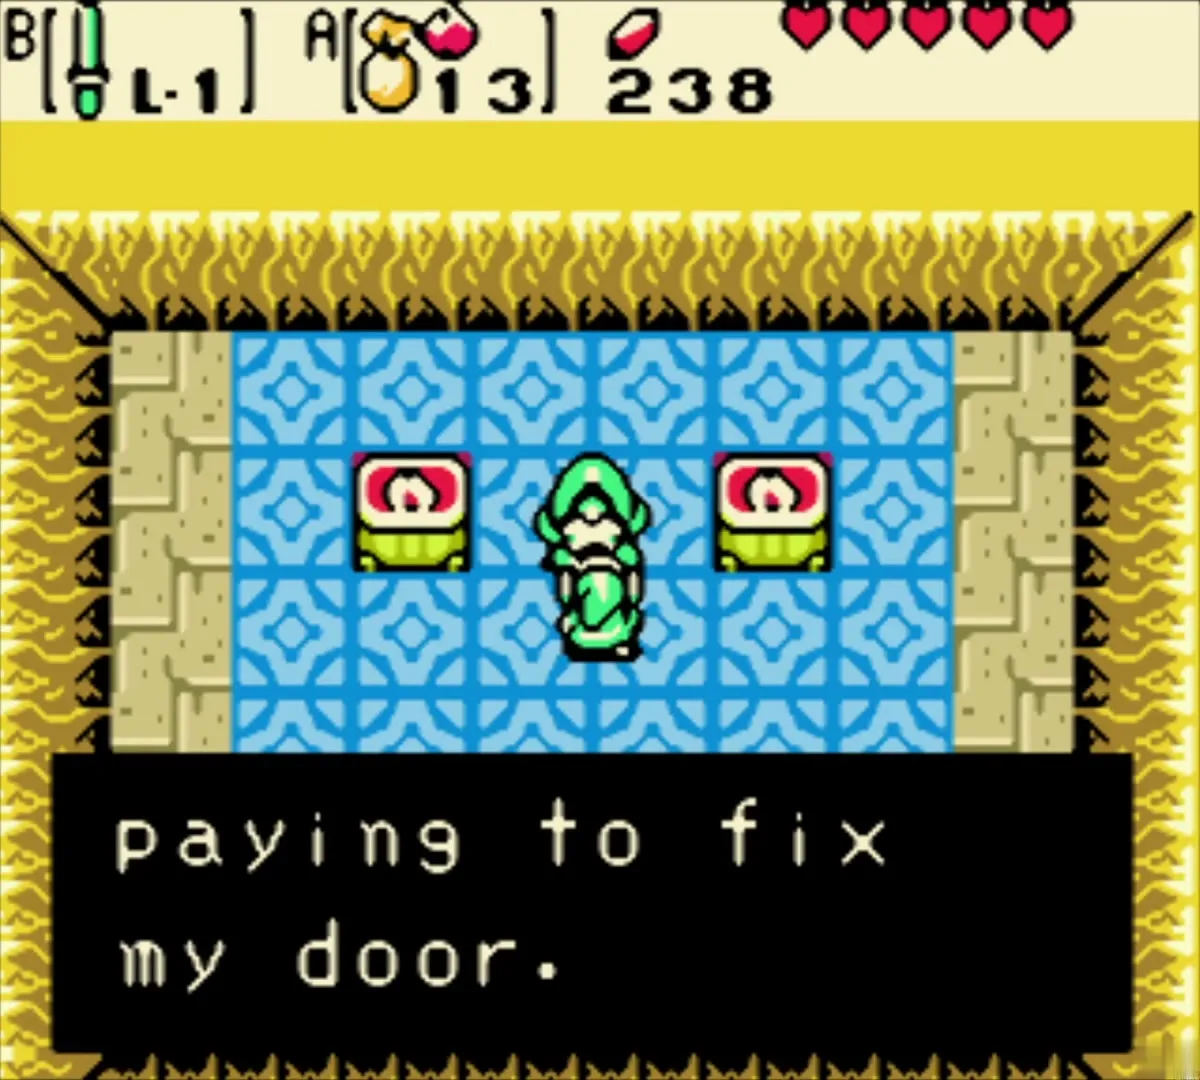
With the Rod of Seasons in your pack and the snow of the Woods of Winter underfoot, look for the cluster of bushes just south of Holly’s house. Shoot an Ember Seed from your Seed Satchel at the northernmost one. It burns away and uncovers a staircase. Go down and talk to the old man, who thanks you for fixing his door and takes 50 Rupees from you for it. The cave gives nothing back, so the payment is optional if you would rather keep the money.
Switch the season at the stump
Leave the cave and use a stump on the screen to bring the weather around to summer. The snow melts and the whole screen turns green. This matters for the next stop, because the bomb cave below is buried under snow in winter.
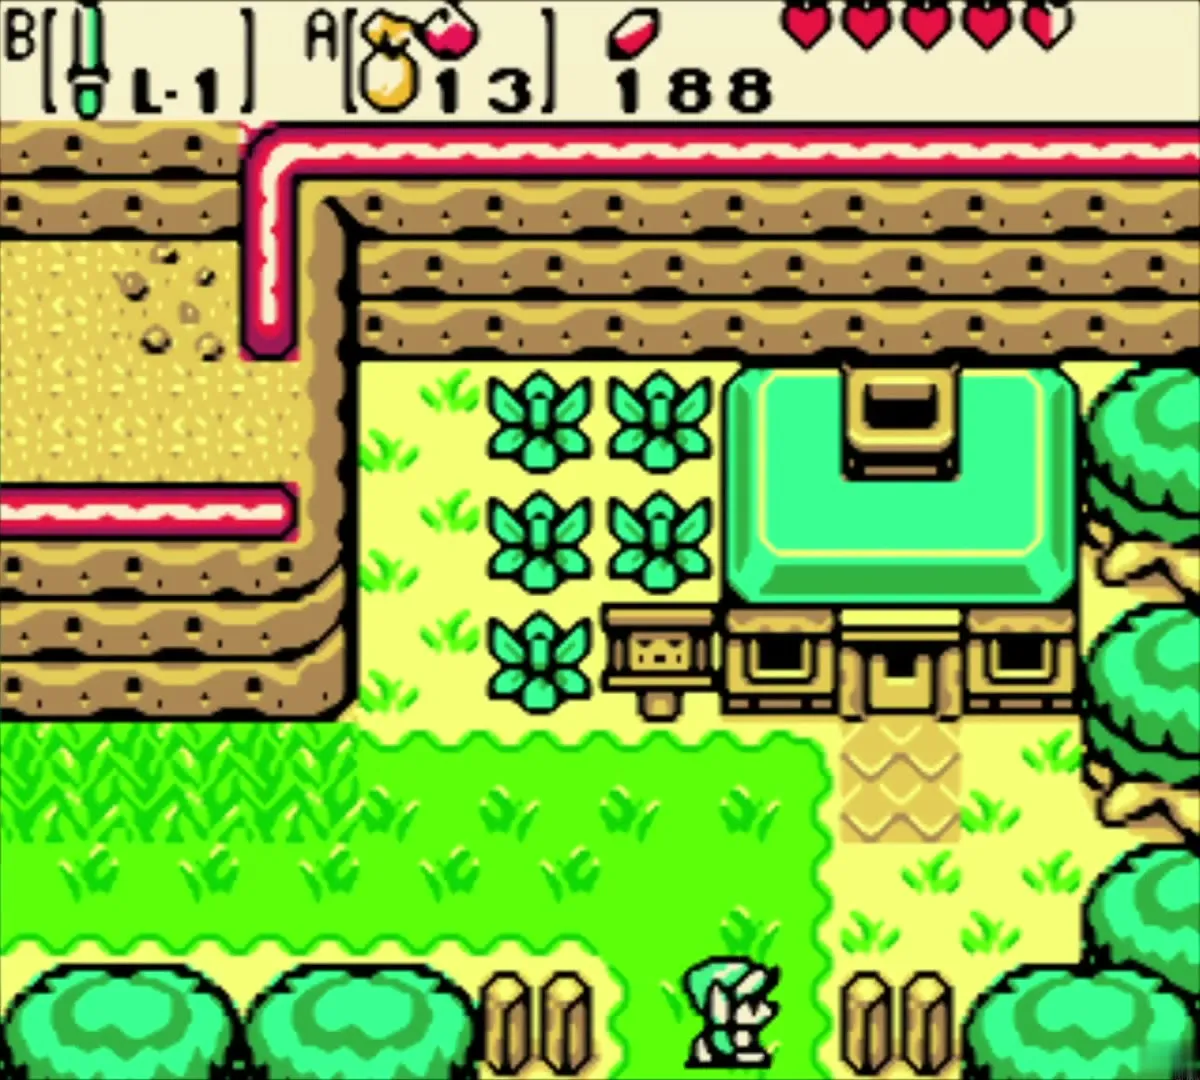
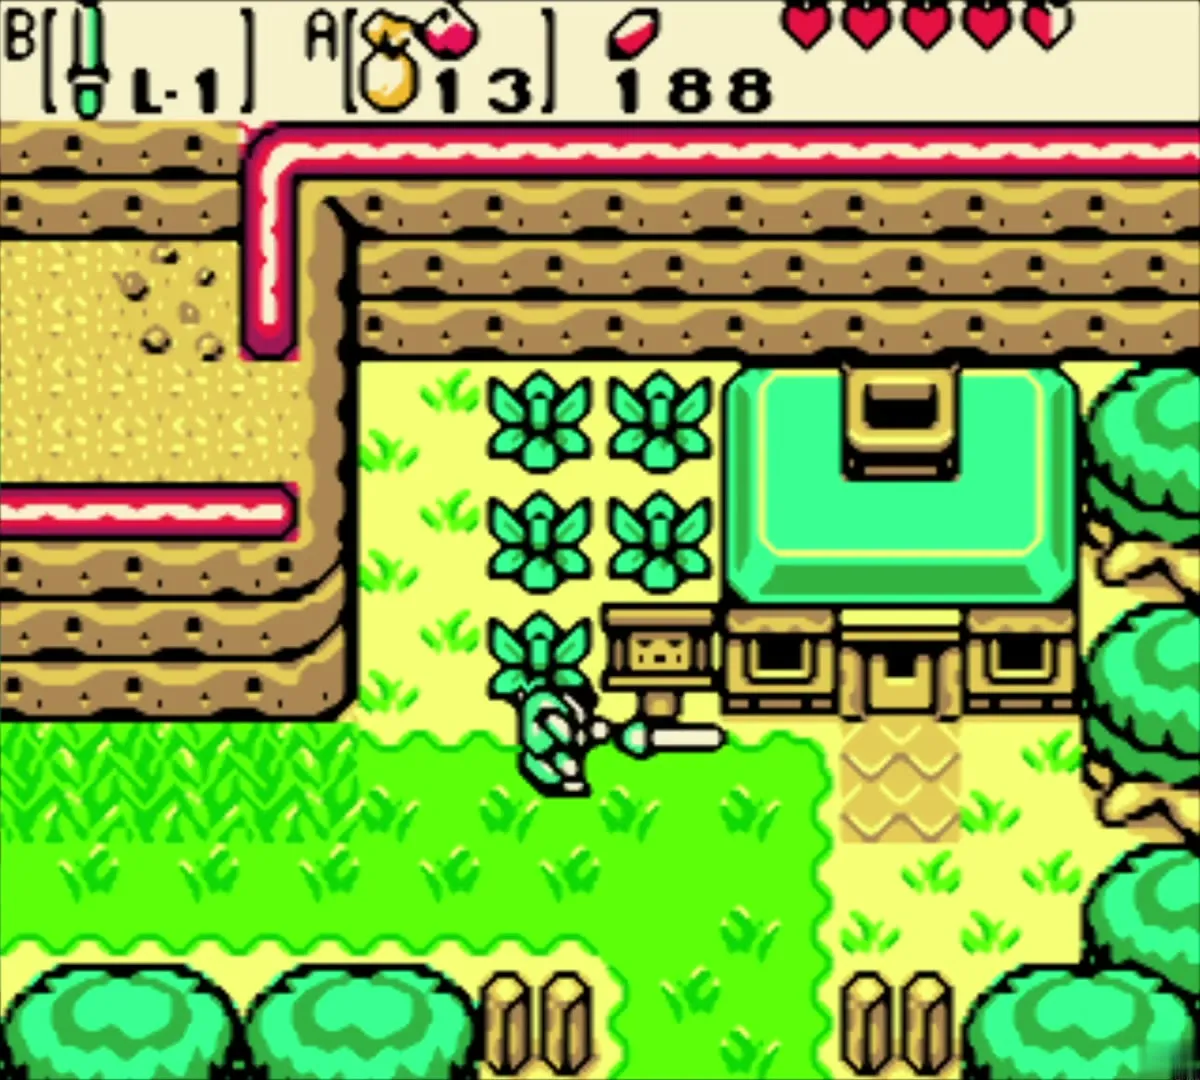
Bomb cave with the 30 Rupee chest
Walk west past Holly’s house
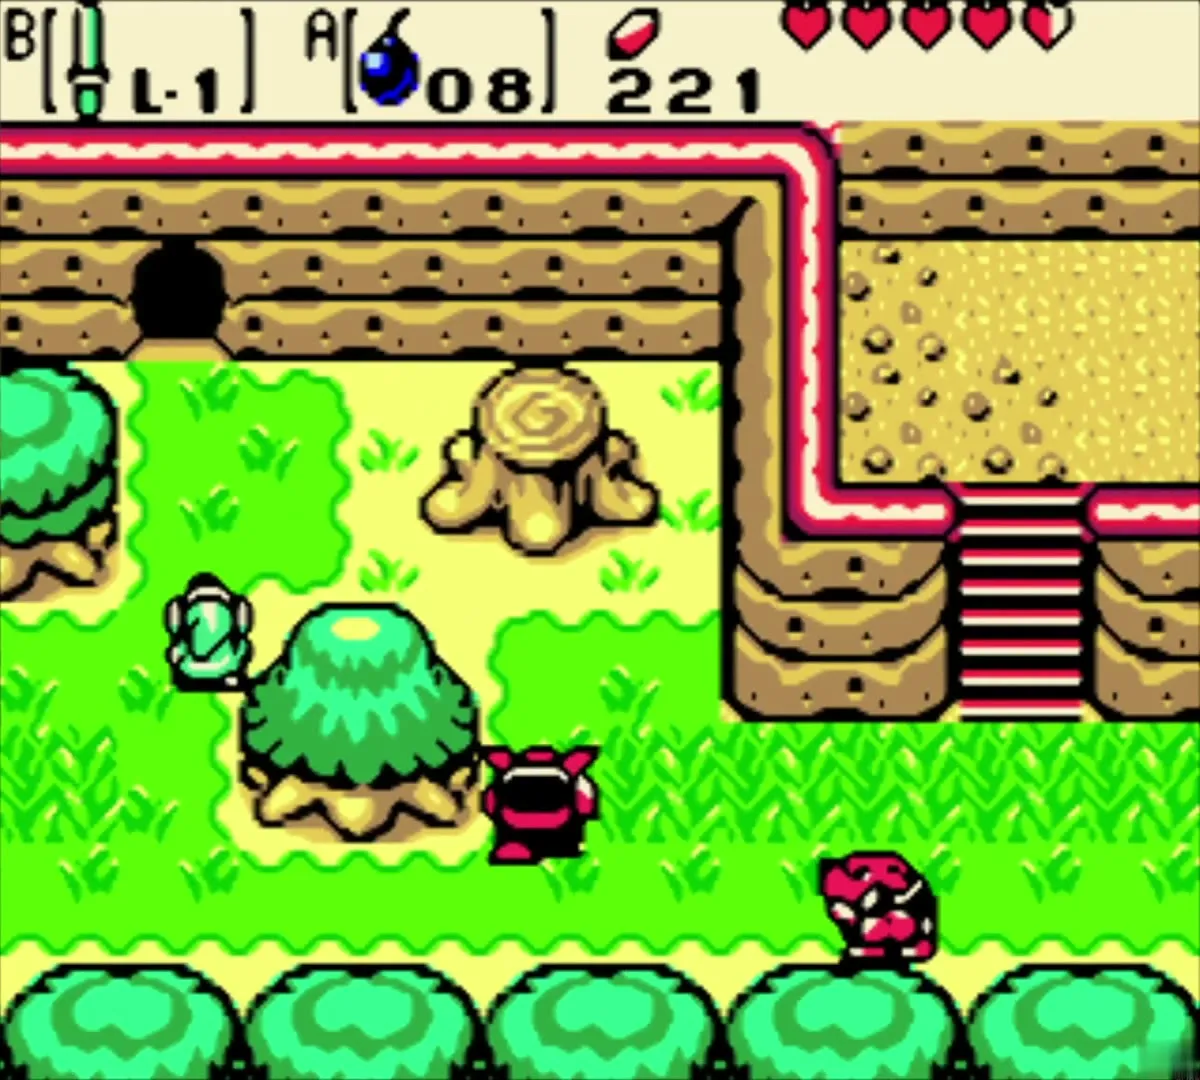
Head west along the cliff, past the signed house, crossing the screen where the sign points north to Sunken Falls. A few Octoroks wander along the grass, so keep your sword out. Stay on the lower path and follow the cliff until you reach the screen with a row of loose rocks along the north wall.


Bomb the wall and open the chest
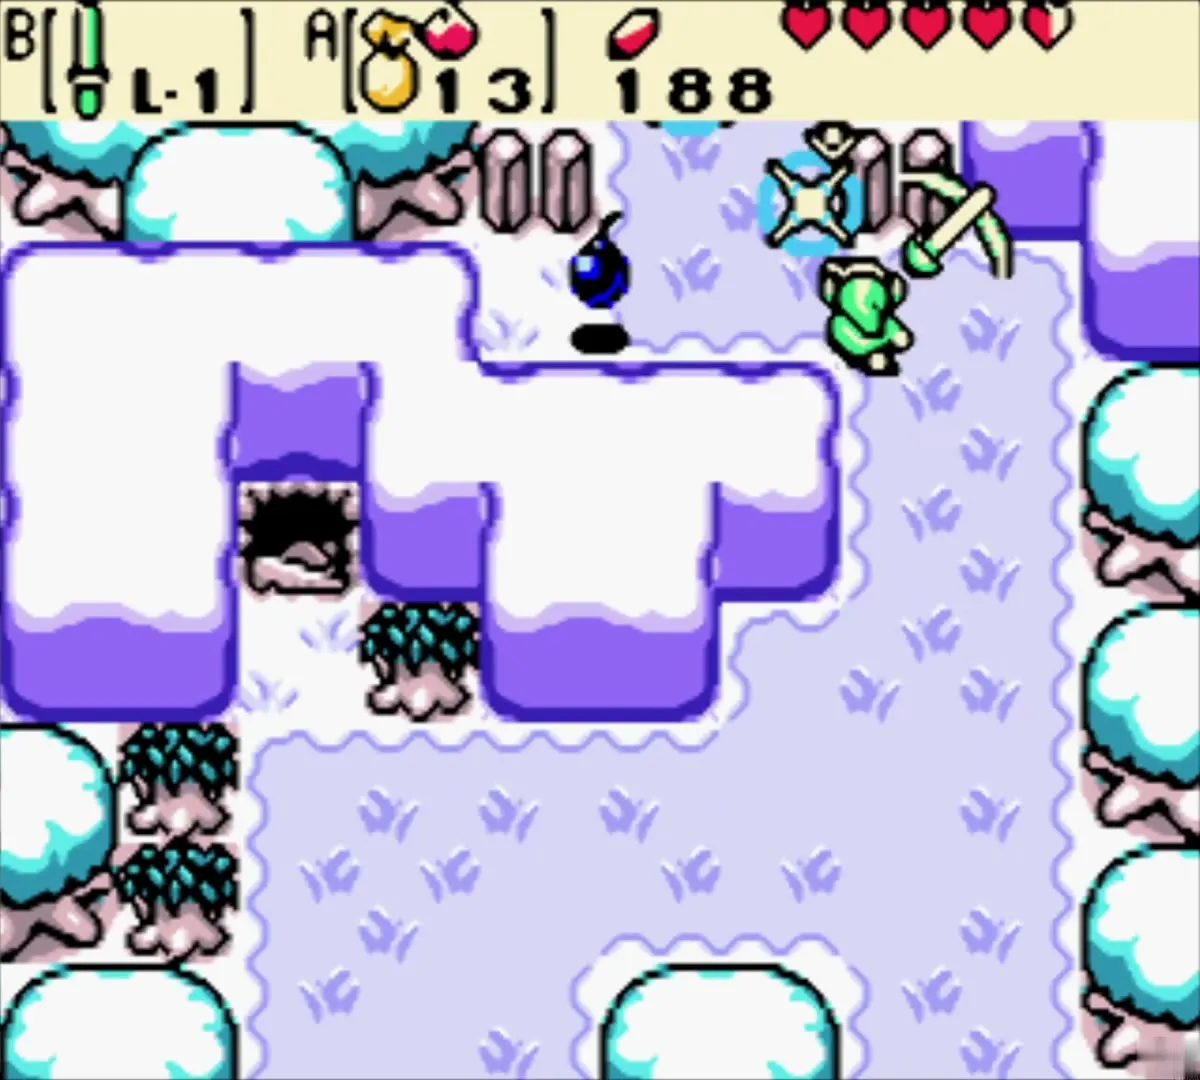
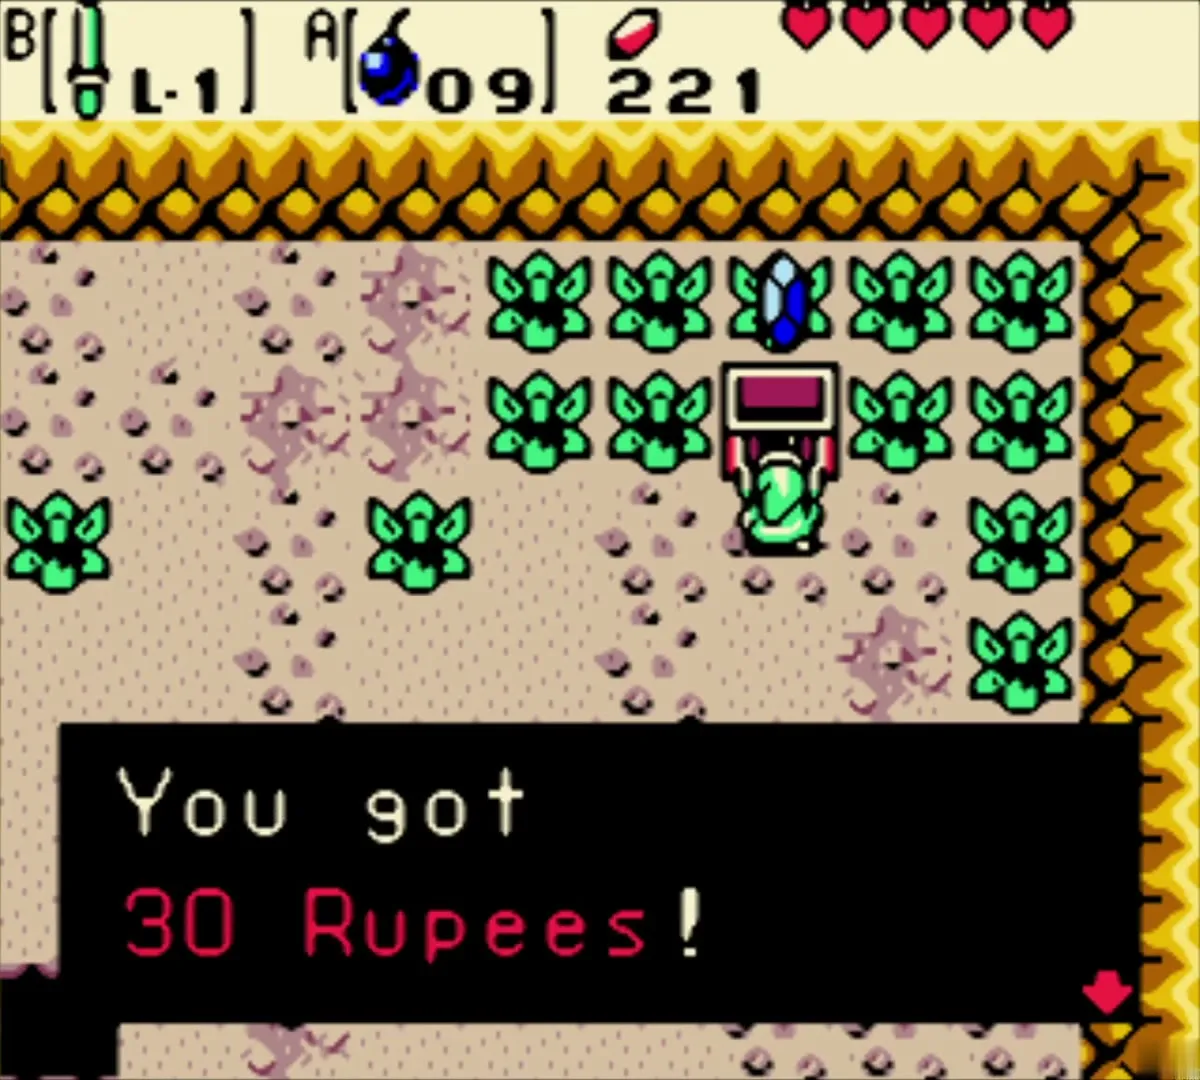
Lay a Bomb beside the rocks on the north wall to blast the entrance open. Inside is a sandy cave dotted with bushes and pits. Cut through the bushes to reach the chest in the grass at the far end and open it for 30 Rupees. Walk back out the way you came.
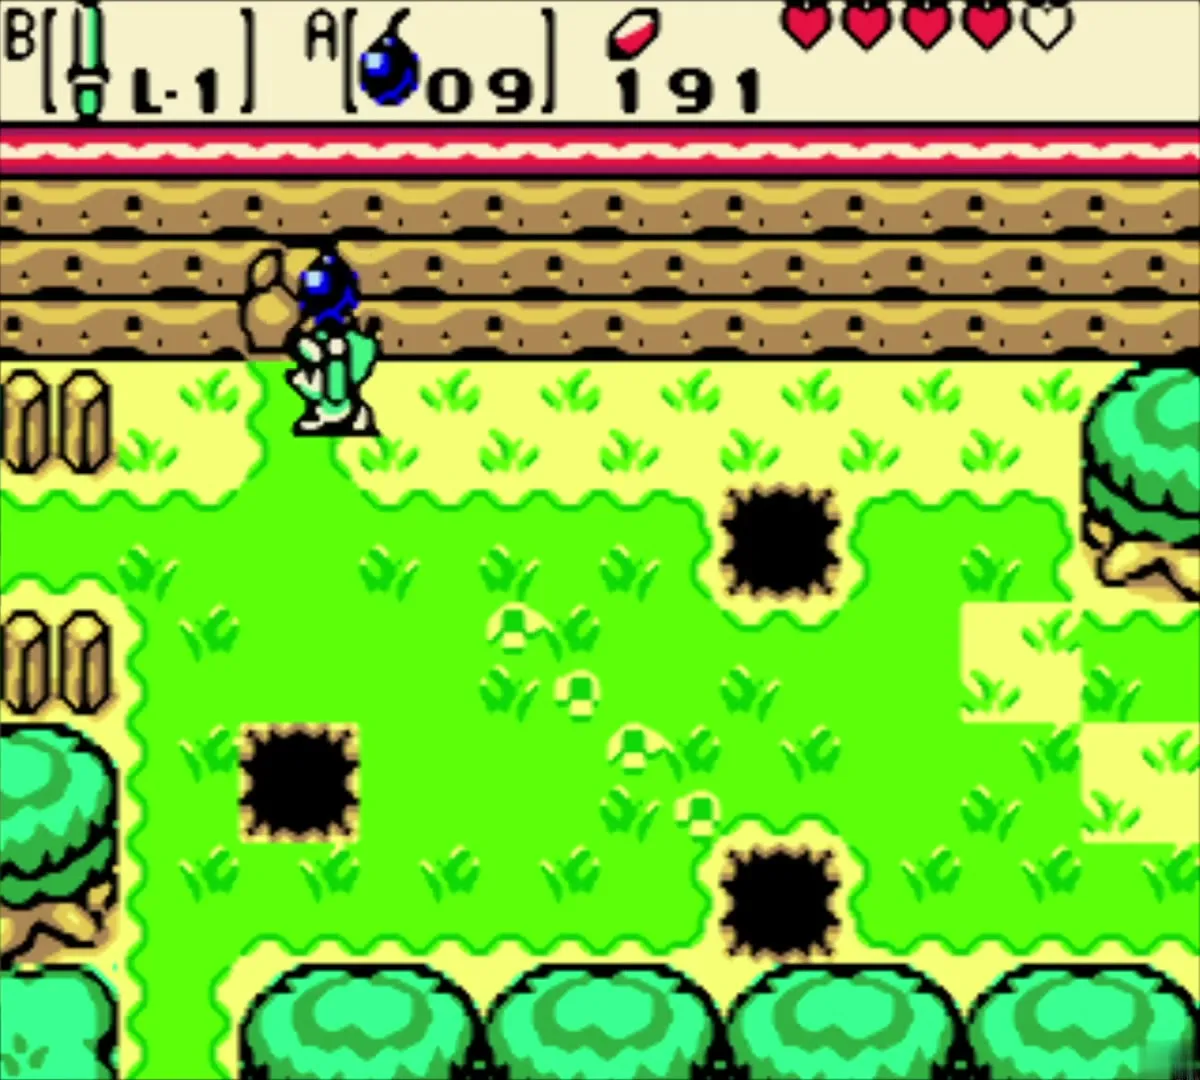
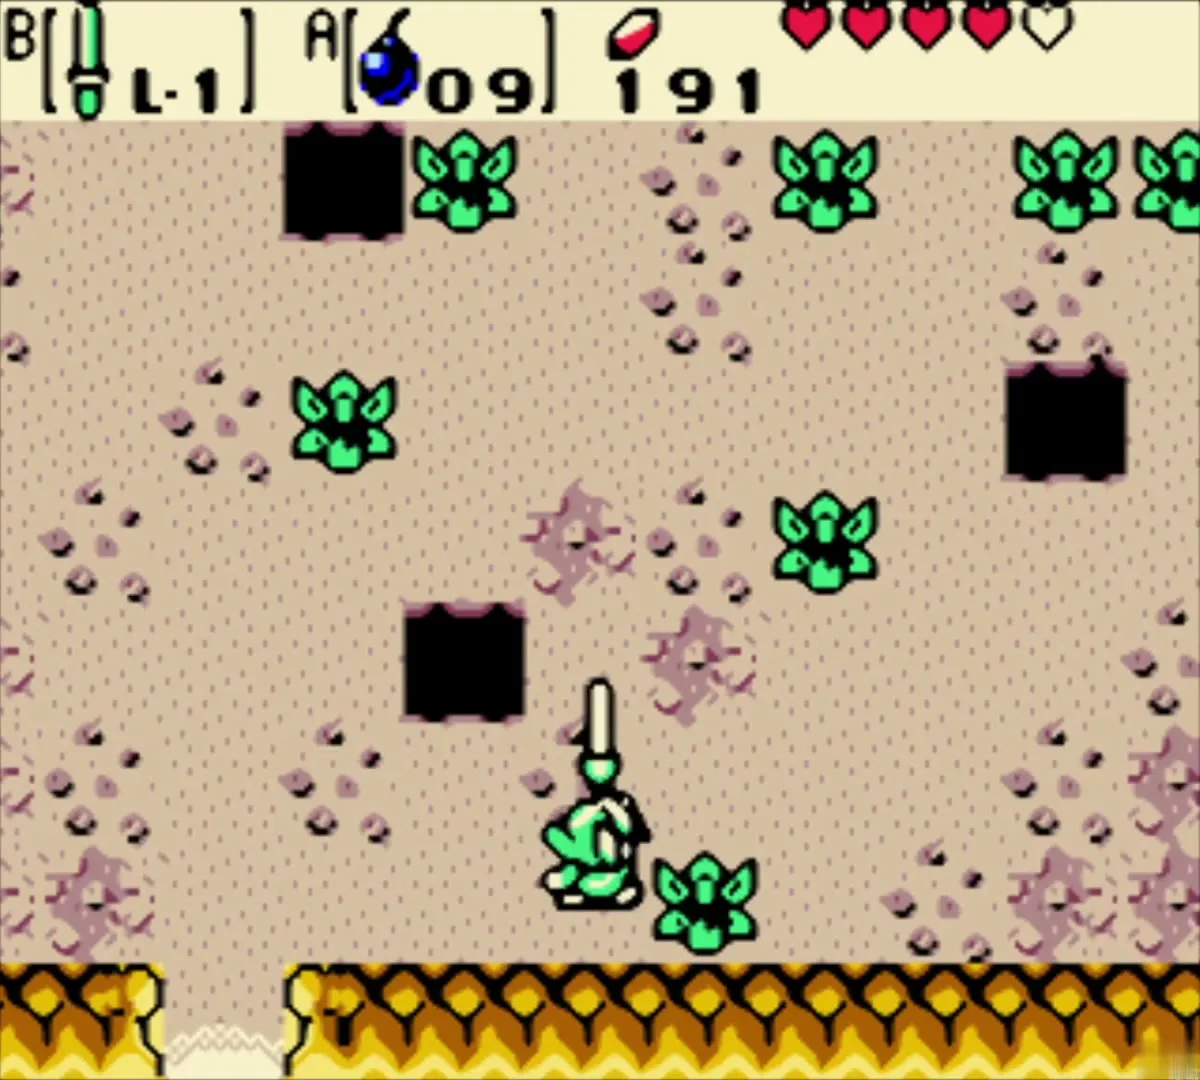

How to get the Shovel from Holly
Change the season to winter by Holly’s house
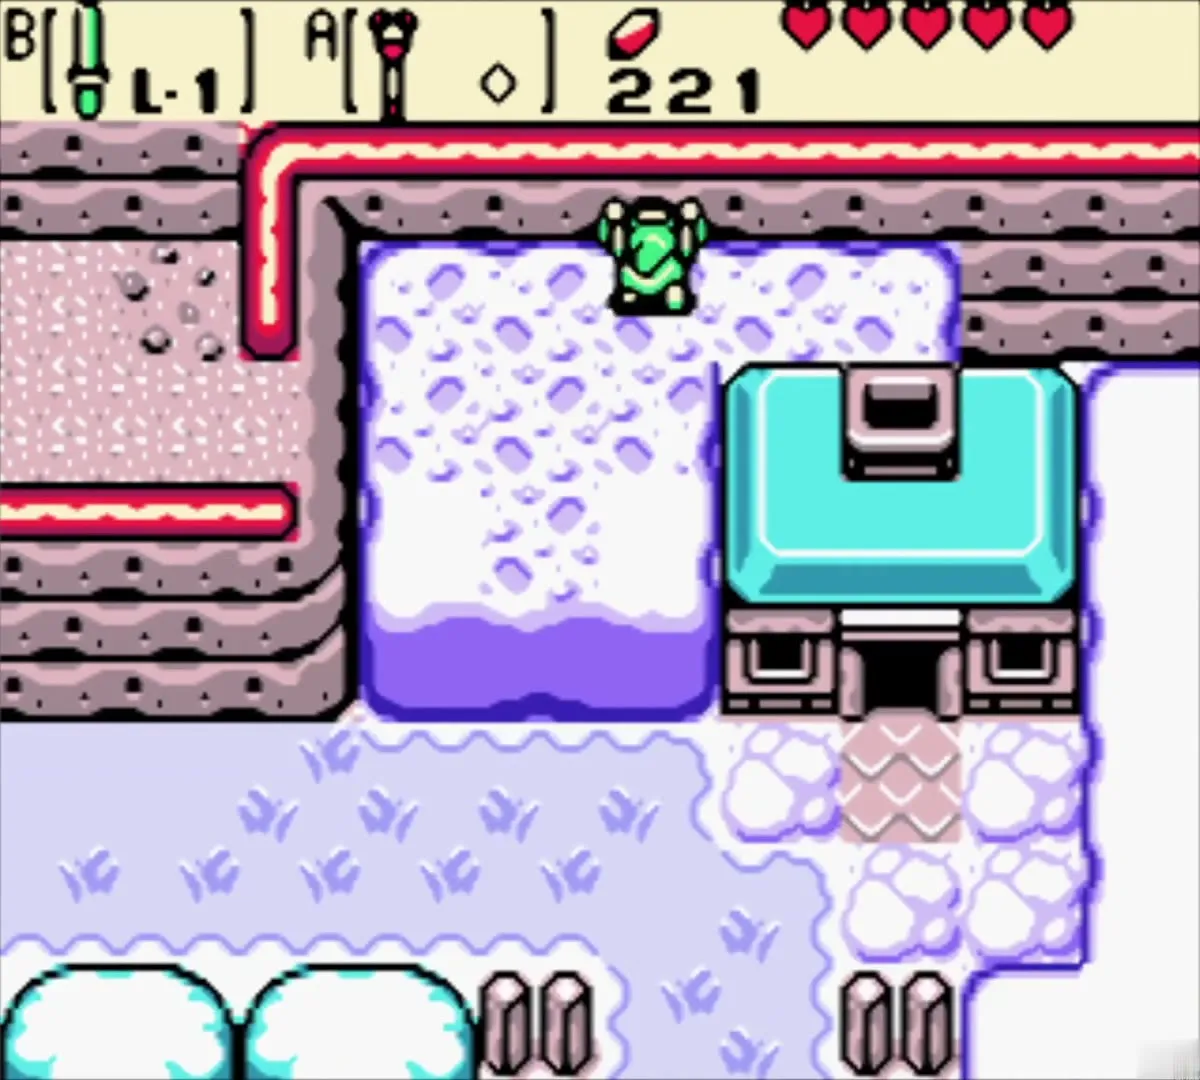
Return east to the stump on the west side of Holly’s house, where a staircase climbs the cliff beside a lone tree. Stand on the stump and switch to winter with the Rod of Seasons. Snow piles up around the house and forms a drift beside the cliff that lets you reach the roof.

Drop down the chimney
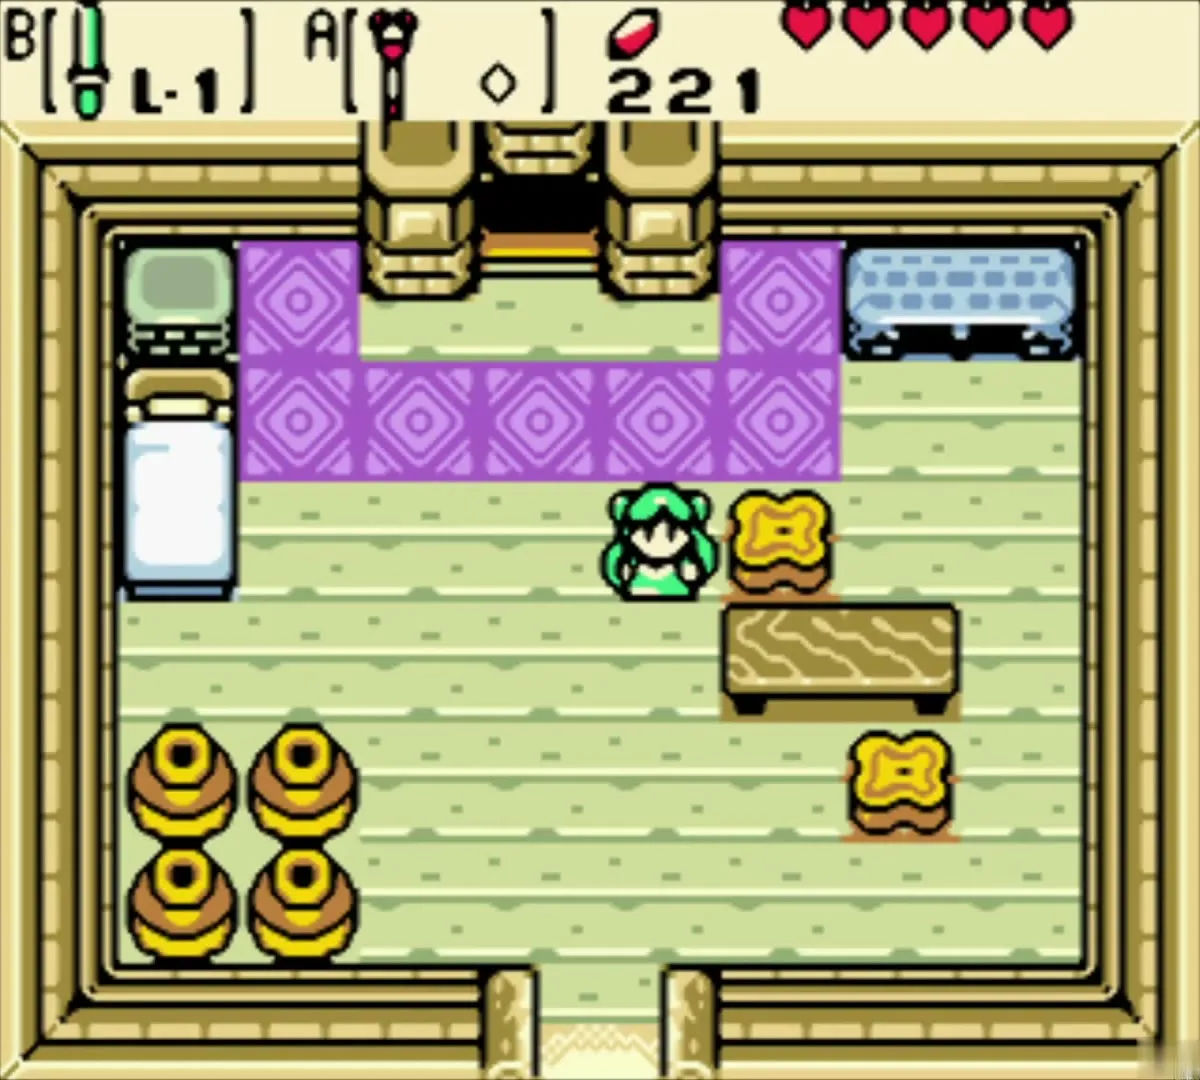
Climb the cliff steps, step onto the snowdrift and jump down the chimney to land inside the house. Holly mistakes you for Santa, then admits you are not and asks you to clear the snow from her front walkway. She hands over the Shovel and lets you keep it afterwards. Equip it from the item screen.

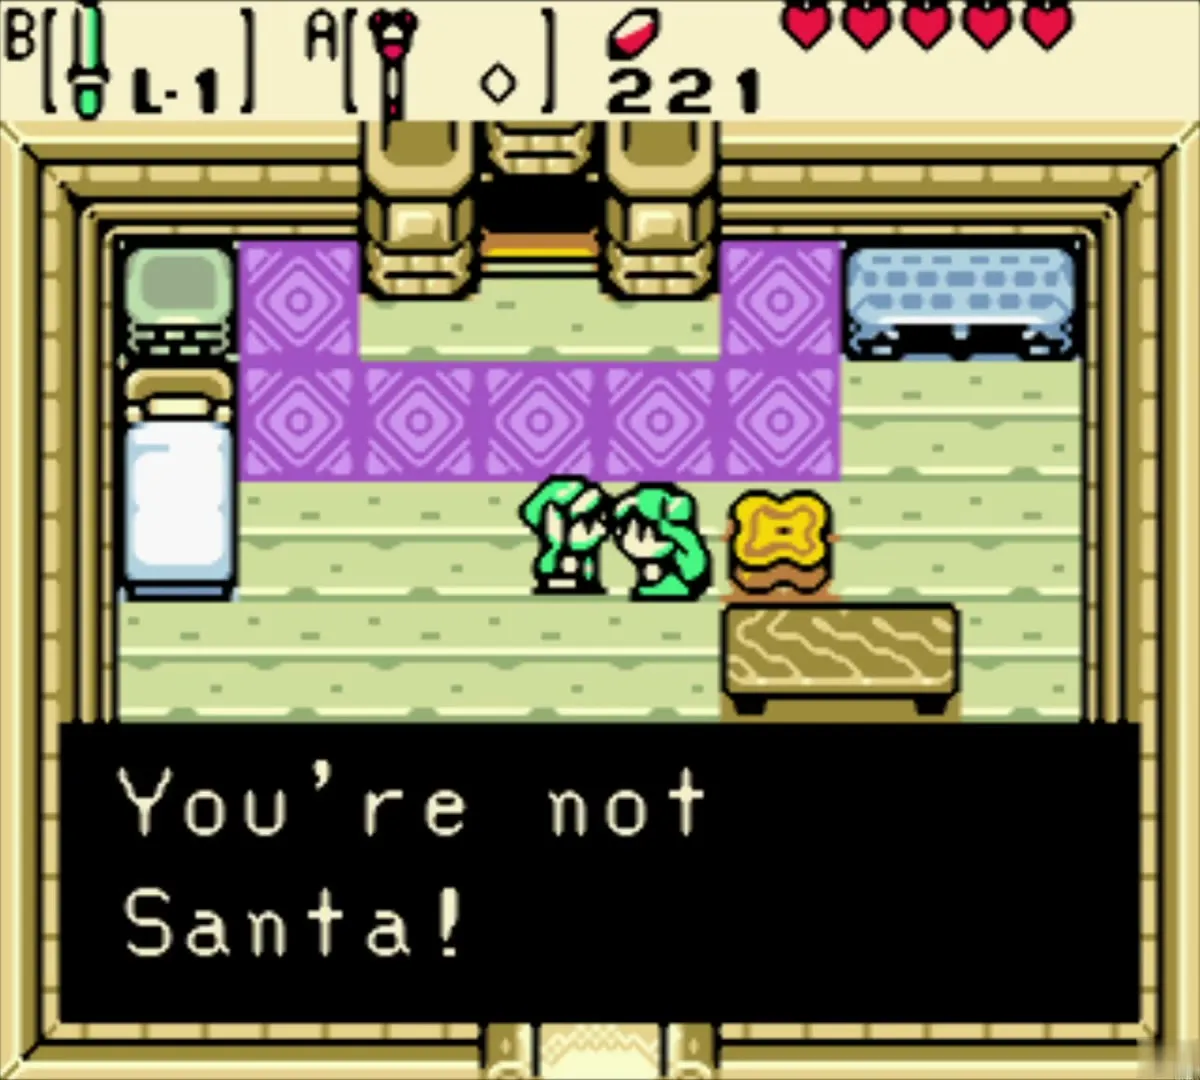

Clear the walkway
Leave through the front door and dig the snow piles off the walkway with the Shovel. Each pile you dig up can give a few Rupees. When the path is clear the job is done, and the season around the house stays at winter until you move it again.

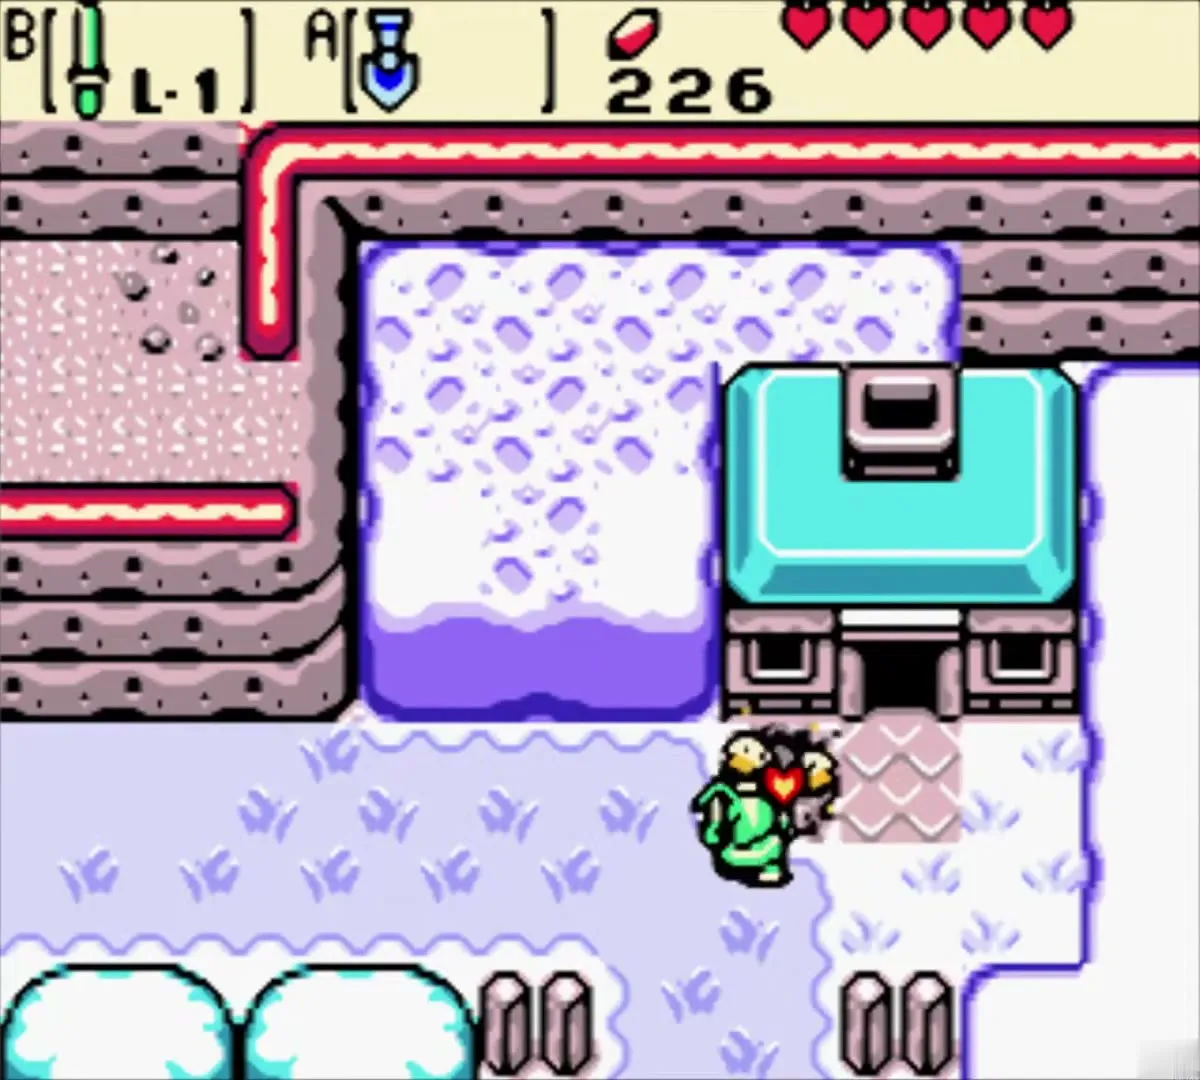
Shovel route to the Mystery Seed tree
Switch to winter again and dig south
Head south from the house. The screen shifts into autumn with red trees and thick leaf piles, so find the stump on the screen with the red trees and change the season to winter with the Rod of Seasons. Dig the snow mound that blocks the way west. At the frozen pond beyond, a fairy rises from the ice and restores your hearts, so stop there if you are hurt.


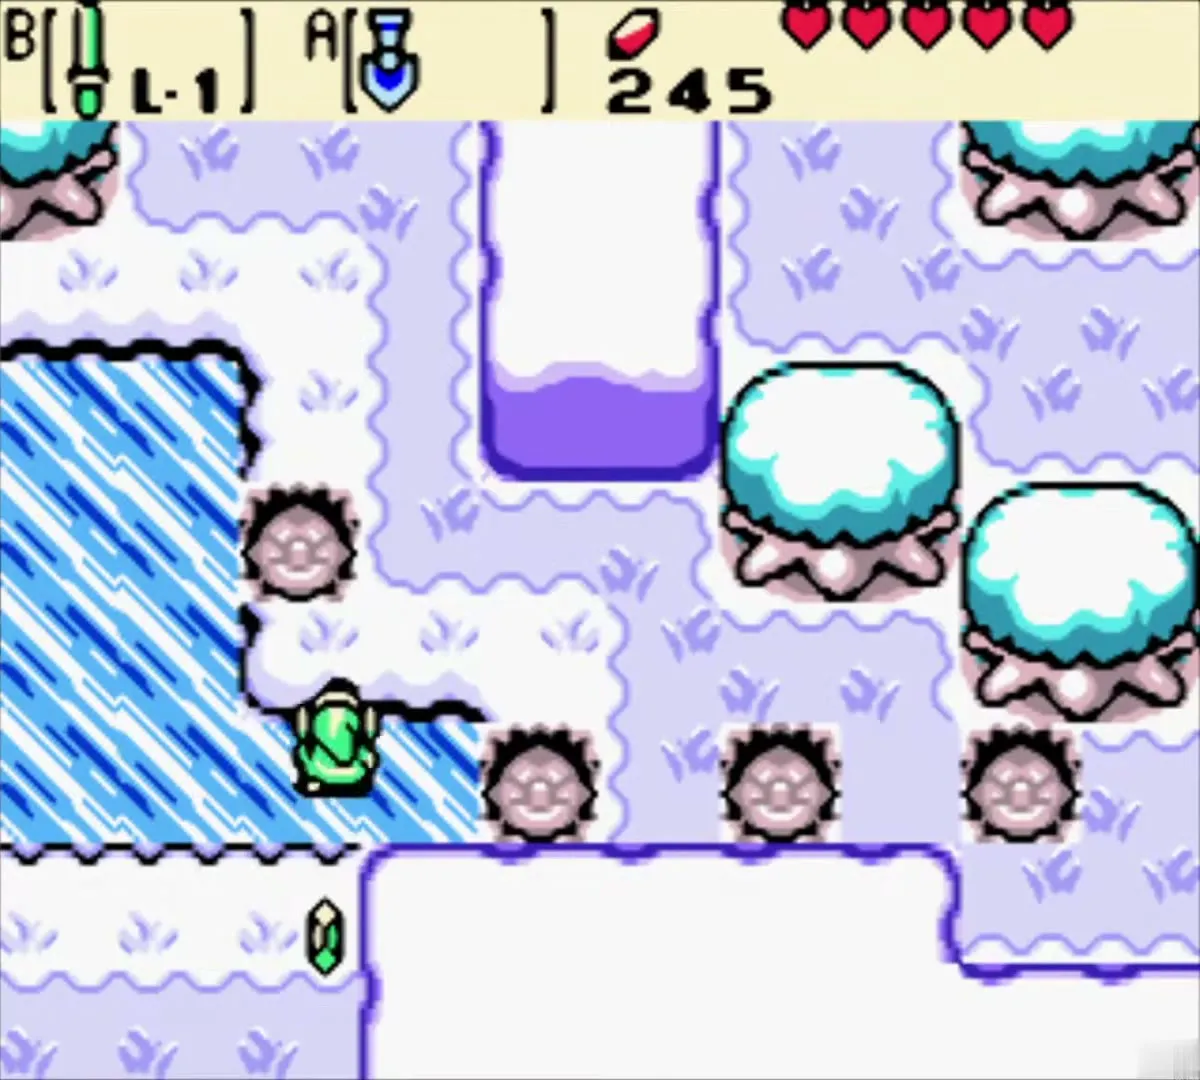

Change to autumn and clear the leaves
Continue to the next stump in the walled snow field and switch to autumn. Red leaf piles now cover the path north, and the Shovel clears them as you walk. Dig through the pile from side to side until the way opens into a green glade.

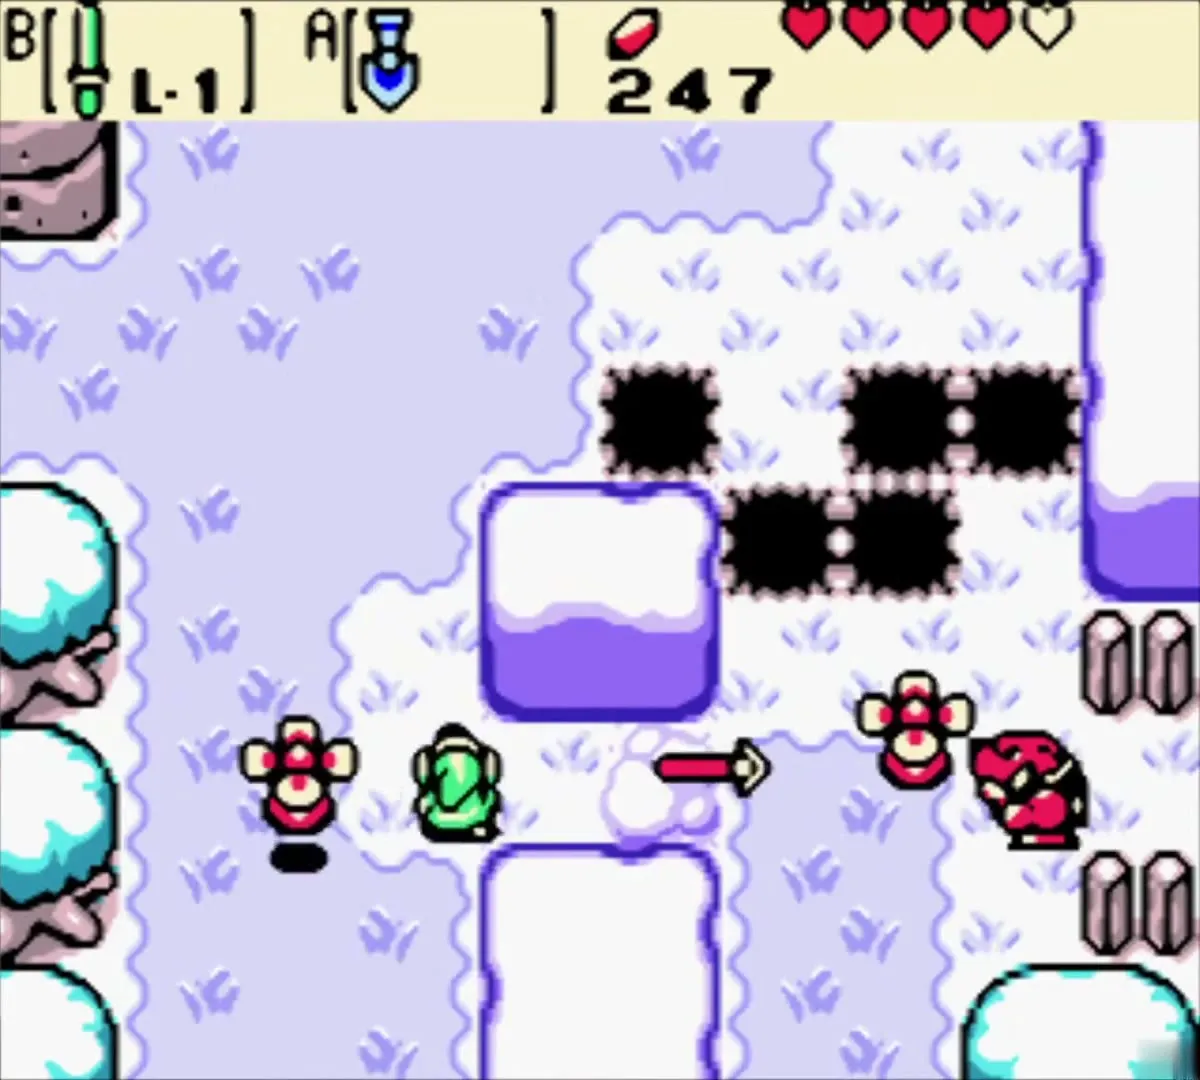


Hit the tree for Mystery Seeds
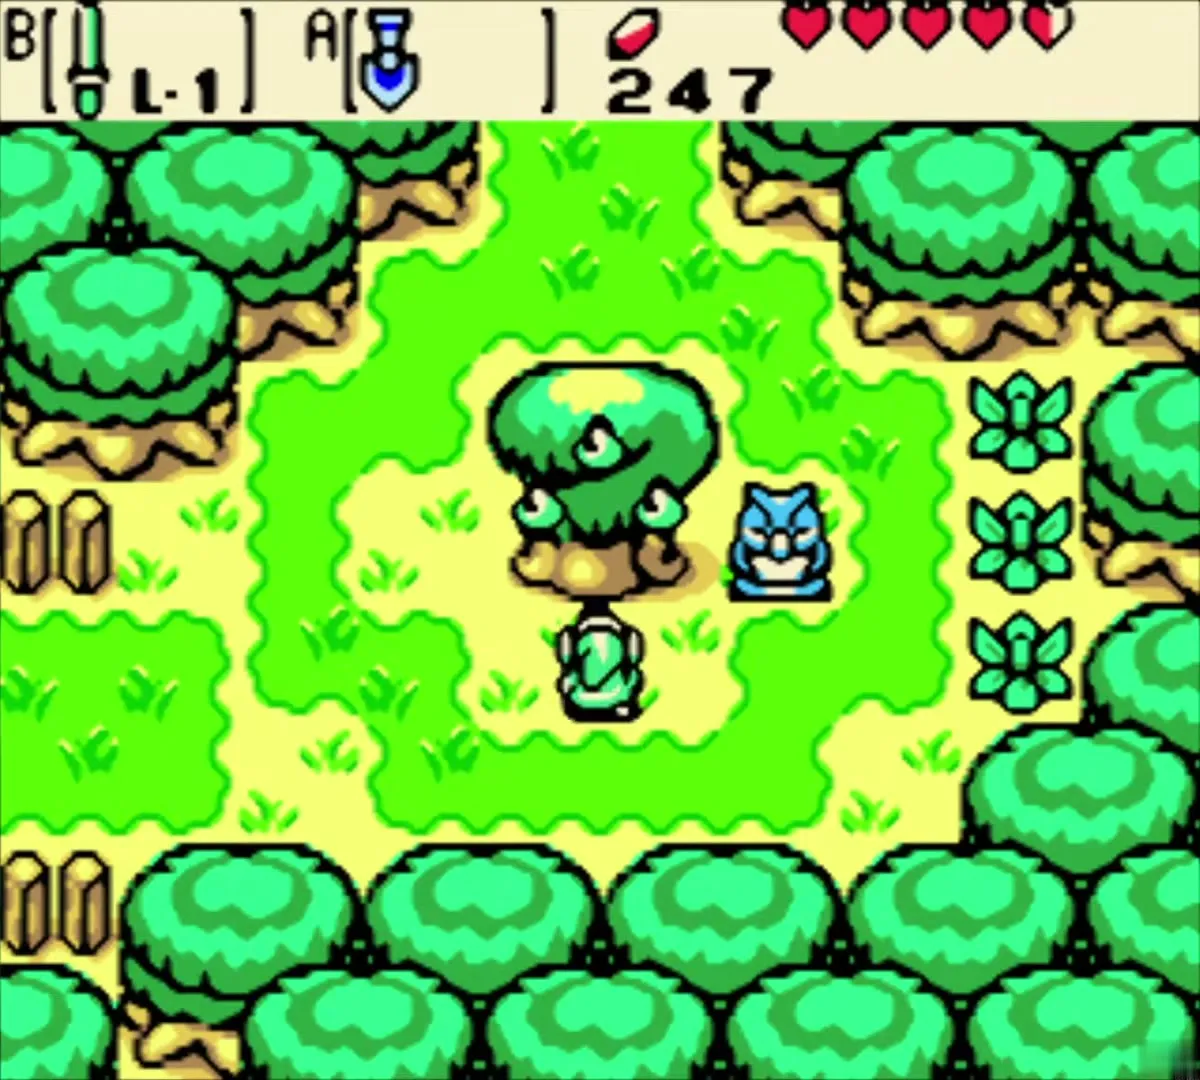
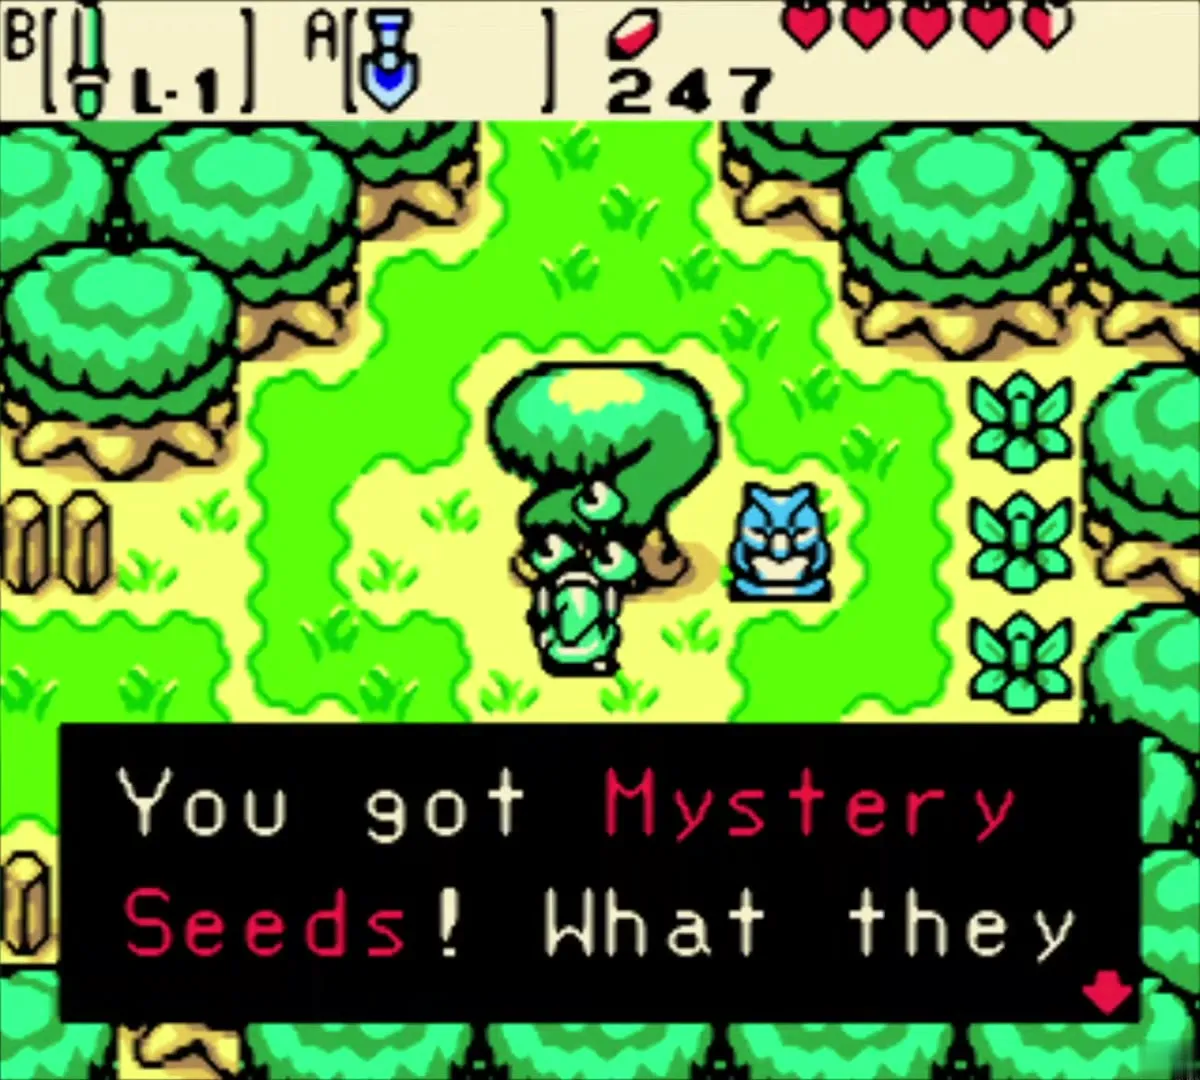
A single seed tree stands in the middle of the glade. Strike it with your sword to shake out Mystery Seeds, which go into your Seed Satchel next to your Ember Seeds. The game explains that they do many different things, so test them on enemies and objects. This is the Mystery Seed tree of the Woods of Winter, so return whenever you need more.

Great Fairy cave and the Tingle secret
Reach the fairy cave in winter
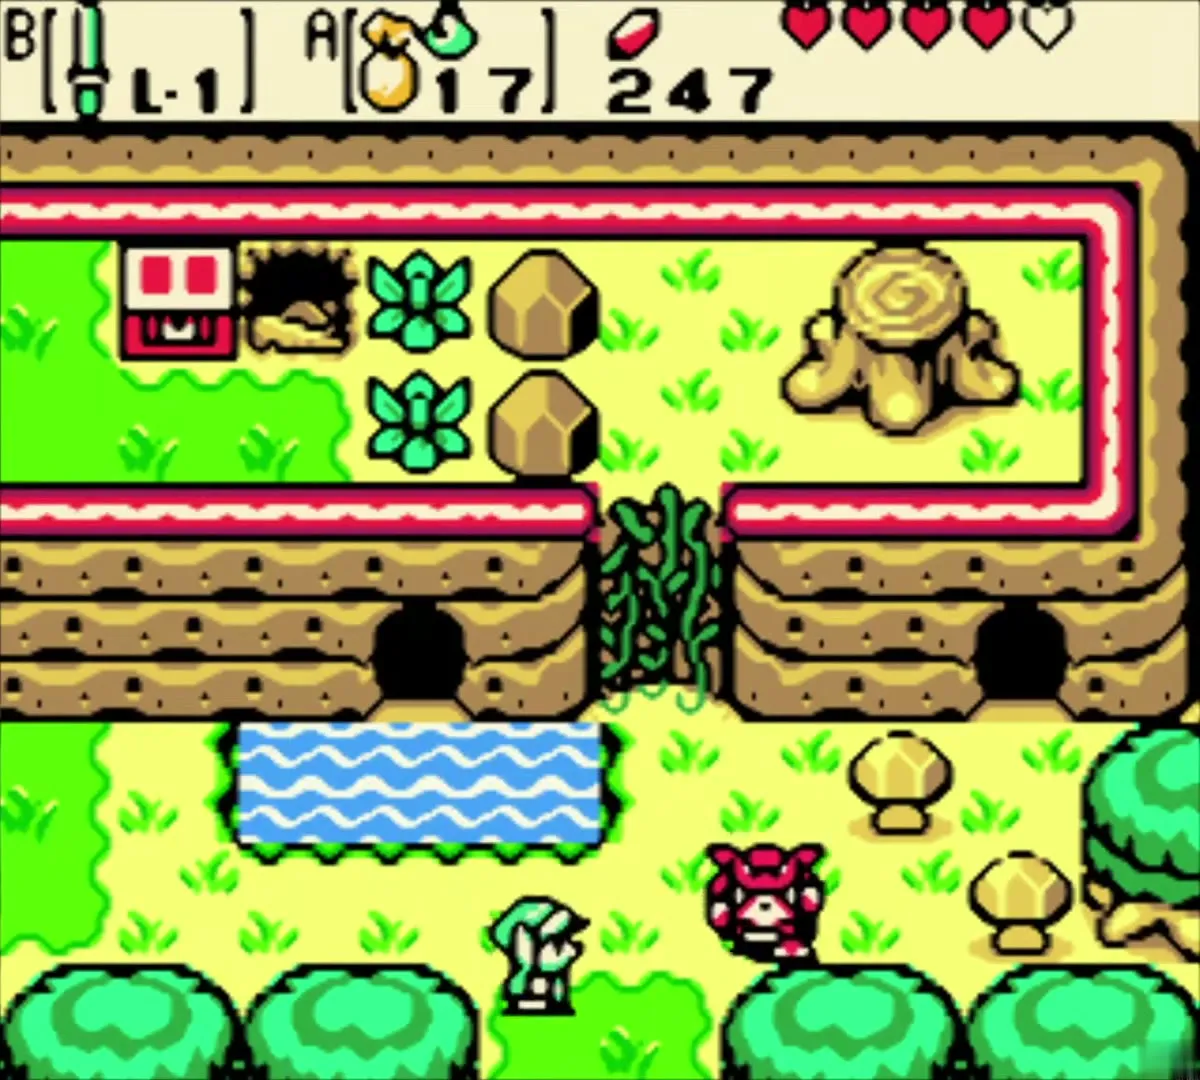
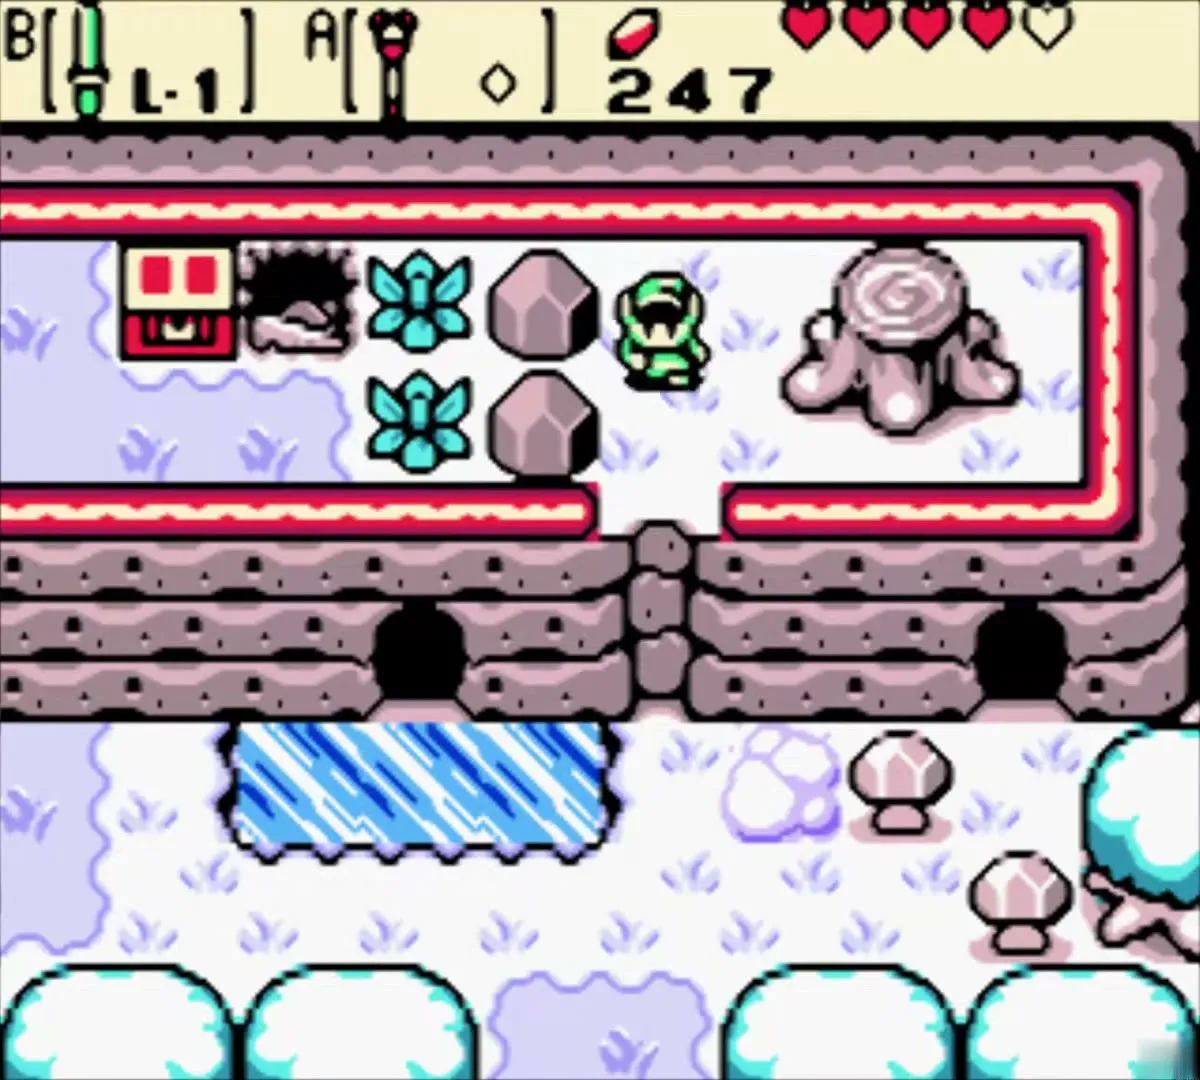
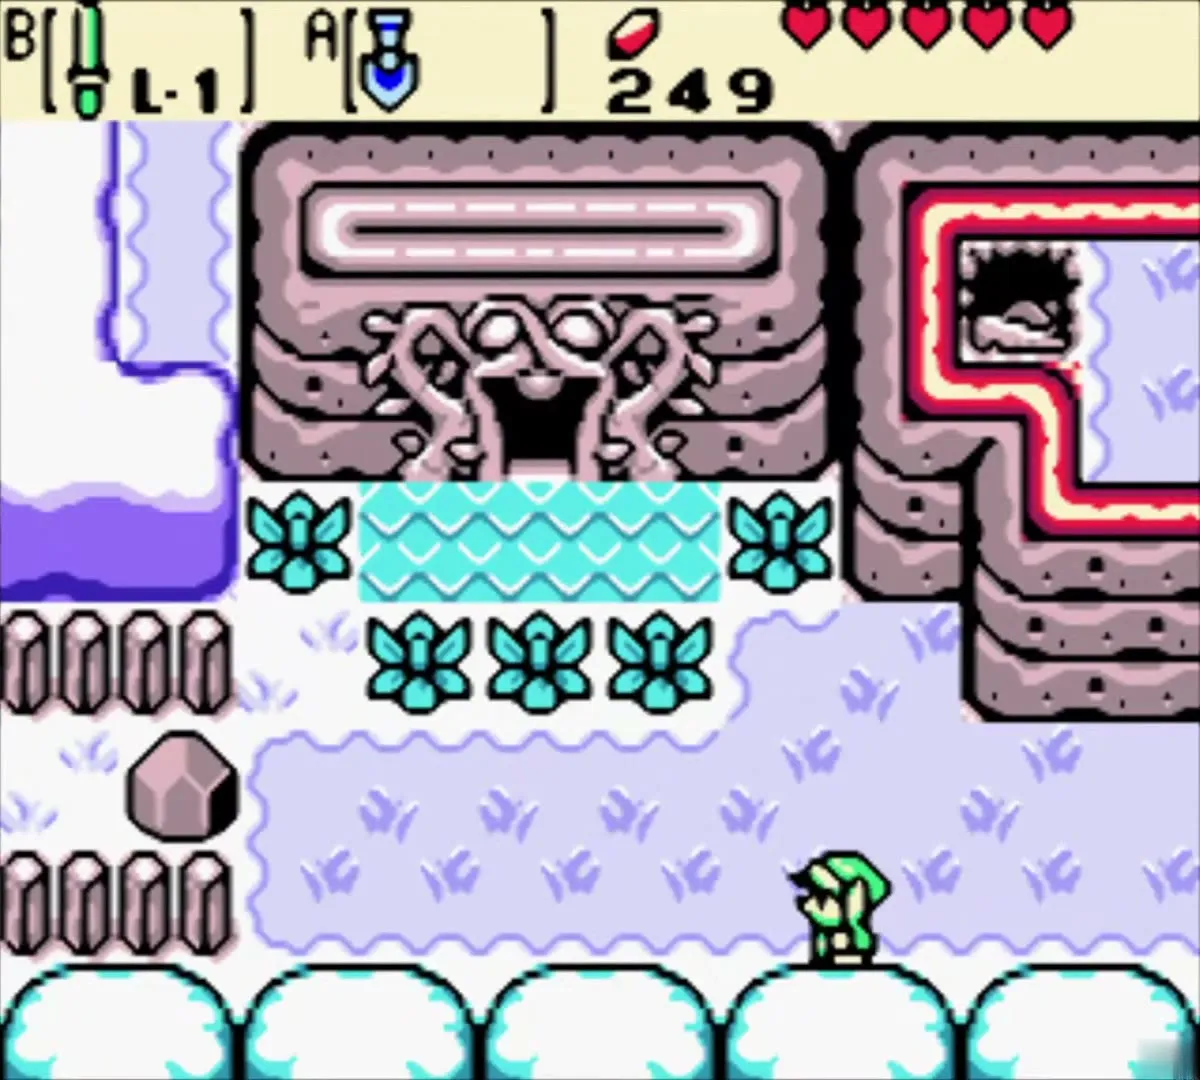
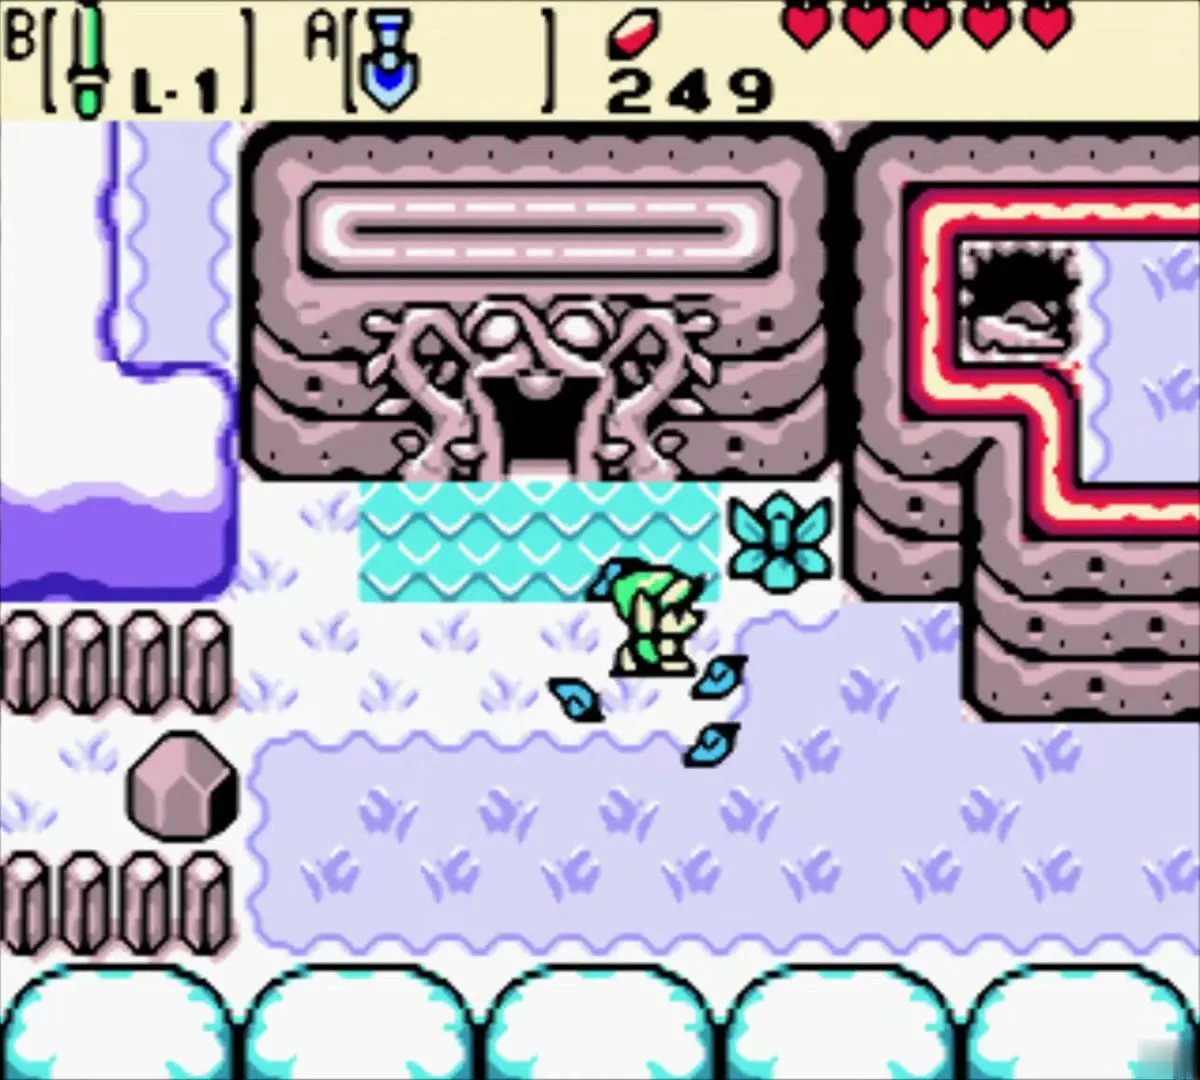
Go back toward the Snake’s Remains screen until you find the pair of caves beside a stump. Switch to winter so the water in front of the left cave freezes, then walk across the ice and enter.

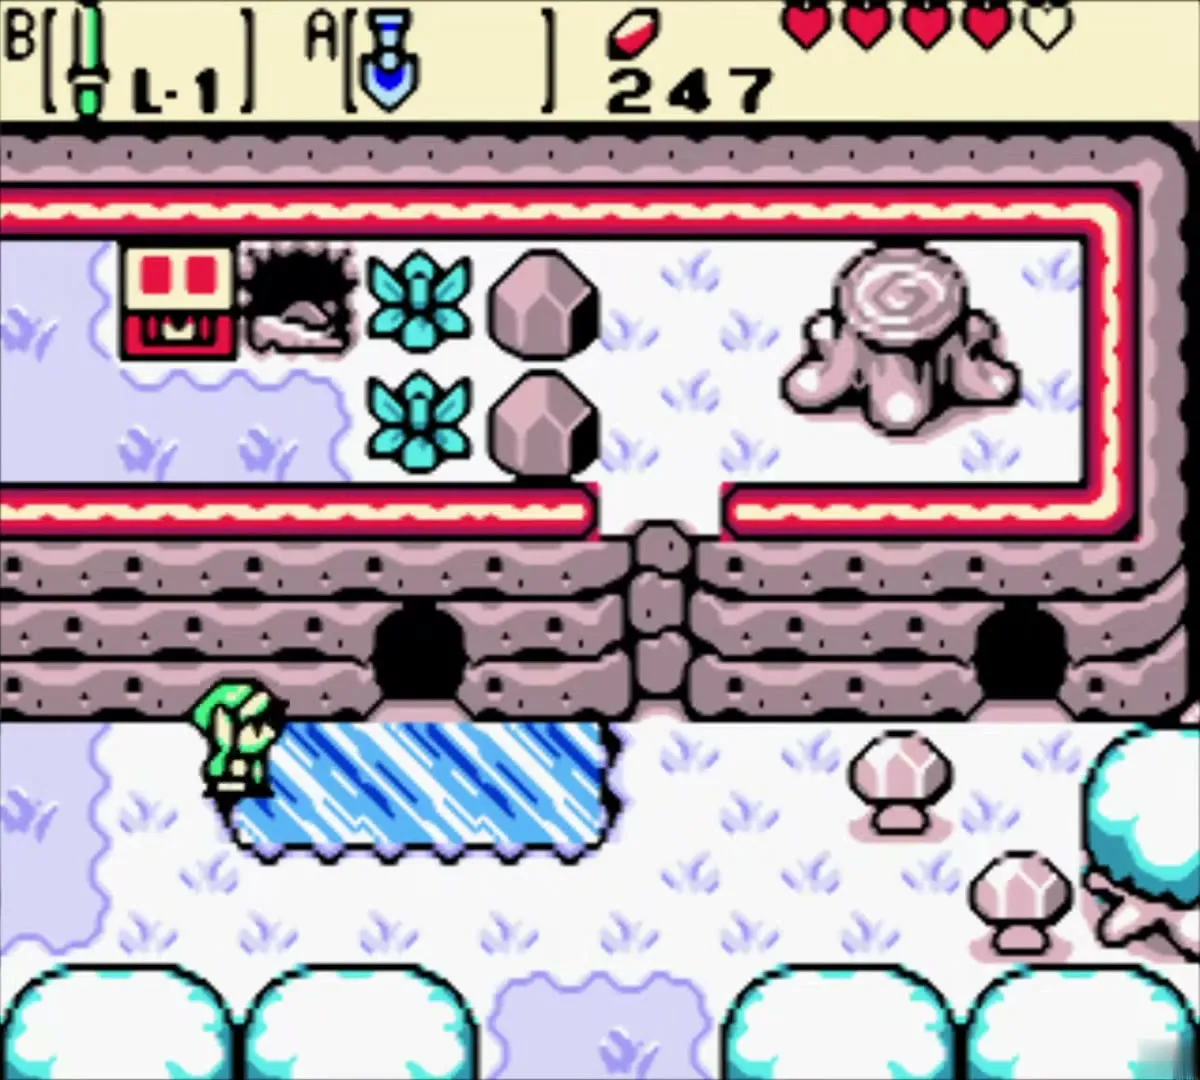
Listen to the fairy’s secret
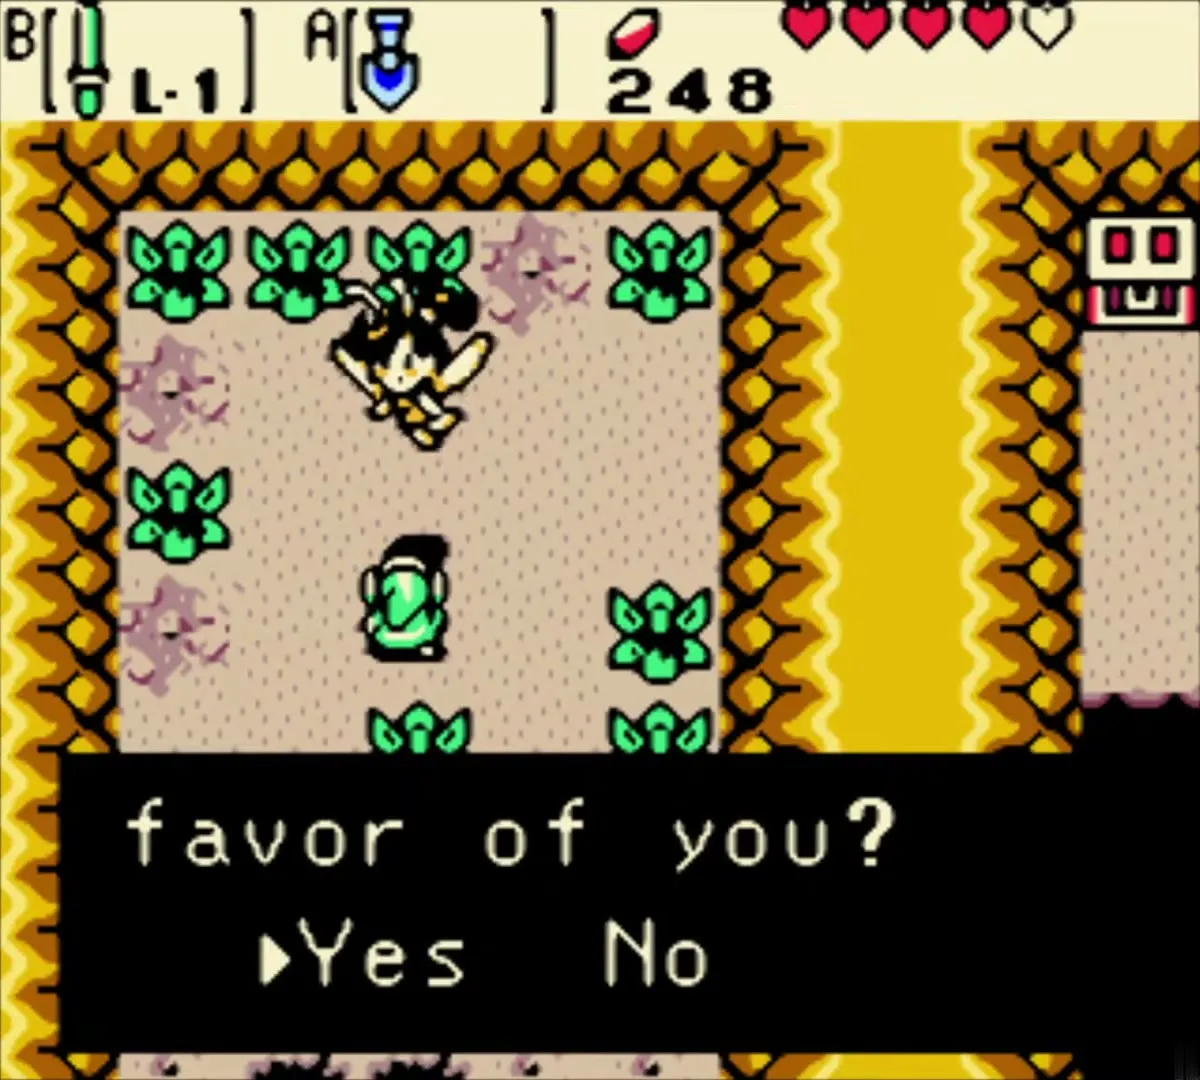
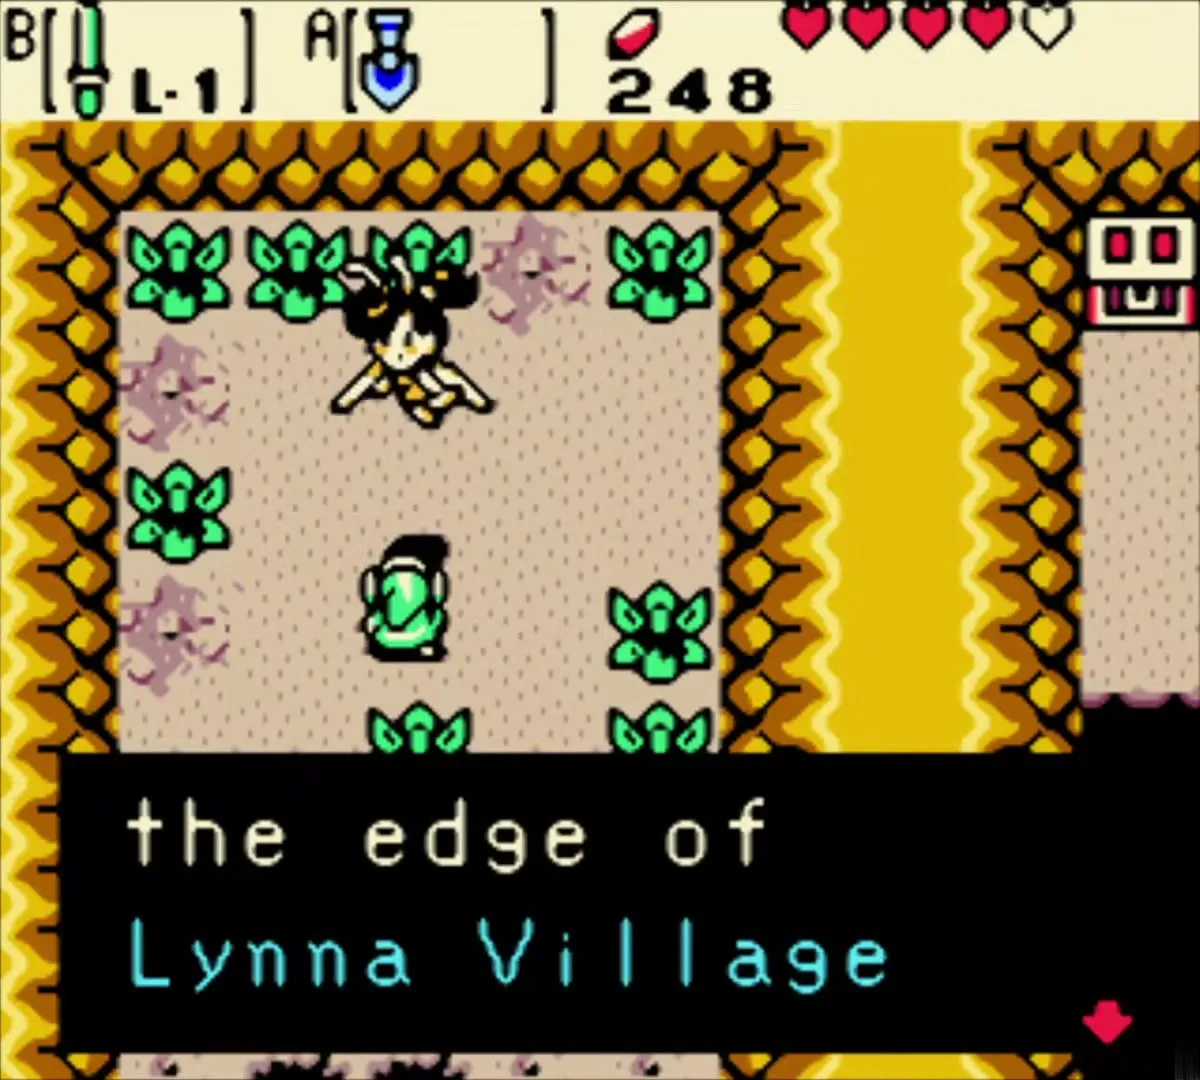
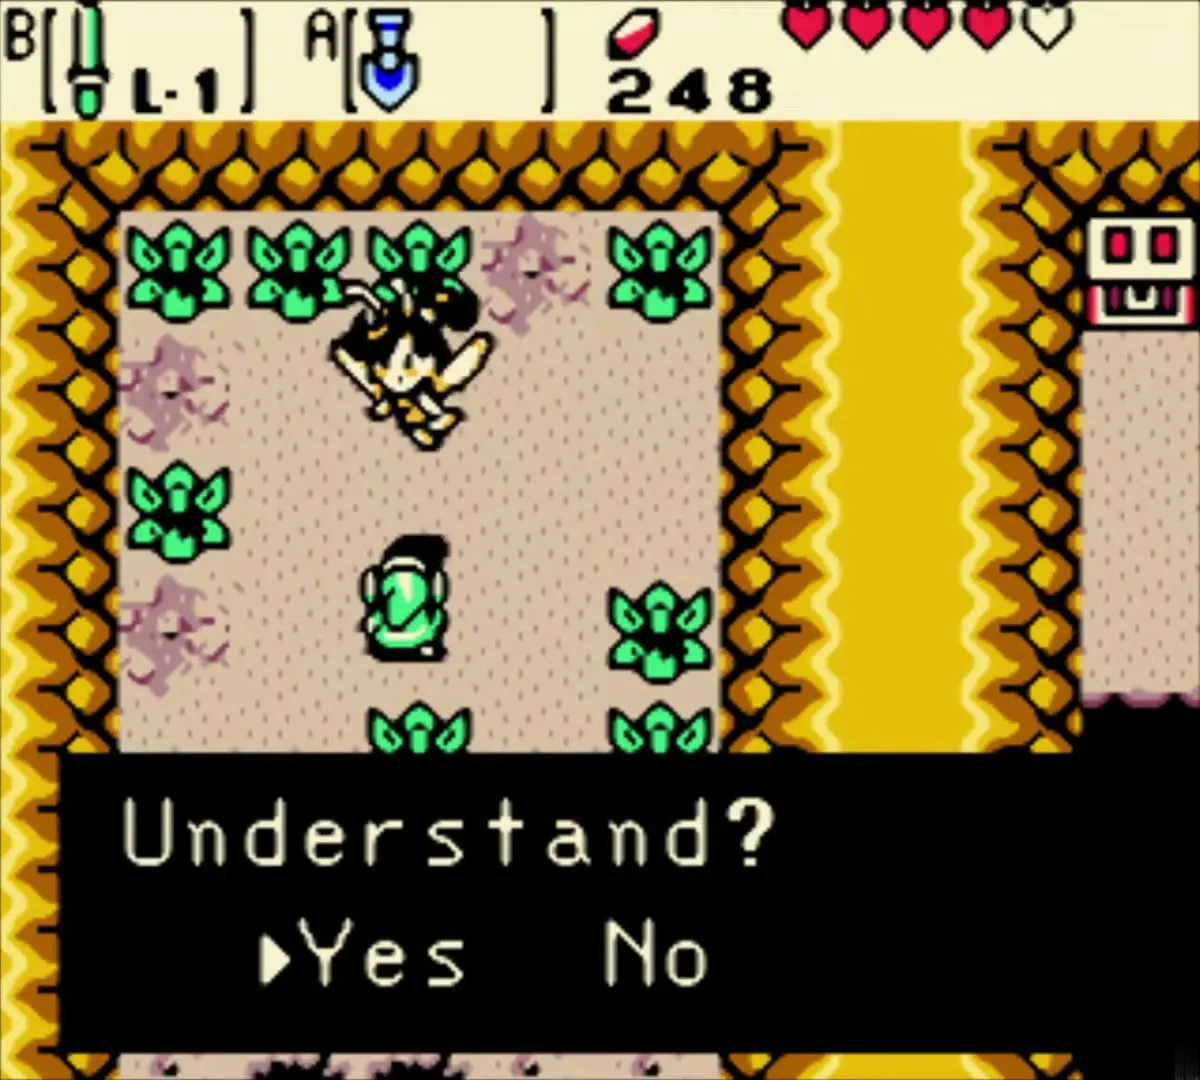
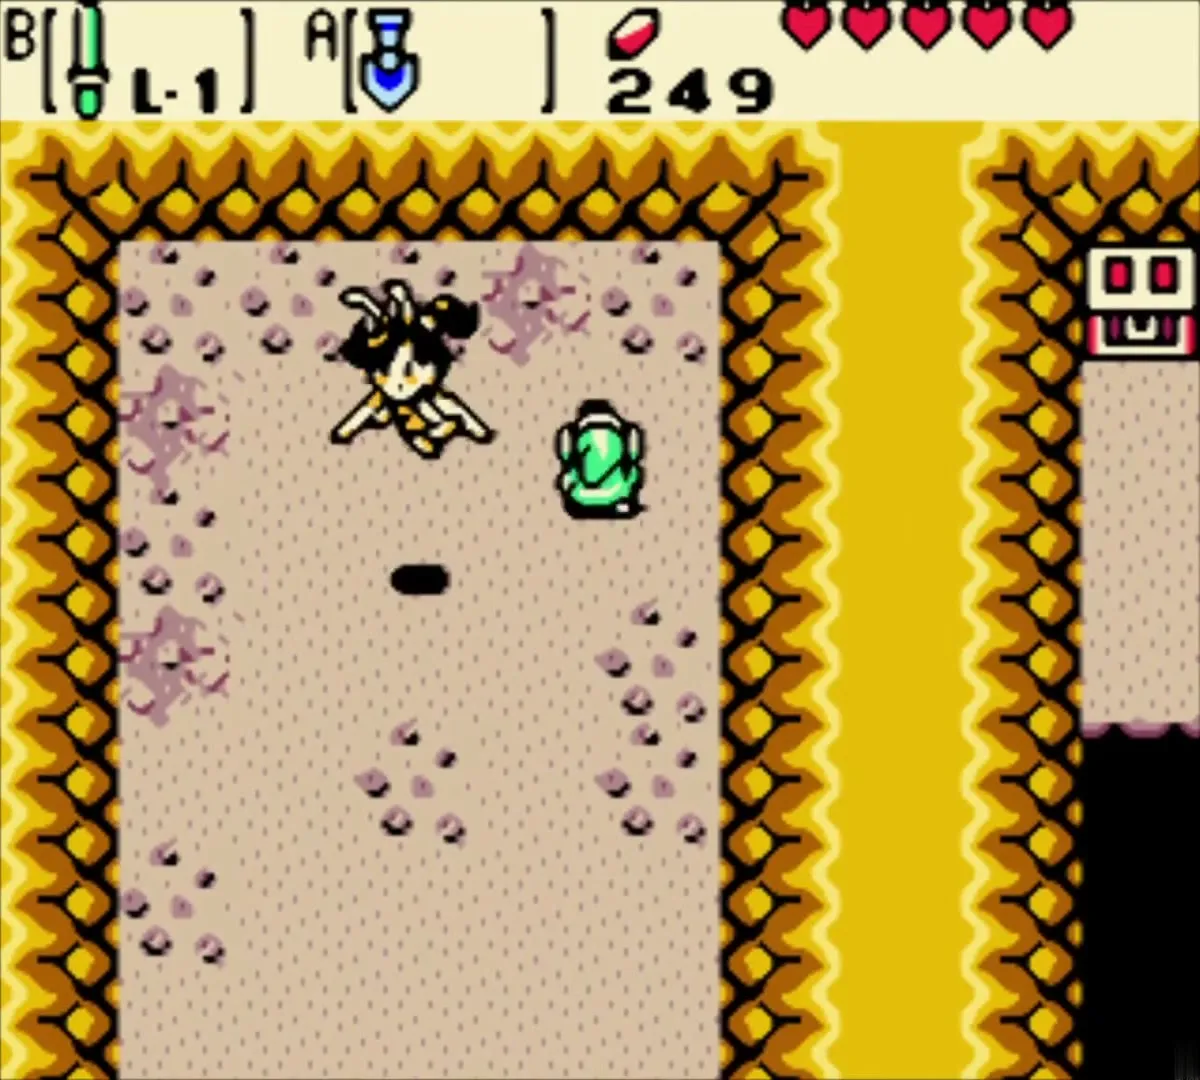
In a linked game a fairy waits in this sandy cave. She asks you to tell Tingle, the man on the edge of Lynna Village who thinks he is a fairy, a secret. Say yes and note down the code she gives you, since you will type it in to Tingle in Oracle of Ages, who enlarges your Seed Satchel in return. The linked game secrets page has the details. The fairy also refills your hearts before you leave.
On to the Snake’s Remains entrance
Leave the cave
Exit south from the cave into the snow. Walk a screen toward the head-shaped rock where frozen water lies before the dungeon door. This is the entrance of Snake’s Remains, Dungeon 2, which the next chapter explores.

Chapter checklist
| Type | Name | Where |
|---|---|---|
| Rupees | 50 Rupees paid | Old man in the Ember-burnt bush cave south of Holly’s house |
| Chest | 30 Rupees | Bomb cave west of Holly’s house (summer, spring or autumn) |
| Item | Shovel | Holly’s house, through the chimney in winter |
| Seeds | Mystery Seeds | Seed tree in the glade after the leaf piles |
| Secret | Great Fairy’s message for Tingle | Cave beside the stump near Snake’s Remains (linked game) |
