





















Oracle of Seasons 100% Completion Walkthrough26 chapters
- Getting Started in Holodrum and the Hero’s CaveGetting started in Holodrum: Impa’s request, Mayor Ruul’s Gasha Seed, Vasu’s Ring Box, the Hero’s Cave ledge chest.
- Gnarled Root Dungeon (Dungeon 1)Gnarled Root Dungeon walkthrough for Oracle of Seasons: keys, map, compass, Seed Satchel, Boss Key, Aquamentus and the.
- Subrosia, the Tower of Winter and the Rod of SeasonsWalkthrough for Subrosia, the Tower of Winter and the Rod of Seasons in Oracle of Seasons: Gasha Nuts, Boomerang, Ore.
- Woods of Winter and the ShovelWoods of Winter walkthrough: pay the old man, bomb the 30 Rupee cave, get the Shovel from Holly, find the Mystery Seed.
- Snake’s Remains (Dungeon 2)Snake’s Remains walkthrough: Compass, rupee room, Power Bracelet, Dungeon Map, bomb merchant, Facade, Dodongo boss.
- Farore’s Secrets and Princess Zelda’s RescueFarore’s secrets and Princess Zelda’s rescue walkthrough: three Pieces of Heart, a Gasha Nut, Vasu’s rings, the L-2.
- Spool Swamp and the Floodgate KeySpool Swamp walkthrough for Oracle of Seasons: Ricky’s Gloves, the Iron Pot trade, Pegasus Seeds, the Floodgate Key.
- The Tower of Summer and Rosa’s RibbonThe Tower of Summer walkthrough: Star-Shaped Ore, Rosa’s Ribbon, Subrosian Market buys (Heart Piece, Bomb Bag), the.
- Poison Moth’s Lair (Dungeon 3)Poison Moth’s Lair walkthrough: both Small Keys, Roc’s Feather, Compass, Map, Gasha Seed, Omuai, Boss Key, Mothula and.
- Natzu, Sunken City and Zora’s FlippersNatzu, Sunken City and Zora’s Flippers walkthrough: Dimitri’s swim, Gale Seeds, Master’s Plaque, Master Diver and the.
- The Hall of Secrets and the Noble SwordHall of Secrets walkthrough: Farore’s secrets, Bombchu, the Noble Sword, Advance Shop rings, Vasu’s appraisals and a.
- Great Moblin’s Keep and Goron MountainGreat Moblin’s Keep and Goron Mountain walkthrough: bomb-catching boss fight, Heart Piece, Tokay secret, bigger Ring.
- The Strange Brothers, the Tower of Spring and Mt. CuccoThe Tower of Spring and Mt. Cucco walkthrough: win back Roc’s Feather from the Strange Brothers, Spring power, Moosh.
- Dancing Dragon Dungeon (Dungeon 4)Dancing Dragon Dungeon walkthrough: all five Small Keys, Map, Compass, Agunima, Slingshot, Boss Key, Gohma and the.
- The Tower of Autumn and Eyeglass LakeTower of Autumn and Eyeglass Lake walkthrough for Oracle of Seasons: Gasha Seeds, ring appraisals, Seed Satchel.
- Unicorn’s Cave (Dungeon 5)Unicorn’s Cave walkthrough for Oracle of Seasons: Compass, five Small Keys, Magnetic Gloves, Syger and Digdogger.
- The Four Jewels, Tarm Ruins and the Lost WoodsTarm Ruins and Lost Woods walkthrough for Oracle of Seasons: Red Ore, Iron Shield, Round Jewel, Vasu’s rings, the Lost.
- Ancient Ruins (Dungeon 6)Ancient Ruins walkthrough for Oracle of Seasons: Dungeon Map, Compass, three Small Keys, Magical Boomerang, Vire.
- Samasa Desert and the Pirate’s BellSamasa Desert and Pirate’s Bell walkthrough for Oracle of Seasons: the desert ring chest, the polished Rusty Bell and.
- Explorer’s Crypt (Dungeon 7)Oracle of Seasons Explorer’s Crypt walkthrough: beat the Poe Sisters, get Roc’s Cape and the Boss Key, defeat Gleeok.
- Temple Remains and the Volcano EruptionOracle of Seasons Temple Remains walkthrough: Maku Tree secrets, Vasu ring appraisals, the Subrosian volcano eruption.
- Sword & Shield Maze (Dungeon 8)Oracle of Seasons Sword & Shield Maze walkthrough: Compass, Dungeon Map, Hyper Slingshot, Frypolar, Medusa Head and.
- The Huge Maku Seed, the Last Trades and the Hero’s CaveOracle of Seasons Huge Maku Seed walkthrough: the Goron Vase to Phonograph trade chain, Gasha Seed planting, and the.
- Side Quests and Collectibles Before Onox’s CastleSide quests and collectibles before Onox’s Castle in Oracle of Seasons: Gasha Nuts, Vasu’s rings, the Mirror Shield.
- Onox’s Castle and the Final BattleOnox’s Castle walkthrough for Oracle of Seasons: clear the castle rooms, beat Facade, buy the Mirror Shield, then.
- The Linked Game FinaleLinked game finale walkthrough for Oracle of Seasons: beat Twinrova and Ganon in the Room of Rites, then finish at the.
| Covers | Spool Swamp in winter (the stump by the lake, the cliff cave and the Subrosia portal), the Subrosian beach, Market and Temple of Seasons, then back through the swamp in summer to the vines below Poison Moth’s Lair. Winter is needed first, summer is the power you earn. |
|---|---|
| Dungeon | None. You finish at the entrance of Poison Moth’s Lair (Dungeon 3), which the next chapter clears. |
| Rewards | 100 Rupees (cave chest), Star-Shaped Ore, Ribbon, Piece of Heart 5 of 12 (Rare Peach Stone), Bomb Bag (30 Bombs), two unappraised rings, one Gasha Seed, the Power of Summer for the Rod of Seasons, Ore Chunks from digging. Animal companion: Dimitri. |
This chapter turns the Rod of Seasons into a two-season tool. You swim Dimitri back to the stump on the swamp lake, bomb open a winter cave for 100 Rupees, and take the Subrosia portal. Down in Subrosia you dig up the Star-Shaped Ore, swap it for the Ribbon that Rosa lost, shop at the Subrosian Market, and let Rosa’s necklace open the doors to the Temple of Seasons, where the Spirit of Summer gives you the power of summer. Back up top you call summer at the stump and climb to the Poison Moth’s Lair.

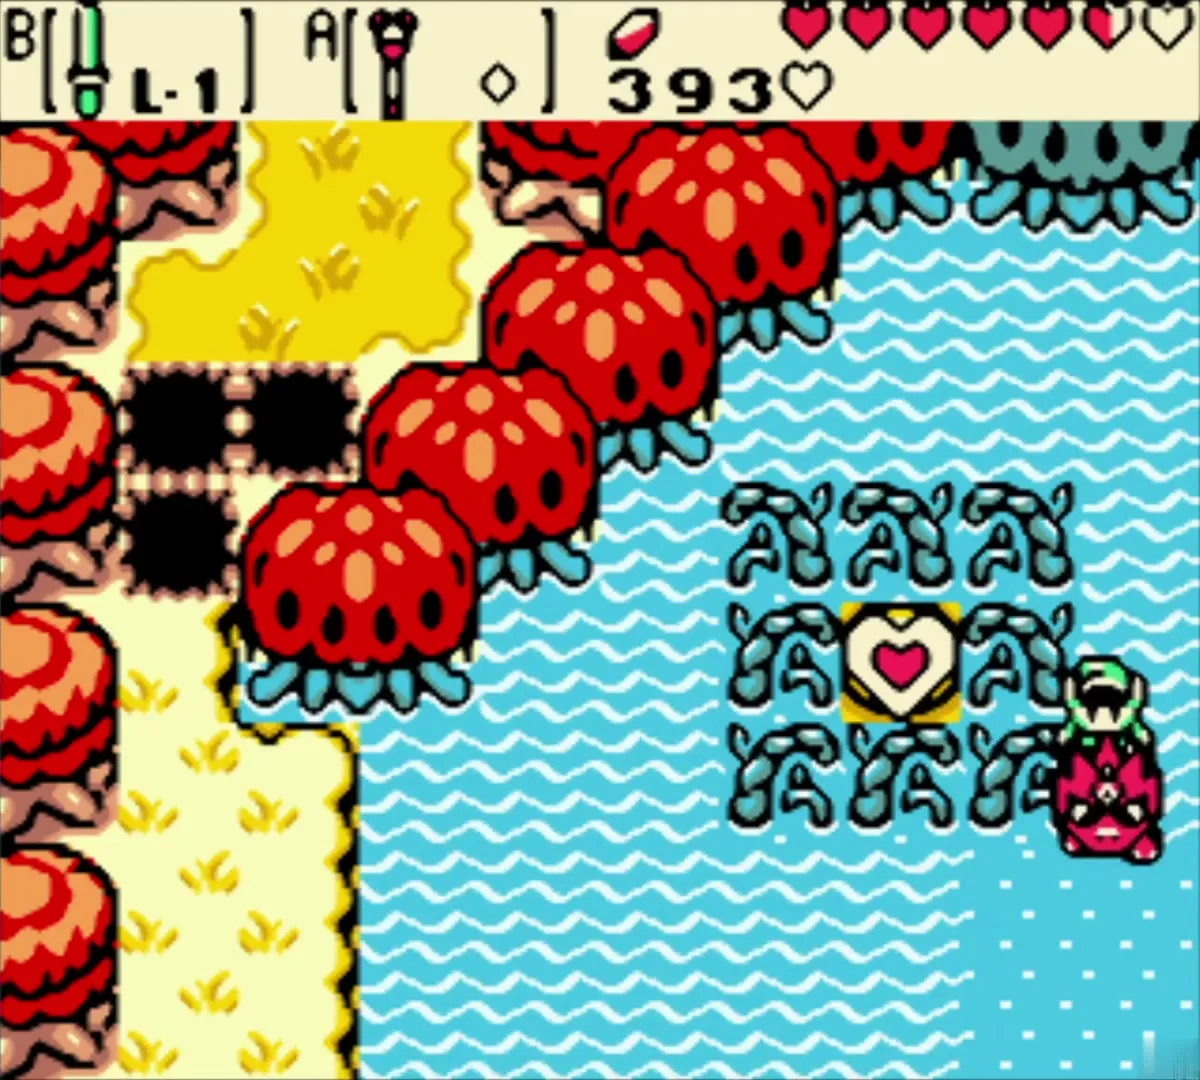
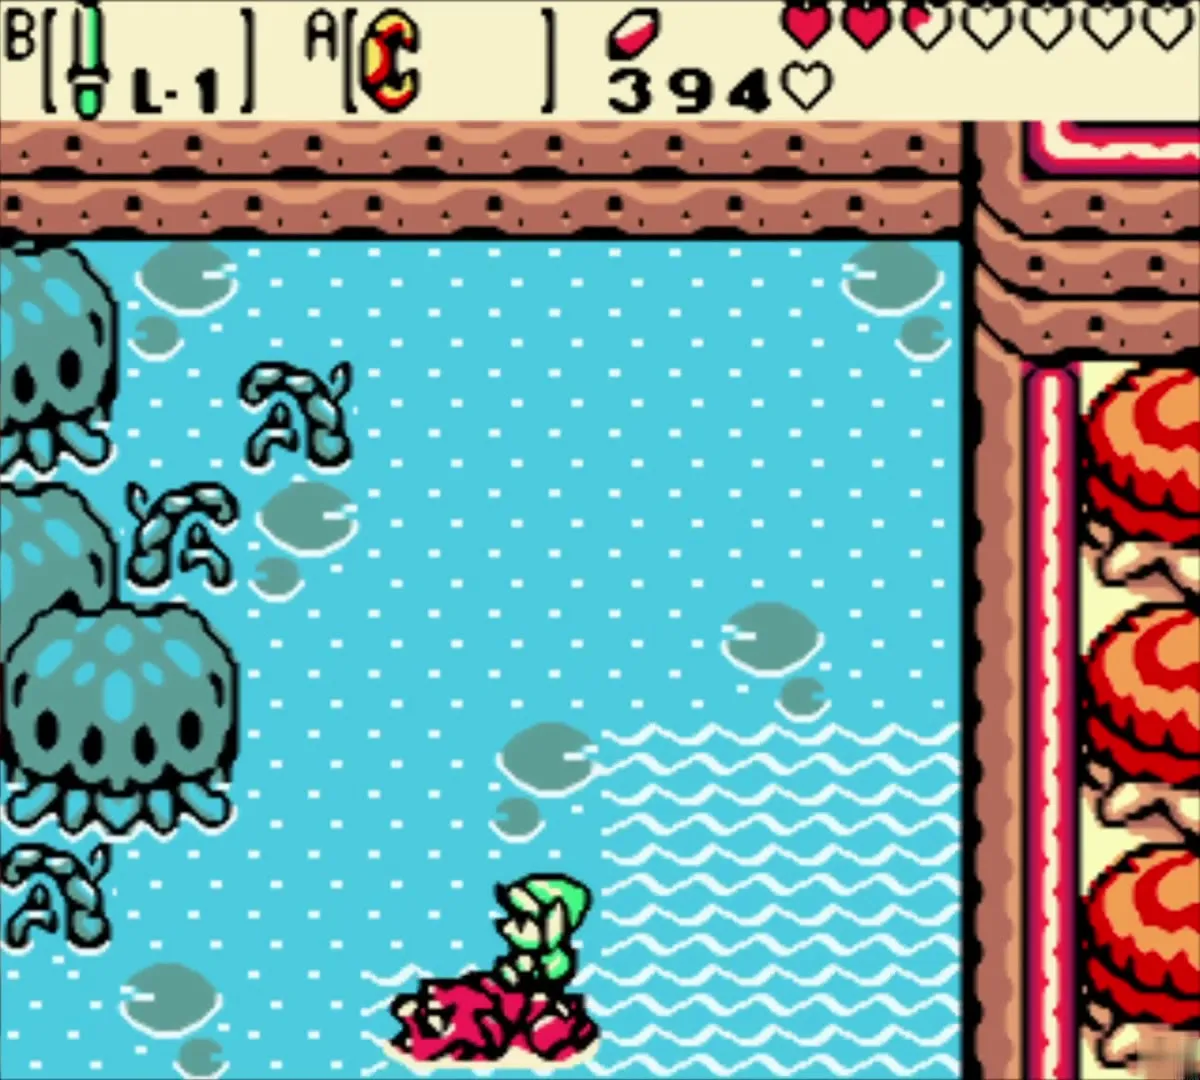
Spool Swamp in winter: the 100-Rupee cave and the Subrosia portal
Switch the swamp stump to winter
Keep riding Dimitri north along the swamp lake until you reach the sandy ledge with the tree stump, the same stump you will use again for summer. Stand on it and use the Rod of Seasons to bring winter. Snow covers the ledge and the water in the little inlets freezes.
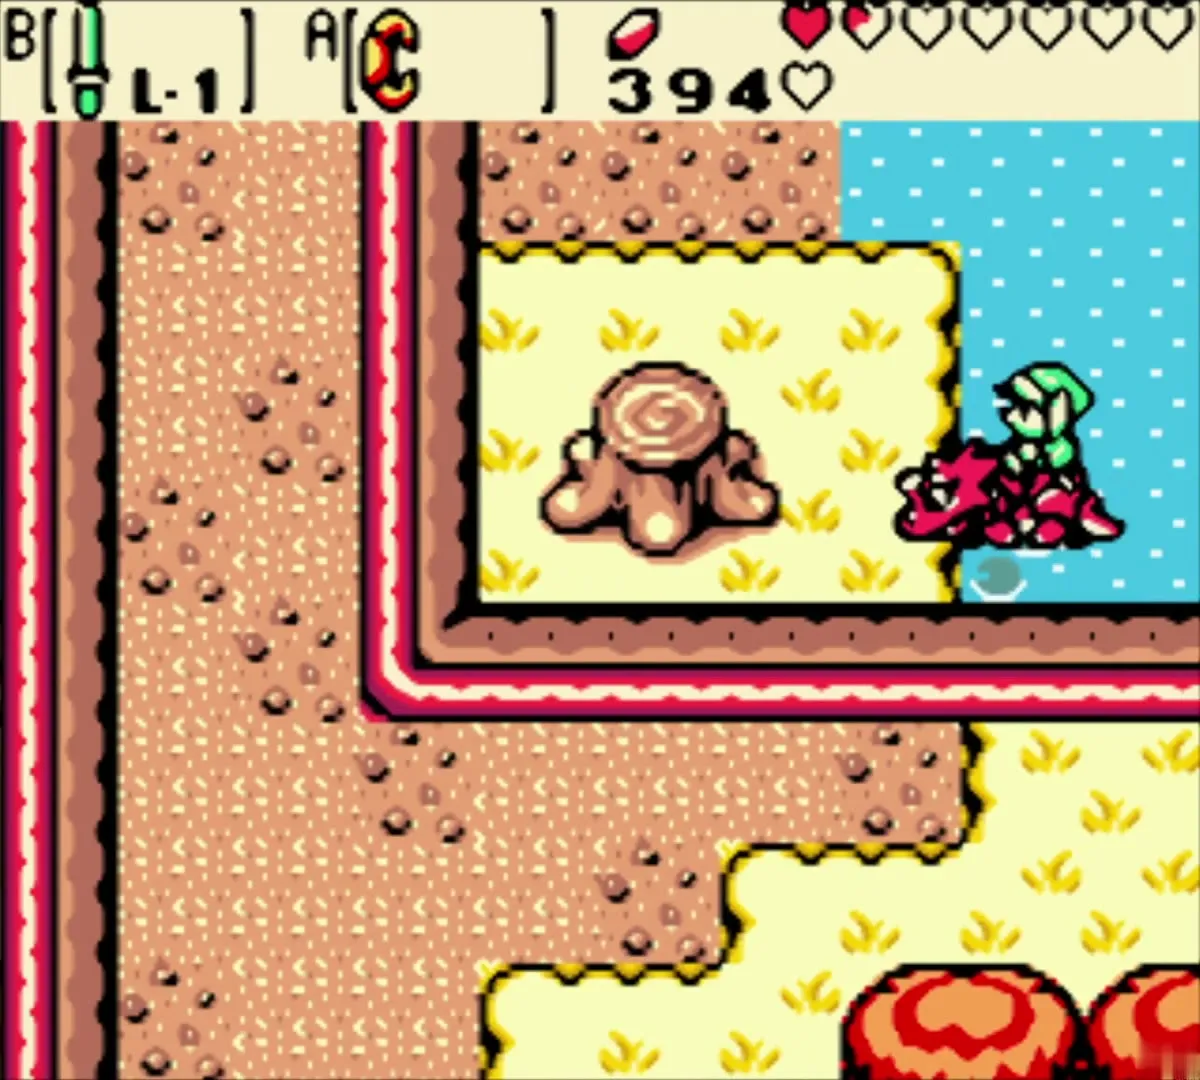

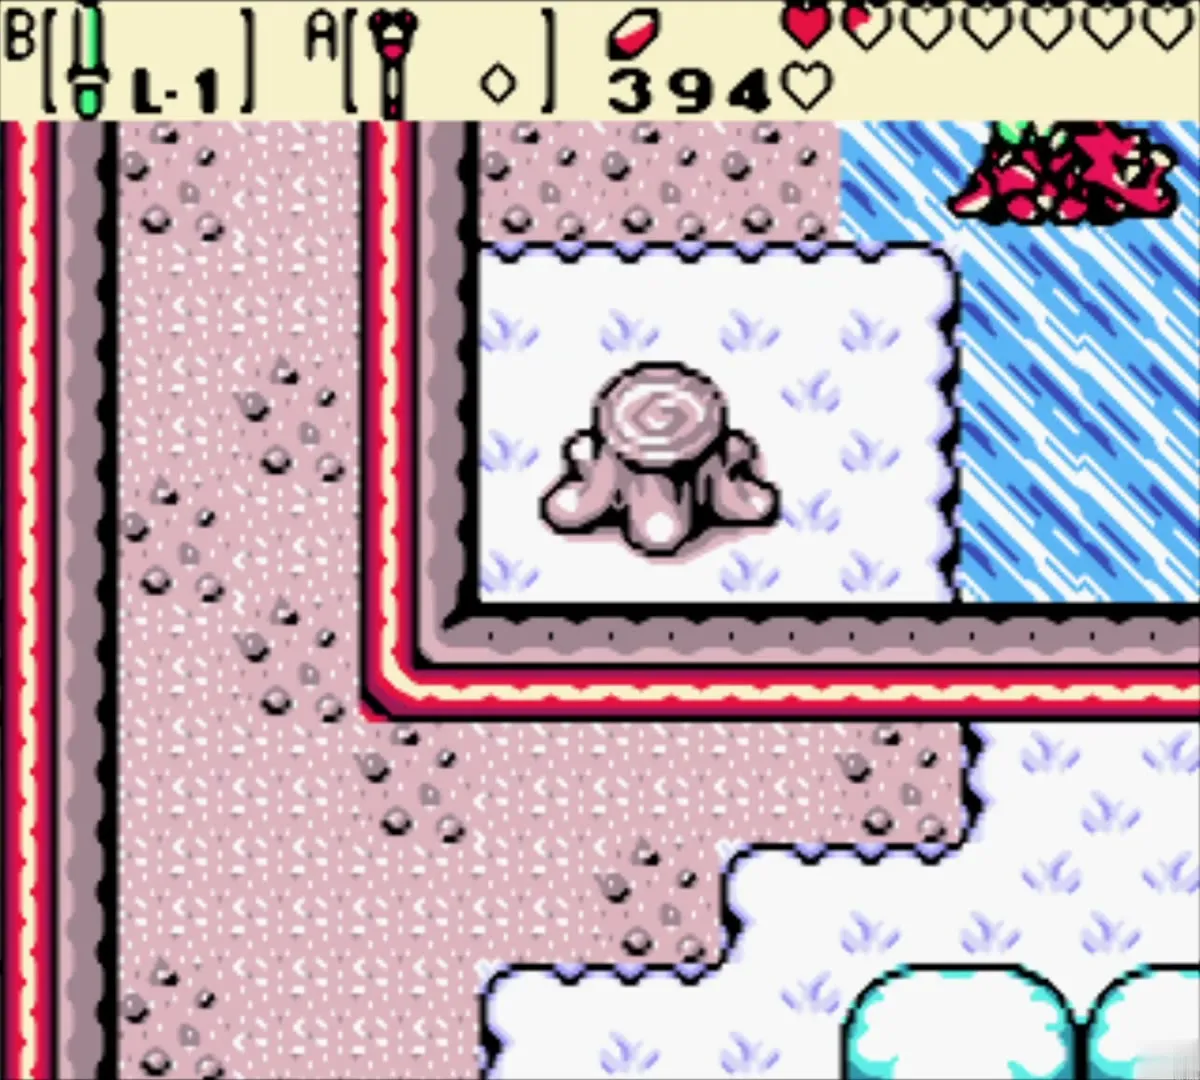
Bomb the cliff wall in the southeast
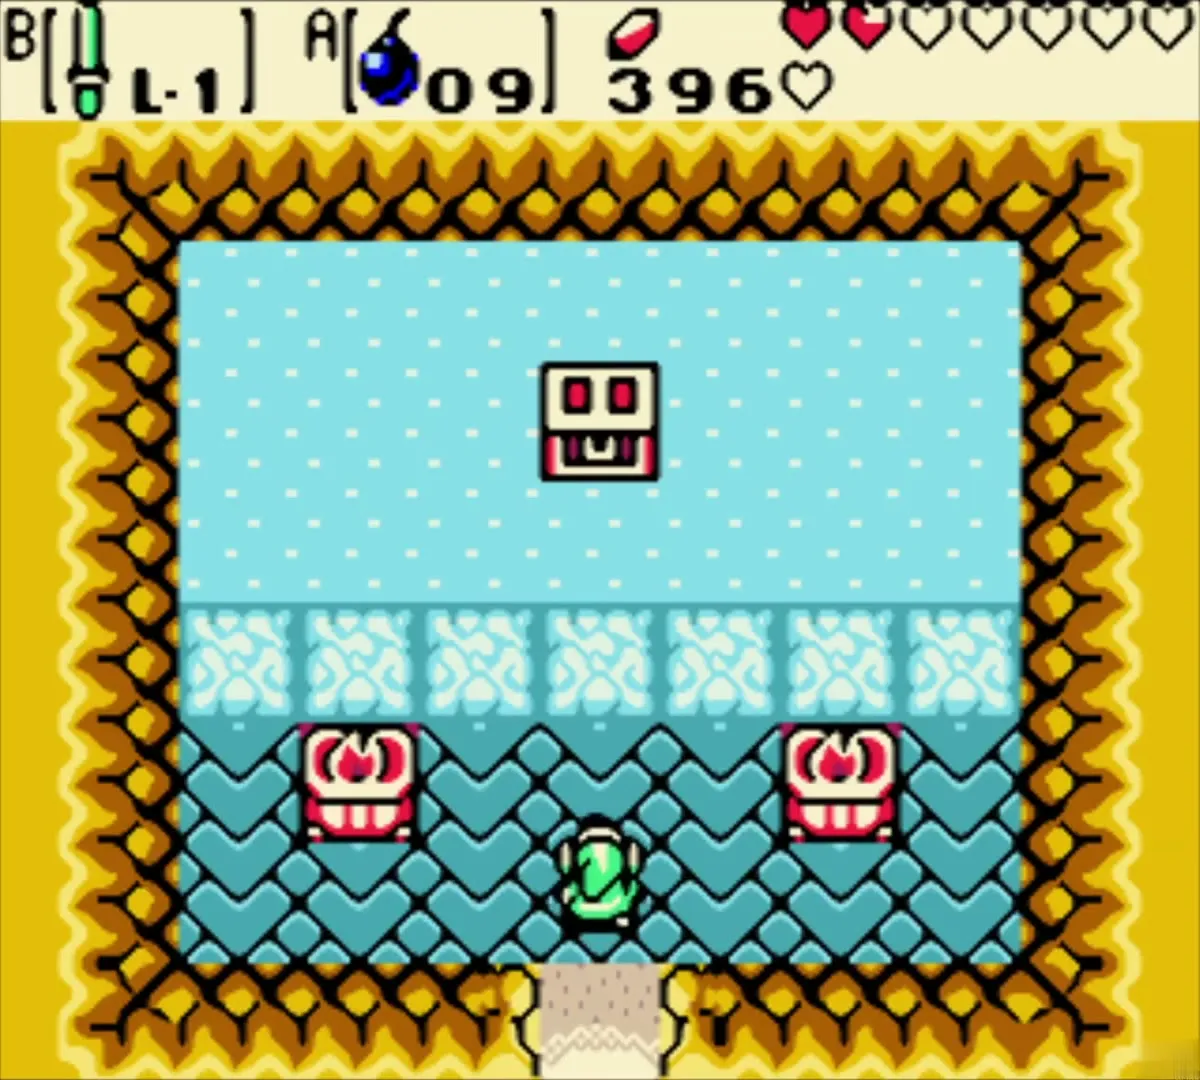
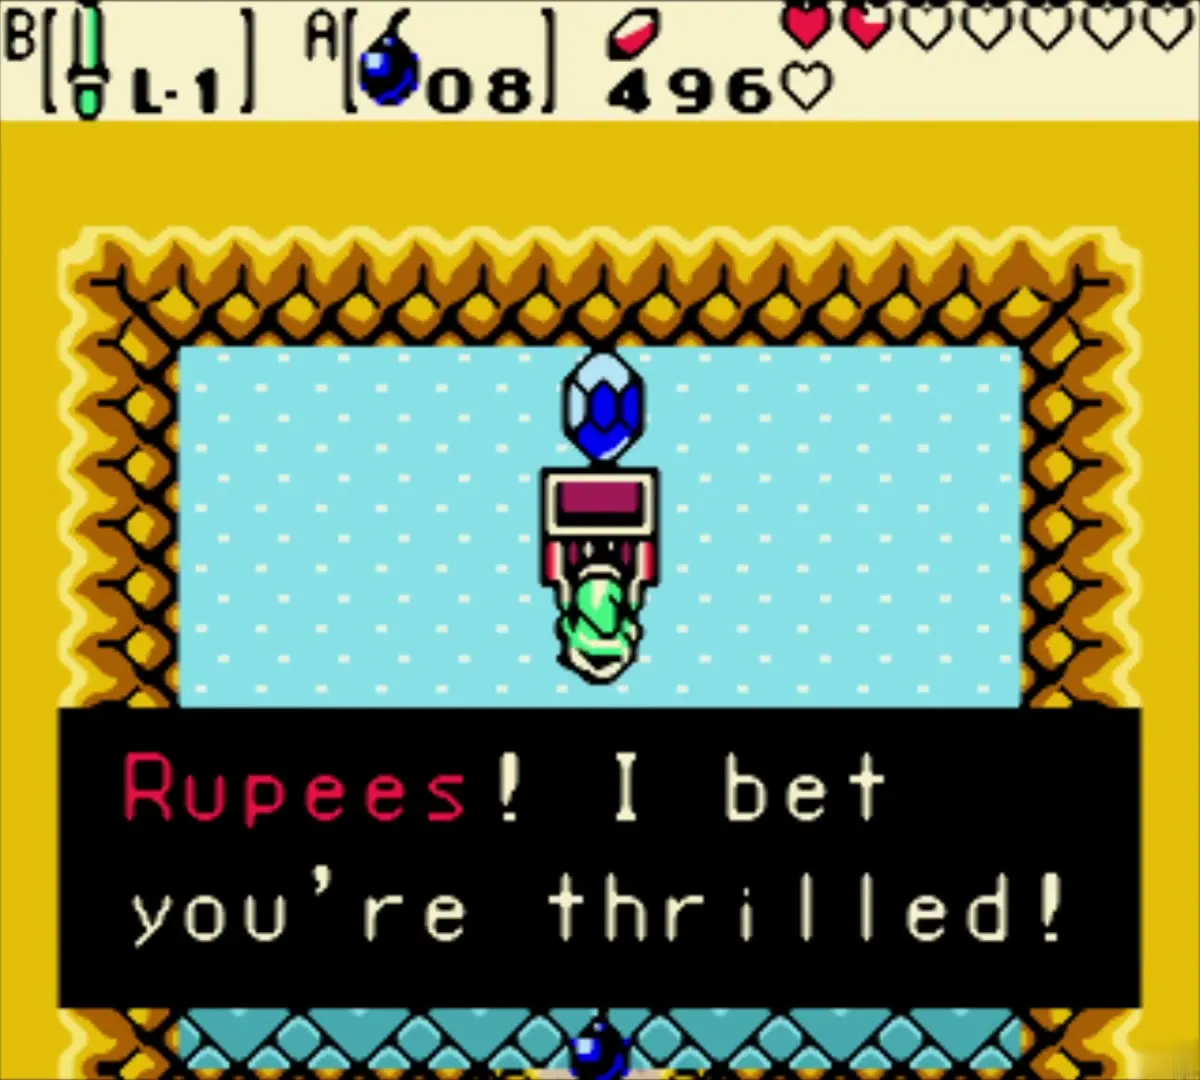
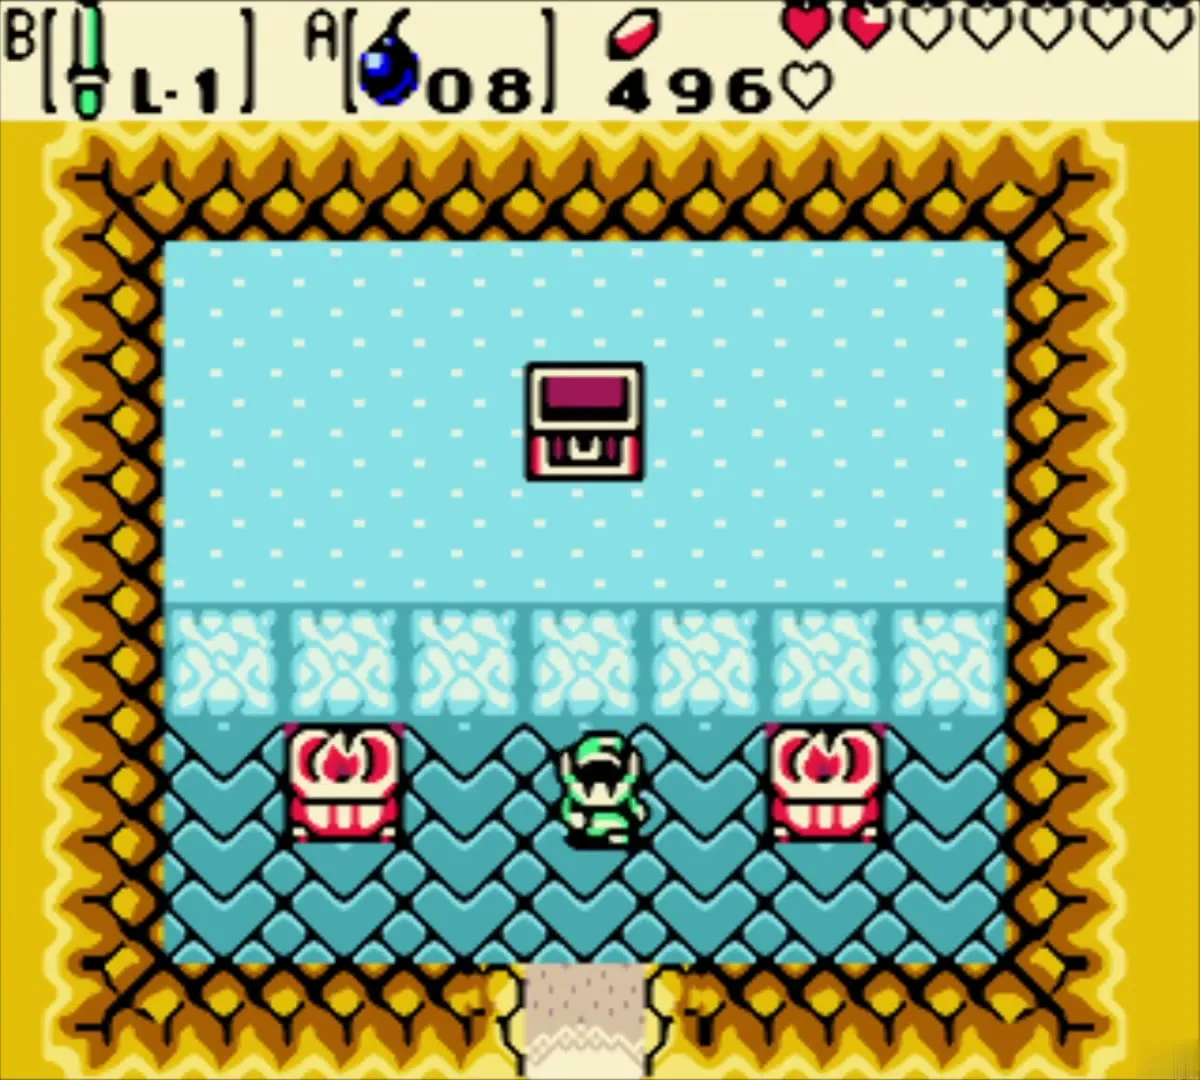
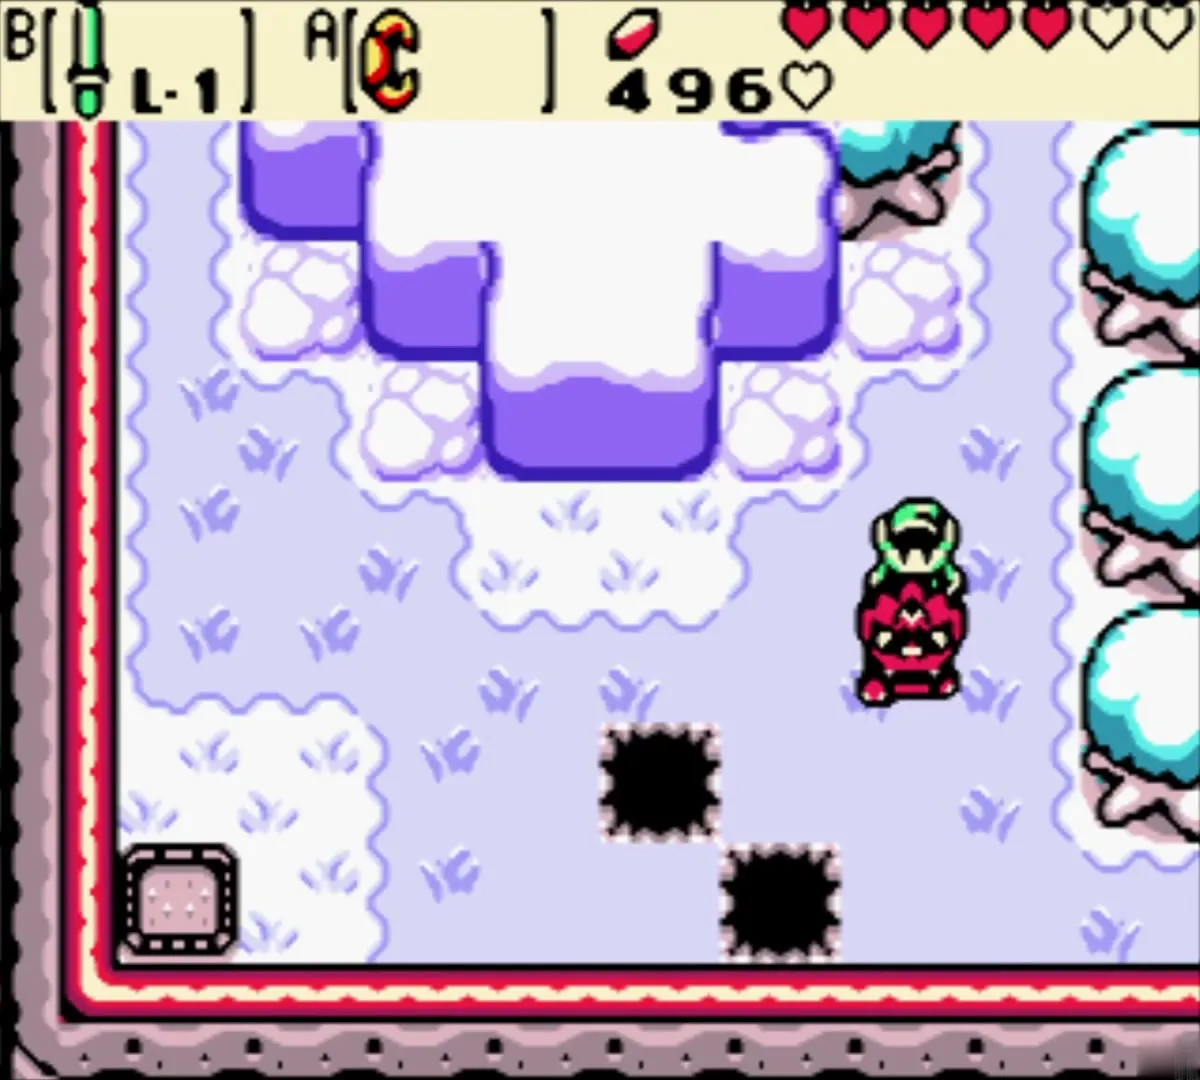
Stay on the snowy screens and follow the cliff edge south and east. Look for the cliff wall in the southeast corner of the swamp. Lay a Bomb against it (a second blast may be needed) and the rock opens into a cave. Open the chest inside for 100 Rupees. This is the linked-game reward for the cave; in an unlinked game the same chest holds the Square Jewel instead. That brings you to 496 Rupees, enough for the shopping ahead.

Find the Subrosia portal
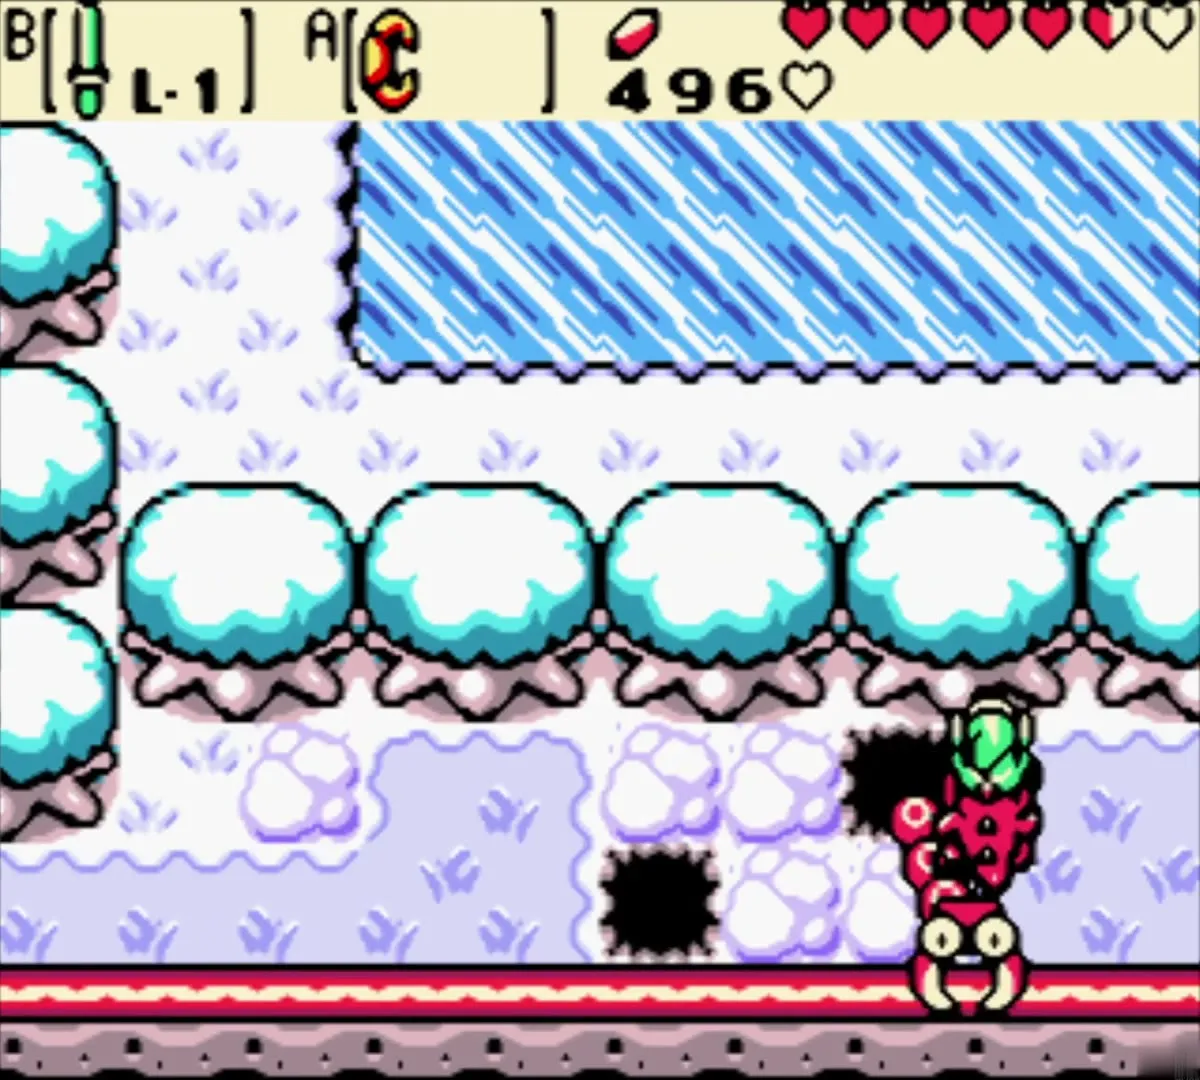
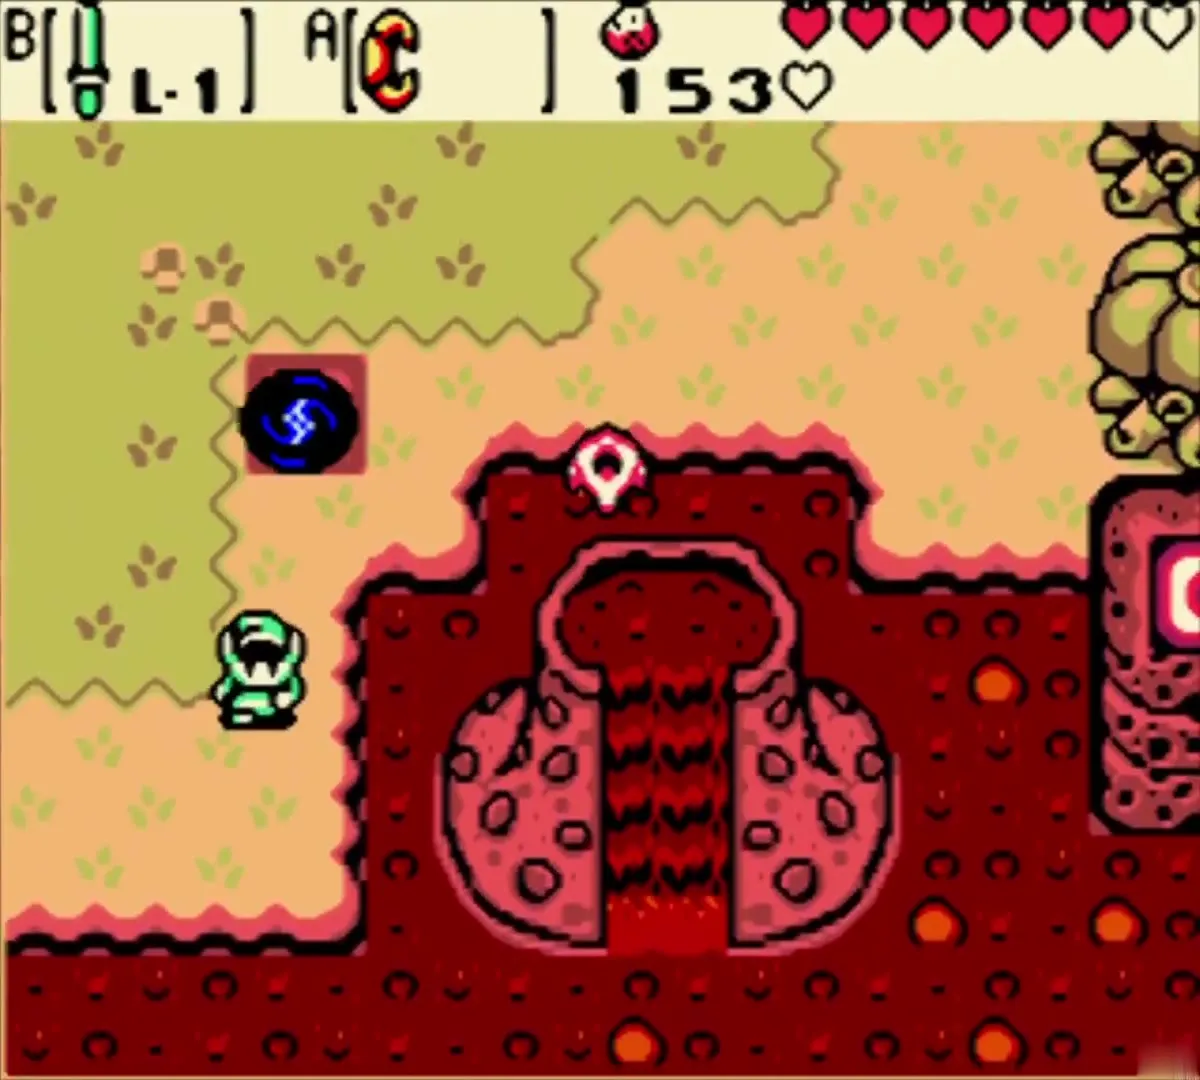
Head back out and walk west along the snowy ledge, past the holes and flowers at the edge of the swamp, to the southwest corner. A swirling blue portal sits in a clearing of snow-covered trees. Step on it to travel to Subrosia, where your Rupees are replaced by an Ore Chunk counter, which should read 153 at this point.

Subrosia: the Red Ore hint, digging and Rosa
Hear the Red Ore and Blue Ore tip
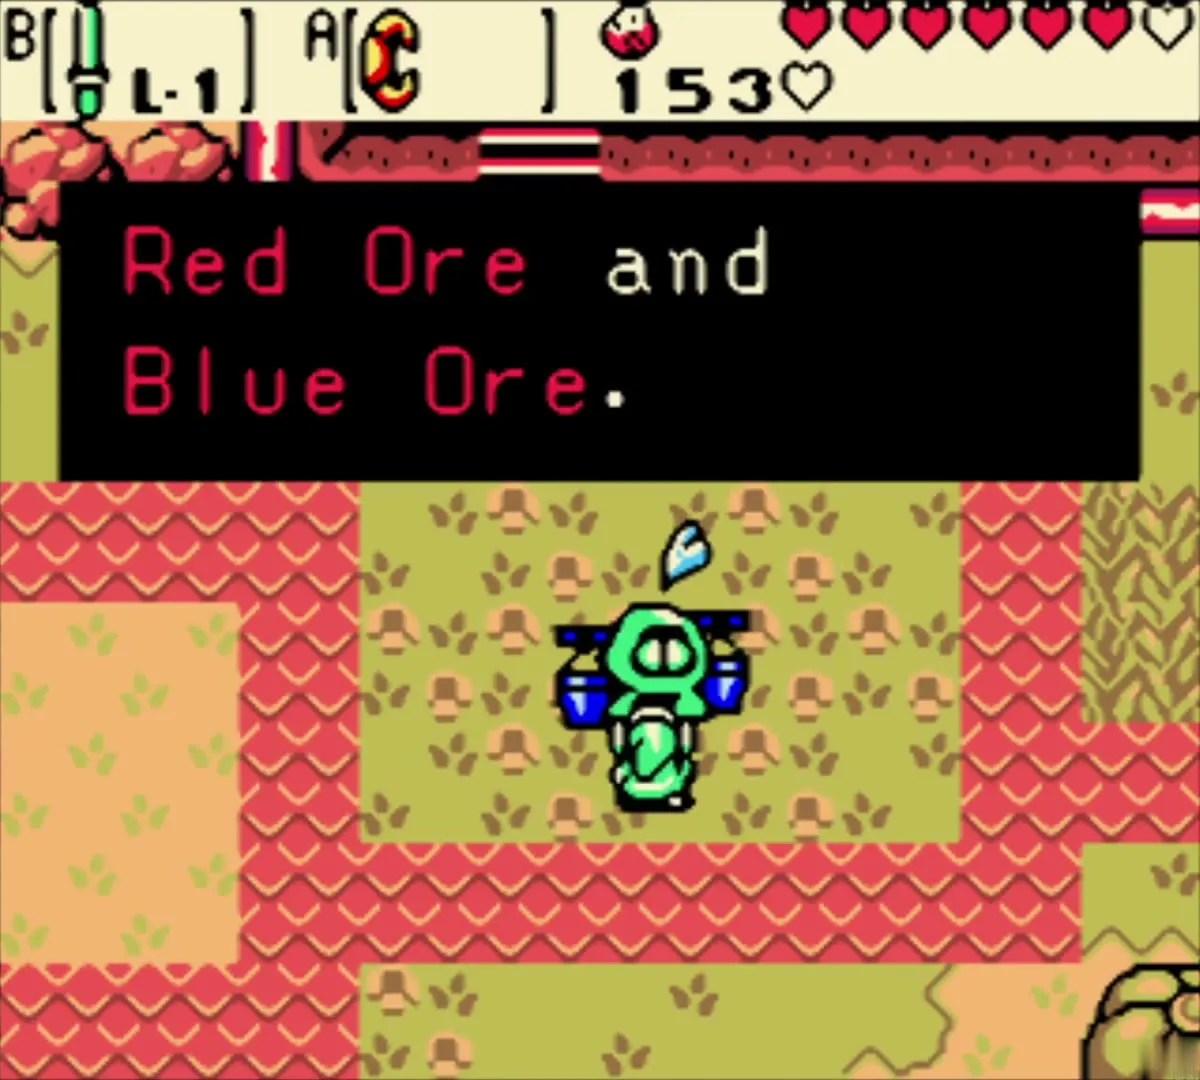
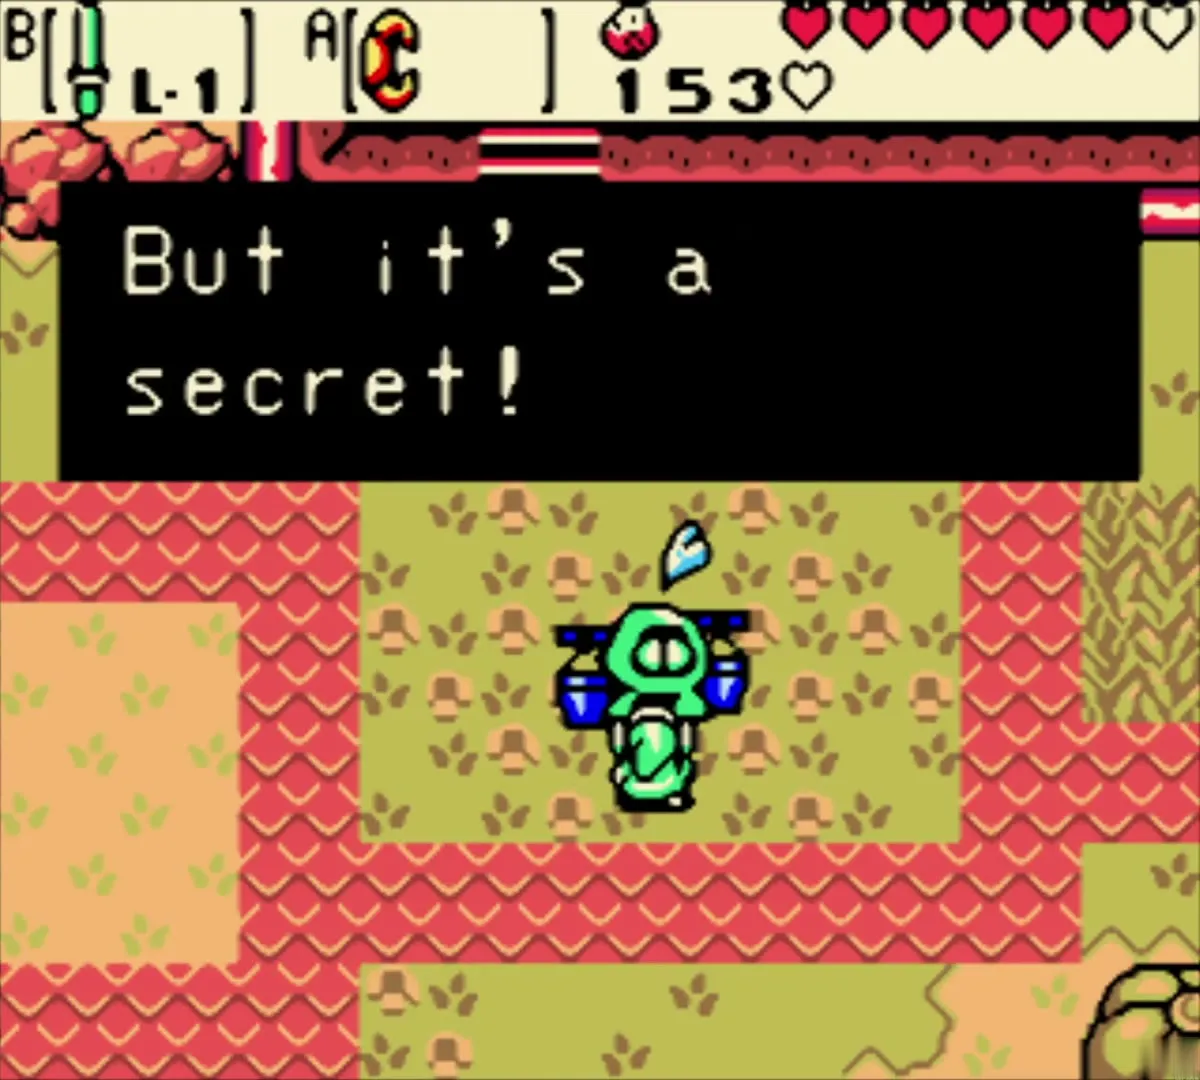
You come out beside the volcano. The flying Subrosian hovering on the path north of the portal speaks of “Red Ore and Blue Ore” and tells you that mixing the two gives something unbelievable, but it is a secret. Keep it in mind: fusing the two ores at the Great Furnace makes the Hard Ore for the Iron Shield, covered with the Subrosian Smithy.
Dig for Ore Chunks on the way to the beach
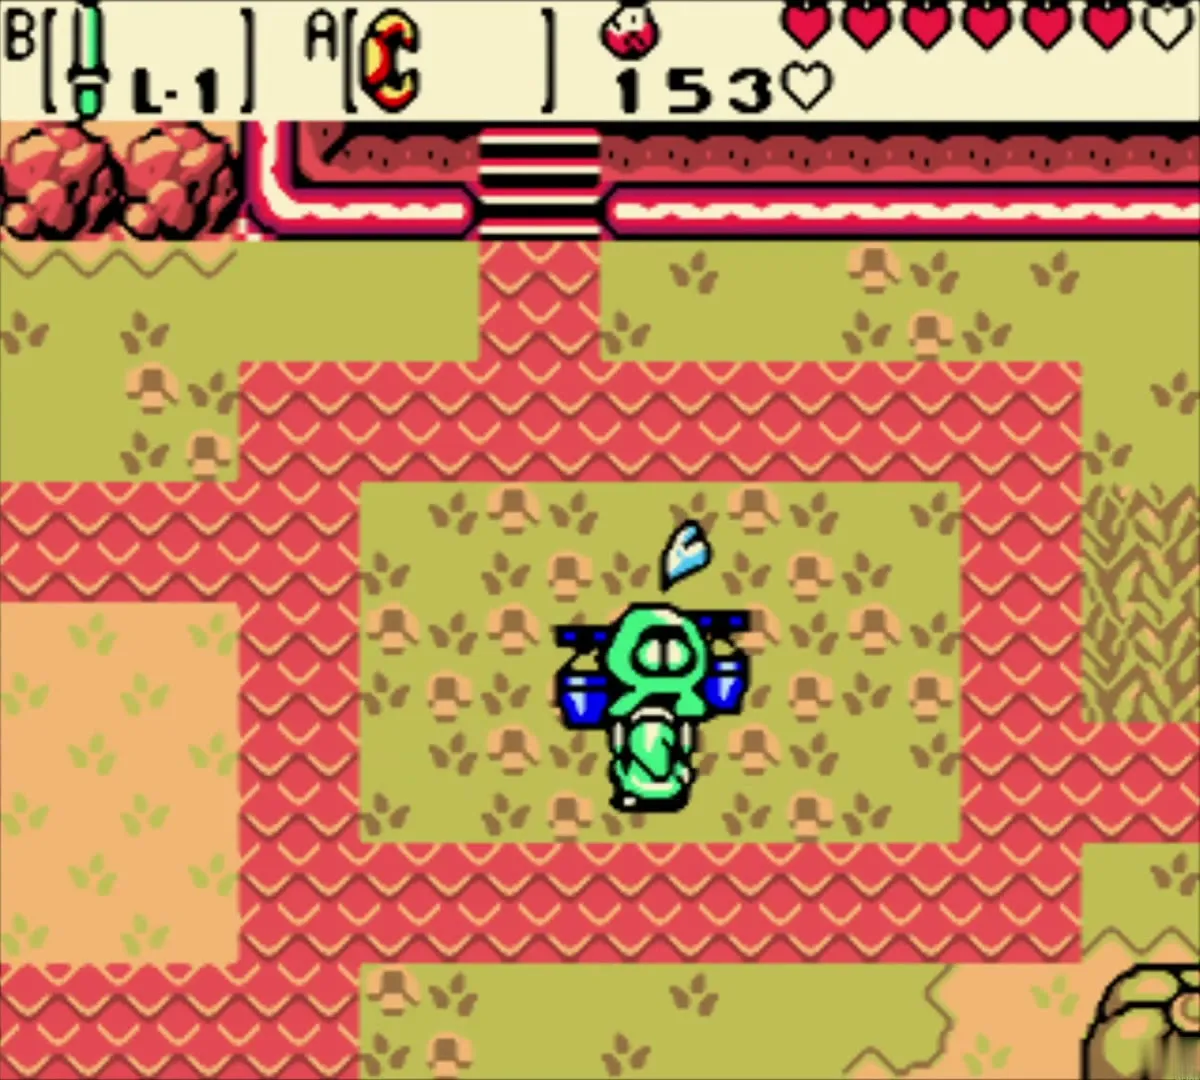
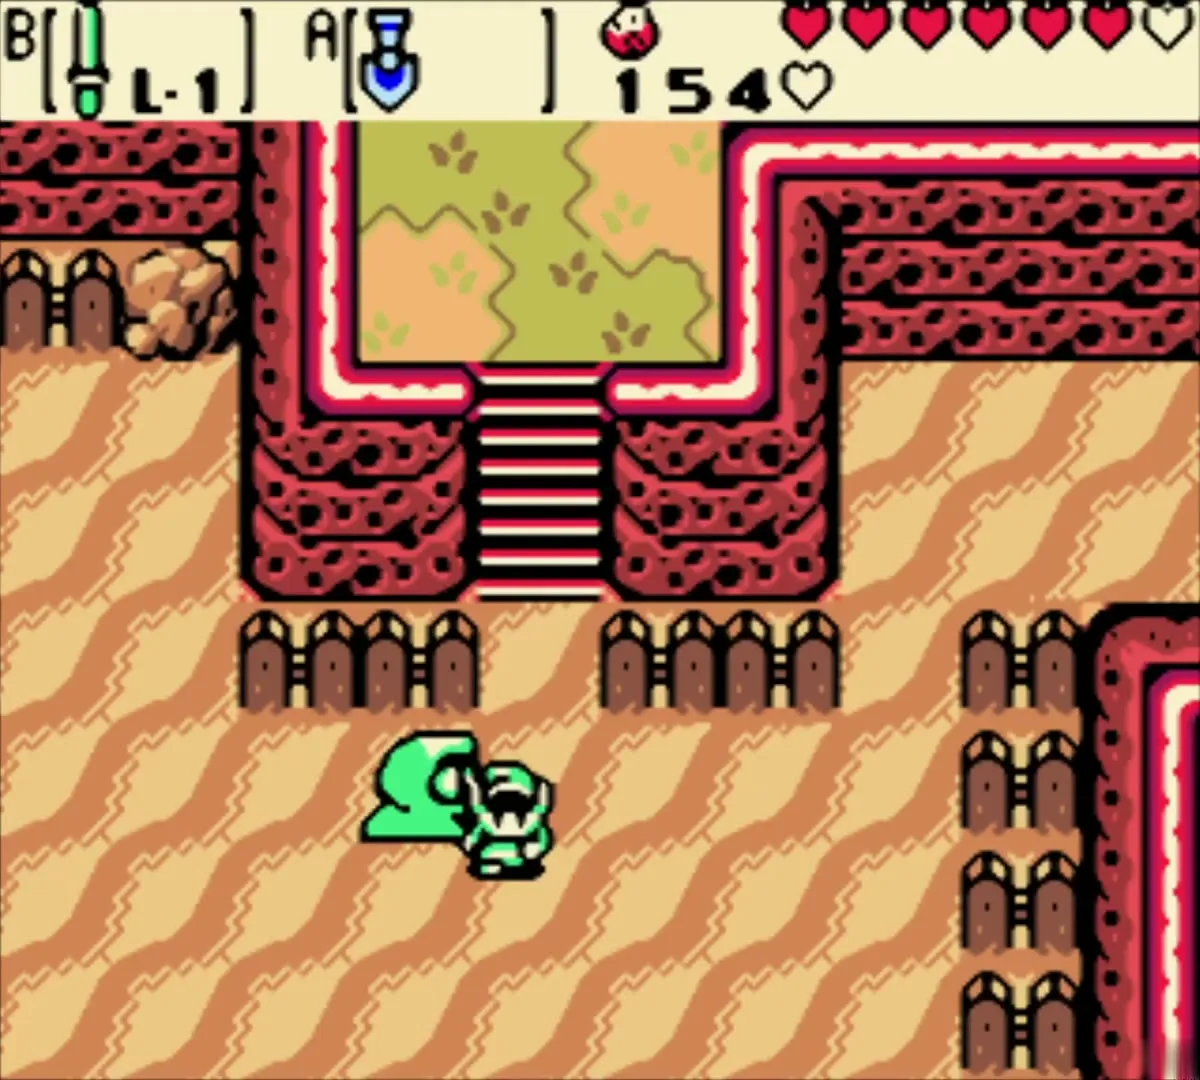
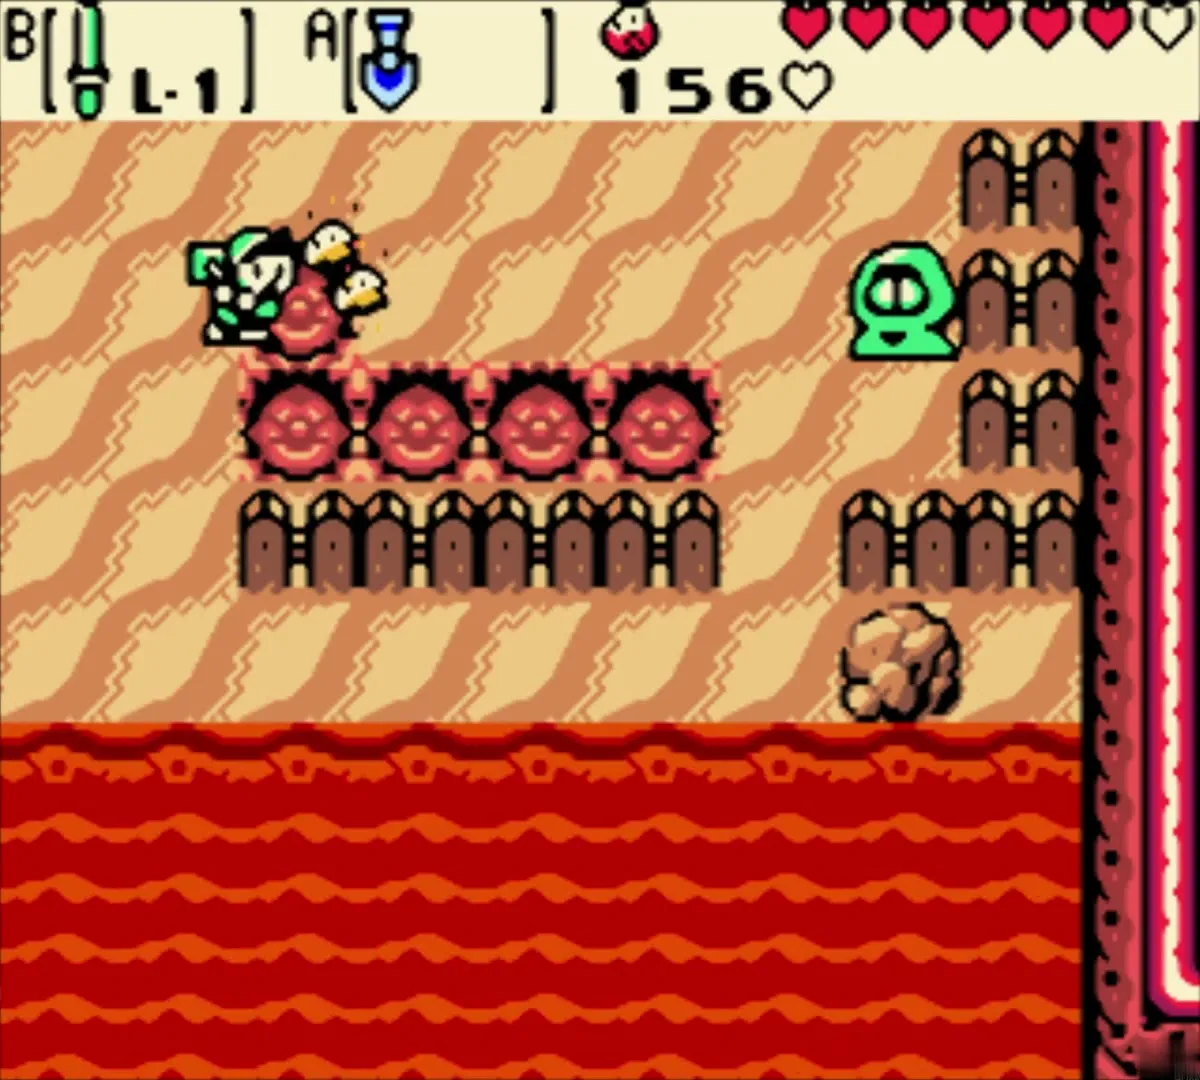
Follow the path past the grassy plateau and down the steps into the orange sand. Equip the Shovel and dig in the patches of loose soil. Blue chunks are worth 1 Ore and red chunks 5, and you will need several hundred for the Market.


Meet Rosa at the lava shore
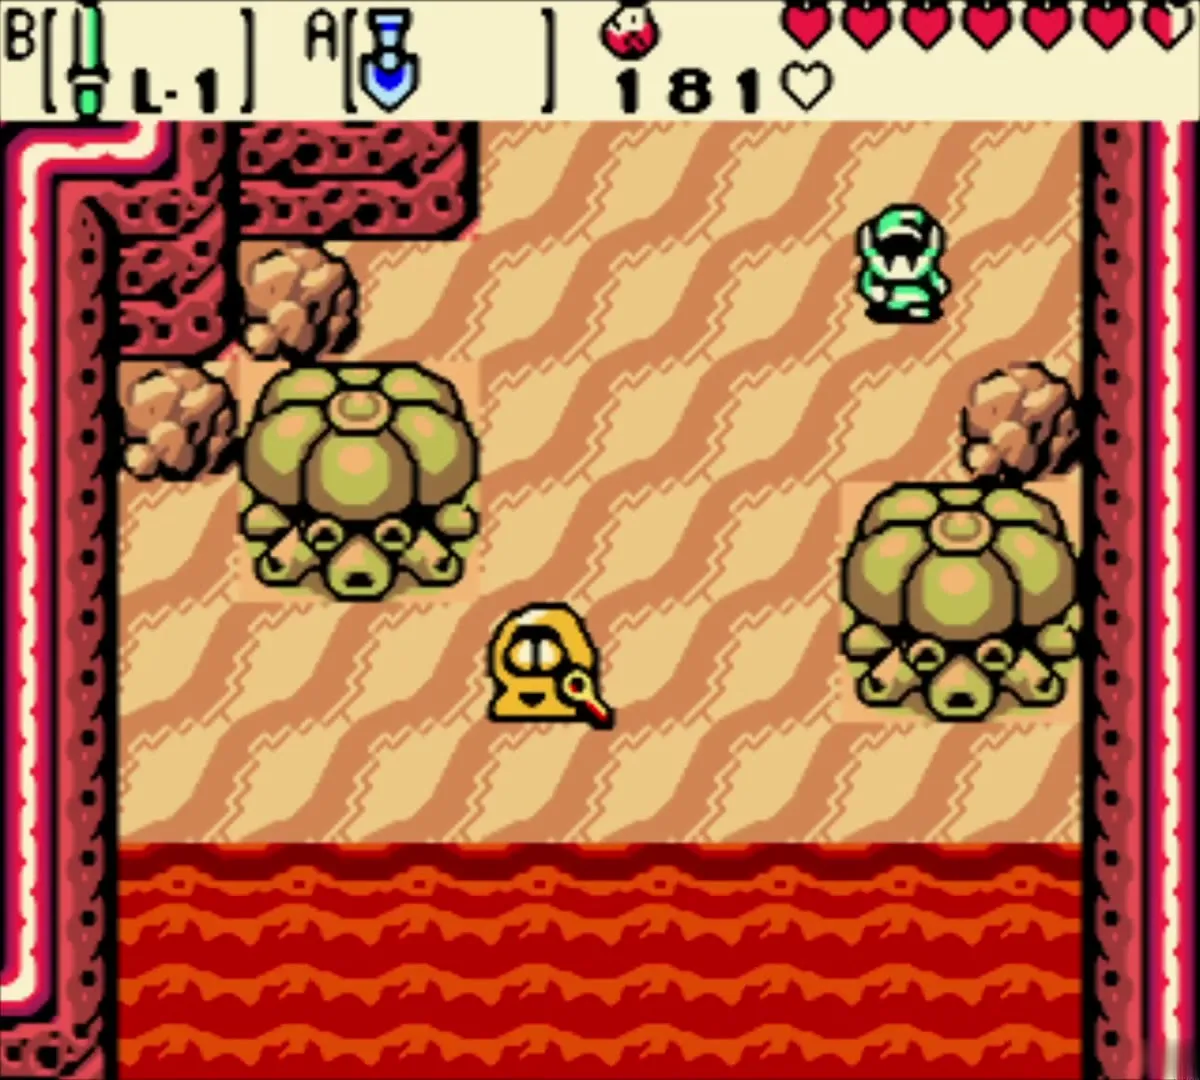
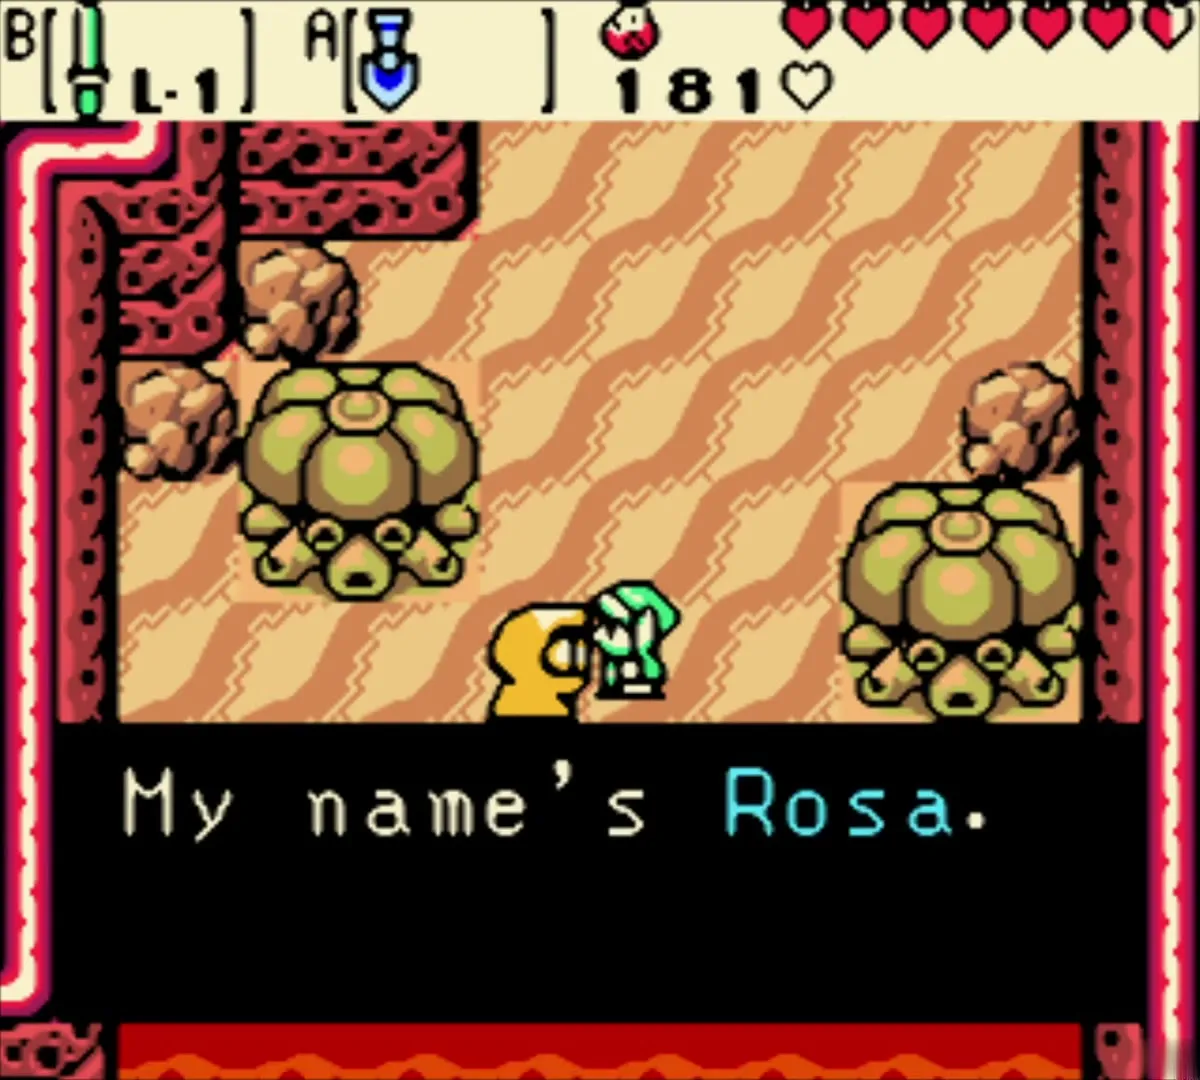
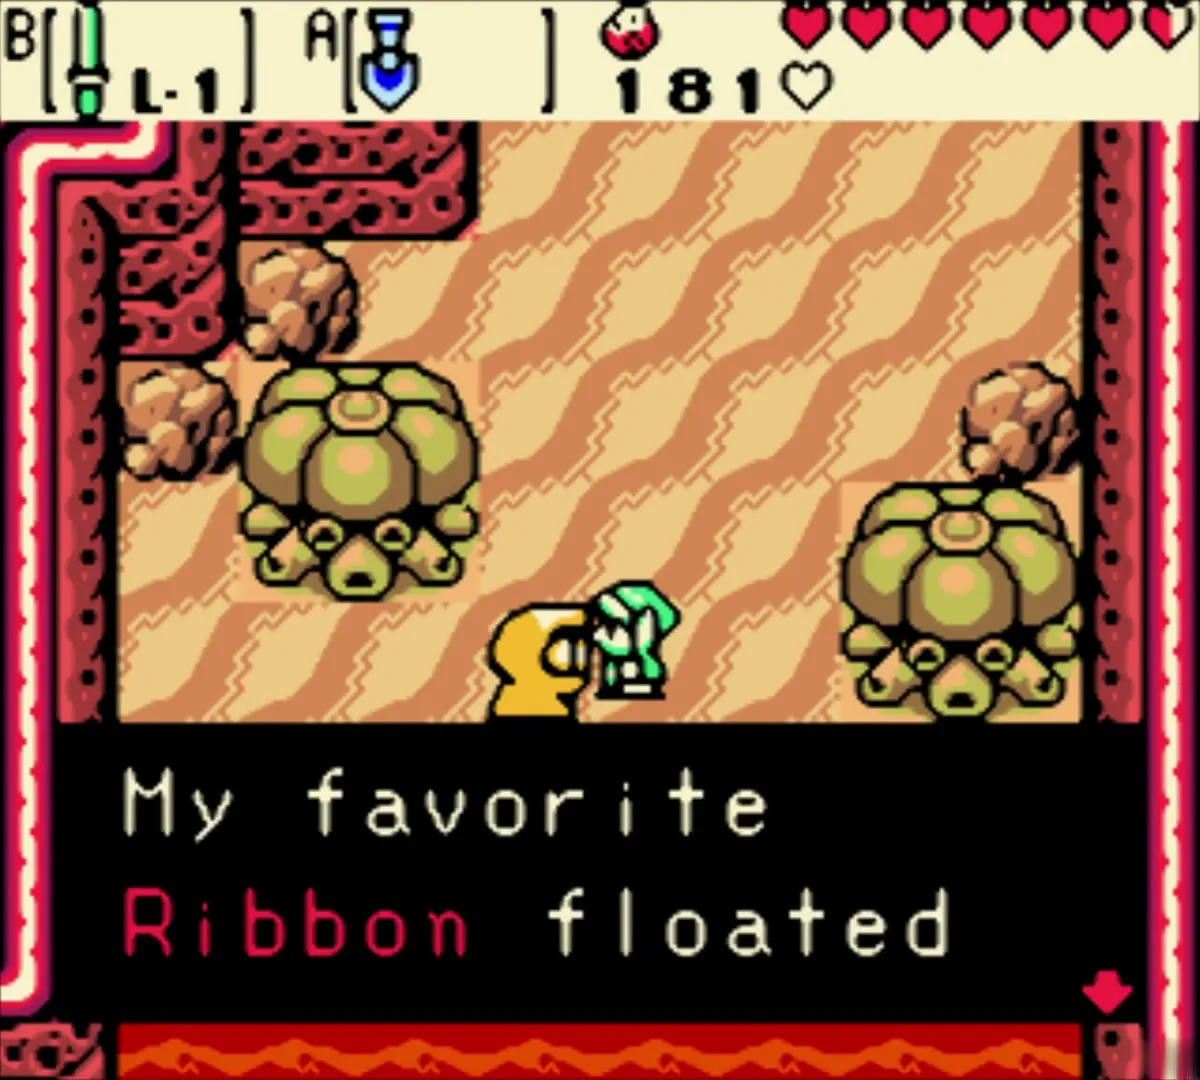
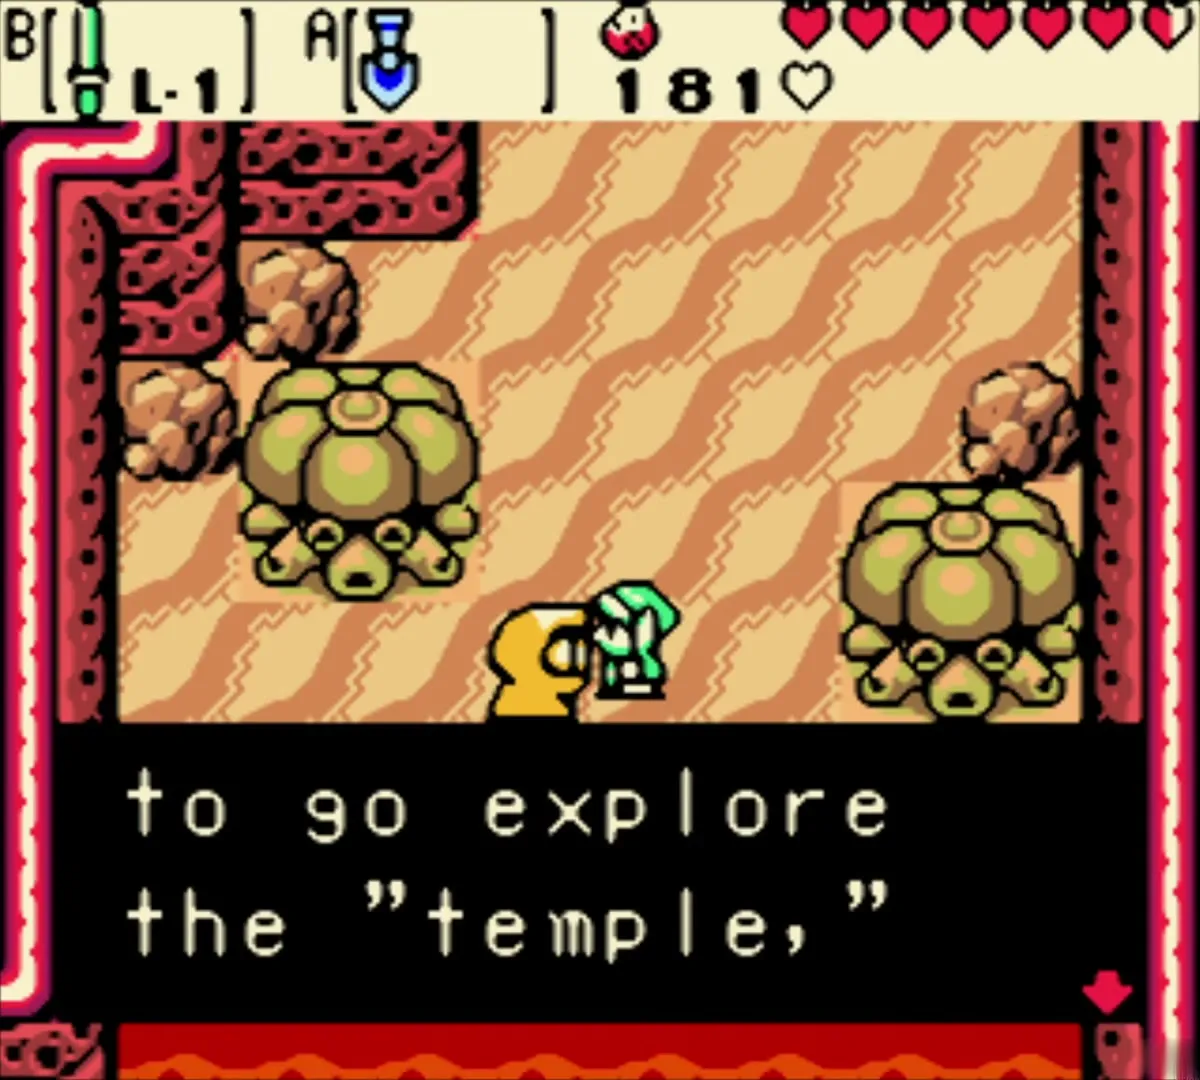
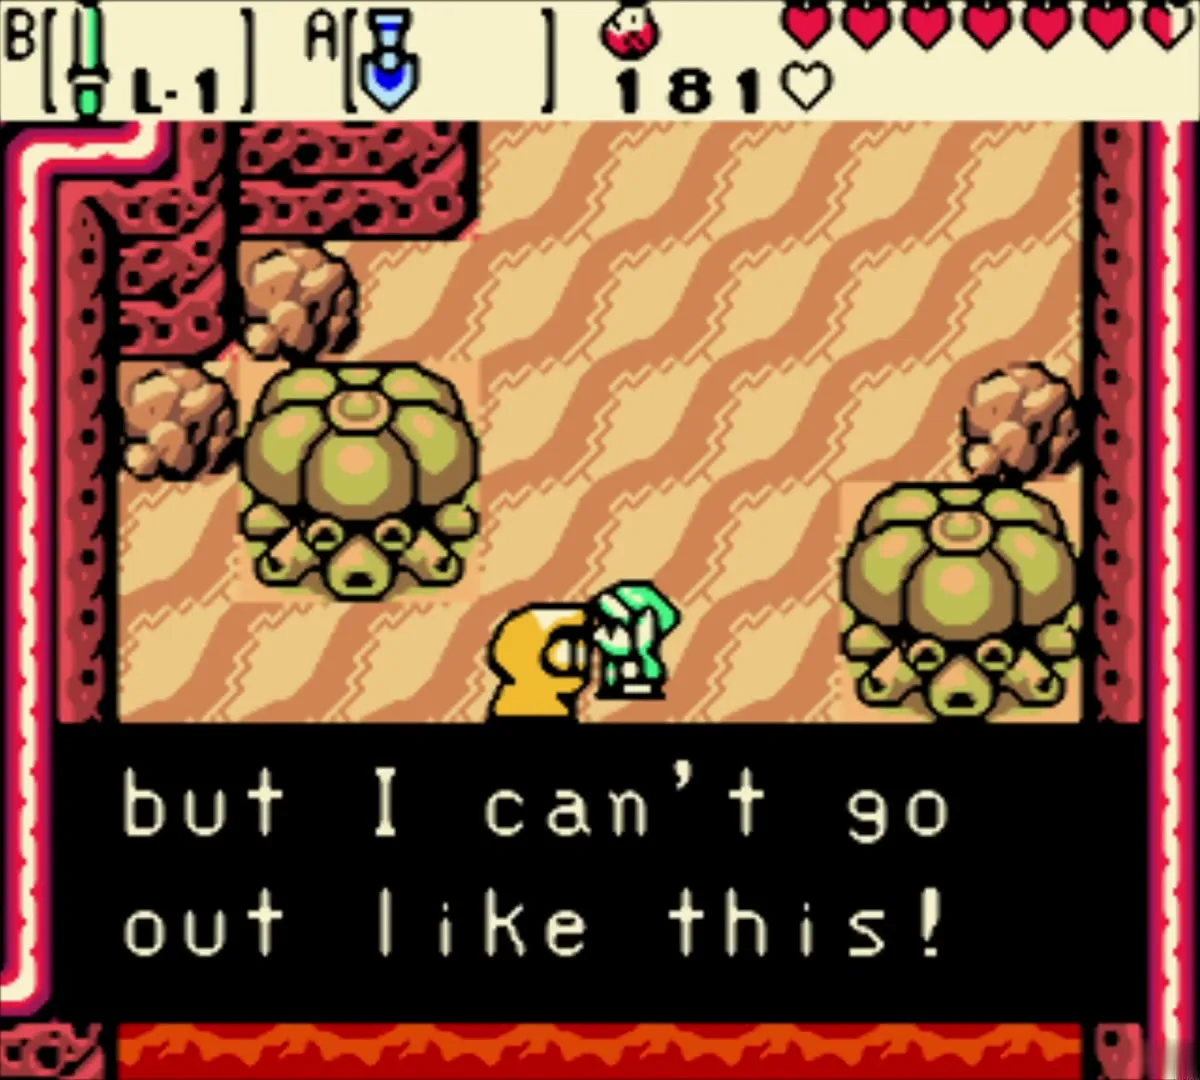
Near the southeast end of the beach, a yellow-hooded Subrosian girl is waiting by the lava. This is Rosa. She tells you that her favorite Ribbon floated out to sea, that she would love to explore the temple and that she cannot go out like this. Finding a Ribbon is your job now, and the Market is the place to look.
Take a first look in the Subrosian Market
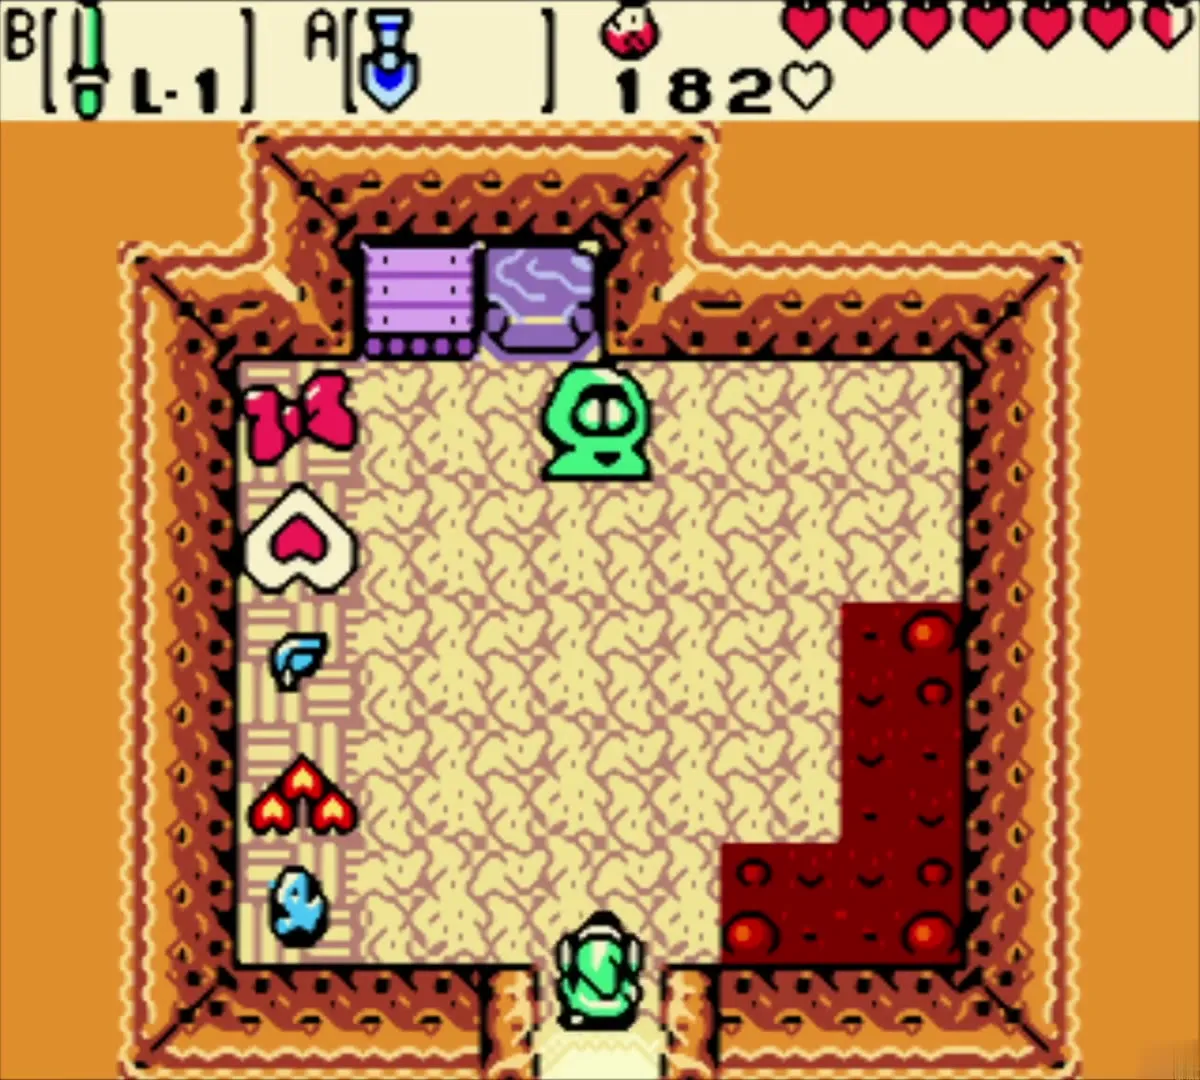
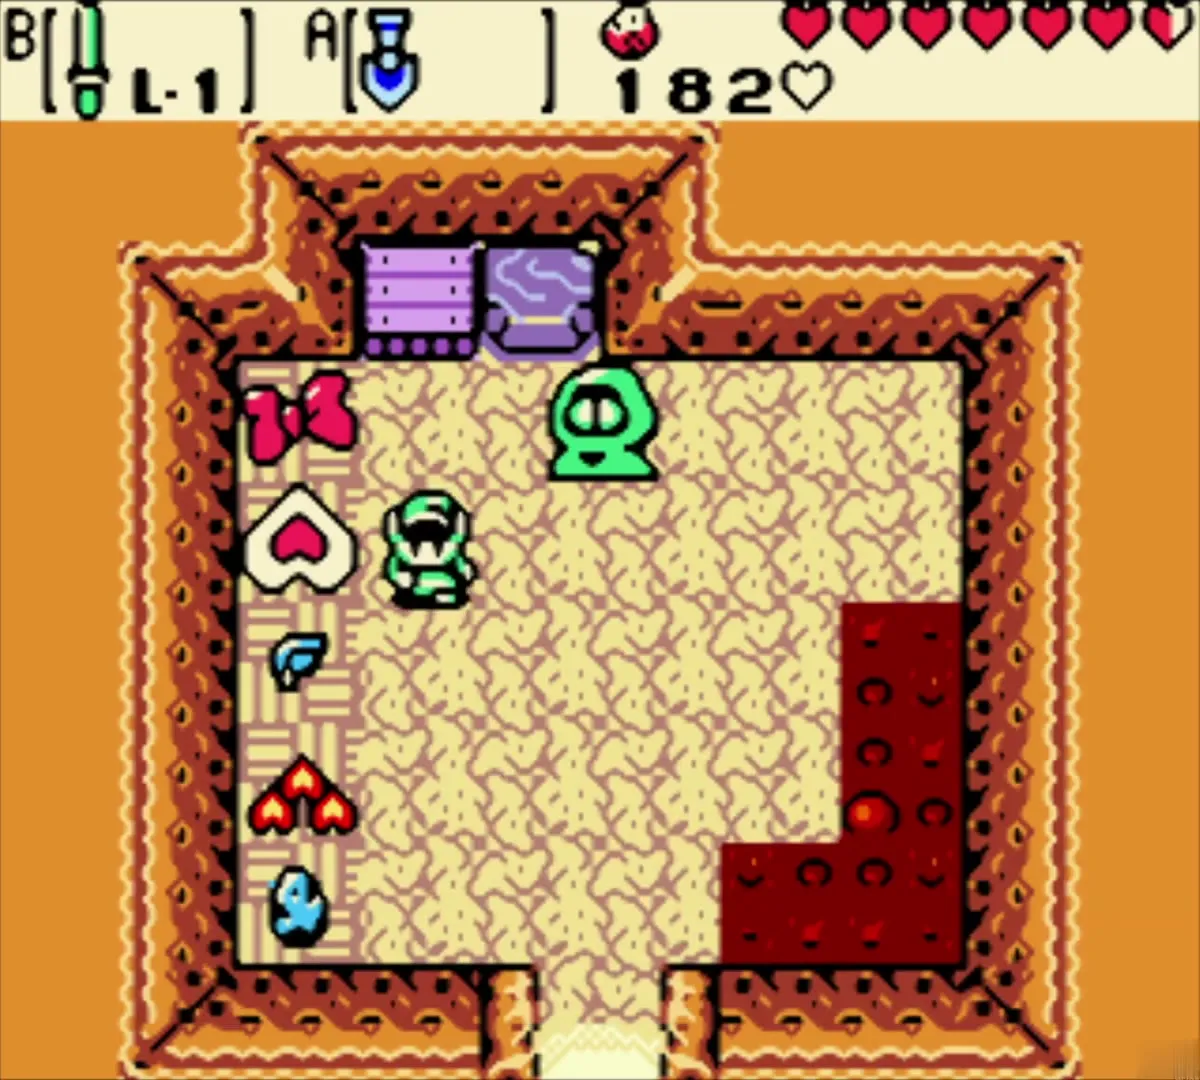
From the beach take the steps up to the grass, walk north and then west to the big red Market building on the lava, and enter. The owner offers a Ribbon in return for a Star-Shaped Ore, which you do not have yet, so decline. The shelf holds the Ribbon, a Rare Peach Stone, a Bomb, a ring, a Gale Seed offer and a few other goods that you can buy once you have Ore Chunks.


How to get the Star-Shaped Ore and the Ribbon
Dig the beach for the Star-Shaped Ore
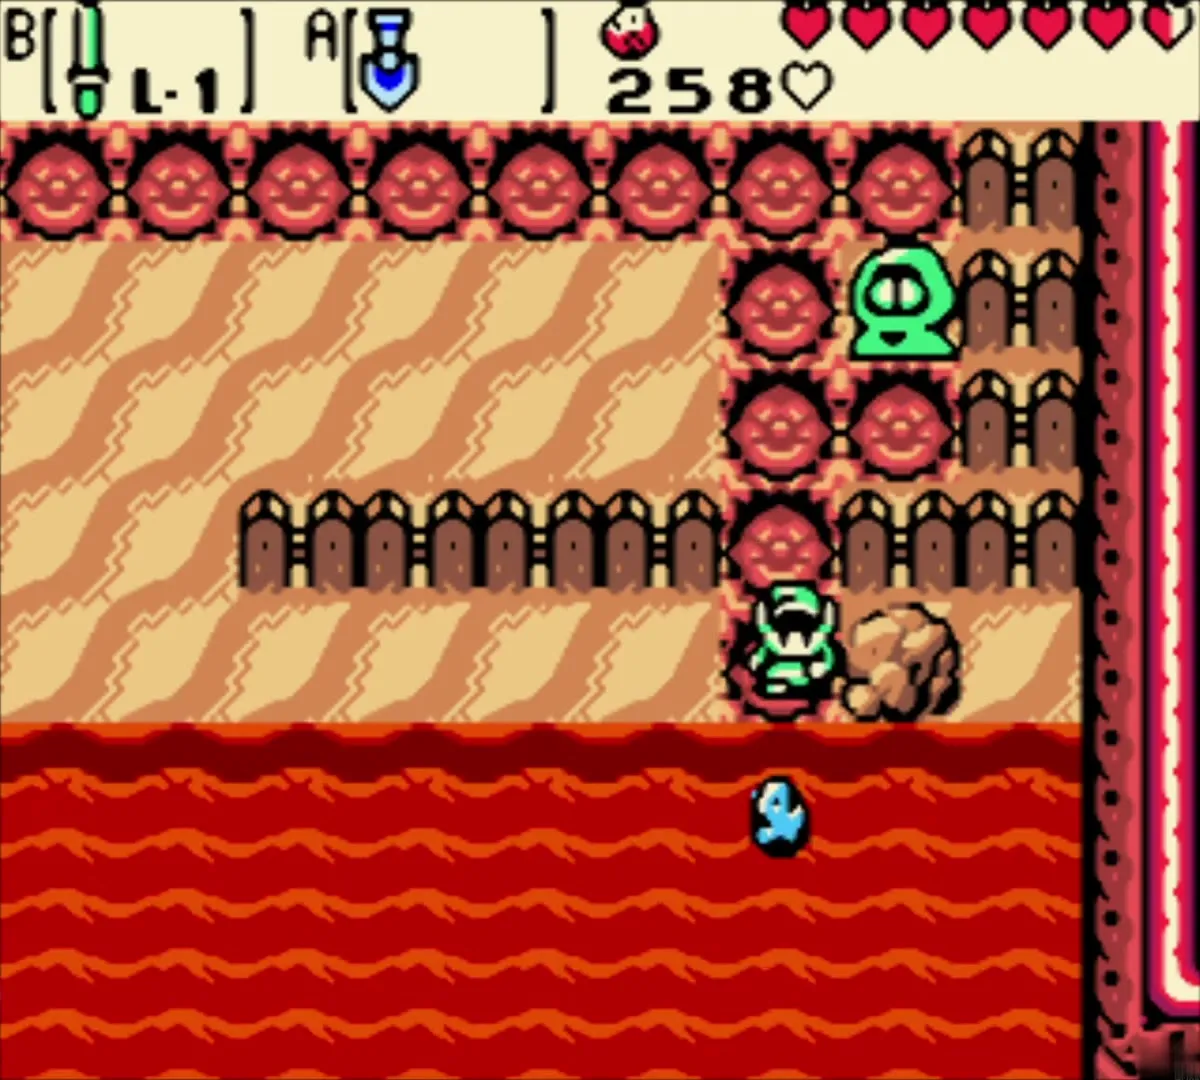
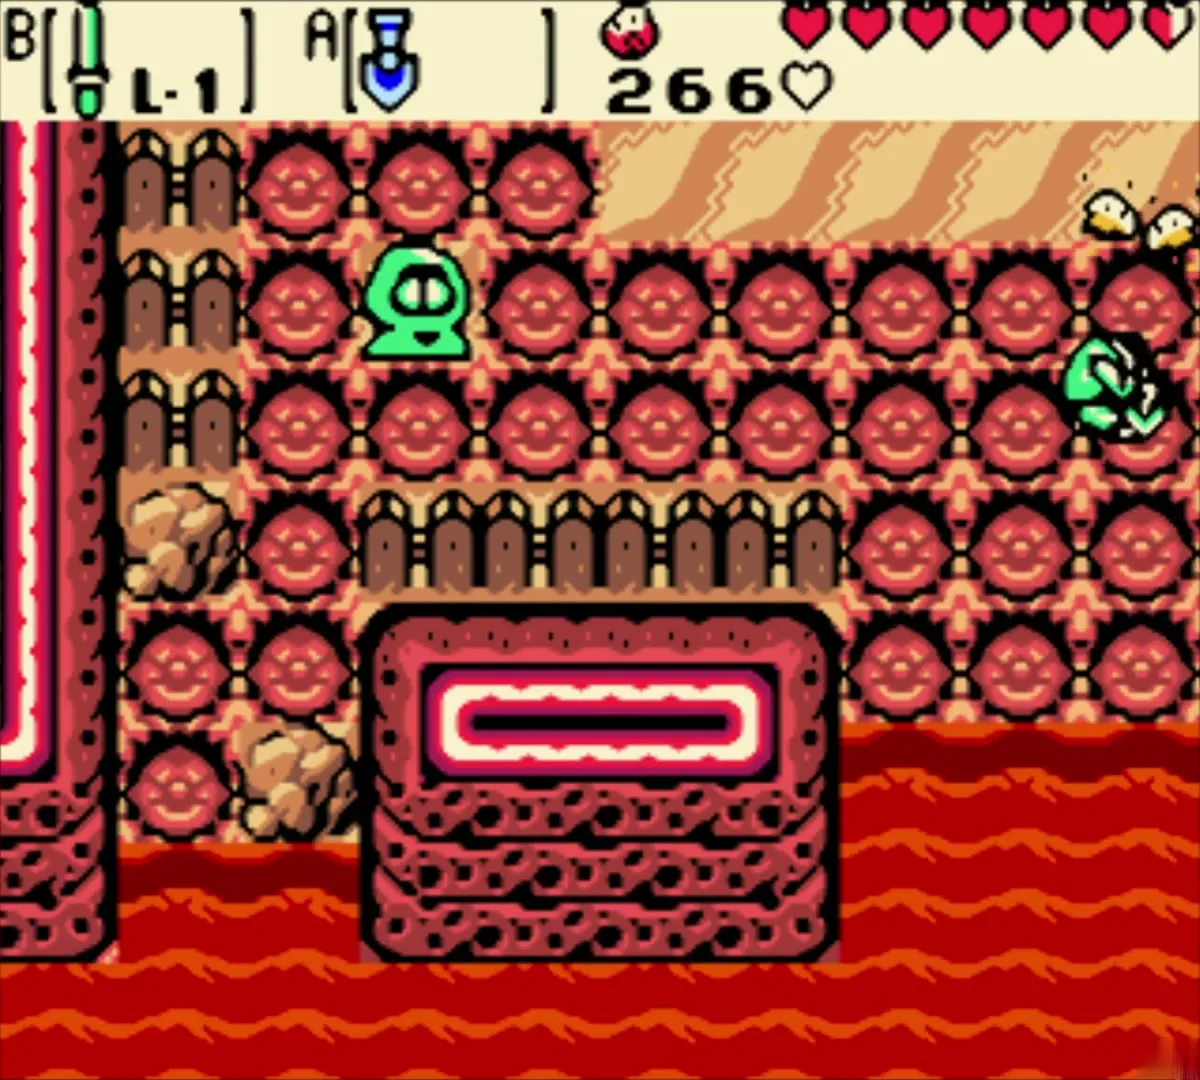
Go back down to the beach and dig with the Shovel again, working through the sand screens screen by screen. The Star-Shaped Ore is a rare find, and its spot is different each time you enter, so keep digging and collect Ore Chunks as you go. When you hit it, the item box reads Star-Shaped Ore and the game says you can trade it. By this point you should hold about 290 Ore Chunks, which covers the shopping below.


Trade it for the Ribbon
Walk back up to the Market and speak to the keeper. Answer Sure and he swaps the Star-Shaped Ore for the Ribbon. This is the item you need to get Rosa to help.


Subrosian Market: Heart Piece, Bomb Bag, rings and Gasha Seed
Buy the Rare Peach Stone for a Piece of Heart
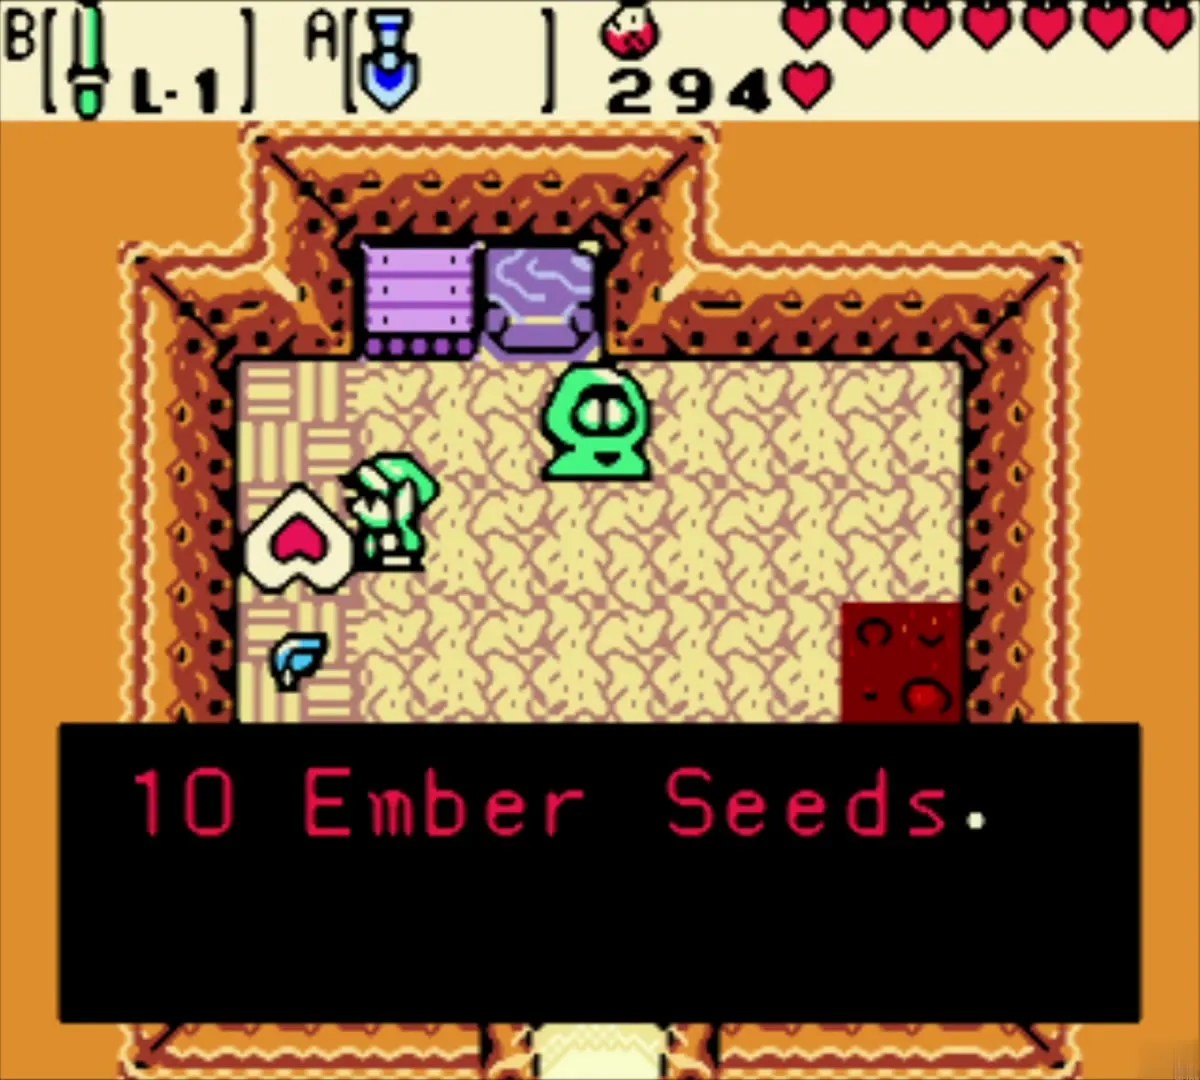
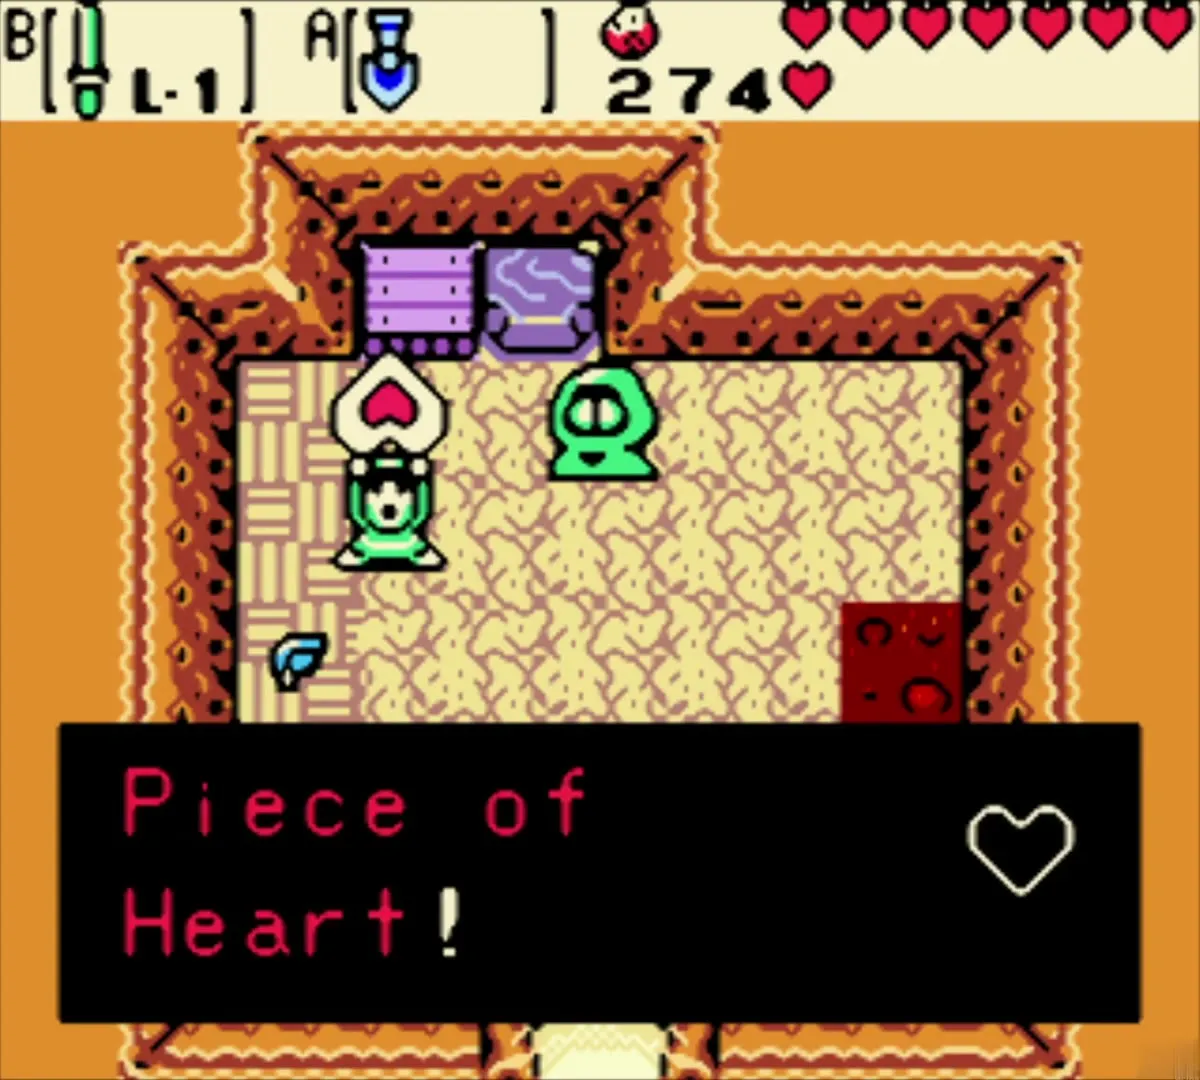
The Rare Peach Stone costs 20 Ore Chunks and 10 Ember Seeds from your Seed Satchel. Say yes and the stone is turned into a Piece of Heart. This is Piece of Heart 5 of 12, the first of the pieces for your next extra Heart Container. The stall also offers 20 Gale Seeds for 10 Ore Chunks, which you can refuse.

Buy the Bomb Bag
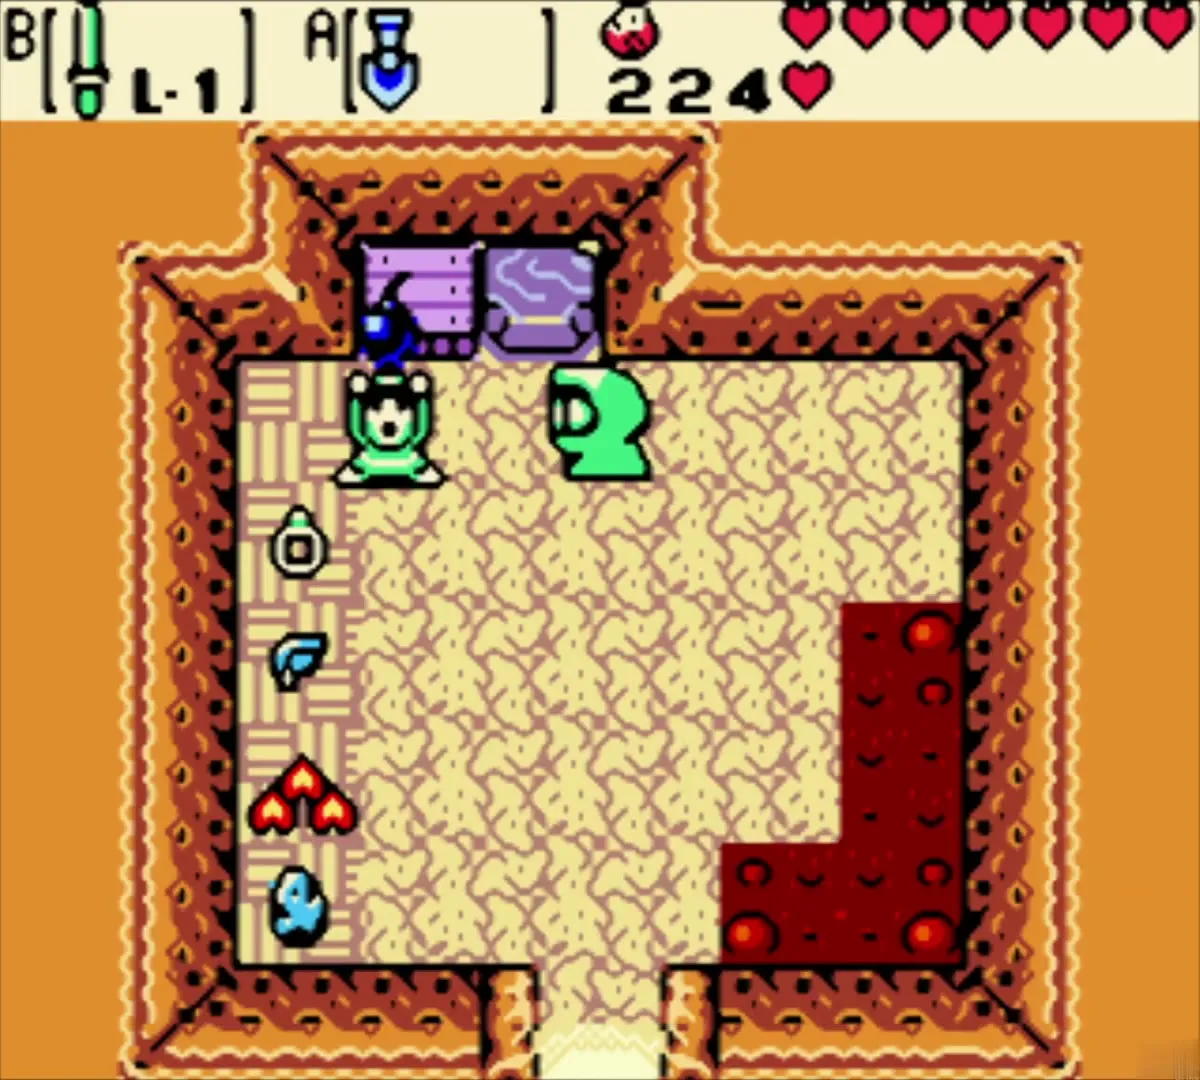
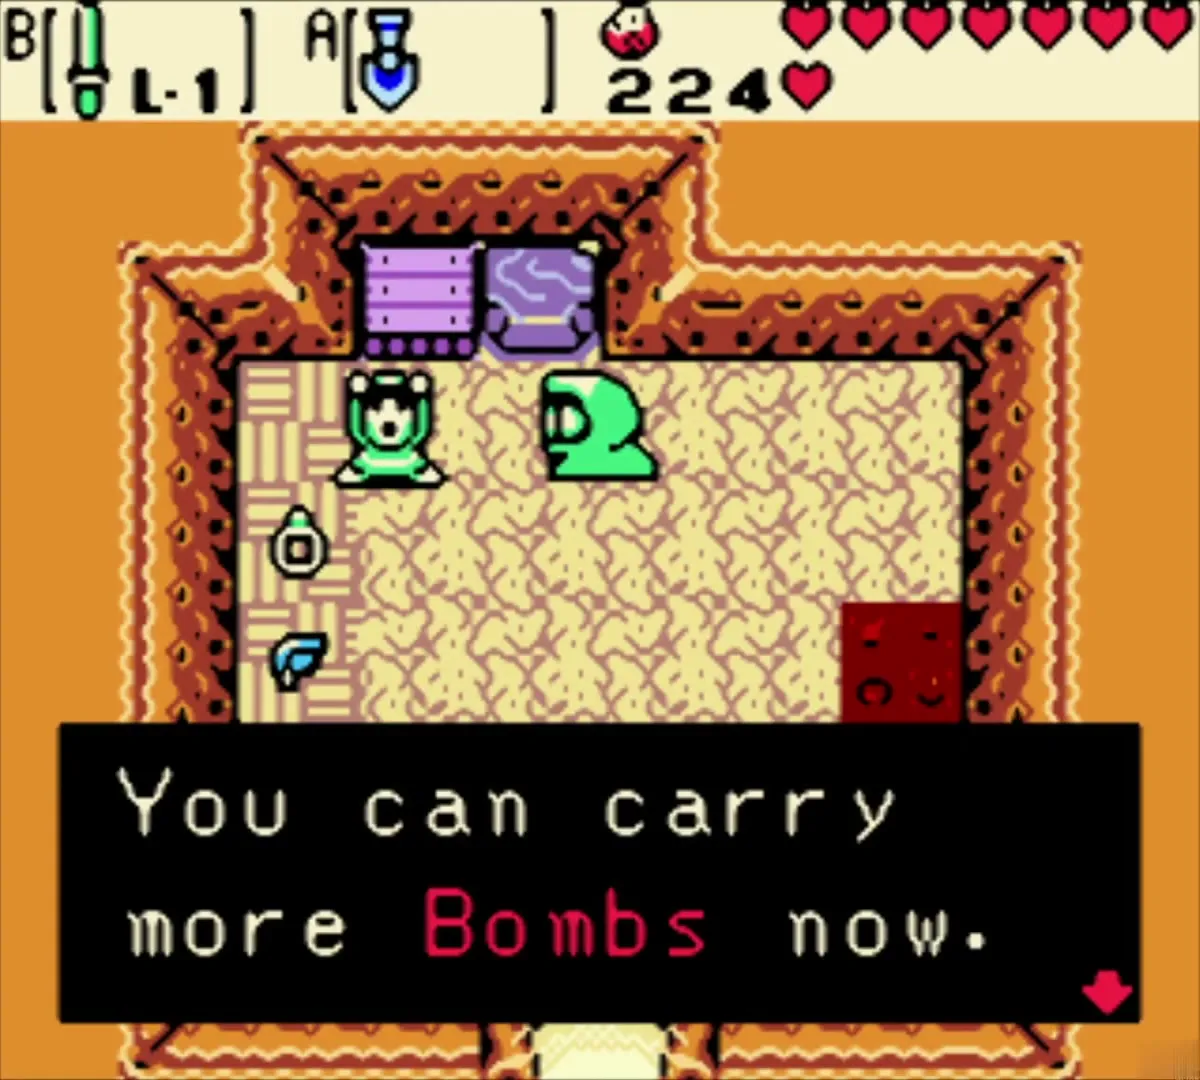
Take the red Bomb for 10 Bombs and 50 Ore Chunks. You get a Bomb Bag that carries 30 Bombs and the game refills it with free Bombs, so your supply goes from 10 to 30. It is a permanent upgrade, as described under equipment upgrades.


Buy the first two rings and the Gasha Seed
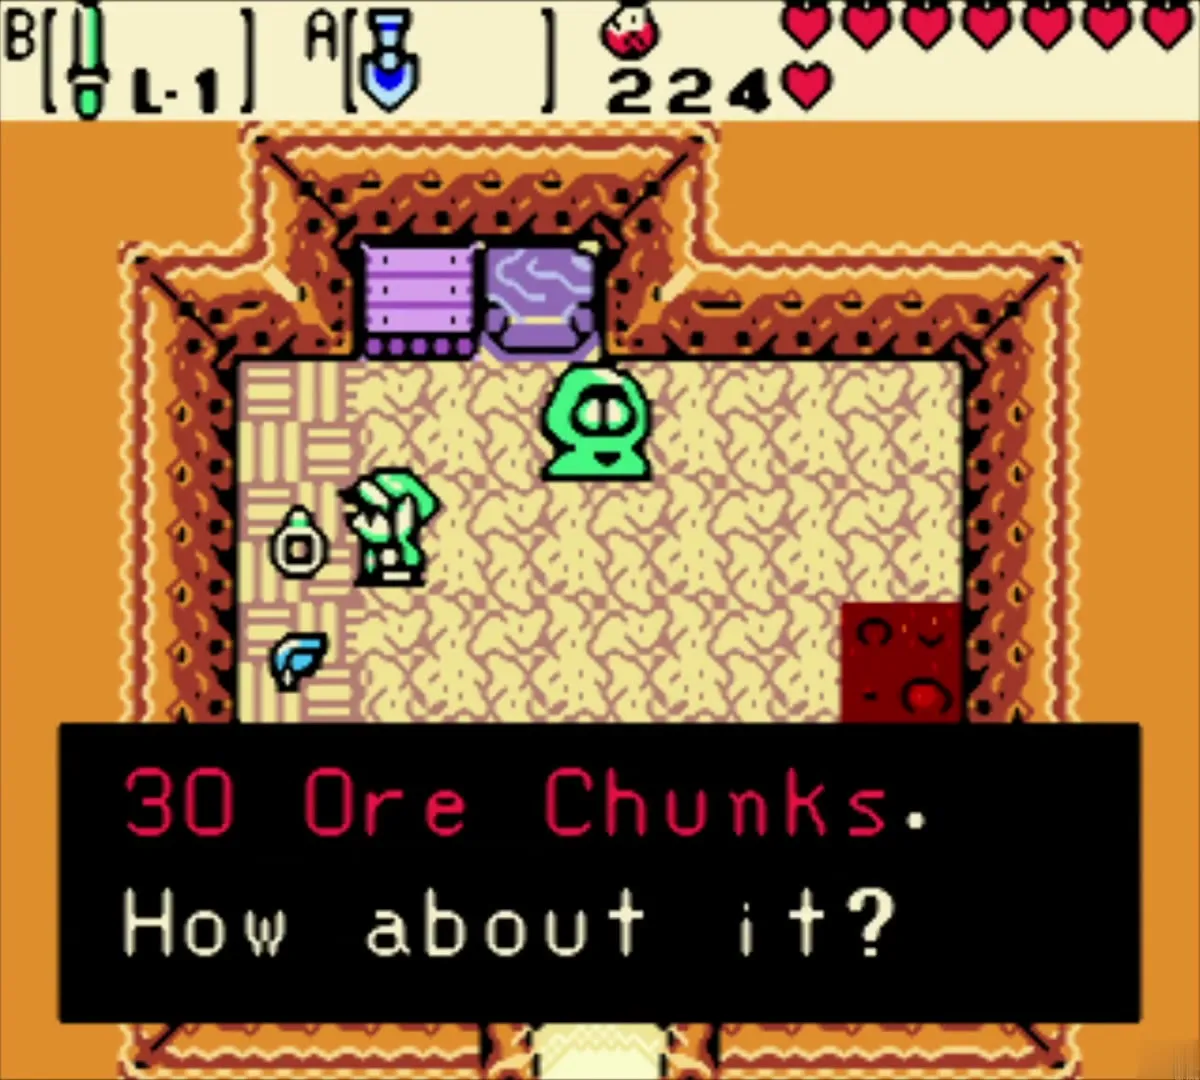
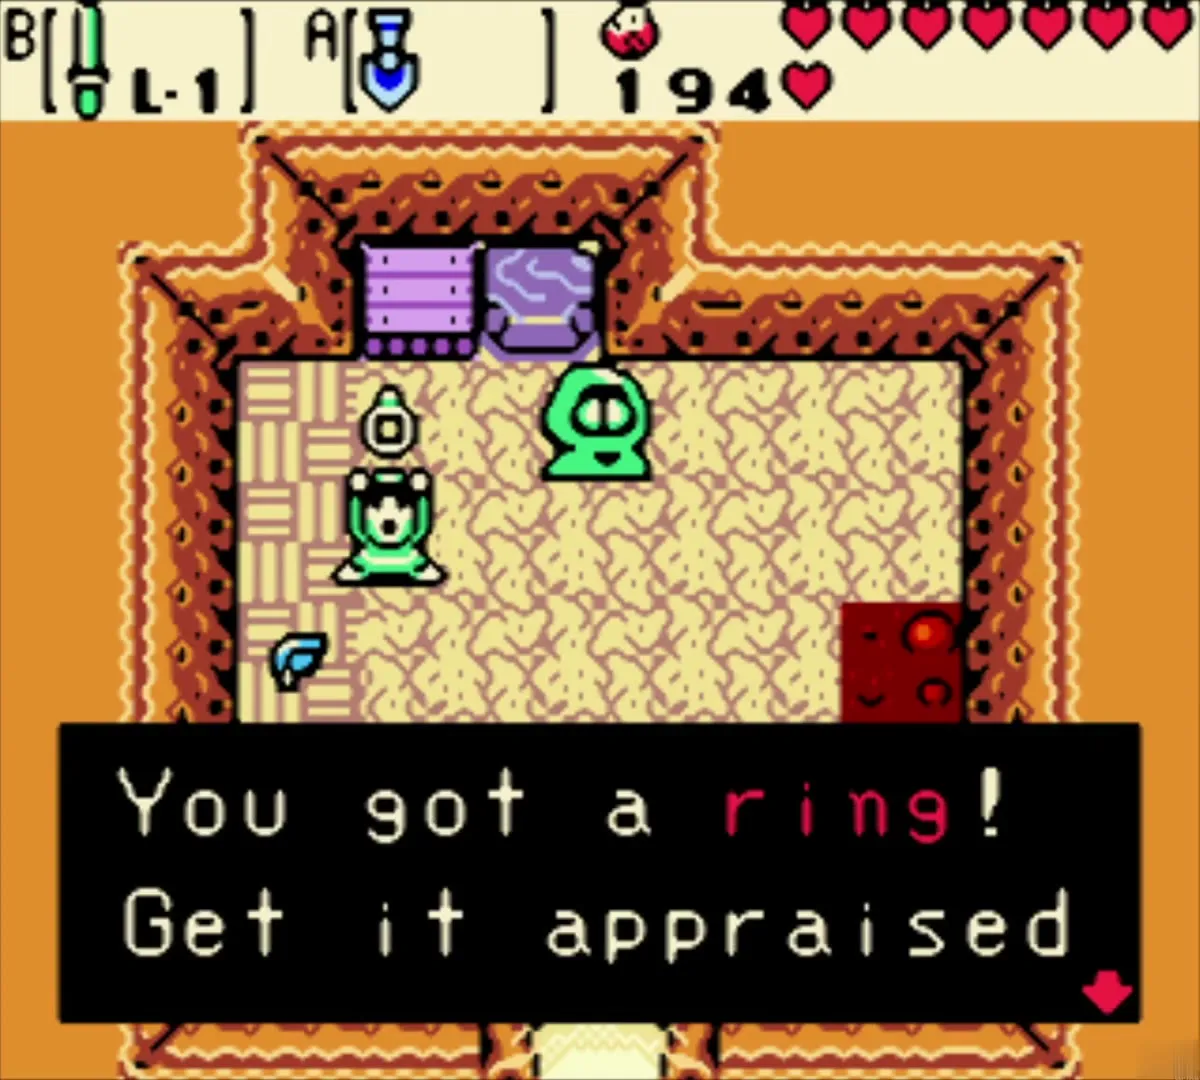
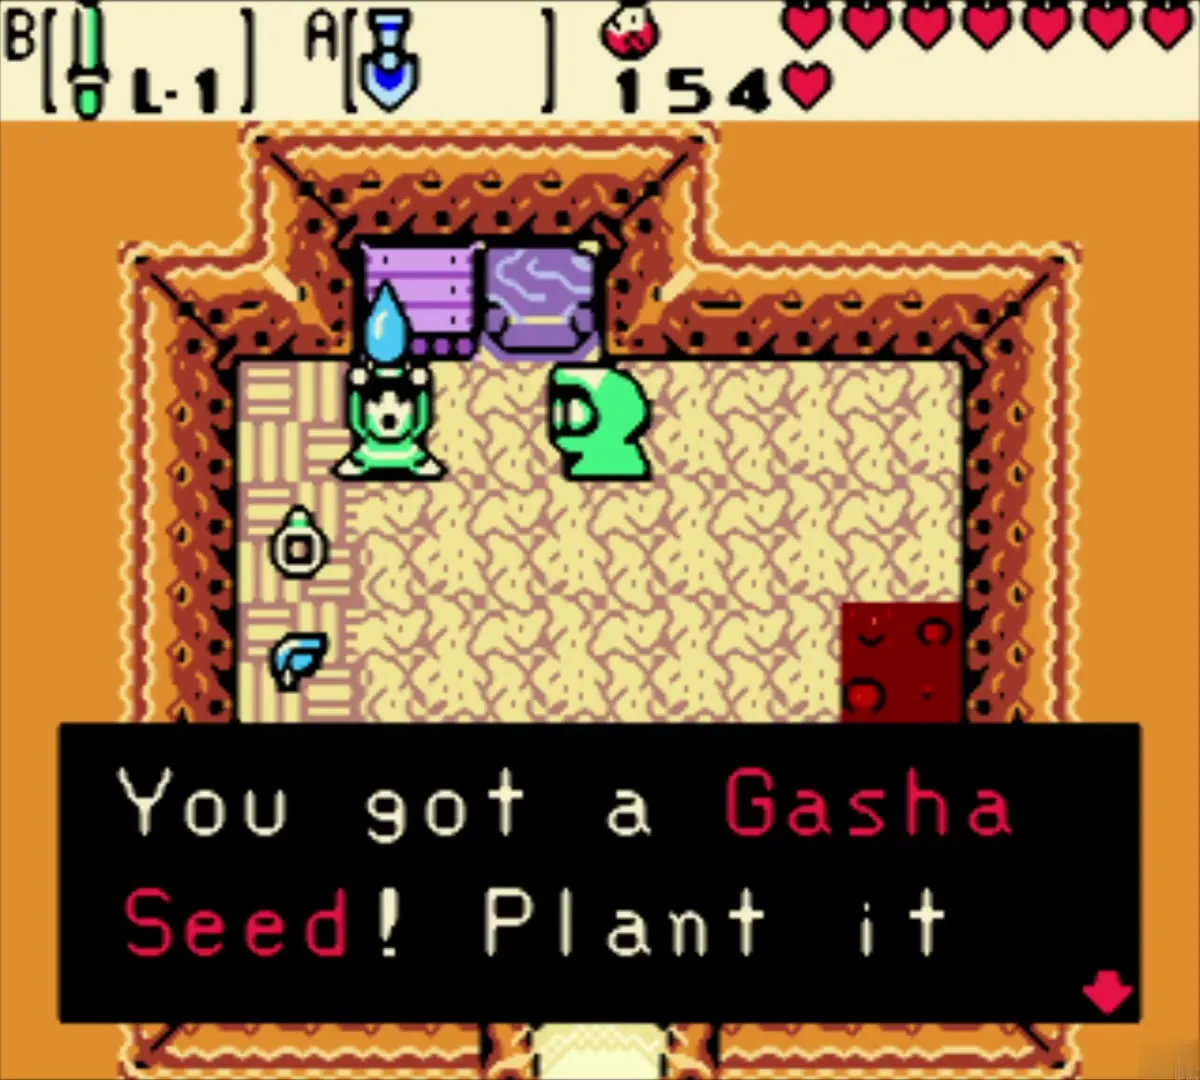
Buy the first seed ring for 30 Ore Chunks. The keeper tells you to get it appraised later, so keep it for Vasu’s Jewelers. A Gasha Seed then goes on sale for 40 Ore Chunks, and the keeper tells you to plant it in a patch of soft soil. Last, buy the next ring for 40 Ore Chunks. More rings follow at 50 and 70 Ore Chunks if you have the Ore, and a Wooden Shield sells for 5 Ember Seeds, but they are not on this route. You leave with about 114 Ore Chunks, two rings that wait for appraisal and a Gasha Seed to plant in the next patch of soft soil you find.

Rosa’s date and the Temple of Seasons
Give Rosa the Ribbon
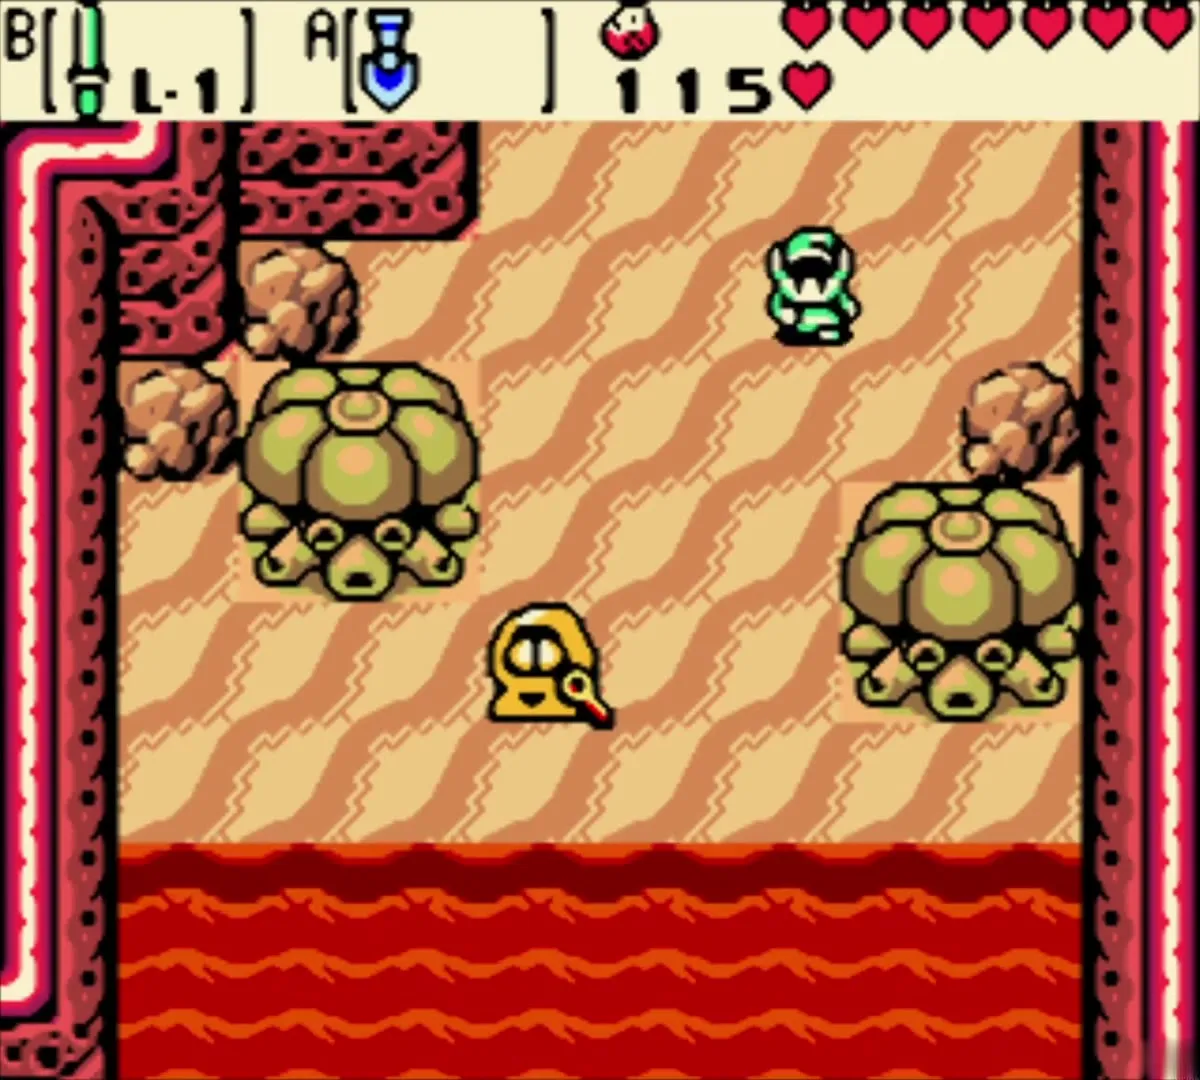
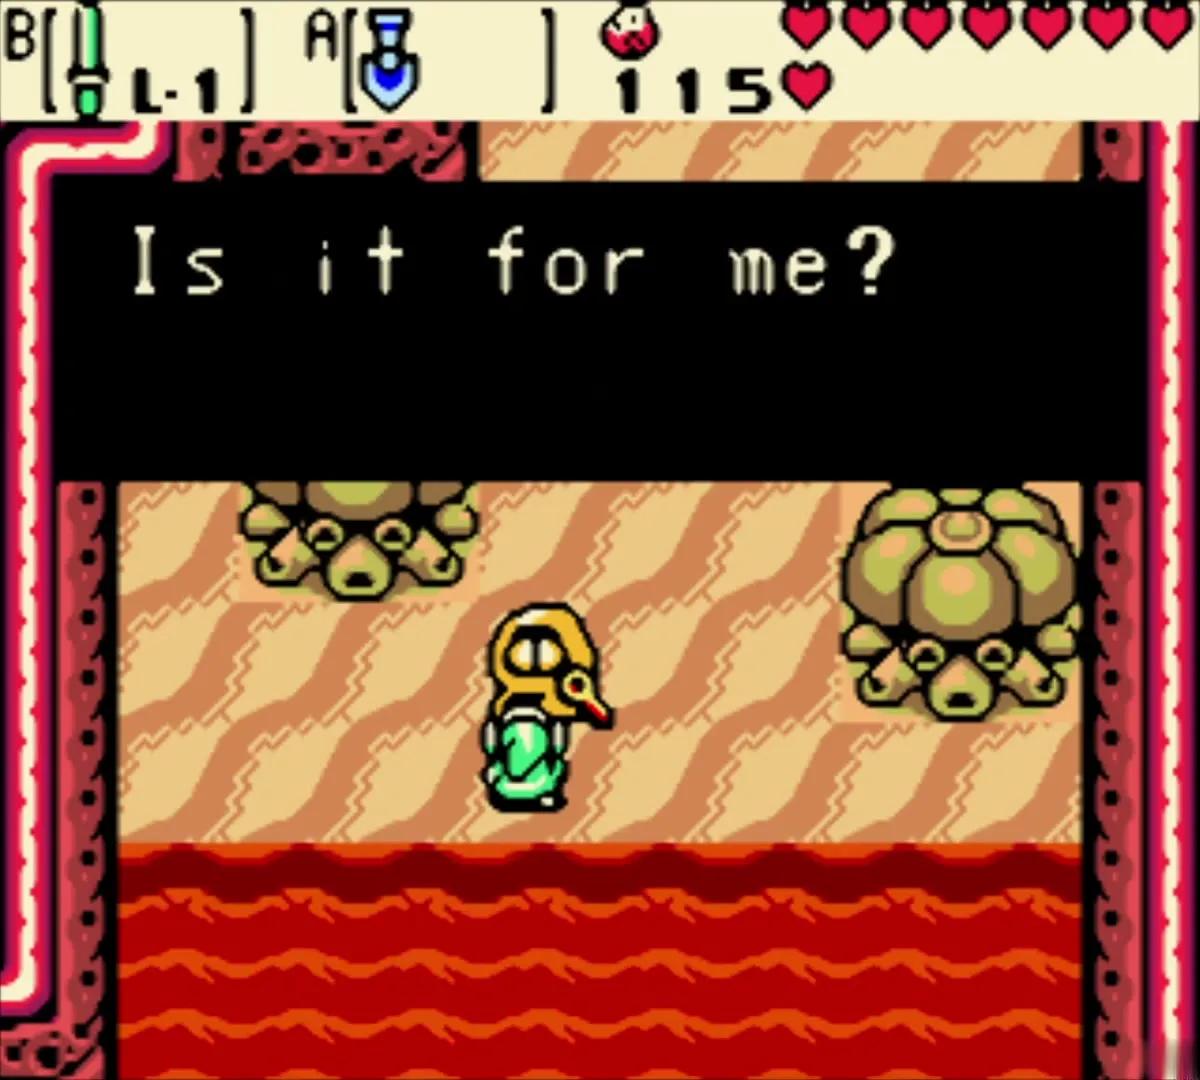
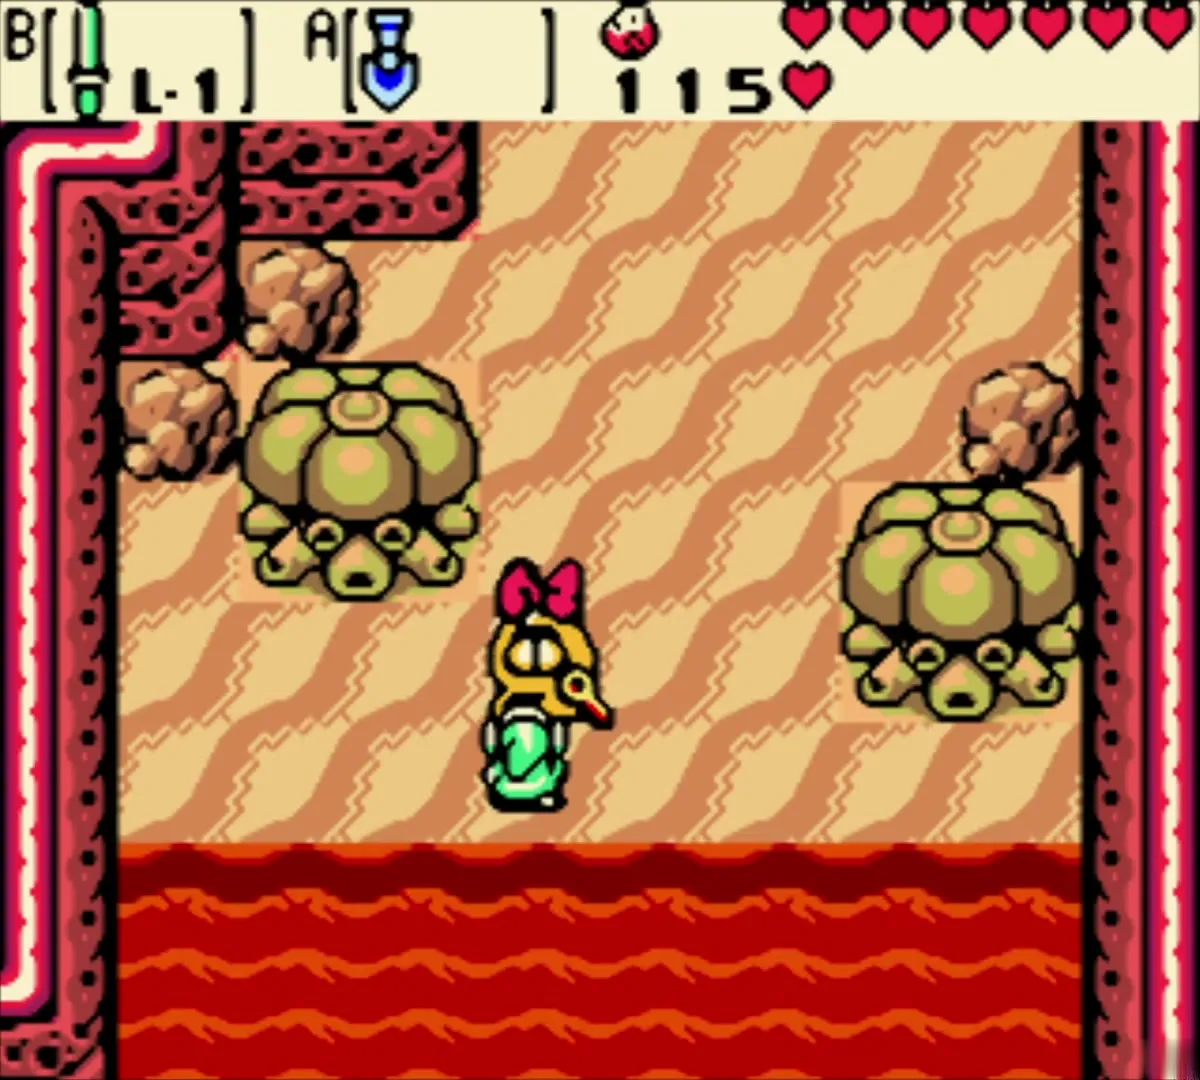
Return to Rosa on the lava shore and speak to her. When she asks whether the Ribbon is for her, answer Yep. She ties it on her head, thanks you and says that, since you are so nice, she will go on a date with you to the temple. From here Rosa follows you, and her necklace opens any locked door.

Lead her north through the locked doors
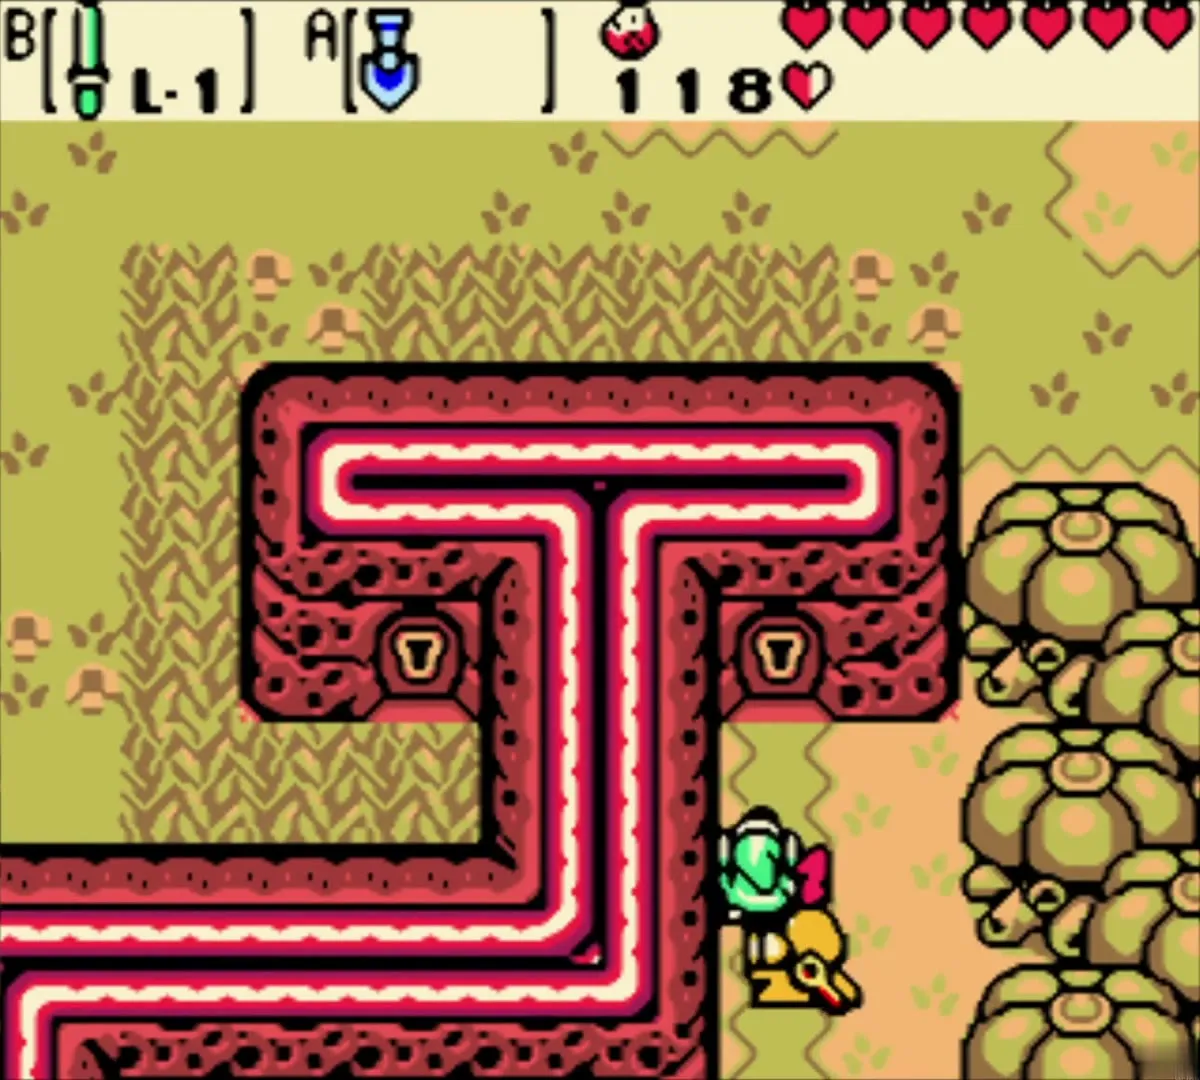
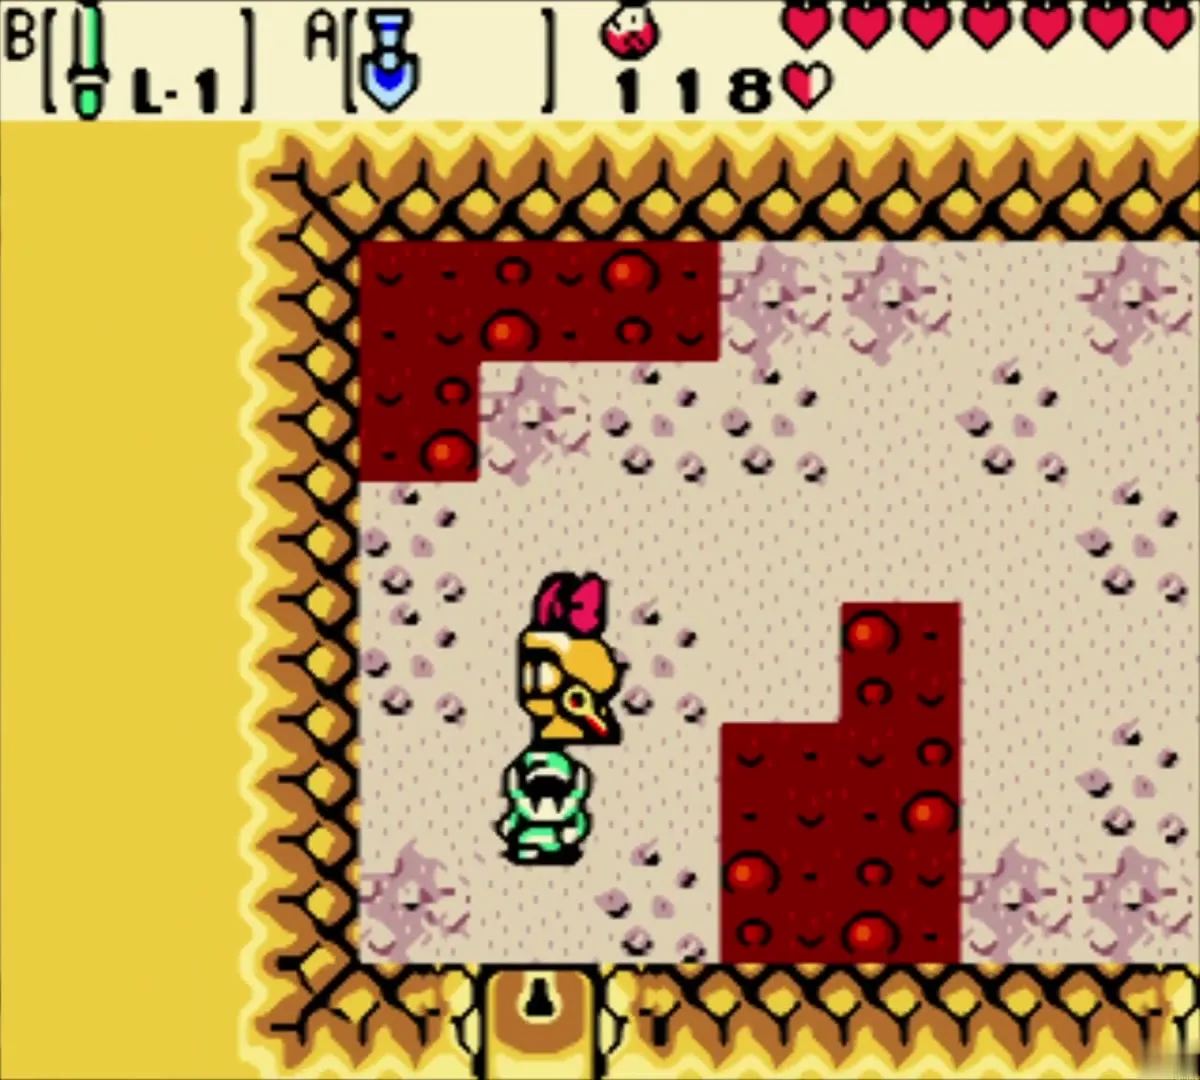
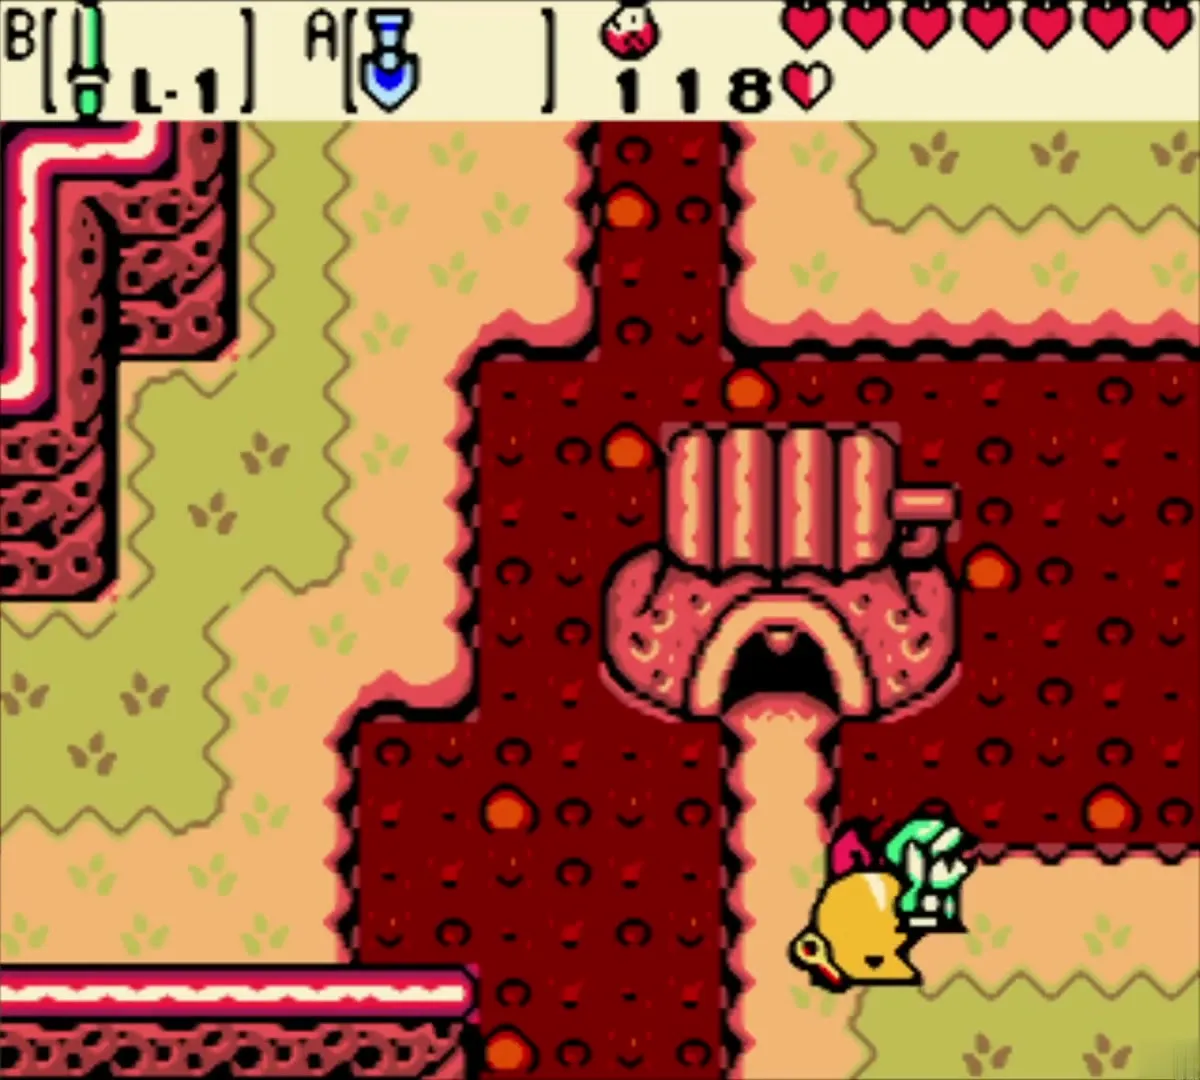
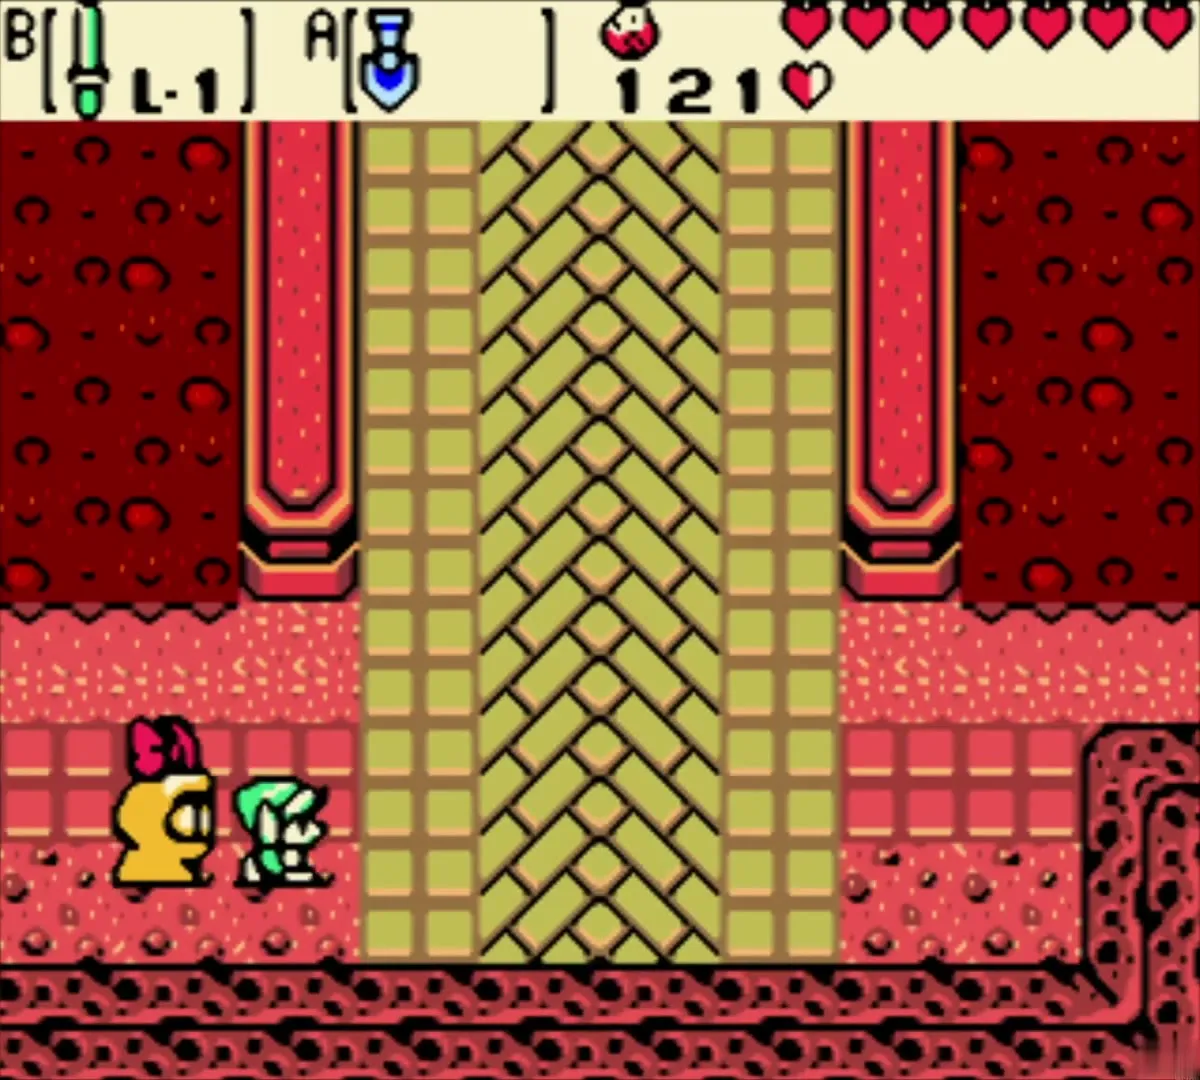
Walk north and west with Rosa behind you. She opens the first locked door beside the green cliff with the T-shaped ledge, which brings you into a small cavern with a lava pit. Walk around the pit to the second locked door and let her open that too. That door leads back out to the area by the volcano, and the temple lies a few screens to the east.
Climb the Tower of Summer
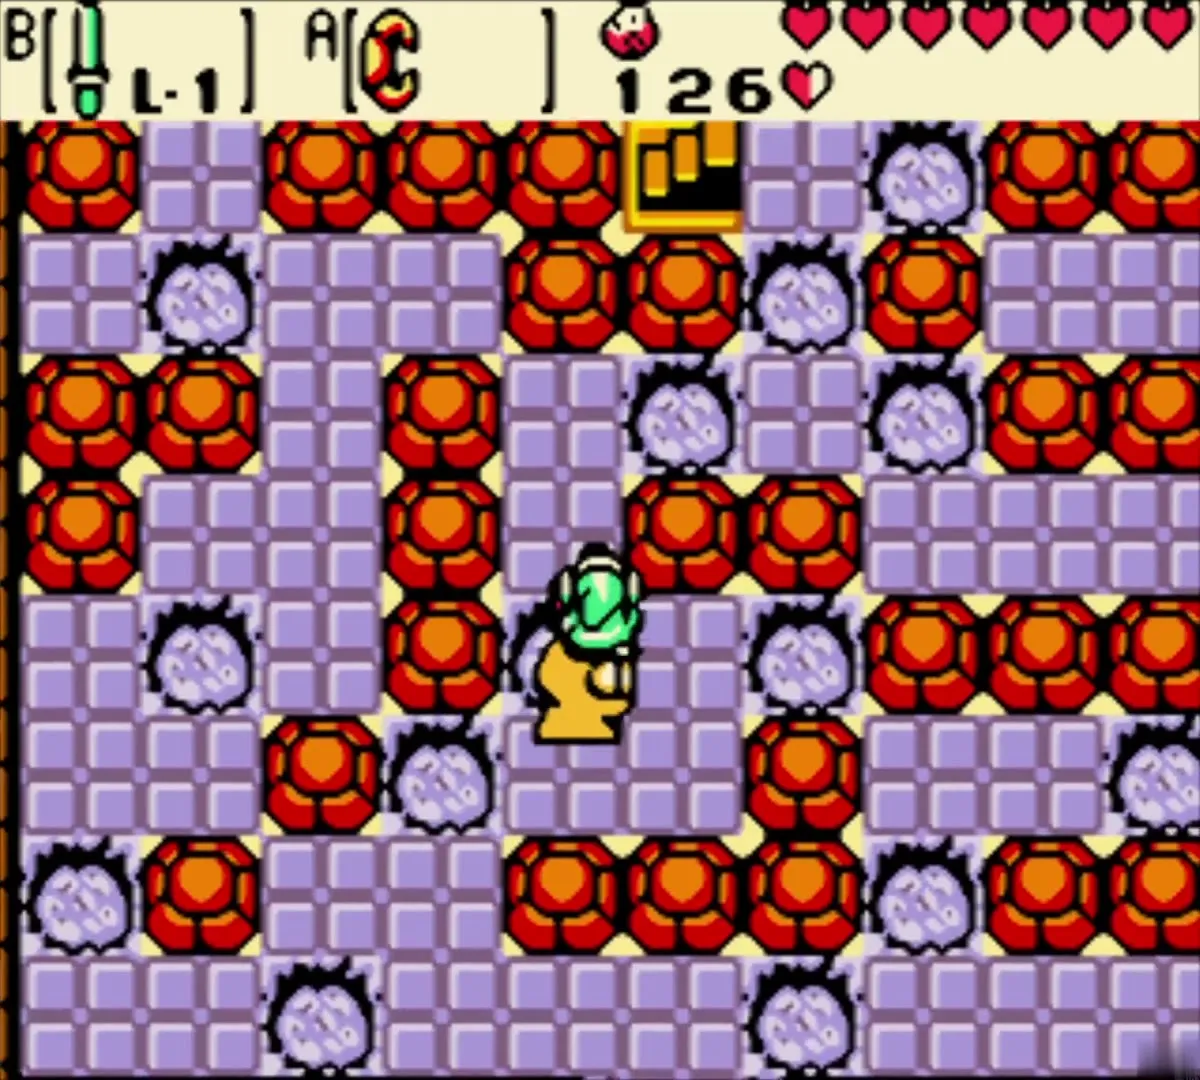
Use Rosa to open the temple’s locked door, then cross the first chamber, which is a maze of rocks with Ore Chunks among them. Clear a path with the Power Bracelet and take the middle staircase on the north side. On the next floor walk south to the next stairs and climb to the highest room, where the temple spirit waits. Ore Chunks lie around the room, so grab them as you pass.



Receive the Power of Summer
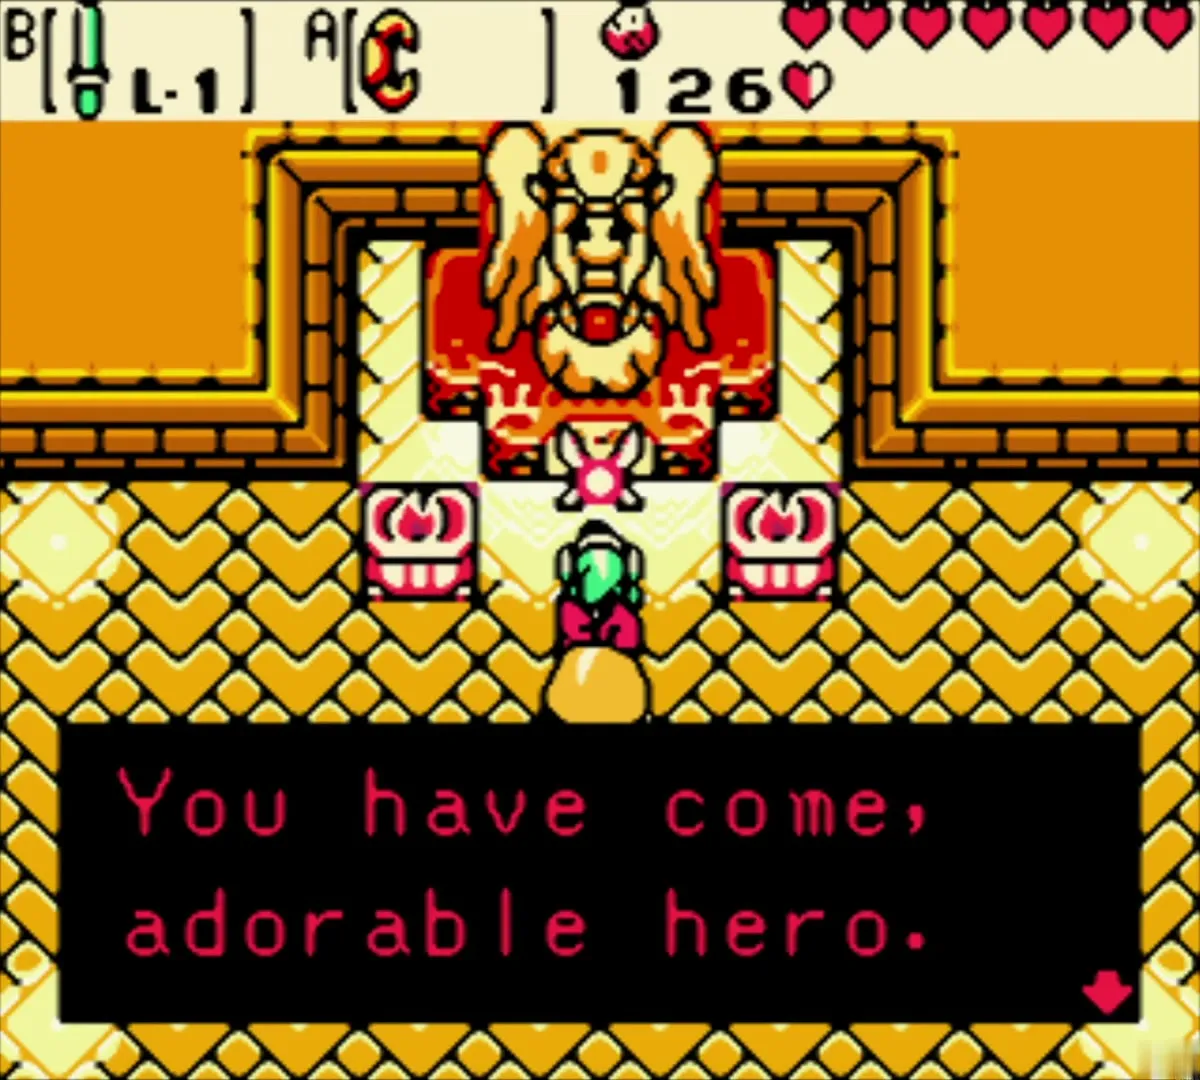
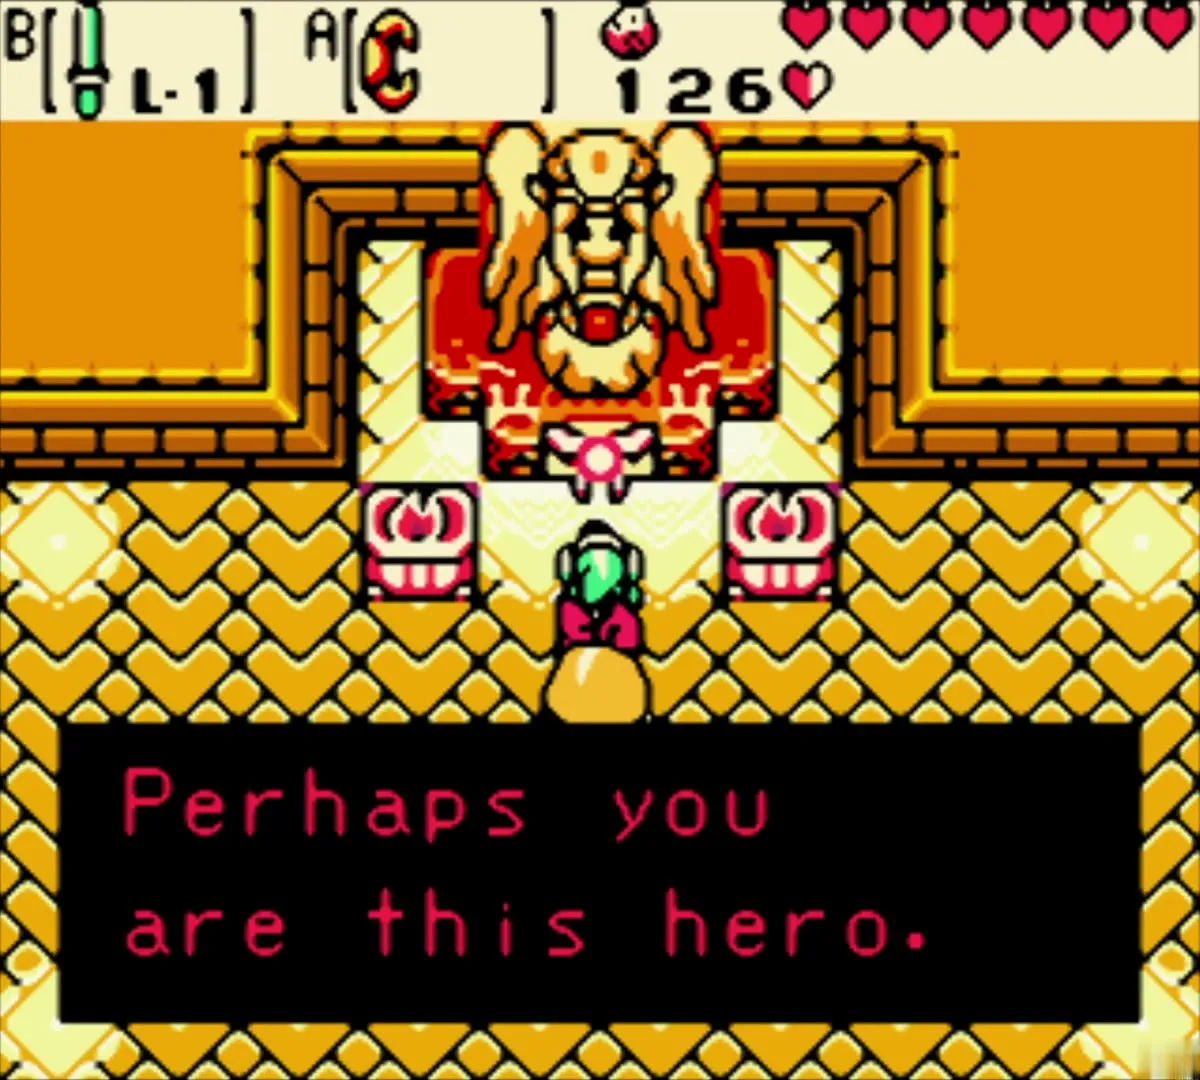
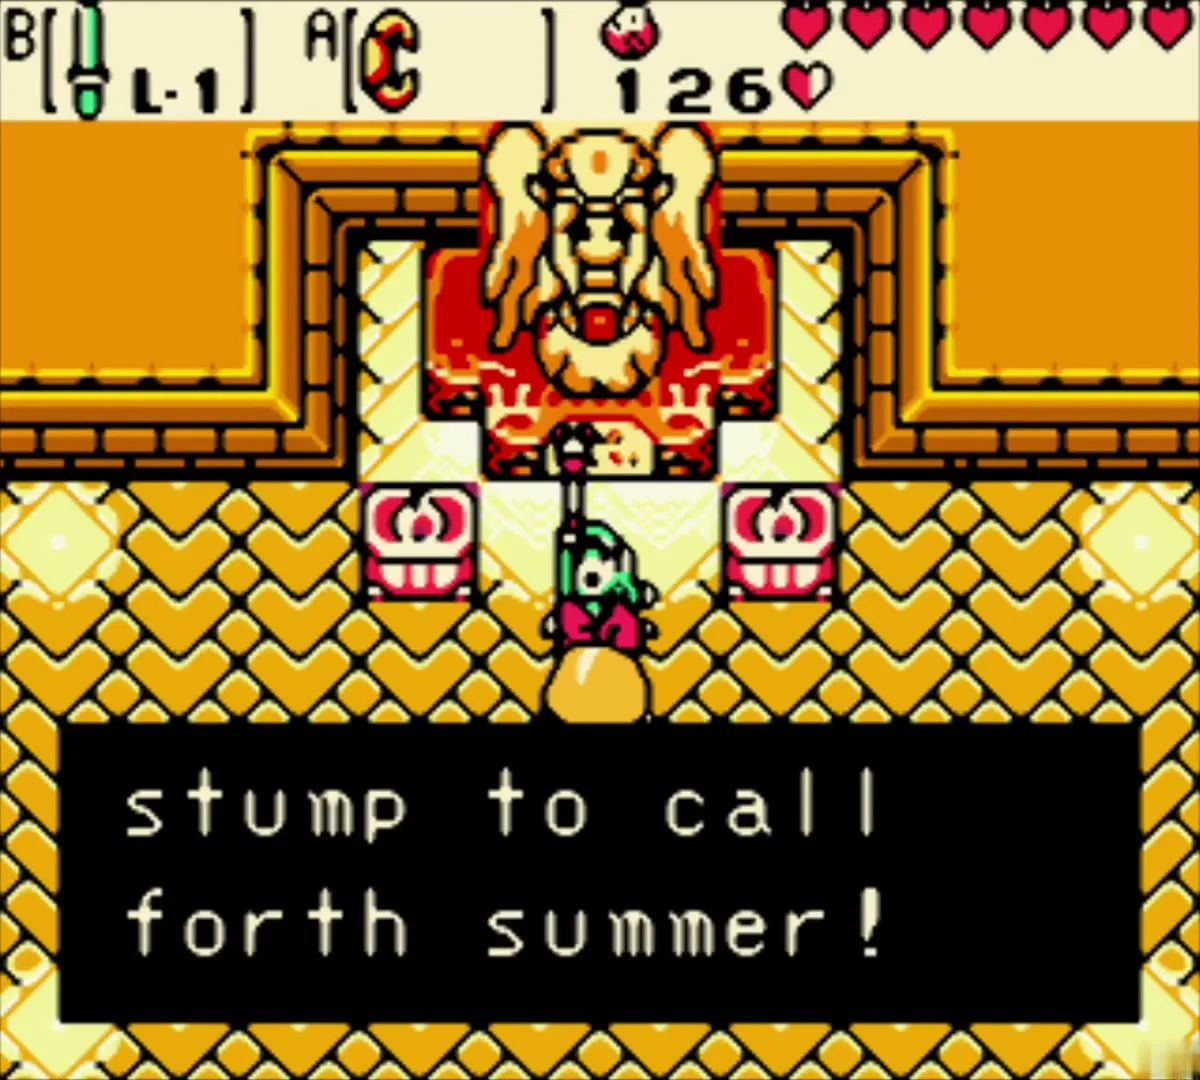
The Spirit of Summer greets you as the adorable hero, says that you may be the hero marked by the Triforce and gives the Rod of Seasons the power of summer. Her advice is to climb on a tree stump to call forth summer. Your Rod can now switch a stump to winter or to summer. Summer makes vines grow tall and dries up shallow creeks, and it will open the way to the next dungeon.

Walk Rosa back to the portal
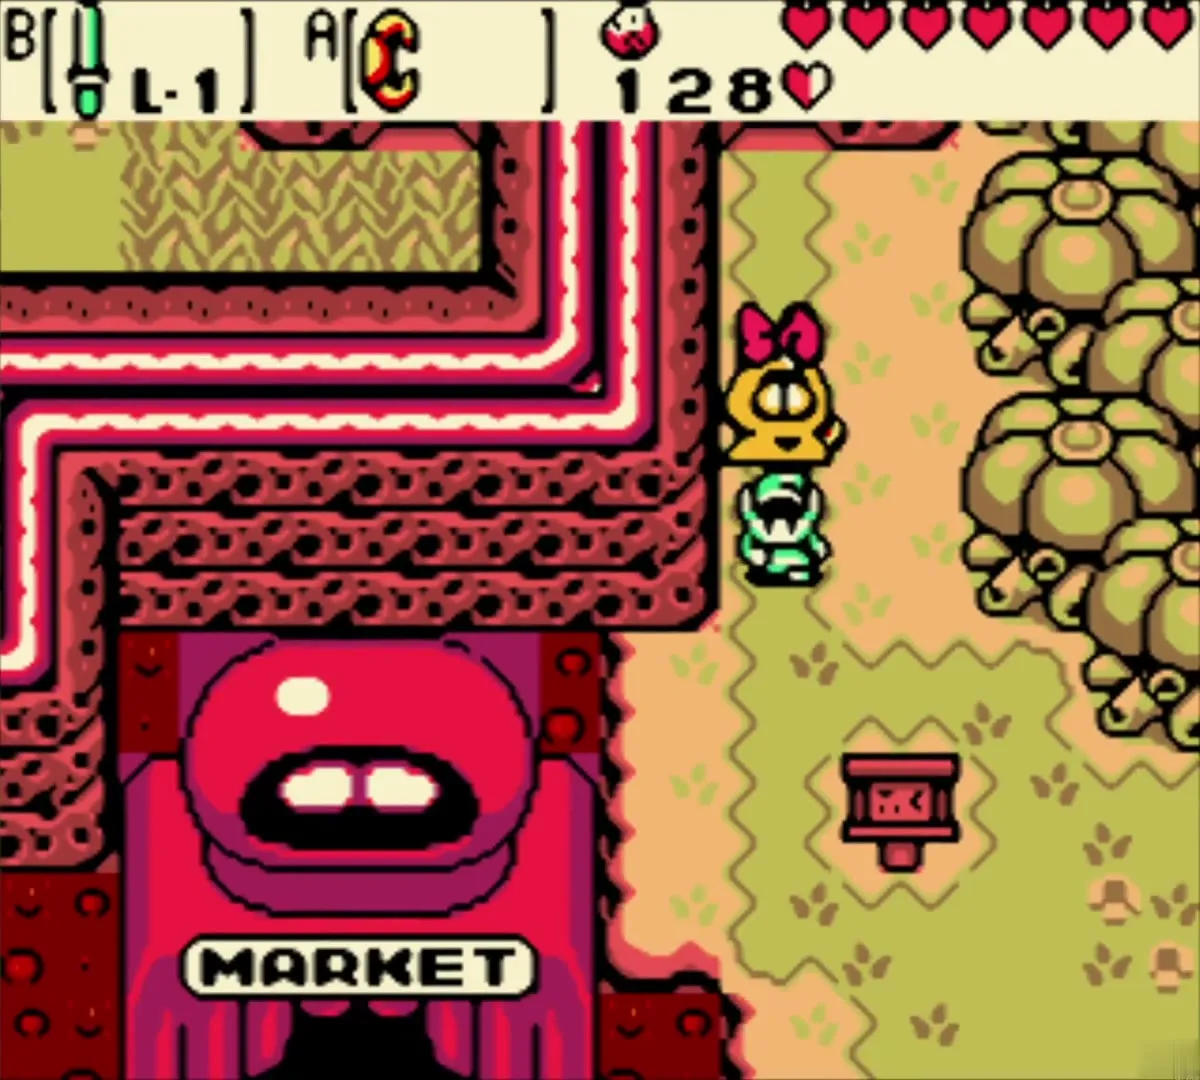
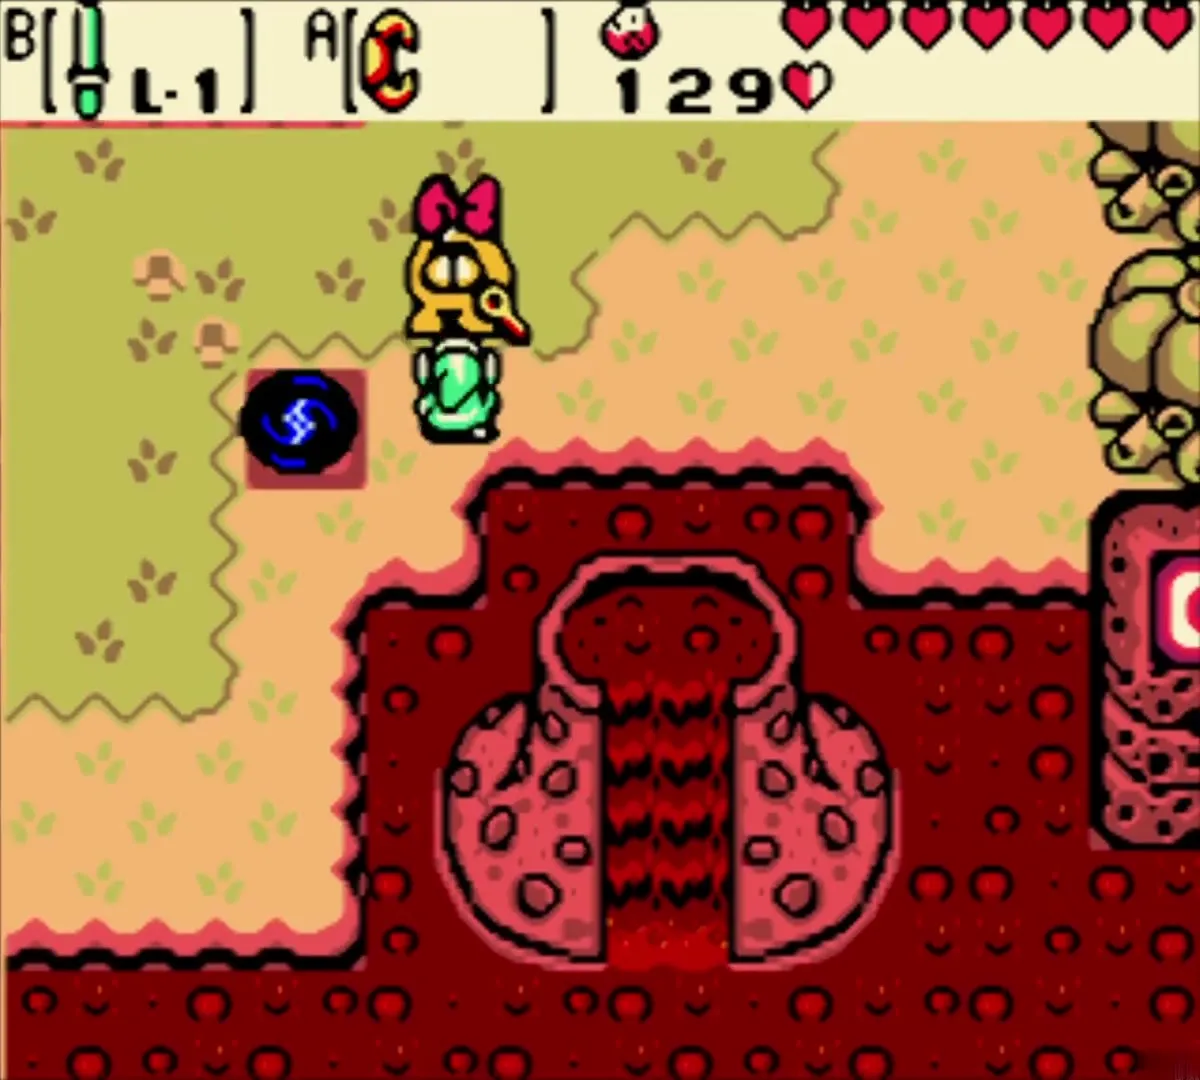
Leave through the same doors and keep Rosa with you until you reach the volcano and the portal screen at the end. She follows you to the end. Step onto the portal and you return to the swamp with your 496 Rupees, because Ore Chunks stay in Subrosia.


Summer at the stump and the vines to Dungeon 3
Swim Dimitri back to the stump
Play Dimitri’s flute if he is not beside you and ride him south and east over the water, then north along the swamp lake. Hop off at the sandy ledge with the stump.
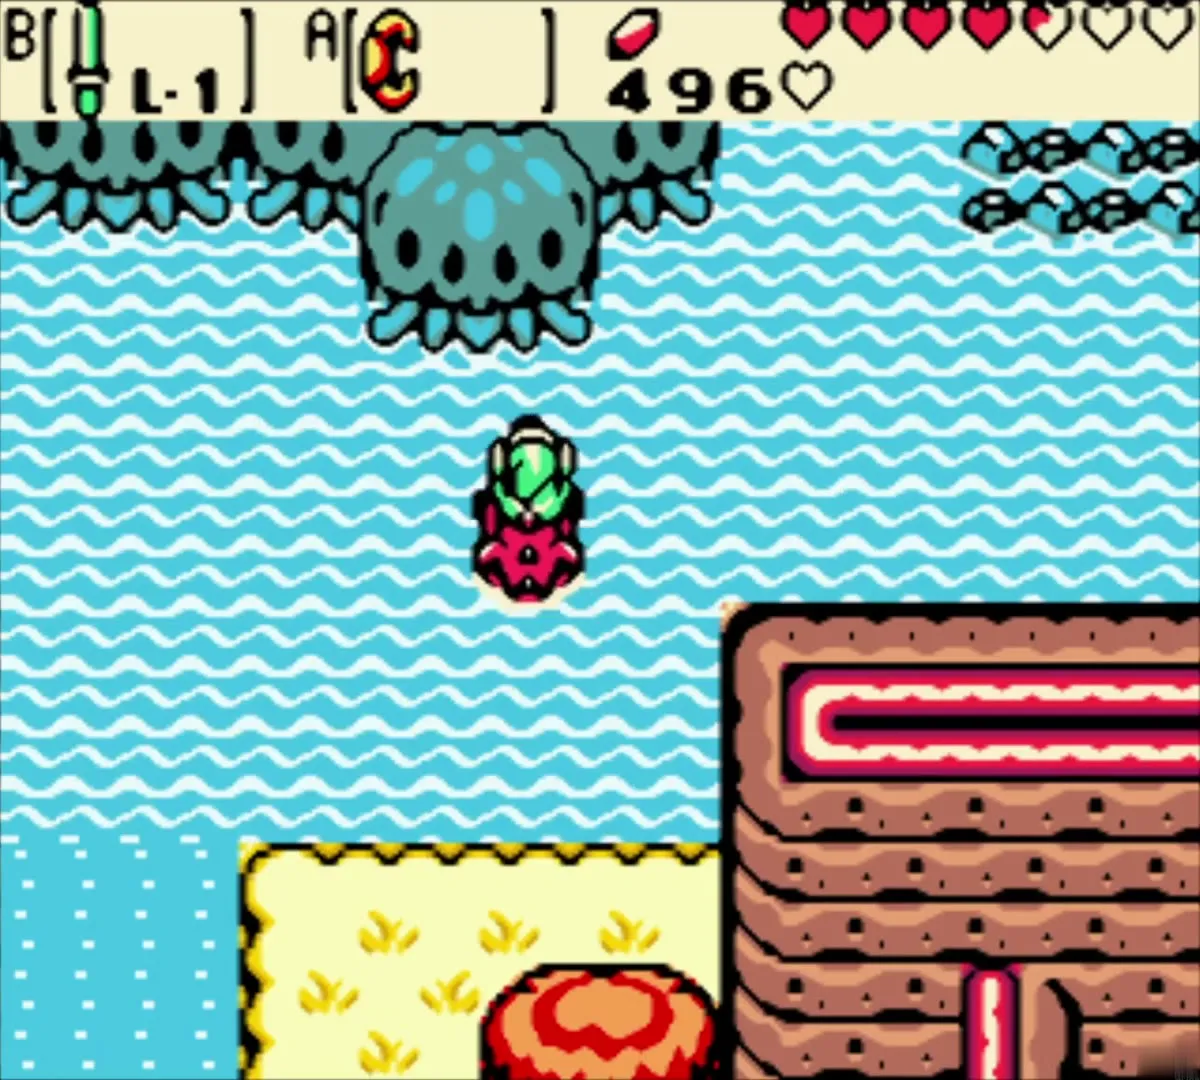

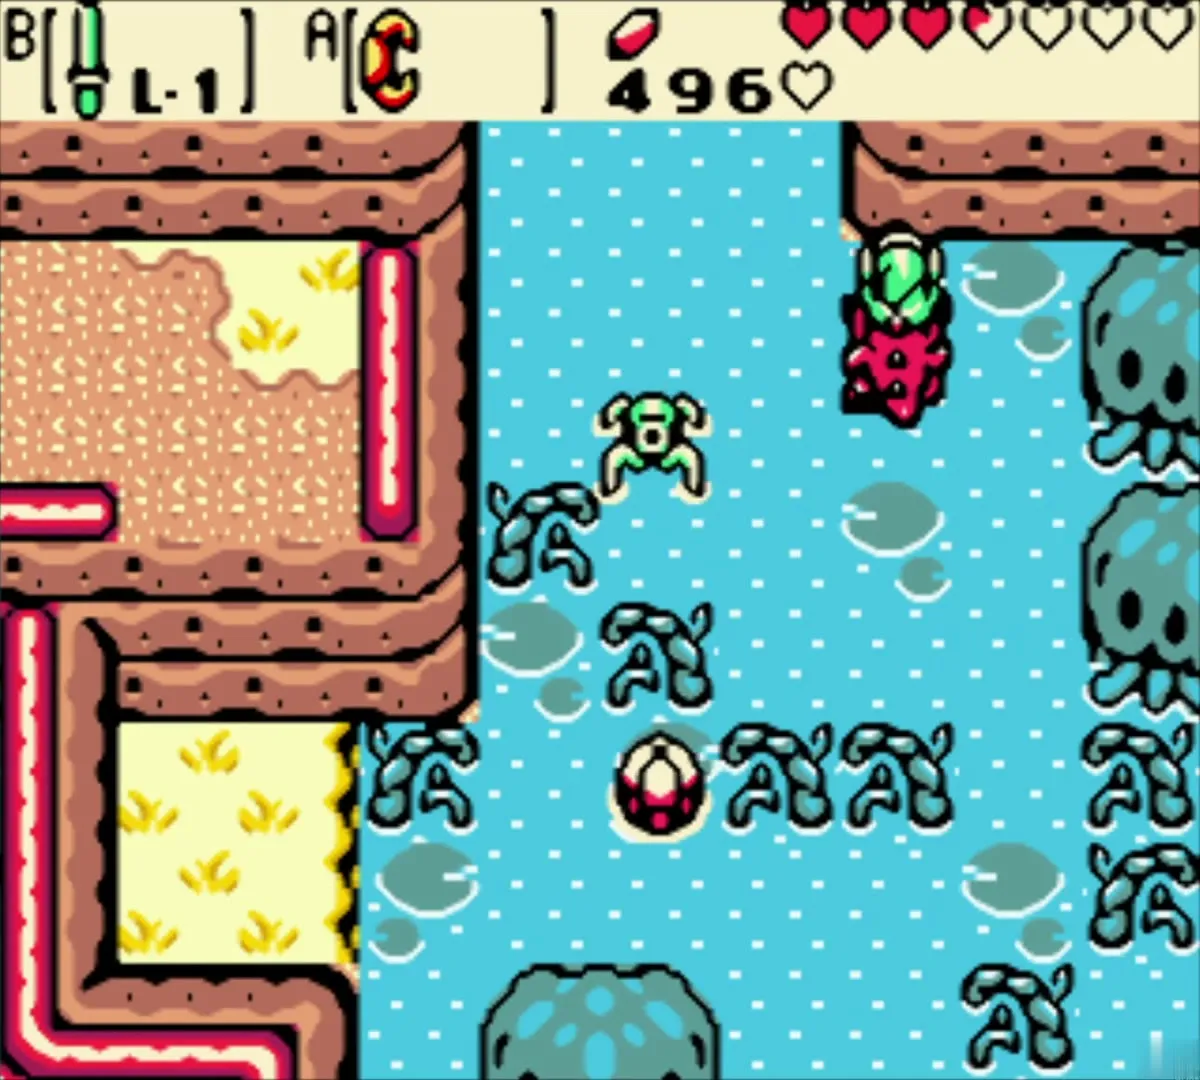

Call summer and climb the vines
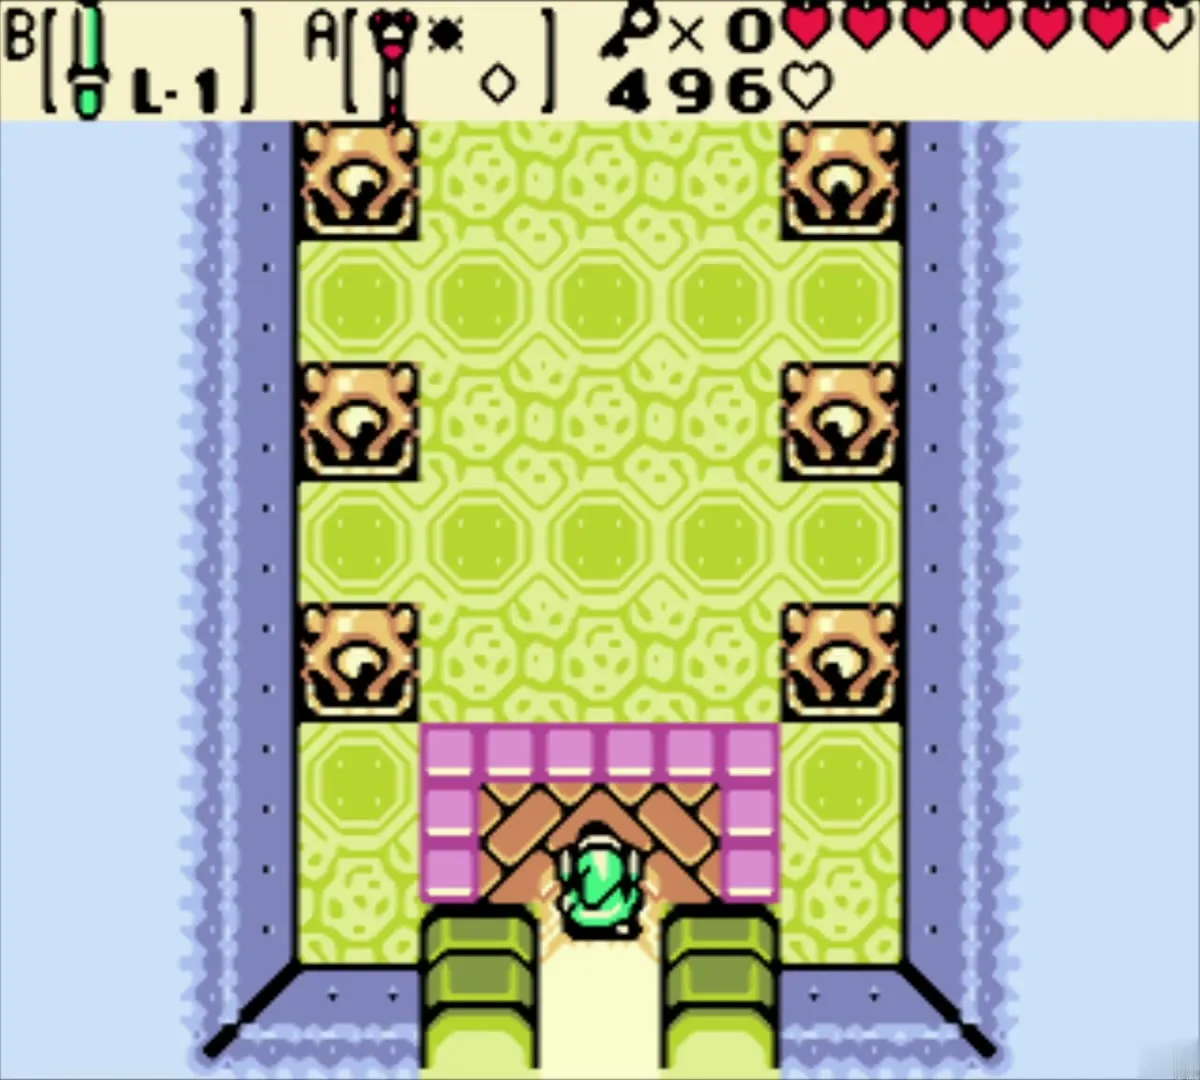
Stand on the stump and use the Rod of Seasons to choose summer. The grass turns green. Walk one screen north, climb the vines that now cover the cliff and enter the cave in the middle of the wall. That is the entrance of Poison Moth’s Lair (Dungeon 3), whose water level you changed with the Floodgate Key.


Chapter checklist
| Type | Name | Where |
|---|---|---|
| Rupees | 100 Rupees | Chest in the winter cliff cave, southeast Spool Swamp (bomb the wall) |
| Trade item | Star-Shaped Ore | Dug up on the Subrosian beach (position changes each visit) |
| Trade item | Ribbon | Subrosian Market, swapped for the Star-Shaped Ore; given to Rosa |
| Piece of Heart | Piece of Heart 5 of 12 (Rare Peach Stone) | Subrosian Market, 20 Ore Chunks and 10 Ember Seeds |
| Upgrade | Bomb Bag (30 Bombs) | Subrosian Market, 10 Bombs and 50 Ore Chunks |
| Ring | Unappraised ring 1 | Subrosian Market, 30 Ore Chunks |
| Ring | Unappraised ring 2 | Subrosian Market, 40 Ore Chunks |
| Gasha | Gasha Seed (unplanted) | Subrosian Market, 40 Ore Chunks |
| Season power | Power of Summer | Spirit of Summer, Tower of Summer, Temple of Seasons |
| Ore | Ore Chunks | Dug on the Subrosian beach; about 180 spent at the Market |
| Companion | Dimitri | Swims you from the portal to the summer stump |
| Shop | Subrosian Market | Ribbon, Rare Peach Stone, Bomb Bag, rings, Gasha Seed, Gale Seeds |
