





















Oracle of Seasons 100% Completion Walkthrough26 chapters
- Getting Started in Holodrum and the Hero’s CaveGetting started in Holodrum: Impa’s request, Mayor Ruul’s Gasha Seed, Vasu’s Ring Box, the Hero’s Cave ledge chest.
- Gnarled Root Dungeon (Dungeon 1)Gnarled Root Dungeon walkthrough for Oracle of Seasons: keys, map, compass, Seed Satchel, Boss Key, Aquamentus and the.
- Subrosia, the Tower of Winter and the Rod of SeasonsWalkthrough for Subrosia, the Tower of Winter and the Rod of Seasons in Oracle of Seasons: Gasha Nuts, Boomerang, Ore.
- Woods of Winter and the ShovelWoods of Winter walkthrough: pay the old man, bomb the 30 Rupee cave, get the Shovel from Holly, find the Mystery Seed.
- Snake’s Remains (Dungeon 2)Snake’s Remains walkthrough: Compass, rupee room, Power Bracelet, Dungeon Map, bomb merchant, Facade, Dodongo boss.
- Farore’s Secrets and Princess Zelda’s RescueFarore’s secrets and Princess Zelda’s rescue walkthrough: three Pieces of Heart, a Gasha Nut, Vasu’s rings, the L-2.
- Spool Swamp and the Floodgate KeySpool Swamp walkthrough for Oracle of Seasons: Ricky’s Gloves, the Iron Pot trade, Pegasus Seeds, the Floodgate Key.
- The Tower of Summer and Rosa’s RibbonThe Tower of Summer walkthrough: Star-Shaped Ore, Rosa’s Ribbon, Subrosian Market buys (Heart Piece, Bomb Bag), the.
- Poison Moth’s Lair (Dungeon 3)Poison Moth’s Lair walkthrough: both Small Keys, Roc’s Feather, Compass, Map, Gasha Seed, Omuai, Boss Key, Mothula and.
- Natzu, Sunken City and Zora’s FlippersNatzu, Sunken City and Zora’s Flippers walkthrough: Dimitri’s swim, Gale Seeds, Master’s Plaque, Master Diver and the.
- The Hall of Secrets and the Noble SwordHall of Secrets walkthrough: Farore’s secrets, Bombchu, the Noble Sword, Advance Shop rings, Vasu’s appraisals and a.
- Great Moblin’s Keep and Goron MountainGreat Moblin’s Keep and Goron Mountain walkthrough: bomb-catching boss fight, Heart Piece, Tokay secret, bigger Ring.
- The Strange Brothers, the Tower of Spring and Mt. CuccoThe Tower of Spring and Mt. Cucco walkthrough: win back Roc’s Feather from the Strange Brothers, Spring power, Moosh.
- Dancing Dragon Dungeon (Dungeon 4)Dancing Dragon Dungeon walkthrough: all five Small Keys, Map, Compass, Agunima, Slingshot, Boss Key, Gohma and the.
- The Tower of Autumn and Eyeglass LakeTower of Autumn and Eyeglass Lake walkthrough for Oracle of Seasons: Gasha Seeds, ring appraisals, Seed Satchel.
- Unicorn’s Cave (Dungeon 5)Unicorn’s Cave walkthrough for Oracle of Seasons: Compass, five Small Keys, Magnetic Gloves, Syger and Digdogger.
- The Four Jewels, Tarm Ruins and the Lost WoodsTarm Ruins and Lost Woods walkthrough for Oracle of Seasons: Red Ore, Iron Shield, Round Jewel, Vasu’s rings, the Lost.
- Ancient Ruins (Dungeon 6)Ancient Ruins walkthrough for Oracle of Seasons: Dungeon Map, Compass, three Small Keys, Magical Boomerang, Vire.
- Samasa Desert and the Pirate’s BellSamasa Desert and Pirate’s Bell walkthrough for Oracle of Seasons: the desert ring chest, the polished Rusty Bell and.
- Explorer’s Crypt (Dungeon 7)Oracle of Seasons Explorer’s Crypt walkthrough: beat the Poe Sisters, get Roc’s Cape and the Boss Key, defeat Gleeok.
- Temple Remains and the Volcano EruptionOracle of Seasons Temple Remains walkthrough: Maku Tree secrets, Vasu ring appraisals, the Subrosian volcano eruption.
- Sword & Shield Maze (Dungeon 8)Oracle of Seasons Sword & Shield Maze walkthrough: Compass, Dungeon Map, Hyper Slingshot, Frypolar, Medusa Head and.
- The Huge Maku Seed, the Last Trades and the Hero’s CaveOracle of Seasons Huge Maku Seed walkthrough: the Goron Vase to Phonograph trade chain, Gasha Seed planting, and the.
- Side Quests and Collectibles Before Onox’s CastleSide quests and collectibles before Onox’s Castle in Oracle of Seasons: Gasha Nuts, Vasu’s rings, the Mirror Shield.
- Onox’s Castle and the Final BattleOnox’s Castle walkthrough for Oracle of Seasons: clear the castle rooms, beat Facade, buy the Mirror Shield, then.
- The Linked Game FinaleLinked game finale walkthrough for Oracle of Seasons: beat Twinrova and Ganon in the Room of Rites, then finish at the.
| Covers | The Sunken City lake and its western cliffs, the Moblins’ sandy fortress, the underwater route up to Mt. Cucco, and the permanently snowy Goron Mountain. Winter is the only season that matters here; Goron Mountain never changes. |
|---|---|
| Dungeon | Great Moblin’s Keep (optional mini-fortress, no dungeon item): the Great Moblin is the only boss, there is no Essence of Nature, and the prize is a Piece of Heart. |
| Rewards | 1 Piece of Heart (Great Moblin’s Keep), the Tokay secret, bigger Ring Box (holds 3 rings), 300 Rupees from a hidden old man, 1 Gasha Seed planted on Goron Mountain, a first look at Biggoron, the Dragon Key and a second Piece of Heart that you cannot reach yet. |
This chapter clears the optional Great Moblin’s Keep for a Piece of Heart, collects the Moblin’s secret for a linked game, and then climbs into the snow of Goron Mountain. There you win a bigger Ring Box from a red Goron, find a cave full of Rupees, plant a Gasha Seed and meet the sneezing giant Biggoron. You need Zora’s Flippers, Roc’s Feather, the Power Bracelet and an animal friend with a flute; this route rides Dimitri.
Warp to the Sunken City lake
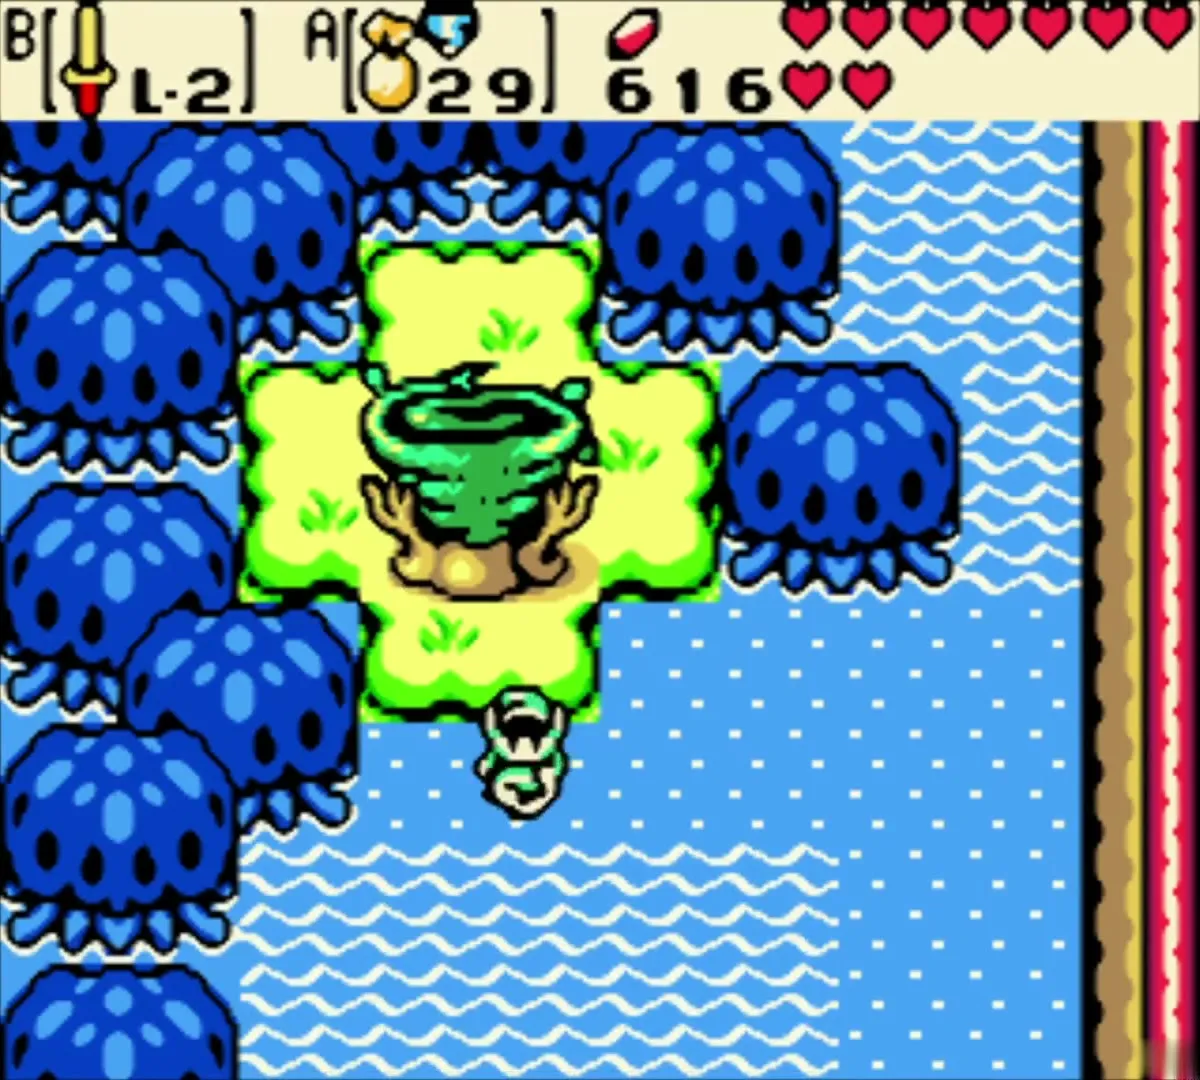
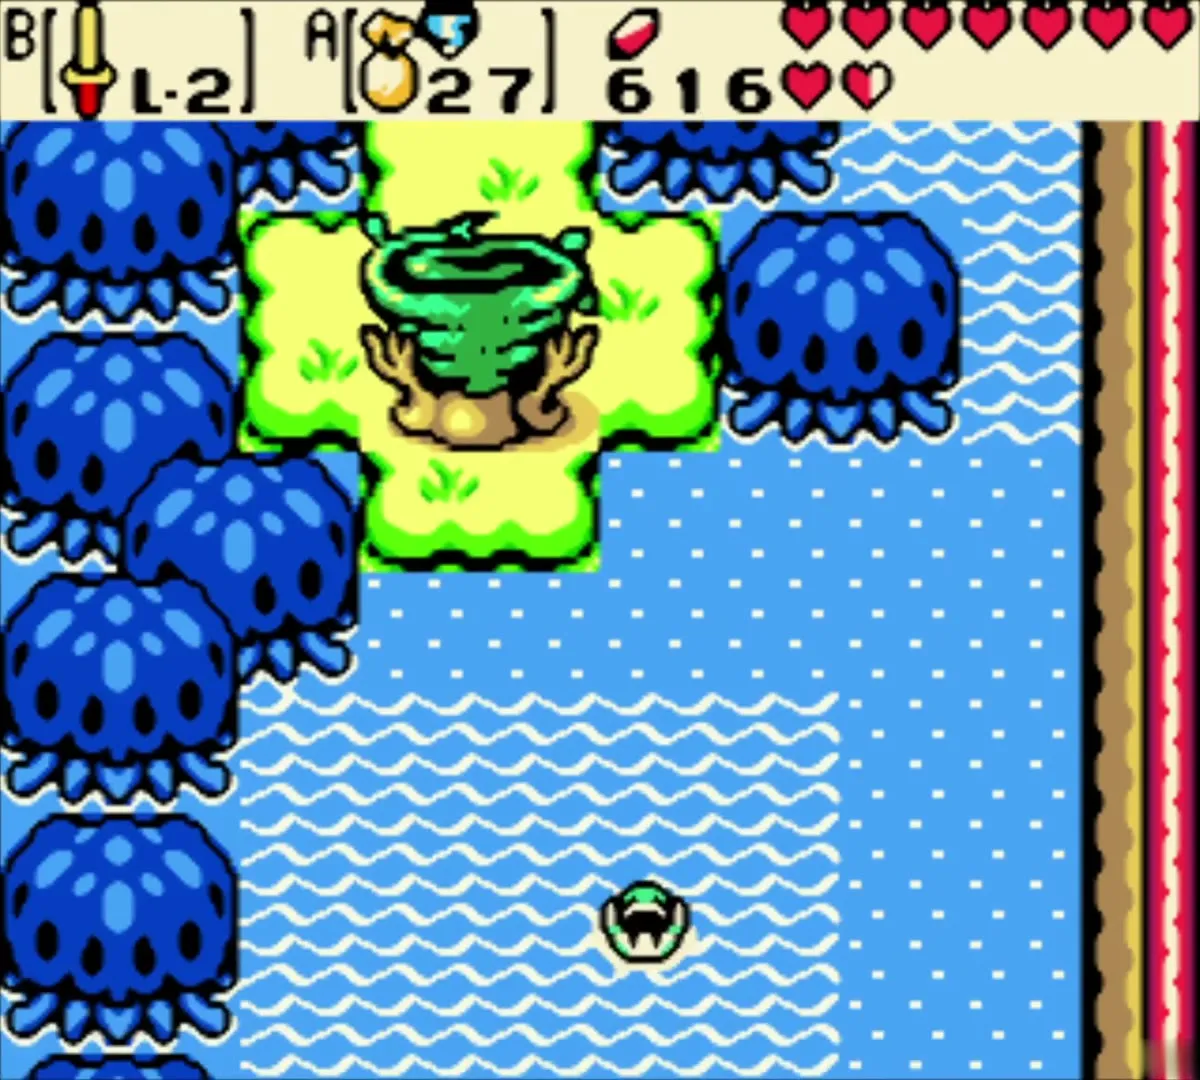
Use a Gale Seed from Horon Village
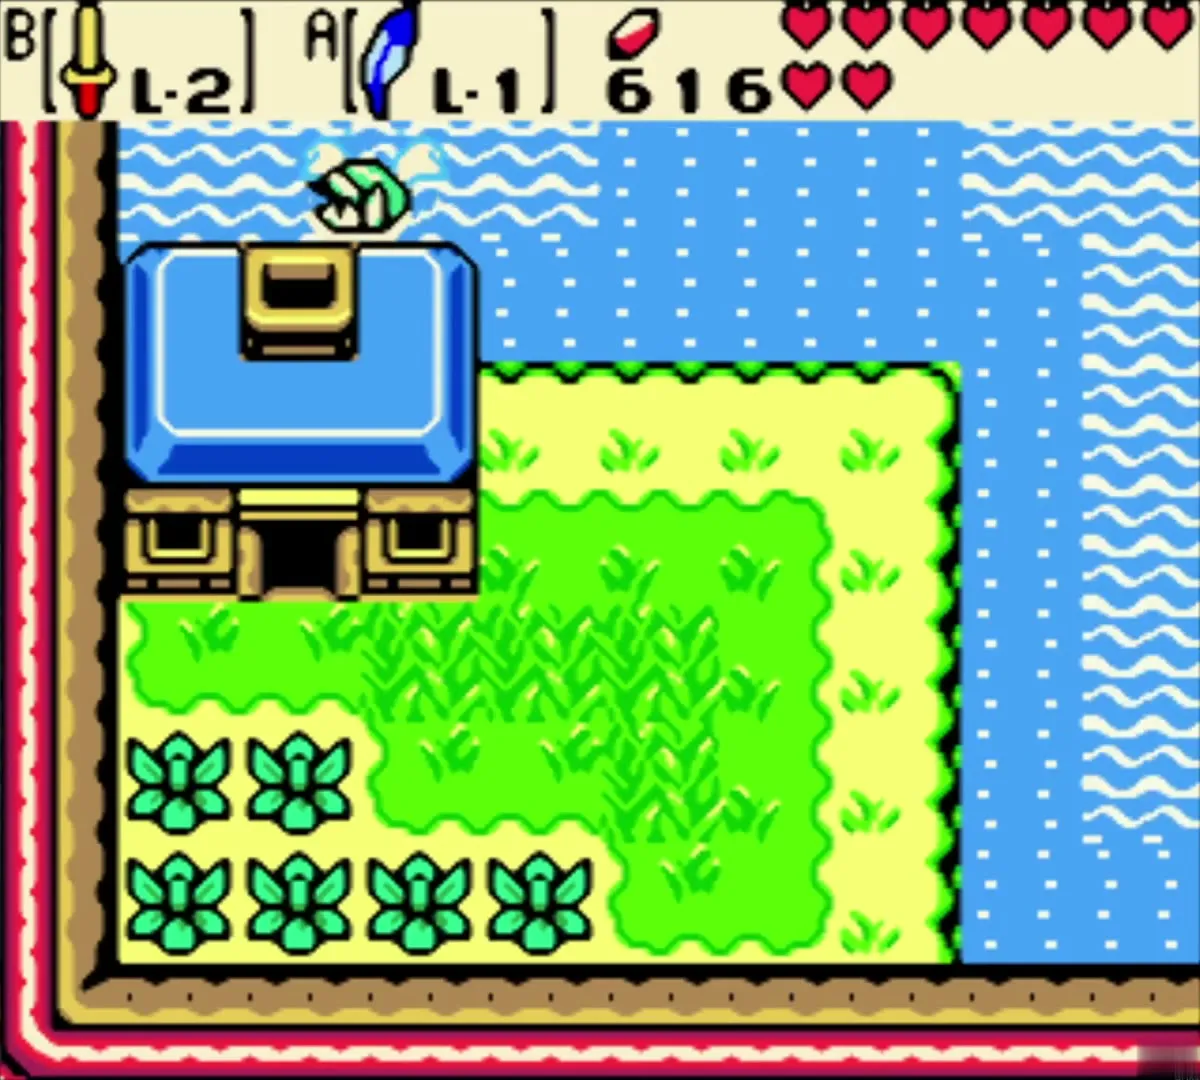
Open the Gale Seed map and scroll to “Sunken City – Warp”. A Gale Seed drops you on the little tree-stump islet in the lake beside the blue house of the Moblins. Swim from here with Zora’s Flippers; the shore to the west leads to the fortress.


Great Moblin’s Keep walkthrough (Piece of Heart)
Ride Dimitri to the sandy fort
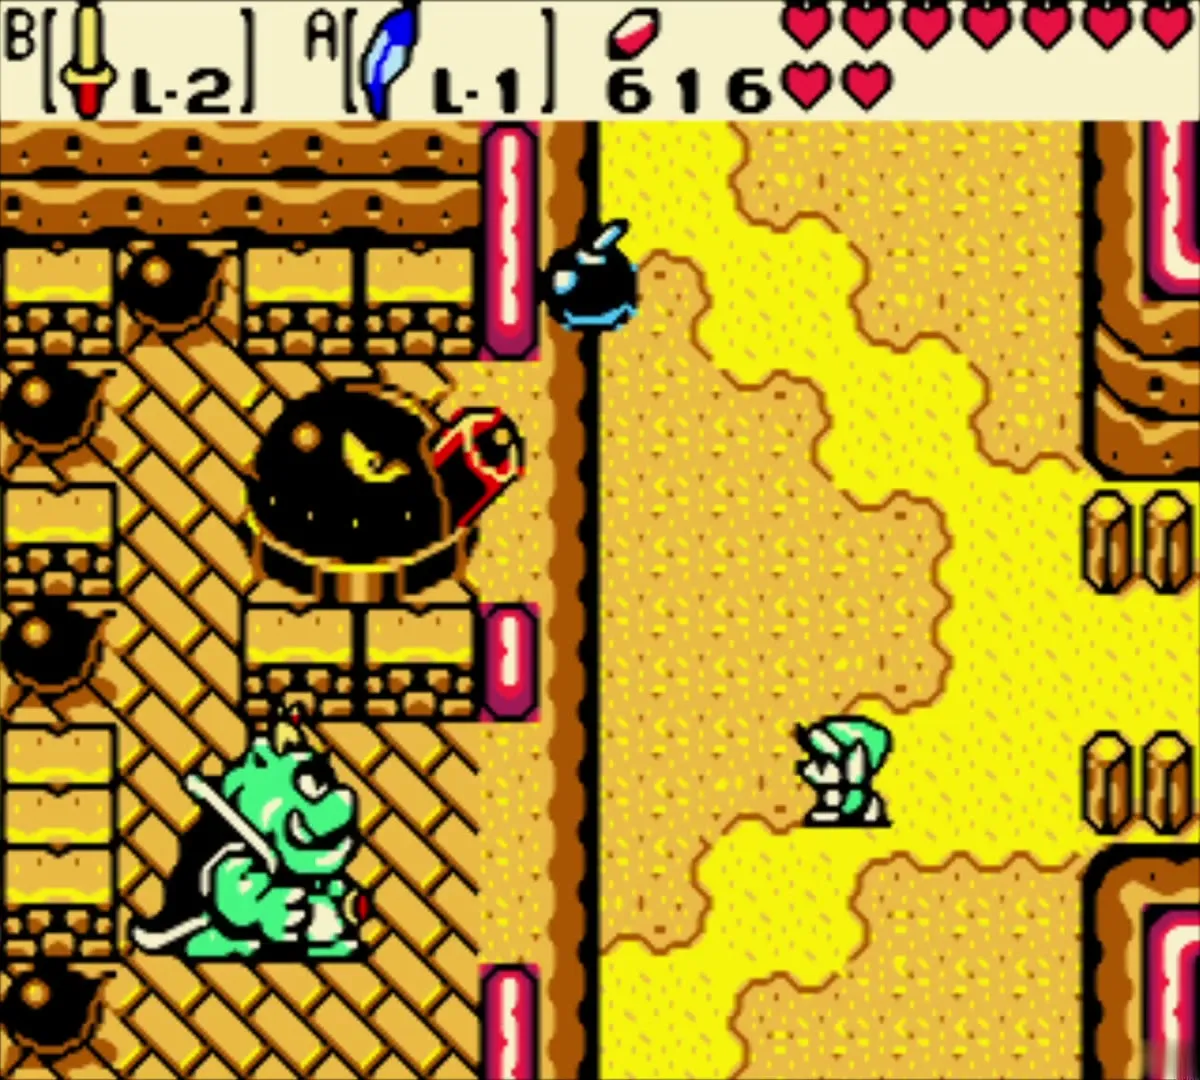
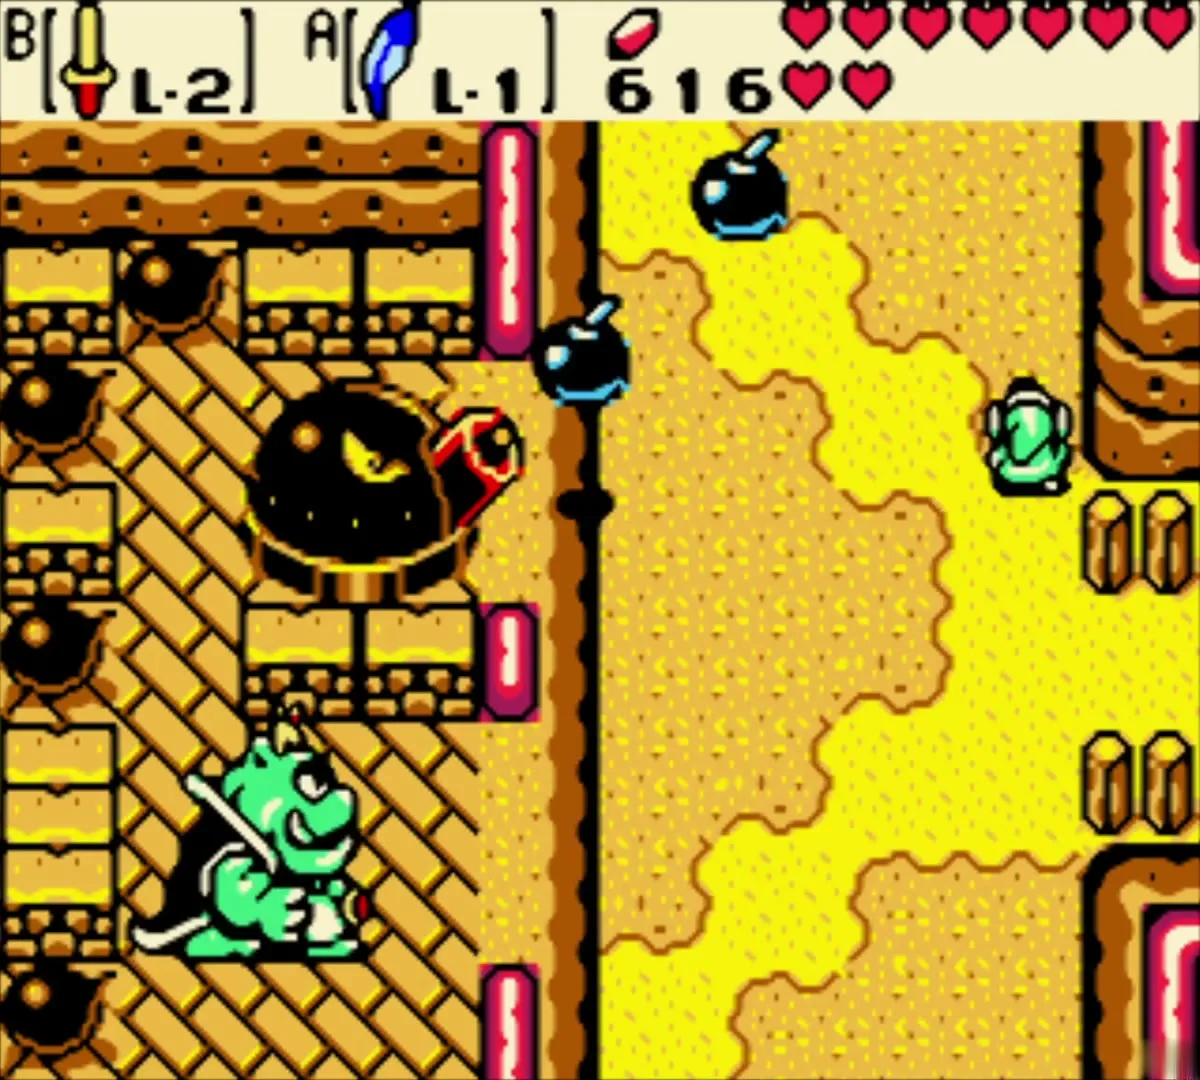
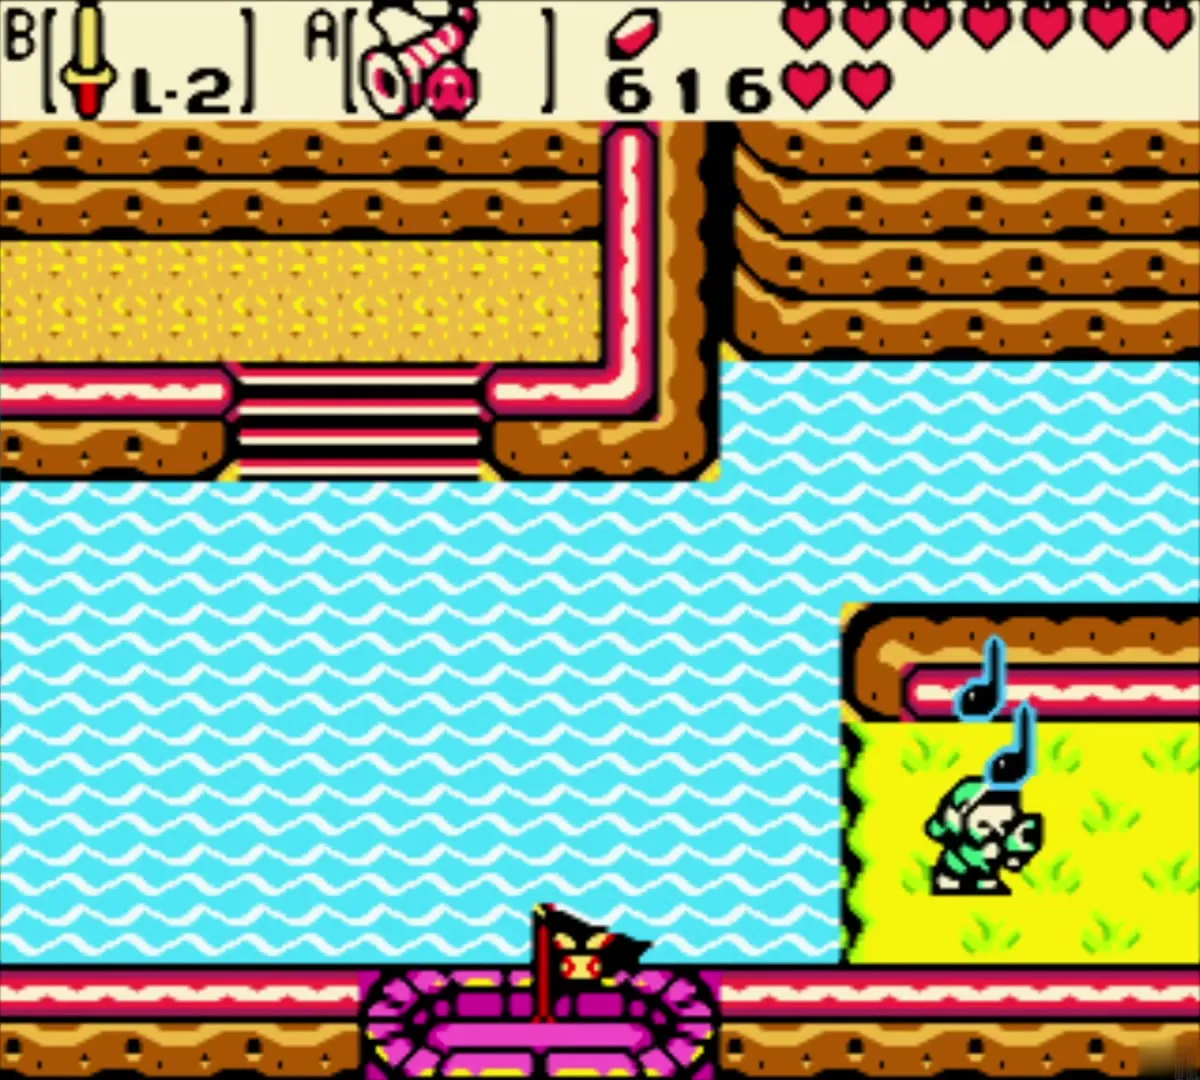
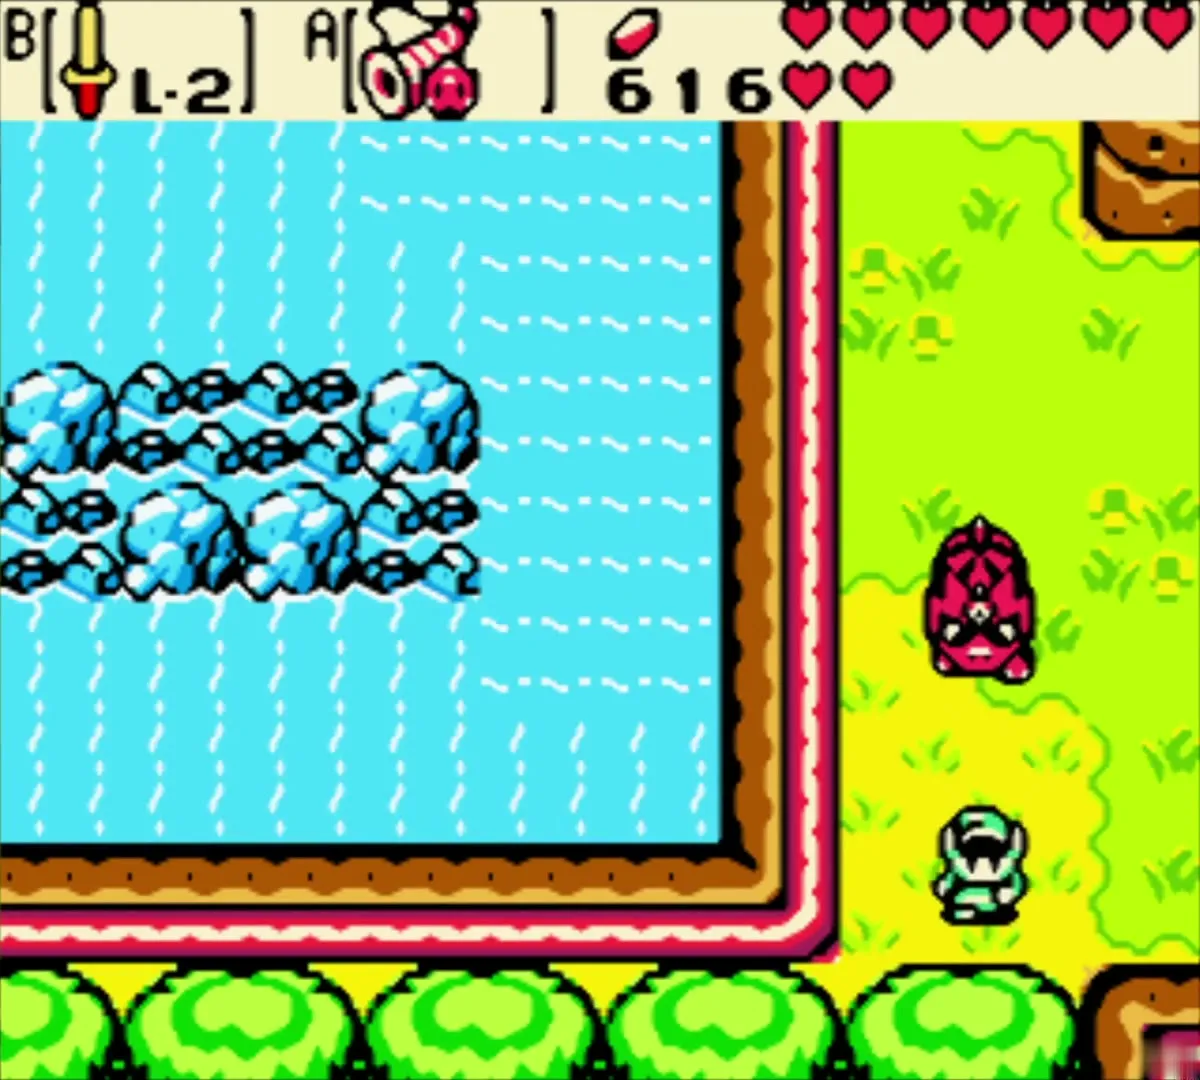
Head west along the lake to the sandy cliffs, where the Great Moblin shouts a challenge and his fort lobs bombs at you from shell-shaped cannons. Ignore the bombs, which only fall near the shore, and open the Items menu to play Dimitri’s Flute. Dimitri carries you across the water, past a waterfall, and drops you on the grass at the fort’s south-west corner, where the real entrance is. The cannons only shoot outward once you are at the wall.


Enter the fort and clear the Pig Warriors
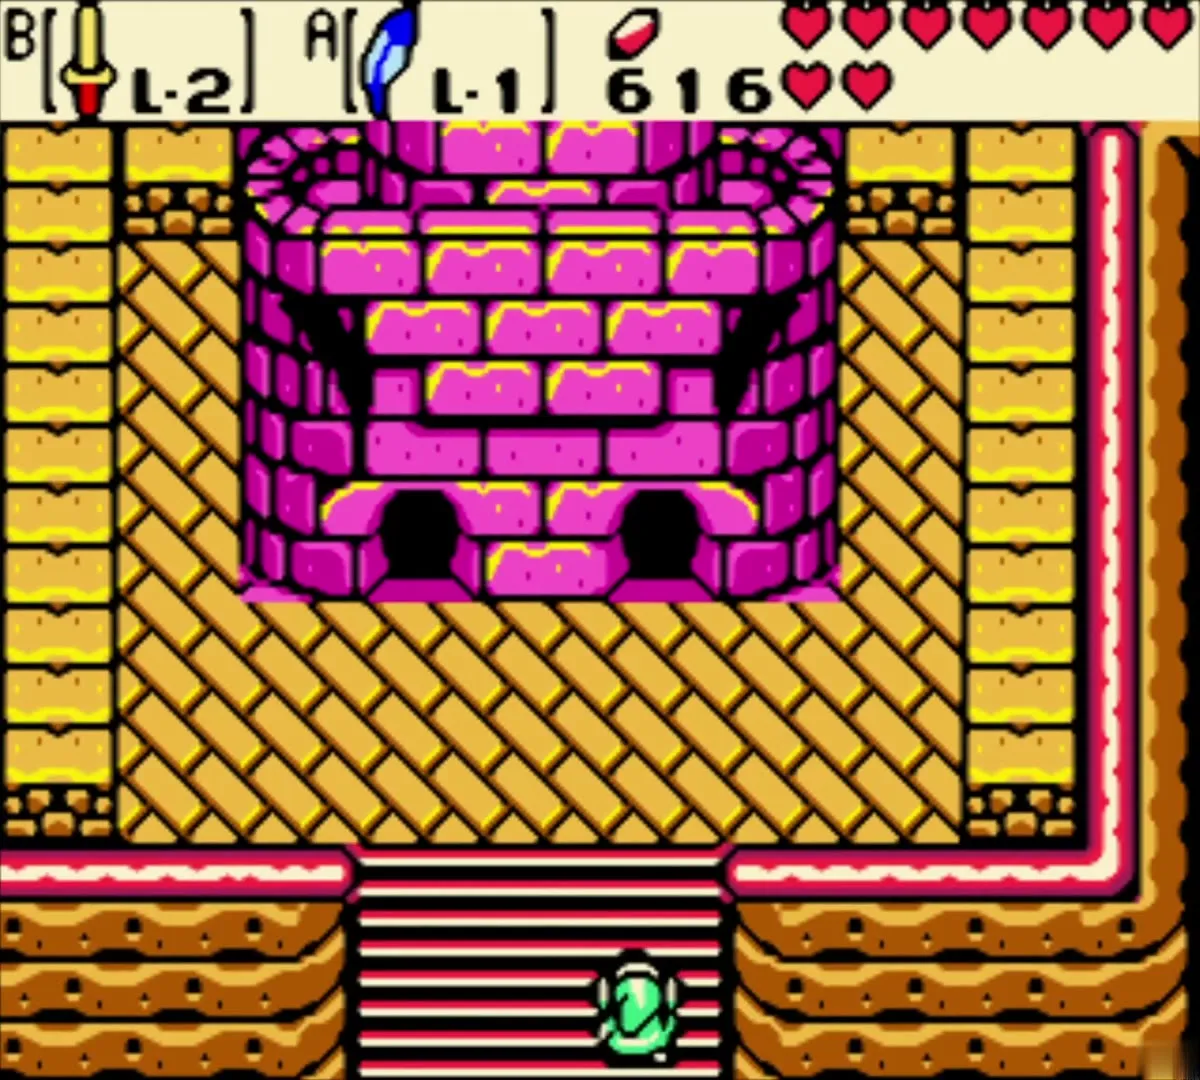
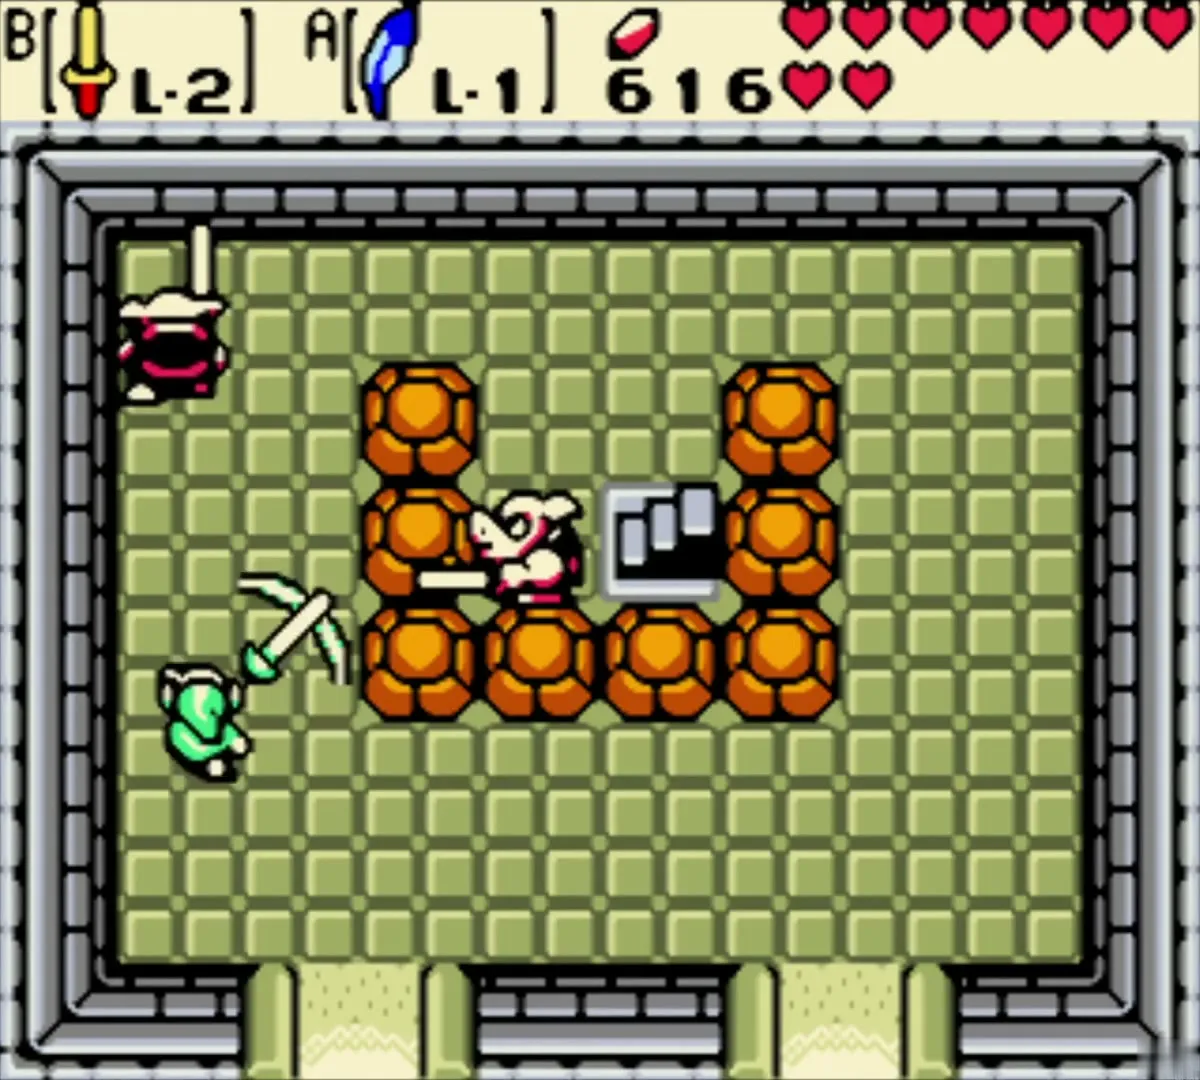
Climb the stairs at the wall, cross the sandy yard past the pink brick tower and go in through the door. The first stone room holds two Pig Warriors beside a ring of orange blocks. Beat them with the Noble Sword, then go through the next doorway into the stone arena at the top of the keep.
Catch and return the bombs
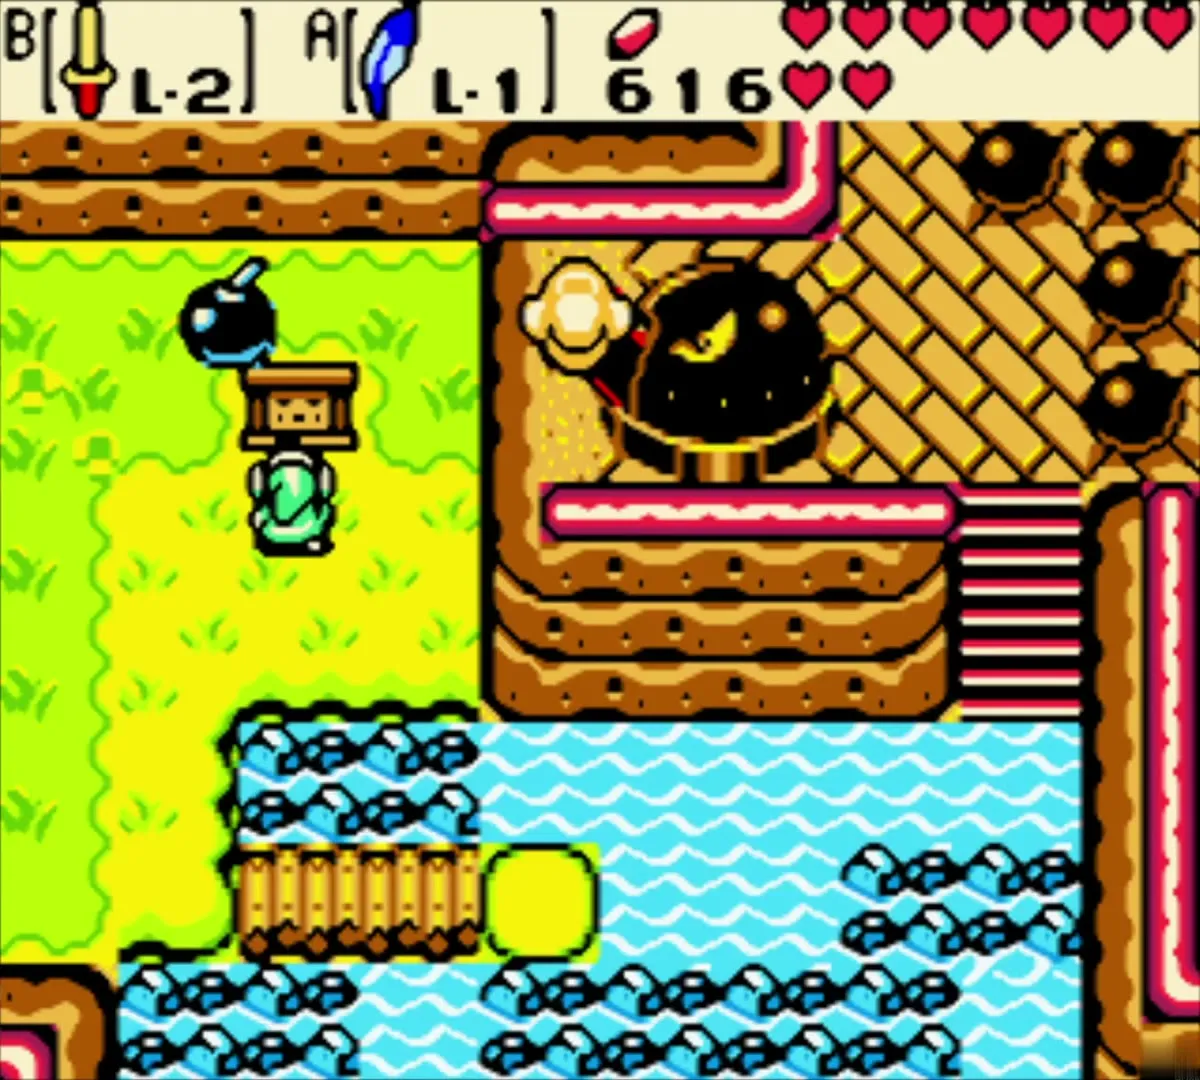
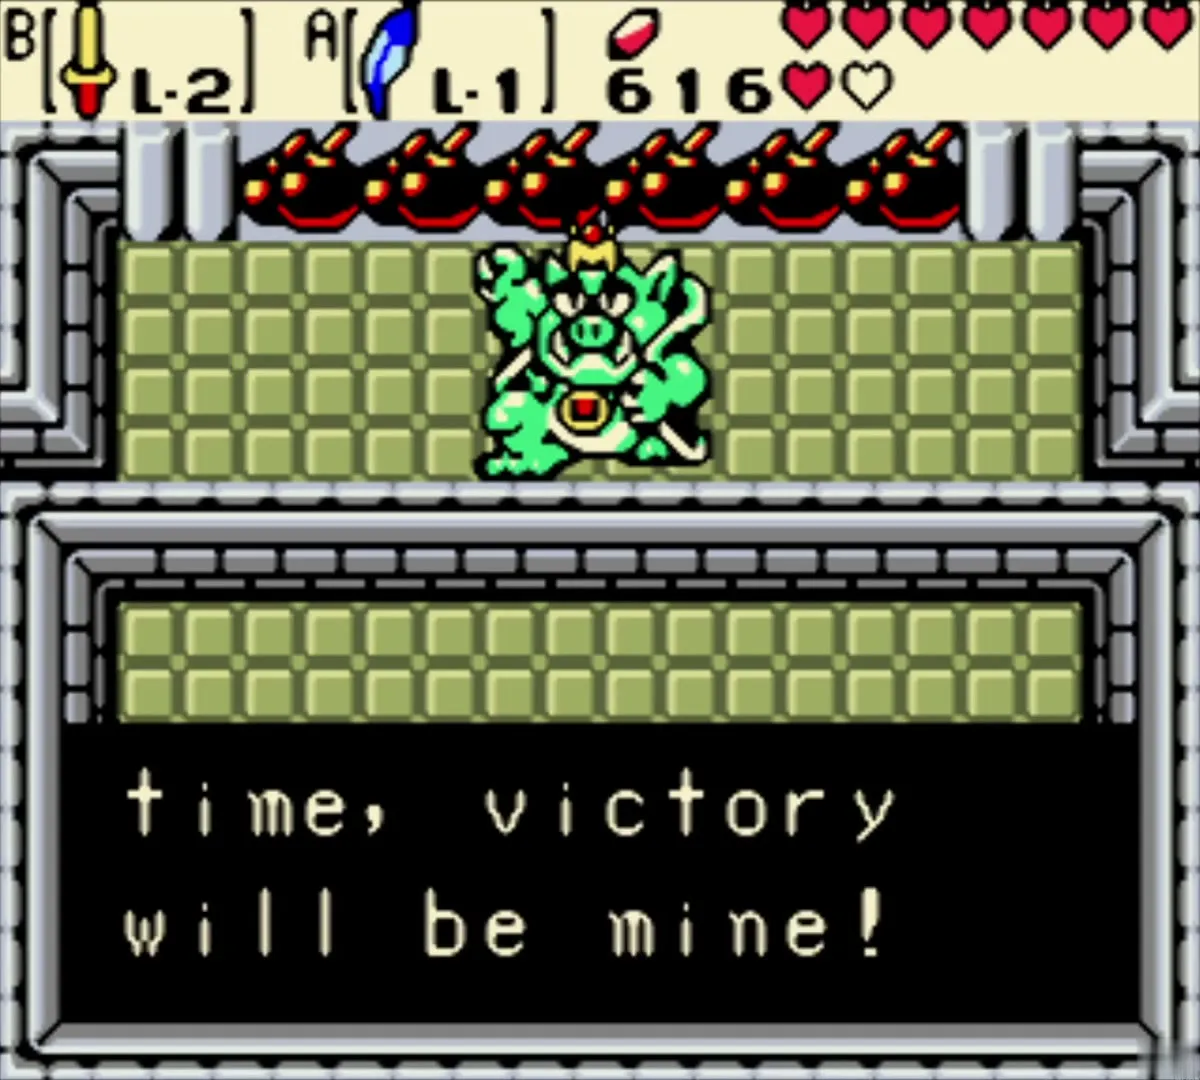
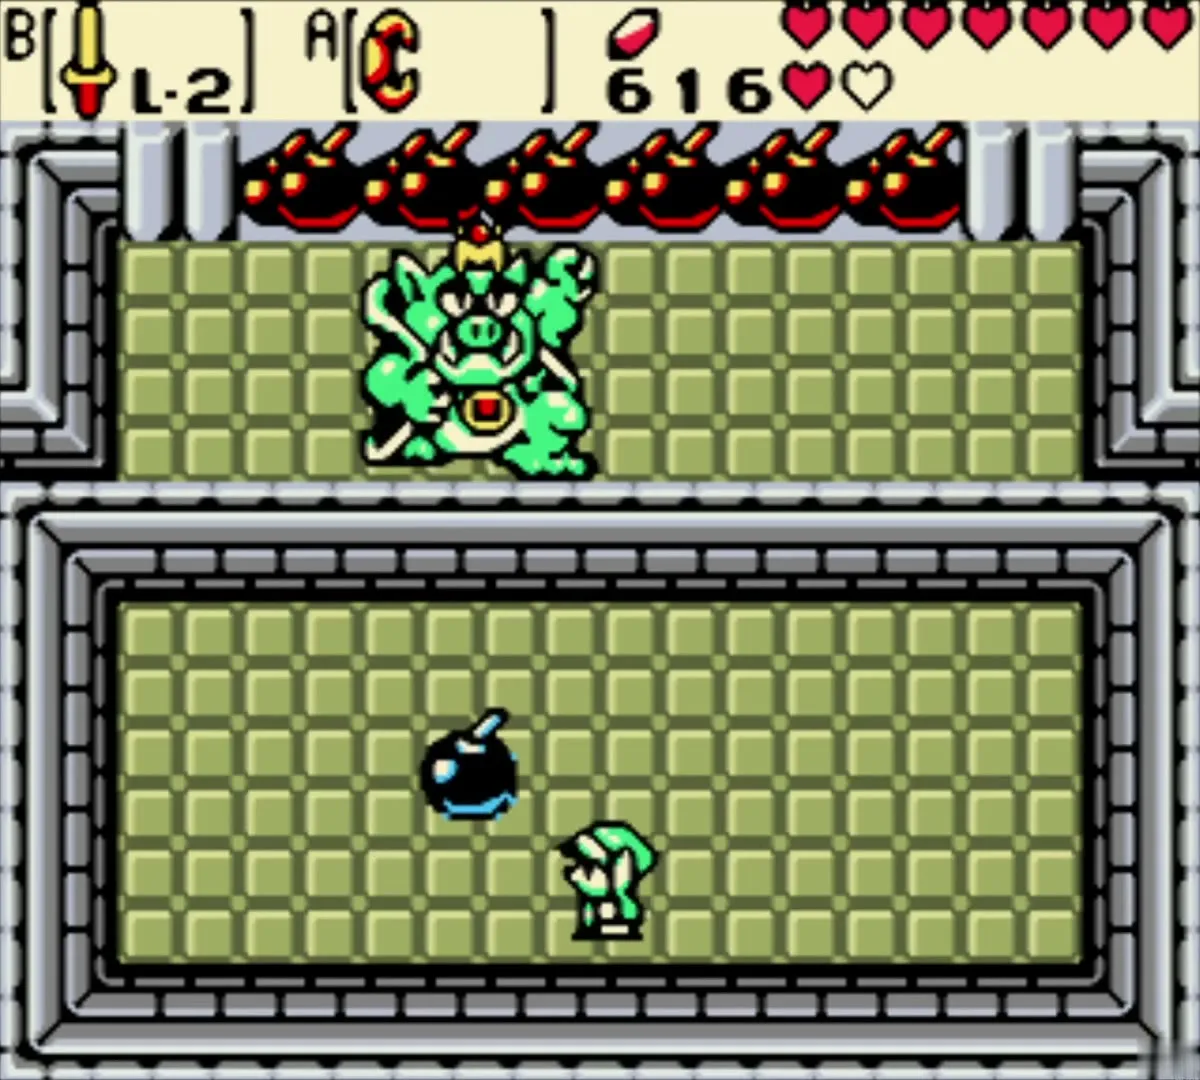
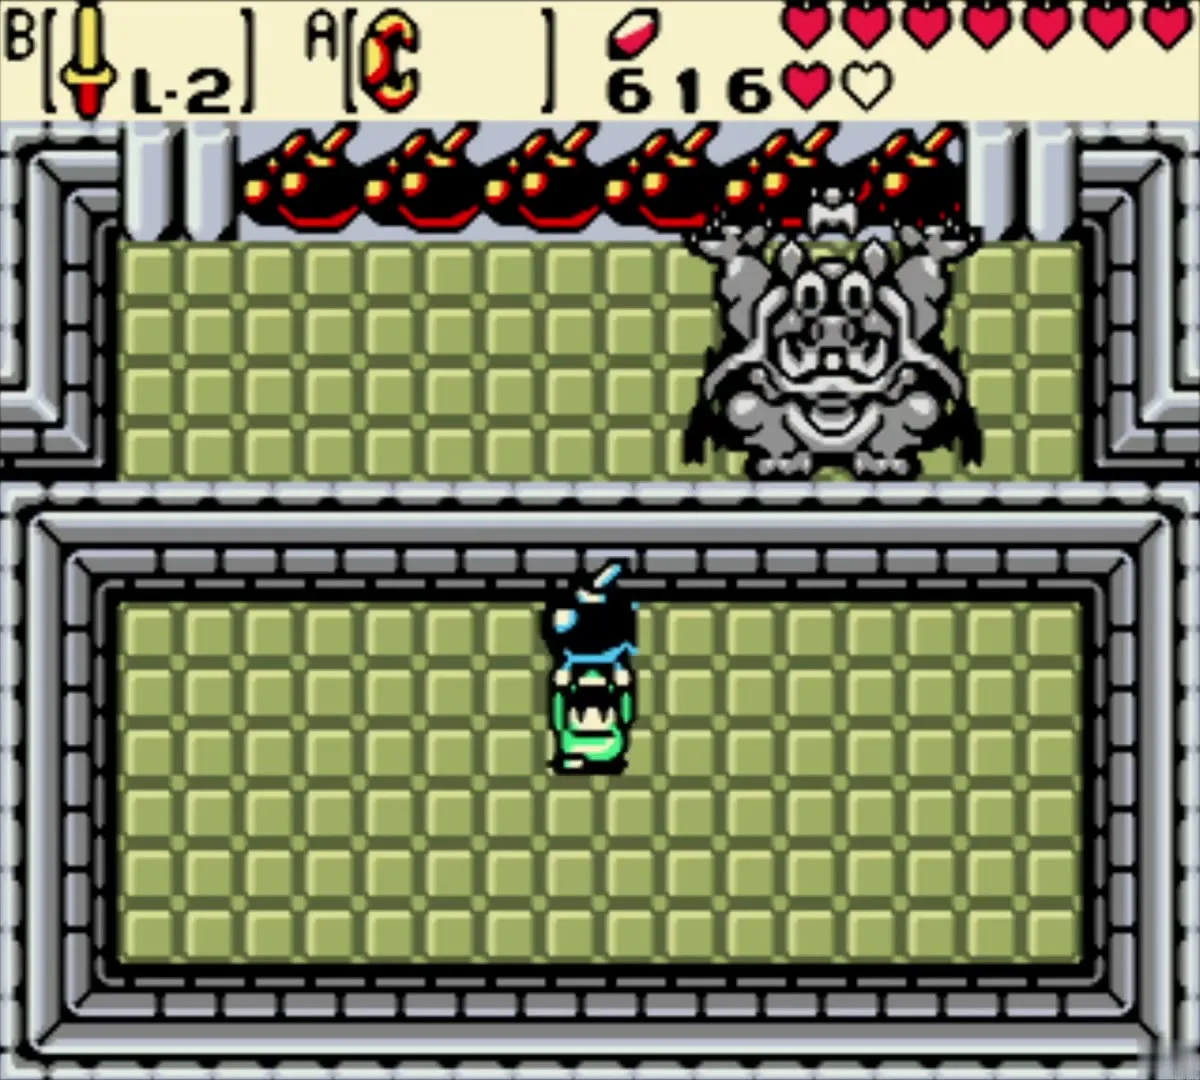
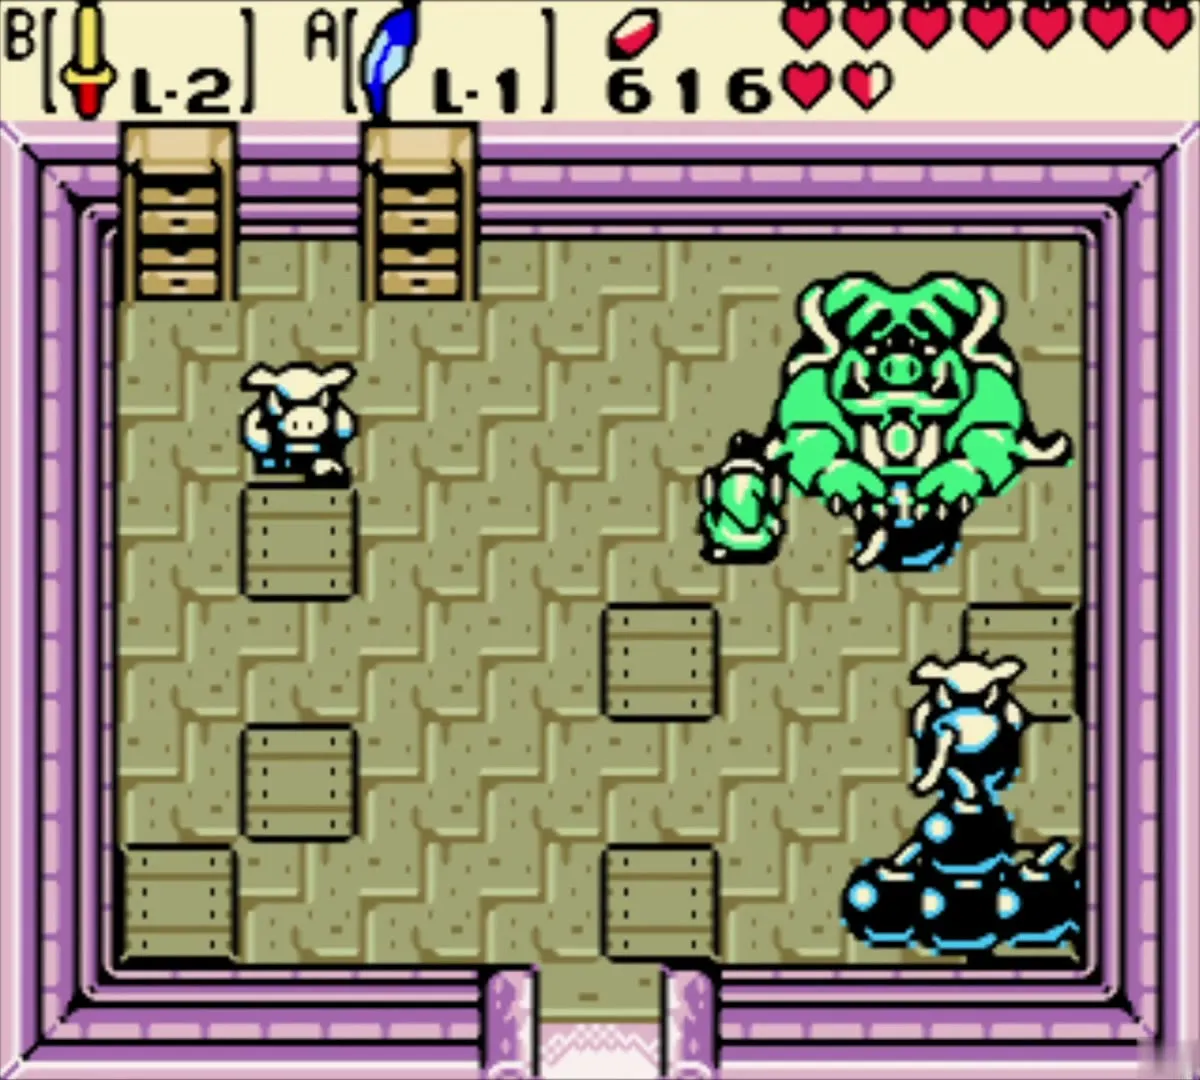
The Great Moblin sits at the back of the arena and throws bombs from his hoard. Equip the Power Bracelet, pick up a bomb before it blows, and throw it straight back at him. Each hit makes him angrier and faster, so keep moving and always grab a fresh bomb. He taunts that you cannot beat him.

Time the last explosion
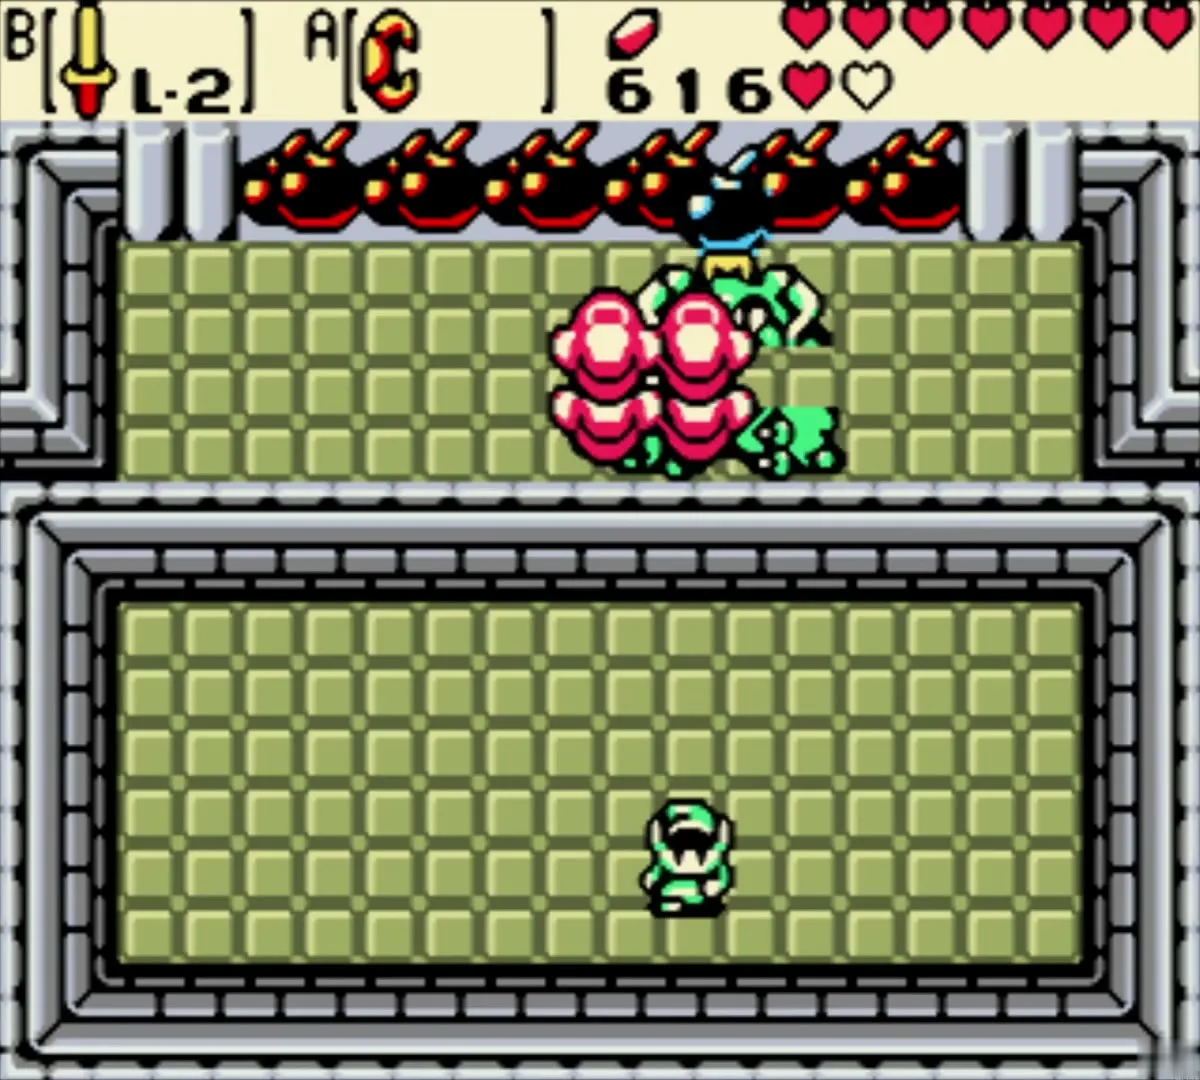
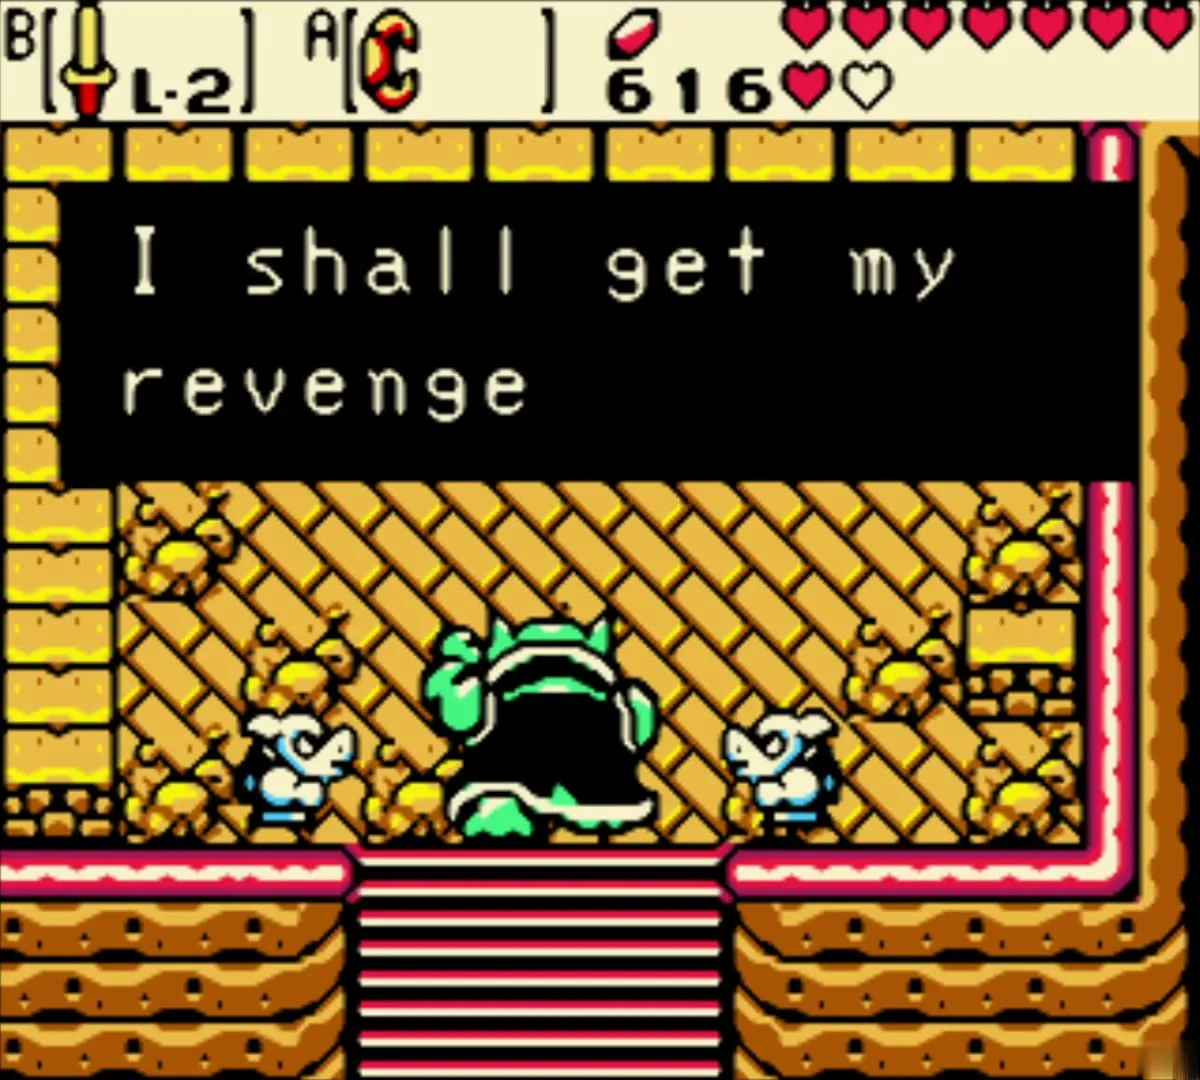
After a few hits he turns grey from the soot. Now you must throw a bomb so that it explodes just as he lifts one of his own to throw. He loses the throw, the stockpile goes off and the keep collapses around him. He stumbles away down the stairs, complaining. For more boss notes see the boss guide.

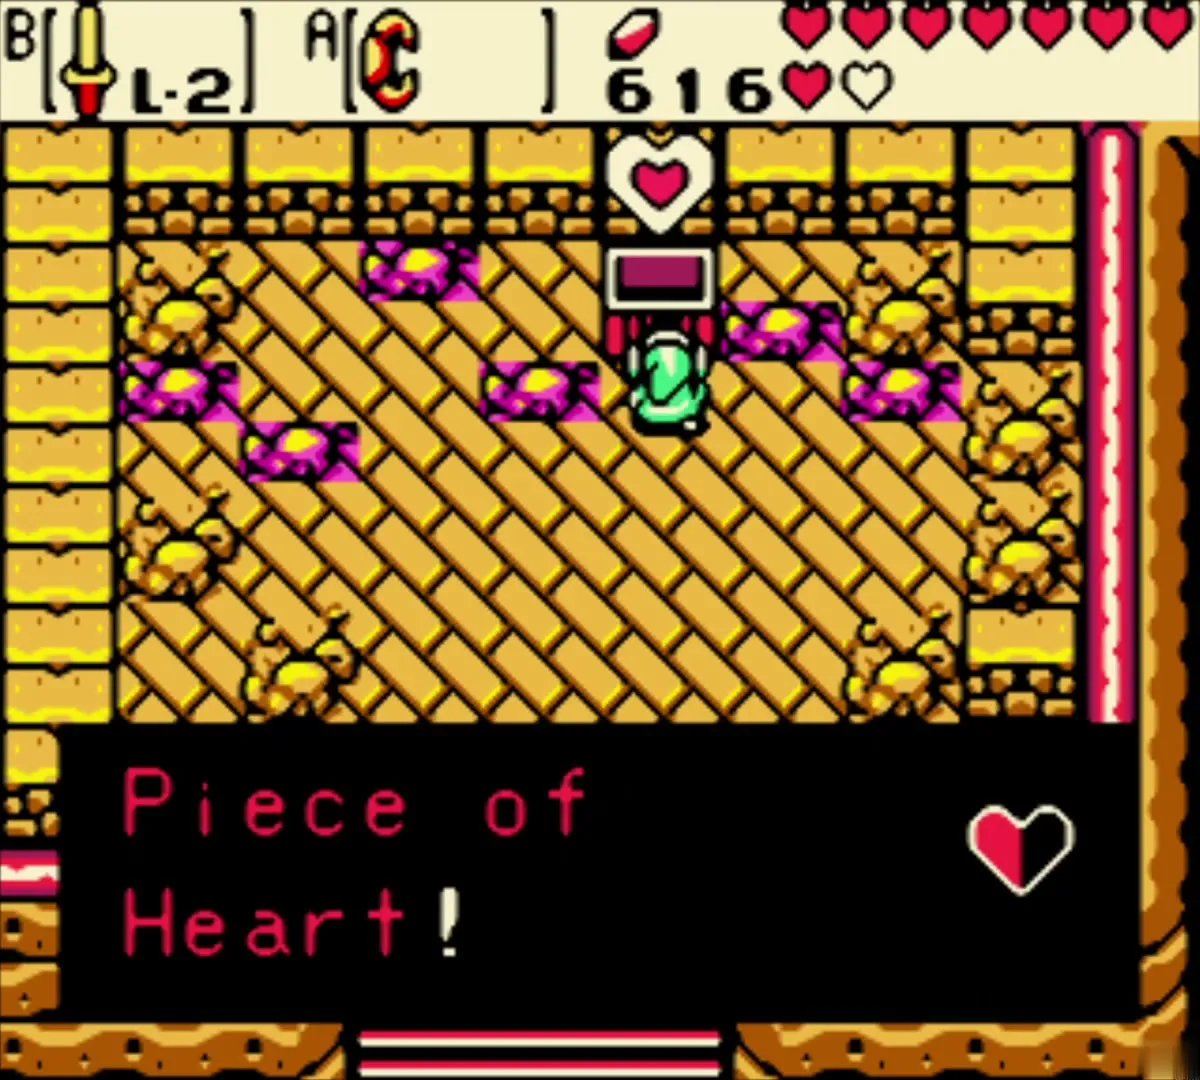
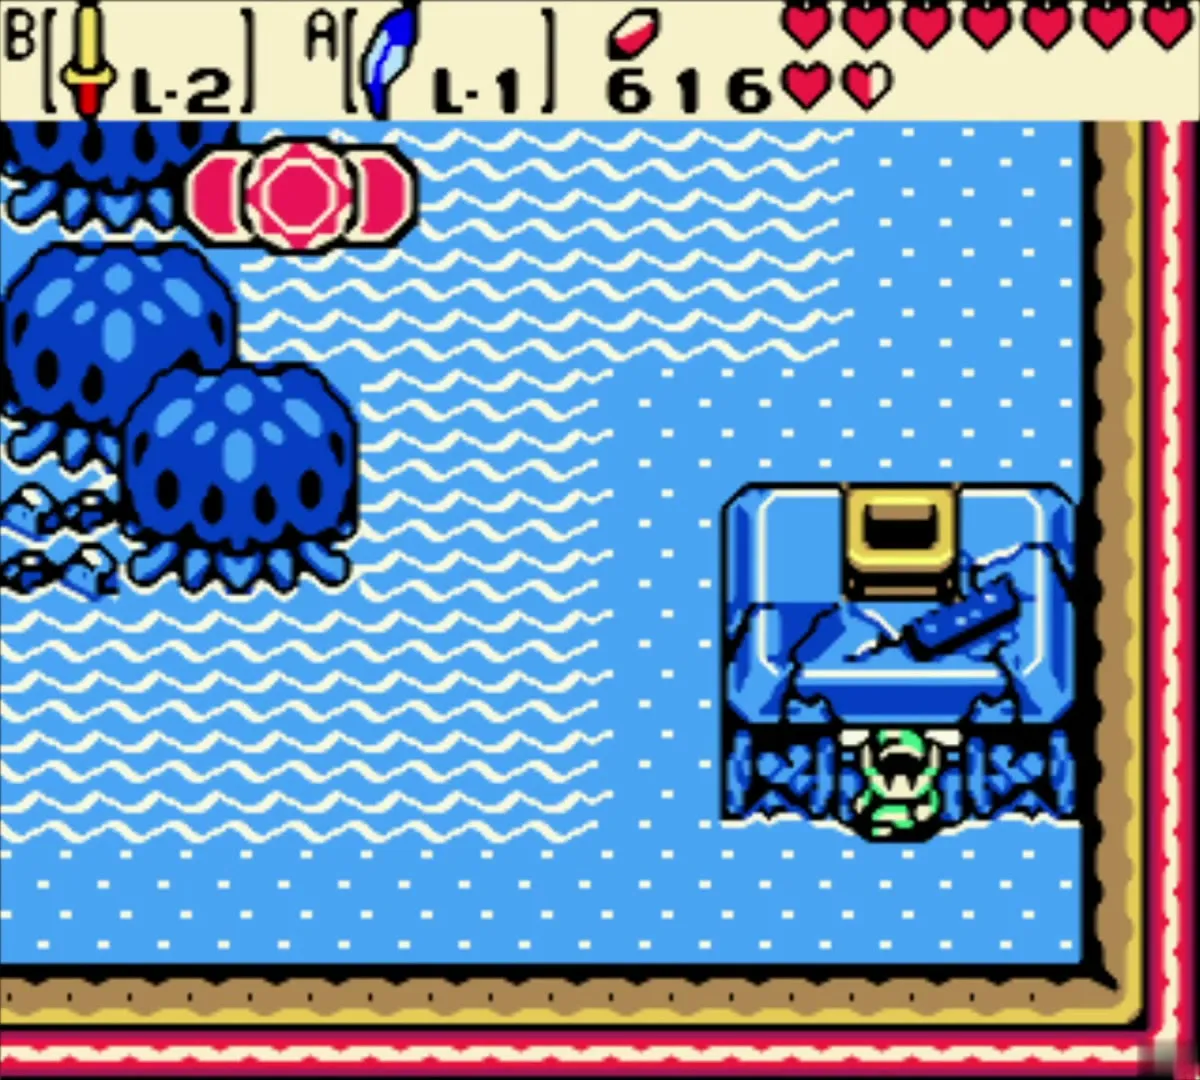
Open the chest for the Piece of Heart
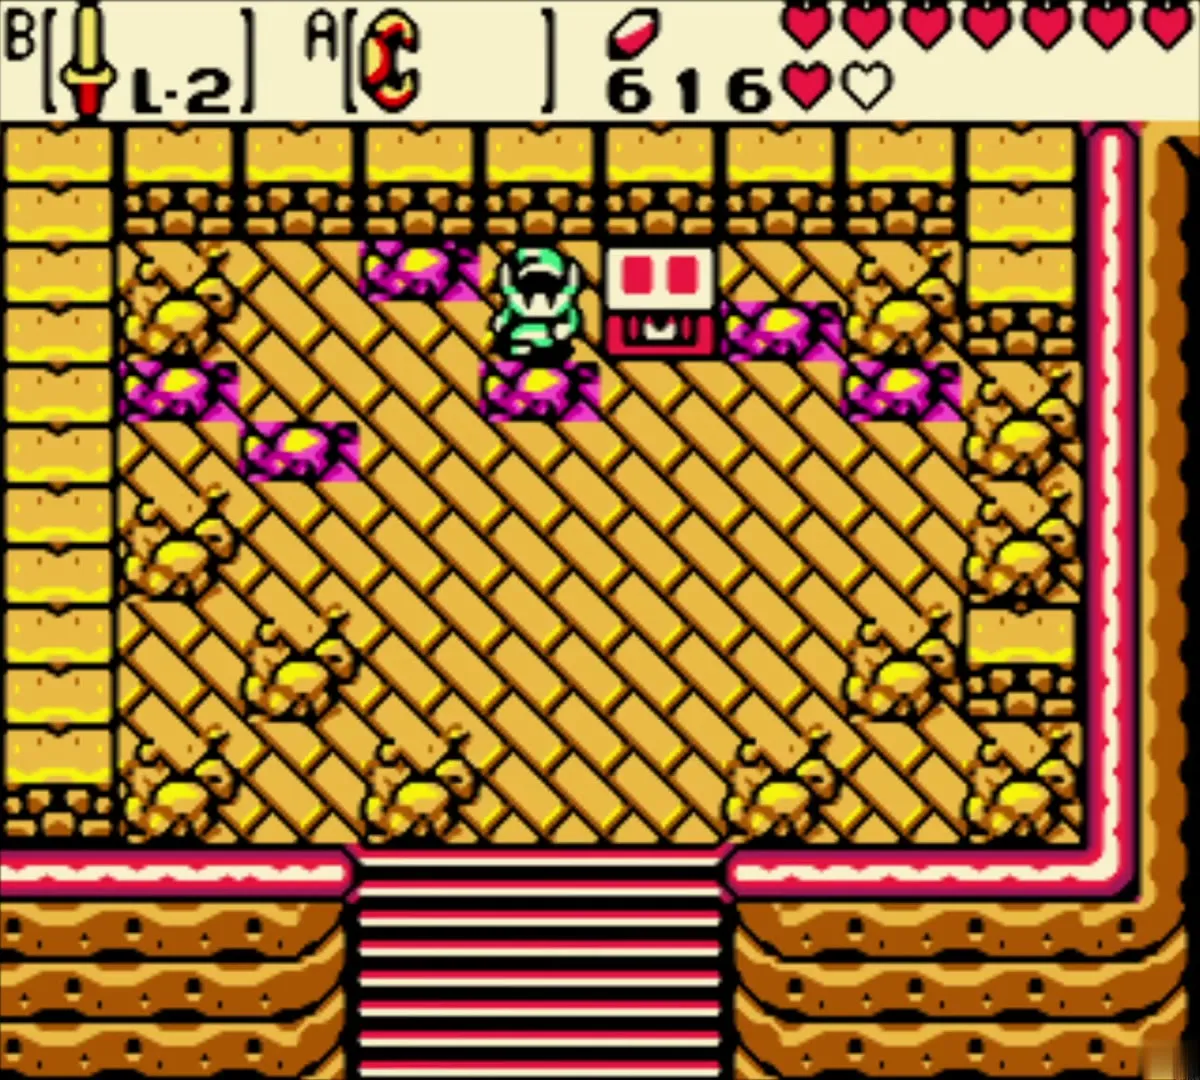
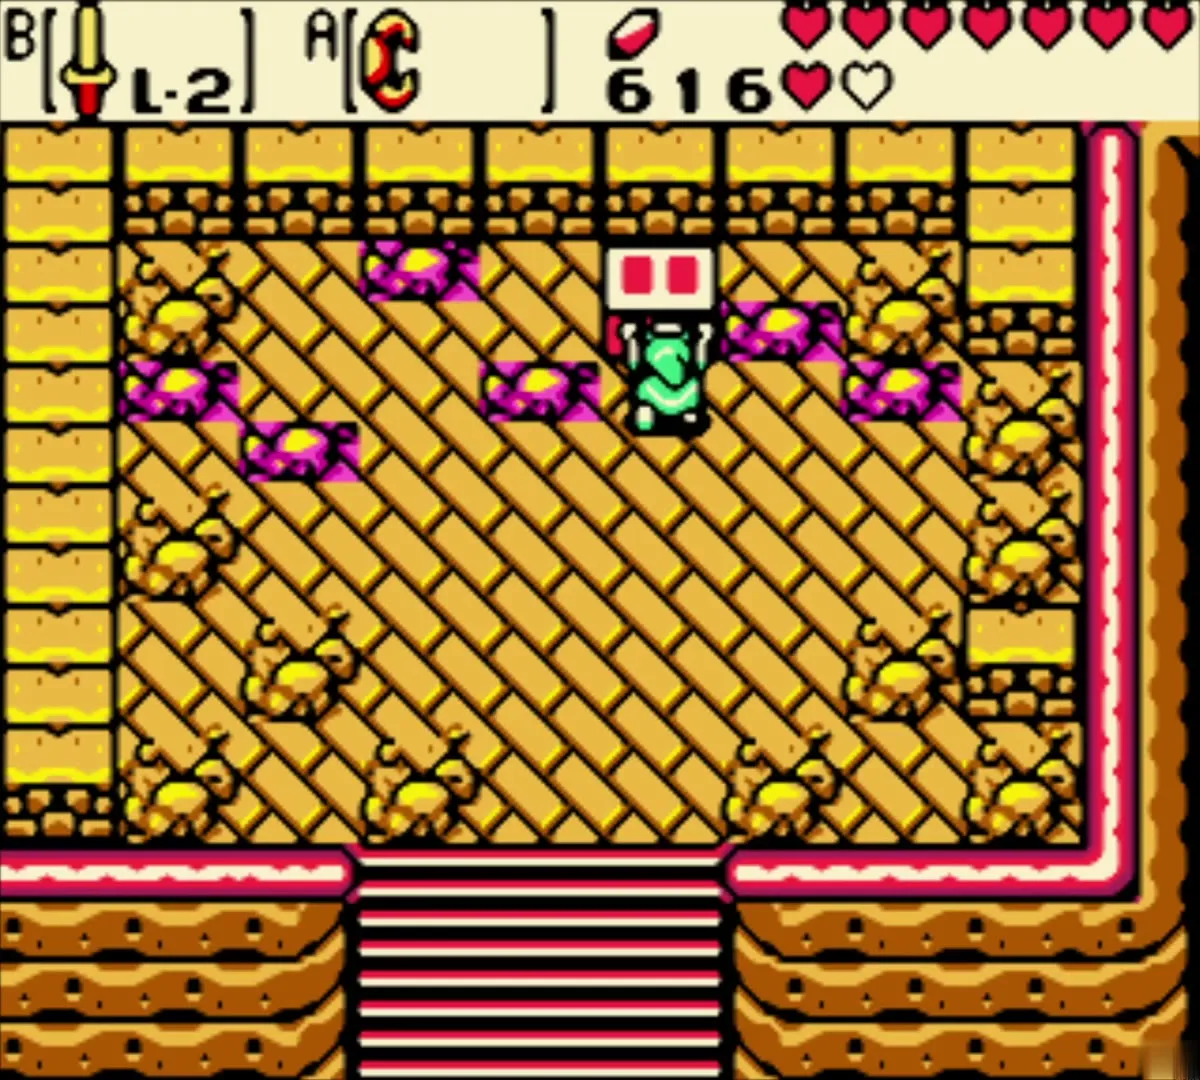
A chest has been left among the rubble at the top of the keep. Open it for a Piece of Heart. The game reminds you to collect four for a Heart Container. Walk down the stairs and back out onto the sand.
The Moblins’ blue house and the Tokay secret
Look in on the beaten Great Moblin
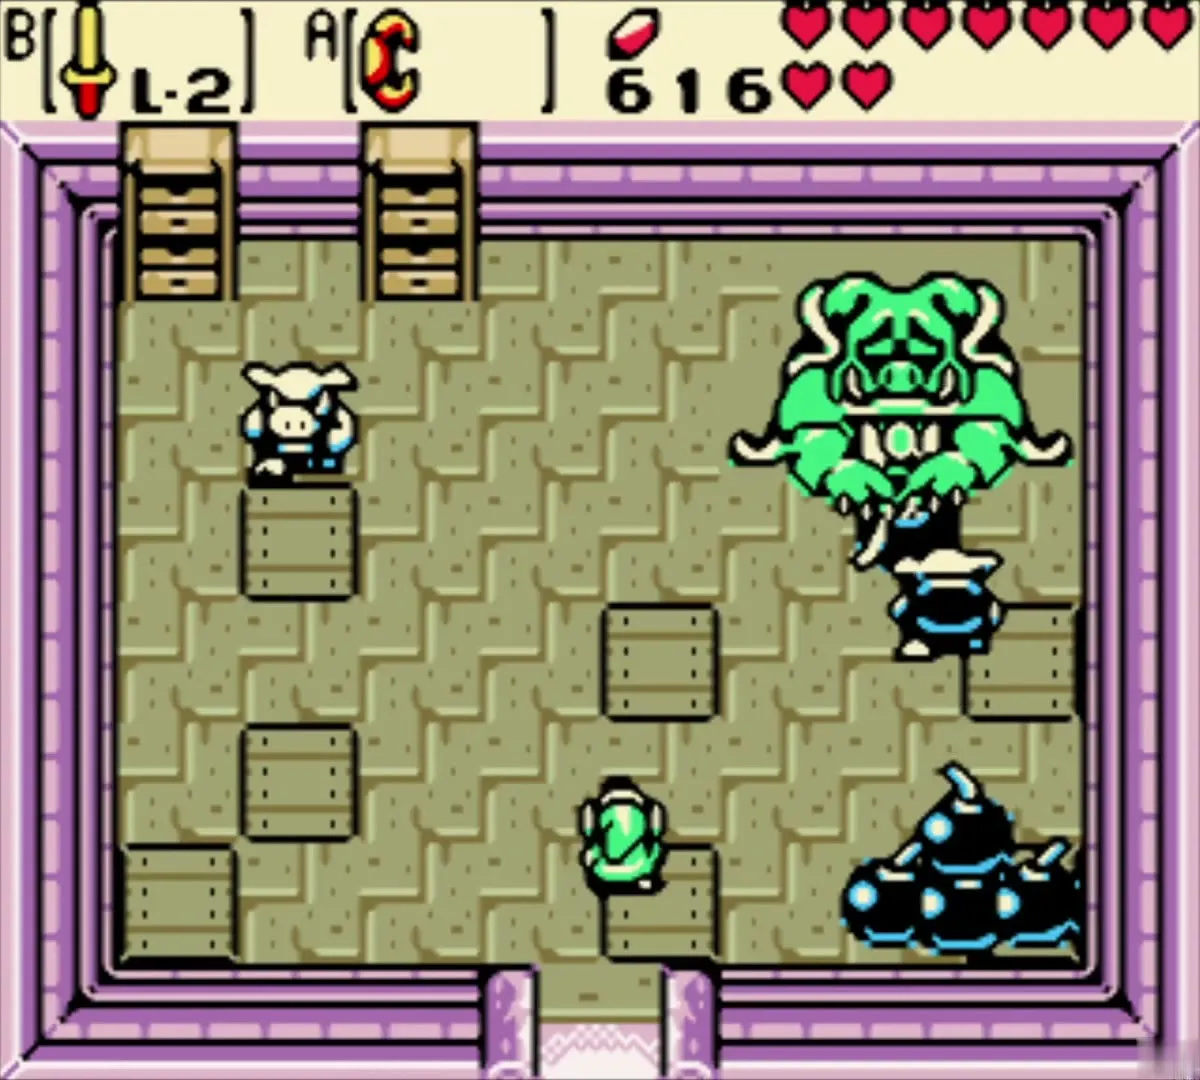
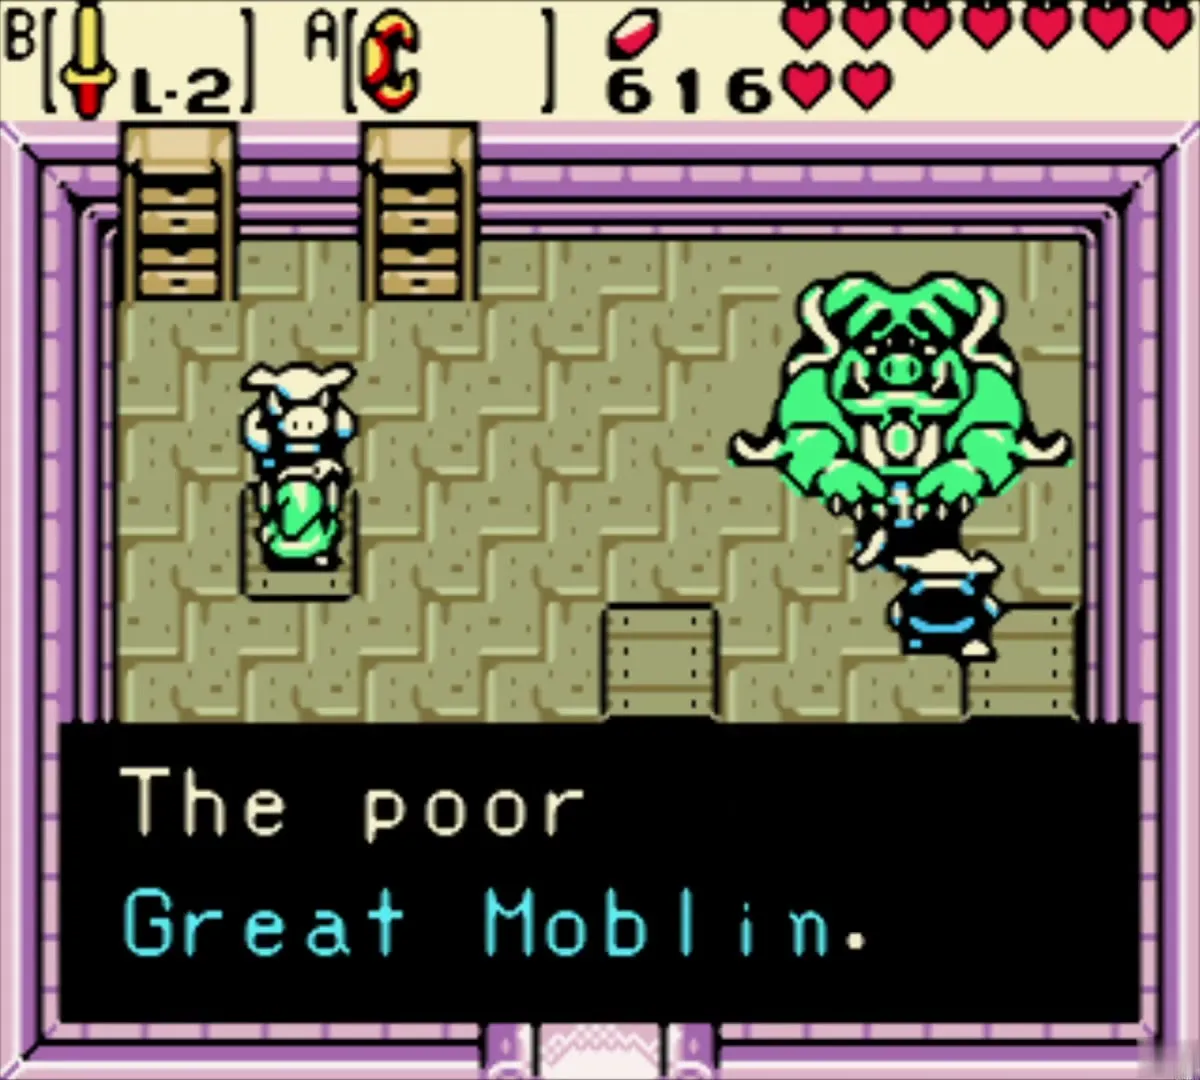
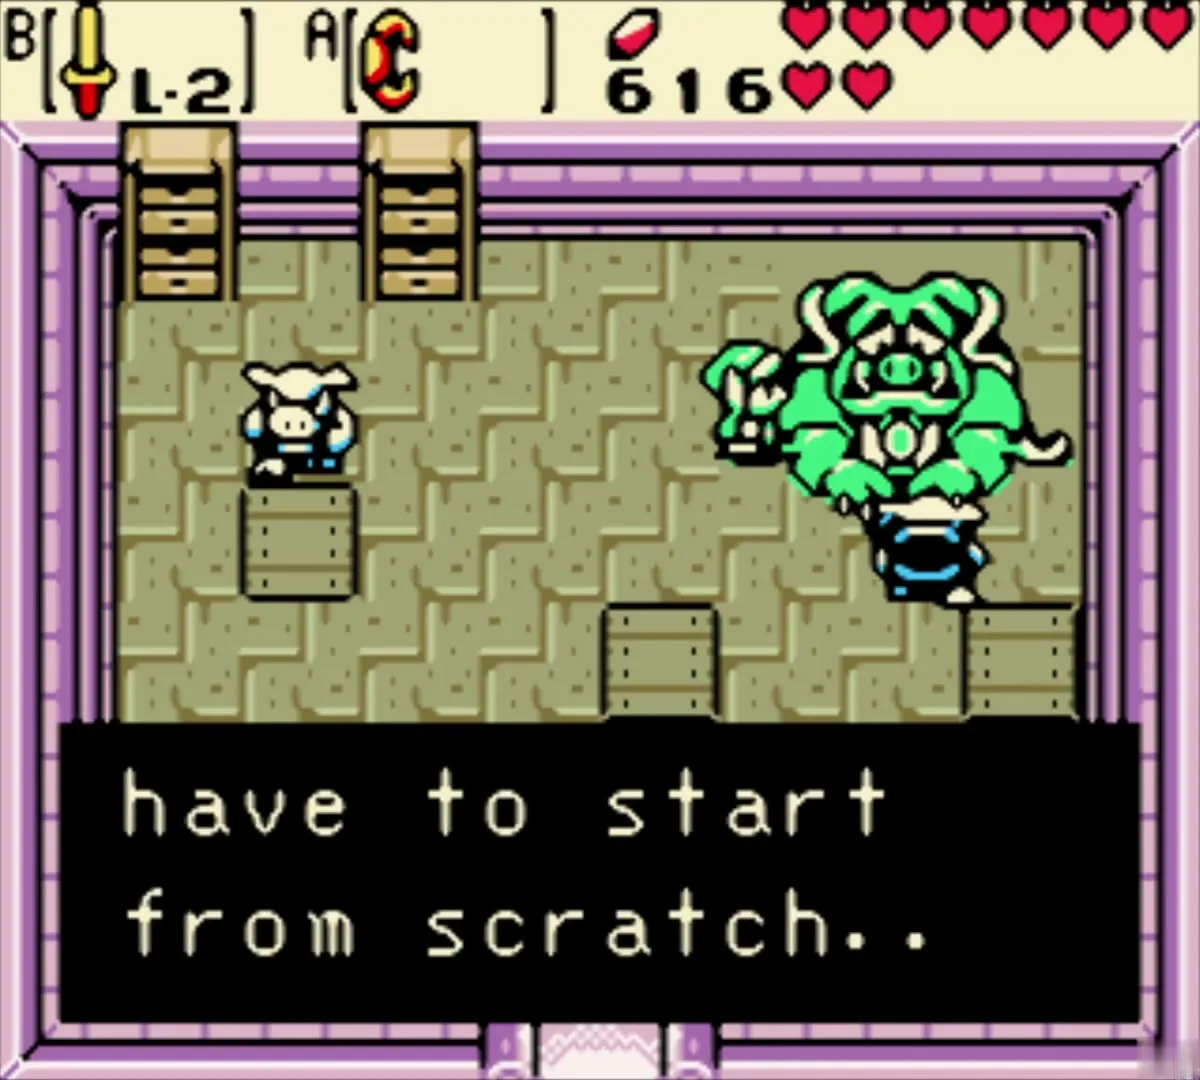
Swim back to the blue house on the lake and enter by its door. The Great Moblin and his small Moblins moan that they must make bombs from scratch now that the lair is ruined. There is nothing to collect here, so you can skip it.

Take the Tokay secret from the friendly Moblin
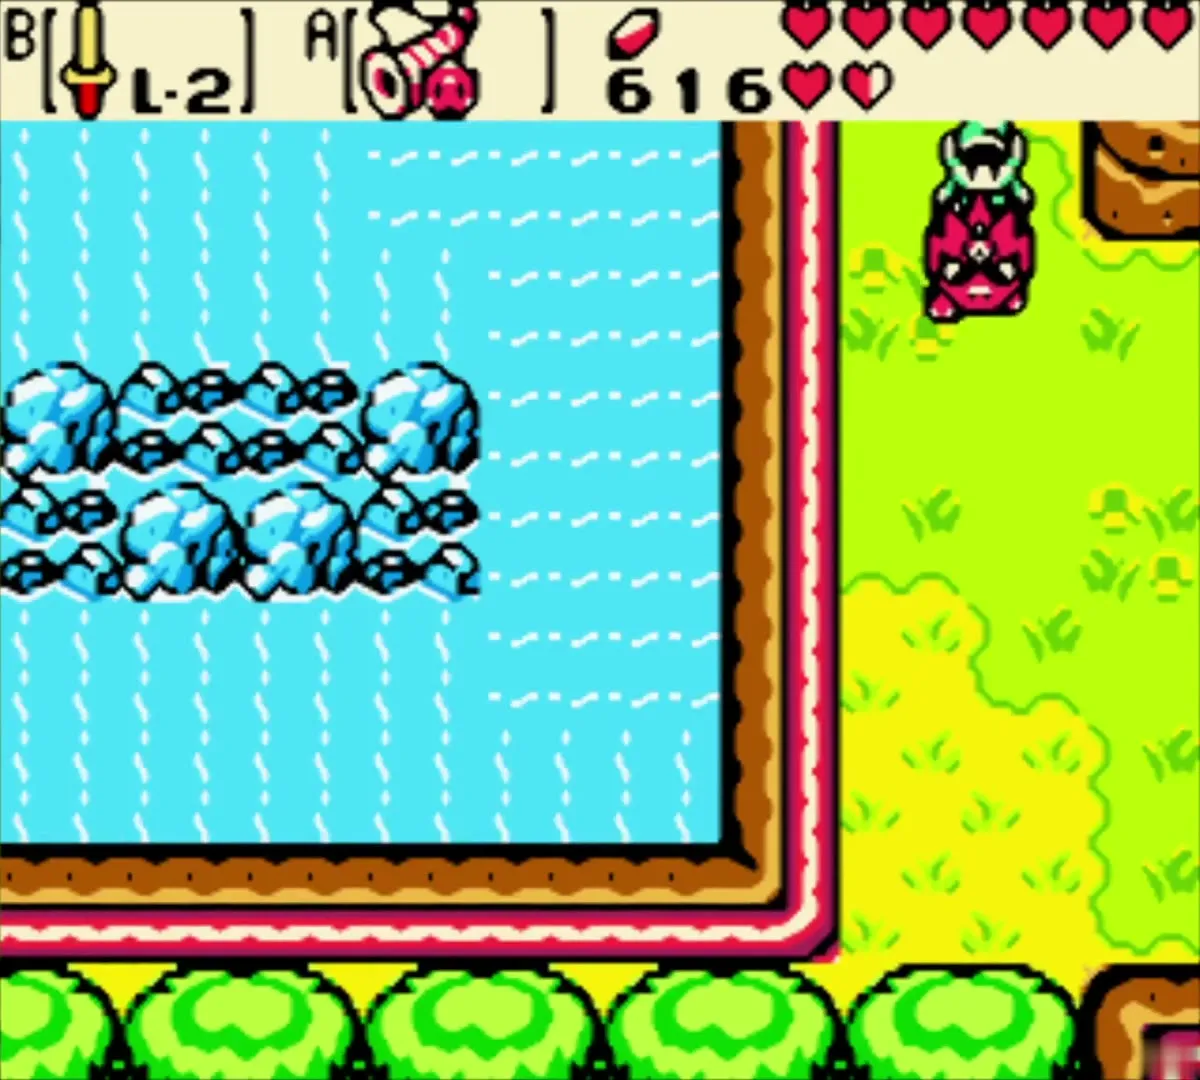
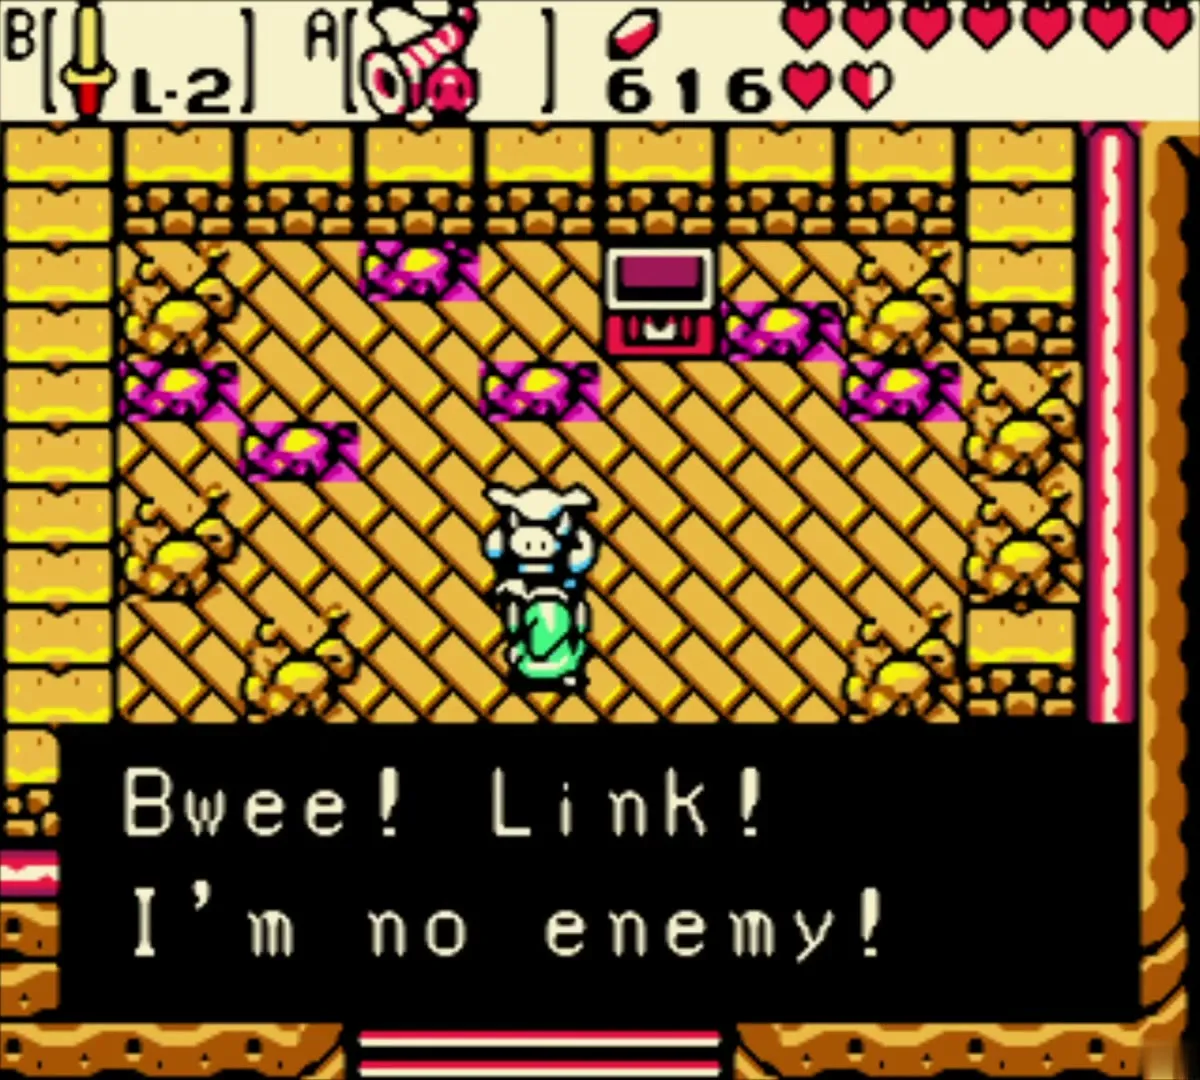
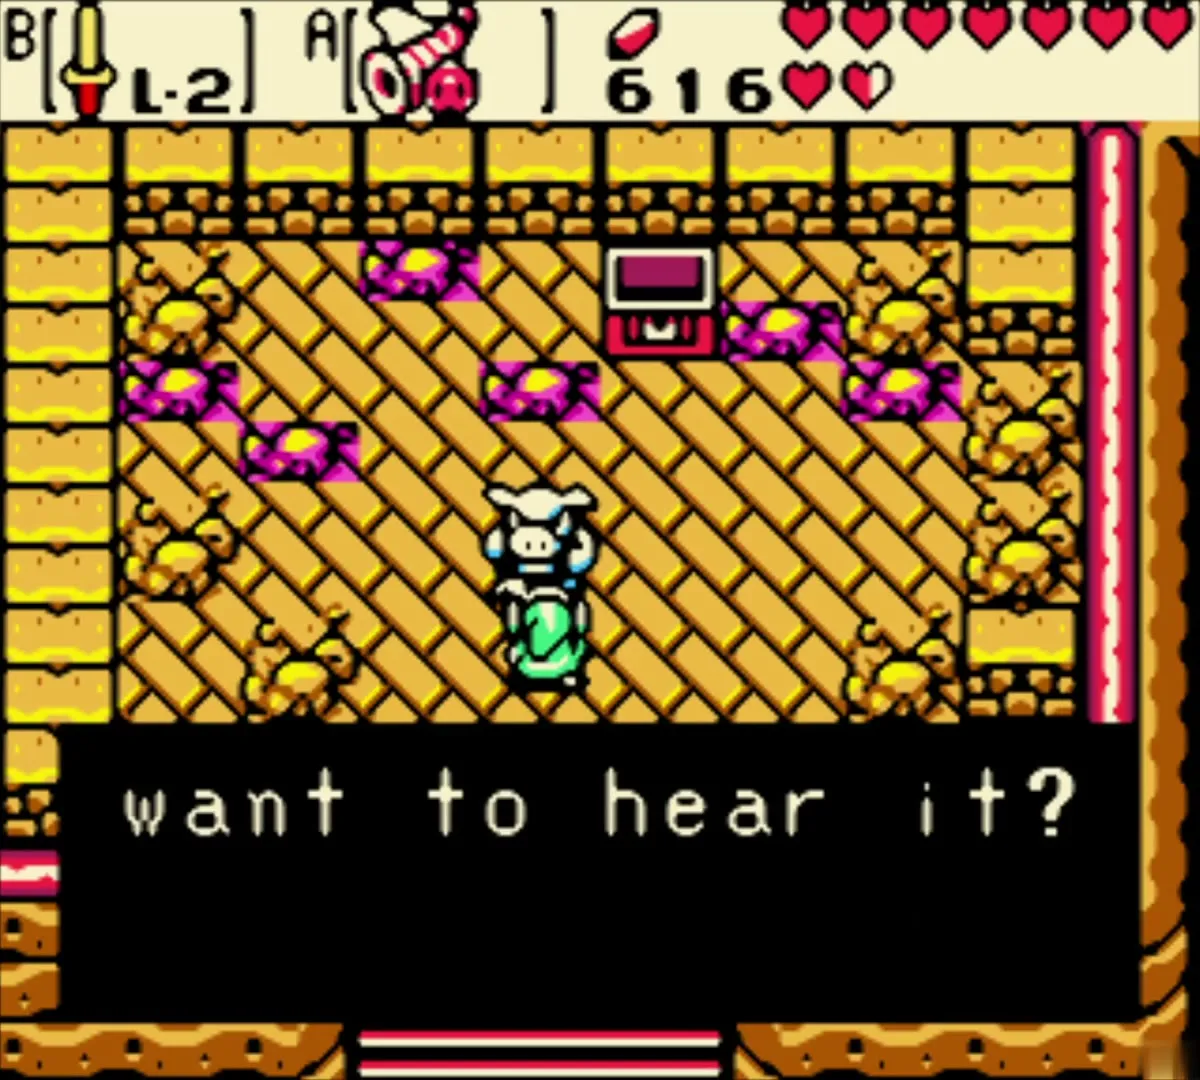
Ride Dimitri back to the ruined keep and climb to the top room. A Moblin there says he is no enemy of yours and offers to tell you a secret about the Tokay. Say yes, and he gives you a short password. In a linked game, you take it to the Tokay at the Wild Tokay Museum in Labrynna, and the reward upgrades your Bomb Bag (10 to 30, or 30 to 50).

Back to the Hall of Secrets
Warp to Horon Village
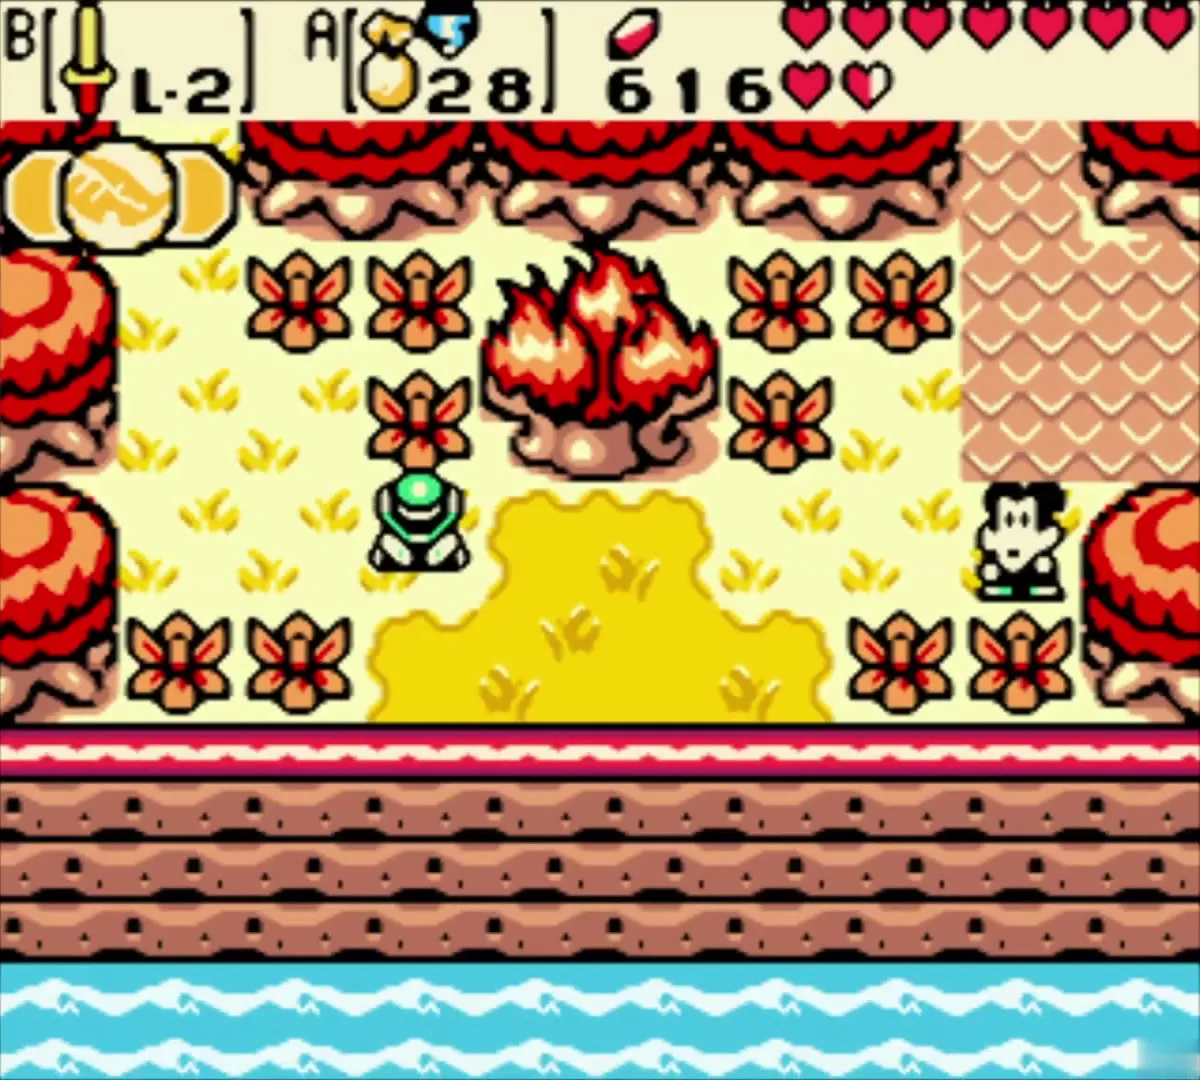
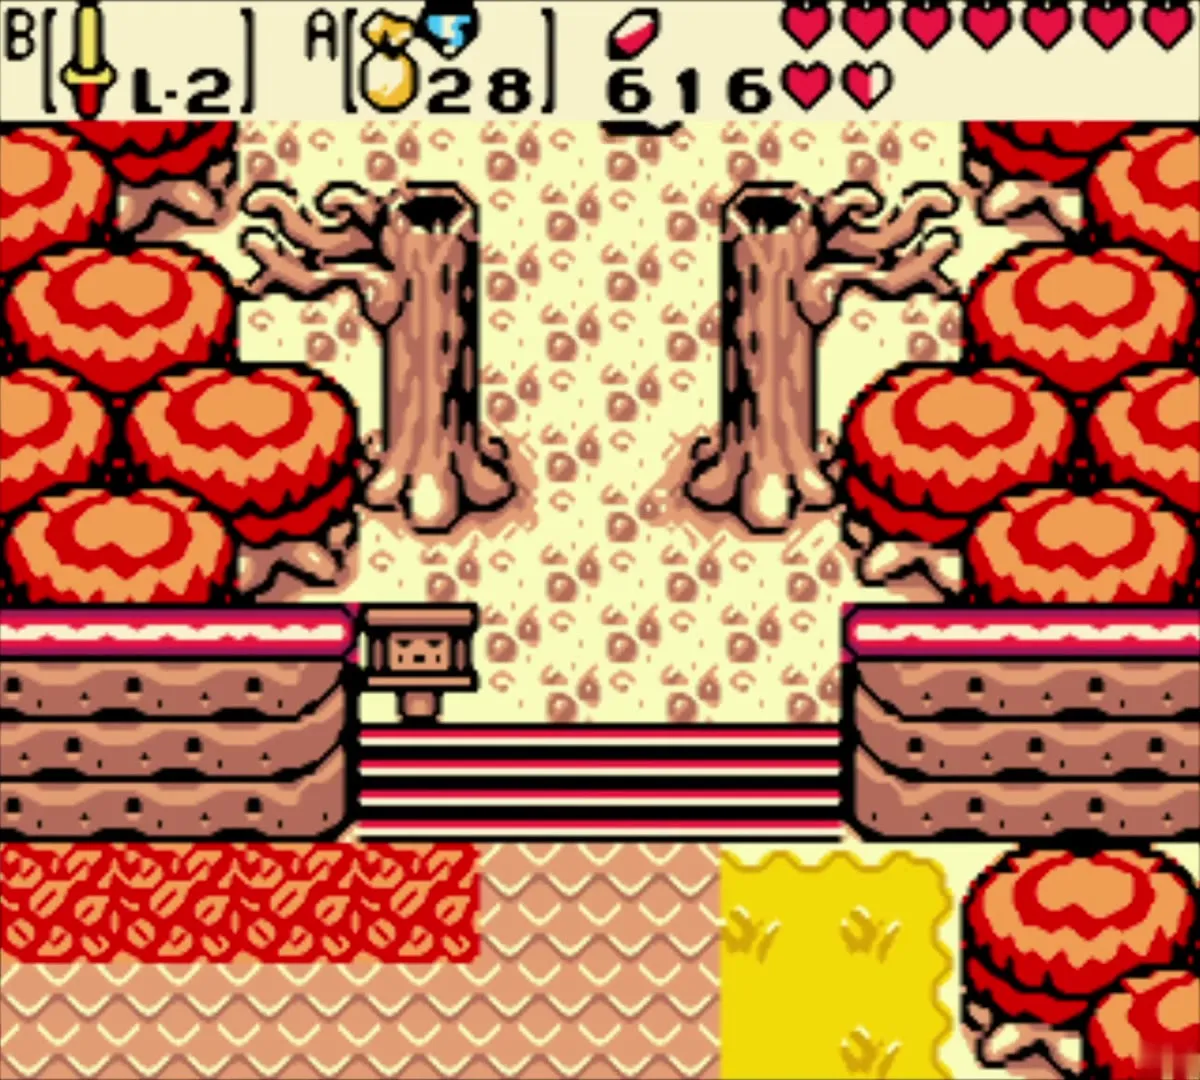
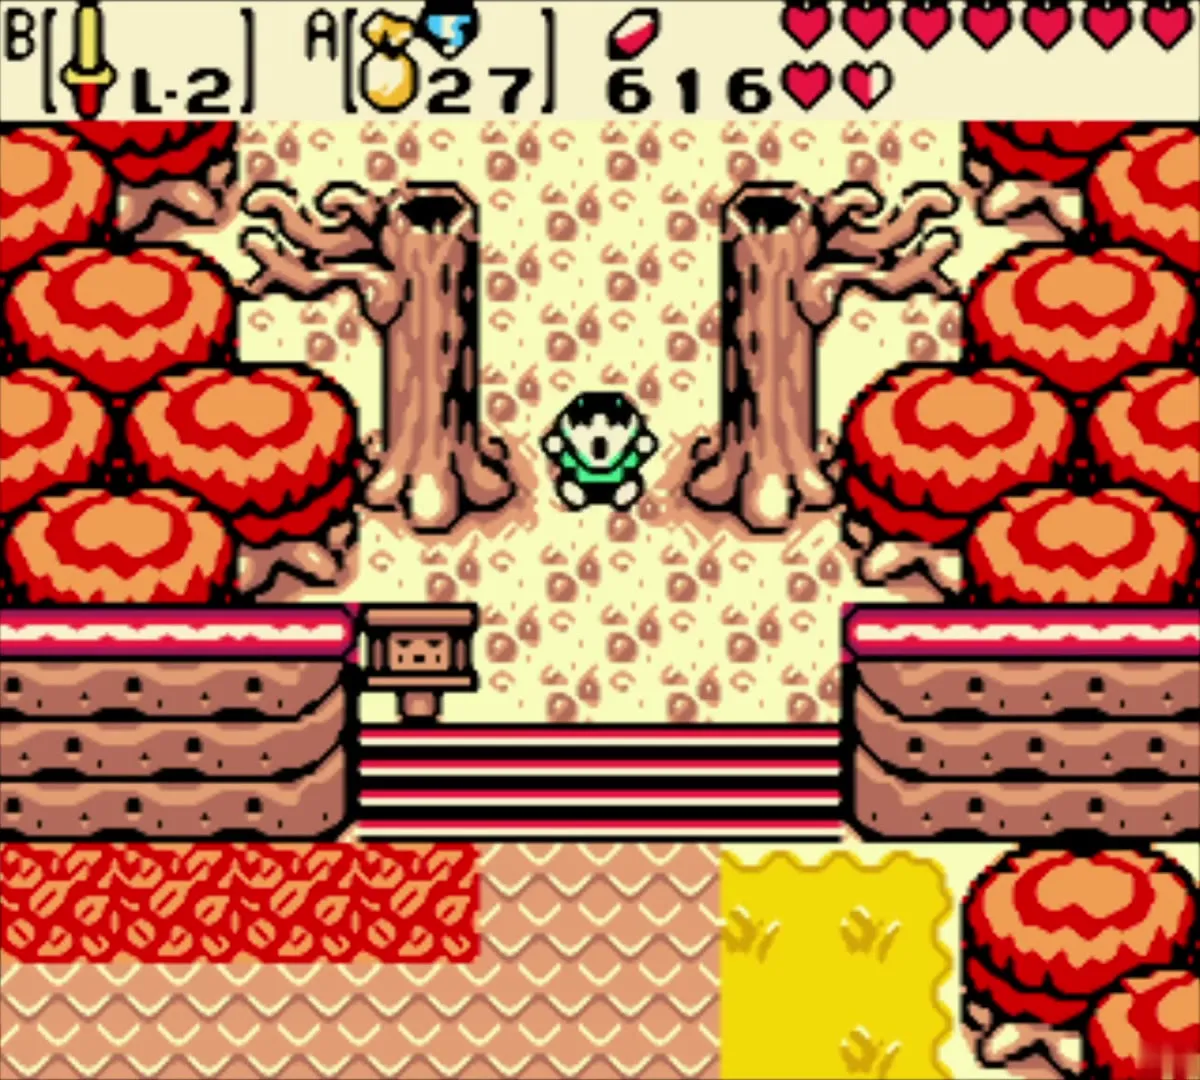
Leave the keep, open the Gale Seed map and choose “Horon Village – Warp”. You come out next to a ring of red mushroom trees close to the Maku Tree. Walk to the Maku Tree’s trunk.

Check Farore’s Secret List
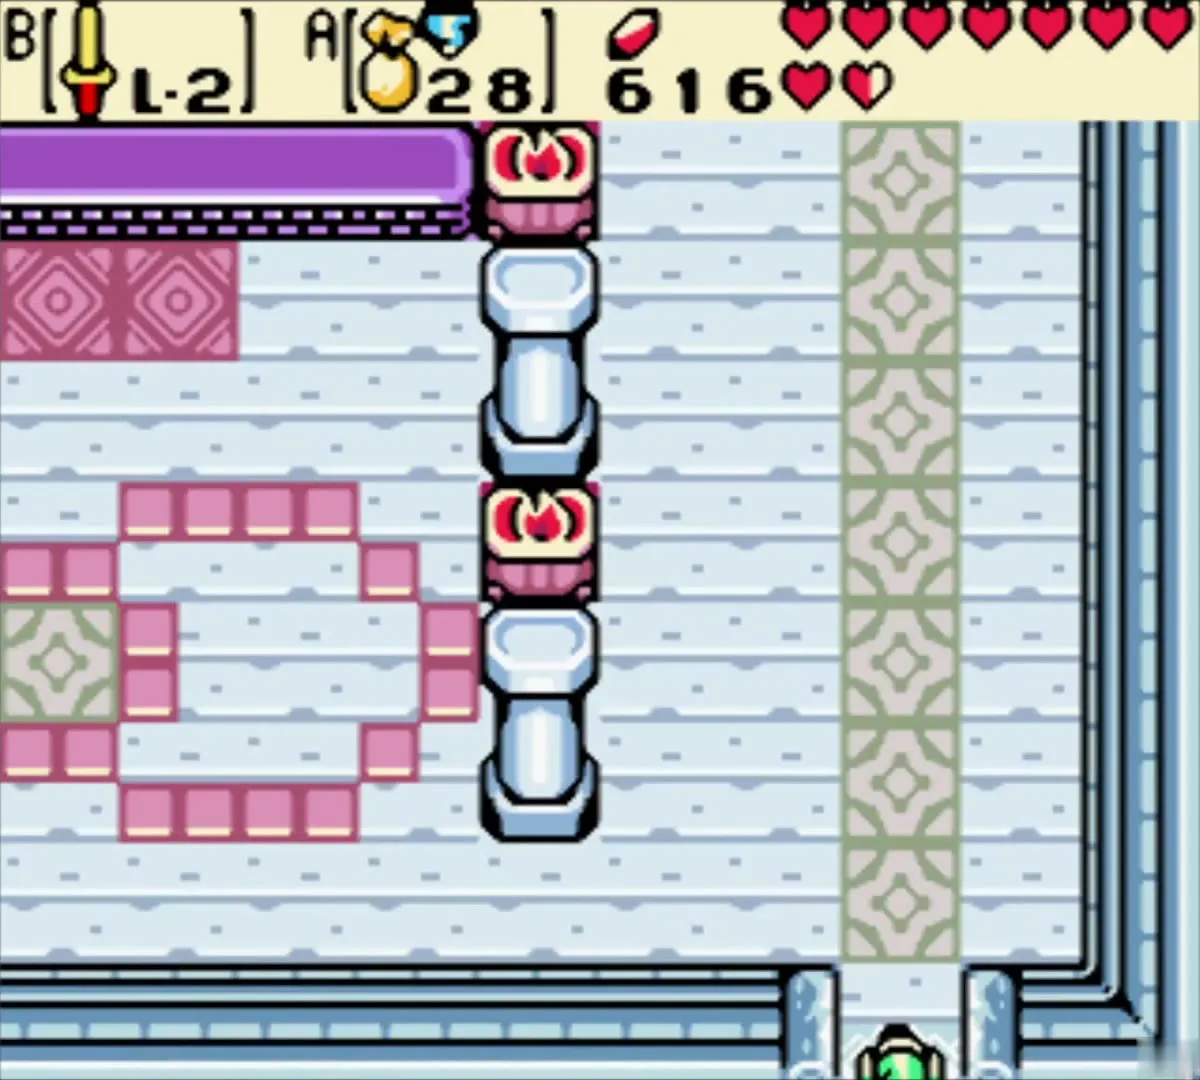
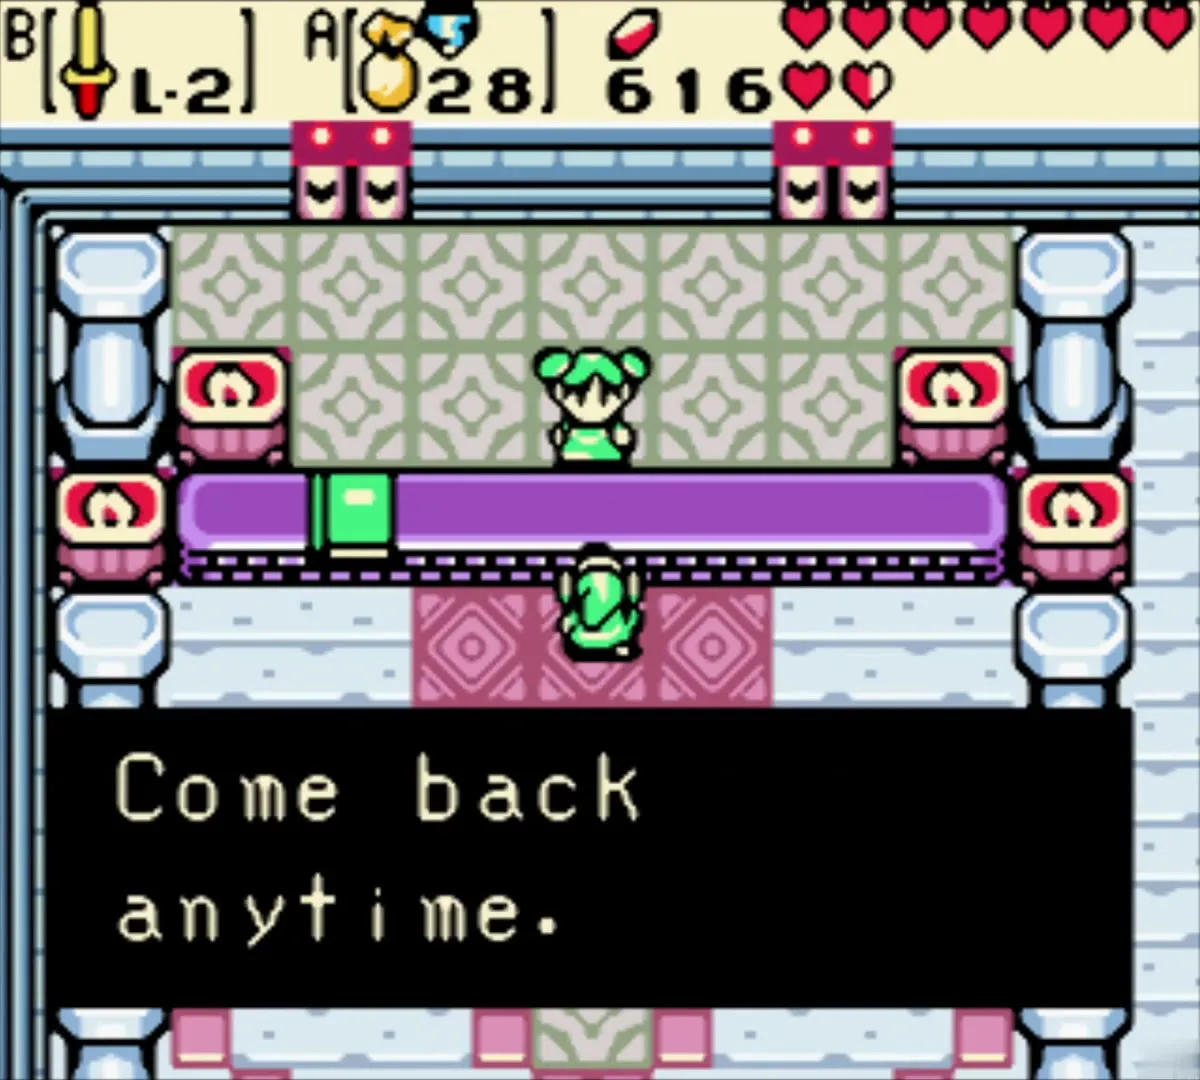
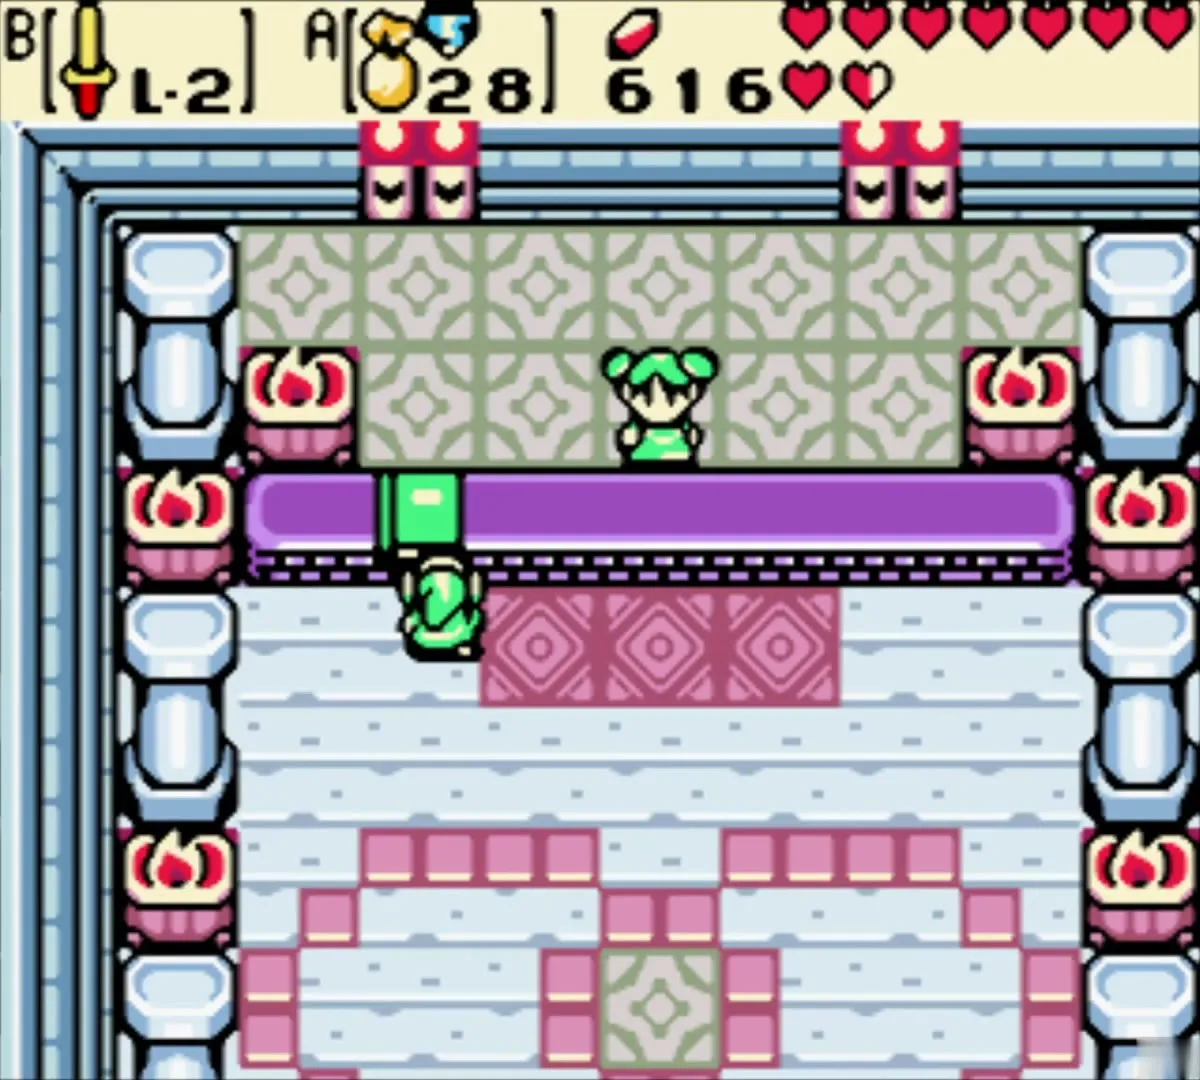
In the Hall of Secrets, speak to Farore and open the book, Farore’s Memory. The Secret List now shows the Tokay secret beside the Symmetry and Fairy secrets you already hold. Passwords only pay out once, and nothing new is paid out on this visit.
Gale Seed back to the lake
Go out of the tree, open the Gale Seed map again and pick “Sunken City – Warp”. This puts you back on the lake near the blue house. You may step inside and hear the Great Moblin grumble that bombs will take a long time to rebuild, but there is nothing else to gain.
Underwater route to Mt. Cucco and the Business Scrub
Swim under the lake and climb the vines
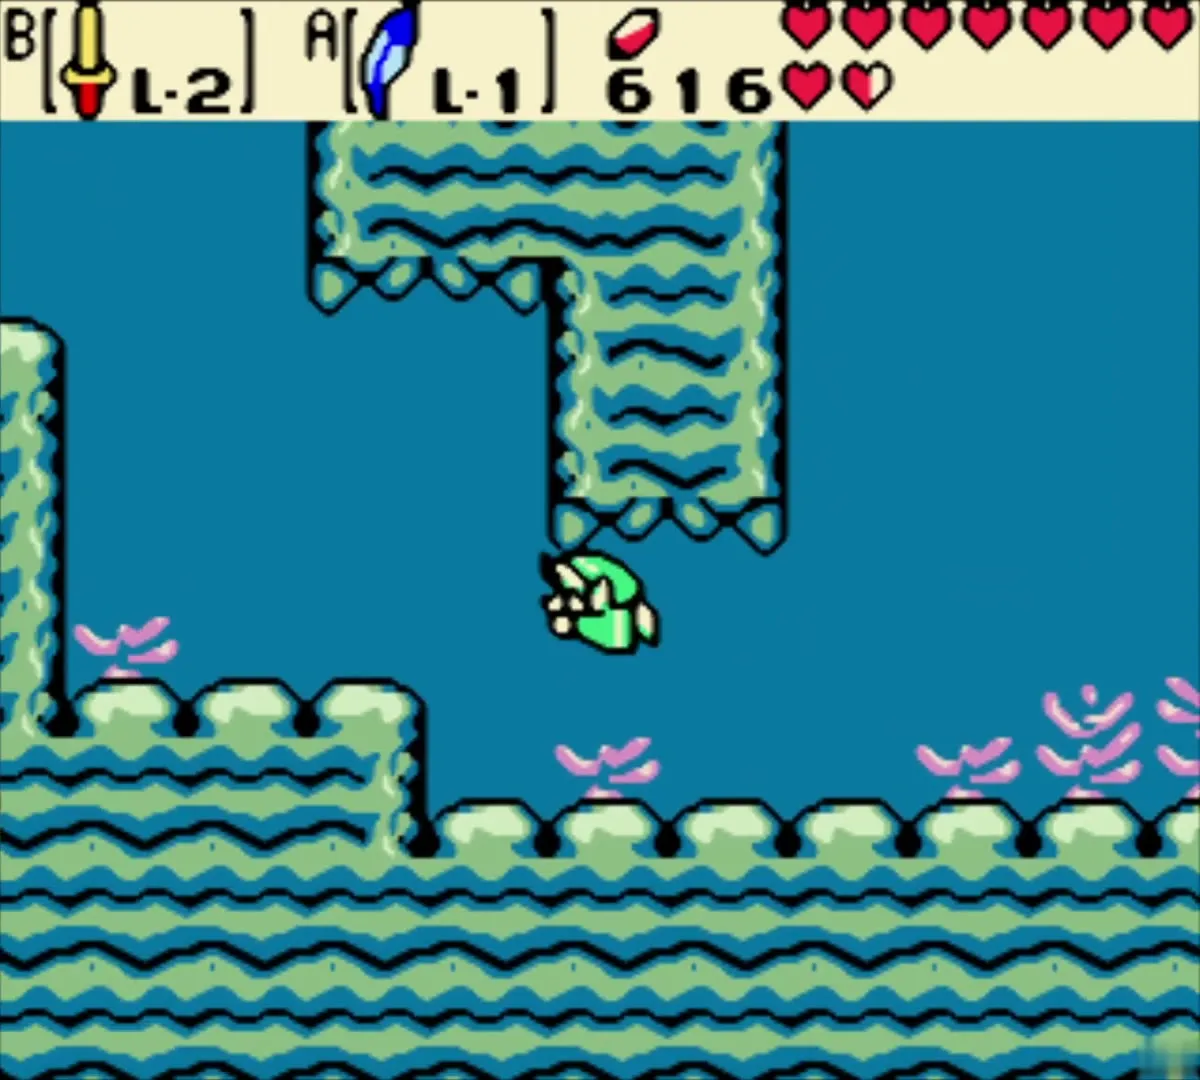
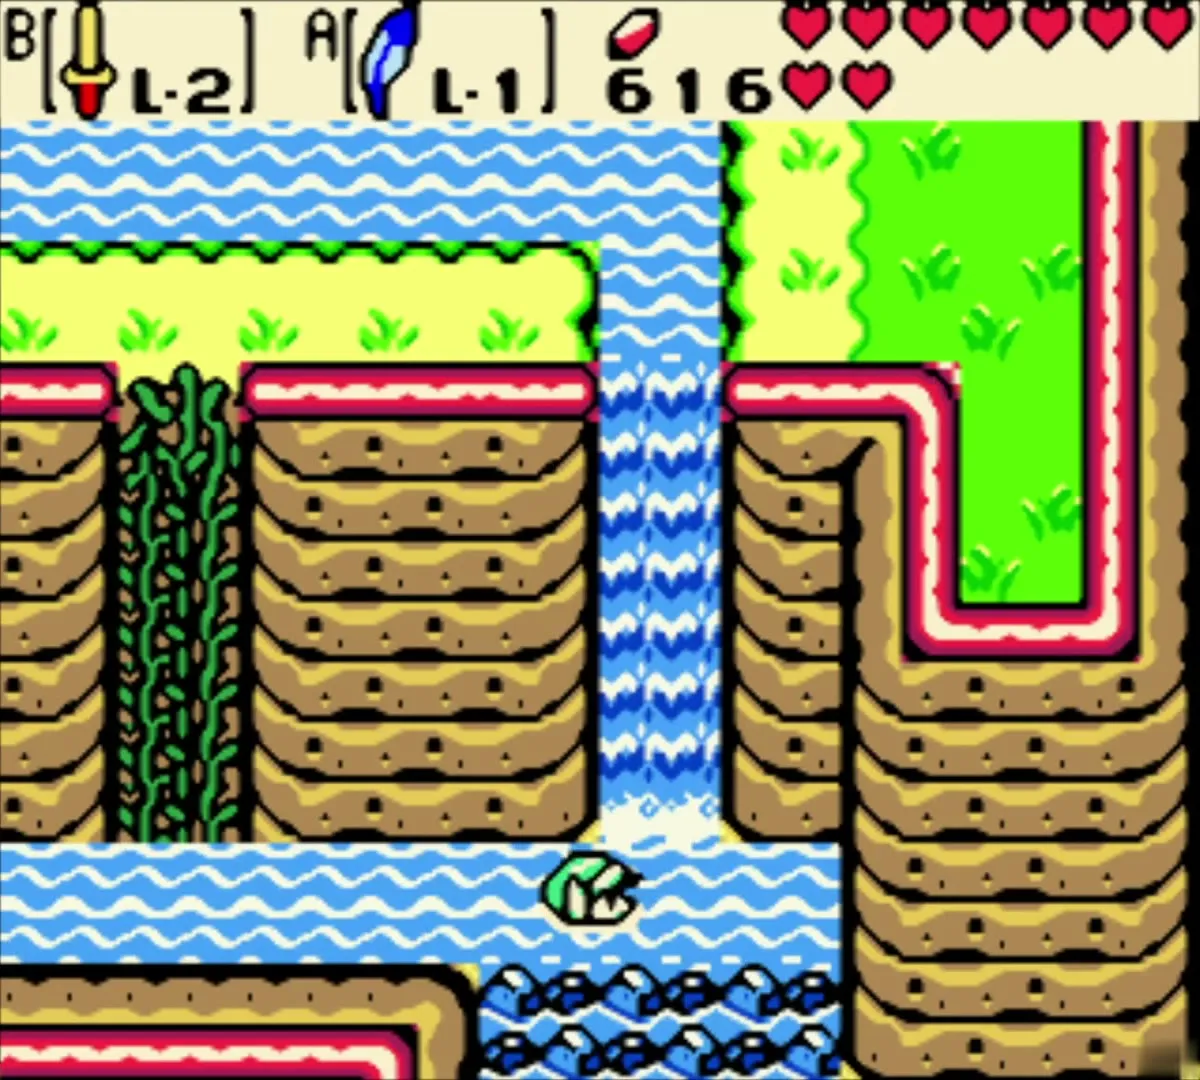
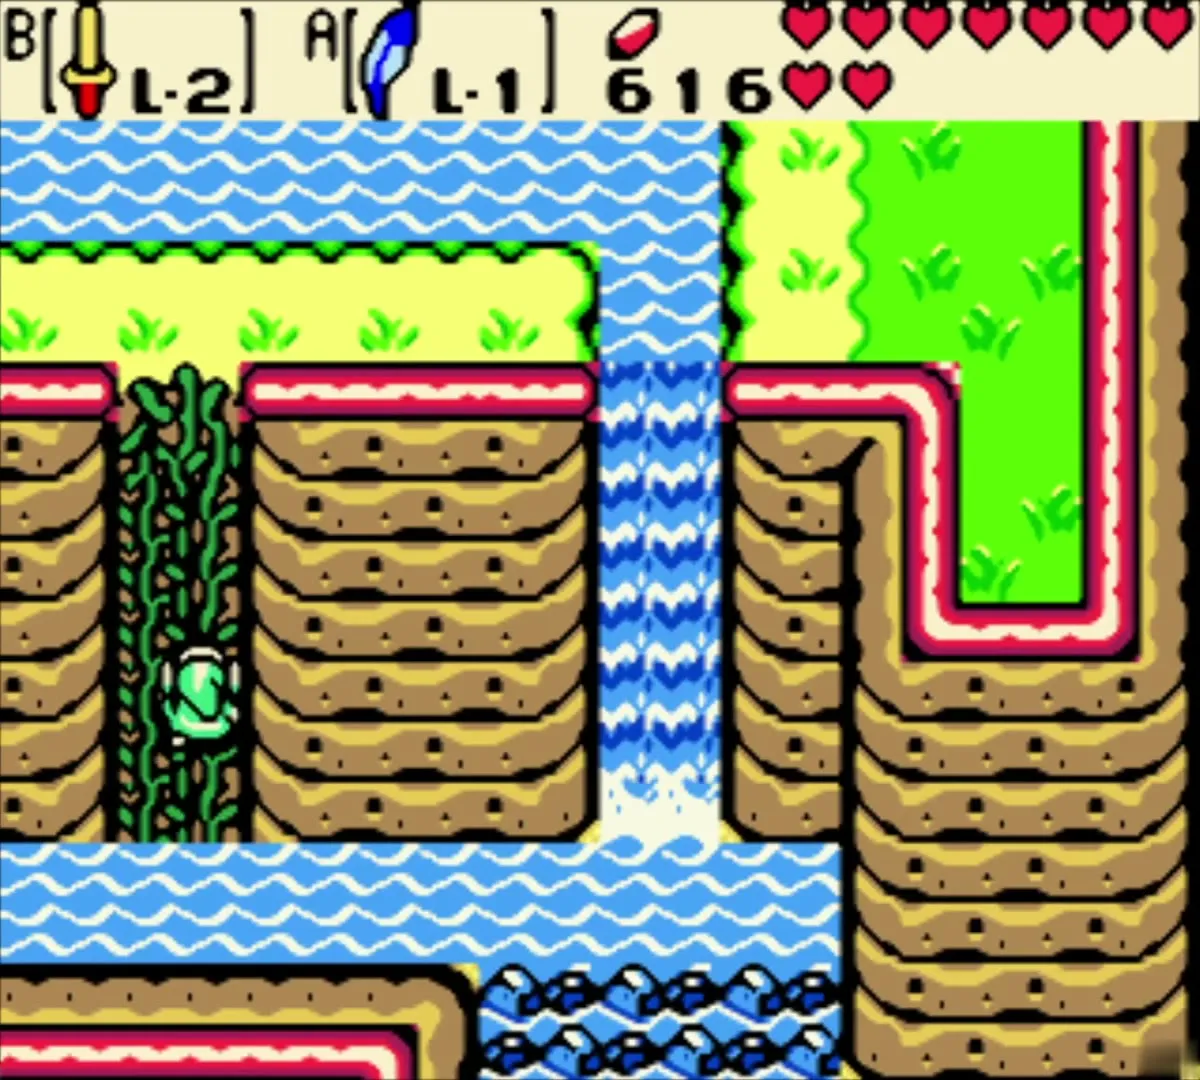
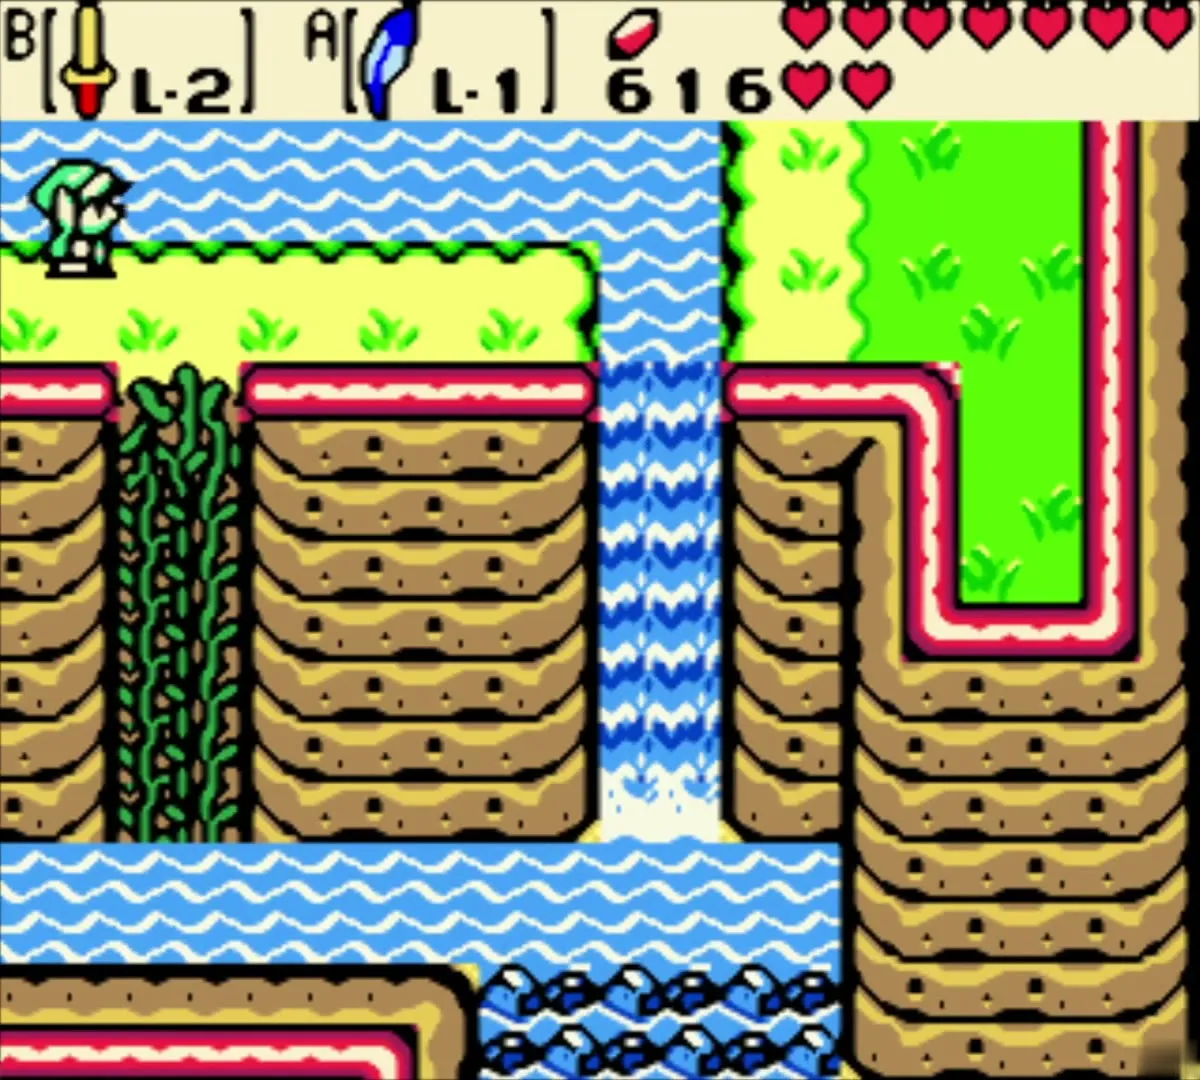
Dive in the deep water west of the blue house, where underwater passages run between green rock walls, and surface on a sandy ledge beside waterfalls. Use the vines on the cliff to climb north, with Roc’s Feather for the gaps, until you reach a grass field on the lower slopes of Mt. Cucco.
Spot the Piece of Heart on the ledge
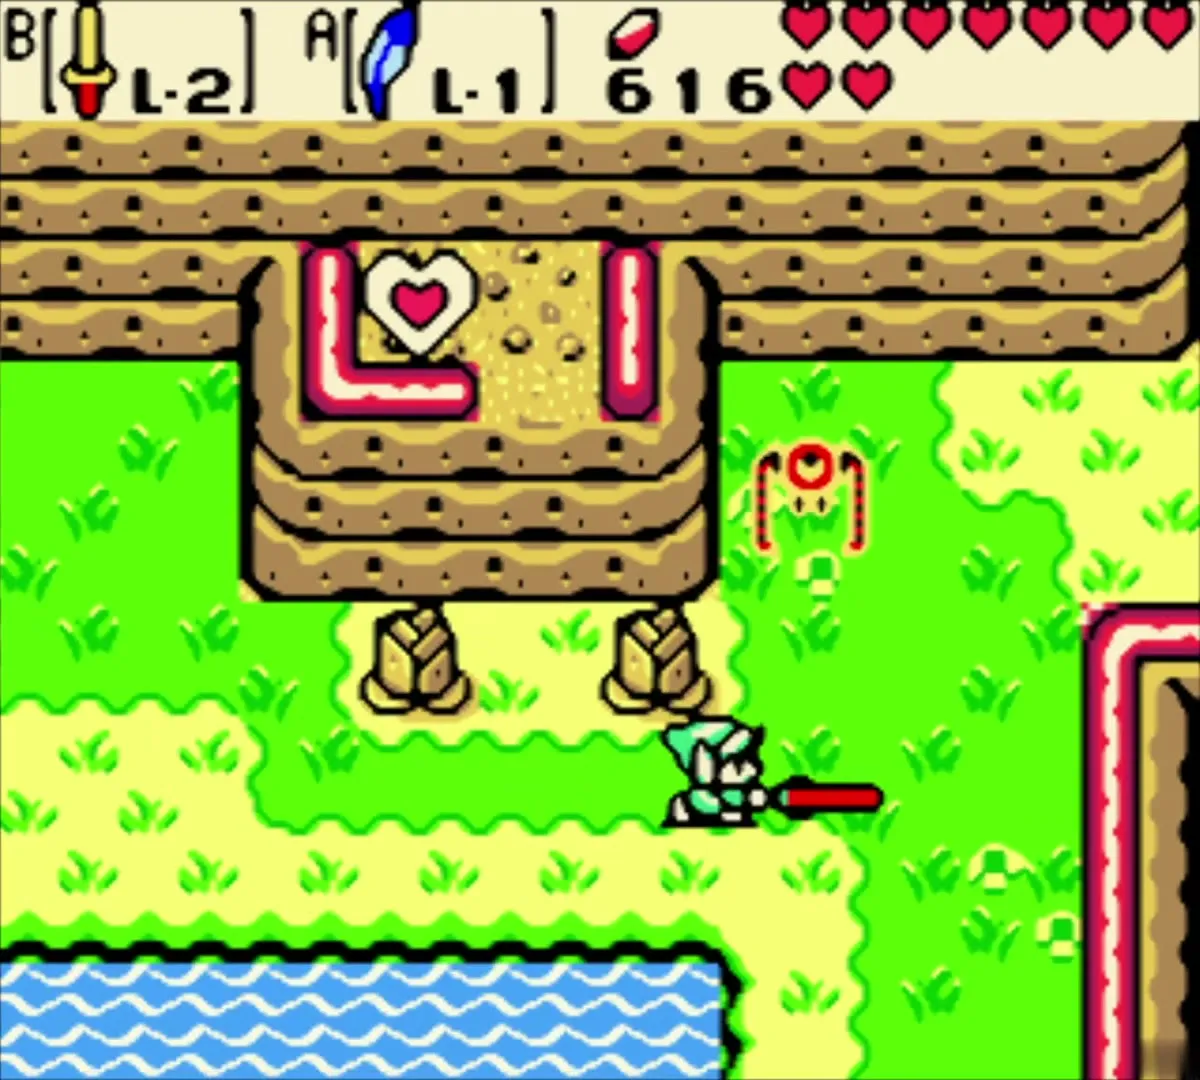
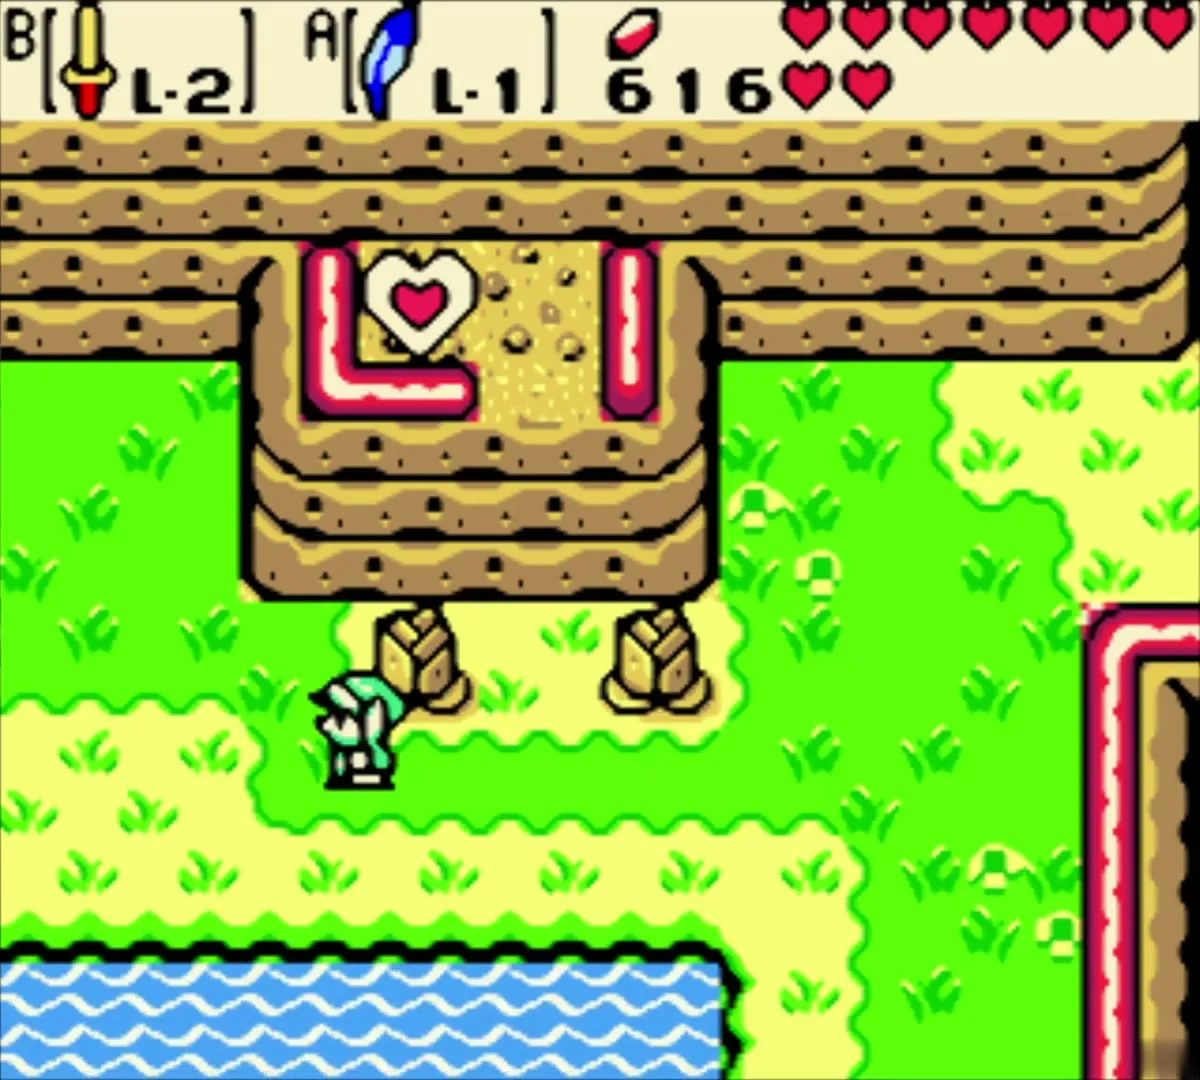
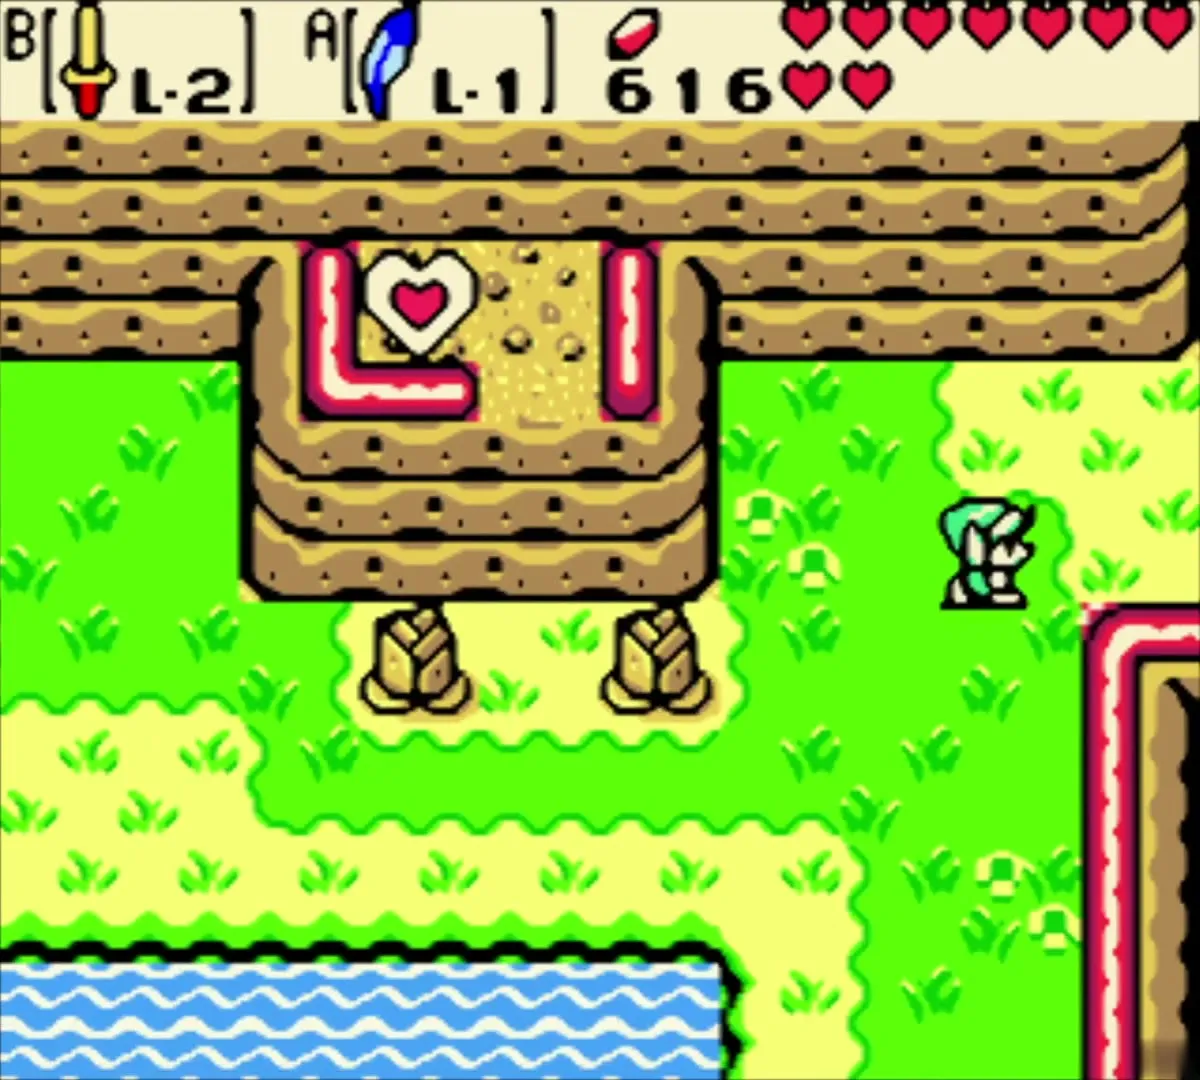
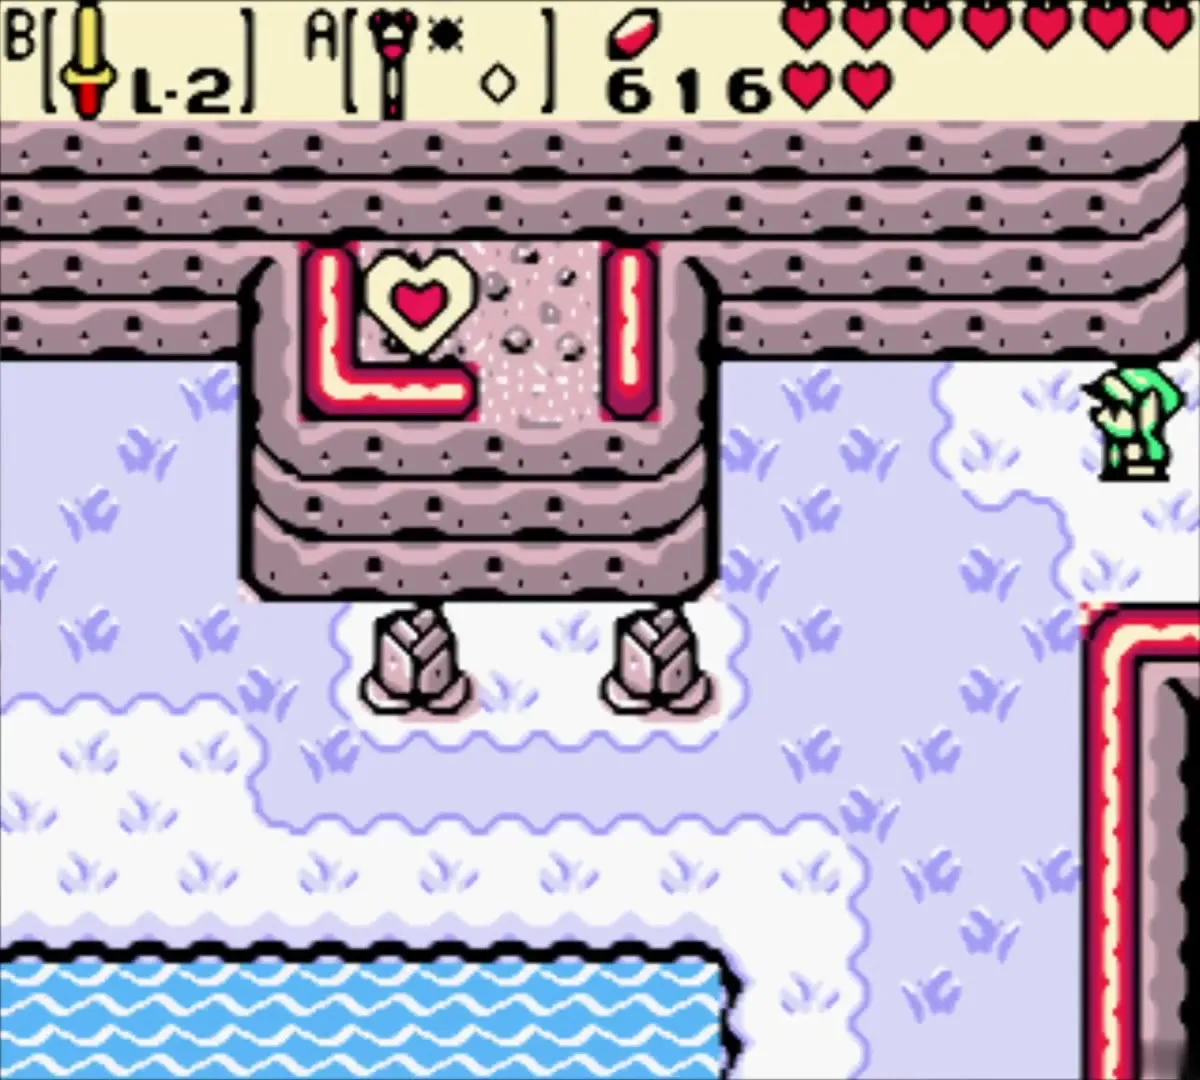
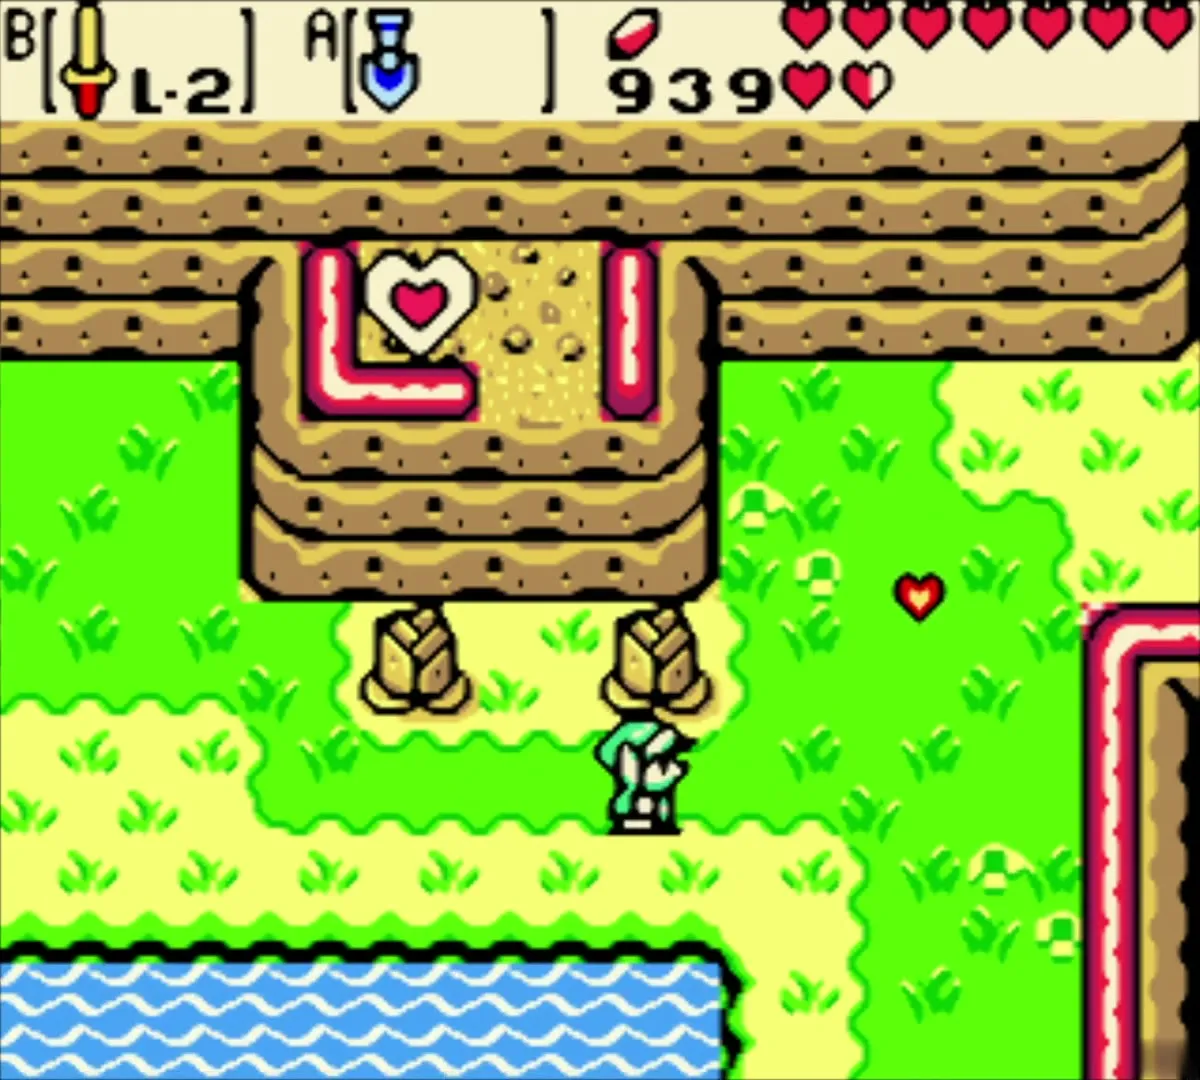
On the grass field a Piece of Heart sits on a raised stone ledge ringed by rocks. You cannot get up to it with what you carry, so leave it and come back after the Tower of Spring, when you have the Spring power. Cross the log bridge to the cliff on the right.
Bounce the Business Scrub’s seeds back
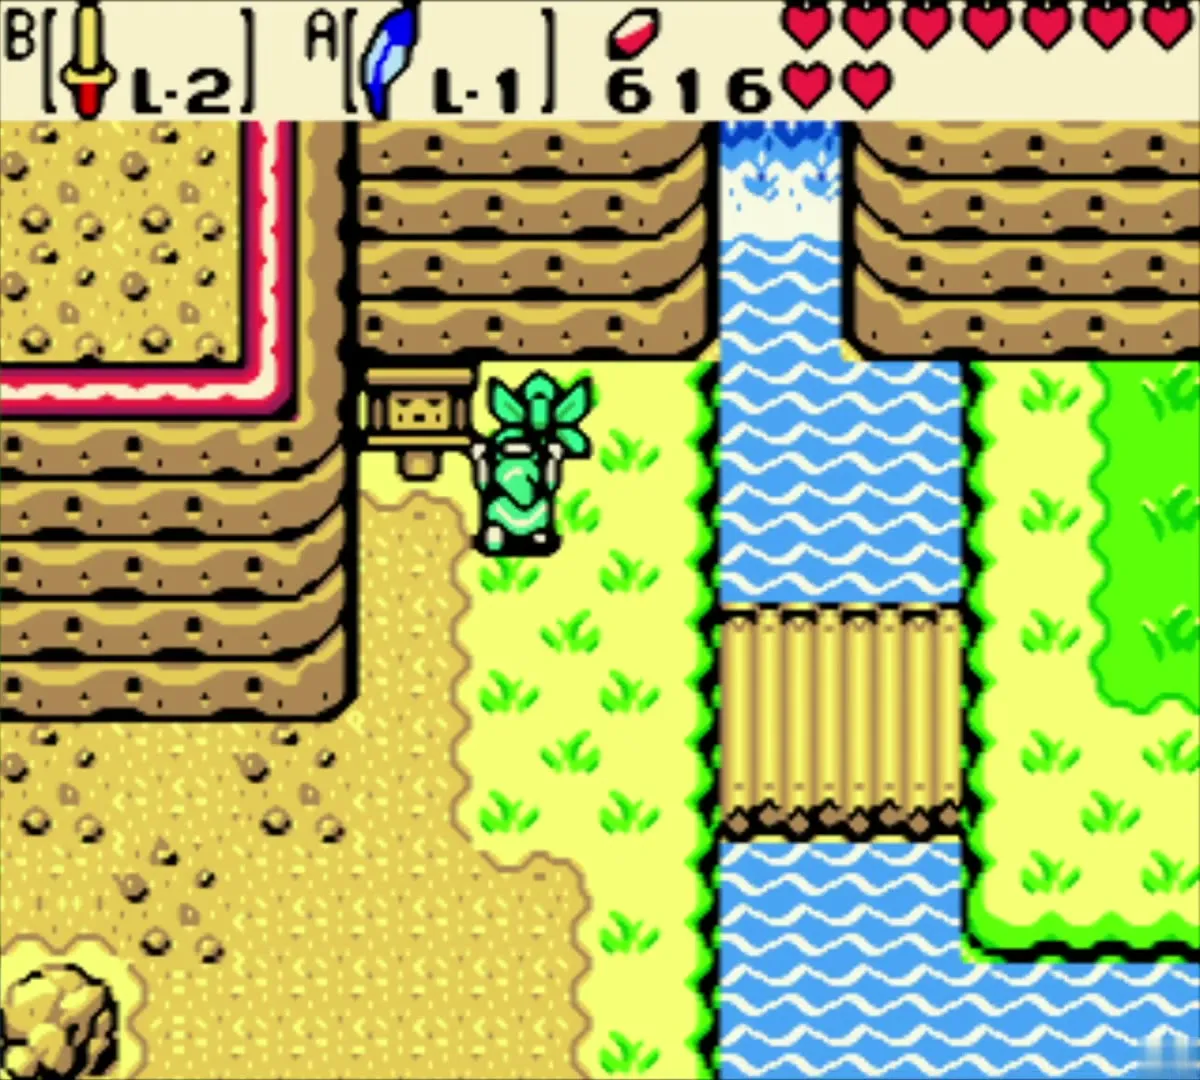
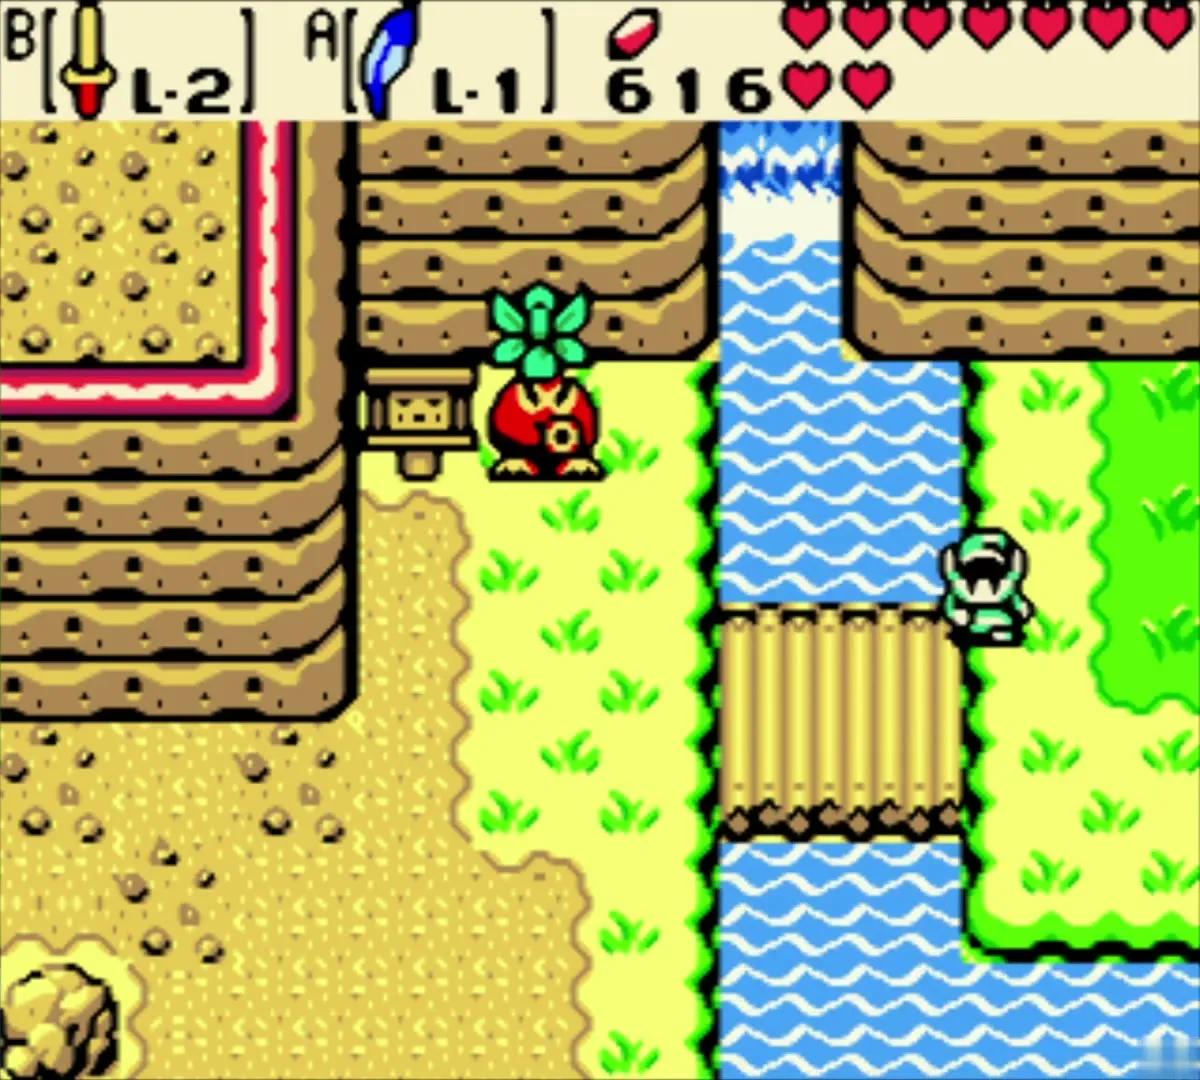
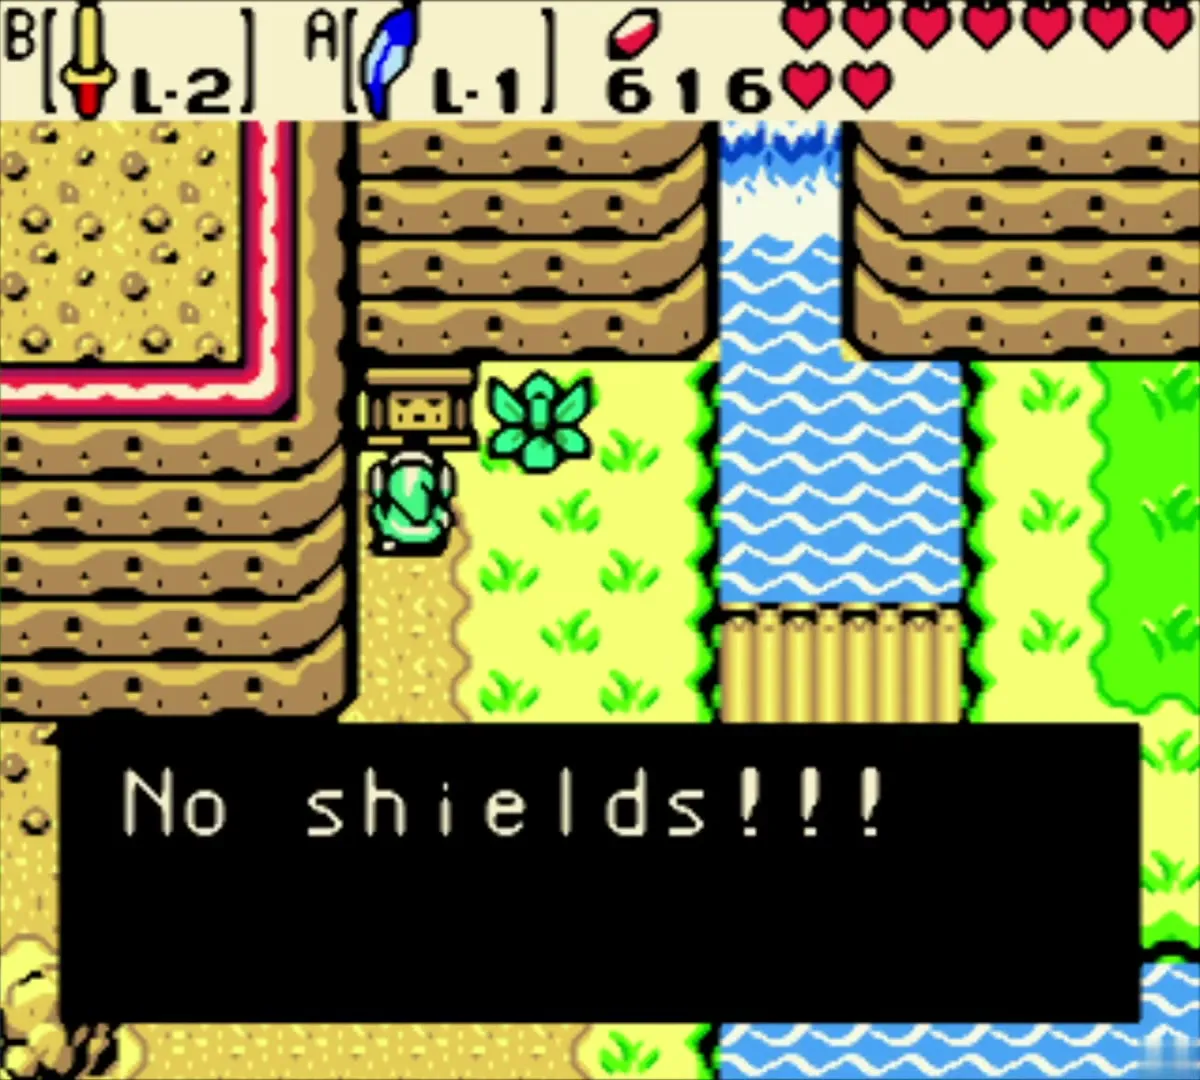
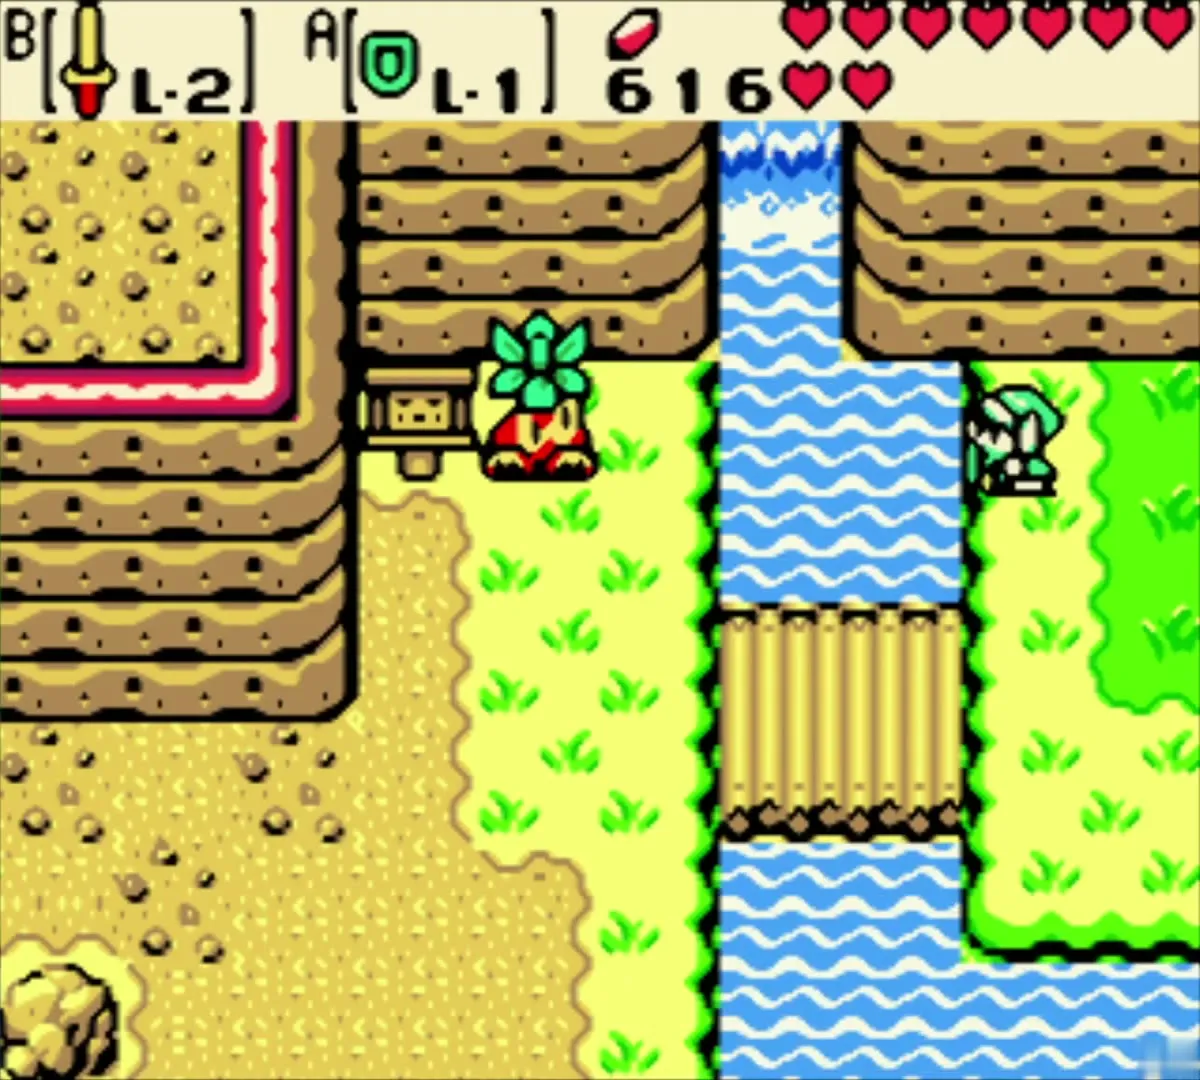
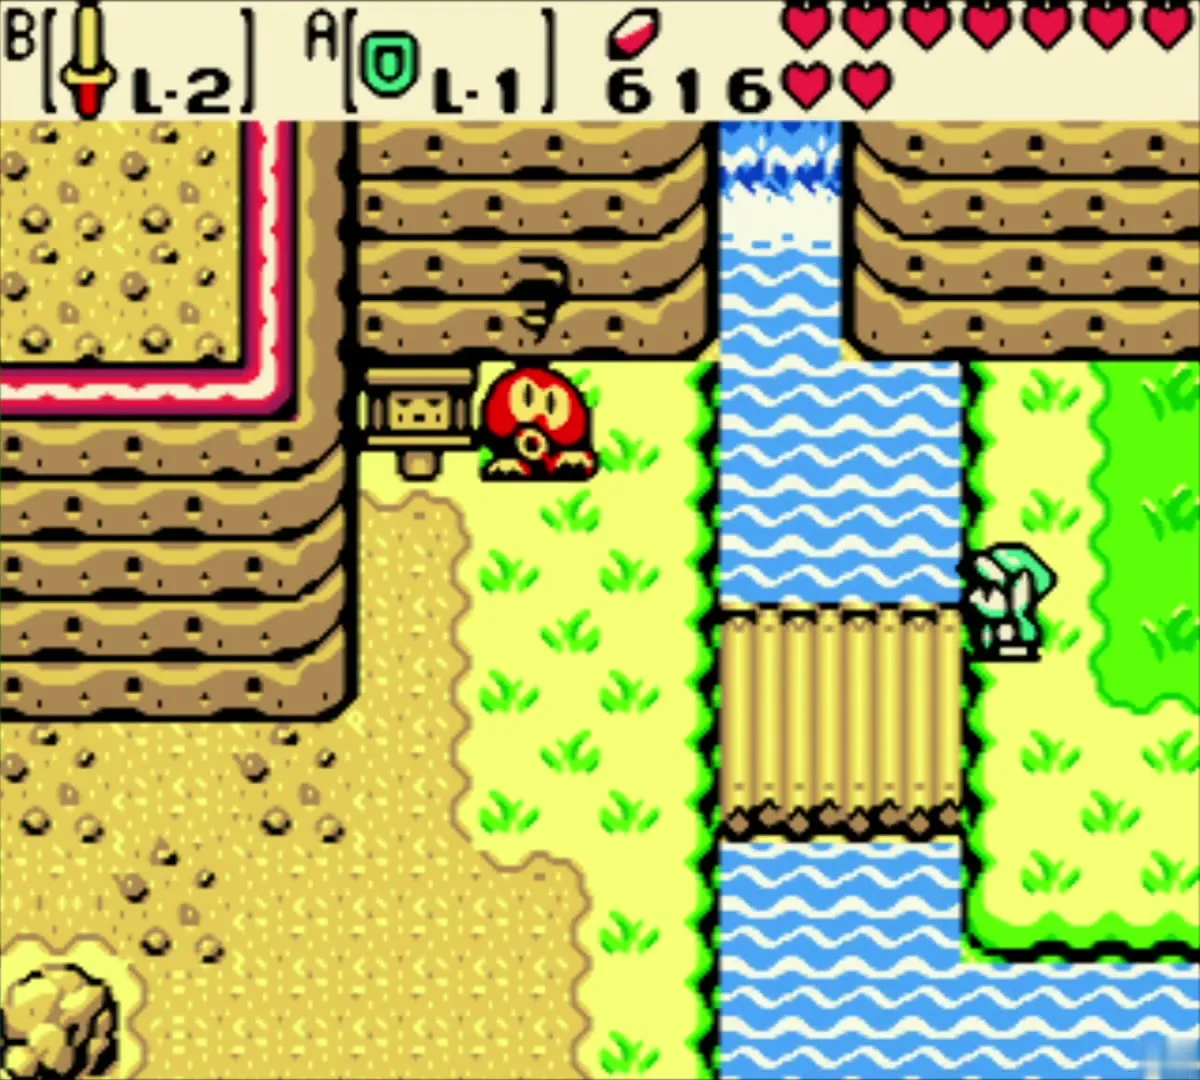
A Business Scrub hides at the foot of the cliff and ducks every time you approach. Stand across the river and raise your Wooden Shield. He pops up and spits seeds; bounce them back until one hits and he surrenders. He cries “No shields!” and offers a hint in return.
Learn about the keyhole and the key
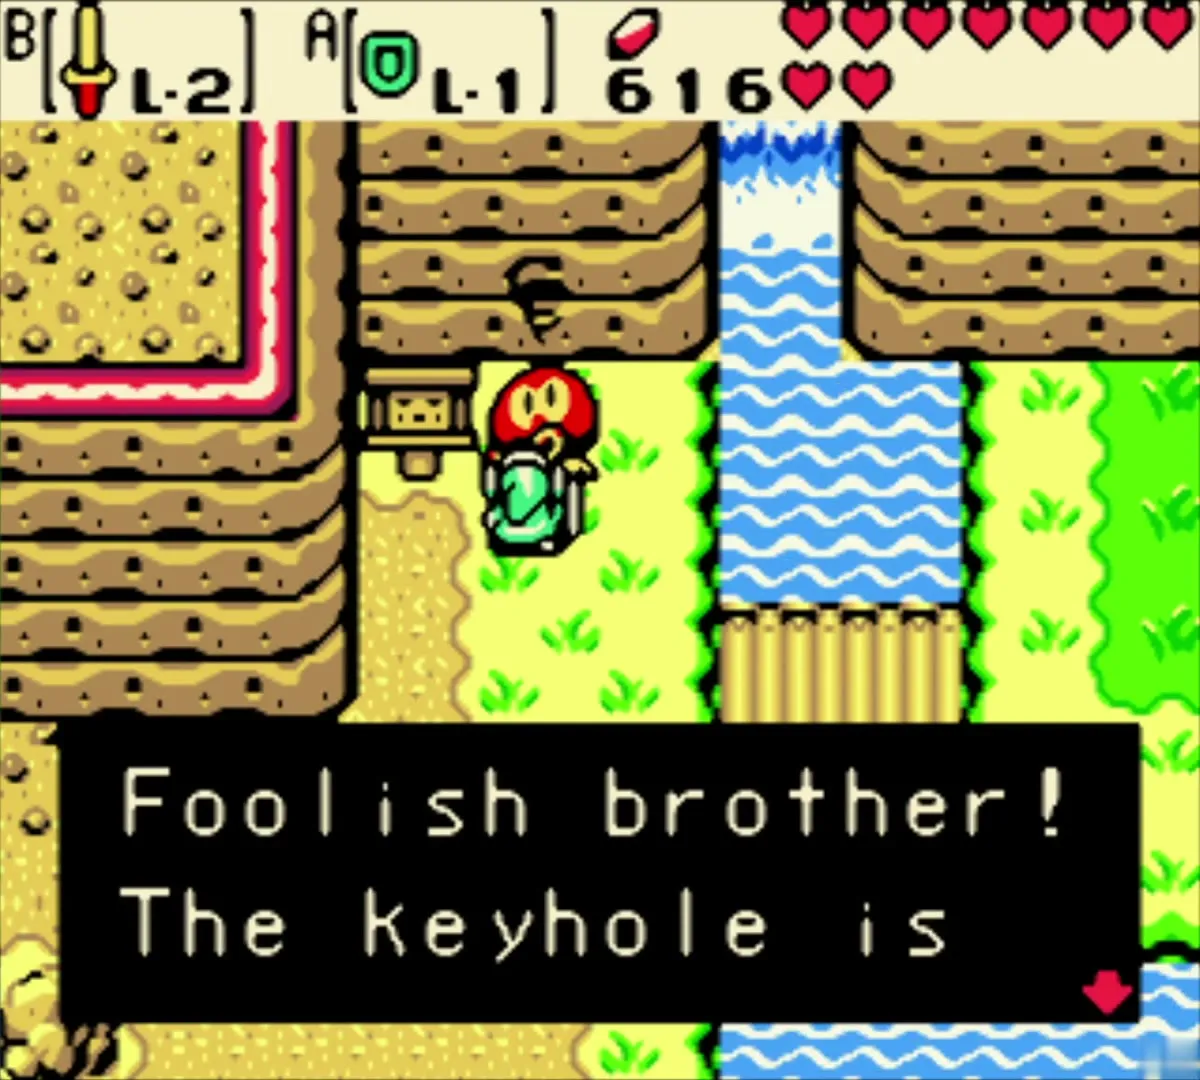
The scrub says you will still need a keyhole, which is on the summit. A second scrub on the next screen west tells you that the key is in the valley further west. These point to the Dragon Key and the Dancing Dragon Dungeon, which you will reach in a later chapter.
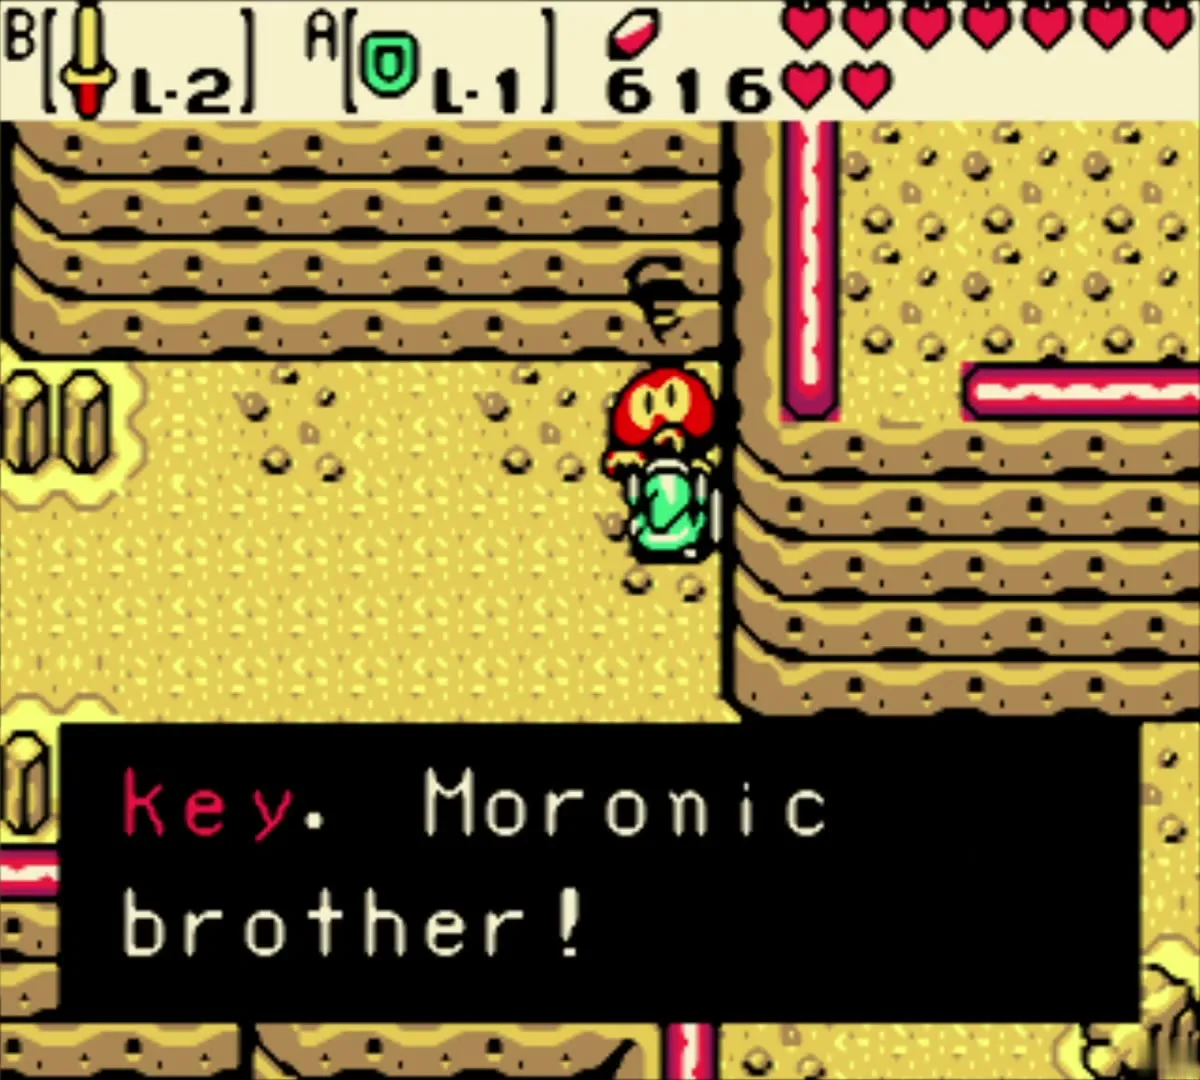
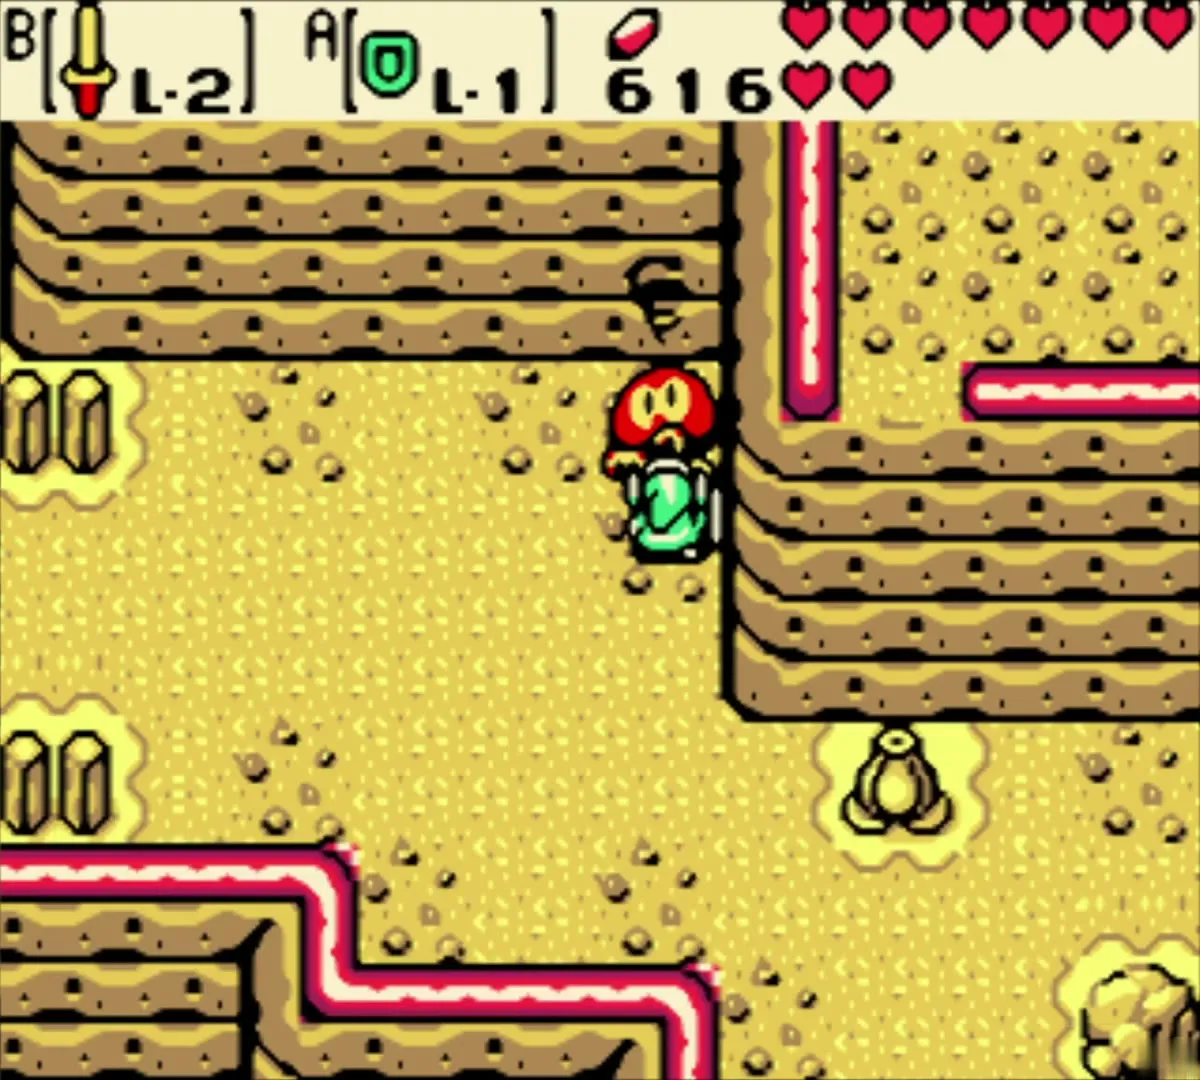
Check the stump by the heart ledge
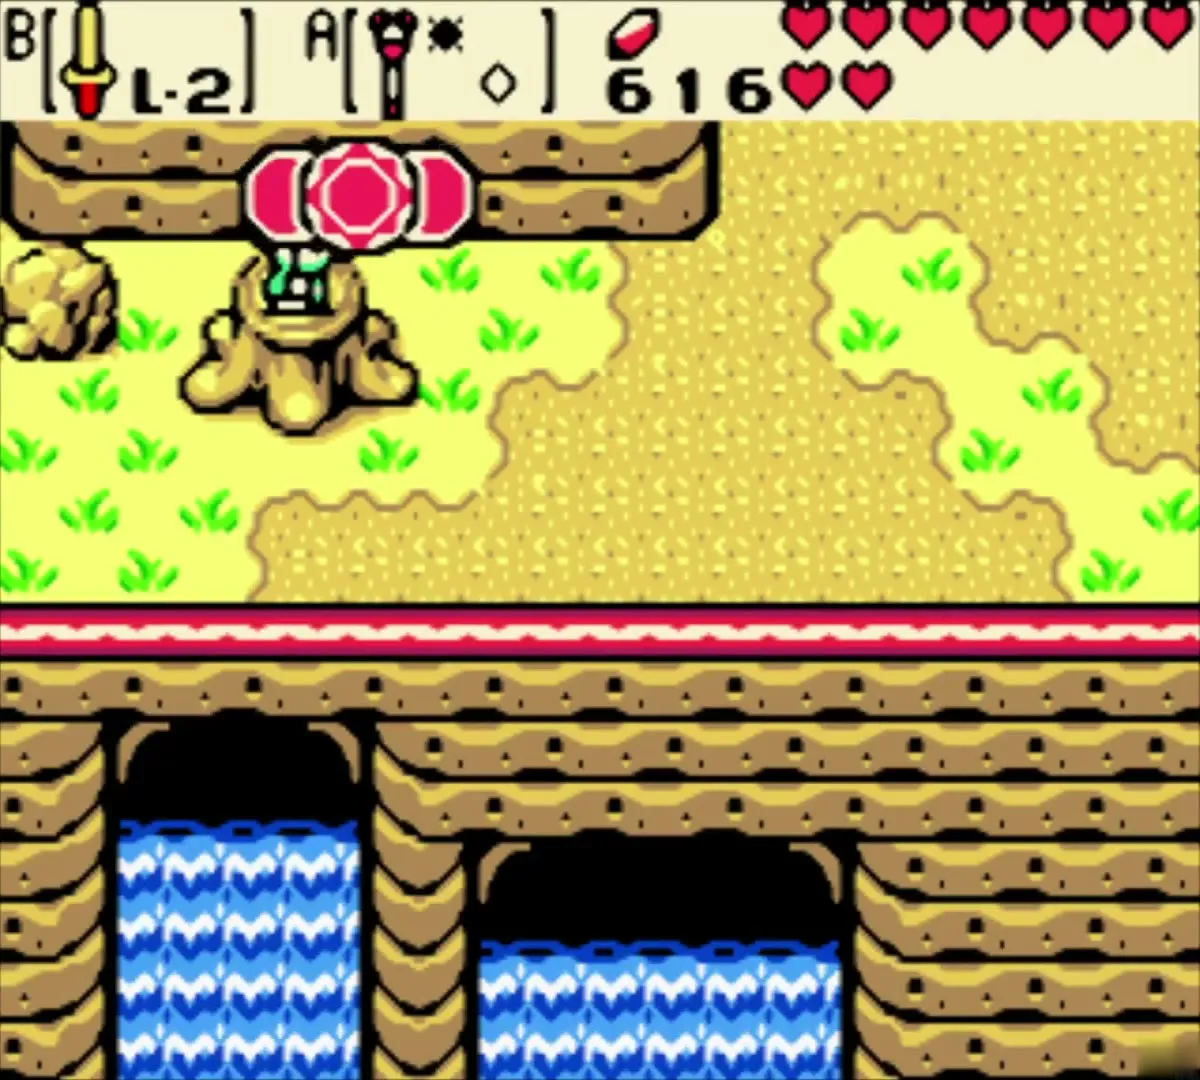
A season stump stands beside the ledge. Strike it with the Rod of Seasons to flick between summer and winter, the only two seasons you own so far. It does not unlock the ledge, so go on west.

Goron Mountain walkthrough
Bump into Maple on the snowy slope
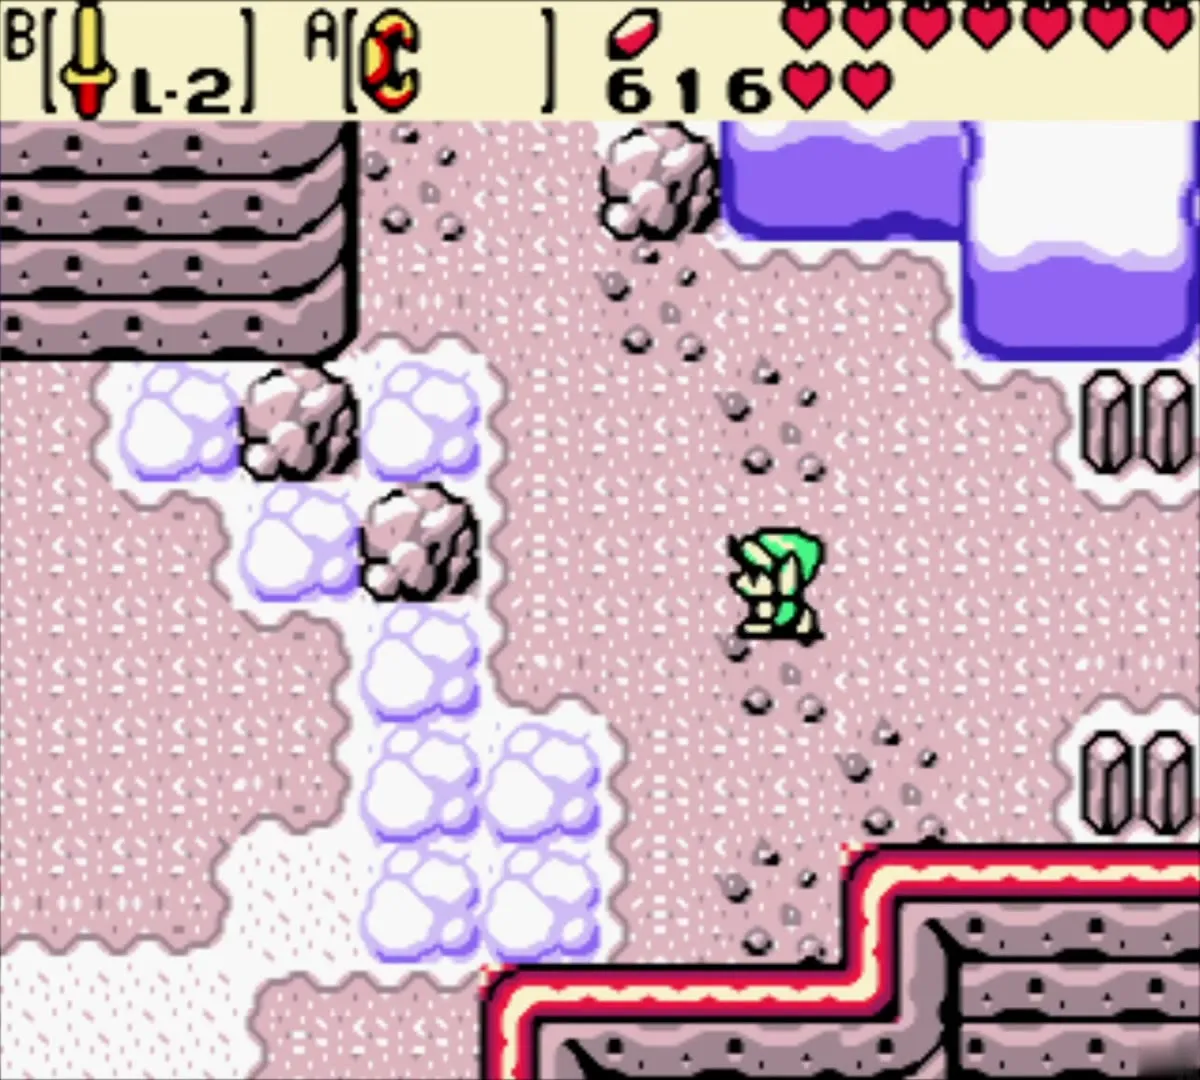
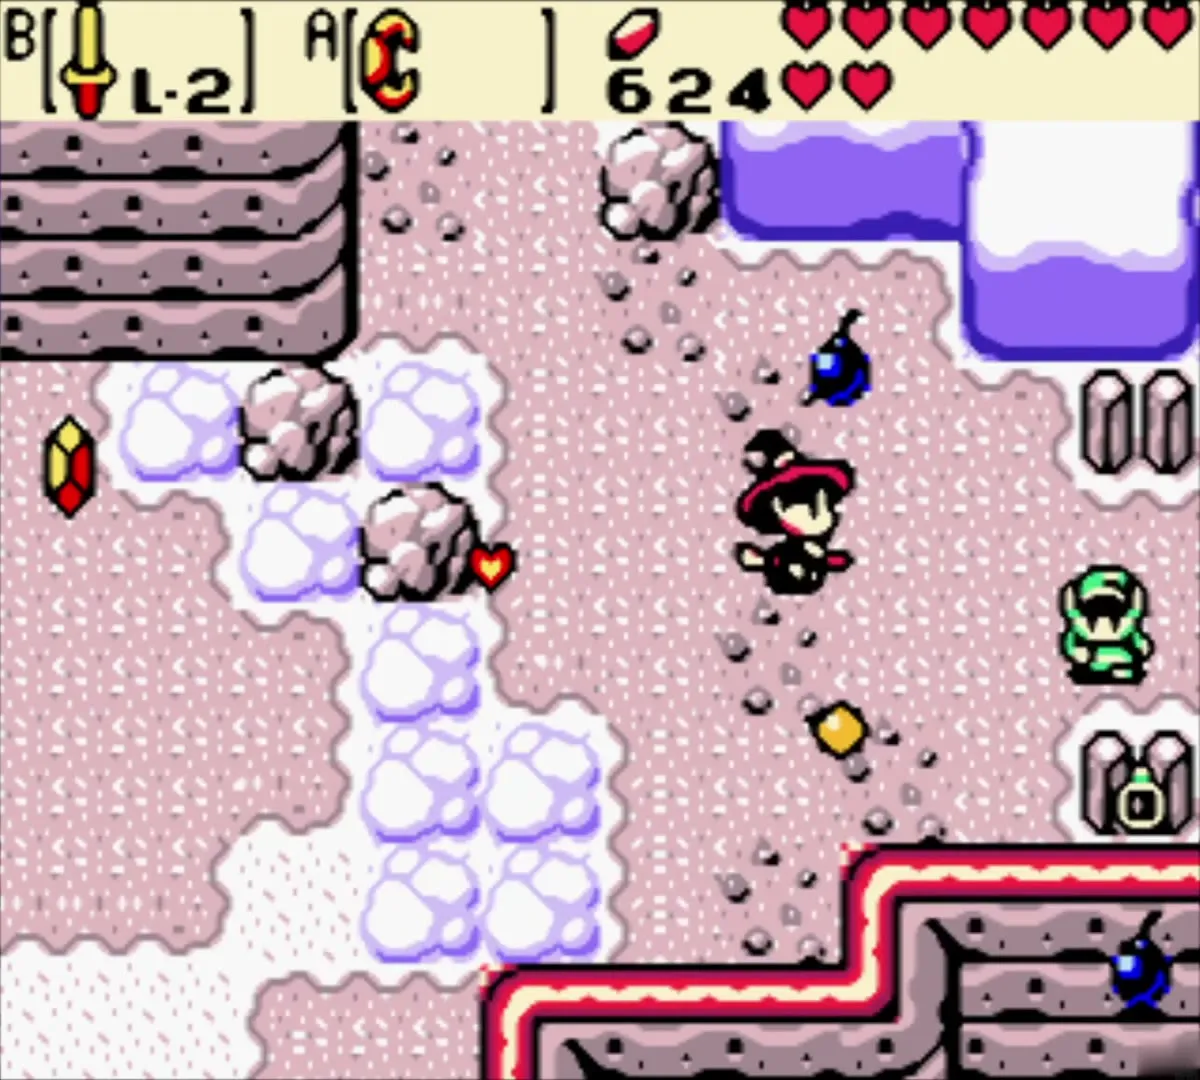
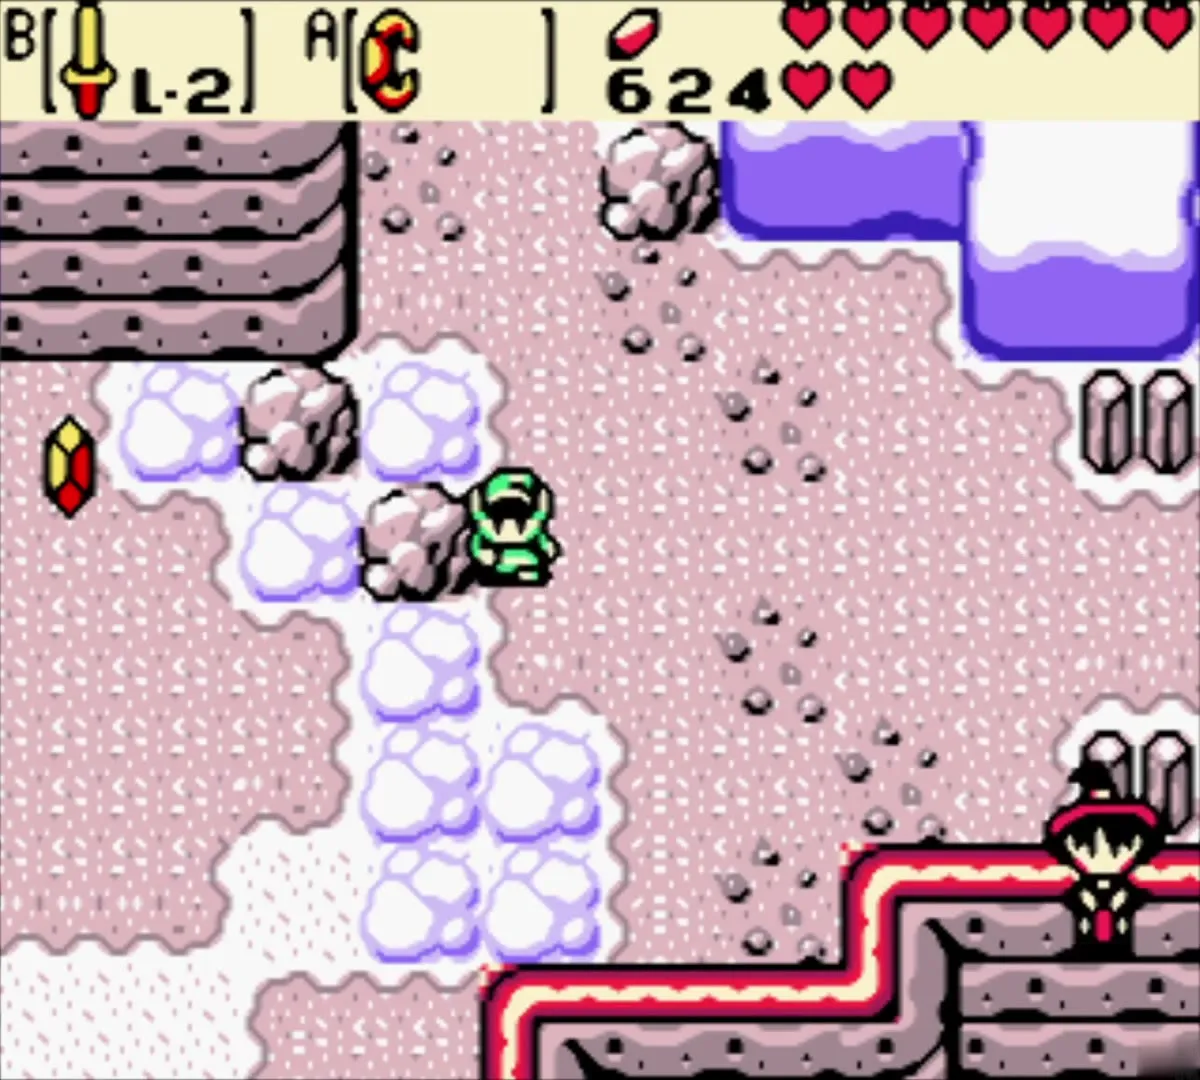
The area west of the scrubs is Goron Mountain, which is locked in winter and cannot be changed by the Rod of Seasons. Maple, the witch, flies in on her broom on the first snowy screen. Run into her so she crashes, and she scatters Rupees and other pickups on the snow; collect them before she does. This is one of her random encounters and she can drop a Piece of Heart once only. This time it is just Rupees (+10).

Pass the Dragon Key and the Lynels
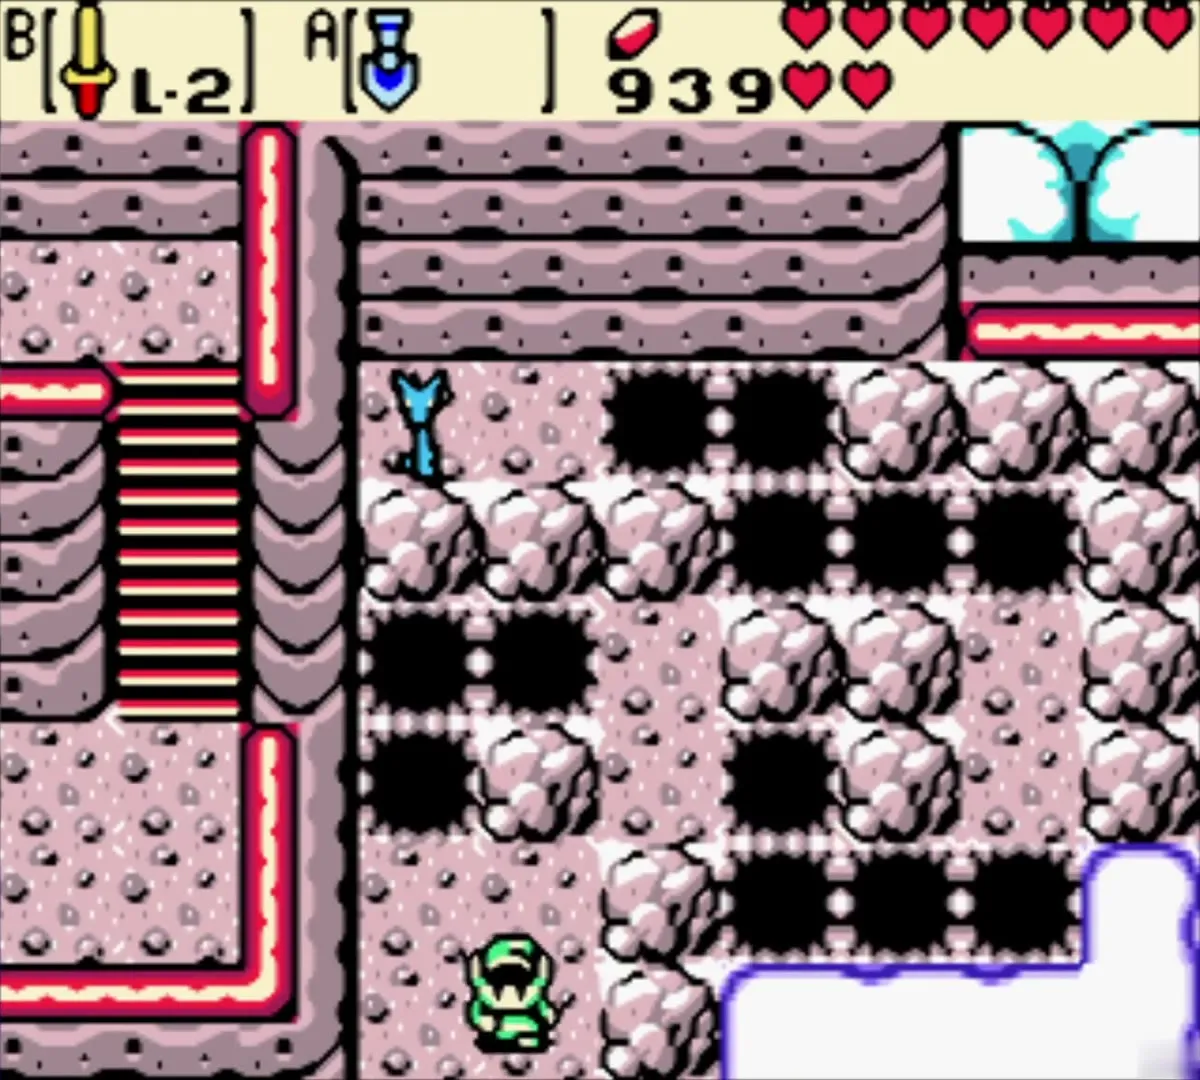
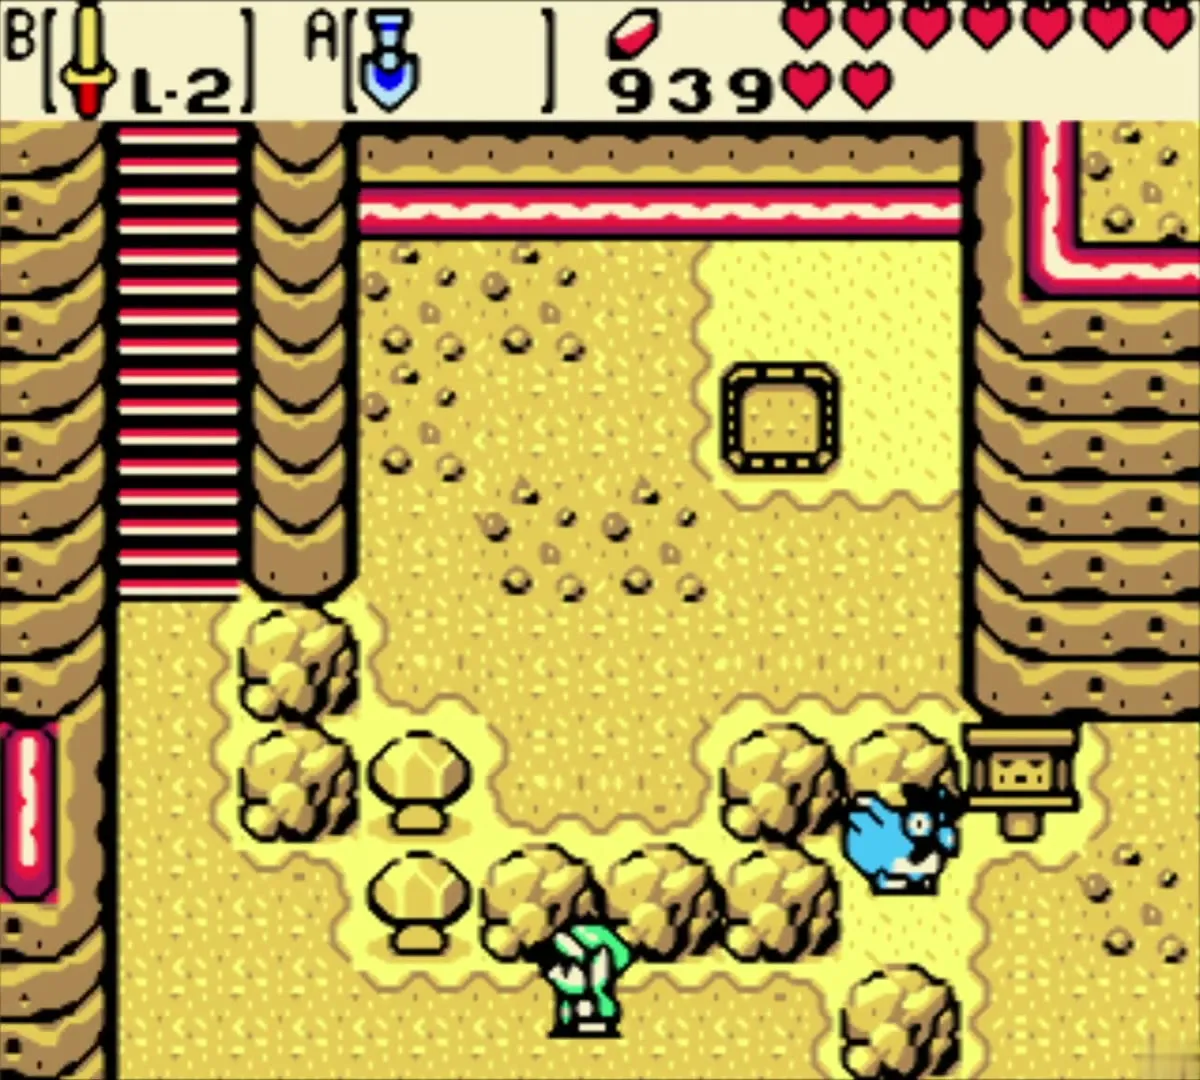
Beyond Maple is a corner full of rocks and pits with a key lying out of reach; this is the Dragon Key, and only Moosh can float across the pits to take it. Skip it for now. Beat or bomb the spiny creatures that crawl across the snow and climb the stairs up into the lava caves.

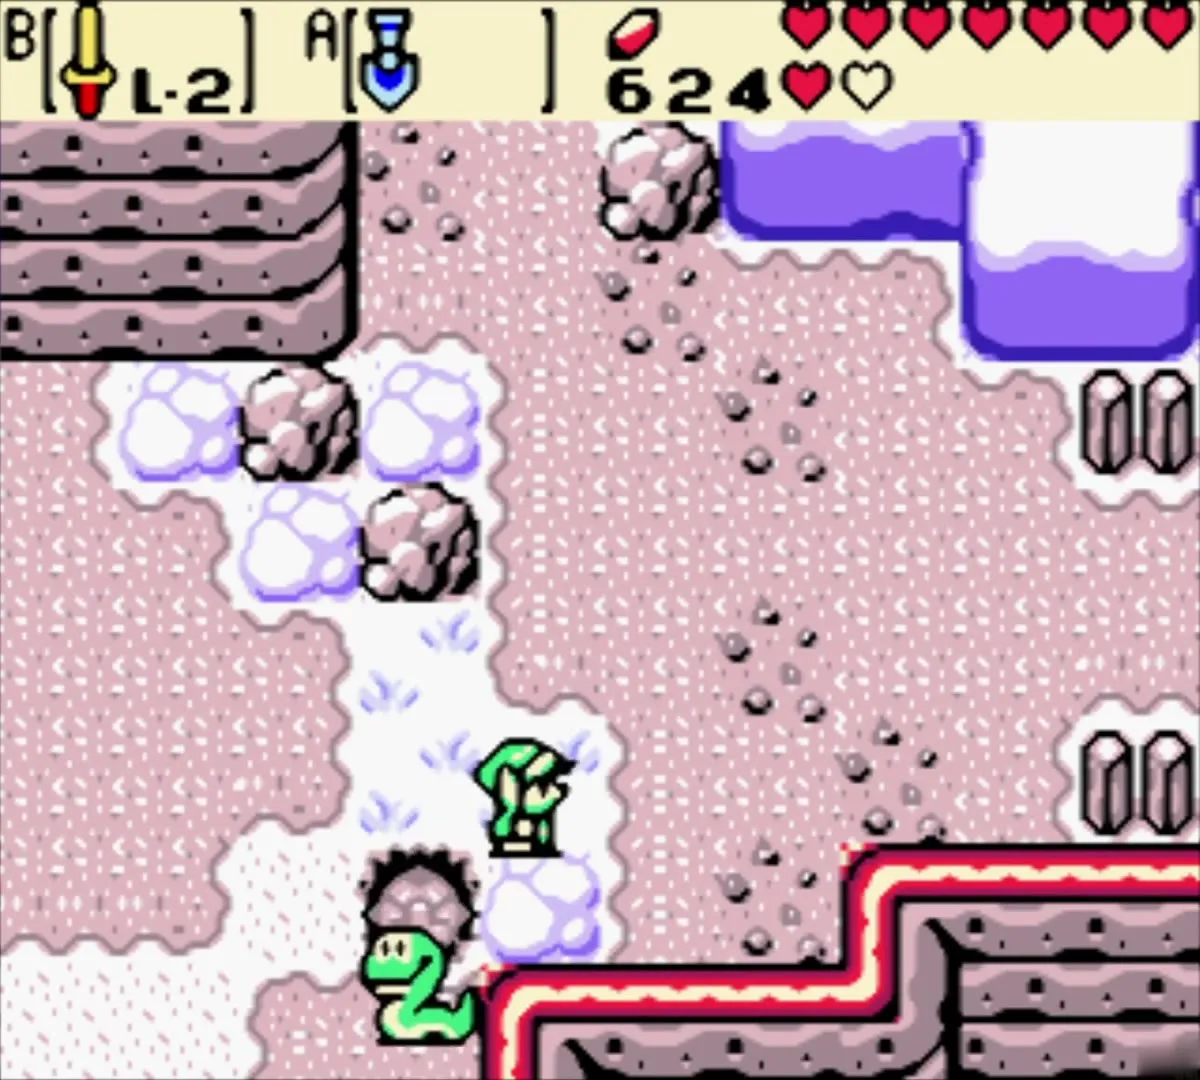
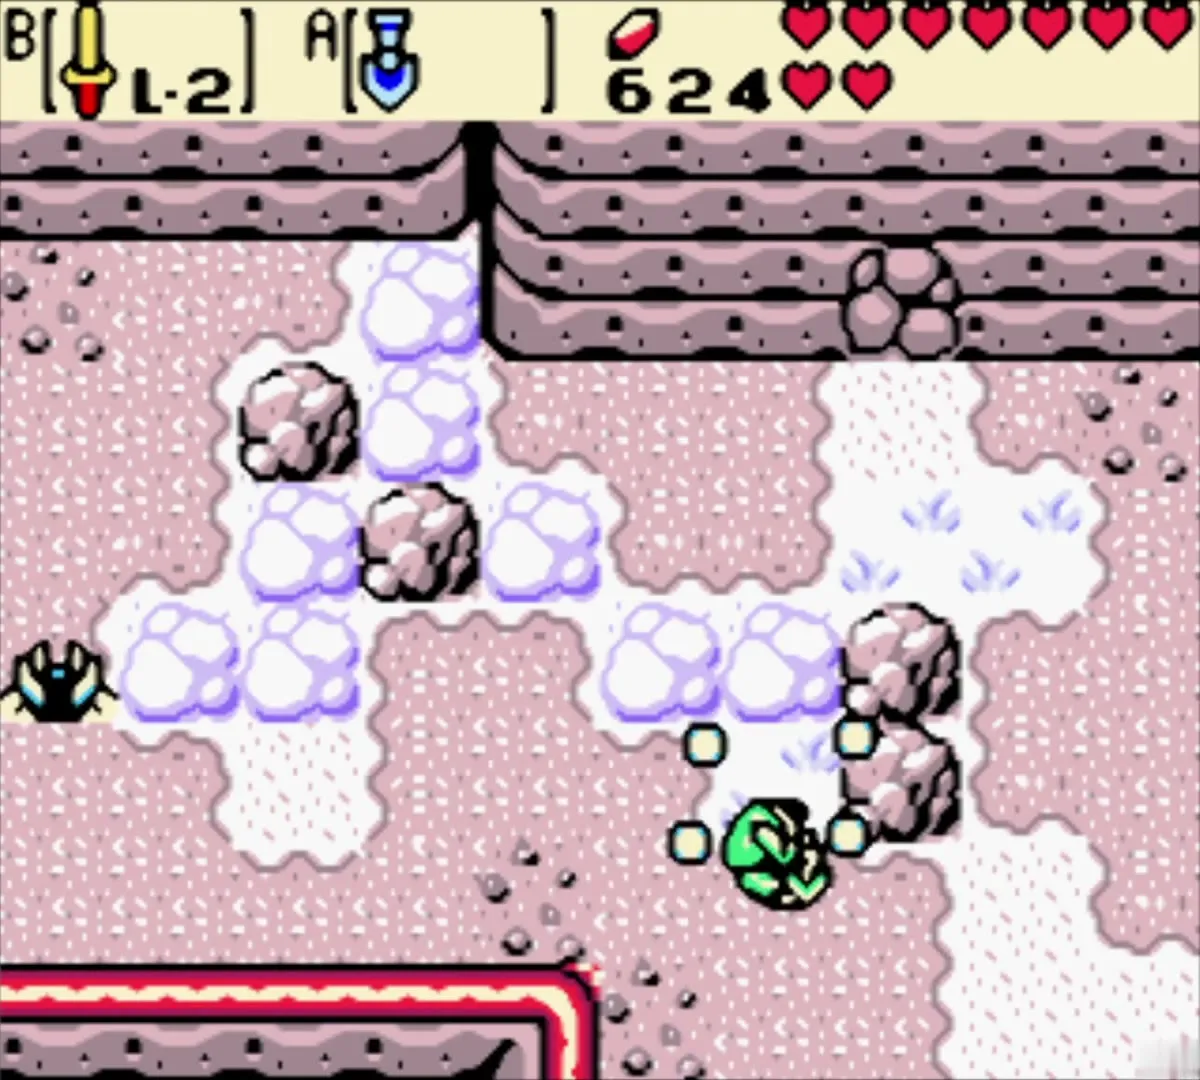
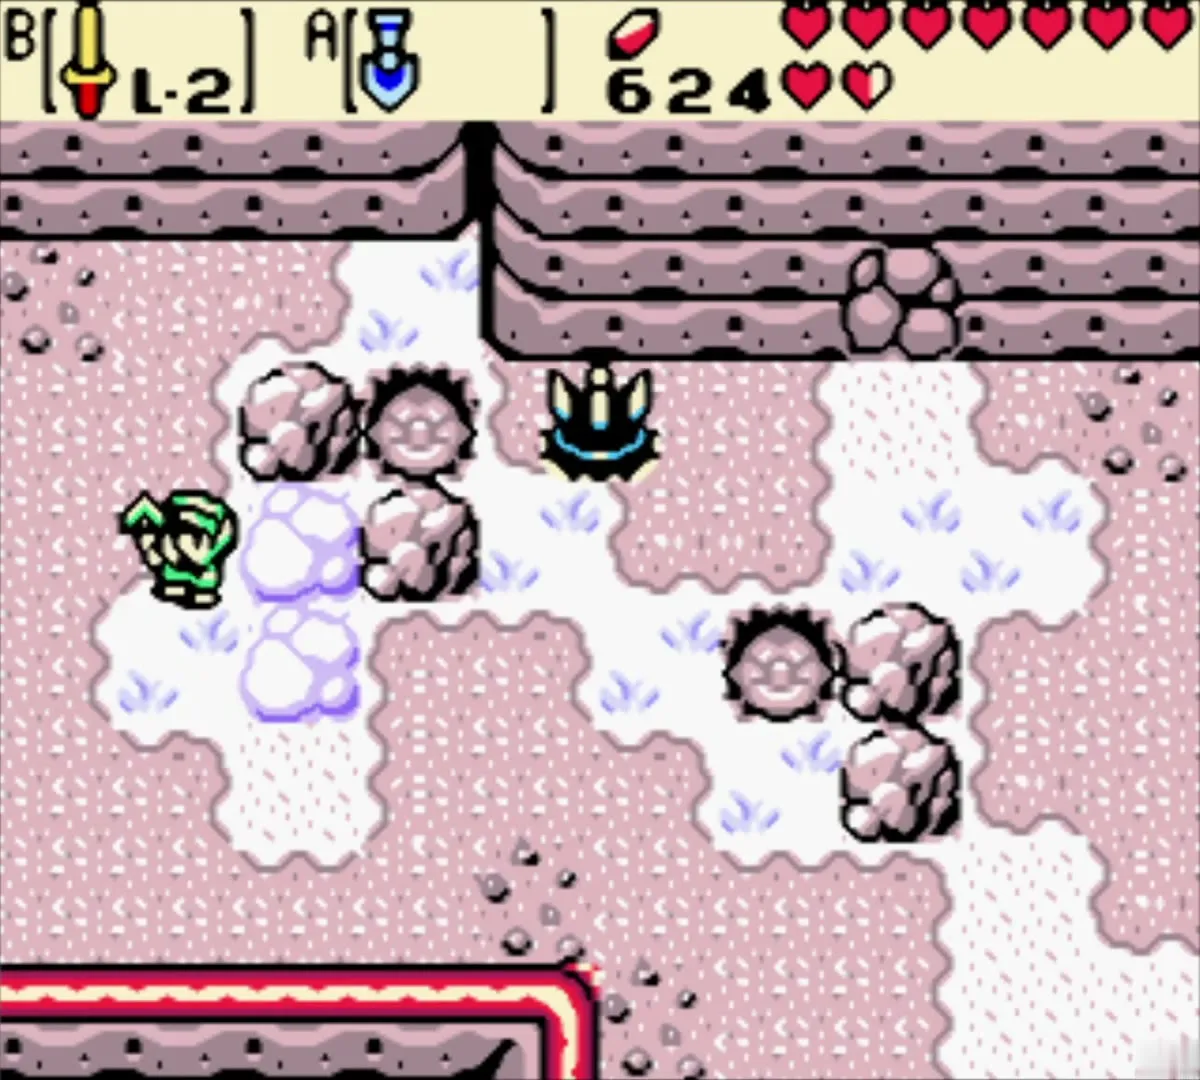
Follow the cave route to the high ledges
Go through the lava cave and up onto the high ledges. Blue Lynels patrol the narrow shelves; they take many hits and fire sword beams, so keep your distance and strike when they close in. Cross a rope bridge to the cliff beyond and jump down to a small cave.


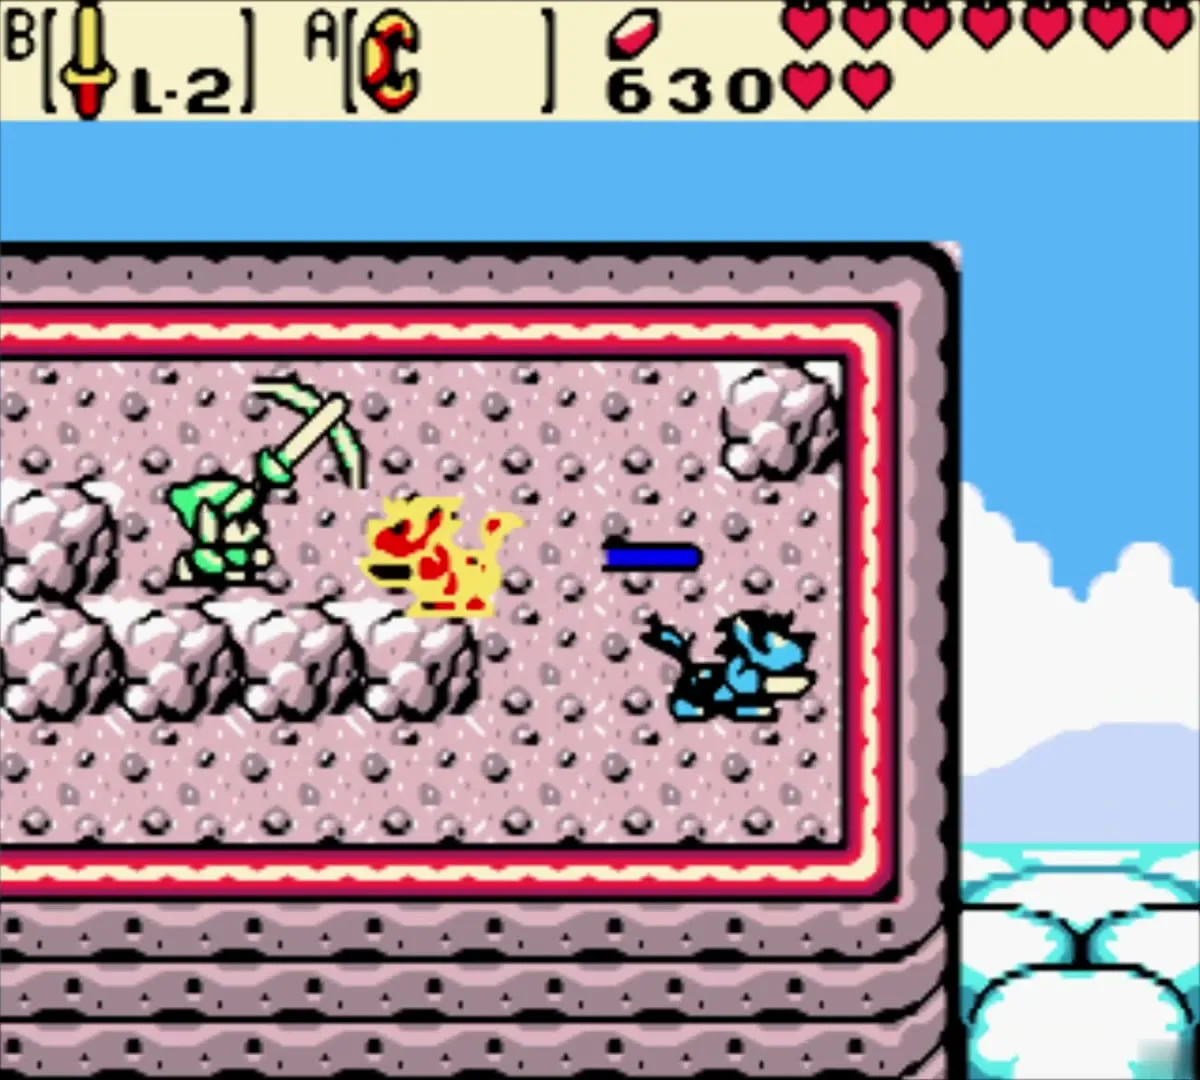
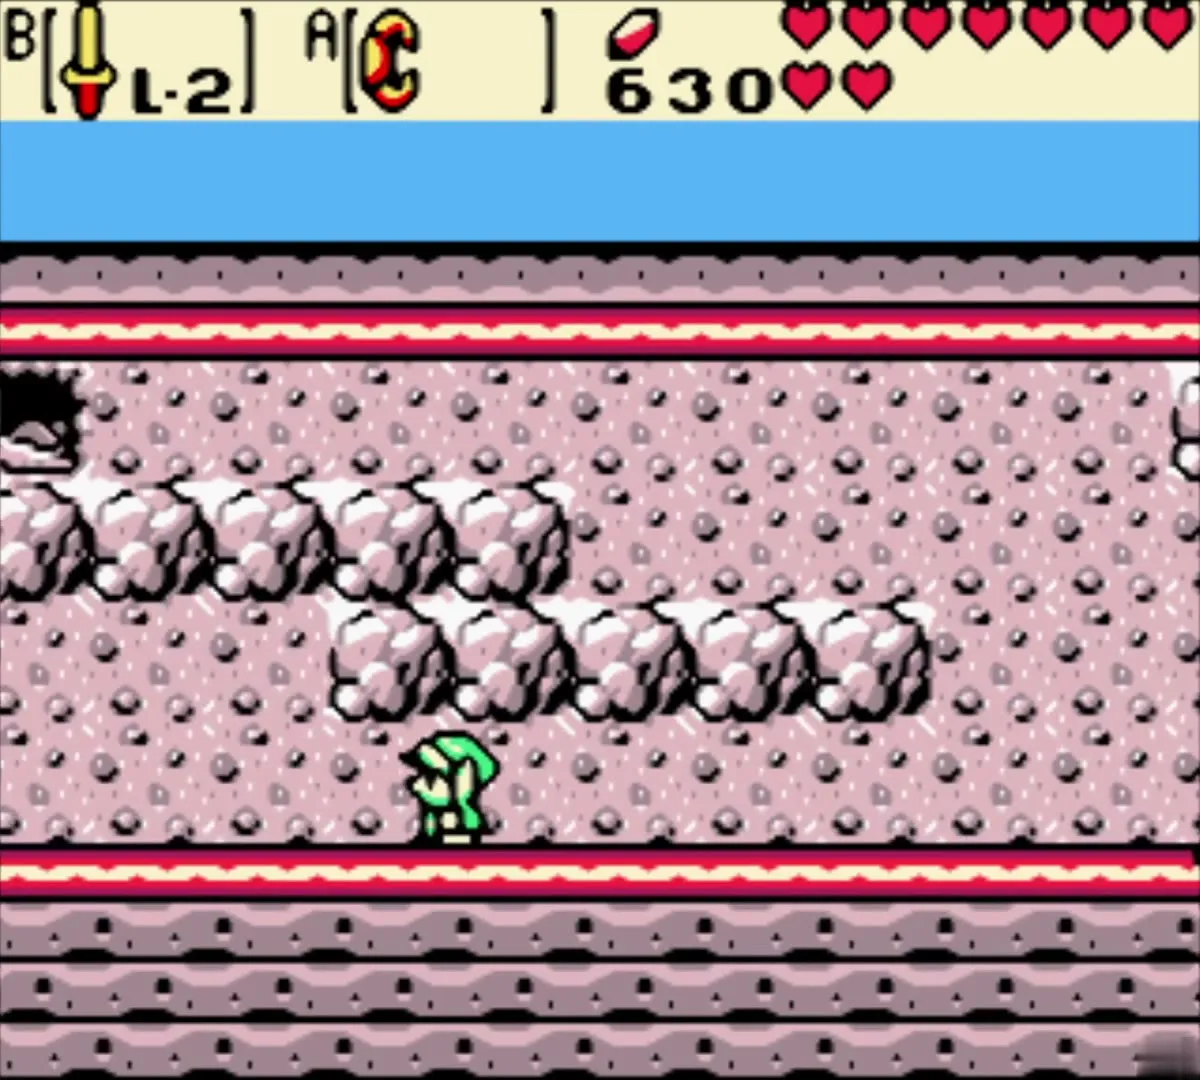
Get the bigger Ring Box from the red Goron
A red Goron lives in this cave. Talk to him and he asks if you want to carry more rings. Say yes and he fiddles with your box. You receive a bigger Ring Box, which holds 3 rings (up from 1). Only one ring can be worn at a time. Equipment upgrades lists the rest.

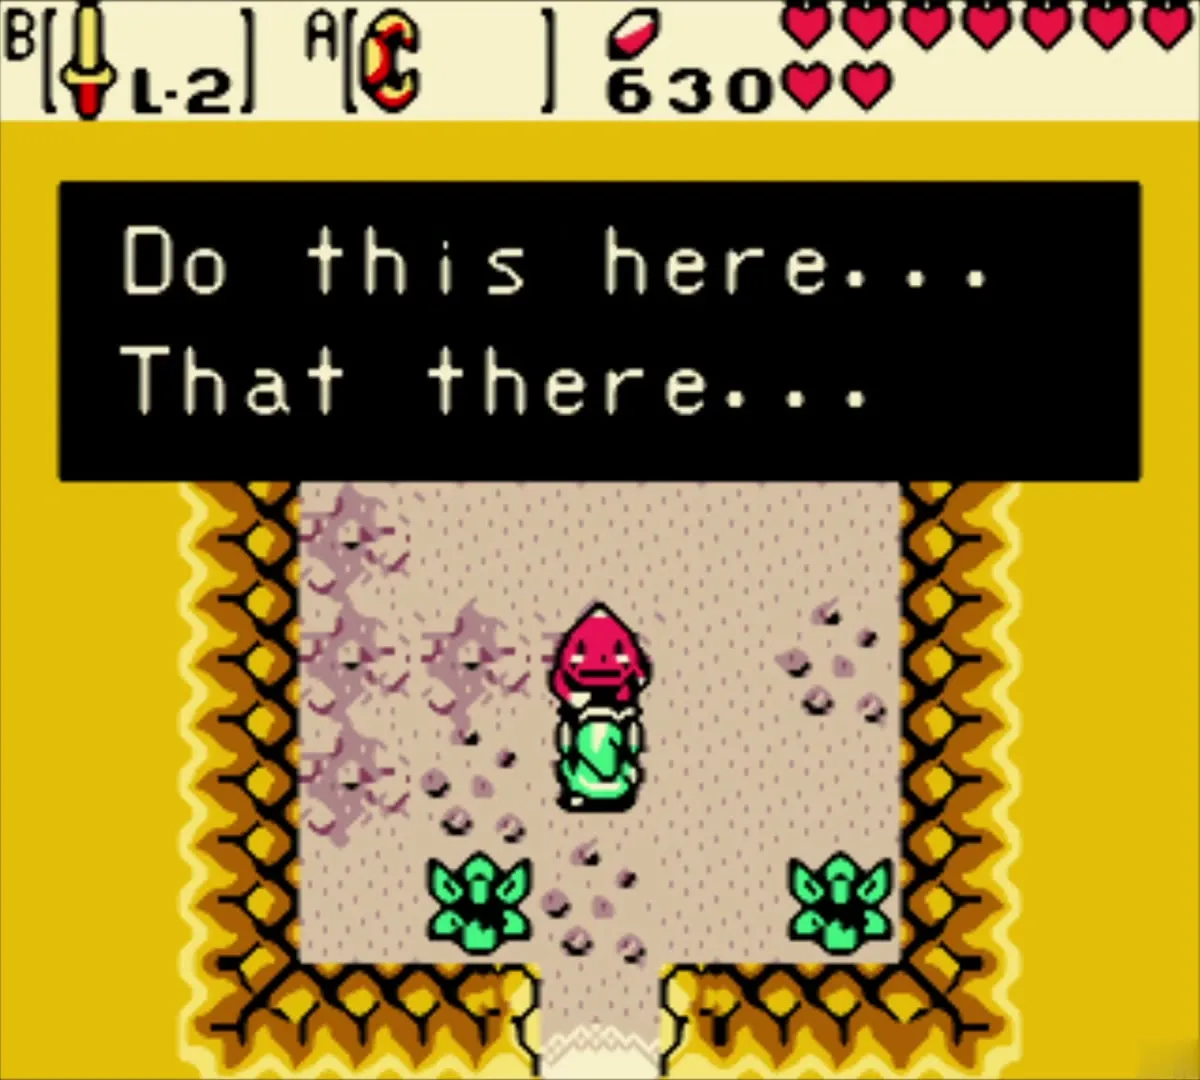
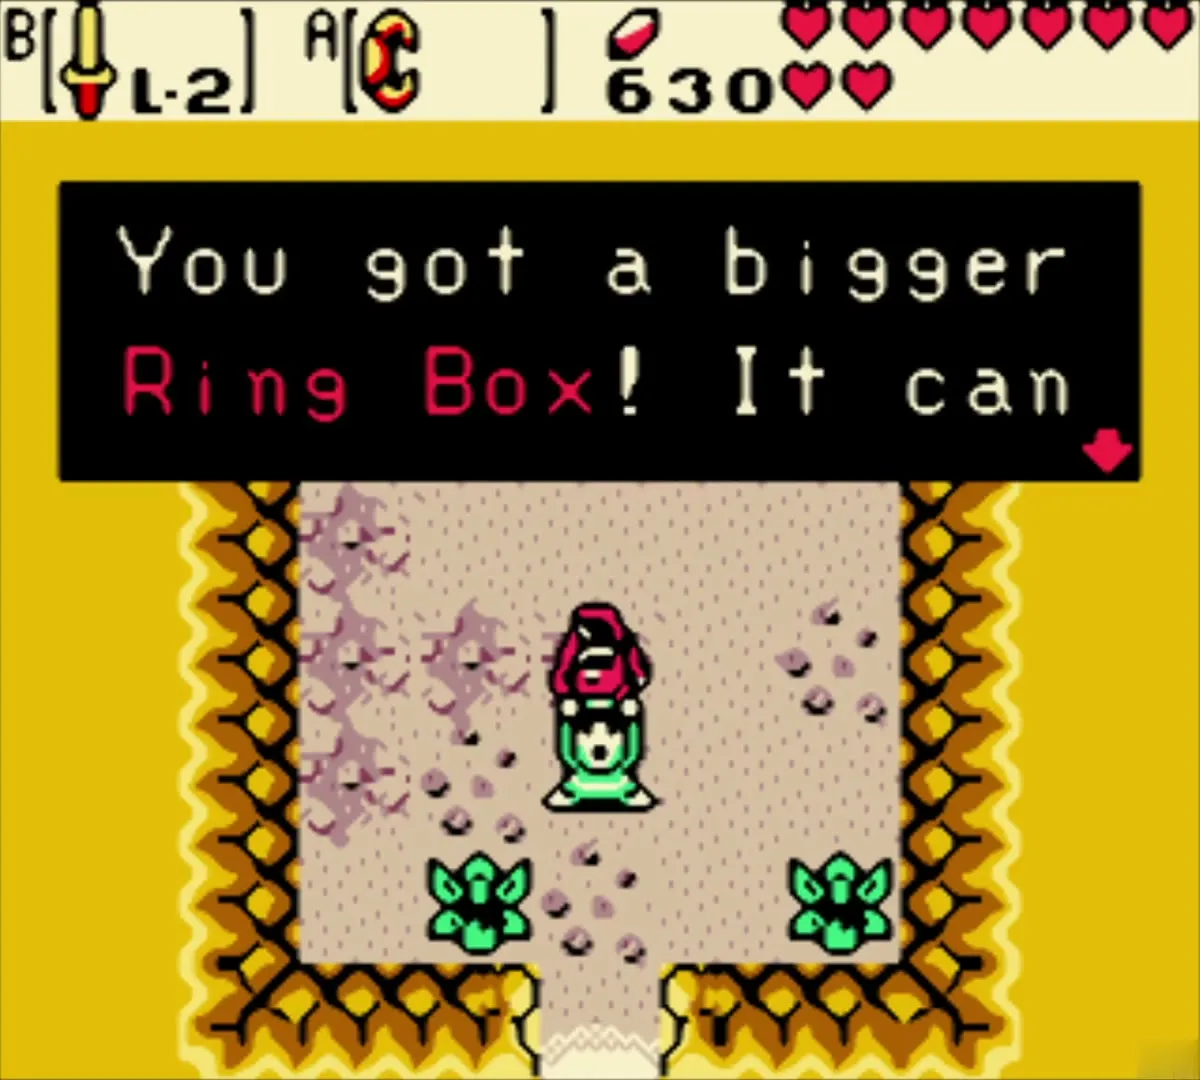
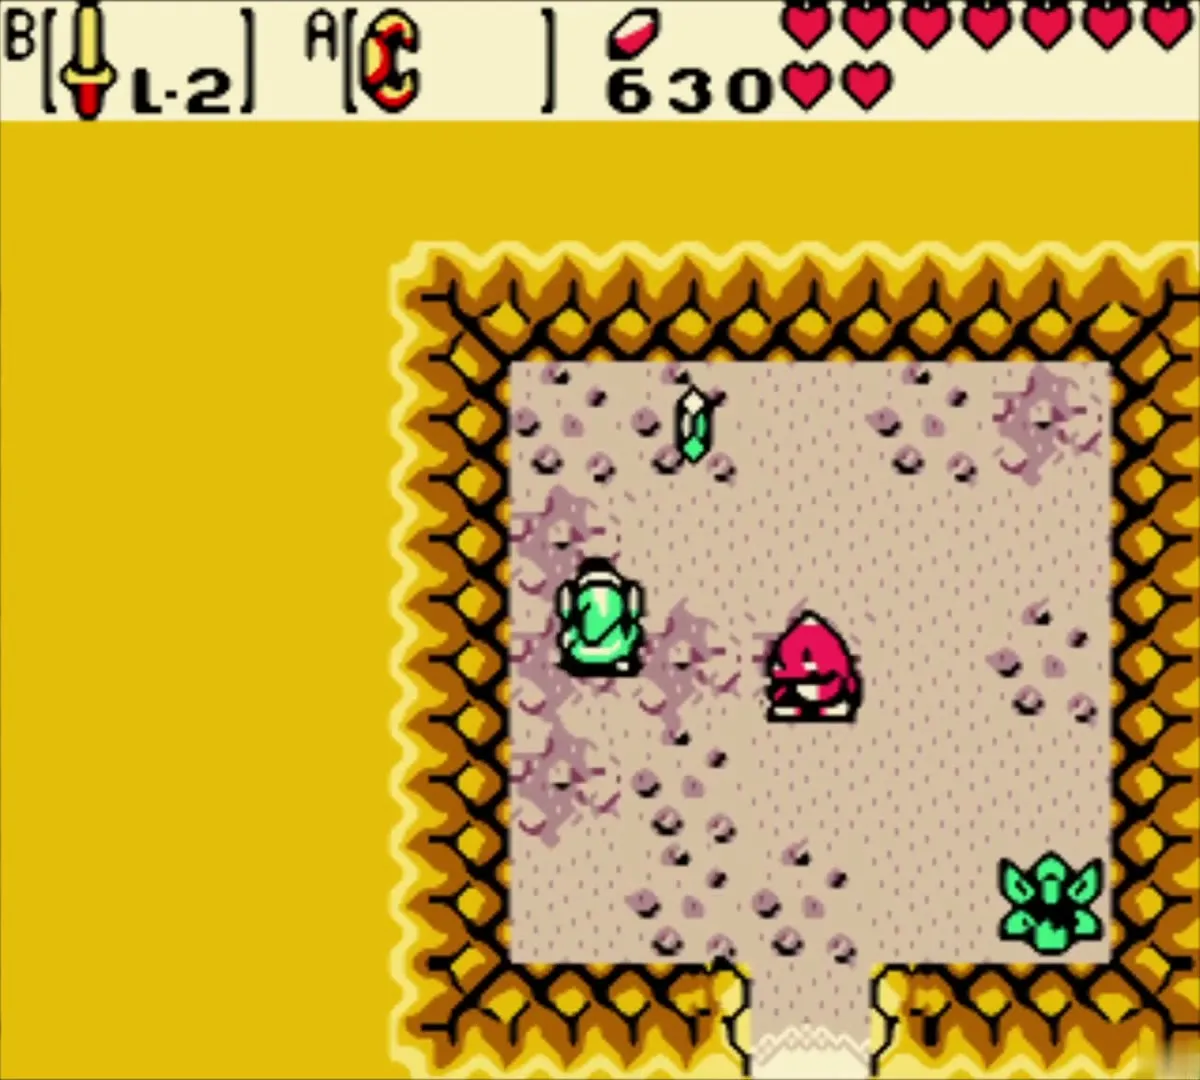
Burn the hidden tree for 300 Rupees
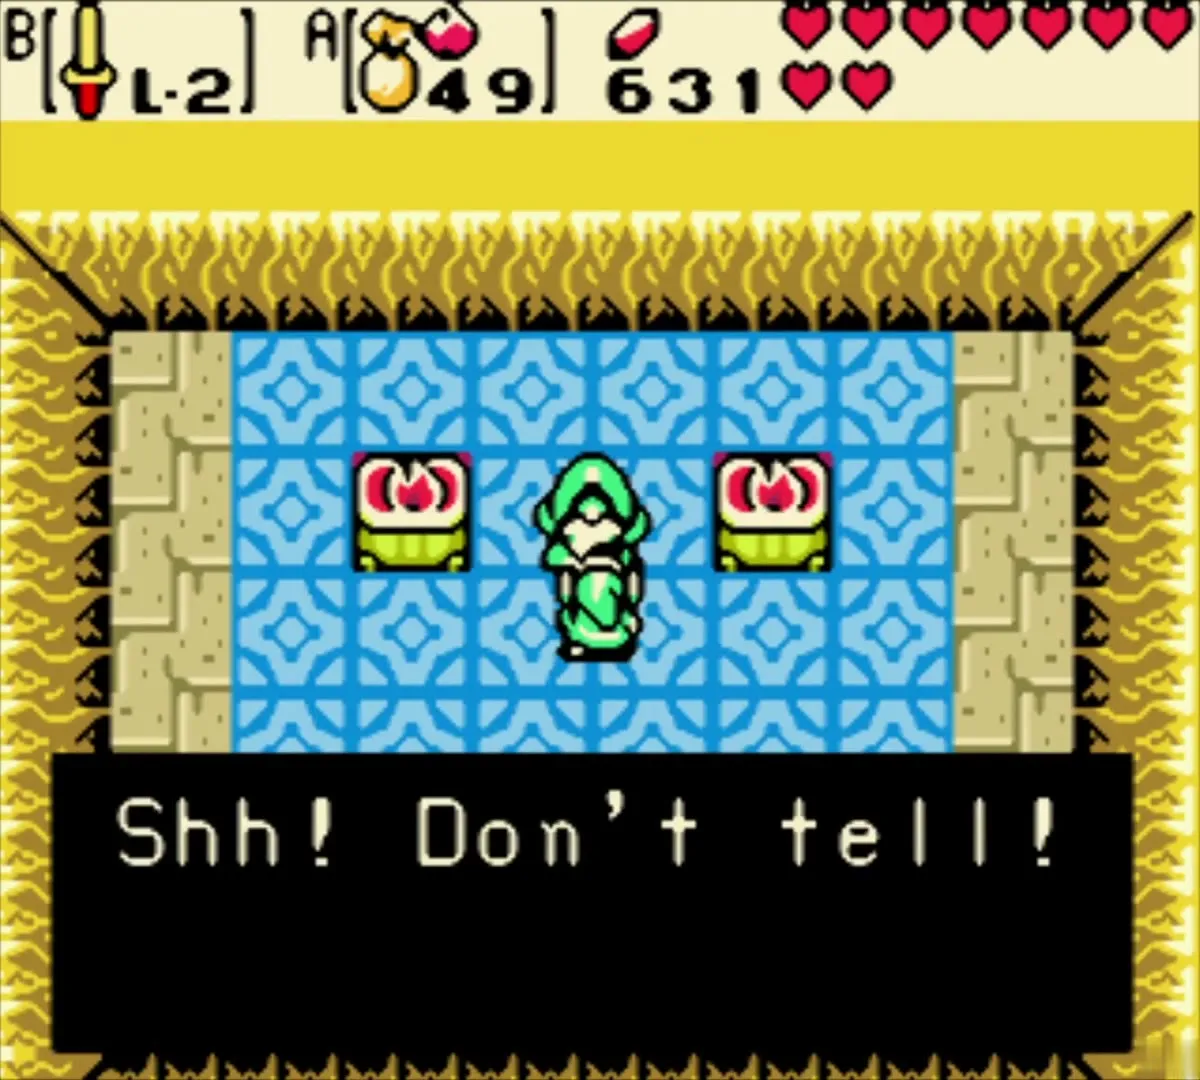
Back out on the snowy slope, burn a small tree with an Ember Seed to reveal a stair underneath. Down in the cave, an old man between two pedestals shouts “Shh! Don’t tell!” and pays you 300 Rupees to keep the secret. Walk out by the stairs.



Walk through the Goron caves
Gorons in the next cave grumble about the cold and say Goron Mountain has been winter all year since the Temple of Seasons disappeared. Walk across the cave and out onto the cliffs, swim a short stretch of water with the Flippers, and follow the ledges to the next cave mouth.
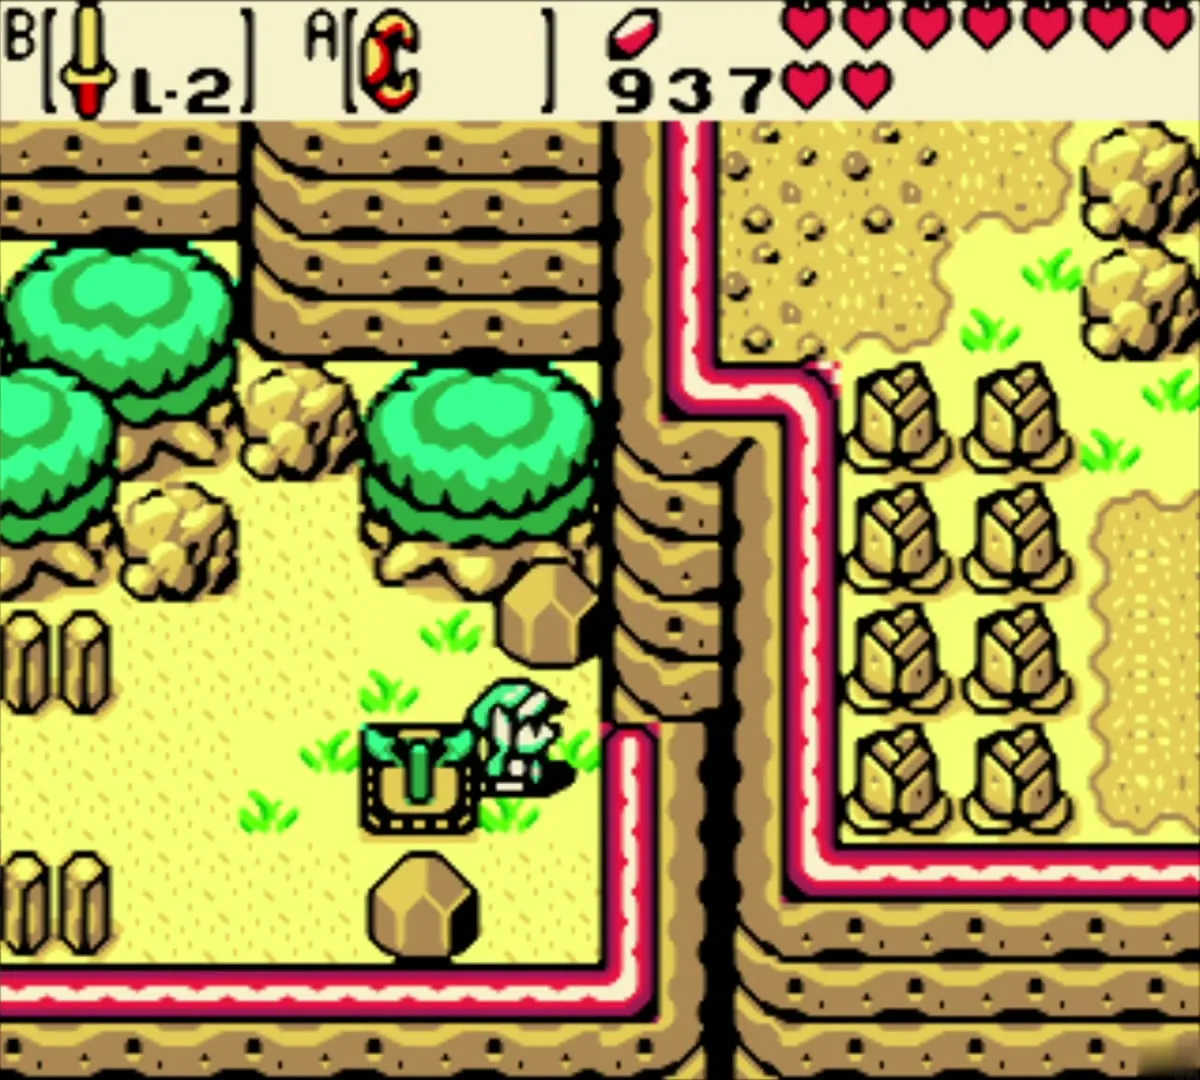
Plant a Gasha Seed on Goron Mountain
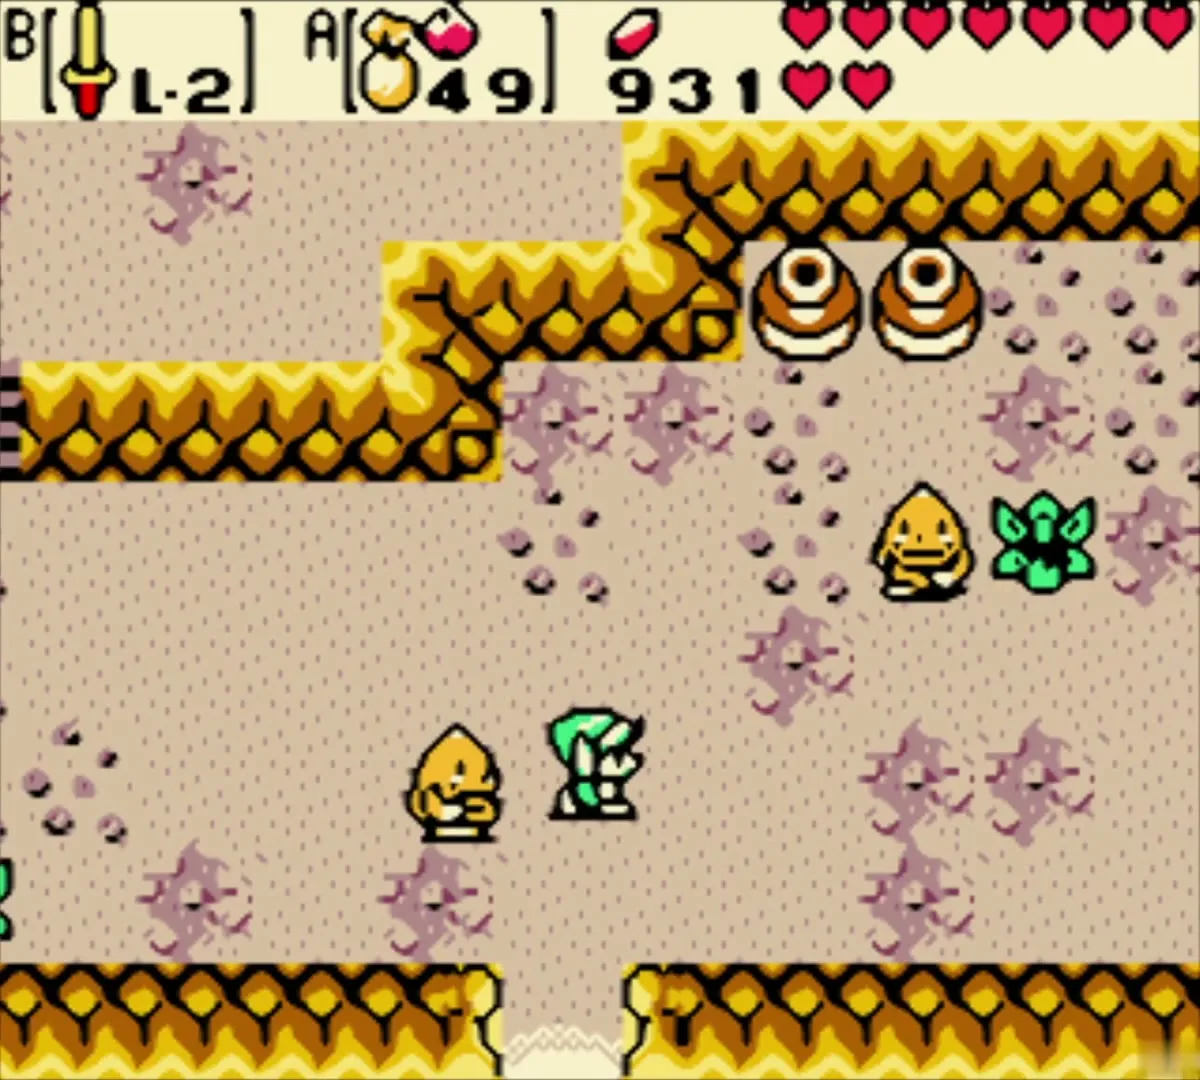
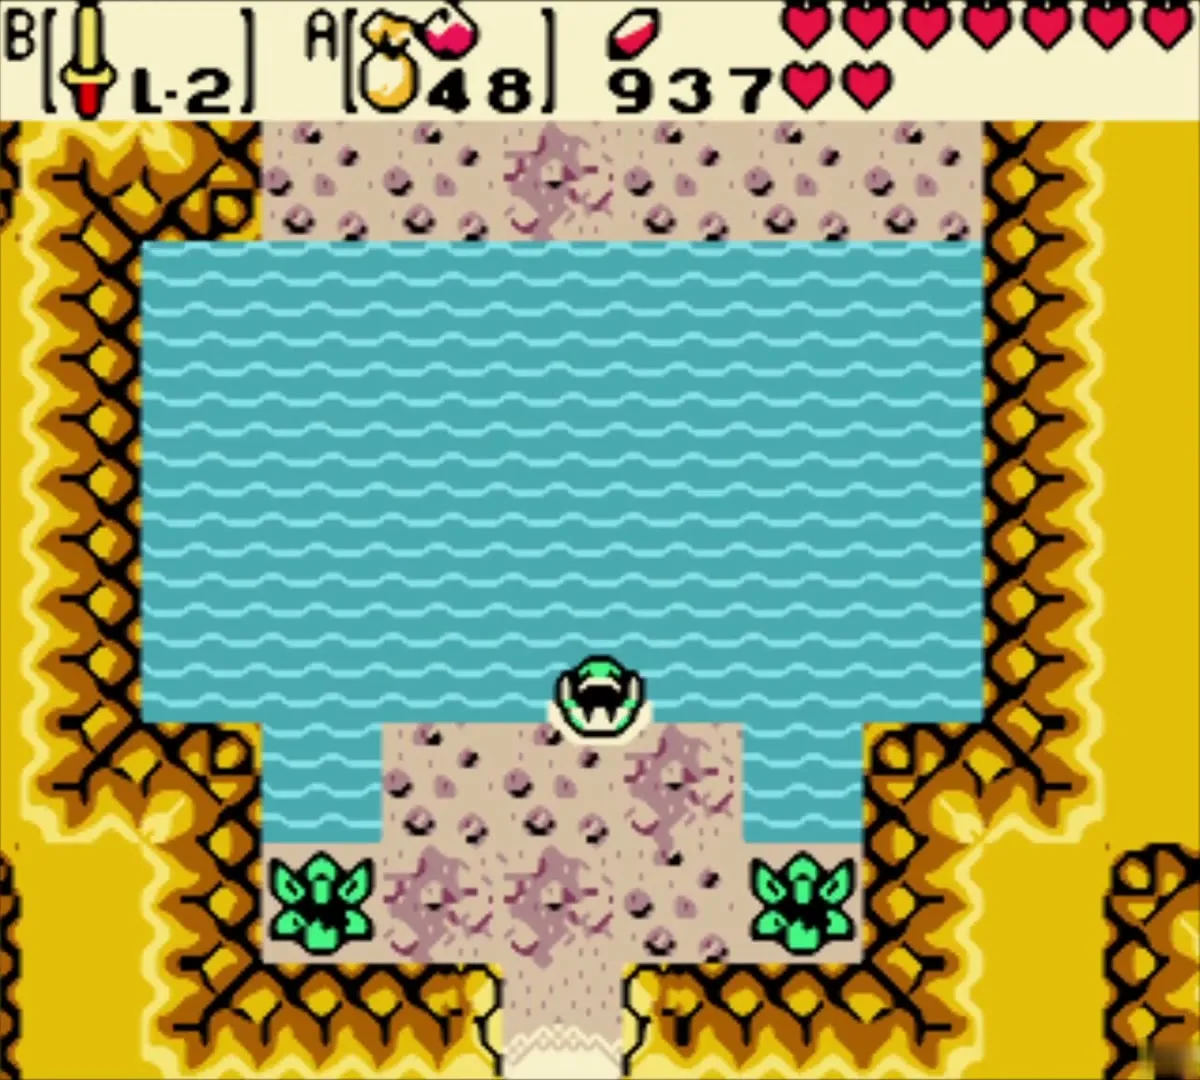
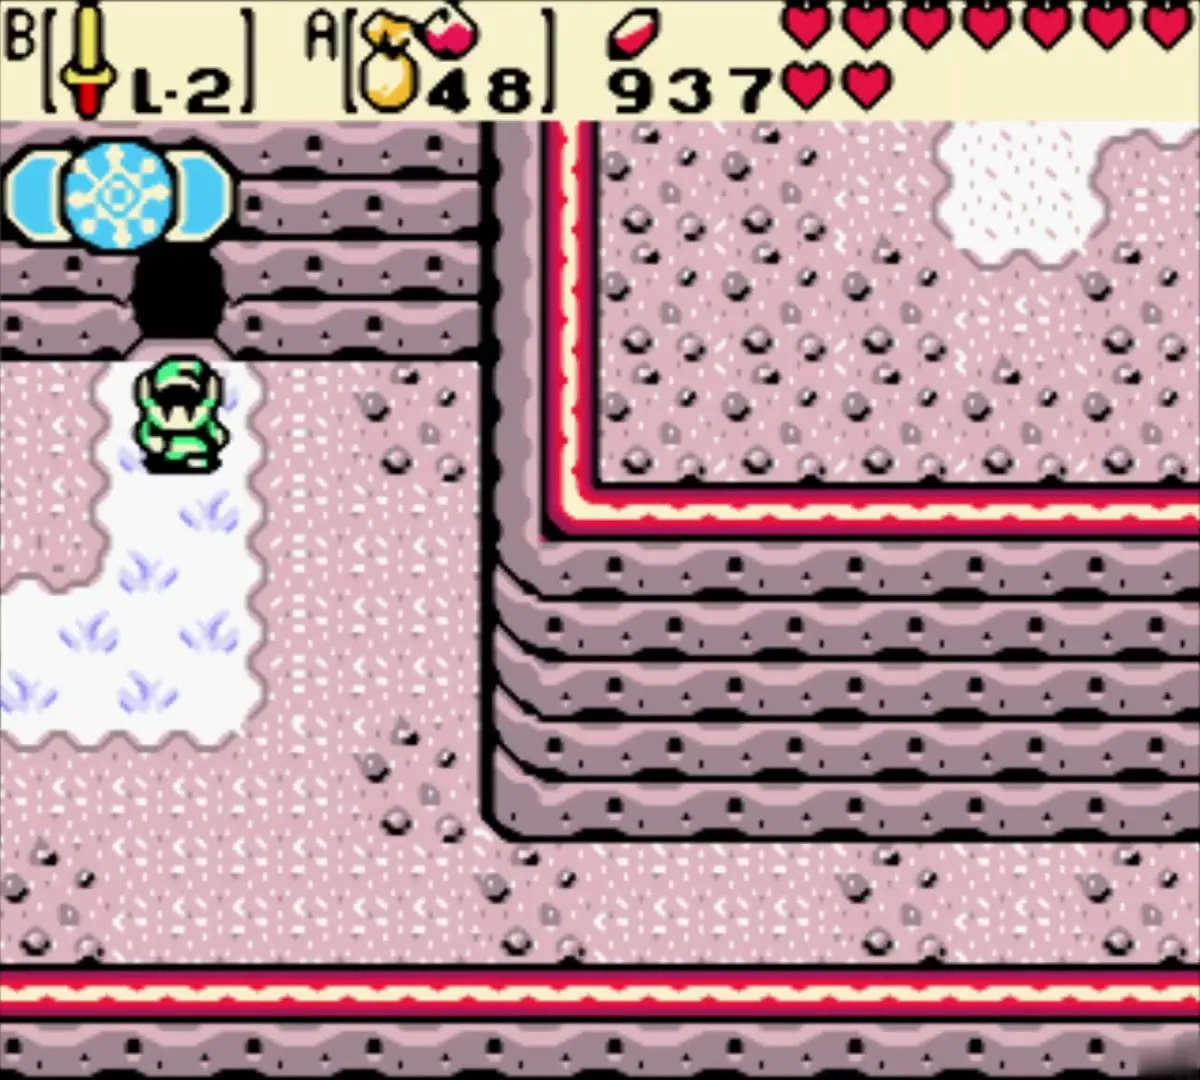
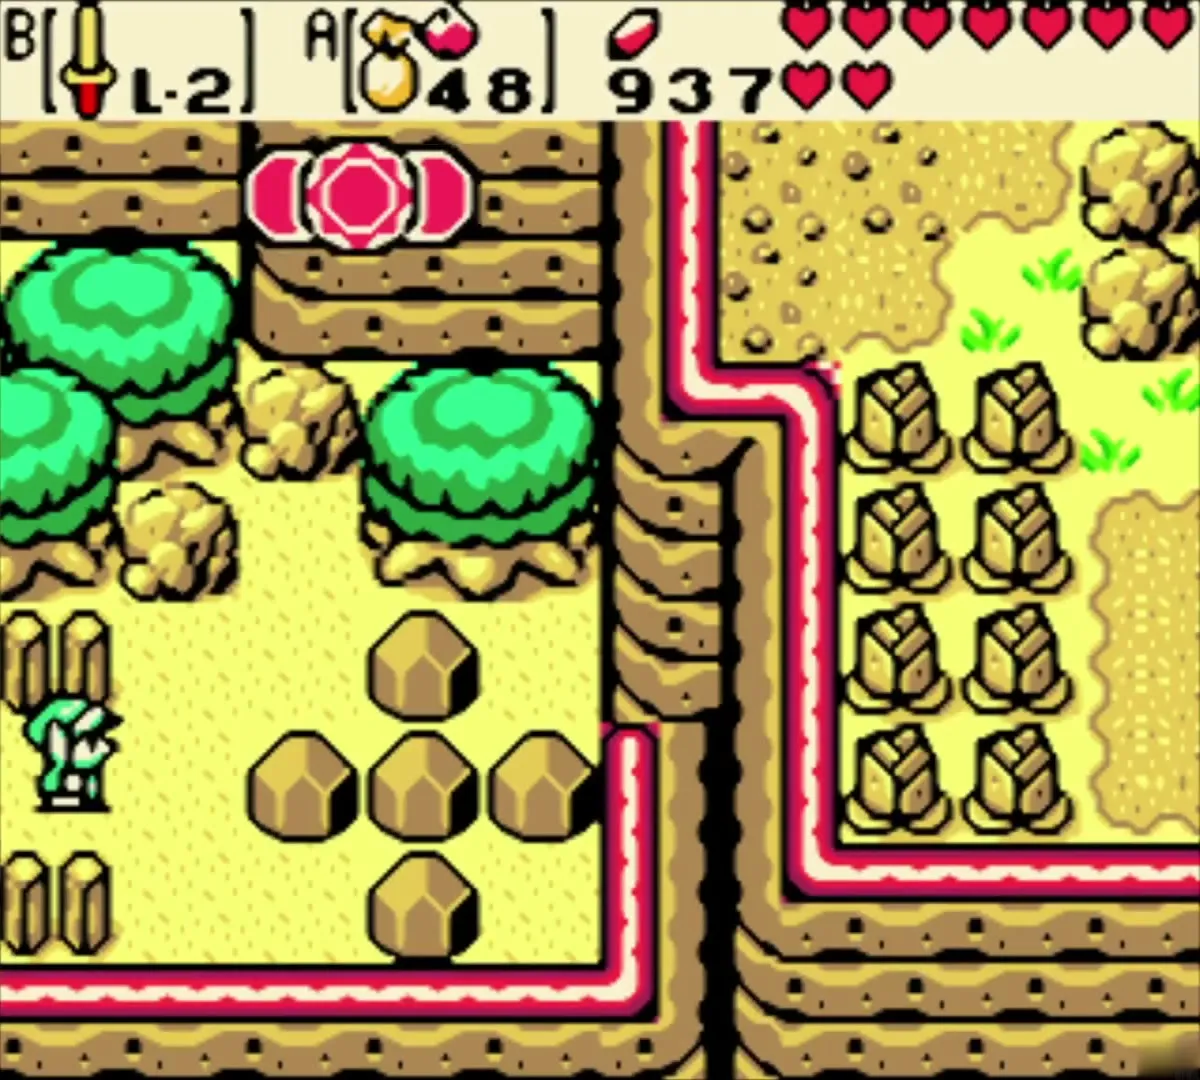
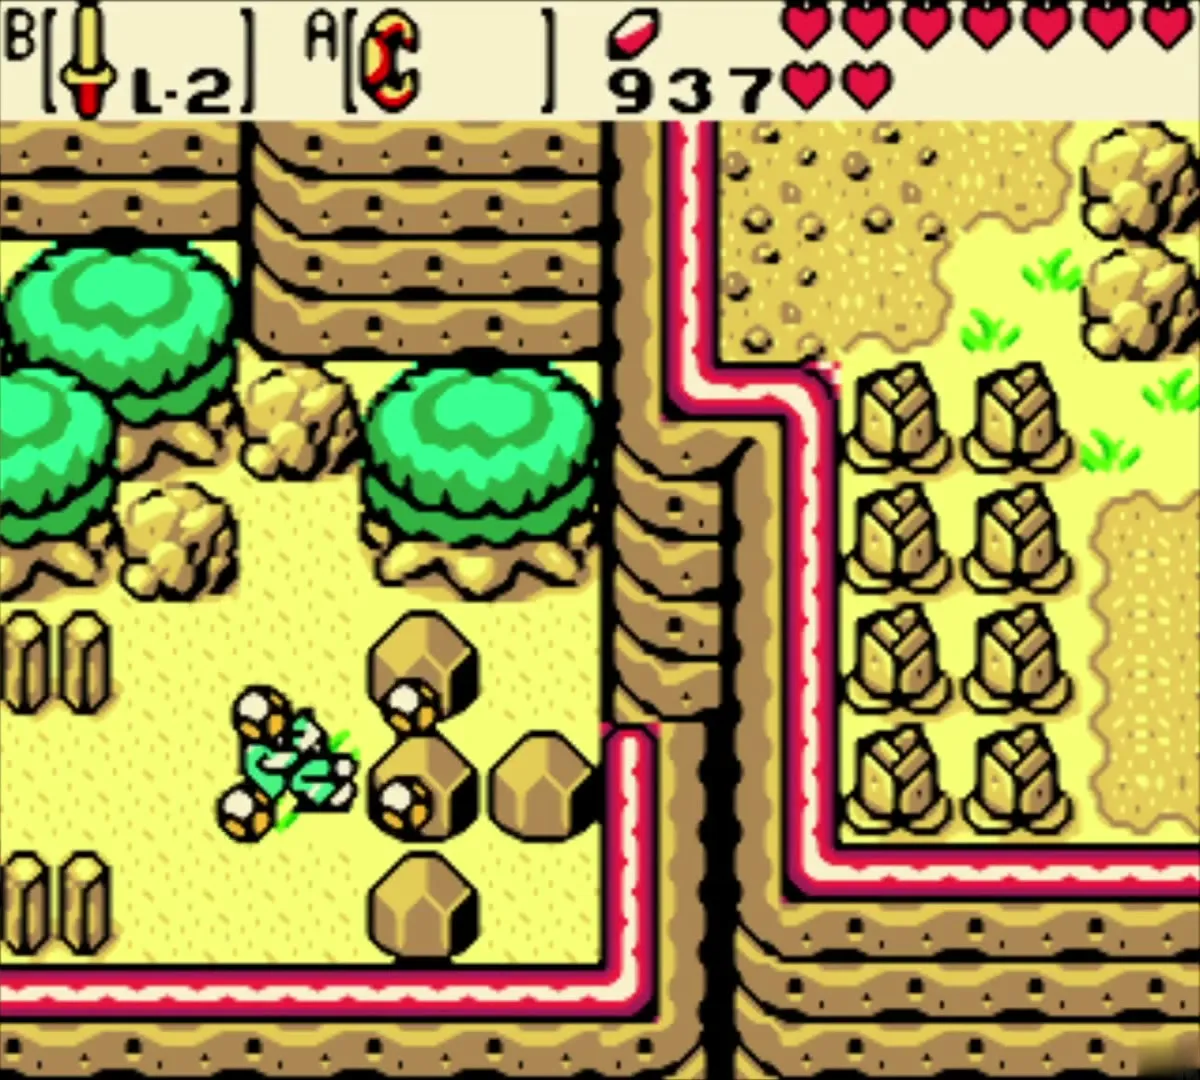
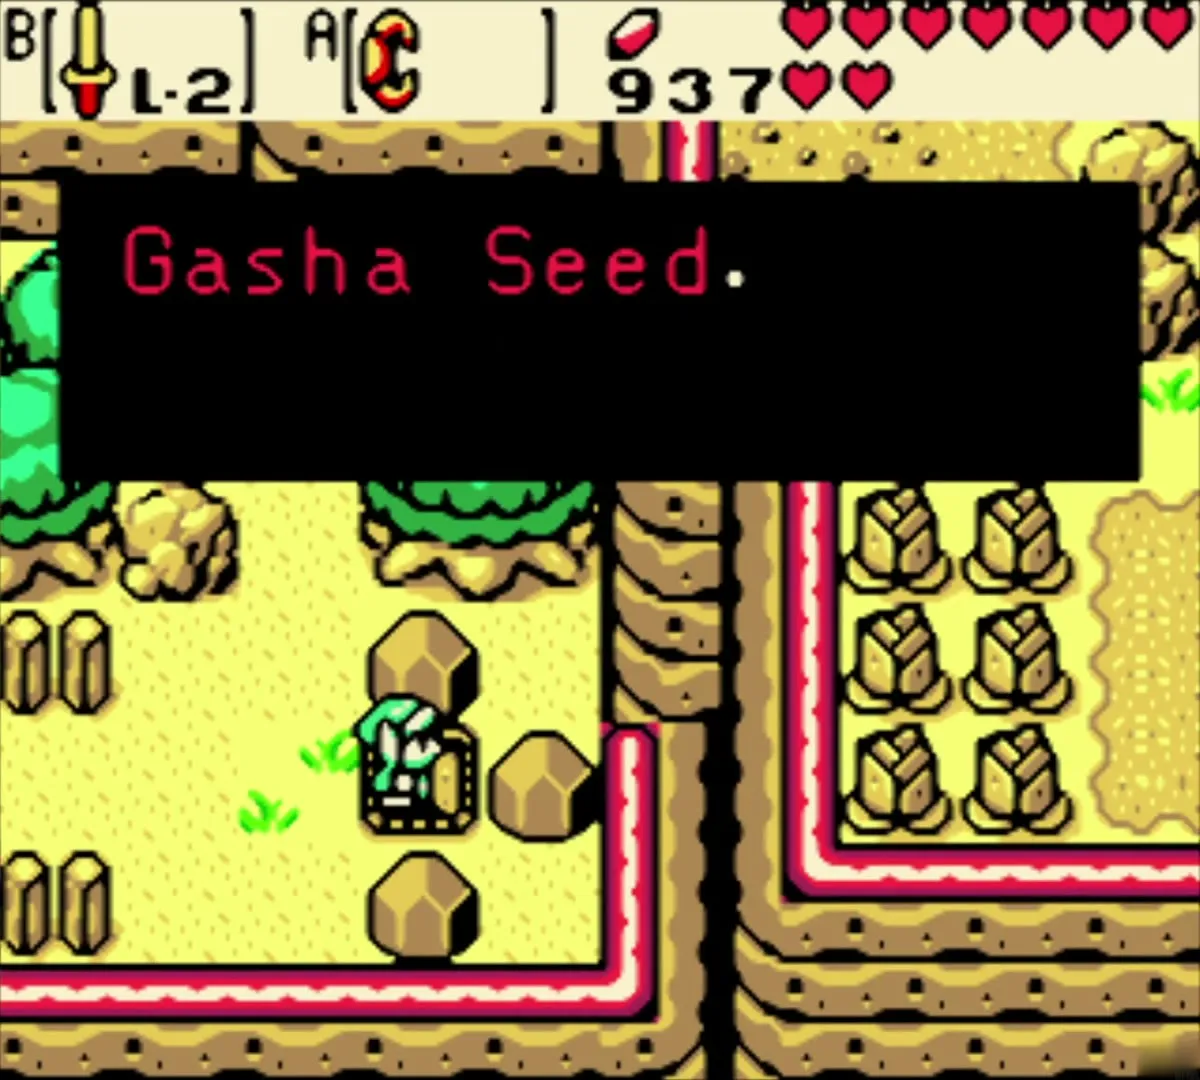
On the yellow rock field beyond the water, dig with the Shovel just right of the tree. The game says you can plant a Gasha Seed, so plant one of yours here. This is the best Gasha spot on the mountain, and the tree may yield a good ring later.
Climb through the lava cave to Biggoron
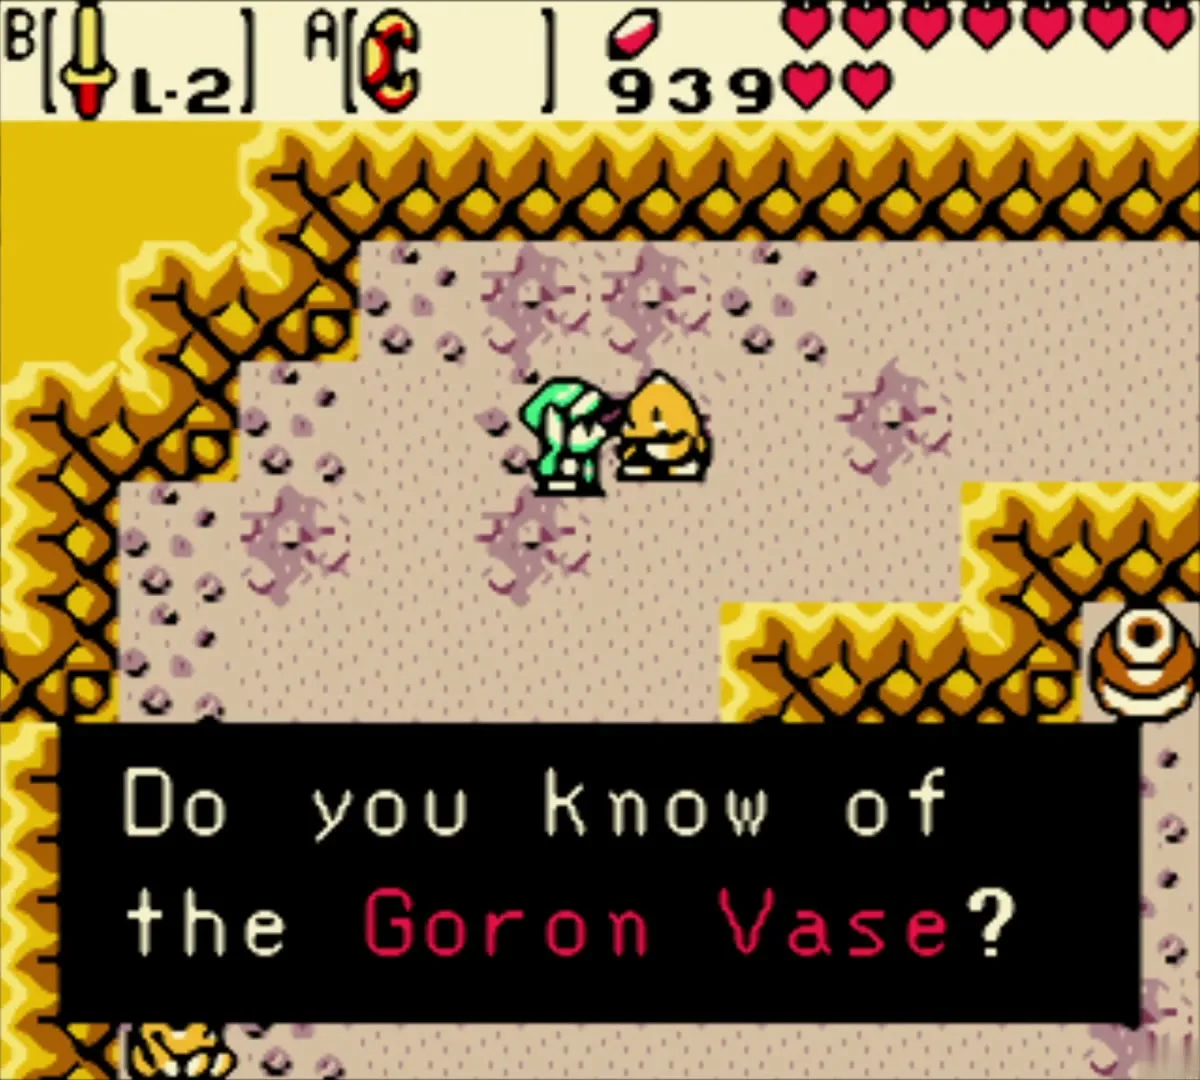
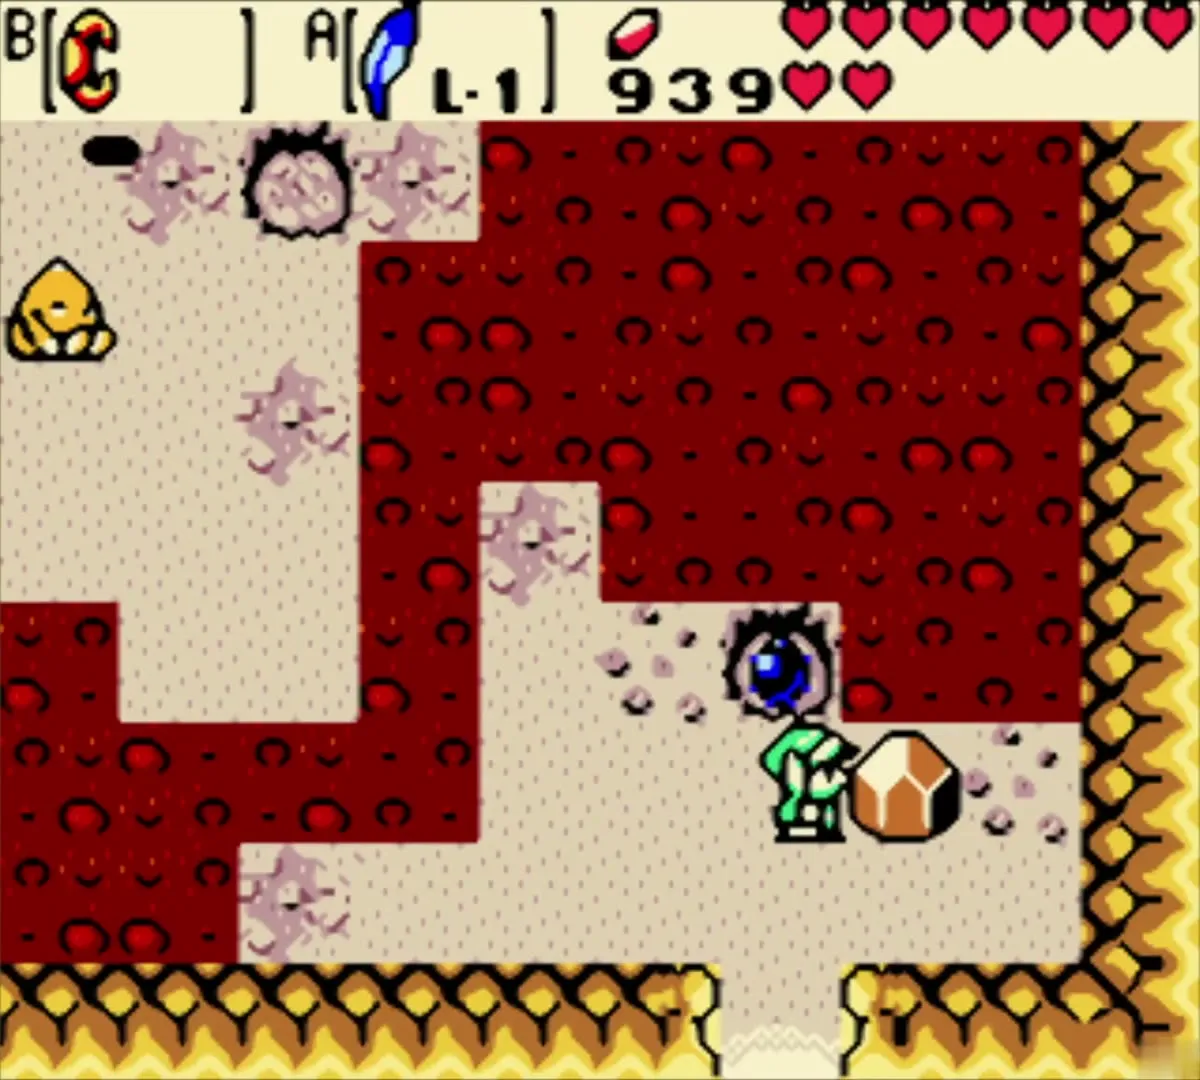
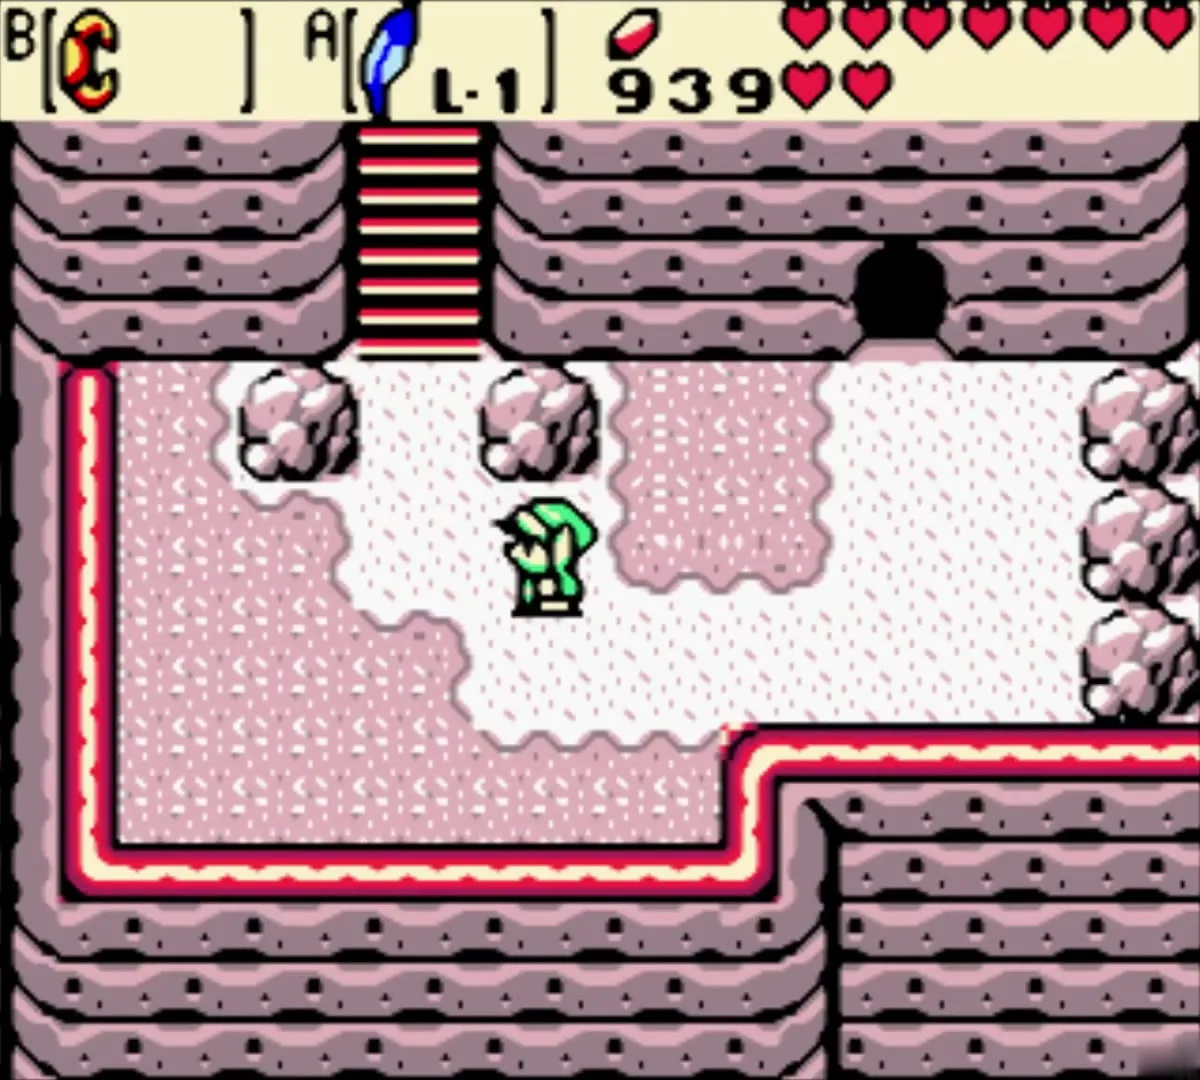
Enter the next cave. A Goron mentions the Goron Vase, which every collector wants, and another grumbles that he hates the cold. Make your way round the lava room, bomb the creature in your path, and climb the stairs to the summit cave.

Meet Biggoron
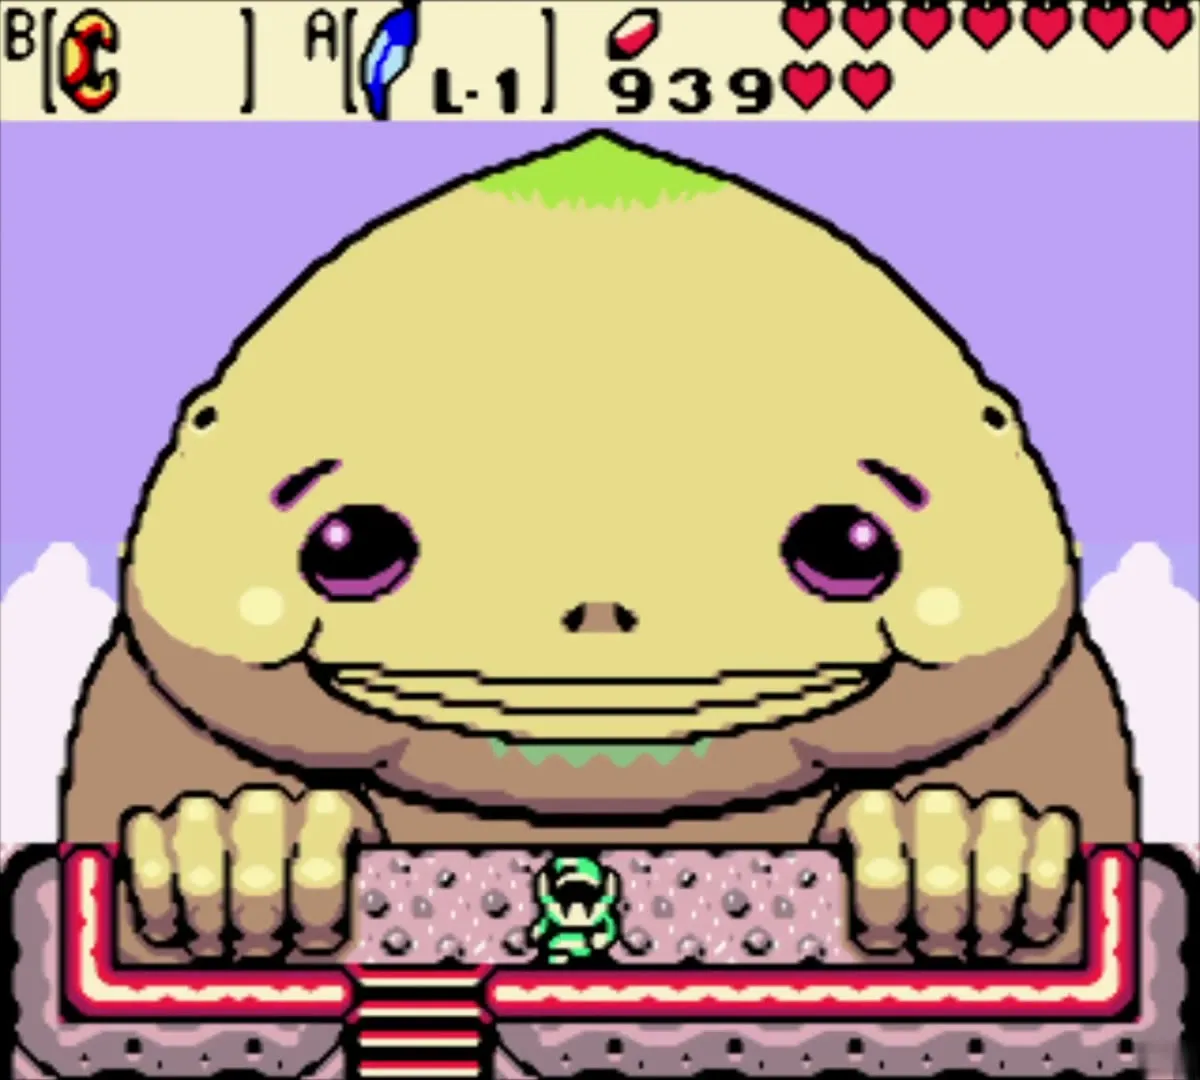
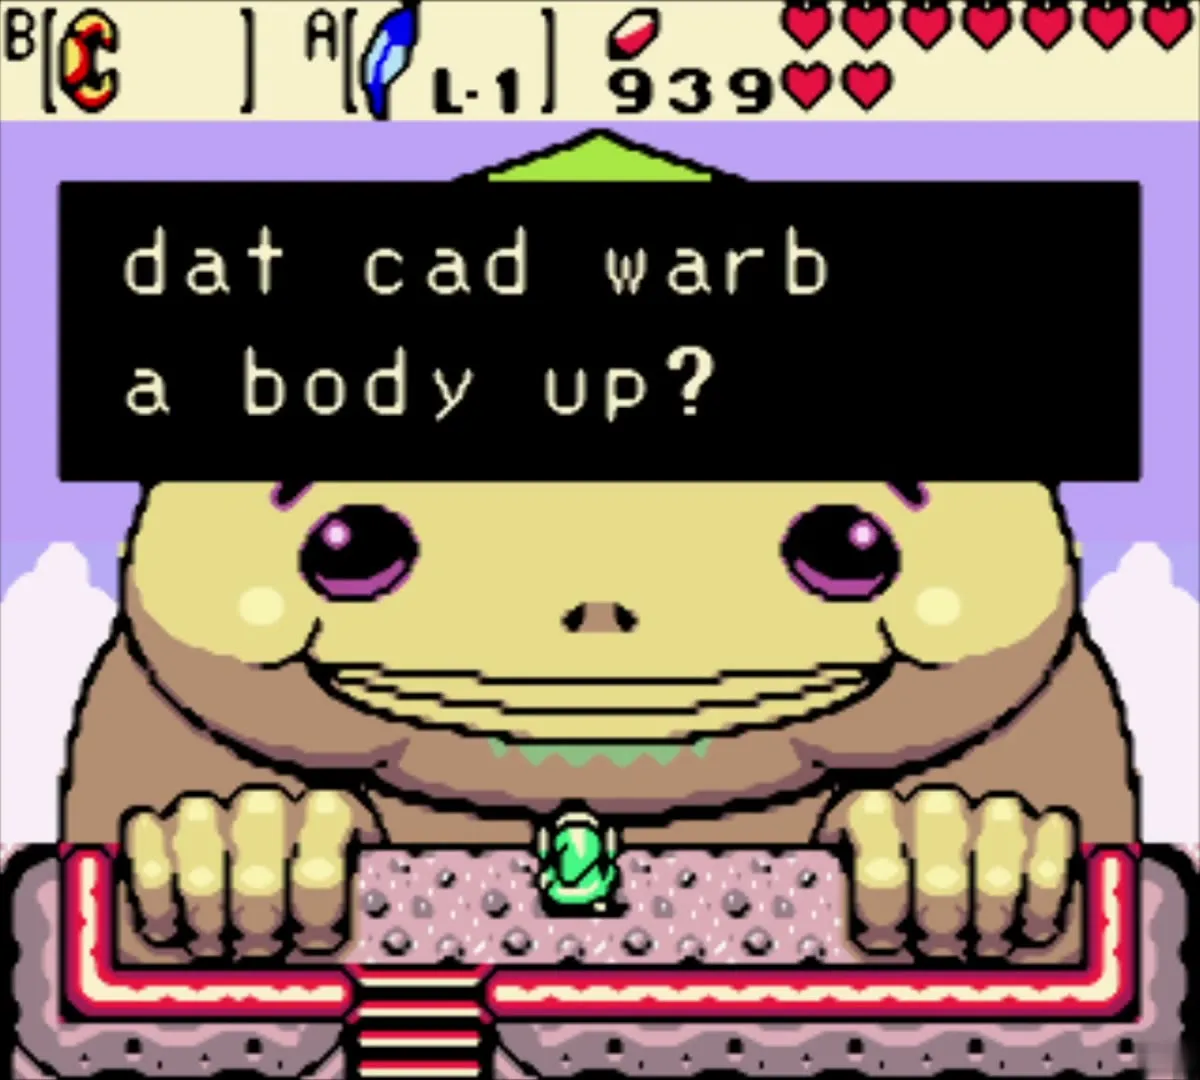
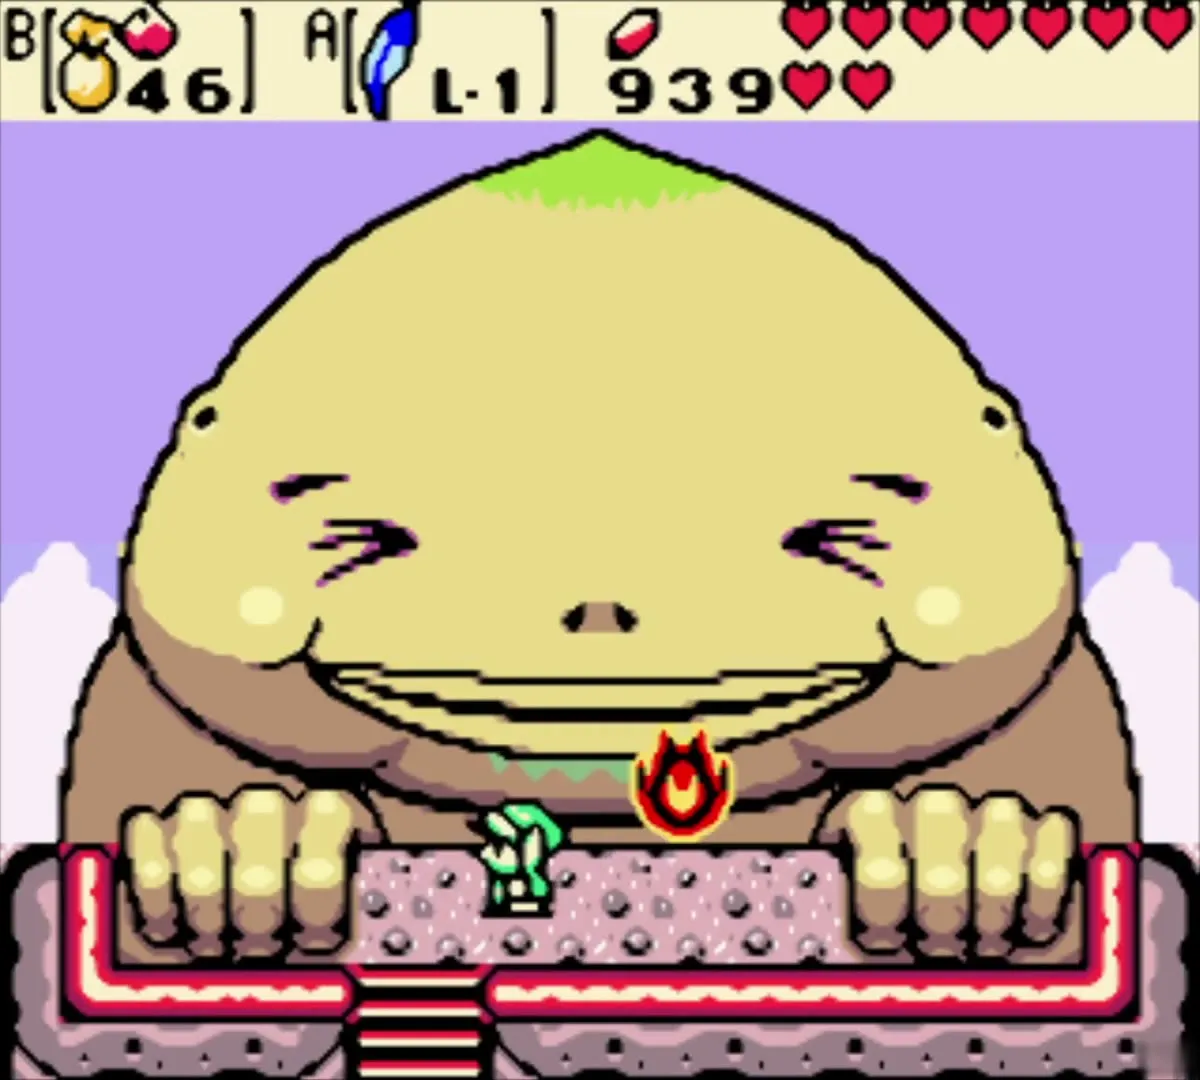
Biggoron is a huge Goron who sneezes and begs for something to warm him up. Open the Items menu and throw Ember Seeds at him: they spend about three seeds and make his eyes pop open, but he gives you nothing. He needs Lava Soup from the Subrosian cook before he trades his Goron Vase, so come back later in the trading sequence.
Back down the mountain
Return to the stump
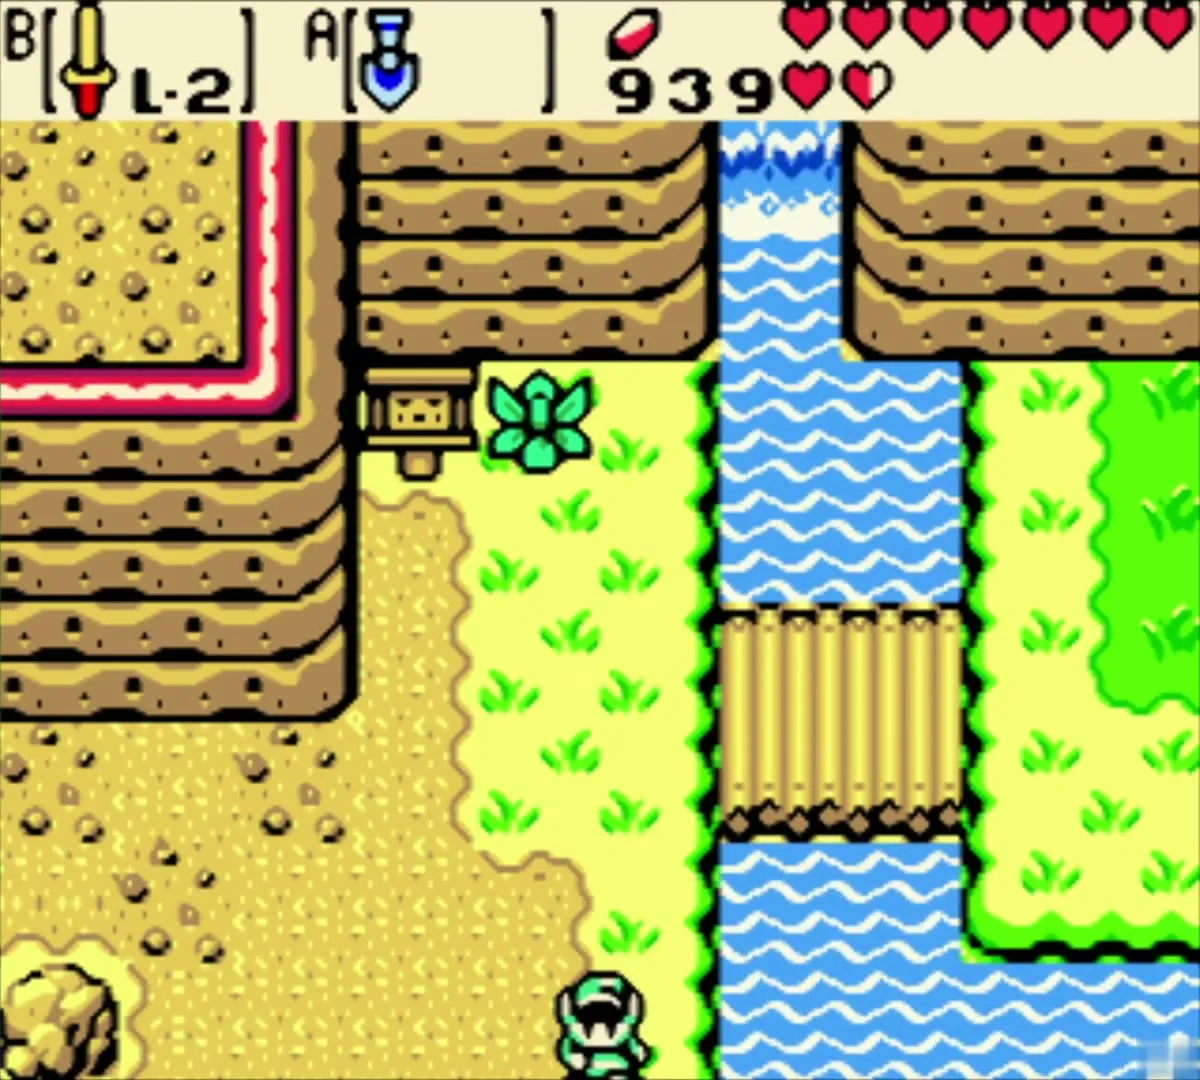
Walk back out through the lava cave and the rock-and-pit field, past the Dragon Key again, and down through the winter fields to the summer grass. The Piece of Heart on its ledge is still out of reach.

Hear Moosh’s Spring Banana hint
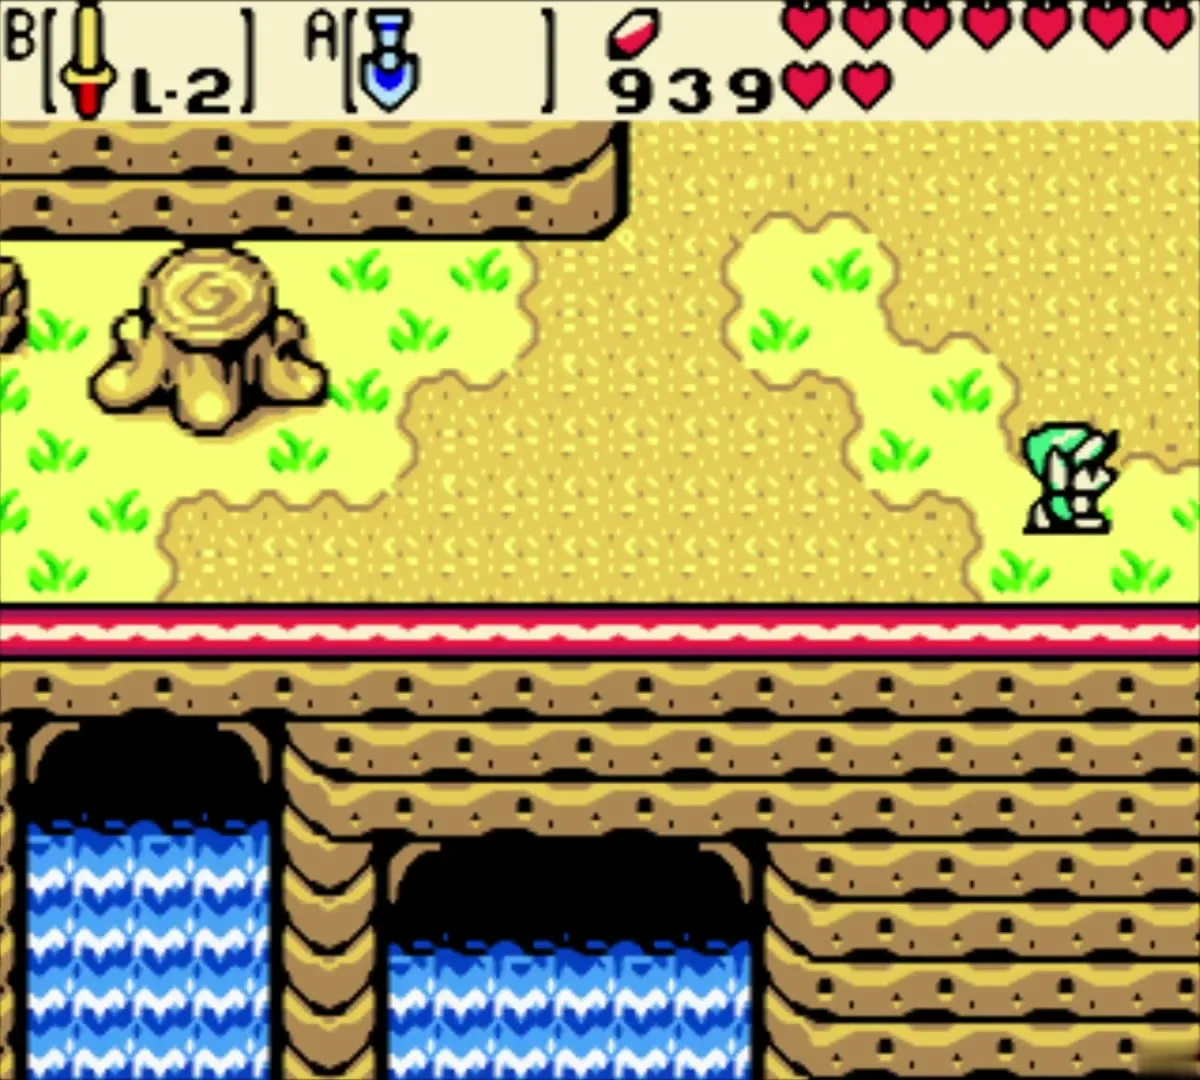
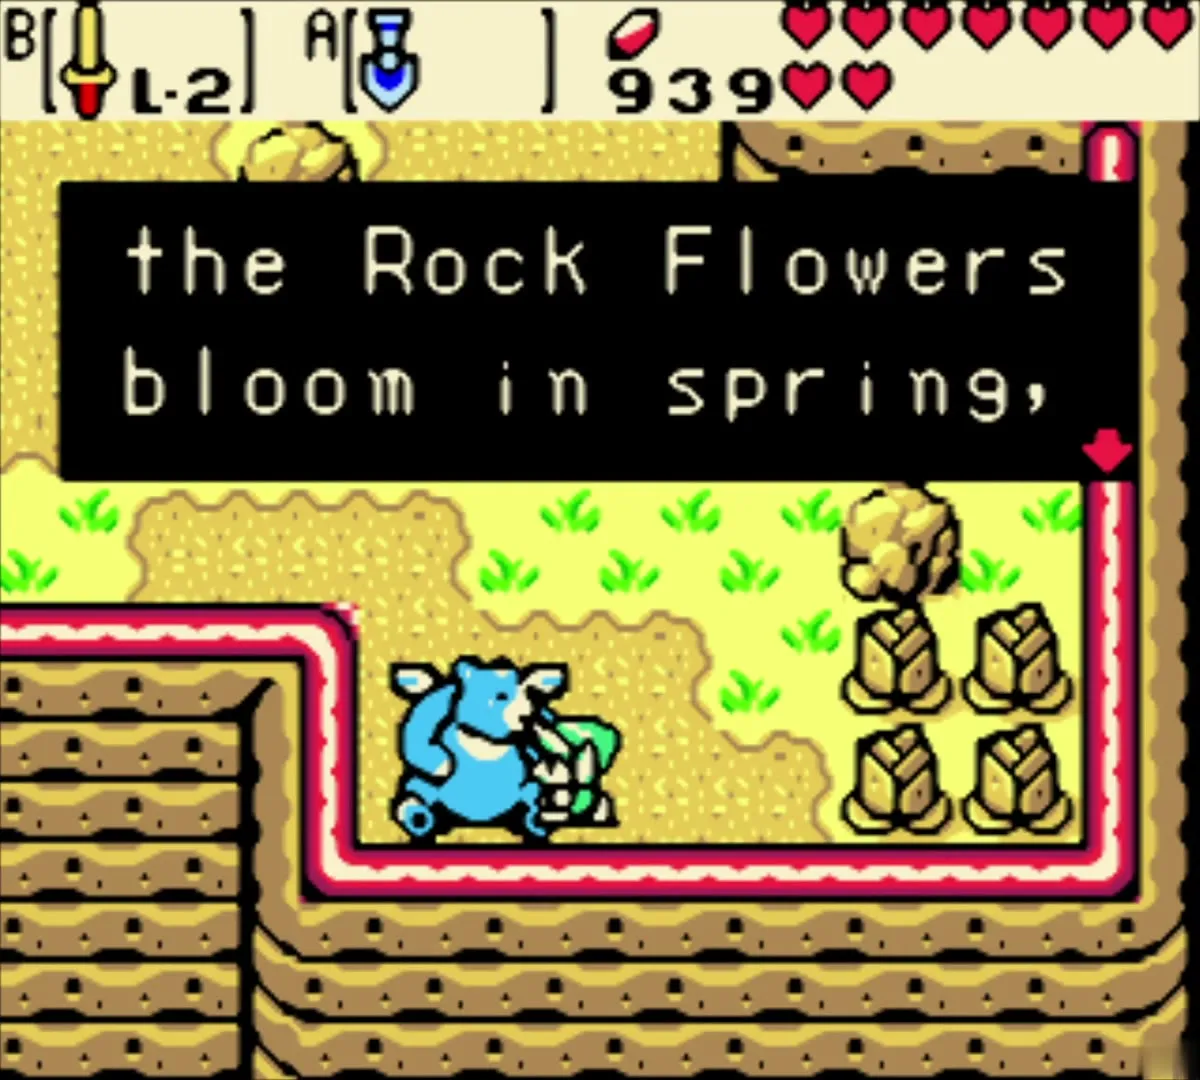
Near the stump above two waterfall caves, a blue winged bear sniffs and tells you there is a Spring Banana tree up above. He cannot climb to it until the Rock Flowers bloom in spring. This is Moosh, another animal friend, and his hint points ahead to the Spring power.
Find the swirl portal
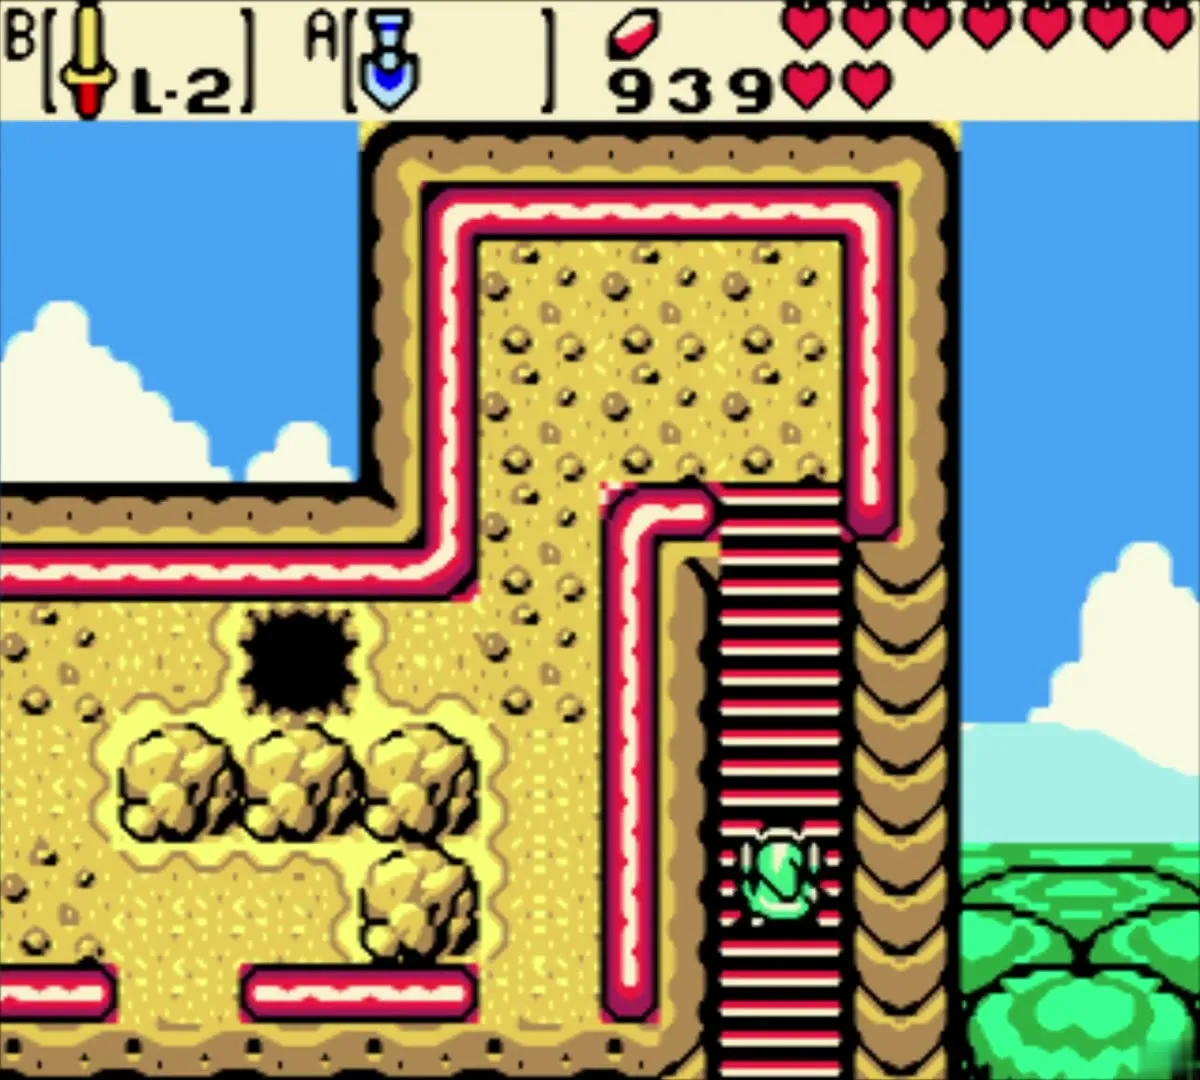
Climb the stairs through the yellow hills past a few rocks. A swirl portal tile on the cliff top leads into Subrosia. Step on it to start the next chapter.


Chapter checklist
| Type | Name | Where |
|---|---|---|
| Piece of Heart | Piece of Heart (Great Moblin’s Keep) | Chest at the top of the ruined keep after the Great Moblin |
| Secret | Tokay secret | Friendly Moblin in the ruined keep |
| Upgrade | Bigger Ring Box (3 rings) | Red Goron’s cave on Goron Mountain |
| Rupees | 300 Rupees | Old man in a hidden cave under a burned tree, Goron Mountain |
| Gasha Seed | Seed planted | Soft soil to the right of a tree, Goron Mountain base |
| Maple | Race and crash for Rupees (+10) | First snowy screen of Goron Mountain |
| Companion | Dimitri’s Flute | Ride to Great Moblin’s Keep |
| Seen, not collected | Piece of Heart on the ledge | Grass field below Mt. Cucco, needs the Spring power |
| Seen, not collected | Dragon Key | Rocks and pits on Goron Mountain, needs Moosh |
