





















Oracle of Seasons 100% Completion Walkthrough26 chapters
- Getting Started in Holodrum and the Hero’s CaveImpa’s request, Mayor Ruul’s Gasha Seed, Vasu’s Ring Box, the Hero’s Cave ledge chest, shop Bombs and the Gnarled Key.
- Gnarled Root Dungeon (Dungeon 1)Keys, map, compass, Seed Satchel, Boss Key, Aquamentus and the Essence of Fertile Soil.
- Subrosia, the Tower of Winter and the Rod of SeasonsGasha Nuts, Boomerang, Ore Chunks, the Rod and the Ghastly Doll.
- Woods of Winter and the ShovelPay the old man, bomb the 30 Rupee cave, get the Shovel from Holly, find the Mystery Seed tree.
- Snake’s Remains (Dungeon 2)Compass, rupee room, Power Bracelet, Dungeon Map, bomb merchant, Facade, Dodongo boss, Heart Container and Gift of Time.
- Farore’s Secrets and Princess Zelda’s RescueThree Pieces of Heart, a Gasha Nut, Vasu’s rings, the L-2 Ring Box, Zelda and the Blue Joy Ring.
- Spool Swamp and the Floodgate KeyRicky’s Gloves, the Iron Pot trade, Pegasus Seeds, the Floodgate Key and freeing Dimitri for his flute.
- The Tower of Summer and Rosa’s RibbonStar-Shaped Ore, Rosa’s Ribbon, Subrosian Market buys (Heart Piece, Bomb Bag), the Spirit of Summer.
- Poison Moth’s Lair (Dungeon 3)Both Small Keys, Roc’s Feather, Compass, Map, Gasha Seed, Omuai, Boss Key, Mothula and the Bright Sun Essence.
- Natzu, Sunken City and Zora’s FlippersDimitri’s swim, Gale Seeds, Master’s Plaque, Master Diver and the Pyramid Jewel in Oracle of Seasons.
- The Hall of Secrets and the Noble SwordFarore’s secrets, Bombchu, the Noble Sword, Advance Shop rings, Vasu’s appraisals and a first Hero’s Cave visit.
- Great Moblin’s Keep and Goron MountainBomb-catching boss fight, Heart Piece, Tokay secret, bigger Ring Box, 300 Rupees and a Gasha Seed spot.
- The Strange Brothers, the Tower of Spring and Mt. CuccoWin back Roc’s Feather from the Strange Brothers, Spring power, Moosh, Heart Piece, Dragon Key and Dungeon 4.
- Dancing Dragon Dungeon (Dungeon 4)All five Small Keys, Map, Compass, Agunima, Slingshot, Boss Key, Gohma and the Essence of Soothing Rain.
- The Tower of Autumn and Eyeglass LakeGasha Seeds, ring appraisals, Seed Satchel, Treasure Map, Bomb Flower and Power of Autumn.
- Unicorn’s Cave (Dungeon 5)Compass, five Small Keys, Magnetic Gloves, Syger and Digdogger, Heart Container and Nurturing Warmth Essence.
- The Four Jewels, Tarm Ruins and the Lost WoodsRed Ore, Iron Shield, Round Jewel, Vasu’s rings, the Lost Woods seasons and the Master Sword.
- Ancient Ruins (Dungeon 6)Dungeon Map, Compass, three Small Keys, Magical Boomerang, Vire, Manhandla, Heart Container and Blowing Wind.
- Samasa Desert and the Pirate’s BellThe desert ring chest, the polished Rusty Bell and the way to Explorer’s Crypt.
- Explorer’s Crypt (Dungeon 7)Beat the Poe Sisters, get Roc’s Cape and the Boss Key, defeat Gleeok and claim the Seed of Life essence.
- Temple Remains and the Volcano EruptionMaku Tree secrets, Vasu ring appraisals, the Subrosian volcano eruption and the last Piece of Heart in the temple.
- Sword & Shield Maze (Dungeon 8)Compass, Dungeon Map, Hyper Slingshot, Frypolar, Medusa Head and the Changing Seasons essence.
- The Huge Maku Seed, the Last Trades and the Hero’s CaveThe Goron Vase to Phonograph trade chain, Gasha Seed planting, and the linked Hero’s Cave chest trial.
- Side Quests and Collectibles Before Onox’s CastleGasha Nuts, Vasu’s rings, the Mirror Shield, the chest game, Maple and Biggoron’s Sword.
- Onox’s Castle and the Final BattleClear the castle rooms, beat Facade, buy the Mirror Shield, then defeat General Onox and free Din.
- The Linked Game FinaleBeat Twinrova and Ganon in the Room of Rites, then finish at the Maku Tree and find the Hero’s Secret.
| Covers | Onox’s Castle (the barrier must already be broken with the Maku Tree’s seed), the Horon Village Shop, and the walk back to the castle across Holodrum in spring |
|---|---|
| Dungeon | Onox’s Castle (no dungeon number): no dungeon item, mini-boss Facade, bosses General Onox (armored form) and Dark Dragon Onox, no Essence of Nature |
| Rewards | Mirror Shield (bought for 80 Rupees), Din released from her crystal; no Pieces of Heart, Heart Containers, rings, Gasha Seeds or Ore Chunks on this route |
This chapter takes you through the last dungeon of the game, from the castle gate to the defeat of General Onox. You fight through the gold-block rooms, leave to buy the Mirror Shield at the Horon Village Shop, return to the castle through North Horon, clear the rooms and the Facade mini-boss, and finish Onox in his armored and dragon forms. Freeing Din at the end is the goal of the whole chapter.
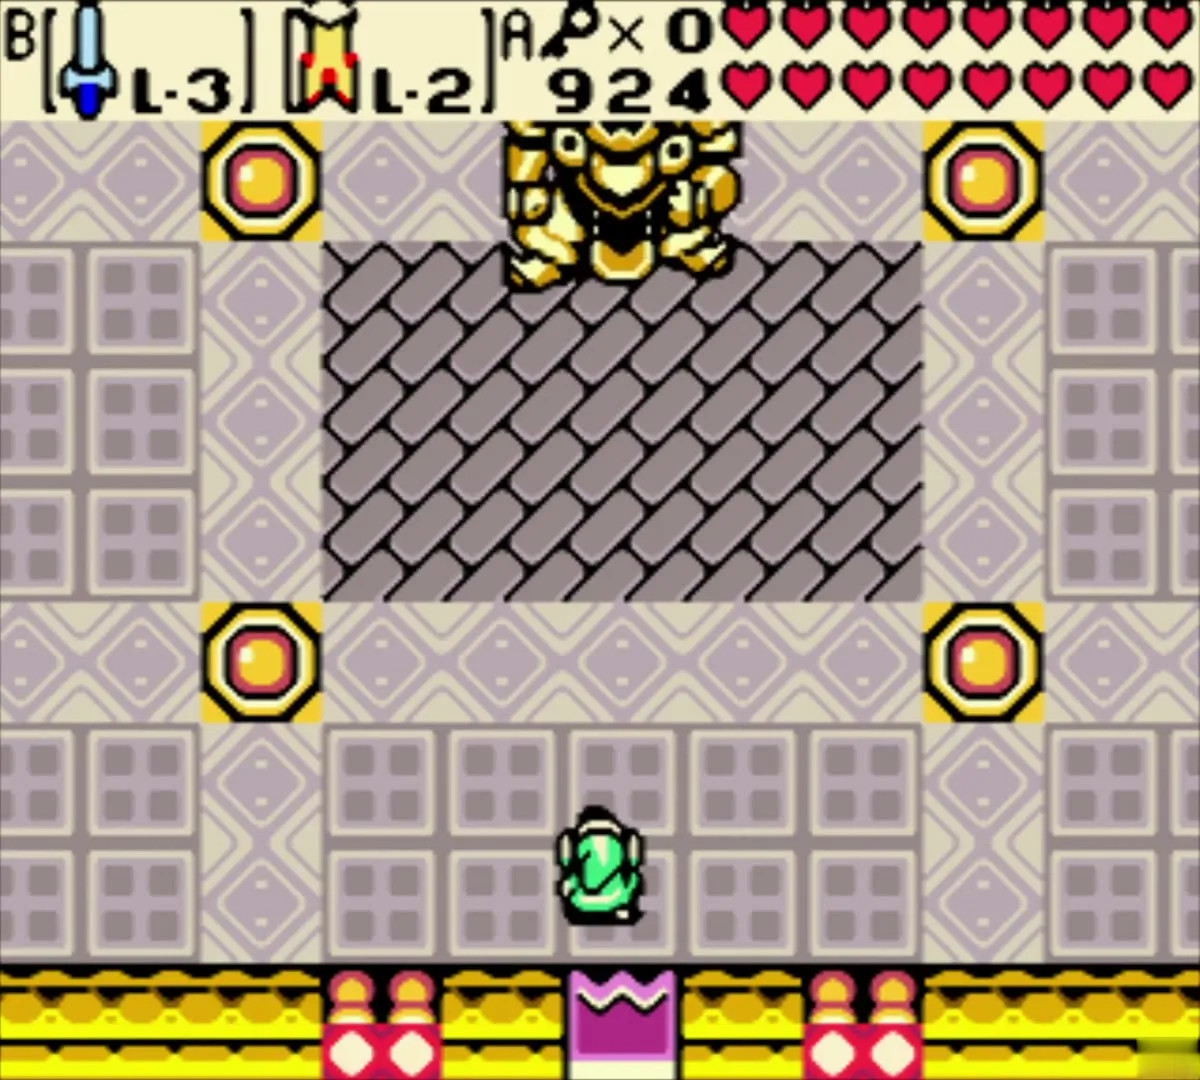


Table of Contents
Onox’s Castle: the gate rooms
Clear the gold-block rooms
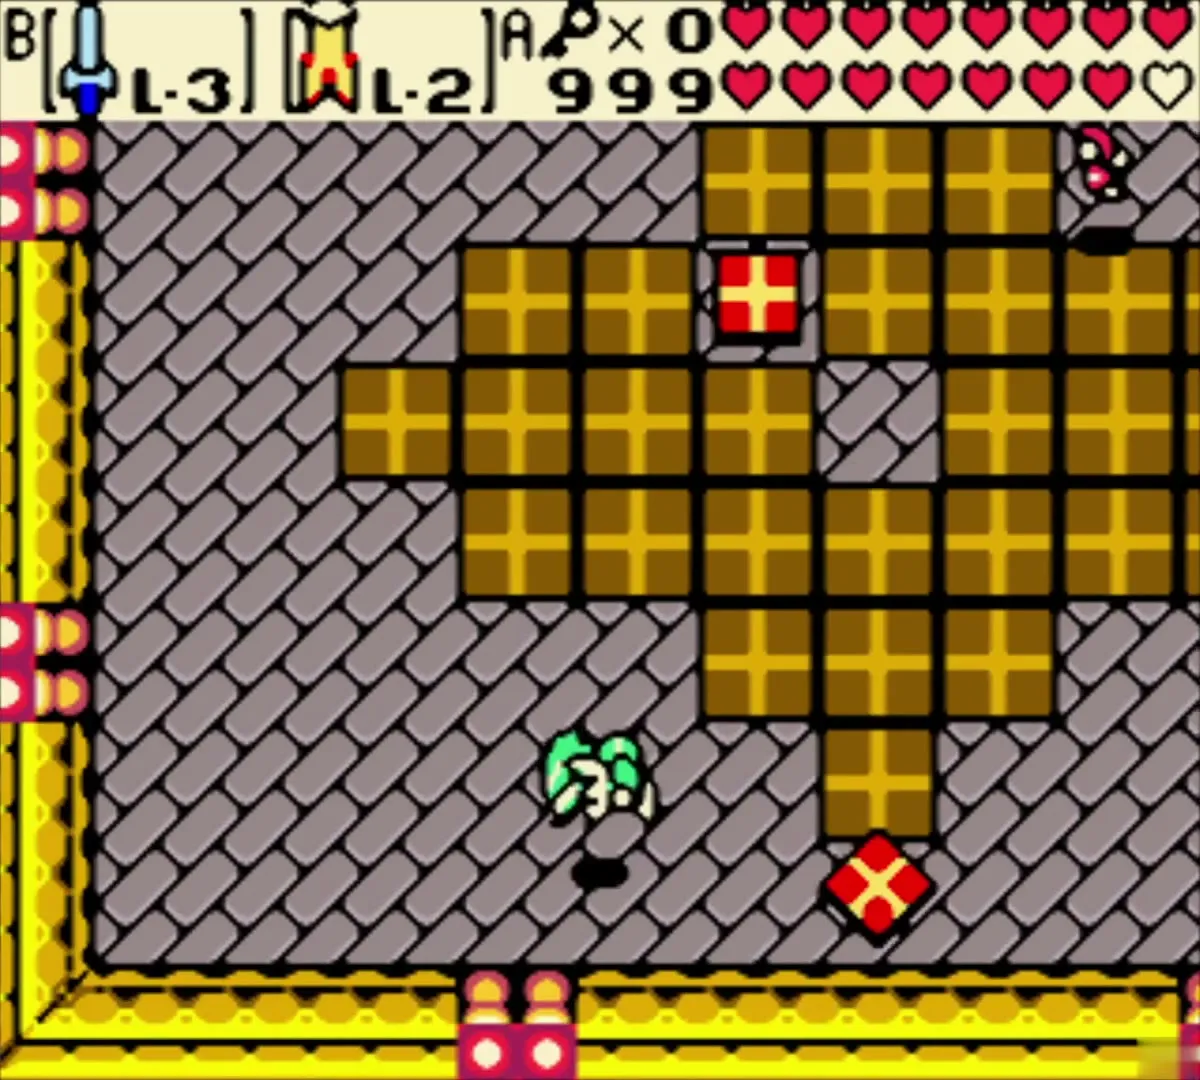
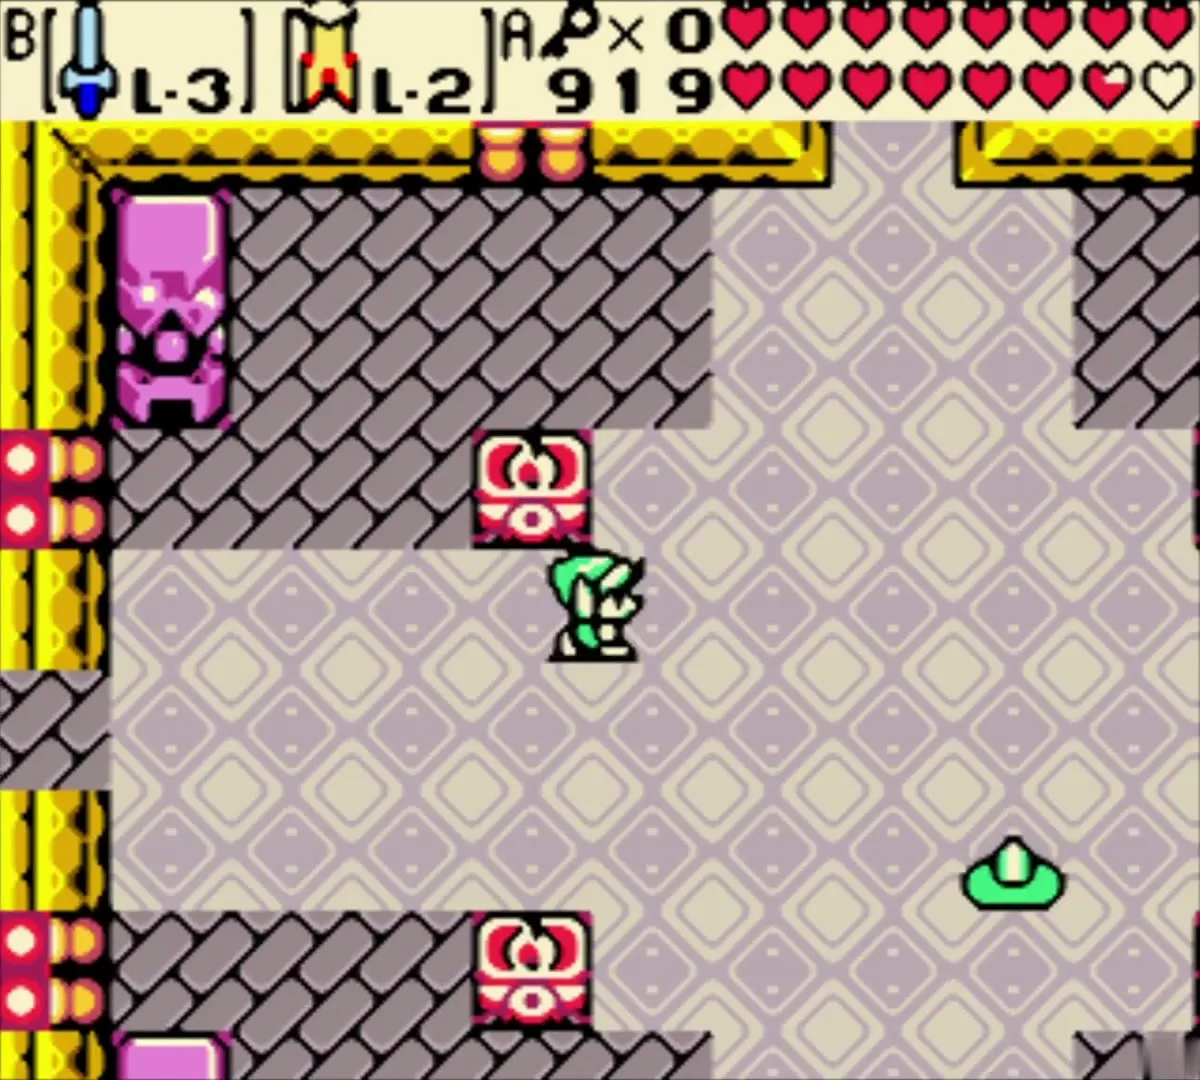
Enter the castle and work through the grey tiled rooms with gold block patterns. Flying red-and-white enemies are the main threat here, and the rooms are walled off until their enemies are gone. Your small key count stays at zero throughout, so you will not unlock any doors with keys; you only need to clear each room to move on. Keep your hearts topped up before you leave the gate, because the next part of the castle is harder.

Horon Village Shop: the Mirror Shield for 80 Rupees
Leave the castle and walk to the village
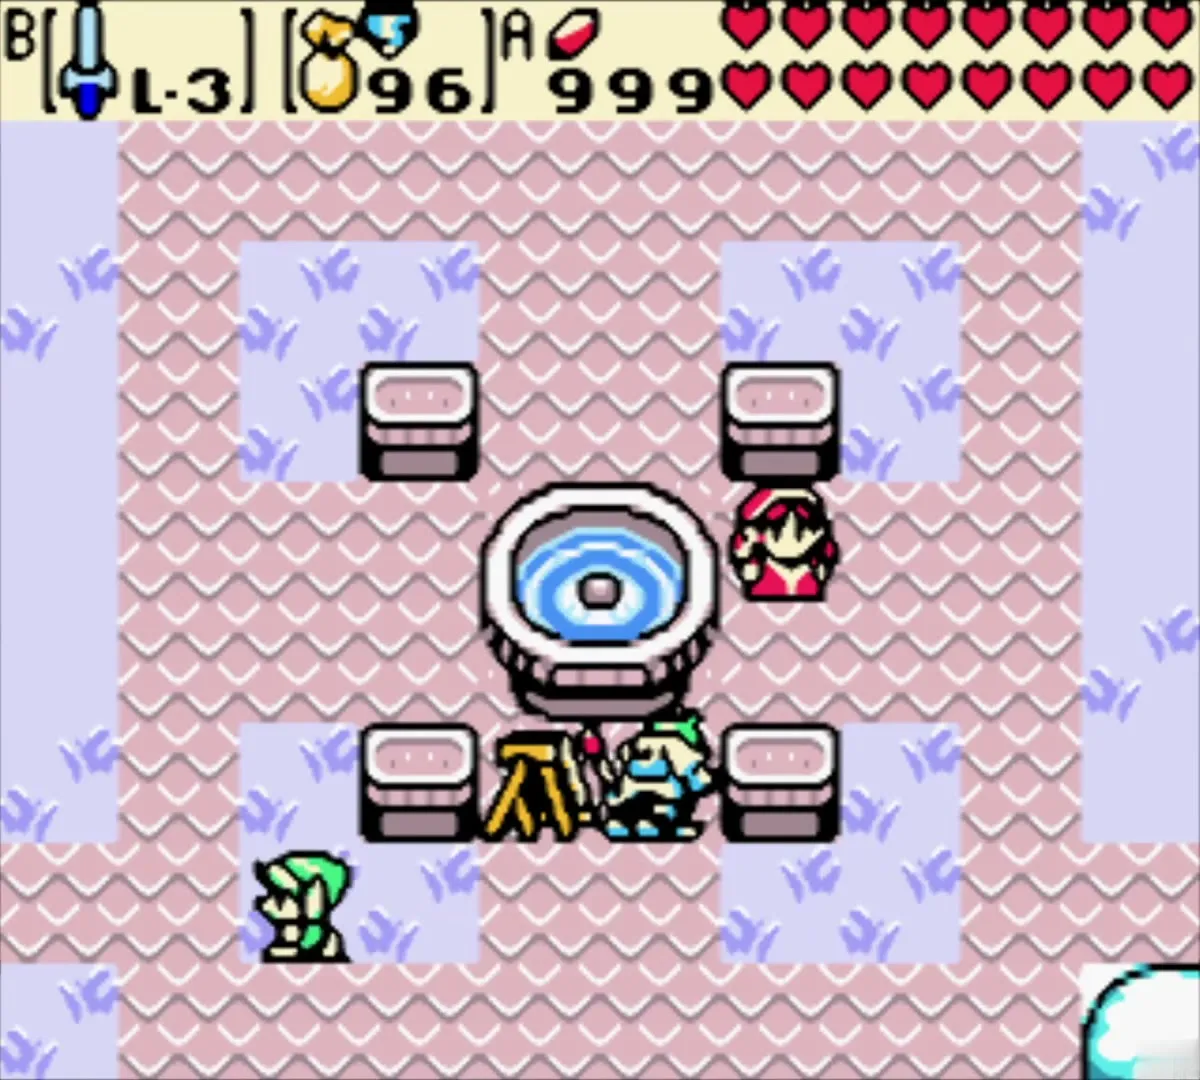
You can leave the castle partway through and return later. Walk out to the castle base, where a face is carved into the purple wall, and continue to the snowy clearing with the village fountain. The Horon Village Shop is there, marked by a blue SHOP sign, with a shopkeeper behind the counter.

Buy the Mirror Shield
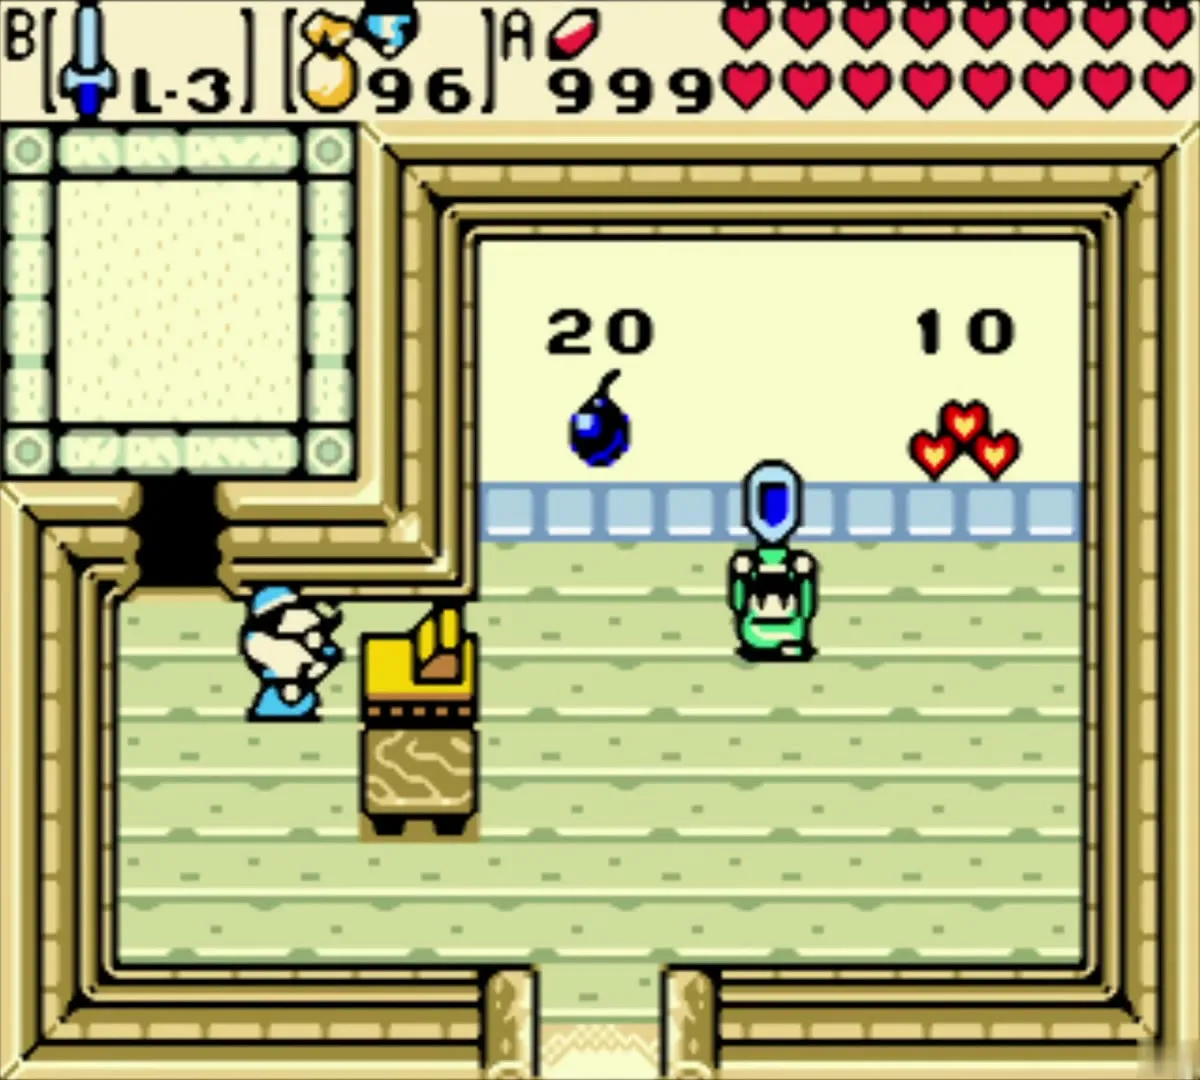
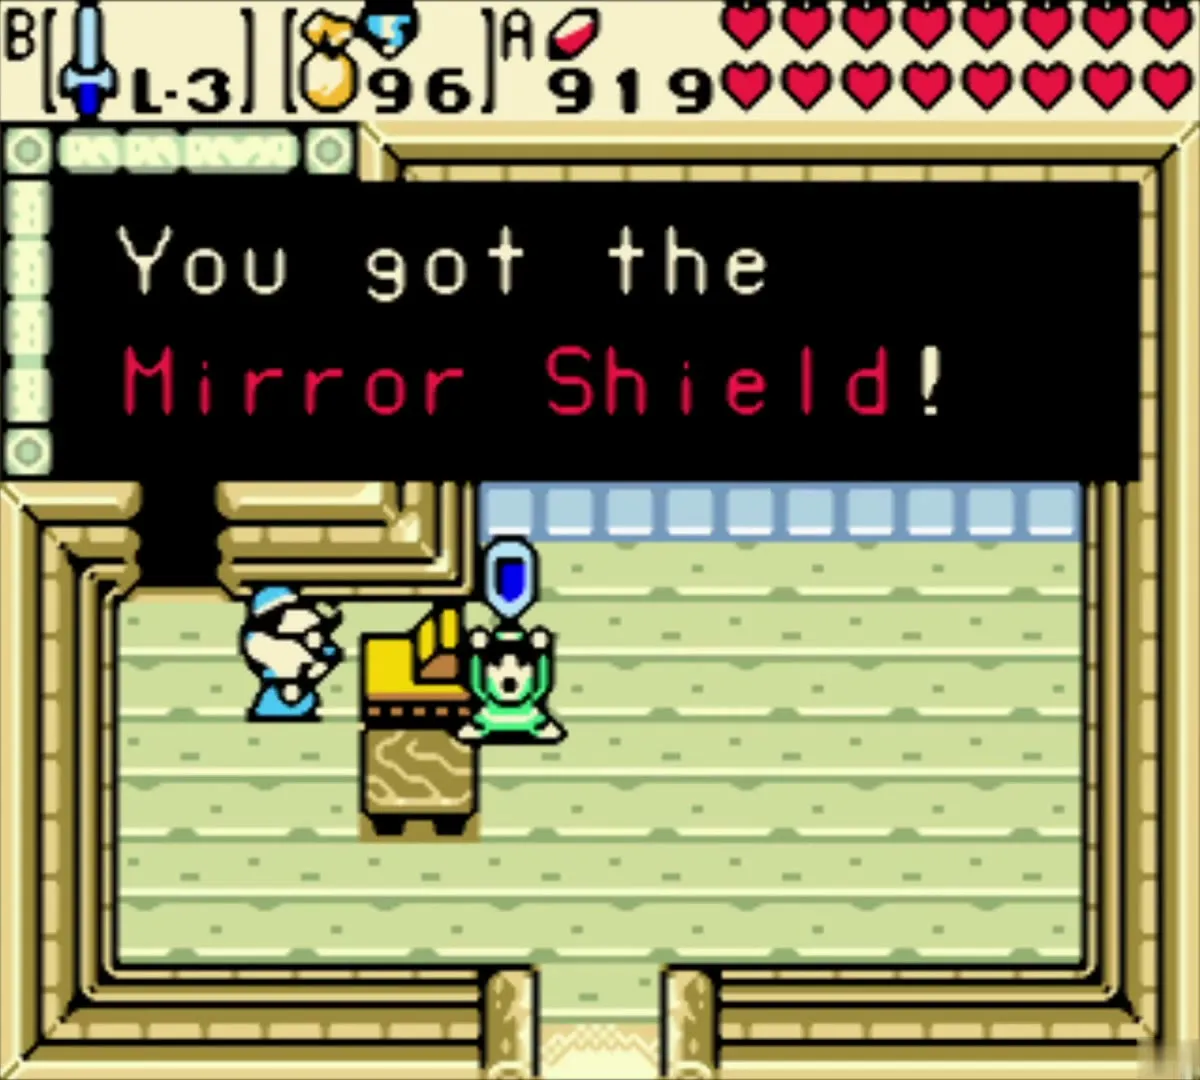
Talk to the shopkeeper and pick the Mirror Shield from the shelf. The shop sells the Mirror Shield for 80 Rupees, and it only appears once you already own the Iron Shield, the shield upgrade that comes before it. Choose OK at the 80 Rupees prompt, and the shield is added to your inventory; your Rupee count drops from 999 to 919.

Warp to North Horon and walk back
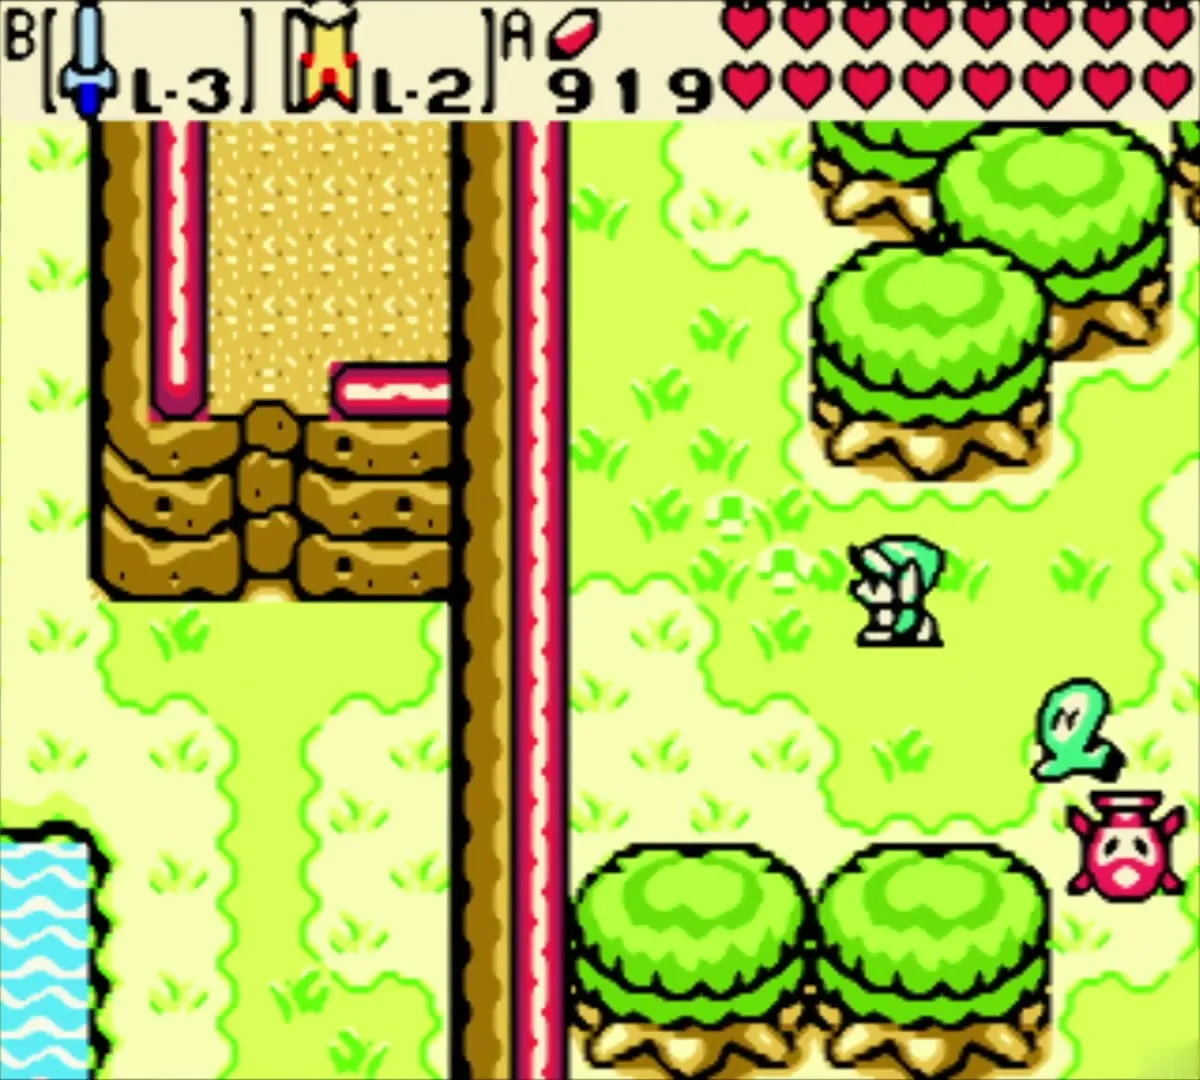
Use a Gale Seed and choose North Horon from the warp list. From the Scent Seed tree in North Horon, go south, then west, then north to reach the area just outside the castle grounds. Cross the bridge heading west, pass through the hollow log, and continue past the Peahats until the Ball and Chain Trooper and Darknuts come into view. Defeat them, then head north to the castle entrance and walk back in.


Onox’s Castle rooms and the Facade mini-boss
Side rooms with fairies
The castle has east and west side rooms, each with a fairy that restores your health. Their floors are covered in tiles that attack you, and entering one starts a barrage that sends you back to the castle entrance. Stand in the doorway and use the Magical Boomerang to pull the fairy toward you, so you do not get locked in the room.

North rooms and Facade
Move north one room at a time. Each room holds Wizzrobes, Darknuts and Floormasters, and the door to the next room stays shut until every enemy in the current room is defeated. Kill the Floormasters first, then the Darknuts that carry swords, and finally the Darknuts that throw spears.
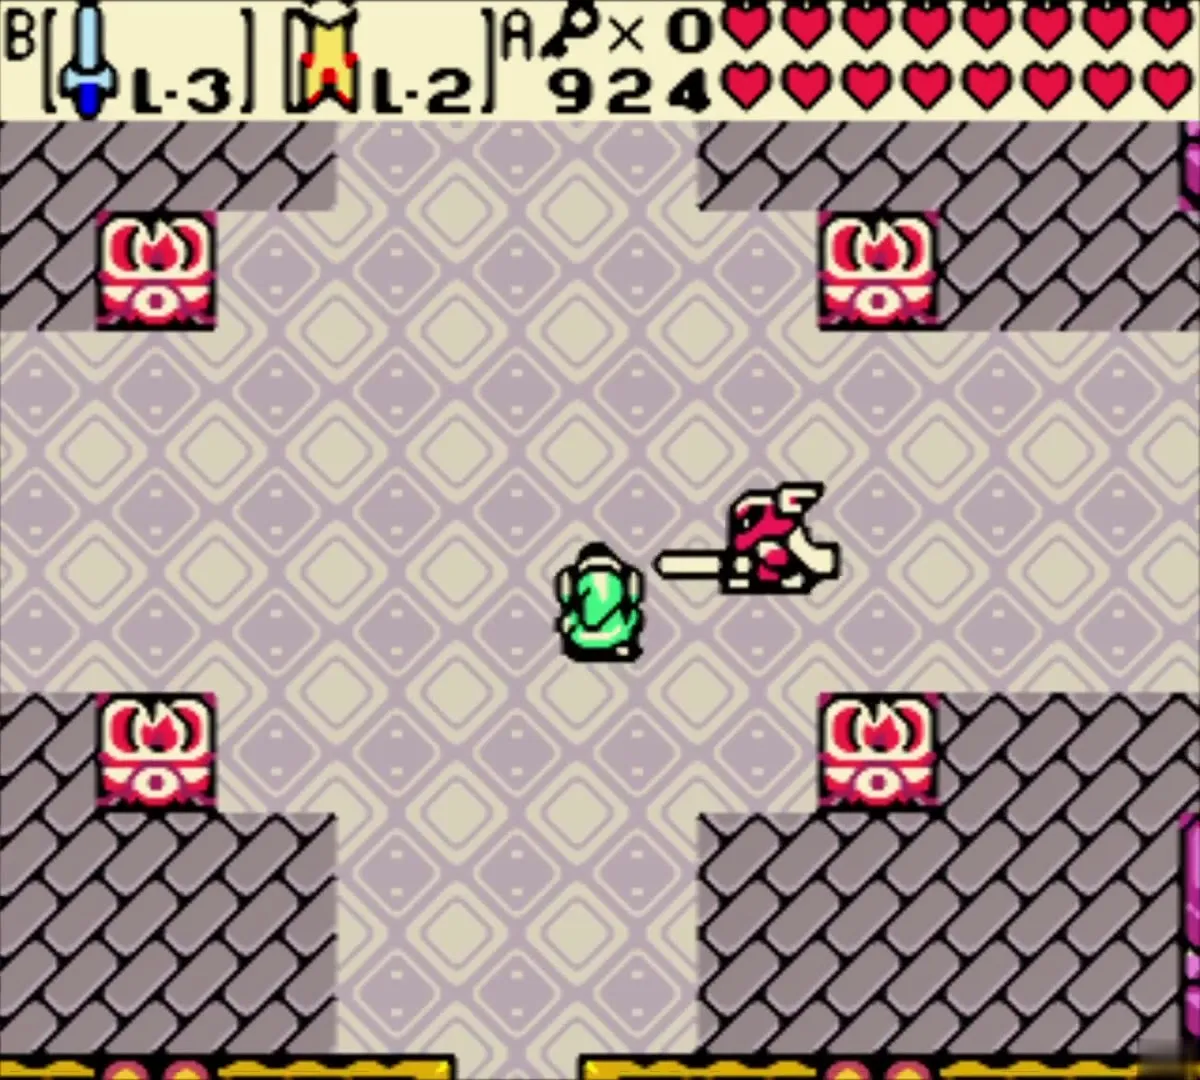
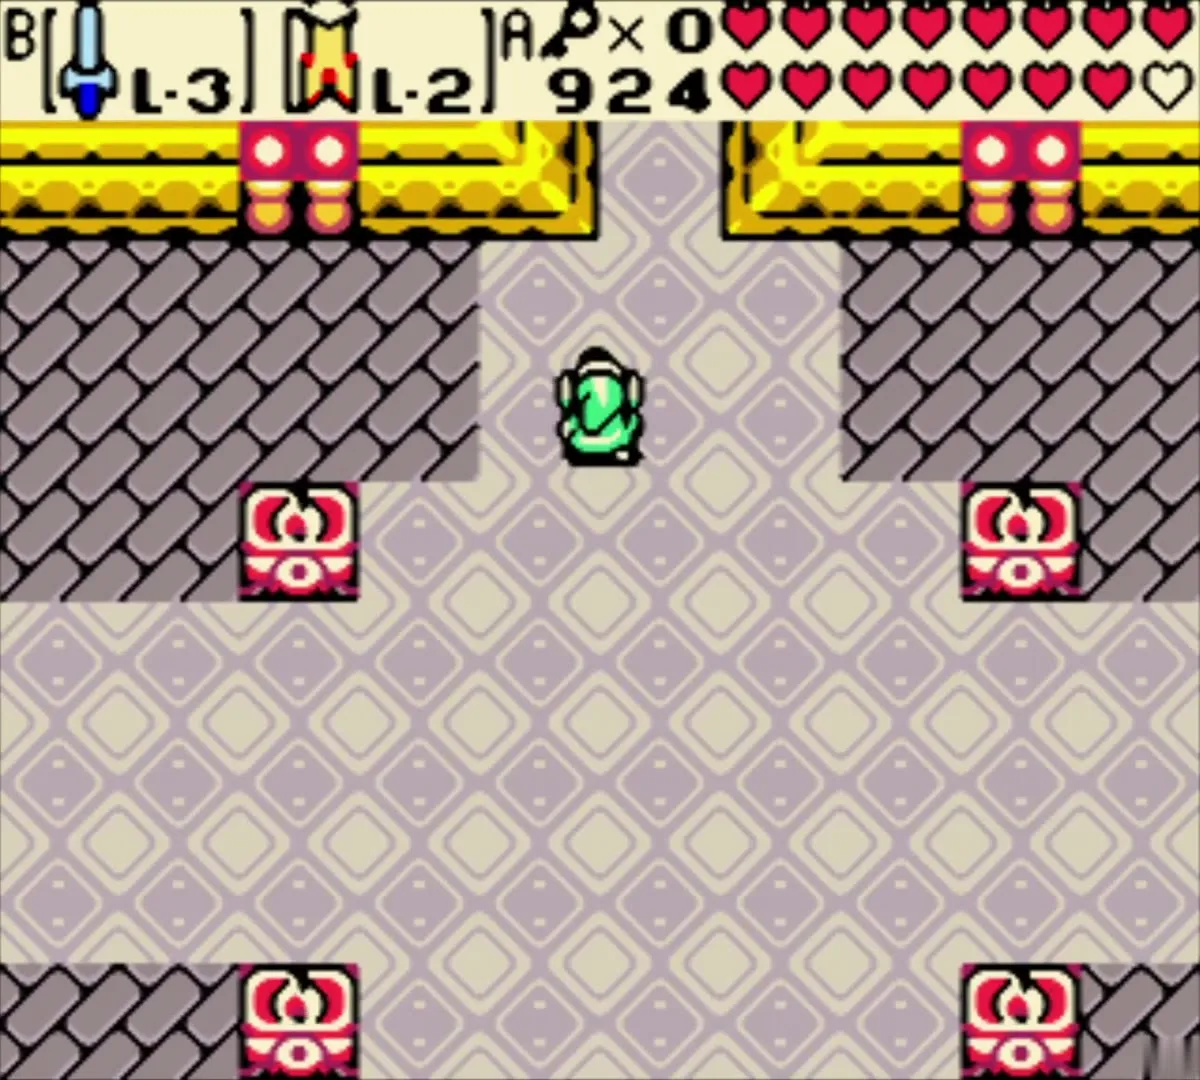
The last room before Onox holds Facade, a mini-boss you have fought before. Only bombs damage it, so stock up before you enter. Place bombs in the middle of the room as it appears, then keep moving to avoid its beetles, fireballs and the holes it opens in the floor. After Facade falls, the room’s north door opens and you can head on toward the final boss.
General Onox: armored form and Dark Dragon
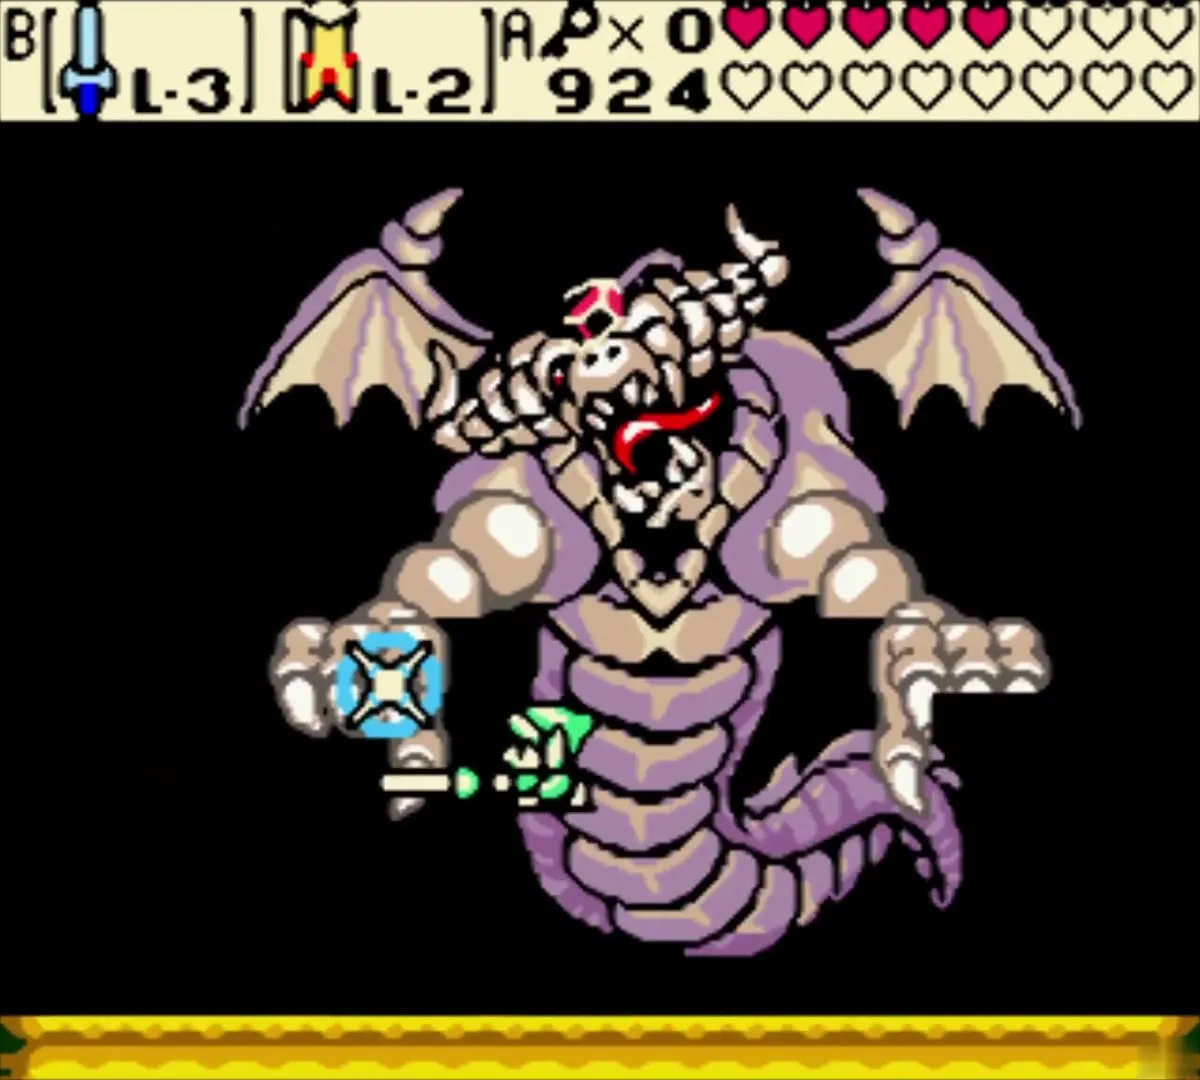
Armored Onox
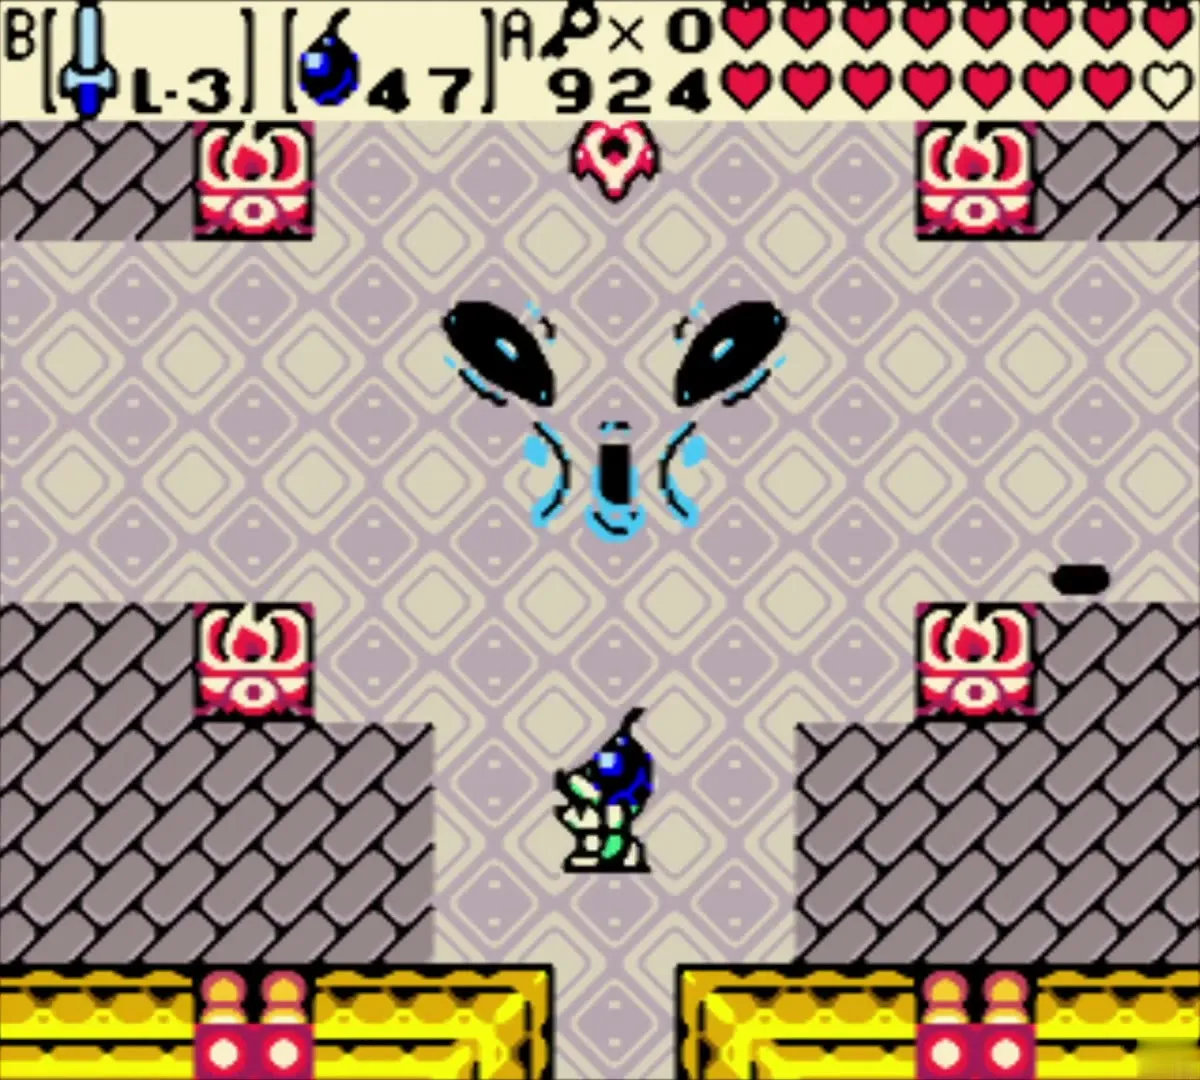
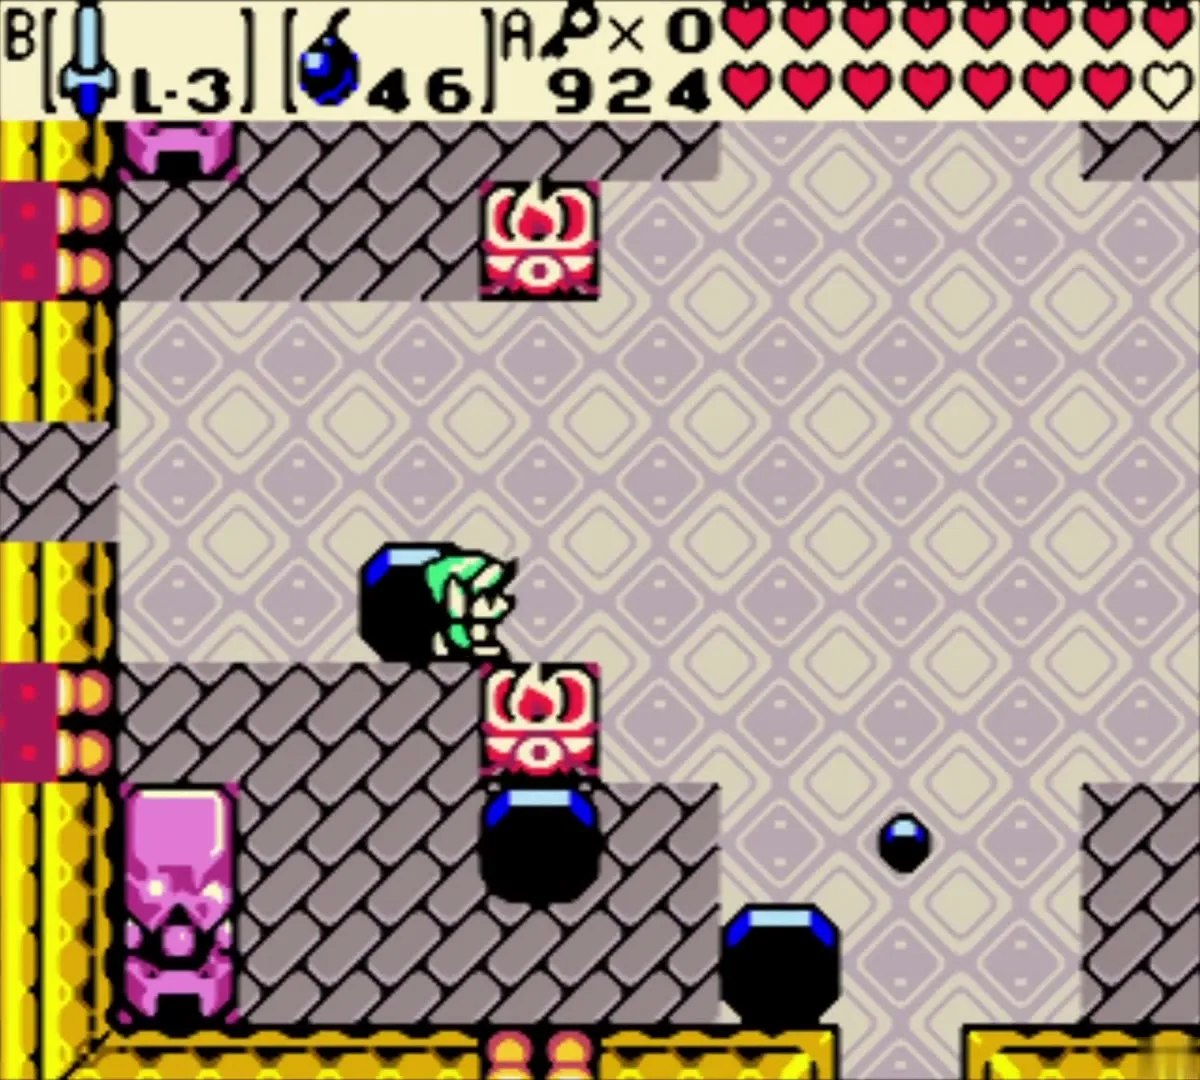
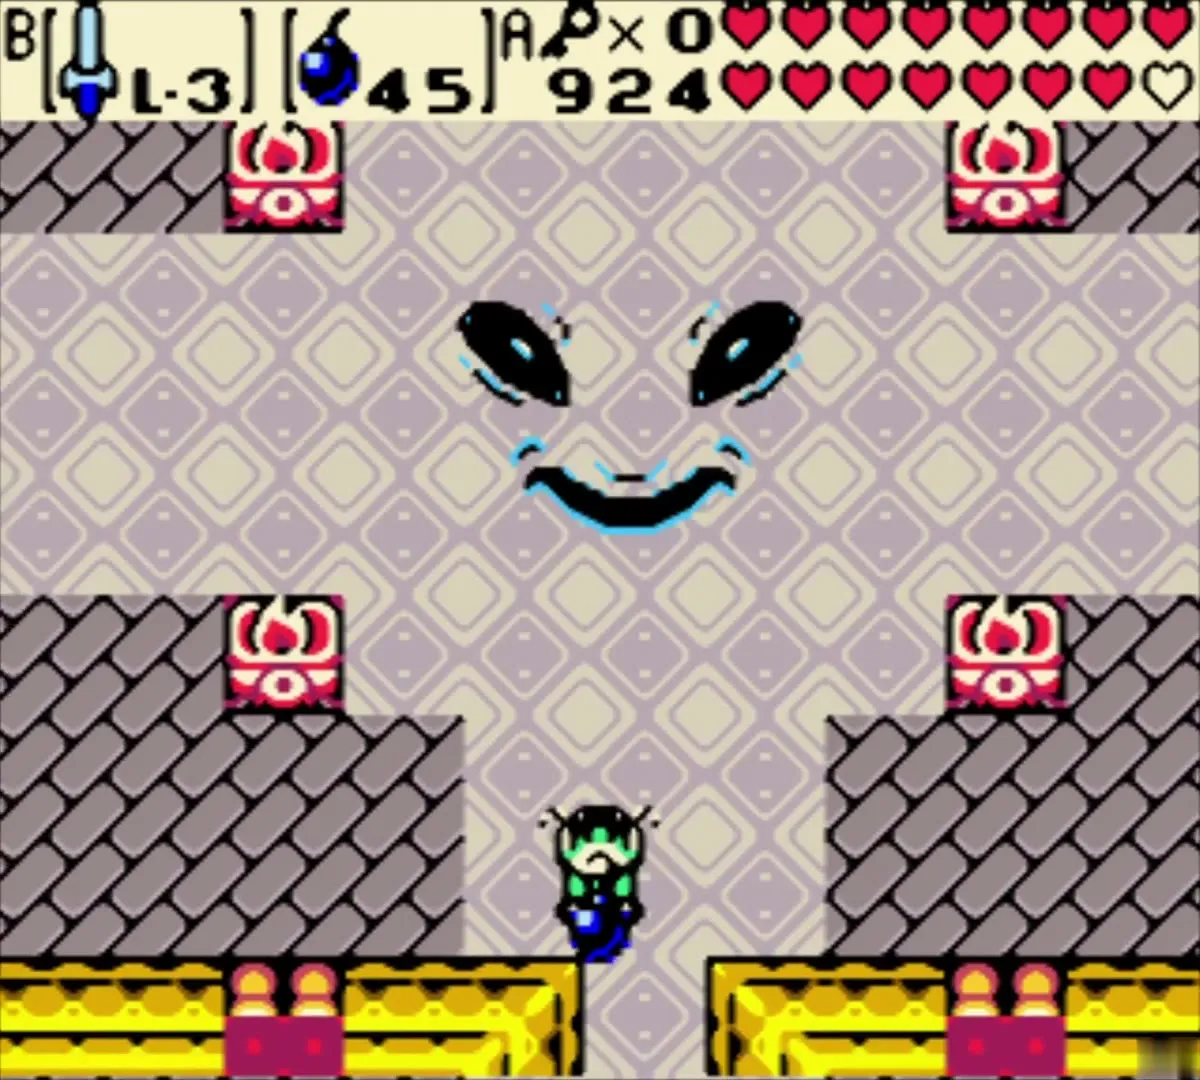
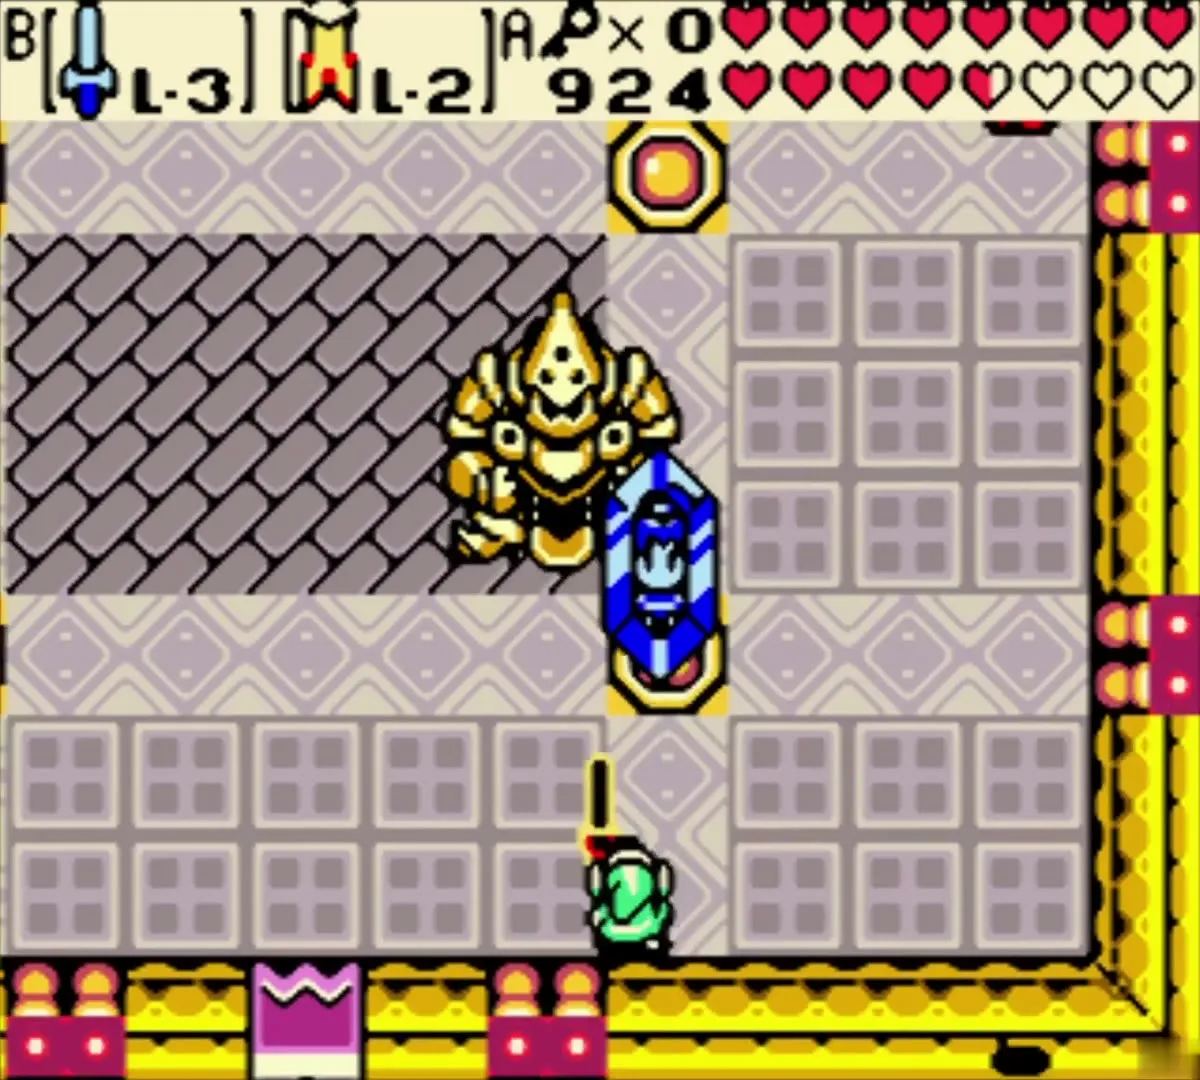
Onox starts in an armored form with a large ball and chain. Your sword alone will not hurt him, so use Spin Attacks: hold B to charge the sword, then release. Aim at his sides or his back, since his front is covered in armor, and strike while he is recovering from a swing.
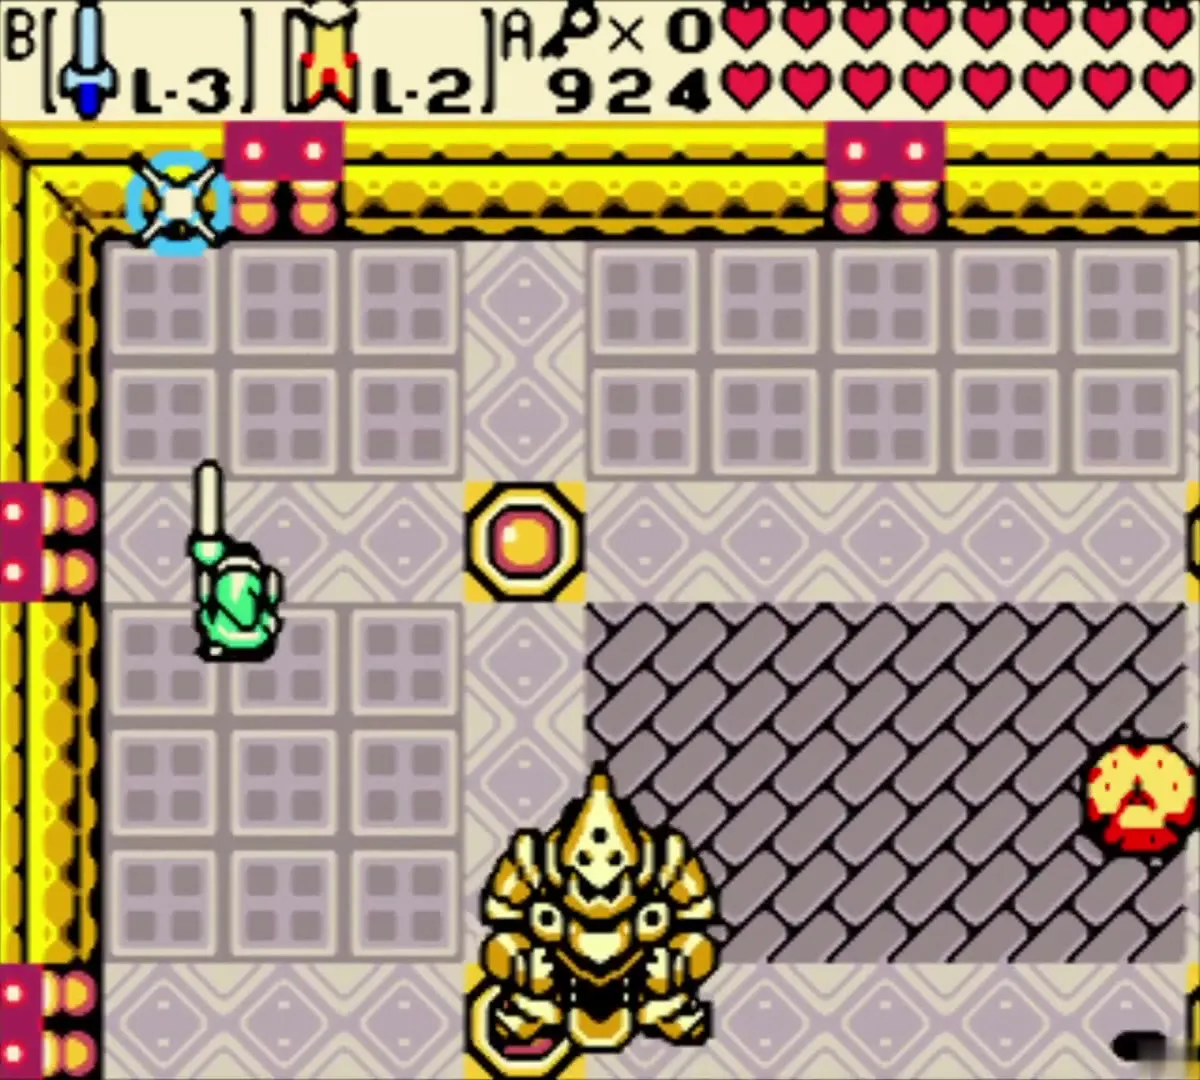

Watch his attacks. He swings the ball and chain, which you can dodge by jumping over it, drops boulders from the ceiling (step out of the shadows they cast), and fires whirlwinds across the arena, which you jump over. Keep moving between attacks, and move into the bottom-left corner when you can, since that is the safest place to strike him from.
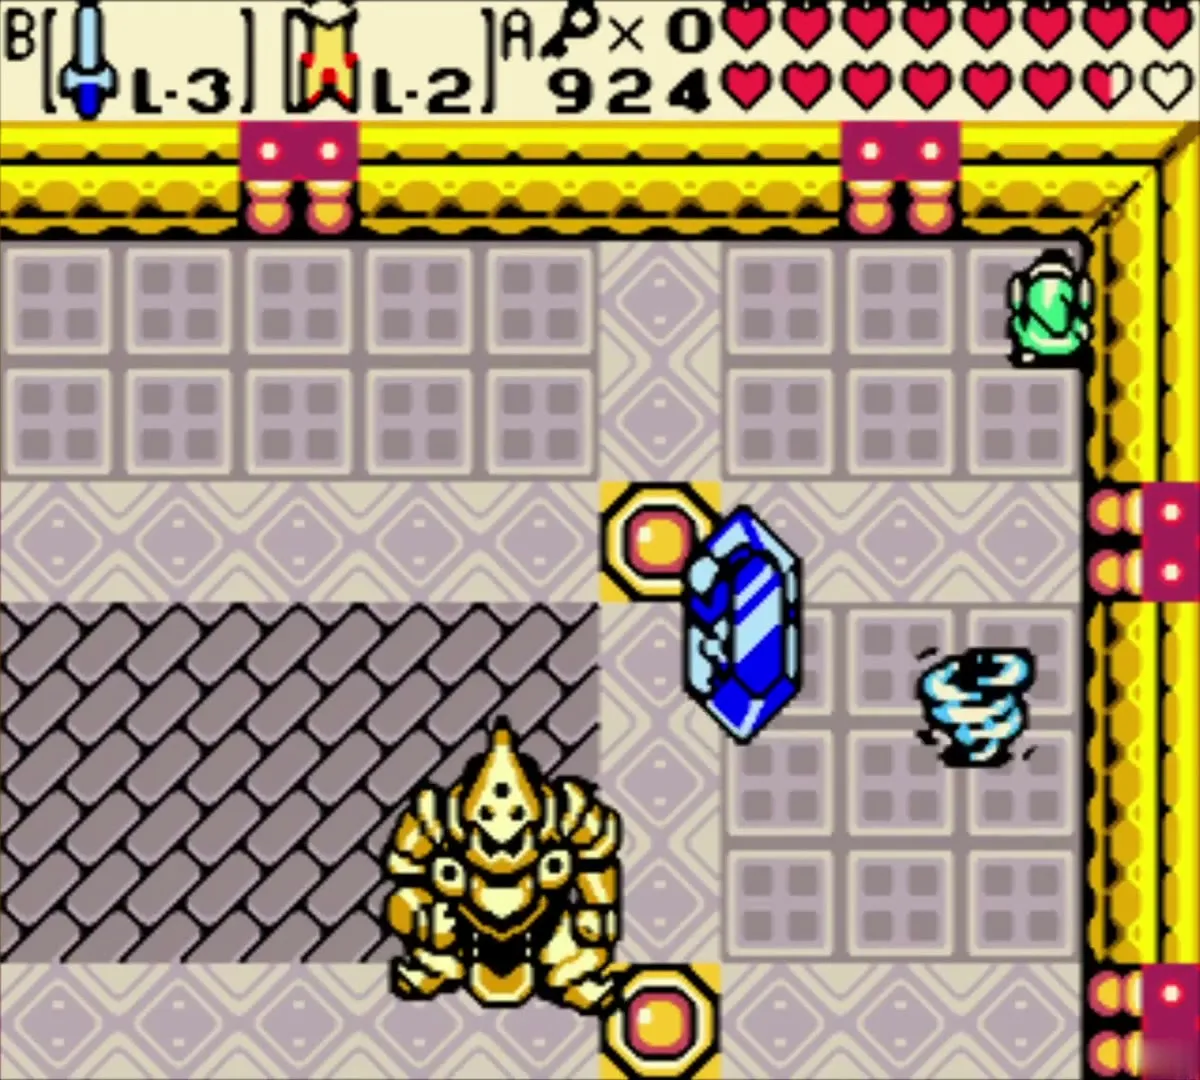
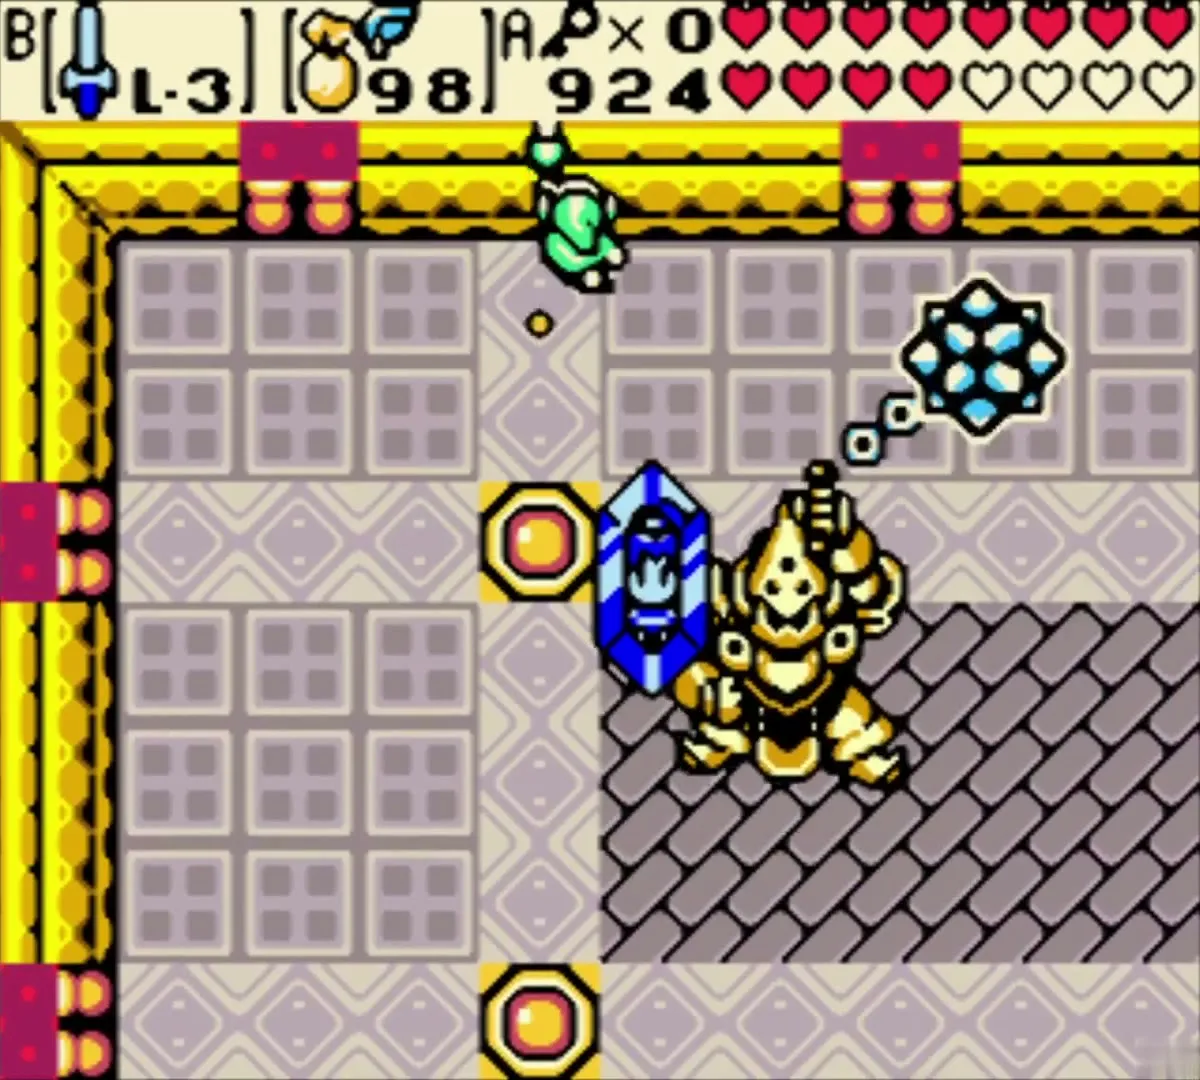
Onox will eventually raise Din’s crystal in front of him as a shield. Hitting the crystal with your sword shocks you, so swing the Rod of Seasons at it instead to knock it aside. That leaves a short window for two or three Spin Attacks before Din drifts back, so act quickly.
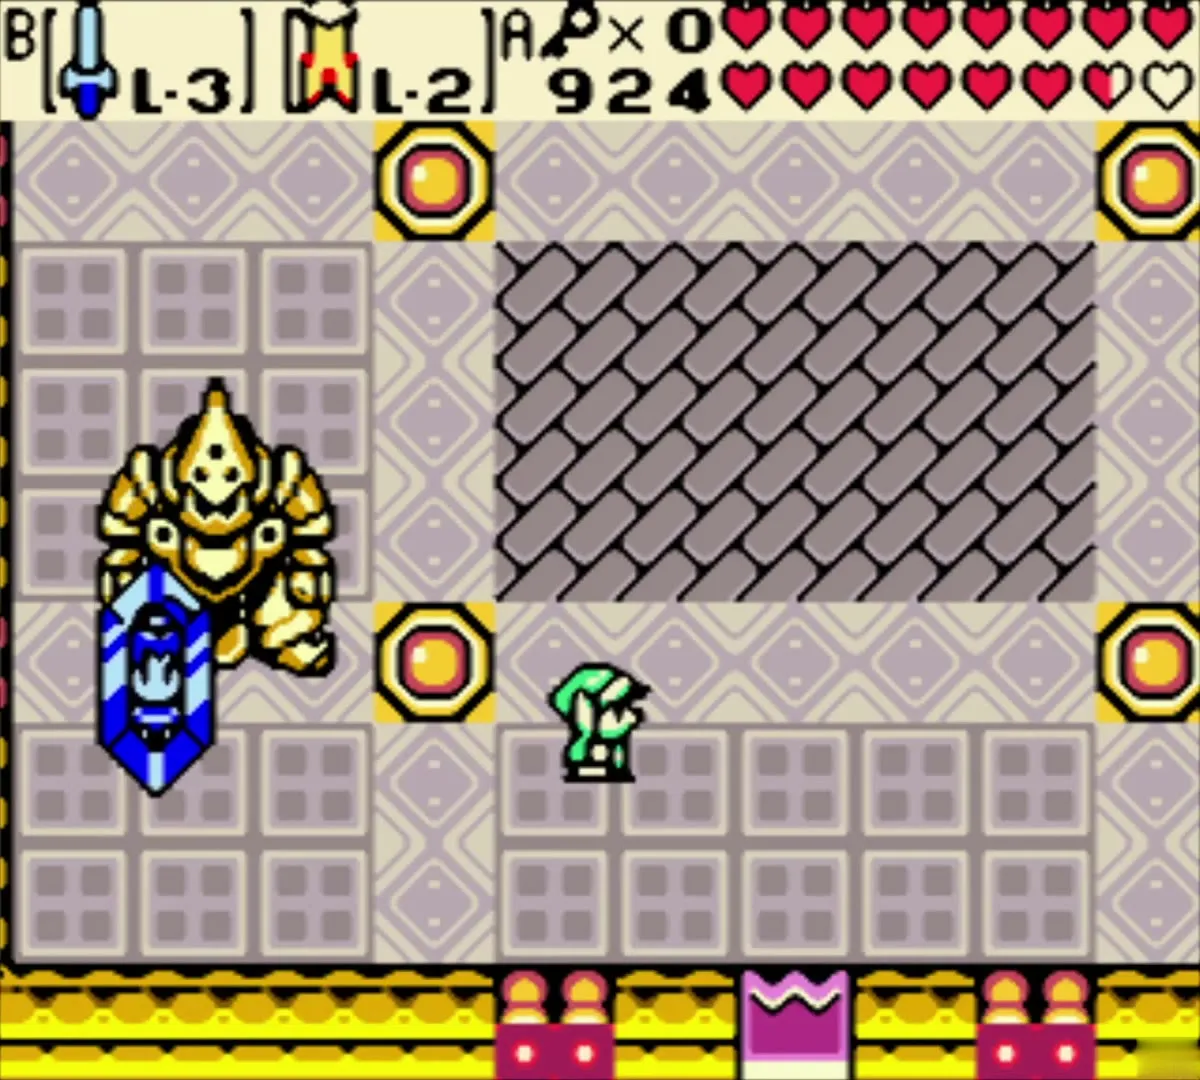
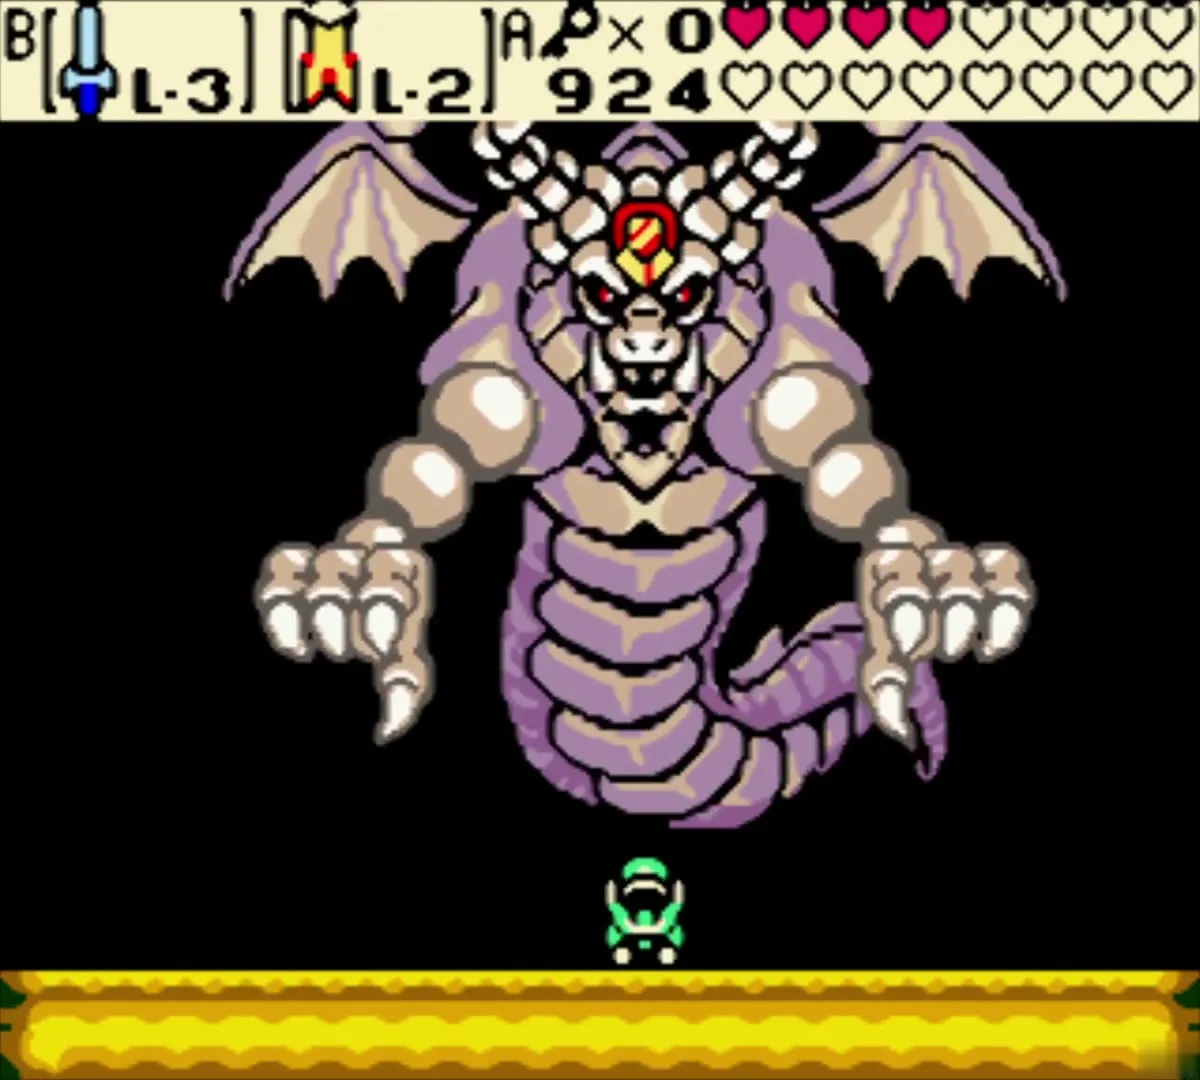
Dark Dragon Onox
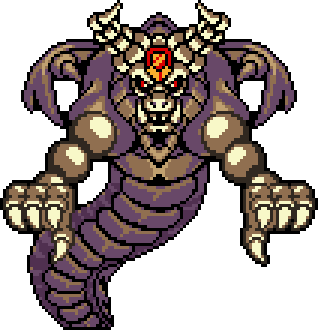
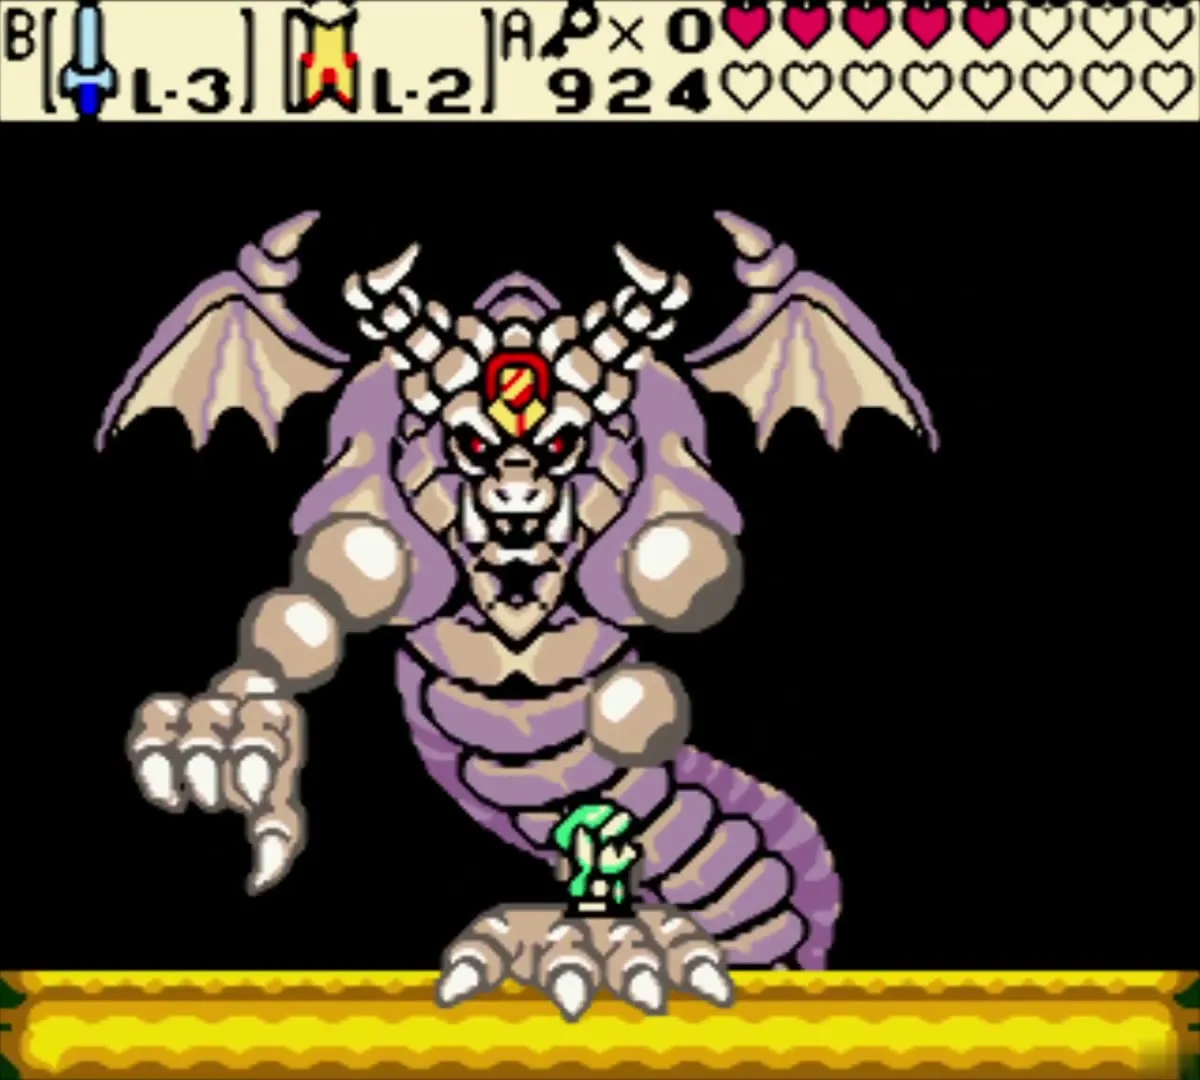
When the armor is spent, the floor collapses and you fall into a side-scrolling arena where Onox returns as a dragon. You need the Roc’s Cape to fight him. Stay in the arena and watch for his hand, which slams down on the ground. Jump onto the hand as it comes down, wait for it to lift you back up, then leap from it toward his head.


Onox has three main attacks here. A claw sweep crosses the ground from one corner: move to the far corner on the opposite side to avoid it. Blue flames stay on the ground for a while and cannot be jumped over, so sidestep them and stay near the middle of the arena. Red fireballs come in a steady stream, so run and jump between them, and Pegasus Seeds give you extra room to dodge.


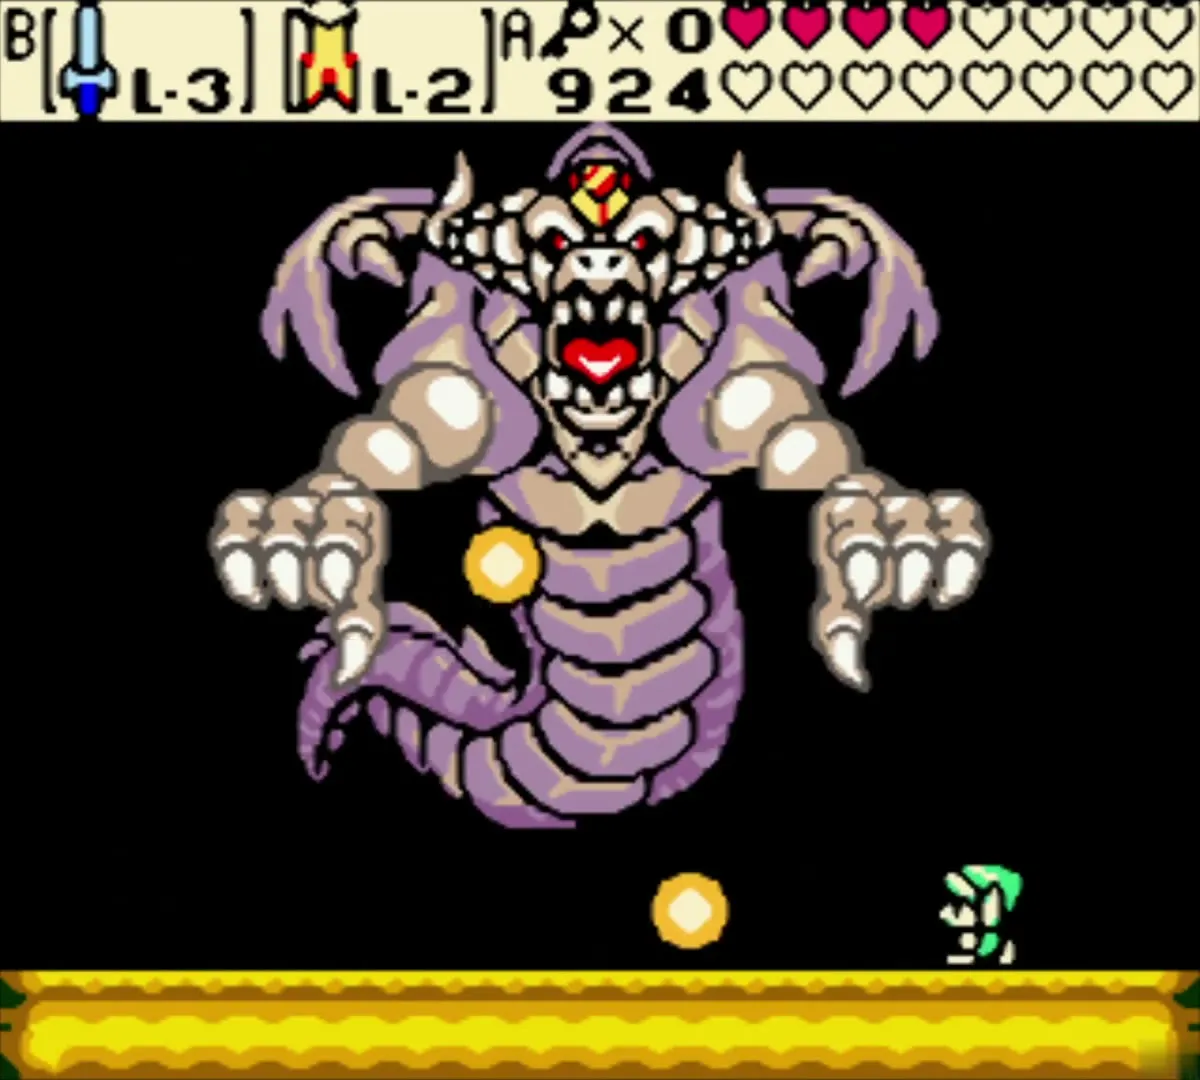
To damage him, jump onto his hand when it lands, then leap from it at the jewel on his forehead and strike it with a Spin Attack. Time each leap so that he is flying toward the side where your hand is. Repeat the hand-to-head cycle until the jewel breaks and the dragon falls.
Free Din
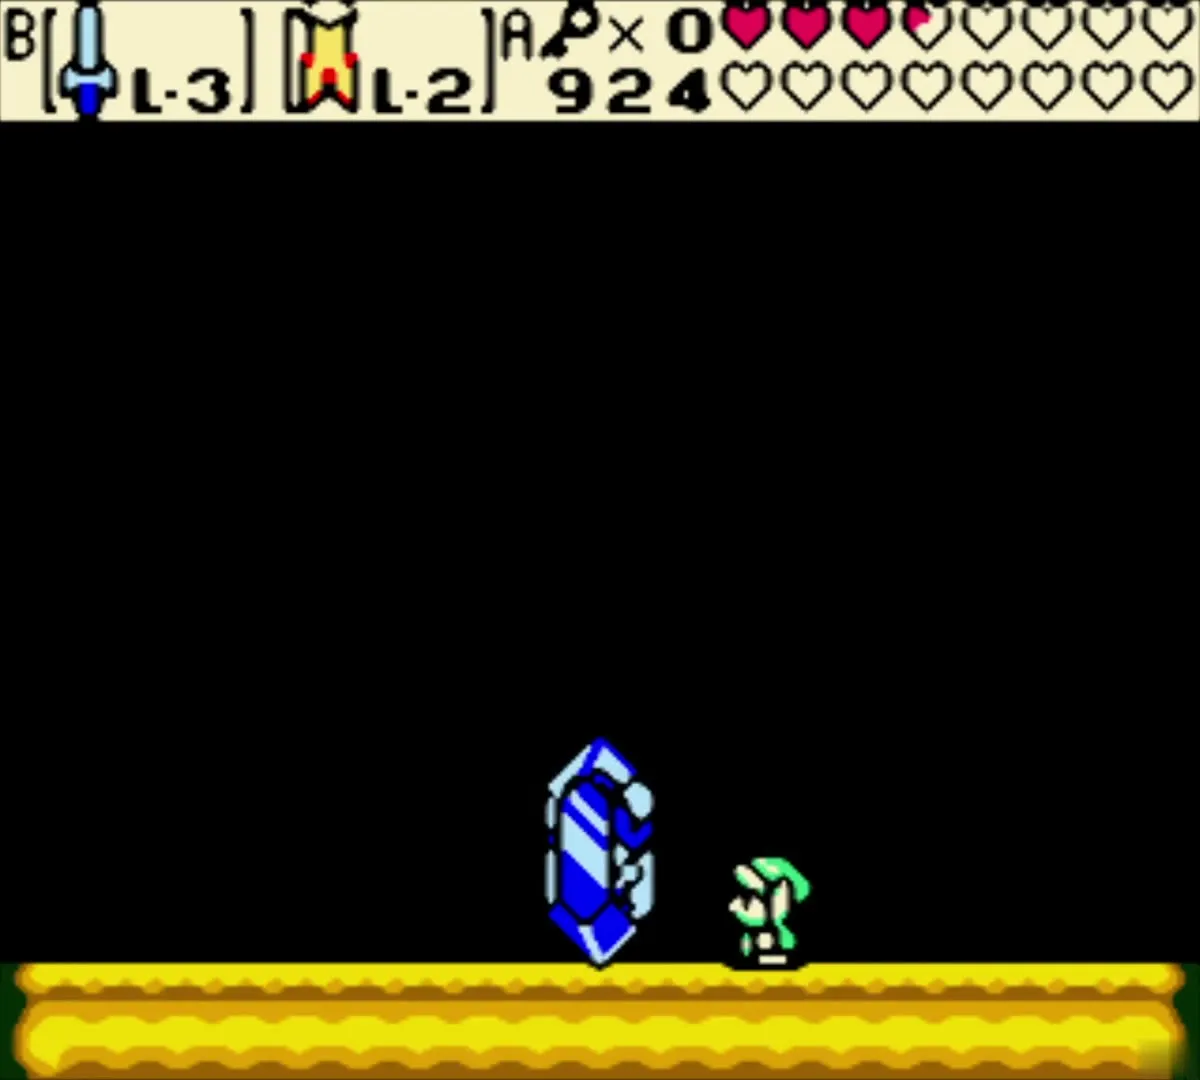
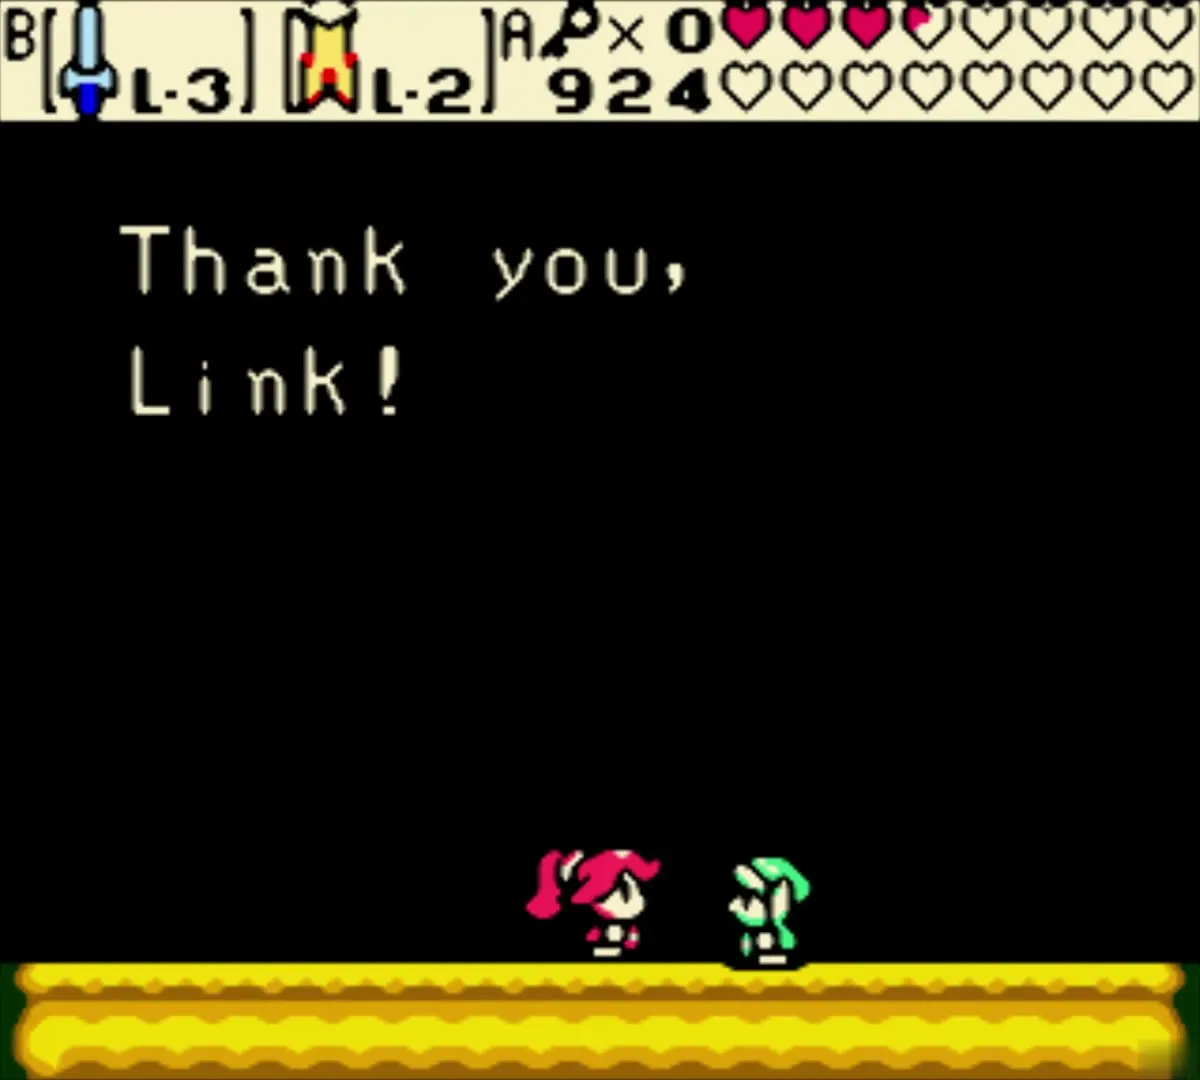
After Onox falls, walk up to the blue crystal that holds Din. It falls, shatters, and Din steps out of it. Her release is the end of the battle with Onox, and the story moves on from her to Twinrova.

Chapter checklist
| Type | Name | Where |
|---|---|---|
| Shop item | Mirror Shield, 80 Rupees | Horon Village Shop, after you own the Iron Shield |
| Mini-boss | Facade | Last room before Onox (bombs only) |
| Boss | General Onox, armored form | Onox’s Castle boss room (Spin Attacks; Rod of Seasons for Din’s crystal) |
| Boss | Dark Dragon Onox | Side-scrolling arena after the floor collapses (Roc’s Cape) |
| Rescue | Din | Blue crystal in the dragon arena |
| Keys and Essences | None | Onox’s Castle has no keys or Essence of Nature |
