





















Oracle of Seasons 100% Completion Walkthrough26 chapters
- Getting Started in Holodrum and the Hero’s CaveGetting started in Holodrum: Impa’s request, Mayor Ruul’s Gasha Seed, Vasu’s Ring Box, the Hero’s Cave ledge chest.
- Gnarled Root Dungeon (Dungeon 1)Gnarled Root Dungeon walkthrough for Oracle of Seasons: keys, map, compass, Seed Satchel, Boss Key, Aquamentus and the.
- Subrosia, the Tower of Winter and the Rod of SeasonsWalkthrough for Subrosia, the Tower of Winter and the Rod of Seasons in Oracle of Seasons: Gasha Nuts, Boomerang, Ore.
- Woods of Winter and the ShovelWoods of Winter walkthrough: pay the old man, bomb the 30 Rupee cave, get the Shovel from Holly, find the Mystery Seed.
- Snake’s Remains (Dungeon 2)Snake’s Remains walkthrough: Compass, rupee room, Power Bracelet, Dungeon Map, bomb merchant, Facade, Dodongo boss.
- Farore’s Secrets and Princess Zelda’s RescueFarore’s secrets and Princess Zelda’s rescue walkthrough: three Pieces of Heart, a Gasha Nut, Vasu’s rings, the L-2.
- Spool Swamp and the Floodgate KeySpool Swamp walkthrough for Oracle of Seasons: Ricky’s Gloves, the Iron Pot trade, Pegasus Seeds, the Floodgate Key.
- The Tower of Summer and Rosa’s RibbonThe Tower of Summer walkthrough: Star-Shaped Ore, Rosa’s Ribbon, Subrosian Market buys (Heart Piece, Bomb Bag), the.
- Poison Moth’s Lair (Dungeon 3)Poison Moth’s Lair walkthrough: both Small Keys, Roc’s Feather, Compass, Map, Gasha Seed, Omuai, Boss Key, Mothula and.
- Natzu, Sunken City and Zora’s FlippersNatzu, Sunken City and Zora’s Flippers walkthrough: Dimitri’s swim, Gale Seeds, Master’s Plaque, Master Diver and the.
- The Hall of Secrets and the Noble SwordHall of Secrets walkthrough: Farore’s secrets, Bombchu, the Noble Sword, Advance Shop rings, Vasu’s appraisals and a.
- Great Moblin’s Keep and Goron MountainGreat Moblin’s Keep and Goron Mountain walkthrough: bomb-catching boss fight, Heart Piece, Tokay secret, bigger Ring.
- The Strange Brothers, the Tower of Spring and Mt. CuccoThe Tower of Spring and Mt. Cucco walkthrough: win back Roc’s Feather from the Strange Brothers, Spring power, Moosh.
- Dancing Dragon Dungeon (Dungeon 4)Dancing Dragon Dungeon walkthrough: all five Small Keys, Map, Compass, Agunima, Slingshot, Boss Key, Gohma and the.
- The Tower of Autumn and Eyeglass LakeTower of Autumn and Eyeglass Lake walkthrough for Oracle of Seasons: Gasha Seeds, ring appraisals, Seed Satchel.
- Unicorn’s Cave (Dungeon 5)Unicorn’s Cave walkthrough for Oracle of Seasons: Compass, five Small Keys, Magnetic Gloves, Syger and Digdogger.
- The Four Jewels, Tarm Ruins and the Lost WoodsTarm Ruins and Lost Woods walkthrough for Oracle of Seasons: Red Ore, Iron Shield, Round Jewel, Vasu’s rings, the Lost.
- Ancient Ruins (Dungeon 6)Ancient Ruins walkthrough for Oracle of Seasons: Dungeon Map, Compass, three Small Keys, Magical Boomerang, Vire.
- Samasa Desert and the Pirate’s BellSamasa Desert and Pirate’s Bell walkthrough for Oracle of Seasons: the desert ring chest, the polished Rusty Bell and.
- Explorer’s Crypt (Dungeon 7)Oracle of Seasons Explorer’s Crypt walkthrough: beat the Poe Sisters, get Roc’s Cape and the Boss Key, defeat Gleeok.
- Temple Remains and the Volcano EruptionOracle of Seasons Temple Remains walkthrough: Maku Tree secrets, Vasu ring appraisals, the Subrosian volcano eruption.
- Sword & Shield Maze (Dungeon 8)Oracle of Seasons Sword & Shield Maze walkthrough: Compass, Dungeon Map, Hyper Slingshot, Frypolar, Medusa Head and.
- The Huge Maku Seed, the Last Trades and the Hero’s CaveOracle of Seasons Huge Maku Seed walkthrough: the Goron Vase to Phonograph trade chain, Gasha Seed planting, and the.
- Side Quests and Collectibles Before Onox’s CastleSide quests and collectibles before Onox’s Castle in Oracle of Seasons: Gasha Nuts, Vasu’s rings, the Mirror Shield.
- Onox’s Castle and the Final BattleOnox’s Castle walkthrough for Oracle of Seasons: clear the castle rooms, beat Facade, buy the Mirror Shield, then.
- The Linked Game FinaleLinked game finale walkthrough for Oracle of Seasons: beat Twinrova and Ganon in the Room of Rites, then finish at the.
| Covers | Sunken City and the snowy Holodrum mountain, Goron Mountain, the Samasa Desert coast and desert, Subrosia (the pirate house and the smithy), the Western Coast cottage and graveyard, and Horon Village for ring appraisals. The route needs summer at one tree stump on the Western Coast. |
|---|---|
| Dungeon | None cleared here. The chapter ends at the entrance of the Explorer’s Crypt (Dungeon 7), which the next chapter clears. |
| Rewards | Goron Vase (Lava Soup trade), Pirate’s Bell (quest item), Rang Ring L-1 and Red Ring (both appraised by Vasu), Slayer’s Ring, a chest of 10 Bombs, two Gasha Seeds planted, and a Maple race for her drops. No Heart Pieces, Heart Containers or Essences. |
This chapter follows the trade that begins with Lava Soup, the rusty bell from the desert, and the pirates who need it to sail again. You leave the Ancient Ruins, cross the snow to Biggoron, pick up a ring and a Gasha Seed on the Samasa Desert coast, and recover the bell from a cave under the quicksand. You then polish it in Subrosia, return it to the captain, and sail to the Western Coast. The chapter ends at the entrance to the Explorer’s Crypt.
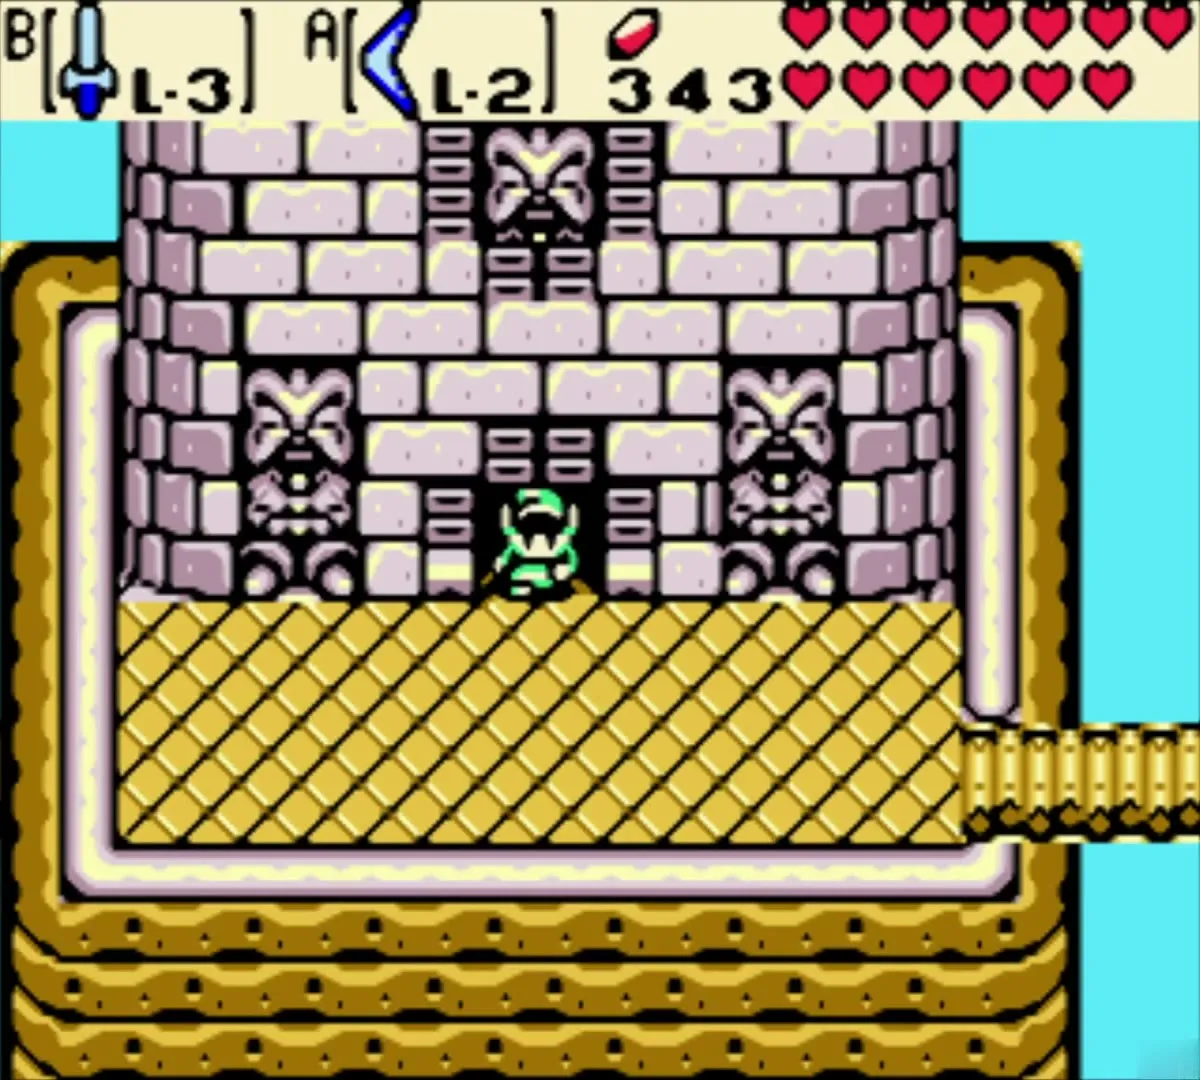

Leaving the Ancient Ruins and reaching Sunken City
Warp out with a Gale Seed
Leave the Ancient Ruins by its stone tower entrance and open the item menu. Select a Gale Seed from your Seed Satchel and choose the Sunken City warp. Gale Seeds take you to the trees you have already set up, so make sure your Satchel holds enough of them for the rest of the chapter.
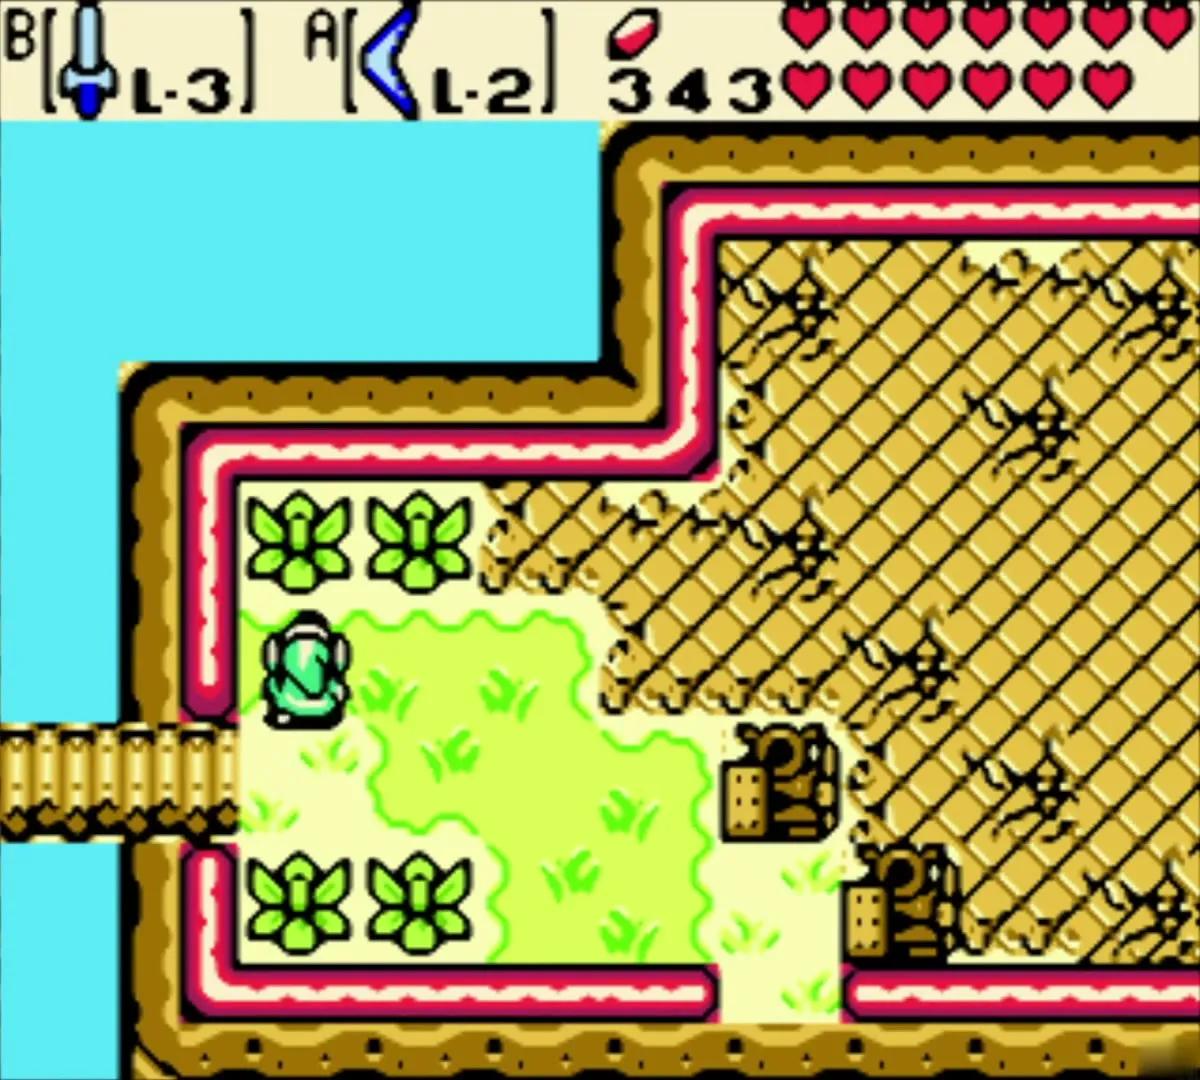

Cross Sunken City to the snow
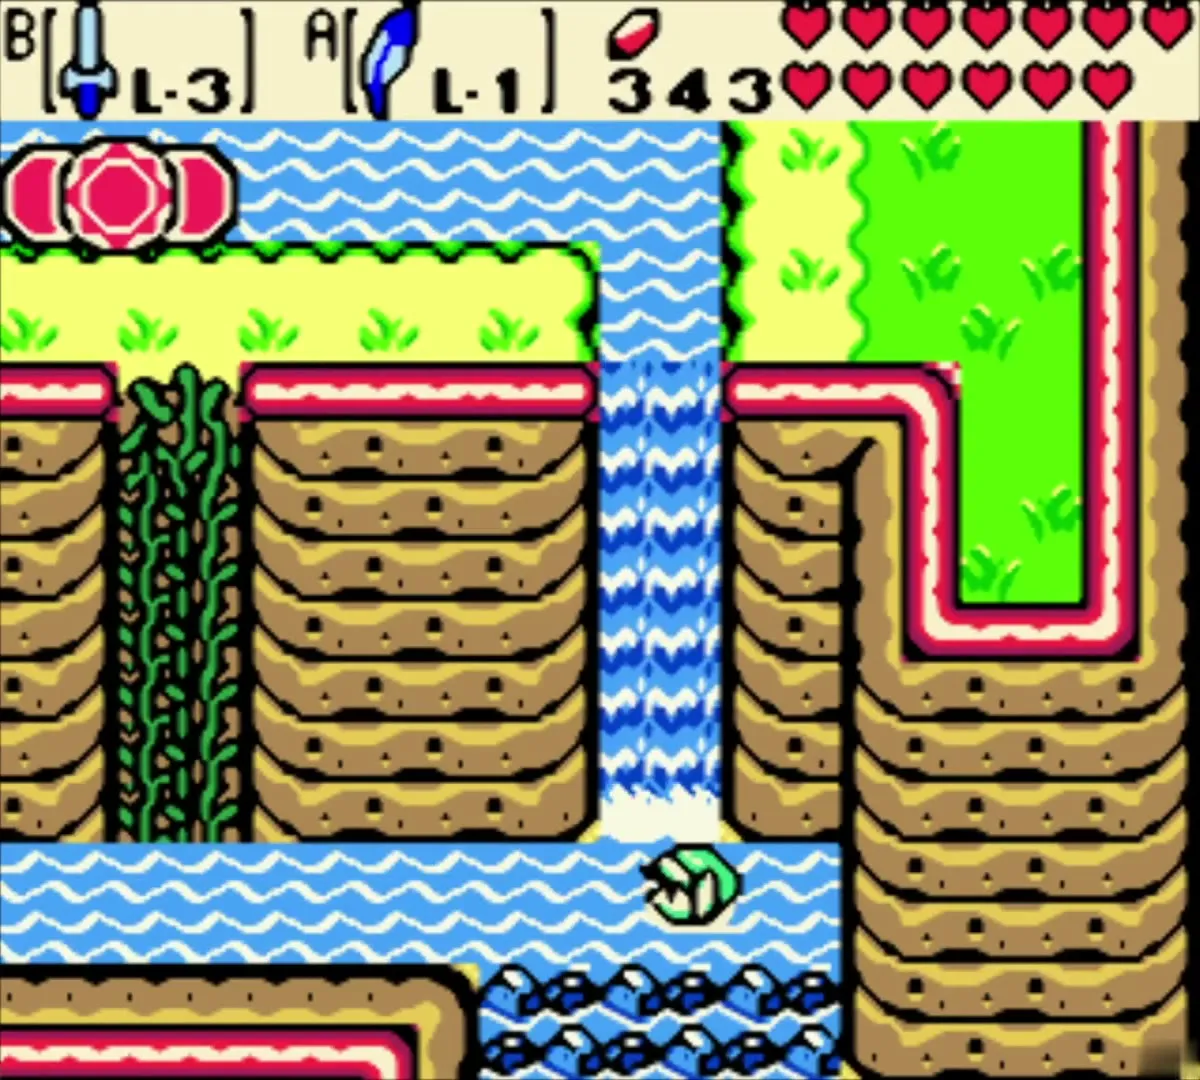
In Sunken City, swim past the sunken chests on the water and dive past the turtle near the waterfall. Climb the vines up the cliff, then head west until you find the cave that leads to the snowy mountain. The sources differ on the exact route through the water, so follow the vines and the cave entrance rather than a fixed path.
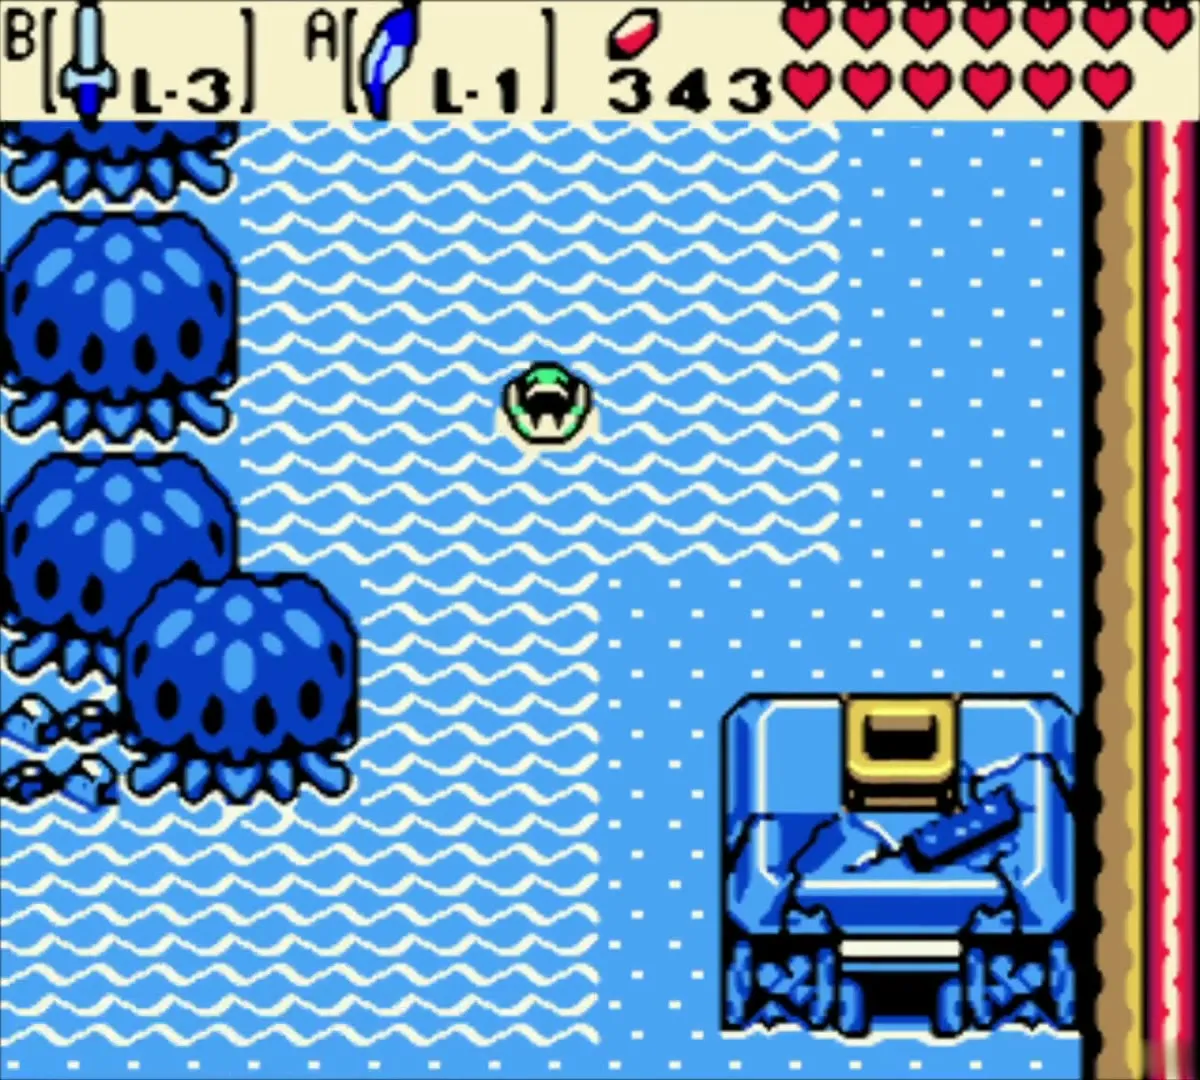
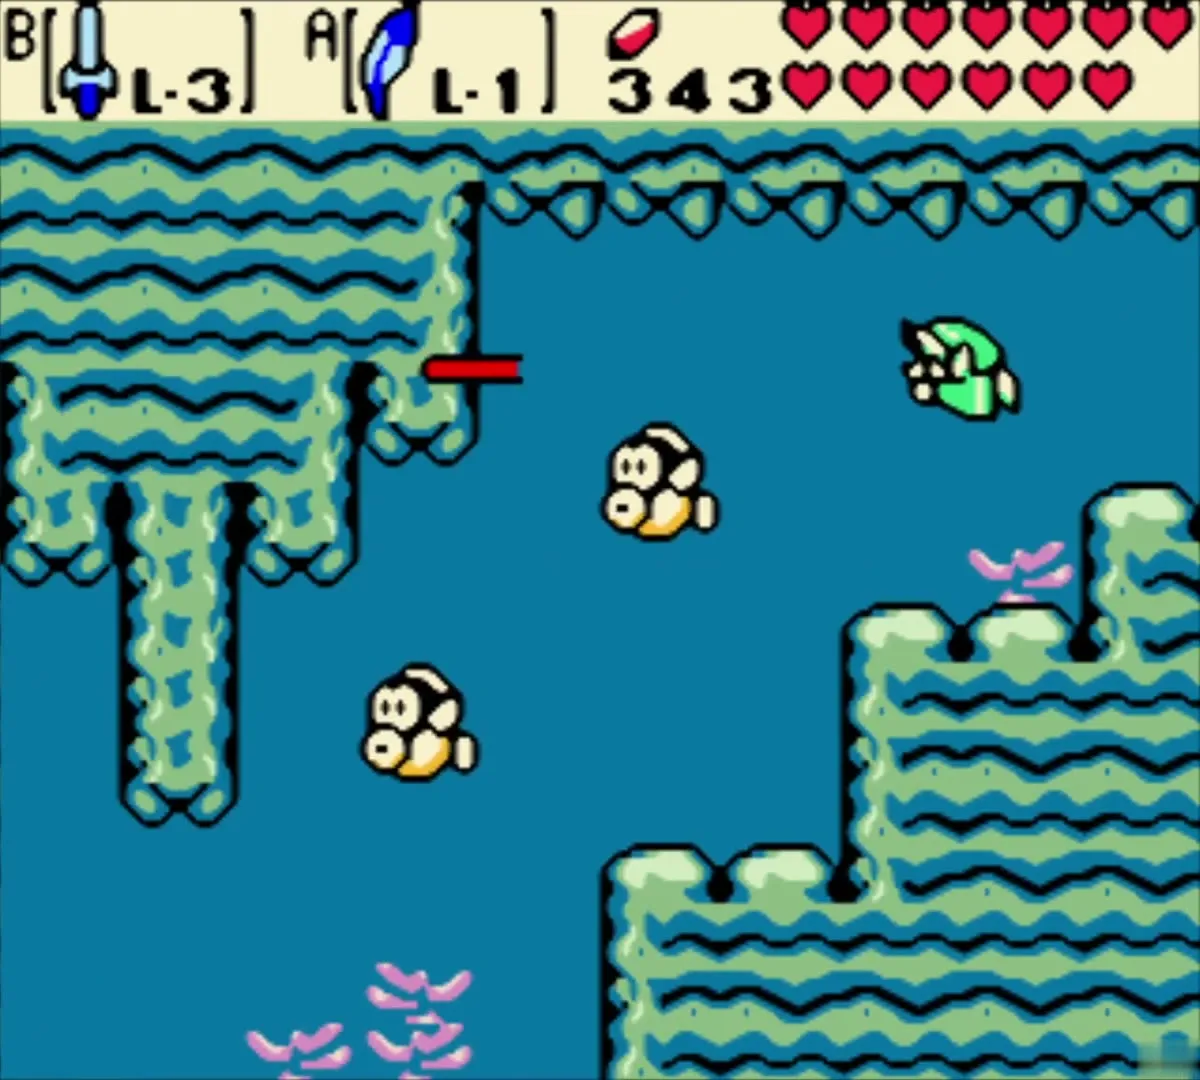
Winter Holodrum: the Maple race
Race Maple for her drops
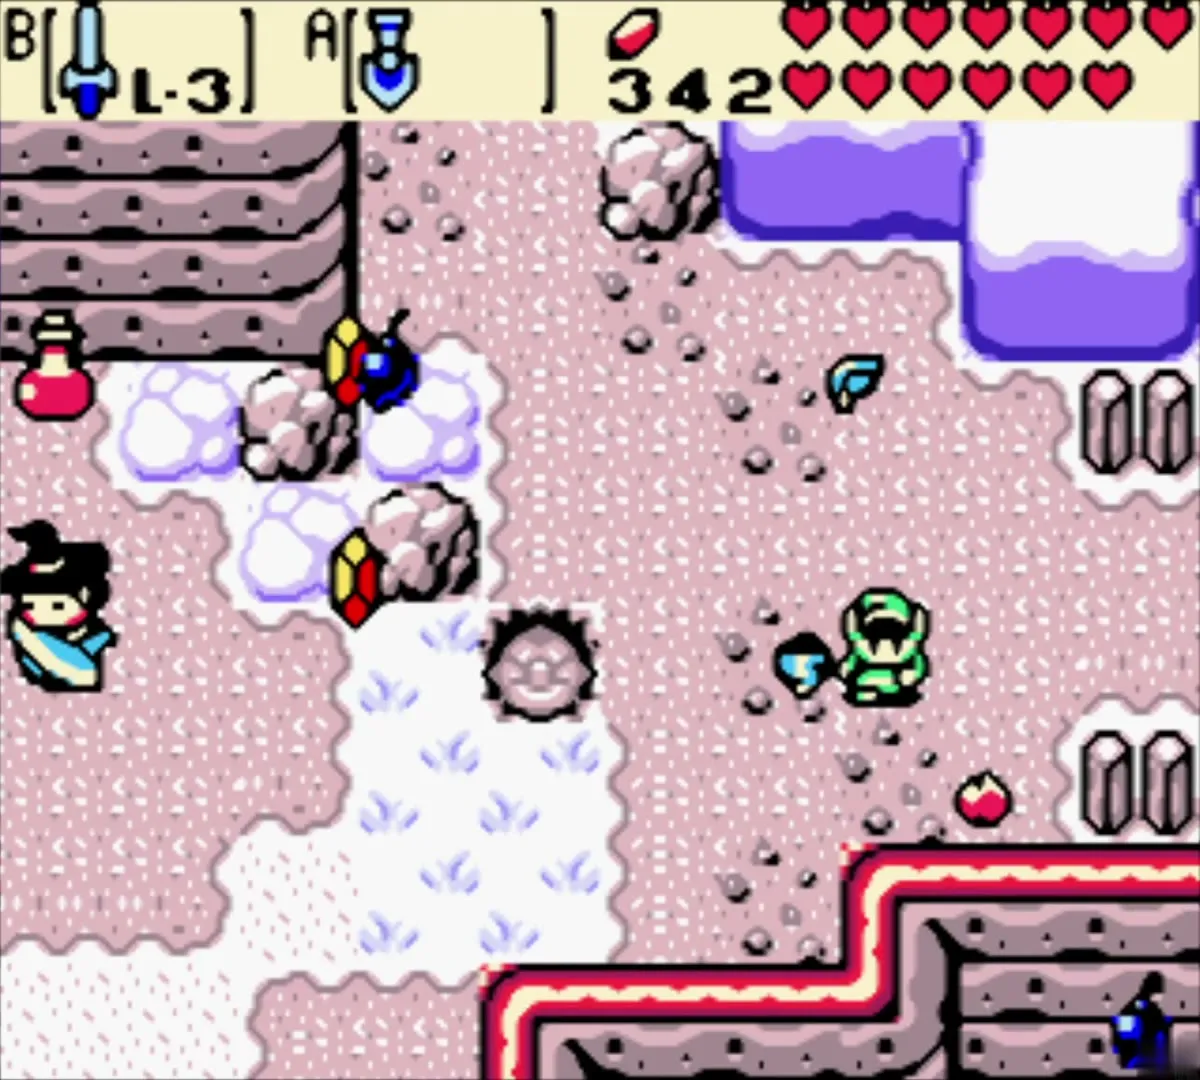
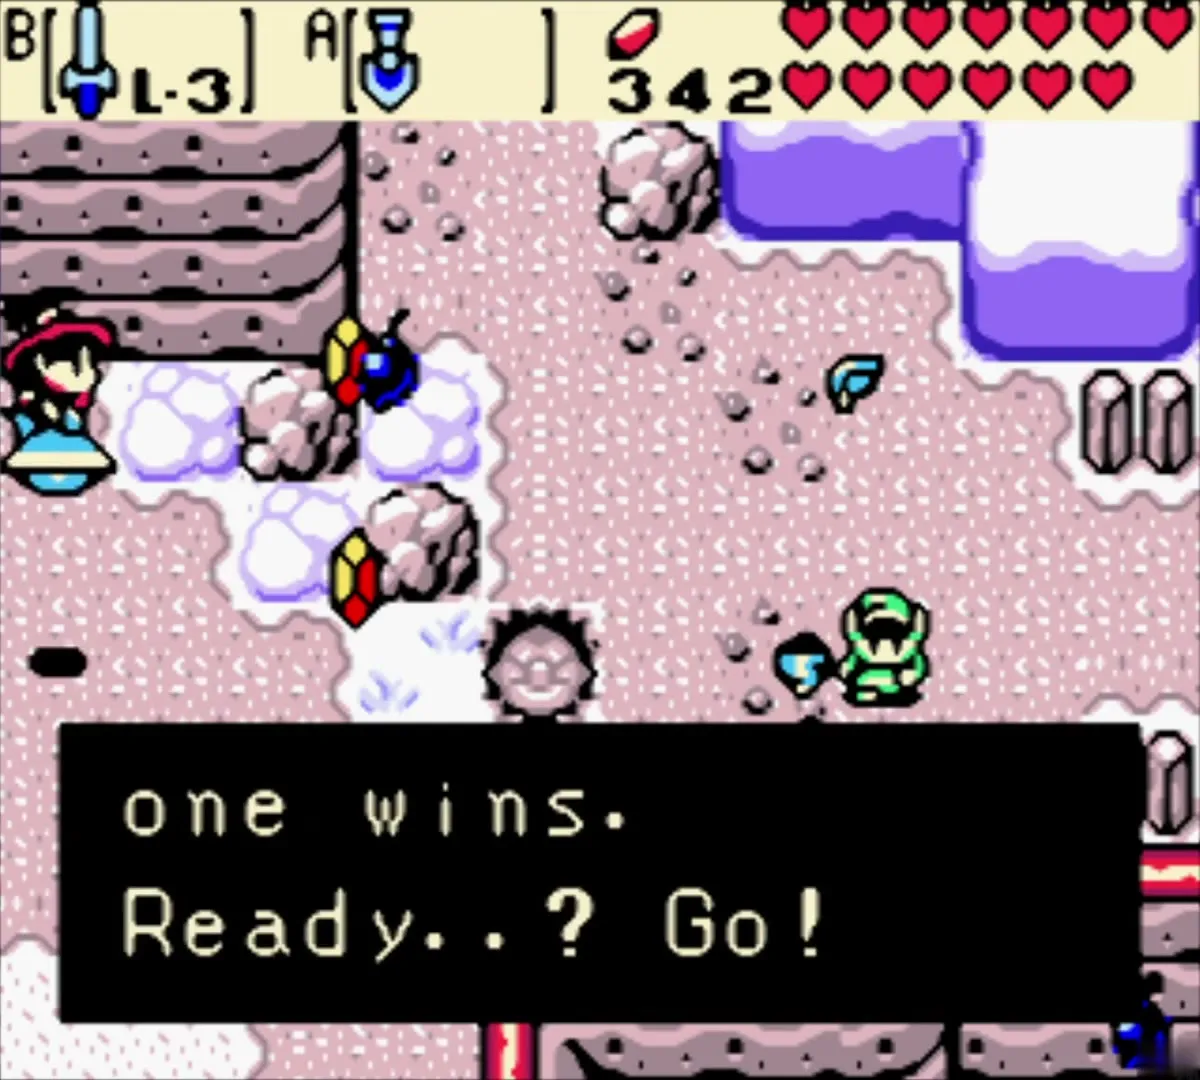
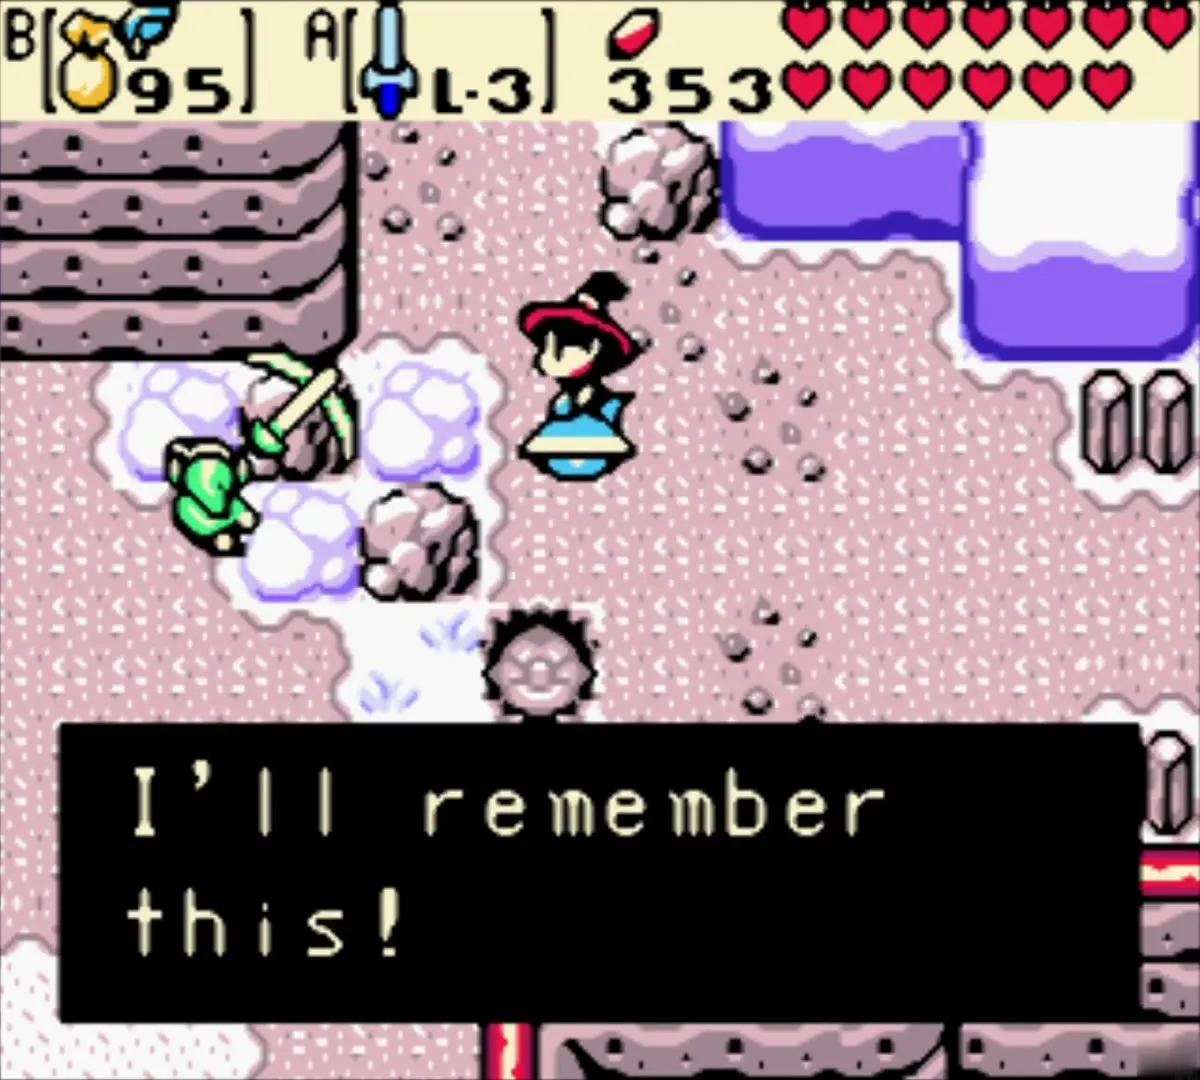
Across the snow field, Maple will appear on her broom and challenge you to a race. Both of you race to collect the items lying around, and whoever gathers more keeps them. Grab the seeds and rupees as quickly as you can, because a fast win gives you the drops she is carrying.
Take the Lava Soup to Biggoron
Open the trade menu and select the Lava Soup. The Subrosian chef makes it in the Iron Pot, and it is the fifth step of the trading sequence and the only one made in Subrosia. Climb the snowy mountain to the cave near the top, where the stairs lead up to Biggoron’s room. For the full list of trades, see Trading Sequence.

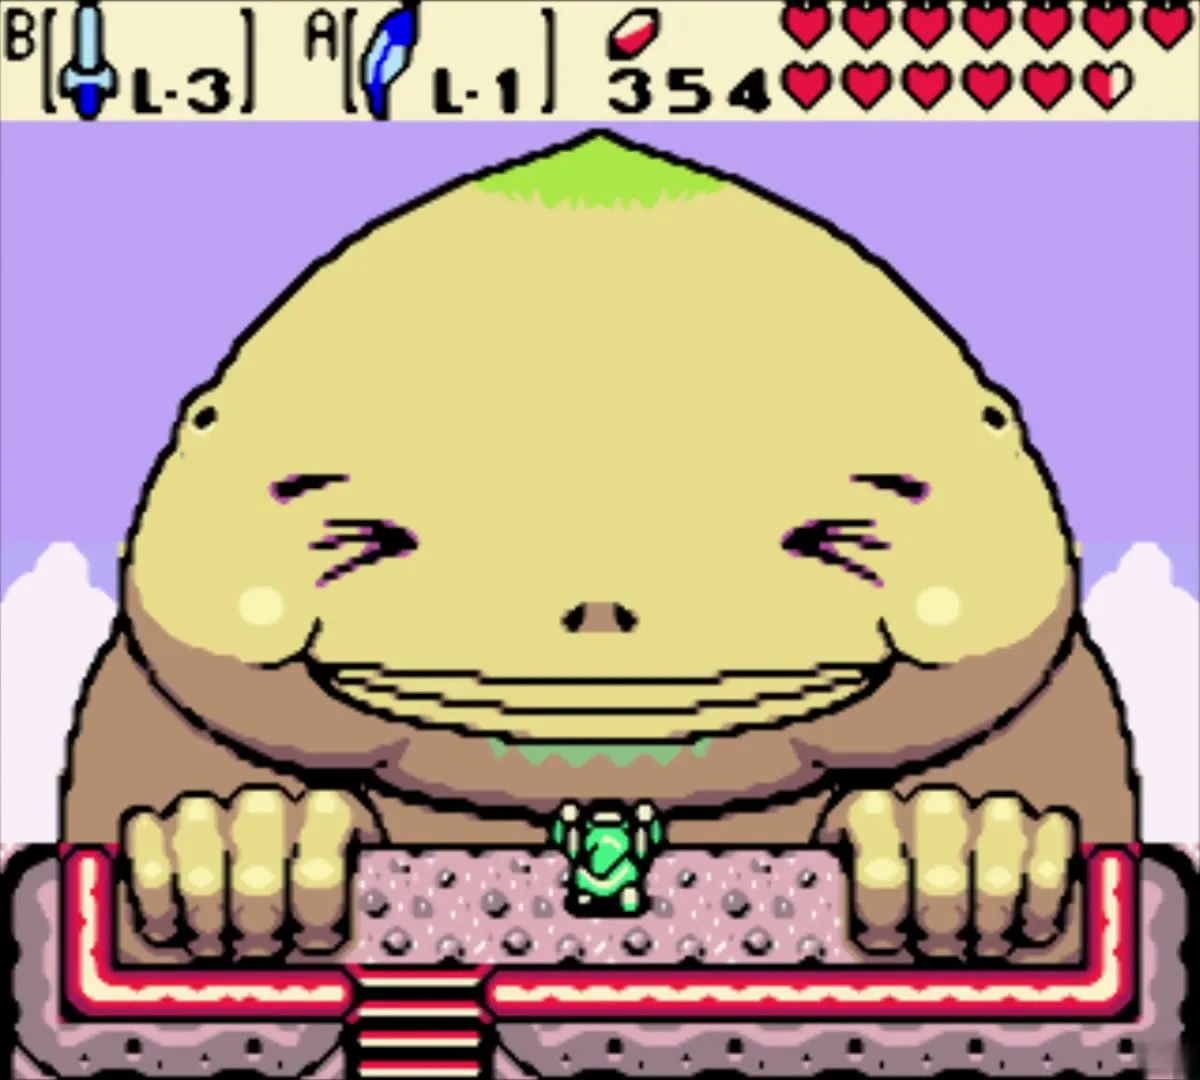
Biggoron and the Goron Vase
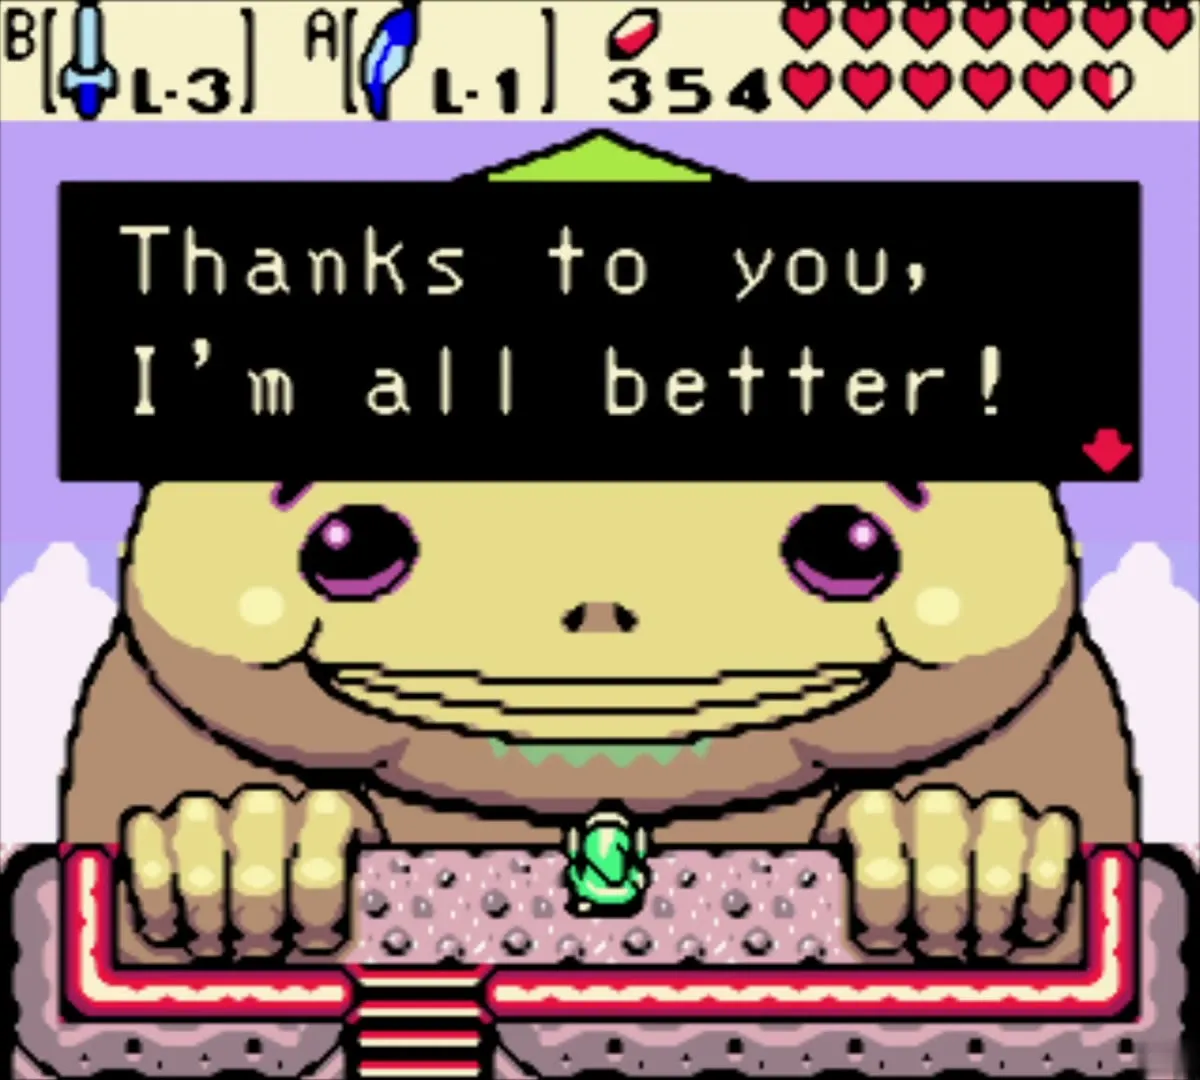
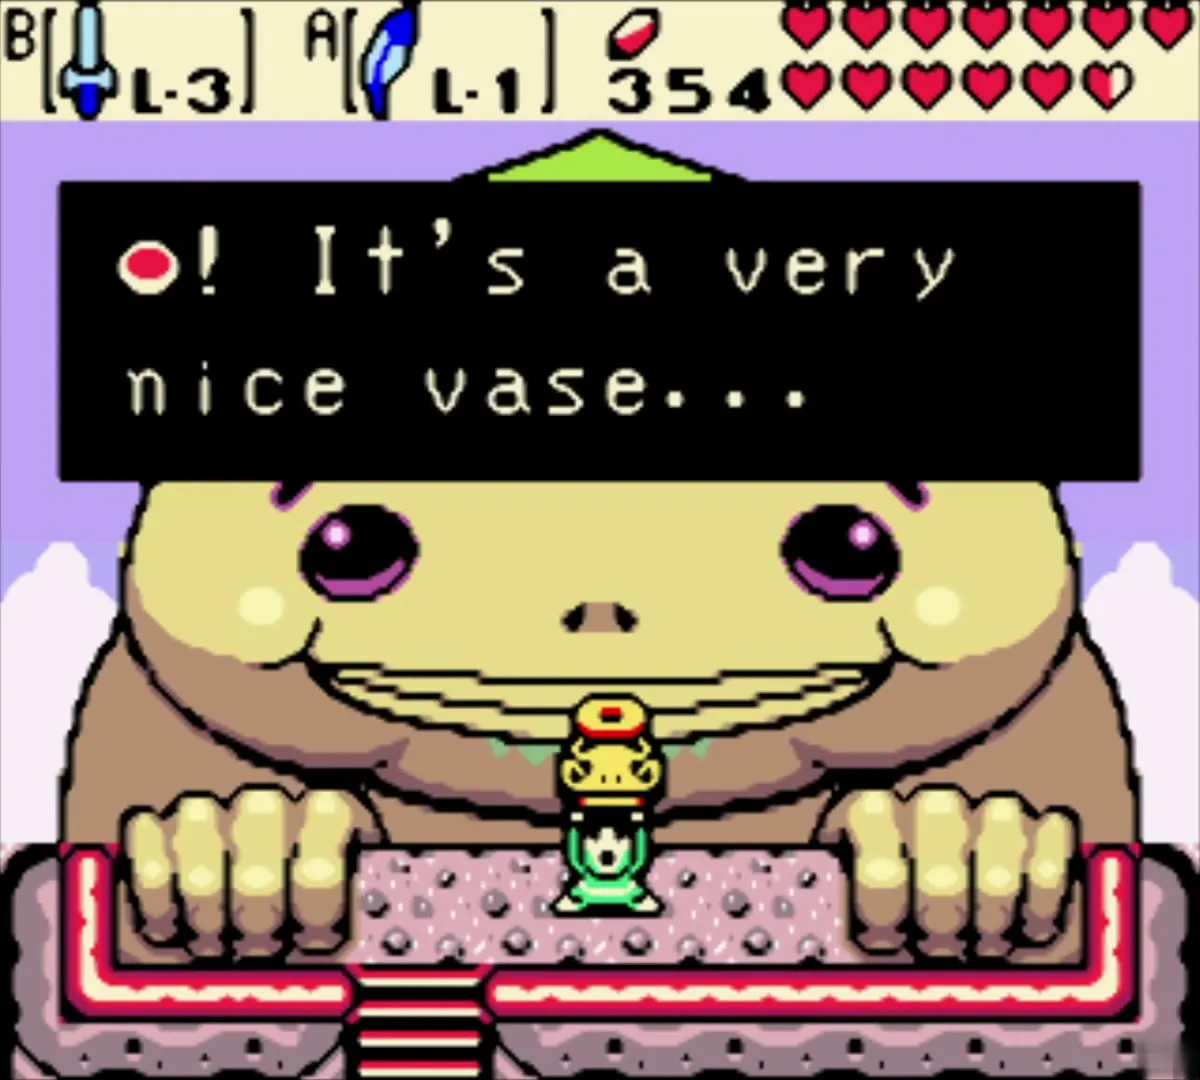
Biggoron is sick with a cold and asks for something warm. Hand him the Lava Soup, and he drinks it and is cured right away. As thanks he gives you the Goron Vase, the next item in the trading sequence. Keep the vase, because the next trade is made with it.


Samasa Desert coast: the gate, the ring and the Gasha Seed
Open the desert gate
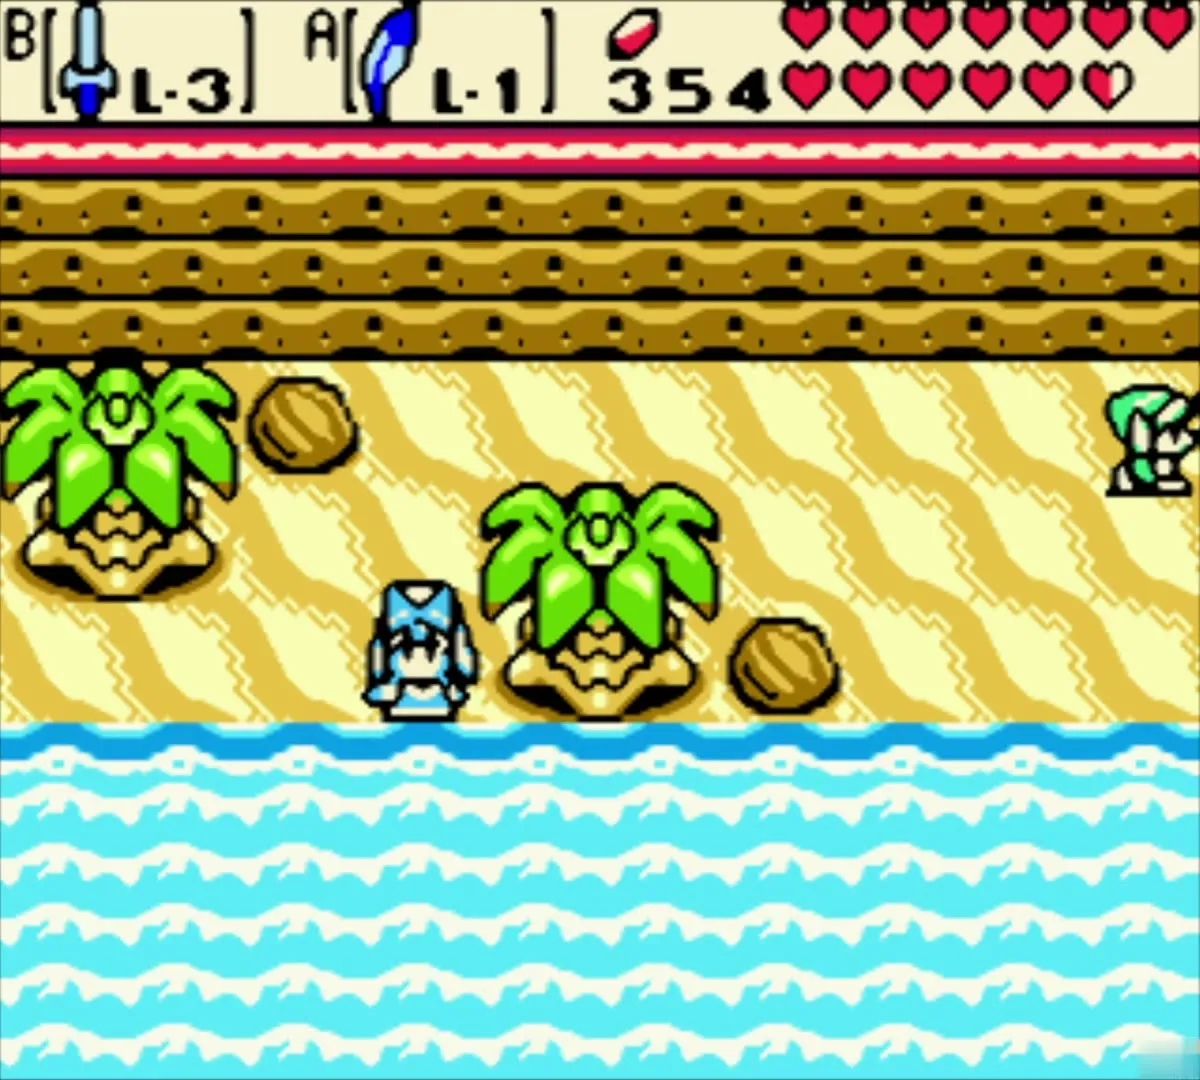
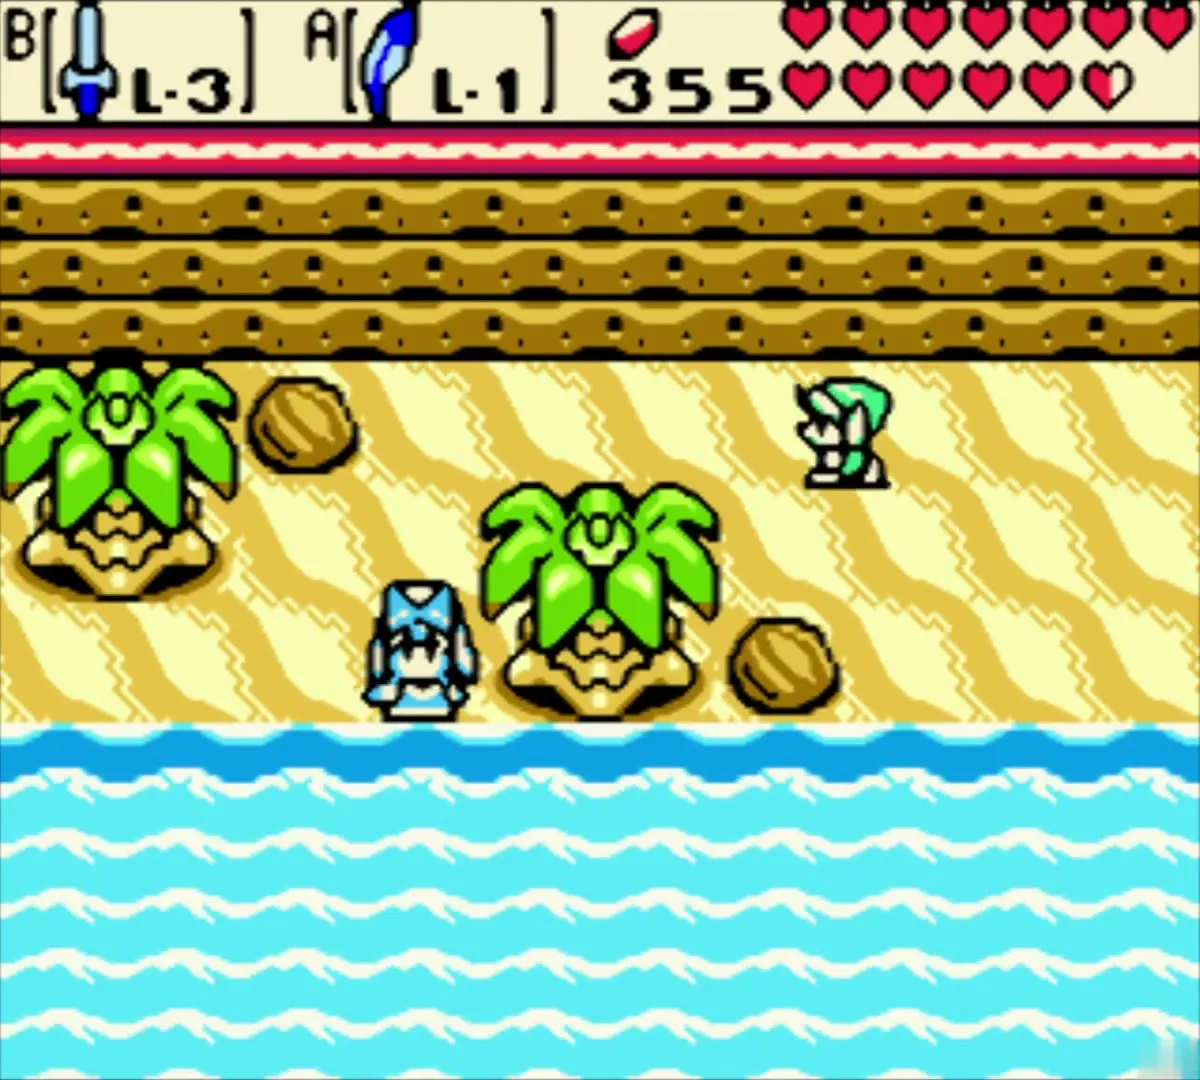
Follow the coast to the Samasa Desert sign, then go to the desert gate. The gate opens with a code of four switches, and the skeletal pirate upstairs in the pirate house in Subrosia gives you the order. Reach the pirate house by the Subrosia portal near the beach at Horon Village, two screens west and one south of Horon’s edge. Enter the code on the switches to open the gate.
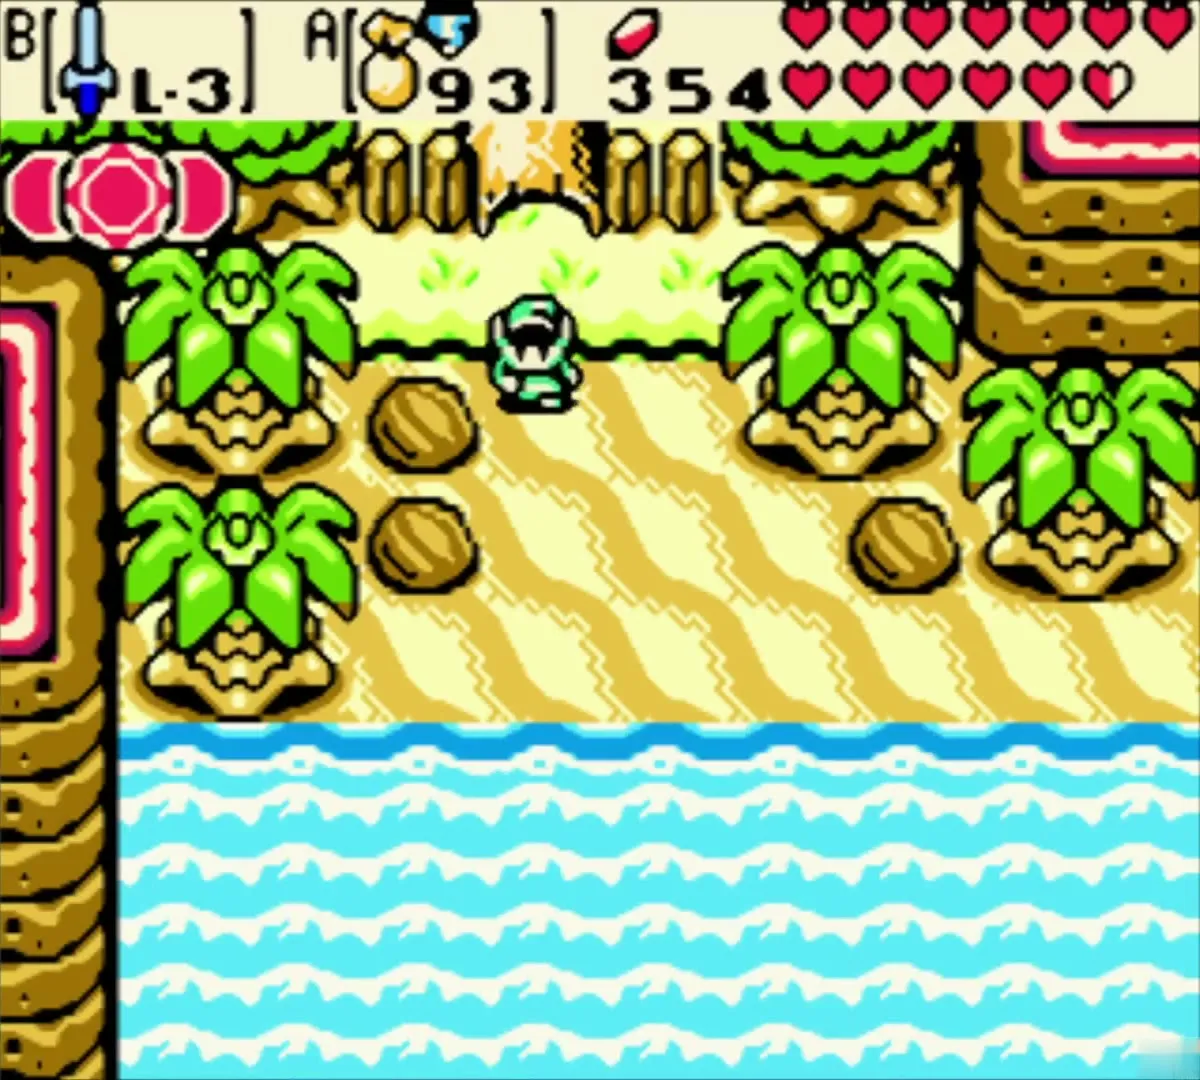
Get the ring chest
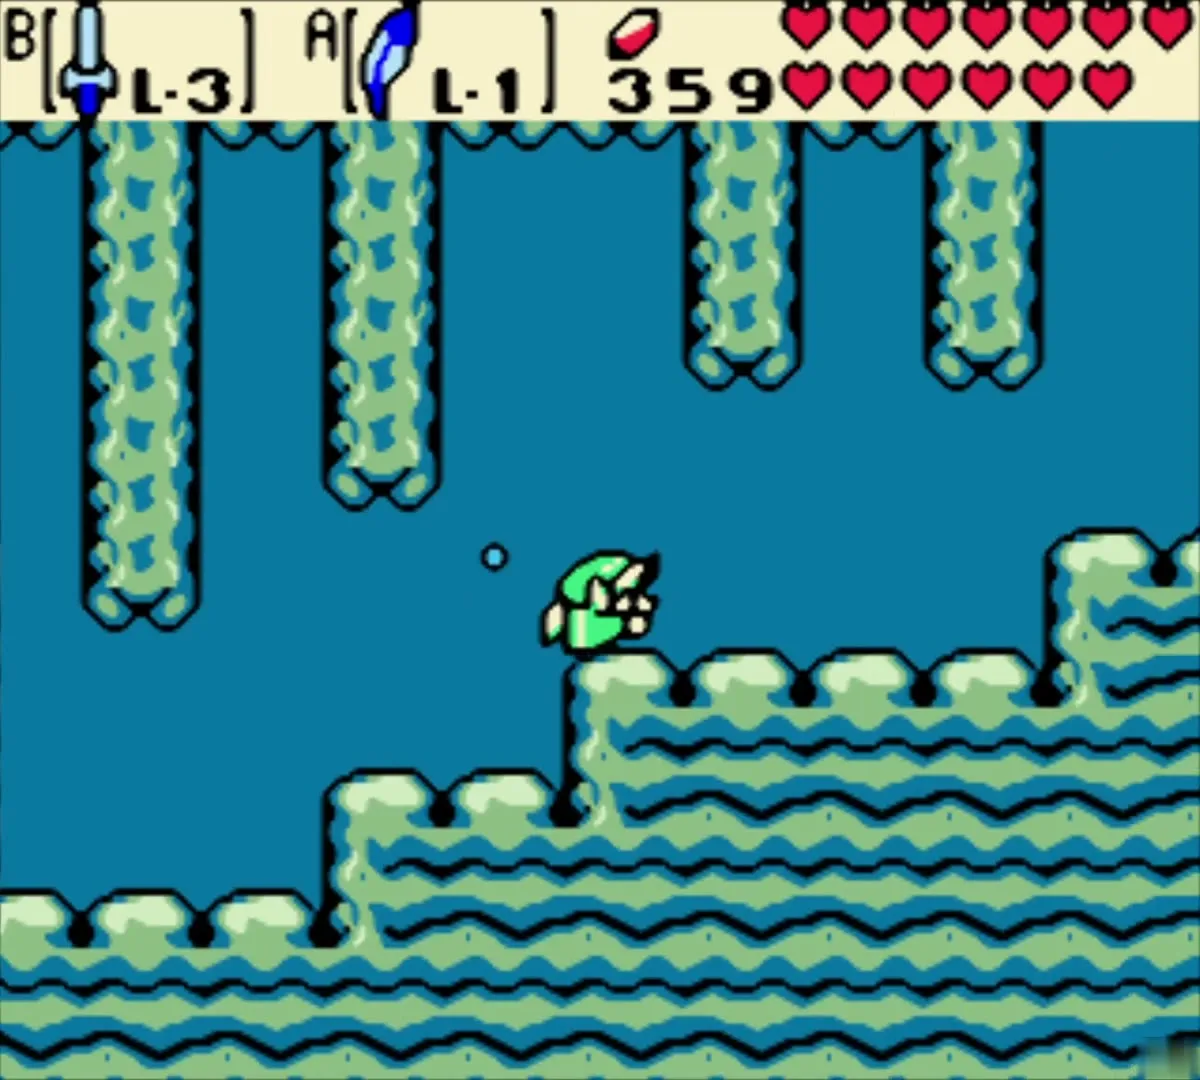
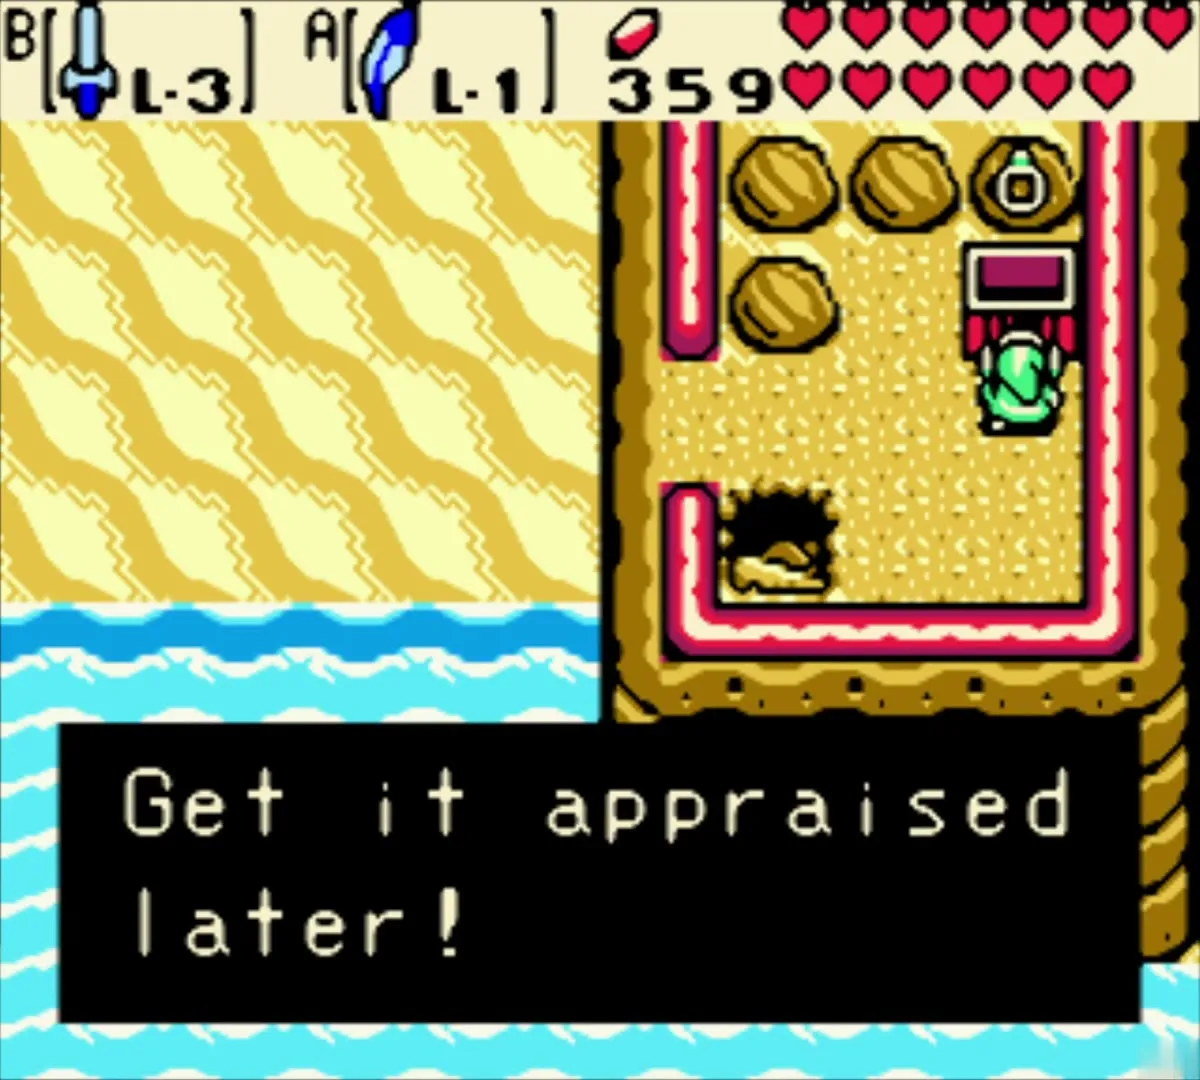
Inside the desert, a chest holds a ring you cannot identify until Vasu appraises it. Reach it through the quicksand in the southern part of the desert, then swim through the underwater passage to a small hut on the water-side platform. Open the chest for the ring, which becomes the Rang Ring L-1 once appraised.
Plant a Gasha Seed on the soft soil
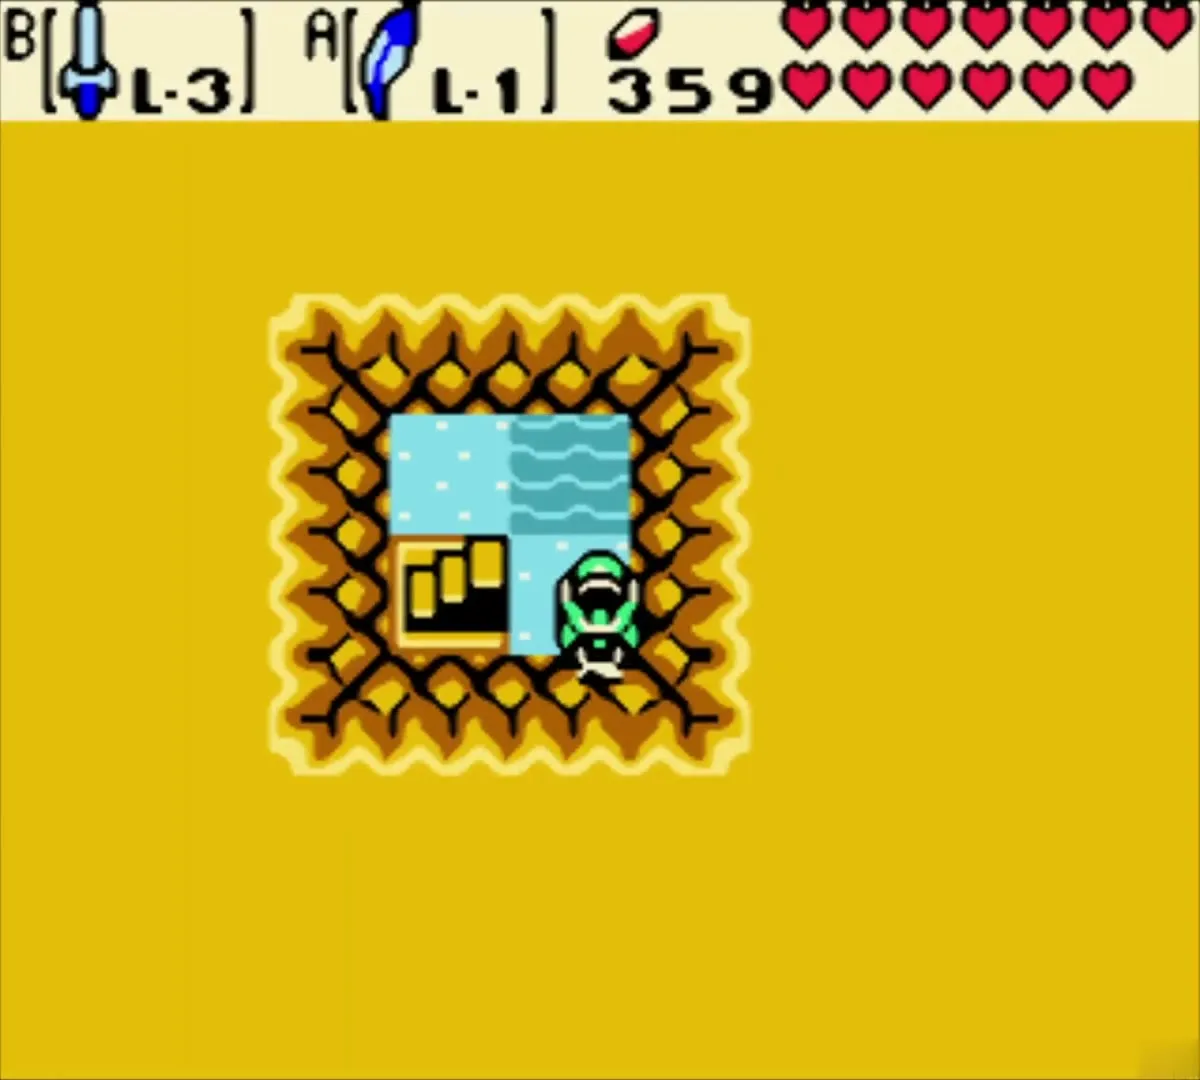
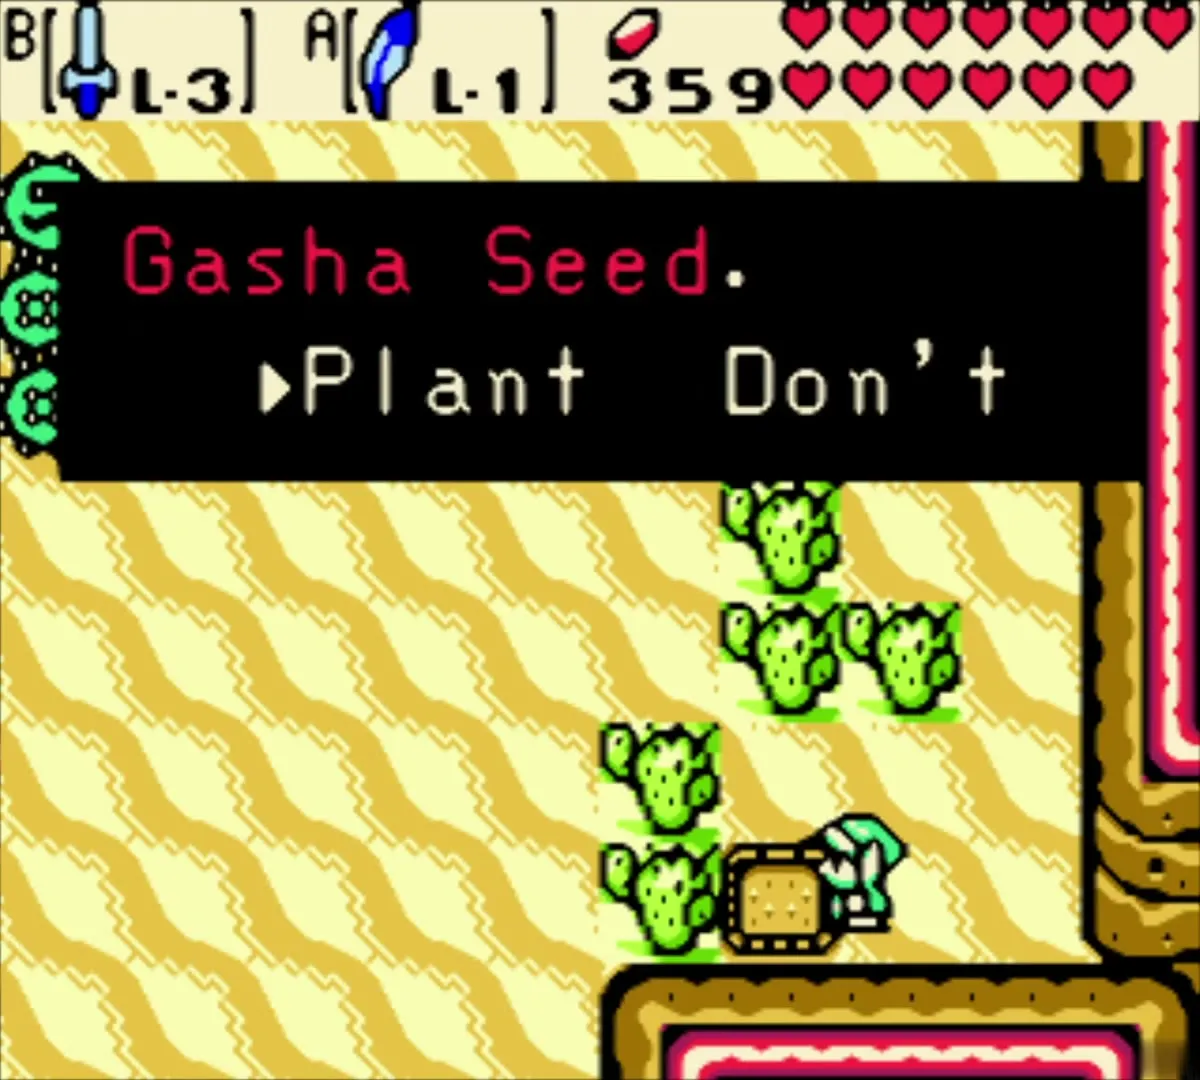
Go to the soft soil patch on the desert coast and stand on it. Press the A button to plant a Gasha Seed, and the planting prompt will ask you to confirm. A Gasha Seed grows into a tree after roughly 40 enemy kills, and planting in a hard-to-reach spot tends to give rarer nuts. For every soft soil spot in the game, see Gasha Seed Locations.

Samasa Desert: the talking skull and the Rusty Bell
Carry the skull to the quicksand
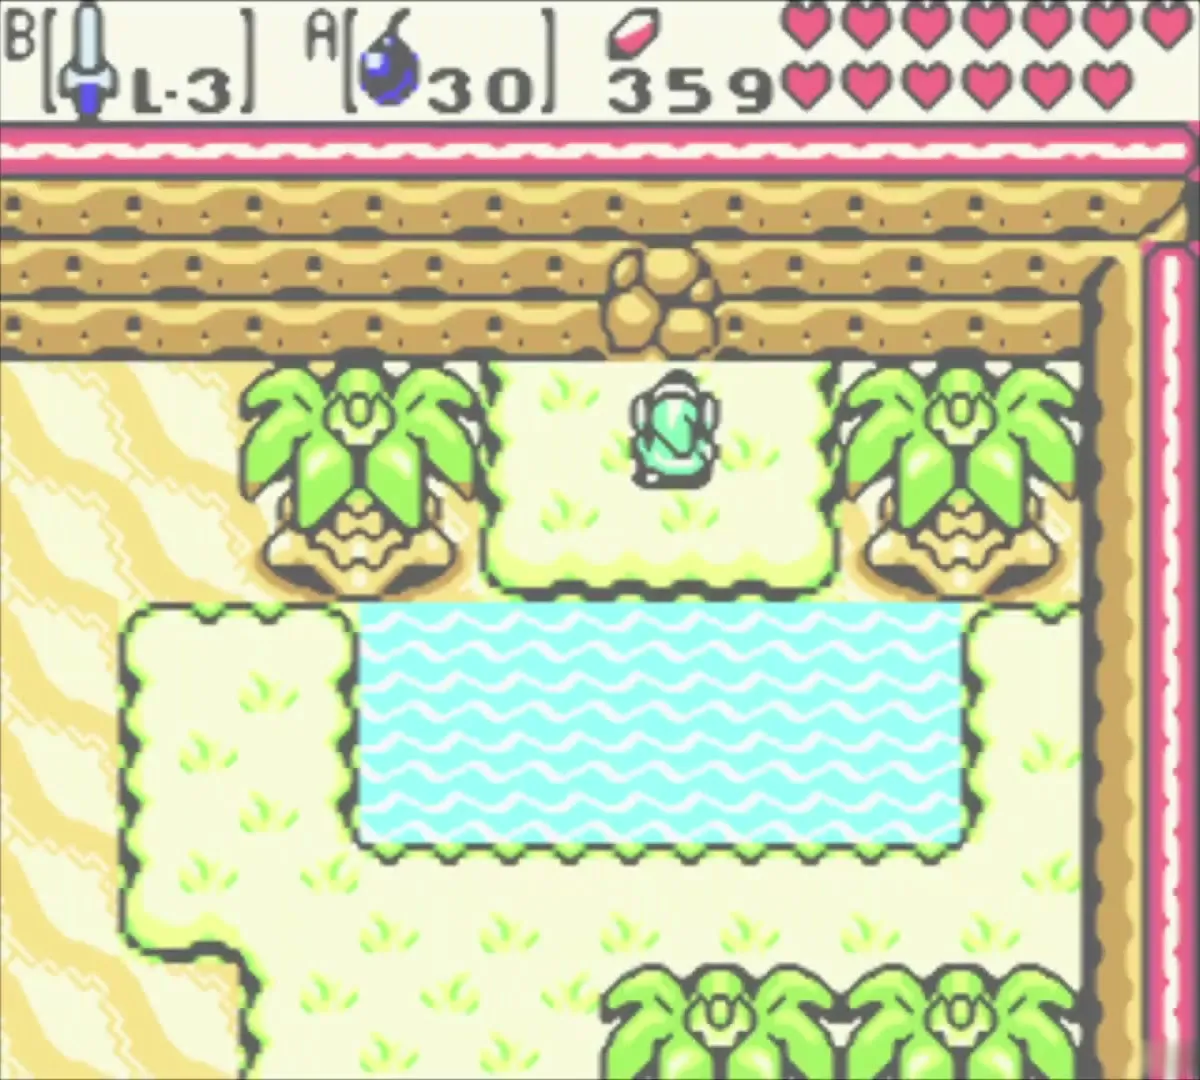
The desert’s north-east oasis holds a talking skull. Lift it with the Power Bracelet, and carry it across the desert. The skull reacts when it is over a quicksand pit that hides the bell, and the reaction is the only sign of which pit to use.
Find the bell in the cave
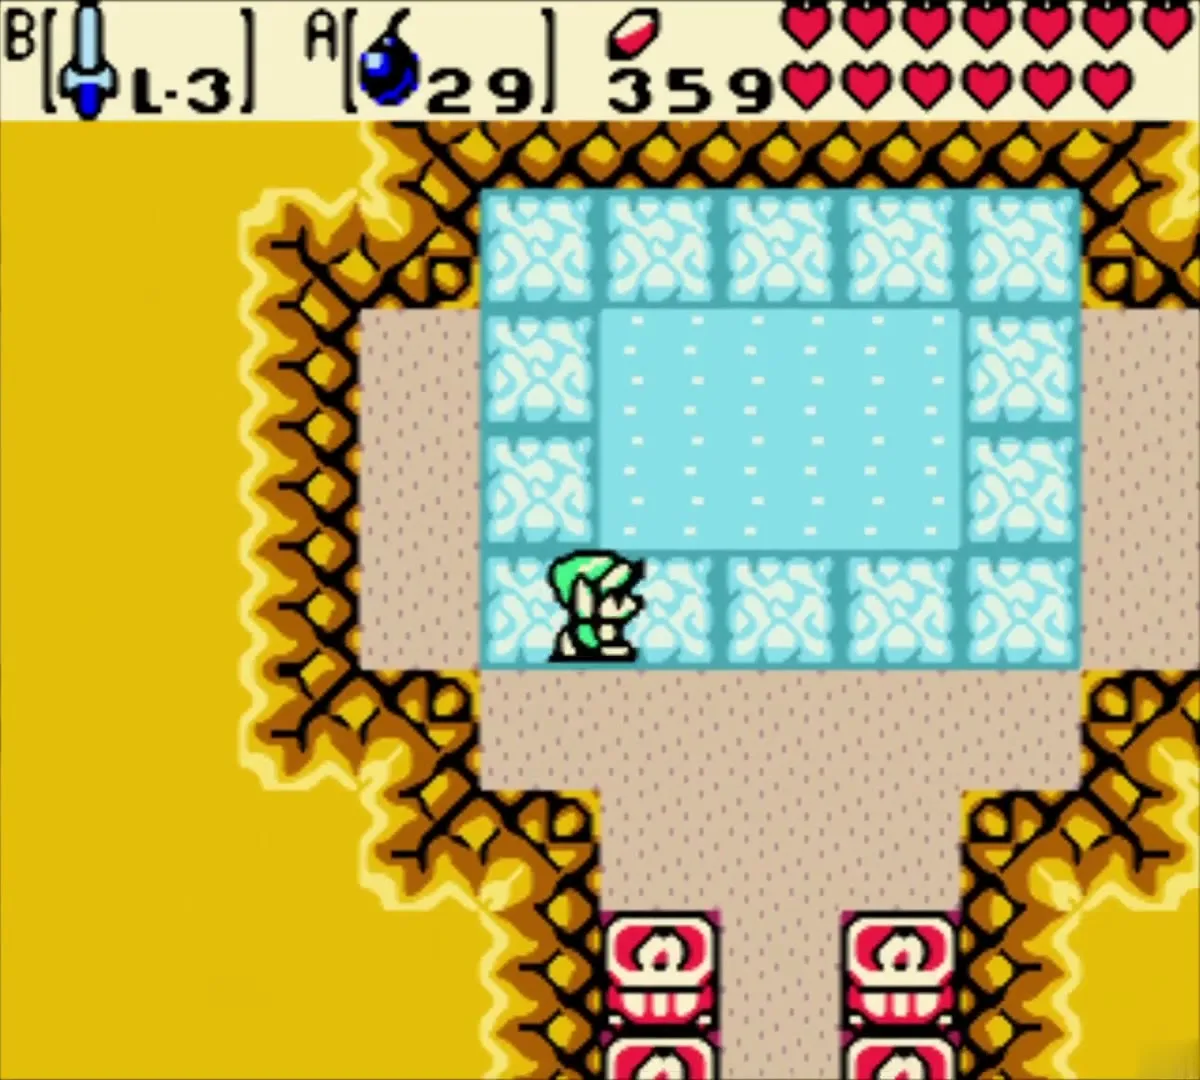
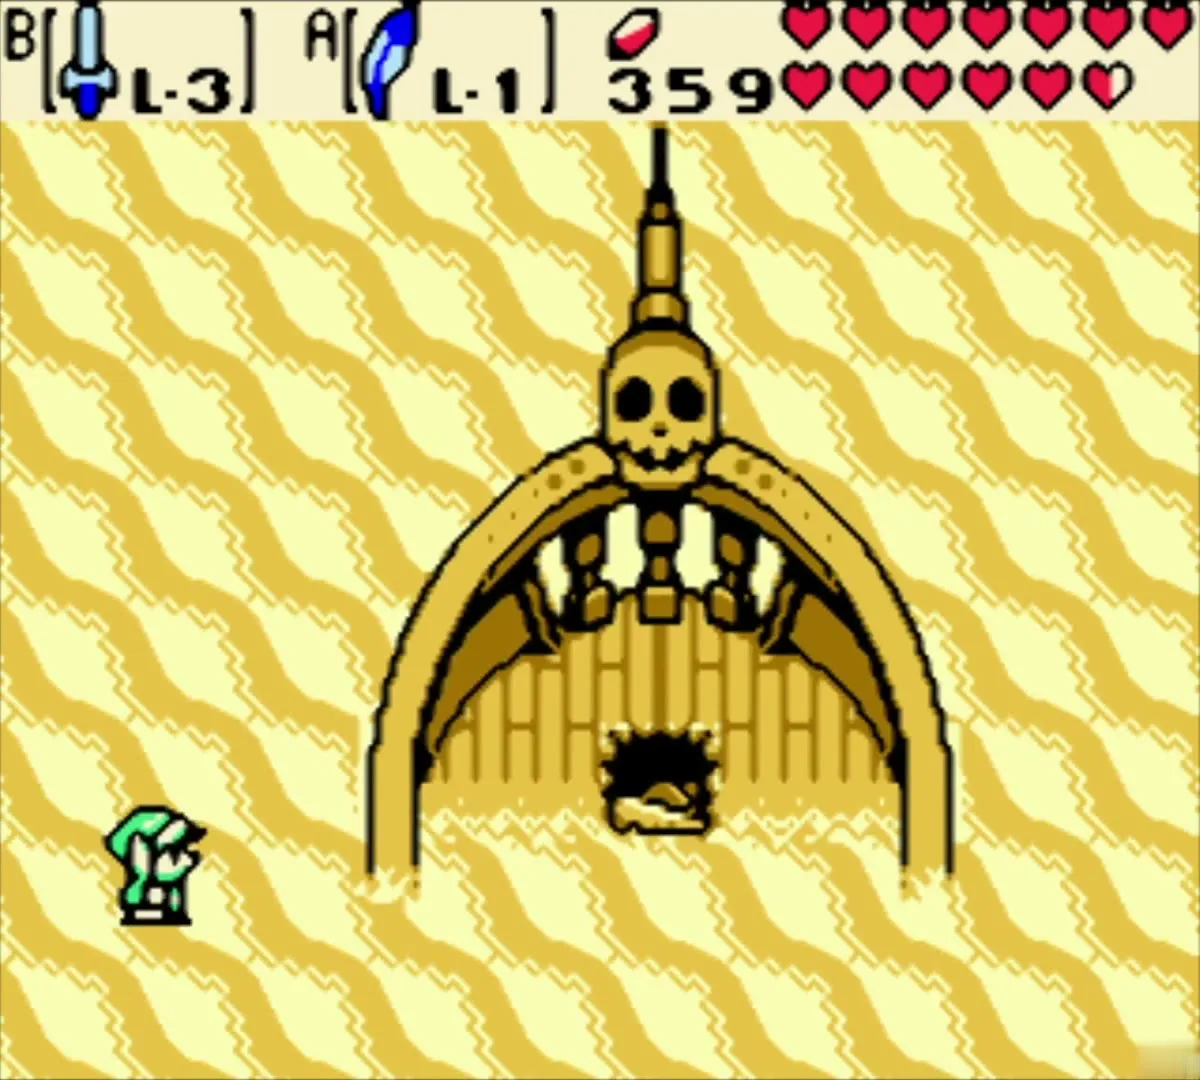
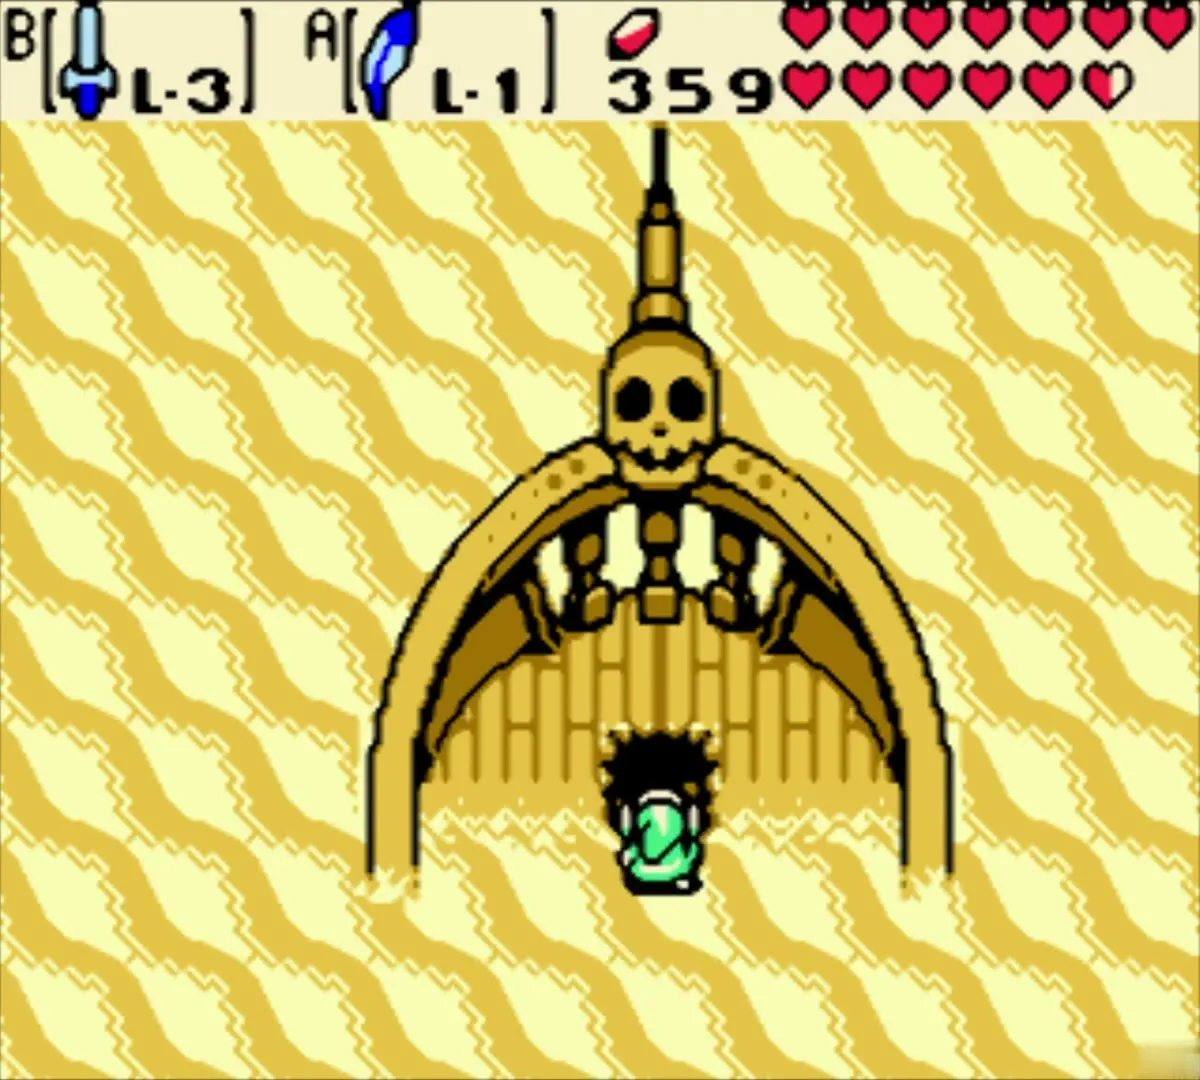
Two screens east of the desert’s entrance, a buried ship lies in the sand, and a ghost pirate waits in its aft. Leave the ship and step into the quicksand where the skull chatters, and let yourself sink. Falling into the right pit drops you into a cave with the Rusty Bell in front of you. Pick up the Rusty Bell from the cave floor.
Subrosia: from the Rusty Bell to the Pirate’s Bell
Show the captain the bell
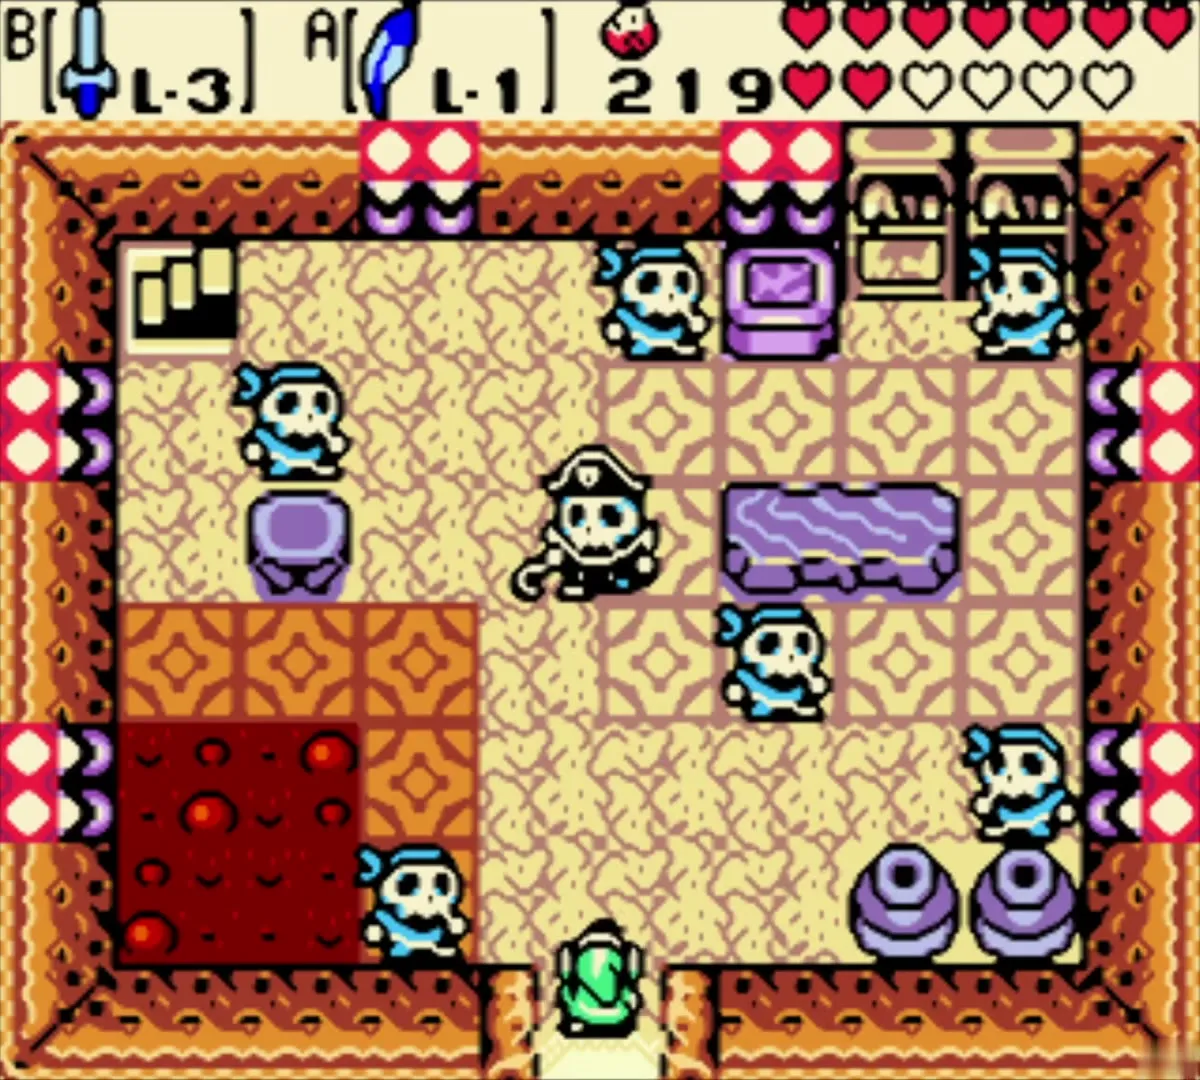
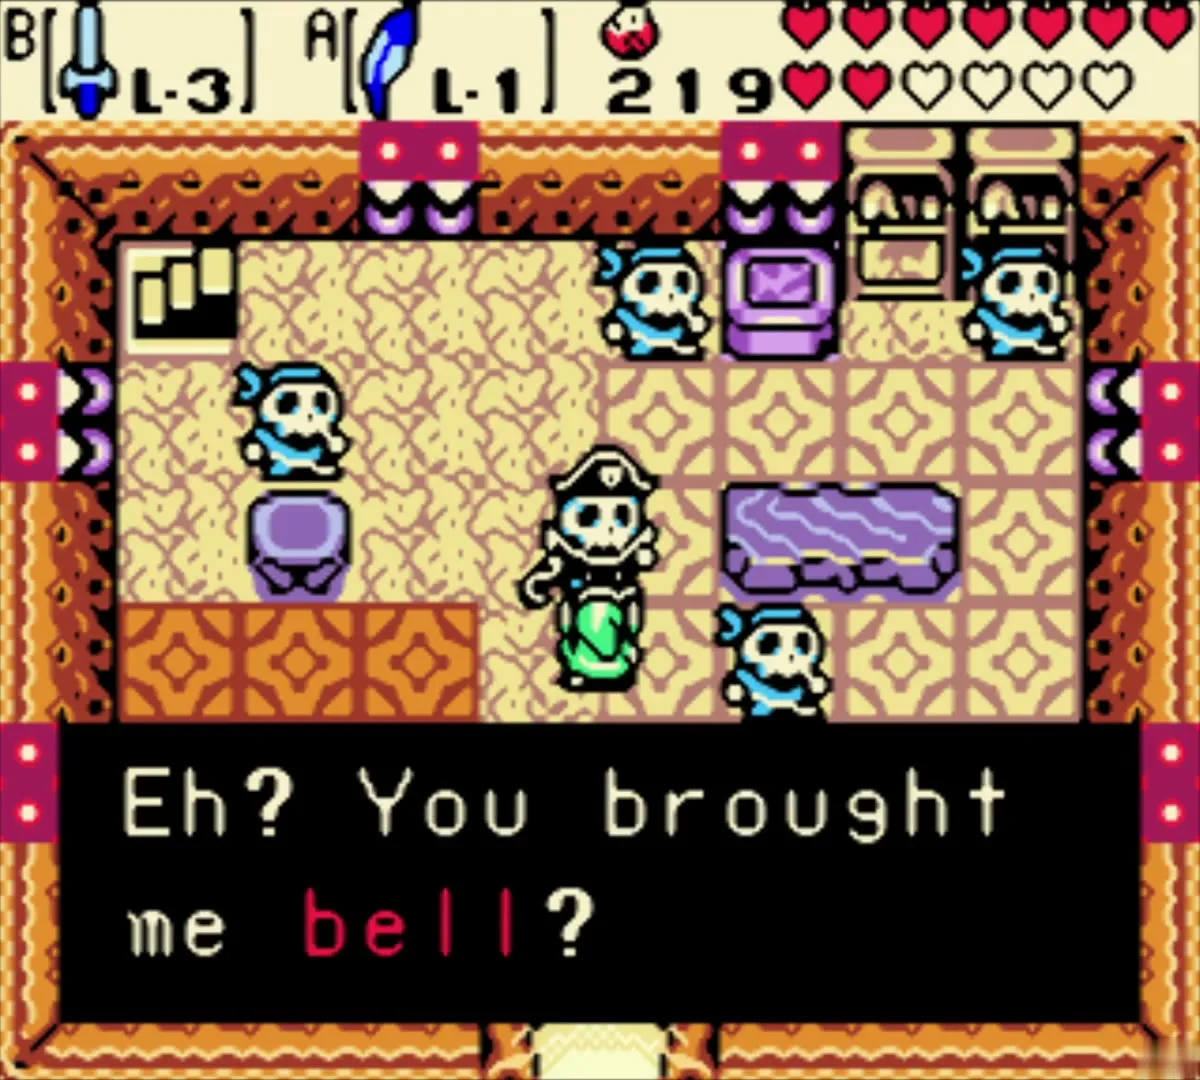
Go back to Horon Village, take the Subrosia portal near the beach, and enter the pirate house from the front. The captain says he needs his bell to sail. Hand him the Rusty Bell, and he refuses it because it is rusty and sends you to the smithy to have it polished.
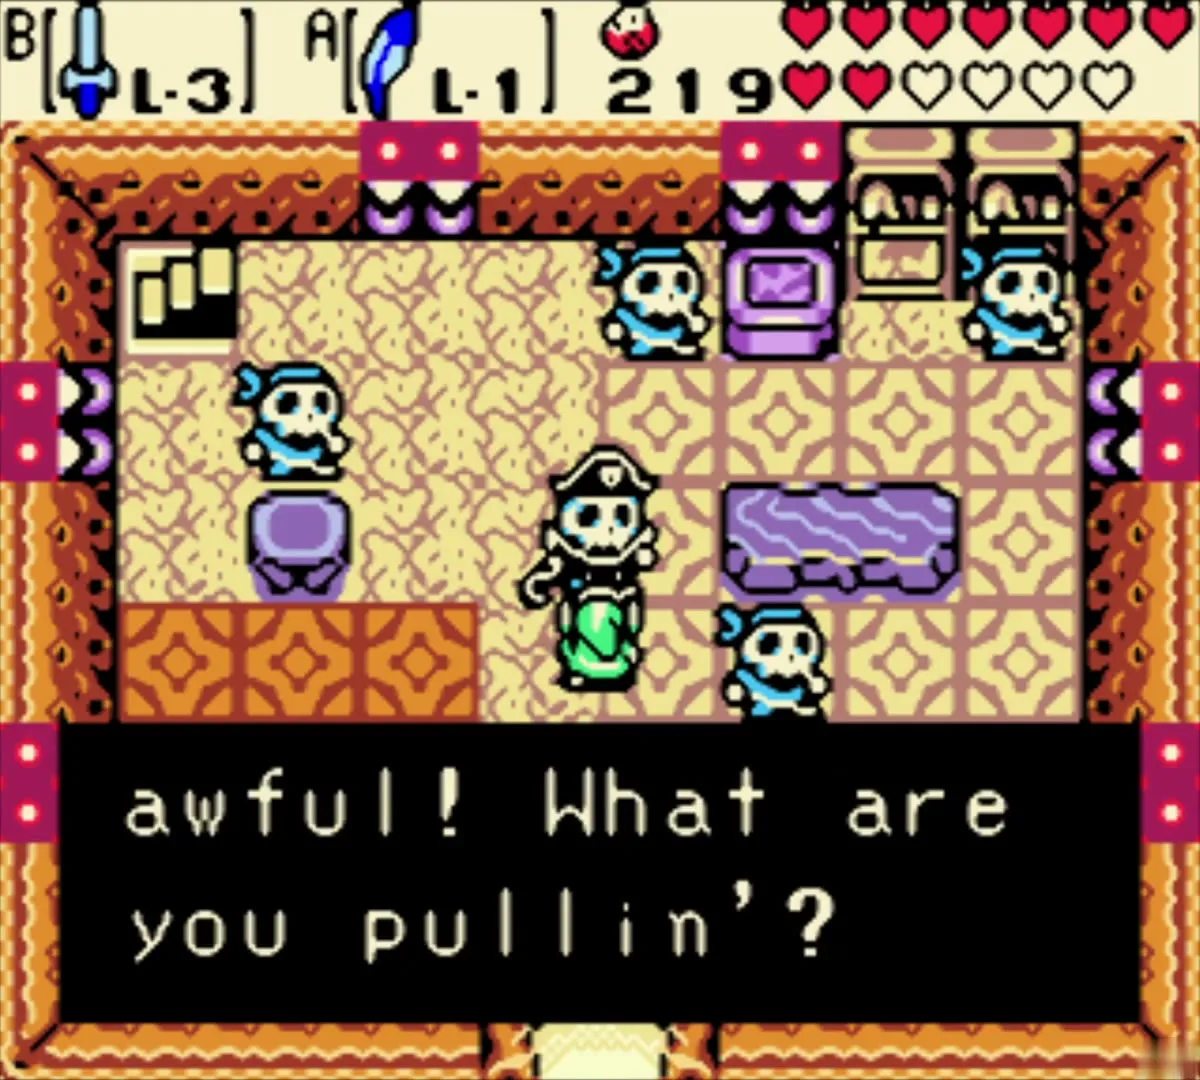
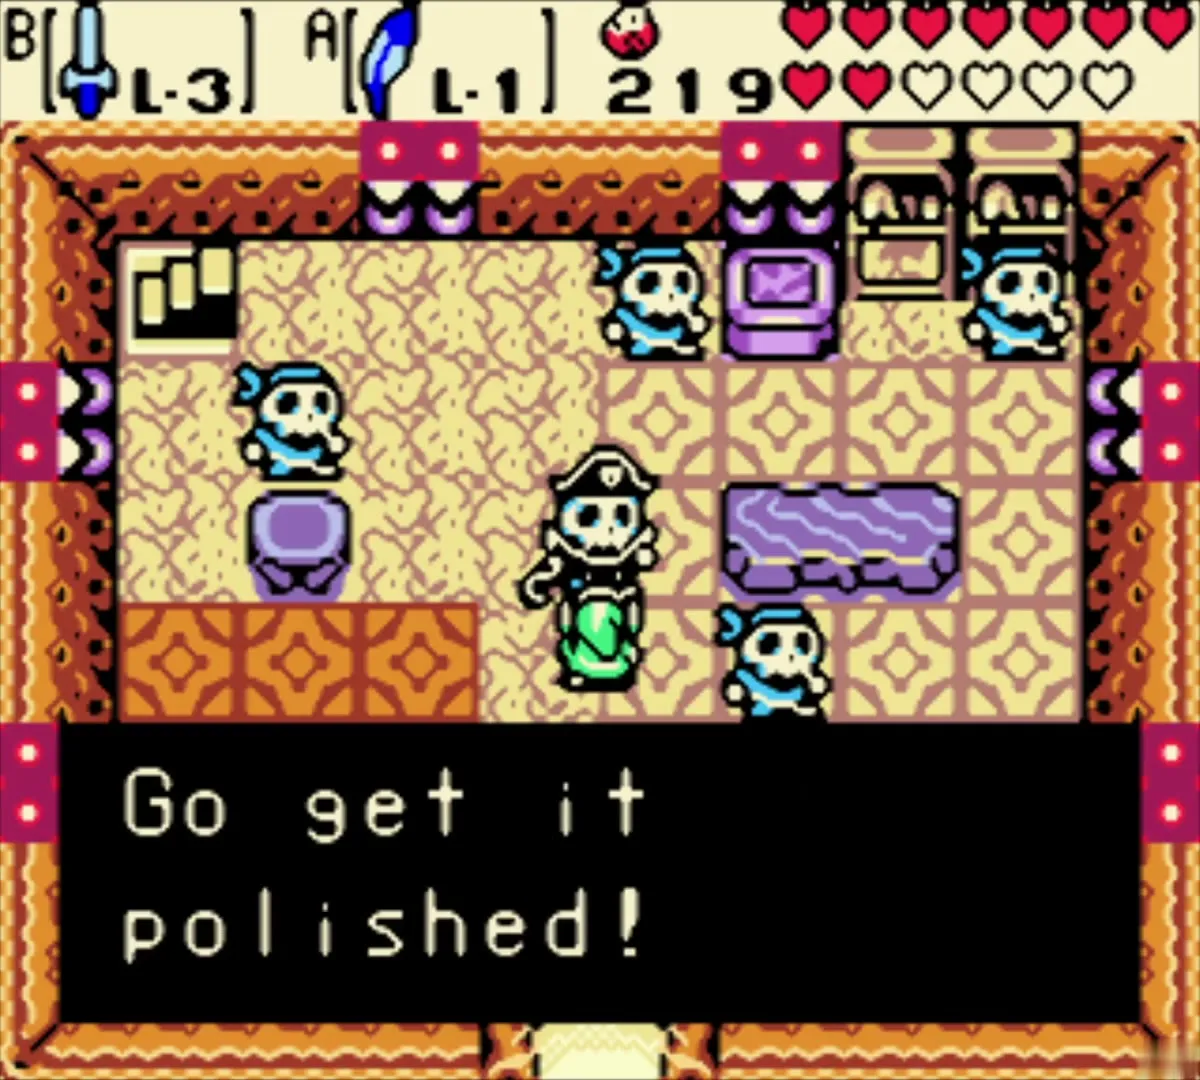
Polish the bell at the smithy
Take the Rusty Bell to the Subrosian smithy. Answer the smith’s question with the bold option, Do it!, and wait while he works. The smith will say he is making something special and that the bell should be treated like an heirloom.


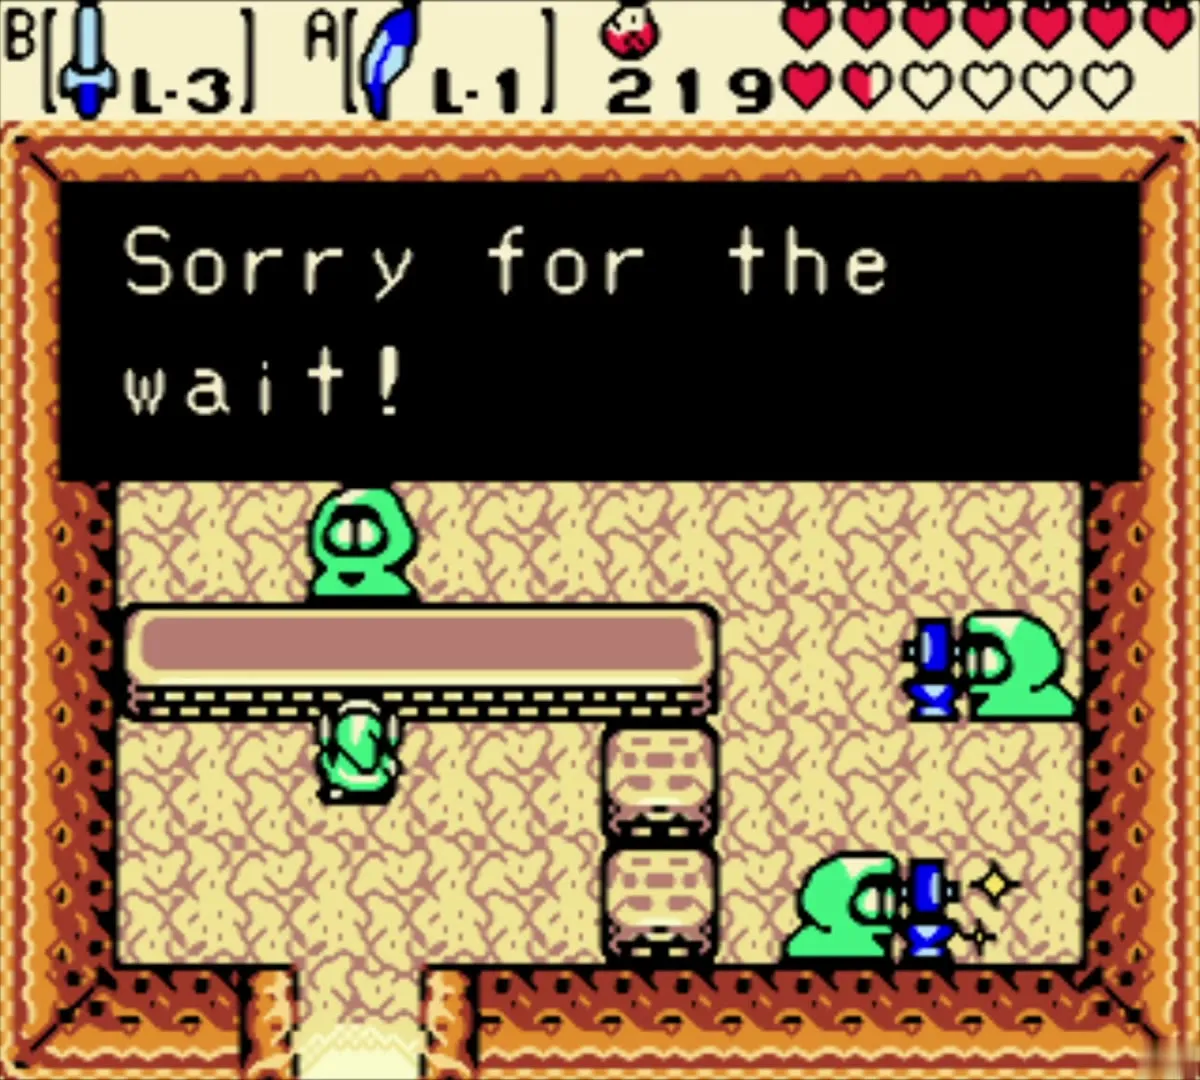
When he finishes, you receive the Pirate’s Bell, which you carry back to the captain.
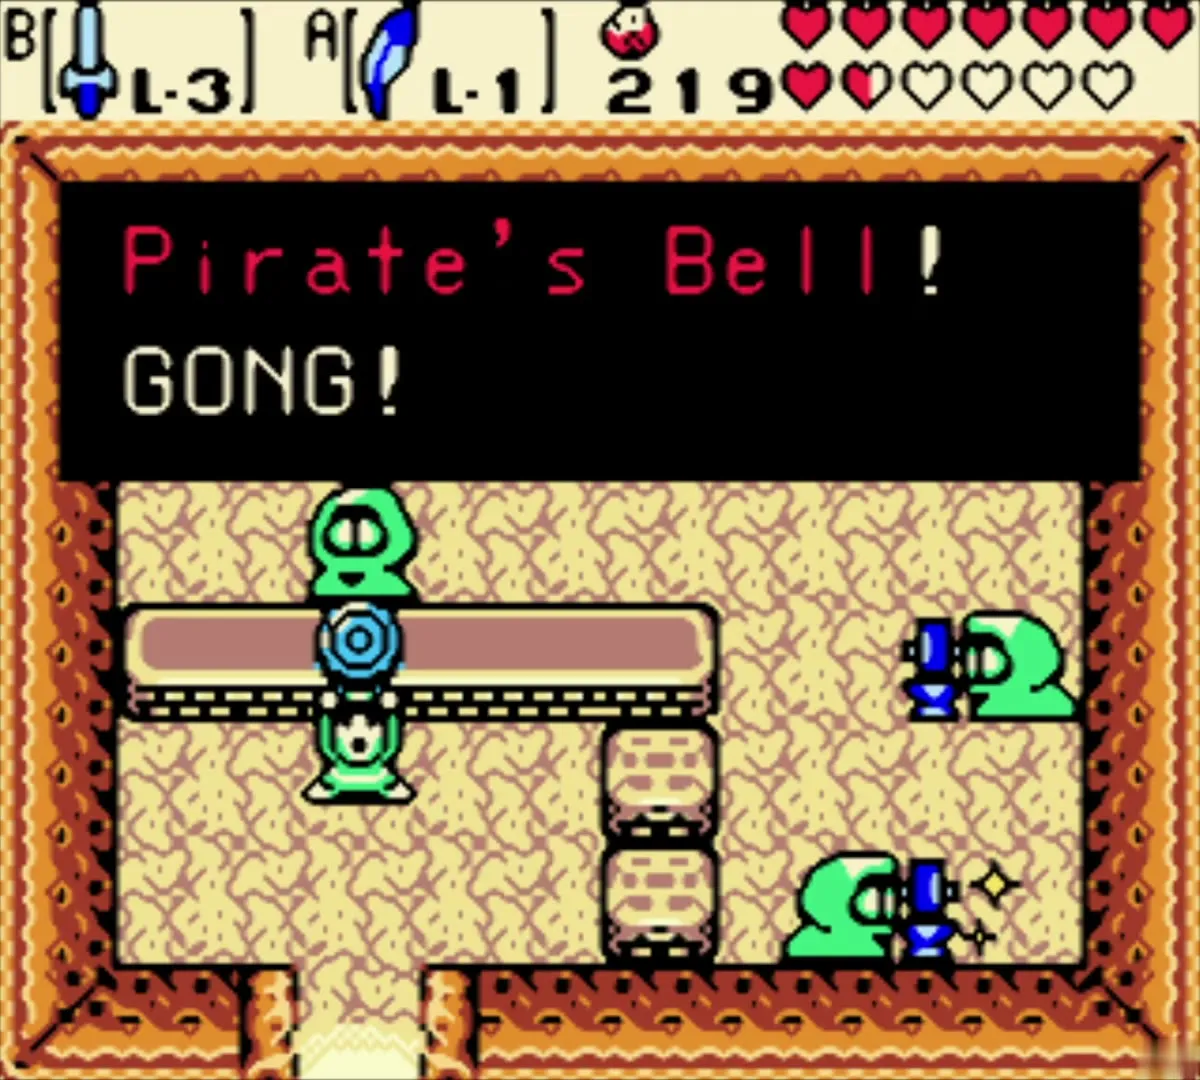
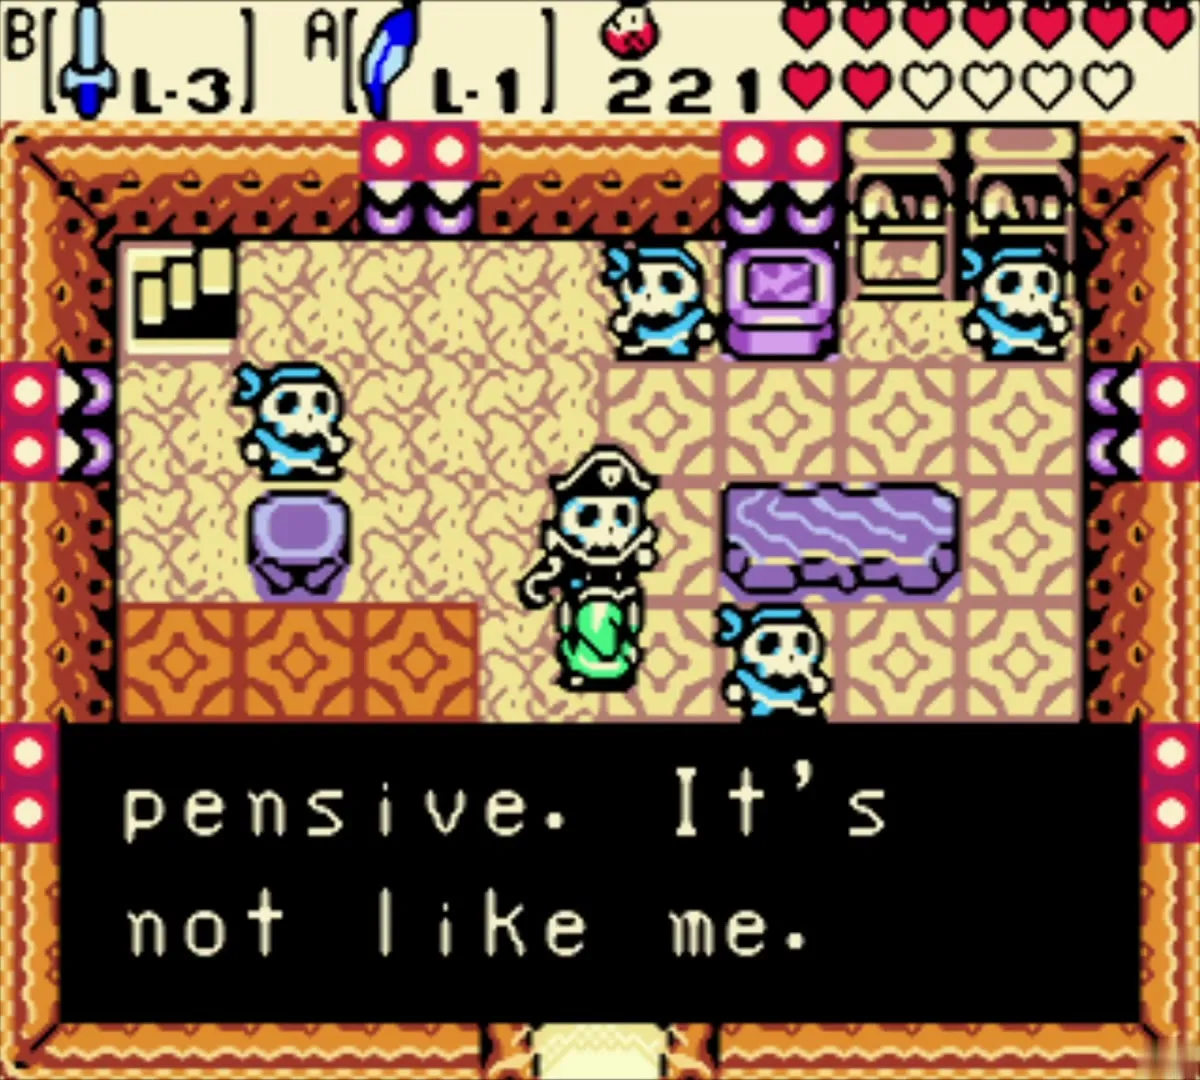
Return the bell and sail
Return to the captain’s quarters in the pirate house and give him the Pirate’s Bell. The ship sails away from the desert and docks in an inlet just west of Hero’s Cave on the Western Coast. Walk along the planks from the ship to reach the new area, where the ghost cottage and graveyard lie.


Western Coast: the cottage, the bombed wall and the ghost
Open the chest and bomb the wall
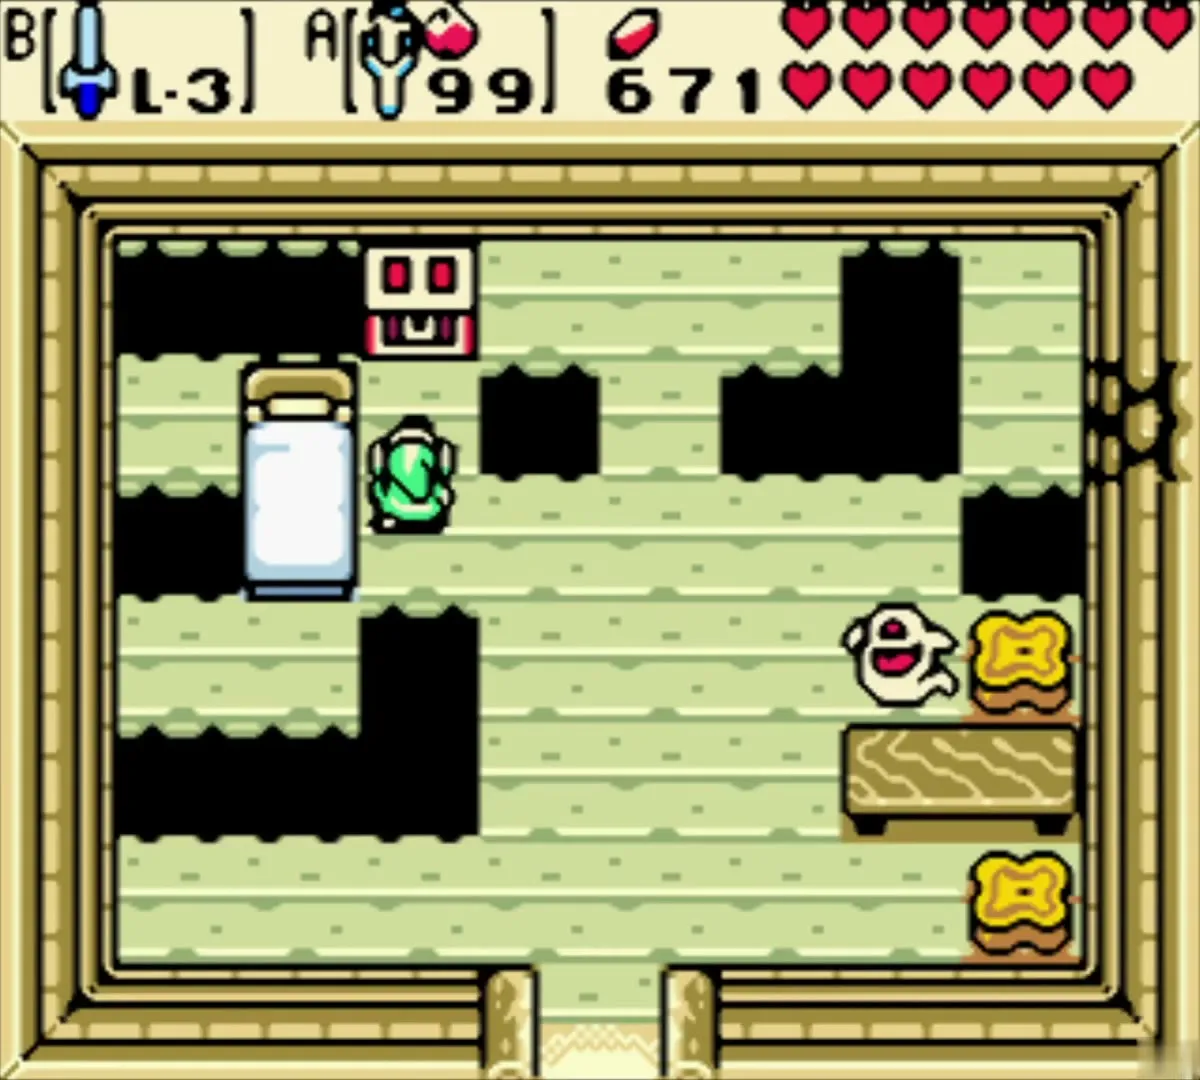
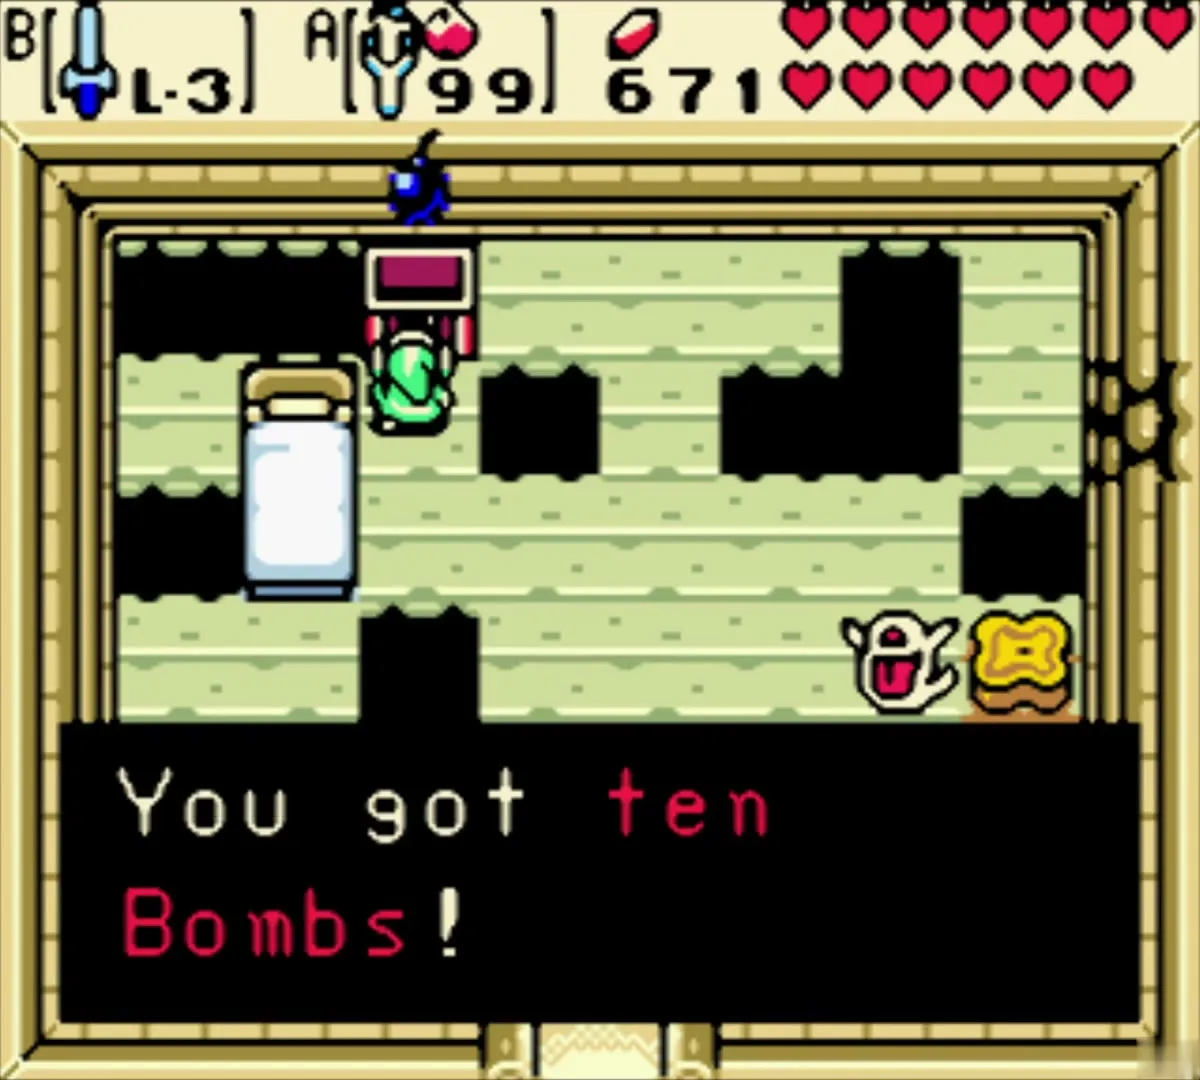
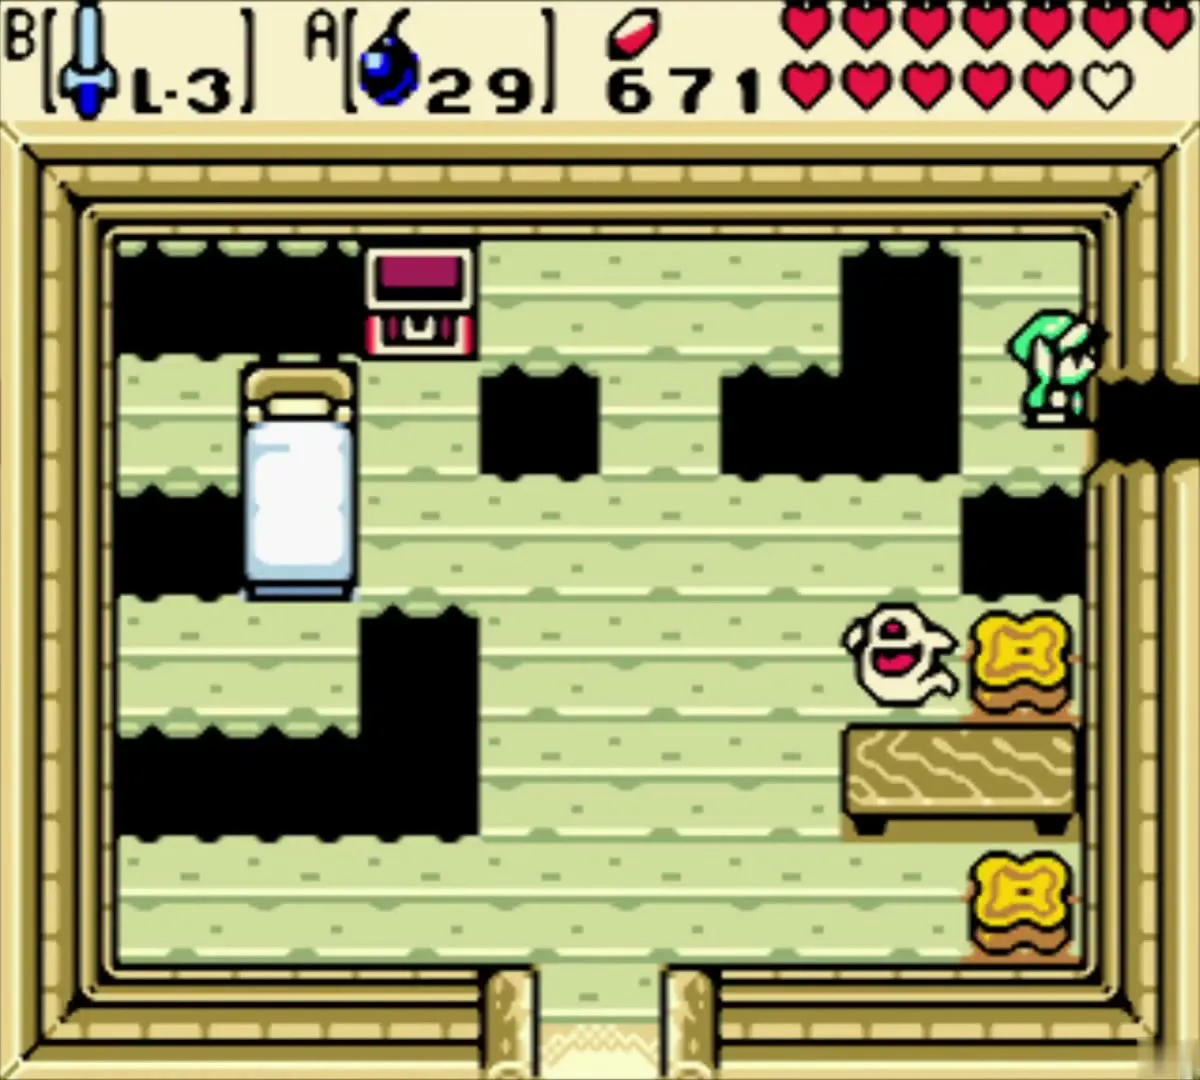
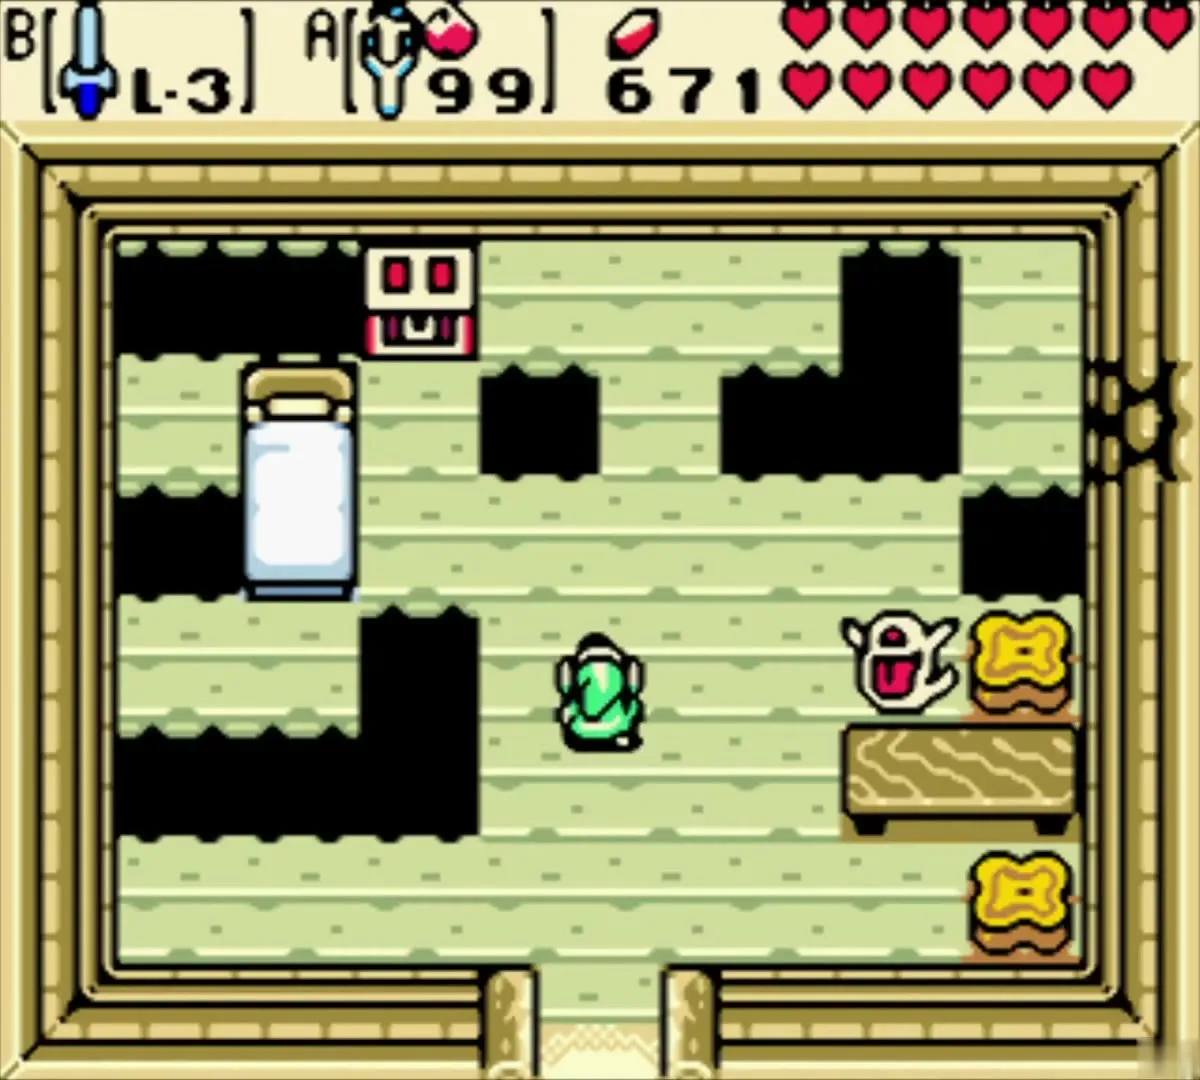
From the ship, go north twice to an abandoned cottage on the Western Coast. The chest inside holds 10 Bombs. Bomb the crumbled wall in the upper-right corner to open a secret second room, then use your Roc’s Feather to cross the potholes on the way out.
Hear the ghost’s secret
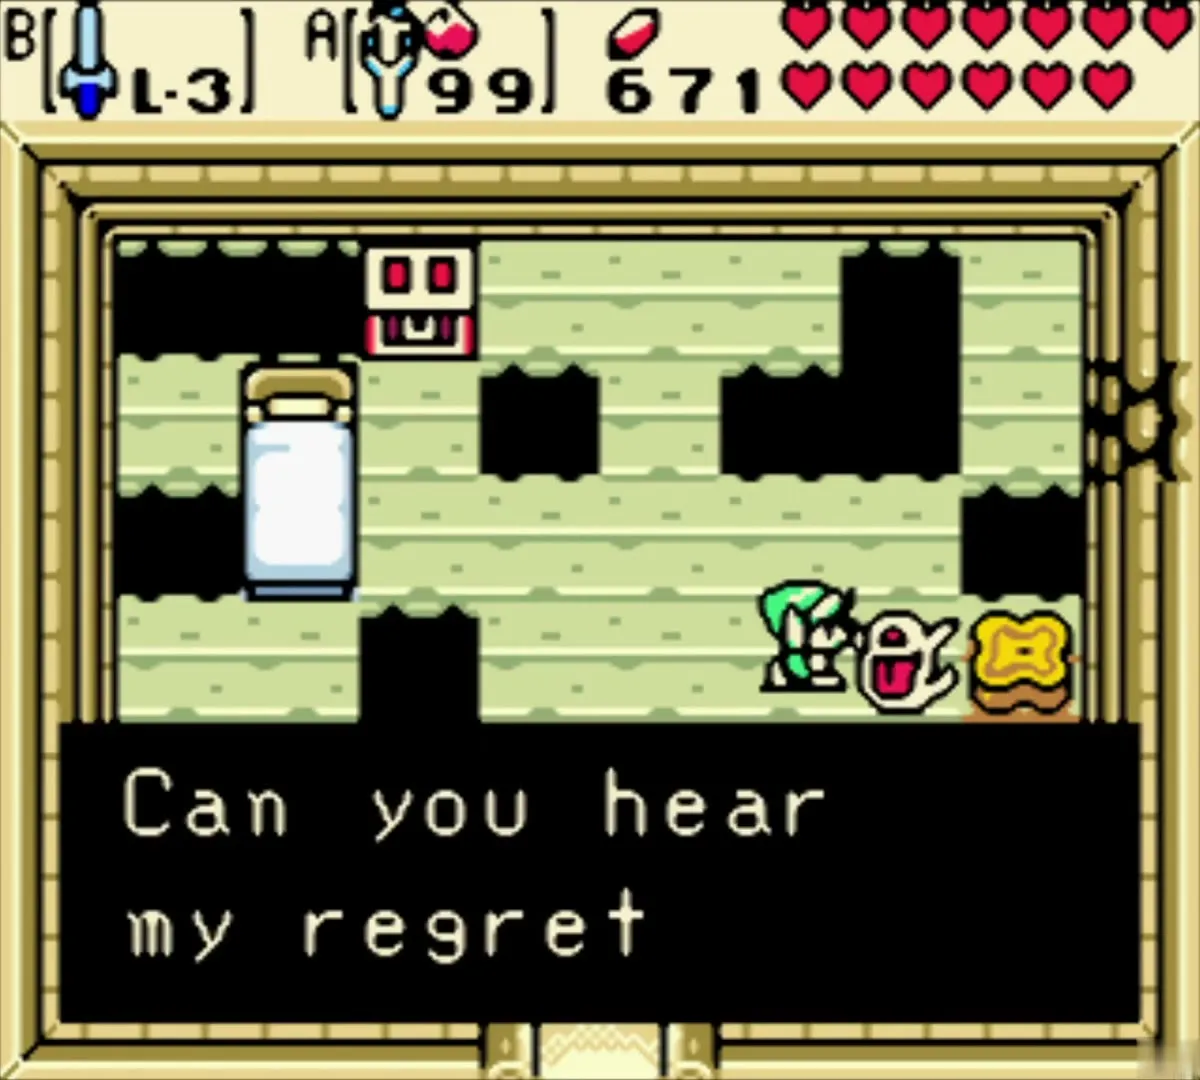
A ghost inside the cottage tells a secret from long ago. The secret is part of a linked-game exchange with Oracle of Ages, so it is not something you can finish in an unlinked game. See Linked Game Secrets for the full list.
Use the Rod of Seasons at the stump
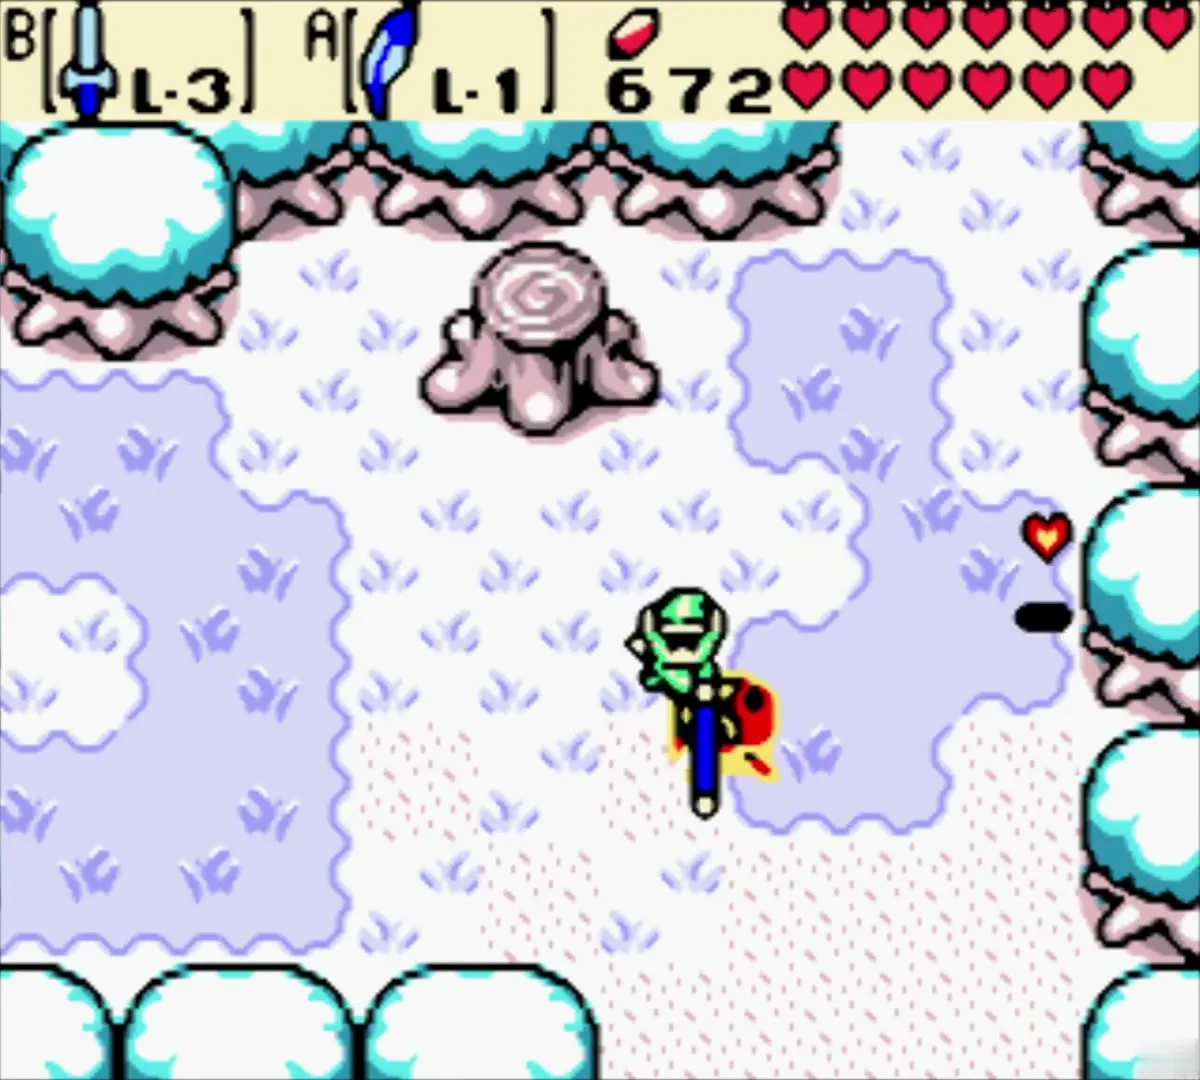
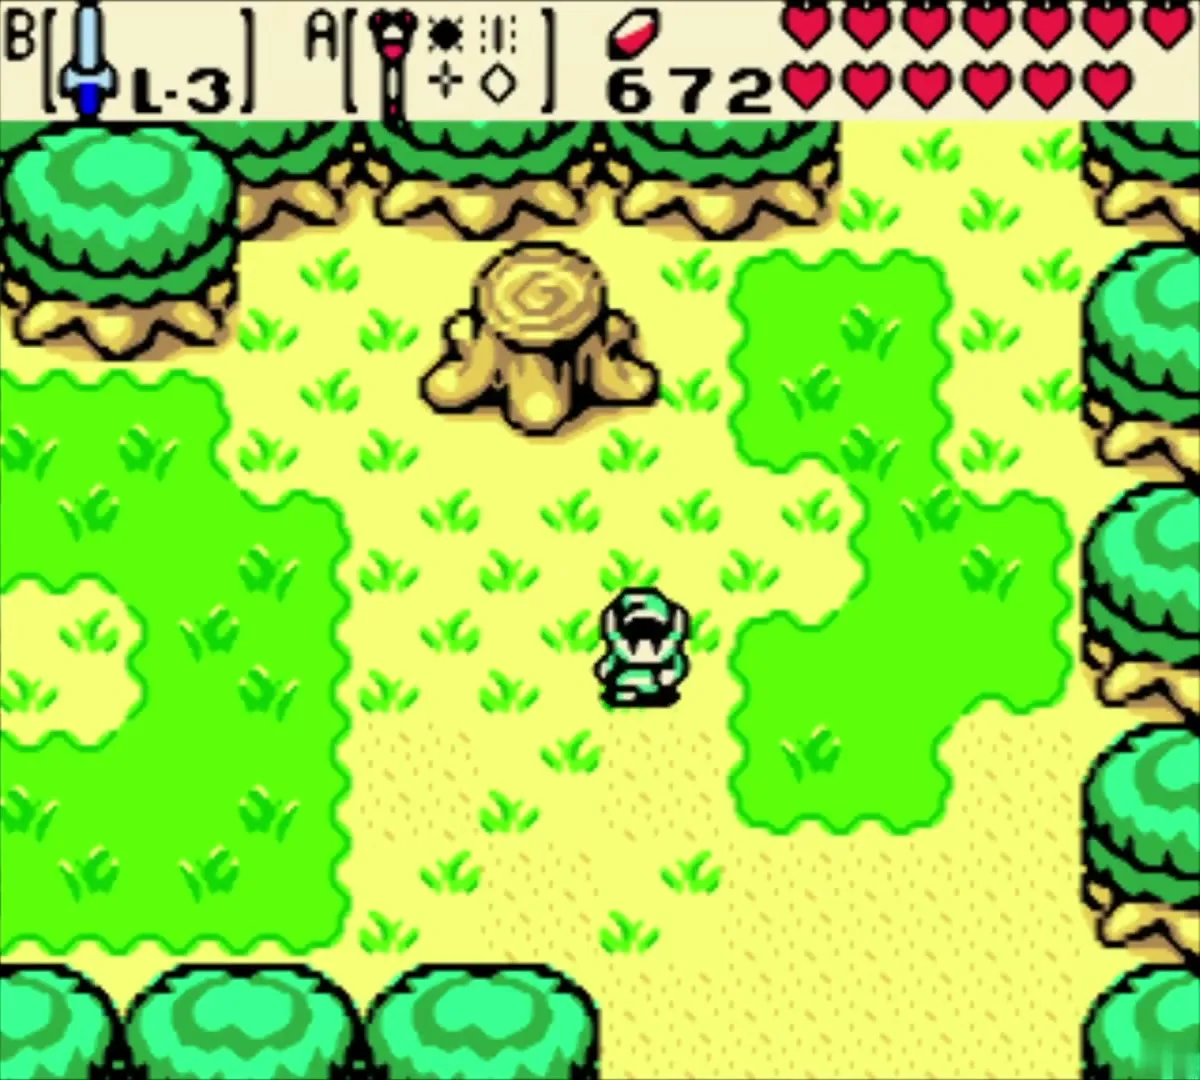
Go north from the cottage to the tree stump and use the Rod of Seasons on it. Change the season to summer, which turns the snowy coast green and lets the vines grow in the graveyard you need next.

The Golden Beasts ring and Vasu’s appraisals
Collect the Golden Beasts ring
Return to the old man in the cave south of Gnarled Root Dungeon after you have slain all four Golden Beasts. He gives you a ring that you cannot identify yet, a Seed Ring. Vasu identifies it as the Red Ring, which doubles sword damage. For the four beasts and where to find them, see Golden Beasts.


Get the Member’s Card reward in Horon Village
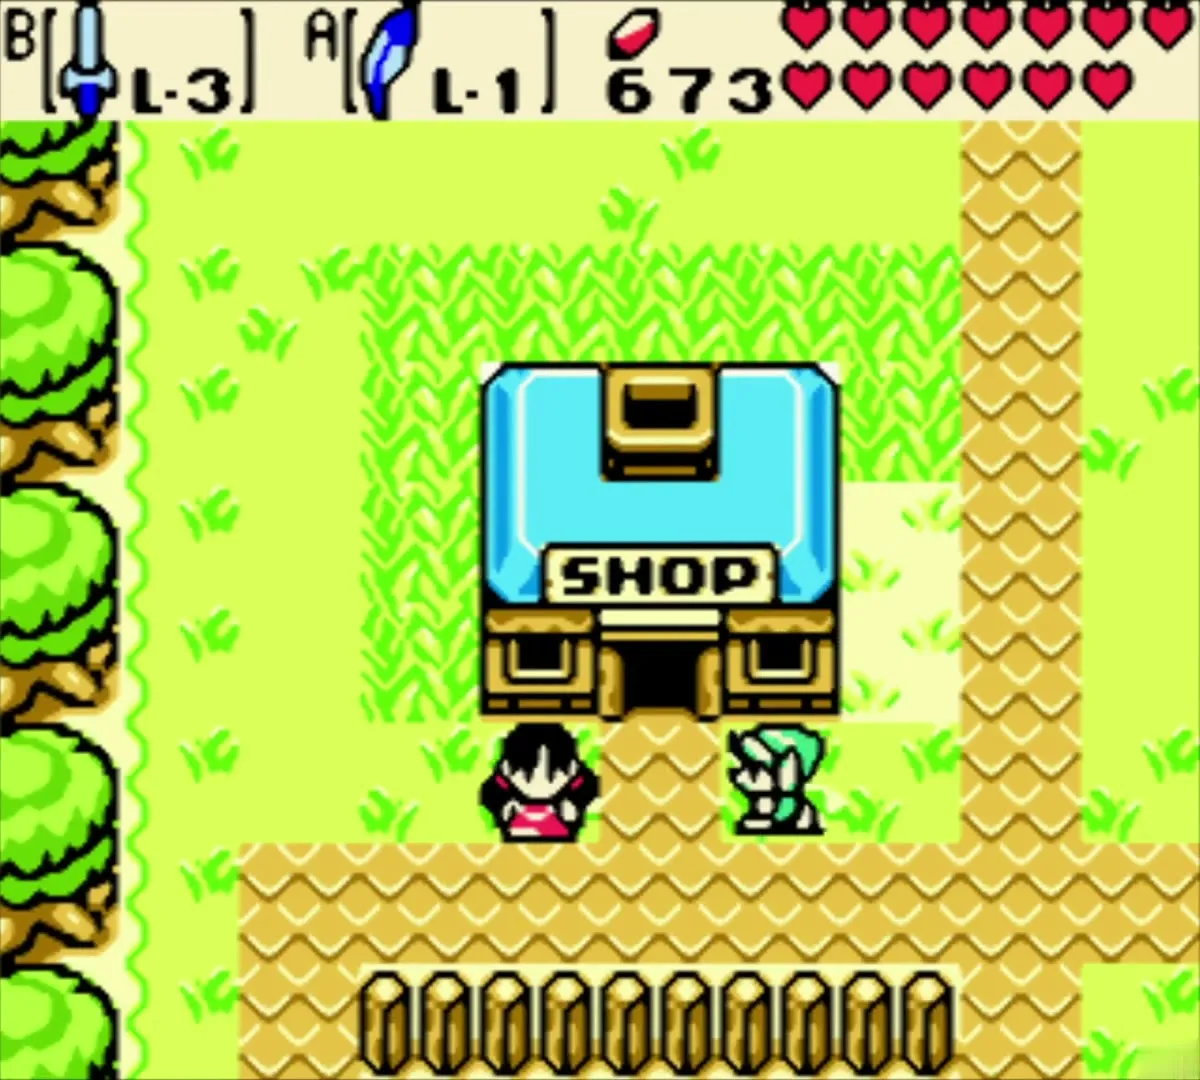
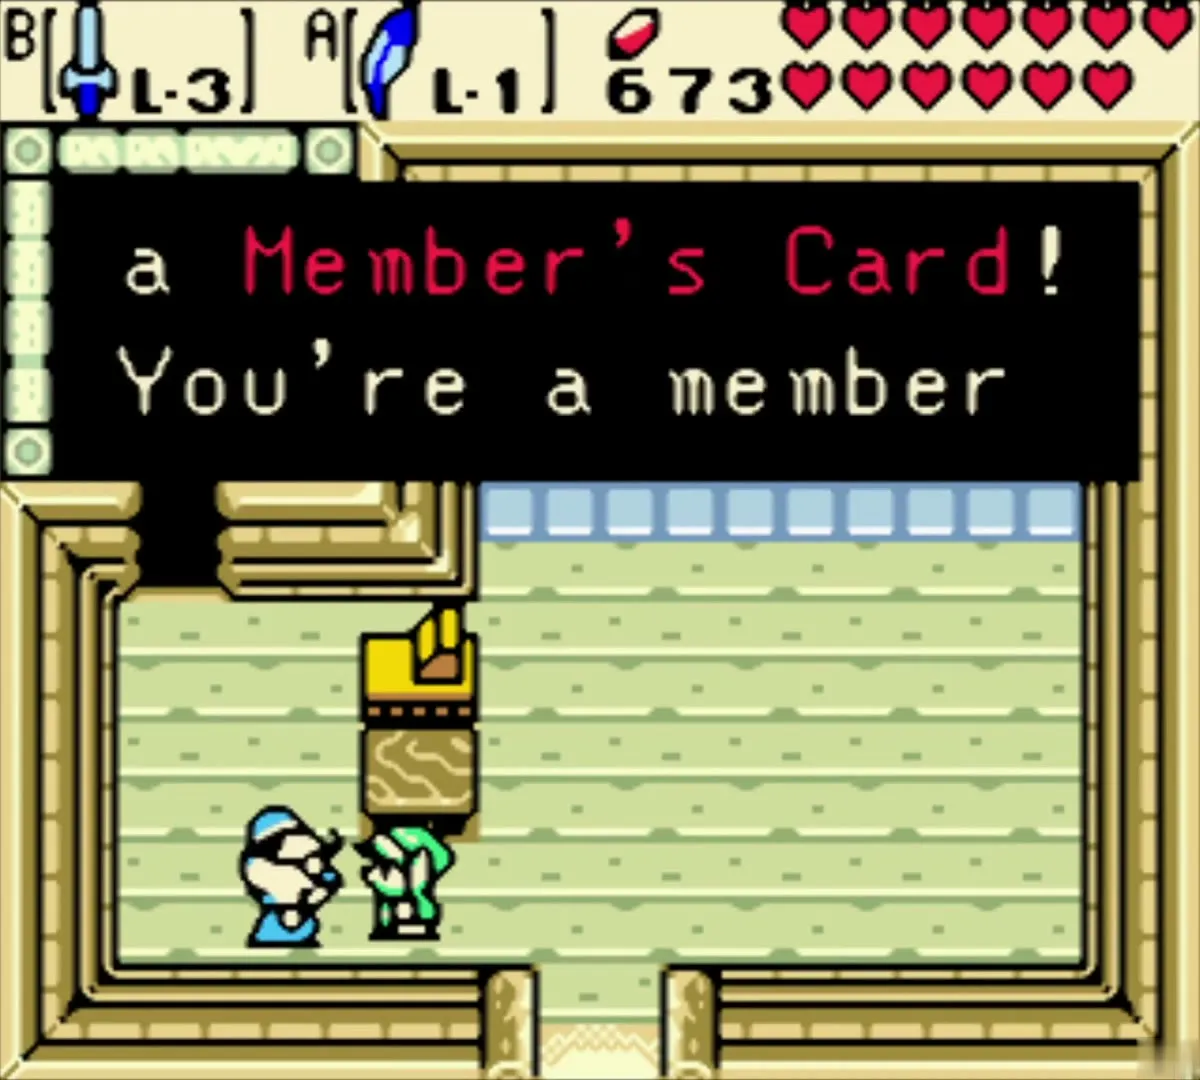
Walk into the Horon Village shop and show the shopkeeper your Member’s Card. He lets you through to the members’ room at the back of the shop. The room sells the Seed Satchel upgrade. For the Satchel upgrade and other shop items, see Items and Equipment.
Appraise the rings with Vasu
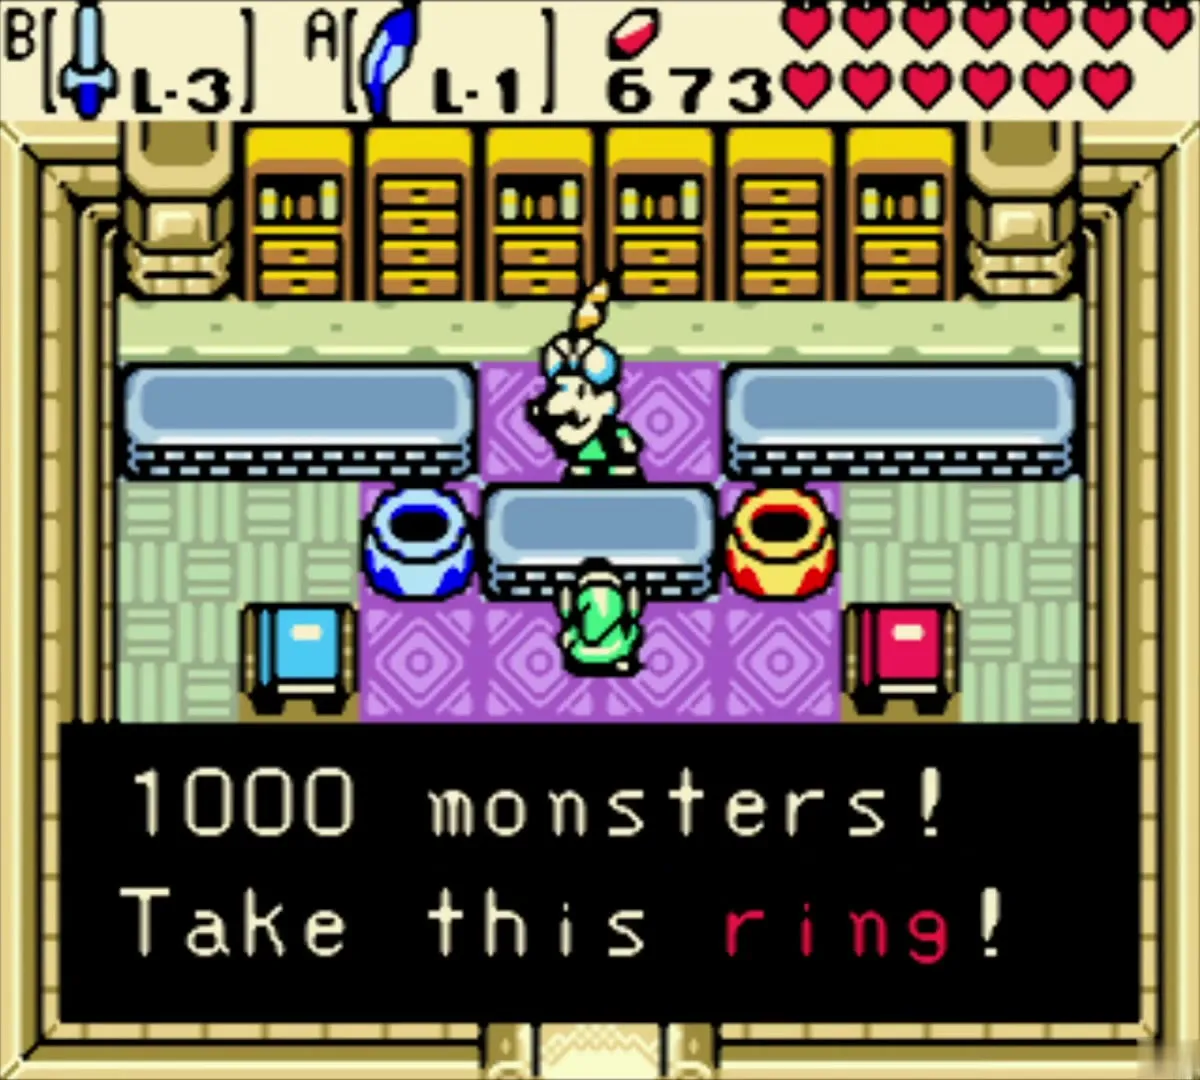
Go to Vasu Jewelers in Horon Village. Vasu charges 20 Rupees per ring and appraises them one at a time. He identifies the Rang Ring L-1, then the Red Ring, and then the Slayer’s Ring, which he awards once you have slain 1000 monsters. For the whole ring list, see Magical Rings.

The snowy coast, the graveyard and the Explorer’s Crypt
Plant the second Gasha Seed
On the snowy coast path, find the soft soil patch and plant a second Gasha Seed. The planting prompt asks you to confirm, just as on the desert coast. A seed planted here grows as you kill enemies nearby.
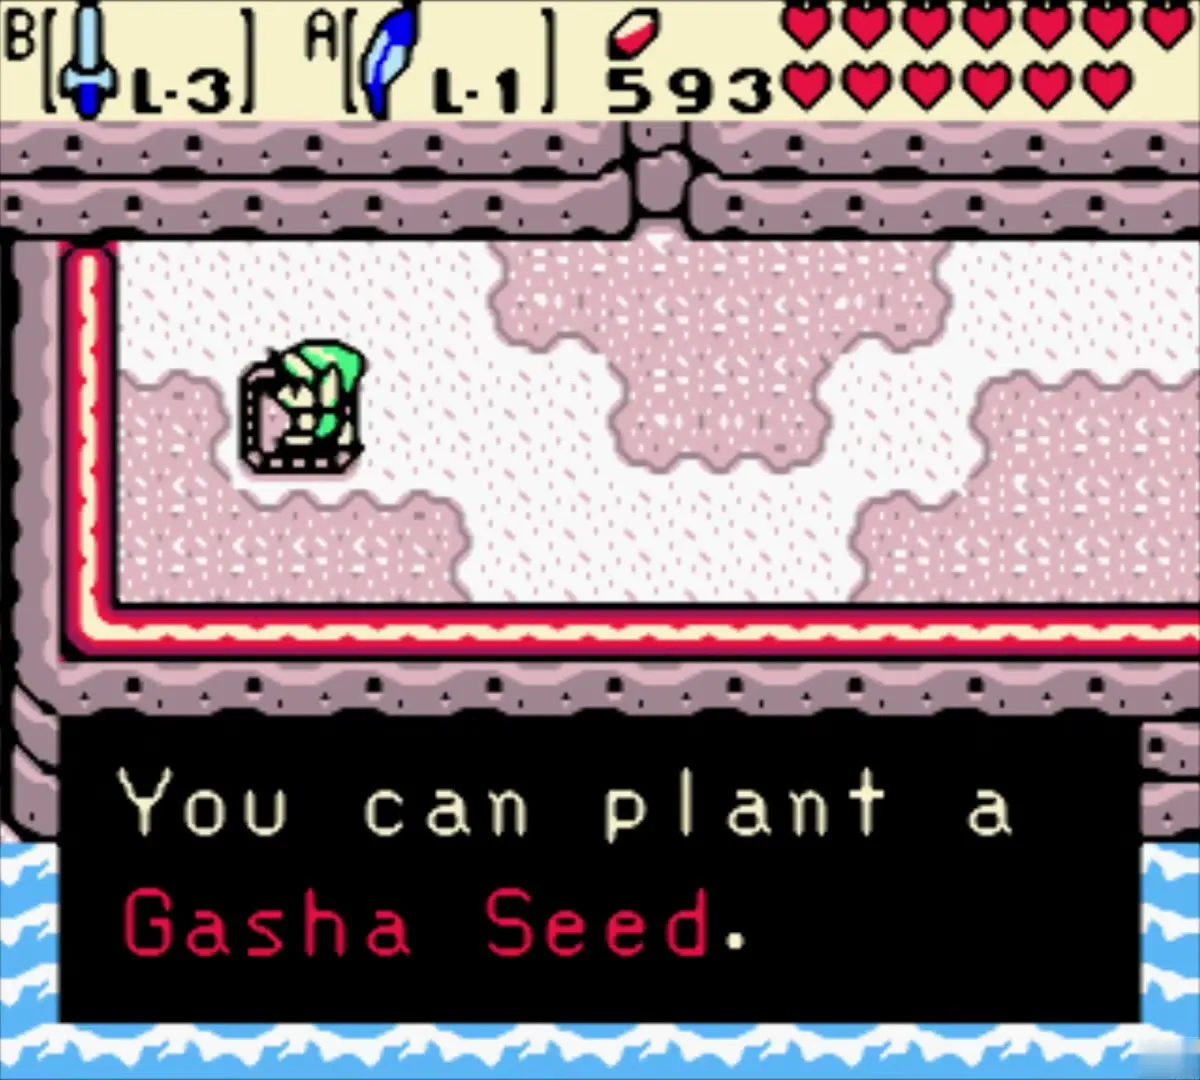
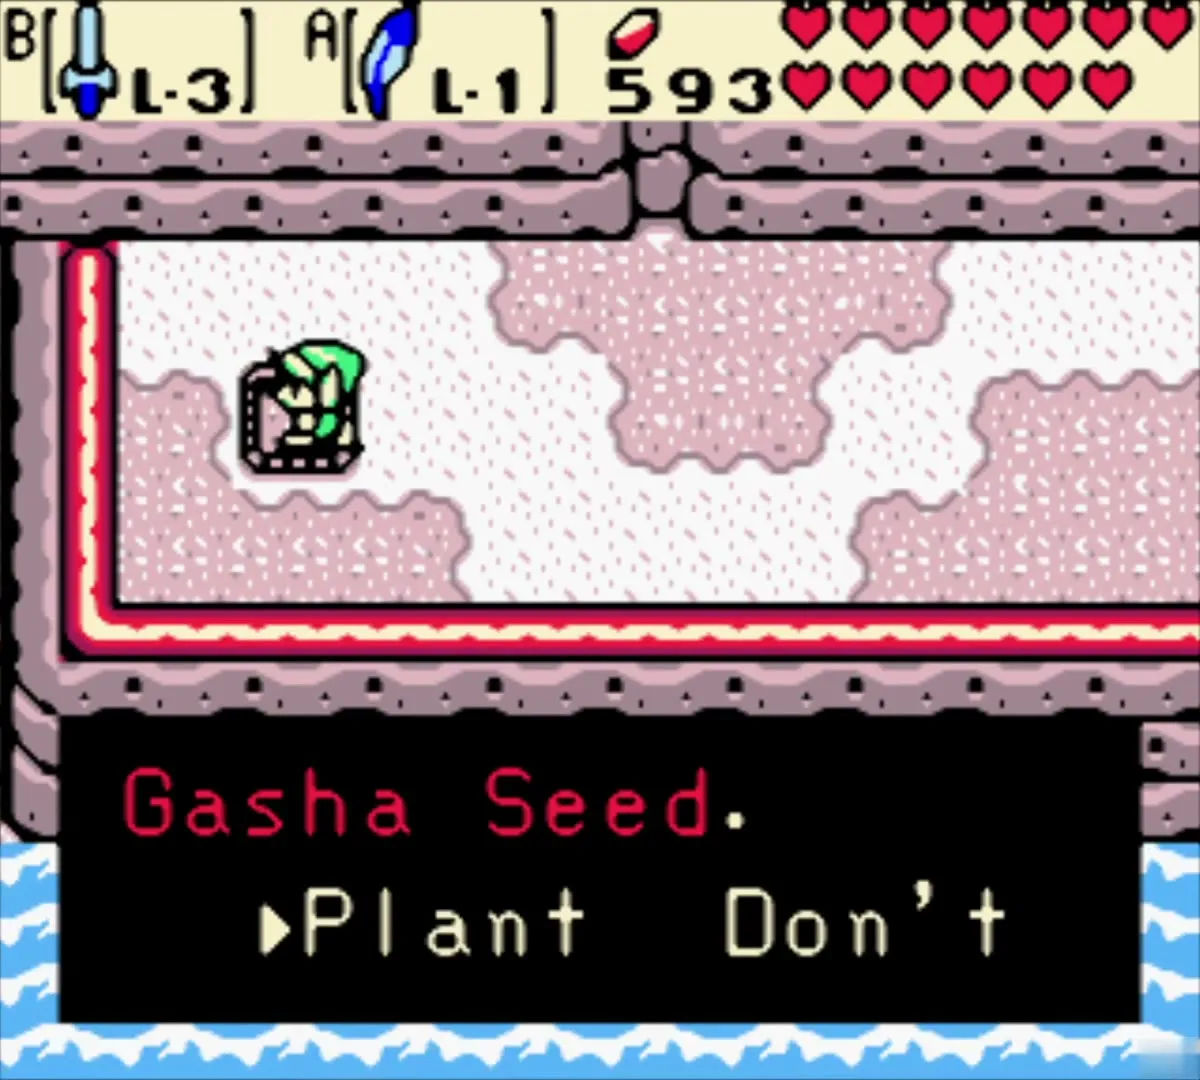
Cross the graveyard
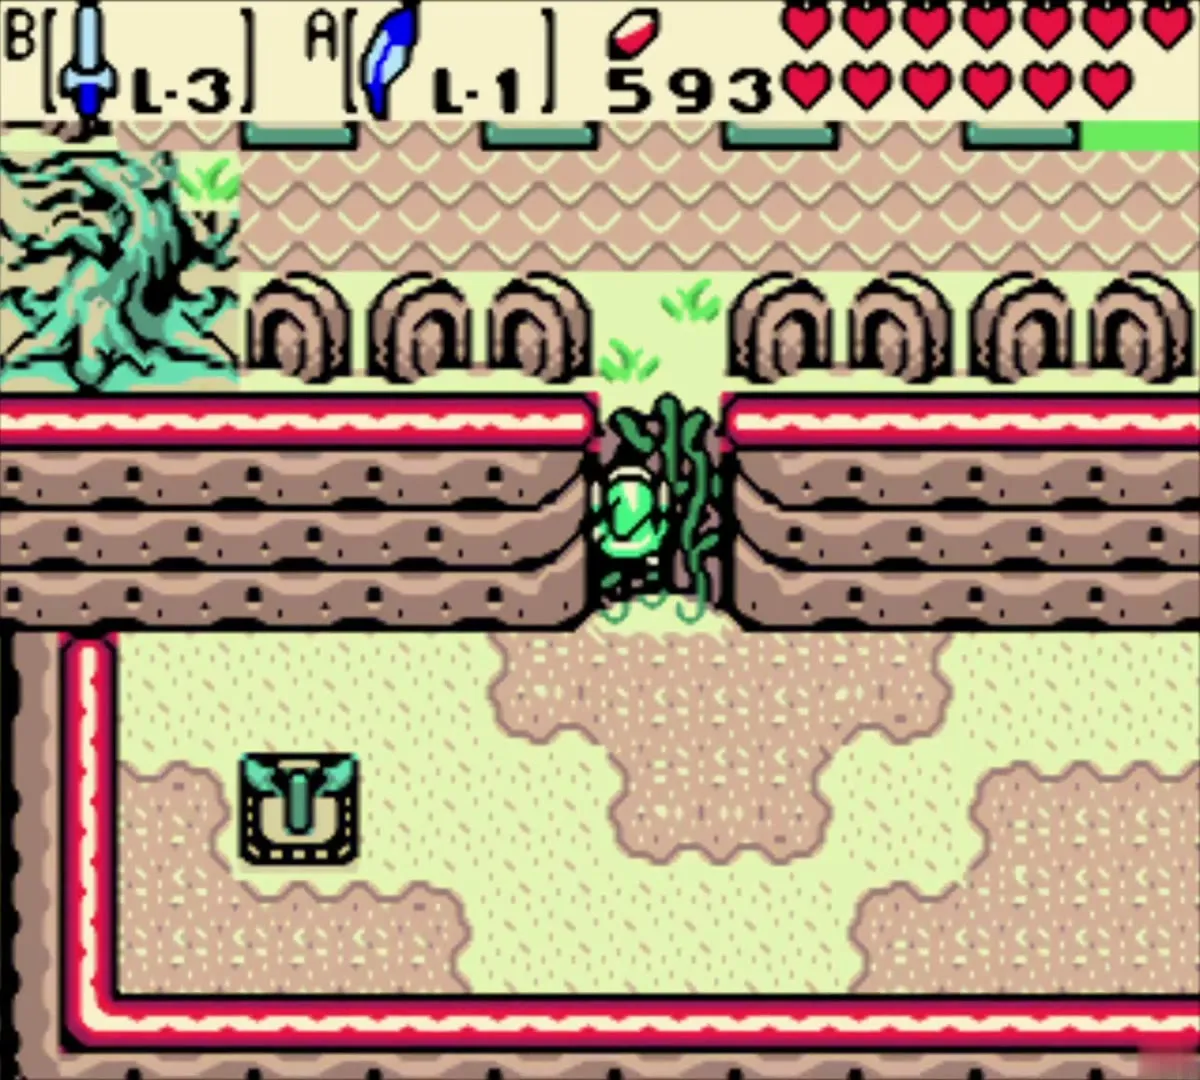
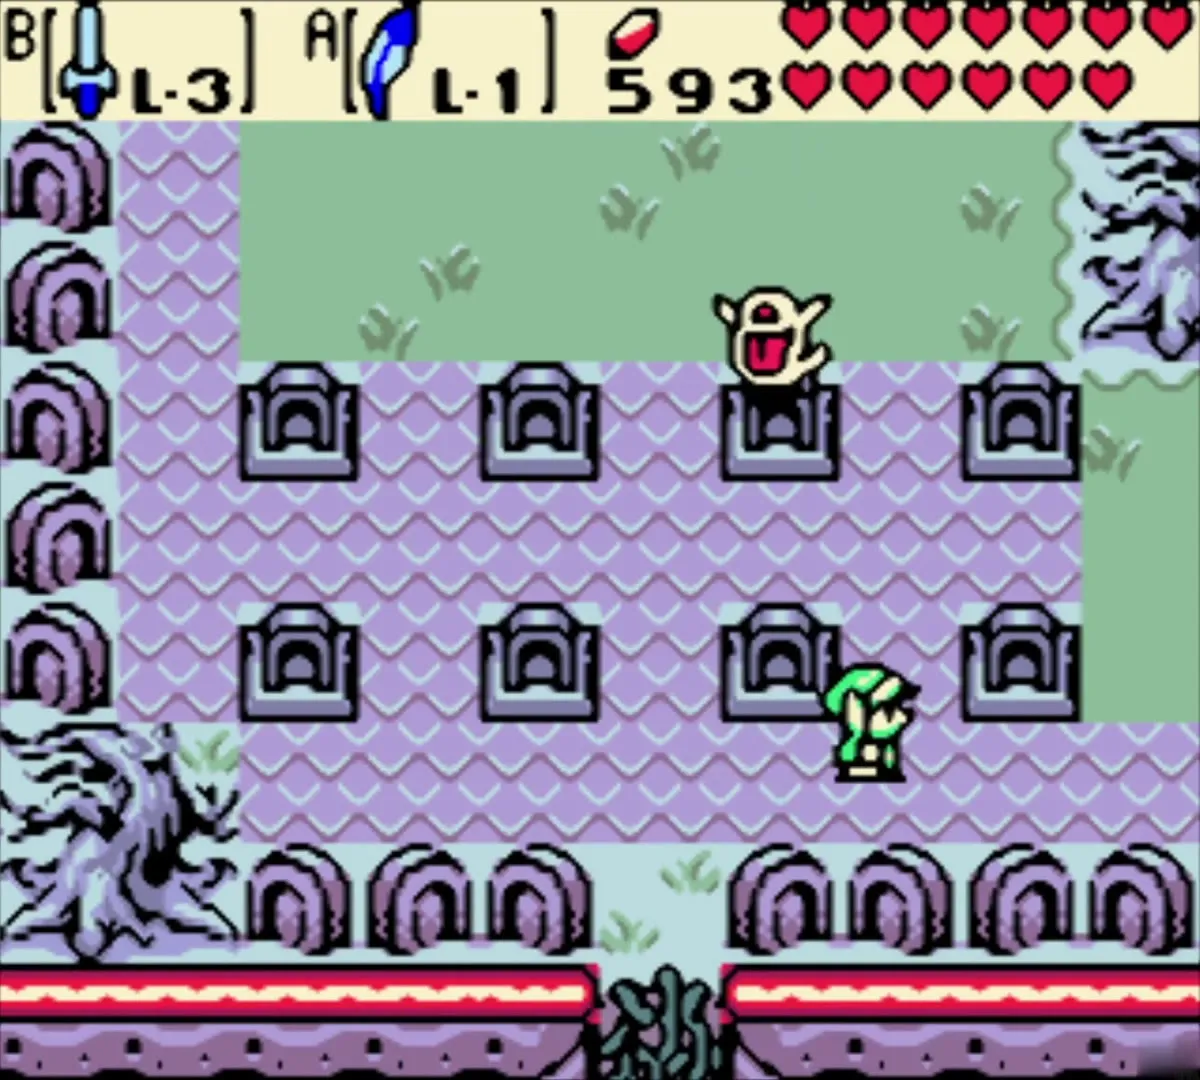
Walk to the graveyard and climb the vines to the second screen. In the graveyard, the first Ghini on each screen is special: defeating it kills the other Ghinis on that screen. Touching the graves spawns more enemies, so move through quickly. A Piece of Heart lies on the graveyard plateau, but it needs autumn and Roc’s Cape; see Heart Piece Locations.

Reach the Explorer’s Crypt entrance
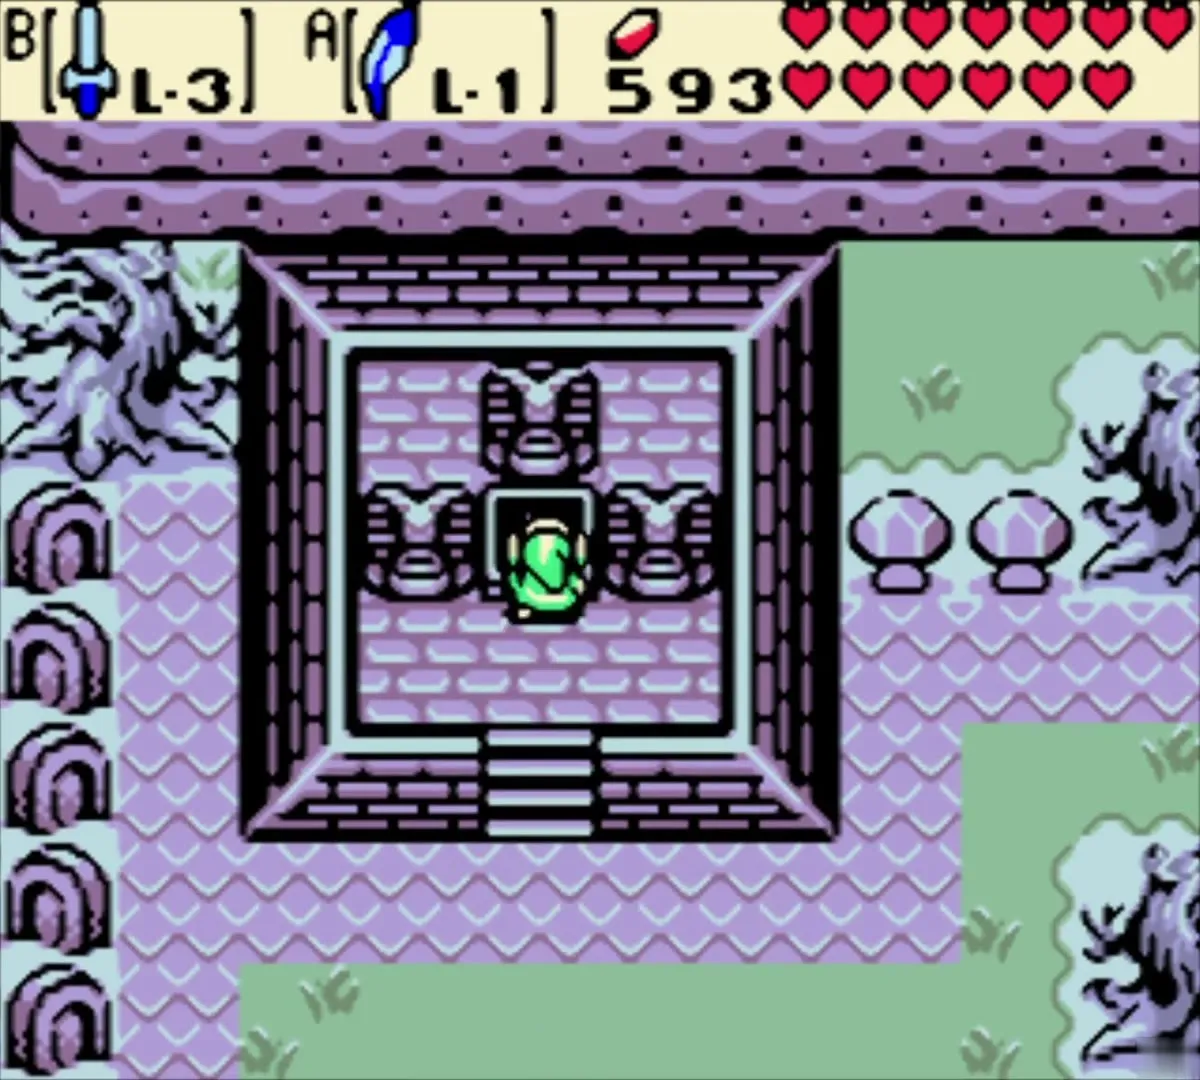
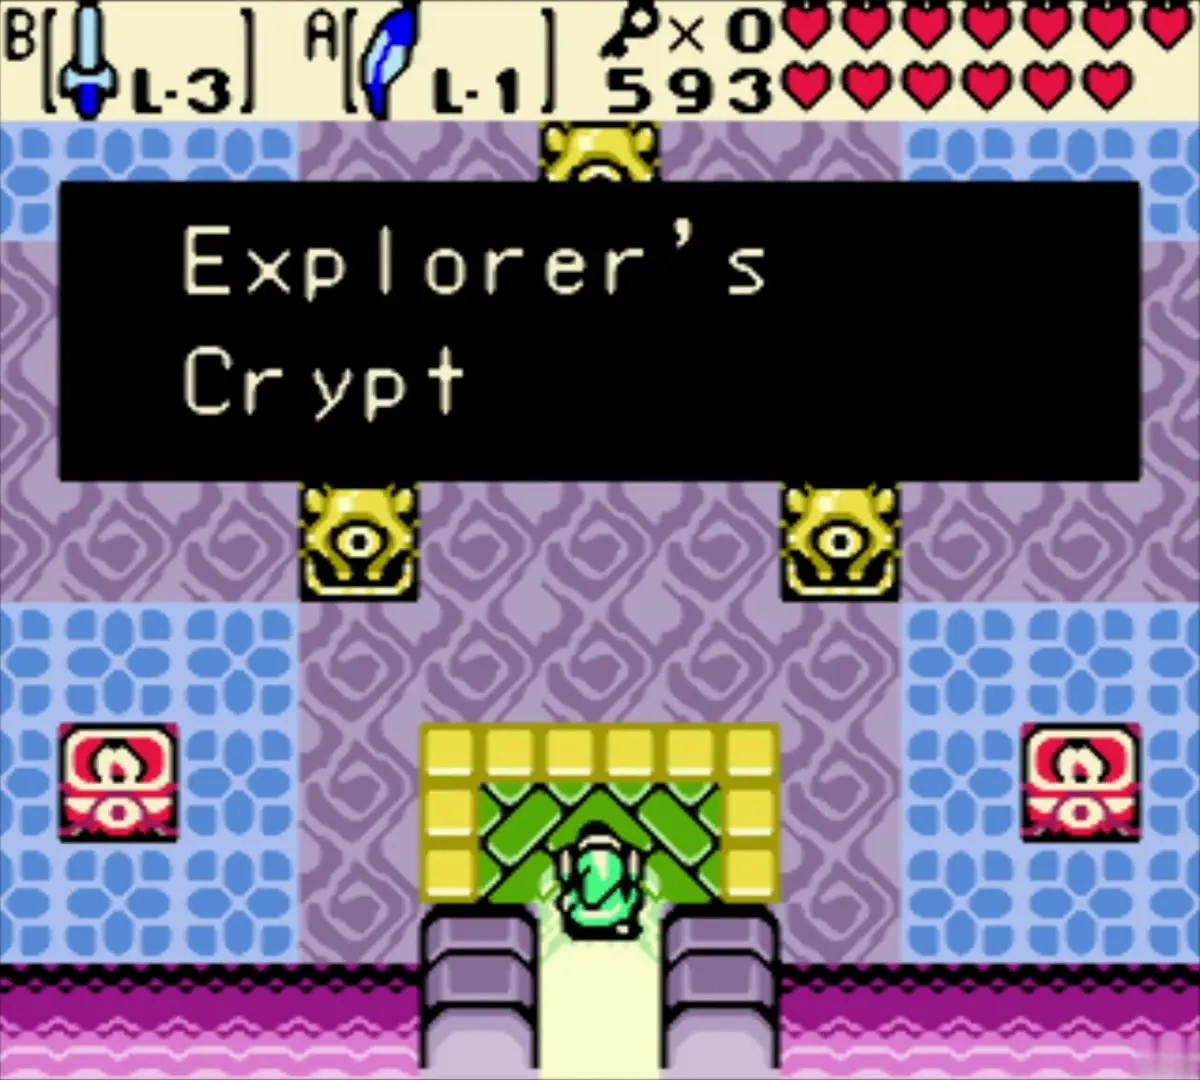
Go north from the graveyard to the dark stone building at the top of the screen. This is the entrance to the Explorer’s Crypt, Dungeon 7. Enter it to start the dungeon in Explorer’s Crypt (Dungeon 7) Walkthrough.

Chapter checklist
| Type | Name | Where |
|---|---|---|
| Trade item | Goron Vase | Biggoron, in the cave on the snowy mountain above Sunken City |
| Quest item | Rusty Bell, then Pirate’s Bell | Quicksand cave in the Samasa Desert; polished at the Subrosian smithy |
| Ring | Rang Ring L-1 | Chest reached through the desert quicksand and underwater passage; appraised at Vasu Jewelers |
| Ring | Red Ring | Old man in the cave south of Gnarled Root Dungeon after the four Golden Beasts; appraised at Vasu Jewelers |
| Ring | Slayer’s Ring | Vasu Jewelers, after 1000 monsters are slain |
| Gasha Seed | Two seeds planted | Soft soil on the Samasa Desert coast and on the snowy coast path |
| Chest | 10 Bombs | Abandoned cottage on the Western Coast, north of the ship landing |
| Season change | Summer | Tree stump north of the Western Coast cottage |
| Maple | Race for her drops | Snow field in winter Holodrum |
