





















Oracle of Seasons 100% Completion Walkthrough26 chapters
- Getting Started in Holodrum and the Hero’s CaveGetting started in Holodrum: Impa’s request, Mayor Ruul’s Gasha Seed, Vasu’s Ring Box, the Hero’s Cave ledge chest.
- Gnarled Root Dungeon (Dungeon 1)Gnarled Root Dungeon walkthrough for Oracle of Seasons: keys, map, compass, Seed Satchel, Boss Key, Aquamentus and the.
- Subrosia, the Tower of Winter and the Rod of SeasonsWalkthrough for Subrosia, the Tower of Winter and the Rod of Seasons in Oracle of Seasons: Gasha Nuts, Boomerang, Ore.
- Woods of Winter and the ShovelWoods of Winter walkthrough: pay the old man, bomb the 30 Rupee cave, get the Shovel from Holly, find the Mystery Seed.
- Snake’s Remains (Dungeon 2)Snake’s Remains walkthrough: Compass, rupee room, Power Bracelet, Dungeon Map, bomb merchant, Facade, Dodongo boss.
- Farore’s Secrets and Princess Zelda’s RescueFarore’s secrets and Princess Zelda’s rescue walkthrough: three Pieces of Heart, a Gasha Nut, Vasu’s rings, the L-2.
- Spool Swamp and the Floodgate KeySpool Swamp walkthrough for Oracle of Seasons: Ricky’s Gloves, the Iron Pot trade, Pegasus Seeds, the Floodgate Key.
- The Tower of Summer and Rosa’s RibbonThe Tower of Summer walkthrough: Star-Shaped Ore, Rosa’s Ribbon, Subrosian Market buys (Heart Piece, Bomb Bag), the.
- Poison Moth’s Lair (Dungeon 3)Poison Moth’s Lair walkthrough: both Small Keys, Roc’s Feather, Compass, Map, Gasha Seed, Omuai, Boss Key, Mothula and.
- Natzu, Sunken City and Zora’s FlippersNatzu, Sunken City and Zora’s Flippers walkthrough: Dimitri’s swim, Gale Seeds, Master’s Plaque, Master Diver and the.
- The Hall of Secrets and the Noble SwordHall of Secrets walkthrough: Farore’s secrets, Bombchu, the Noble Sword, Advance Shop rings, Vasu’s appraisals and a.
- Great Moblin’s Keep and Goron MountainGreat Moblin’s Keep and Goron Mountain walkthrough: bomb-catching boss fight, Heart Piece, Tokay secret, bigger Ring.
- The Strange Brothers, the Tower of Spring and Mt. CuccoThe Tower of Spring and Mt. Cucco walkthrough: win back Roc’s Feather from the Strange Brothers, Spring power, Moosh.
- Dancing Dragon Dungeon (Dungeon 4)Dancing Dragon Dungeon walkthrough: all five Small Keys, Map, Compass, Agunima, Slingshot, Boss Key, Gohma and the.
- The Tower of Autumn and Eyeglass LakeTower of Autumn and Eyeglass Lake walkthrough for Oracle of Seasons: Gasha Seeds, ring appraisals, Seed Satchel.
- Unicorn’s Cave (Dungeon 5)Unicorn’s Cave walkthrough for Oracle of Seasons: Compass, five Small Keys, Magnetic Gloves, Syger and Digdogger.
- The Four Jewels, Tarm Ruins and the Lost WoodsTarm Ruins and Lost Woods walkthrough for Oracle of Seasons: Red Ore, Iron Shield, Round Jewel, Vasu’s rings, the Lost.
- Ancient Ruins (Dungeon 6)Ancient Ruins walkthrough for Oracle of Seasons: Dungeon Map, Compass, three Small Keys, Magical Boomerang, Vire.
- Samasa Desert and the Pirate’s BellSamasa Desert and Pirate’s Bell walkthrough for Oracle of Seasons: the desert ring chest, the polished Rusty Bell and.
- Explorer’s Crypt (Dungeon 7)Oracle of Seasons Explorer’s Crypt walkthrough: beat the Poe Sisters, get Roc’s Cape and the Boss Key, defeat Gleeok.
- Temple Remains and the Volcano EruptionOracle of Seasons Temple Remains walkthrough: Maku Tree secrets, Vasu ring appraisals, the Subrosian volcano eruption.
- Sword & Shield Maze (Dungeon 8)Oracle of Seasons Sword & Shield Maze walkthrough: Compass, Dungeon Map, Hyper Slingshot, Frypolar, Medusa Head and.
- The Huge Maku Seed, the Last Trades and the Hero’s CaveOracle of Seasons Huge Maku Seed walkthrough: the Goron Vase to Phonograph trade chain, Gasha Seed planting, and the.
- Side Quests and Collectibles Before Onox’s CastleSide quests and collectibles before Onox’s Castle in Oracle of Seasons: Gasha Nuts, Vasu’s rings, the Mirror Shield.
- Onox’s Castle and the Final BattleOnox’s Castle walkthrough for Oracle of Seasons: clear the castle rooms, beat Facade, buy the Mirror Shield, then.
- The Linked Game FinaleLinked game finale walkthrough for Oracle of Seasons: beat Twinrova and Ganon in the Room of Rites, then finish at the.
| Covers | Subrosia (Red Ore, Lava Soup, the smithy and the sign house), the Round Jewel cave and Vasu’s shop in Holodrum, the Lost Woods and the Master Sword pedestal. Seasons needed: winter, autumn, spring and summer at the tree stumps near the Lost Woods. |
|---|---|
| Dungeon | No dungeon is cleared in this chapter. It ends at the entrance to Ancient Ruins (Dungeon 6). |
| Rewards | Round Jewel (1 of 4 jewels for Tarm Ruins), Red Ore, Blue Ore, Hard Ore, Iron Shield (L-2), Master Sword (L-3, linked game), Lava Soup (trade step), Sign Ring, Quicksand Ring, Toss Ring and one unappraised ring from a boulder-field chest, 1 Gasha Seed, 1 Gasha Nut. No Heart Piece, no Heart Container, no Essence. |
This chapter collects the Round Jewel, a second shield upgrade and the Master Sword. You start in Subrosia to gather Red and Blue Ore for the Iron Shield, trade a pot of Lava Soup, and break signs for a ring. Back in Holodrum you appraise rings, take the Round Jewel, use the Lost Woods hint to change seasons in order, and pull the Master Sword from its pedestal. The chapter ends at the Ancient Ruins entrance.
Subrosia: Red Ore, Blue Ore and the Iron Shield
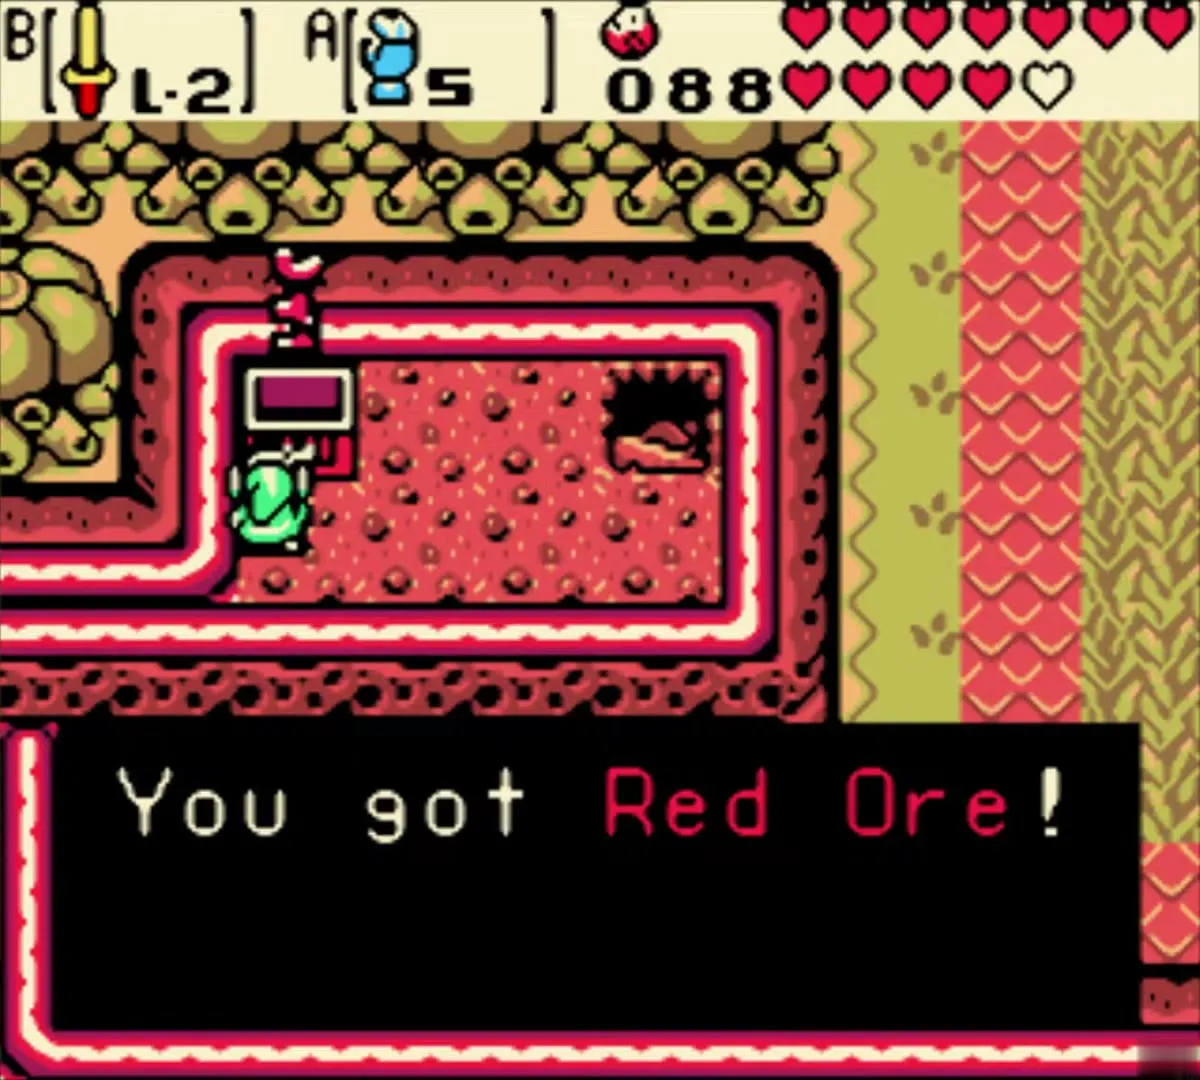
Enter Subrosia and collect the Red Ore
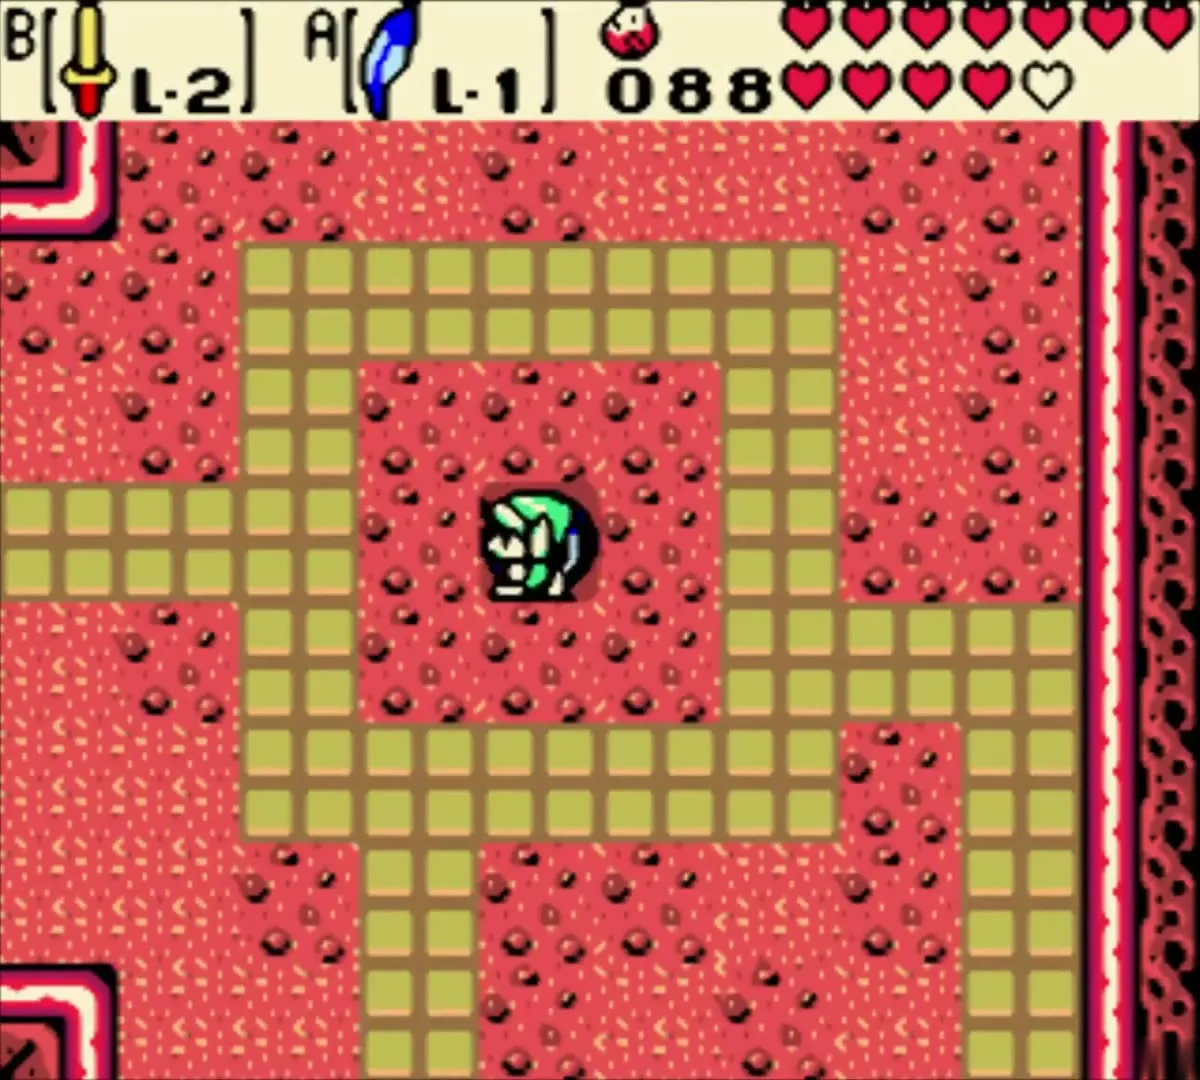
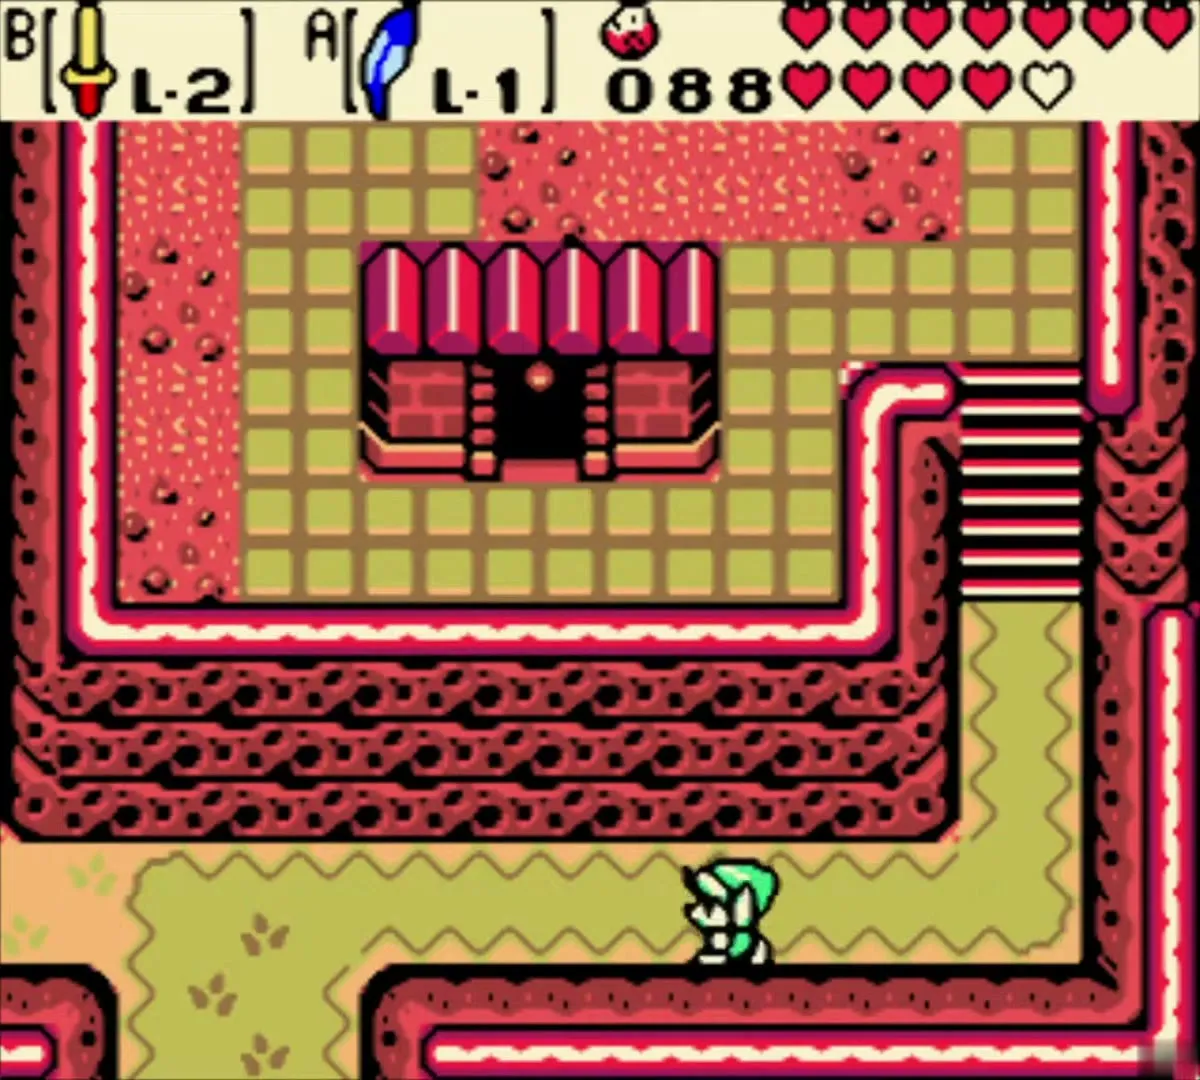
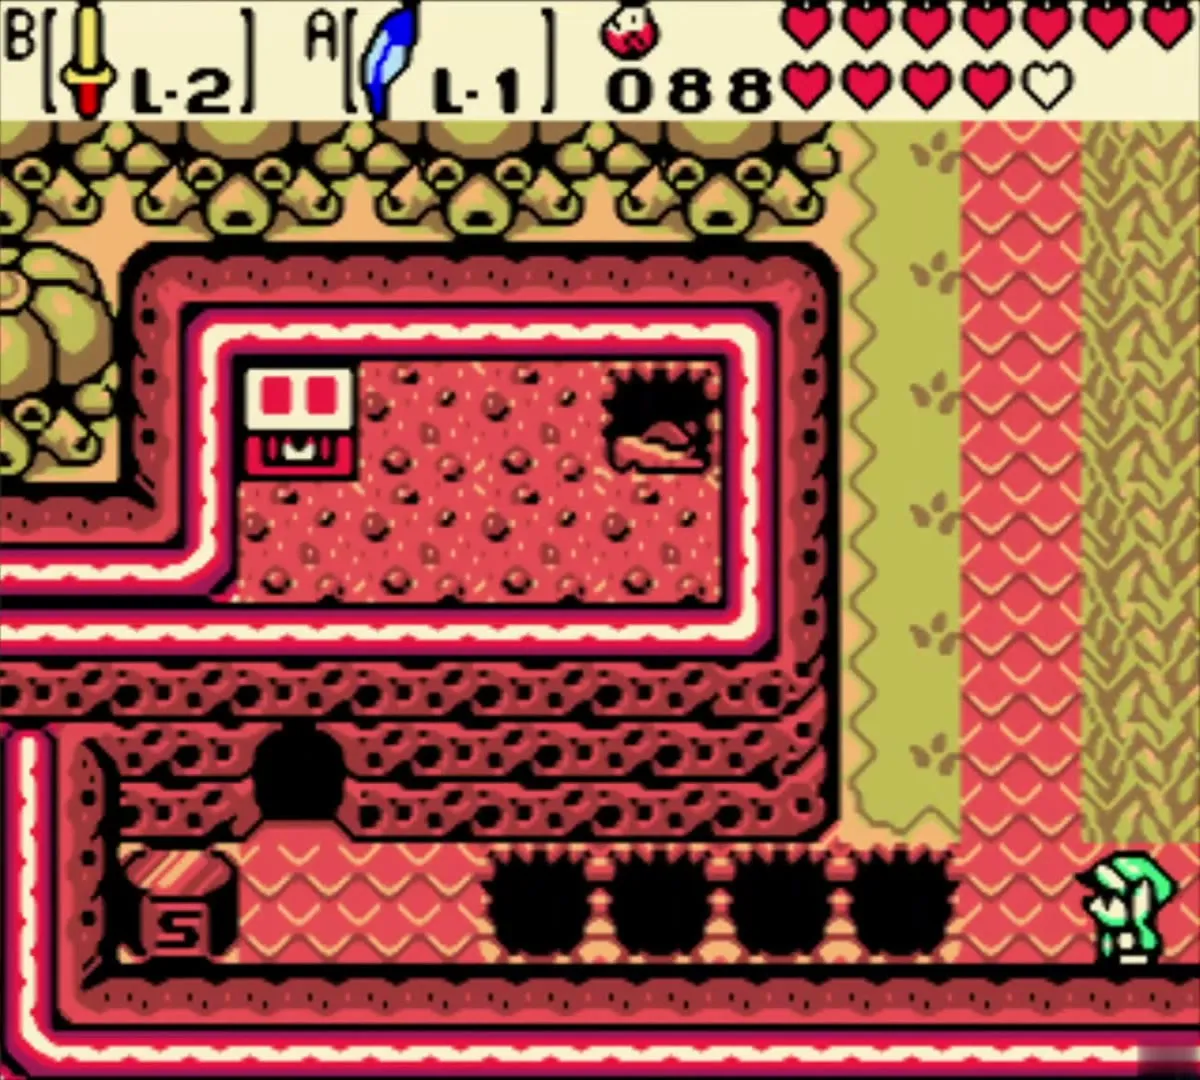
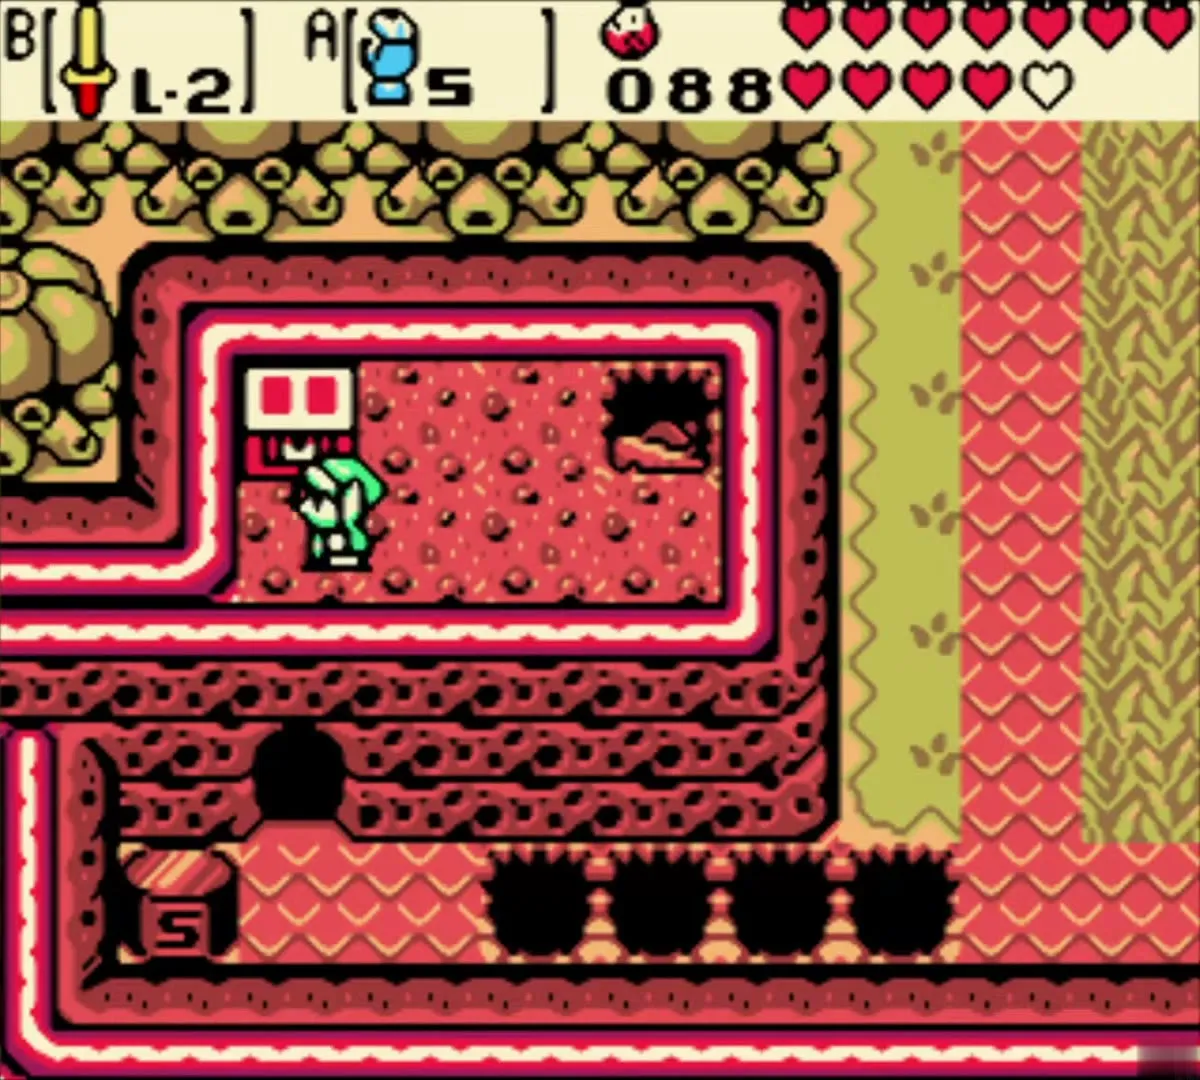
Step through the portal in the winter region to reach Subrosia. Head east across the lava paths to the cliff-side cave that holds the Red Ore chest. Pull across the pits with the Magnetic Gloves, and you reach a chest in a small room that gives you the Red Ore.
Find the Blue Ore in western Subrosia
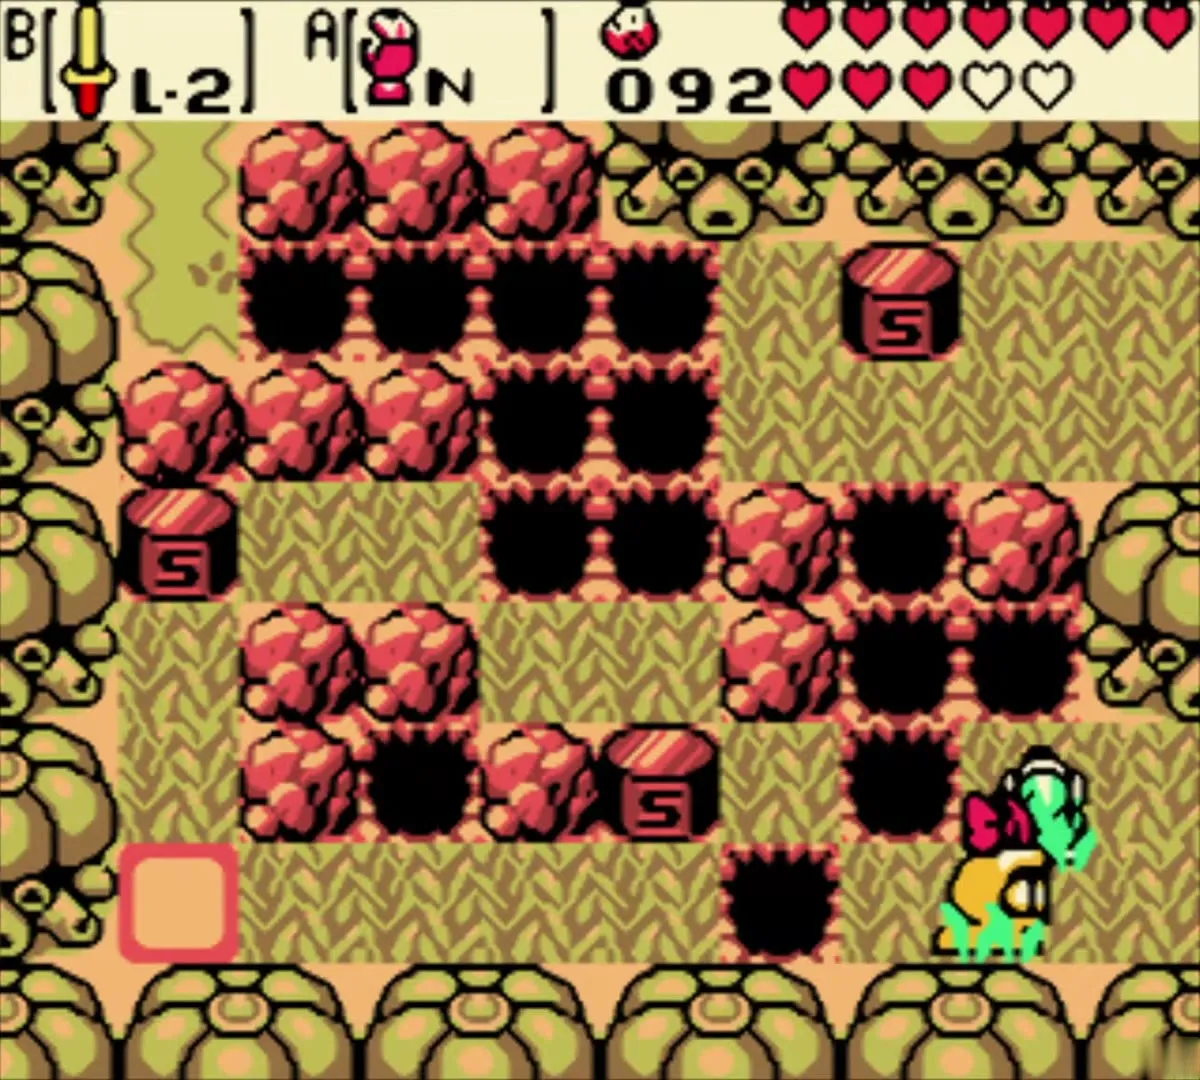
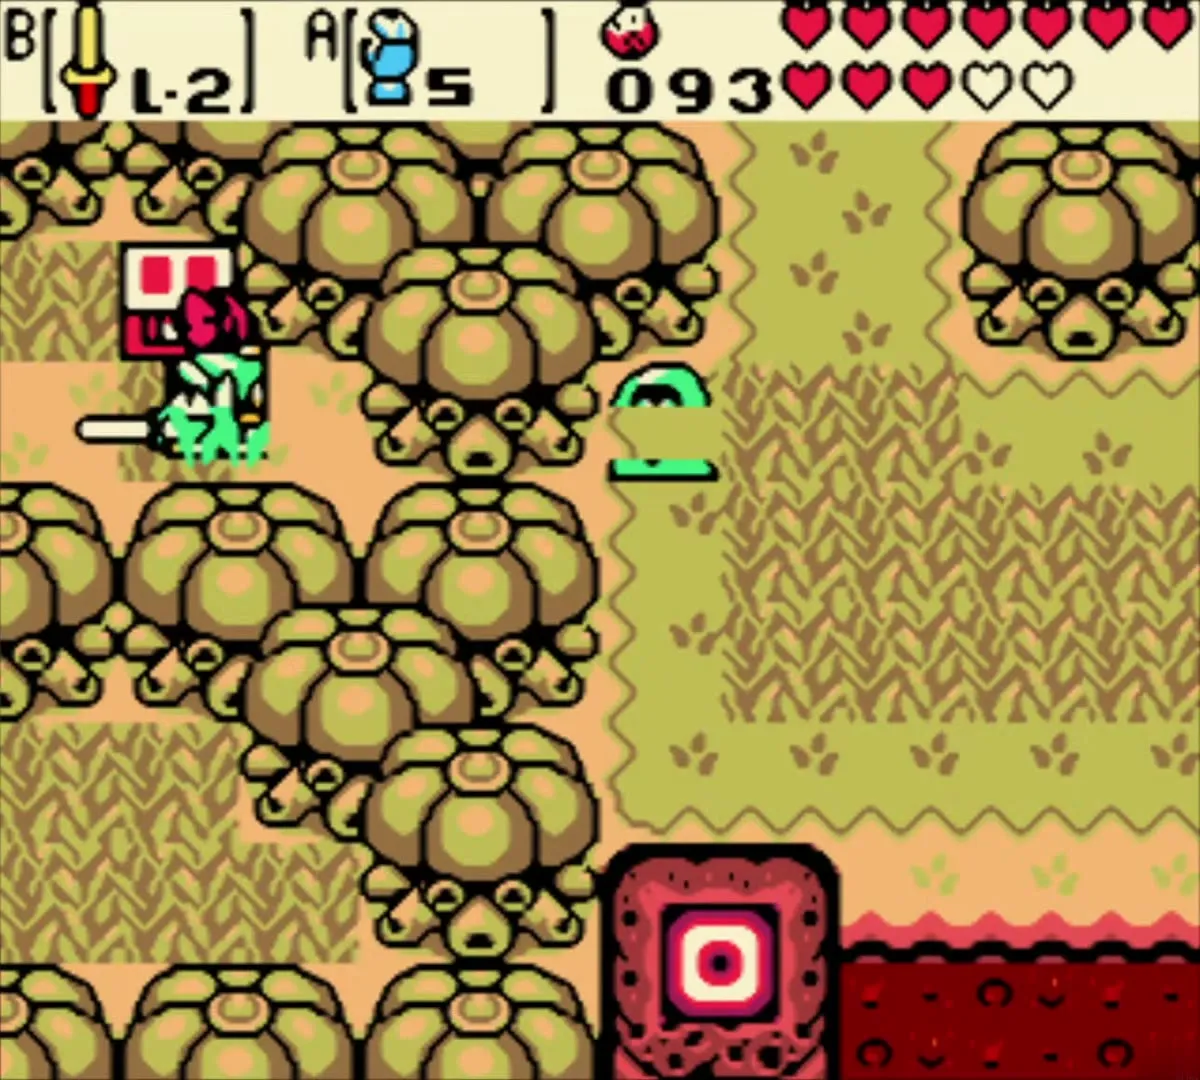
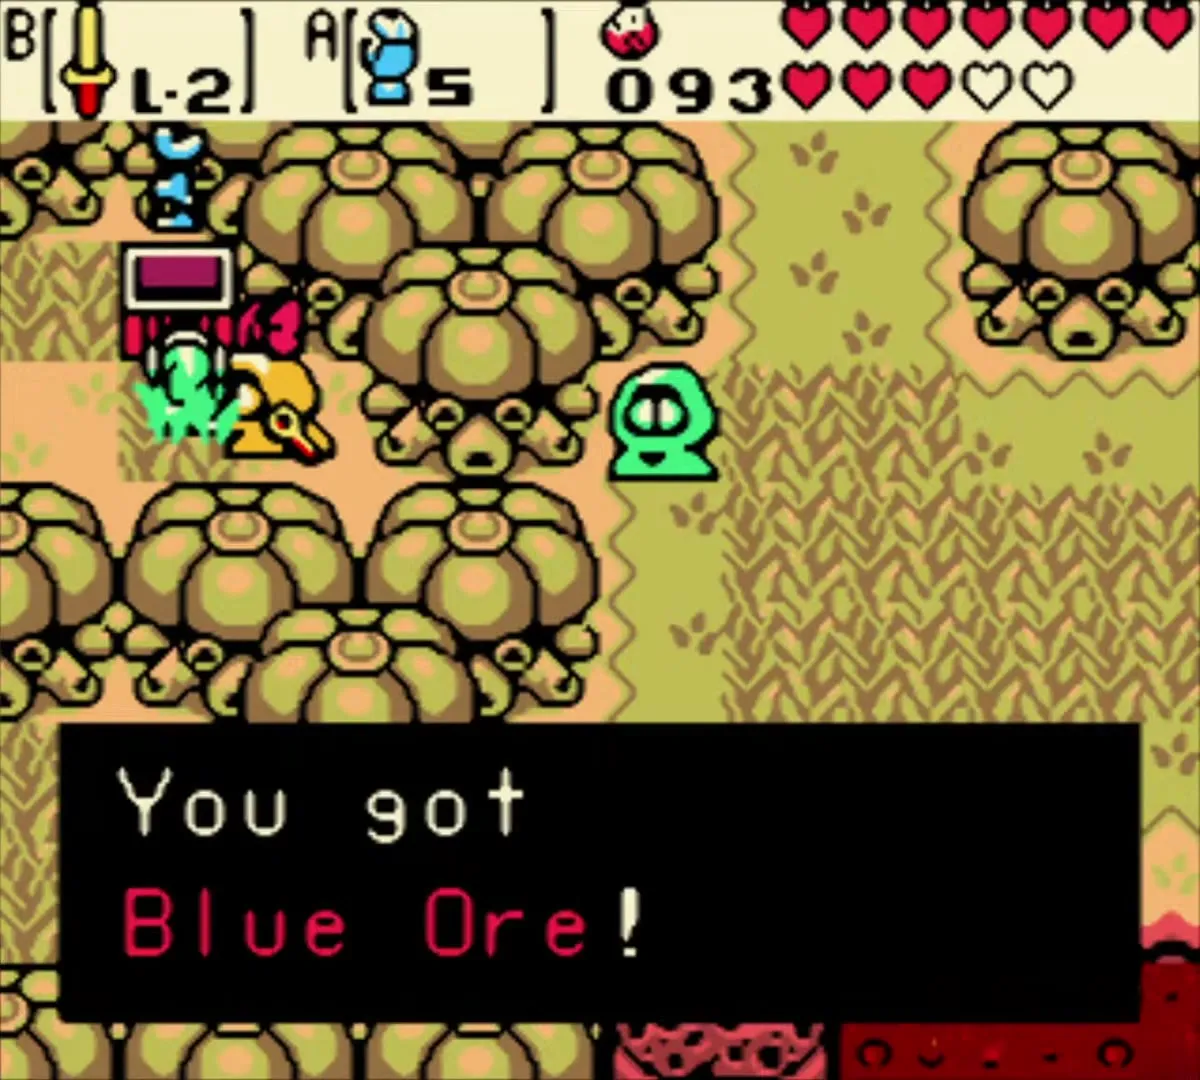
Go west from the portal area. Jump the potholes with the Roc’s Feather, then pull across the next pits with the Magnetic Gloves set to north. One screen east of there is a chest with the Blue Ore. You need both ores before the Iron Shield can be made.
Trade the Iron Pot for Lava Soup
Show the Subrosian cook the Iron Pot you got from Mrs. Ruul in Spool Swamp, and say yes when he offers to make soup. He pours Lava Soup into the pot right away, and you get it back as a trade item. The soup is the next step toward the Goron Vase, which is covered in the Samasa chapter.
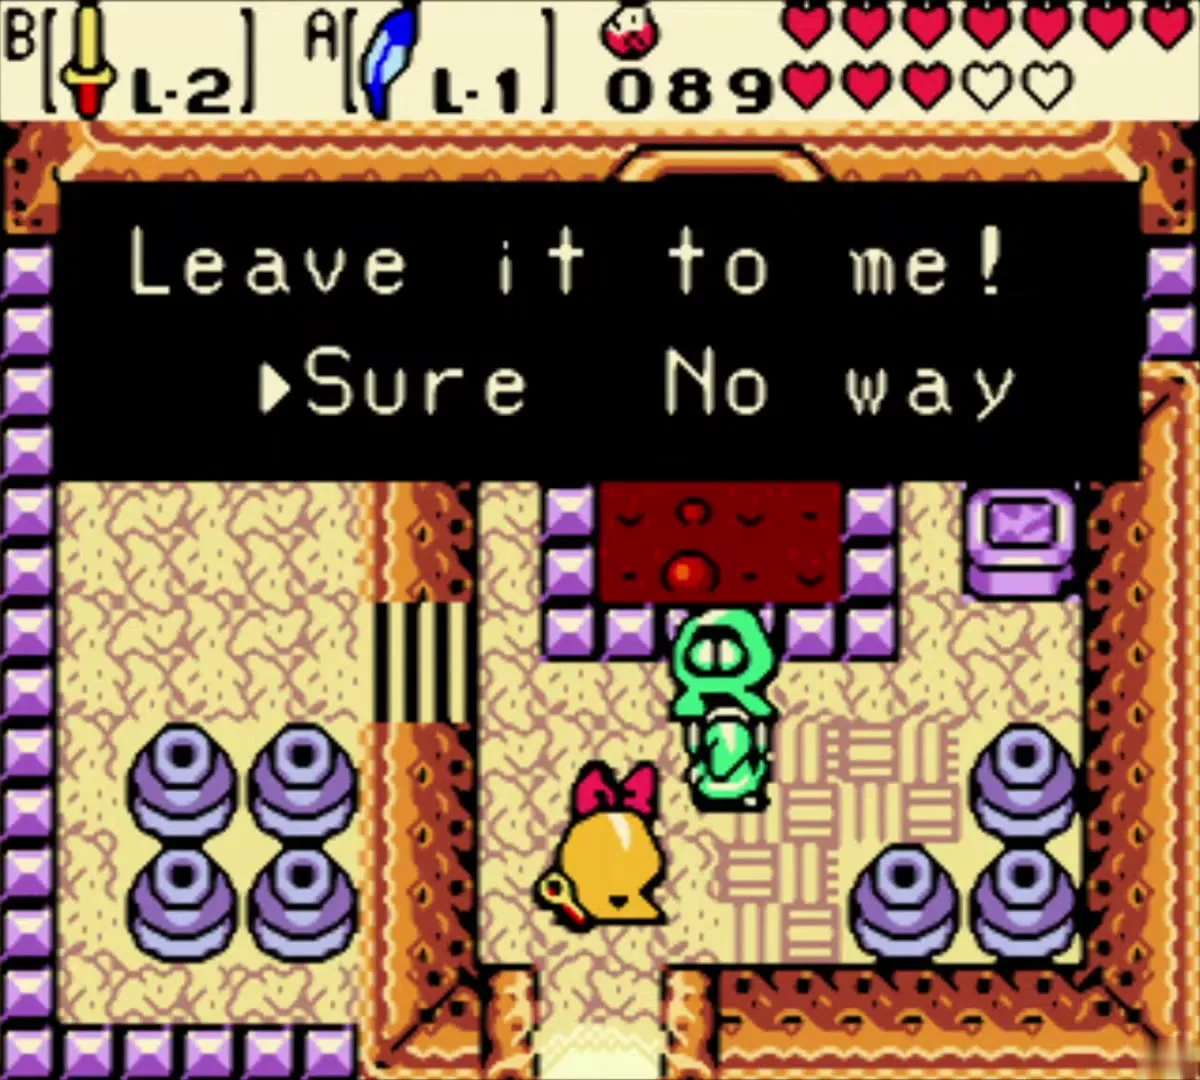
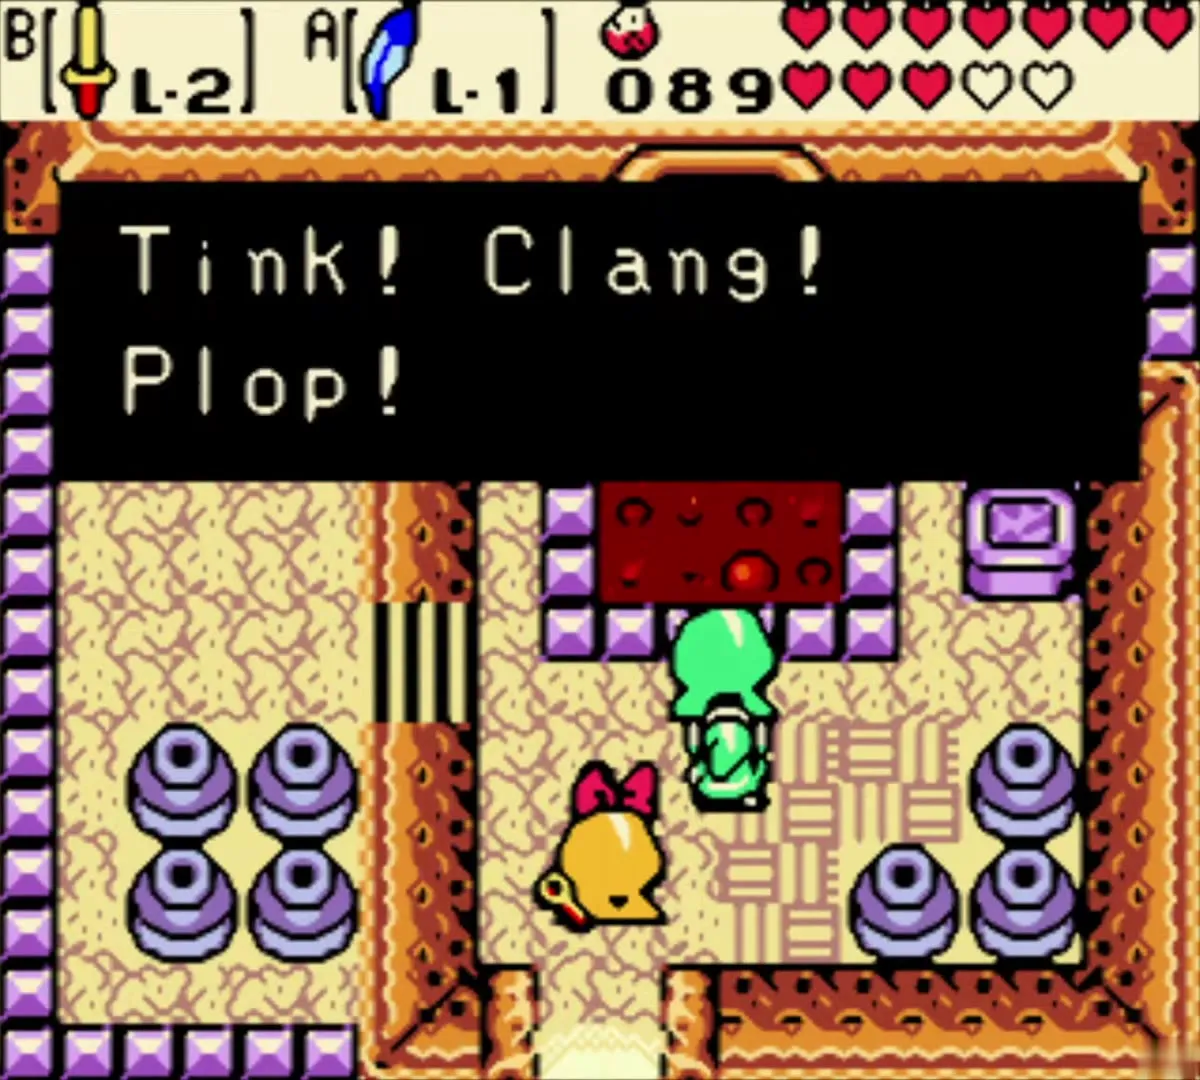
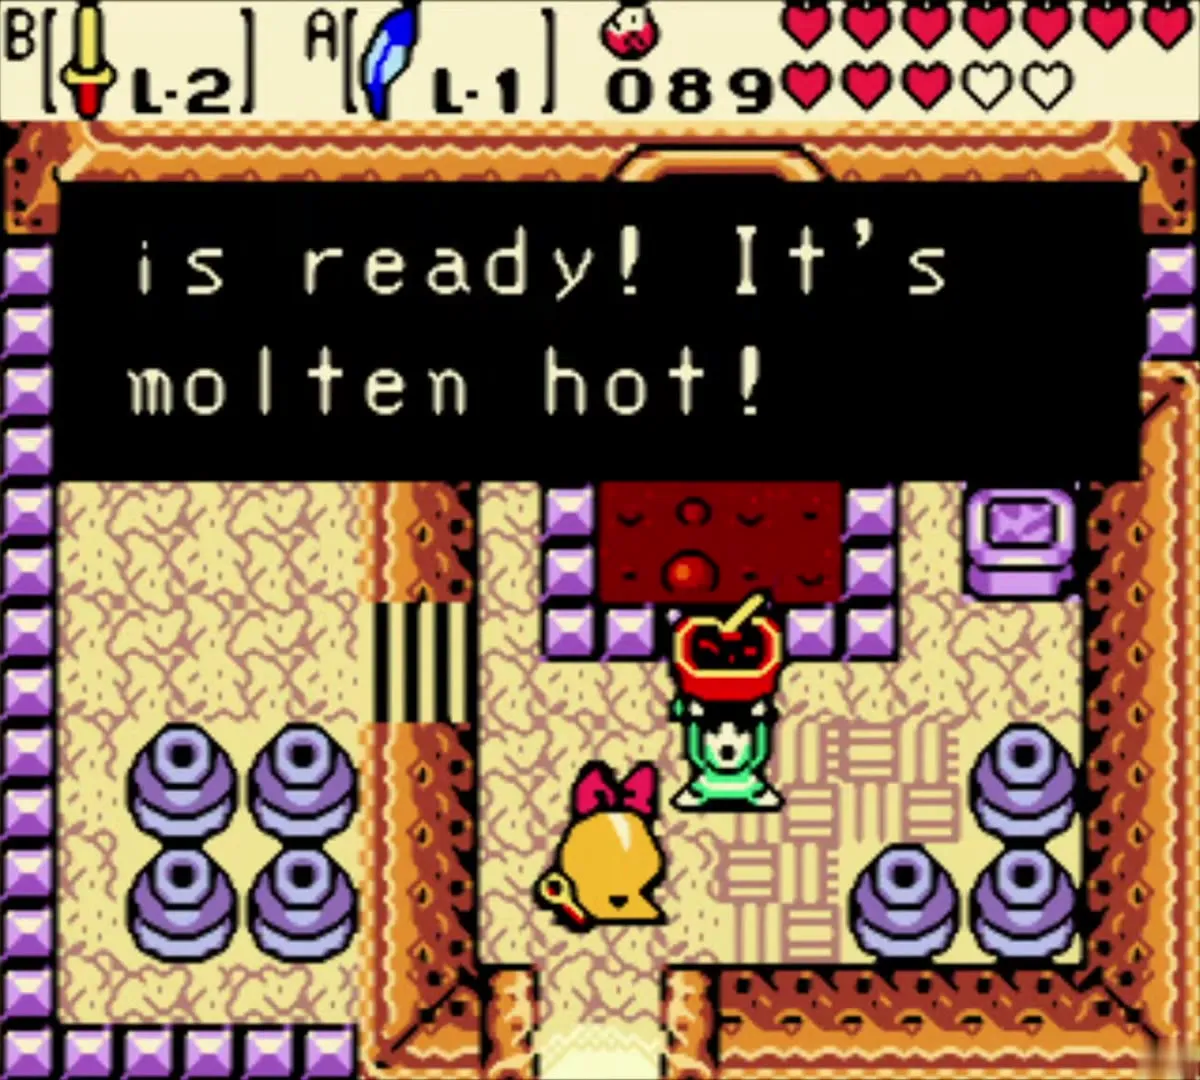
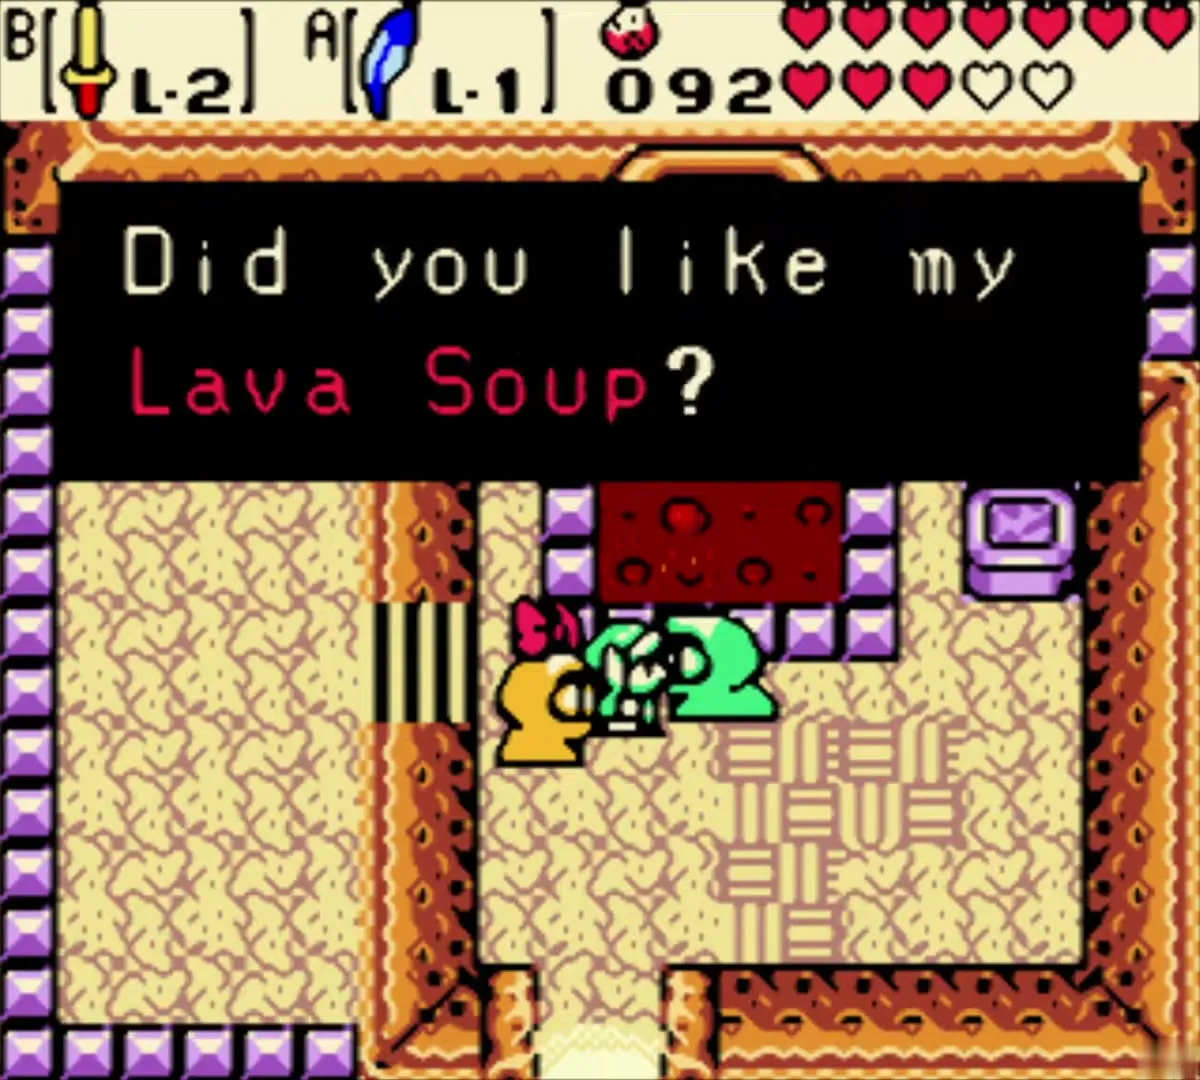
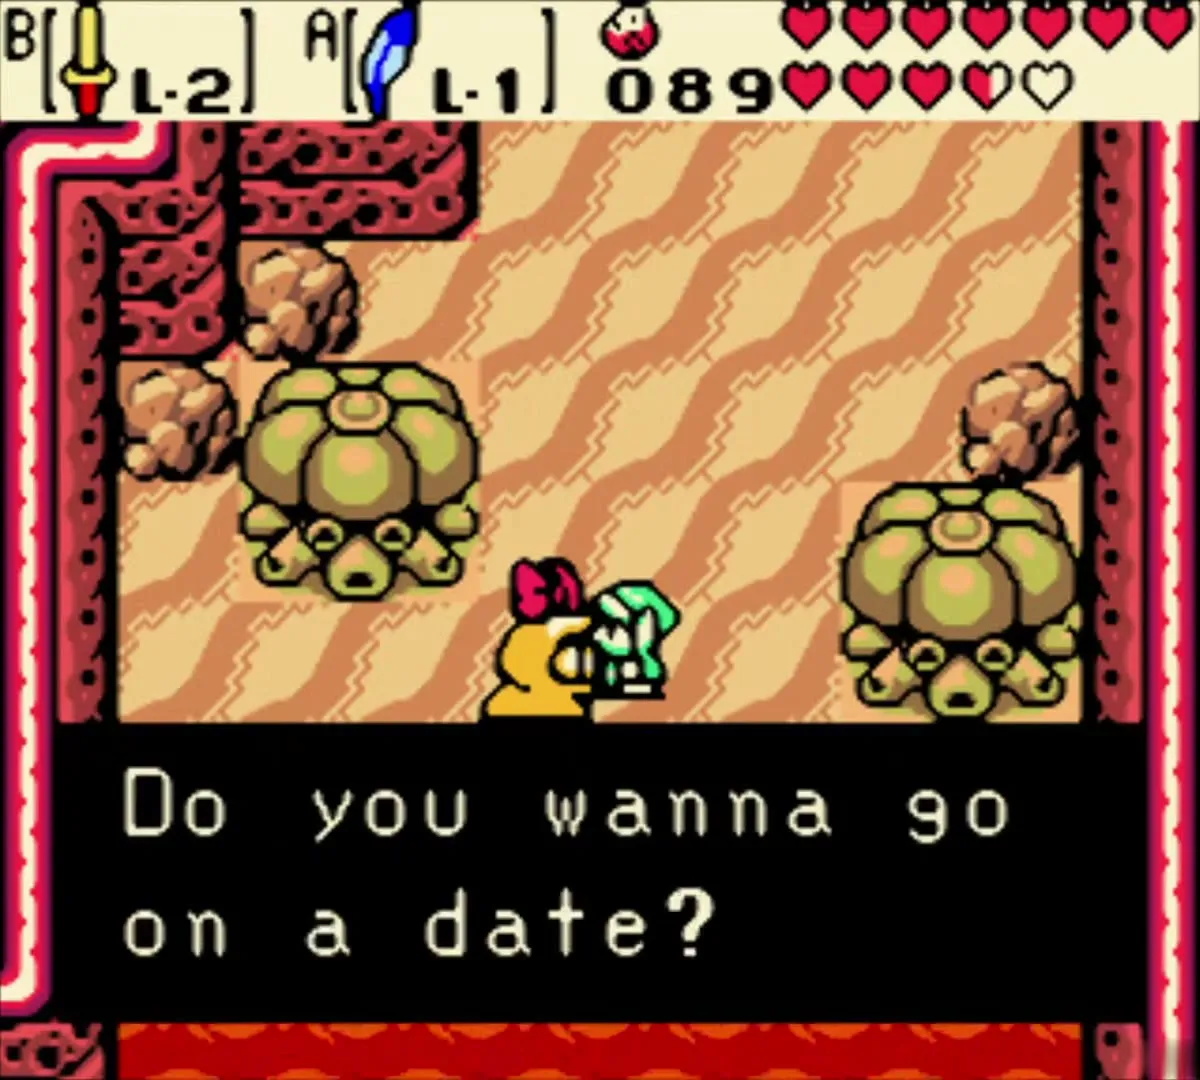
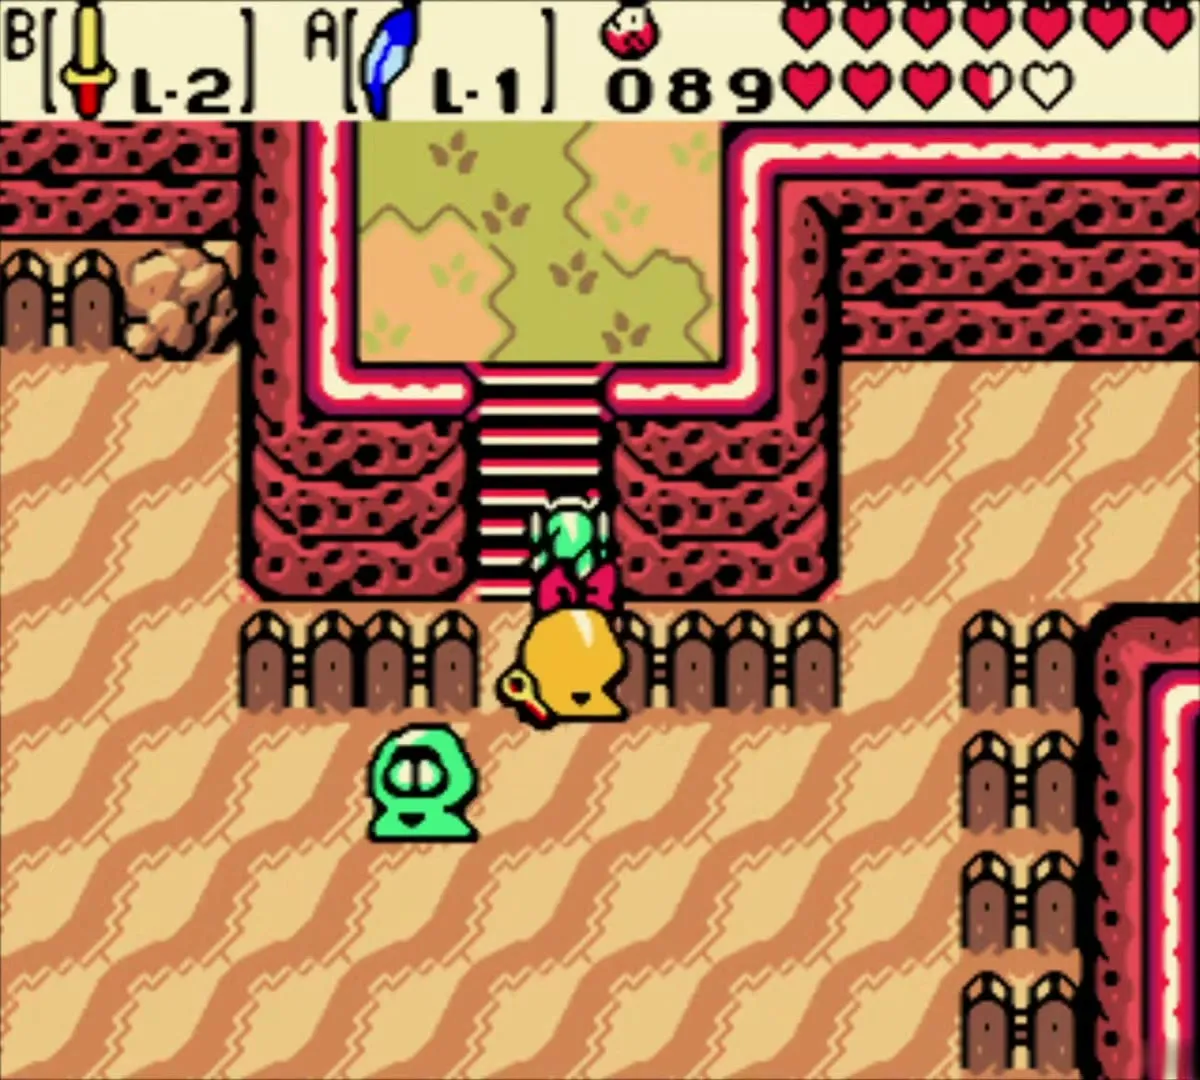
Maple flies in on her broom while you walk the lava hills south of the cook’s house. Let her bump you, or walk past her. She does not stop your progress, and no item came from her in this stretch.


Mix the ores and forge the Iron Shield
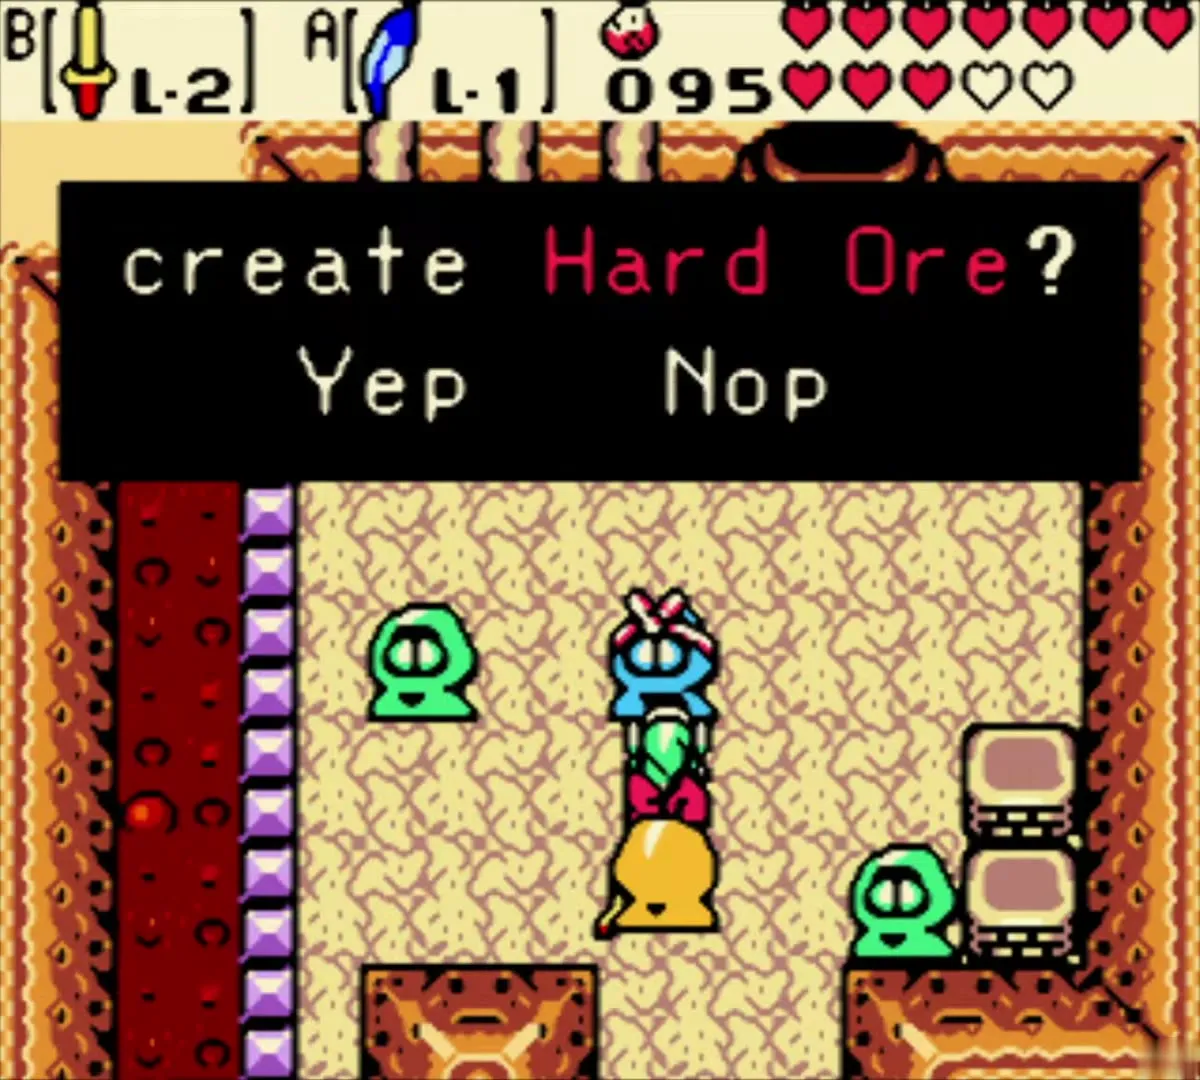
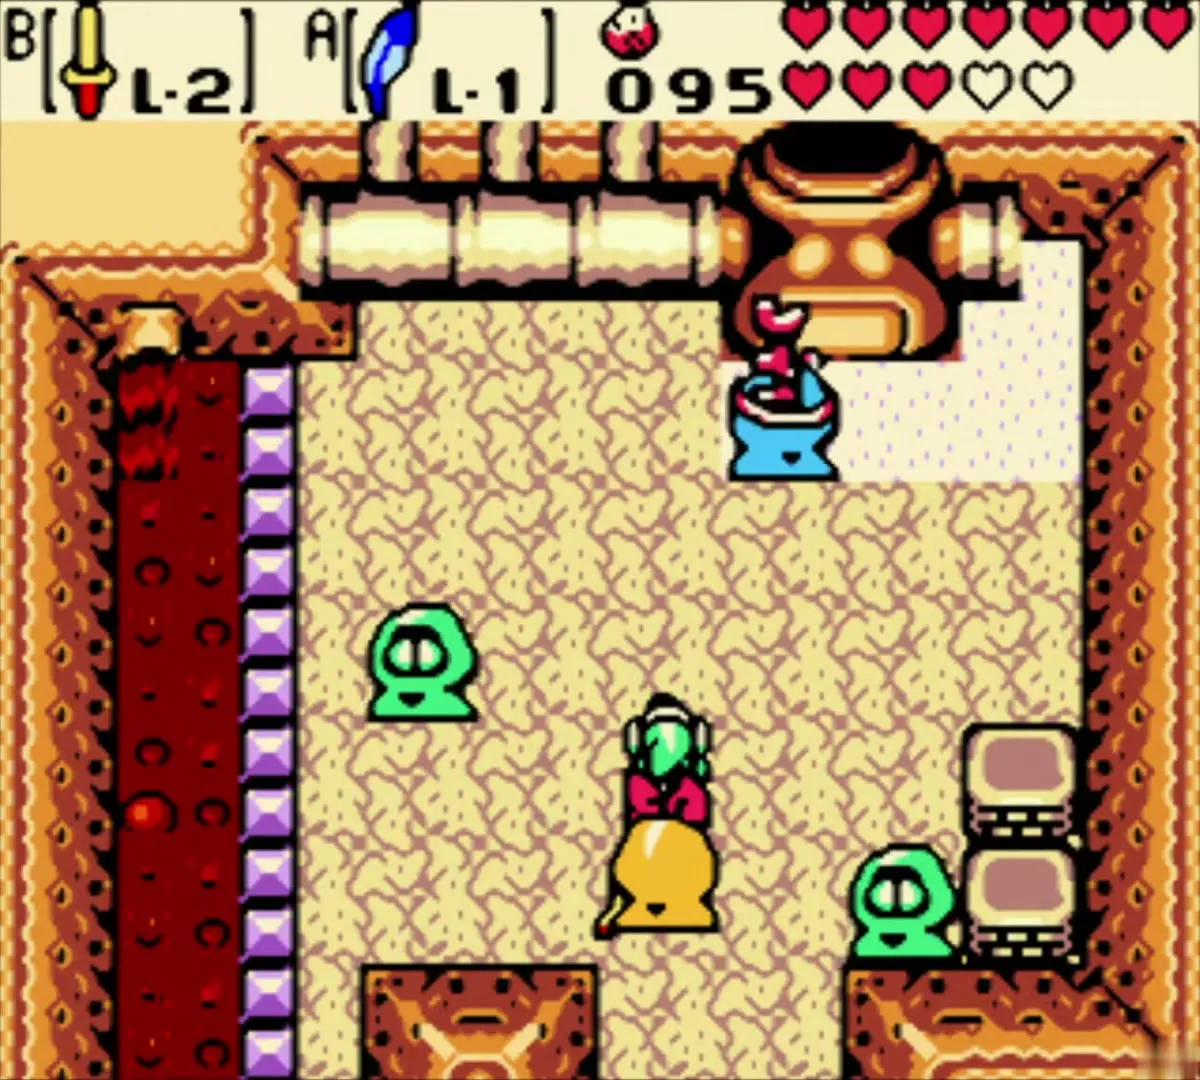
Carry the Red Ore and the Blue Ore to the Great Furnace, which sits northwest of the sign-loving Subrosian’s house. Speak to the blue Subrosian with the band around his head at the back of the furnace room, and the two ores fuse into Hard Ore.

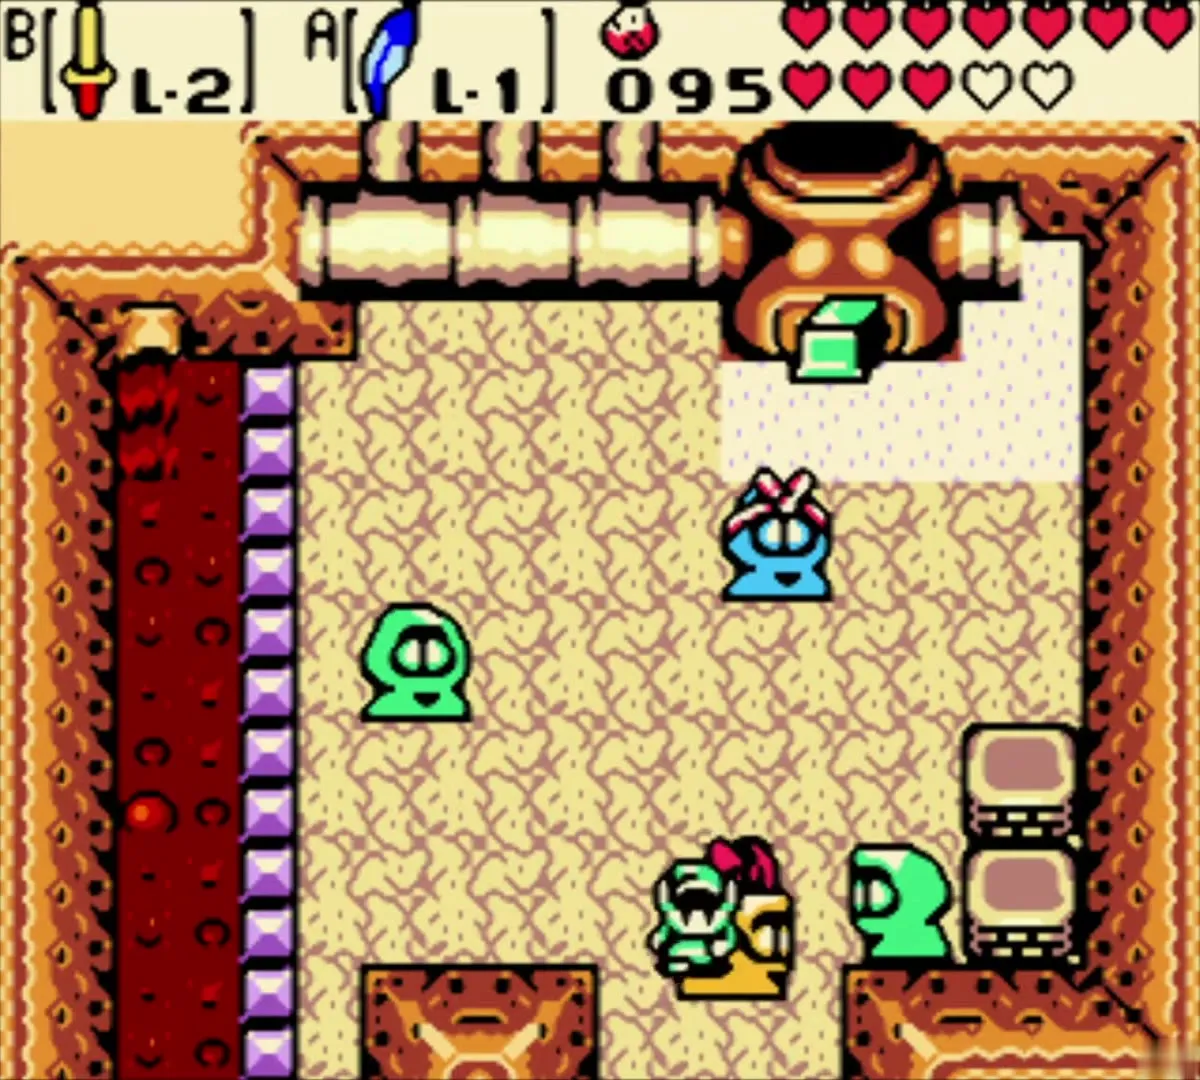
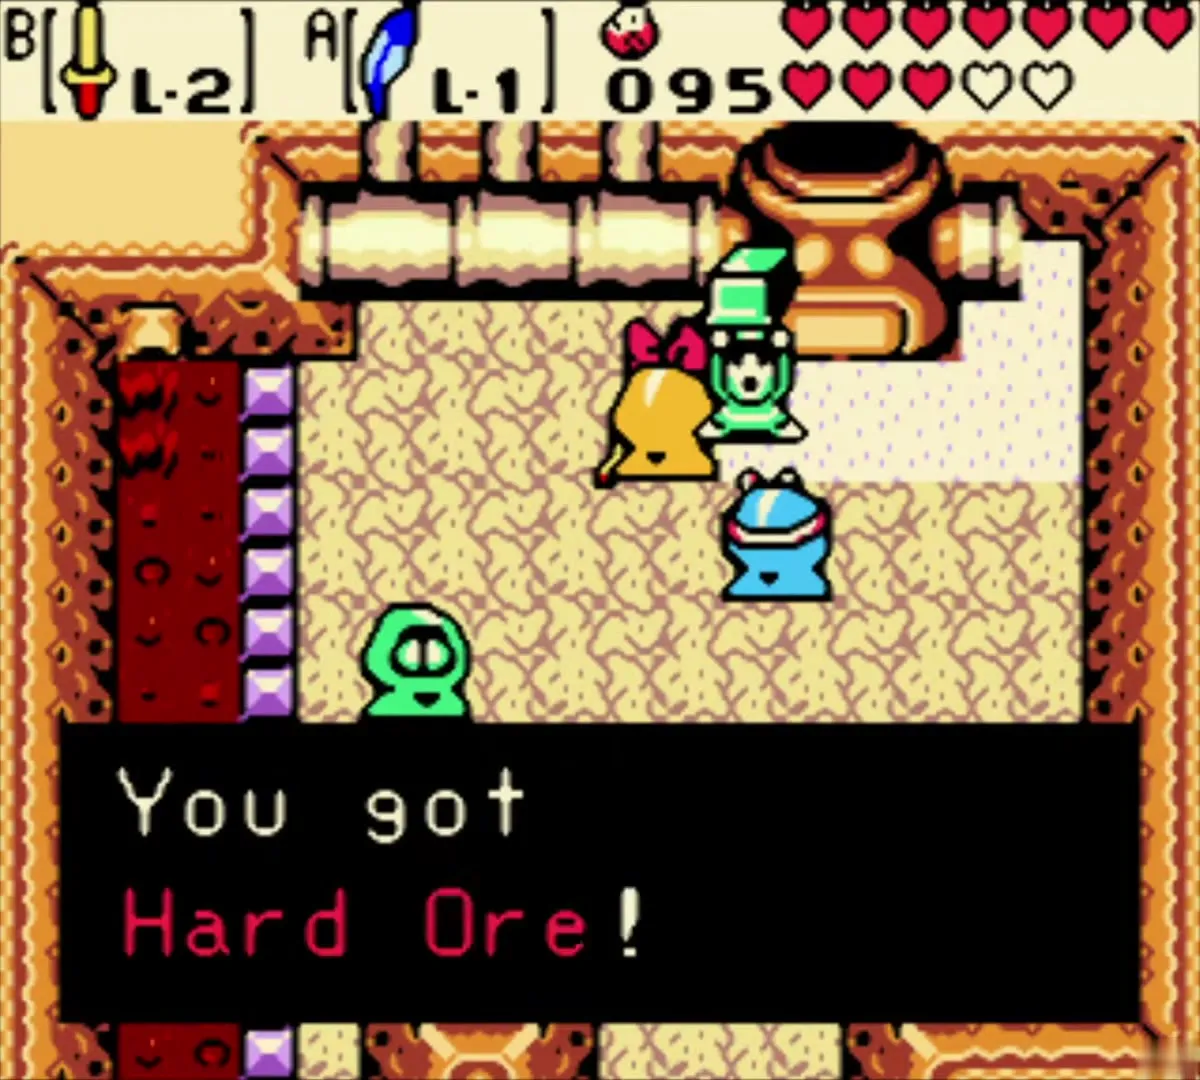
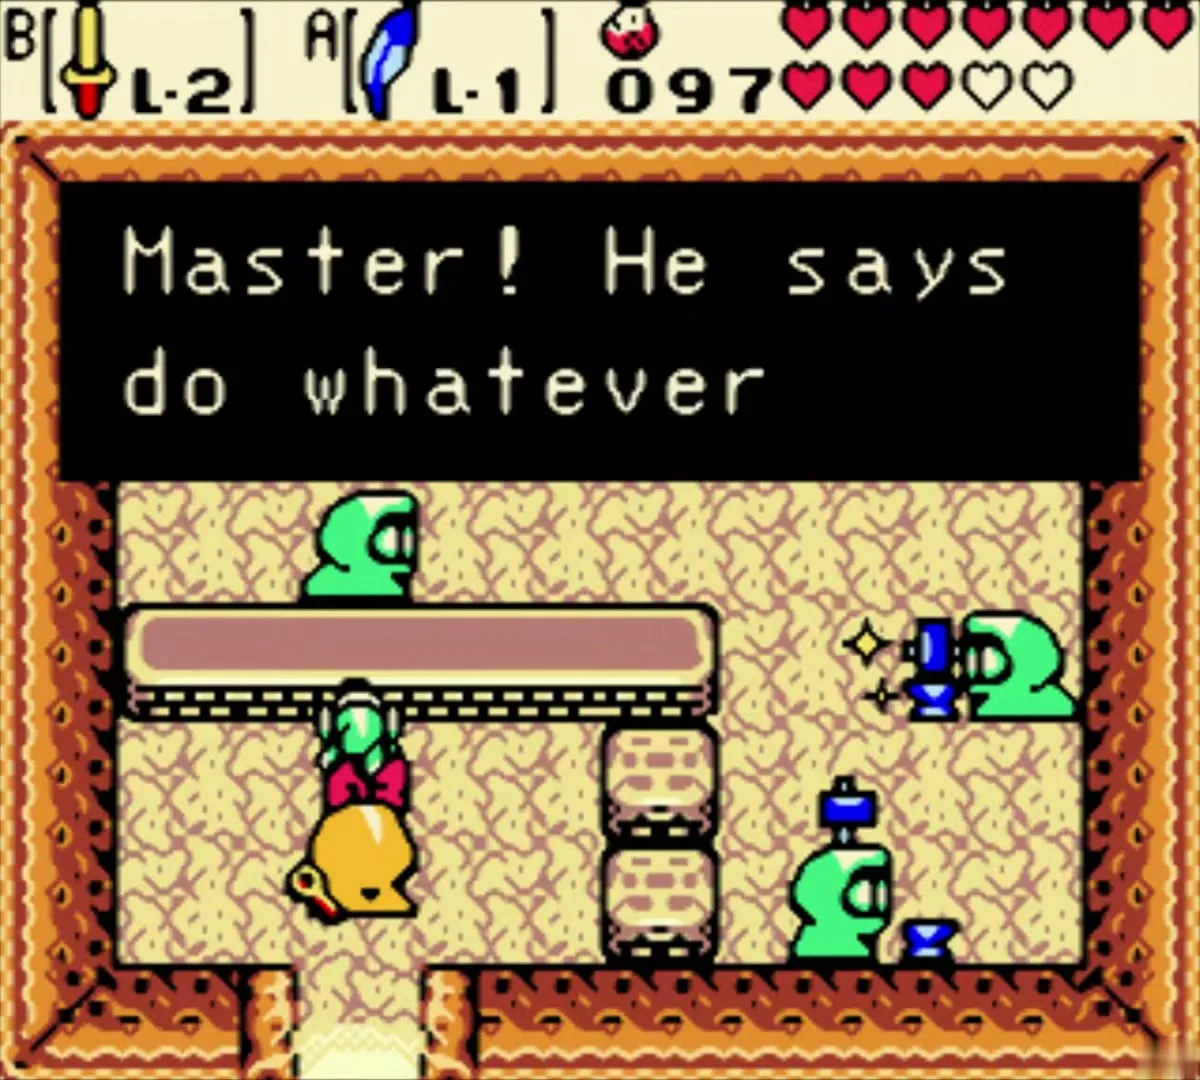
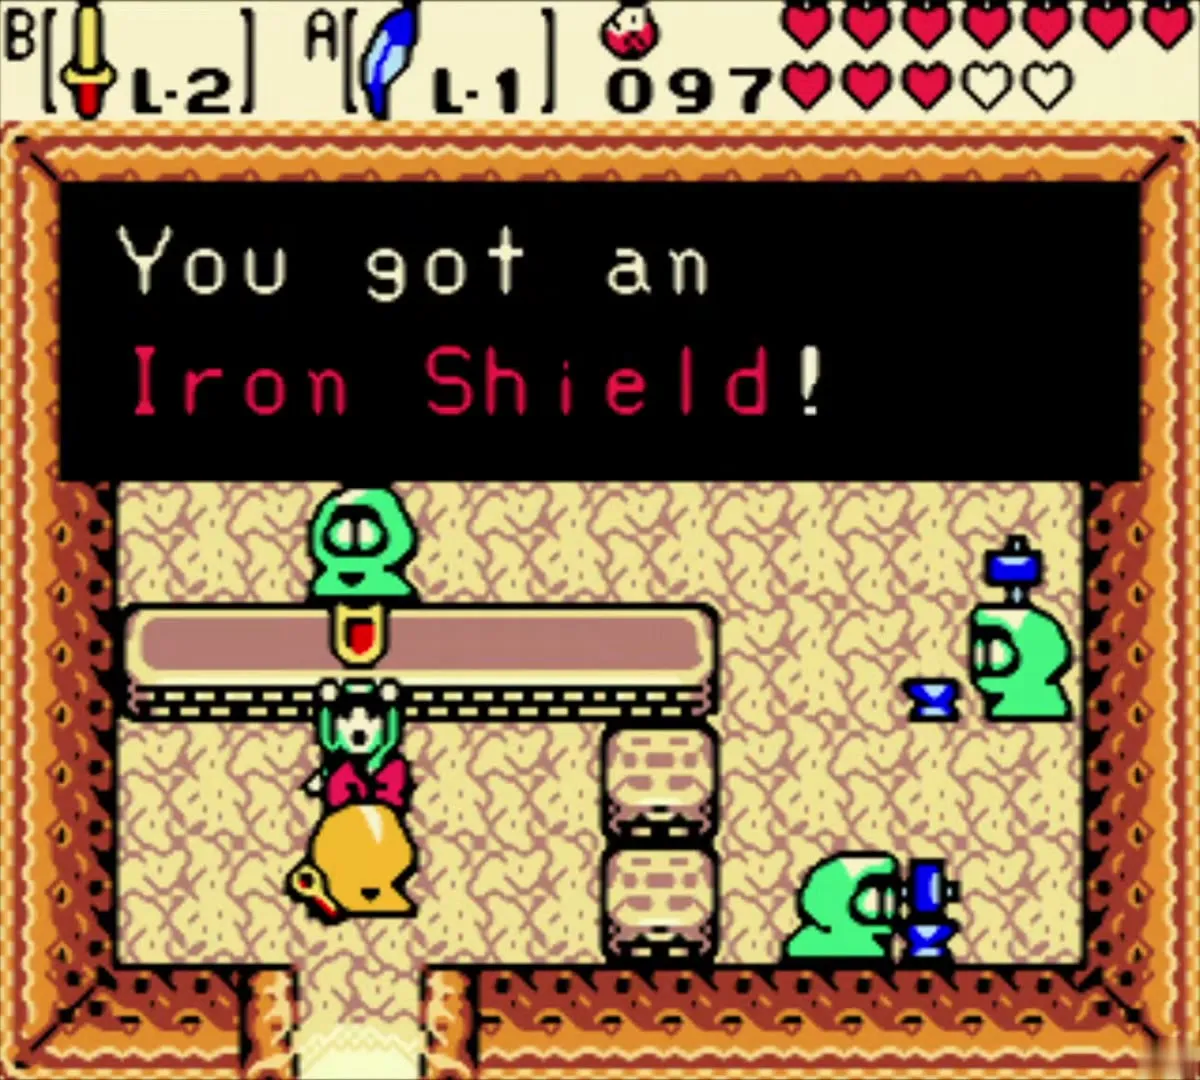
Take the Hard Ore and your Wooden Shield to the Subrosian Smithy on the long peninsula. The Master asks what you want, and you should answer “Do whatever.” The other answer insults him. He upgrades your Wooden Shield to the Iron Shield (L-2) on the spot. Keep your Magnetic Gloves handy, because the route to the smithy crosses several gaps.

Break the signs and take the ring
Enter the sign-loving Subrosian’s house with the blue stone walls and purple carpet. Break signs with your sword, and keep going until the Subrosian has counted a hundred or more. At that point the house plays a joke reset, and afterwards he gives you the Sign Ring. The ring does nothing when worn; you get it appraised for 20 Rupees with Vasu later in this chapter.

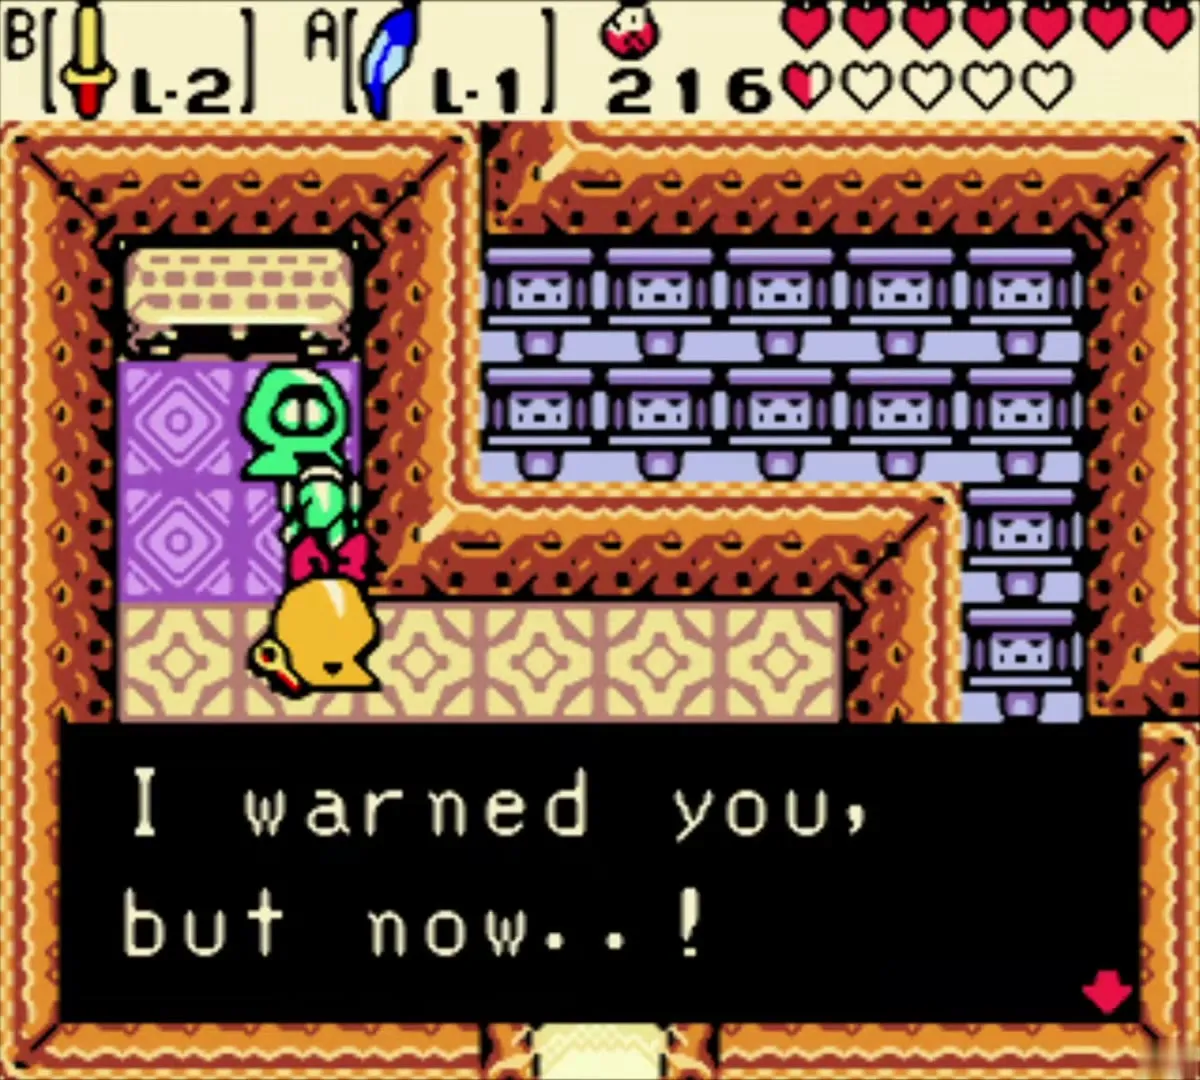
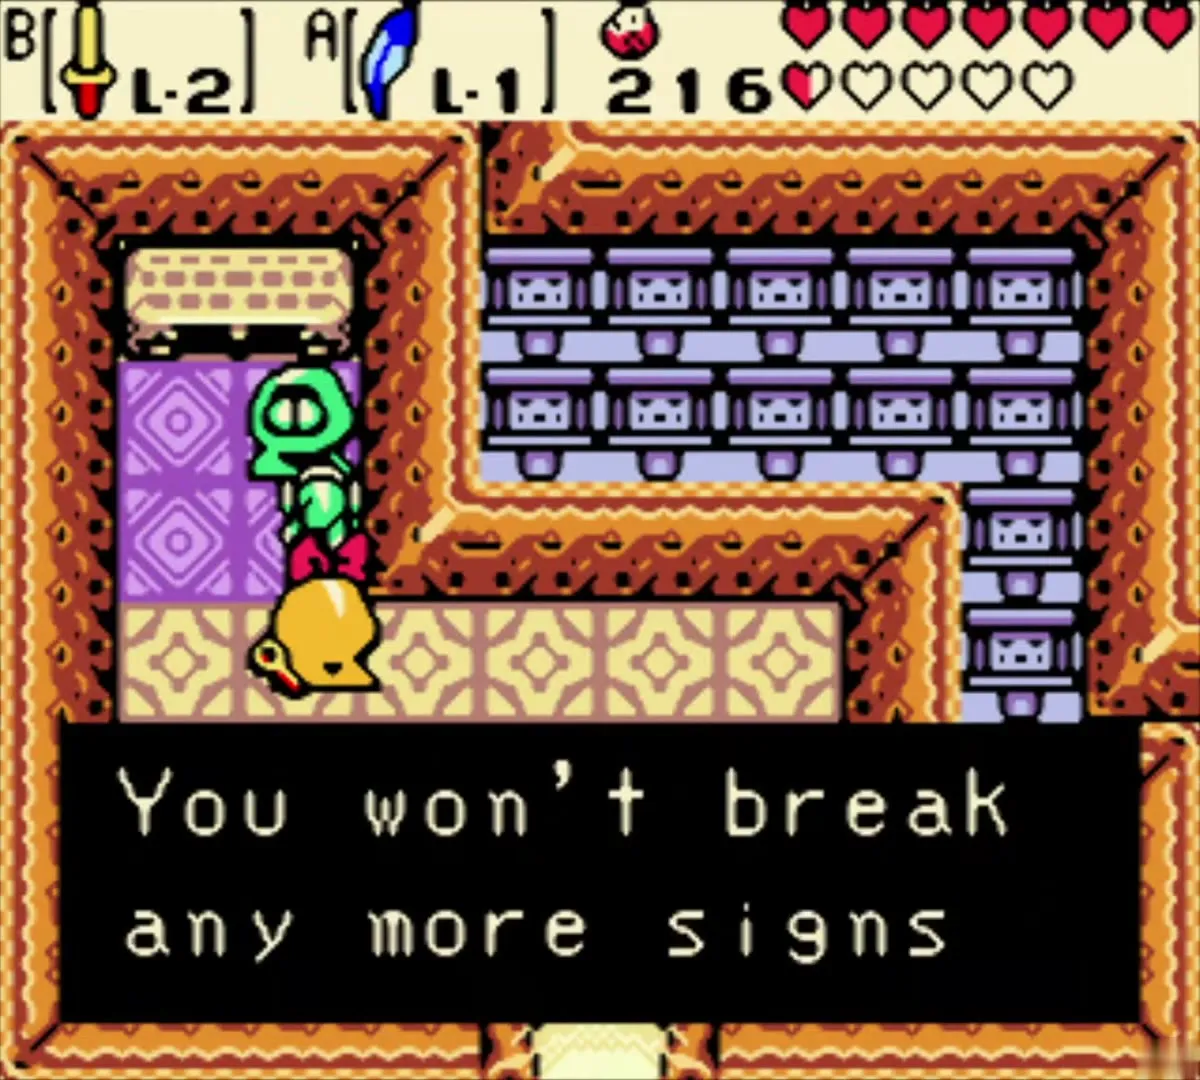
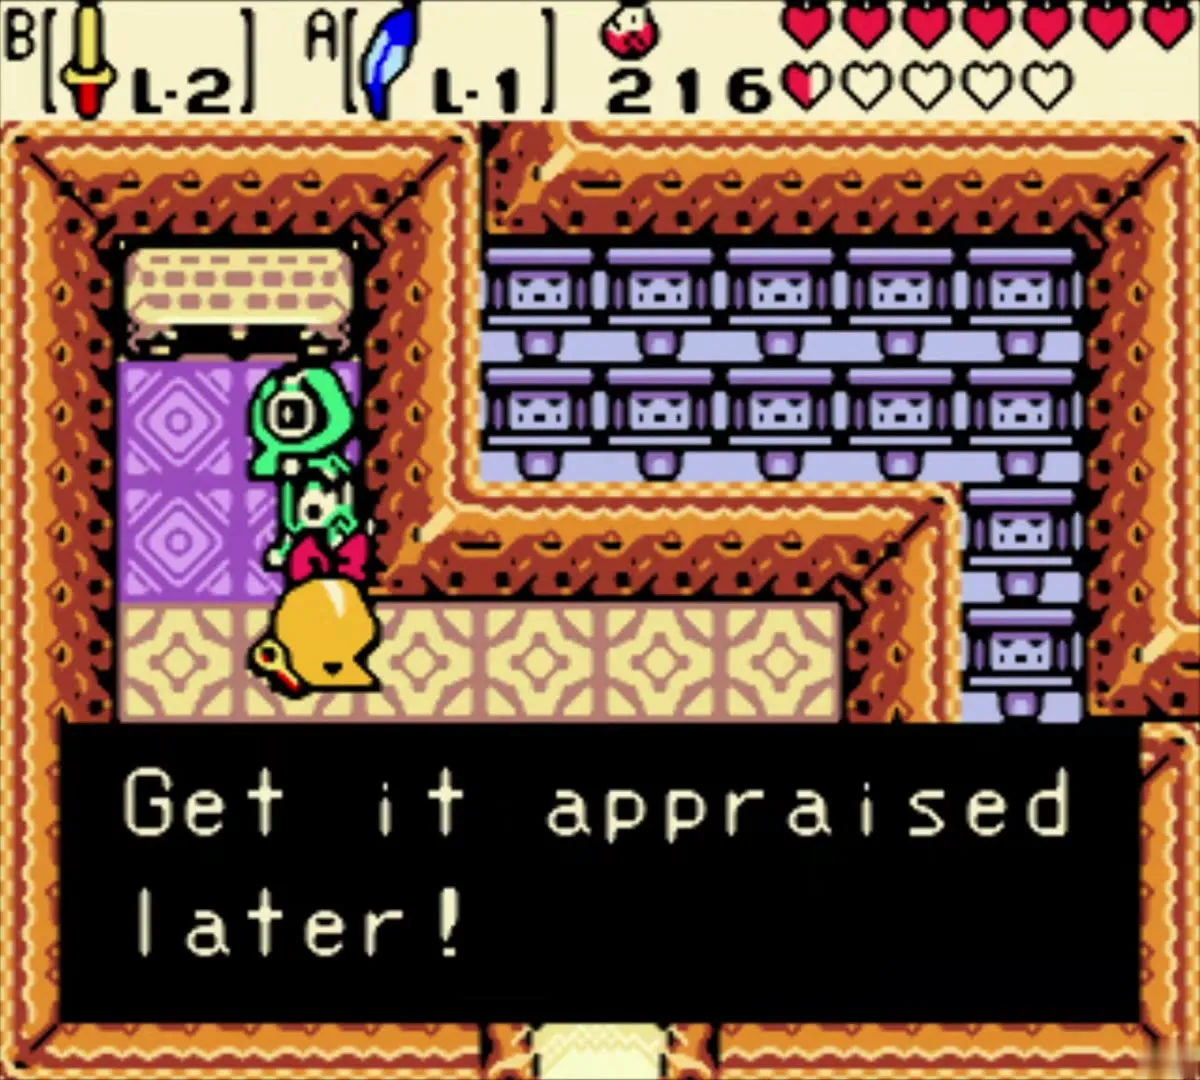
Return through the Subrosian market area to the spiral portal pad near the market. The portal takes you back to the snowy island in Holodrum, where this part of the chapter ends.

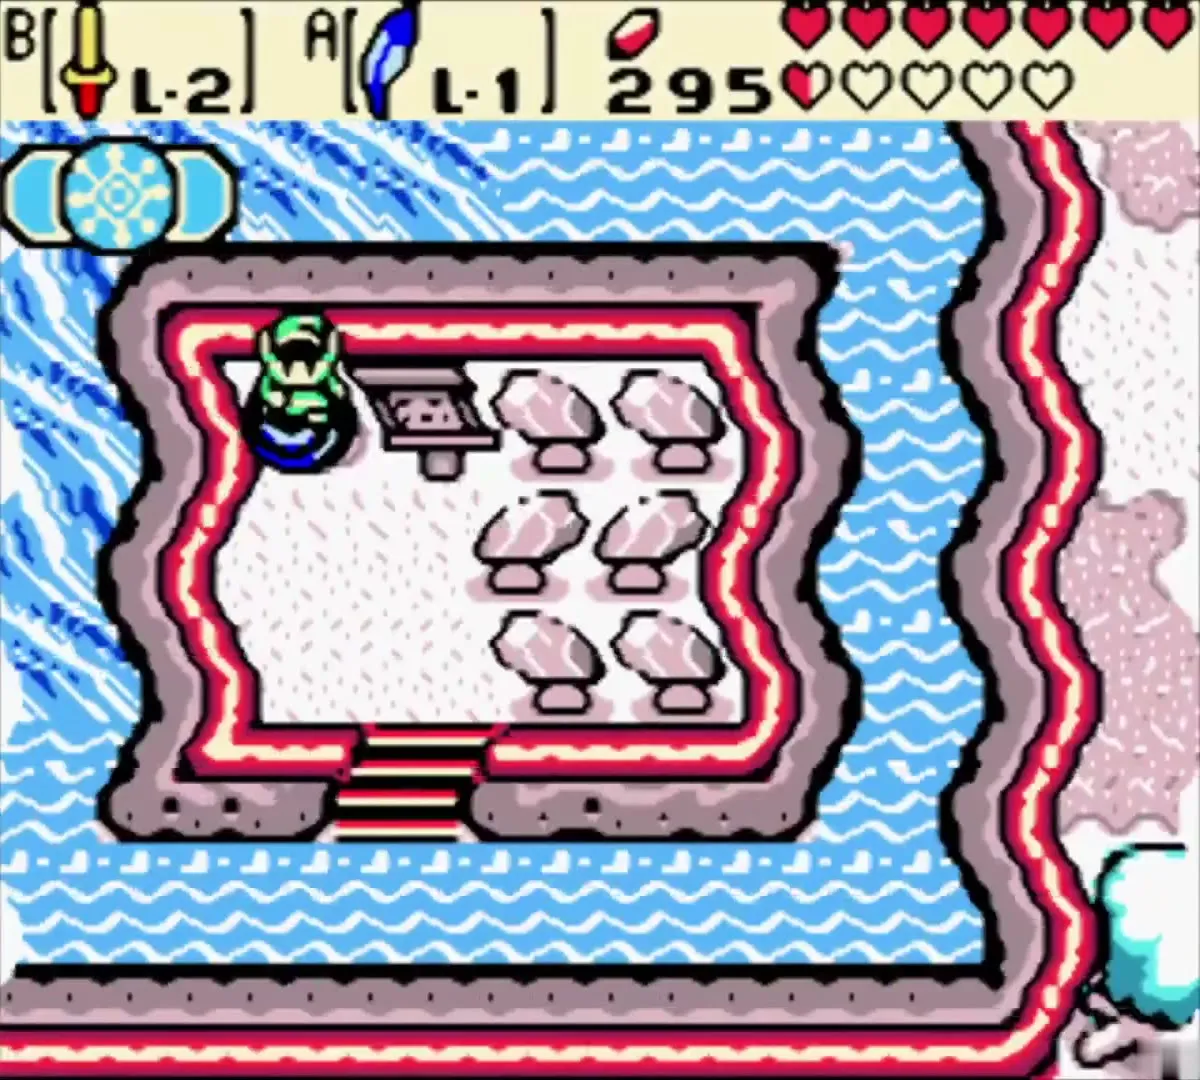
Holodrum: winter Maple, a Gasha Nut and Vasu’s rings
Race Maple and open the Gasha Nut tree
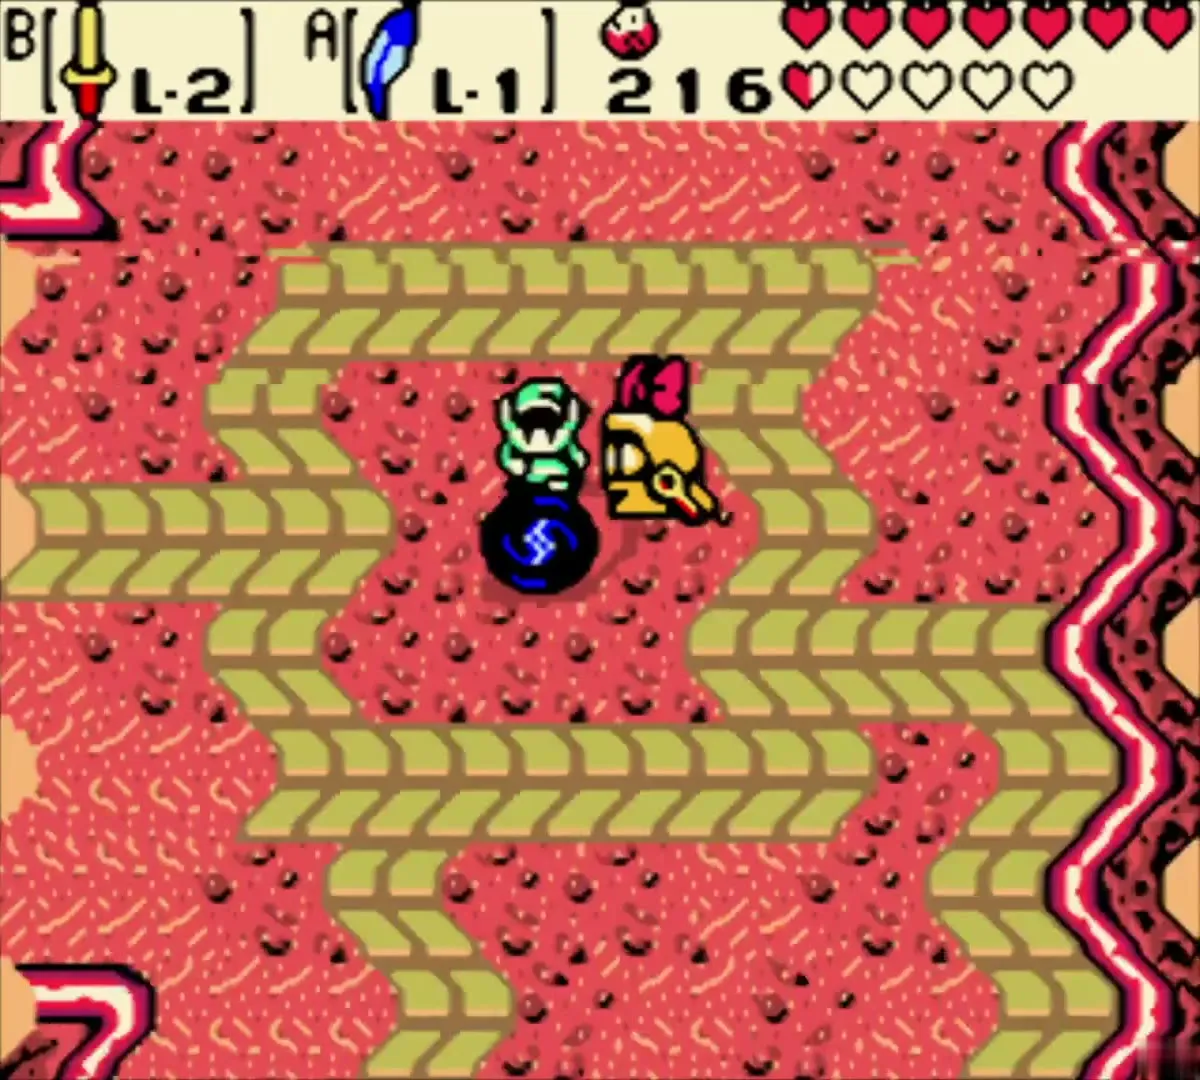
Walk the winter bridge over the river, where Maple meets you on her broom. Her collision race drops a few rupees when she is knocked away, and nothing more is needed here.
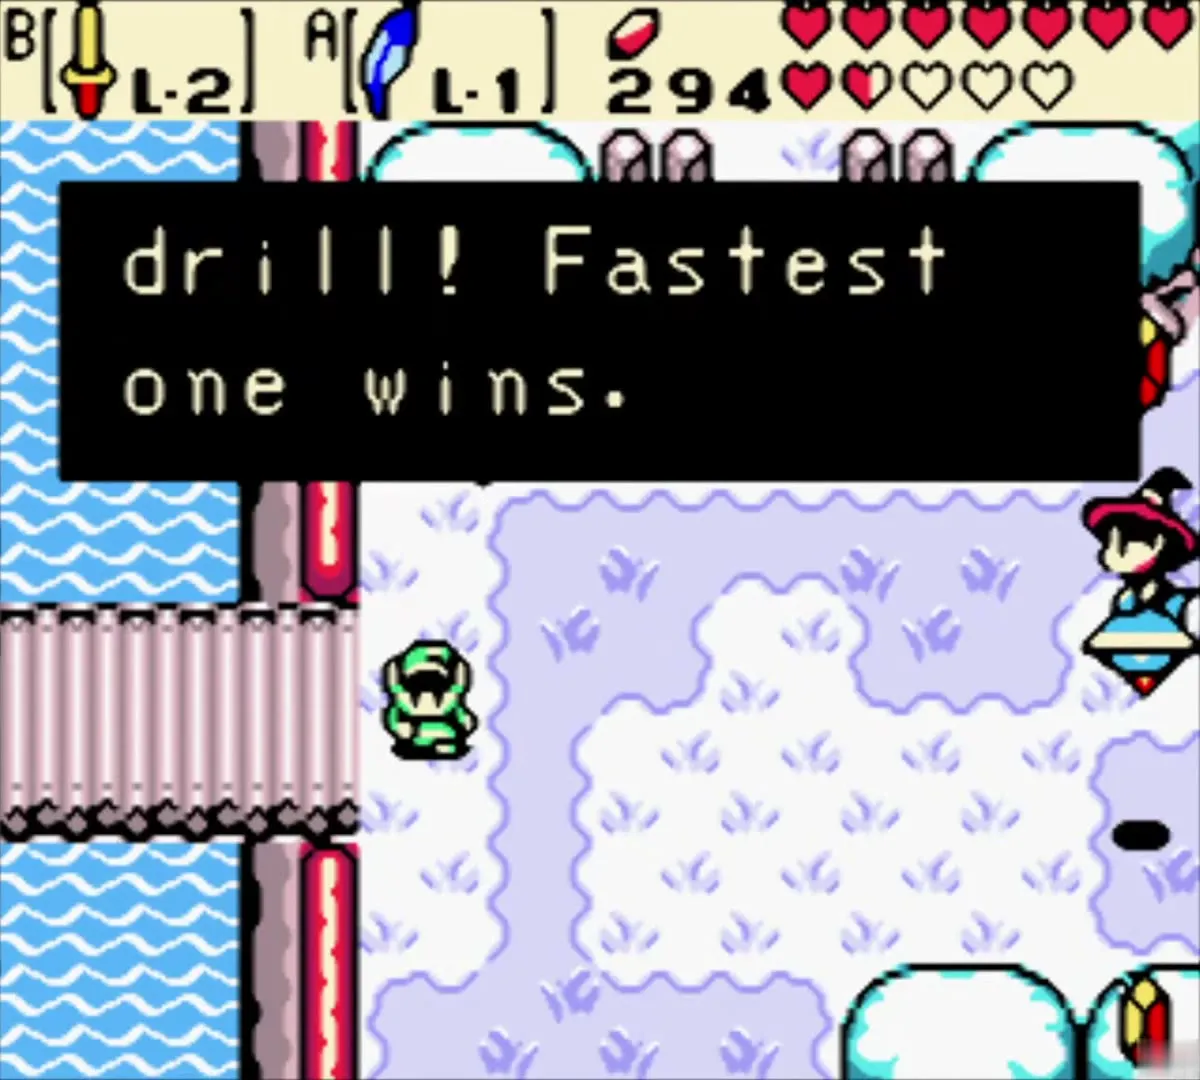
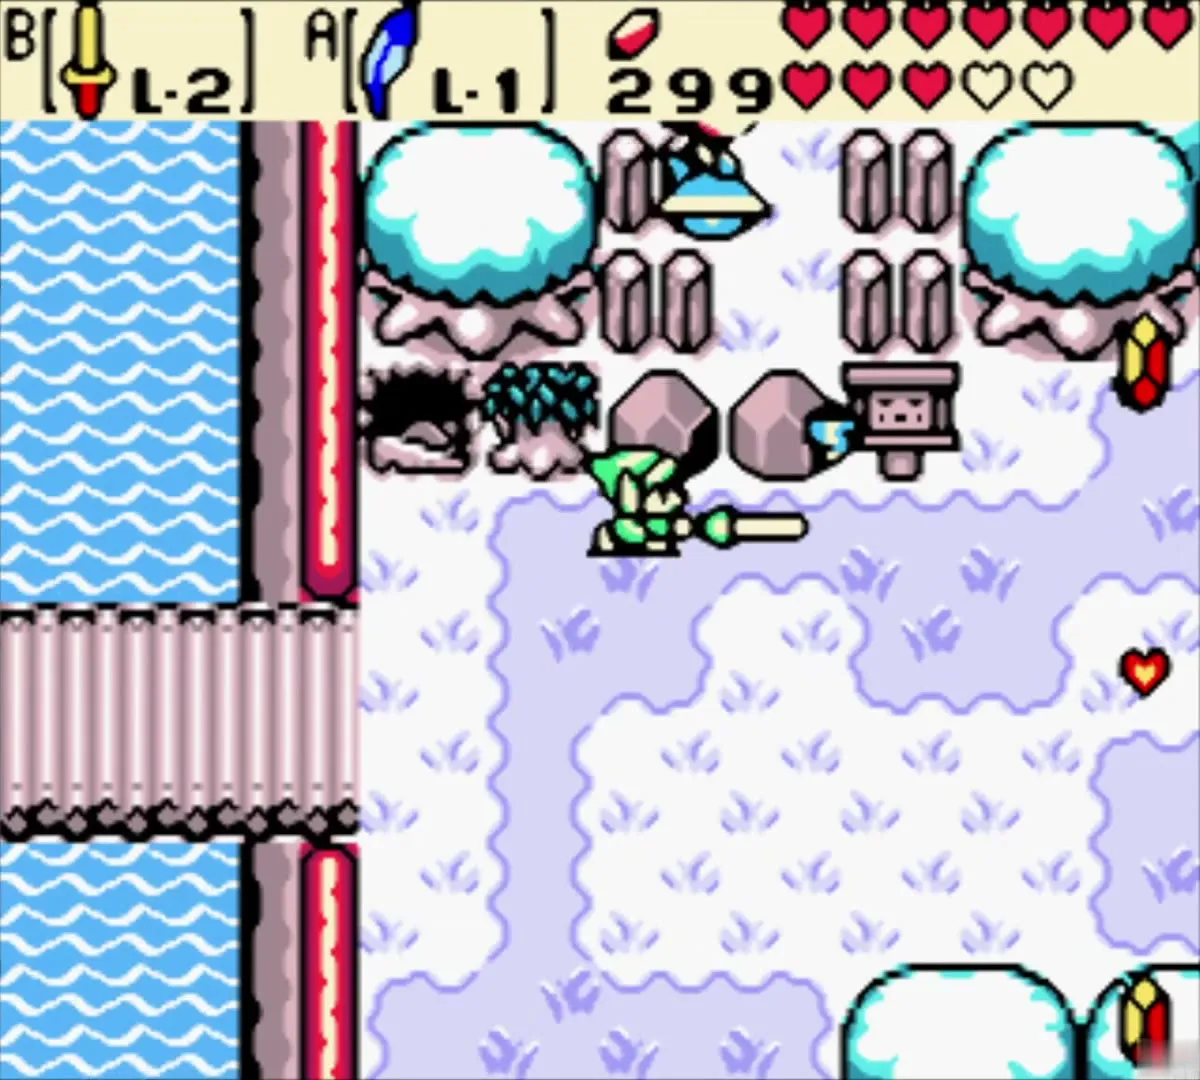
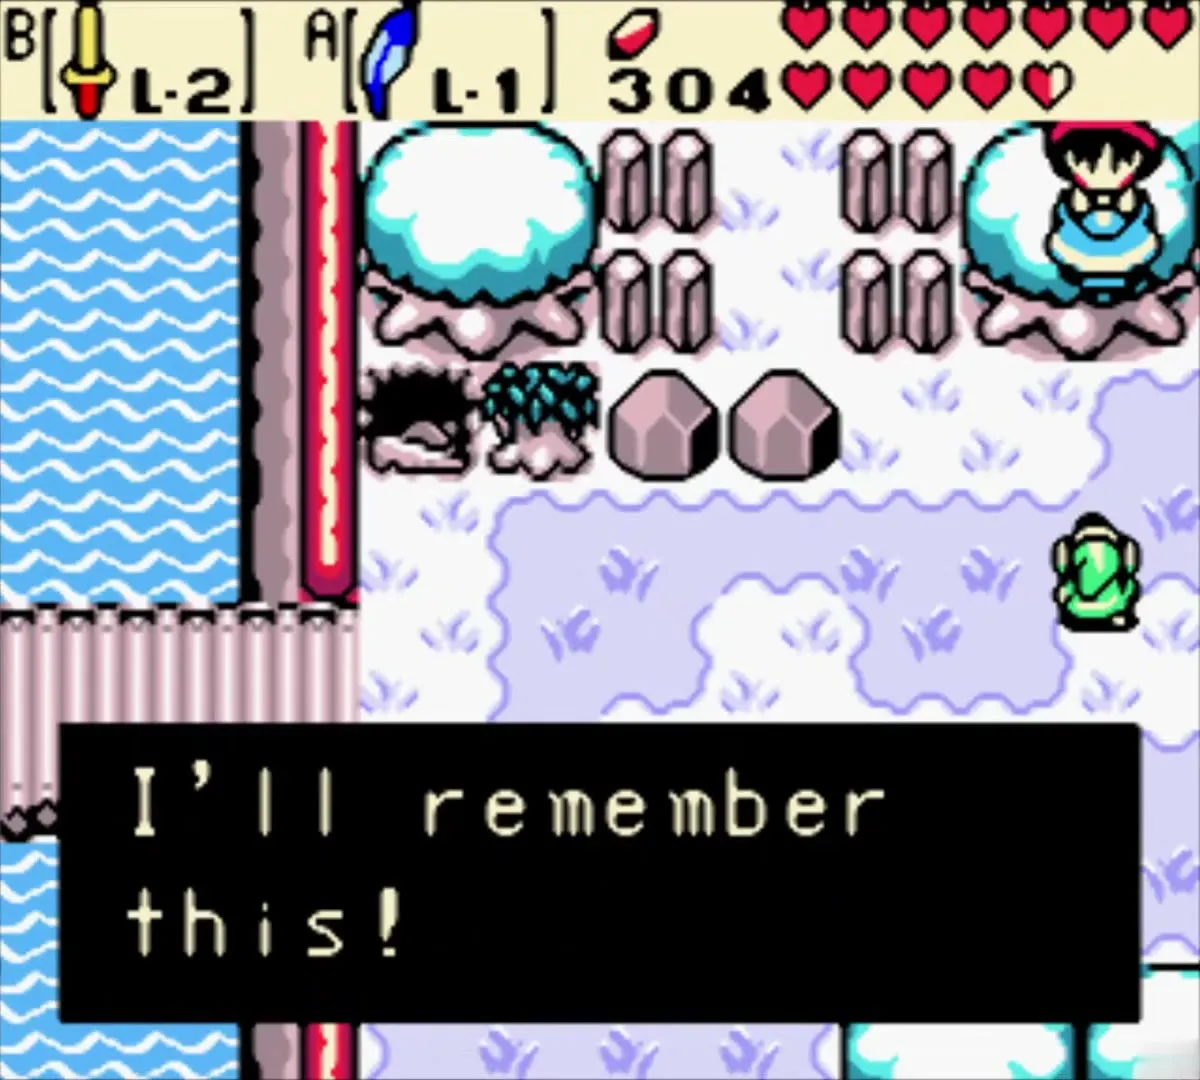
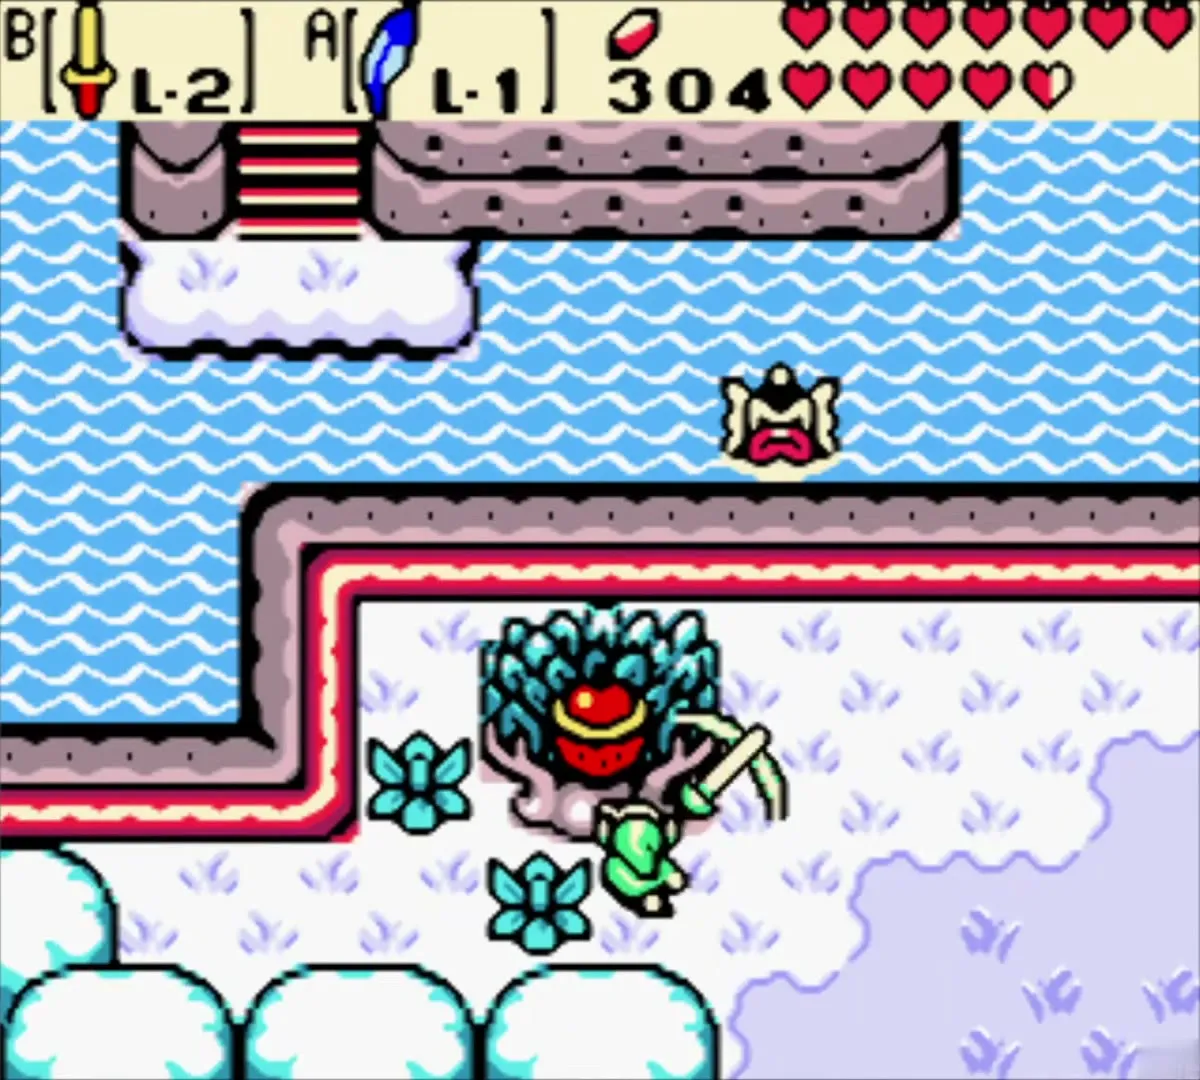
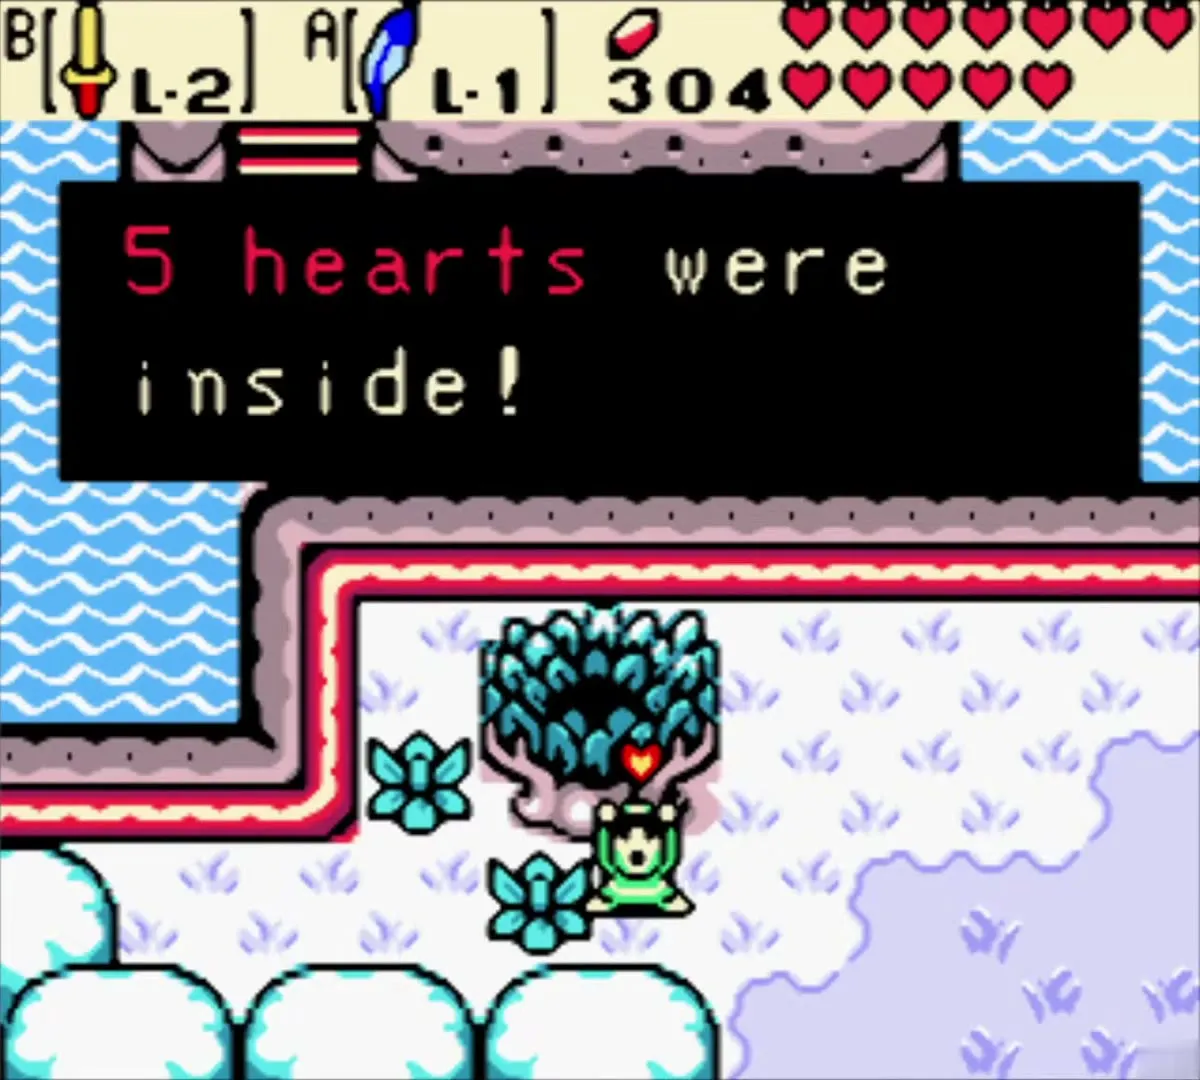
On the river bank, work the Gasha spot with your Shovel until the Gasha Tree sprouts. Cut the tree and collect the Gasha Nut it drops, which is a heart refill once opened. The tree is the nut source used in the Gasha seed guide.
Appraise the rings at Vasu’s shop
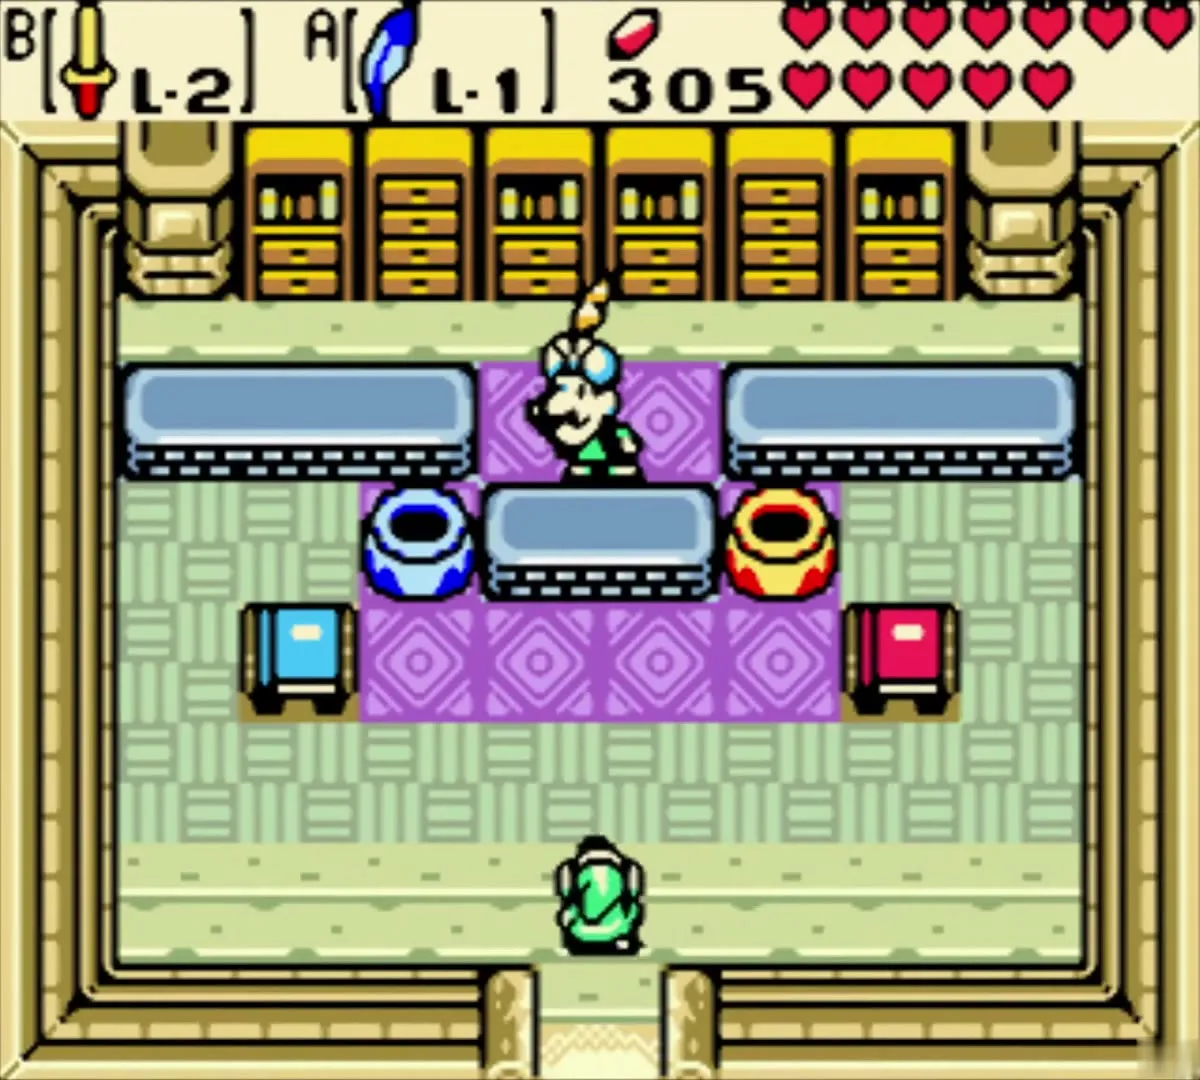
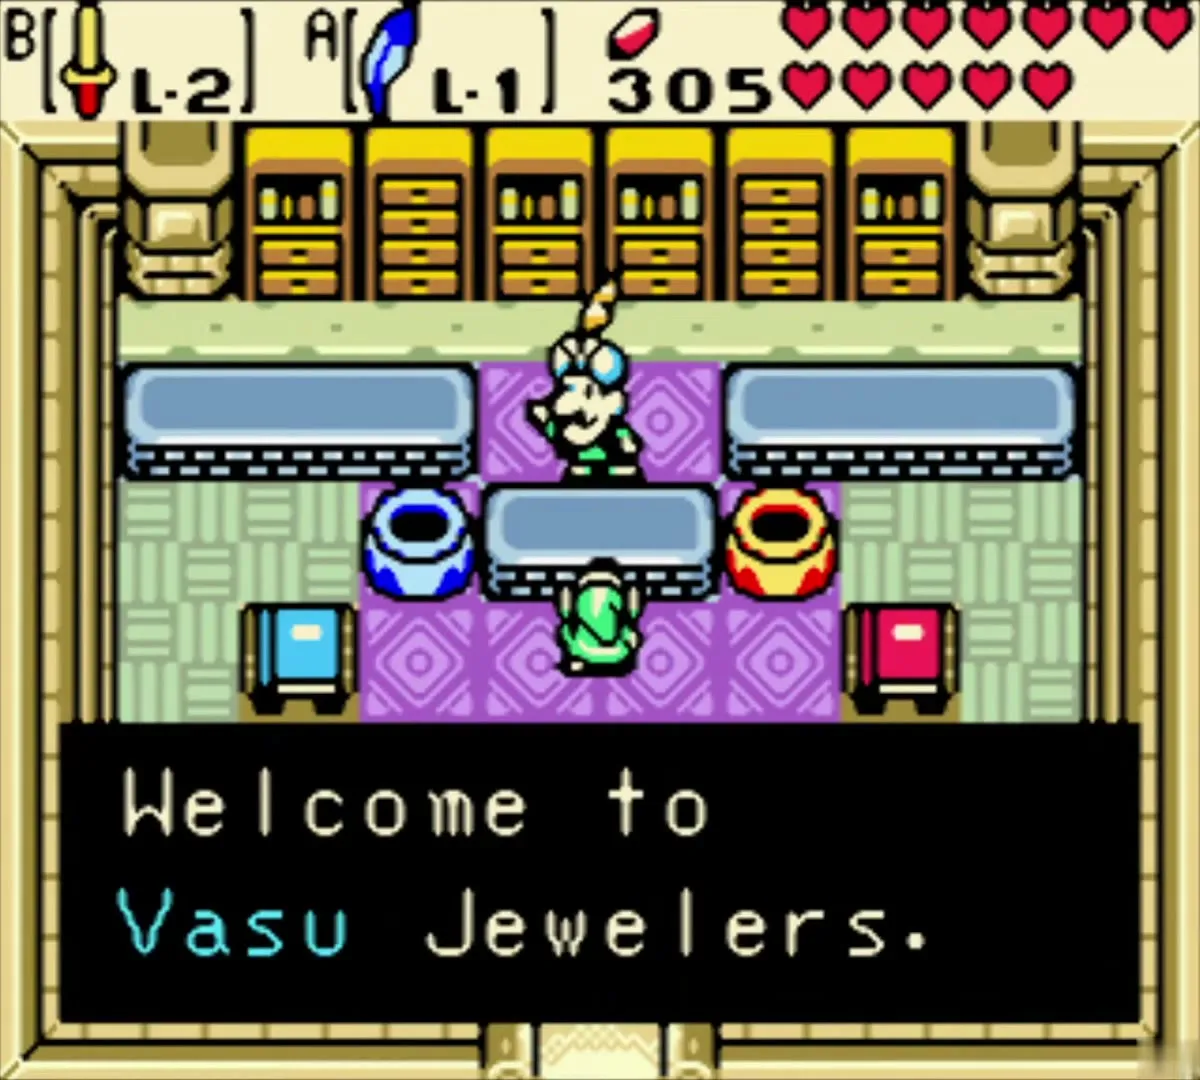
Enter Vasu’s Jewelers, and choose Appraise from the menu. Each ring costs 20 Rupees to appraise, and a duplicate ring sells back for 30 Rupees. Appraise the Quicksand Ring, the Toss Ring and the Sign Ring, and sell any ring you already own. The first ring you appraise is the Quicksand Ring, which keeps you from sinking in quicksand.
Take the Round Jewel from the old man
Find the cave on the green overworld to the east of the winter bridge, in the southeast corner of Holodrum Plain. You need Zora’s Flippers or Dimitri to reach its entrance, because you swim the last stretch. Inside, the old man gives you the Round Jewel. He gives it once Unicorn’s Cave is finished, so this step comes after the fifth dungeon.
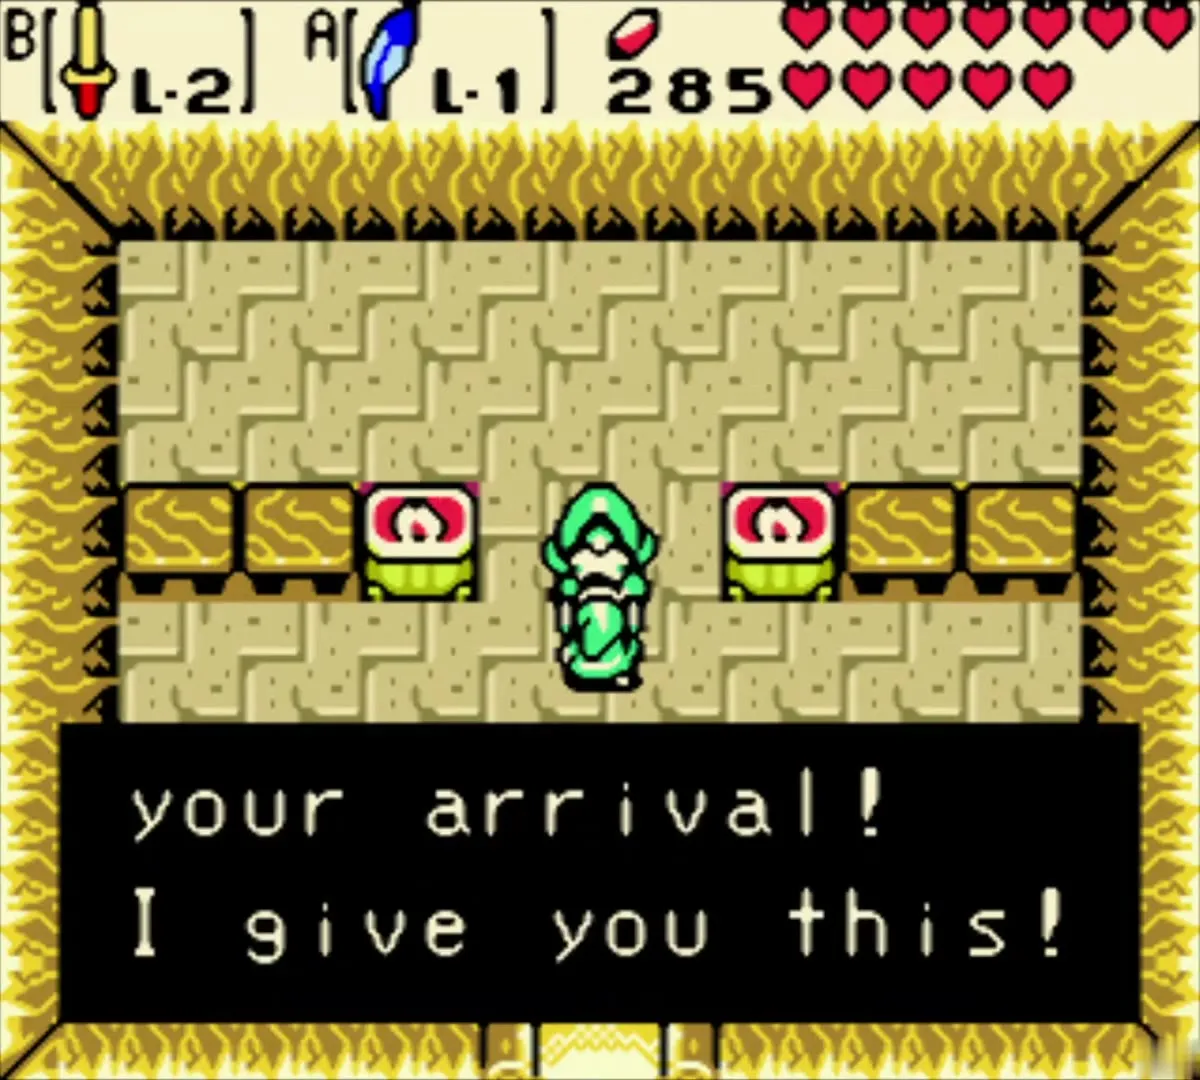

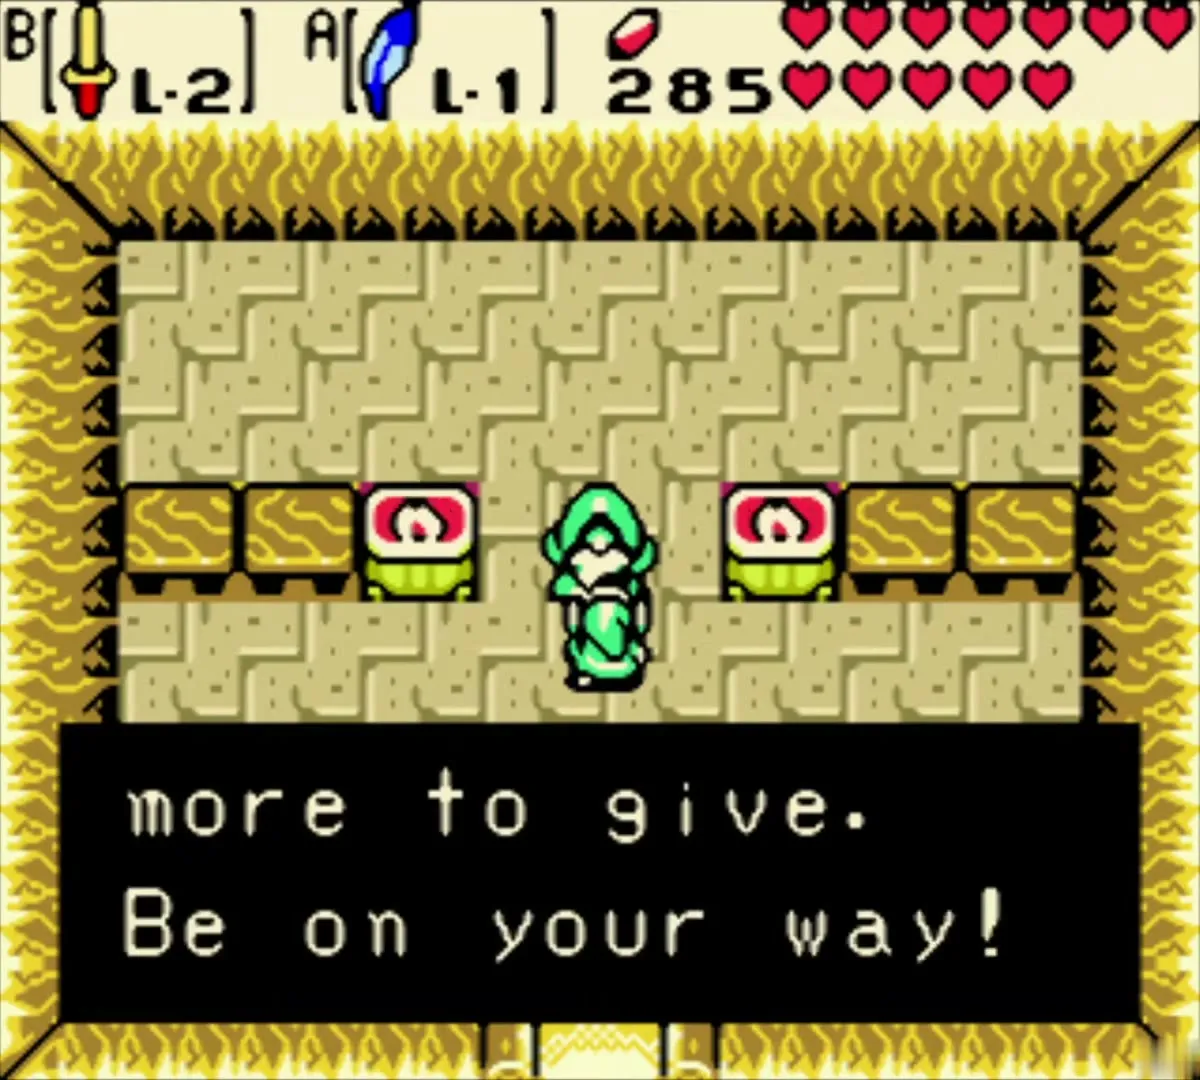
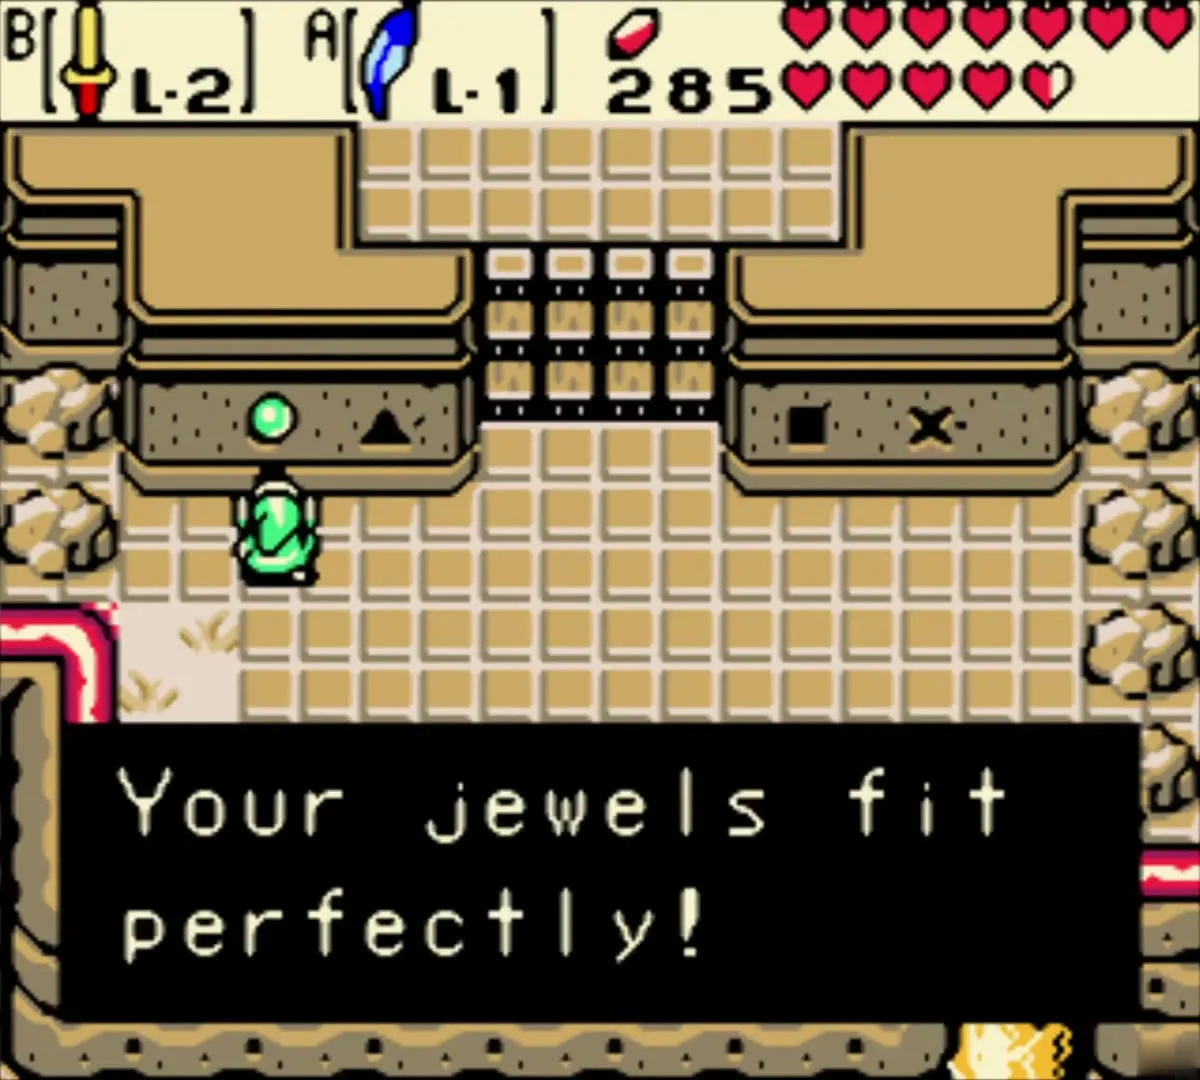
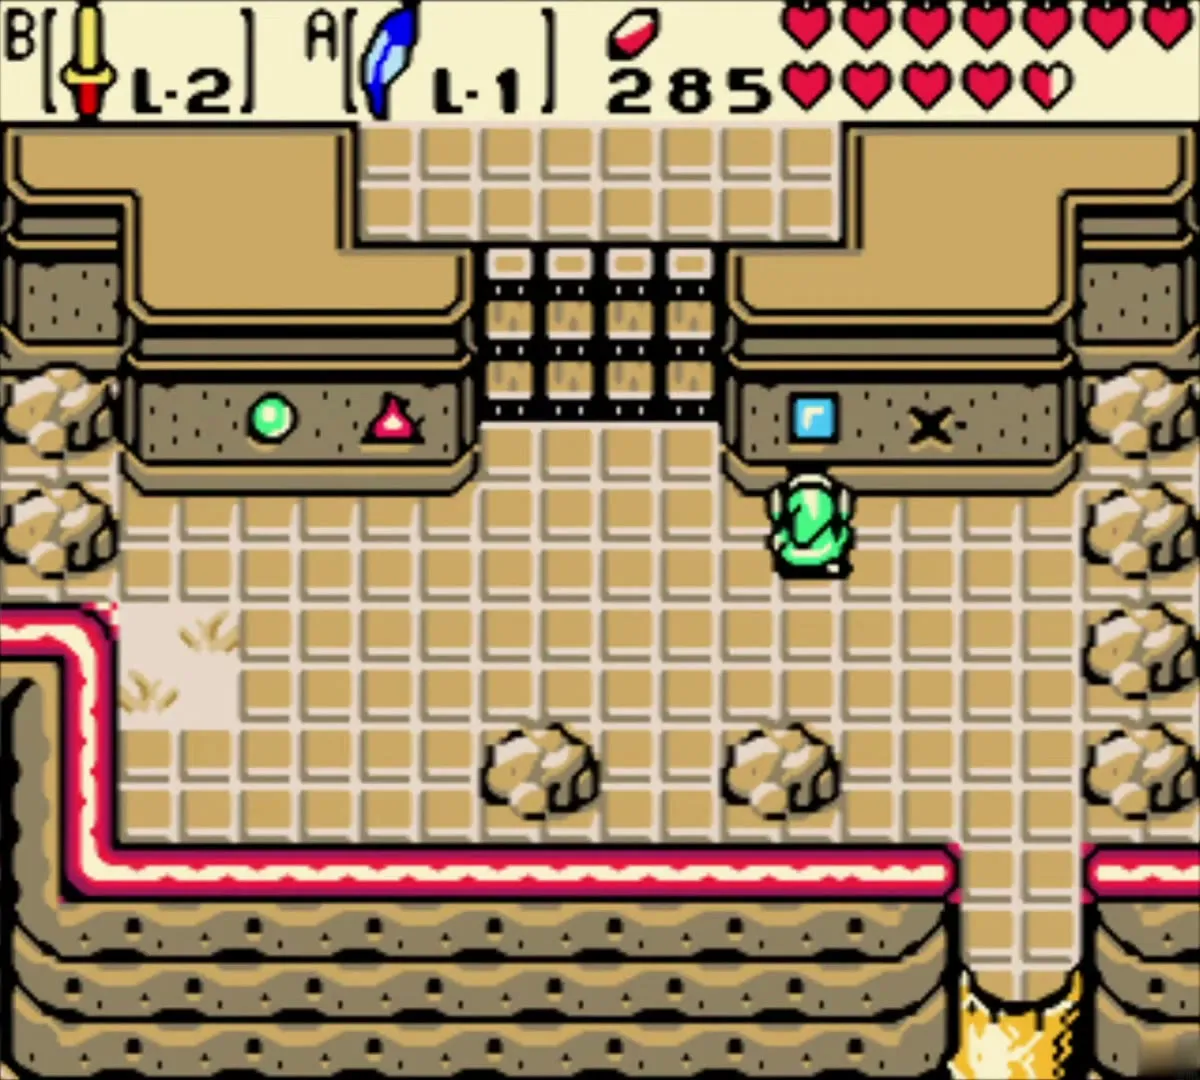
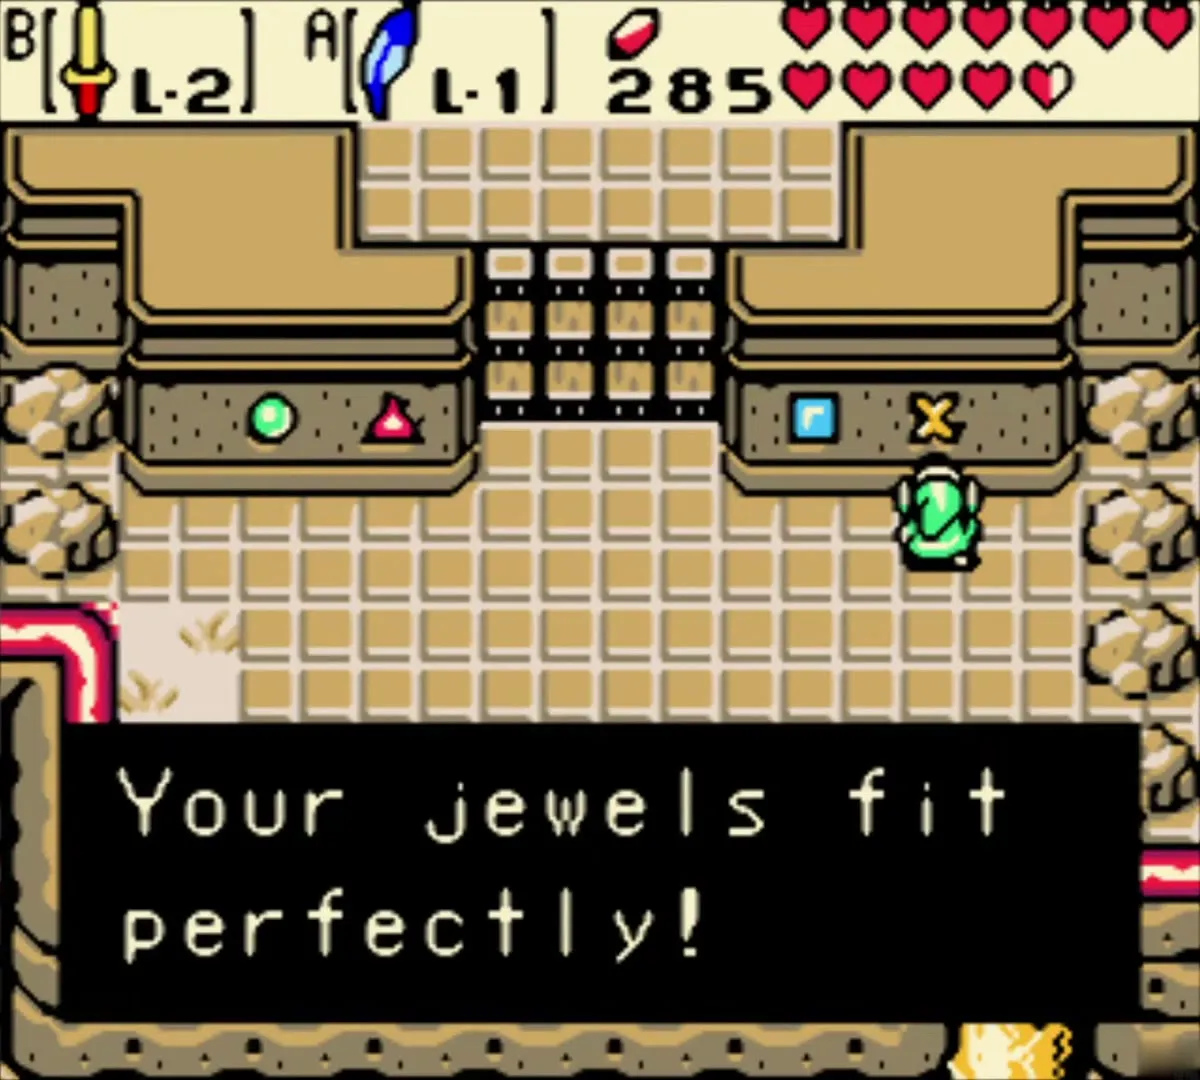
The Round Jewel is one of the four jewels that open the gate to Tarm Ruins. The other three are the X-Shaped Jewel, the Square Jewel and the Pyramid Jewel, which you collect in earlier chapters.
Lost Woods: the seasons hint and the Master Sword
Defeat the Deku Scrub for the hint
Enter the cave in the yellow-floored room among the Tarm Ruins grounds where a Deku Scrub waits. He attacks with seeds that you can block with your shield and bounce back at him. After you defeat him, he gives you the hint for the Lost Woods.
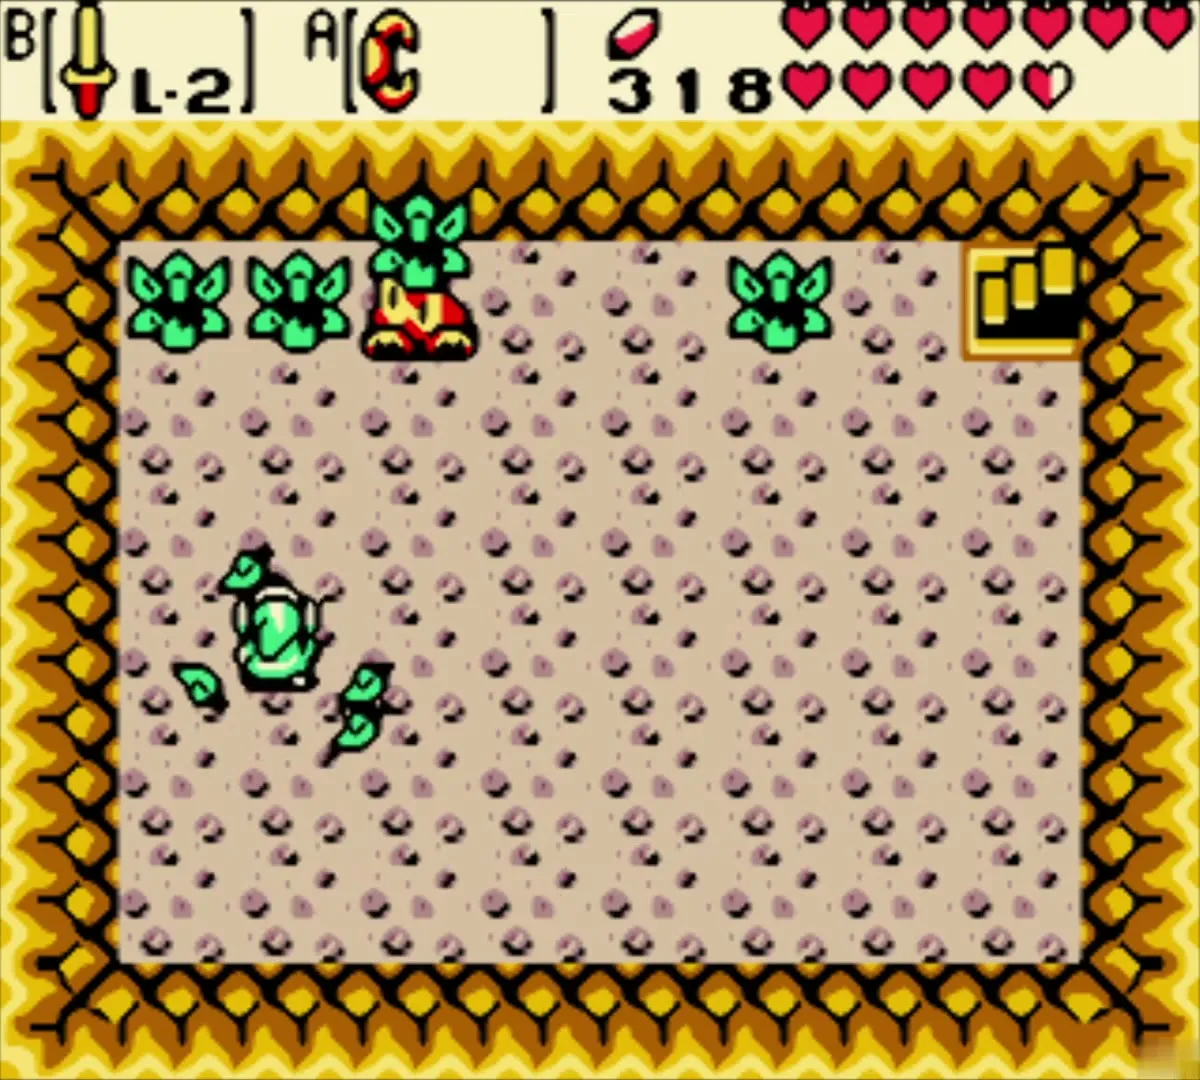


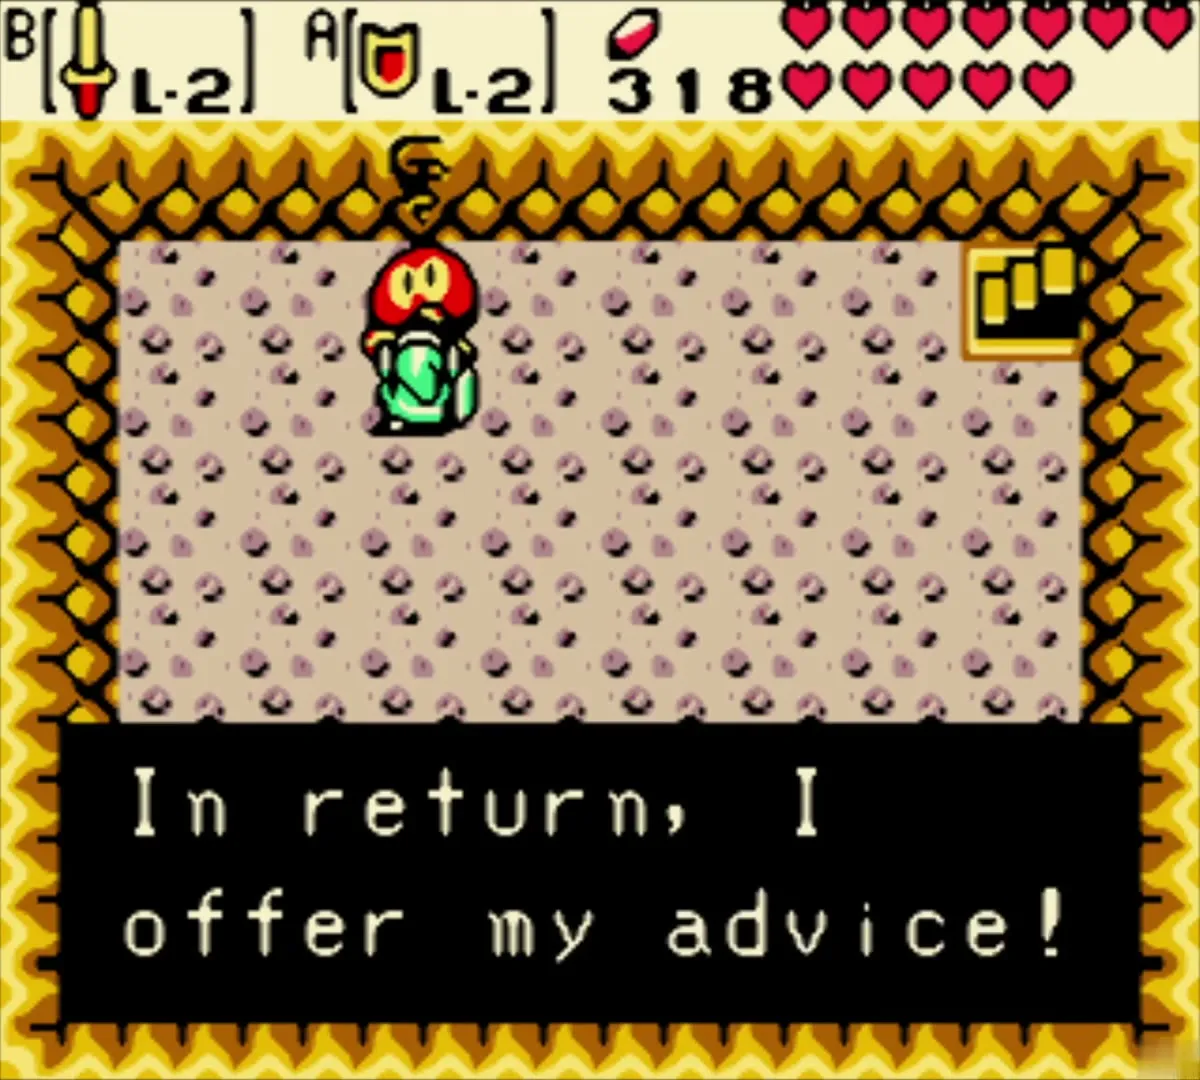
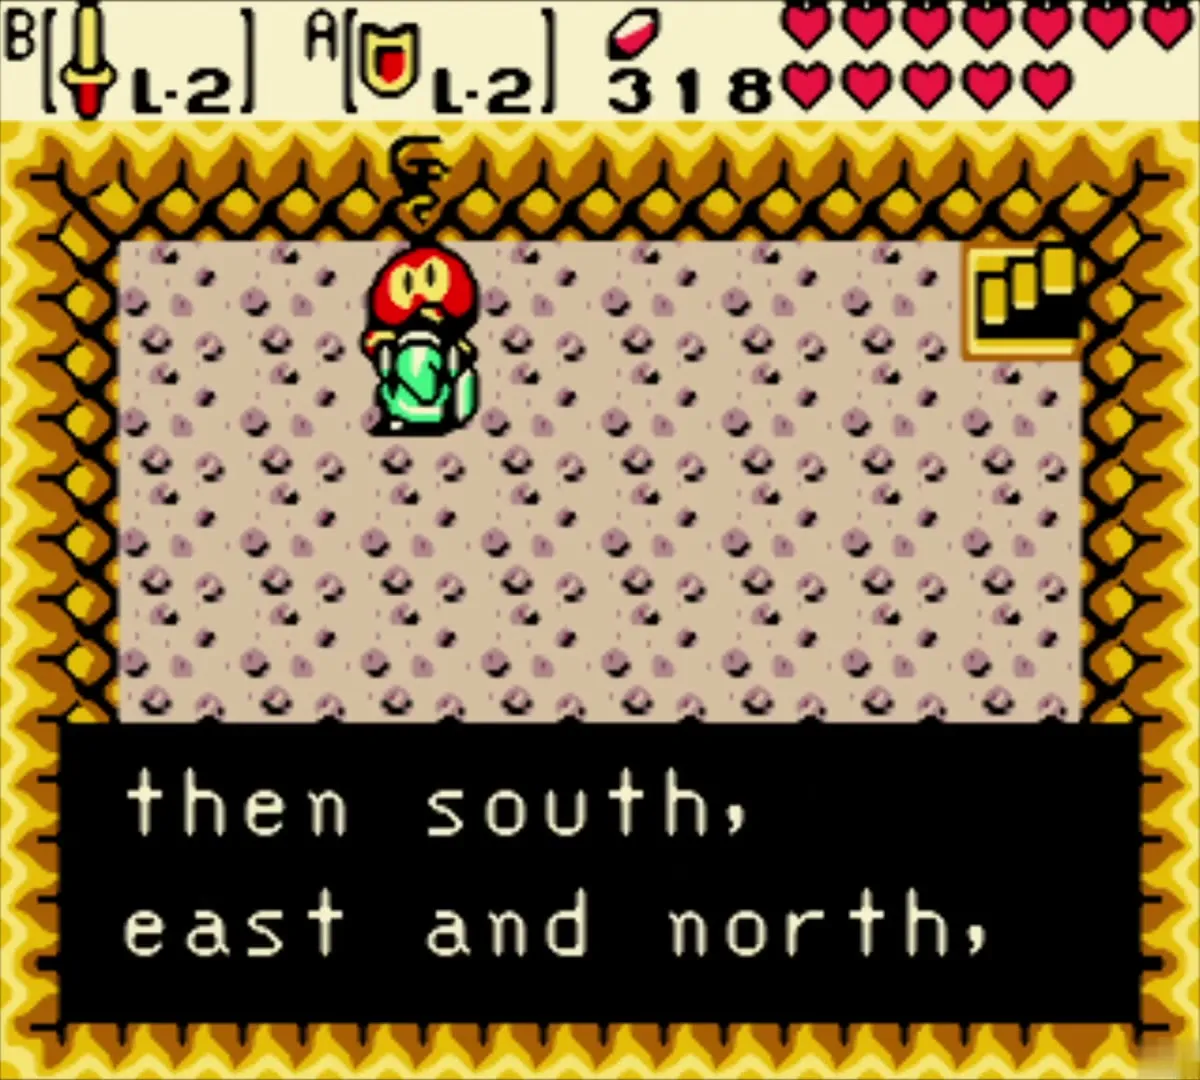
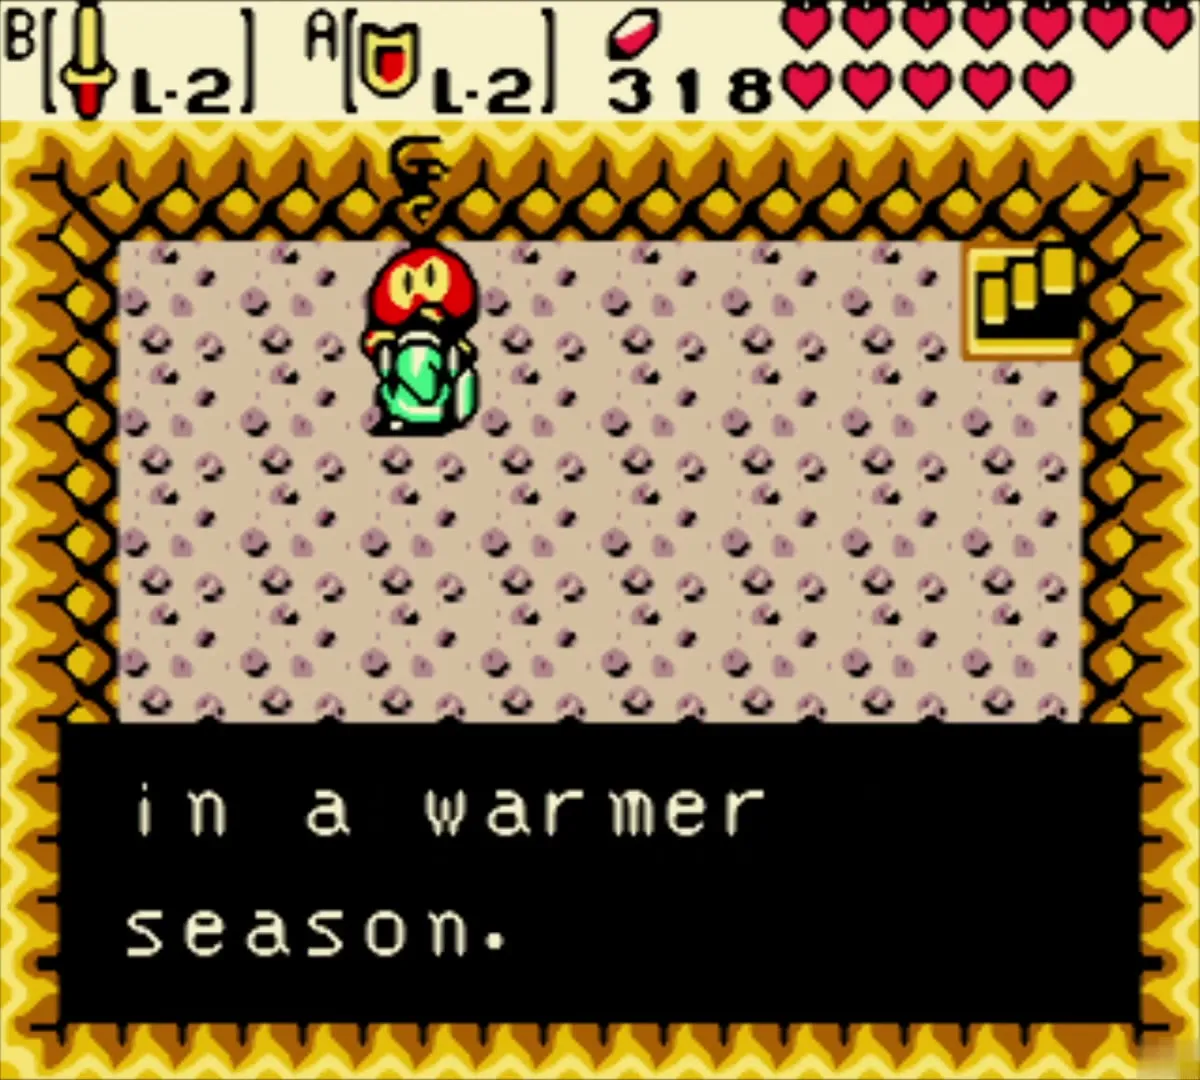
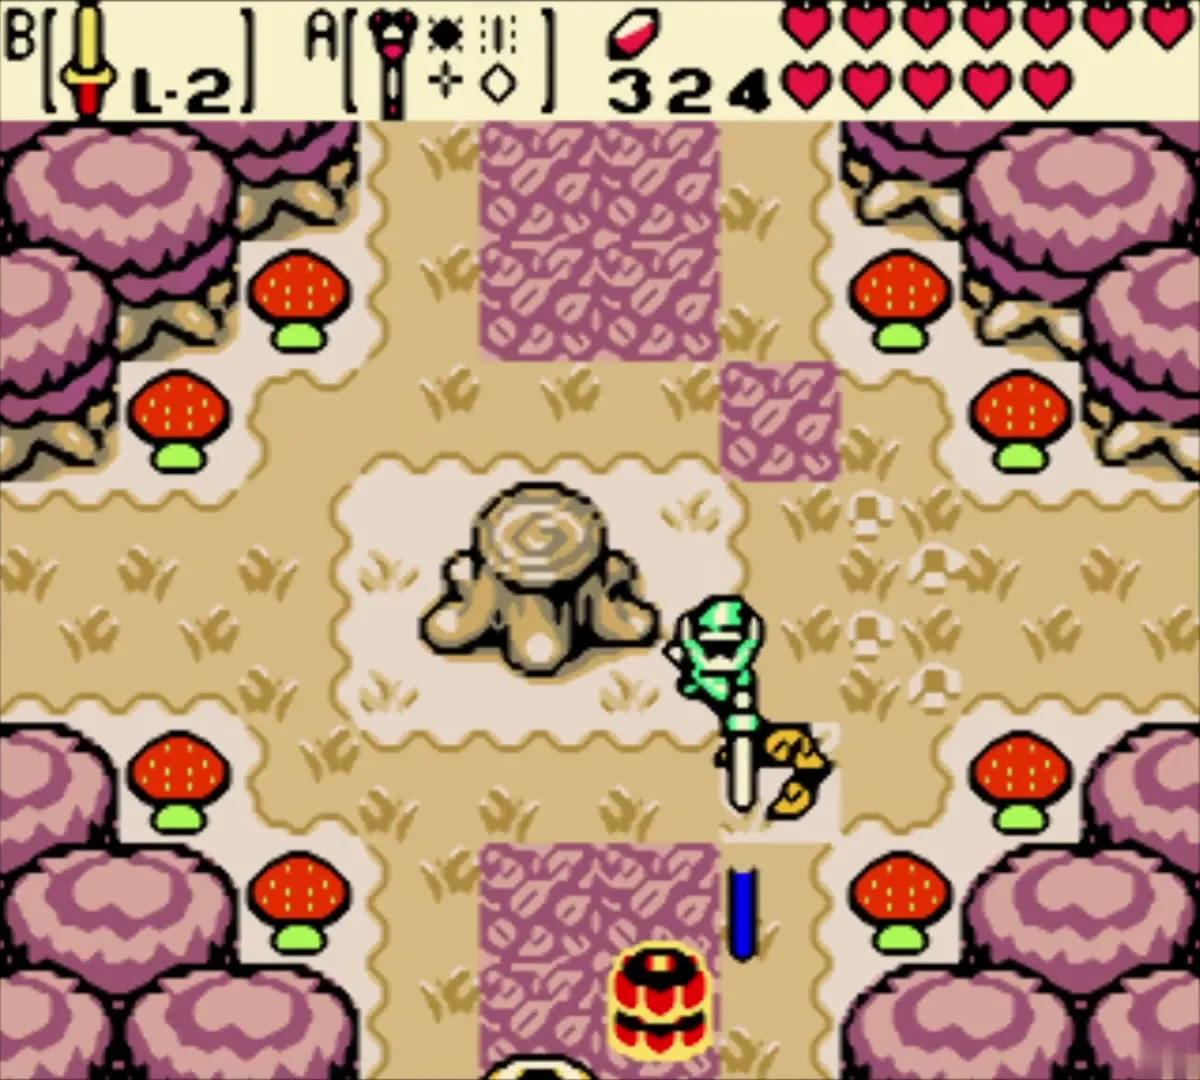
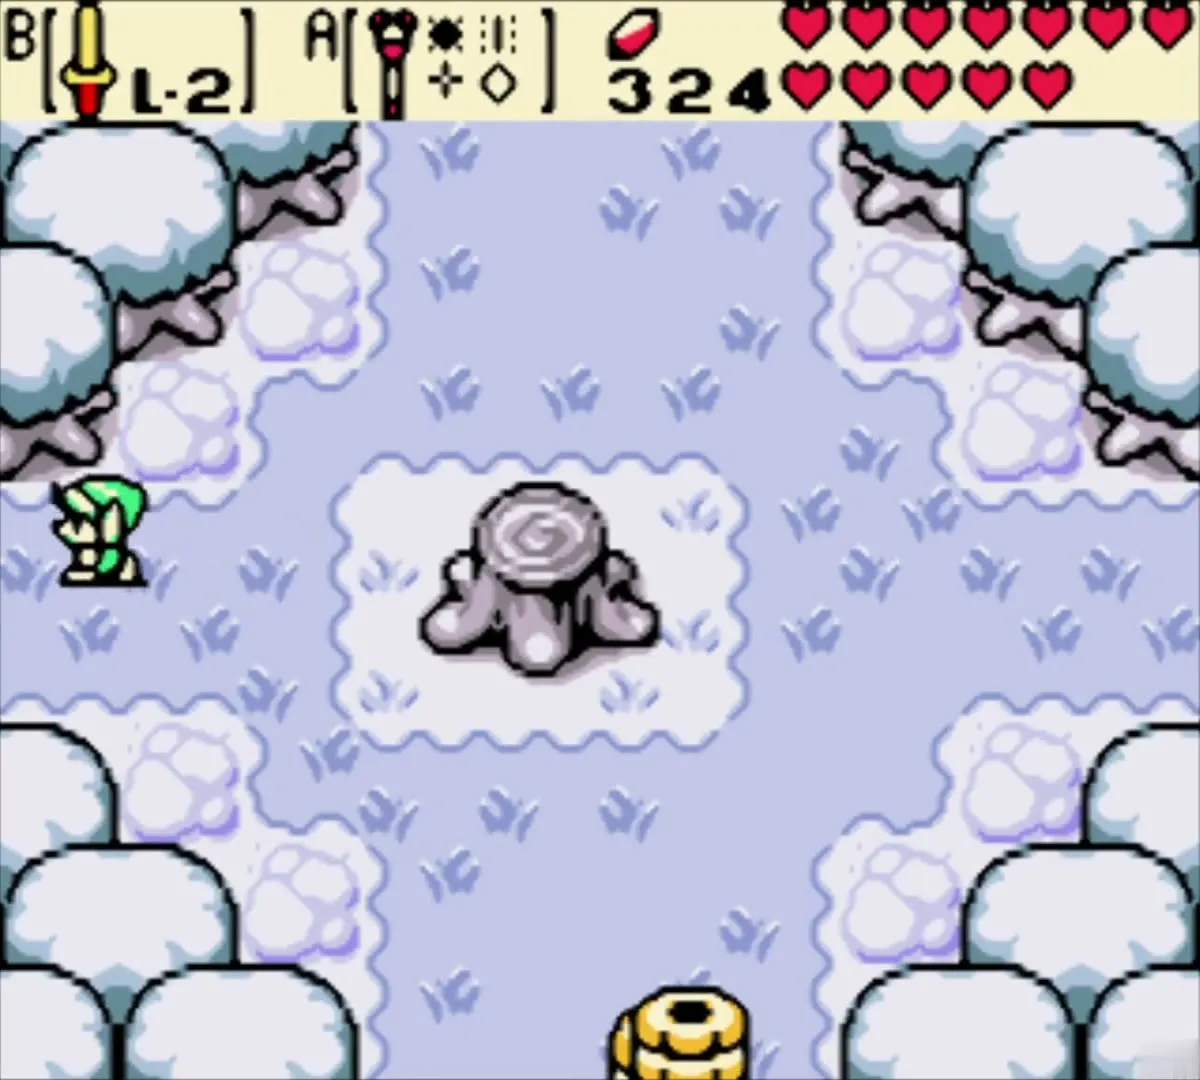
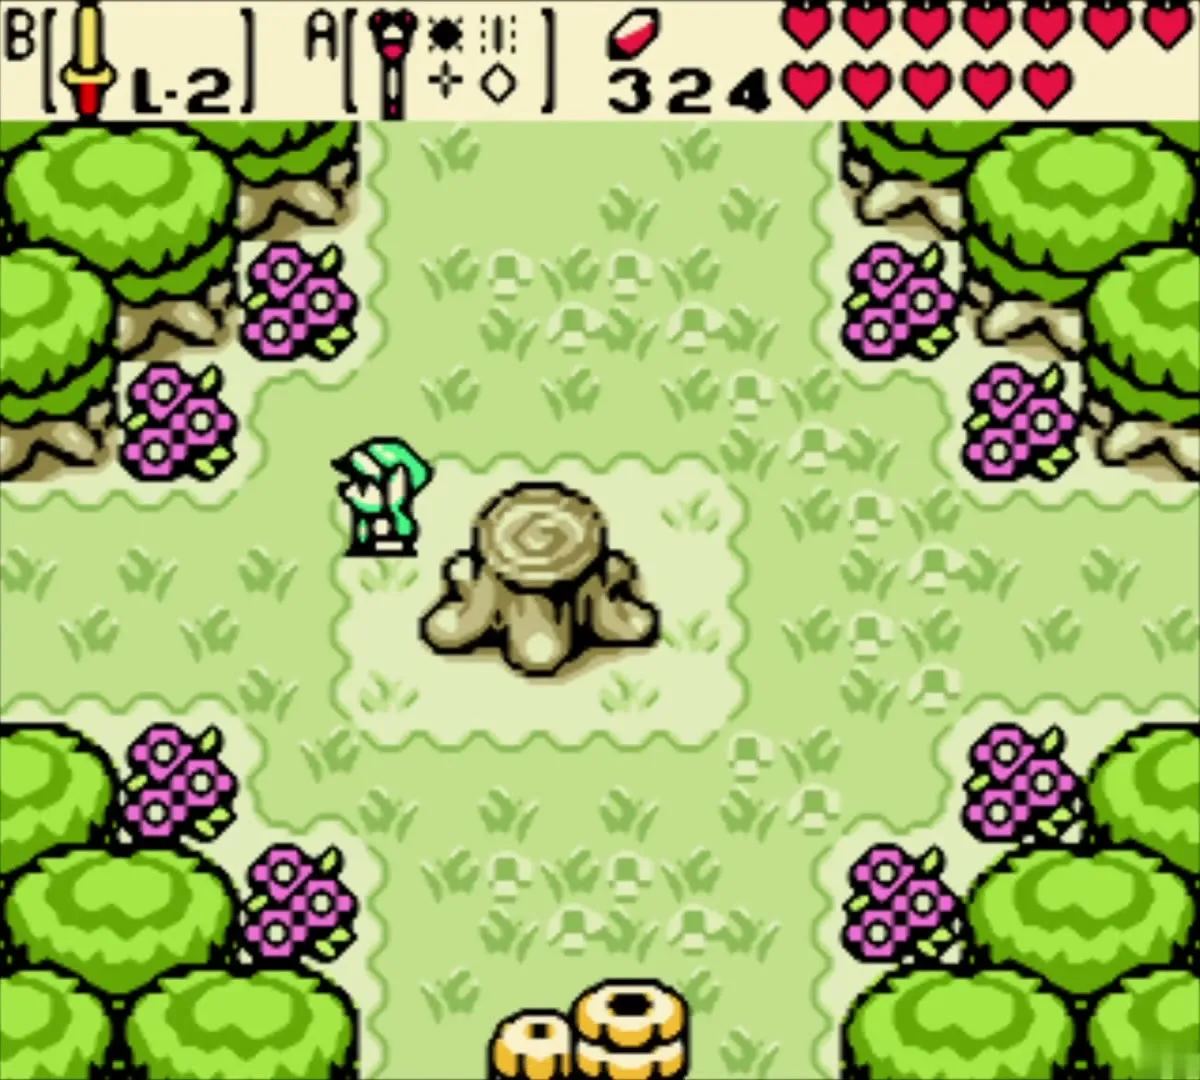
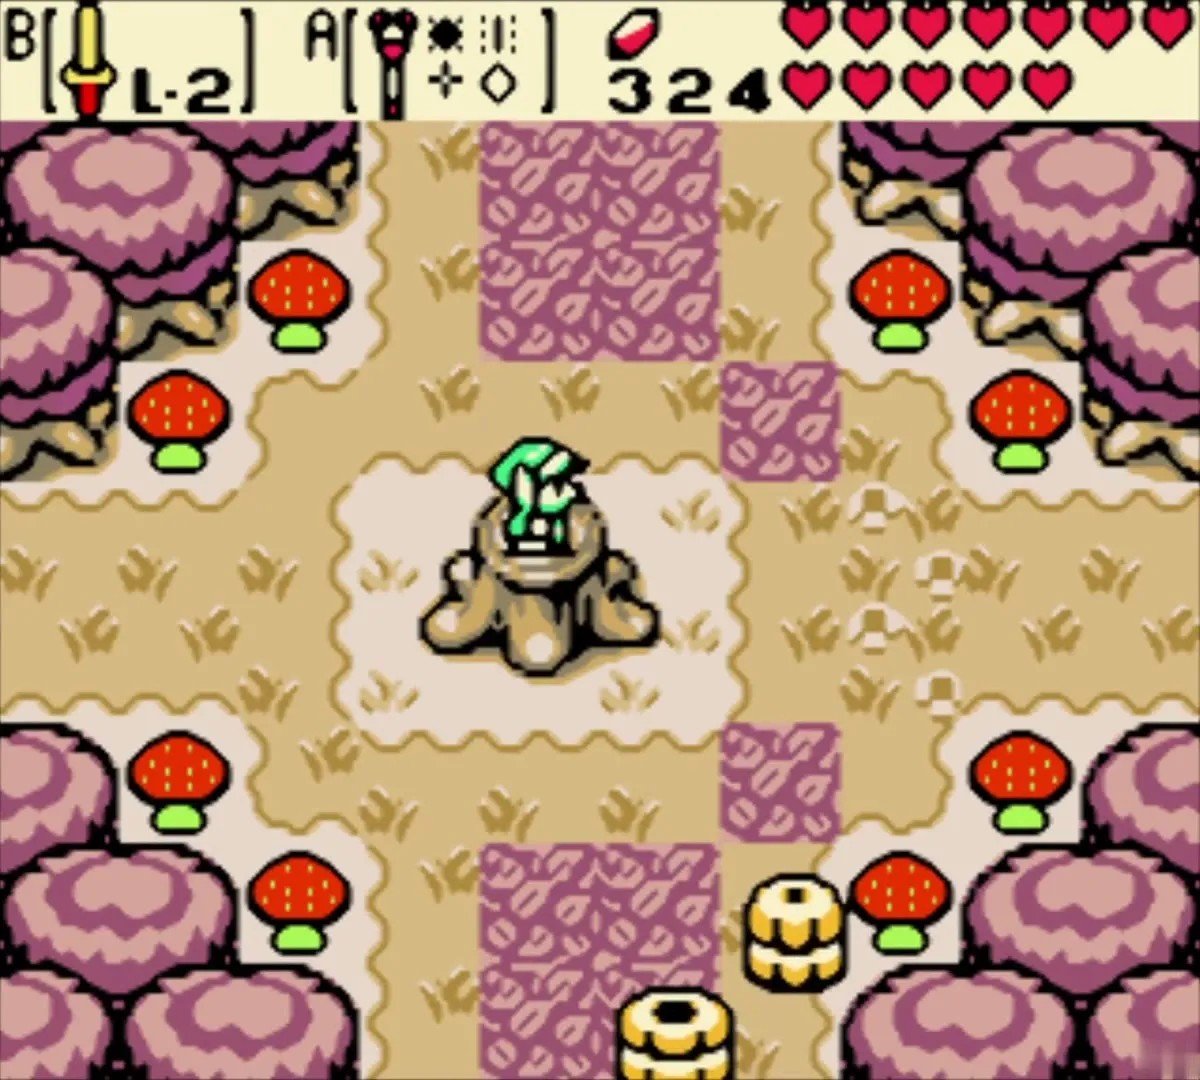
The hint says to go west, then south, then east, then north. Each leg has to be taken in a warmer season than the leg before, so the order is winter, autumn, spring and summer. You change seasons at the tree stumps on the way, using the Rod of Seasons.
Change seasons at the stumps
Use the Rod of Seasons at the stump in the autumn area to change the season. The route passes through winter, spring, autumn and summer in that sequence, with each change made at a stump. The last change, to summer, opens the way to the forest clearing where the pedestal sits.
Upgrade to the Master Sword at the pedestal
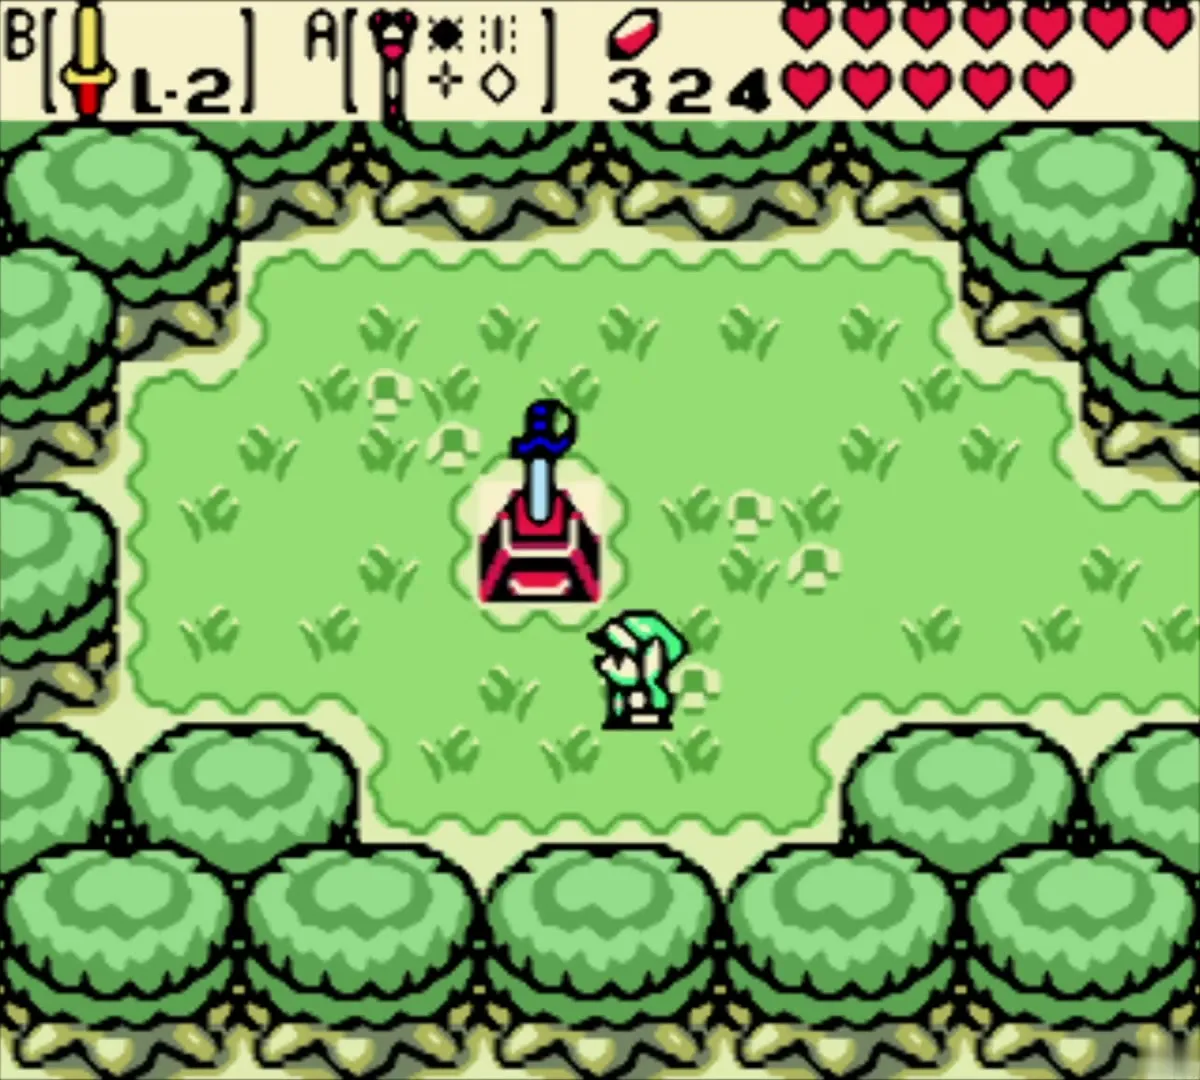
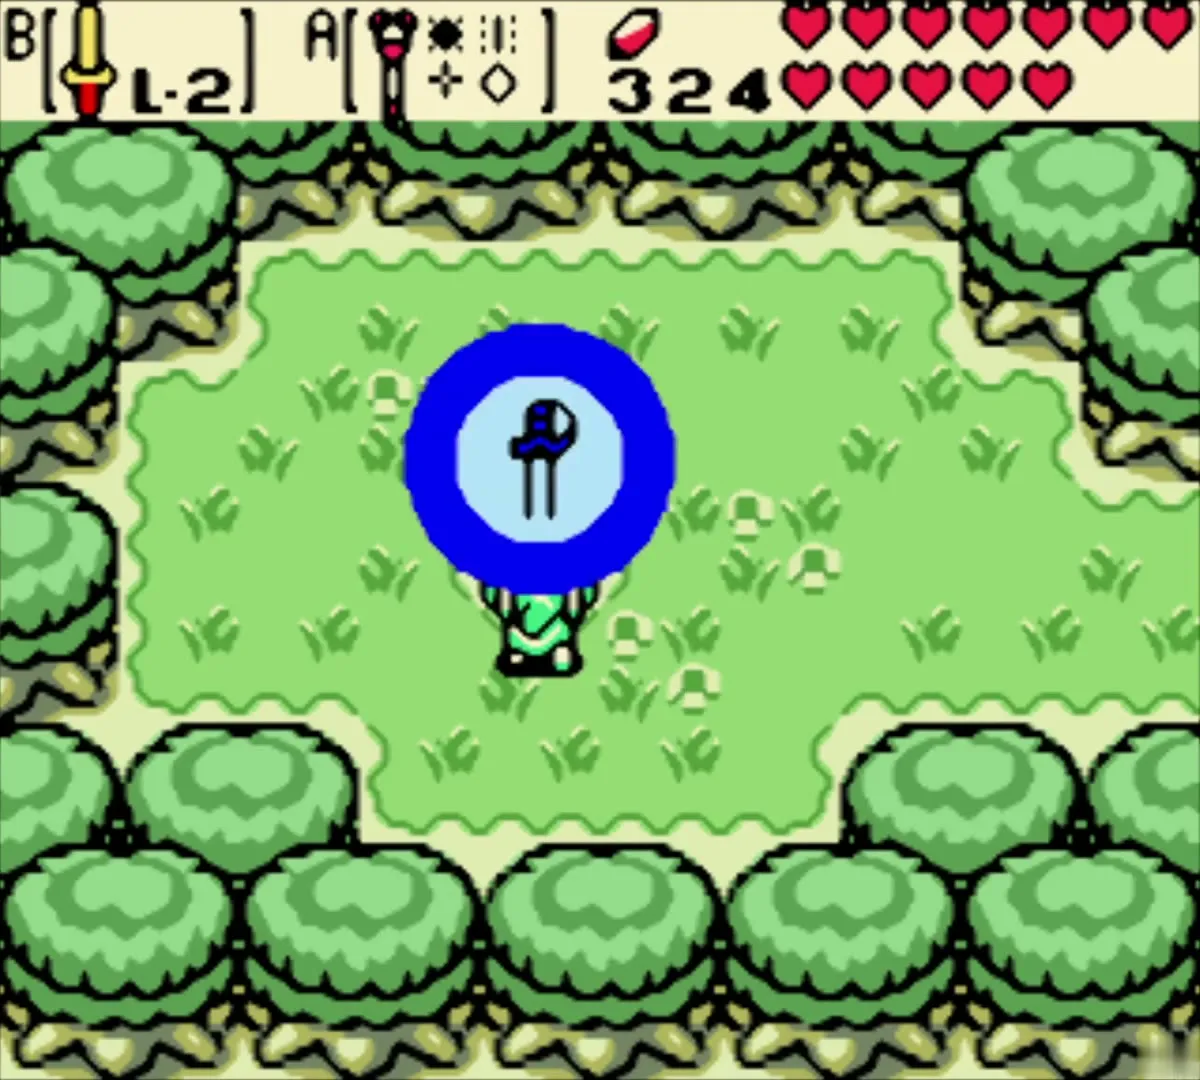
Stand on the pedestal in the forest clearing with the Noble Sword (L-2) equipped, and the blade is upgraded to the Master Sword (L-3). The sword icon turns blue. The Master Sword is a linked-game upgrade: in a linked game, the Deku Scrub’s hint leads to this pedestal, and the upgrade needs the Noble Sword first.

Approach to Tarm Ruins: a Gasha Seed and the door repair
Find the Gasha Seed in the sand cave
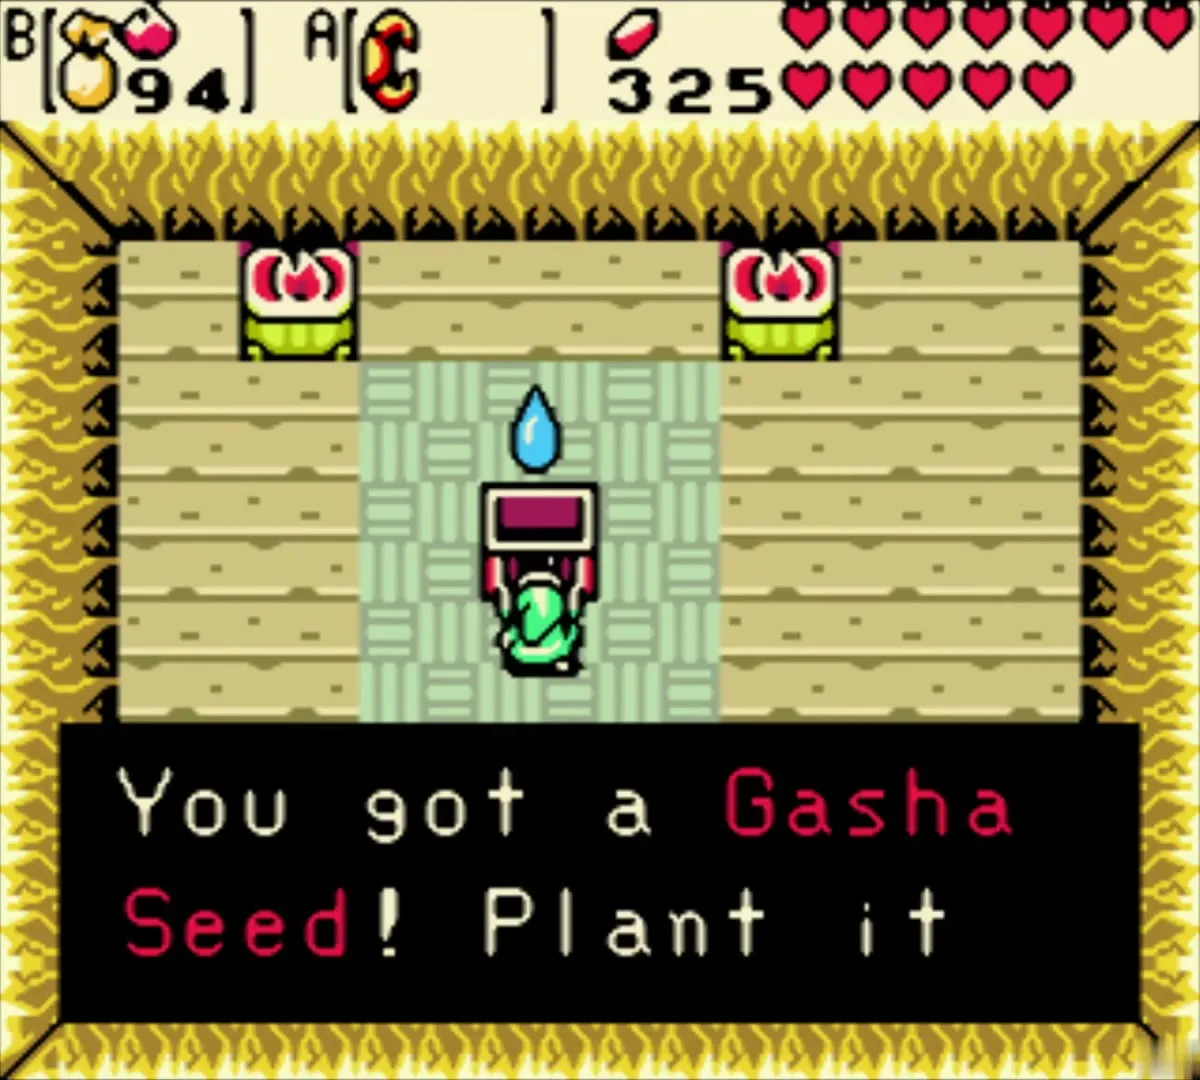
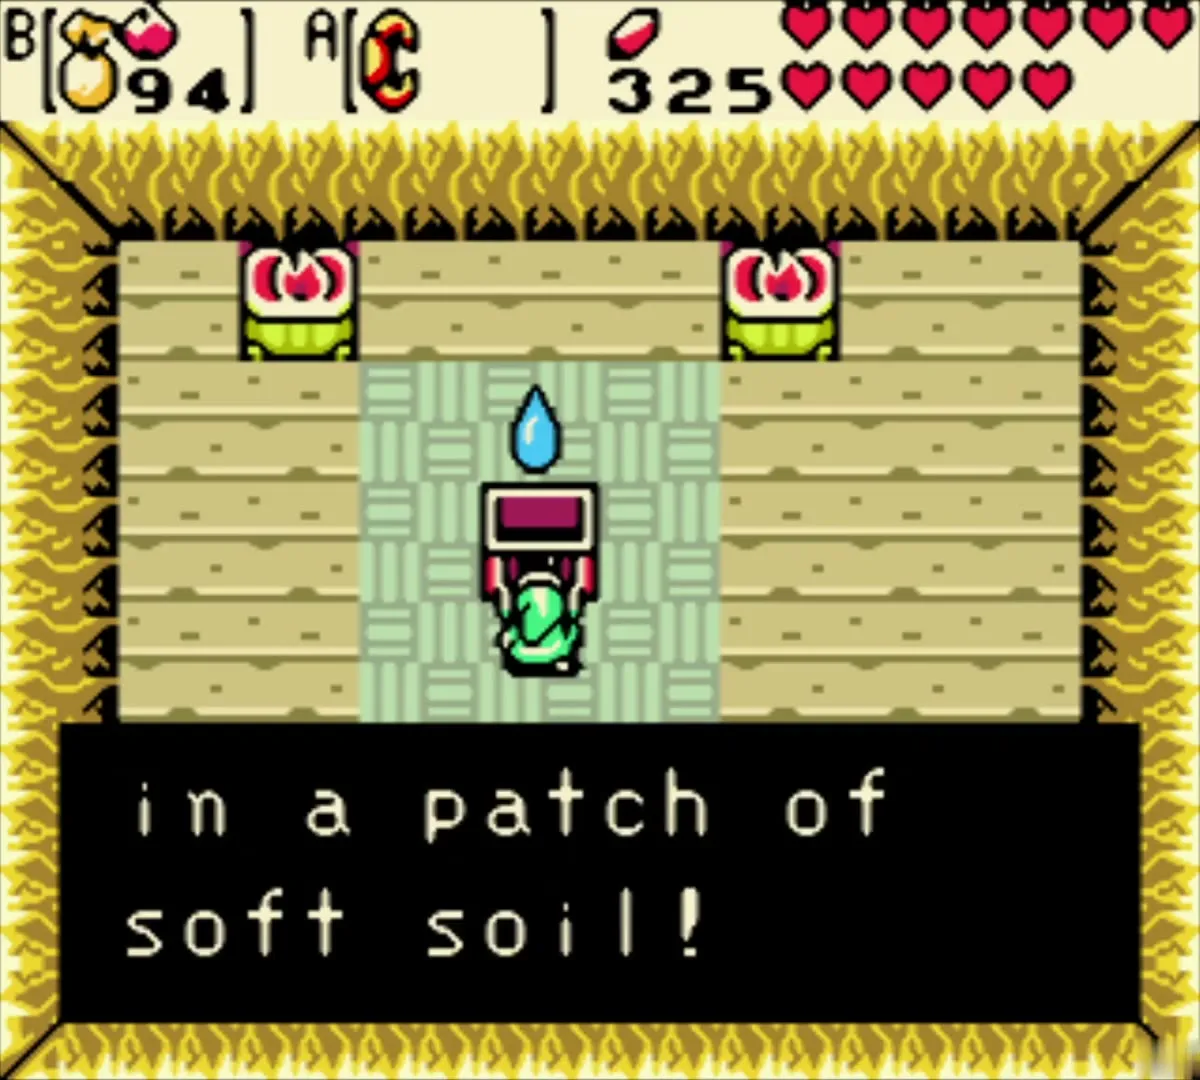
In the sand cave with a stump, cross the room to the chest in the middle. It holds a Gasha Seed, and the chest text tells you to plant it in a patch of soft soil. Keep the seed in your Seed Satchel until you reach a soft soil spot. The spots are listed in the Gasha seed guide.

Pay the door repairman
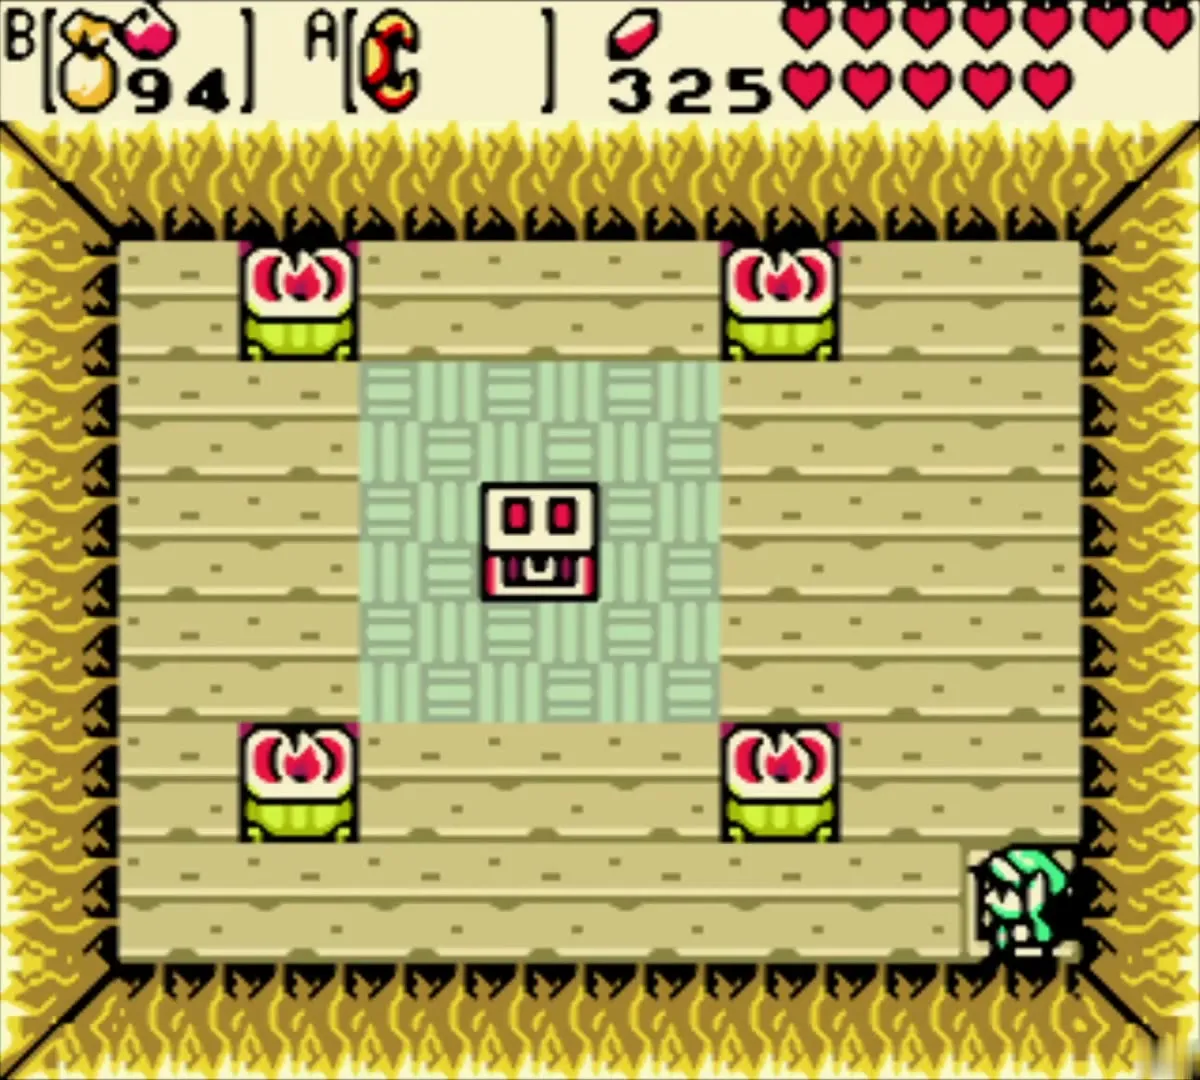
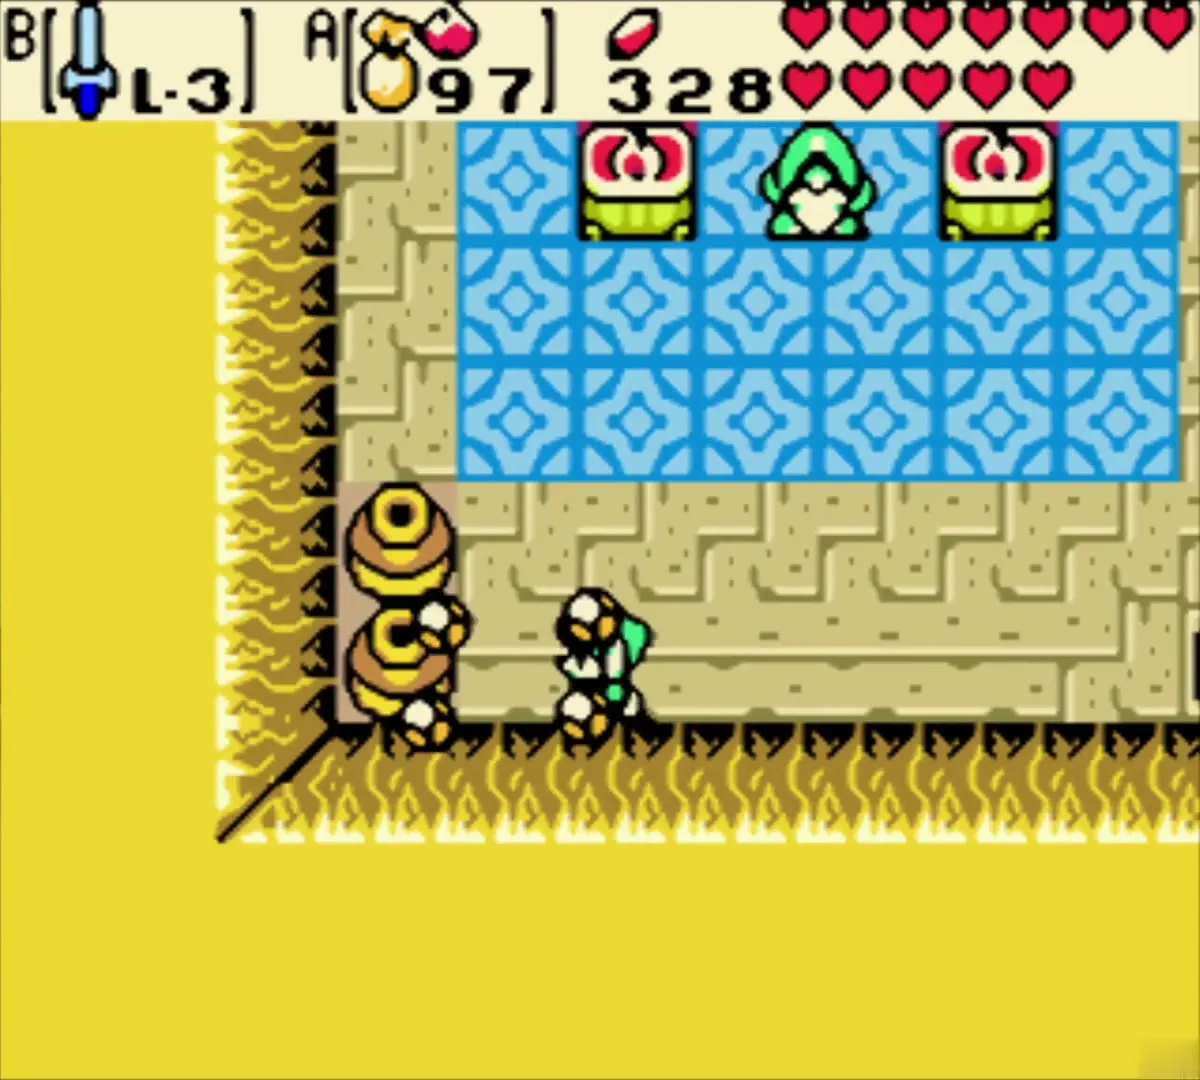
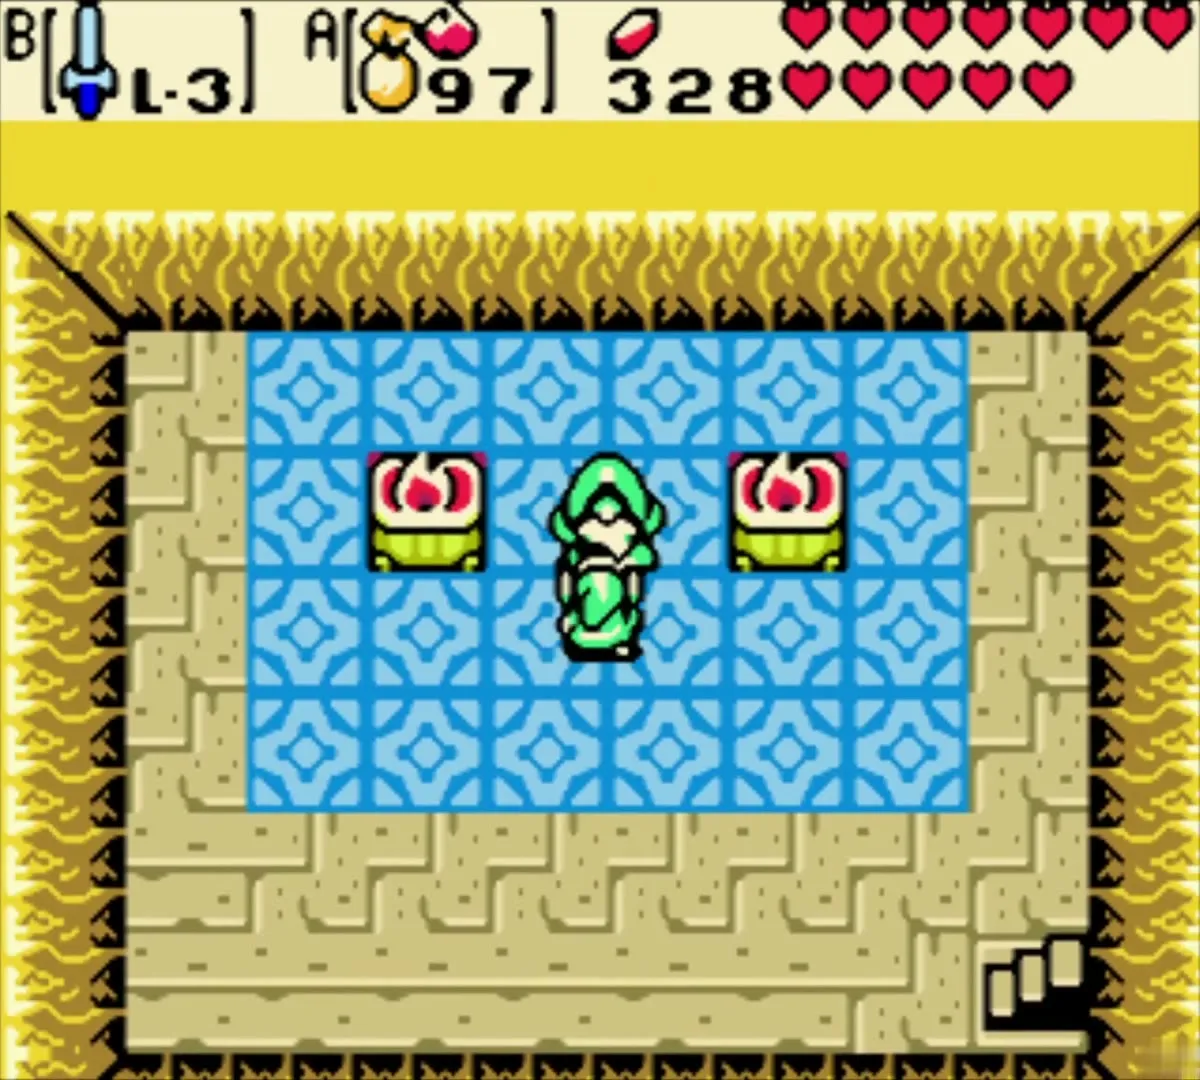
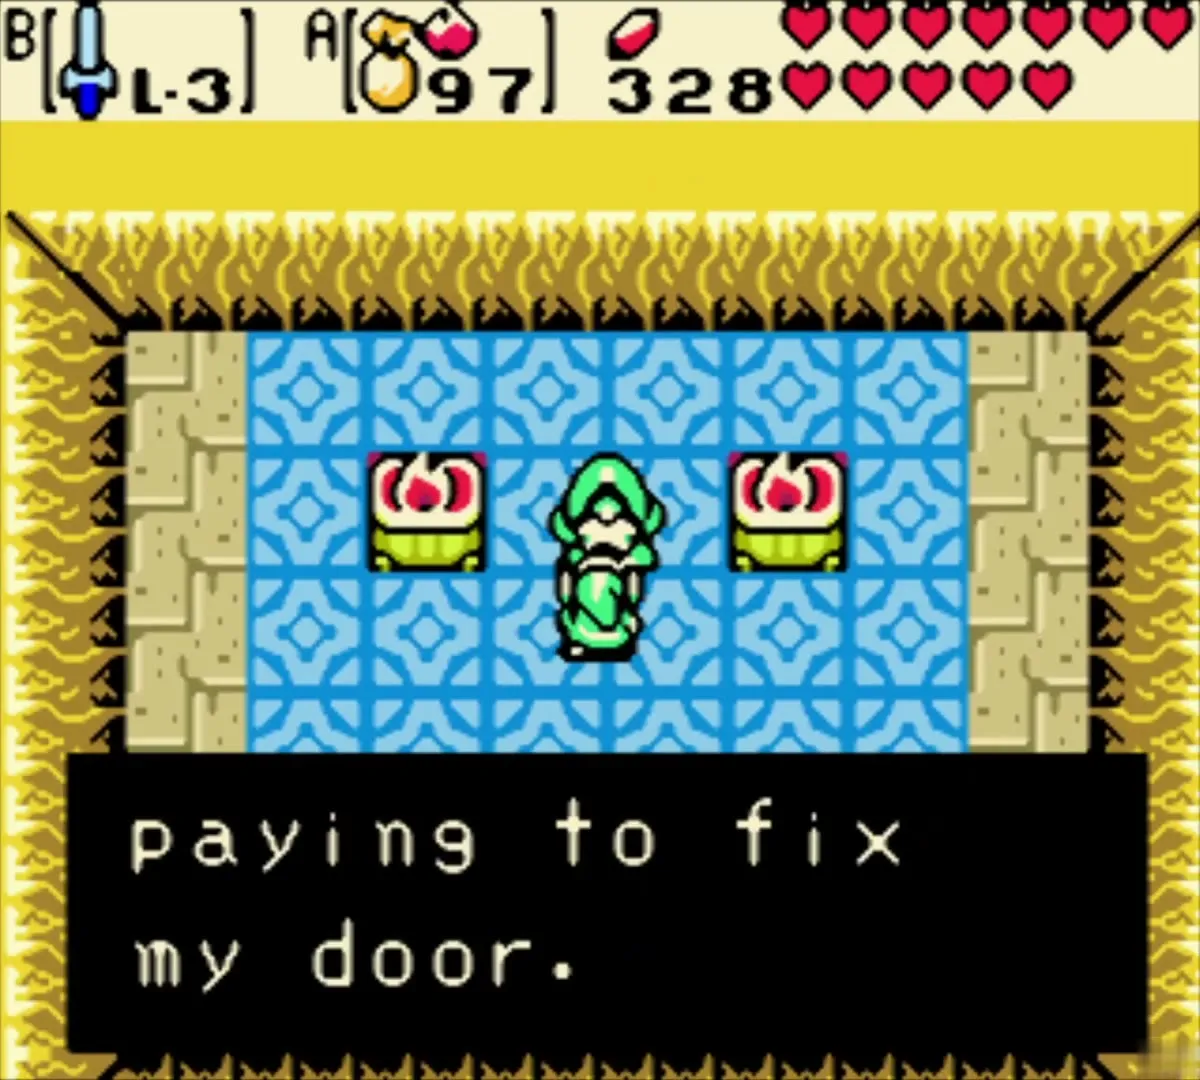
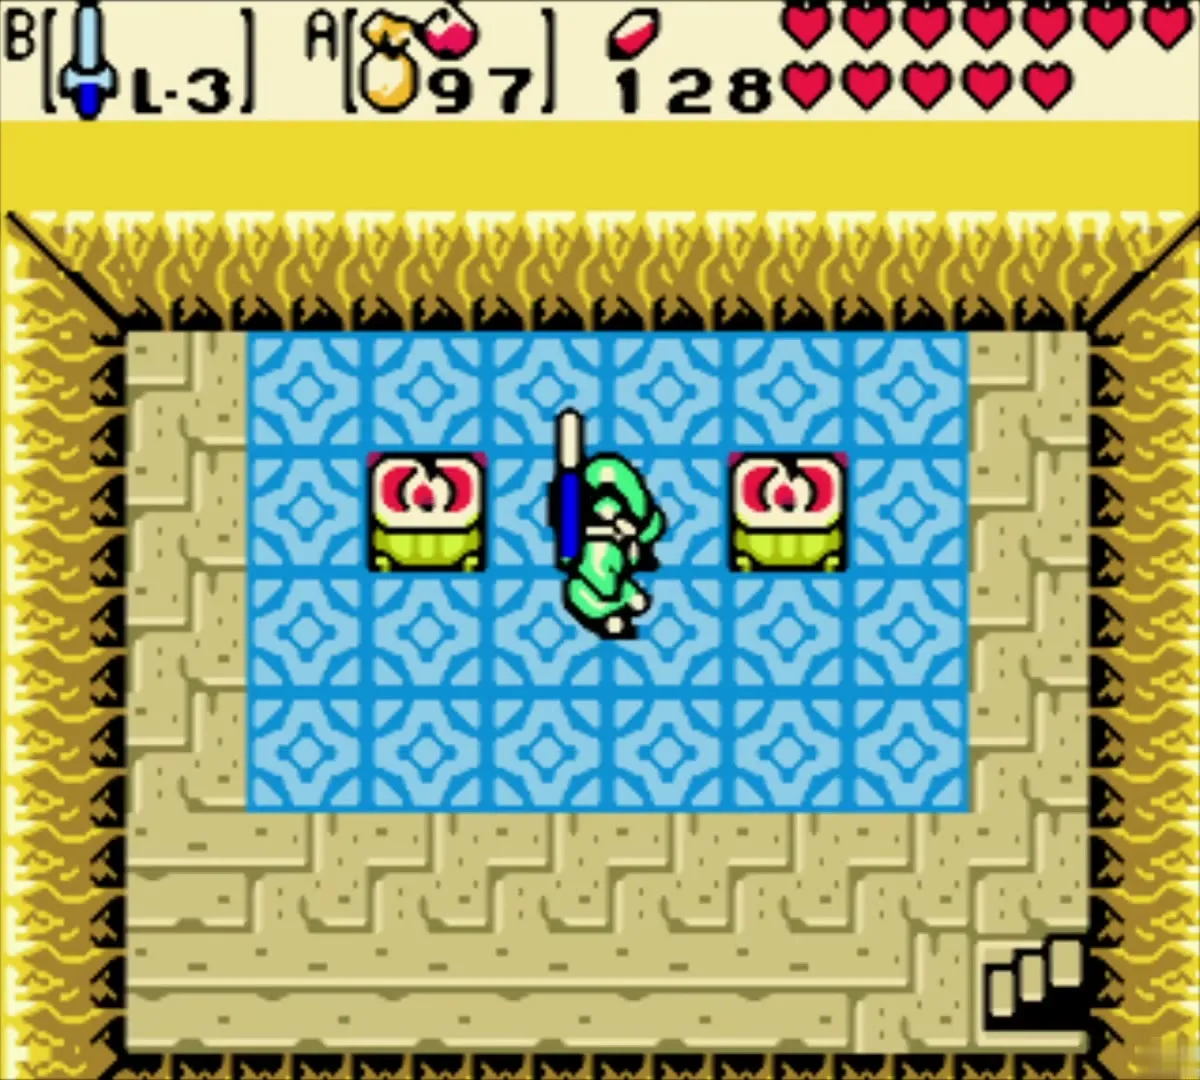
Walk to the cave with the blue floor and two red lamps. The door repairman asks for 200 Rupees to fix his door. Pay him to finish the job; the fee is taken from your purse at once.
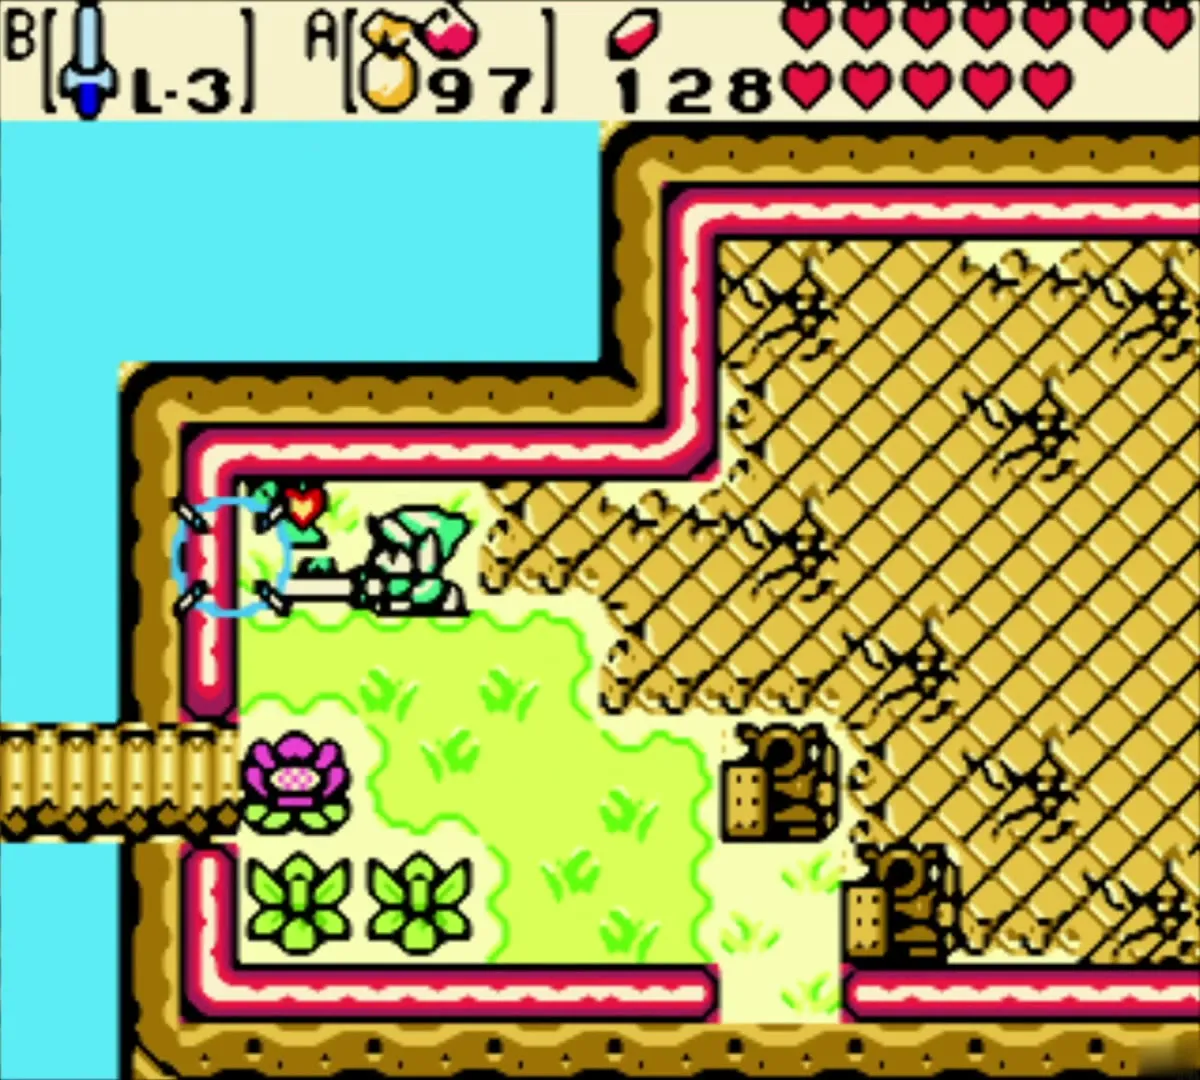
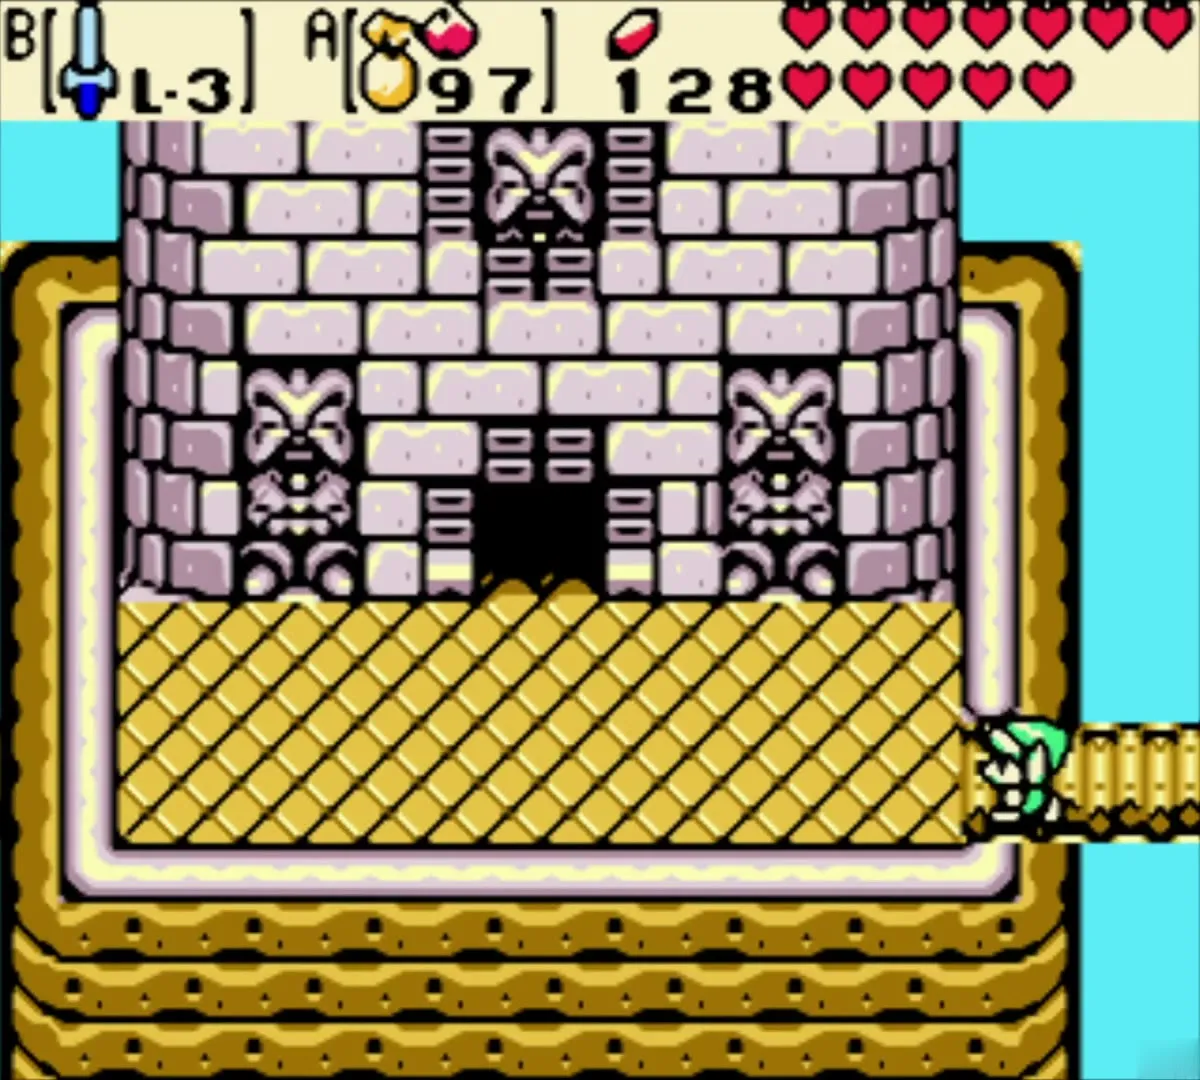
Follow the river ledge to the stone temple entrance. The temple is the Ancient Ruins, the sixth dungeon, and you enter it at the start of the next chapter.
Chapter checklist
| Type | Name | Where |
|---|---|---|
| Jewel | Round Jewel | Cave in the southeast of Holodrum Plain, from an old man after Unicorn’s Cave |
| Ore | Red Ore | Chest in a cave in eastern Subrosia, reached with the Magnetic Gloves |
| Ore | Blue Ore | Chest in western Subrosia, reached with the Roc’s Feather and Magnetic Gloves |
| Upgrade | Iron Shield (L-2) | Subrosian Smithy, from Hard Ore and the Wooden Shield |
| Upgrade | Master Sword (L-3) | Pedestal in the Lost Woods clearing, linked game only |
| Trade | Lava Soup | Subrosian cook, using the Iron Pot from Mrs. Ruul |
| Ring | Sign Ring | Sign-loving Subrosian, after a hundred or more signs are broken |
| Ring | Quicksand Ring, Toss Ring | Appraised at Vasu’s Jewelers |
| Ring | Unappraised ring | Chest in the Subrosian boulder field; Vasu appraises it later |
| Gasha Seed | 1 seed | Chest in the sand cave near the Lost Woods approach |
| Gasha Nut | 1 nut | Gasha Tree on the winter river bank |
| Shop | Door repair | Cave with the blue floor, 200 Rupees |
