





















The Minish Cap 100% Completion Walkthrough19 chapters
- The Picori Festival and the Minish WoodsThe Minish Cap walkthrough for the Picori Festival and Minish Woods: get the Small Shield and Smith’s Sword, meet.
- Deepwood Shrine (Dungeon 1)Deepwood Shrine walkthrough for The Minish Cap: all four small keys, Dungeon Map, Compass, Madderpillar, Gust Jar, Big.
- Ascent to Mount CrenelAscent to Mount Crenel walkthrough for The Minish Cap: Bomb Bag, Kinstone Bag, Big Wallet, bottle, Grip Ring, Great.
- Cave of Flames (Dungeon 2)Cave of Flames walkthrough for The Minish Cap: every key, chest and mine cart, the Cane of Pacci, the Big Key, Gleerok.
- Infusing the Picori BladeInfusing the Picori Blade walkthrough for The Minish Cap: Melari’s White Sword, the Elemental Sanctuary, a Heart Piece.
- Getting the Pegasus BootsGetting the Pegasus Boots walkthrough for The Minish Cap: Syrup’s Wake-Up Mushroom, Lon Lon Ranch, eight Kinstone.
- Castor Wilds and the Wind RuinsCastor Wilds and Wind Ruins walkthrough for The Minish Cap: three Gold Kinstones, the Bow, the Mysterious Statue.
- Fortress of Winds (Dungeon 3)Fortress of Winds walkthrough for The Minish Cap: every key, Compass, Map, Mole Mitts, Big Key, Mazaal boss tactics.
- The Library Books and the FlippersLibrary Books and Flippers walkthrough for The Minish Cap: return the three overdue books in Hyrule Town, win the.
- Hyrule Town Side Quests and Kinstone FusionsHyrule Town side quests walkthrough for The Minish Cap: Anju’s Cucco Roundup, Simon’s Simulation, Kinstone fusions.
- Collectibles Sweep Before the Temple of DropletsMinish Cap collectibles walkthrough before the Temple of Droplets: Kinstone fusions, 10 Pieces of Heart, Roll Attack.
- Temple of Droplets (Dungeon 4)Temple of Droplets walkthrough for The Minish Cap: every key, Map, Compass, Big Key, Flame Lantern, Big Blue Chuchu.
- Royal Valley and the Royal CryptRoyal Valley and Royal Crypt walkthrough for The Minish Cap: Water Element, Sword Beam, Remote Bombs, Graveyard Key.
- Veil Falls and the Cloud TopsVeil Falls and Cloud Tops walkthrough for The Minish Cap: Heart Pieces, Splitblade’s dojo, Source of the Flow and five.
- Palace of Winds (Dungeon 5)Palace of Winds walkthrough for The Minish Cap: Roc’s Cape, four Small Keys, Big Key, Compass, Map, Heart Piece, Gyorg.
- Collecting the Upgrades Before the Four SwordWalkthrough for The Minish Cap: Down Thrust, Great Spin Attack, seven Kinstone fusions, seven Heart Pieces and the.
- Dark Hyrule Castle (Final Dungeon)Dark Hyrule Castle walkthrough for The Minish Cap: king’s cell, Map, Compass, six Small Keys, Big Key, Darknut rooms.
- Vaati Final Boss and EndingVaati final boss guide for The Minish Cap: beat Vaati Reborn, Transfigured and Wrath, free Zelda, escape the castle.
- Postgame Collectibles and 100% CompletionPostgame 100% guide for The Minish Cap: last Kinstone fusions, Biggoron’s Mirror Shield, Heart Pieces, Heart.
| Covers | The Palace of Winds in the Cloud Tops, from the entrance to the Gyorg Pair and the Wind Element |
|---|---|
| Dungeon | Palace of Winds (Dungeon 5): Roc’s Cape, boss Gyorg Pair, Wind Element |
| Rewards | Roc’s Cape, Compass, Dungeon Map, 4 Small Keys, Big Key, 2 Kinstone pieces, 1 Piece of Heart, Heart Container, Wind Element; no Kinstone fusions, Tiger Scrolls or bottles |
The Palace of Winds is the fifth dungeon and the last one before the Four Sword. It floats above the Cloud Tops. You win Roc’s Cape from a chest early on and use it to jump and glide across the cloud platforms, collect four Small Keys, the Big Key, the Compass, the Dungeon Map, two Kinstone pieces and a Piece of Heart, and then face the Gyorg Pair. Beating the pair gives you the Wind Element and a Heart Container.
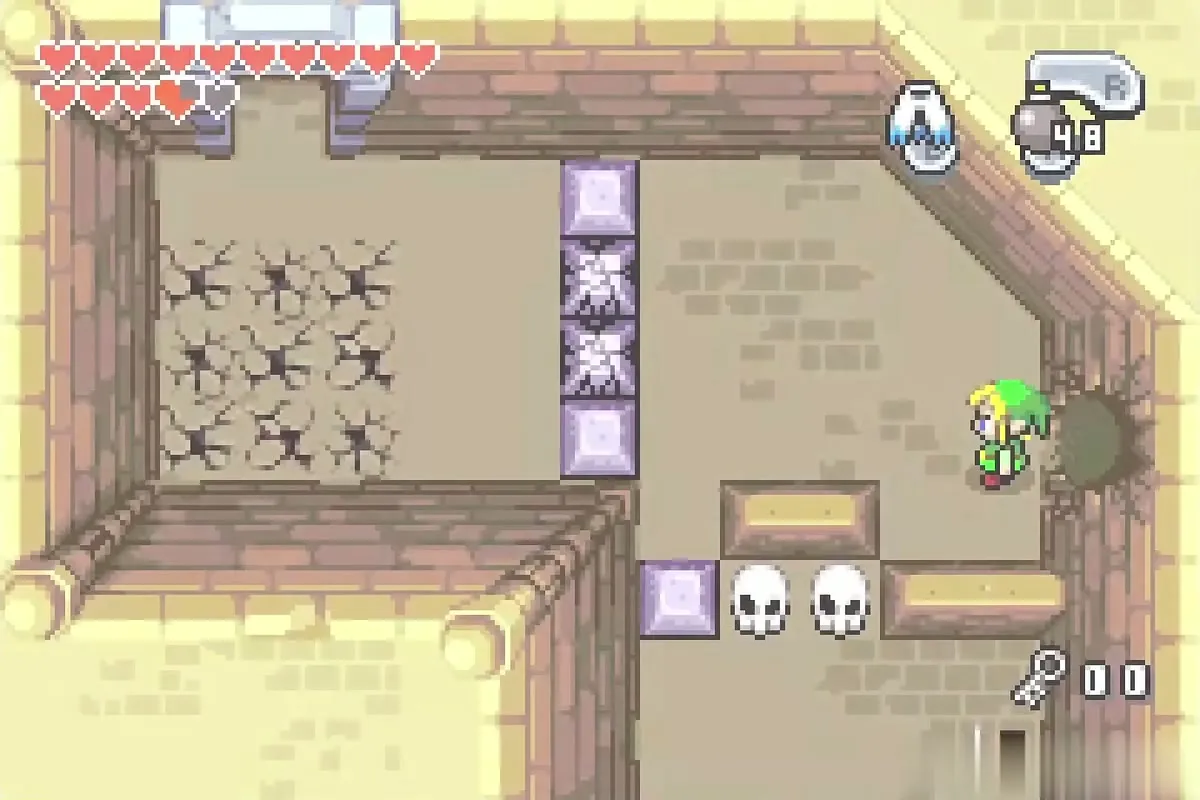

Reaching the Palace of Winds
The Palace opens once the five Mysterious Clouds in the Cloud Tops have been fused with Gold Kinstones. Walk in at normal size. Bring the Cane of Pacci, the Magical Boomerang if you own it and the Flame Lantern, because the Palace uses the first three of these in its puzzles and the Four Sword clones in almost every room.
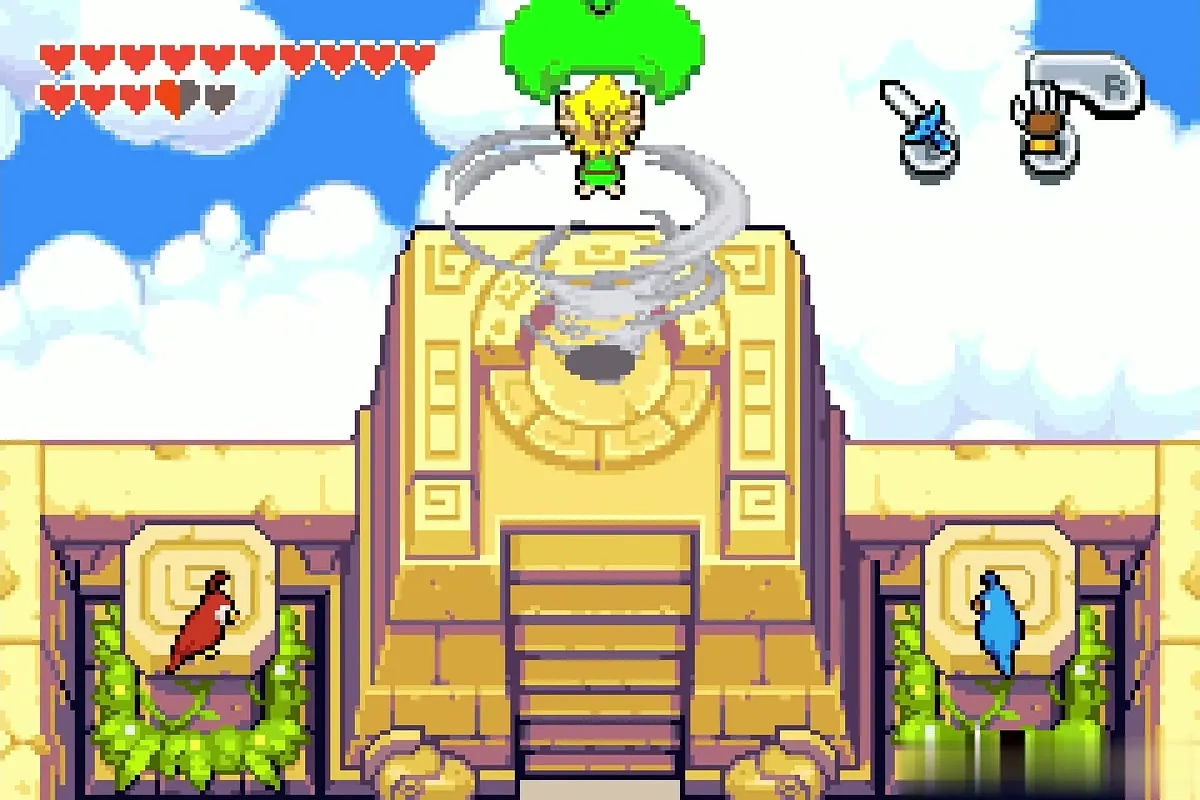

Dungeon: Palace of Winds (Dungeon 5)
Roc’s Cape: the cloud rooms and the spike-floor room
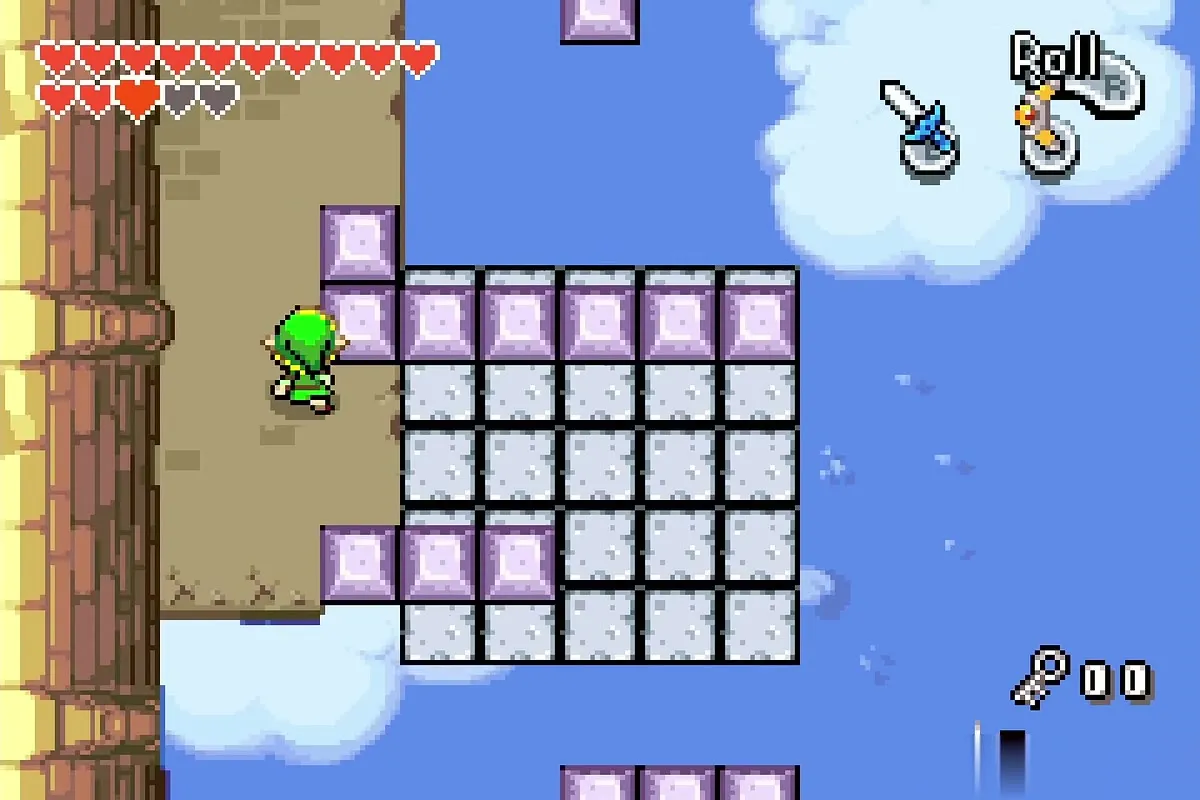
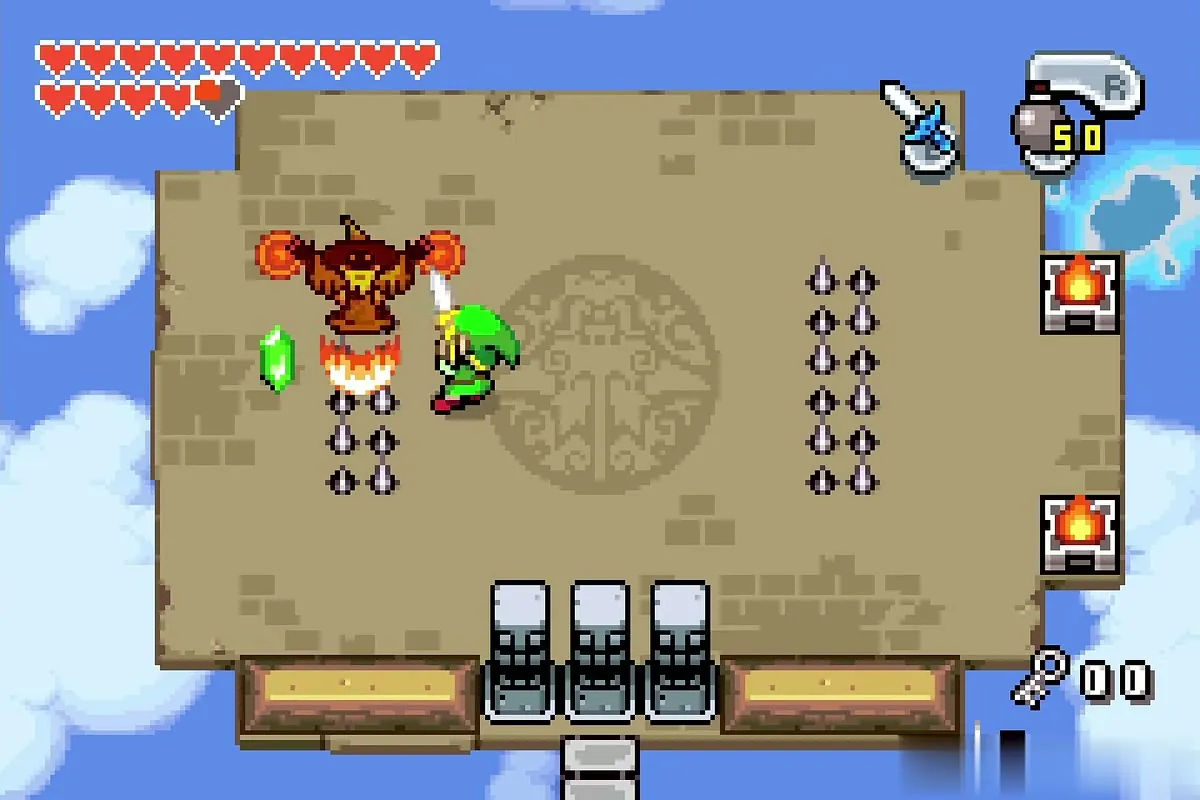
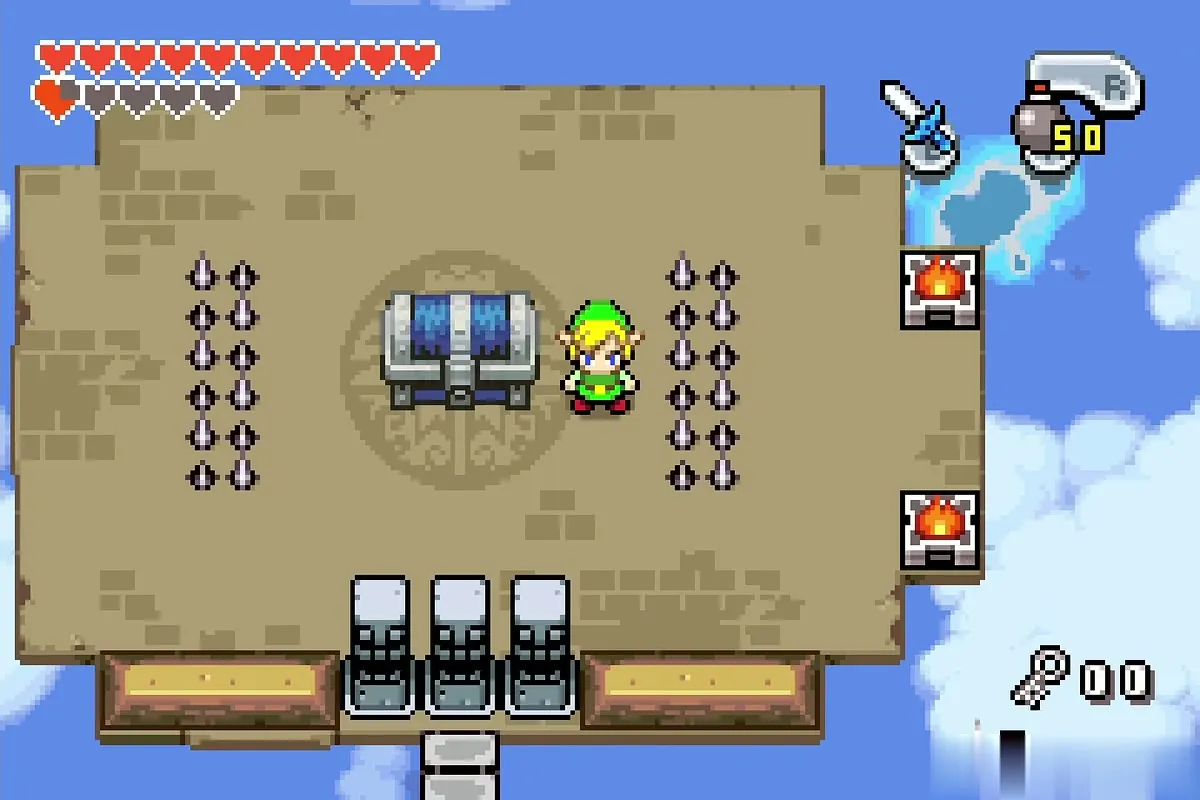
Cross the first rooms by hitting the floor switches that raise bridges and by using the Cane of Pacci or a gust where a platform is cracked. Push the grey and purple blocks to open the way, and keep going until you reach a square room with spikes on the floor and a circular emblem in the middle.

Fight off the waves of Wizzrobes that teleport into this room, staying clear of the spikes at its sides. When the last one falls, a big chest rises from the emblem. Open it to receive Roc’s Cape, which lets you jump with the item button and hold the button to jump farther. The cape only works in this dungeon, so equip it at once.


Cloud tiles, gale room and stomp panels
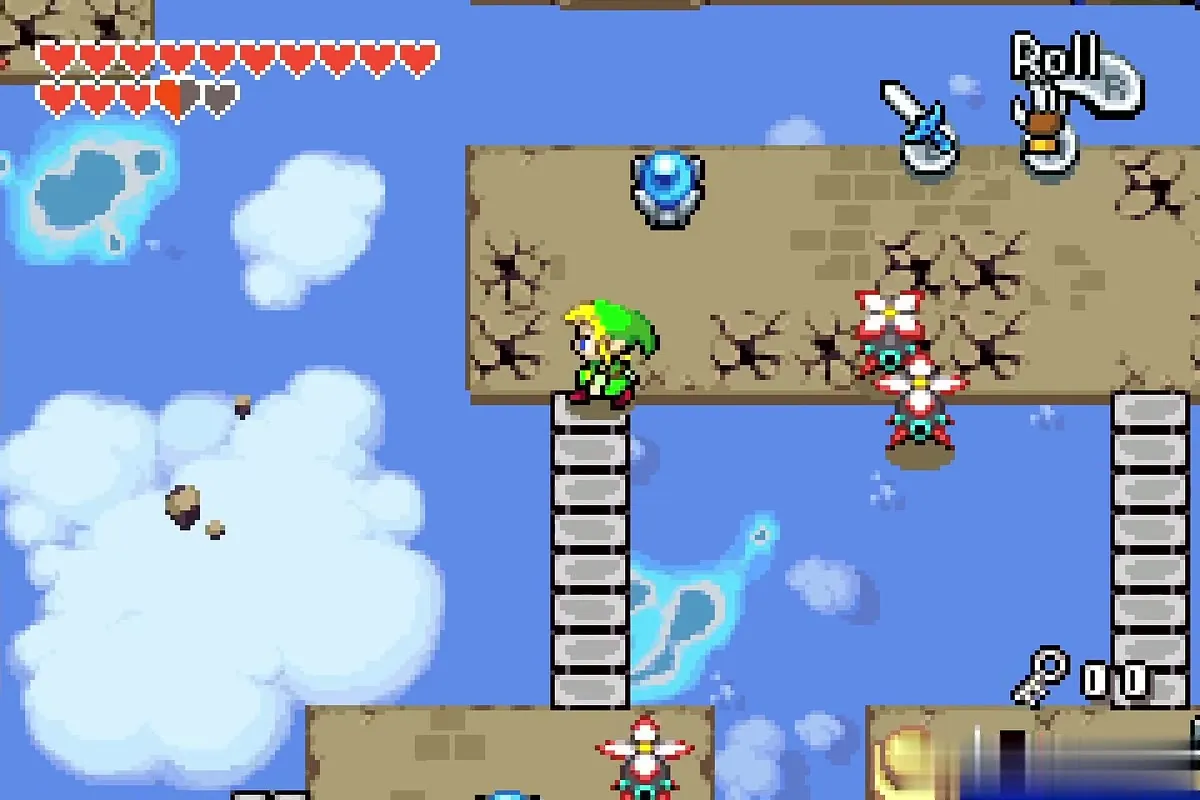
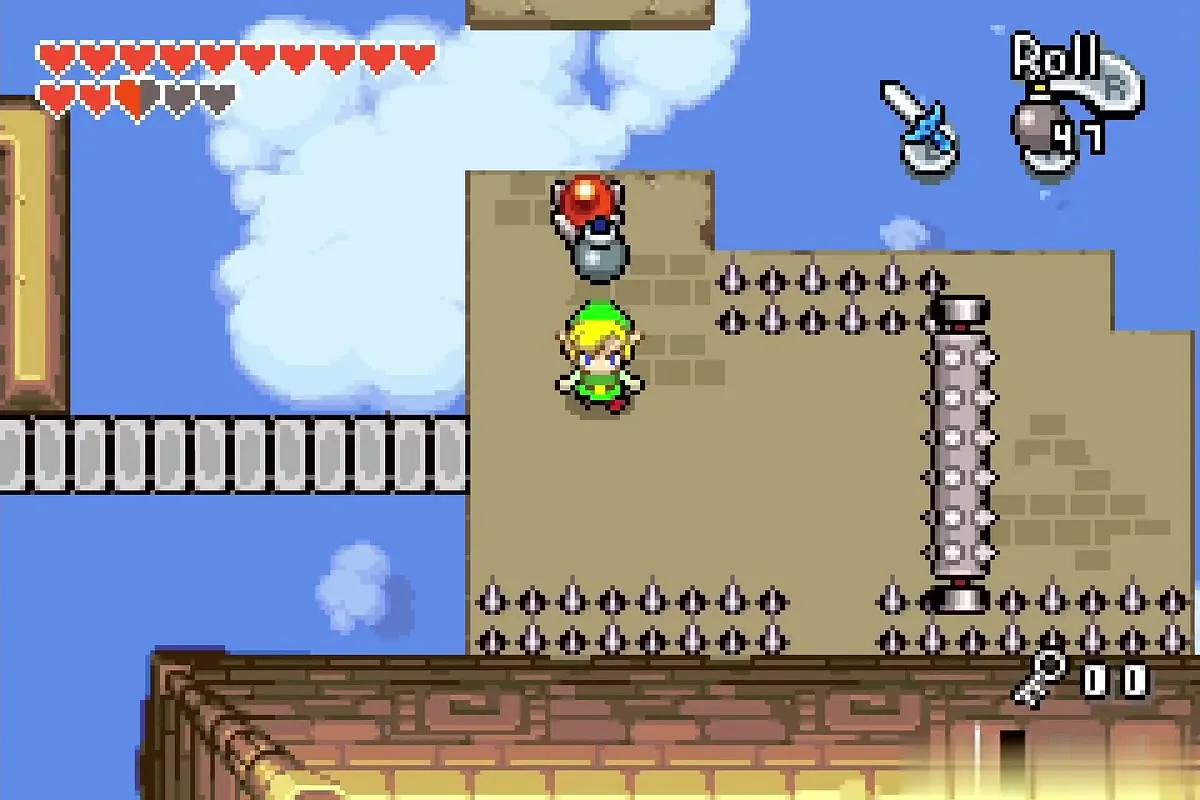
Back outside, hop the cloud tiles with the cape. Spiked Beetles patrol the sky rooms, so flip them with your shield or glide past them. In the block rooms, charge the sword to split into clones and press the matching switches together.
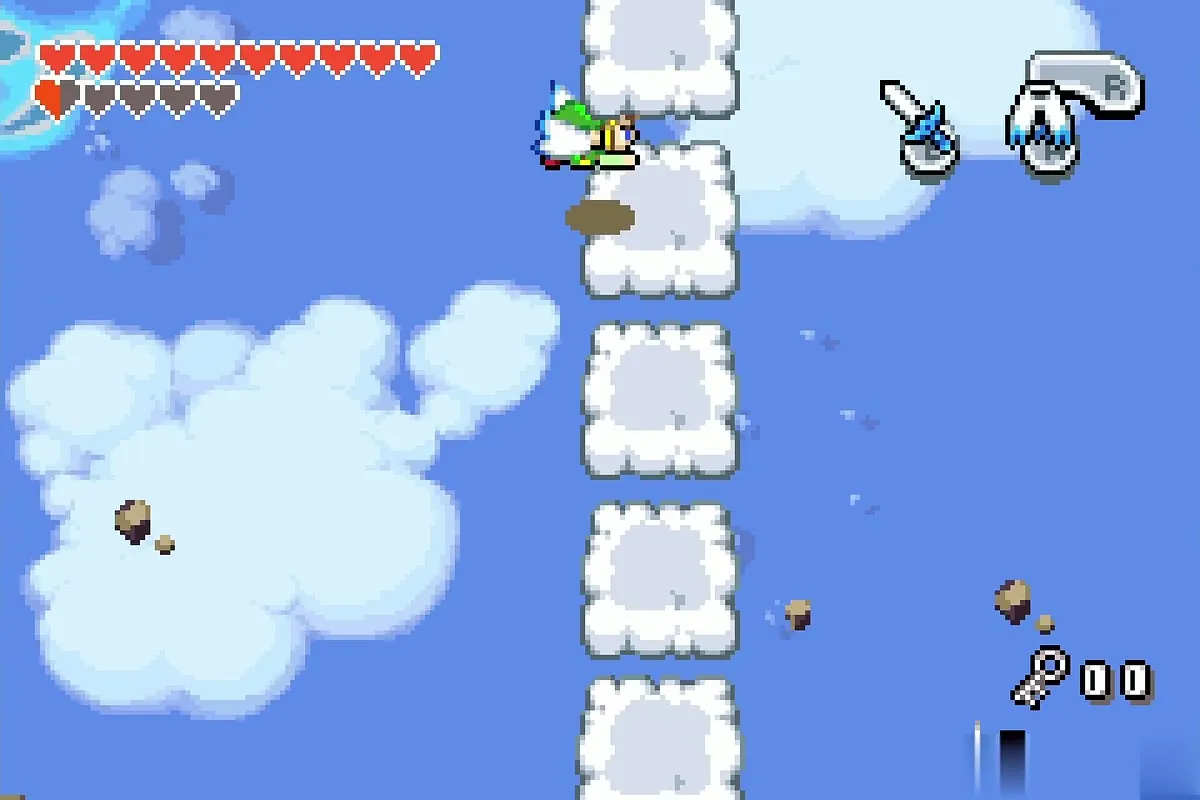
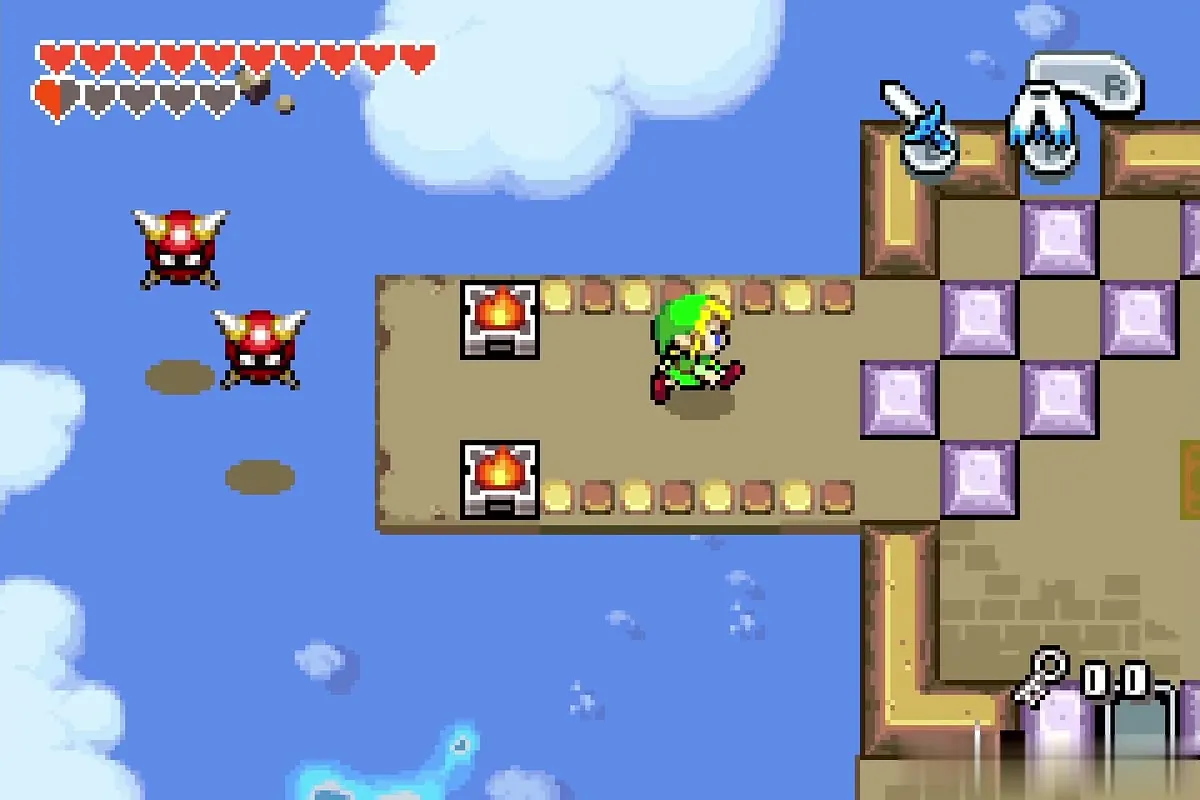
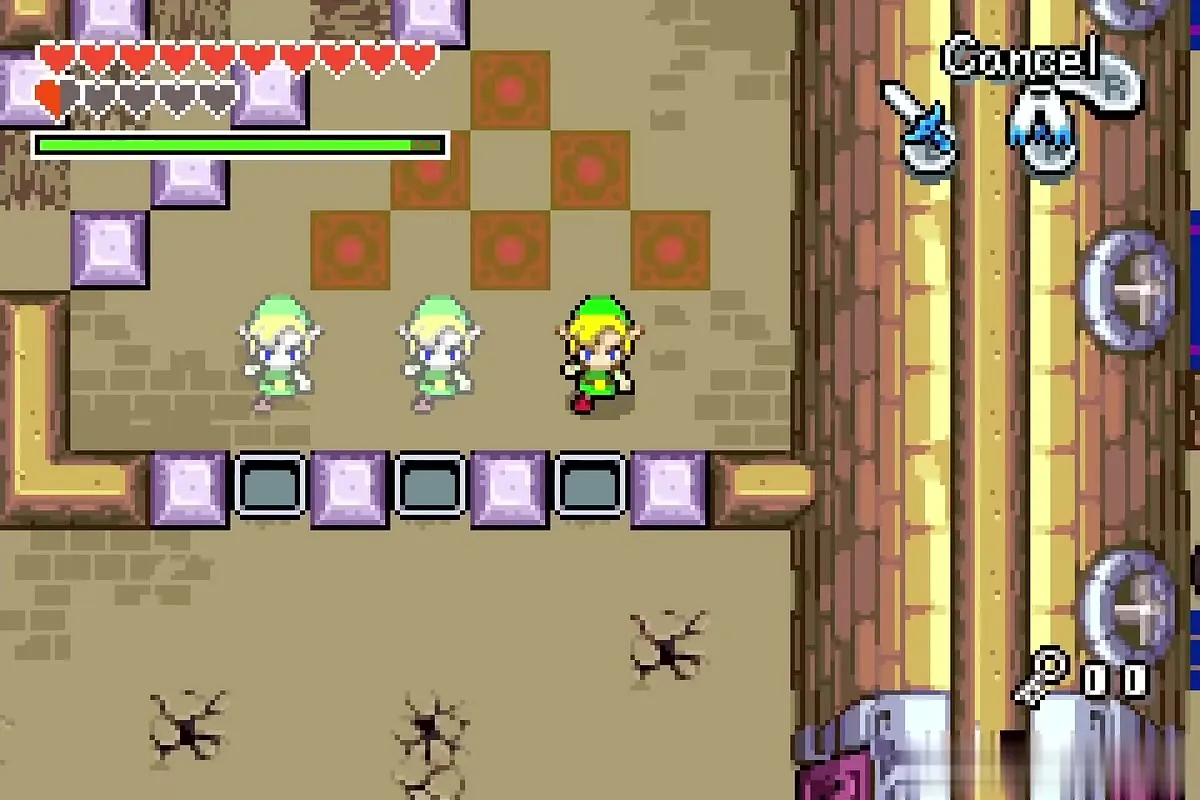
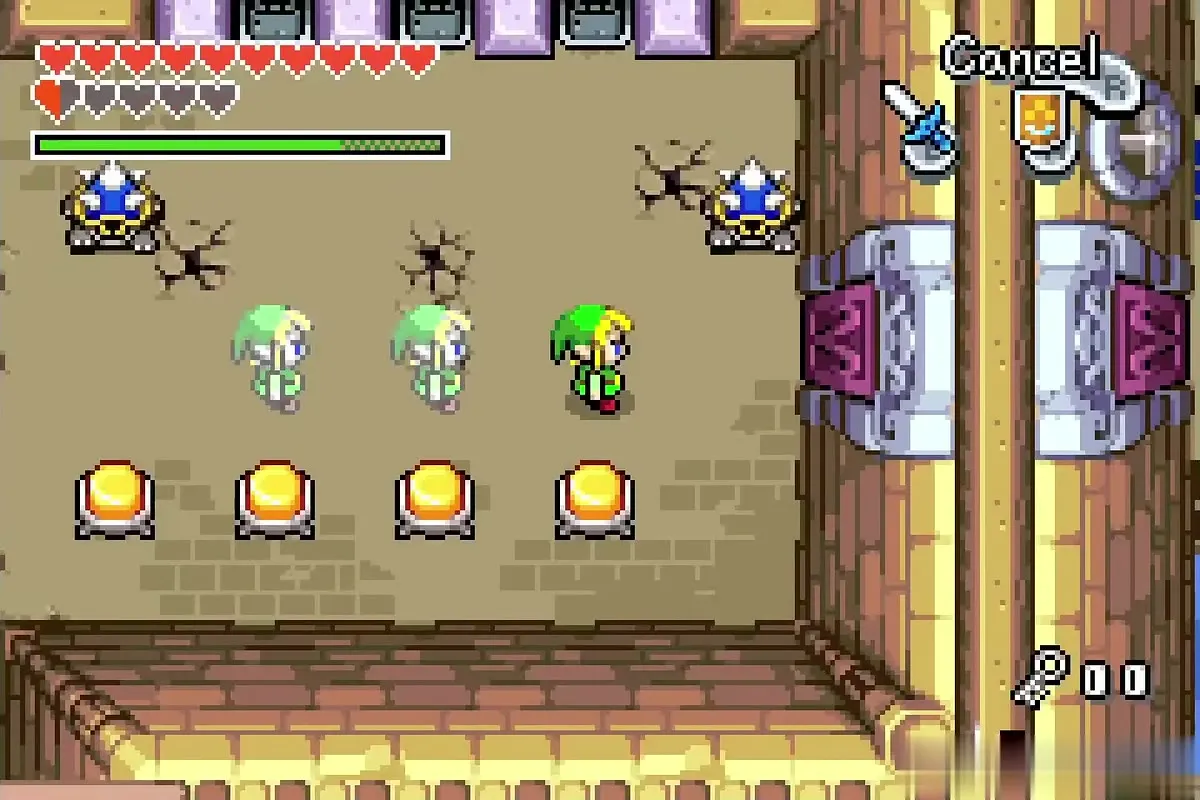
A room with wind fans comes next, and Ezlo warns of a strong gale. Wait for each fan to stop before you cross, and use the Cane of Pacci on a hole when you need to launch yourself to a ledge.
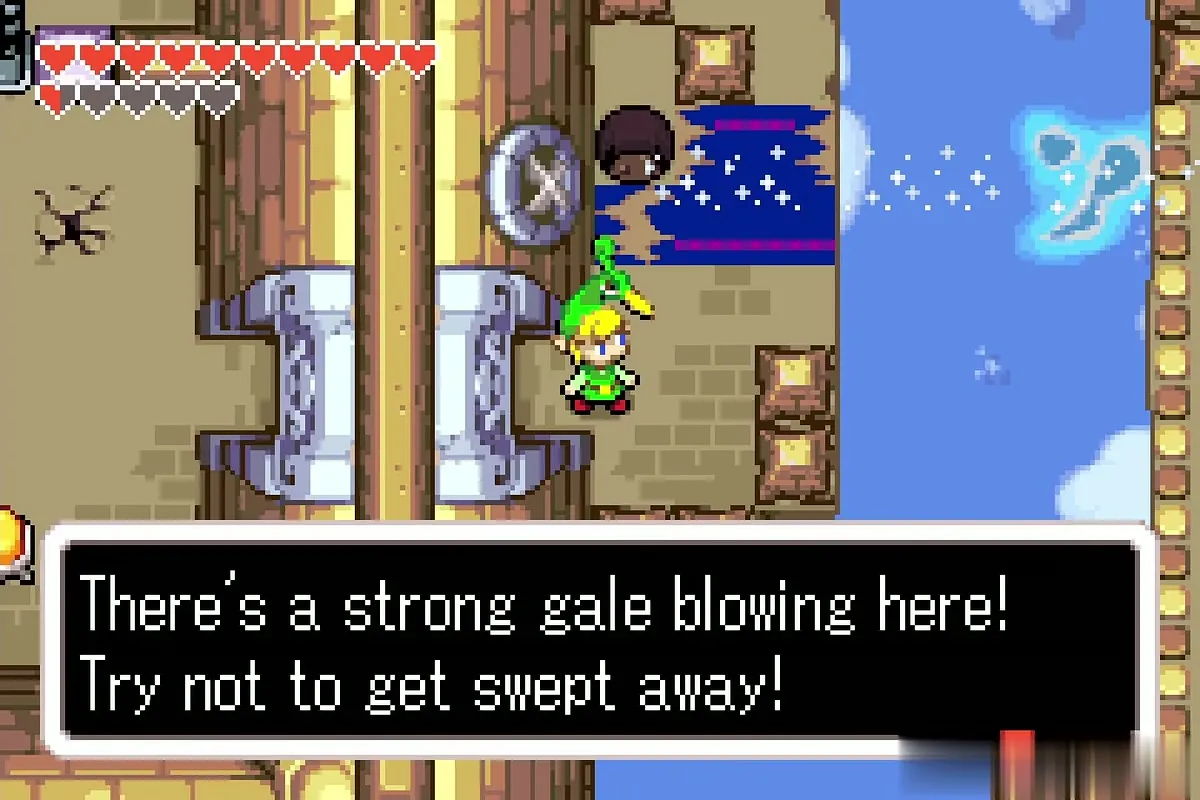
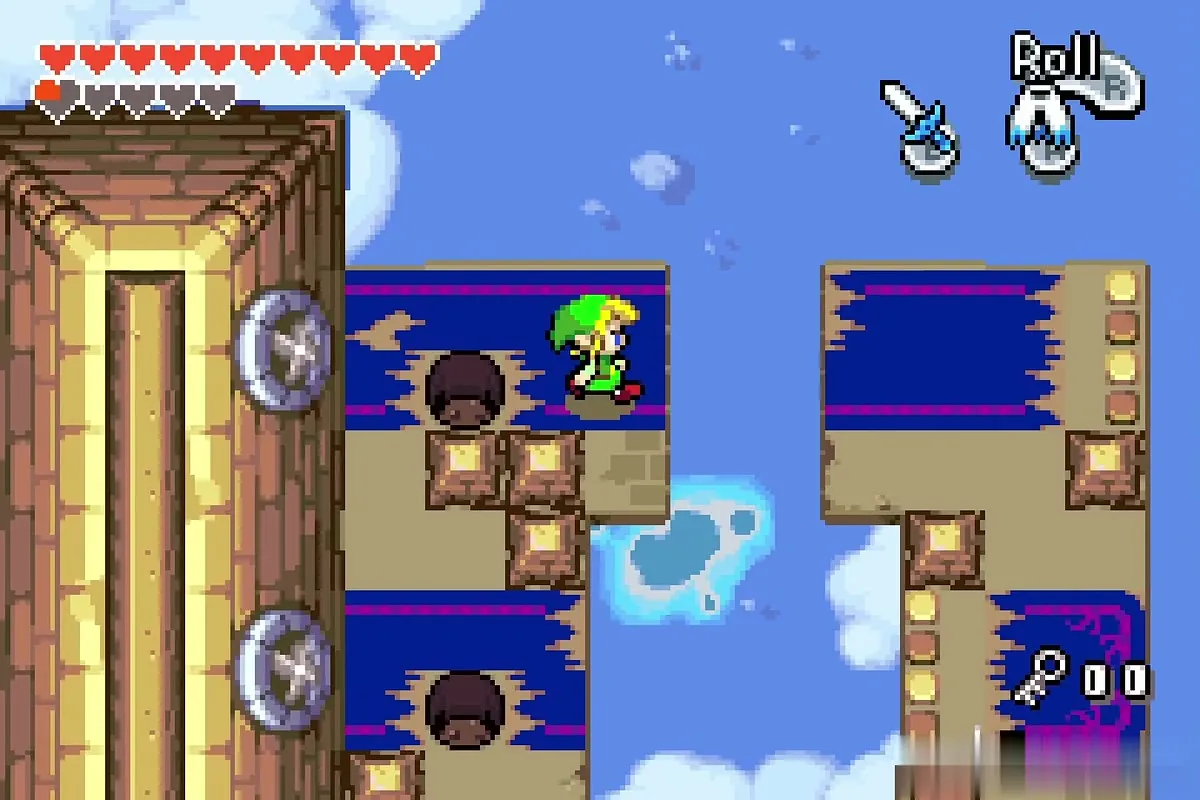
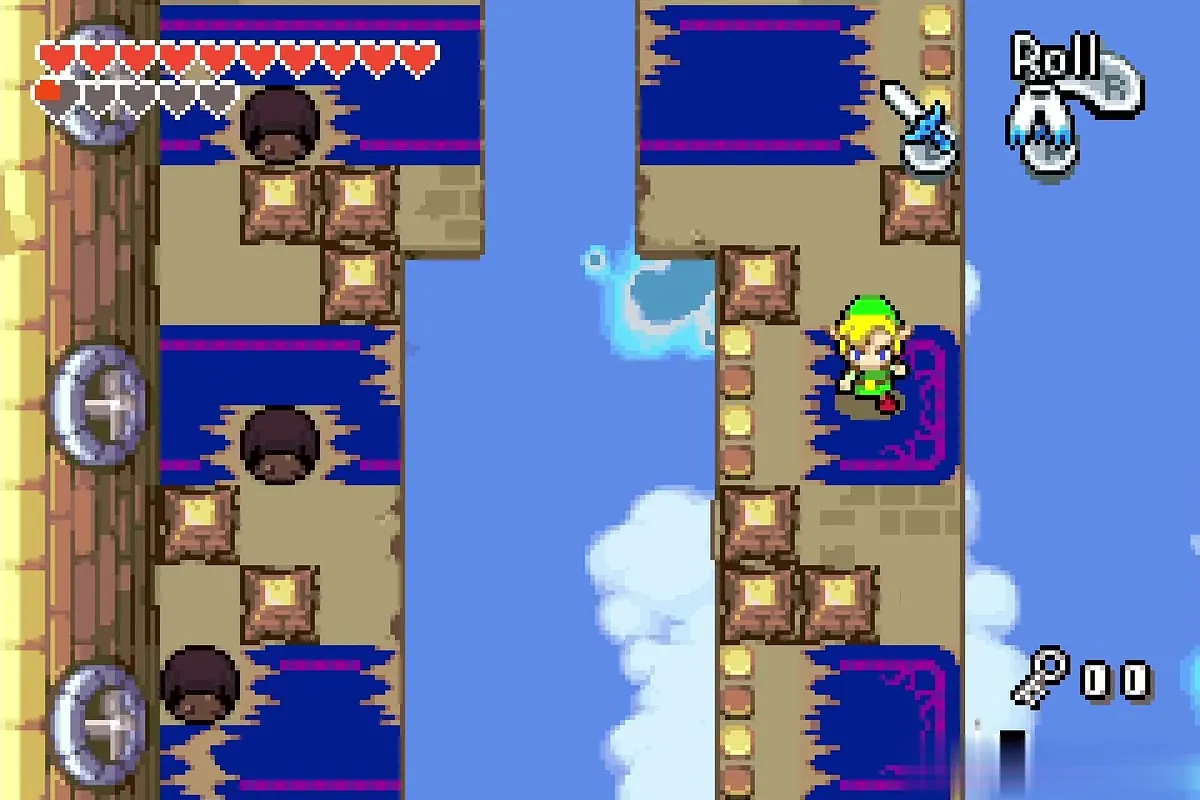
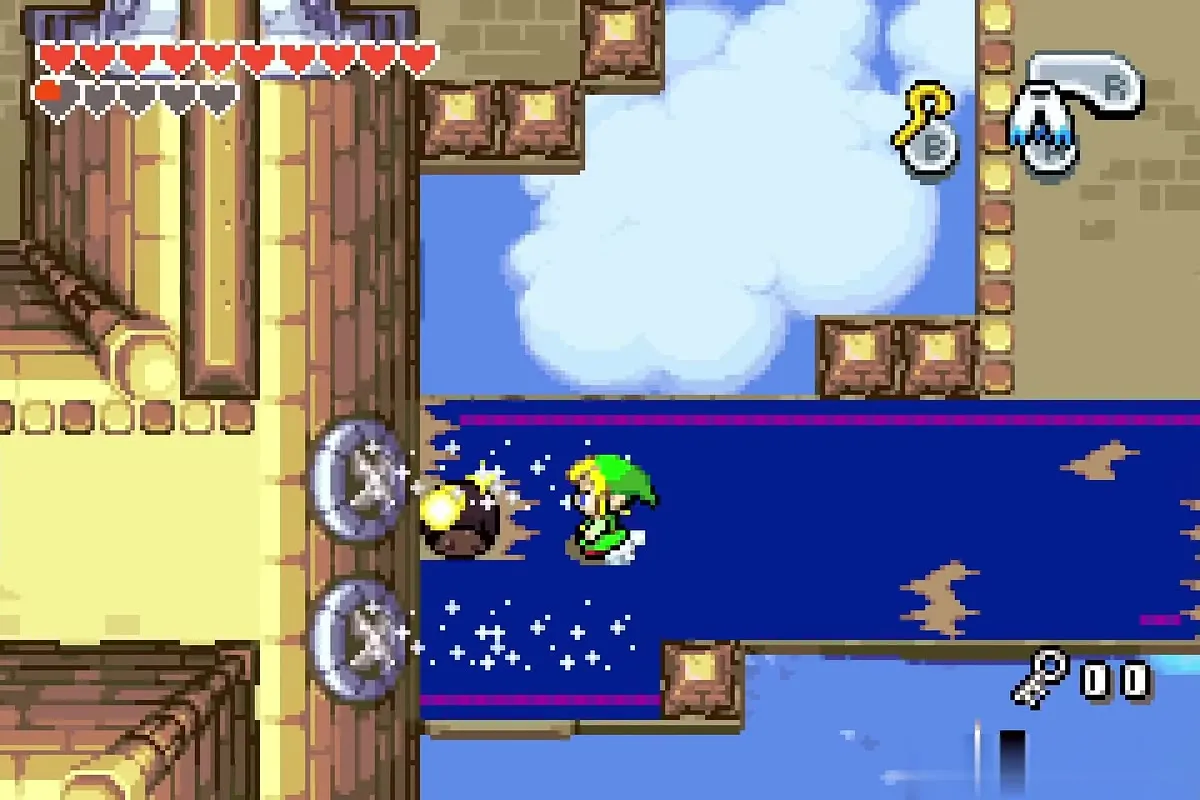
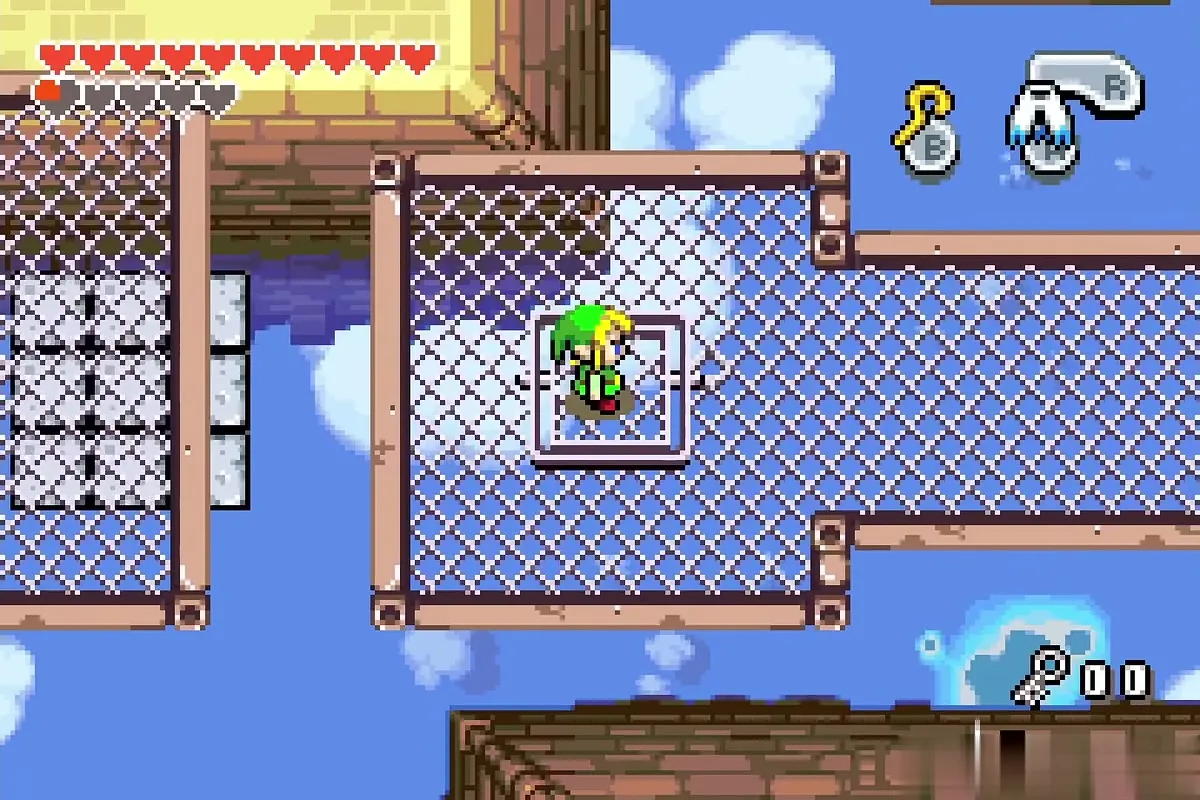
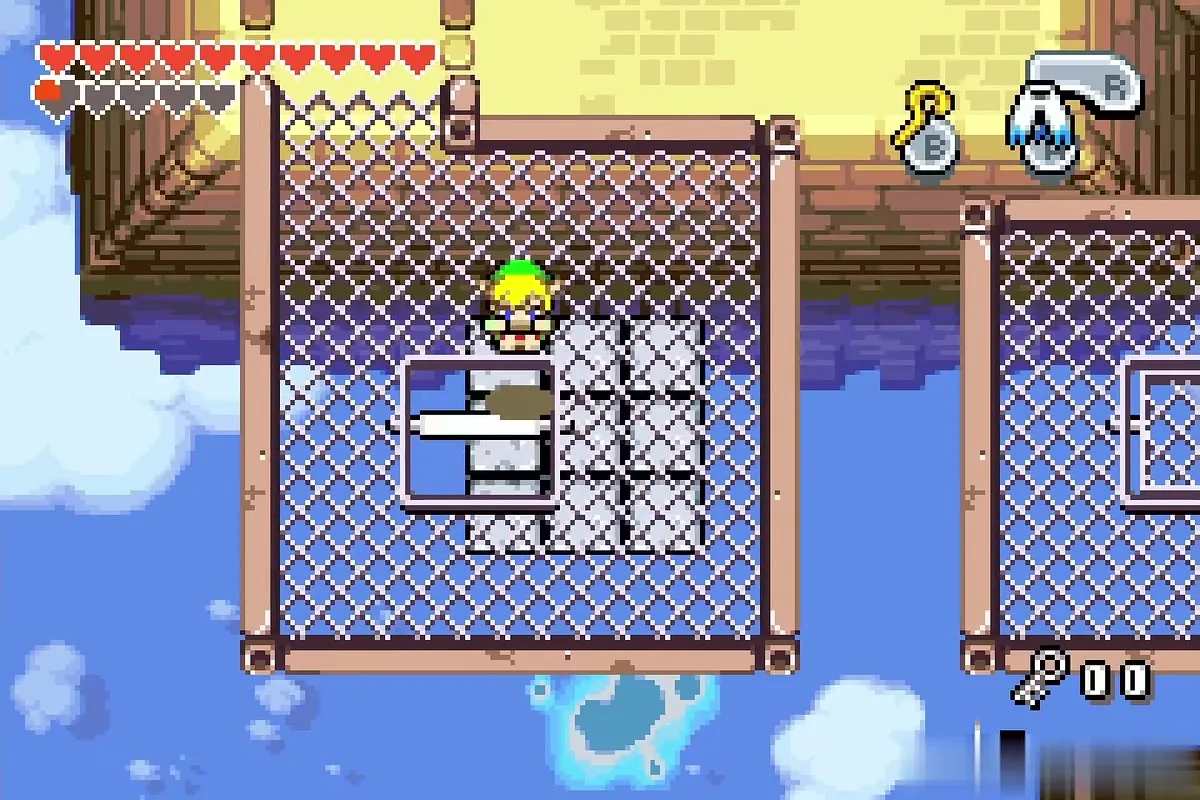
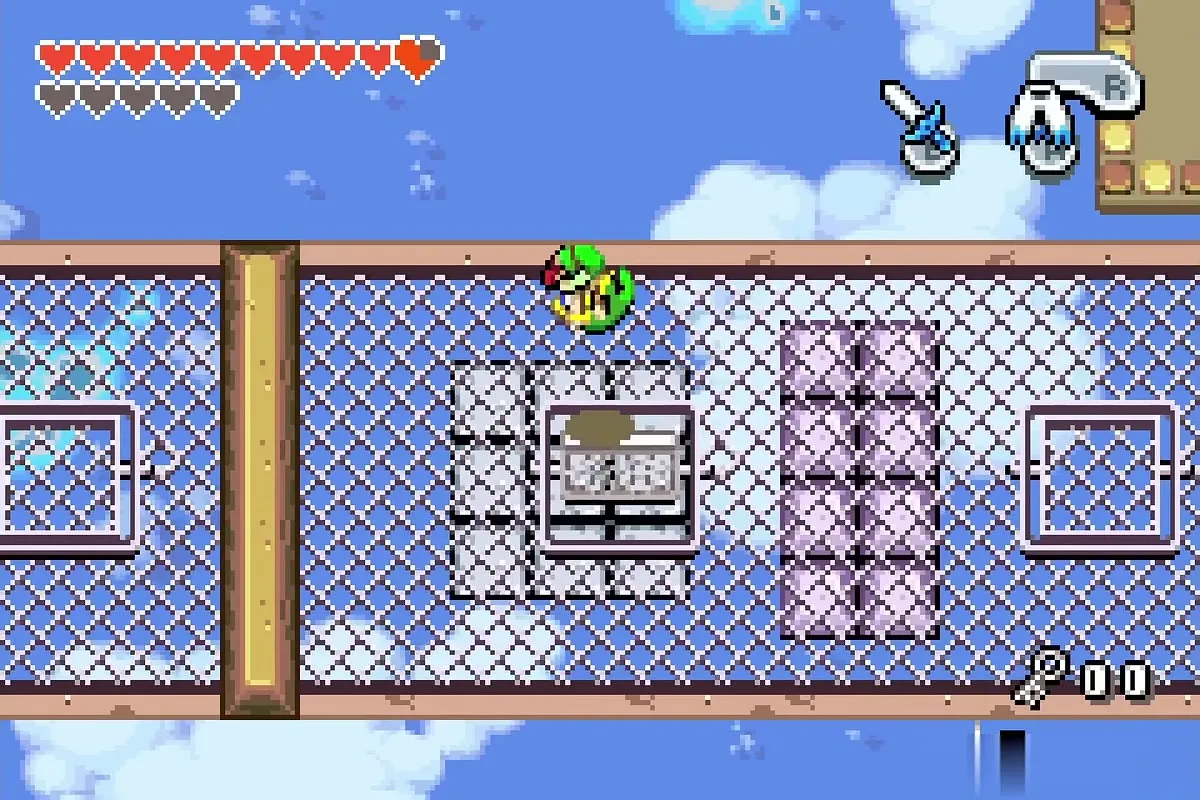
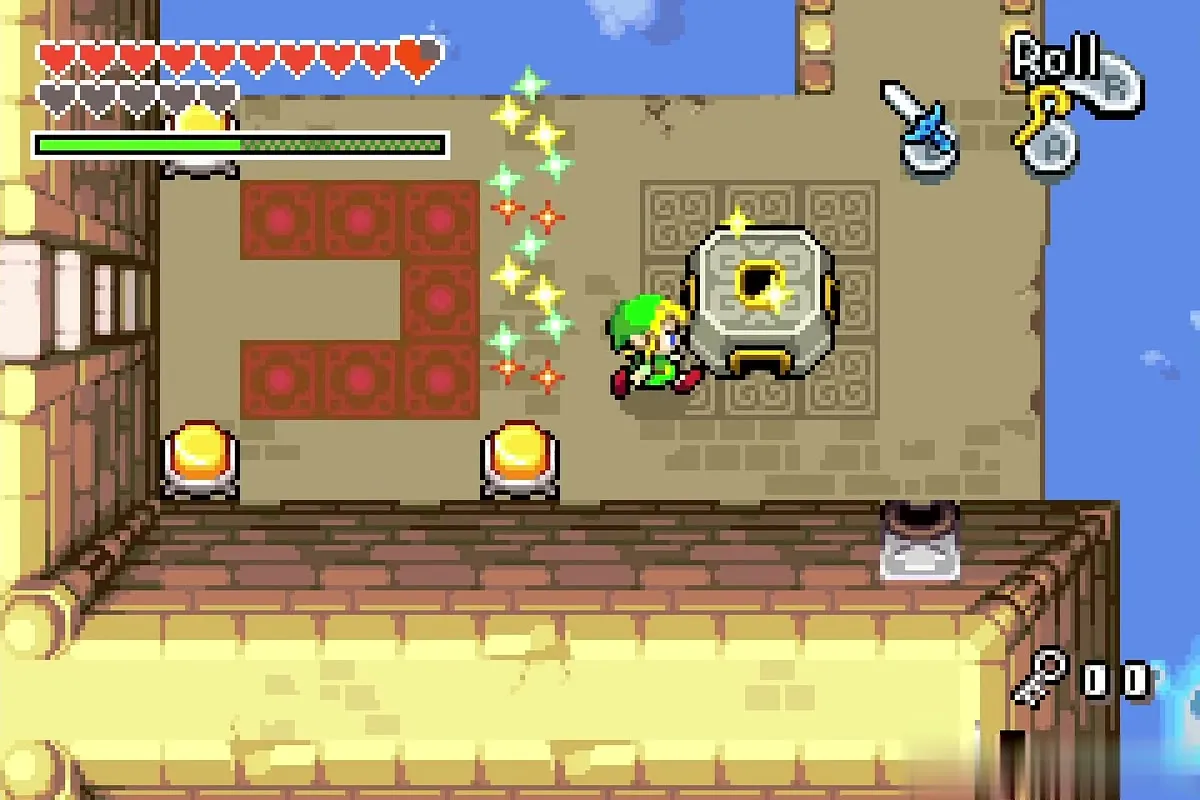
Beyond are rooms with chain-link floor panels. Stomp a square panel with a jump from the cape and it flips, letting you move between layers. Keep going through the fan, mesh and pot rooms, solving the clone-and-switch puzzles as they appear.

Small Keys 1 and 2
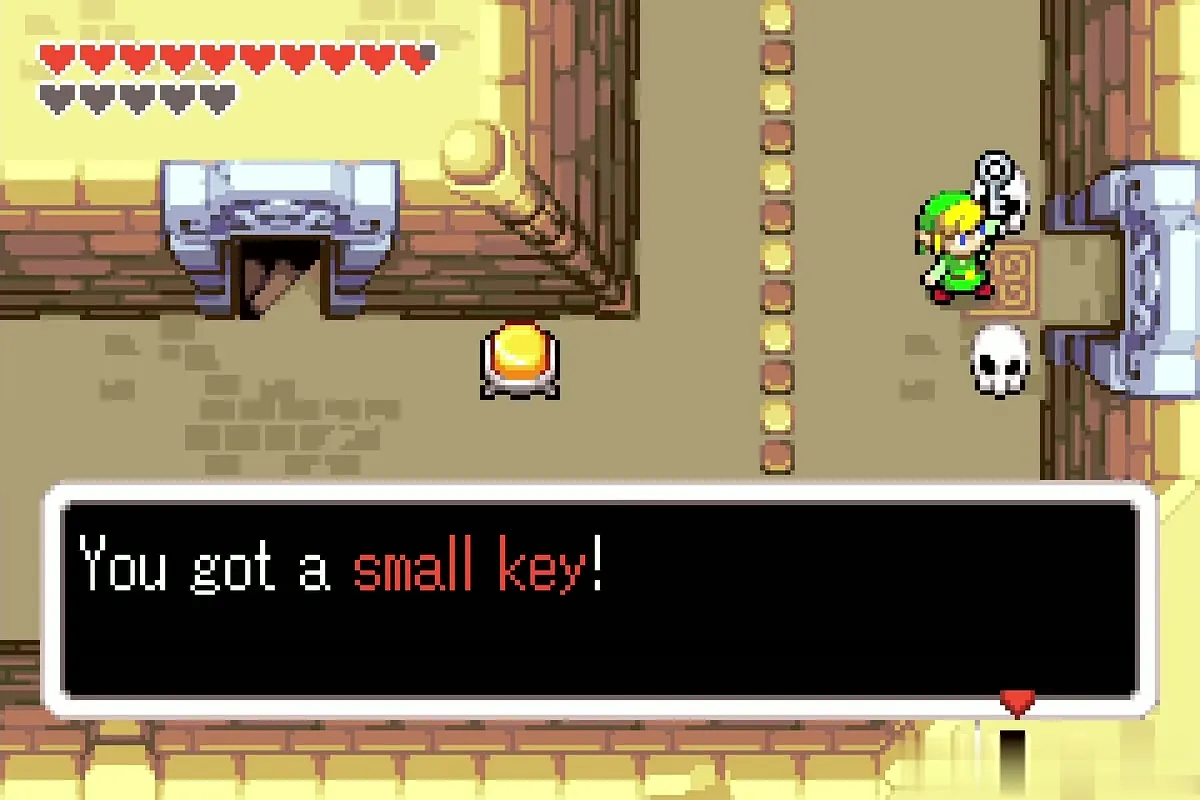
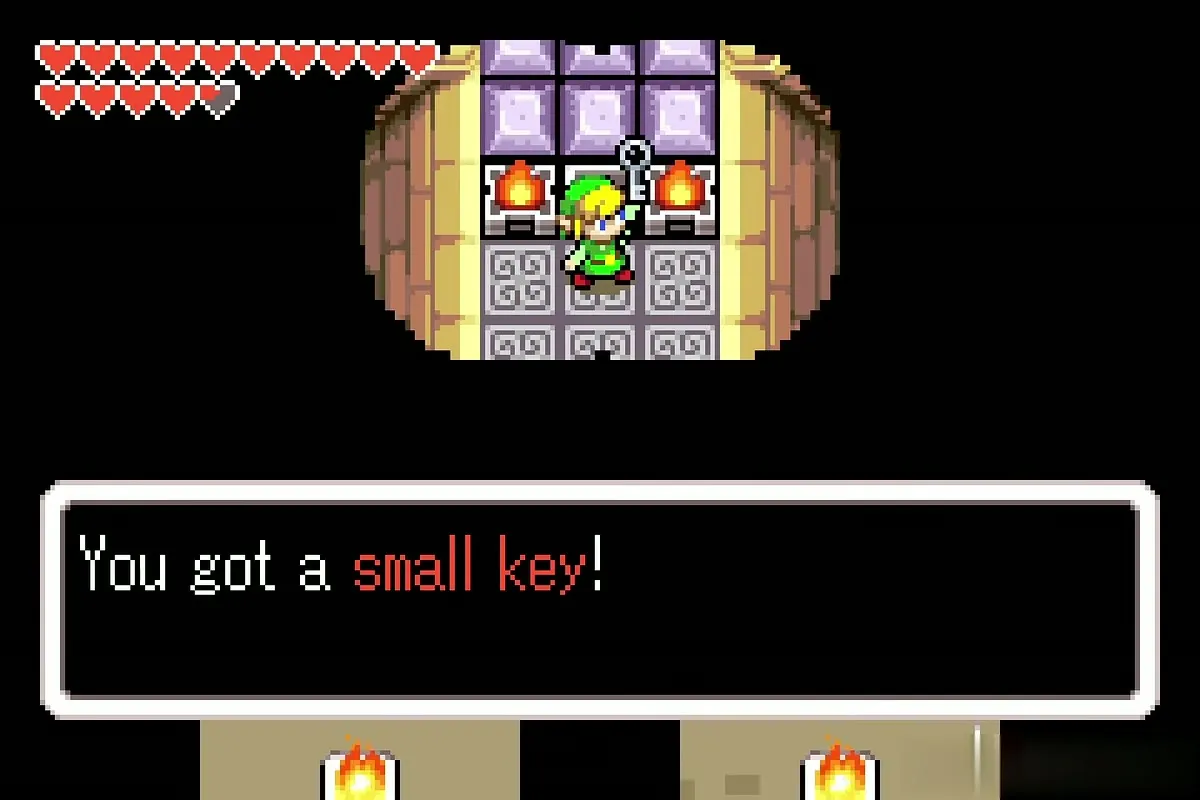
In the skull corridor, a chest holds Small Key number one. Take it, then cross the moving cloud platforms and spike corridors, using the cape to cover the gaps, until you reach a locked door and spend the key there.

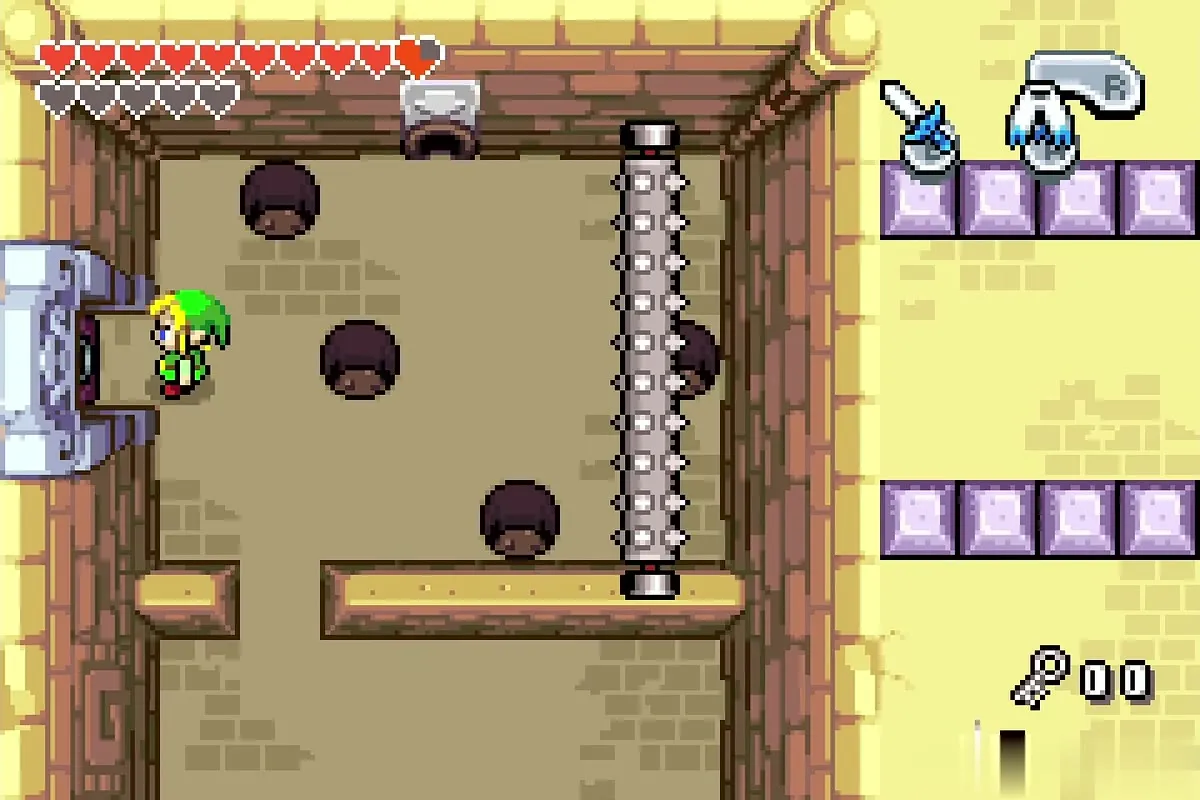
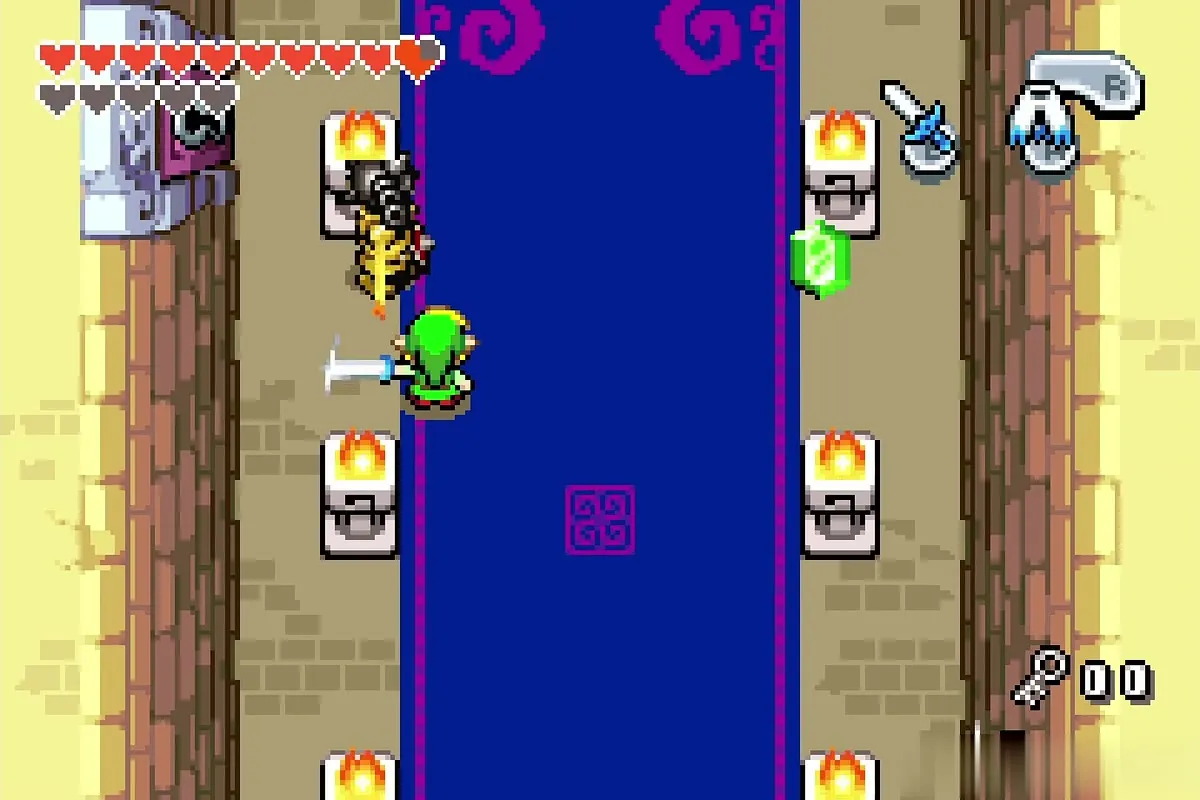
In the blue-carpet rooms with torches, defeat the Stalfos and the icy enemies that follow. The next room has a blue carpet, a pillar and a row of purple blocks; beat the Stalfos there and open the chest for Small Key number two.


Big Key
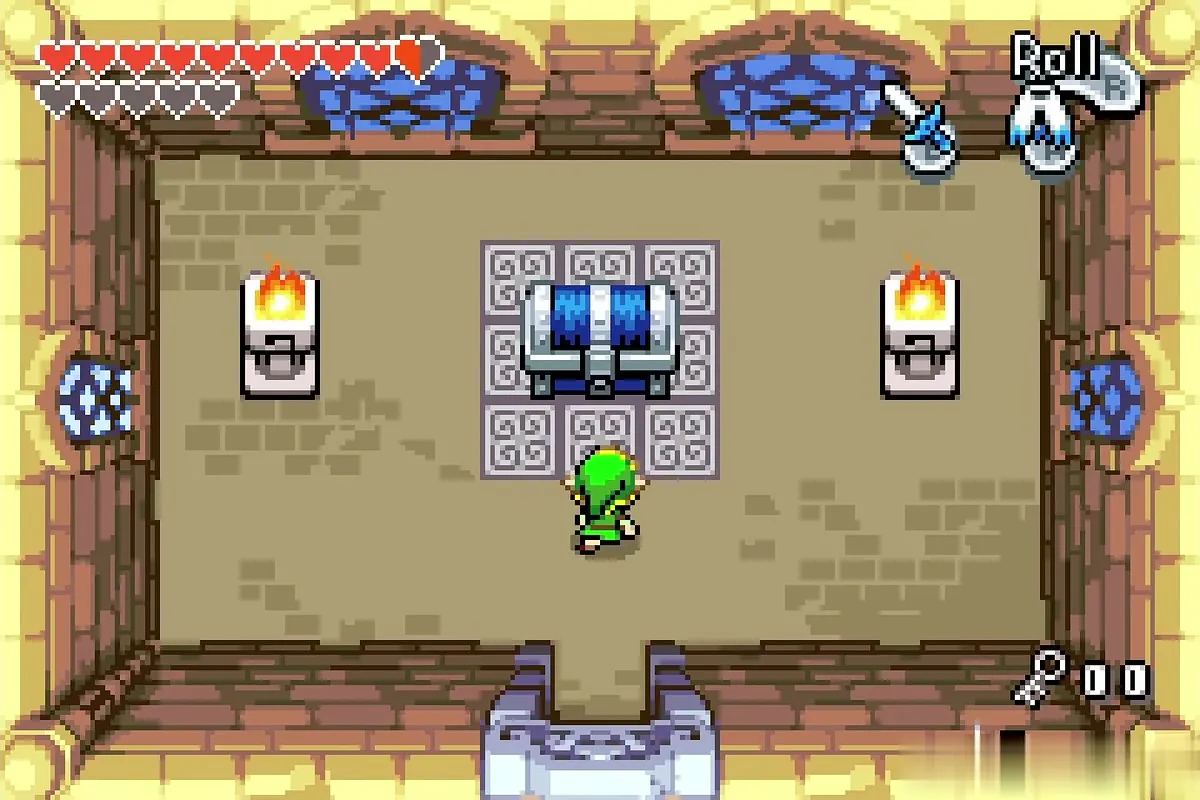
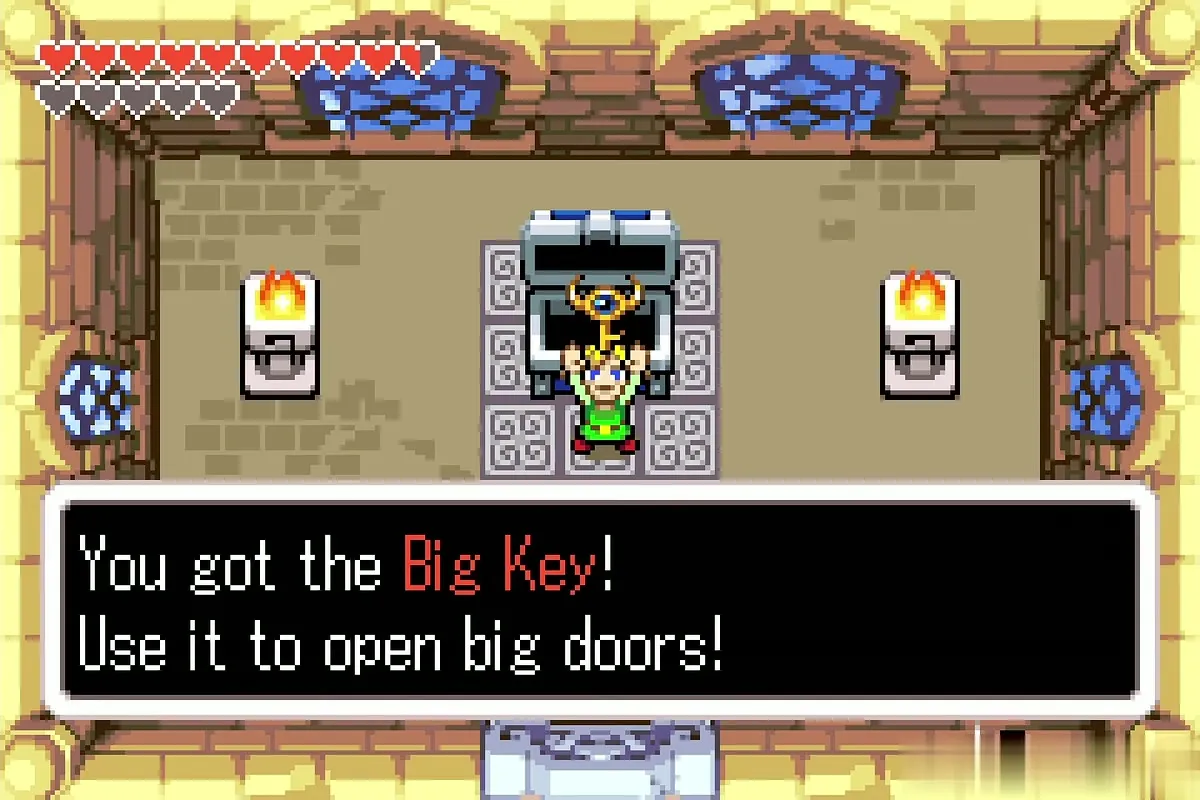
Use Small Key number two on the door at the end of the block row. The big chest in the next room holds the Big Key, which opens the big door before the boss. Keep it with you.
Compass: the dark rooms
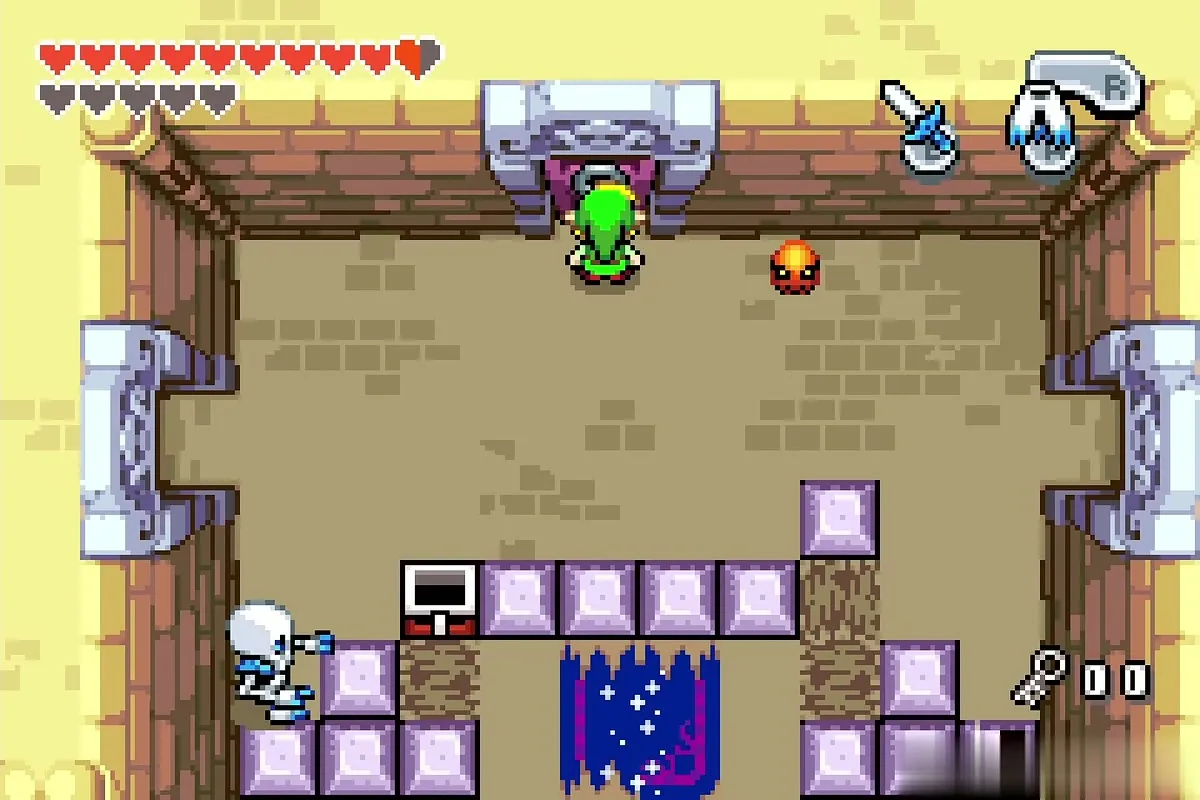
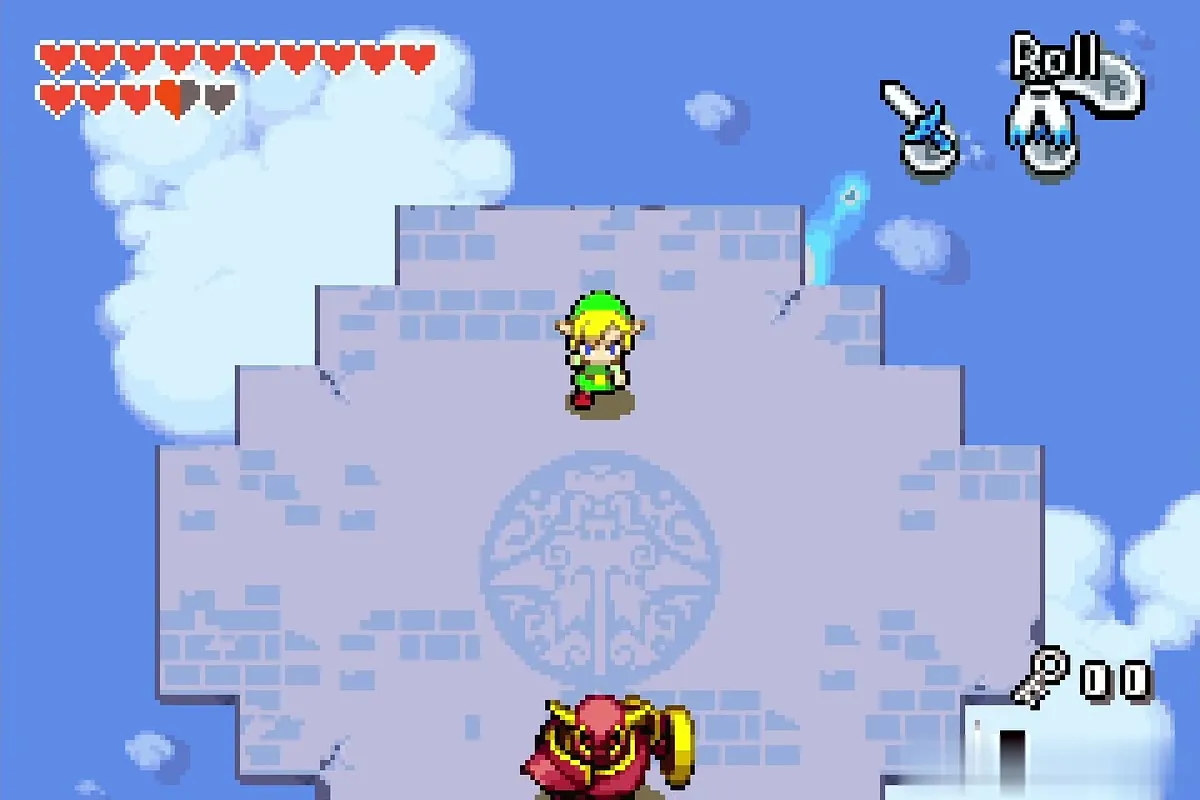
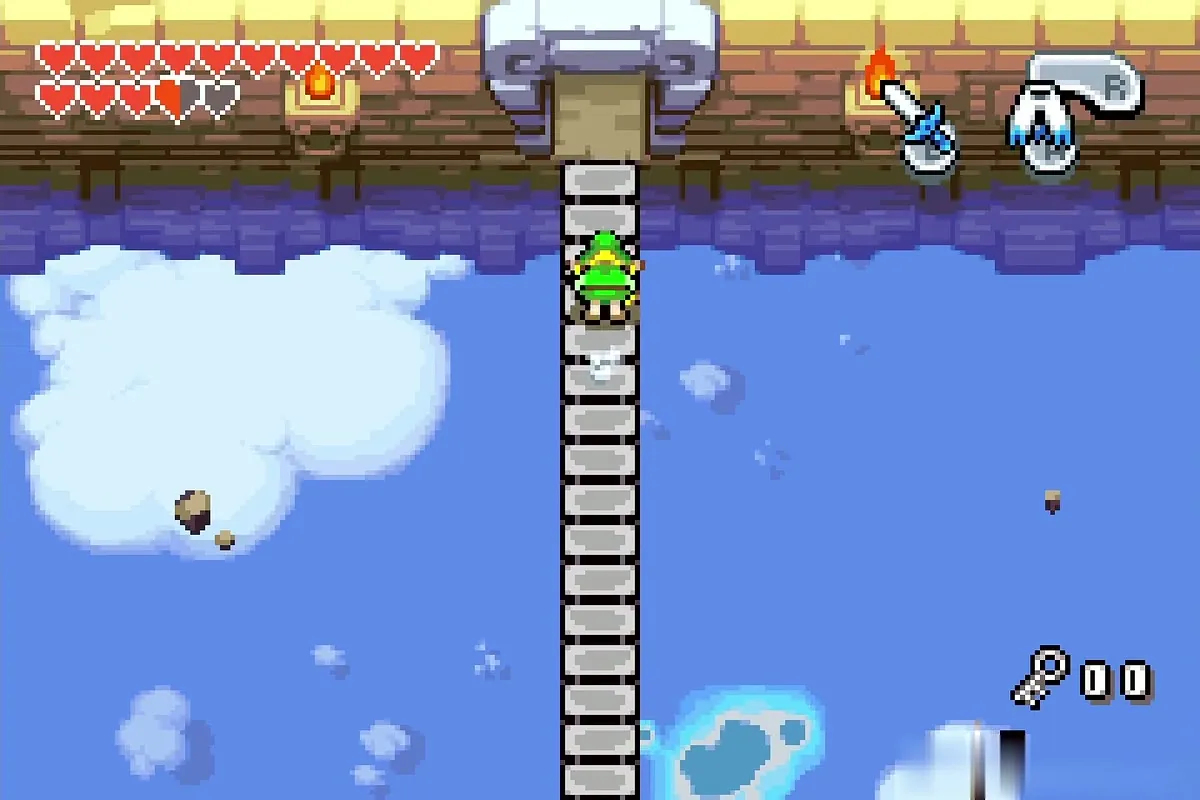
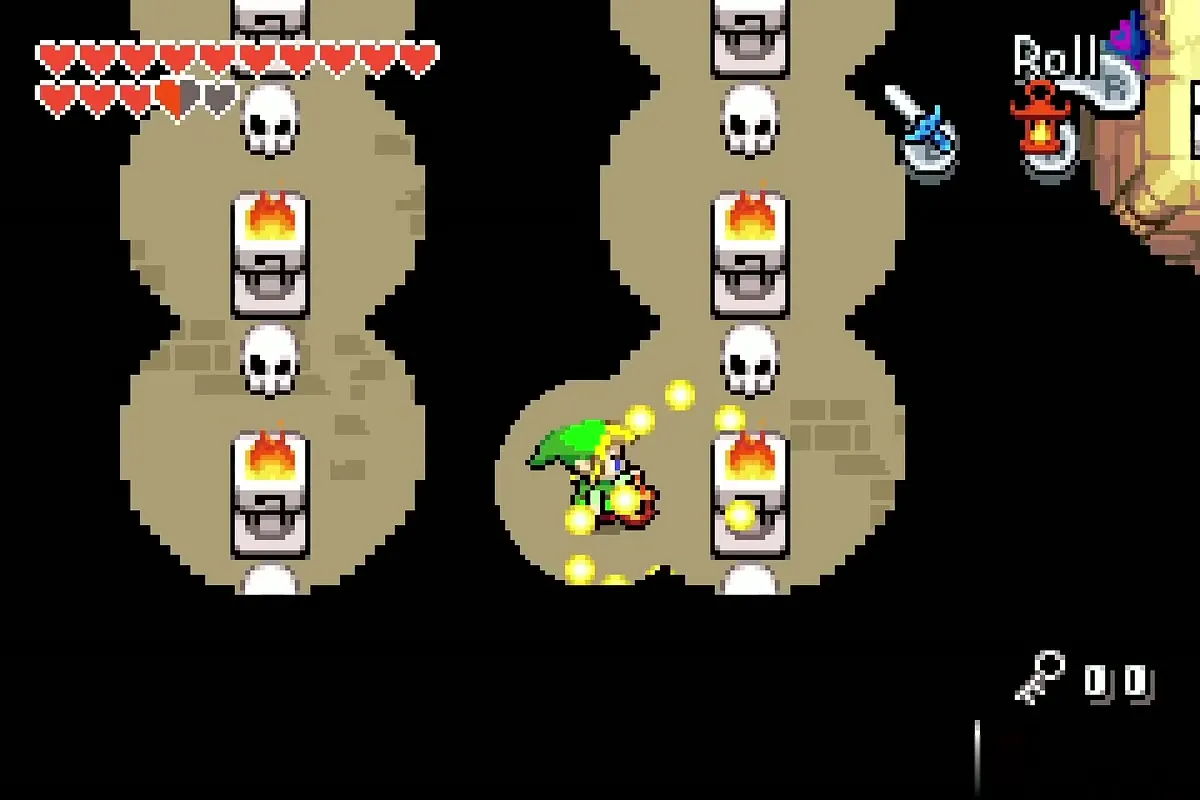
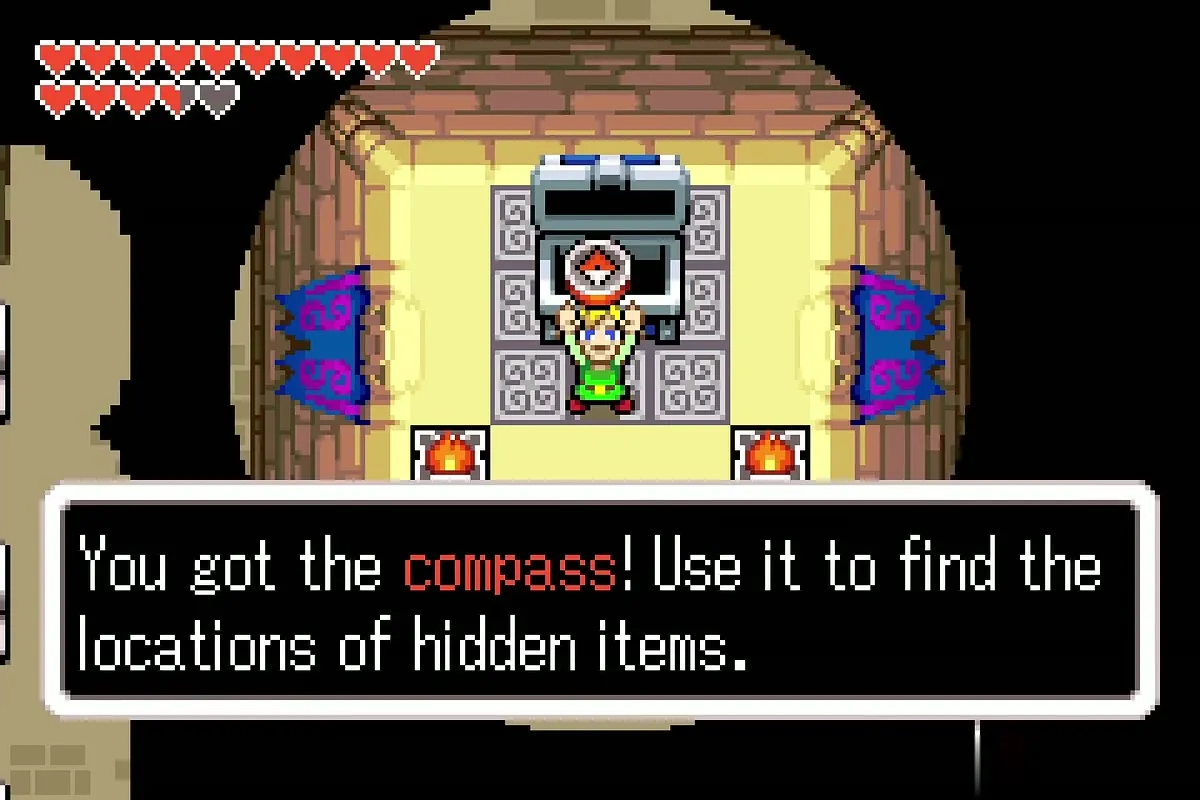
Go through the plus-shaped tile room and climb the ladder to a round stone platform. The rooms beyond are dark, so equip the Flame Lantern and light the torches as you go. At the end of the corridor, a chest holds the Compass, which marks chests and the boss on the dungeon map.

Small Key 3
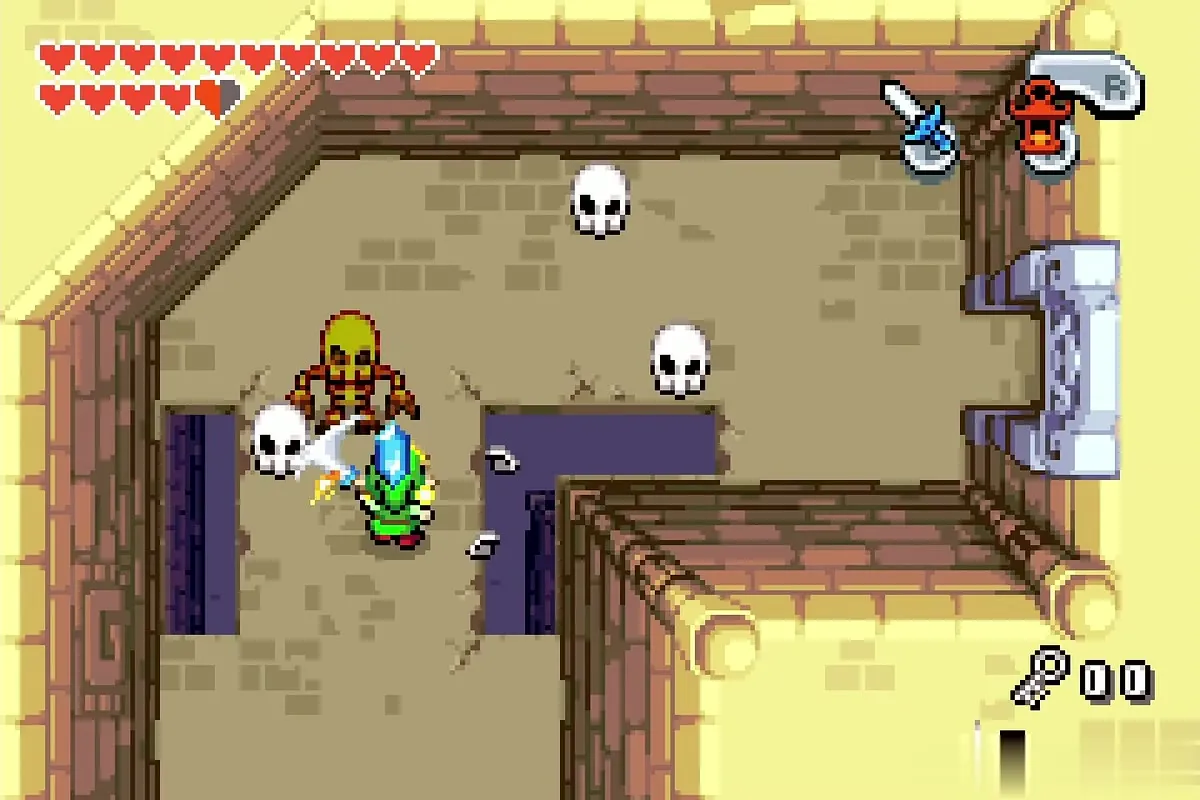
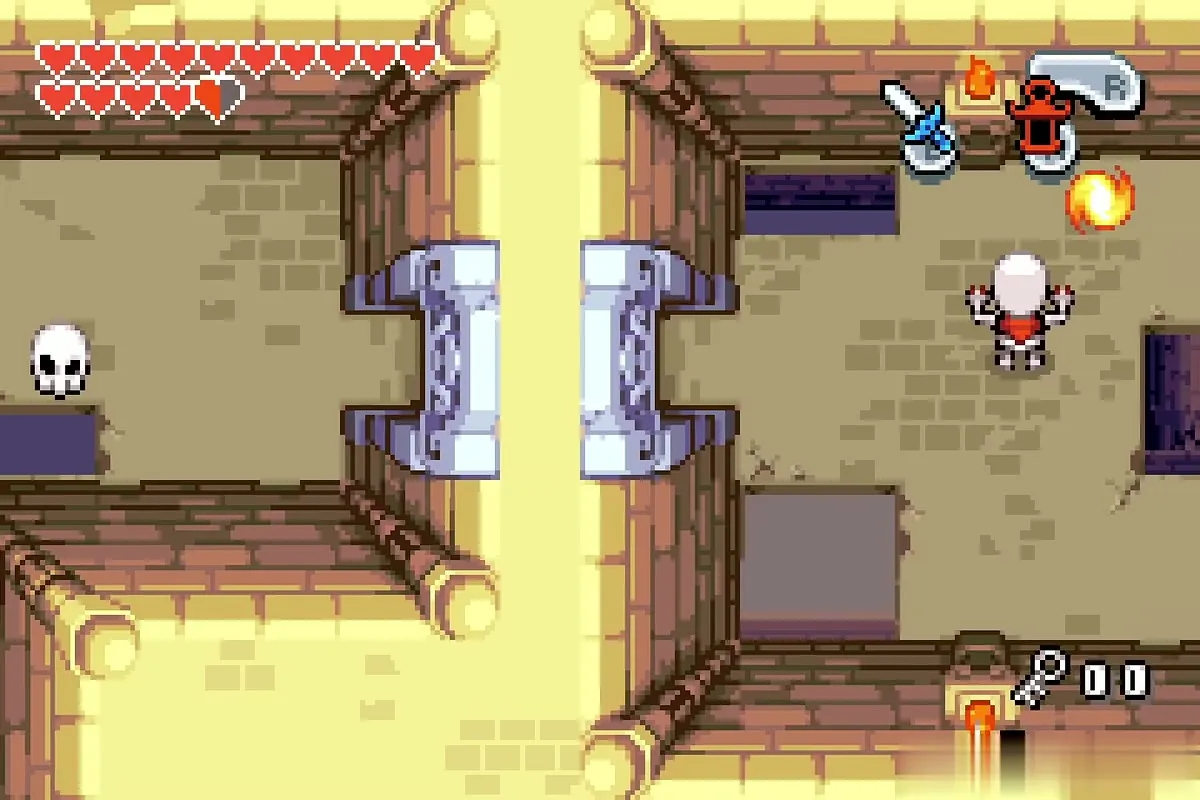
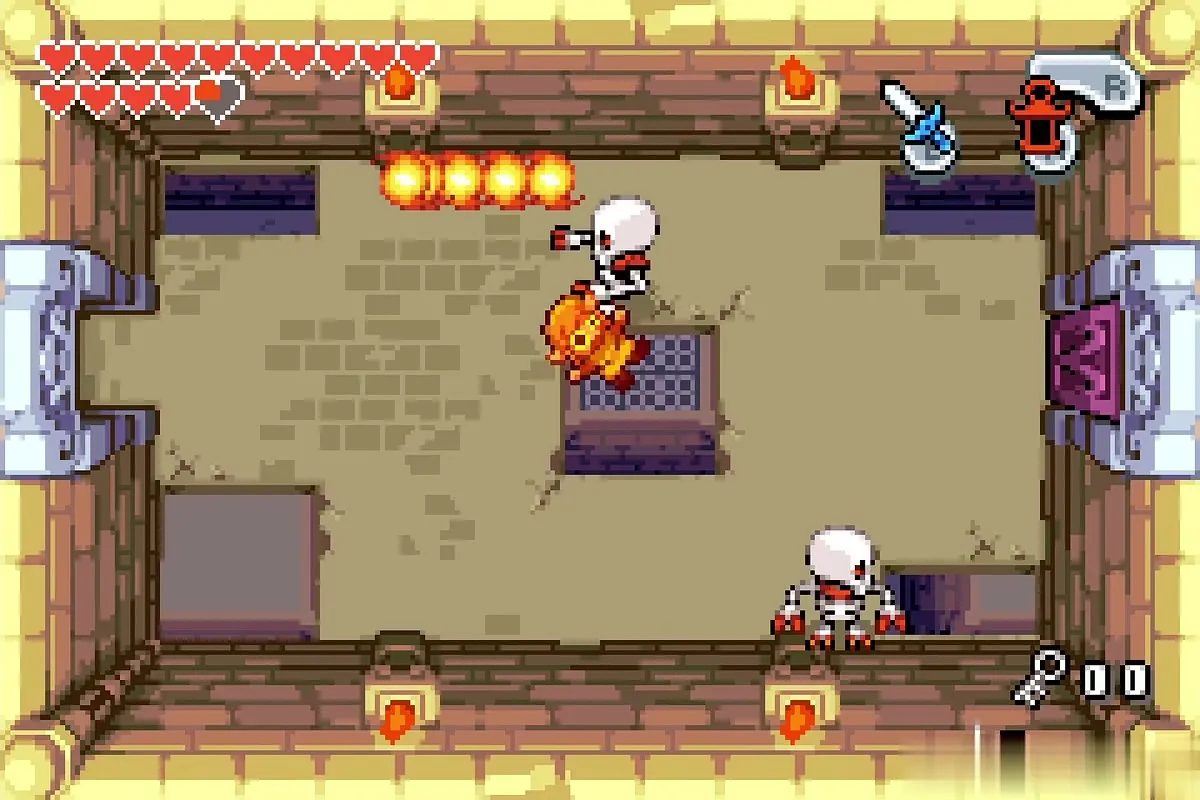
The rooms after the Compass have Flame Wizzrobes and Stalfos that shoot fireballs, so keep moving. A second dark chest room holds Small Key number three.
Dungeon Map and the first Kinstone piece
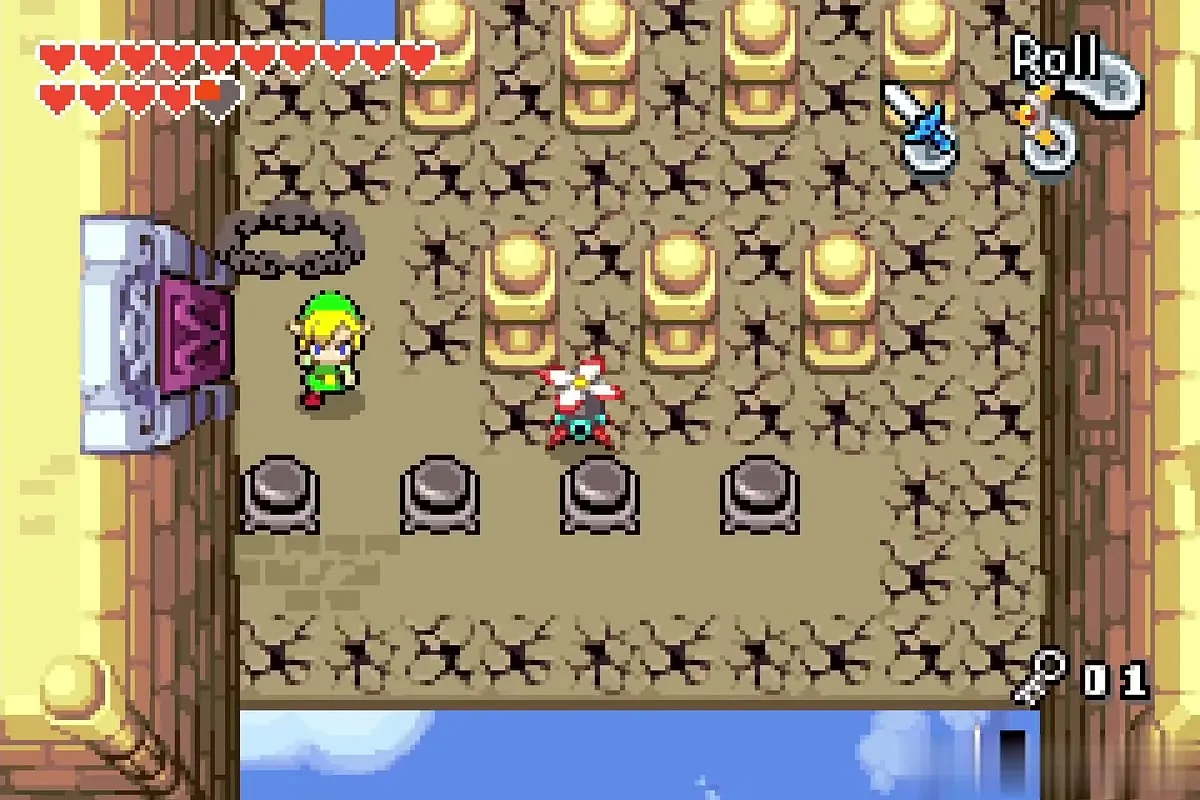
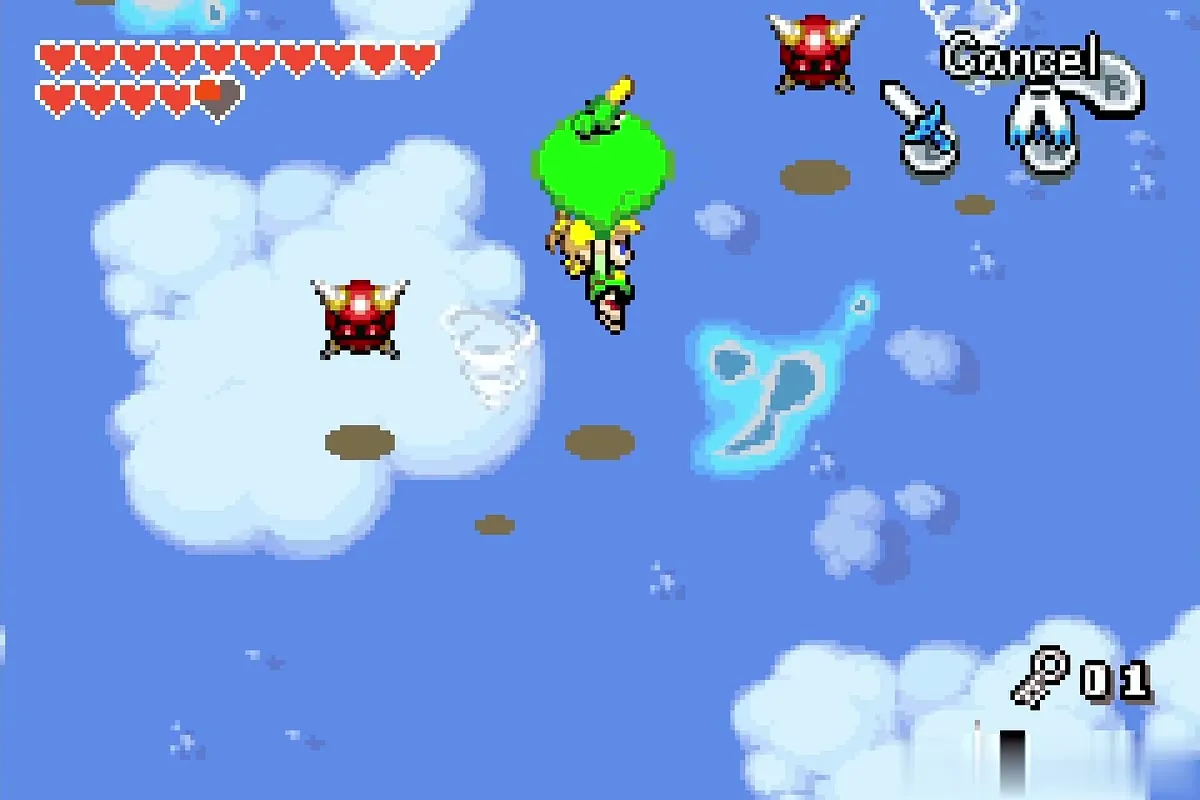
Next is a cracked-floor room with pillars: hit the switches with the Magical Boomerang and solve a clone block puzzle to open the door. Out in the sky, glide with the cape past Spiked Beetles and a whirlwind to reach the next building.


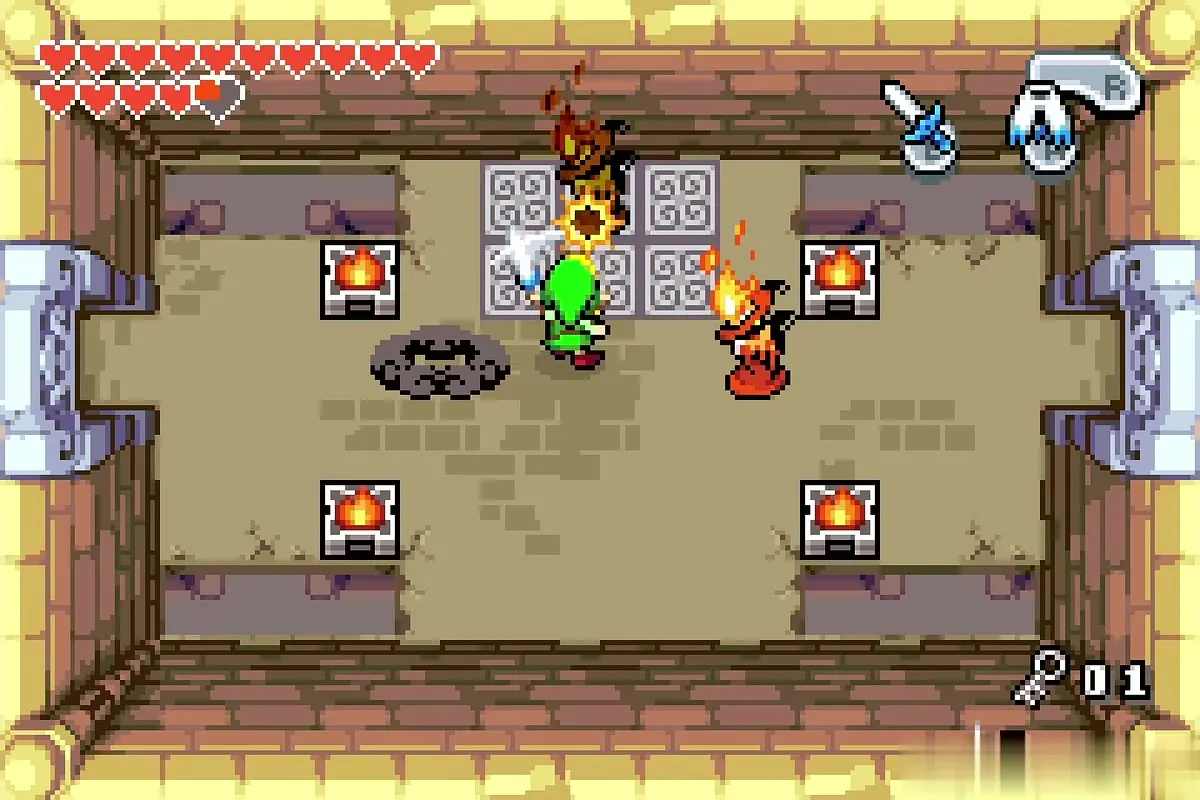
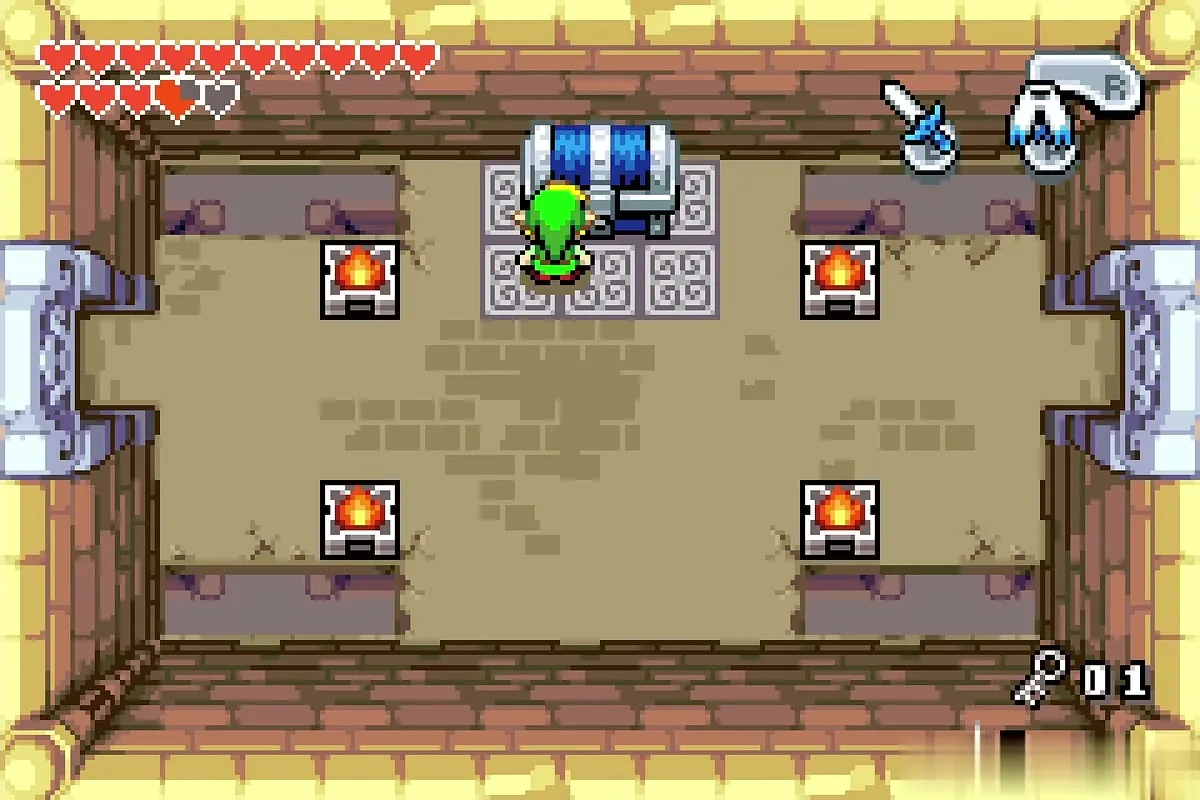
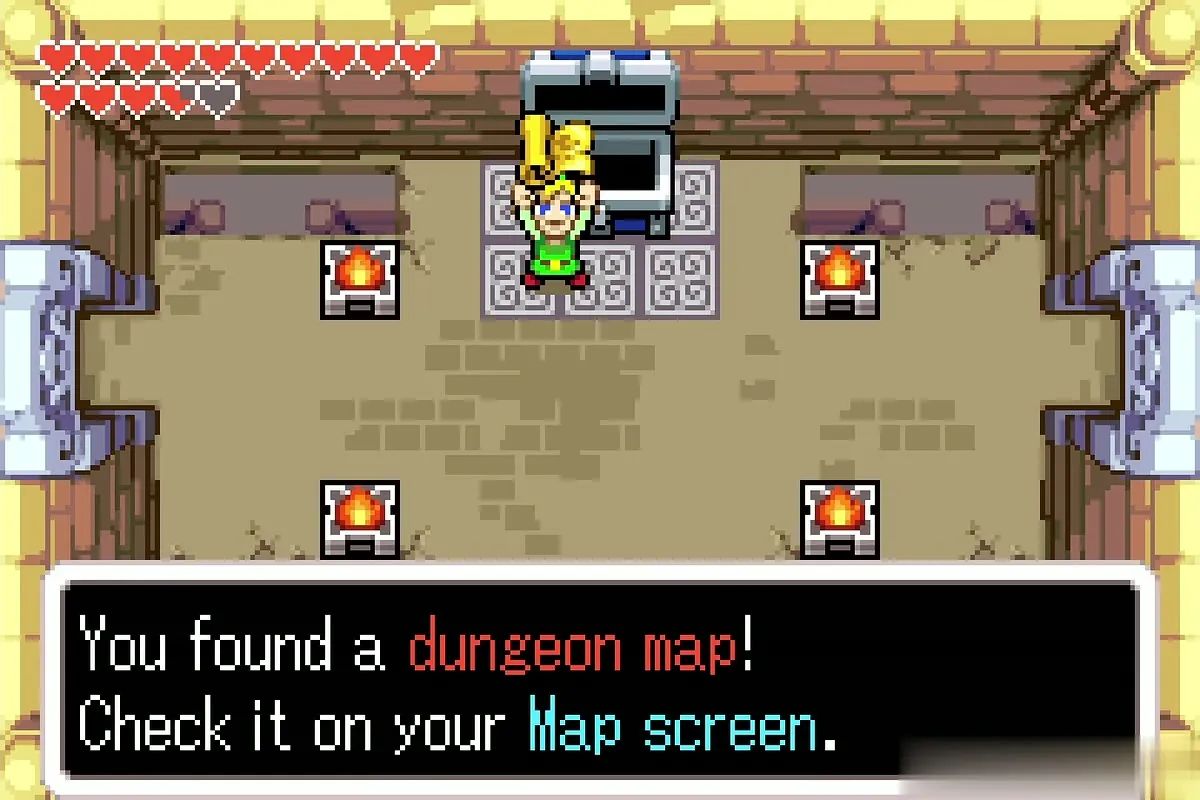
In the torch room, beat the Stalfos, then open the chest in the middle for the Dungeon Map. It shows the rooms you have visited.
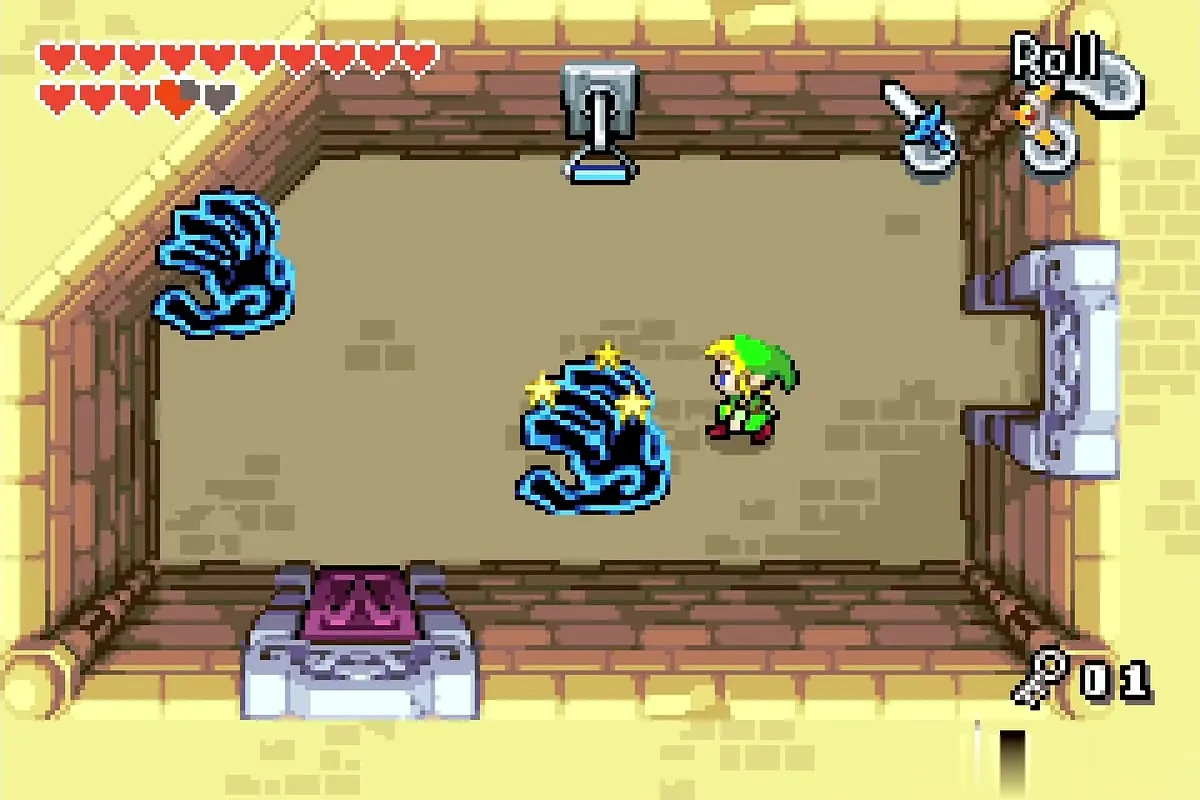
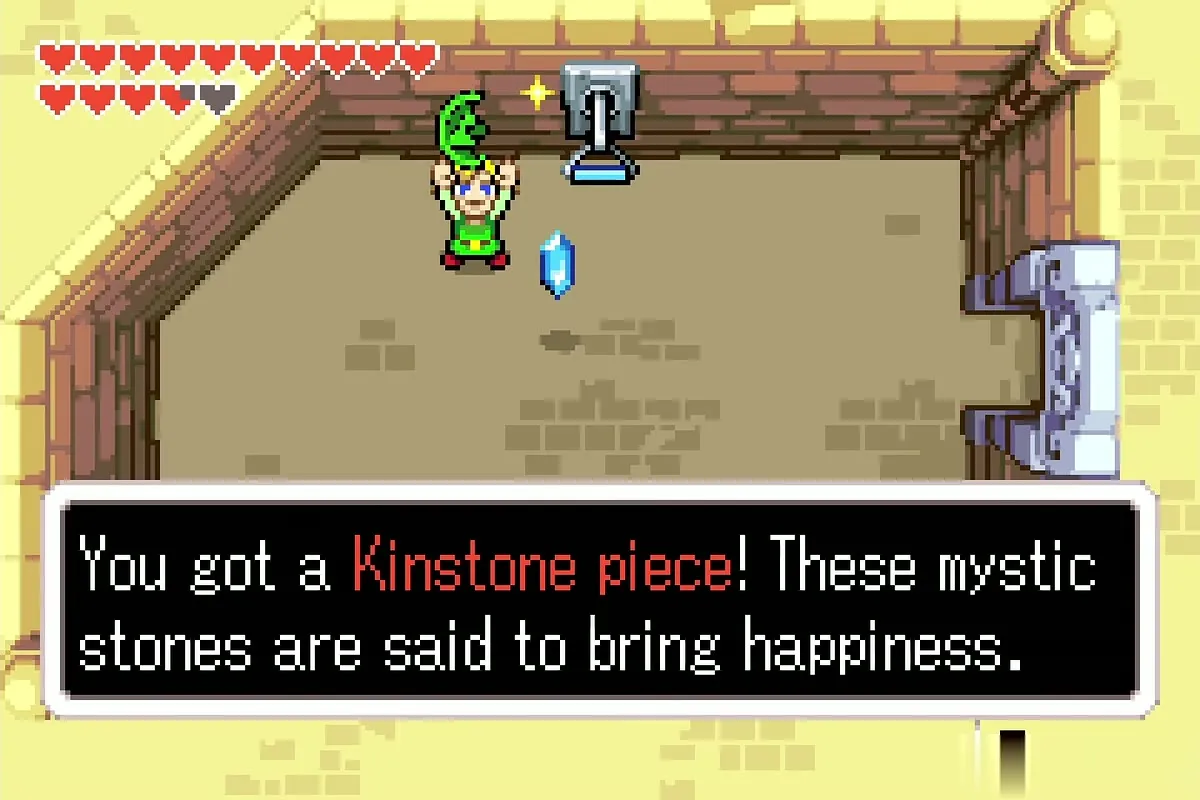
Two blue spinning enemies fill the next room. Fight them with the Magical Boomerang, then collect the Kinstone piece that appears. Save it for a later Kinstone fusion.


Piece of Heart
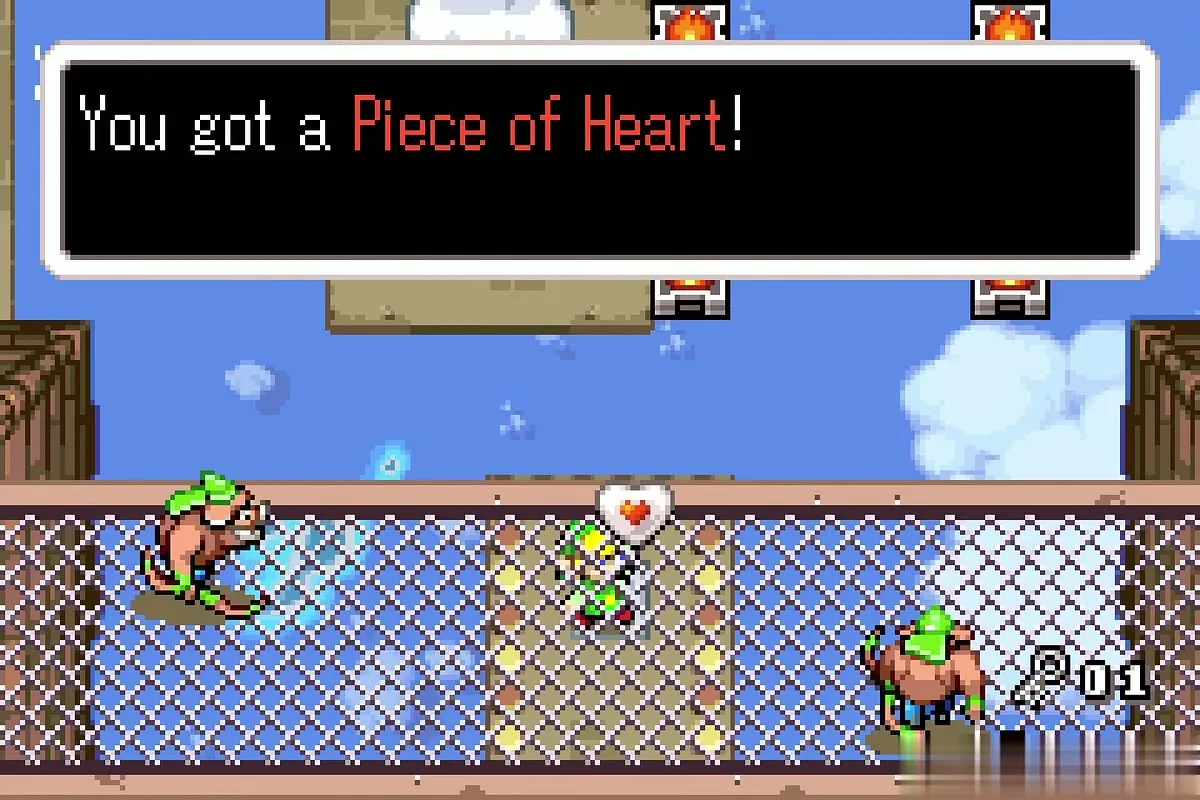
Pass the skull and torch rooms, fighting Stalfos and Ghini. In the room with a hole and purple blocks, cross the long mesh bridge, where Moblins patrol, to reach a Piece of Heart. The game then tells you that you hold two pieces and need two more for another heart.


Small Key 4 and the second Kinstone piece
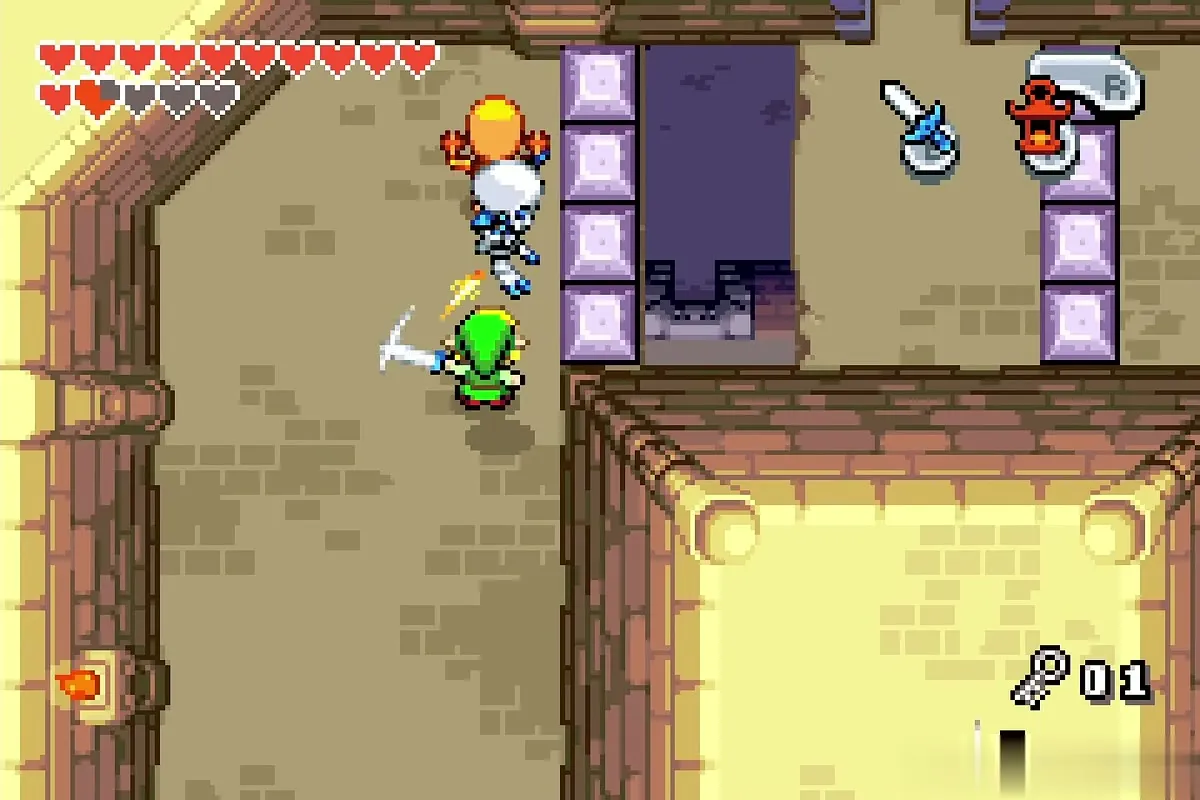
Keep working through the skull rooms and Ghini fights. In the room of red Spiked Beetles and purple blocks, slide past the rows of beetles and open the chest at the far end for Small Key number four.
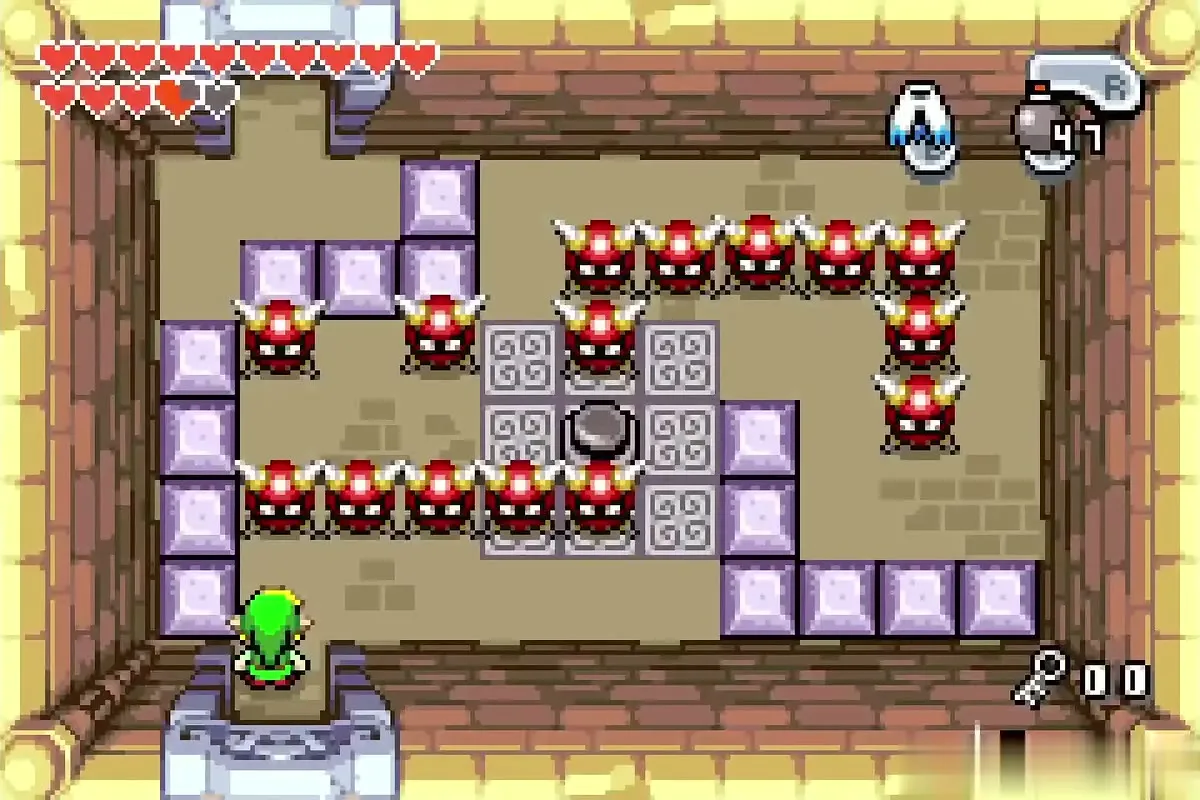
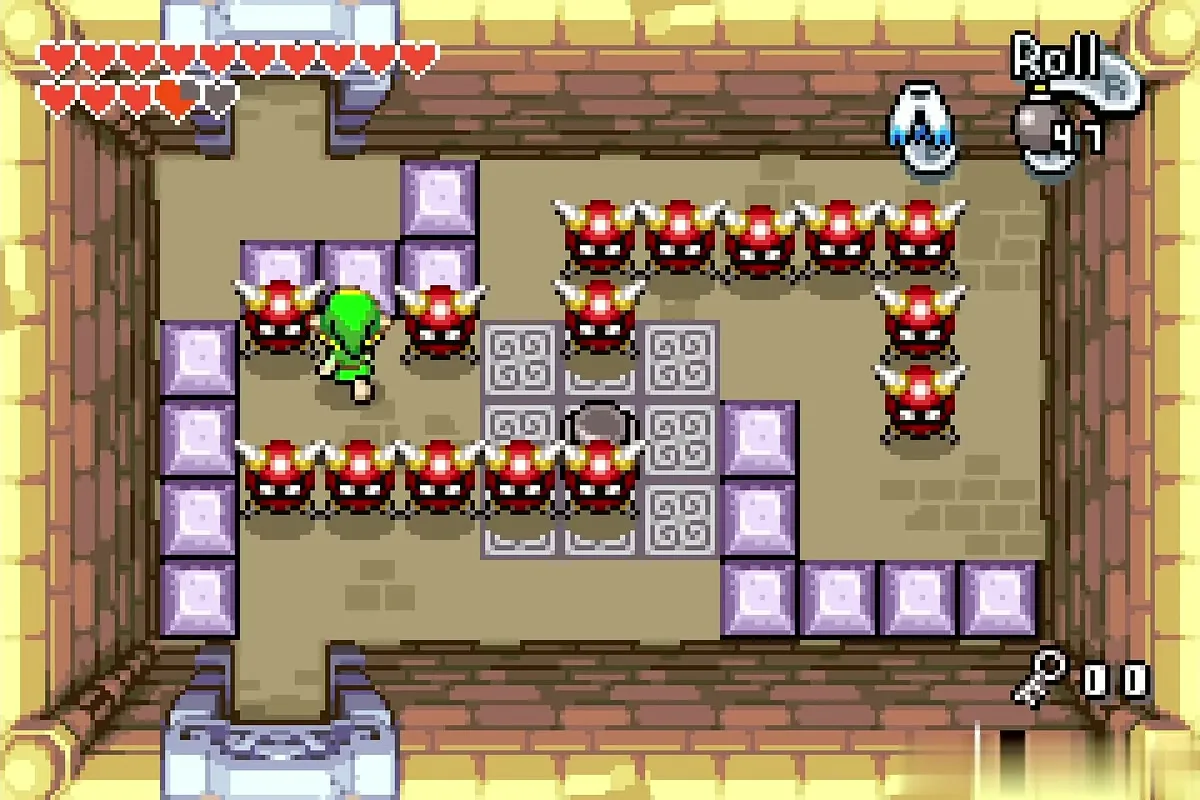
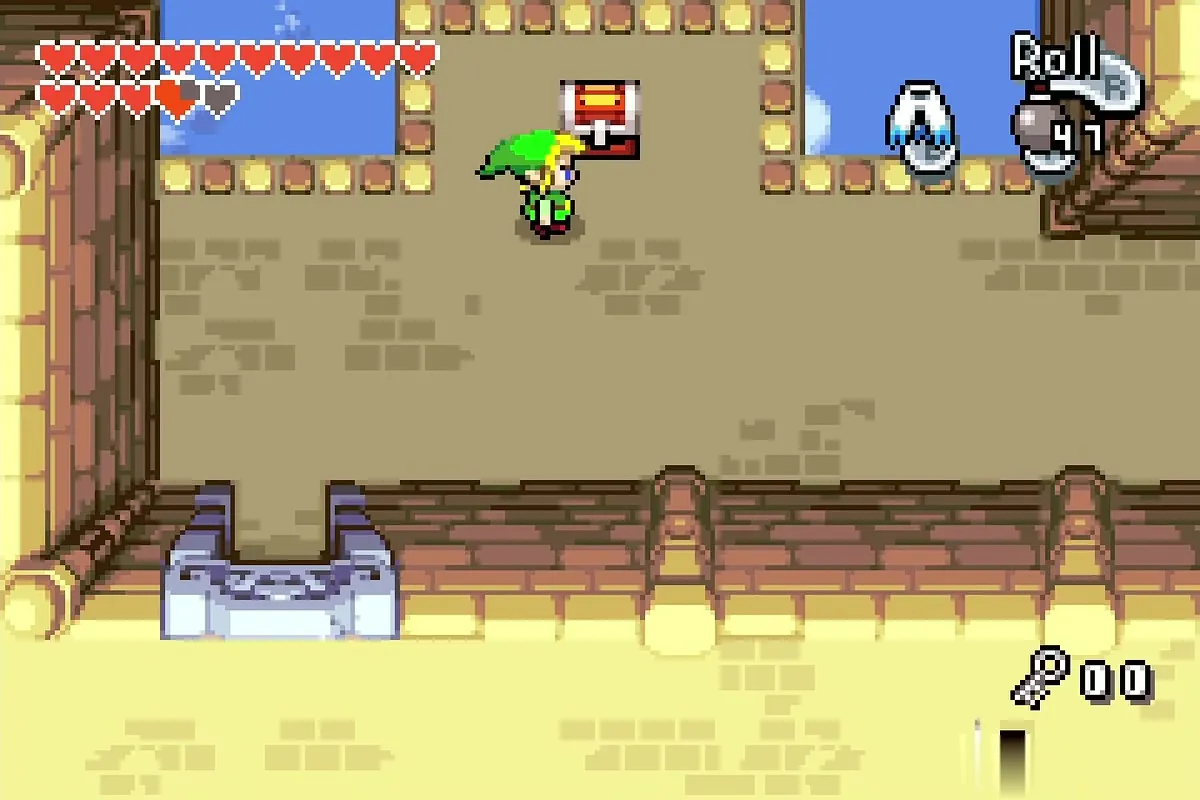

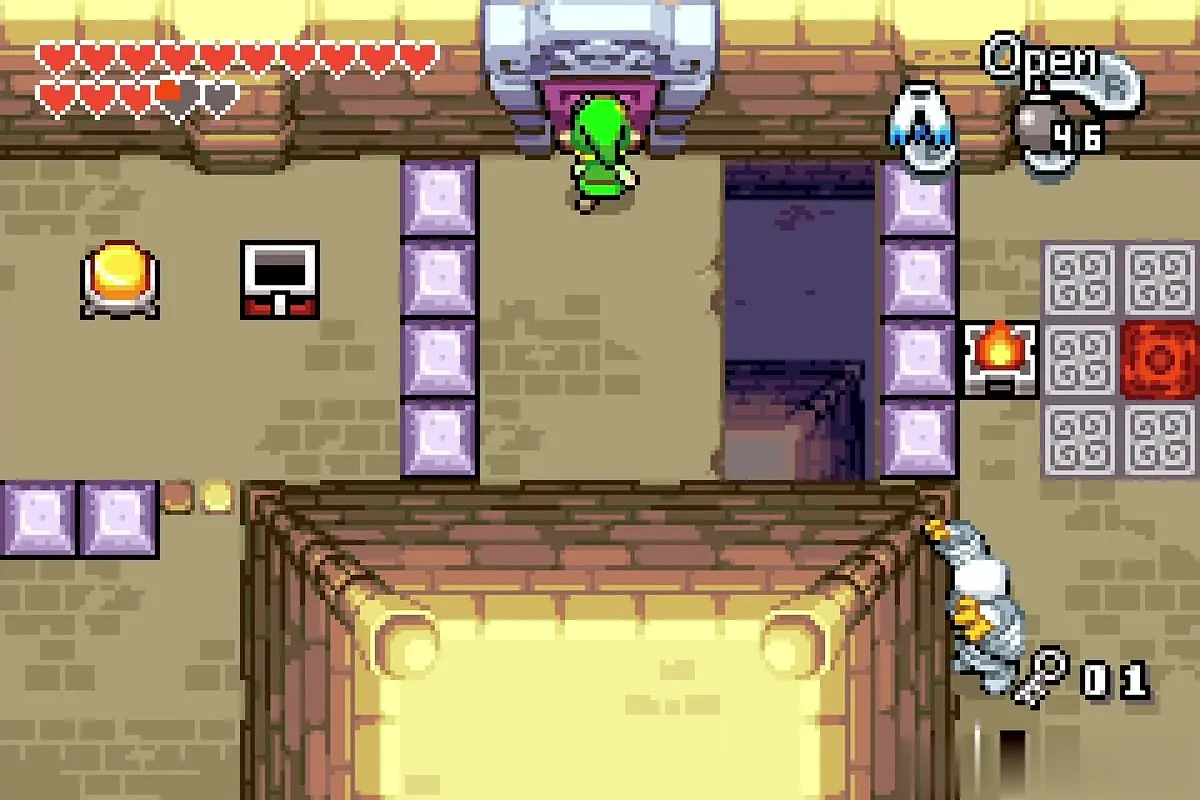
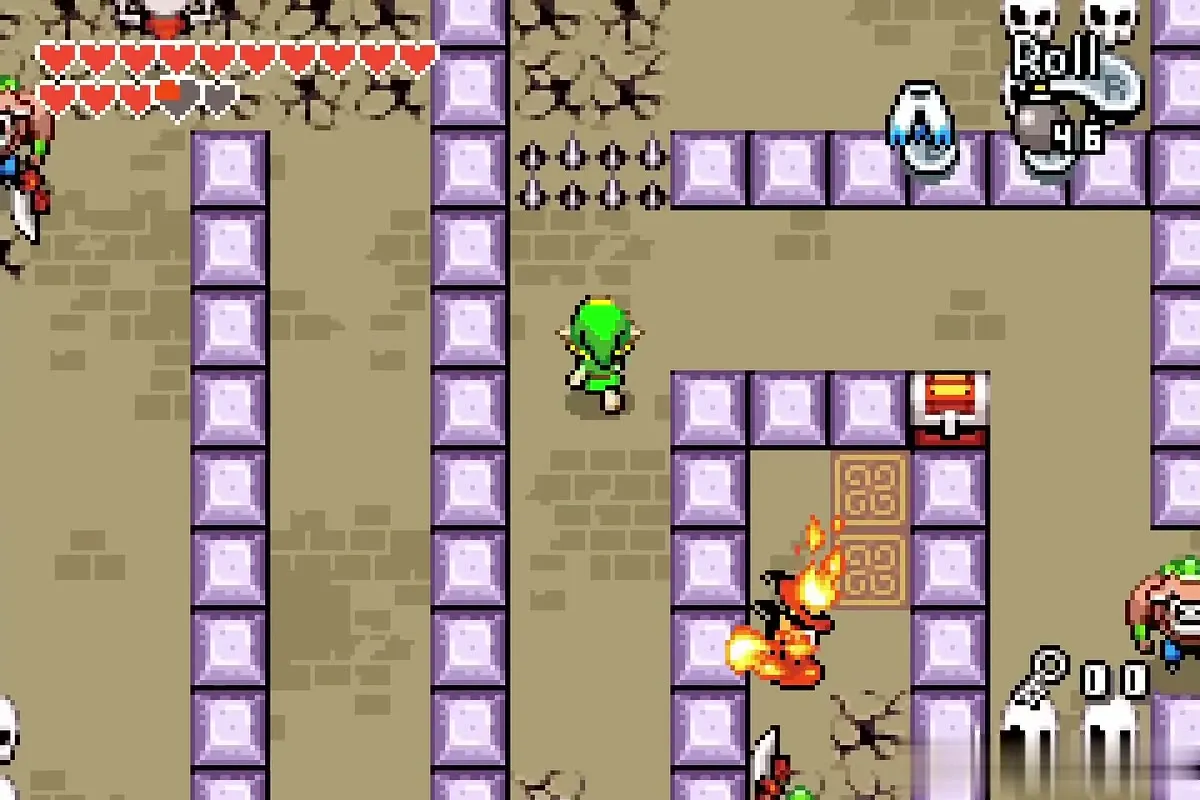
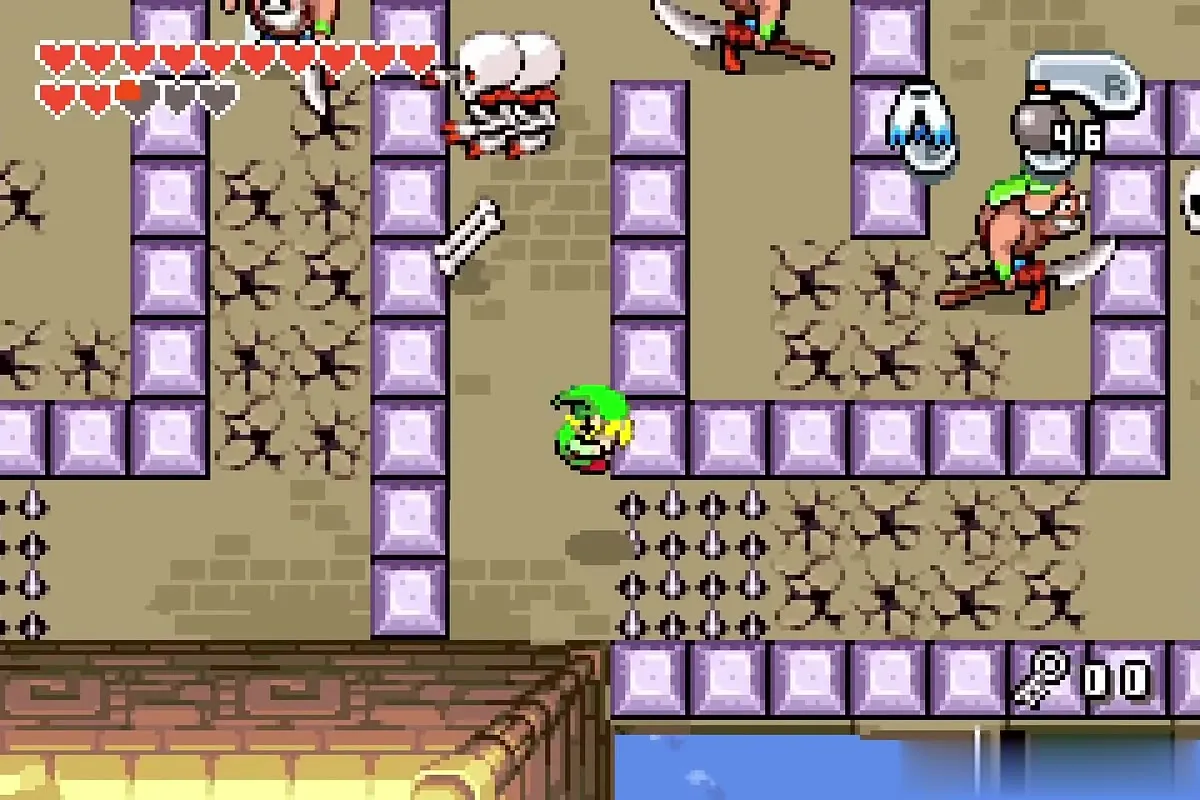
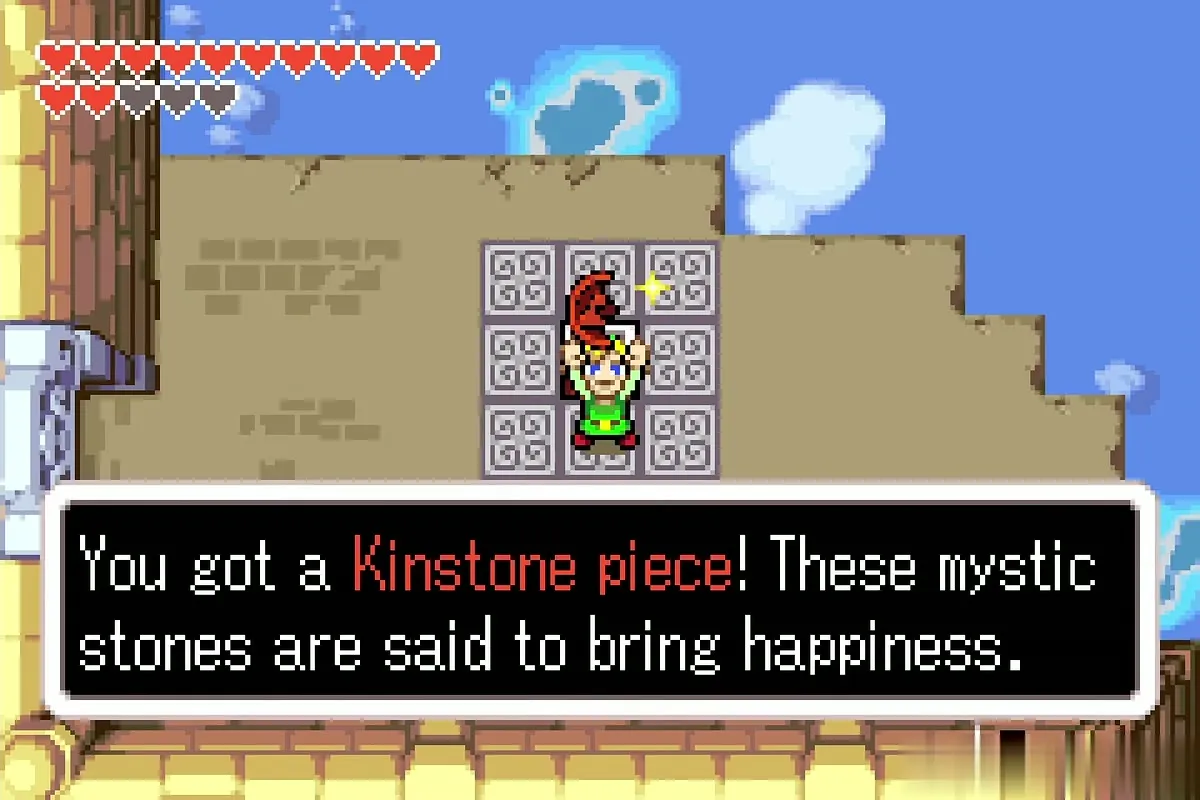
Spend that key on the locked door, then work through the block mazes where sword-swinging guards roam and the floor is cracked. Hop the cloud-tile bridge with the cape to a room with a small red chest. Open it for a second Kinstone piece.


The route to the boss door
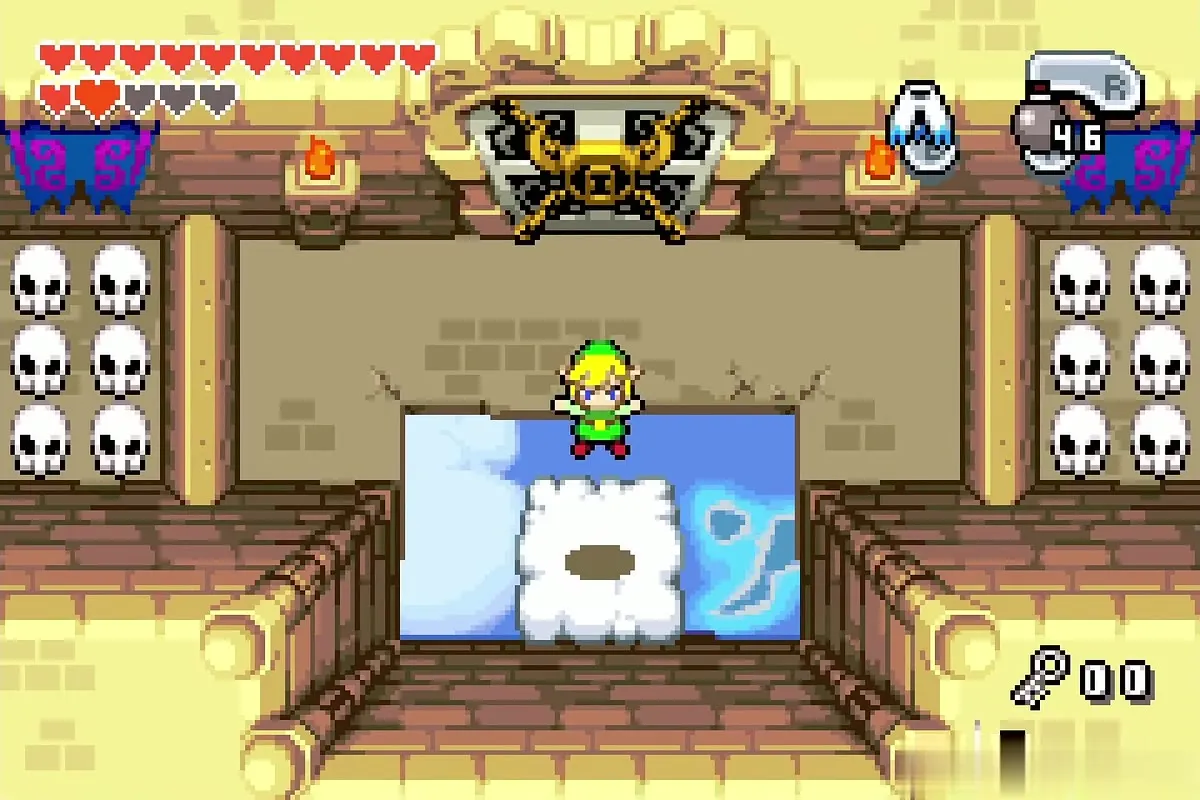
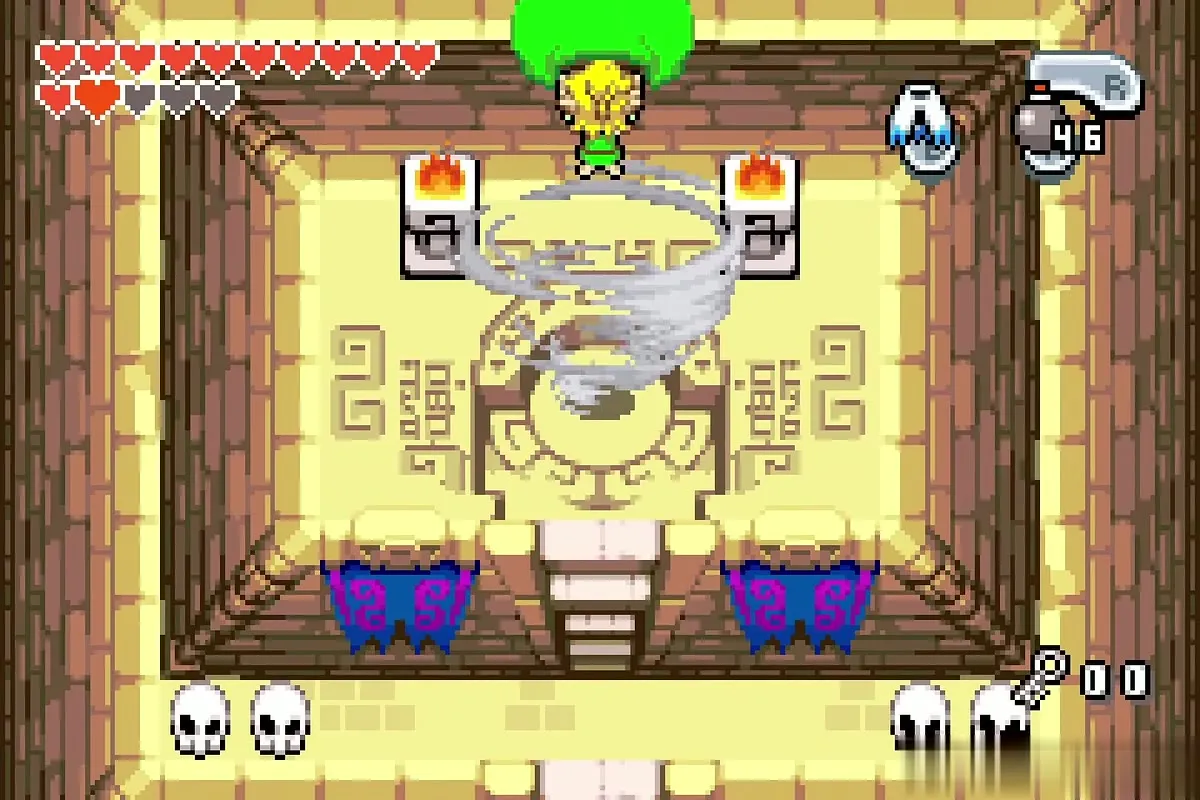
Glide across the last cloud rooms to the winged door and open it with the Big Key. Follow the blue carpet to the stairs; the whirlwind in the final room carries you up to the Gyorg Pair.


Gyorg Pair boss strategy
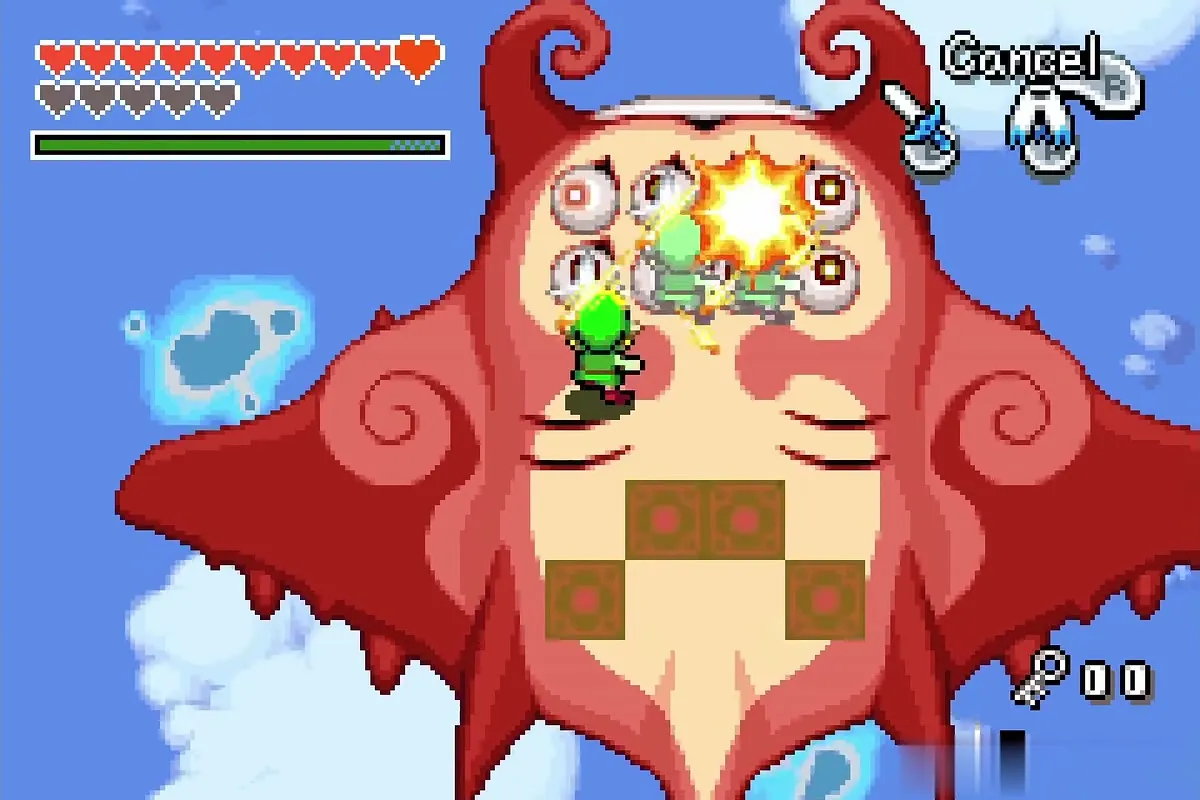
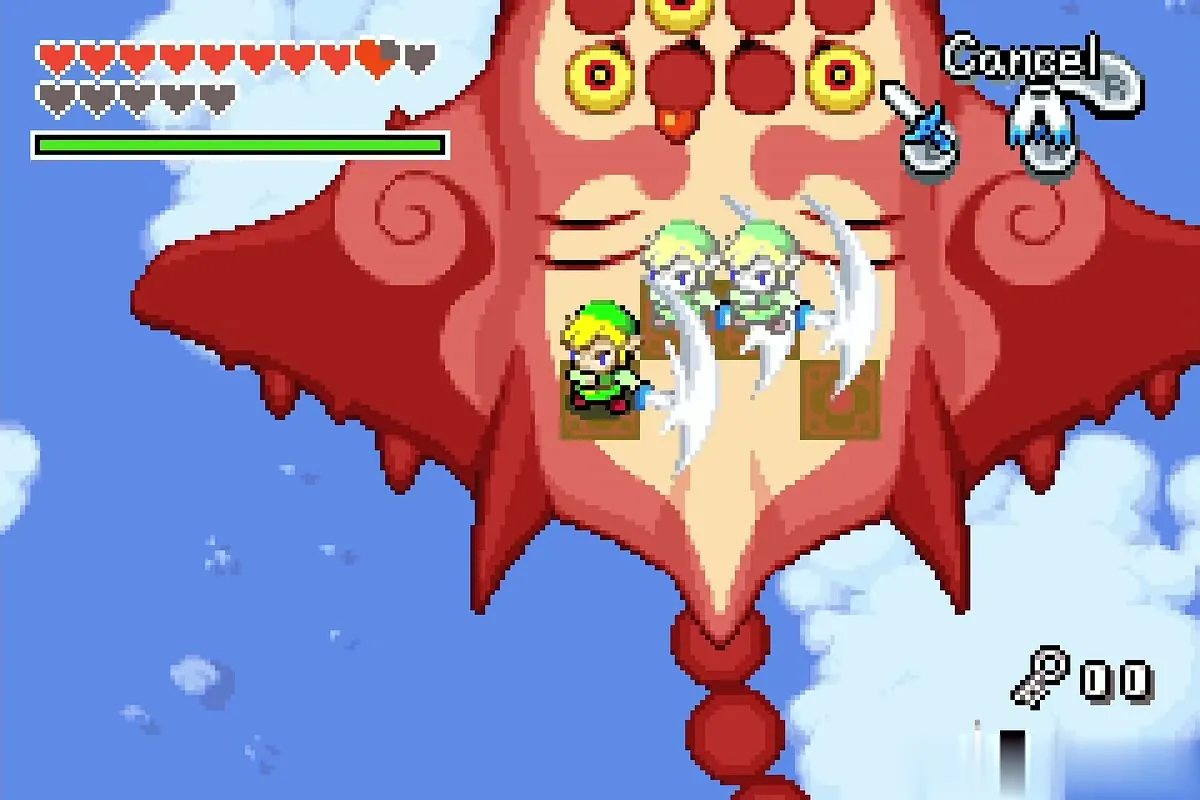
The fight takes place in the sky on the backs of two giant creatures: a blue one that carries you and a red one with a grid of eyes. You start on the blue one. Watch for the red one to pass close, then jump across onto its back with the cape. The blue one’s tail is dangerous, so stay clear of it.

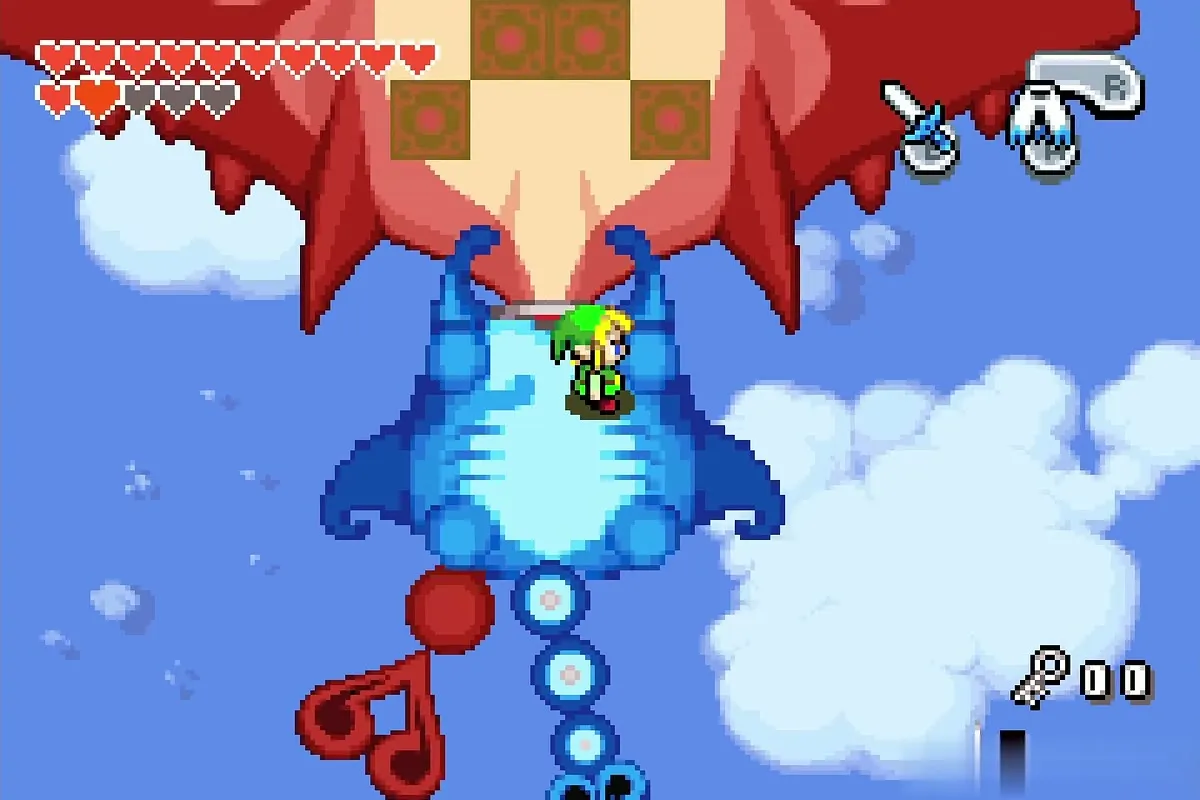

On the red Gyorg, stand near the glowing tiles on its back, charge the sword and split so that your clones strike the eyes together. Keep it up until the eyes burst; it then flies off and the blue one returns. Small green Gyorg spawn during the fight and drop hearts if you need them.
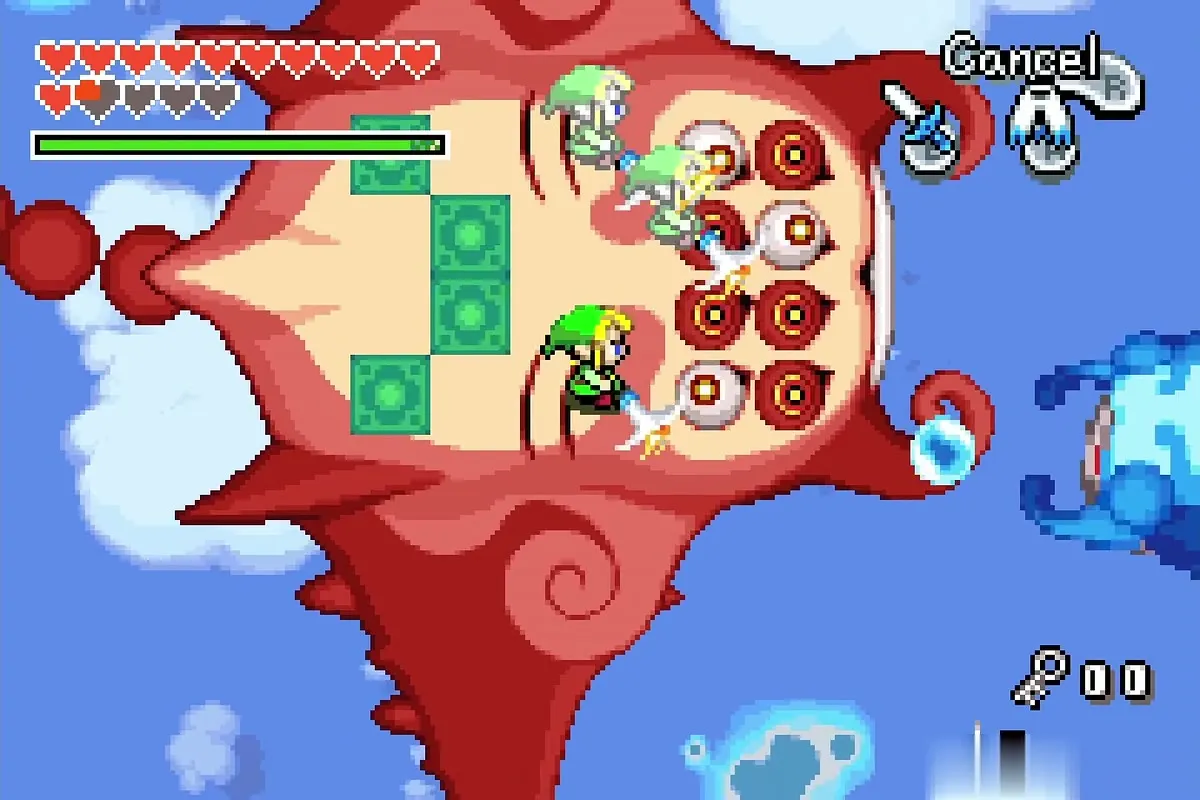

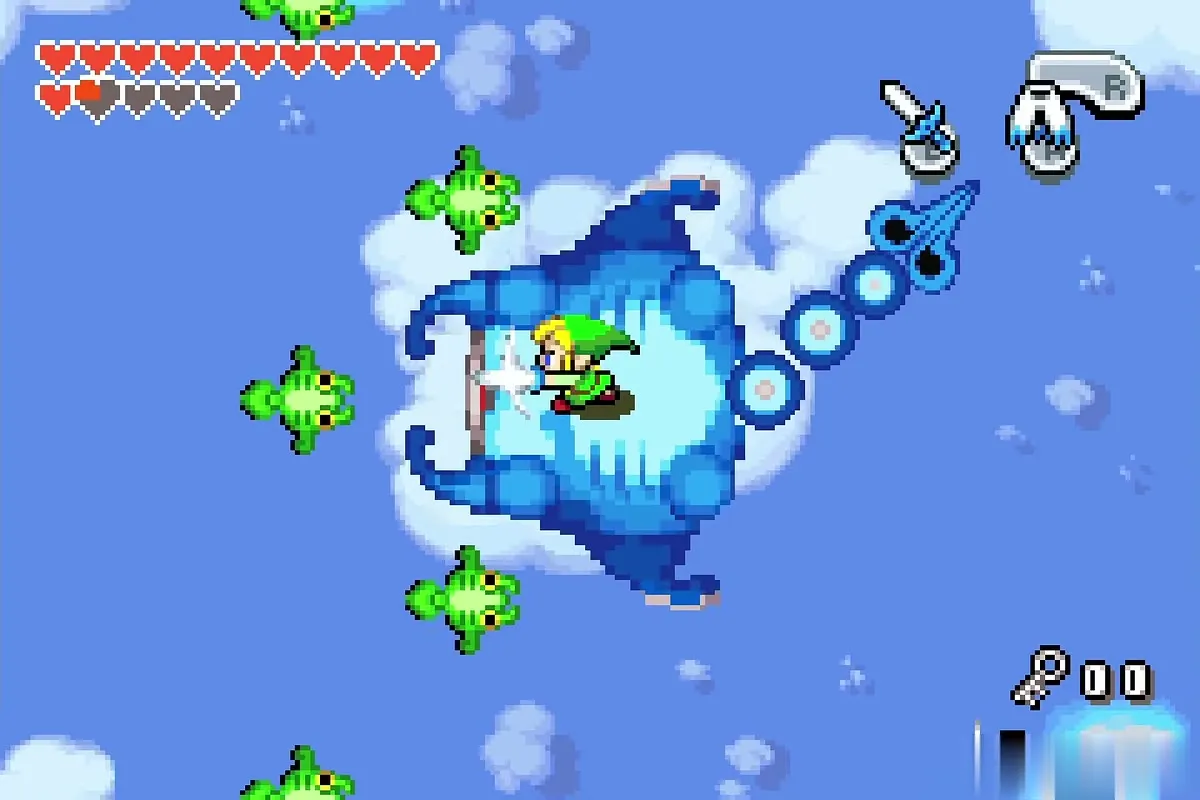
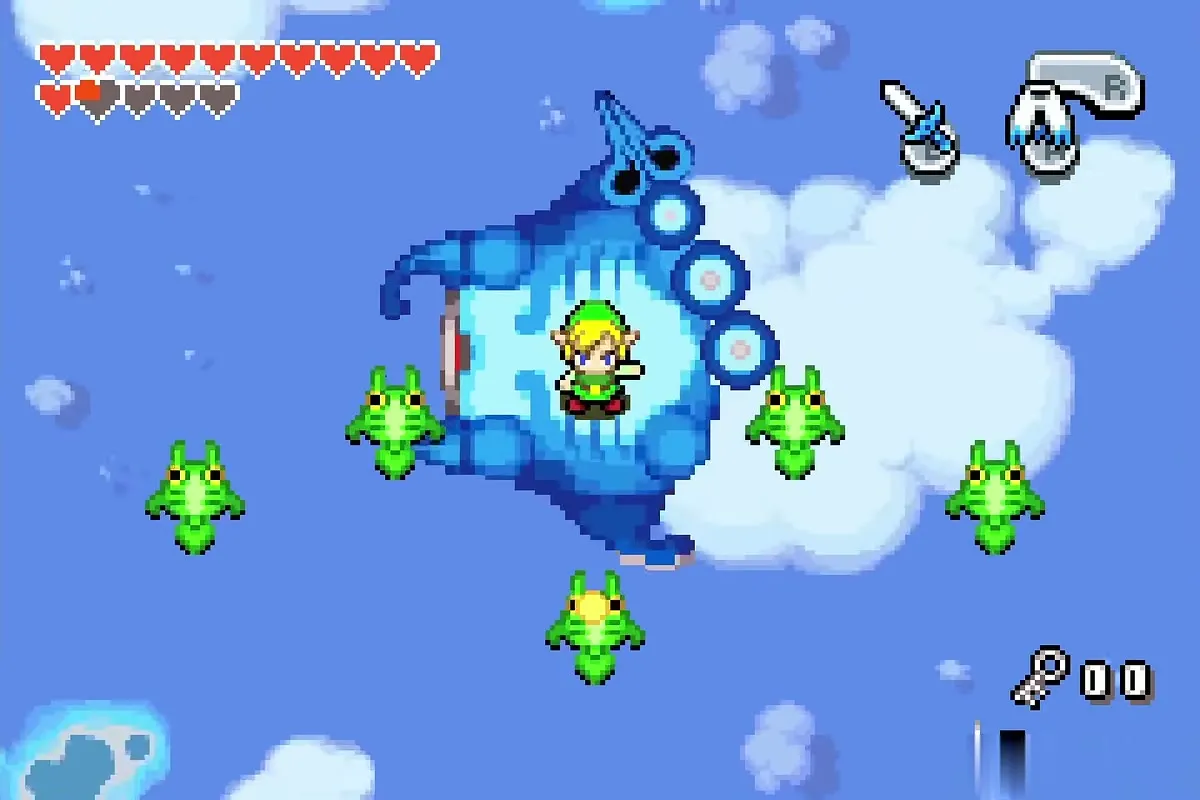
Alternate between the two several times, repeating the clone attack on the red Gyorg and dodging the blue one’s tail until the last eye pops and the boss falls.


Wind Element and Heart Container
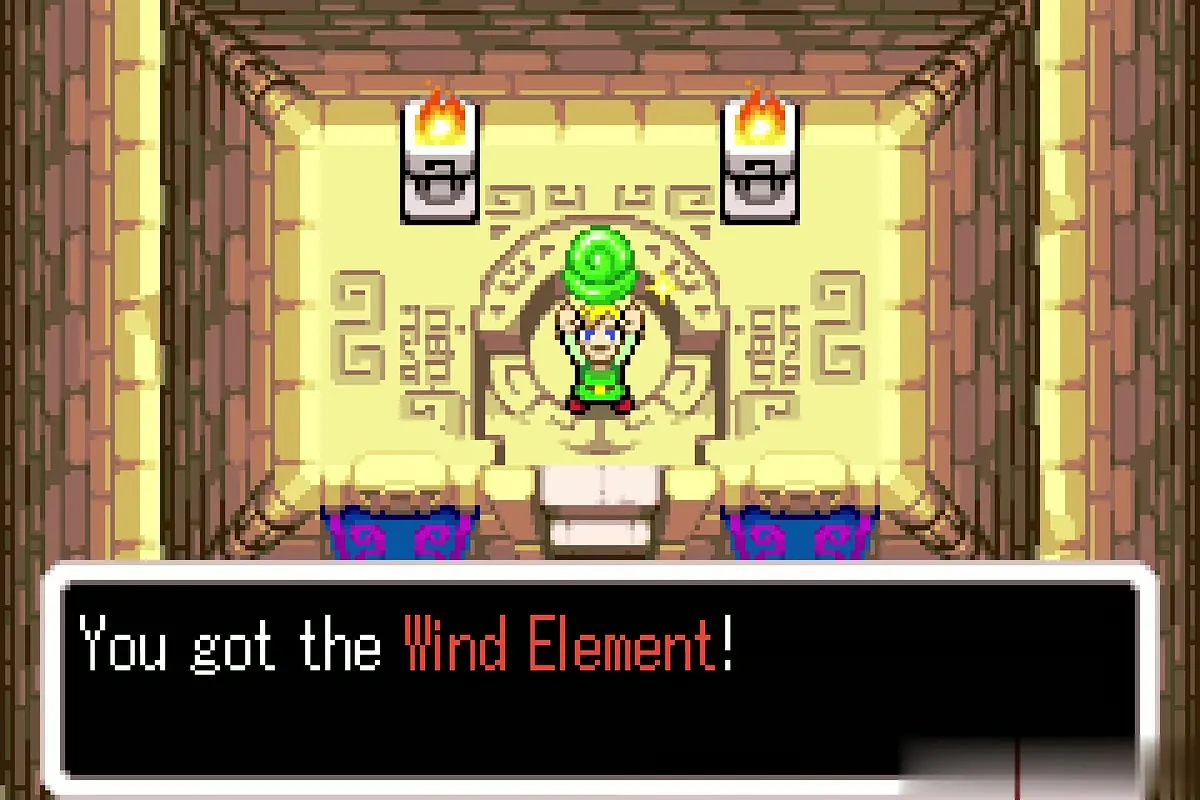
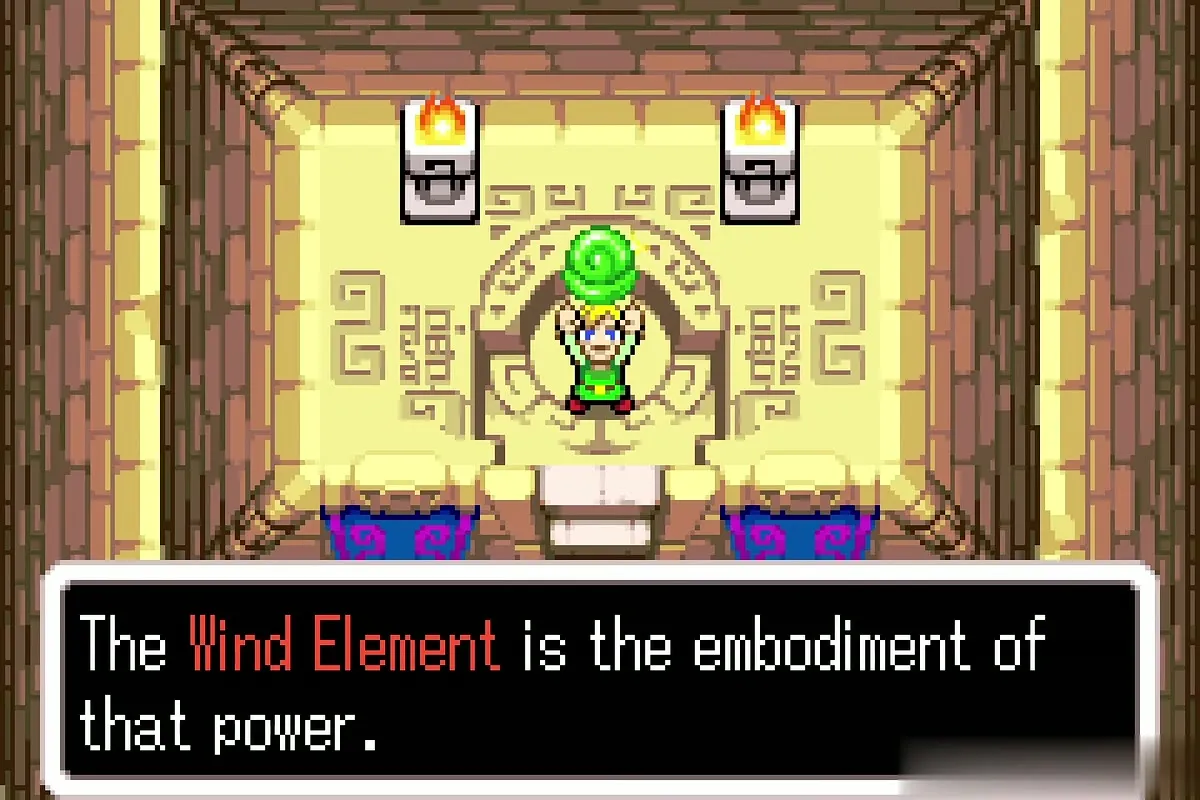
After the boss falls, you land in the Wind shrine. Walk up to the altar and raise the Wind Element; Ezlo explains that it is the embodiment of the wind’s power. This is the last Element you need.
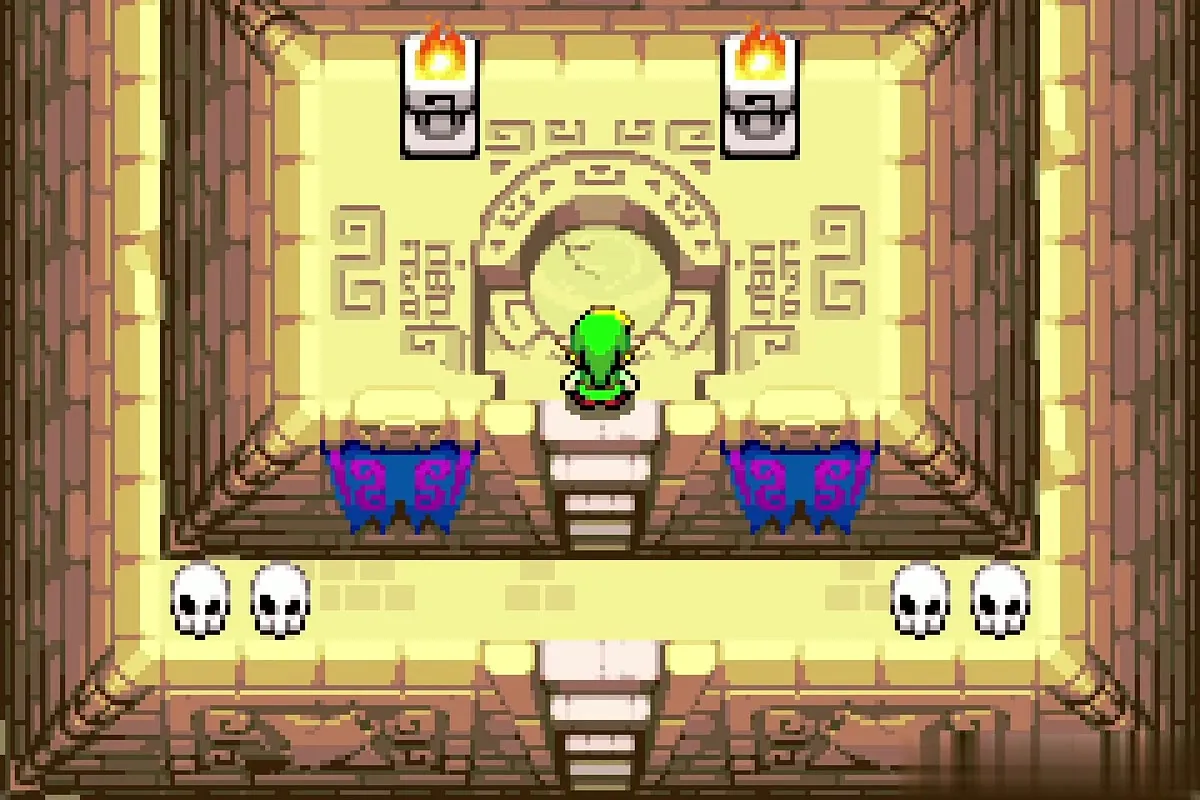

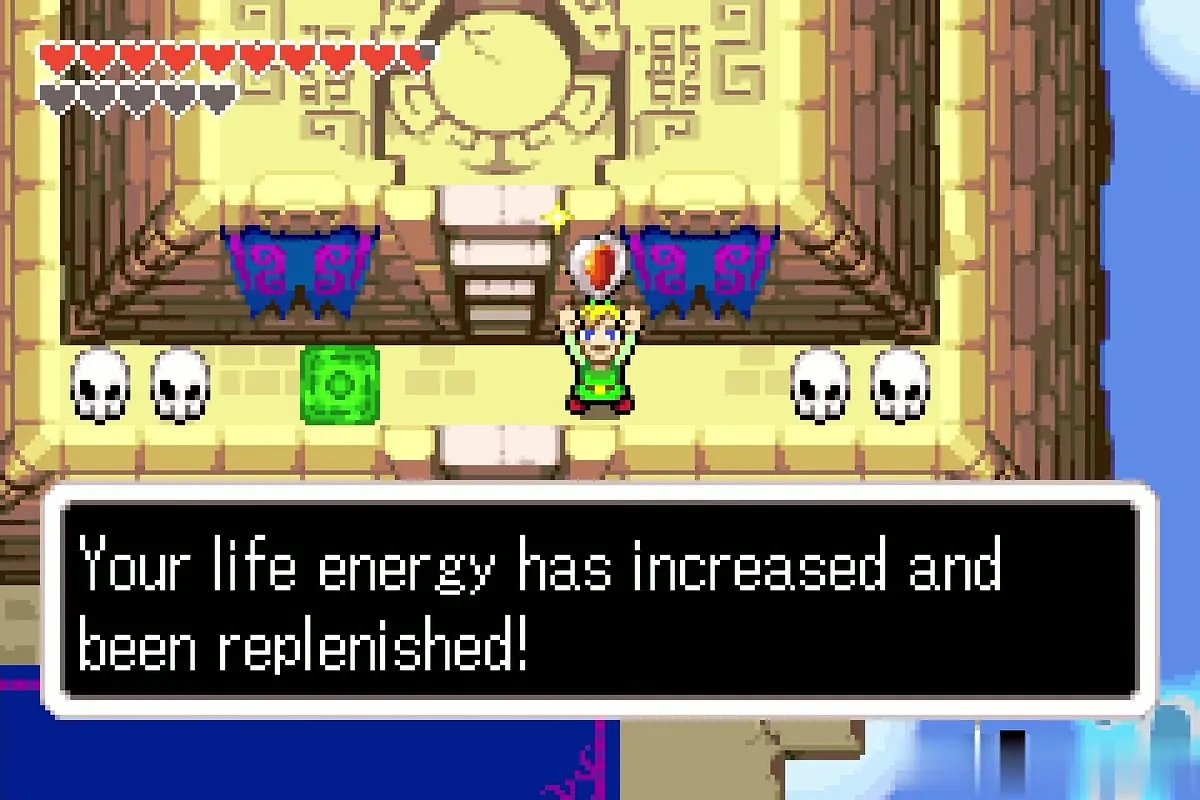
A Heart Container then appears. Take it for an extra heart and a full refill. A warp tile at the shrine carries you out of the dungeon.


Chapter checklist
| Type | Item | Where |
|---|---|---|
| Key item | Roc’s Cape | Big chest in the spike-floor room after the Wizzrobe waves |
| Small Key | Small Key 1 | Chest in the skull corridor |
| Small Key | Small Key 2 | Chest in the block row room with Stalfos |
| Big Key | Big Key | Big chest after the block row door |
| Dungeon item | Compass | Chest in the dark rooms past the ladder |
| Small Key | Small Key 3 | Chest in a second dark chest room |
| Dungeon item | Dungeon Map | Chest in the torch room |
| Kinstone piece | Kinstone piece 1 | Appears after the two blue enemies |
| Heart Piece | Piece of Heart | Past the mesh bridge |
| Small Key | Small Key 4 | Chest in the Spiked Beetle room |
| Kinstone piece | Kinstone piece 2 | Small red chest near the cloud-tile bridge |
| Boss | Gyorg Pair | Boss arena in the sky |
| Element | Wind Element | Wind shrine |
| Heart Container | Heart Container | Wind shrine after the Element |
