| Dungeons | 6: Deepwood Shrine, Cave of Flames, Fortress of Winds, Temple of Droplets, Palace of Winds, Dark Hyrule Castle |
|---|---|
| Small Keys | 24 in total: 4, 2, 4, 4, 4 and 6 in dungeon order |
| Dungeon items | Every dungeon has one Dungeon Map, one Compass and one Big Key |
| Big Key | Opens the boss door; the Big Key is found before the boss in every dungeon |
| Heart Containers | 5 from the first five bosses; none in Dark Hyrule Castle |
Every dungeon in The Minish Cap hides a Dungeon Map (shows the layout), a Compass (marks chests and the boss room), a number of Small Keys for locked doors, and a Big Key for the boss door. The tables below give the number of keys and where each item sits in all six dungeons; the walkthrough chapter for each dungeon has the full route.
The six dungeons
| # | Dungeon | Dungeon item | Small Keys | Boss | Element | Heart Container |
|---|---|---|---|---|---|---|
| 1 | Deepwood Shrine | Gust Jar | 4 | Big Green Chuchu (mini-boss Madderpillar) | Earth | Yes |
| 2 | Cave of Flames | Cane of Pacci | 2 | Gleerok | Fire | Yes |
| 3 | Fortress of Winds | Mole Mitts | 4 | Mazaal | None (you get the Ocarina of Wind) | Yes |
| 4 | Temple of Droplets | Flame Lantern | 4 | Big Octorok (mini-boss Big Blue Chuchu) | Water | Yes |
| 5 | Palace of Winds | Roc’s Cape | 4 | Gyorg Pair | Wind | Yes |
| 6 | Dark Hyrule Castle | None new | 6 | Vaati (three forms), after the Darknut trio | None (you place all four) | No |
The bosses are explained on the boss page and the Elements on the Elements page.
Deepwood Shrine
| Item | Where |
|---|---|
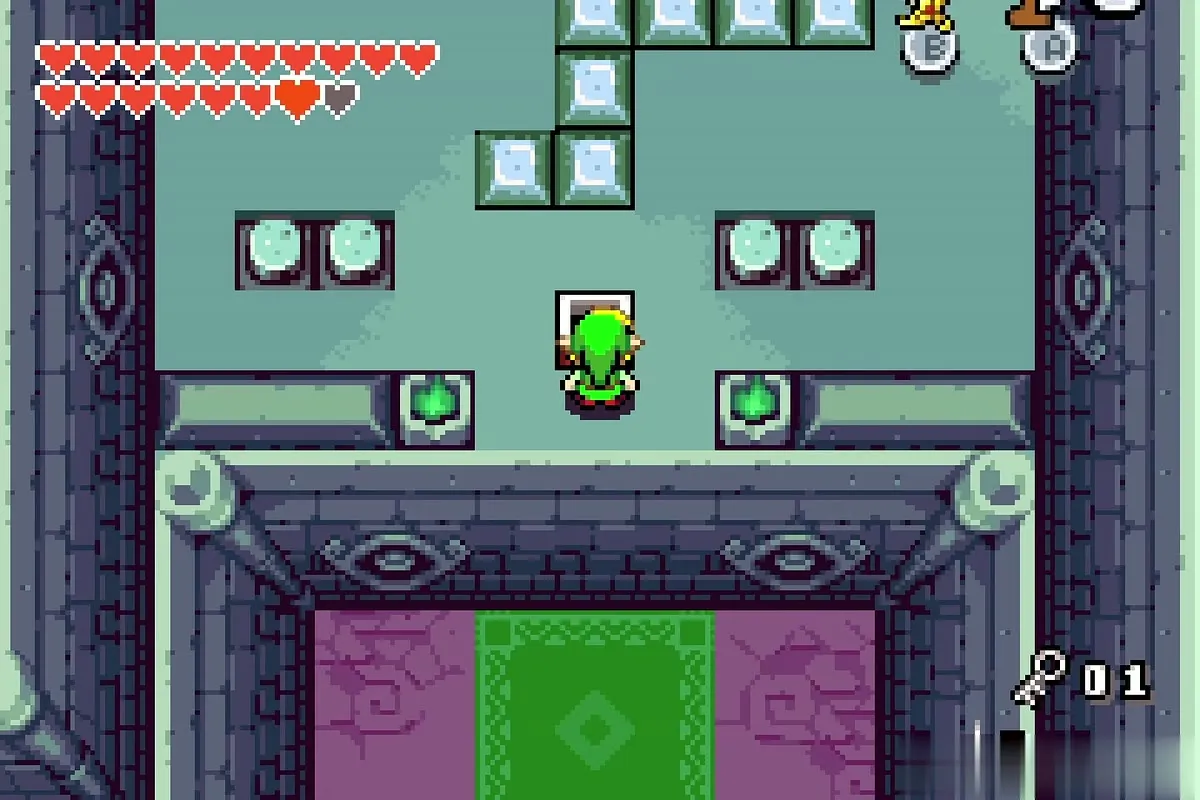
| Small Key 1 | Chest in the torch room; step on all four switches beside the torches |
| Dungeon Map | Large chest on the north ledge, reached by a mushroom launch |
| Small Key 2 | Chest in the two-statue room, after pushing both statues onto switches |
| Small Key 3 | Drops from the ceiling when you kill the three red Mulldozers |
| Compass | Large chest behind blocks above the stairs |
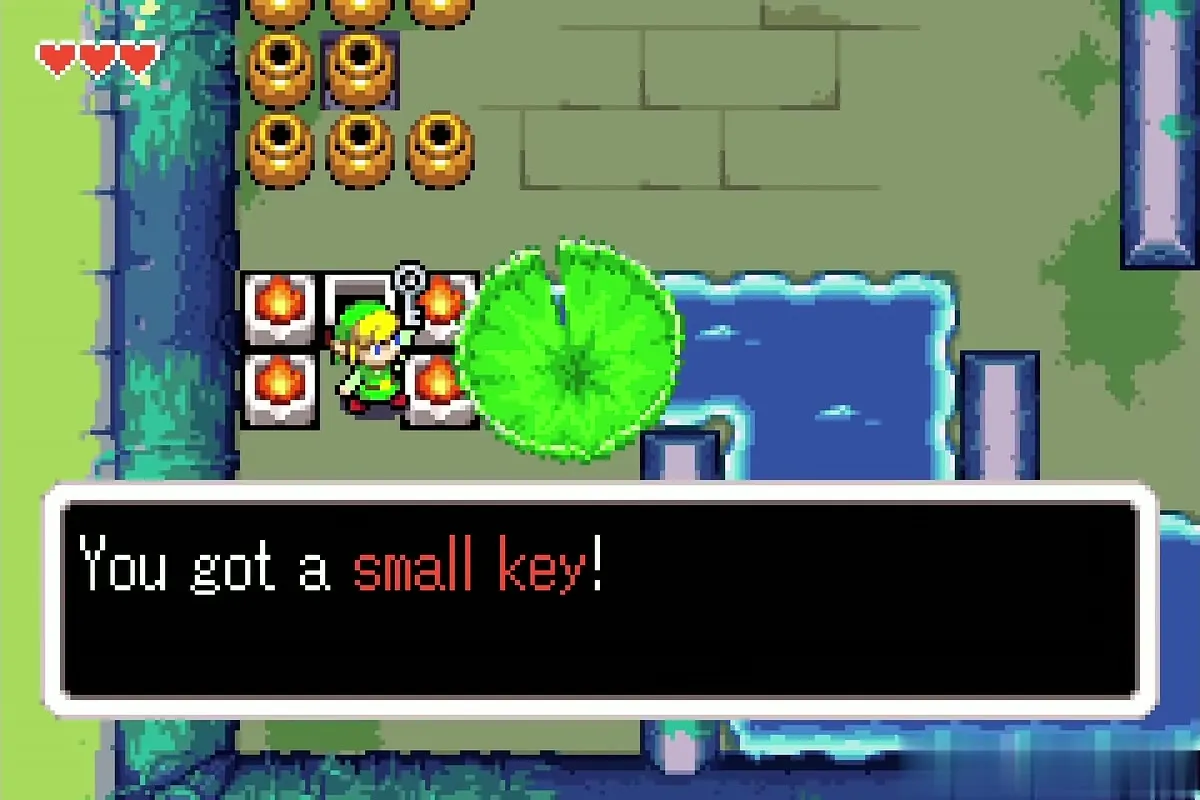
| Small Key 4 | Chest at the end of the flooded basement, reached by lily pad |
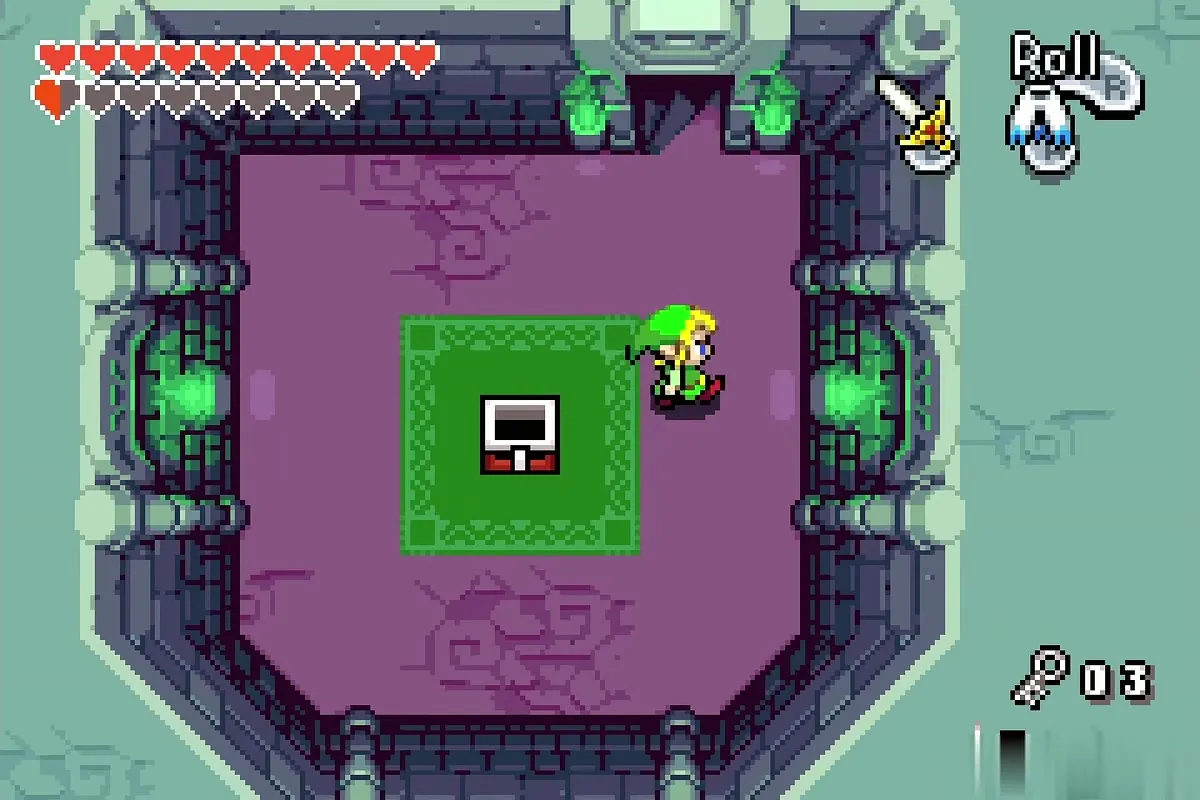
| Big Key | Large chest at the end of the mushroom room, behind the fourth locked door |
Use the first three keys on doors in the barrel and statue rooms, and keep the fourth for the locked north door beyond the lily pad route. The Big Key chest sits past that door, and the boss door opens with it.

Cave of Flames
| Item | Where |
|---|---|
| Compass | Chest in the room with two Spiked Beetles, north of the first Bob-omb room |
| Dungeon Map | Big chest up the stairs by the second Minish Portal |
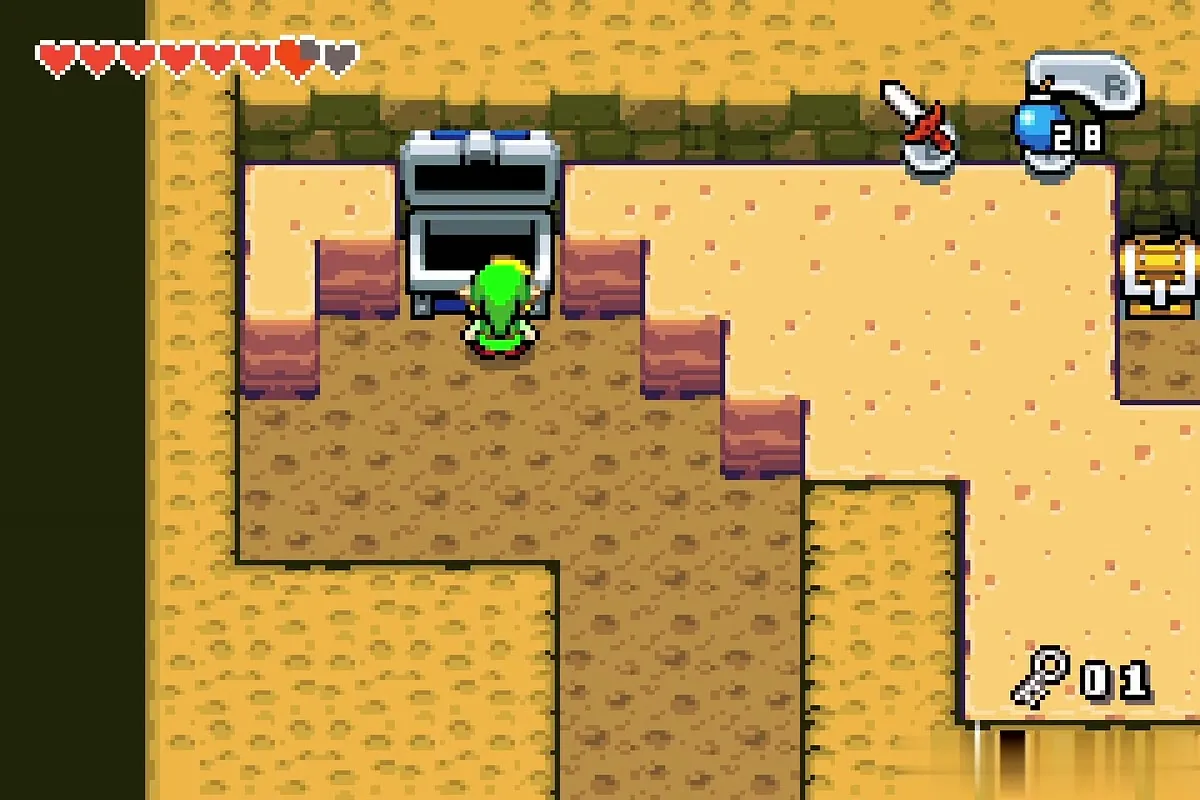
| Small Key 1 | Chest pushed into the hole after the whirlwind room |
| Small Key 2 | Chest on a movable platform after flipping the mine cart |
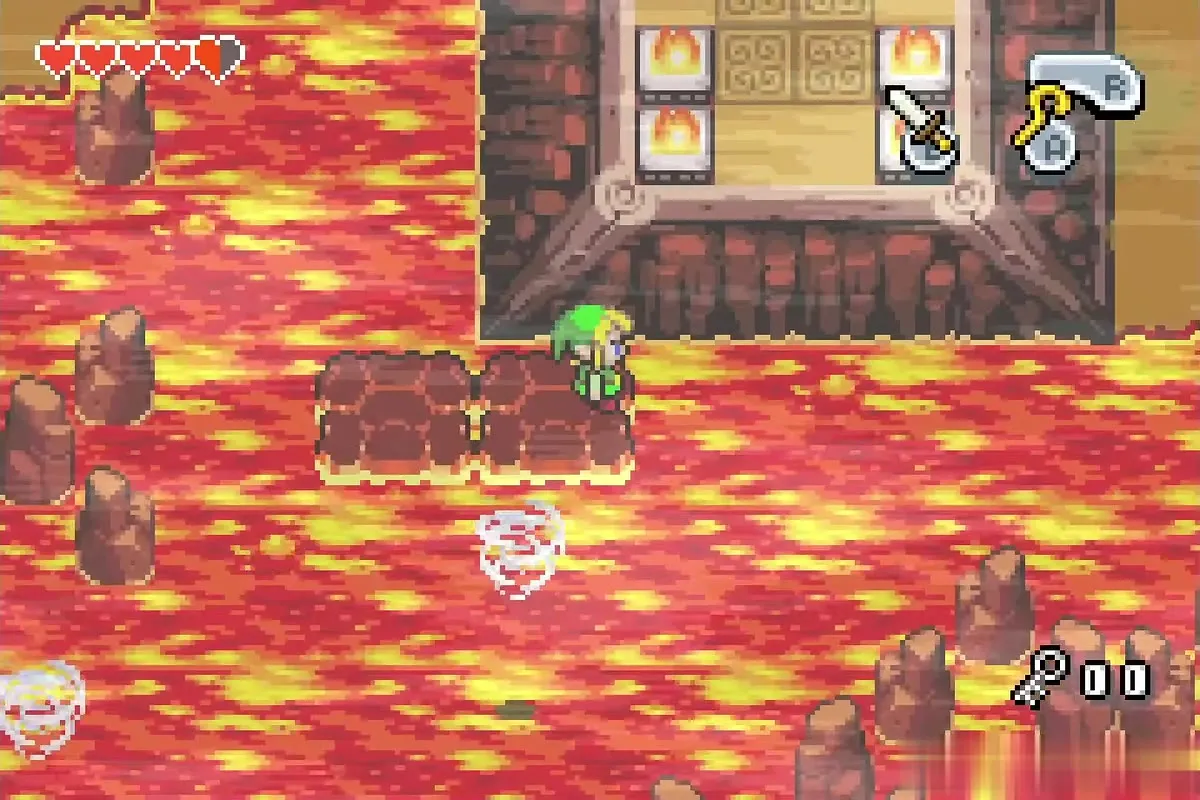
| Big Key | Big chest on the centre platform of the lava cavern |
The Cave of Flames needs only two Small Keys, but you cross the lava cavern with the Cane of Pacci before you can reach the Big Key.
Fortress of Winds
| Item | Where |
|---|---|
| Small Key 1 | Drops after pulling the lever in the pit room |
| Compass | Chest after waking and beating the two statues with the Bow |
| Small Key 2 | Snake room lever |
| Dungeon Map | Big chest on the raised platform guarded by Stalfos |
| Small Key 3 | Statue and switch puzzle past the spike rollers |
| Small Key 4 | Dig it out of the sand room with the Mole Mitts |
| Big Key | Big chest on the green-tile platform |
The Mole Mitts come from a chest behind a cracked wall about halfway through, and you need them for the fourth key.

Temple of Droplets
| Item | Where |
|---|---|
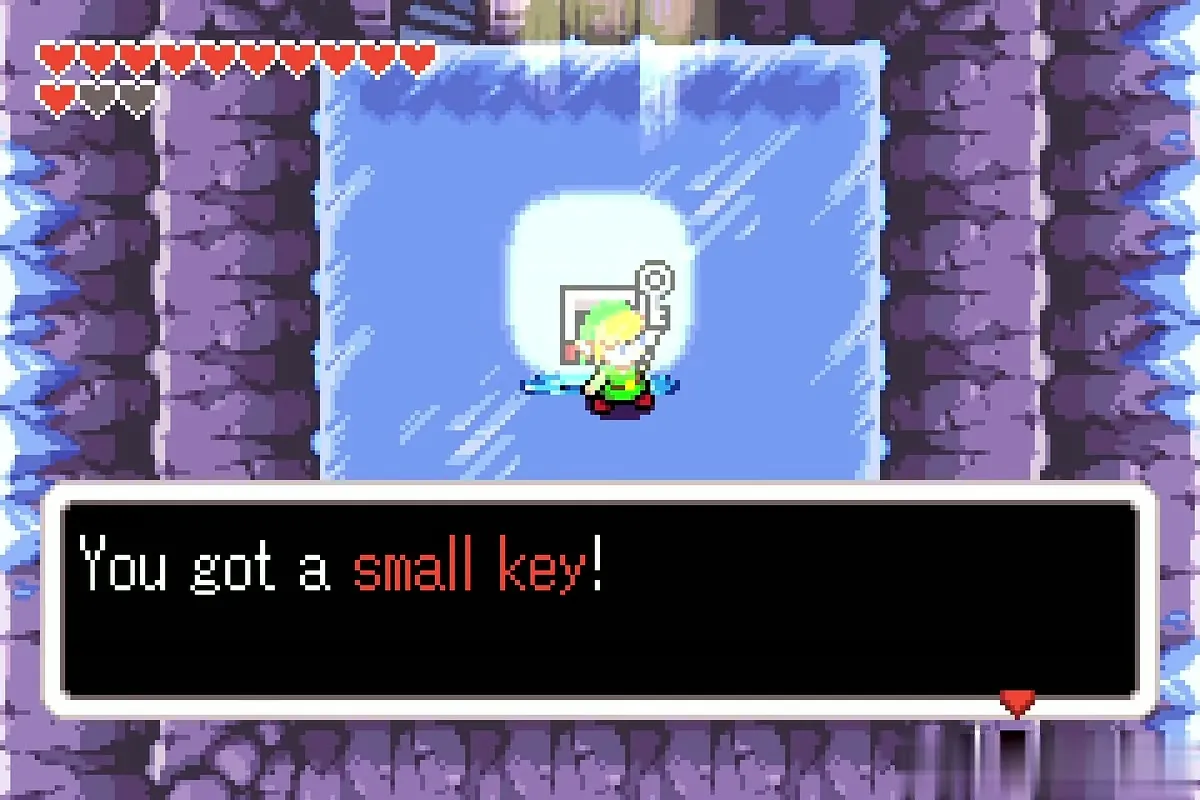
| Small Key 1 | Ice block in the sunlight room off the entrance |
| Big Key | Frozen in one of three ice blocks, in the room below the blue bugs |
| Dungeon Map | Chest in the waterfall room, south-west of the element room |
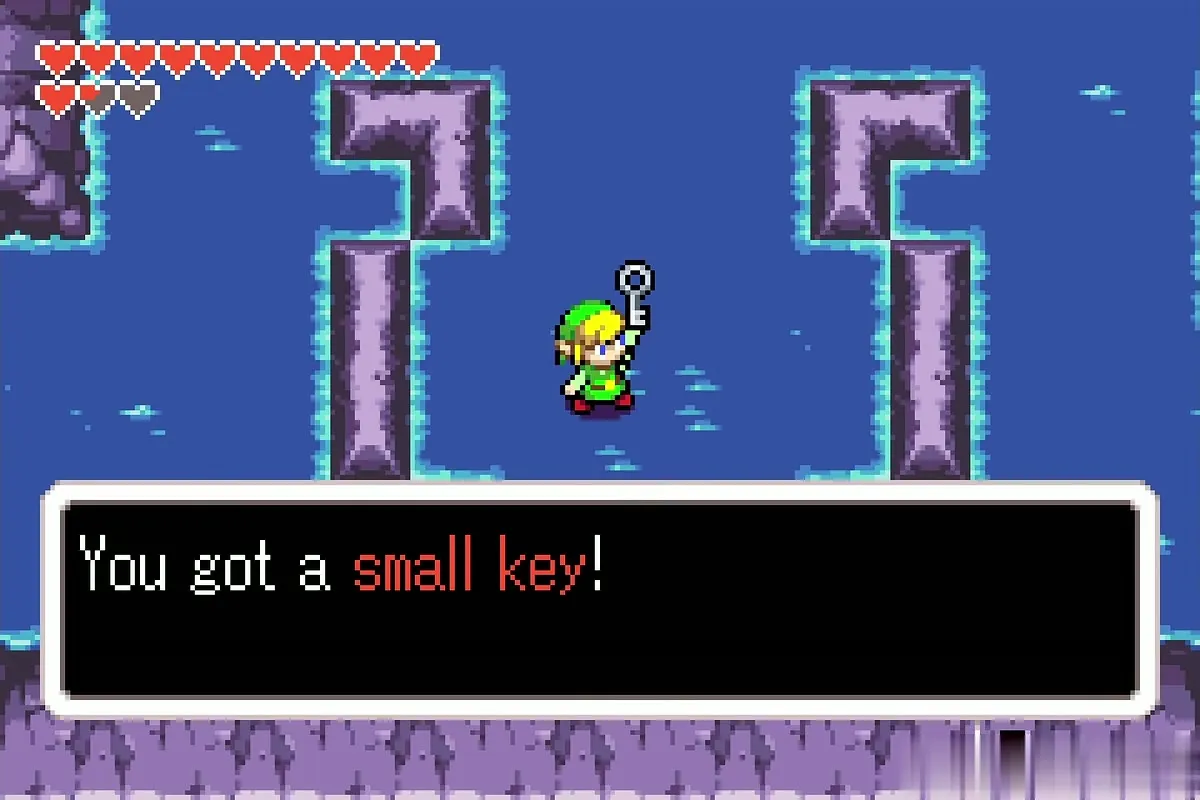
| Small Key 2 | Bottom of the pot-shaped pool |
| Compass | Chest after the first Madderpillar |
| Small Key 3 | Frozen chest, melted by two skylights |
| Small Key 4 | Dropped by the Mulldozers beyond the bomb wall |
The Big Key comes early in this dungeon, but the boss door stays shut until you have found all four Small Keys and the Flame Lantern.
Palace of Winds
| Item | Where |
|---|---|
| Small Key 1 | Chest in the skull corridor |
| Small Key 2 | Chest in the block row room with Stalfos |
| Big Key | Big chest after the block row door |
| Compass | Chest in the dark rooms past the ladder |
| Small Key 3 | Chest in a second dark chest room |
| Dungeon Map | Chest in the torch room |
| Small Key 4 | Chest in the Spiked Beetle room |
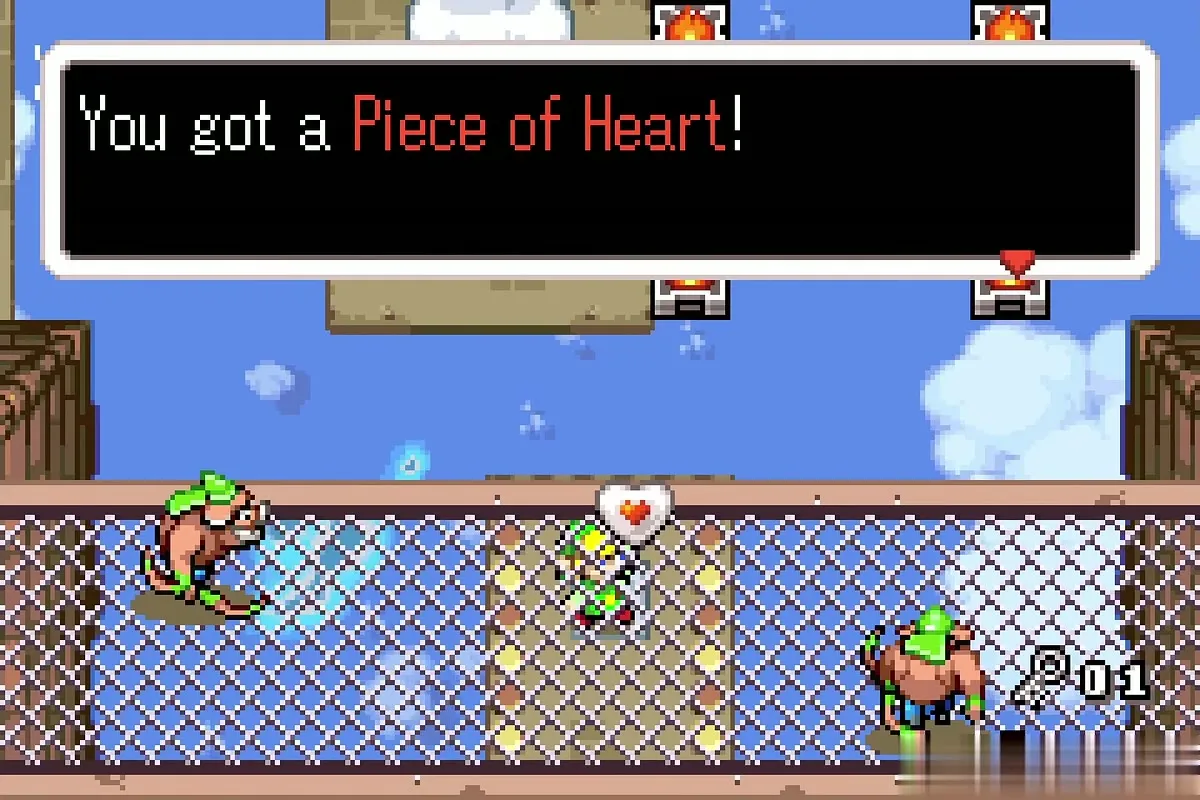
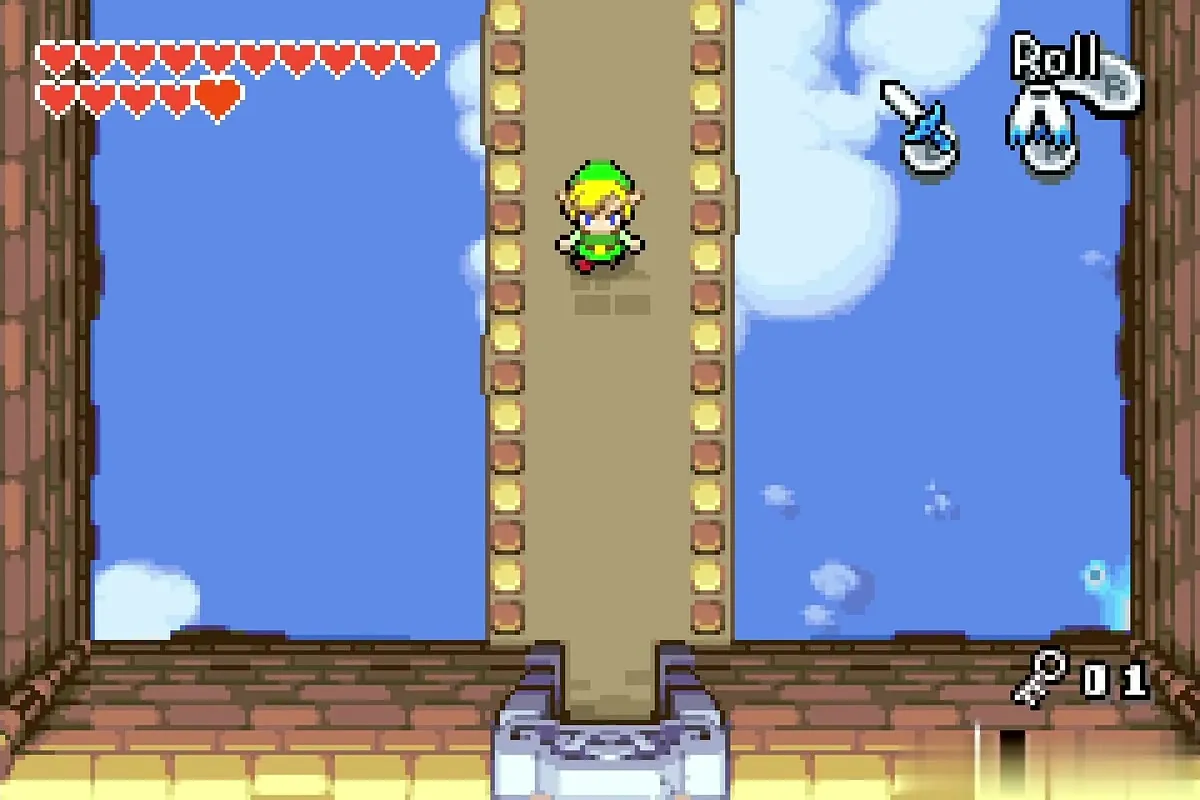
The Palace of Winds also hides a Piece of Heart past the mesh bridge, so take it before the boss.
Dark Hyrule Castle
| Item | Where |
|---|---|
| Small Key 1 | Given by the king in his cell |
| Dungeon Map | Big chest in the statue room past the cell |
| Small Key 2 | Chest after the block puzzle |
| Compass | Small chest east of the throne room |
| Small Keys 3 to 6 | One chest in each of the four tower rooms |
| Big Key | Chest behind the big pushed block, after the four locked blocks |
Spend the four tower keys on the four locked blocks to reach the Big Key, then open the boss door and beat the three Darknuts. Full route in the Dark Hyrule Castle walkthrough.