
























The Minish Cap 100% Completion Walkthrough19 chapters
- The Picori Festival and the Minish WoodsGet the Small Shield and Smith’s Sword, meet Ezlo, shrink and reach Minish Village.
- Deepwood Shrine (Dungeon 1)All four small keys, Dungeon Map, Compass, Madderpillar, Gust Jar, Big Key, Heart Pieces and Big Green Chuchu.
- Ascent to Mount CrenelBomb Bag, Kinstone Bag, Big Wallet, bottle, Grip Ring, Great Fairy, Heart Pieces and Melari’s Mines.
- Cave of Flames (Dungeon 2)Every key, chest and mine cart, the Cane of Pacci, the Big Key, Gleerok boss tactics and the Fire Element.
- Infusing the Picori BladeMelari’s White Sword, the Elemental Sanctuary, a Heart Piece and a Kinstone piece on the way.
- Getting the Pegasus BootsSyrup’s Wake-Up Mushroom, Lon Lon Ranch, eight Kinstone fusions, three Heart Pieces and Swiftblade.
- Castor Wilds and the Wind RuinsThree Gold Kinstones, the Bow, the Mysterious Statue fusions and the road to the Fortress of Winds.
- Fortress of Winds (Dungeon 3)Every key, Compass, Map, Mole Mitts, Big Key, Mazaal boss tactics, Heart Container and Ocarina of Wind.
- The Library Books and the FlippersReturn the three overdue books in Hyrule Town, win the Power Bracelets and get the Flippers.
- Hyrule Town Side Quests and Kinstone FusionsAnju’s Cucco Roundup, Simon’s Simulation, Kinstone fusions, heart pieces and the Magical Boomerang.
- Collectibles Sweep Before the Temple of DropletsKinstone fusions, 10 Pieces of Heart, Roll Attack and Peril Beam dojos and the Large Quiver.
- Temple of Droplets (Dungeon 4)Every key, Map, Compass, Big Key, Flame Lantern, Big Blue Chuchu, Big Octorok and the Water Element.
- Royal Valley and the Royal CryptWater Element, Sword Beam, Remote Bombs, Graveyard Key, Great Fairy and King Gustaf’s Gold Kinstone
- Veil Falls and the Cloud TopsHeart Pieces, Splitblade’s dojo, Source of the Flow and five Mysterious Cloud fusions.
- Palace of Winds (Dungeon 5)Roc’s Cape, four Small Keys, Big Key, Compass, Map, Heart Piece, Gyorg Pair boss and Wind Element.
- Collecting the Upgrades Before the Four SwordDown Thrust, Great Spin Attack, seven Kinstone fusions, seven Heart Pieces and the Goron Cave bottle.
- Dark Hyrule Castle (Final Dungeon)King’s cell, Map, Compass, six Small Keys, Big Key, Darknut rooms and the Darknut trio before Vaati.
- Vaati Final Boss and EndingBeat Vaati Reborn, Transfigured and Wrath, free Zelda, escape the castle, then save after the credits.
- Postgame Collectibles and 100% CompletionLast Kinstone fusions, Biggoron’s Mirror Shield, Heart Pieces, Heart Container, Tingle Trophy and all 136 figurines.
| Covers | Hyrule Castle Garden, Elemental Sanctuary, Minish Woods (Gentari and Belari), Wind Ruins, Royal Valley, Royal Crypt, then a long run of Kinstone fusions in Hyrule Town, Trilby Highlands, Western Wood, Castor Wilds and North Hyrule Field |
|---|---|
| Dungeon | 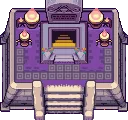 Royal Crypt (a short dungeon, no boss): Small Keys only, ends with King Gustaf and his Gold Kinstone piece |
| Rewards | Water Element infusion (White Sword with three Elements) and the Four Sword split into three Links, Sword Beam (Tiger Scroll from Grimblade), Remote Bombs, Big Bomb Bag, Large Quiver (Great Dragonfly Fairy, 99 arrows), Graveyard Key, 1 Piece of Heart, 3 Small Keys, 1 Gold Kinstone piece, 3 Joy Butterflies, White Picolyte, 14 Kinstone fusions; no bottles, figurines or Heart Containers |
This chapter turns your sword into a three-Element blade at the Elemental Sanctuary, teaches you the Sword Beam, upgrades your bombs and quiver, and then opens the Royal Crypt in Royal Valley, where the ghost of King Gustaf hands you a Gold Kinstone piece. The route is: Grimblade’s dojo, the Sanctuary, the Minish Woods and Wind Ruins for the bomb upgrades, Royal Valley for the Great Fairy, the Graveyard Key and the Crypt, and finally a string of Kinstone fusions that open rewards all over Hyrule.
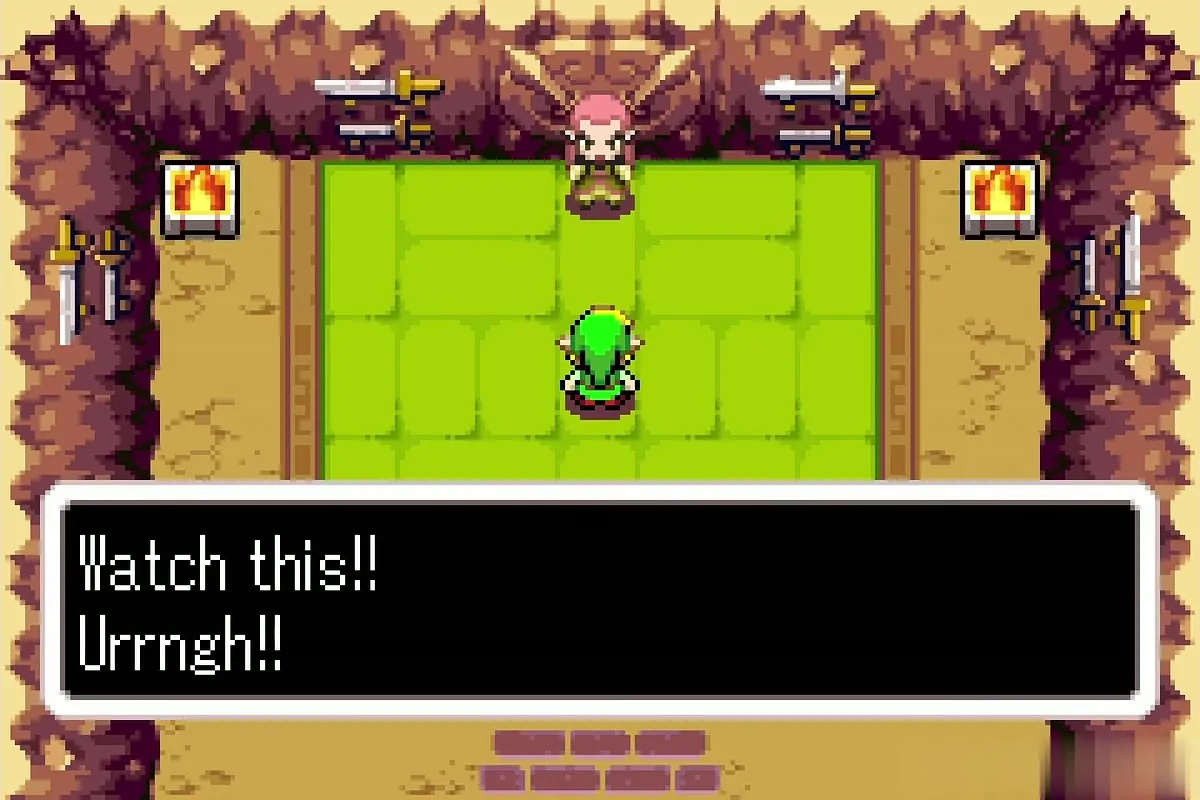
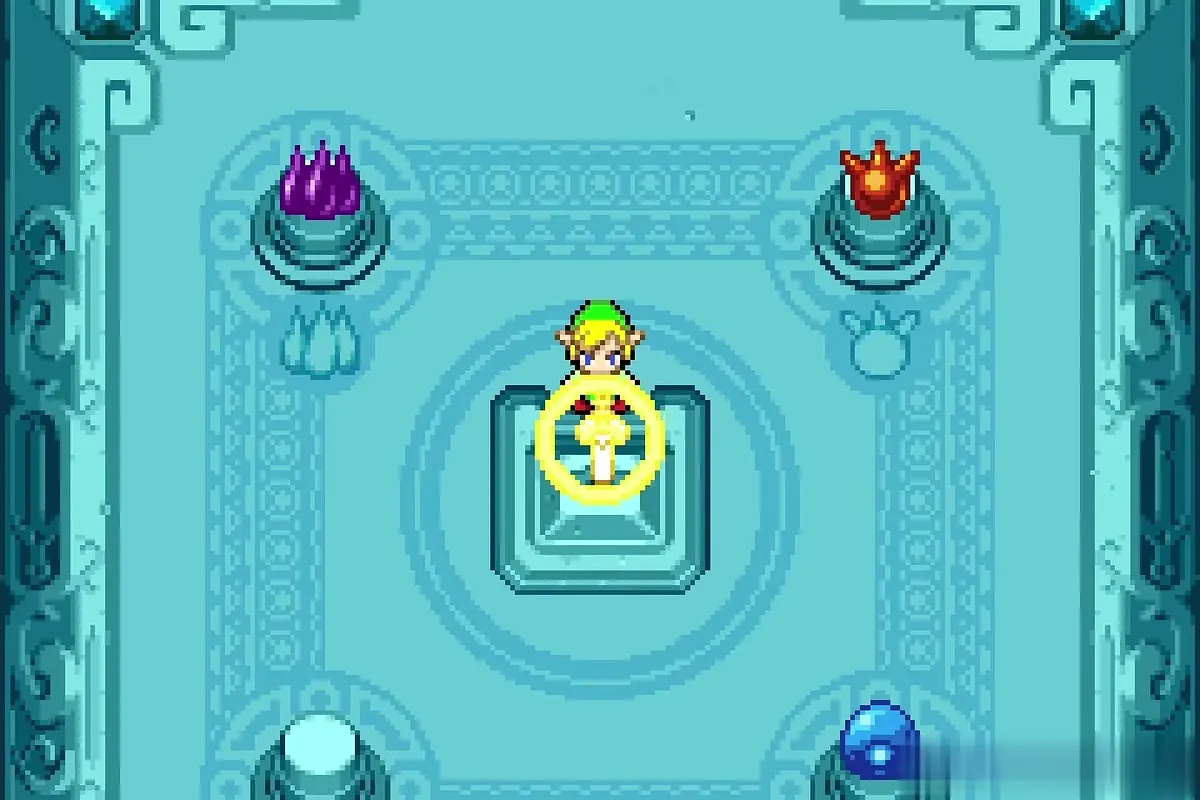
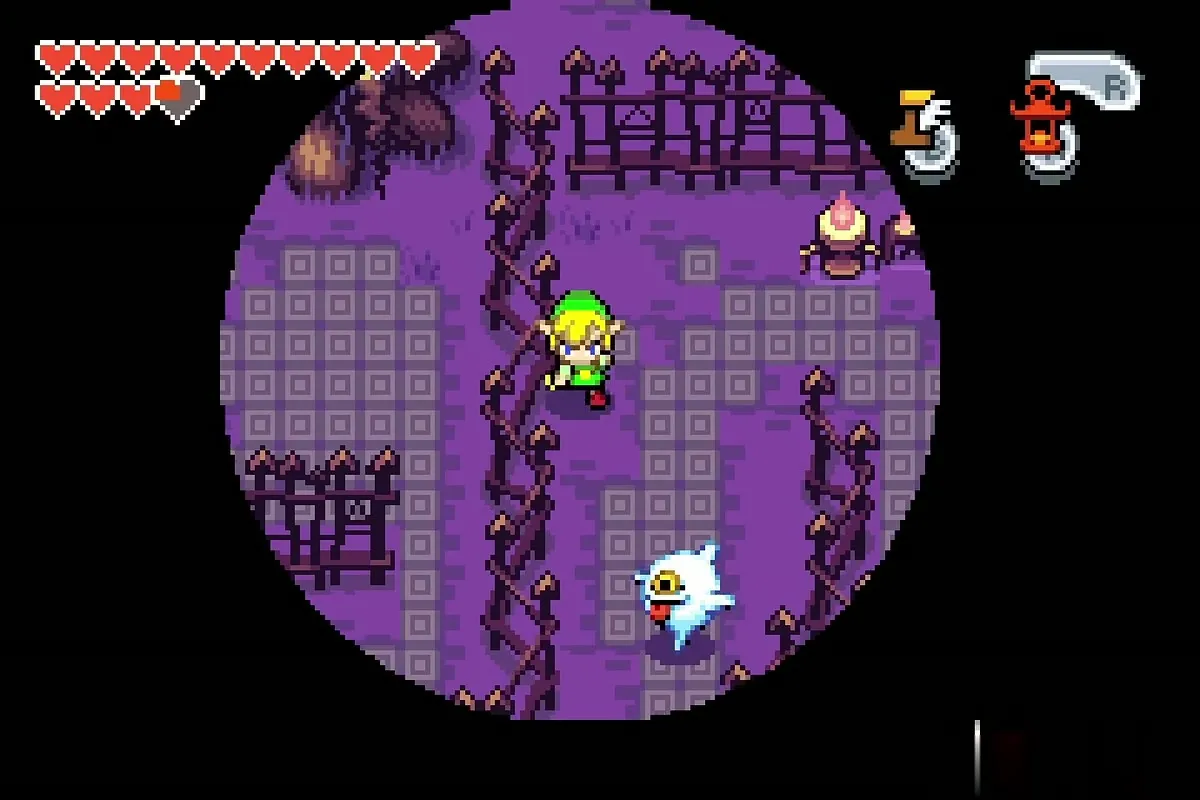
Table of Contents
Hyrule Castle Garden: Sword Beam

Ezlo’s marked map and the Wind Crest warp
After the Temple of Droplets you come out onto the frozen shore of Lake Hylia, where the spirit of King Gustaf appears and marks a spot on your map. Ezlo wants you to infuse the sword with the new Element first, so ignore the marker for now and open your map screen.
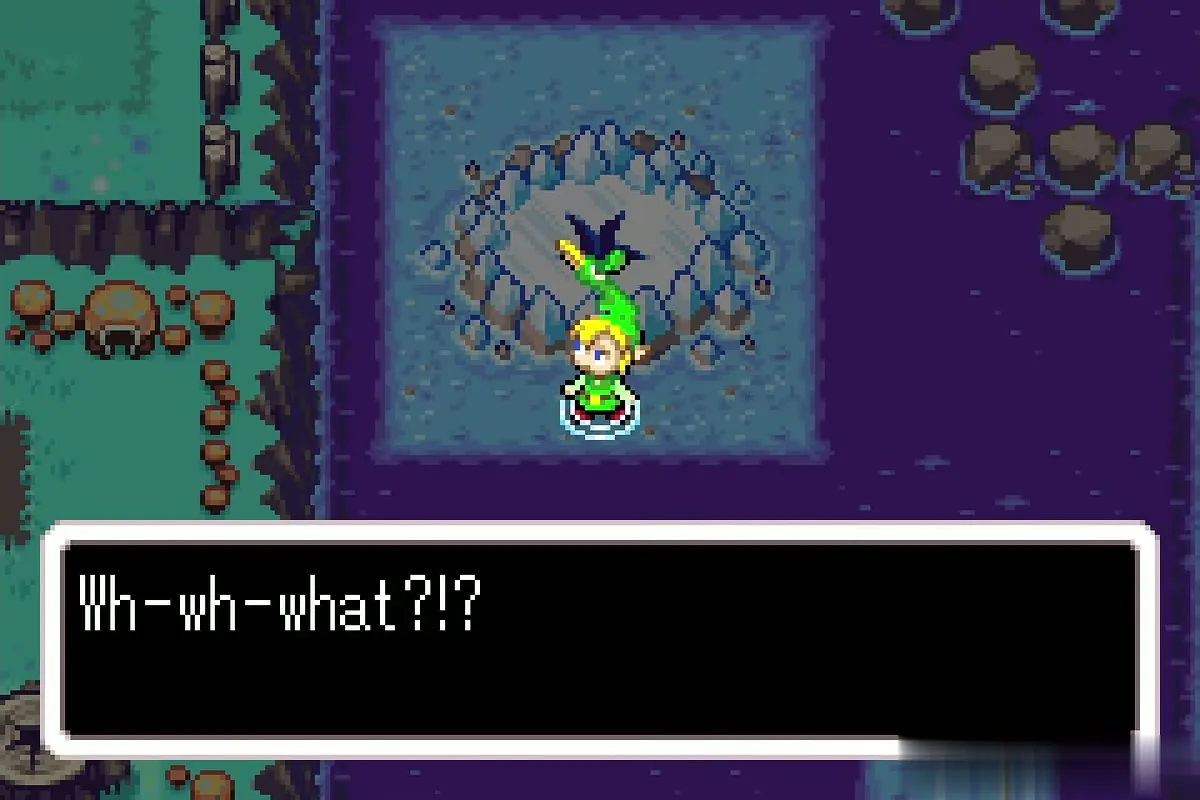
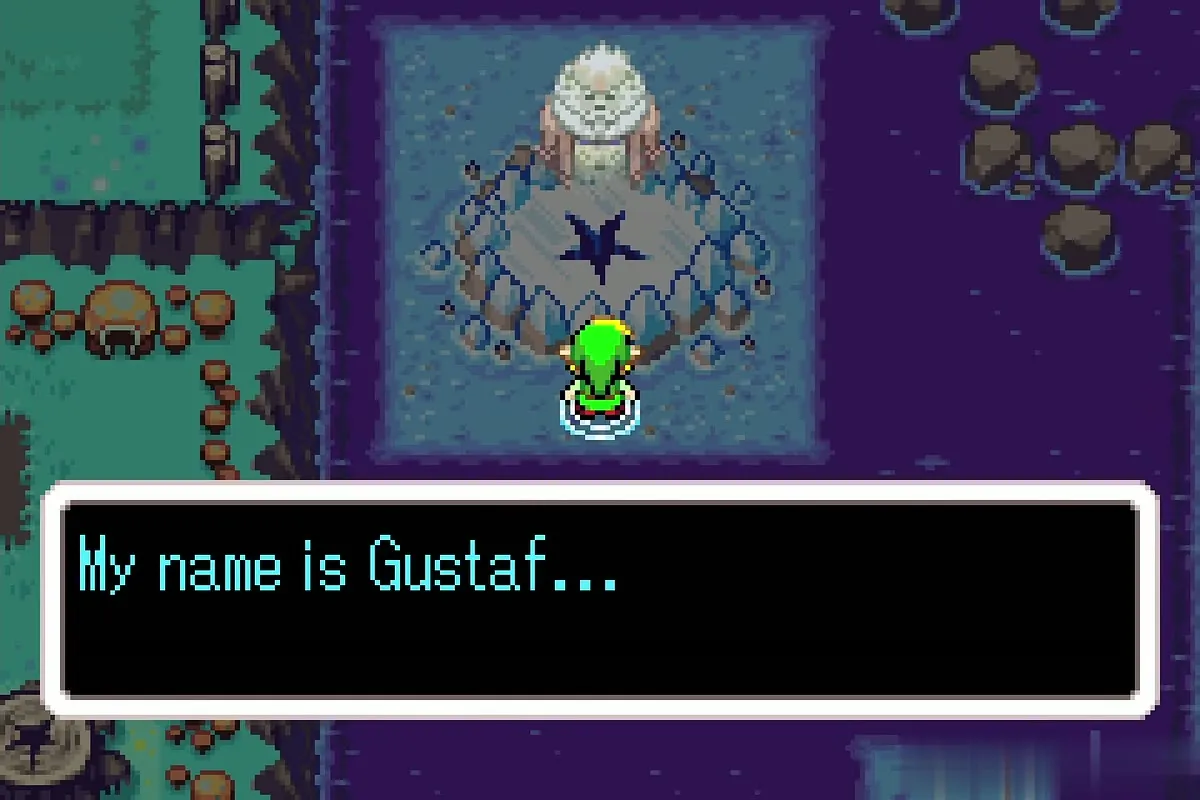
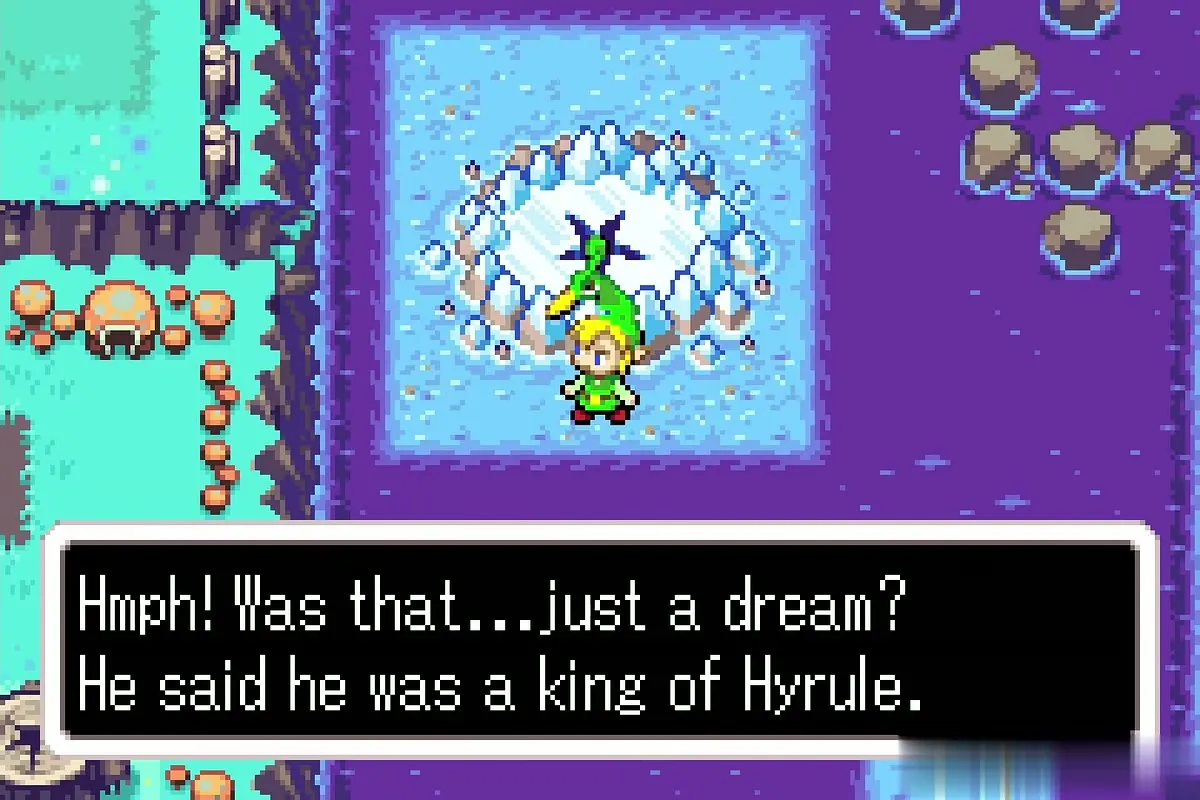

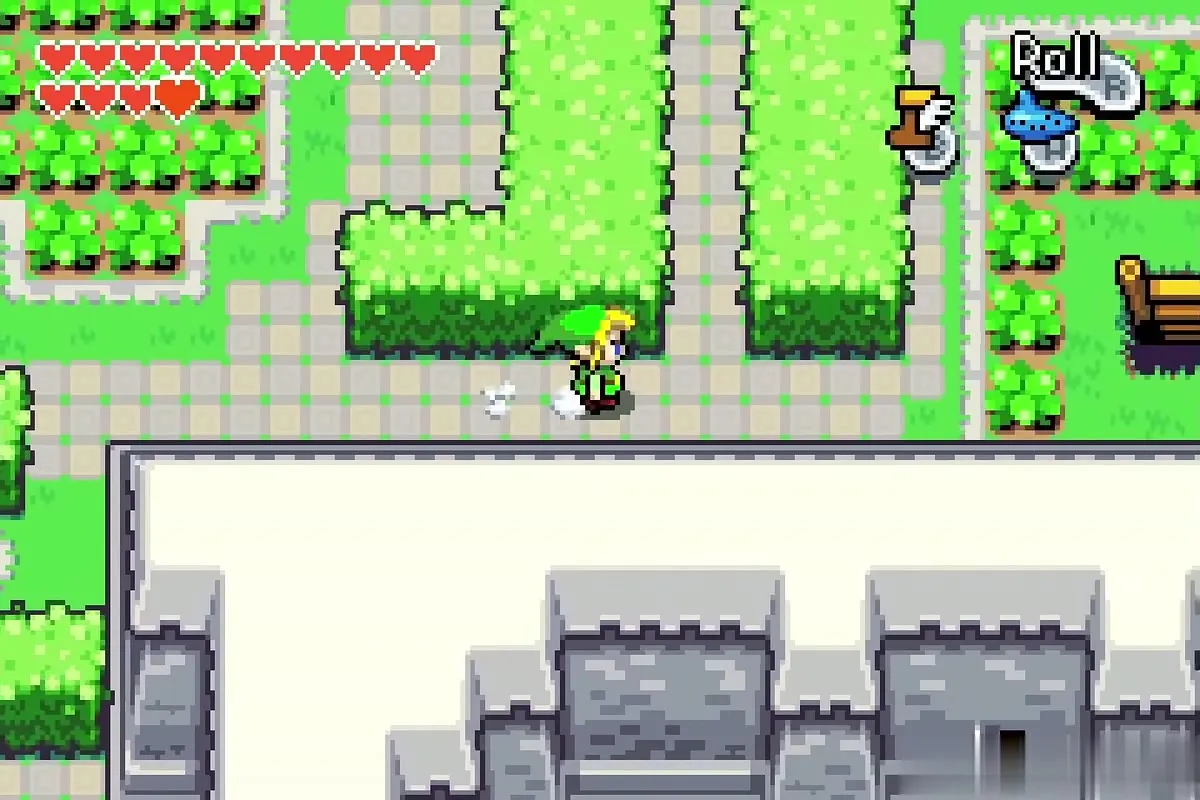
Use the Ocarina of Wind on the Wind Crest menu to travel to Hyrule Town, then walk north past the castle wall toward the Hyrule Castle Garden.
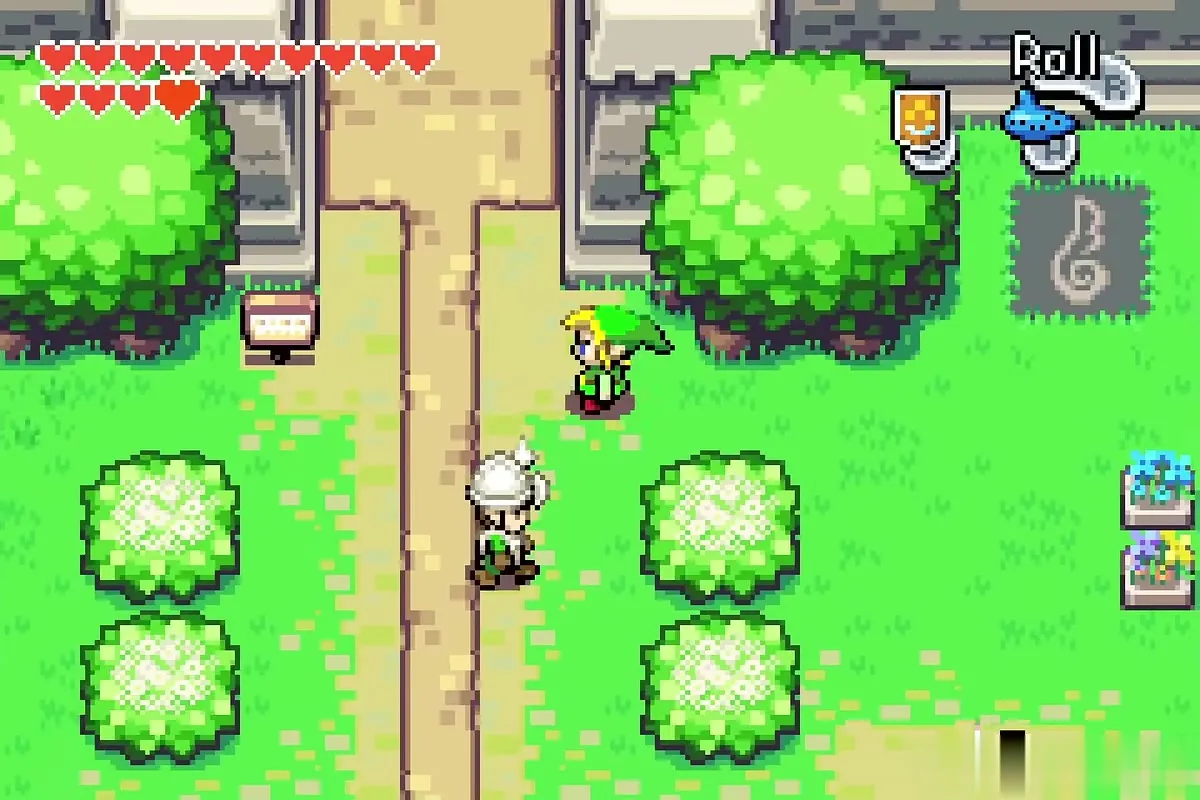
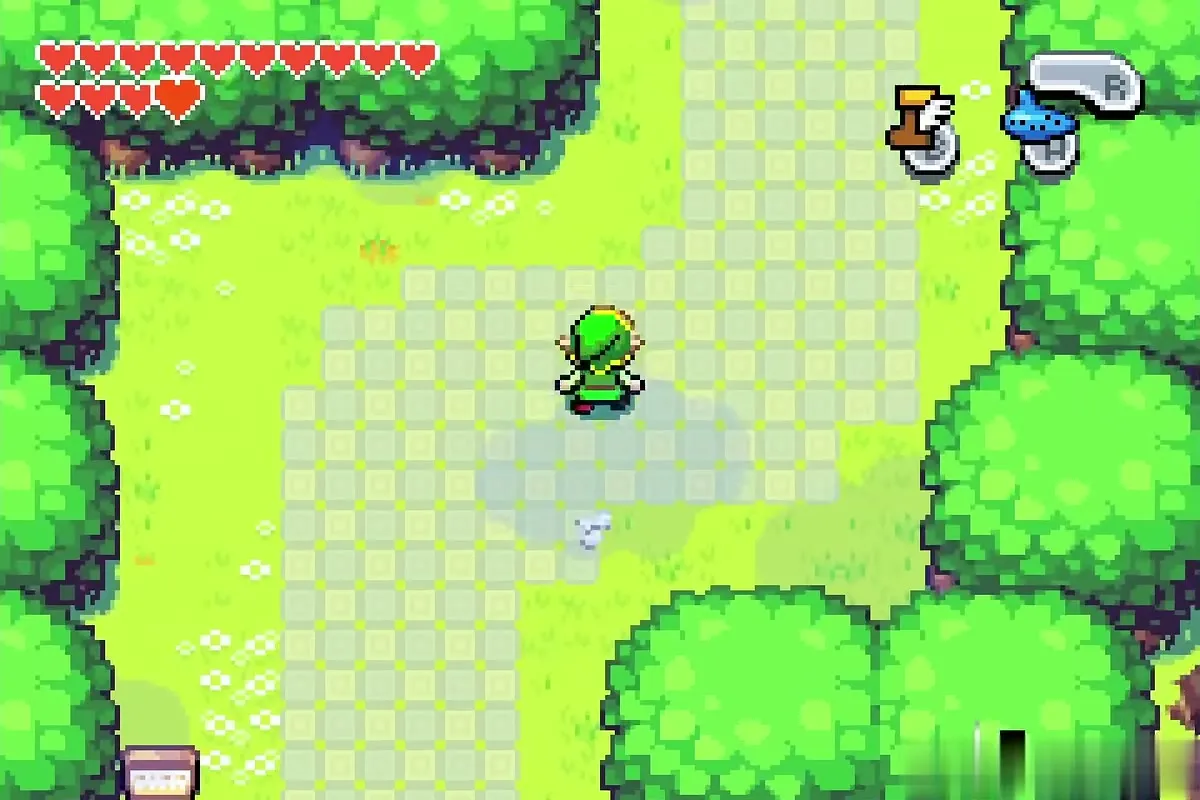


Find Grimblade’s dojo
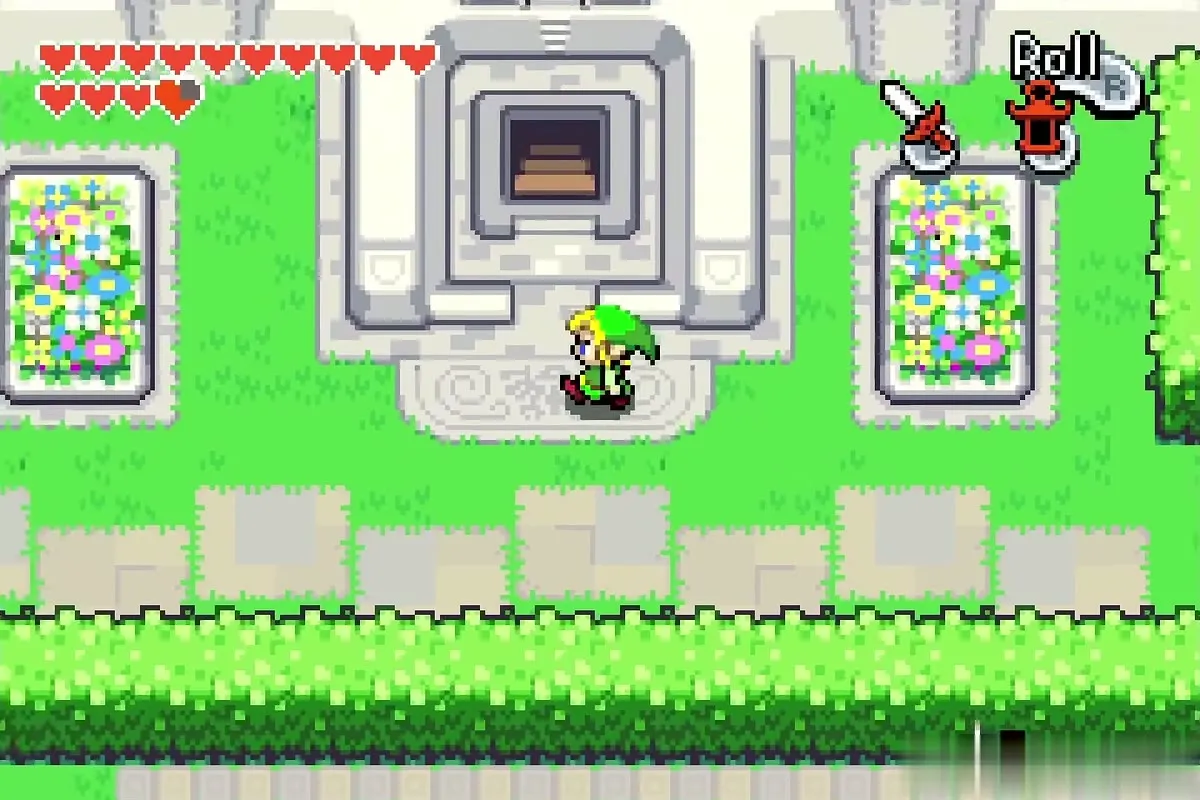
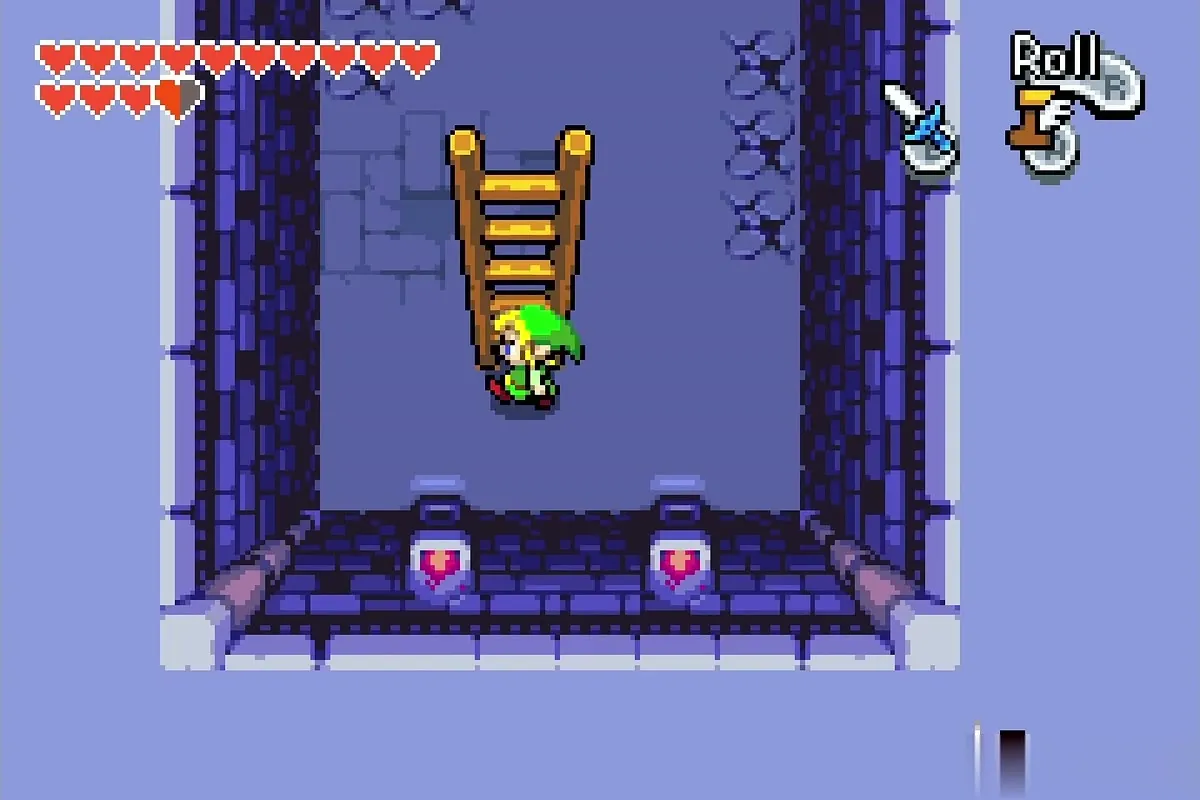
The king is possessed by Vaati, so the castle front is closed and the garden is the way in. Go east through the hedge maze until you hit the wall, then south to a big patch of bushes. Cut the bushes down, or set a single bush on fire with the Flame Lantern and let the fire spread, to uncover a ladder. Climb down.

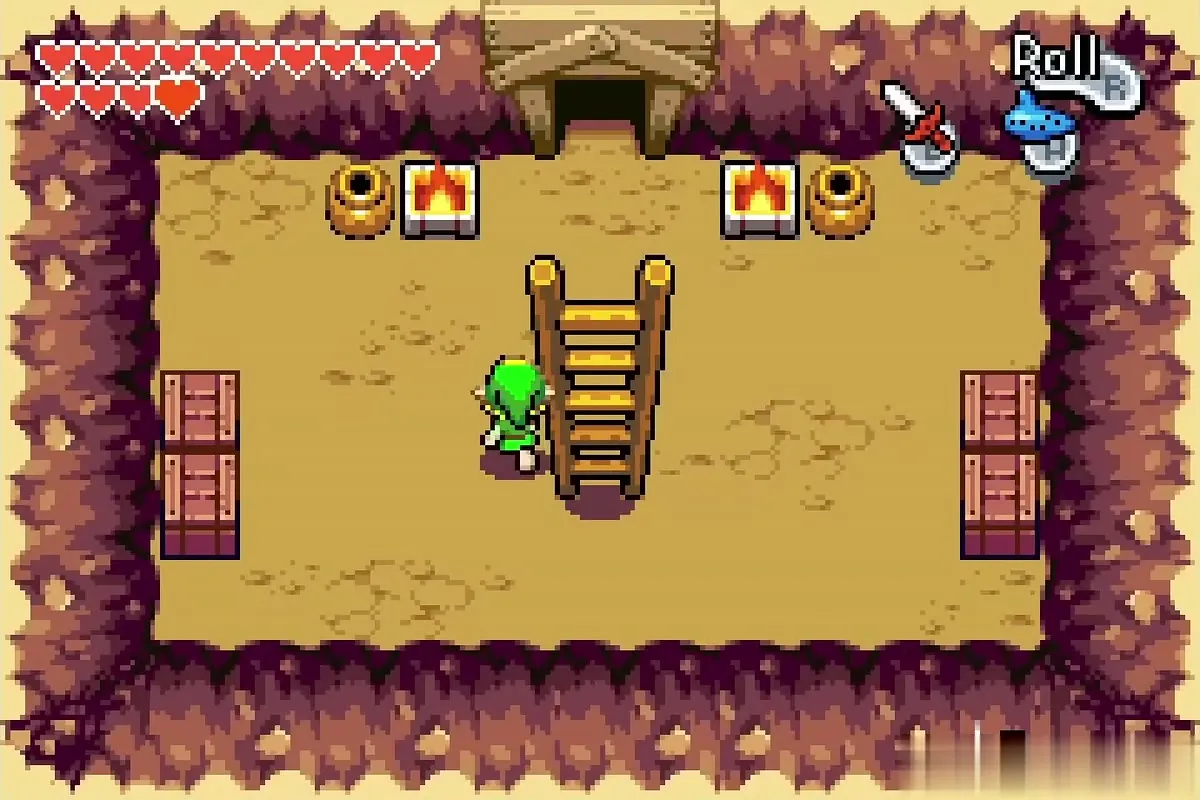
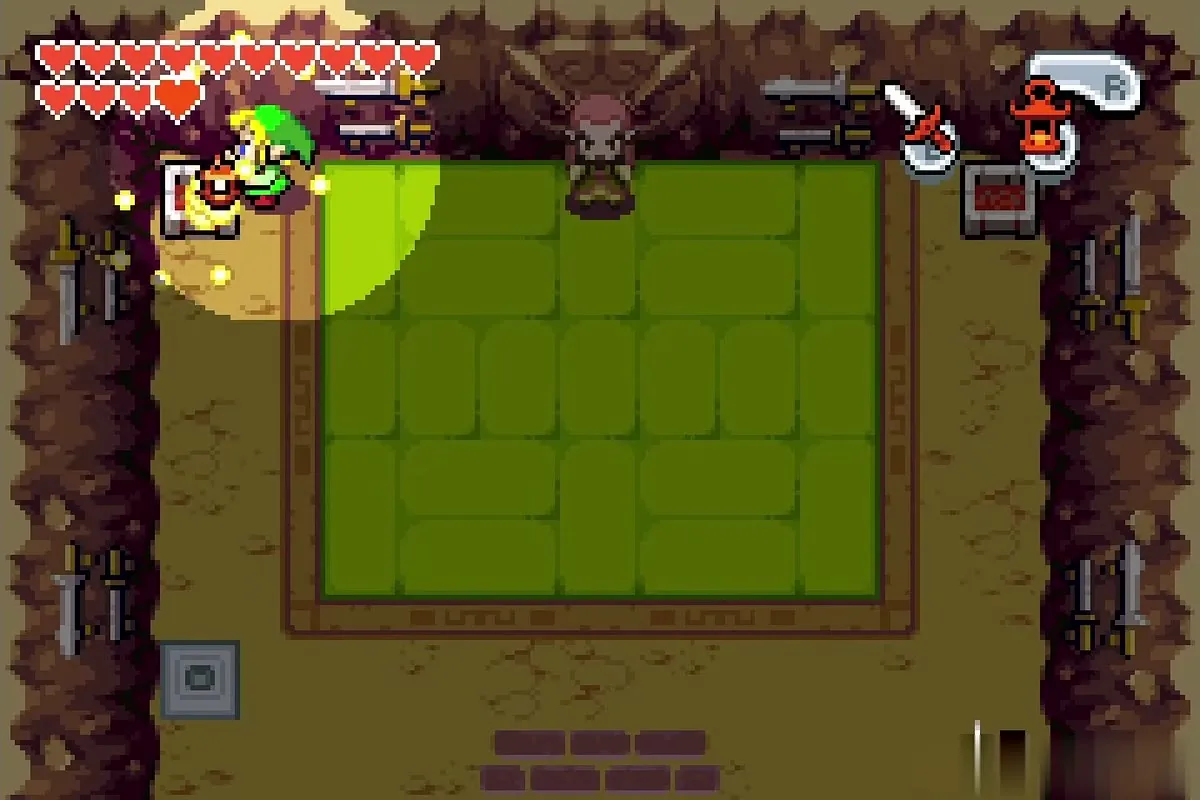
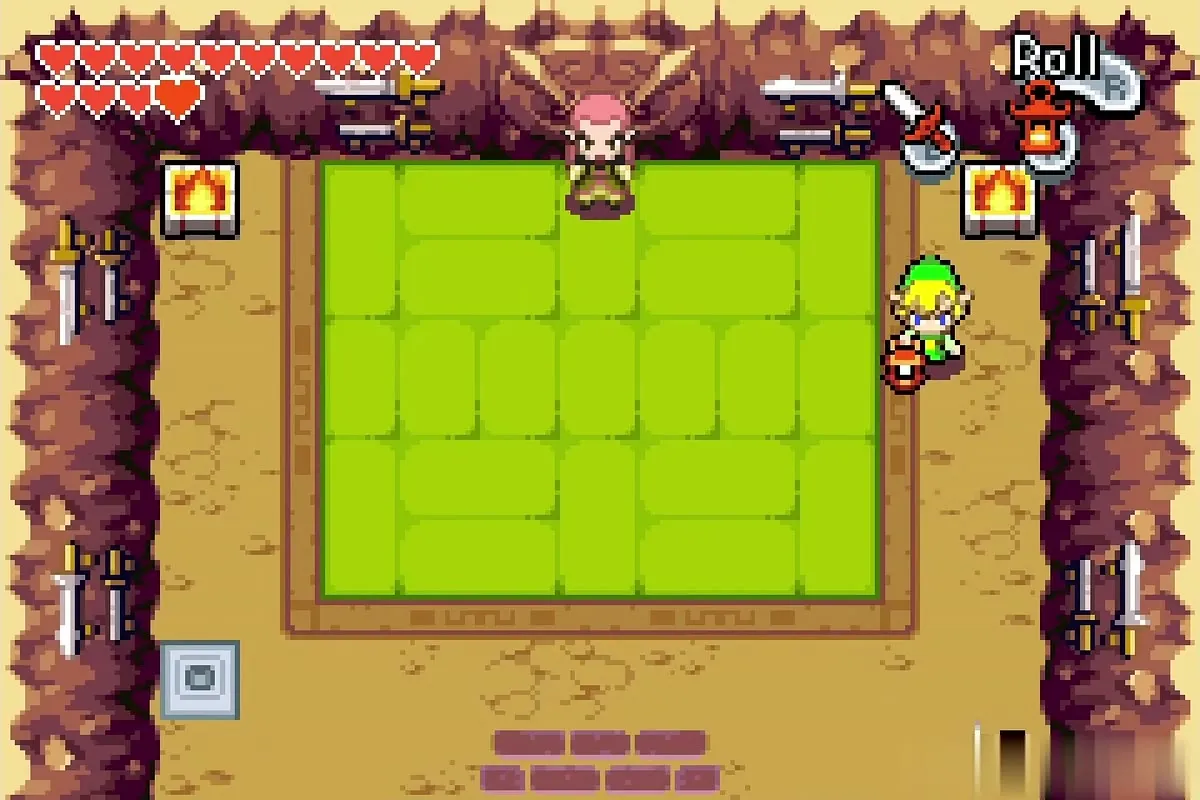
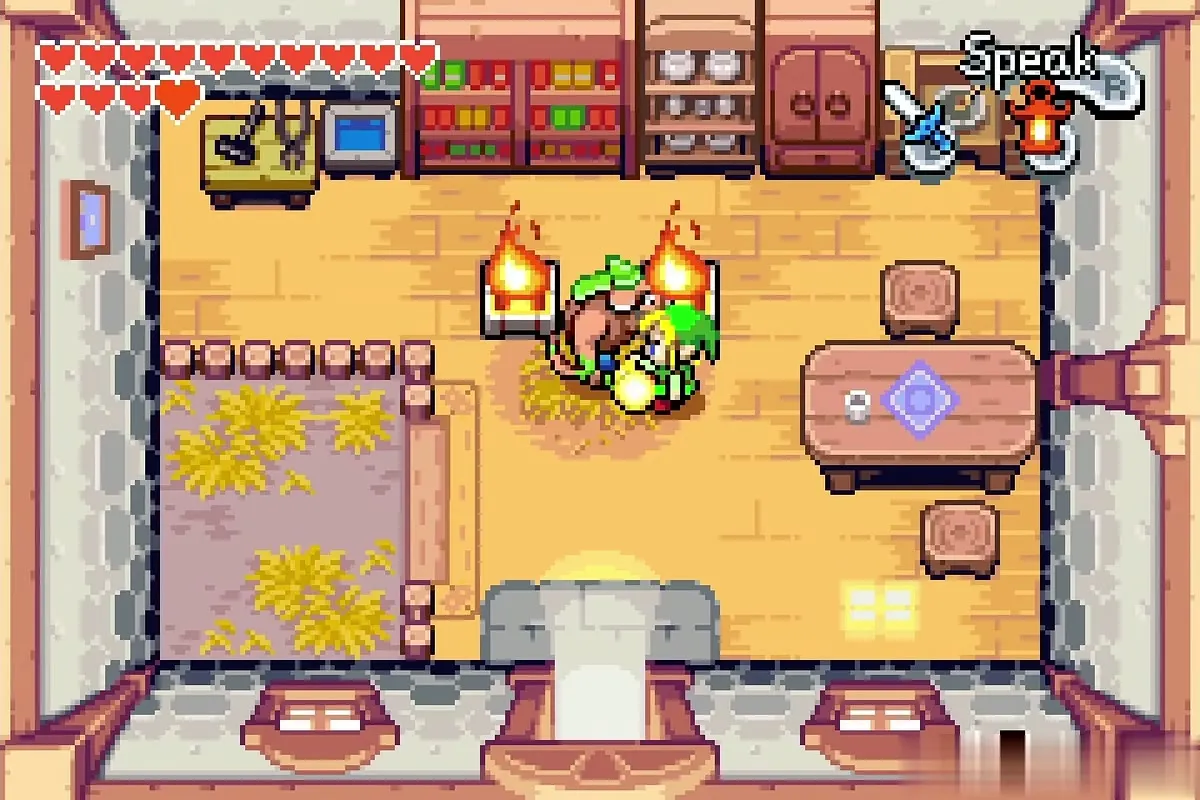
The room below is dark, so equip the Flame Lantern in the Items menu. Walk north to the dojo and light the two fire pits on either side of the master with the Lantern; he will not teach you in a dark room.
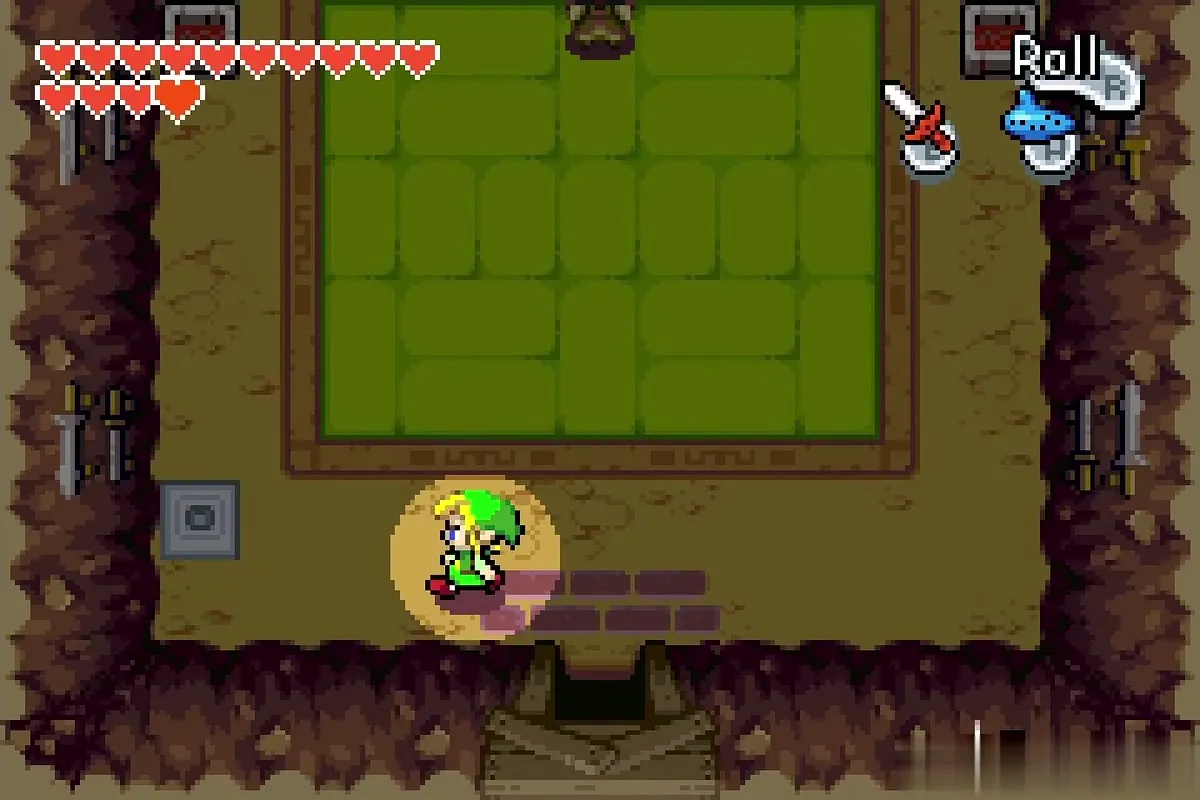

Learn the Sword Beam
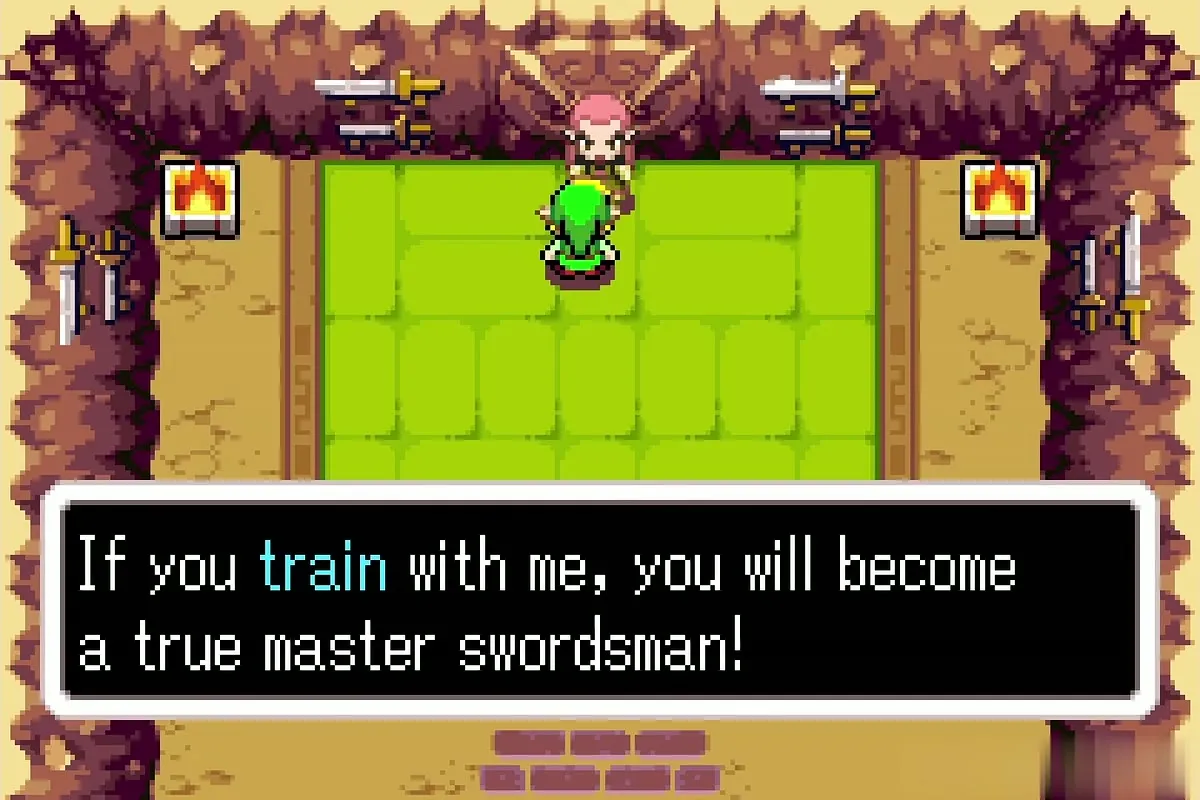
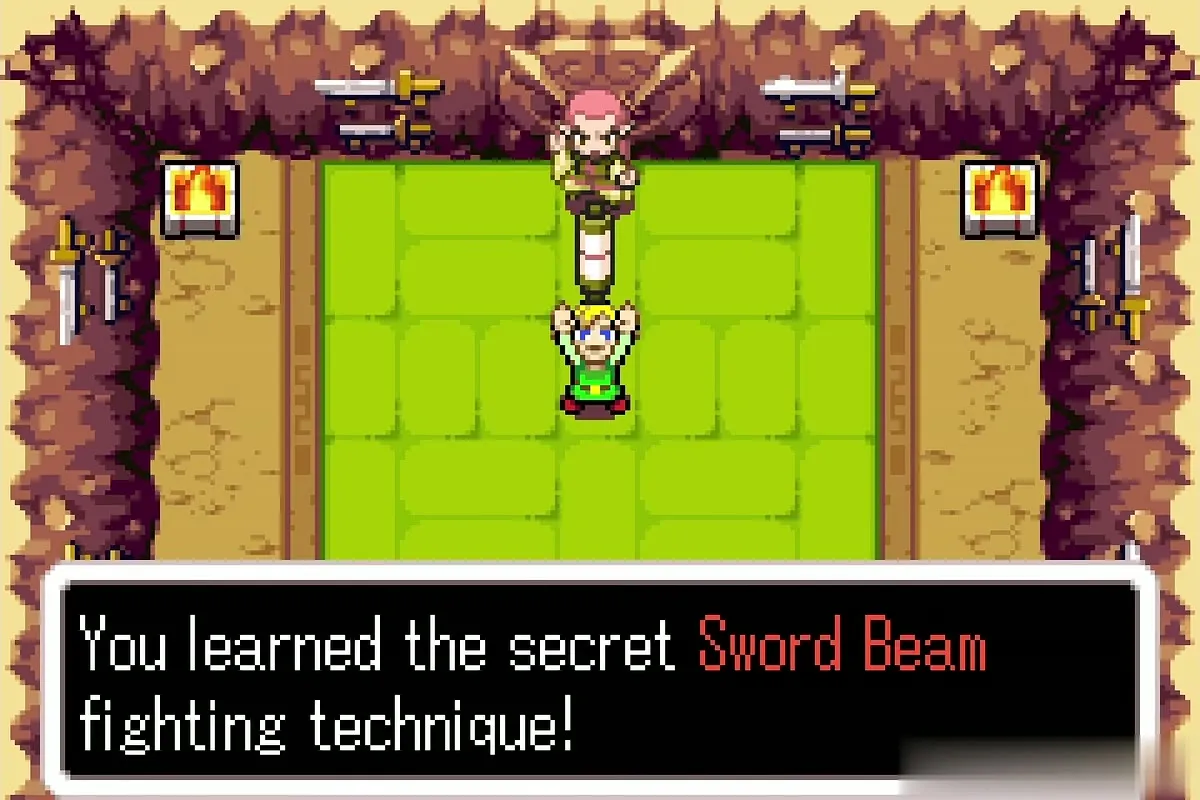
Talk to Grimblade and sit through his lesson. He teaches you the Sword Beam, a technique that fires a beam from the tip of the blade, and you receive the matching Tiger Scroll. The beam only fires while your hearts are full, and you can review the lesson with him whenever you forget it.



The garden stairway
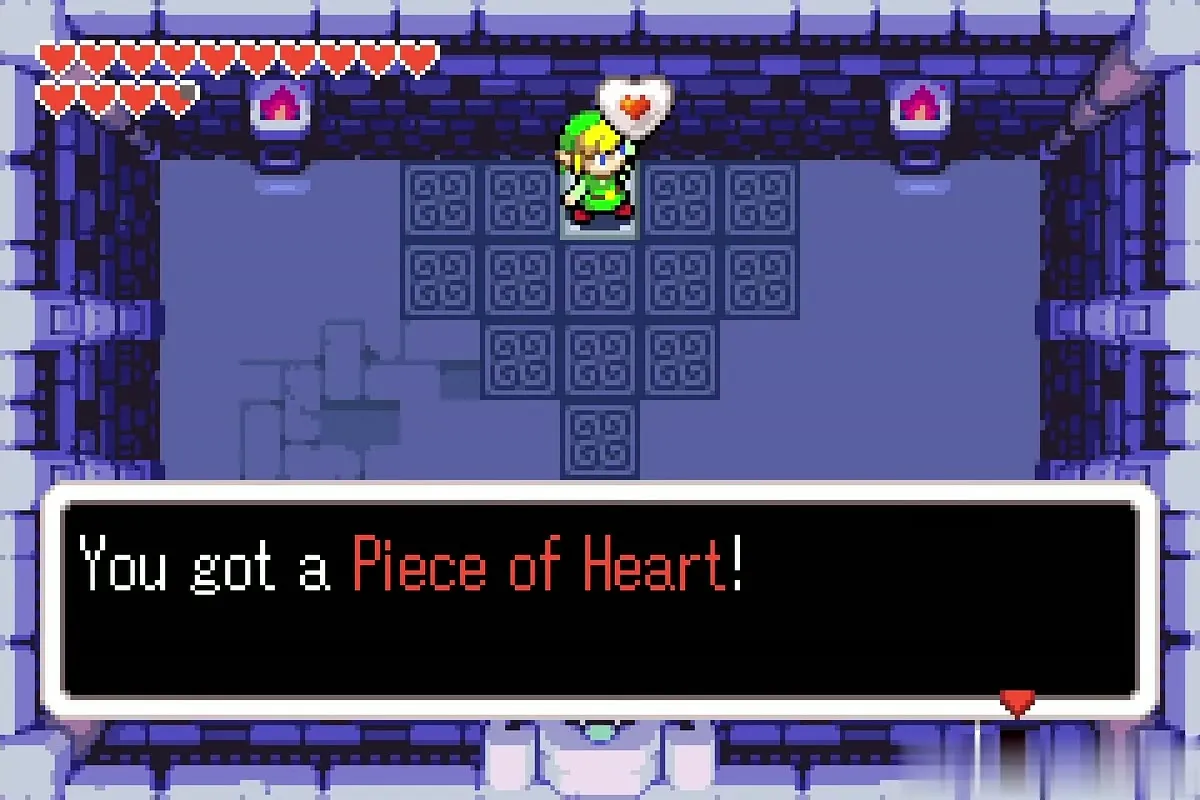
Climb back out into the garden and take the stairway where the fountain stood, the passage that opened after your fusion with Klaus in the Hyrule Town library. The gaps past the bees need Roc’s Cape, which you do not own yet, so leave the Piece of Heart on the far bank for the chapter before the Four Sword.
Elemental Sanctuary: the Water Element
Sneak through the west garden
Walk to the west side of the garden. Guards patrol the hedge maze there and throw you back to the entrance if they spot you, so wait behind a hedge and move once a guard has turned away. Past them, a second bush patch hides another ladder.
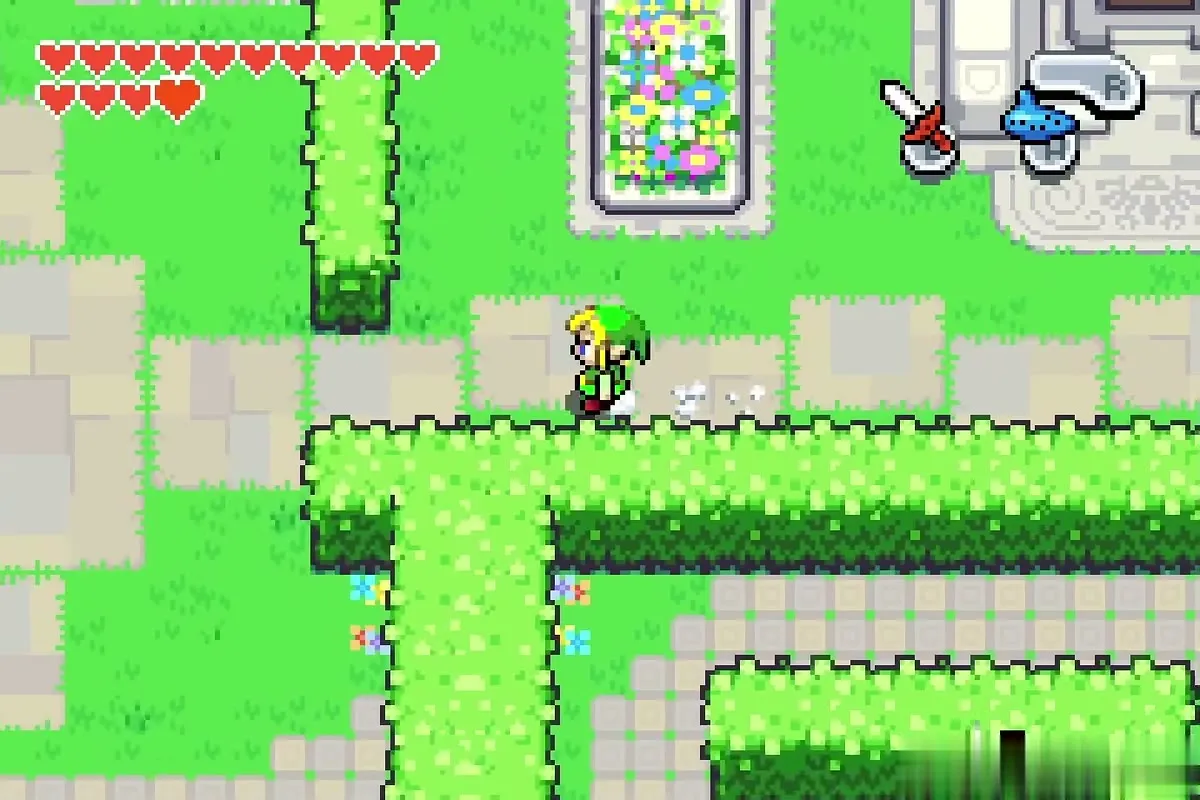
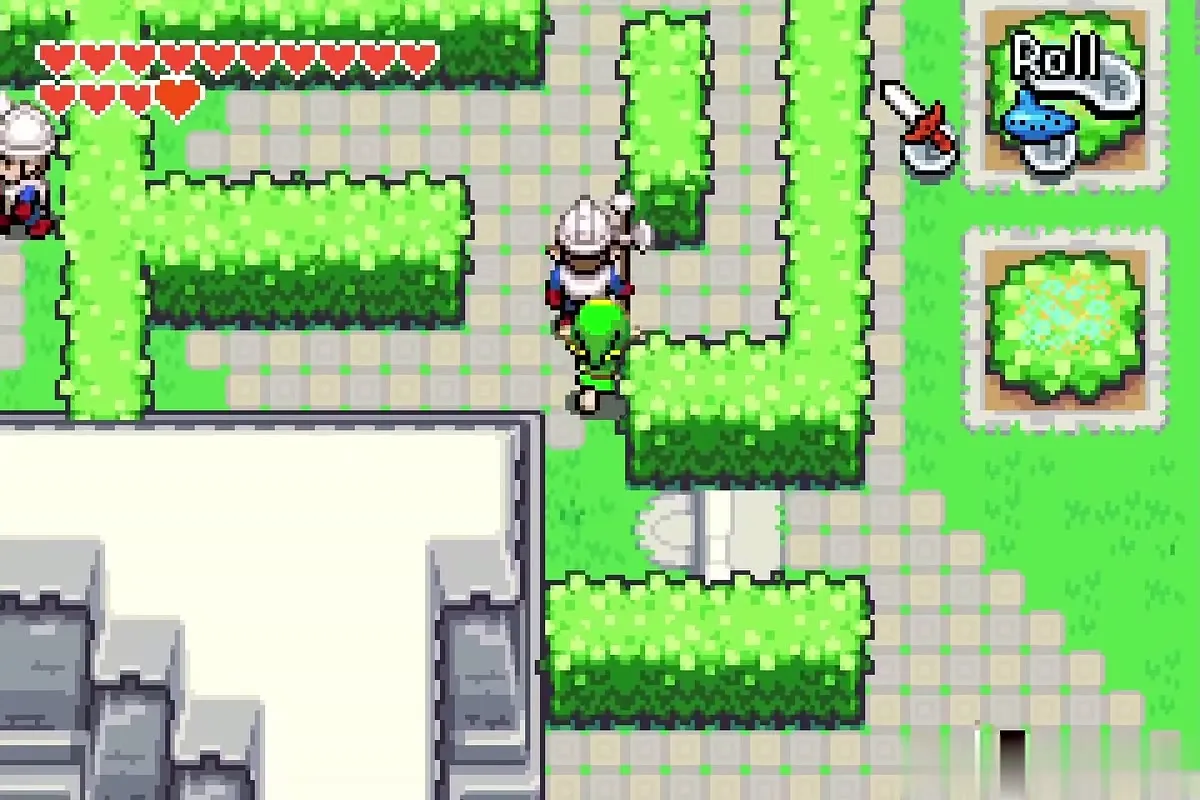
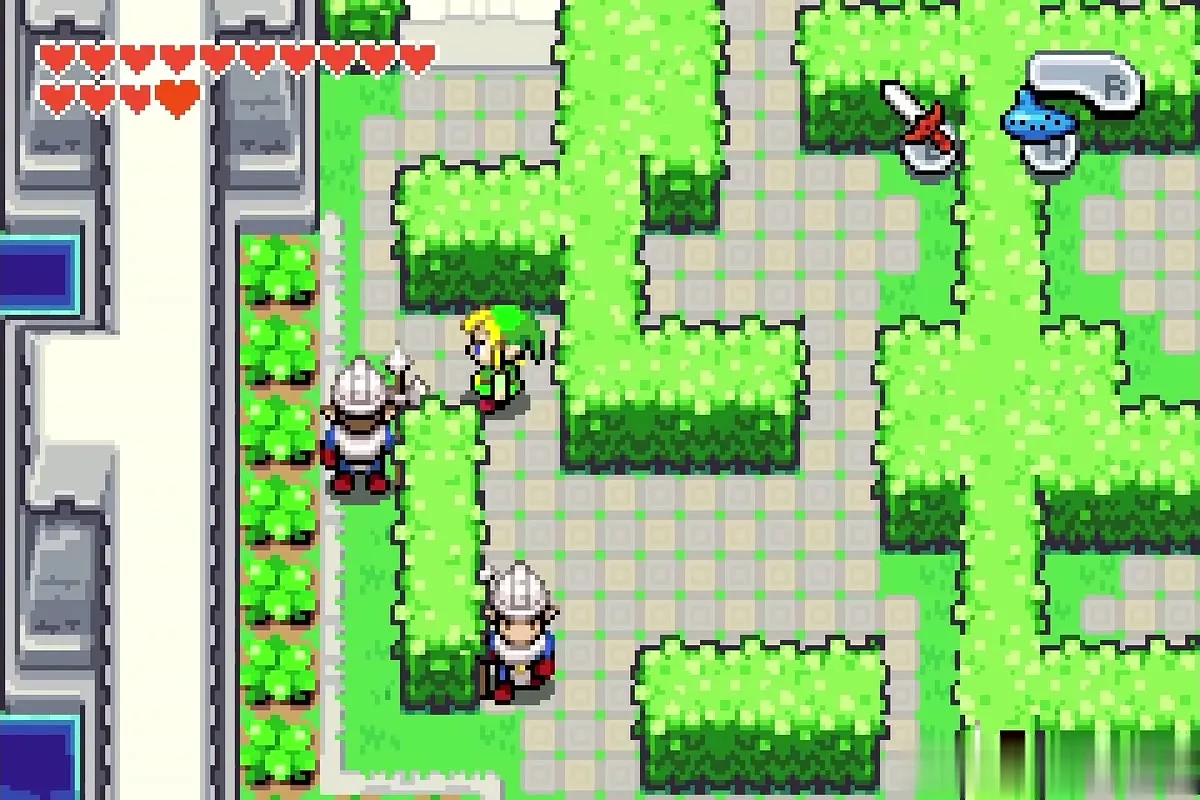
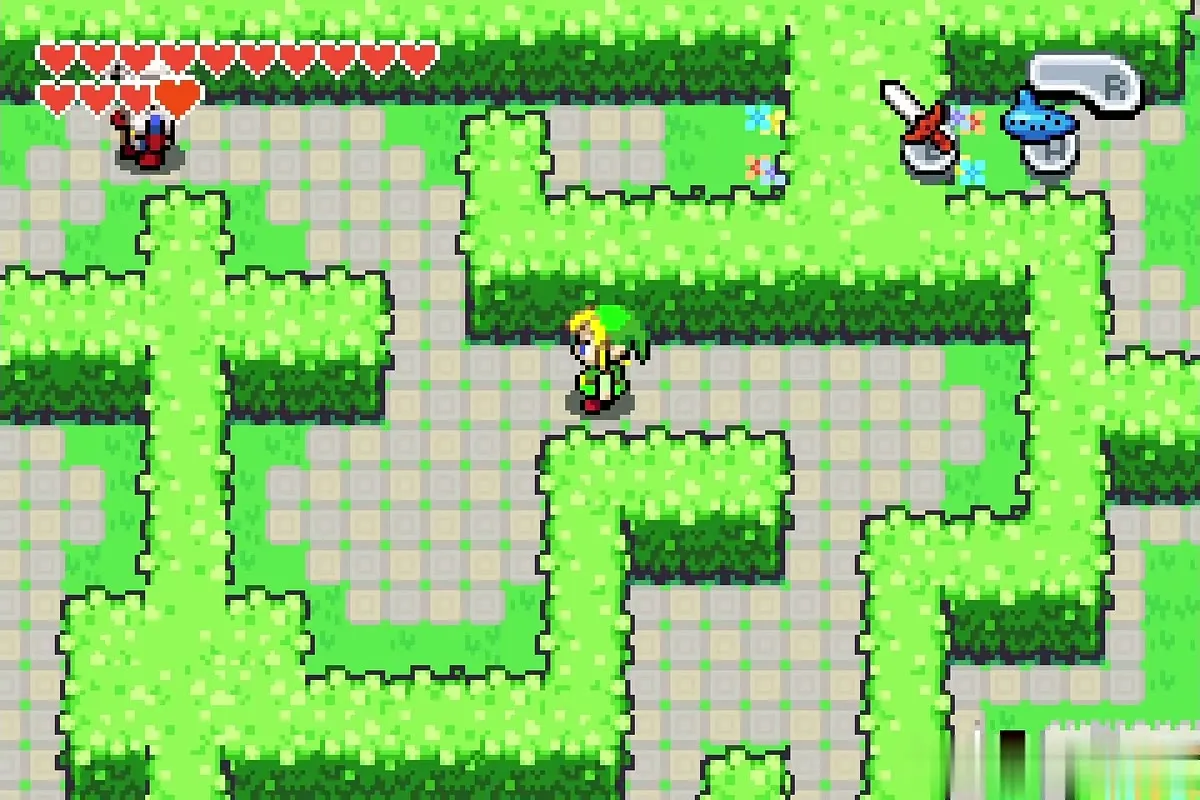
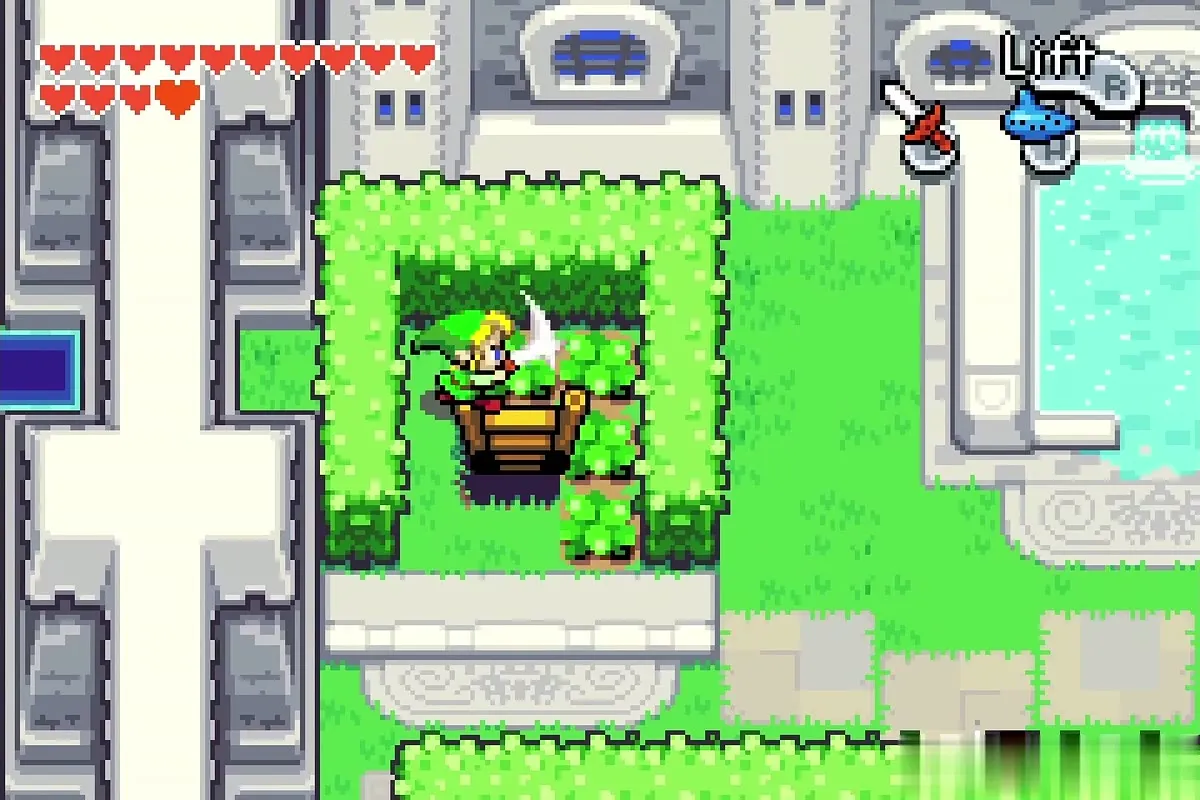
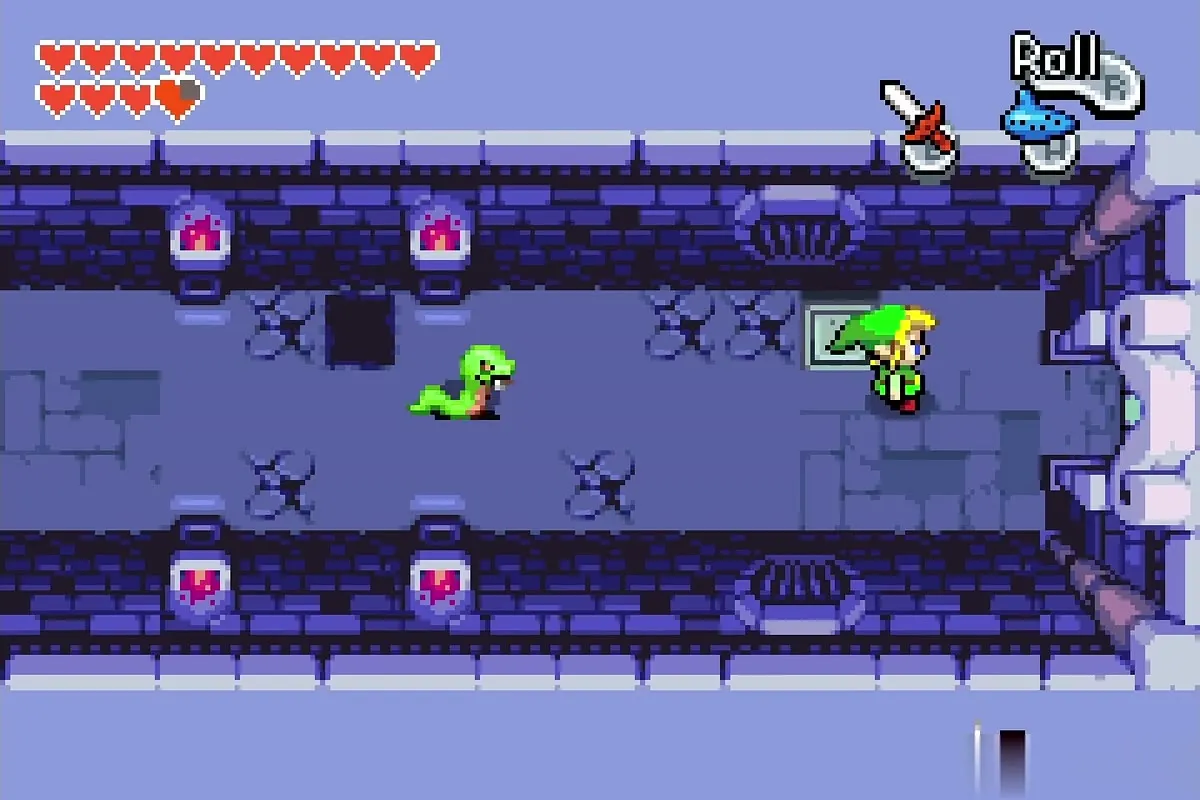
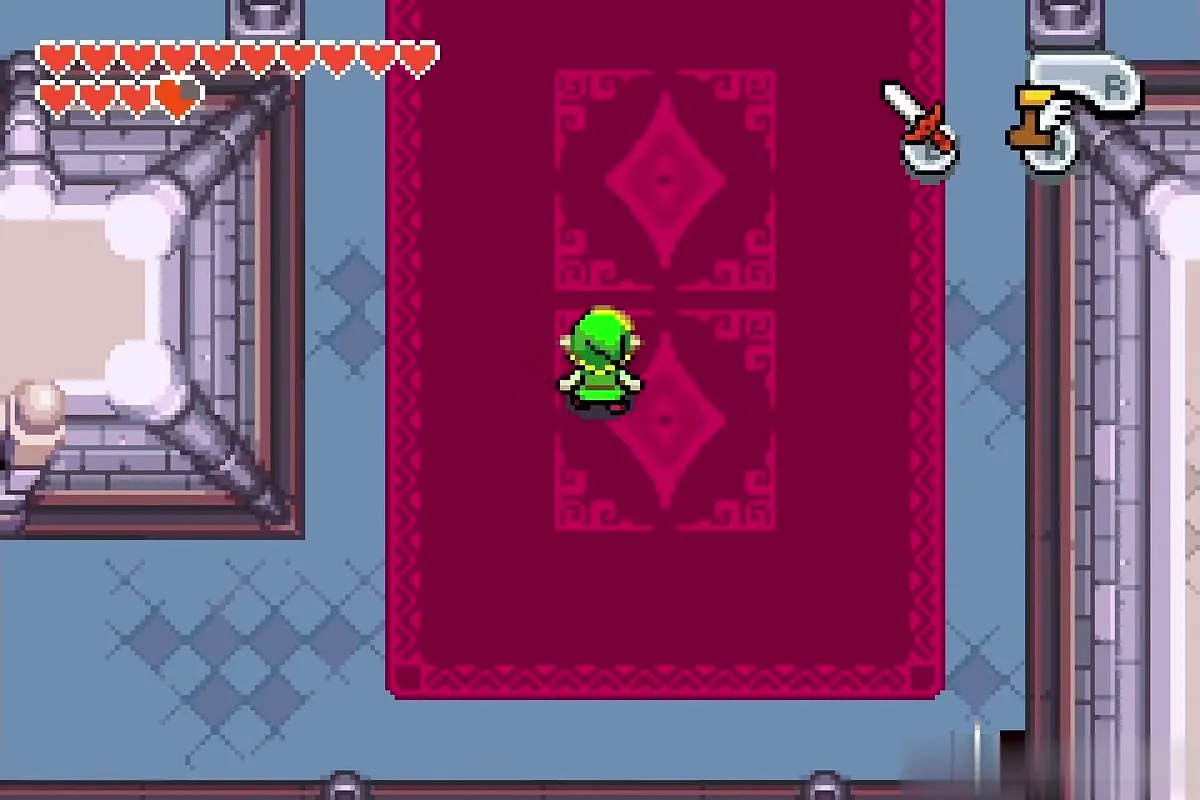
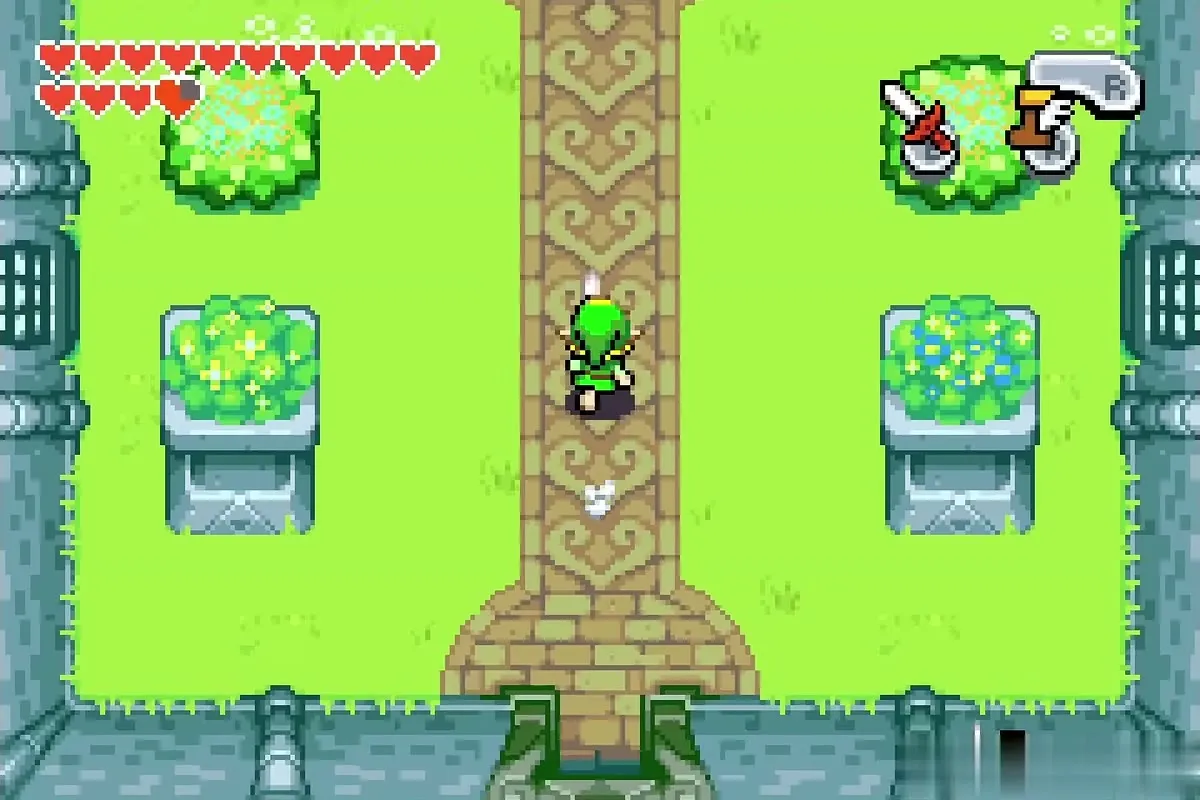
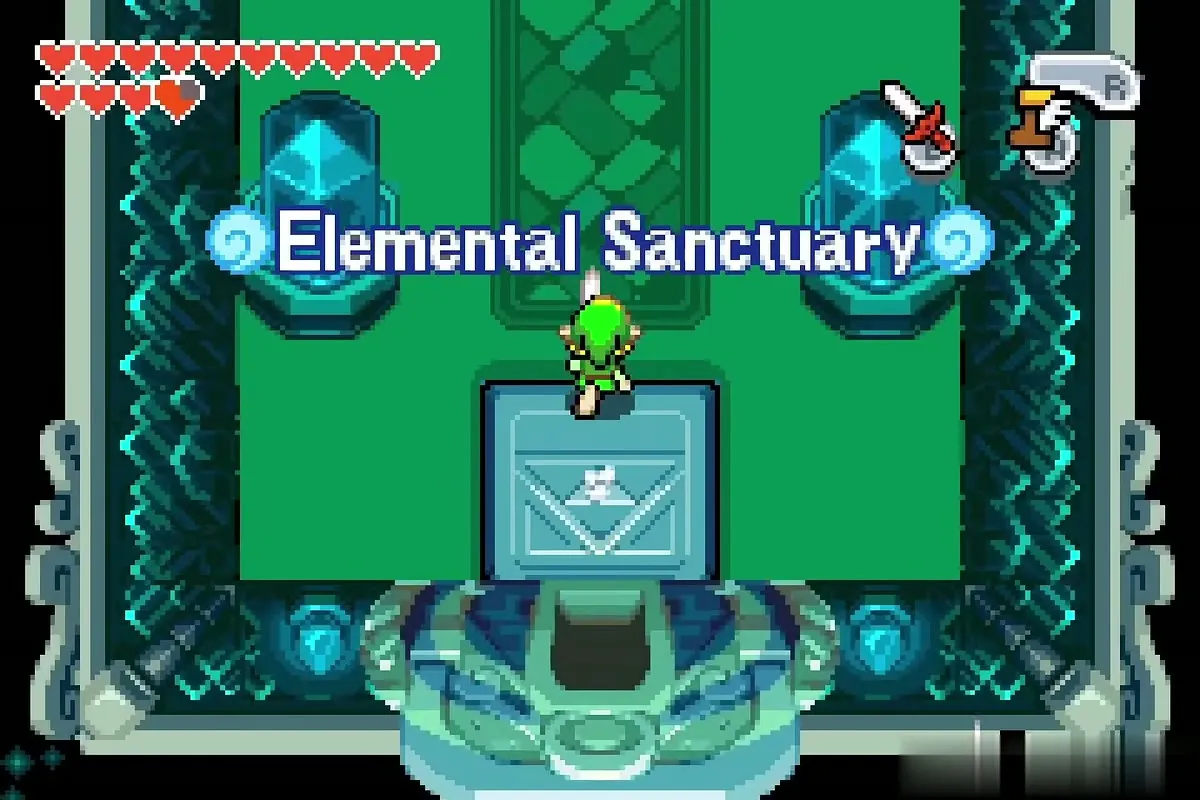
Follow the room below to the castle interior, cross the corridor north (be ready for a few snakes) and leave by the north door to reach the Elemental Sanctuary courtyard and its entrance hall.

Infuse the sword
Step onto the central pedestal in the Elements chamber and plant your sword in the stand. The flames of the Earth, Fire and Water Elements light up in turn and the blade is infused: your sword is now the White Sword with three Elements (the Wind Element is still missing).
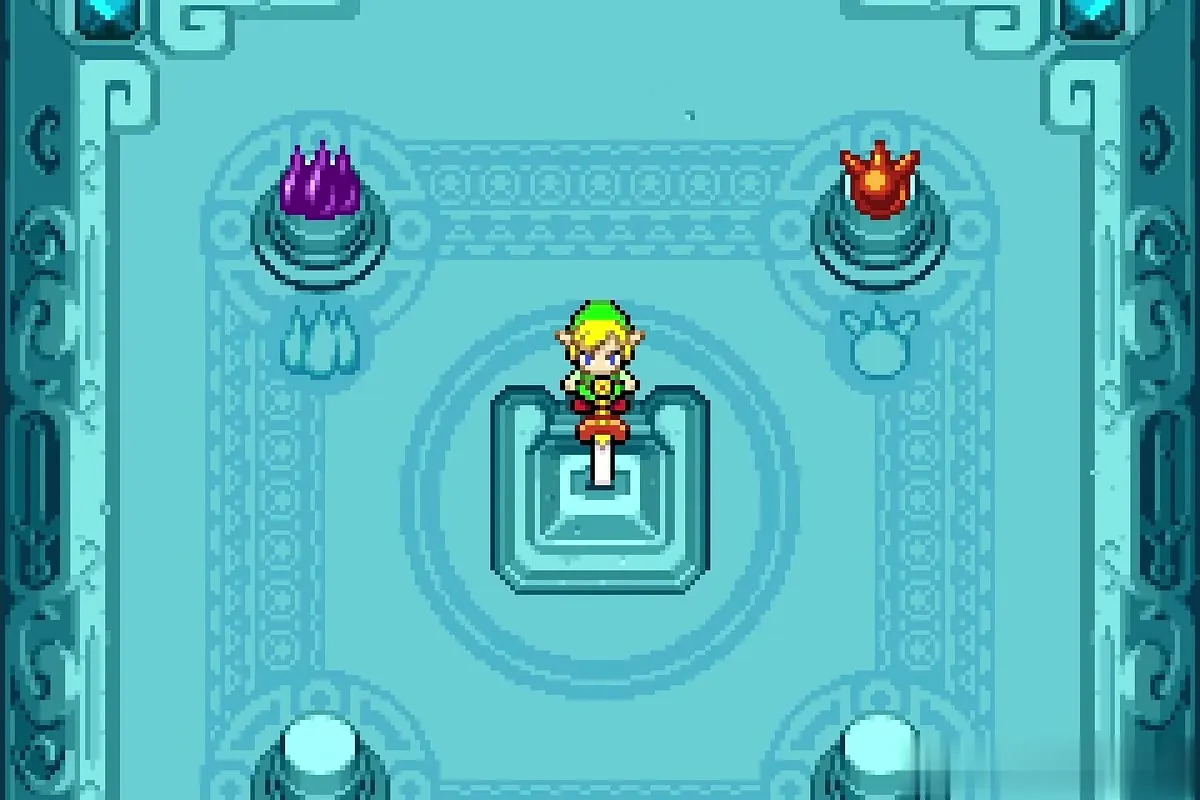
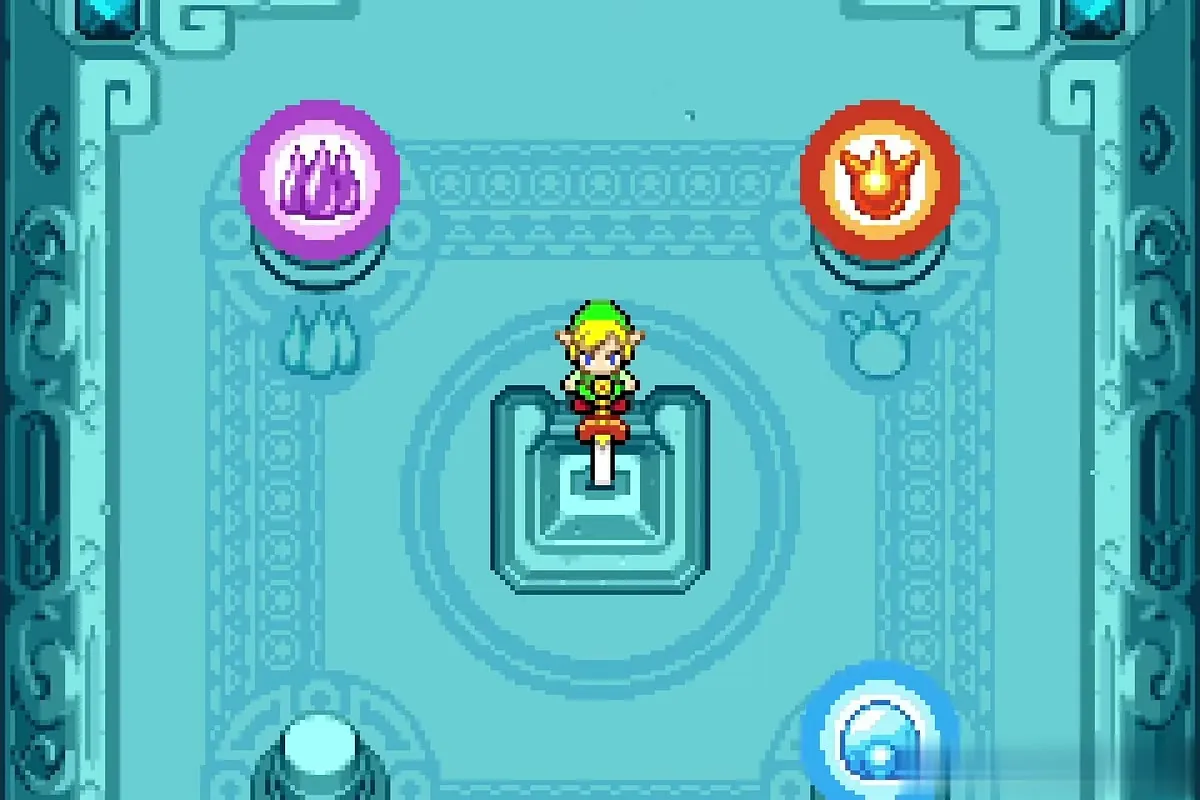
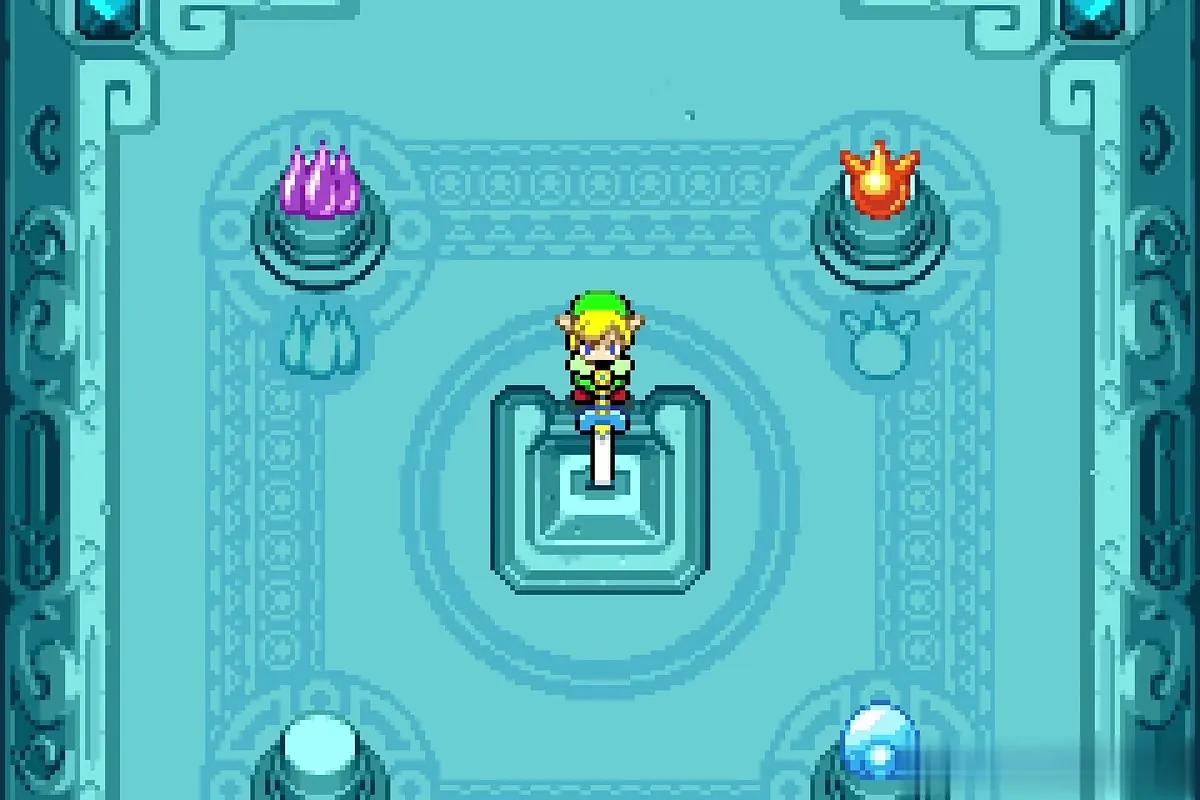
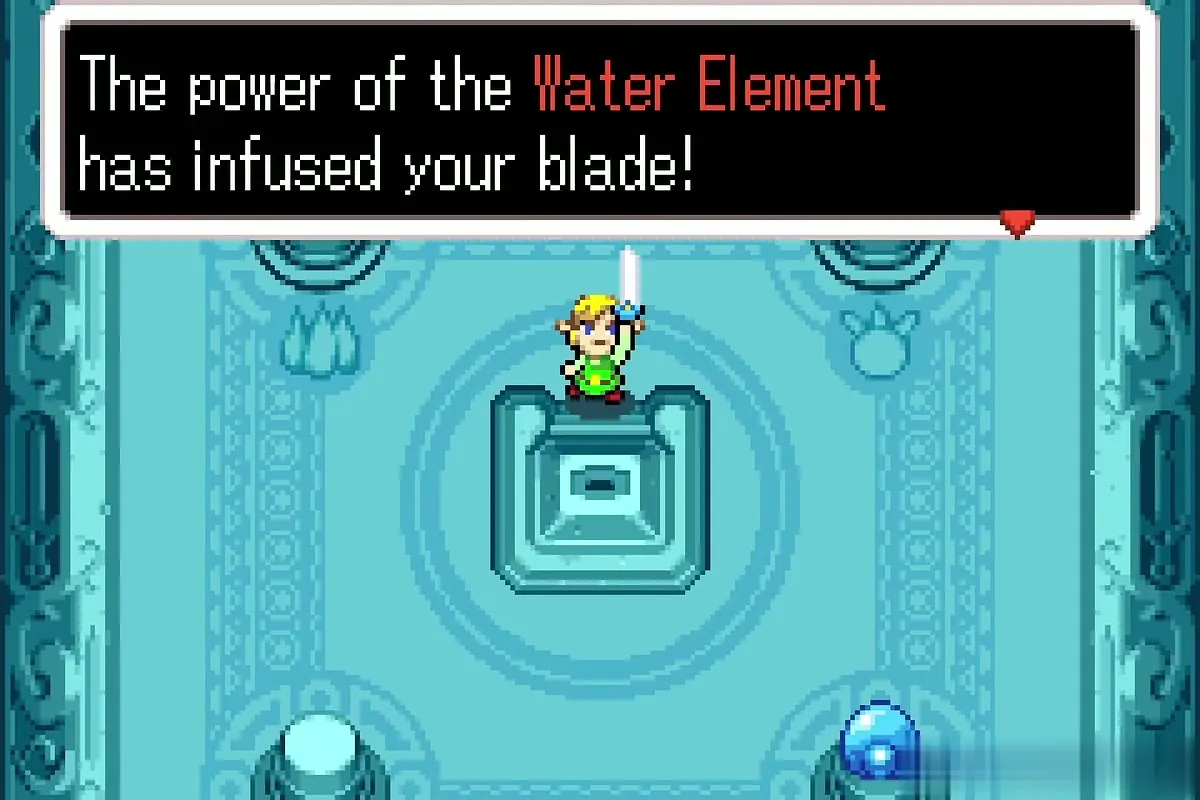
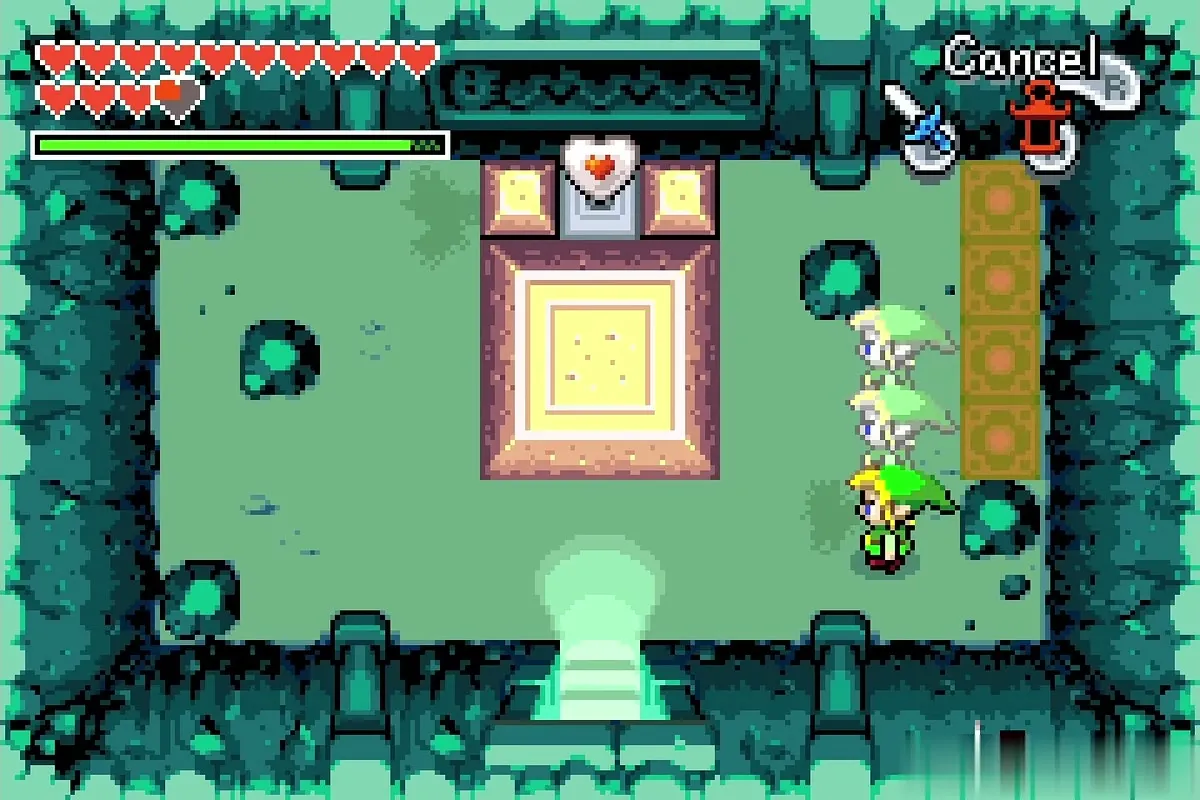
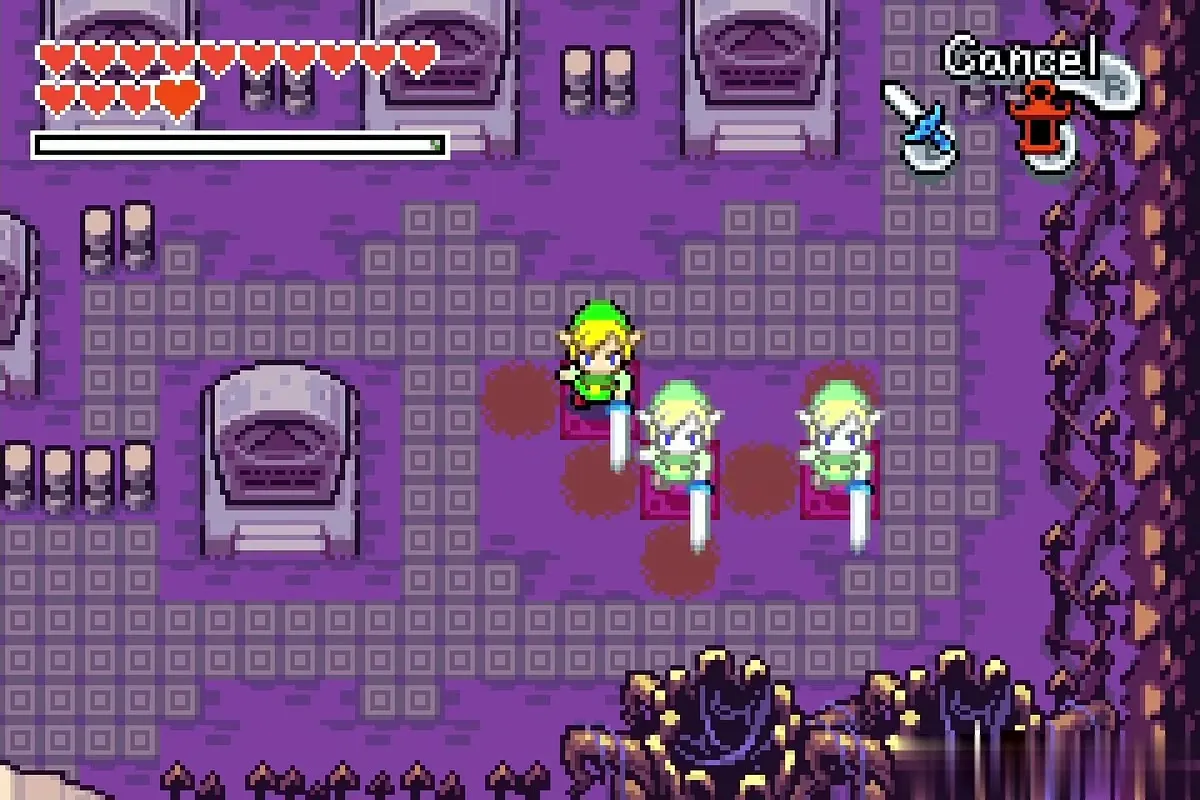
The Water Element also teaches you to split: charge the sword and you divide into three Links. Use the extra Links on the floor slabs of the Sanctuary to hold the switches and open the way out, and use the same trick in any later room with slabs.
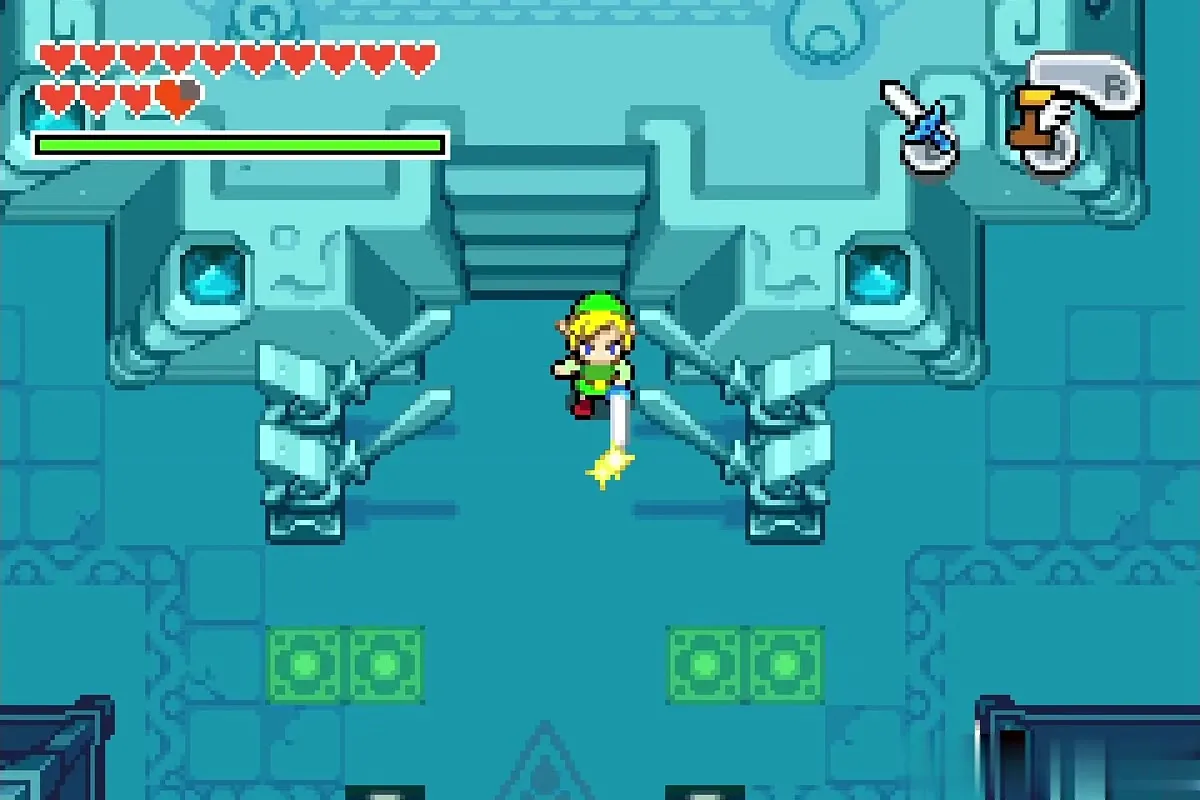
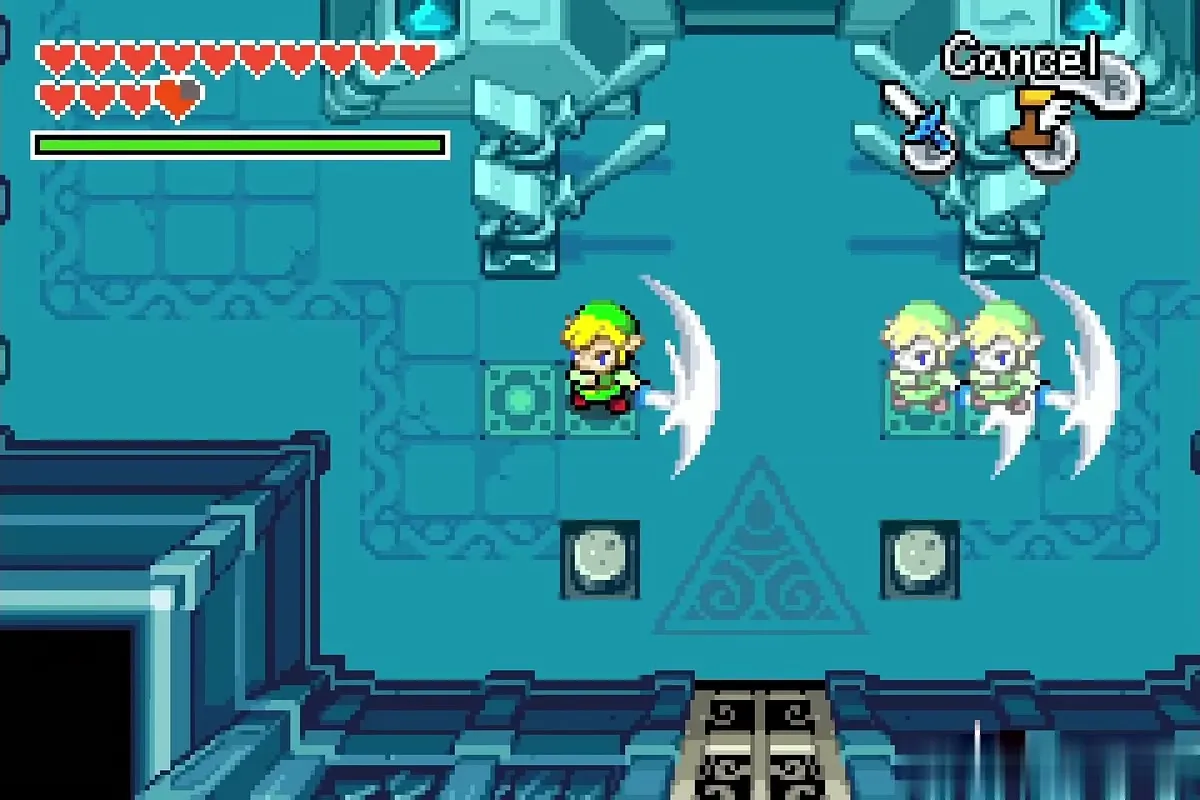
Walk back out through the castle and garden, open the map and warp with the Ocarina of Wind to the Minish Woods Wind Crest.


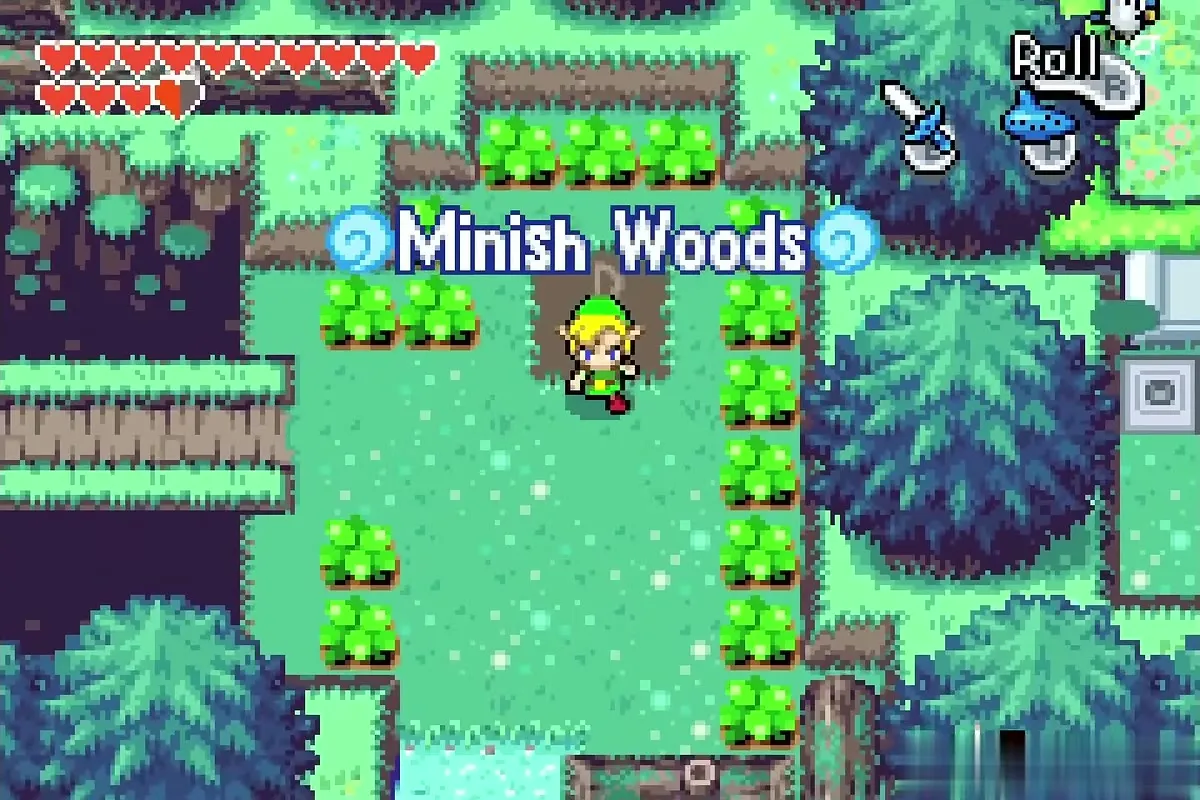
Minish Woods: Gentari, Belari and the Remote Bombs

Shrink and fuse with Gentari
Step on the stump beside the Wind Crest to shrink at this Minish Portal and walk to the Minish Village, where you stay Minish size for the next few steps.
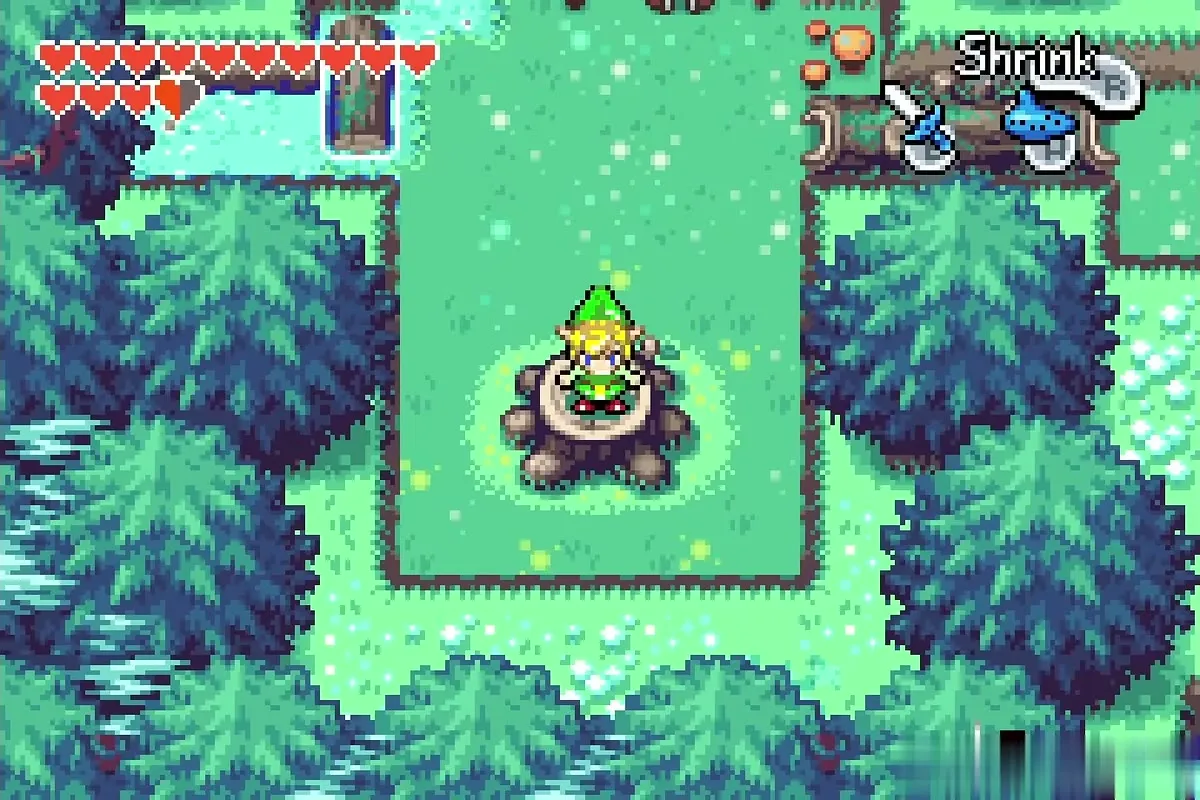
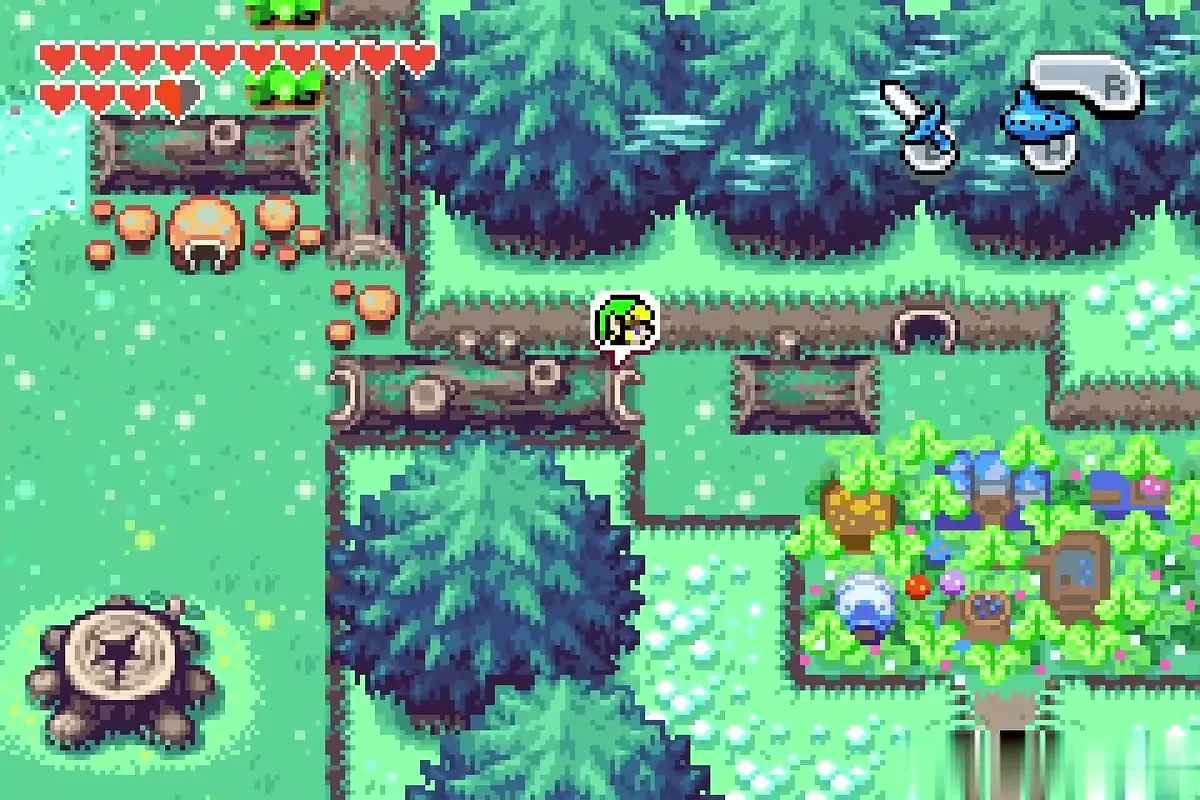
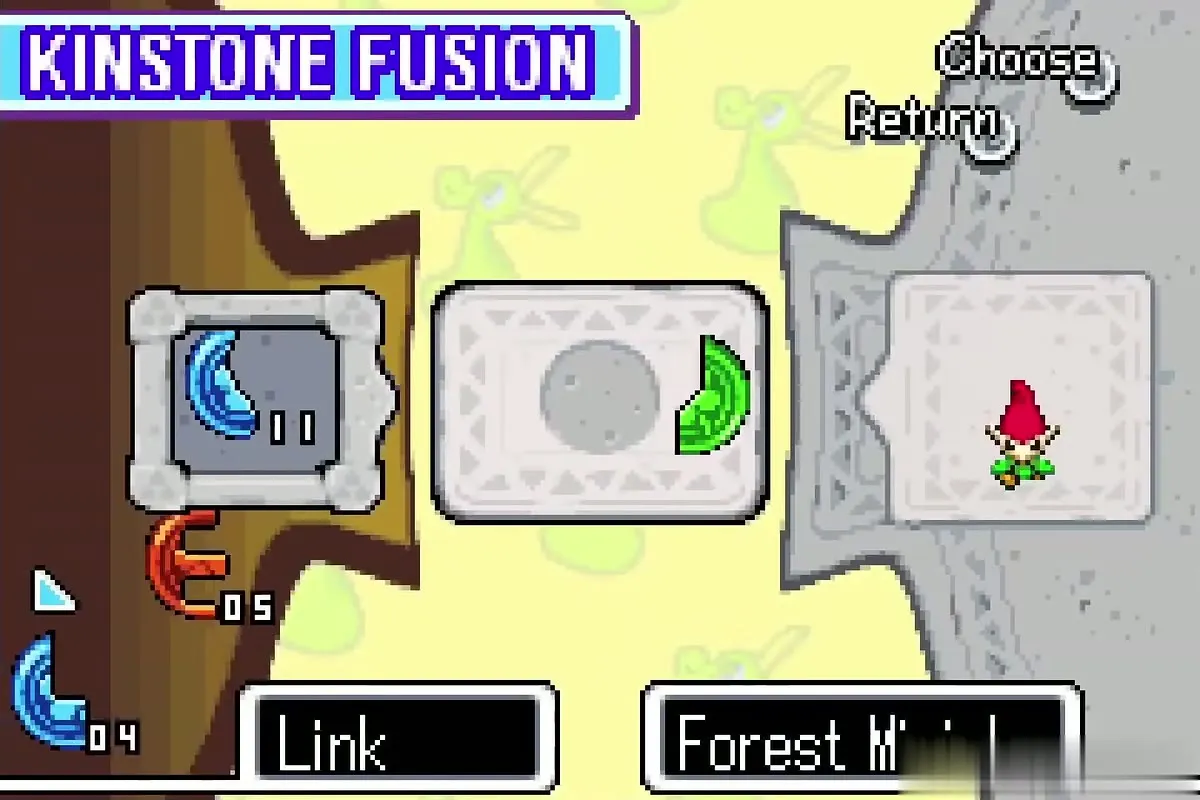
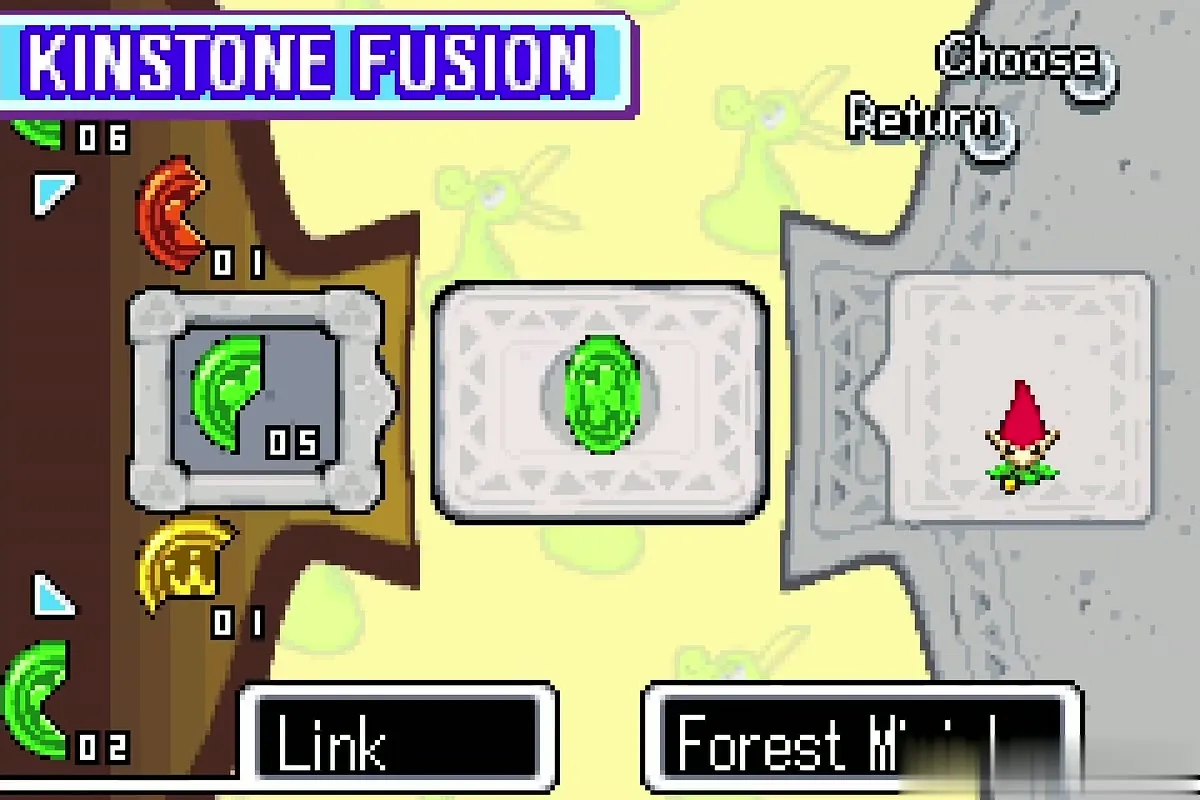
In the Elder’s house, accept Gentari’s offer to fuse and place a red Kinstone piece with his. The pieces fit and Gentari explains that the fusion lets Belari, the village bomb-maker, finish his invention.
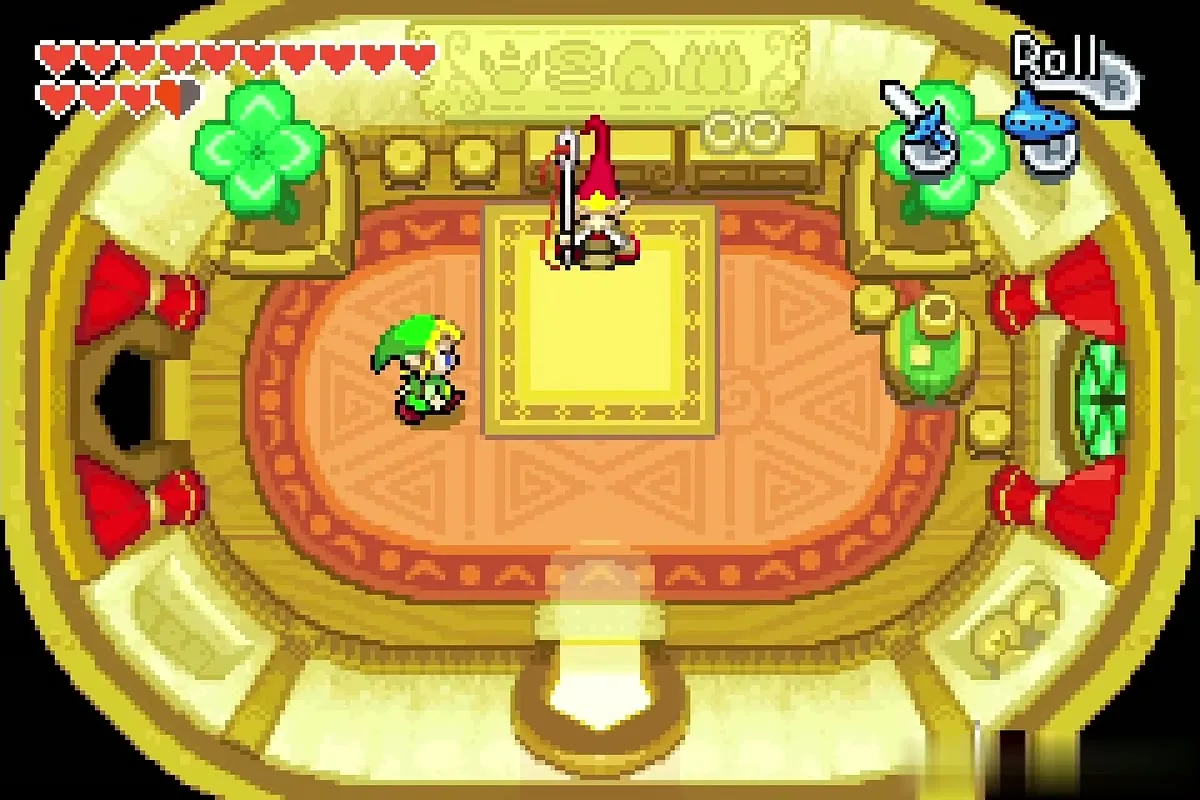


Fuse with Belari
Go to Belari’s house and fuse another red piece with his; this fusion opens a chest in the Wind Ruins. He is also working on a bomb that only explodes when you want it to.


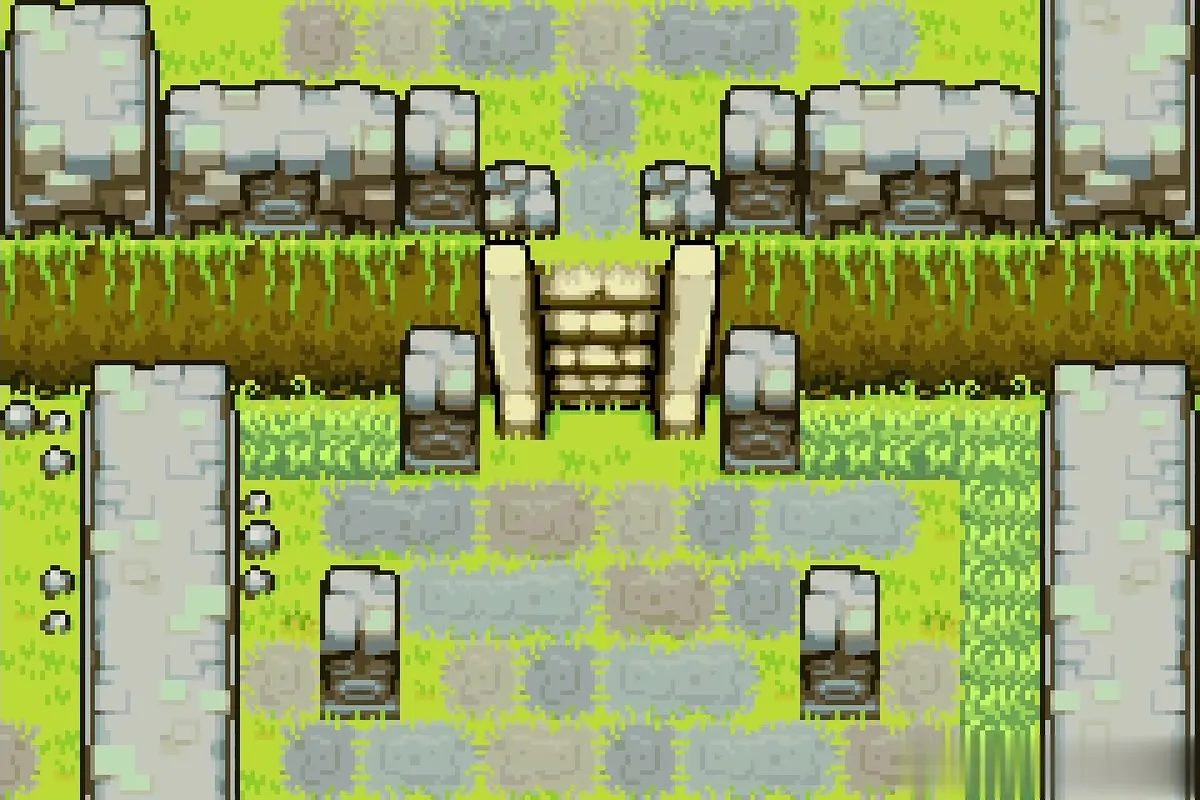

Take the Remote Bombs
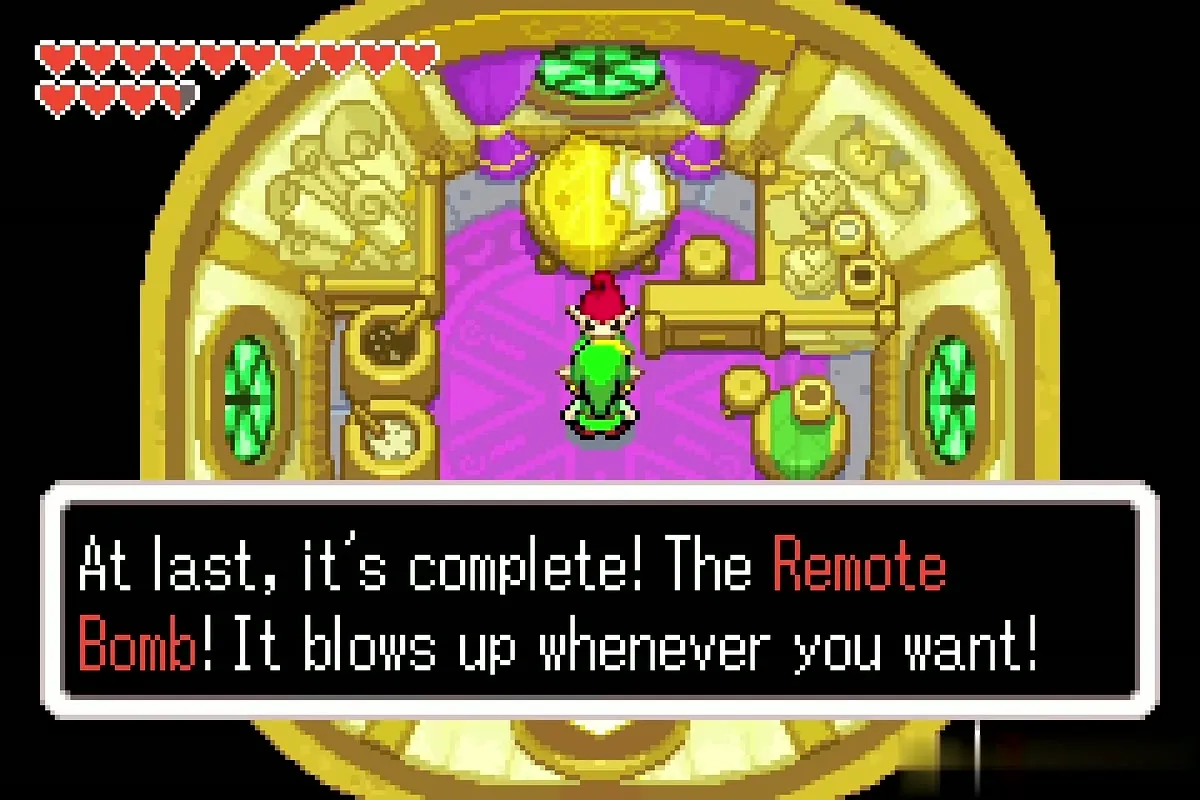
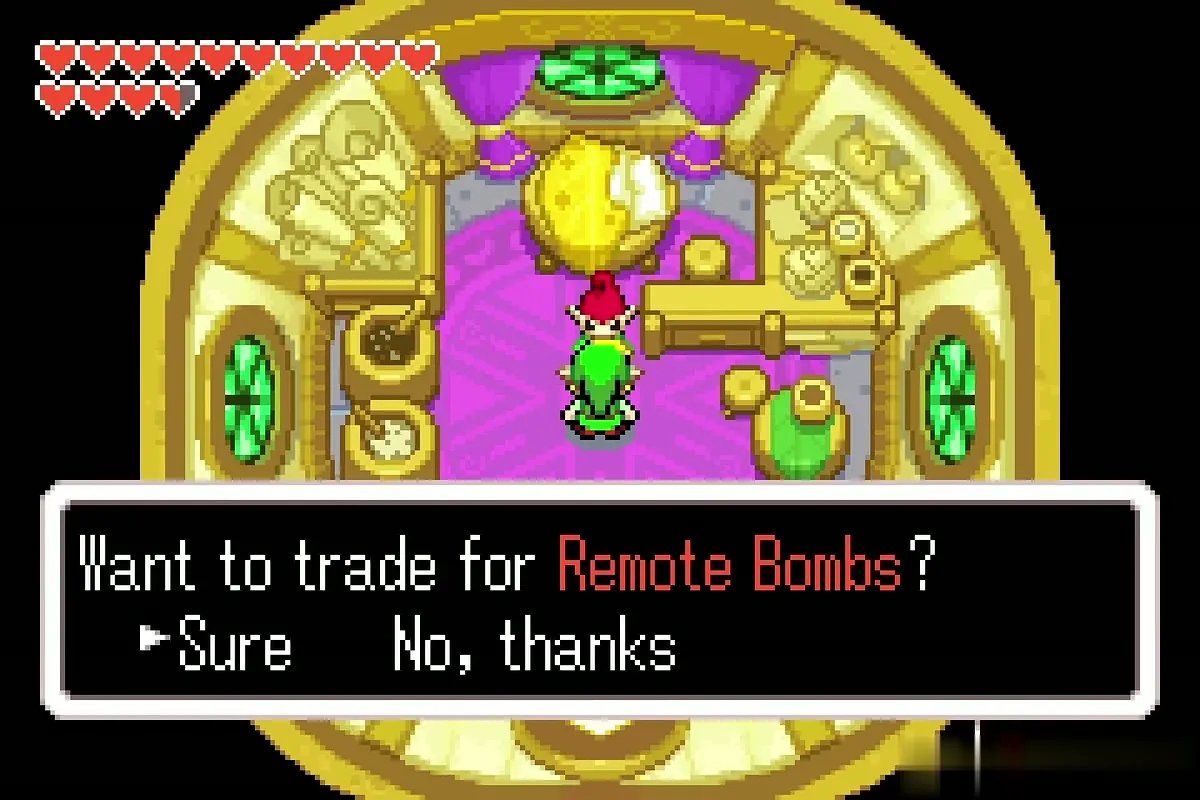
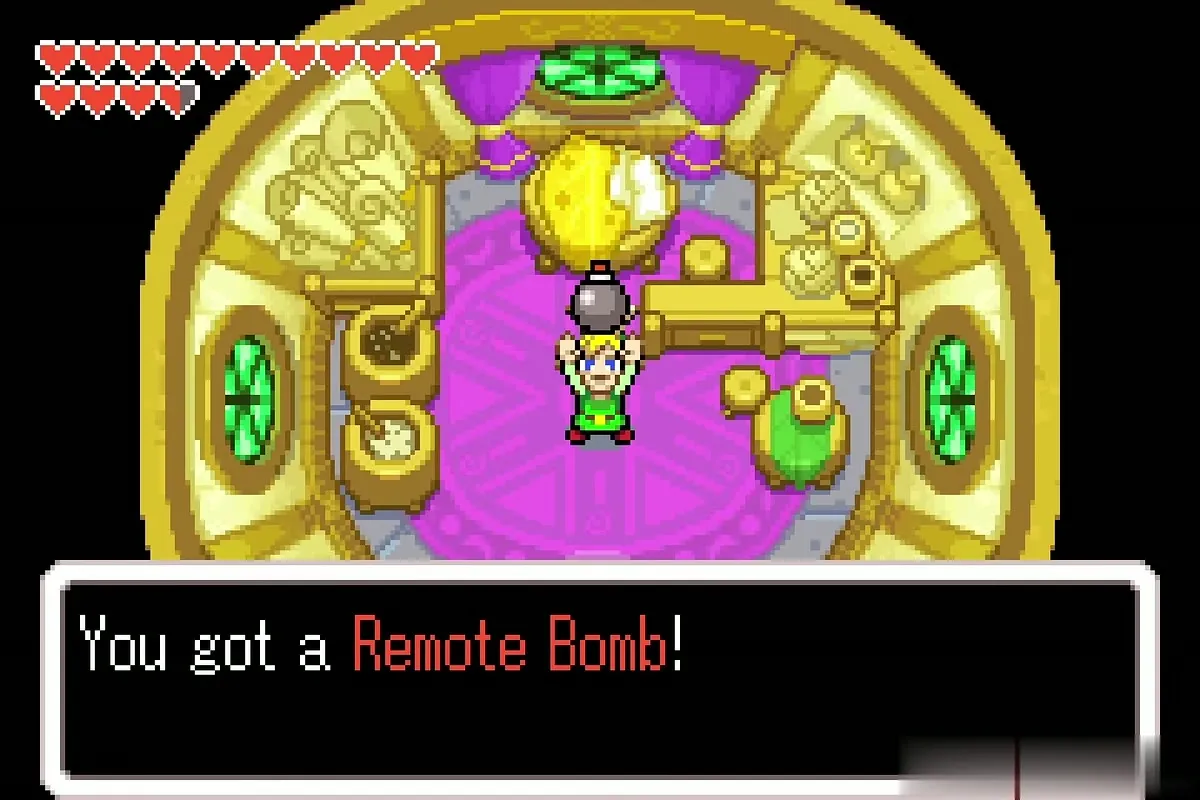
Speak to Belari again once both fusions are done. He finishes the Remote Bomb and offers to swap your normal bombs for it. Accept: place a bomb with the button, then press the button again to detonate it. You can only have one placed at a time, and you can come back to Belari whenever you want normal bombs again.
Wind Ruins: the Big Bomb Bag

Collect the Belari chest
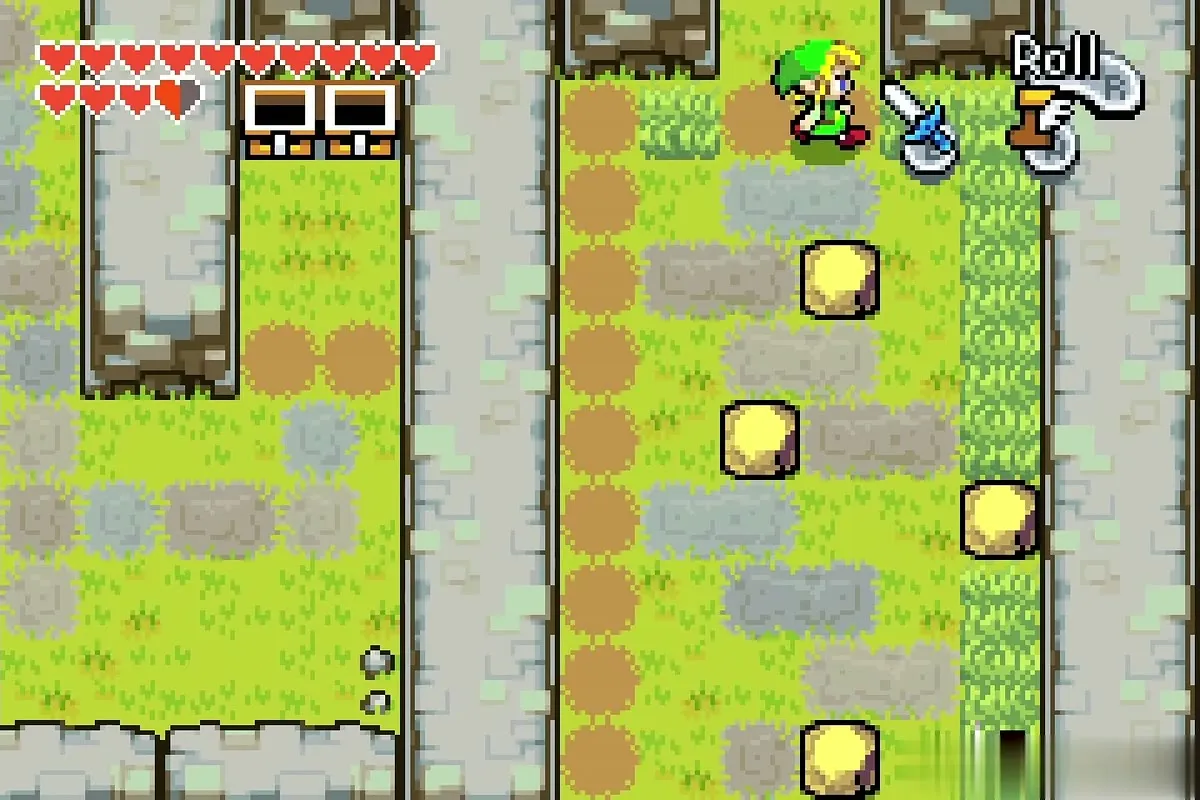
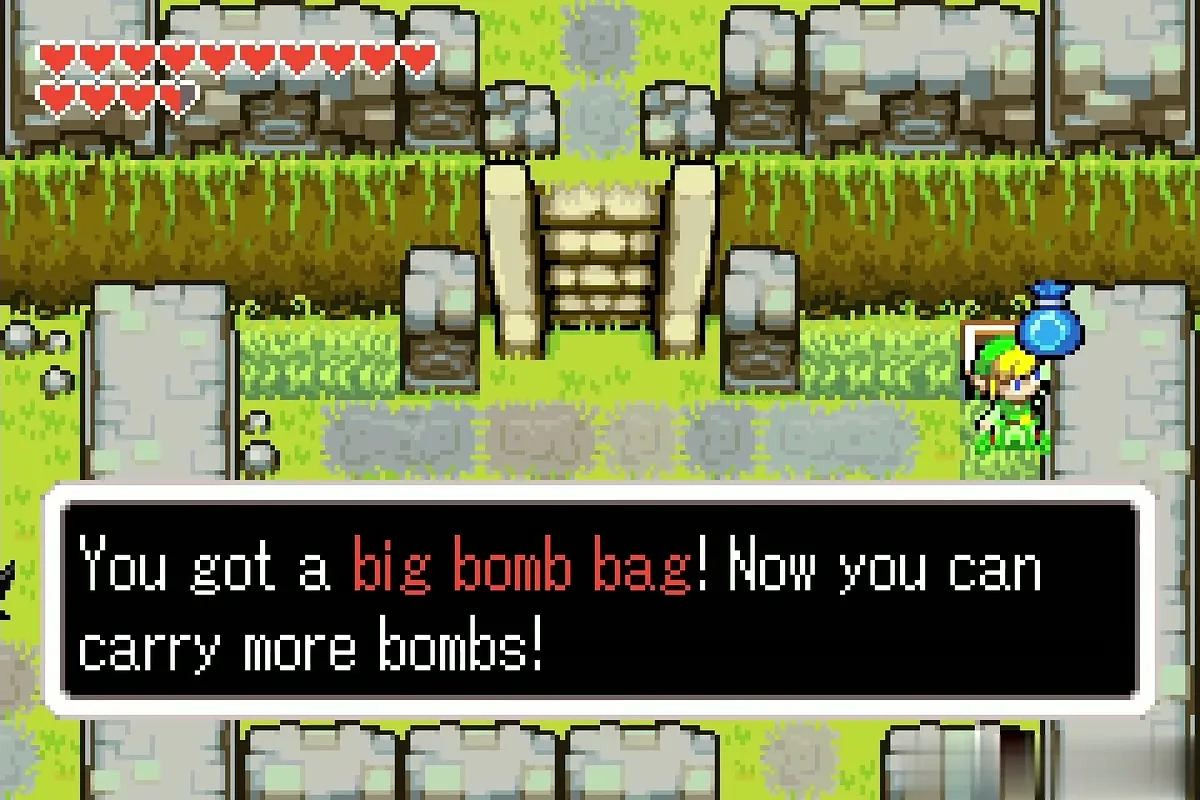
Leave the village by the stump to return to normal size, then walk into the Wind Ruins, enter the first courtyard below the stairs and check its east edge. The chest from the Belari fusion has appeared; open it for a Big Bomb Bag, which raises how many bombs you can carry.
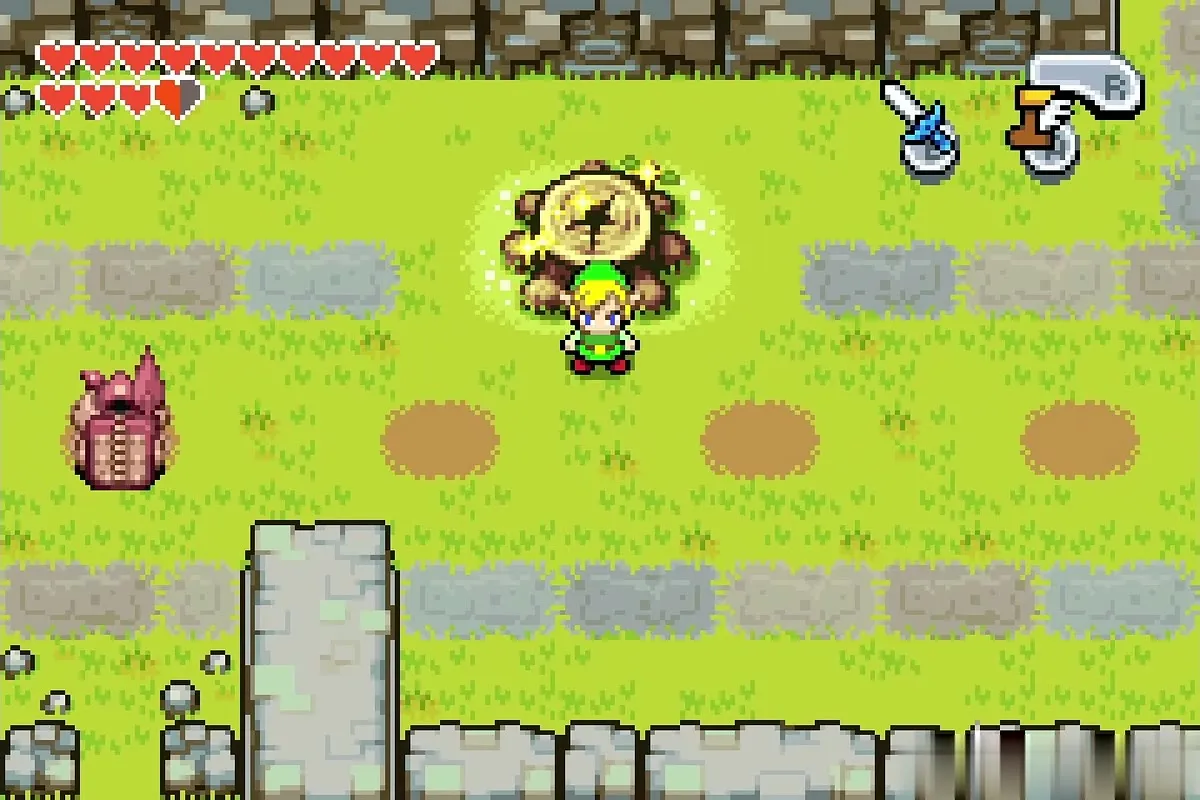
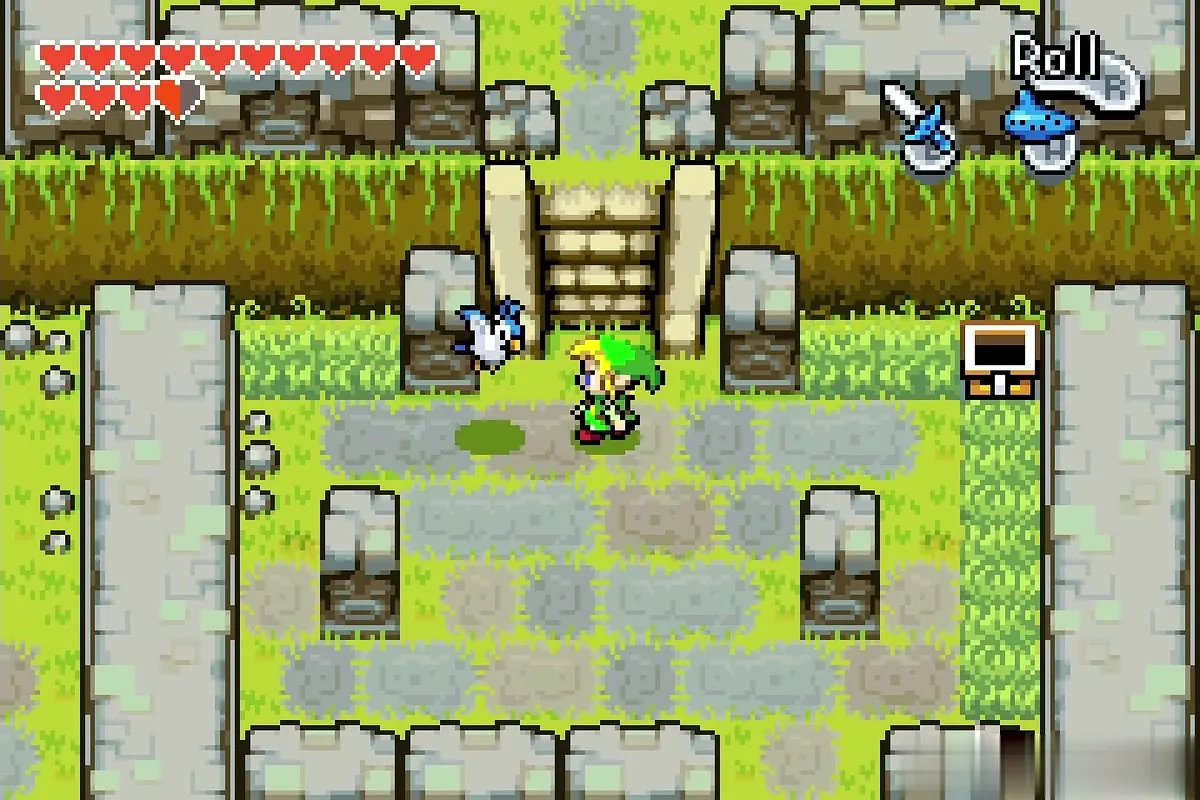
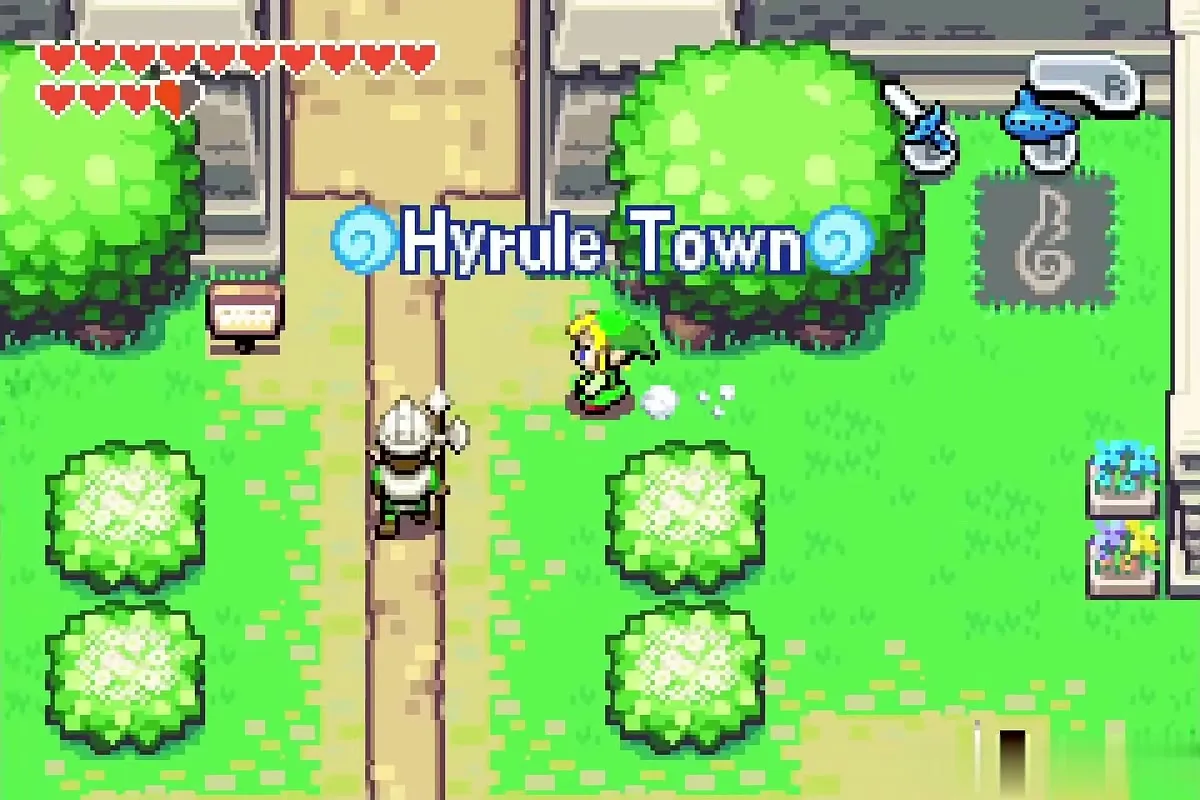
Save from the Items menu if you like, then play the Ocarina of Wind and warp back to Hyrule Town.
Royal Valley: Great Fairy and the Large Quiver
Walk to Royal Valley
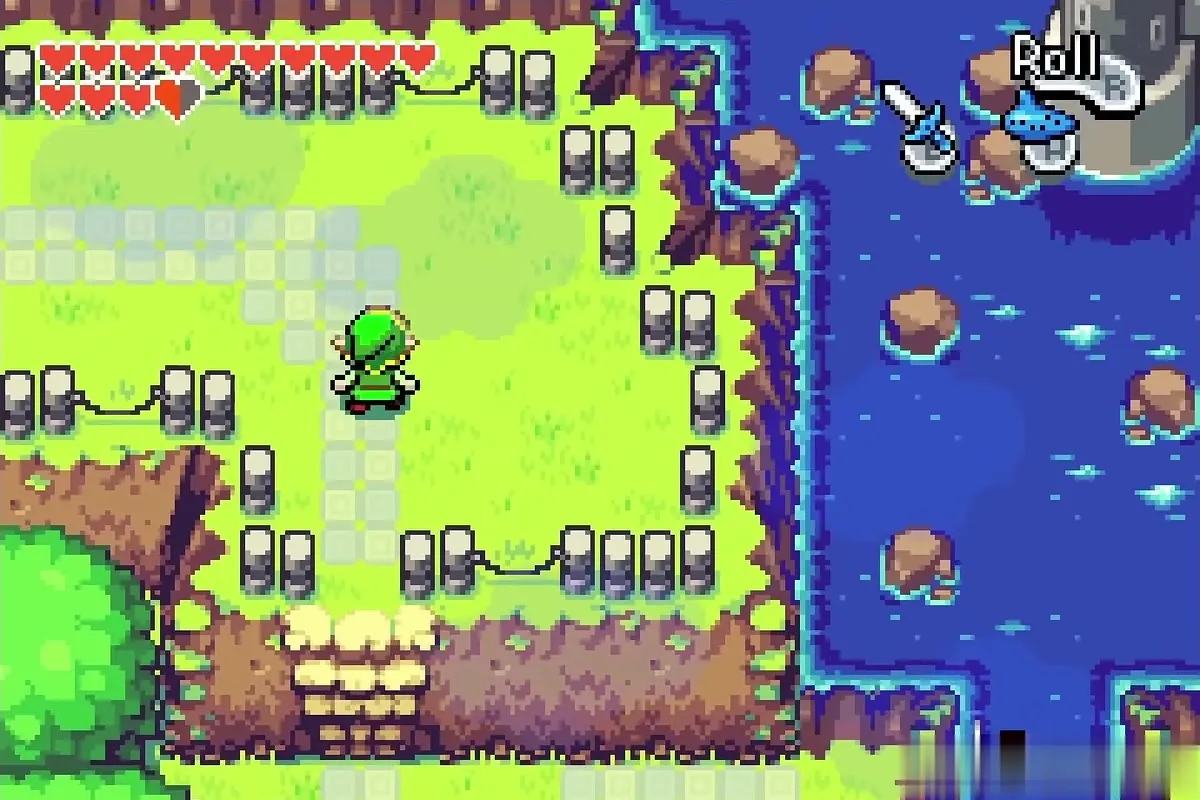
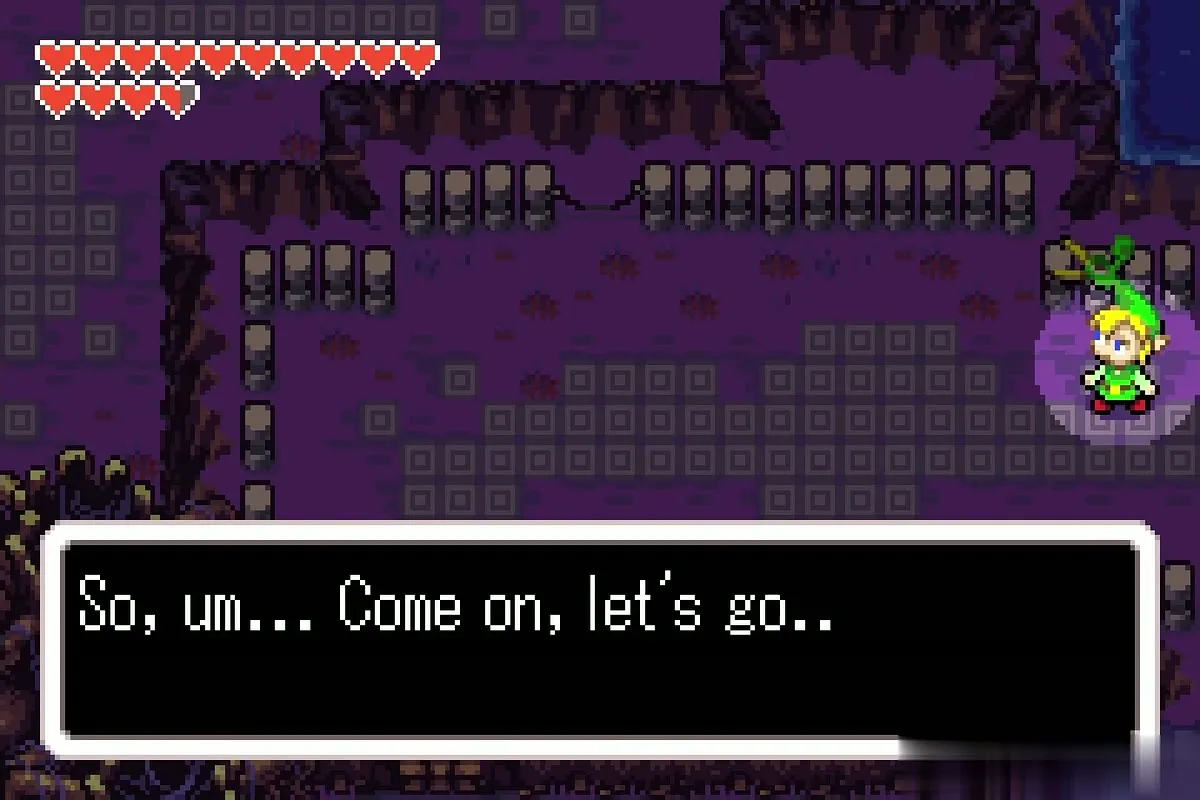
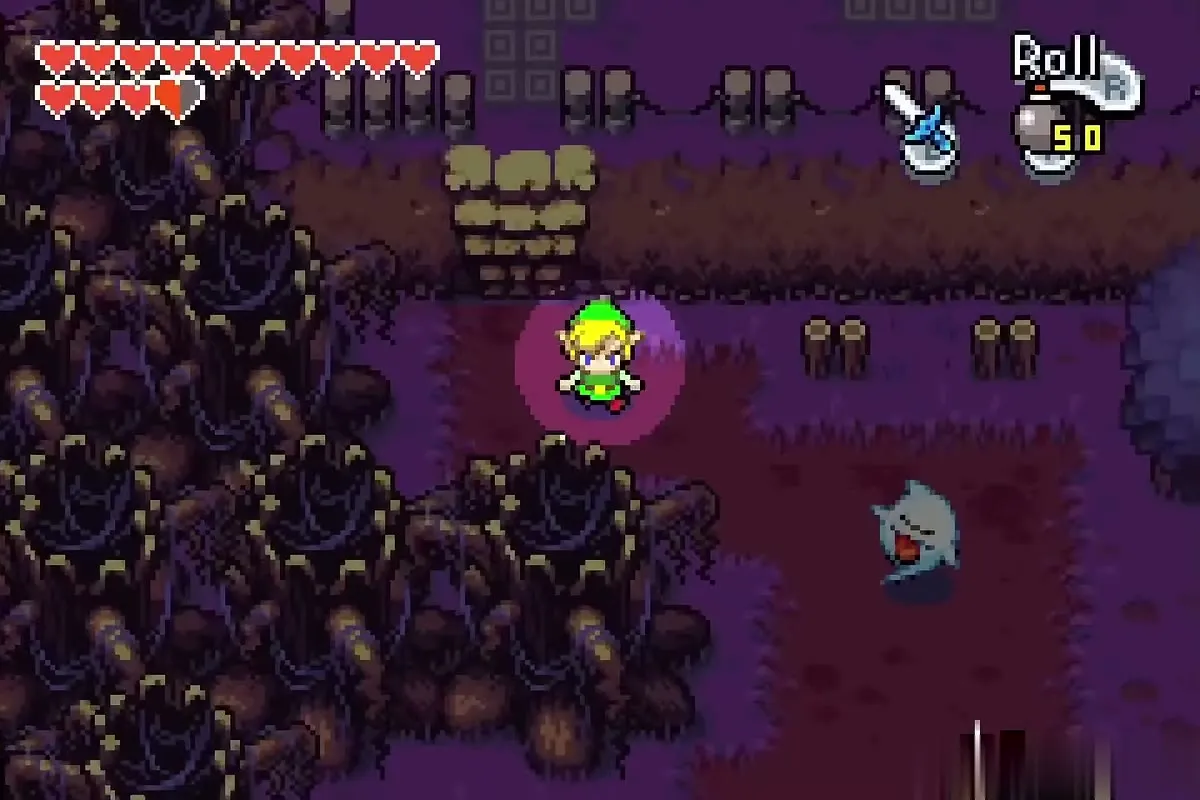
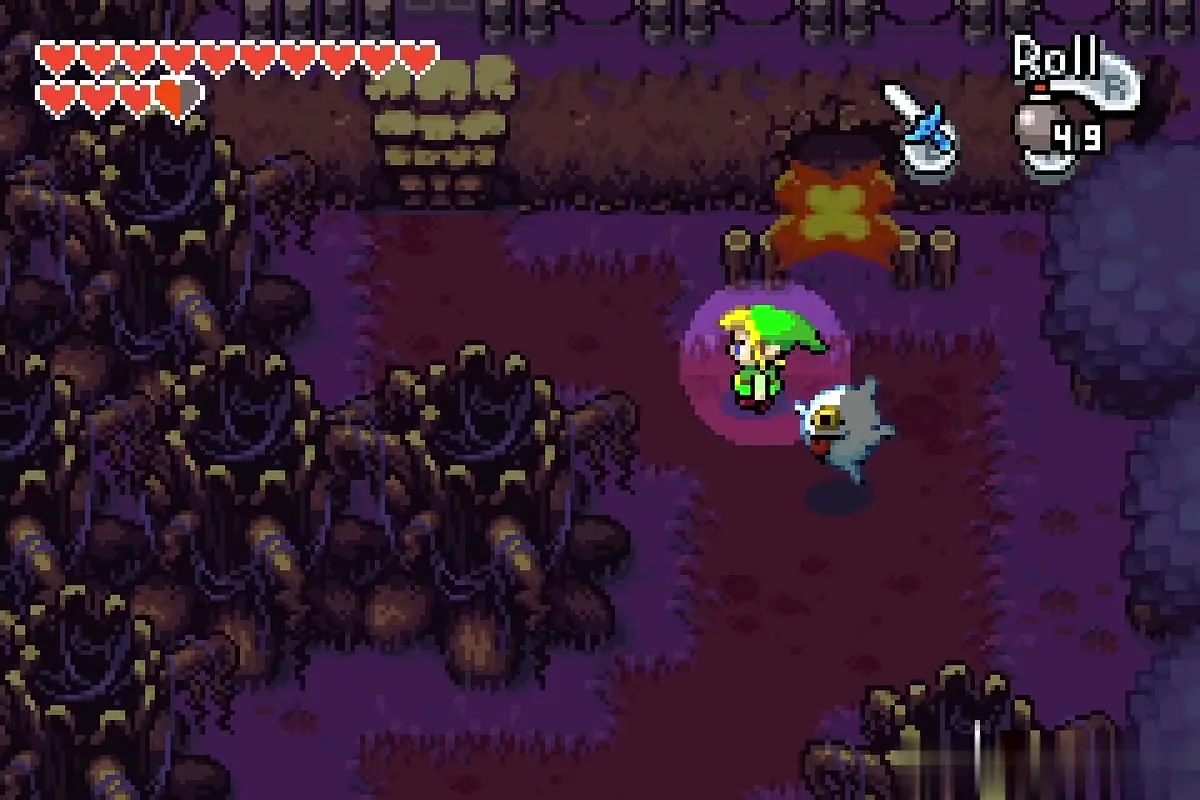
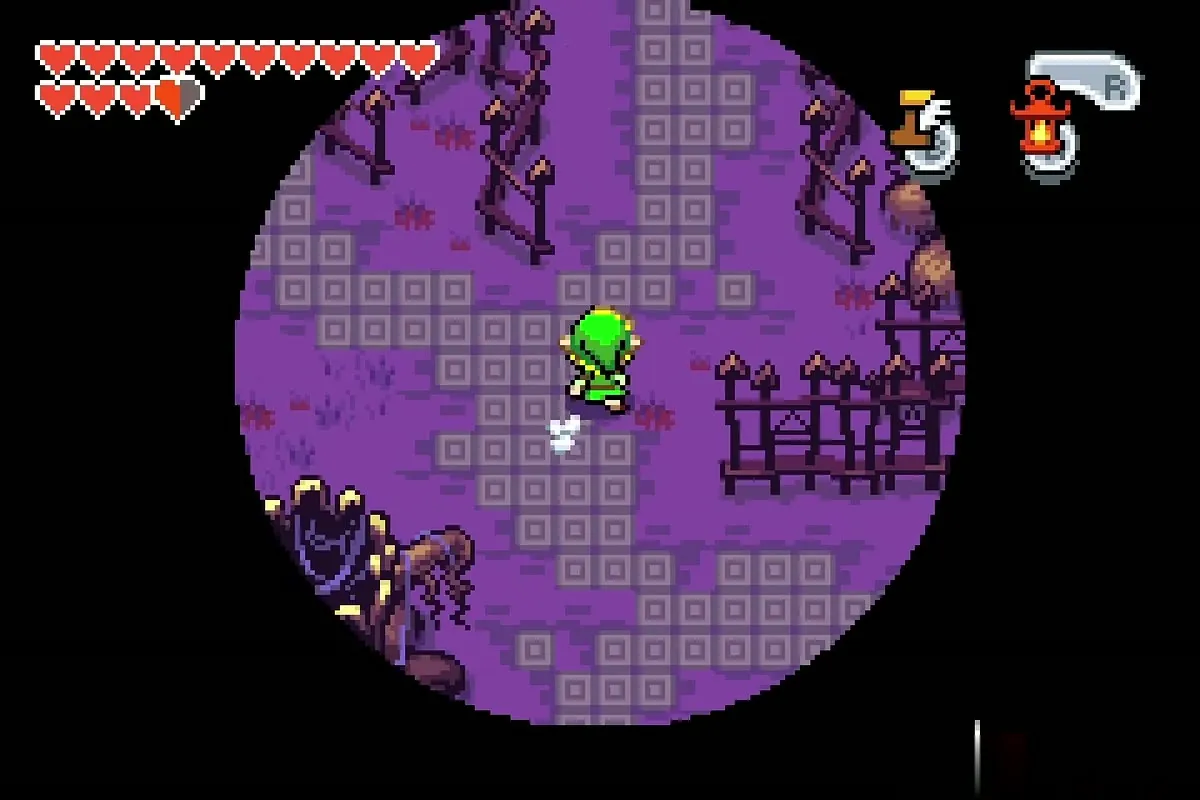
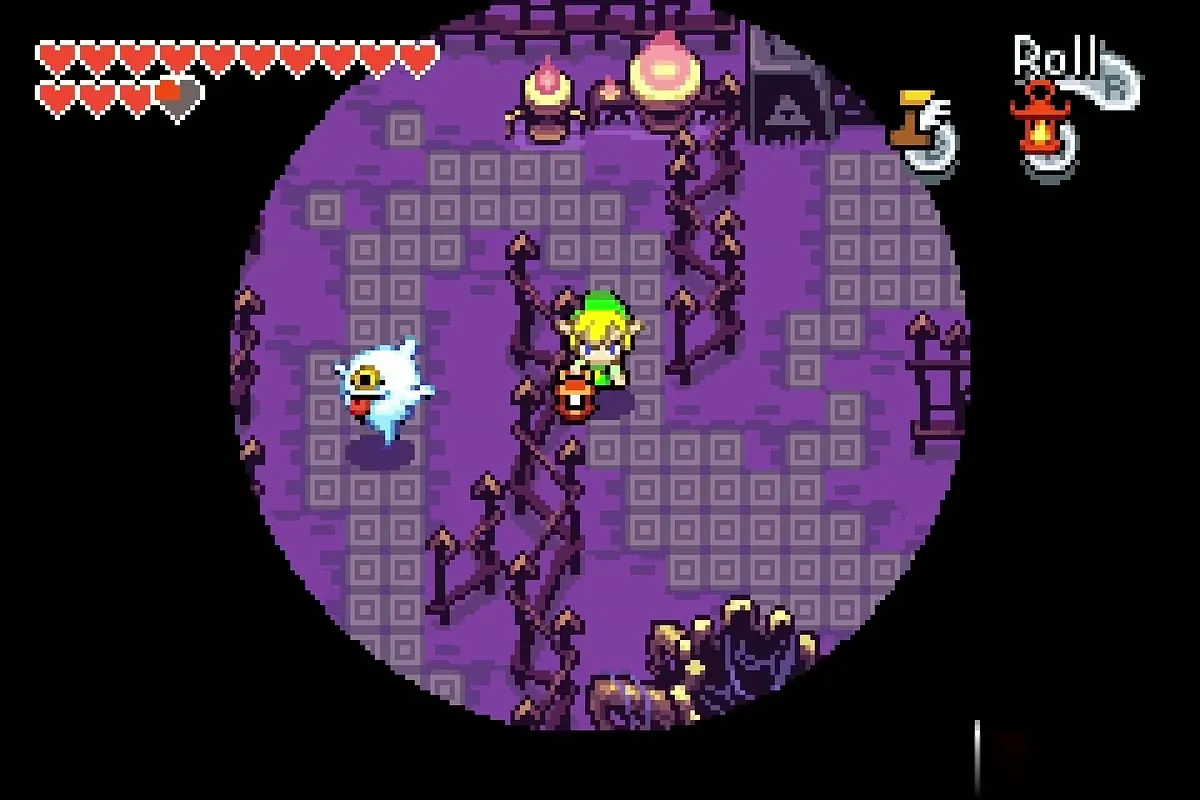
From Hyrule Town, go north through North Hyrule Field and head west to the entrance of Royal Valley. The valley is a graveyard at night: only a circle around Link is lit, and the Flame Lantern widens it.
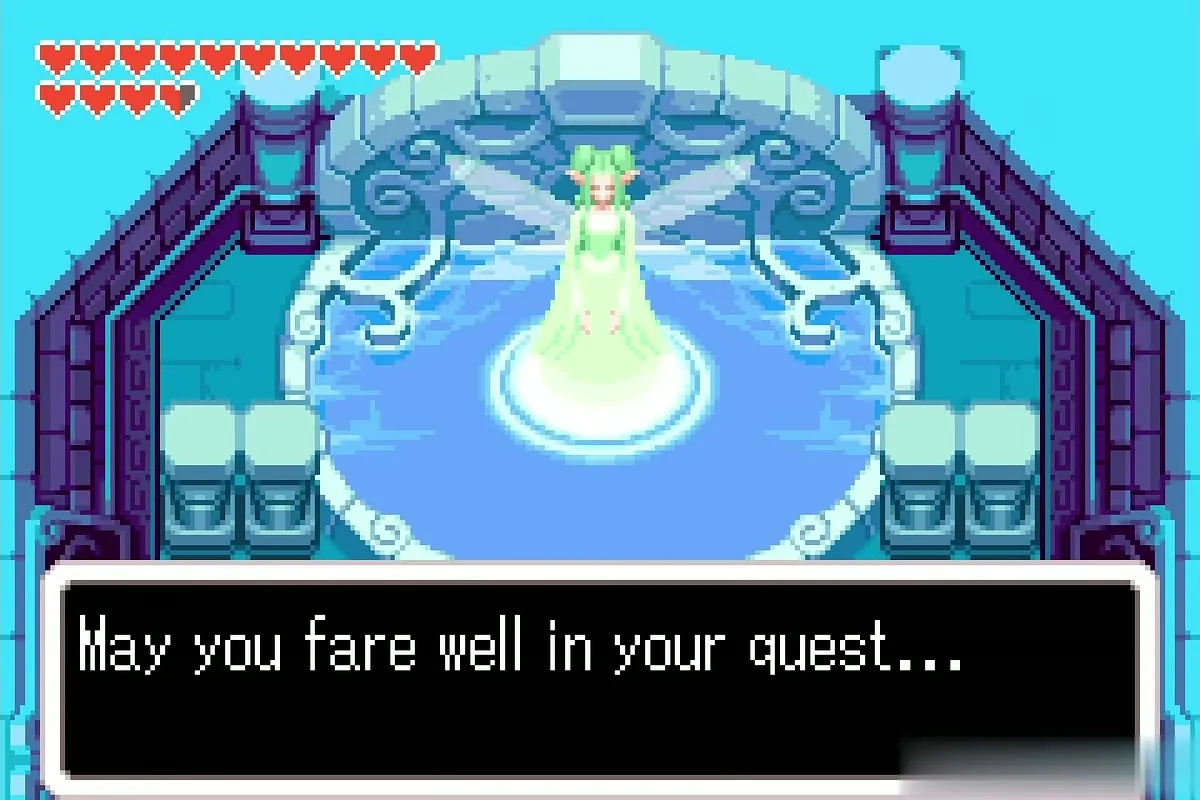
Great Dragonfly Fairy
Light the Lantern, go down the steps and drop a bomb between the two posts to blow open the cave entrance. Inside is the Great Dragonfly Fairy’s spring; talk to her to be questioned.
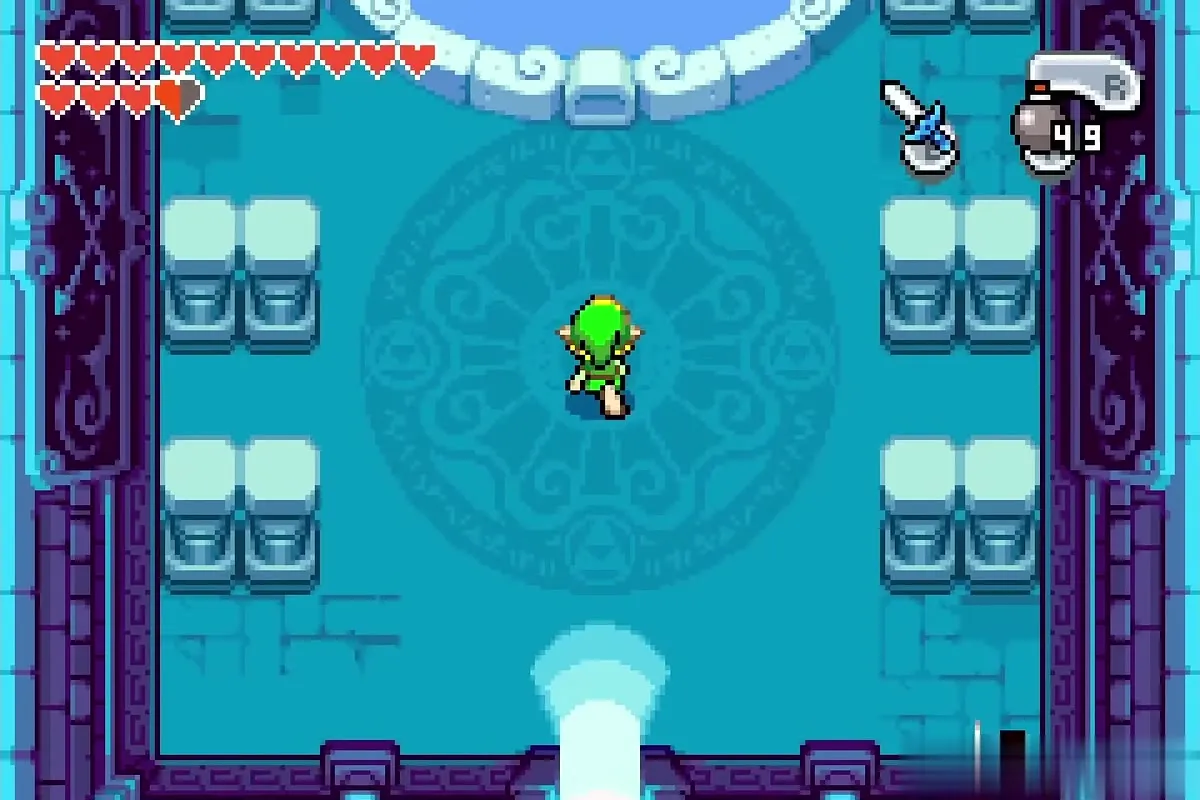
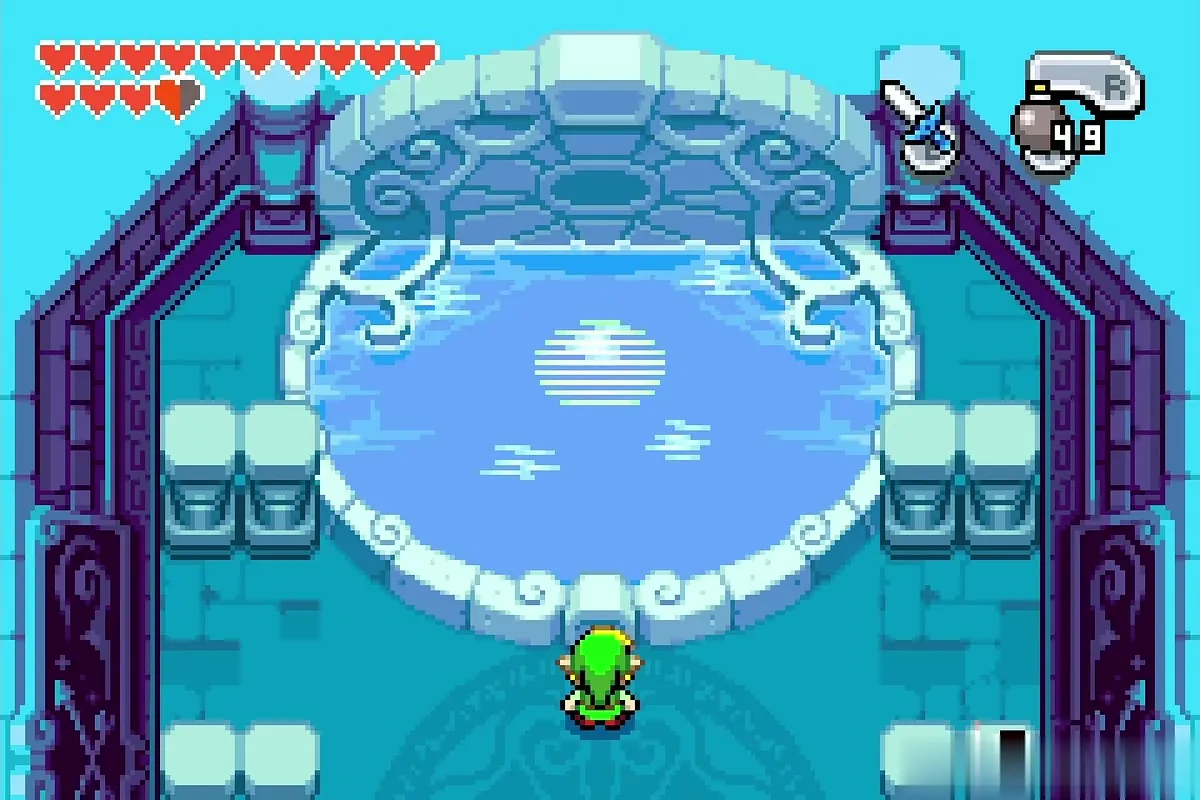
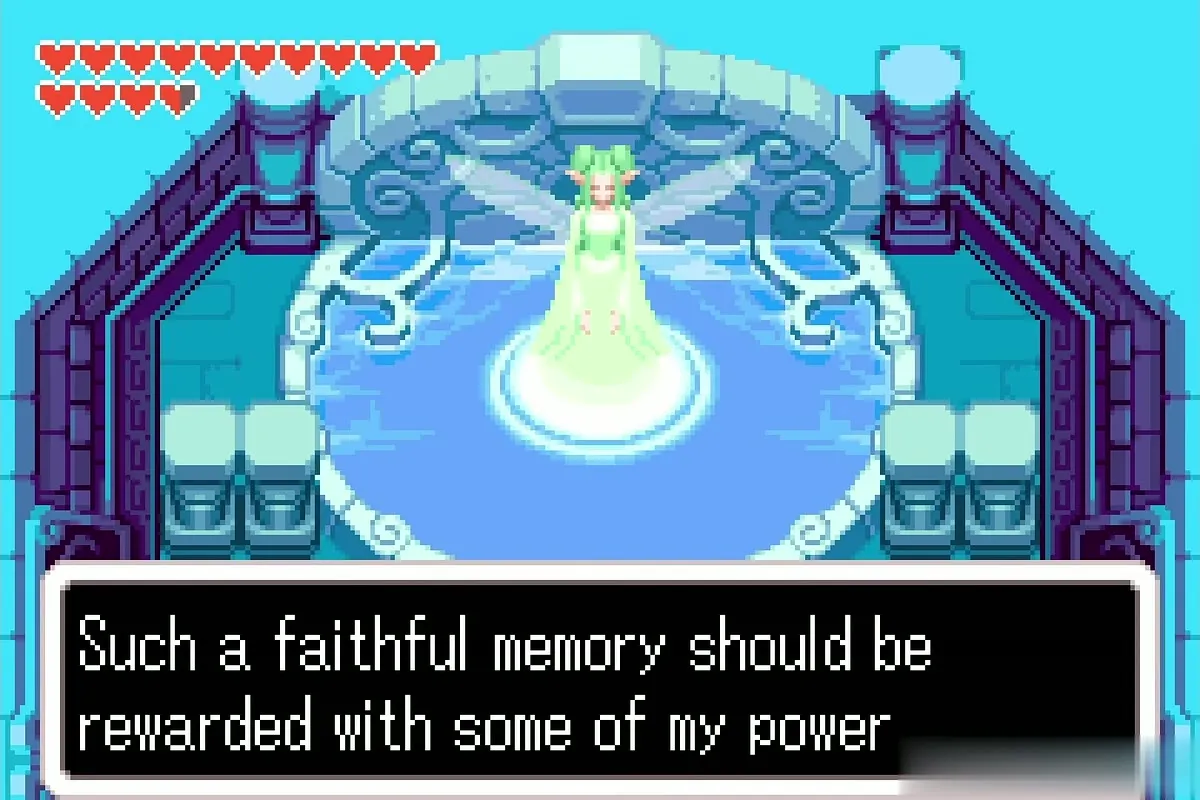
Answer the five questions with No, No, Yes, No, No, in that order (the last asks about the colour of the King’s robe). A wrong answer empties your arrows to zero, so take your time.
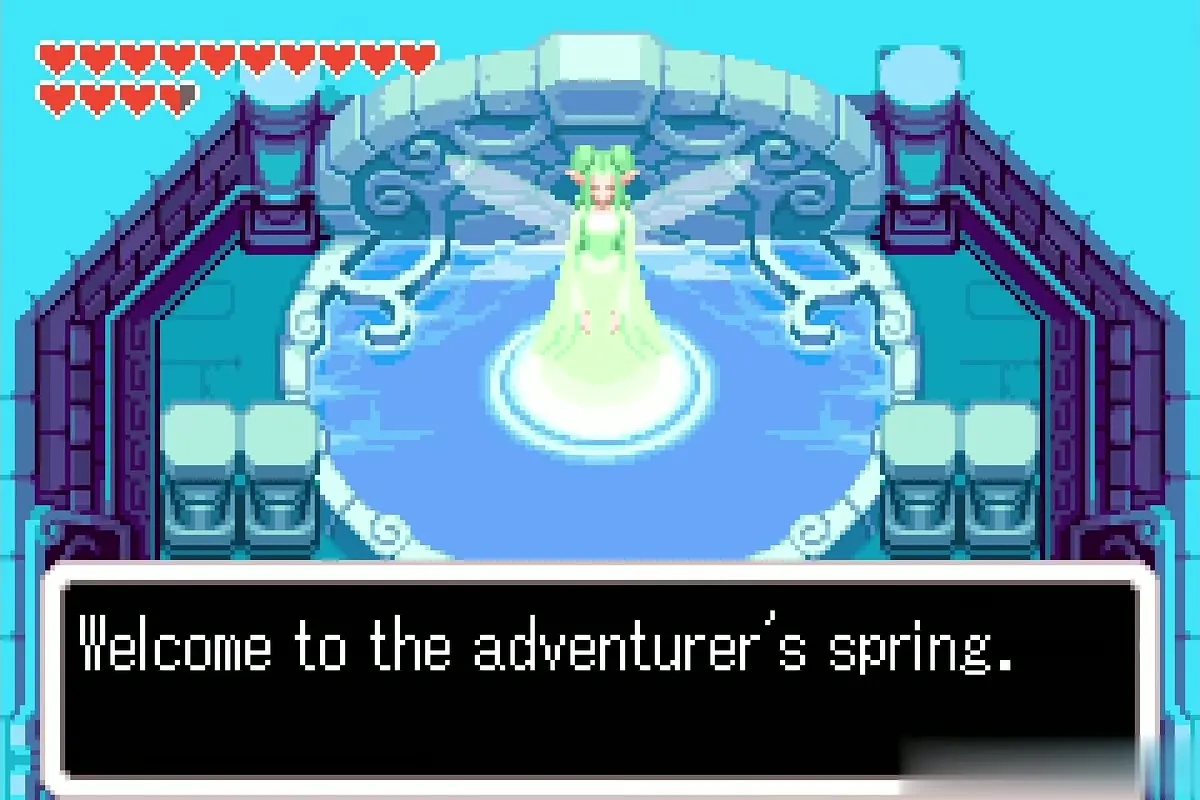
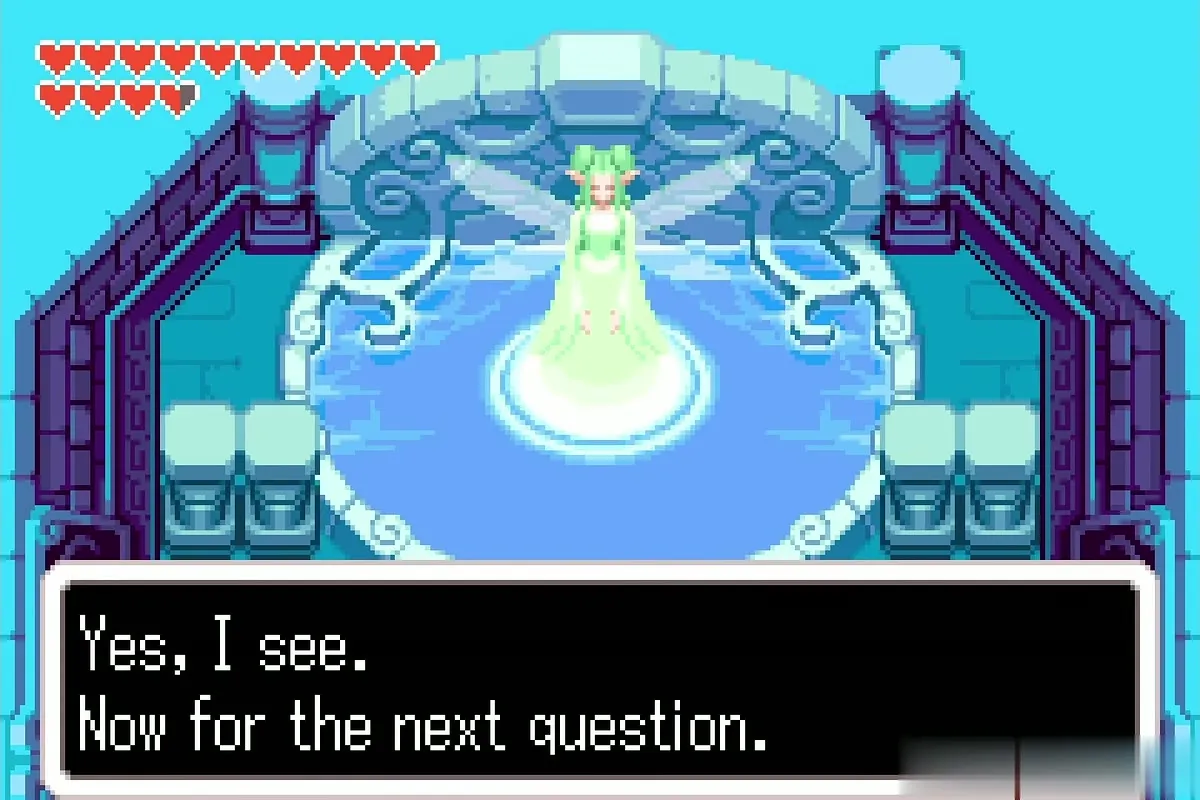
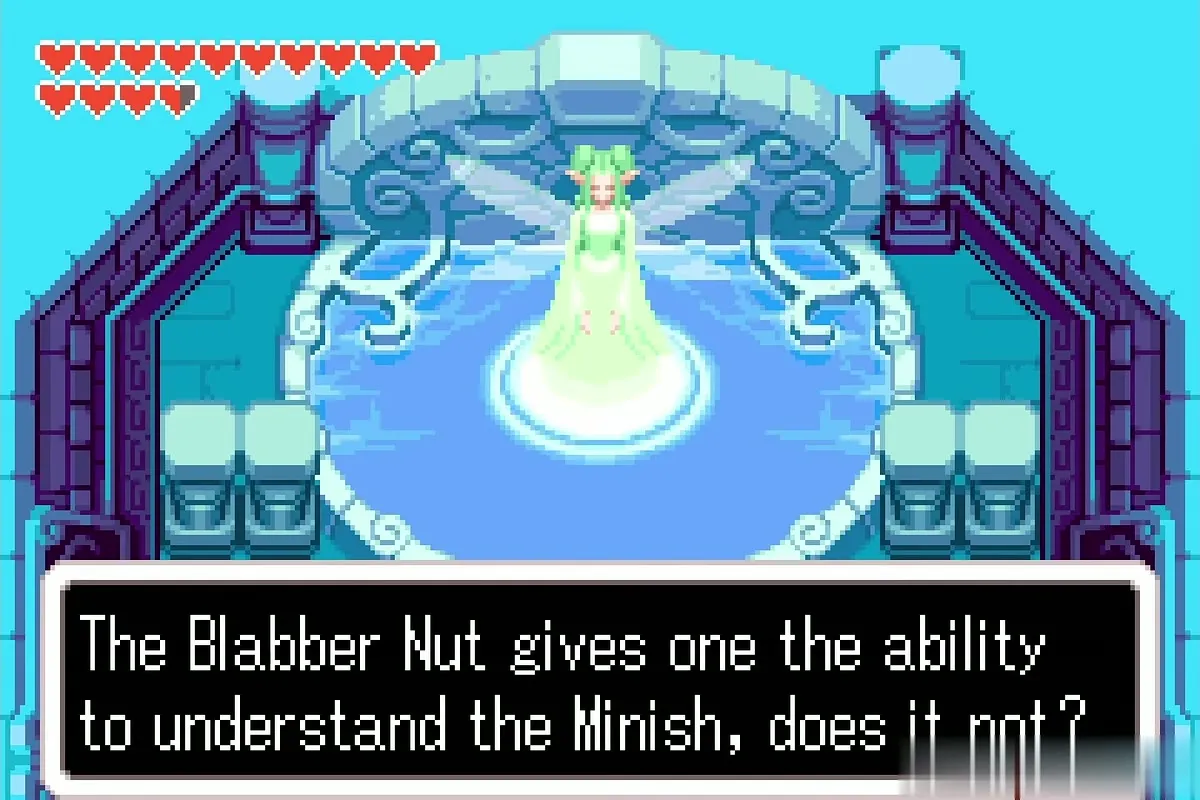
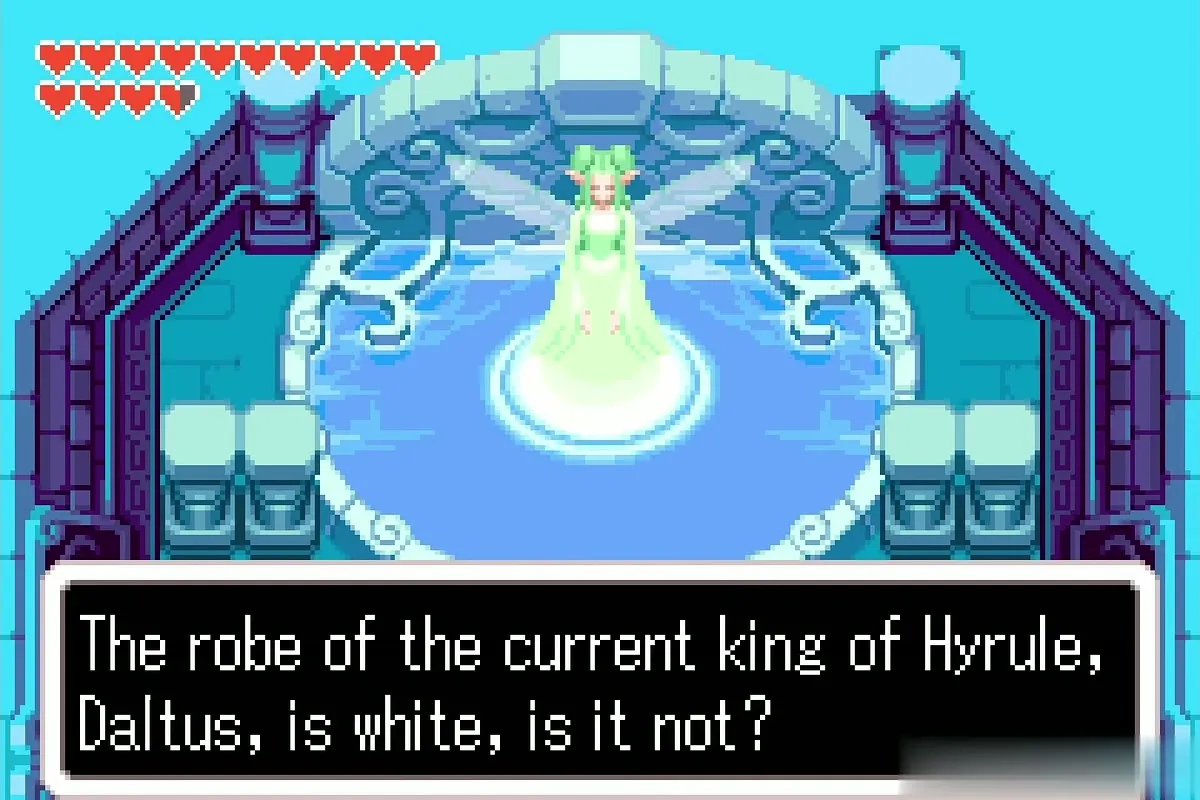
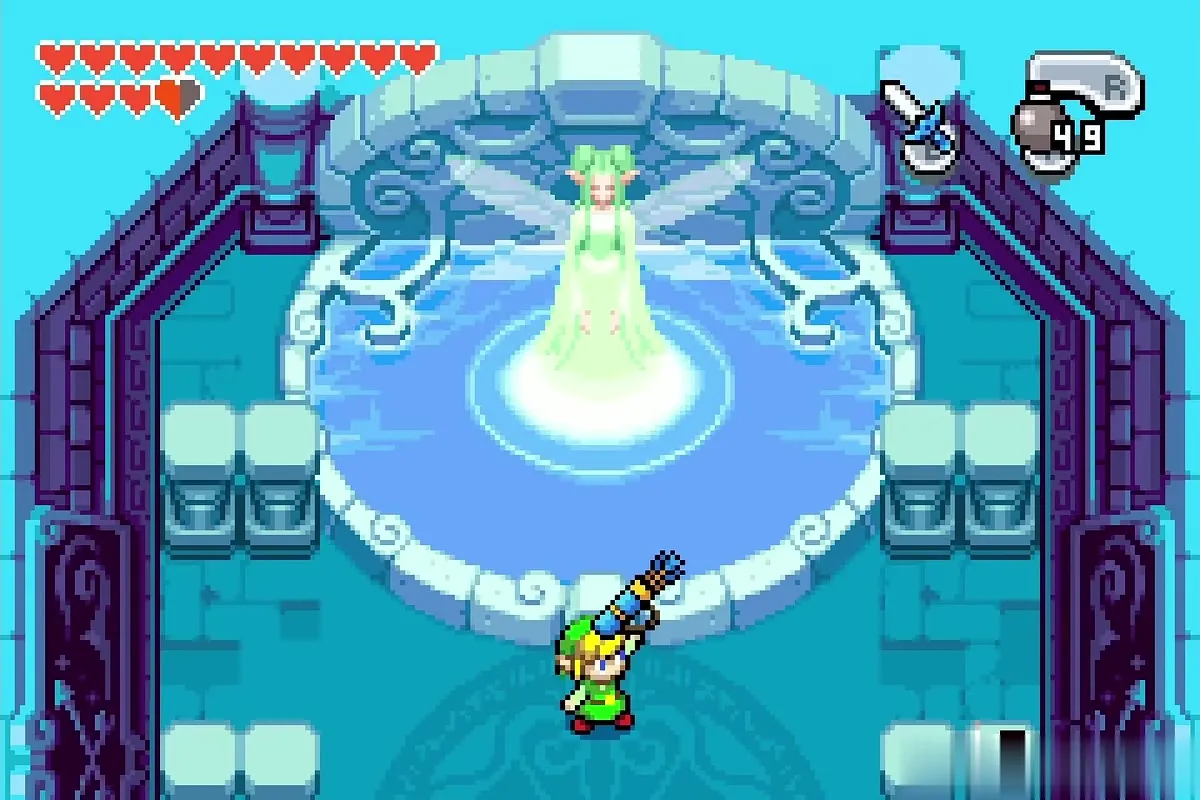
She rewards the correct answers with the Large Quiver, which lets you carry 99 arrows. This is the third and last Great Fairy of the game.

Dampé and the Graveyard Key
Cross the signpost maze
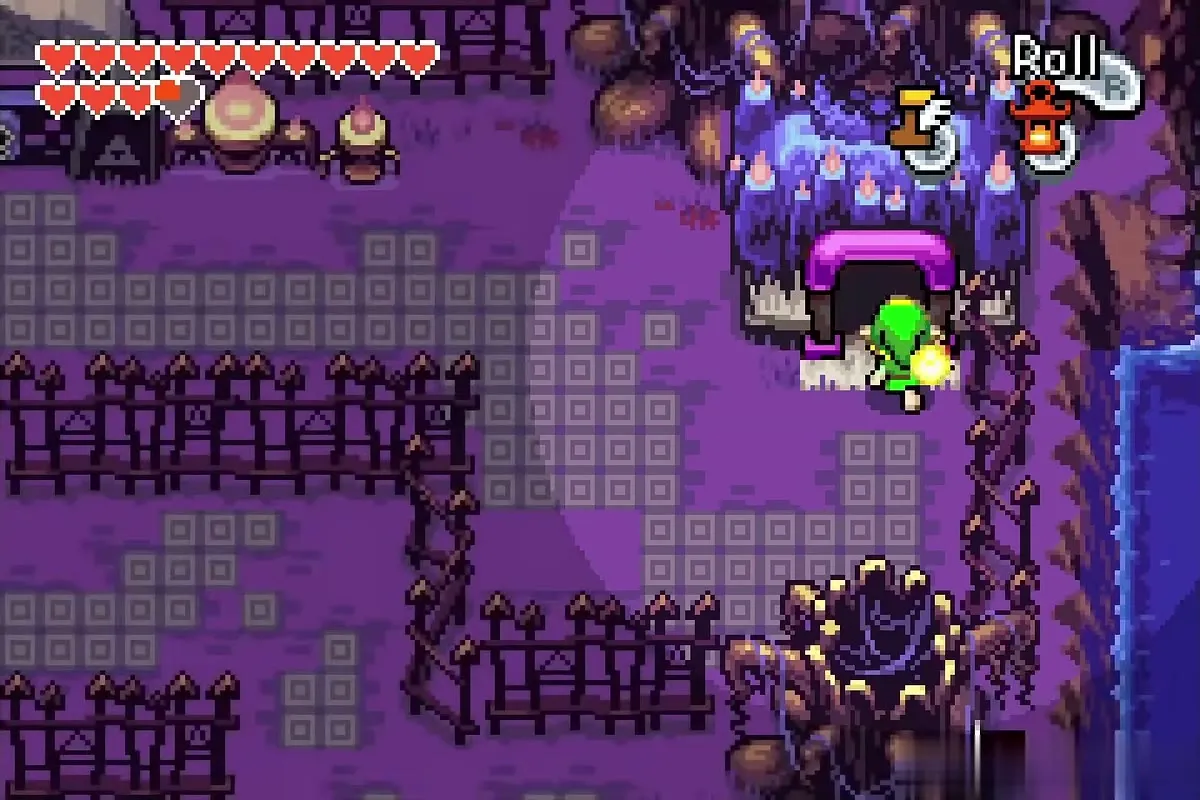
Go southwest, then north, and read the signposts that send you through the maze (they tell you which way to turn at each junction; follow them to the end). The Lantern is no longer needed once you are out. Continue north and west to the gravedigger’s house.

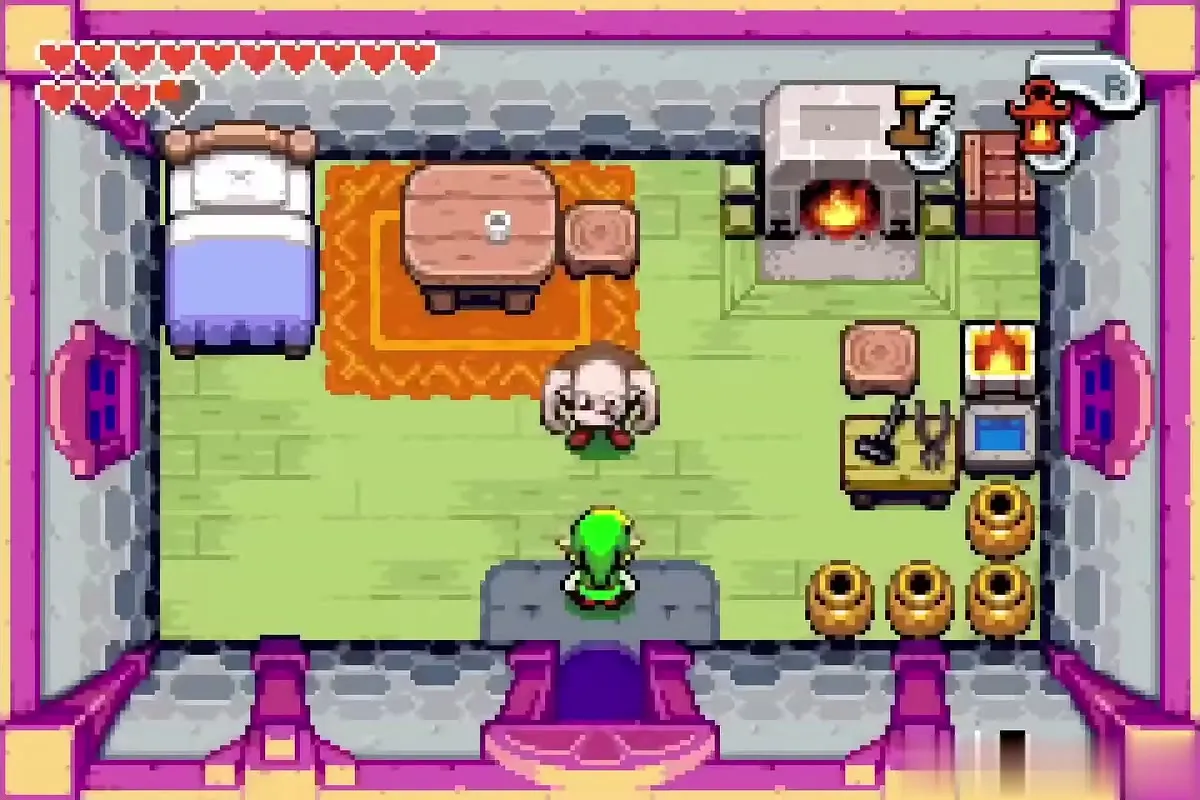
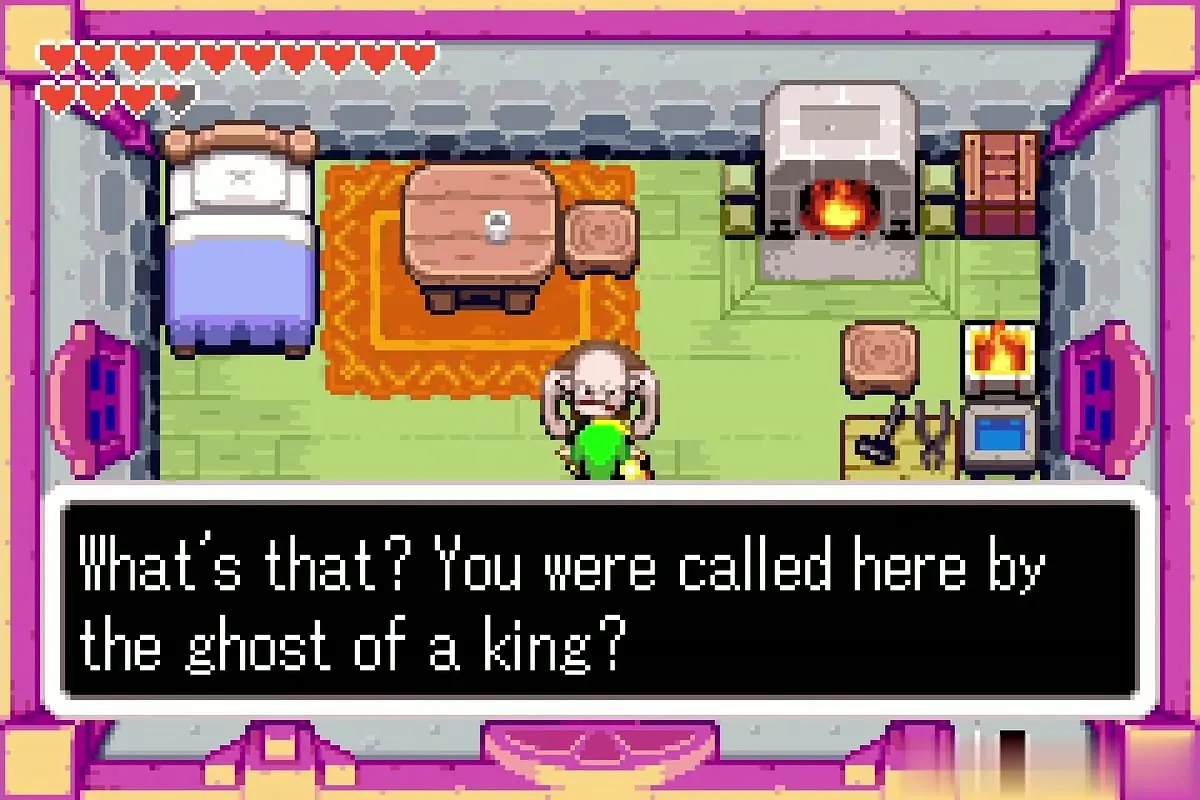
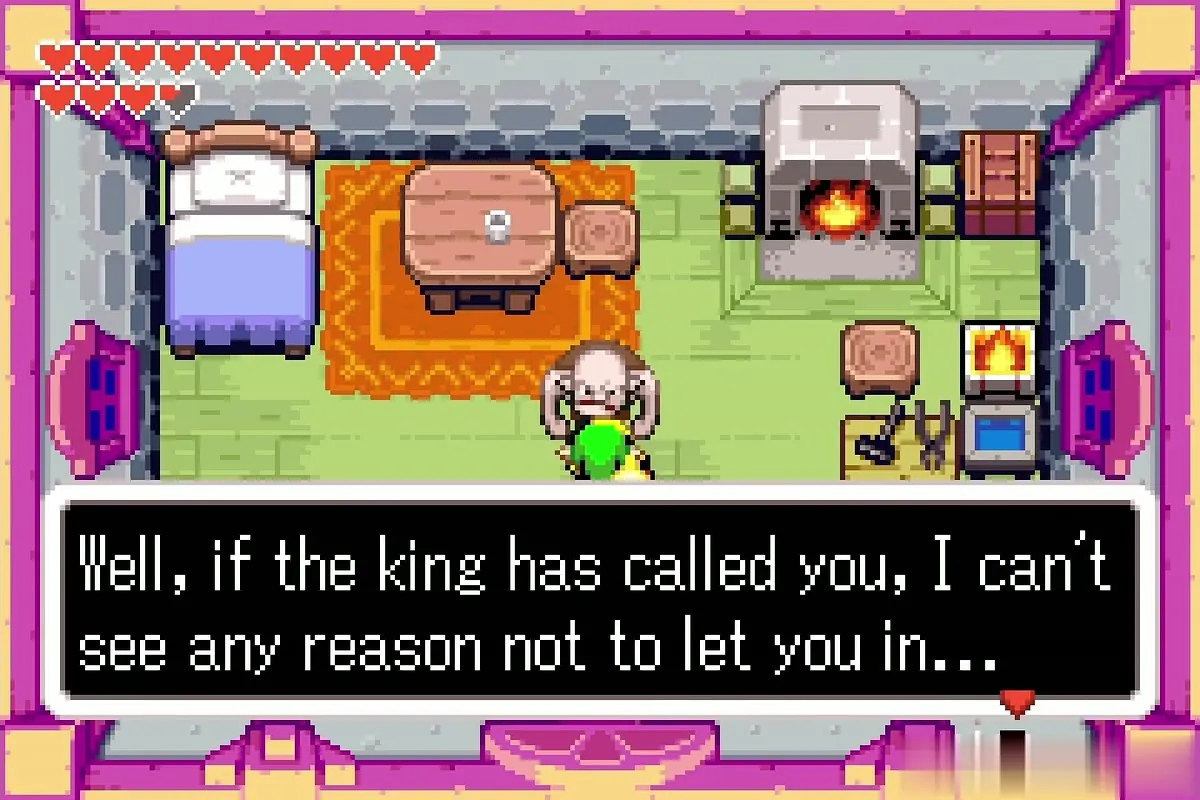
Talk to Dampé
Tell Dampé that the ghost of a king called you here. He gives you the Graveyard Key to the graveyard gate.


Get the key back from the crow
A crow snatches the key and sits in one of the graveyard trees. Equip the Pegasus Boots, approach from a distance because the crow flies to another tree if you get too close, and dash into the trunk to shake the key loose. Pick it up quickly.
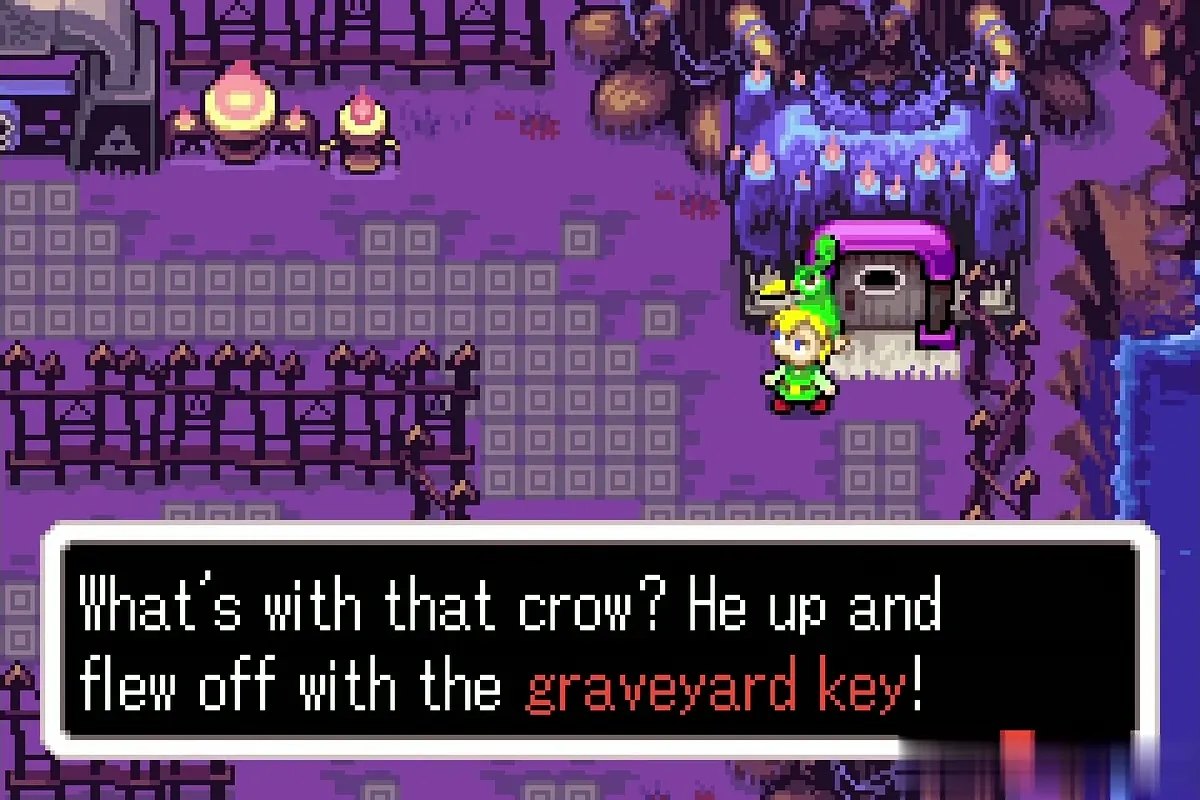
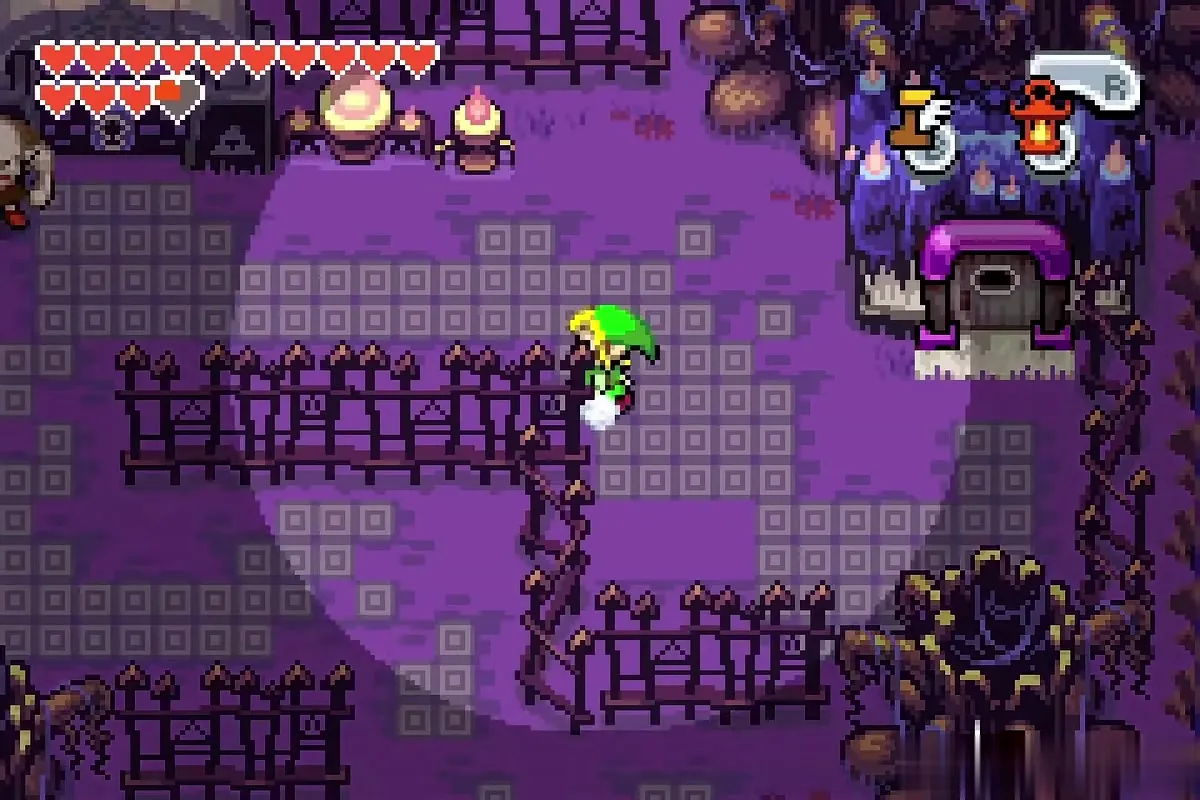


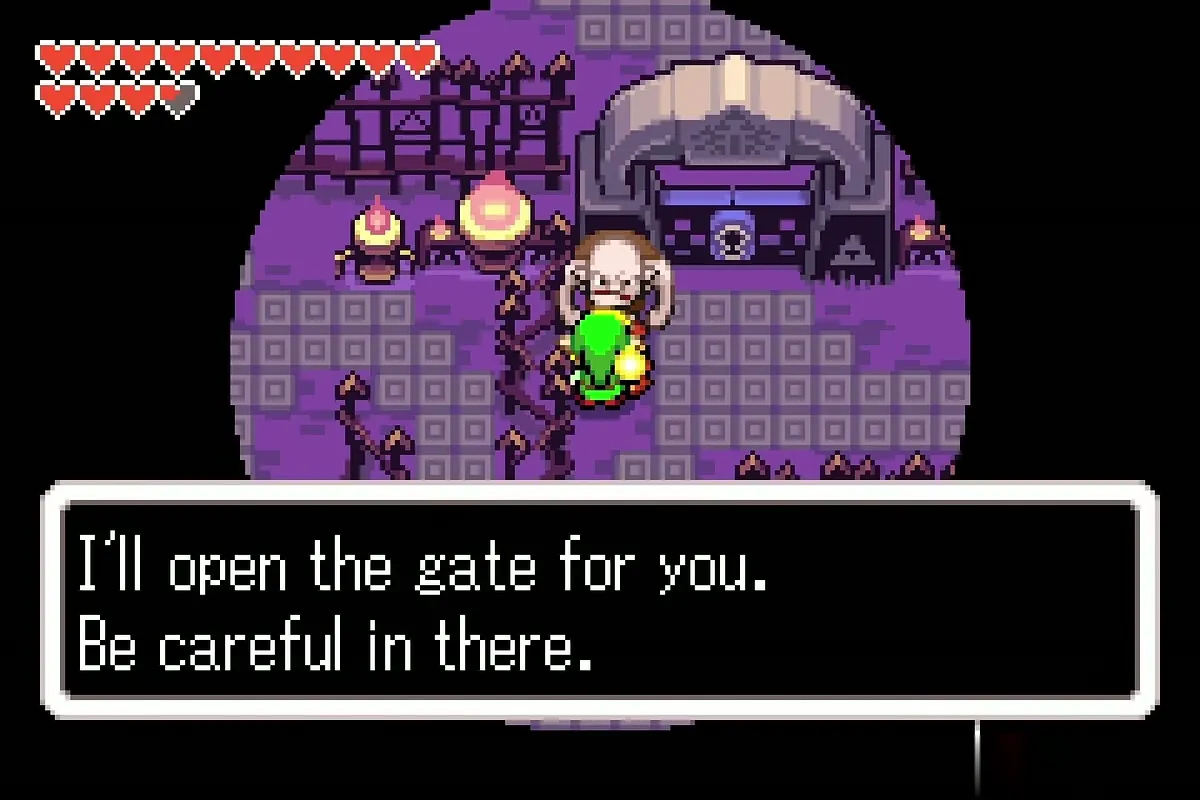
Return to Dampé with the key. He opens the graveyard gate for you and warns you to be careful inside.


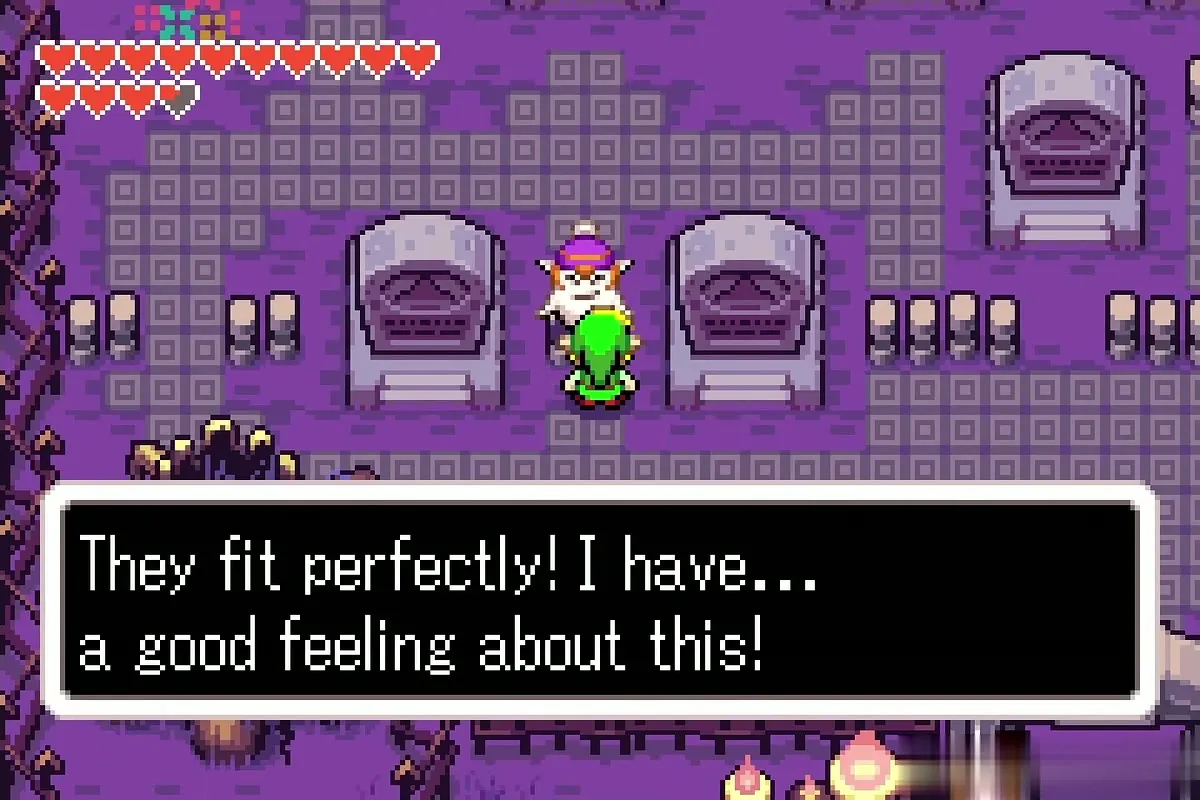
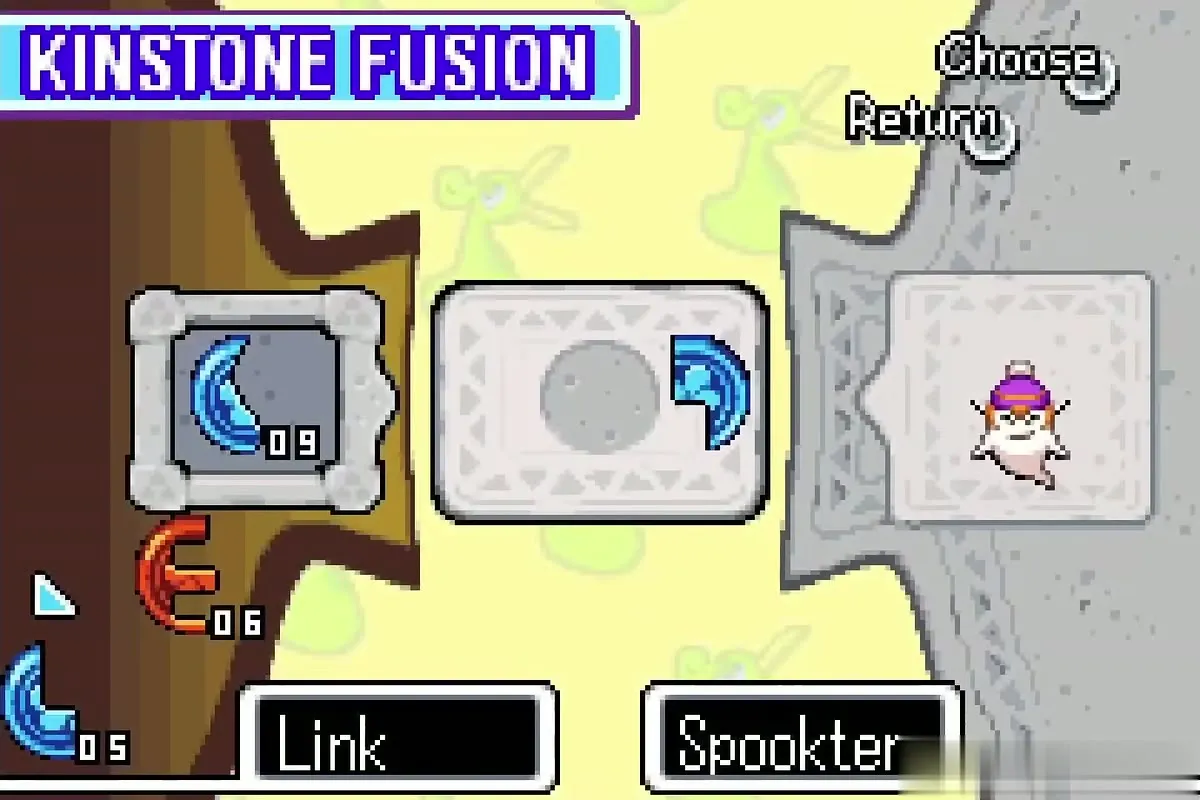
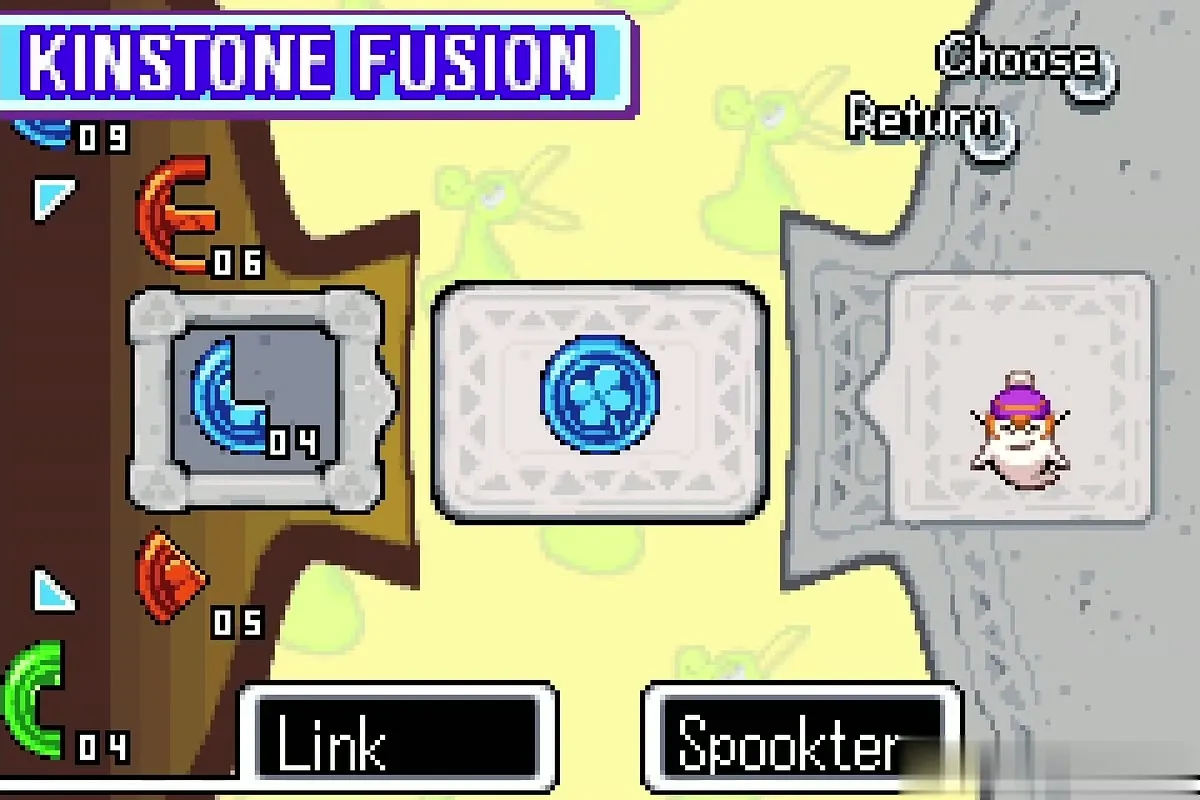
First fusion with Spookter
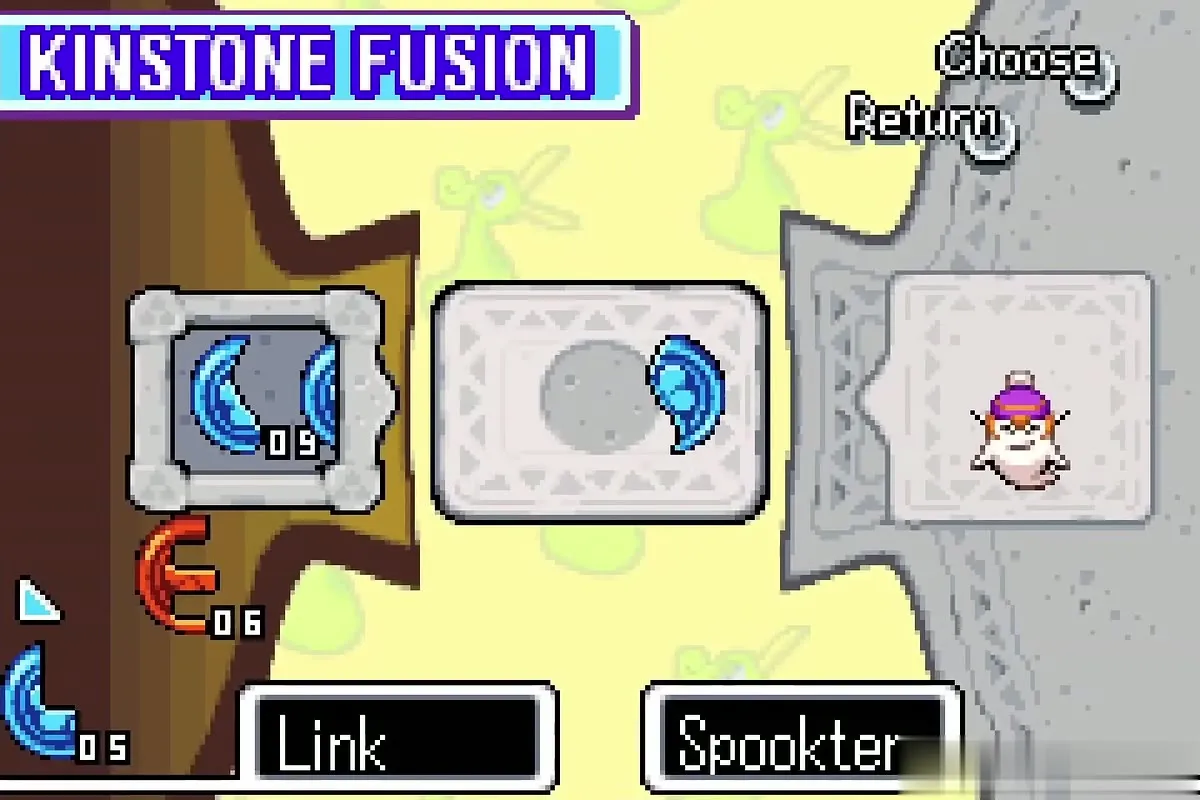
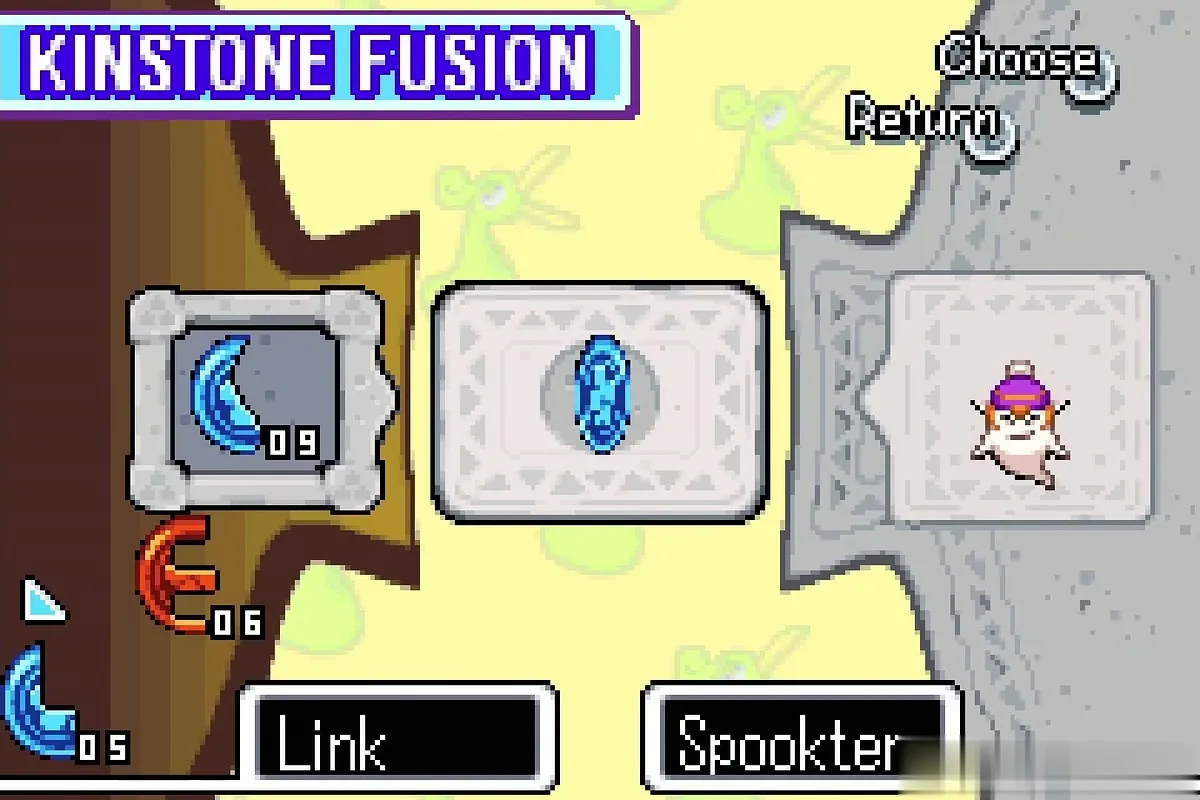
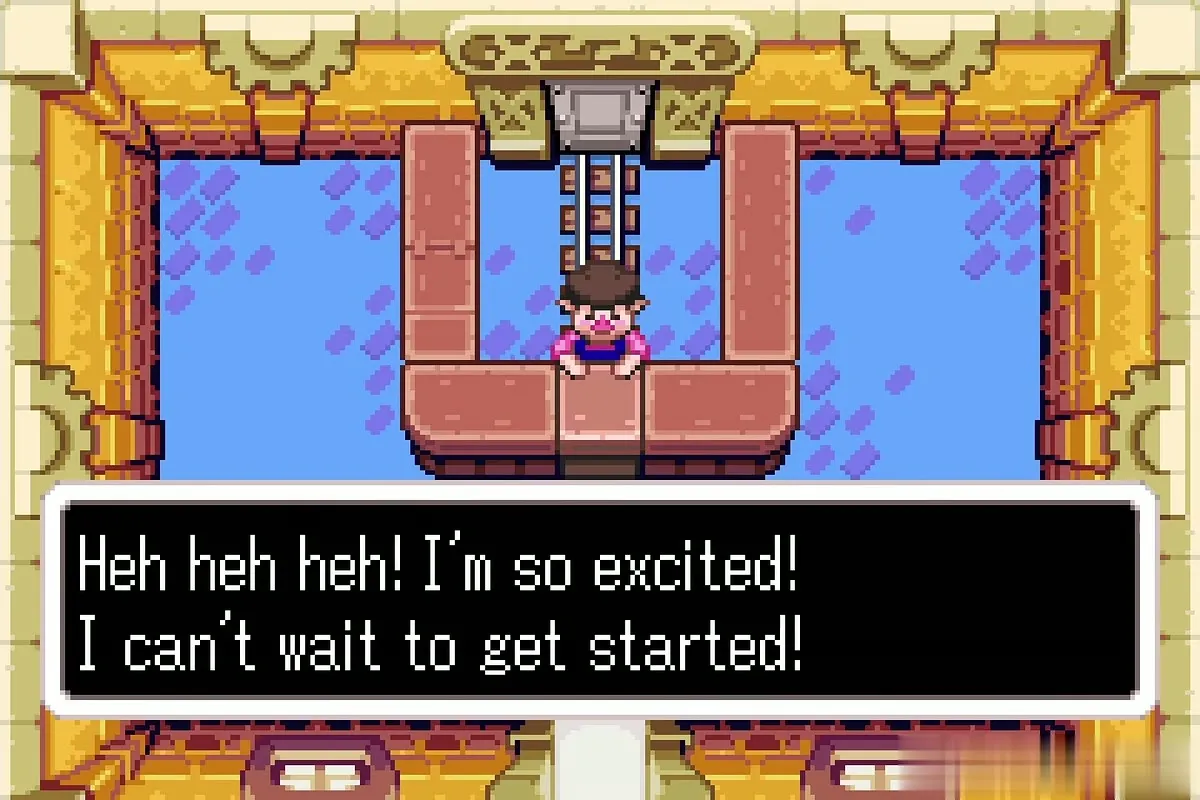
A pink-hatted ghost, Spookter, drifts around the valley. Fuse a blue piece with him: a cutscene in Hyrule Town shows the chest minigame owner getting excited, because the fusion adds a new, harder difficulty level to his game.

Royal Crypt (Dungeon): King Gustaf
Piece of Heart in the north-west grave
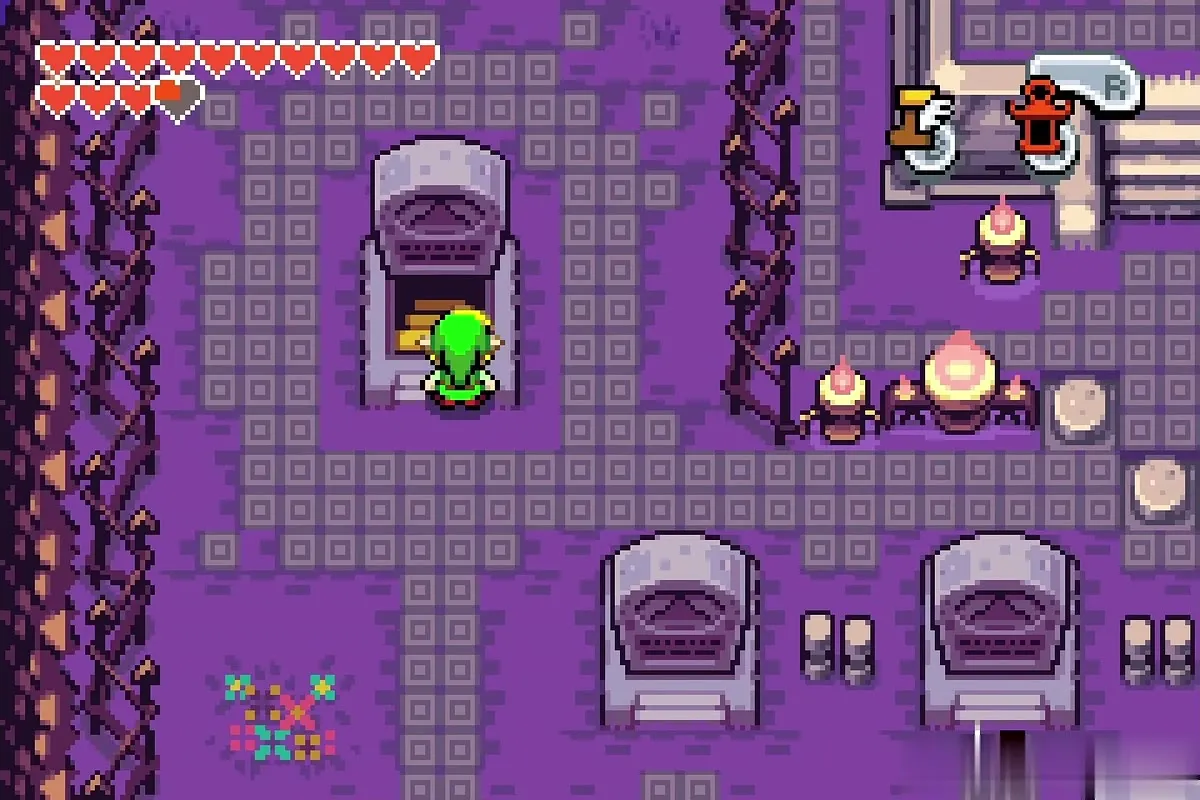
Before the Crypt, push the tombstone in the north-west part of the graveyard to find a secret cavern. Split into three Links and stand on the three coloured pads at the same time to open the way. A Piece of Heart waits here.

Open the Crypt
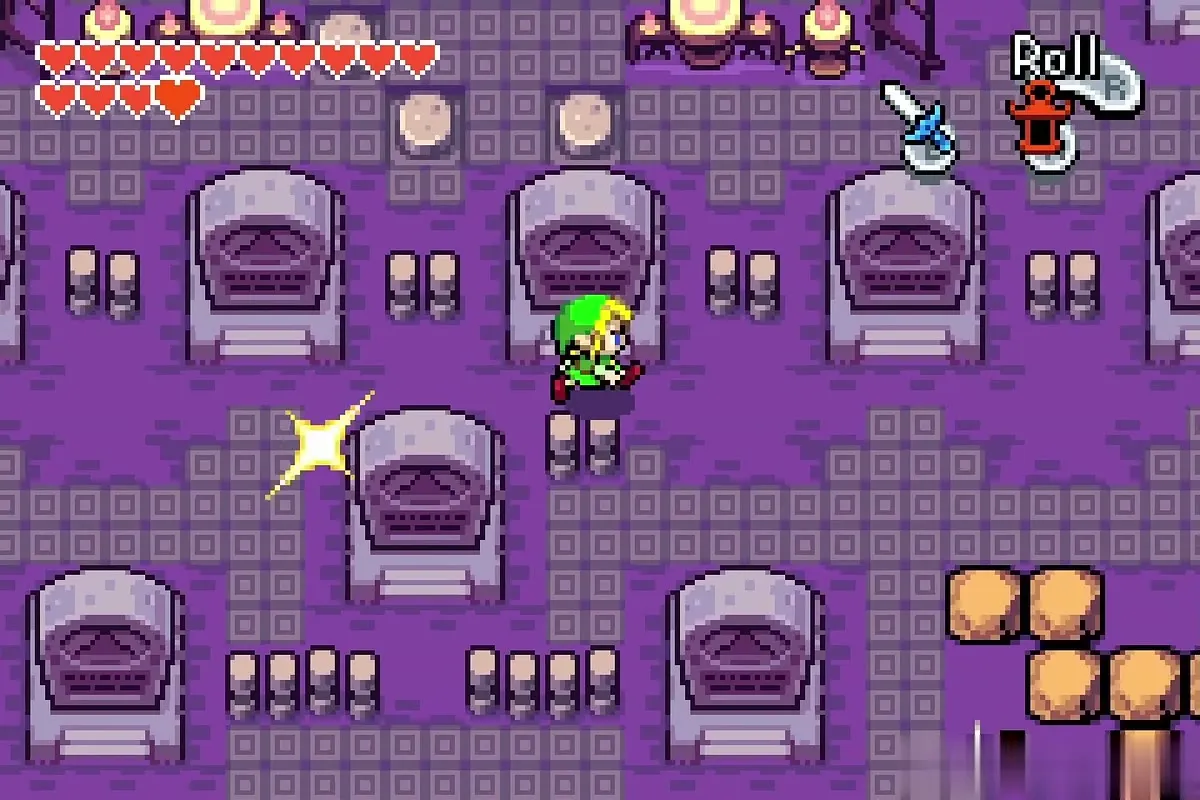
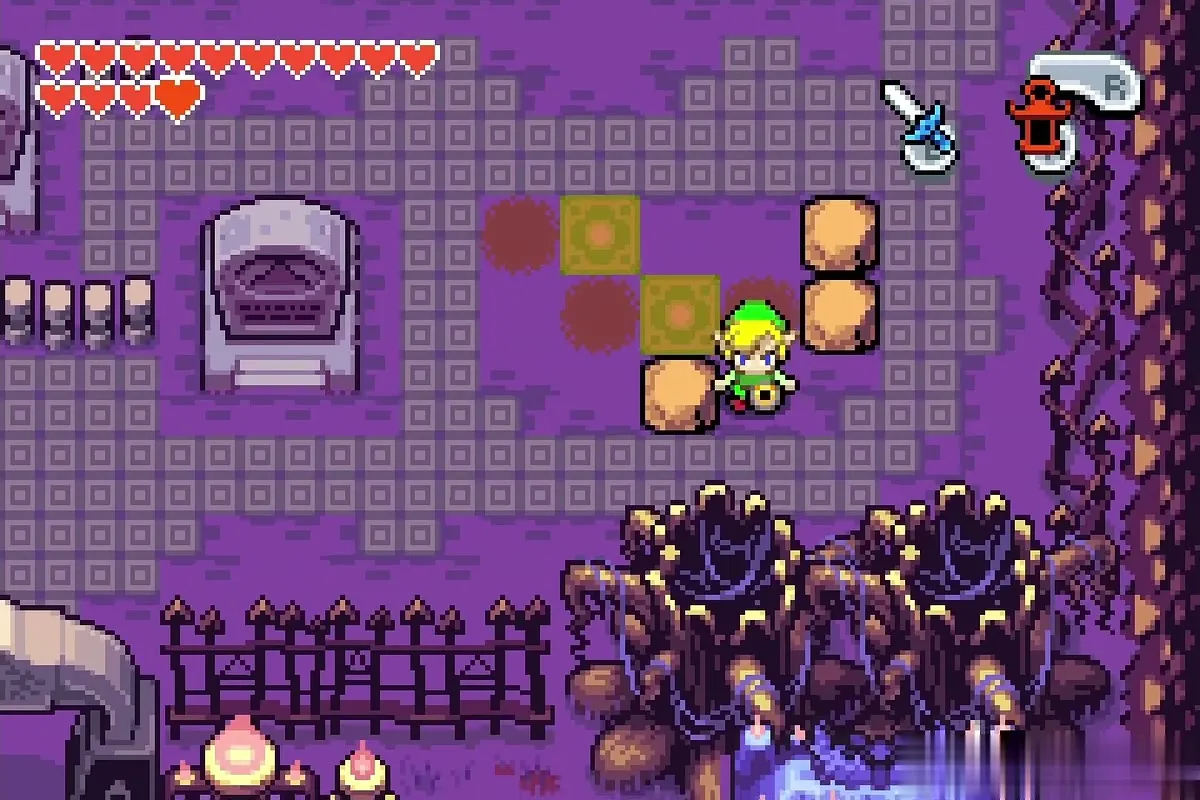
Back in the graveyard, push the tombstone in front of you, then go right and cut the blocks to uncover floor slabs. Split into three Links so that all three switches in the north-west are pressed at once; the King’s tombstone slides away and reveals the stairs into the Royal Crypt.
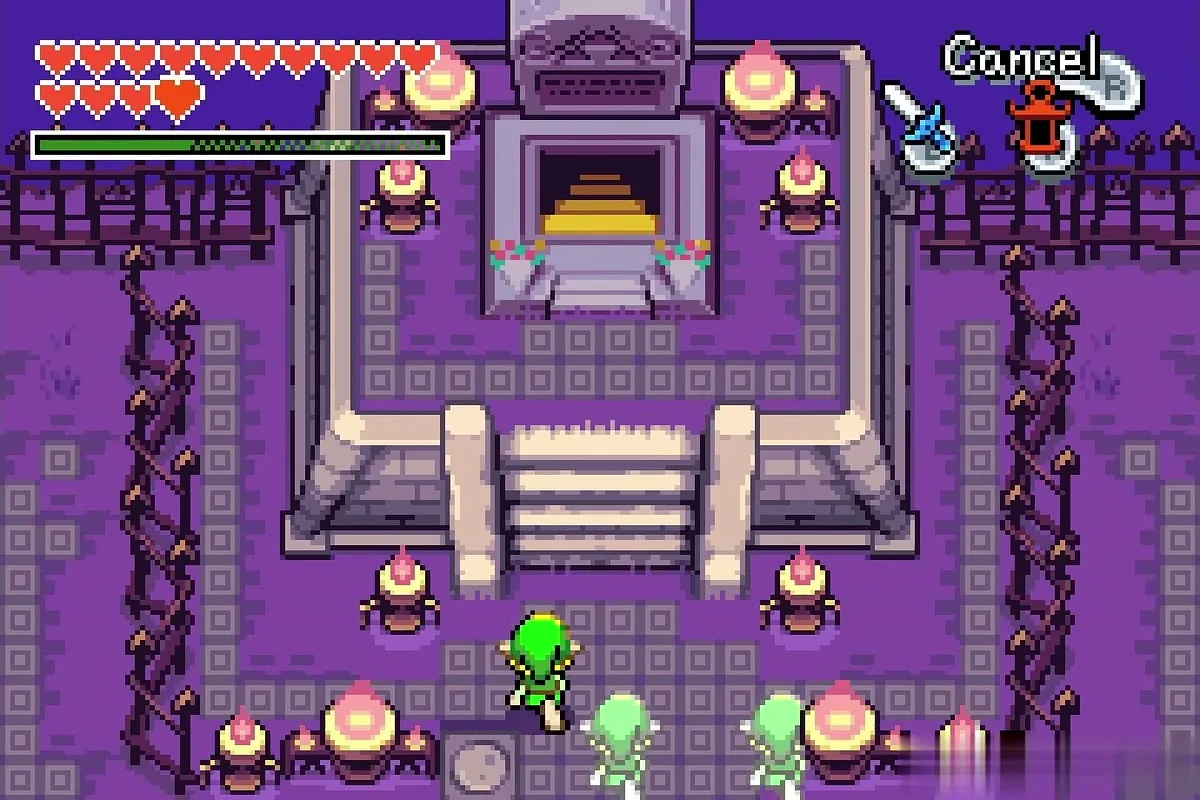

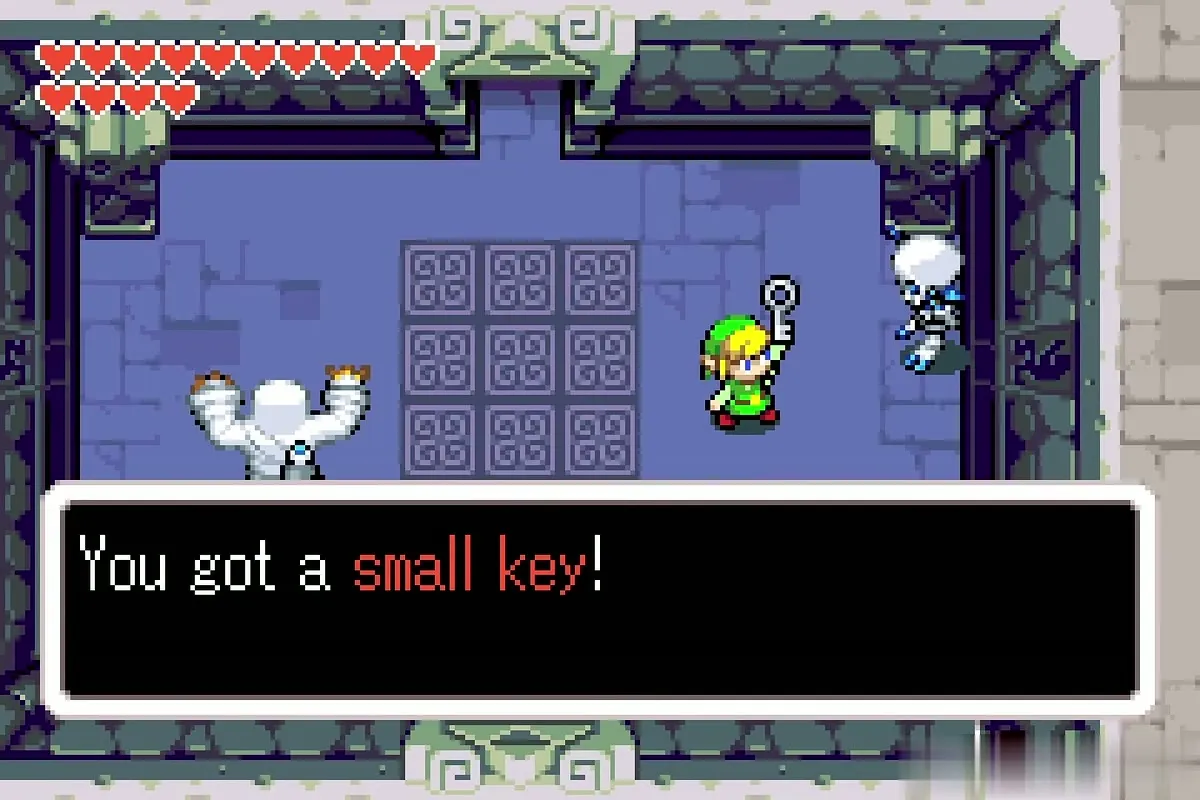
First hall: Small Key 1
The first room is guarded by two Gibdos, mummies that drain your hearts quickly. Burn them with the Lantern to turn them into ordinary skeletons, defeat them, and take the Small Key. A key counter appears in the corner of the screen; the key works only in this dungeon.



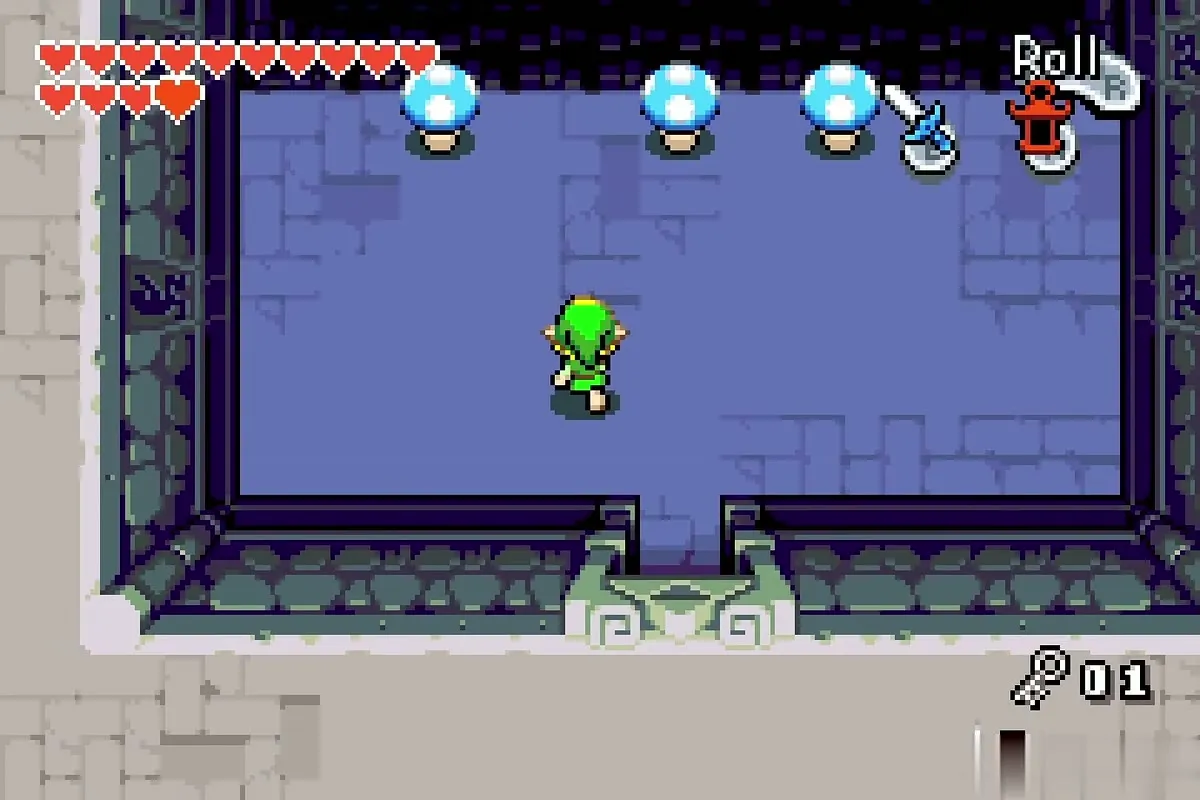
Go north to a room of blue toadstools. Pull the far-left toadstool to get across.
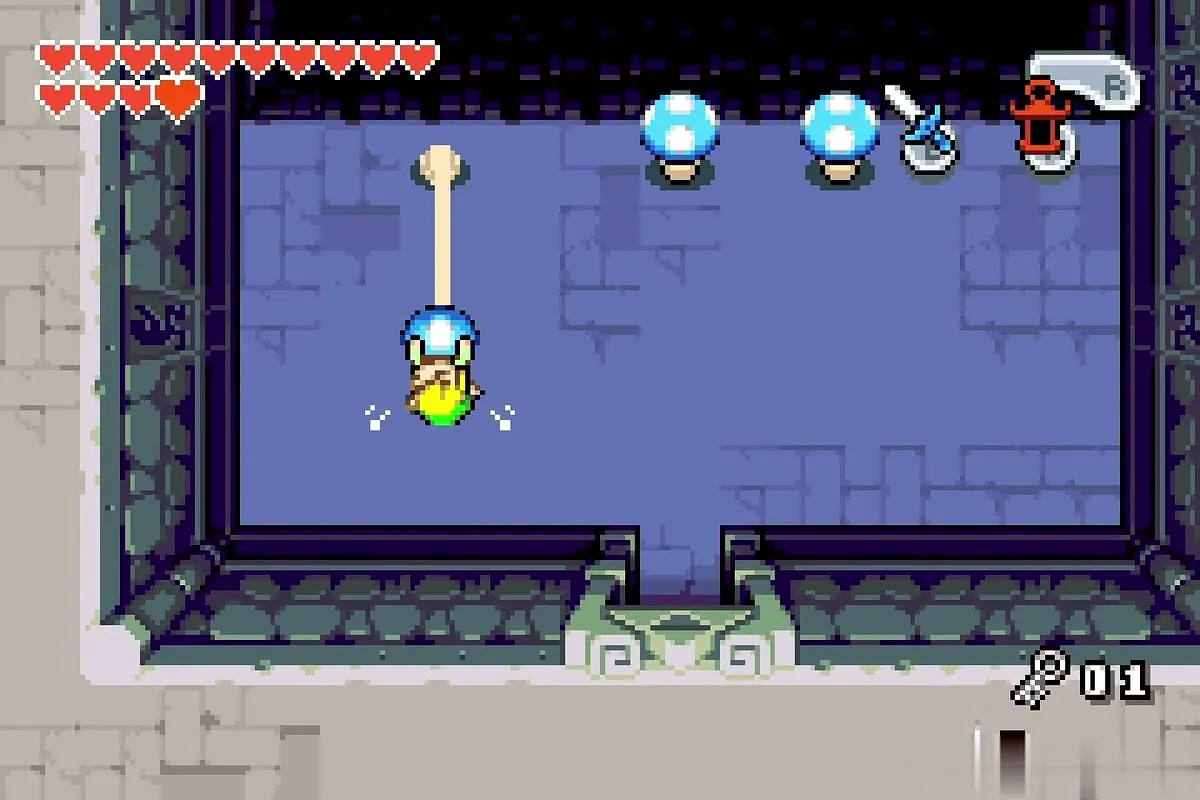
Three doors stand ahead; two hurt you when you get close, and only the middle one is real. Unlock the middle door with your key.
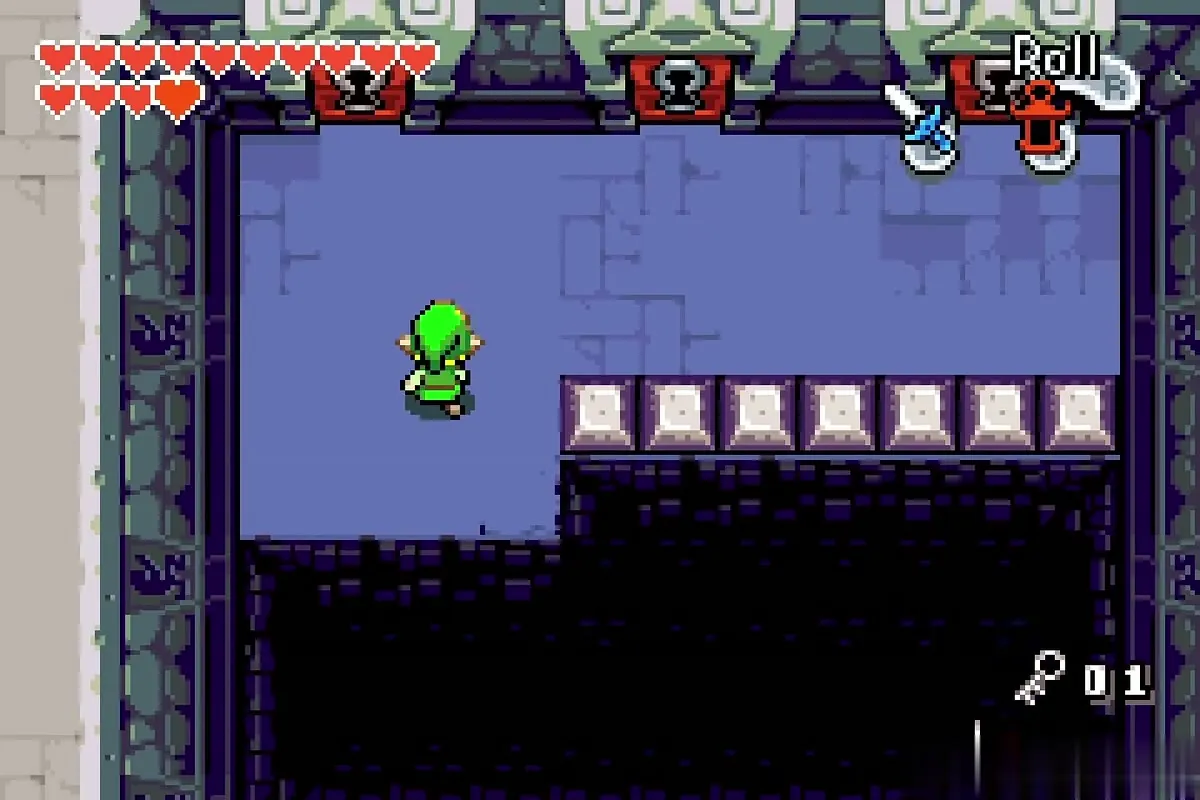
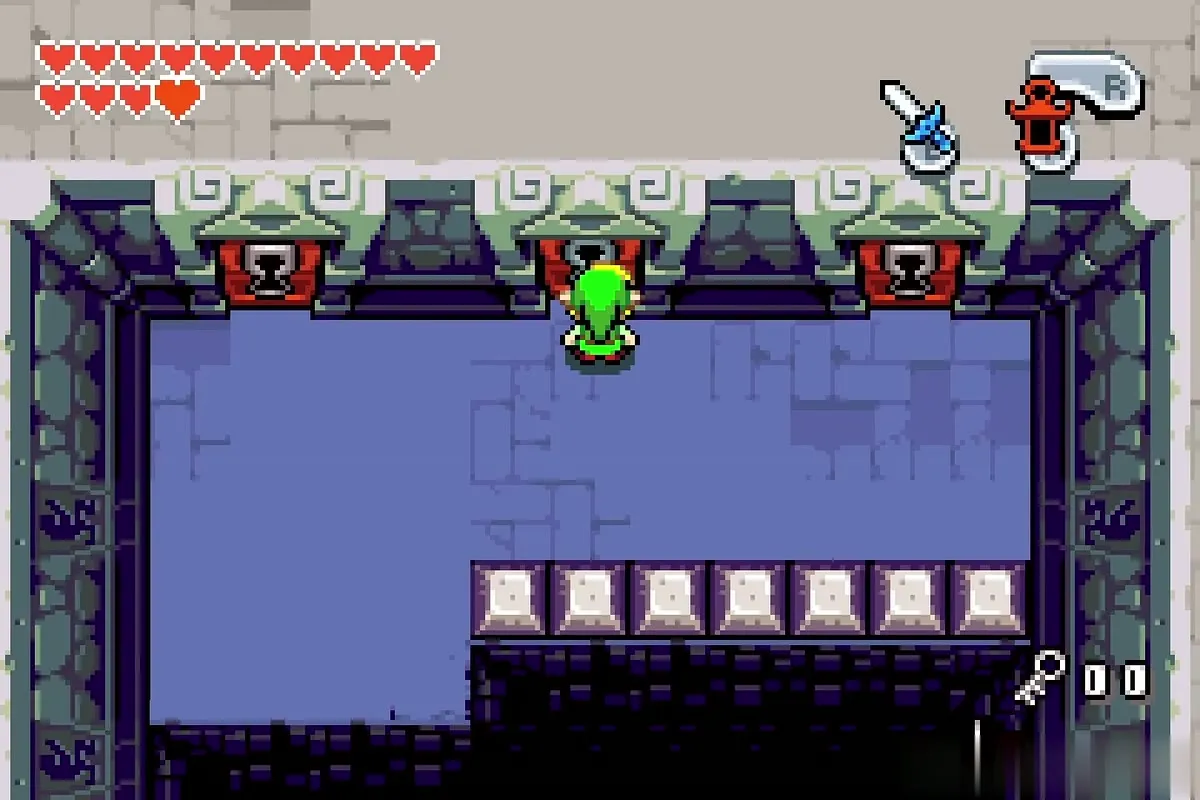
Two side rooms: Small Keys 2 and 3
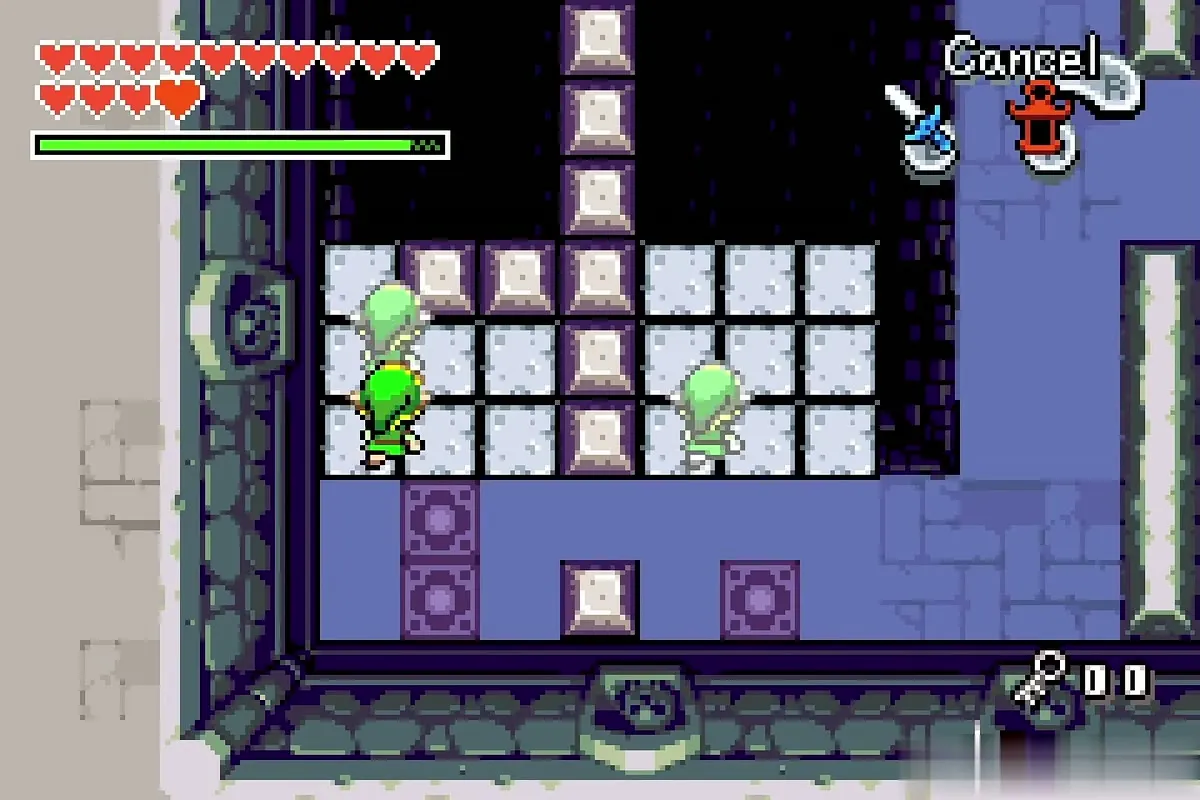
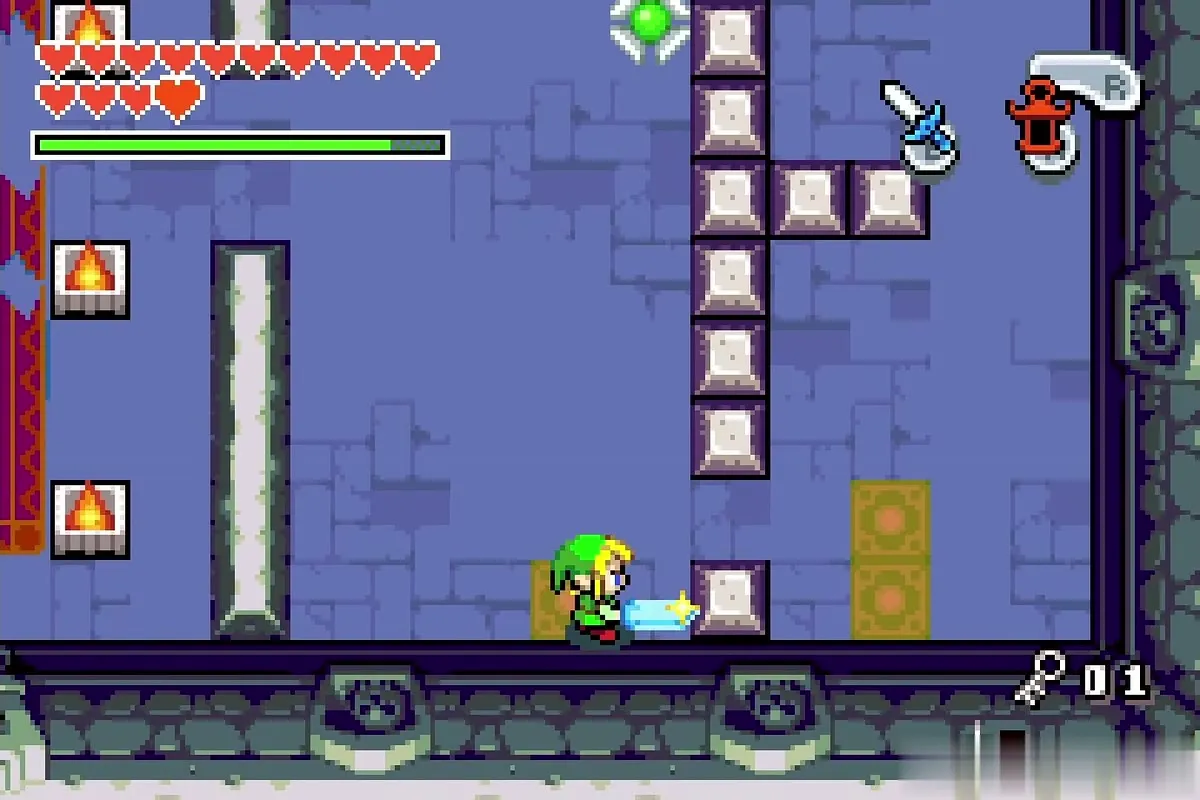
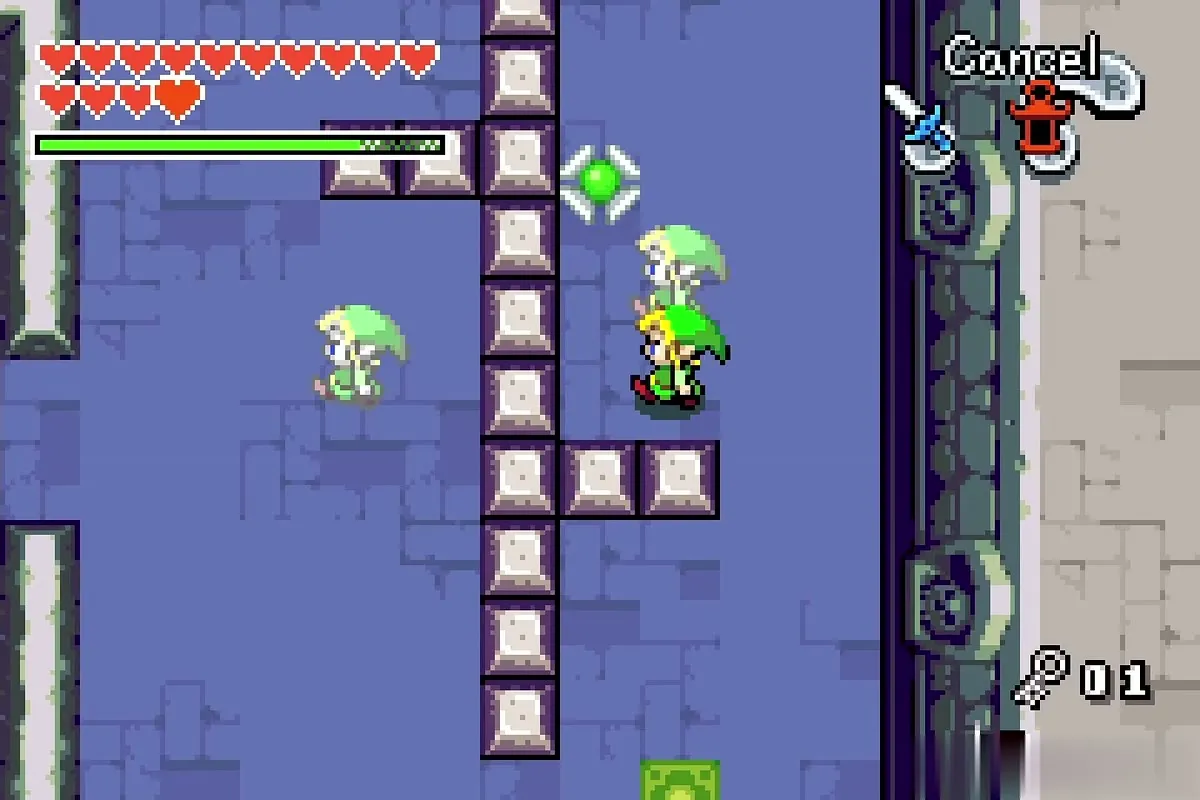
The next area has two side rooms and two keyhole blocks in the north corridor. In one room moving platforms carry you across a chasm and three switches wait on the far side; split into three Links in the right order on the floor pads, then step on the switches to make a Small Key appear. Ride a platform back and exit, then open the first keyhole block.
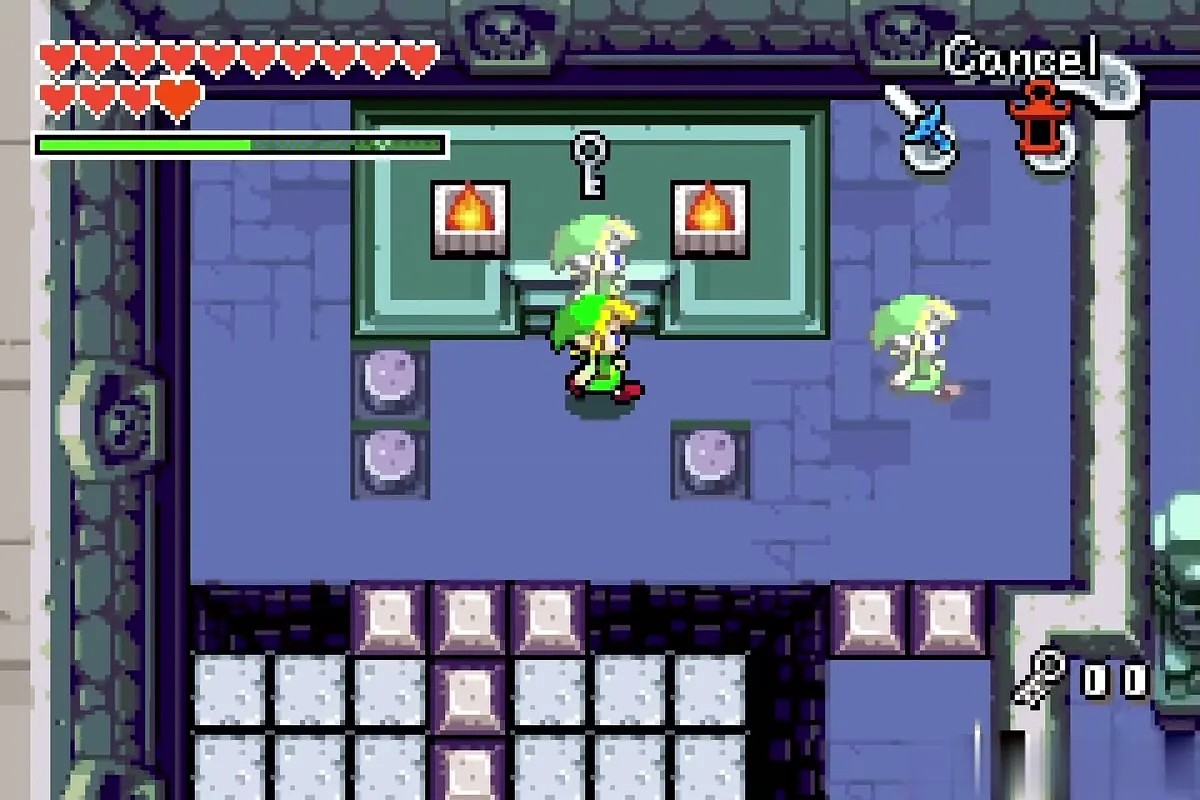

The other room has a Trap, a blade that circles a central block structure. Use the same three-Link formation, avoid the Trap, and step on the switches at the top to produce the third Small Key. Carry it back and open the second keyhole block.


Final rooms: torches and mummies
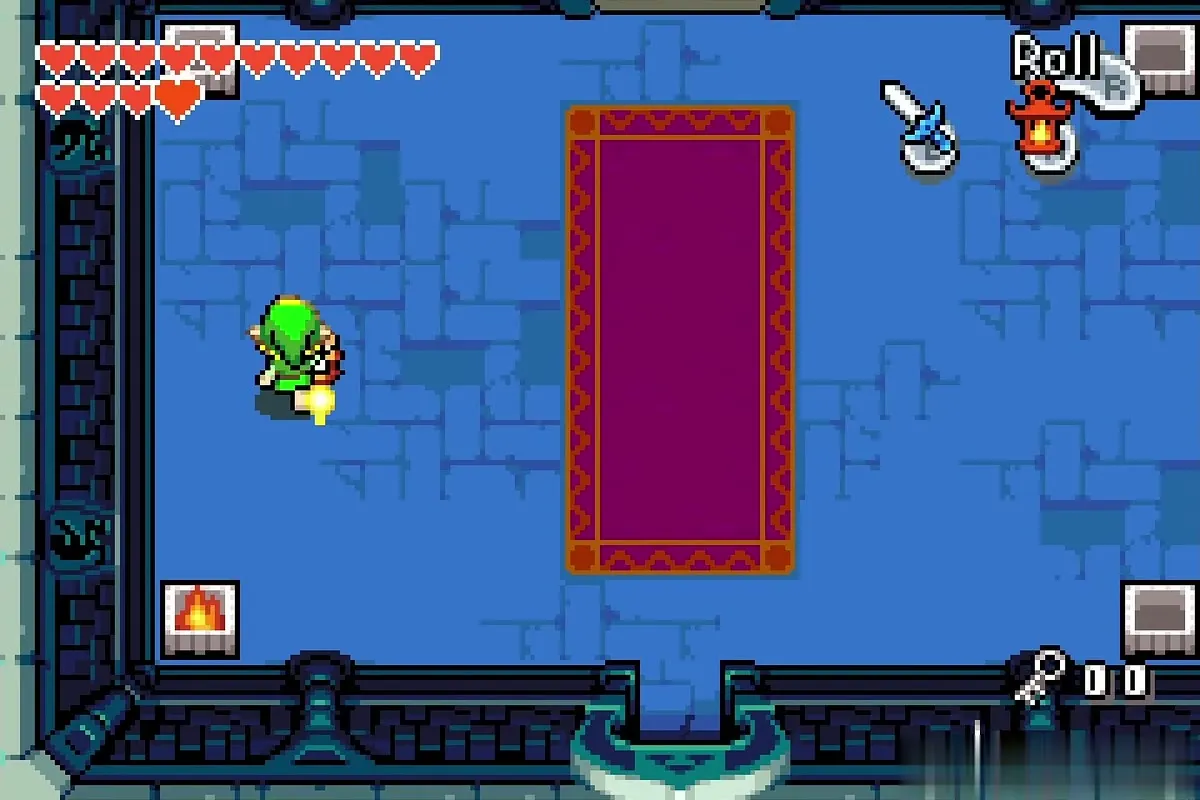
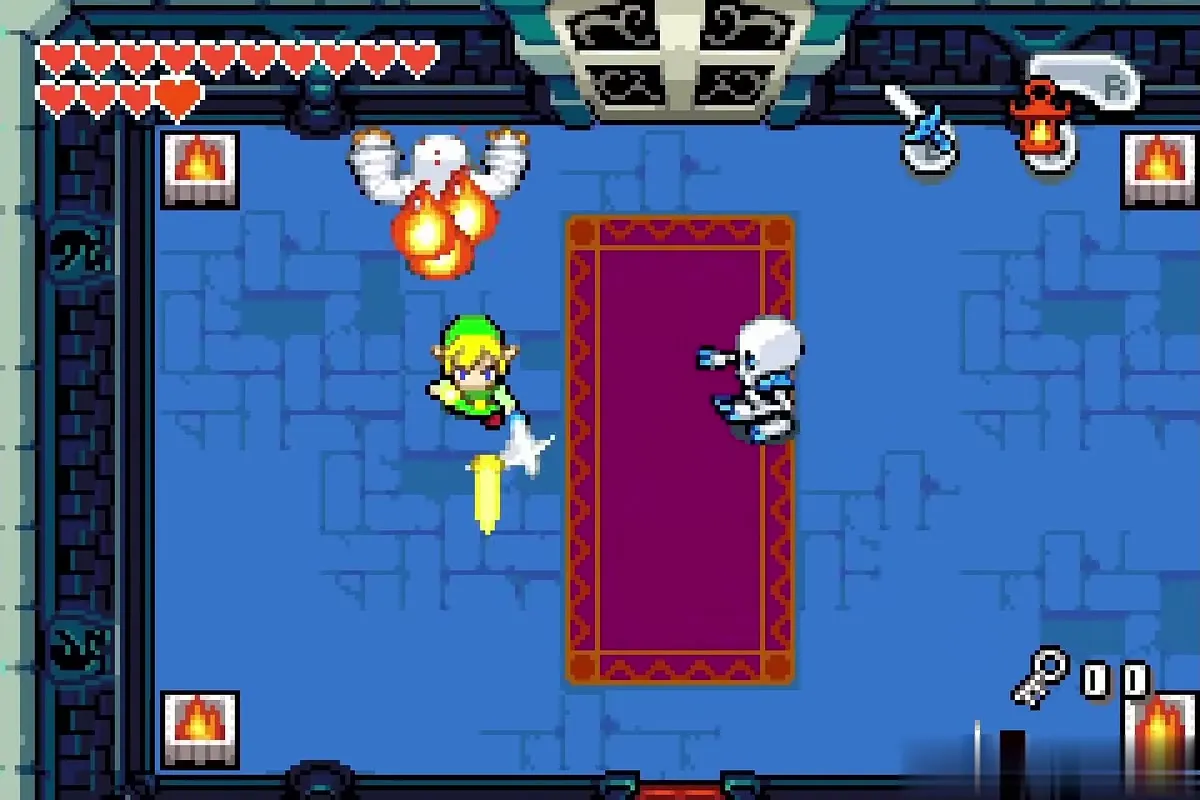
Go north through the door and fight the snakes in the narrow room, then enter the door at its end. The door behind you closes: light the four corner fire pits with the Lantern, which makes the north door open again. The pits shoot fireballs, so defeat the two Gibdos fast.


King Gustaf
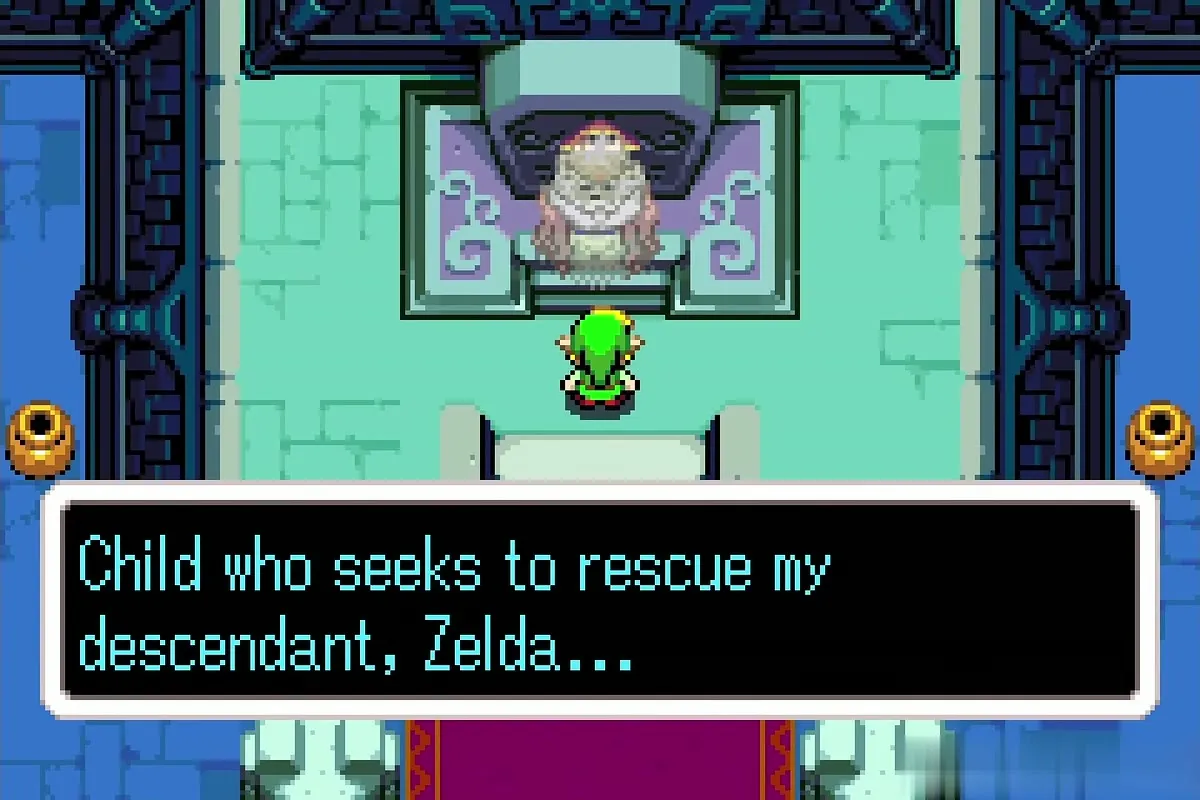
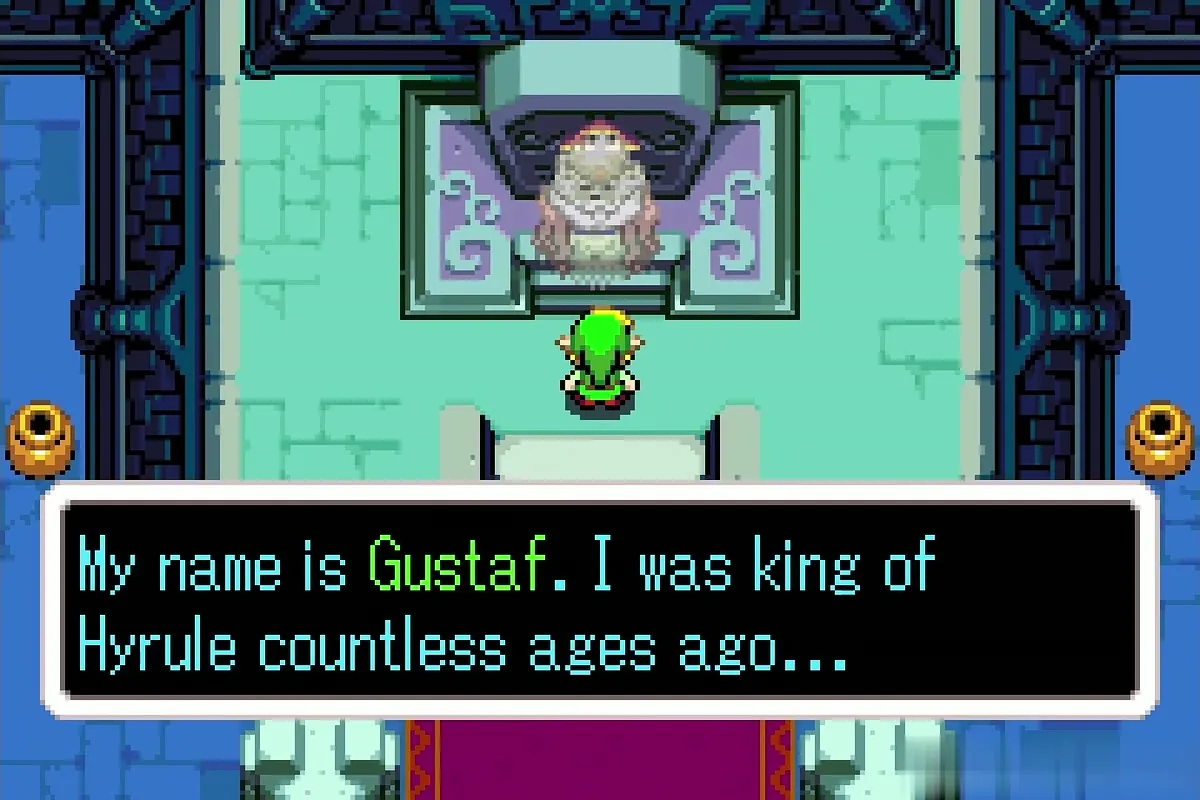
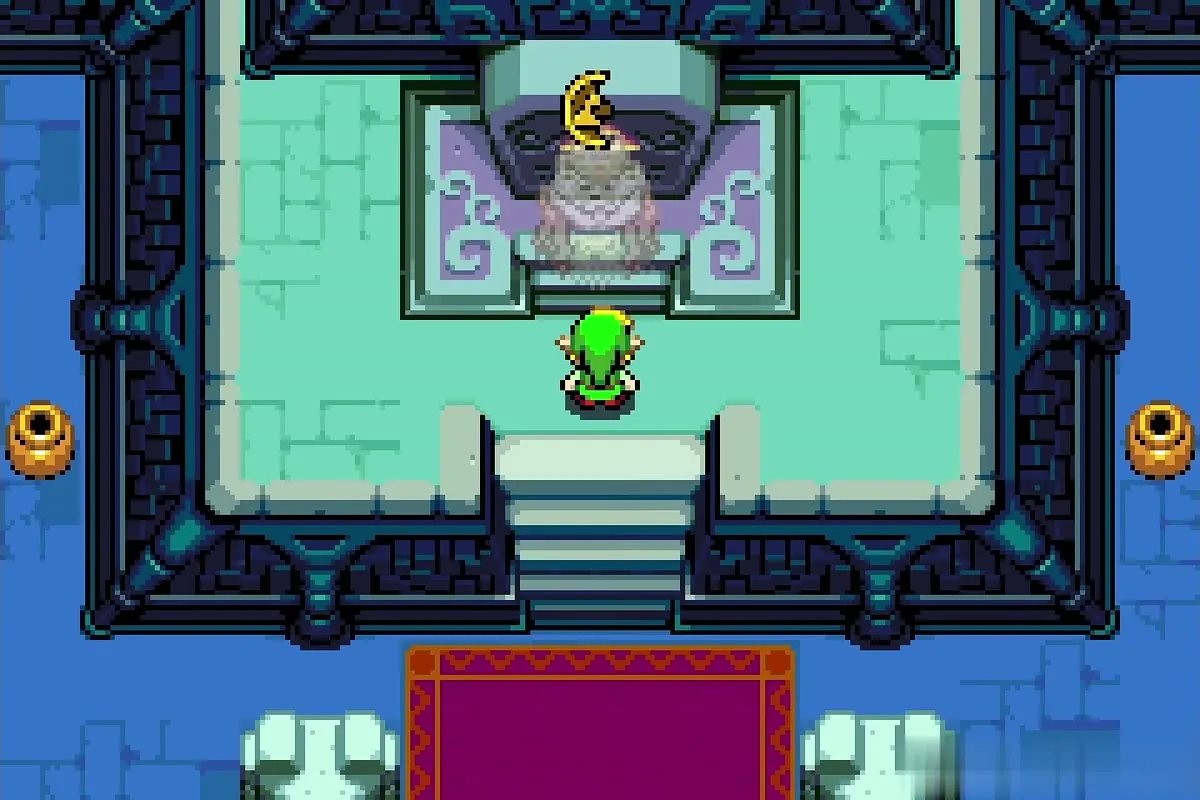
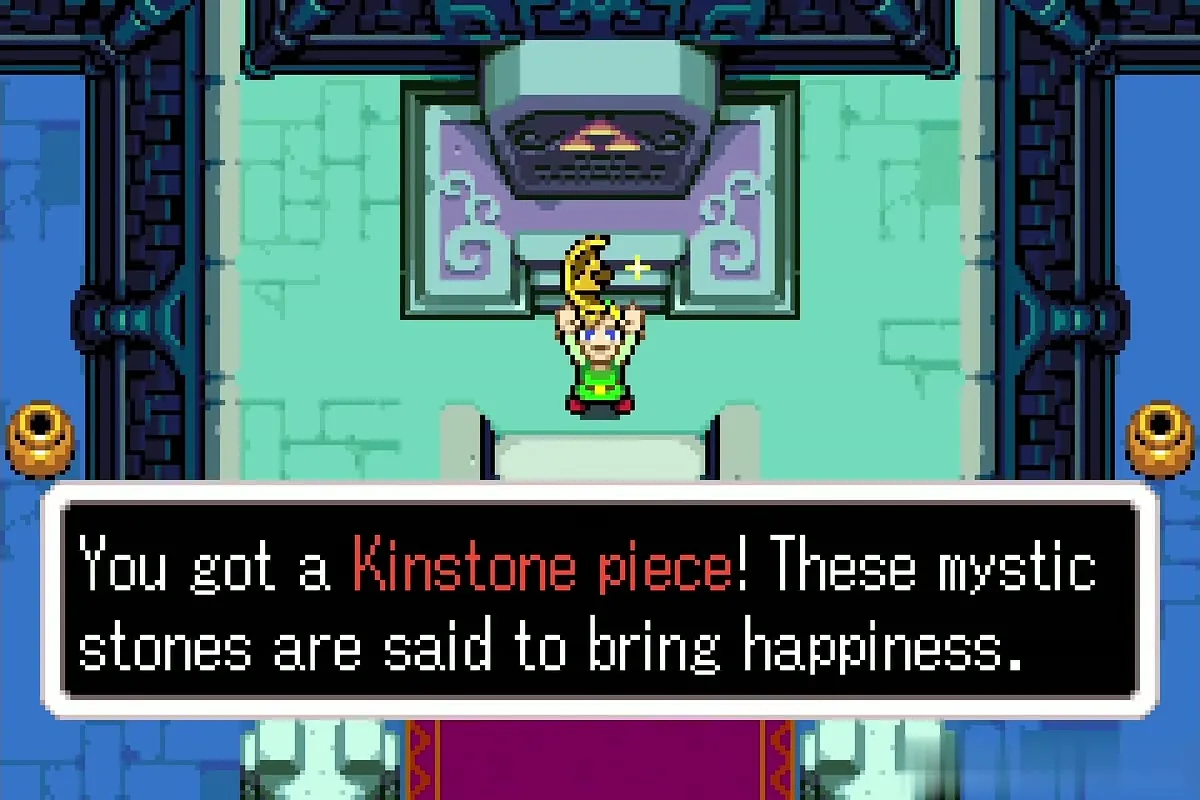
Climb the stairs to King Gustaf’s tomb. His ghost greets you, asks you to rescue Zelda, tells you to seek “the source of the flow” and gives you a Gold Kinstone piece. A white flash then puts you back outside in Royal Valley. Keep the Gold piece: you fuse it at the Source of the Flow at the top of Veil Falls later in the game (see the Gold Kinstones list).
Kinstone fusions in Royal Valley and Hyrule Town
Second Spookter fusion and Dampé’s grave
Fuse a blue piece with Spookter again. The cutscene shows the ghost in Hyrule Town, which makes the other ghost leave the town and lets you into Anju’s house later.

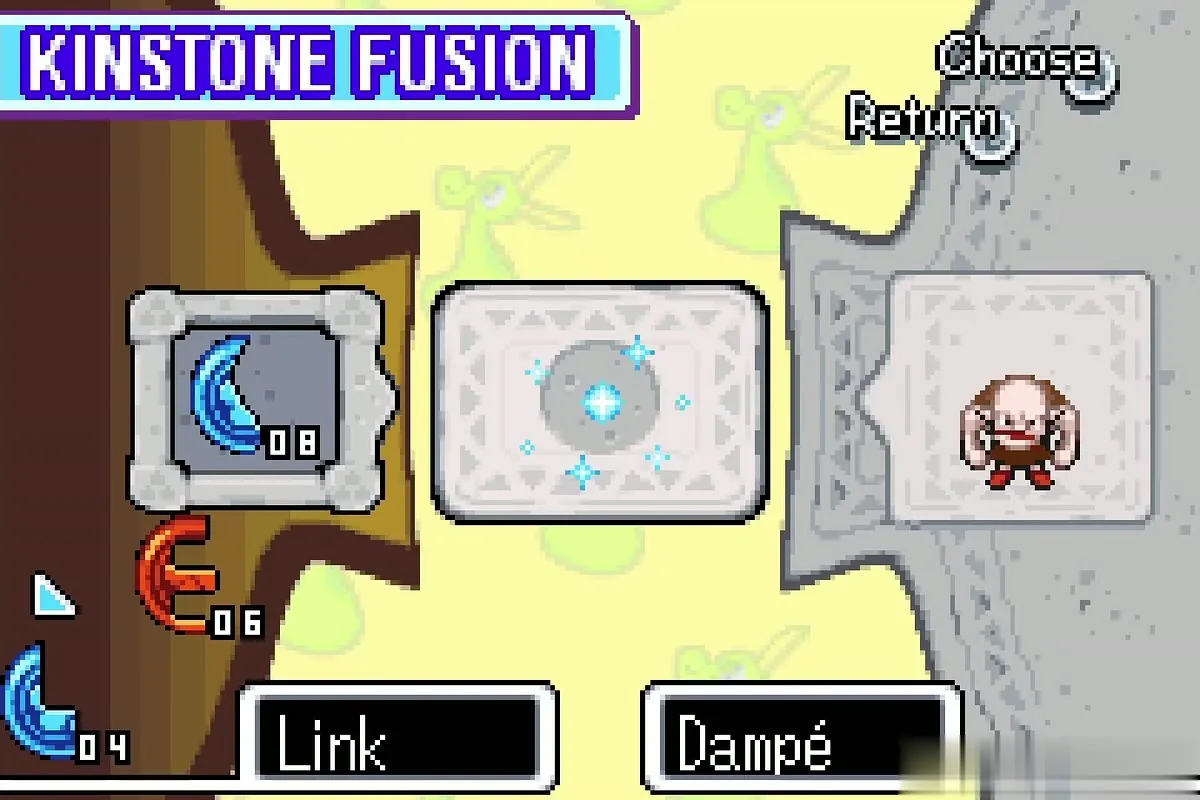
Walk back to Dampé’s house and fuse a blue piece with the gravedigger. A grave at the north-east of the graveyard opens and a new staircase leads down.



Gina’s grave
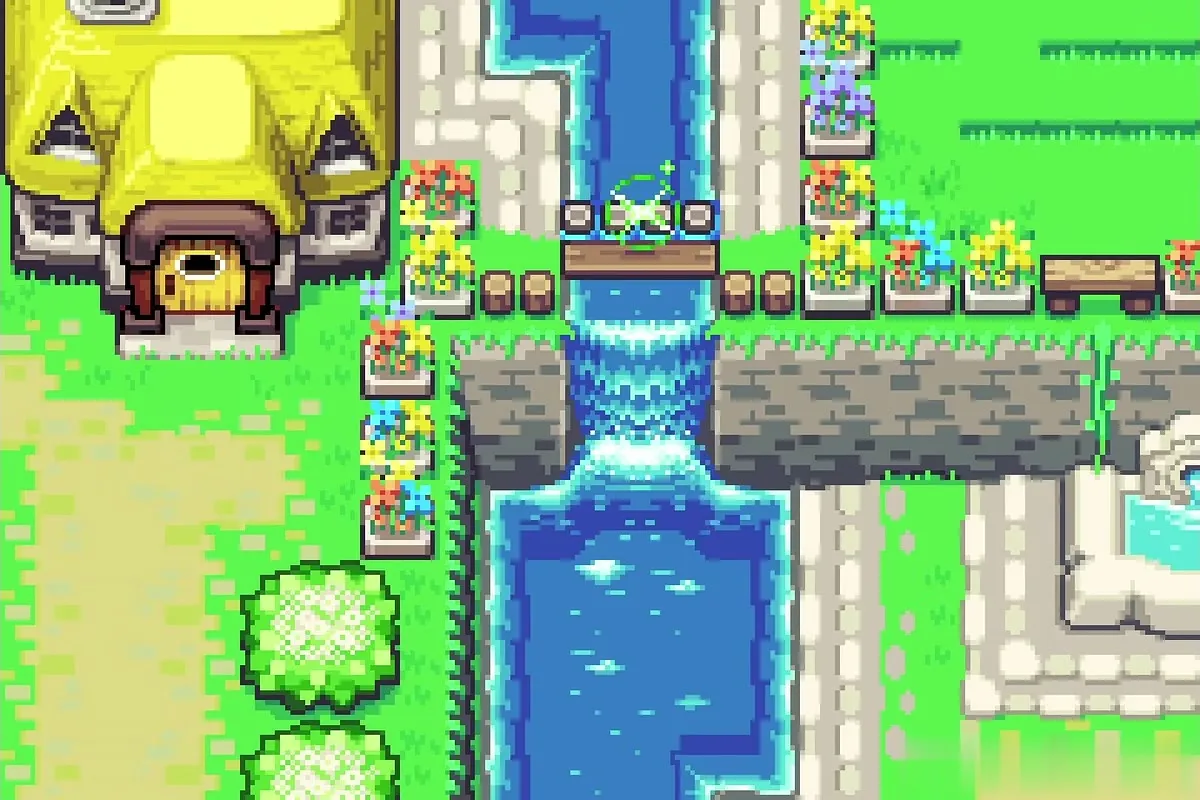
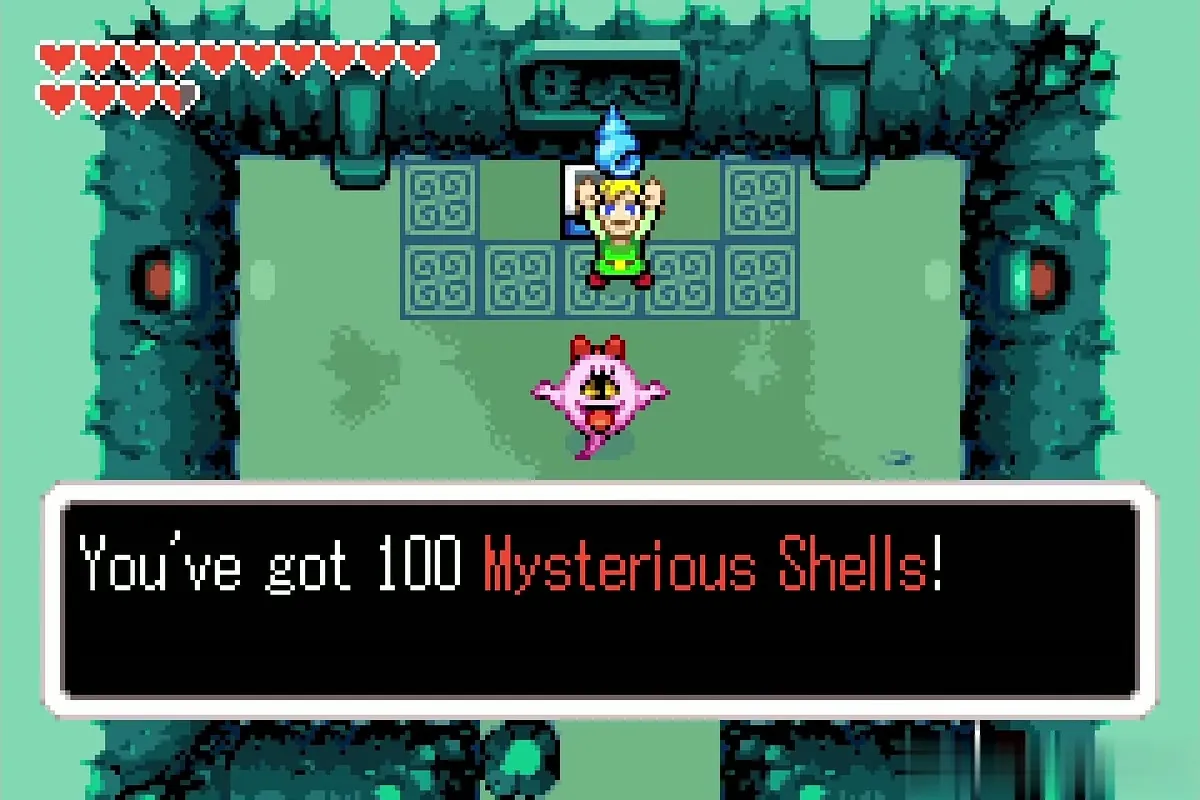
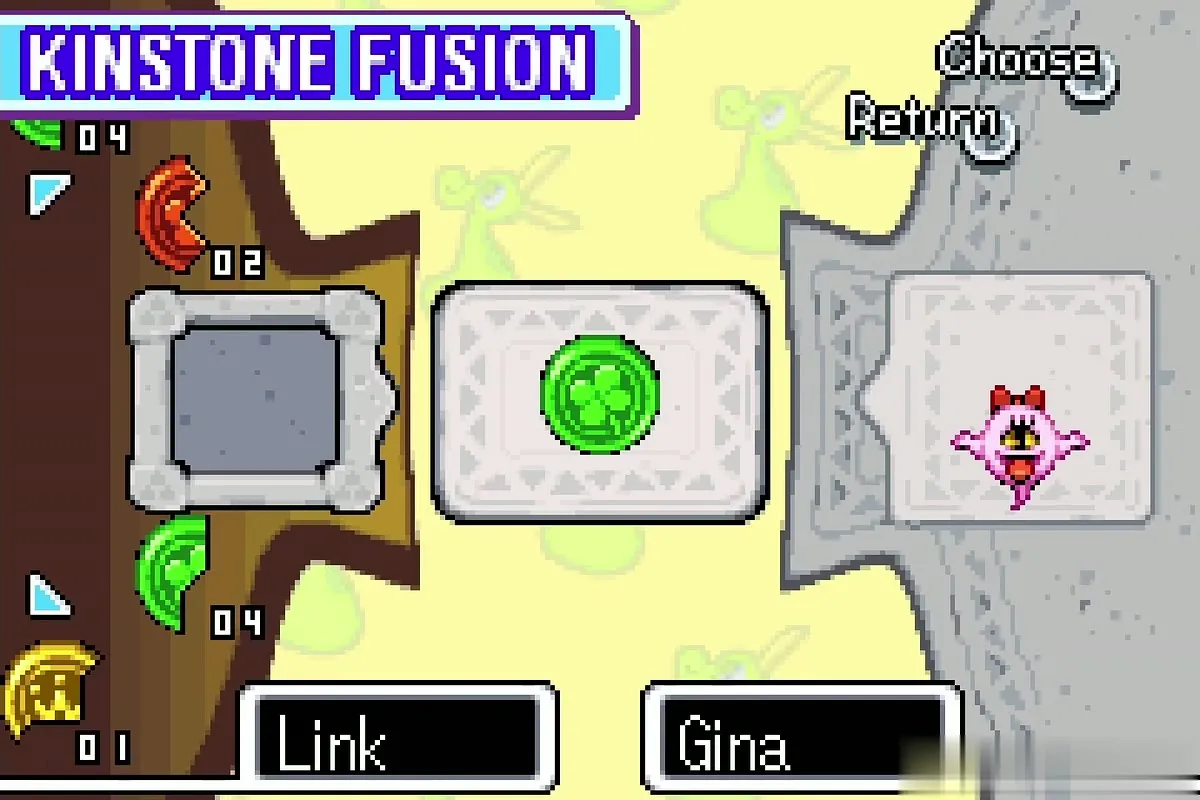
Go down the stairs, open the chest at the end for 100 Mysterious Shells, and fuse a green piece with the pink ghost Gina. A waterfall in Hyrule Town opens, and the reward behind it is 200 Mysterious Shells that you collect later in town.
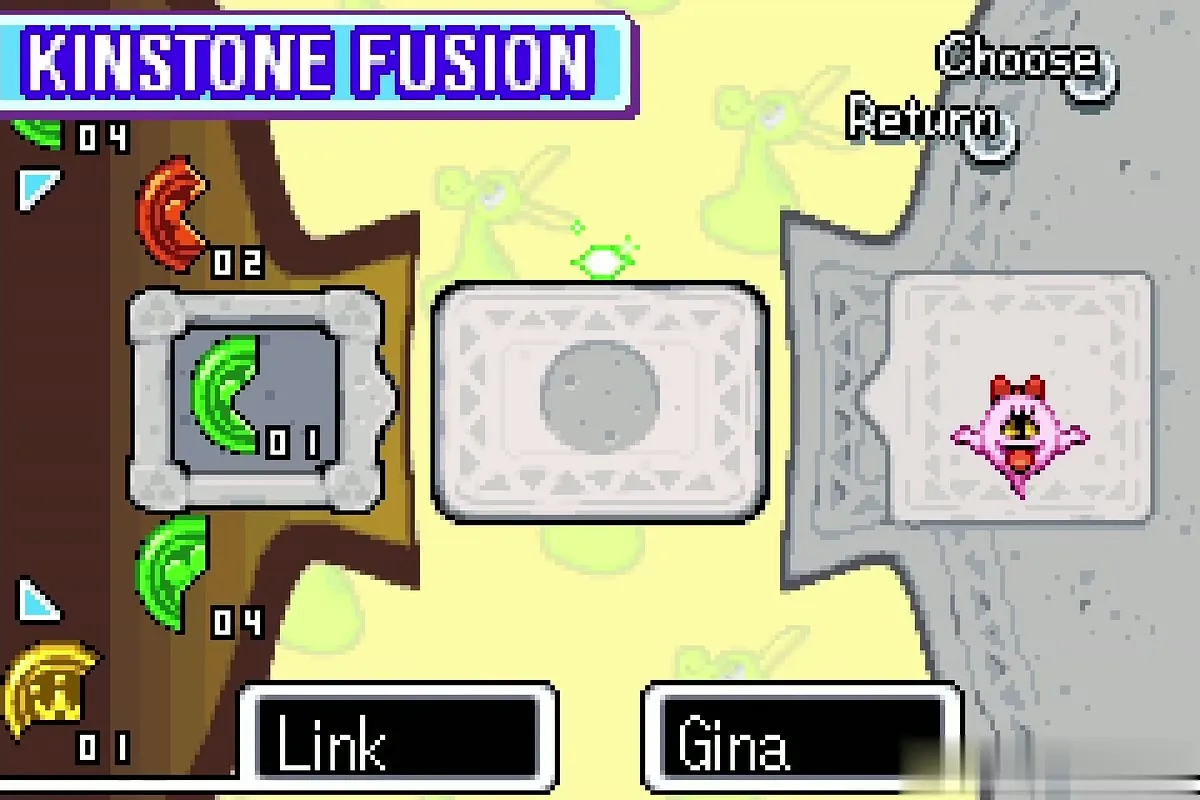
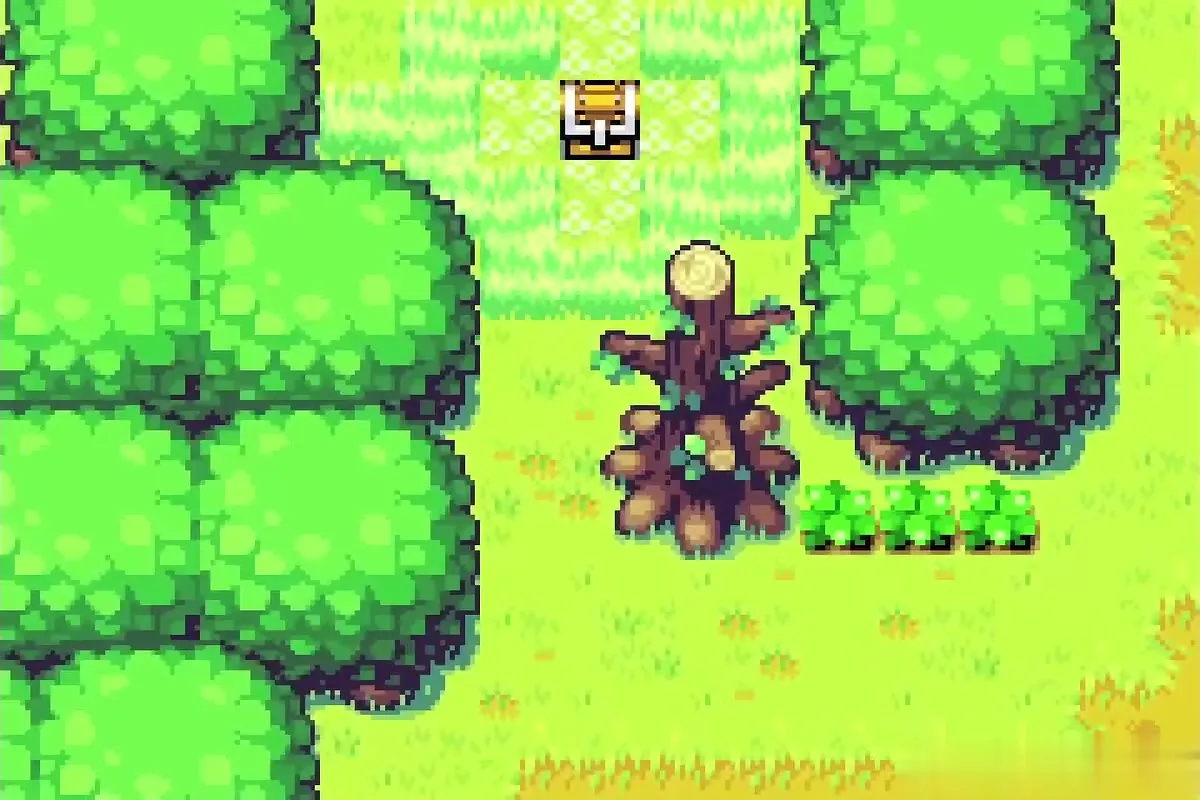
Fuse with Gina a second time using another green piece. A cutscene shows a fallen log standing up as a tree in Western Wood with a chest on top; you collect the reward when you pass that way.


The Oracles’ house
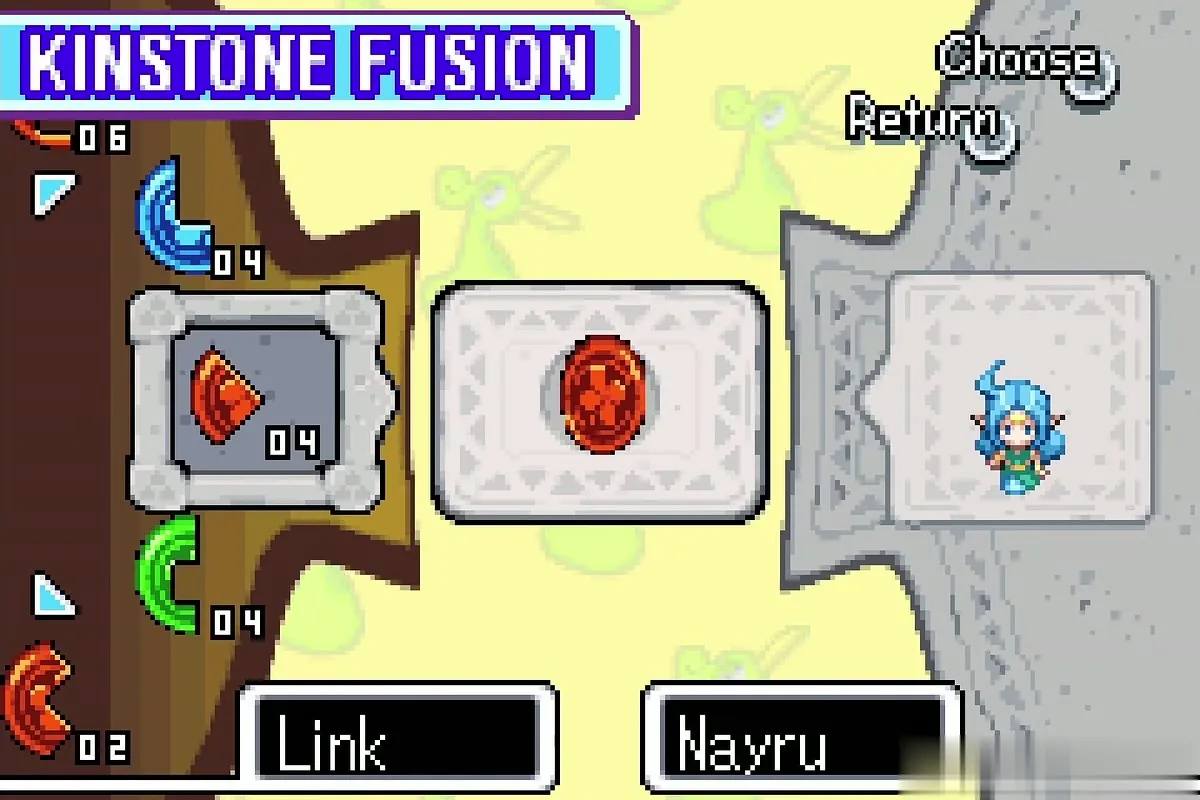
Warp or walk back to Hyrule Town and visit the Oracles, Nayru and Farore, near the castle. Fuse a red piece with Nayru: a Joy Butterfly appears in the Royal Valley graveyard and lets you swim faster once you catch it.
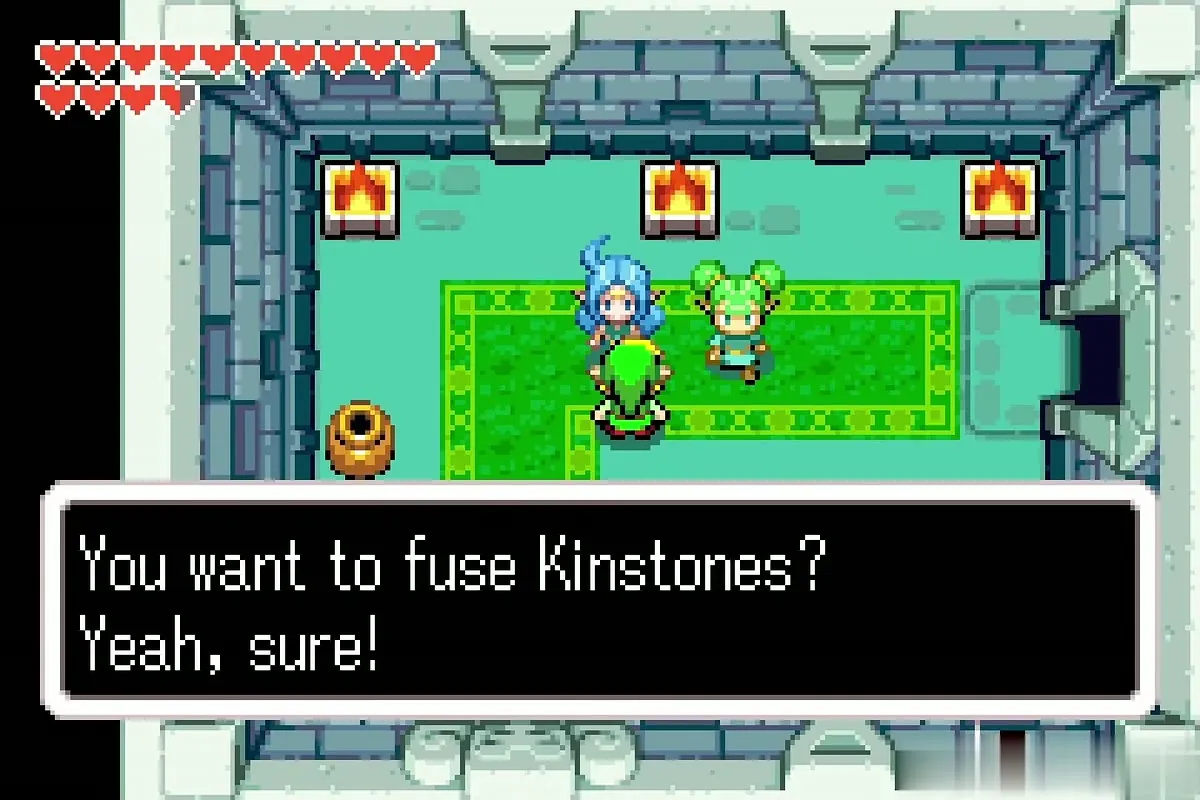


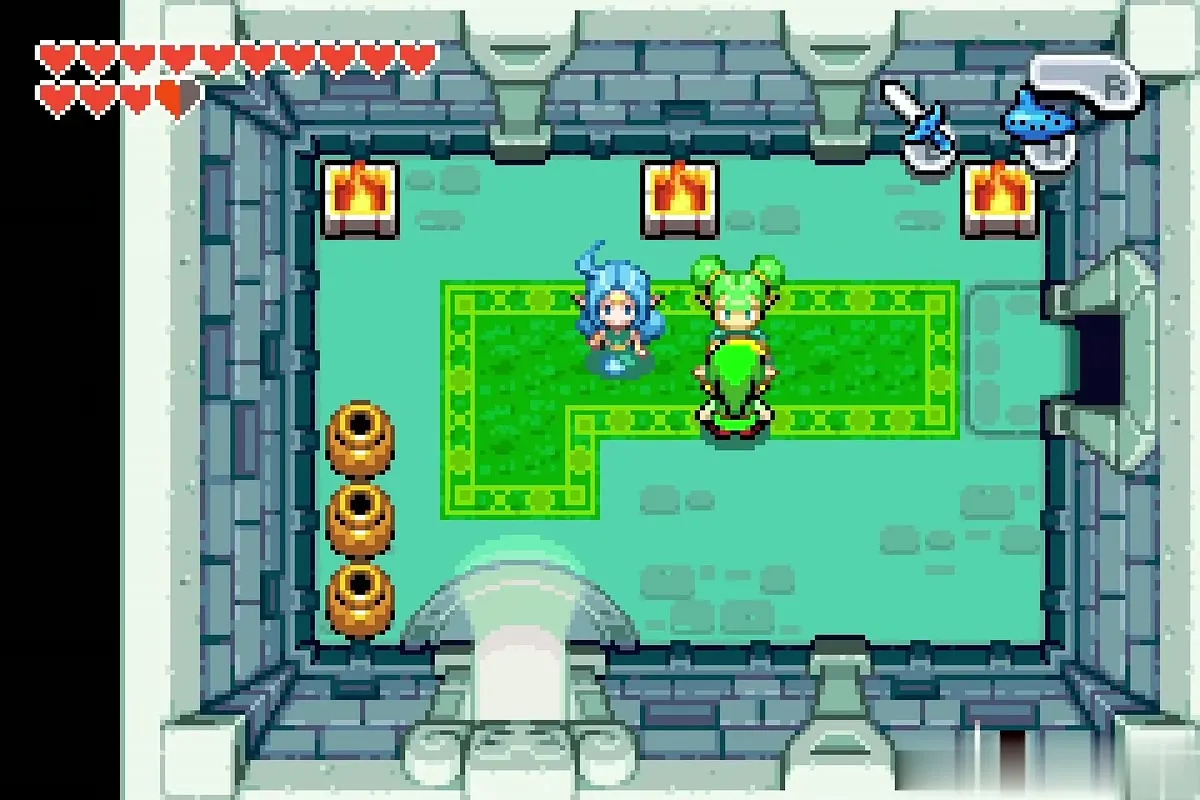
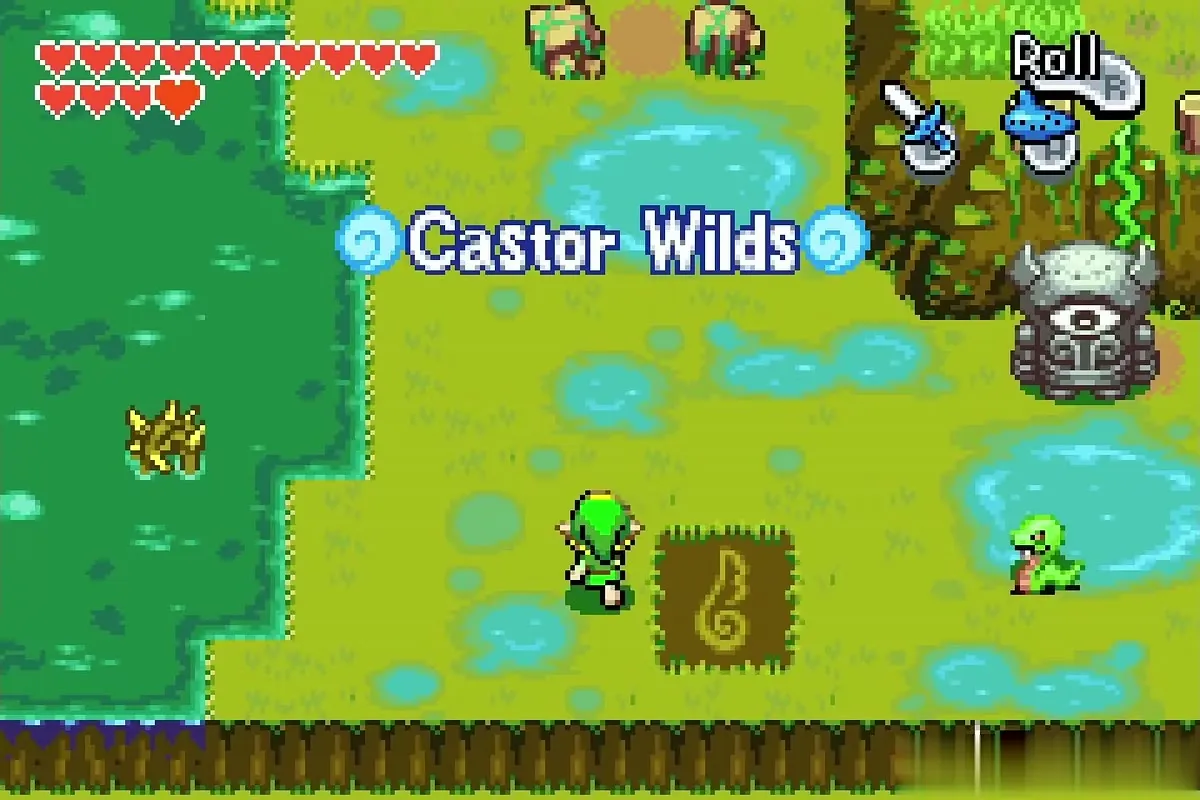
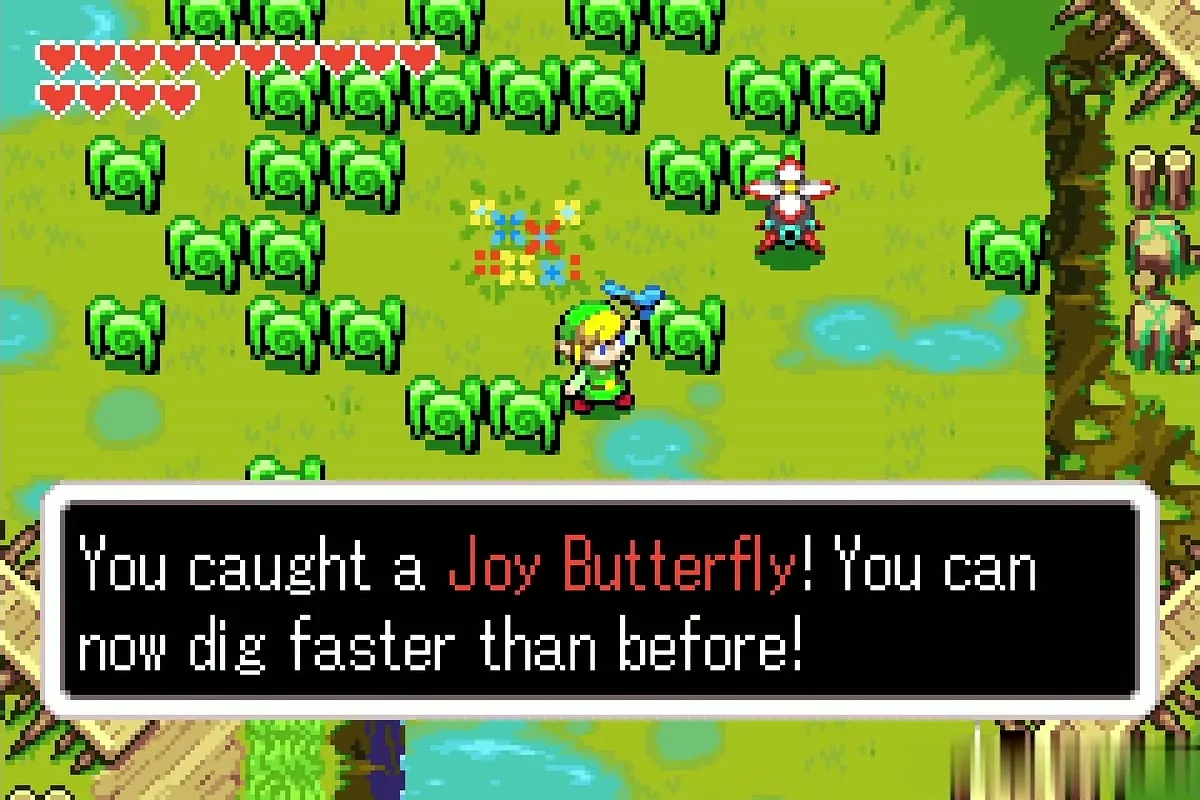
Fuse a red piece with Farore: a Joy Butterfly appears in Castor Wilds and lets you dig faster.

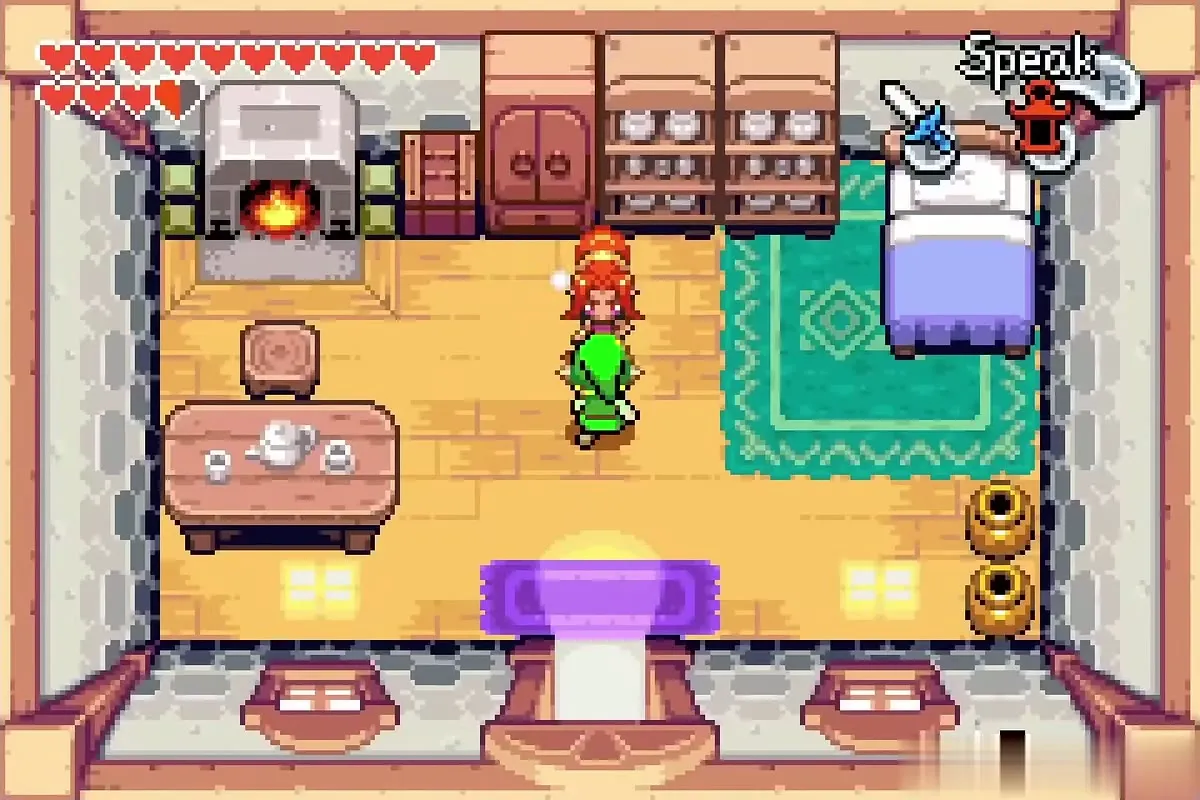
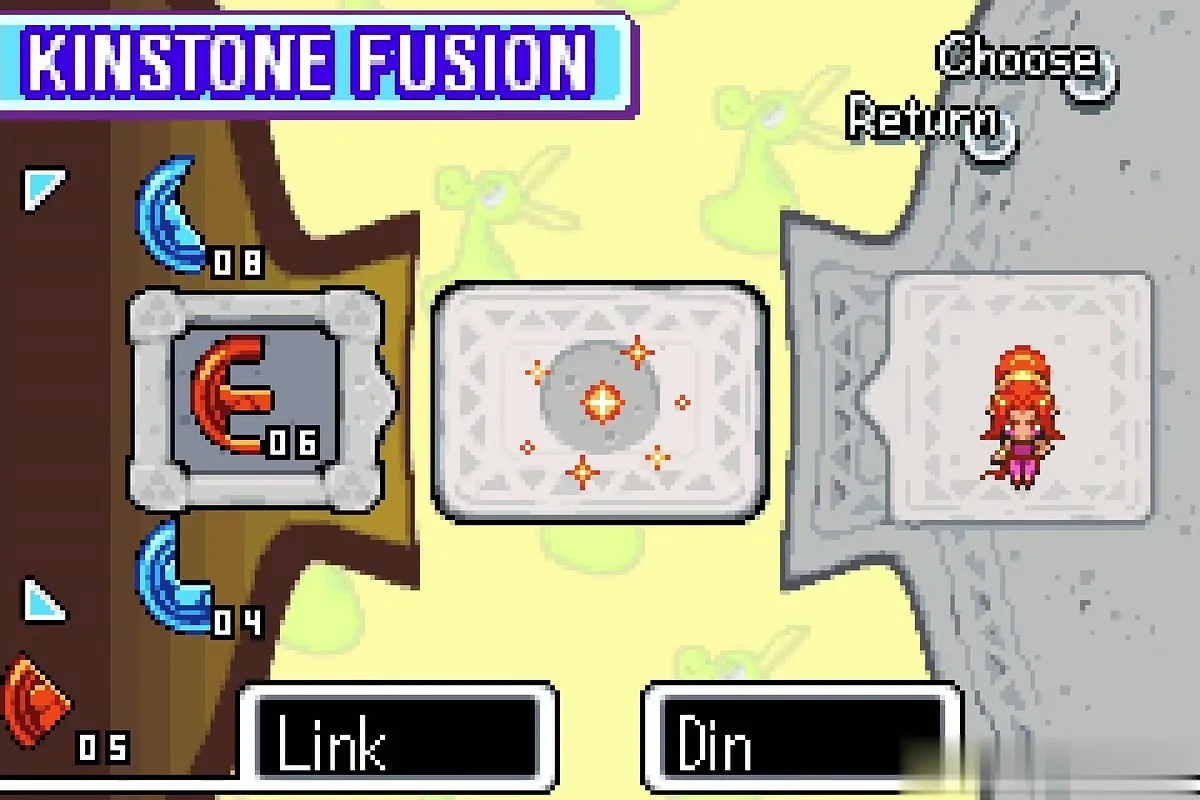
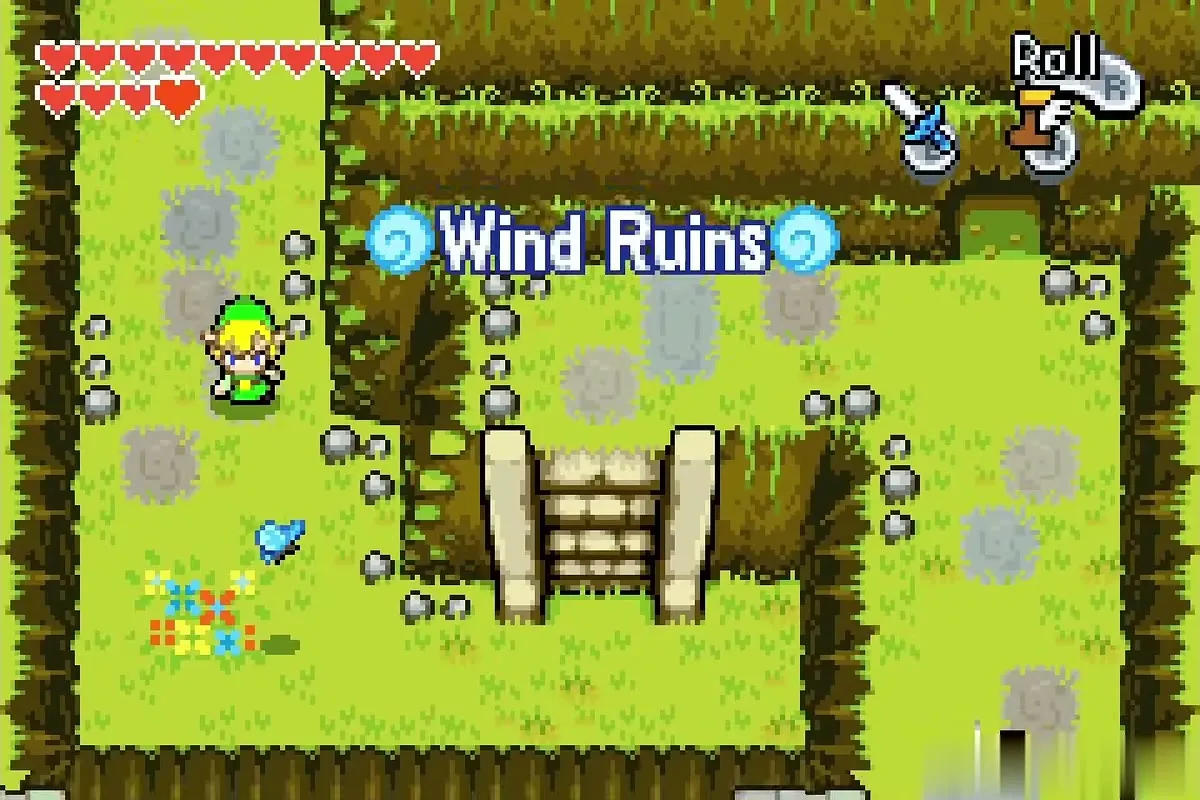
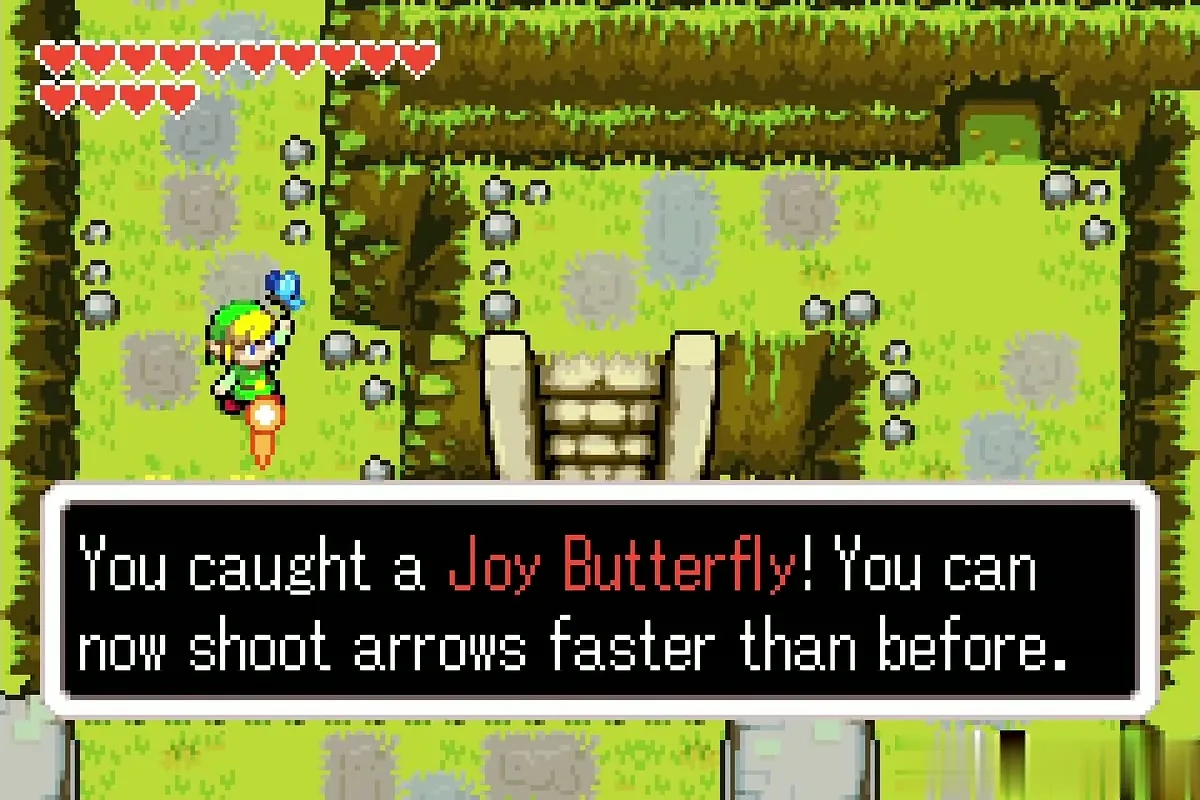
Visit Din’s house and fuse a red piece with her; the butterfly appears at the Wind Ruins stairs and lets you shoot arrows faster. Pick up the Kinstone piece you are given outside the house on the way.


White Picolyte
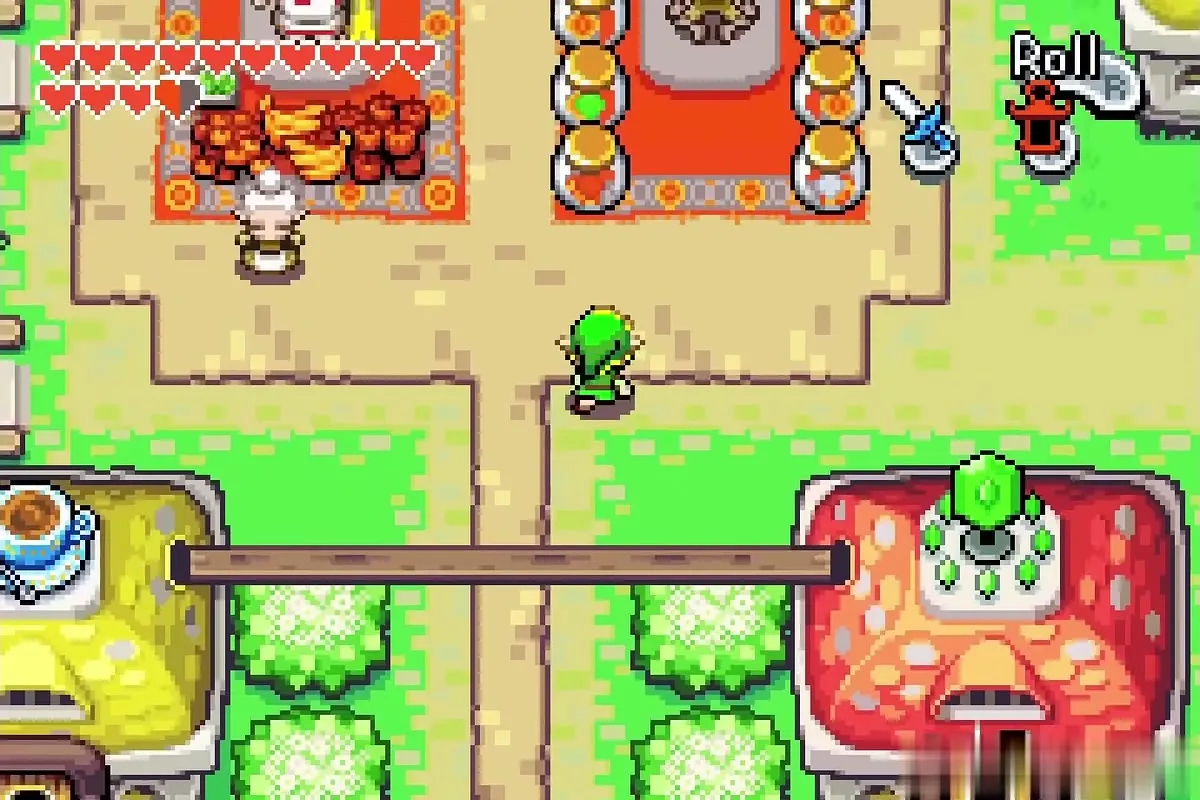
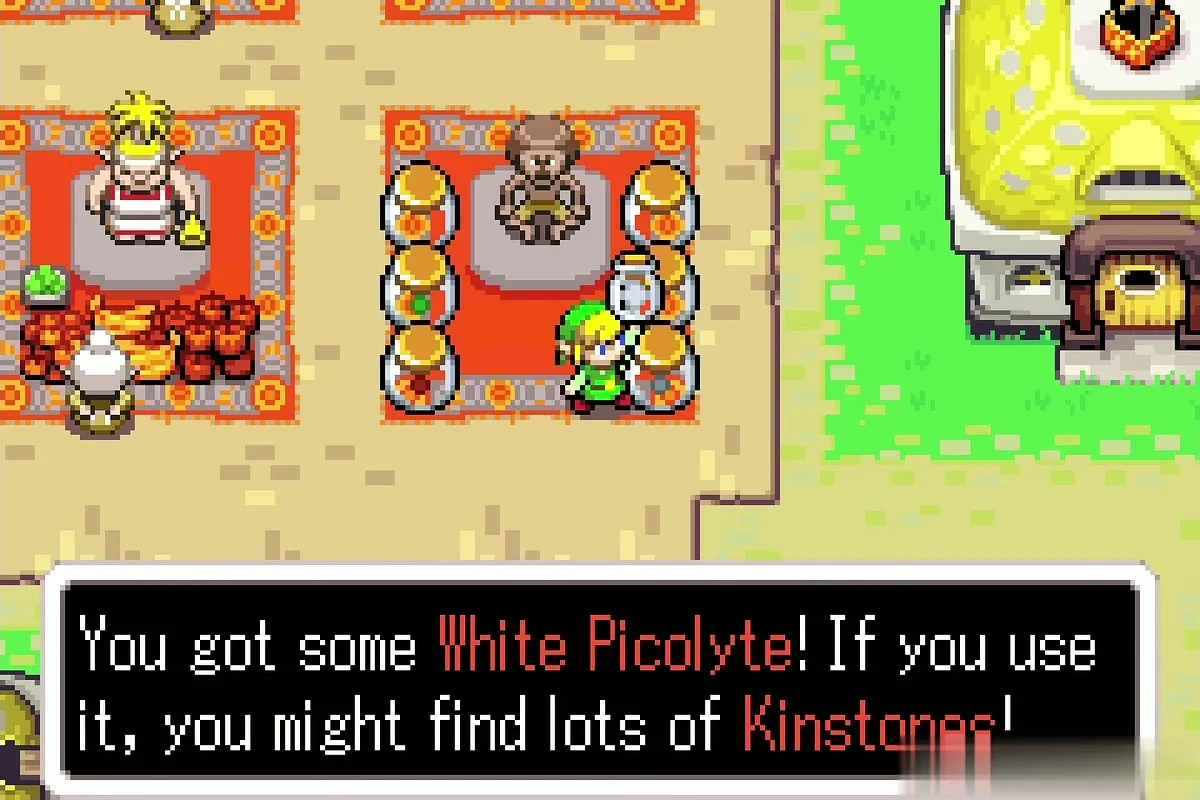
In the Hyrule Town square, buy the White Picolyte from the Picolyte seller for 100 Rupees. It is brewed for lucky players: while it lasts, many more Kinstone pieces drop from enemies and the grass.

Cafe regulars: Baris, Mama and Herb
Baris sits inside Mama’s Cafe. Fuse a green piece with him; the flash cuts to a clearing in the Minish Woods. Baris and Herb are among the random fusion partners, so what you get varies.

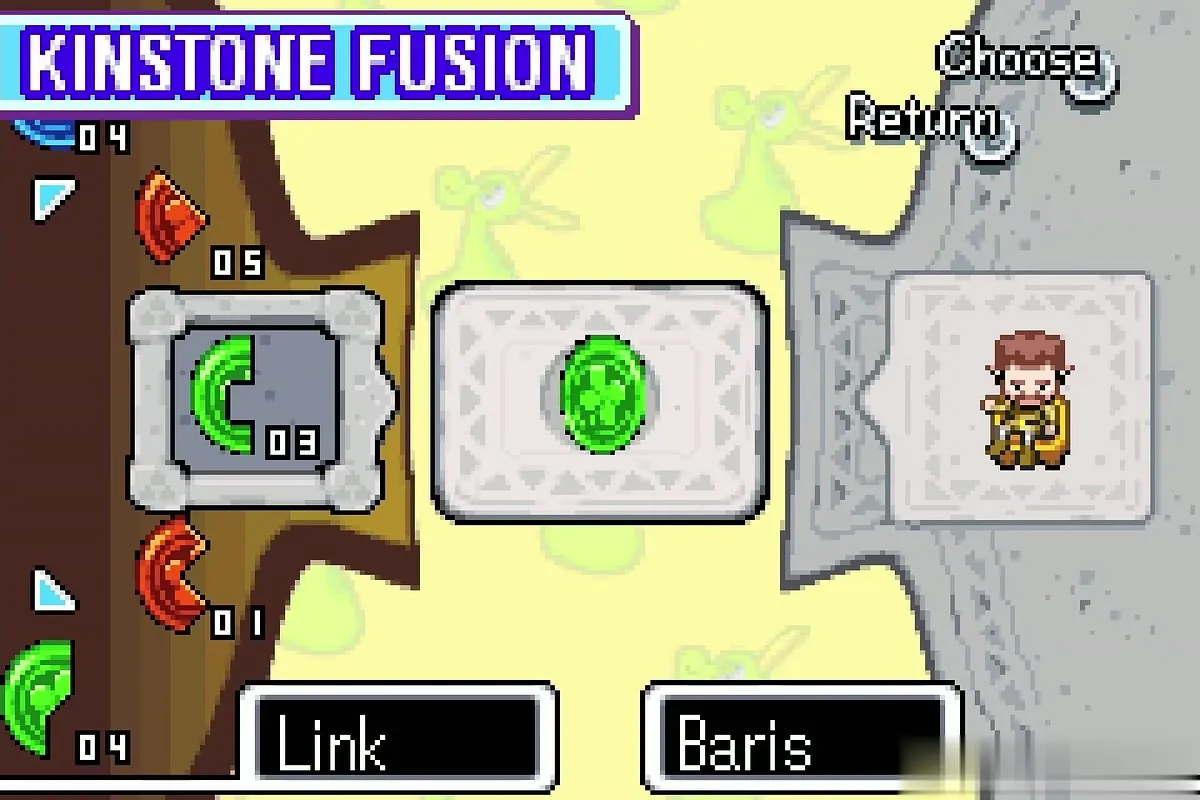
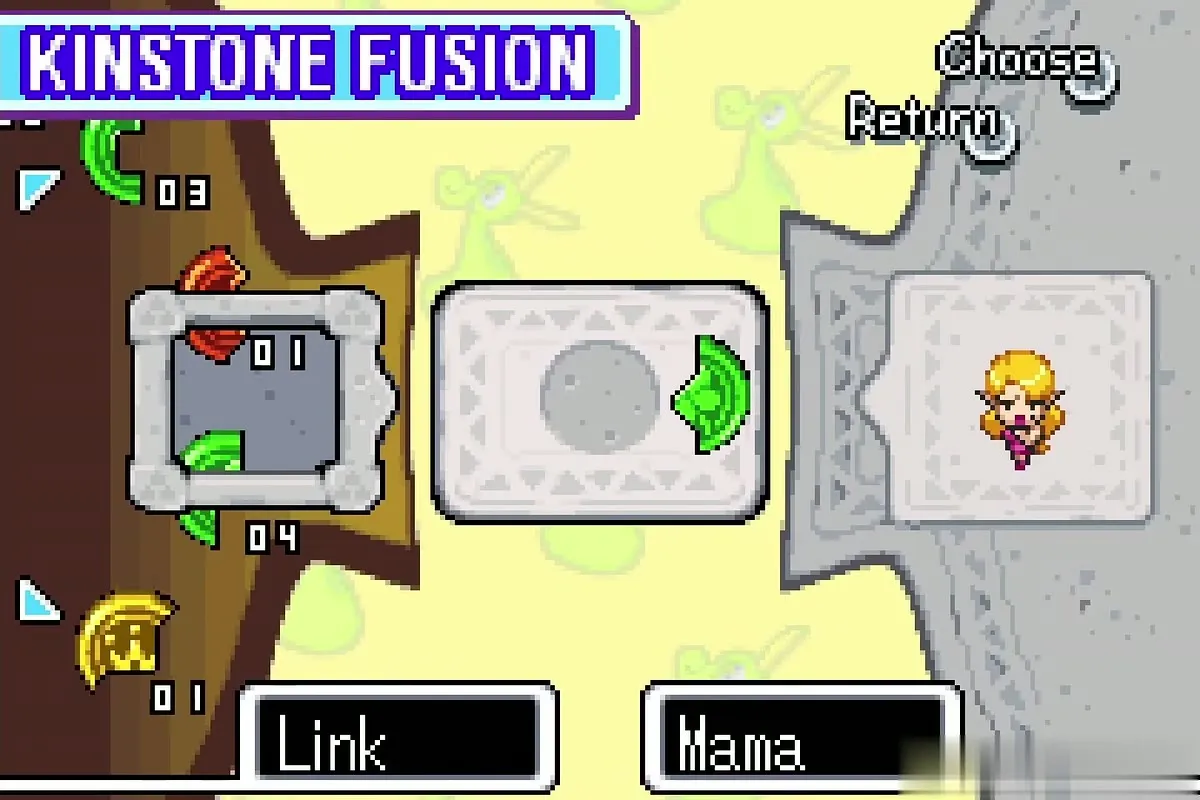
Fuse a green piece with Mama as well. A platform rises in Lake Hylia beside a Mole Mitts cave entrance, giving you access to a hidden cave.

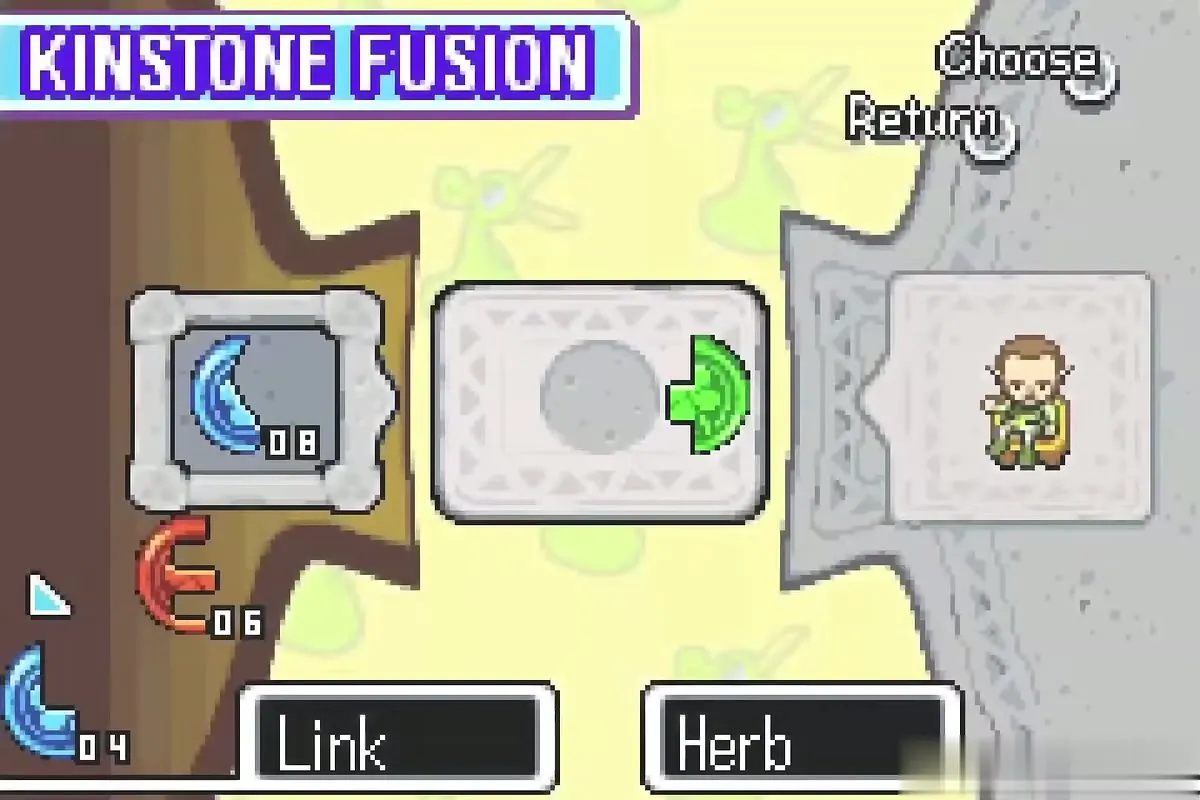
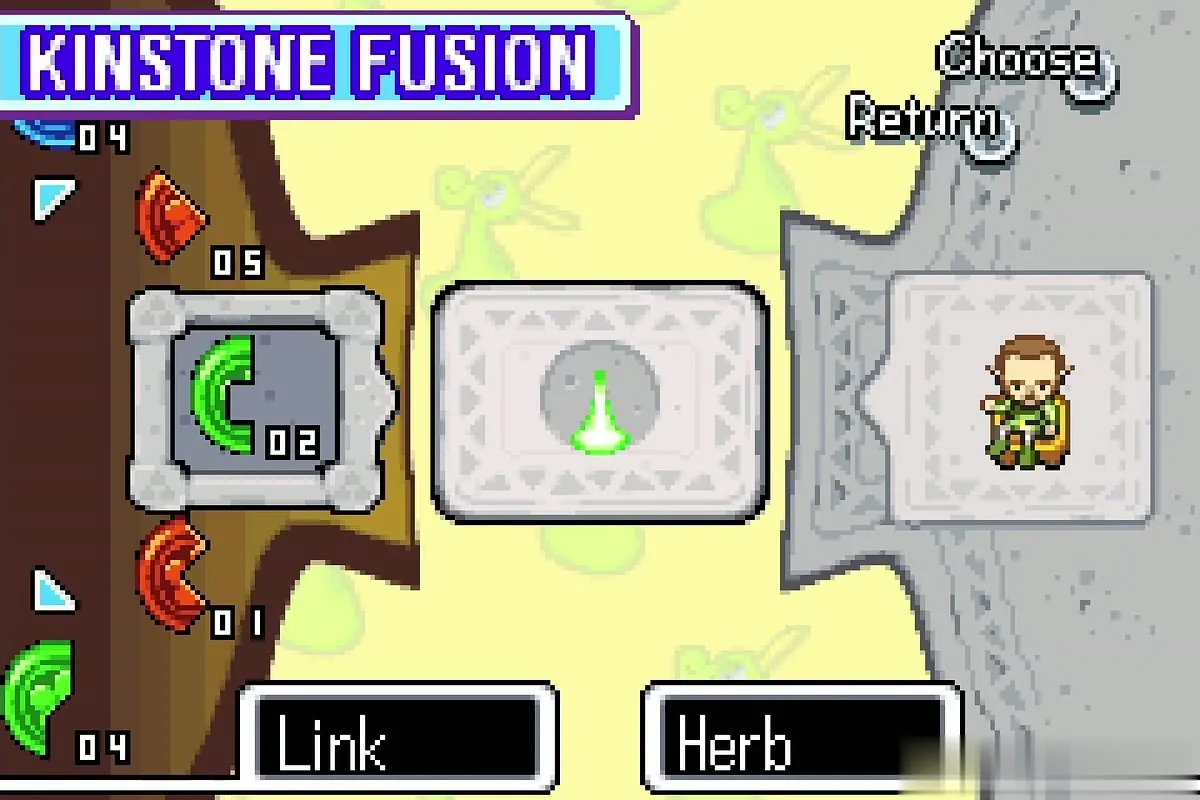
Outside the cafe, fuse a green piece with Herb; this is another random fusion, and a cutscene shows another clearing in the Minish Woods.
Trilby Highlands and Western Wood: Kinstone pieces and Rupees

Kinstone piece harvest
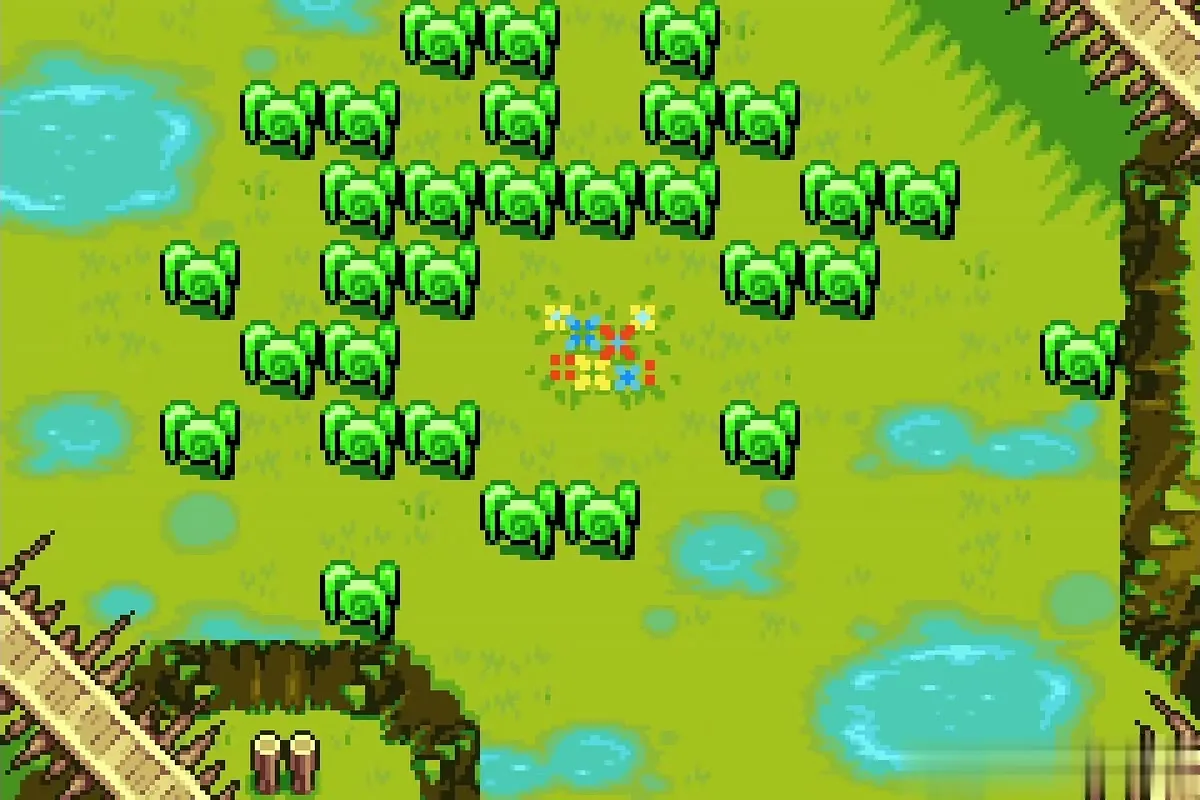
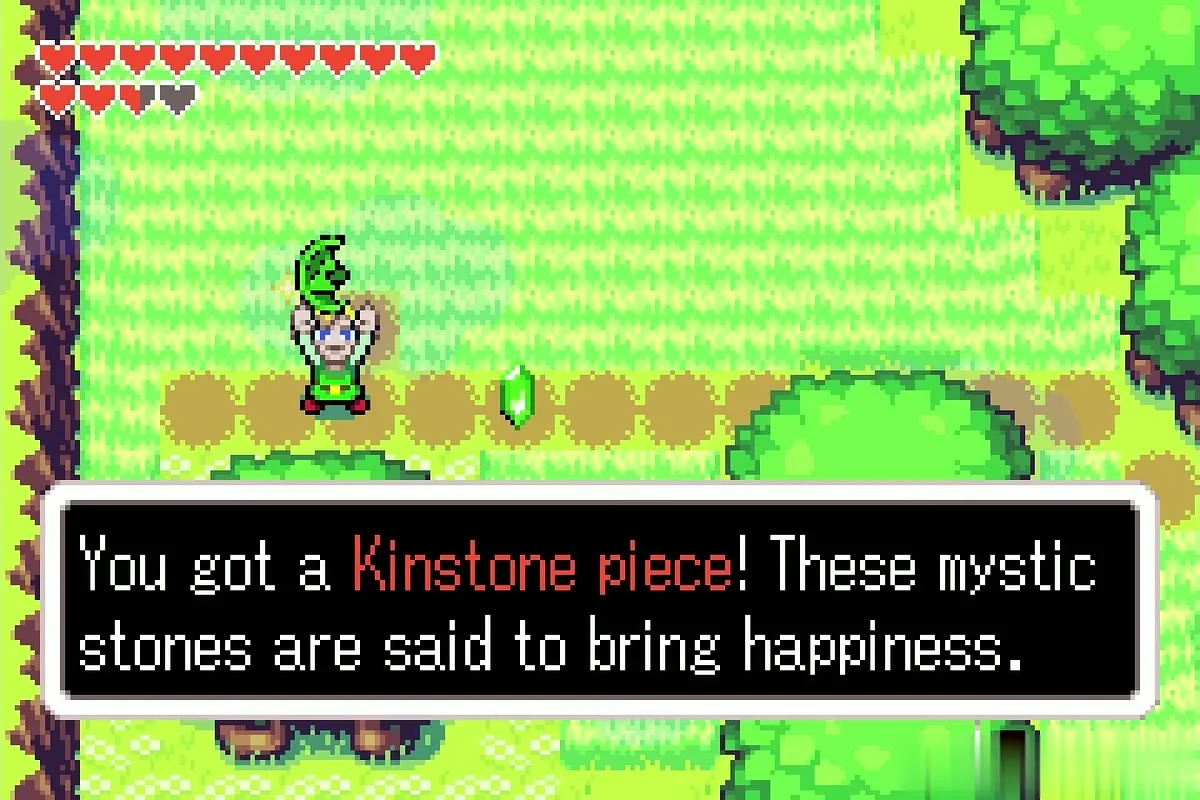
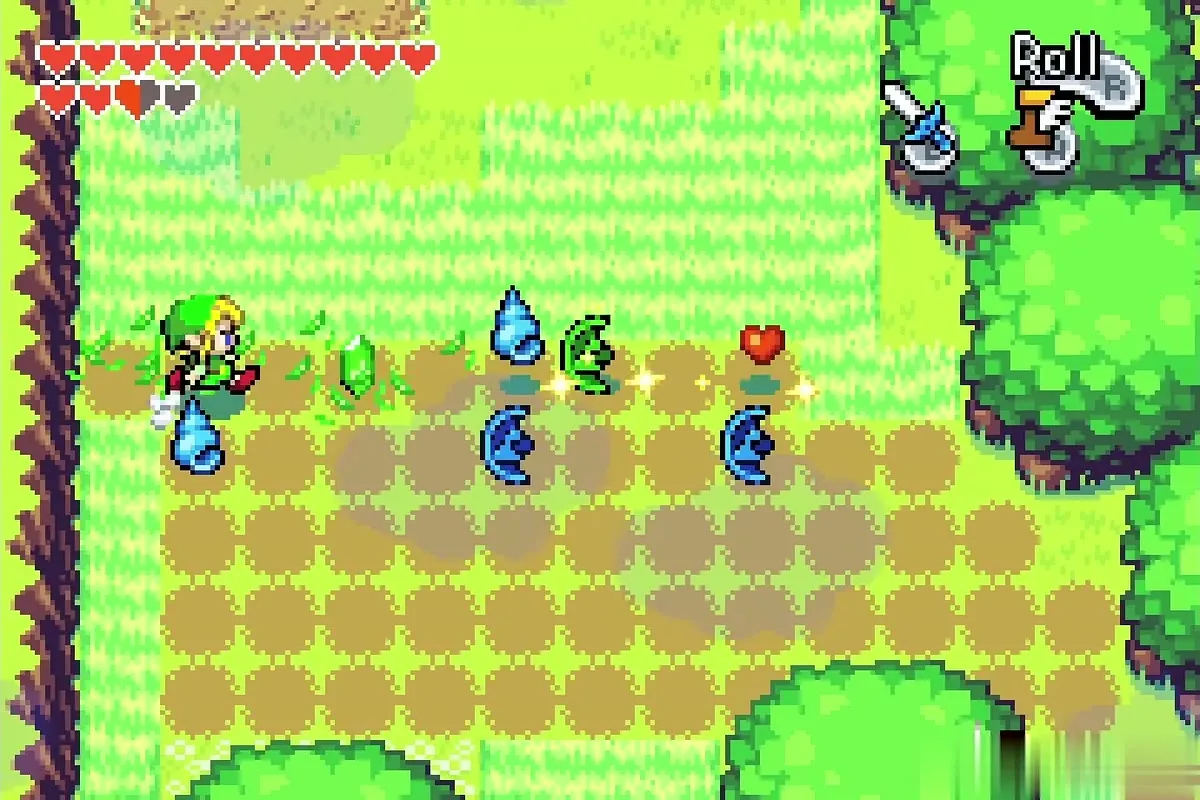
Walk to the Trilby Highlands past the lake. With the White Picolyte active, fight the enemies and cut the grass in the field: Kinstone pieces of several colours pop out along the dirt path, about six in all. Collect them all.


Forest Minish reward: 75 Rupees
A Forest Minish fusion in the highlands opens a hidden cave reached by stairs in the grass. Go down and gather the blue Rupees scattered across the cave floor; together they come to 75 Rupees.

Orange house in Western Wood
Walk into Western Wood to the orange house. Light the two fireplaces with the Lantern in the dark room; the occupant thanks you and rewards you with 100 Mysterious Shells.


Ridge pieces and the Mole Mitts
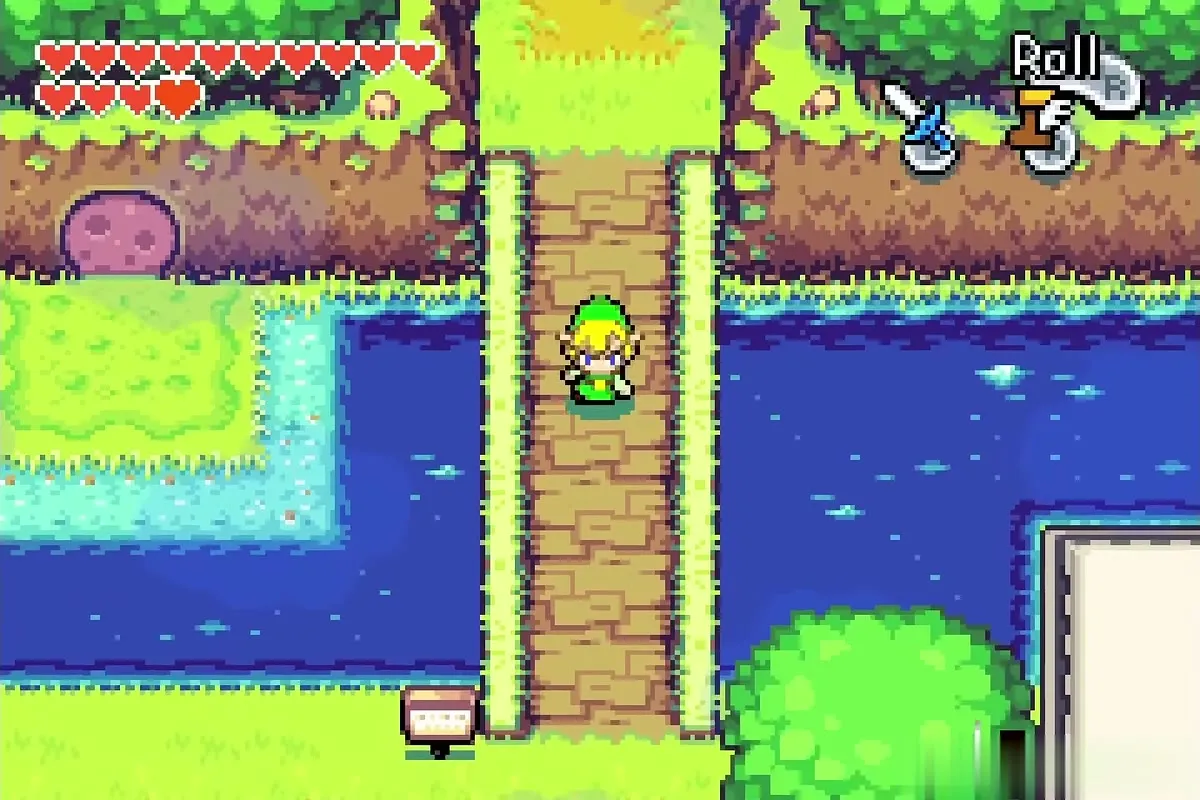
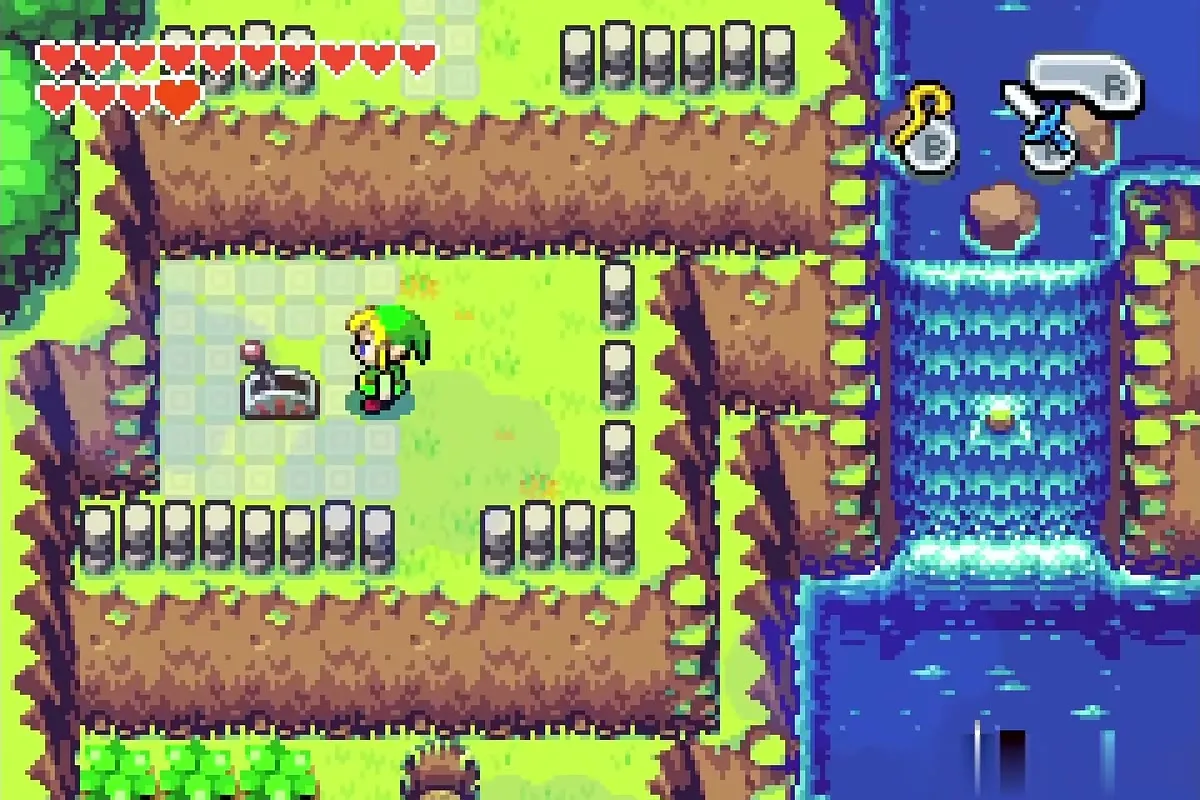
Back in the highlands follow the bridges and the river toward the waterfall and collect another Kinstone piece on the ridge before you head back toward Royal Valley.

Joy Butterflies: Royal Valley, Castor Wilds, Wind Ruins

Catch Nayru’s butterfly
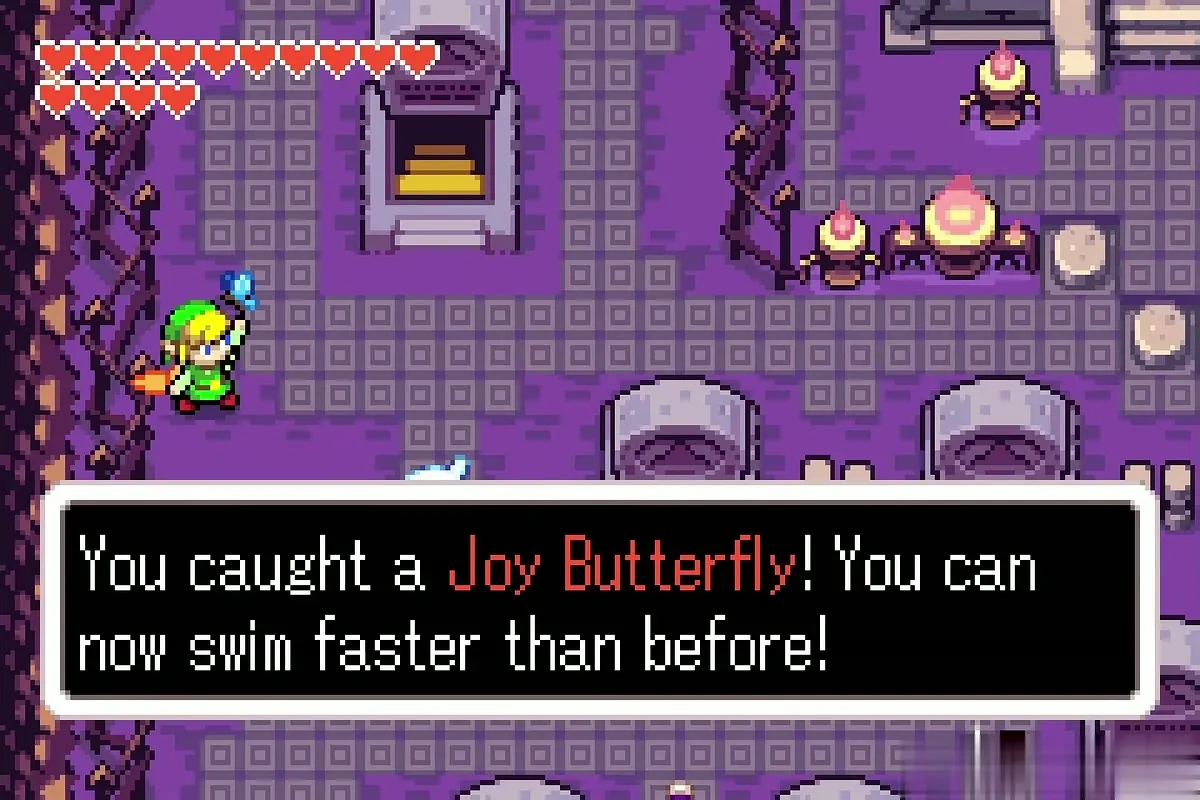
Go back into Royal Valley at night and chase the glowing butterfly near the graveyard gate. Catch it for the message that you can now swim faster.

Catch Farore’s and Din’s butterflies
Use the Ocarina of Wind to warp to Castor Wilds. The butterfly hovers above the grass near the Wind Crest; catch it to dig faster.

Walk to the Wind Ruins stairs and catch the third butterfly to shoot arrows faster, then warp back to Hyrule Town.
North Hyrule Field: Grimblade and the Forest Minish
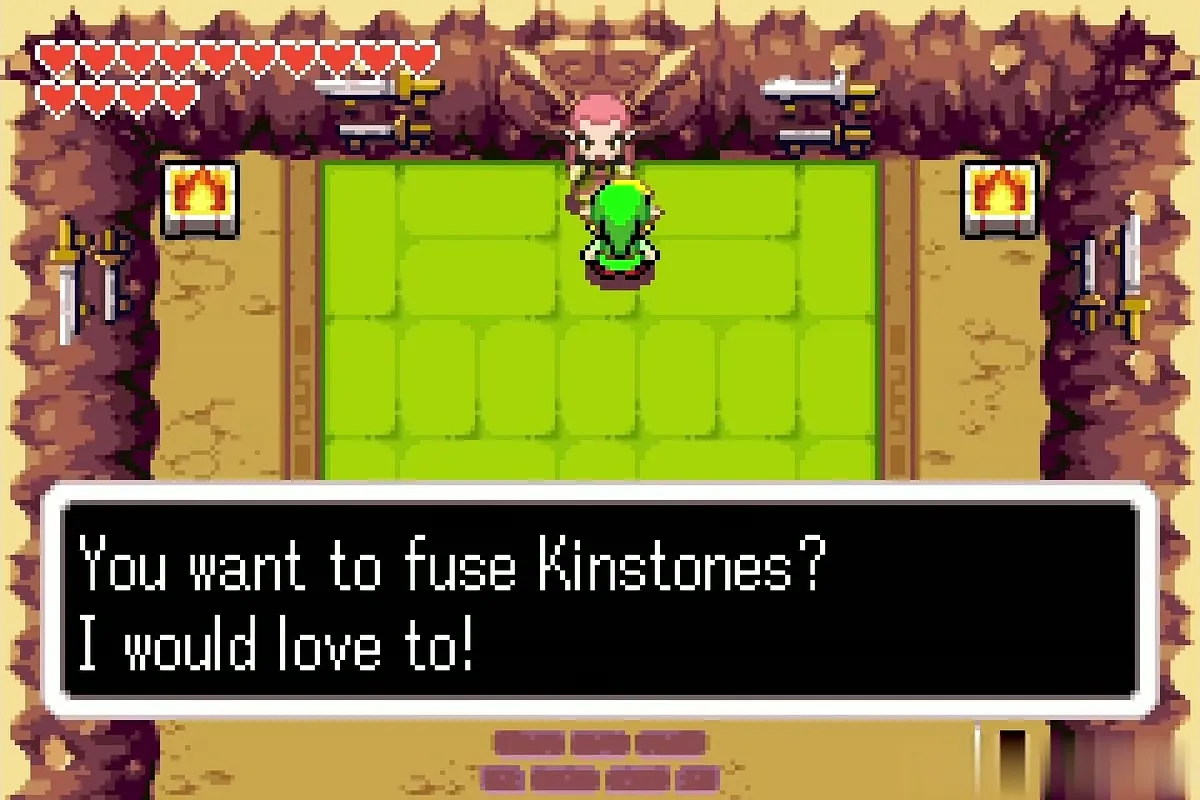
Fuse with Grimblade
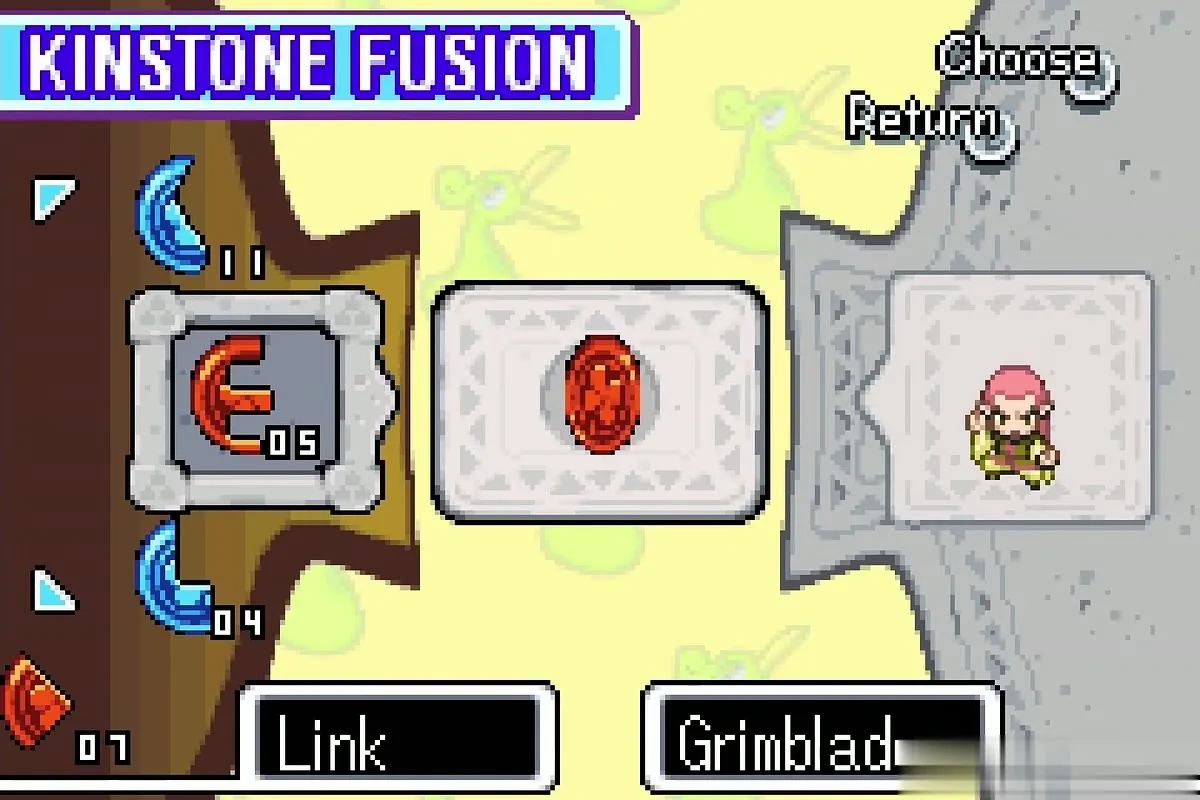
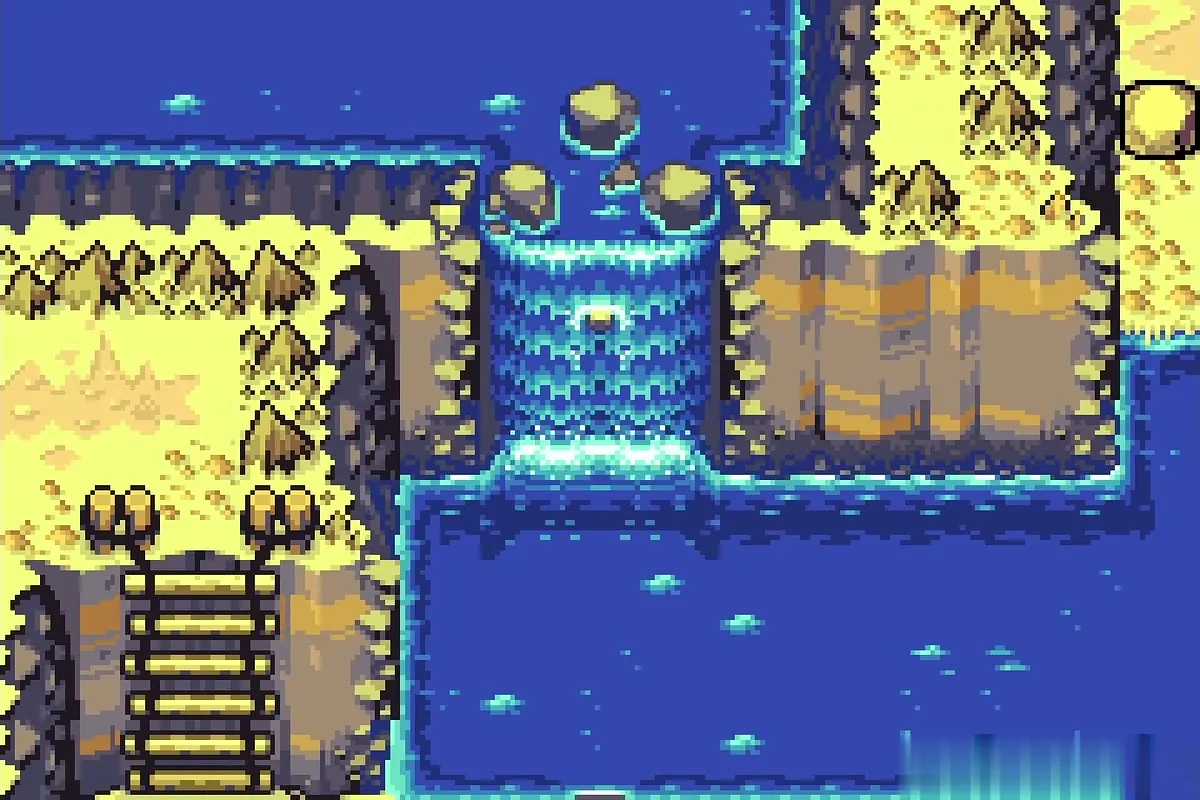
Walk through North Hyrule Field to the Hyrule Castle Garden and down to Grimblade’s dojo. Fuse a red piece with Grimblade: a waterfall in Veil Falls opens, the entrance to the Splitblade’s dojo, where you will improve the Split Gauge later.



Forest Minish in North Hyrule Field
Back in the field, use the stump to shrink, enter the Forest Minish’s hut and fuse a green piece with him. A chest appears in the Wind Ruins with 200 Mysterious Shells for later.


Chapter checklist
| Type | Name | Where |
|---|---|---|
| Technique | Sword Beam (Tiger Scroll) | Grimblade’s dojo, Hyrule Castle Garden |
| Piece of Heart | Garden stairway (needs Roc’s Cape, collected later) | Hyrule Castle Garden |
| Element | Water infusion, three-Link split | Elemental Sanctuary |
| Item |  Remote Bombs | Belari, Minish Woods |
| Upgrade | Big Bomb Bag | Chest in the Wind Ruins courtyard (Belari fusion) |
| Upgrade | Large Quiver (99 arrows) | Great Dragonfly Fairy, Royal Valley |
| Key item |  Graveyard Key | Dampé |
| Piece of Heart | North-west grave (3 of 4) | Royal Valley |
| Small Keys | 3 | Royal Crypt |
 Gold Kinstone | 1 piece | King Gustaf |
| Joy Butterflies | Swim, dig, shoot arrows faster | Royal Valley, Castor Wilds, Wind Ruins |
| Item | White Picolyte | Hyrule Town square, 100 Rupees |
| Fusions | Gentari, Belari, Spookter (2), Dampe, Gina (2), Nayru, Farore, Din, Baris, Mama, Herb, Grimblade, Forest Minish | Minish Woods, Royal Valley, Hyrule Town, North Hyrule Field |
