
























The Minish Cap 100% Completion Walkthrough19 chapters
- The Picori Festival and the Minish WoodsGet the Small Shield and Smith’s Sword, meet Ezlo, shrink and reach Minish Village.
- Deepwood Shrine (Dungeon 1)All four small keys, Dungeon Map, Compass, Madderpillar, Gust Jar, Big Key, Heart Pieces and Big Green Chuchu.
- Ascent to Mount CrenelBomb Bag, Kinstone Bag, Big Wallet, bottle, Grip Ring, Great Fairy, Heart Pieces and Melari’s Mines.
- Cave of Flames (Dungeon 2)Every key, chest and mine cart, the Cane of Pacci, the Big Key, Gleerok boss tactics and the Fire Element.
- Infusing the Picori BladeMelari’s White Sword, the Elemental Sanctuary, a Heart Piece and a Kinstone piece on the way.
- Getting the Pegasus BootsSyrup’s Wake-Up Mushroom, Lon Lon Ranch, eight Kinstone fusions, three Heart Pieces and Swiftblade.
- Castor Wilds and the Wind RuinsThree Gold Kinstones, the Bow, the Mysterious Statue fusions and the road to the Fortress of Winds.
- Fortress of Winds (Dungeon 3)Every key, Compass, Map, Mole Mitts, Big Key, Mazaal boss tactics, Heart Container and Ocarina of Wind.
- The Library Books and the FlippersReturn the three overdue books in Hyrule Town, win the Power Bracelets and get the Flippers.
- Hyrule Town Side Quests and Kinstone FusionsAnju’s Cucco Roundup, Simon’s Simulation, Kinstone fusions, heart pieces and the Magical Boomerang.
- Collectibles Sweep Before the Temple of DropletsKinstone fusions, 10 Pieces of Heart, Roll Attack and Peril Beam dojos and the Large Quiver.
- Temple of Droplets (Dungeon 4)Every key, Map, Compass, Big Key, Flame Lantern, Big Blue Chuchu, Big Octorok and the Water Element.
- Royal Valley and the Royal CryptWater Element, Sword Beam, Remote Bombs, Graveyard Key, Great Fairy and King Gustaf’s Gold Kinstone
- Veil Falls and the Cloud TopsHeart Pieces, Splitblade’s dojo, Source of the Flow and five Mysterious Cloud fusions.
- Palace of Winds (Dungeon 5)Roc’s Cape, four Small Keys, Big Key, Compass, Map, Heart Piece, Gyorg Pair boss and Wind Element.
- Collecting the Upgrades Before the Four SwordDown Thrust, Great Spin Attack, seven Kinstone fusions, seven Heart Pieces and the Goron Cave bottle.
- Dark Hyrule Castle (Final Dungeon)King’s cell, Map, Compass, six Small Keys, Big Key, Darknut rooms and the Darknut trio before Vaati.
- Vaati Final Boss and EndingBeat Vaati Reborn, Transfigured and Wrath, free Zelda, escape the castle, then save after the credits.
- Postgame Collectibles and 100% CompletionLast Kinstone fusions, Biggoron’s Mirror Shield, Heart Pieces, Heart Container, Tingle Trophy and all 136 figurines.
| Covers | The Temple of Droplets, the frozen Minish-sized dungeon in Lake Hylia, from the entrance hall to the Big Octorok and the Water Element |
|---|---|
| Dungeon |  Temple of Droplets (Dungeon 4): Flame Lantern, mini-boss Big Blue Chuchu, boss Big Octorok, Water Element |
| Rewards | Flame Lantern, Dungeon Map, Compass, Big Key, 4 Small Keys, 5 Kinstone pieces on the main route (2 blue, 3 red), 50 and 100 rupees in chests, Heart Container, Water Element; no Heart Pieces, Tiger Scrolls, bottles or Kinstone fusions |
The Temple of Droplets is the fourth dungeon, an ice-bound temple built at Minish scale, so Link stays tiny for the whole visit. Sunlight is the puzzle here: you pull levers to open skylights, slide ice blocks into the beams to free keys, swim and ride lily pads through the flooded half, and take the Flame Lantern from the Big Blue Chuchu to melt ice and light the dark rooms. The Lantern also lets you burn the plant on the back of the Big Octorok, the boss that has swallowed the Water Element. Beat it for a Heart Container and the Water Element.
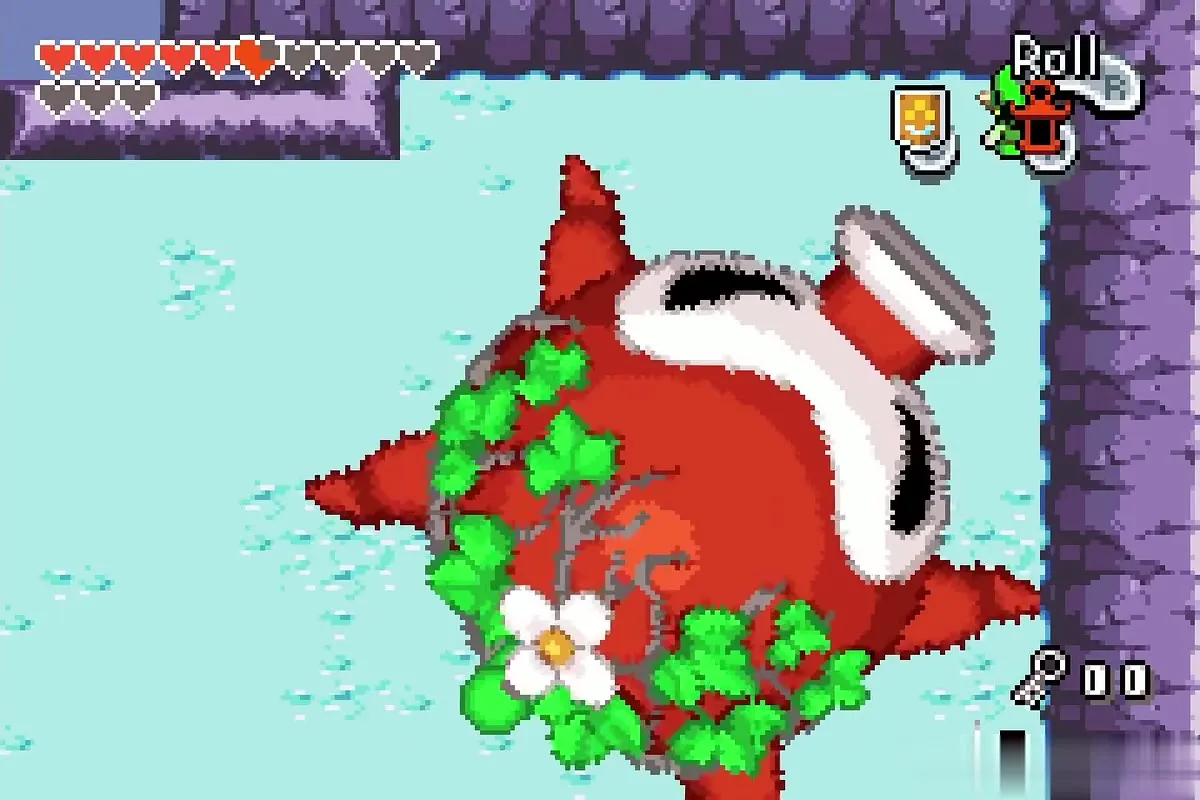

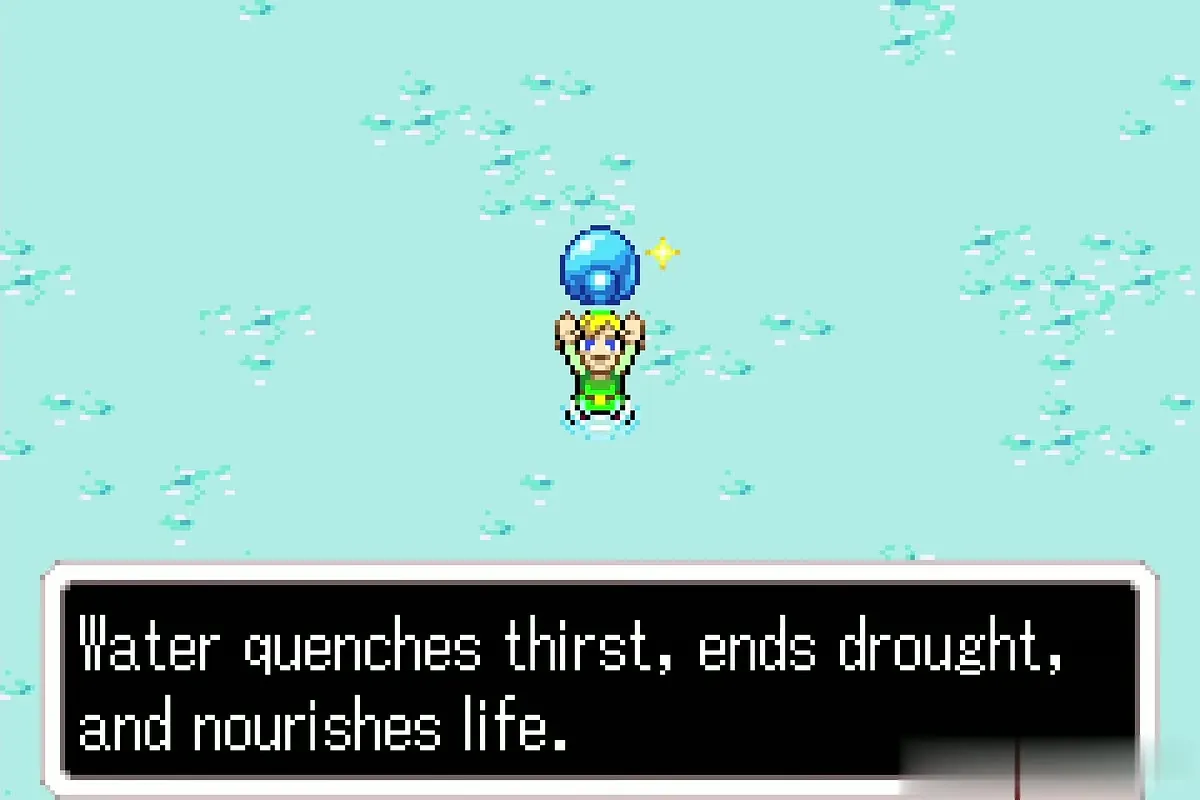
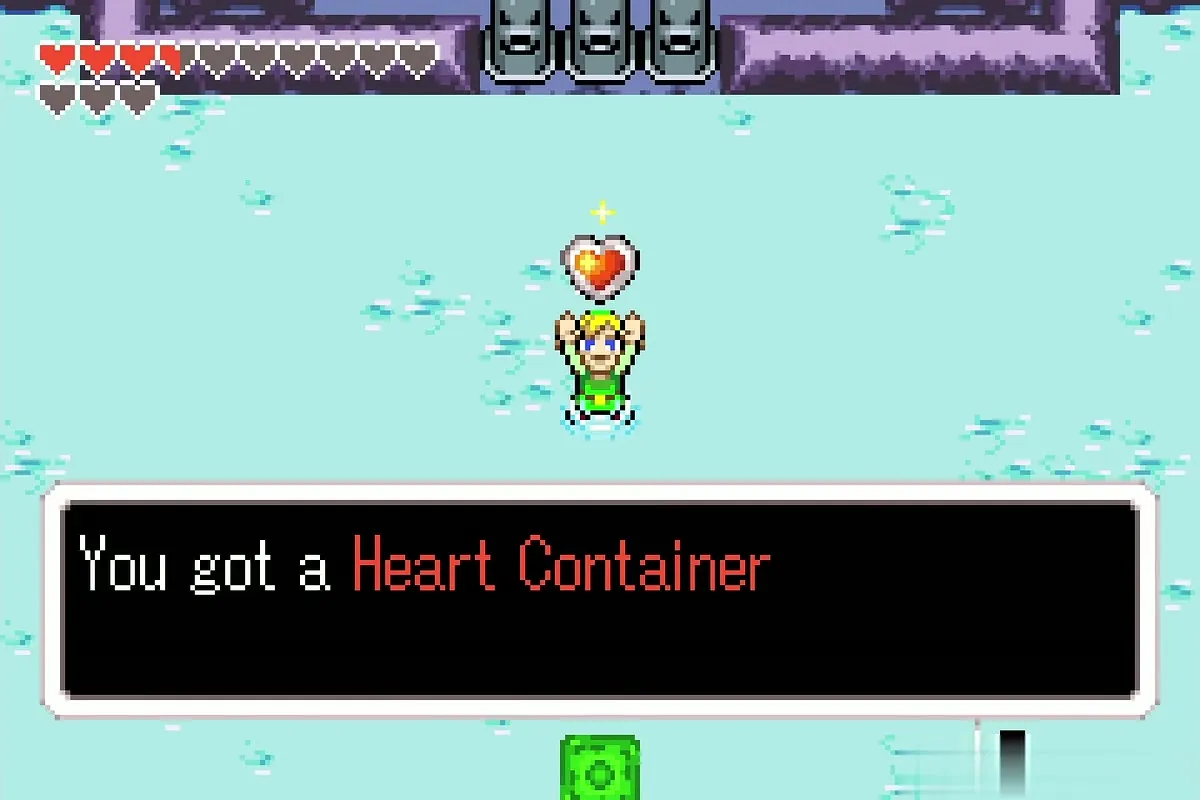
Table of Contents
Starting in the Temple of Droplets
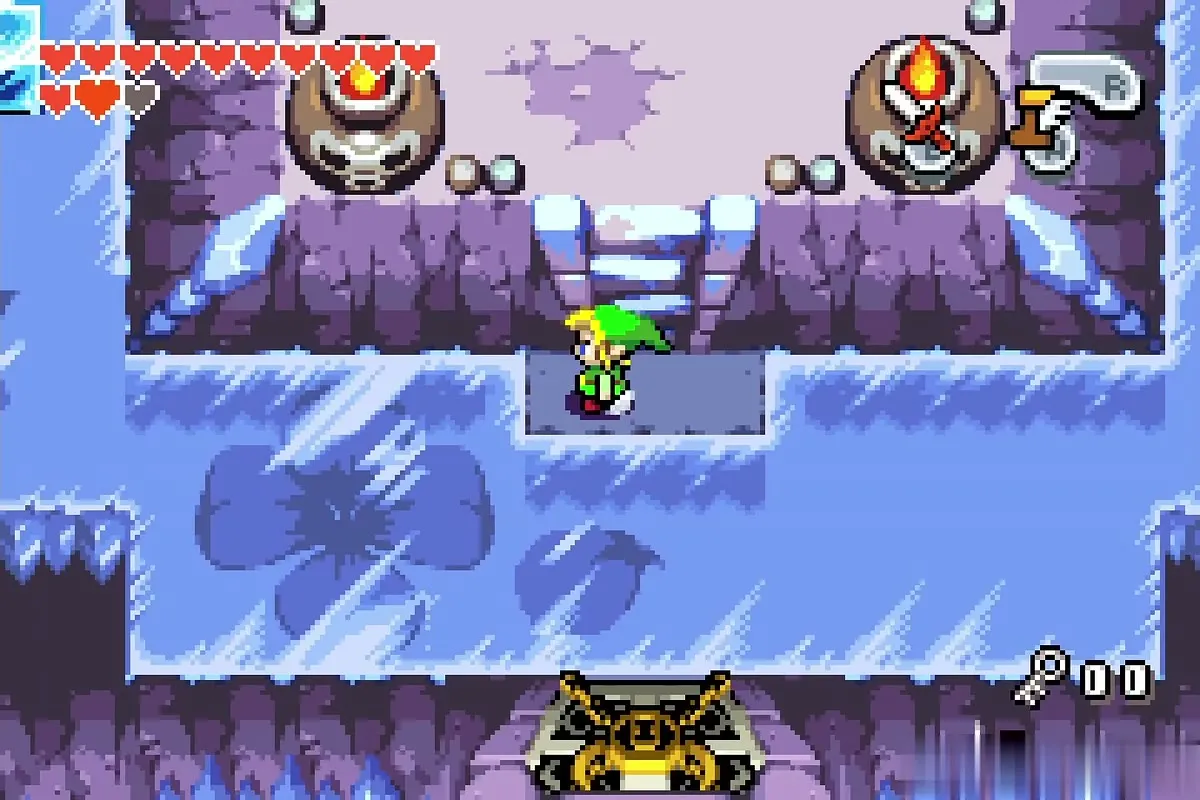
The entrance hall and the icy floors
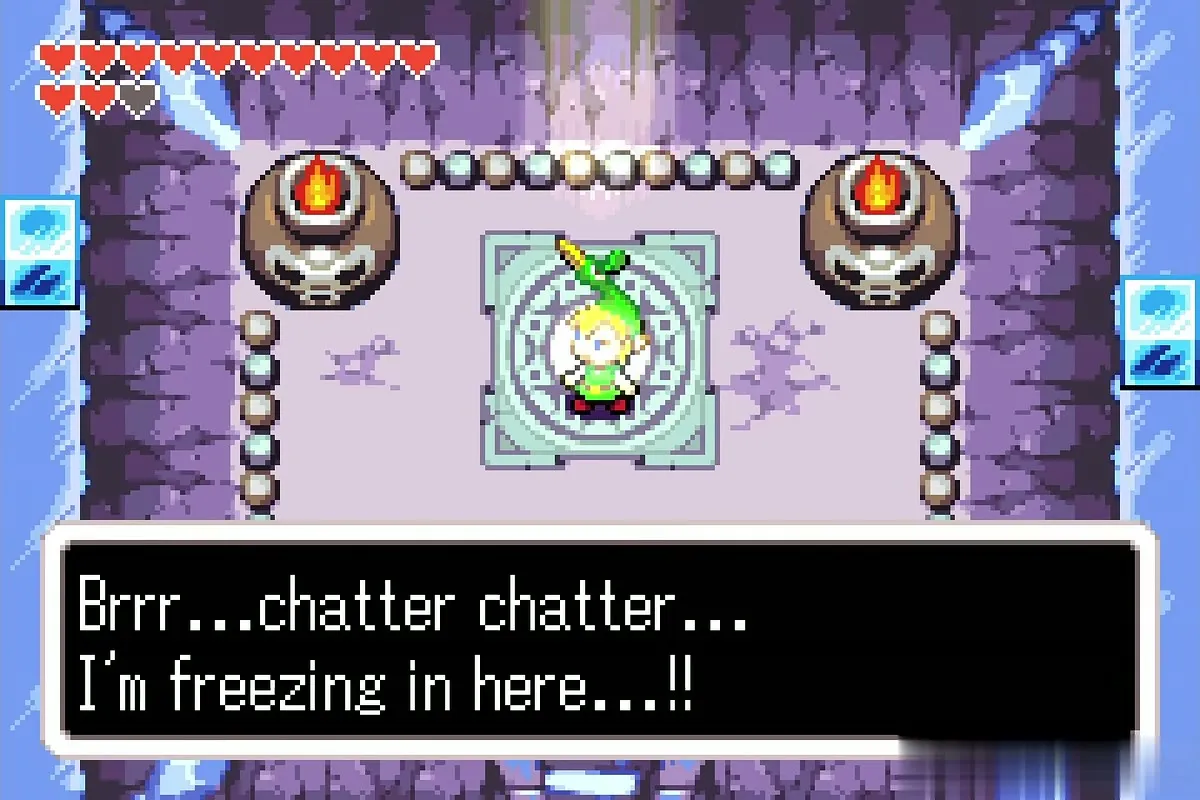
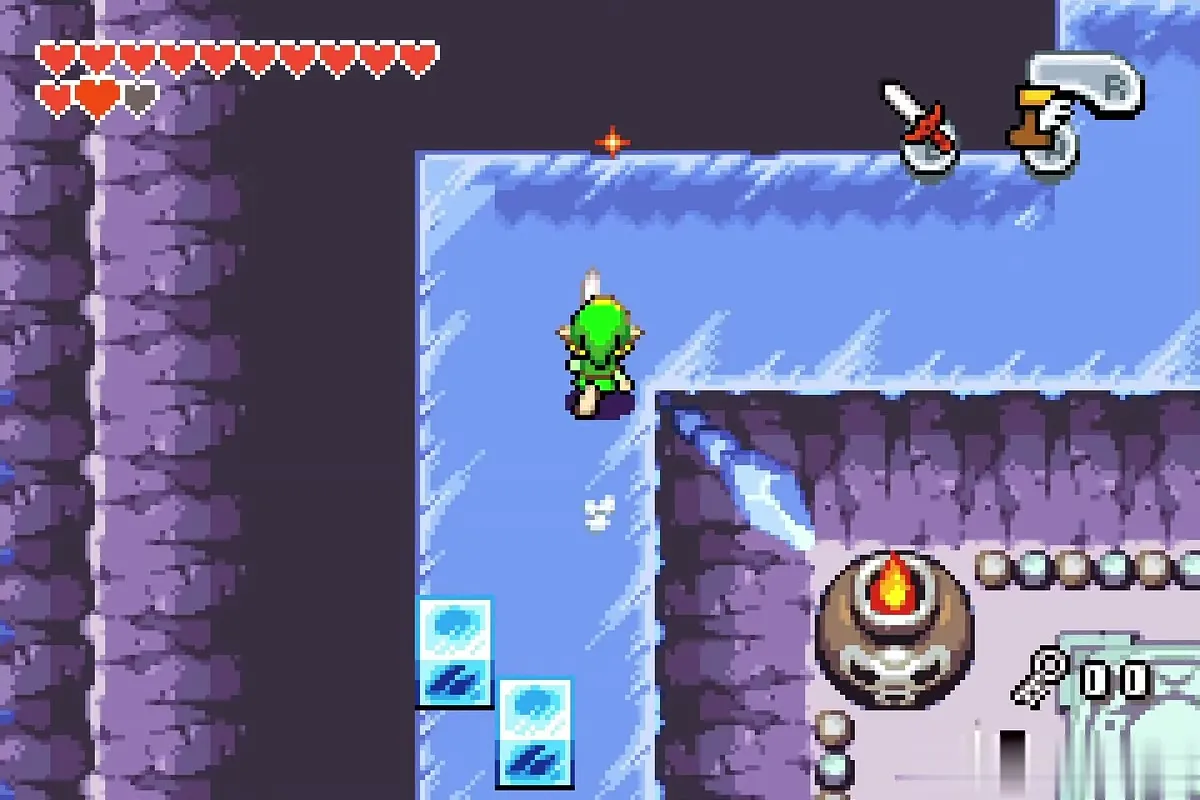
You arrive on a warp pad between two flaming skull torches. Ezlo complains about the cold and warns you not to slip, and the floors really are slick, so stop before ledges and holes. Leave the hall by the south stairs, push loose ice blocks out of your way and carry on through the cold halls toward the first sunlit room.
Dungeon: Temple of Droplets (Dungeon 4)
Sunlight and the first Small Key
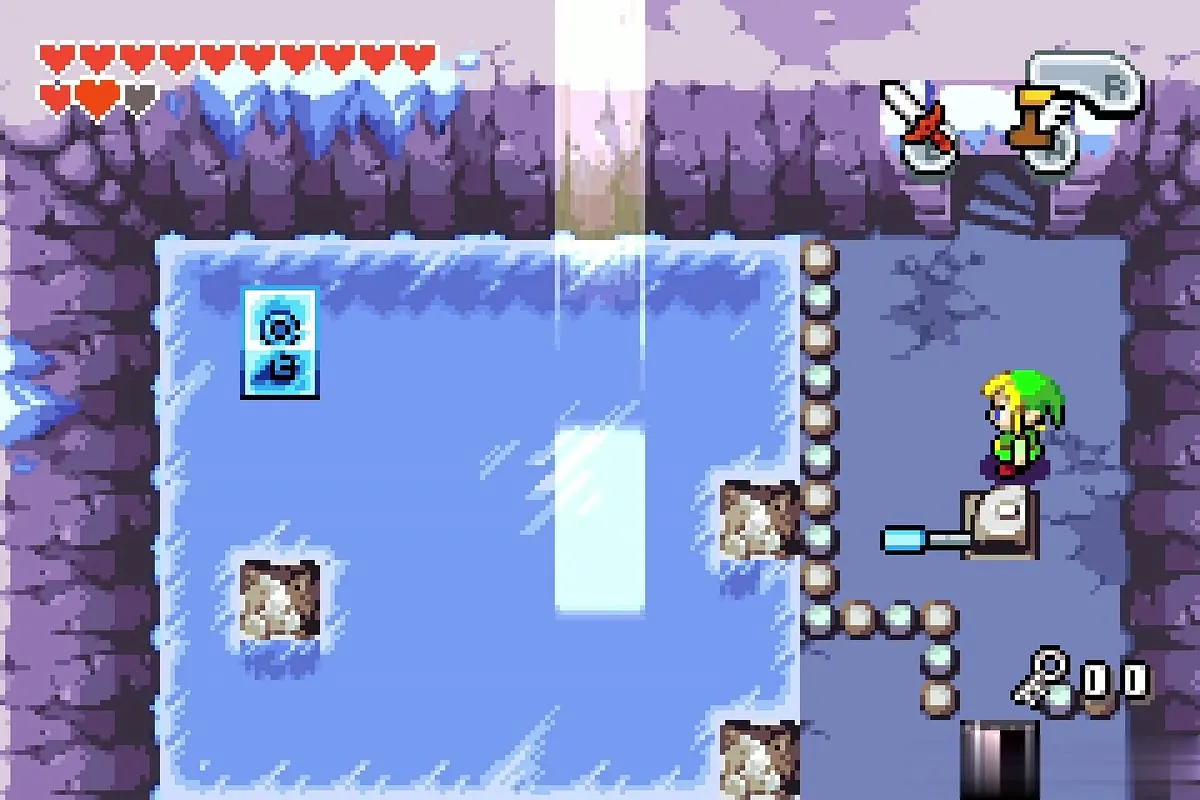
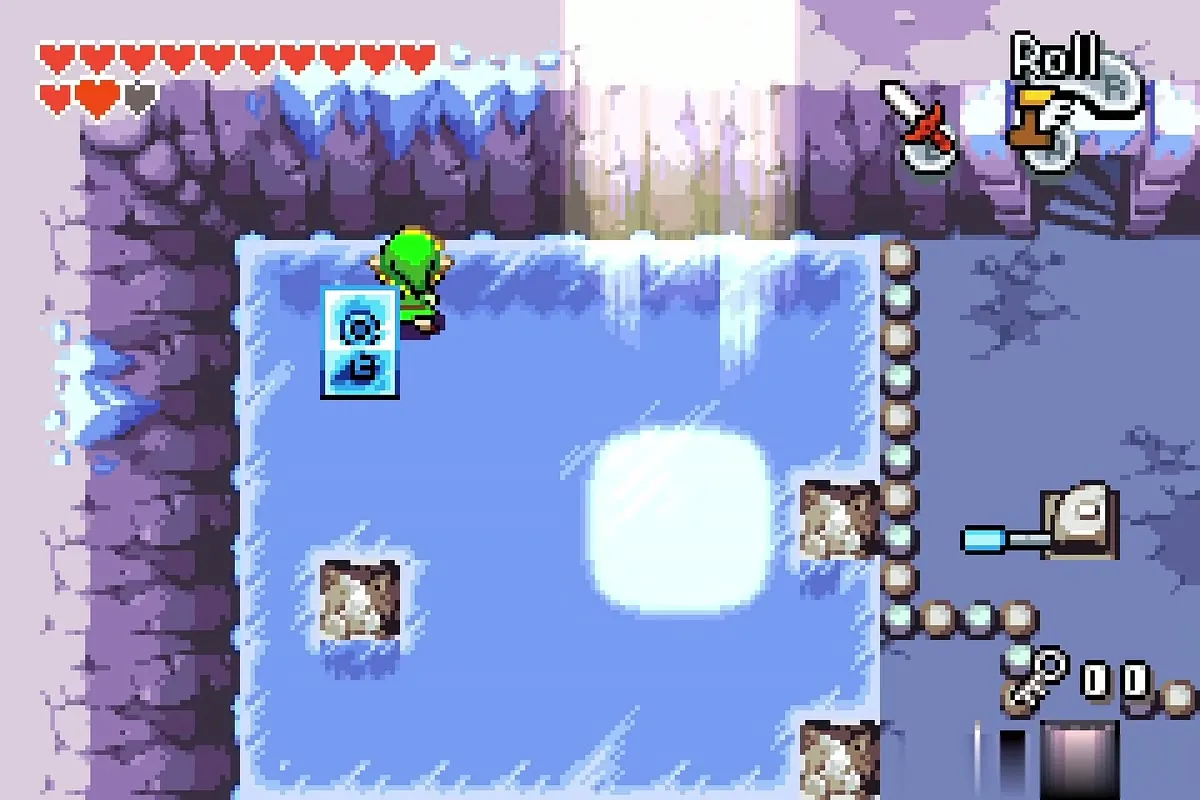
Pass the torch-lit room with four pots and the room with the double door and a few red beetles, and enter the ice room that holds a large ice block with a key frozen inside. Pull the lever at the right edge of the room: a skylight opens and a patch of sunlight lands on the floor. Slide the ice block down, then right, until it rests in the sunlight. The block melts and the first Small Key is yours.
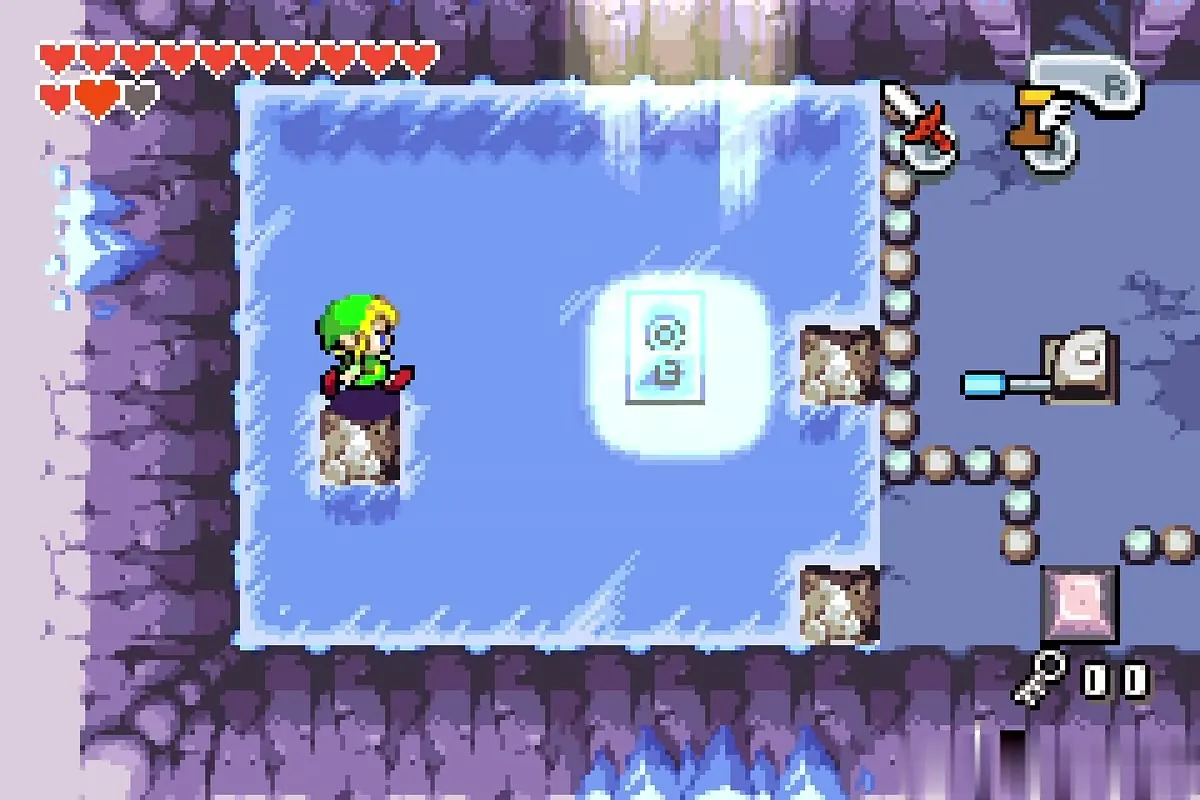
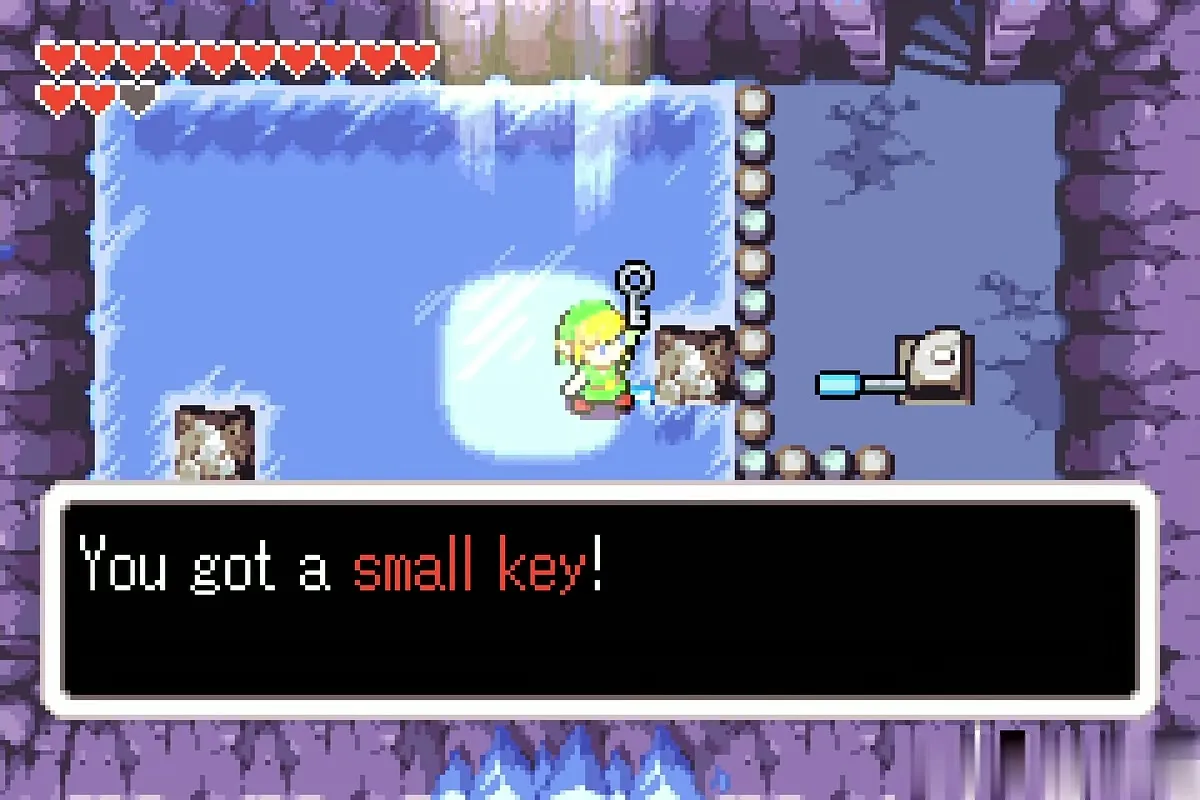
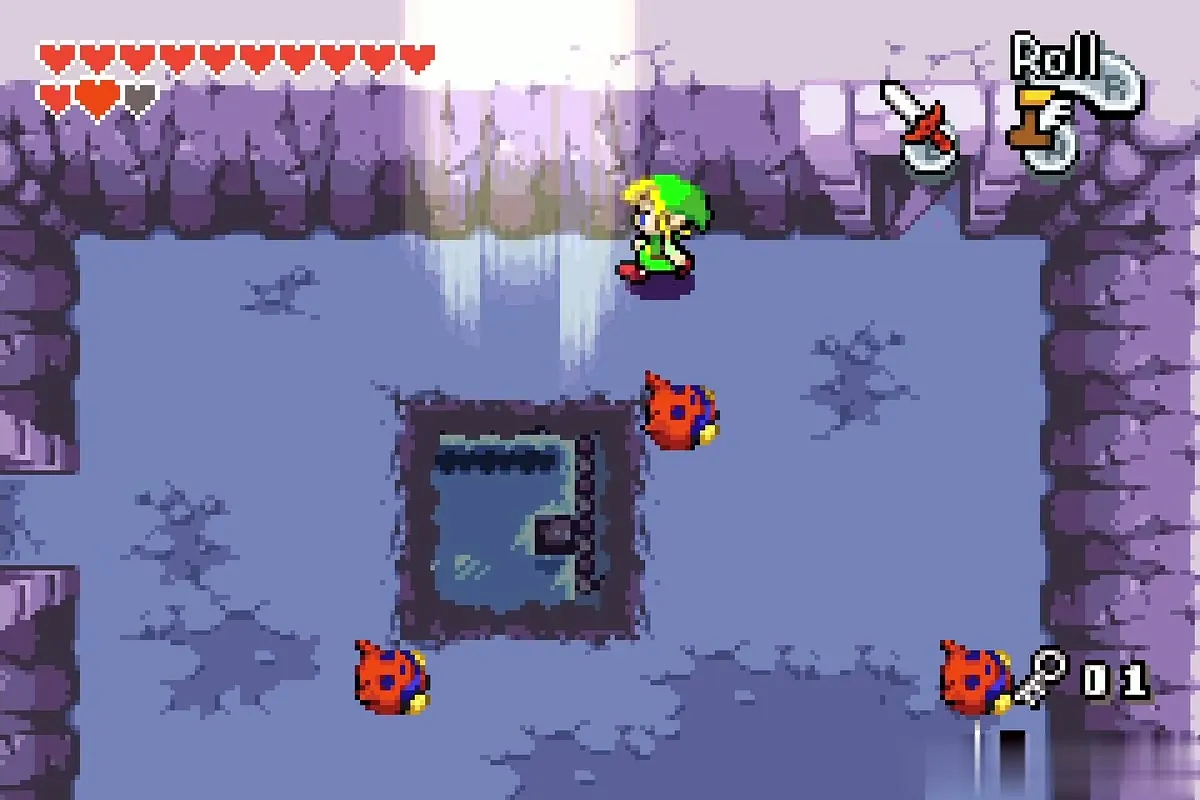
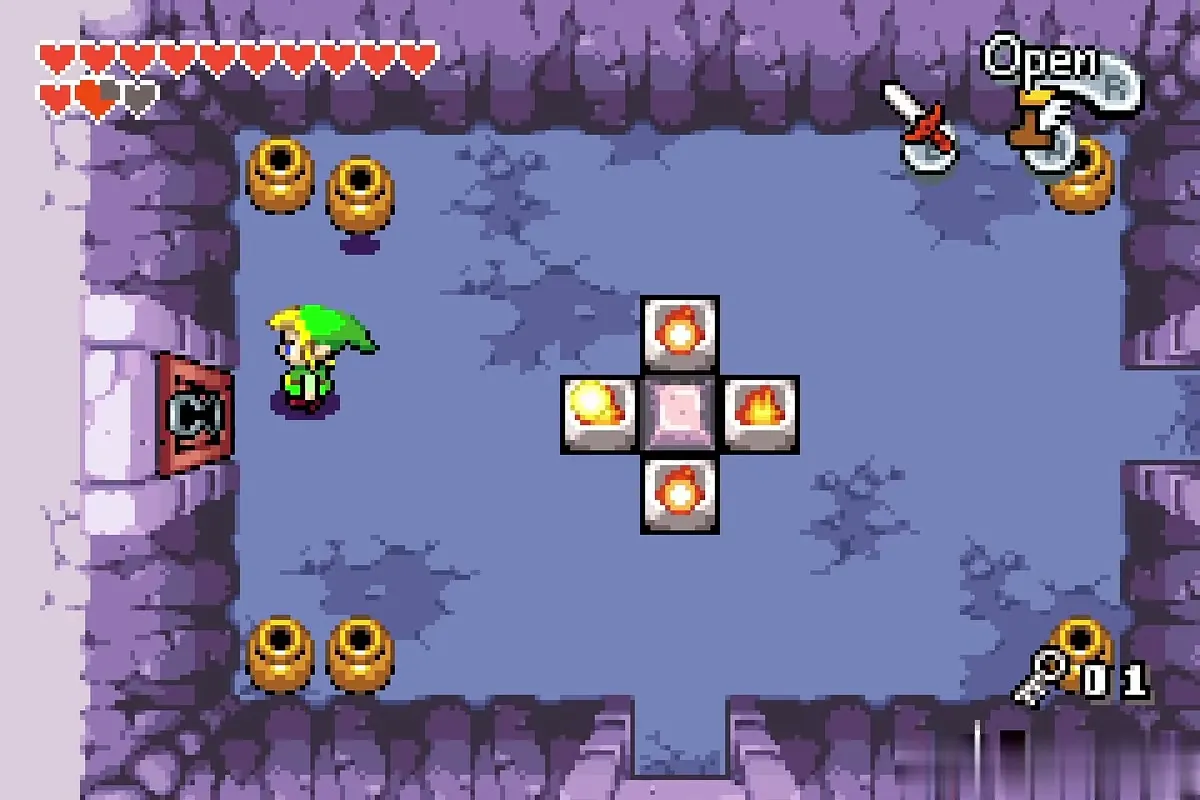
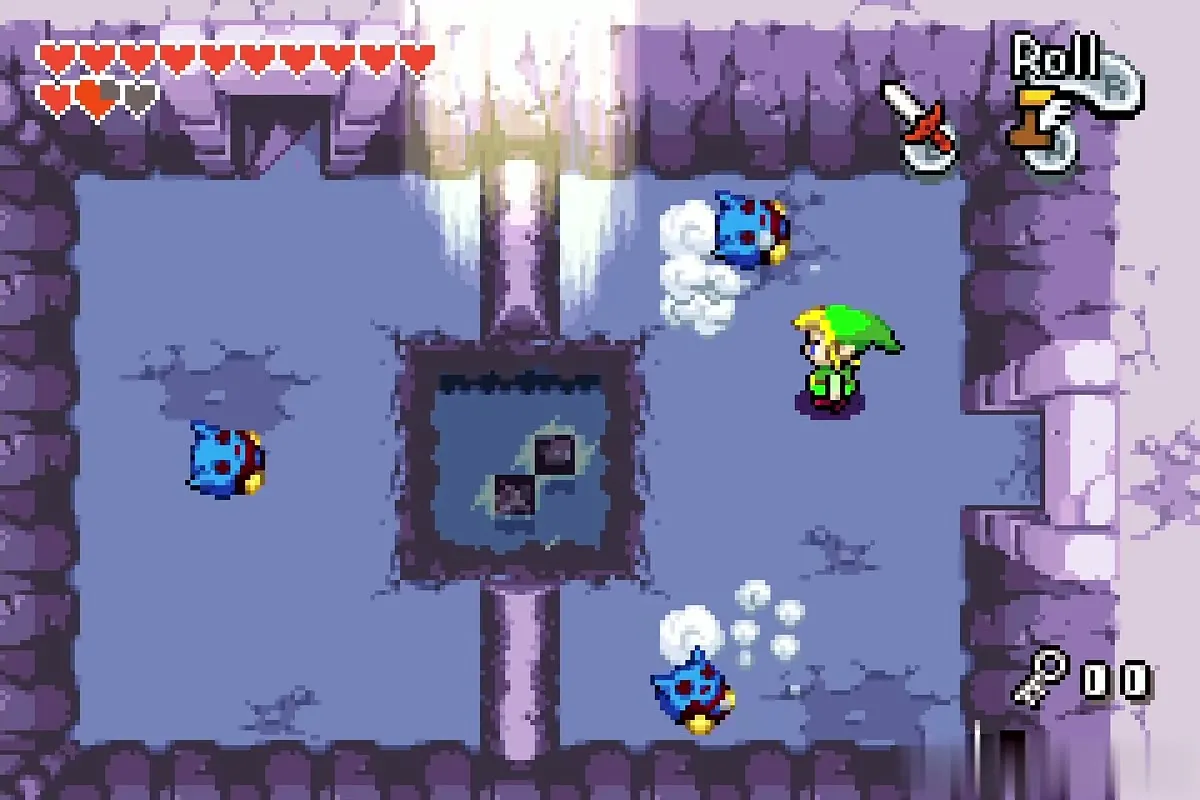
Go back to the room with the hole in the floor and the red beetles, then to the torch room with the four pots, where a locked door waits on the left. Open it with the Small Key. In the next room blue bugs buzz around a hole in the floor, so defeat them and drop through it.

Big Key: the three-block ice room
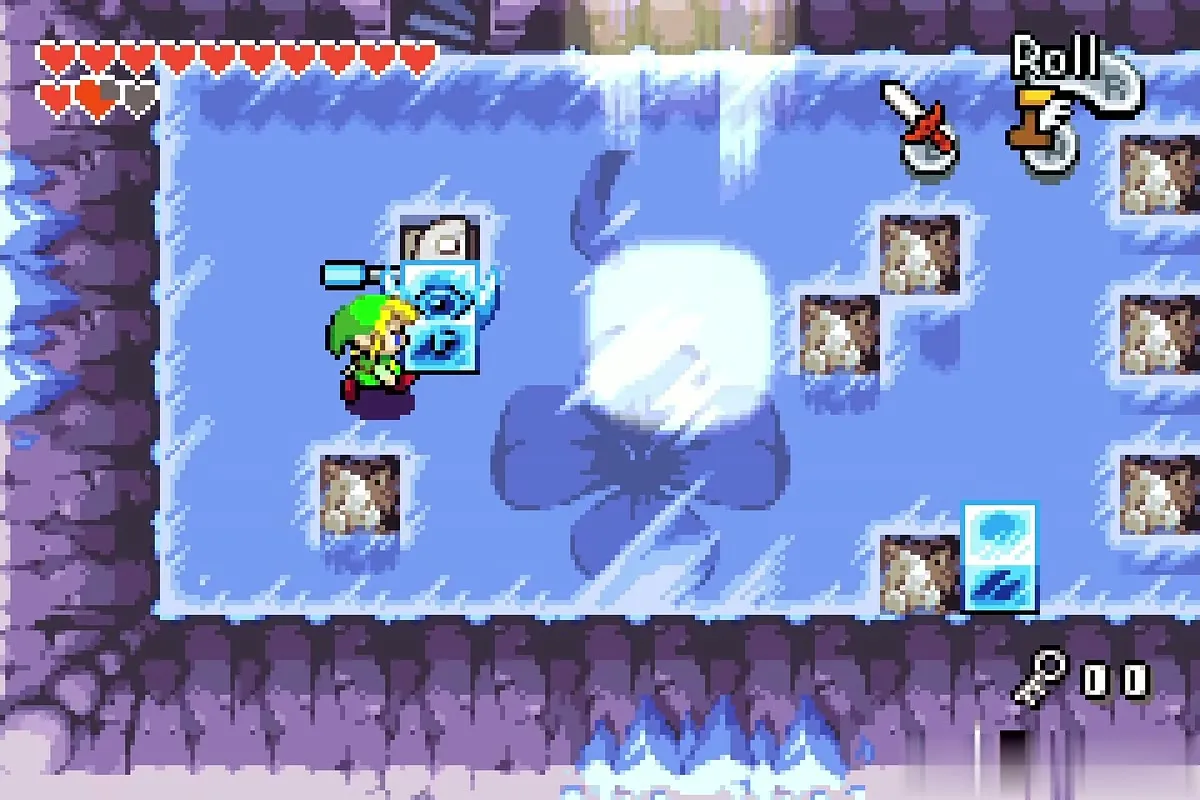
You land in an ice room with three ice blocks and a patch of sunlight on the floor. The Big Key is frozen inside one of the blocks, and it has to end up in the sunlight. Push the bottom block down and then left, push the top block left, then slide the key block left, up, left, down, left, up and right until it sits in the beam.
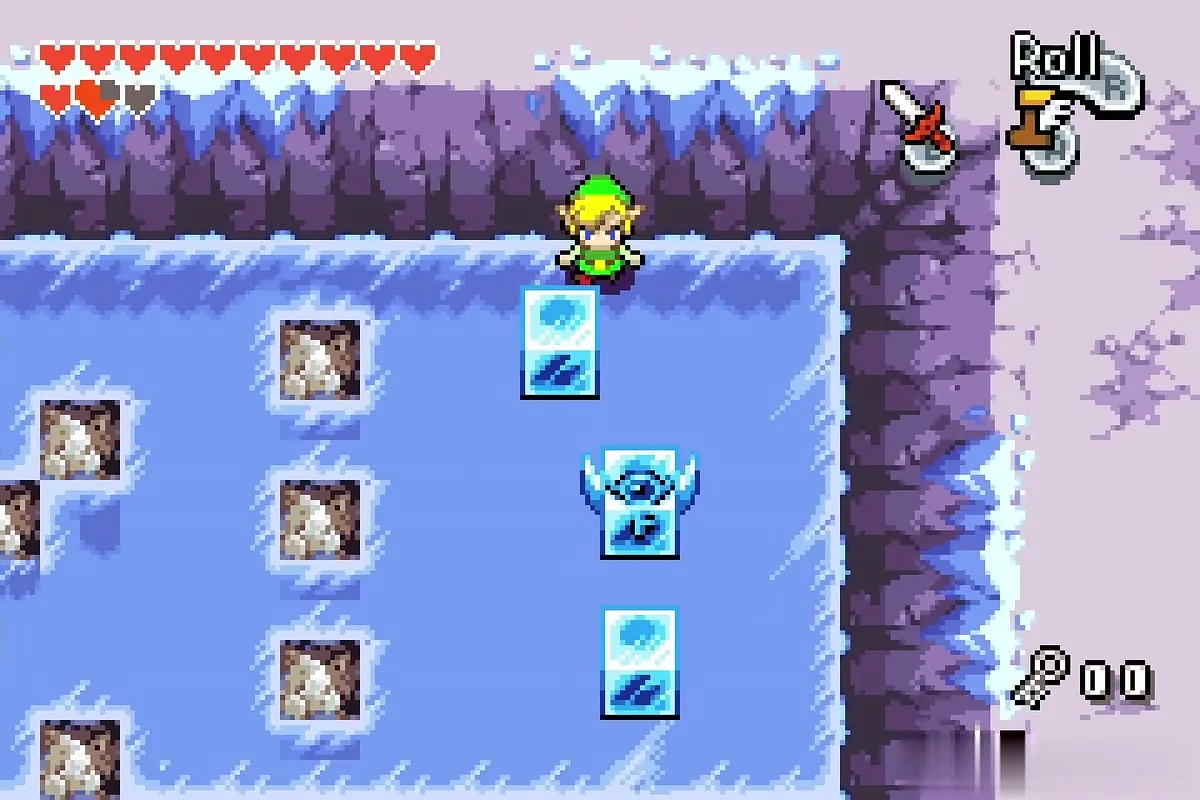
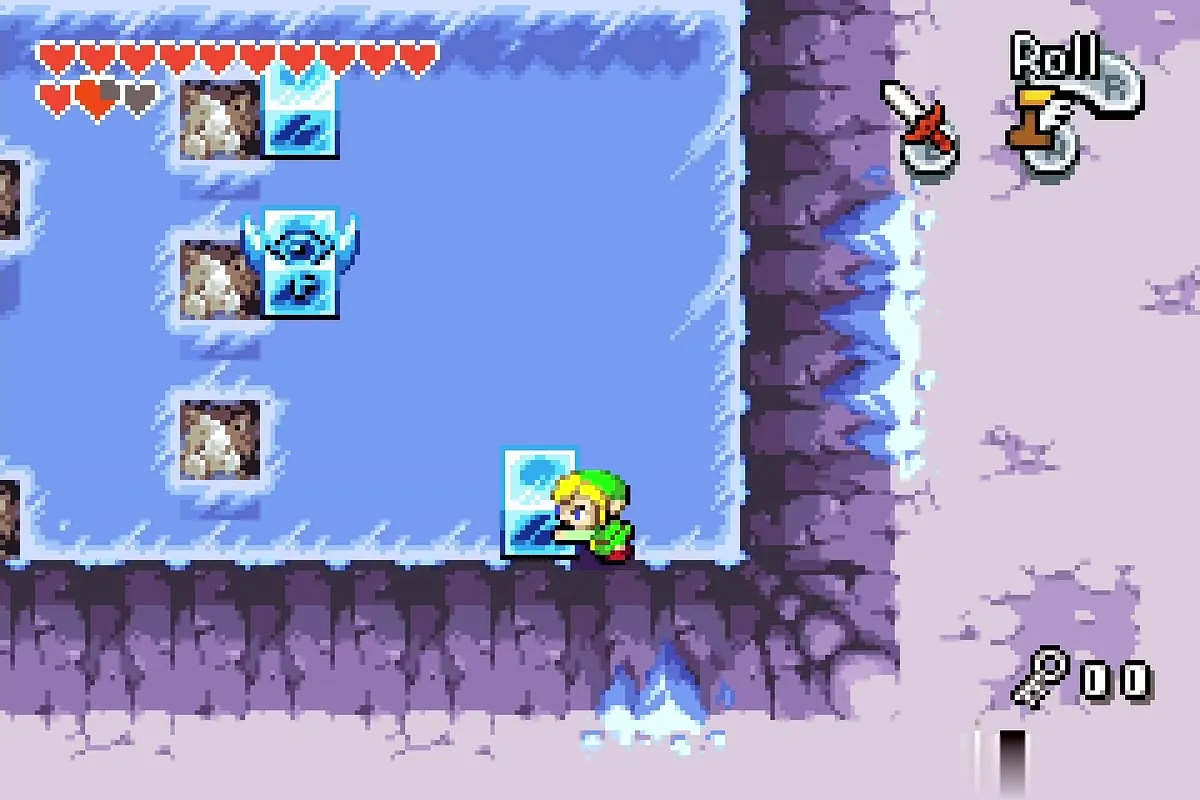
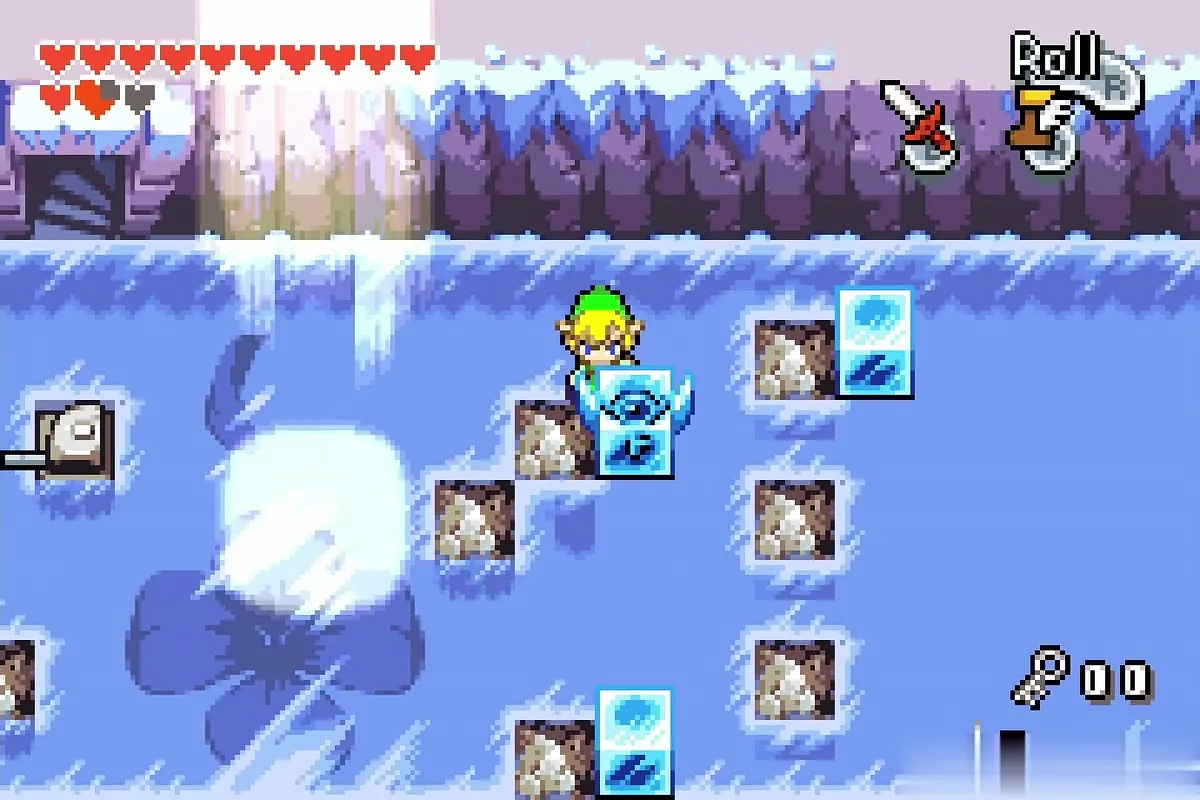
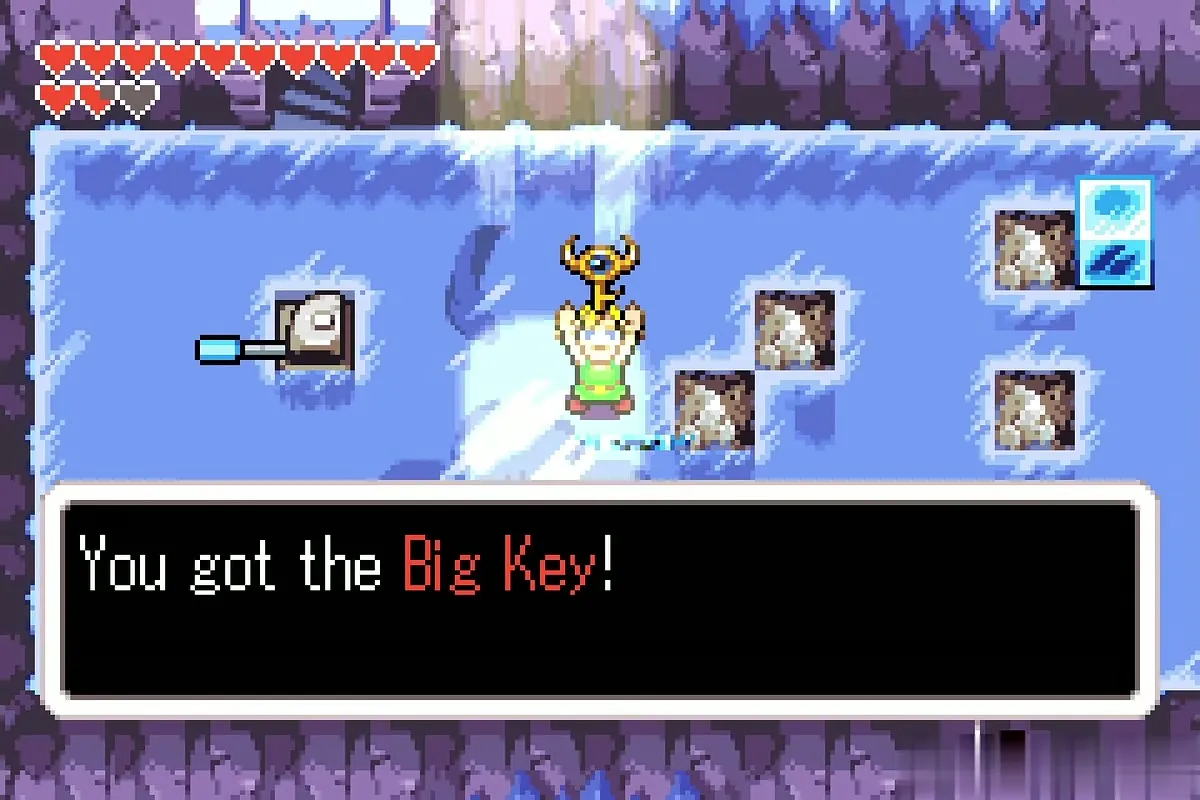
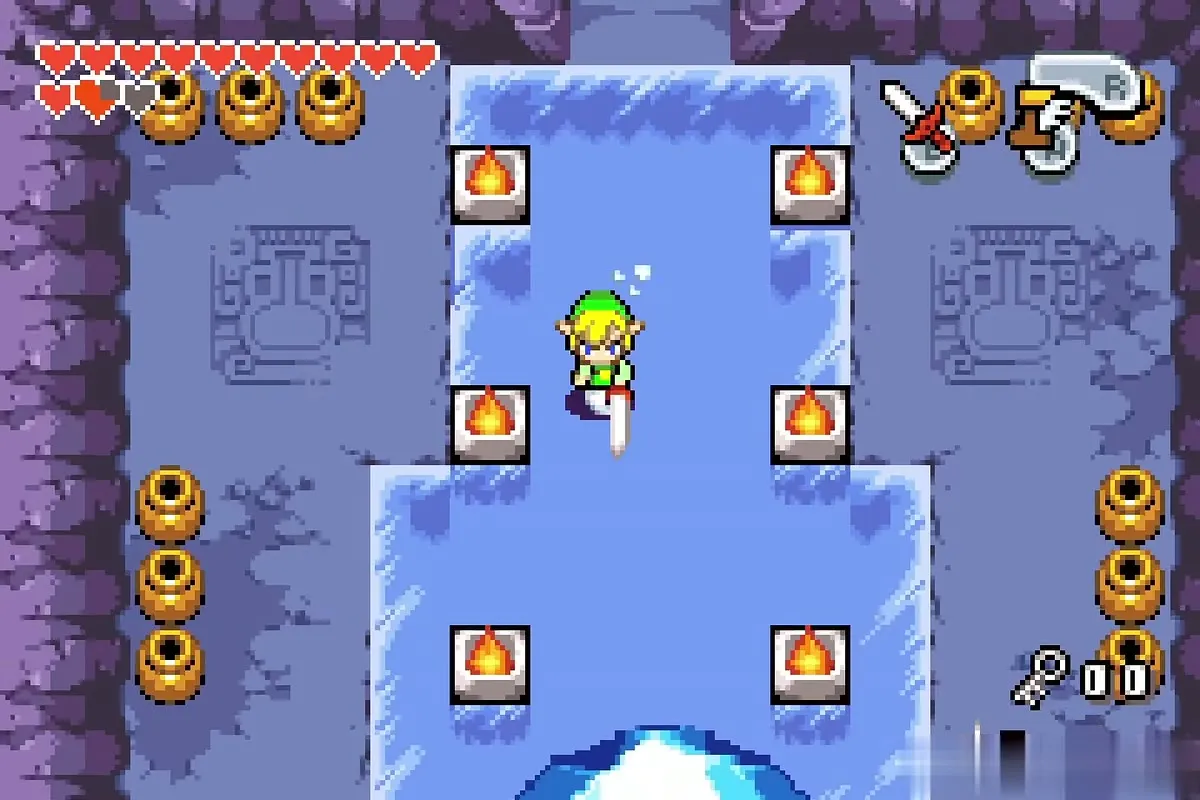
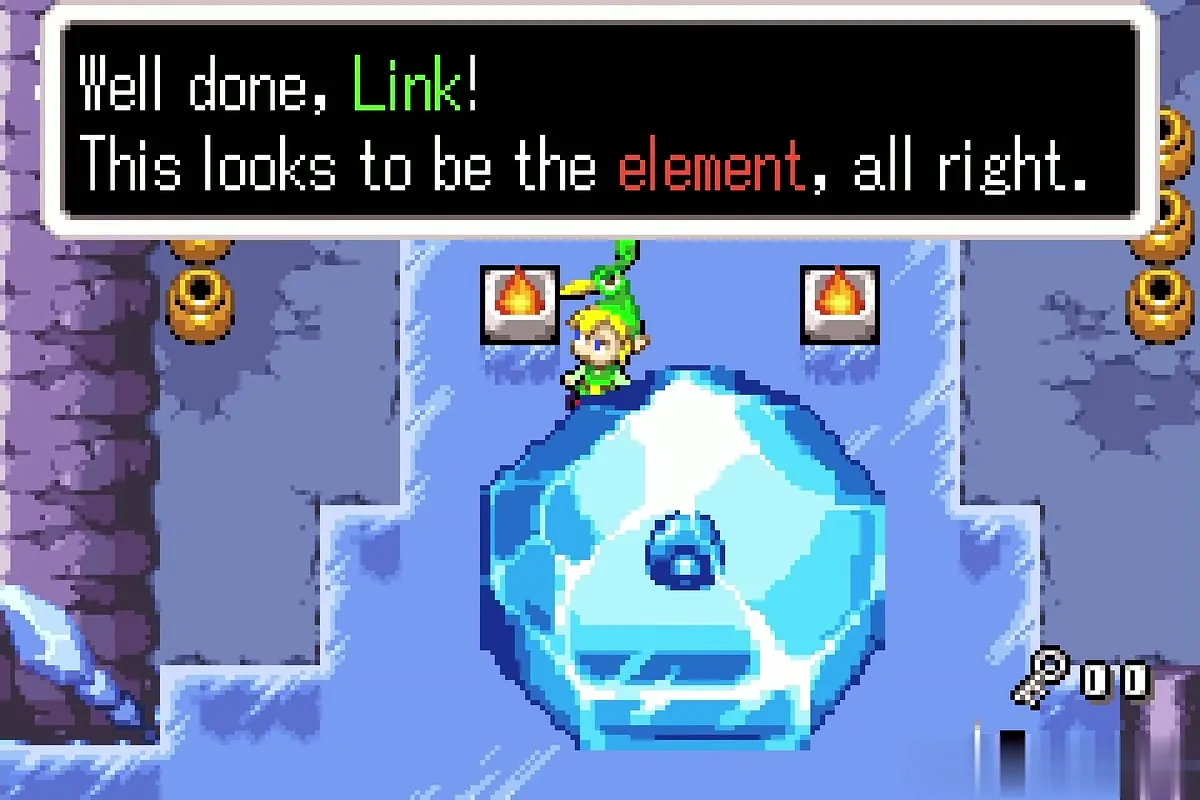
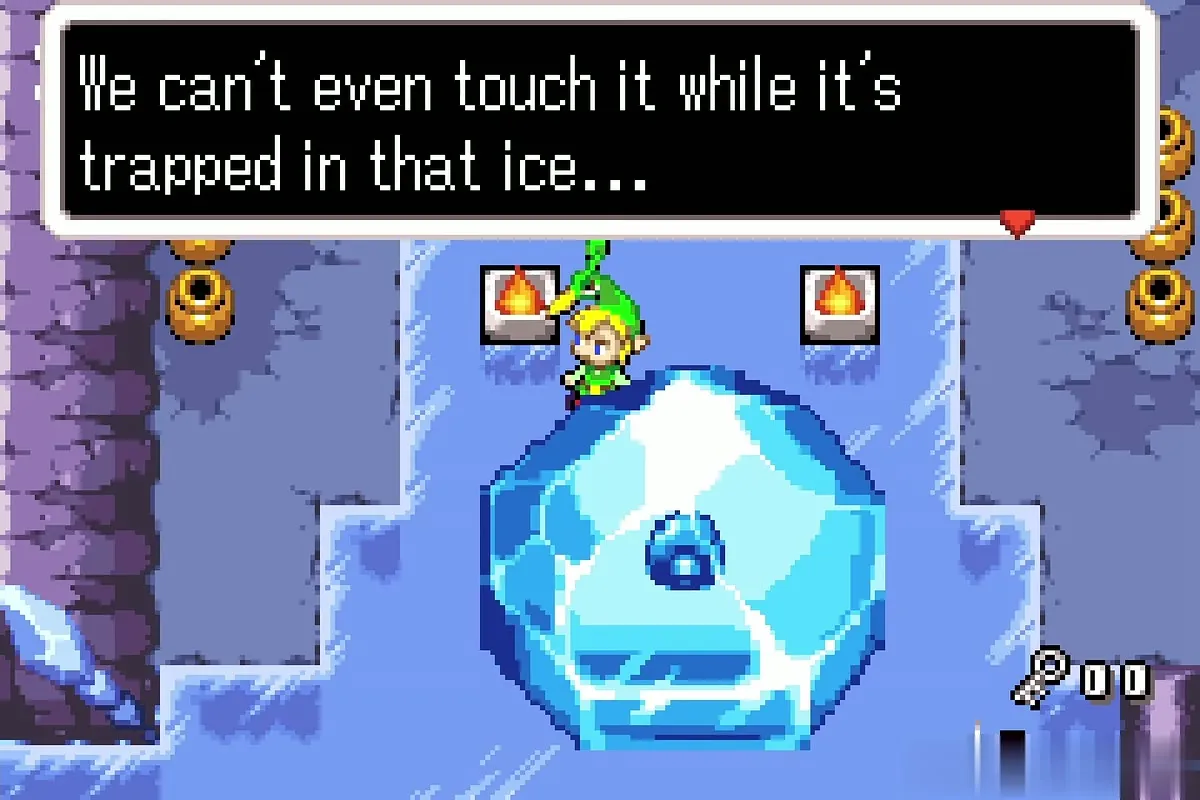
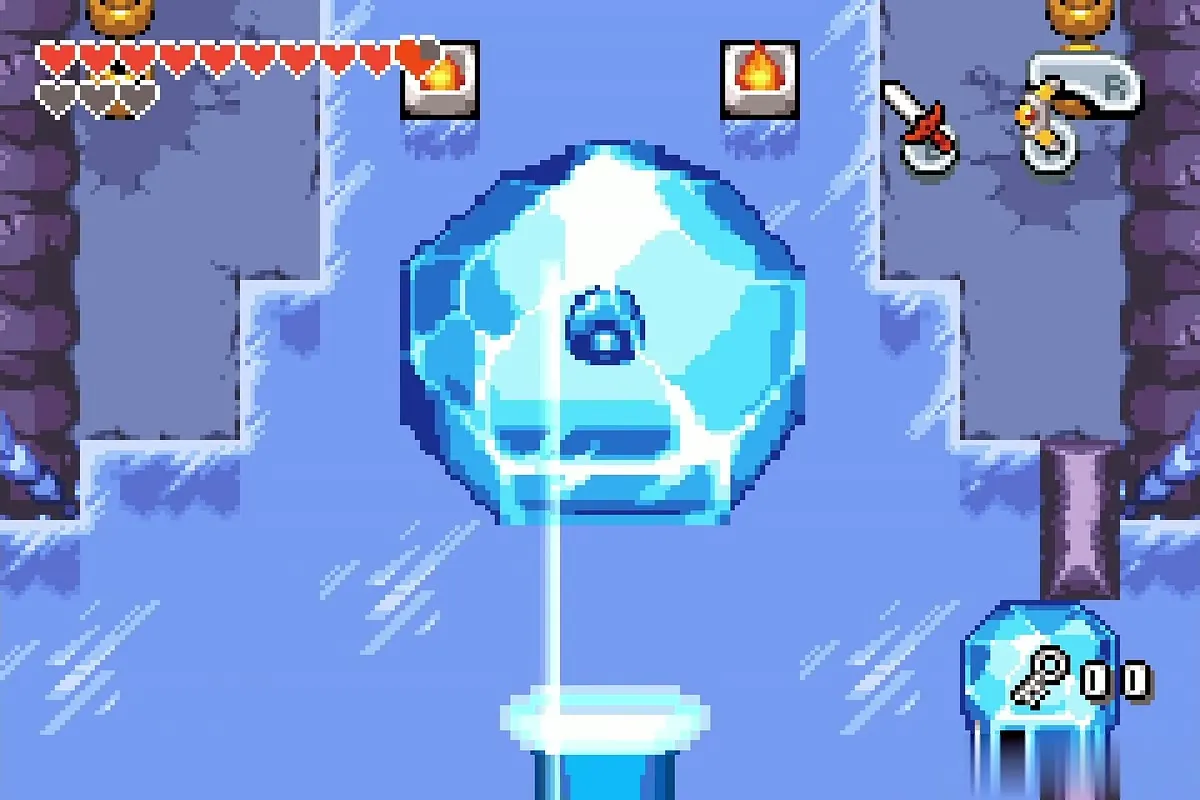
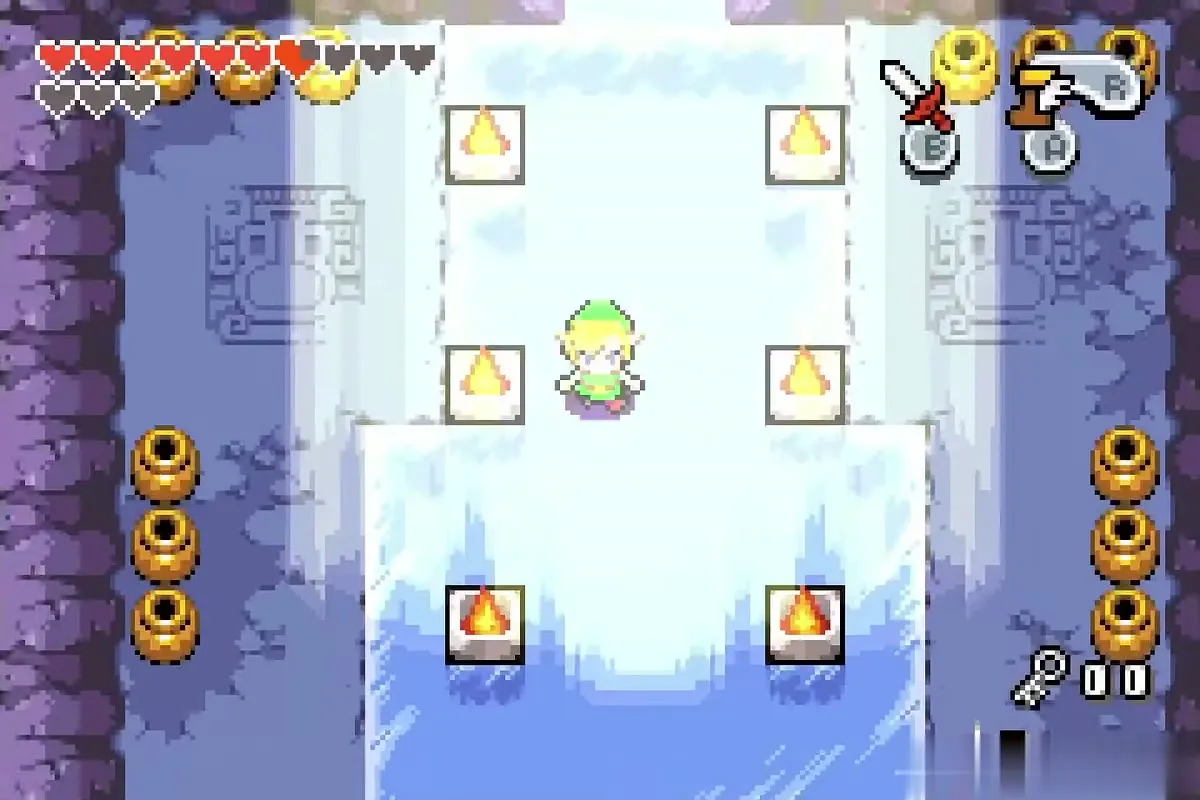
When the ice has melted, take the Big Key. Pull the lever on the left side of the room to shut the skylight, then climb back up to the entrance hall. The Big Key opens the large door on the south side of the hall. Behind it is a hall of torches and pots where the Water Element sits frozen inside a huge block of ice. Ezlo explains that only strong sunlight will thaw it, which is the goal for the rest of the dungeon.

Dungeon Map: the waterfall chest
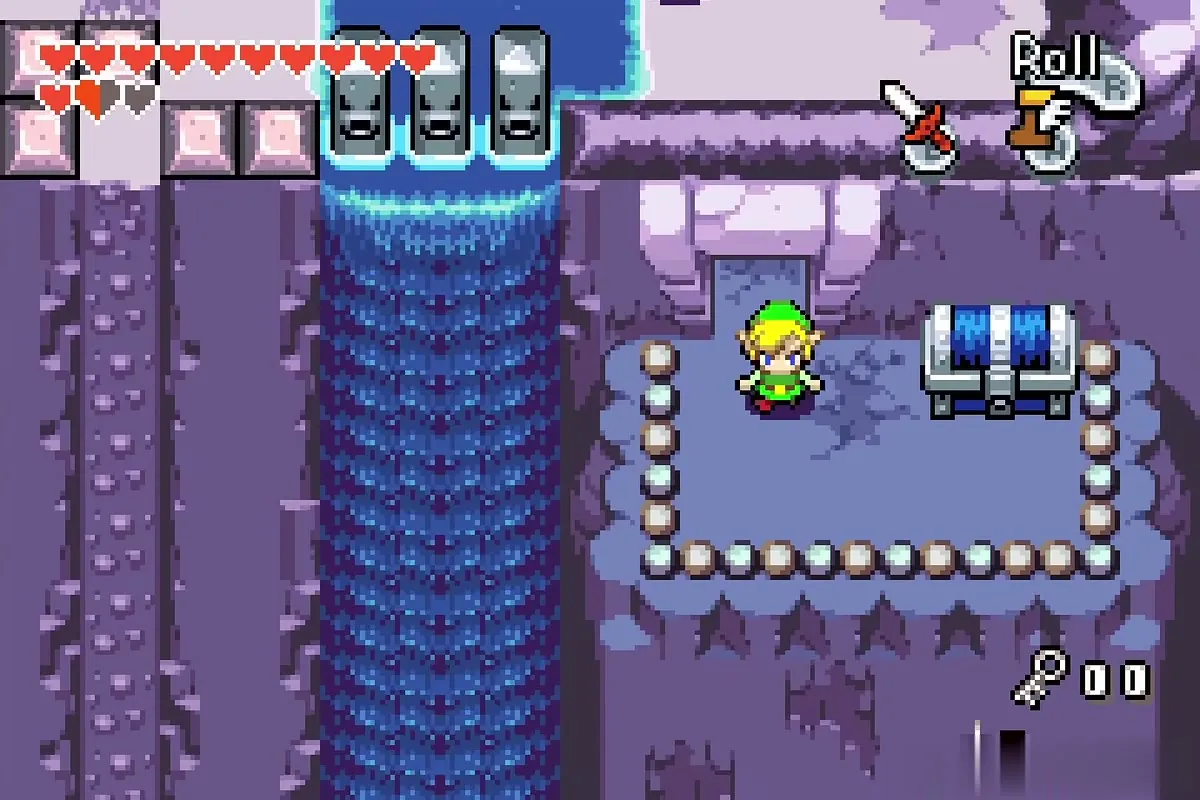
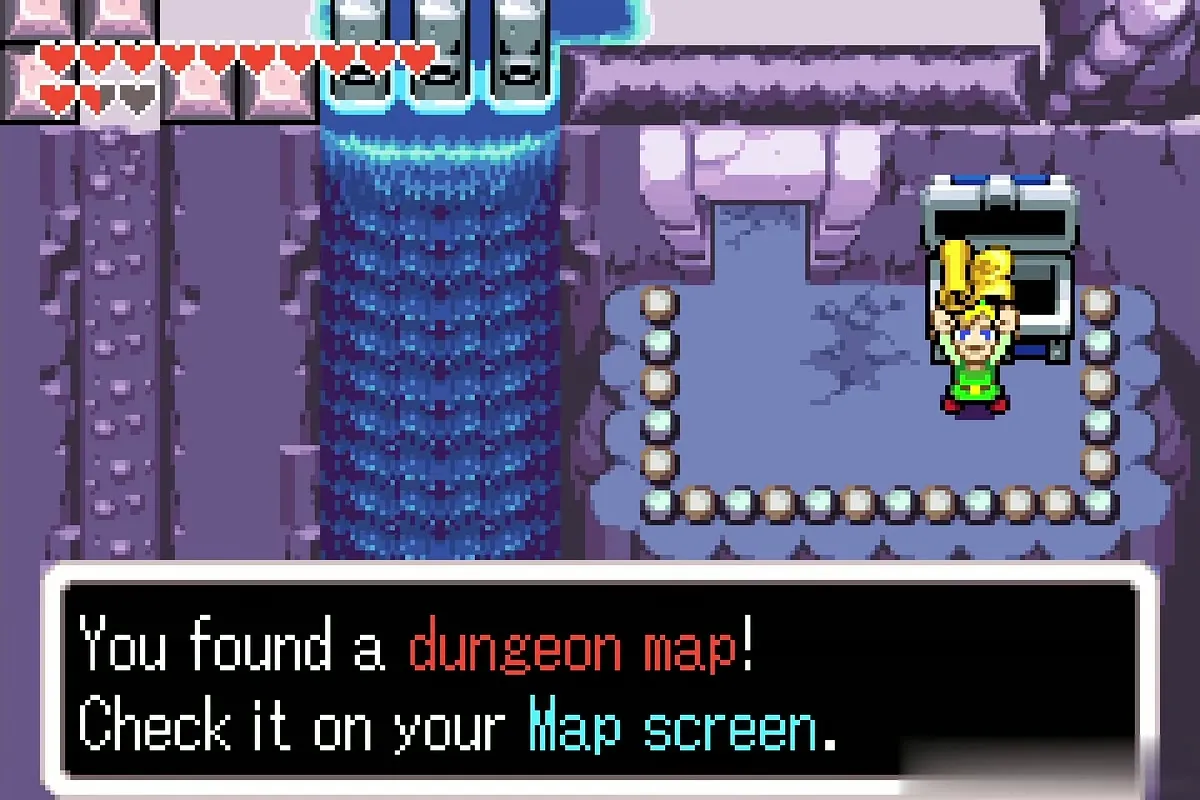
Leave the element room by the door in the south-west corner and follow the corridor south along the water. At the end you reach a room with a waterfall at the top and a chest on a platform in the middle. Open it for the Dungeon Map.
Flooded rooms: roller, mushroom switch and the pot key
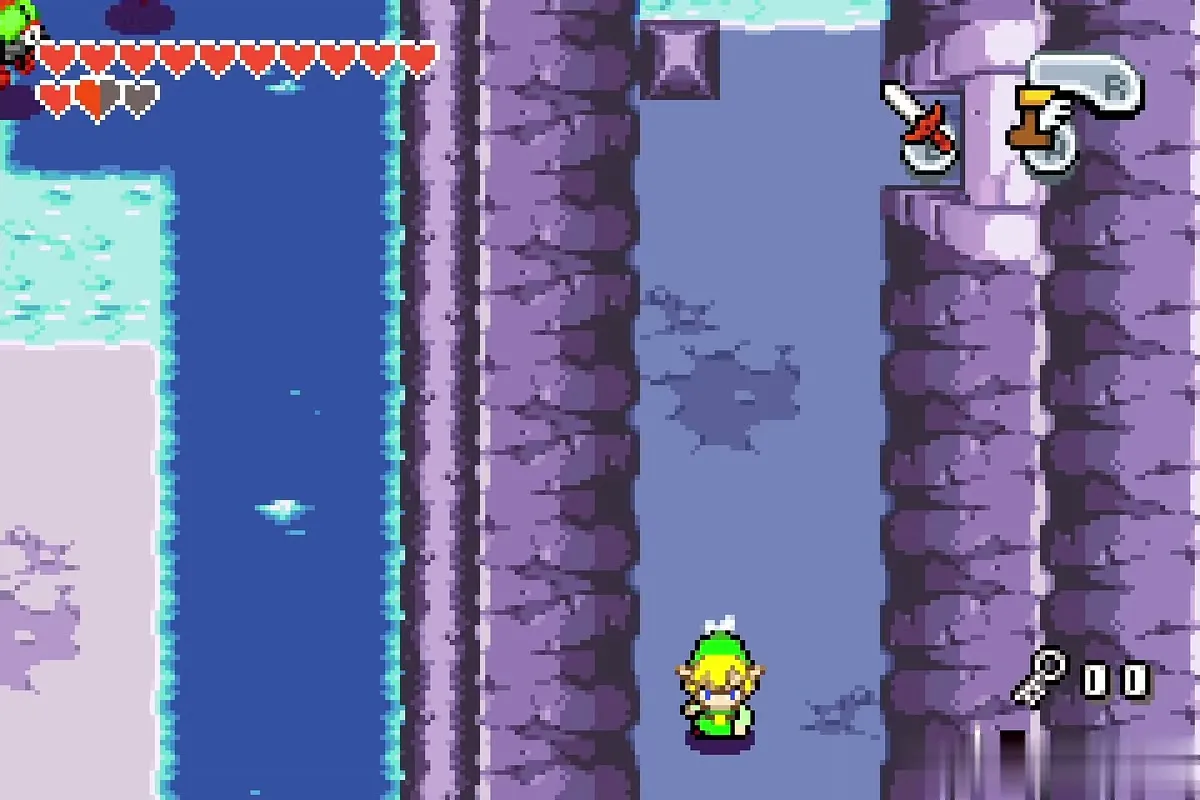
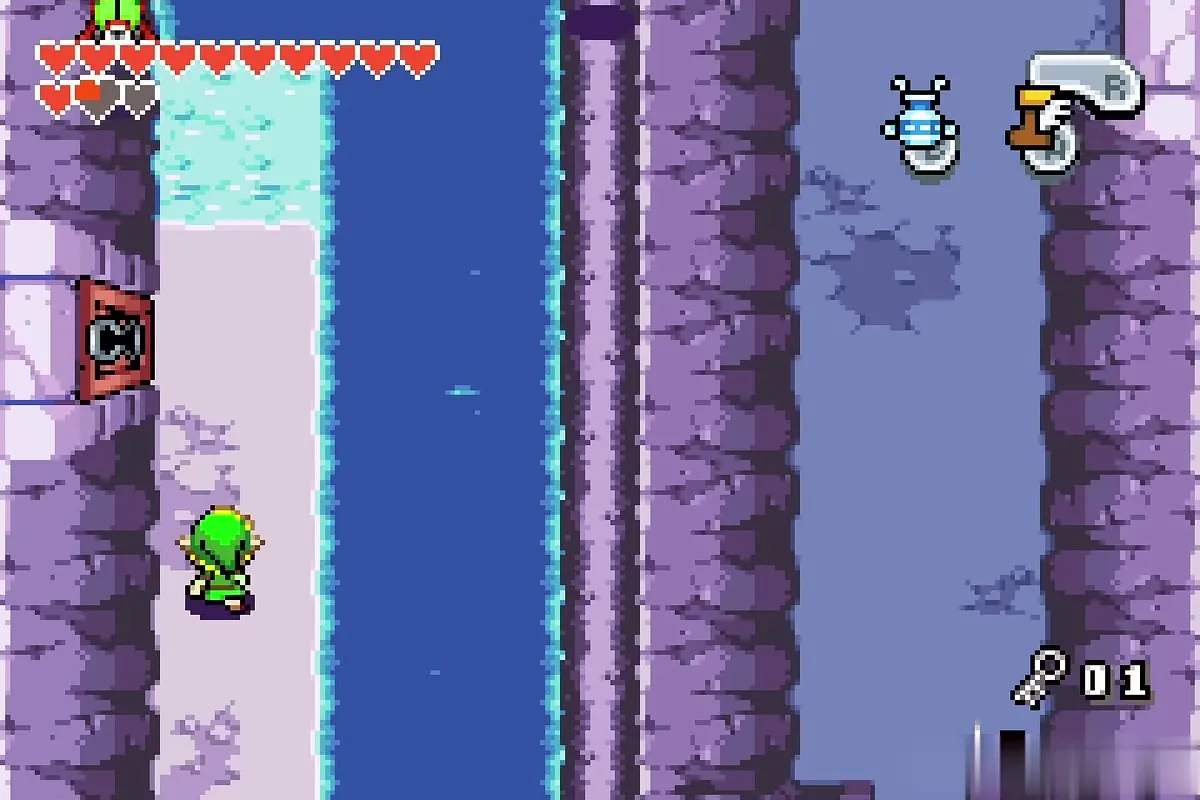
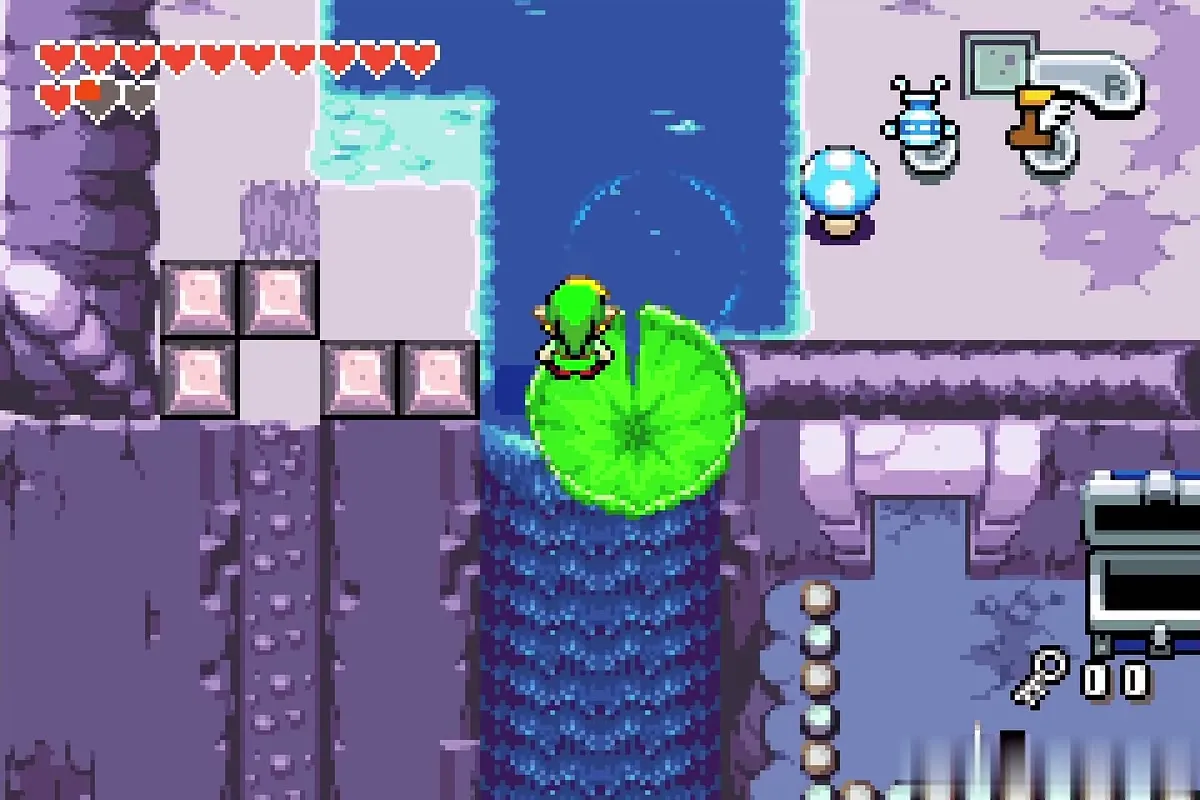
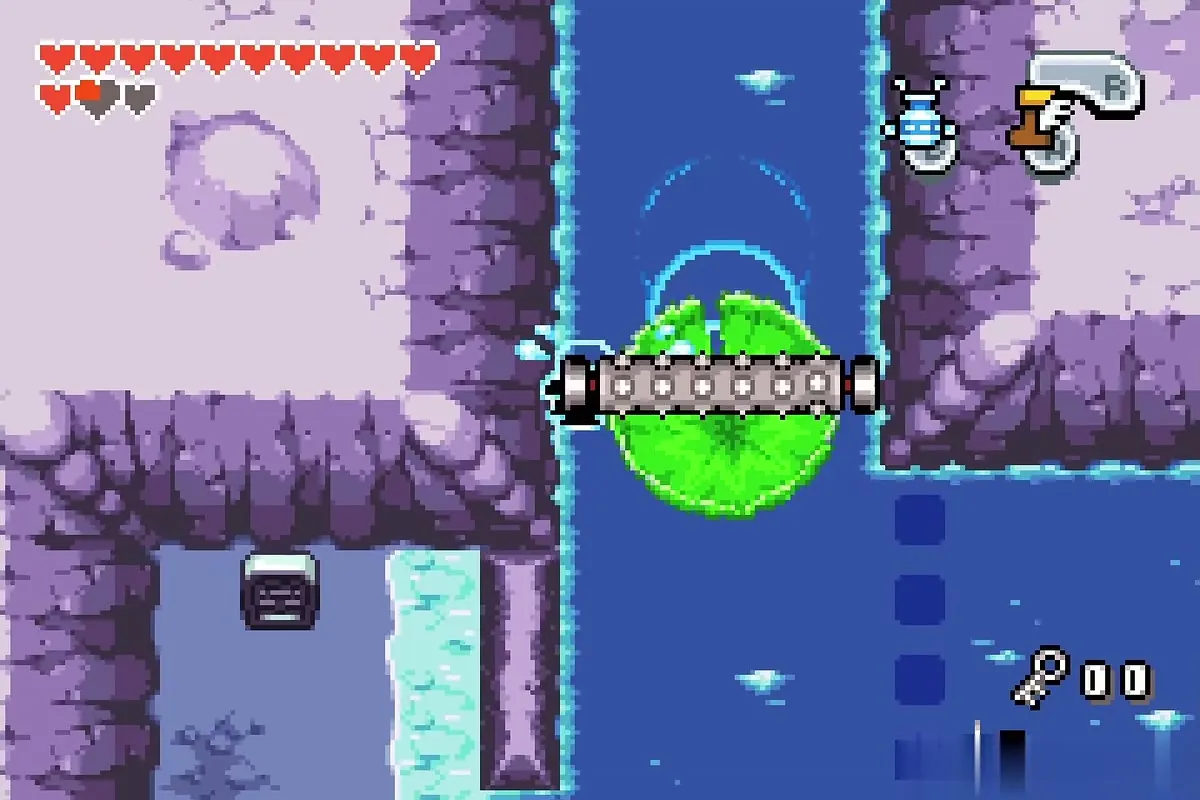
Go back out and swim north. A spiked roller patrols the channel, so dive with the B button to pass under it. Climb out on the west side, then swim on. Where a gap blocks the way, aim the Gust Jar at the mushroom and pull it toward you so that you can reach the square floor switch. This lowers the gates in the waterfall and opens the way down.
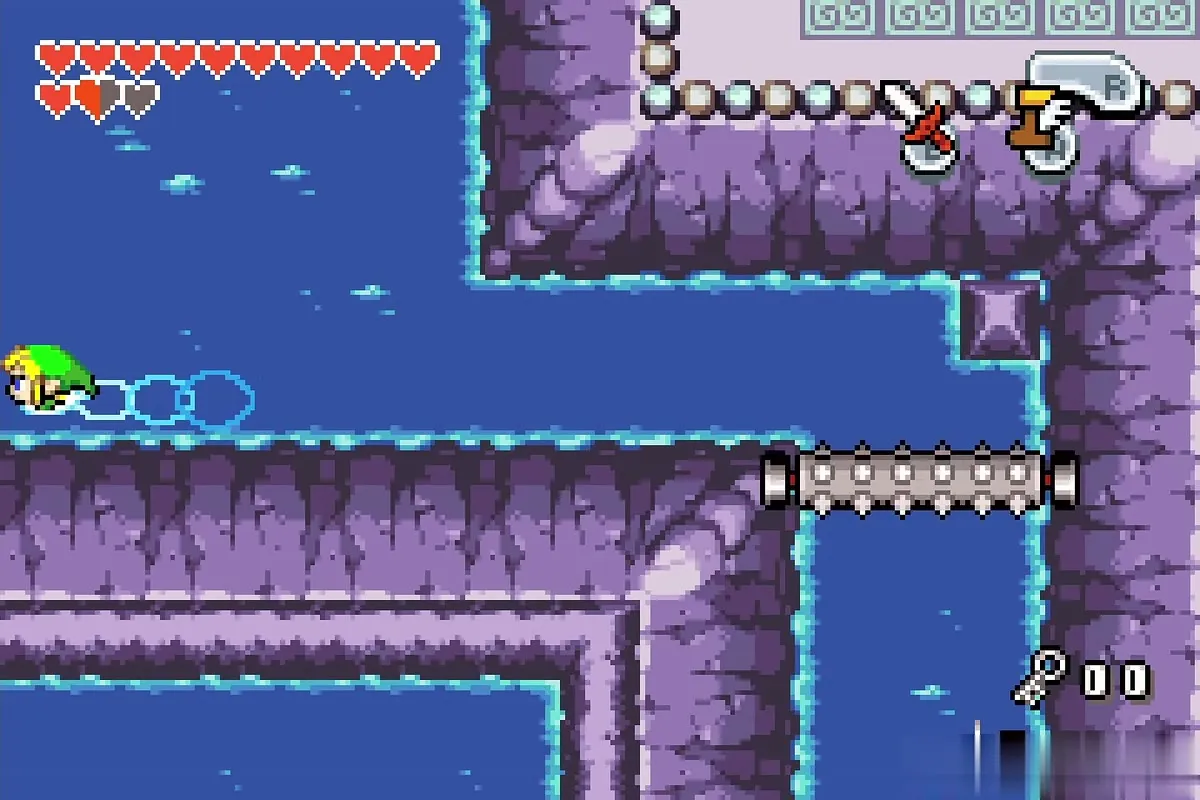
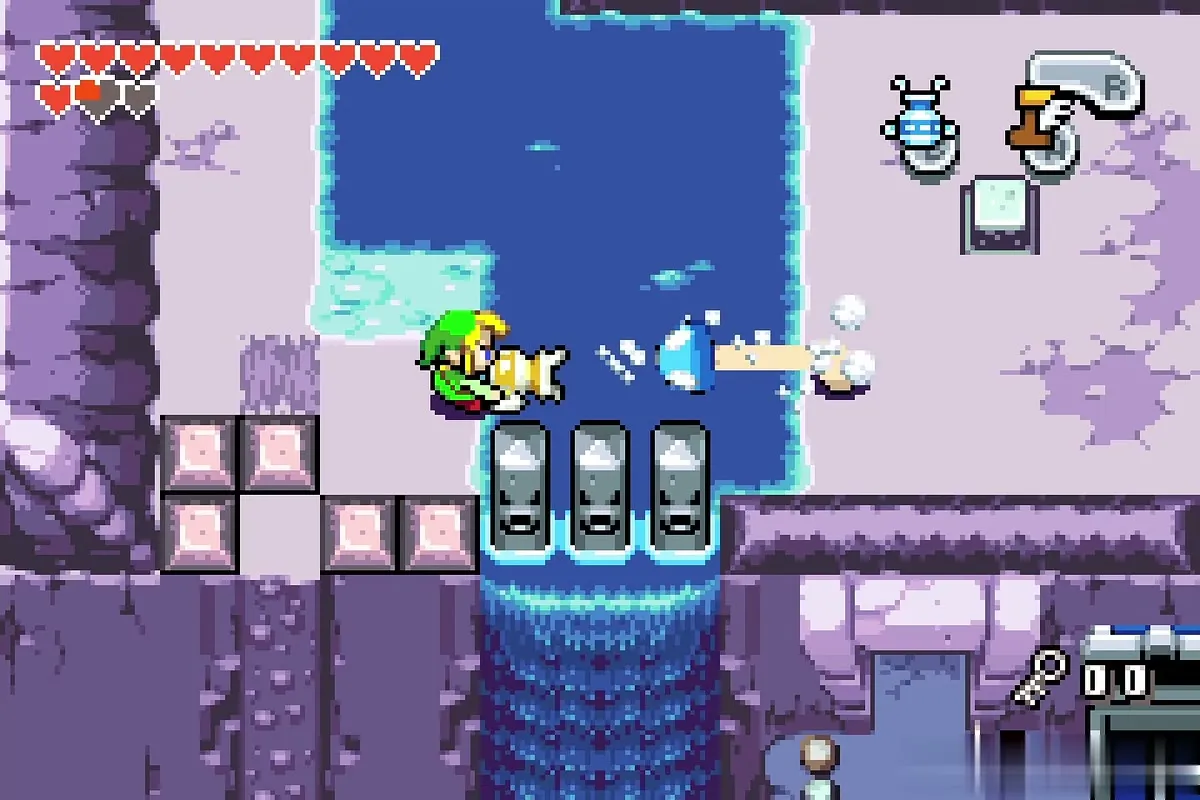
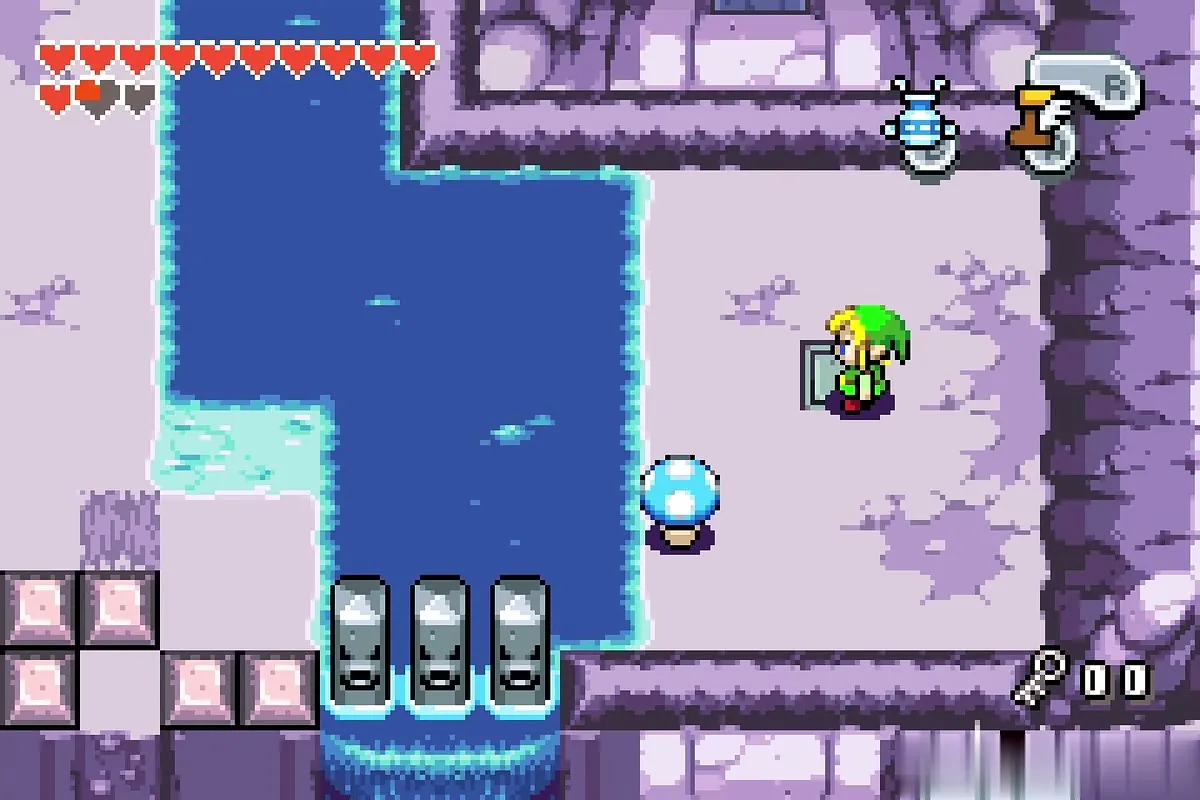
Swim down the waterfall to the lower pool and dive under the roller to reach the stone tablet, which says that the way forward is hidden in the bottom of the pot. Step on the switch below it, then swim into the area outlined like a pot. Dive to the bottom and the second Small Key is waiting there.
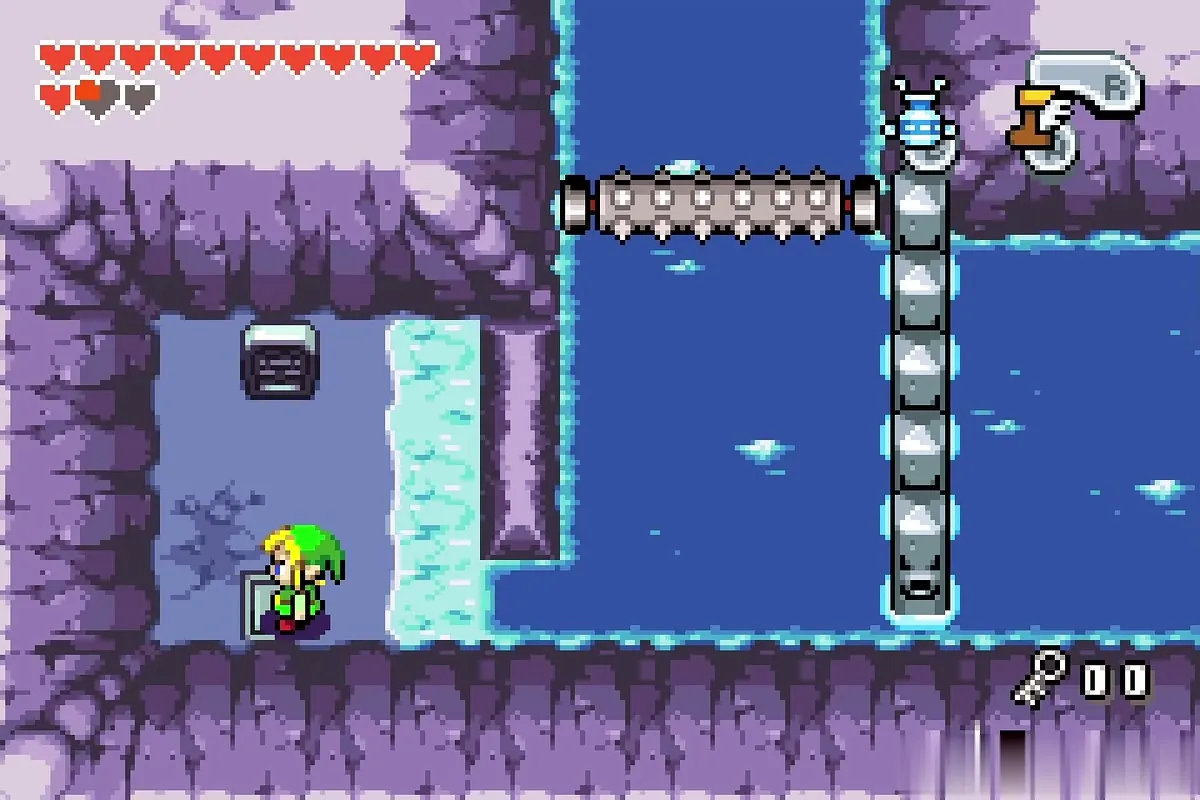
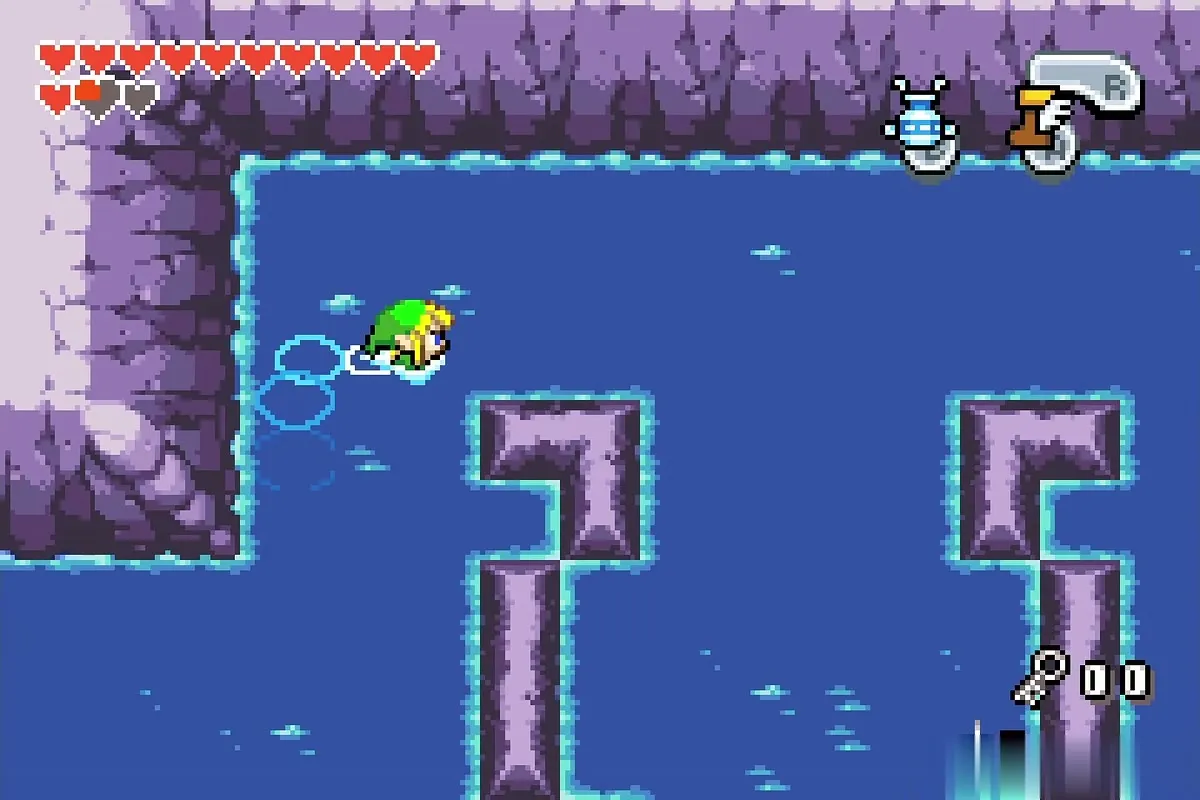
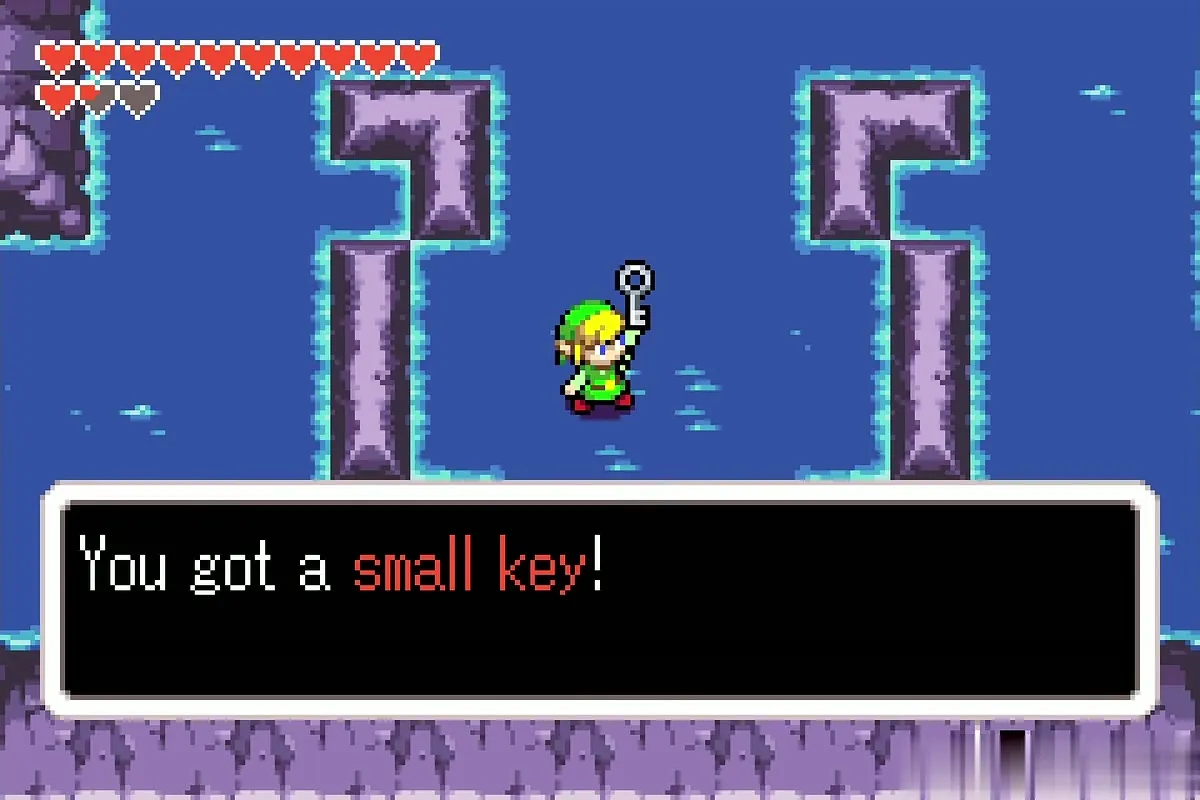
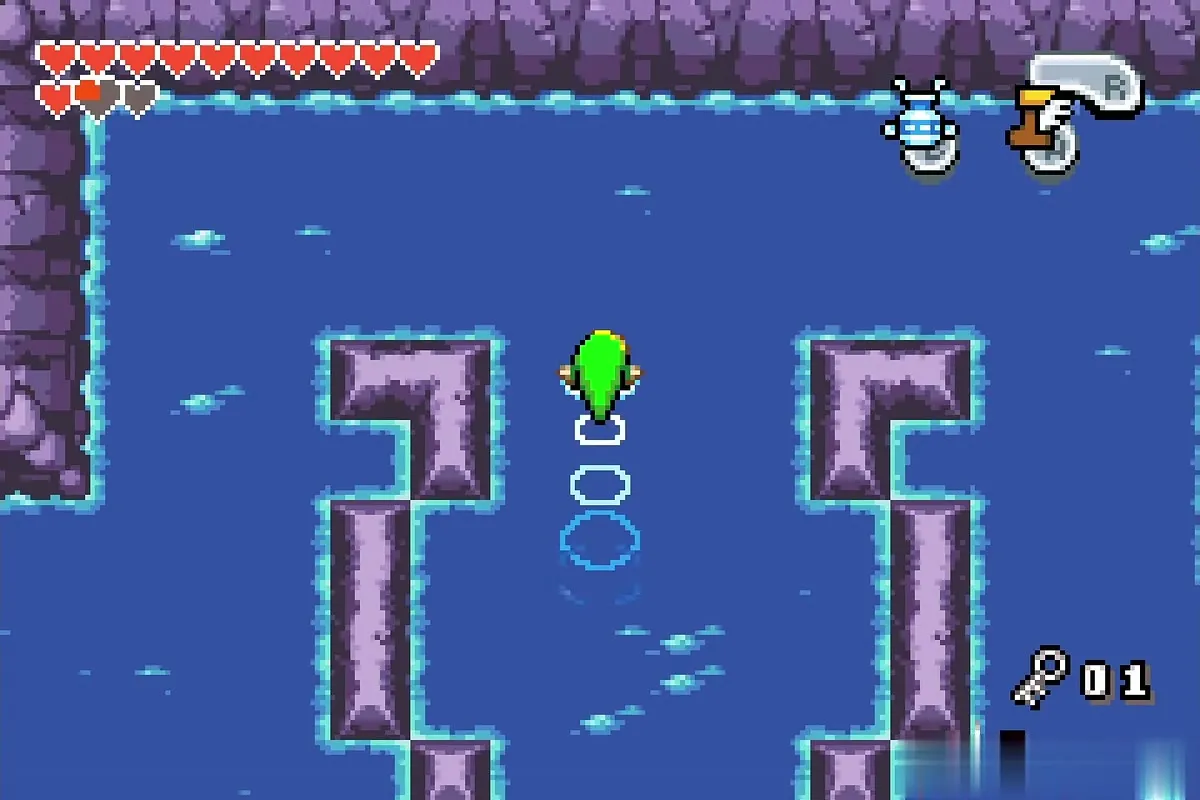
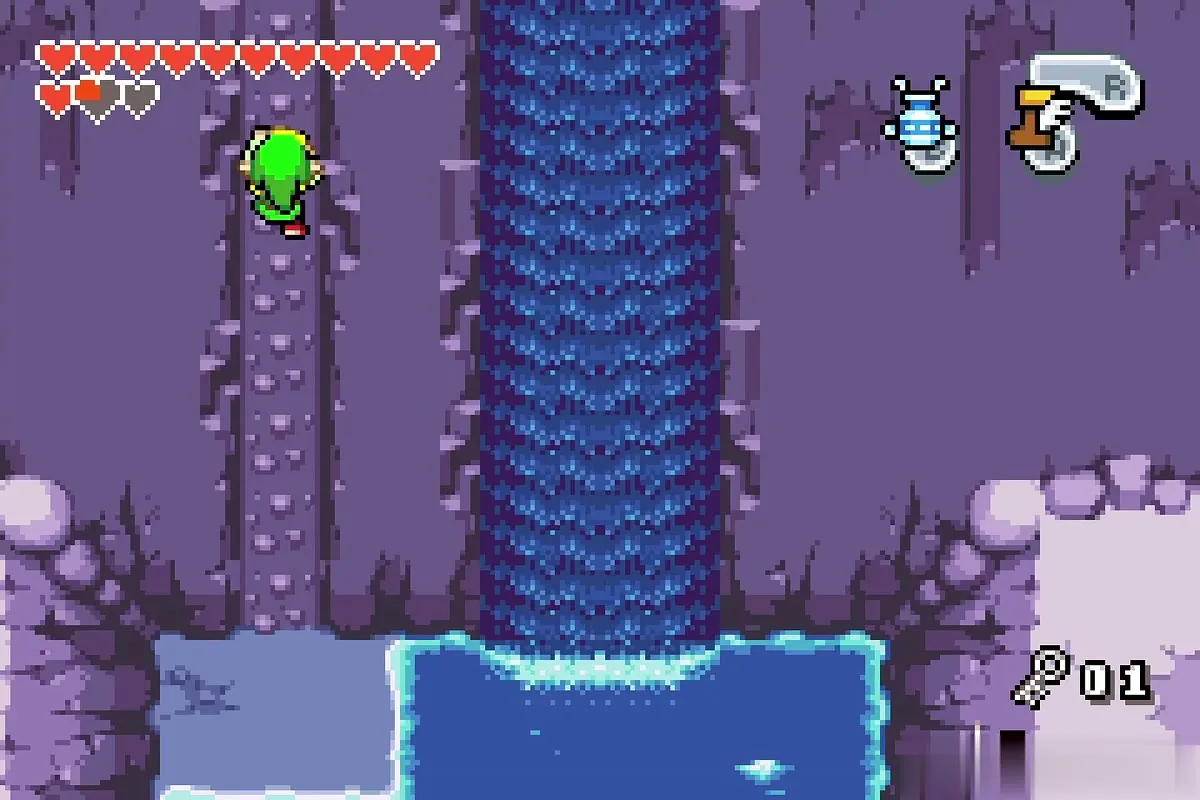
Use the Grip Ring to climb the wall beside the waterfall and head north. Open the locked door with the second Small Key and step on the floor switch inside. Your path now leads to the lily pads.

Lily pads, the Madderpillar and the Compass
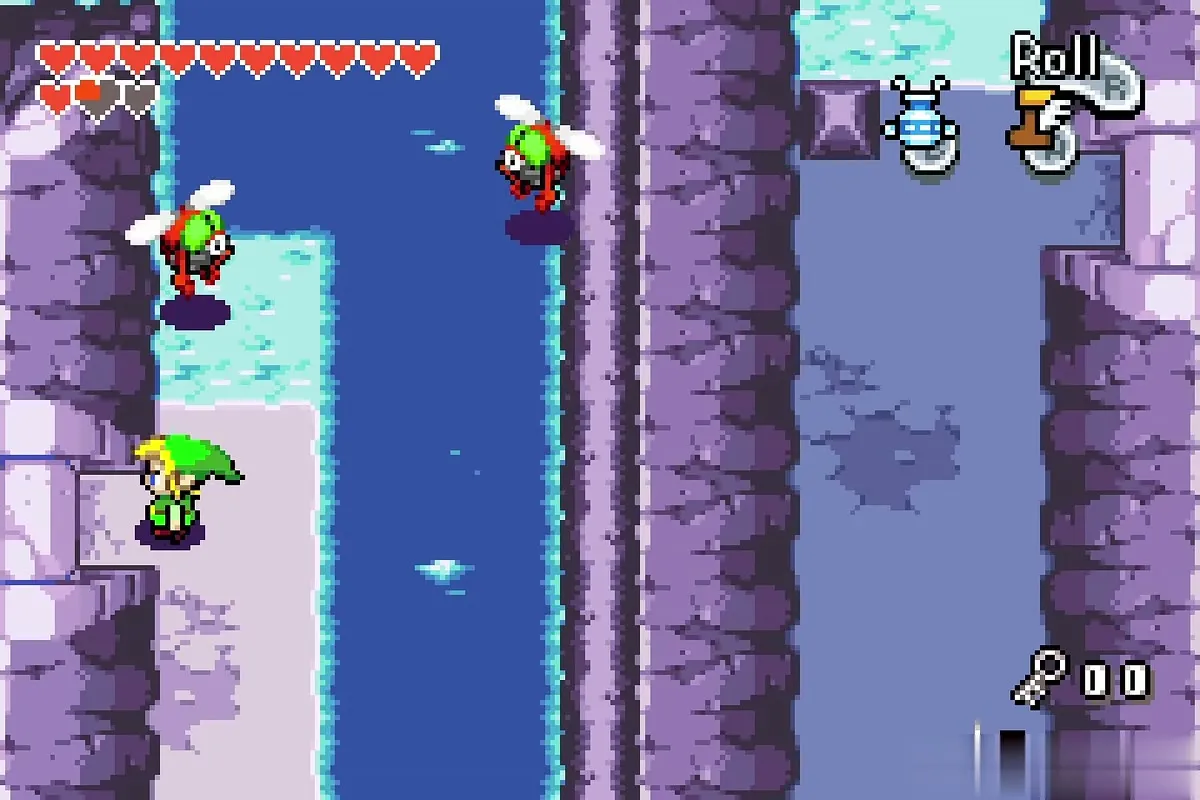
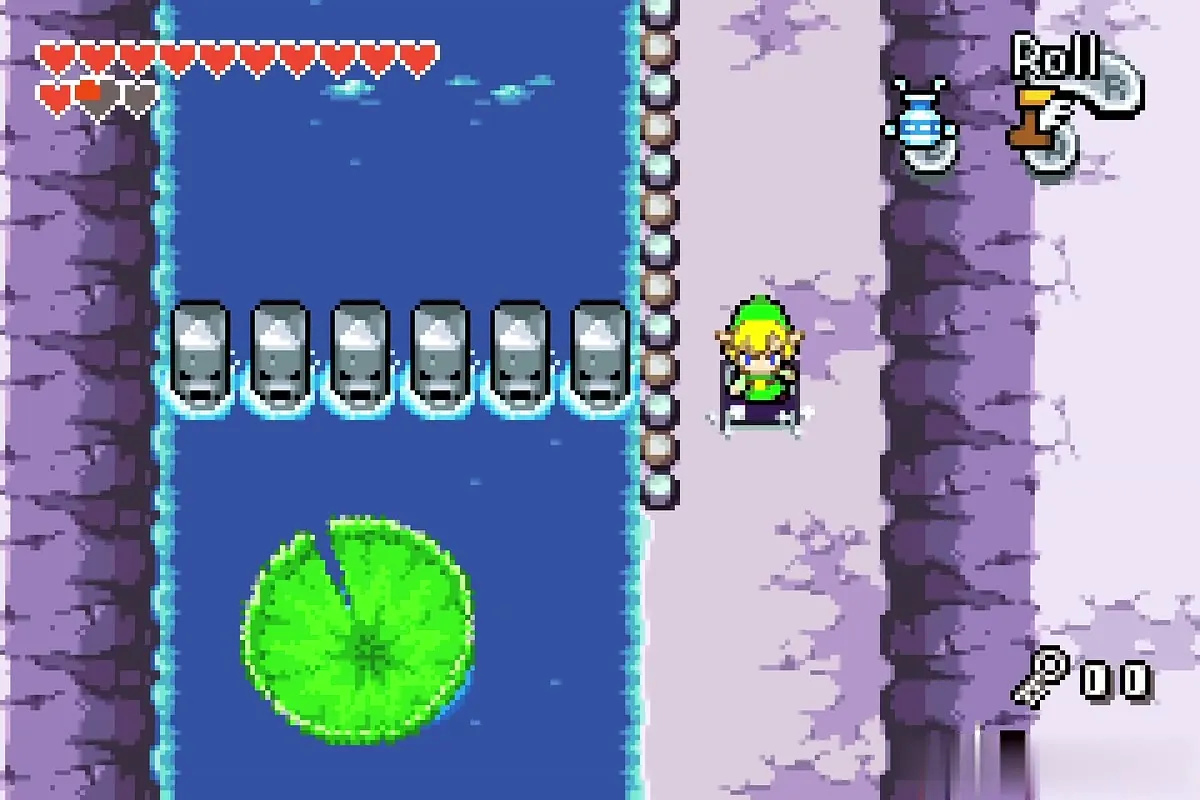
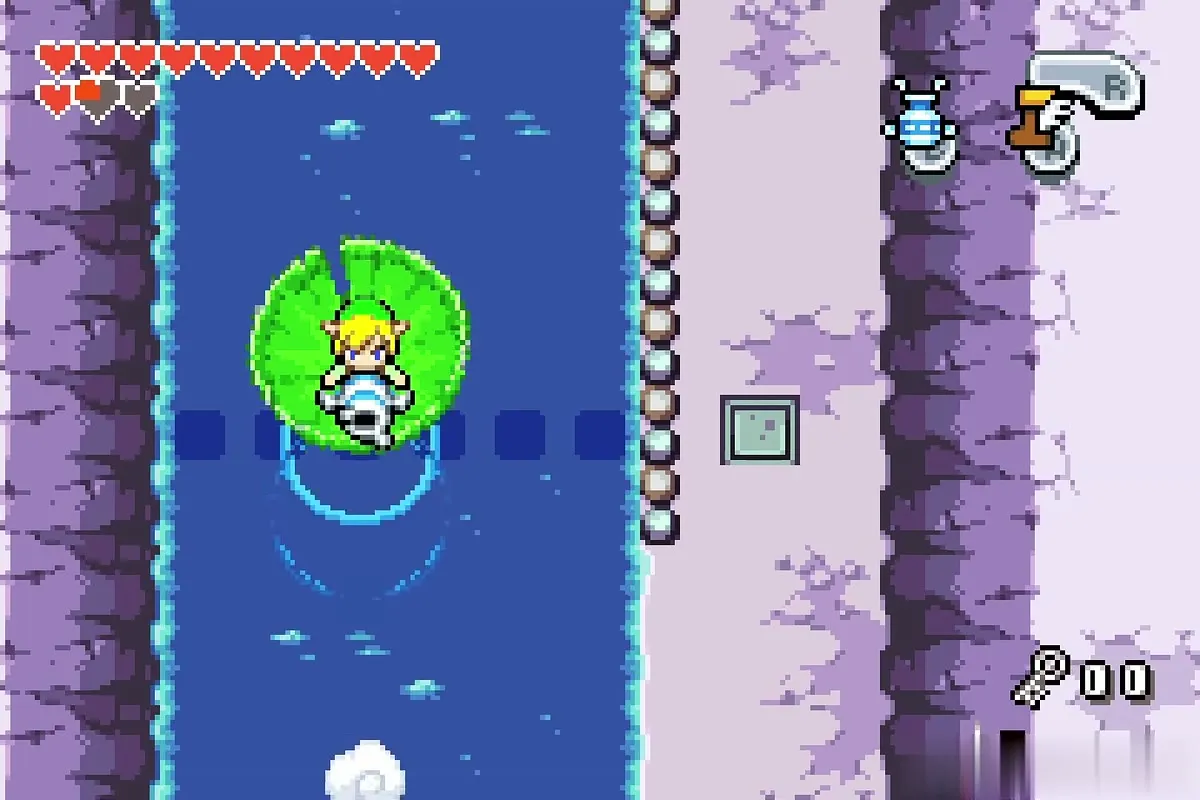
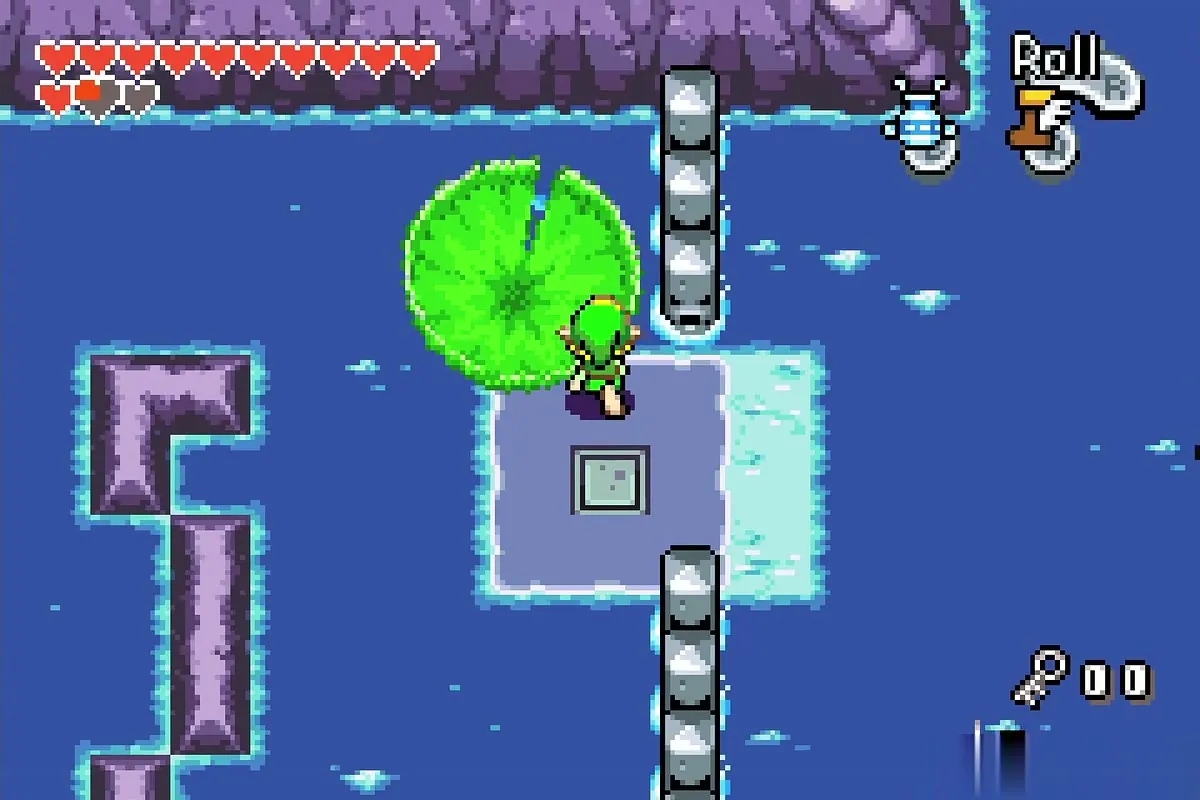
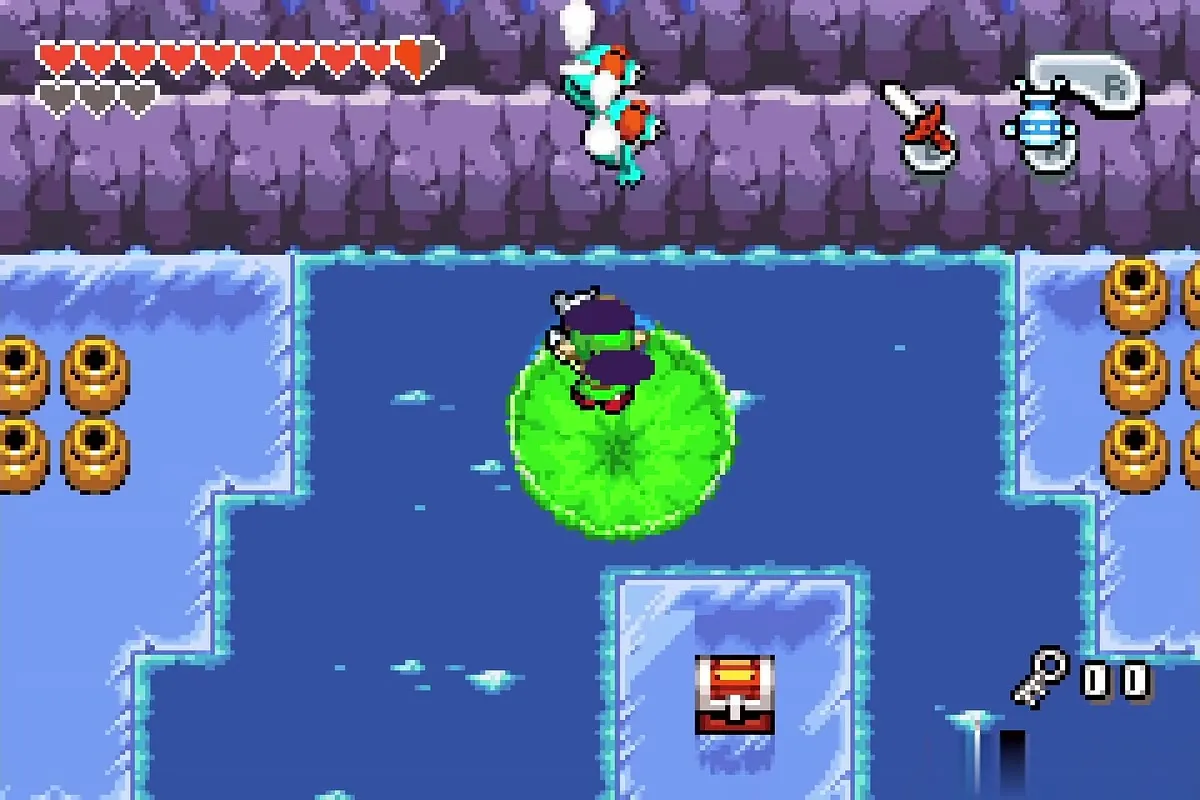
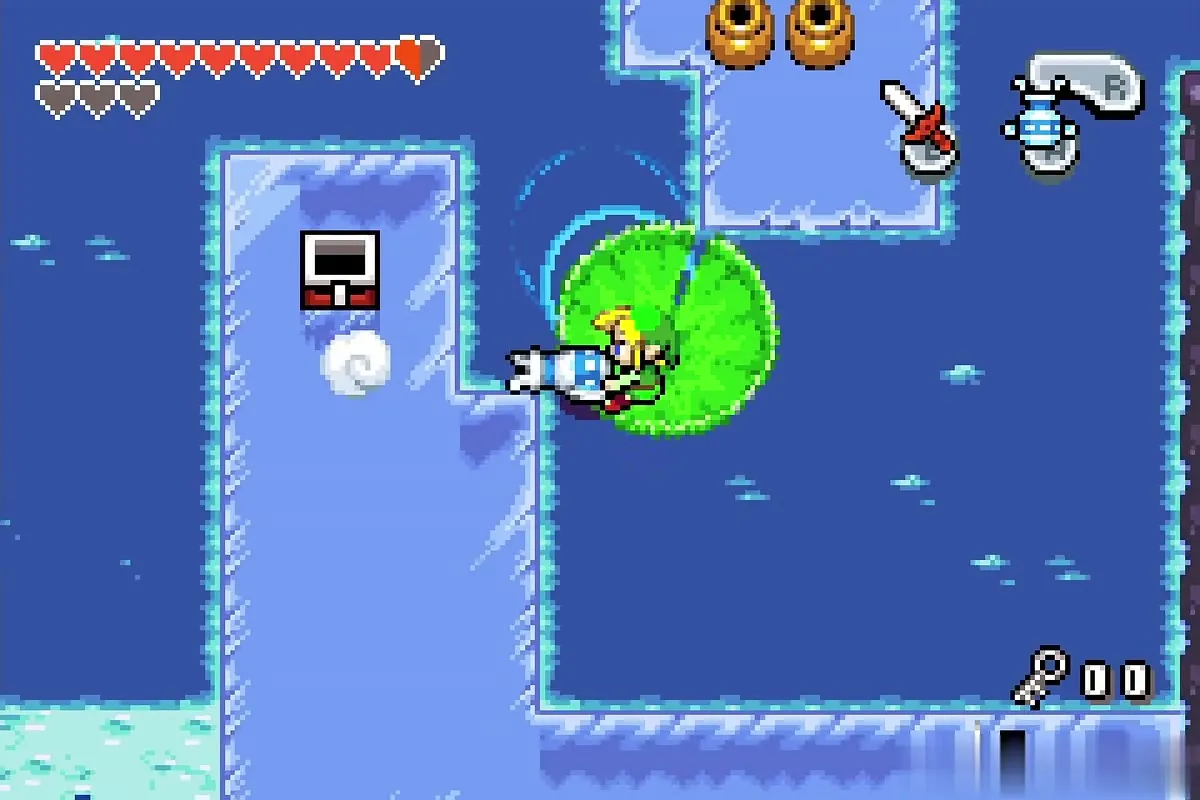
Step onto the green lily pad and blow it along with the Gust Jar, steering it around the spiked rollers. Ride it over the waterfall and down into the next channel, then on to a small island with a floor switch. Press it to lower the water gates, and keep riding east to the ice shore. Red flying bugs drift over the water, so watch for them.
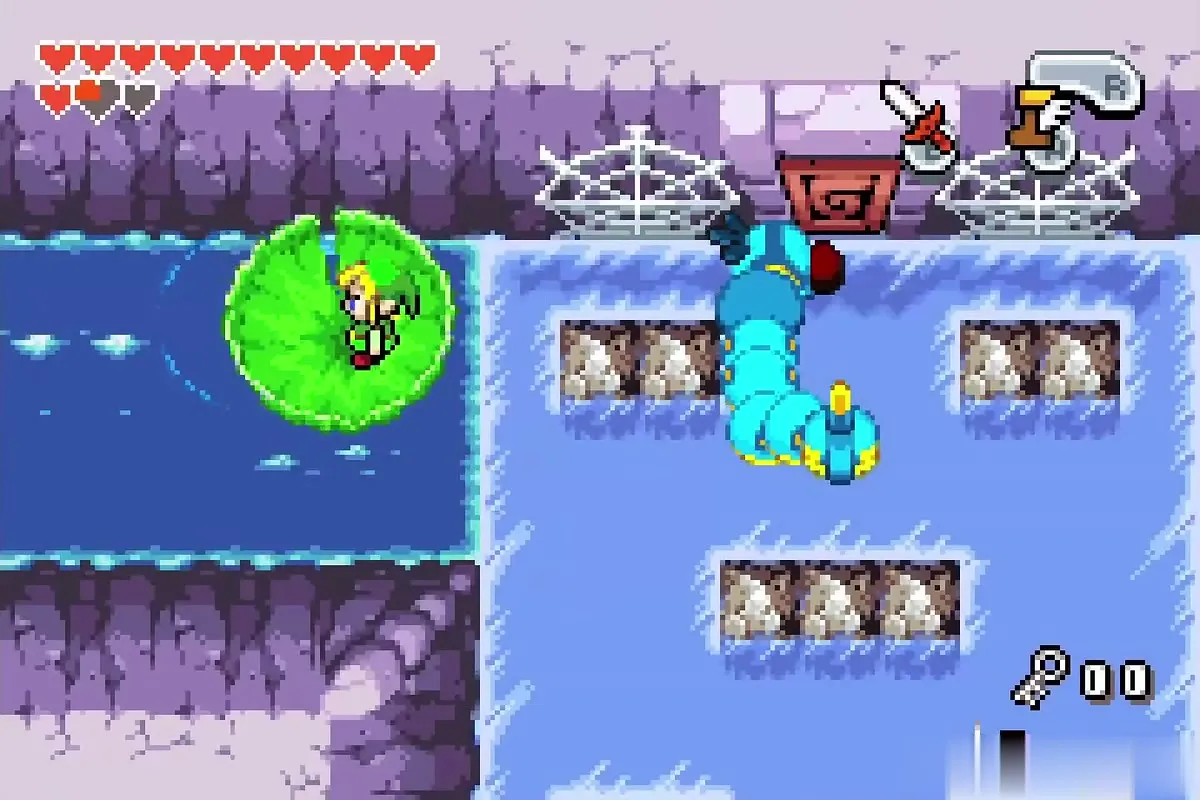
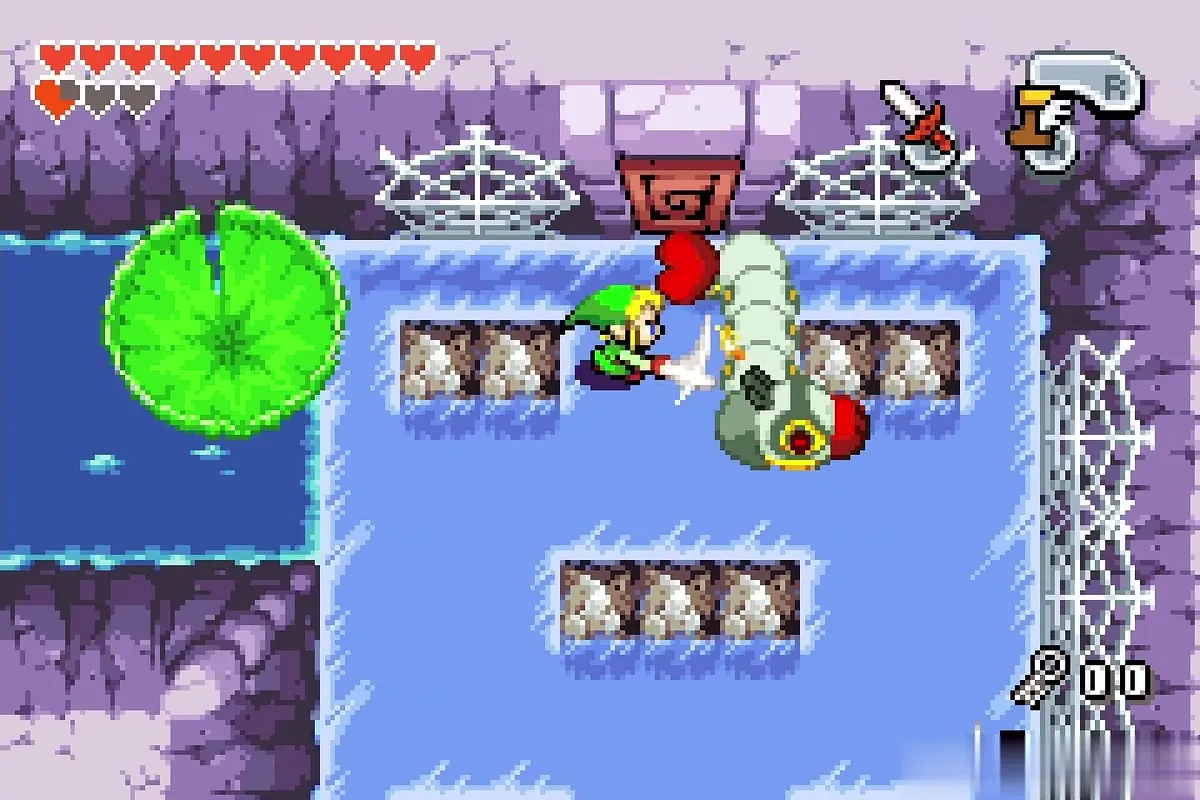
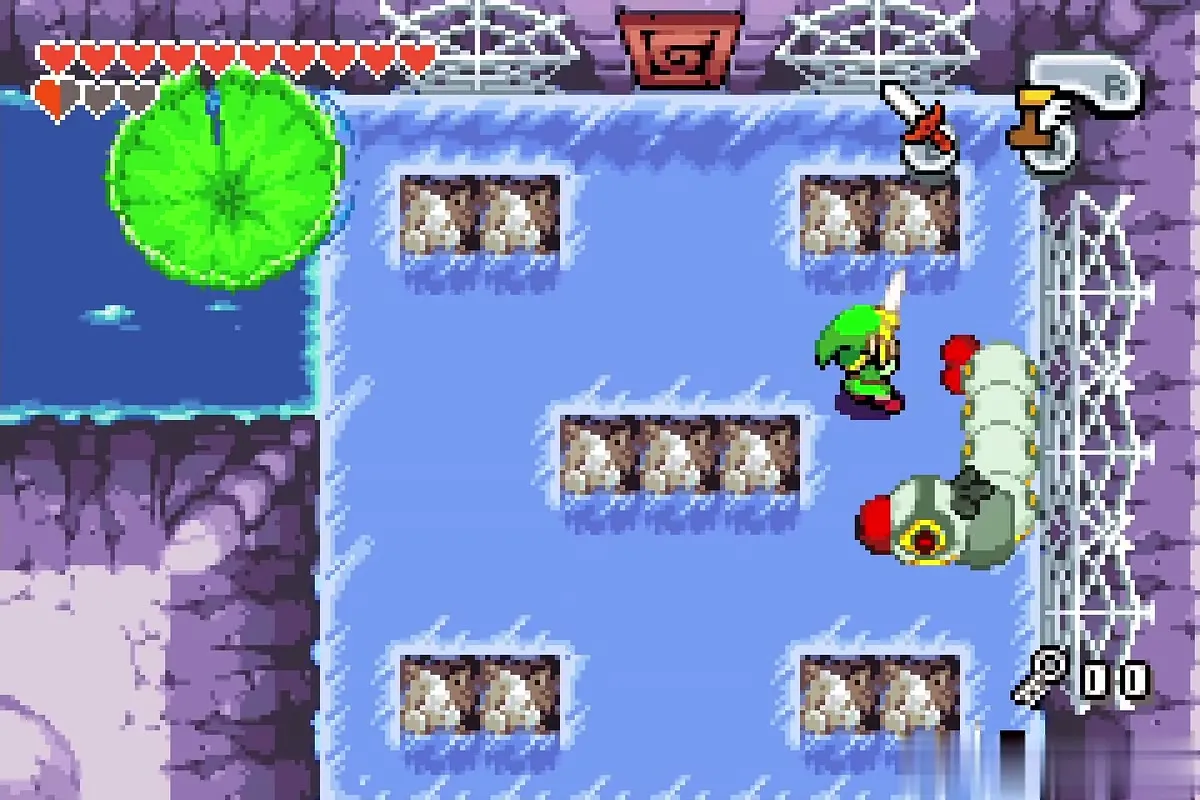
On the ice you meet a Madderpillar, a segmented worm like the one in the Deepwood Shrine. Dodge its charges and strike it from the side or behind. Cobwebs line the walls and bounce you back into the worm, so keep away from them. When it is beaten, the north door opens.
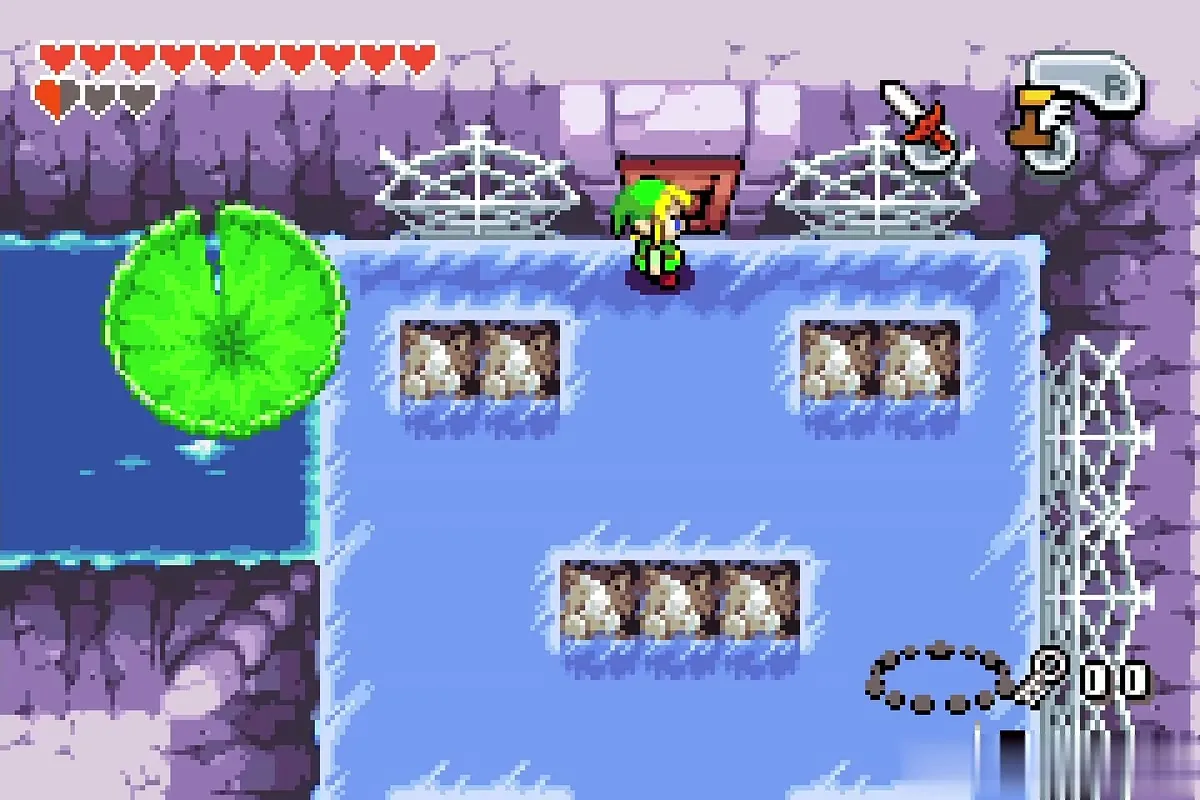
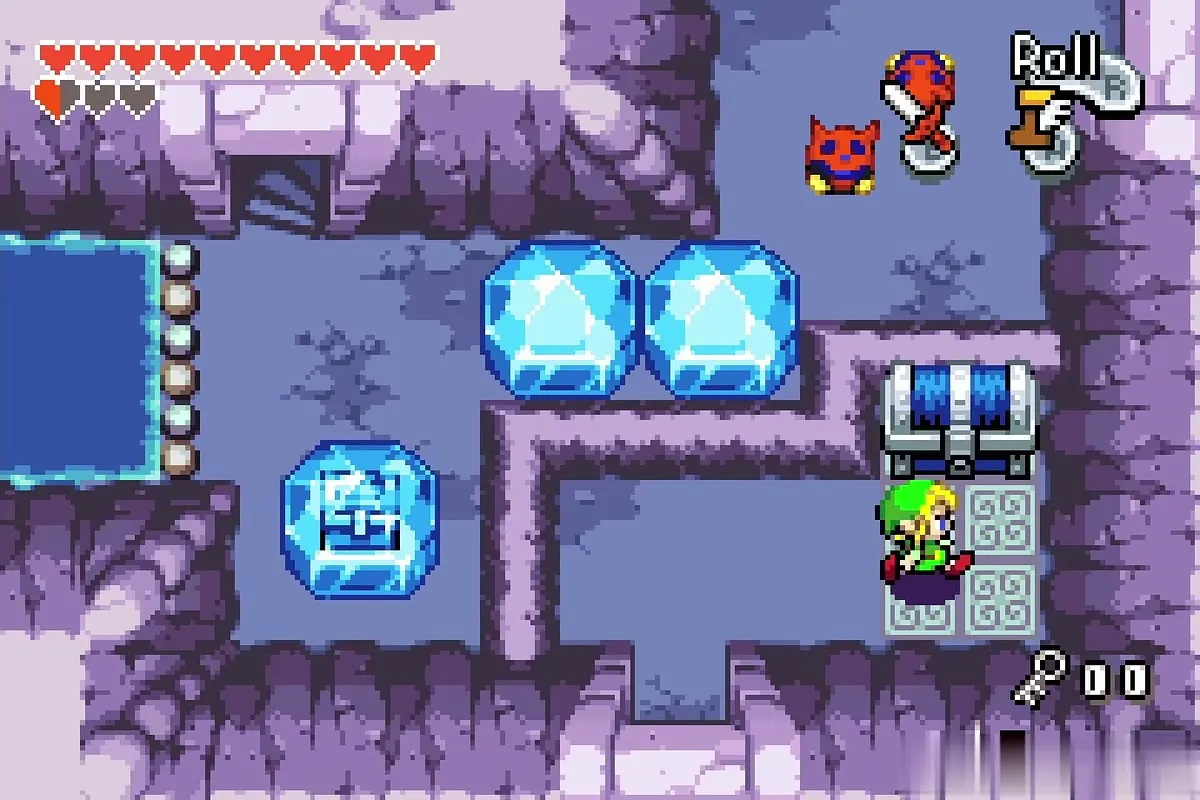
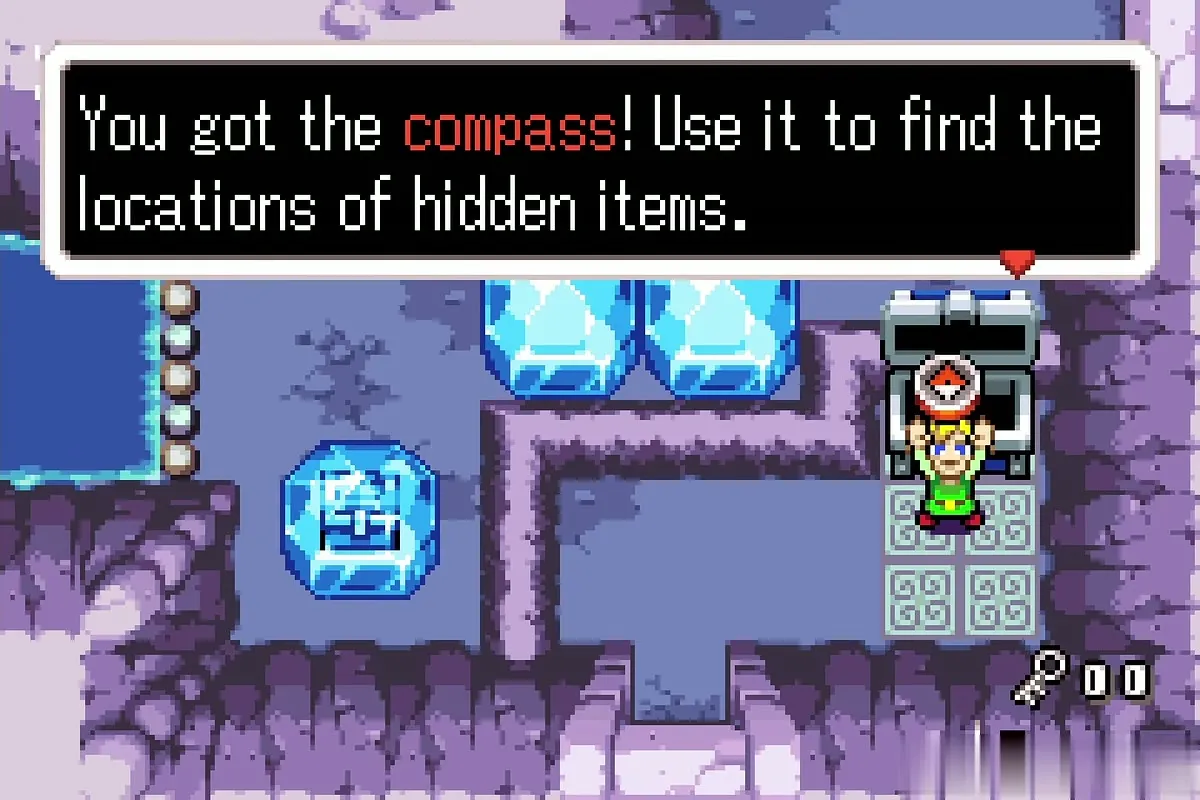
Beyond the door is a small room with ice blocks and a chest. Open it to take the Compass.
Ice-block switch and the 50 rupees
Return to the lily pad and head north-west, stepping on the island switch to lower another gate. Swim onto the large ice field with floating blocks. Push one ice block onto the round floor switch next to the purple pillar by the water gate; it takes a few pushes to line the block up, and the switch lowers the gate that blocks the lily pad.
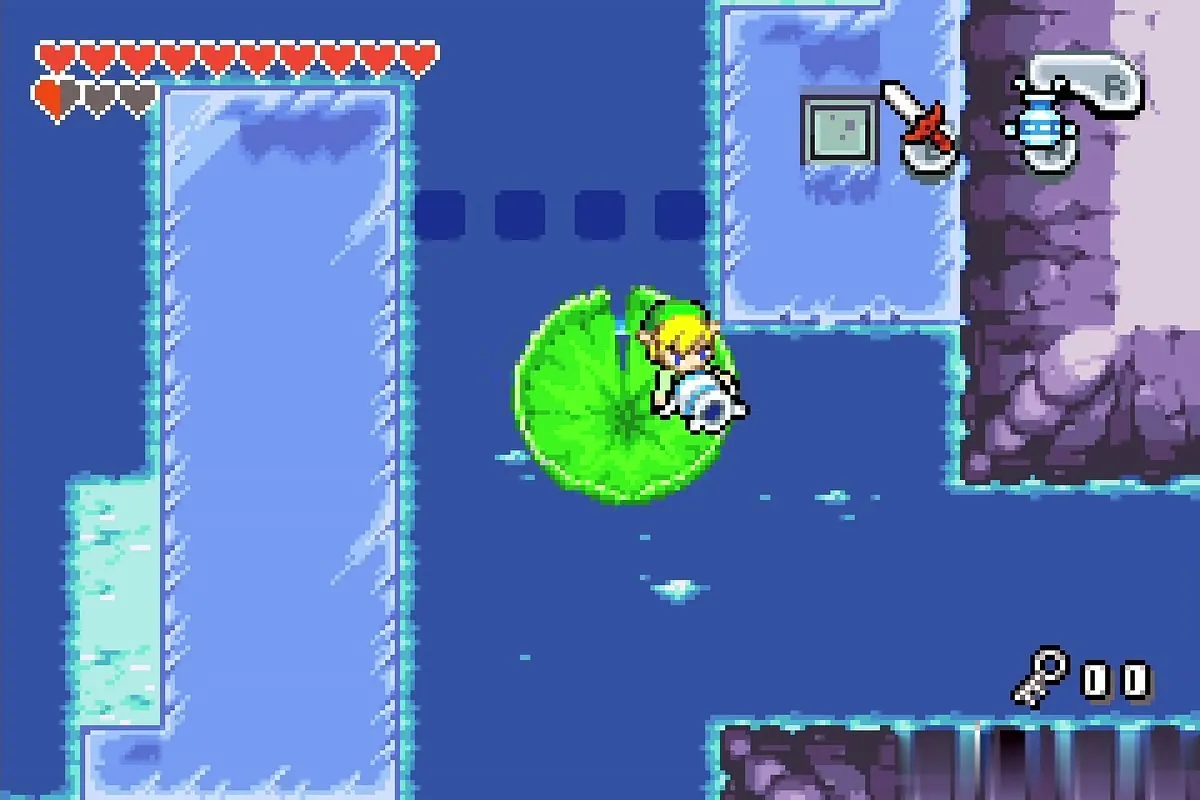
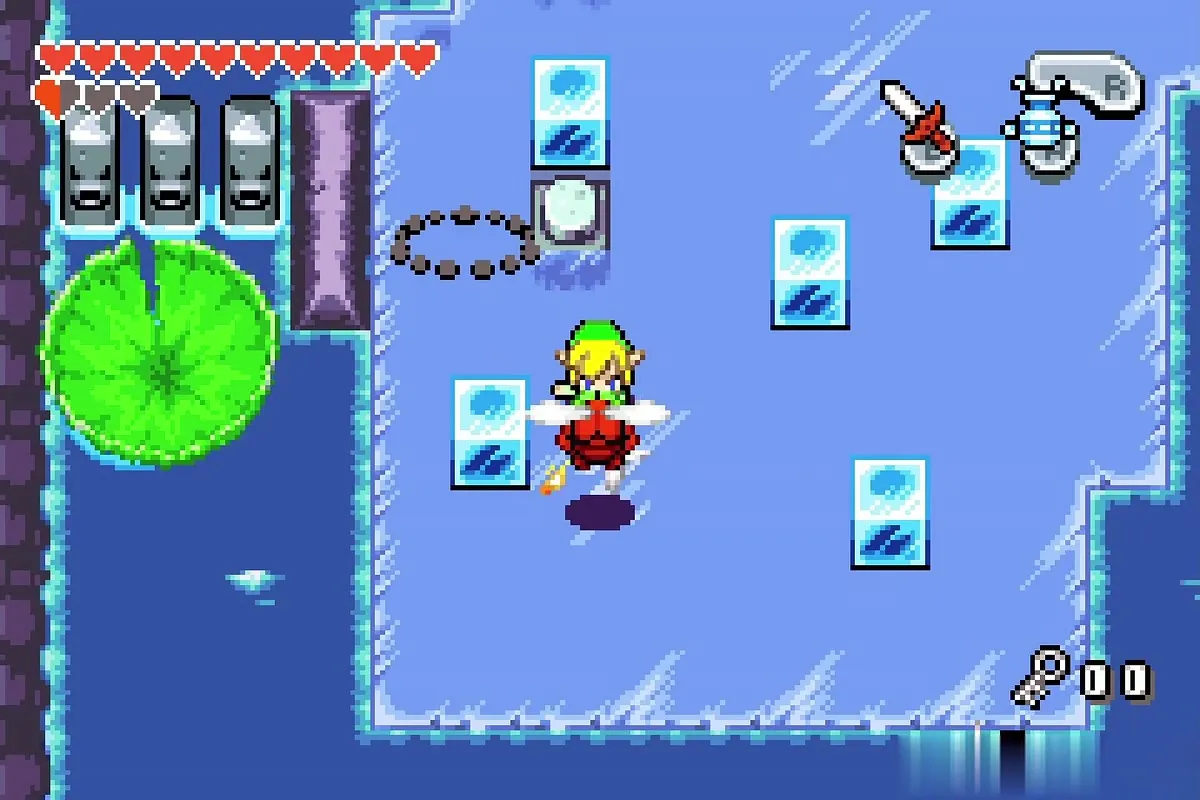
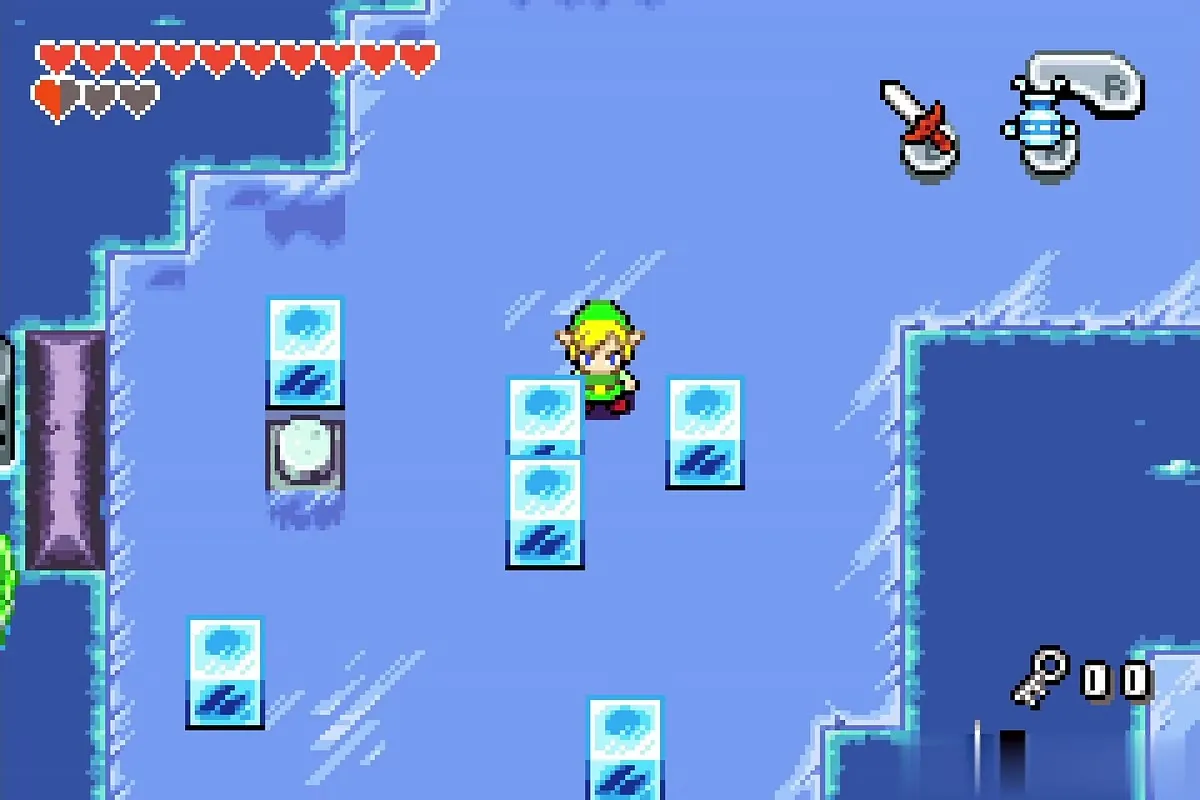
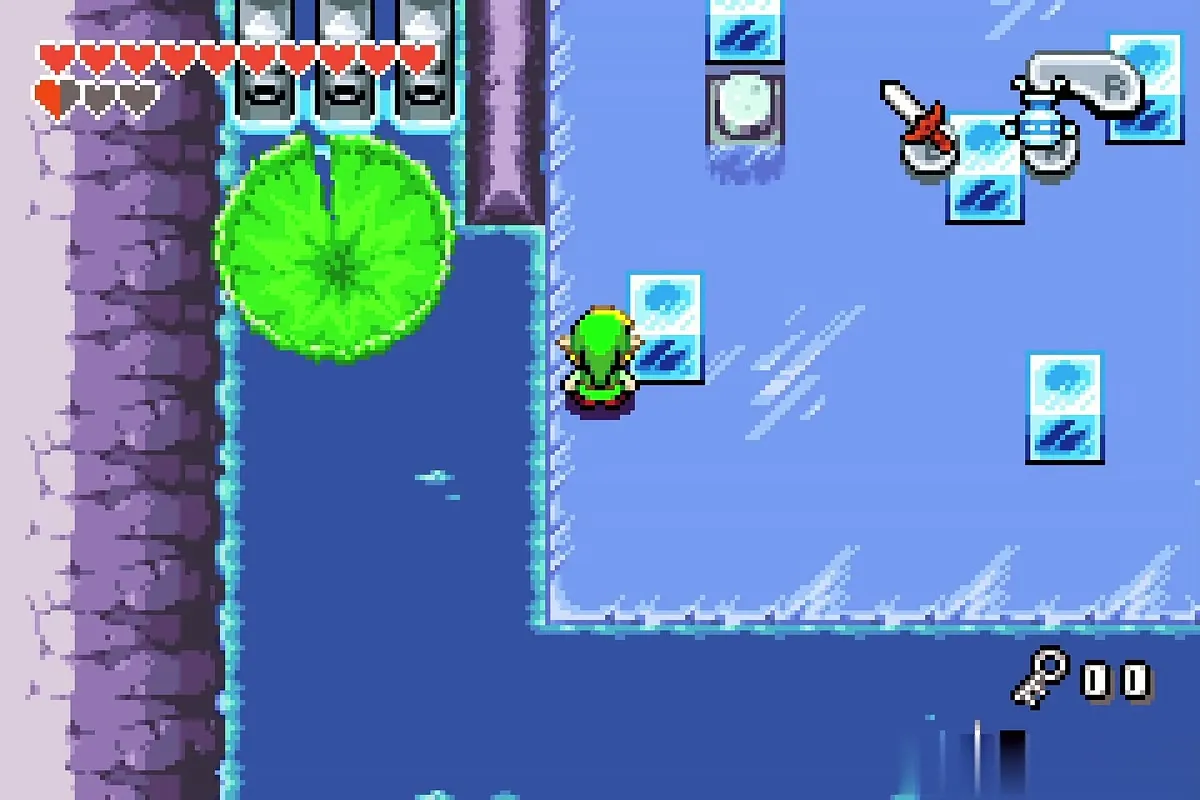
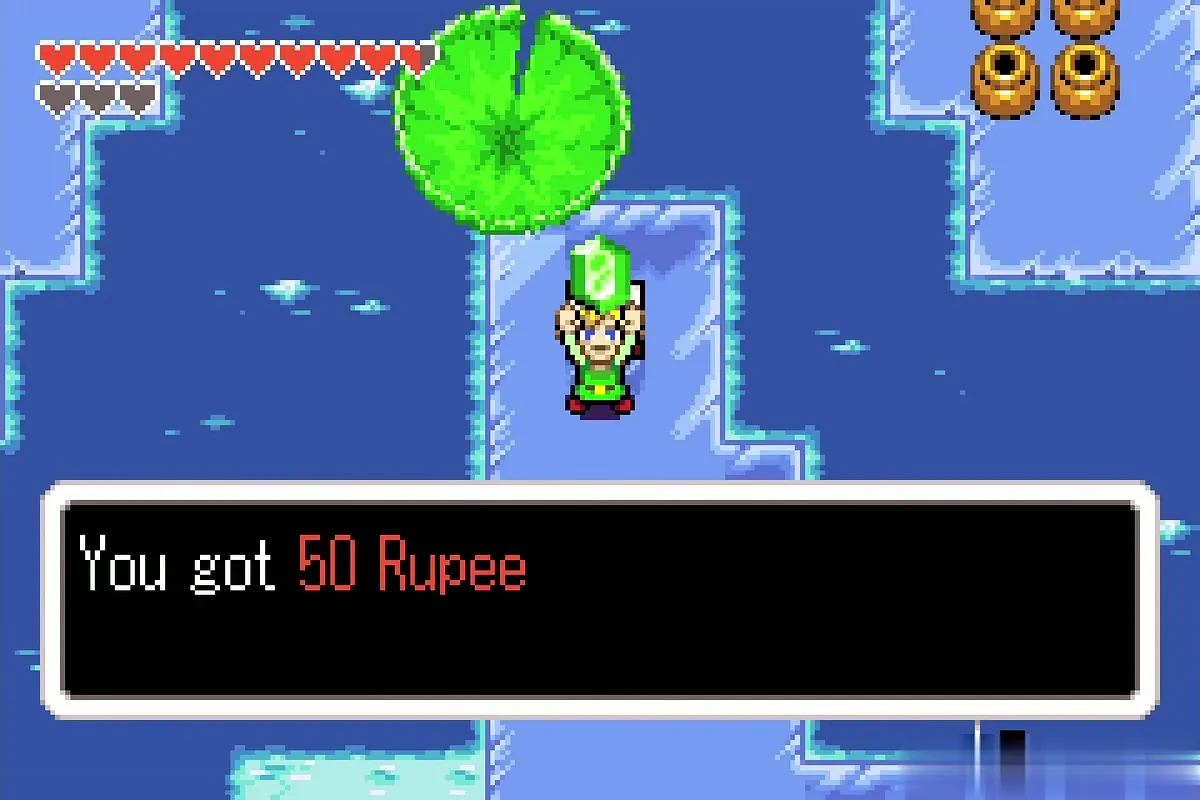
Ride the lily pad north to the narrow island with a chest. Open it for 50 rupees, then step on the switch beside the chest. Continue by lily pad to the north-east door.

Mulldozers and the blue warp tile
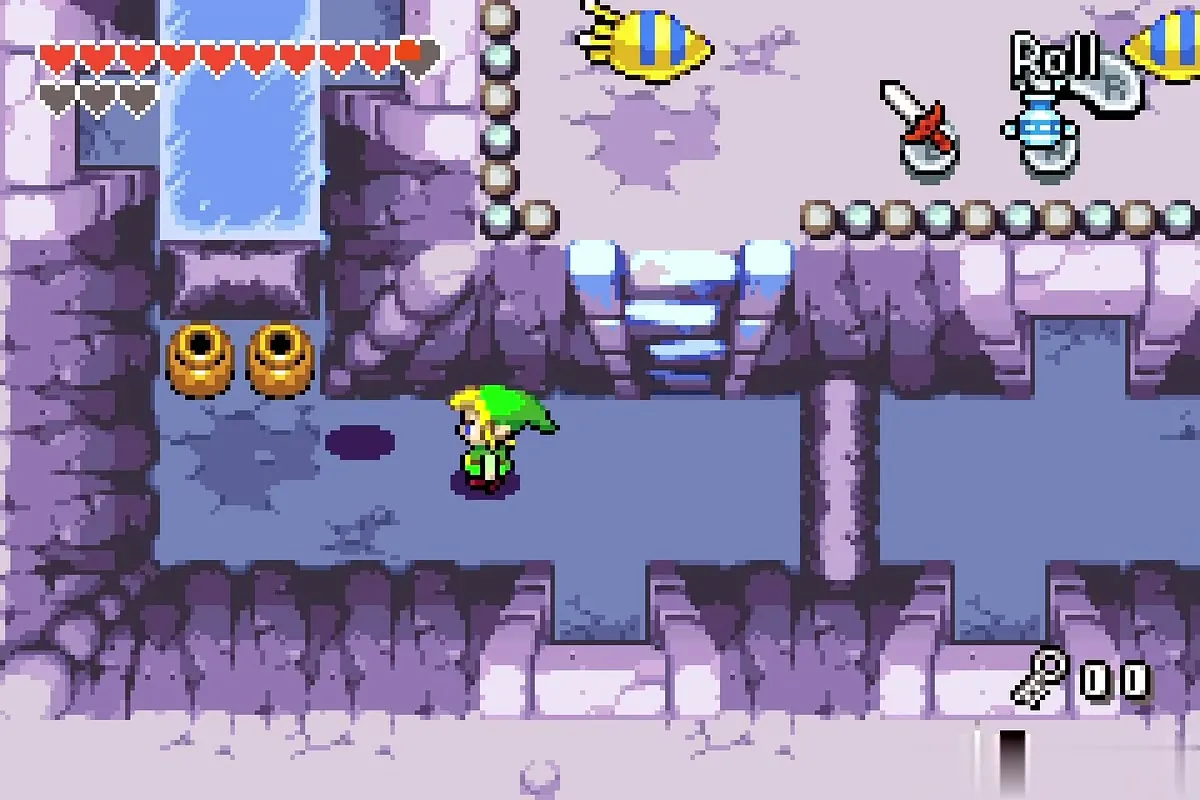
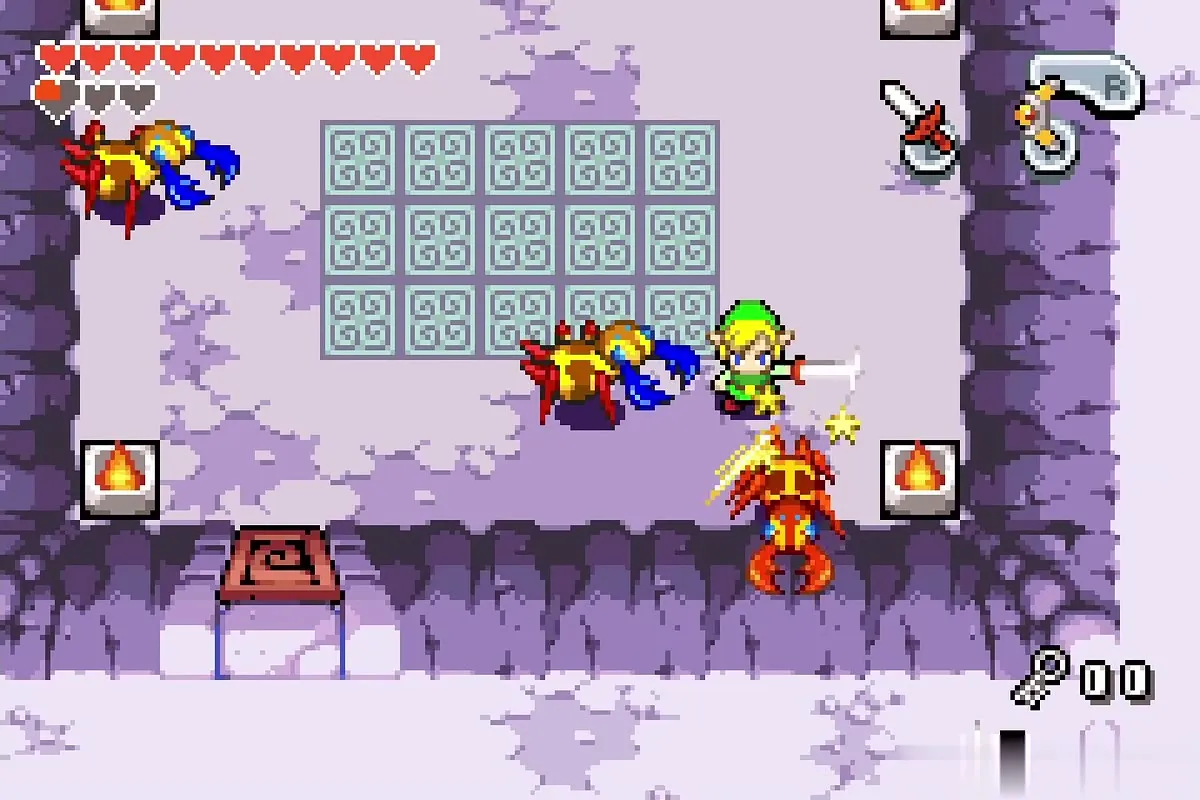
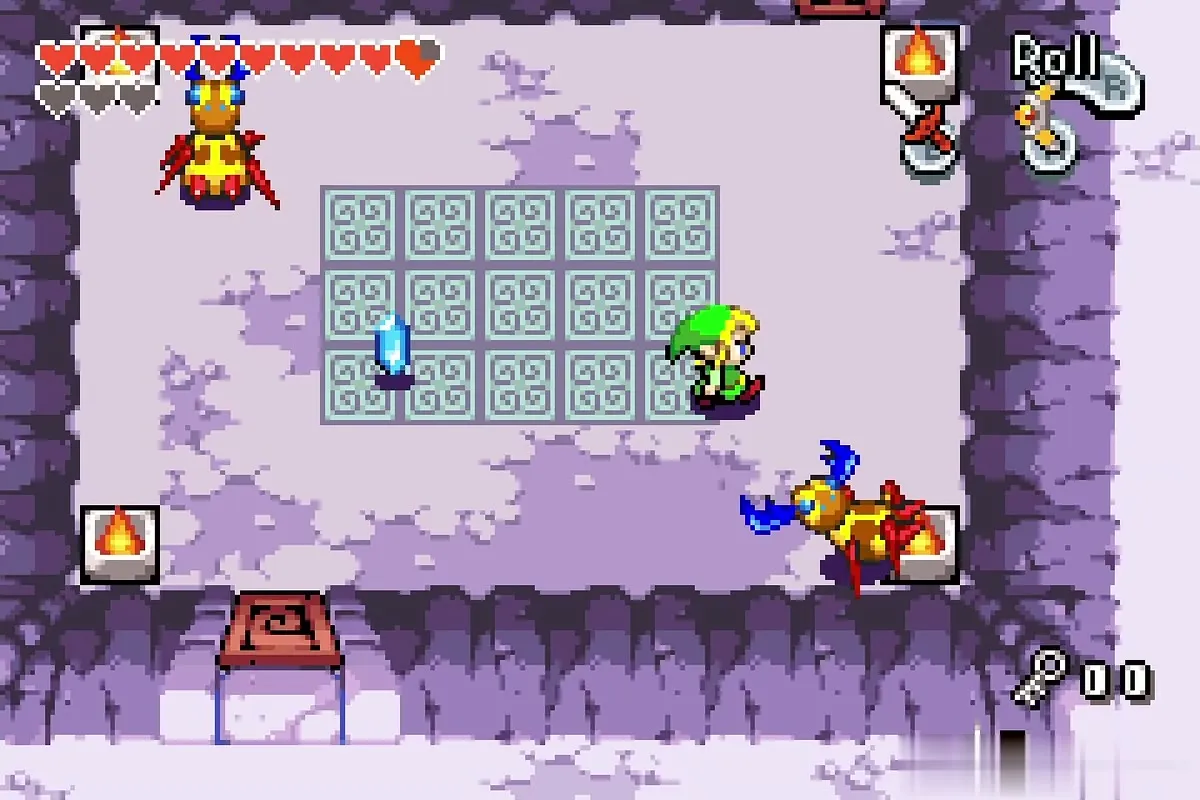
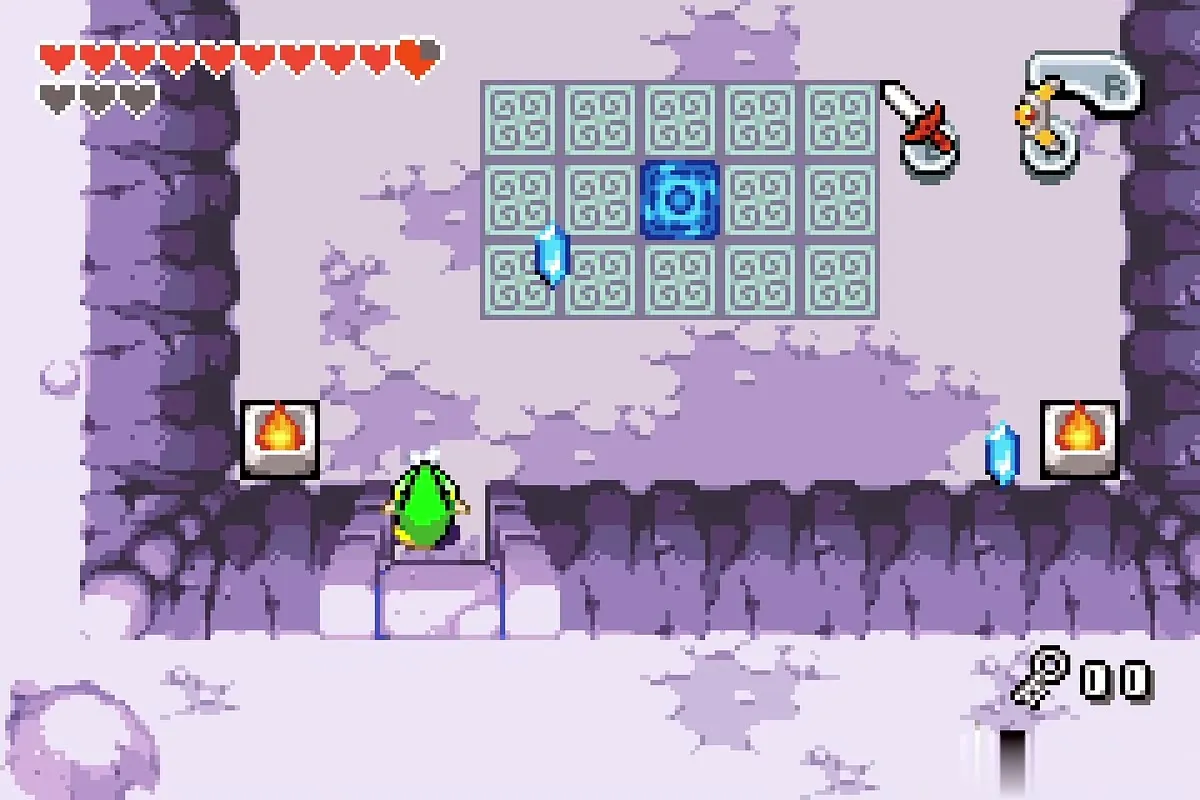
The door opens onto a tiny dark room with a torch. Head on to the stairs, cross the platform, and go through the north door into a carpeted room with three Mulldozers, red beetles with pincers. Keep your shield up against the pincers, and strike each one from behind or when it has thrown its pincers away. When all three are beaten, a blue warp tile appears in the middle of the room as a shortcut back toward the entrance.
The four-pad lever room
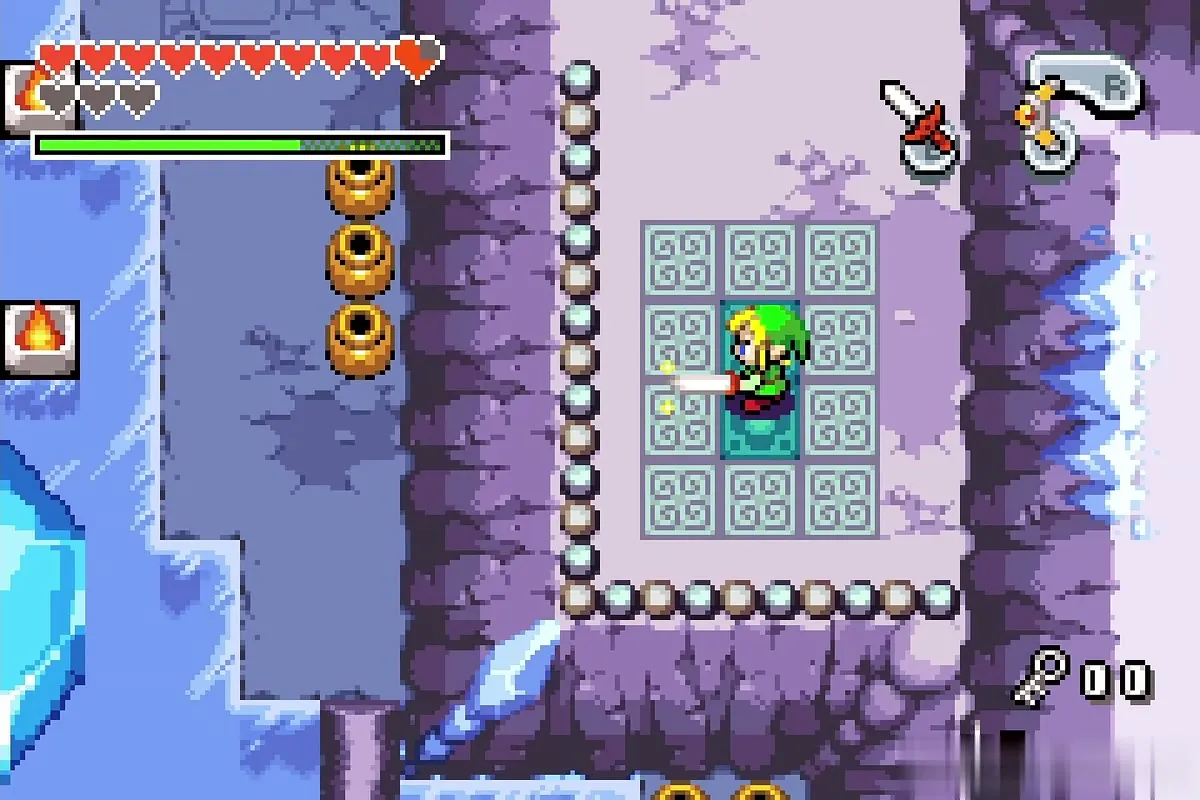
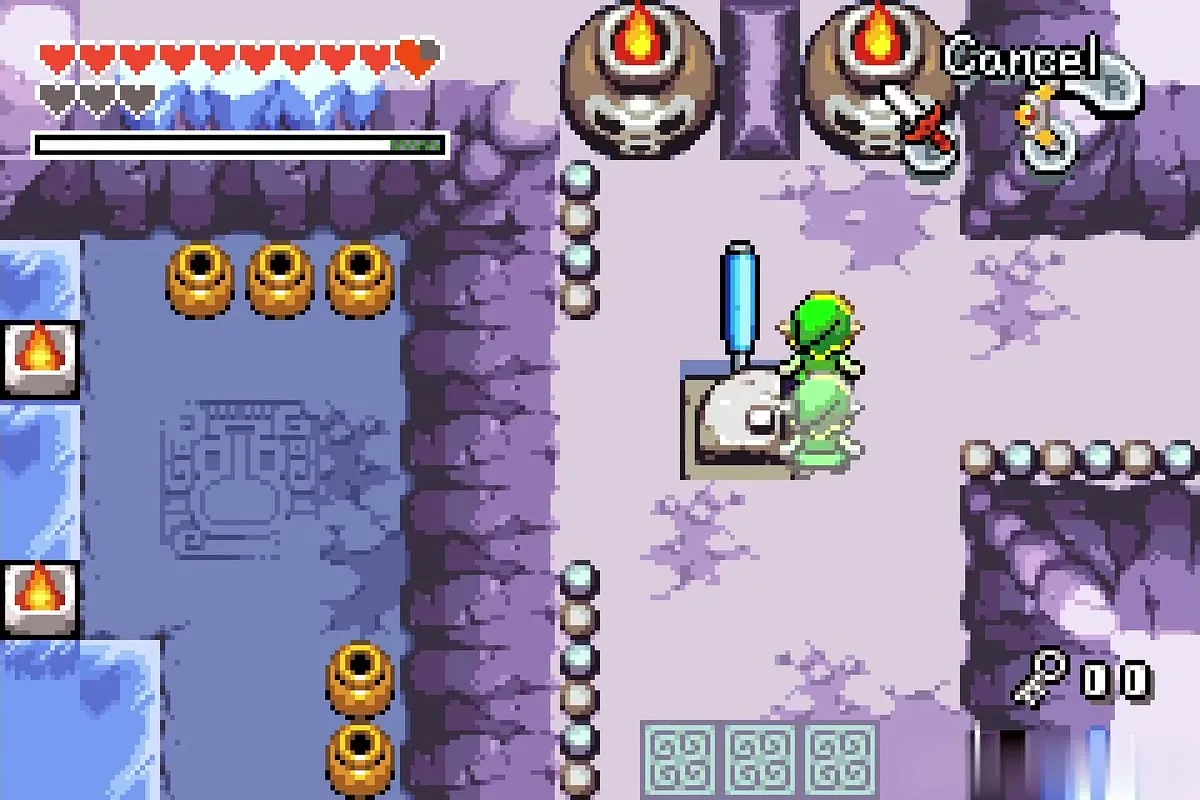
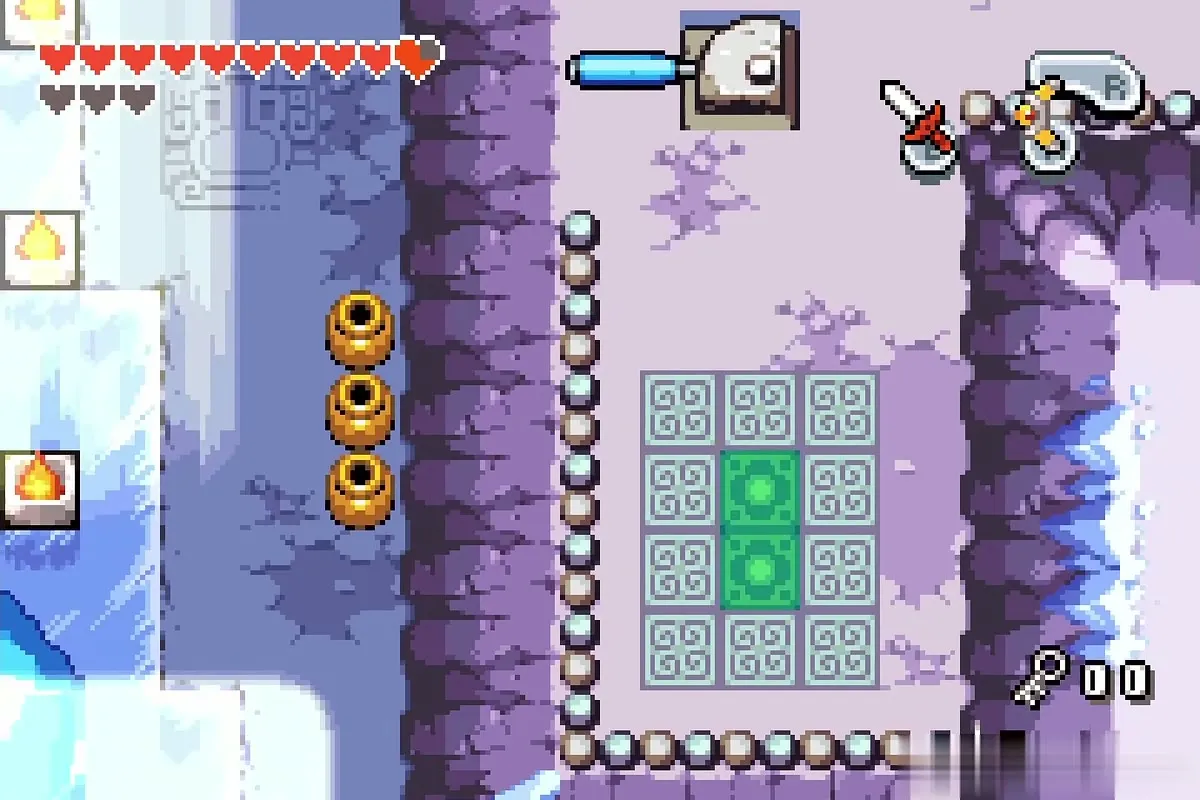
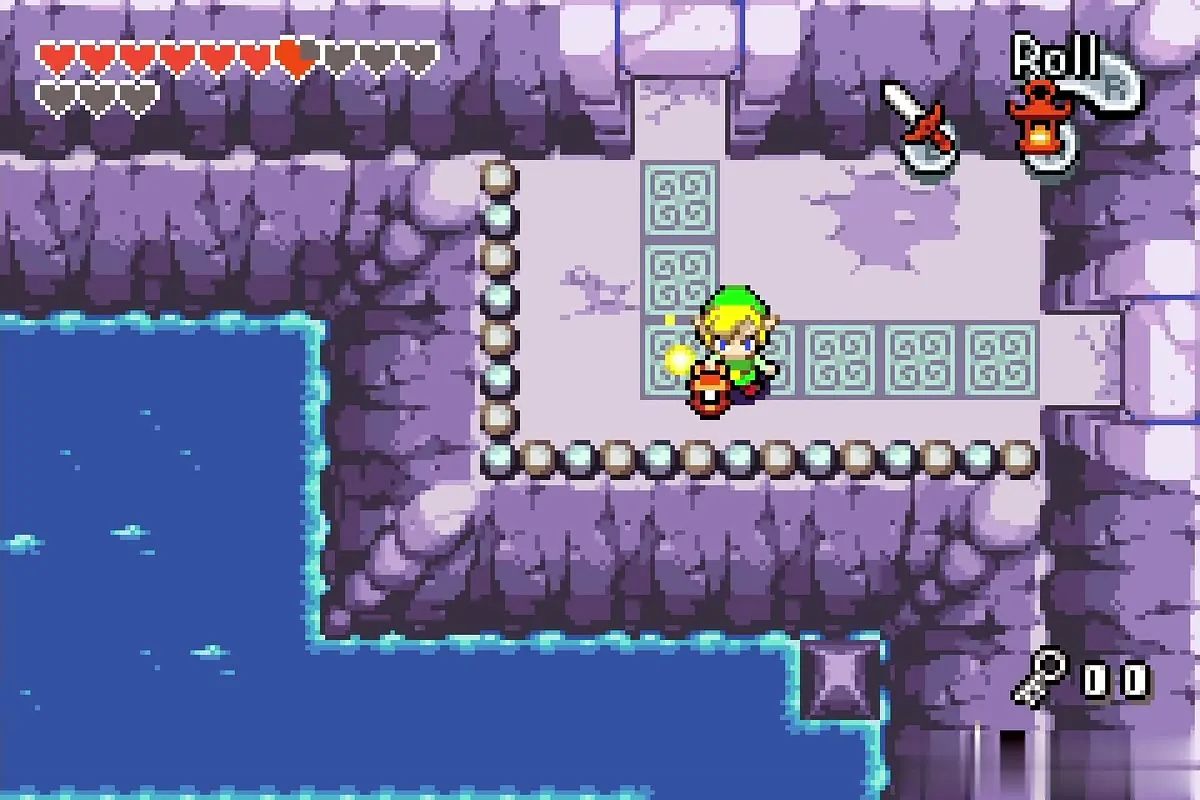
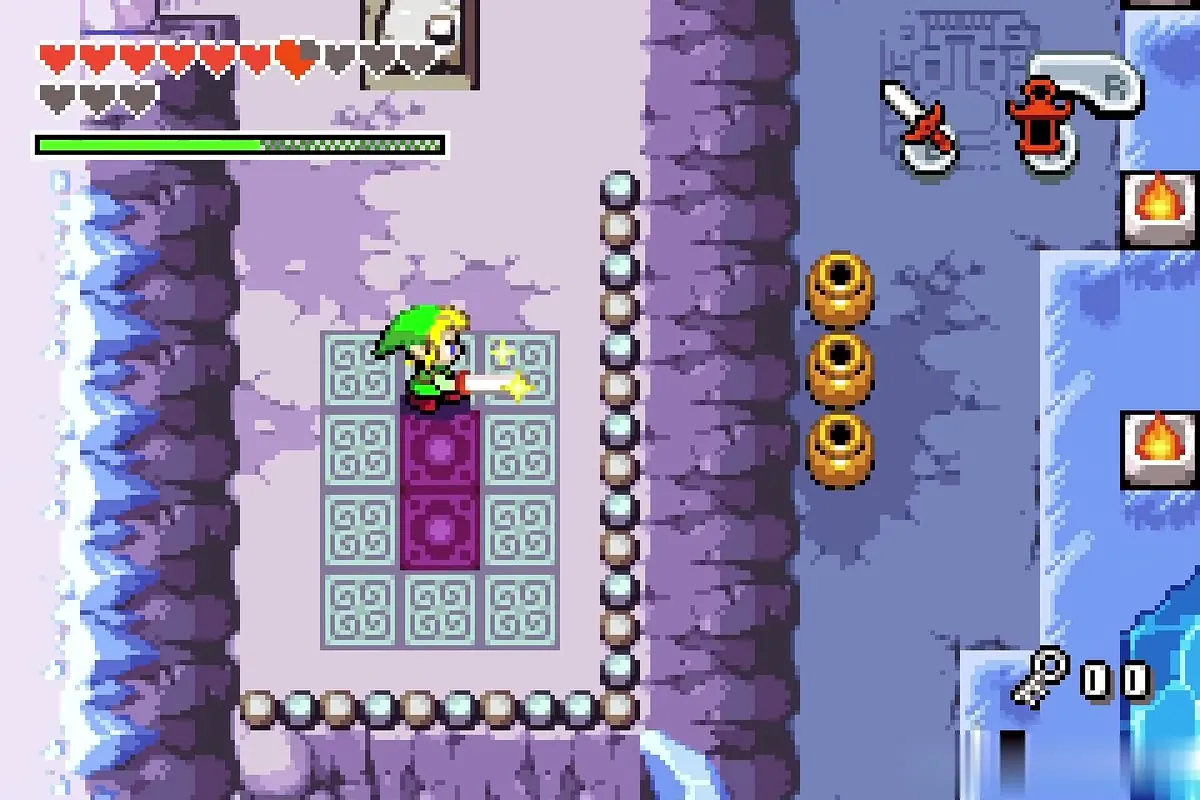
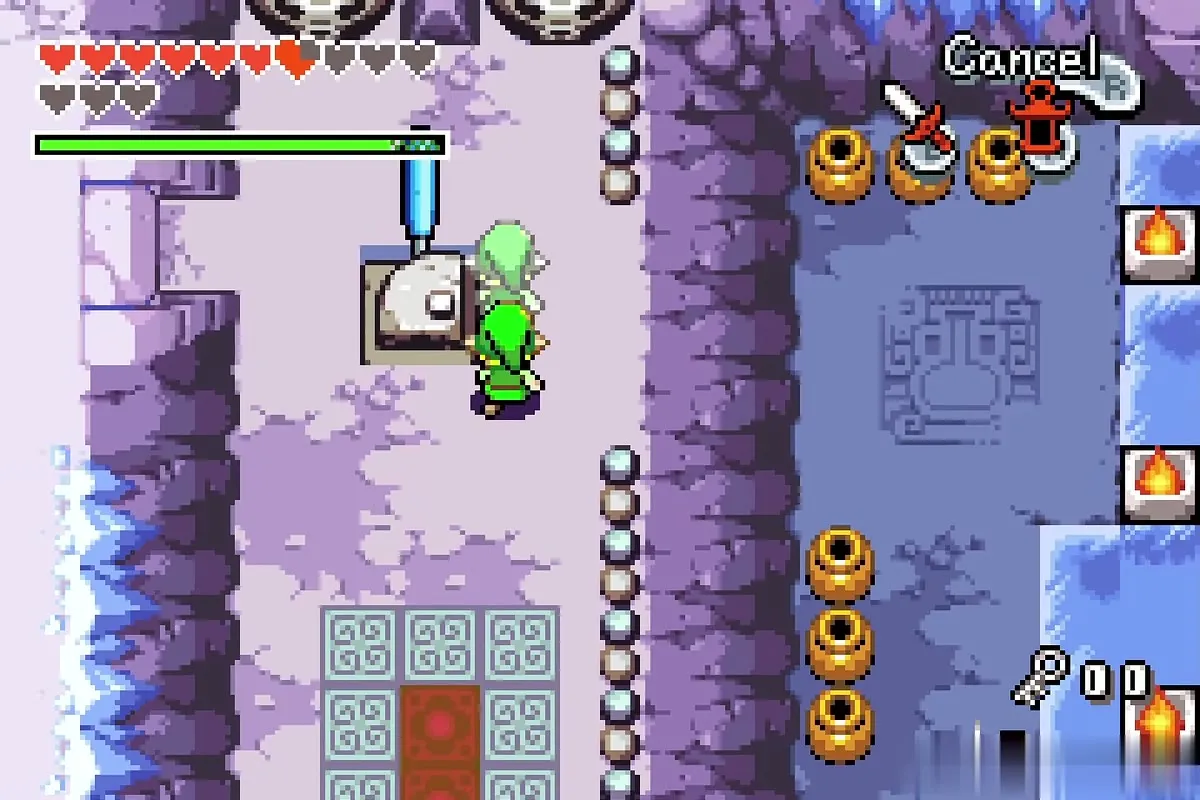
Make your way to the room with a large lever and four coloured pads. Charge your sword on a pad to create a copy of Link, and make more on the other pads. The lever needs two Links to push it. When it moves, sunlight falls into the temple and melts the ice that blocked the passage to the right. Jump off the ledge to the south.
Two blue Kinstone pieces
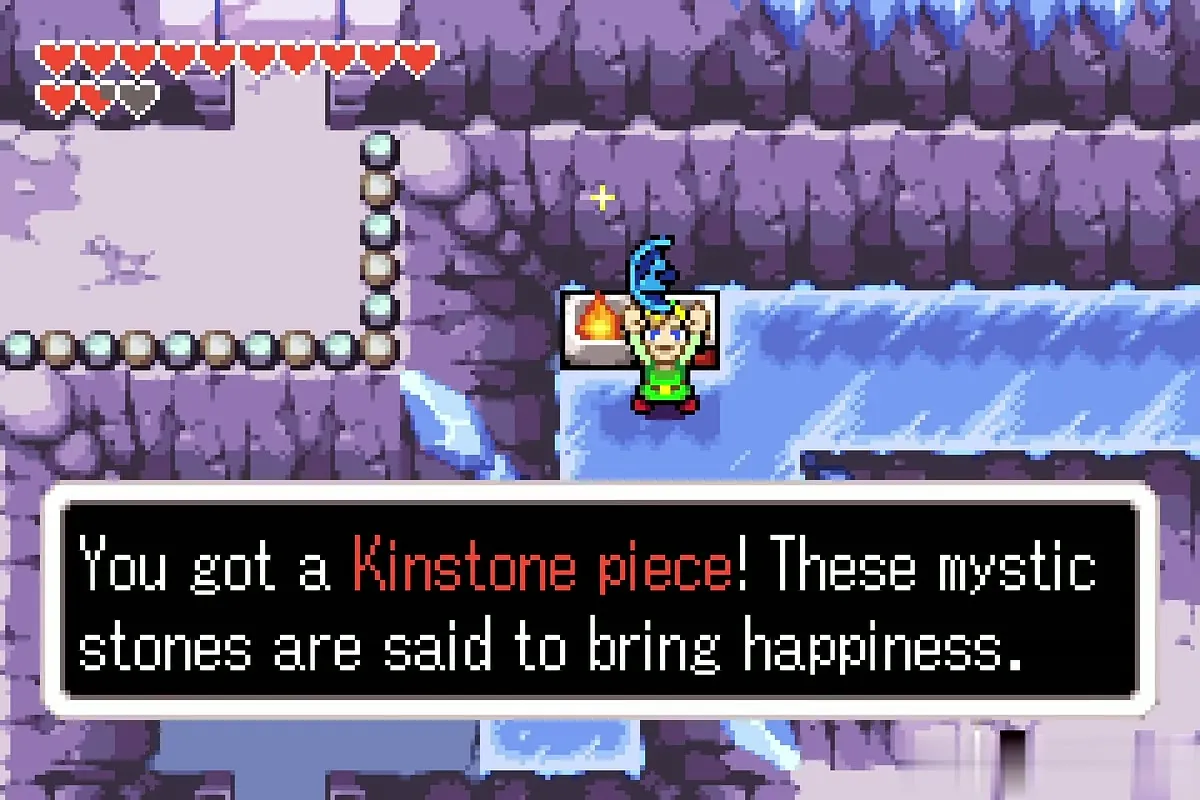
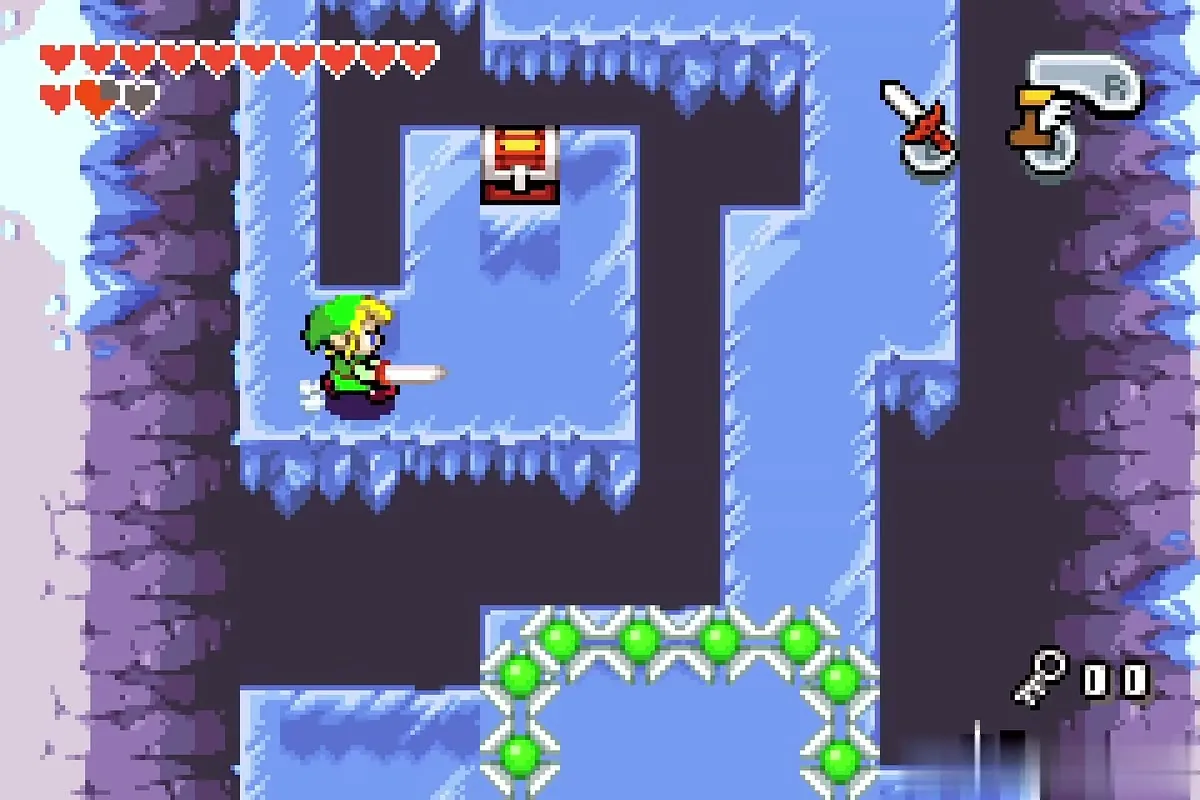
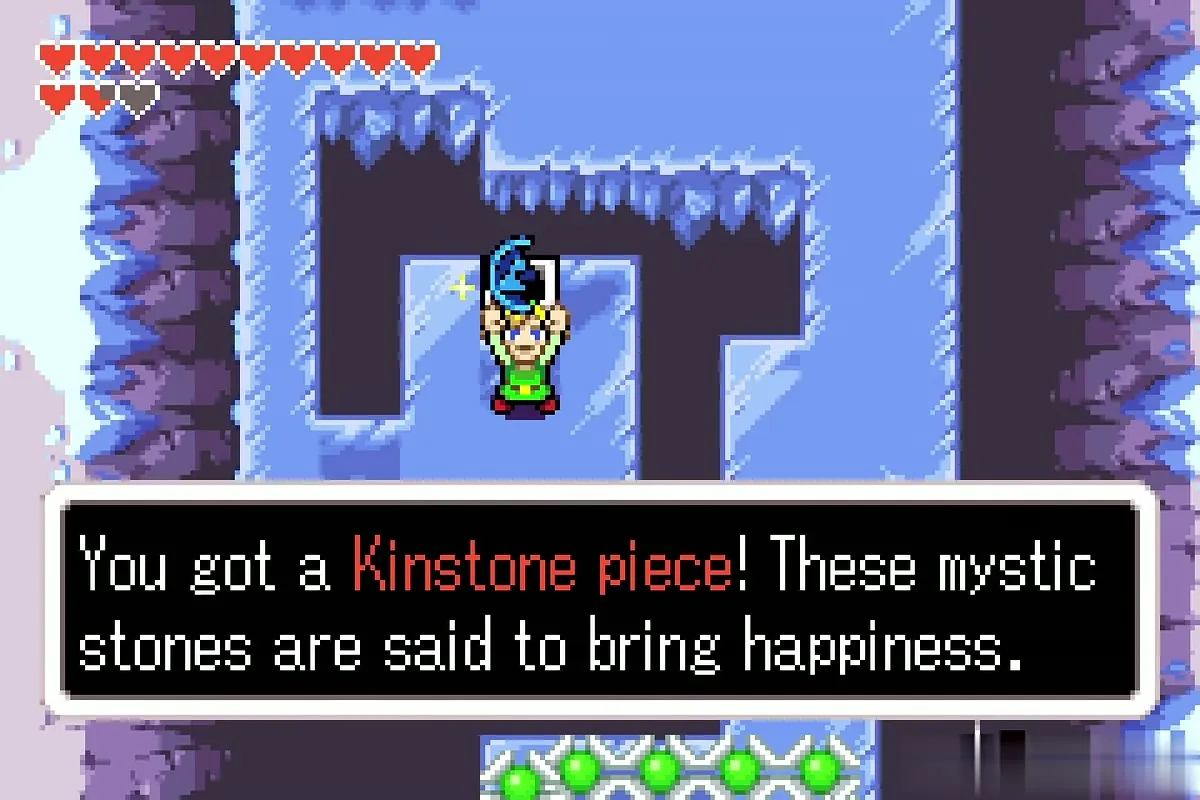
Head right through the door that is now open and north into the chest room. Open the chest next to the torch for a blue Kinstone piece. Follow the ledge east and cross the narrow ice path along the wall to a second chest, which holds another blue Kinstone piece. Green spinning blades patrol the path, so wait for a gap before you dash past. Keep both pieces for the Kinstone fusions later; nobody in the temple will fuse them.

Frozen chest and the third Small Key
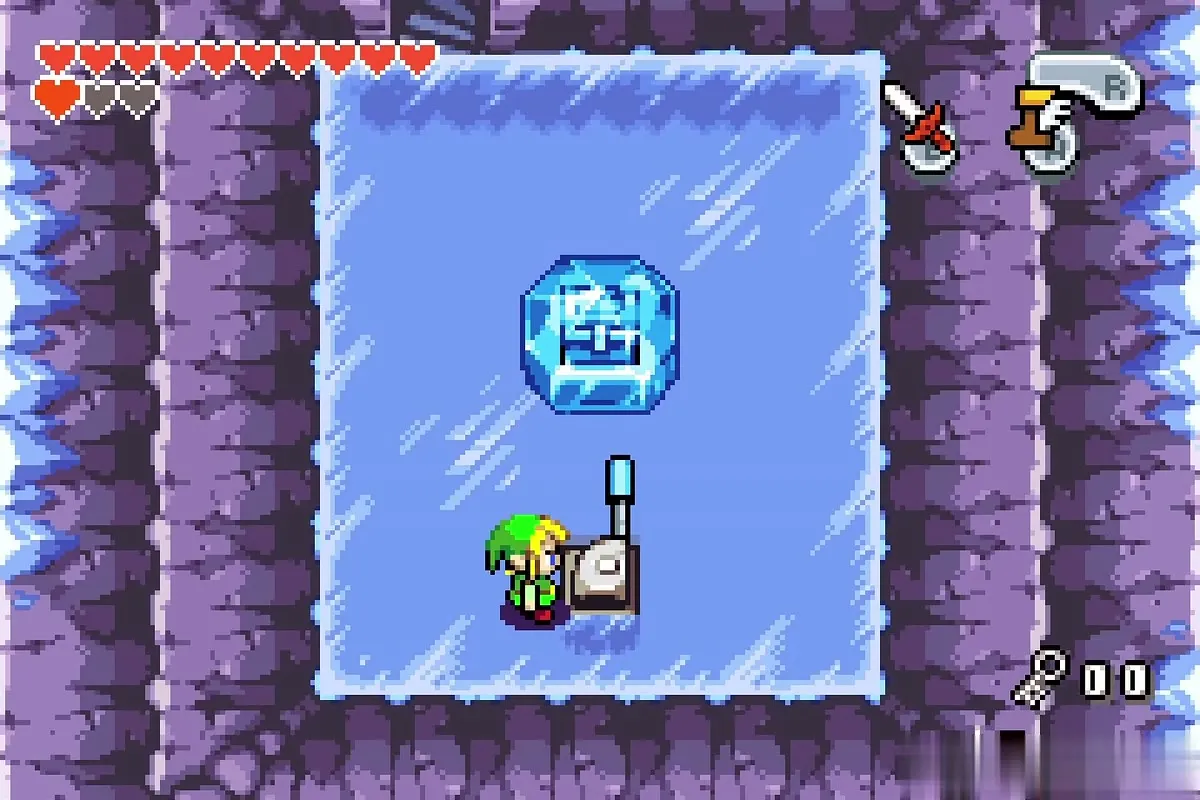
Go back and take the stairs down to the room with the frozen chest, set in a block of ice. Two levers control the skylights above it. Pull the lever below, go up and pull the other, then go back to the lower lever, so that sunlight lands on the ice. The ice melts away and the chest gives you the third Small Key.
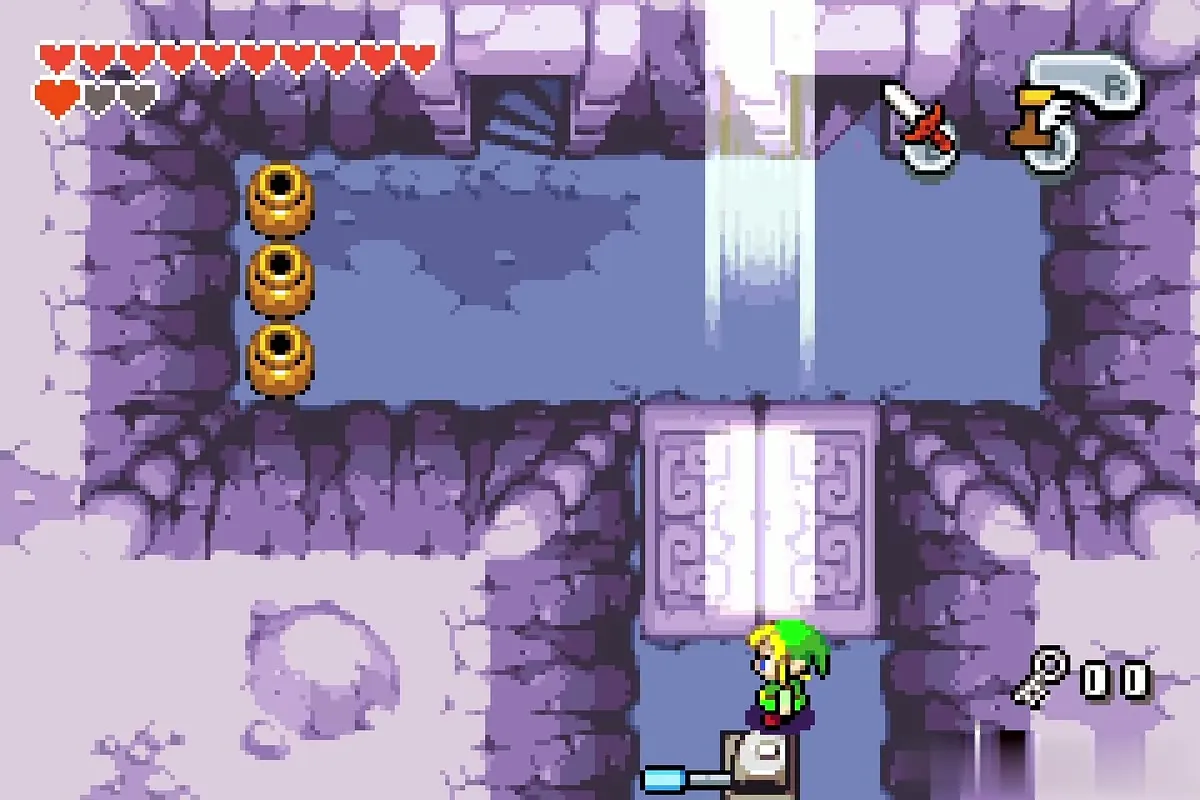
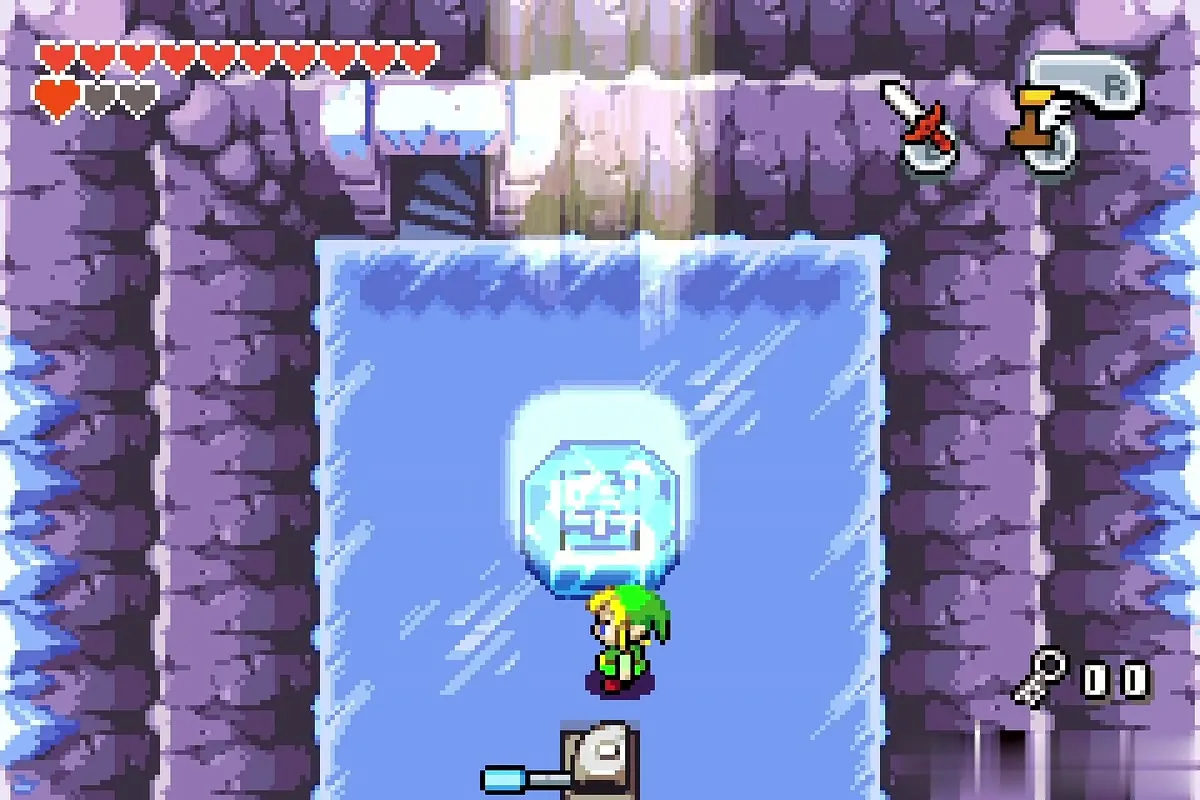
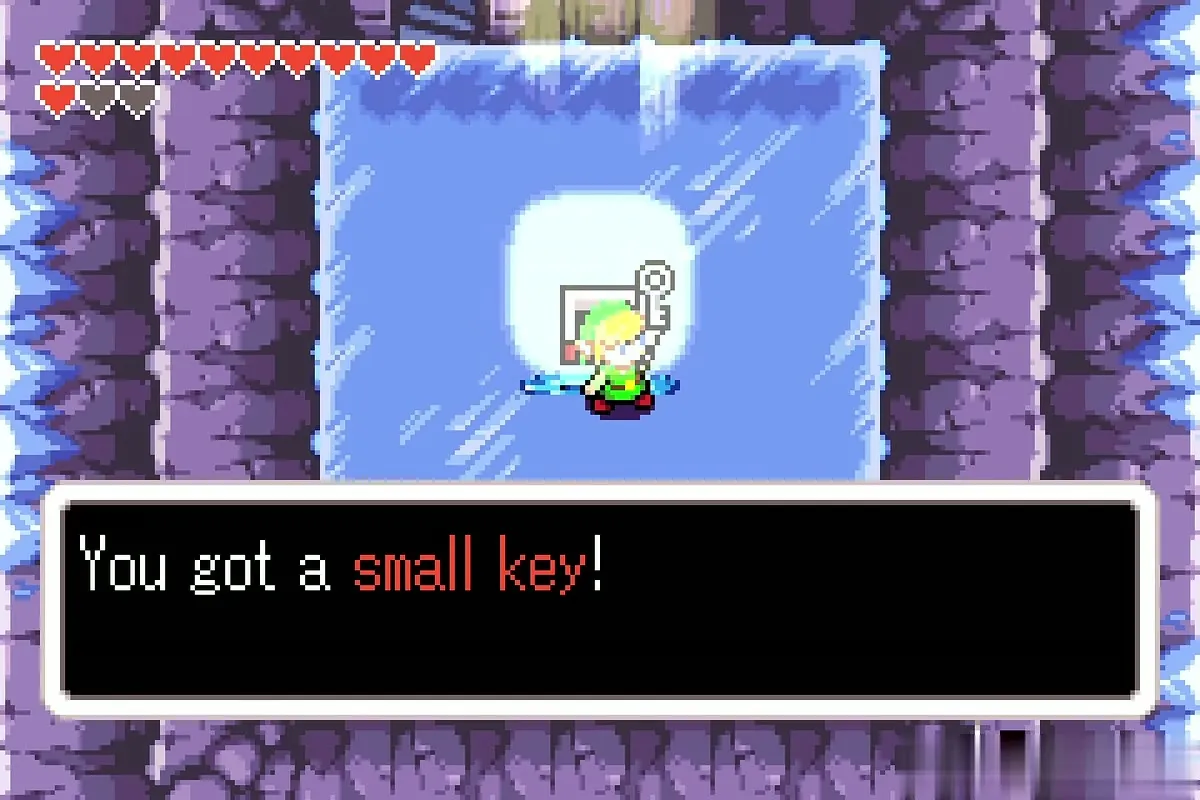
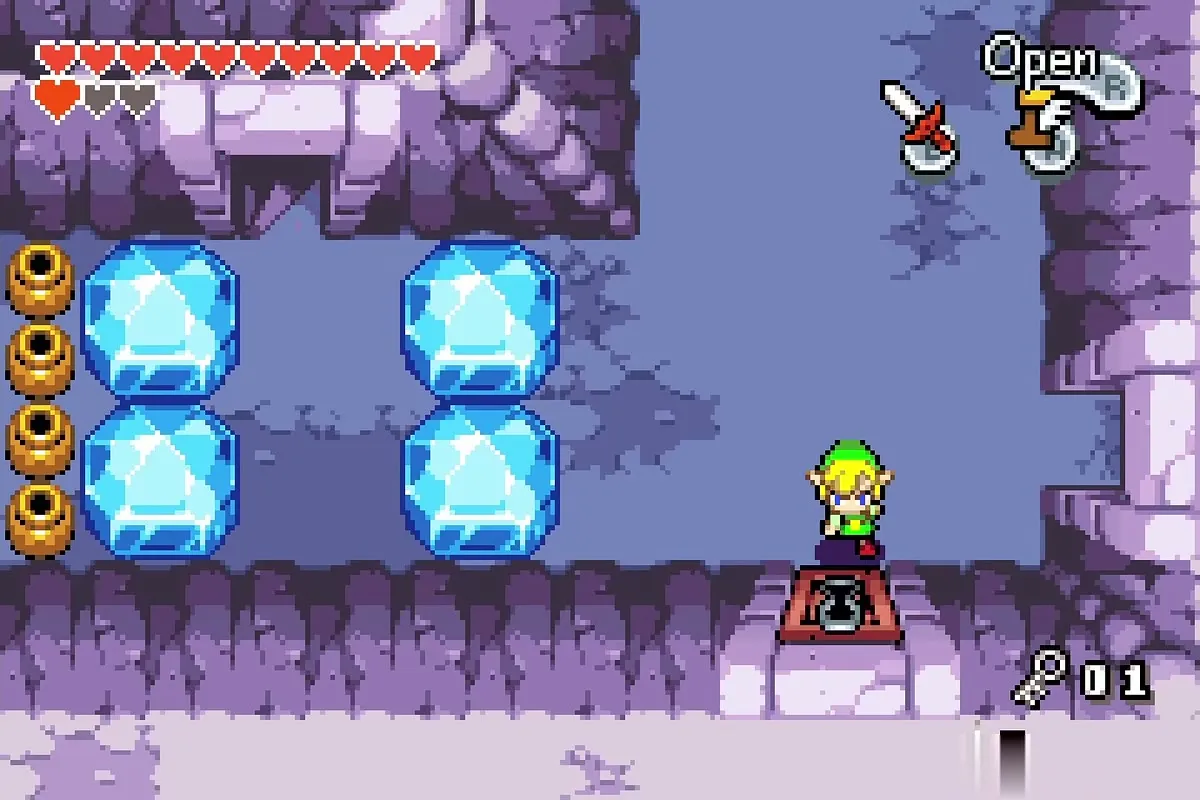
Climb the stairs to the room with four ice blocks and open the locked door with the key. Walk through the door and into the dark room beyond.

Mini-boss: Big Blue Chuchu
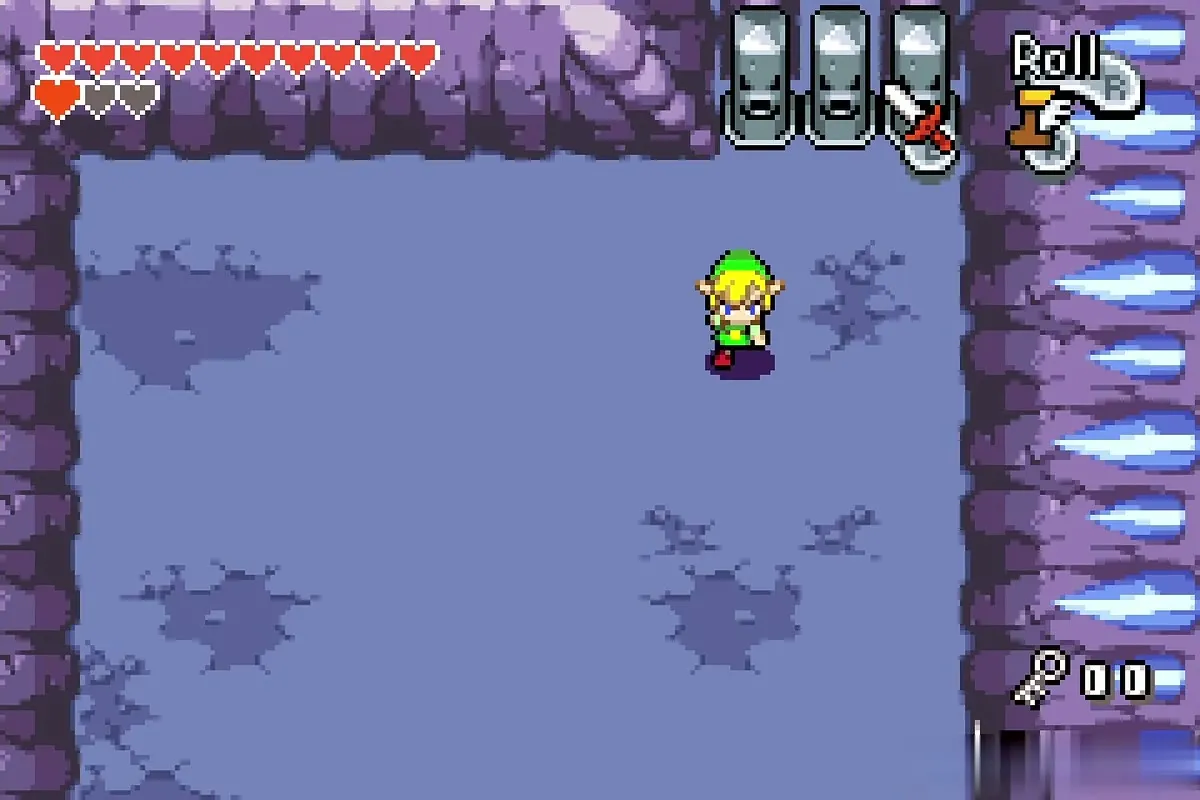
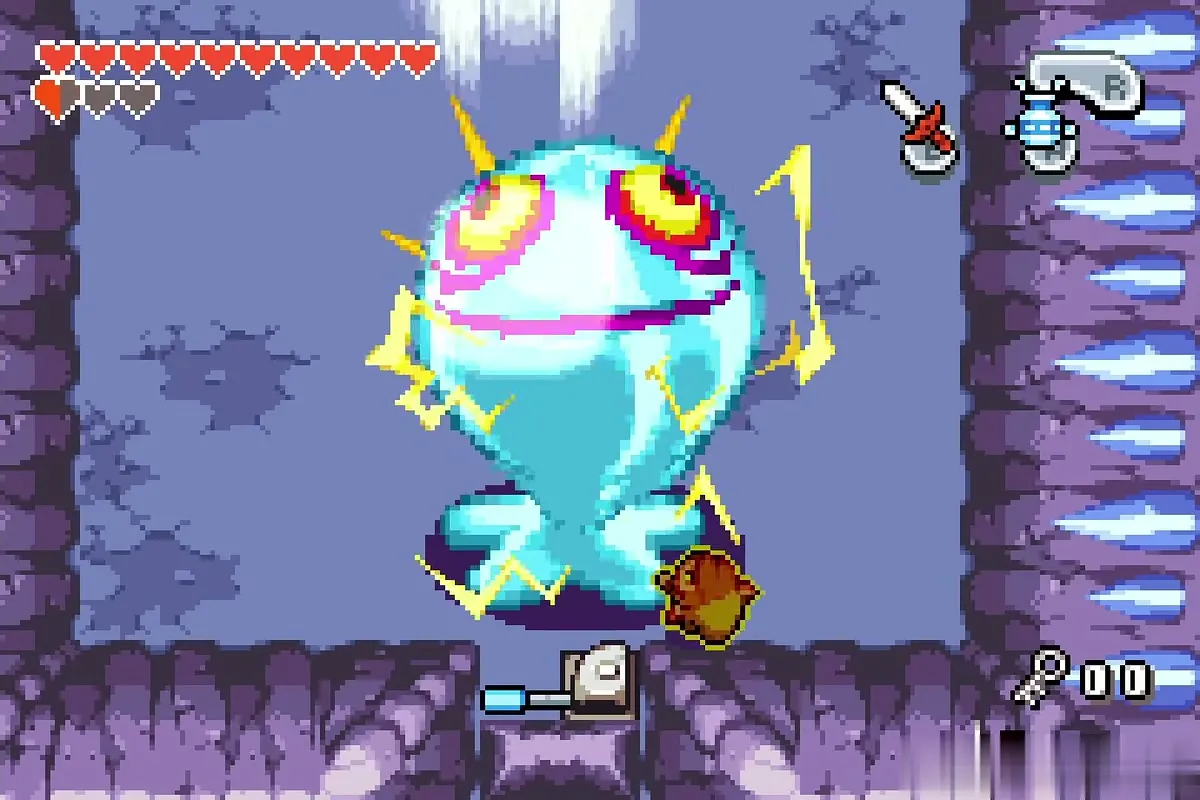
Pull the lever at the bottom of the room. A skylight opens, icicles start to fall and the gate shuts behind you, so the Big Blue Chuchu is the only way out. Keep moving to avoid the icicles. Wait until the Chuchu’s electricity fades, then pull its base with the Gust Jar so that it topples. Slash it while it lies helpless. Repeat each time its sparks stop, until it bursts.
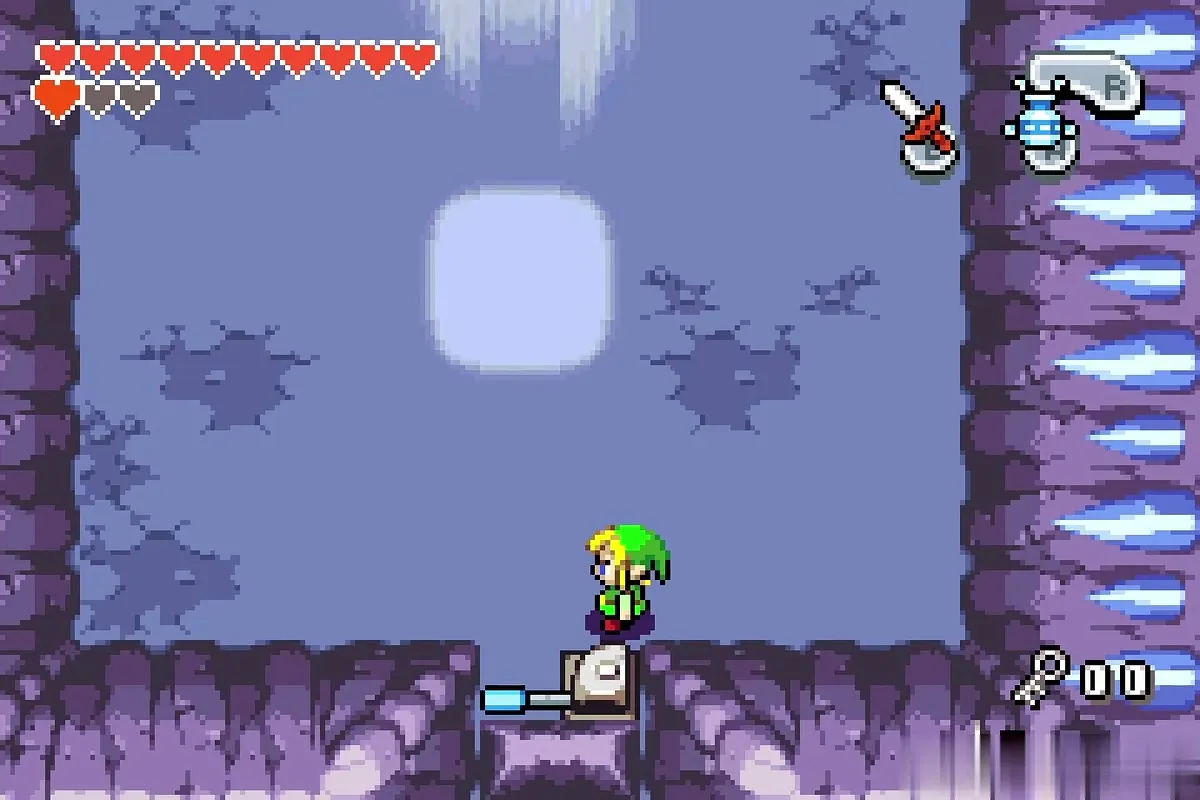
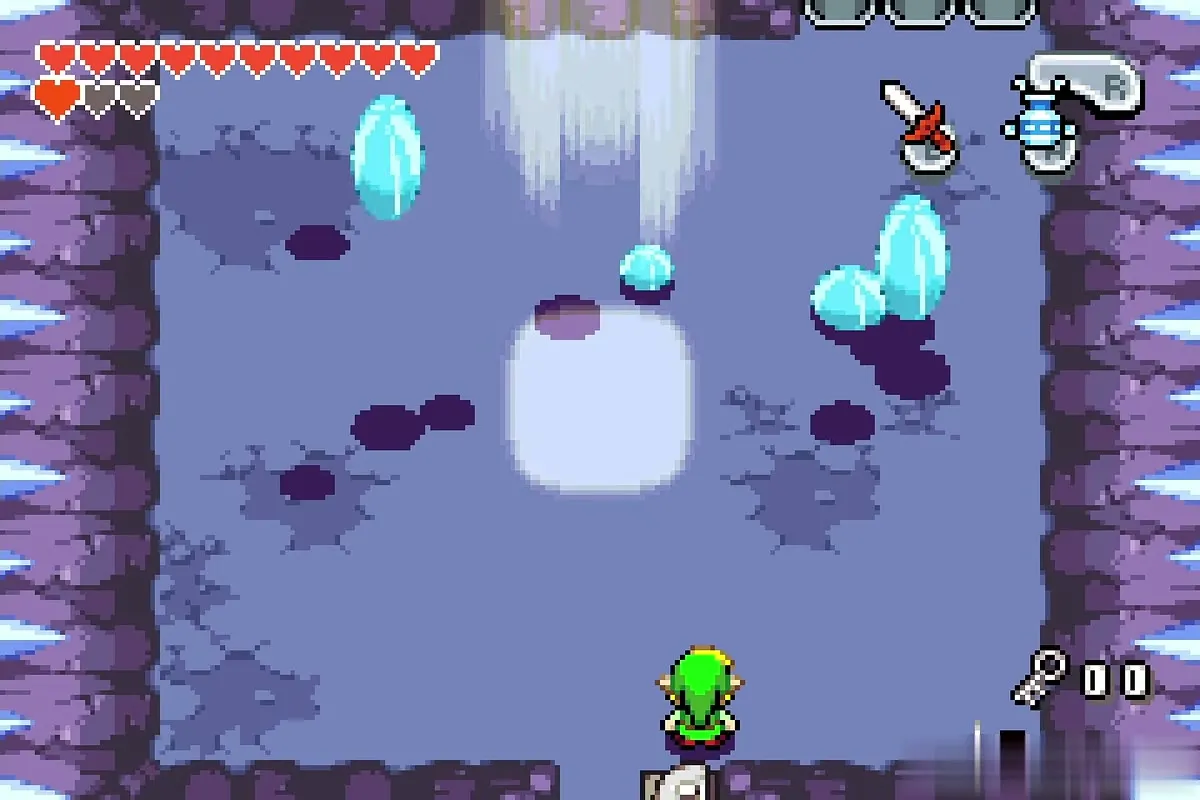
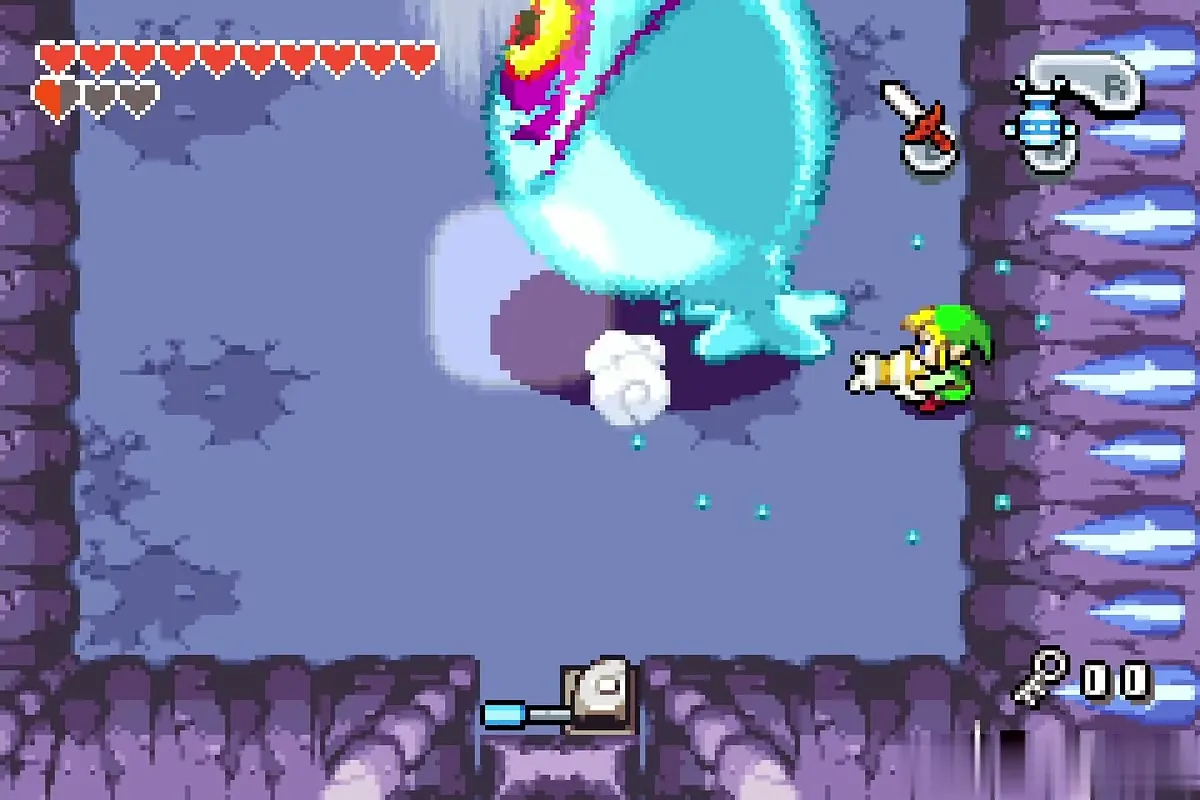
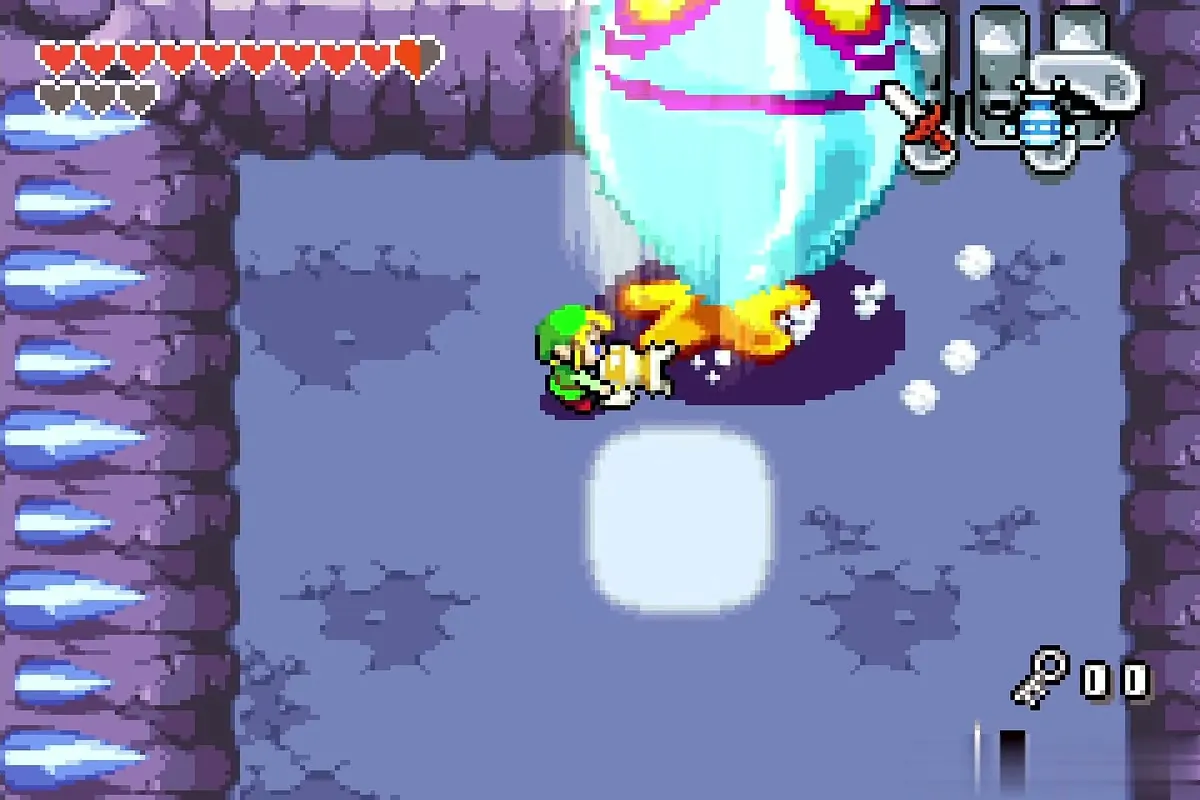
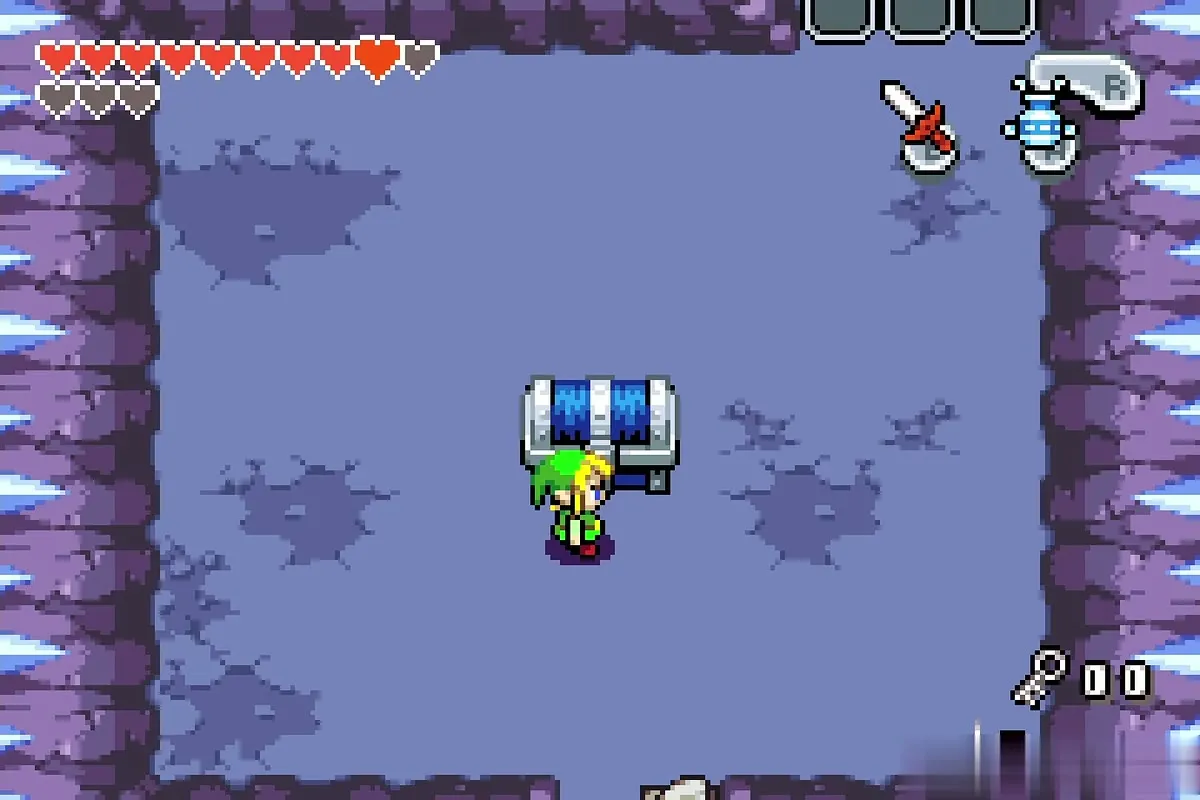
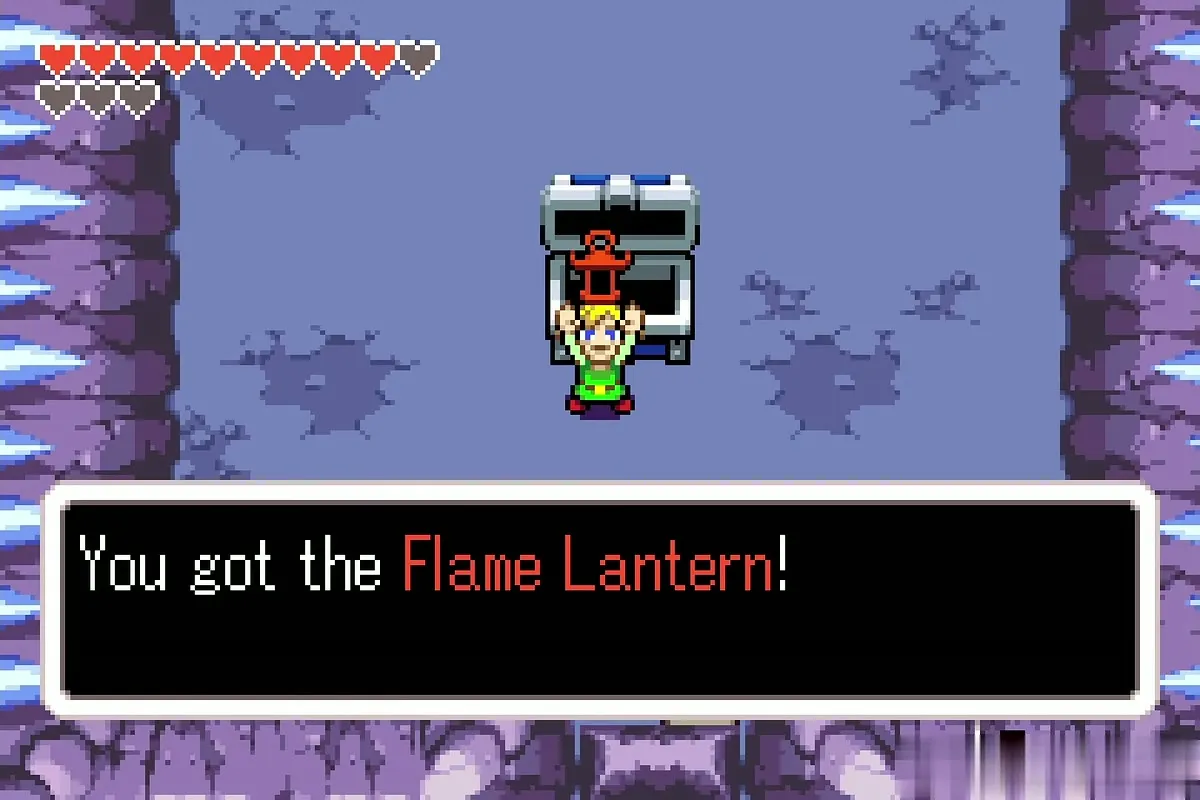
A big chest rises in the middle of the room. Open it to take the Flame Lantern, the dungeon item. Equip it and press its button to light the Lantern. It lights torches, shows the way in dark rooms and melts ice.
The 100 rupees and the dark room
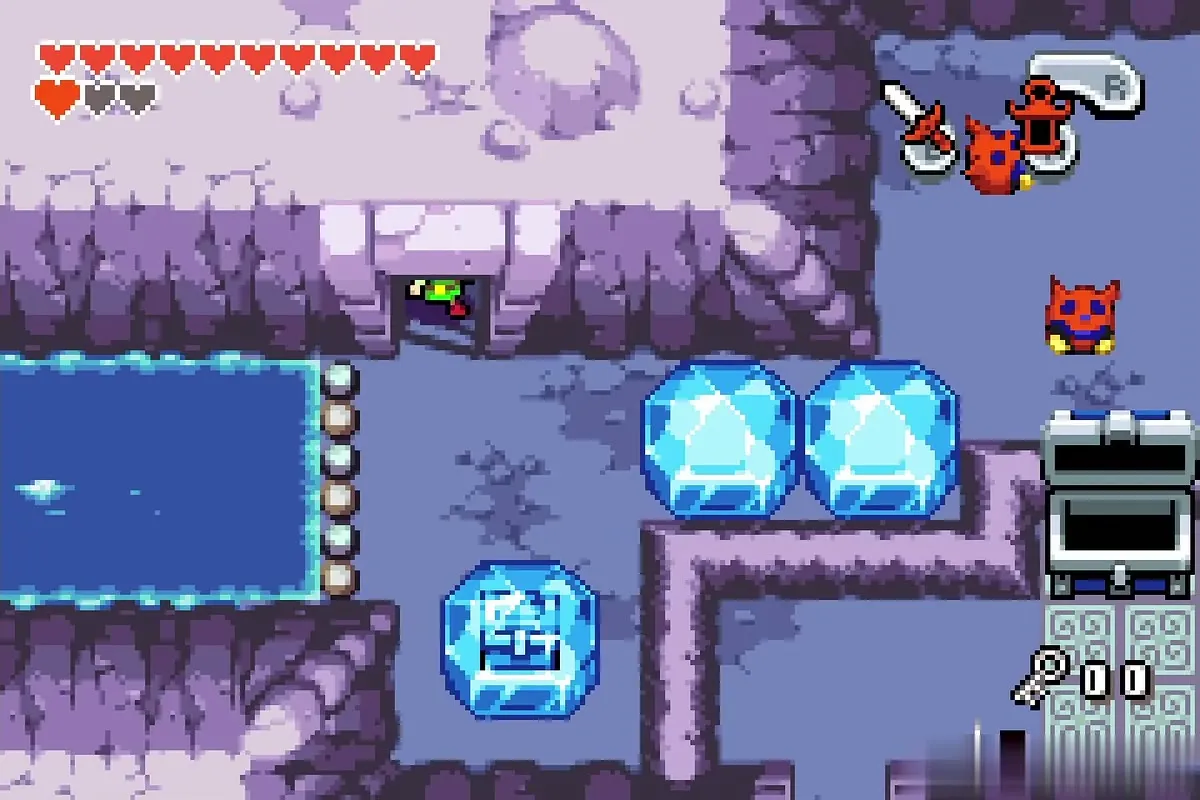
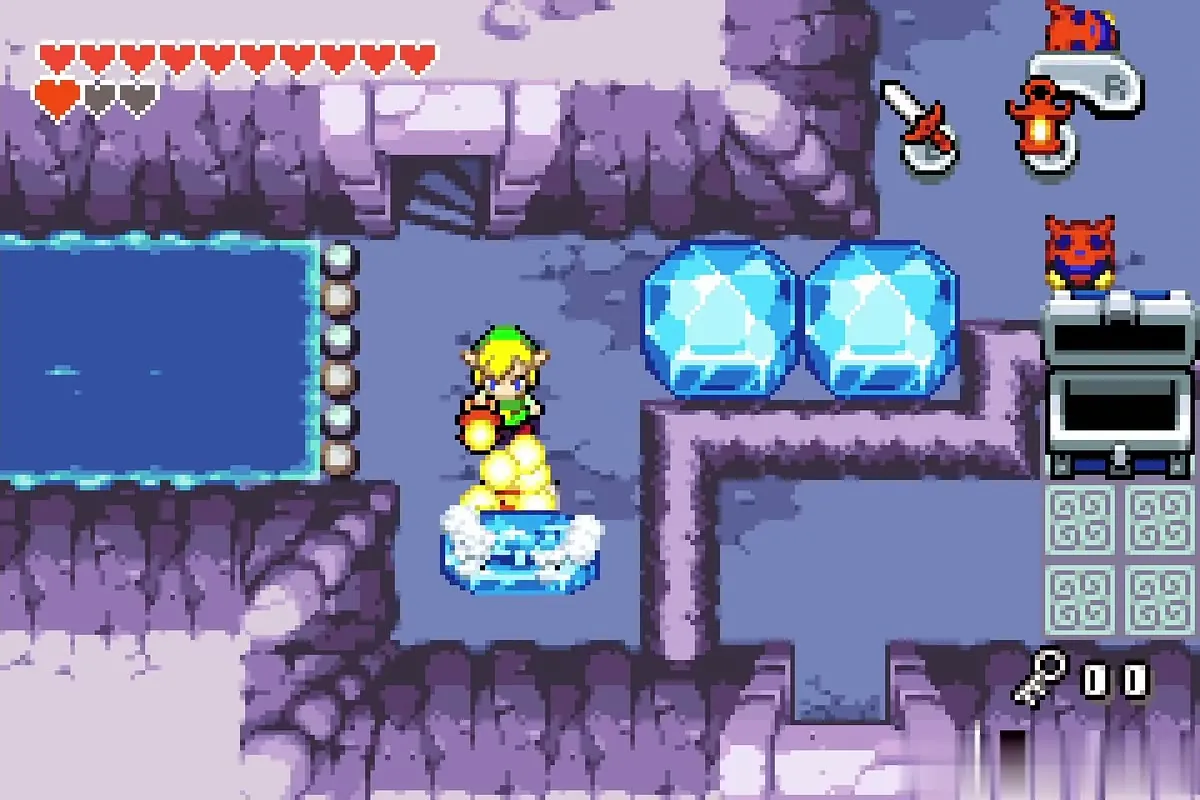
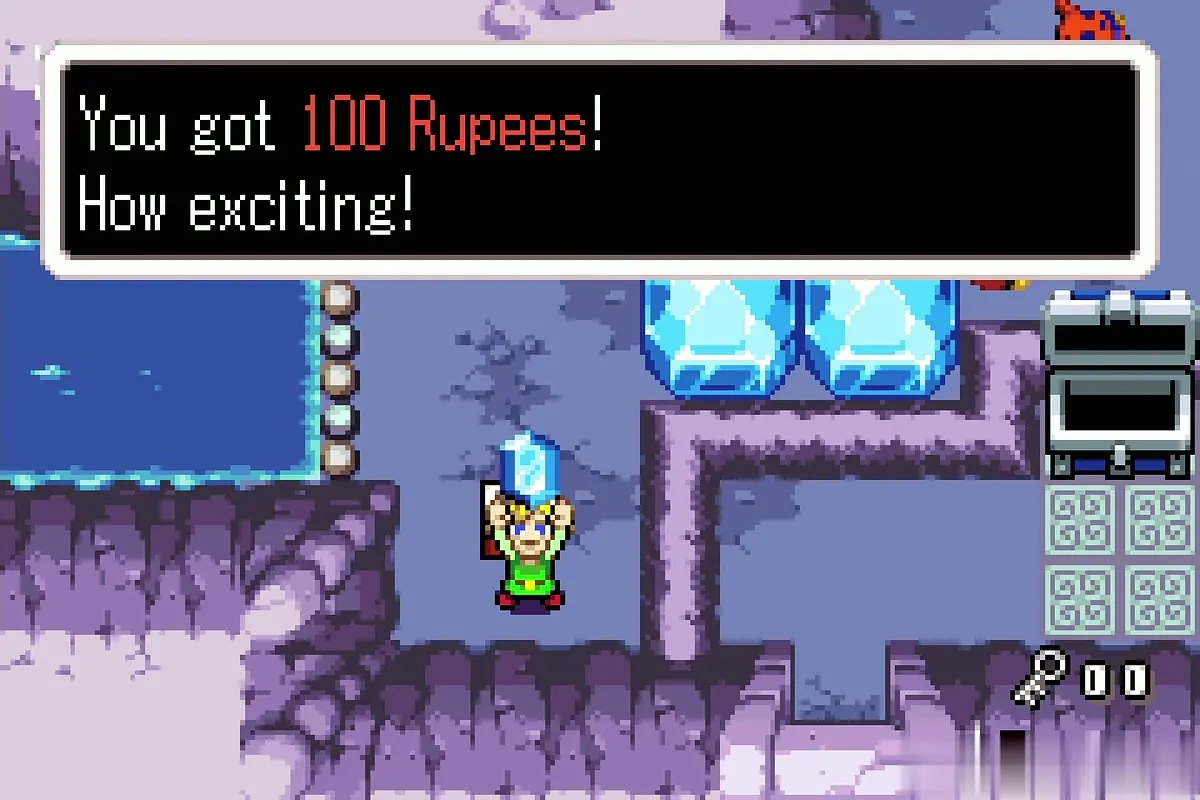
Leave the room and use the Lantern on the ice blocks next to the stairs. The melted ice frees a chest holding 100 rupees. Collect it and move east into the dark room.
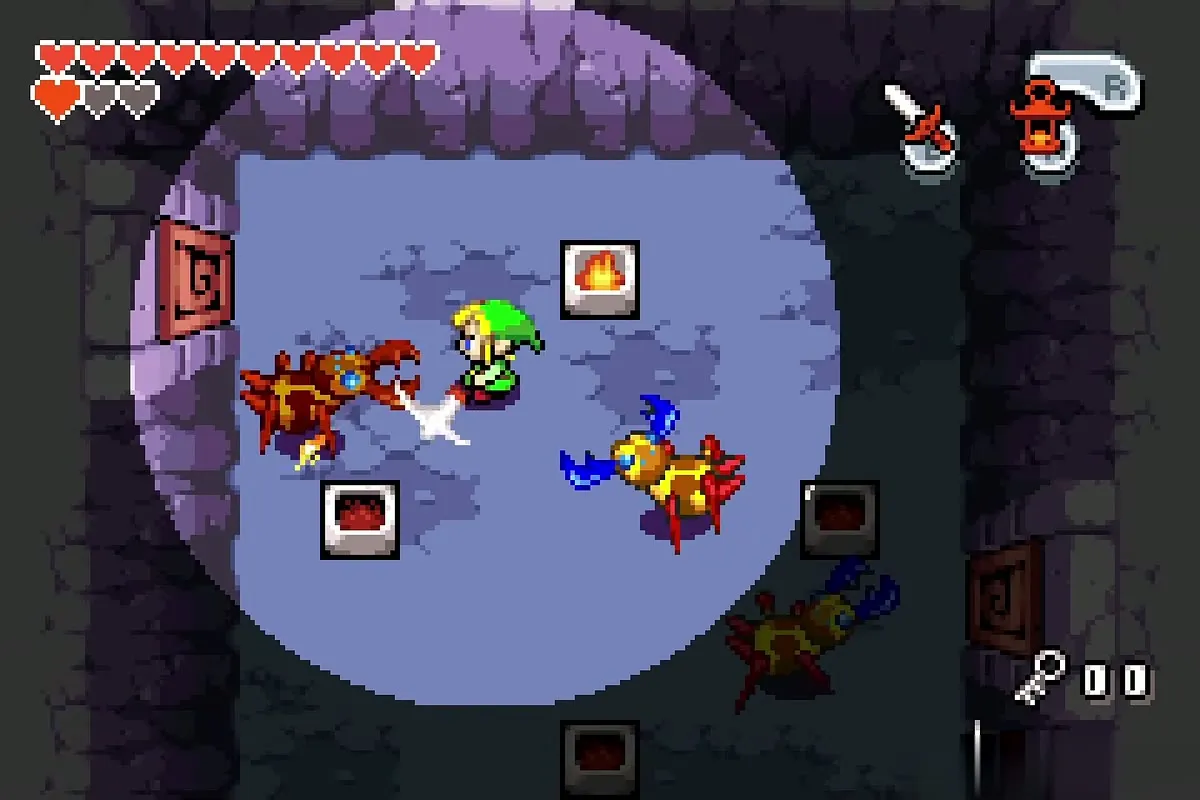
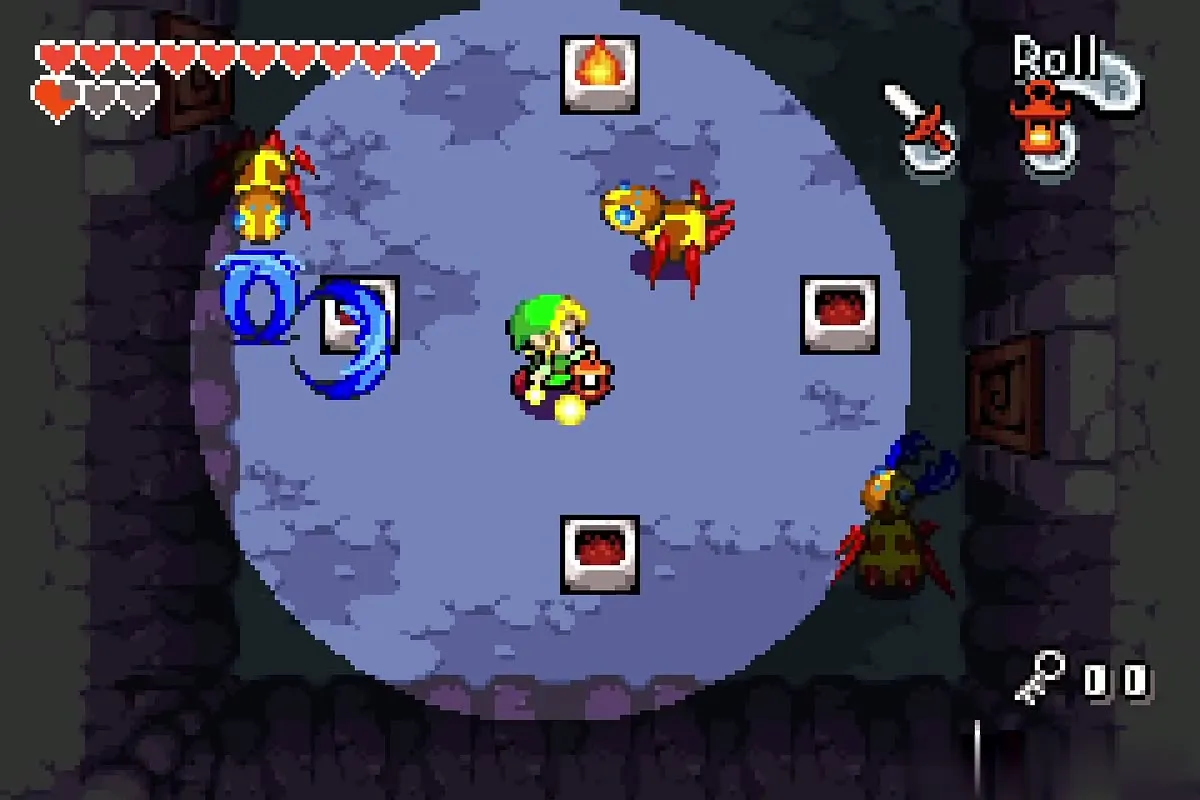
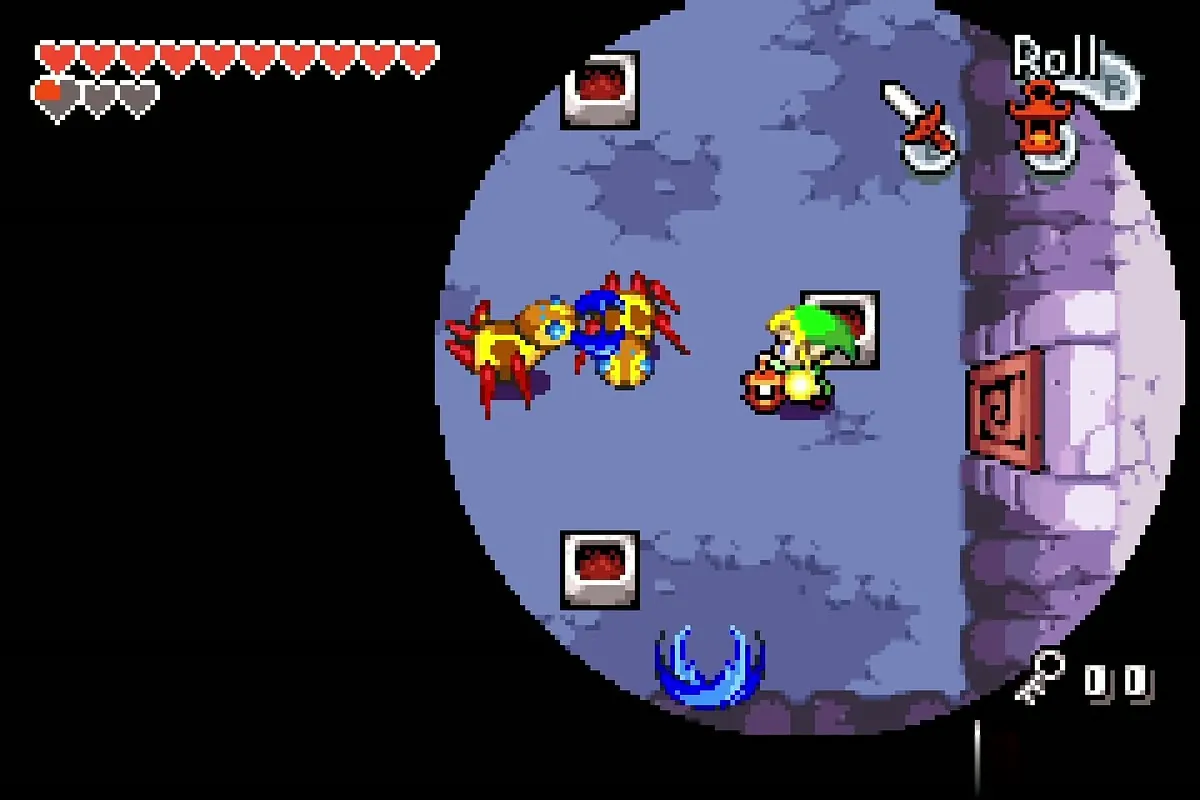
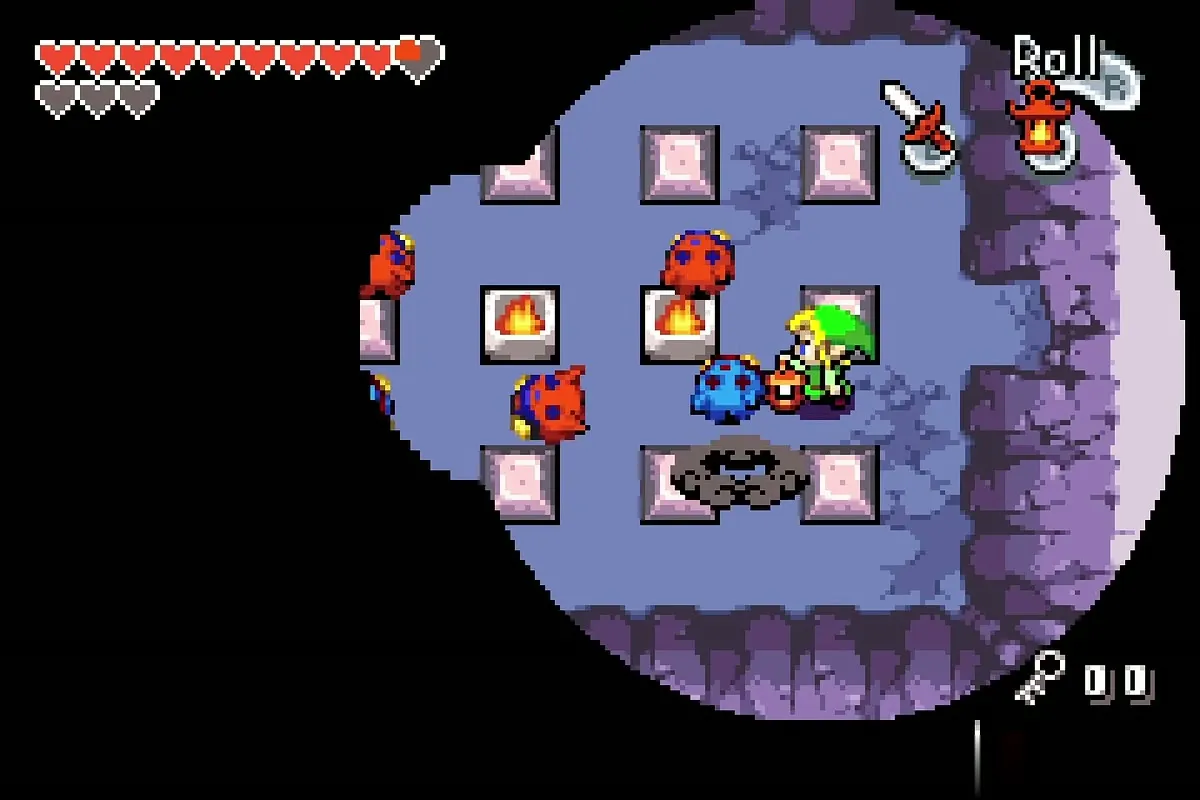
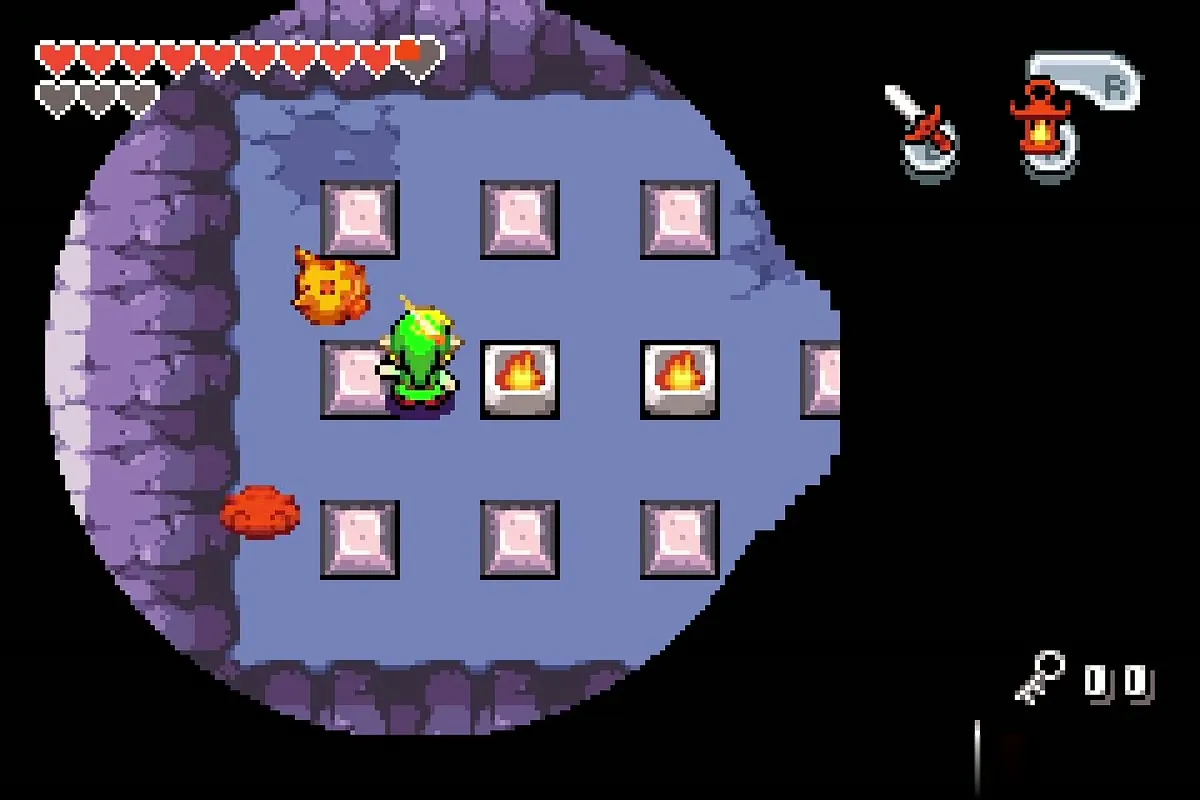
This dark room holds four unlit fire pits and three more Mulldozers. Keep the Lantern lit and fight them, touching the pits with the Lantern to relight them as they go out. When the room is clear, head right through the door.

The dark maze: three red Kinstone pieces and the fourth Small Key
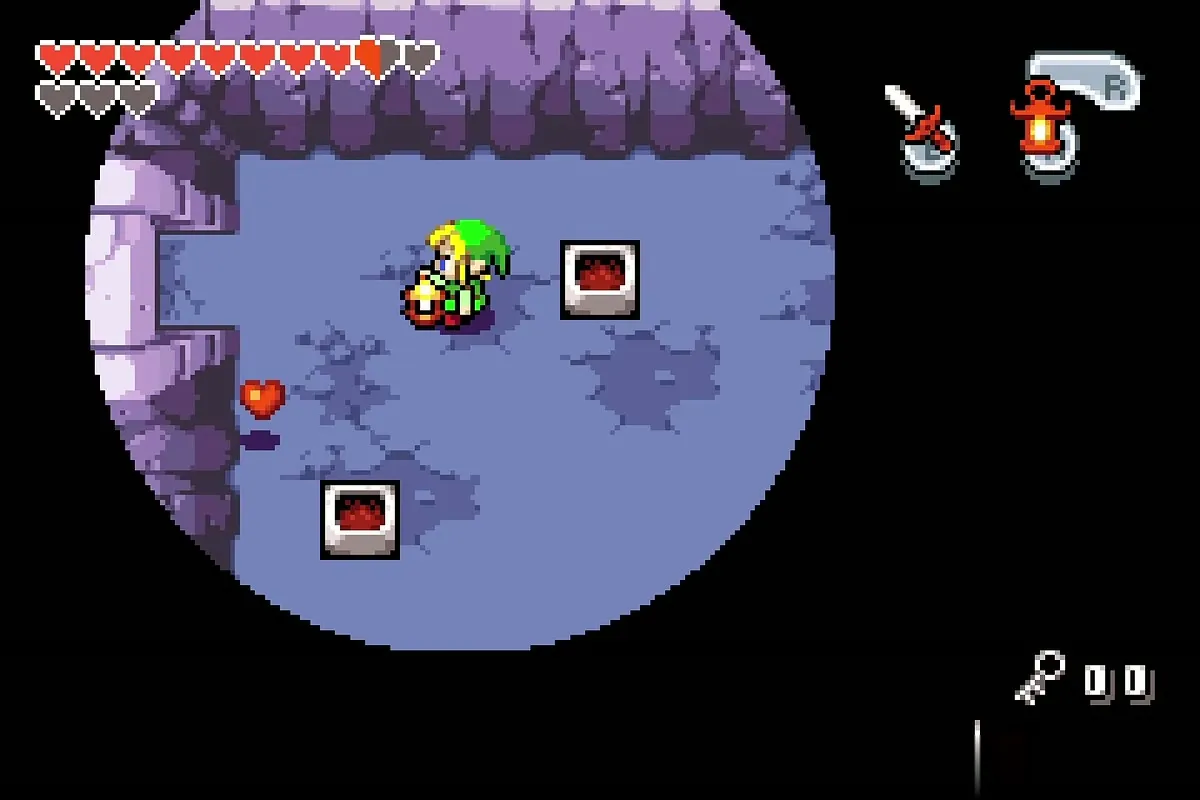
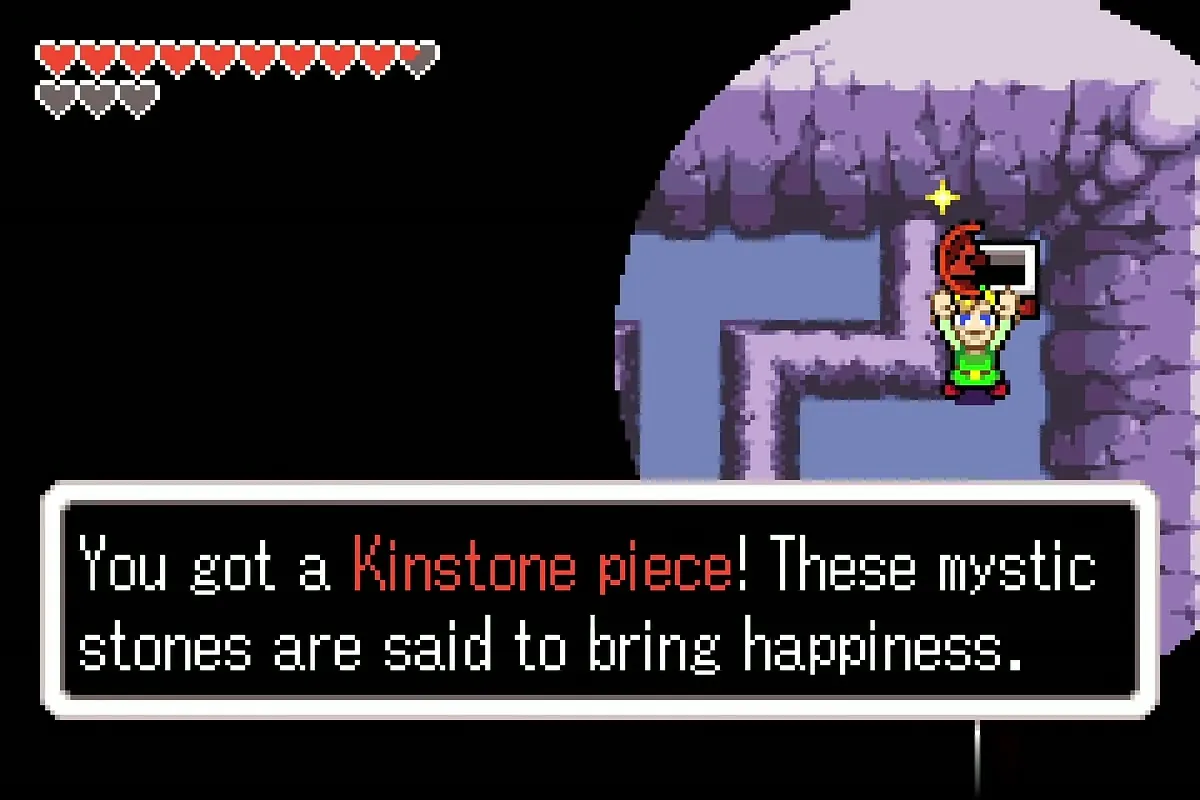
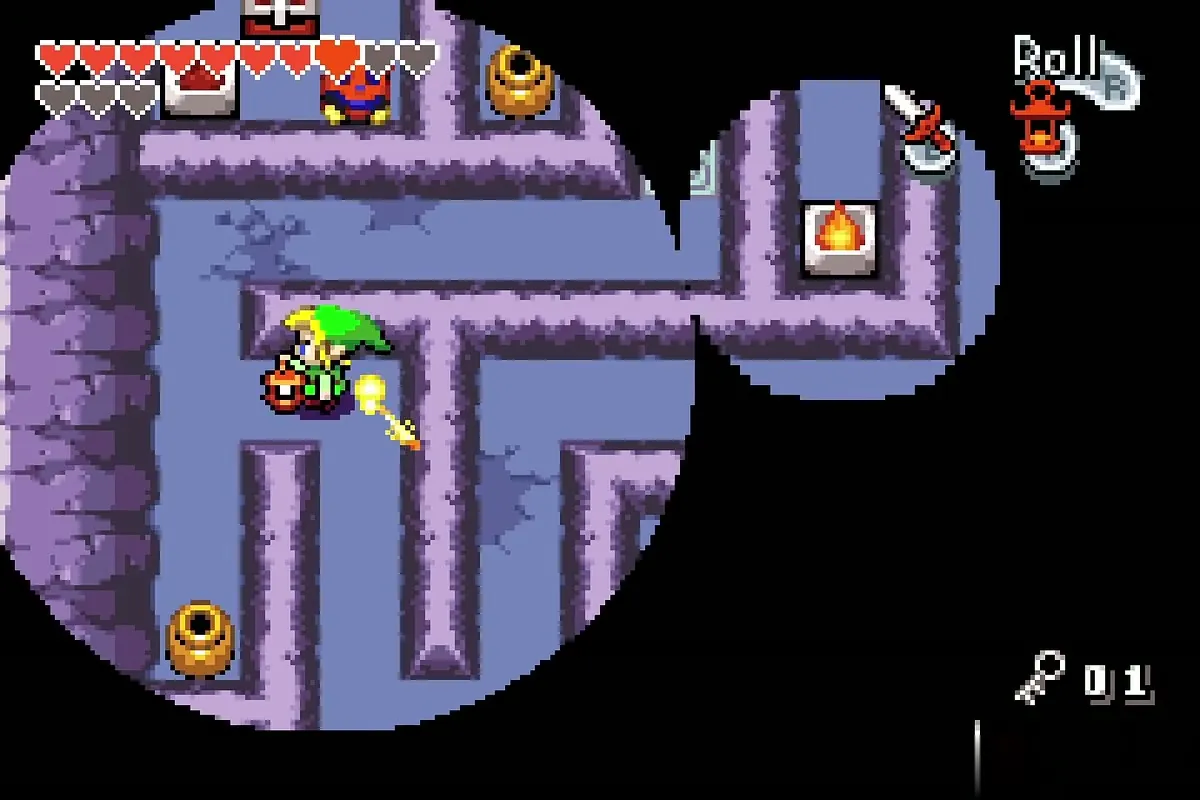
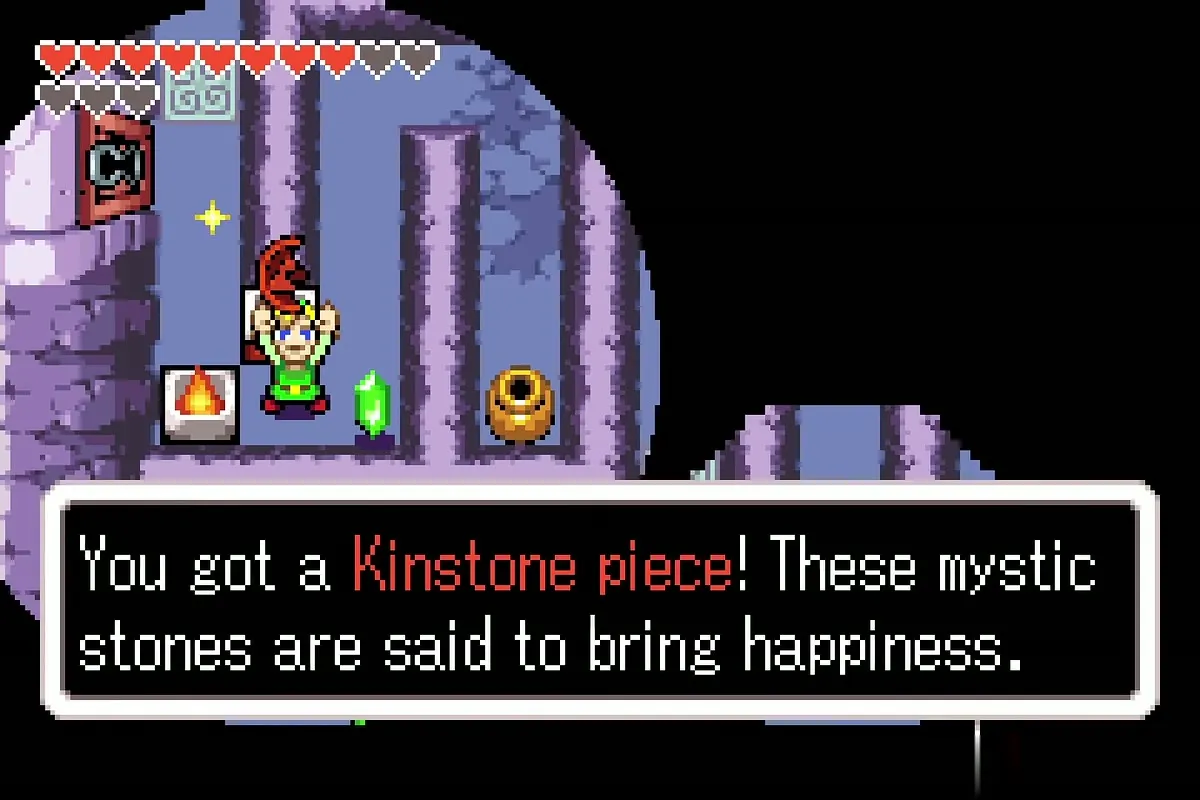
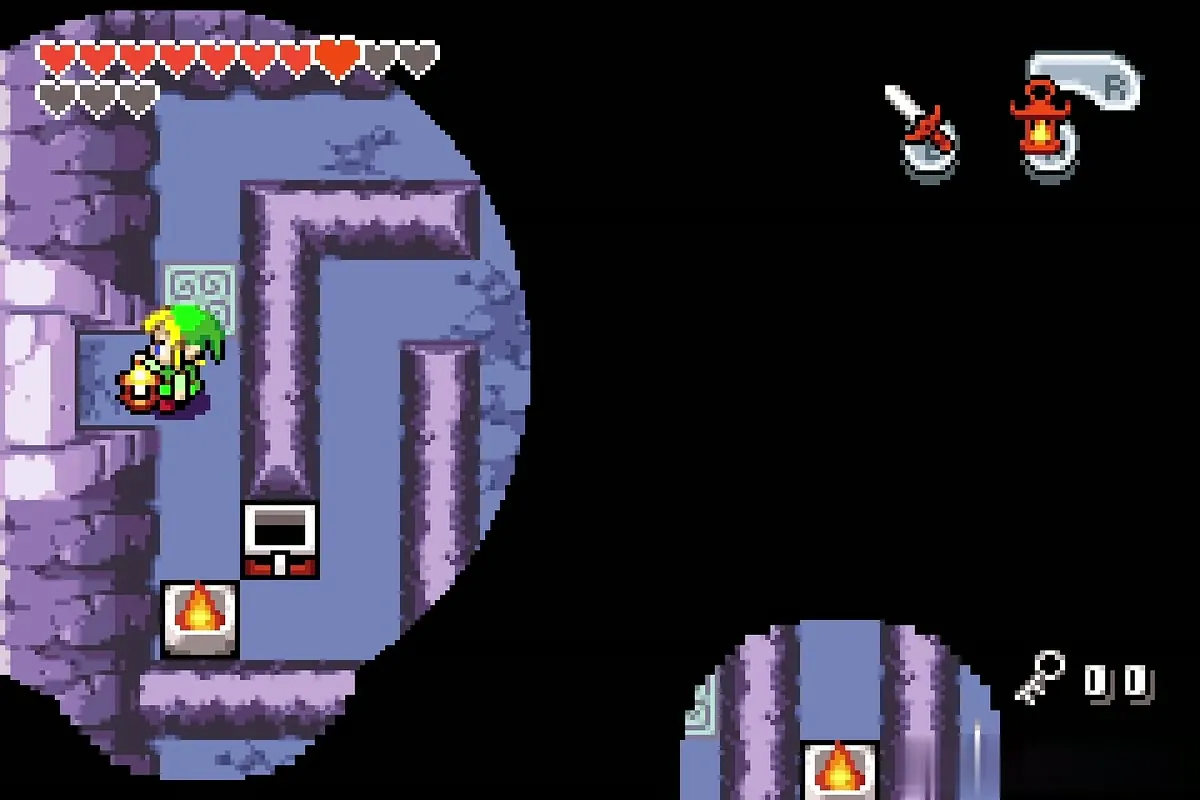
In the dark maze, only a circle around you is visible. Light the fire pits with the Lantern to make the stone blocks vanish. Follow the maze to a chest and open it for the first red Kinstone piece.
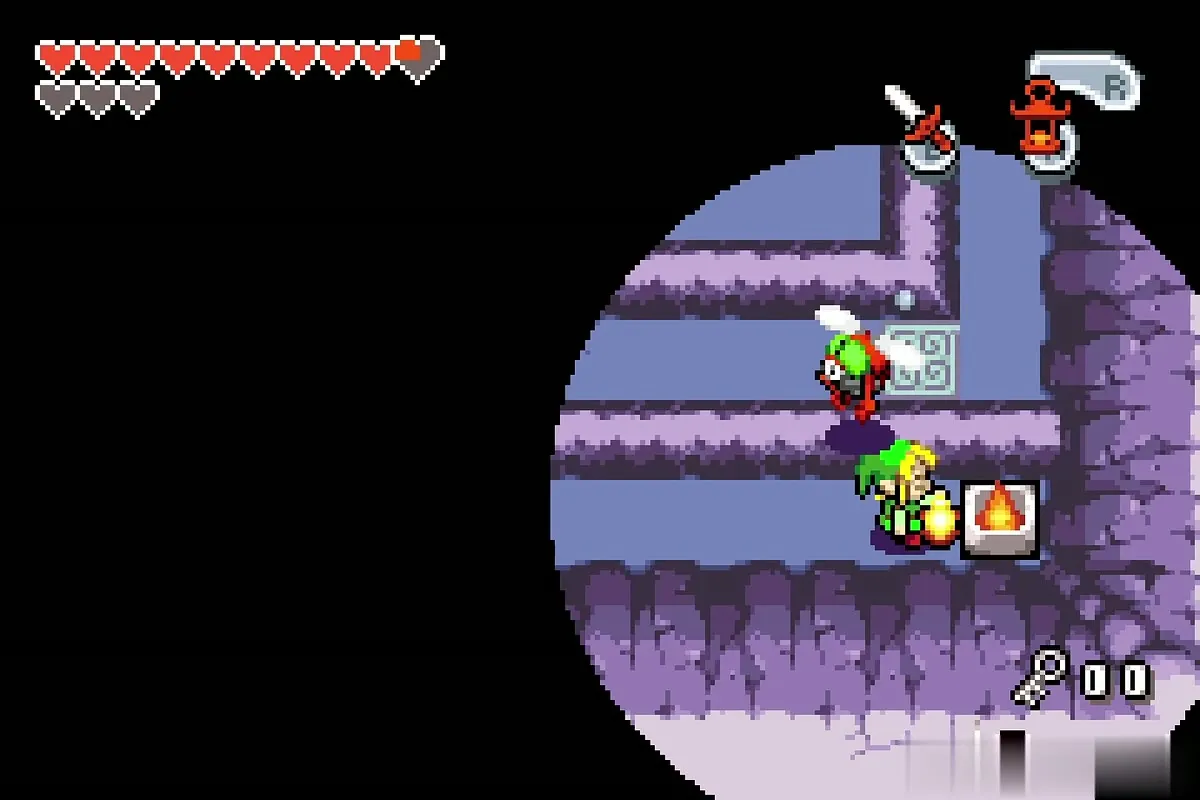
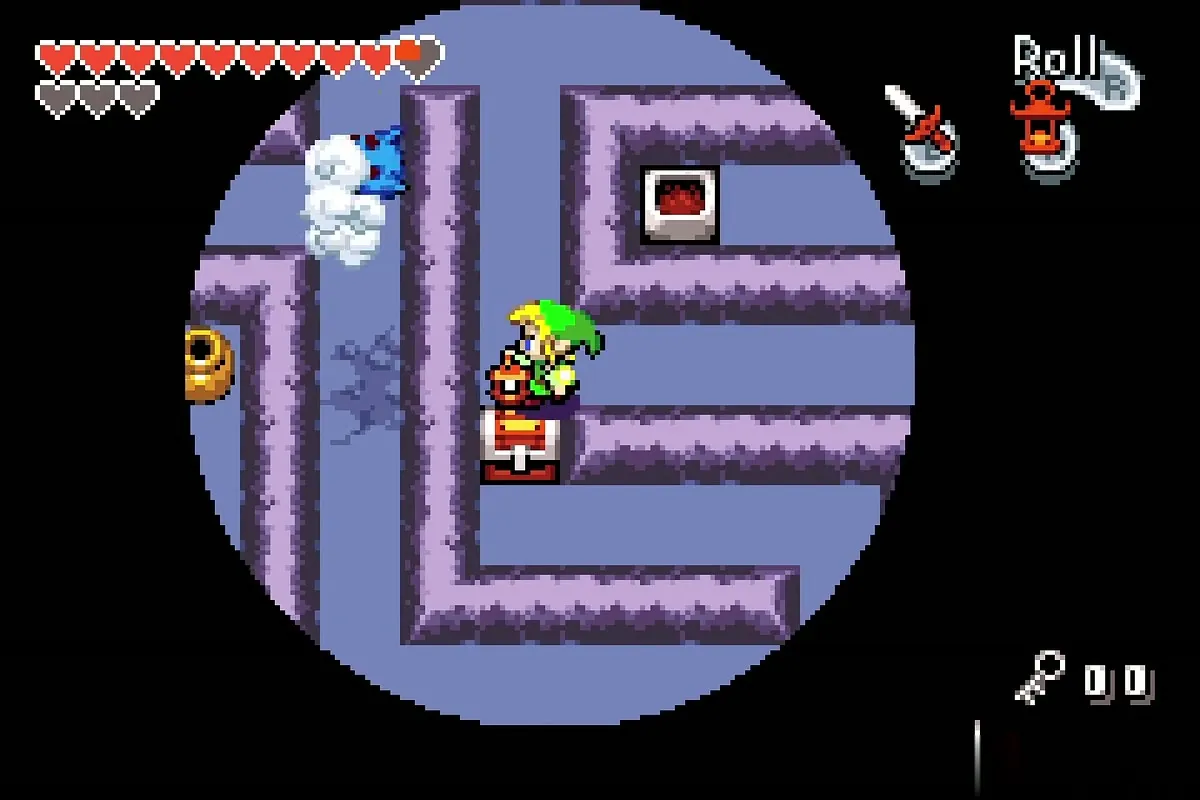
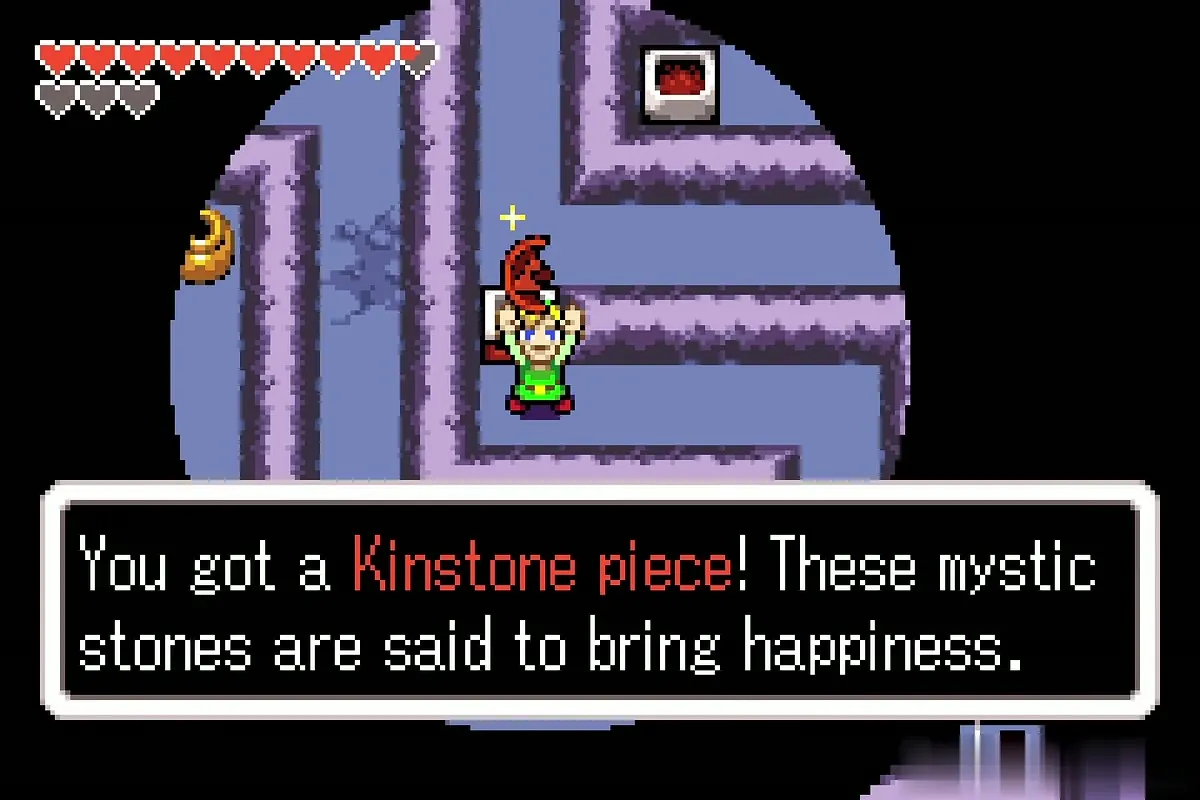
Bomb the cracked wall further on and step through the opening. Take on the three Mulldozers in the room of nine pillars and four torches, with the Lantern lit. When they fall, a Small Key appears: take it, the fourth one.
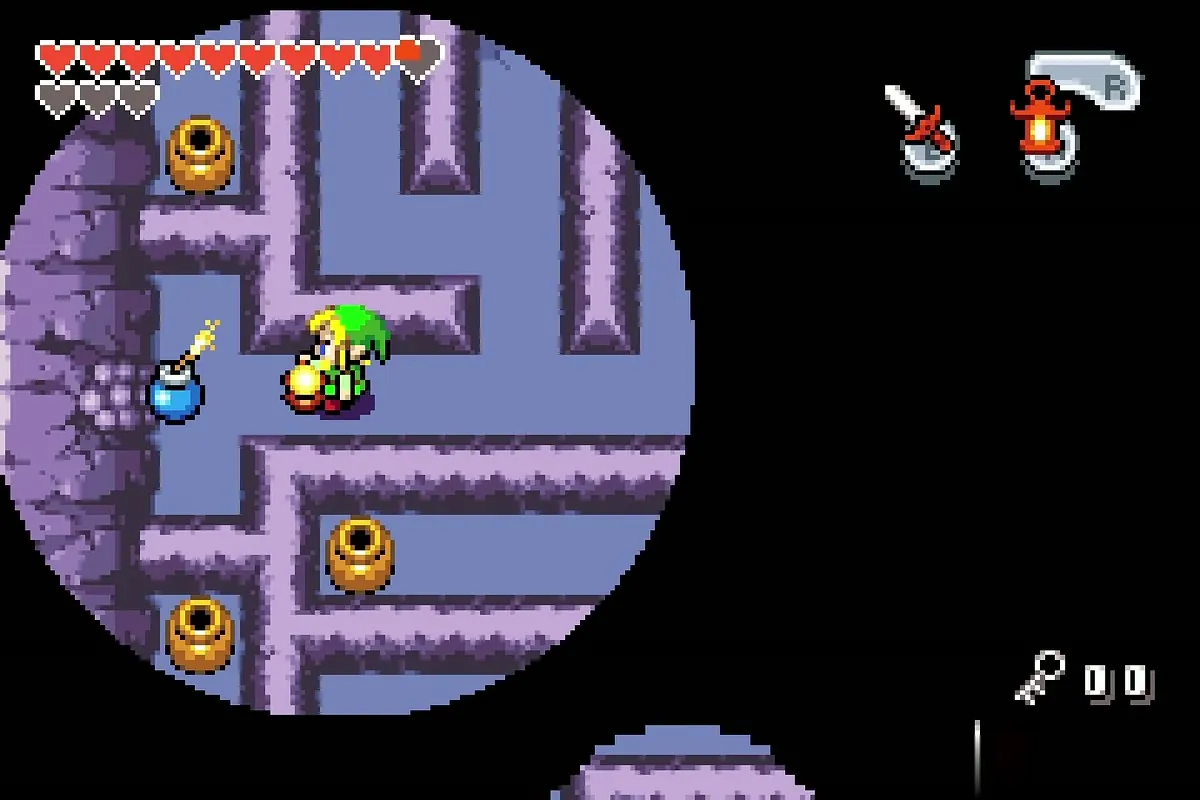
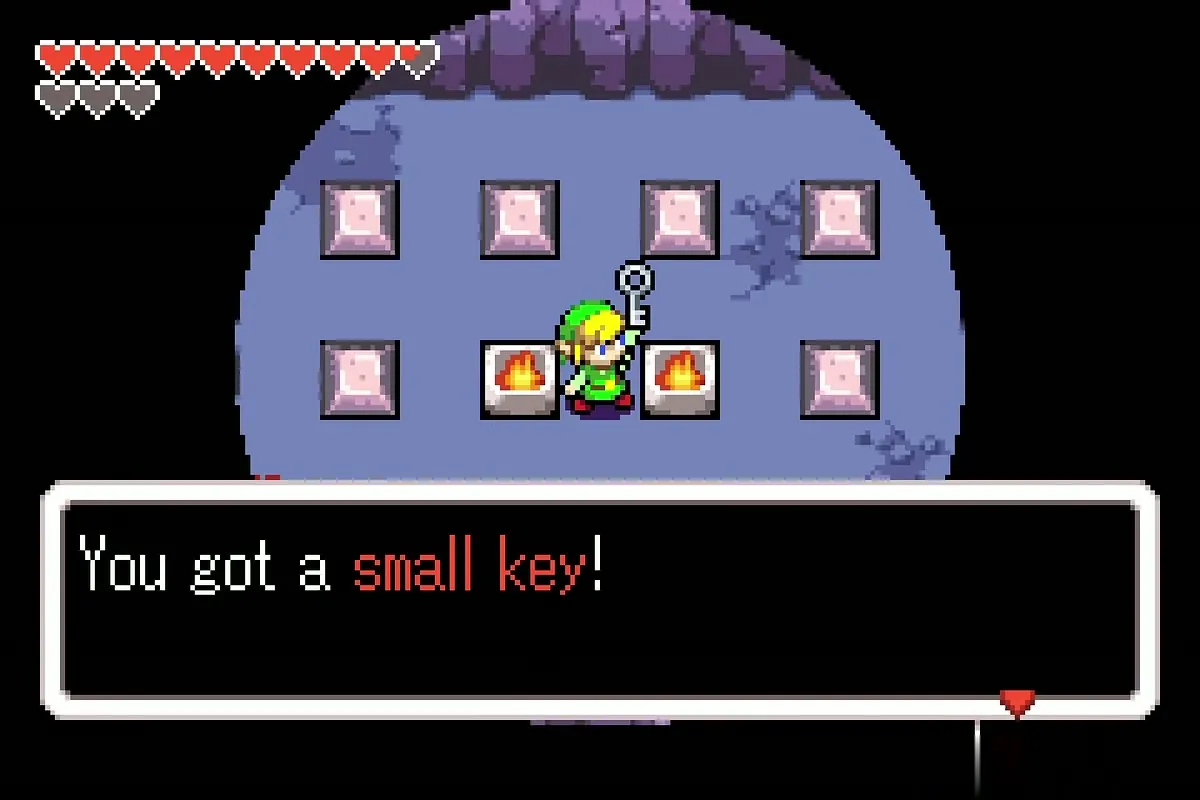
Return to the maze. Head east and north, taking the right-hand path at each fork, to a chest with a second red Kinstone piece. Light the fire pit to open a block and go left and north. At the next fork, take the downward path to the third chest, which holds another red Kinstone piece, and light the fire pit there too. Now use the fourth Small Key on the locked door to leave the maze.
Fire lines, block puzzles and torches
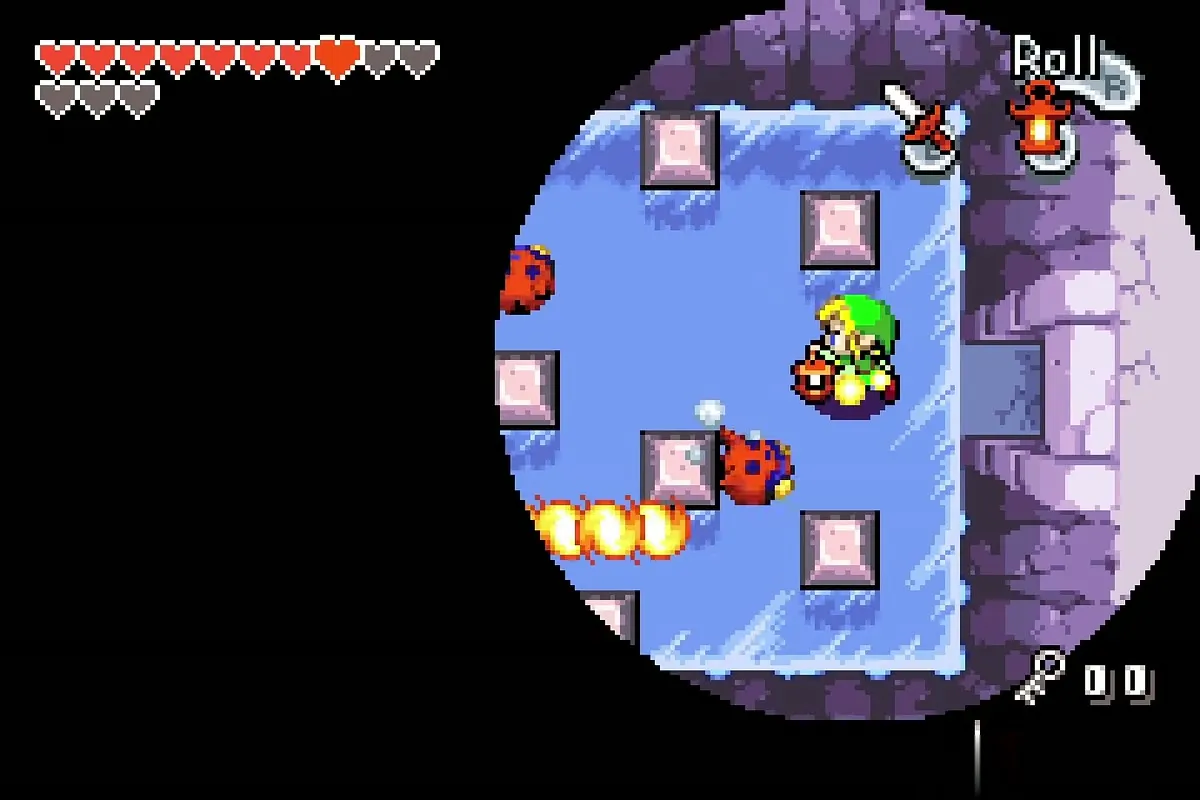
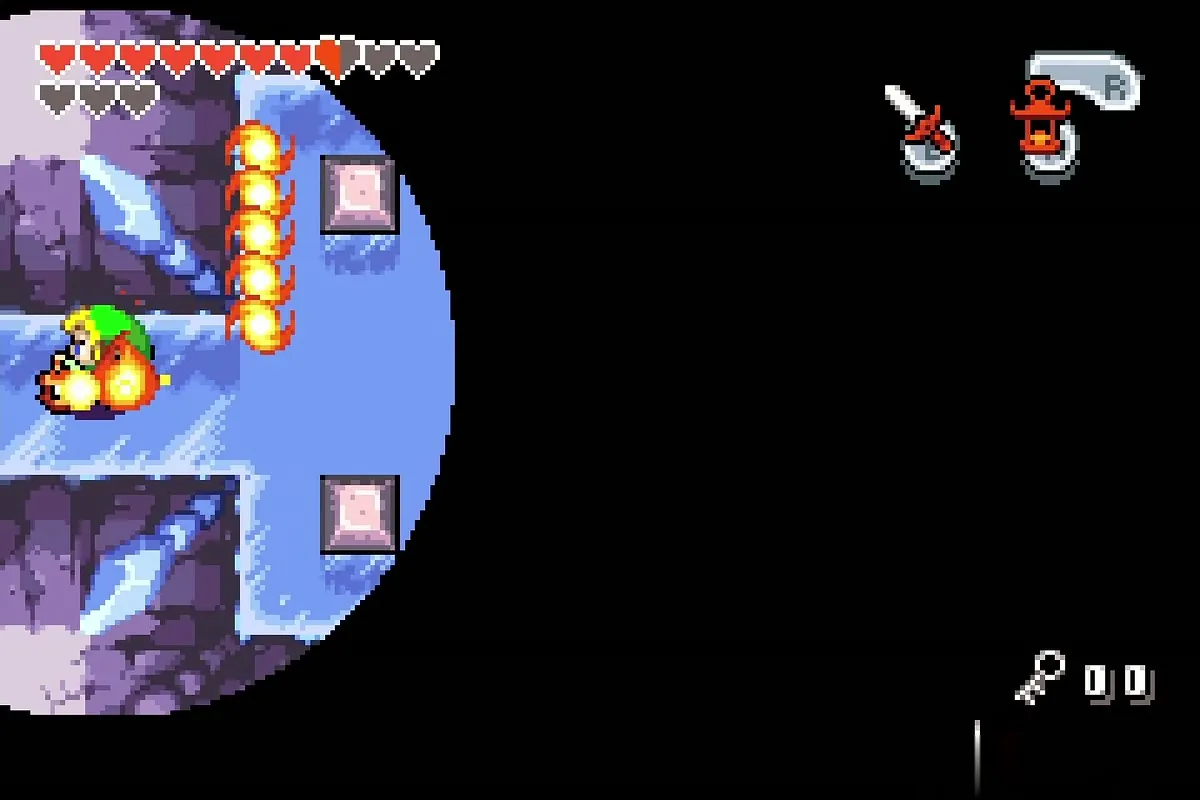
The next ice room is crossed by lines of fire that cannot be attacked, so run across as soon as the lines are clear. Go on through the next dark room, keeping off the ledges, and out through the north door.
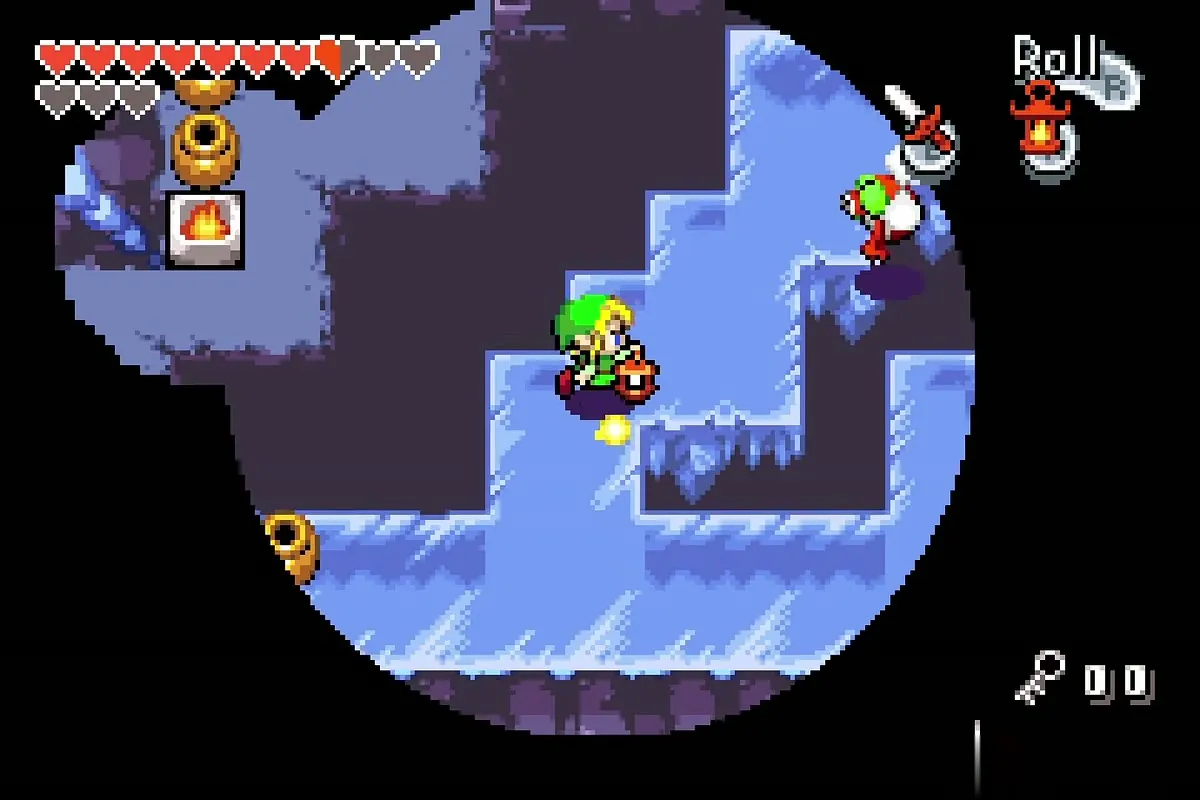
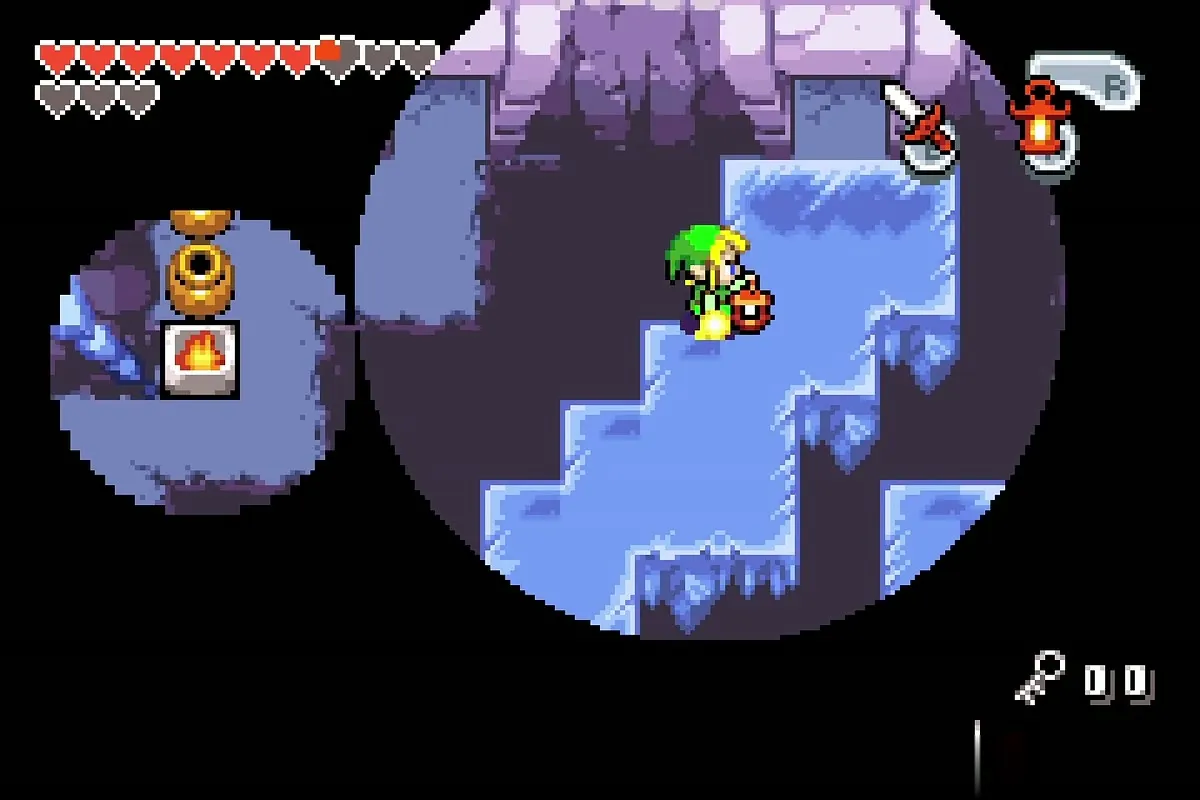
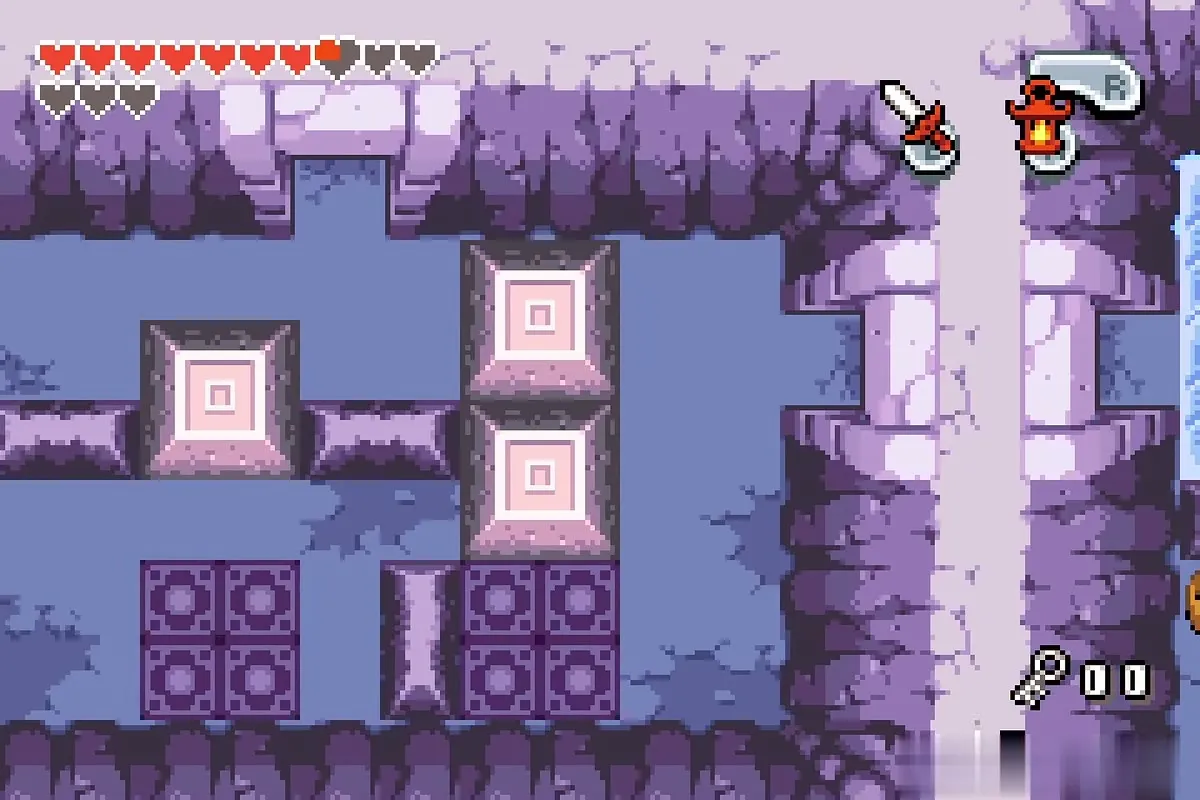
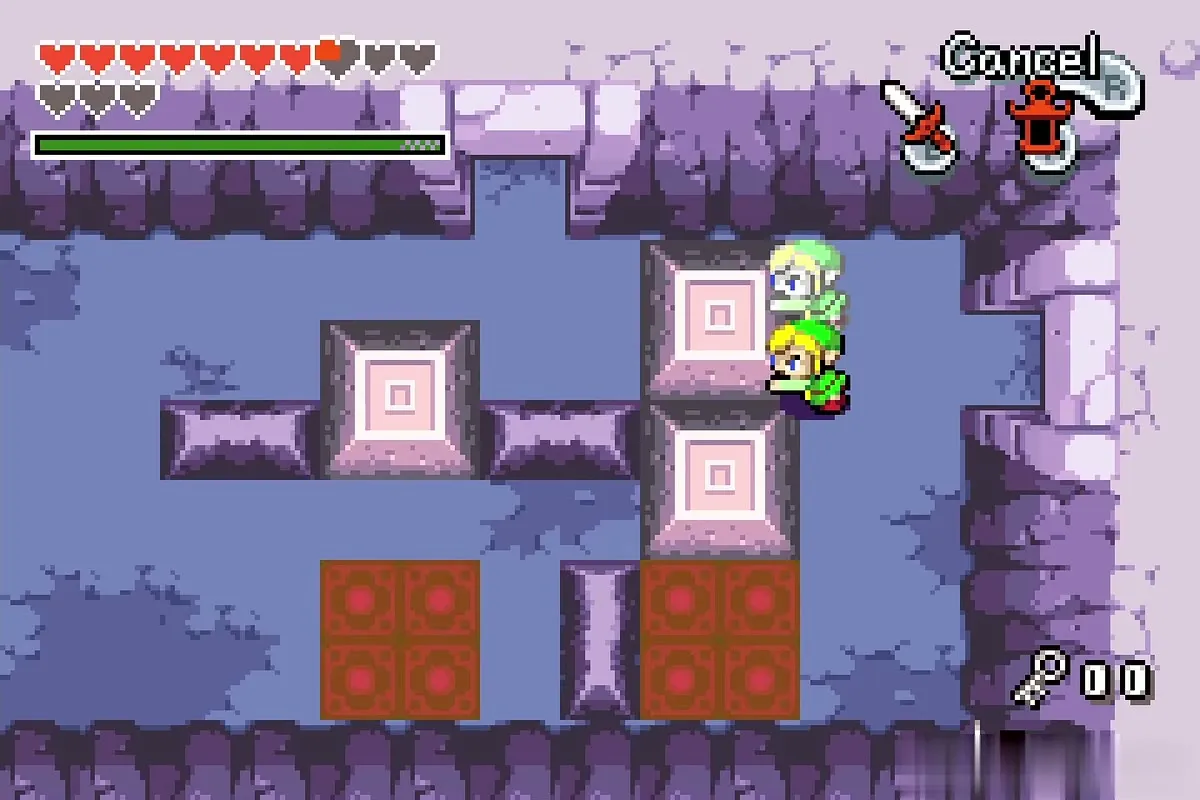
The next room has two sets of coloured pads and three large pink blocks. Make clones on the pads and use them to slide the three blocks aside, one by one. Finish by pushing the top block right so that the way north opens.
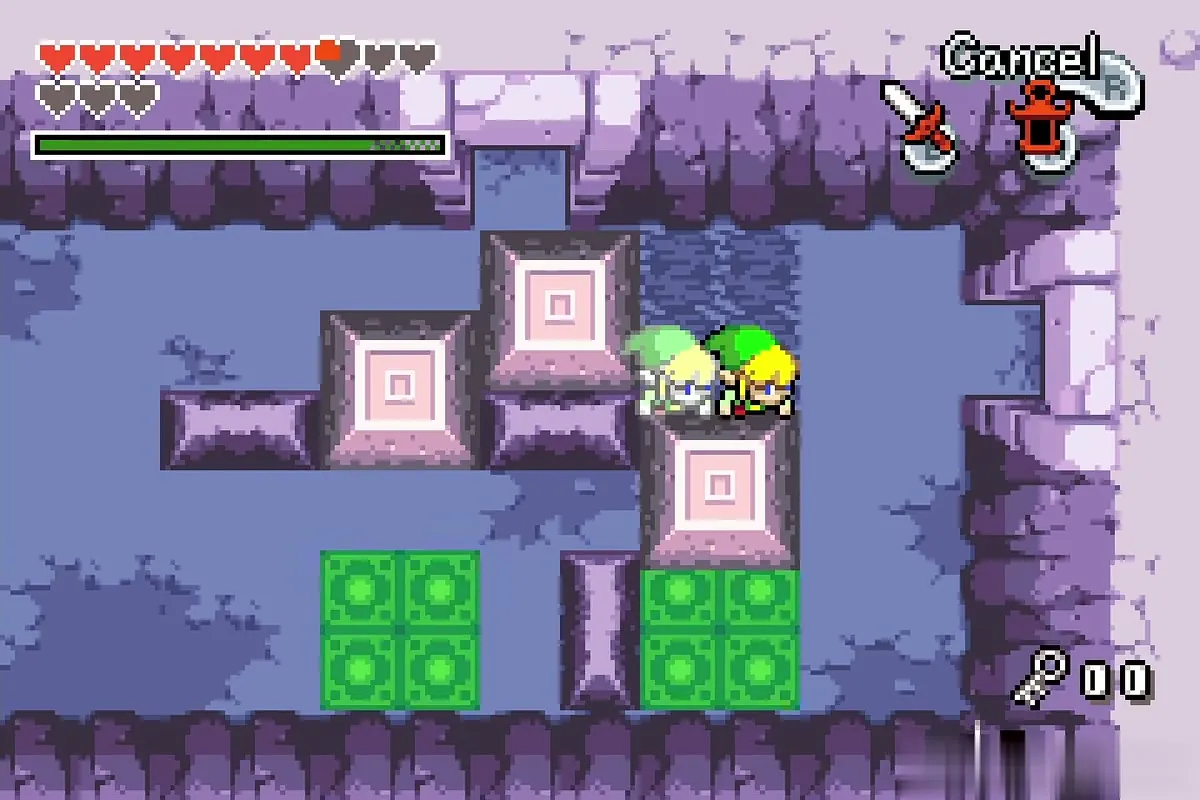
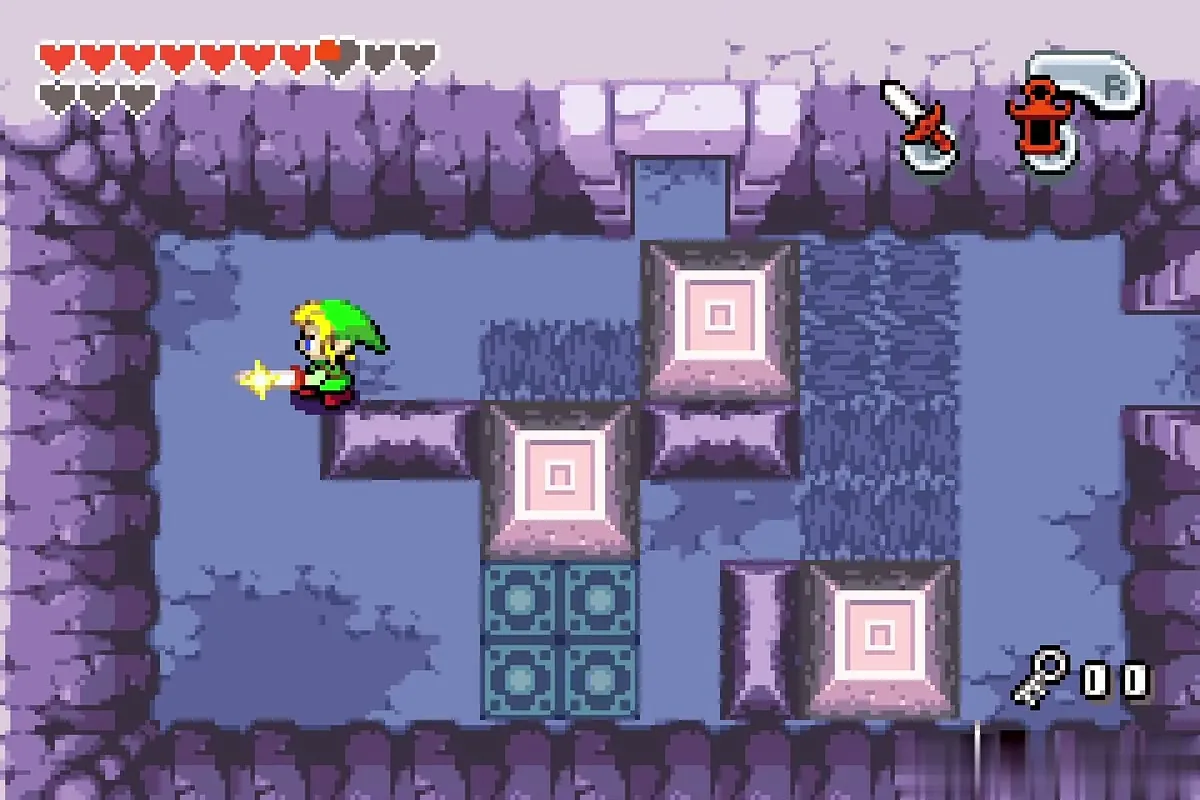
The ice room that follows has three floor switches. Push ice cubes onto two of the switches, and have a clone stand on the third. The door opens. In the room with flame lines running around the edges, push the top-right block up and the door on the left opens.
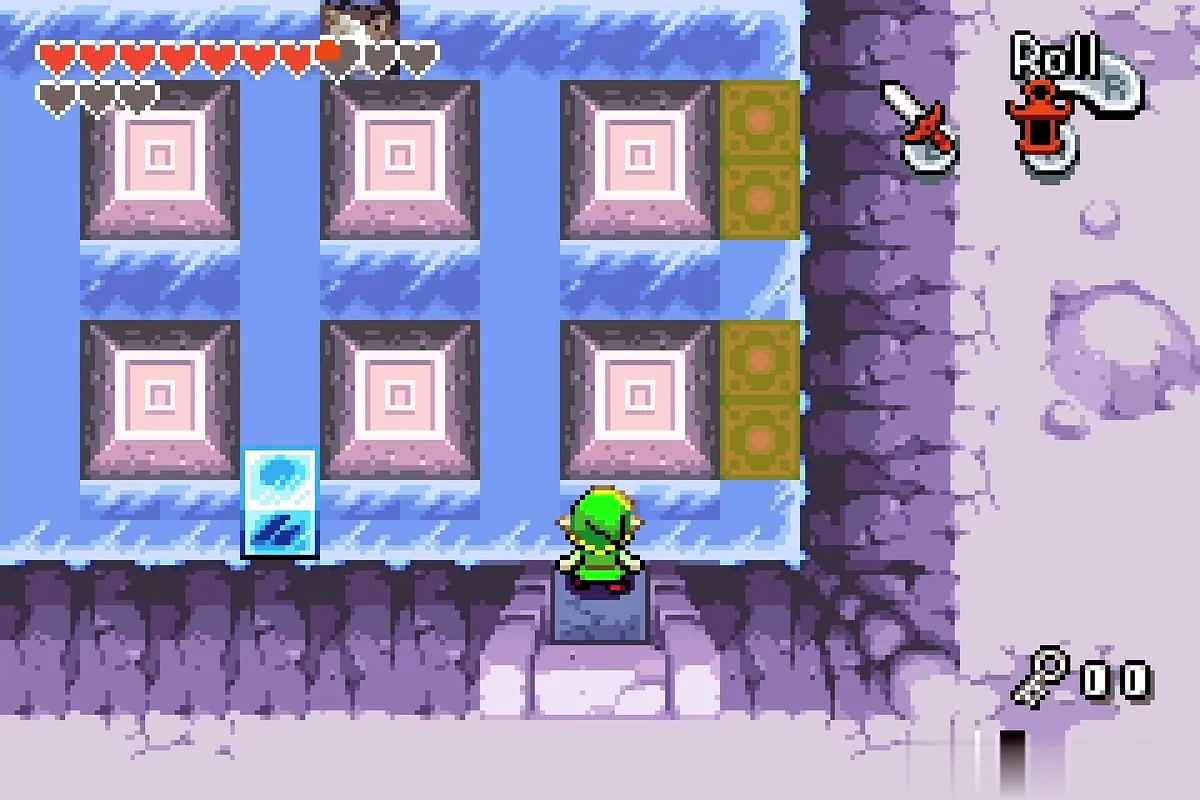
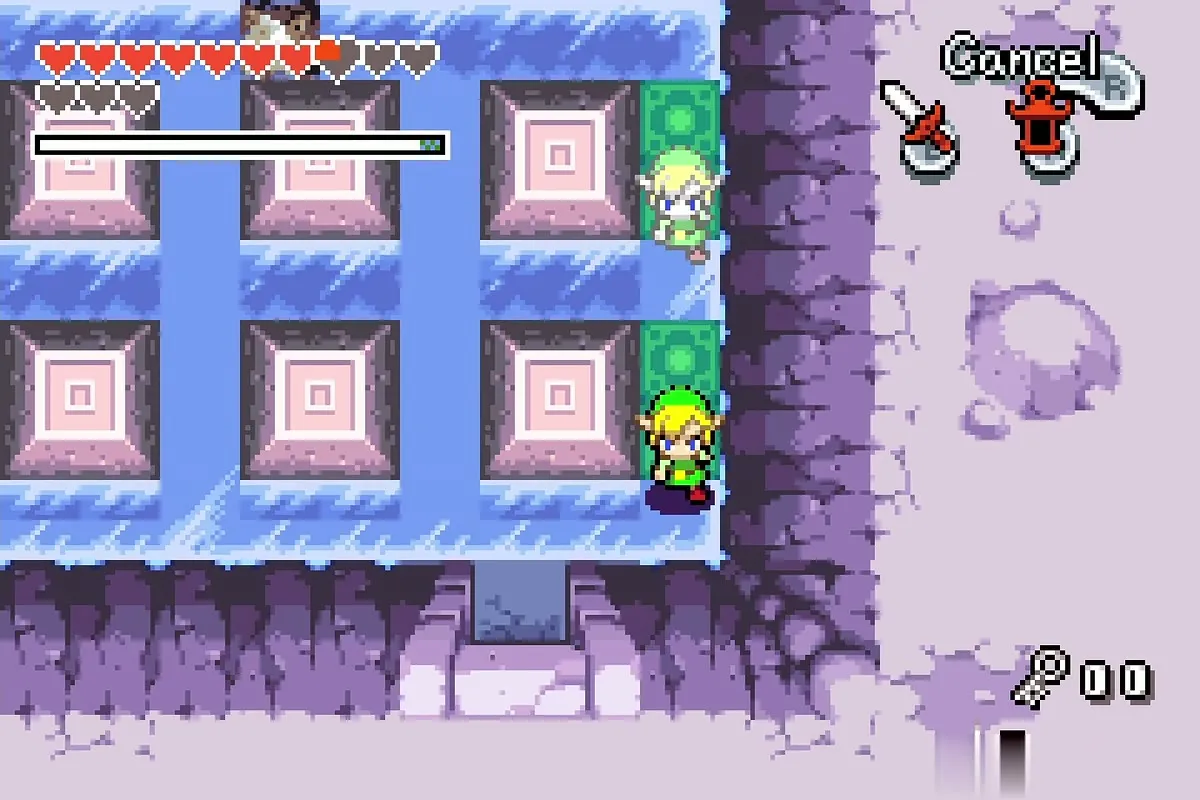
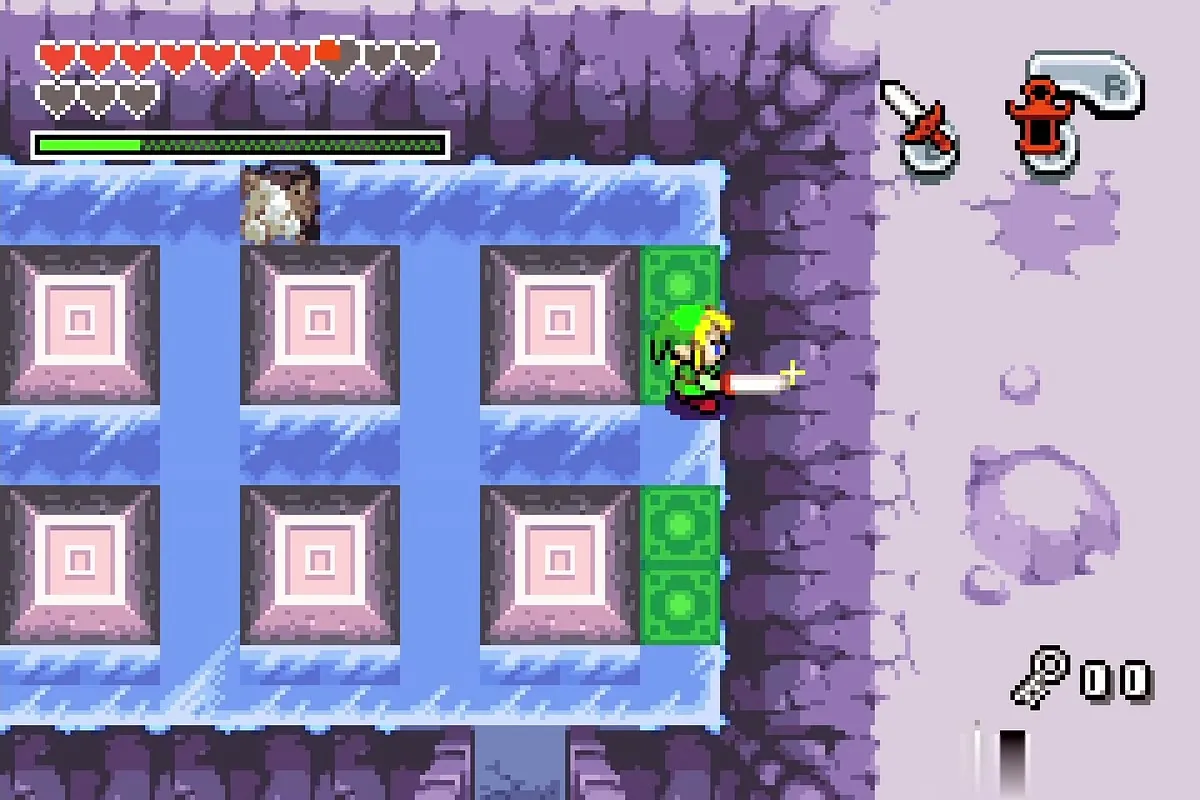
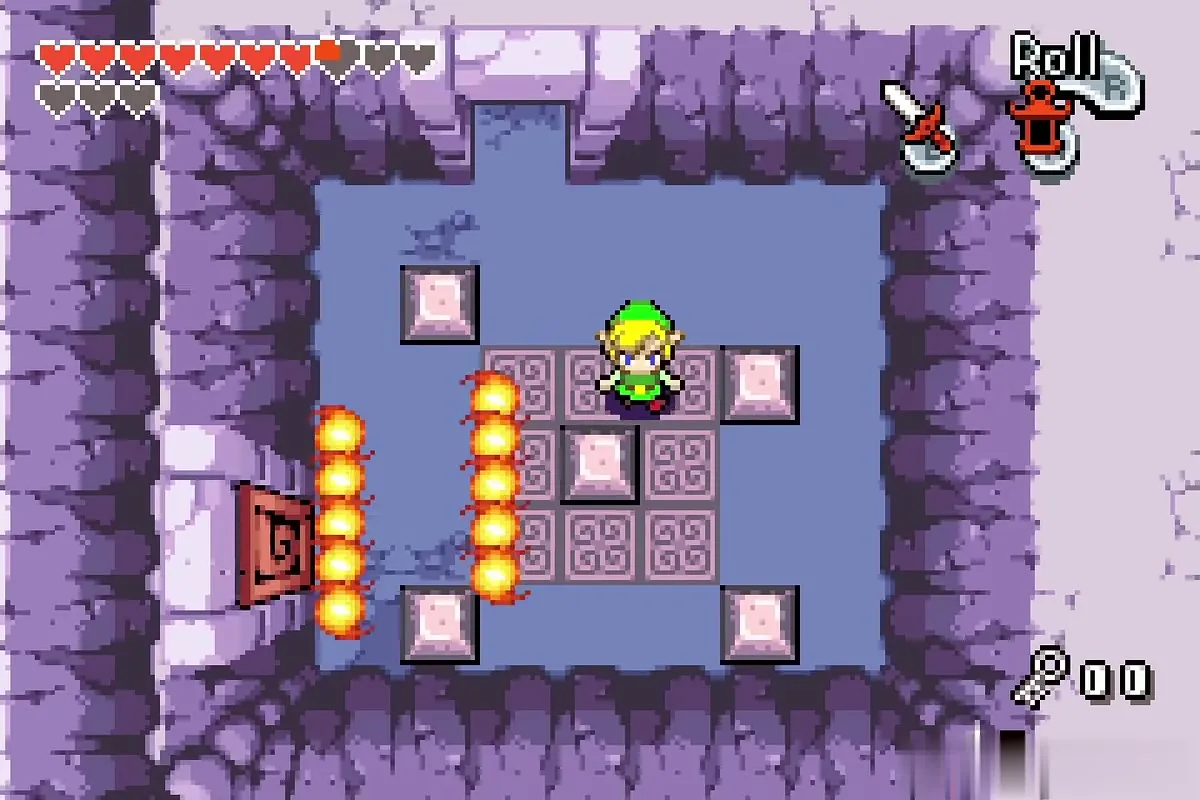
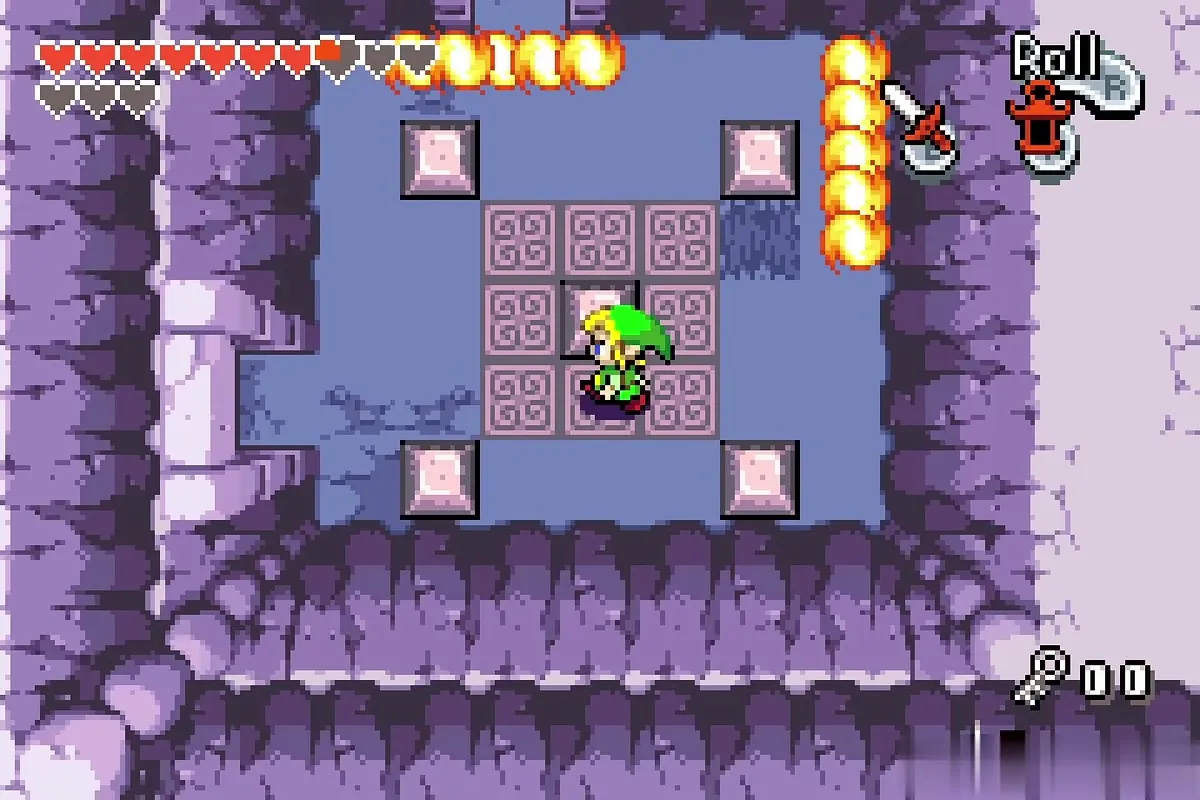
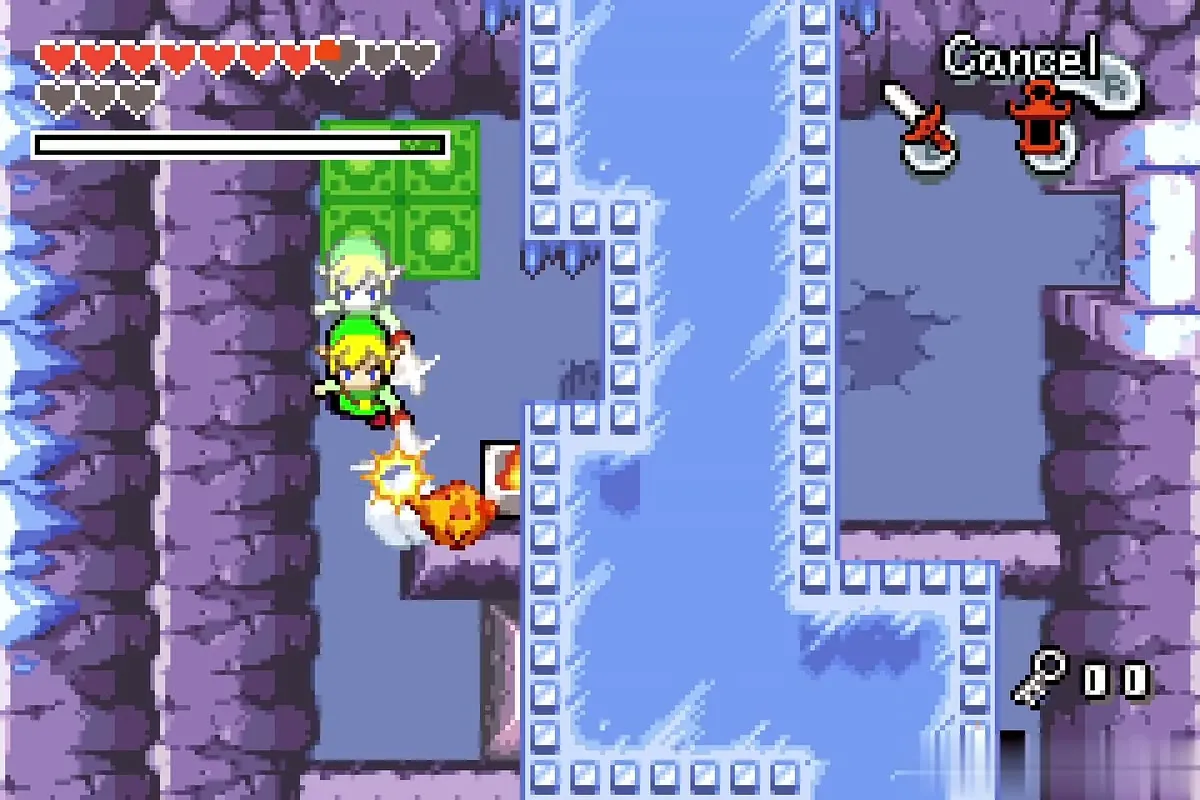
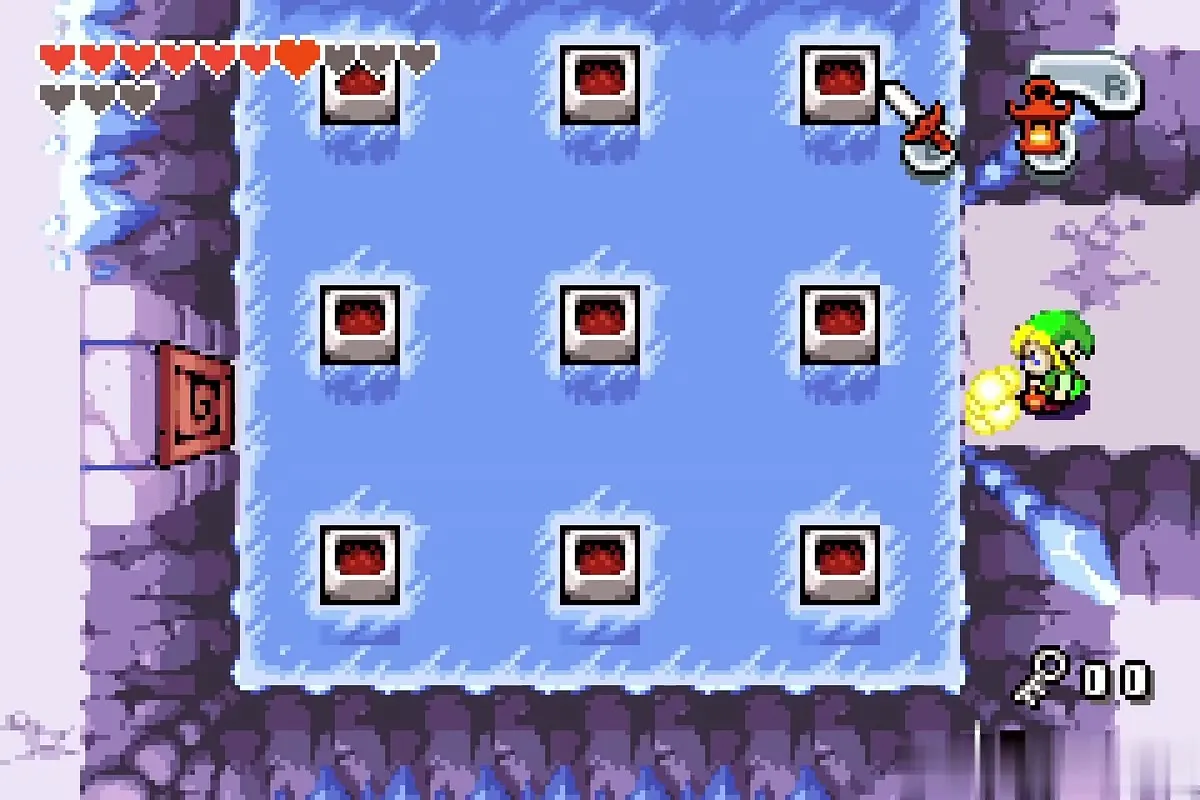
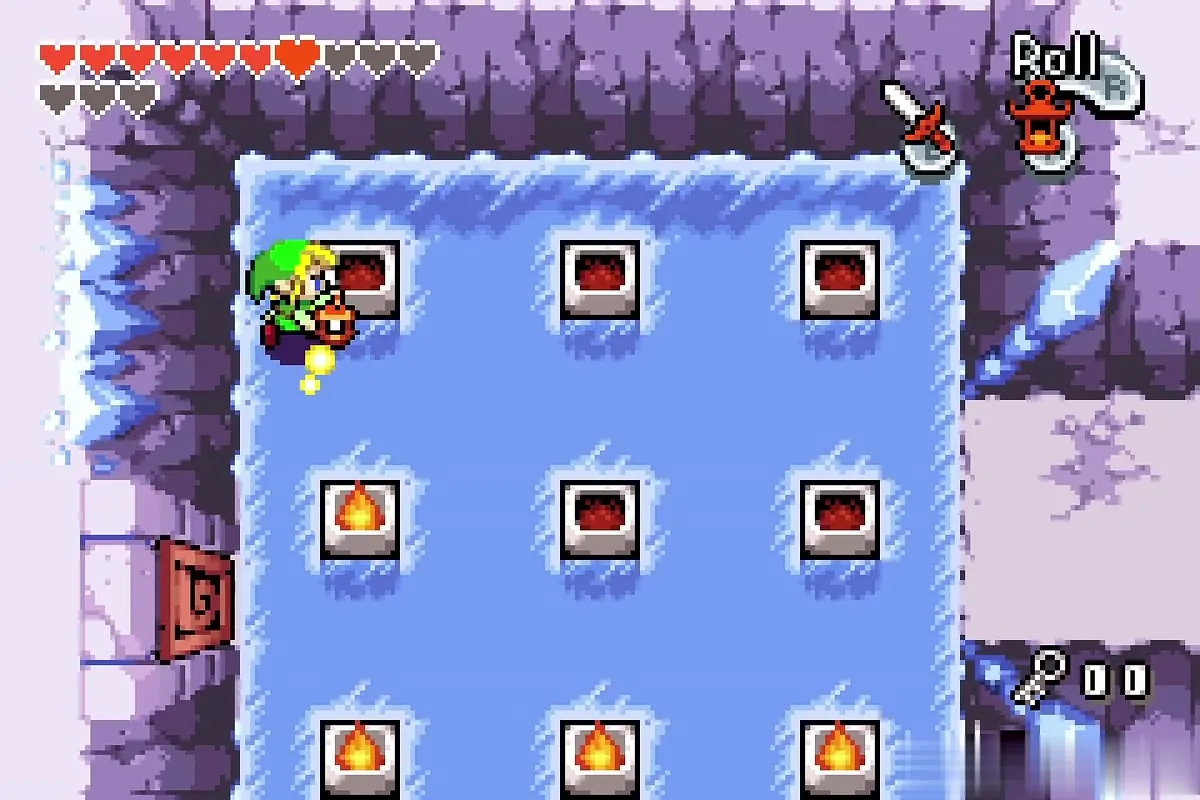
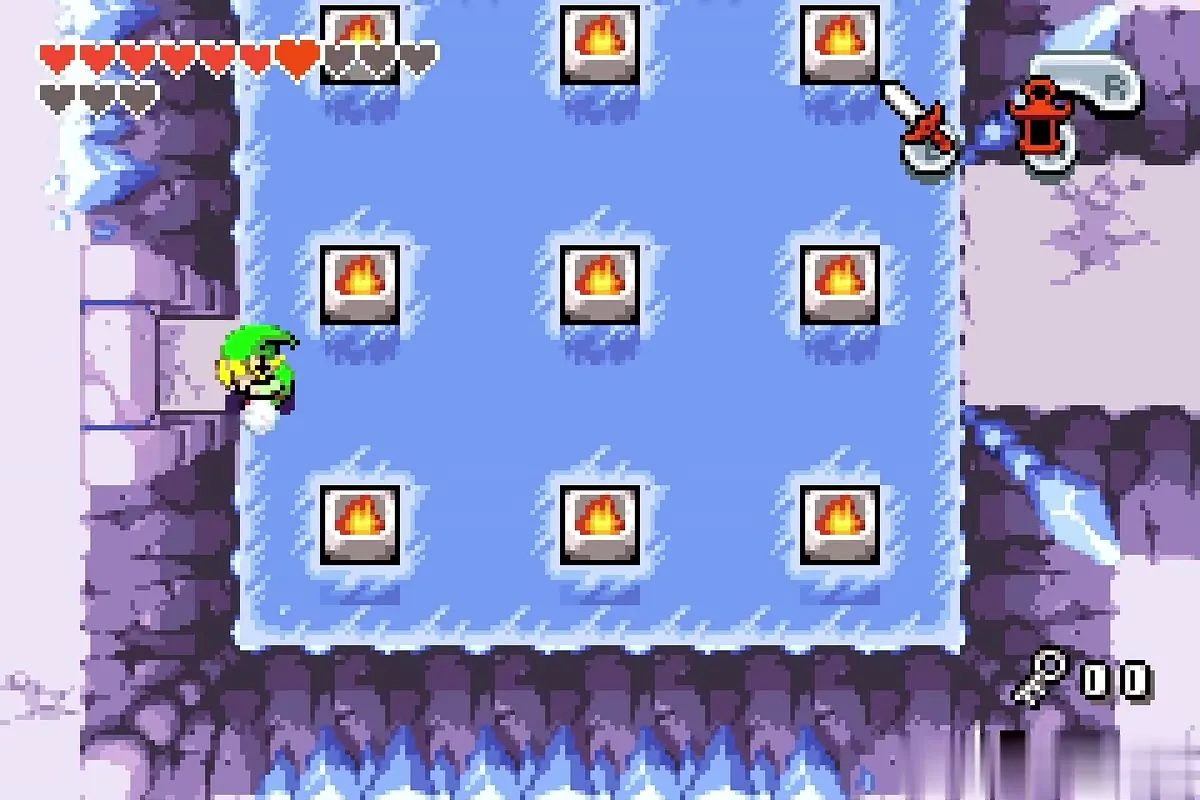
Burn the large ice chunk with the Lantern, make a clone and push the central block right, then go up the stairs. The room beyond holds nine torches in a three-by-three grid. Light all nine with the Lantern; the torches go out quickly, so relight any that go dark until the door on the left opens.

Rollers, bombs and two Madderpillars
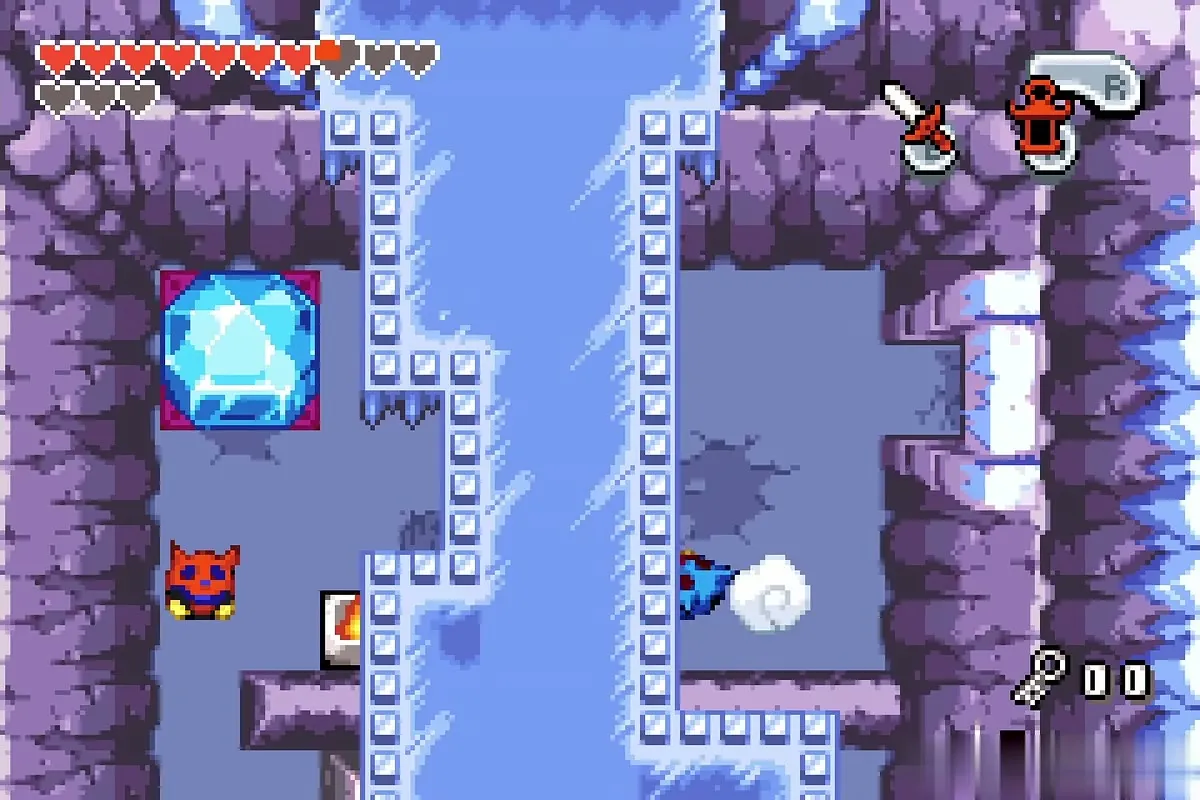
Swim south past the spiked rollers and press the floor switch in the corner, which makes a red warp tile appear. Flying enemies drop bombs in the next rooms, so keep moving. Bomb the marked north wall to open a way through.
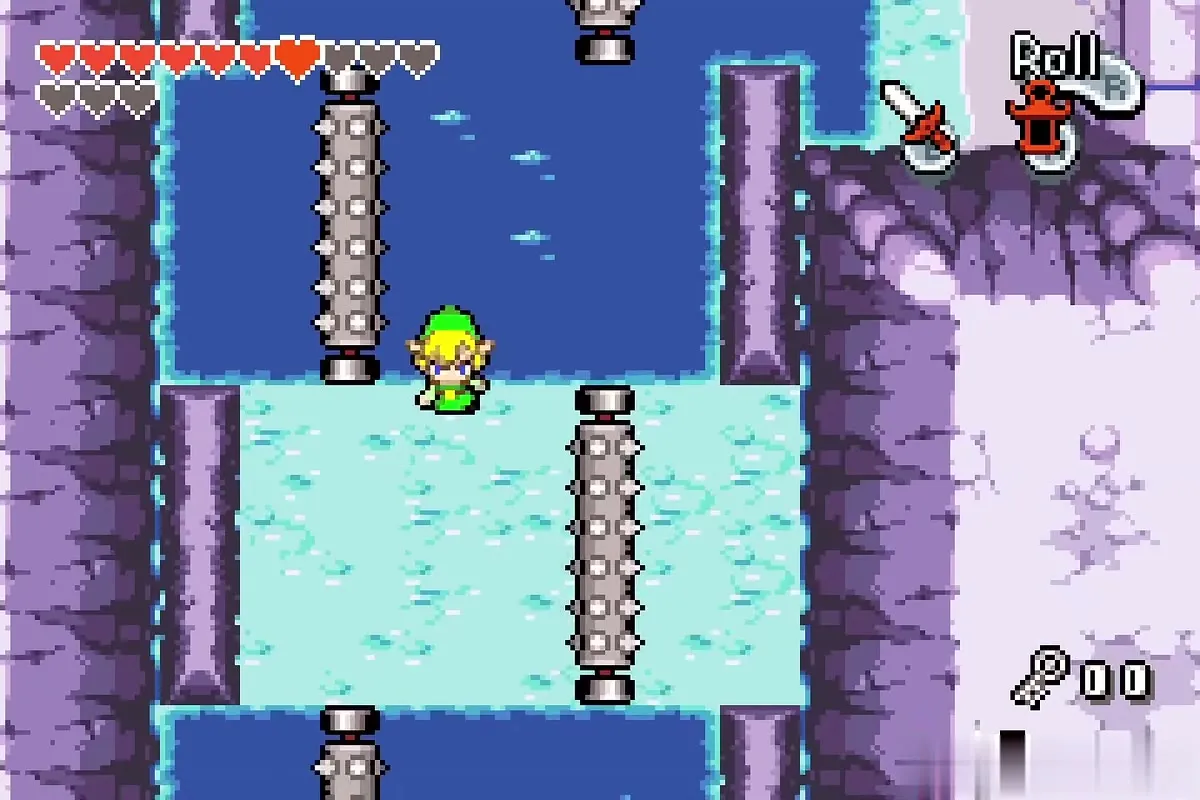
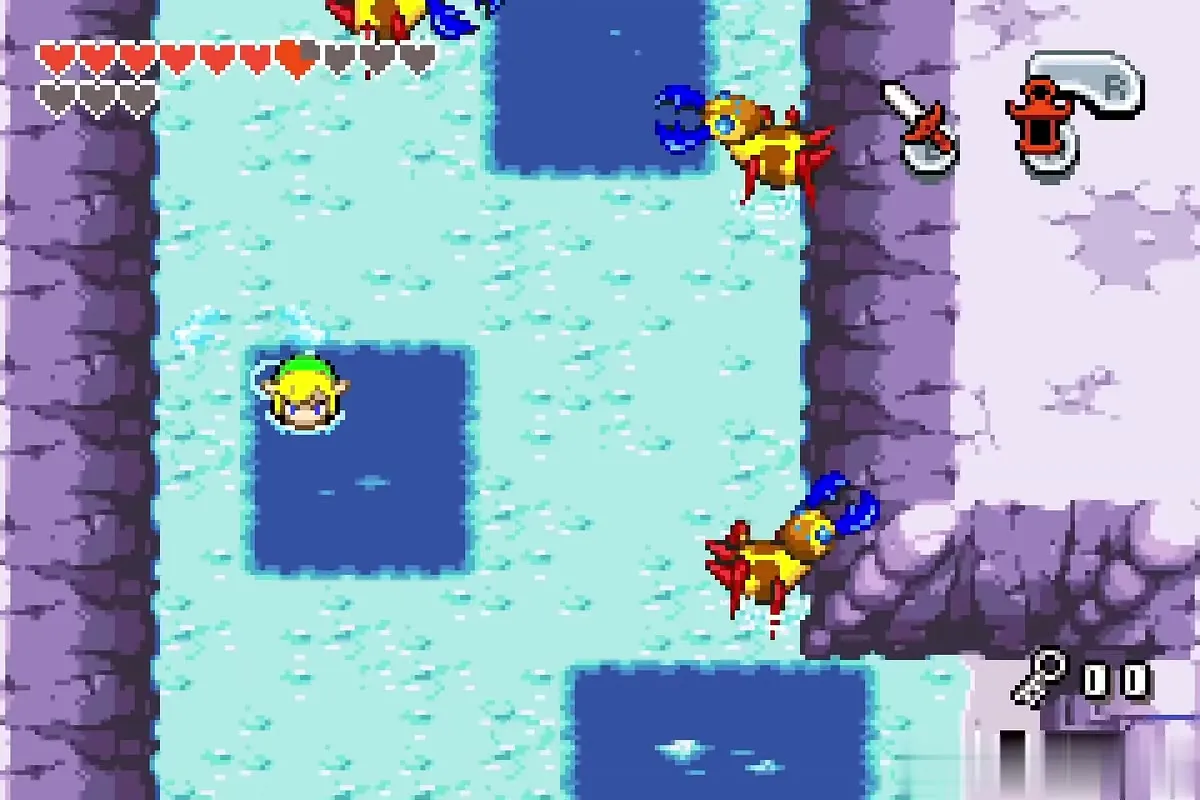
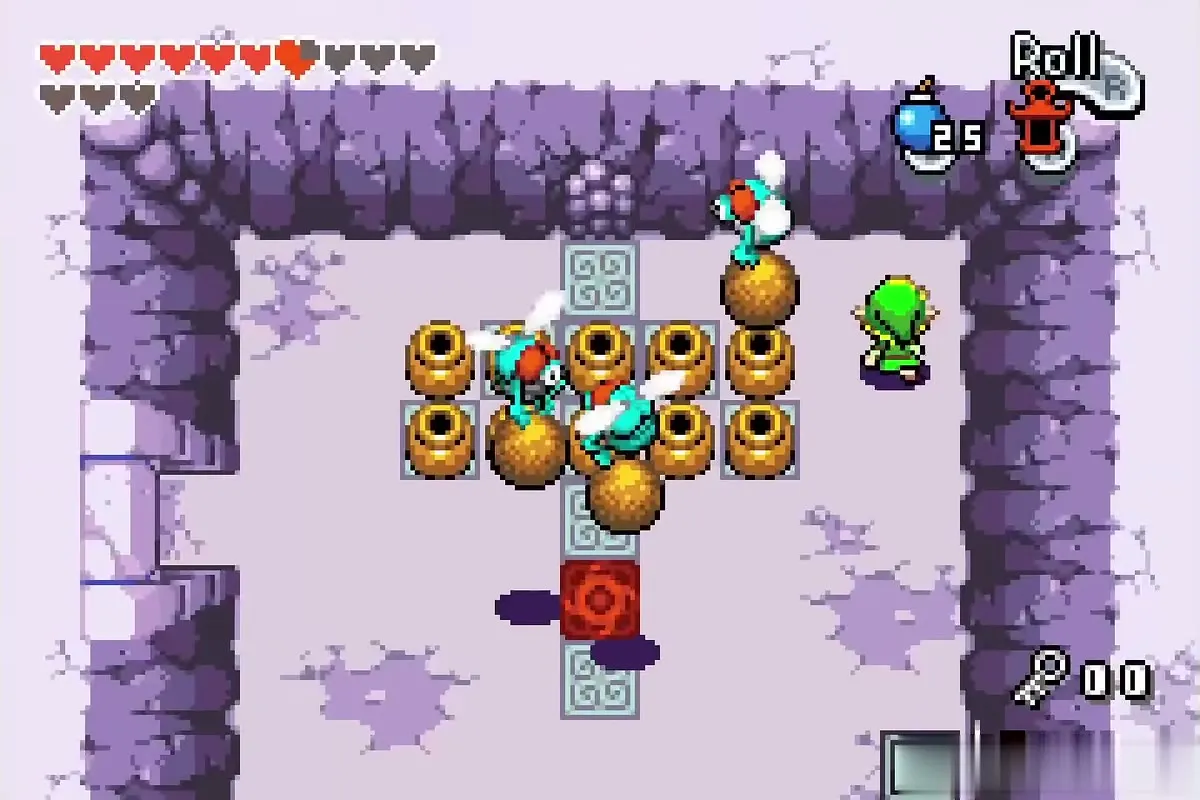
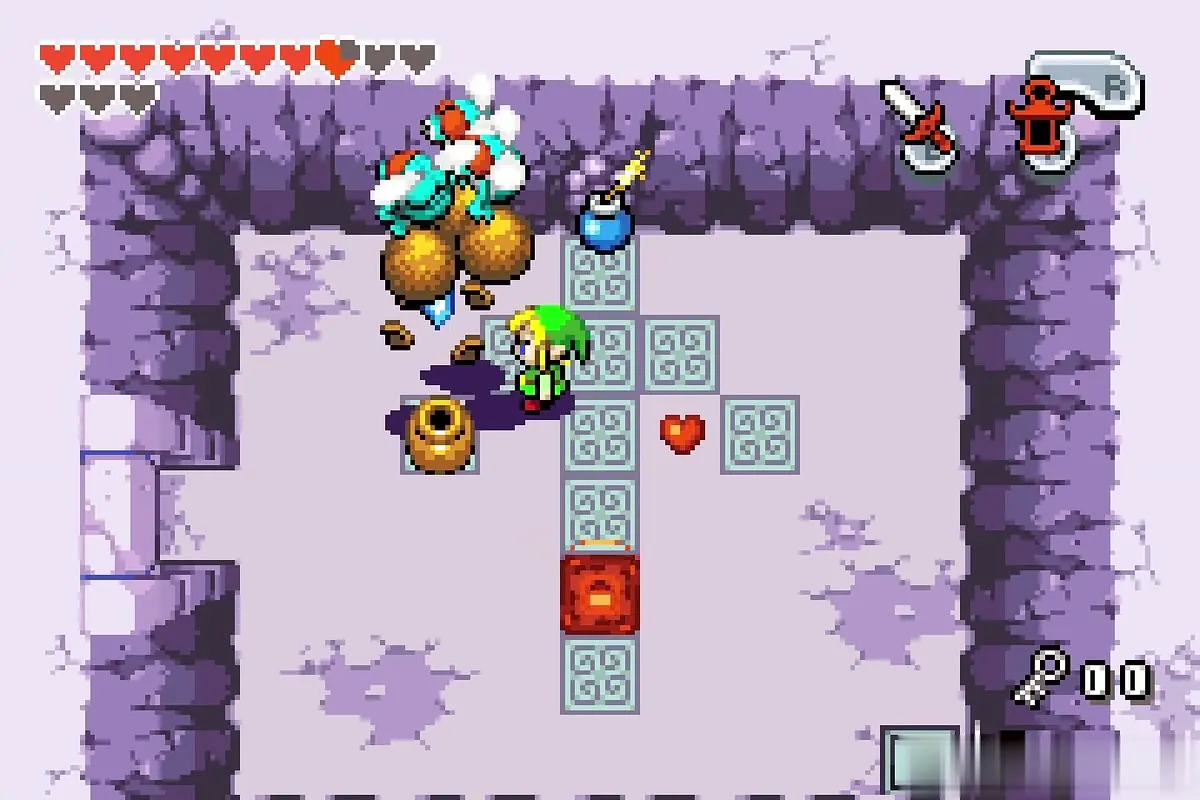
The next room is dark and full of cobwebs, with two Madderpillars. Light the way with the Lantern, burn the cobwebs and defeat the worms one at a time.
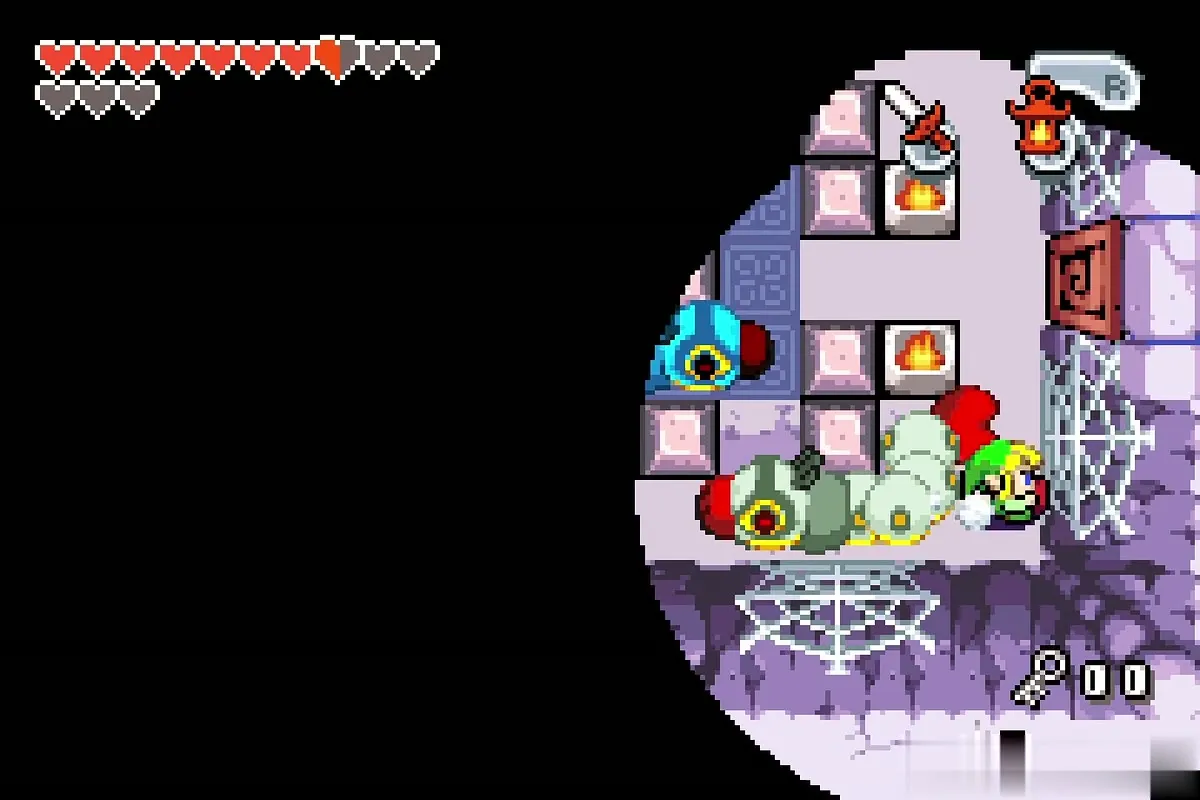
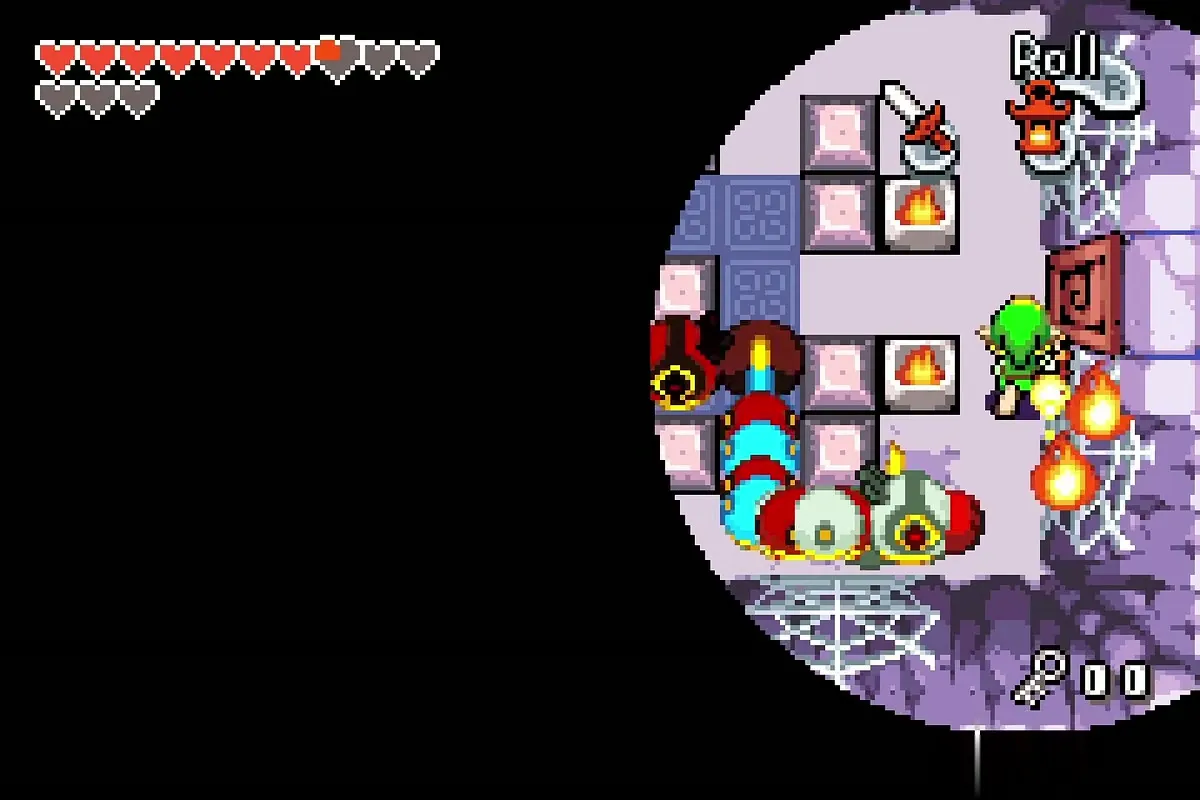
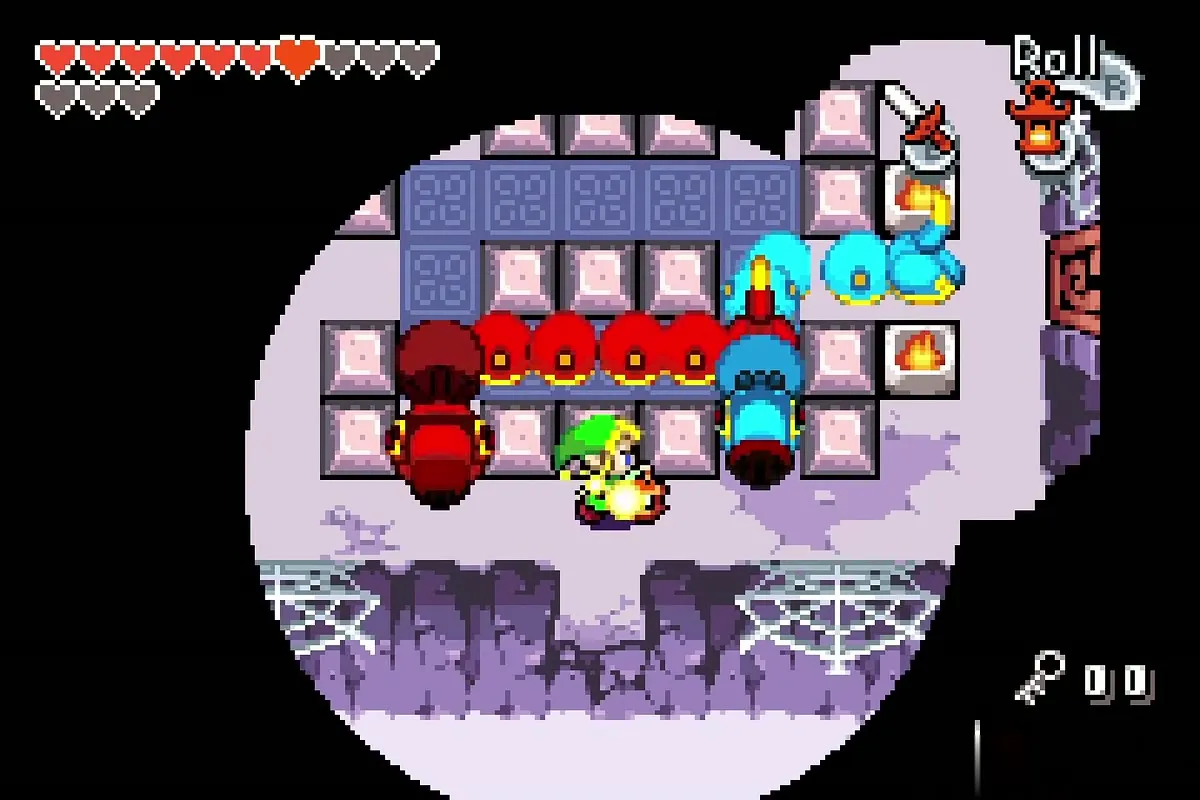
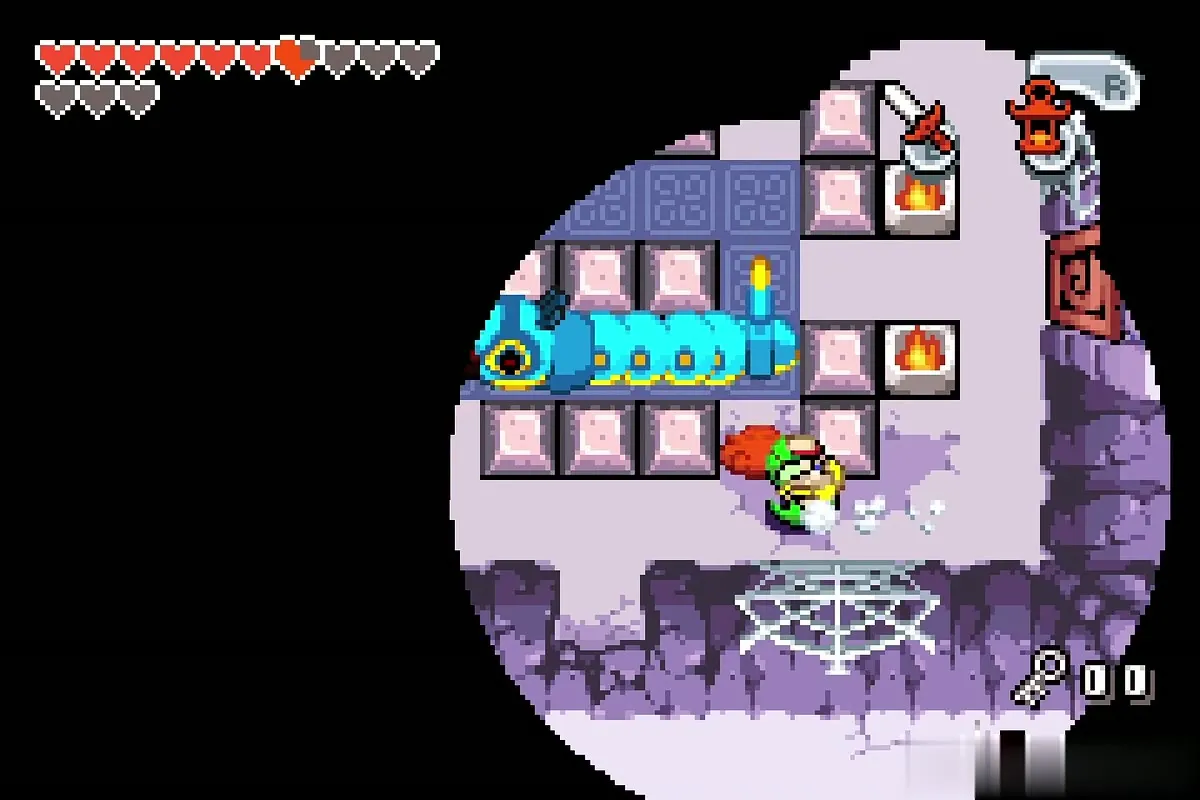
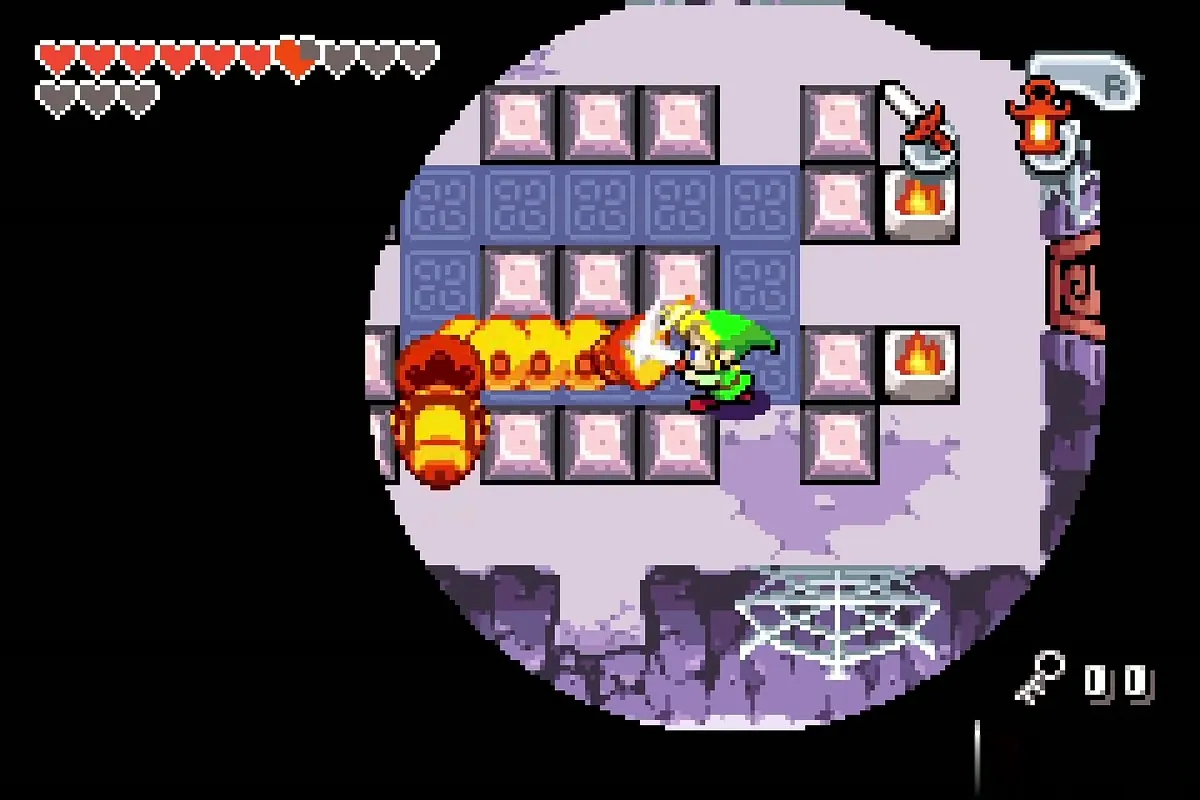
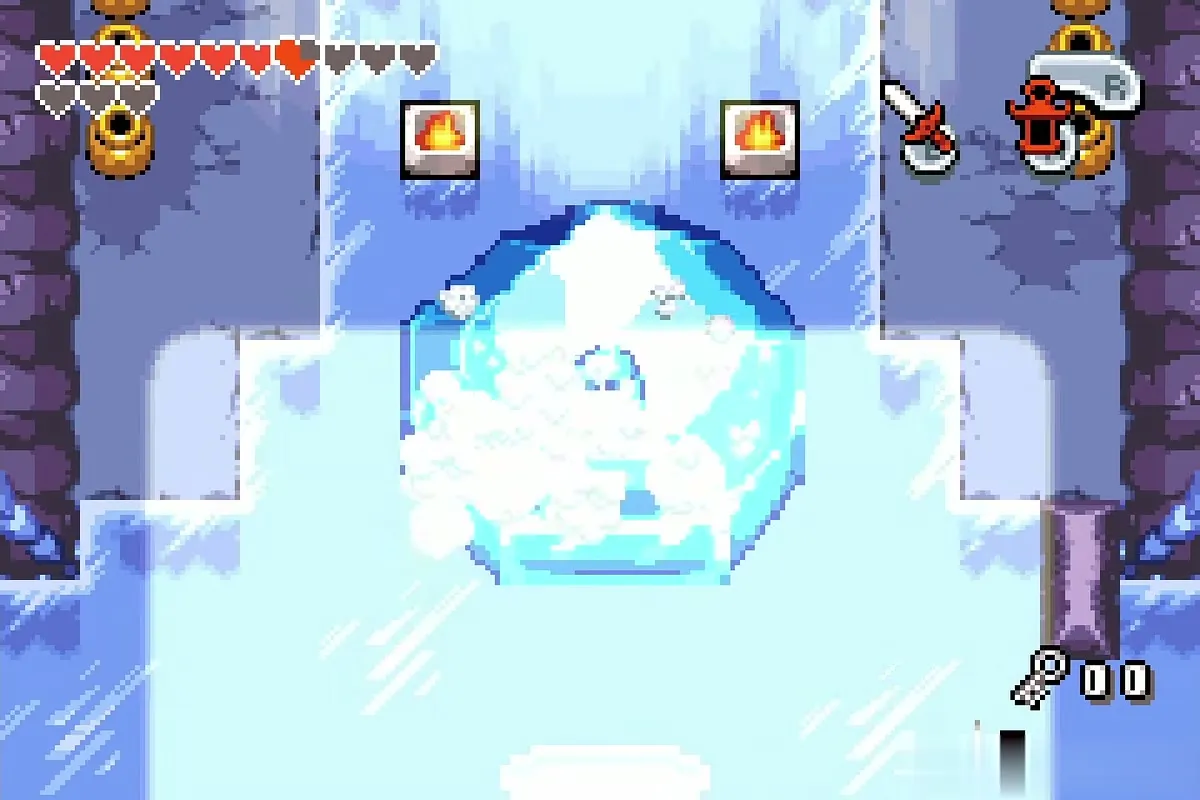
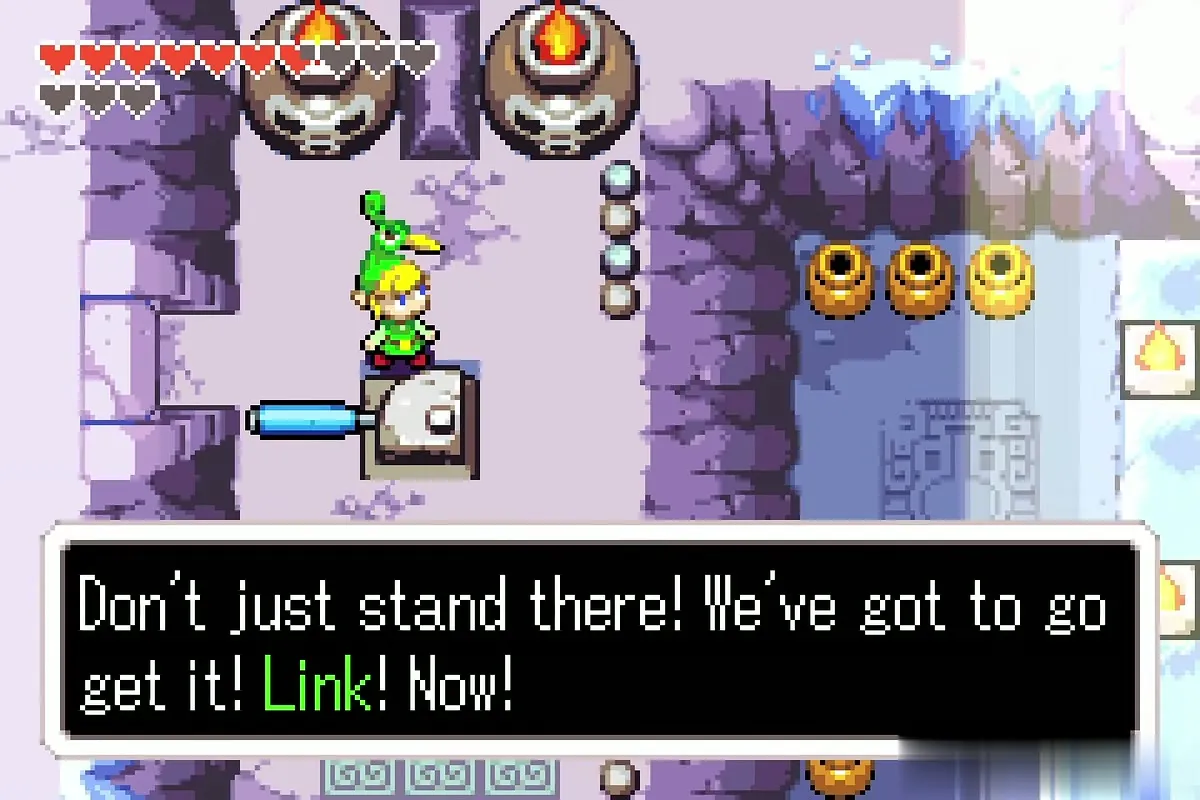
Climb the stairs to the bridge room, cross the bridge quickly and head north. Go through to the room of coloured pads and the second large lever. Make a column of clones and have them push it. Sunlight pours in and melts the ice around the Water Element, but the Big Octorok thaws too, swallows the element and charges off. Ezlo tells you not to stand around.
Chests you can open before the boss
Two chests in the flooded half of the temple are not on the way to the boss: one holds 100 Mysterious Shells and the other holds one more Kinstone piece, which brings the temple’s total to six. Reach them by lily pad and melt any ice around them with the Lantern. Collect both before you go south to the boss room, where the pots in the corners of the element hall refill your hearts.
Big Octorok boss strategy
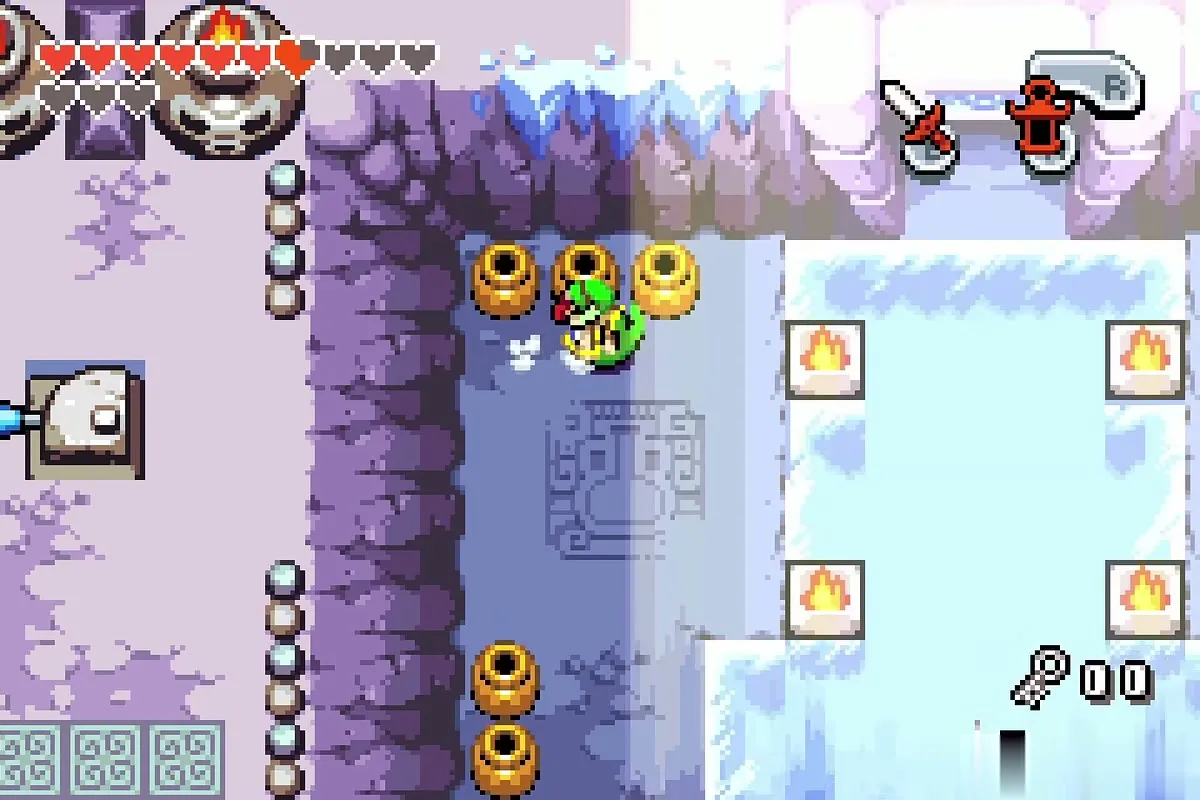
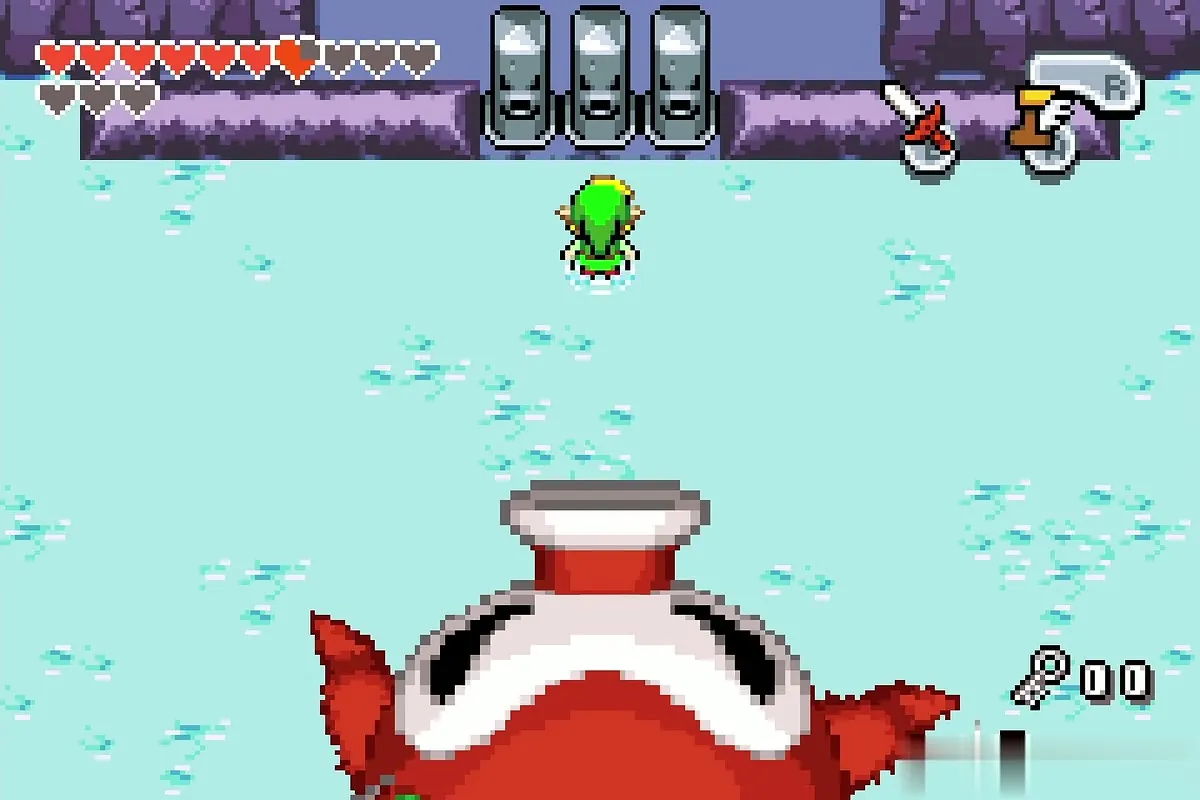
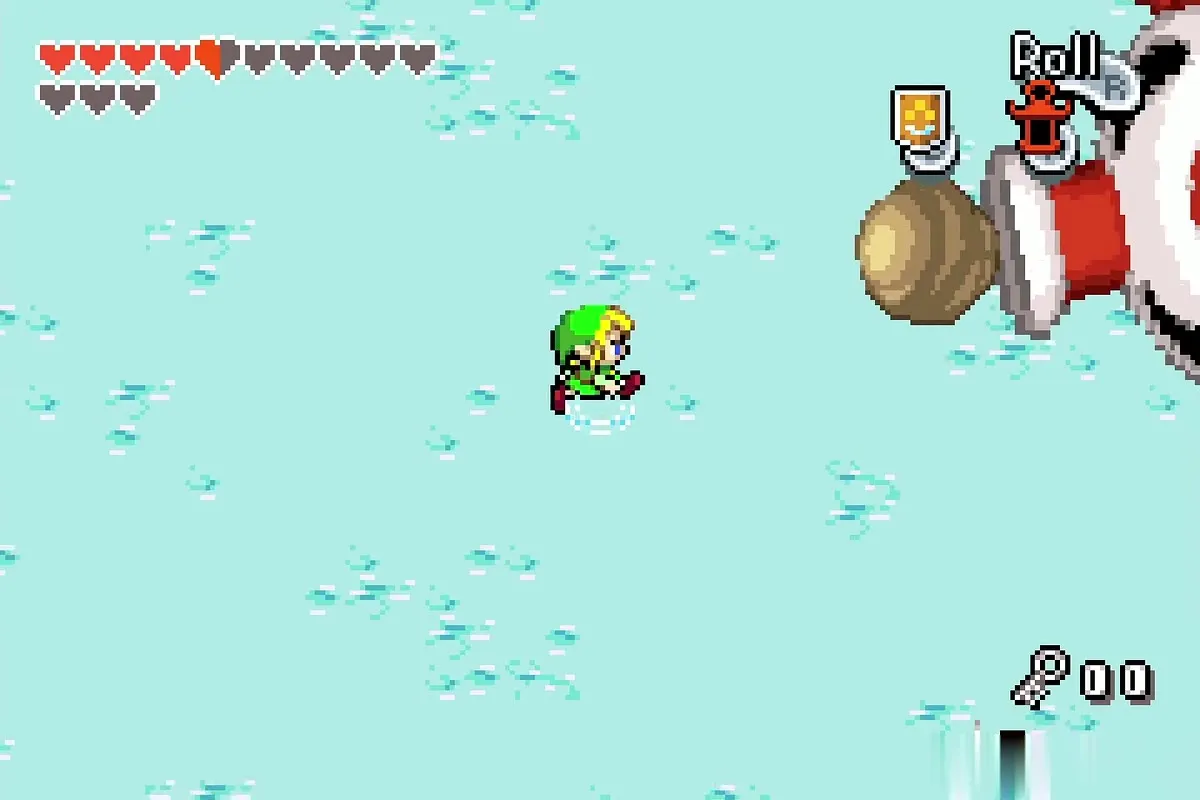
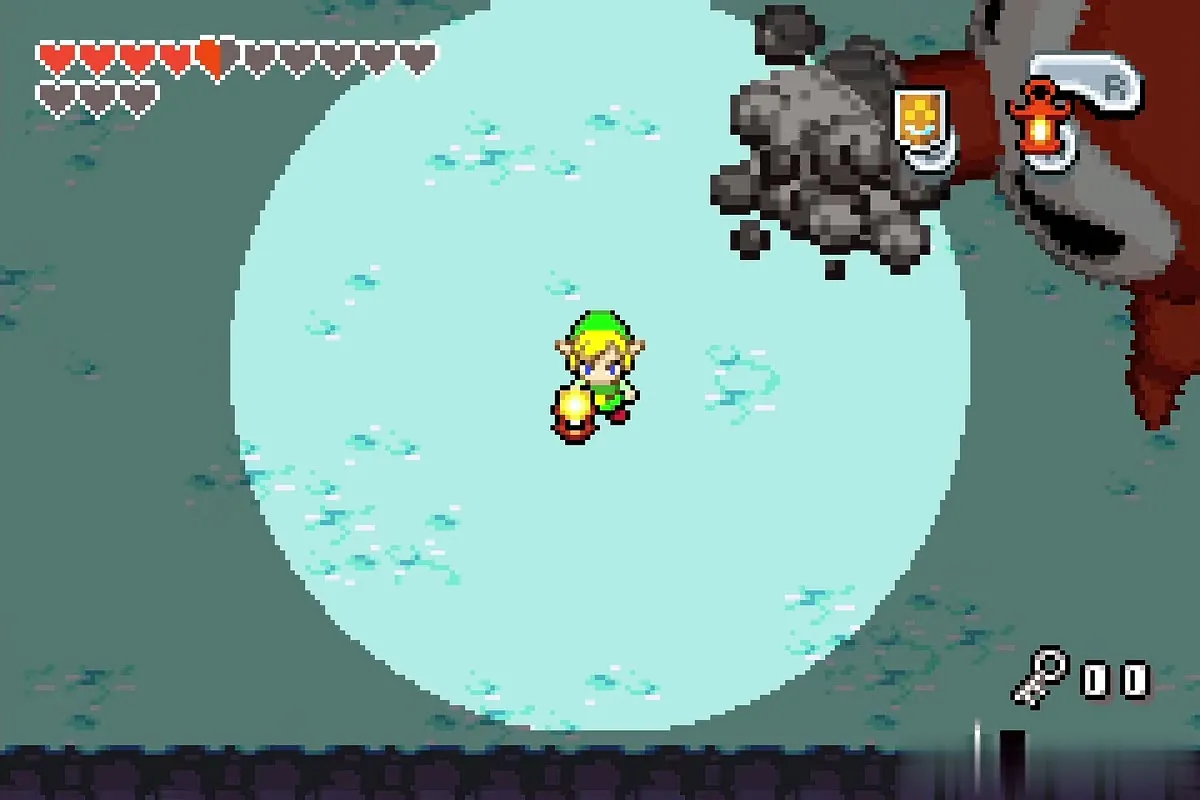
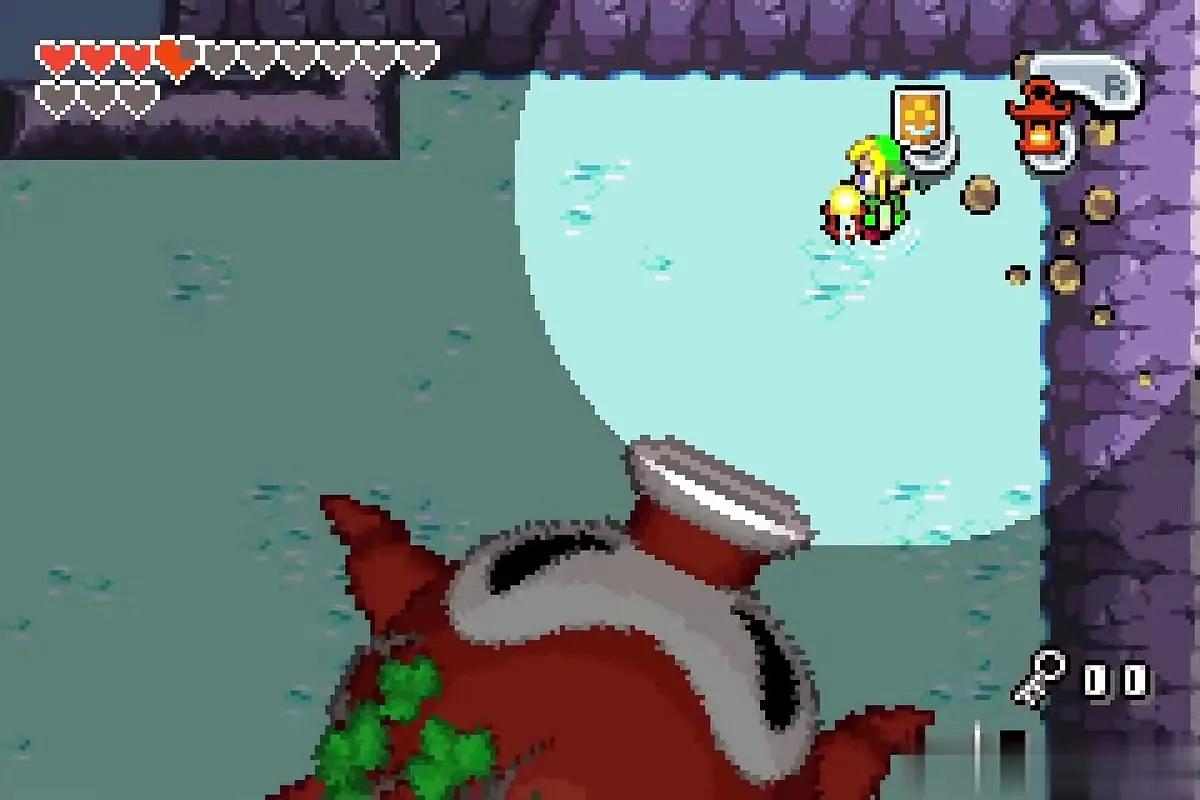
Go south into the boss room; the gate closes behind you. Equip the Small Shield on one button and the Flame Lantern on the other. The Big Octorok spits boulders at you. Hold up your shield to bounce them back, and do it three times to stun it. Keep your distance, because it can also suck you in.
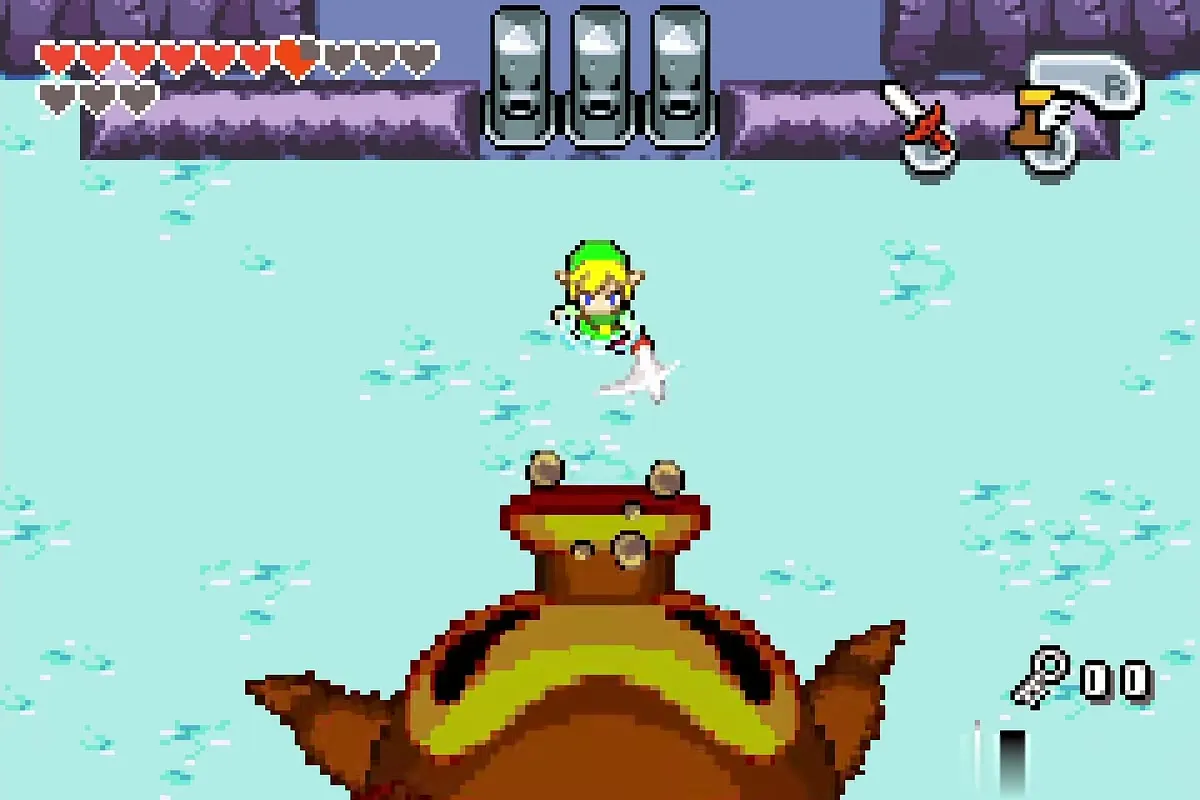
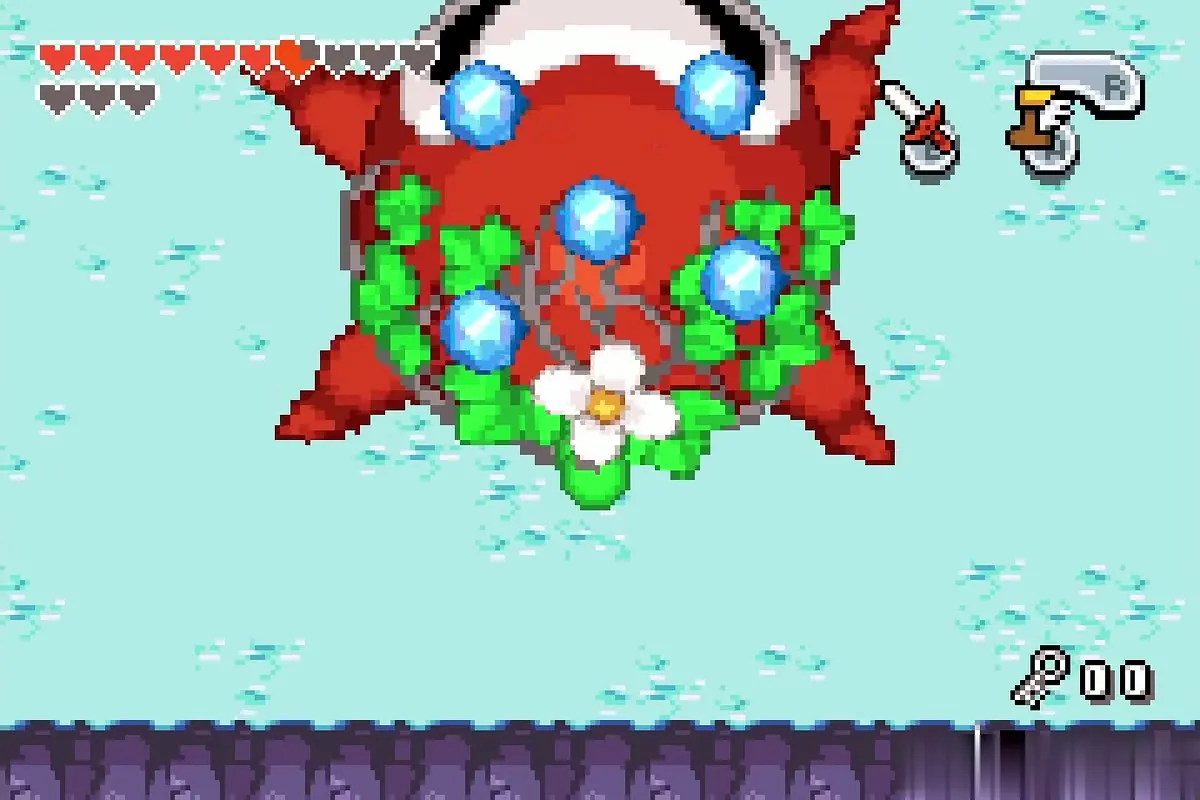
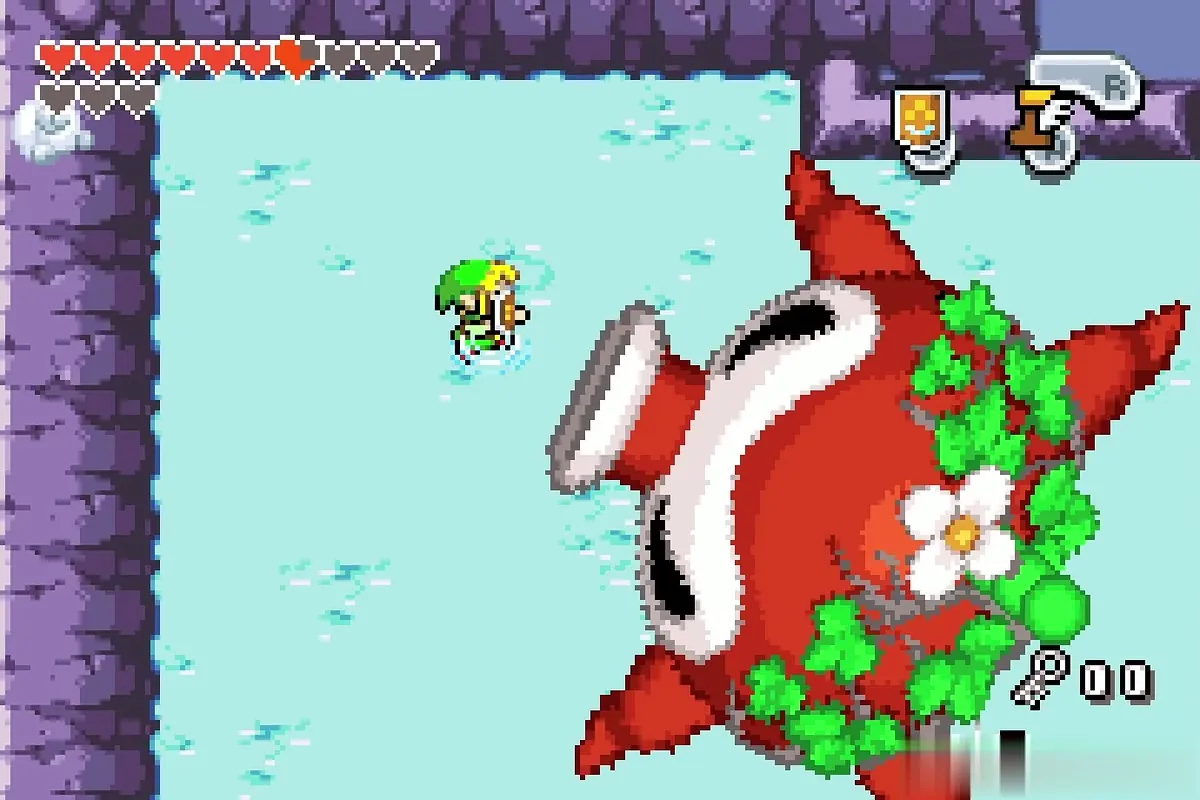
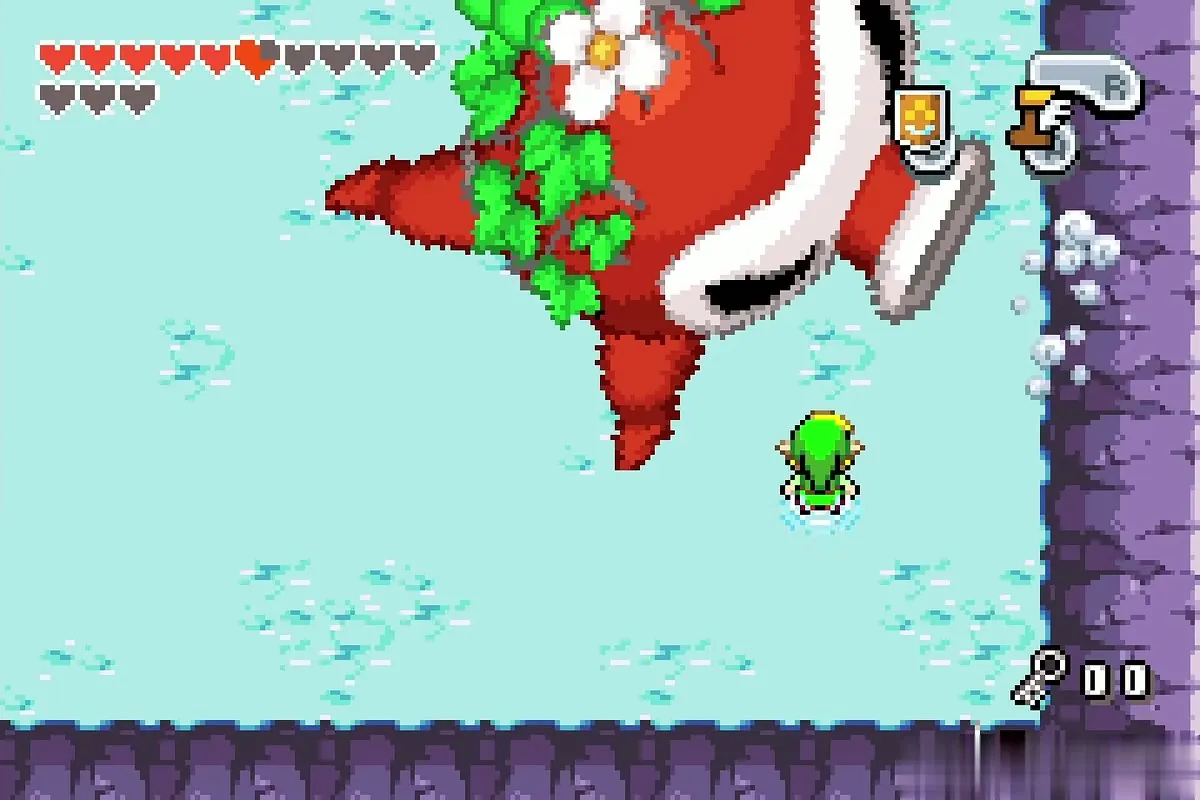
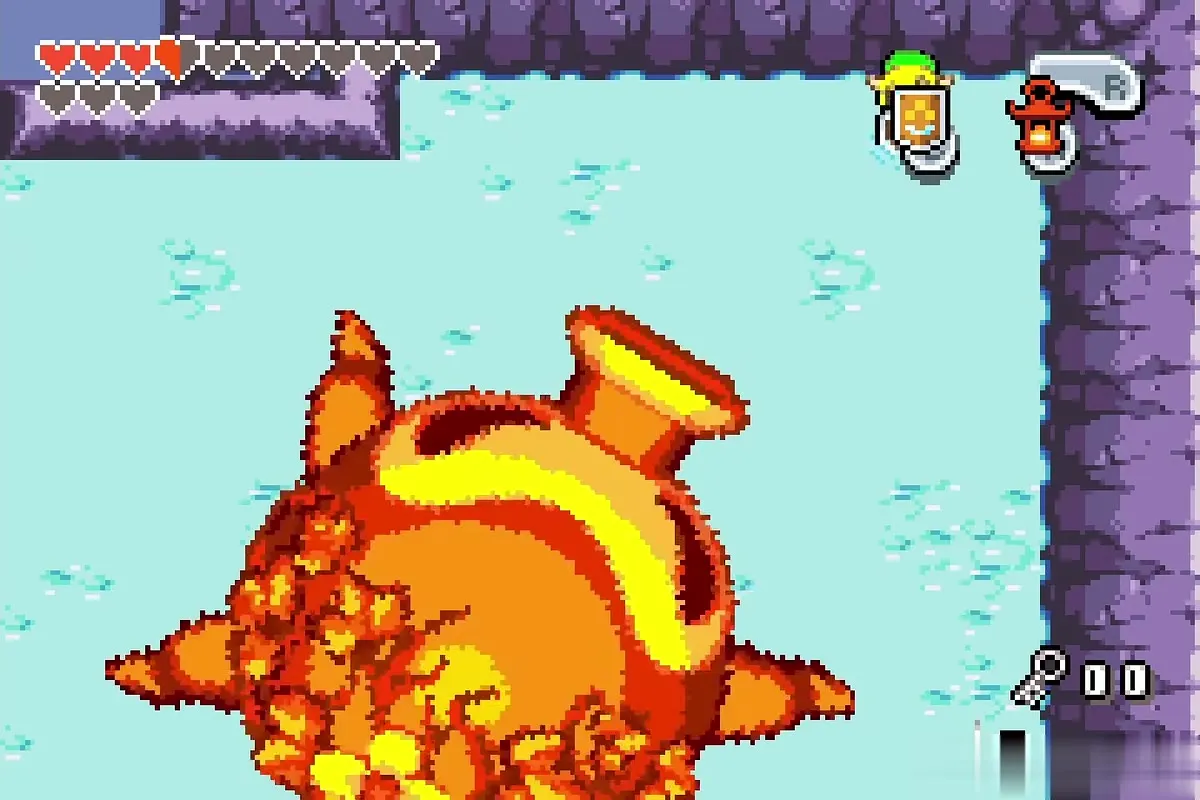
After the third hit the floor freezes over and the Octorok freezes in place. A withered plant grows on its back. Light the Lantern and set it on fire. The Octorok thaws and crashes into the wall, dropping rocks from the ceiling, so run clear of the shadows.
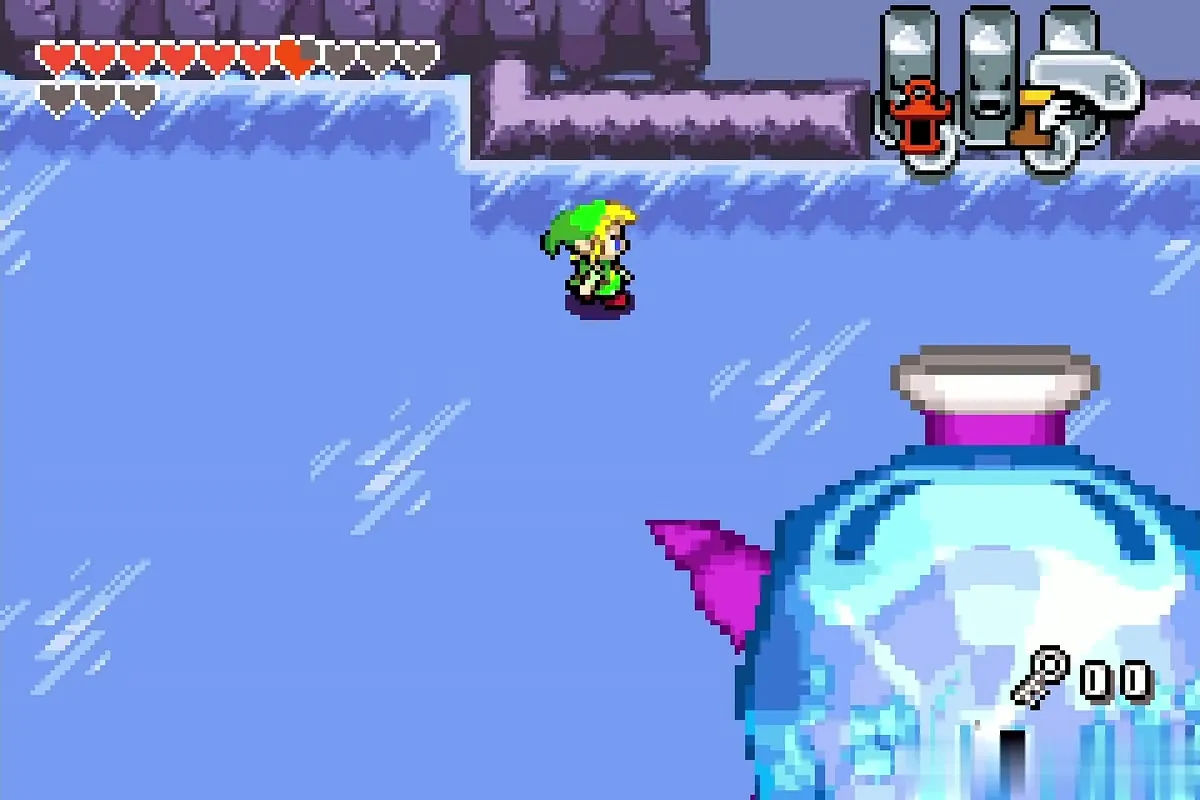
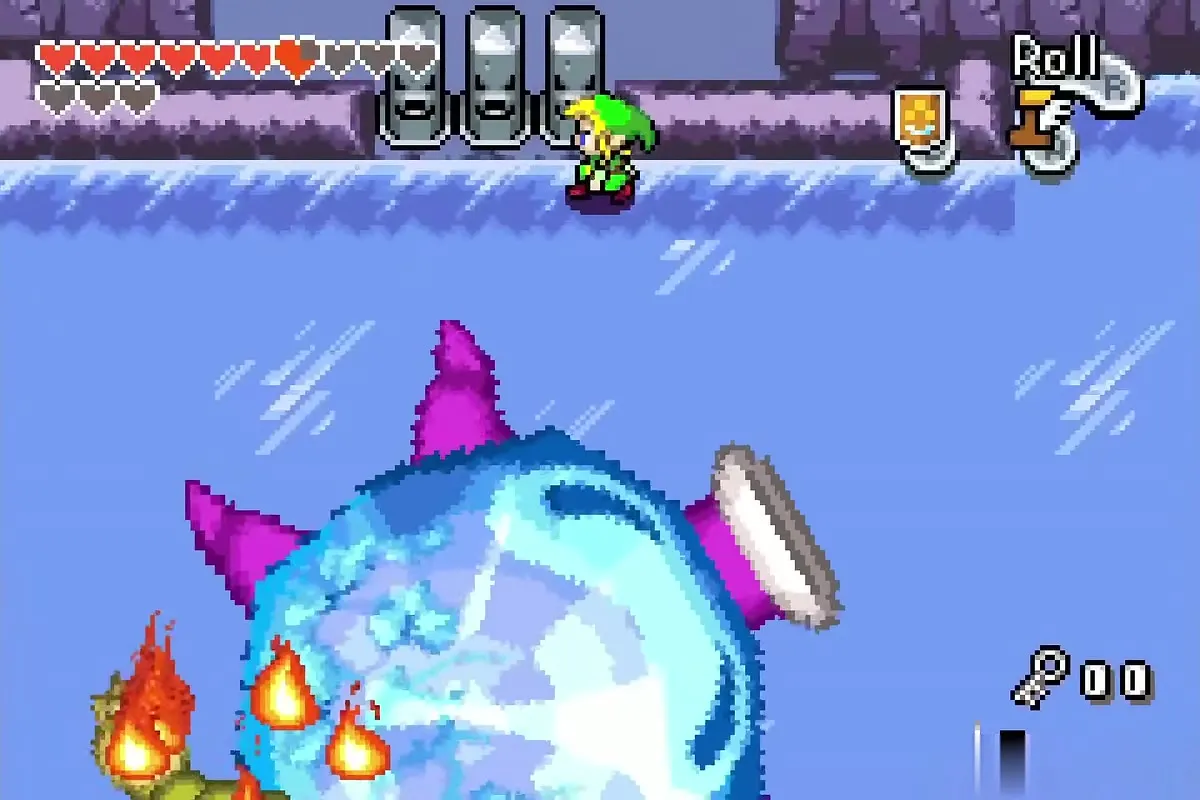
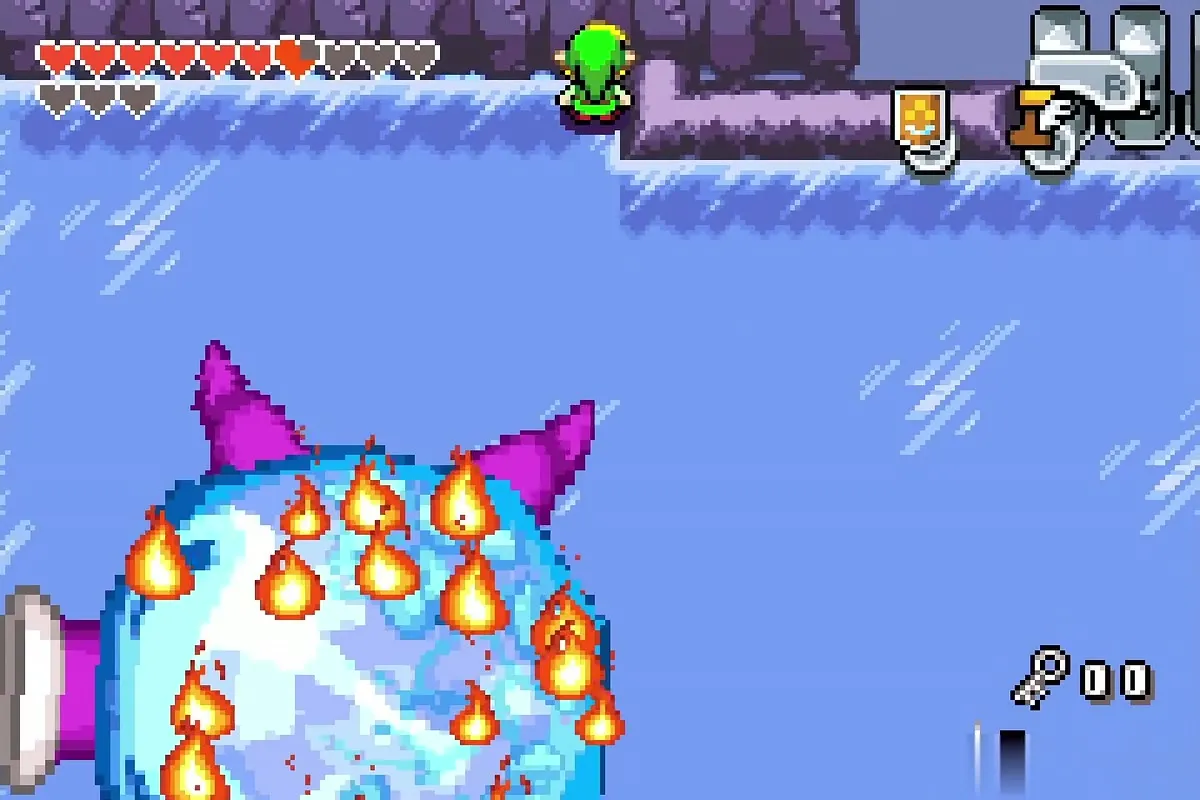
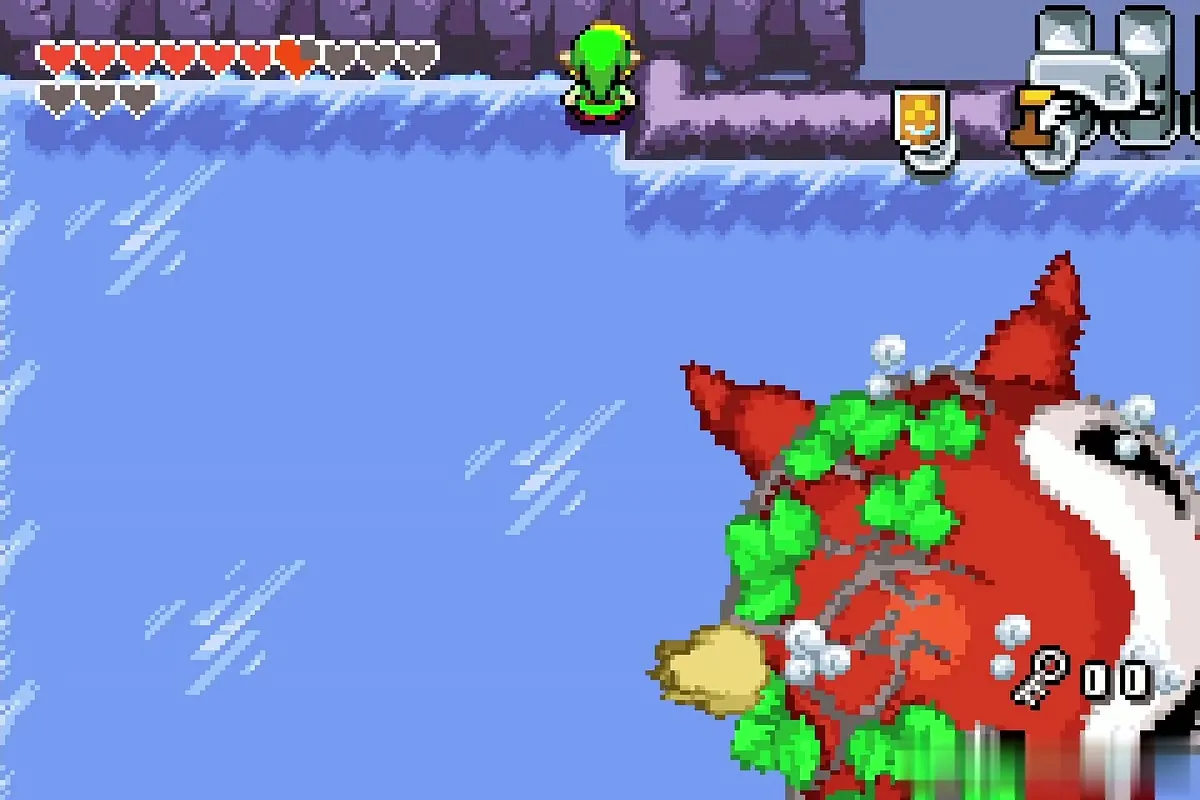
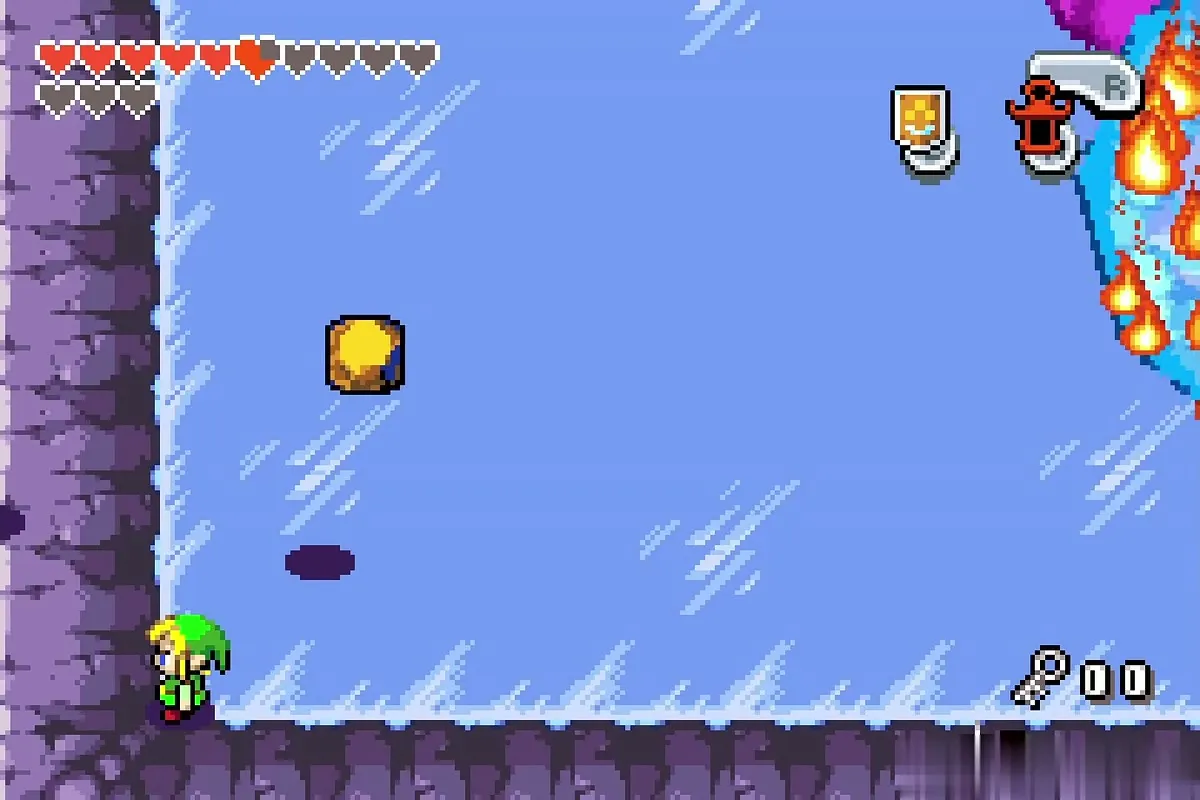
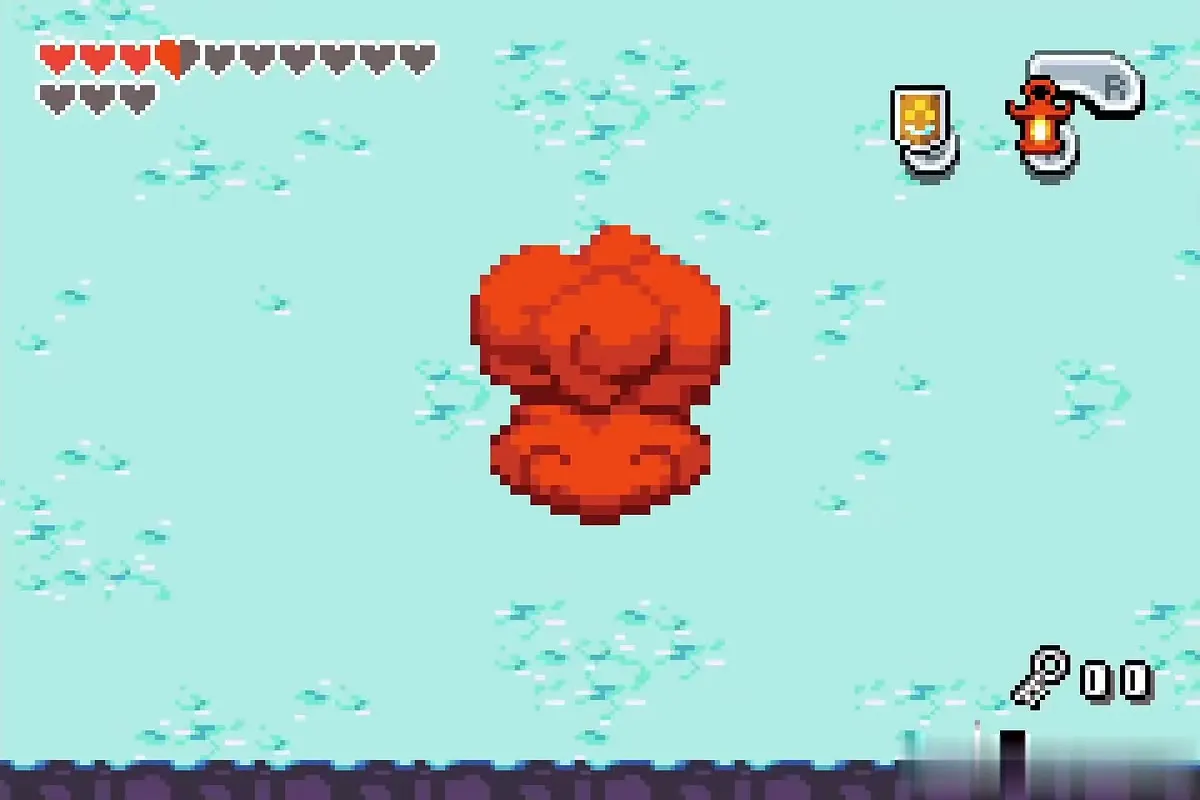
Repeat the shield rounds. At the end it spits ink and the room goes dark. Hold the Lantern lit to see it, deflect the last boulders and burn the plant again. The Big Octorok bursts and spits out the element.
Water Element and Heart Container
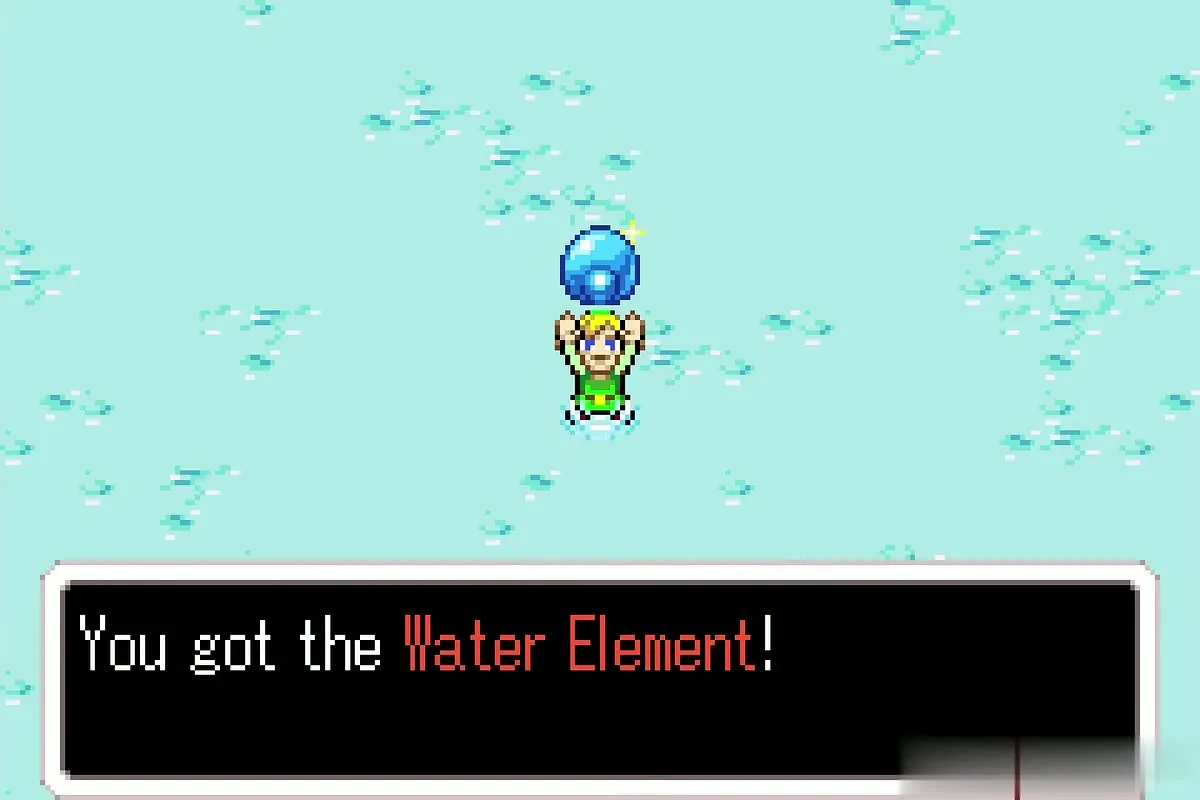
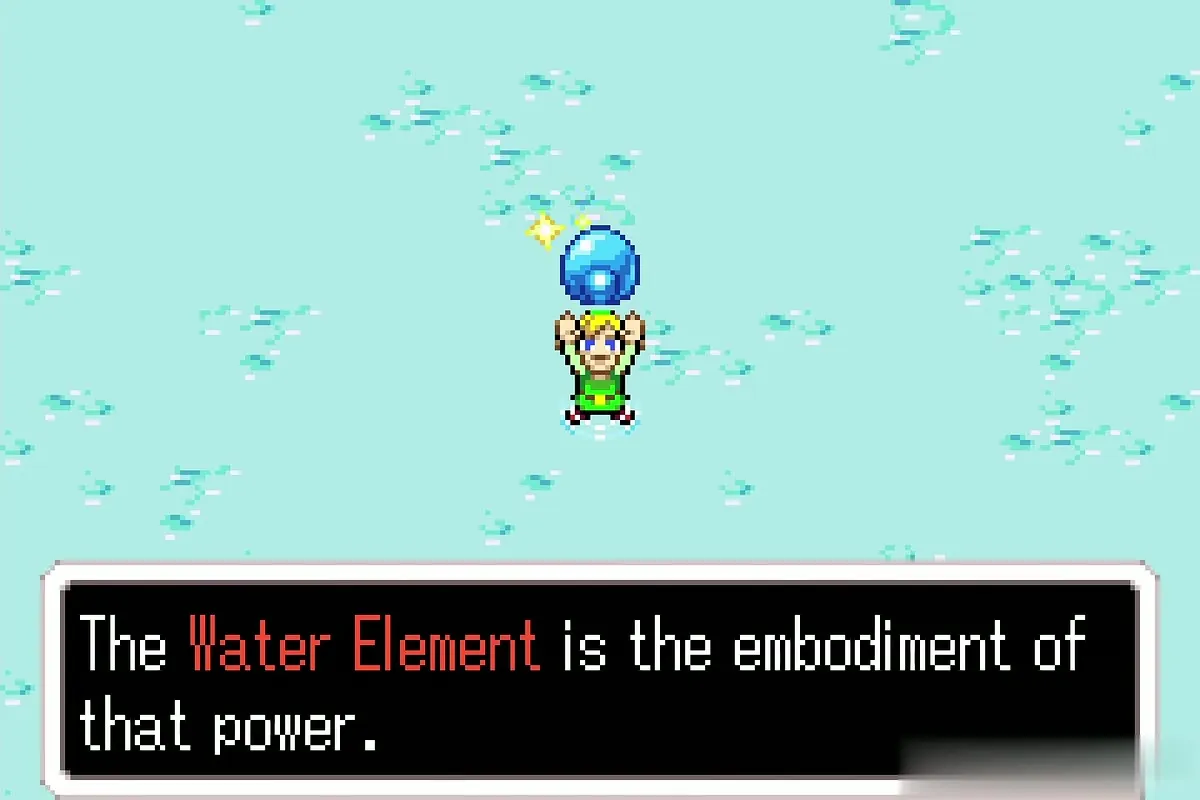
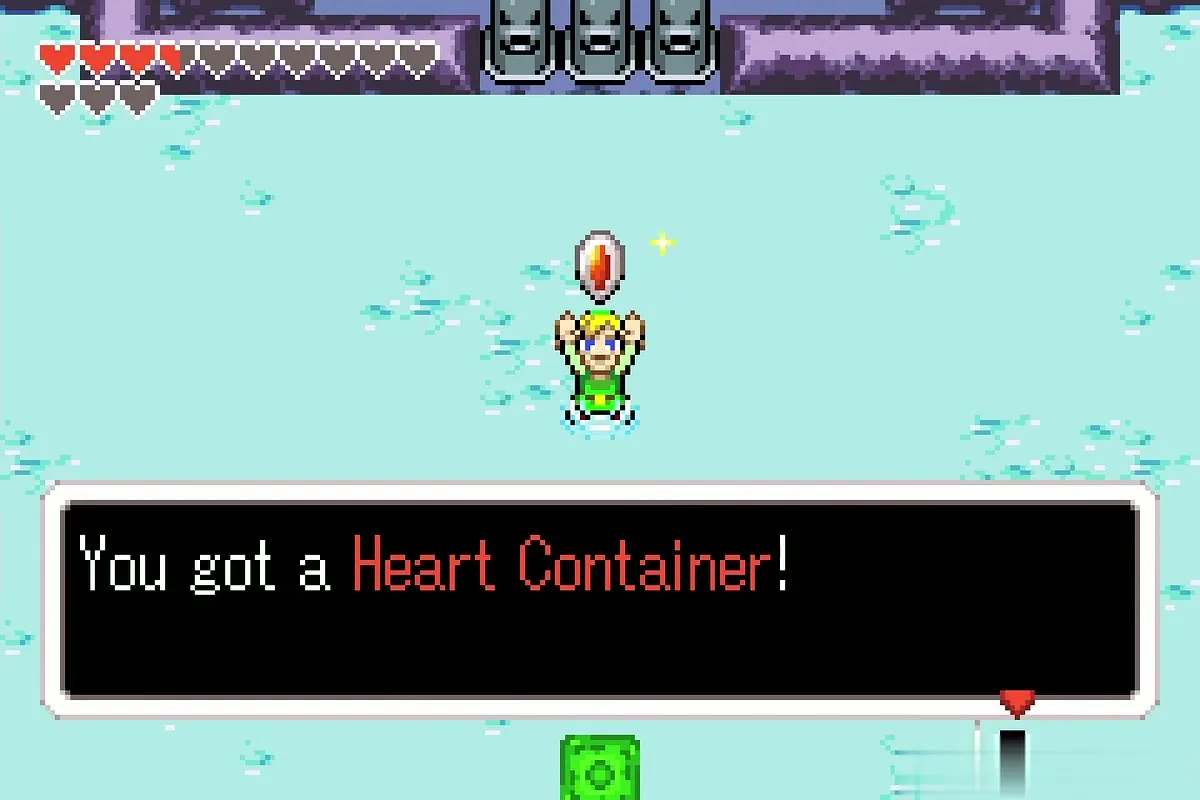
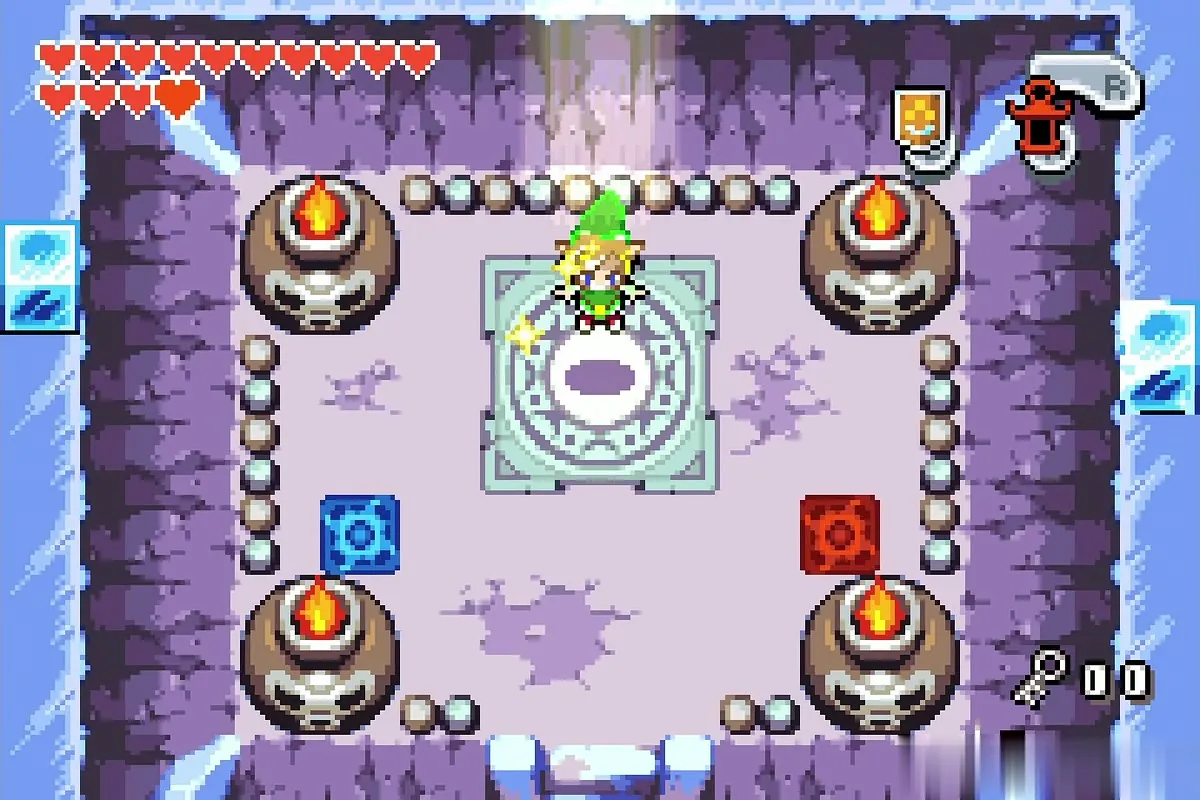
Pick up the Water Element and hold it high. Ezlo explains that it is the power of water, which quenches thirst and ends droughts. A Heart Container appears: take it for an extra heart and a full refill. Step on the green warp tile to leave the temple. You return to the Elements circle with the Water Element lit.
Chapter checklist
| Type | Item | Where |
|---|---|---|
| Small Key | First Small Key | Ice block in the sunlight room off the entrance |
| Big Key | Big Key | Frozen in one of three ice blocks, room below the blue bugs |
| Dungeon item | Dungeon Map | Chest in the waterfall room, south-west of the element room |
| Small Key | Second Small Key | Bottom of the pot-shaped pool |
| Dungeon item | Compass | Chest after the first Madderpillar |
| Rupees | 50 rupees | Chest on the north island in the ice field |
 Kinstone piece | Blue piece | Chest next to the torch after the lever room |
| Kinstone piece | Blue piece | Chest at the end of the narrow ice path |
| Small Key | Third Small Key | Frozen chest melted by two skylights |
| Key item |  Flame Lantern | Big chest after the Big Blue Chuchu |
| Rupees | 100 rupees | Frozen chest next to the Lantern room |
| Kinstone piece | Red pieces (3) | Three chests in the dark maze |
| Small Key | Fourth Small Key | Dropped by the Mulldozers beyond the bomb wall |
| Chests | 100 Mysterious Shells and one Kinstone piece | Ledges in the flooded half, reached by lily pad |
| Boss |  Big Octorok | Heart Container and the Water Element |
