





















The Minish Cap 100% Completion Walkthrough19 chapters
- The Picori Festival and the Minish WoodsThe Minish Cap walkthrough for the Picori Festival and Minish Woods: get the Small Shield and Smith’s Sword, meet.
- Deepwood Shrine (Dungeon 1)Deepwood Shrine walkthrough for The Minish Cap: all four small keys, Dungeon Map, Compass, Madderpillar, Gust Jar, Big.
- Ascent to Mount CrenelAscent to Mount Crenel walkthrough for The Minish Cap: Bomb Bag, Kinstone Bag, Big Wallet, bottle, Grip Ring, Great.
- Cave of Flames (Dungeon 2)Cave of Flames walkthrough for The Minish Cap: every key, chest and mine cart, the Cane of Pacci, the Big Key, Gleerok.
- Infusing the Picori BladeInfusing the Picori Blade walkthrough for The Minish Cap: Melari’s White Sword, the Elemental Sanctuary, a Heart Piece.
- Getting the Pegasus BootsGetting the Pegasus Boots walkthrough for The Minish Cap: Syrup’s Wake-Up Mushroom, Lon Lon Ranch, eight Kinstone.
- Castor Wilds and the Wind RuinsCastor Wilds and Wind Ruins walkthrough for The Minish Cap: three Gold Kinstones, the Bow, the Mysterious Statue.
- Fortress of Winds (Dungeon 3)Fortress of Winds walkthrough for The Minish Cap: every key, Compass, Map, Mole Mitts, Big Key, Mazaal boss tactics.
- The Library Books and the FlippersLibrary Books and Flippers walkthrough for The Minish Cap: return the three overdue books in Hyrule Town, win the.
- Hyrule Town Side Quests and Kinstone FusionsHyrule Town side quests walkthrough for The Minish Cap: Anju’s Cucco Roundup, Simon’s Simulation, Kinstone fusions.
- Collectibles Sweep Before the Temple of DropletsMinish Cap collectibles walkthrough before the Temple of Droplets: Kinstone fusions, 10 Pieces of Heart, Roll Attack.
- Temple of Droplets (Dungeon 4)Temple of Droplets walkthrough for The Minish Cap: every key, Map, Compass, Big Key, Flame Lantern, Big Blue Chuchu.
- Royal Valley and the Royal CryptRoyal Valley and Royal Crypt walkthrough for The Minish Cap: Water Element, Sword Beam, Remote Bombs, Graveyard Key.
- Veil Falls and the Cloud TopsVeil Falls and Cloud Tops walkthrough for The Minish Cap: Heart Pieces, Splitblade’s dojo, Source of the Flow and five.
- Palace of Winds (Dungeon 5)Palace of Winds walkthrough for The Minish Cap: Roc’s Cape, four Small Keys, Big Key, Compass, Map, Heart Piece, Gyorg.
- Collecting the Upgrades Before the Four SwordWalkthrough for The Minish Cap: Down Thrust, Great Spin Attack, seven Kinstone fusions, seven Heart Pieces and the.
- Dark Hyrule Castle (Final Dungeon)Dark Hyrule Castle walkthrough for The Minish Cap: king’s cell, Map, Compass, six Small Keys, Big Key, Darknut rooms.
- Vaati Final Boss and EndingVaati final boss guide for The Minish Cap: beat Vaati Reborn, Transfigured and Wrath, free Zelda, escape the castle.
- Postgame Collectibles and 100% CompletionPostgame 100% guide for The Minish Cap: last Kinstone fusions, Biggoron’s Mirror Shield, Heart Pieces, Heart.
| Covers | Vaati’s throne room in Dark Hyrule Castle, the castle escape, the courtyard fight, the Hyrule Castle ending and the credits |
|---|---|
| Dungeon | Dark Hyrule Castle (Dungeon 6), final stretch: bosses Vaati Reborn, Vaati Transfigured and Vaati’s Wrath; no Element |
| Rewards | Zelda freed from stone, the ending and credits, and a save that unlocks the six final Carlov figurines (131 to 136); no Heart Piece, Kinstone fusion, Tiger Scroll or bottle in this chapter |
The last fight in The Minish Cap has three forms: Vaati Reborn, Vaati Transfigured and, after you free Zelda and leave the throne room, Vaati’s Wrath in the castle courtyard. Bring the Four Sword, Gust Jar, Bow, Cane of Pacci and Flame Lantern, learn each form’s pattern, then watch the whole ending and save your game when the credits finish.
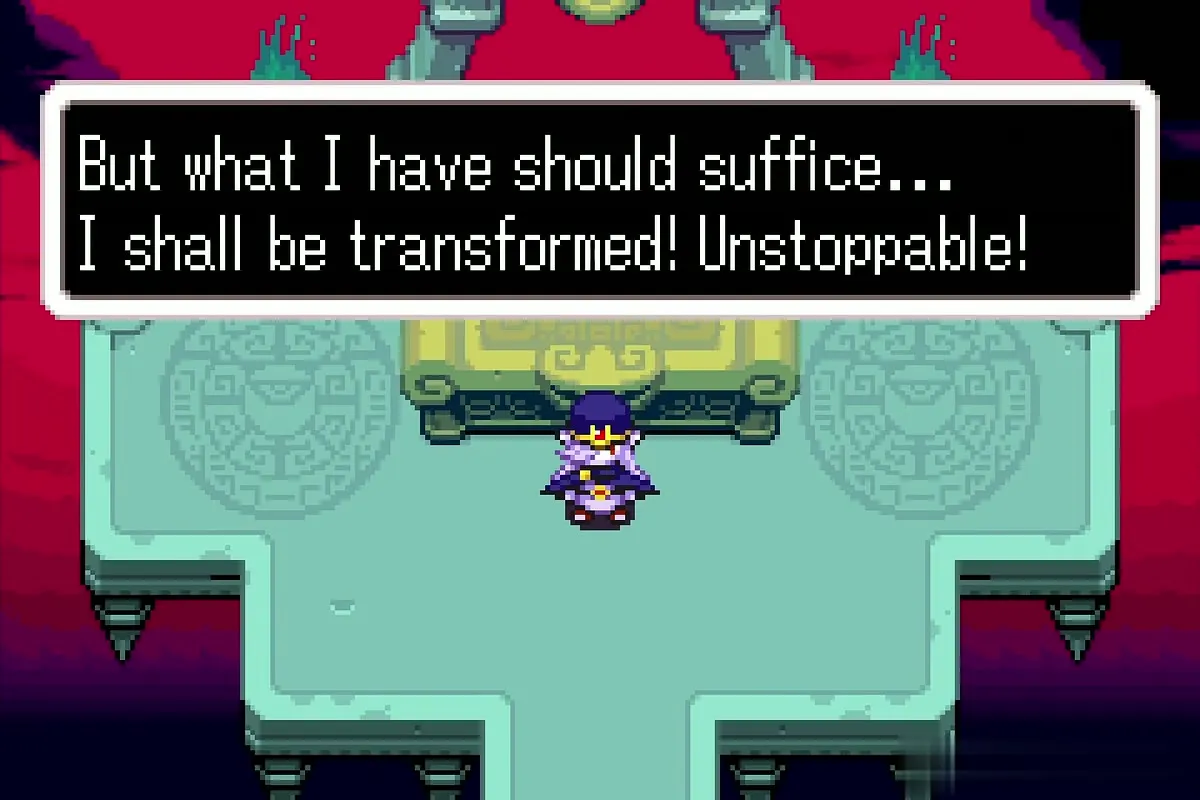
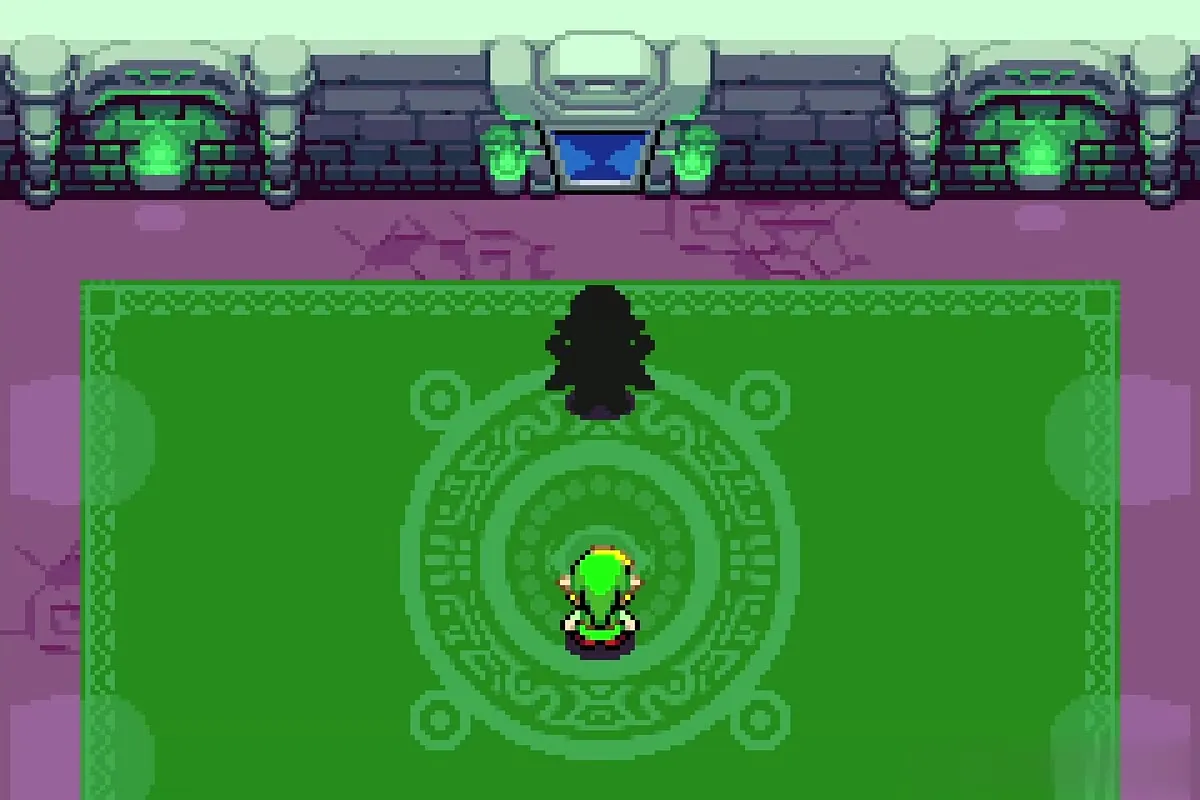

Vaati’s throne room: before the fight
Step onto the dais
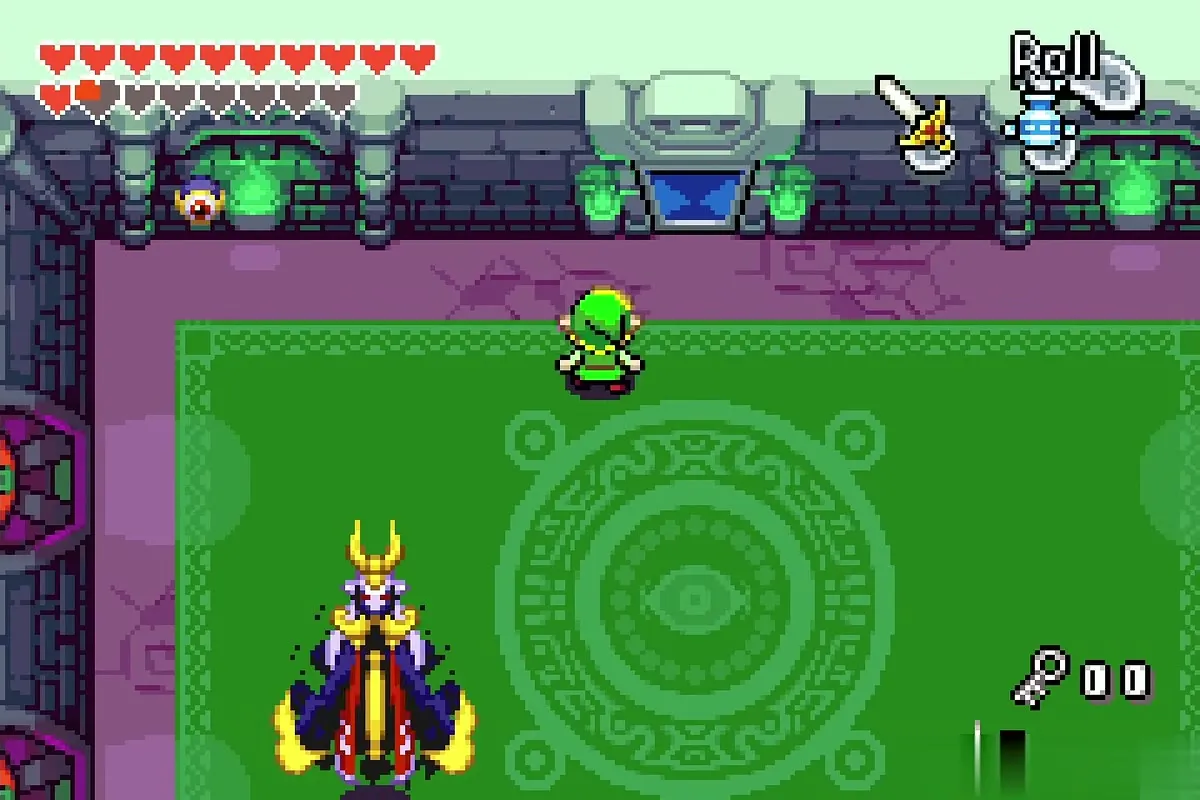
Climb the stairs at the end of Dark Hyrule Castle and walk into the throne room. Zelda stands turned to stone behind Vaati, who means to drain her light force and tells you he does not need it to deal with you. He pulls you into a green arena for the first fight. Put the sword on one button and the Gust Jar on the other, since you need both at once in the first form.


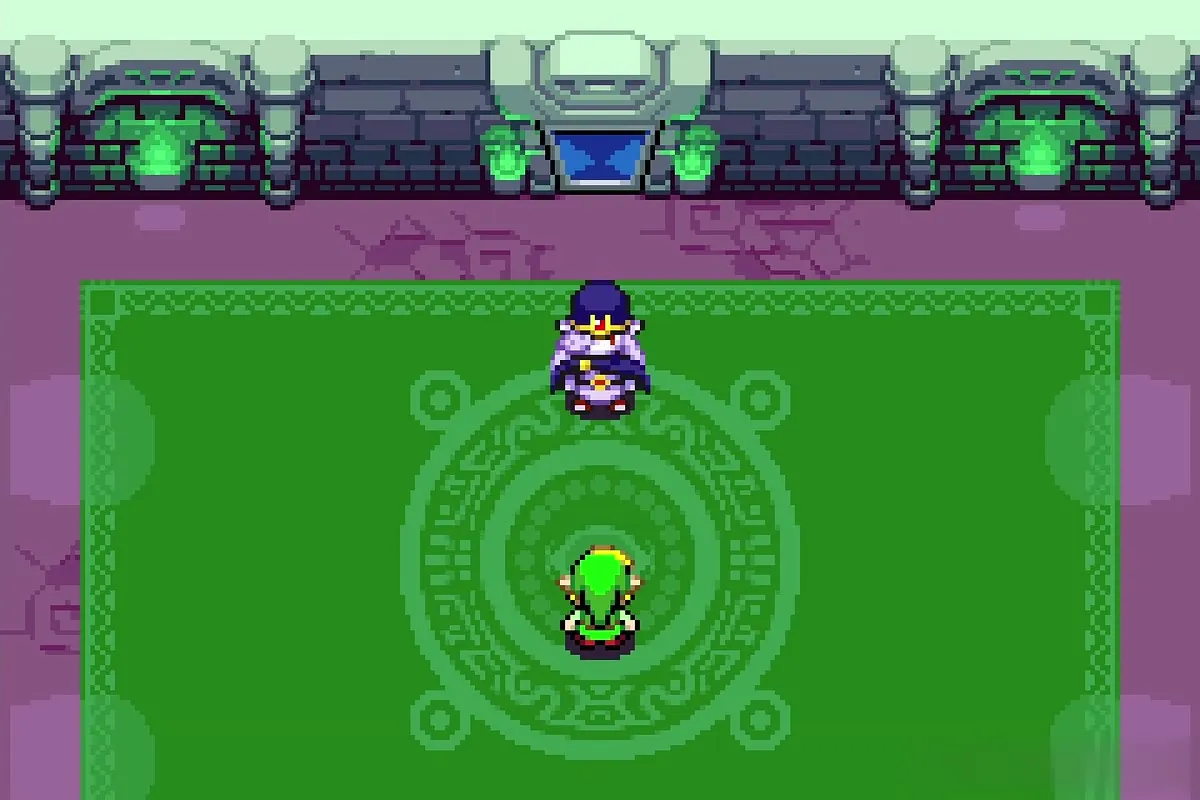
Vaati Reborn (first form)
Fireballs and the orbiting eyes
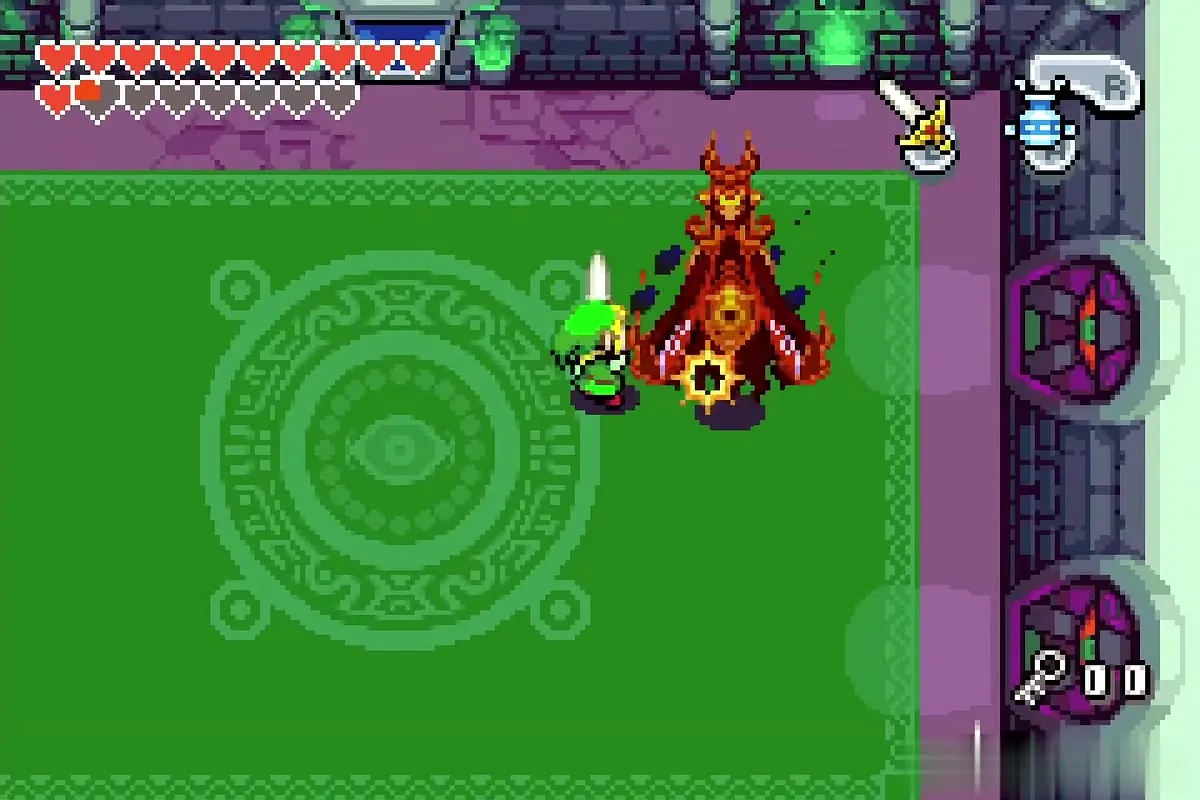
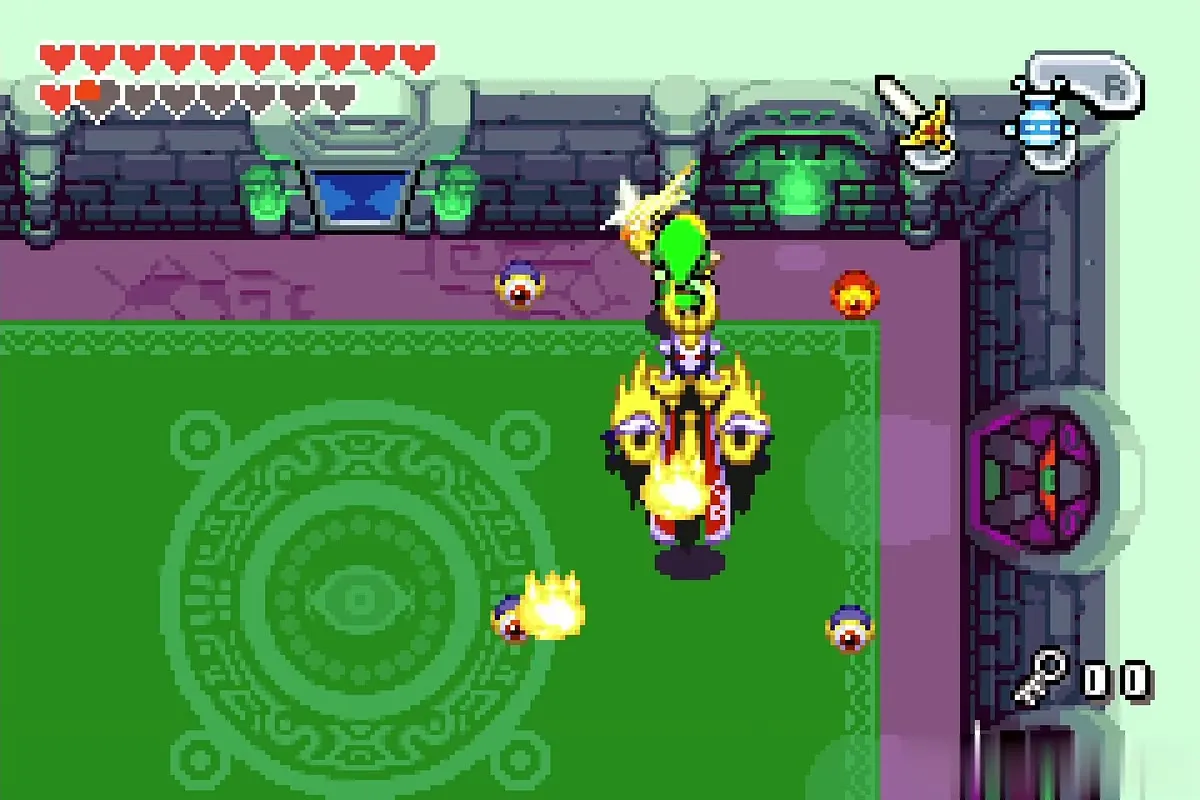
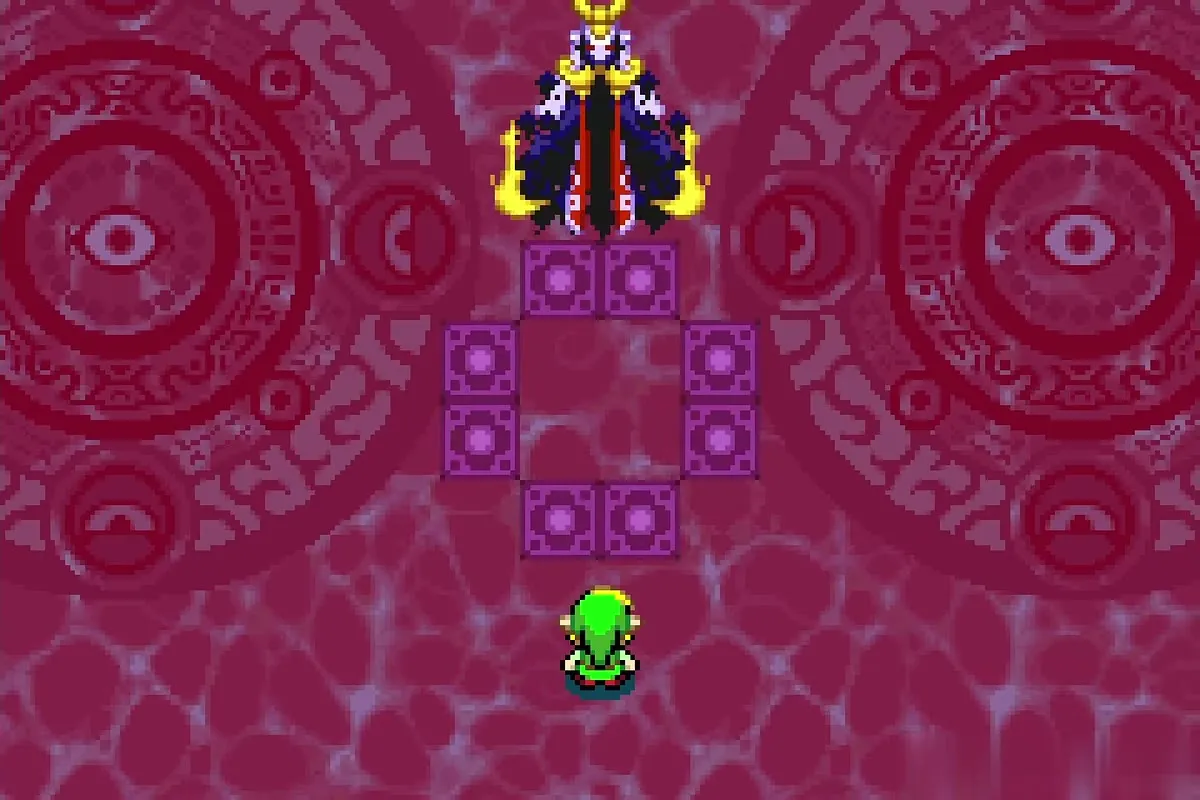
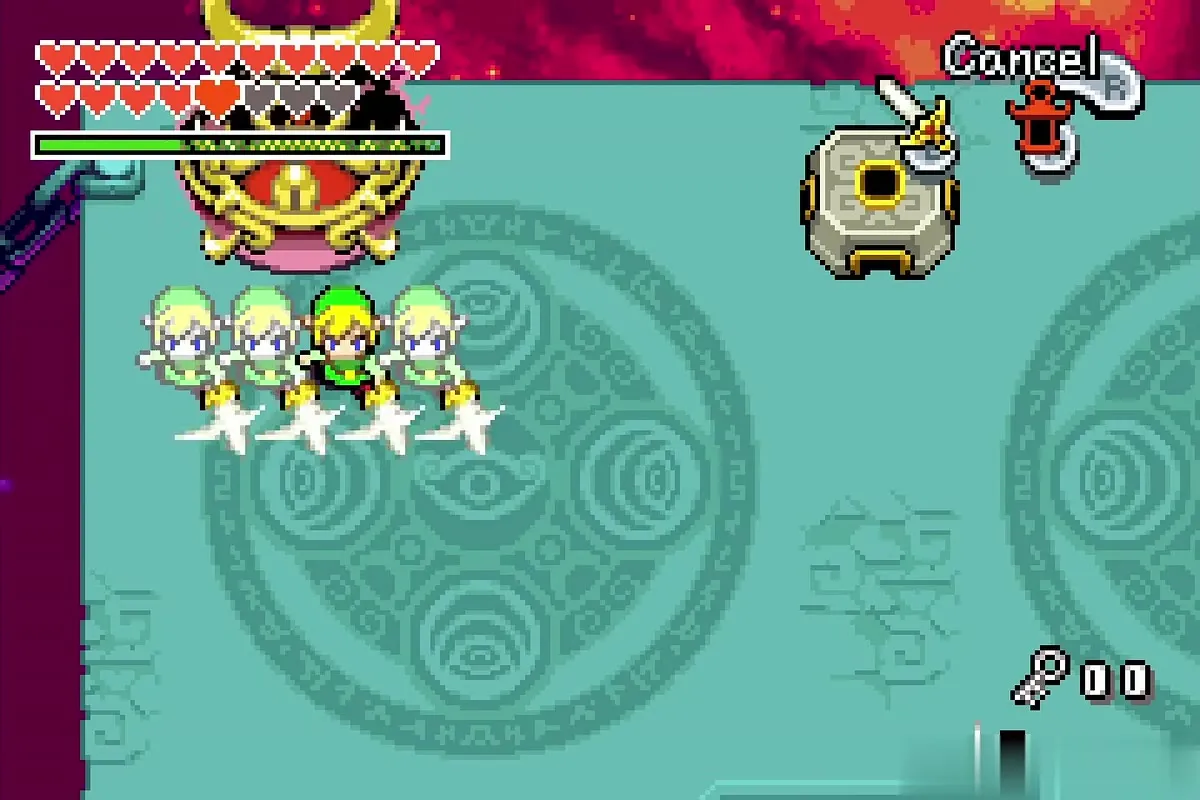
Vaati Reborn floats over the green carpet in a long robe. He opens with fireballs, which knock you back and stun you briefly if they land, so keep moving and use the Roll to slip away. After a volley, two small eyes circle him. Slash both before they vanish. If you are too slow, he fires a slow black energy ball that follows you; roll around it until it fades, or pull it in with the Gust Jar.
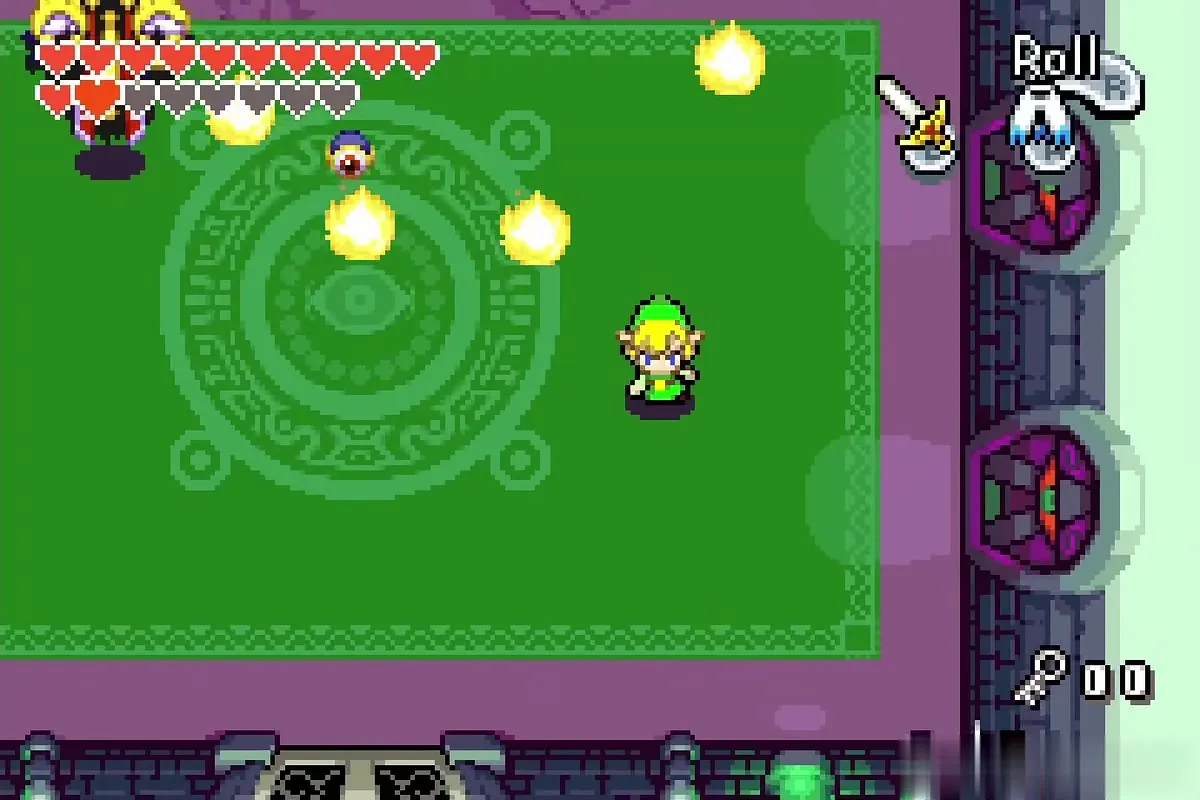

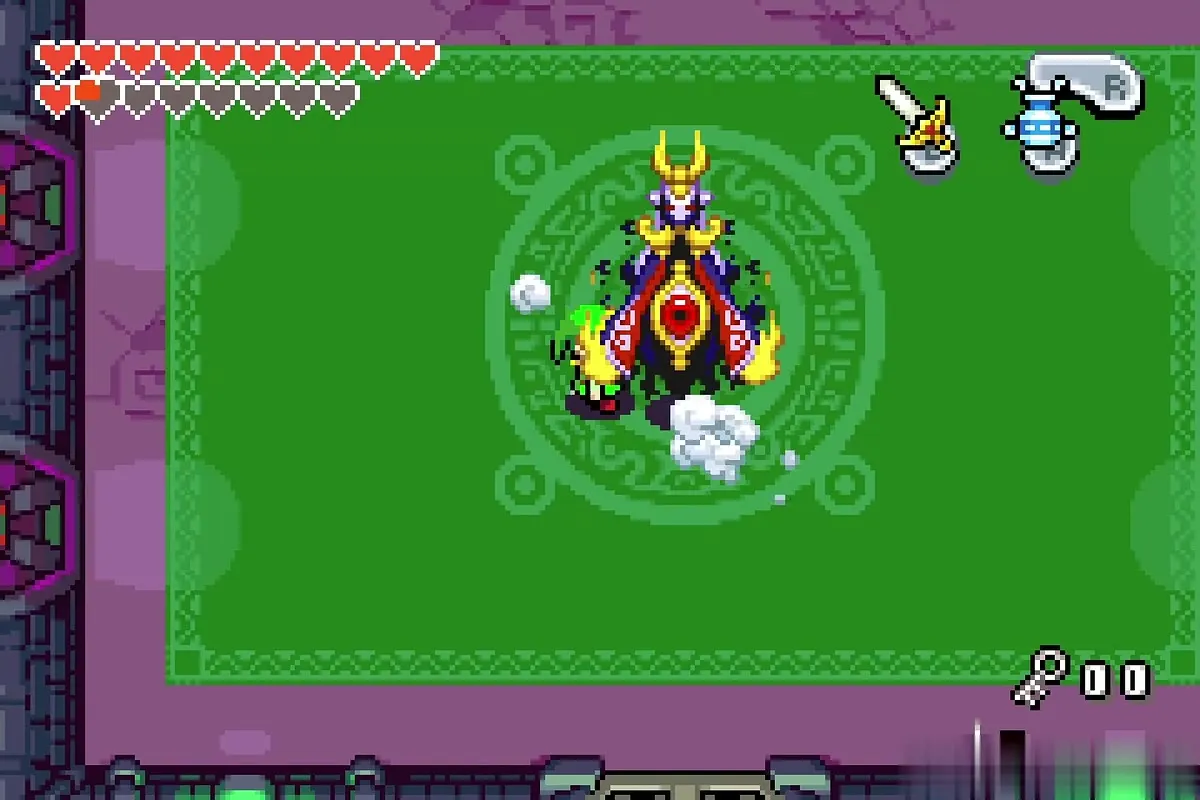
When the orbiting eyes are gone, an eye opens on his body. Run in and slash it as many times as you can. Afterward, four eyes appear above him and each fires a beam straight down, so never stand beneath one. Stand to the side and destroy an eye while its beam is on, then hit Vaati again when he is open.
Shielded eyes and the teleporting Vaati
Later rounds cover the eyes in a black shroud that your sword cannot cut. Aim the Gust Jar at each eye to pull the shroud away, then slash them as before. After this, Vaati starts teleporting around the room and can land right on top of you, so keep moving and strike the body eye when he settles near you.


Repeat the cycle of fireballs, eyes and body hits until his health runs out. When he falls, white light fills the arena and the fight carries straight on into his second form with no chance to restock, so go in with as many hearts as you can.


Vaati Transfigured (second form)
The eye and the eight orbs
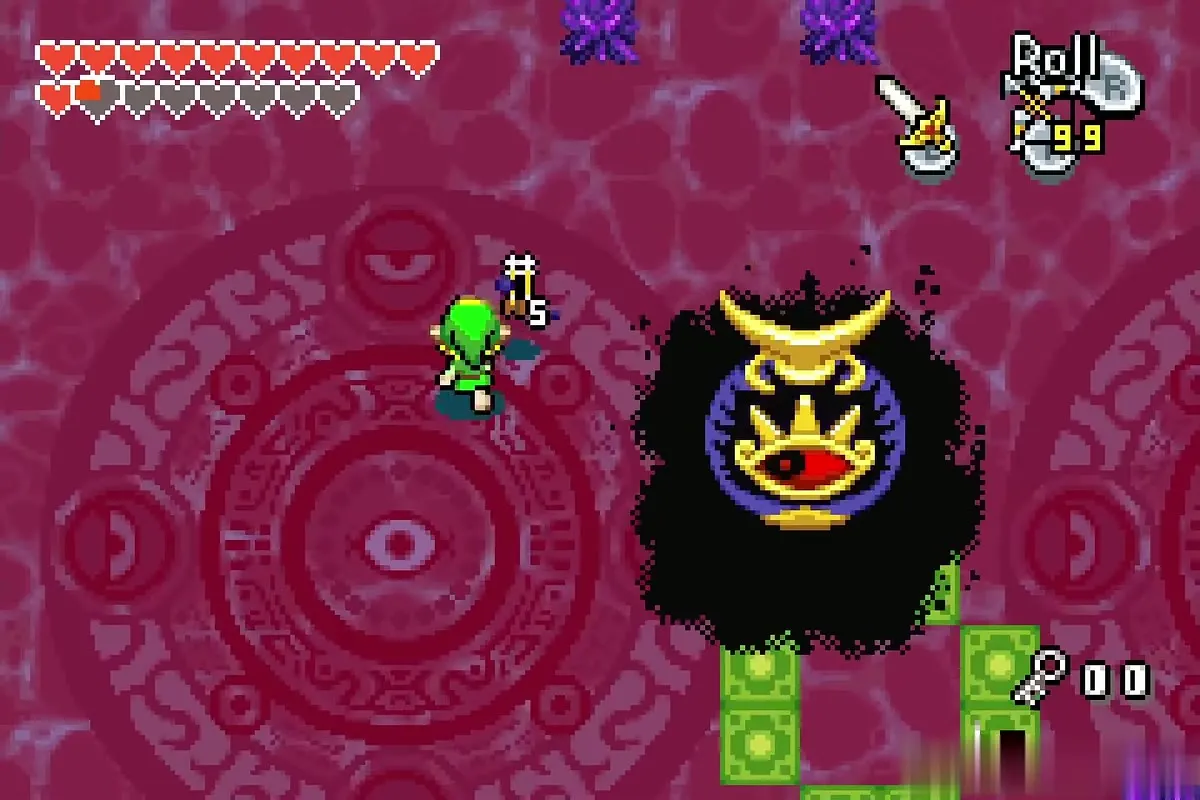
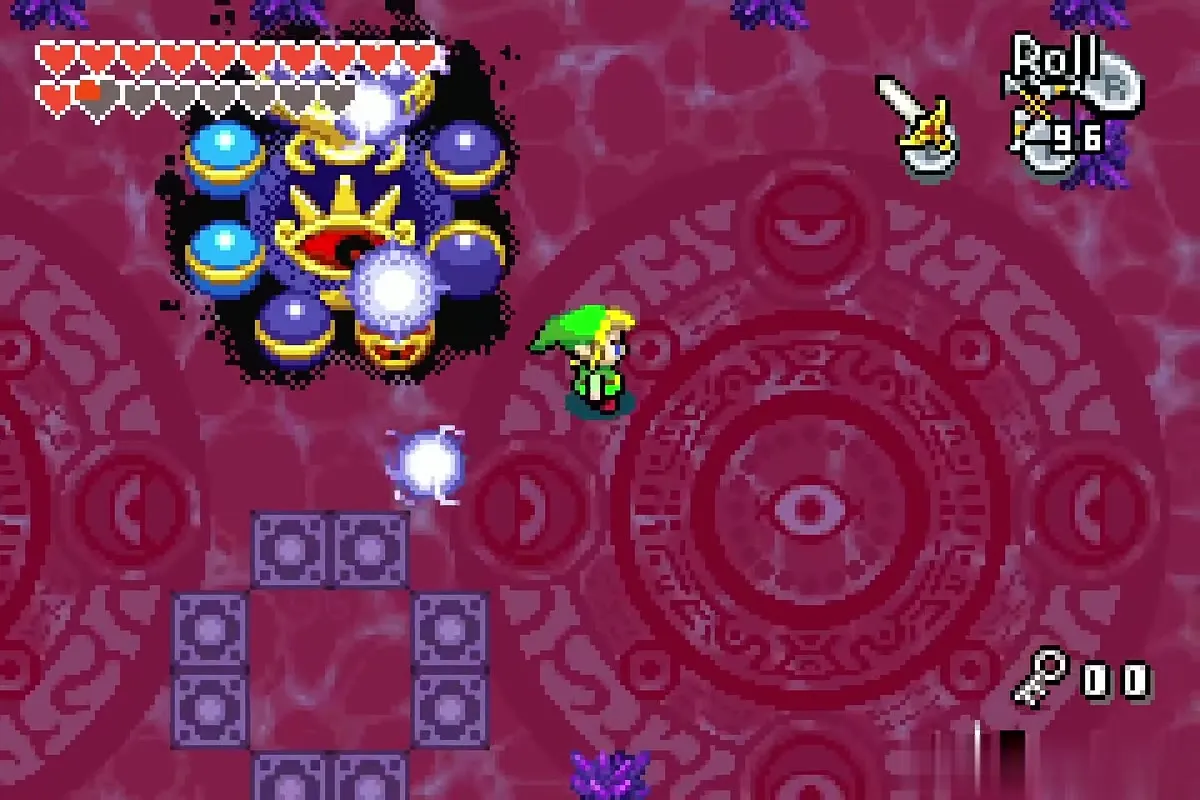
Vaati becomes a huge eye ringed by eight orbs and keeps drifting around a red arena. He throws purple spiked rocks, drops stones from the ceiling and fires balls of electricity that hurt and stun you. Slash the spiked rocks when they land; they often drop arrows or hearts, which helps because this form is a Bow fight.

Shoot the eyes, then split
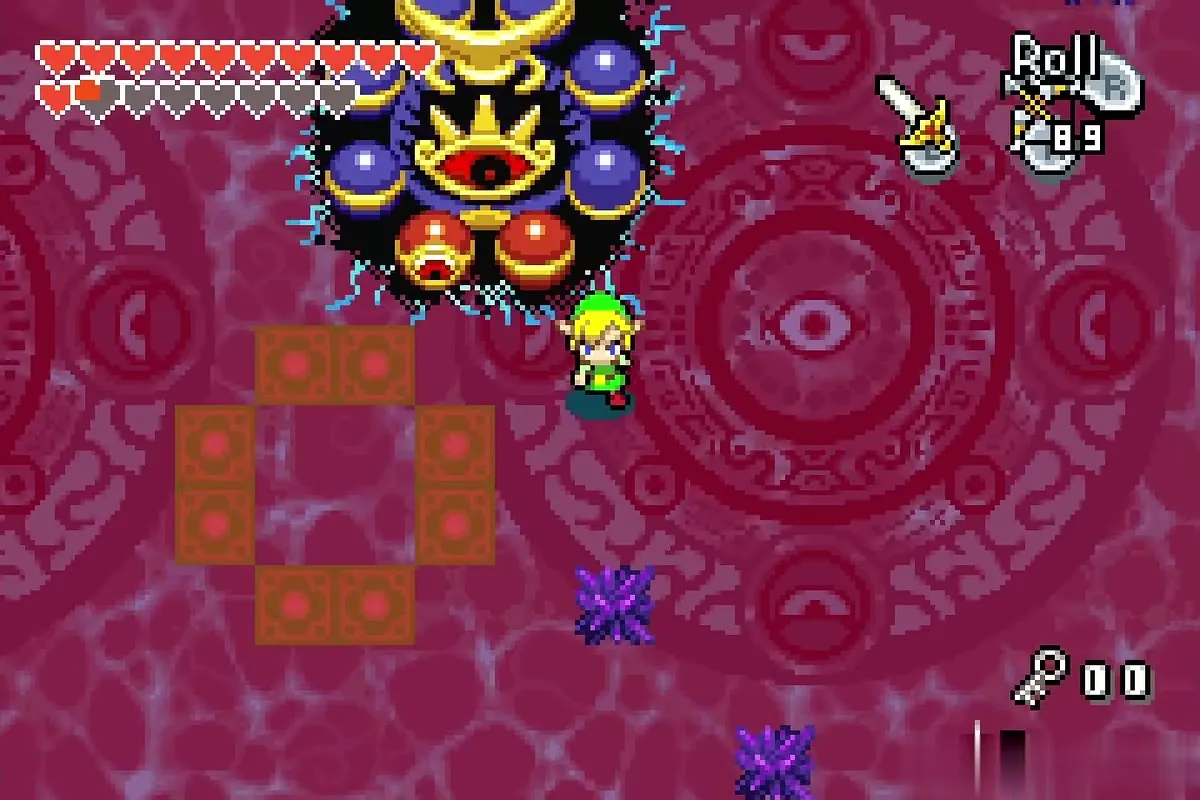
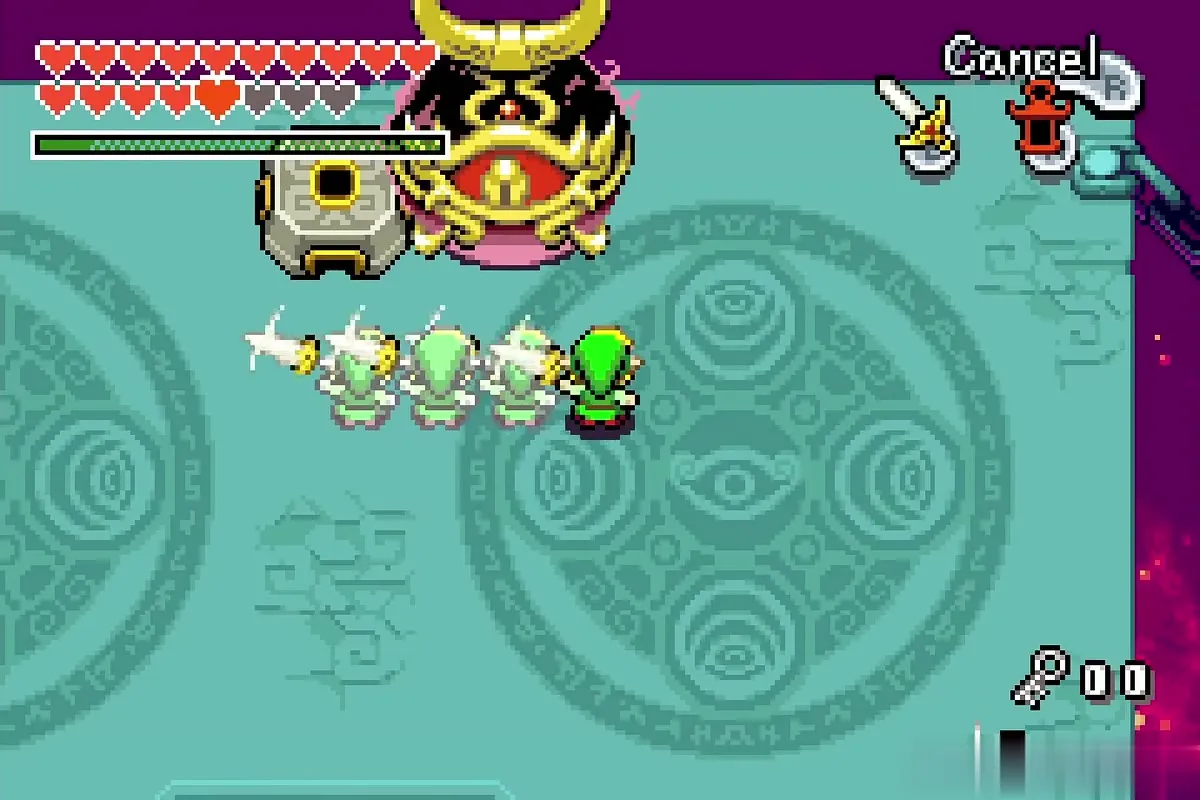
Equip the Bow and shoot the outer orbs. A hit turns an orb either red, revealing an eye, or light blue. Four of them are red, and the red ones always sit side by side on the right, the left or the bottom of the ring. Keep shooting until you have found all four, because only those can be hurt by the sword.

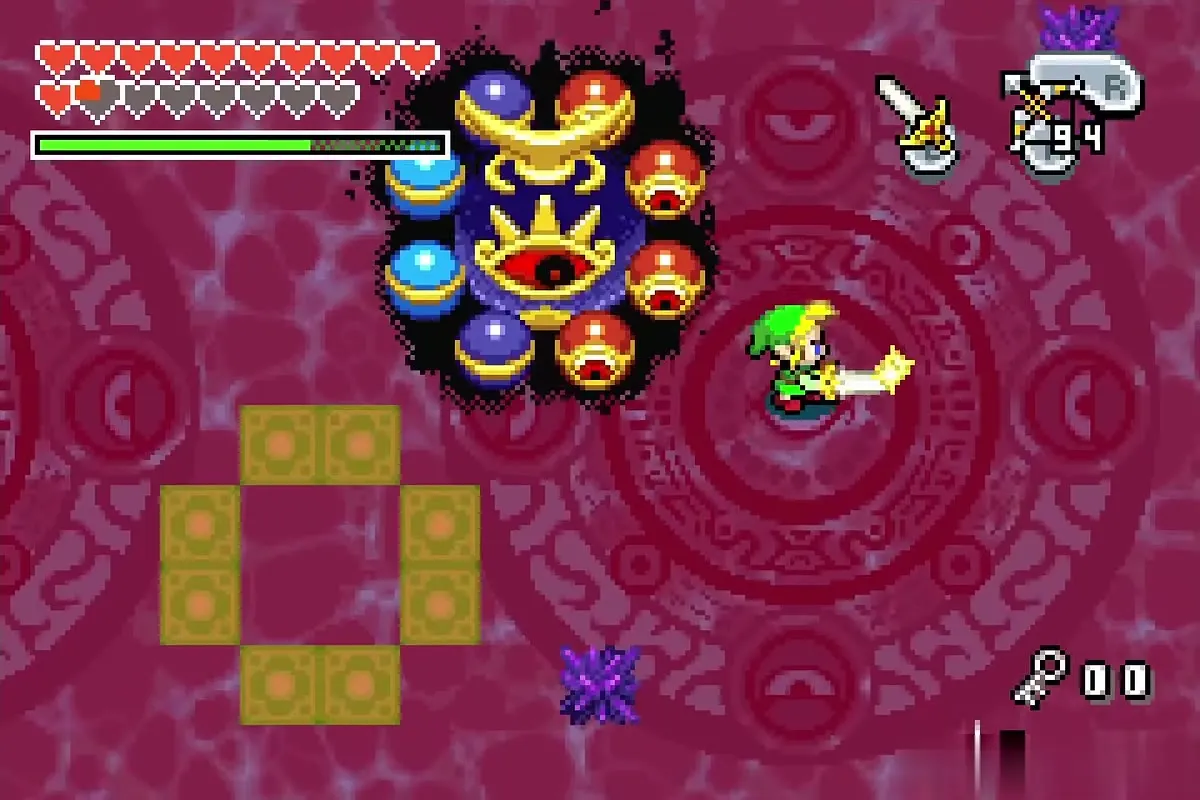
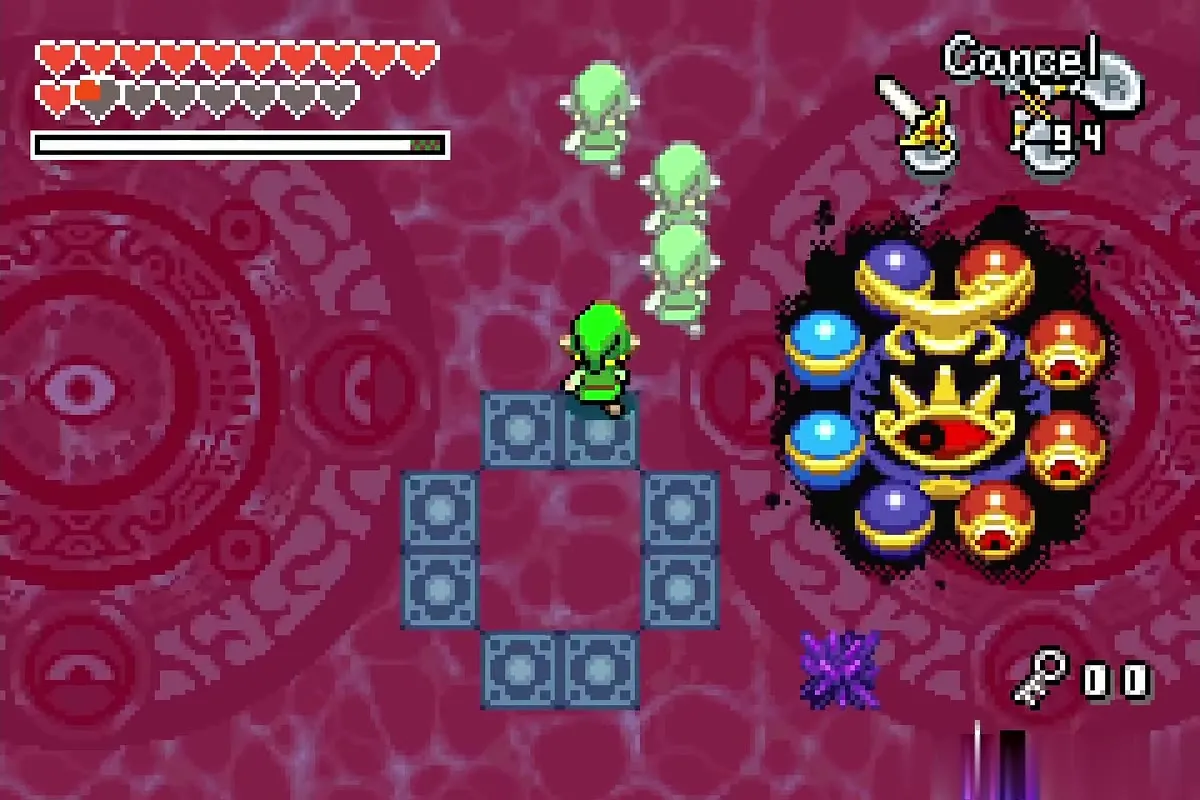
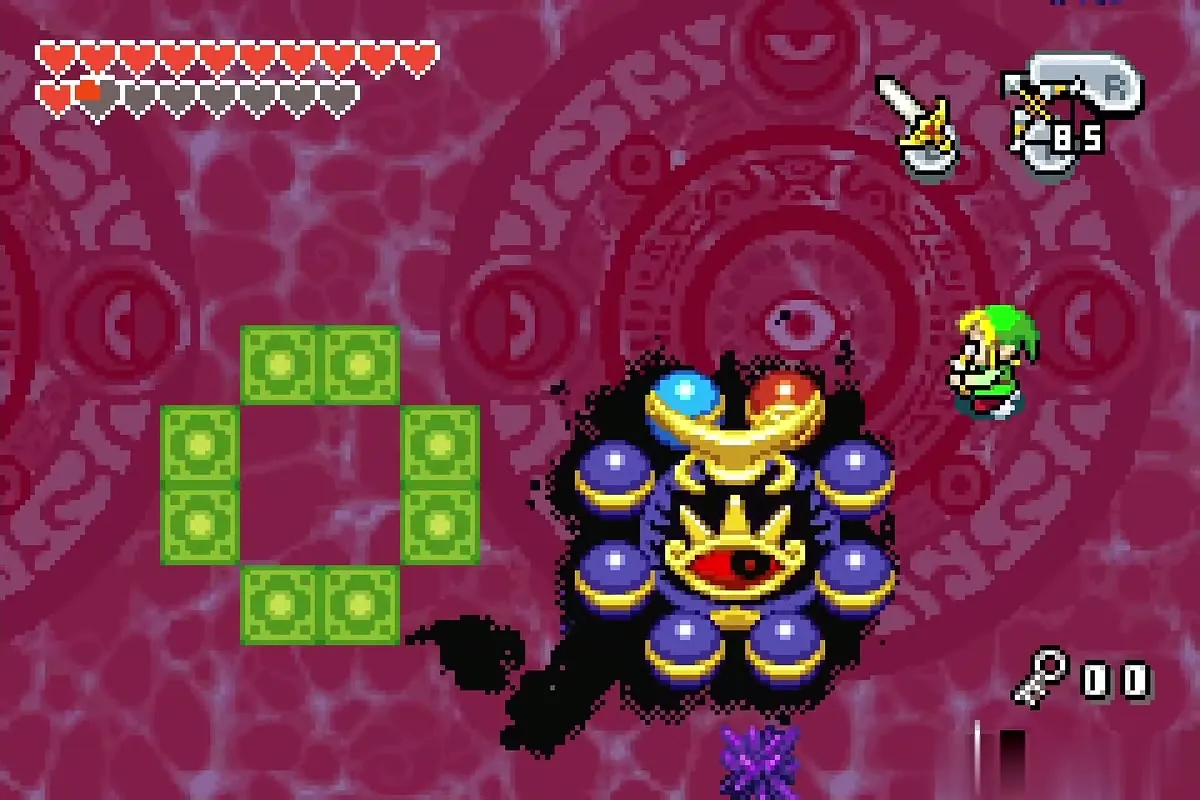
A ring of coloured blocks appears on the floor. Charge your sword to split into clones, put them on the blocks in the same layout as the four red eyes, and hit all four at once. Be quick, because Vaati keeps moving. When the eyes break, strike his body as often as you can while it is exposed.
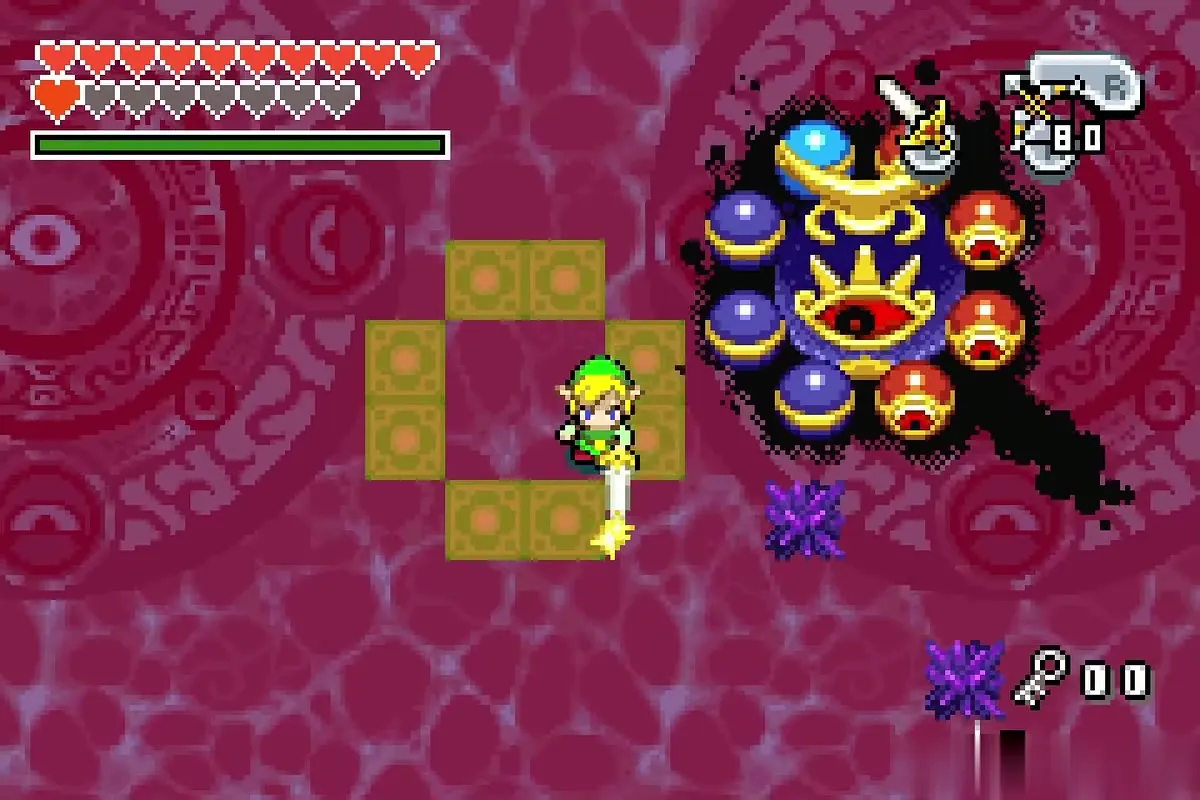
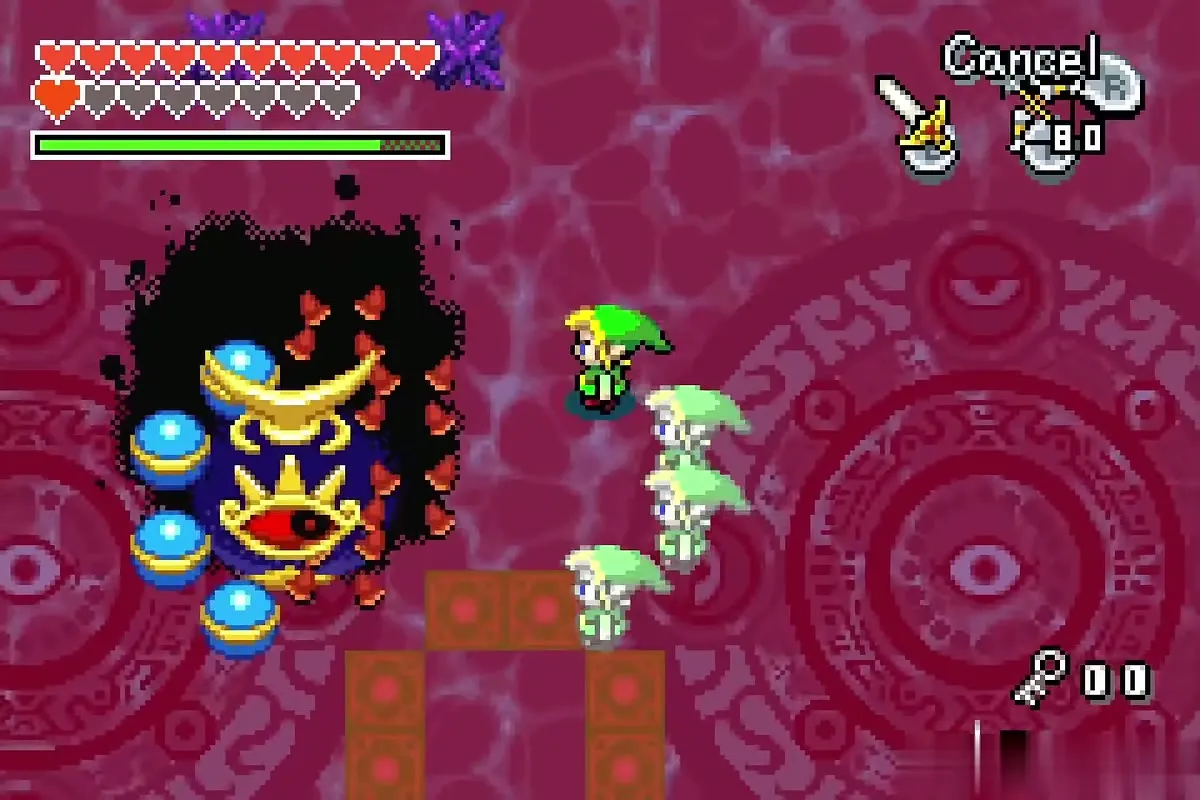

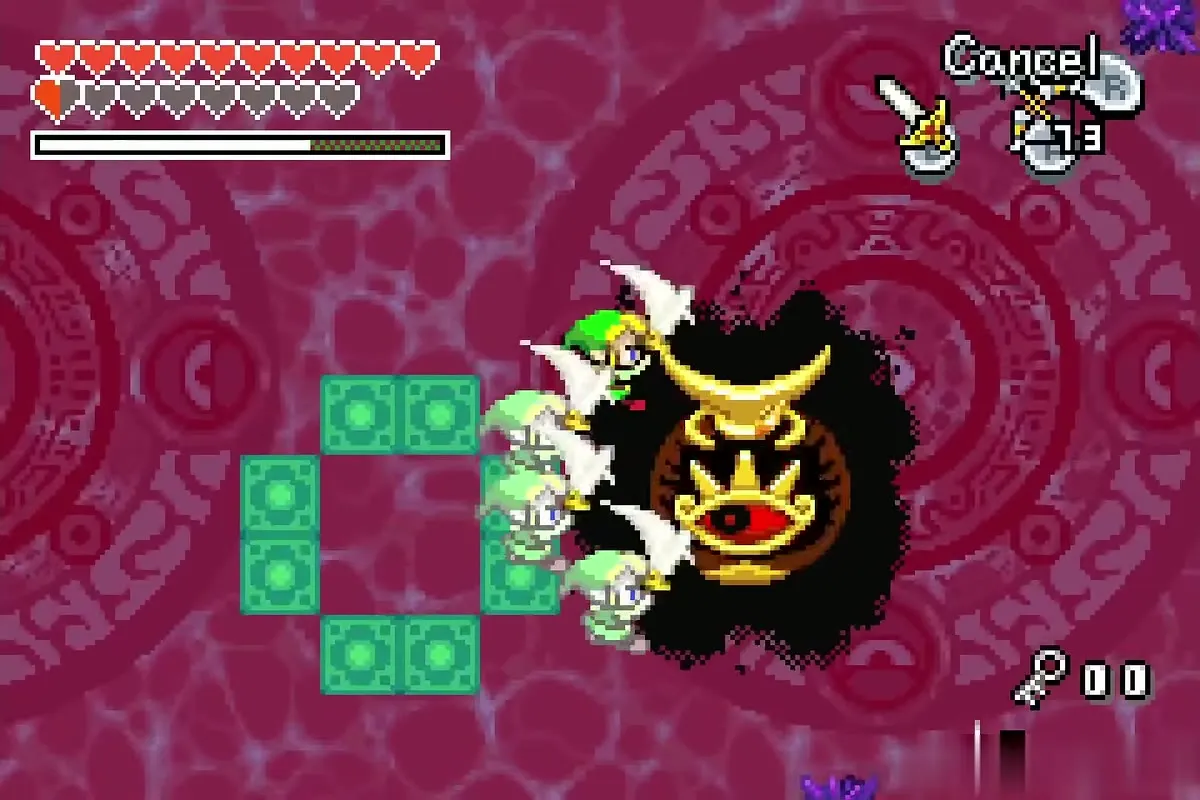
Repeat this several times, with a new block layout each round, and smash spiked rocks whenever your arrows run low. After the last hit Vaati bursts in orange smoke, and you land back in the green arena alone.


Free Zelda from stone
Spin Attack at the altar
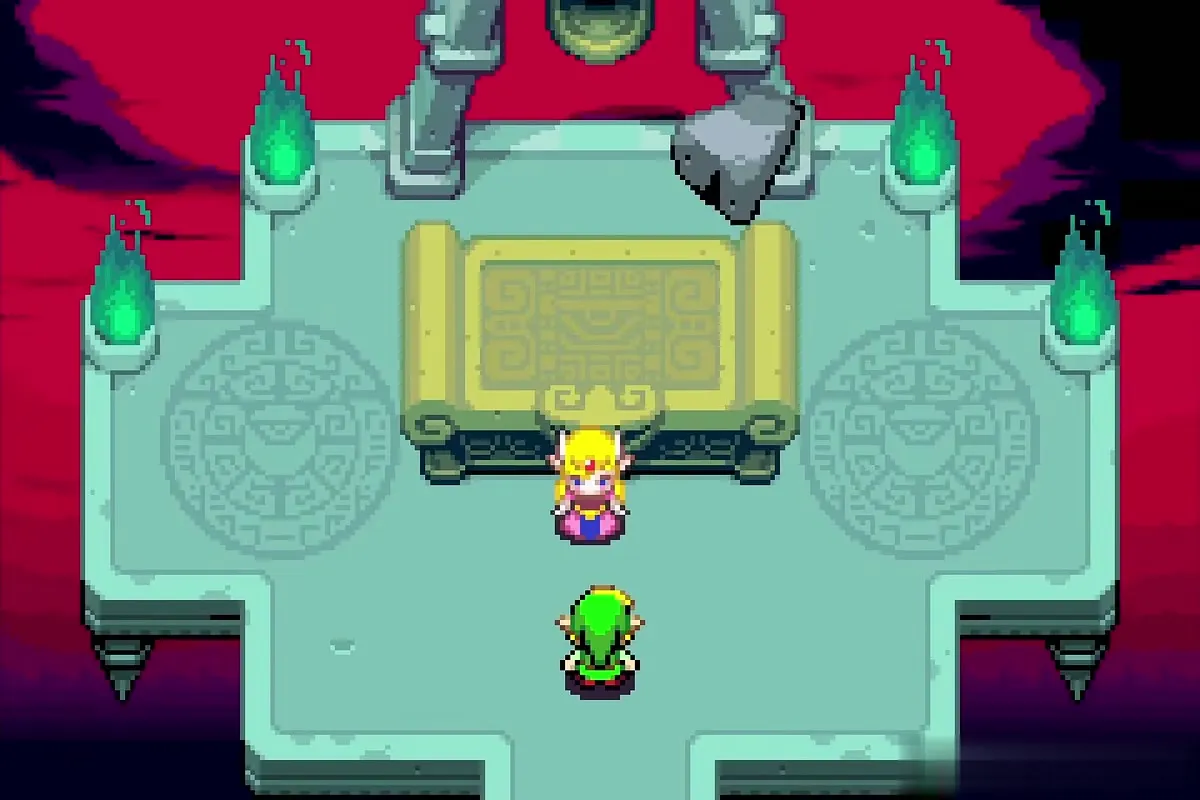
You return to the throne room. Walk up to Zelda’s statue and wait for Ezlo to finish speaking, because the altar does not react before that. Then charge the sword and release a Spin Attack next to the statue. The stone cracks, Zelda is restored and thanks you for saving her.
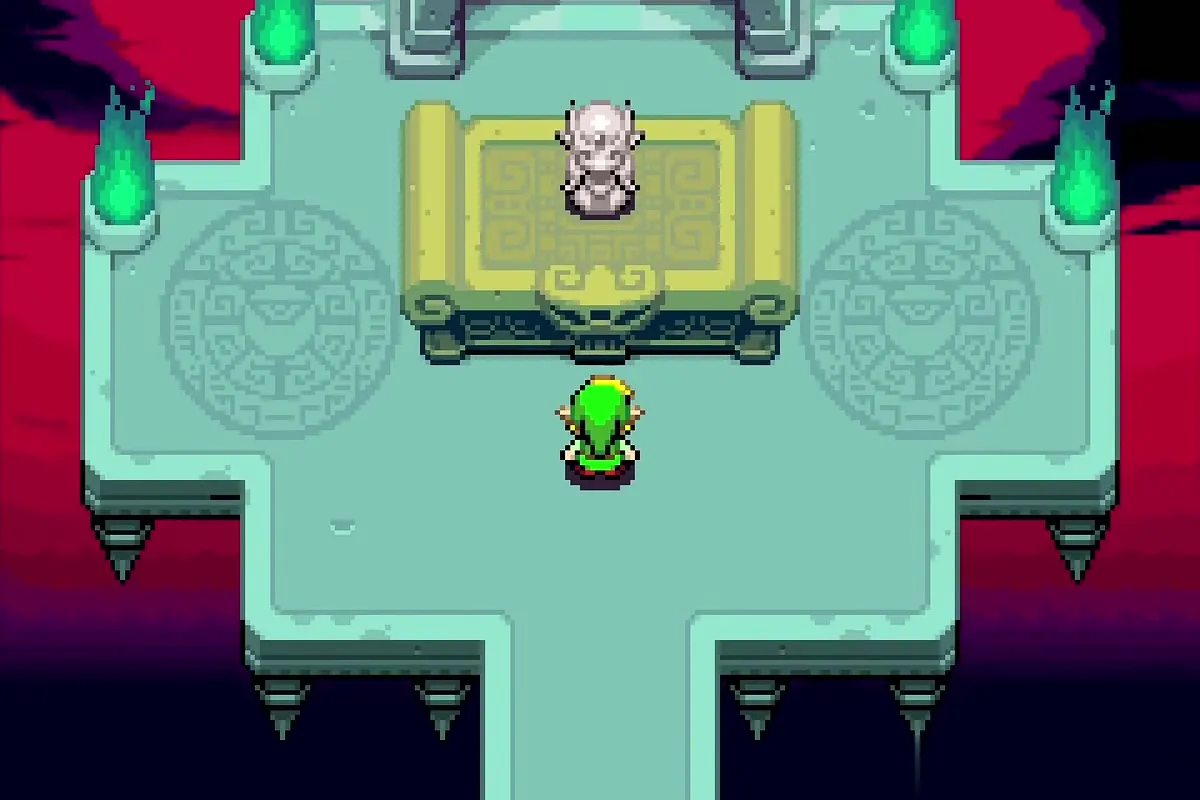
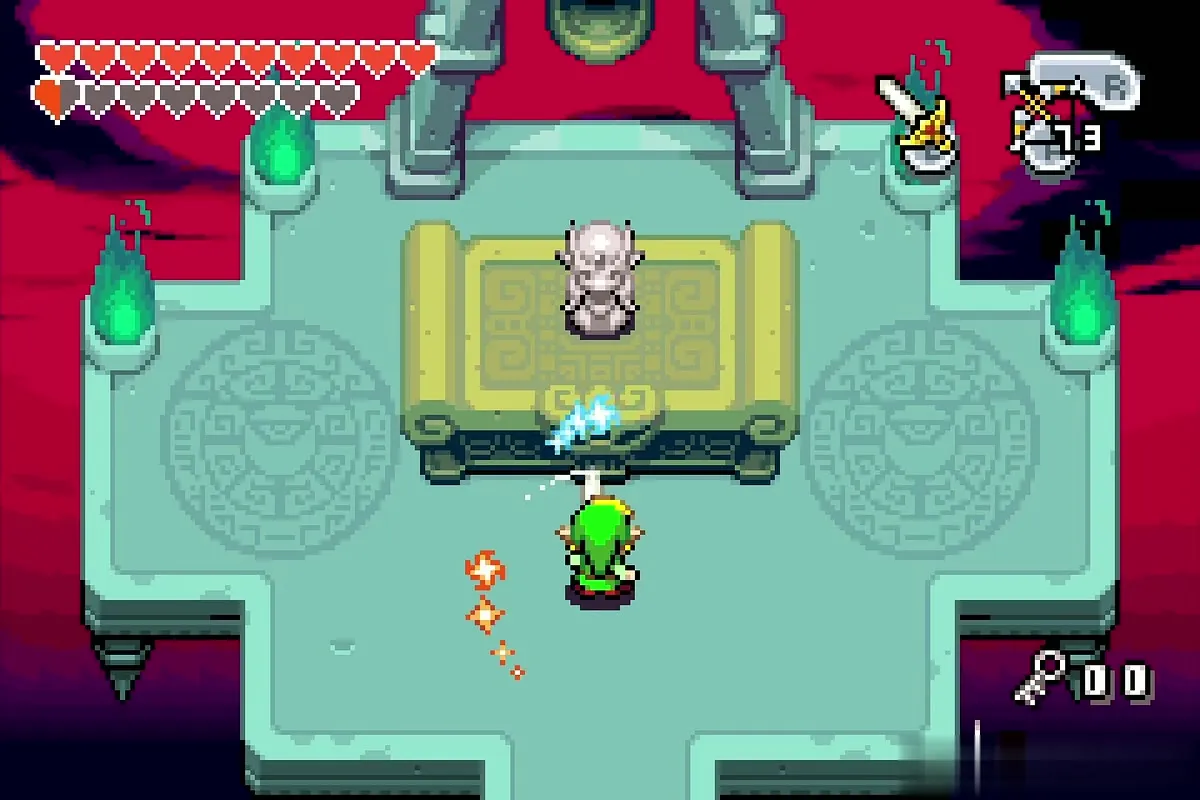

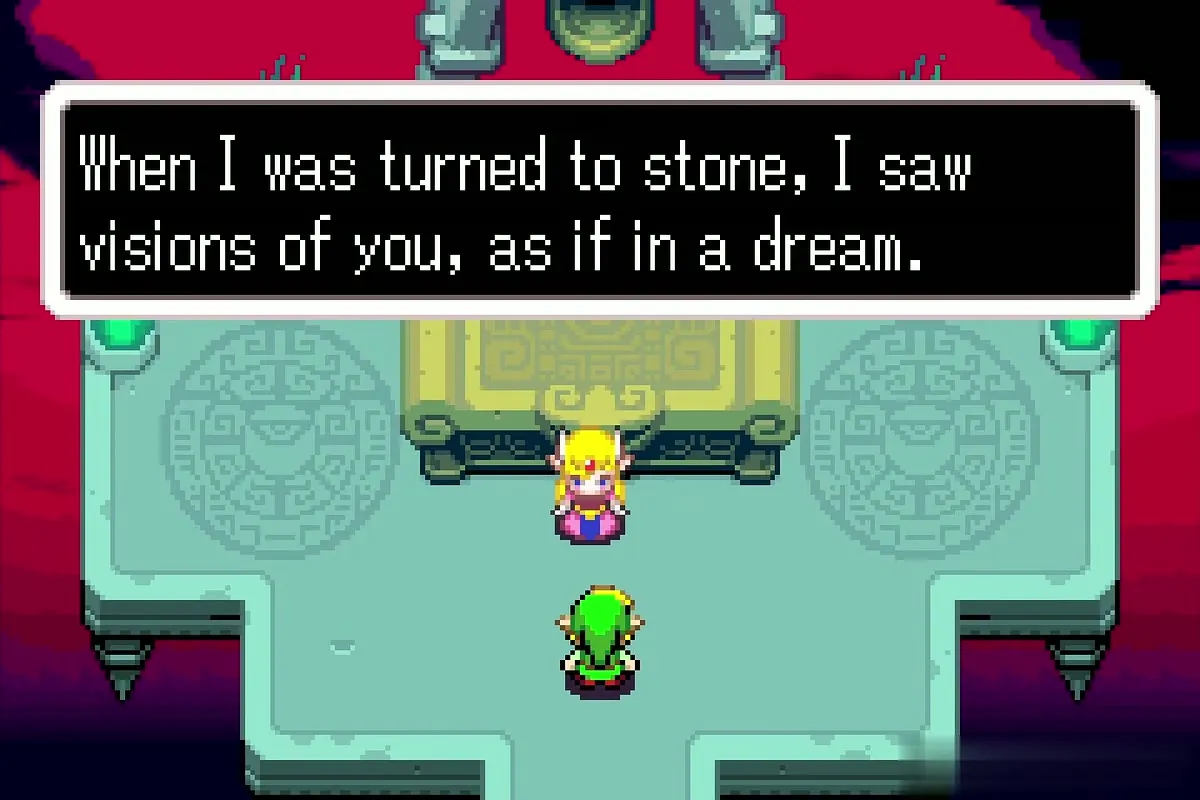
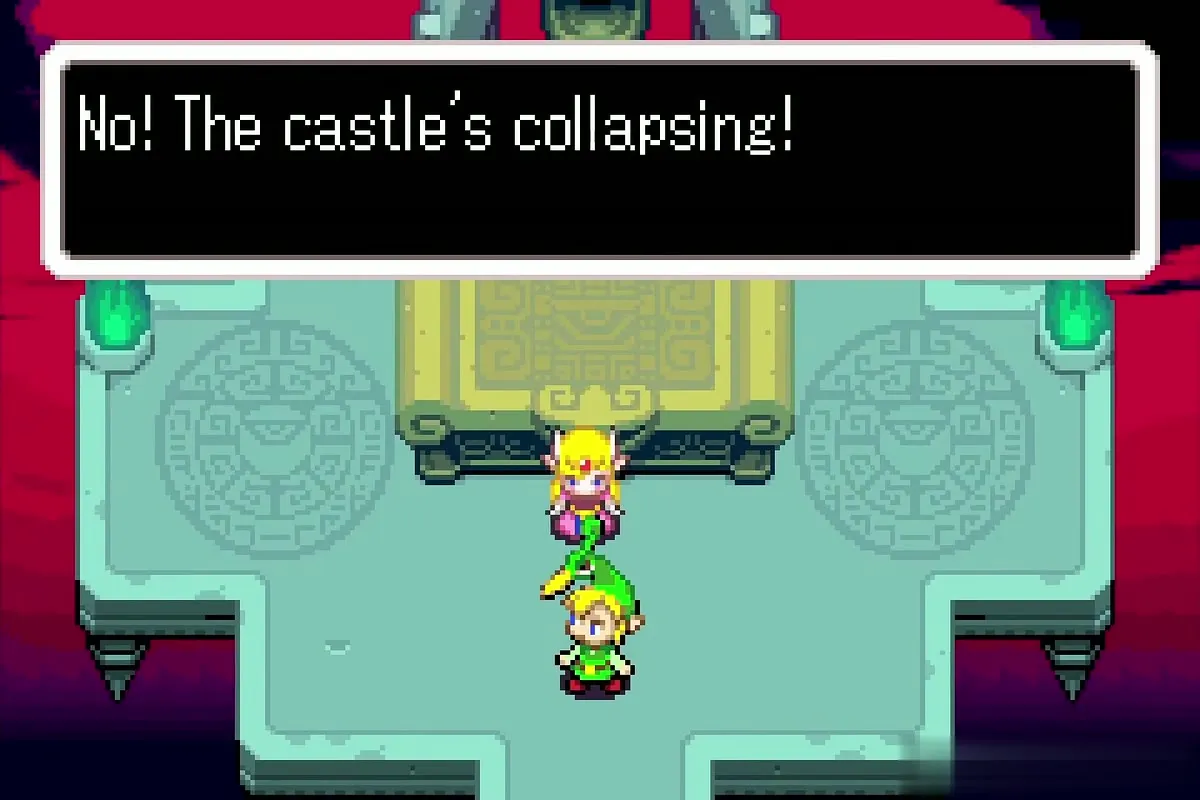
Rocks begin to fall, since the castle is collapsing. Zelda asks you to leave with her, and she follows you from now on.
The castle escape
Head back toward the sanctuary
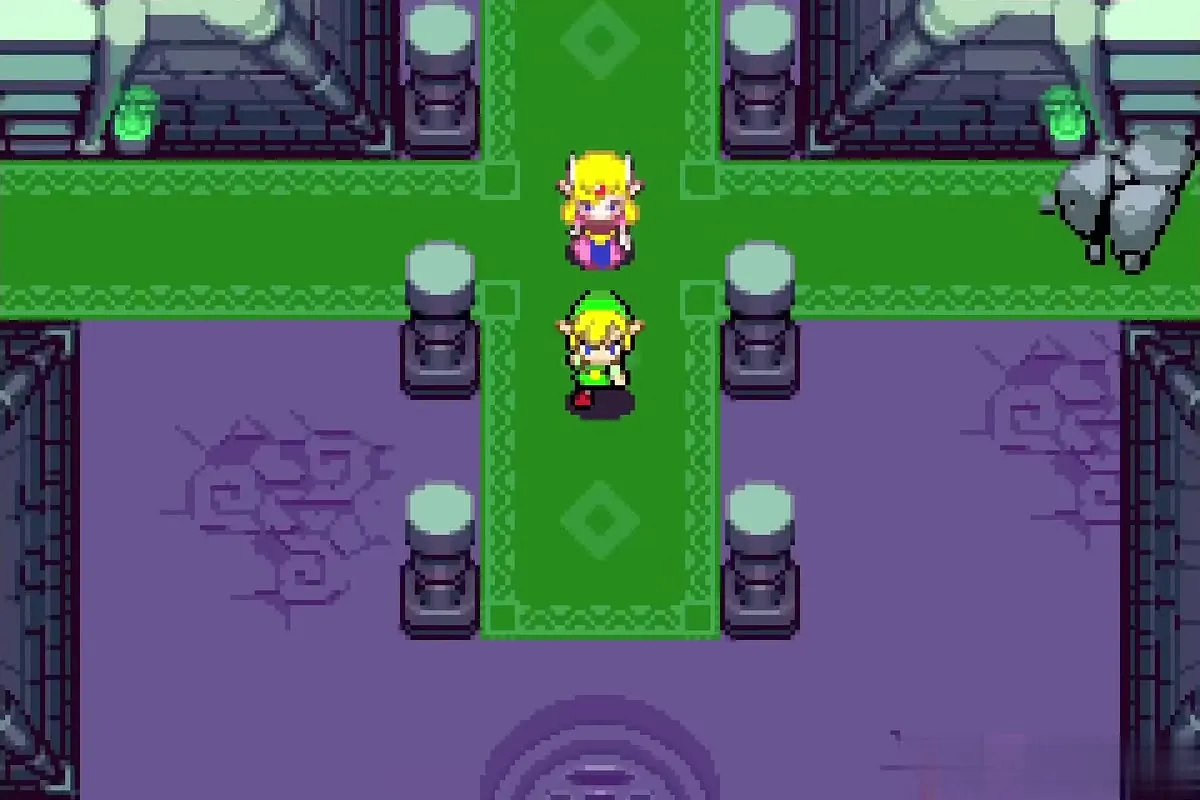
The door ahead is blocked, so you take a different path back toward the sanctuary. Lead Zelda through the corridors; in a small side room you can break a row of pots for hearts and arrows, and a chest stands beside them. This is the only restock before the last fight, so top up your hearts and arrows here.
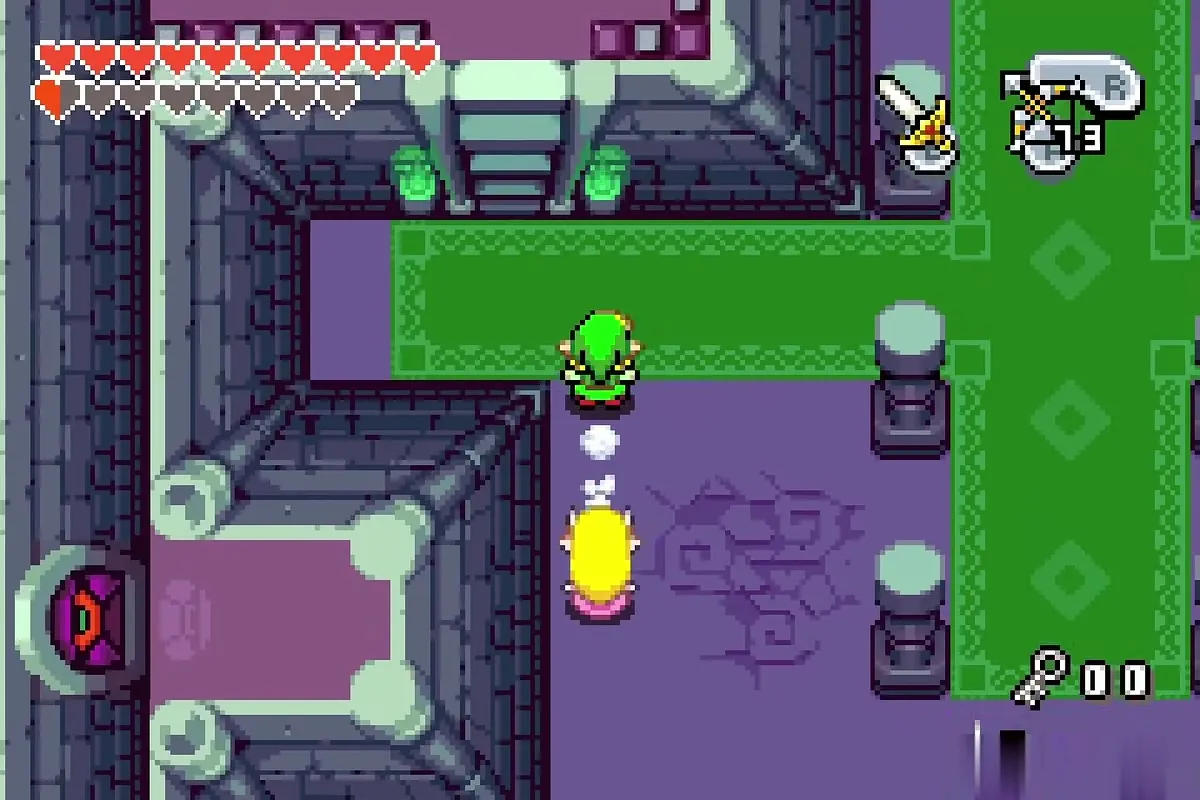
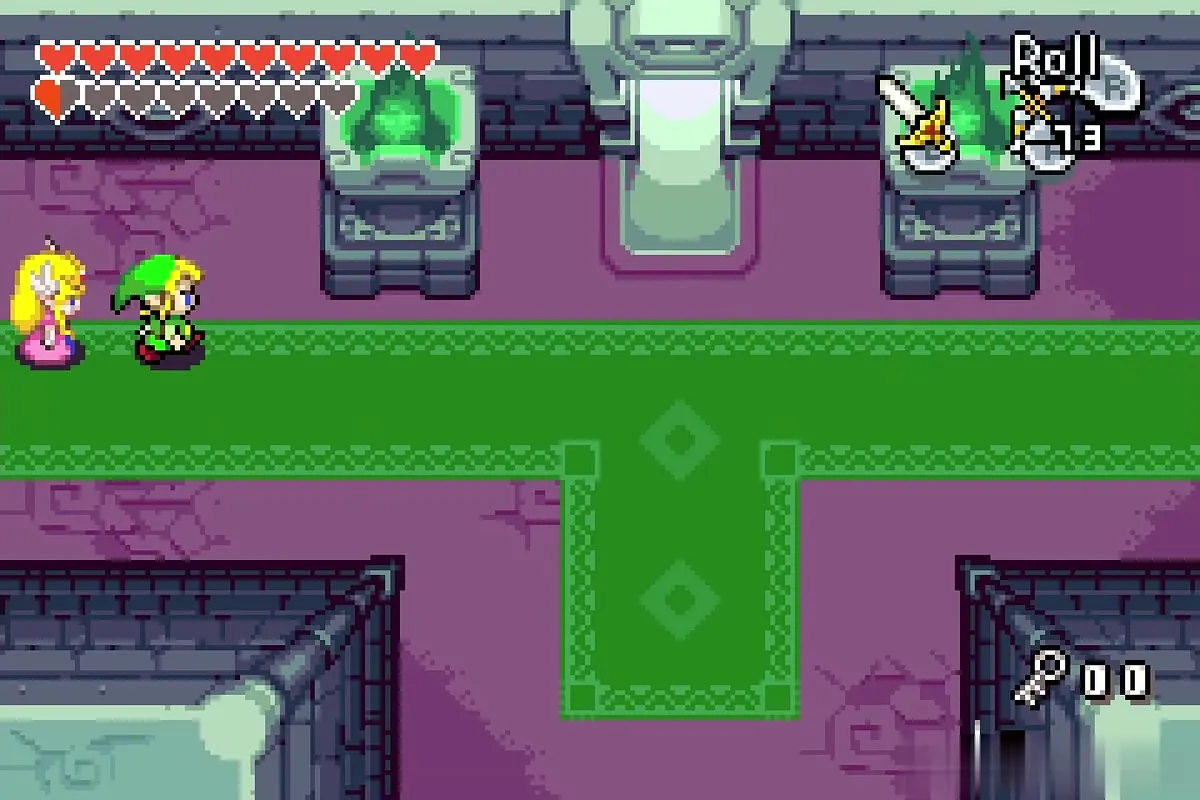


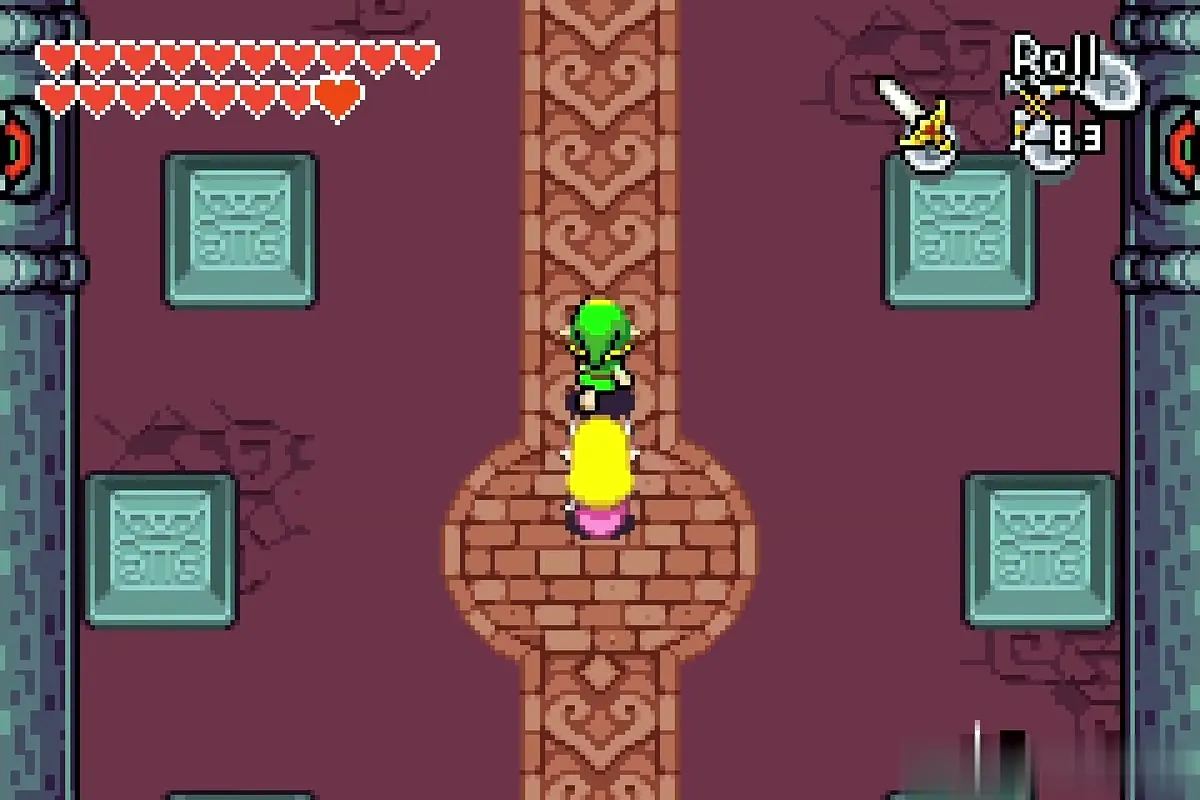
Continue along the brick-carpeted hall with Zelda at your heels until Vaati’s voice sounds from above and the courtyard fight begins.

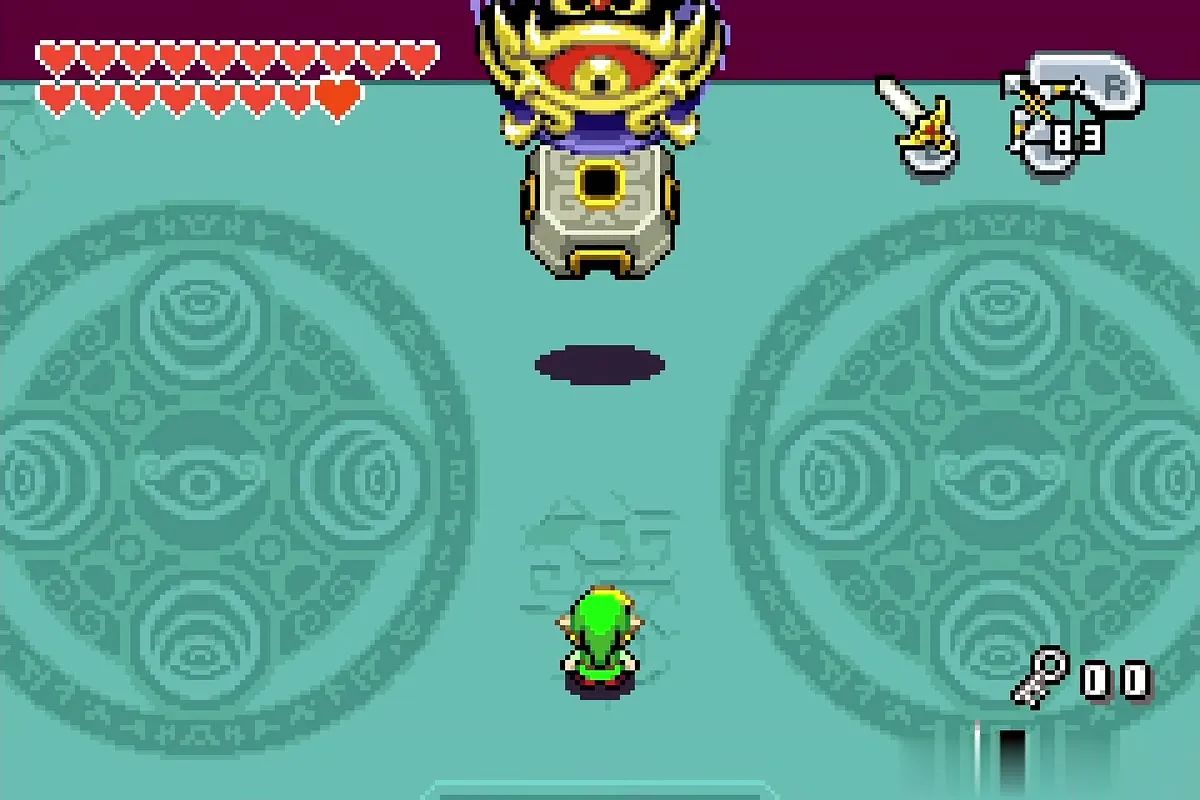
Vaati’s Wrath (final form)
The two giant arms
Vaati’s Wrath is a huge horned creature with a single eye in its body, two clawed arms and four small eyes in front of it. His electricity balls are fast, hurt badly and stun you; if one hits you while you are split into clones, the clones disappear. Equip the sword and the Cane of Pacci.


Soon one arm thrusts out of the ground. When it comes up, hit it with the Cane of Pacci to flip it over, stand on the pedestal beside it to shrink to Minish size and walk in through the hole. Do not wait, or the arm retracts and you must wait for the next one.
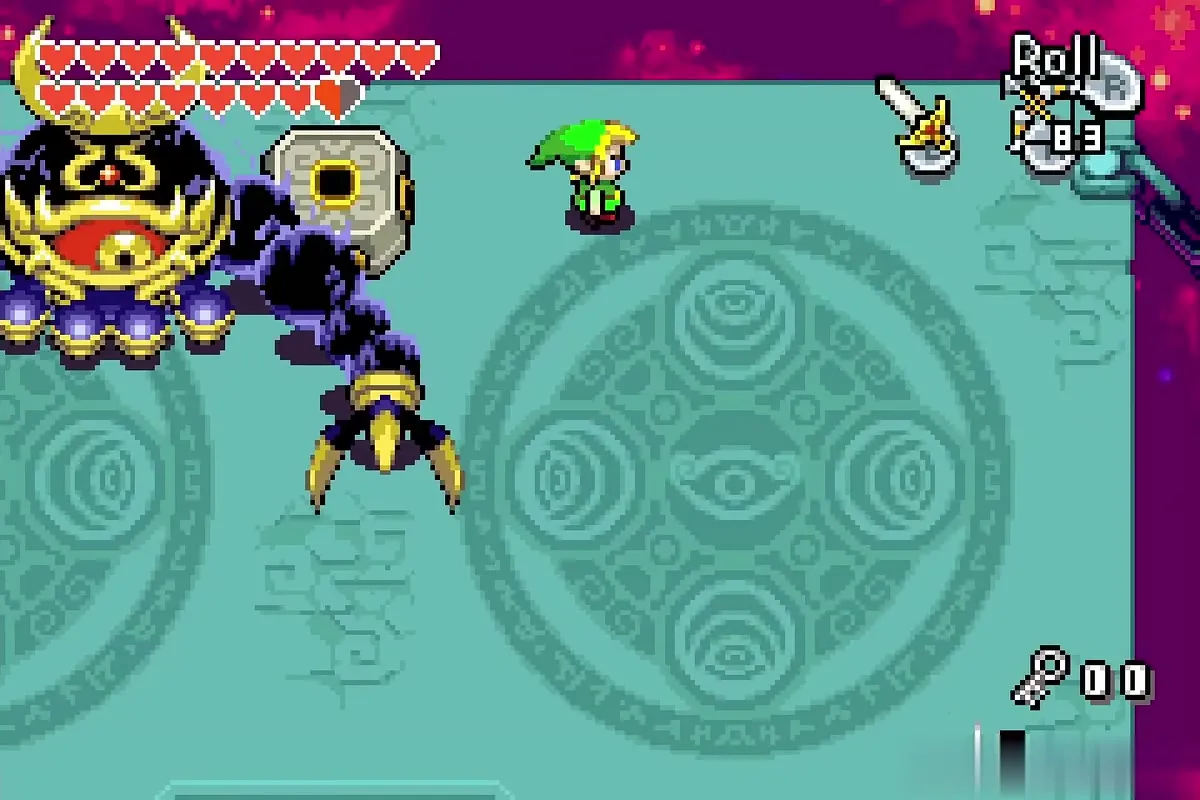

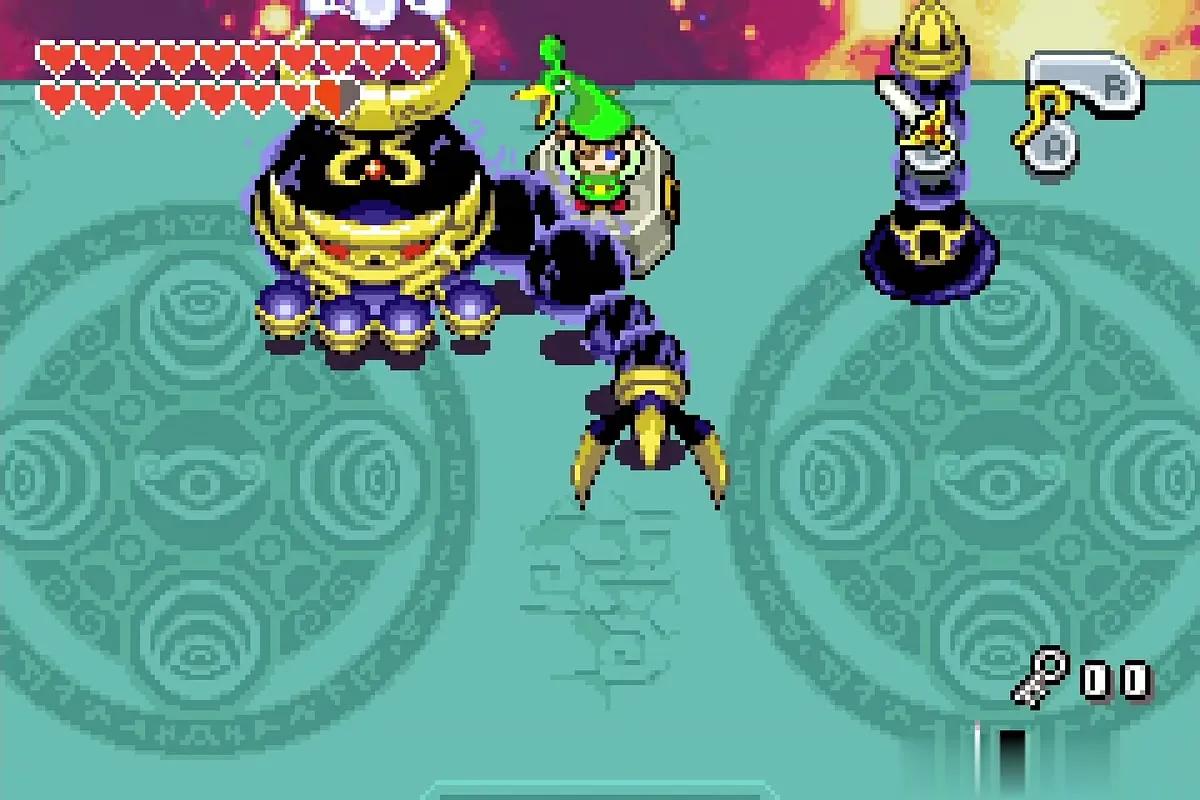
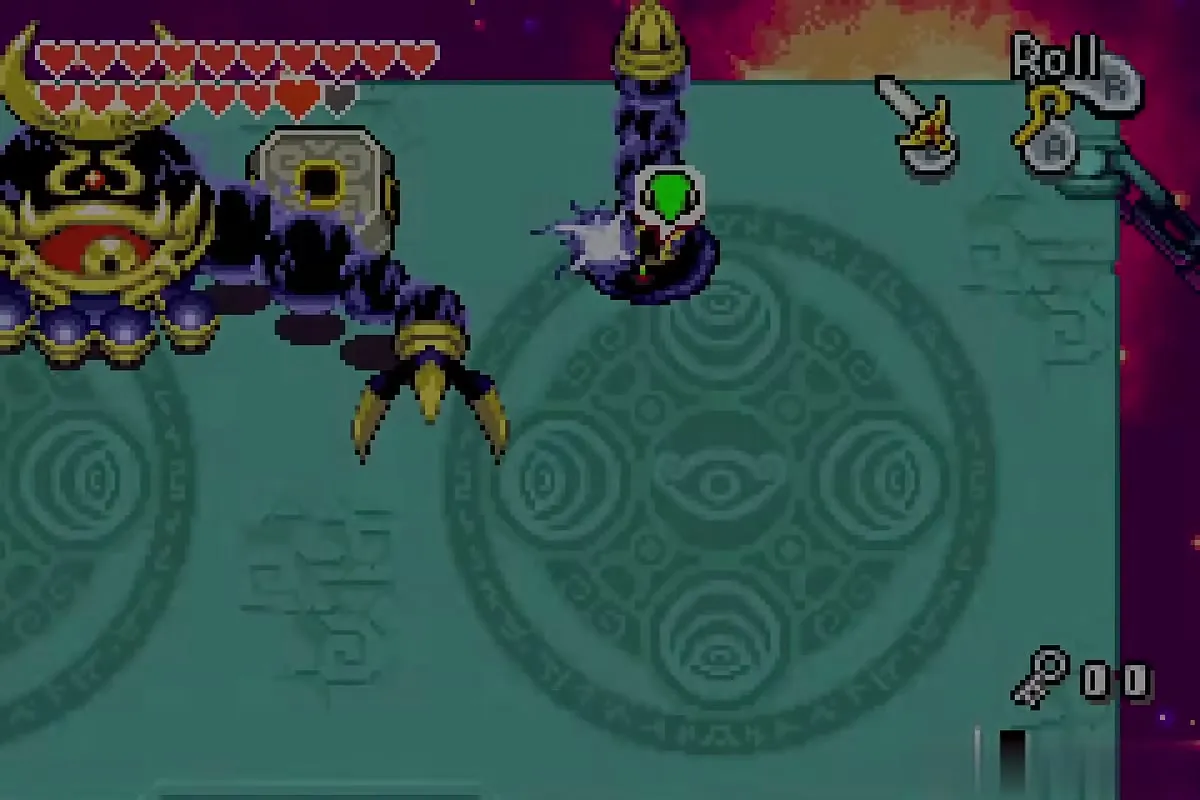
Inside the arm are many eyes that all look the same way, except one that looks elsewhere. That is the weak point. Slash it repeatedly, or use a Spin Attack, until the arm shatters, then return to normal size.
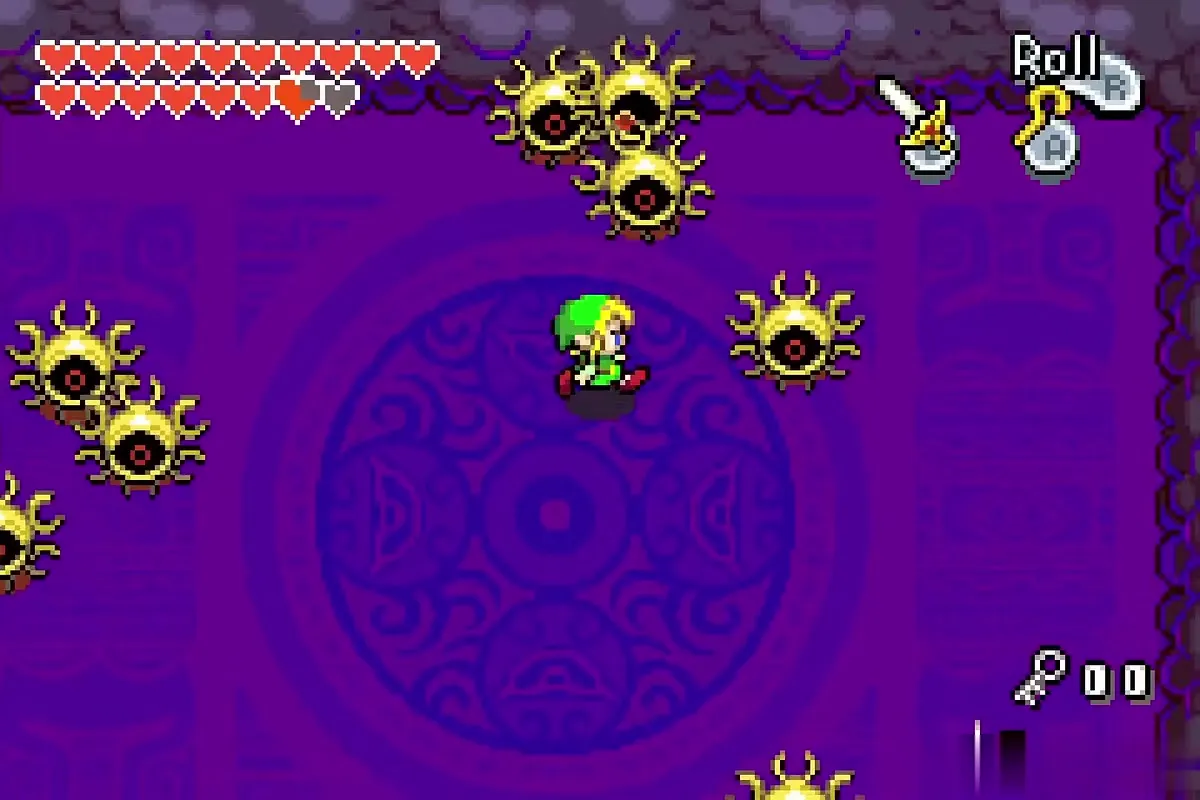
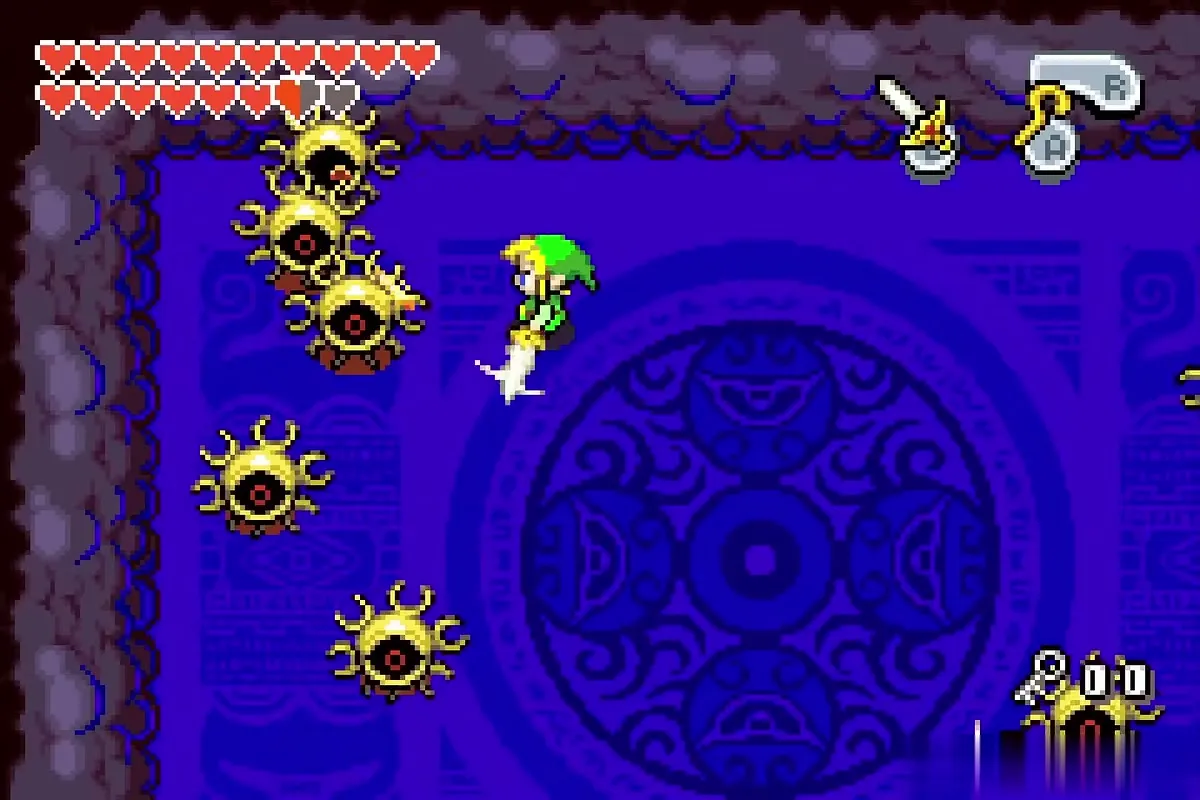
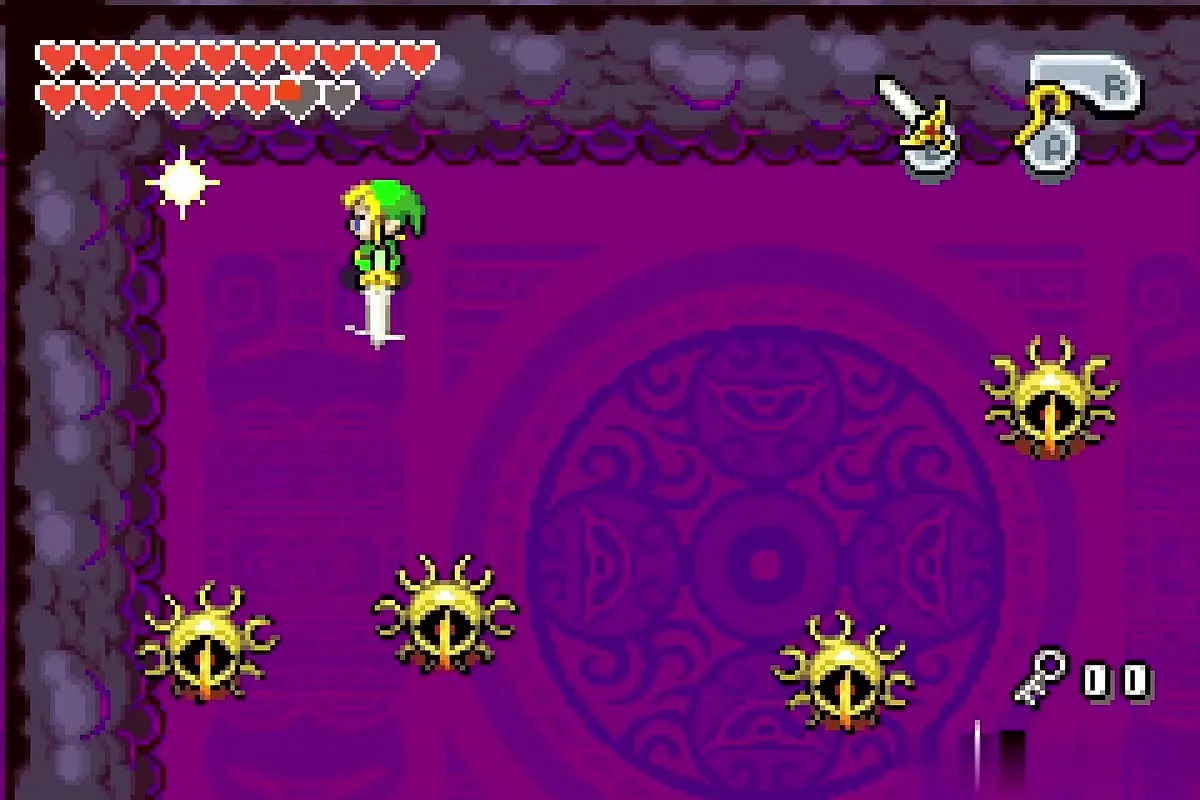
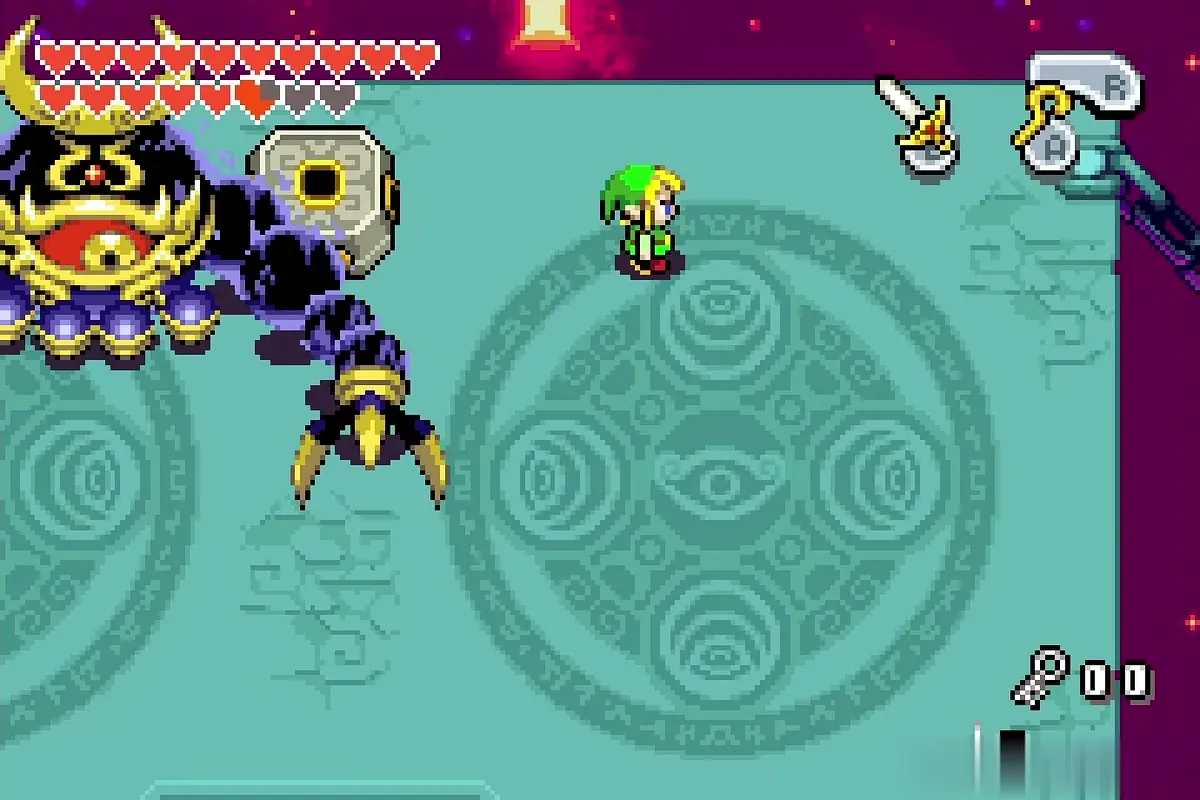
Do the same with the second arm. The inside of this one is dark, so equip the Flame Lantern before you go in and light the way to find the odd eye. With both arms gone, only the four small eyes are left.


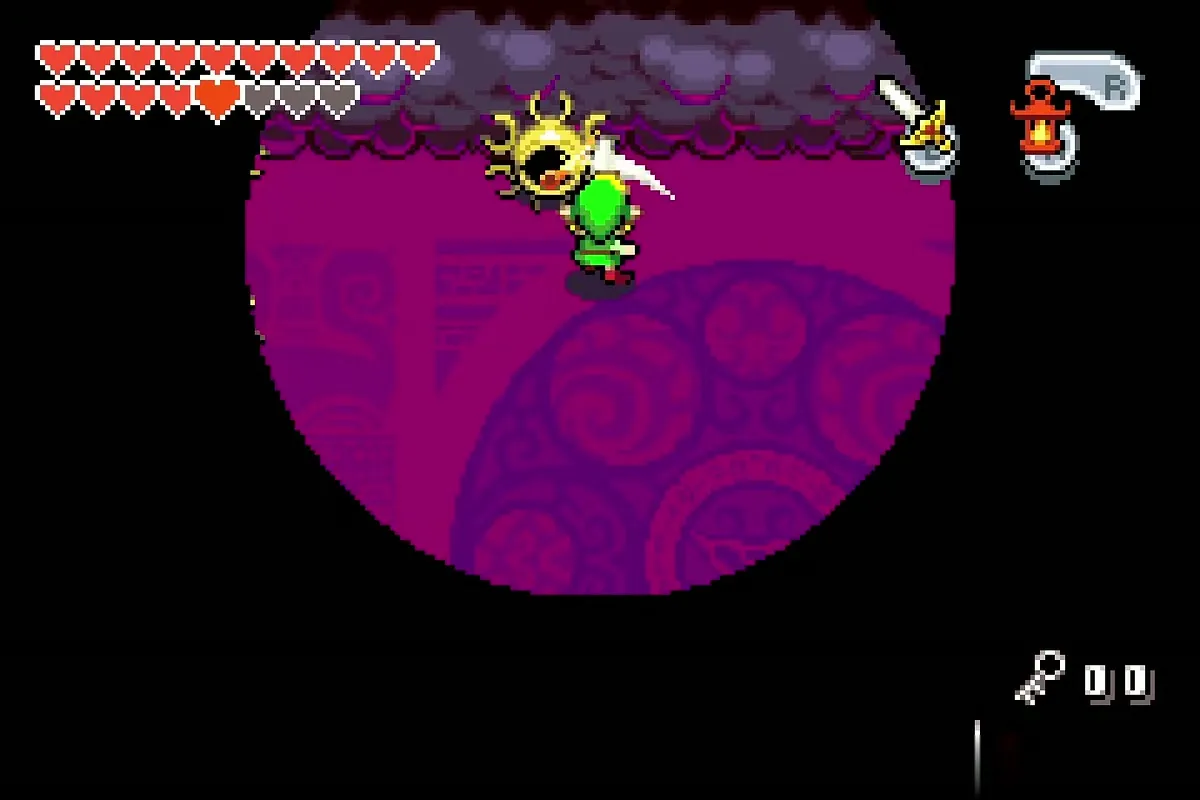
Reflect the shots and finish him
Vaati now fires electricity balls and the four eyes launch energy balls of their own. Pull any black ball in with the Gust Jar. When a fast ball is fired, split into four, stand in front of the four eyes and swing your sword just as a ball reaches you. A well-timed hit sends it back at Vaati and breaks the eye.

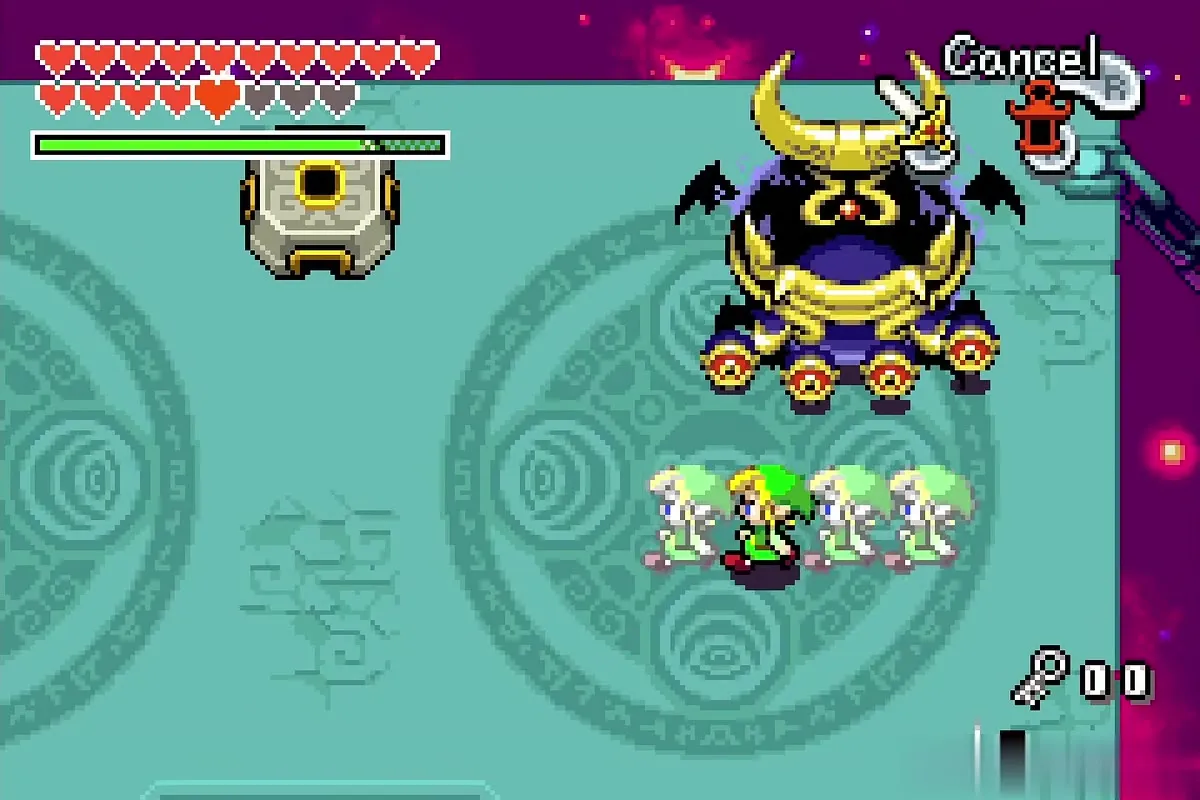
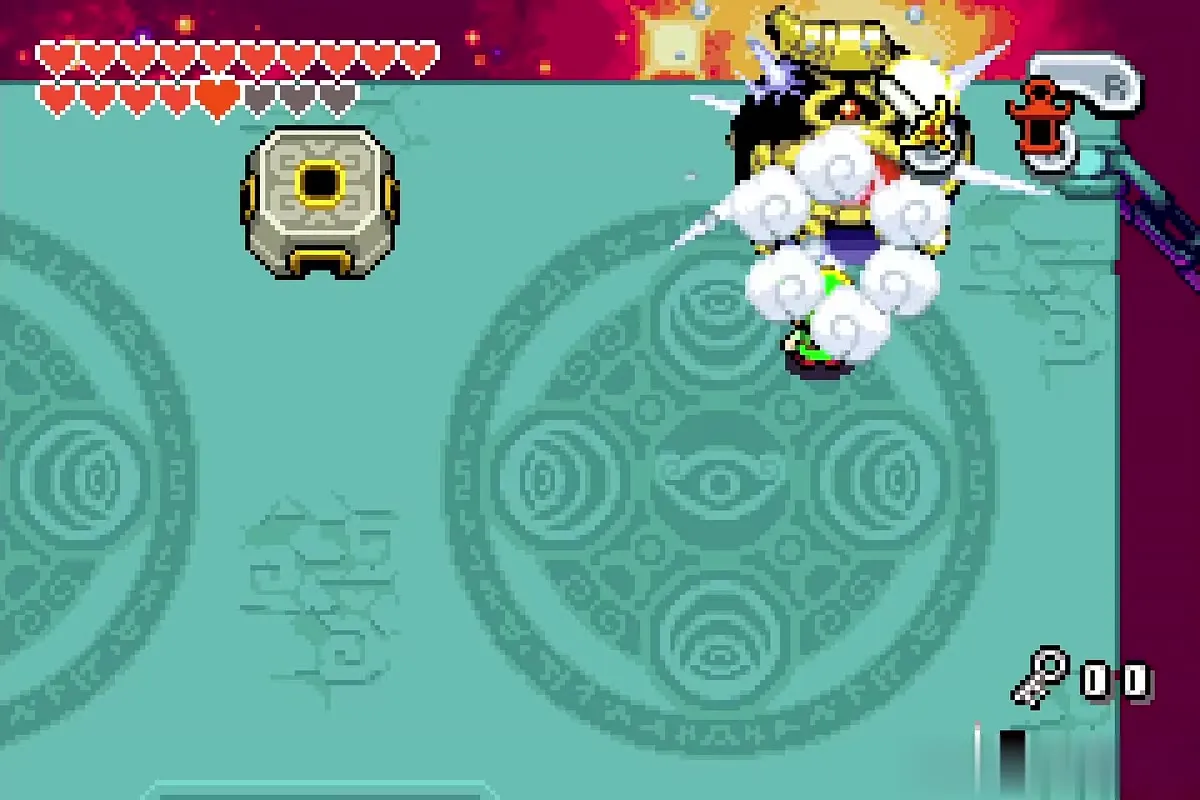
With the eyes gone, run up and slash his body as many times as you can, then repeat the cycle. After a few rounds, Vaati cries out, the arena flashes white and his remains fade away.

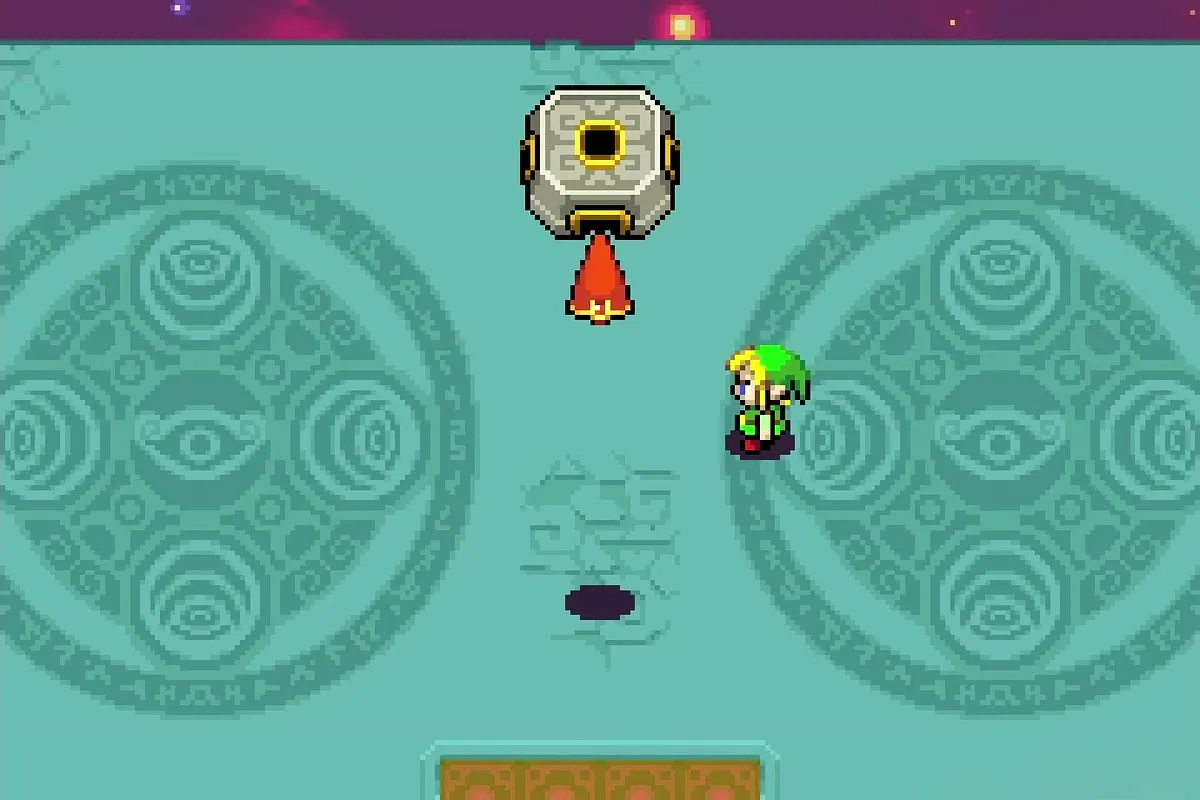
The ending
Ezlo and Zelda’s wish
You stand in the castle hall with Zelda. Ezlo takes his true Minish form and introduces himself as a master of Minish lore. He then asks Zelda to let her wishes be known, and the people and places hurt by Vaati’s curse are restored.

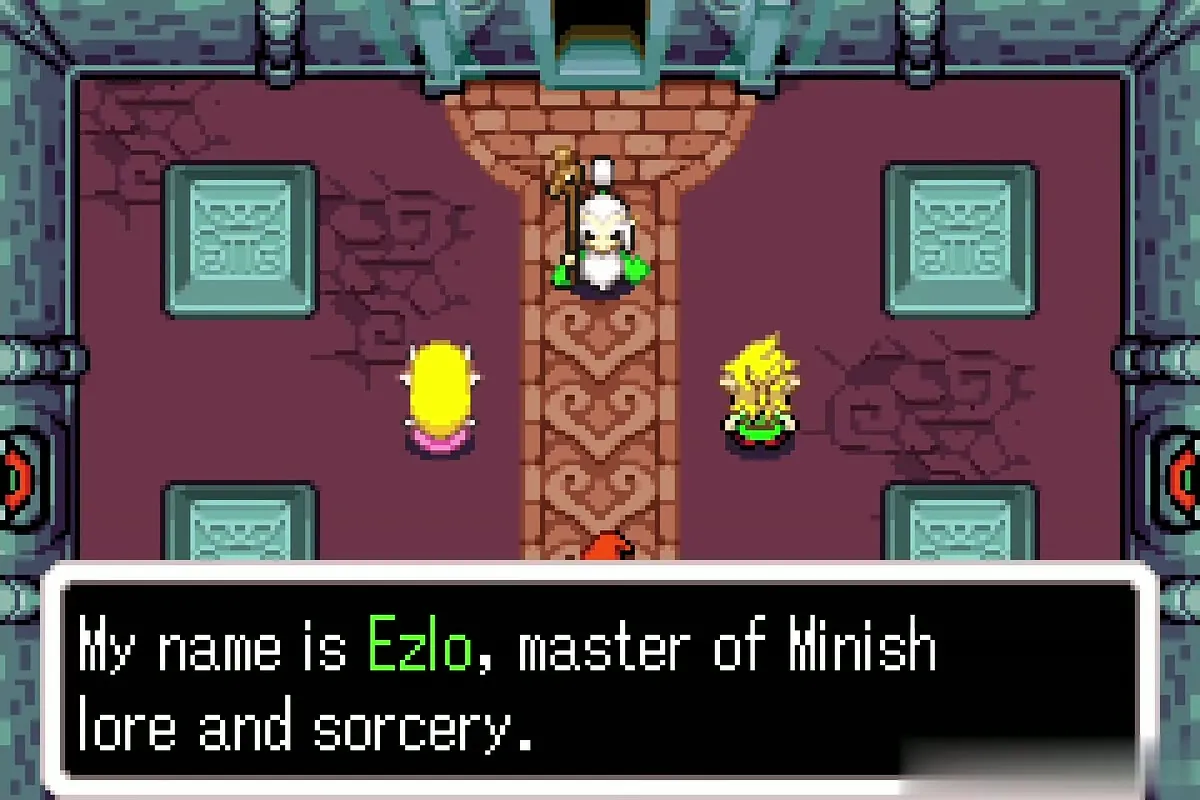

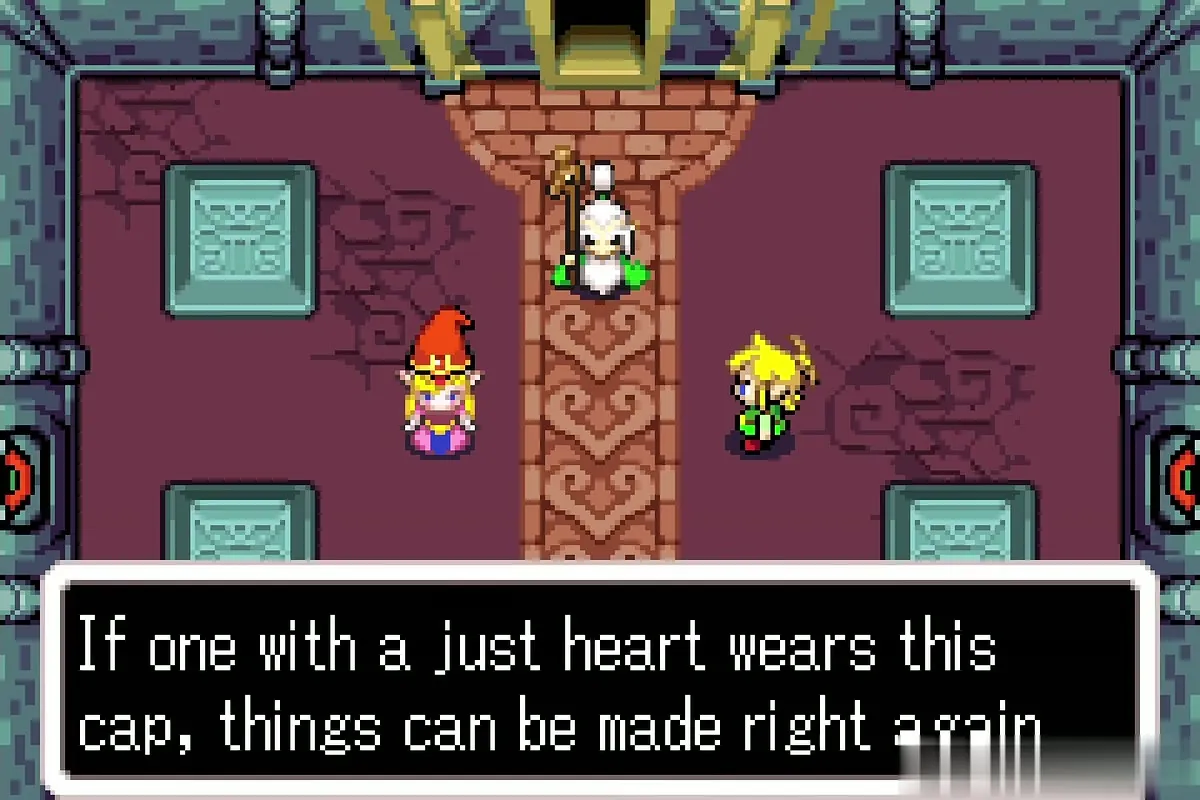
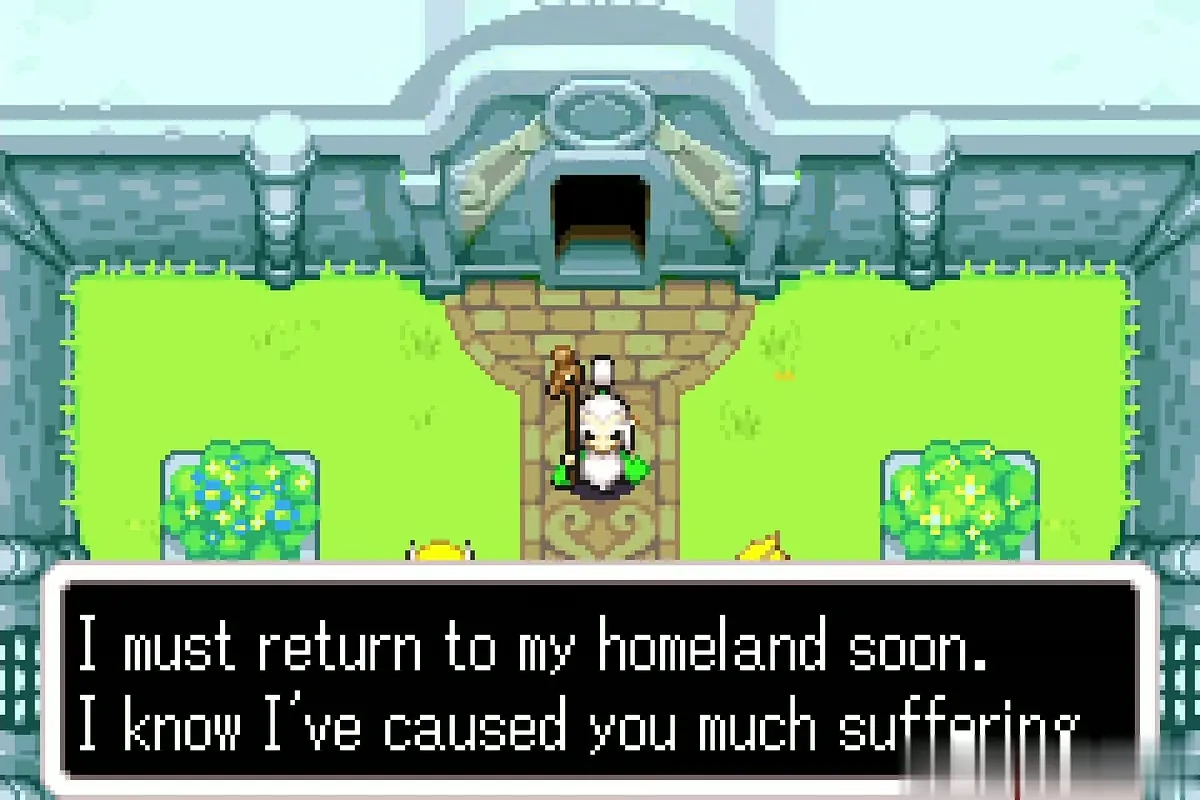
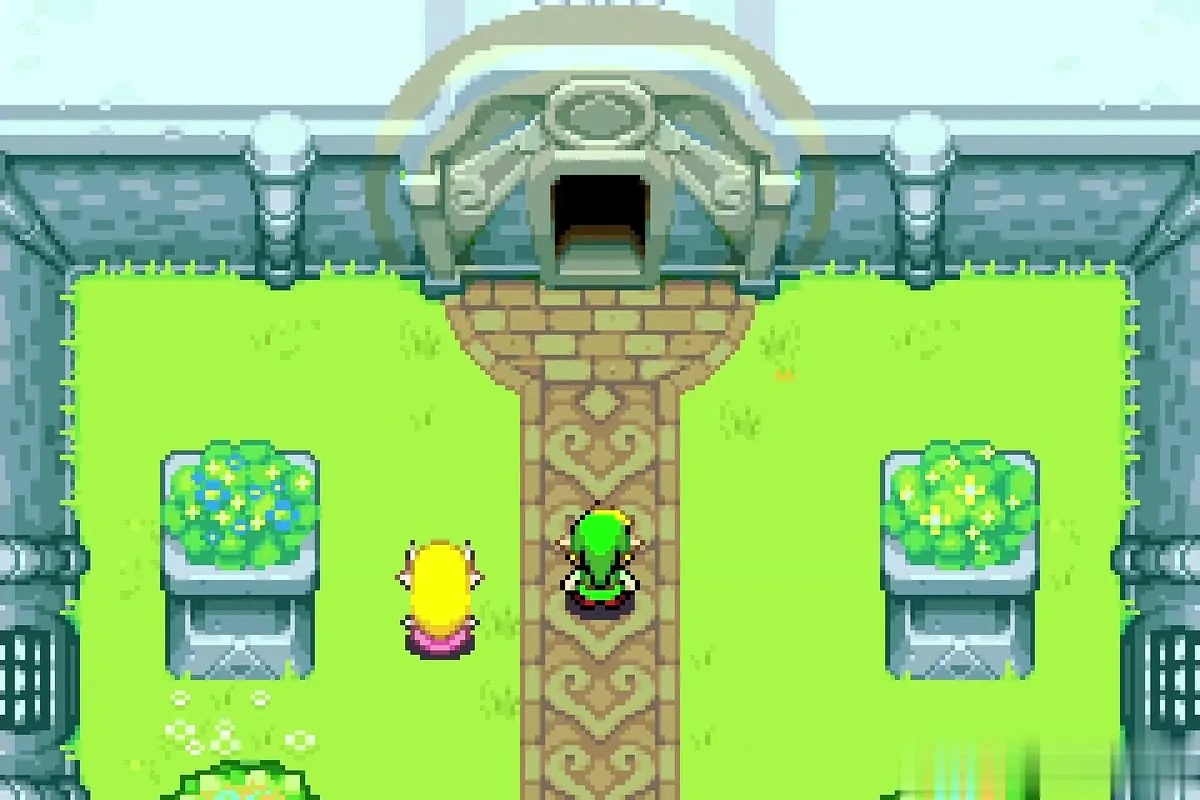
After a glimpse of the restored castle and its guards, the scene moves to the castle garden, where Ezlo opens the Minish Door and says goodbye before returning to his homeland. Link walks toward the door, and the credits start.
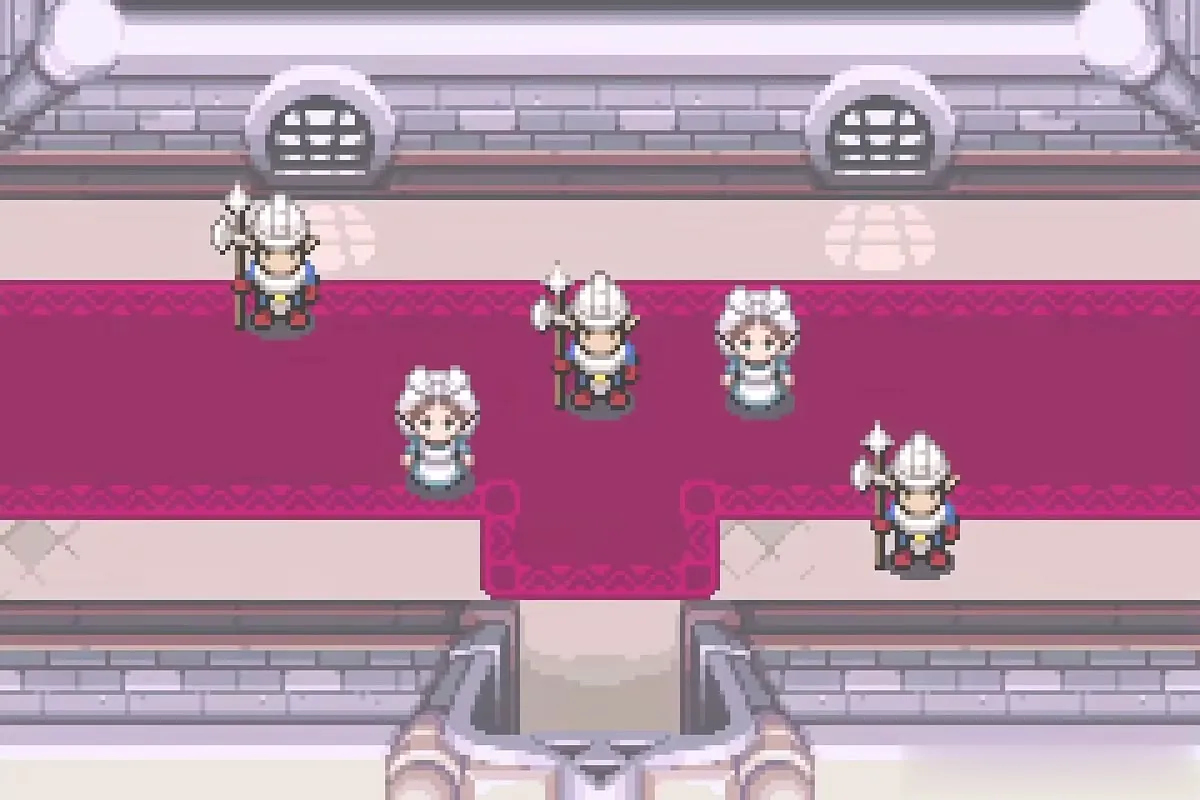

Credits and the save that unlocks postgame
Watch to the end and save
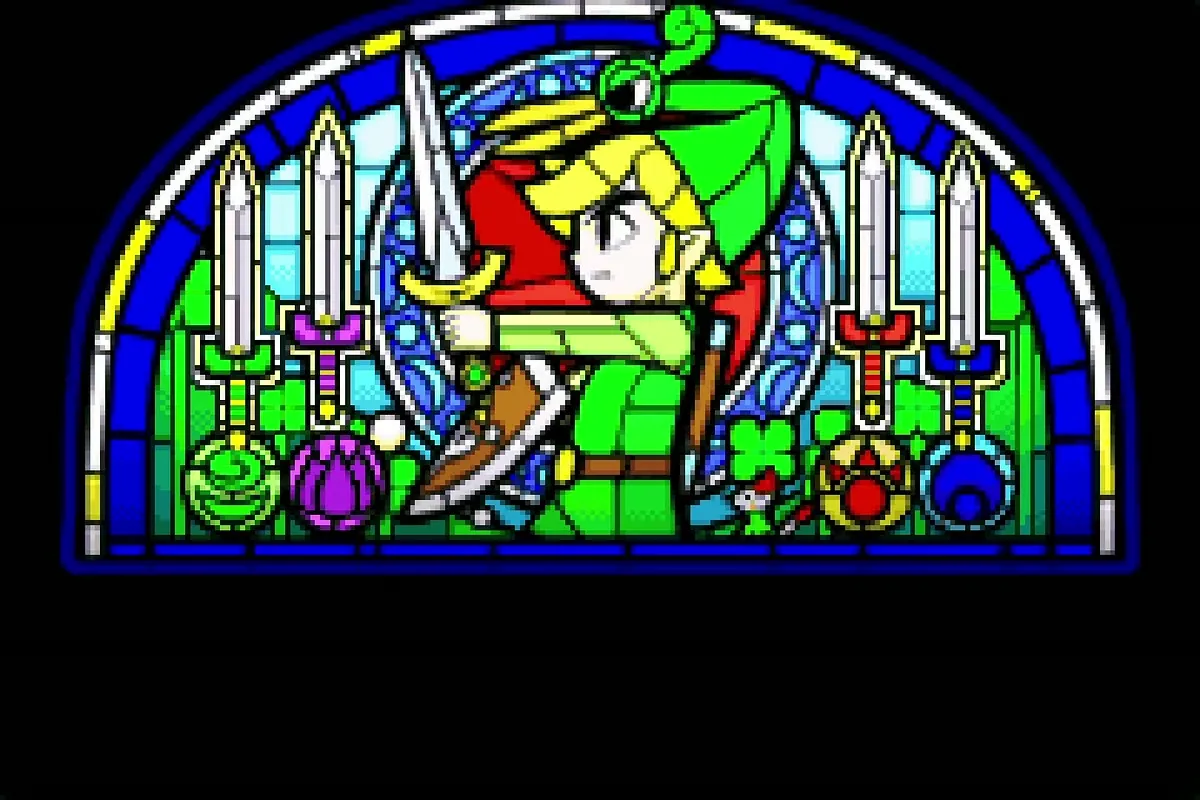
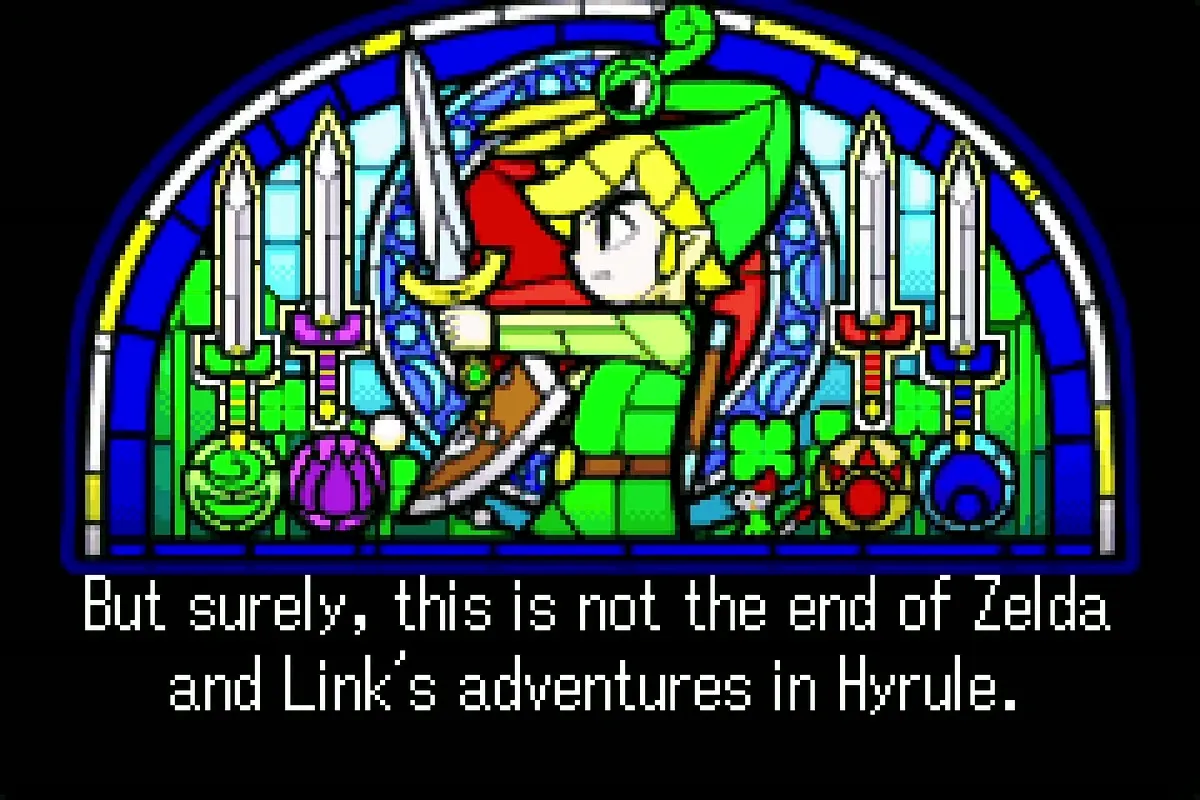
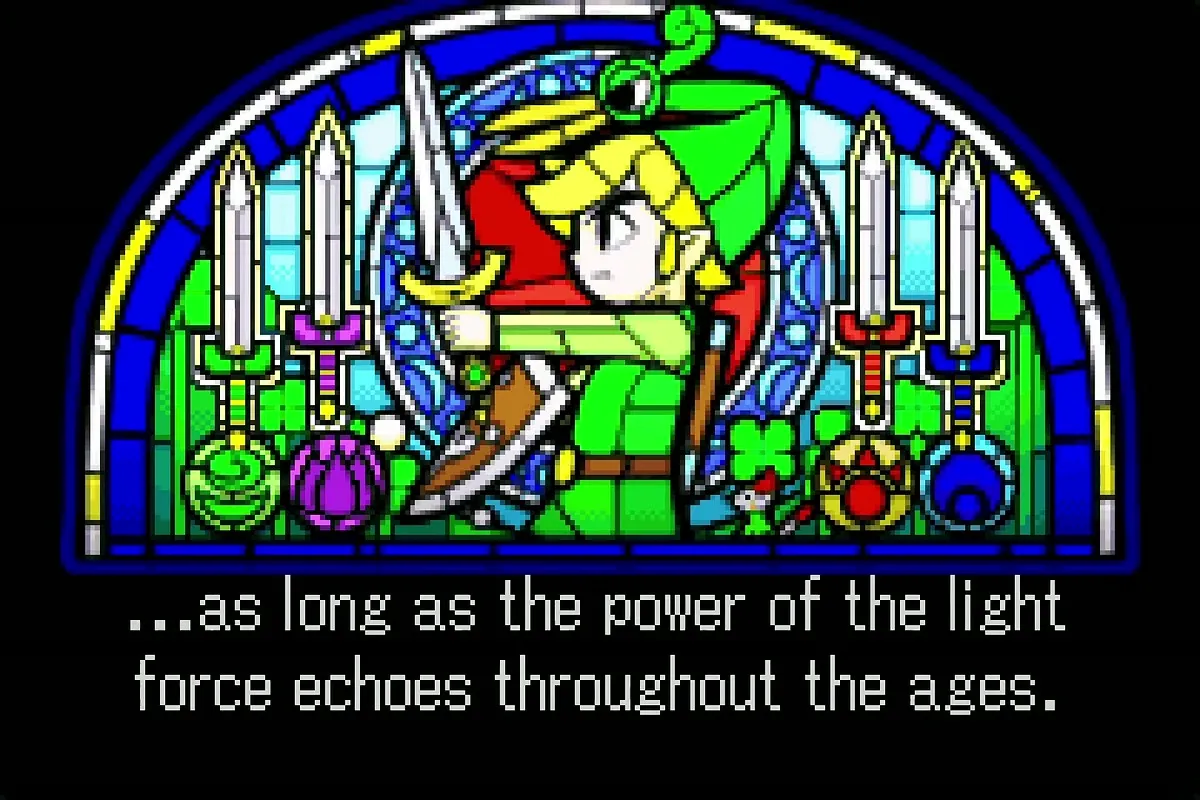
Let the credits play through the stained-glass picture and the copyright message, then save your game. This save is what unlocks the six final figurines at Carlov’s stand in Hyrule Town (Black Knight, Minish Ezlo, Zelda and Link, Vaati Reborn, Vaati’s Wrath, Vaati Transfigured), which bring the collection to 136 and earn the Carlov Medal.

No Heart Piece, Heart Container or Kinstone fusion appears in the final fights. Reload the saved game to continue collecting.
Chapter checklist
| Type | Name | Where |
|---|---|---|
| Boss | Vaati Reborn | Green arena in the throne room |
| Boss | Vaati Transfigured | Red eye-patterned arena after the first form |
| Event | Zelda freed from stone | Altar in the throne room |
| Restock | Hearts and arrows from pots | Side room during the castle escape |
| Boss | Vaati’s Wrath | Castle courtyard |
| Postgame | Six final Carlov figurines | Unlocked by saving after the credits |
